rwiederrich
-
Posts
5,520 -
Joined
-
Last visited
Content Type
Profiles
Forums
Gallery
Events
Everything posted by rwiederrich
-
If the keel is Wong, possibly the seats for the bulkheads could be compromised. However , it looks like Harry has things under control at this point. We’ll wait and see if the bulkheads all align when planking gets underway. For me, this is one particular reason why I scratch build. But it’s not the end of the world. Anything can be fixed. Im following with great interest. Rob
- 200 replies
-
- 2
-

-
- Flying Cloud
- Mamoli
- (and 1 more)
-
Just reviewing the images……why in the world don’t the keel frames align properly, and why don’t the forward bulkheads fit within their pre deck slots along the waterways? From a kit, this seams extremely disappointing……. Pointing to QC issues. Or am I missing something? Rob
- 200 replies
-
- 2
-
-
- Flying Cloud
- Mamoli
- (and 1 more)
-
Great job for sure, on the metal work. I always wondered why the Flying Fish is rigged in this manner. Double gin blocks for the lifts. Not another McKay clipper is depicted with such an arrangement. I can only gather that as Donald McKay never, (Cept for his sister ships), ever designed the same model. He ever was experimenting with designs for better performance. This included his clippers rigging designs, as well. His behemoth, Great Republic was his first and only application of the New Forbes double topsail design and its varied unique associated rigging . All subsequent clippers had the Howes double topsail design, with is more standard and reliable rigging concept. I'm enjoying your build. Rob
-
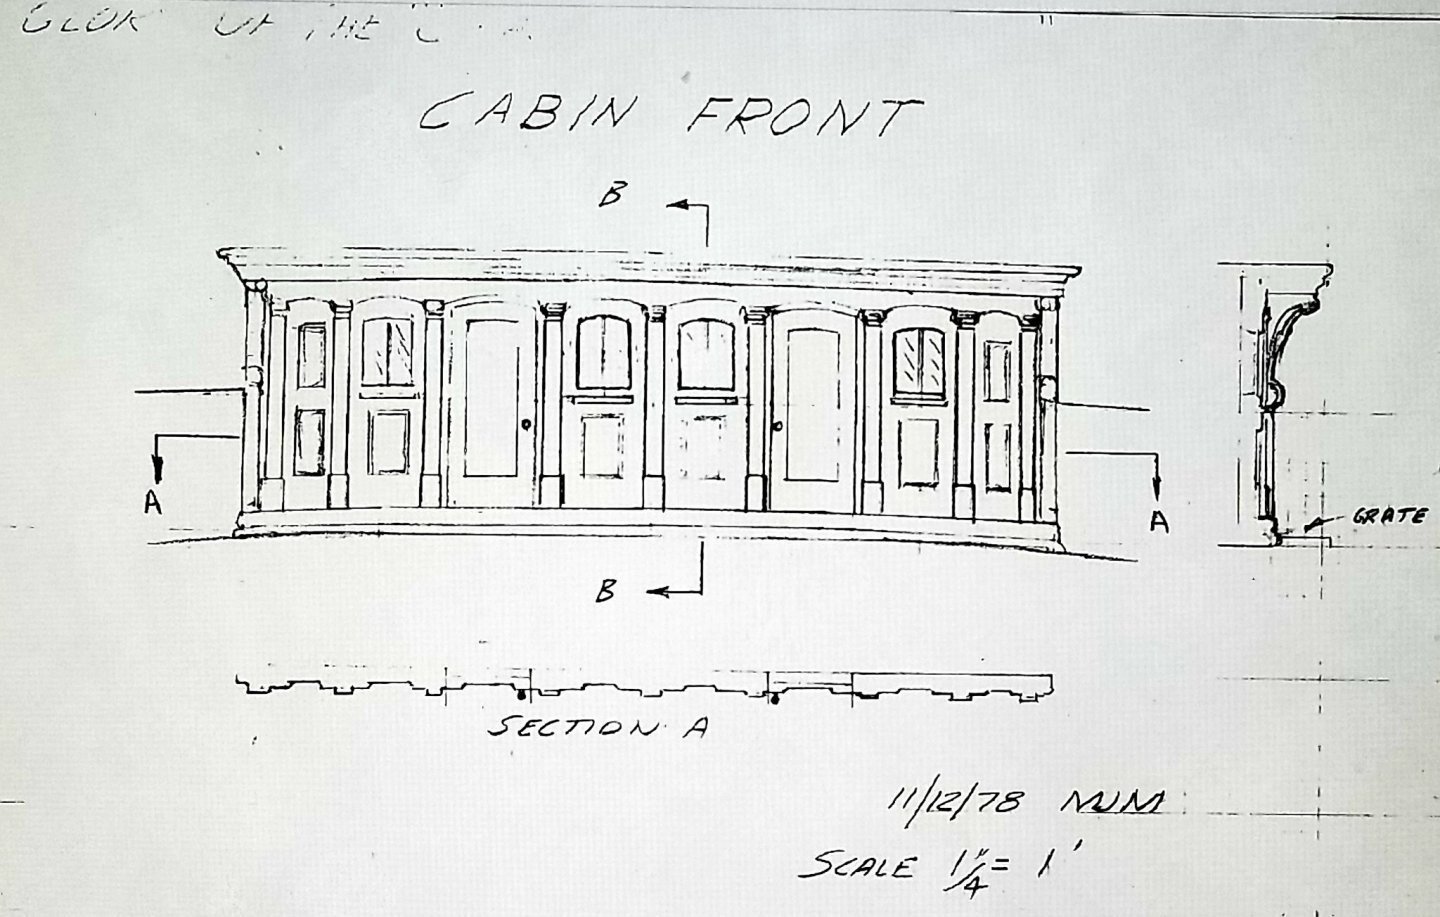
How are things coming along? I was reviewing your log and I had to sit and look over your carriage house front. My issue is not with your wonderful work....it is with the representation of the house's front facade. McKay used quite a bit of decorating and details. He always went above and beyond in his finishings. I'm quite disappointed in the representation that this particular scale drawing, (used by you and many others), which depicts the Flying Fish with such meagre...barn like features. Quite unbecoming of any other McKay design and or description we have of many of his other ships. This, in no way reflects on your skillful execution. McKay's last clipper... Glory of the Seas, was quite ornamental. A stark contrast to the Flying Fish. Rob
-
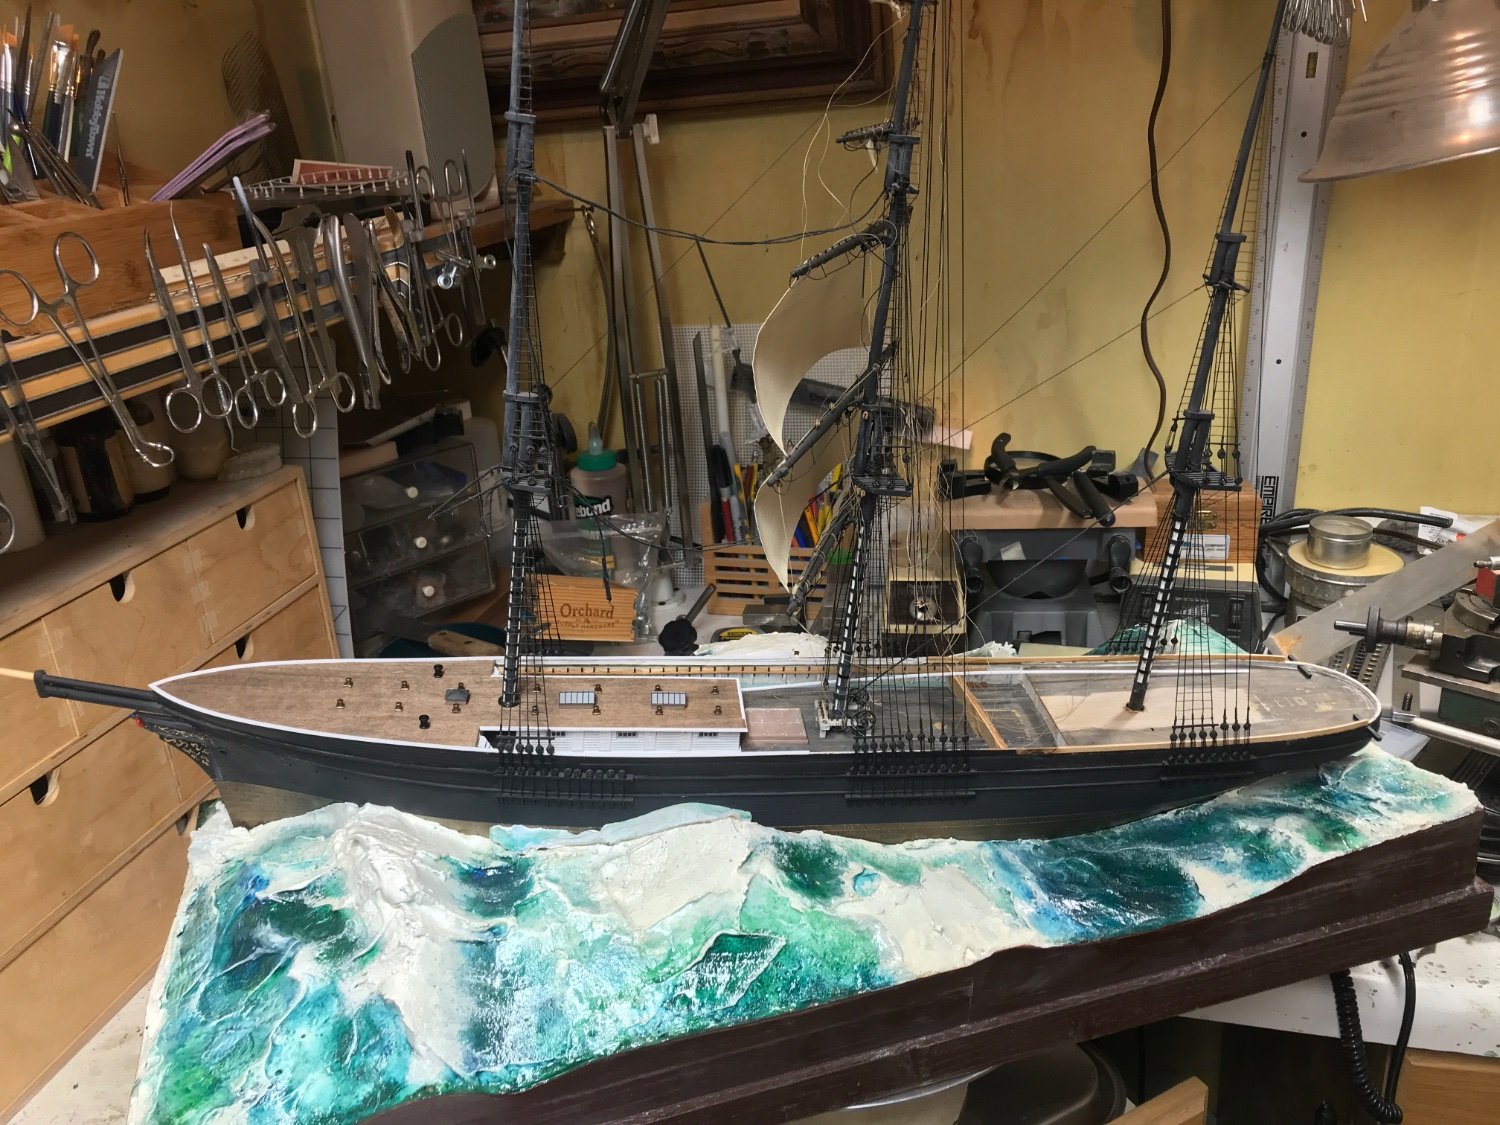
It's all a mess right now....but once the timbers are in place and I can fit in the decking.... it will begin to look better and the deck plan will become clearer. Rob
-
Spent about an hour working on the aft house that is beside the catwalk. I set a mock-up catwalk as well ….running aft to the poop deck. I also began to modify the wheelhouse. I have stern Timbers to install and floor beams for the decking still to install. Rob

-
Are you asking about the stay eye bold spread? The distance from one eye bolt to the next……in your scale? Rob
-
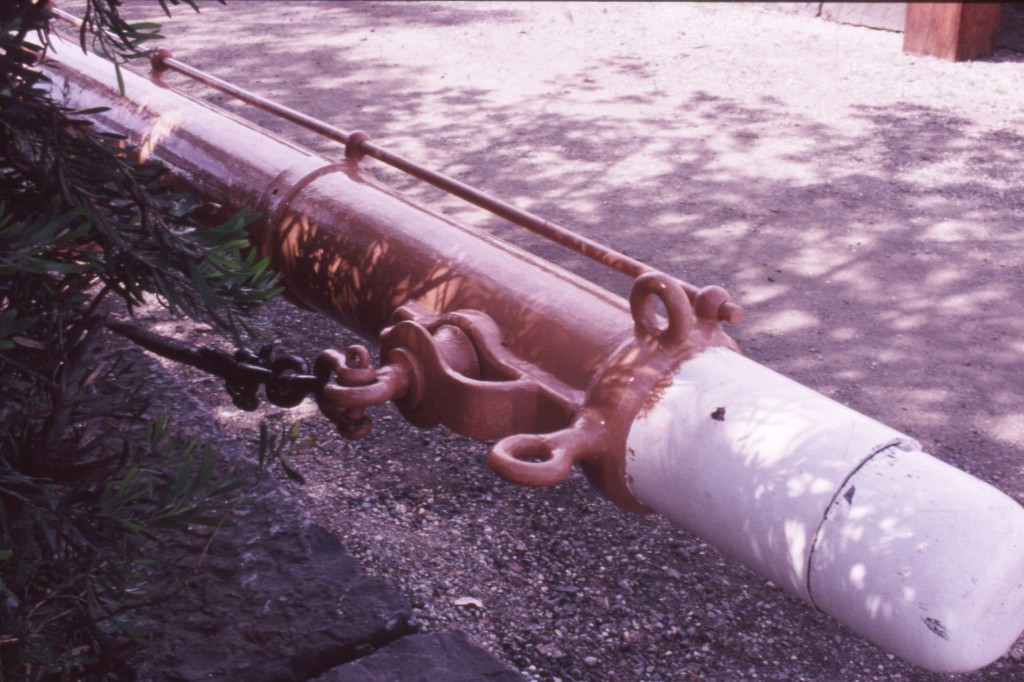
Well that depends on the diameter of each yard. I tend to use my eye...since wire guage can be tricky..dependant upon country and manufacture origin. Here is a pic of a jackstay on a yard from a downeaster...windjammer. A grandson of its predecessor the clipper. Rob
-
Lift lines on cutty sark ,Revell 1/96
rwiederrich replied to Lost and Confused's topic in Masting, rigging and sails
Please understand...I meant no disrespect, concerning any research you may have done or not done. Research is just as much effected by evolution as are your skills. Your model is clean and well executed for sure. I like to tell a story with my model.......along with the model itself. I like to include my models in a scene depicting an actual historical even the vessel was involved in. This tends to *draw* the viewer in, to not only the model...but its historical events. This *ways* depiction shows the jury rudder that was built and affixed to Cutty's rudder post...after she lost it during the grate race she had with her rival, Thermopylae. Though Thermopylae won the race...Cutty Sark was rewarded with Great praise and accolades for the daring and brilliant feat of rigging a rudder mid ocean during a squall. This event was worthy of a diorama, depicting the removal and replacement of her jury rudder with a new rudder. It also gave me license to include forge material and all the necessary tooling and staging required for the job. Not to mention the jury rig and rudder themselves. I also depicted some loosed copper plates being refit on her cutwater forward. Rob(Follow my personal link to more images) -
Lift lines on cutty sark ,Revell 1/96
rwiederrich replied to Lost and Confused's topic in Masting, rigging and sails
Quite beautifully done. Not to be a Debby Downer, but most people make the mistake of adding the second rail on the railing protecting the carriage house deck. This image shows otherwise. Not worth changing......but an example as to why research...research.....research is as important as applying good workmanship skills. I truly enjoy the fact that you actually curved the rails....to follow the stern curvature. Nice detail. I captured that detail n my own Cutty rudder replacement diorama.
-
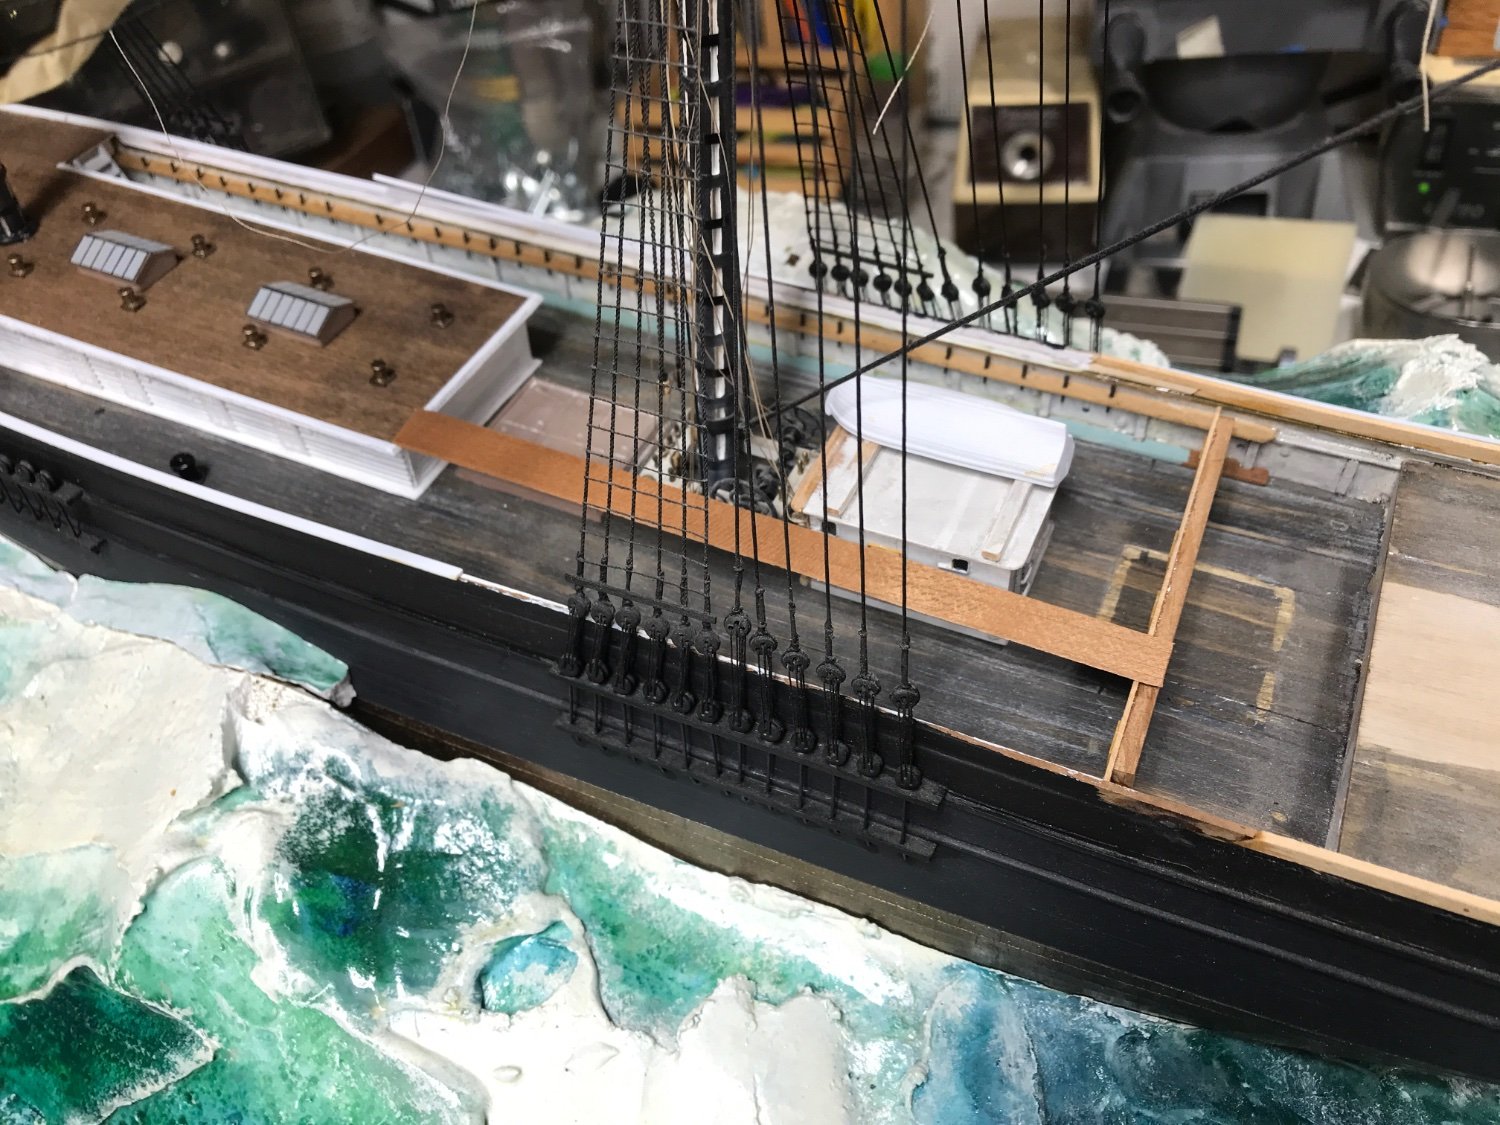
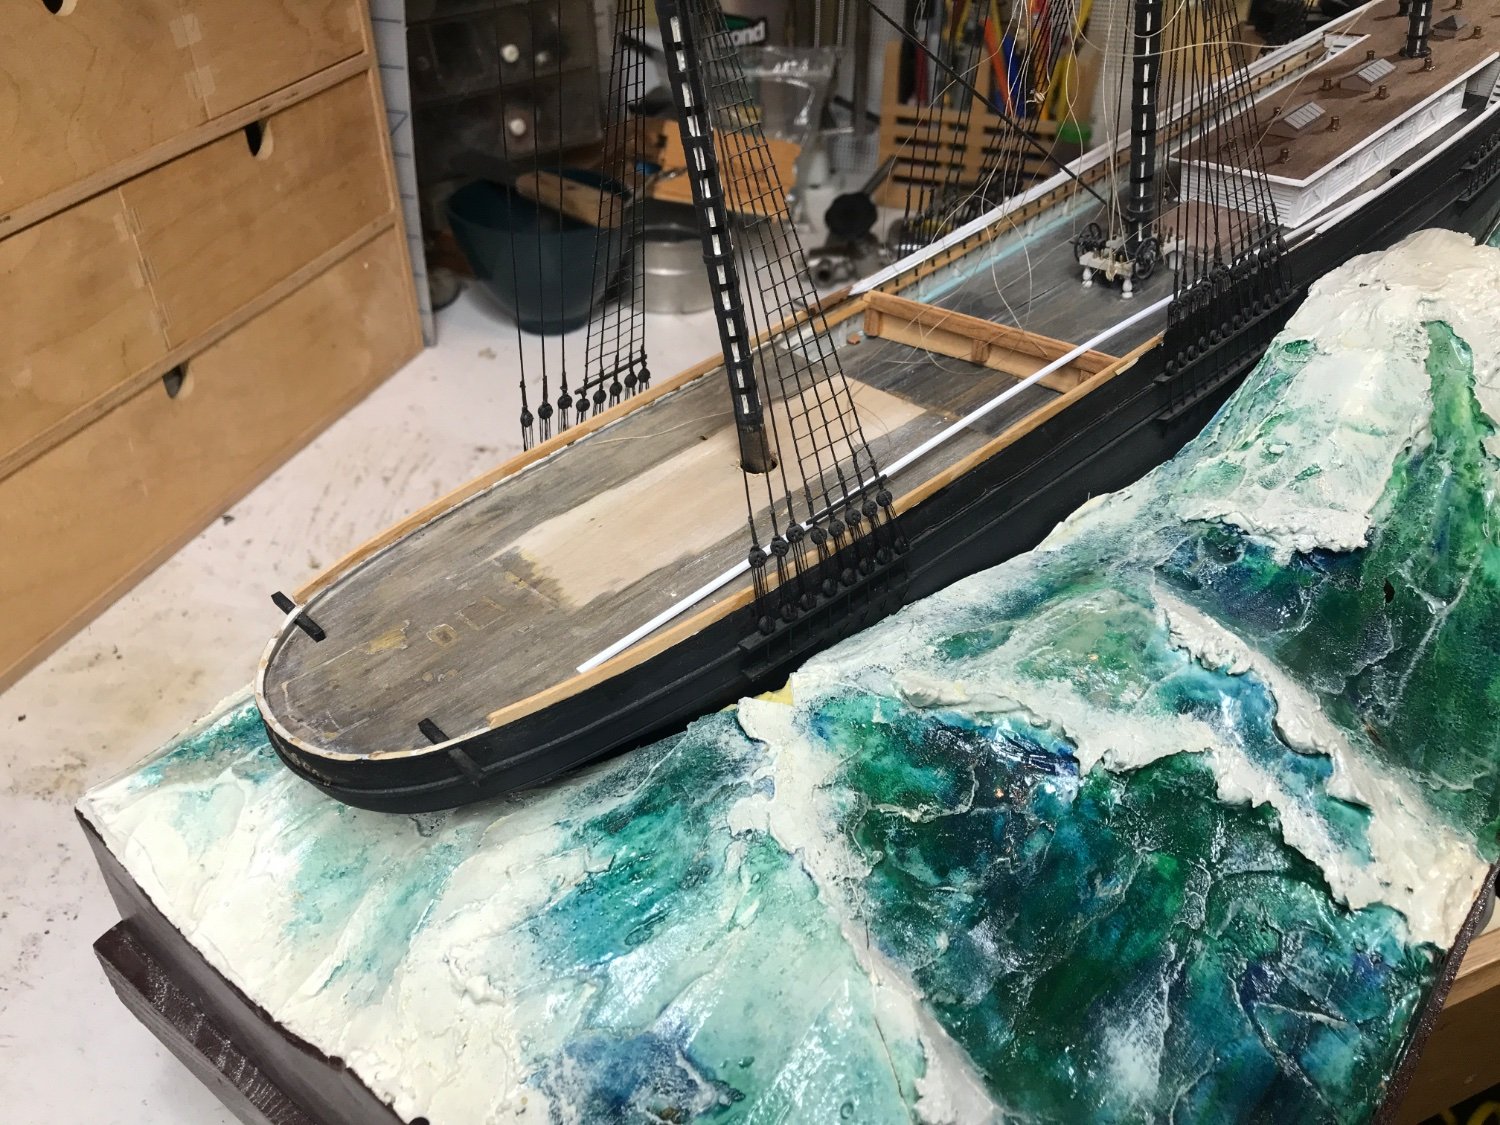
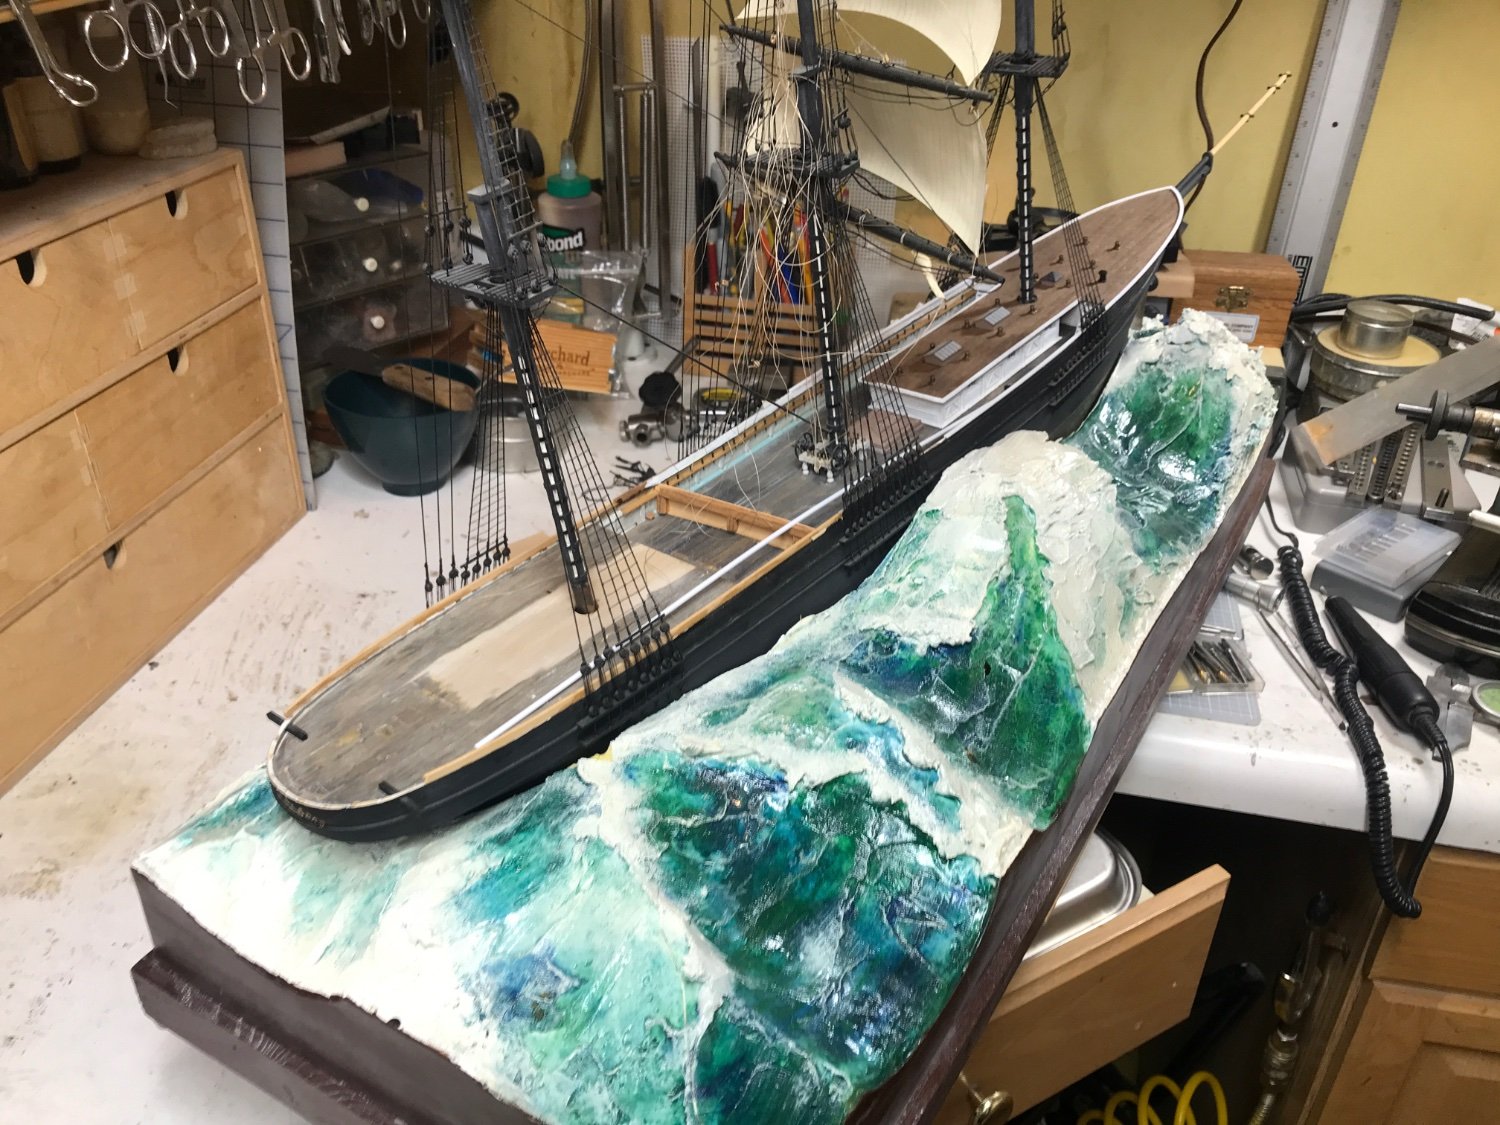
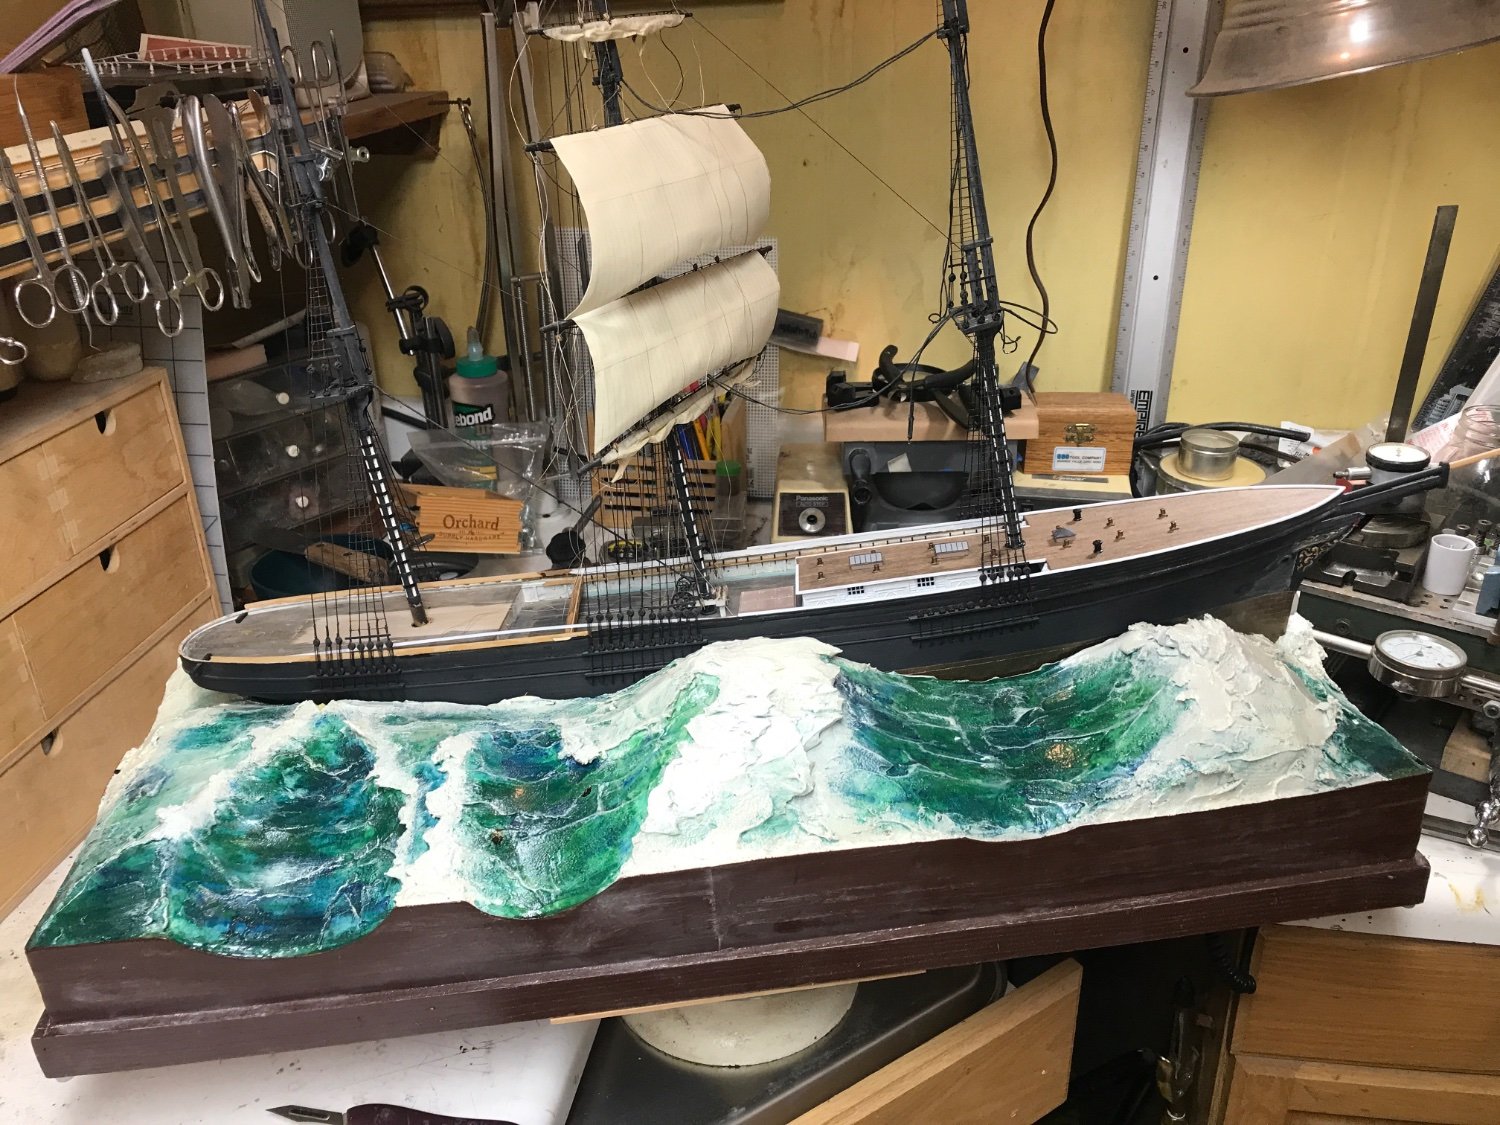
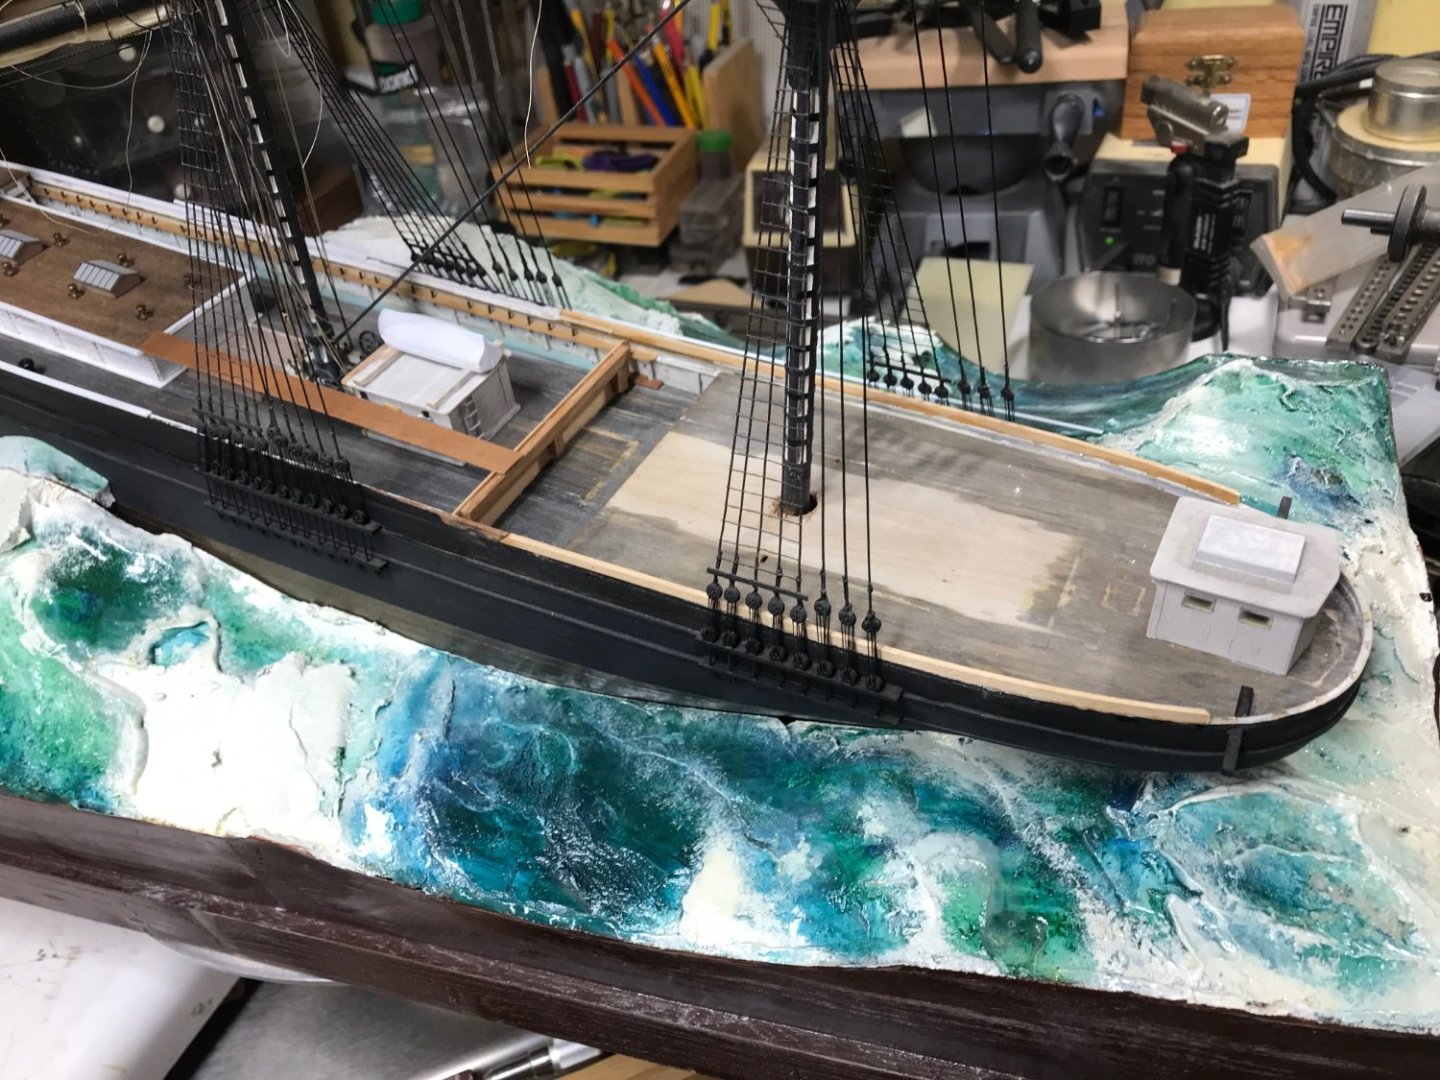
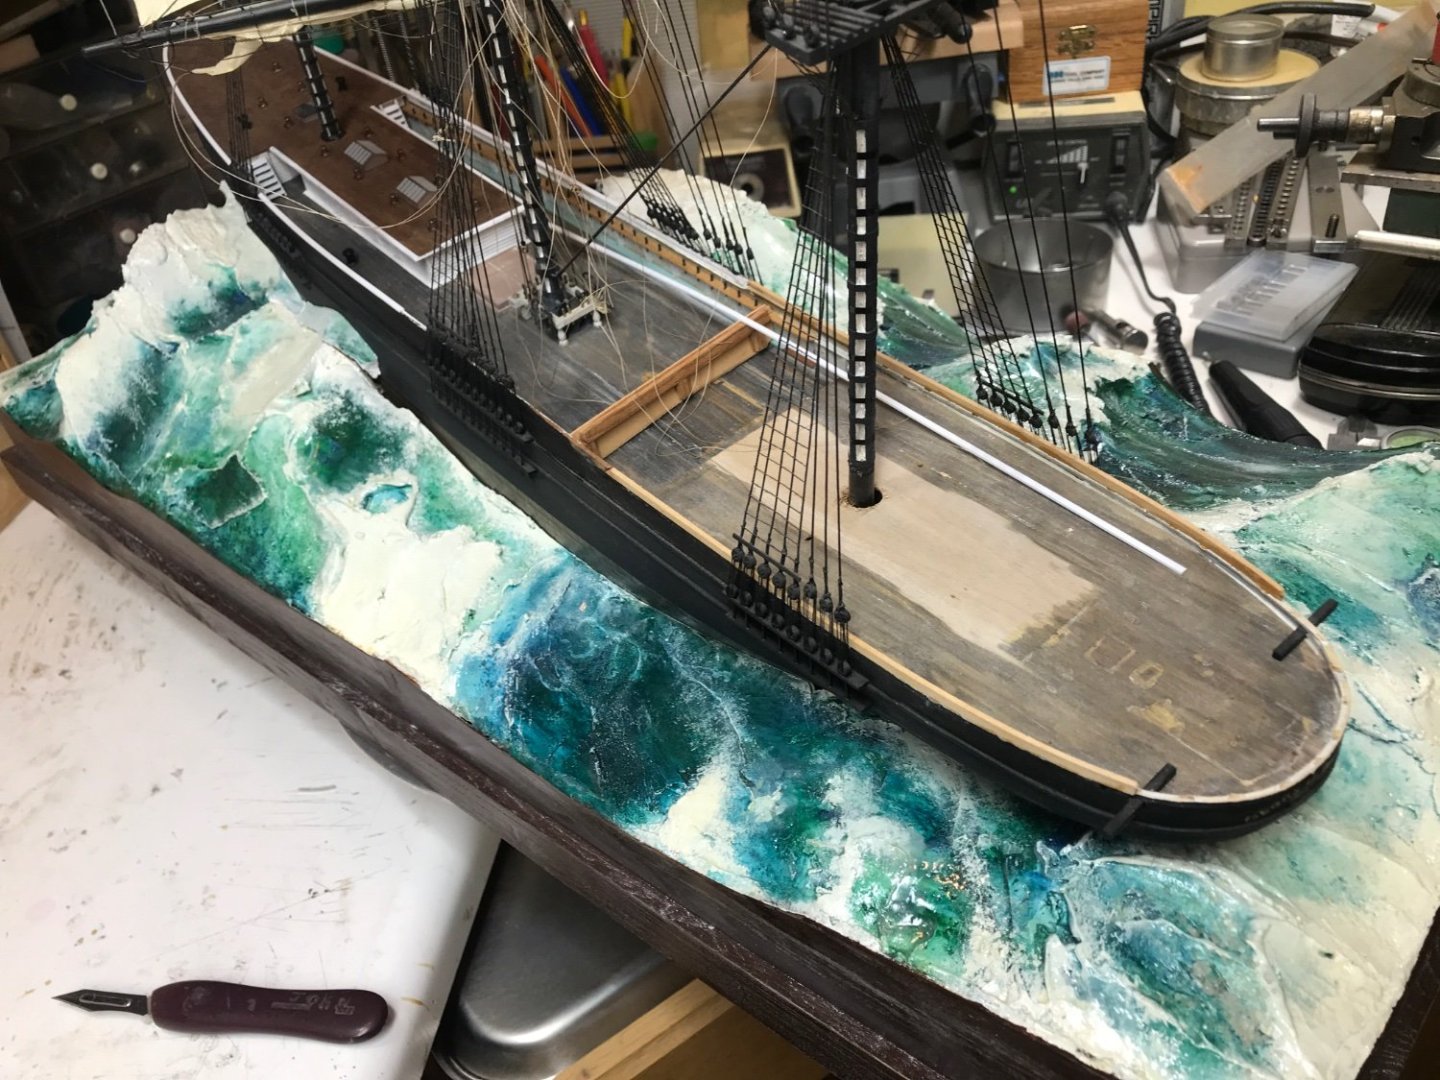
Thanks Rick. One of the last details I will add to the water, is the white caps and spray on top of the white. It will add a significant 3D effect to the water at the hull, water interface. Once I finish the fantail, I’ll focus on the addition of the poop deck. So much to do. This is a near complete redo of the decks and deck furniture……..under the shrouded masts. Rob
-
Put her back in the ocean……. And now working on the bulwarks around the stern. Set up a rotating table too. Rob


-
Lift lines on cutty sark ,Revell 1/96
rwiederrich replied to Lost and Confused's topic in Masting, rigging and sails
Your version looks marvelous. I wouldn't call it *bashing*, That implies using parts from other kits or excluding them....what you are doing is more like *Hyper detailing*. That's what I called it when I built my fifth Cutty. Wait till you get to the rigging. Bruma excelled at this. From what I see...looks like you're on your way to doing the same. Fun stuff to watch. Rob -
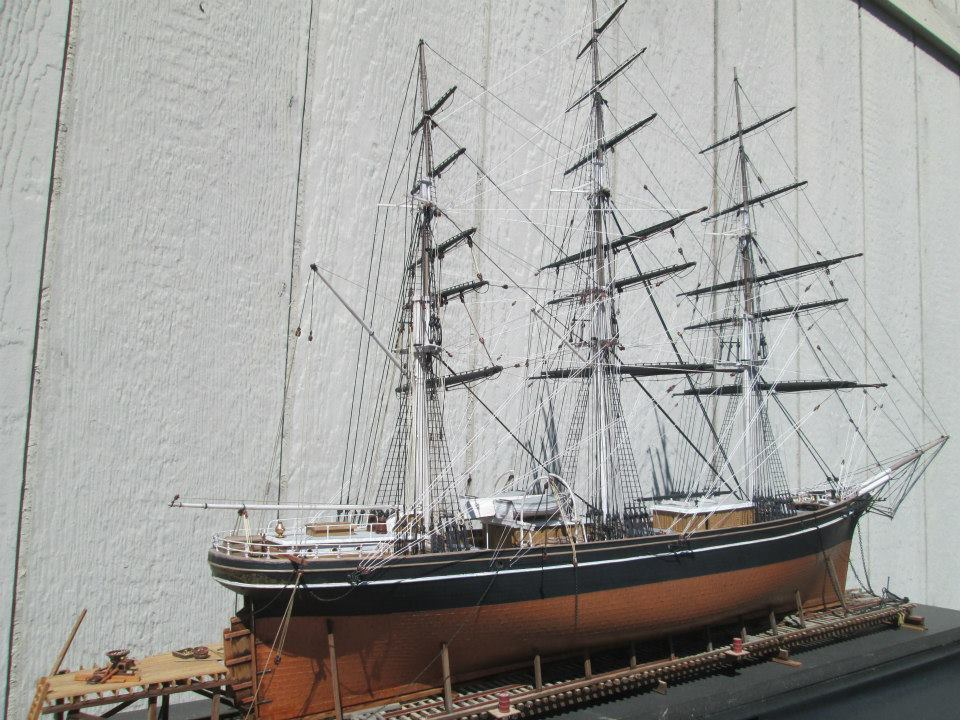
That little Red Jcket is looking extremely well. Nice attention to detail and good wood working quality/skills. I'm enjoying your build log. Rob
- 165 replies
-
- 5
-
-

-
- Red Jacket
- Marine Model Company
- (and 2 more)
-
Lift lines on cutty sark ,Revell 1/96
rwiederrich replied to Lost and Confused's topic in Masting, rigging and sails
Beautiful work L&C. Very clean and well executed. In most instances, Clipper rigging followed the same practices from America to British. Apart from a few design differences. Most British clippers were composite built...while American were far larger and made from wood. The rigging still needed to accomplish the same functions. Rob -
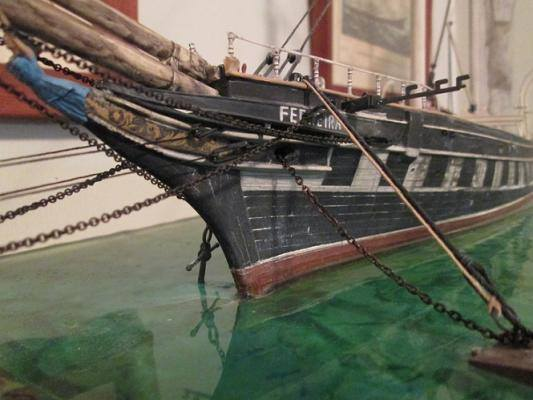
Fantastic effect. It really gives *Life* to the display. I did something similar to this with my Ferriera (aka) Cutty Sark.,.build. Not as enclosed but effective nun the same. Again...supper job! Rob
-
Lift lines on cutty sark ,Revell 1/96
rwiederrich replied to Lost and Confused's topic in Masting, rigging and sails
Welcome! The halliards/halyards are made from chain and are center yard run through sheeves in the masts the lifts are simple fixed cable or hemp used to support the yard while it is lowered. The two have separate and individual functions.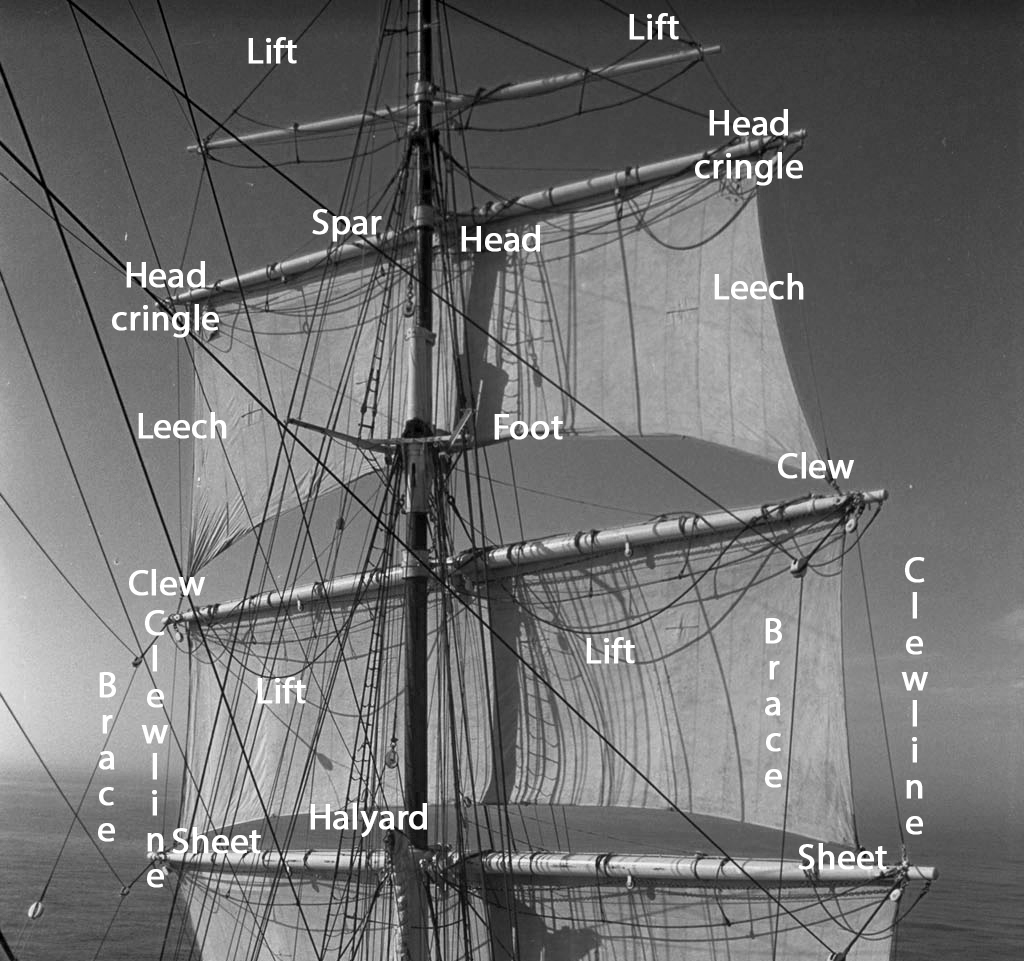
-
Keith...I'm so sorry this tragedy has come into your home. I am praying for Maggie, and that God may grant her a full recovery. And that your joy may be full. Rob
-
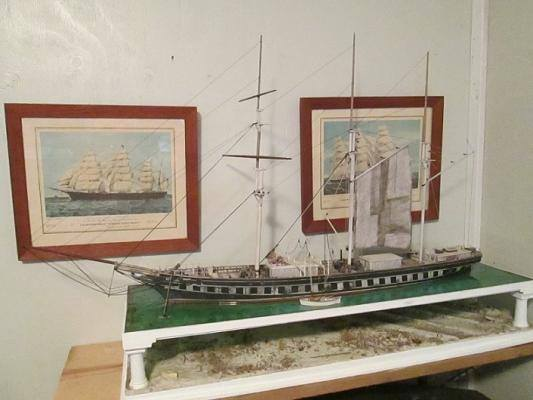
Thanks Rick. I'm so glad I got her in a case for protection. I was beginning to worry with her on that open shelf. Now I have an open shelf for another model....mmmmmmm. Rob
- 3,560 replies
-
- 1
-

-
- clipper
- hull model
- (and 2 more)
-
how to secure a rope hank to the sheer poles?
rwiederrich replied to paul ron's topic in Masting, rigging and sails
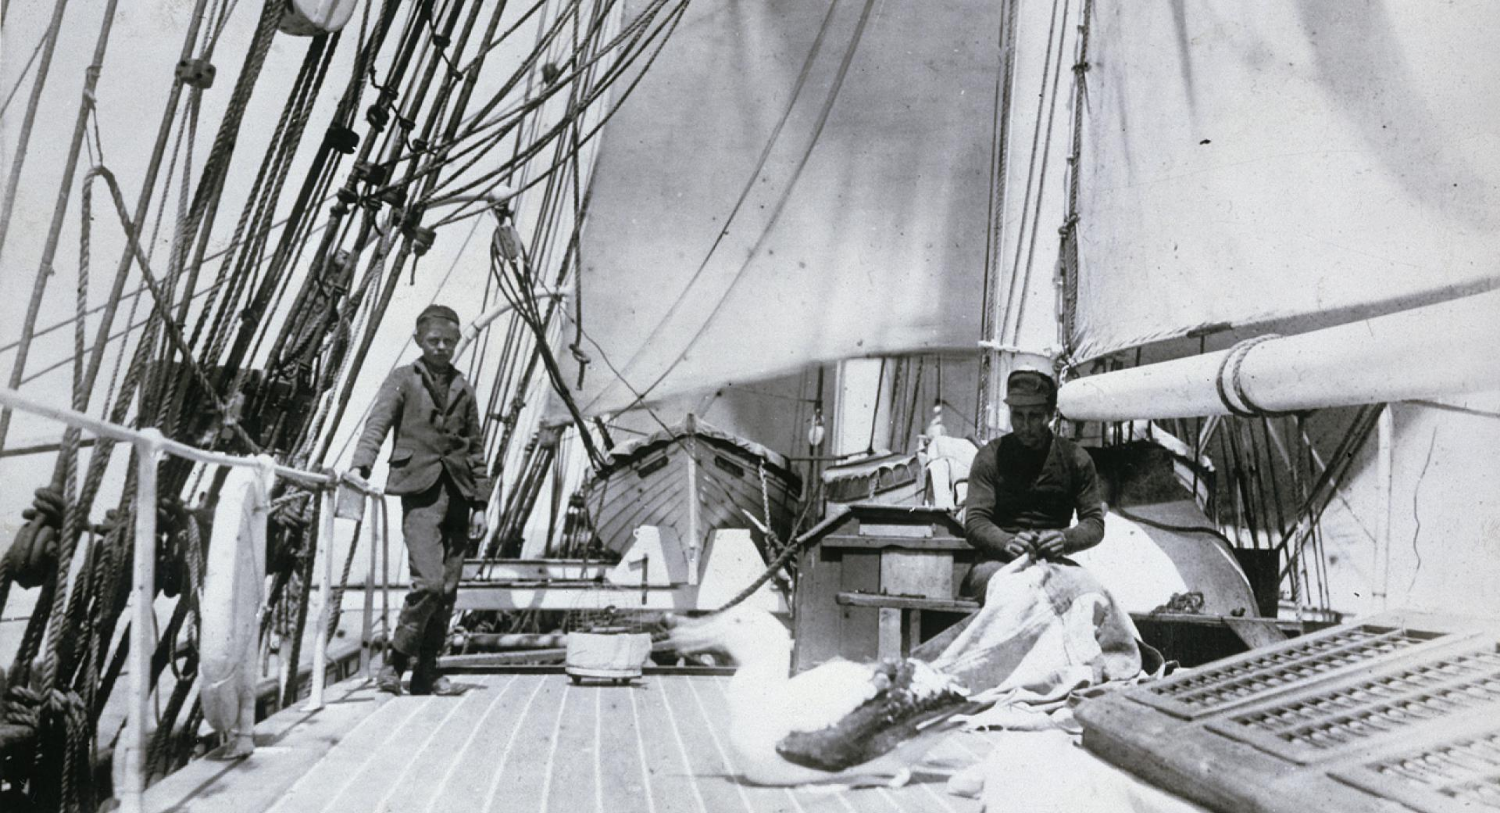
Is this the image in question? I understand this practice was employed to keep sailors off the rail...due to large waves breaking the rail. Safety!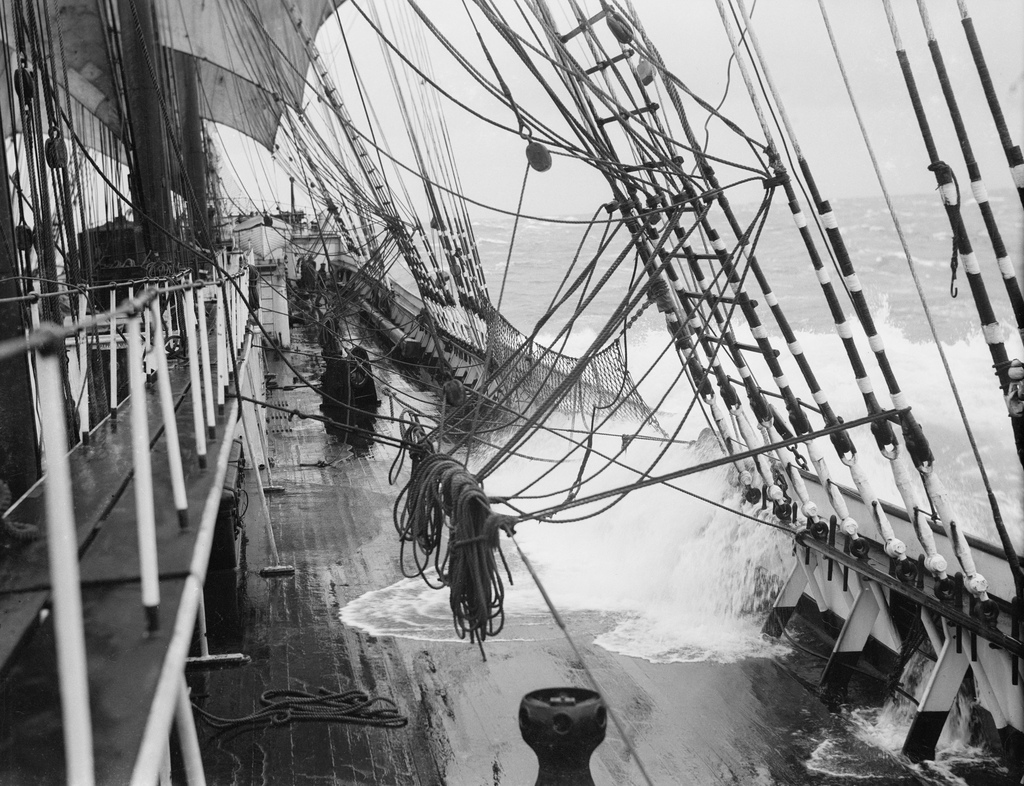
-
Henry's comments are on point. This image surely depicts preparation for sever weather. Broken, or sprung masts were not a fun event and under sail...even less so. Model builders...Unless you are creating a diorama event. tend to depict their models in pristine condition...at the height of the vessels condition. However,....... With that said, you might find a model or two weather rigged in sucha fashion. Good luck. Rob
-
how to secure a rope hank to the sheer poles?
rwiederrich replied to paul ron's topic in Masting, rigging and sails
Was the sheer pole also acting as a belay pin rail? Do you have the picture? Rob -
Keith...you're on the home stretch. Try avoiding adding anymore braces...especially the lower ones. They will surely make the addition of the lower shrouds and backstays...a tougher gig. I hope all is well. Rob
-
Your progress is wonderful. Glad you chose to band the mizzen. Looks sharp. Rob
-
Thanks Pat. I’m happy she looks at home…. Finally. Rob