


rwiederrich
-
Posts
5,520 -
Joined
-
Last visited
Content Type
Profiles
Forums
Gallery
Events
Everything posted by rwiederrich
-
Rob...she is looking awesome. I'm proud of you for trudging on...and not giving up....you've overcome so much. It's nice to see you back in the shipyard..hard at work. Rob
-
Some good conversations for sure. If the OP is needing to save space, canting the yards to mimic catching the wind from the beam would provide the needed space relief and replicate the model in a more natural setting. Note nearly every historical painting, of large ships...namely clippers, and you will see the yards/sails are faced. The wind rarely drives from astern. Rob
-
I could see how the wheel would wander...making useless your plates. One good reason I invented a means to emboss my copper tape...when I built my Great Republic and Glory of the Seas. I look forward to seeing your innovative guide gig....and the final product on the hull. Good job for sure. Rob
- 199 replies
-
- 1
-

-
- Flying Cloud
- Mamoli
- (and 1 more)
-
You know what they say, *Without pictures, it didn't happen*..... Rob
-
HMCSS Victoria 1855 by BANYAN - 1:72
rwiederrich replied to BANYAN's topic in - Build logs for subjects built 1851 - 1900
Fantastic work Pat…….. so good to see you back in the shipyard. I pray all is well.- 1,013 replies
-
- 6
-
-
- gun dispatch vessel
- victoria
- (and 2 more)
-
In the US navy we jut called them “legins”. I wore them often in parade’s. Good move to include them for historical purposes. And it fixes your problem. Rob
-
Keith. Been following up with your log and I must say....you're coming along nicely. The deadeye lanyard issue isn't really an issue. Your crewmen are exceptional. I only put 7 crewmen on my Glory and I was going mad...cuz I had to readjust all thier positions to make them fit the task I wanted them to be doing. Basically I remade everyone of them. These printed fellows look amazing. Glad you are making headway...she's looking shipshape. Rob
-
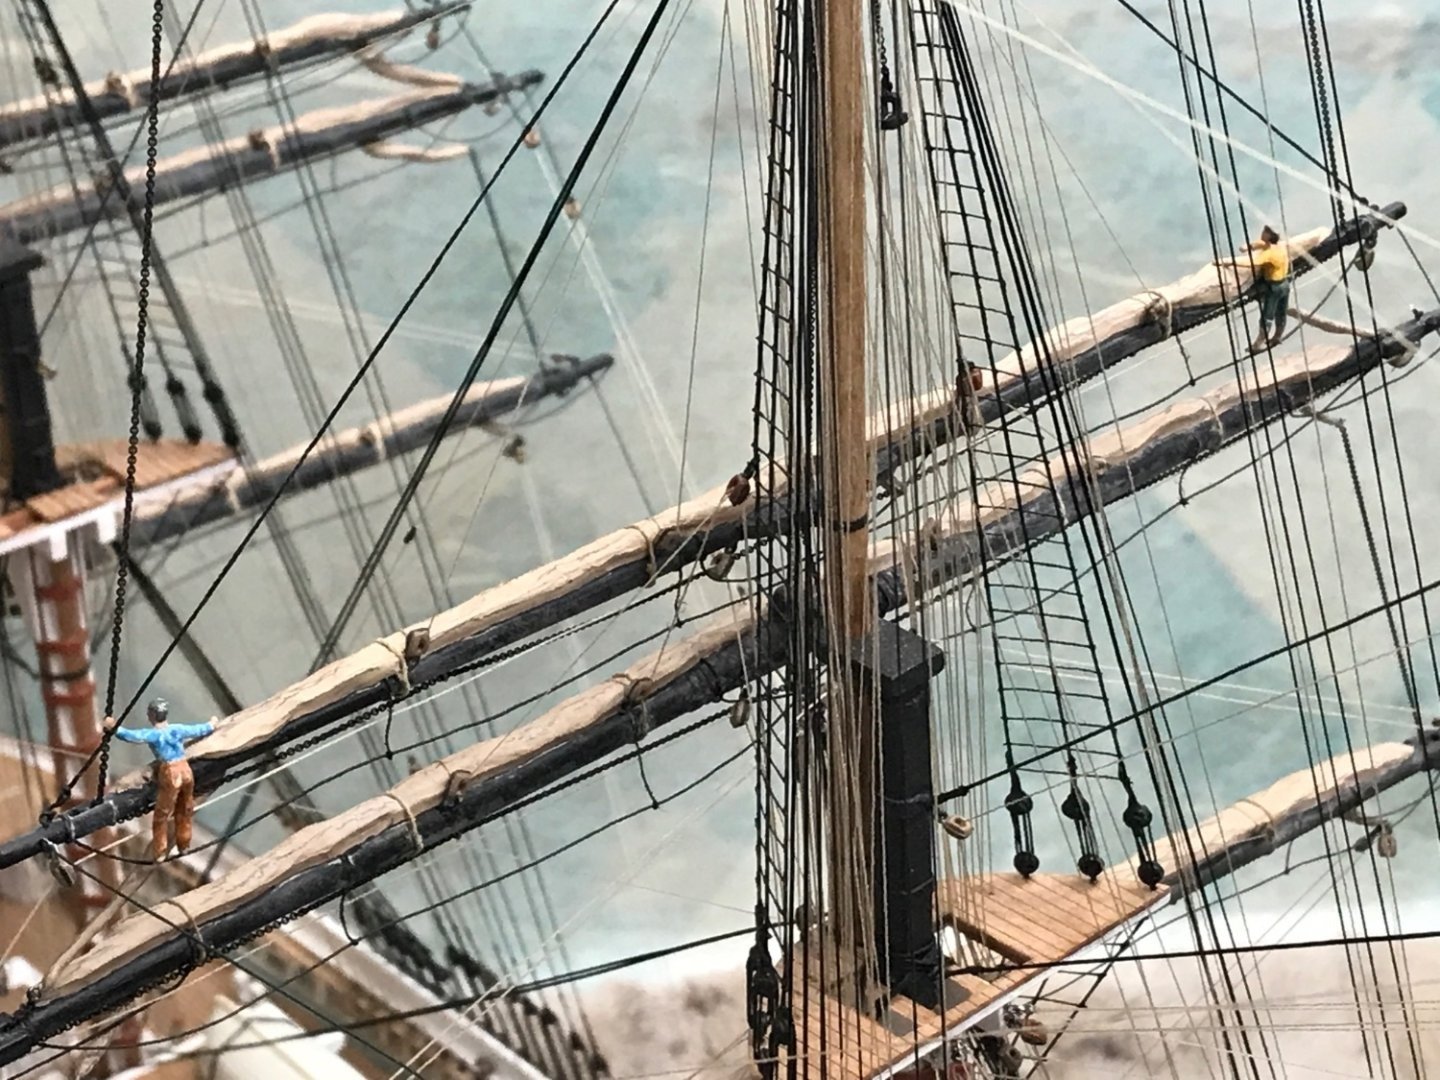
You need to take into consideration the scale of the men working the sails. If the stirrups are too long the man will be far too low on the yard...and he needs to be able to lean over the yard or at least have the yard at his waist level. Here are a couple of my scale crewmen for example. Rob
- 359 replies
-
- 3
-
-
- Flying Fish
- Model Shipways
- (and 1 more)
-
I run the foot ropes to the proper *droop*....then I run the stirrups down from the yard to the foot rope. tying them off neatly. One the yard is completed...but before you add your blocks....I spray paint the entire rig black. This stiffens the footropes and stirrups and also aids in securing them neatly to the yard.... Making it all looks nice and neat. One benefit of laying the footropes first is you can work to eliminate that pesky line curl, you sometimes get when using thread wound on a spool...(If you do that kinda thing).. Once the footropes are hanging naturally...it is a simple task of securing the stirrups to the jackstays...Or simply around the yard and then forming them into a straight line down to the footrope...where you tie it off neatly...with the proper securing method.
- 359 replies
-
- 2
-
-

-
- Flying Fish
- Model Shipways
- (and 1 more)
-
Fun stuff. I add my foot ropes then tie in the stirrups and then paint the entire yard and them black. The paint stiffens the thread and makes it compliable…… Rob
-
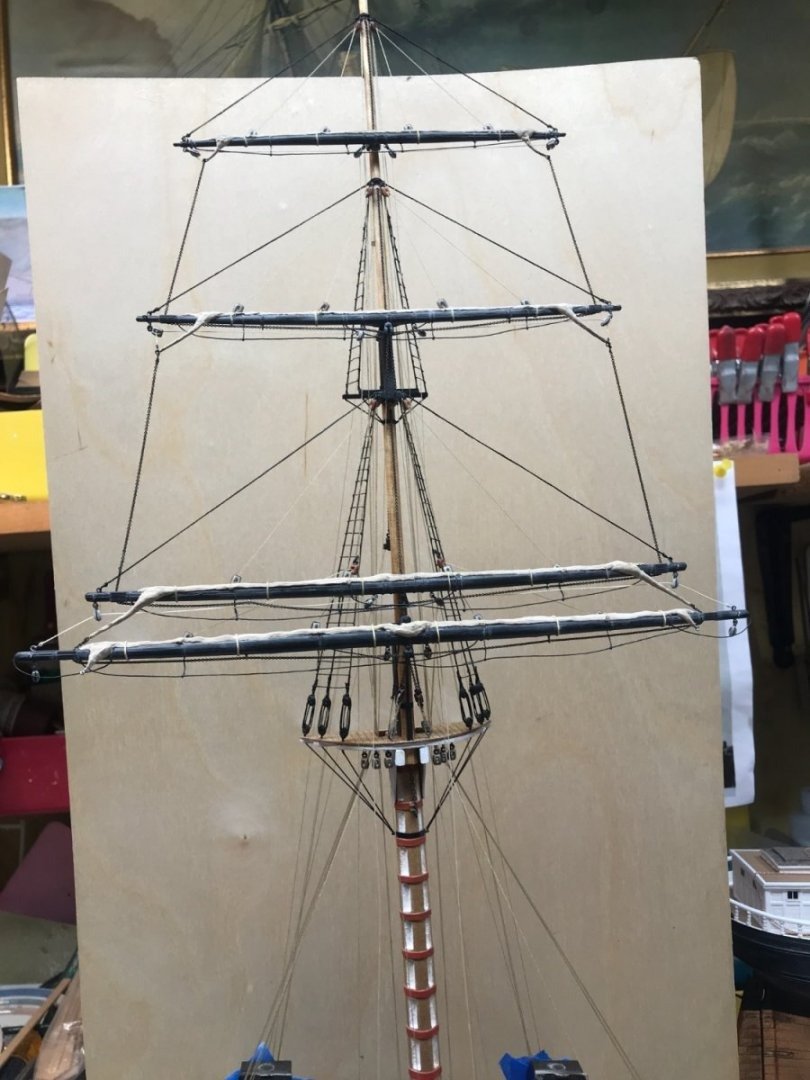
I'm sure anywhere near the top won't make or break the situation. Like I said, all my personal research has shown they are typically (actually every time) are depicted right on top. Even the big German Square riggers showed them there. I tend to lean to symmetry. Truss on the back, lift bolts on top, blocks placed typically at 12, 3, 6, and 9 O'clock....and the sheet blocks right beneath. The stirrups secure to them, then hang aft....the beckets or sail straps hang from the front. It....to me, is based on symmetry. No reason to make it anything different. IMHV. Rob
-
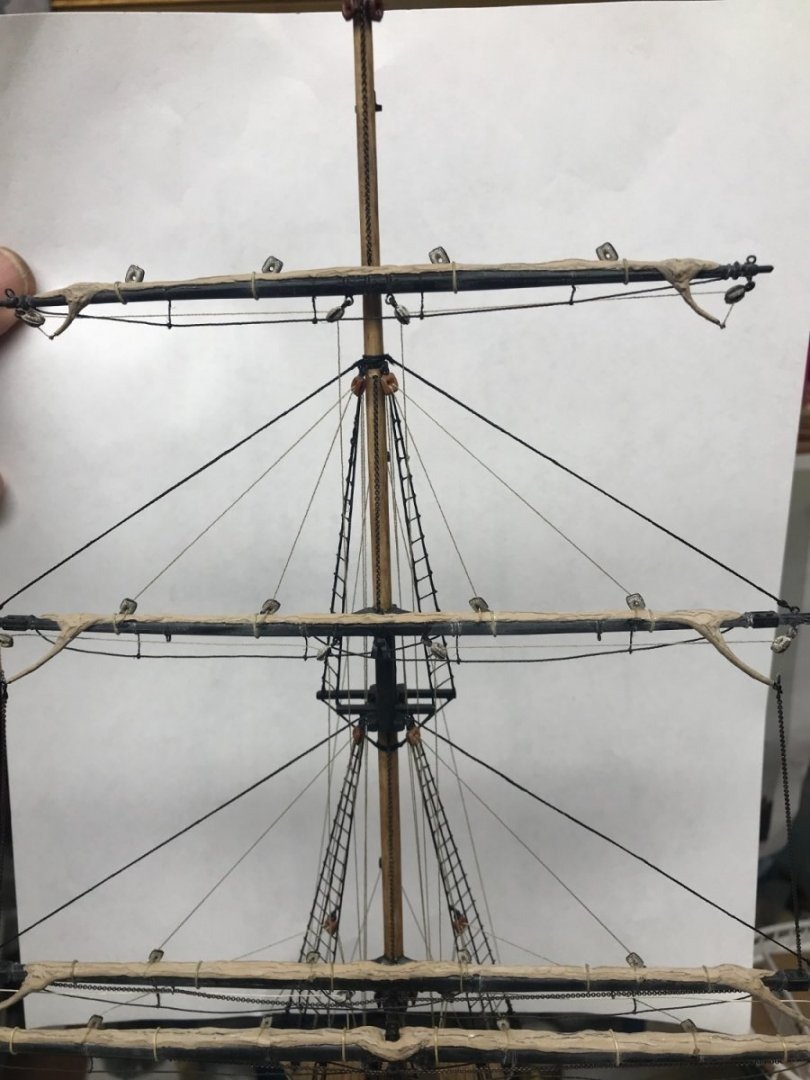
From my research the jackstays were top center. Here is a pic to show you.
- 359 replies
-
- 1
-
-
- Flying Fish
- Model Shipways
- (and 1 more)
-
Sounds about right...what is the diameter of the yard at full scale? That might give you a bit more perspective. Rob
-
Rick...all your metal work looks good and the yard is rigging well. If I may make one suggestion. Don't let your footropes and especially your stirrups get too long. Imagine a scale man standing on one and trying to lean over the yard to work the sails. Your stirrup, footrope needs to be drawn up closer to the yard. I suggest this change now before you make any more. Take some time to study some photos and some real footropes. You will see they are much closer to the yard. Scale is very important at this stage. Rob
-
Indeed, we will never know. However, That victory for T didn't last long, when the news got around that the mid ocean repair and jury rig of the CS's jury rudder. Made from spare spars and reforged ironworks. Braught great acclaim to the CS captain and crew from the owners and insurers. What a feat. In mid ocean...amidst, a boiling sea, the ingenious captain and crew, built and hung, (crew diving under the water to secure the rudder) , (blacksmith having his forge doused twice by high waves), their new rudder. Never giving up and making land for repairs. Hence the phrase, *Wooden ships, Iron Men*. CS still won the day.......in a way. Rob
-
rigging in front of yard arms?
rwiederrich replied to paul ron's topic in Masting, rigging and sails
Indeed....clewed to the mast simply meant you furled the sails up close to the mast and when they unfurled the clews would fall and be pulled outward. this tended to make the sails bunch up at the parrel point. However commercial ships generally used the other furling method which furled the sail directly up, leaving the clew as presented in this image. the sail would fall and the clews would be in place outboard. I suspected that if you were an ole Navy man...you'd furl clews to the mast...... From my research it appears that clewing to the mast on commercial ships was done mostly before the double topsail was introduced...as depicted in the image you presented. Rob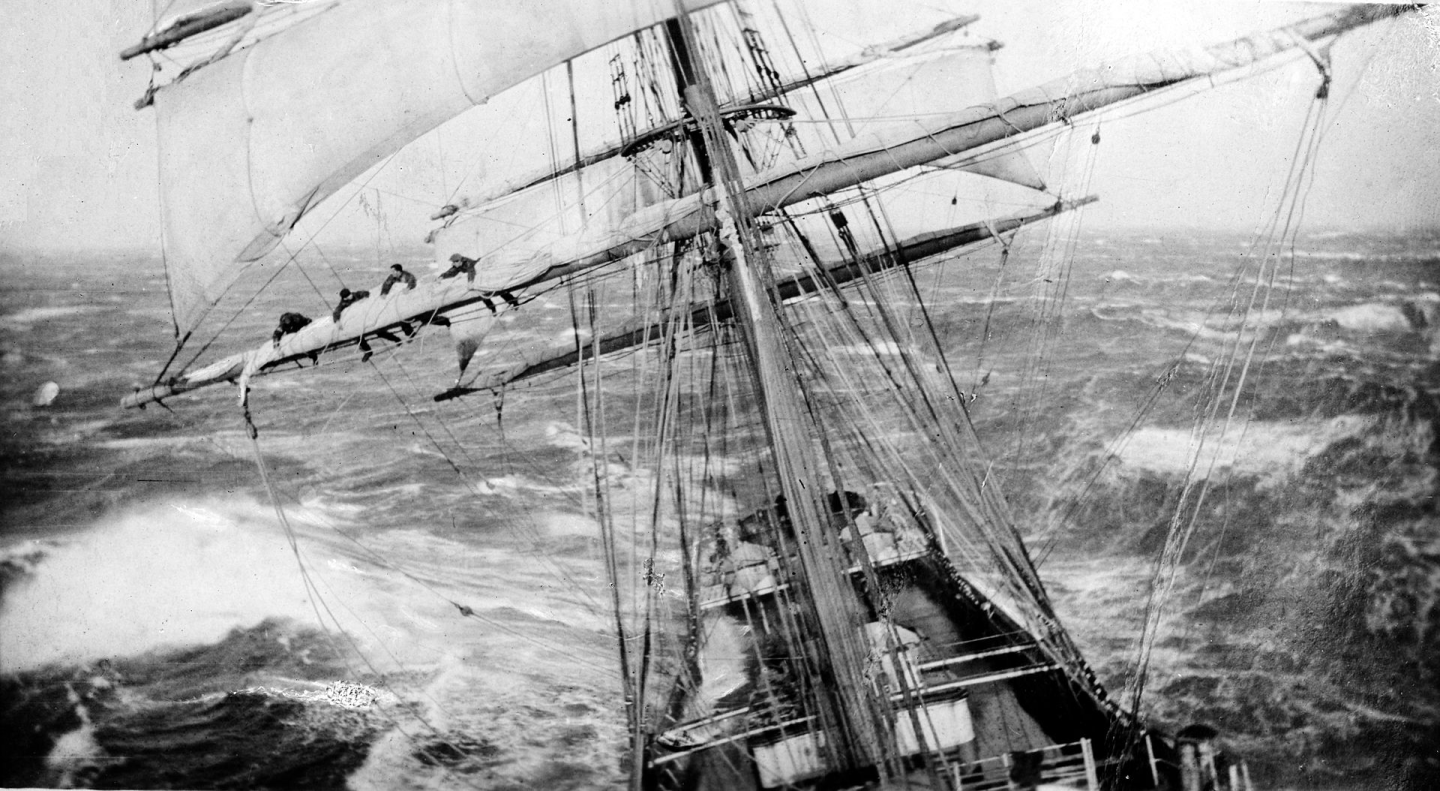
-
rigging in front of yard arms?
rwiederrich replied to paul ron's topic in Masting, rigging and sails
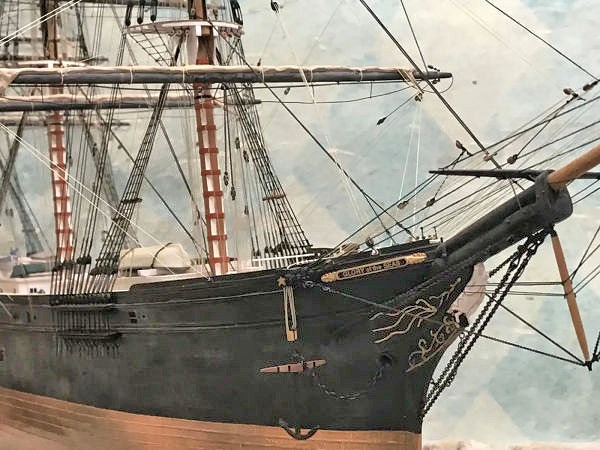
Johnny...it has to do if the sail is rigged military style...with the clews to the mast or commercial with them rigged as you see on the Glory of the Seas. There is a name for both, but I can't recall them off the top of my head at this time. It is true that the rigging on commercial vessels as a matter of the captains, or owner's preference. Rob -
rigging in front of yard arms?
rwiederrich replied to paul ron's topic in Masting, rigging and sails
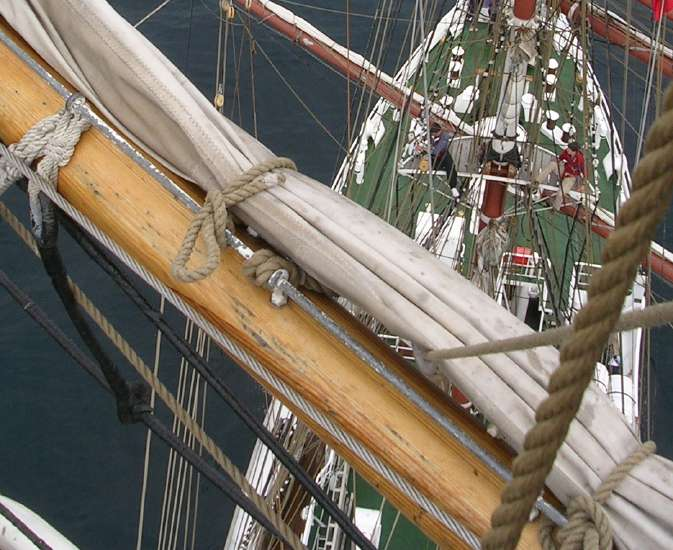
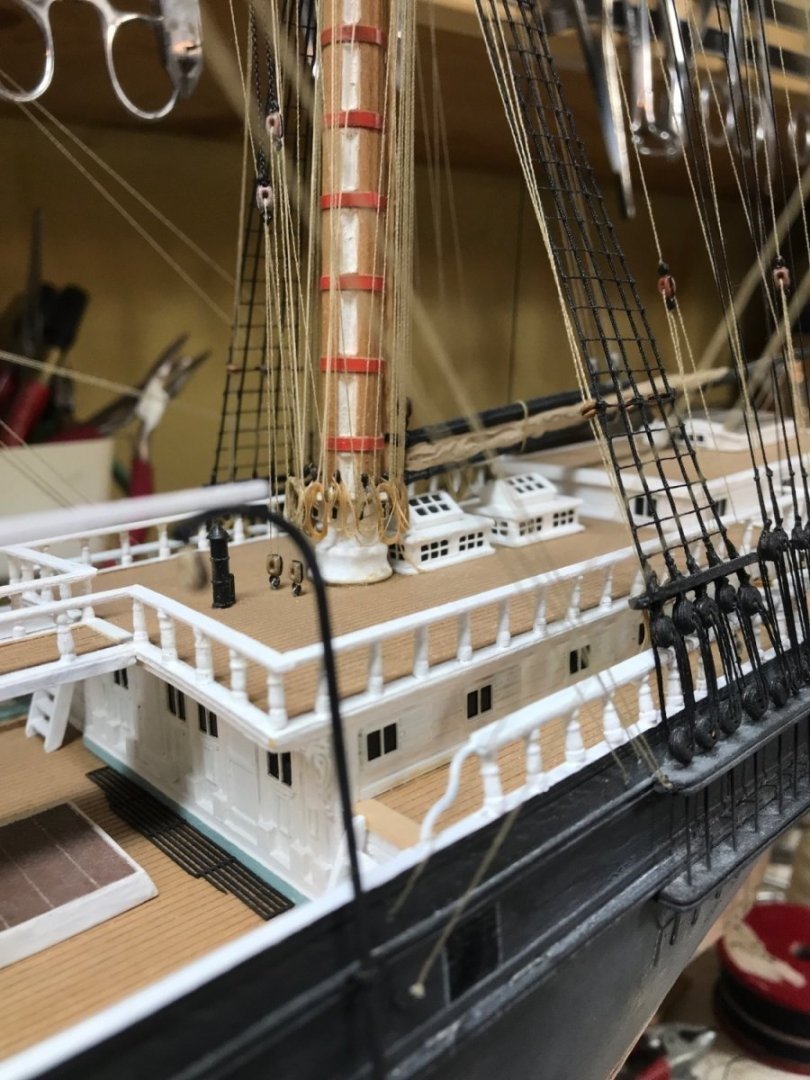
Bunt line and gaskets were used over the front of yards and sails. Gaskets were used to secure sails during their furling. These images of my scratch built Clipper Glory of the Seas....shows this.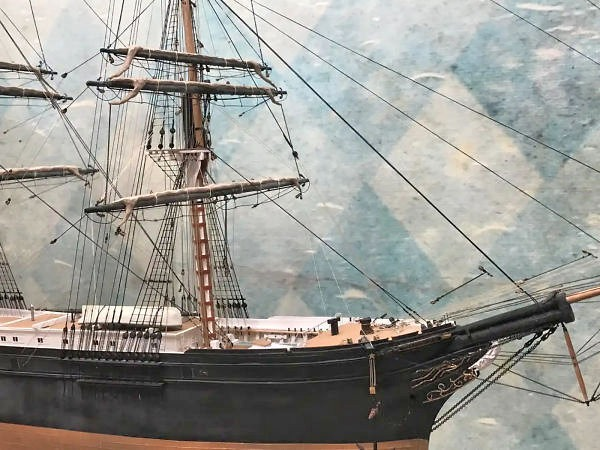
-
I'm glad I'm not become a pest. At this scale serving will not serve you well. HeeHee. You will be attempting to cram as much detail into this model...do not try to be the purist....A little can go a long way...and more can actually destroy...because at this scale it all tends to be waaay out of scale. And if you managed to keep it in scale the detail is too small to be really appreciated. Rob
- 199 replies
-
- 3
-
-
- Flying Cloud
- Mamoli
- (and 1 more)
-
Indeed...if you want to be accurate, you will need to reduce the framing of the bulwarks considerably. I typically assume...builders of model kits are going to adhere to the kit limitations on design and accuracy. At that scale the deck planking also appears too large. The strakes appear too wide...over a foot at scale. However, this is not any kind of a deal breaker(sorry to be a nit-picker). Thus far you have Abely corrected internal kit errors, and I suspect you will be called upon to do so in the future. I'm not unfamiliar with having to *Rip-out* entire construction elements...because of a scale or completely inaccurate construction mistake. Please do not let my overly critical critique hinder your wonderful progress. I have been building clipper ships for over 52 years and any experience I may have picked up...can tend to be misinterpreted as me being a *Know-it-all*. My honest desire is to help you (If I can) , build the most accurate model your skills permit. You're doing wonderful. Rob
- 199 replies
-
- 1
-
-
- Flying Cloud
- Mamoli
- (and 1 more)
-
She's moving along nicely. You've overcome some real issues with the alignment of the bulkheads....you've done well. Faring out the bulkheads will be fun and the blocking too. Following with interest. Rob
- 199 replies
-
- 2
-
-
- Flying Cloud
- Mamoli
- (and 1 more)
-
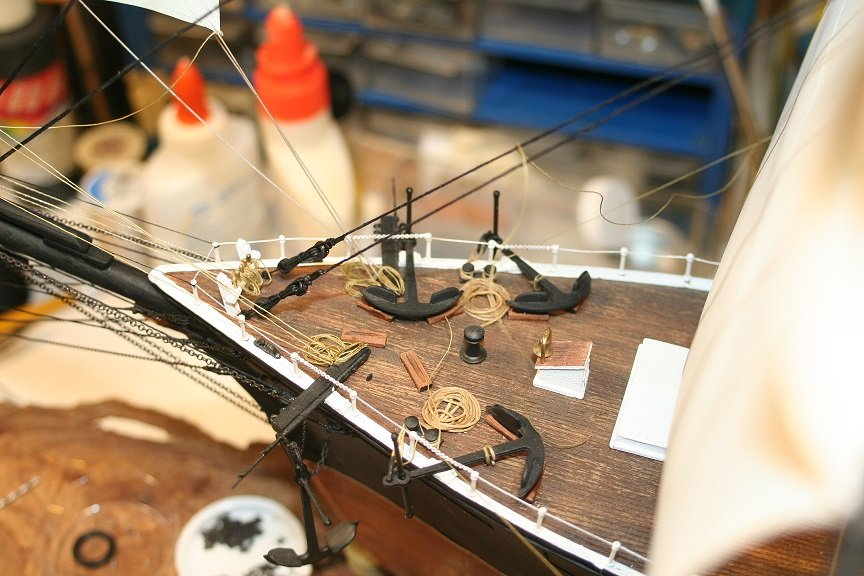
Well....I'm simple man and I never gave it to much thought...as to many techniques. For all my models....I use a simple method. I just spread a thin layer of clear drying wood glue on a plastic surface. Then I simply begin in the center and roll around the rope on itself edge to edge...till I have the desired amount laid out. Then using a sharp tool or tweezer, I slowly pic it up from the glue and relocate it on the area needing a rope coil. I make some mods...adjusting for proper lay and....Shazamm! It stays exactly where placed and it dries clear. I use this method for all rope coil needs. Here is a pic to show the finished item. Rob
-
Era Identification is very important. Cutty experienced several changes while in the hands of the Portugues. Namely the addition of the forward (In front of the foremast and aft cabin entry to her poop carriage house, just in front of the wheel. You can see many examples of different slightly different examples of Cutty...for the most part, they are all correct....but just at different times. One observer may say, *Hey that forward hatch is not right*, Or she never had forward crane davits(for the anchors)....... My own experience with building the Glory of the Seas easily demonstrated that you had to be quite specific in your era...because she under went so many drastic changes. All correct, but not all at the same time....during a specific time. As far as Cutty is concerned...other then my own attempt...I have not yet seen an example of her when she was re-rigged as a barkentine and painted in her gun port anti pirate scheme. Bruma's example is fantastic...shows imagination, skill and authenticity. Rob
- 399 replies
-
- 2
-
-
-
- cutty sark
- revell
- (and 2 more)
