


rwiederrich
-
Posts
5,520 -
Joined
-
Last visited
Content Type
Profiles
Forums
Gallery
Events
Everything posted by rwiederrich
-
When I was doing some research after I read the book about her. A friend of mine actually visited her site in the Falklands, It was He get me interested . I simply found them on the web. Not sure actually where. Sorry. Rob
-
Great job Rob. I remember making the *Hanks* for the sails for my Great Republic. I made them by wrapping wire around a 2mm OD piece of stainless steal wire. Then I cut them along one side...creating hundreds of tiny rings. Like yourself I afixed them to the bolt ropes. I, however, then thread the stay through the row of hanks and fixed it to the mast....holding the sail permanently on the stay. Love your progress..... Rob
-
I'm sure this has been asked.....are you building a case for her yourself? Rob
-
Clipperfan drew it....and he did so with aquired knowledge gained through tedious research of Donald McKay's patented *secret* Naval hood. One distinctive feature McKay put on all his clippers.....that most replicators fail to include. Rob
-
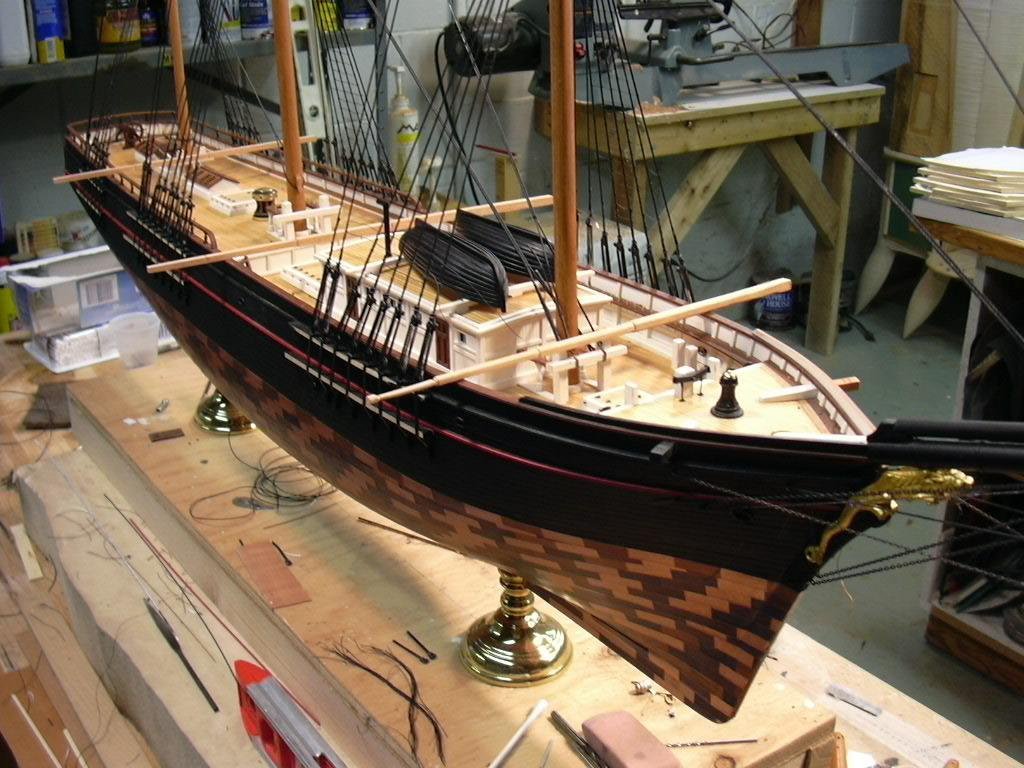
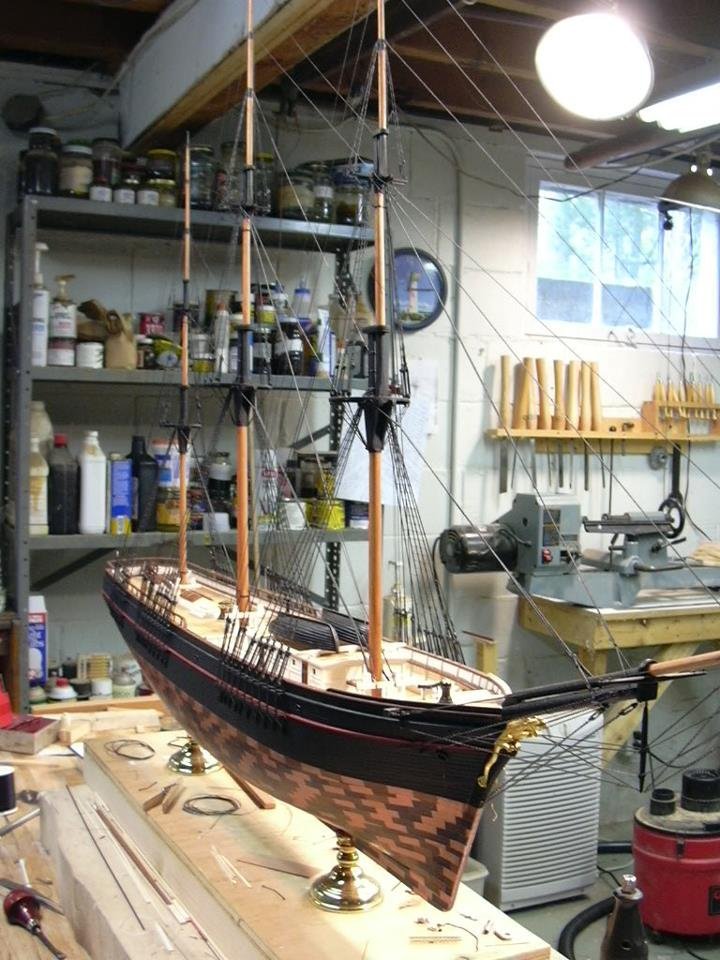
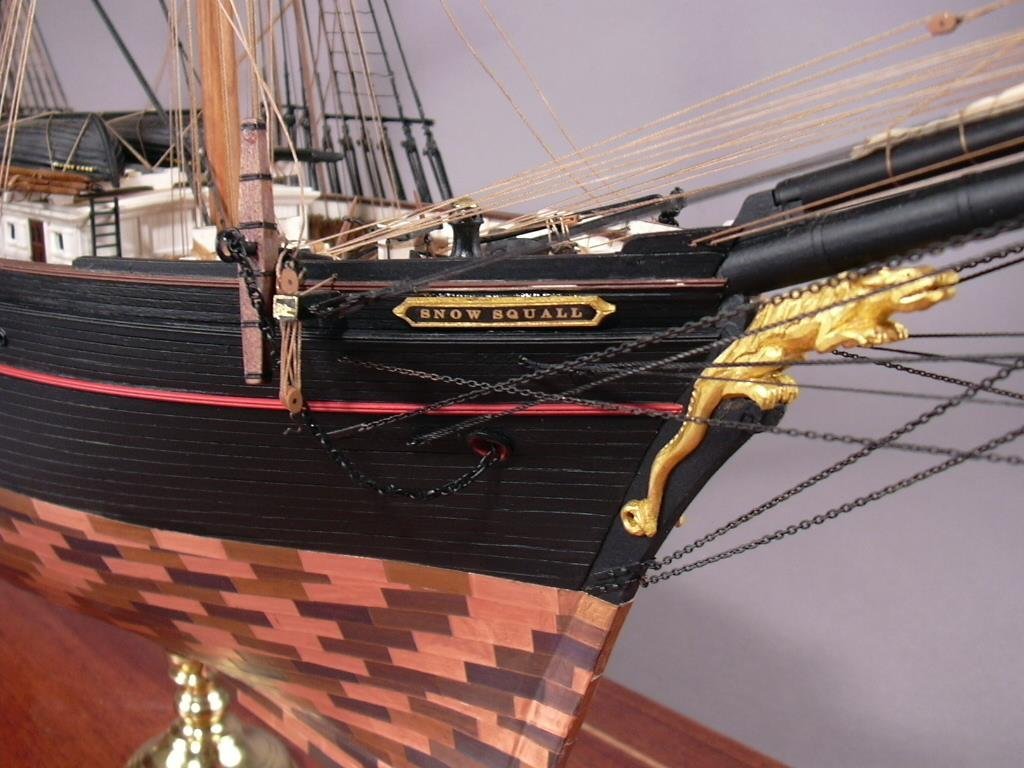
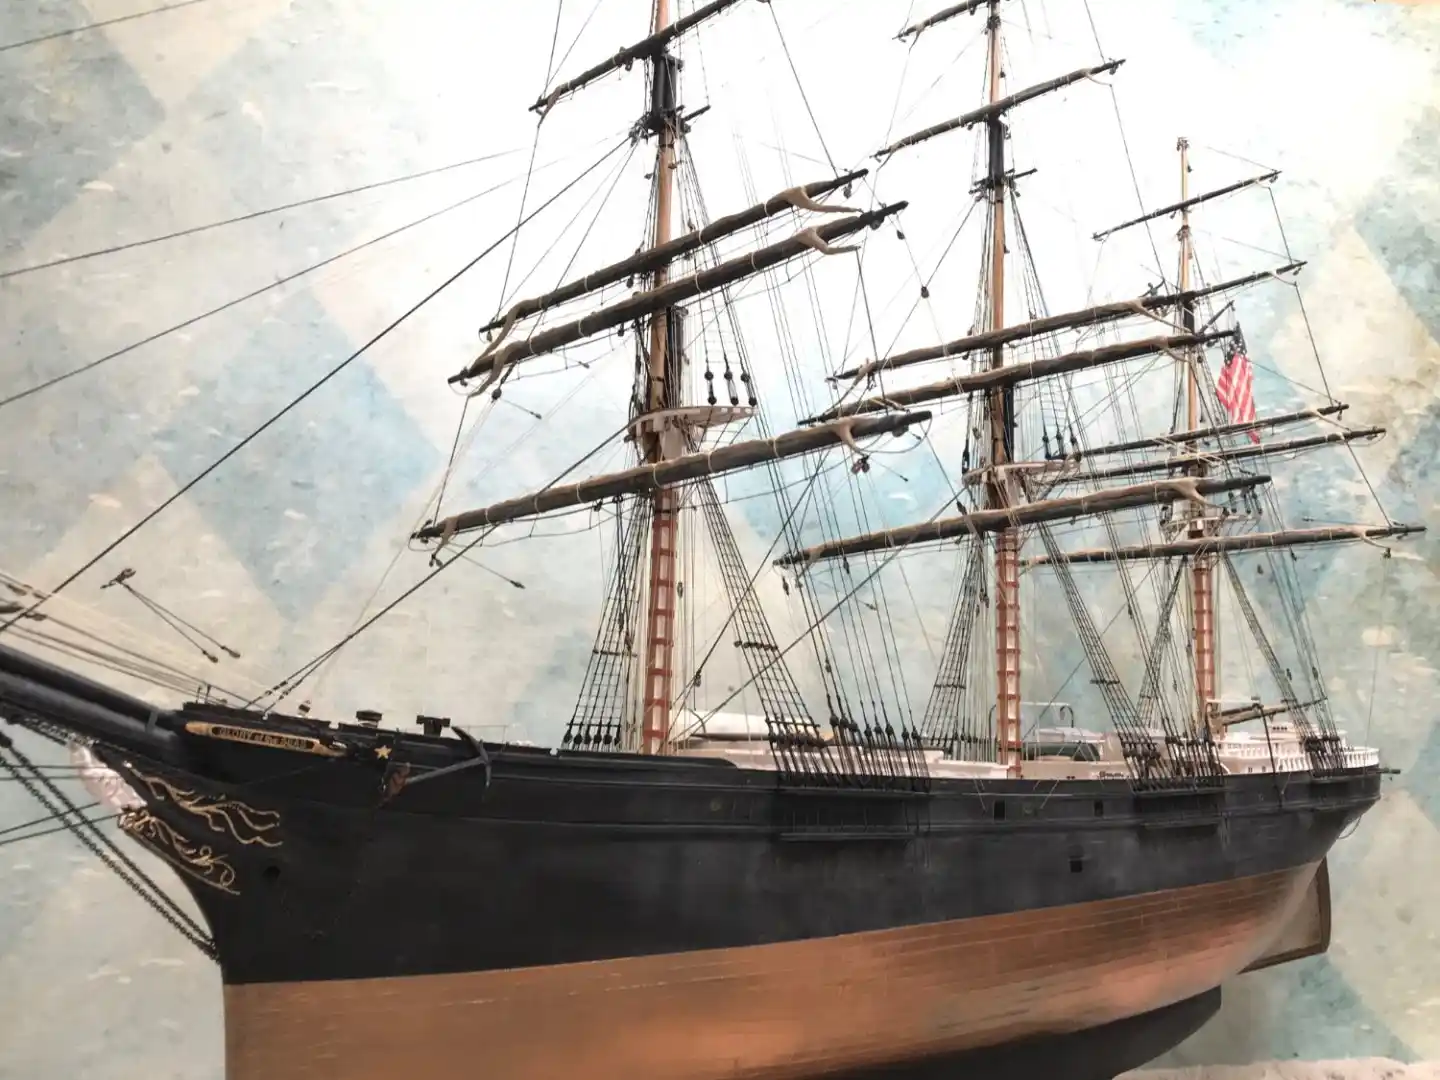
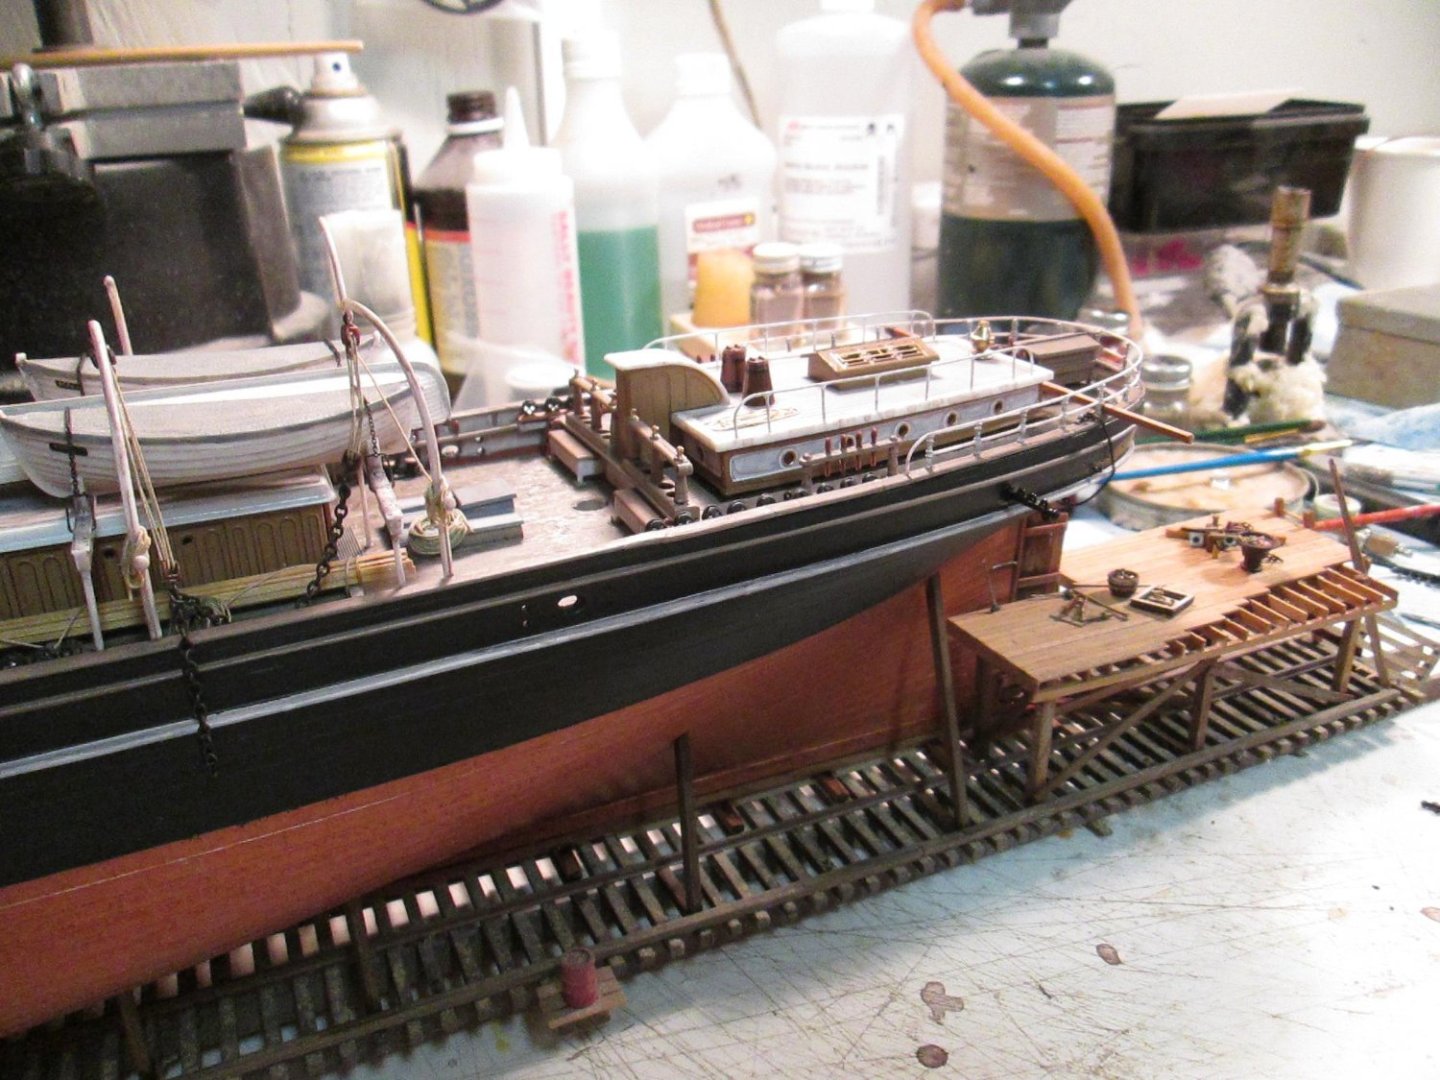
Just refound some images of the model of the Snow Squall. This little clipper would be a fun one to build.
-
I concur. Rob
-
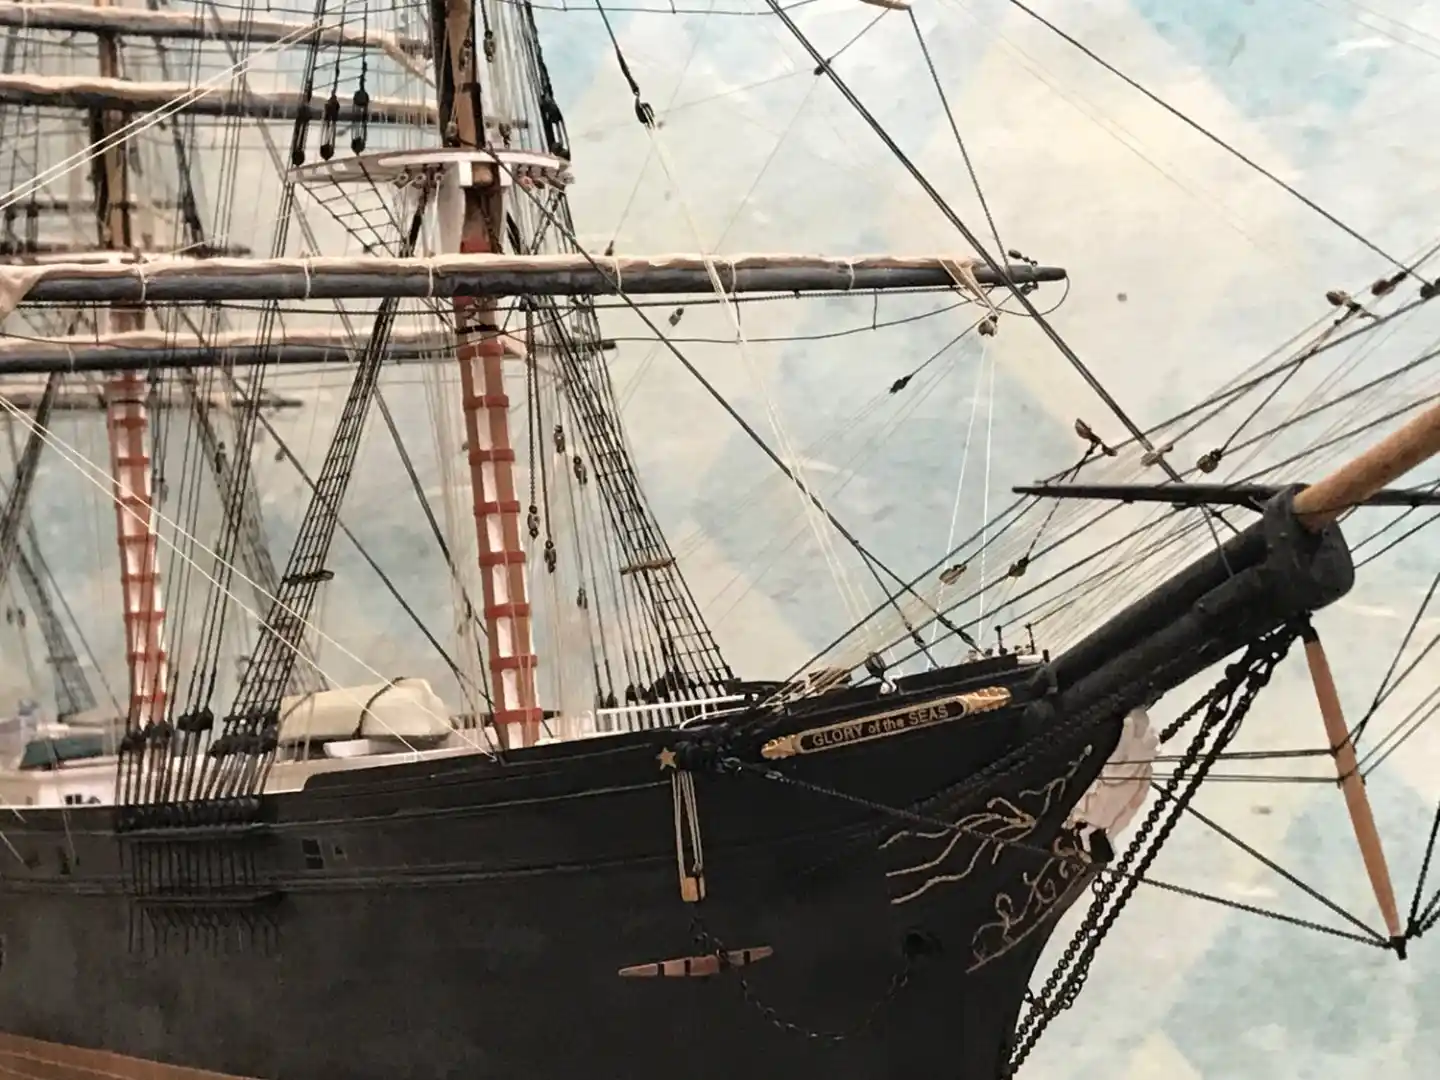
Thanks , rshoker. I make it my habit to mount all my models on a unique mounting. With Great Republic I wanted to cantilever the beautiful maple knot on another maple base....so the model looks like she is floating out over the case base. All the maple is taken and milled from a large 100 year old maple I had cut down in my yard, that had died. The shelf that my latest model...Glory of the seas...is mounted on, also made from that maple tree. Her base is utilizing a large cleat mounted on a wood plaque that was used on a schooner that sailed NW waters. Thanks for commenting. Rob
- 1,208 replies
-
- 2
-

-
- great republic
- clipper
- (and 1 more)
-
You did a fantastic job...for sure. I am very impressed. I am further excited that you want to continue with your clipper theme and want to build an American clipper. Your choice of Sir Lancelot was very exciting to me, because few people actually build a model of less modeled clippers. My own personal challenge was to build a clipper that rarely gets modeled. These builds requite great research on the part of the builder. I would like to see something other then the *Typical* fair of clippers. Something like the Big ships..... like the Games Baines...or possibly the Comet, Snow Squall or Davy Crocket. Sucha request will require a great enthusiasm on your part. You did ask what I thought. Rob
-
I had won a model competition years ago and the grand price was a large selection of model wood products from Model Shipways. I got sheets upon sheets of the scored decking....its fantastic stuff for all kinds of modeling. Rob
-
My experience is roughly 1 to 1.5mm. You'll want to back it if you plan on using it for full decking. I use it often on my builds. Saves loads of time. Rob
-
I’ve been working in the machine shop building telescope components. And have not for some time, been here visiting. I have to say you have done well on her Vlad. Very well. You’re almost finished. Congrats. I hope to get back to the Donald McKay this Fall. I’m into my telescopes currently. Congrats Vlad. Rob
-
HMCSS Victoria 1855 by BANYAN - 1:72
rwiederrich replied to BANYAN's topic in - Build logs for subjects built 1851 - 1900
Great follow-up explanation Pat. I appreciate the clarity. Personally, I avoid soldering whenever possible these days. Typically, I always find a lazier way to accomplish the task. Great work indeed my friend. Rob- 1,013 replies
-
- 3
-
-
- gun dispatch vessel
- victoria
- (and 2 more)
-
HMCSS Victoria 1855 by BANYAN - 1:72
rwiederrich replied to BANYAN's topic in - Build logs for subjects built 1851 - 1900
2mm? HOW in the world can you fit all the items you need to solder onto a copper band no larger than 2mm ID? I'm perplexed...... From your scaled image it appears the bands are apox. 4mm ID. Rob- 1,013 replies
-
- 3
-
-
- gun dispatch vessel
- victoria
- (and 2 more)
-
HMCSS Victoria 1855 by BANYAN - 1:72
rwiederrich replied to BANYAN's topic in - Build logs for subjects built 1851 - 1900
Pat...great job...soldering them must have been a trial? I probably would have drilled all the holes tightly fit in all the eyebolts and large slide rings into their holes...then simply soldered everything and then ground out the excess from within the band....all in two steps. Or, (My typical method), I would have taken the sloppy, lazy road and drilled the holes and after the band was placed on the spar, then redrill into the wood spar and insert the eyebolts and slide rings in place and glued them in....THEN blackened it on the spar. No soldering. The end result looks the same. 😏 However you accomplished it,...they look very fine. I suppose you have just a few more to make......🙃. Rob- 1,013 replies
-
- 3
-
-
- gun dispatch vessel
- victoria
- (and 2 more)
-
I use diluted black paint , then wipe it off quickly. It gives the dark grey tone to the raw wood. Your mileage may vary. Rob
-
Im not even sure I know how to respond to that…..since no modeler actually uses the actual material used to build the real ship. You use whatever material gets the job done. Rob
-
Just wonderful....... Rob
-
Well there you go. All my images of her, in her early years shows her at quarters, however, I'm sure After the Portugues bought her she had modified rigging prior to her dismasting. I'll keep searching. Good call.... Rob
- 399 replies
-
- 2
-
-
- cutty sark
- revell
- (and 2 more)
-
Bruma....from what I gather...men of war were clewed to quarters and commercial ships clewed to the yard. Clewing the yard meant a more even lay of the sail on the yard...where as, Quartering caused the sail to bunch up fuller at center yard. Many images of combatant sailing vessels demonstrates this. However....I'm sure captains had their own preferences. Personally, from my experience.......clippers were generally rigged to the yard. but I'm sure there were exceptions.....as there always is. Great job by the way. One note...when I furled cloth(or in your case silkspan), I tapered the short sail so that there was no bunching or squaring at the yard end. Your stuff looks fantastic using silkspan. Rob
- 399 replies
-
- 3
-
-
- cutty sark
- revell
- (and 2 more)
-
Vlad...good to hear from you and that all is well. I was speaking to Mike the other day and he was asking about you and Rich. He likes your CAD drawings, but had some questions about the bow and to quote, "wonder whether he has any ideas how the lines of the forward half of Glory can be better interpreted via CAD, especially at the 22-foot draft mark". Rob
-
Rich, wonderful contributions to this thread. Love the painting and images…….not to mention the models. How you doing these days? Mike has asked about you. Rob
-
Interesting question. The American clippers were not in competition with their smaller tea clipper cousin’s. They carried far different cargoes…..and much more of it. The fastest sailing was done by American Clippers…some going as fast as 20 knots an hour and sailing over 420 miles in a single 24 hour period. The smaller tea clippers were not designed to maintain these kinds of numbers, though some came close. Could you imagine sailing in an 80 foot sea in such a small boat? The larger American clippers were designed for the roaring 40’s and they were driven to near breaking by captains who had a large stake in their fast passage. Different animals for different times. Rob
- 399 replies
-
- 3
-
-

-
- cutty sark
- revell
- (and 2 more)
-
Side note......When I built my rudder repair diorama....I wanted the aft rail to mimic the iron rail, so I placed every section with curved portions so there were no straight rails. Sorry for posting this now...but I could not find this image earlier when it would have been more appropriate. Rob
- 399 replies
-
- 4
-
-
- cutty sark
- revell
- (and 2 more)
