rwiederrich
-
Posts
5,520 -
Joined
-
Last visited
Content Type
Profiles
Forums
Gallery
Events
Everything posted by rwiederrich
-
Vlad....I use the smallest chain I can find, and that is 42 LPI. I got it at Cast your Anchor, but I think they are out of stock currently. Do a net search. Rob
-
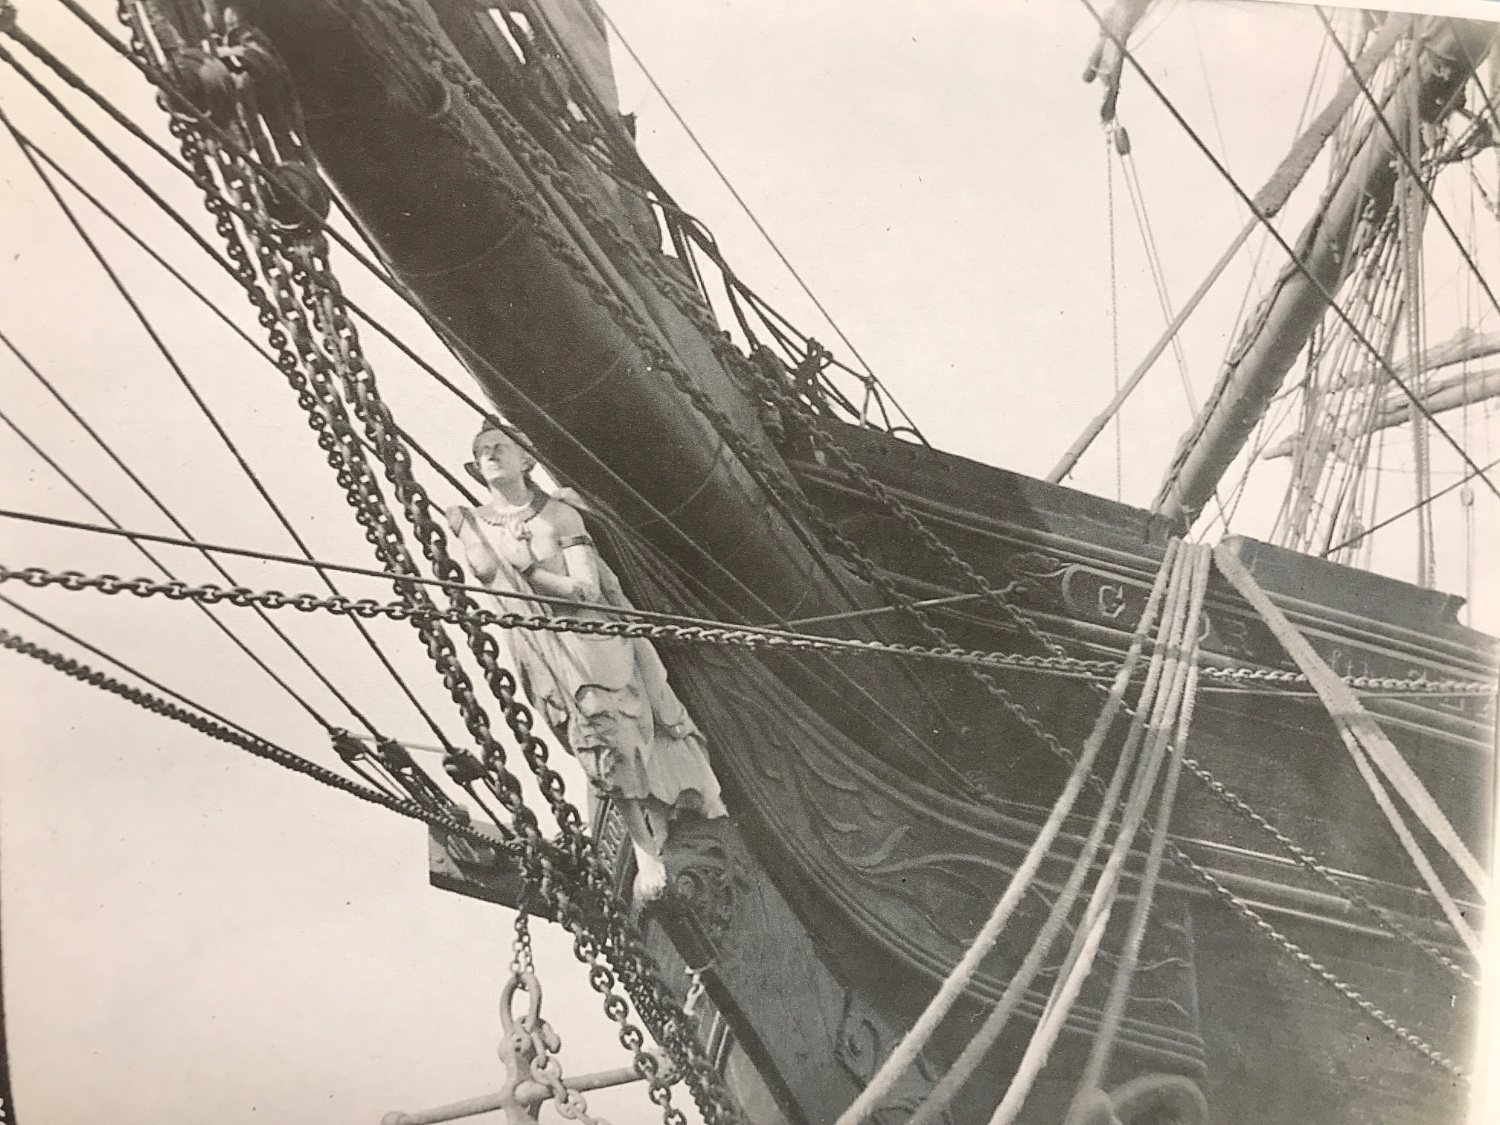
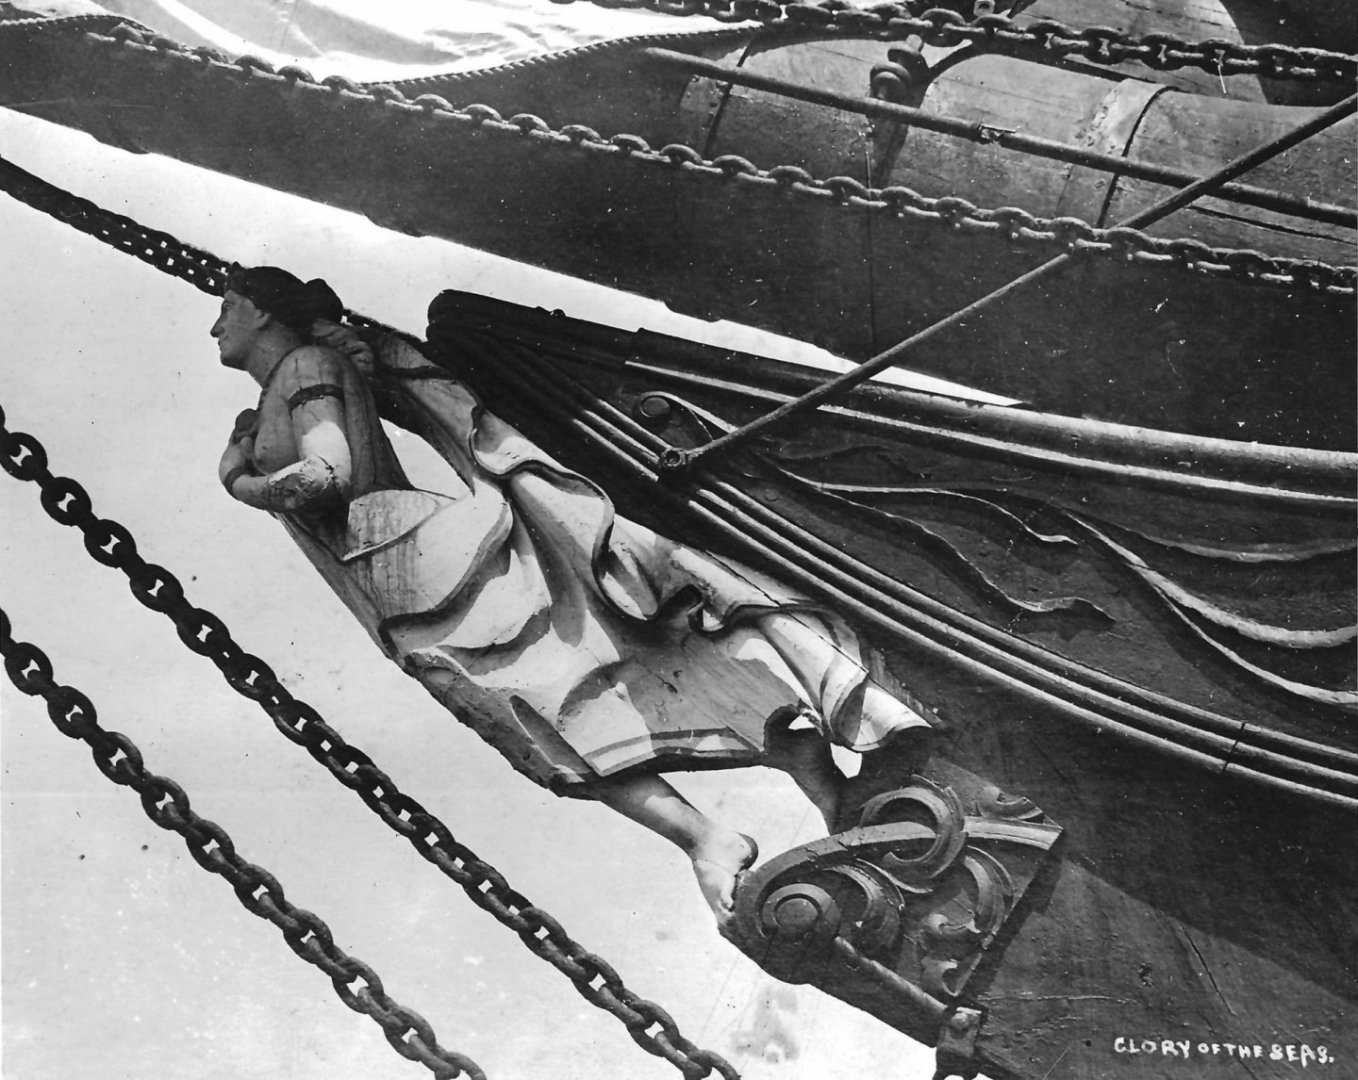
Good write up Jonny. One other note:….…. Her replaced left led and foot aren’t exactly a true representation either. Her original foot curved down as if standing on a curved rock…..but her replacement foot demonstrates that the ball of the foot is supporting the weight as the toes are bent as that of a runner in a starting gate position. The restoration craftsman had the freedom to exercise a bit of artistic license along with his (correction) of some apparent (unfinished) details. Rob
-
She had to have an arm added…….and a lower left leg. It isn’t beyond reason to think greater repairs and polishing of her features and attire happened at that time Rob
-
Hey...they are over in your neck of the woods. I think a road trip is in order...so you can put your own eyes on this magnificent piece of McKay history. Rob
-
Notice the difference in carving technique and smoothness? The original was modified and smoothed out. Probably when they added her right fore arm and right calf/foot.

- 3,560 replies
-
- 1
-

-
- clipper
- hull model
- (and 2 more)
-
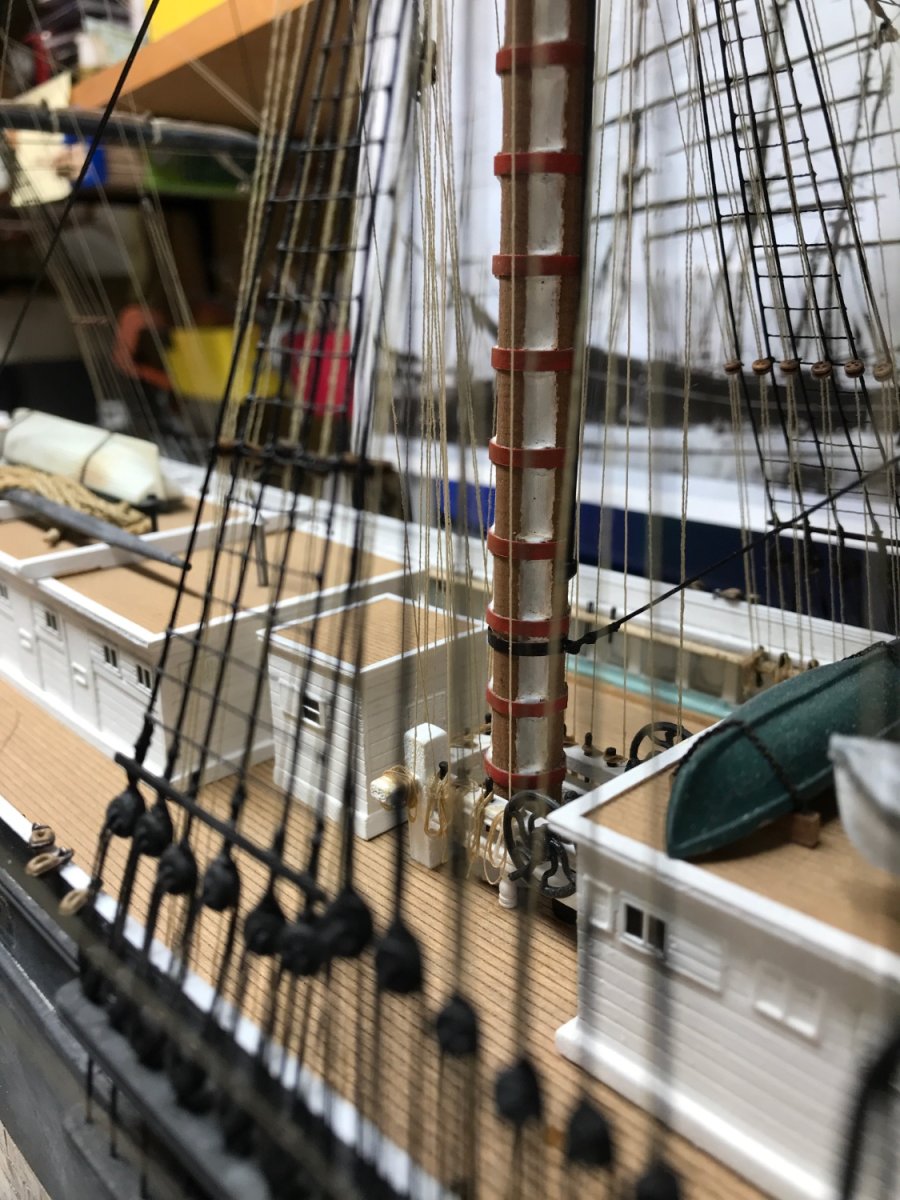
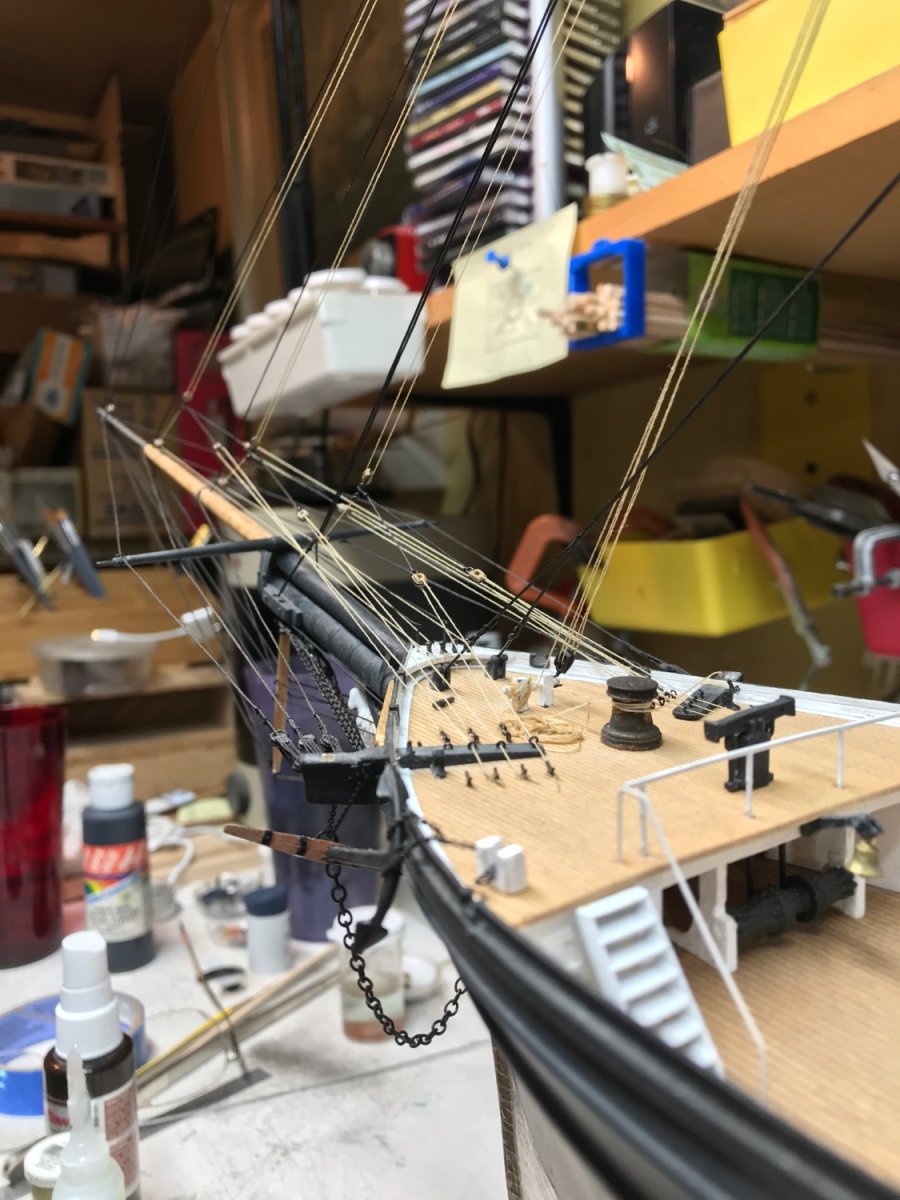
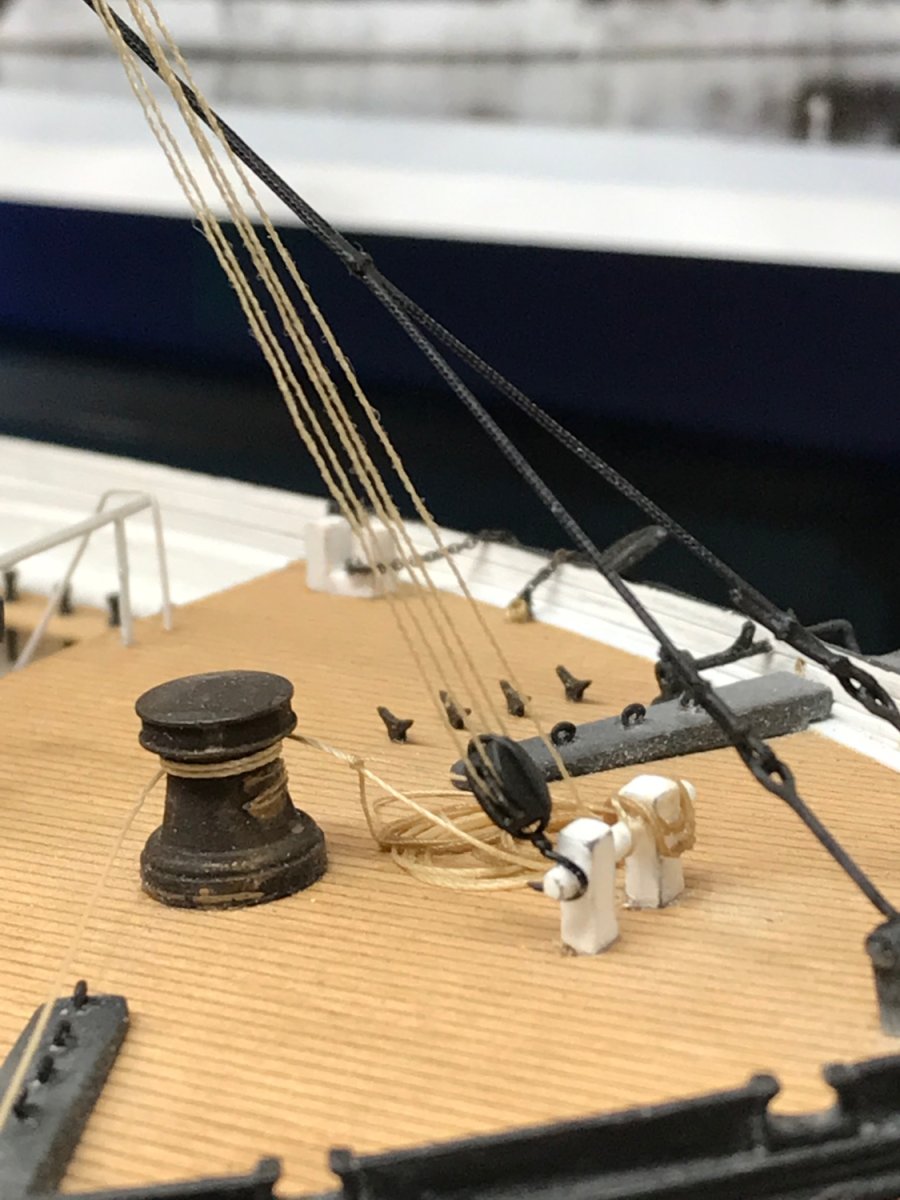
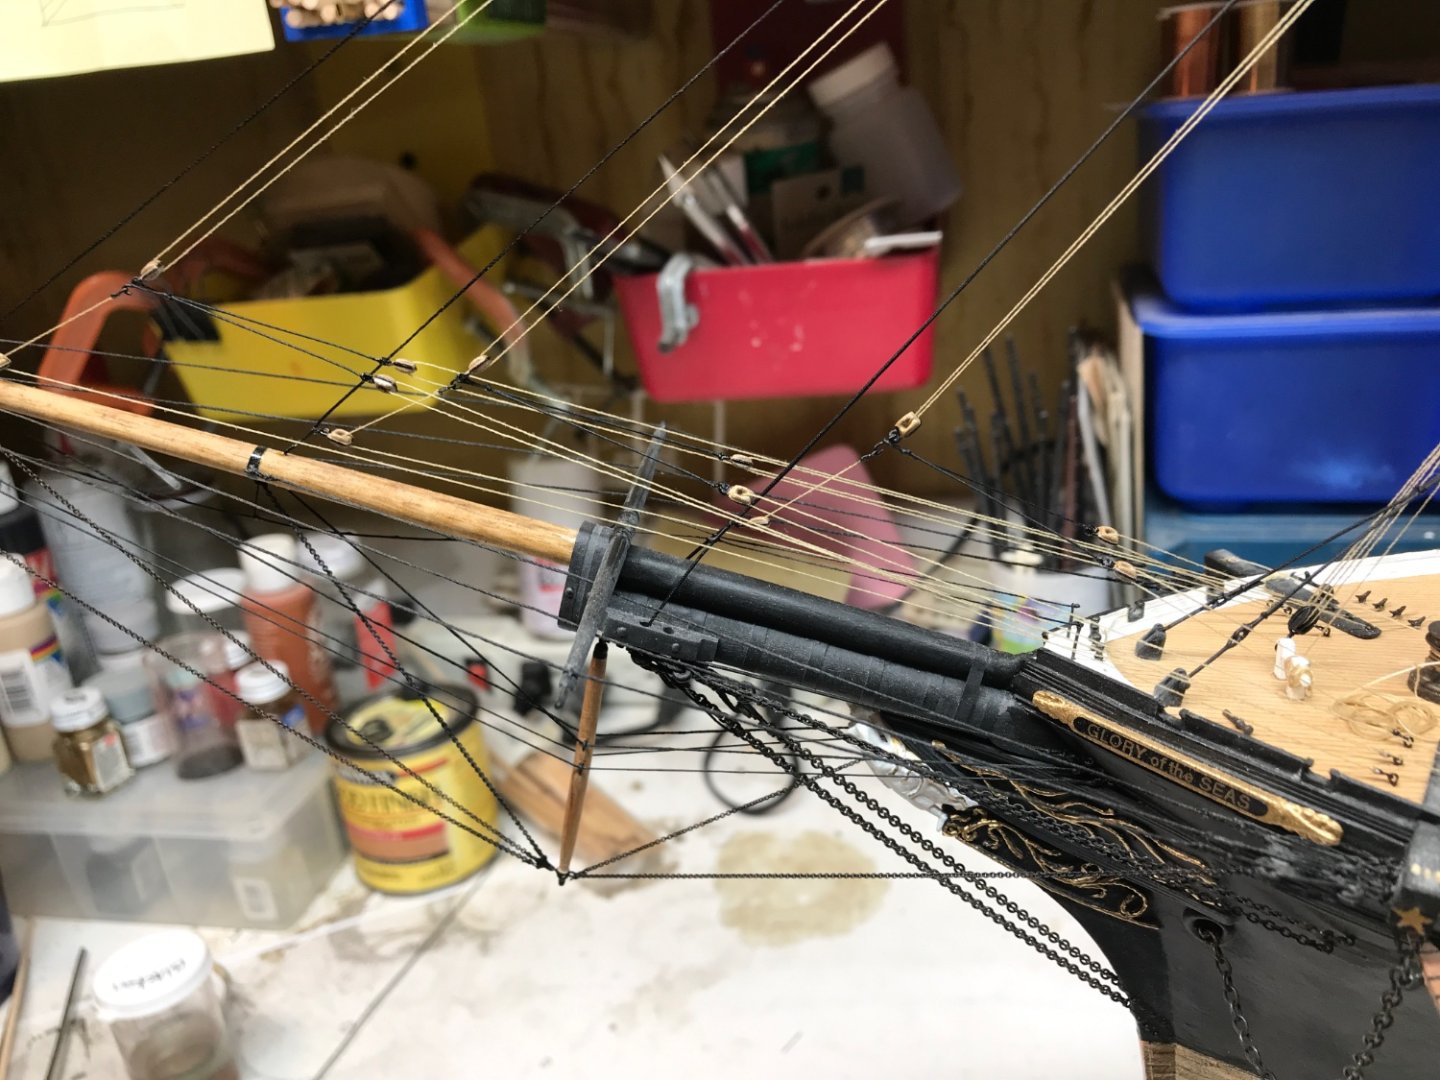
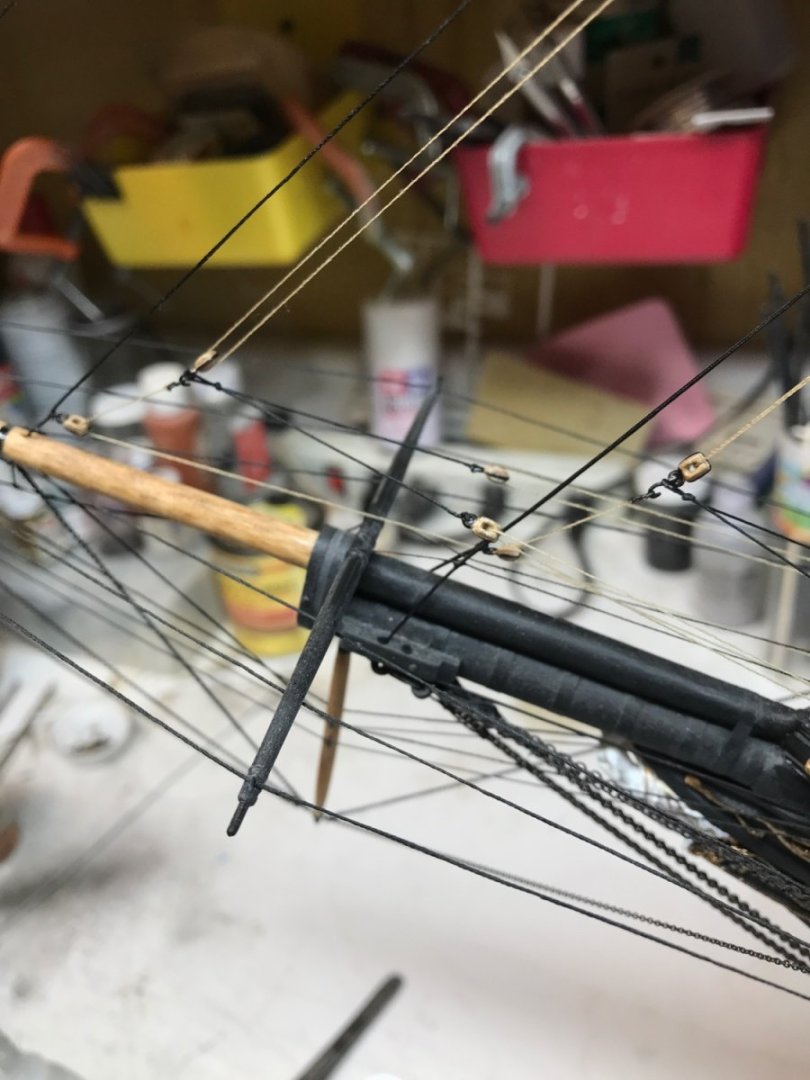
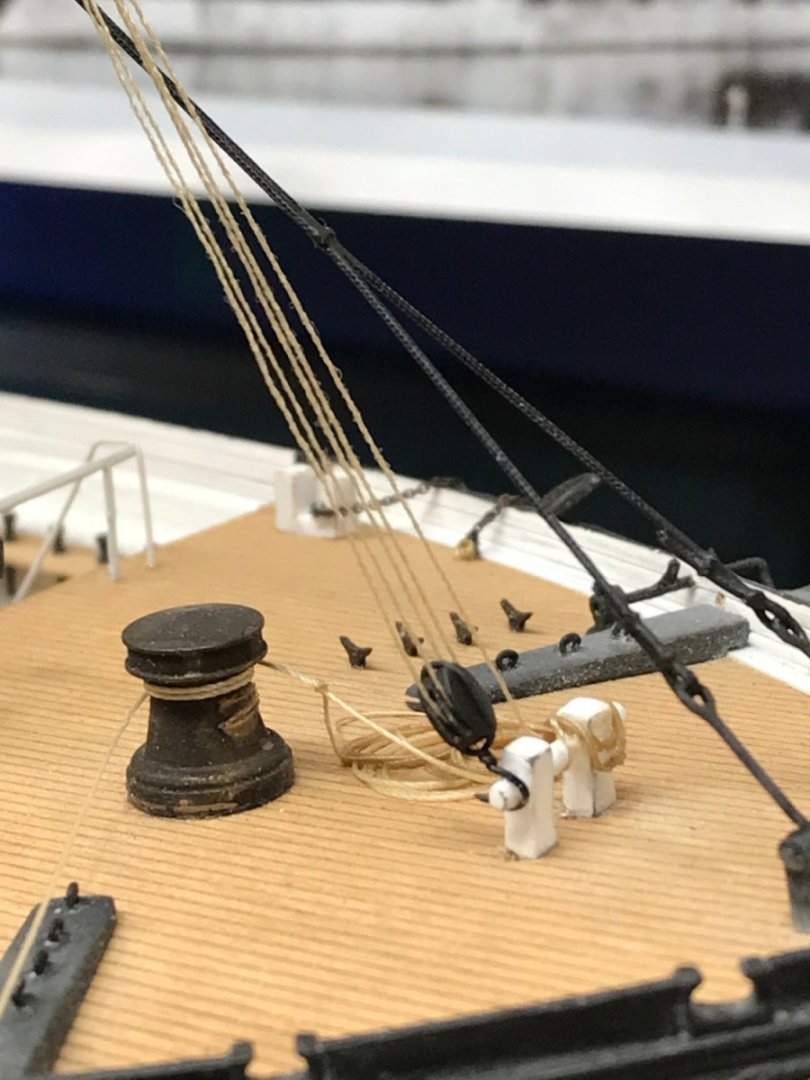
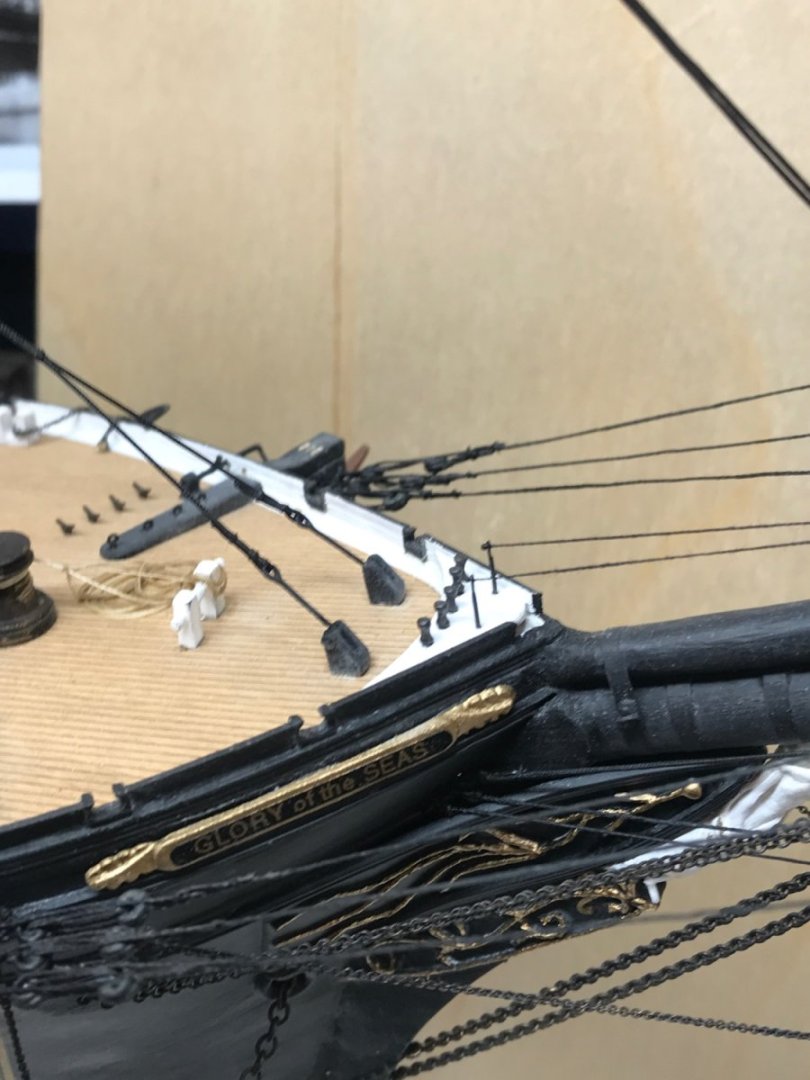
Just spent a little time tonight rigging the next jib sail halliard, downhaul and Pennant sheet gear. Rob


- 3,560 replies
-
- 3
-

-
- clipper
- hull model
- (and 2 more)
-
Thanks Vlad....but it's gonna get a bit more congested.....since I still need to add 2 more sets of jib sail pendants and their reef tackle. And 12 rope coils to finish it all off. Each line has its own small *Hook* to secure it to its eyebolt, as well as the Halliard blocks have hooks. Each one is roughly 2.5mm long. Tiny stuff...to keep it all close to scale. I use steel wire Not copper......so it best matches the real thing. Rob
- 3,560 replies
-
- 2
-
-
-
- clipper
- hull model
- (and 2 more)
-
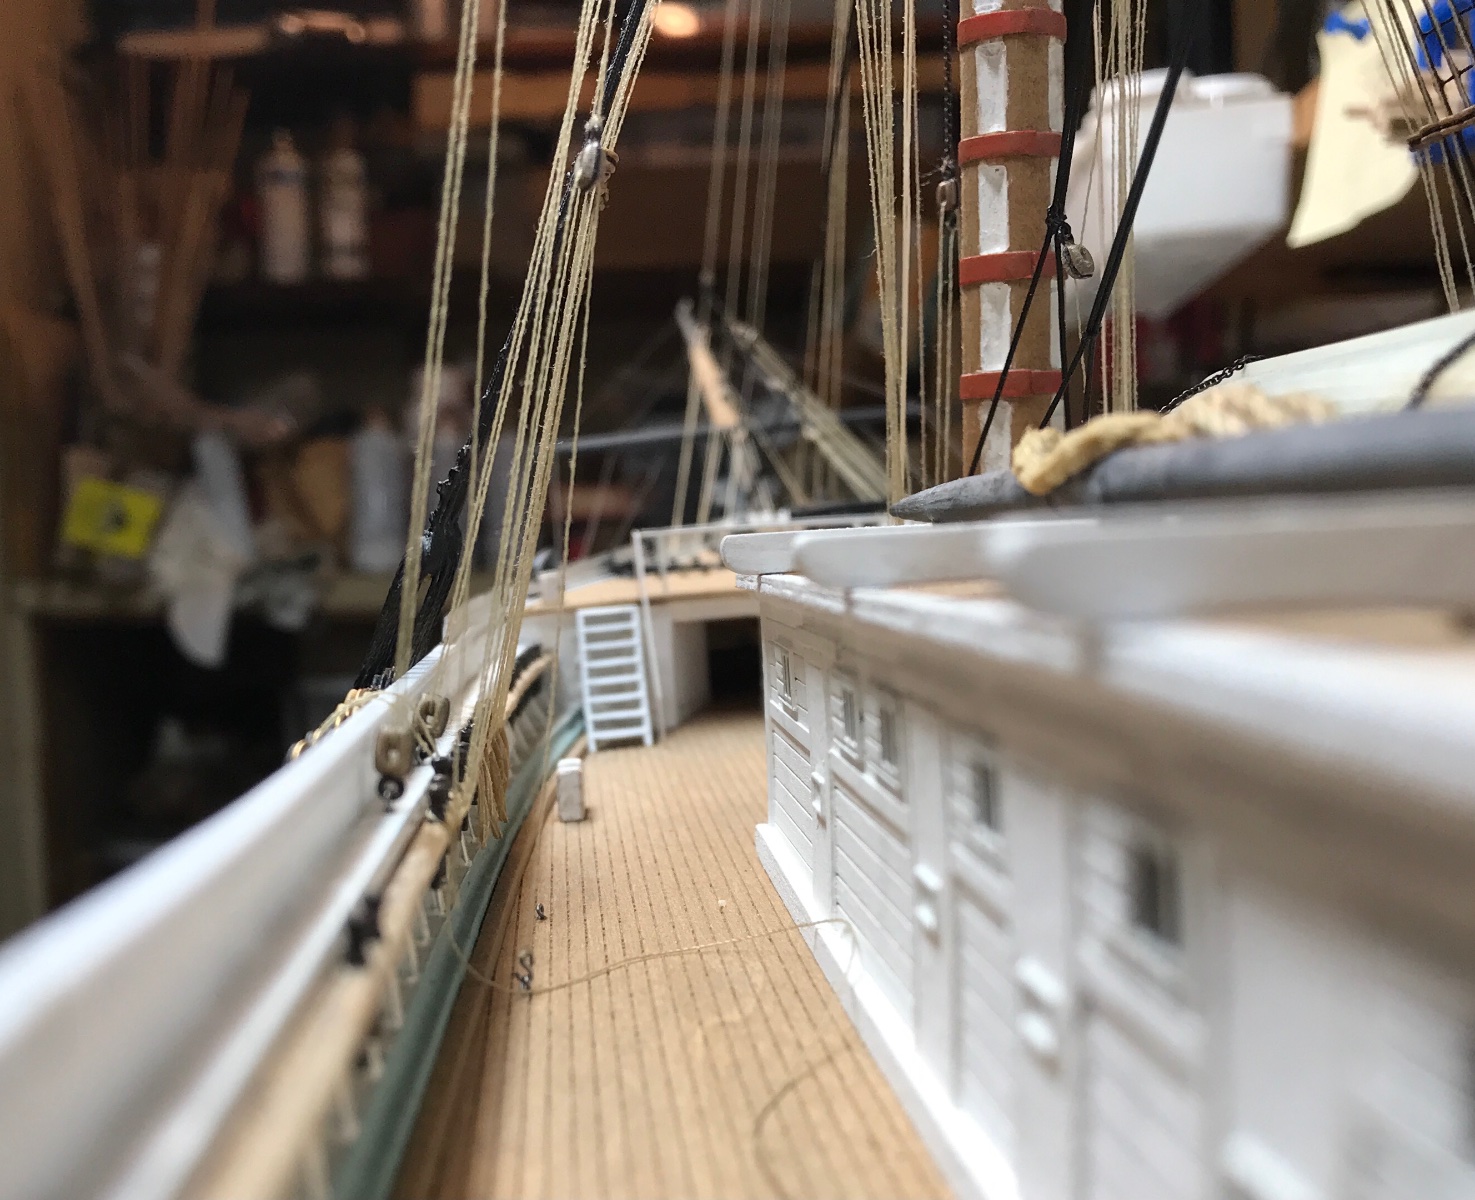
Fantastic work Vlad. Great to see you back at it……moving forward. Great remodel of the forecastle. Rob
-
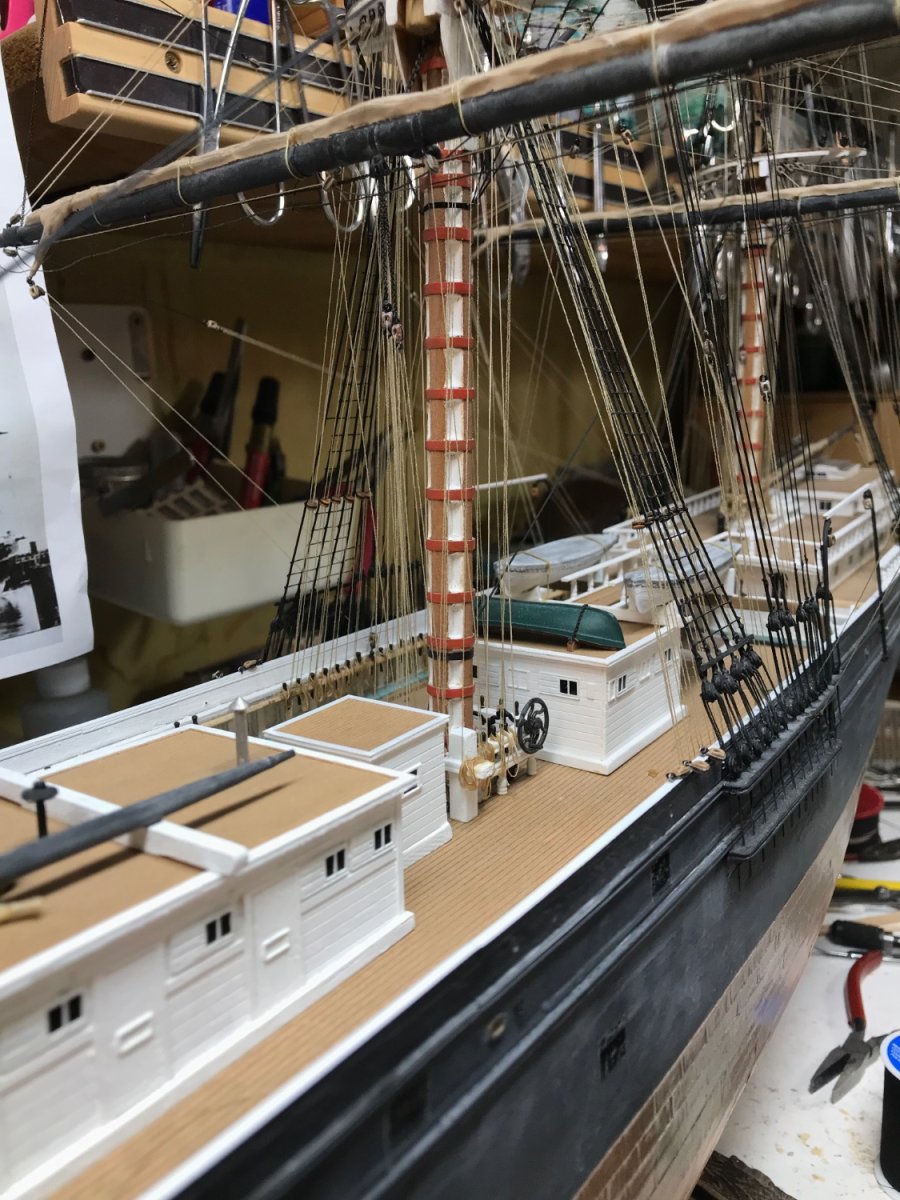
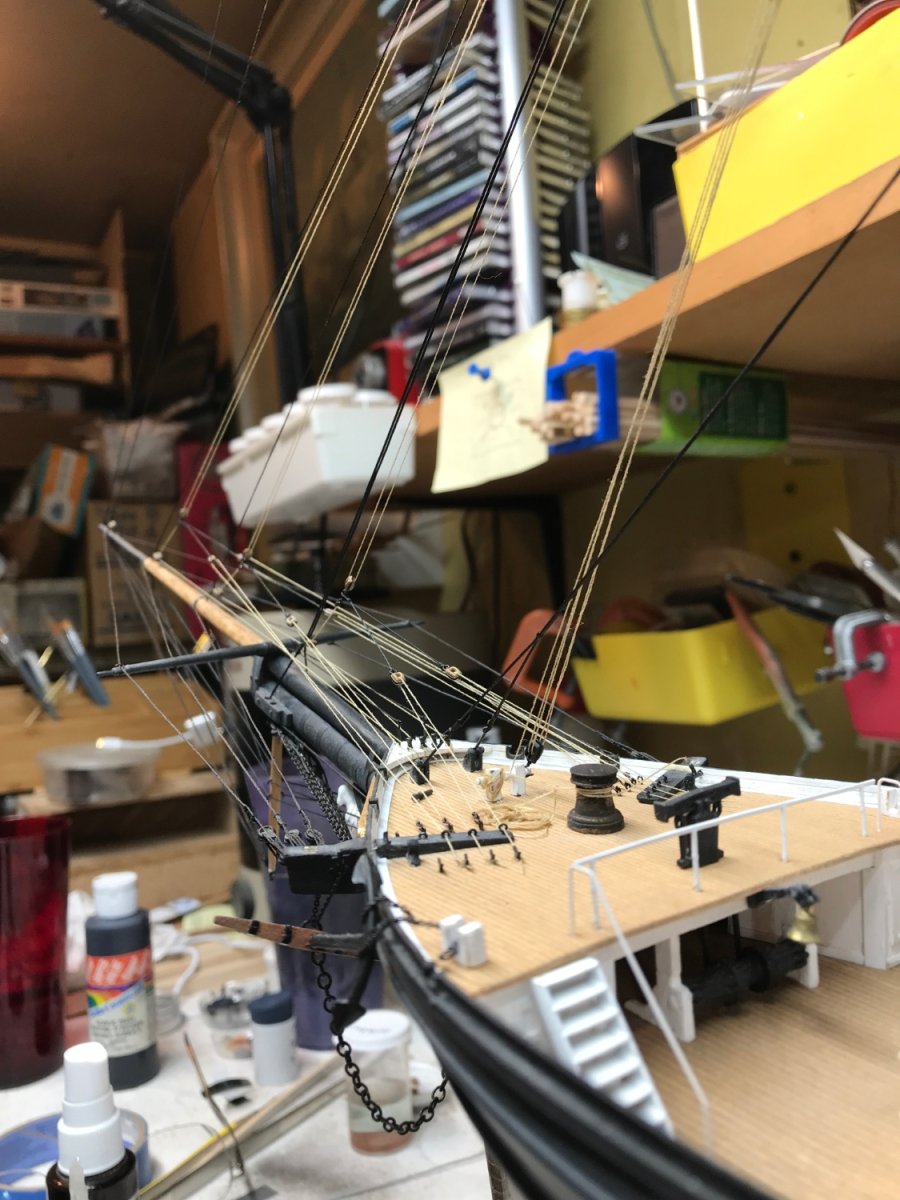
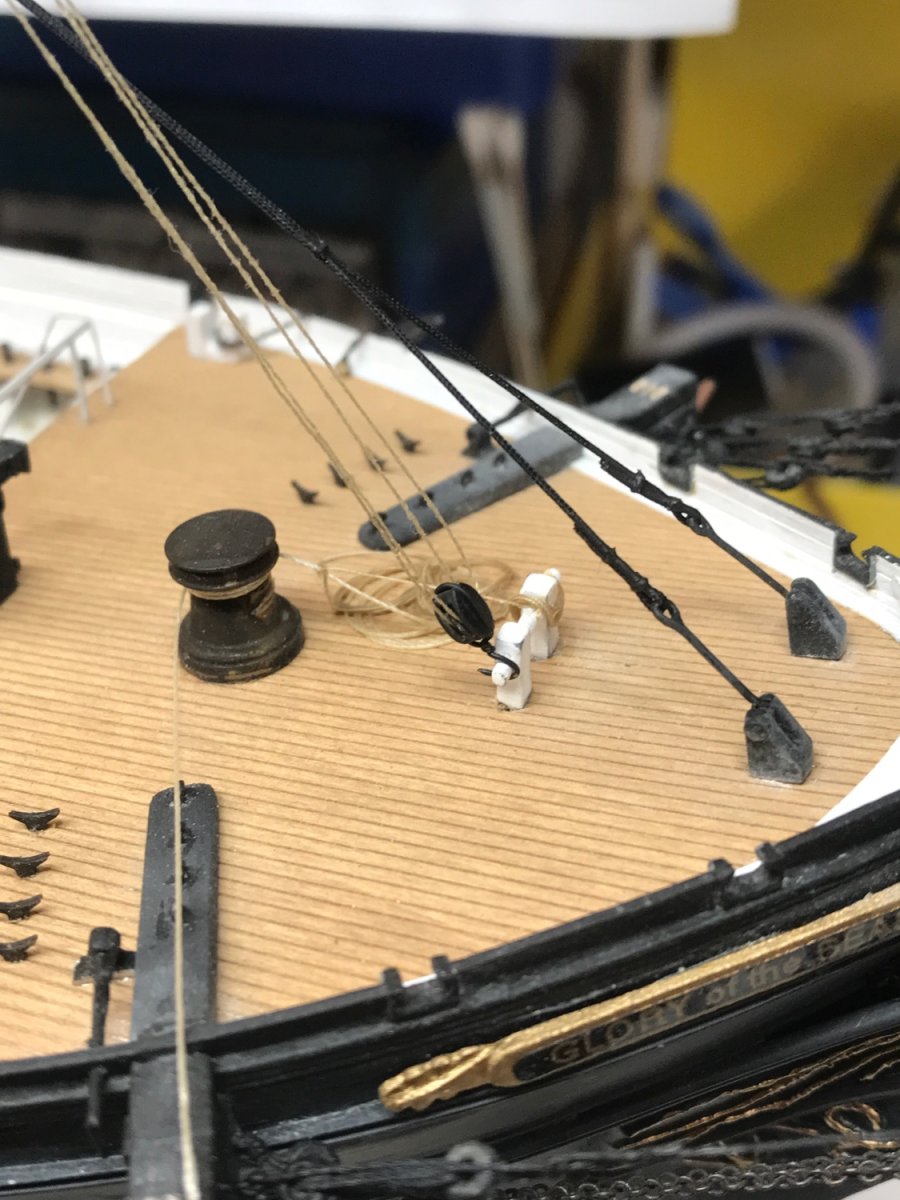
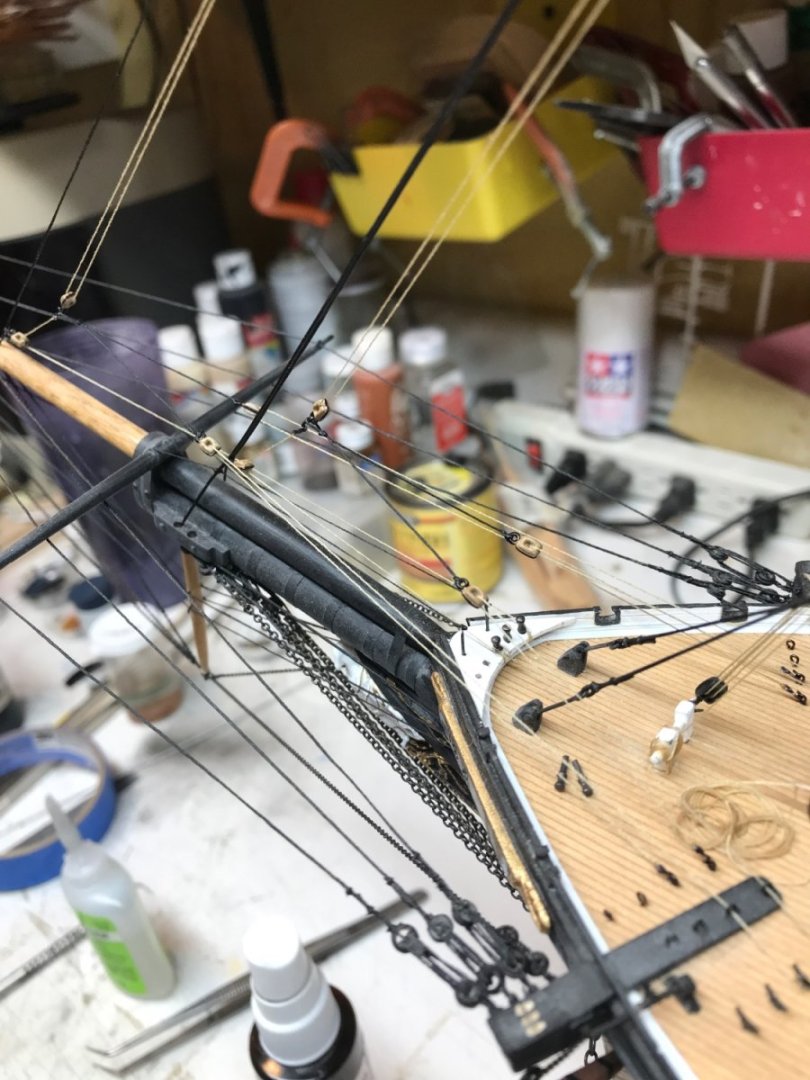
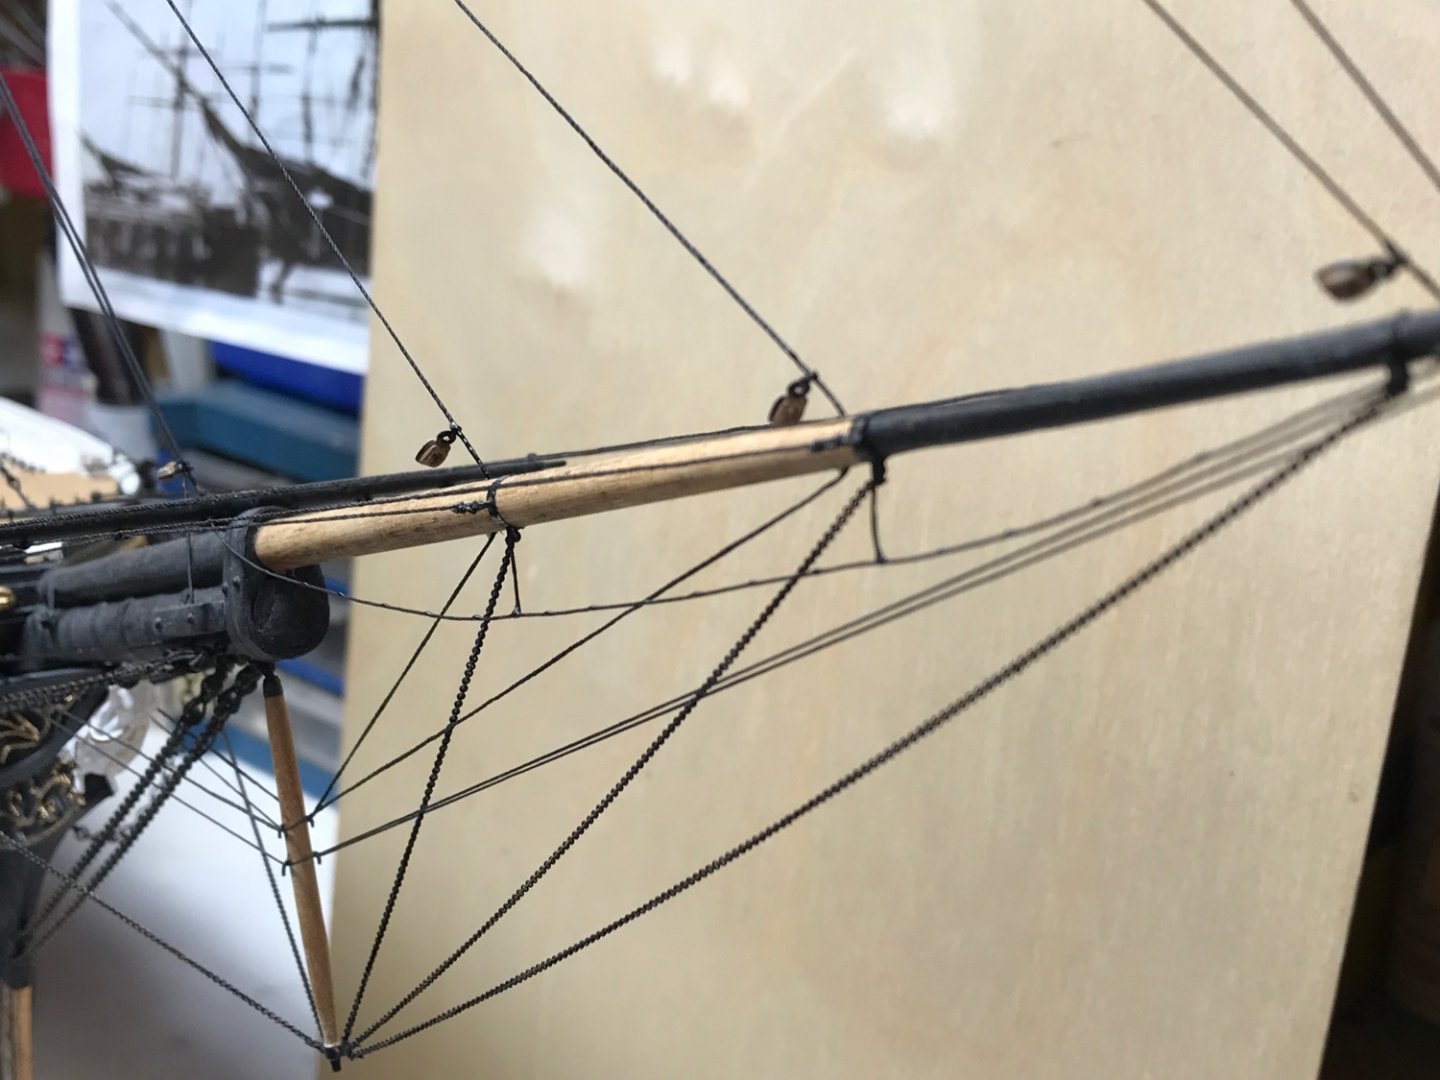
Spent time working on the jib braces, halliards, and downhauls. Rob


- 3,560 replies
-
- 6
-
-
- clipper
- hull model
- (and 2 more)
-
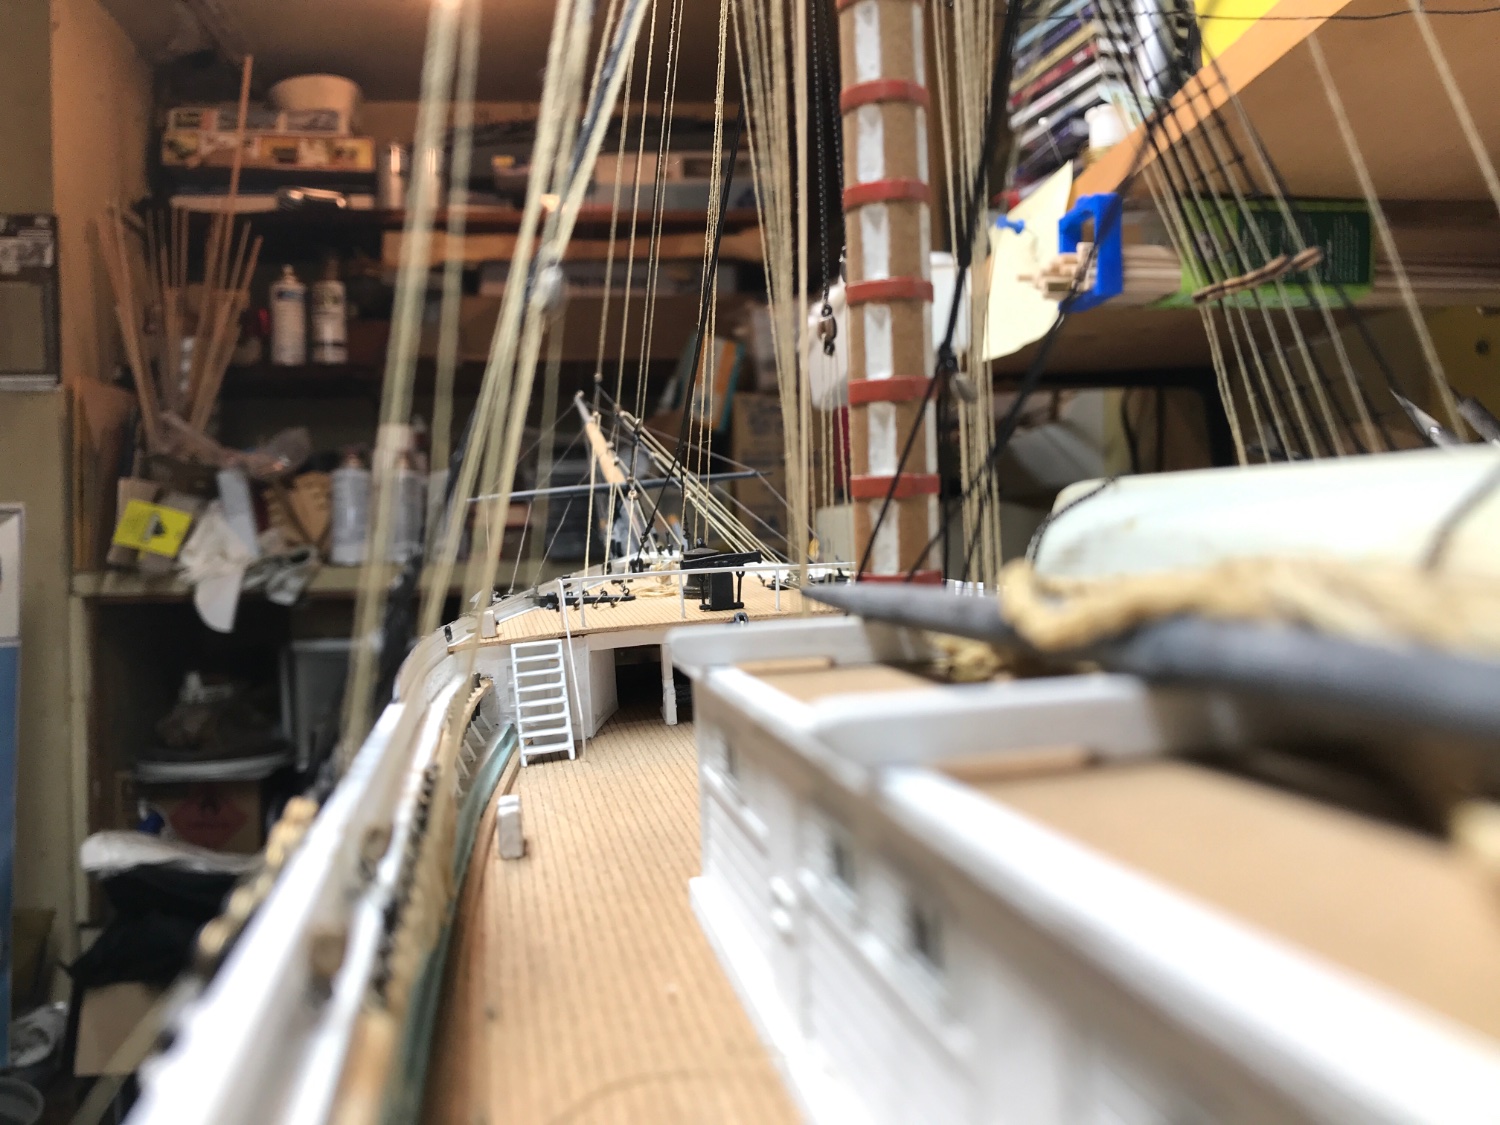
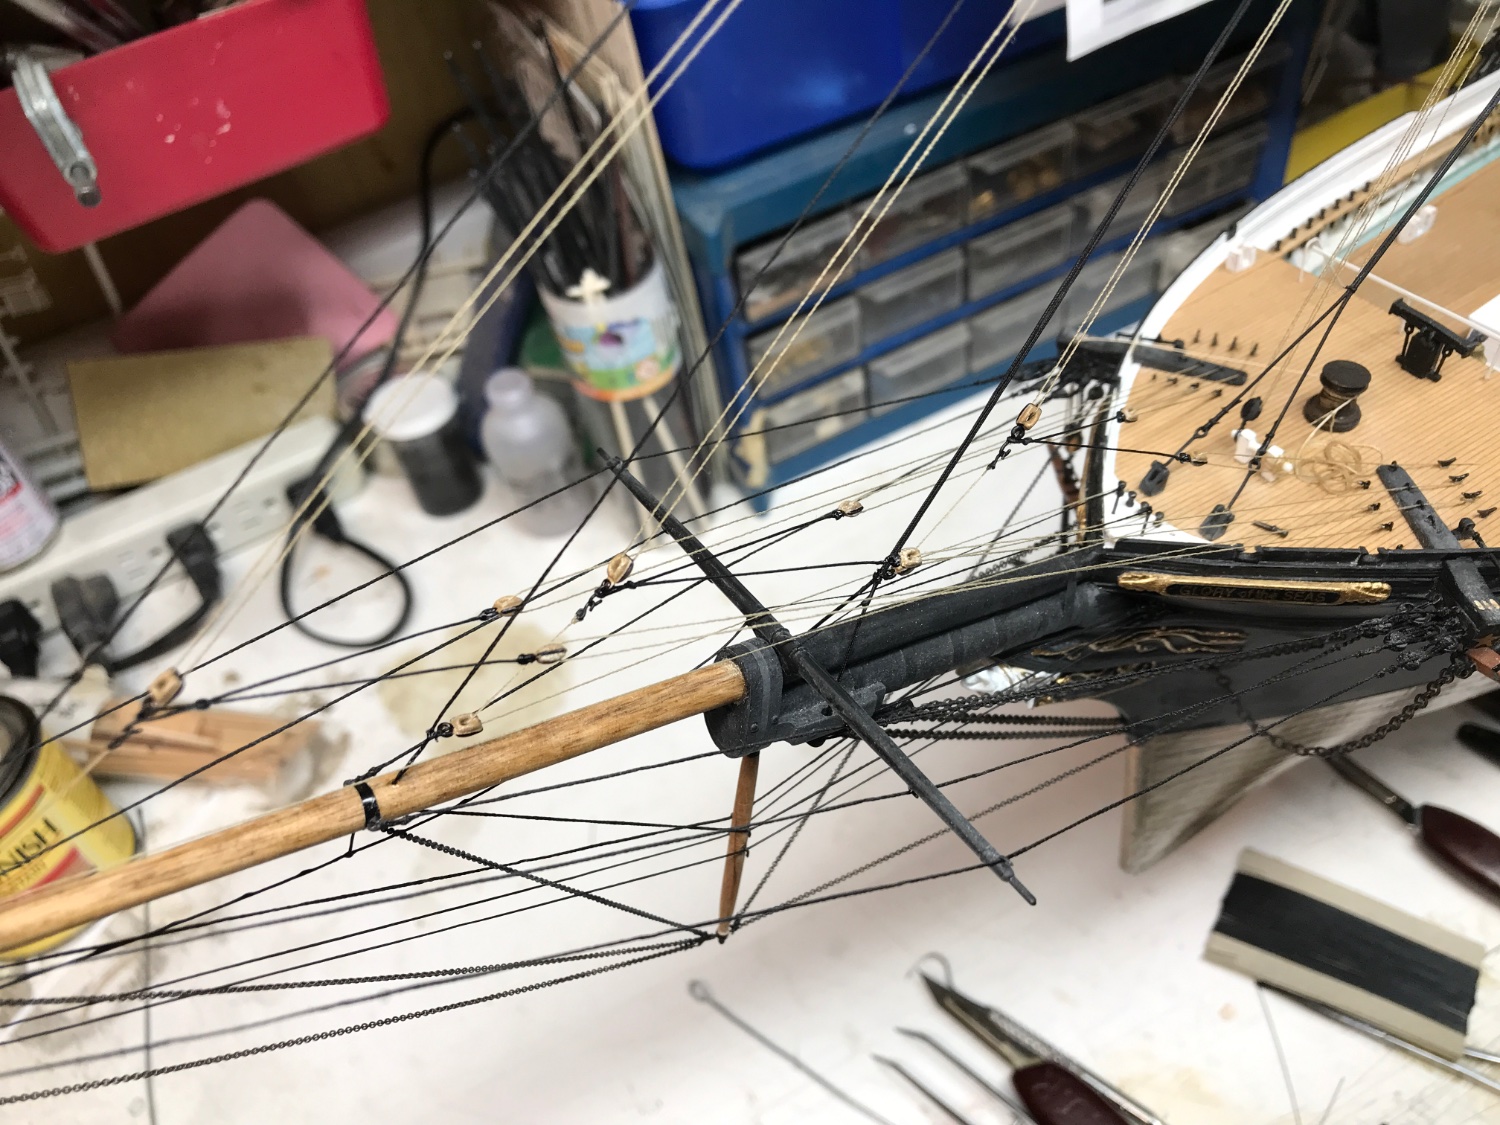
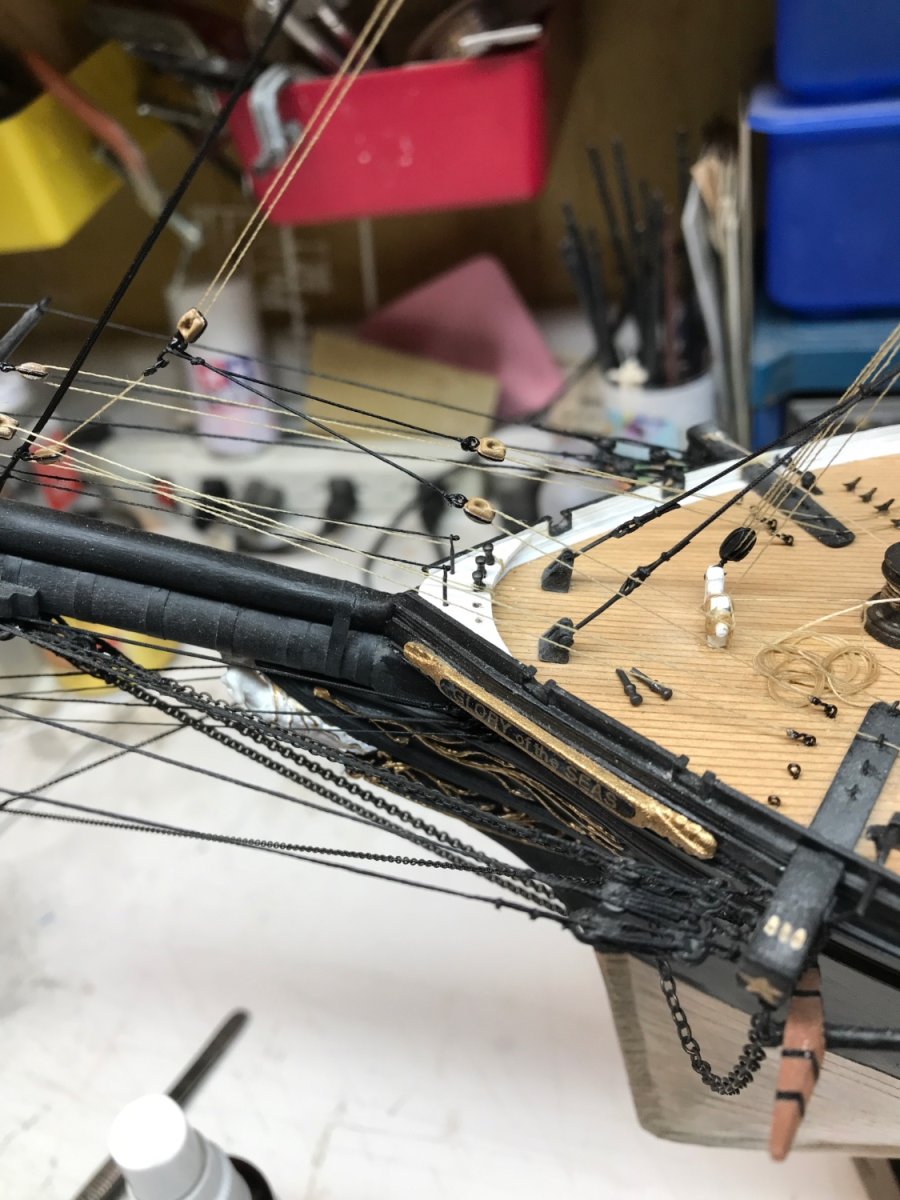
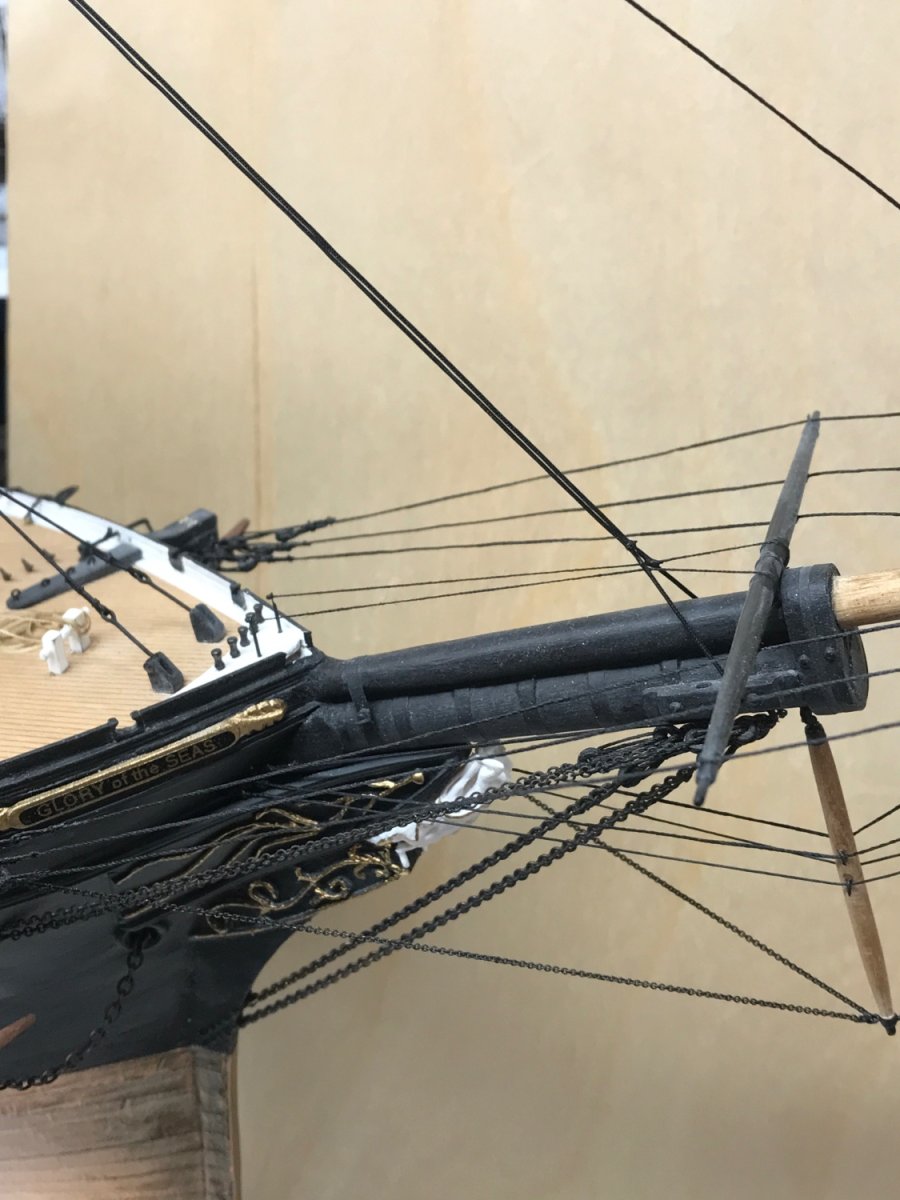
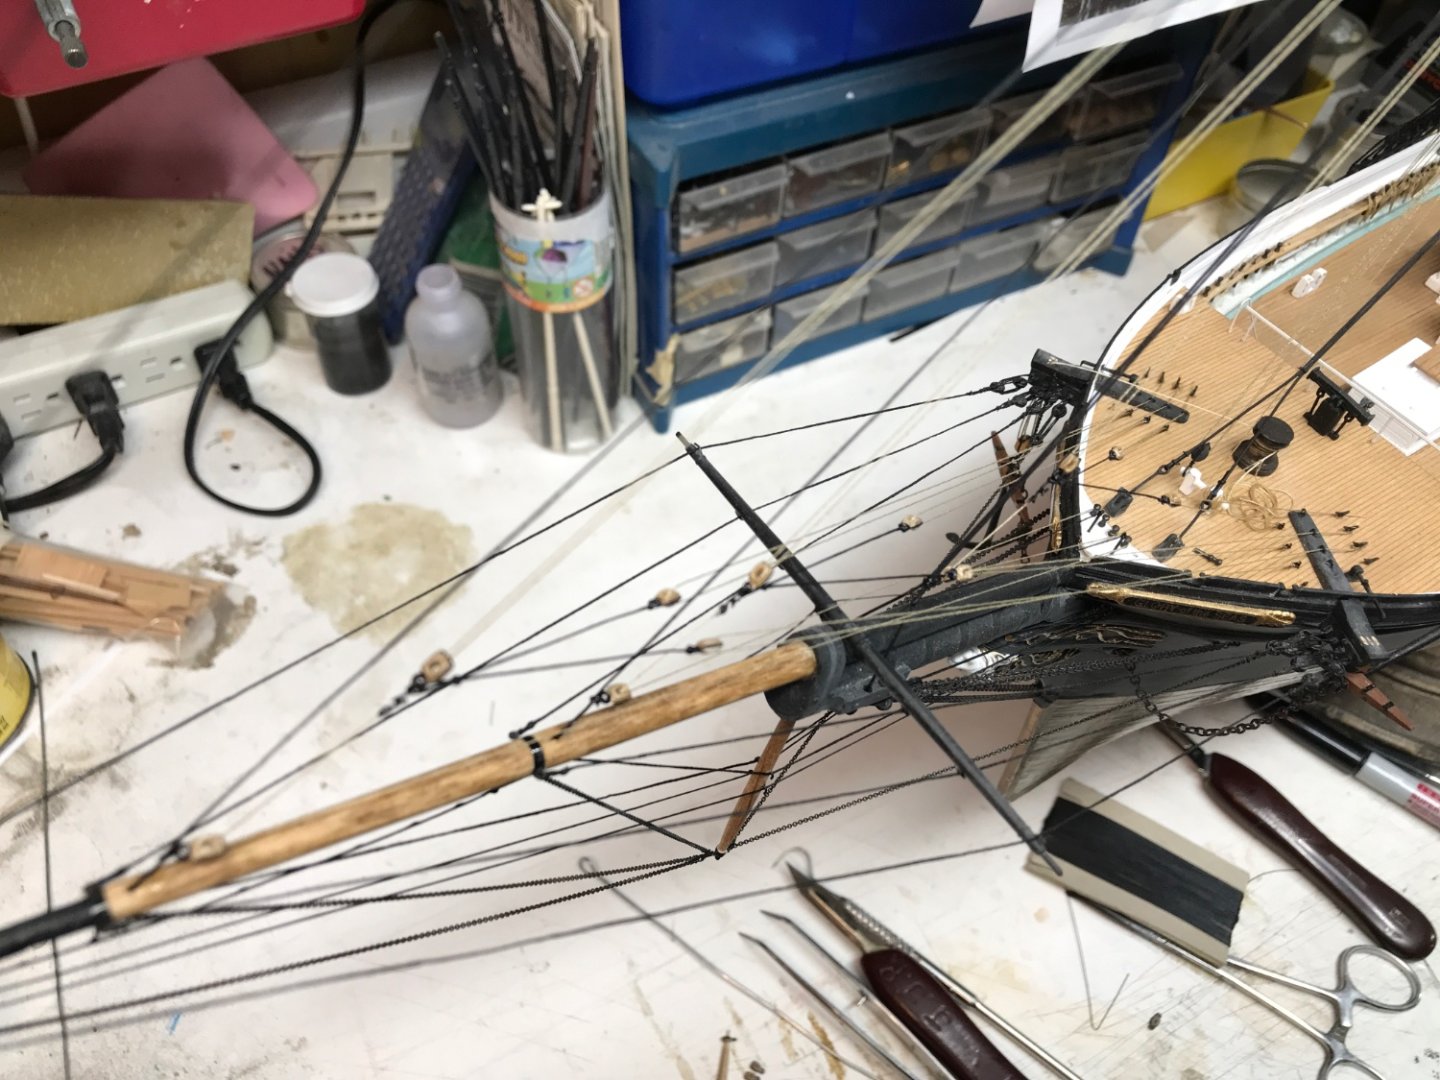
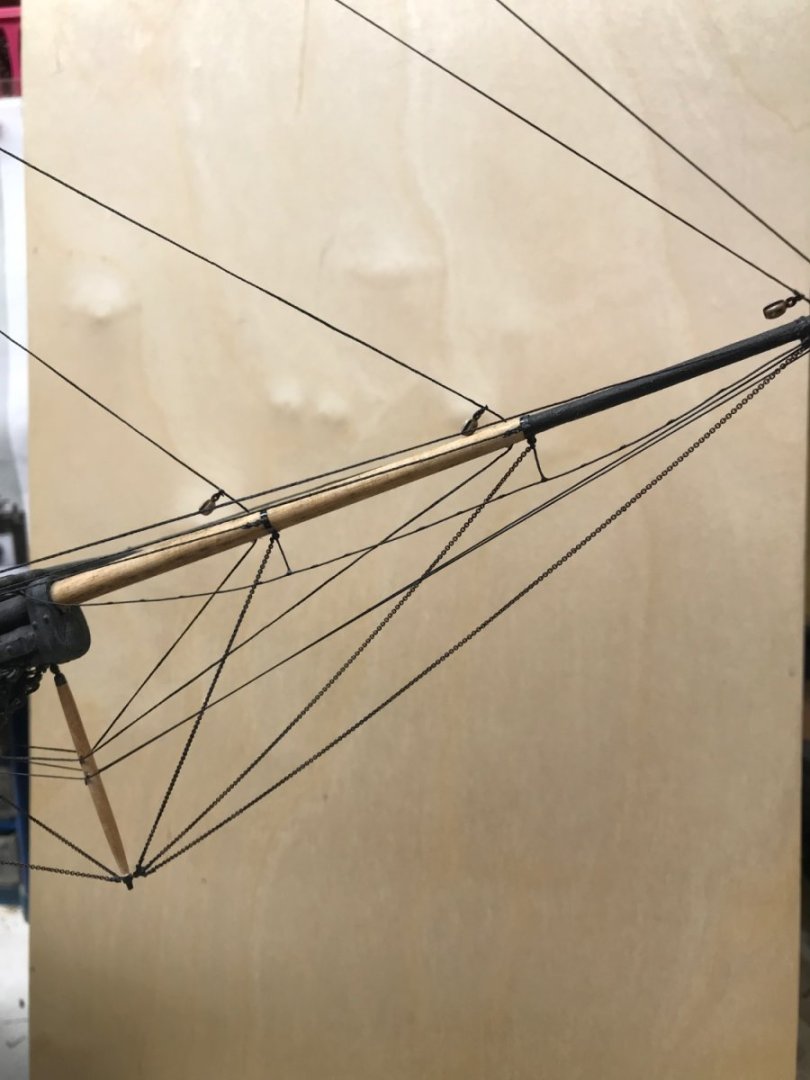
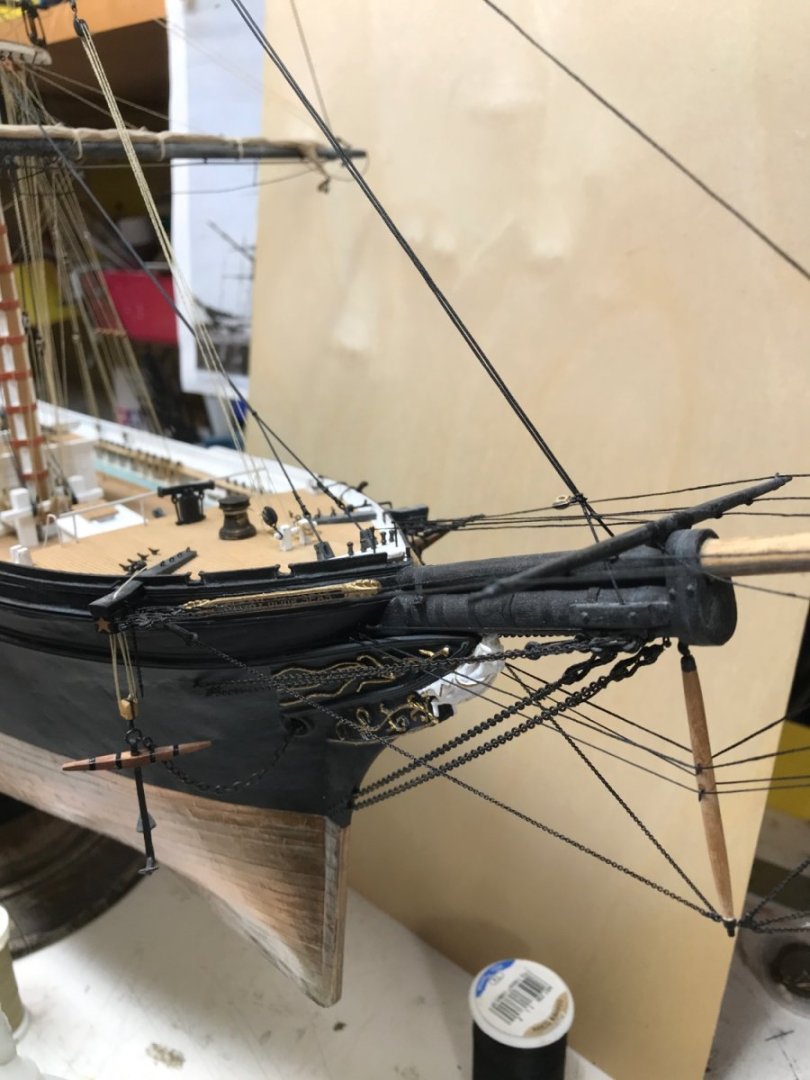
Finished off the bowsprit foot rope and I secured the fish tackle. Rob

- 3,560 replies
-
- 5
-
-
- clipper
- hull model
- (and 2 more)
-
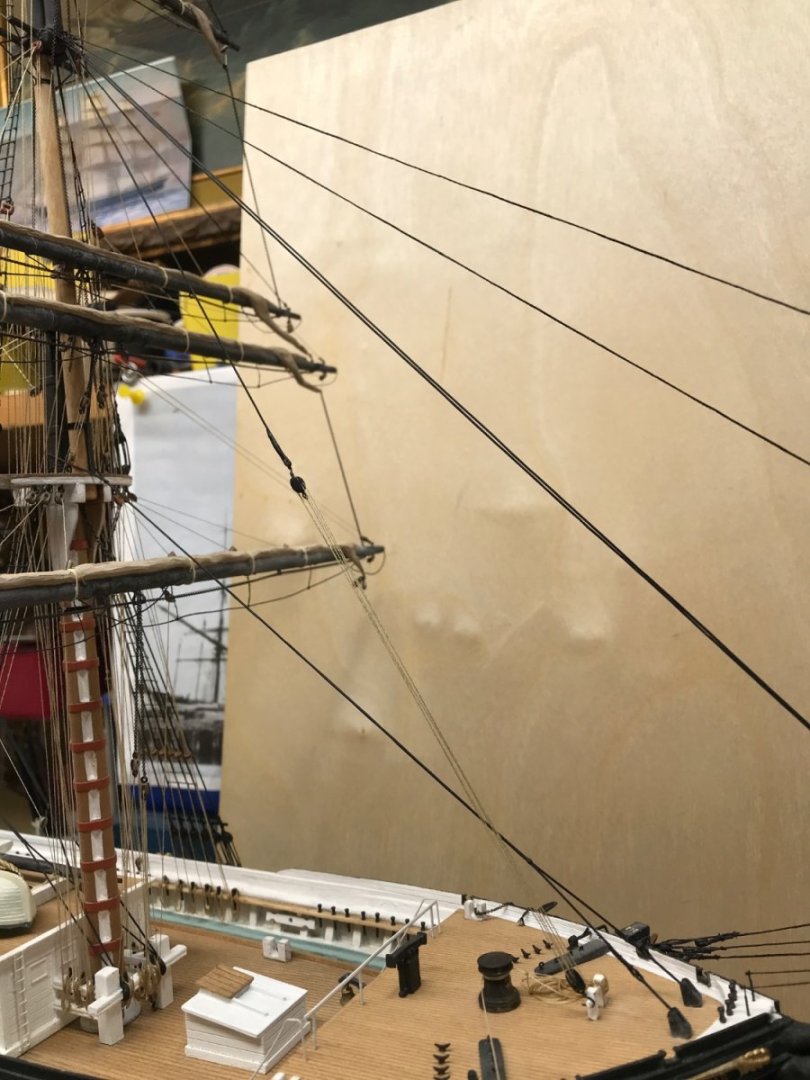
Thanks Rich. It was my best choice of many possible options. I agree, it keeps in line with historical evidence. I pondered this solution for some time, knowing a means to belay the jib downhauls was a necessity, but lacking ample photographic evidence, placed me in a precarious situation. I also didn't want to just throw some pin rail on her forecastle, like so many other clippers and call it all good.....no...... I also needed to tackle two separate issues....the pin rail and the stanchion mounting. Note: I still have to rig the bowsprit stirrups and footrope. My next, *tackle* will be the jib Halliards/downhauls to include their double sided sheets. I, think I've arrived at the most accurate means they can be depicted without sails. I will work on that tonight. Rob
-
Adding the fish tackle. Still have to belay the purchase. Rob


- 3,560 replies
-
- 4
-
-
- clipper
- hull model
- (and 2 more)
-
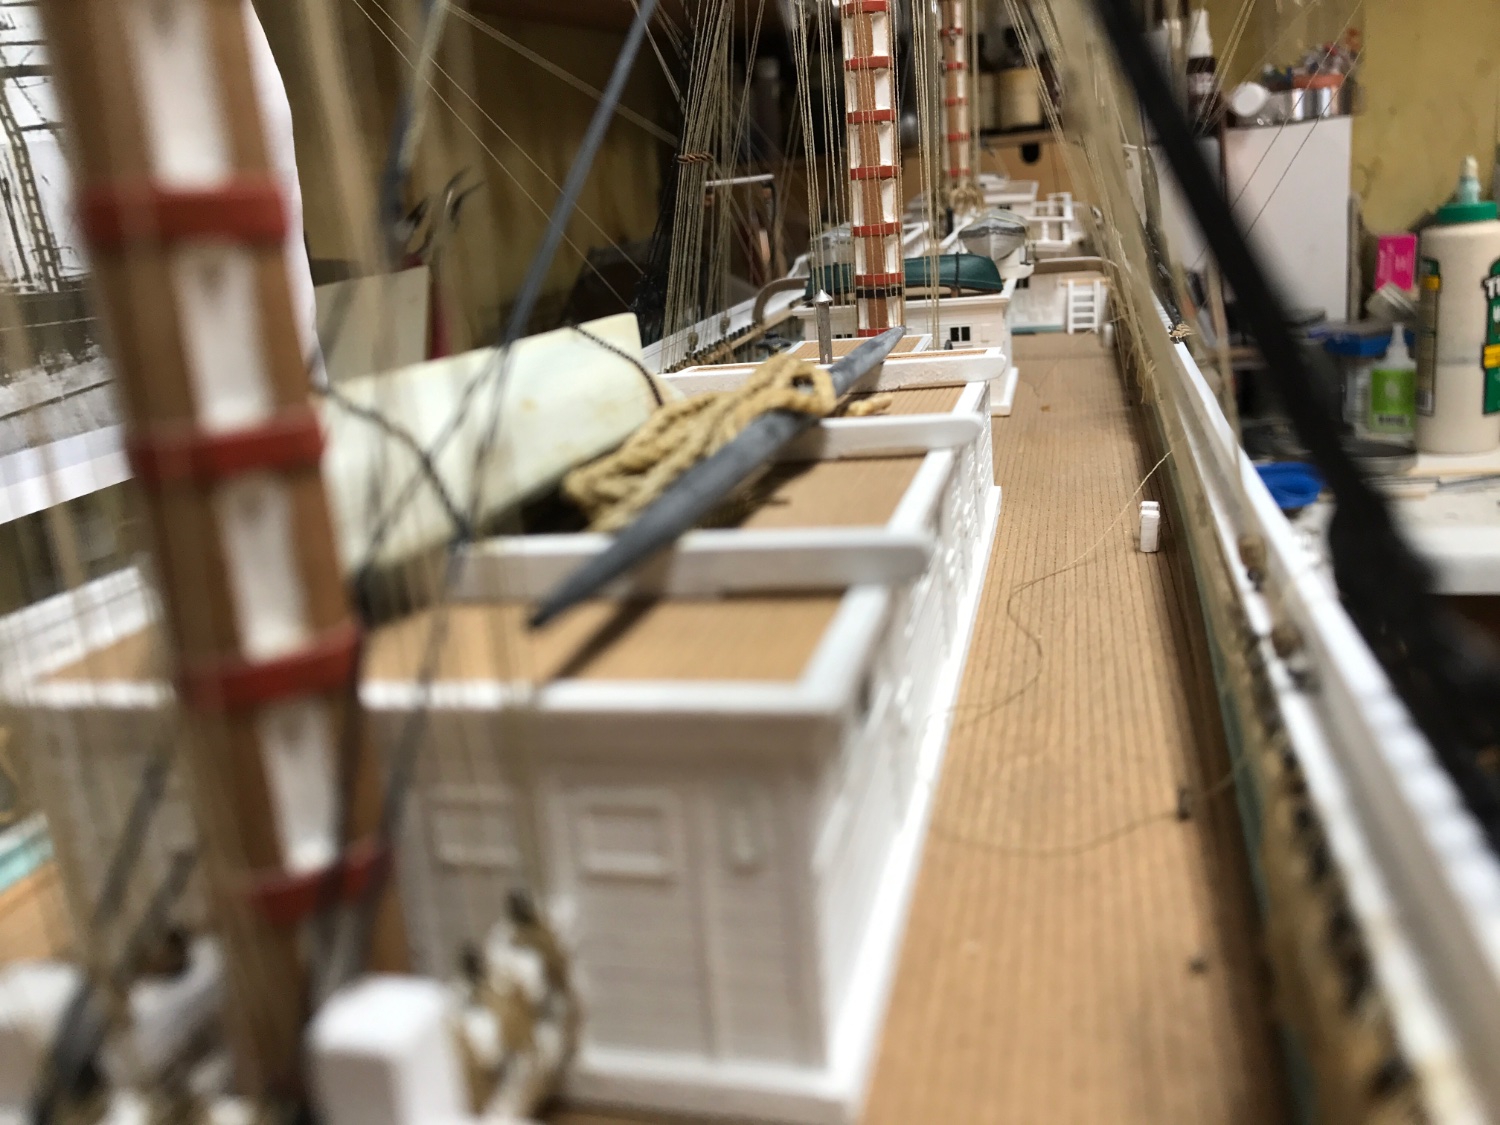
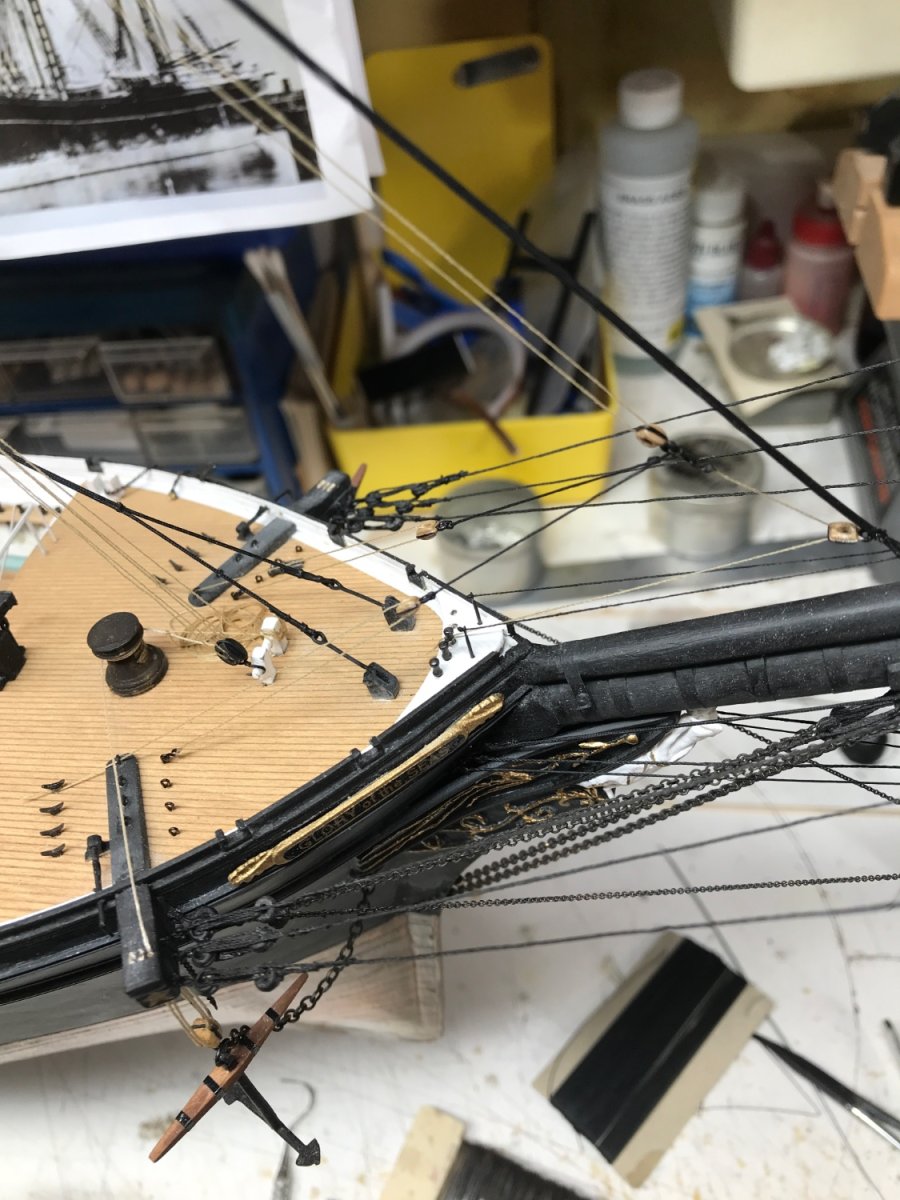
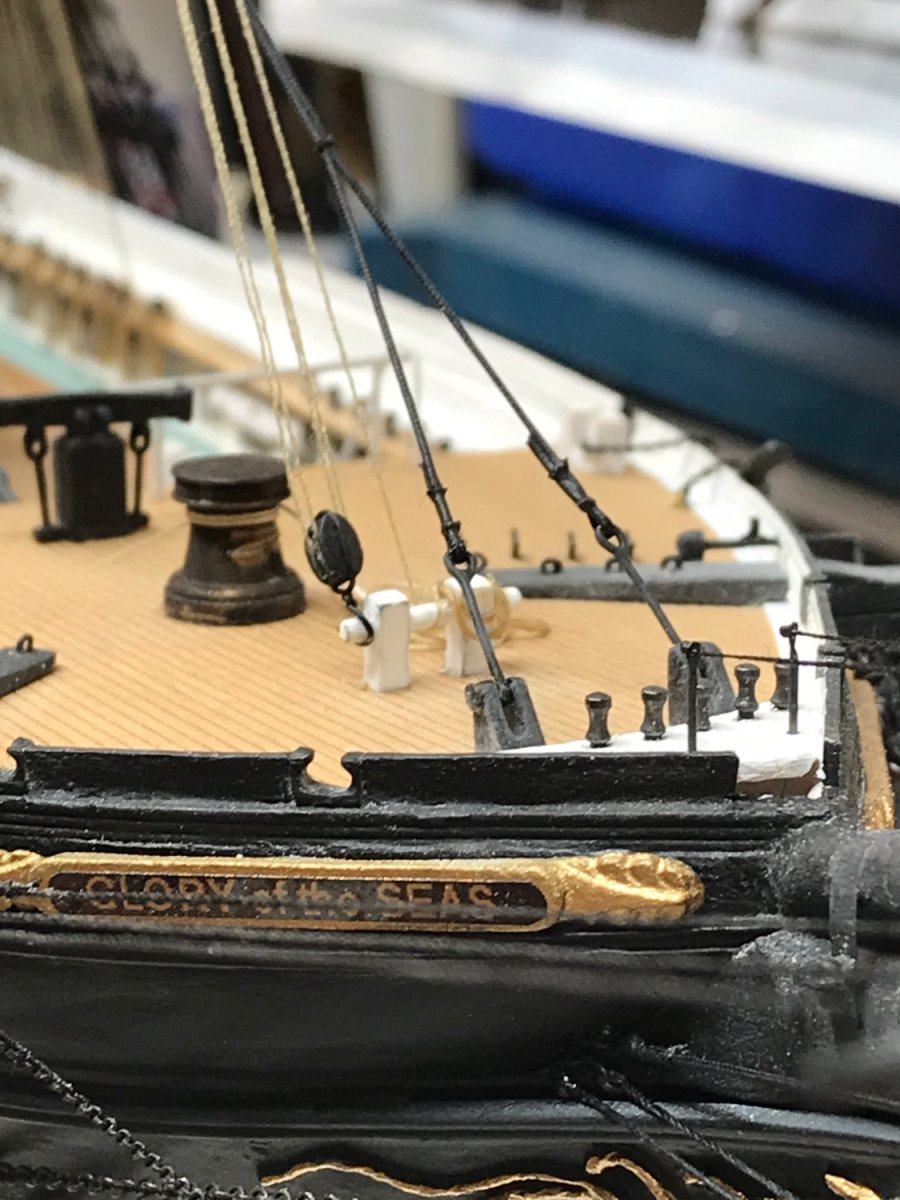
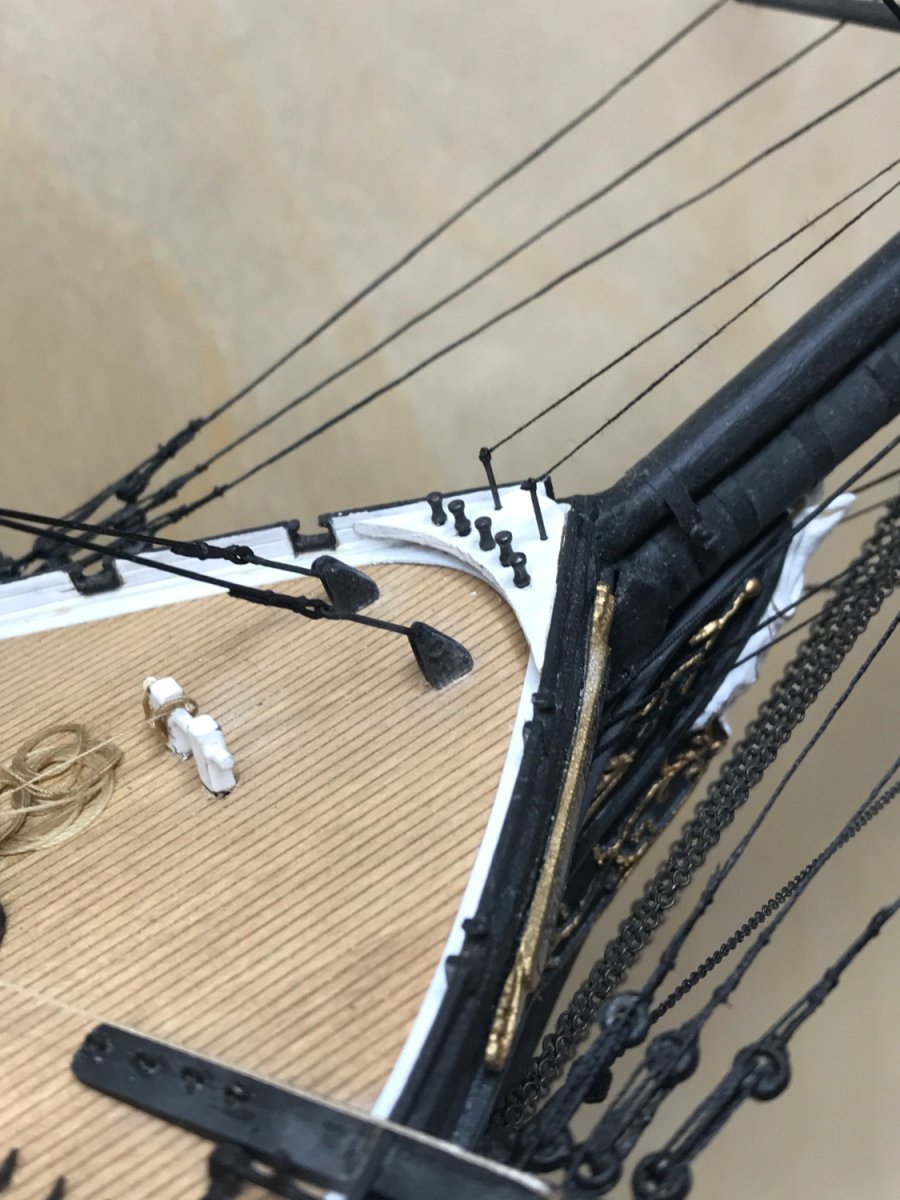
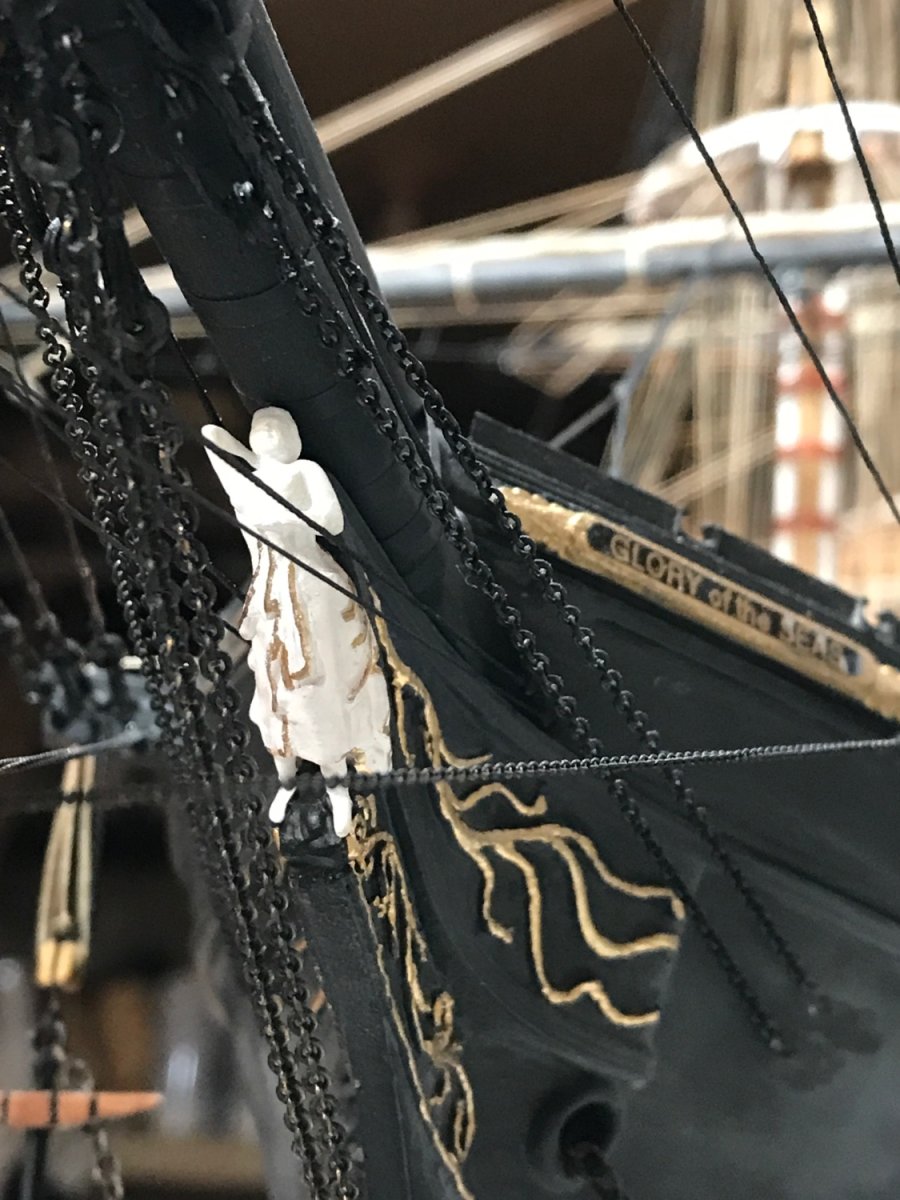
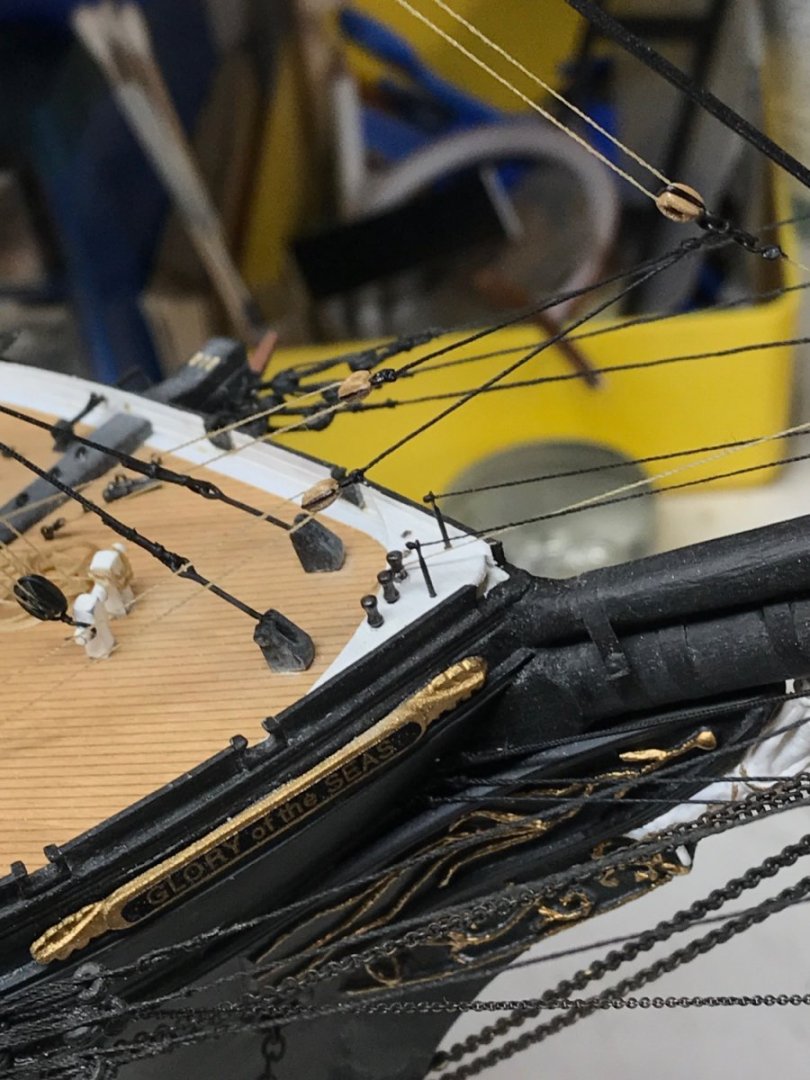
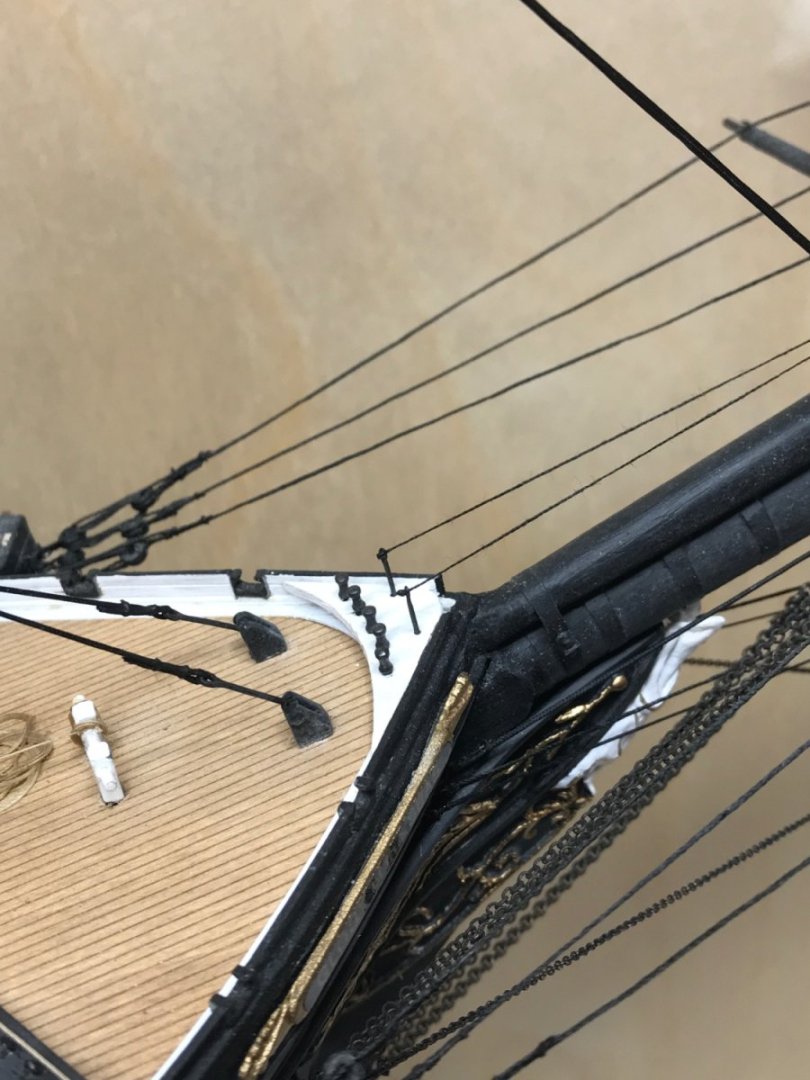
I added the curved bow in rail and the iron rope handrail stanchions. Now I’ll add the bowsprit foot rope and then the jib sail running gear. Rob


- 3,560 replies
-
- 4
-
-
- clipper
- hull model
- (and 2 more)
-
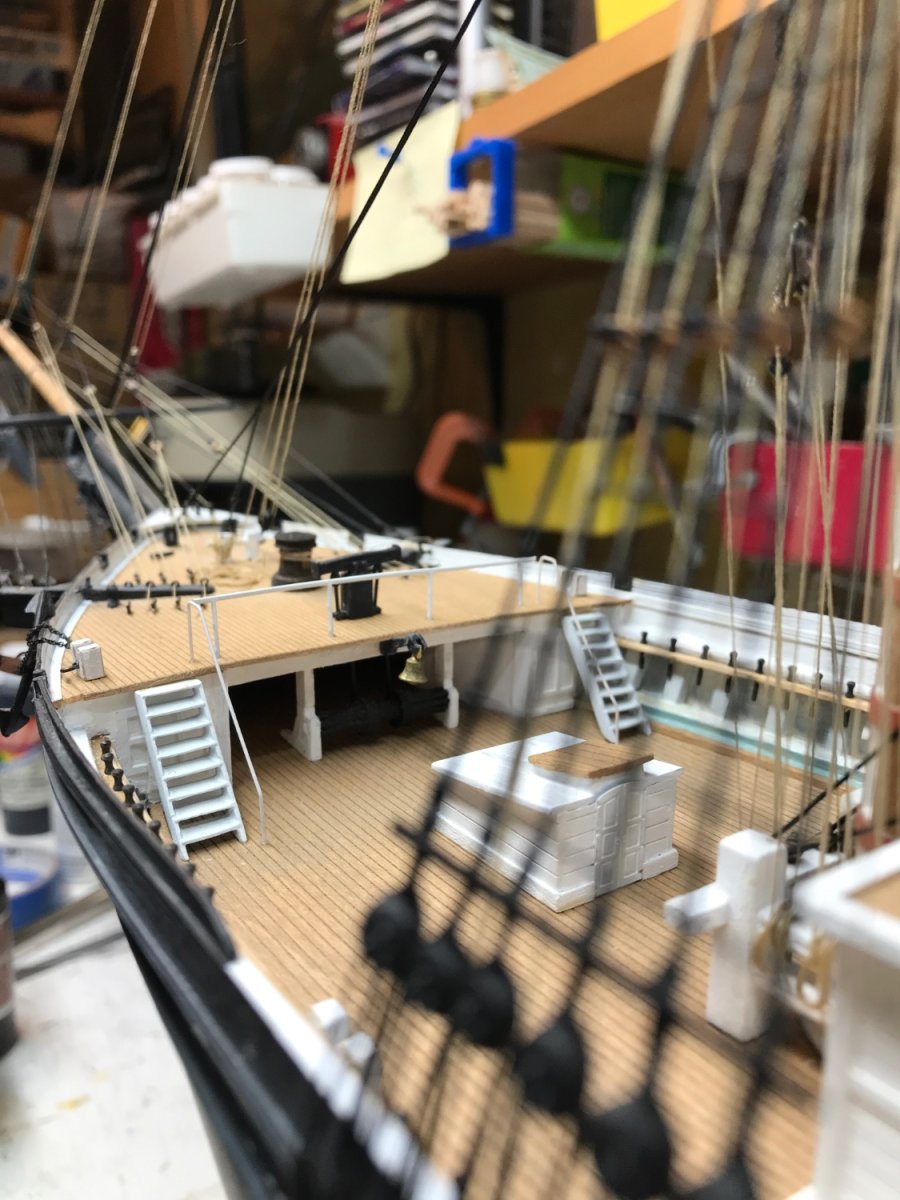
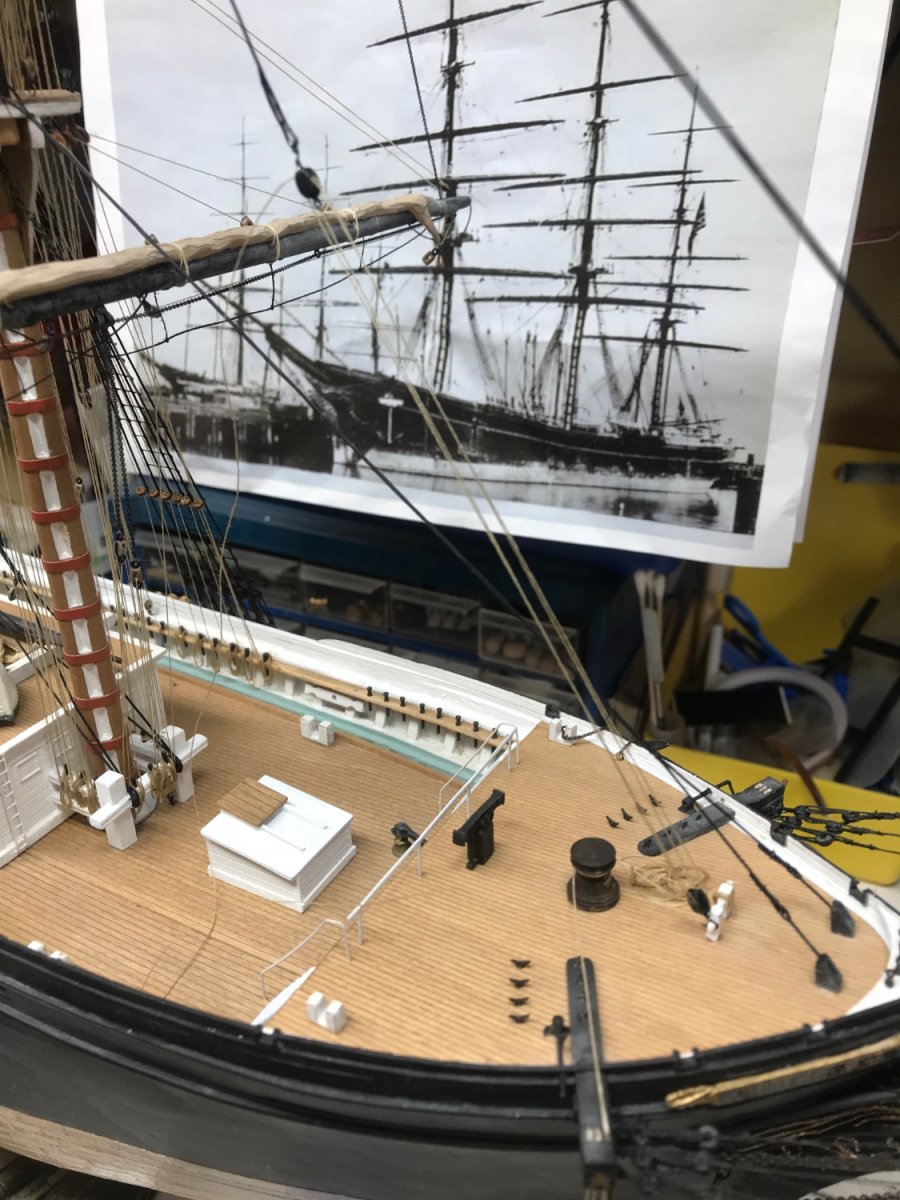
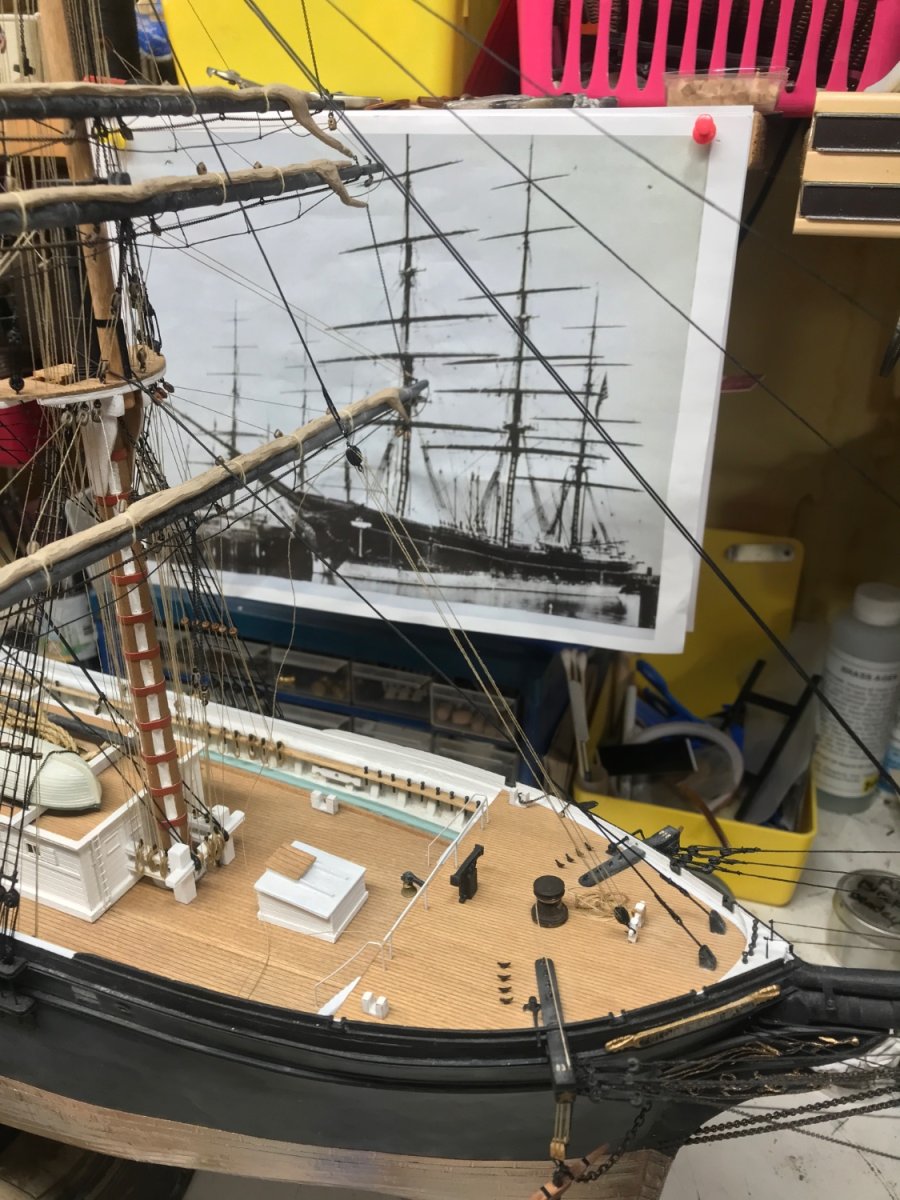
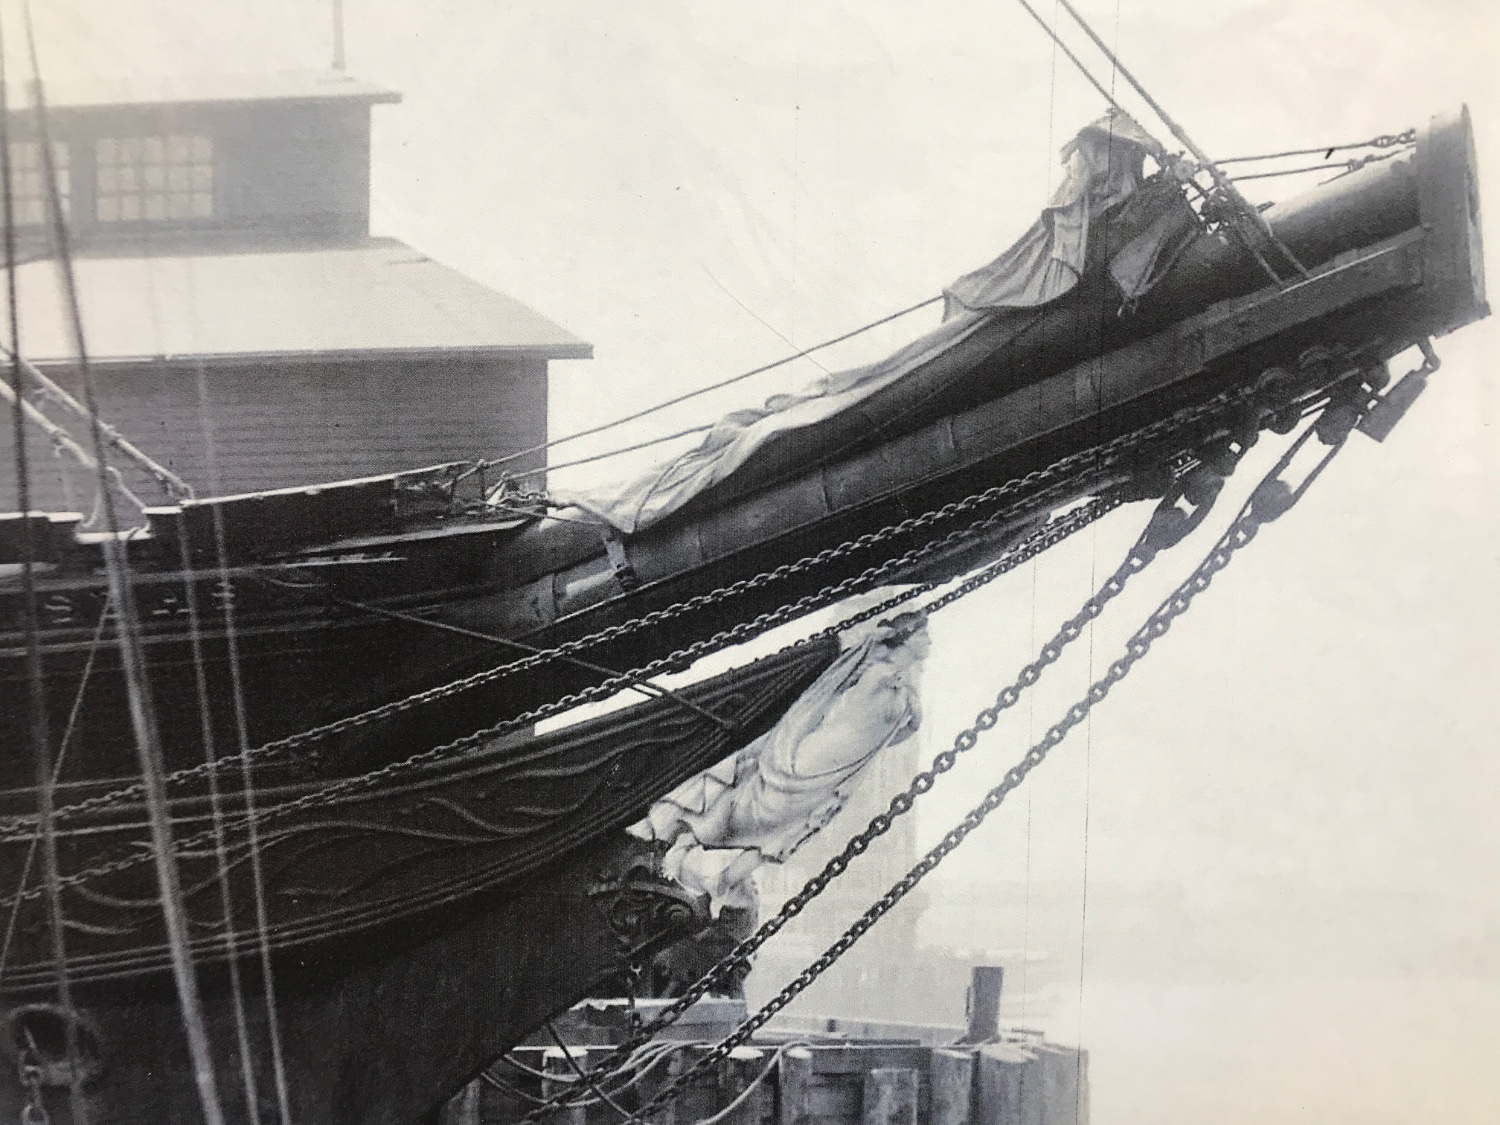
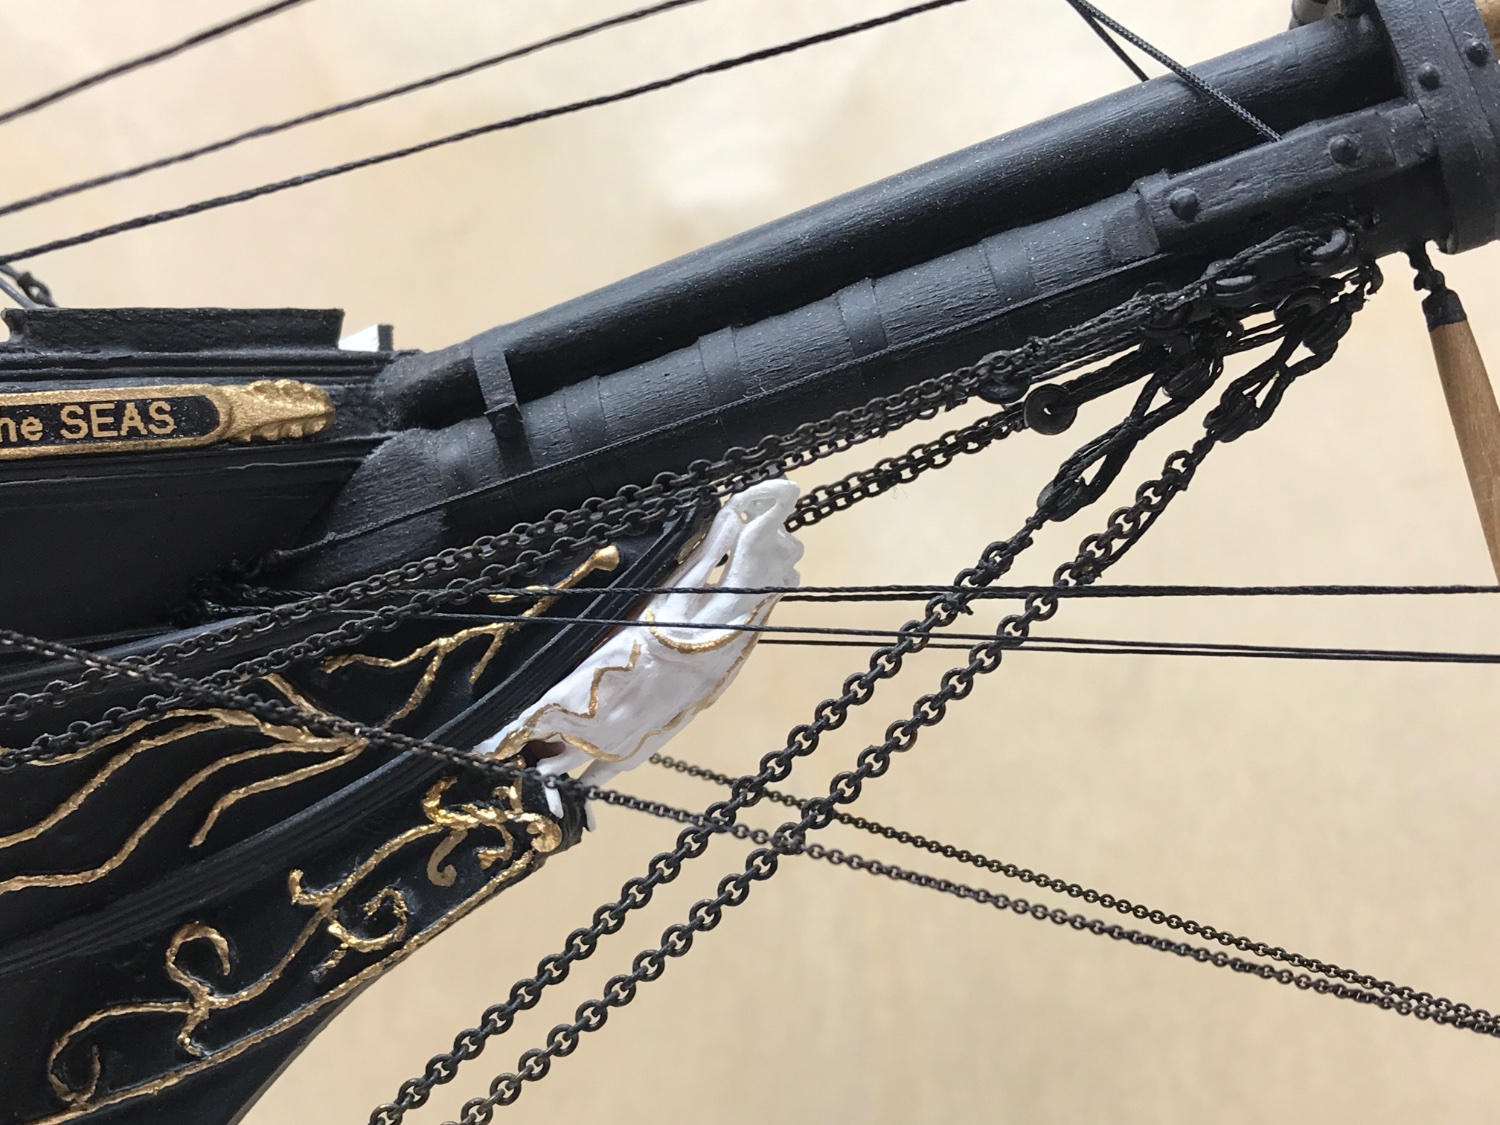
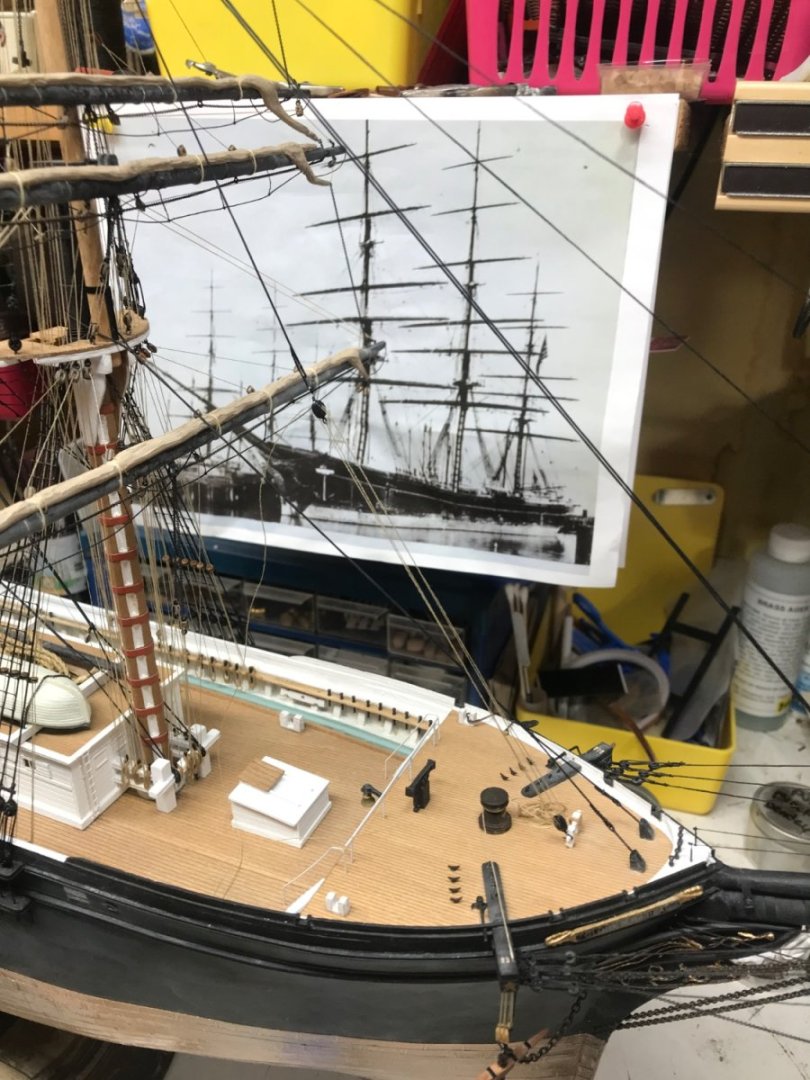
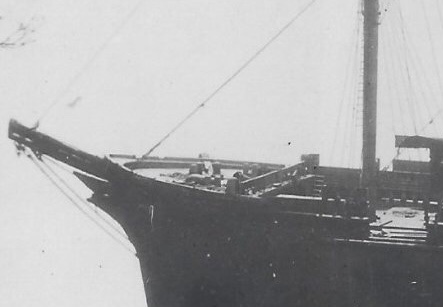
The latest image Mike gave us of Glory taken from a nearby hill...at Enadoline....indicates that a curved bow rail may be the means used for the pins(Missing in that image), but as you pointed out with a much clearer image of her showing her crowded forecastle. There definitely appears to be a line belayed at it. The later images of her being modified for canary service are not clear in this area, but do show the iron stanchions used for the hand ropes that men would use to scurry up her bowsprit to furl and loose her jib sails. These iron stanchions must bolt down to some rail at the bow. the image doesn't indicate that these stanchions were merely bolted against the splash rail. Further, this curved bow rail, from the overhead image, does indicate it is flowing smoothly into the splash rail. That shadow is very misguiding. I think, do to the lack of undeniable, irrefutable, evidence, I am going to fabricate a small curved rail at or close to the location it appears to be in the image. Then place 5 pins and both iron rope stanchions there. Rob
-
The curved ledge or rail at the bow in front of the fore stay mountings, could indeed be an elevated bow rail for pins used for the jib stay sail downhauls. The shadow indicates such a rail. Rob
-
I think the structure that forms the curve of the splash rail base, could be a bow rail for pins. I need to figure this out. It looks like another mod is in store. Rob
-
Spider band at the base of what? Rob
-
This image doesn’t show any fife rails. Nothing hinting on typical structures. Rob
- 3,560 replies
-
- 2
-
-
- clipper
- hull model
- (and 2 more)
-
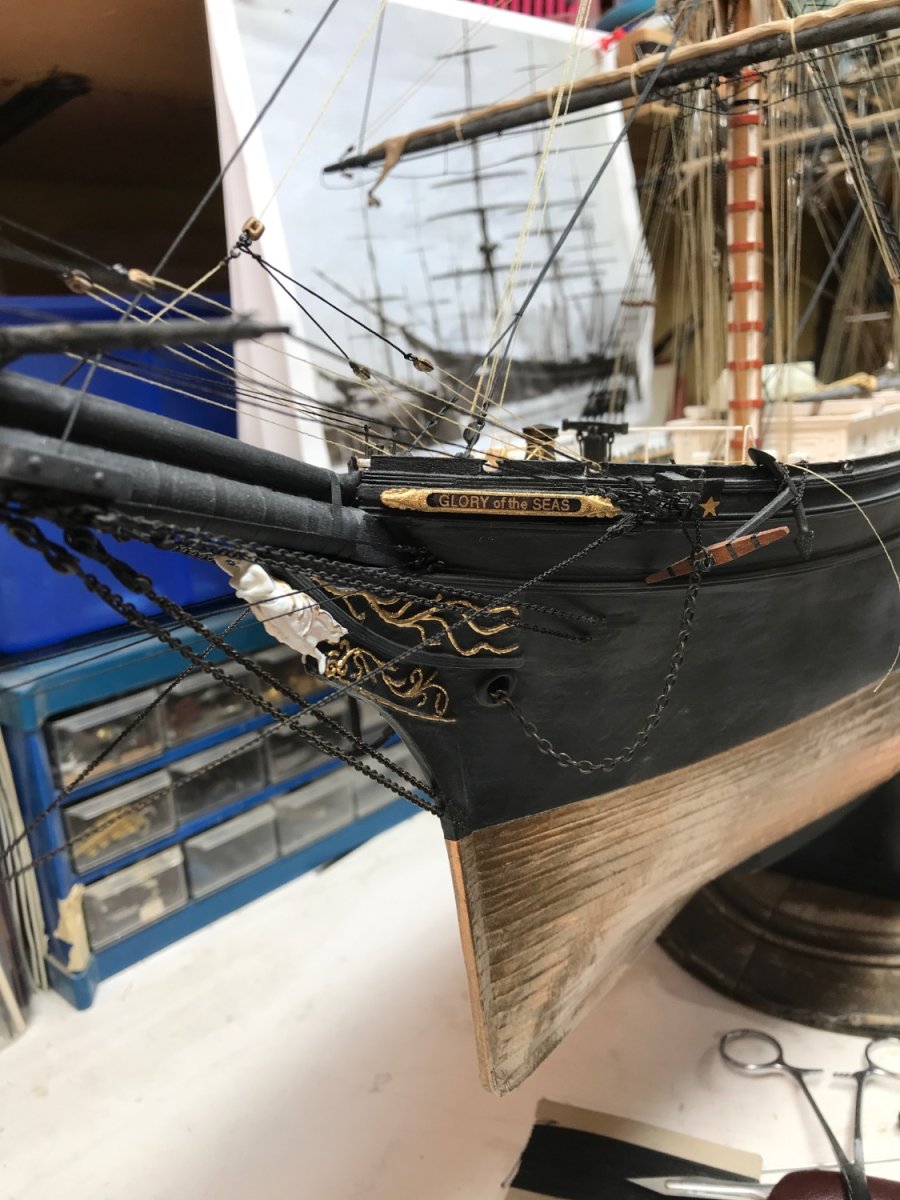
I have period dry transfers that I will use to redo the stern name and the name boards……just haven’t got to them yet. No…I don’t mind. That will be a whole project in of itself. Was my spelling correct? Rob
- 3,560 replies
-
- 1
-
-
- clipper
- hull model
- (and 2 more)
-
Why not simply cut the wire so it simply terminates at the futtock band and just glue it there? When you glue the wire in the hole of the cross tree, you will have snug secure deadeye to lanyard up to the upper shroud. Then simply paint over the glue joint. In this scale you can get away with that. Rob
- 481 replies
-
- 1
-
-
- Cutty Sark
- Revell
- (and 2 more)
-
I’ve come to an empass. Normally the downhauls for the jibs would be belayed at a fife rail on the forecastle. However, all my research doesn’t seem to validate that Glory had one on her forecastle. I don’t se any evidence of one………but logic dictates one had to be there…..or something similar. Maybe Rich will add some insight? Rob