HOLIDAY DONATION DRIVE - SUPPORT MSW - DO YOUR PART TO KEEP THIS GREAT FORUM GOING! (Only 27 donations so far out of 49,000 members - C'mon guys!)
×


rwiederrich
-
Posts
5,518 -
Joined
-
Last visited
Content Type
Profiles
Forums
Gallery
Events
Everything posted by rwiederrich
-
Finished up the bunt line belaying and moved to the starboard side. Rob


- 3,560 replies
-
- 6
-

-
- clipper
- hull model
- (and 2 more)
-
Fantastic work Vlad. How exciting that you’re back at it and remodeling too boot. Wonderful. Rob
-
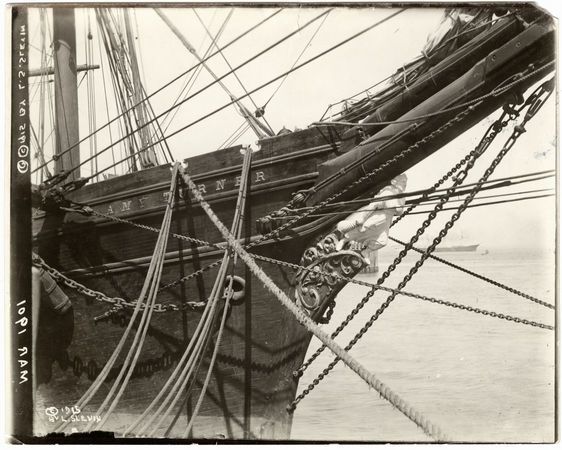
Compare the average clipper cutwater and its planksheer termination.
-
Spent a bit of time finishing up the port shrouds and their rat lines. Added the fair leads too. Now to run and belay some of the previously installed bunt lines. Rob


- 3,560 replies
-
- 5
-
-
- clipper
- hull model
- (and 2 more)
-
Michael...your work is second to none....both in boat building and R/R rolling stock fabrication. I'm never left unimpressed. Glad to see you at it....and in great form....too. Rob
-
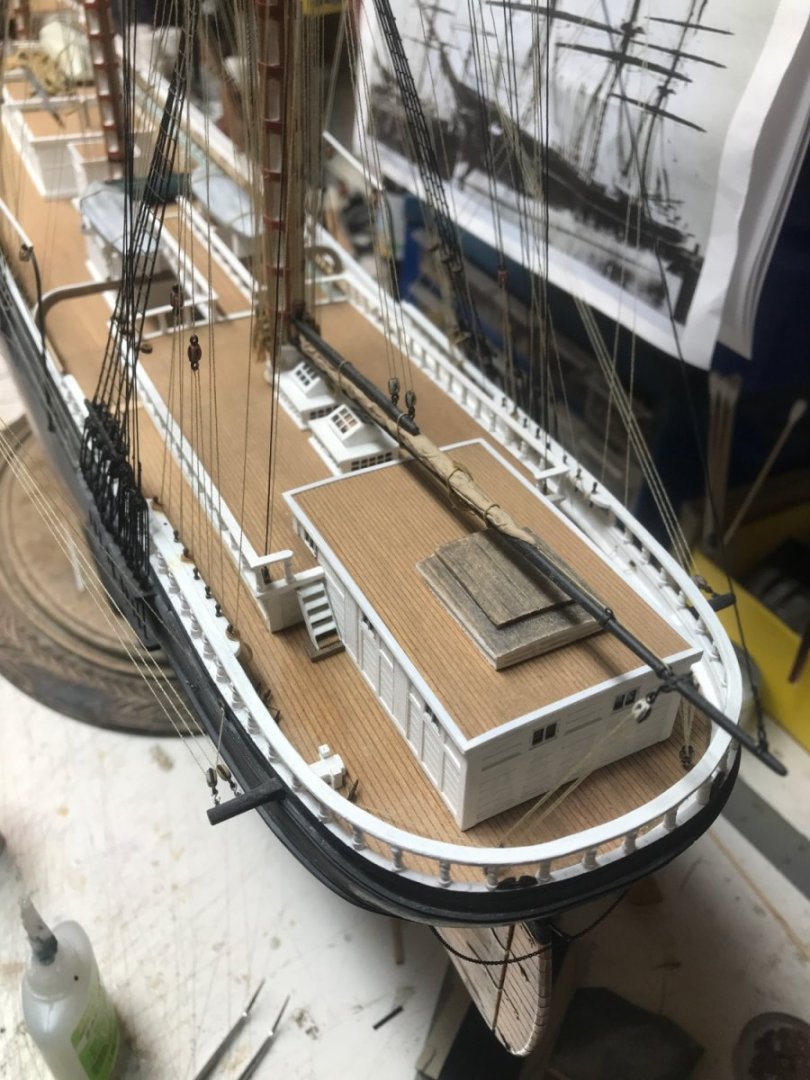
Just wonderful work on her forecastle....wonderful. Have you decided on what you are going to do with the *Naval hoods*? Rob
-
Actually, I keep her tucked away out of sight and from prying fingers. Many Grandkid's can reek havoc if not controlled. In this instance.....we gathered elsewhere. Yeah...once I get all the head gear rigged and the fore stays and the jib halliards installed...She will take on a much larger presence. I hope to finish off the port fore shrouds and get a good start if not finish the starboard shrouds today. One small task down...then I'll tackle the ratlines as another small task. One small task at a time and before you know it...she will be through. Rob
- 3,560 replies
-
- 1
-
-
- clipper
- hull model
- (and 2 more)
-
I added these other shrouds before I left for the Fair today. More family time. Tomorrow is a new day. Rob
- 3,560 replies
-
- 4
-
-
- clipper
- hull model
- (and 2 more)
-
We’ll….starting up again is going slowly. This weekend was full of “other” projects……..like cleaning out the garage and a big church picnic. I hope this next week will be more productive. Here are the beginnings of the fore shrouds. Rob

- 3,560 replies
-
- 4
-
-
- clipper
- hull model
- (and 2 more)
-
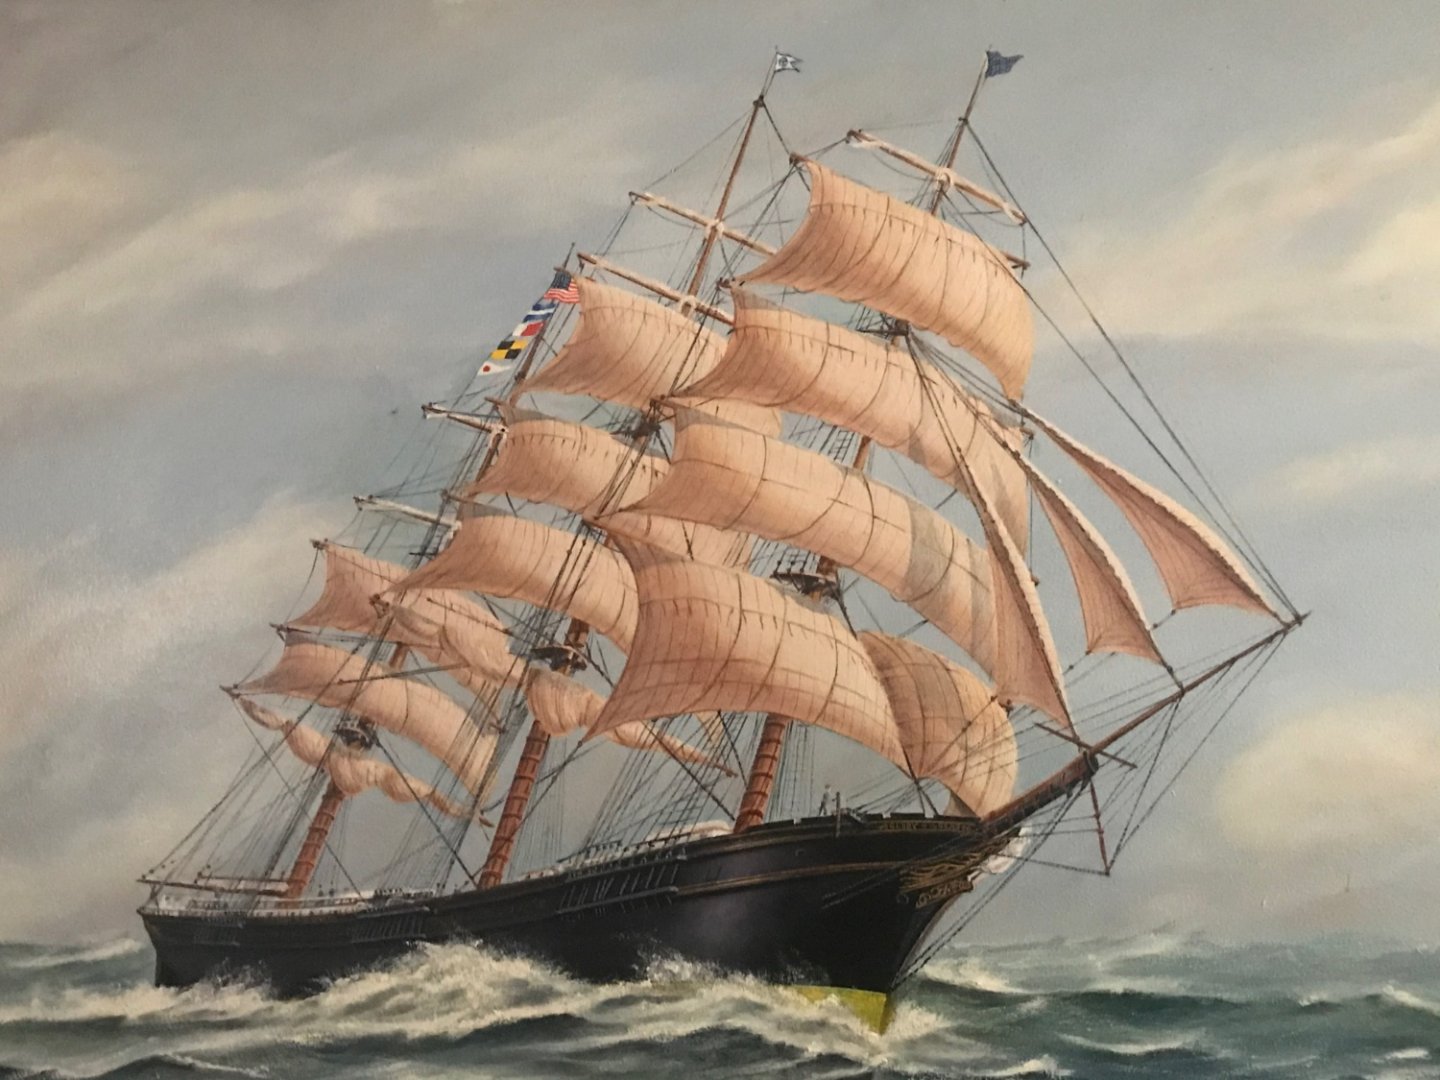
I took this pic of a painting of Glory that Mike has hung in his living room, that I believe he is considering to put on the cover of his next book. I don’t recall the artist. The bottom image is from a different artist. Both from Mike. Wish I had a better image. Rob IMG_1130.MOV

- 3,560 replies
-
- 3
-
-
- clipper
- hull model
- (and 2 more)
-
Good thing we are not in any kind of race. You’ll complete your Glory at the appropriate time. Schedule’s are different, so must be our efforts. Can’t wait for you to get back at it. Rob
- 3,560 replies
-
- 1
-
-
- clipper
- hull model
- (and 2 more)
-
Good to have a model to work out issues and techniques on....Good job. I'm so sorry to hear about the Queen...I pray a smooth transition will occur and your heart will be comforted during this great loss. She was well liked...even over here(across the pond) in the states. Rob
-
George, are they blocks for hauling the yards? Typically the sheave is imbedded within the mast itself.....but the haulyard for the main yard on my Great Republic was external and I used model railroad sheaved logging blocks for that application. some are metal and some are printed. They did need some slight modifications, but they worked for my needs. Show me a pic of what you are talking about and what/where the blocks are supposed to be located on the tree. I will then be able to tell you what I did and what you may possibly do. Rob
-
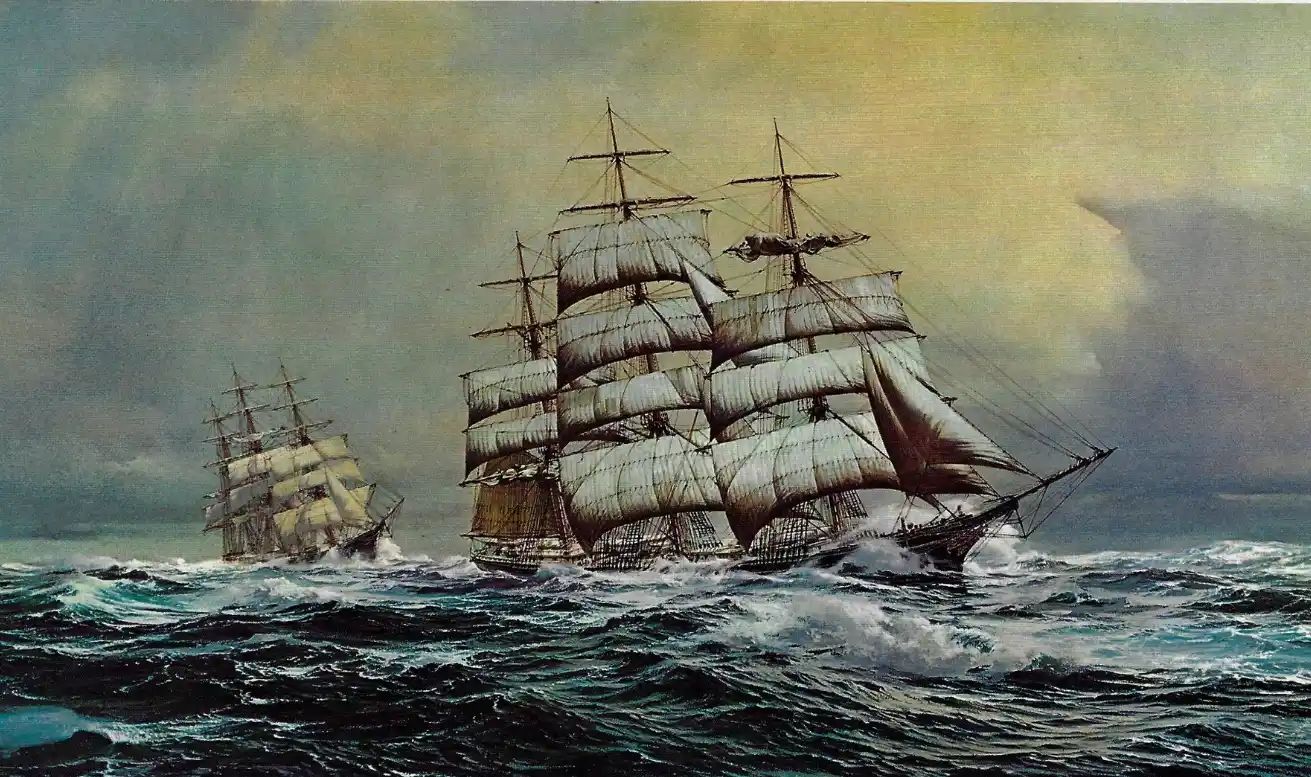
Carl Evers *other* water color painting of Glory of the Seas being chased by Young America in *Conquerors of Cape Horn*
- 3,560 replies
-
- 4
-
-
- clipper
- hull model
- (and 2 more)
-
Sitting last night preparing to go to work......I distracted myself by doing a bit more study, and it is interesting enough to ponder , that Glory had sucha varied history, that you nearly have to pin point an exact time that you want to model her, because of the numerous changes that occurred to her structures and rigging. It is nearly impossible to confidently conclude that you have represented her *exactly* as she was....because as she was *changed* so many times...you can be absolutely correct and be totally different then the next *absolutely correct* model.. What NEVER changed was her hull lines...her elegant entry, hood and stem, and the strength and lines of her bulwarks and stern. Again, after researching her house flag, the use of the Union Jack at her mast head(and how I might construct them).....I completely used up my allotted time to work on Glory. So I didn't work on her at all last night........ What I did, however, was fill my imagination with more romantic notions of her history and legacy. Stuff....that I will use to finish her up in the near future..... Rob
- 3,560 replies
-
- 4
-
-
- clipper
- hull model
- (and 2 more)
-
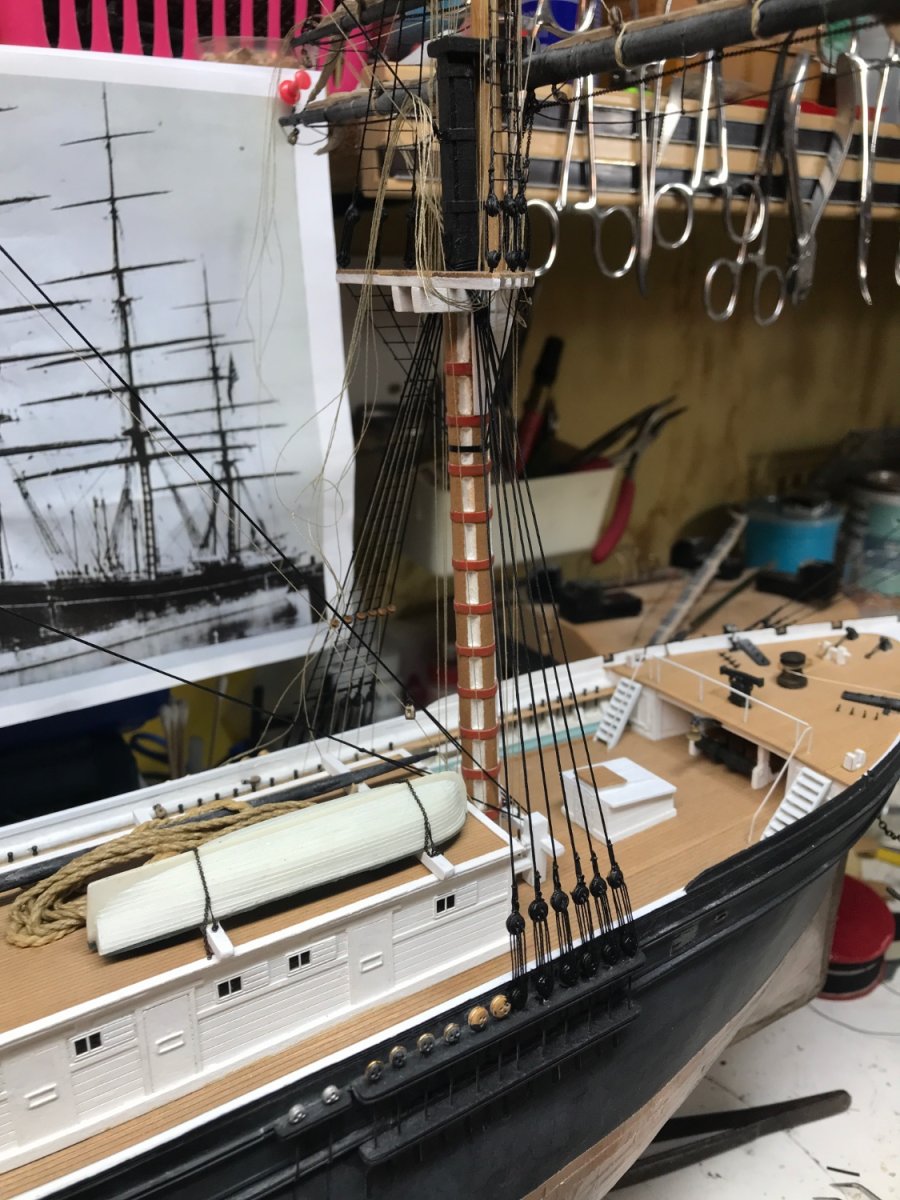
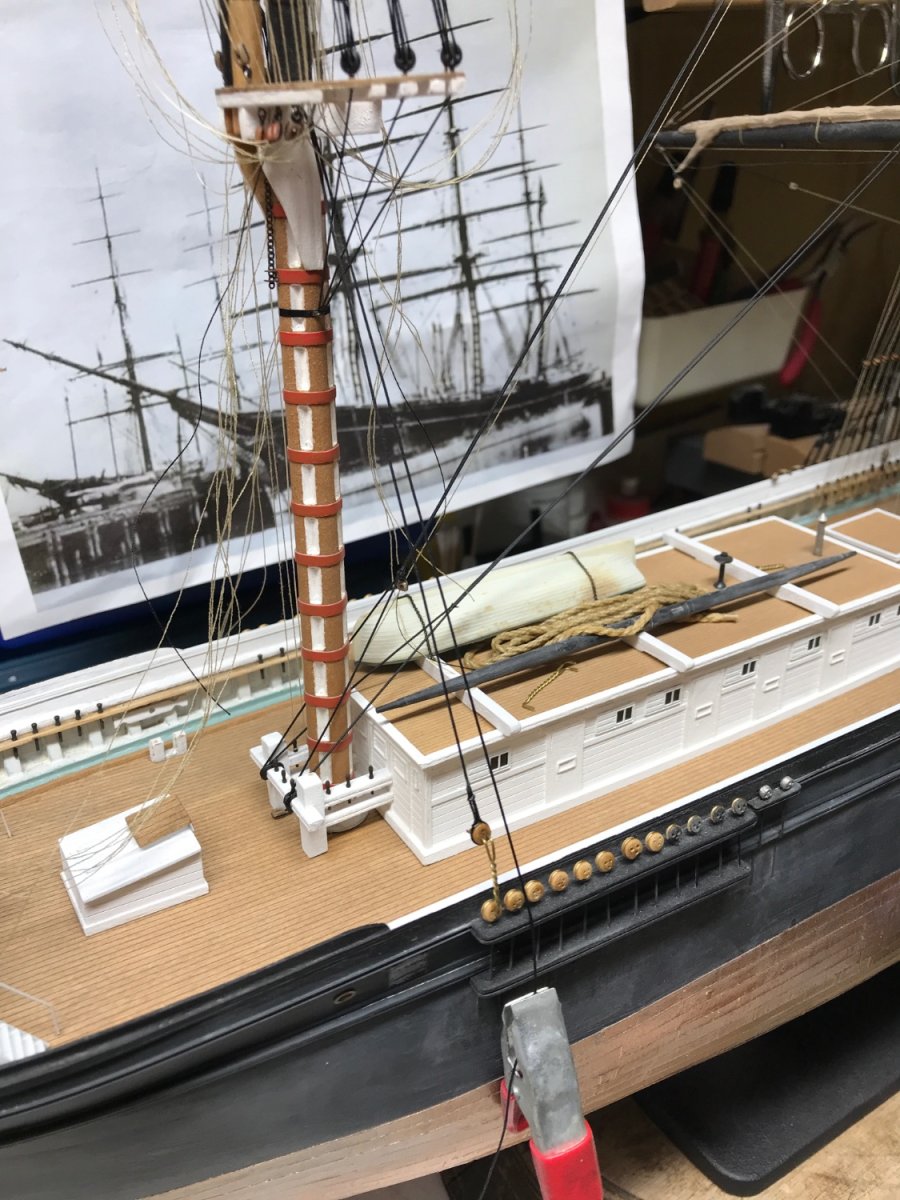
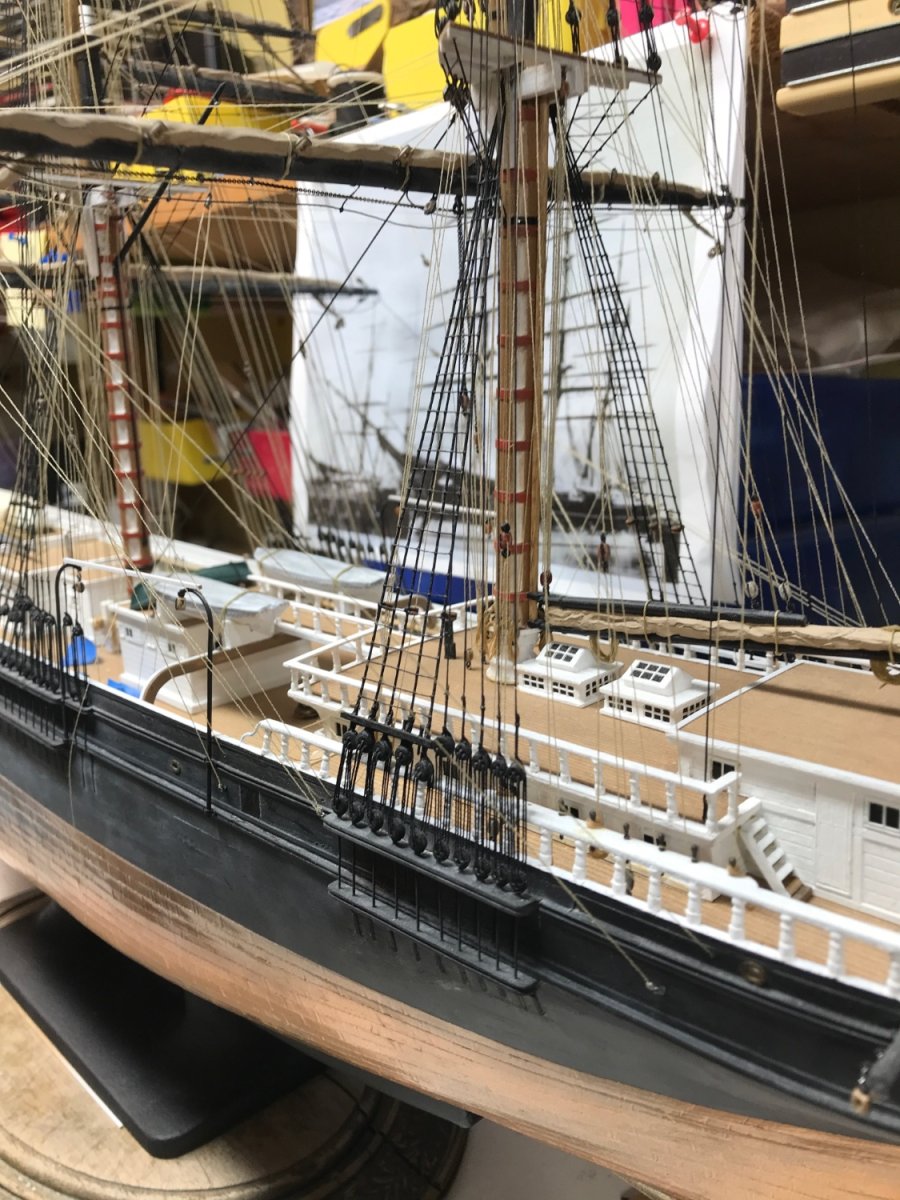
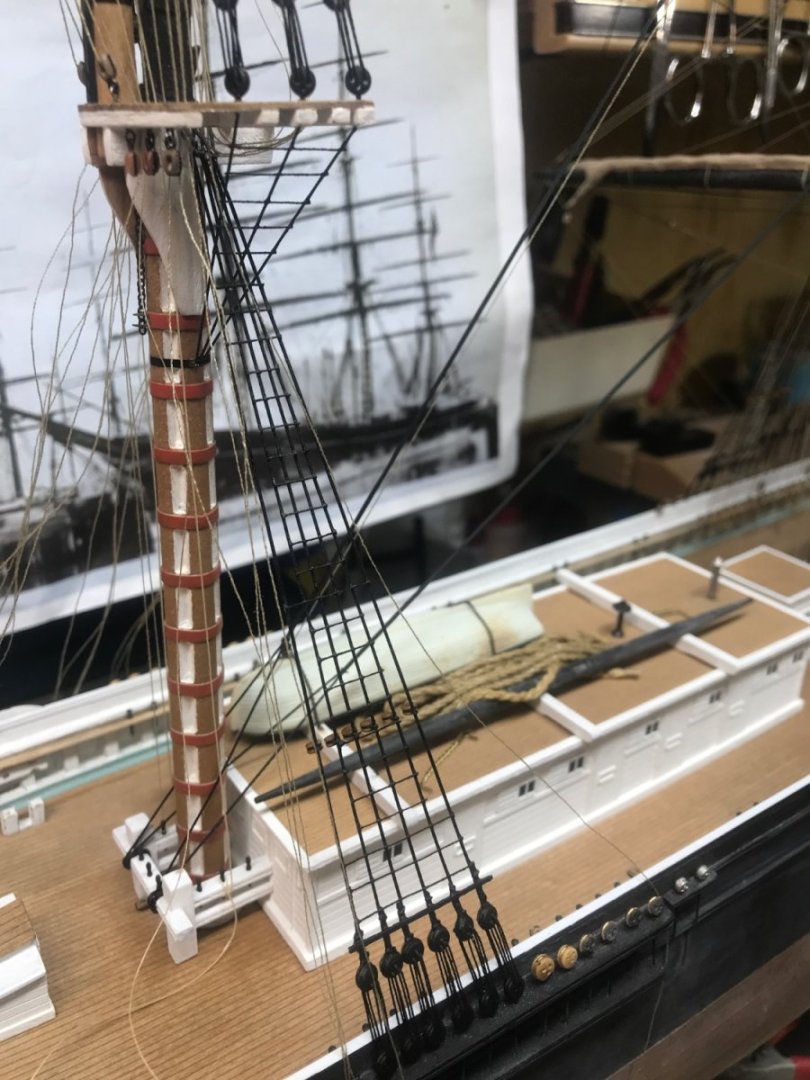
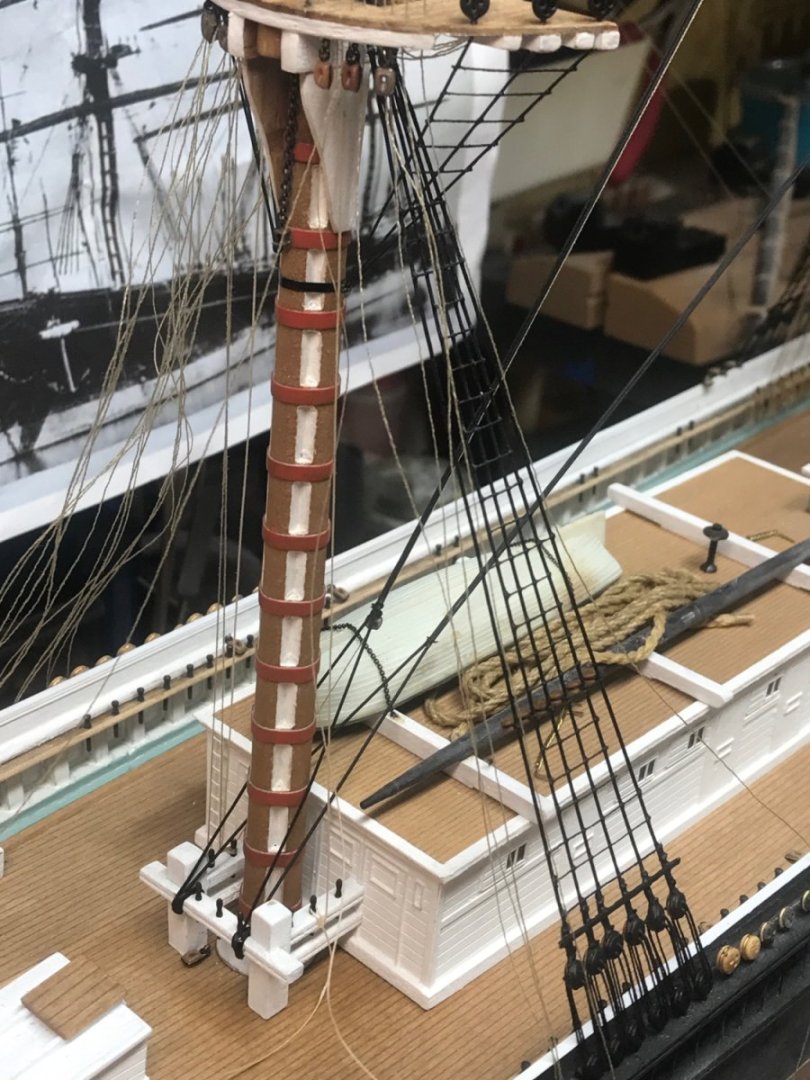
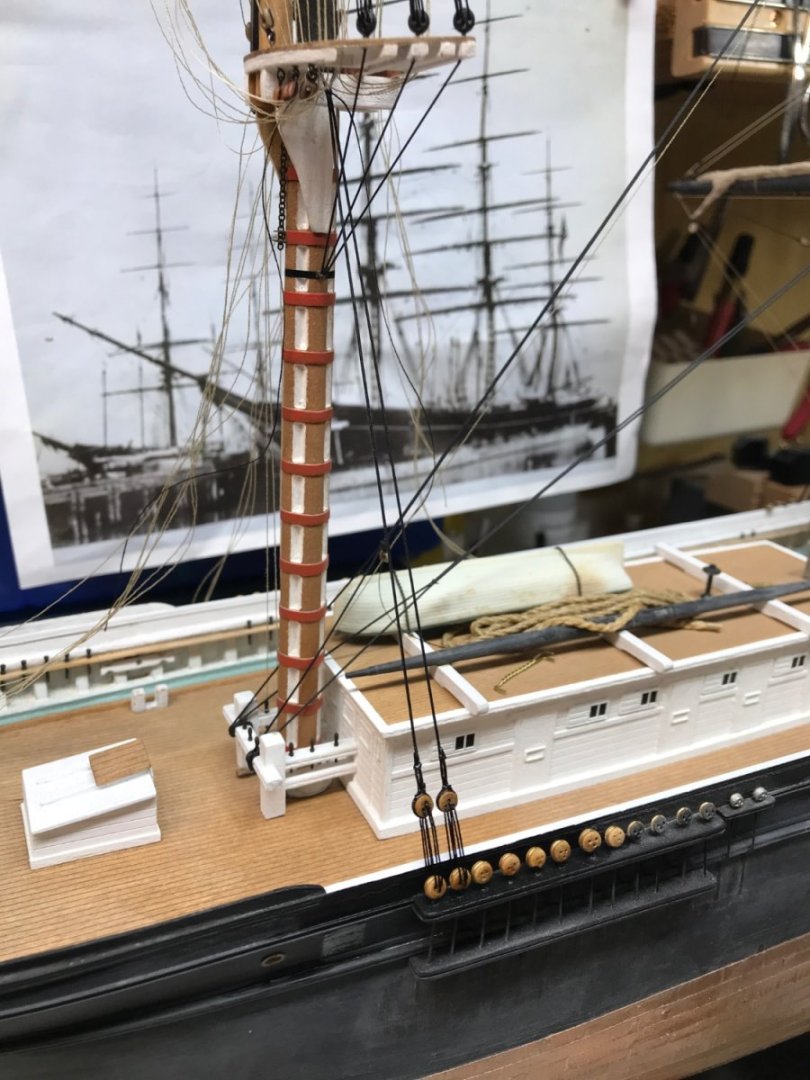
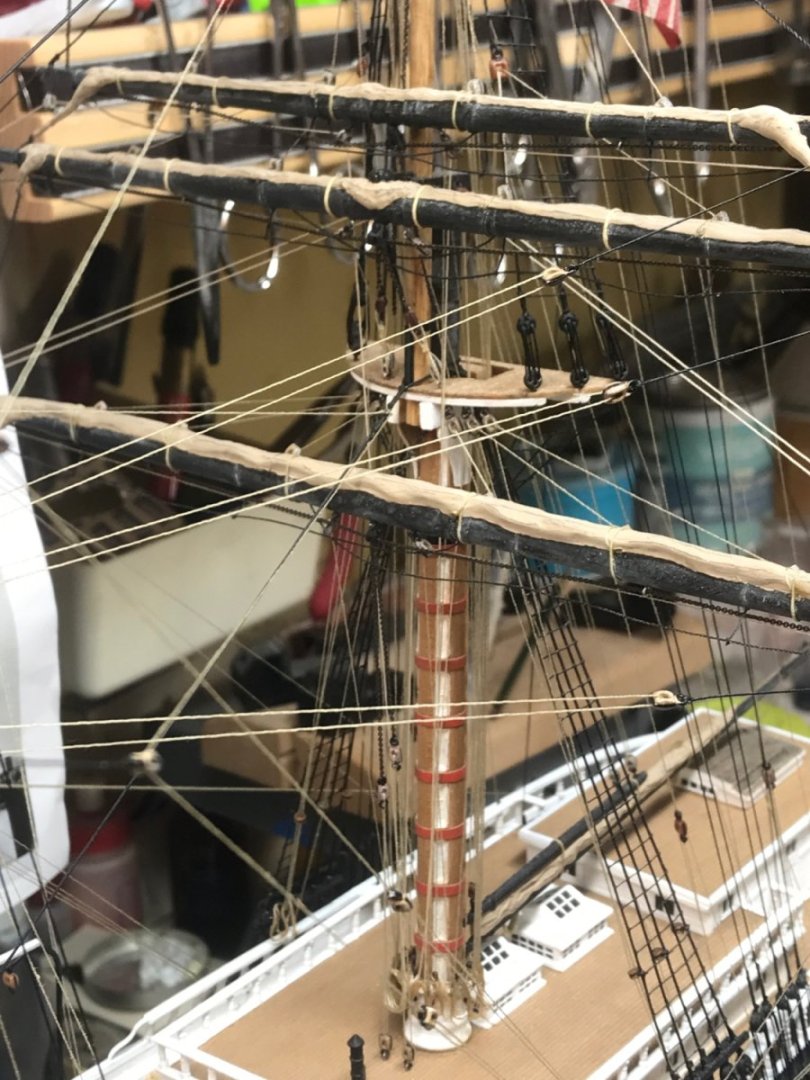
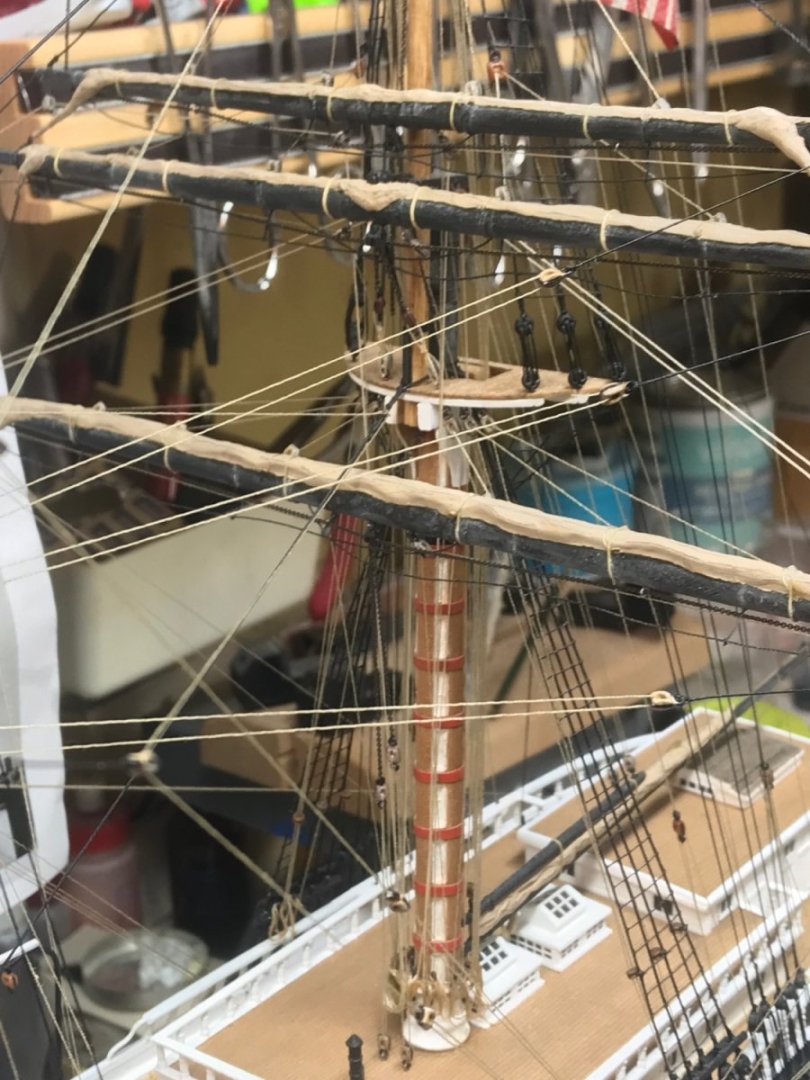
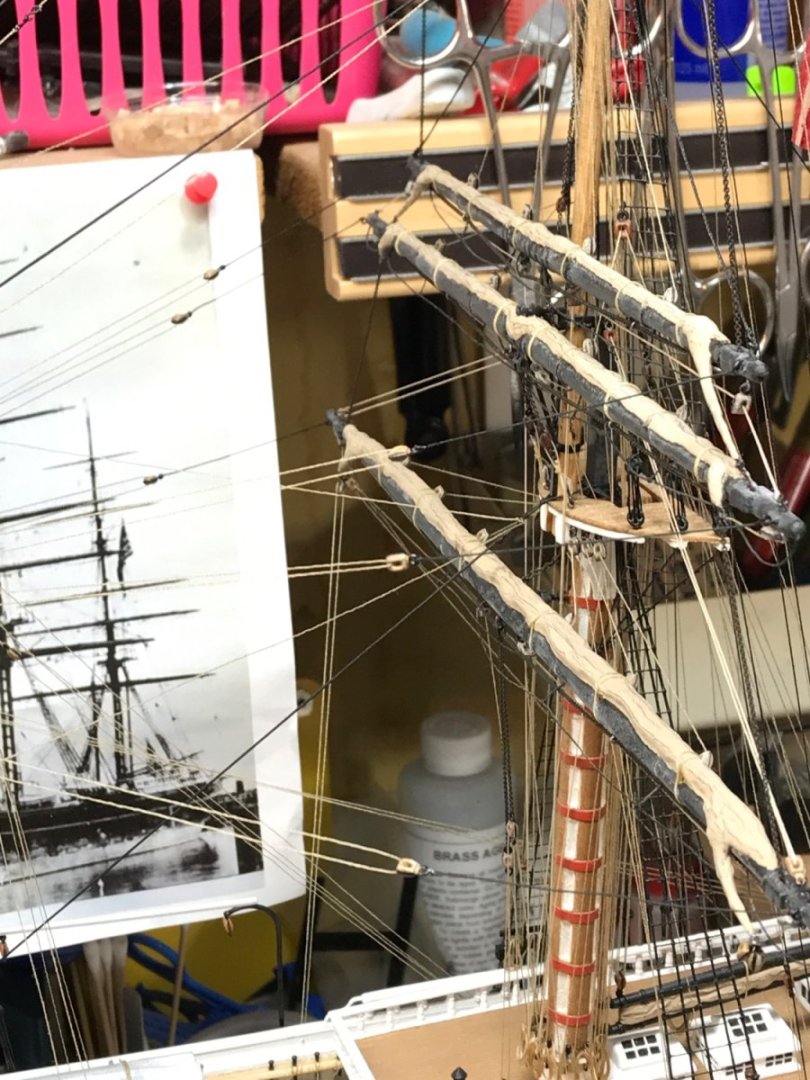
This is what I attempted to achieve on Glory of the Seas. I found it provided relief from replicating and modeling the jackstays, since they were hidden underneath the tightly furled sail on top of them. It's a furl I had not replicated on any earlier models I've built...and it seamed prudent at this time because of the specific period I am modeling Glory....not to mention it truly lends a distinct *different* element, then your typical loose airy furled sails. Different is good. Rob
-
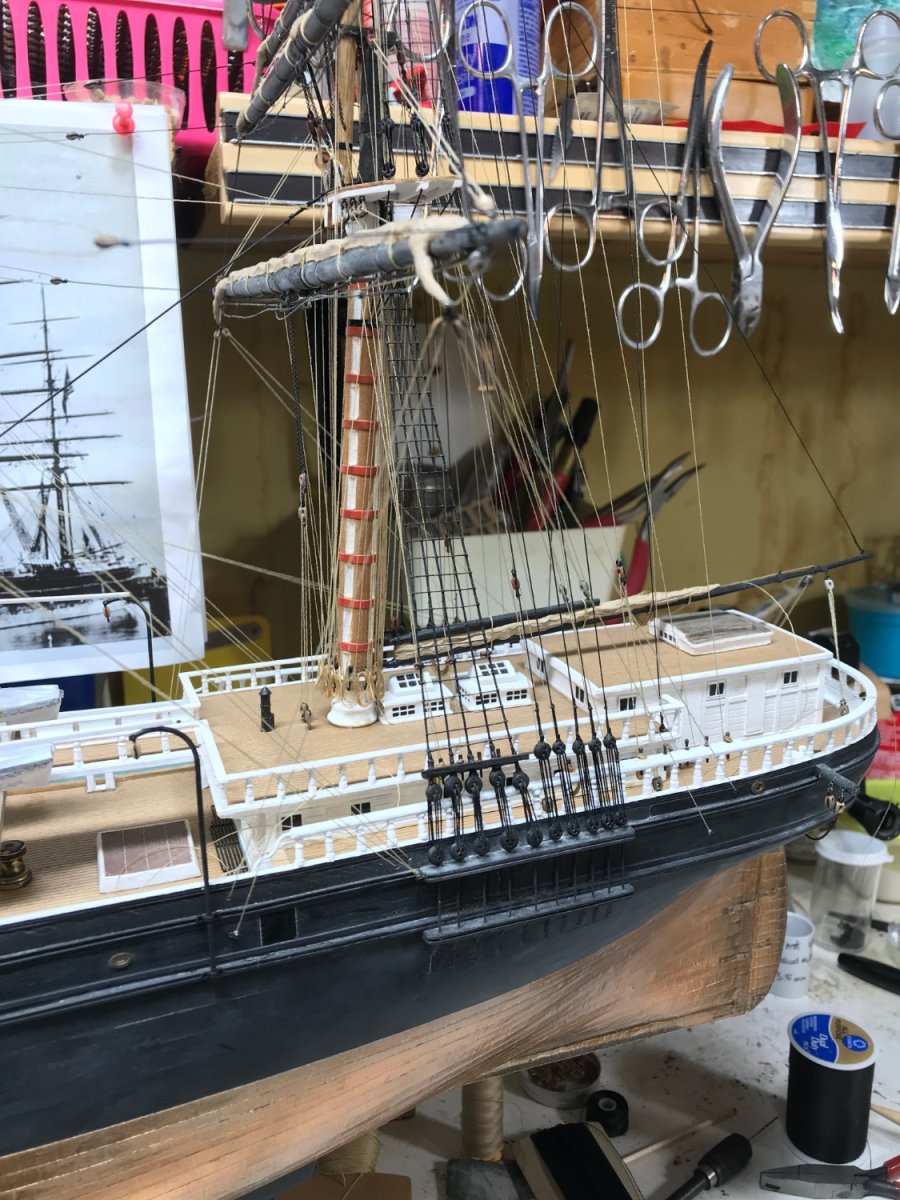
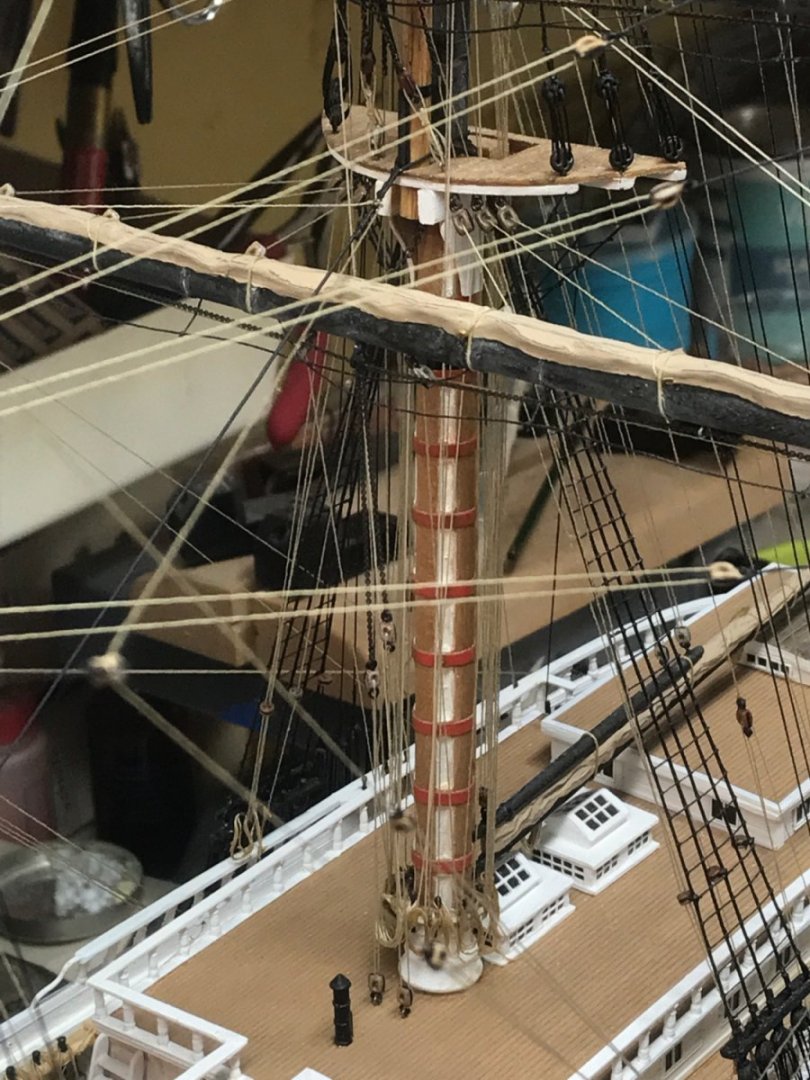
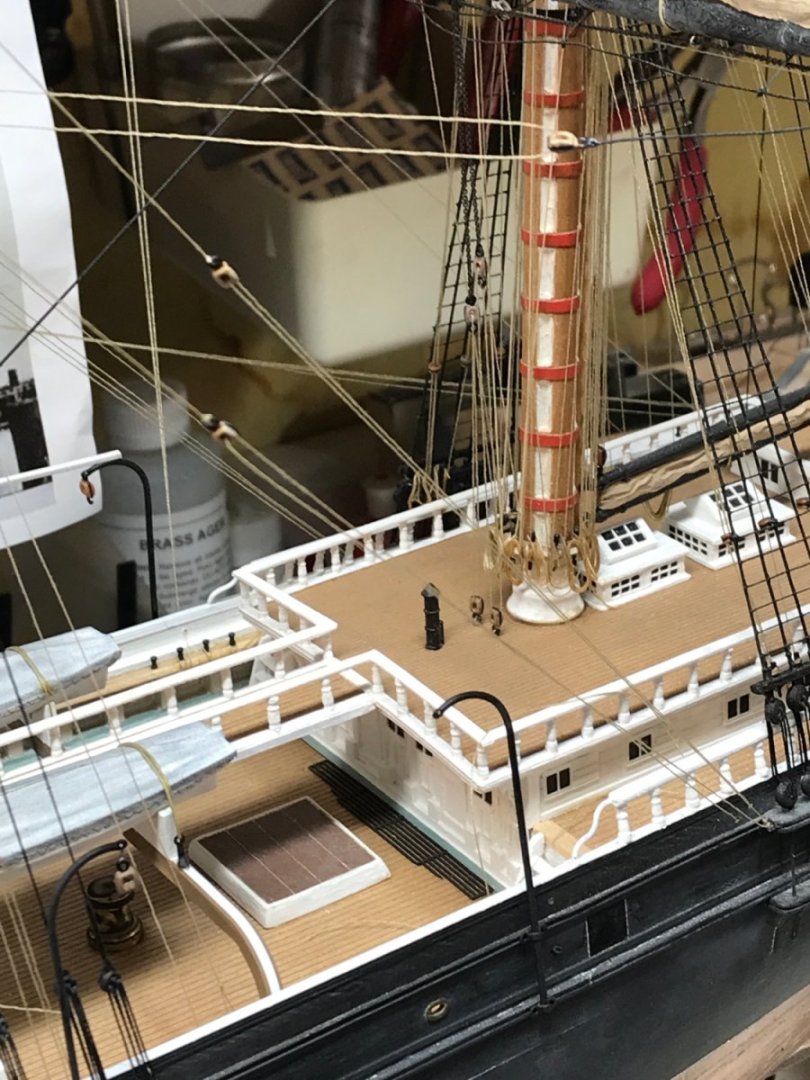
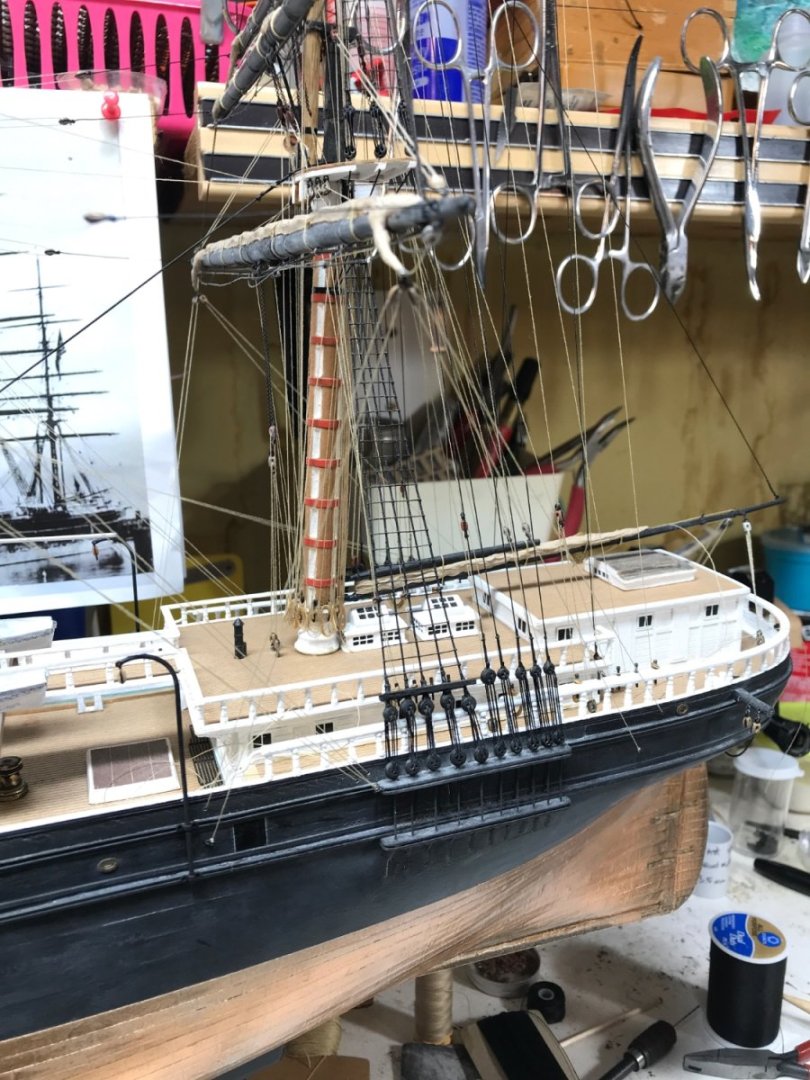
I had read in my studies, that Glory’s lower mast bands were red and that is because many captains did that to make a statement, to establish their uniqueness. To fully make my model as accurate as possible……my bands had to be red. And justification and validation came when these paintings depicted the same. I’m just blown away with how really close I was in my own assessment. True validation of my own research and attention to detail. I’m amazed myself. Oh….the painting is going for many thousands of dollars. Rob
- 3,560 replies
-
- 2
-
-
- clipper
- hull model
- (and 2 more)
-
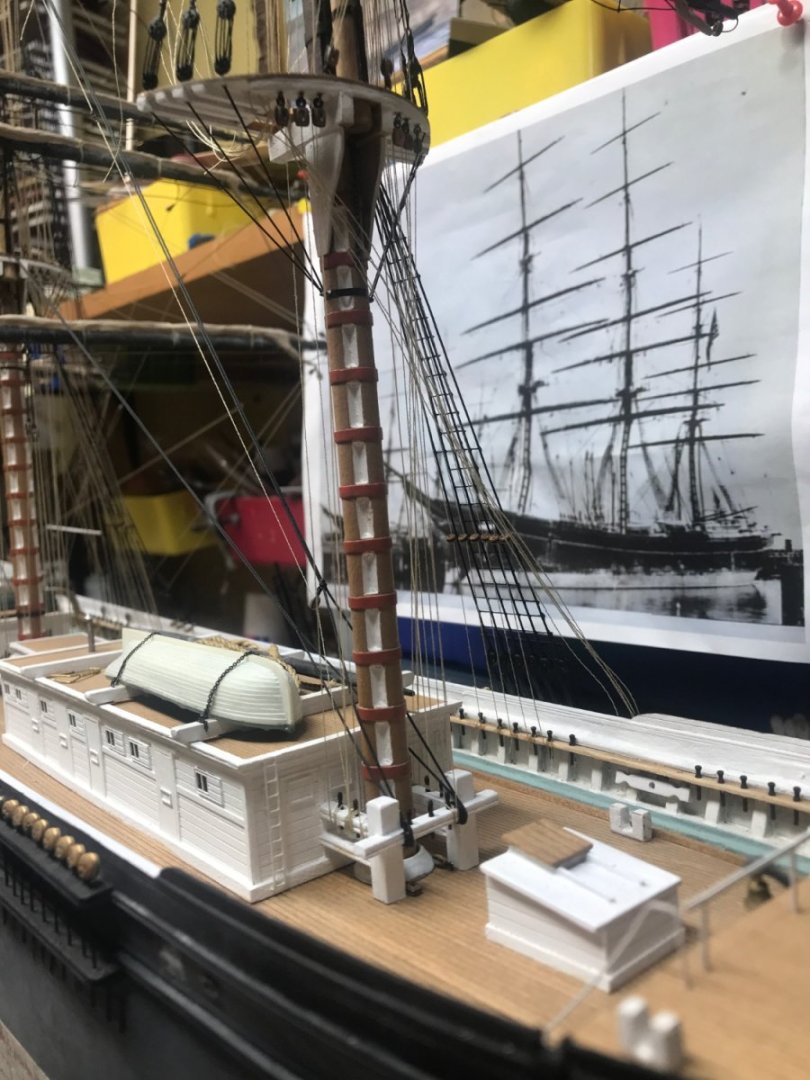
Vallejo is selling that painting and I enquired. Too rich for my blood. Im so impressed with this artist’s representation. It is so close to my own impression, Cept for the chicken coop. I am so glad it looks like my model…….it’s almost uncanny. This is proof evident. Rob
- 3,560 replies
-
- 2
-
-
- clipper
- hull model
- (and 2 more)
-
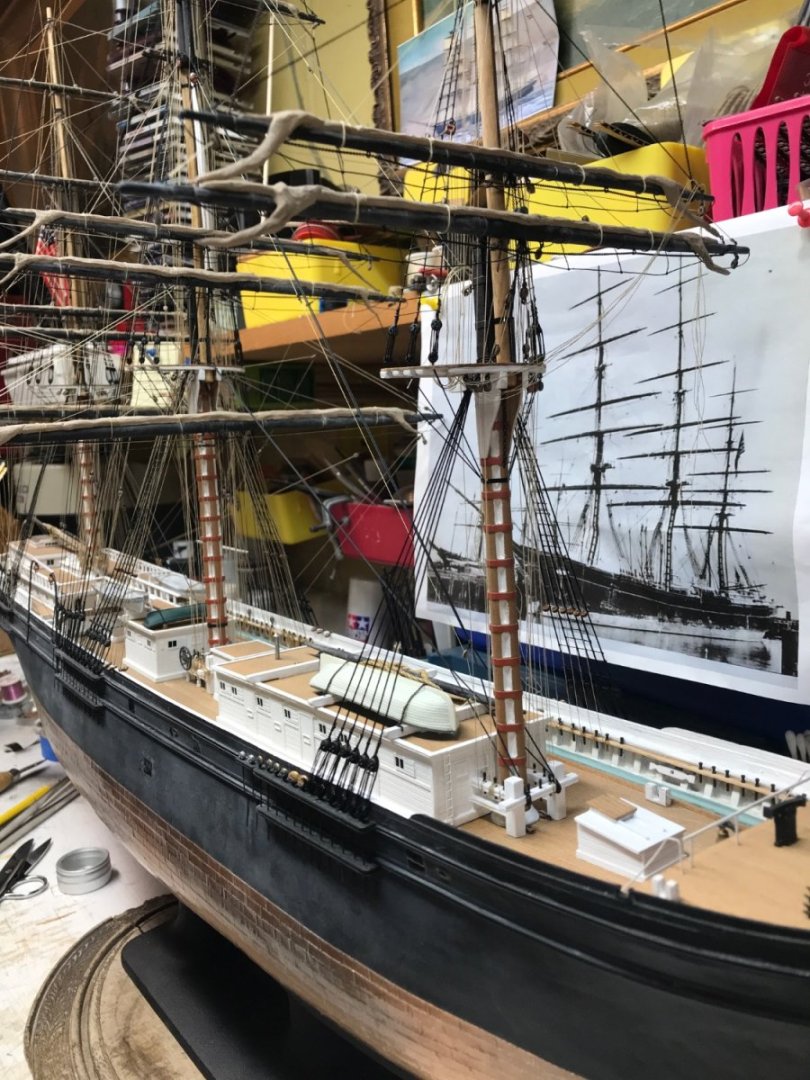
I have a mute or black drape I will use for pics. To highlight the rigging. I just don’t like moving the ship from room to room while I’m building her. I’ll take better pics soon. Rob
- 3,560 replies
-
- 1
-
-
- clipper
- hull model
- (and 2 more)
-
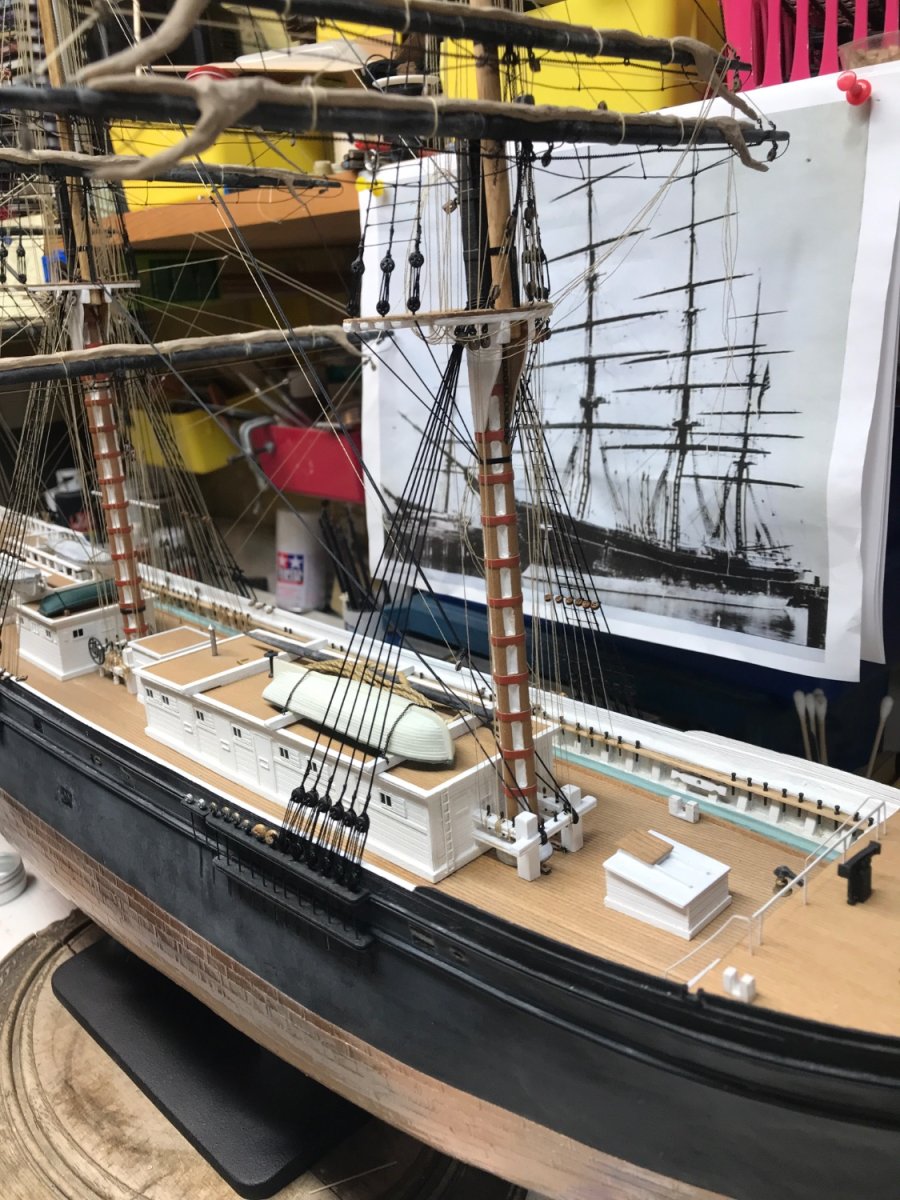
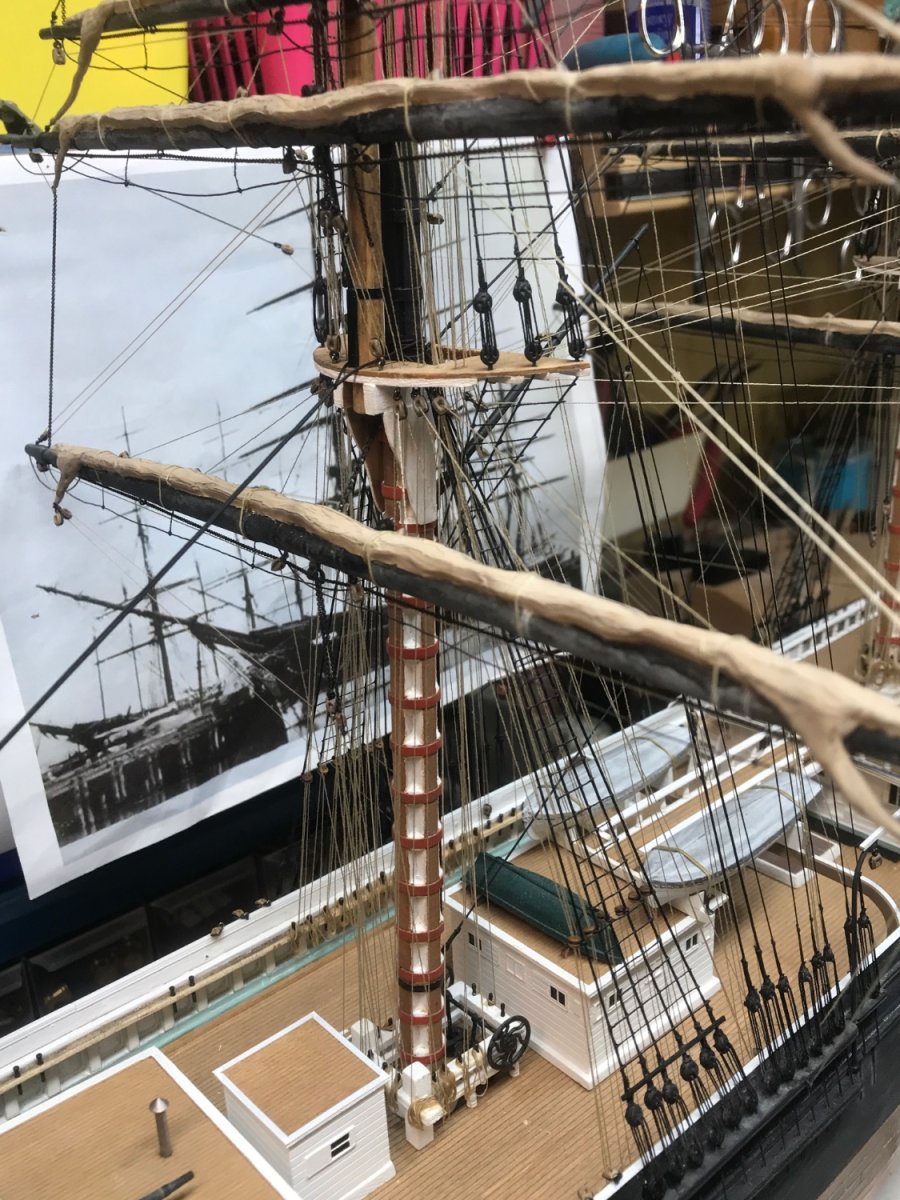
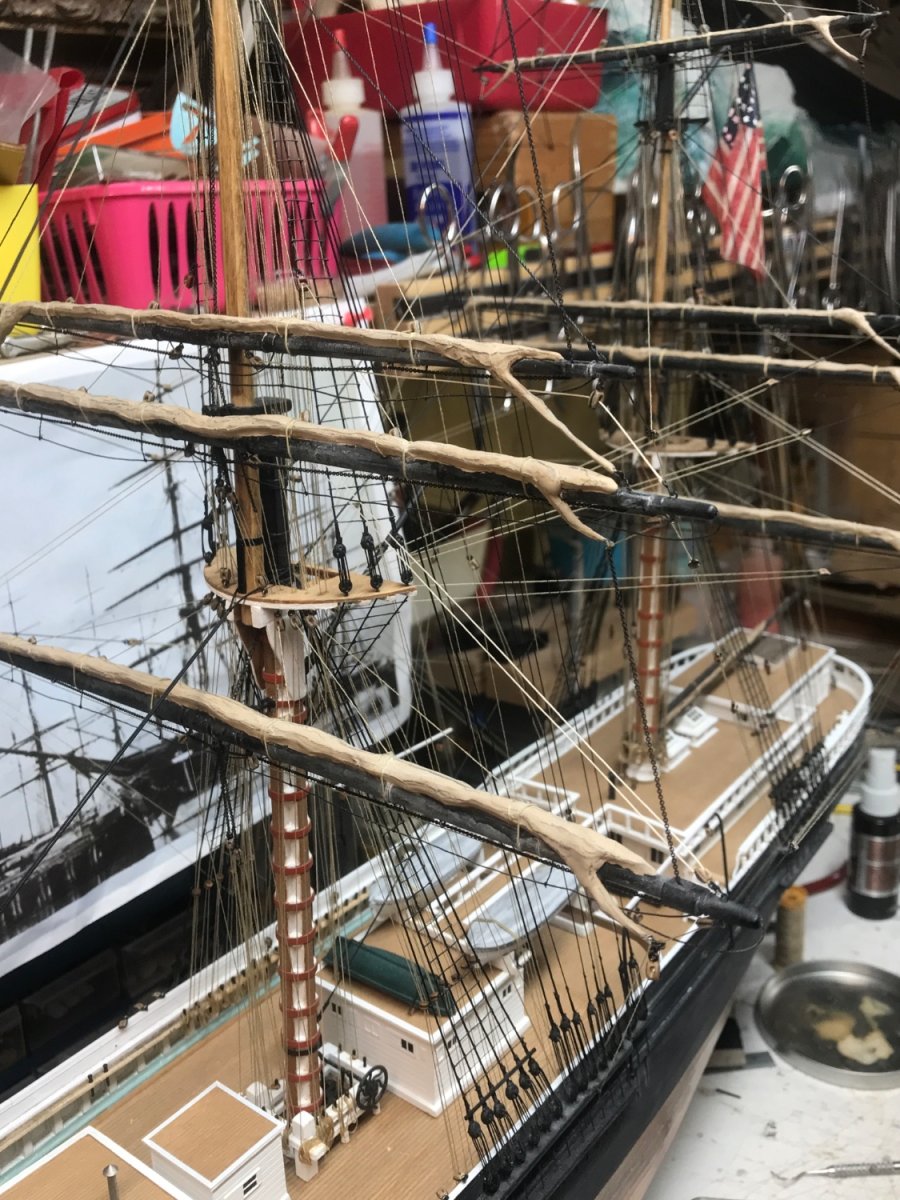
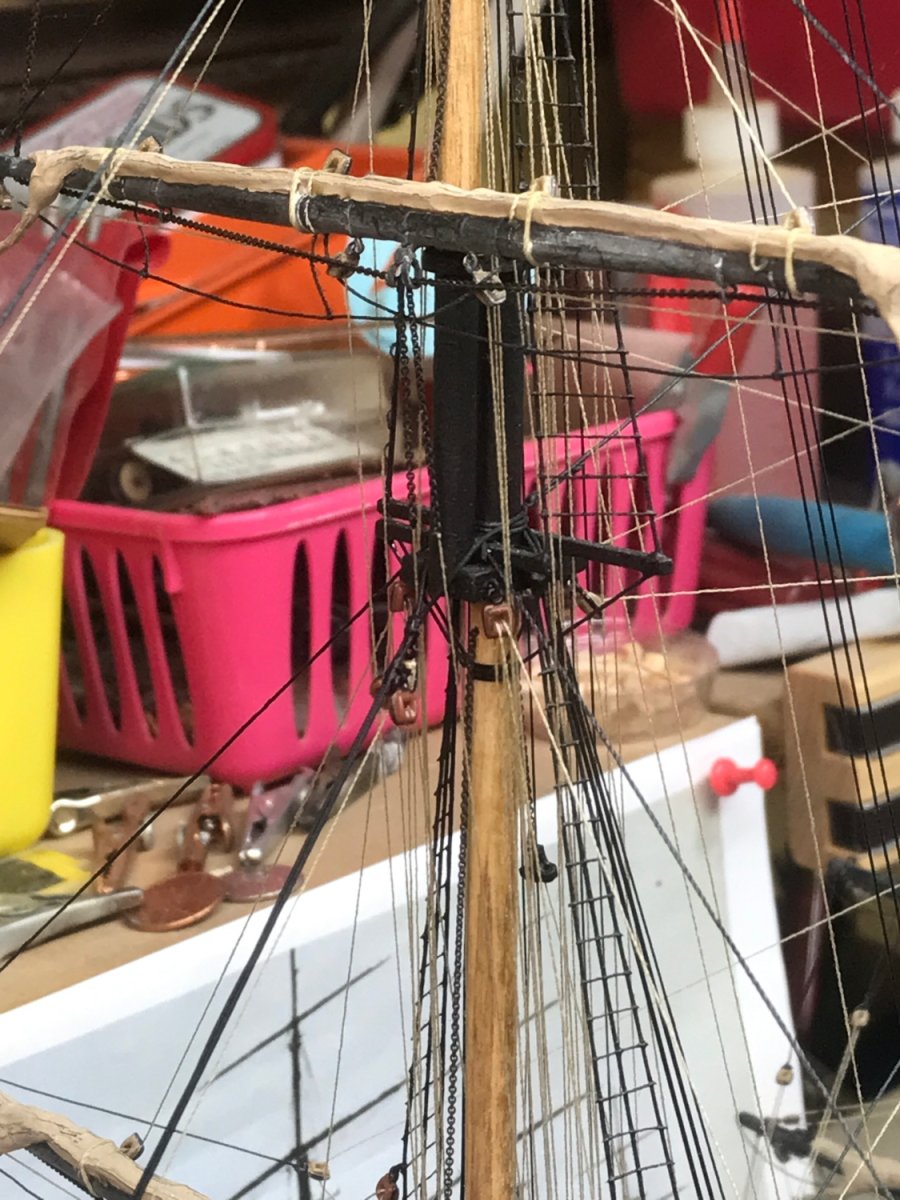
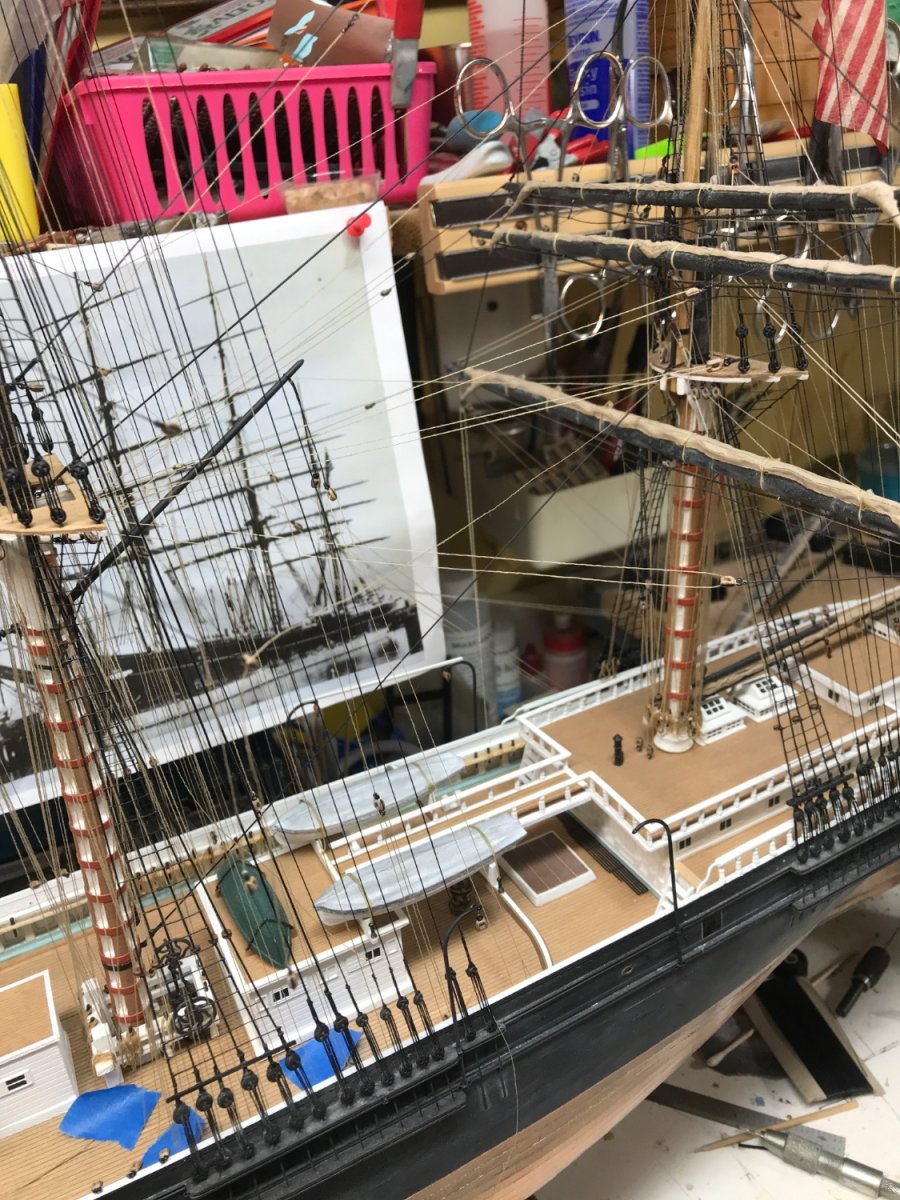
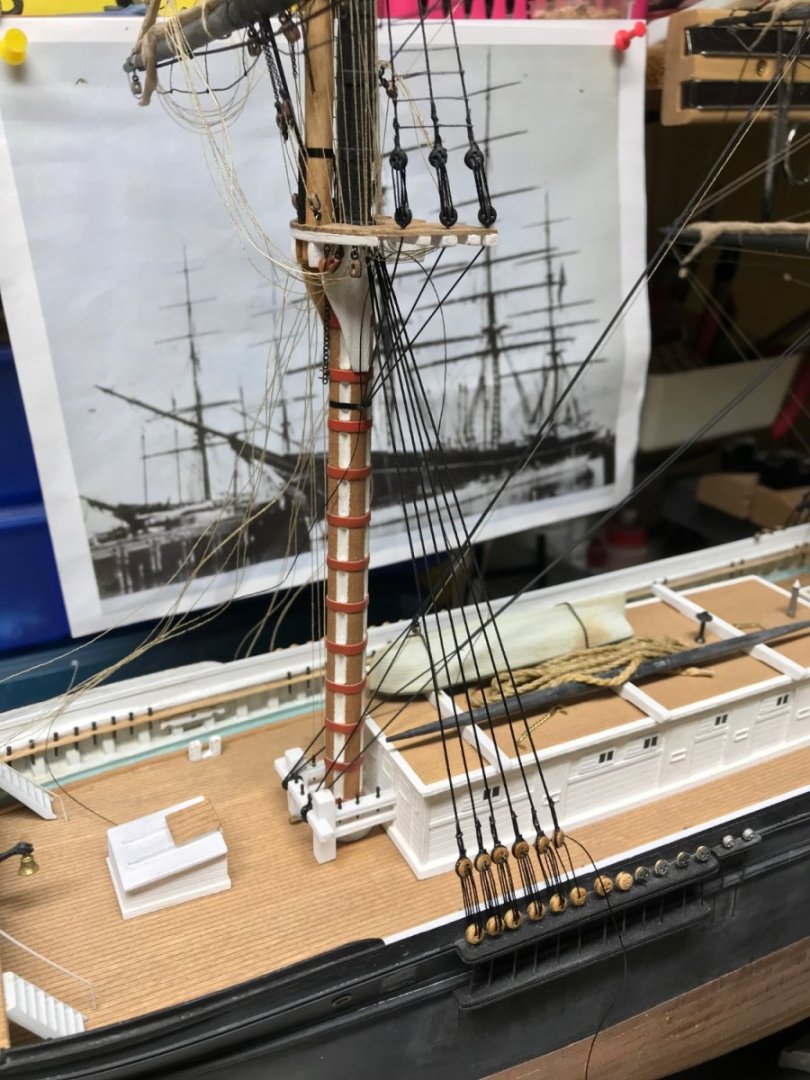
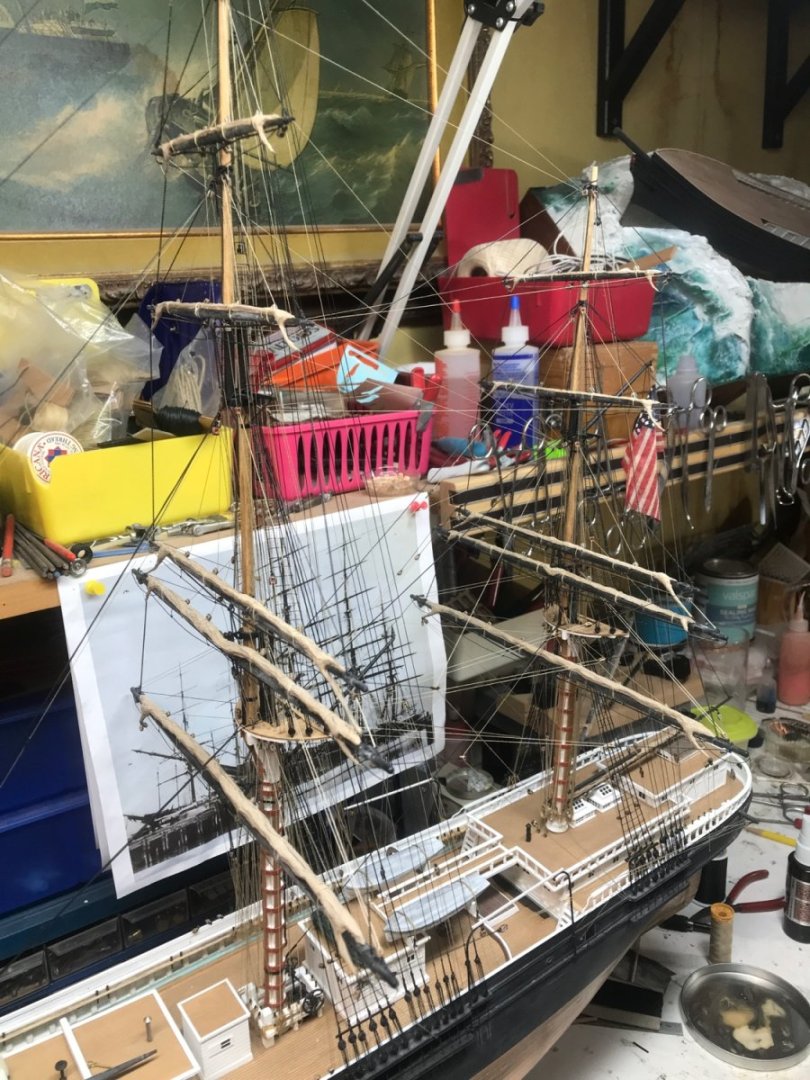
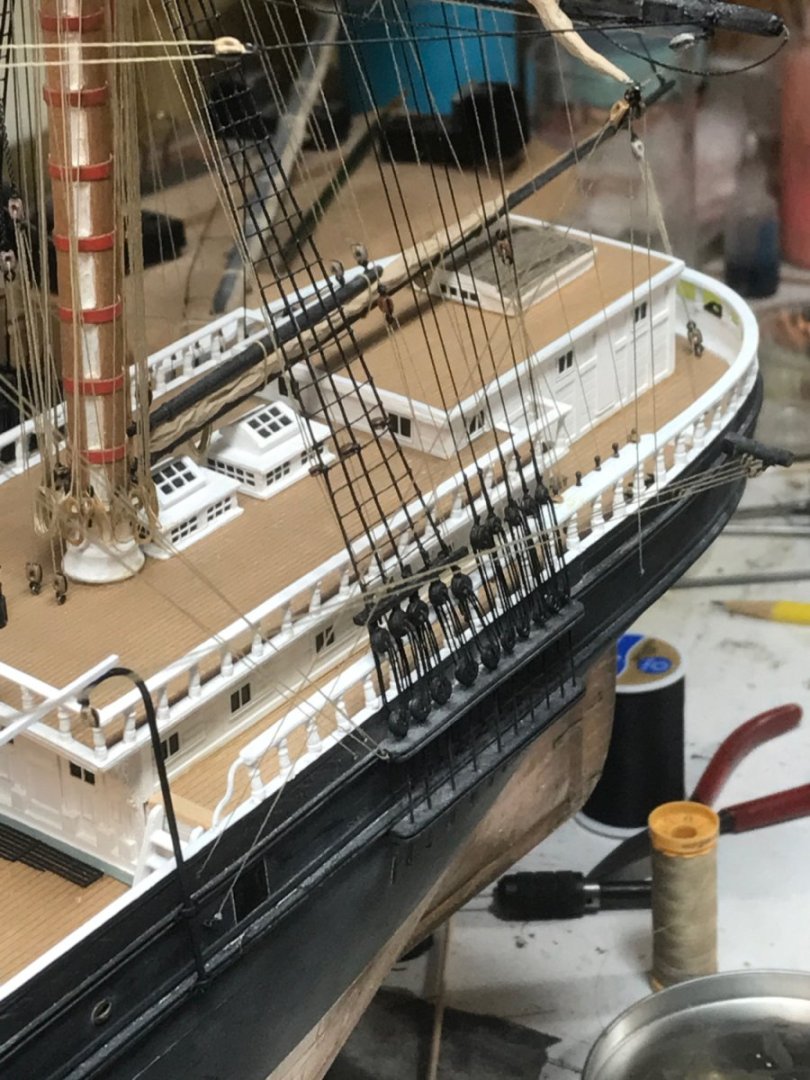
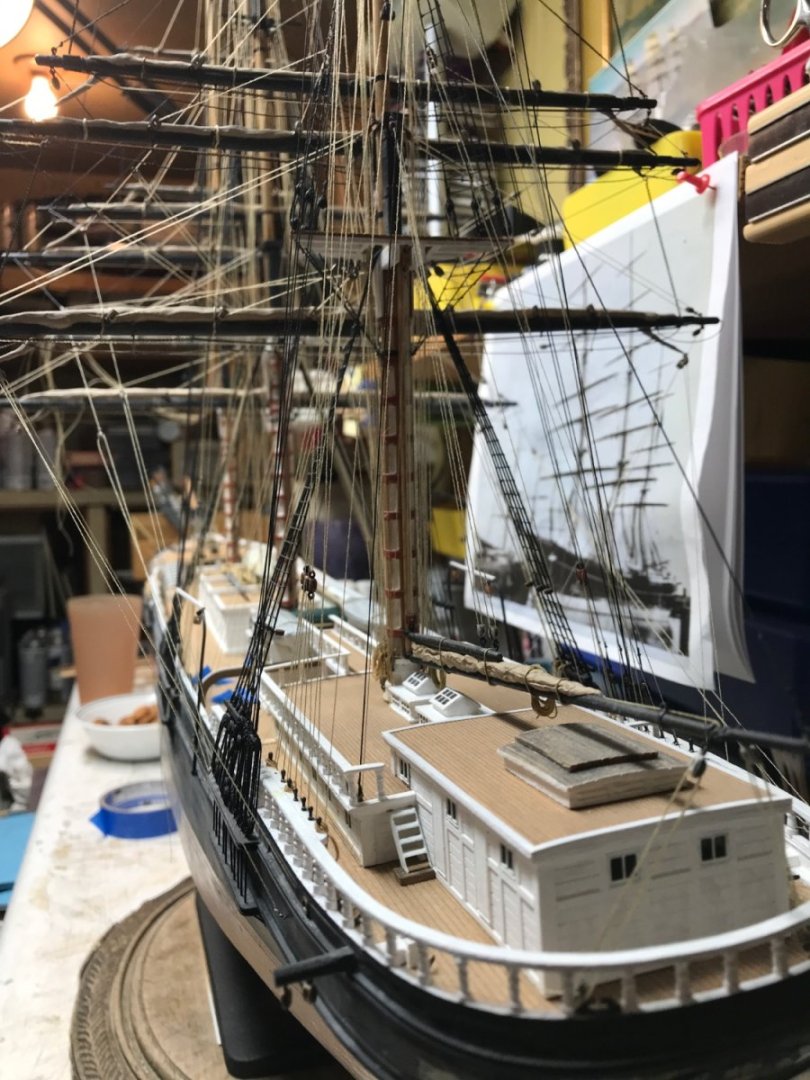
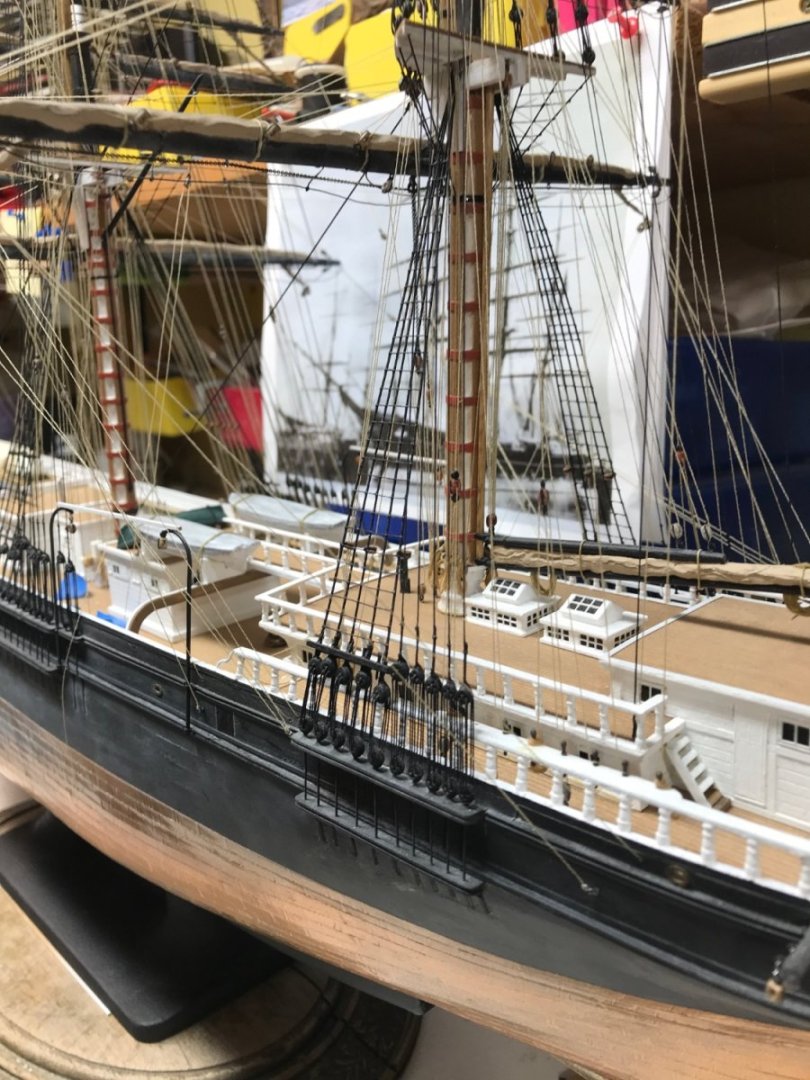
Worked a bit on Glory. I actually finished up all the main and mizzenmast running rigging. It’s so complex I can hardly believe it. The images just don’t do it full justice. Here are a few of todays work. And some close ups. Rob


- 3,560 replies
-
- 9
-
-

-
- clipper
- hull model
- (and 2 more)
-
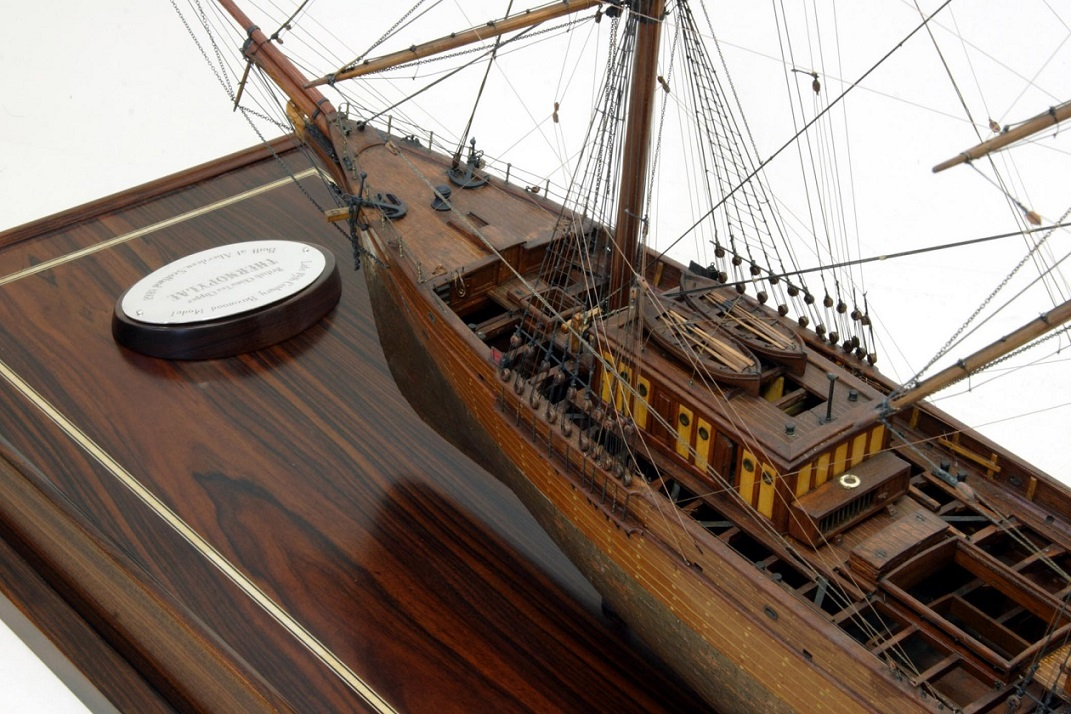
Well that is simple to solve really. Rig the sheet block to the lower yard end as you would normally. Rig your clew line to the sheet just prior to reeving through the block, then continue your sheet down and along the yard to the sheet block at the base of the yard/mast. If you want to rig the tack to the clew that would normally be on the main yard/sail....then simply rig your forward and aft tack blocks to a clew block. Make sure all these lines reeving through these blocks are evenly taught. the clew going up to its block and both for and aft tack lines are going down to their belay points. You can see the block arrangement just under the fore main yard on this model of Thermopylae. Two blocks tied together and the tack lines going forward and aft.
-
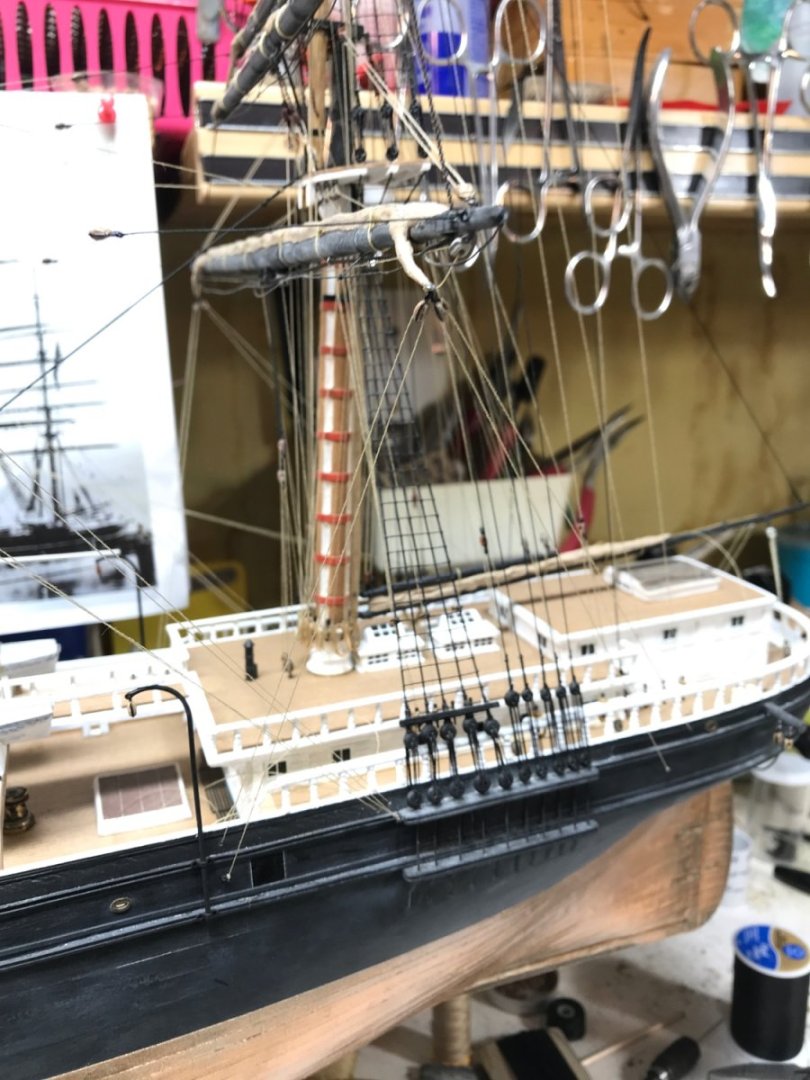
Thanks Pat...it it so good to be home and sleeping in my own bed. I want to finish up the main tack lines and braces and add a bunch of rope coils before I really move on to the main shrouds and stays. Still have to belay the port side yard braces for all the main yards too. Rigging is getting hairy now....... Rob
- 3,560 replies
-
- 1
-
-
- clipper
- hull model
- (and 2 more)
-
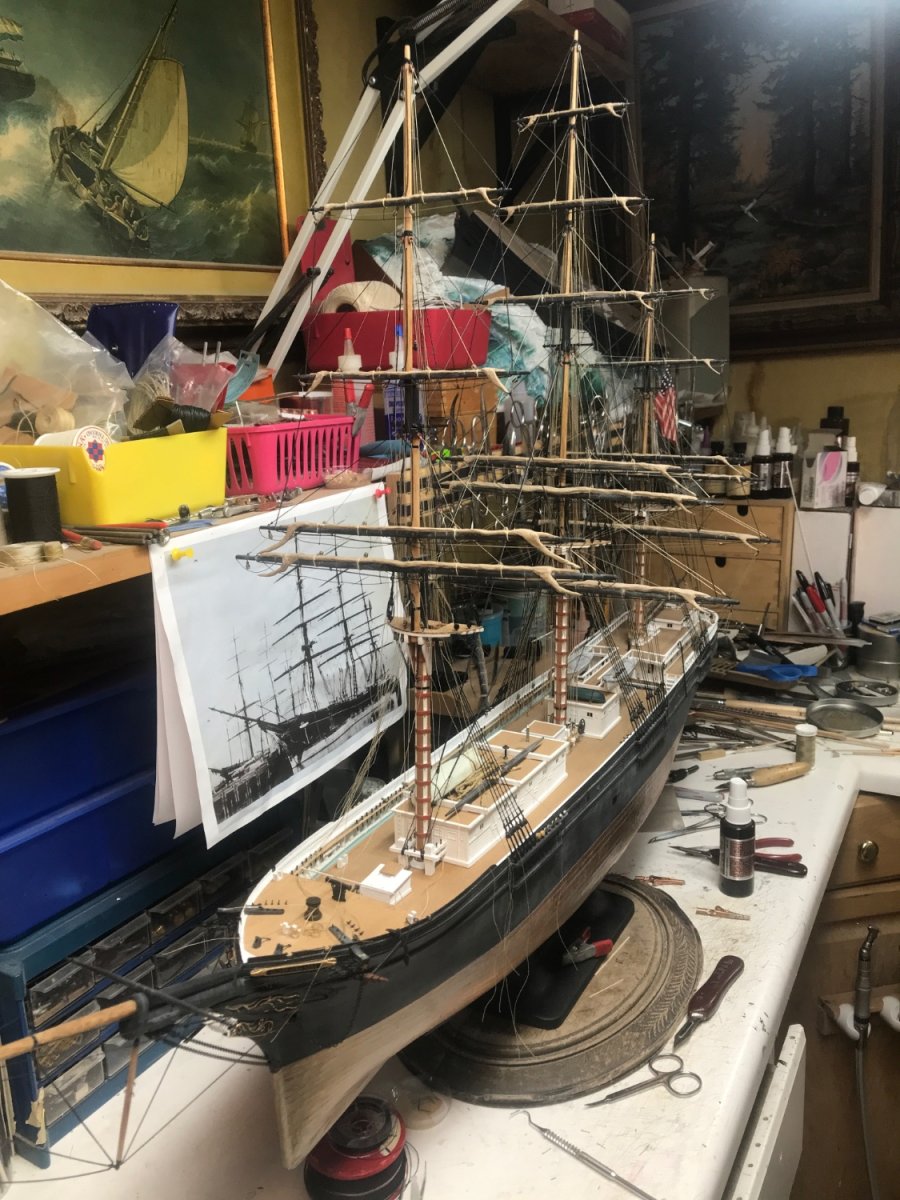
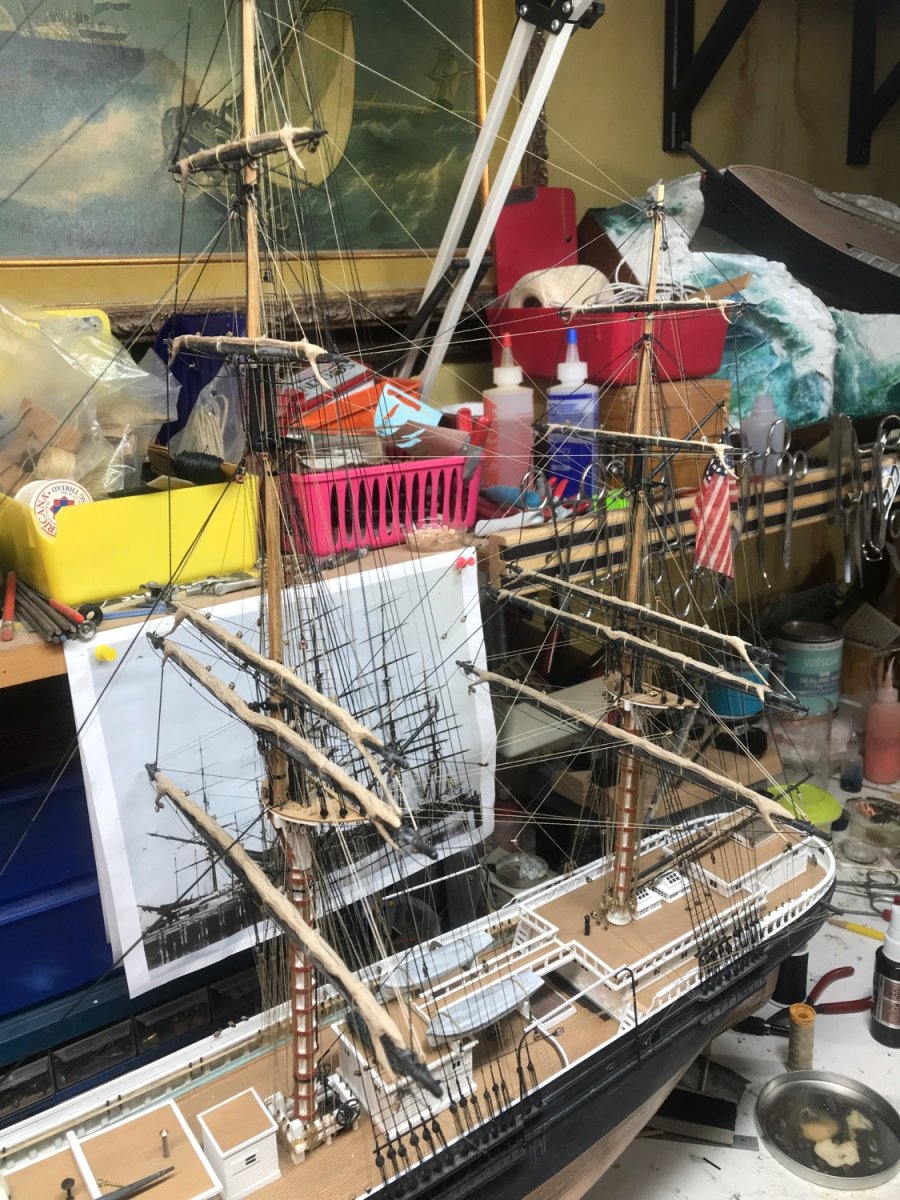
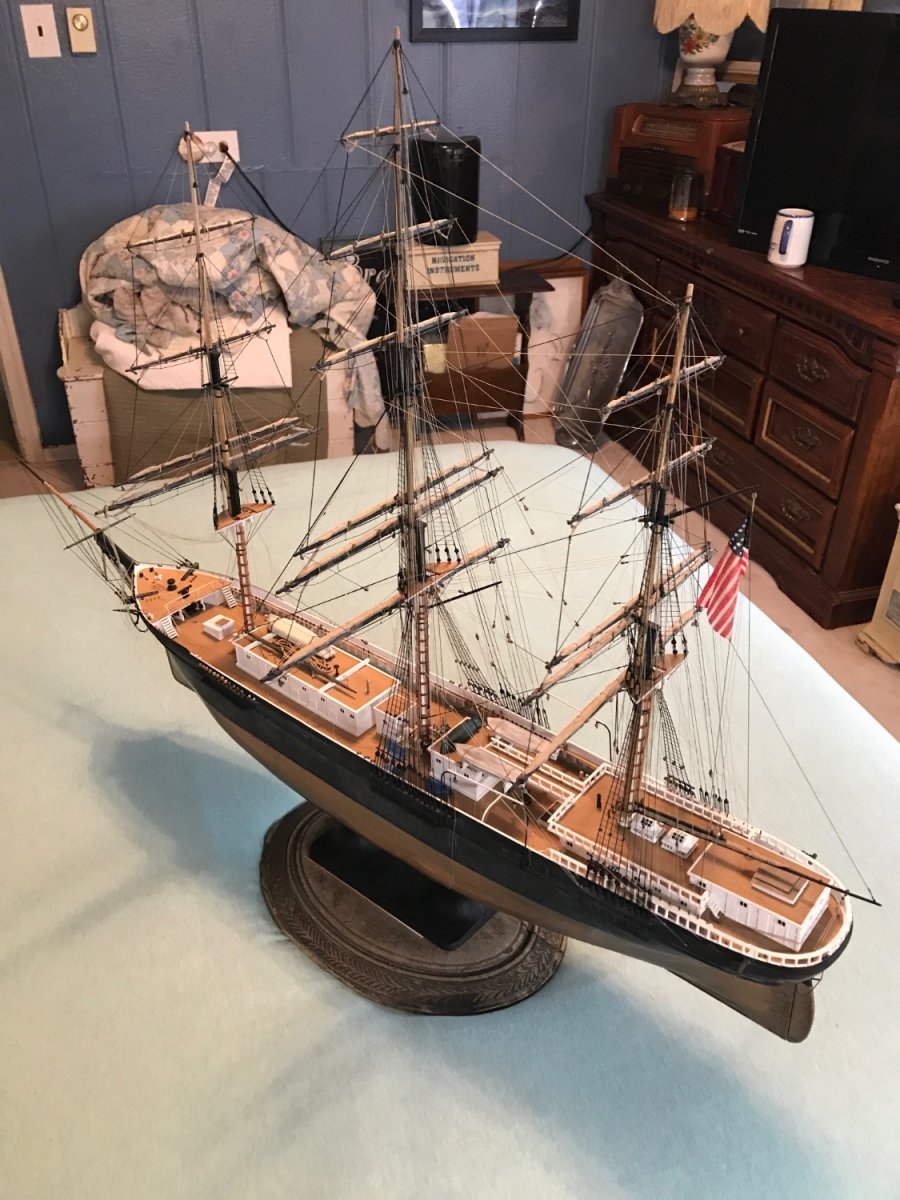
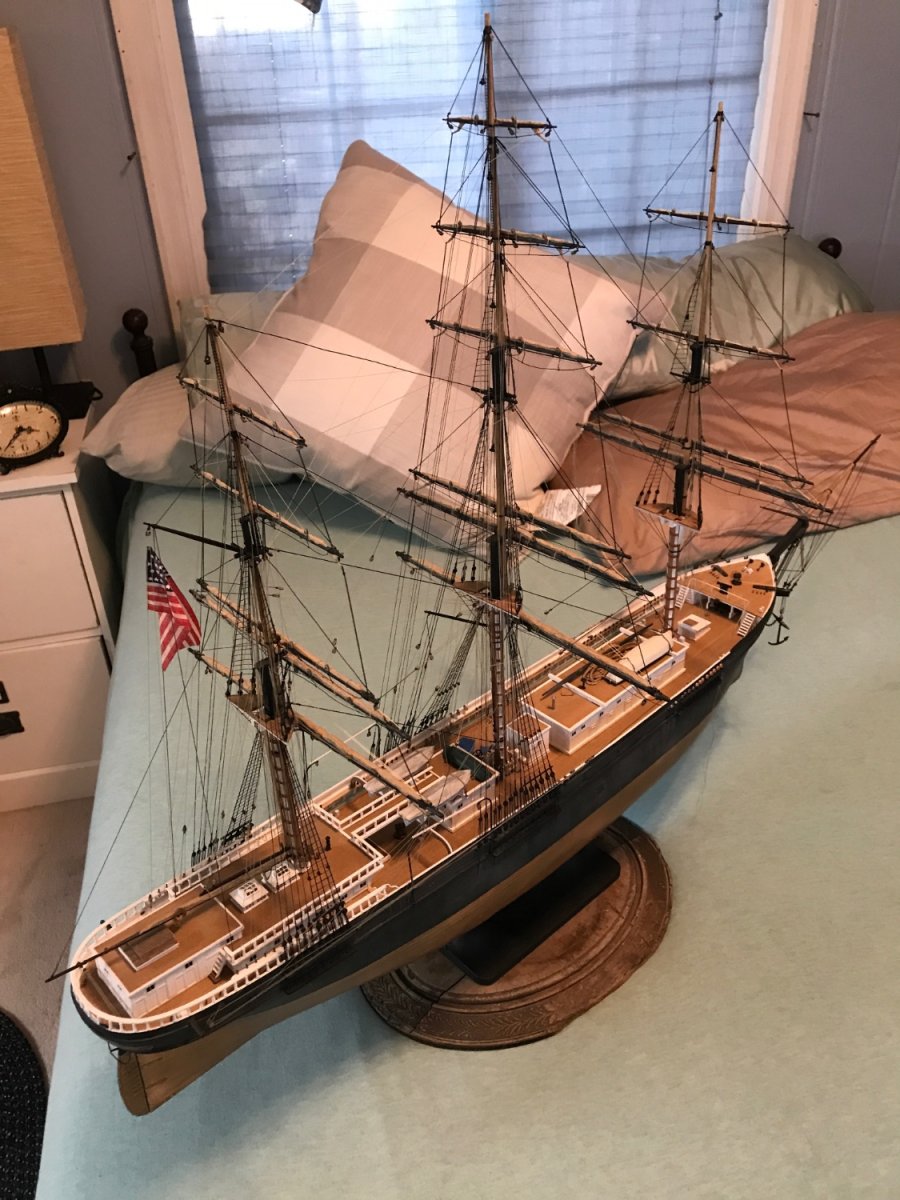
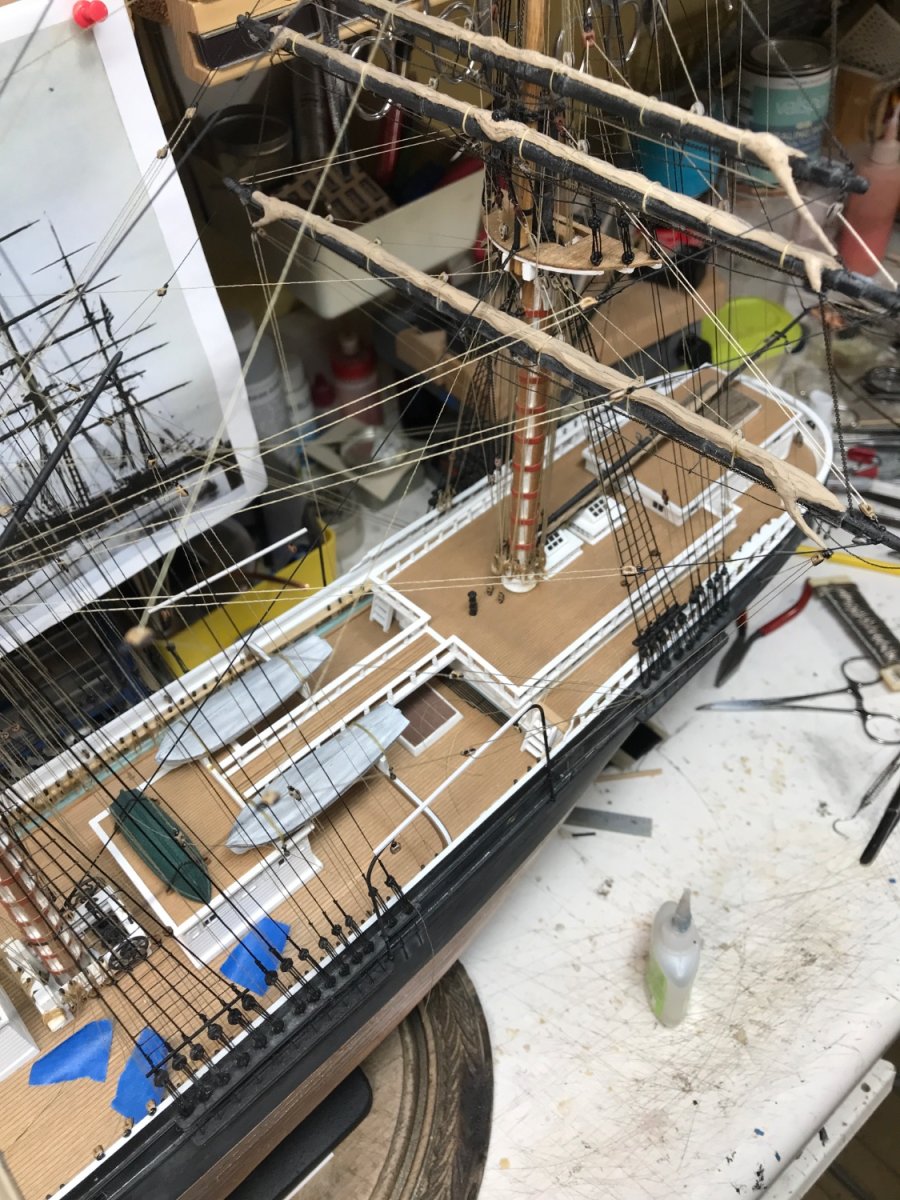
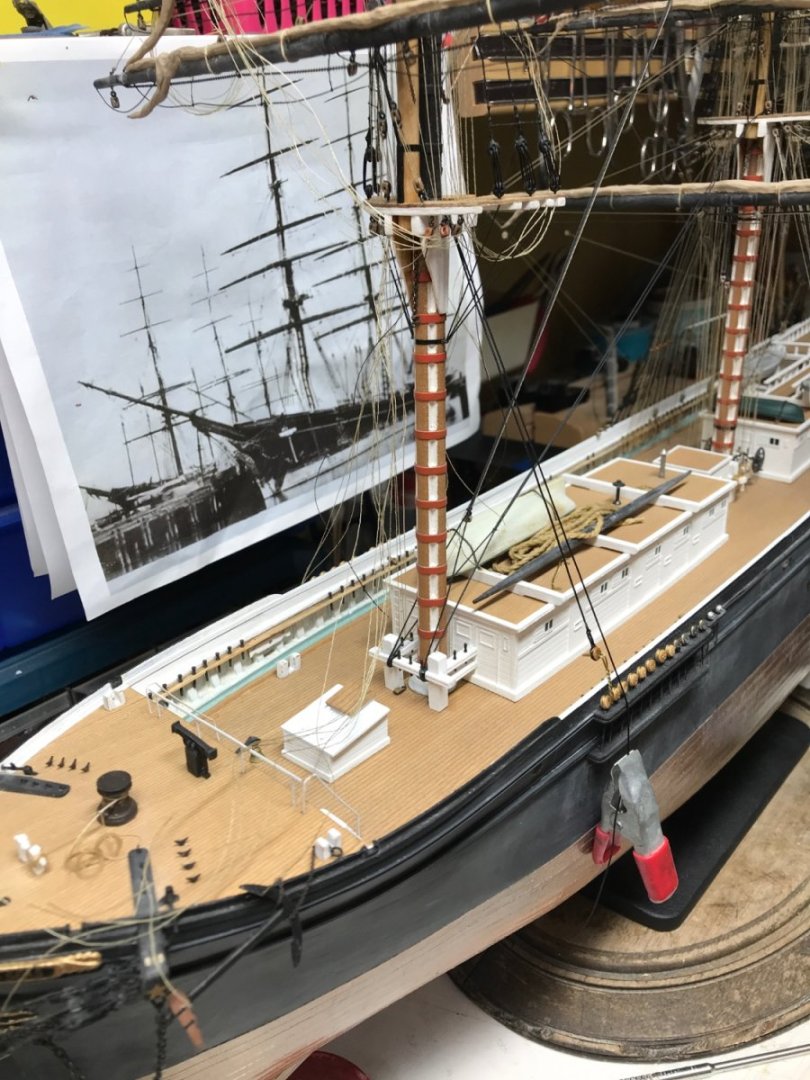
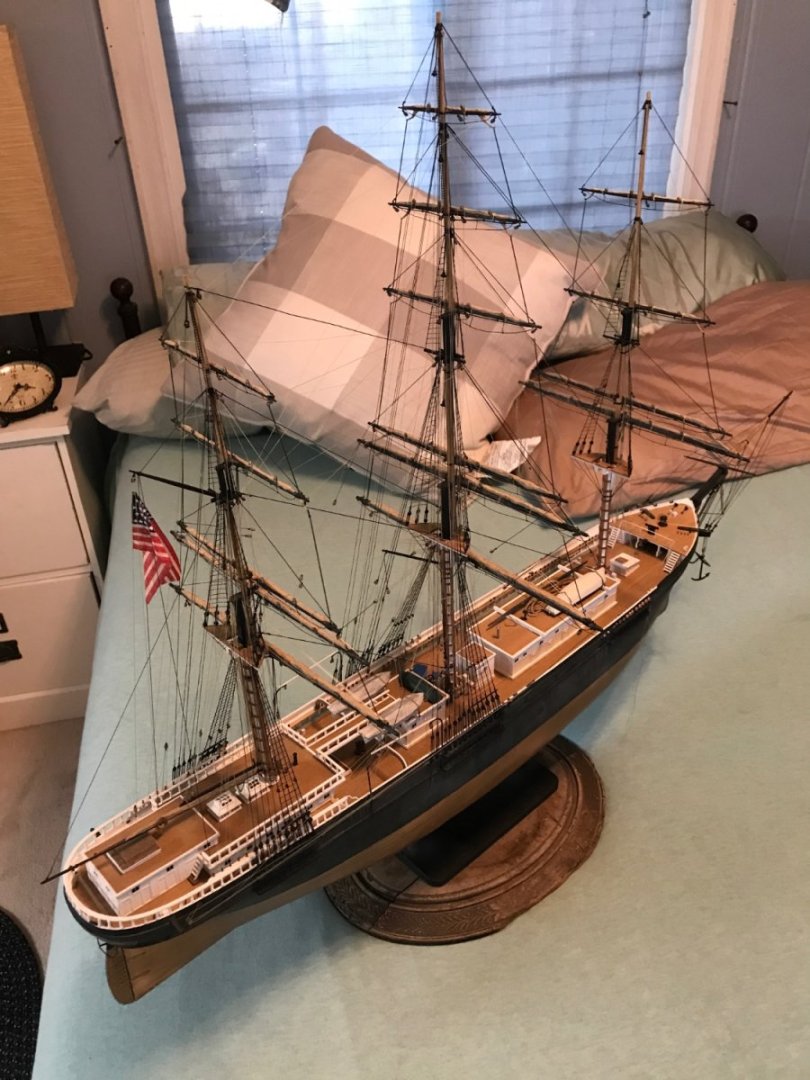
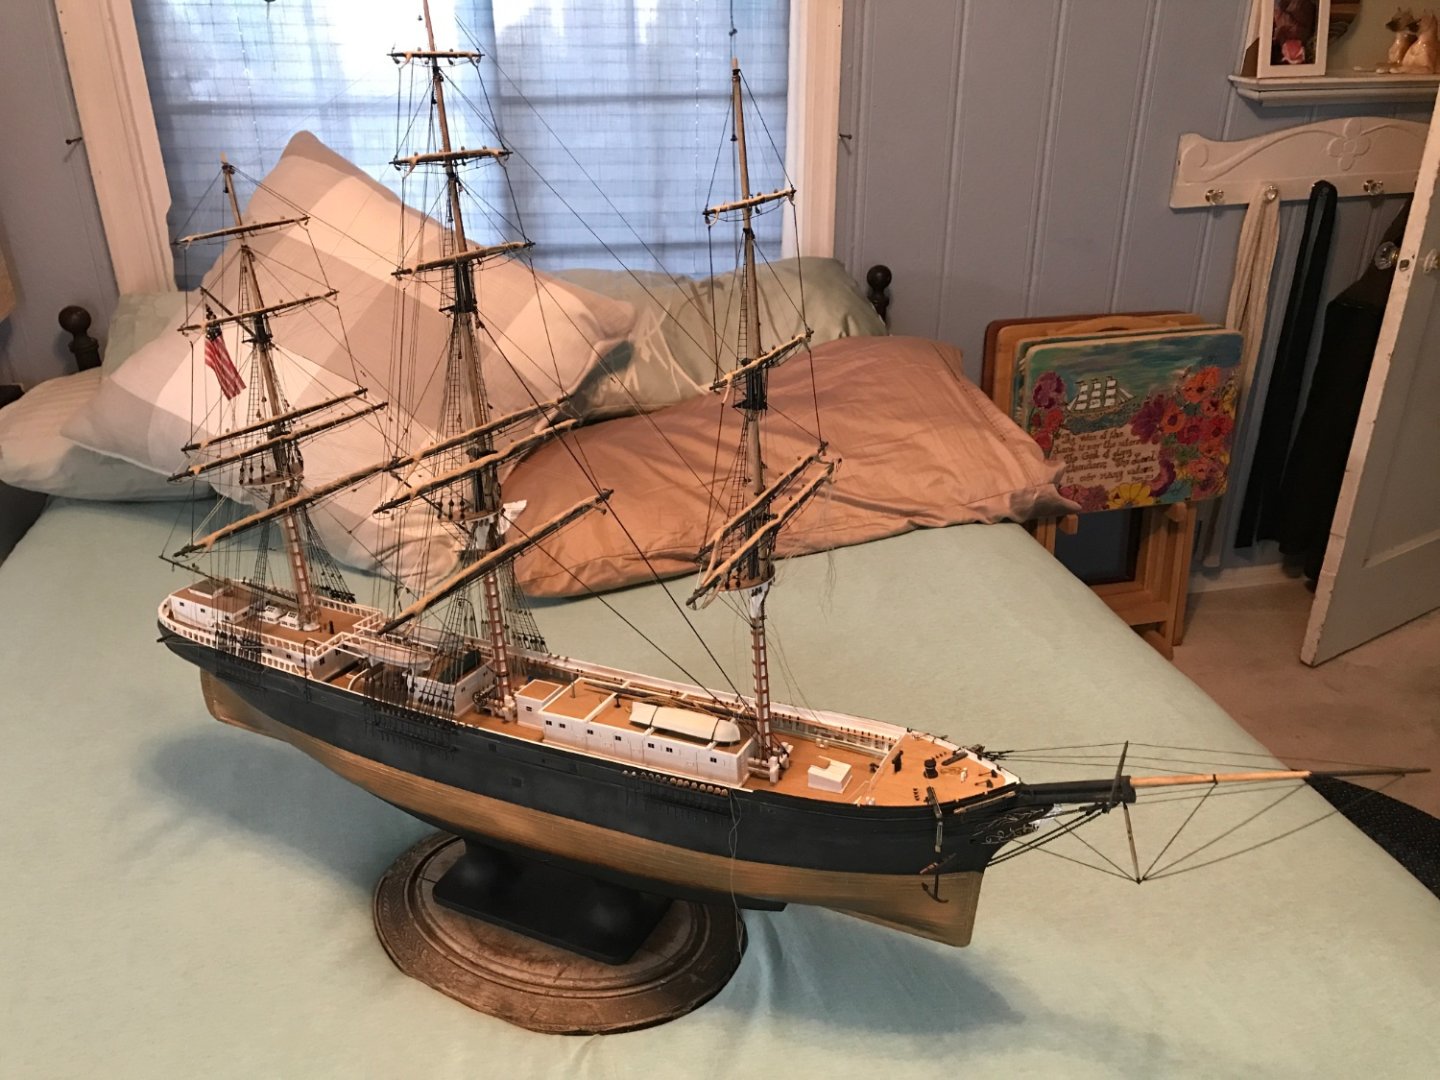
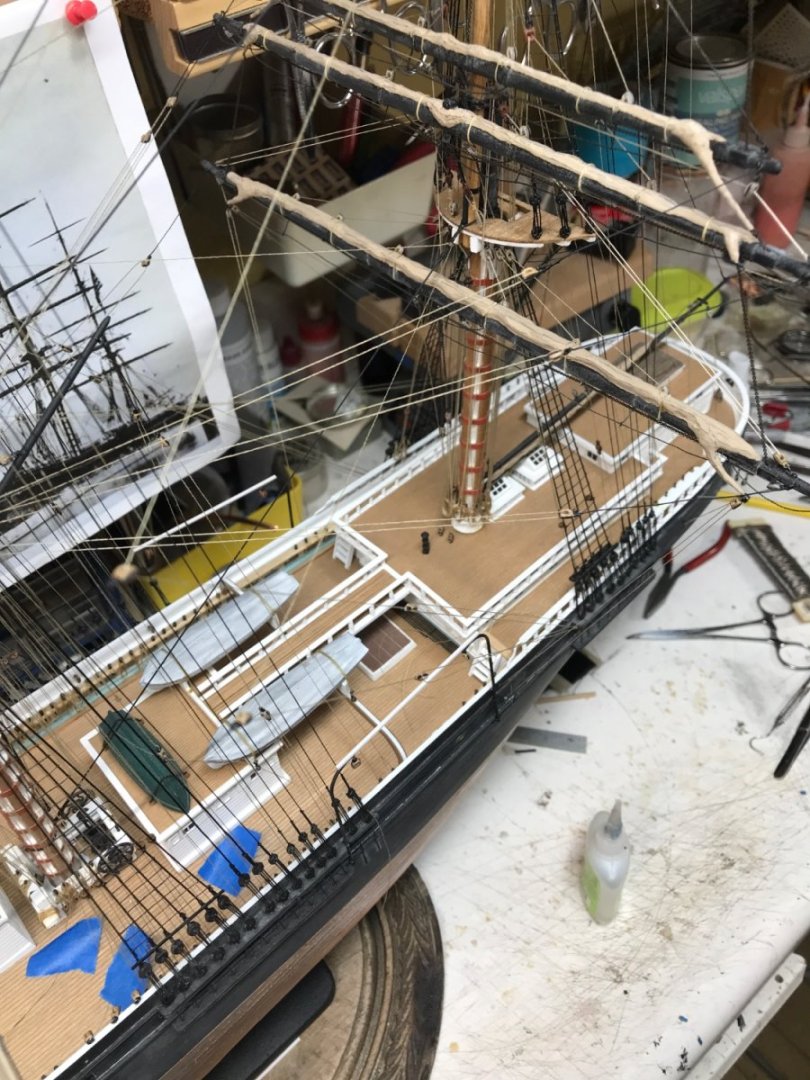
Had to pull her out of the shop to flip her round, and thought I’d take a few pics of her. Rob


- 3,560 replies
-
- 10
-
-
-
- clipper
- hull model
- (and 2 more)
-
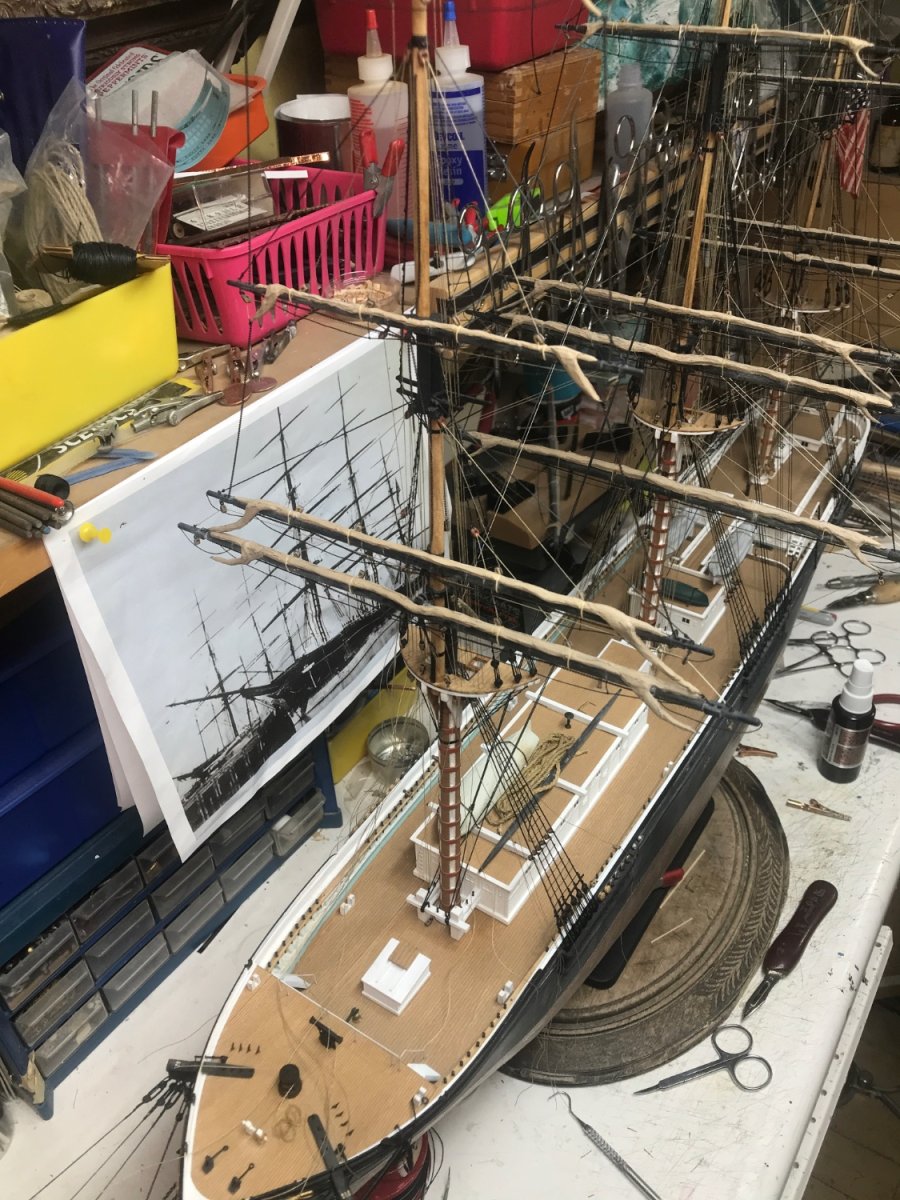
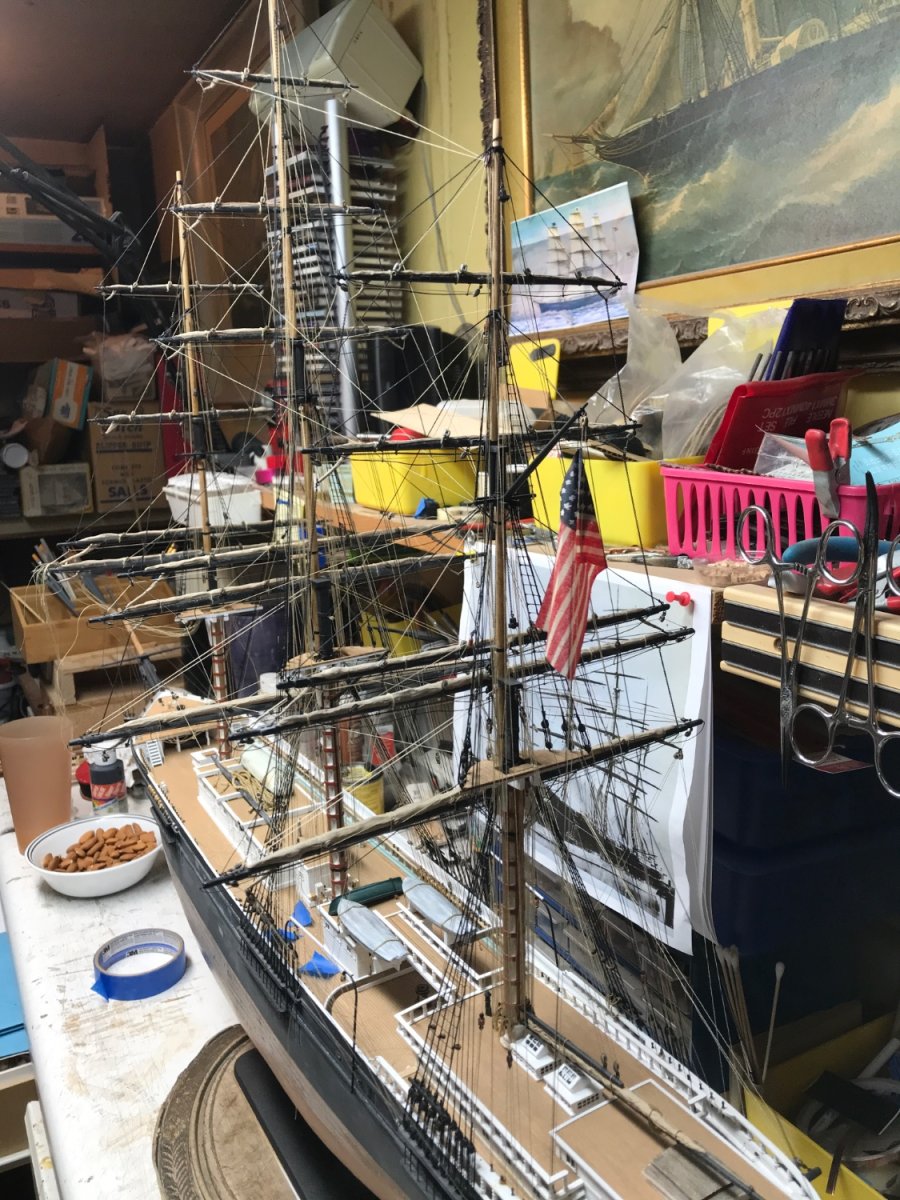
Everything is loose and run to make sure clearances are true and there is no interference when the yards are hoisted and sails are set. Rob

- 3,560 replies
-
- 5
-
-
- clipper
- hull model
- (and 2 more)
-
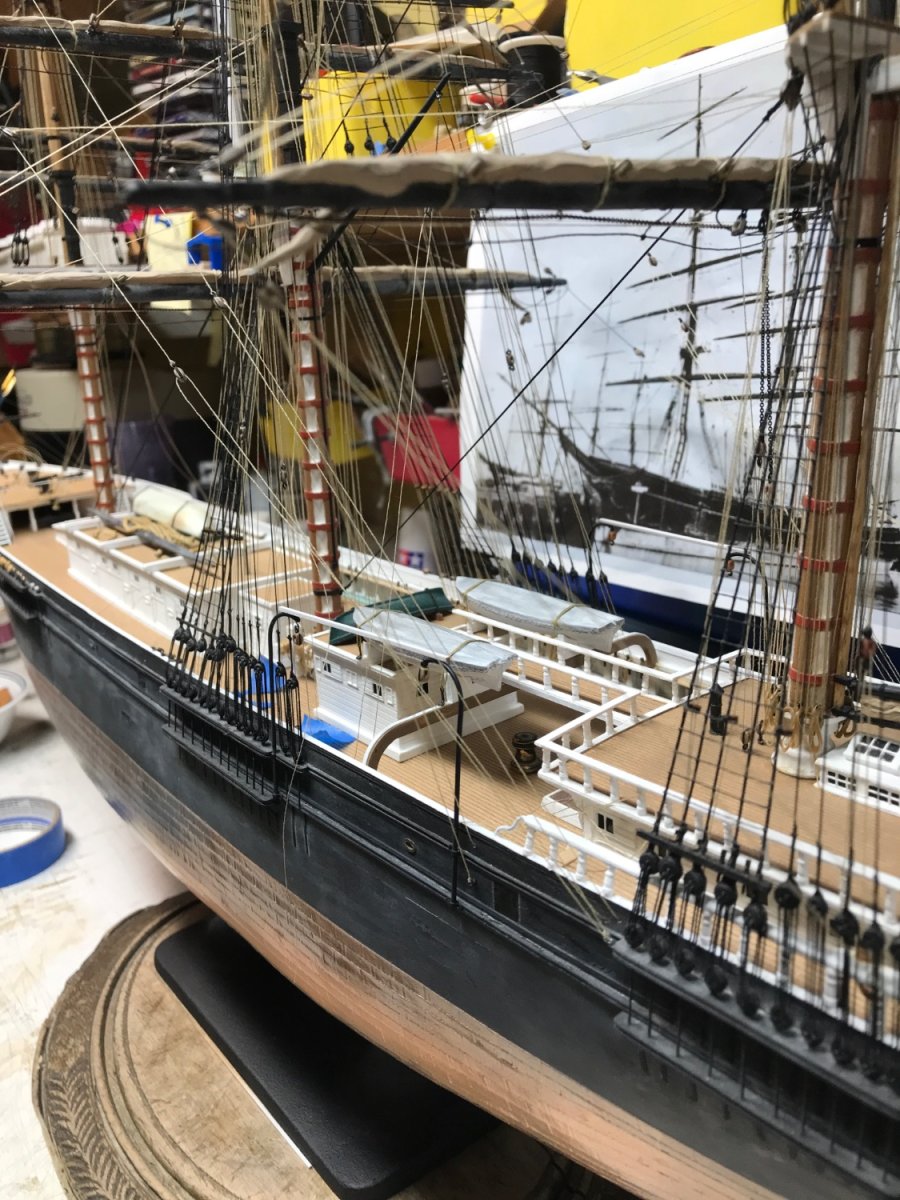
Back to work on Glory of the Seas. And back to the brutal rigging of the sheets, braces and tacks. Man belaying these lines will be fun. I still have to add all the rope coils too. Rob


- 3,560 replies
-
- 4
-
-
- clipper
- hull model
- (and 2 more)