HOLIDAY DONATION DRIVE - SUPPORT MSW - DO YOUR PART TO KEEP THIS GREAT FORUM GOING! (Only 72 donations so far out of 49,000 members - Can we at least get 100? C'mon guys!)
×


lb0190
-
Posts
686 -
Joined
-
Last visited
Content Type
Profiles
Forums
Gallery
Events
Everything posted by lb0190
-
 Good morning Patrick, Thanks! I seen the detail on the plans, but really admired how nice it looked on Bahamas Diver's Niagara. I was lucky enough to find some sq PVC the size I needed so all I had to really do is figure out how to cut such a small part somewhat consistently. The thickness varied a bit but once glued in place I could sand them down a bit. I'm thinking about using the same materiel (slightly bigger size) for my carronades. I do not care for the look of using wedges for gun elevation and seen a photograph on MSW (I think it was the Niagara??) where a jack-screw was used. I found some no. 90 brass screws. If I cut off the screw heads and mount the bottom of the shaft to a square piece of PVC, I may be able to glue turn handles on the sq blocks using a small drop of glue at the end of the handle to simulate a knob, then plaint it black. The biggest problem with this, if it can be done and looks OK is doing it 18 times! I'll mock up one gun to see how it goes. Meanwhile, I just completed my first order to Syren for rope and rigging blocks. Patrick, your Niagara looks awesome and it's an inspiration for me when I get frustrated with my build.
 -
Thank you Steve. I appreciate your taking time to look in and write. Patrick, Thank you for the compliment and for being concerned. We were told it's just a matter of time and the current effort is to keep him as comfortable as possible. Thank you Edwin! I hope you and yours have a healthy and joyful new year.
-
Thanks Adam. It's been a fun and challenging build. I'm a believer in the Tamiya tape, it worked out much better than the other two brands I was using.
-
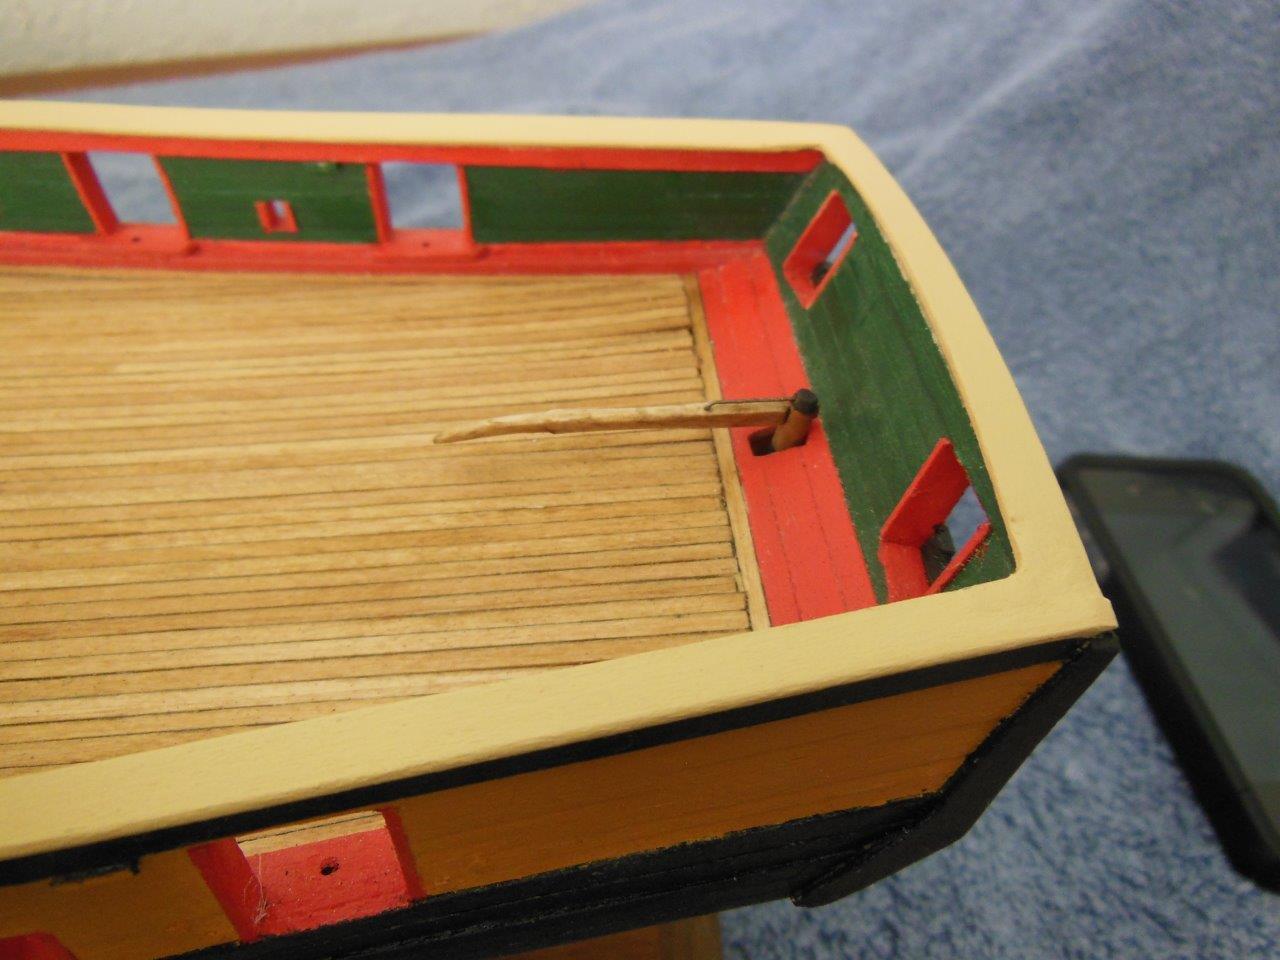
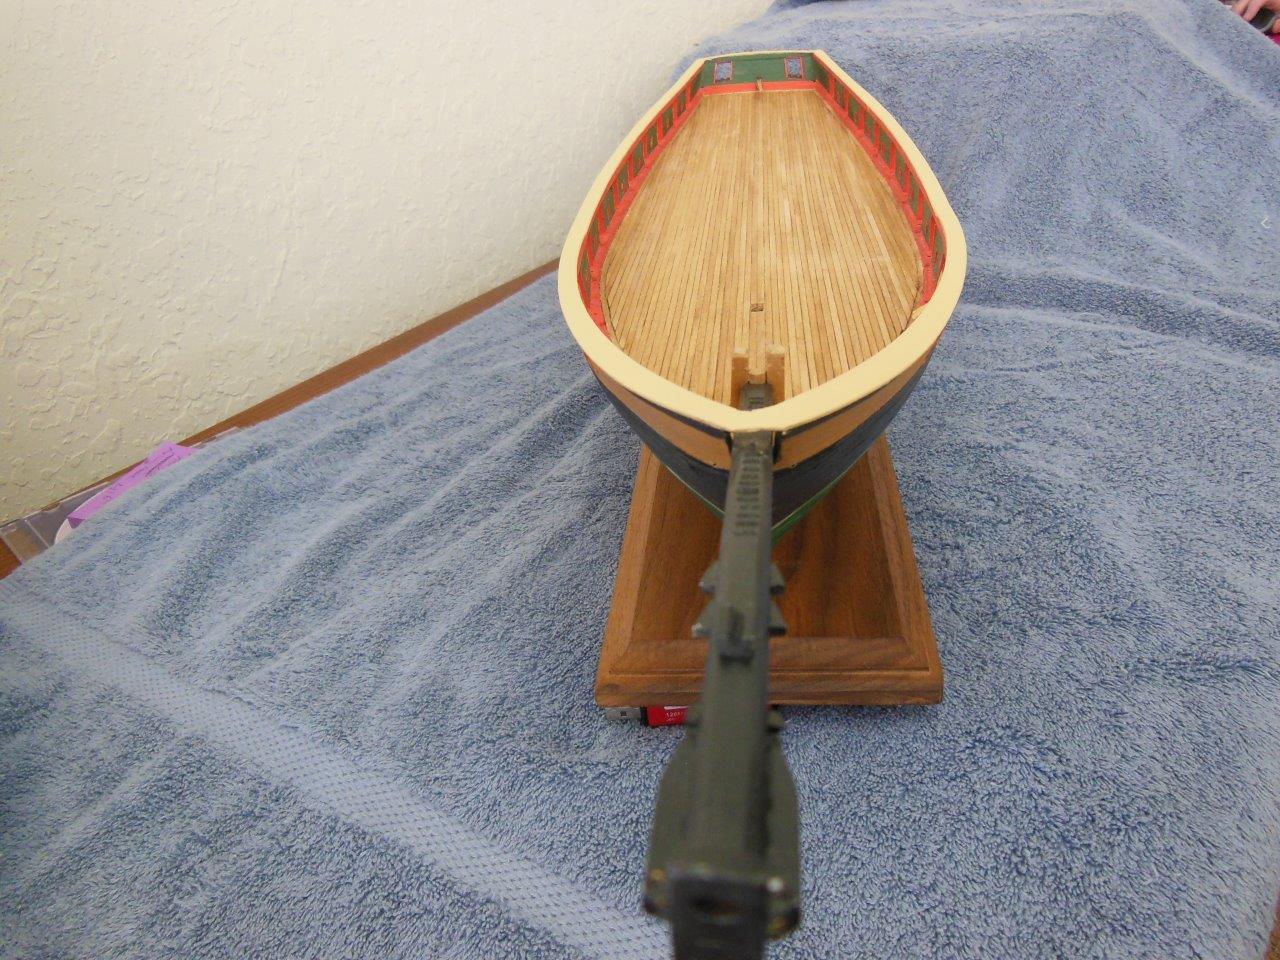
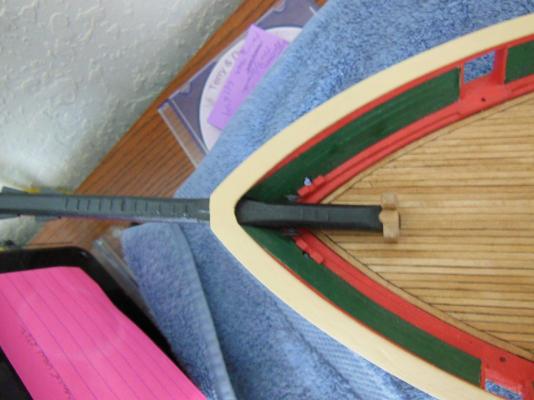
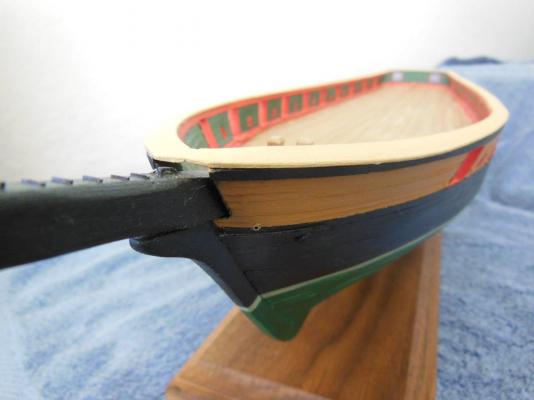
I forgot to include the tiller shot in the above photos...

-
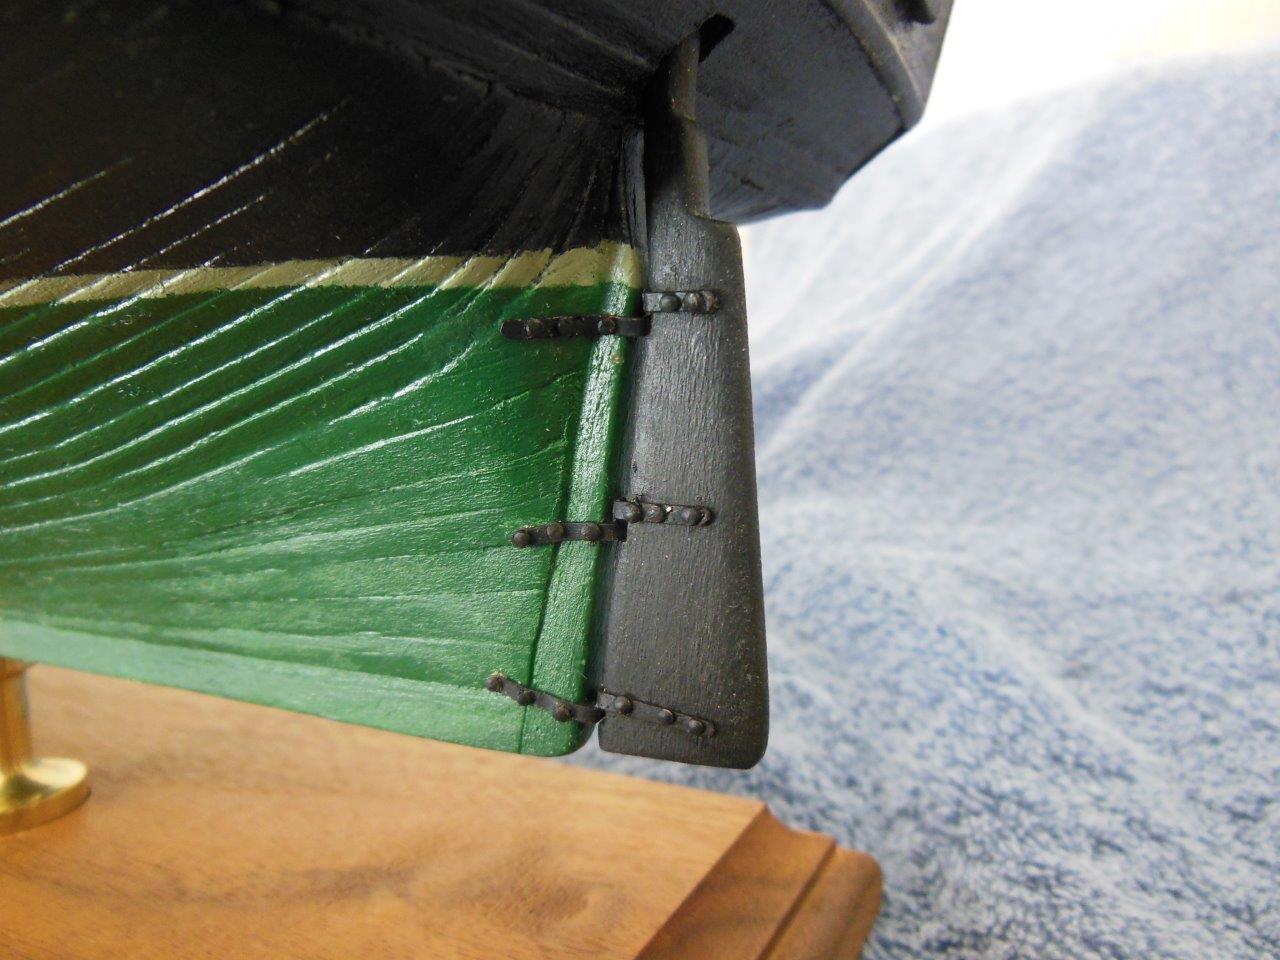
Good morning Patrick & Augie, I'm still waiting on news for my very cold trip to Ohio (destination Portsmouth, but probably fly into Columbus). My uncle (age 90) is in bad shape. He's retired army, served during WWII (Africa, Italy & Germany) as well as two tours in Korea - shot in both wars. Orders to Viet Nam was the deciding factor on retiring earlier than he wanted, had enough close calls, but hated to leave the service. I finished installing the rudder, just need to clean it up and touch up the paint here and there (never ending task). I may hang the rudder chains next but not sure if that is a smart thing to do not, due to risk of ripping them out. I may dismount my reloading press so I have more room to work and one less item to bang the ship against as I work. As usual the close ups show dust and areas to tidy up.


-
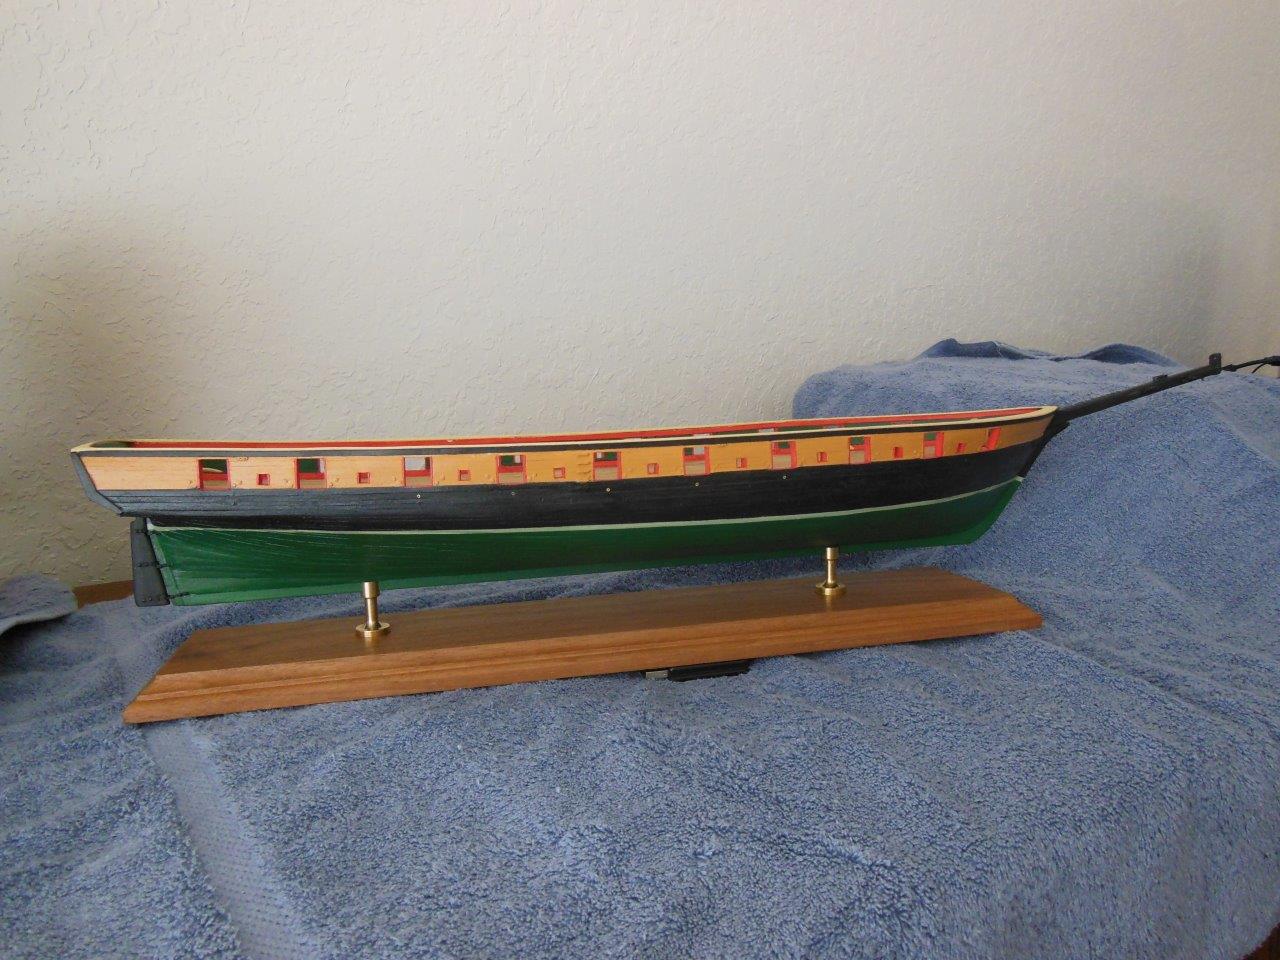
Thanks Augie. I'm anxious to ger her mounted. I may have to make an unexpected trip to Ohio over the next day or so that may cause a delay, but mounting the ship will be a milestone to me. I really dislike going to Ohio in the winter, but family comes first.
-
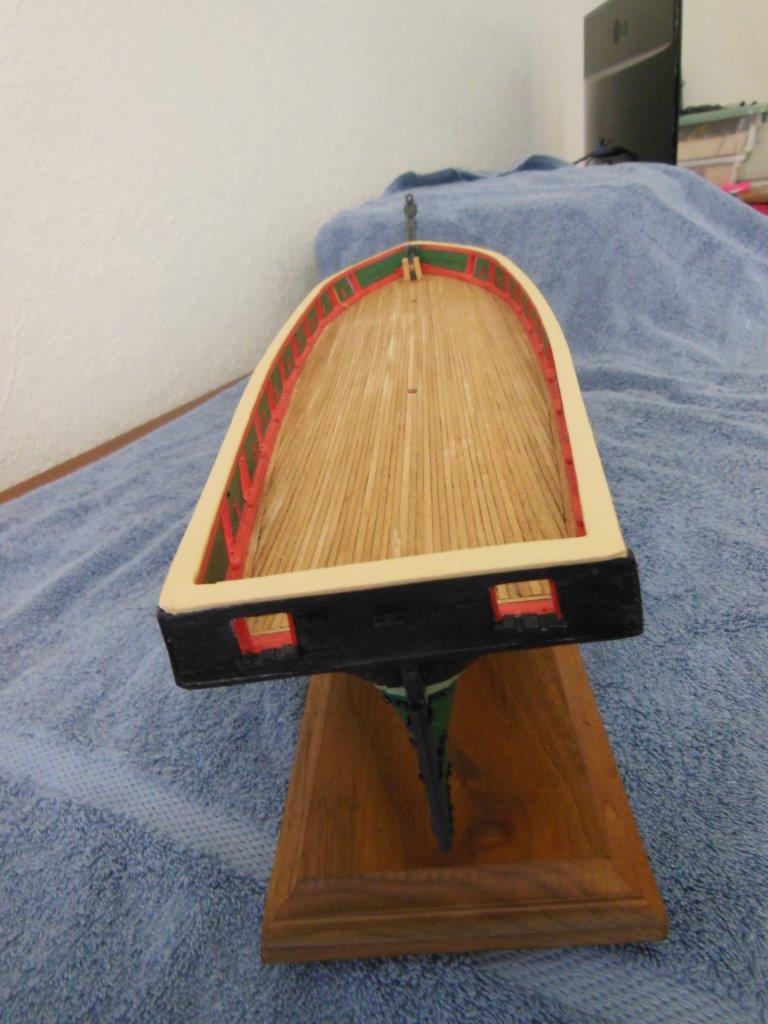
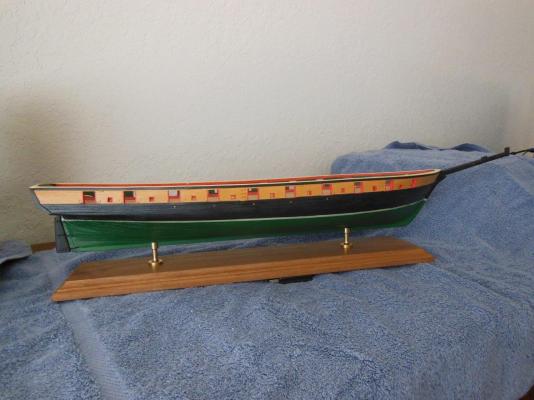
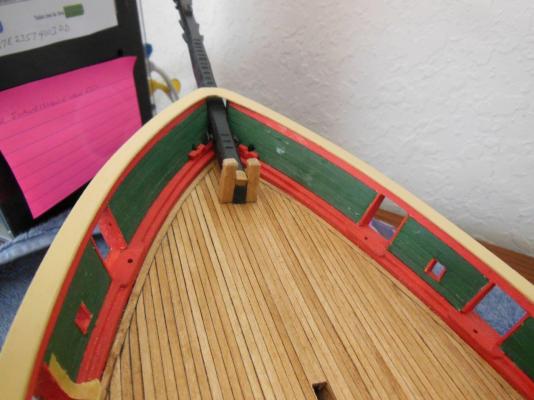
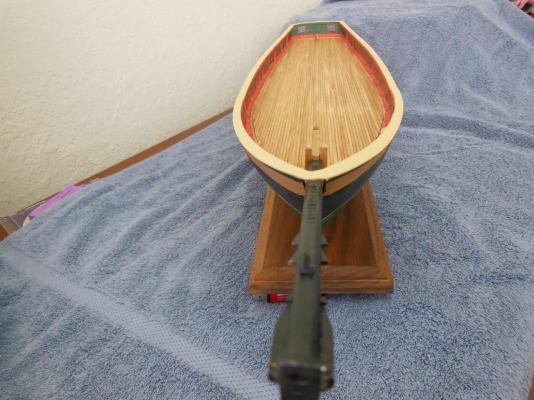
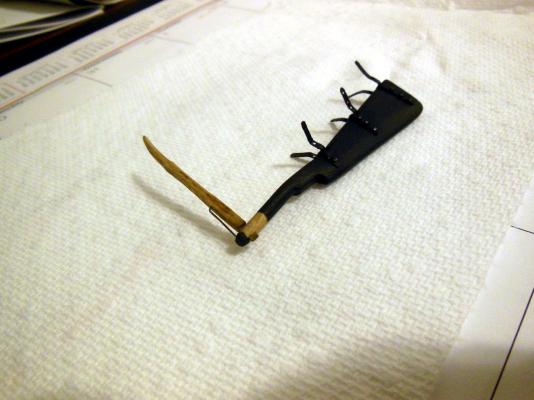
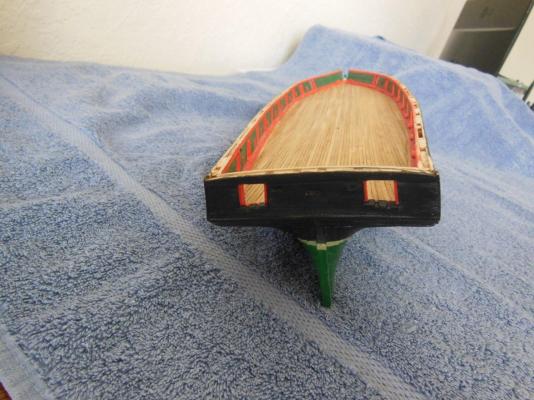
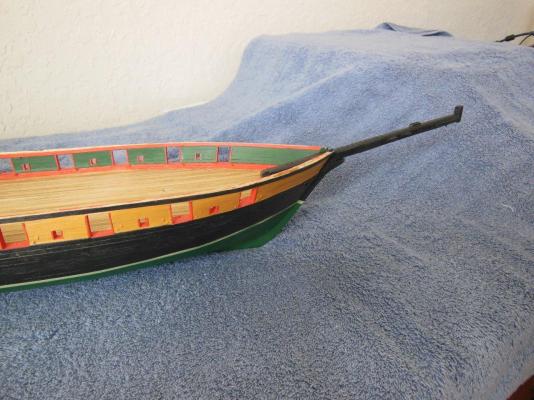
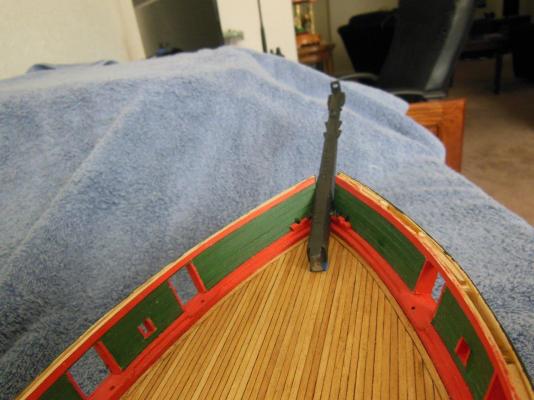
I completed installation of the toprail, mounted the bowsprit and completed the rudder (minus the chain). Below are a few pictures of the rudder uninstalled. The next set of pictures will have the rudder installed and the ship mounted to the display board. After three weeks of having 60 pounds of weight on the display board the very small warp came right back. It's so small I'll add thicker felt pads on one side so it does not rock. The rudder was one of those tasks that I though "I'll knock this out in a day..." You think I would have learned by now , five days later, it's ready to install. I had difficulty using a micro torch to solder the hinges together, but after I switched to my old iron, it soldered fine. I tried making the hinges using a nail as a hinge pin but I did not care for how it turned out. I ended up making two squared off horse shoe shaped hinges per hinge assemble, stacked one on top of the other and soldered the butt joint together. It seemed to be a pretty strong joint and fit in the rudder recess OK. The hinges were nailed in place using 0.016" dia round head nails. I drilled 0.016" holes, shortened the nails, applied CA glue to the end and pressed them in place. I used Blacken It on the hinges and nails, but like my previous efforts, the results were not too impressive. The material turned black but it flakes off leaving a very rustic look and not very black. I touched the metal with some black paint. Time to head out to the boatyard to dissemble the rudder and mount it to the ship. Take care....

-
Thank you Sjors. I hope you and Anja are doing well. Yes it adds some length to the build, but once I add the jib booms it will really be long. Four of the seven cap rails have been installed, hope to complete them this week.
-
Hi Augie, I've been a silent observer admiring your build and workmanship. I just may need to add this ship to my wish list.
- 2,191 replies
-
- 2
-

-
- confederacy
- Model Shipways
- (and 1 more)
-
Patrick, Your ship looks impressive and the stern looks well defined. Since you named him Sherman, keep any matches away from the build...
-
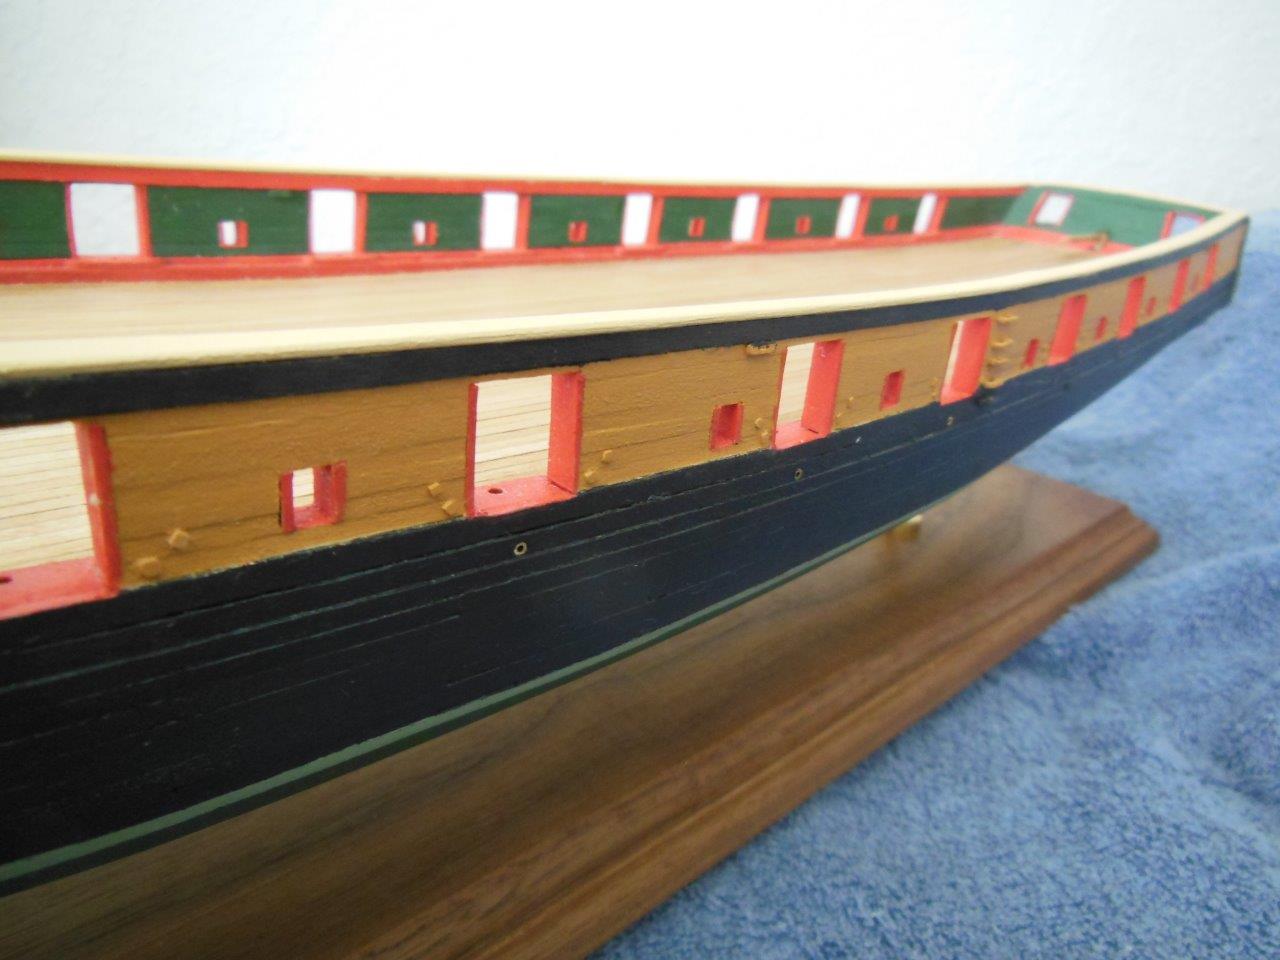
Good morning Augie & Patrick, It's a bit cool here in Florida this morning (37) and getting down to 27 tonight, a hard freeze that only occurs a couple times a year. Thank goodness the high will be low 60s with a gradual increase back to the 70's later this week. We keep saying we did not move far enough south... Thanks for the compliments and advice. I like the idea of a dedicated specific type brush. I'll ck out both types. If the cover made of PVC and plastic curtains could be lowered and raised over the workbench without affecting the lighting I would consider that approach, but for right now I'll ck out a better brush, I'm currently installing the cap rail and hope to finish it this week along with mounting the bowsprit. Next in line is mounting the ship and finishing the guns. Take care and stay warm.
-
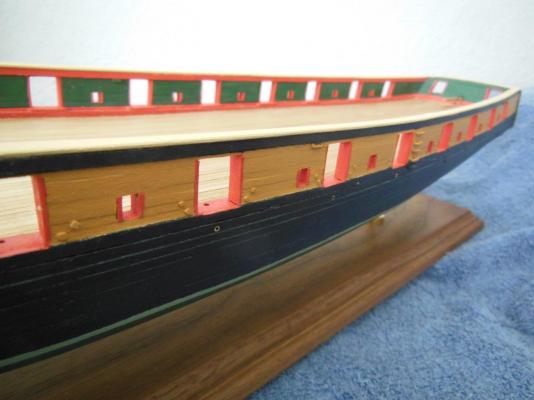
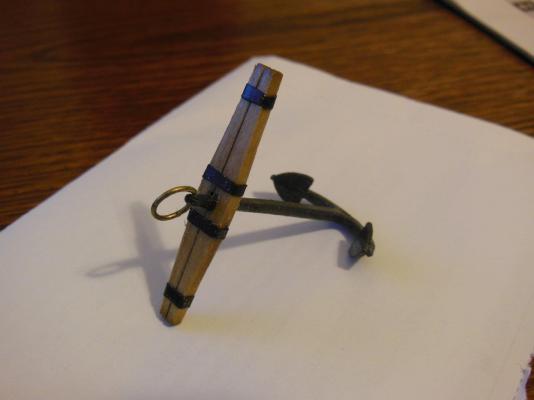
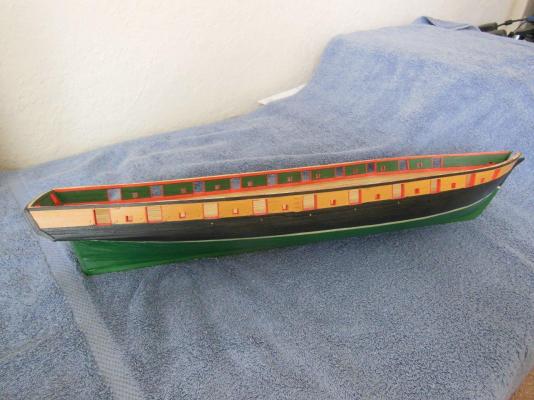
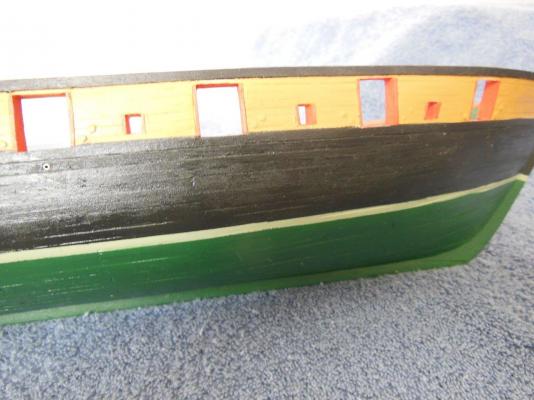
I've managed to get a little work completed over the holidays, along with the usual amount of rework. The hull is painted along with two coats of Wipe On Poly (WOP). I also worked on one anchor, using Augie's suggestion of shrunk tube for simulating metal straps (worked out great - Thanks Augie). I made the anchor ring out of some brass rod that was left over form another project. Solder world a not stick to it very well, probably due to not being clean enough. I did not think of sanding it down until after I made the ring. I did soak it in alcohol for a while, plus I tried several types of flux all to no avail. Heat was not an issue since I was using a mini torch. Since there is little stress on the ring, I just epoxied the ends together. I wrapped the ring using some rope supplied with the kit. I do not know what material was used for the rope, but it convinced me to order some of Chuck's from his Syren Company. I made up a spread sheet listing rope and rigging blocks supplied from the kit, weighted against buying better replacements. All I can say is OMG on how quickly it adds up. I'll have to proceed with caution when going down this path. In respect to buying replacement rope and blocks, can anyone comment of how much extra you think is supplied by Model Expo. I do not expect an accurate number, knowing kits may vary and re-do's occur all the time, but any input on personal observations would be appreciated. I'll buy in batches as I go to help spread out the cost and to make sure I do not buy more than what is needed. I noticed I had a lot of dust show up in the pictures. I guess I need to do a better job of cleaning off the parts before taking pictures or maybe get a lower res camera Speaking of dust, it's a real PIA to deal with and thinking ahead as to when there will be masts, spars, rigging and all kinds of thing to collect dust, that would be difficult to clean off, are there any suggestions on how to minimize dust collection during a build. I was thinking of a curtain box, that would be lowered over the ship when I not working on it, but it sounds big and clumsy when thinking about it. So I thought I would break tradition and ask the many fine builders on MSW BEFORE I build something and ask afterwards where i went wrong... Note: The bow sprite is held in place with tape - could not resist the photo op.


-
Hi Augie, The shrink tube sounds like a good idea. I have a small bundle of different sizes stashed somewhere. I'll give it a try...
-
I forgot to mention above that I also painted the two anchors and the aft cap rail. The anchors are cast white metal that does not hold acrylic paint very well even though I sanded and applied a thin primer. I'm thinking enamel may have been a better choice. I'll apply some WOP to see if that protects the paint from coming off so easy. I'll make wood anchor stocks like everyone else since them look much nicer than the supplied castings.
-
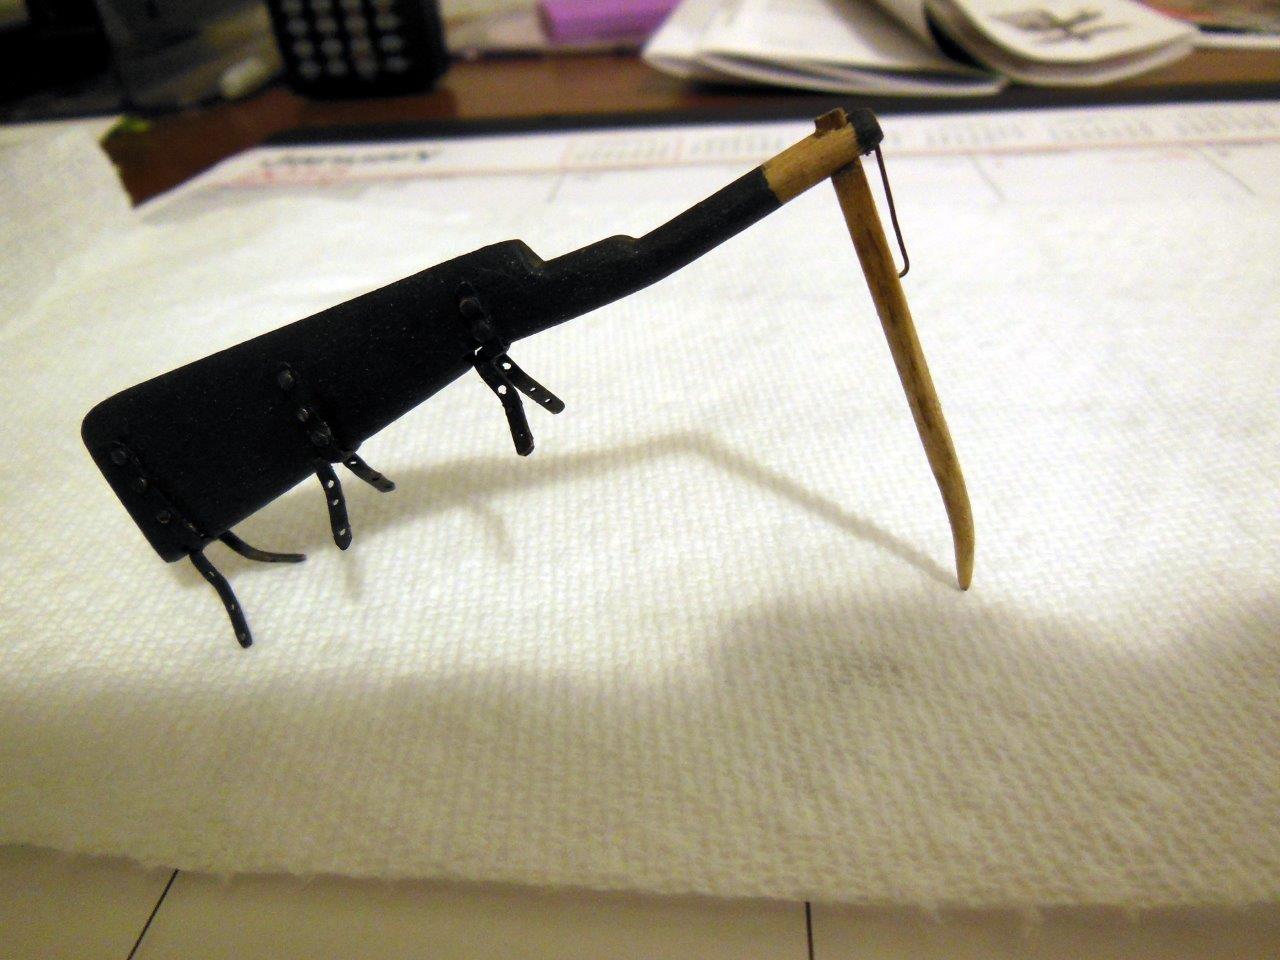
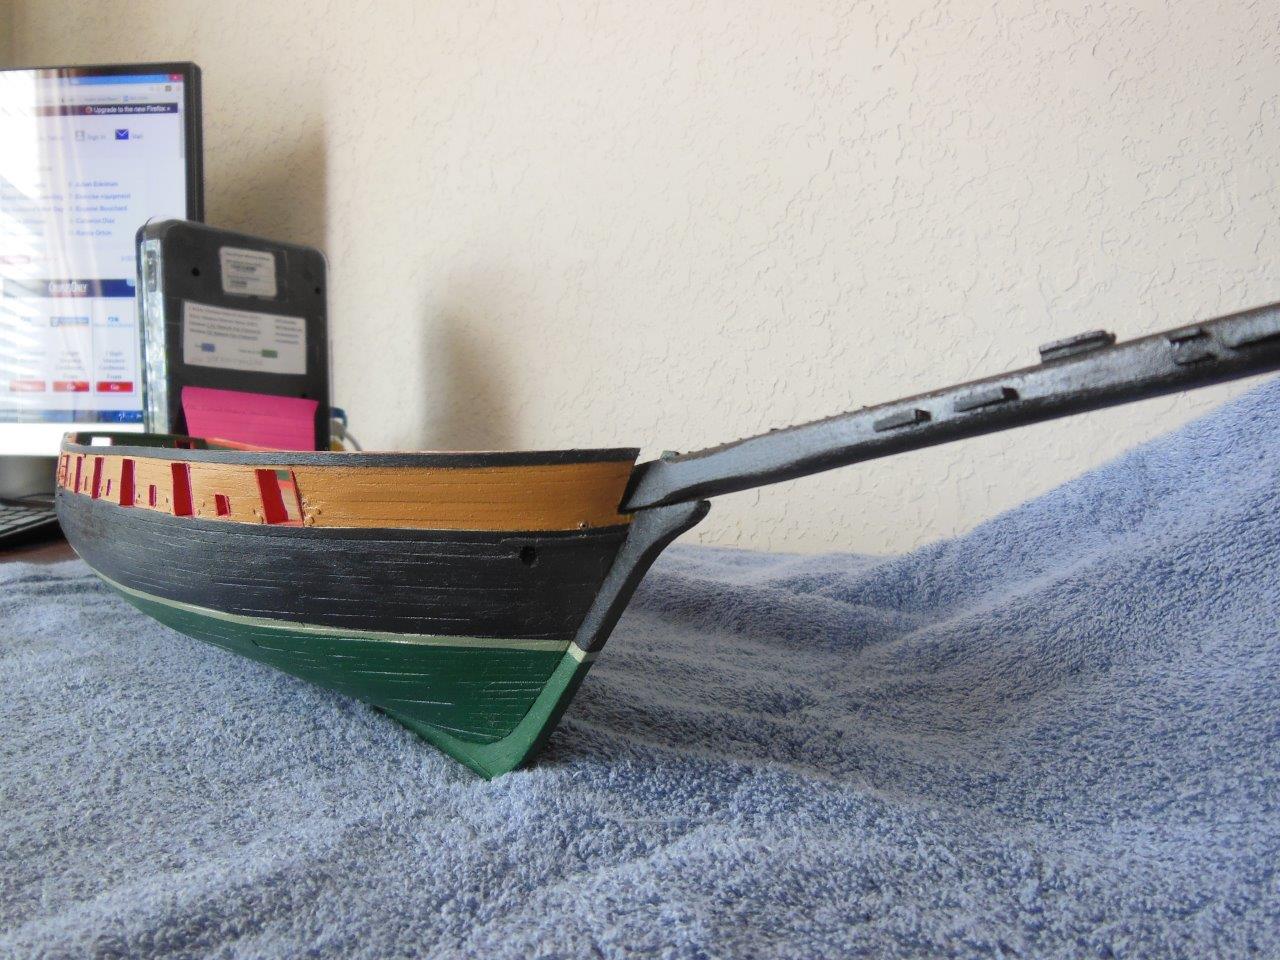
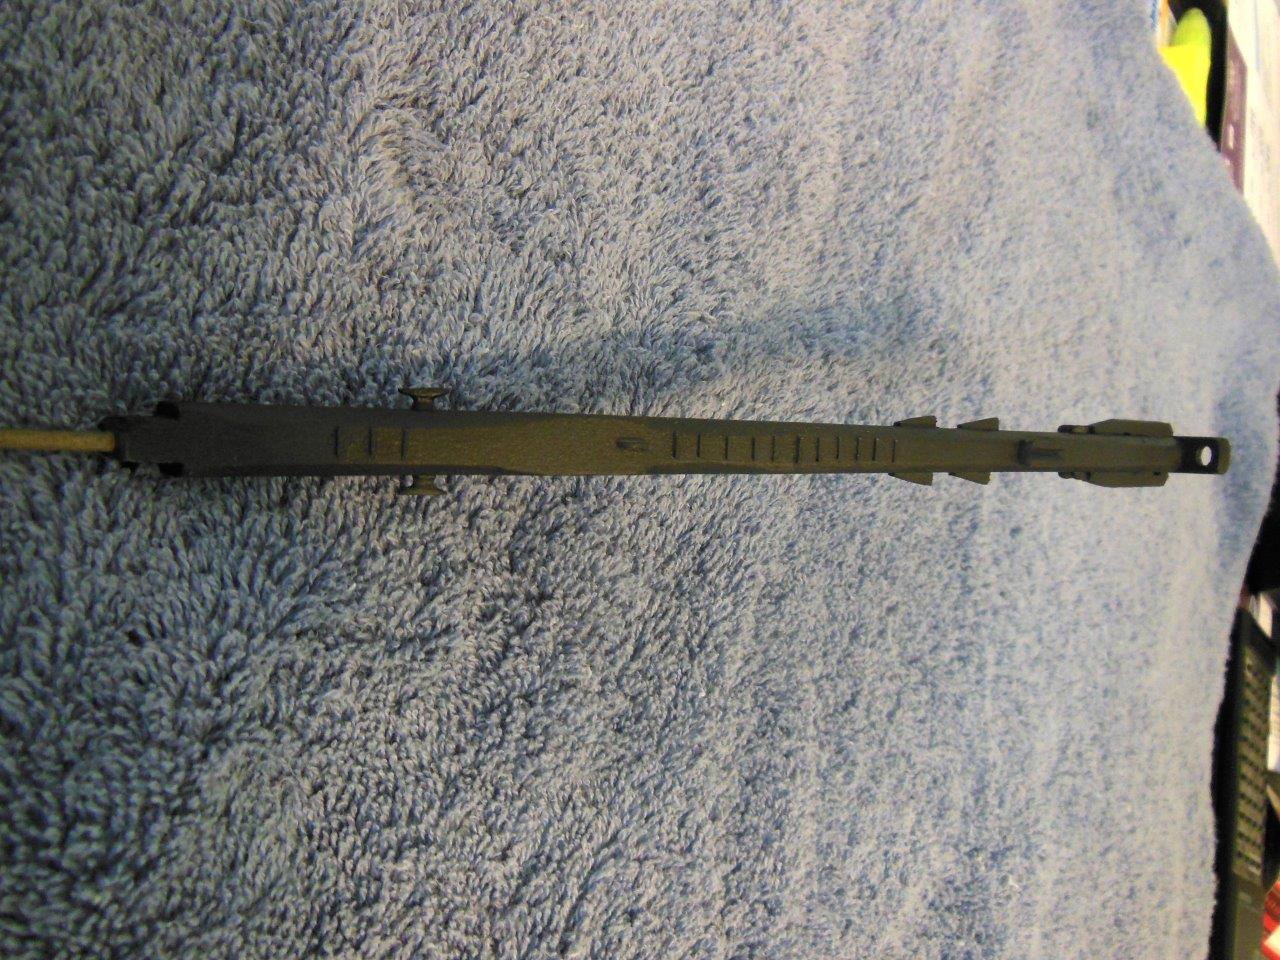
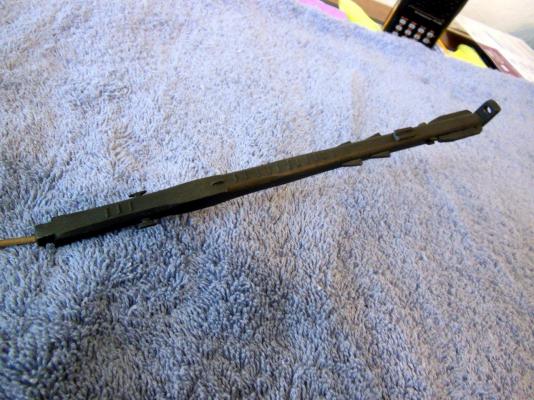
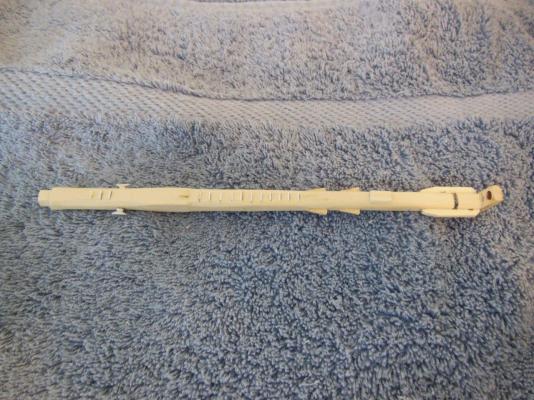
The bow sprite is painted. Tonight I'll apply wipe on poly and eventually dull-coat. The cap needs four eye-bolts installed, but I'll do that after its installed on the ship so I do not damage them. The eye-bolts are very small with a 0.015" dia shaft. I picked up a drill bit today sized at 0.016," hopefully one of my mandrels will handle this size.

-
Thanks Augie, another excellent idea!
-
Hi Dale, Thanks for looking in. My base is walnut, but I'm not sure when it warped on me. I know it was flat before I applied the finish. Maybe I took too long between the upper and lower finish??? I'll take the weights off tomorrow to see if they helped. Meanwhile I managed to get several coats of paint on my bow sprite which is when I realized I left off four very small line chalks. I CA glued them on top of the paint, hopefully it holds OK. I'll take some photos after the last coat is applied. Turns out there are five materials on this piece, wood, styrene, tape, brass and white metal castings.
-
I'm impressed with the results and the process! Thanks for sharing!
-
My goal is to get one of my four sides to look as good as any one of yours!
-
Thanks Popeye. Hopefully I can find time to paint the bow sprite today. It all depends on the granddaughters, they can keep me busy....
-
Hi Patrick, I forgot to mention I took your advice and found some styrene strips. I needed 0.015" sq, but what I found was 0.015" x 0.020" Is the difference noticeable :) . Thanks for helping with the mount issue. I don't think the dry weight will help much and I hope the slight warp will not be noticable.
-
Augie, thanks for giving it some thought. If the weight does not resolve the issue, I agree adjusting the feet is the best option left. If this is very noticeable I'll sand off the top and bottom, soak it in hot water and clamp it down to dry. Yes I have a wall side, the port and starboard.
-
Thanks Augie. Yes unfortunely both (all) sides are sealed. Funny thing is I did not notice the wobble until after sealing, but who really knows when it happened.
-
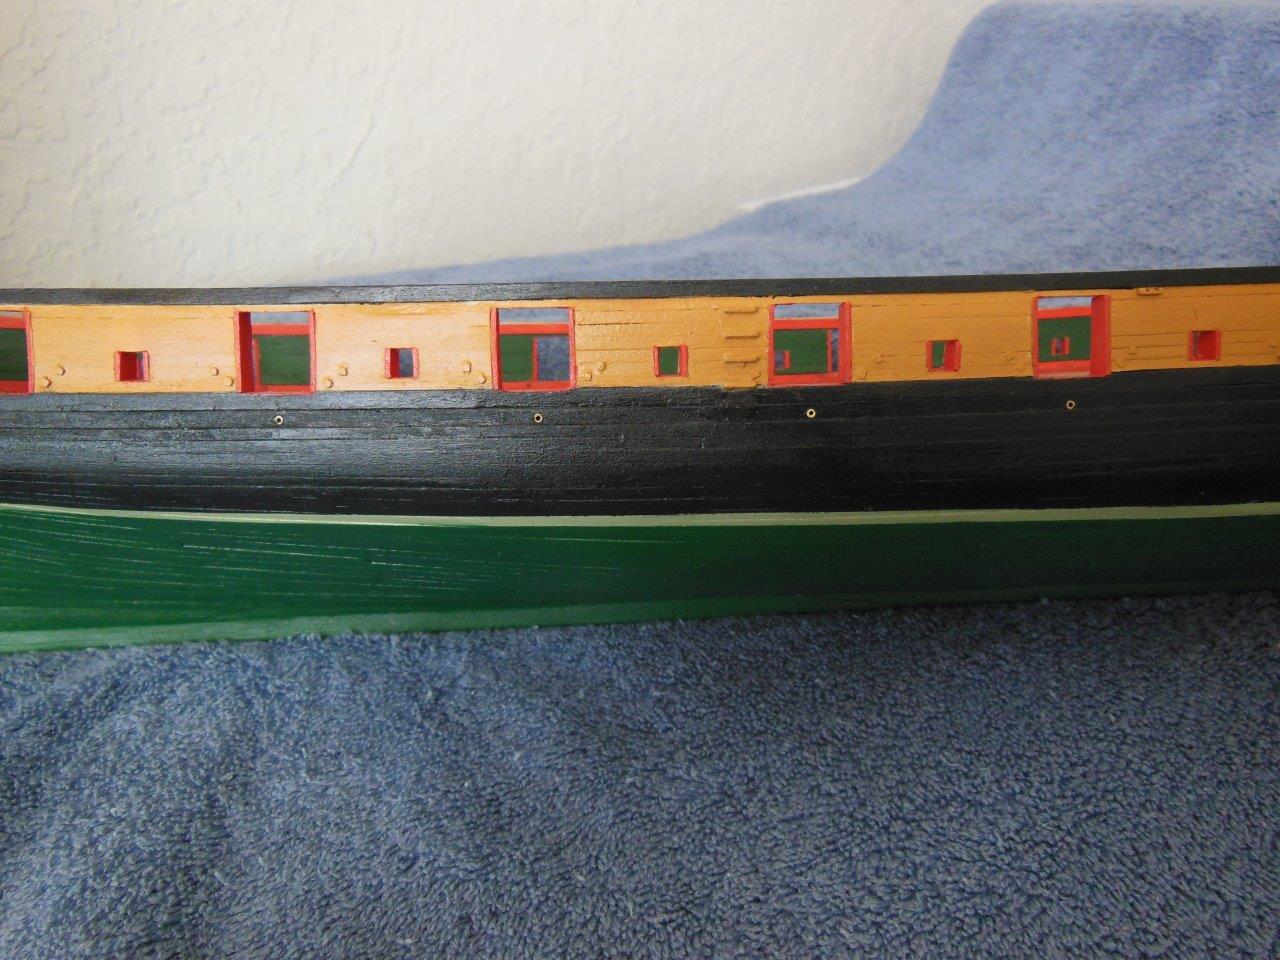
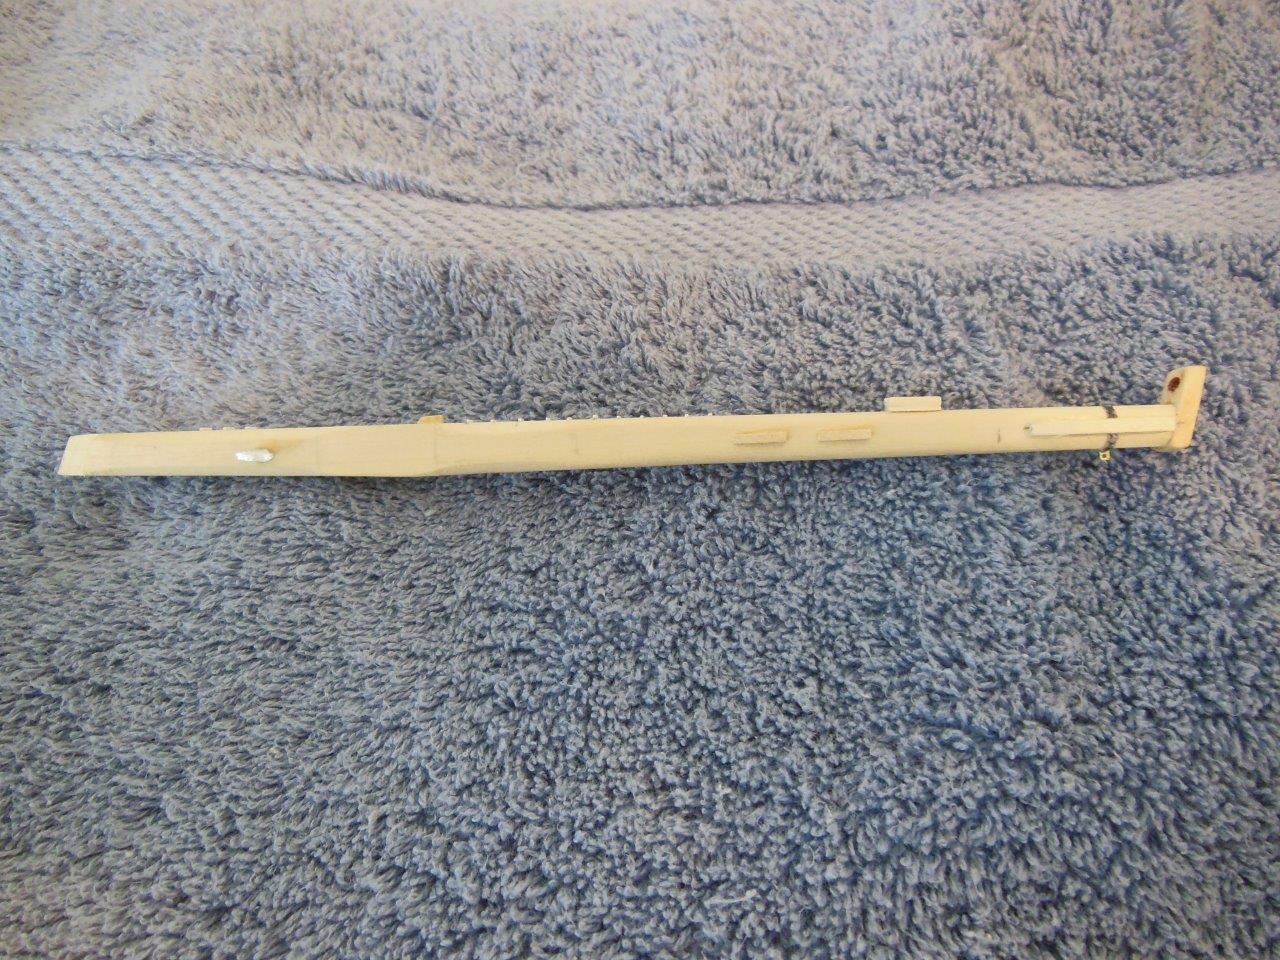
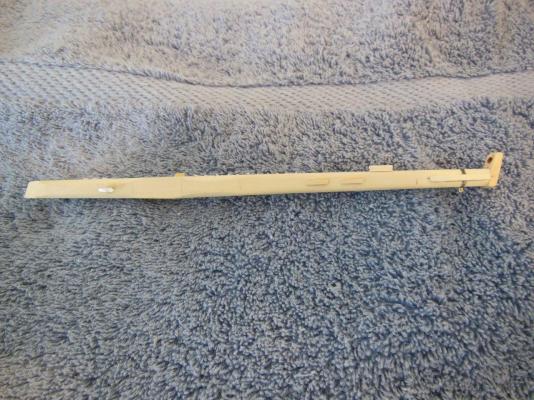
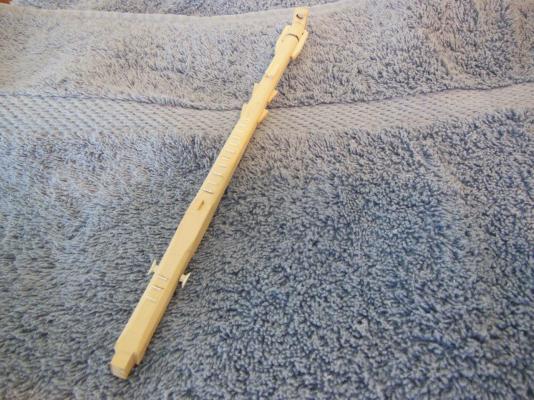
I completed the majority of work on the bow sprite other than paint. My plan is complete this piece then mount it on the ship so I can add the top rail. I'll hold off on mounting the jib boom and dolphin striker until later. Right now I think they would simply get in the way and get snapped off multiple times. Hull painting is complete with two coats of Wipe On Poly (WOP), but photos have yet to be taken. Once the top rail is on, as well as the rudder, I think it will be time to mount the ship on the display board. Speaking of the display board, after I applied WOP, I noticed the board did not sit flat. One corner is up less then 1/16" but it's enough to cause the board to wobble. I've had it sitting for the past few weeks with 60 pounds of lead alloy bullets sitting on it (with protective thick plastic plank), hoping this would make it sit flat again. If it does not work are their any suggestions other than varying the thickness of the felt bumpers or stripping the finish and soaking in water? Edit: You may notice I added two extra tread steps than what the plans call for. The last one did not end up where it should so adding two more seemed to resolve that issue.
-
Thank you gentlemen. WOP is what I will use. Brian, your paint job looks amazing, clean and crisp lines. One of these days I hope to get results like yours