king derelict
-
Posts
2,966 -
Joined
-
Last visited
Content Type
Profiles
Forums
Gallery
Events
Everything posted by king derelict
-
Jagdpanzer 38(t) by Baker - Starr - 1/72 Finished
king derelict replied to Baker's topic in Non-ship/categorised builds
Great to see another military model Patrick. Looks like this one might test your patience but I expect you will build a great looking model Alan -
Darn it. We missed our chance to bid https://www.bbc.com/news/world-europe-67465802
-
Interesting stuff OC. Did you see The Corsicans hat is up for auction? Alan
-
That came out very nicely. Congratulations Alan
-
Thank you very much Andrew. Next up is painting some of the little 10mm figures. Lets see how good the eye surgery was! The base is 21 inches by 26 inches. I haven't a clue where its going to go. I have a deep shelf in the lounge currently occupied by one of the cats beds. I may have to negotiate with them. Alan
-
Thank you very much Craig. Aedes Ars has a wide range of subjects but you see very few builds out there. I suspect a lot get started and fizzle out. The brickwork is seriously repetitive. My Spanish friend who kindly bought this for me in Barcelona and paid an enormous shipping fee to the US thought it would be a restful weekend project - like Lego! The other problem for detail modellers is that relative to the real thing the blocks are oversize for scale and there are generally simplifications. Having said that it does make a very impressive model that is instantly recognizable as the subject. It will be a while before I feel the need to attempt another one Alan
-
Thank you very much Mark. There were times I thought it would go back on the shelf in a dark cupboard Alan
-
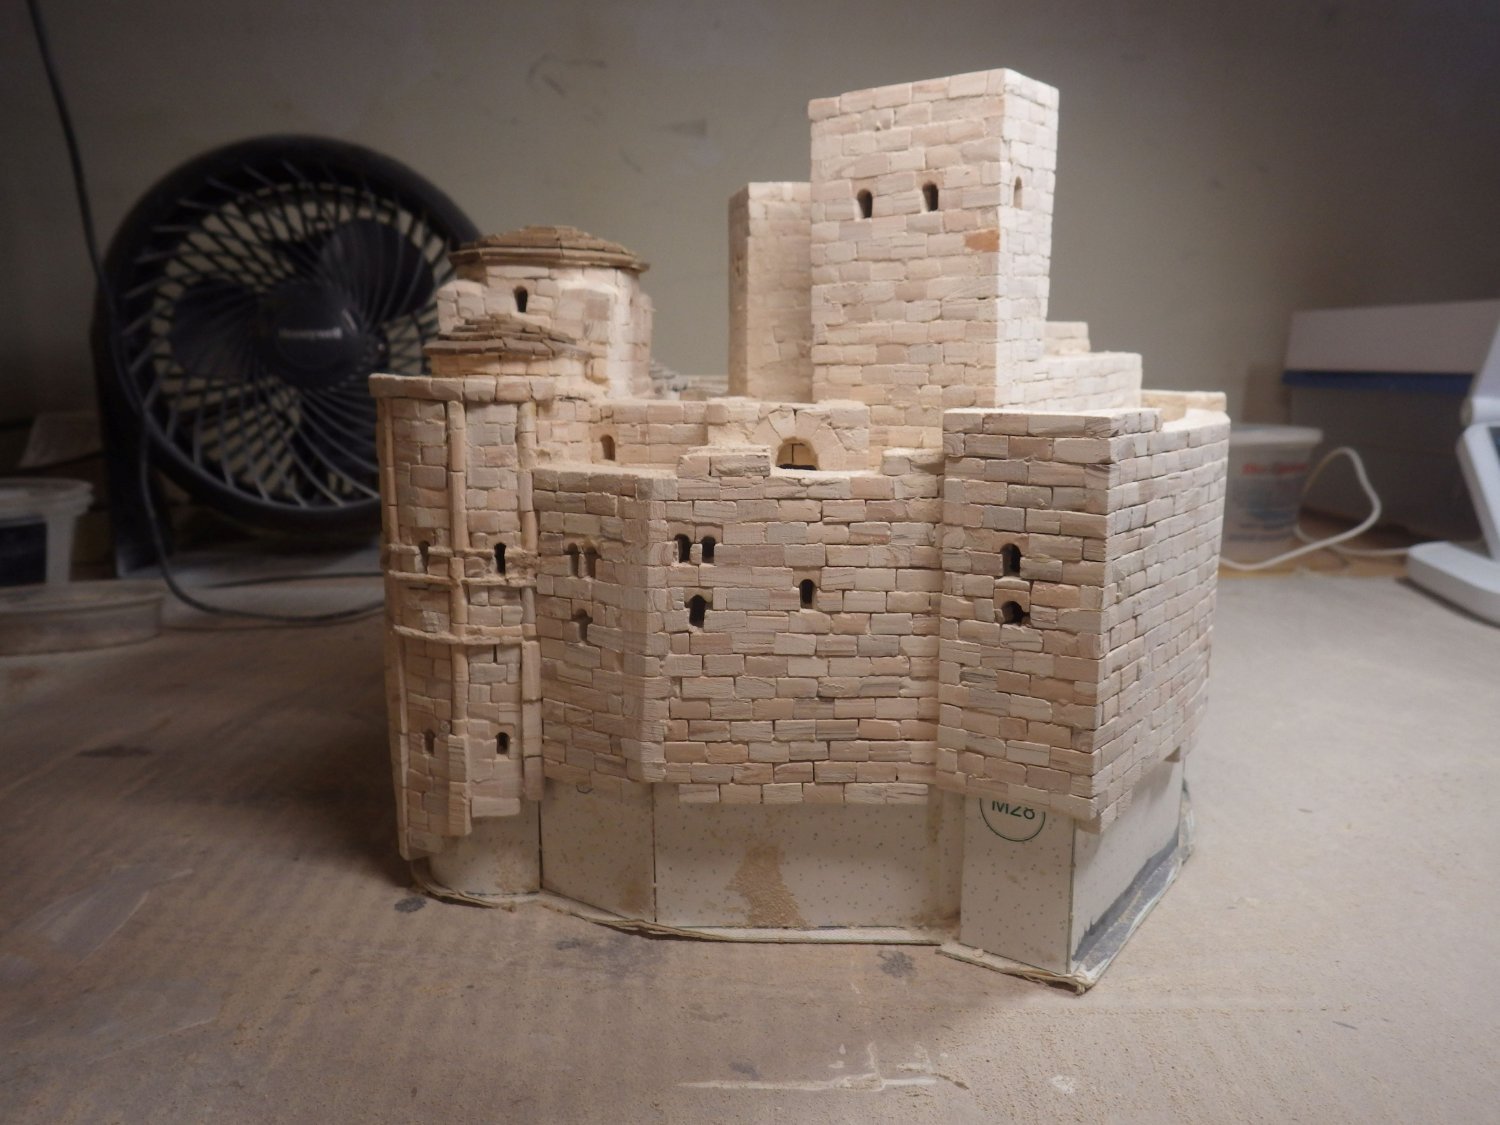
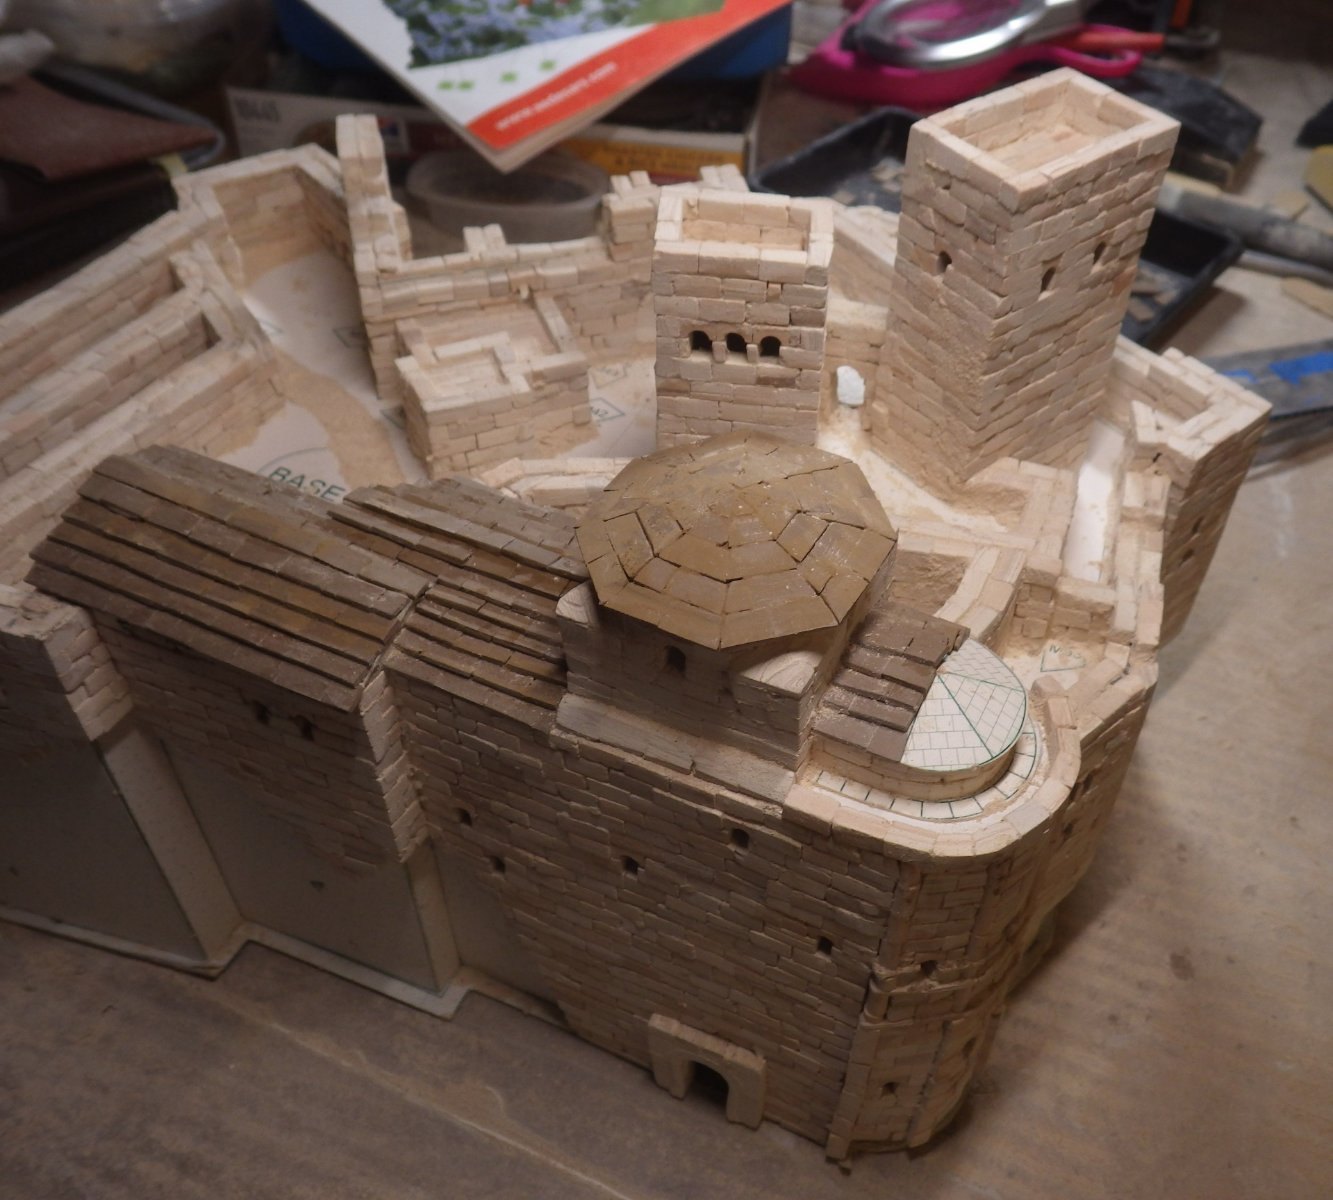
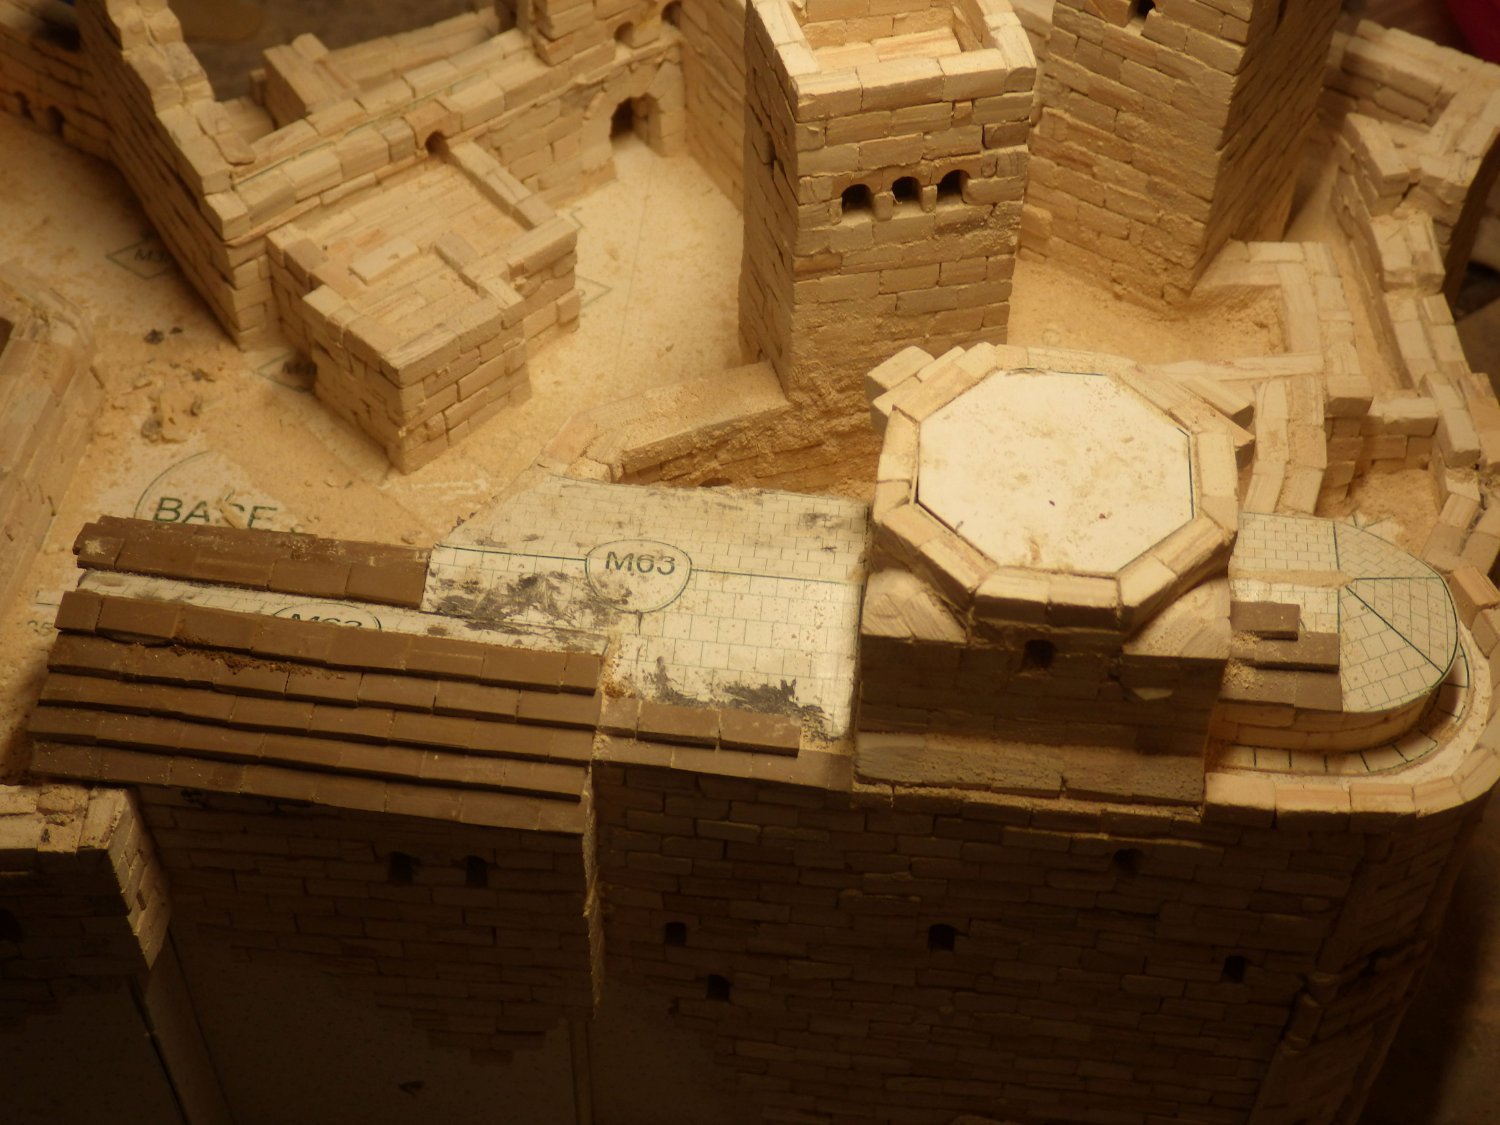
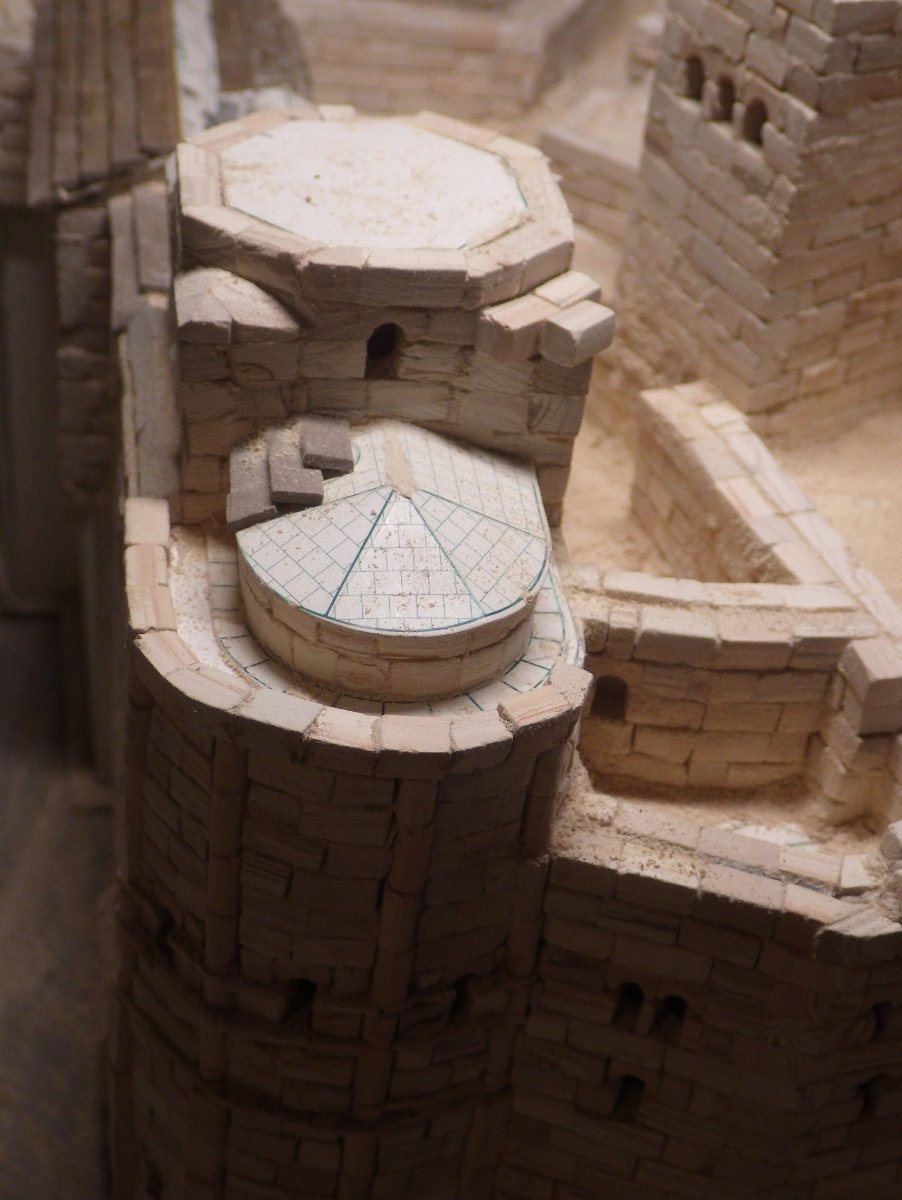
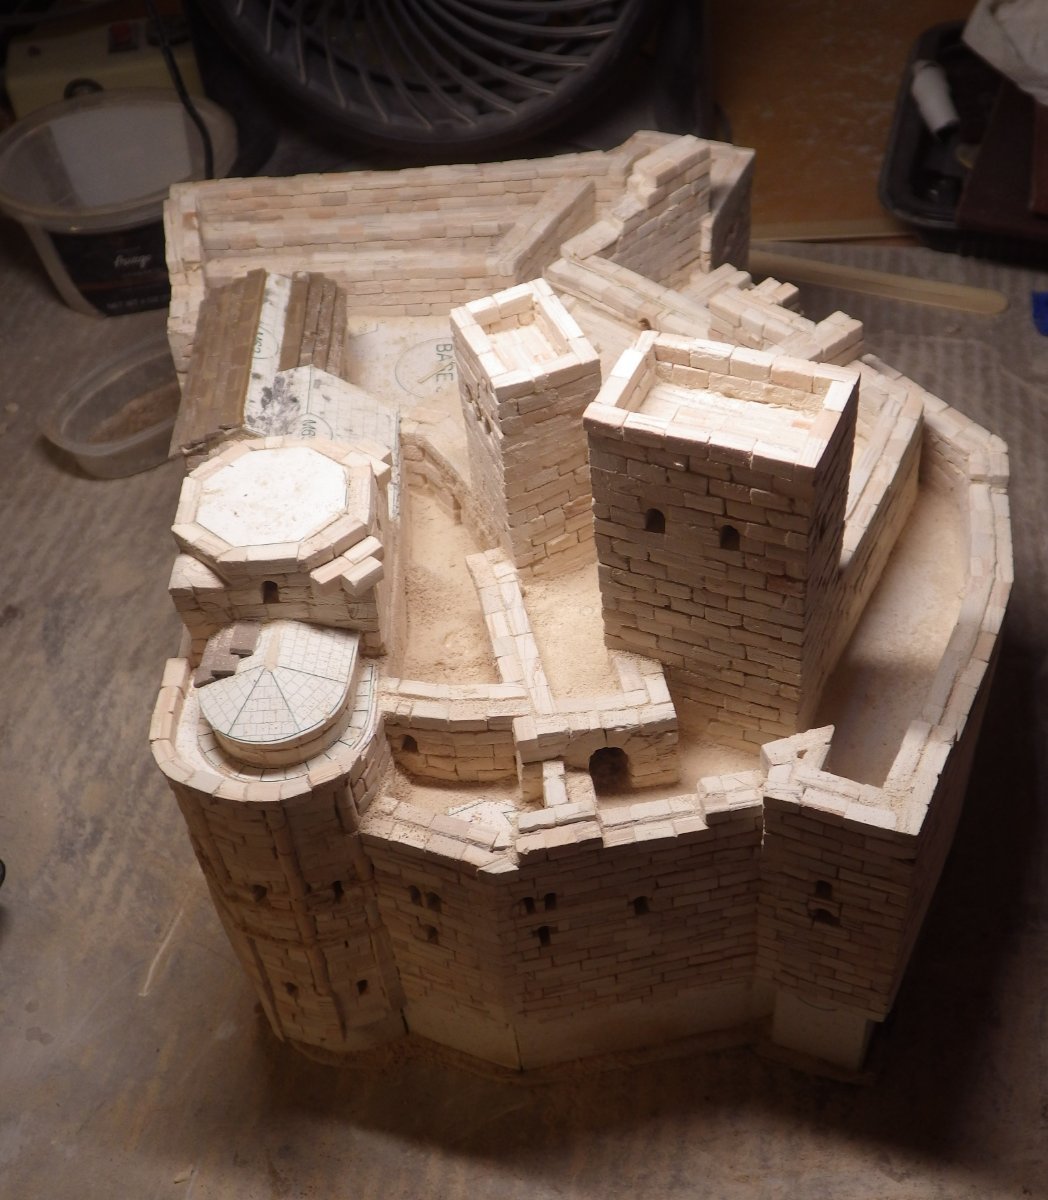
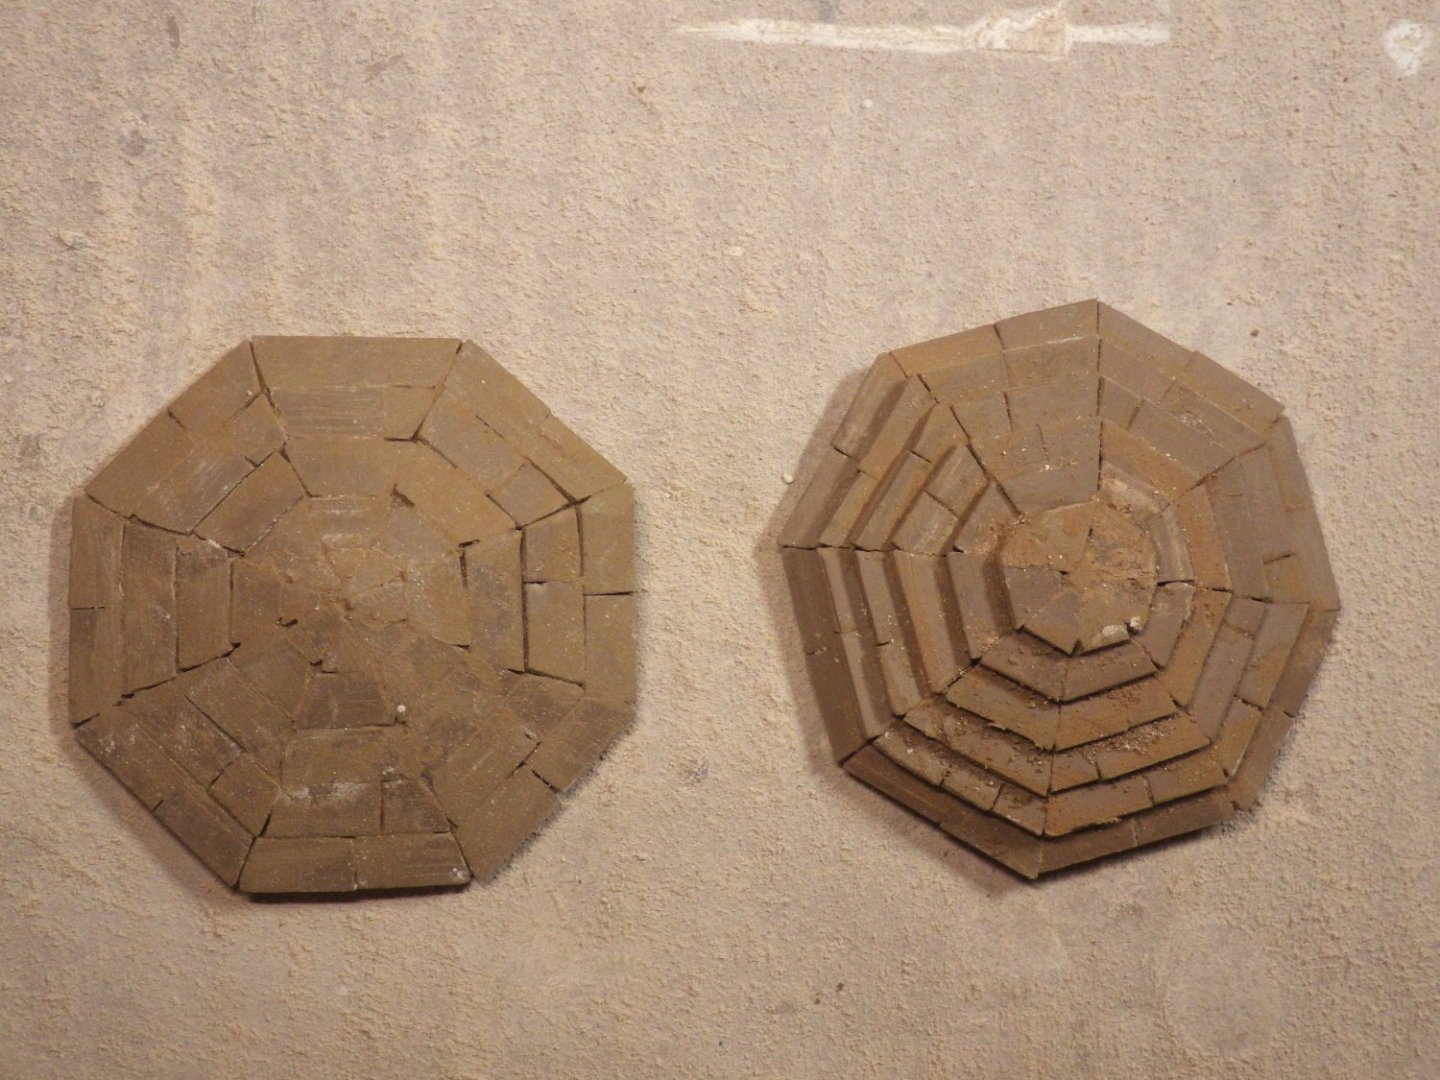
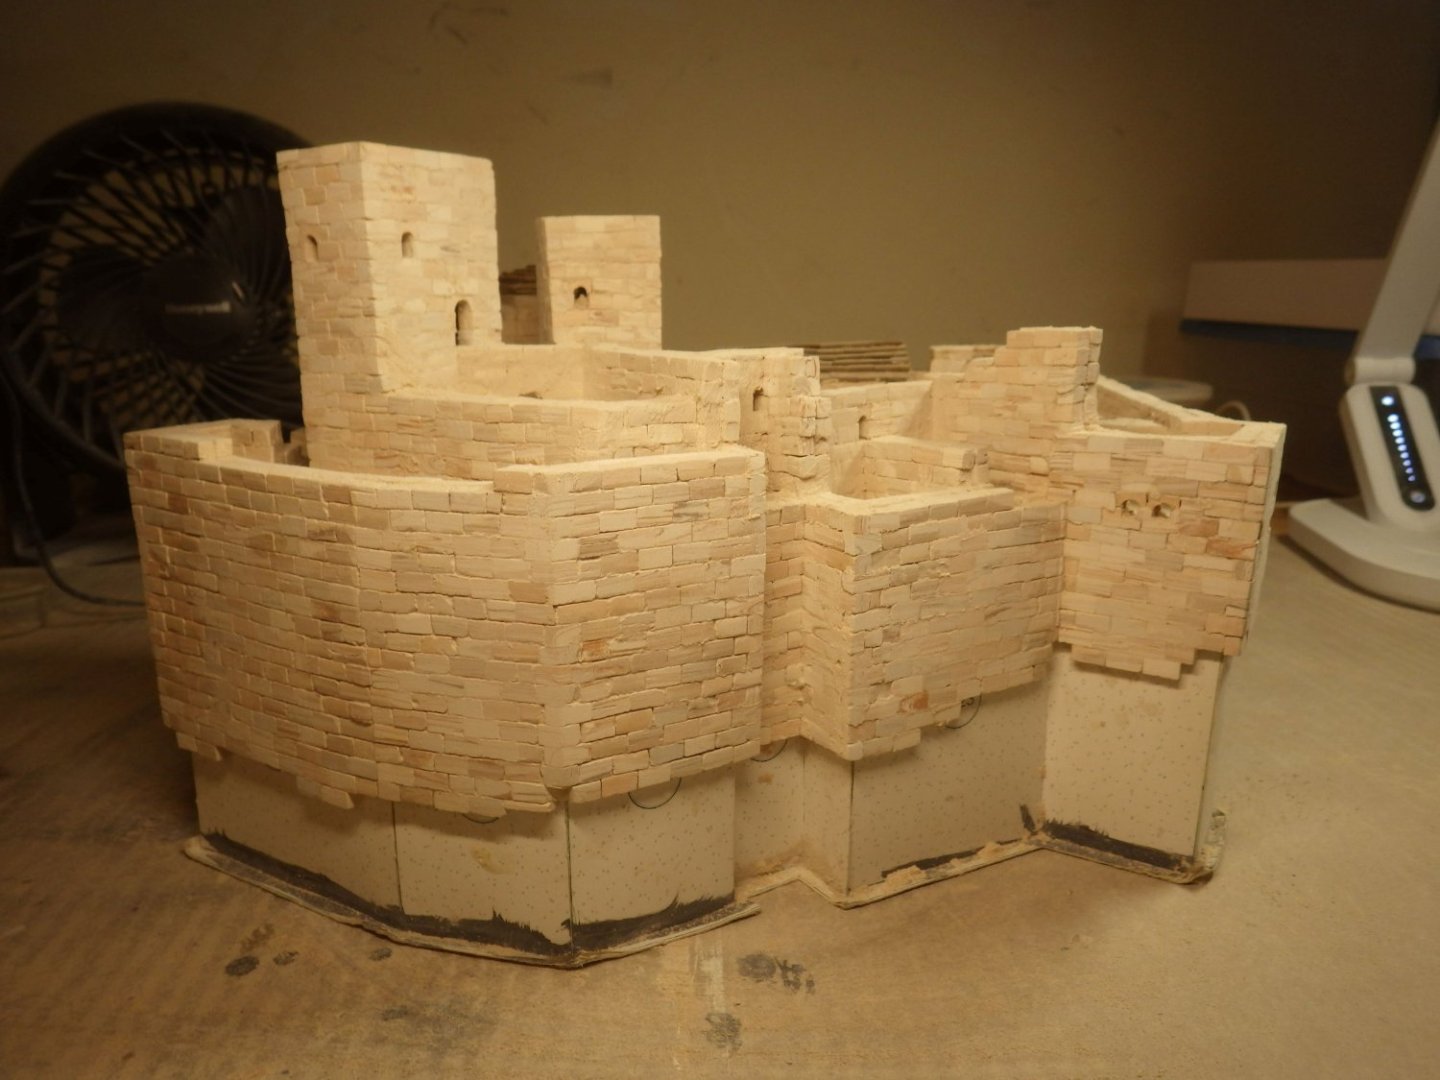
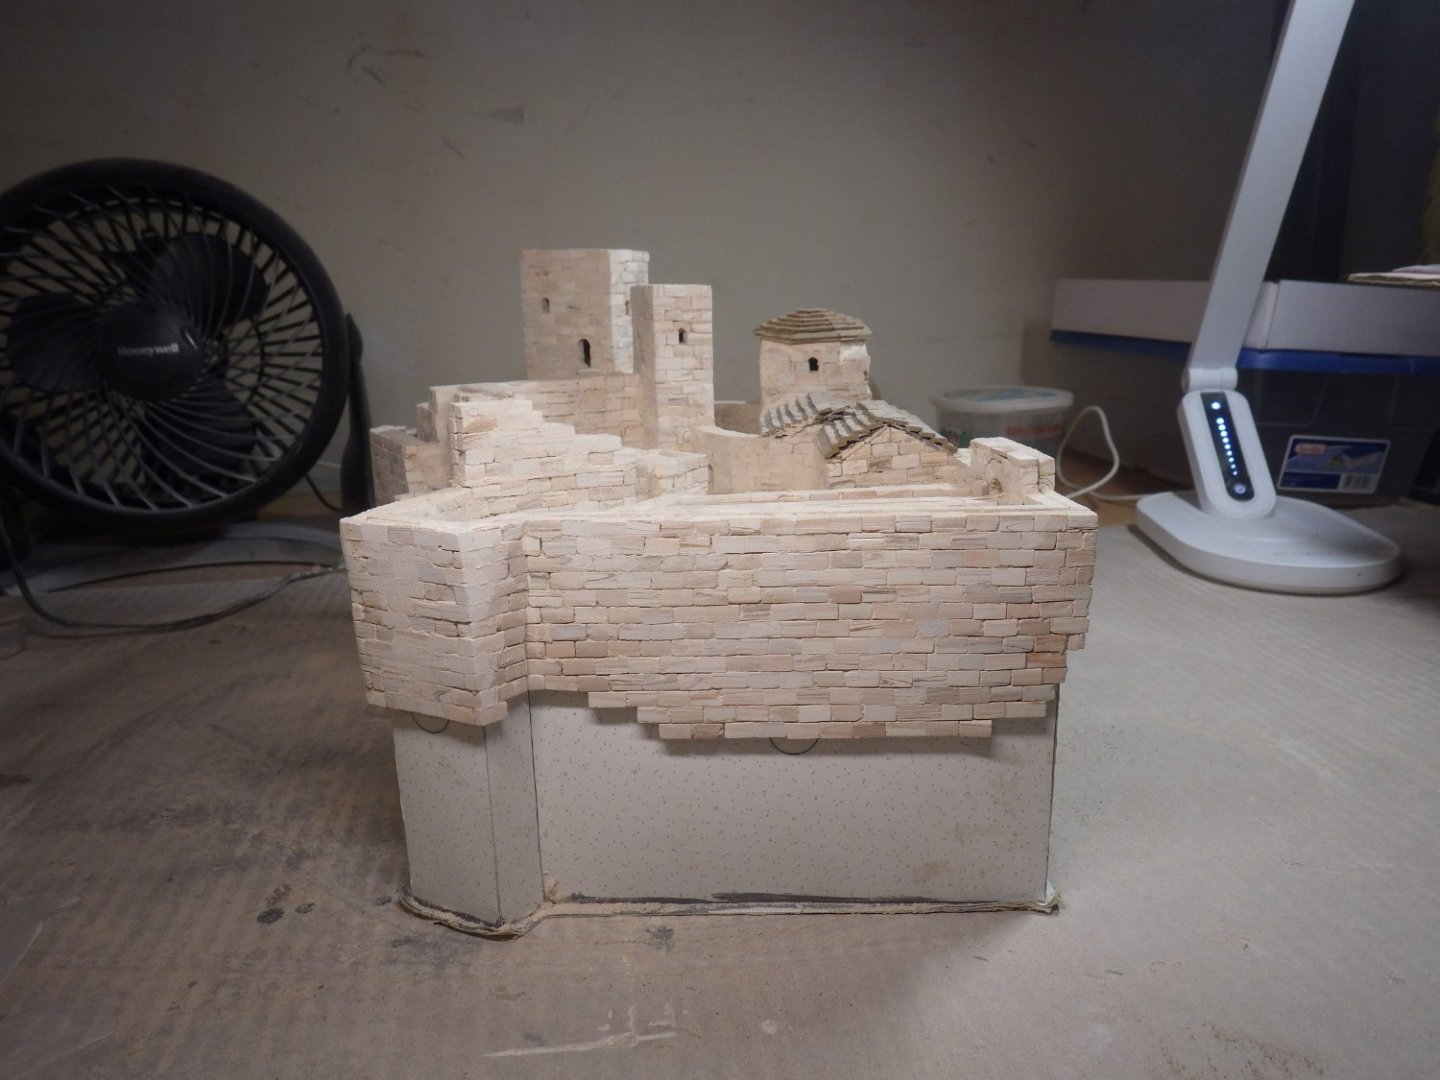
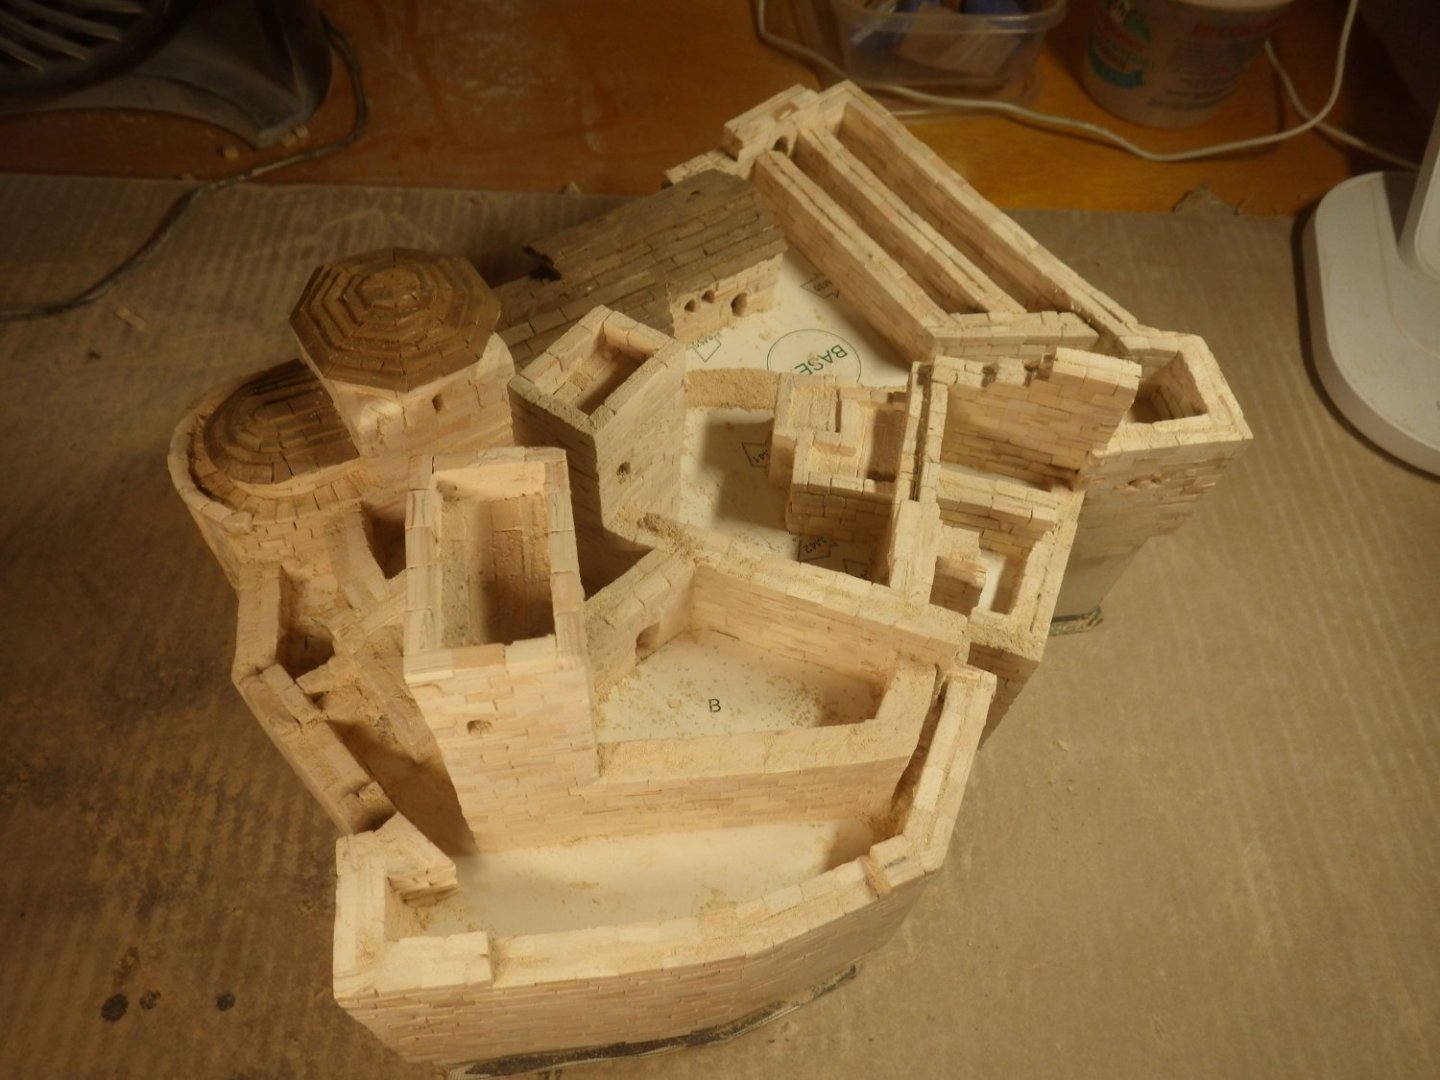
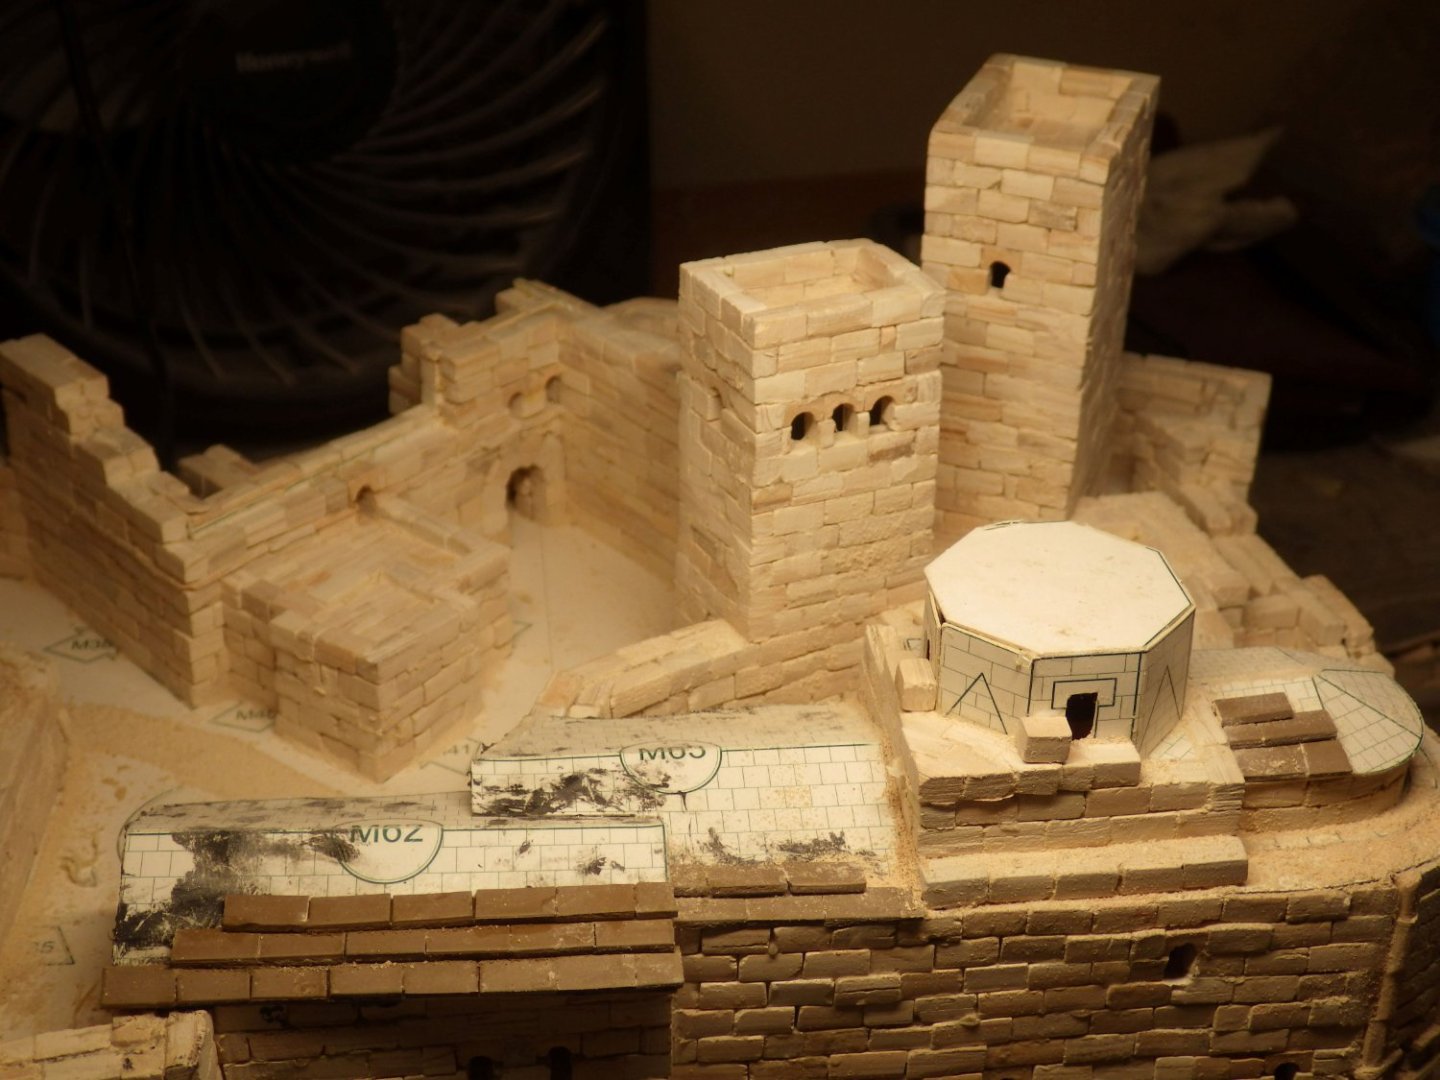
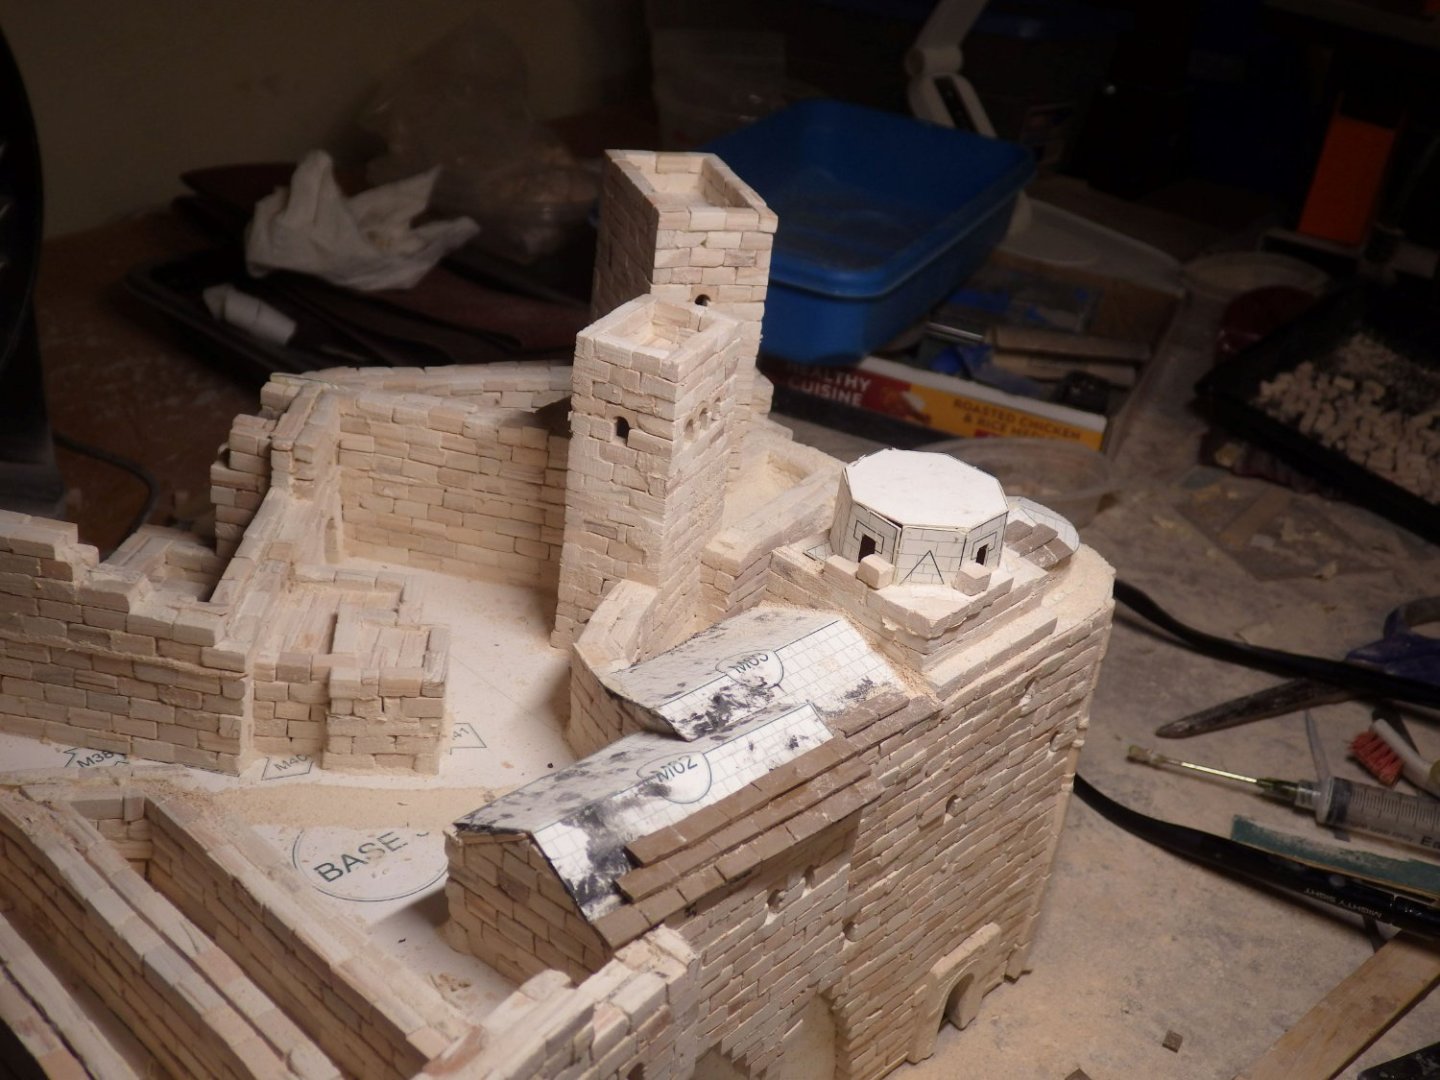
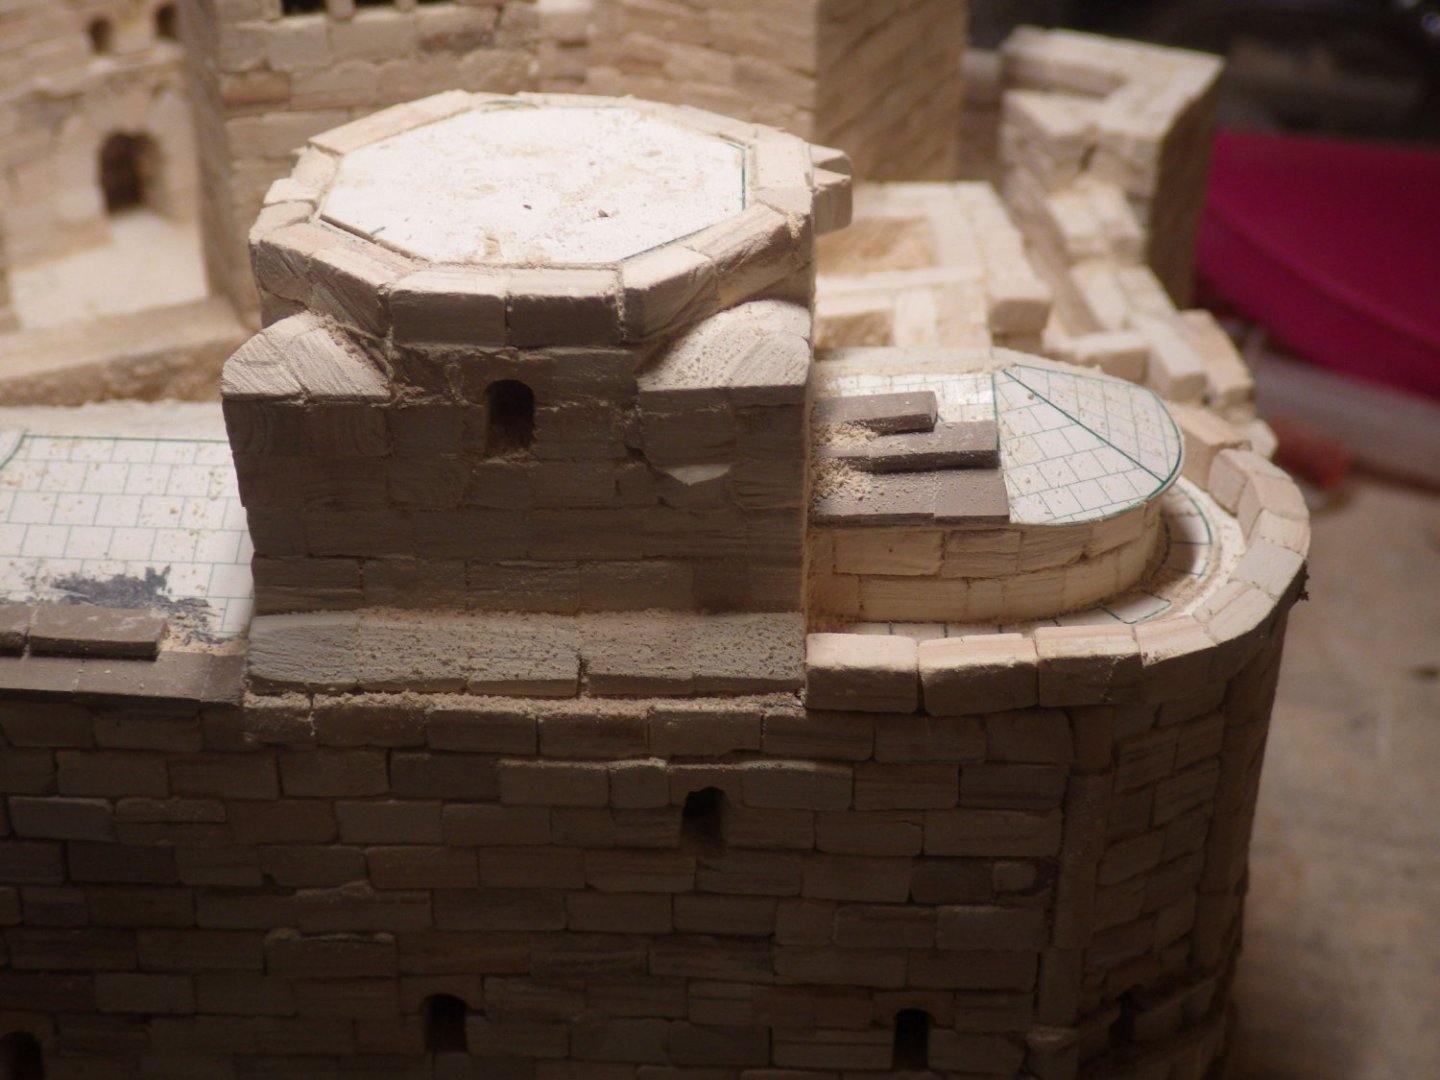
A momentous day in the build today. I added the final block and tile. I had doubts at times that I wasn't going to get this far so I feel rather pleased with myself for completing this phase of the project. The success owes a lot to the encouragement from all the people who have commented and added likes as the build developed. Thank you all. I completed the second version of the tower roof and I am glad I tried a second version. To me its much nicer - on the right in the photo The roof was glued in place and I have now started on the clean up. Opening up windows and tidying up the block work while I think about the floors and courtyard covering. The tower roof is not sitting properly and has subsequently been adjusted. After the clean up I need to add the figures and the ground cover. It will all be a nice change of pace before getting the baseboard and outer walls out again and building up the landscape. I plan to seal the walls before starting that but I am rather nervous about getting plaster etc all over the blockwork. Hopefully a supply of wet paper towels at hand will help Thank you for all the likes and for staying with this one Alan

- 462 replies
-
- 12
-

-

-
Thank you very much Gary. Its good to be back on the castle and approaching the end of the blockwork and tiling. These Aedes Ars kits make up into a nice model but the repetitive brickwork is killing. This one had about 8500 blocks but there are kits with 13000 - 14000 blocks. Alan
-
Absolutely stunning. You built a beautiful model. The painting is exceptional Alan
-
The details are beautiful Alan
-
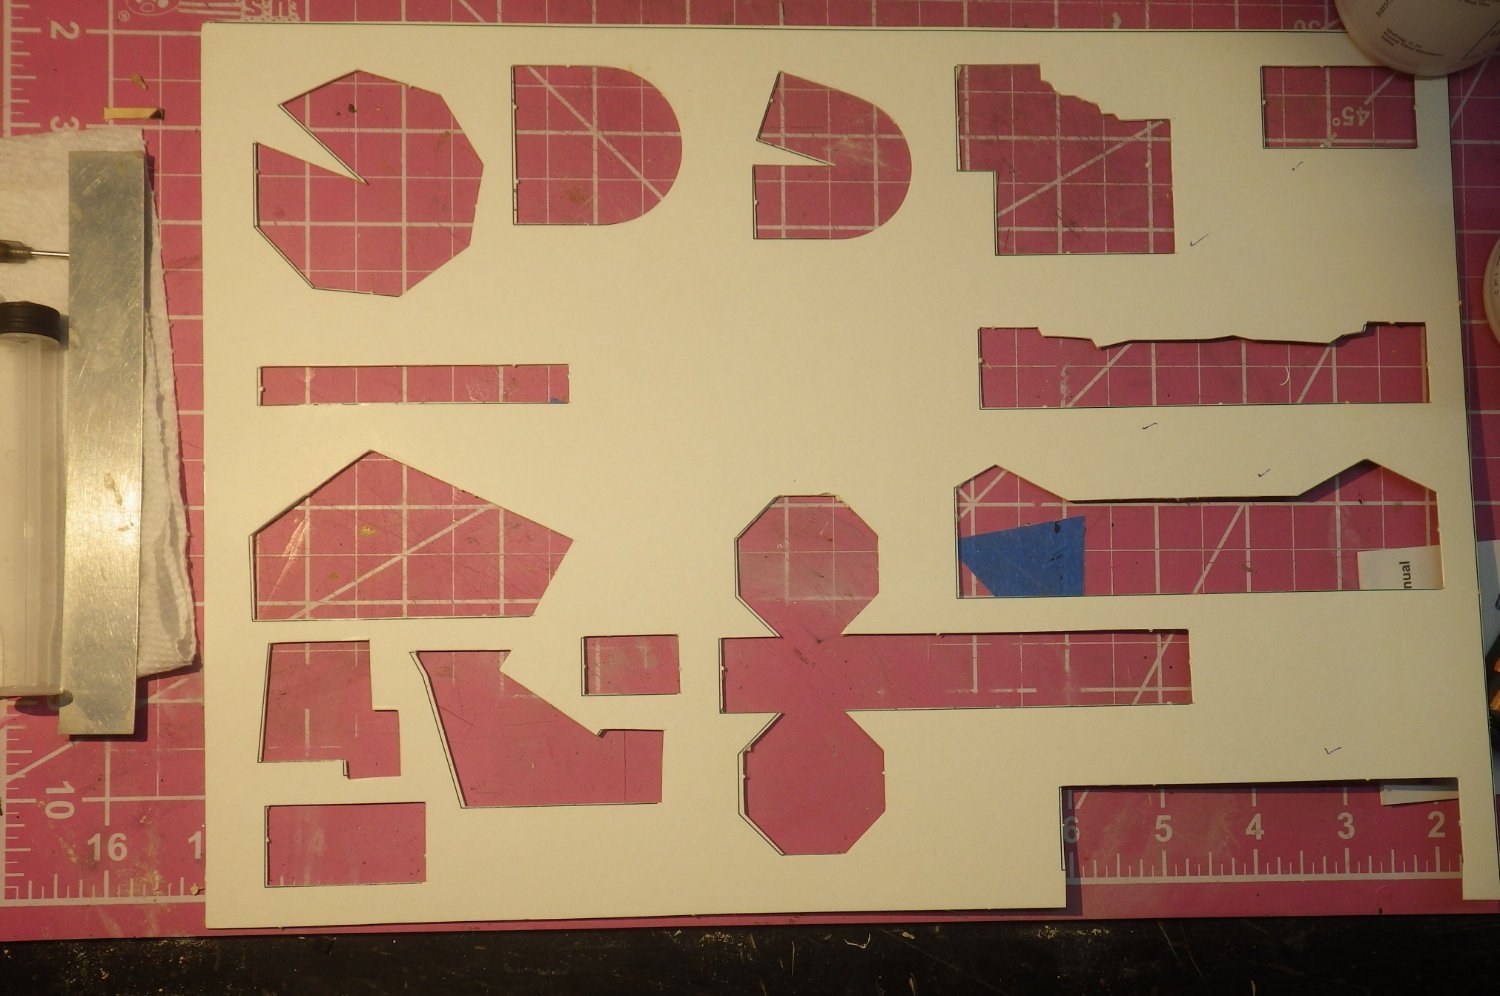
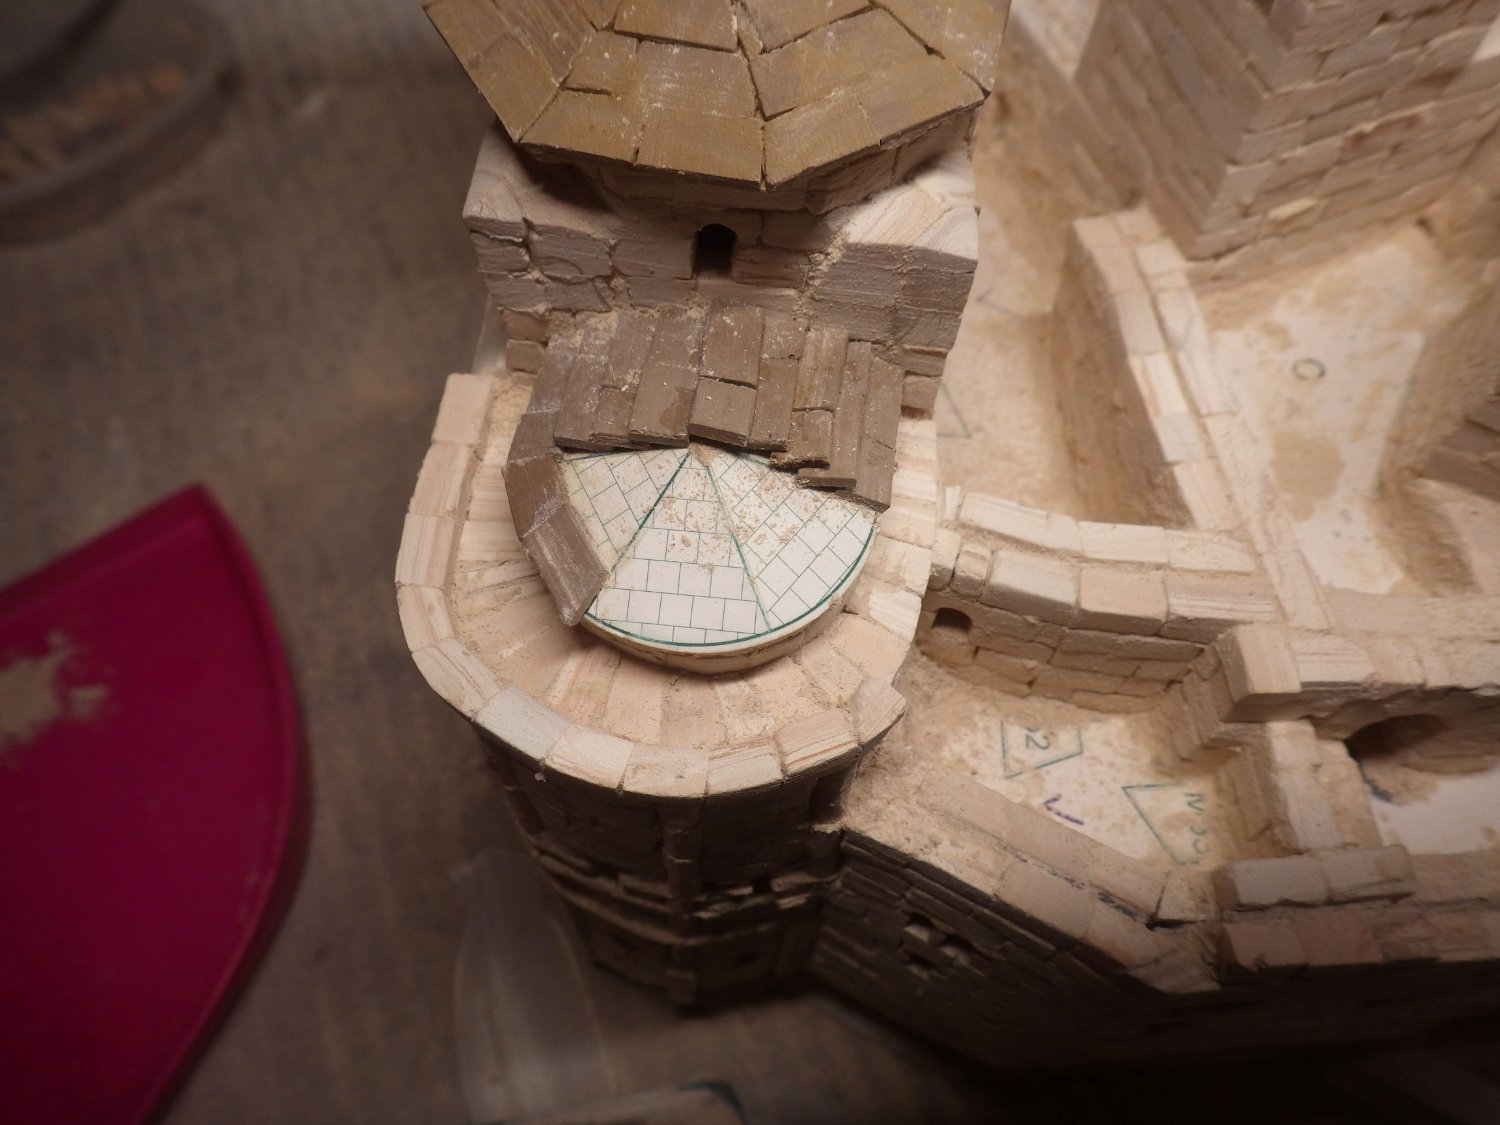
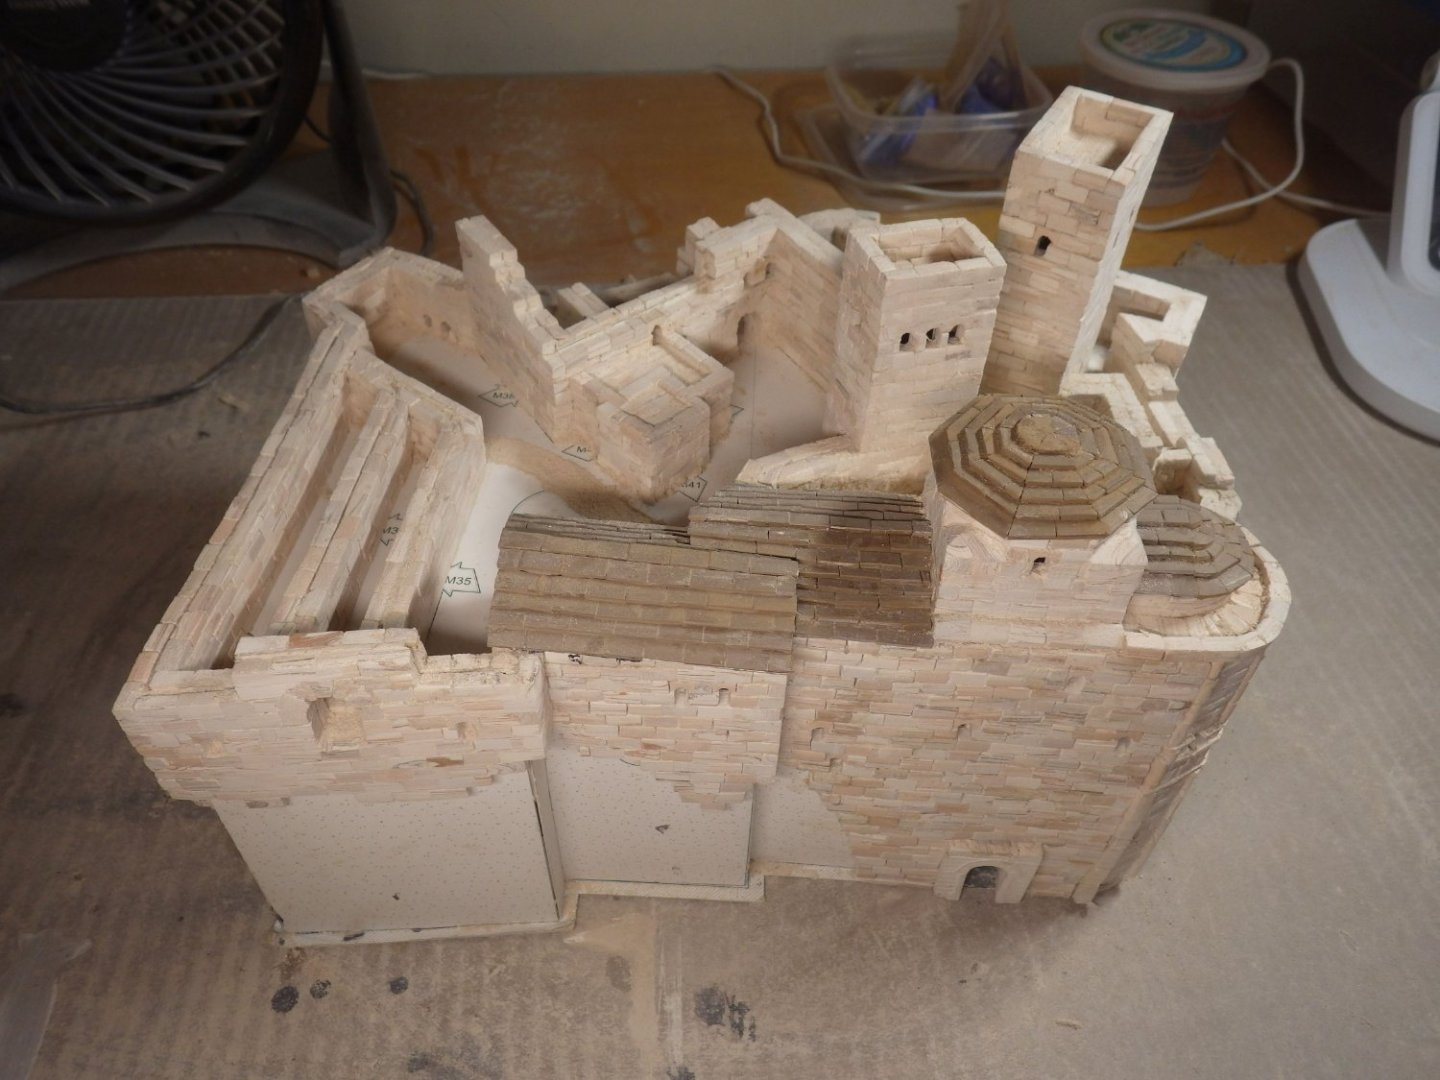
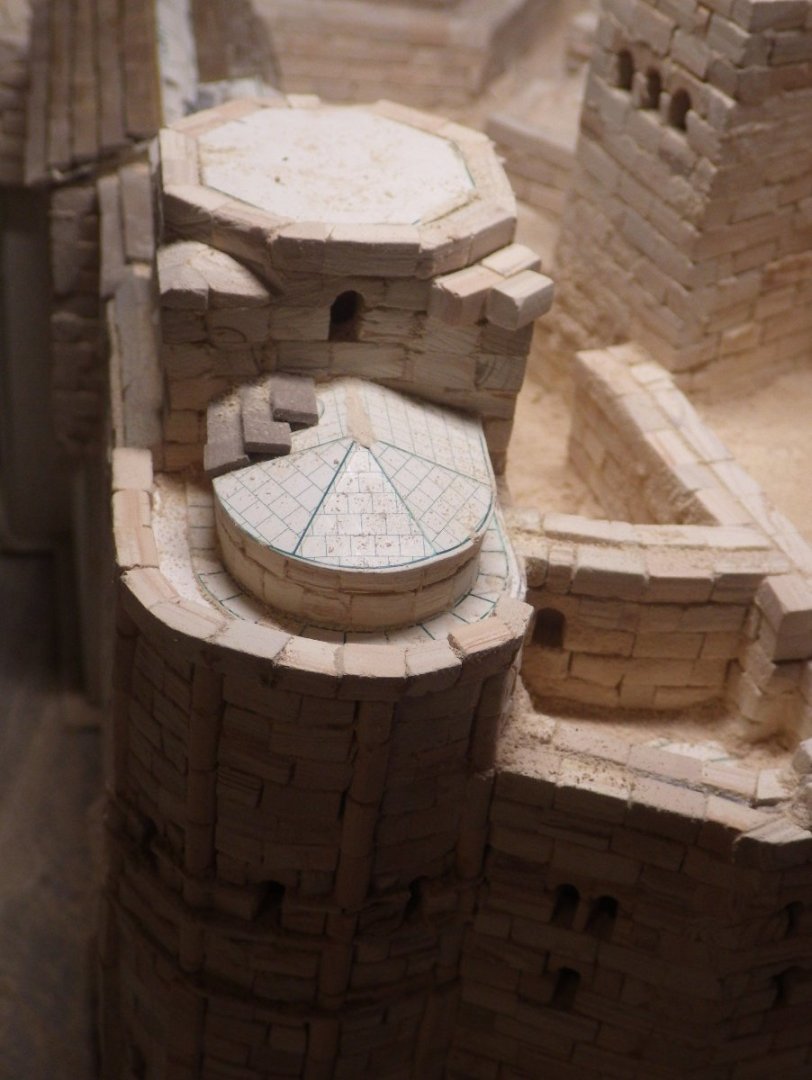
Then it occurred to me that I still had the frames from the original templates Roof for the tower at top left. There is even a big enough blank spot there to not need to hunt for another piece of card. So another template ready for tiling. I think I have plenty of spare tiles I started the roof tiles on the half dome and enthusiasm waned so I tiled the section around the dome and i think I like it better than the kit version. Just the roof tiles left now but plenty of swearing ahead. Thanks for looking in and all teh likes Alan


- 462 replies
-
- 12
-
-
Thank you kindly OC. Those roof tiles are terribly fiddly and frustrating. I'll take it slowly and move onto some of the cleaning up as a break Alan
-
The gloss is beautiful. Worth the extra effort Alan
-
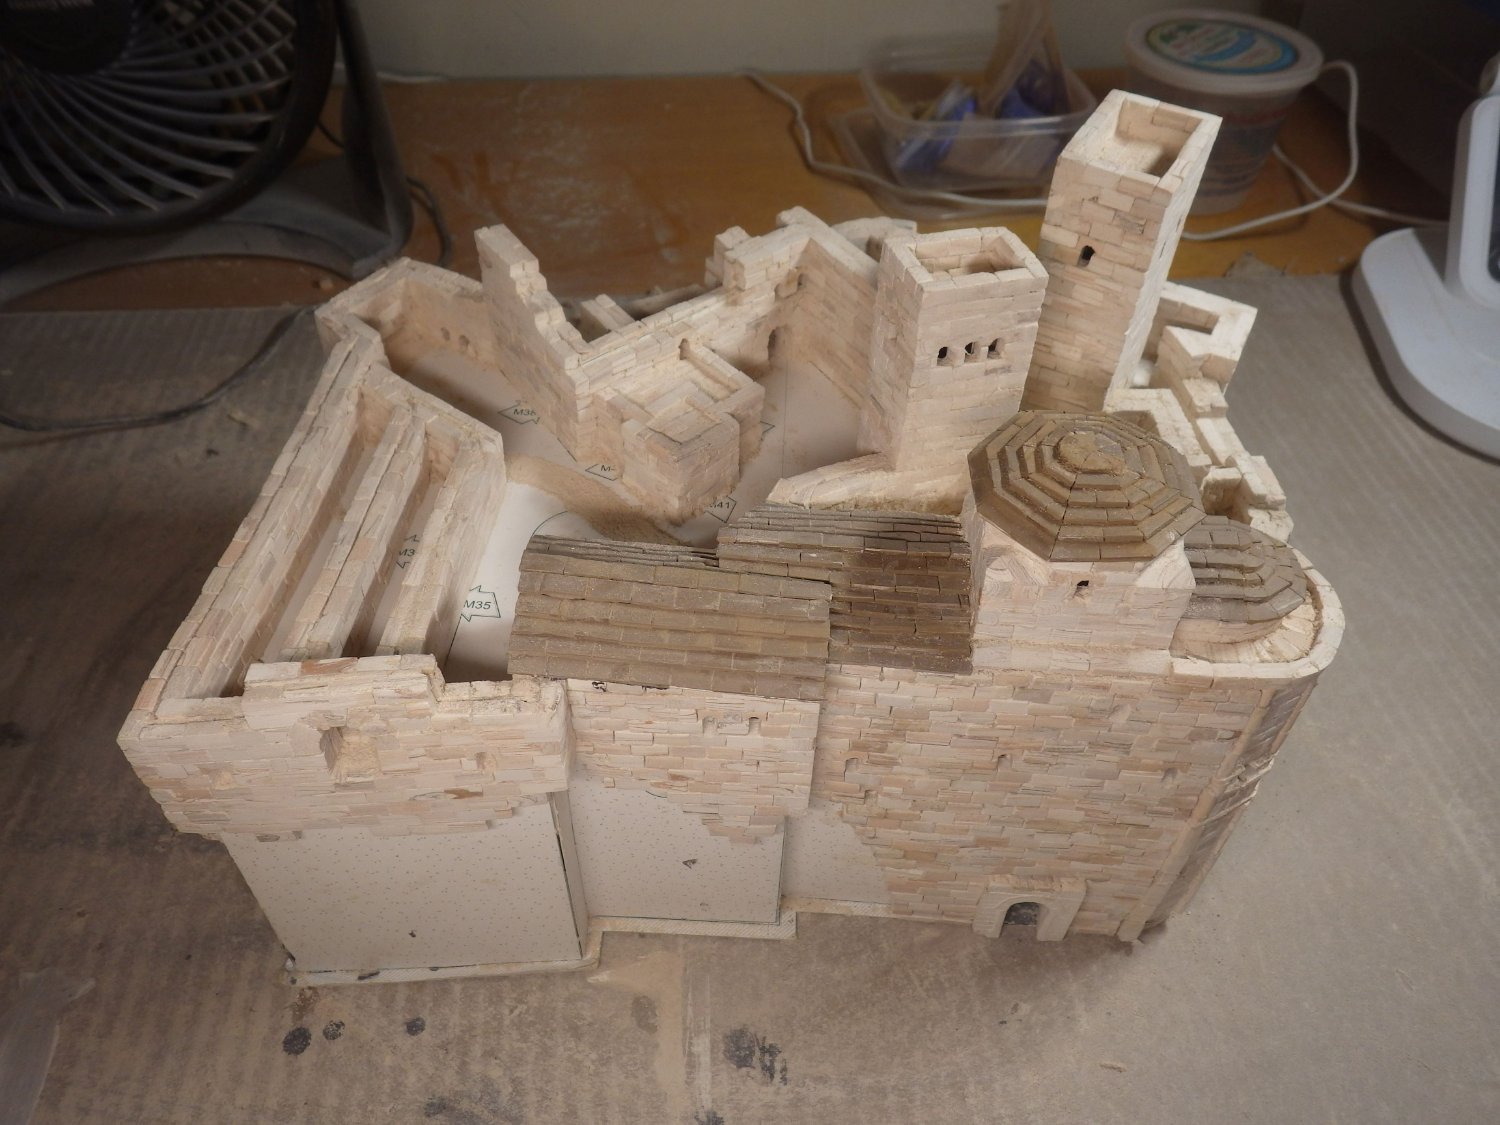
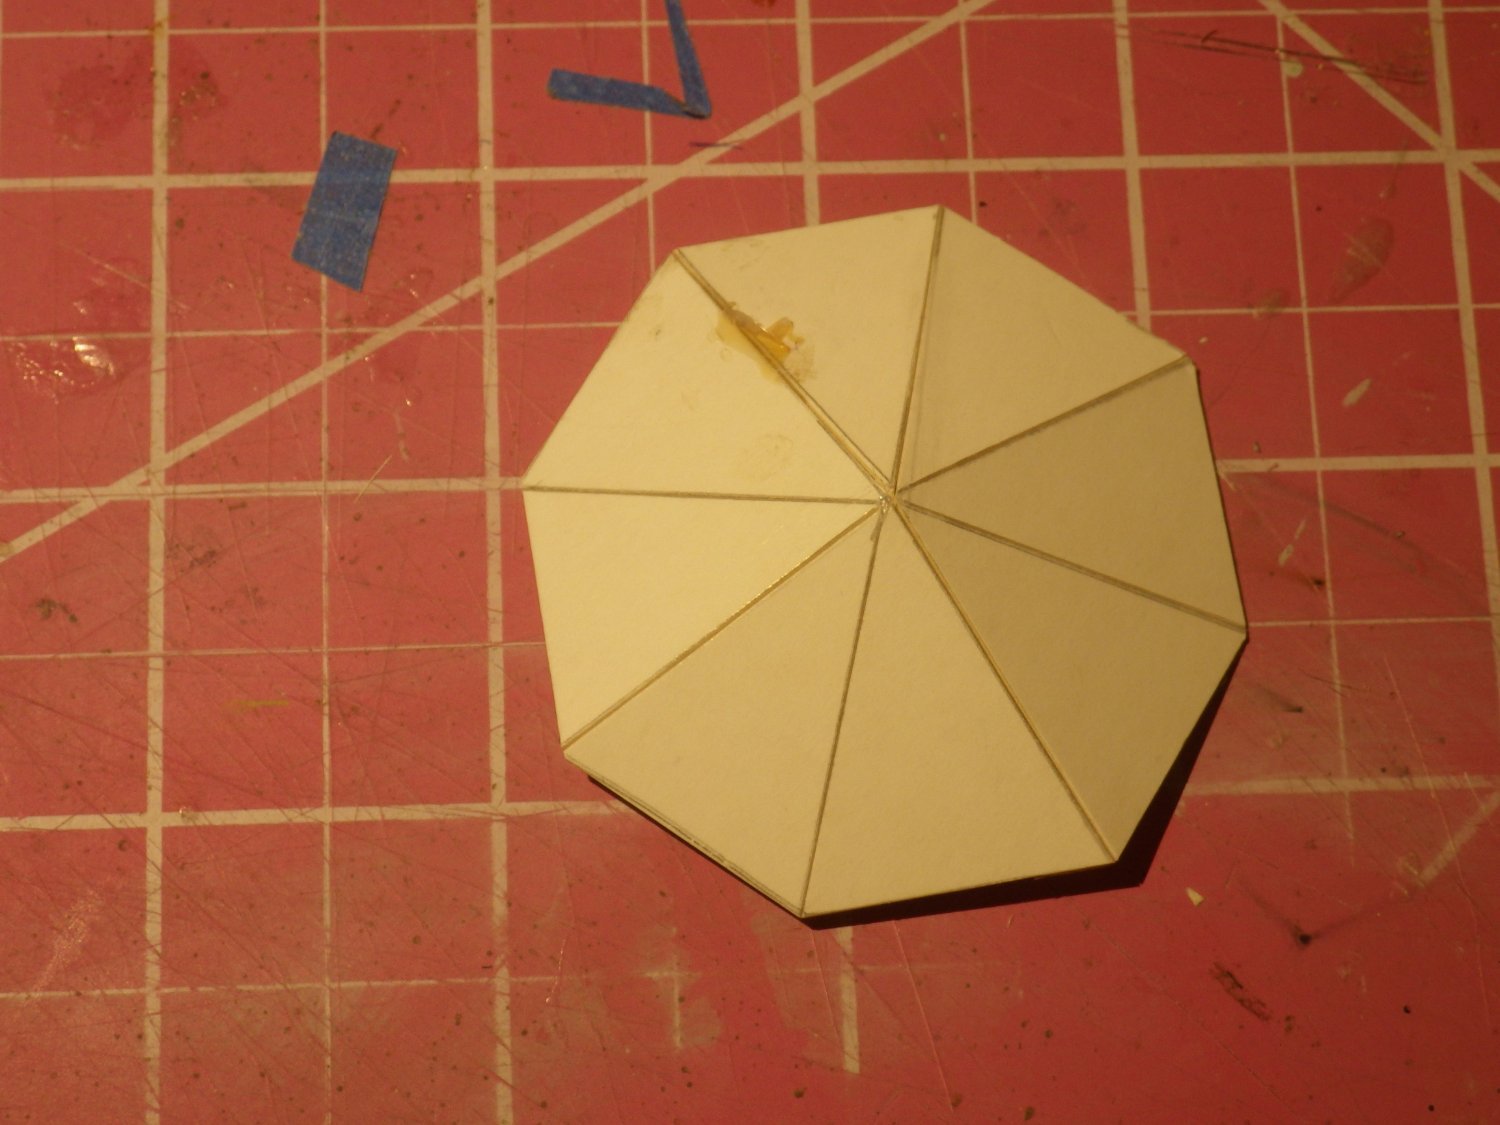
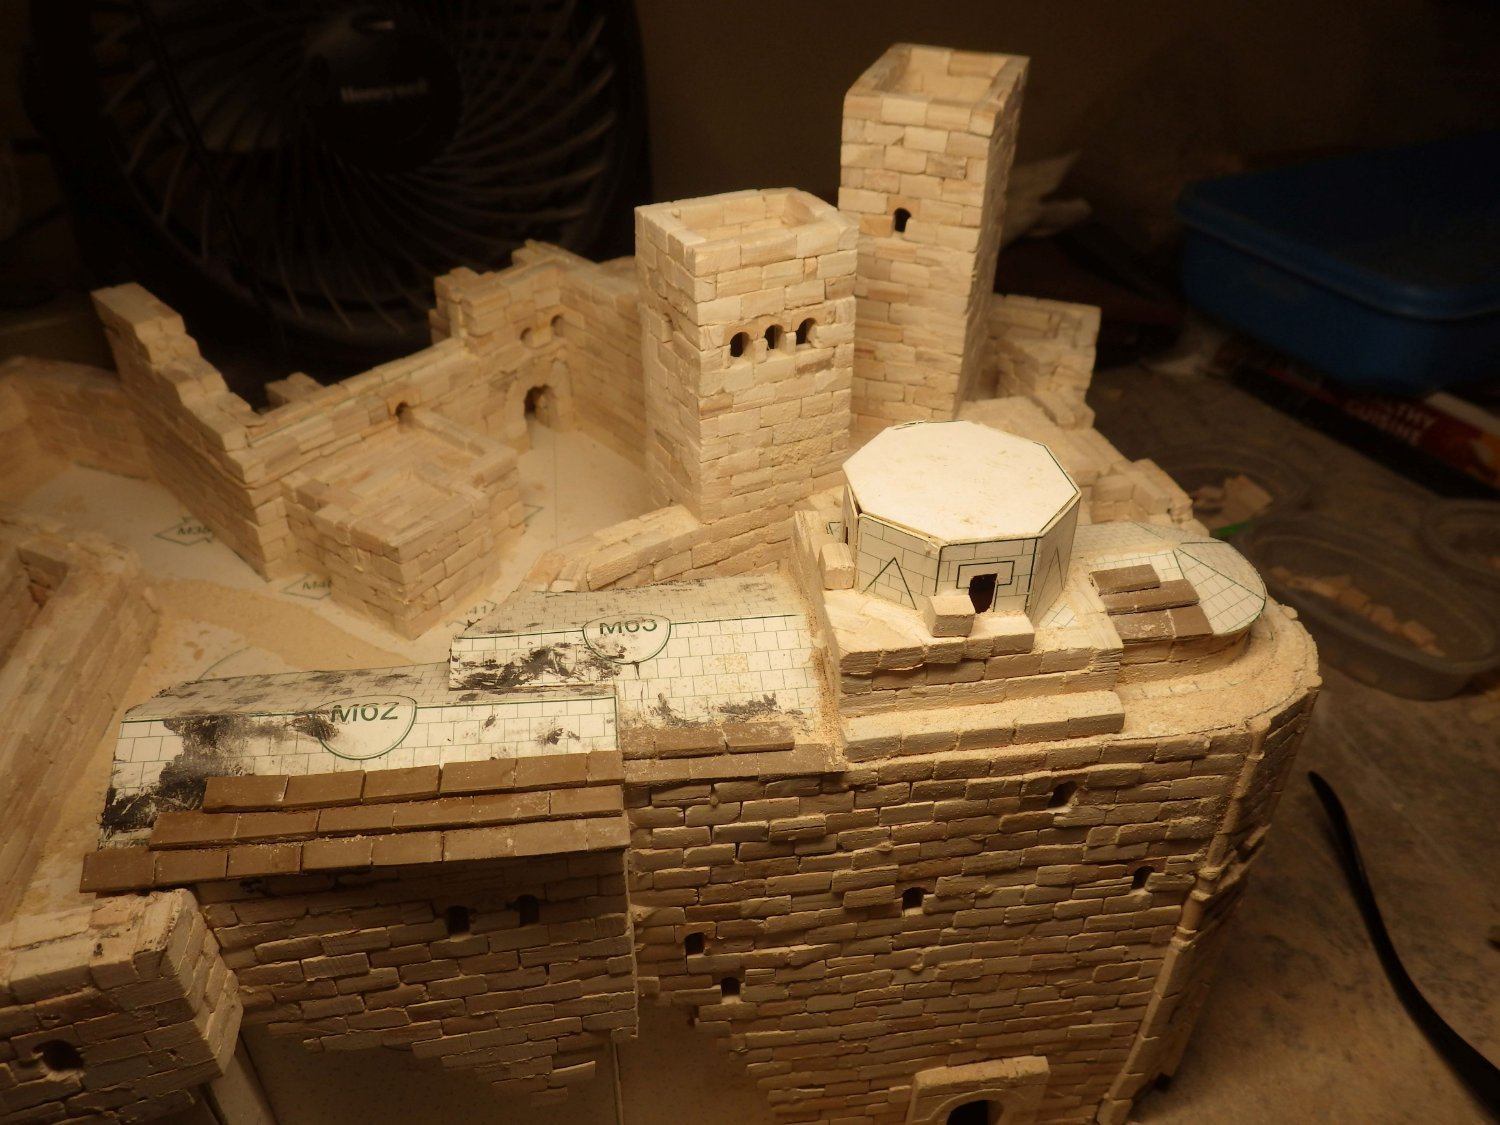
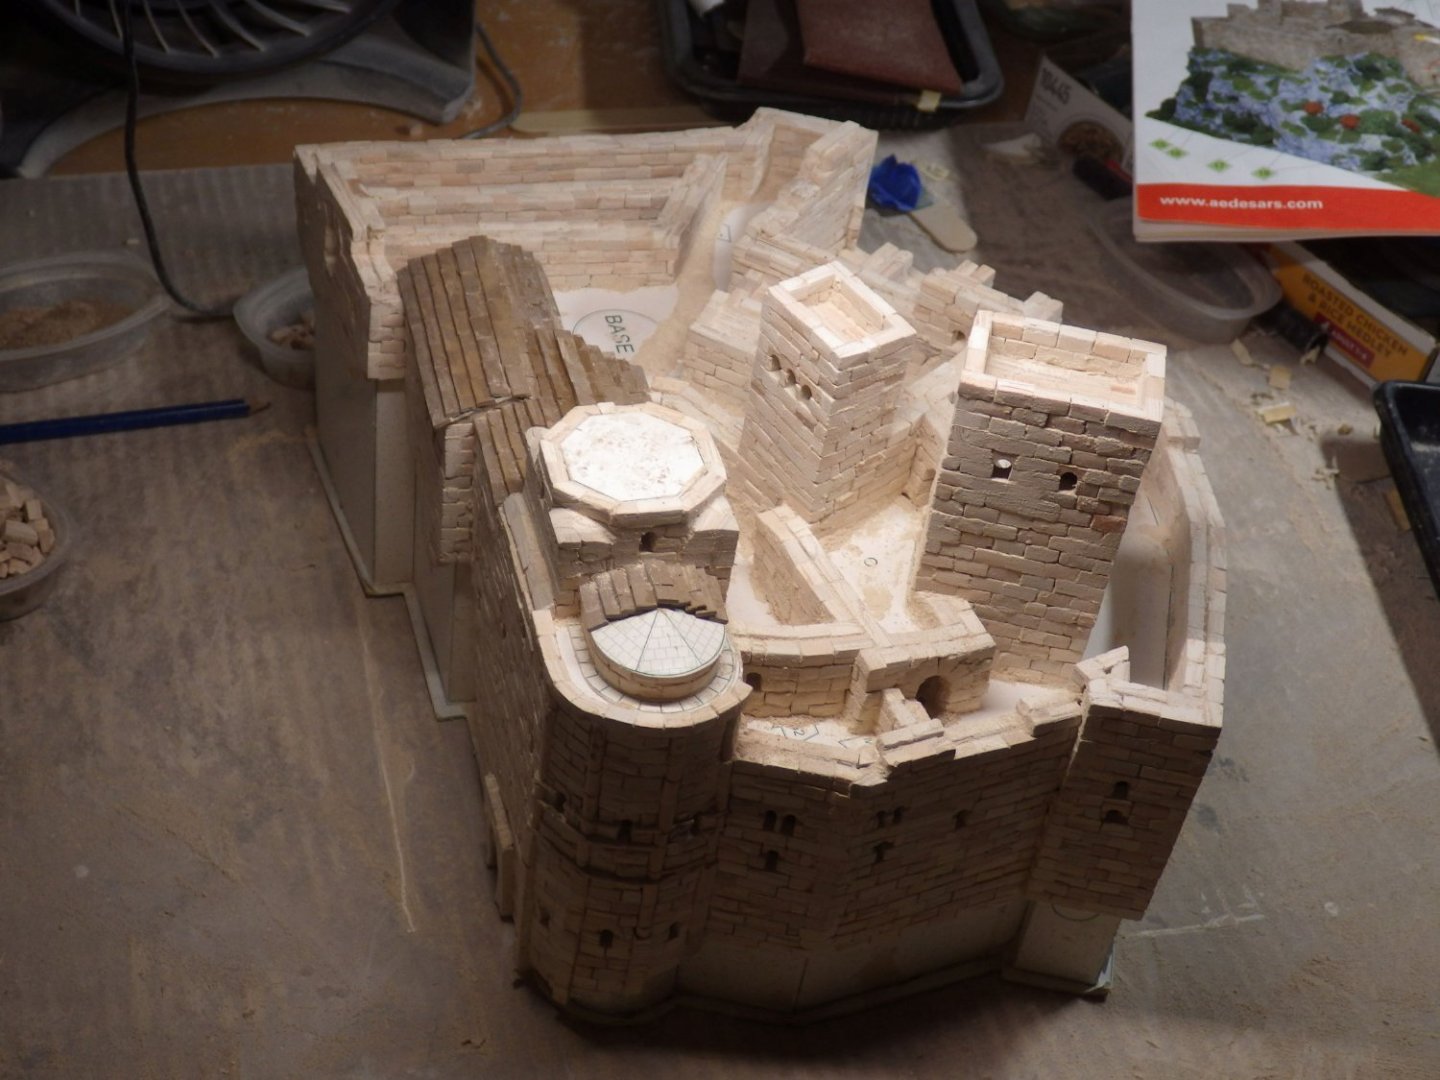
I made some progress with the roofing today. Its all complete apart from the nasty section of the semicircular dome roof. That is going to be very fiddly. I filed the corner bastions to shape and I think that finishes the work with blocks apart from some serious sanding of some sections I tiled the roof for the octagon tower off model and I'm not too happy with it. Its very fiddly filing away at tiny shards of tile as you approach the peak. I will try to clean it up a bit and see how it looks then. In a perfect world I would have remembered to photocopy the templates onto card so that repeats could be done. I indulged myself in a check of the lighting and I am happy that all leds are still working and there is no light bleed. Our test engine is due back so work is going to start to intrude again. You just can't seem to escape real life. Thanks for looking in and the likes Alan

- 462 replies
-
- 11
-
-
-
Thank you very much OC. It is great to be back. This will never be an accurate model but I want it look as good as I can make it and I try to minimise the mistakes. Its good to be making a mess in teh garage again instead of binge watching episodes of Warship (1970s BBC show based around a Leander class frigate - I missed it first time round) Alan
-
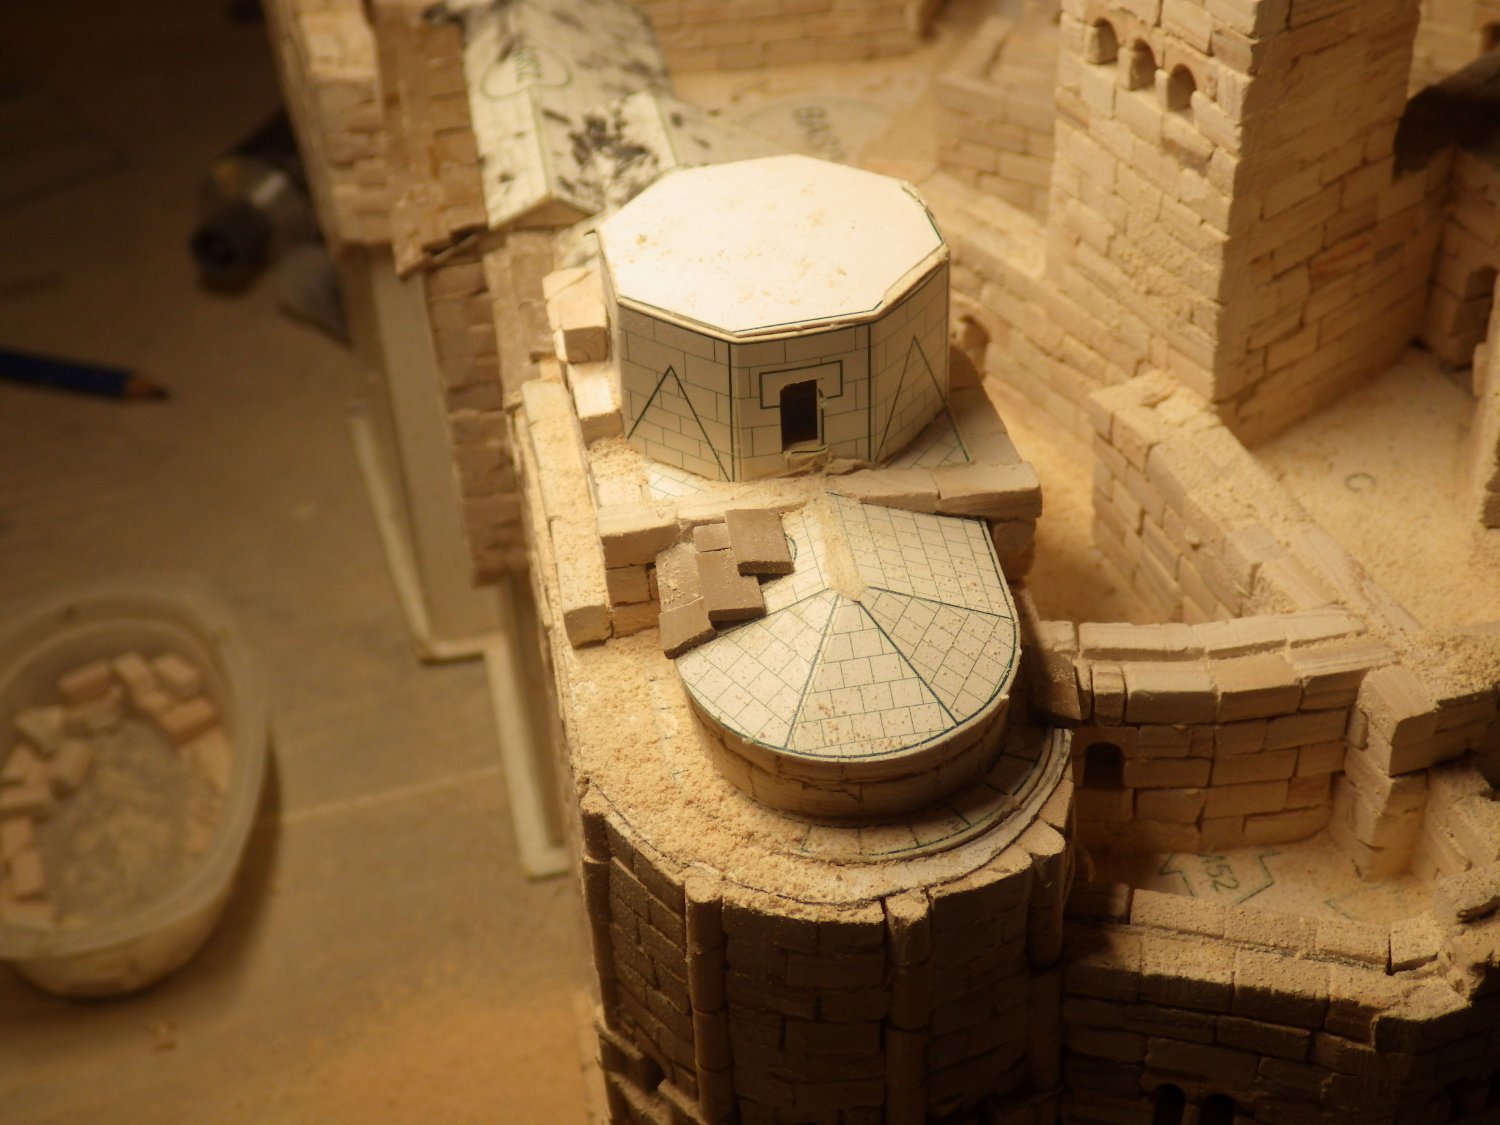
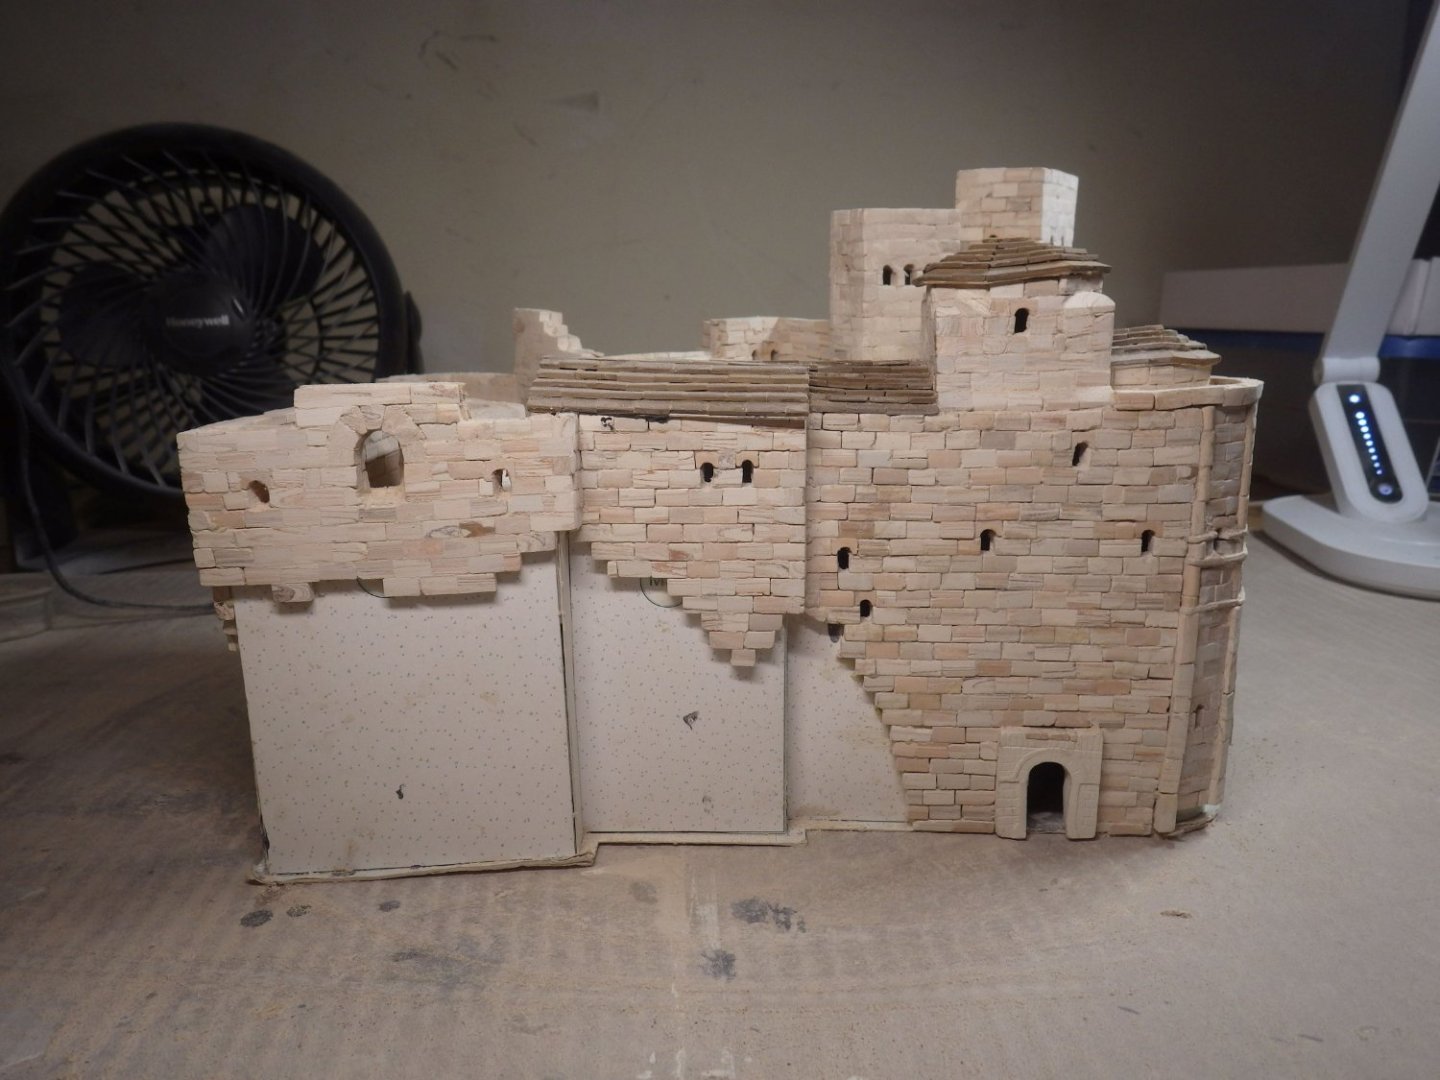
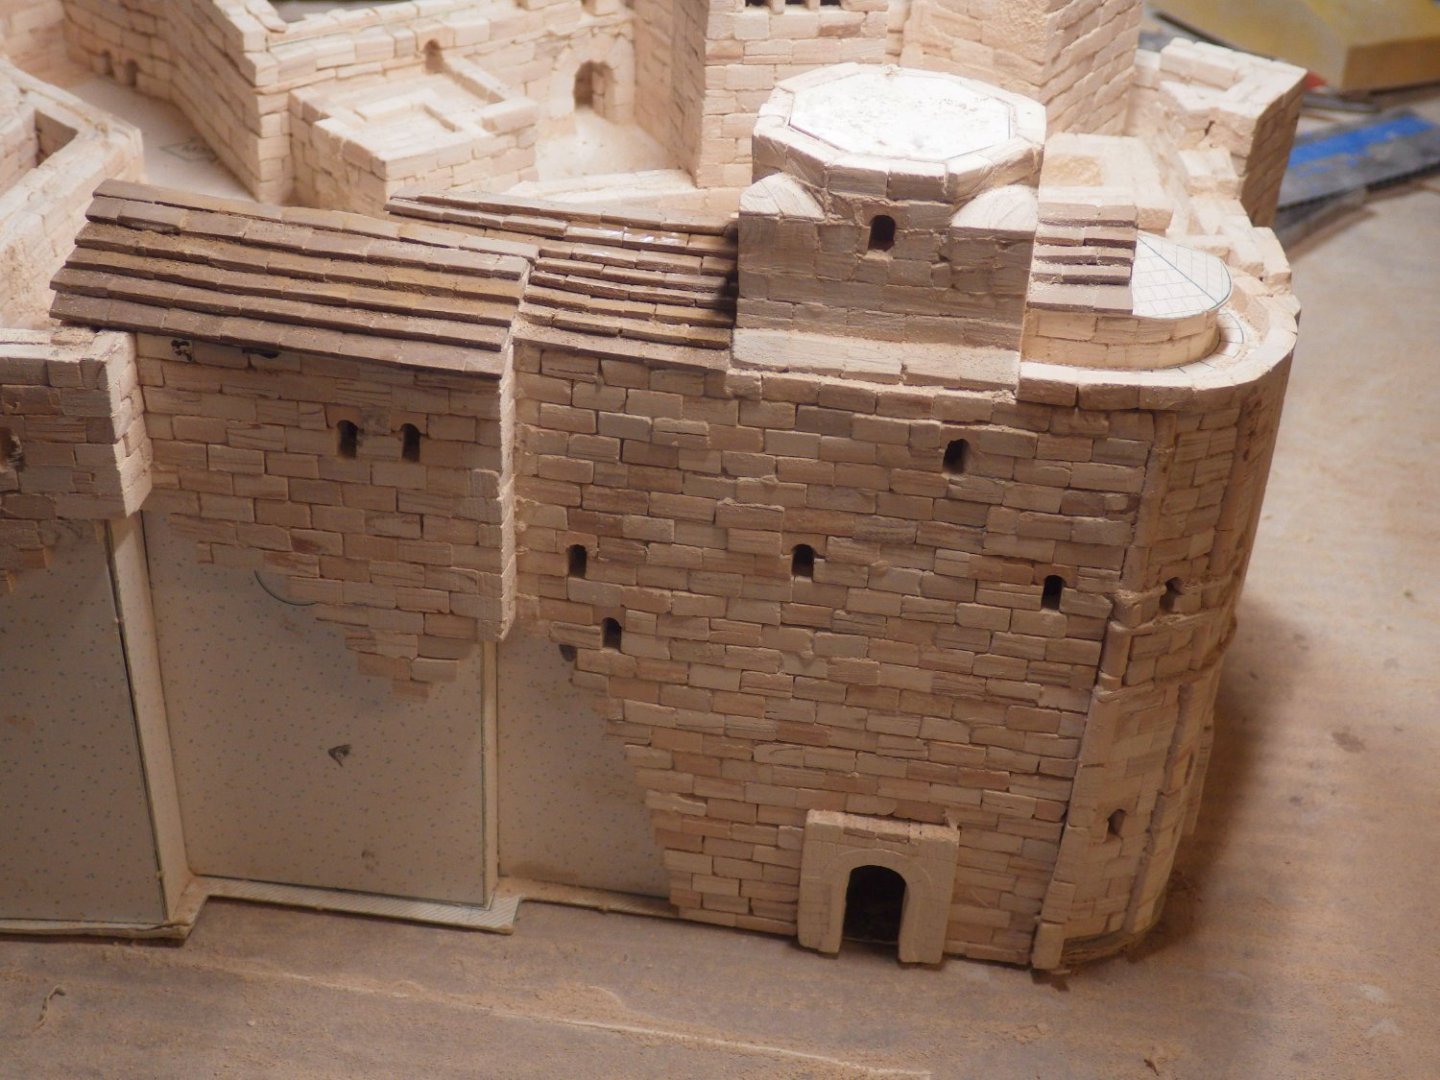
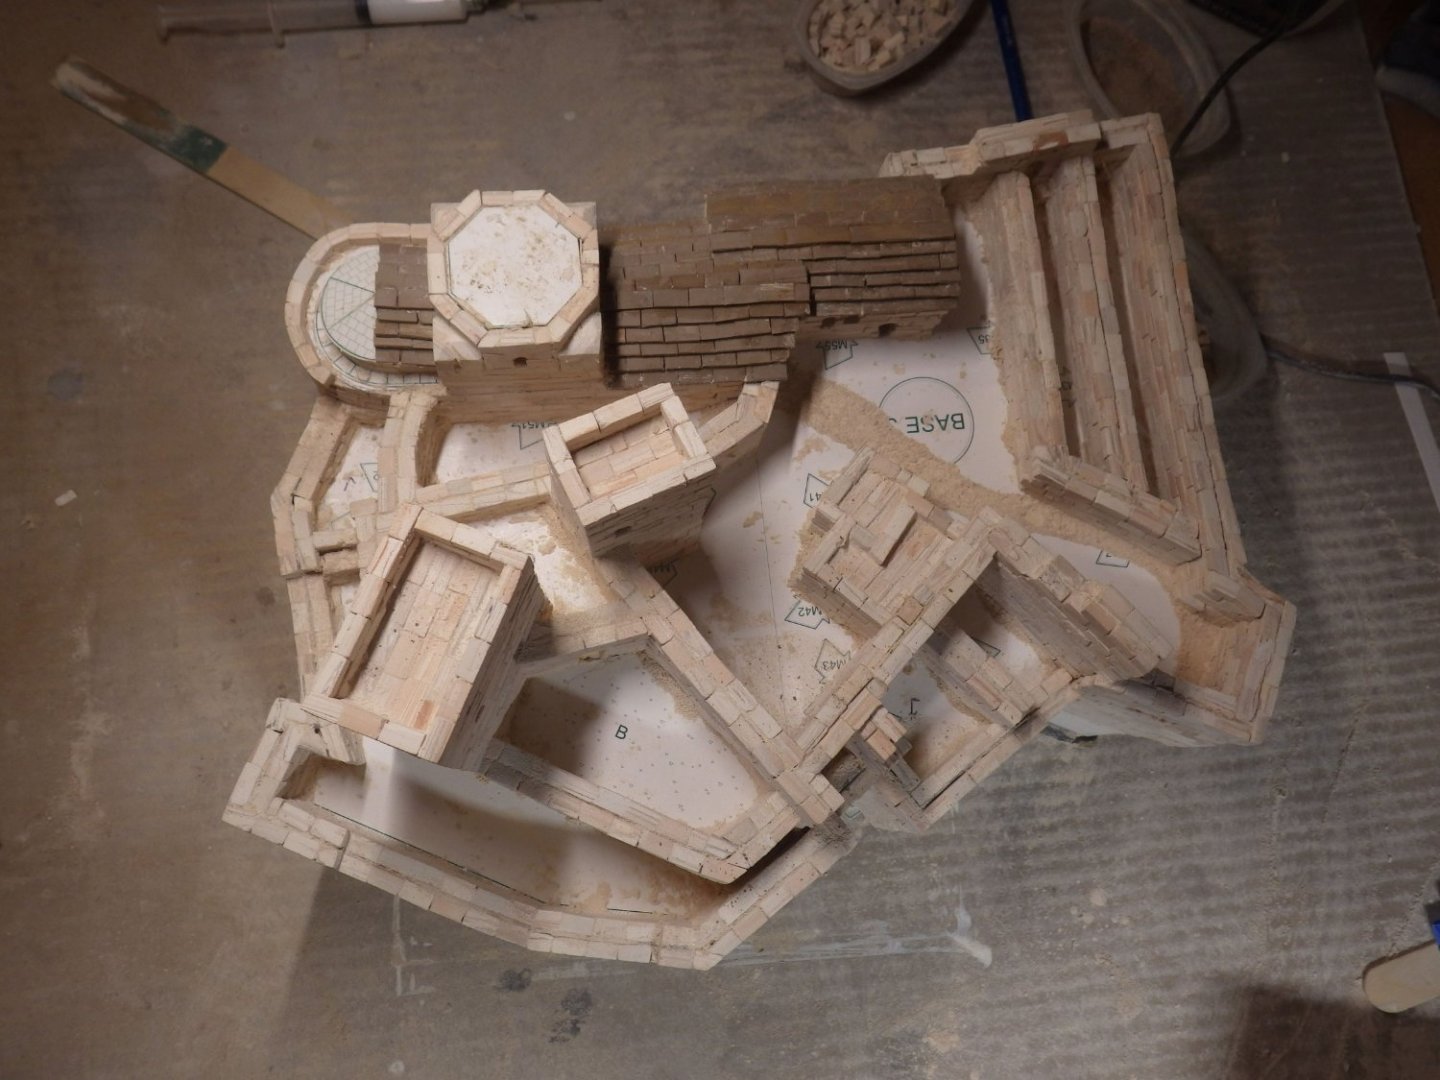
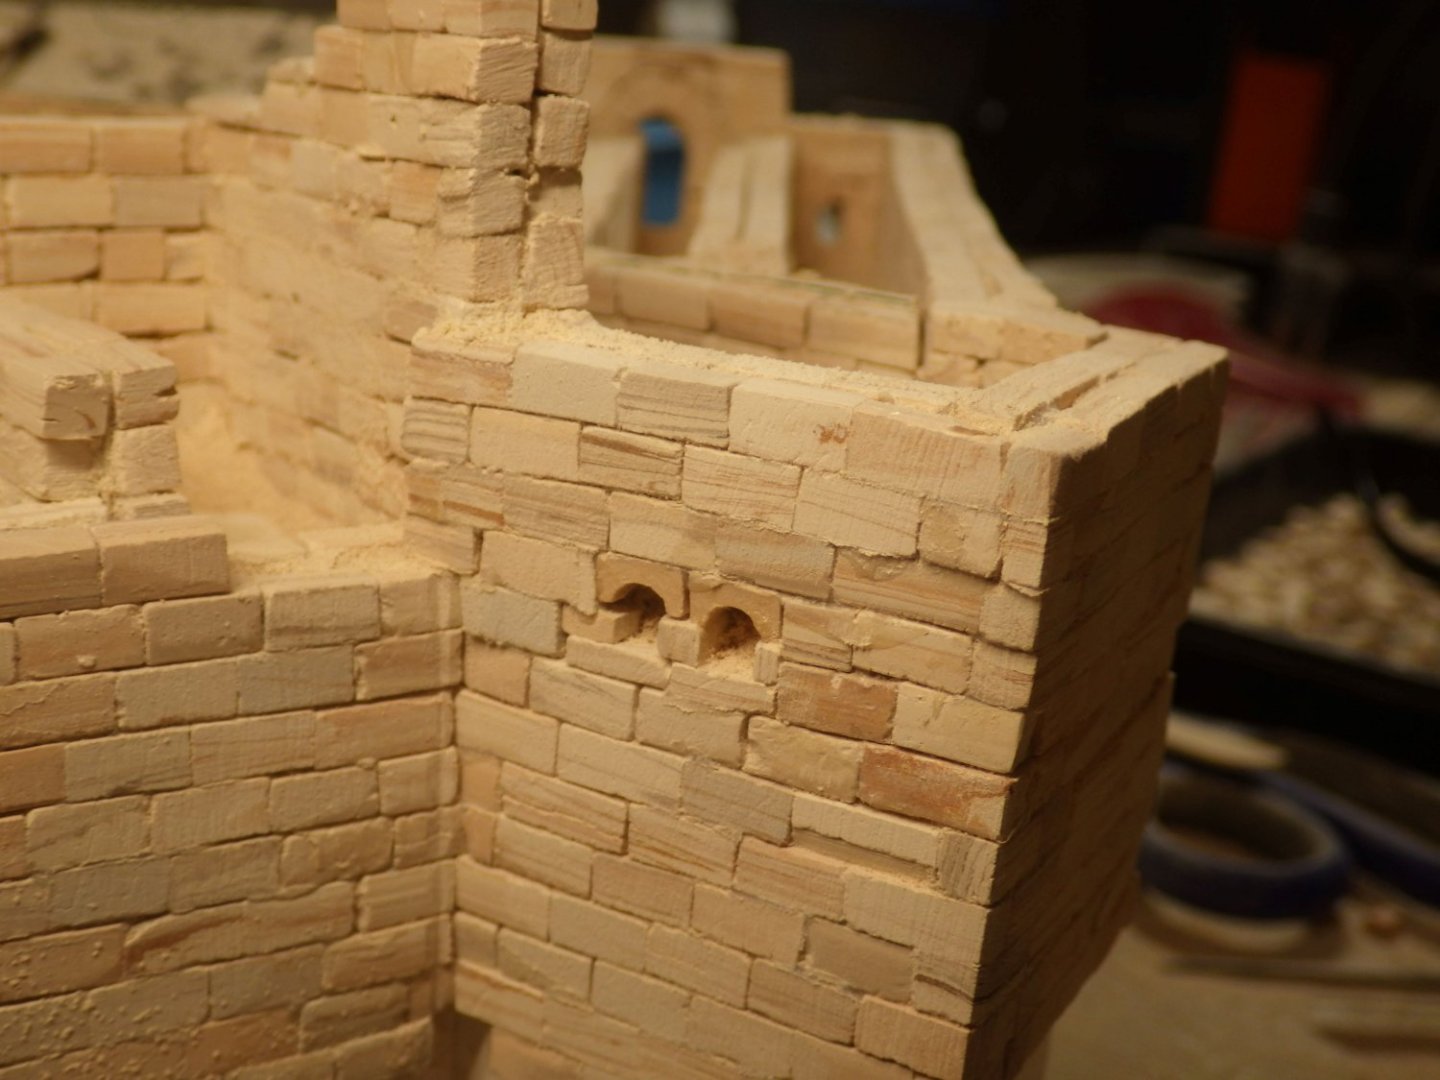
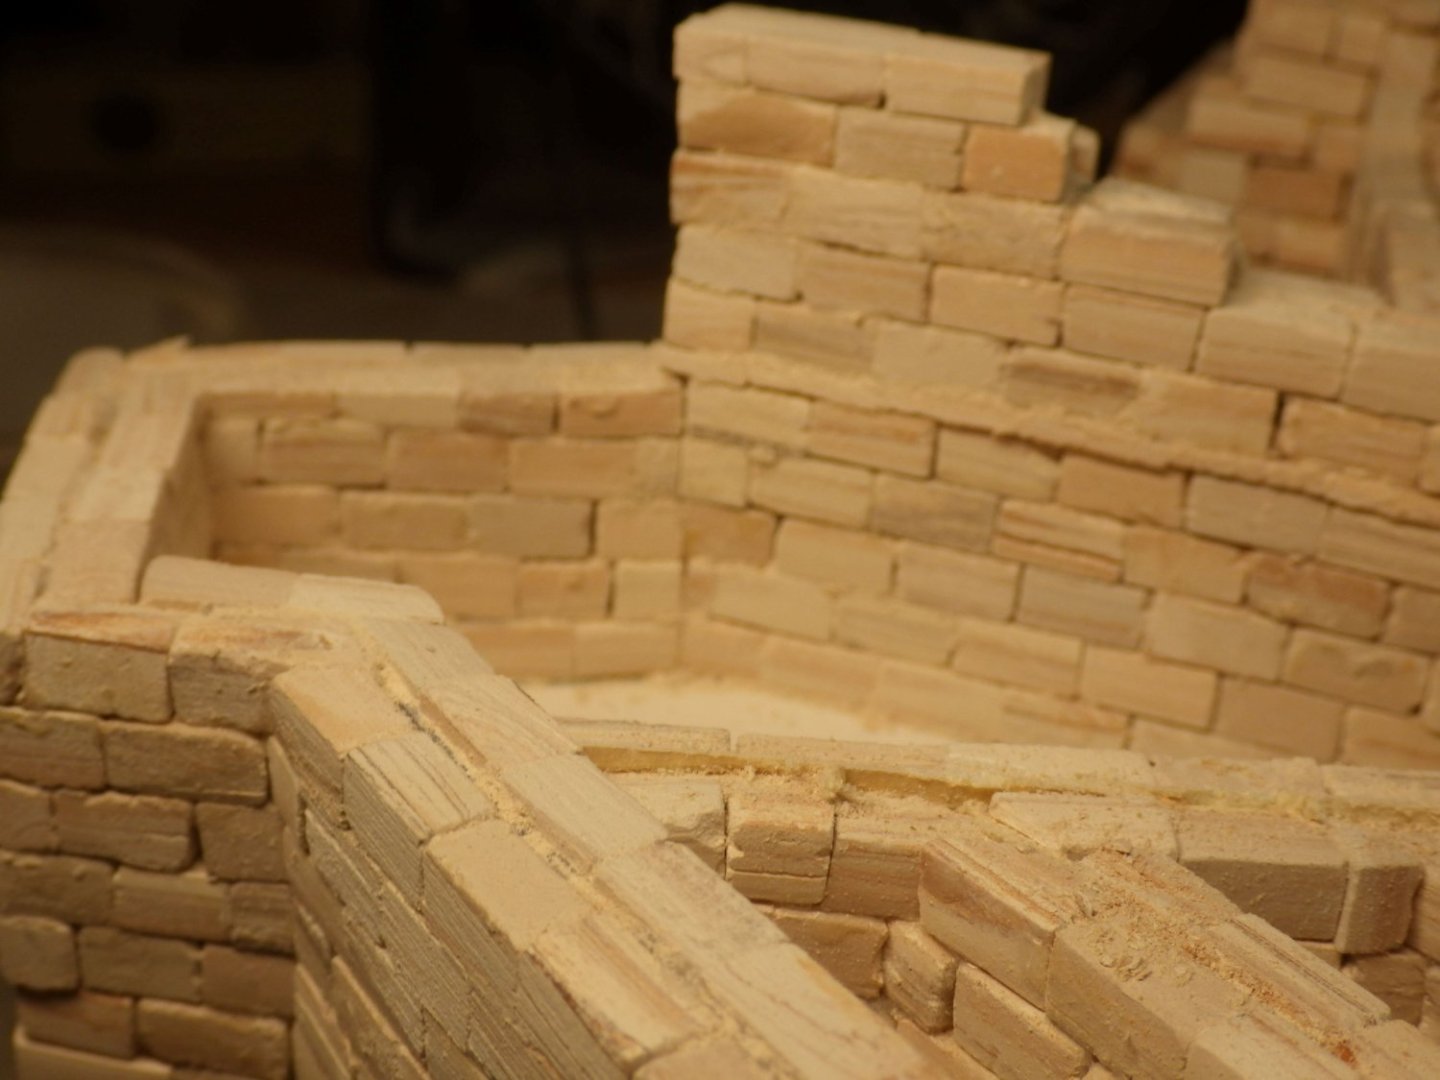
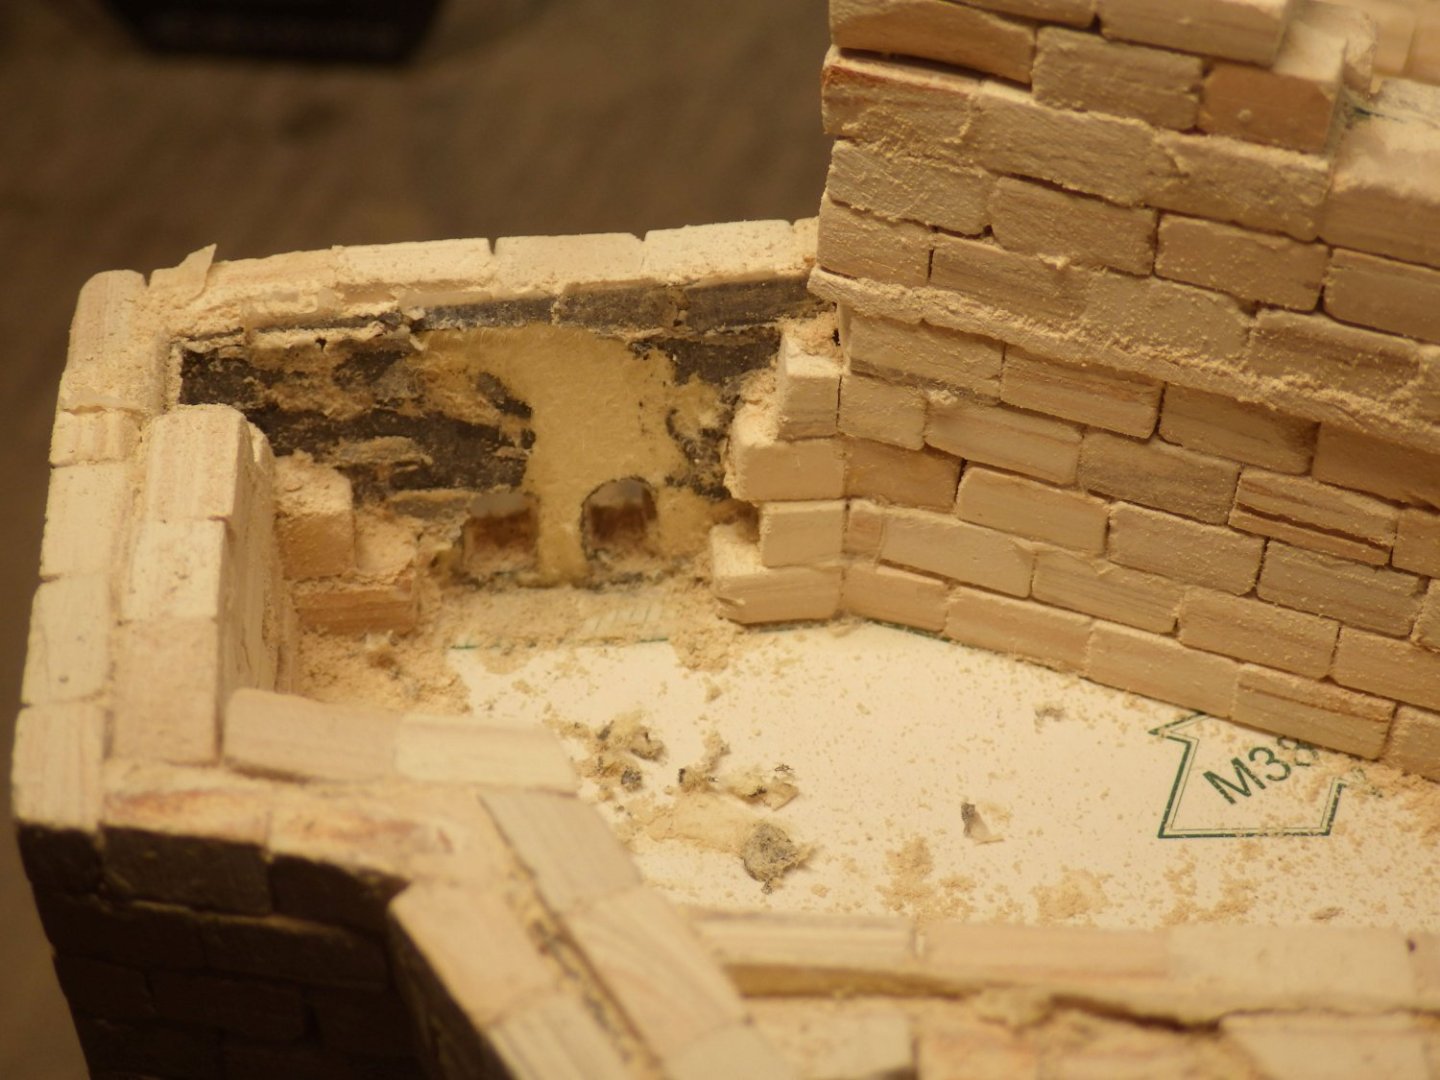
Aaaaand - I'm back. The recovery period took longer than planned but now I'm back wearing a contact lens in both eyes and able to see properly again. Its early days but I think I see a little improvement from the surgery already although its supposed to take about six months to get the full benefit. Anyway I am back with Castillo Loarre and making progress again. The last area that needs blocks is the octagon tower. A suitably fiddly thing to finish with. Windows and the triangle on the template suggest there is some sort of bastion on the other four faces. The guide is notably sketchy in this area so its been back to the drone video of the real thing. That seems to confirm the bastions although at a much shallower angle than the template suggests. I also started the first rows of roof tiles. The area at the foot of the tower is also difficult to make out but I installed a row of blocks and will sand then back as a slope Looking over work from before the surgery I found an annoying fox paw. Note the two windows in the outer wall And on the inside .... Maybe I really did need the eye surgery! I deliberated for a couple of days about anyone caring and reluctant to start tearing stuff down at the end of the build. Fear of a visit by the Guardians of Loarre Castle finally won out and down it came. The shaping of the bastions on the outer side of the tower has been completed. The inner ones need to be sanded to shape. This whole area is only vaguely referred to in the guide. Back to the video to try to assess how to finish the area around the half dome. The model departs from reality here and seems to have blocks covering the floor and overhanging the outer walls. That will wipe out half the height of the dome. The real thing has a parapet part way round the wall so I'm going to try that and use the tile pieces to cover the floor So I have started the parapet. The tiles are going to be a nuisance So this is where I am now. I ran out of blocks although if there had been less damaged blocks I would have made it. Just tile pieces to use now. I'm looking forward a bit, it occurs to me that I need to completely finish this element of the castle before adding it to the base. I need to add the ground material and that also means adding the figures because I need to cover their bases with the ground stuff. So after some serious sanding and filling there is going to be a switch to the paint bench The ground looks like it is gravel in the videos. I need to think what to use for that. The kit provides a very small amount of white granules that is not going to cover the area in question. I need to start researching railway scenery elements I think Its great to be back. I have thoroughly enjoyed reading all the spectacular work being done on this forum while I have been recovering. Thanks for looking in Alan.


- 462 replies
-
- 15
-
-
Great work on the louvres Craig. Really fine work Alan
-
Beautiful work. You have made a very convincing Beaufighter Alan
-
Looking very good Jav. It's going to a very impressive model. Alan
- 57 replies
-
- 5
-

-
-
- Scharnhorst
- Trumpeter
- (and 1 more)
-
Those wheels look very nice. I think I would be tempted as long as there was limited risk of wrecking them putting the tyre on Alan
-
Very nice paintwork Craig. Excellent build of an older kit Alan
-
And it stops Sprue Brothers worrying where I am Alan
-
The updates are one of the highlights of my day . Excellent work Alan