king derelict
-
Posts
3,294 -
Joined
-
Last visited
Content Type
Profiles
Forums
Gallery
Events
Everything posted by king derelict
-
The base is really effective and sets the model off very well. The model itself is an excellent build. Congratulations Alan
-
AMC DH9 by davec - FINISHED - Wingnut Wings - 1/32
king derelict replied to davec's topic in Non-ship/categorised builds
I would not have thought of that but it has teh potential to solve some of my masking problems. Thank you for the tip. Alan -
I like the "in the shop" solution. It would be a shame to hide that beautiful paint work Alan
-
Another great build starting. Lovely aircraft Alan
-
Happy Birthday Craig The cake makes it all worthwhile. I have two months to go so I'm practising. having senior moments. The Ferrari is excellent by the way. I think your yellow one looks more realistic than the red one Alan
-
The cavalry figures work so well in the landscape. great work Alan
-
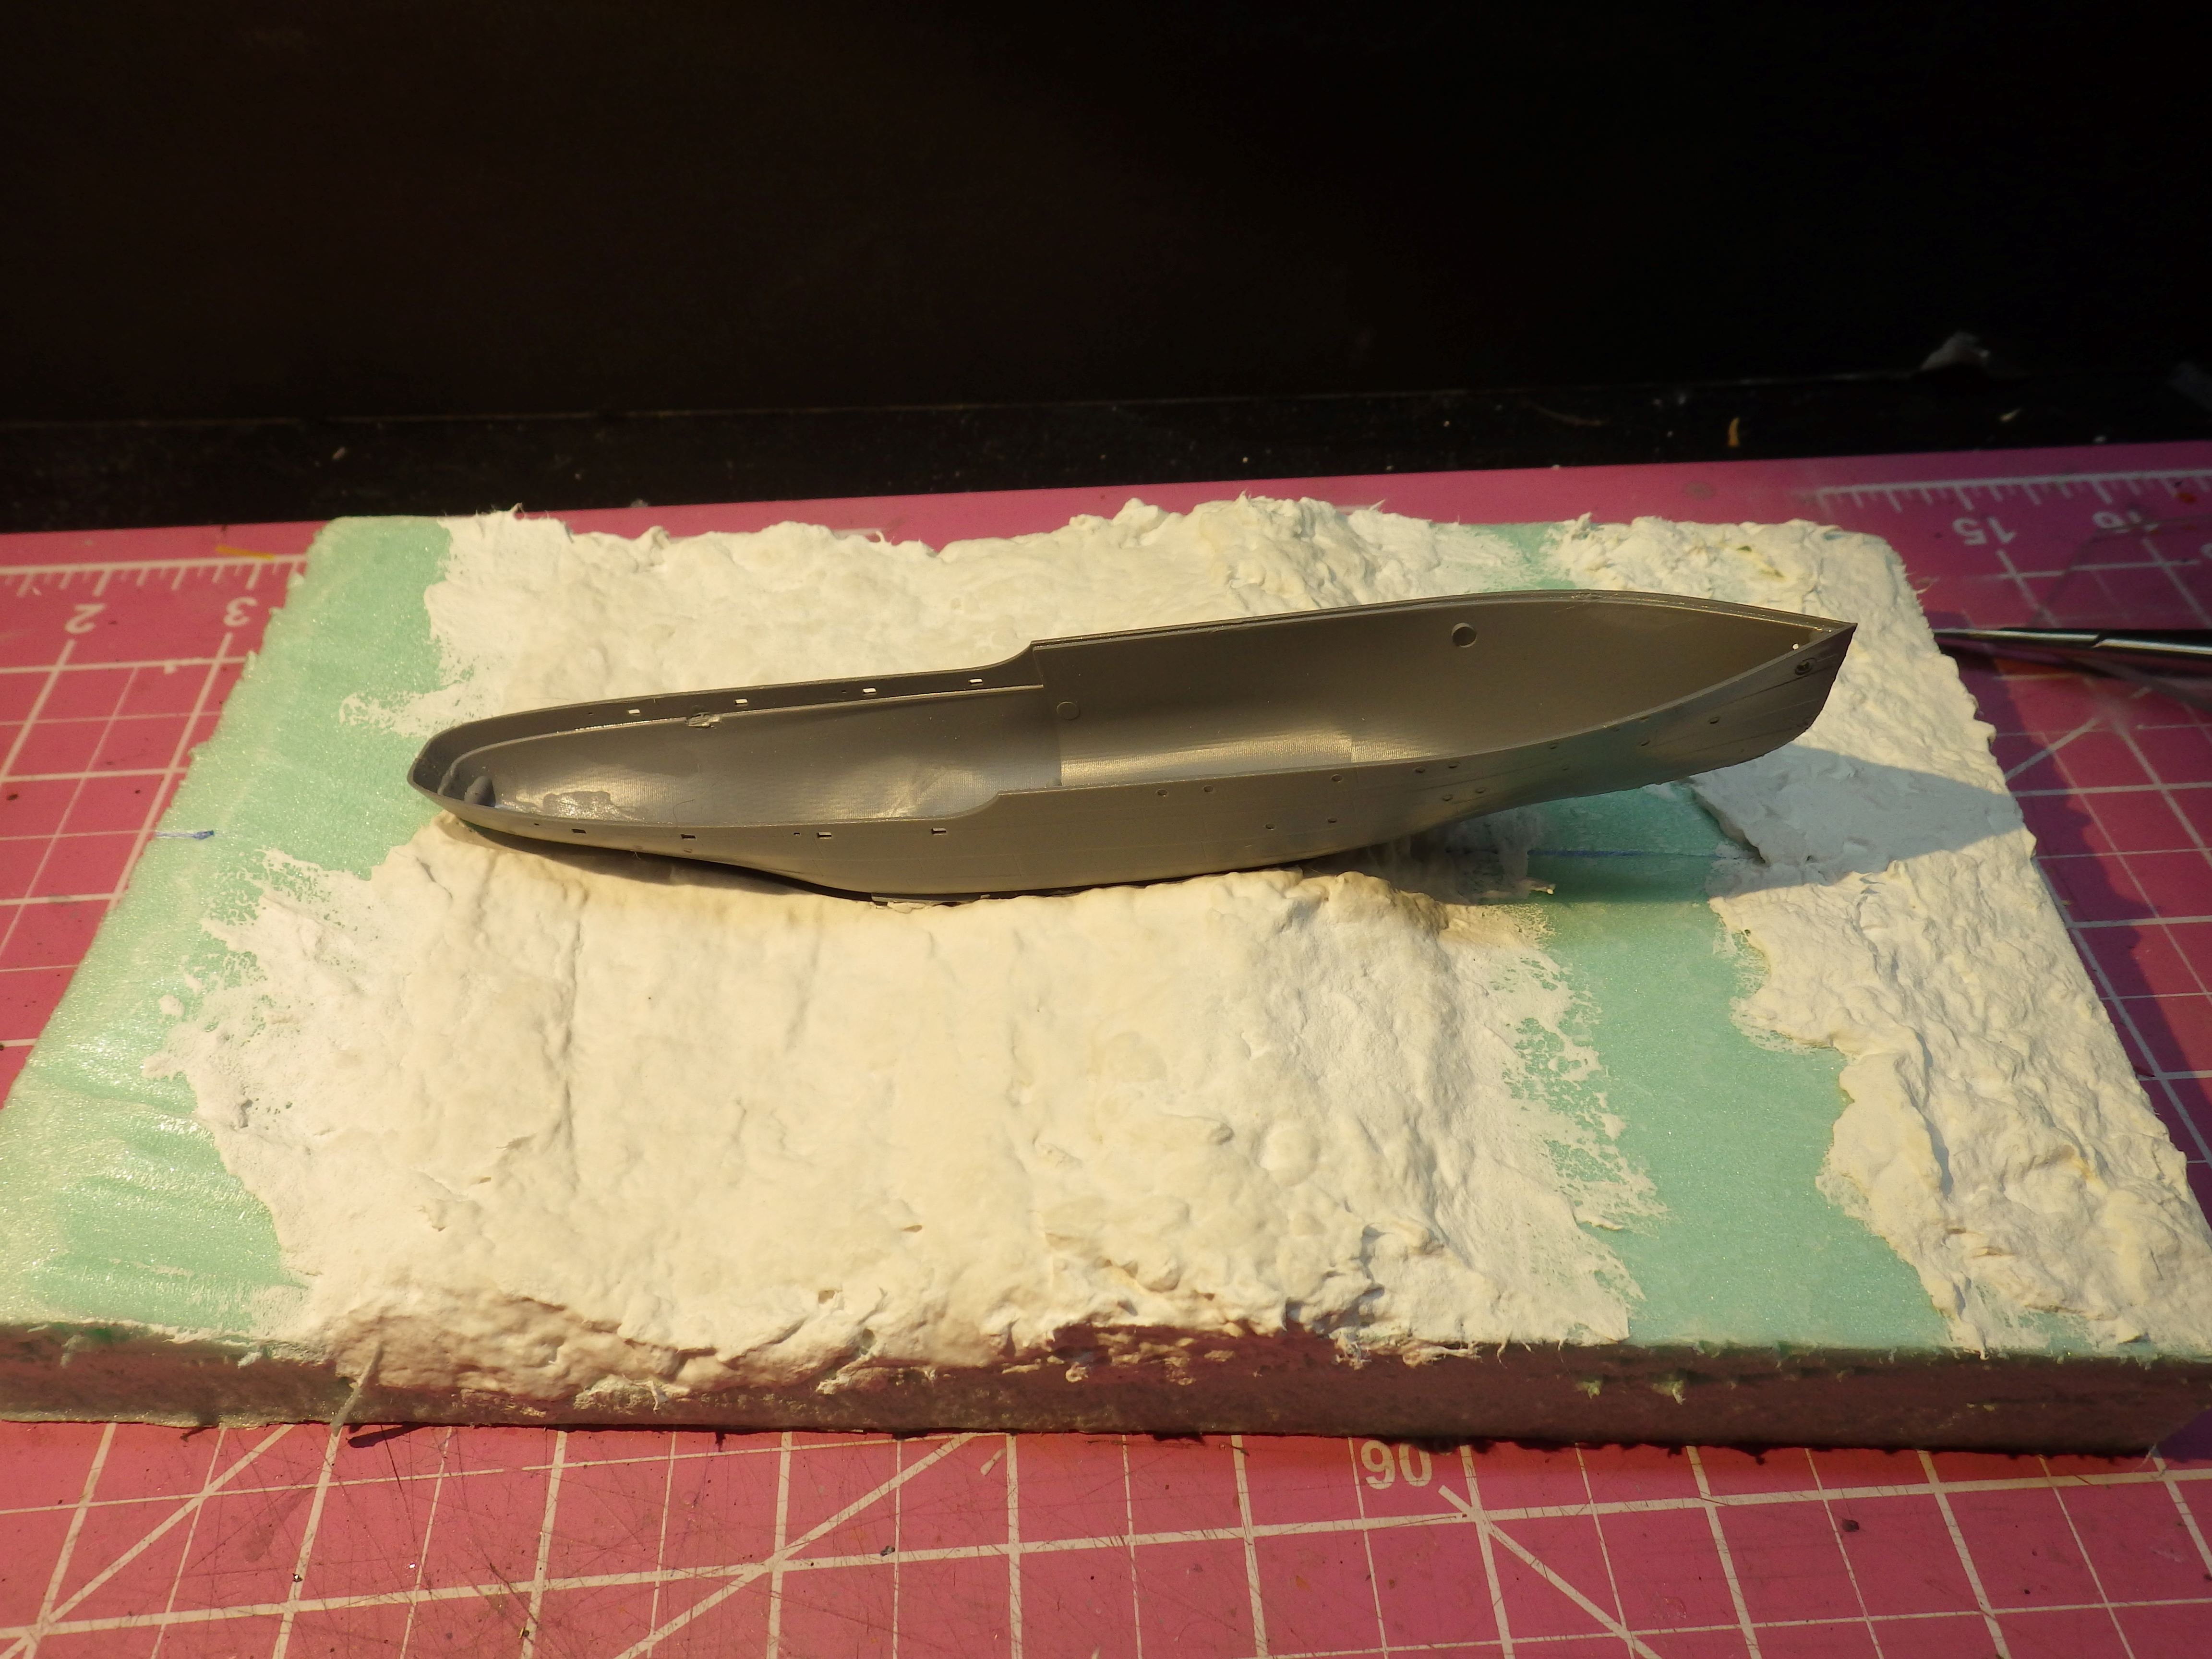
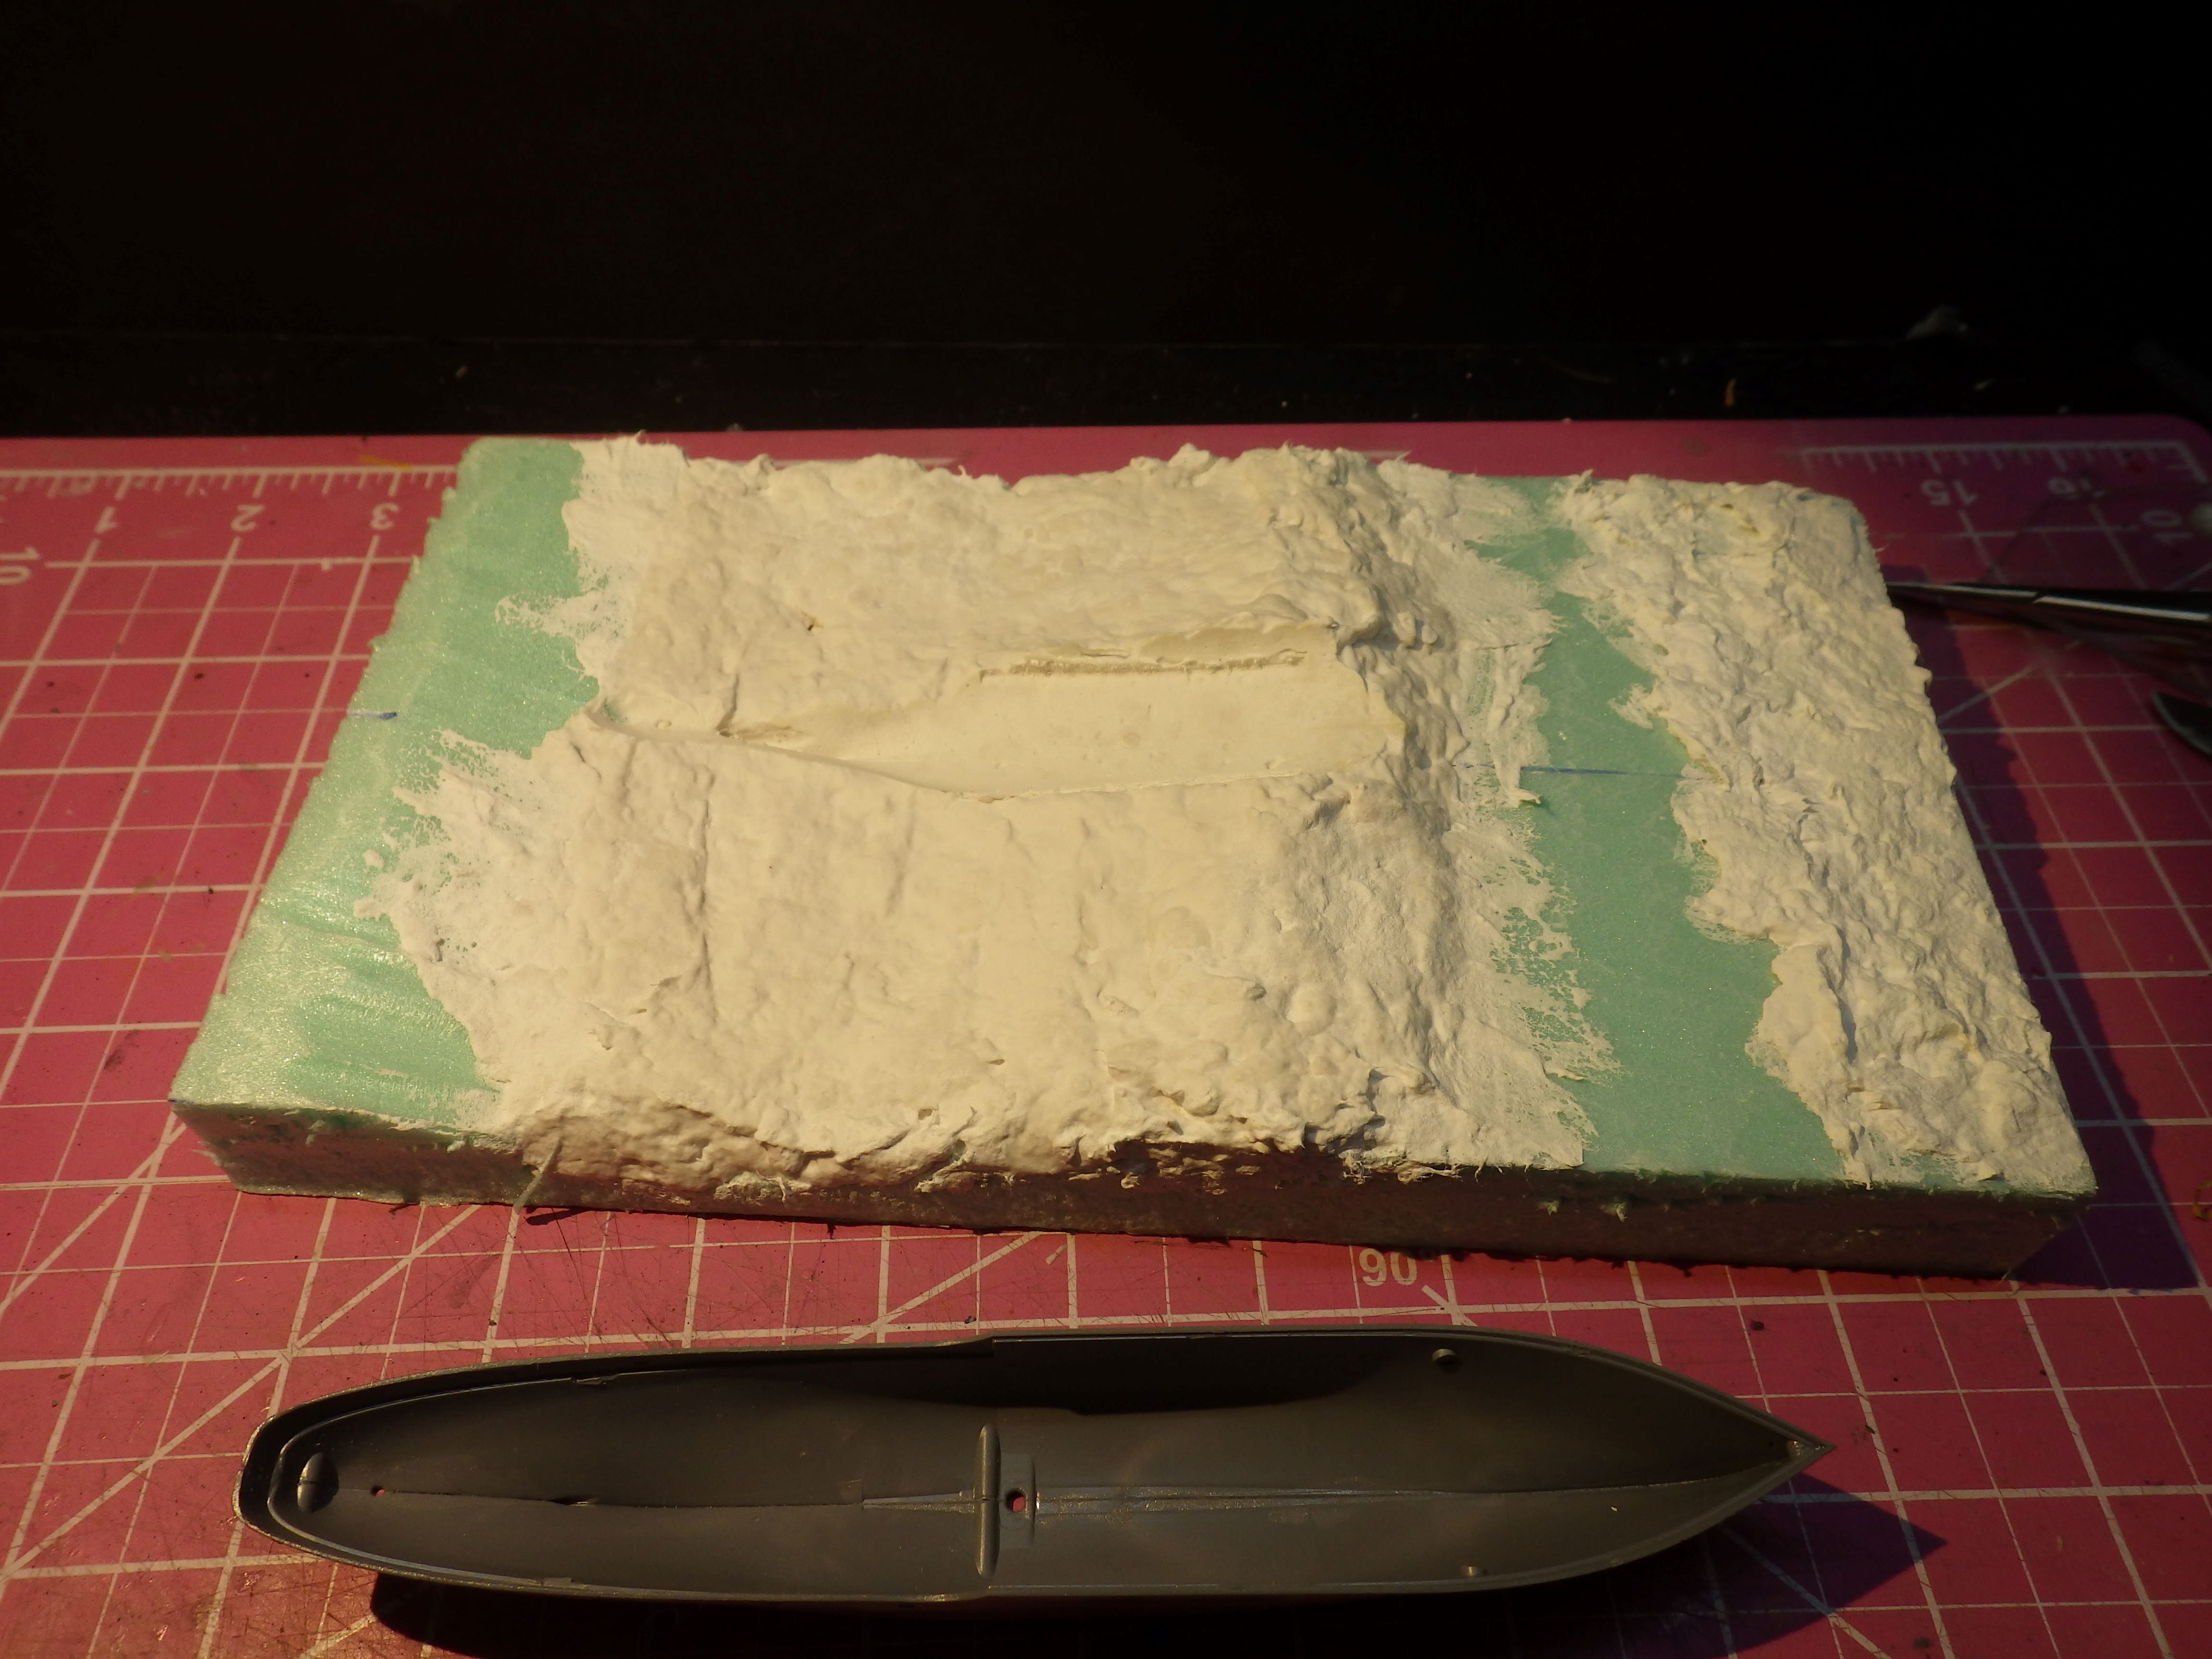
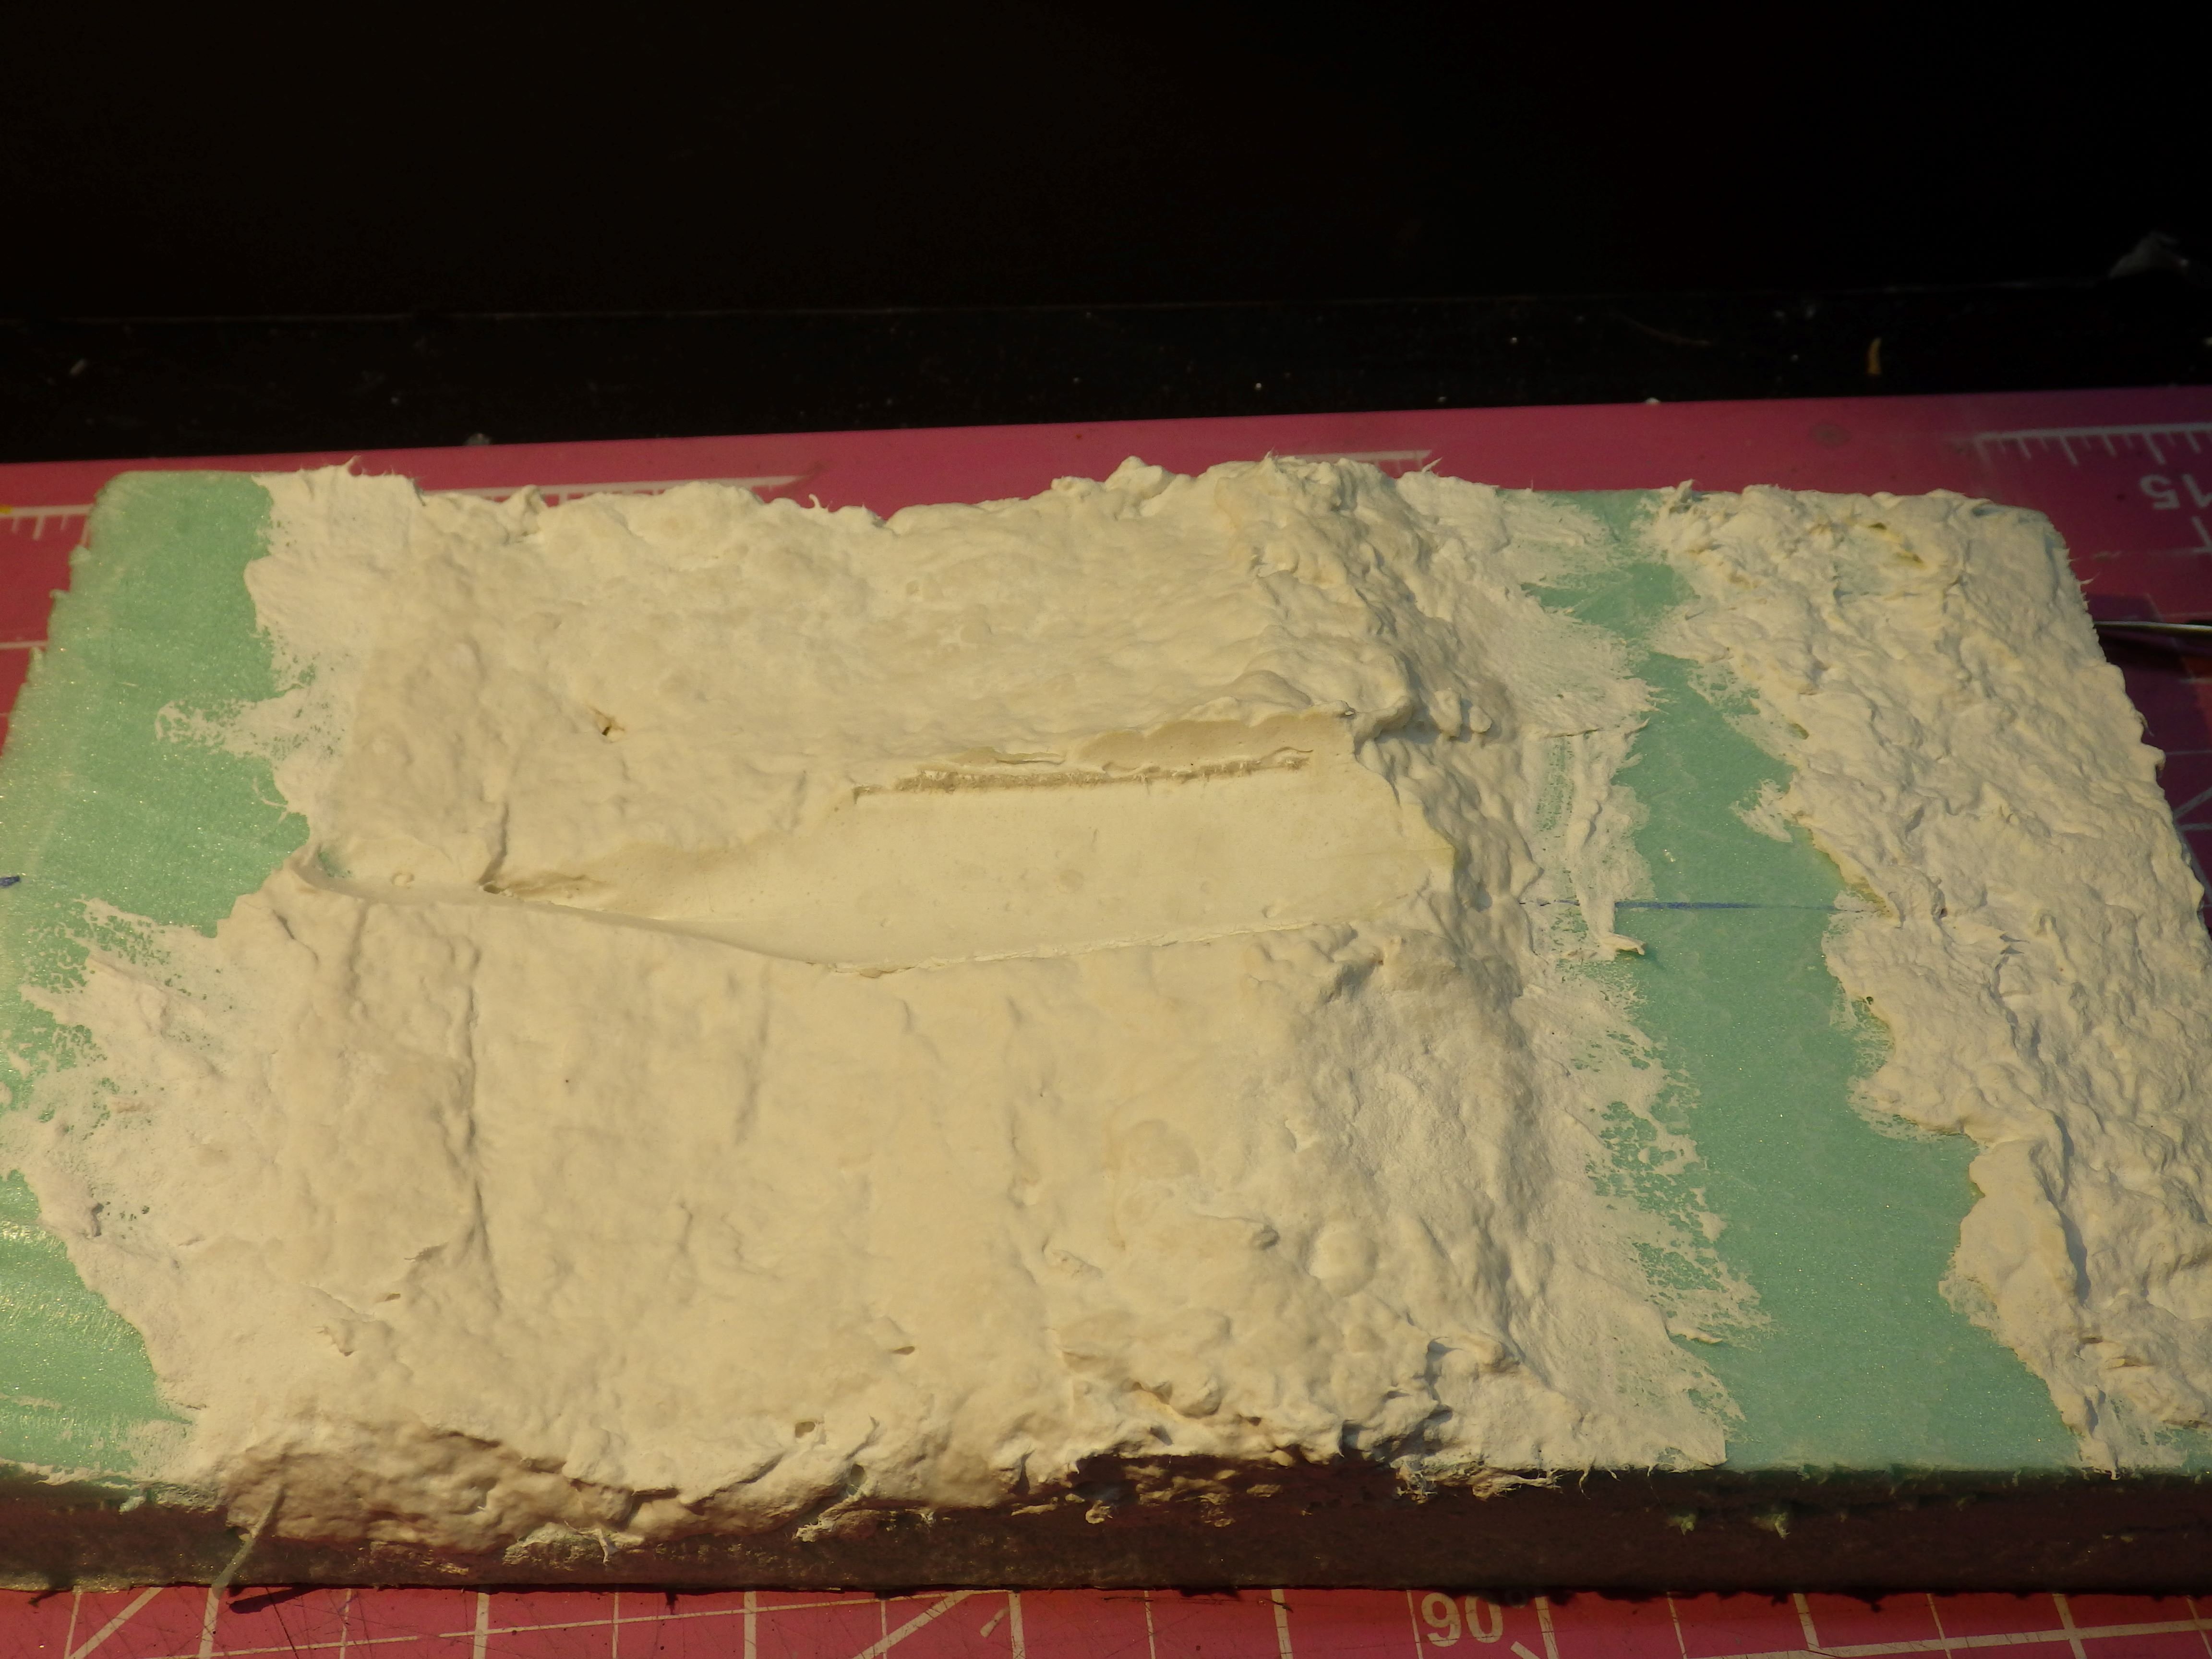
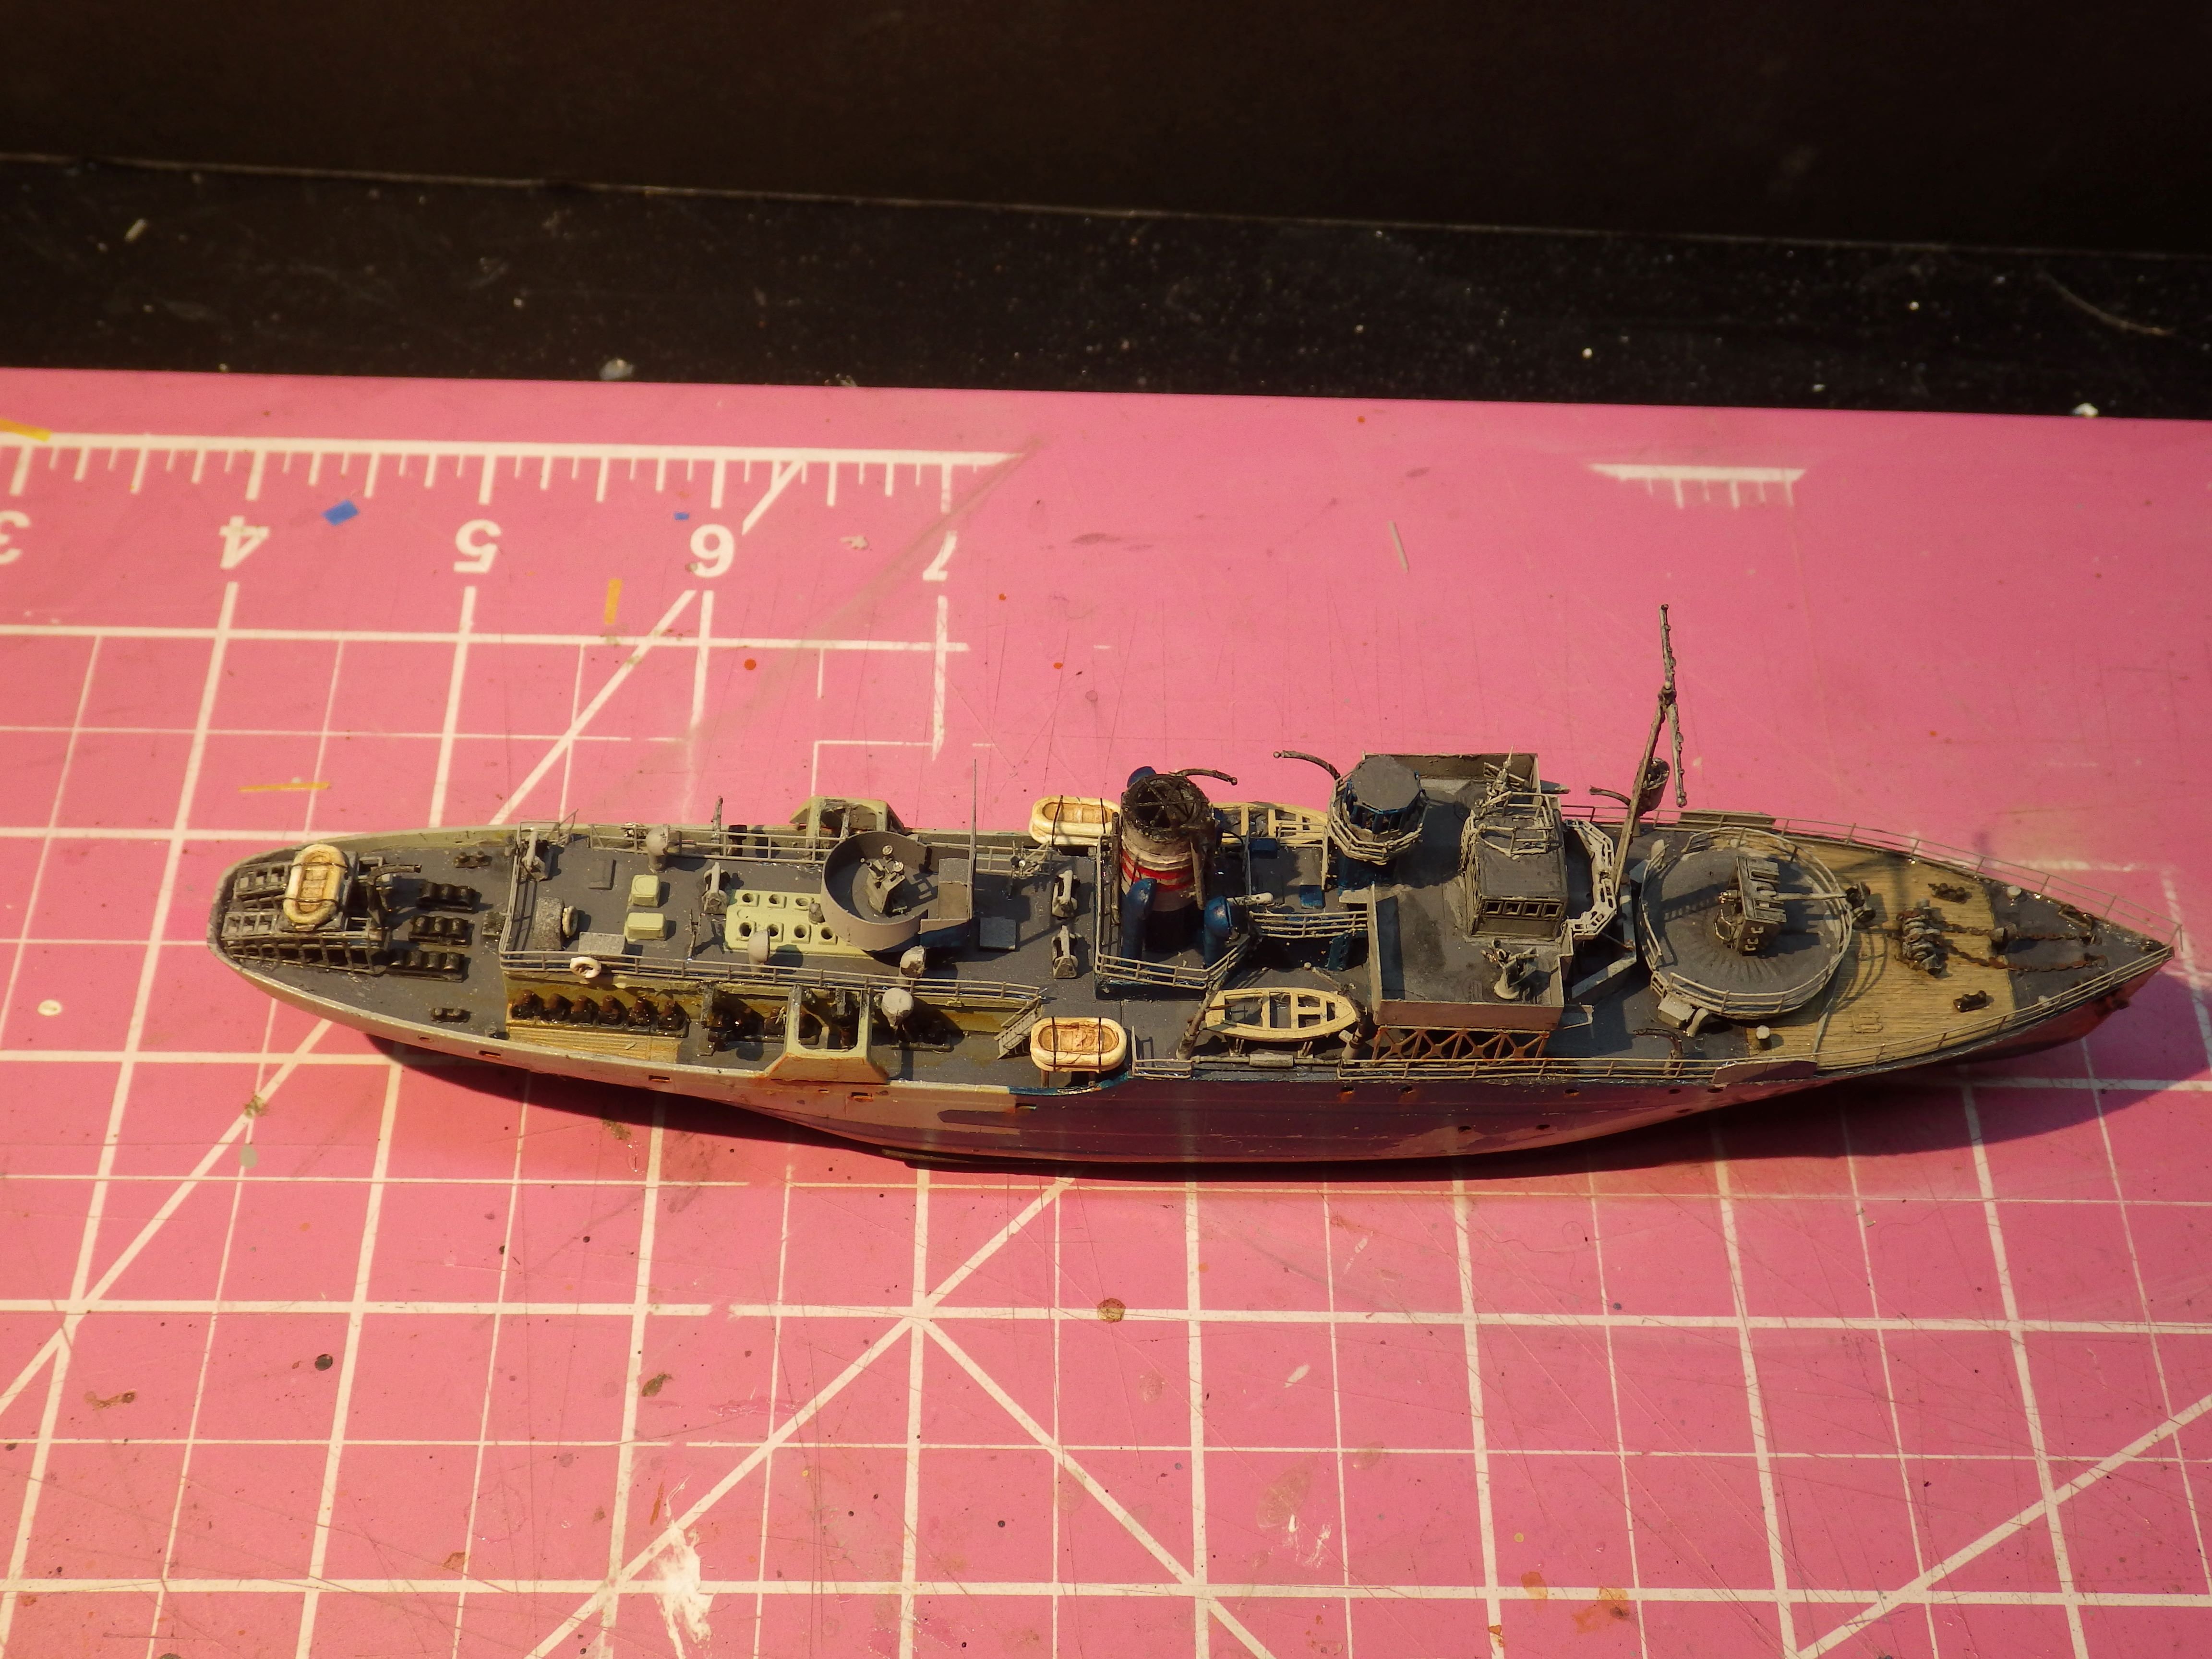
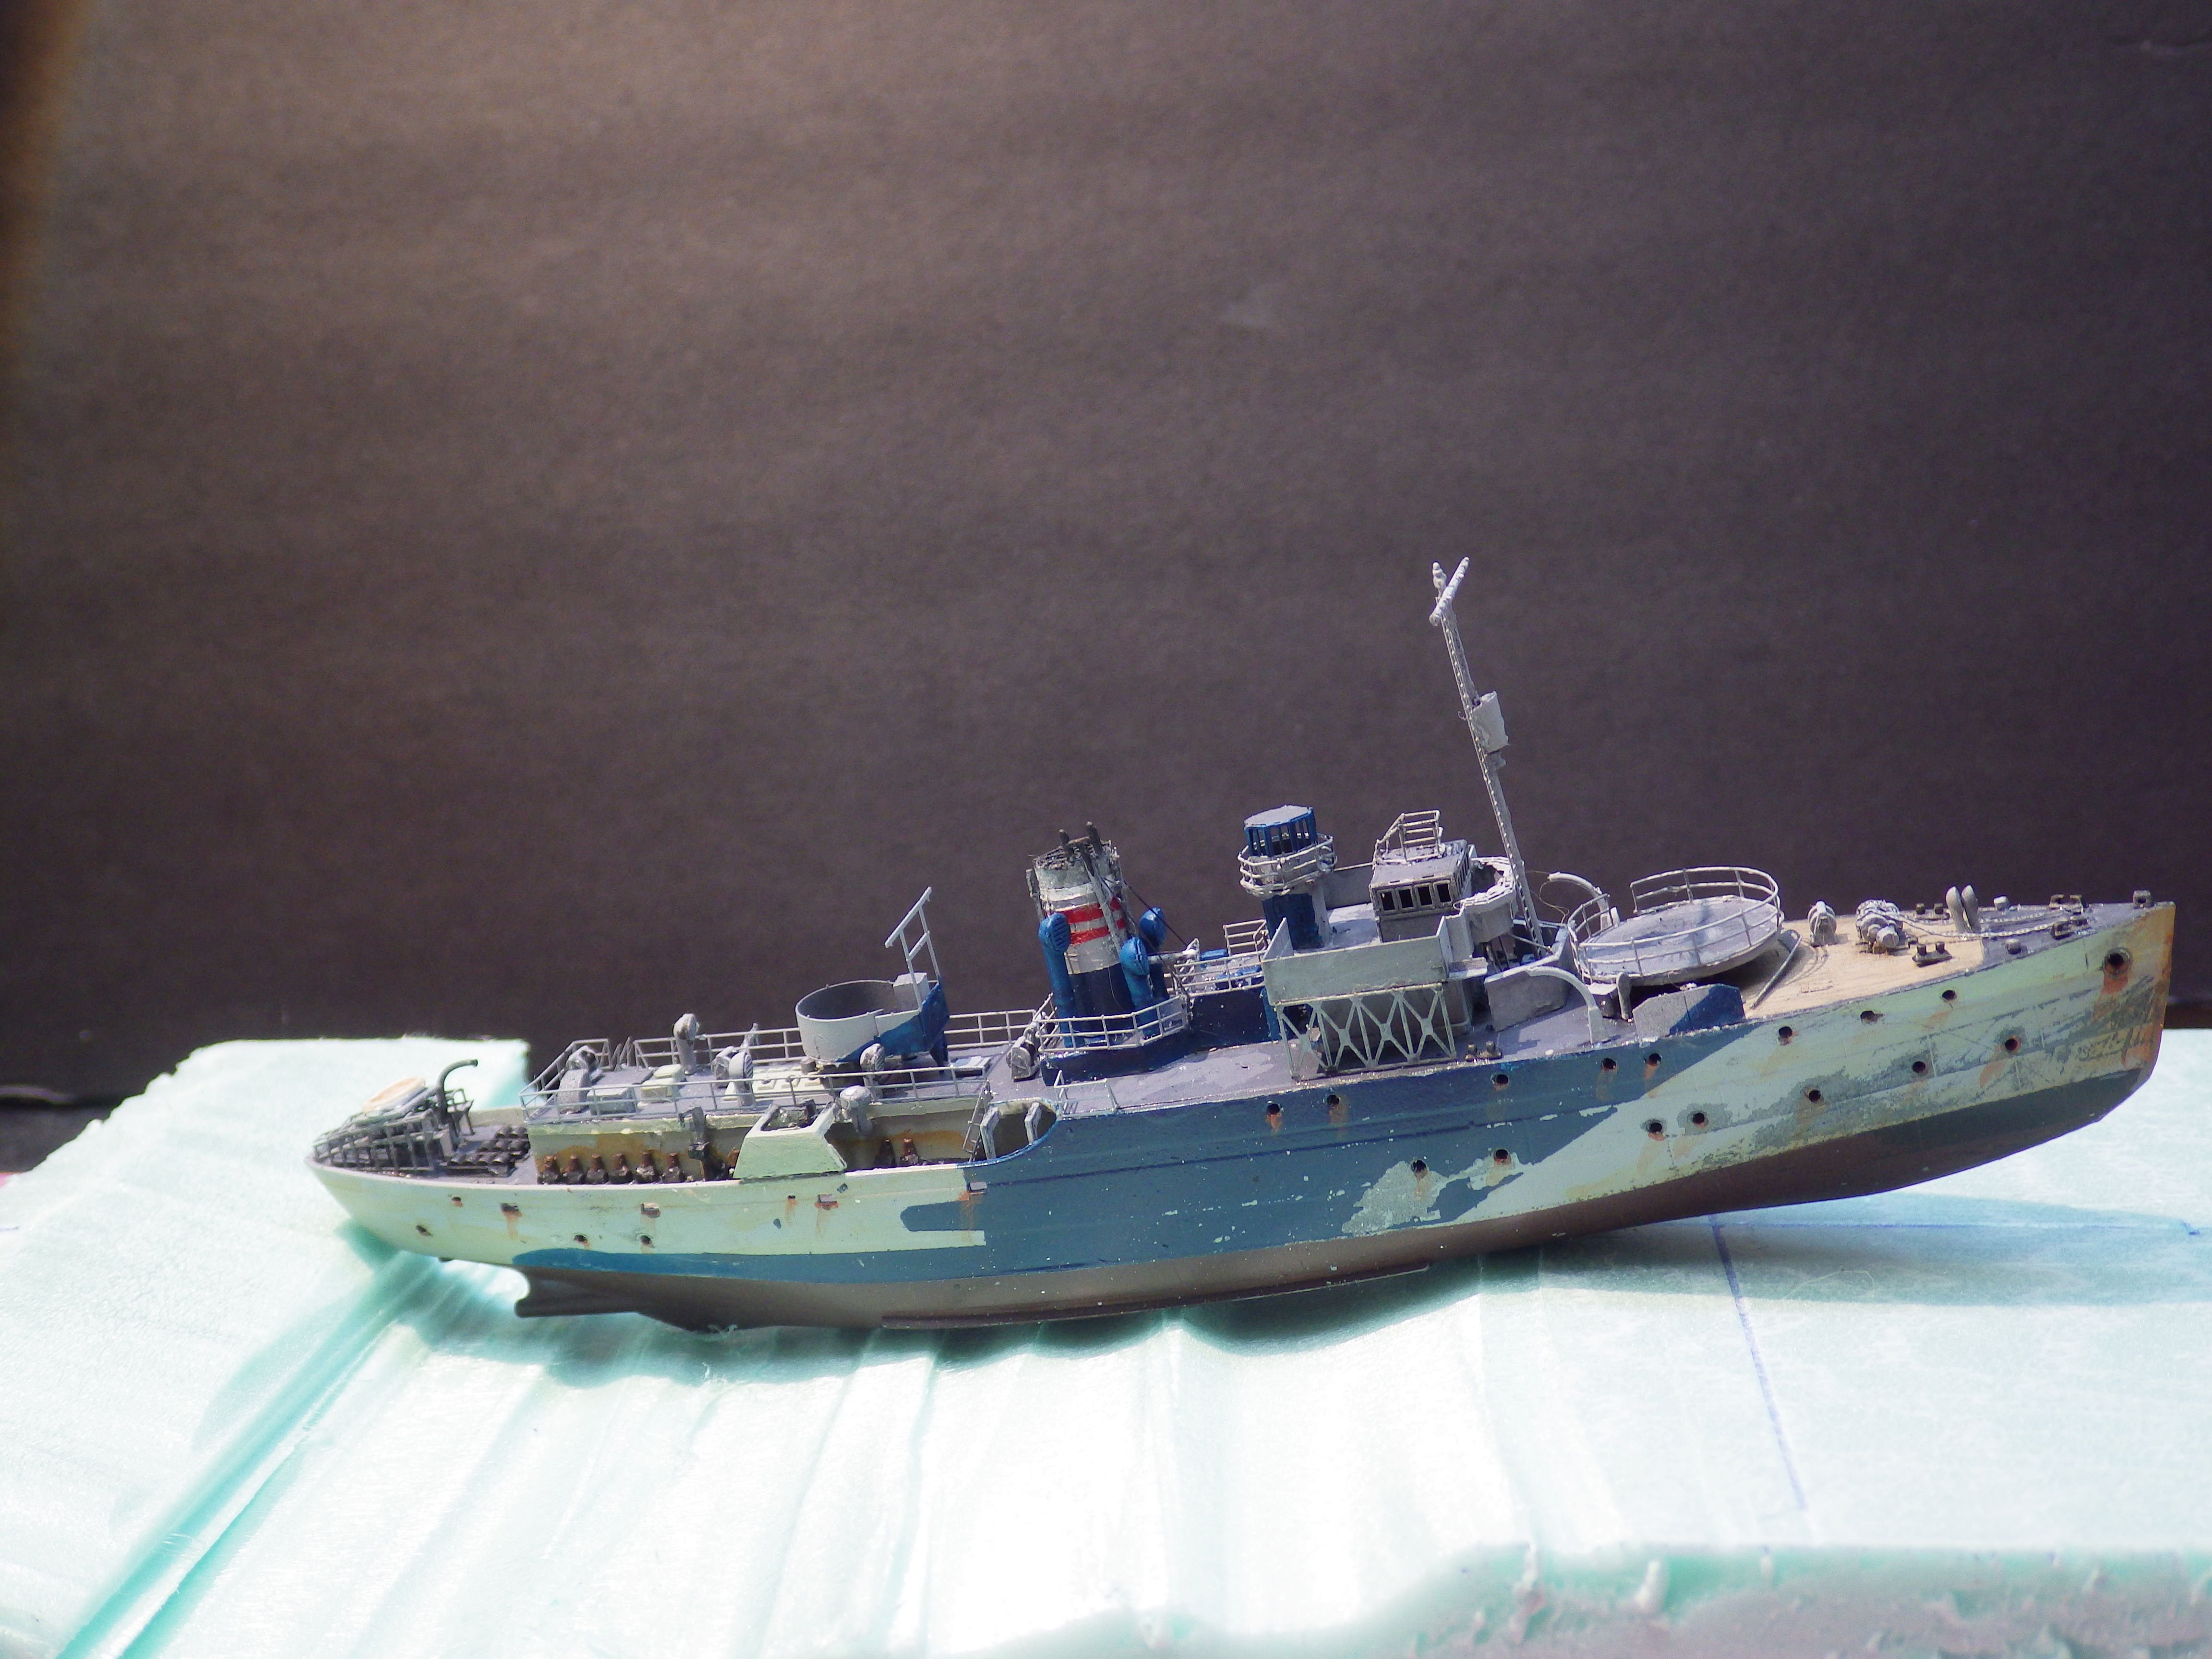
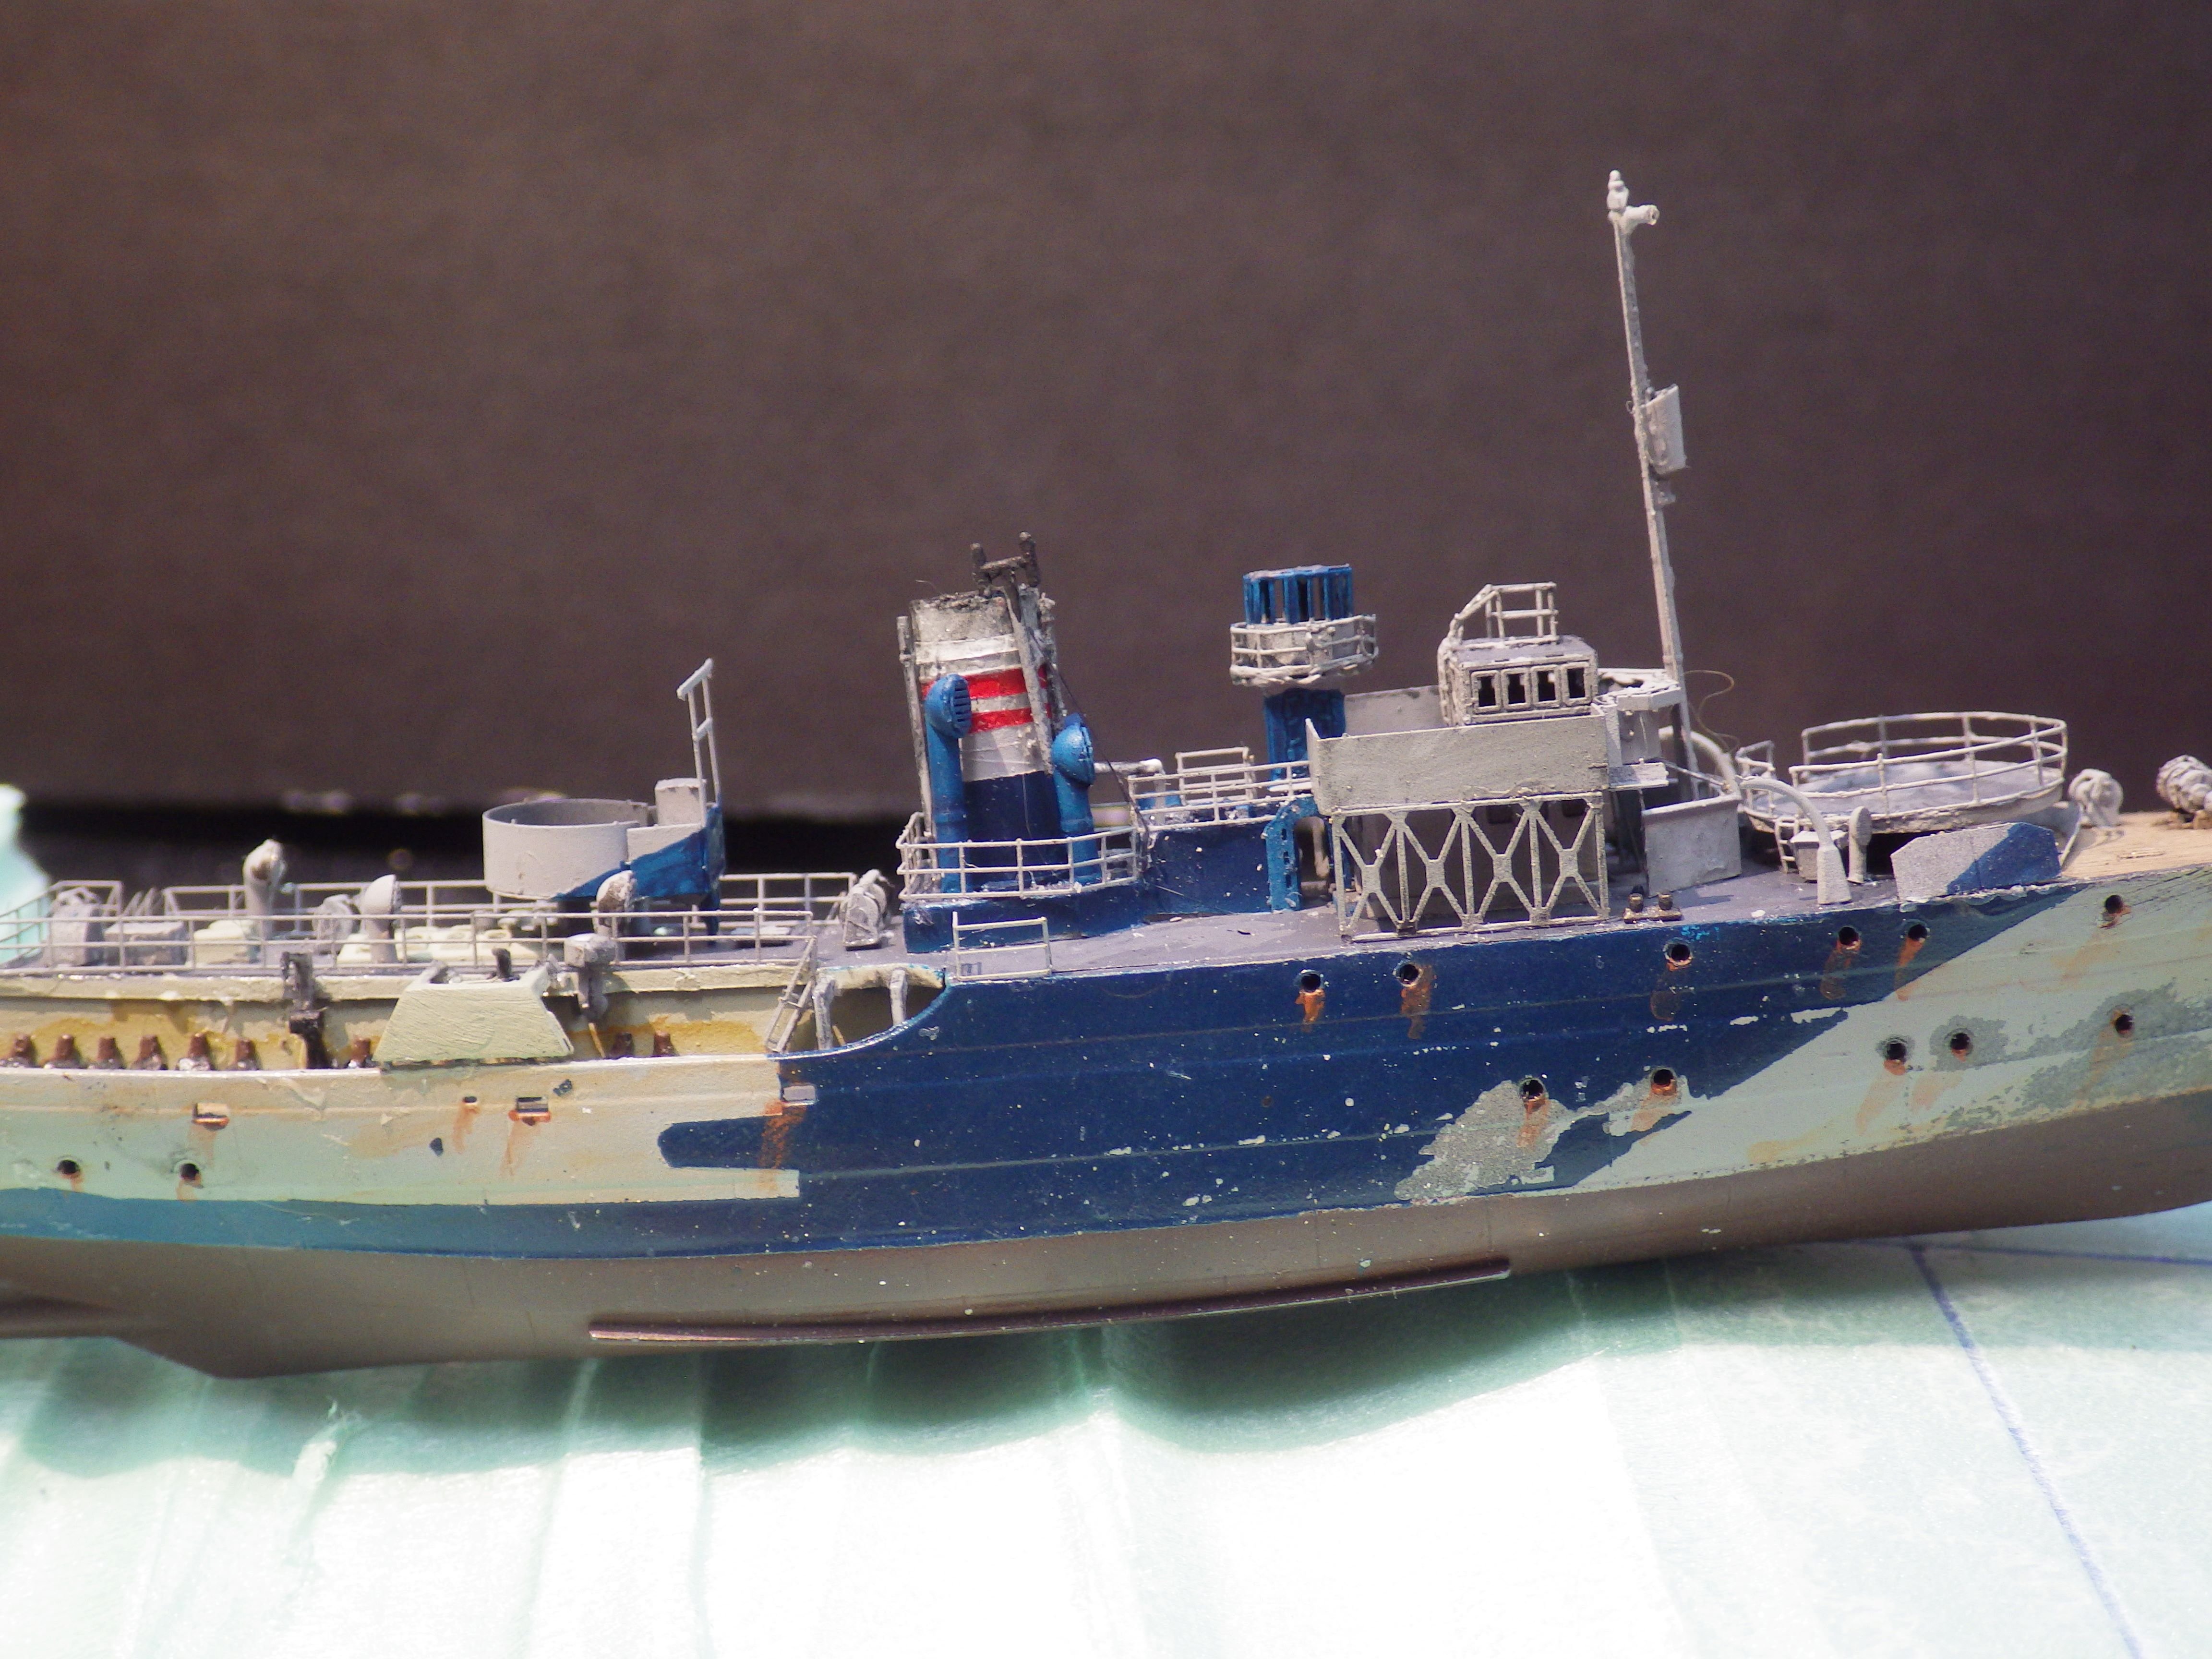
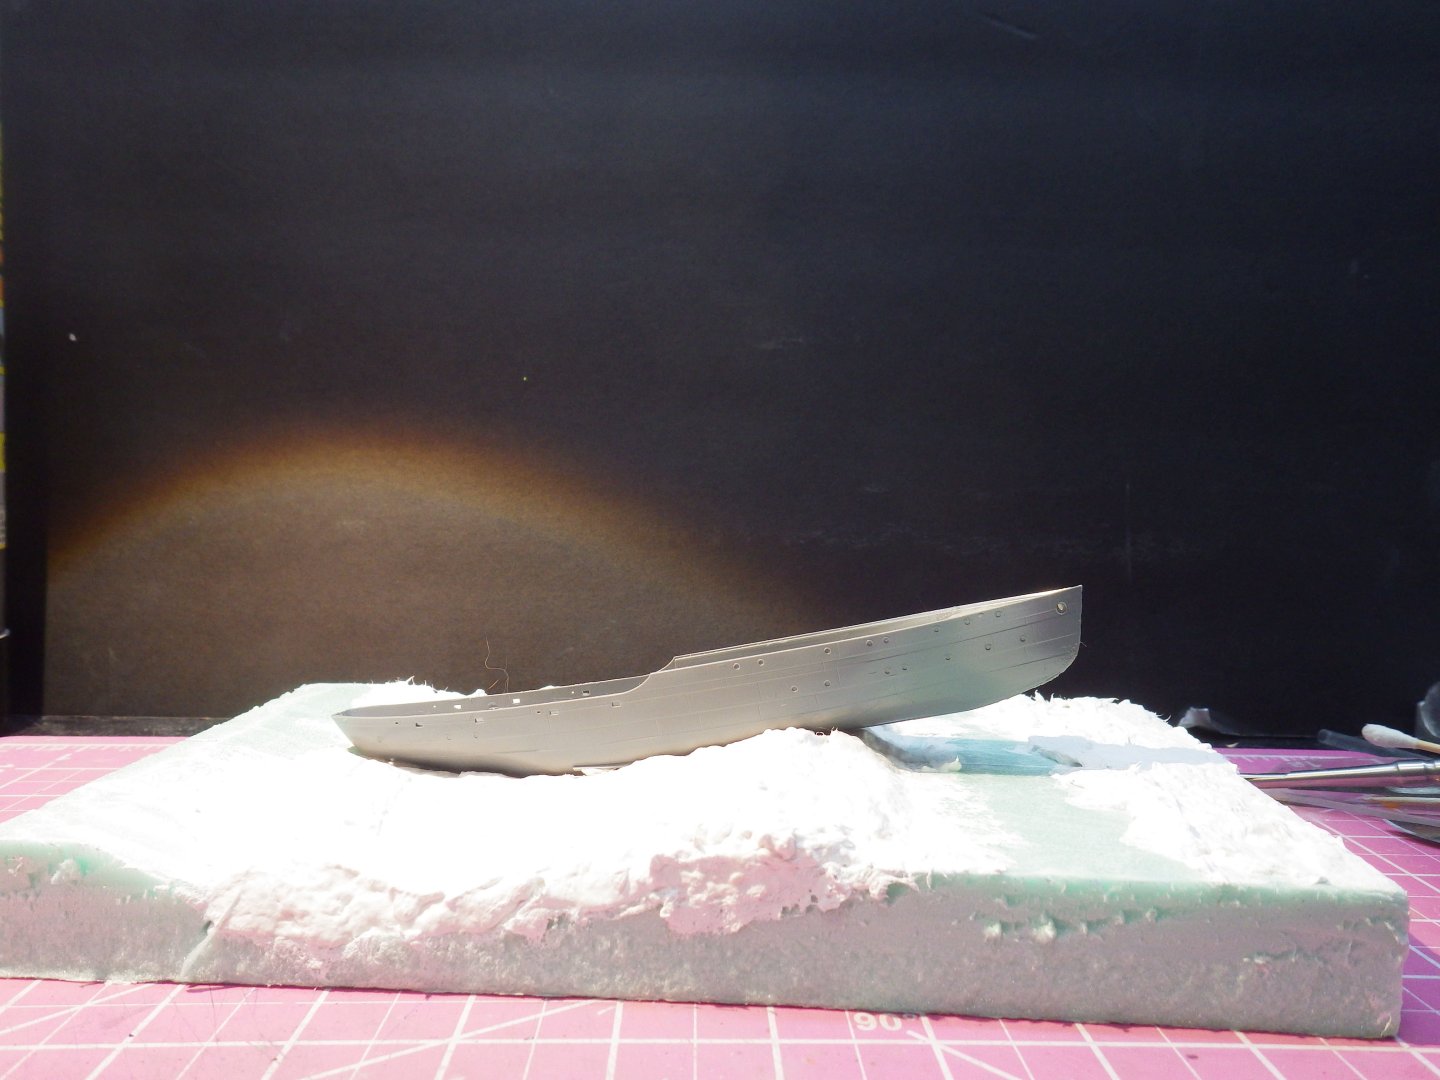
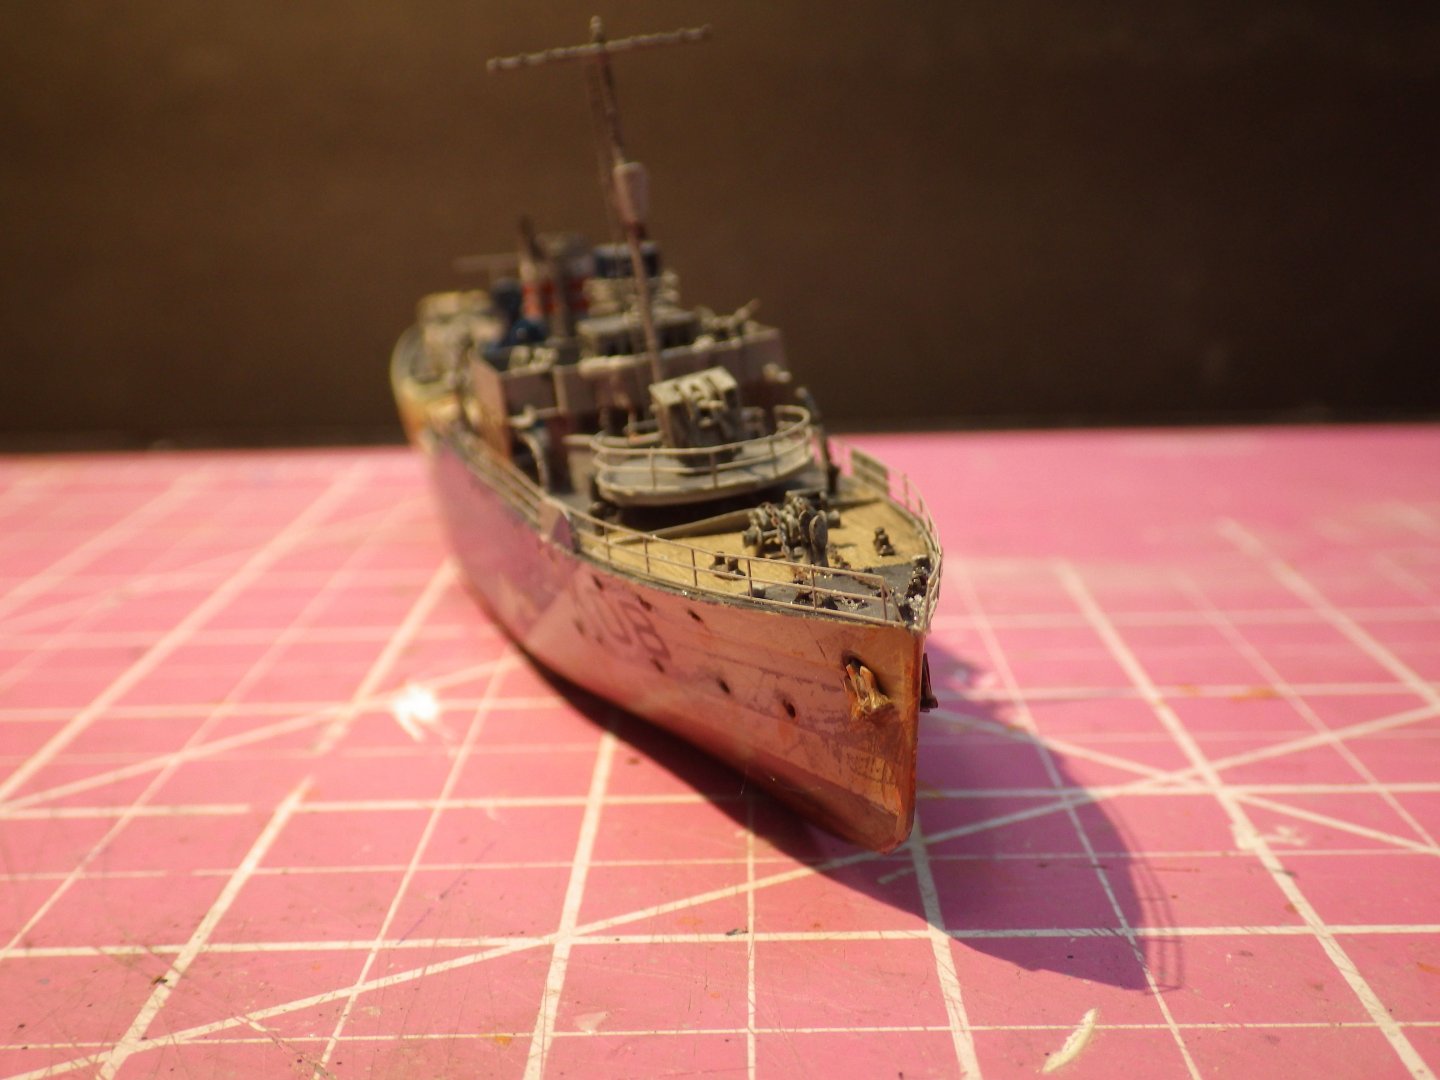
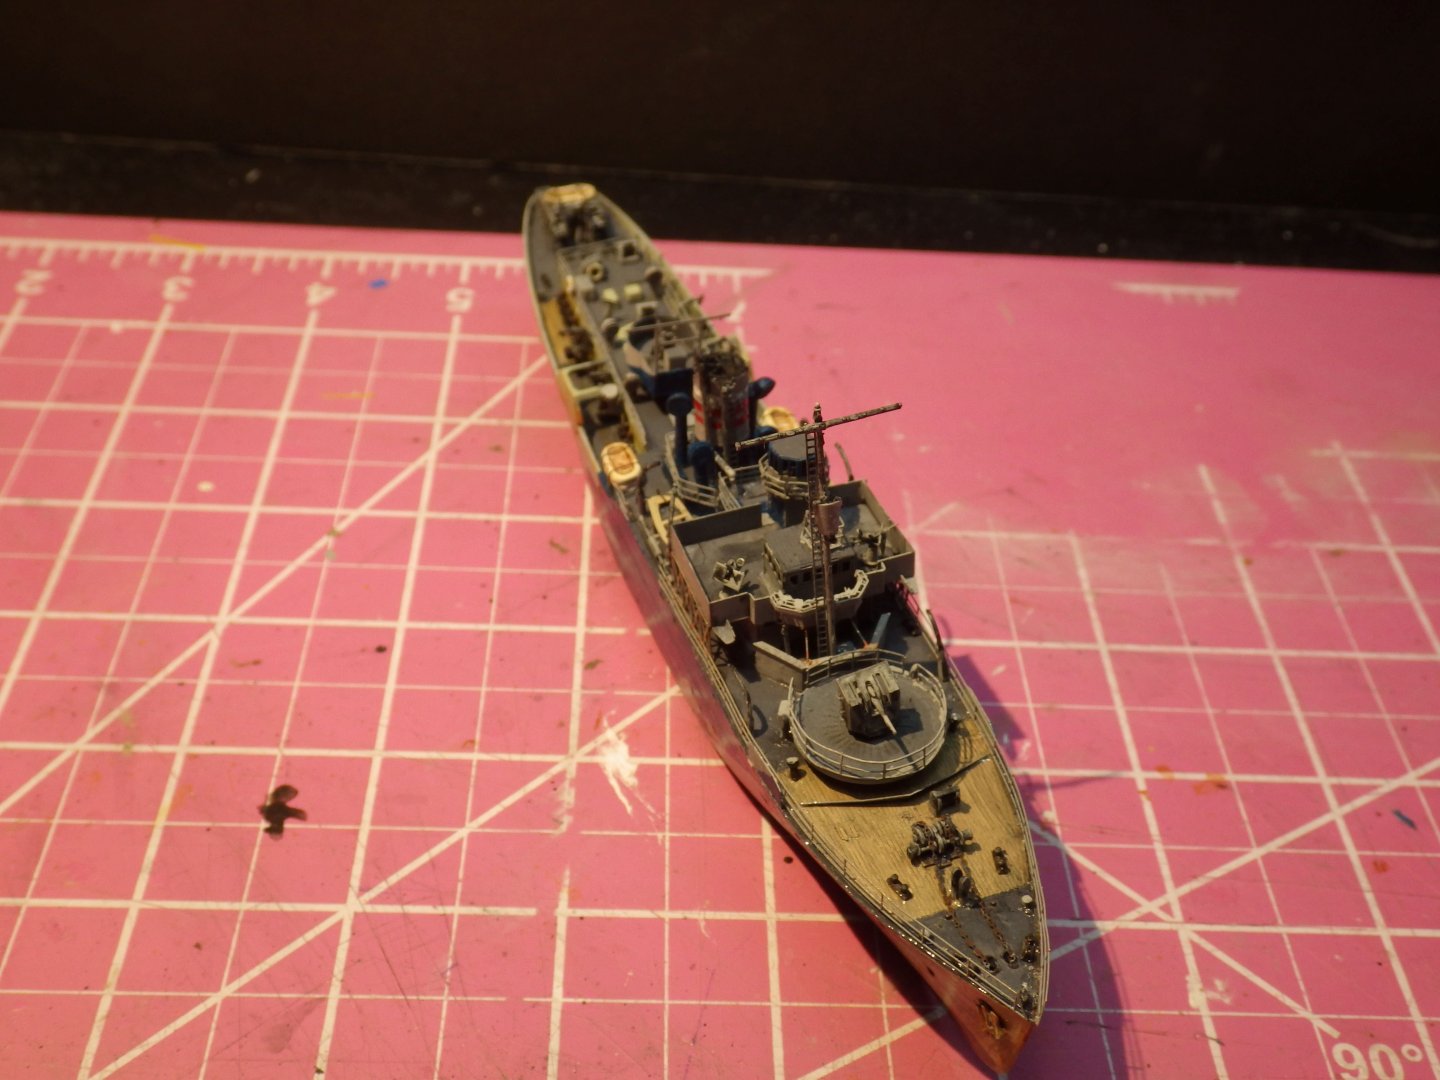
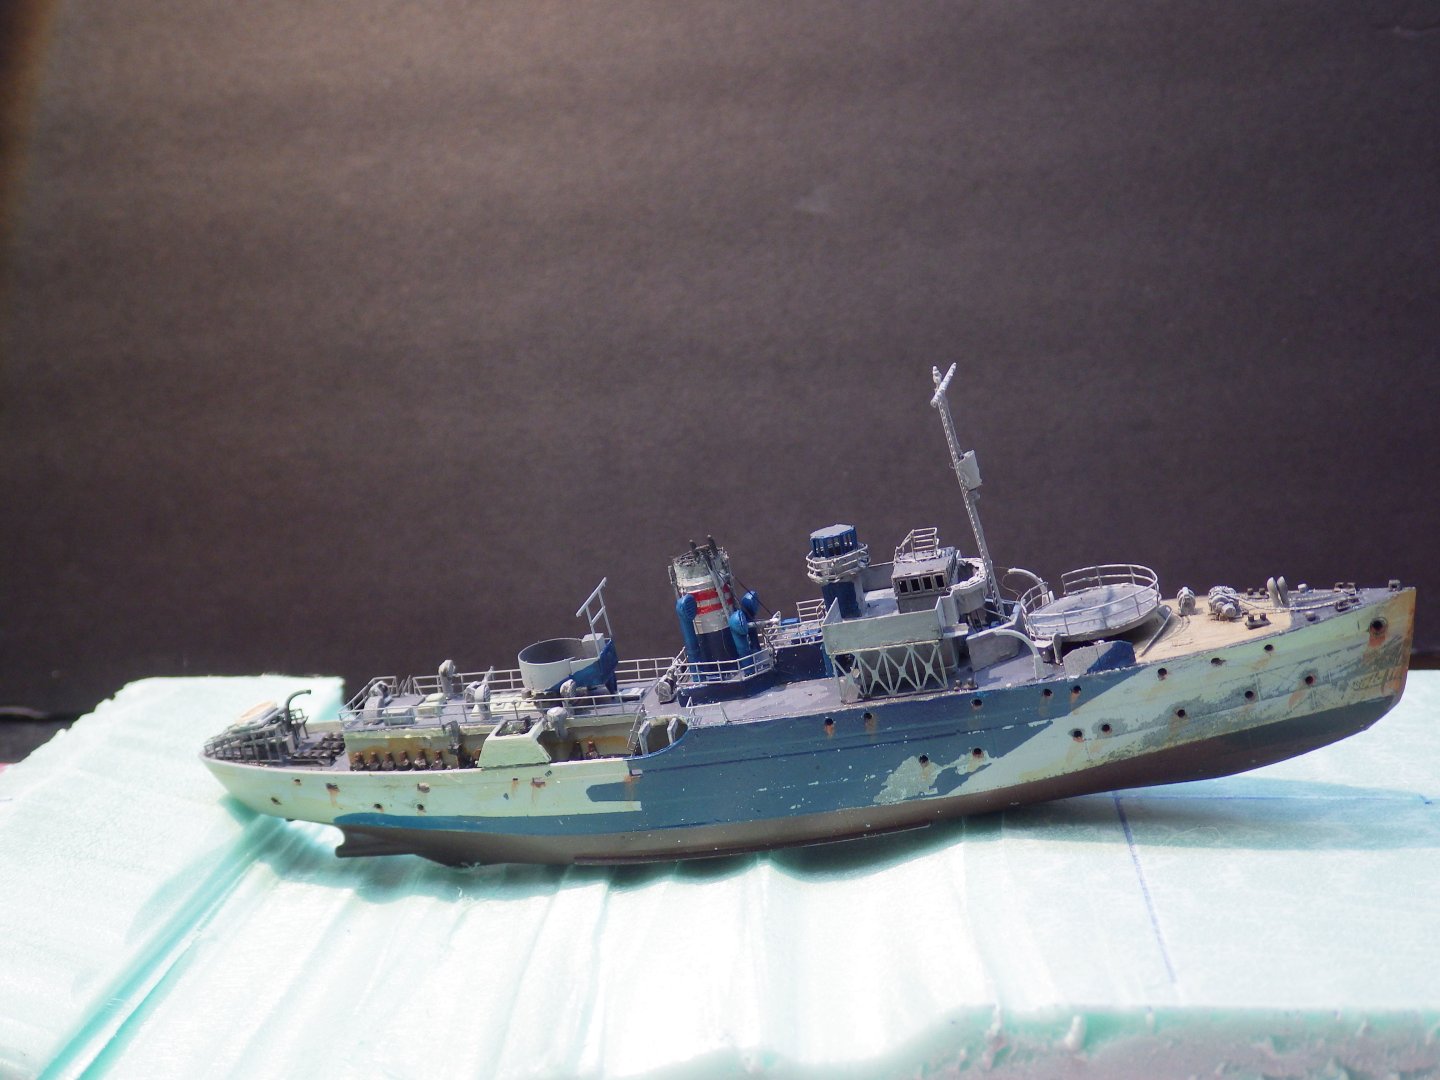
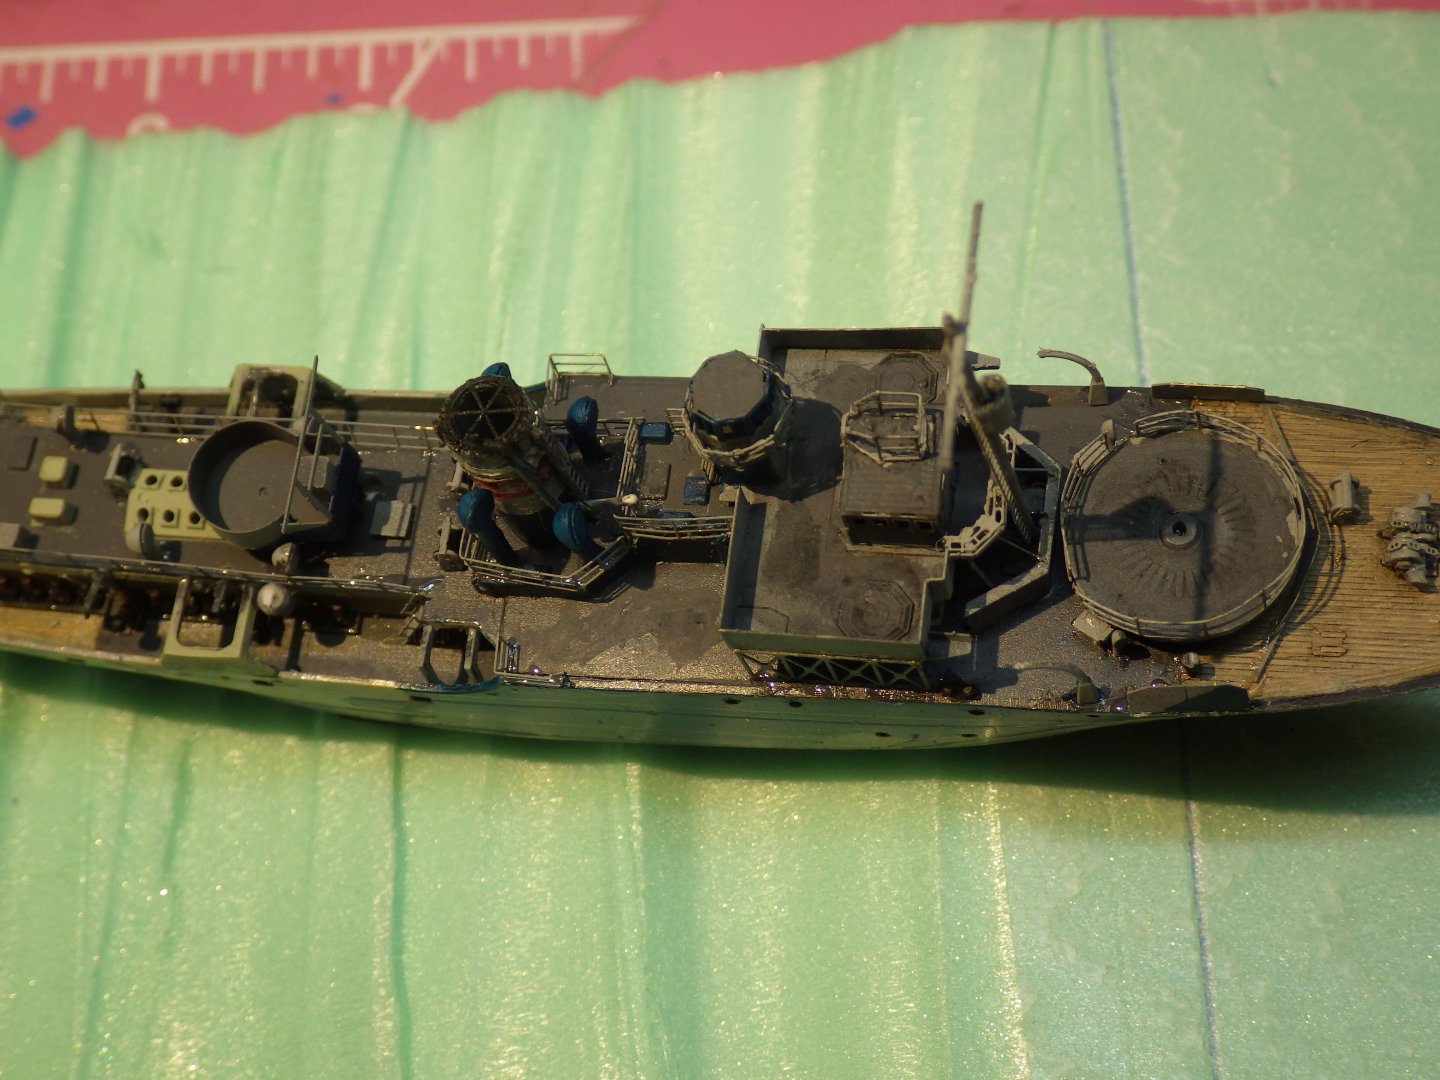
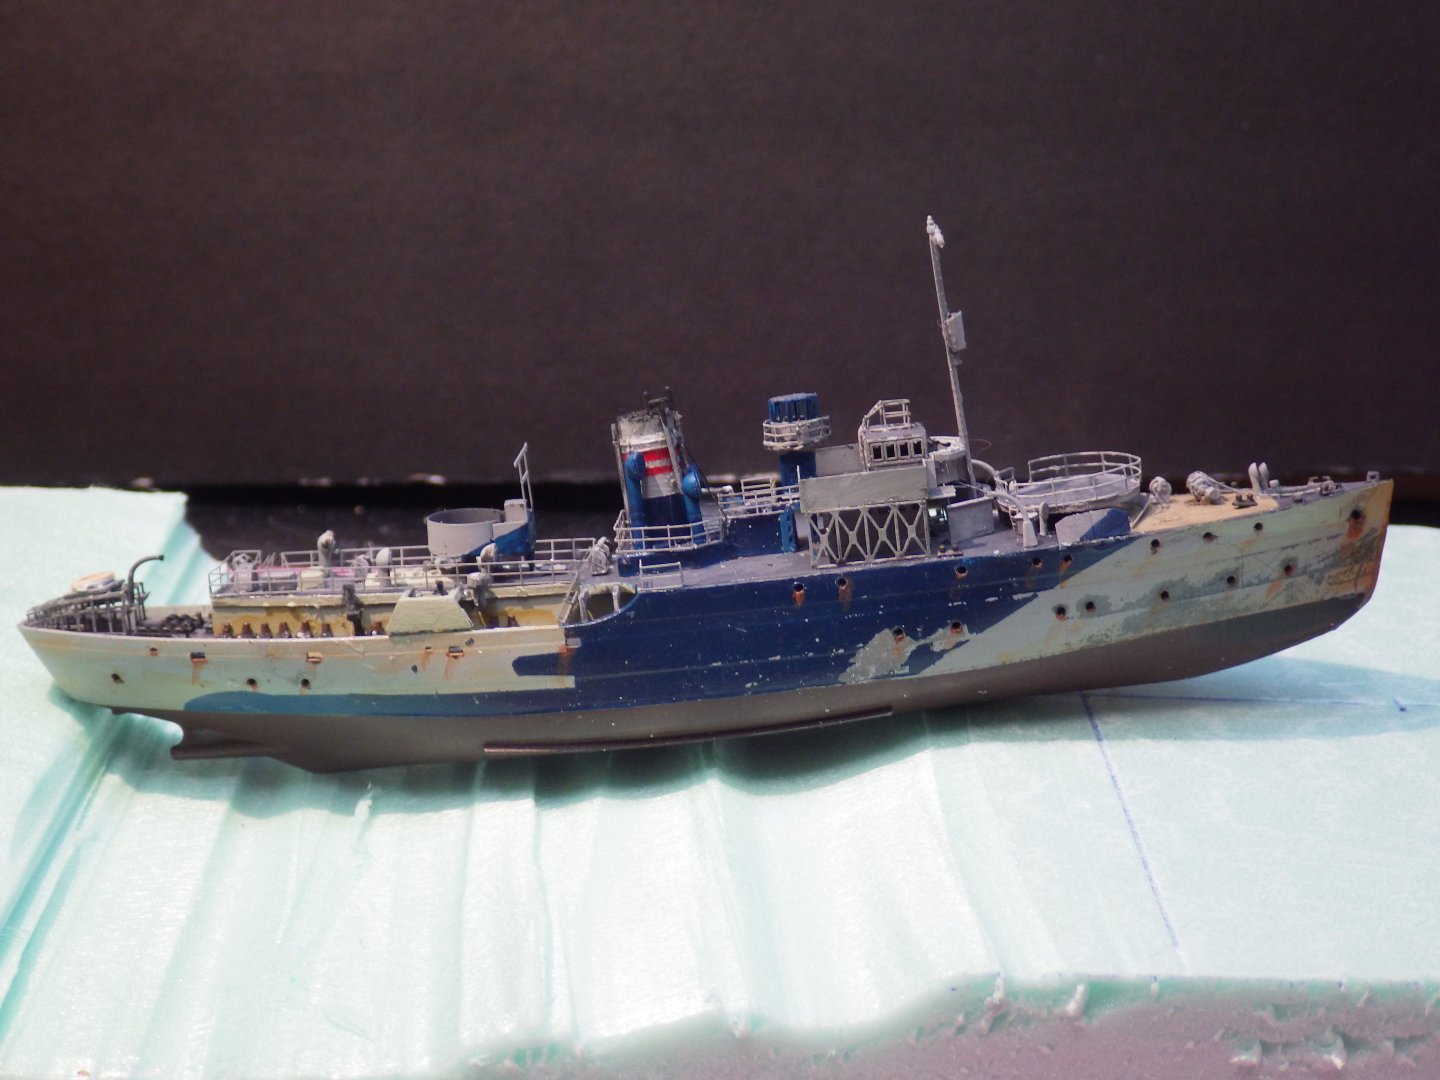
A little more progress to report. The remaining work on Spiraea suddenly seemed to come together quite quickly. I added the railings, Carley floats, boats and guns and I think she is almost finished. The decals were added. Pretty basic and not one of the better bits of the kit. They took a lot of soaking and were reluctant to slide into place. They also needed a lot of solution to soften and sit down. Thankfully there were only a few to place. I need to put a matte coat on to finish it. I have the ensign to add but I am waiting to complete before doing that. In the meantime I am contemplating a couple of last items - adding basic rigging. I am rather hamfisted at rigging and dread ruining the model trying. - air brushing a light coat of grey filter to merge the details together. In the meantime I added some Sculptamold to the base to get the basic shape of the seascape. I wasn't going to risk using Spiraea in the wet Sculptamold so I made up the hull of HMS Pennywork and gave it a light coat of olive oil before pressing it into the base. After 24 hours of drying I was happy that the hull popped out cleanly leaving a nice impression for the hull. Pennyworts hull has been cleaned in soapy water and put back in the box for later. The base still needs a little more time to dry and then I'll smooth it a bit by adding a mix of tissue and diluted white glue and also form the details of the waves. I need to start thinking about how to work the spray. Cotton wool seems a possibility but I need to experiment first. Thanks for looking in and the likes Alan


-
Your dry brushing brings out the roadway texture very nicely. Alan
-
The photos really capture the feeling of the moment alan
-
Thank you OC. Its amazing how much I had forgotten while I was working on the castle. I'm fairly happy with this so far but I am glad I hadn't dived back into something like Flyhawks Illustrious Alan
-
Gosh, I didn’t realize that Historex was still going. They were considered the ultimate model figure when I was a very young model maker over fifty years ago. They still look great. Another rabbit hole to dive into. Alan
-
That would be great. Their tool has a lot more options that the copies. Being able to fold past 90 degrees and create two 90 folds close together. All the different "fingers" mean I can usually find a way to do most folds. Alan
-
I used the Mr Metal Primer spray and it really helped the paint stick without flaking. I have no idea what I was thinking putting the black primer over the top of it. Alan
-
Thats the one I have. I like it a lot and it looks like it will last forever. Shame the Small Shop has gone. Alan
-
Unless you are silly enough to use black primer on the fret first! Just did that. I now have a scrap piece of clear acrylic used with a sheet of white paper for future silliness. The black acrylic square is a great base for cutting PE and I use a similar bending tool. I find it easier to line up the folds exactly. I have the pliers but on my set the jaws don’t line up perfectly. Not sure if that’s my fault. I think we all develop our preferences for handling PE. I have the former for circular bending which works well with a selection of drill bits. Alan
-
Very nice work OC. The Life Guard is excellent; lovely painted detail. Alan
-
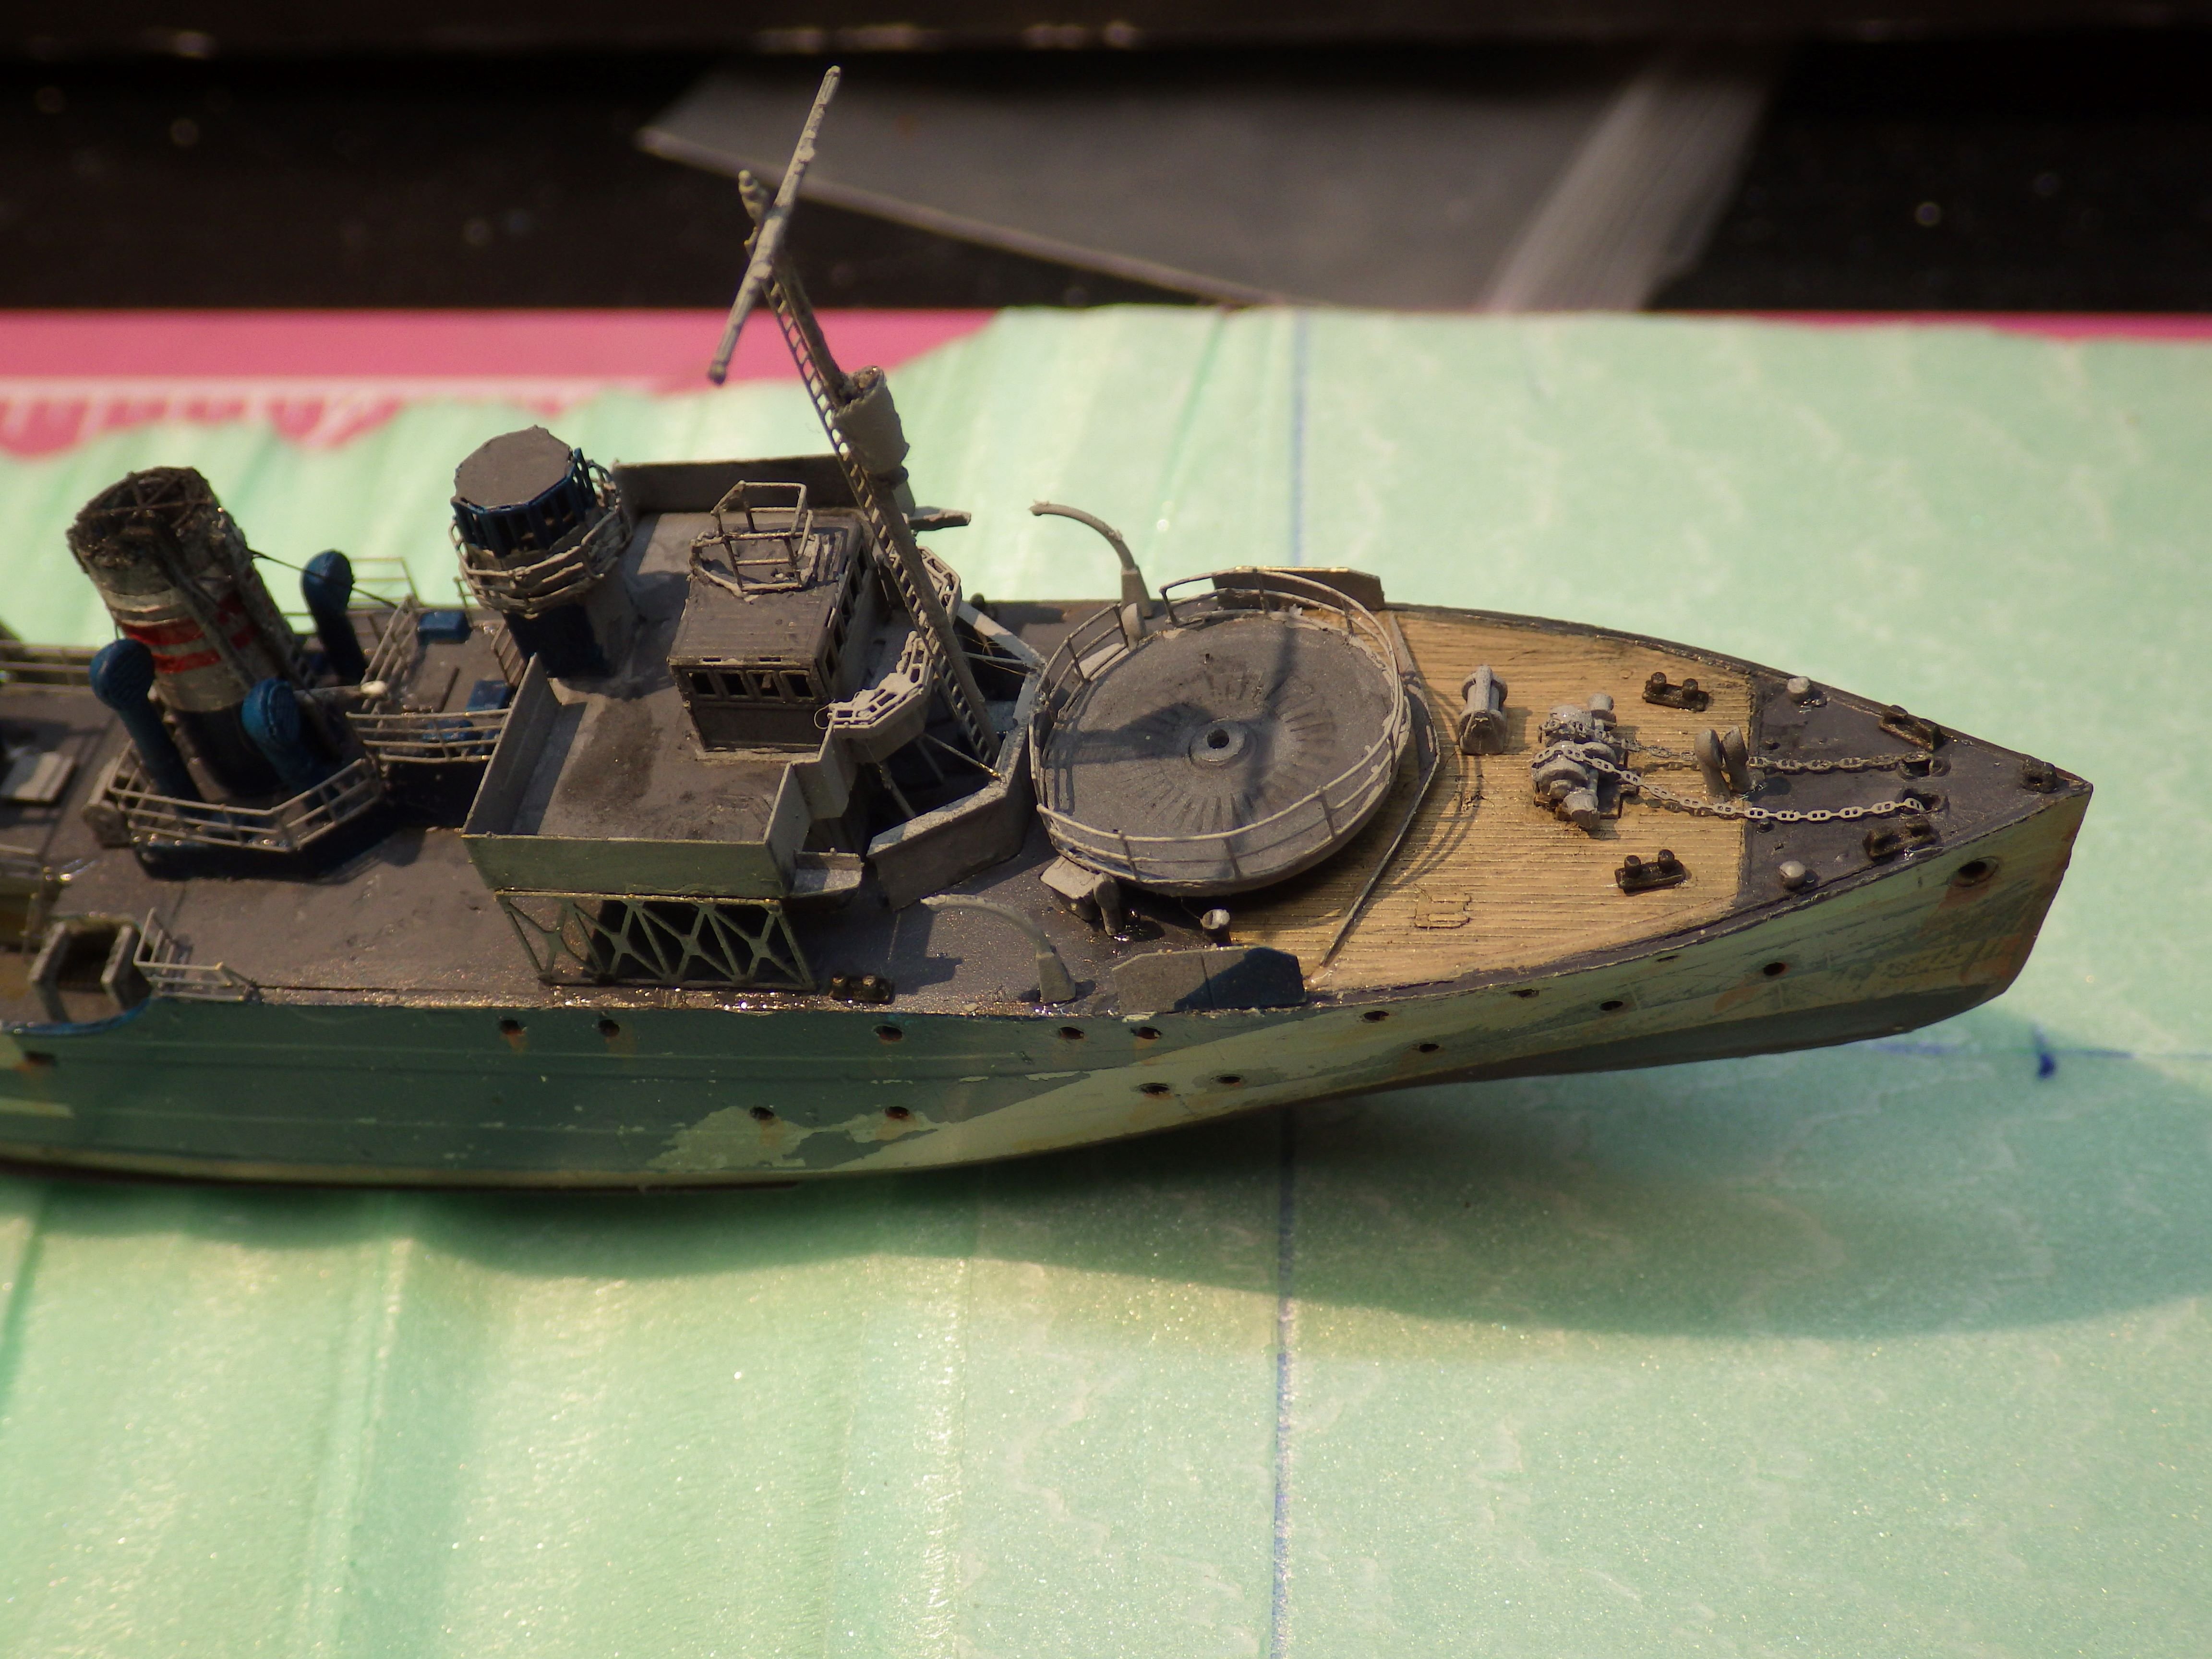
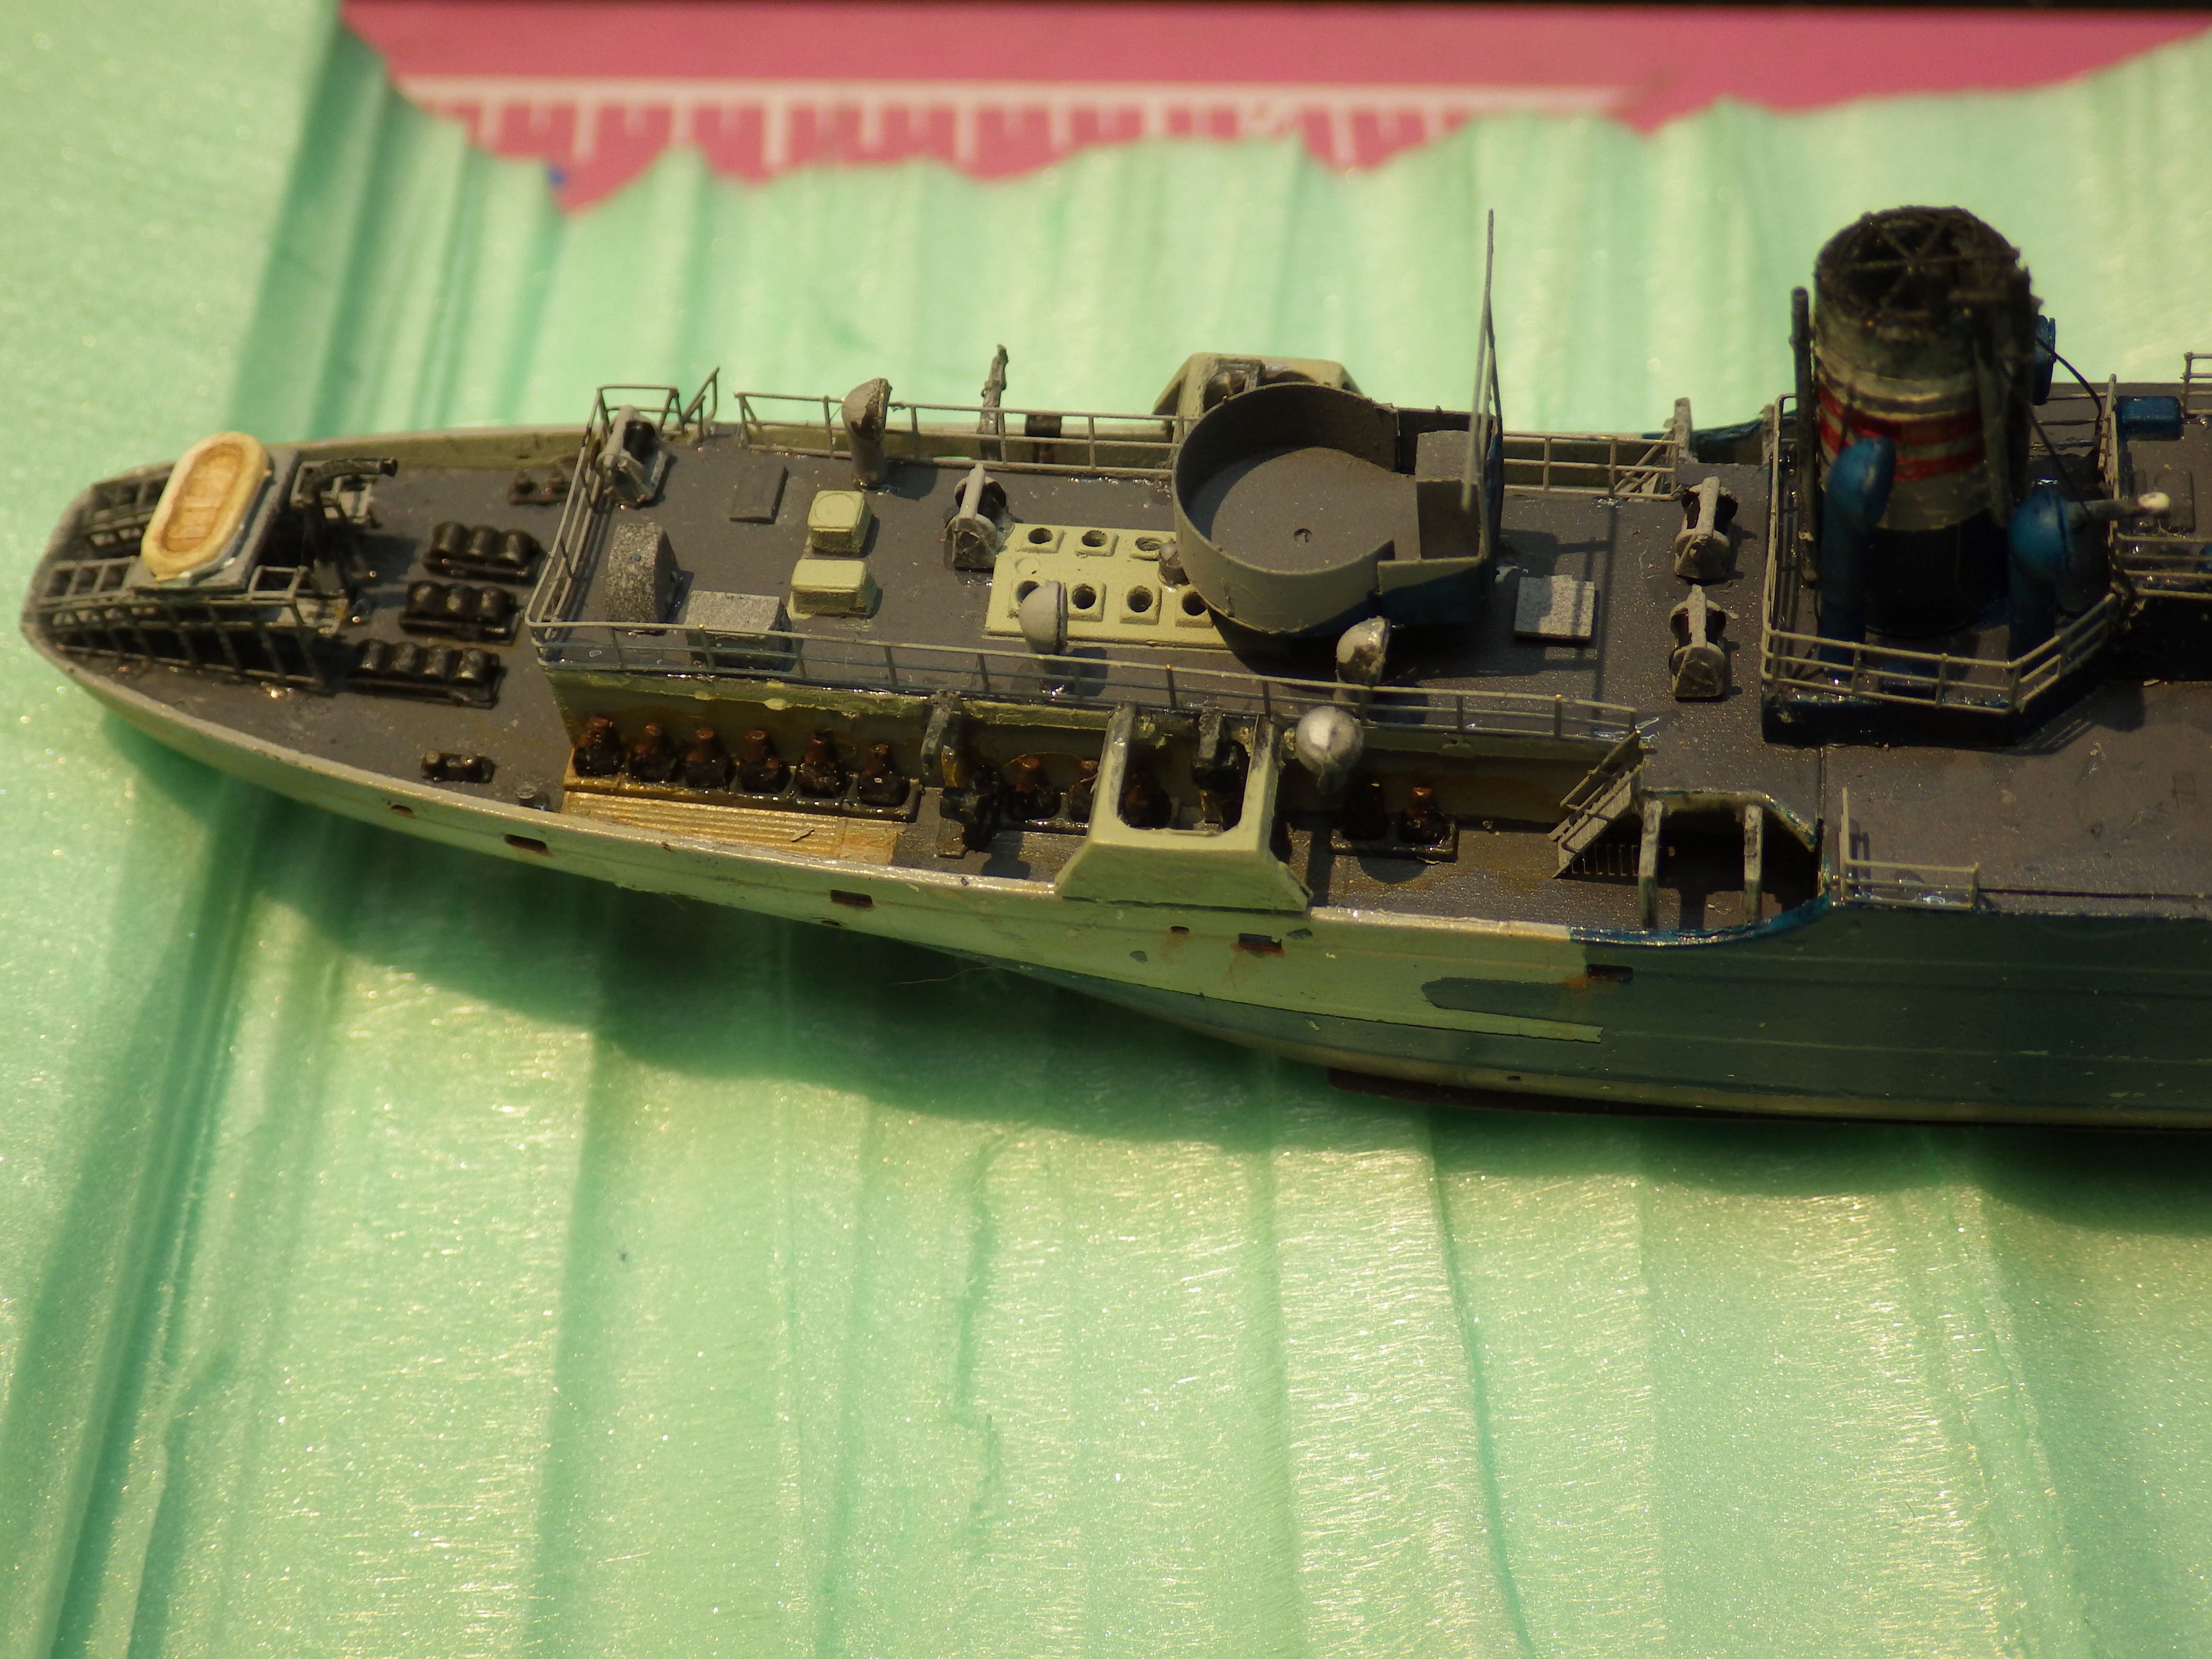
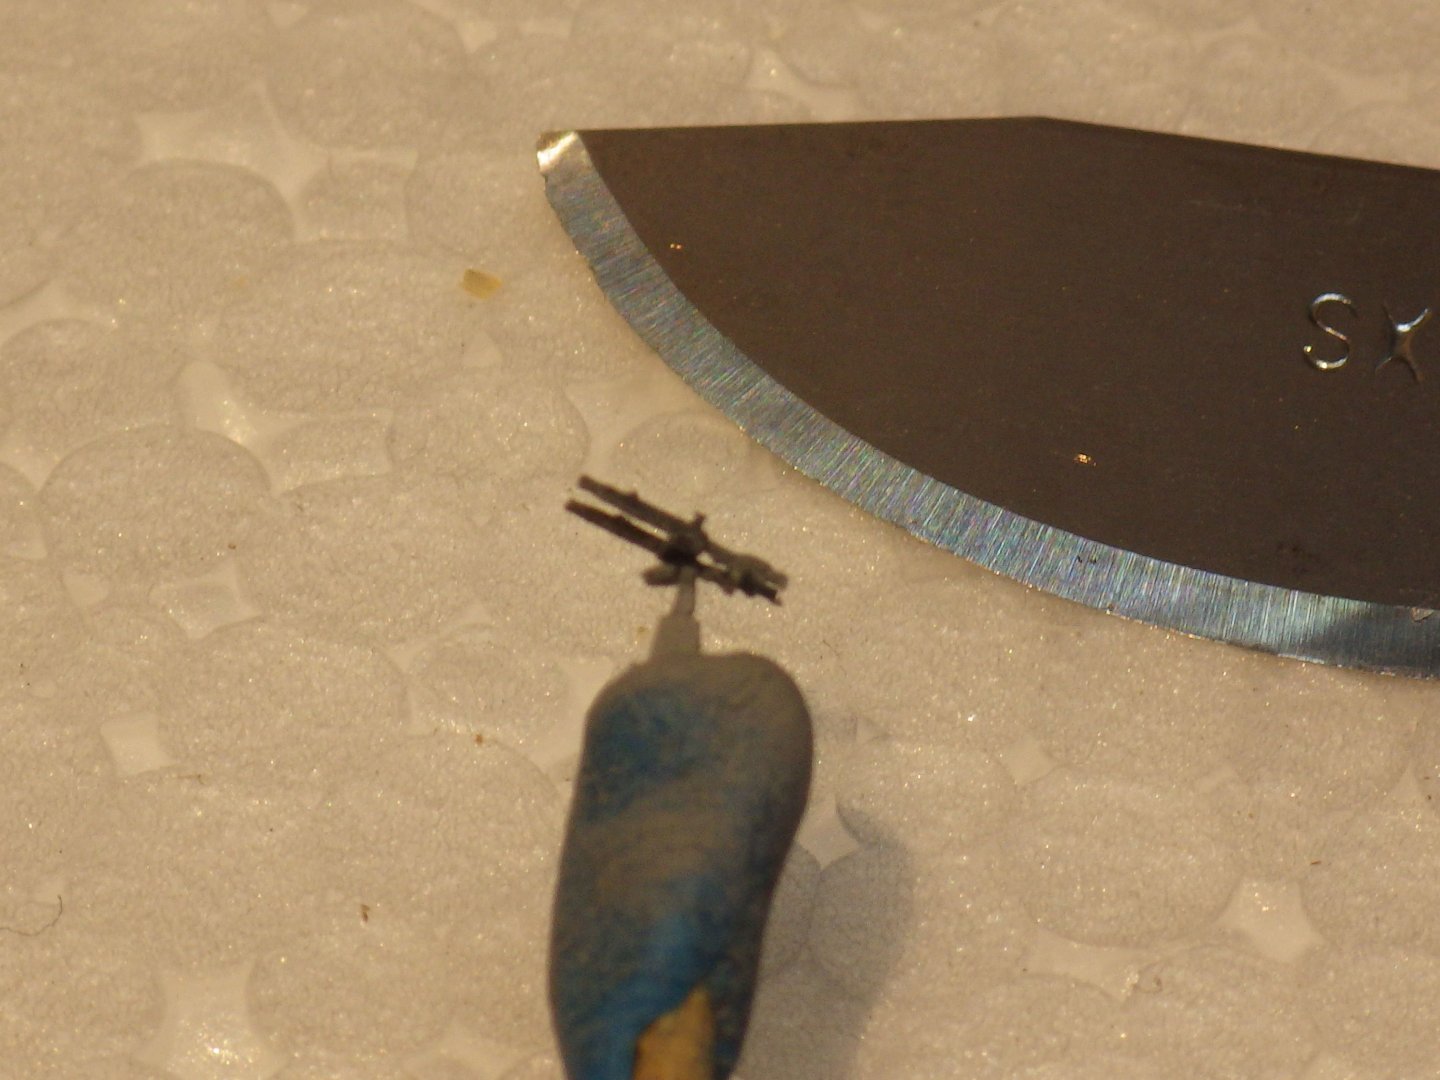
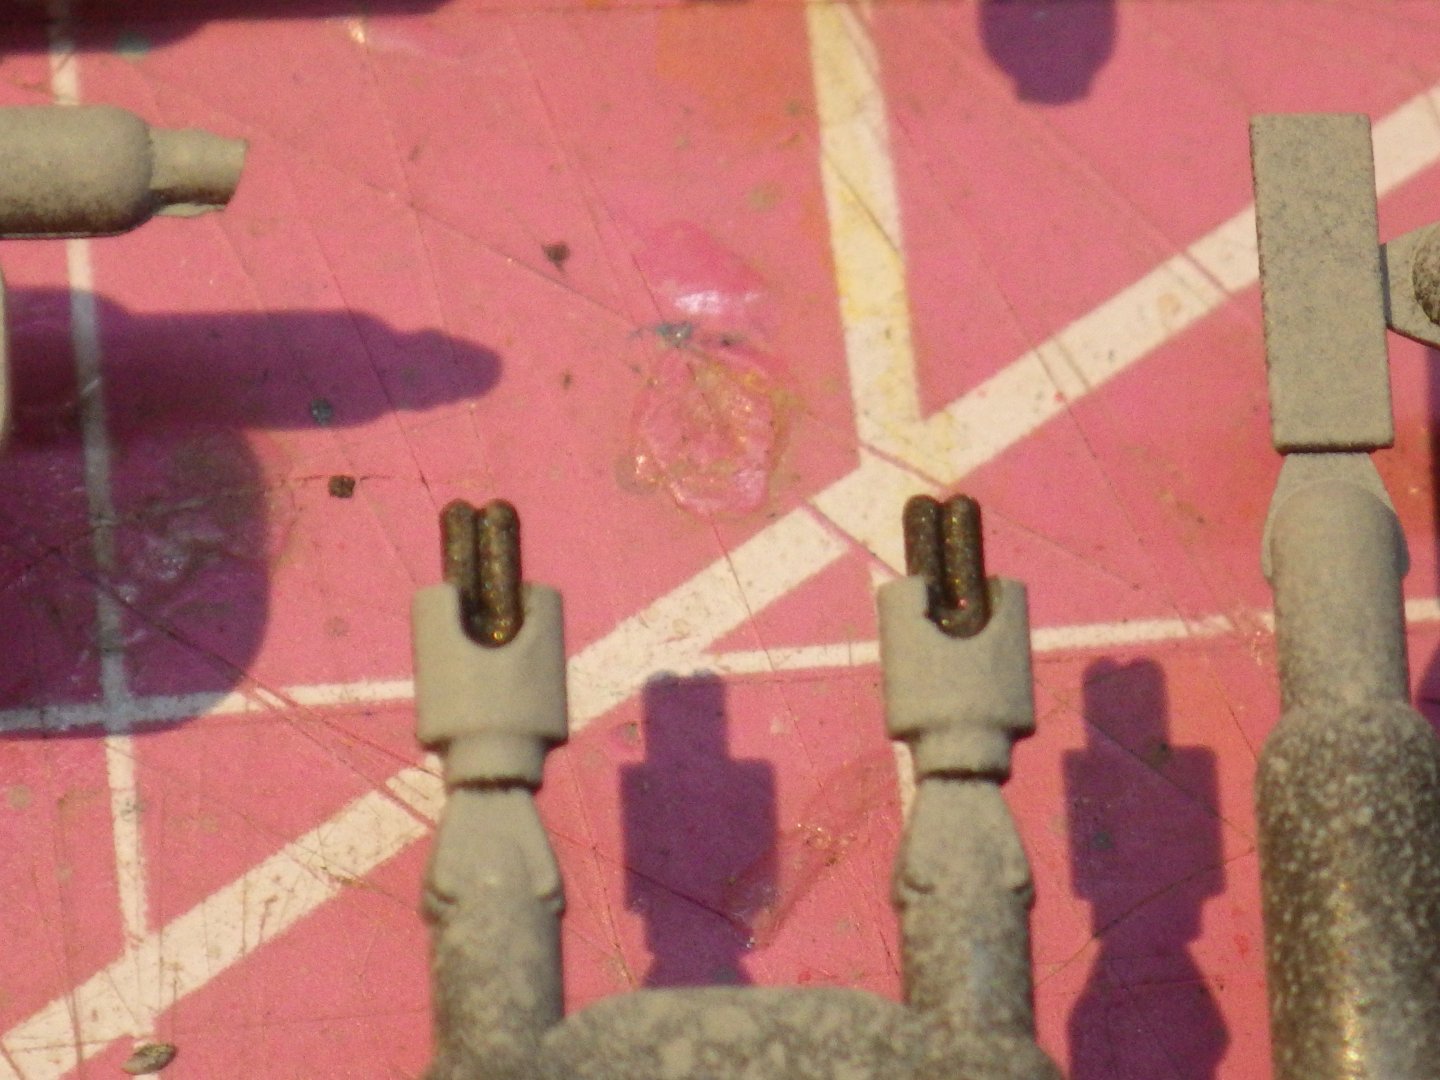
I can't believe how fast time is slipping by. Too much time at work doesn't help but today I wasn't needed so after fixing the ice maker, replacing wipers on the car and changing out the blown license plate bulb (one of the disadvantages of driving home from work at midnight - if there is anything wrong with the car you're a magnet for bored cops) then it was time to do a little work. I've had the hot wire cutter out to get the basic shape of the seascape. Its not a precision tool - at least in my hands but this would be difficult with a knife. I think the basic form is good. Now I think I will need to start building up the sides and improve the shape. Possibly with Scultamold. I'm adding the details and its great watching the model start to come alive. So far I am enjoying adding the PE. The White Ensign stuff seems nicely "dead" no real spring which makes bending easier. A lot of small parts from the kit; mostly ventilators. I'm working on the rafts and boats off the model but did add the one mounted on the depth charge racks. That seems an unusual location and there is nothing to confirm it on any of the images of any Flower in Lambeth's book - but the one photo of Spiraea on the IWM site clearly shows the raft on the racks so good job Mirage. But now I notice I was too hasty and didn't add straps to hold the raft in place. Uff. I did get brave and add the stays to the funnel which used up several months allocation of bad language. Trying to get the thread to adhere to the upper section of the funnel was difficult and eventually accomplished with bits of masking tape (and shameful words) I think I have the forecastle railings, the weaponry, rafts and dinghies to add and a general tidy up. I've used Black Cat resin for the 4 inch QF, Oerlikons and 2 pounder and very nice they are. I made up the twin Lewis guns from the White Ensign PE and they stretch my eyesight. They even have separate magazines in the fret (about 1 mm in diameter). I think they are better than the kit parts I had been wondering what they were on and on through the build and the penny finally dropped. I think the PE is a bit of an improvement. Slow progress but its enjoyable. The Mirage kits are not going to get confused with Flyhawk but they are nice to work with and the detail is generally good. There are few location indications and the instructions are vague in places (and the part numbering is wrong in several places) but I suppose they are juggling four different configurations of the basic model). Its proving to be a fun return after a year of filing stone blocks Thanks for looking in, the likes and comments Alan


-
The paintwork looks neat and well done. Great job Alan
-
The Life Guard looks great. The horse is nice too; quite a dynamic pose. Alan
-
Some of those tail sections were getting impressively warm. Those blue bands suggest they got over 900F if thats the titanium showing. Alan
-
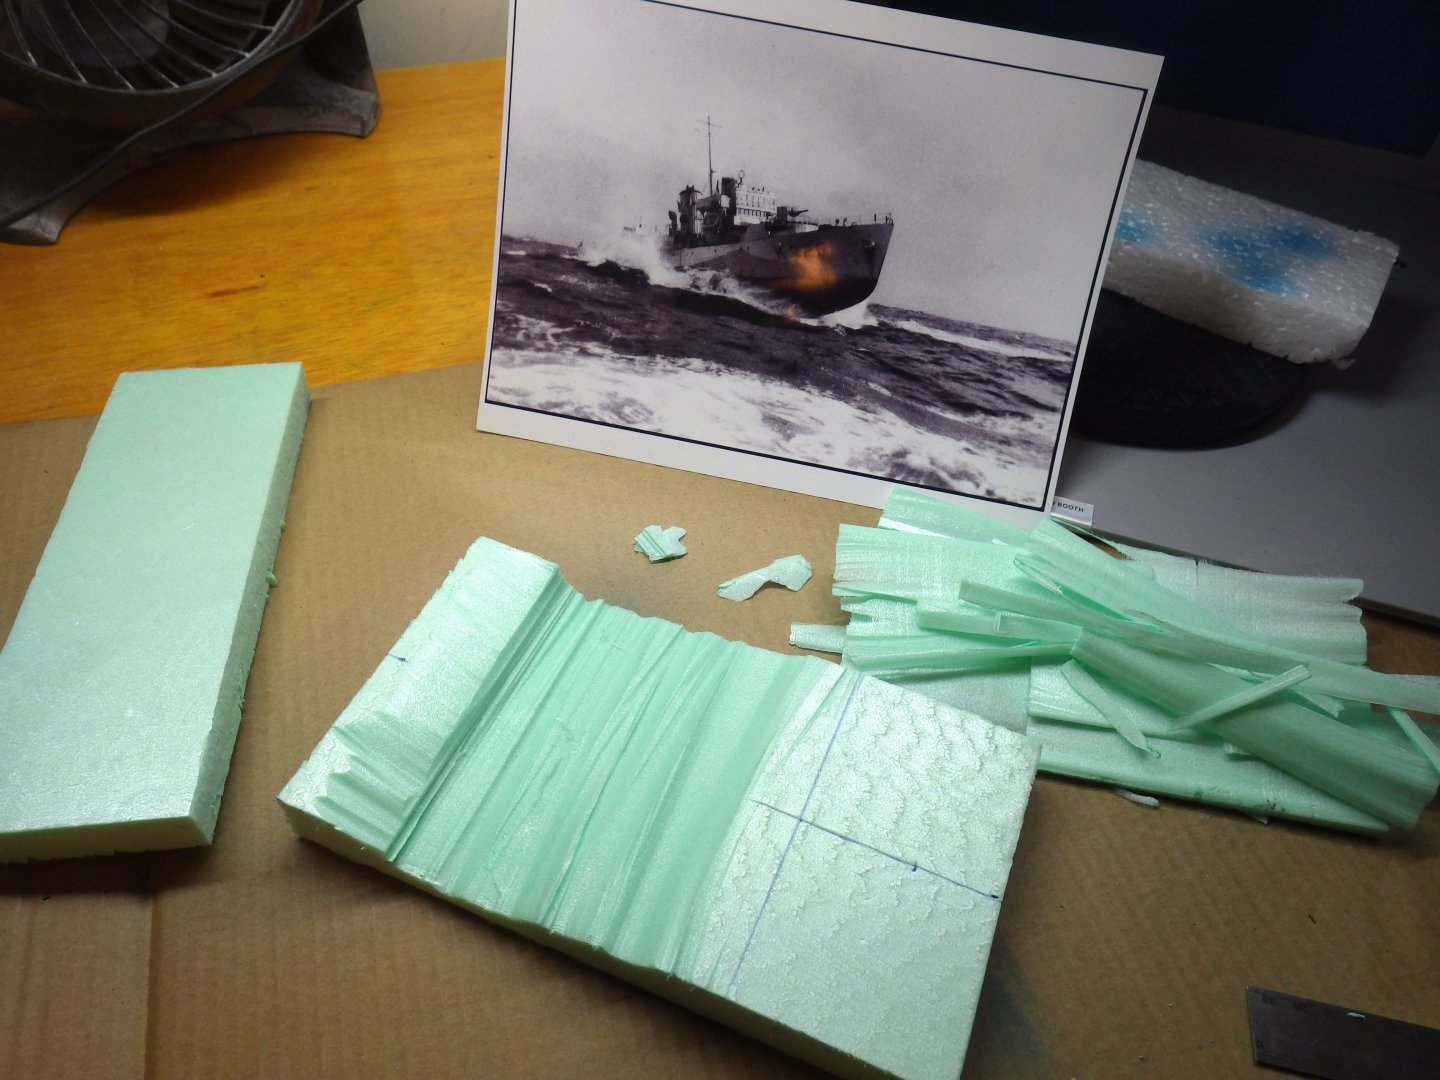
Well two weeks seems to have disappeared forever. Work is currently on a noon to midnight pattern so not much else is getting done.. A little progress is being made at the weekends but its slow. I'm finding the usual Flower problem; very little information on individual configurations. I have found one (IWM) photo of Spiraea and that shows the bridge and mast configuration to be as the Mirage kit and not as in the profile in the Lambert Flowers book. It also shows a number of ventilators that aren't present in either model or book. The paint scheme doesn't match either. Zinnia will be harder (or easier depending on how you look at it) as I haven't found any images on line and she is not shown in Lamberts book. I'm at the stage of fitting the PE and small details. The PE is binging the model up nicely although the interface with the kit is a bit dodgy in places. The PE 4 inch bandstand sits too high and had to be cut down as did the 2 pounder gun tub. There is going to be a lot of unused PE in the WE set. Some parts are for different standards of Flowers and others are too fiddly to use (4 inch ammunition clips) or are too flat to look good (secondary weapons). As noted elsewhere there is a risk of using PE just because its there. No photos today. I'm writing this at work (Shhh) and can't upload photos. The next decision will be whether to add rigging. Its an easy decision to not do it at 1/700 but at 1/350 I need to think about it, at least in a simplified form. Alan
-
Mike As I am working through this (slow) build I am finding I rather like the Mirage Flowers. They are more accurate than I initially expected and with some aftermarket bits mixed in they are coming together nicely in my eyes. Work is slowing me down more than I would like unfortunately Alan