king derelict
-
Posts
3,292 -
Joined
-
Last visited
Content Type
Profiles
Forums
Gallery
Events
Everything posted by king derelict
-
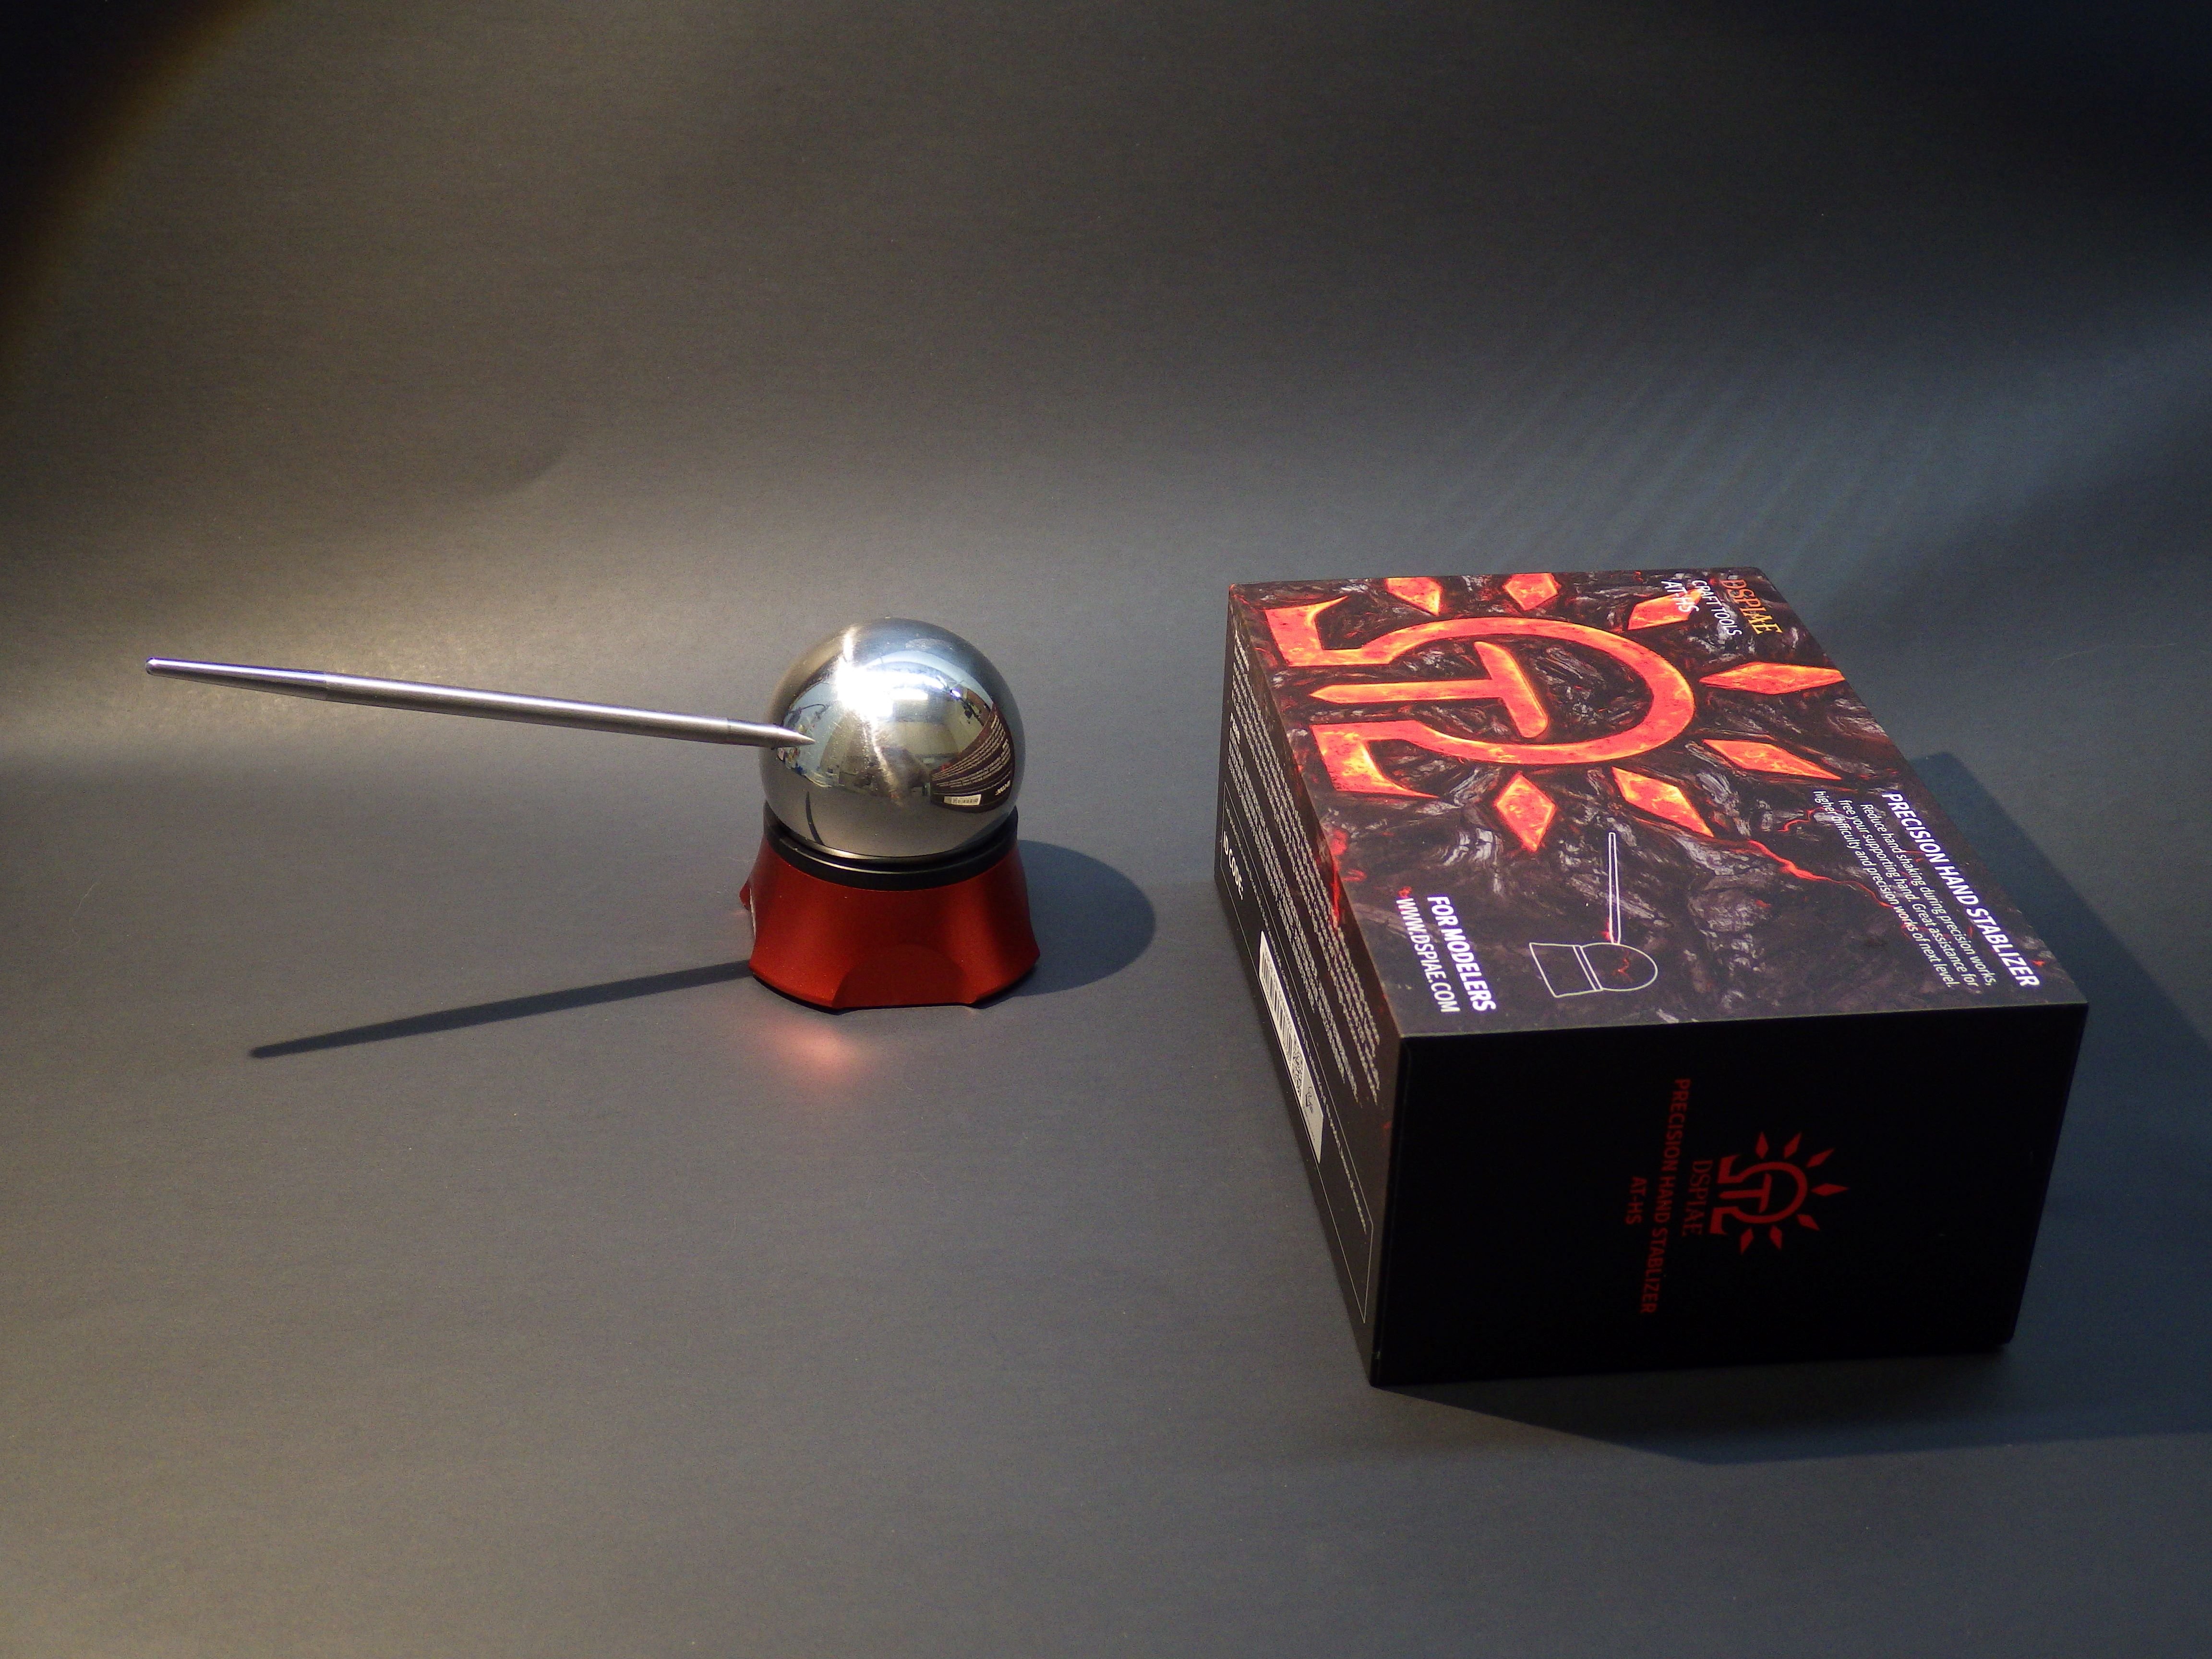
Thank you Mike, DSPIAE products seem to be well made generally. I've bought a few of their tools and like the quality. I'm still learning to use the hand rest but its definitely a help with the miniature figure painting. I think it might help me place small PE parts too. Alan
-
Your printing is thoroughly excellent Mike alan
-
The enhanced masts came out very nicely Mike. Great work alan
-
The shading looks very nice alan
-
B-25J Mitchell by Chadwijm6 - HK Models - 1/32
king derelict replied to chadwijm6's topic in Non-ship/categorised builds
Nice, careful wear details. alan -
I always liked hussar uniforms. You did a great job on this one alan
-
A beautiful model; the finish is great and the photography is superb. The shots with teh reflections are especially nice. Alan
-
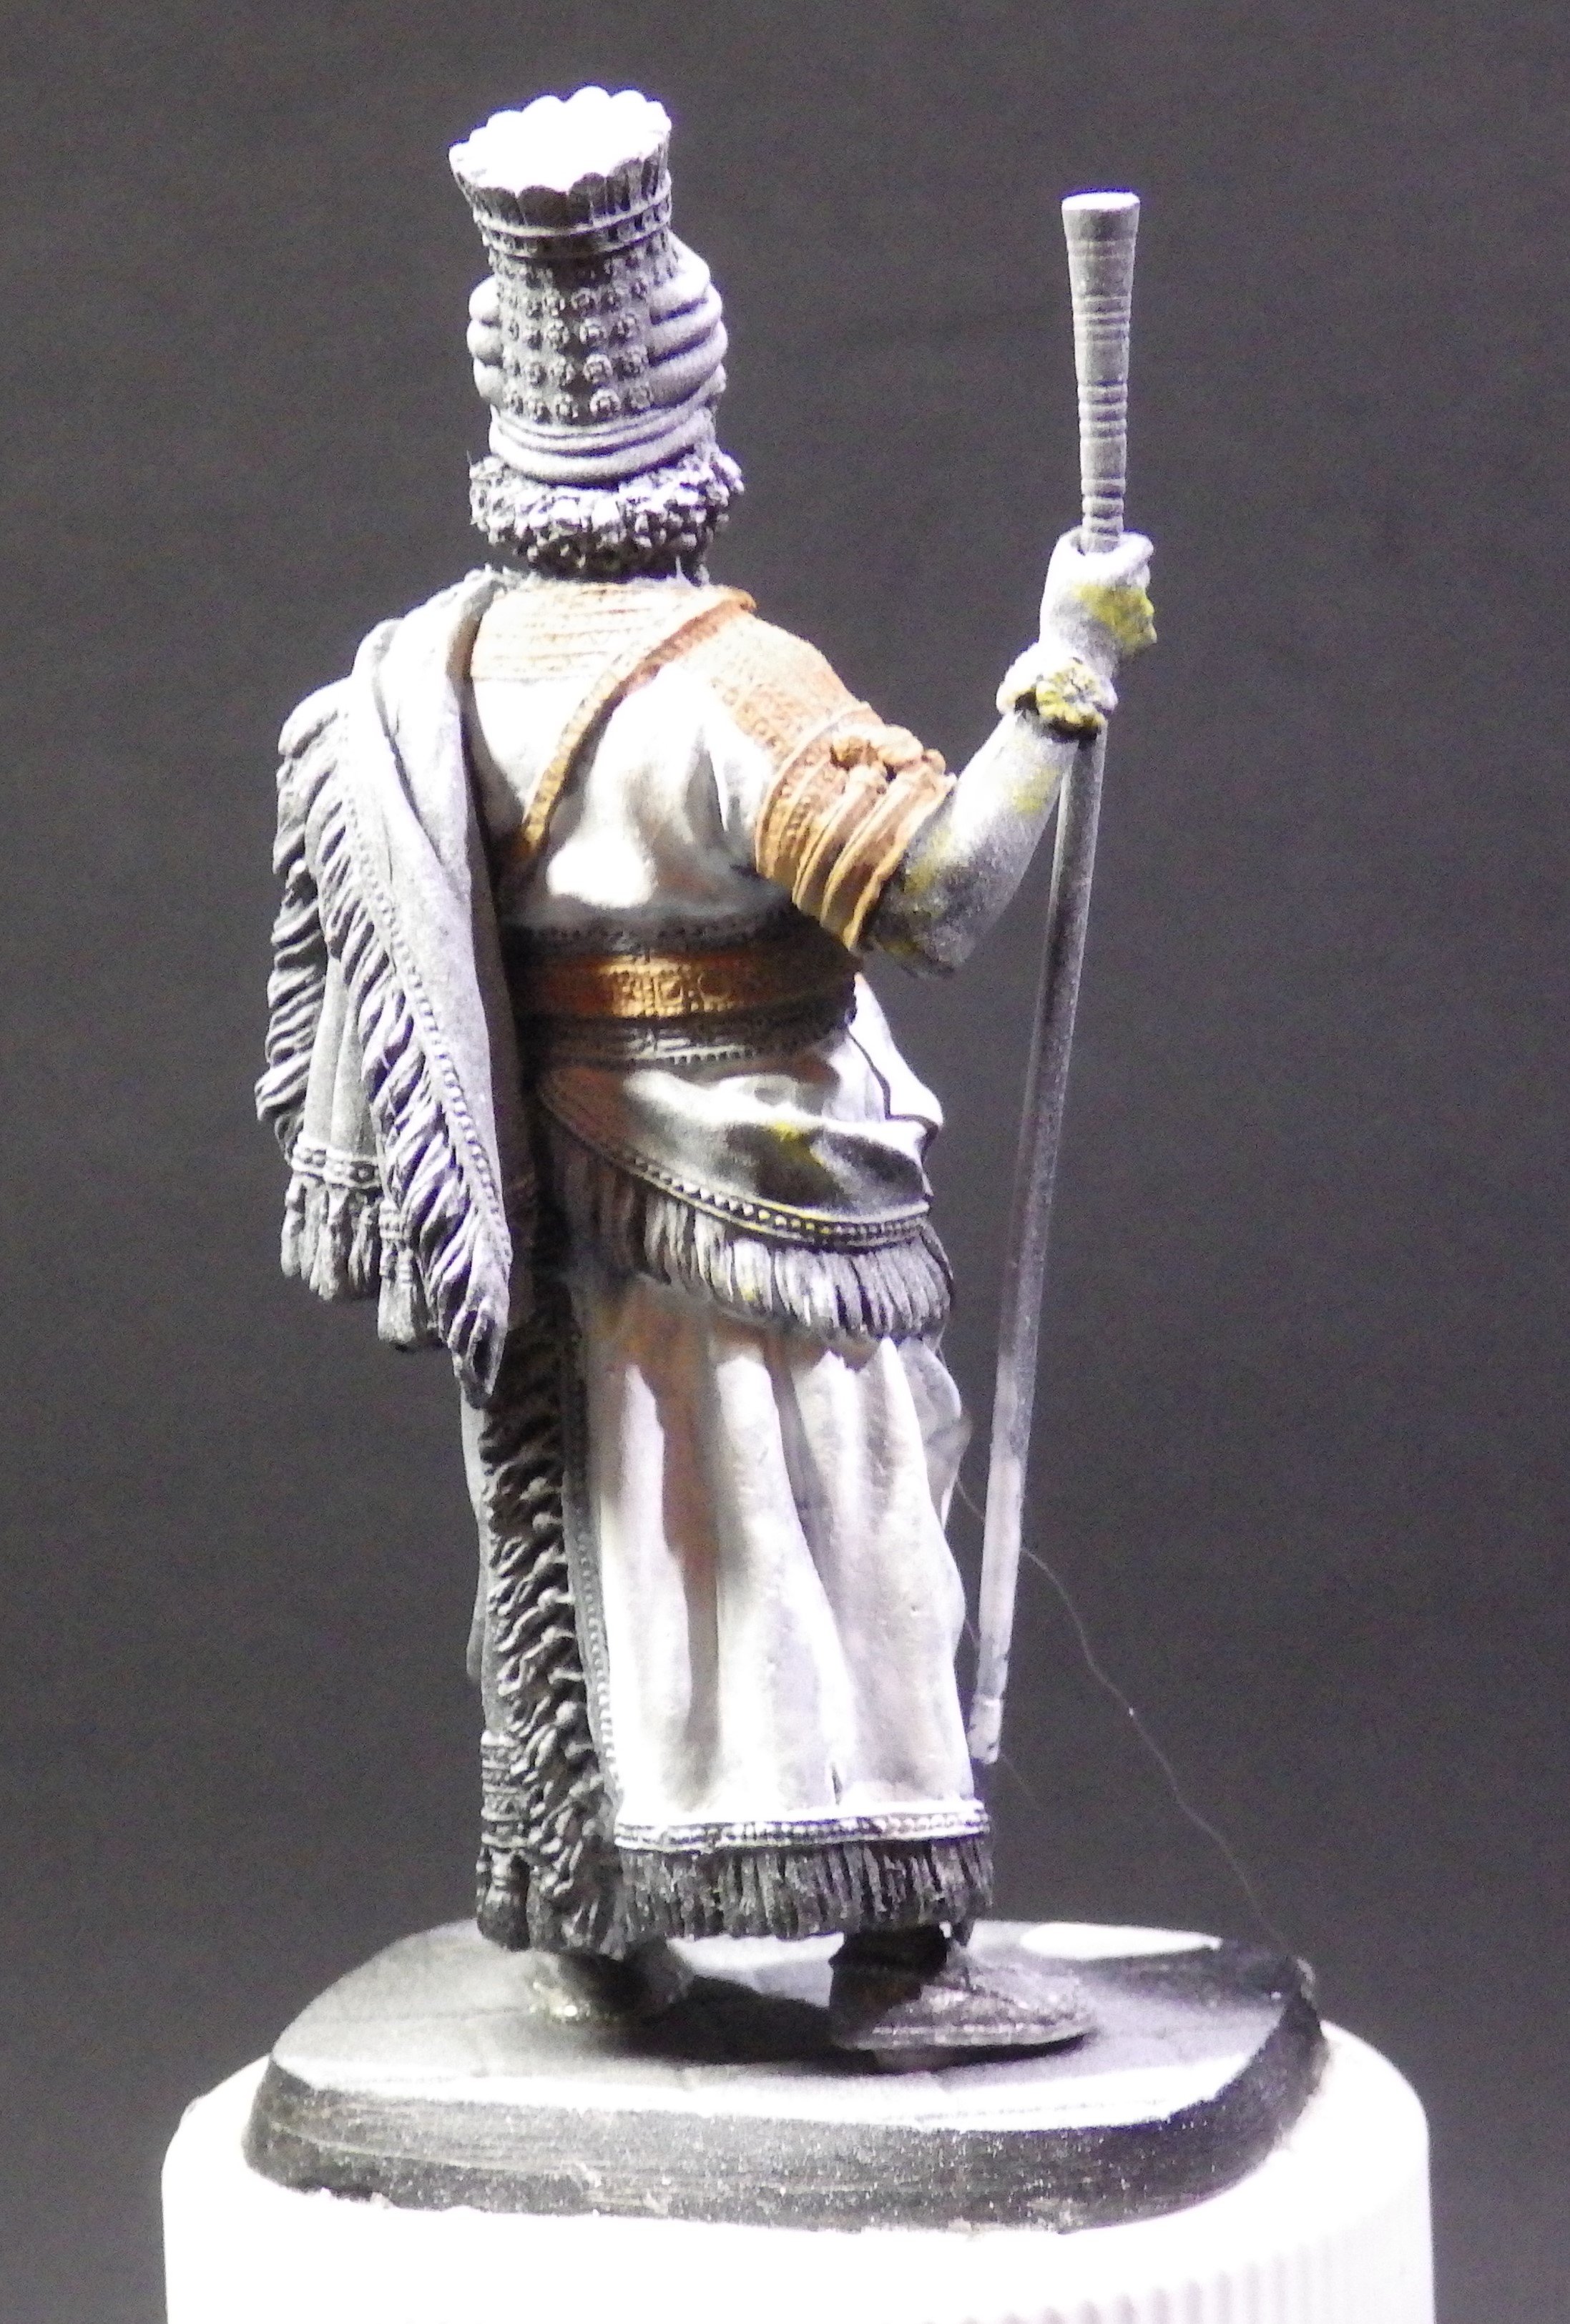
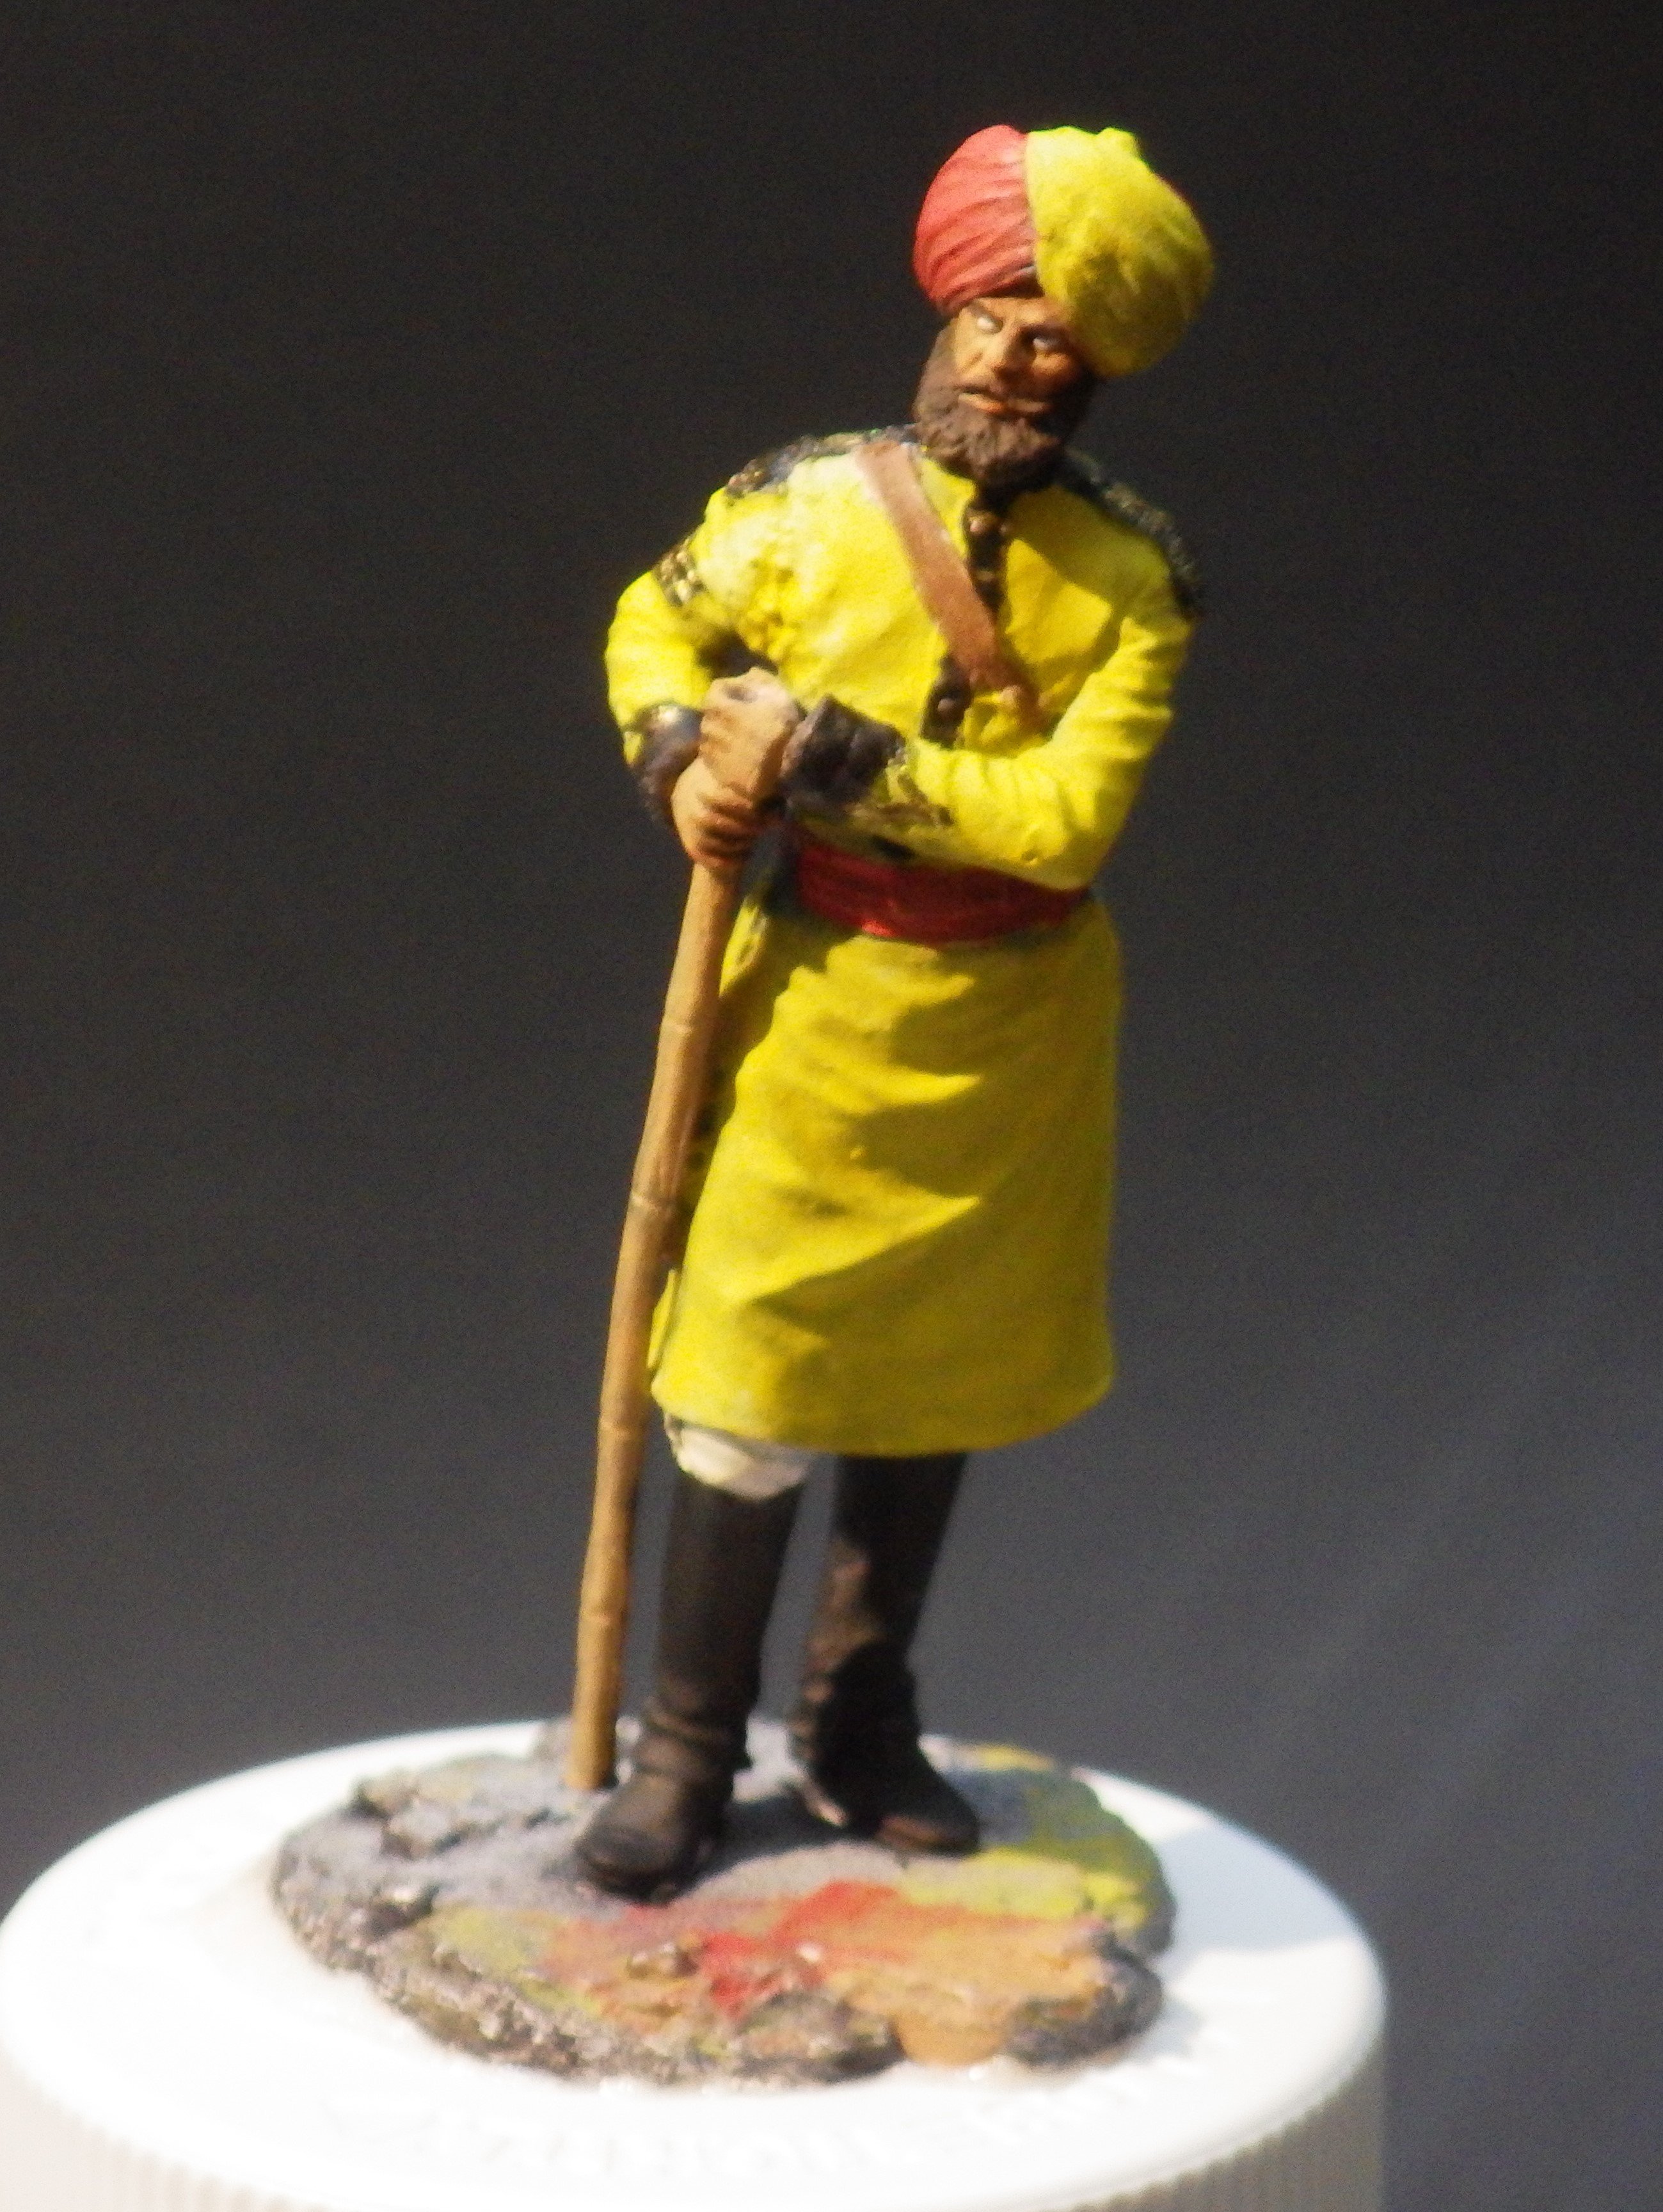
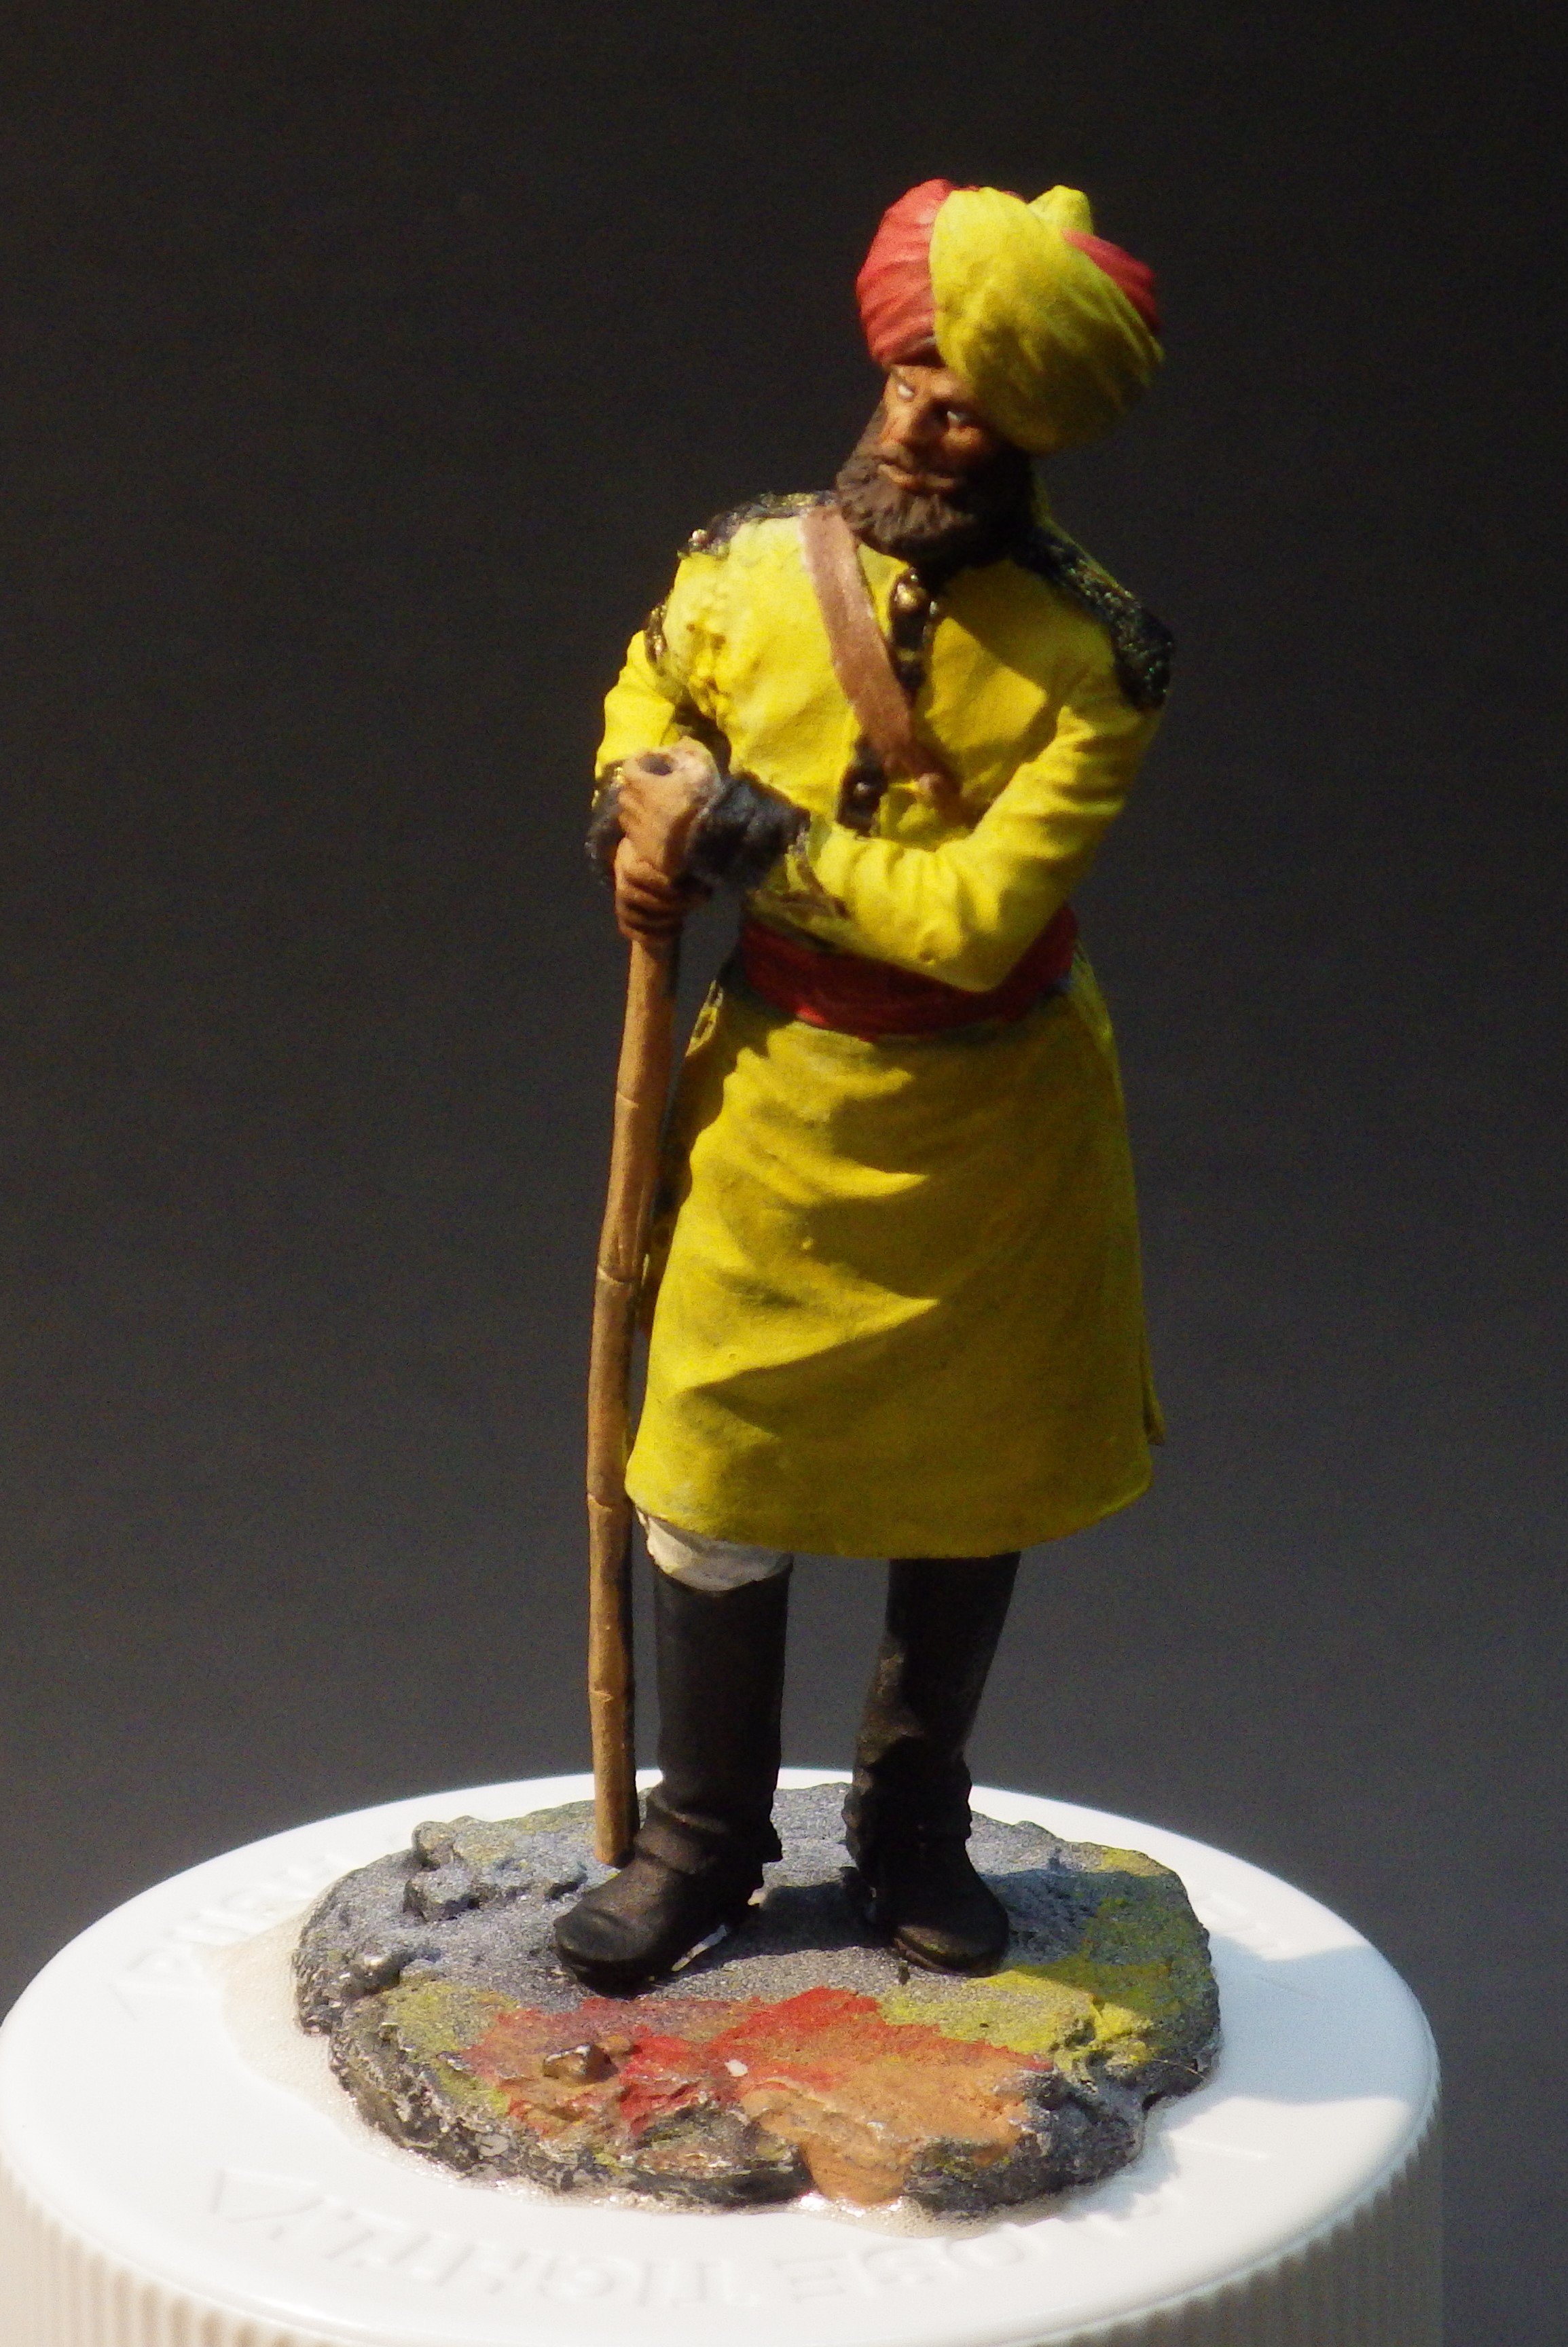
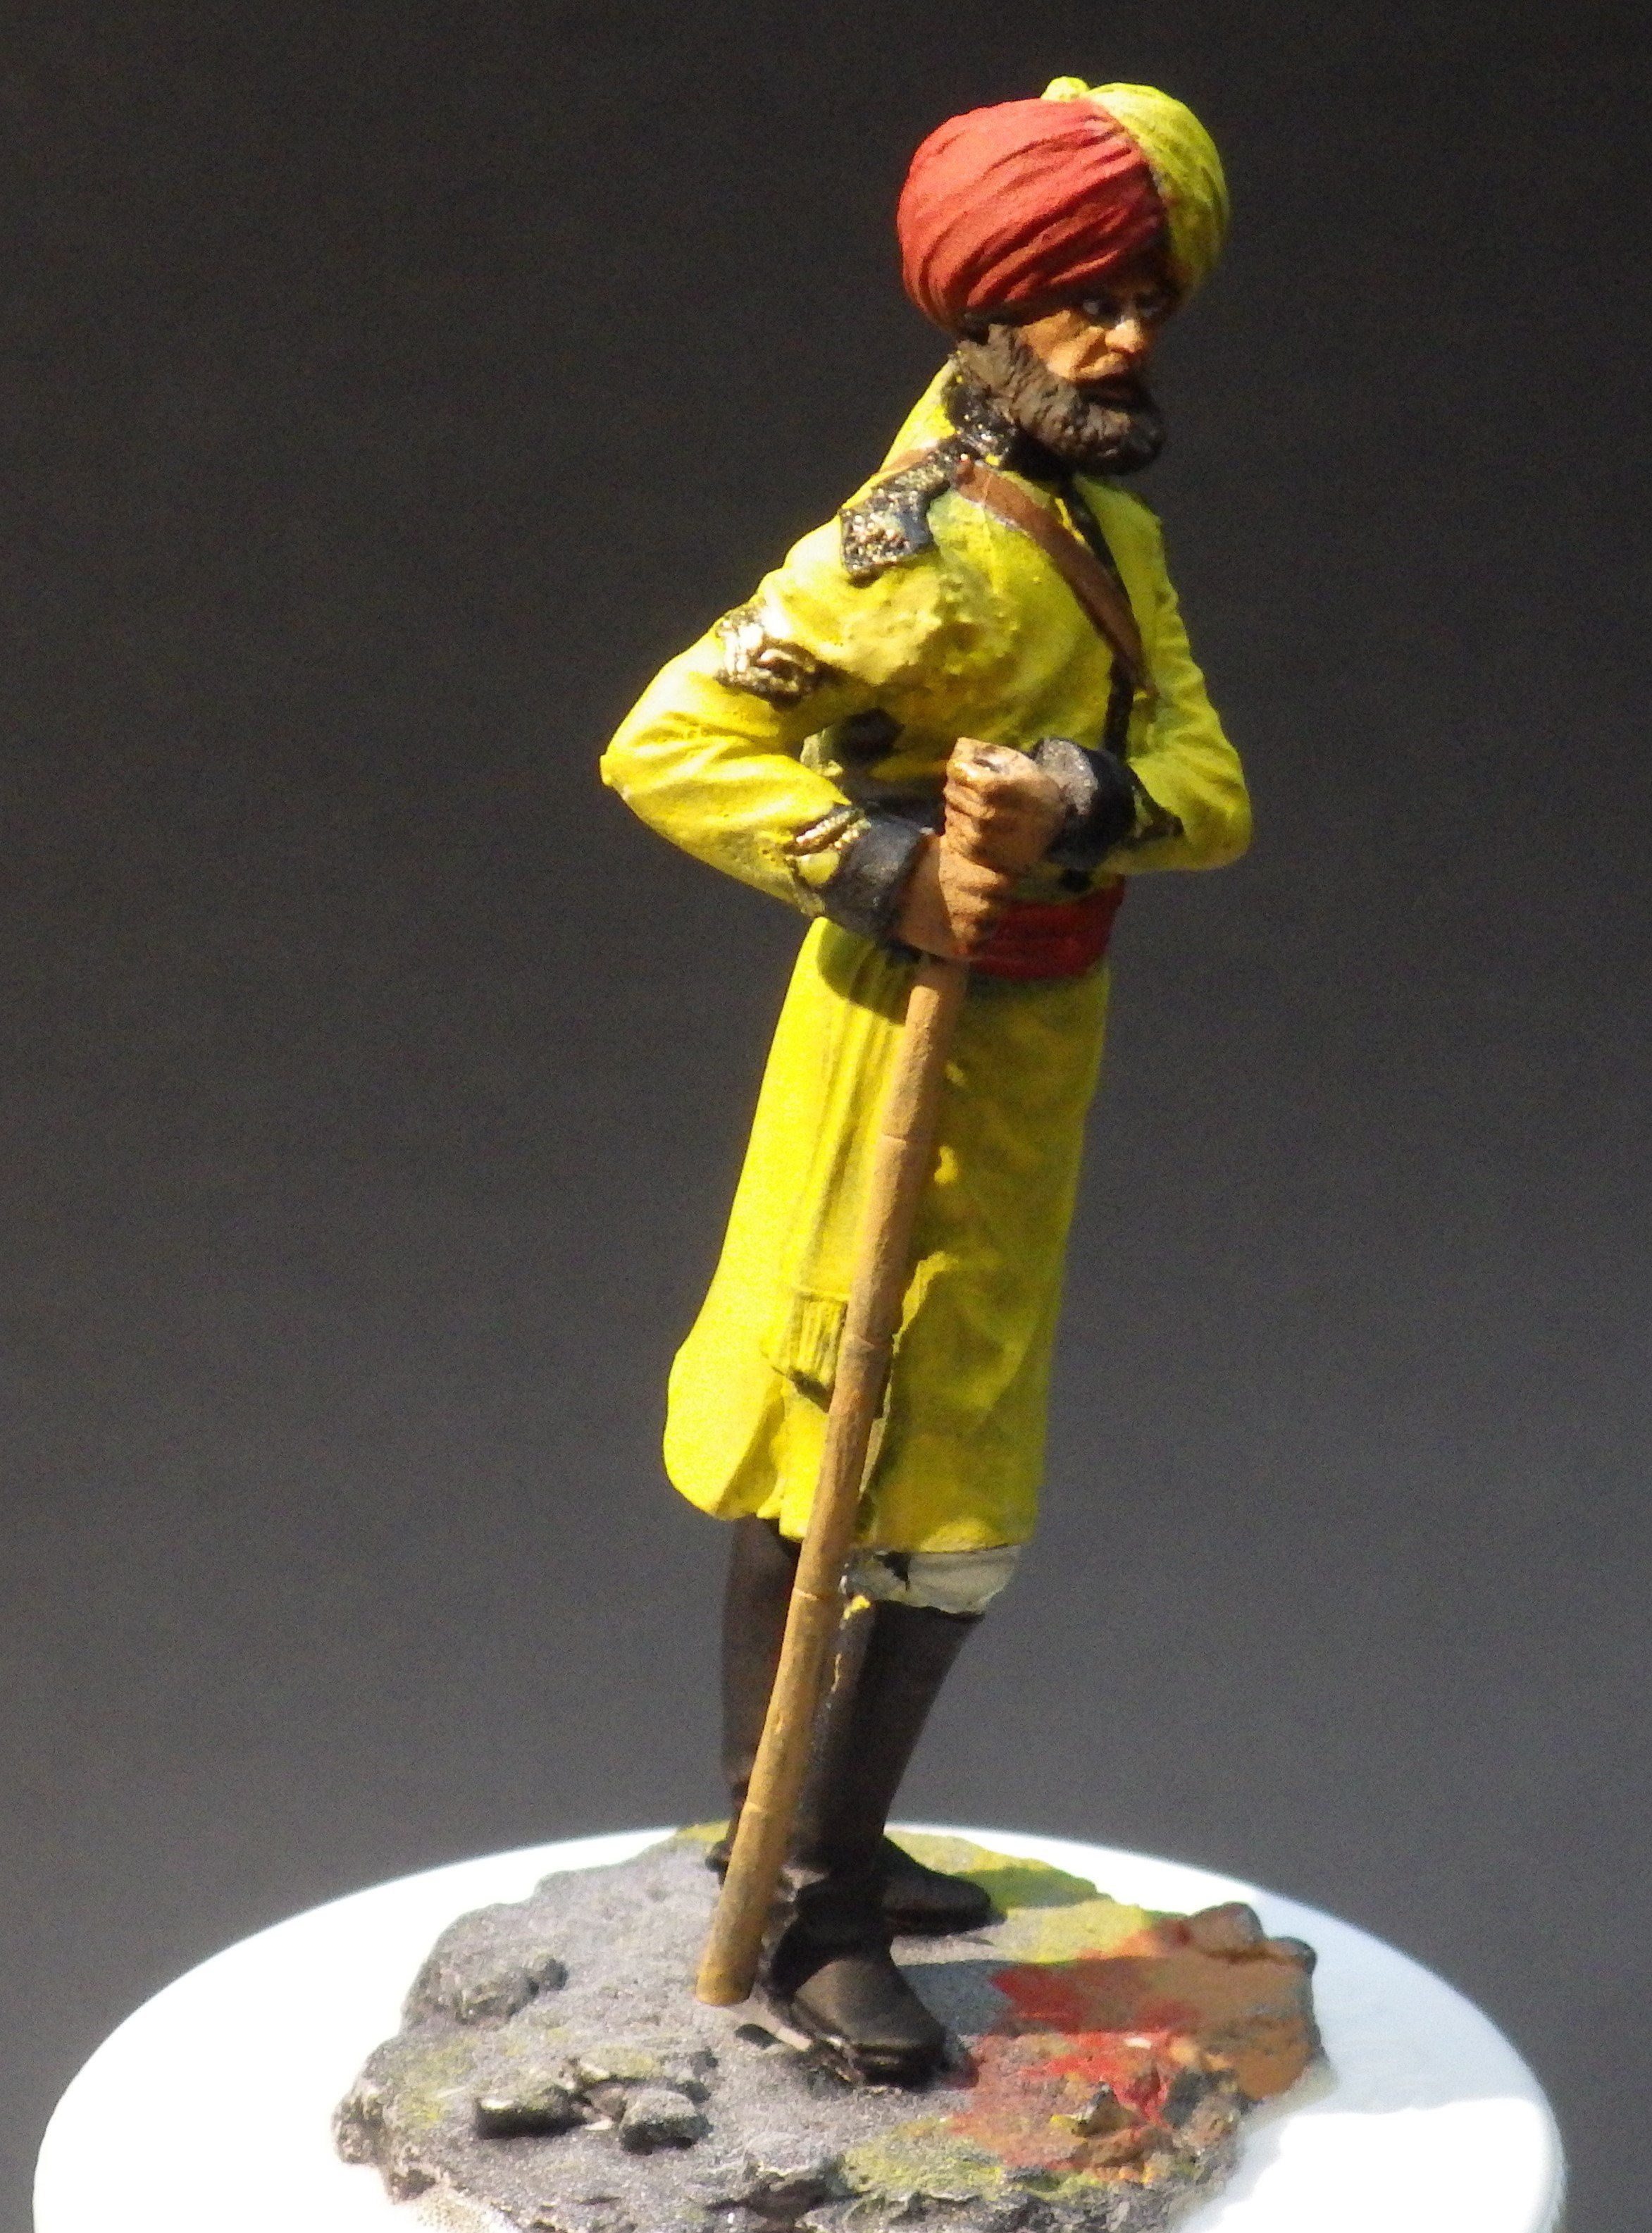
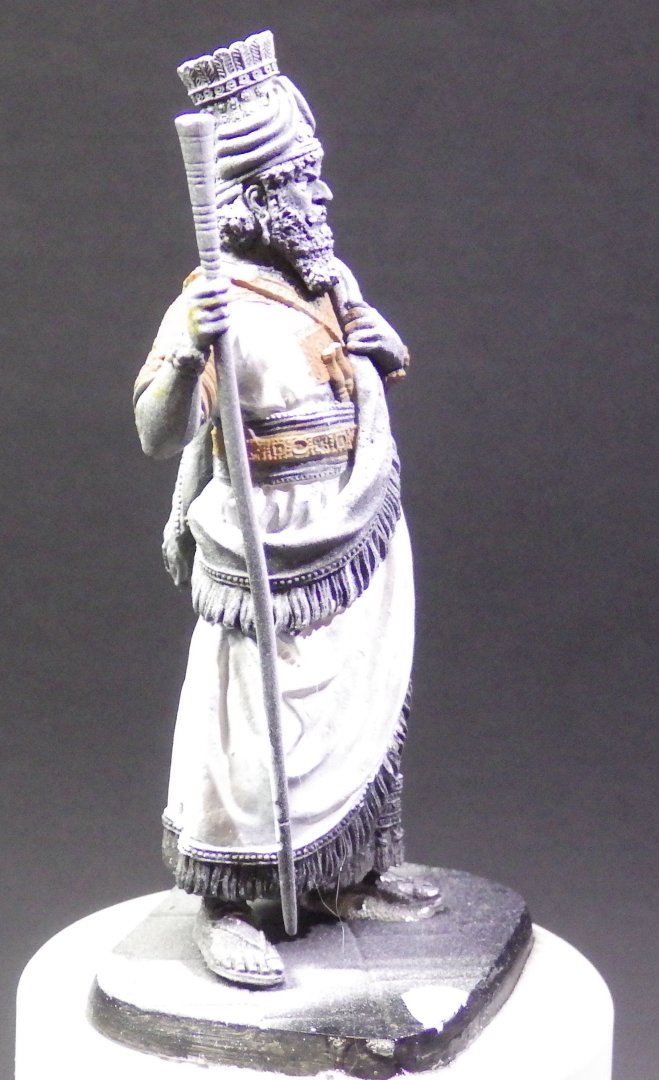
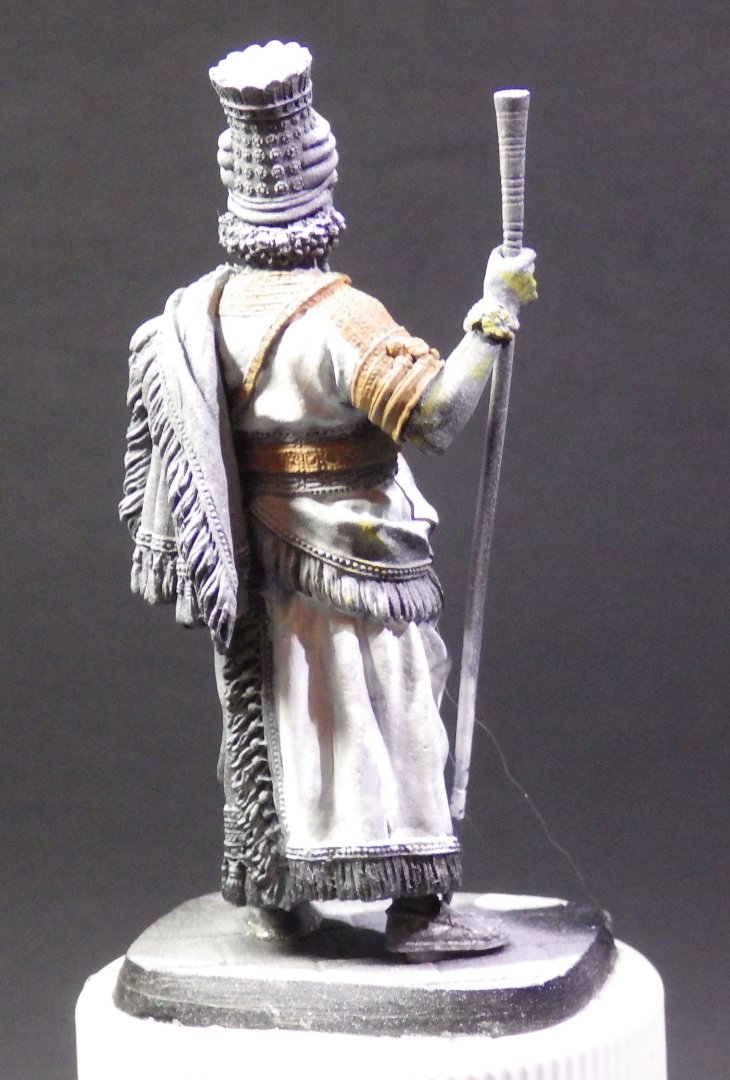
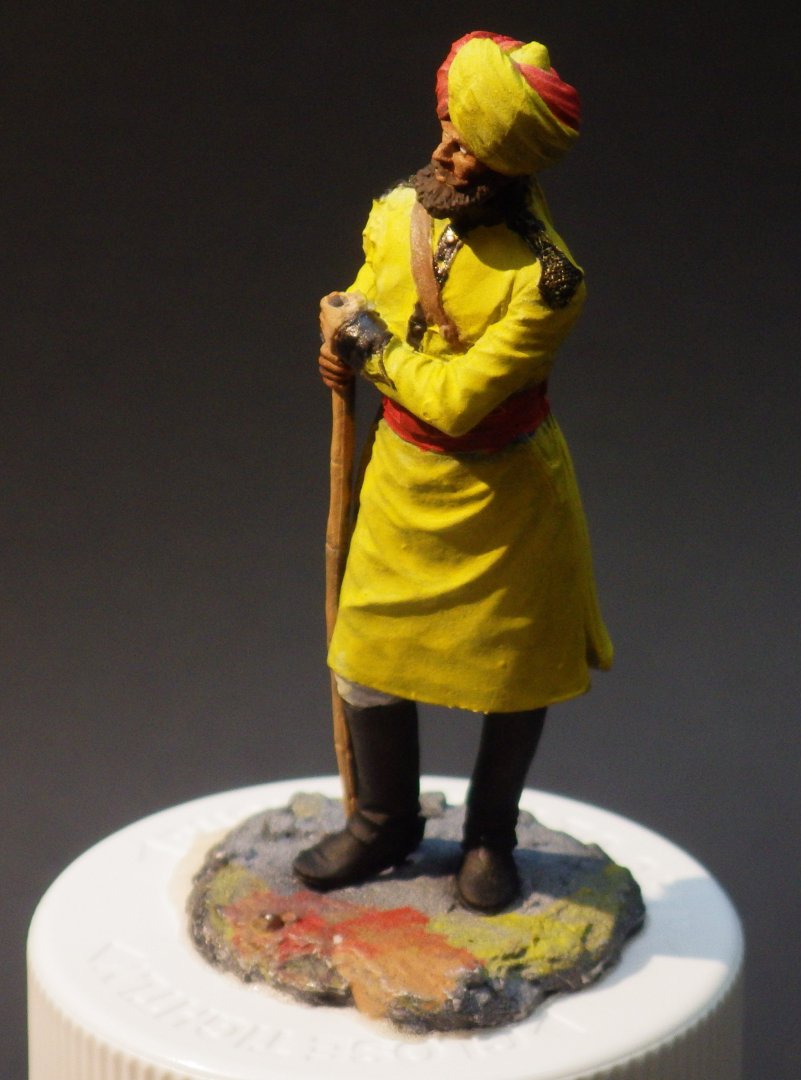
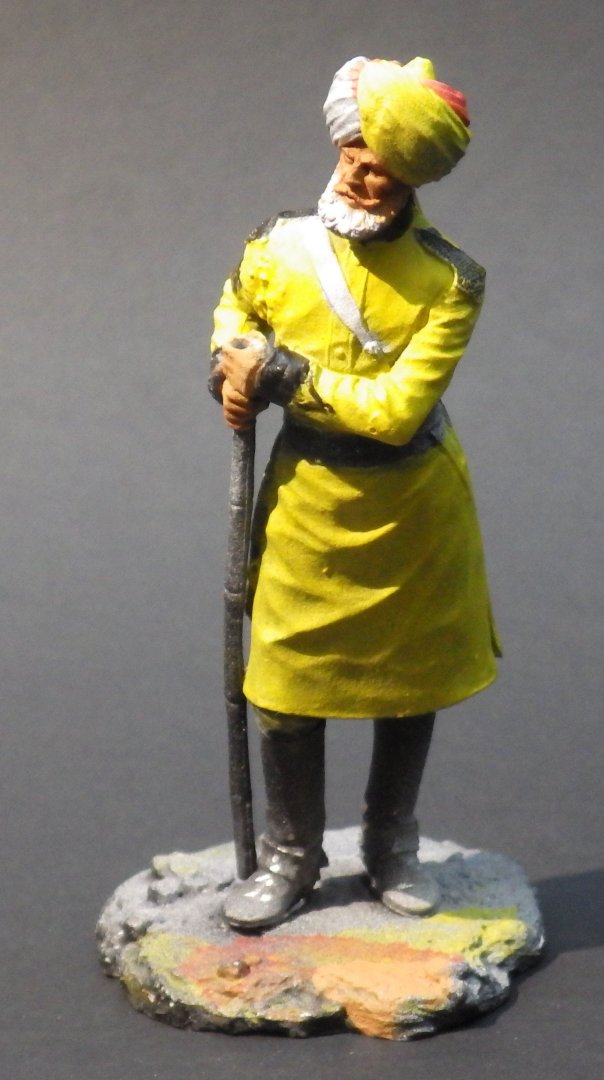
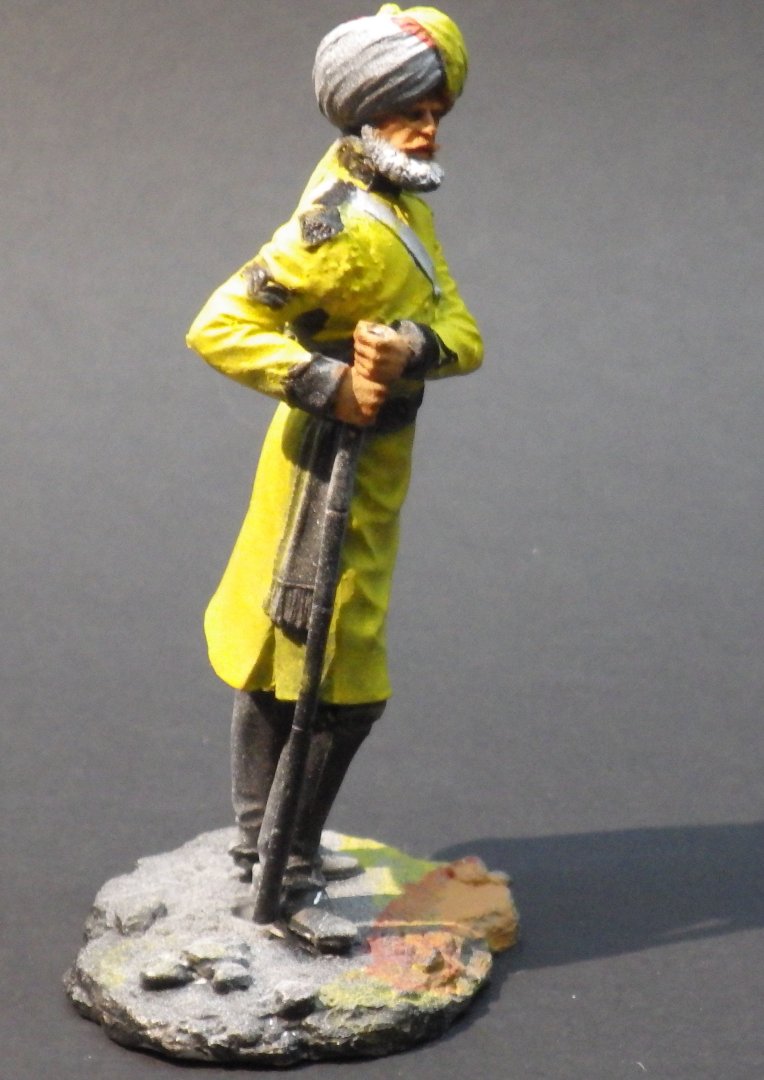
Yesterday was another day that tries the patience of men. I was adding some highlights to the tunic of the Yellow Boy and the glue (Gorilla Glue) I used to secure the base to the pill container being used as a handle cracked away and the figure dropped. It landed hard, the base separated and the head fell off again. I decided to try 15 minute epoxy to resecure everything and had just placed the head back and thought it was settled when it fell off AGIN. Only this time it landed smack in the little tray of mixed epoxy and got a liberal coat. I gave it a liberal spray of alcohol which I had handy and wiped it off as best I could. Of course most of the paint came off too. I switched to five minute epoxy and tried again and this time I think I got a good bond. Activity was suspended for the day to reconsider and repair the shower. I initially thought of going back and air brushing the black and white undercoats but I suspect I wasn't able to get all the epoxy off and if so then over spraying it was going to obscure details. I decided to use white primer hand brushed where needed and after it was dry, this morning, I started repainting. I may have lost some of the pre-shading on the turban but I think its good enough to carry on. I can try using different shades to deepen the folds. I see a couple of spots on the face which may need attention too then back to qorking on the details I got ambitious and started adding the basic paint to Nabopolassar. In some ways it might be a simpler figure to work on. Its a great sculpt regardless.. The tan colour is an undercoat for the gold decorations that will follow - at least that's the idea. Thanks for looking in and for the likes and comments Alan

- 114 replies
-
- 10
-

-
I will be very interested to see how the shading works out on a horse. I have a Historex one in the pile which I bought to finally satisfy an early teenage want. As I remember back in the late sixties Historex recommended using oils. Alan
-
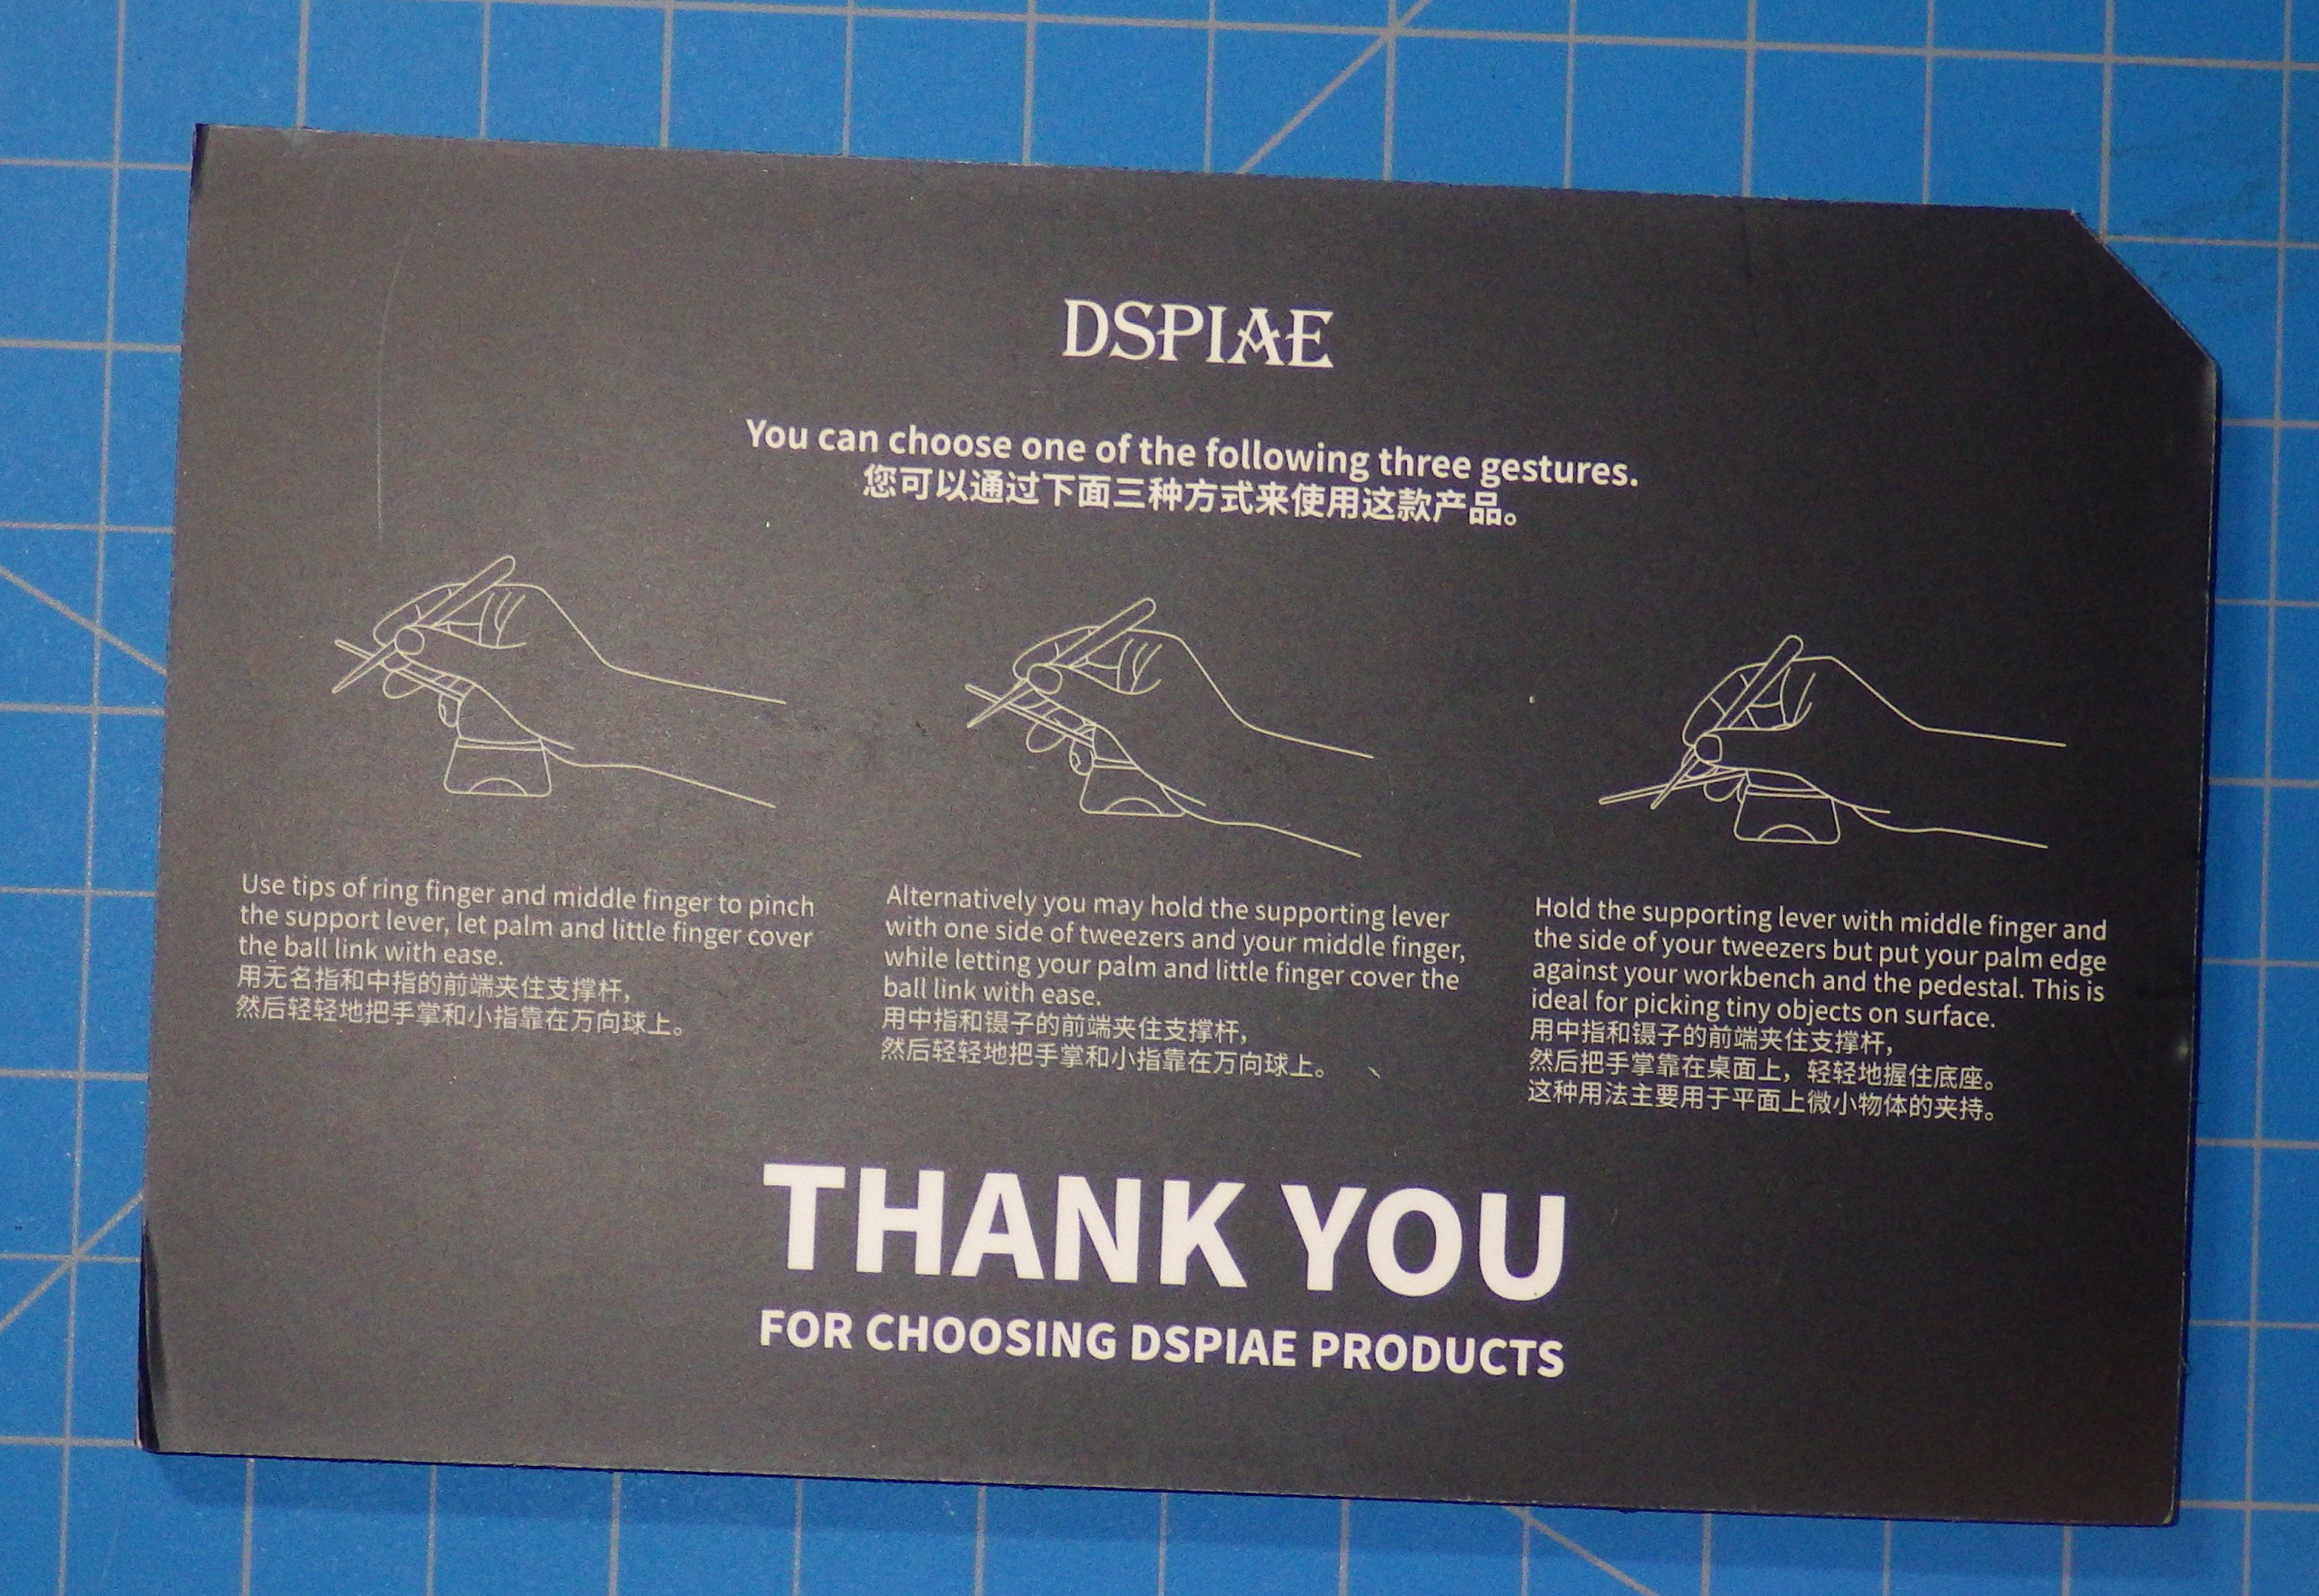
Mark I think its the same sort of thing. I think it will only be useful for working over a small area but that's really what I want it for. It certainly firms up my uncertain brush when it comes to painting details. This is the guide that was inside the box Alan

-
Exactly; its a bigger canvas to showcase your skills Alan
-
Thank you OC, I think your suggestion is better than just using brown or black washes. I watched a couple of videos which recommended the same technique Alan
-
Run a layer of paper soaked in dilute white glue over the foam and any cracks will be lost beneath it. I tend to think of the foam layer as the base and refine it with paper towel etc alan
-
Thanks Jav. That is a good tip. I have seen some great painted figures with pop eyes and it turns them into cartoon figures. I would rather leave the eyes if I can't get it right. I'm still working up the courage to attempt the pupils Alan
-
I hope that works out for you OC. It does seem a lottery buying from China via eBay. I'm in the same situation. I've generally been impressed with DSPIAE modelling tools and ordered their magnetic paint stirrer. It sounded like an interesting idea. You drop a small steel rod in the paint bottle and a motor on teh base spins the rod round extremely fast. Mine arrived and I gave it a try. It wouldn't even rotate the rod in the paint. Thinking the paint might be too thick I tried it with water and got a similar result. So far communication has been great and they apparently have a replacement on the way. We shall see. I should have listened to @Egilman about paint stirrers.😄 Alan
-
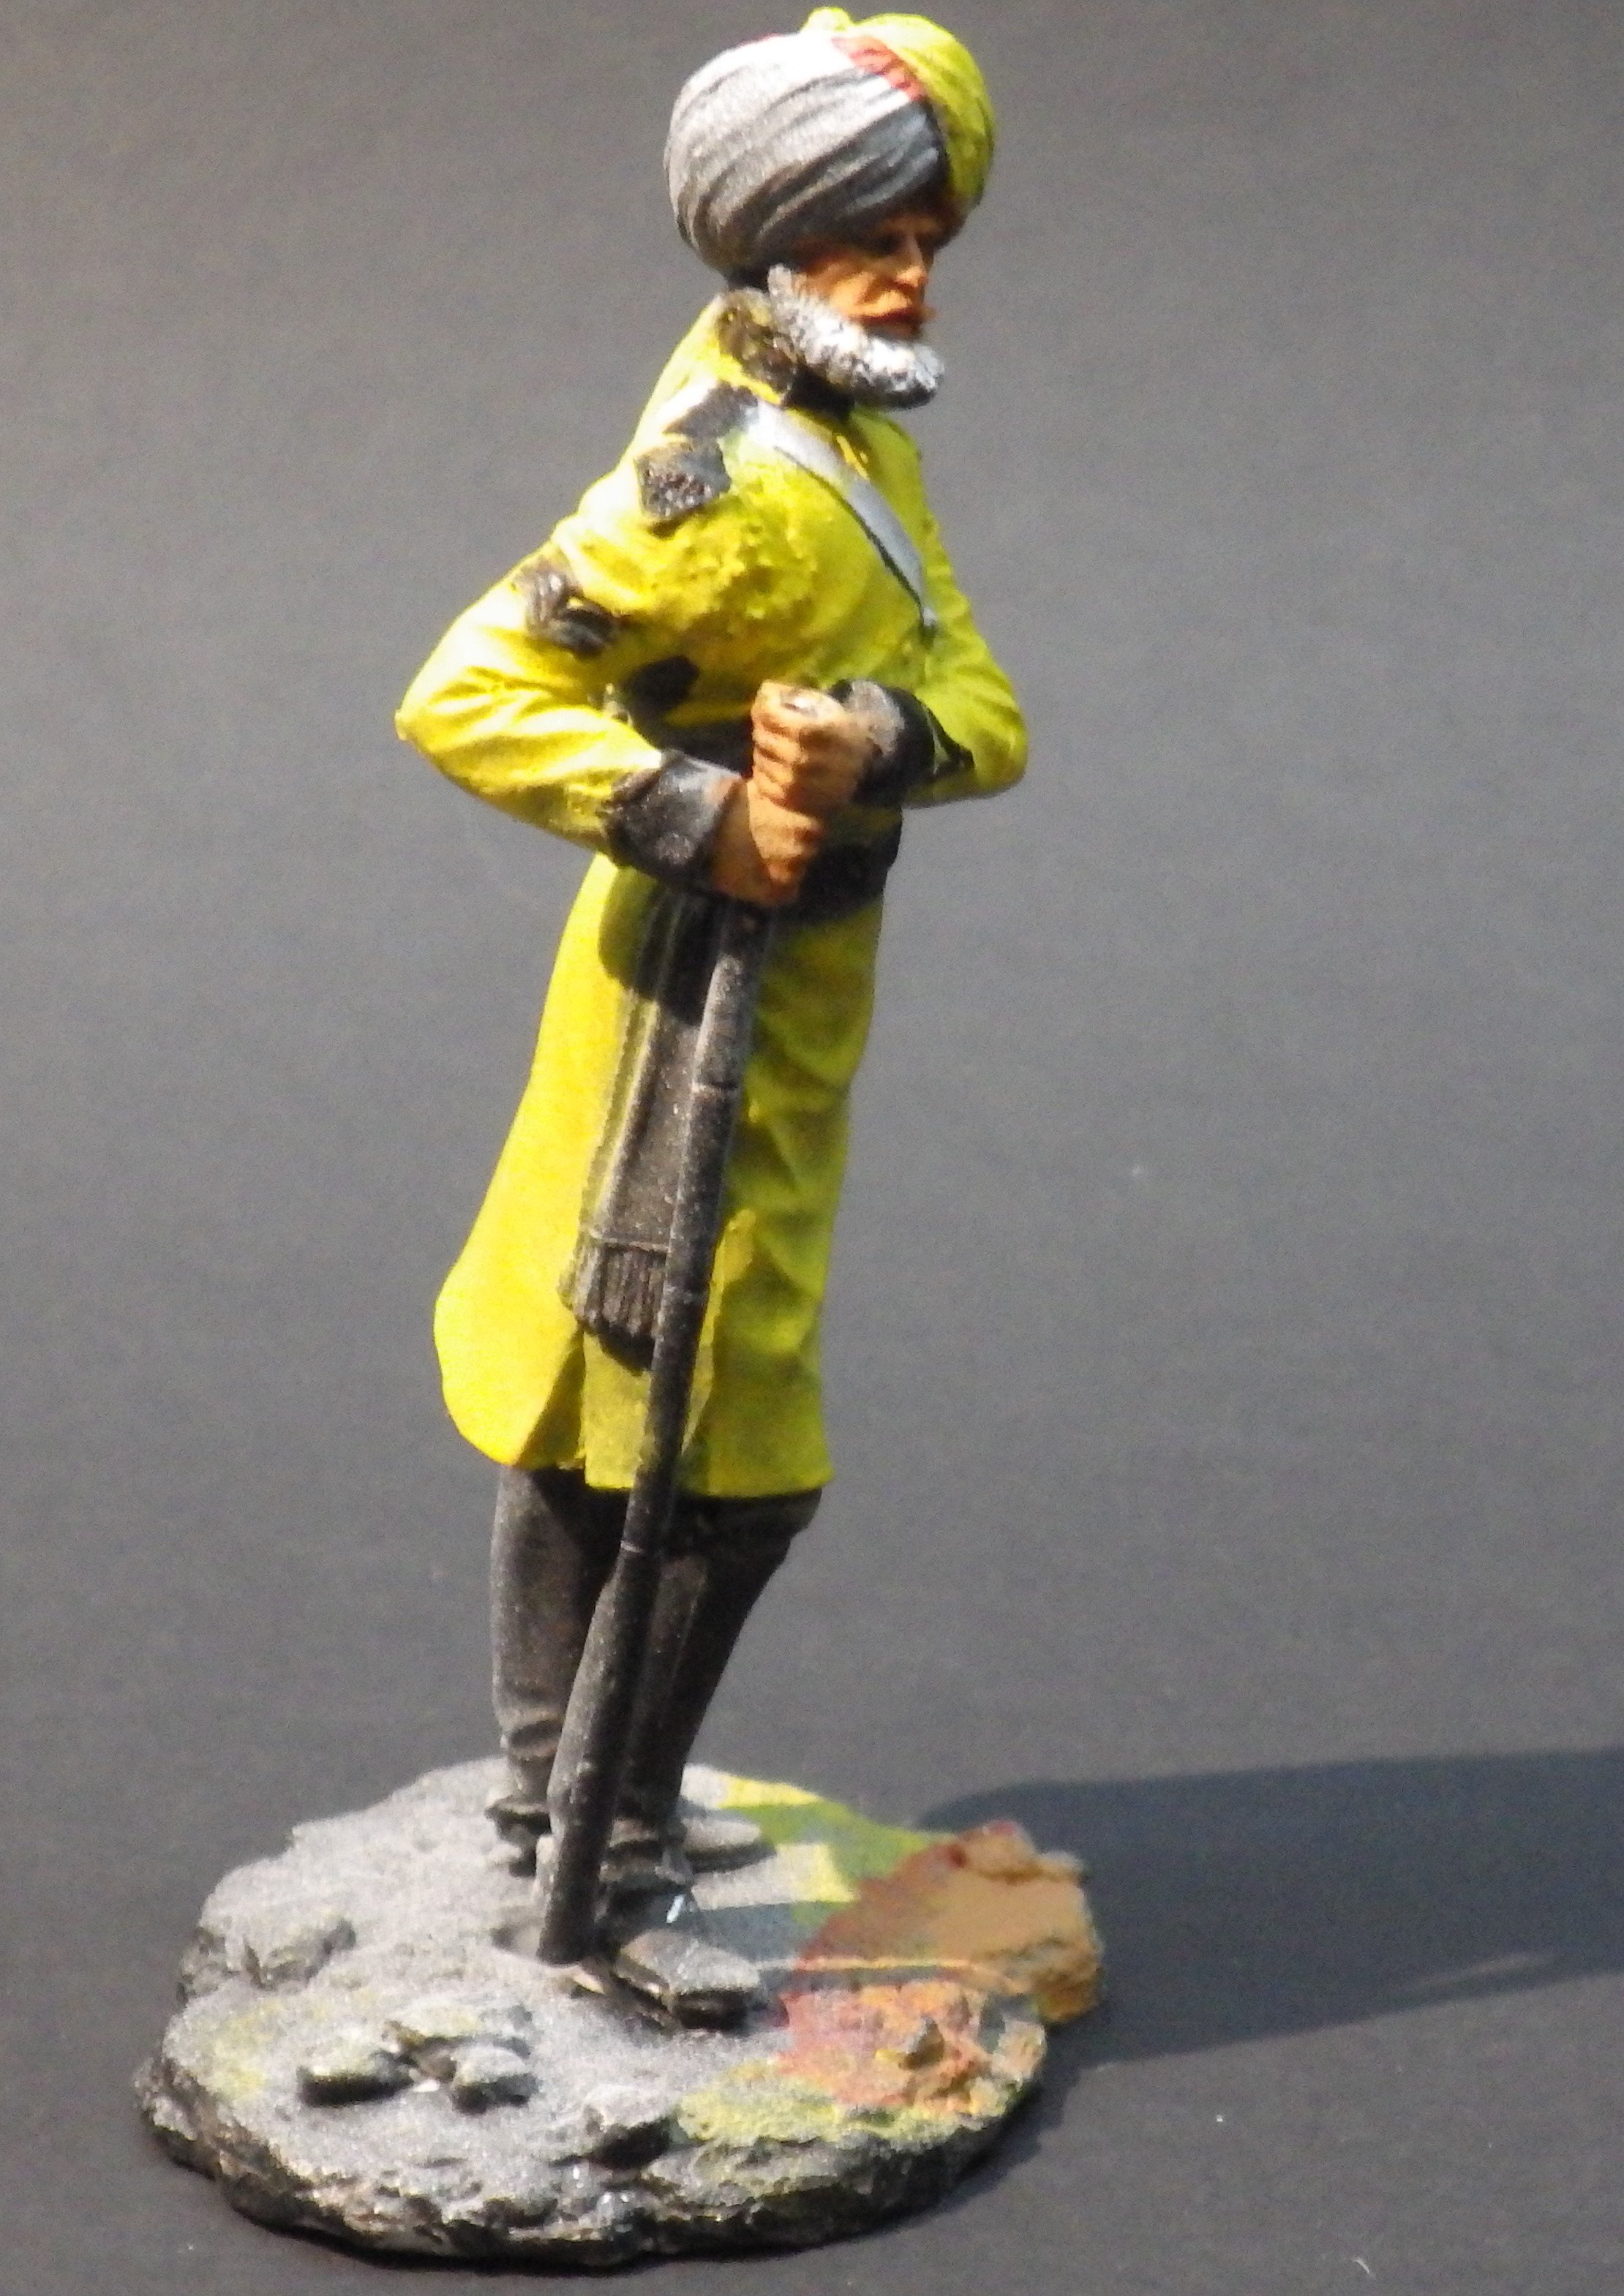
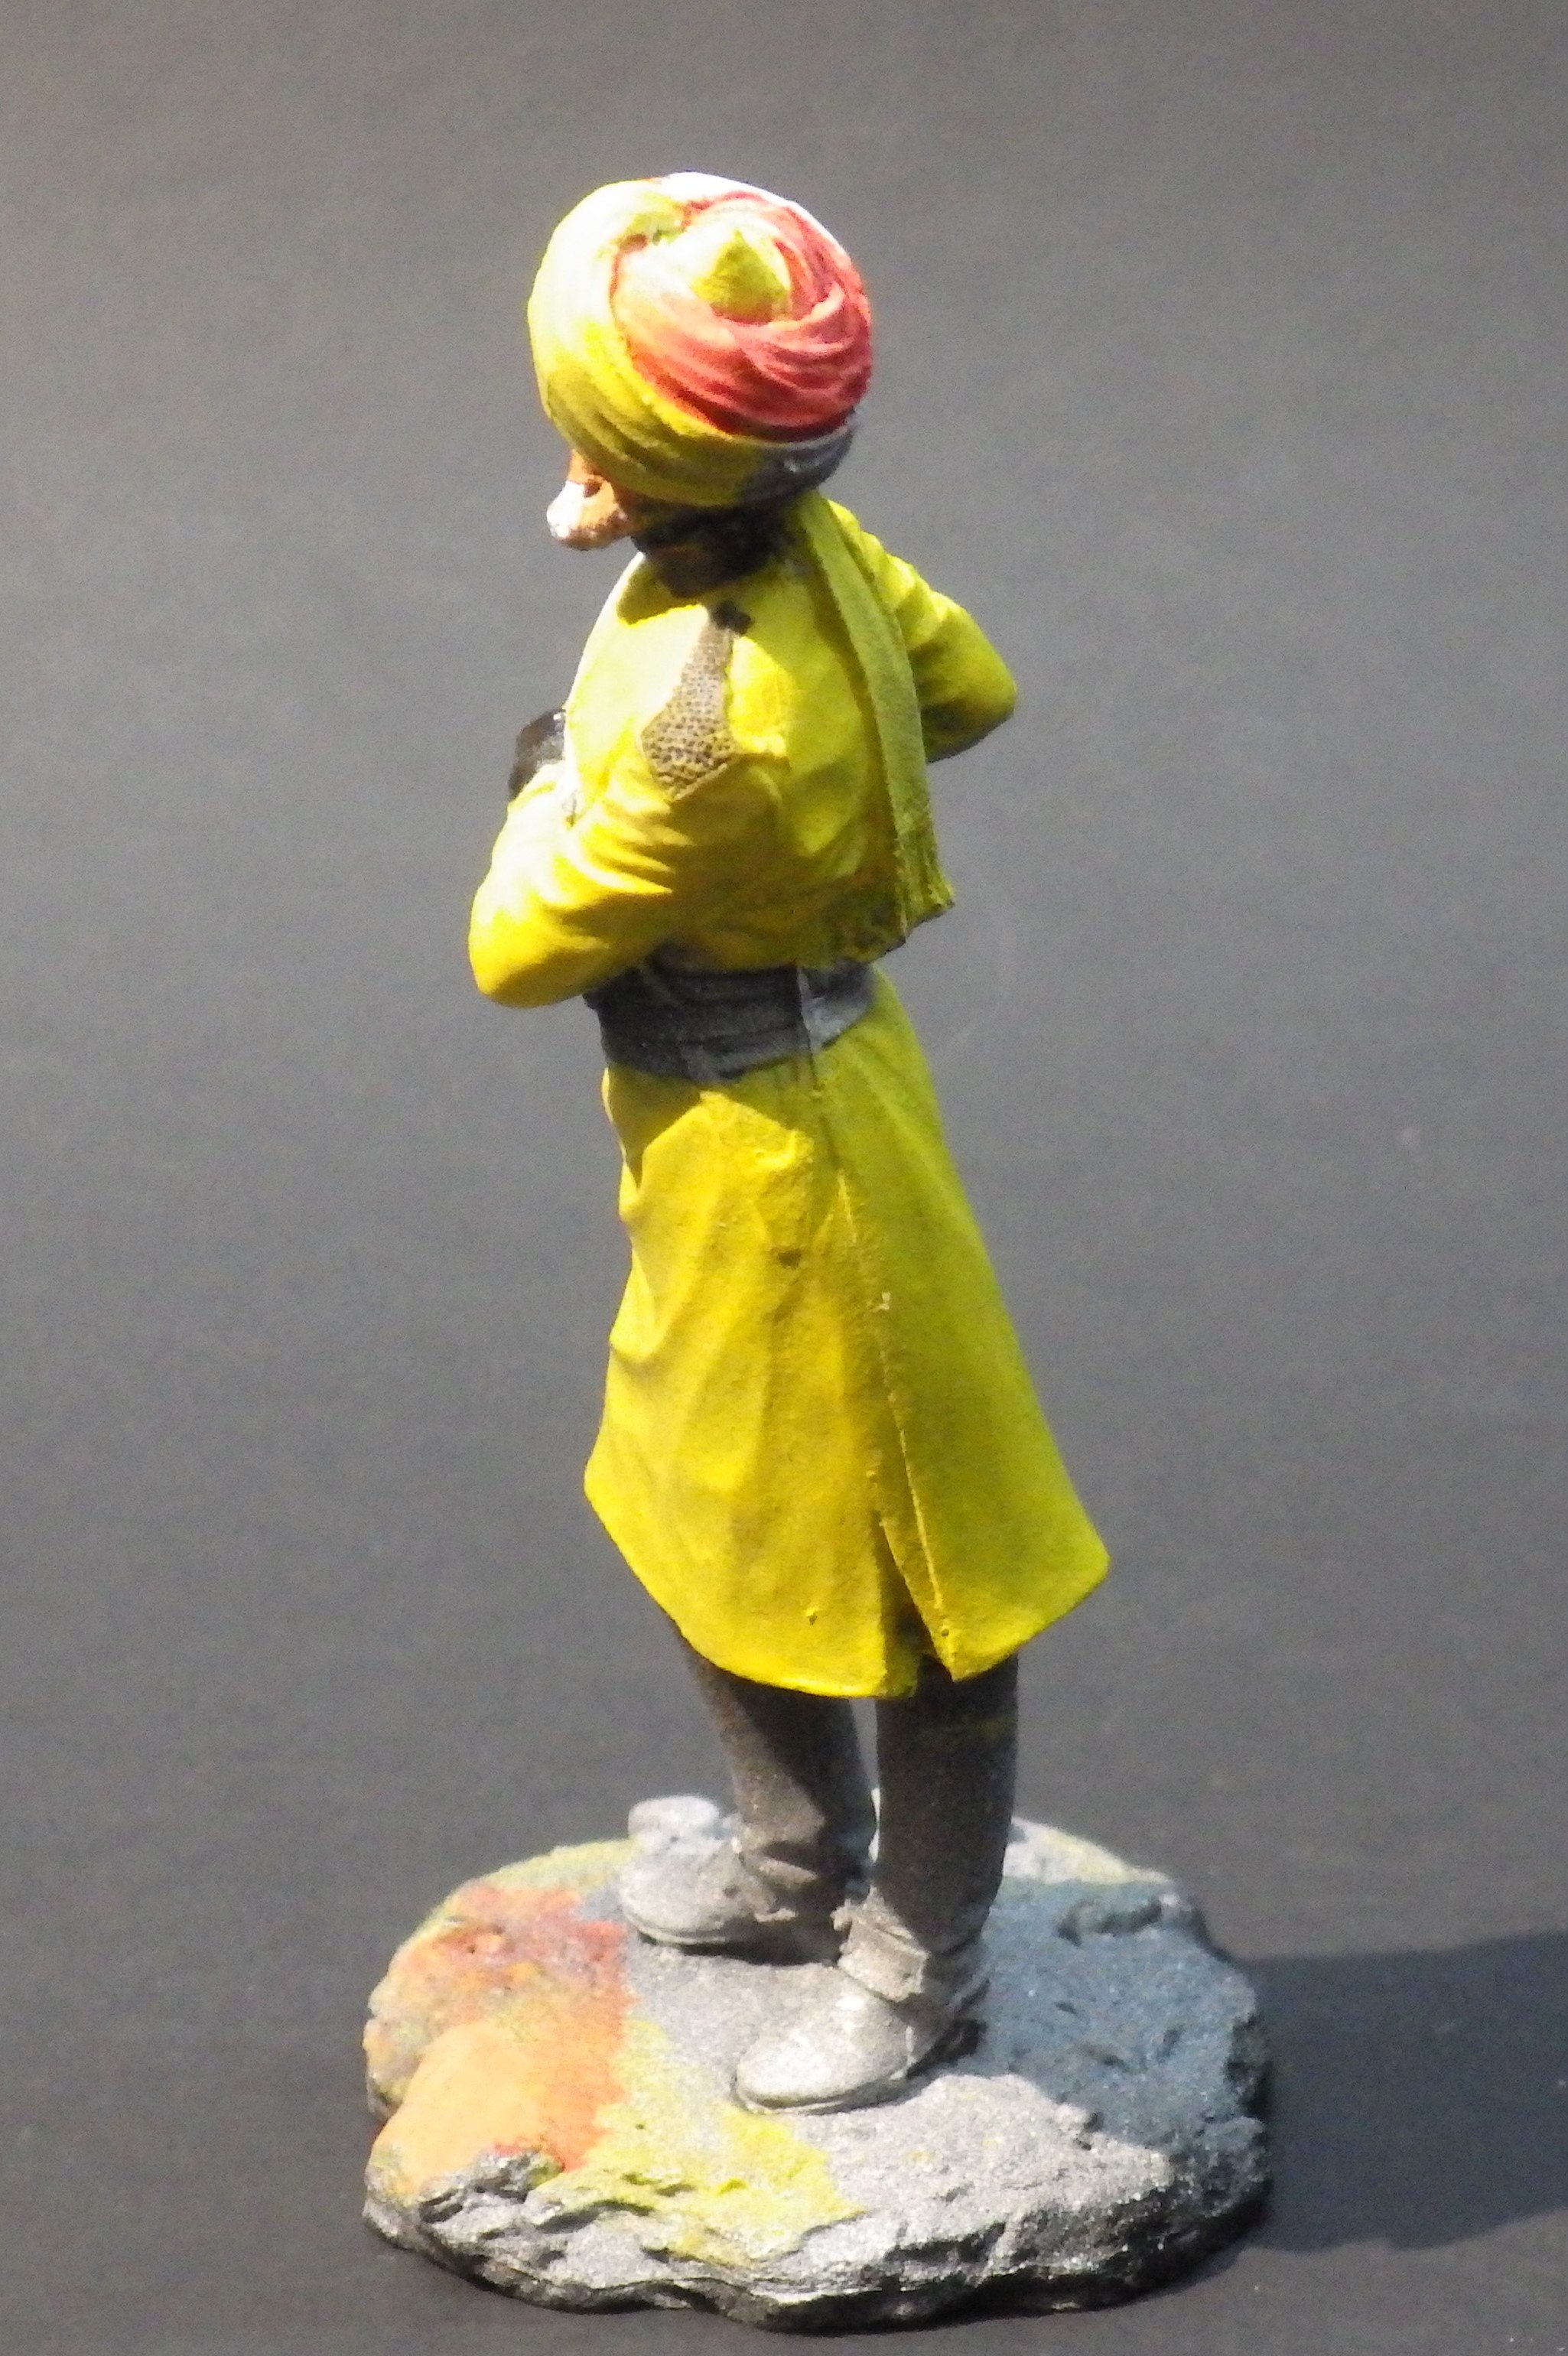
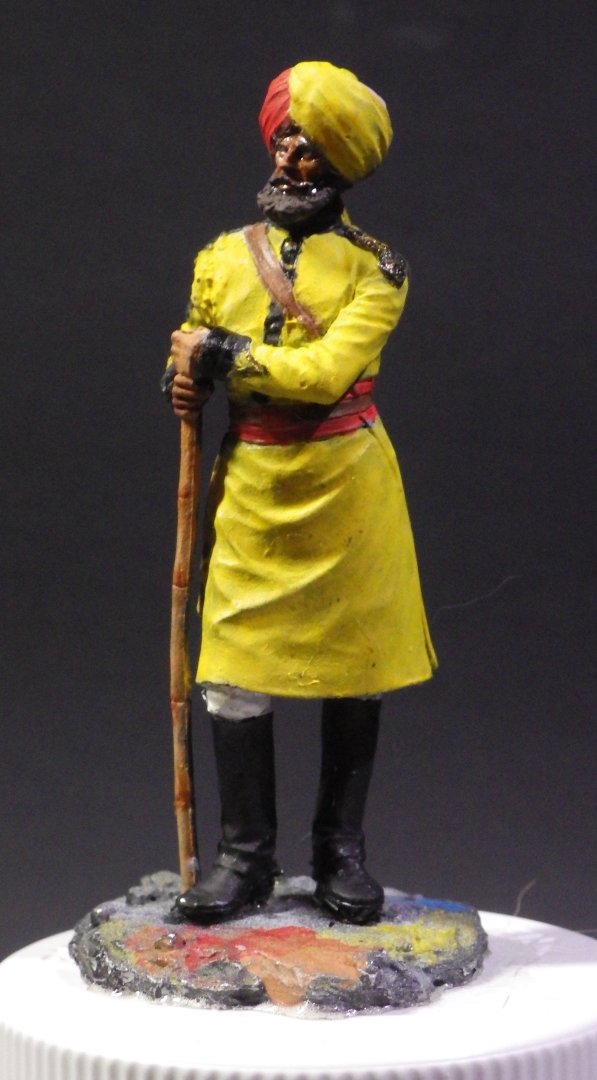
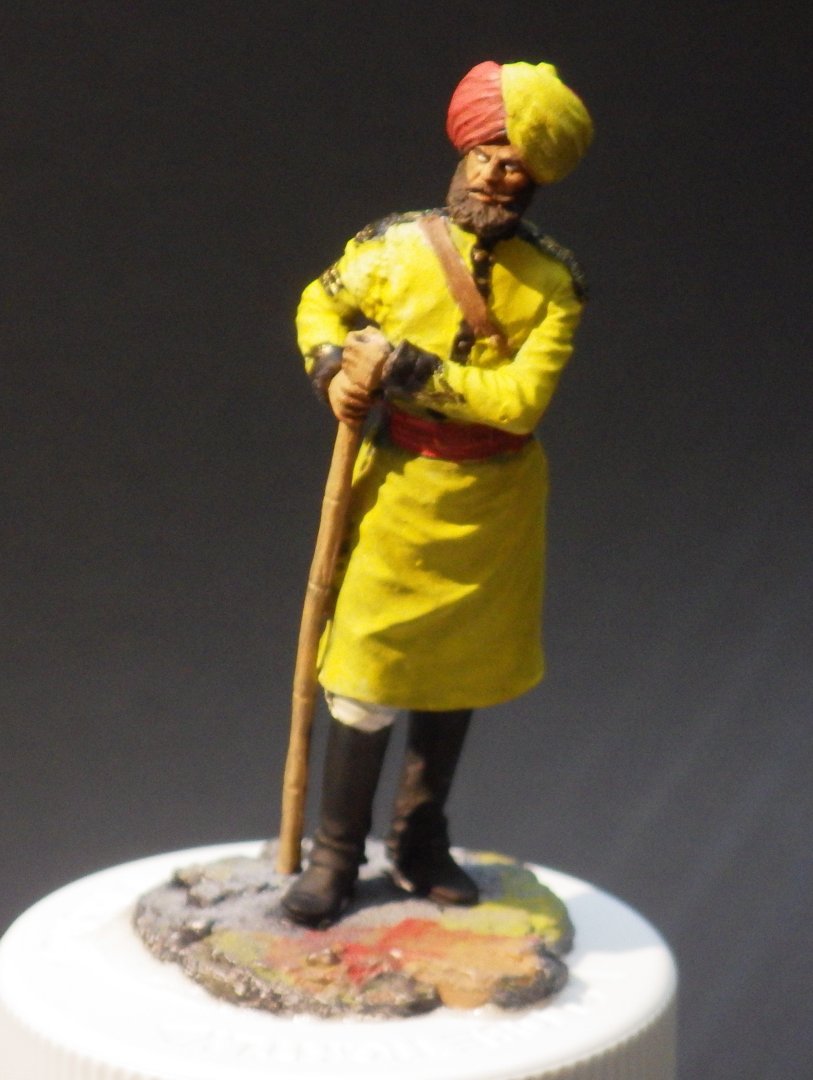
A quiet Sunday morning and a bit more progress. I completed the turban, started the belts and cummerbund. I got brave and added the whites of the eye which I guess commits me to doing the pupils. Some touching up to do with the belts but I am happy with the face. I added a black wash to the beard and I like it. I need to decide on the next step. The guide picture shows a lot of fine detail patterns on the sash and the turban. Thin stripes of red and brown on the yellow. I'm inclining to just going with some broad stripes seeing as this is my first figure and I want to end up with something I feel okay with rather than a shameful mess. I suspect the guy that painted the figure for the guide might have done a few other figures before attempting that one I'm also looking for a bit of advice. I am wondering whether to try to use a wash to bring out the details and whether to spray a clear coat onto the figure before attempting the wash. Any thoughts or advice? I bought this rather odd-looking device after browsing the DSPIAE range. Its a hand stabiliser to try to control motion when painting detail or using tweezers on small parts. I'm still adapting to working with it and it seems very helpful. I will definitely be using it when I get brave enough to try to paint the pupils. Thanks you all for looking in and for the encouraging comments and suggestions Alan


-
Thank you Craig. Its a big learning experience but its hugely enjoyable - and the finished product doesn't take up much room. But they are quicbker to complete so maybe they end up taking the same space as a complicated ship model. Alan
-
Thank you Jack. A lot of learning ahead alan
-
Thank you OC. Let’s see how I do on the details! As I understand it Skinners Horse are the only British Army unit to have worn yellow. Very distinctive. I’ve just found that Art Girona has a lot of 19 th century Indian army subjects in their 70 mm range. That could solve birthday presents for a while (or frighten the credit card) alan
-
Thanks OC. I bought the Life Colour RN Eastern Approaches set which has all three colors I need. Great suggestion. alan
-
I managed to get a bit of time yesterday and today and got out the colours. About five coats of yellow on the tunic and I am not sure if its too much. I'm feeling my way with the glaze technique. Not too terrible so far. The first coat on the red parts of the turban and some black details. I'm still learning how to use the wet palette so this is all a bit learning experience. The paints are Vallejo Model paints and the BBs really make a difference to mixing them. The face and hands are using Mig Ammo flesh tones which I think are very nice. He may be a bit dark but I will see how he looks with the beard filled in. I'm a bit leery of the clamps after the earlier problem so I think I will glue him to a temporary base of some sort for the remainder of the work Thanks for looking in and all teh helpful comments and suggestions Alan

- 114 replies
-
- 11
-
-
Those are going to really add to the battlefield. Alan