Tim Moore
-
Posts
357 -
Joined
-
Last visited
Content Type
Profiles
Forums
Gallery
Events
Everything posted by Tim Moore
-
I used CA (thick superglue) to connect the pieces, and painted it all gunmetal after with a small brush. If the parts were all brass I would probably have used the brass blacking solution before assembly.
-
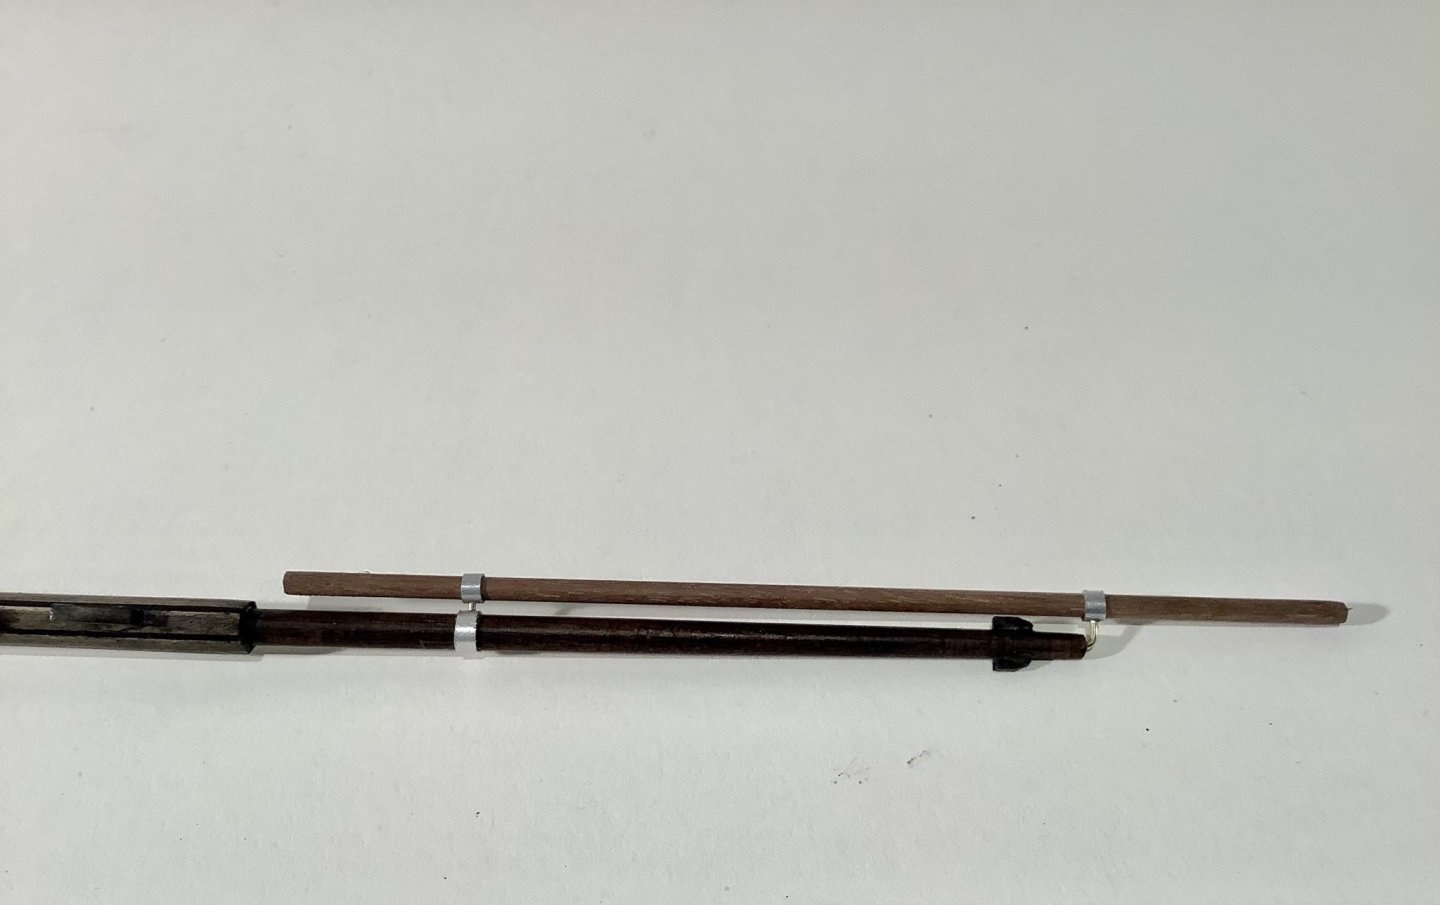
Hi Dave - you may have seen this on my build log, but had same issue with mine - this is how I resolved it with sections of aluminium tube and wire. Blackened it all after install. Your Bounty is coming along and looking very good! Tim
-
Hi Trond - I would recommend you always use a matt, or satin varnish, never gloss or semi gloss. For this Bounty I used satin varnish, would probably have preferred if it was slightly flatter but it’s what I had. My Endeavour is basically raw wood which many experts prefer. A true matte varnish gives a similar look. The helmsman spar type varnish I used has a warmer, slight amber tint which I actually don’t mind for this application. The varathane line and many other polyurethanes don’t have any tint so the result is colder. Nice to chat with someone from Norway!
- 171 replies
-
- 2
-

-
- artesania latina
- bounty
- (and 1 more)
-
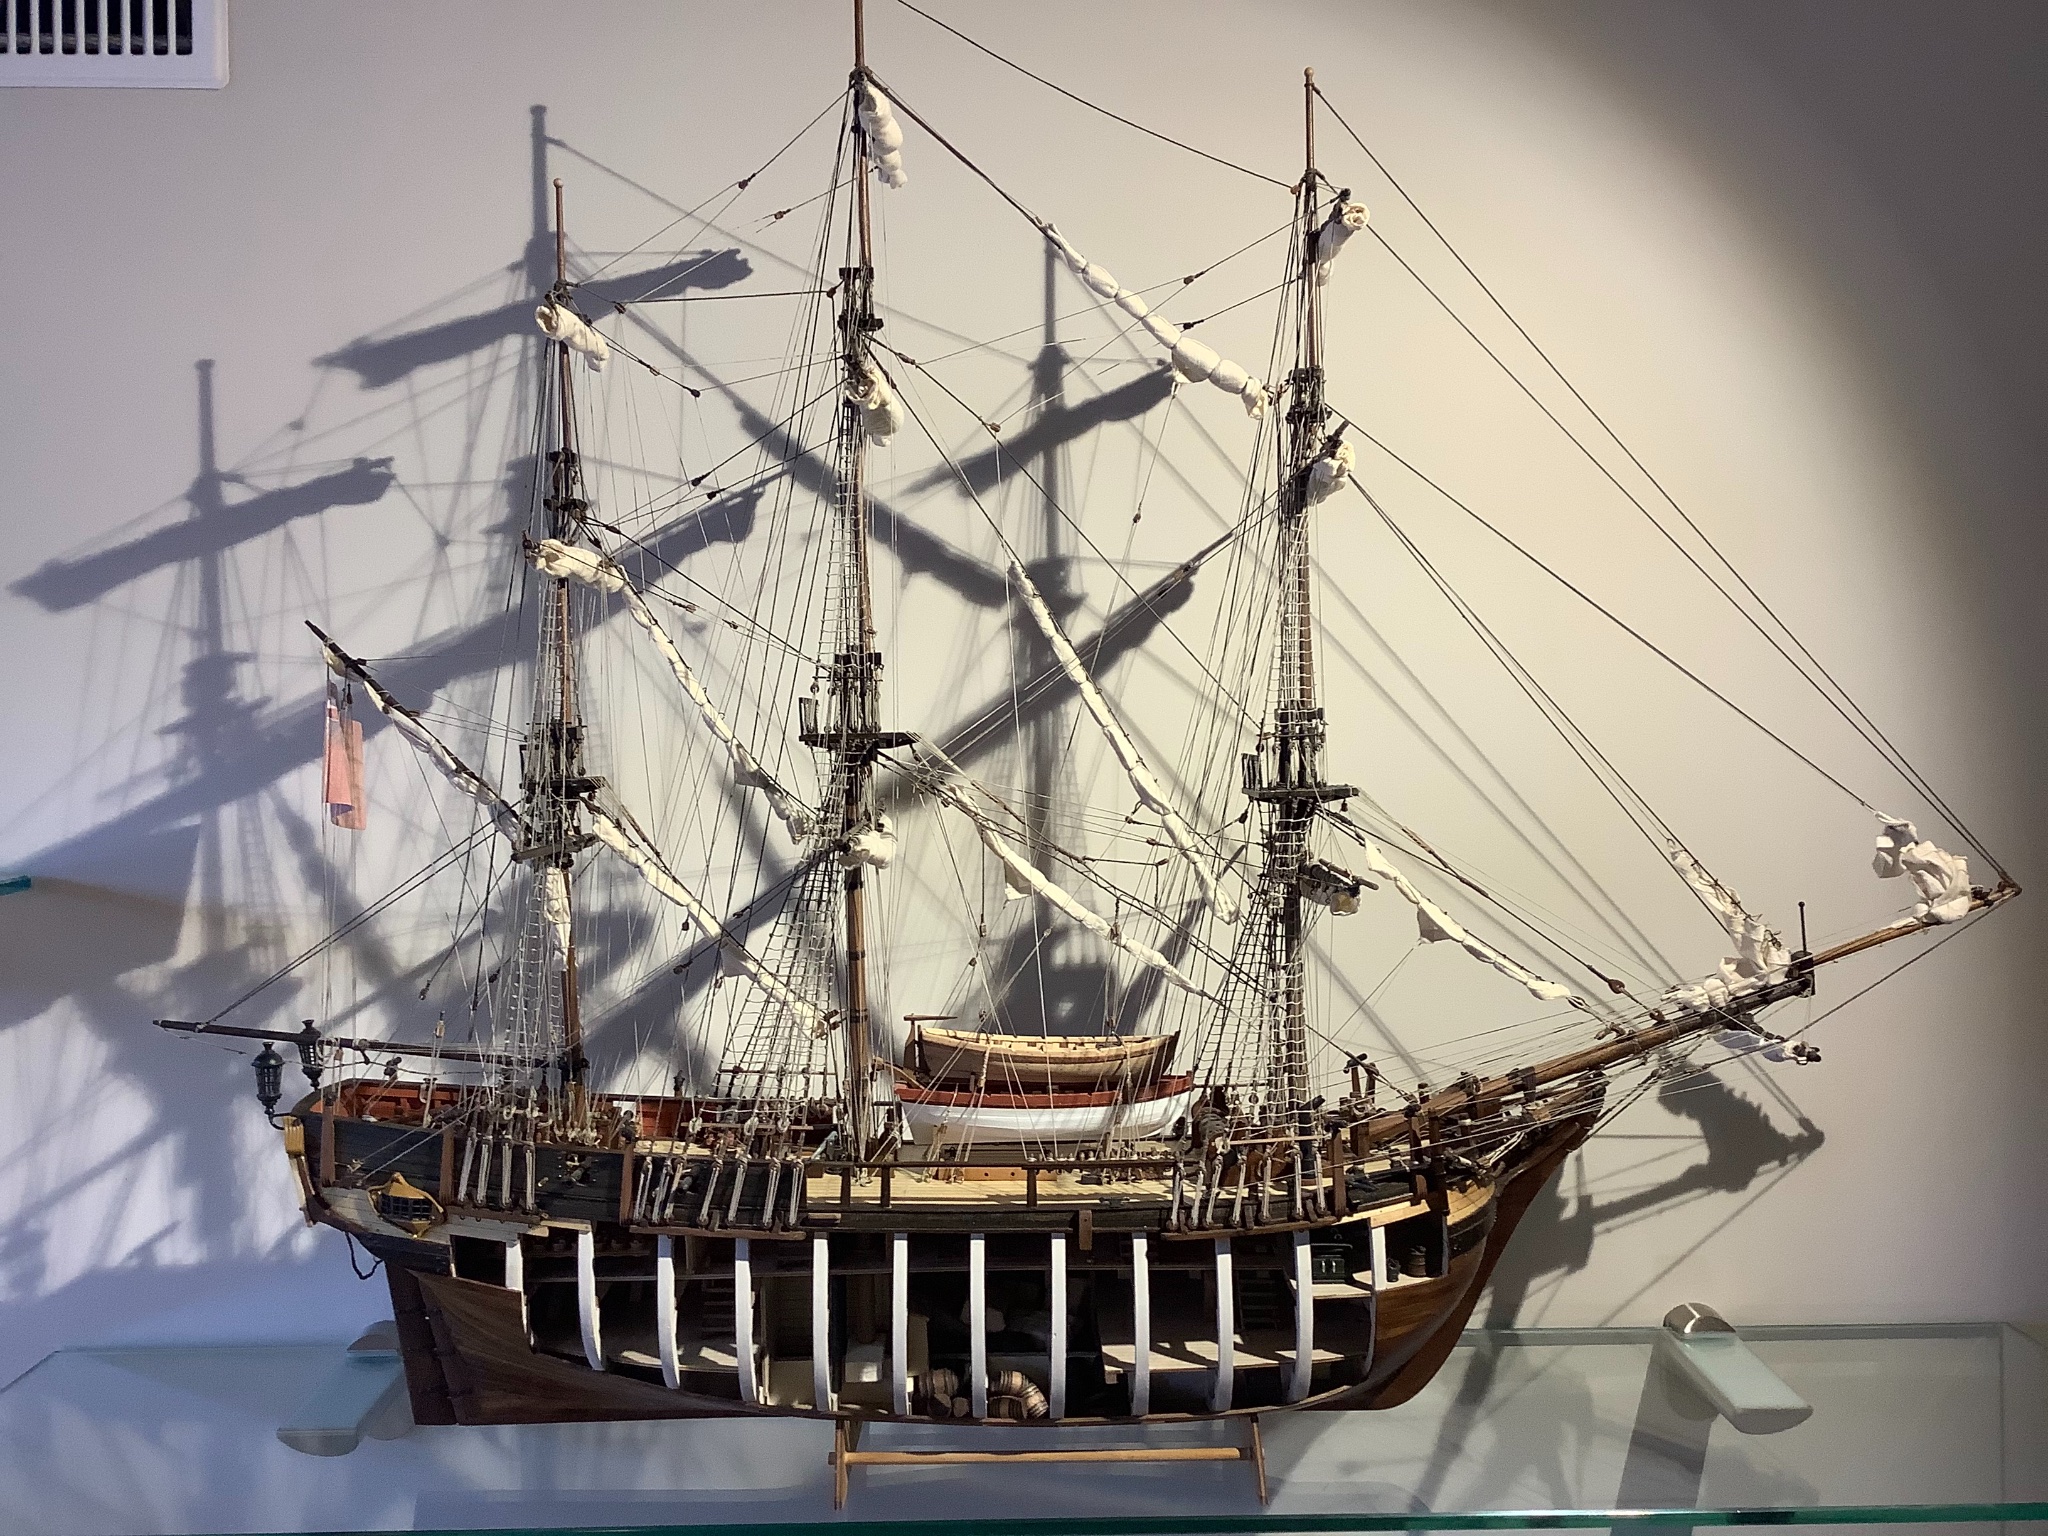
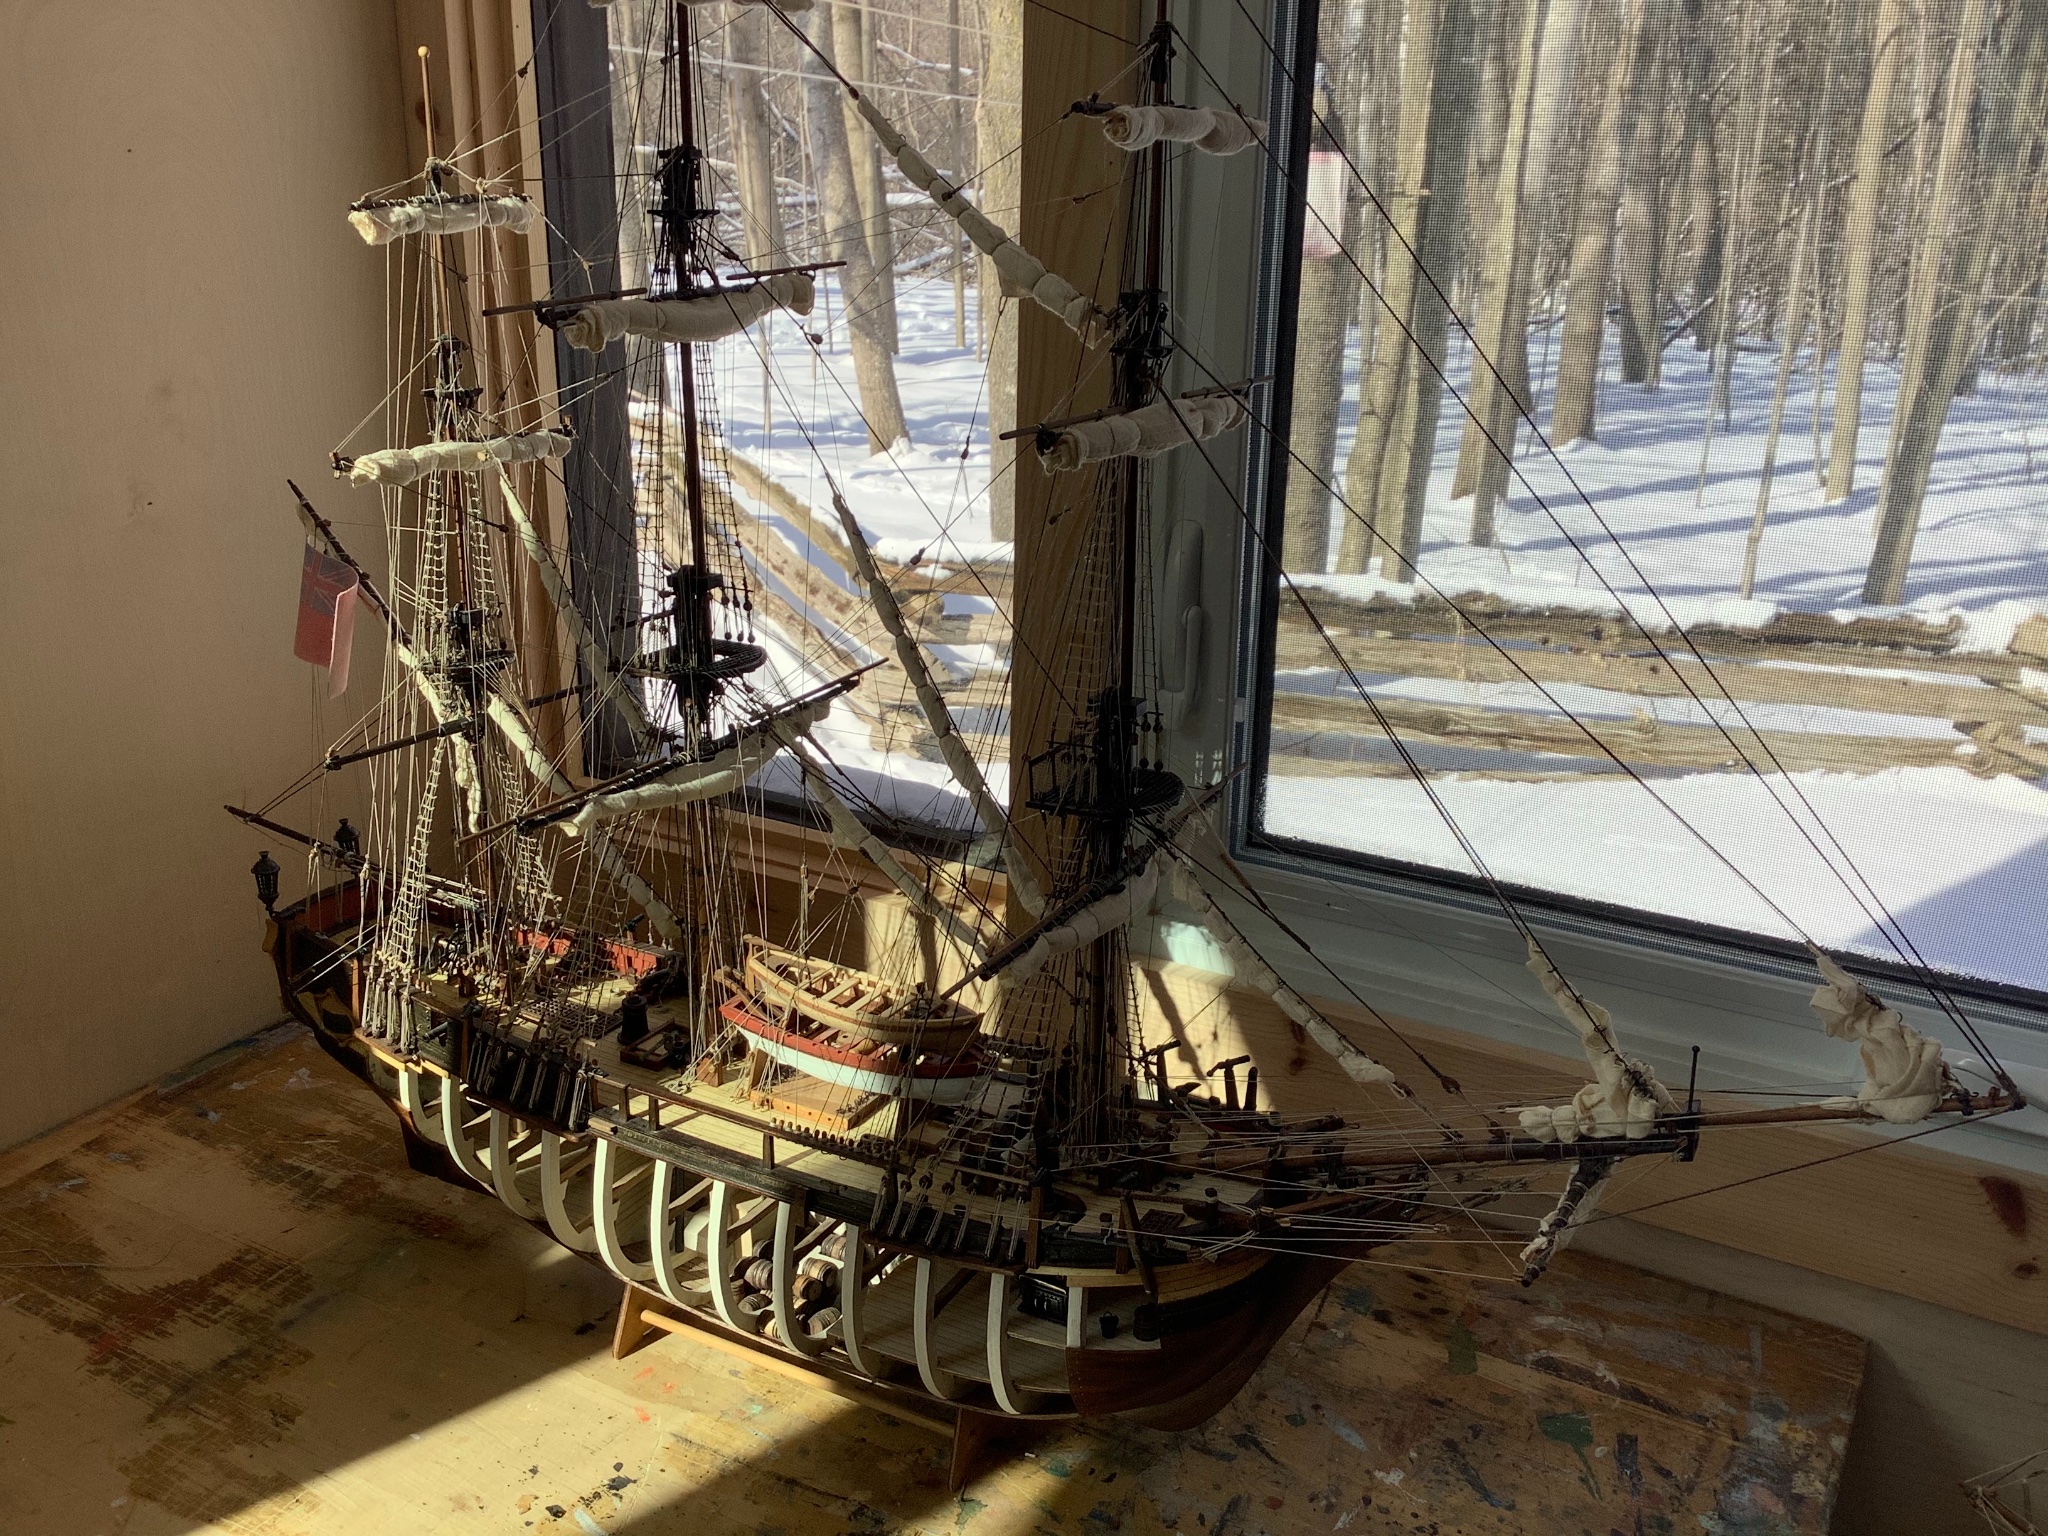
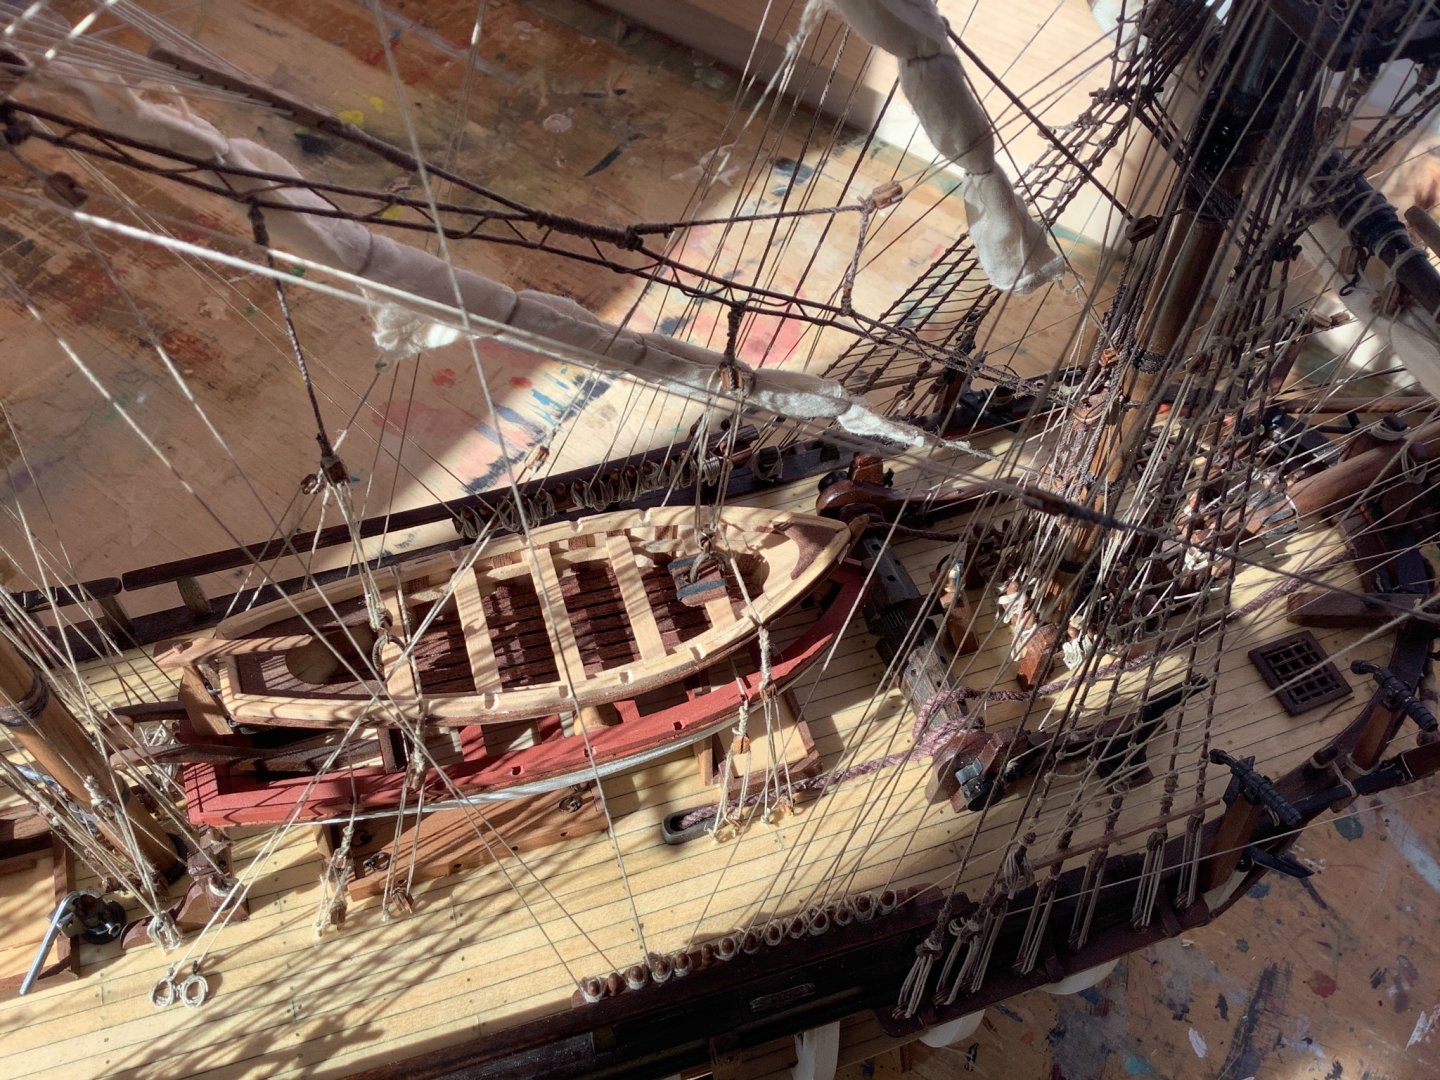
There are a couple of cradles between the two boats on my Bounty, and each is separately lashed down with two ropes.

-
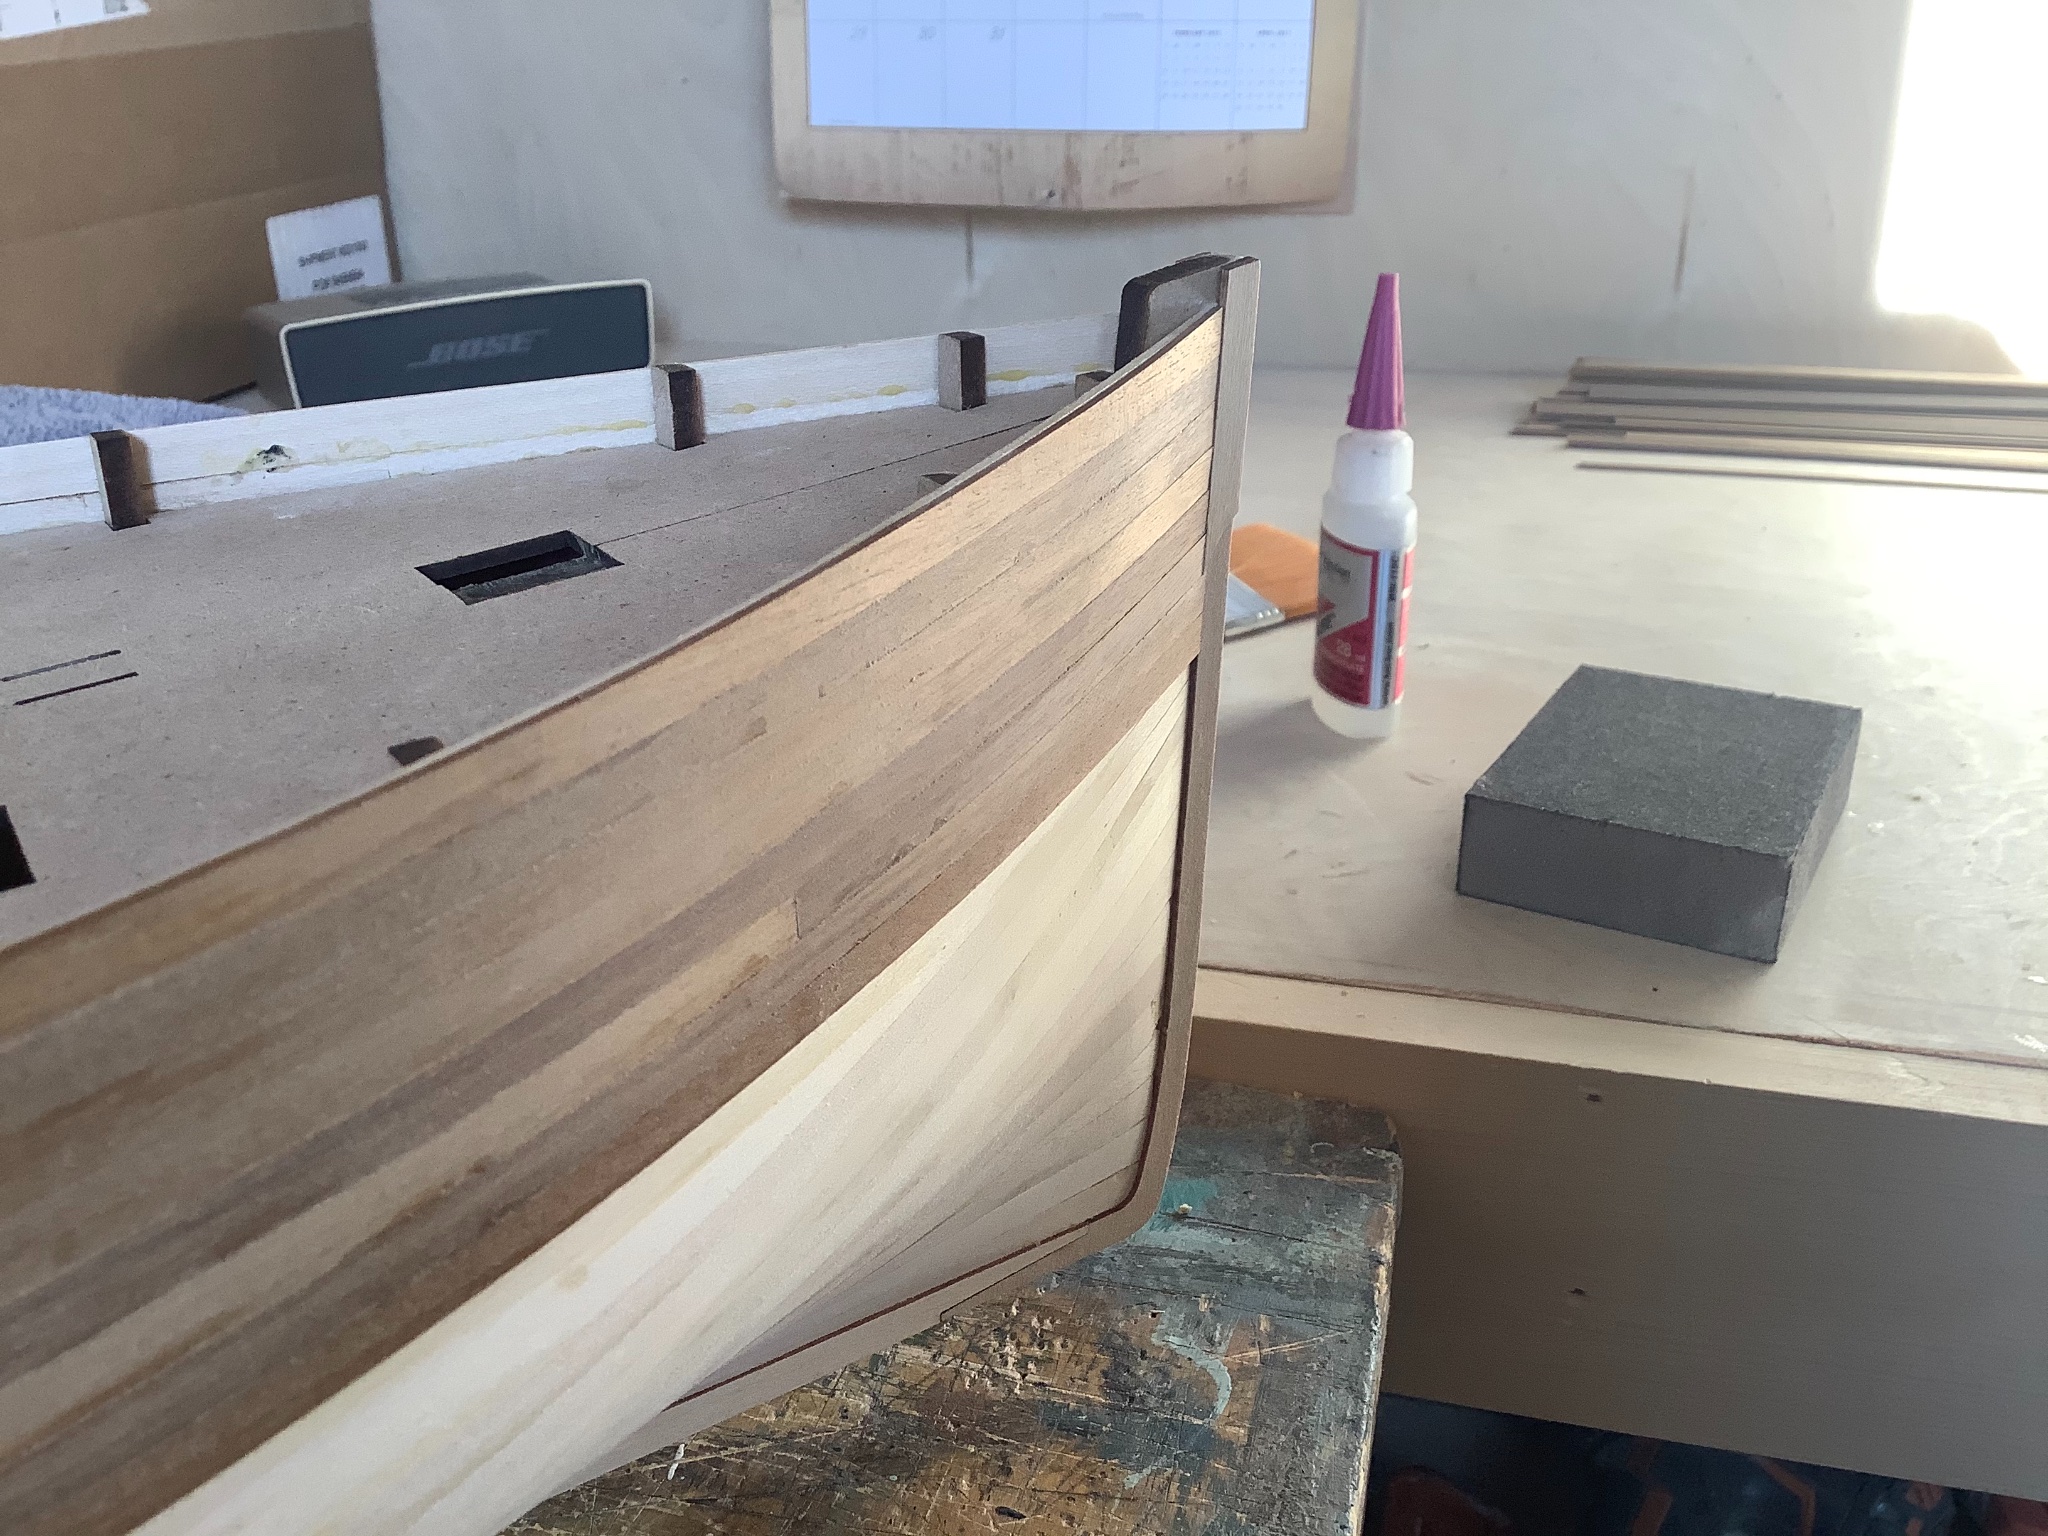
A 1mm trim piece is placed on both sides of the keel, which creates a border for the final planks to finish flush against. This eliminates any need for fussing with a groove (rabbet) in the false keel. The underplanking only needs to be feathered to the false keel before placing the trims. The under planking didn't need much in the way of sanding or filling, so I can start the finish planking as soon as I can get back in the cabin.
- 79 replies
-
- 8
-
-
- Fifie
- Victory Models
- (and 1 more)
-
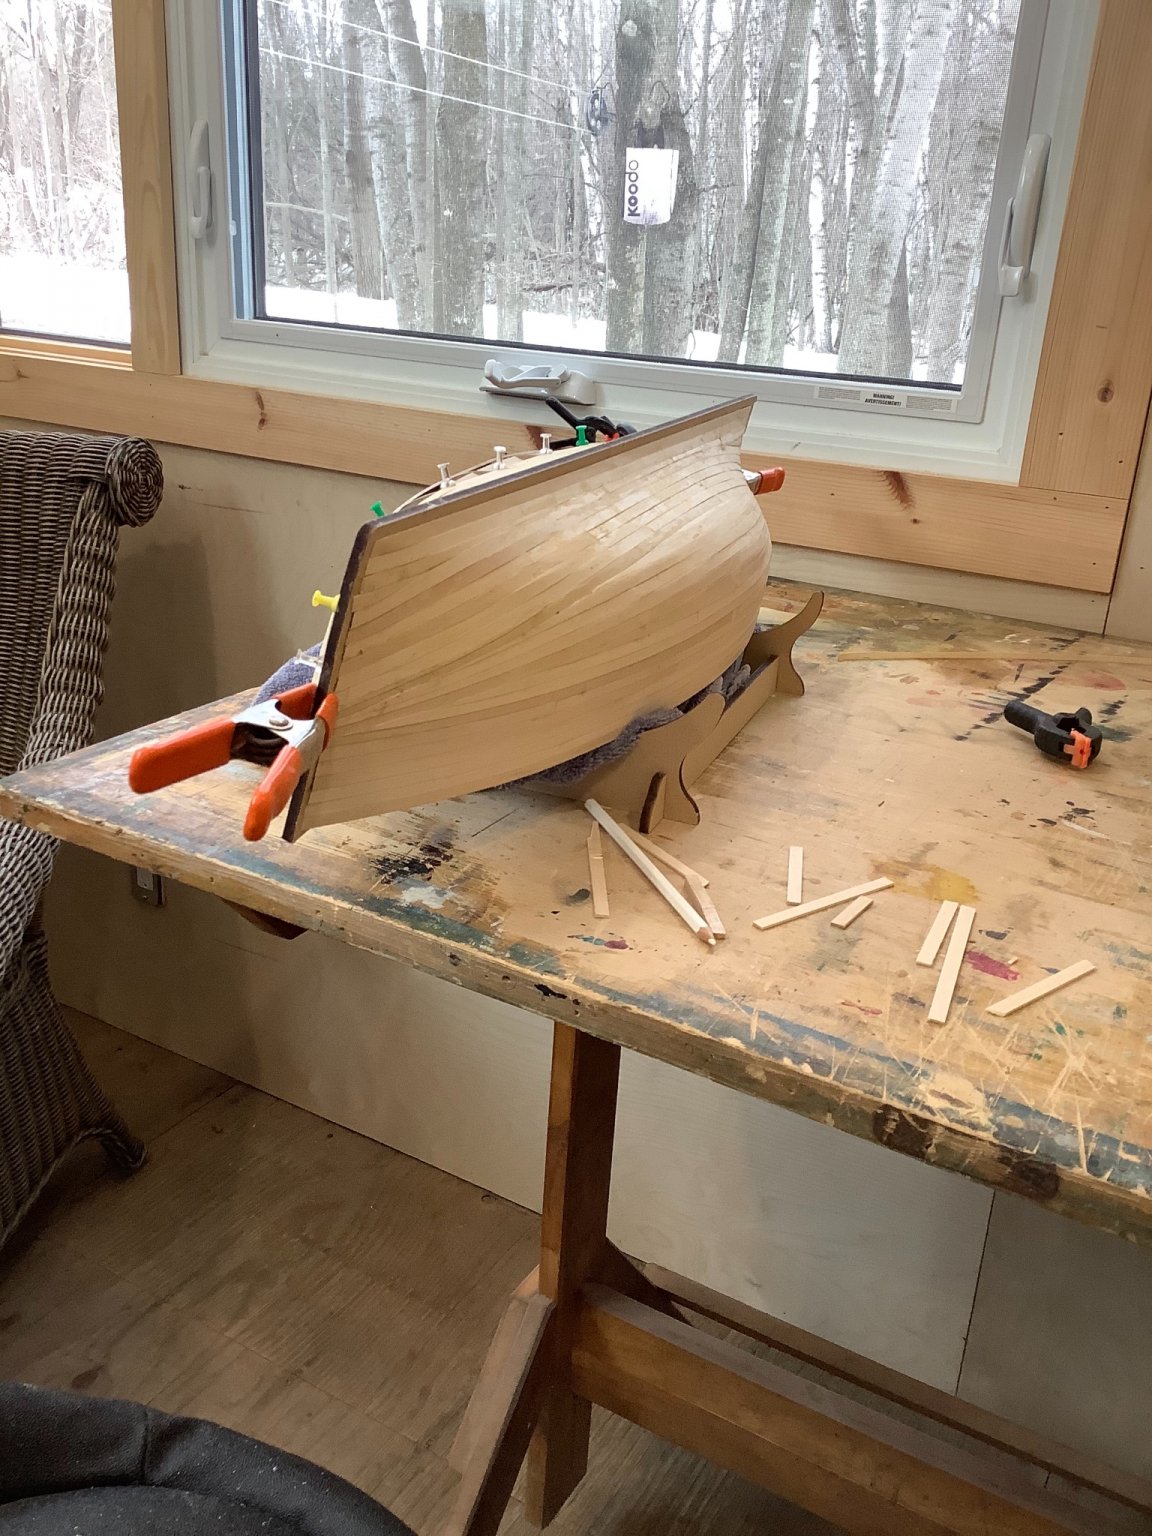
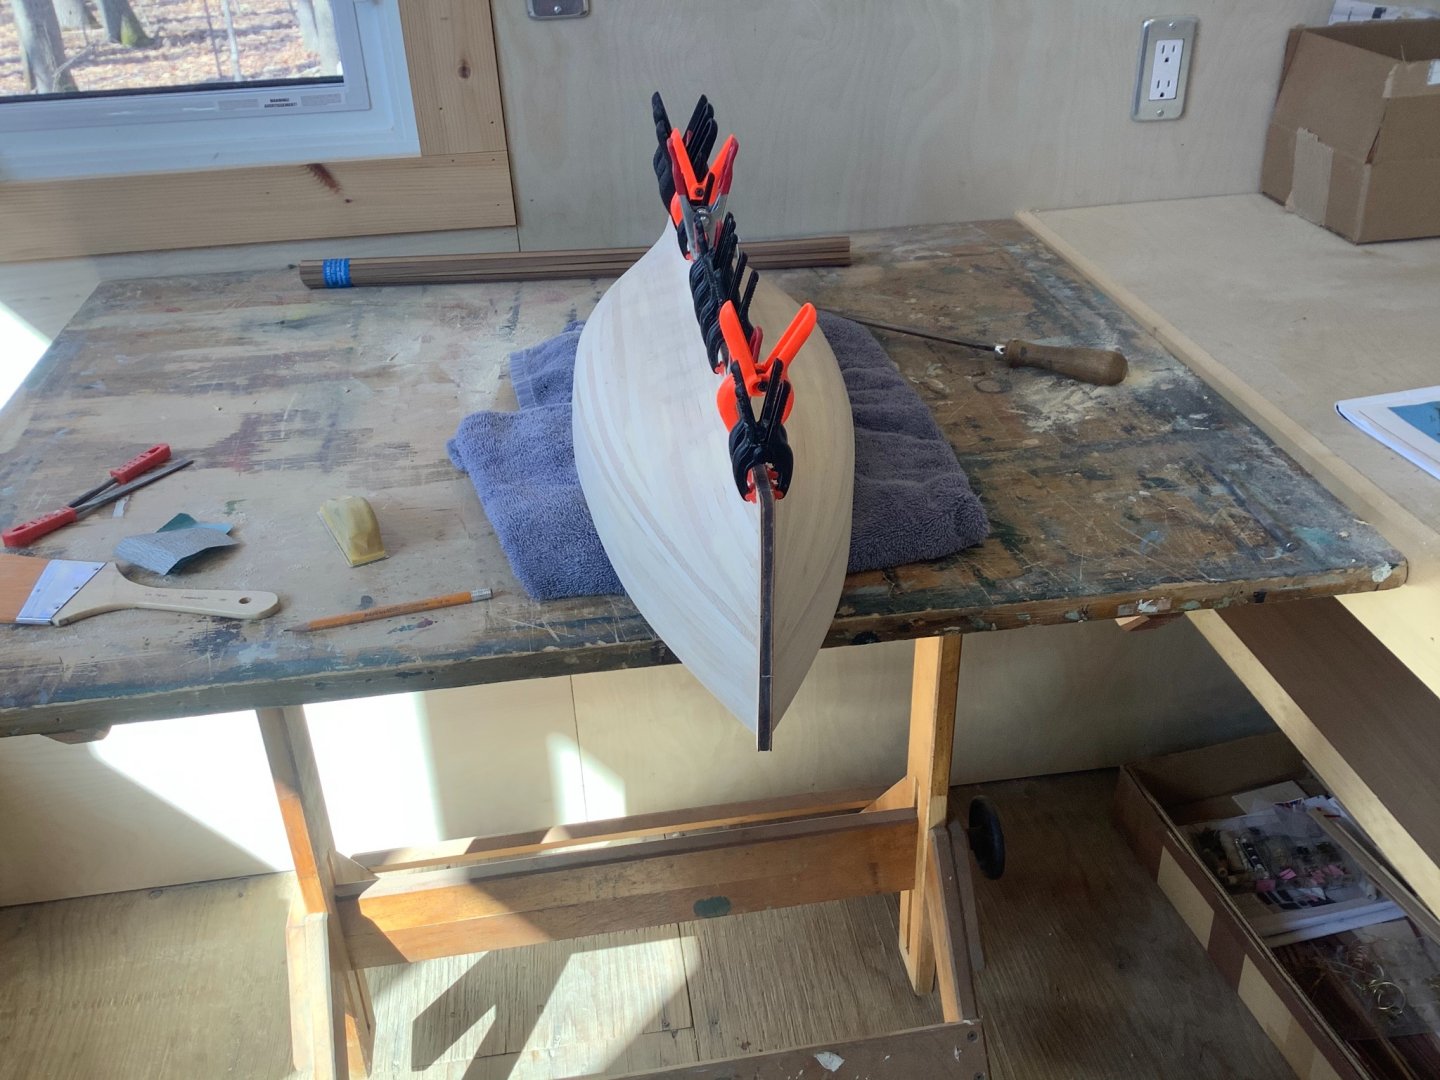
Ahhh rough planking....the sausage making component of model shipbuilding. The process can be pretty messy and bits of it can sometimes look like a dogs breakfast, but you somehow end up with something pretty tasty at the end.

- 79 replies
-
- 9
-
-
- Fifie
- Victory Models
- (and 1 more)
-
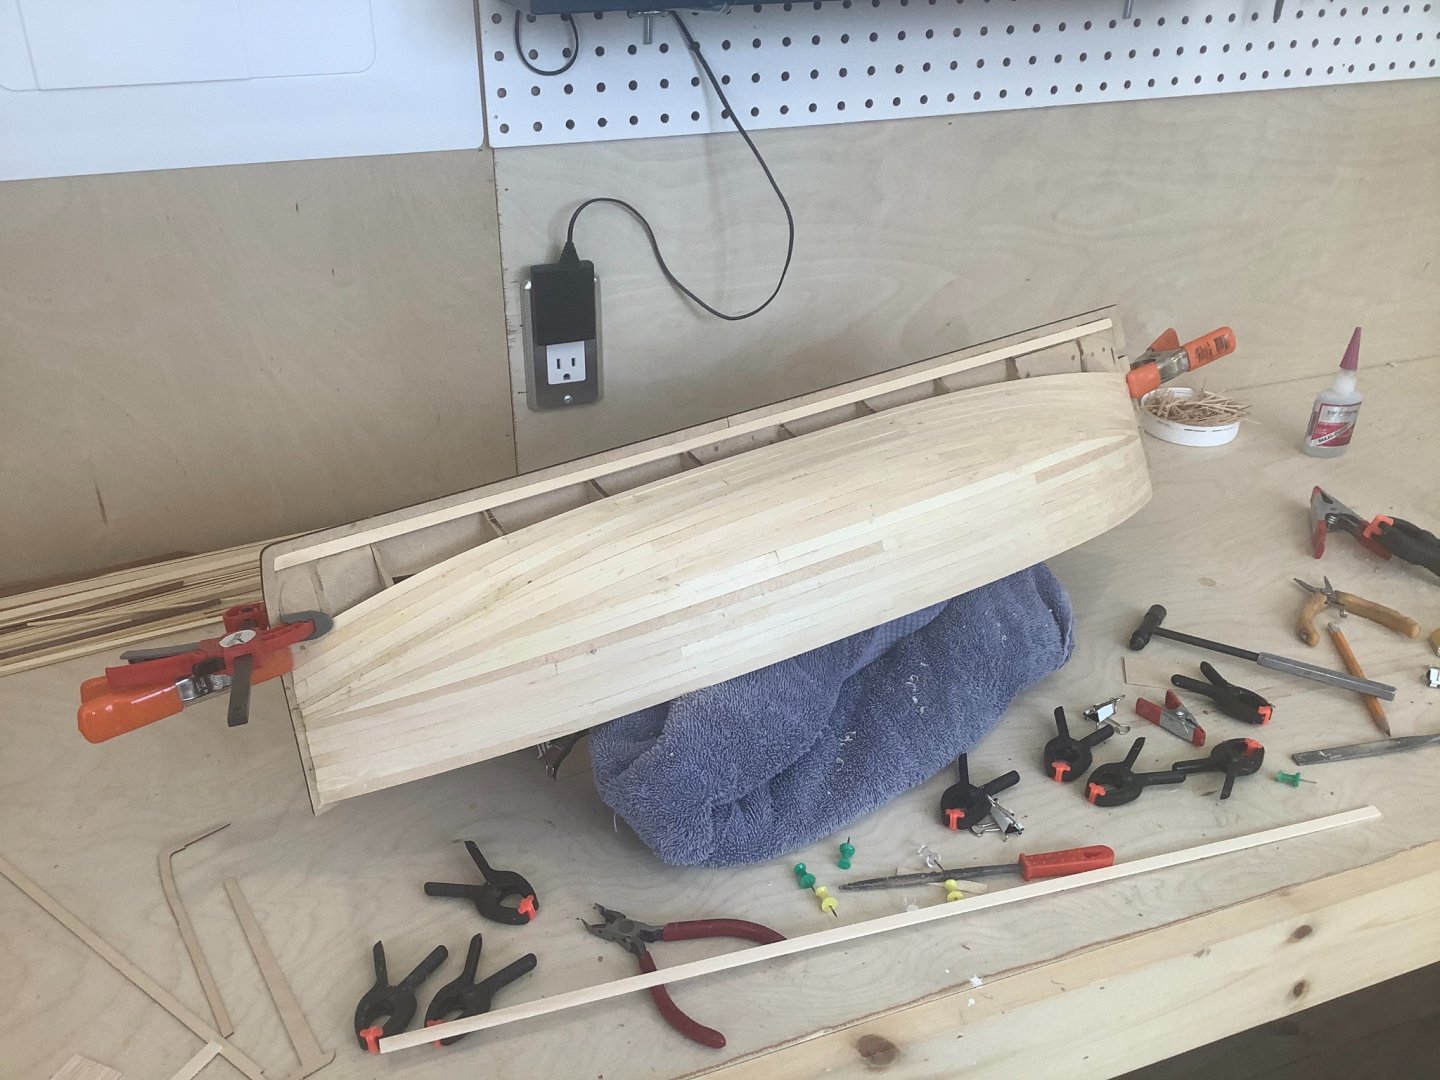
Thanks Yves.... base planking in progress. The boat has a bigger belly than it looks so there’s a lot of it. Nice quality lime wood. I was thinking of just doing the one planking, but there is such a lovely pile of walnut that it seems wrong not to use it.
- 79 replies
-
- 6
-
-
- Fifie
- Victory Models
- (and 1 more)
-
The top two planks on this model shouldn’t be glued to the mdf frame extensions above the false deck, because those extensions eventually come off. I fixed the second plank first, the bottom of which can be glued to the false deck, and then edge glued the upper plank above it. I extended these first two planks with a scarf joint so that they are continuous. The rest can have joints on the frames (since the boat is longer than the planking material). Would be better to have a wider 16mm plank of some description to use in place of common planking for these two, but this should be ok when all is said and done.
- 79 replies
-
- 5
-
-
- Fifie
- Victory Models
- (and 1 more)
-
Haha thanks Richard. I’m happy you recognized the grubby use stains!
- 79 replies
-
- 2
-
-
- Fifie
- Victory Models
- (and 1 more)
-
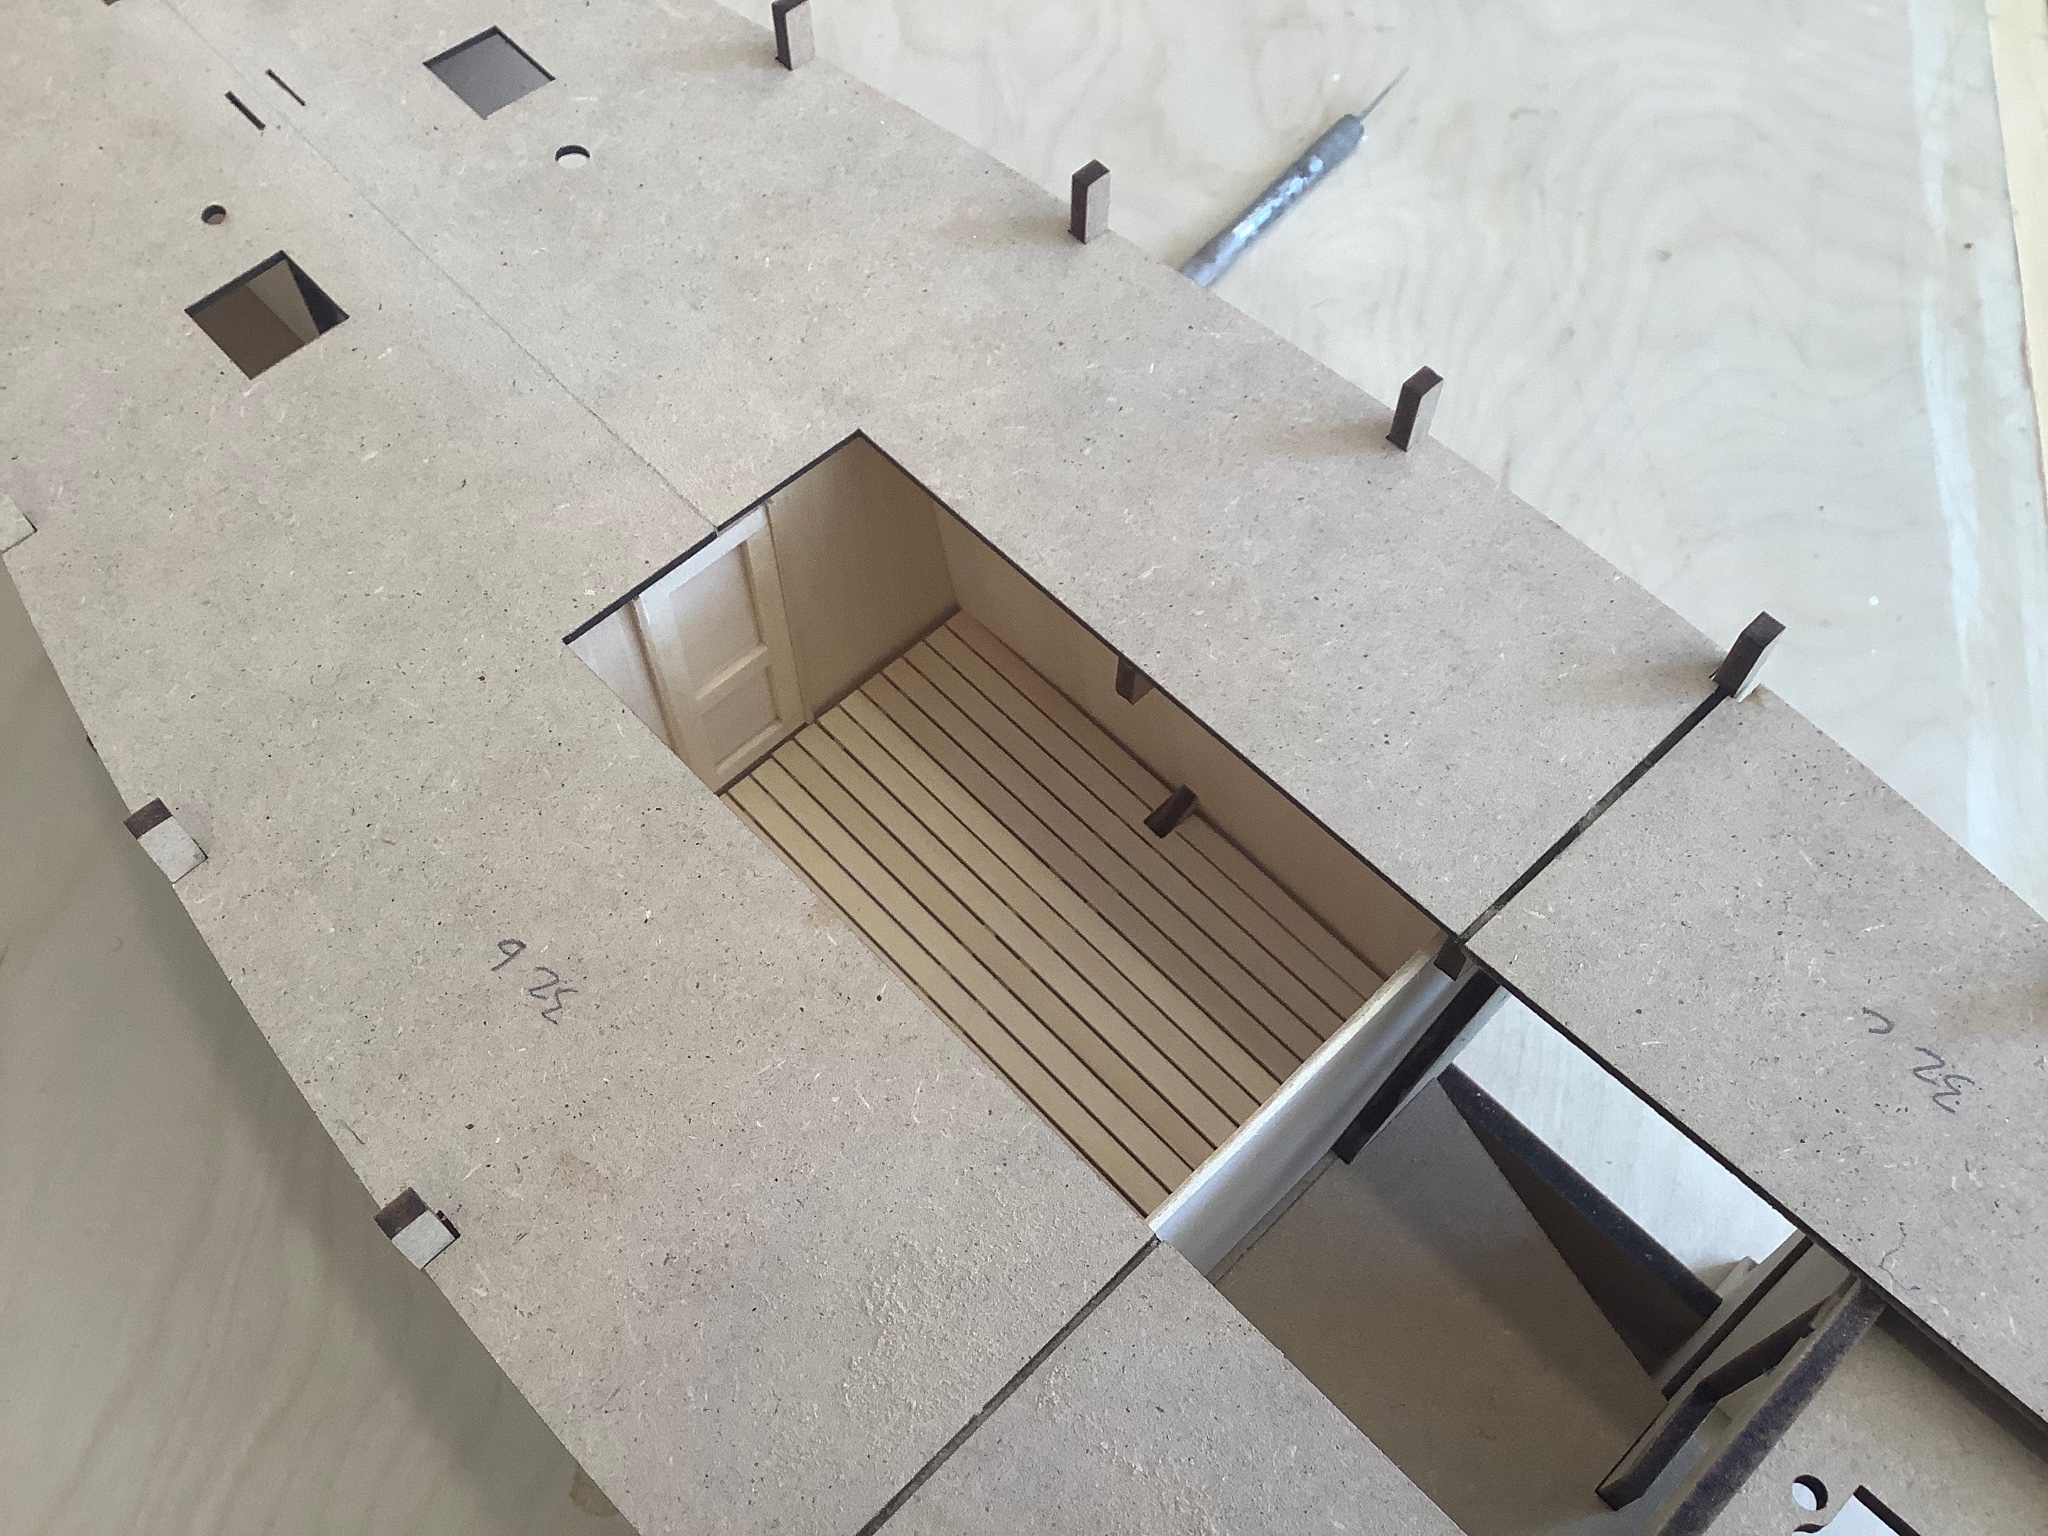
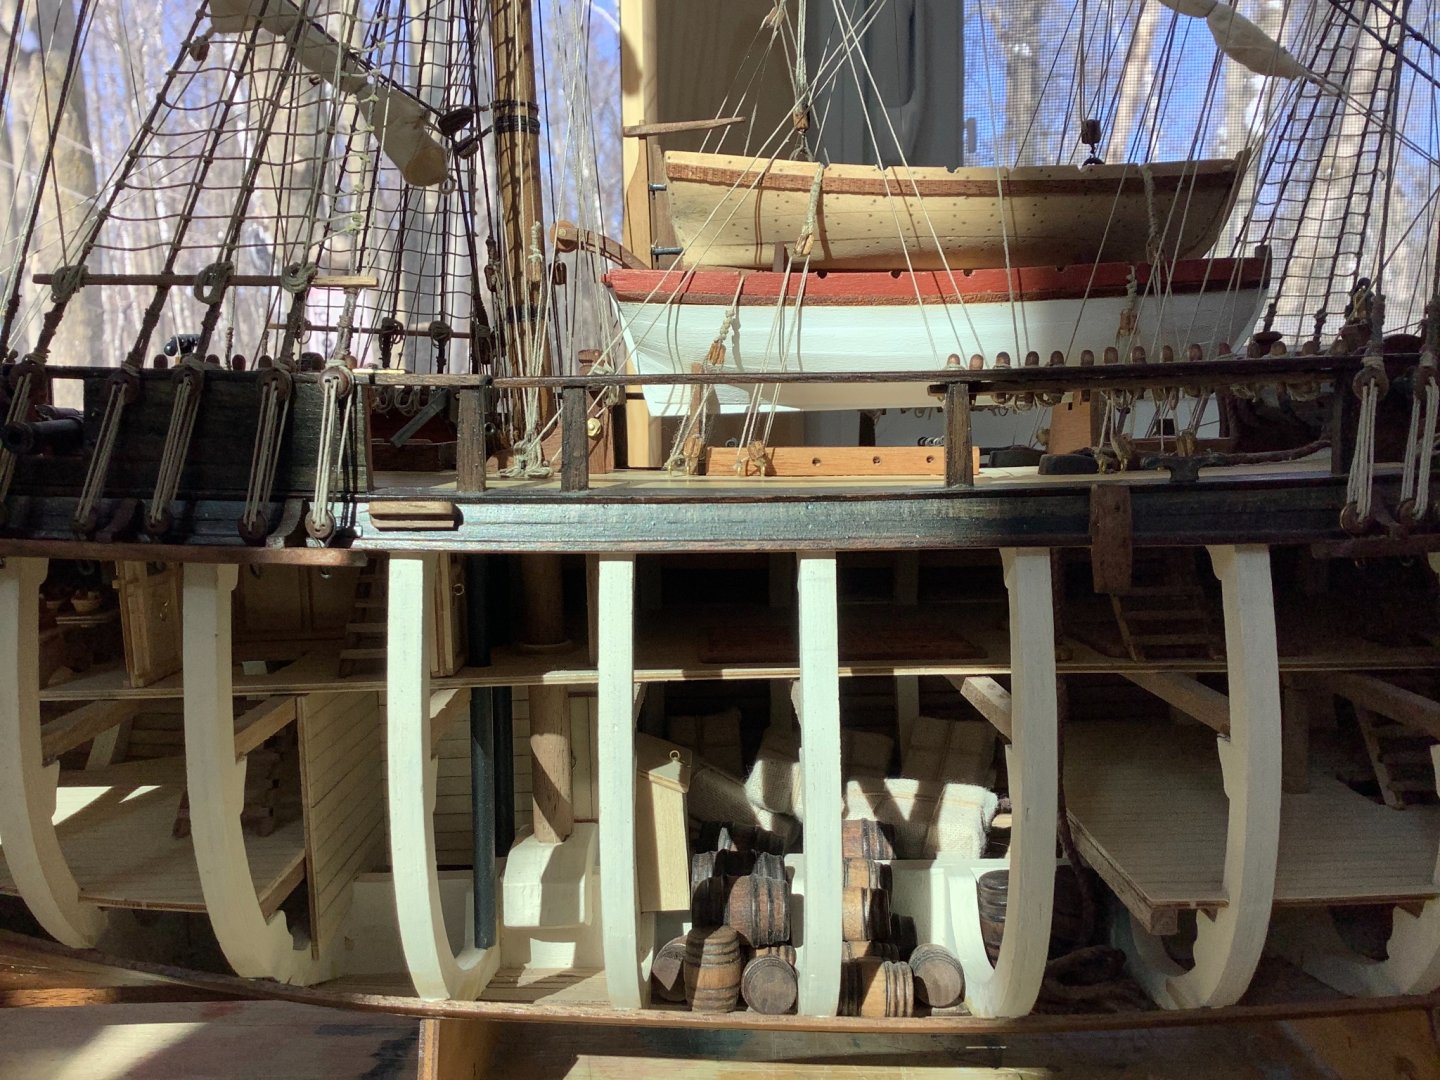
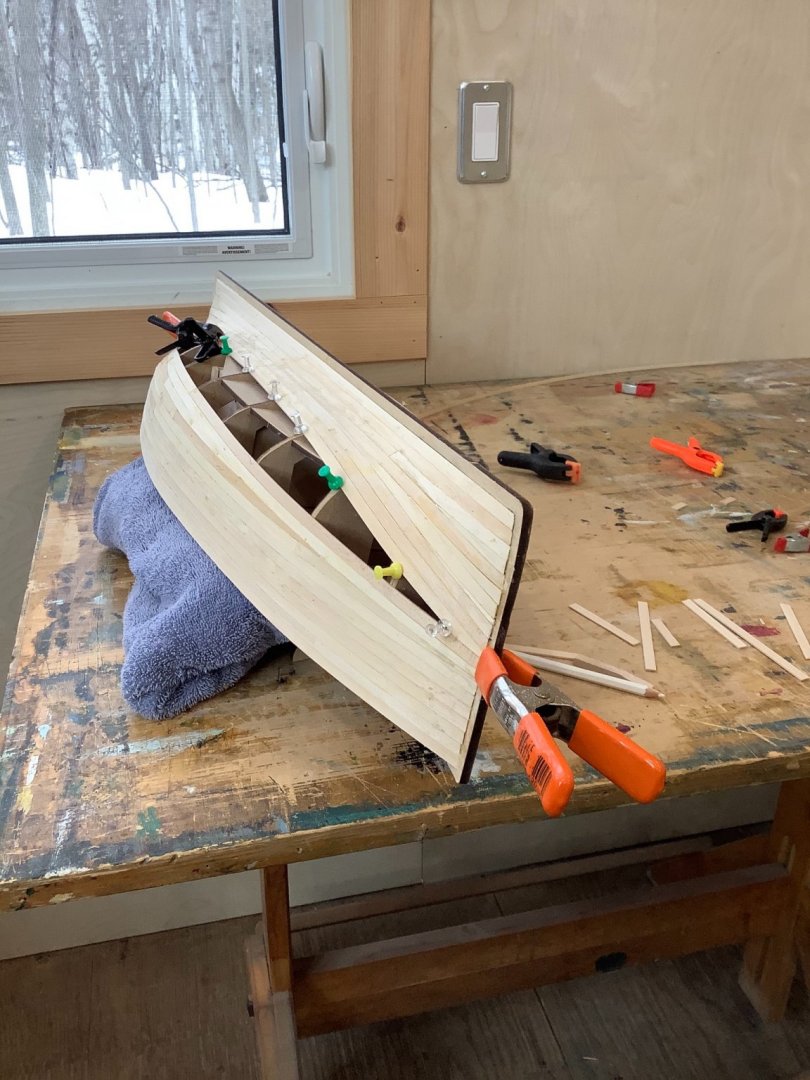
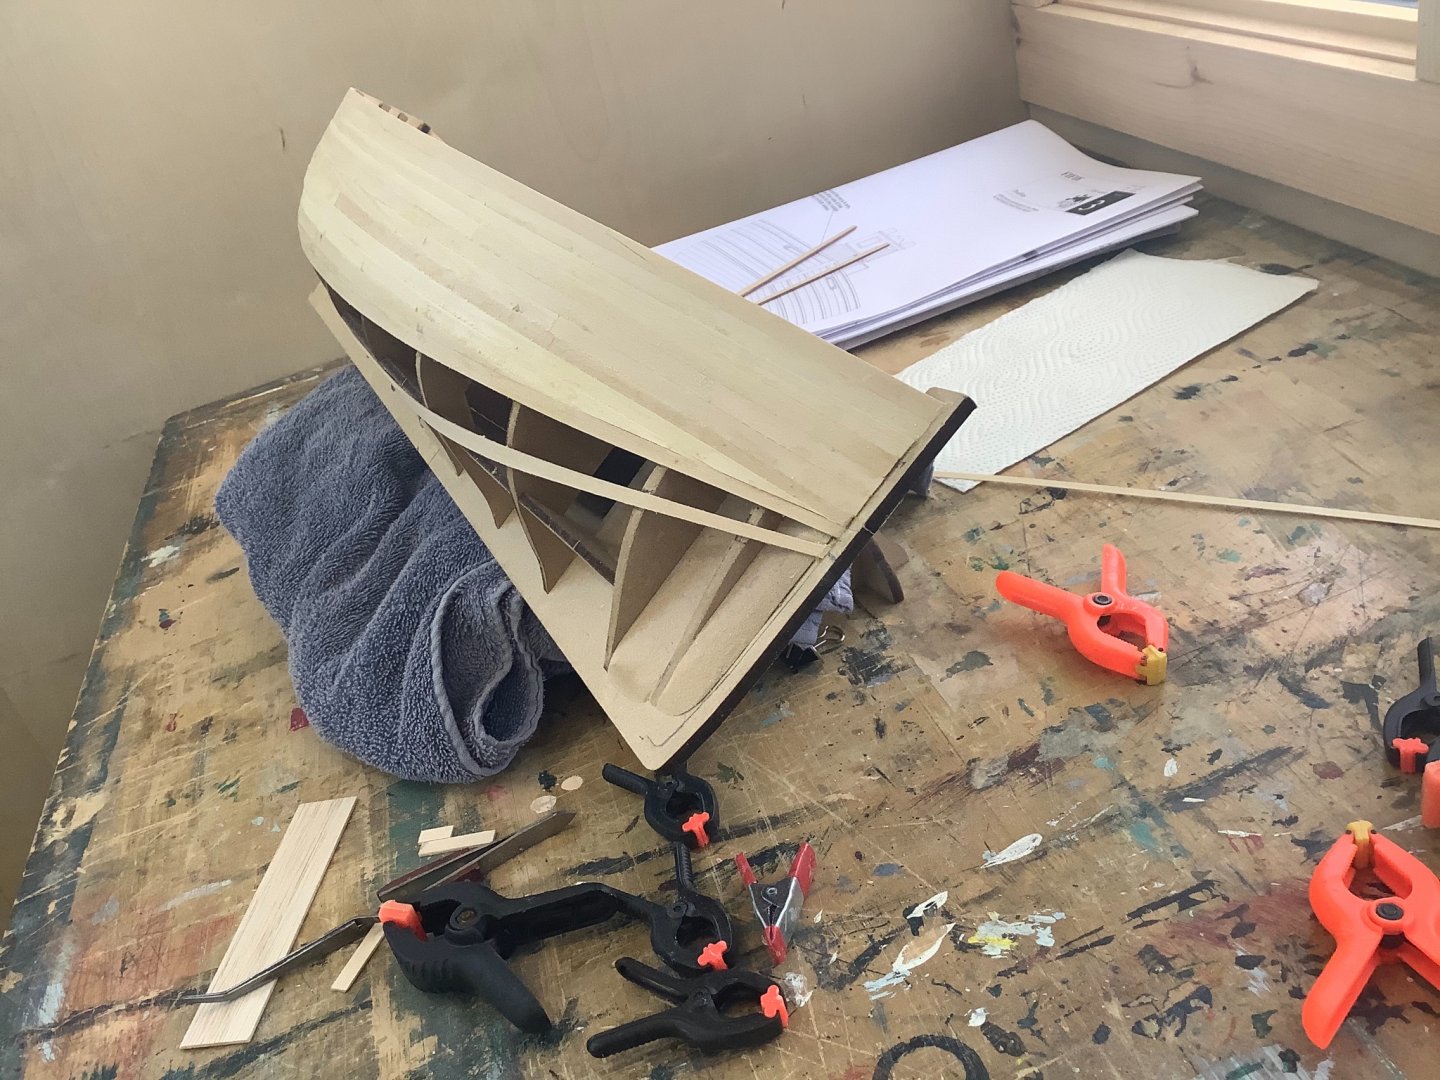
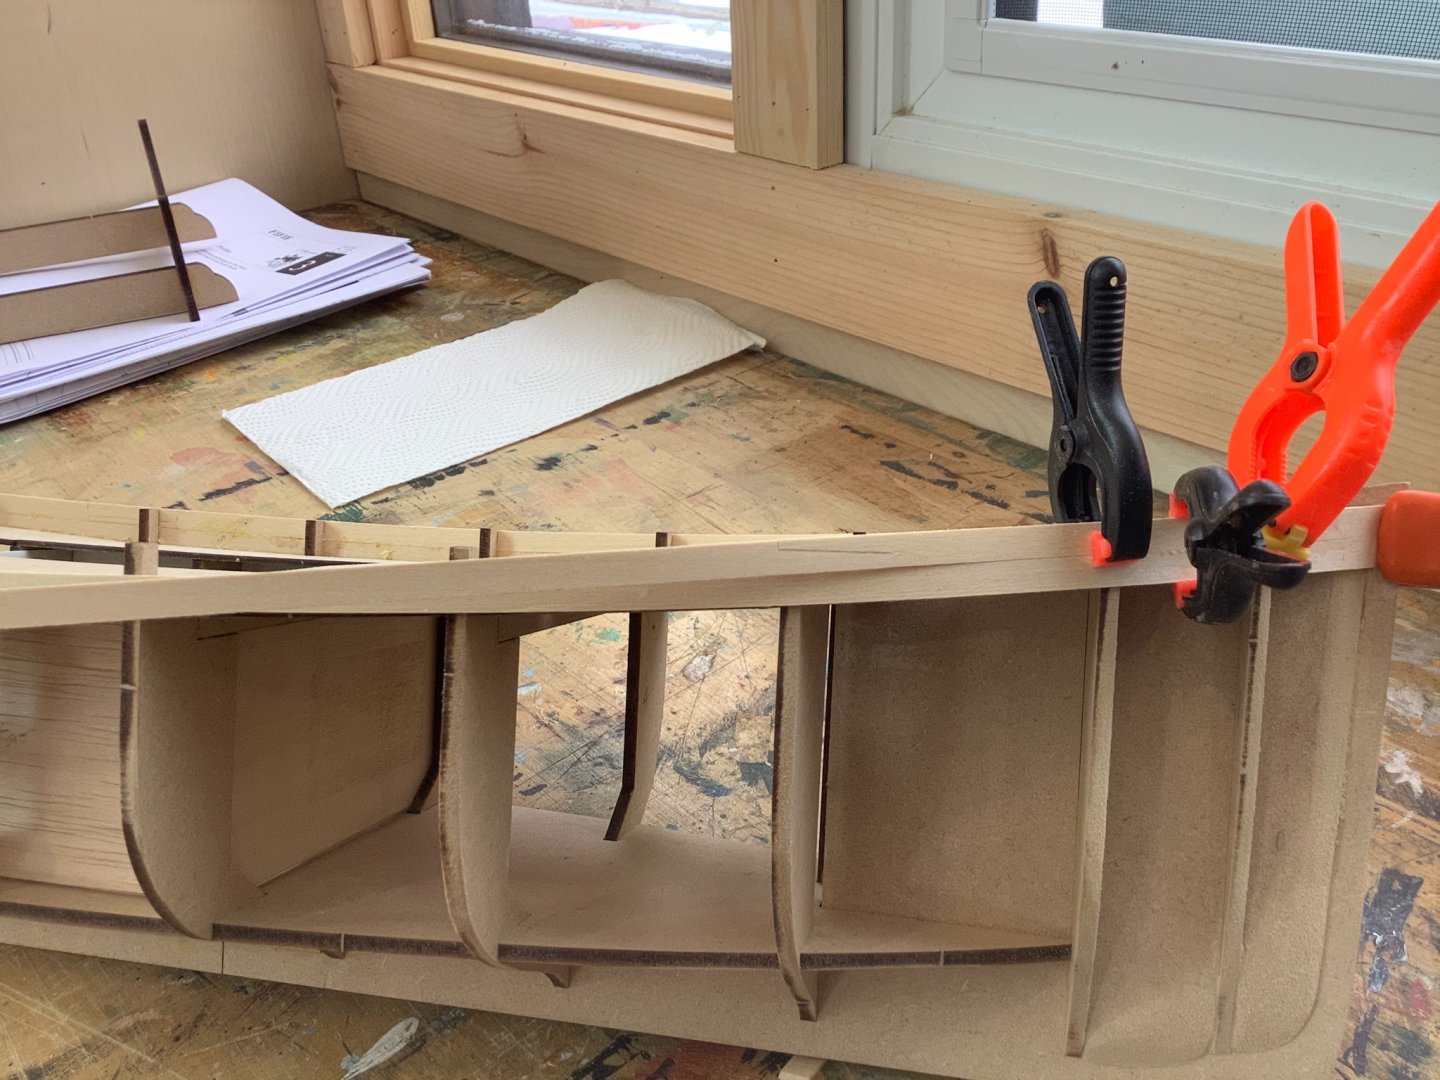
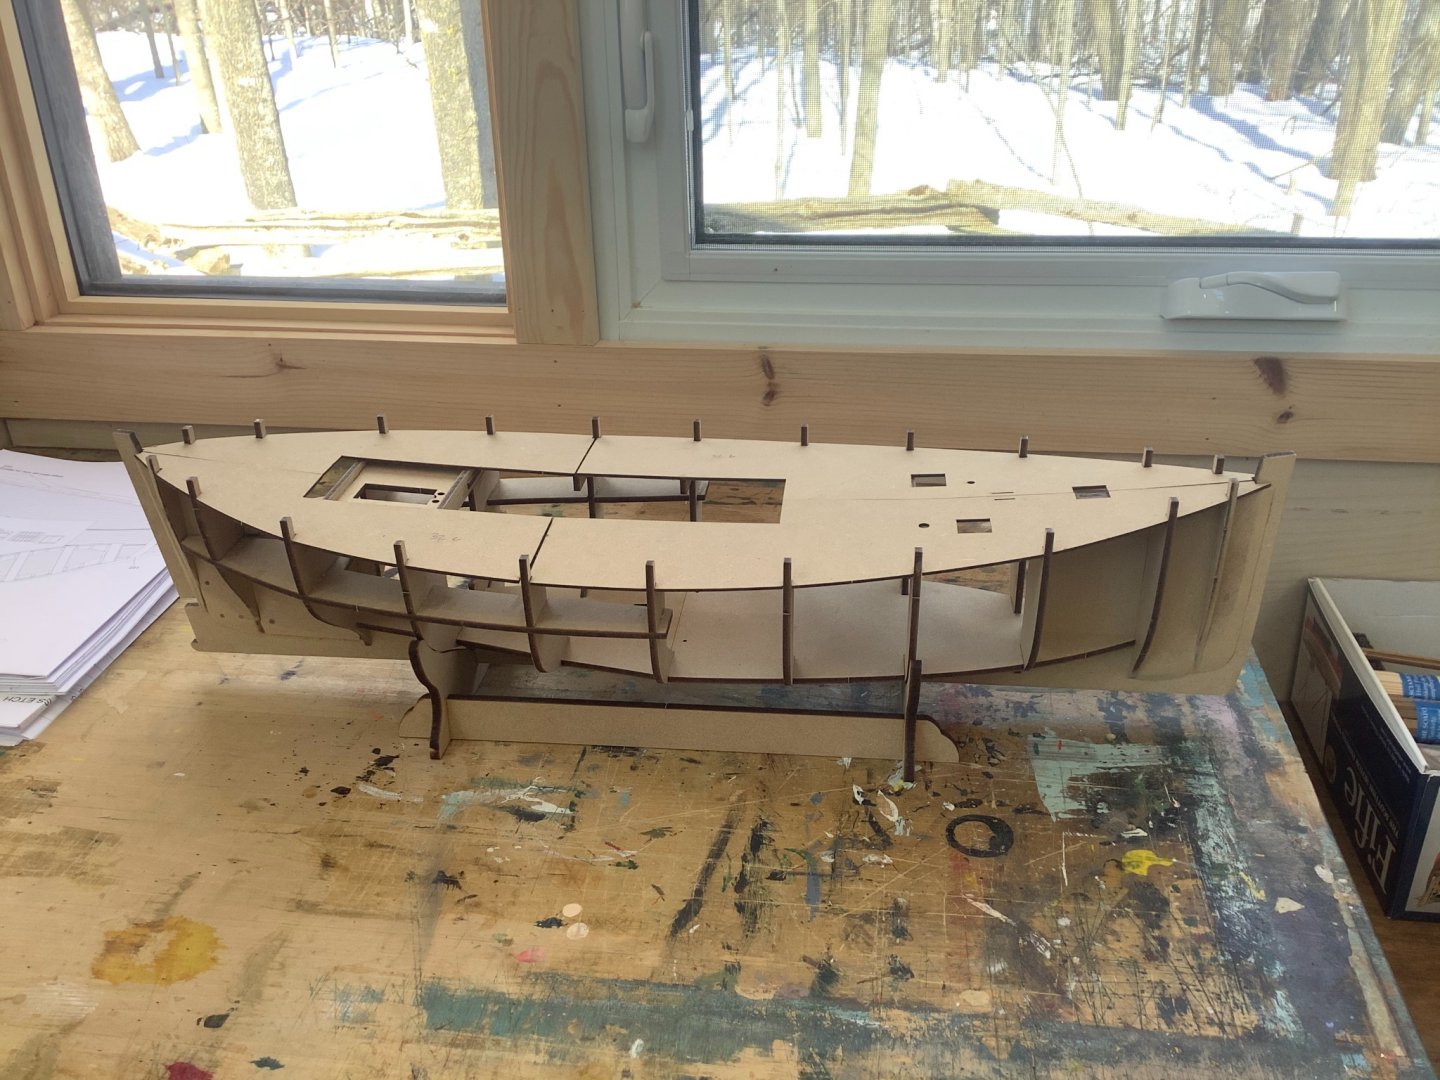
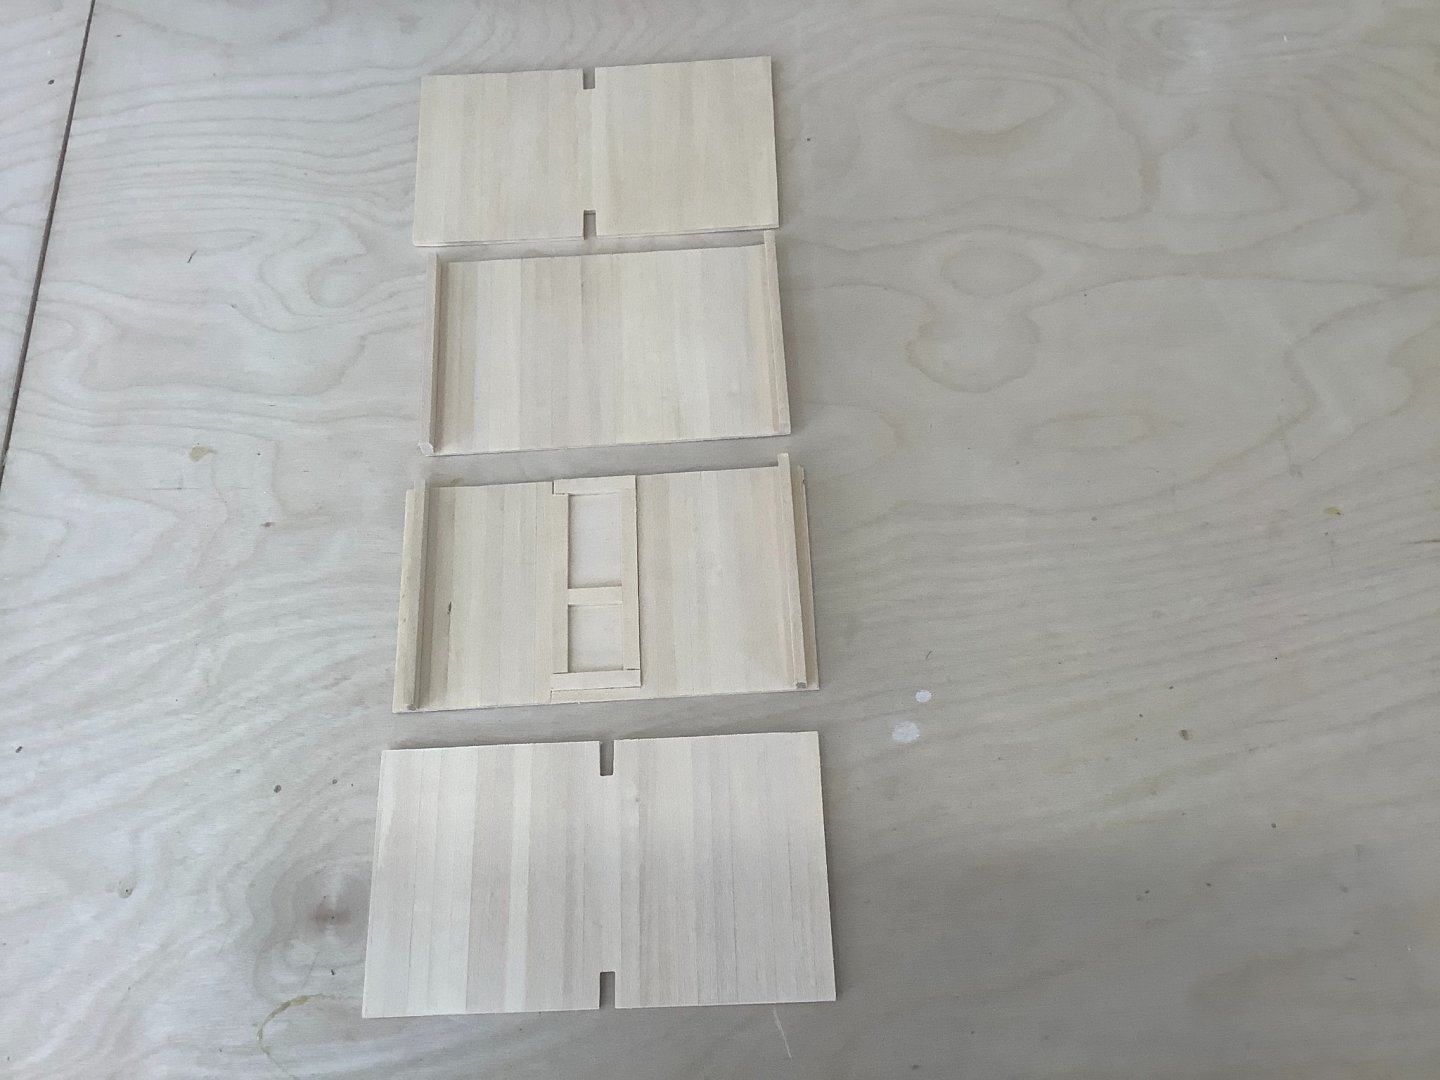
I was looking for something different after the long haul voyage with the Bounty, and picked up this Scottish motor fishing vessel from Amati last year. It’s a beautiful kit that looks very good quality. Seems a good choice for a first build given the clarity of the plans and instruction, and anybody else. I’m not entirely sure where I’ll go with it in terms of the overall interpretation but we will see. The basic frame goes up straight, fast and trouble free because of the quality of the design and fabrication. There’s a large hatch area in the centre of the vessel that I might leave at least partially open, so I’ve built a simple enclosure under spanning a couple of frames. I’m imagining this will eventually house a pile of fish crates, nets and other fishing paraphernalia. I’ve incorporated a door to the forward cabins and rear hatch to what would presumably be the motor areas, but not detailing anything outside the hold area as it won’t really be visible. Easier to install and finish the enclosure now in pieces while the frames are still open. The walls are planking on solid panels, with a simple deck floor on sleepers over the mdf base to level it up. Enough goofing around with this, time to do the planking...
- 79 replies
-
- 6
-
-
- Fifie
- Victory Models
- (and 1 more)
-
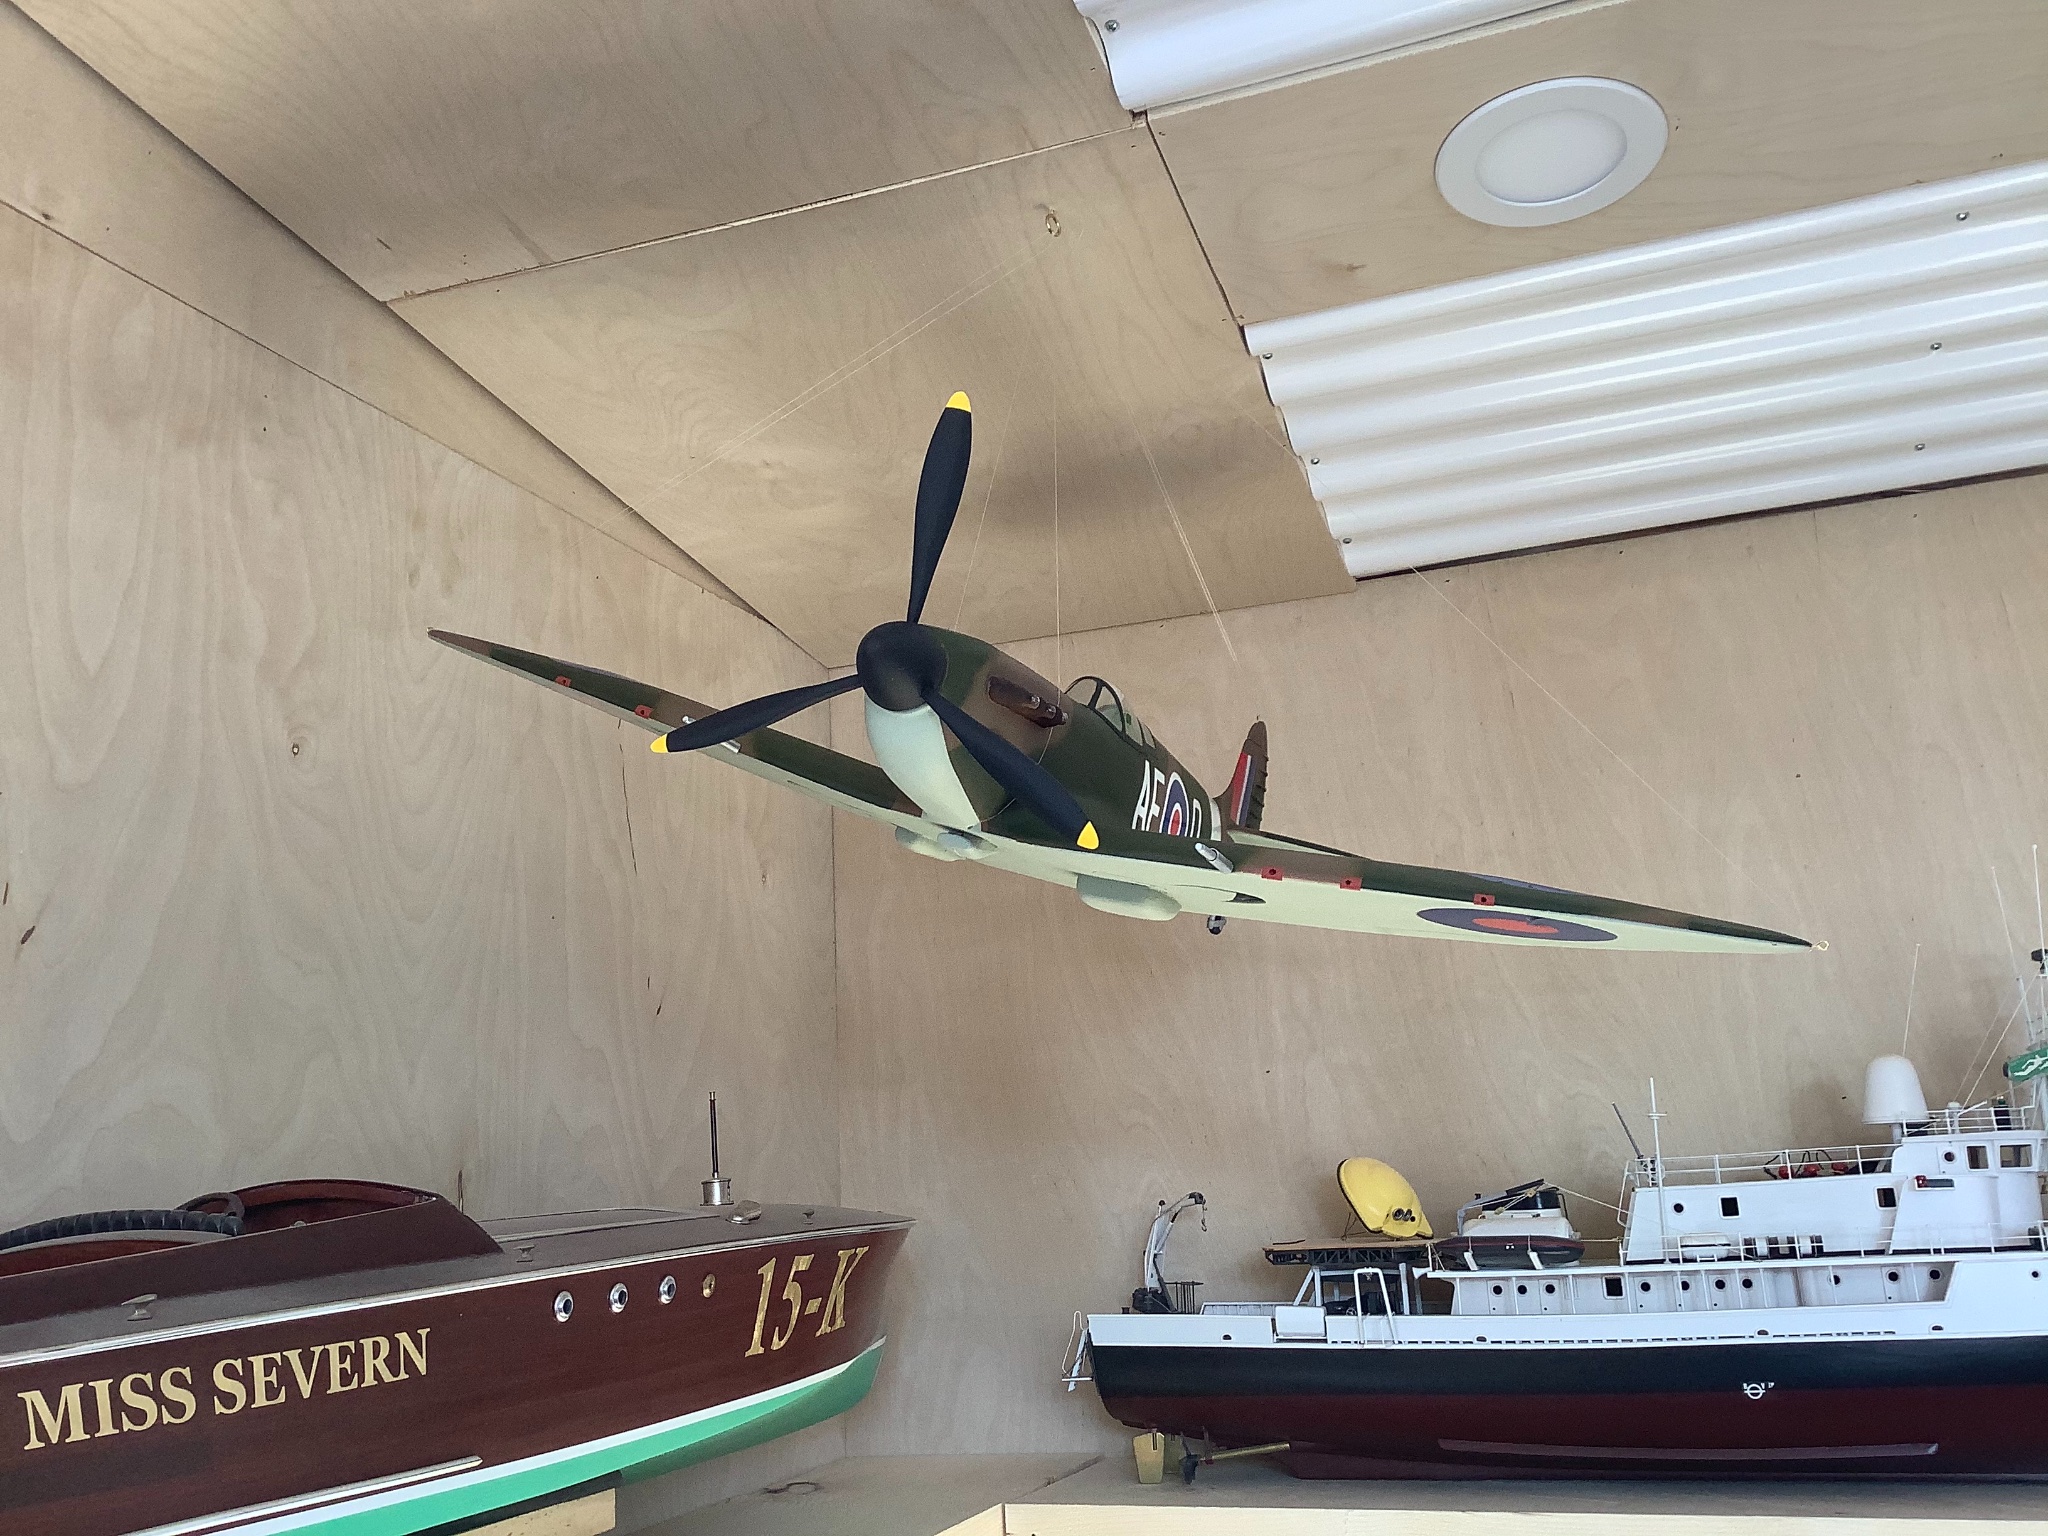
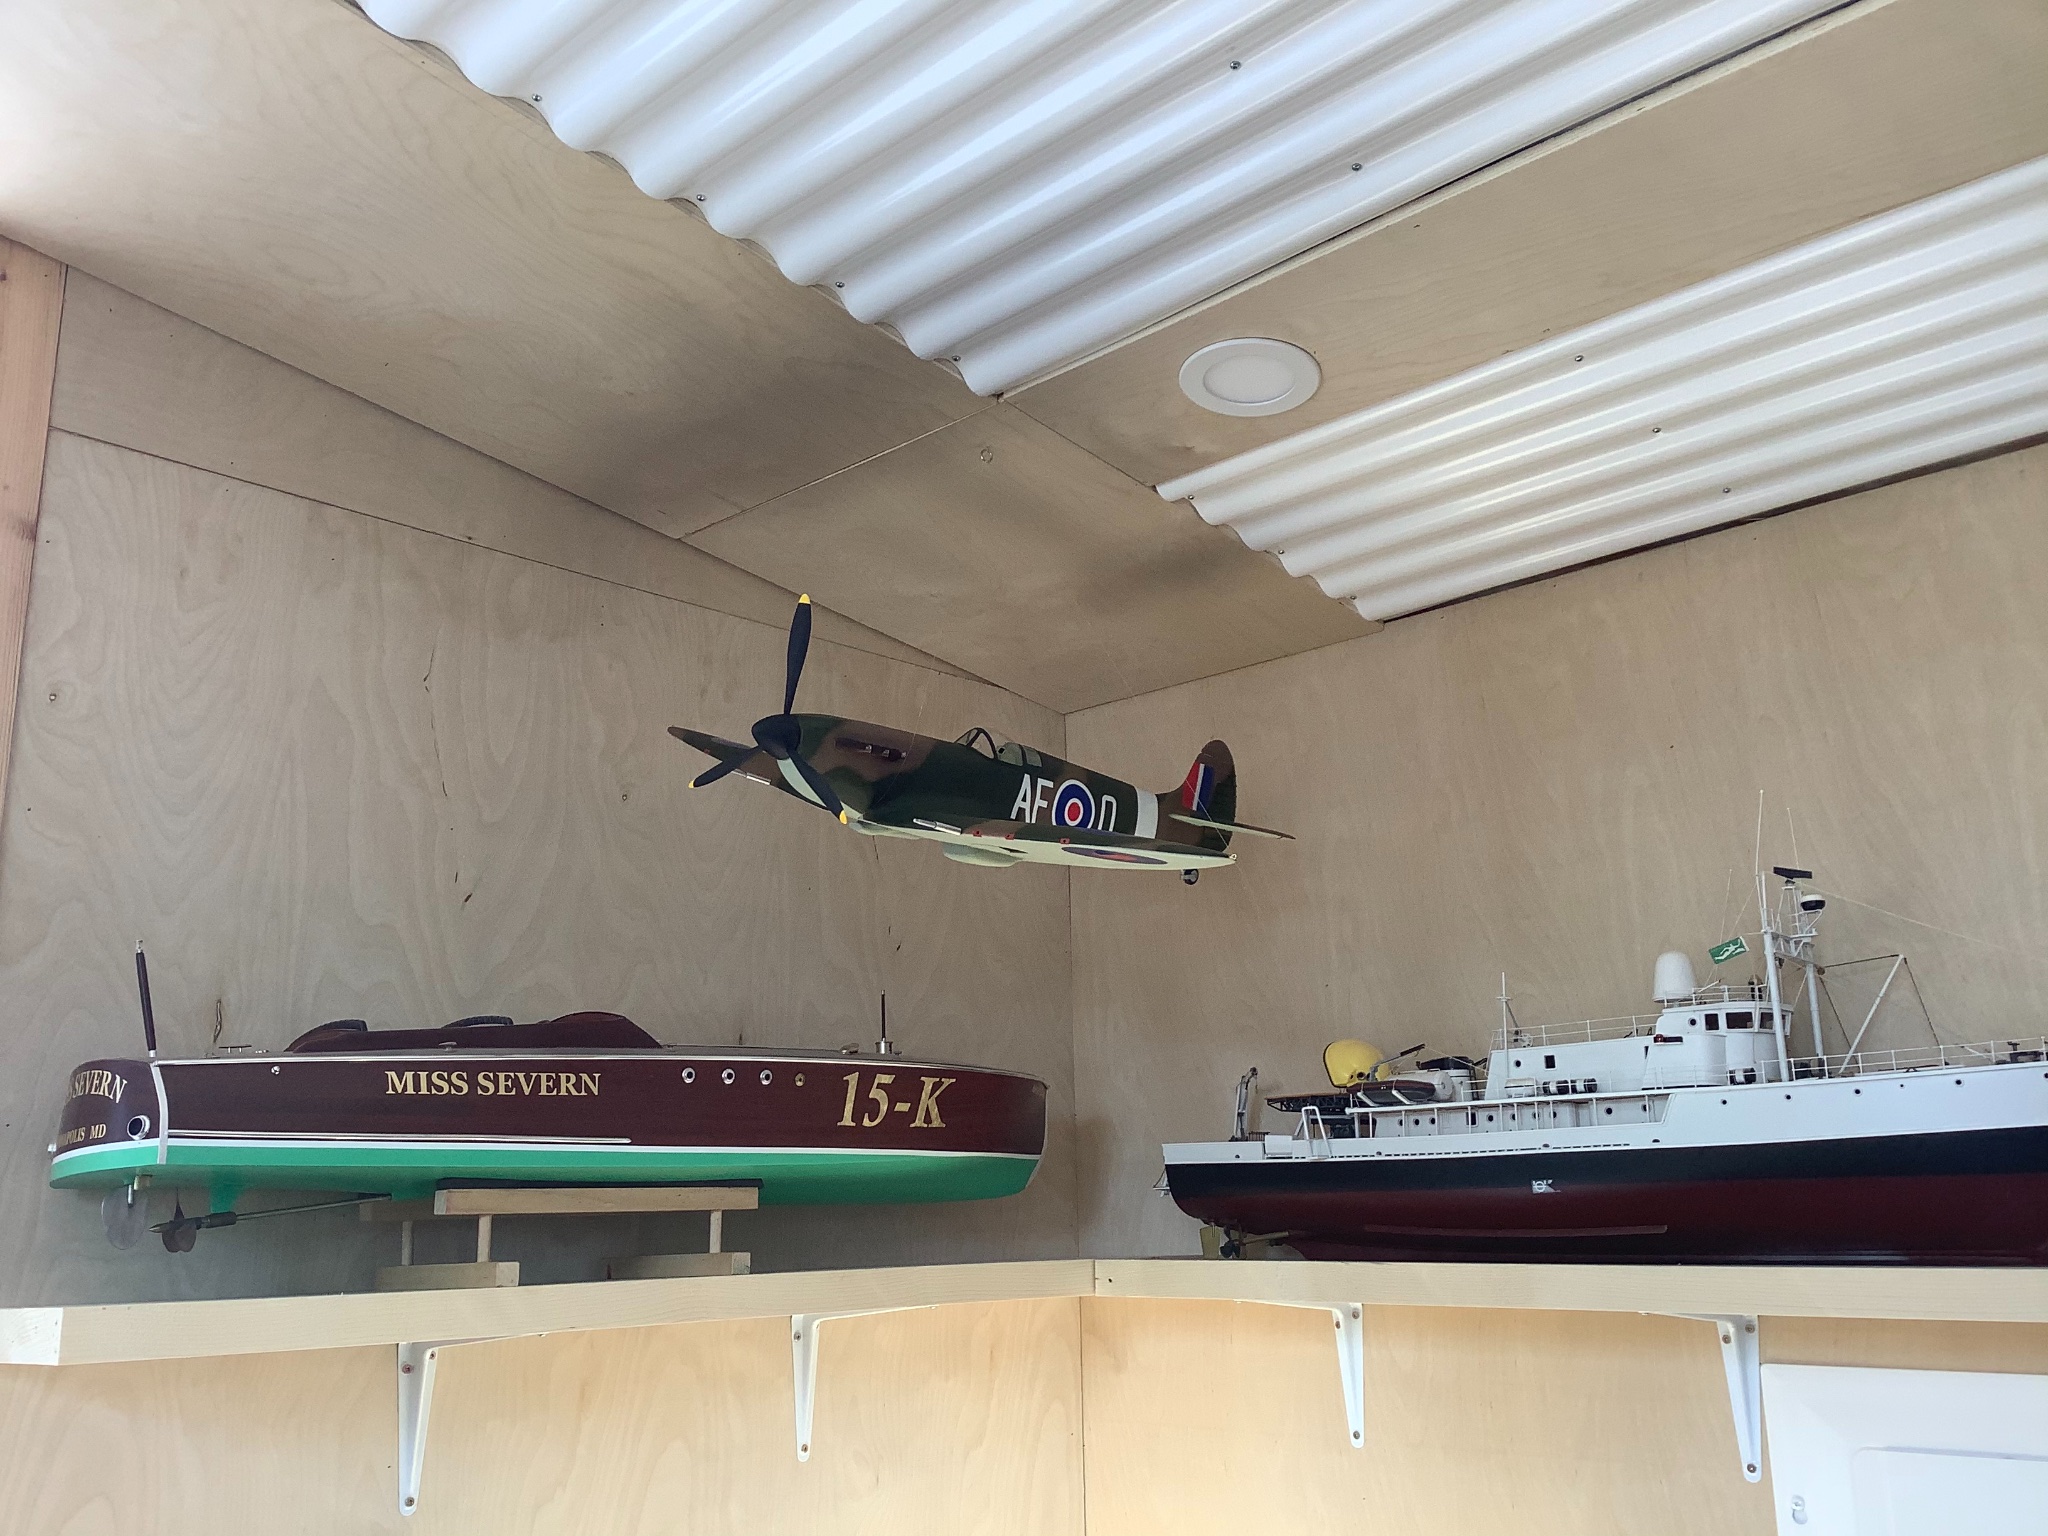
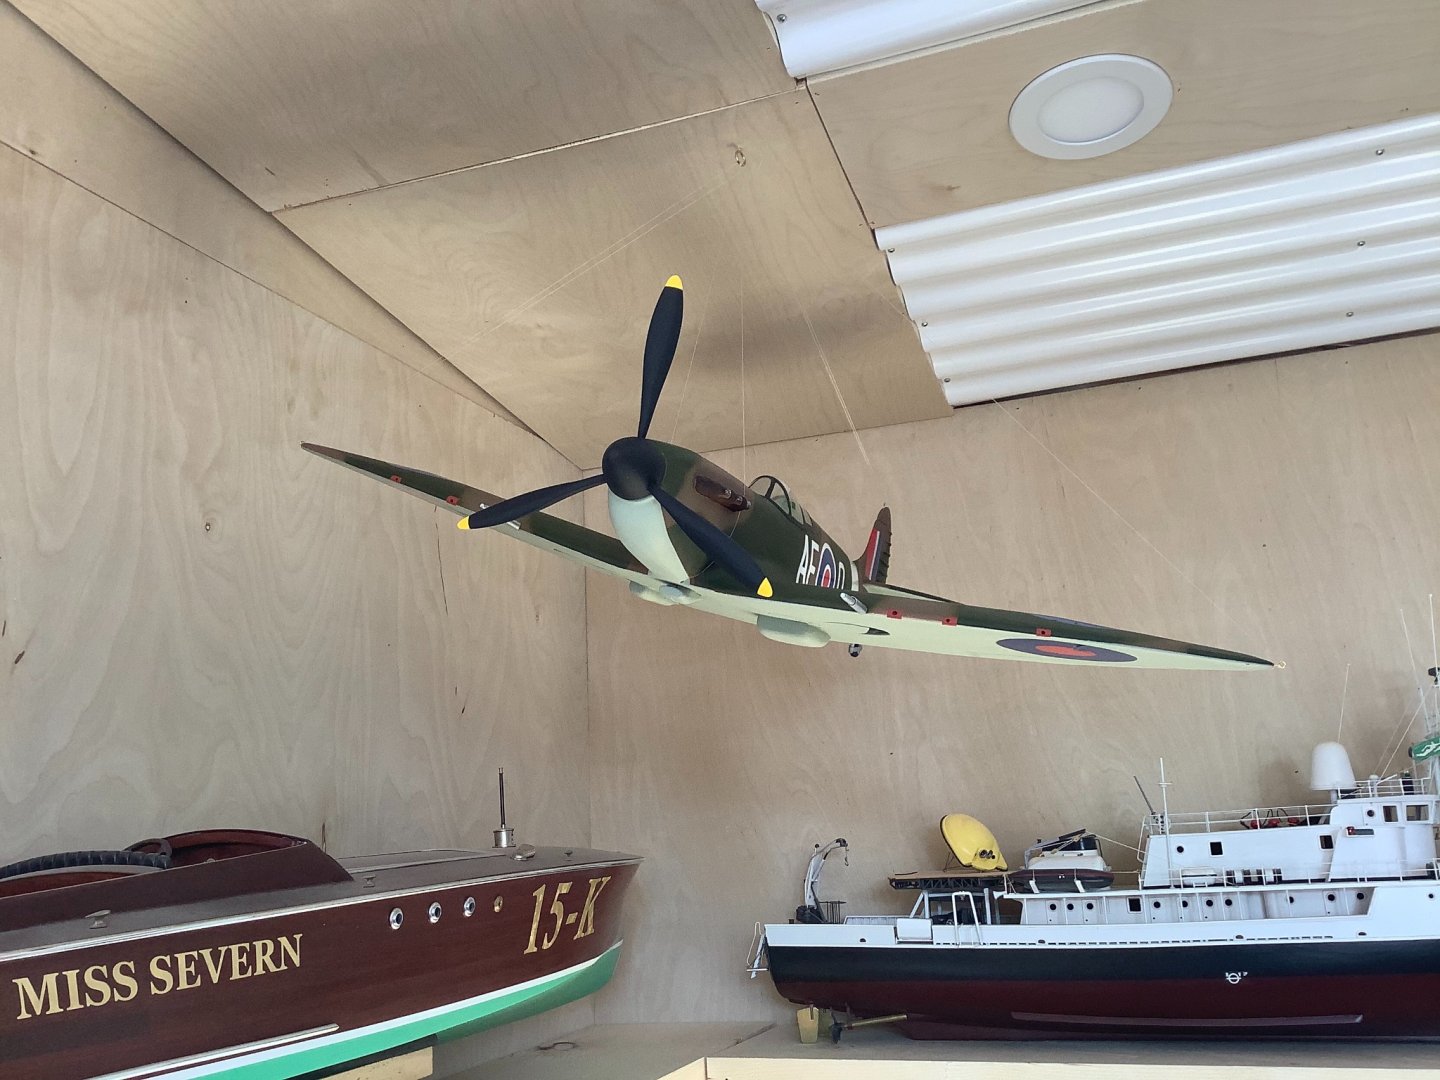
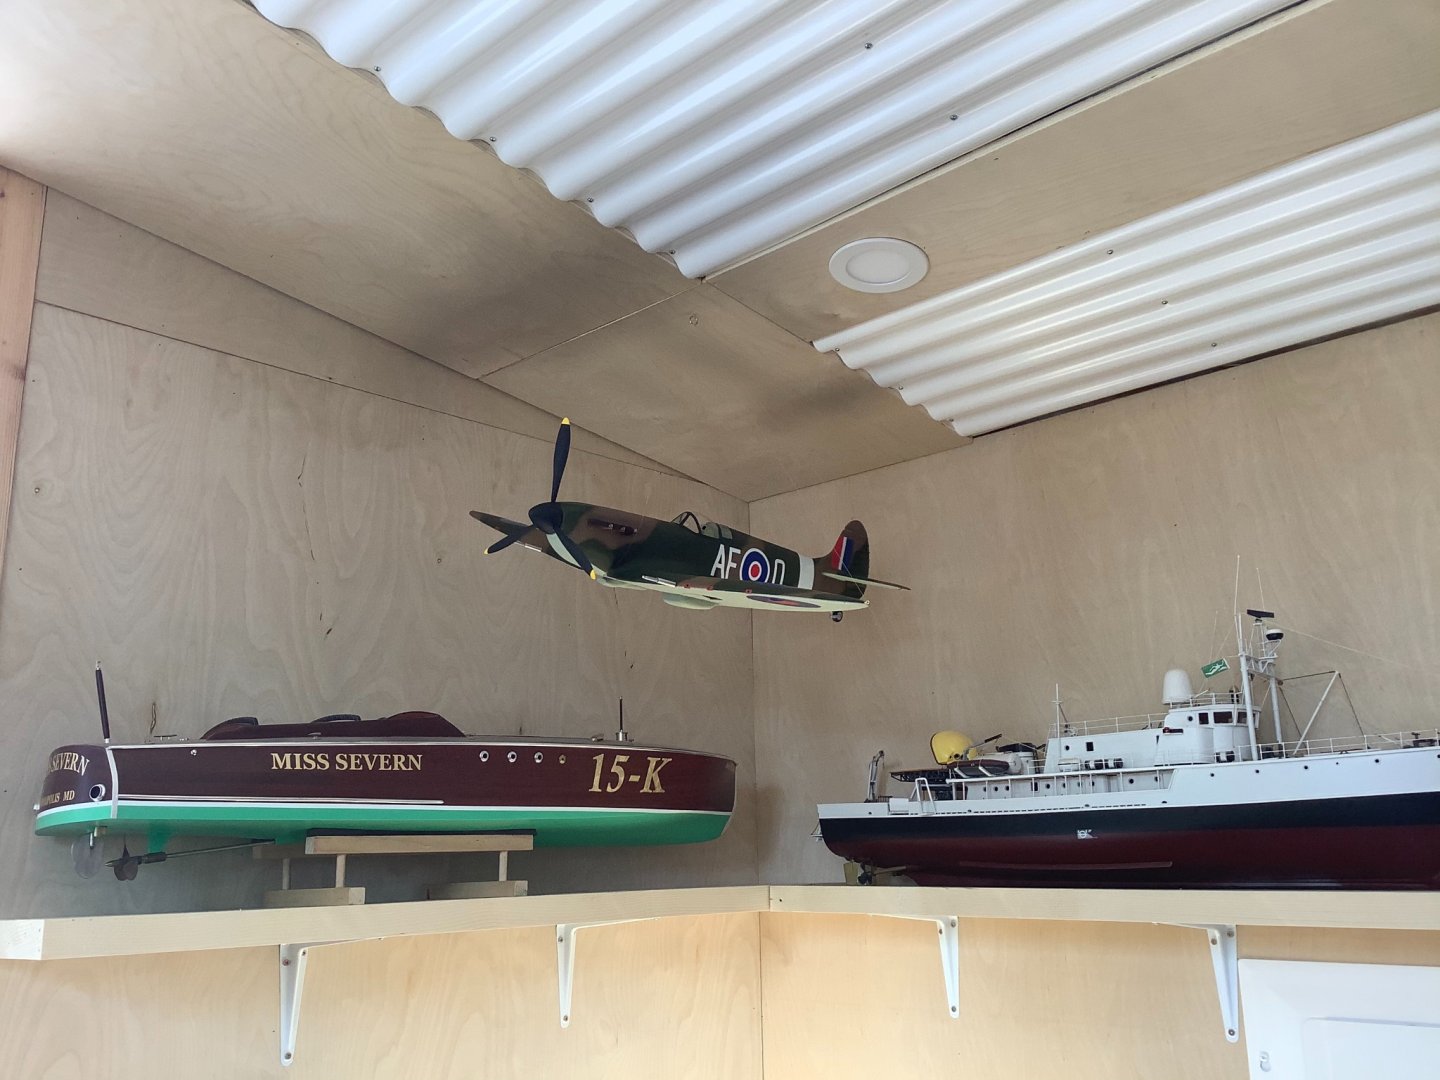
Thanks Slowhand, and everyone who looked in on this. I’ve called it a wrap and the Spitfire is now happily flying in the model builders cabin and harassing the speedboat. So it is possible to make a decent and sizeable replica from these modest kits, just used a bit of extra wood and craft here and there, no real aftermarket bits. May do another at some point if I see another kit somewhere. The only thing I intended but didn’t do is the panel lining and riveting. I tried it out on a small section but couldn’t easily incise smooth enough lines on the wood structure that looked satisfactory to me, so eventually abandoned that idea. I think they would likely be best drawn on, but well I have a ship to get started on! Cheers all...
- 74 replies
-
- 25
-

-
-
Thanks Chris - yes I wouldn’t have the heart to try and fly this one given all the crash landings in my model plane youth.
-
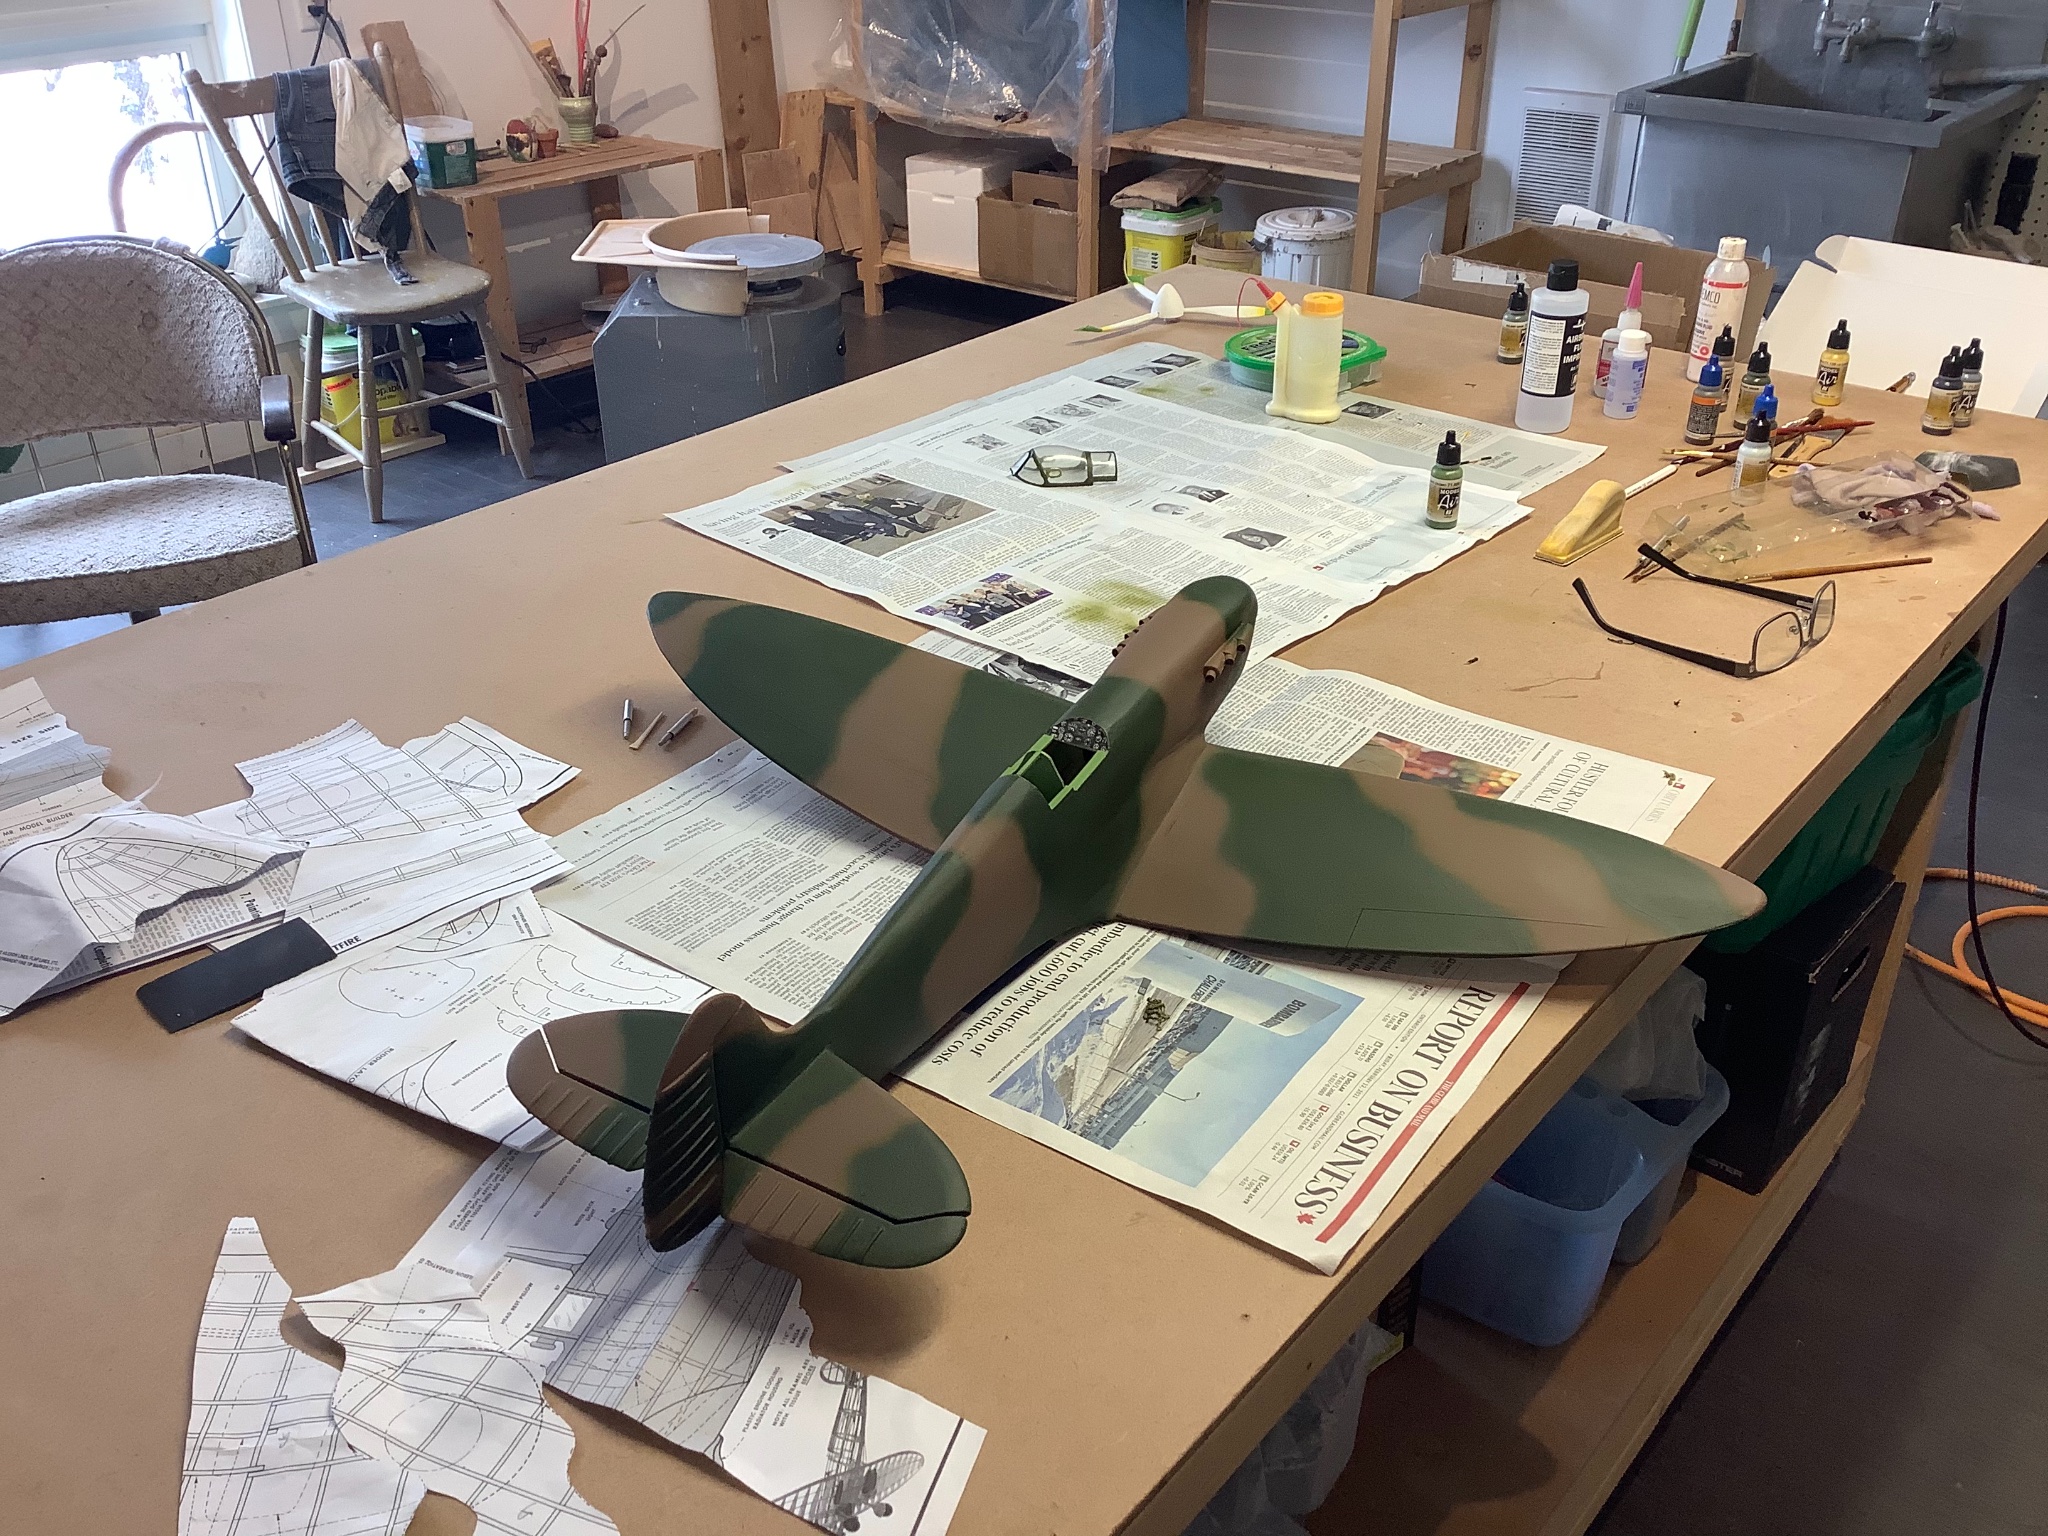
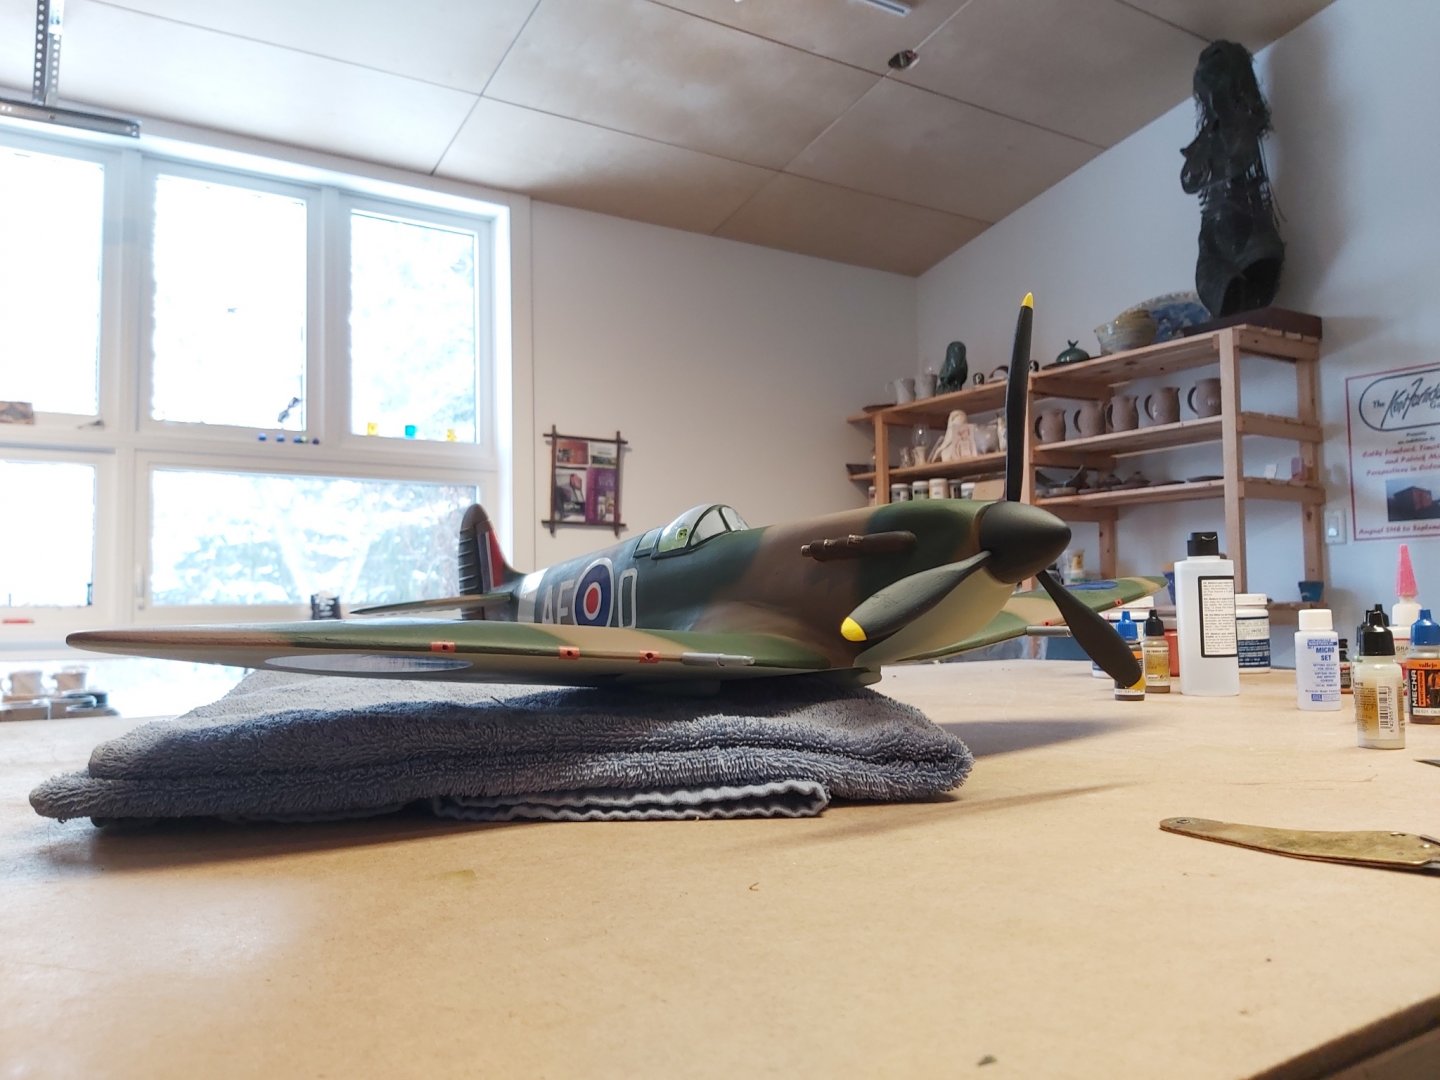
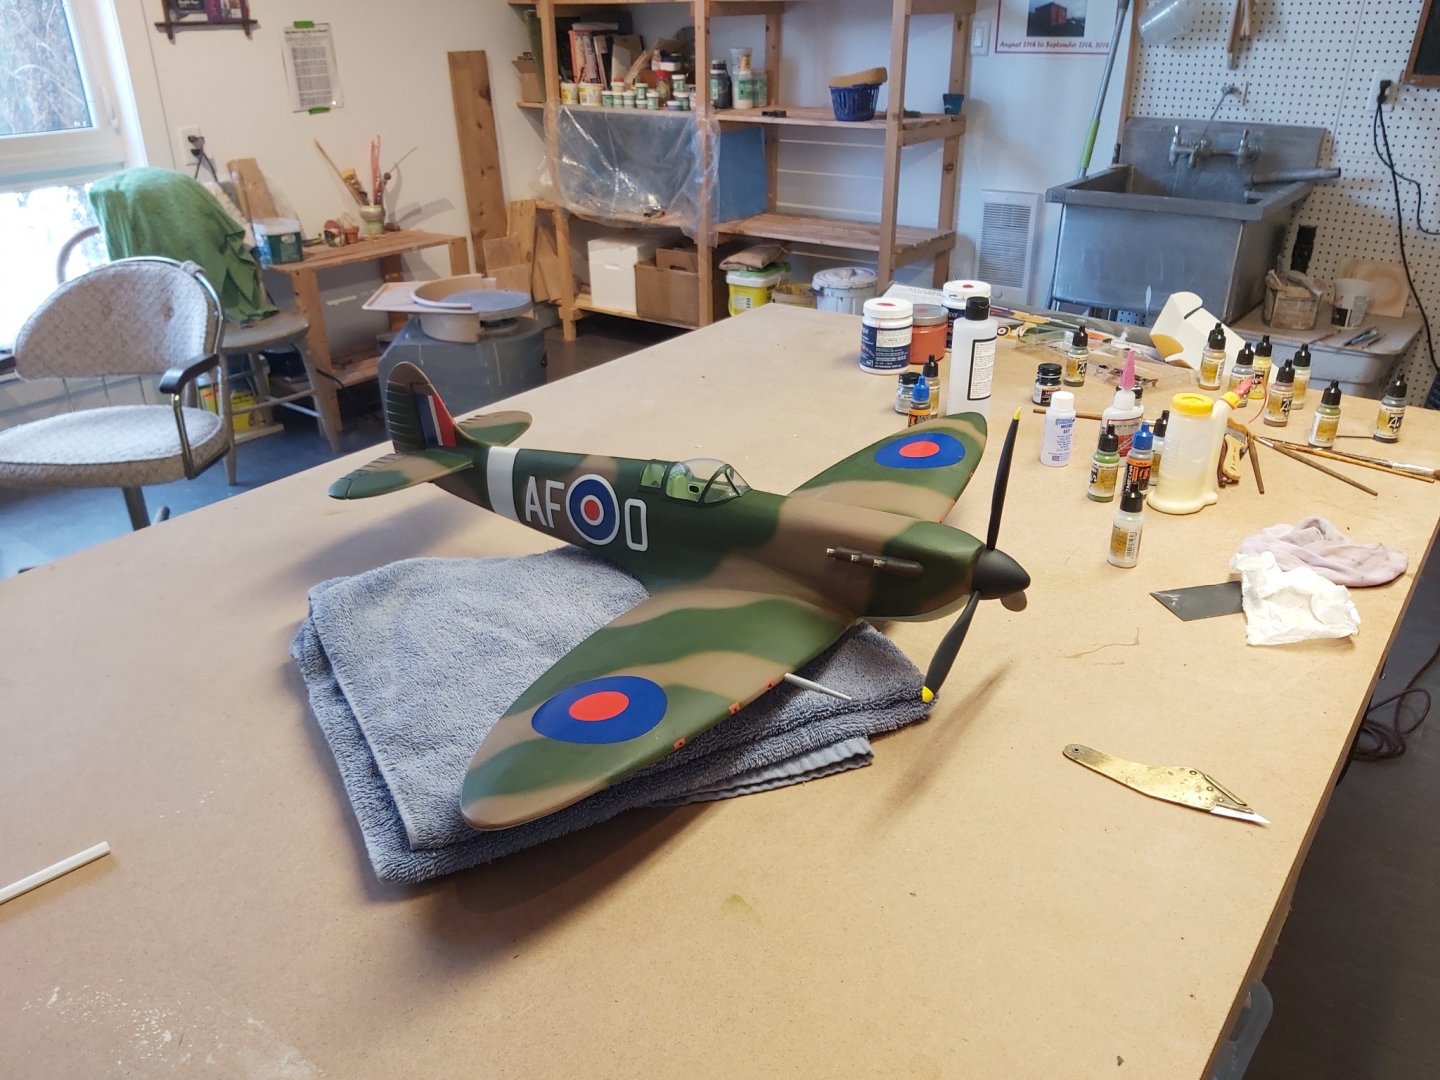
Thanks Egilman! Just finishing off, a few more details to add, finish paint and maybe some lining and weathering. The colours I used are Vallejo model air: cam pale brown and bs dark green topsides, and sky type s underneath. These are the RAF temperate zone standard colours I think.
- 74 replies
-
- 16
-
-
-
Hi Javlin. You are totally right about the canopy. Hard to make anything presentable out of it. I’m struggling there.
-
Hello Slowhand sorry for tardy reply but I’m finally picking this up again after working on finishing my Bounty, and waiting for my airbrush delivery. I cut all the infills the old fashioned way with my little hand saw and a knife.
-
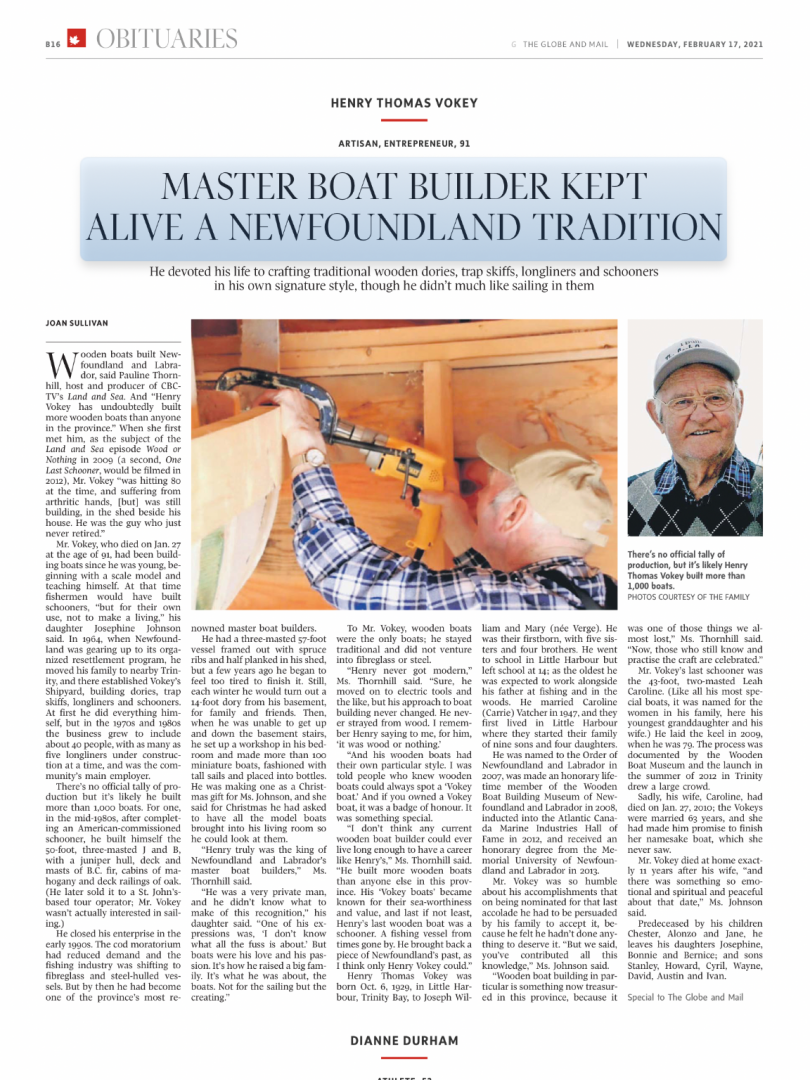
Of interest to boat builders both large and small. Globe and Mail, February 17, 2021.
- 1 reply
-
- 6
-
-
-

-
Terrific work. Really like the texture you are achieving and patina on your woodwork. How did you do the weathering on the deck if you don’t mind me asking?
-
1/48 HMS Surprise, who makes the best flags.
Tim Moore replied to ratskiss's topic in Wood ship model kits
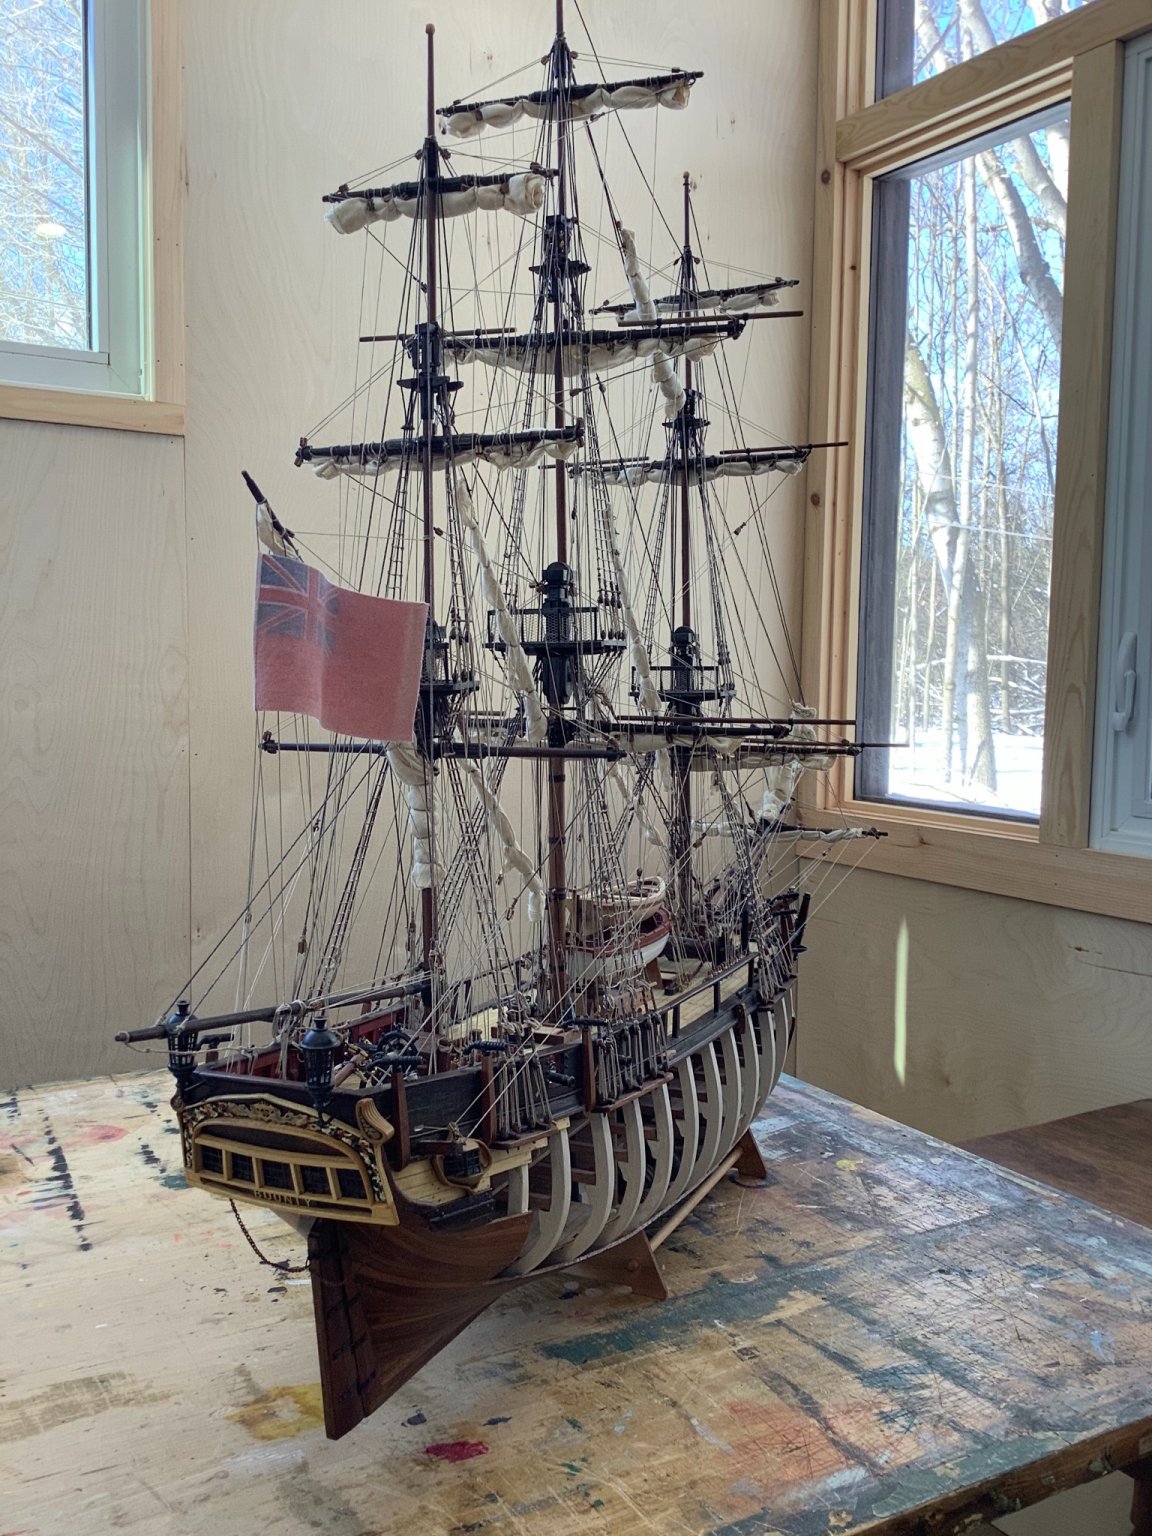
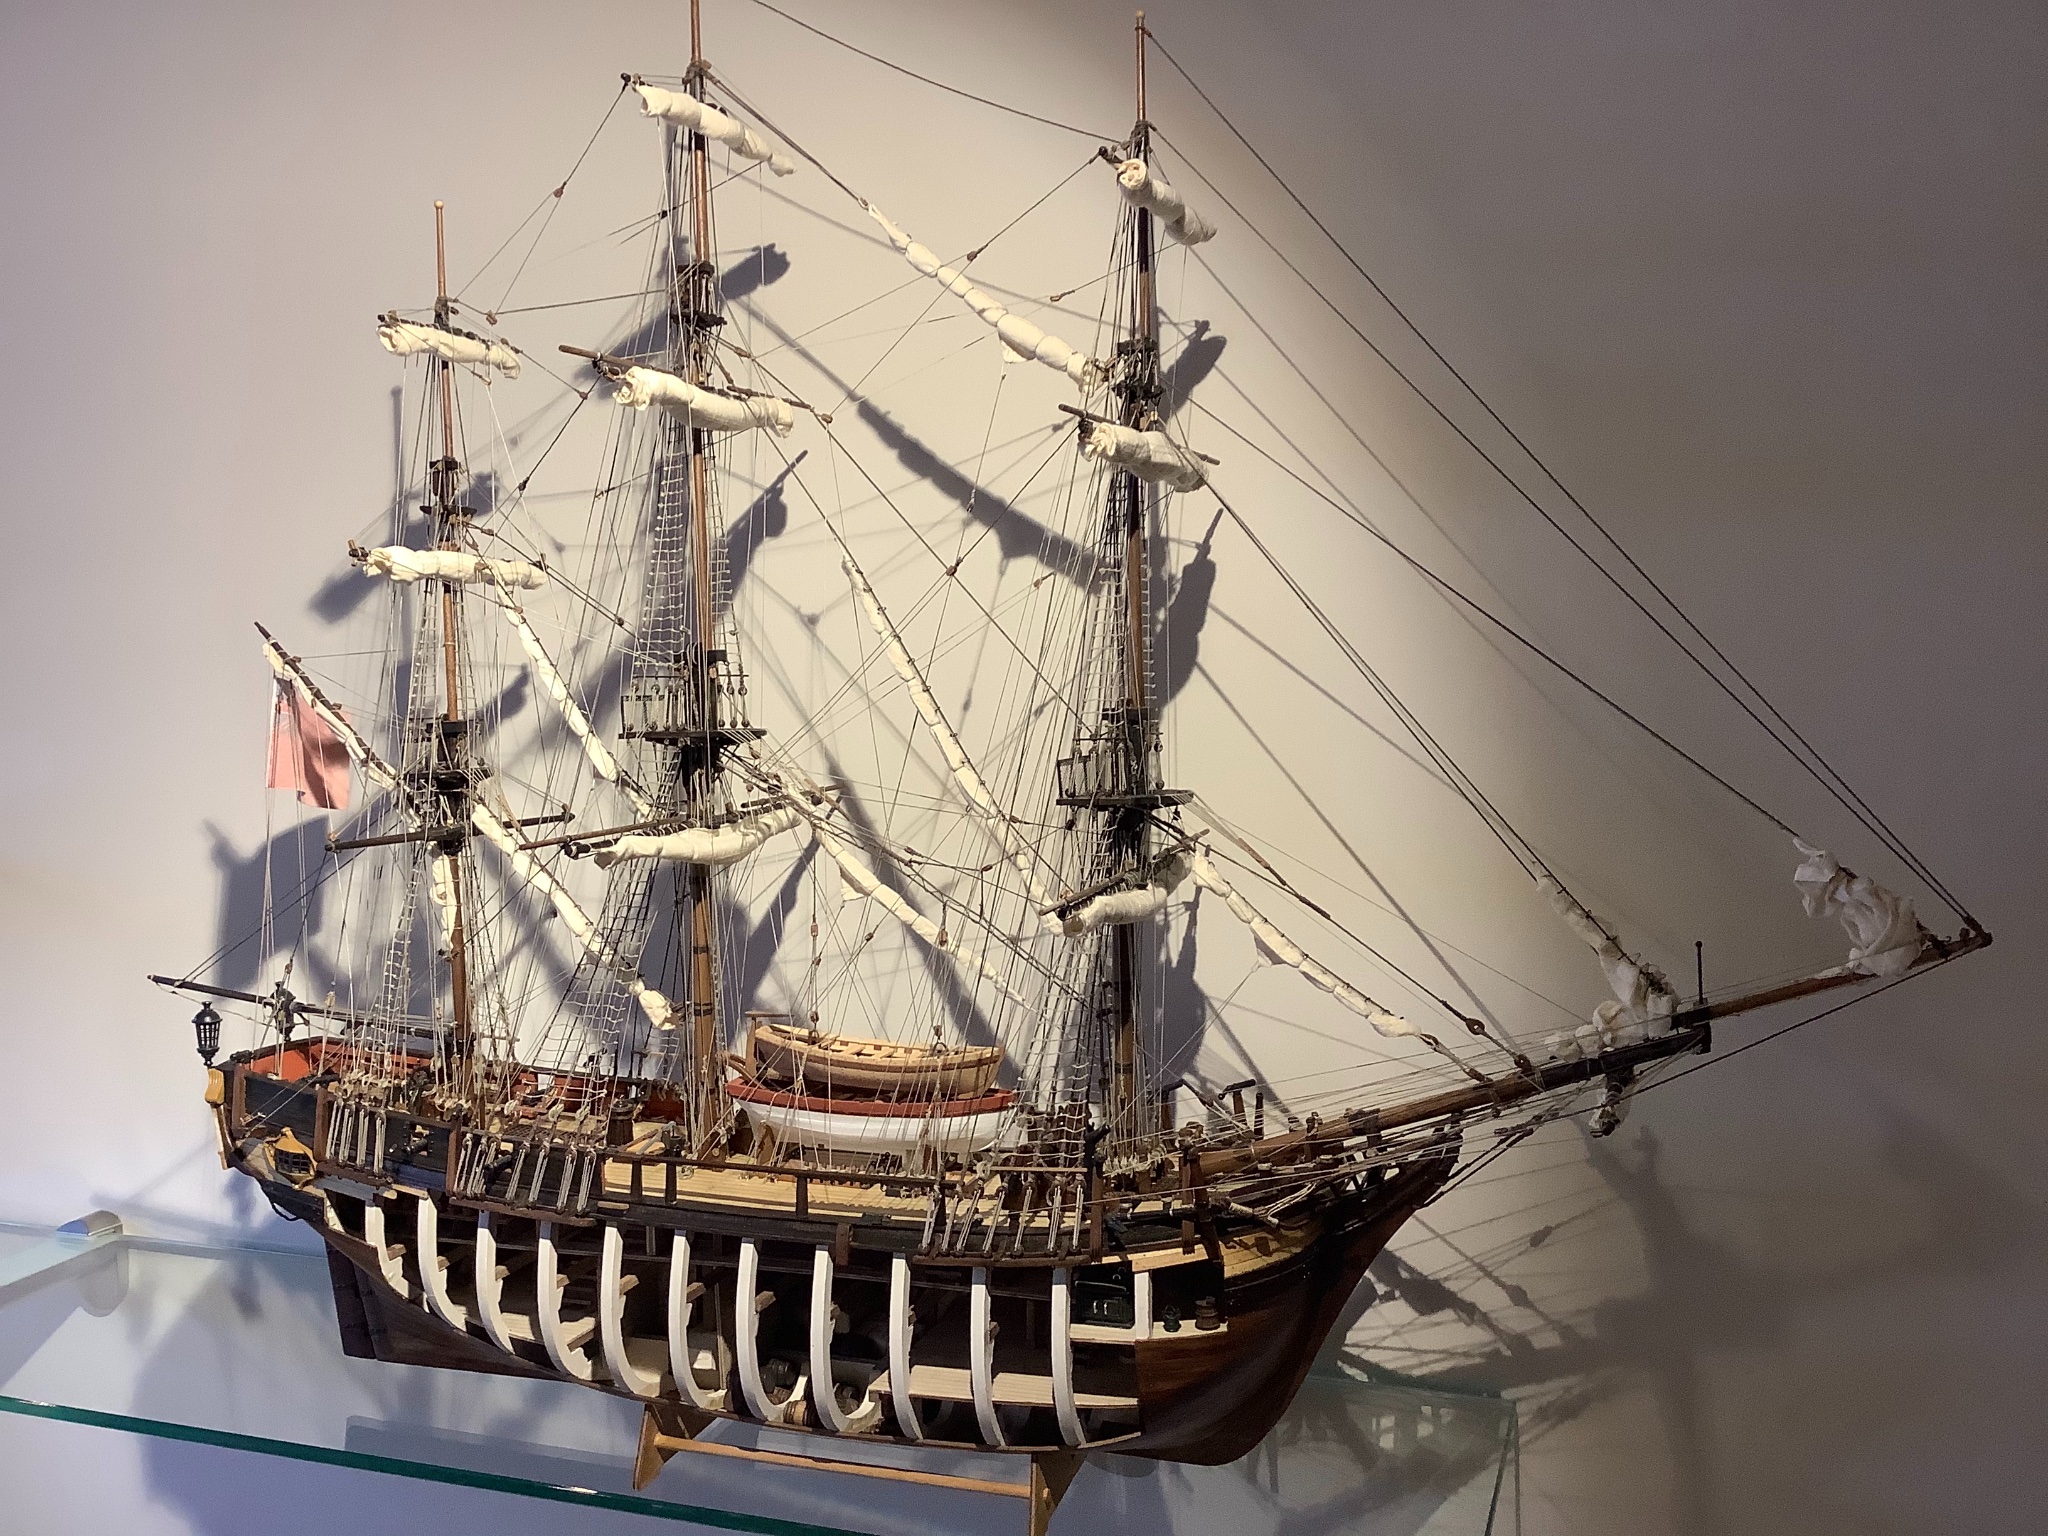
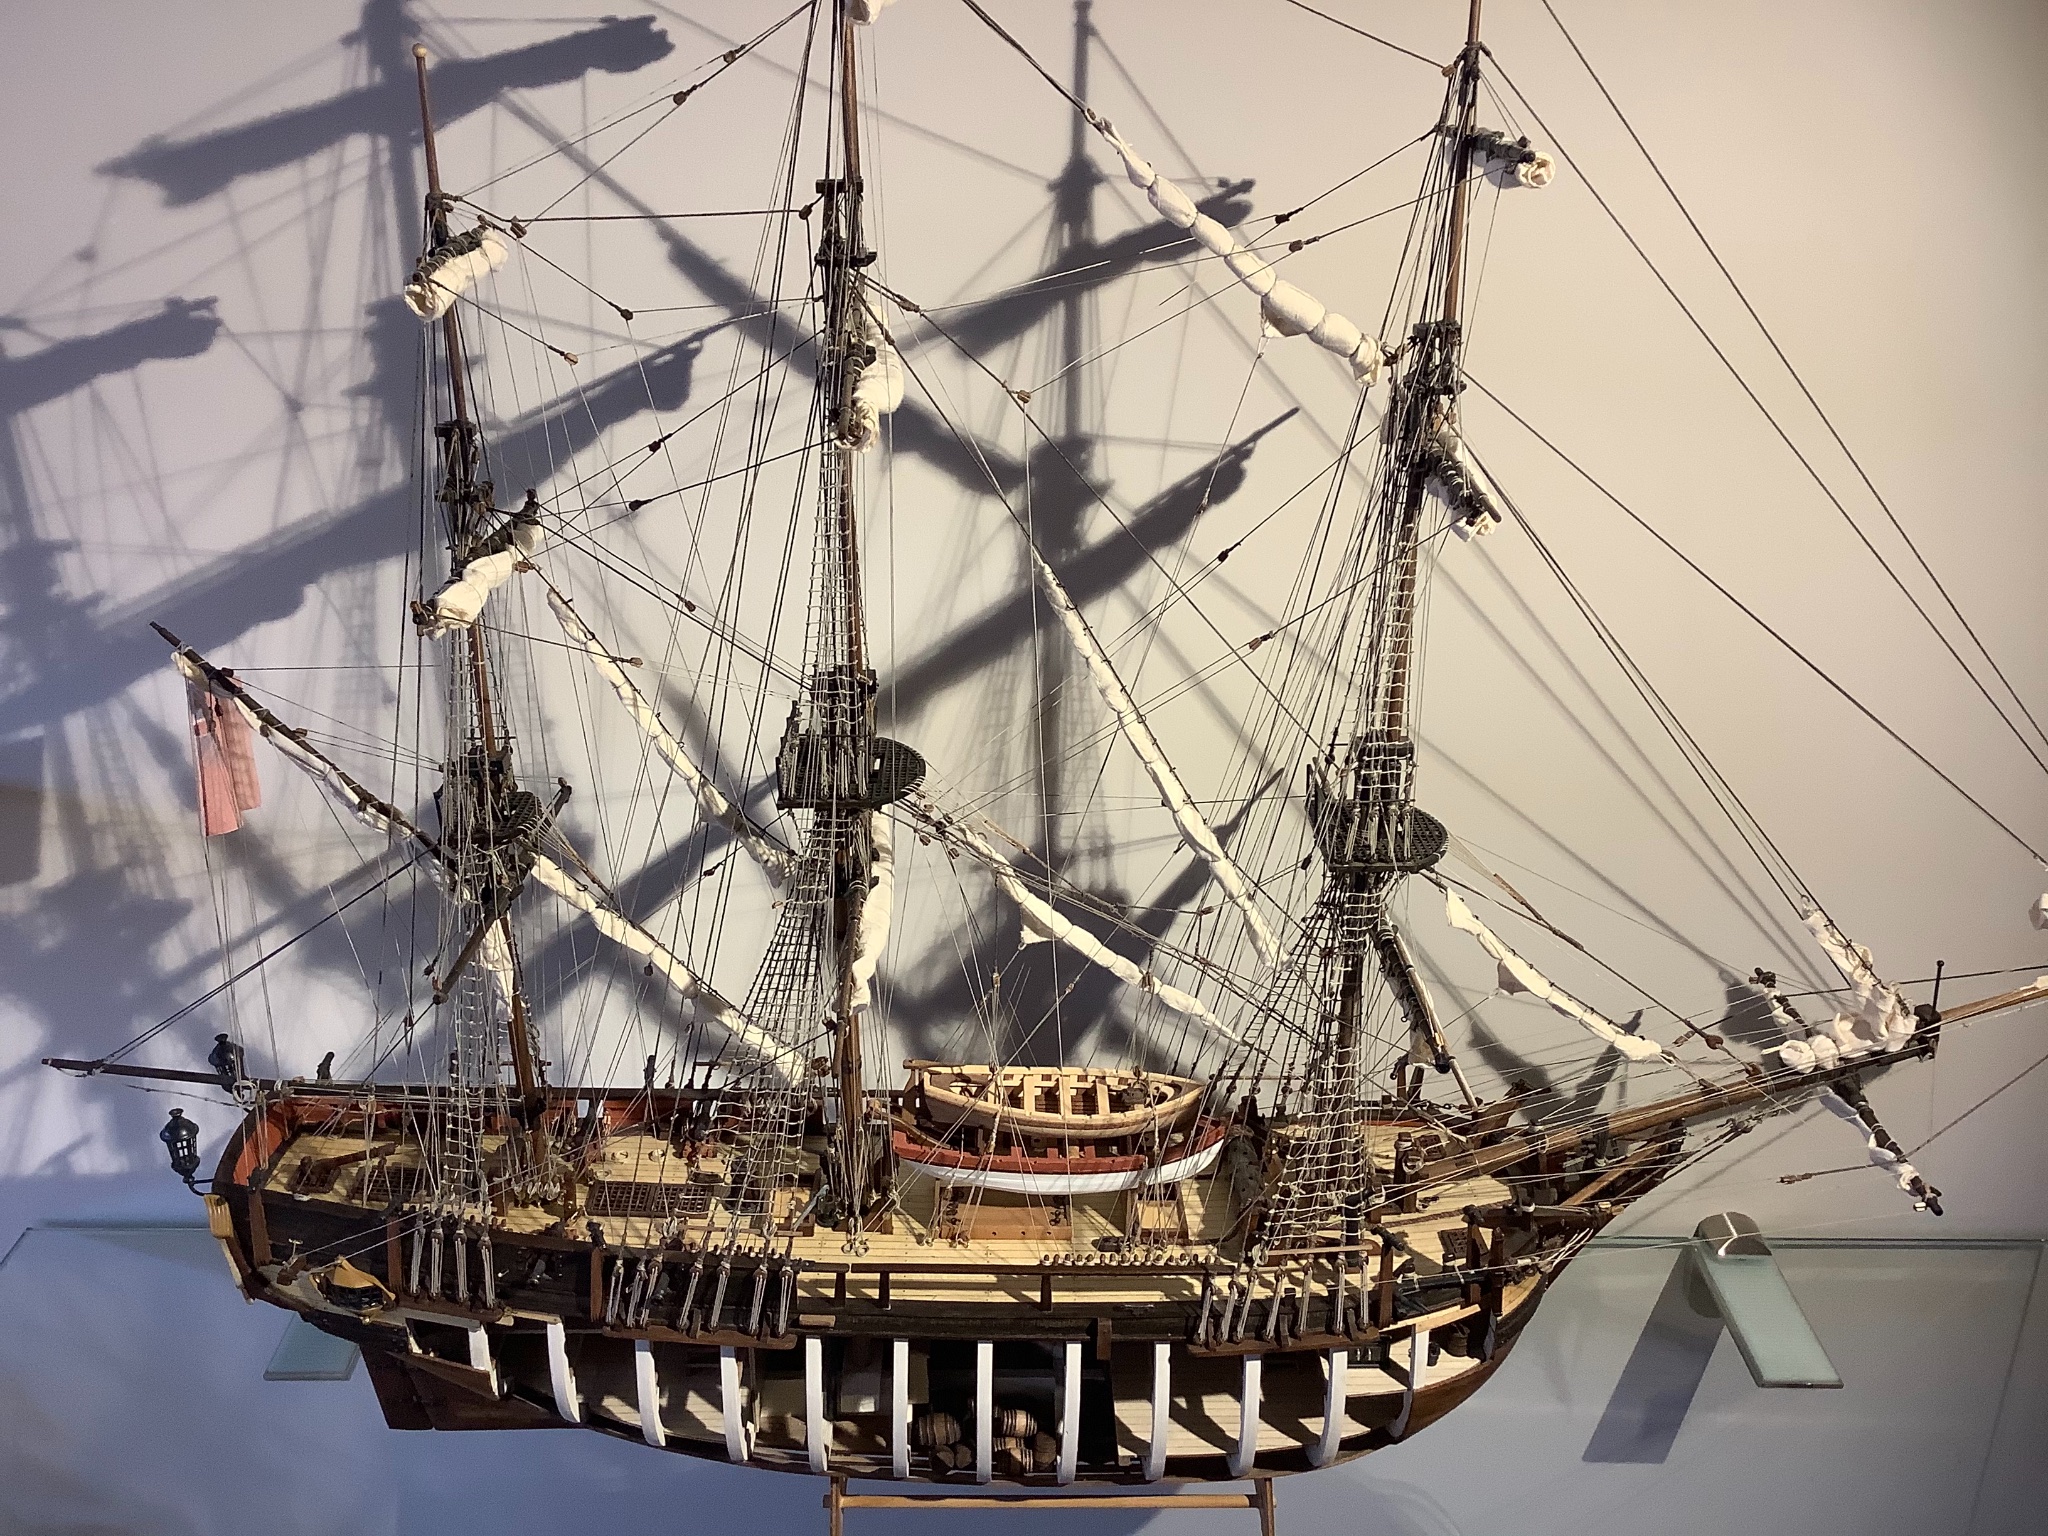
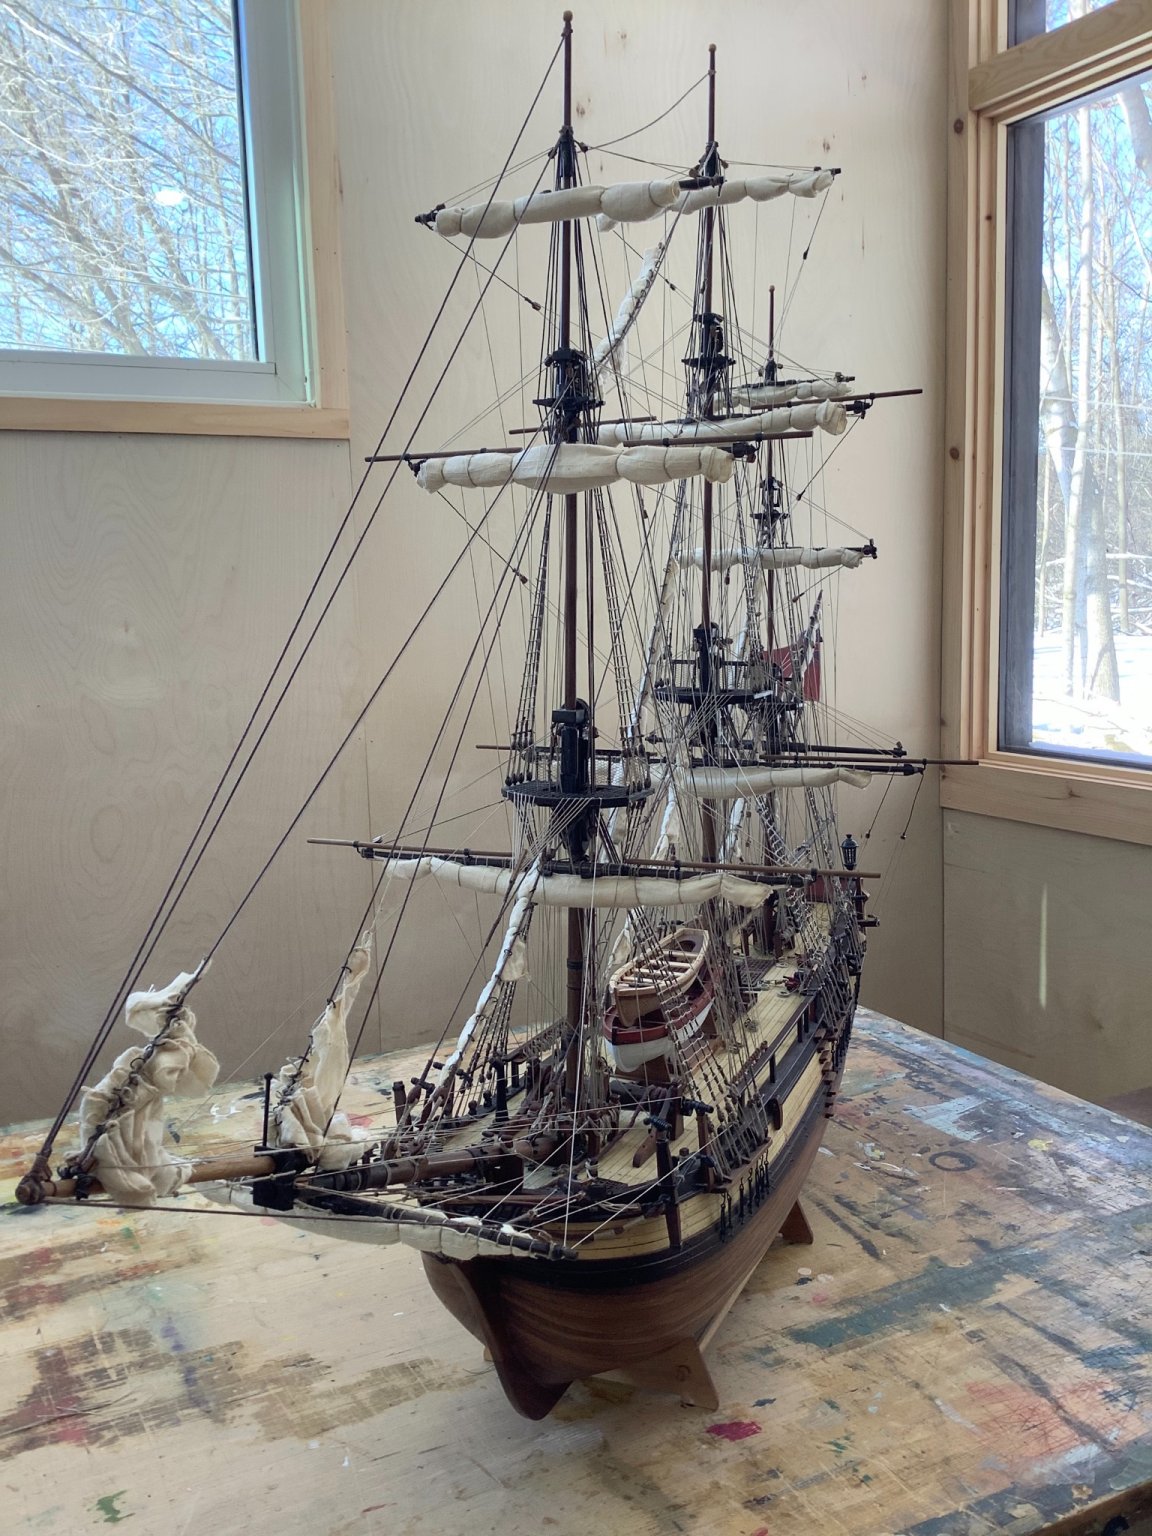
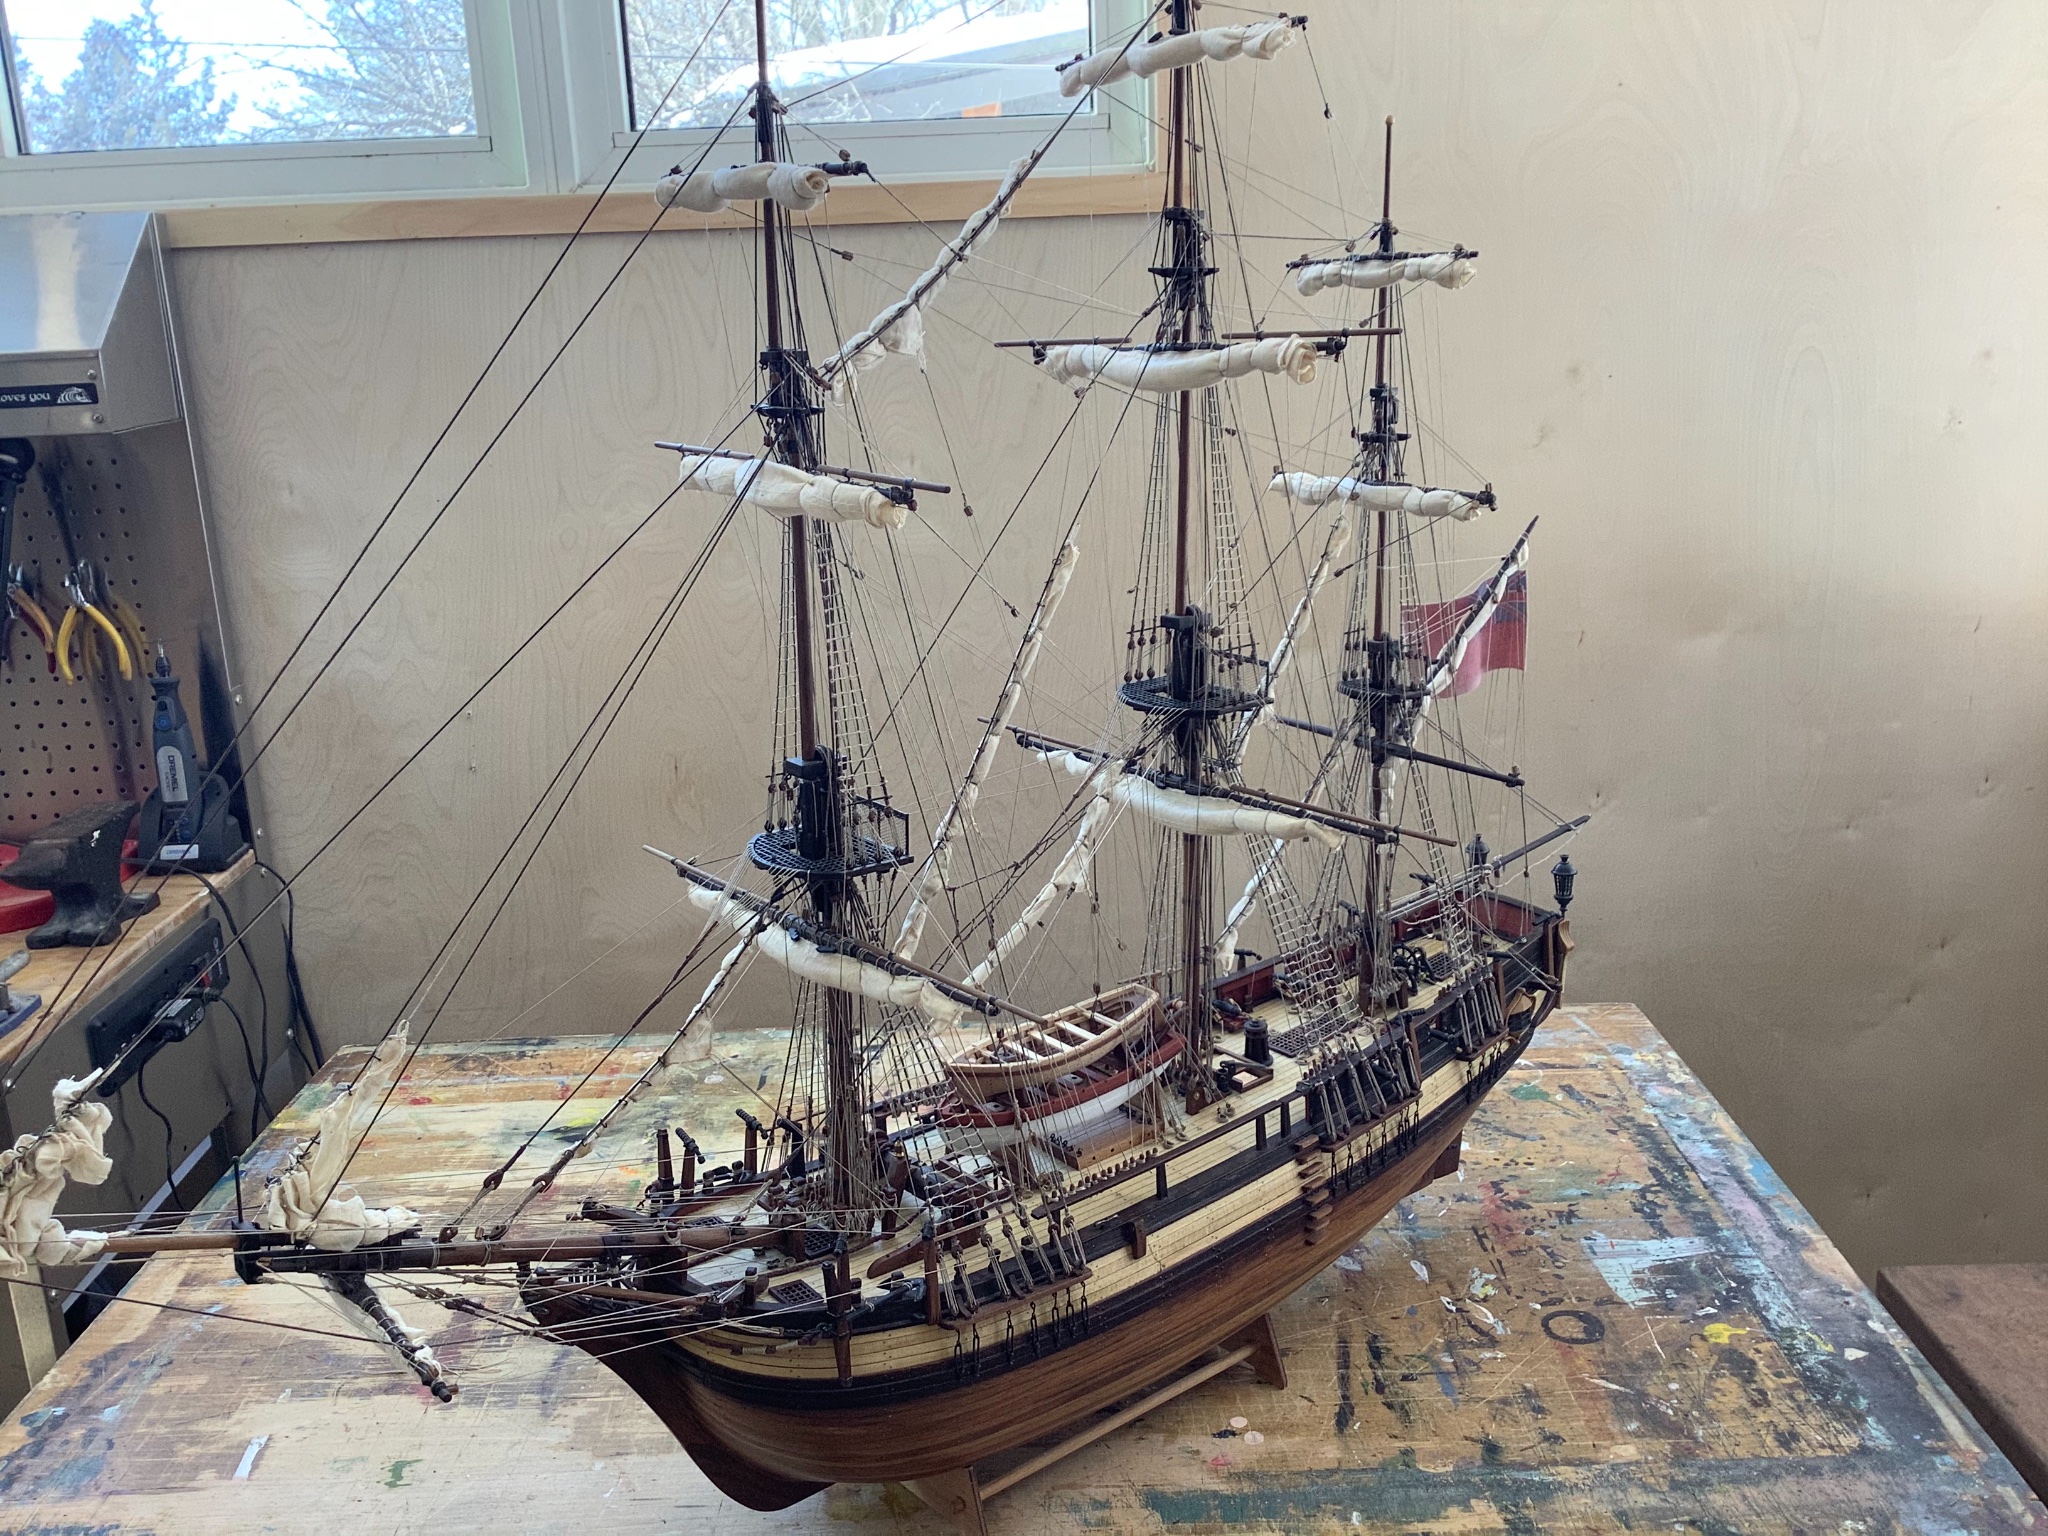
In case you don’t end up getting other flags, I just completed the AL 1/48 Bounty and had the same concern about the garish plastic looking flag in the kit. So I sanded it fairly aggressively across the face and edges and rolled it for a while to give it a weathered and frayed sort of look that seems appropriate.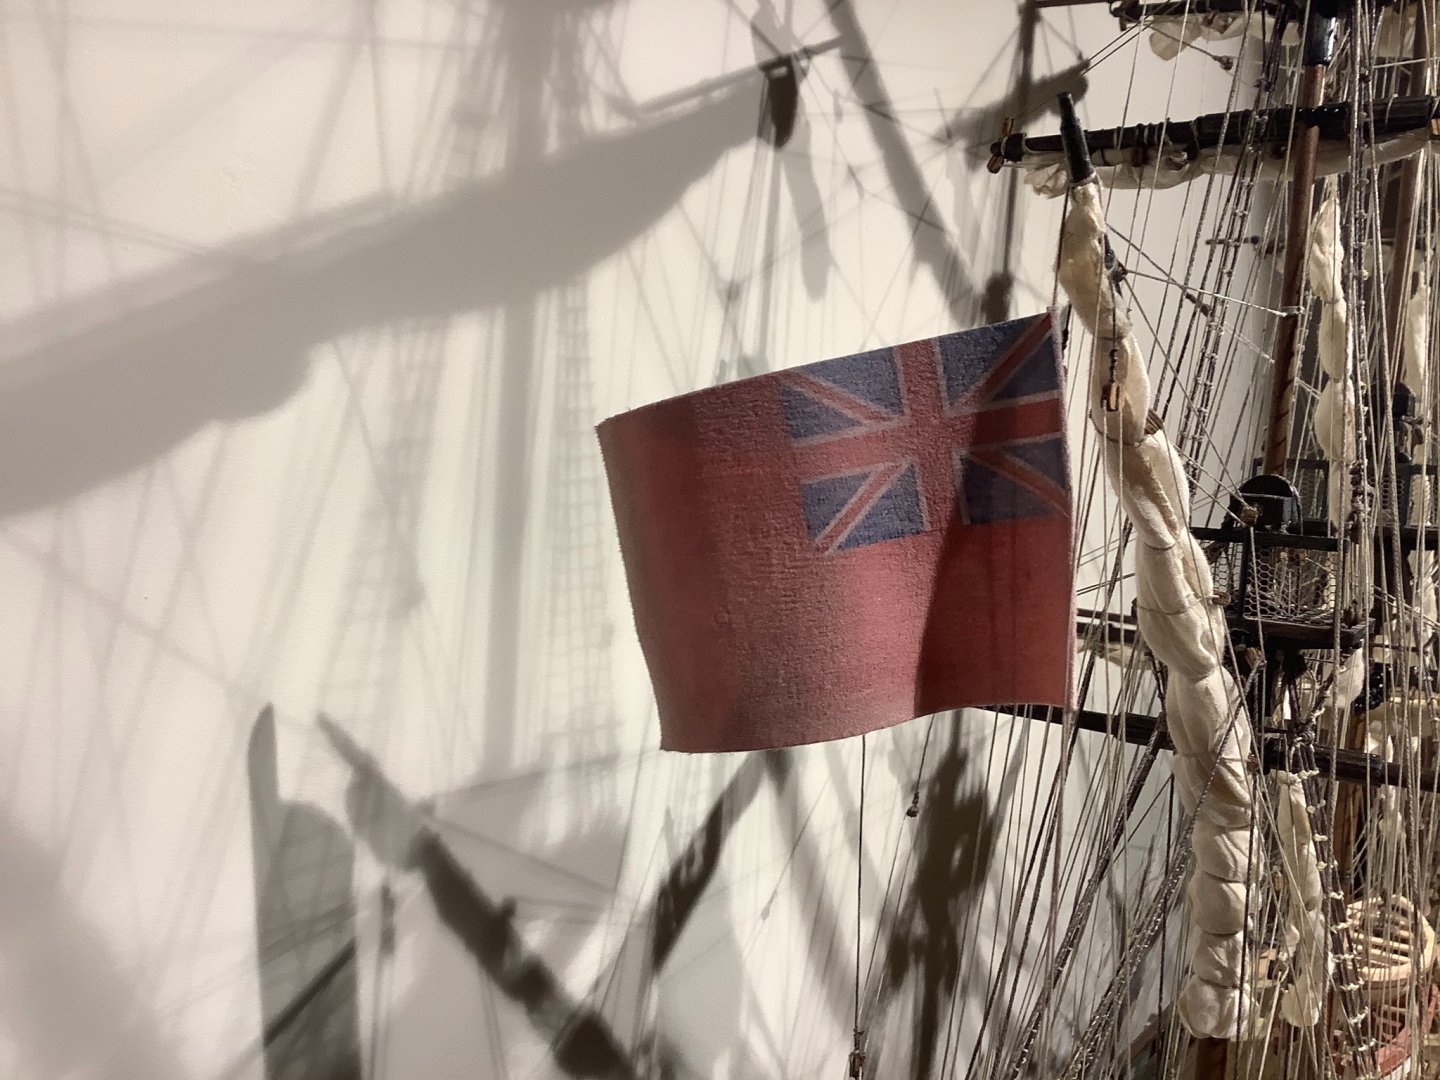

-
Thanks Sam! I appreciate you checking in throughout my build.


- 171 replies
-
- 10
-
-
- artesania latina
- bounty
- (and 1 more)
-
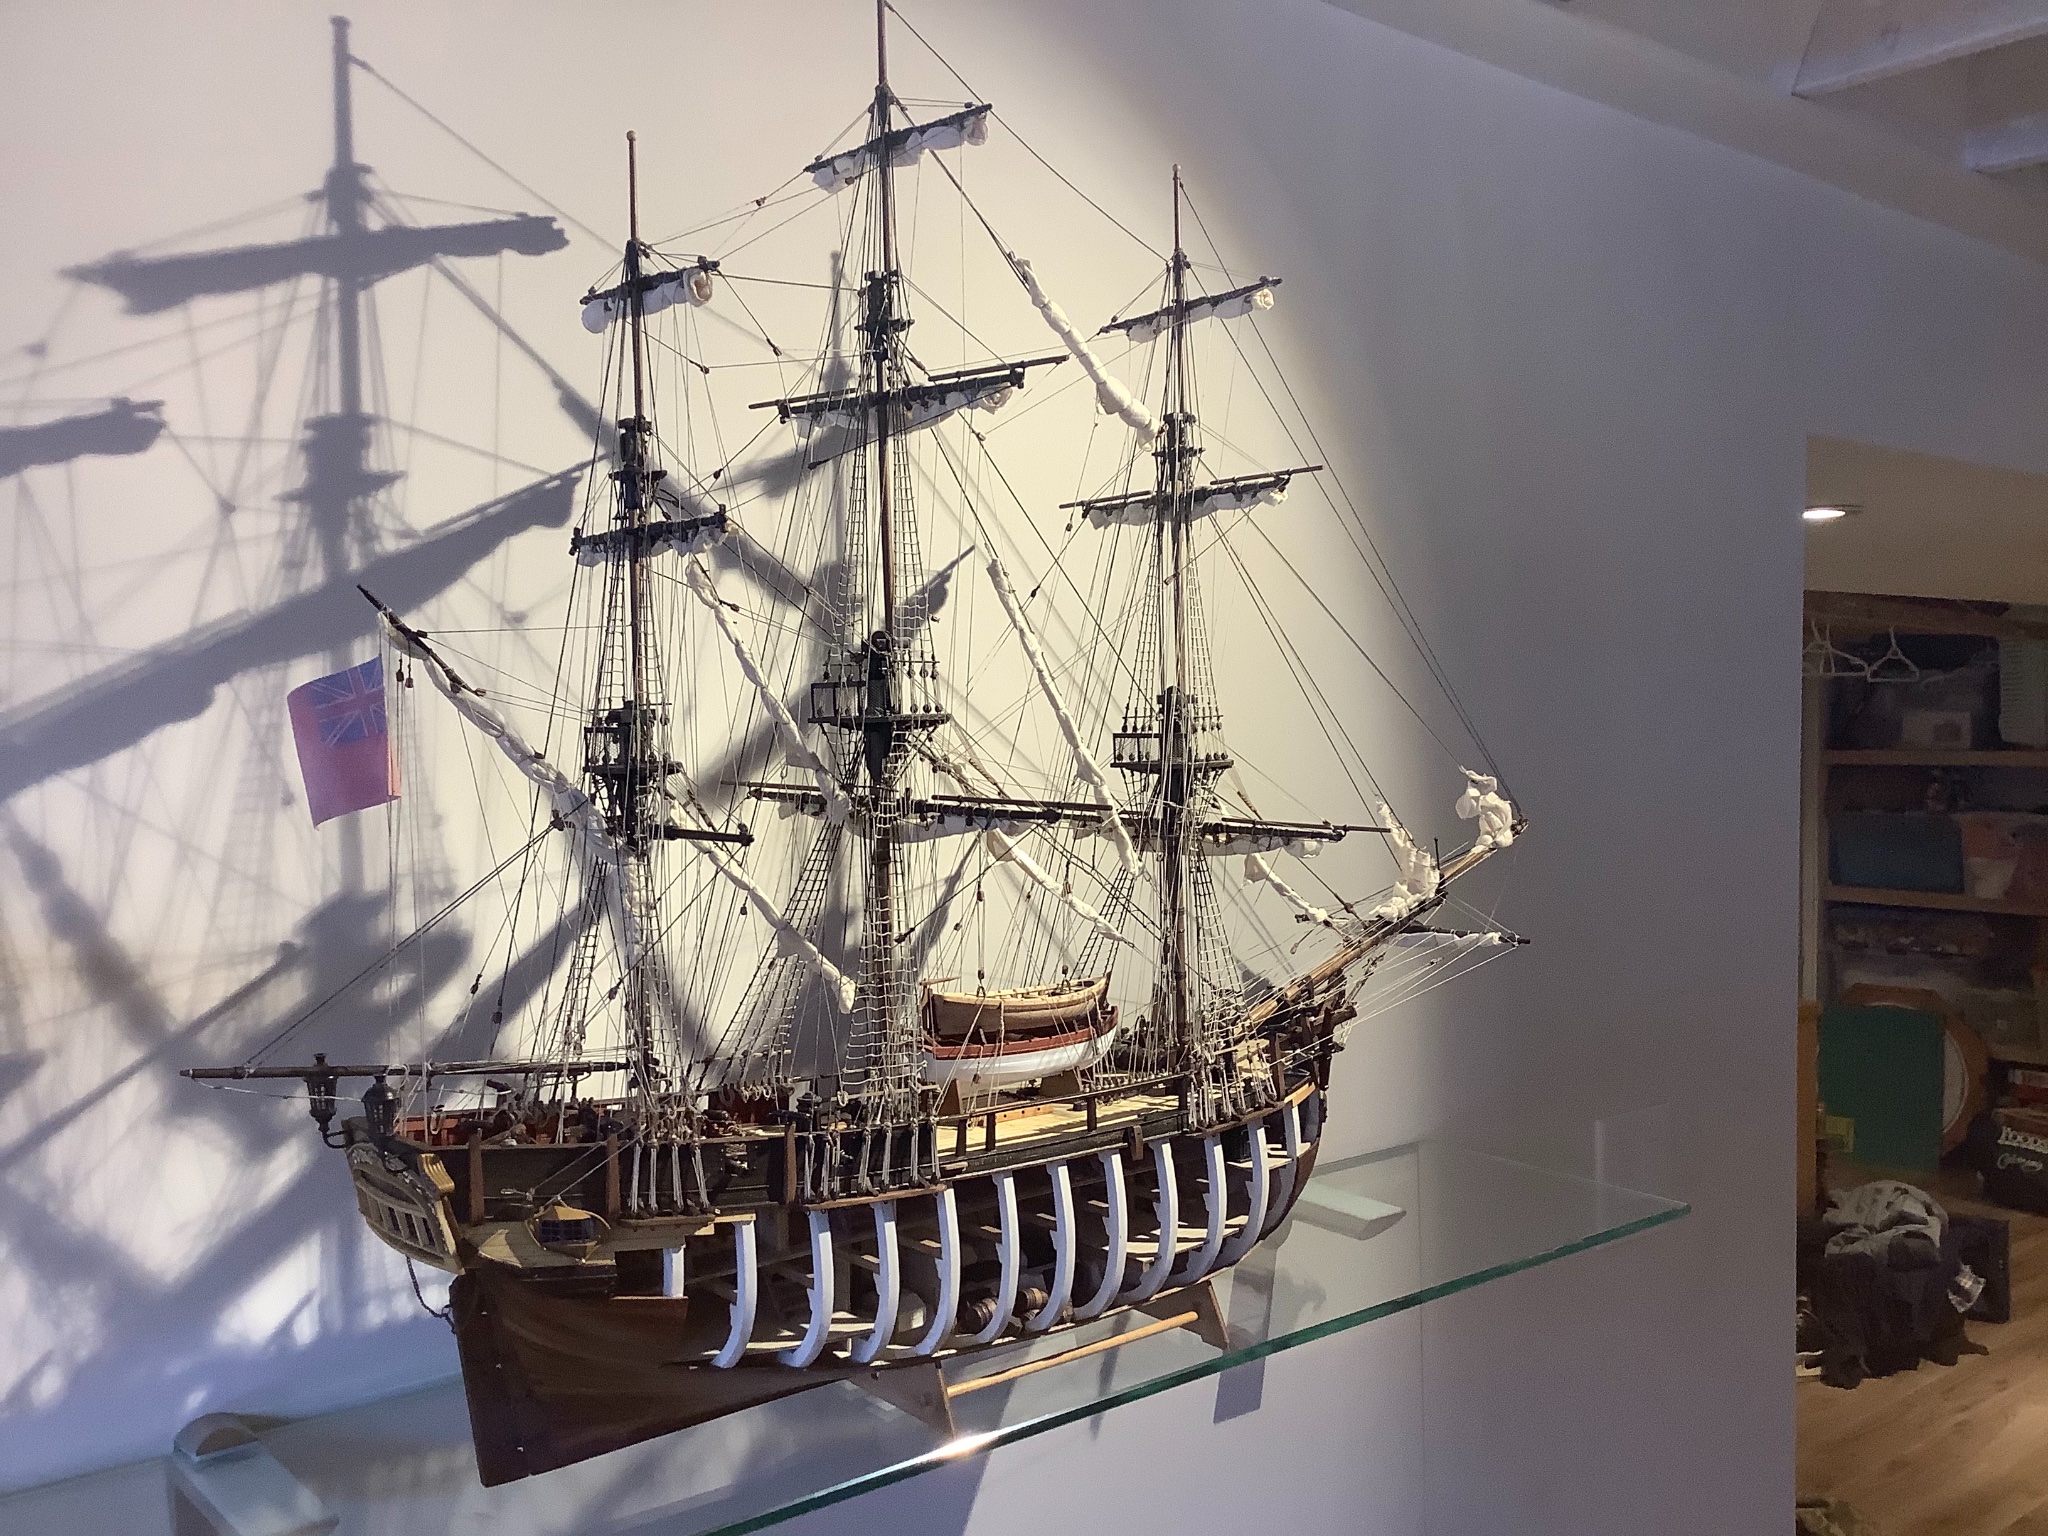
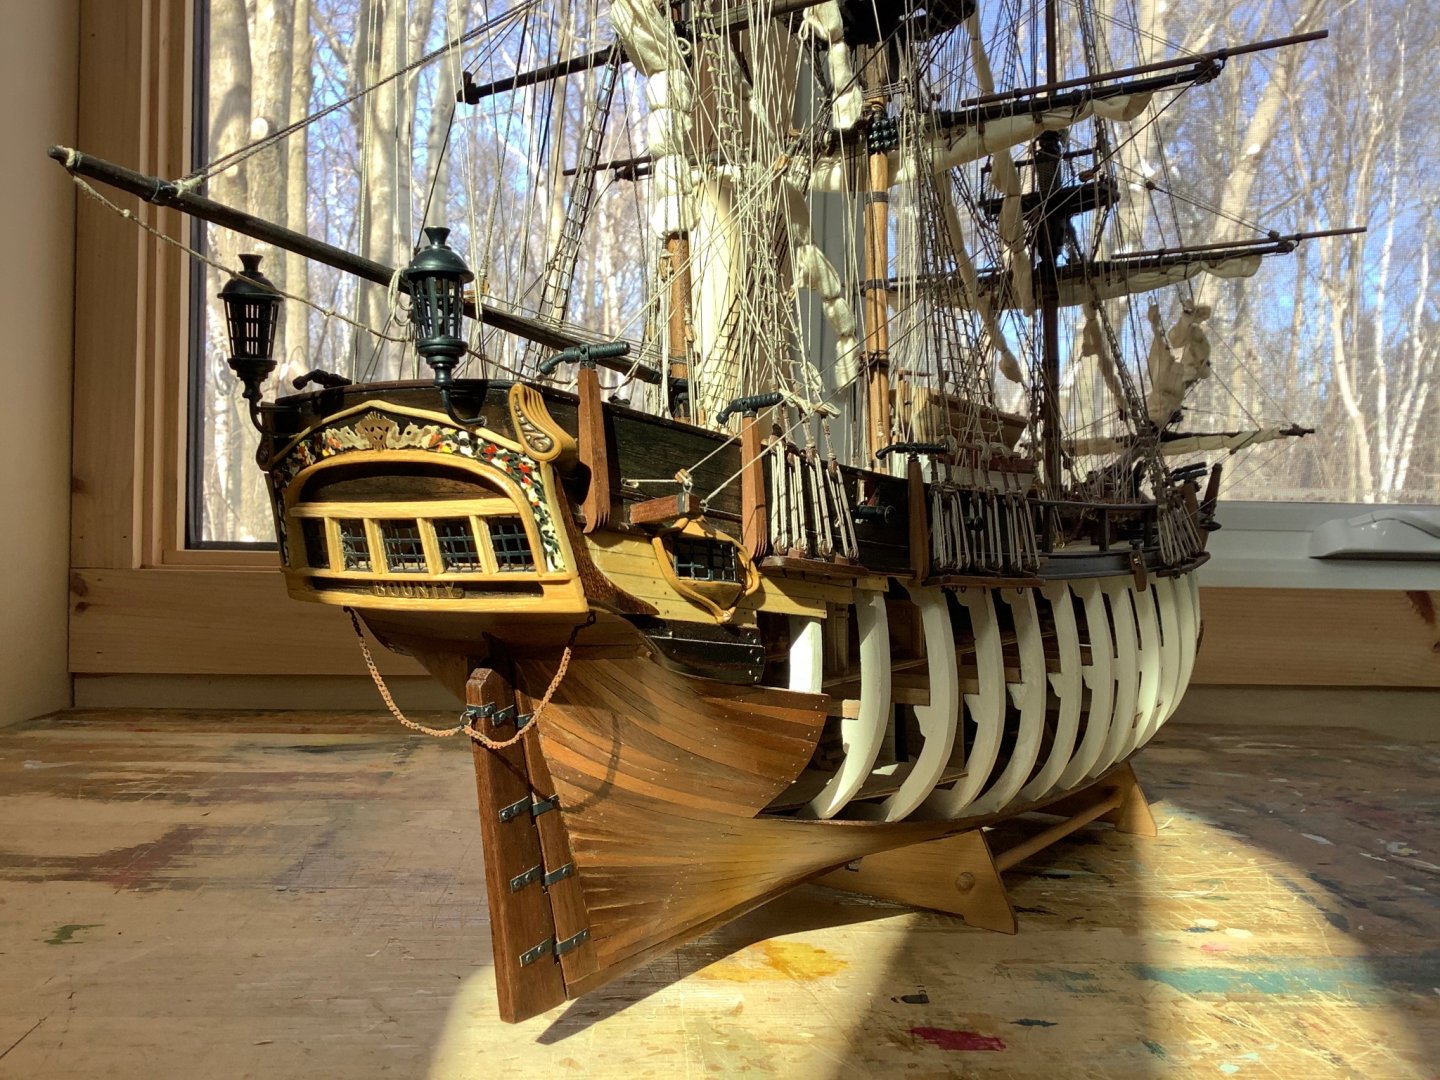
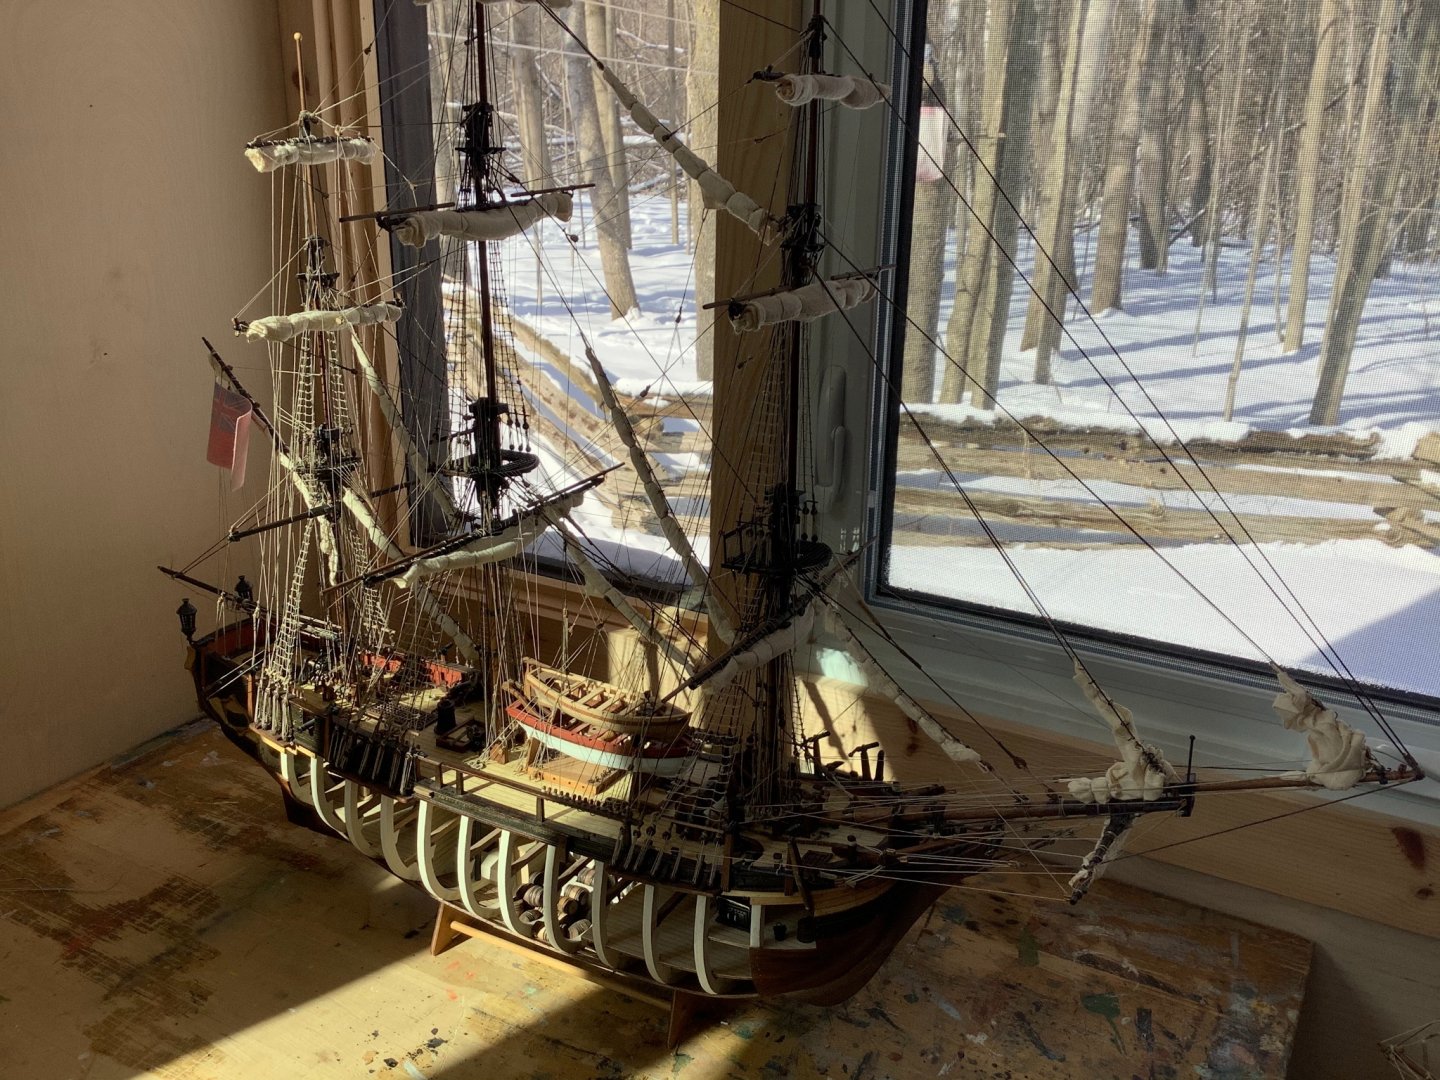
Thank you Mort! Overall this was a great kit, it’s too bad if they are no longer in production. The end result is a substantial model with a lot of interesting detail. Some of the directions are limited but the rigging diagrams are really quite good and complete. I’m generally happy with the result. I rolled and tied up the staysails between the masts to keep them out of the way during final rigging but kind of like the transparency so think I’ll keep them that way at least for now.


- 171 replies
-
- 14
-
-
- artesania latina
- bounty
- (and 1 more)