HOLIDAY DONATION DRIVE - SUPPORT MSW - DO YOUR PART TO KEEP THIS GREAT FORUM GOING! (89 donations so far out of 49,000 members - C'mon guys!)
×


Tim Moore
-
Posts
355 -
Joined
-
Last visited
Content Type
Profiles
Forums
Gallery
Events
Everything posted by Tim Moore
-
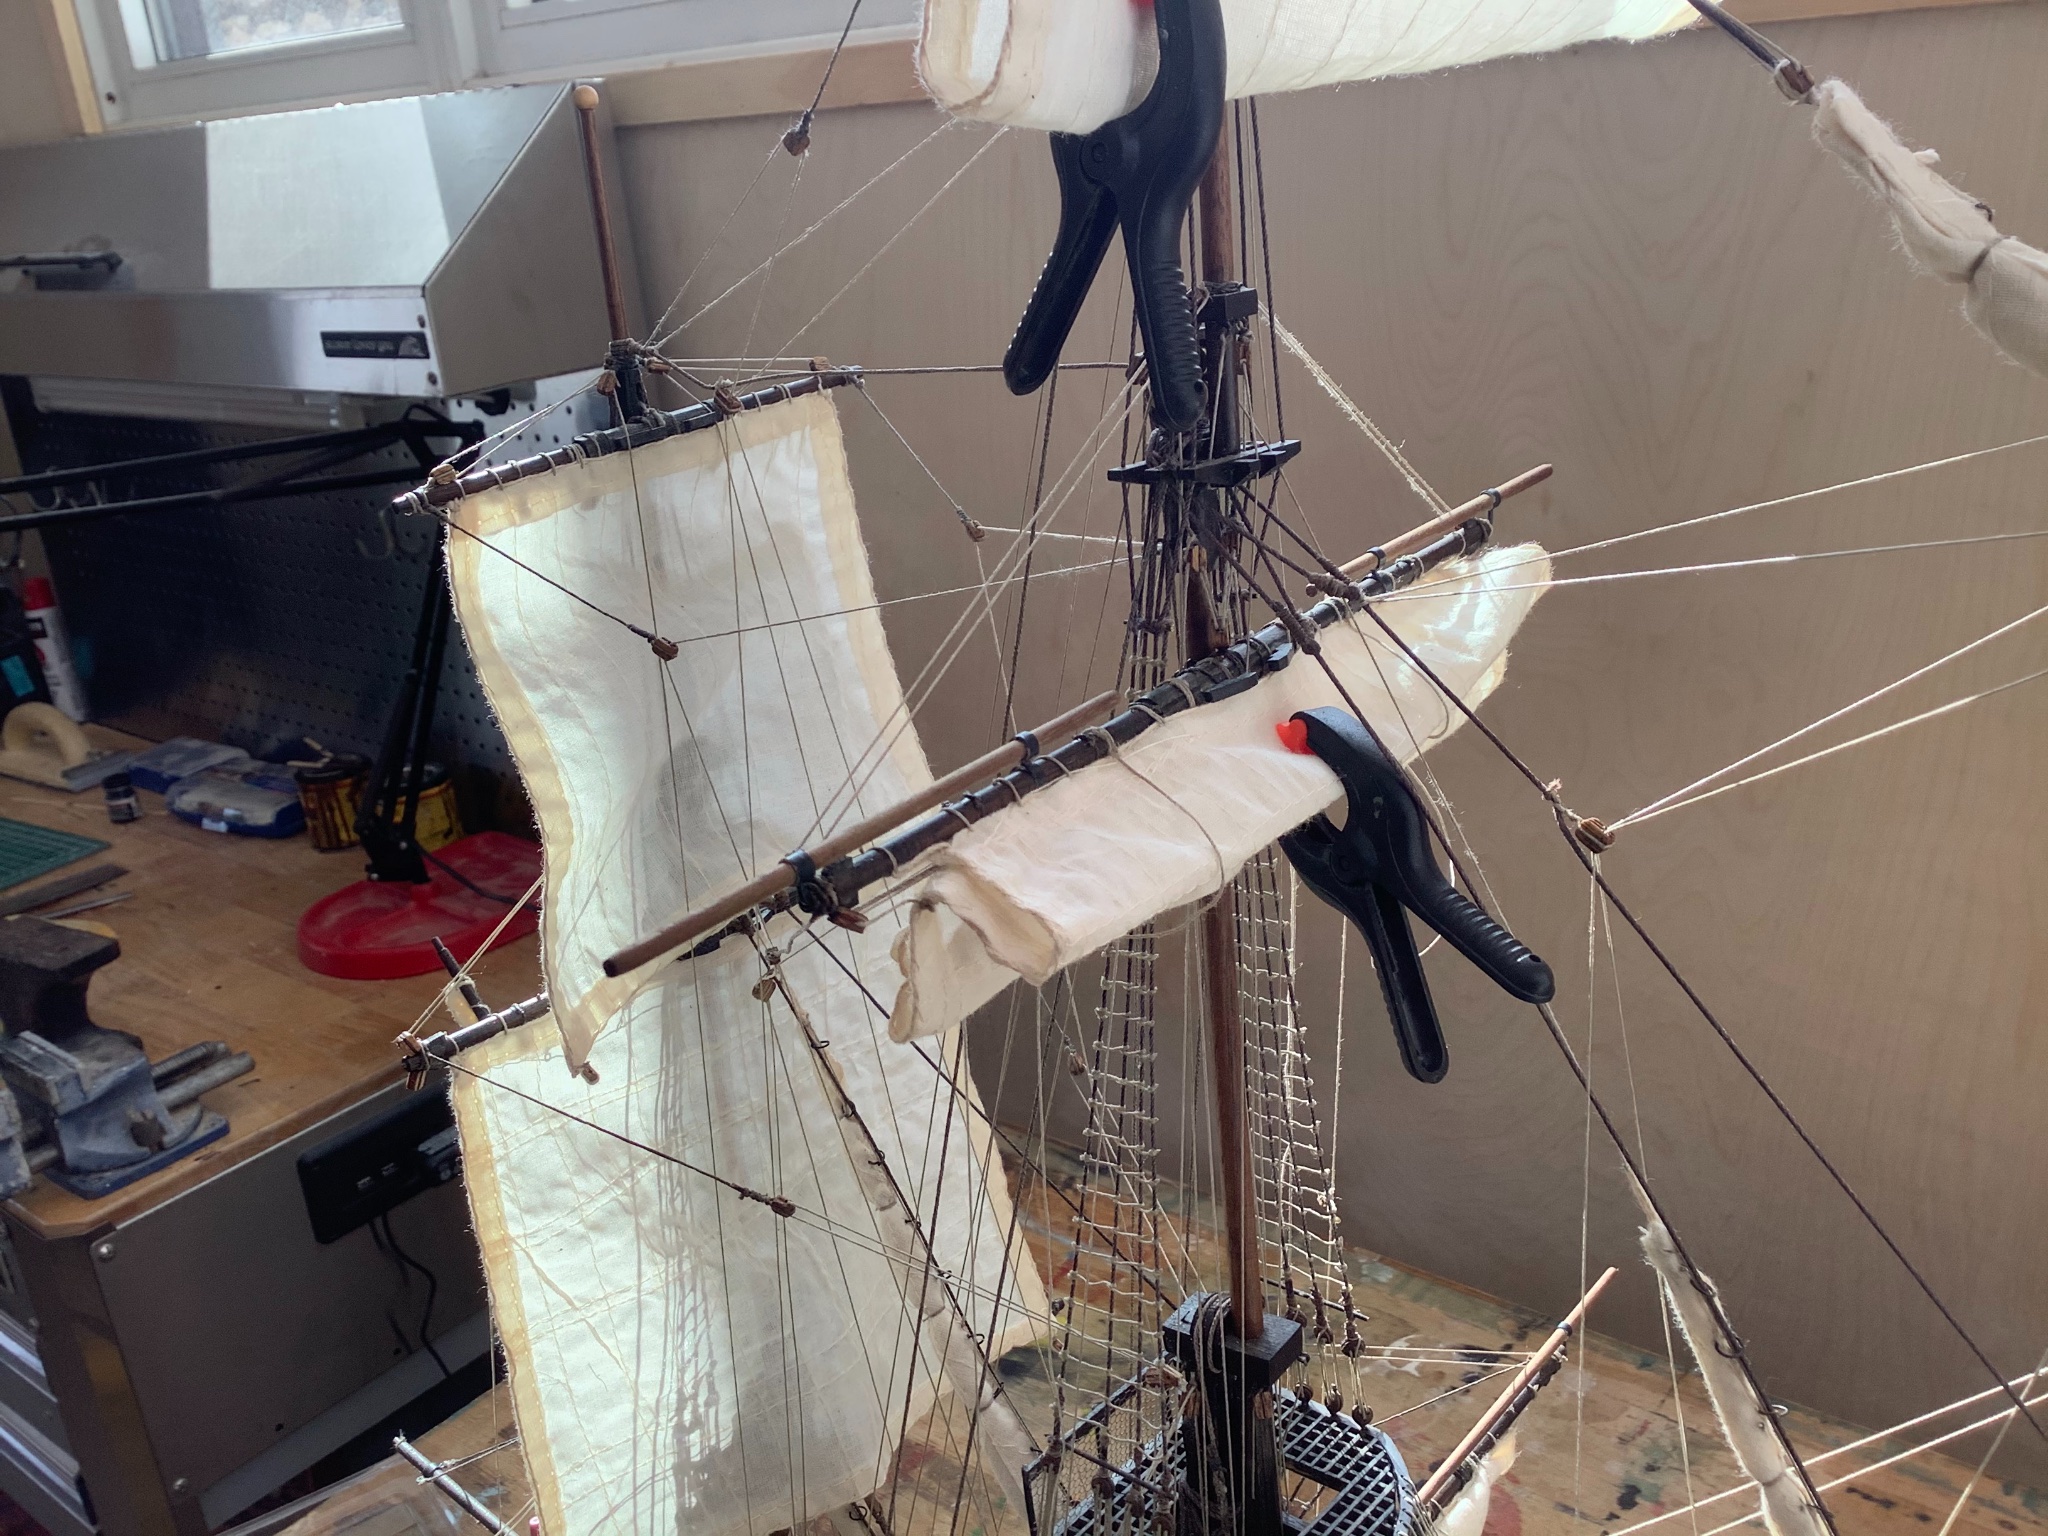
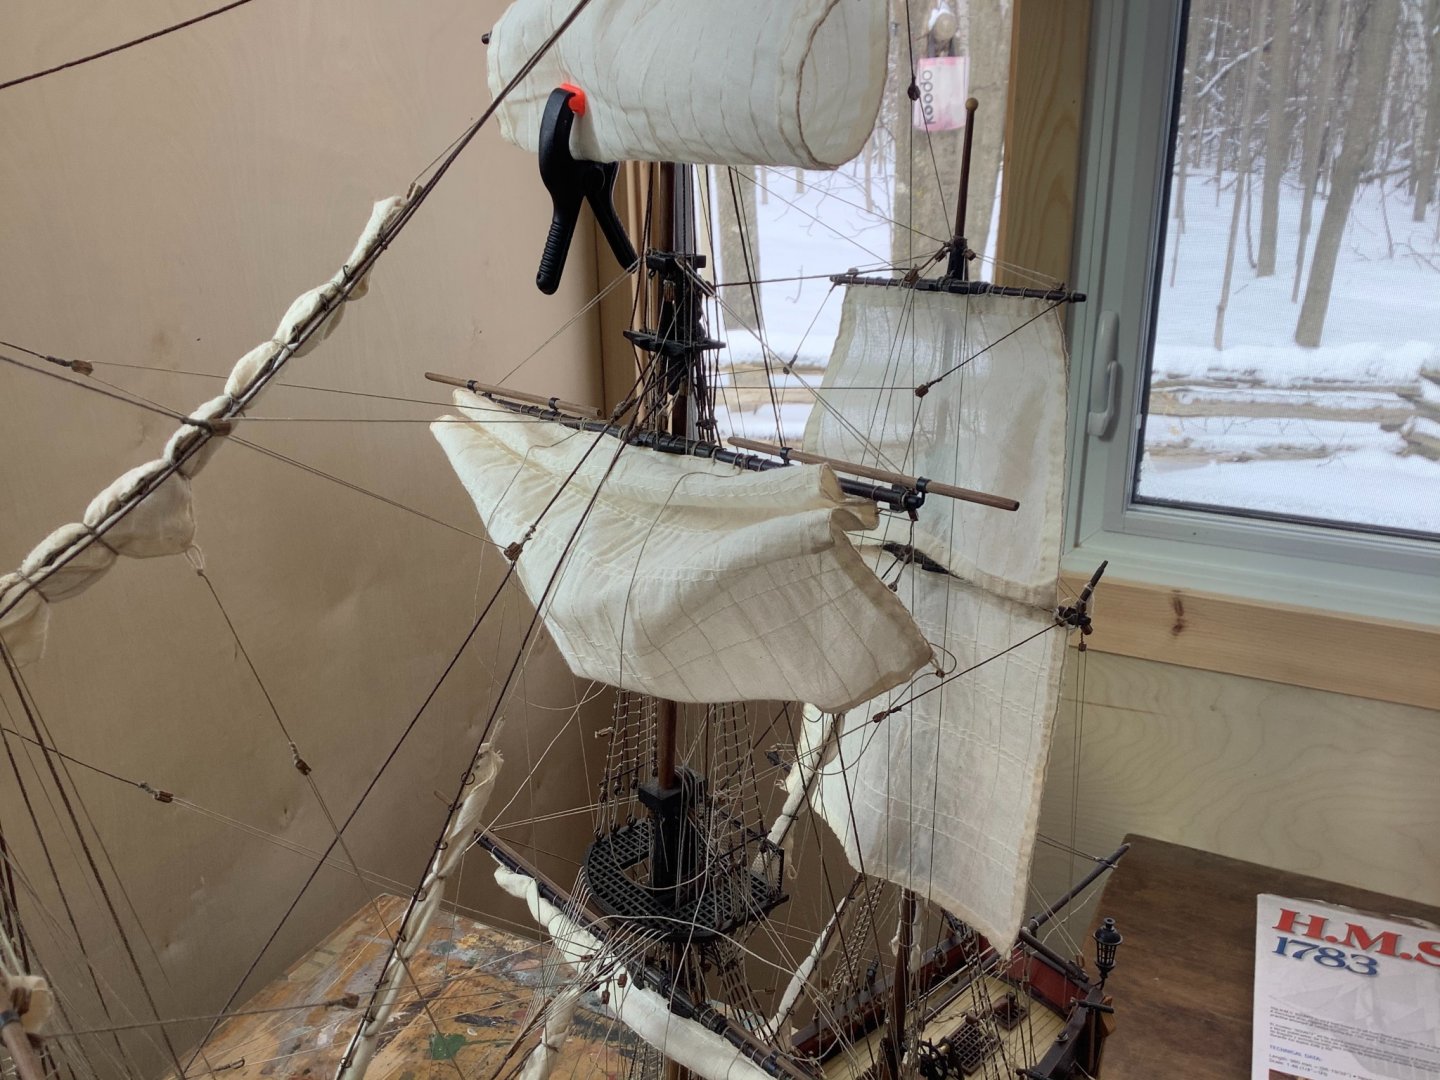
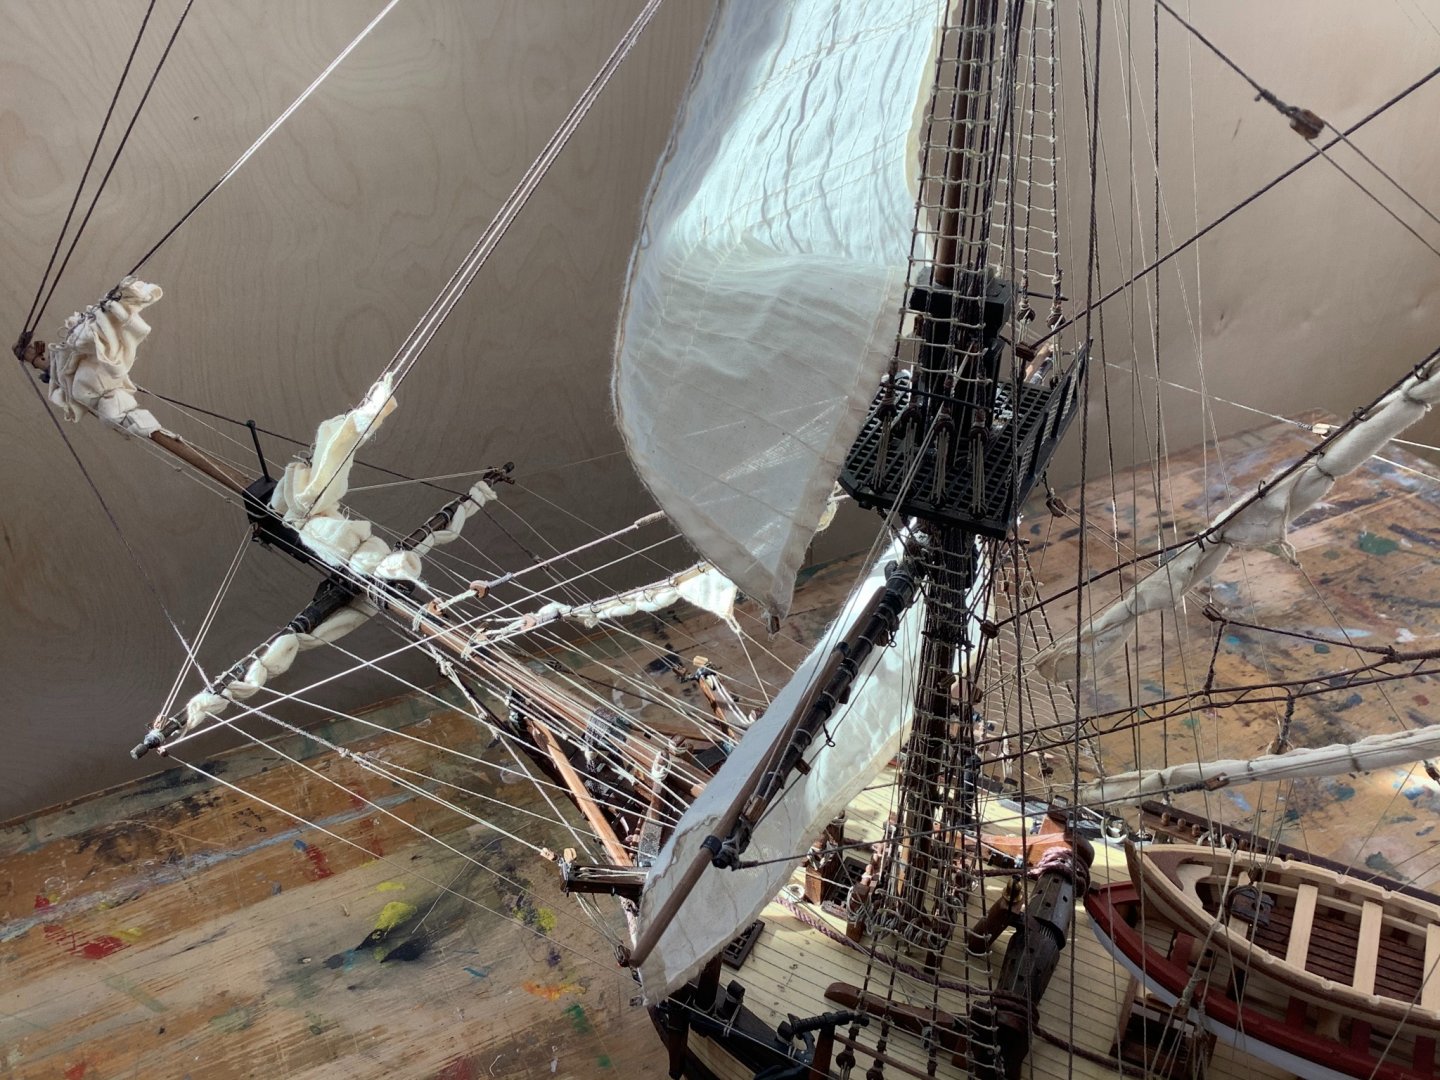
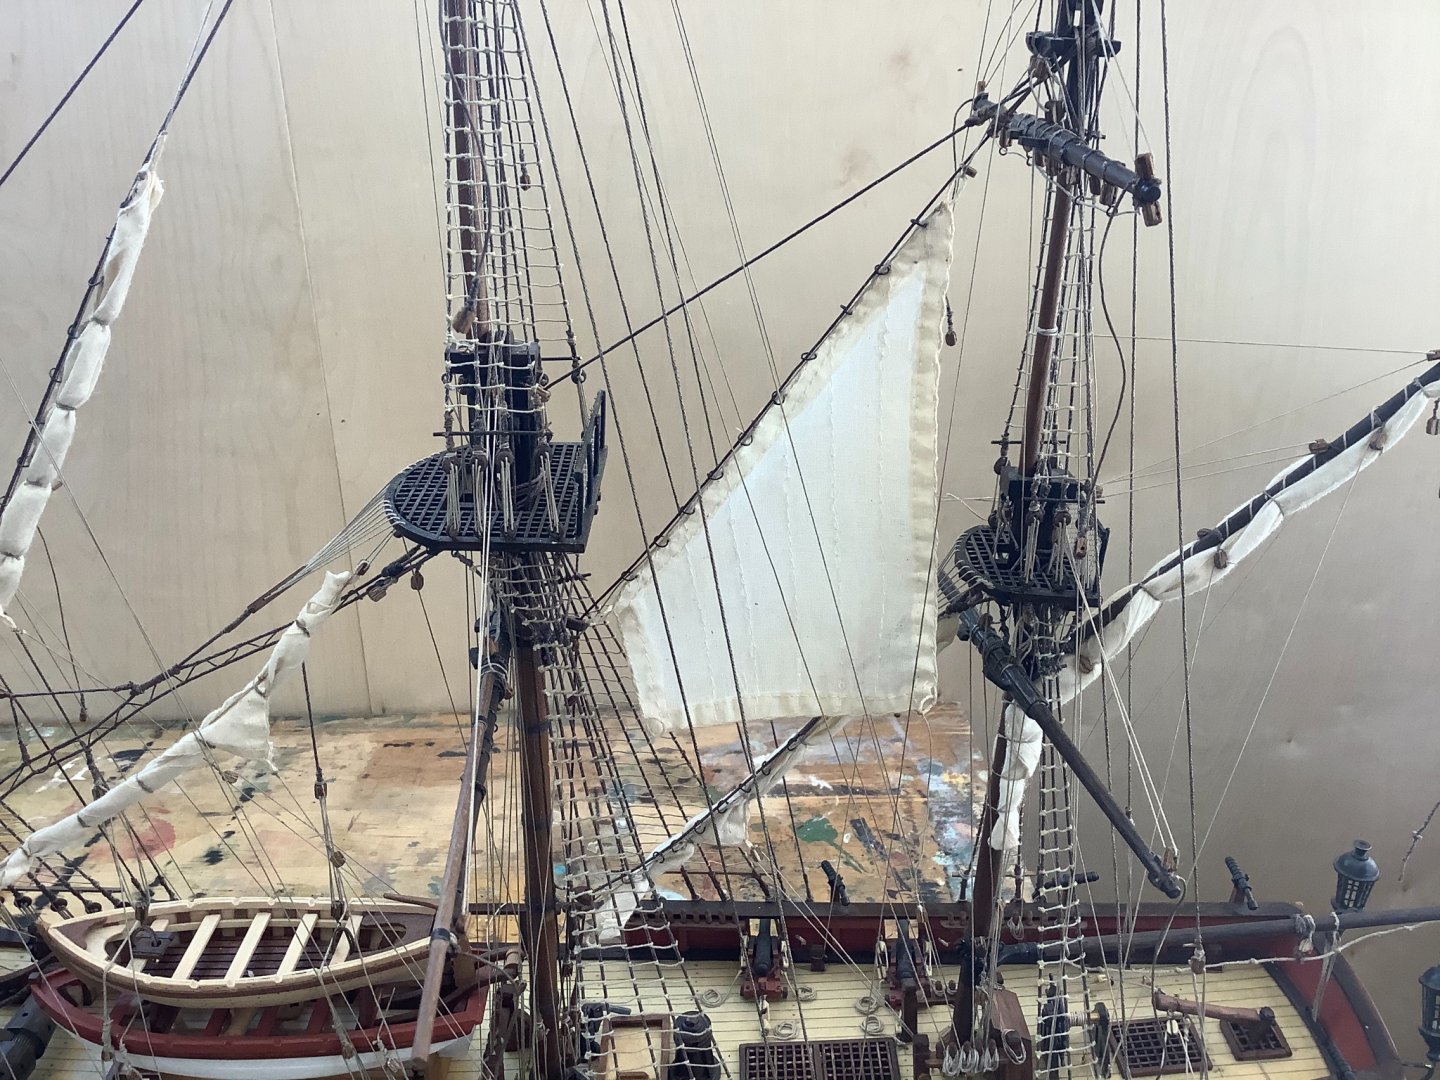
Furling the sails on the yards is just a process of roping, folding, rolling, clamping and then tightening and tying them all off. Keeping all the ropes organized and finding the clear path amongst the rigging to the belaying pin has been the main challenge. Turning out ok though. Spider heaven.


- 171 replies
-
- 6
-

-
- artesania latina
- bounty
- (and 1 more)
-
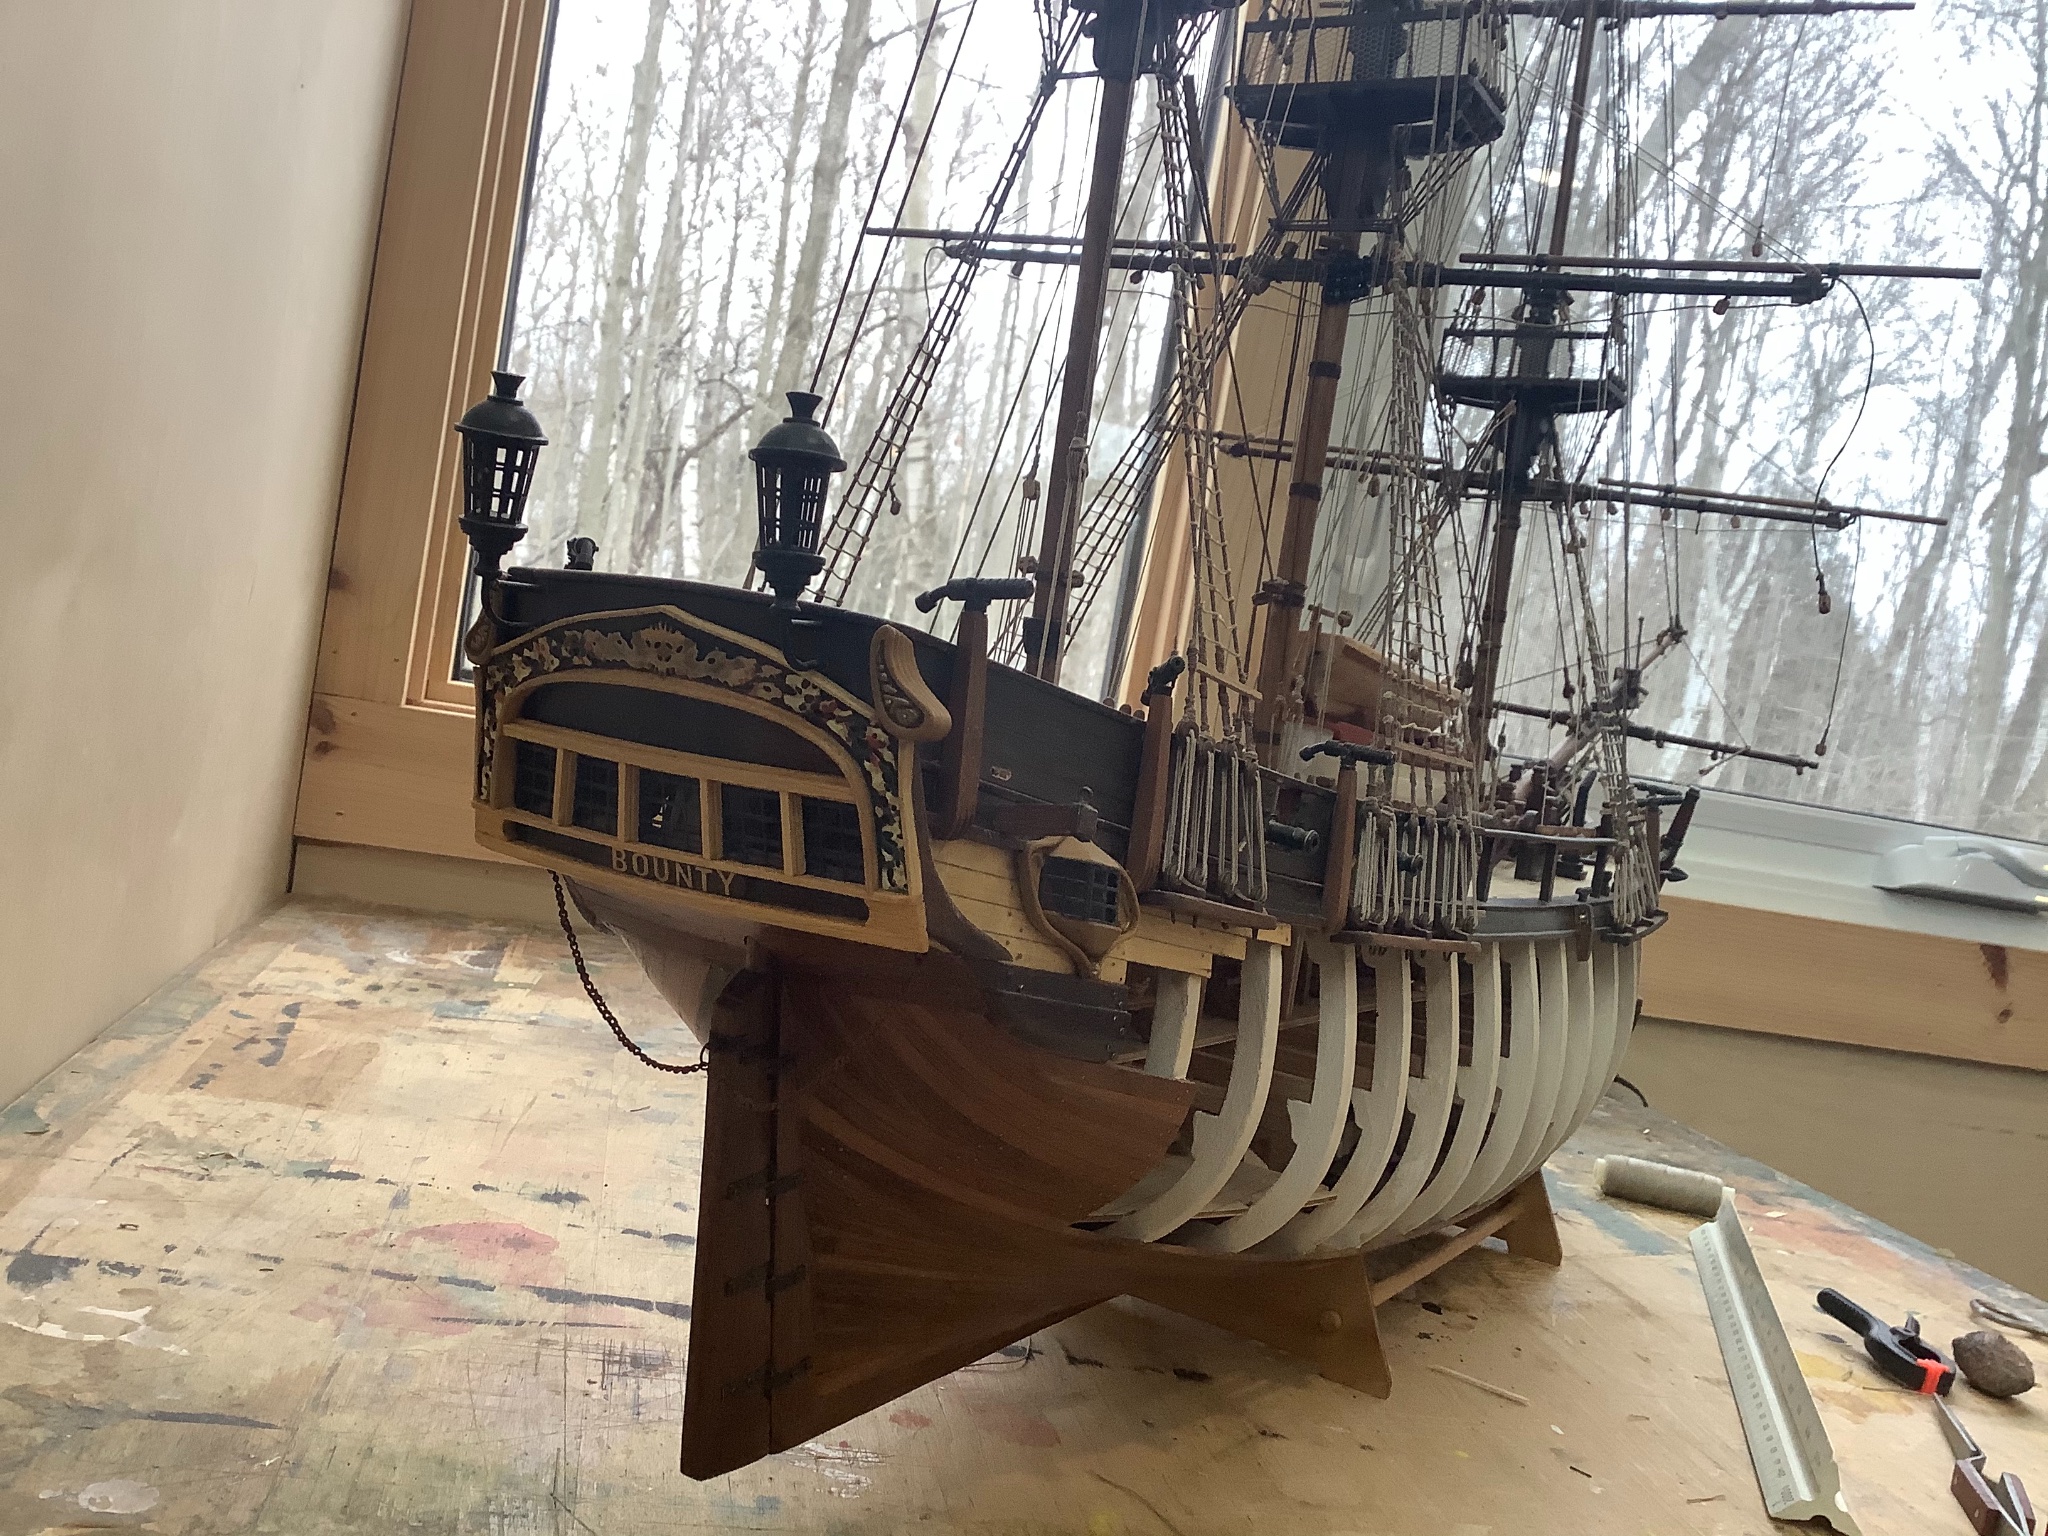
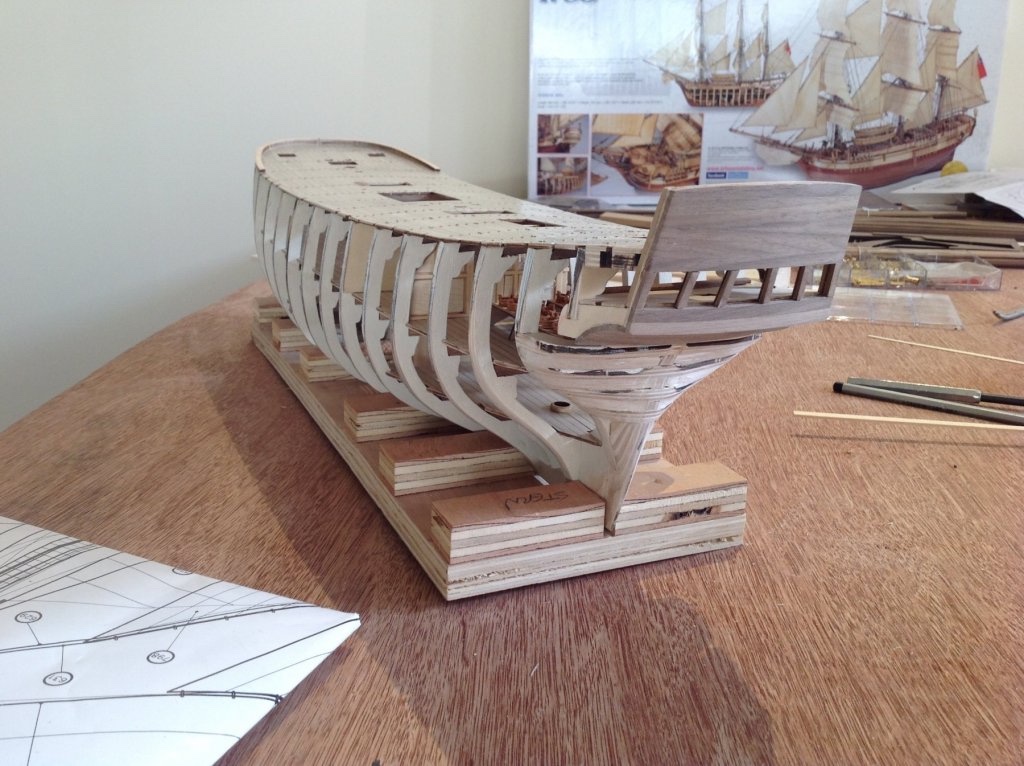
That might be one way to do it, perhaps better than what I did. Might have to modify the inboard part of rudder pintles a bit if the stem is fatter but no big deal. dug these photos out of my record in case they are of any help, illustrates what mine looked like just before planking.
- 171 replies
-
- 1
-
-
- artesania latina
- bounty
- (and 1 more)
-
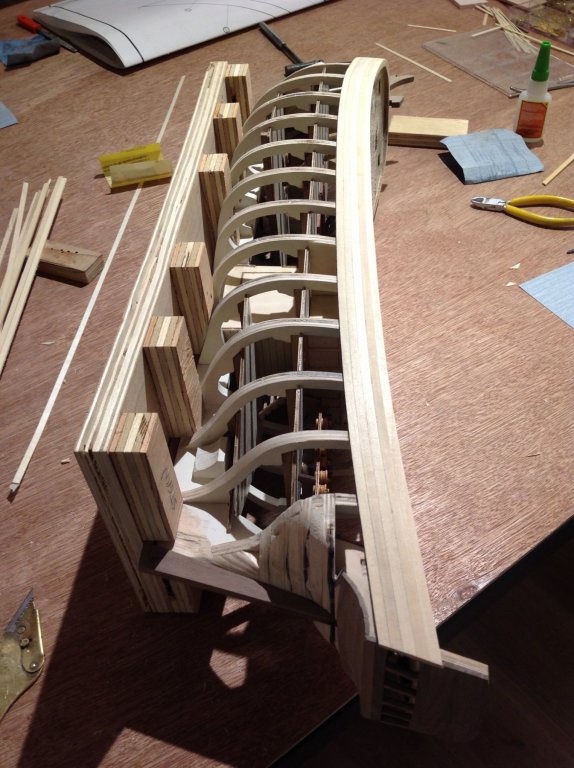
Hi Lyle - I do recall struggling with the lower part of the stern a bit to make a proper transition. I’m pretty sure I did most of the fairing, installed the stern post and keel, and then used my Dremel to pare down the structure further on the lower section abutting the stern post so that the face of planking could lay close to flush with the face of the post. Then I sanded it all flush after planking. There wasn’t a lot of backing timber left in that area.
- 171 replies
-
- 1
-
-
- artesania latina
- bounty
- (and 1 more)
-
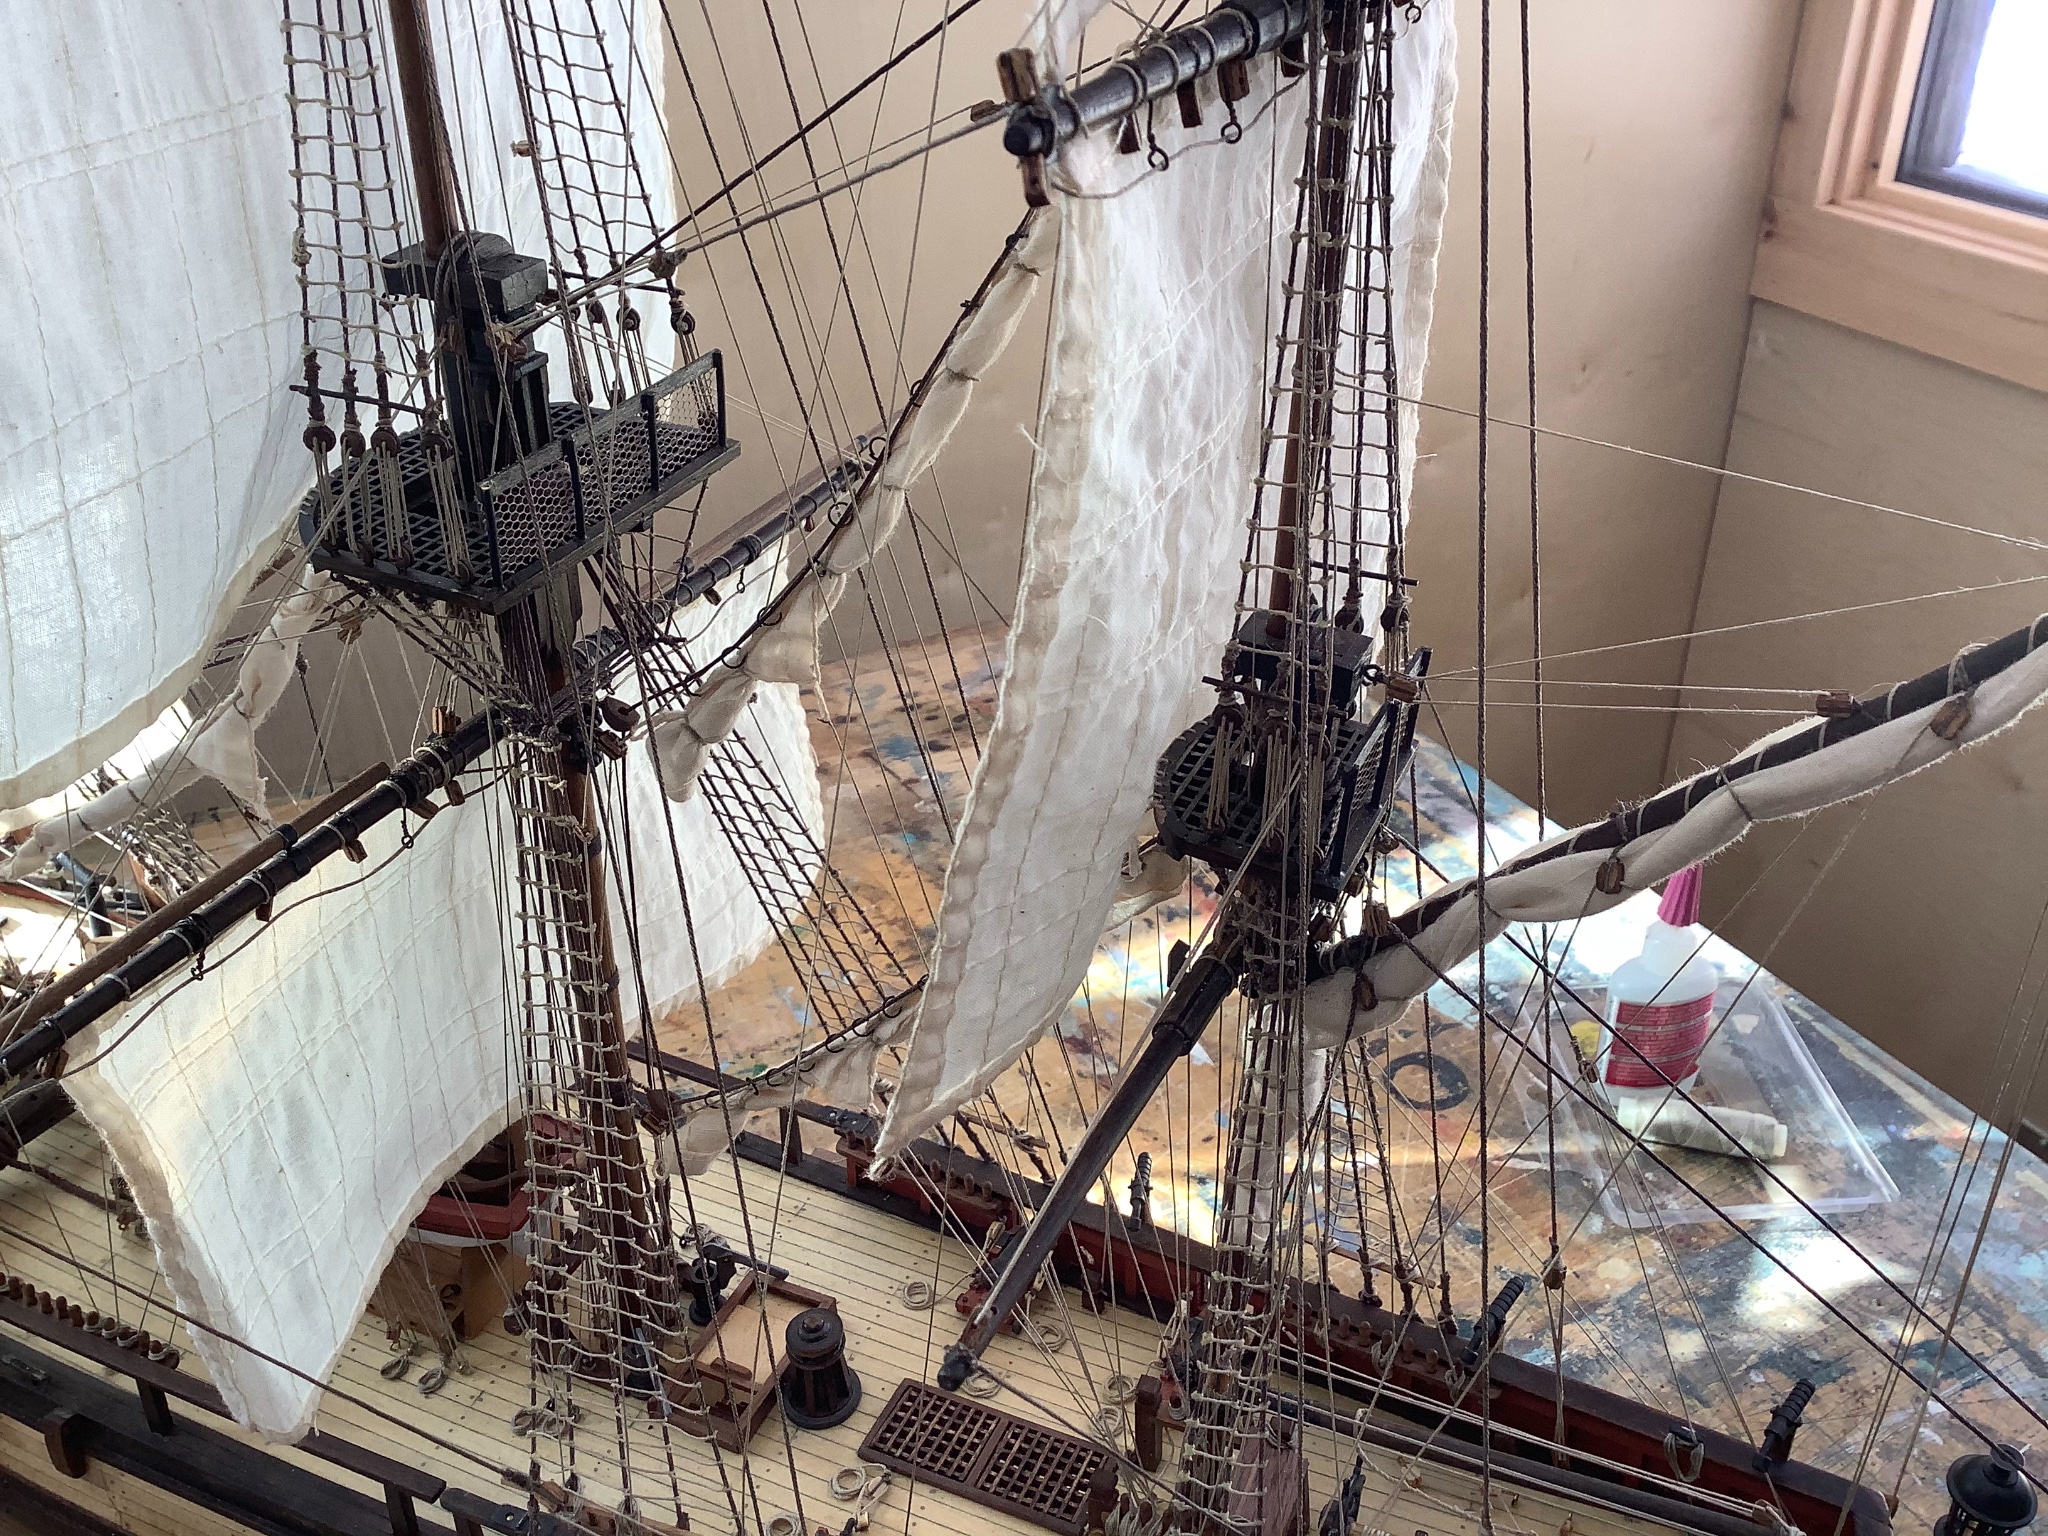
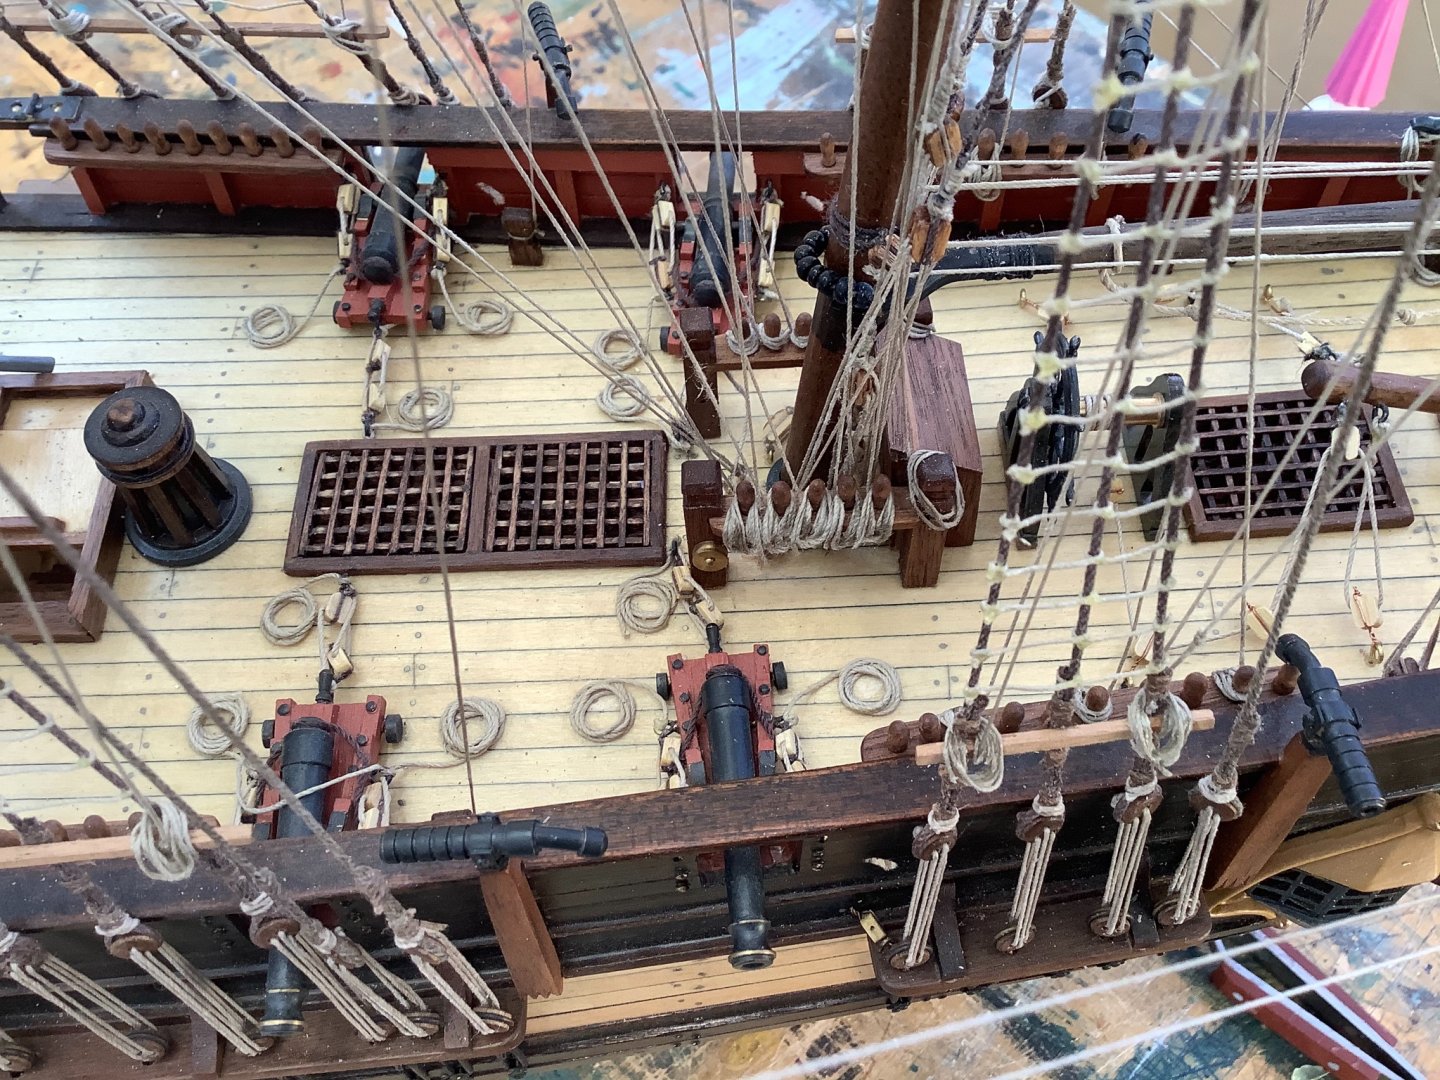
There evidently wasn’t a hemp shortage in the 18th century. Running out of places to tie rope to. He says, thankfully. Almost done this Bounty, just working out a way to hoist up the main sails using the proper tackle so it looks right. Not a lot of working room at this stage so may be a bit tricky to execute.

- 171 replies
-
- 5
-
-
- artesania latina
- bounty
- (and 1 more)
-
Your illustrated weathering tests are very helpful! Think I will refer back to them on my next build.
-
Thanks Walrus! Sewing the sails to the yards is a simple matter as compared to the others. I’m going to rig everything up and then draw the sails up to the yards and secure them same as I did the gaffsail at the stern. At least that’s the plan.

- 171 replies
-
- 8
-
-
- artesania latina
- bounty
- (and 1 more)
-
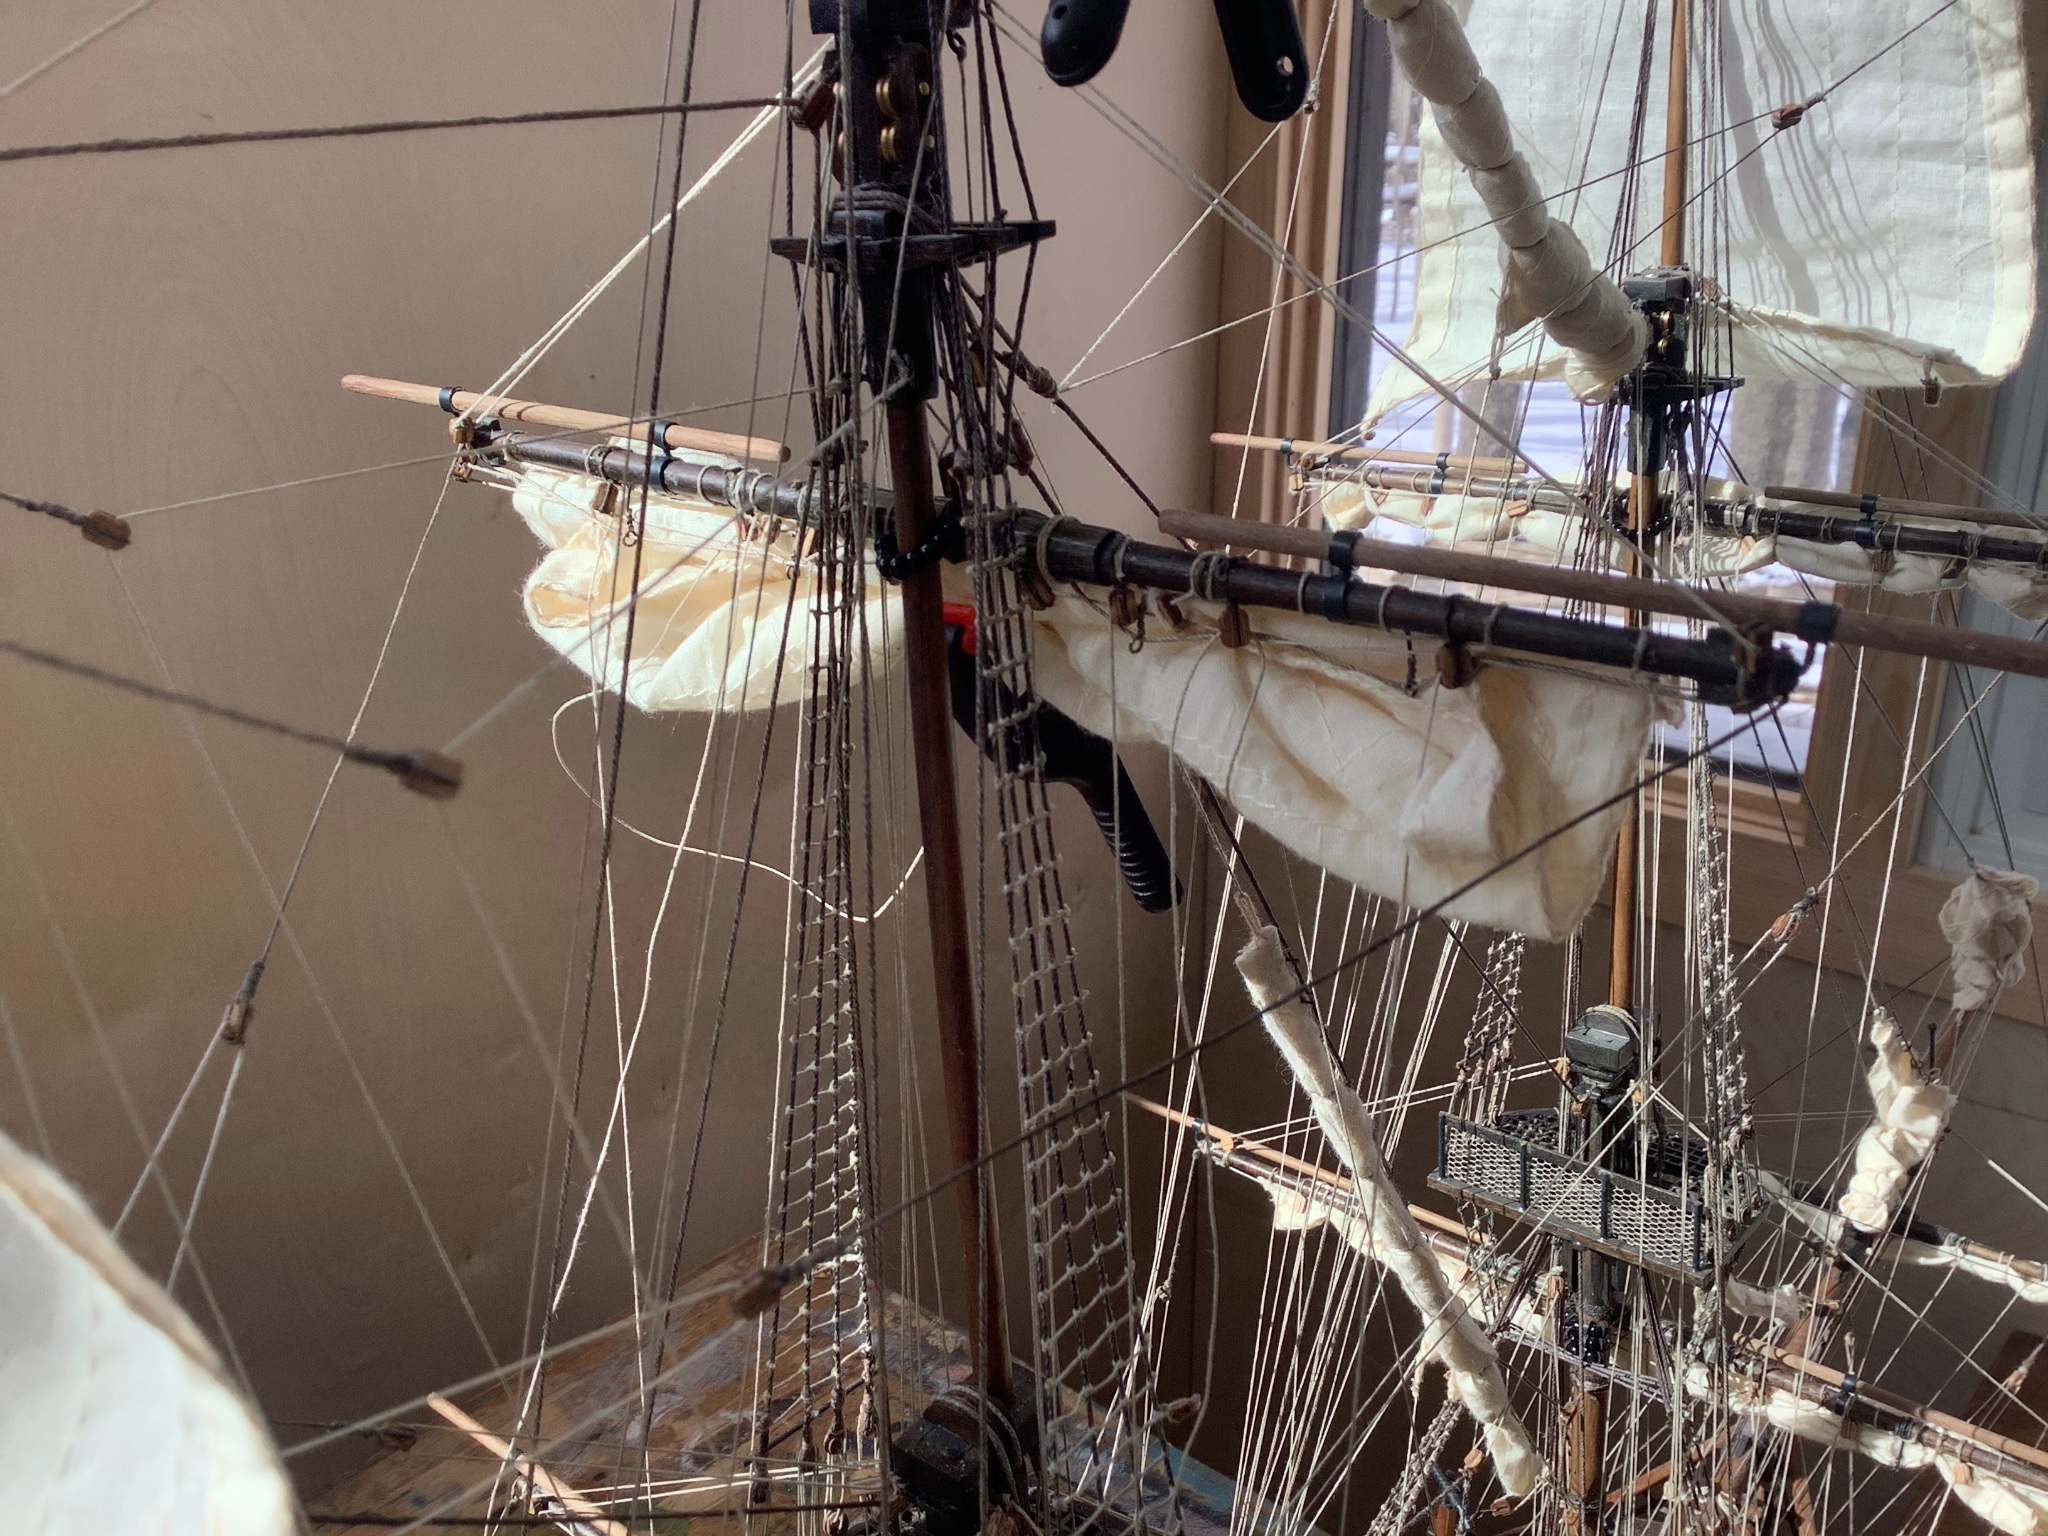
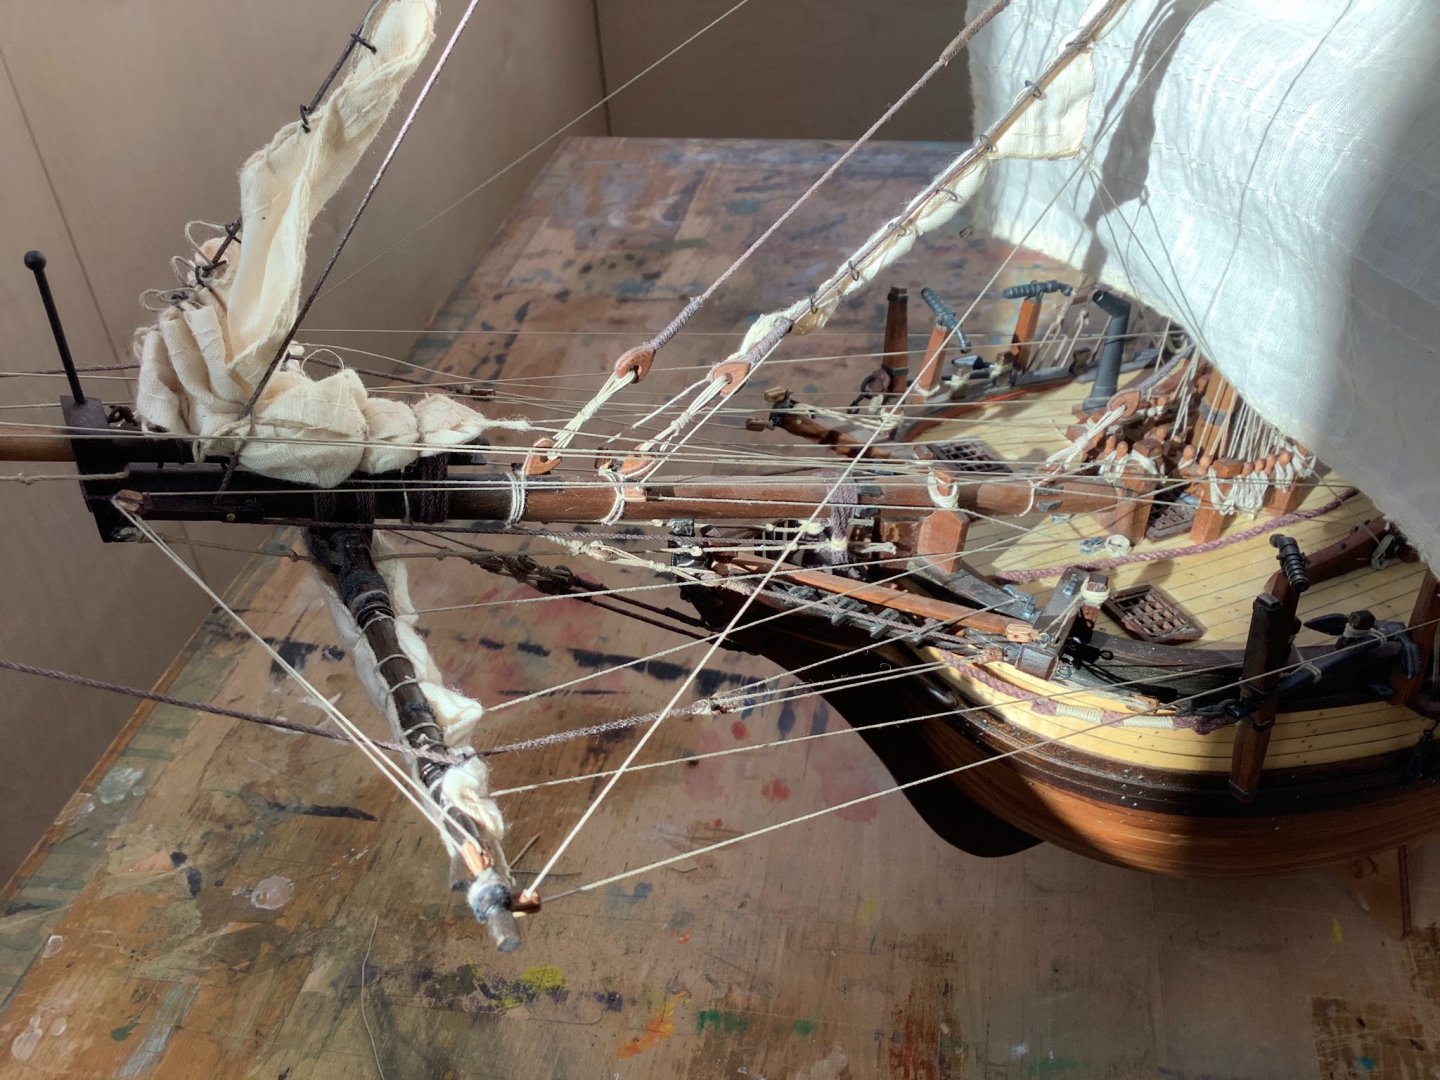
Furling and securing the sails is tricky with all the intervening ropes getting in the way of my ham fisted paws. Would be a heck of a lot easier just to let them hang as intended.
- 171 replies
-
- 6
-
-
- artesania latina
- bounty
- (and 1 more)
-
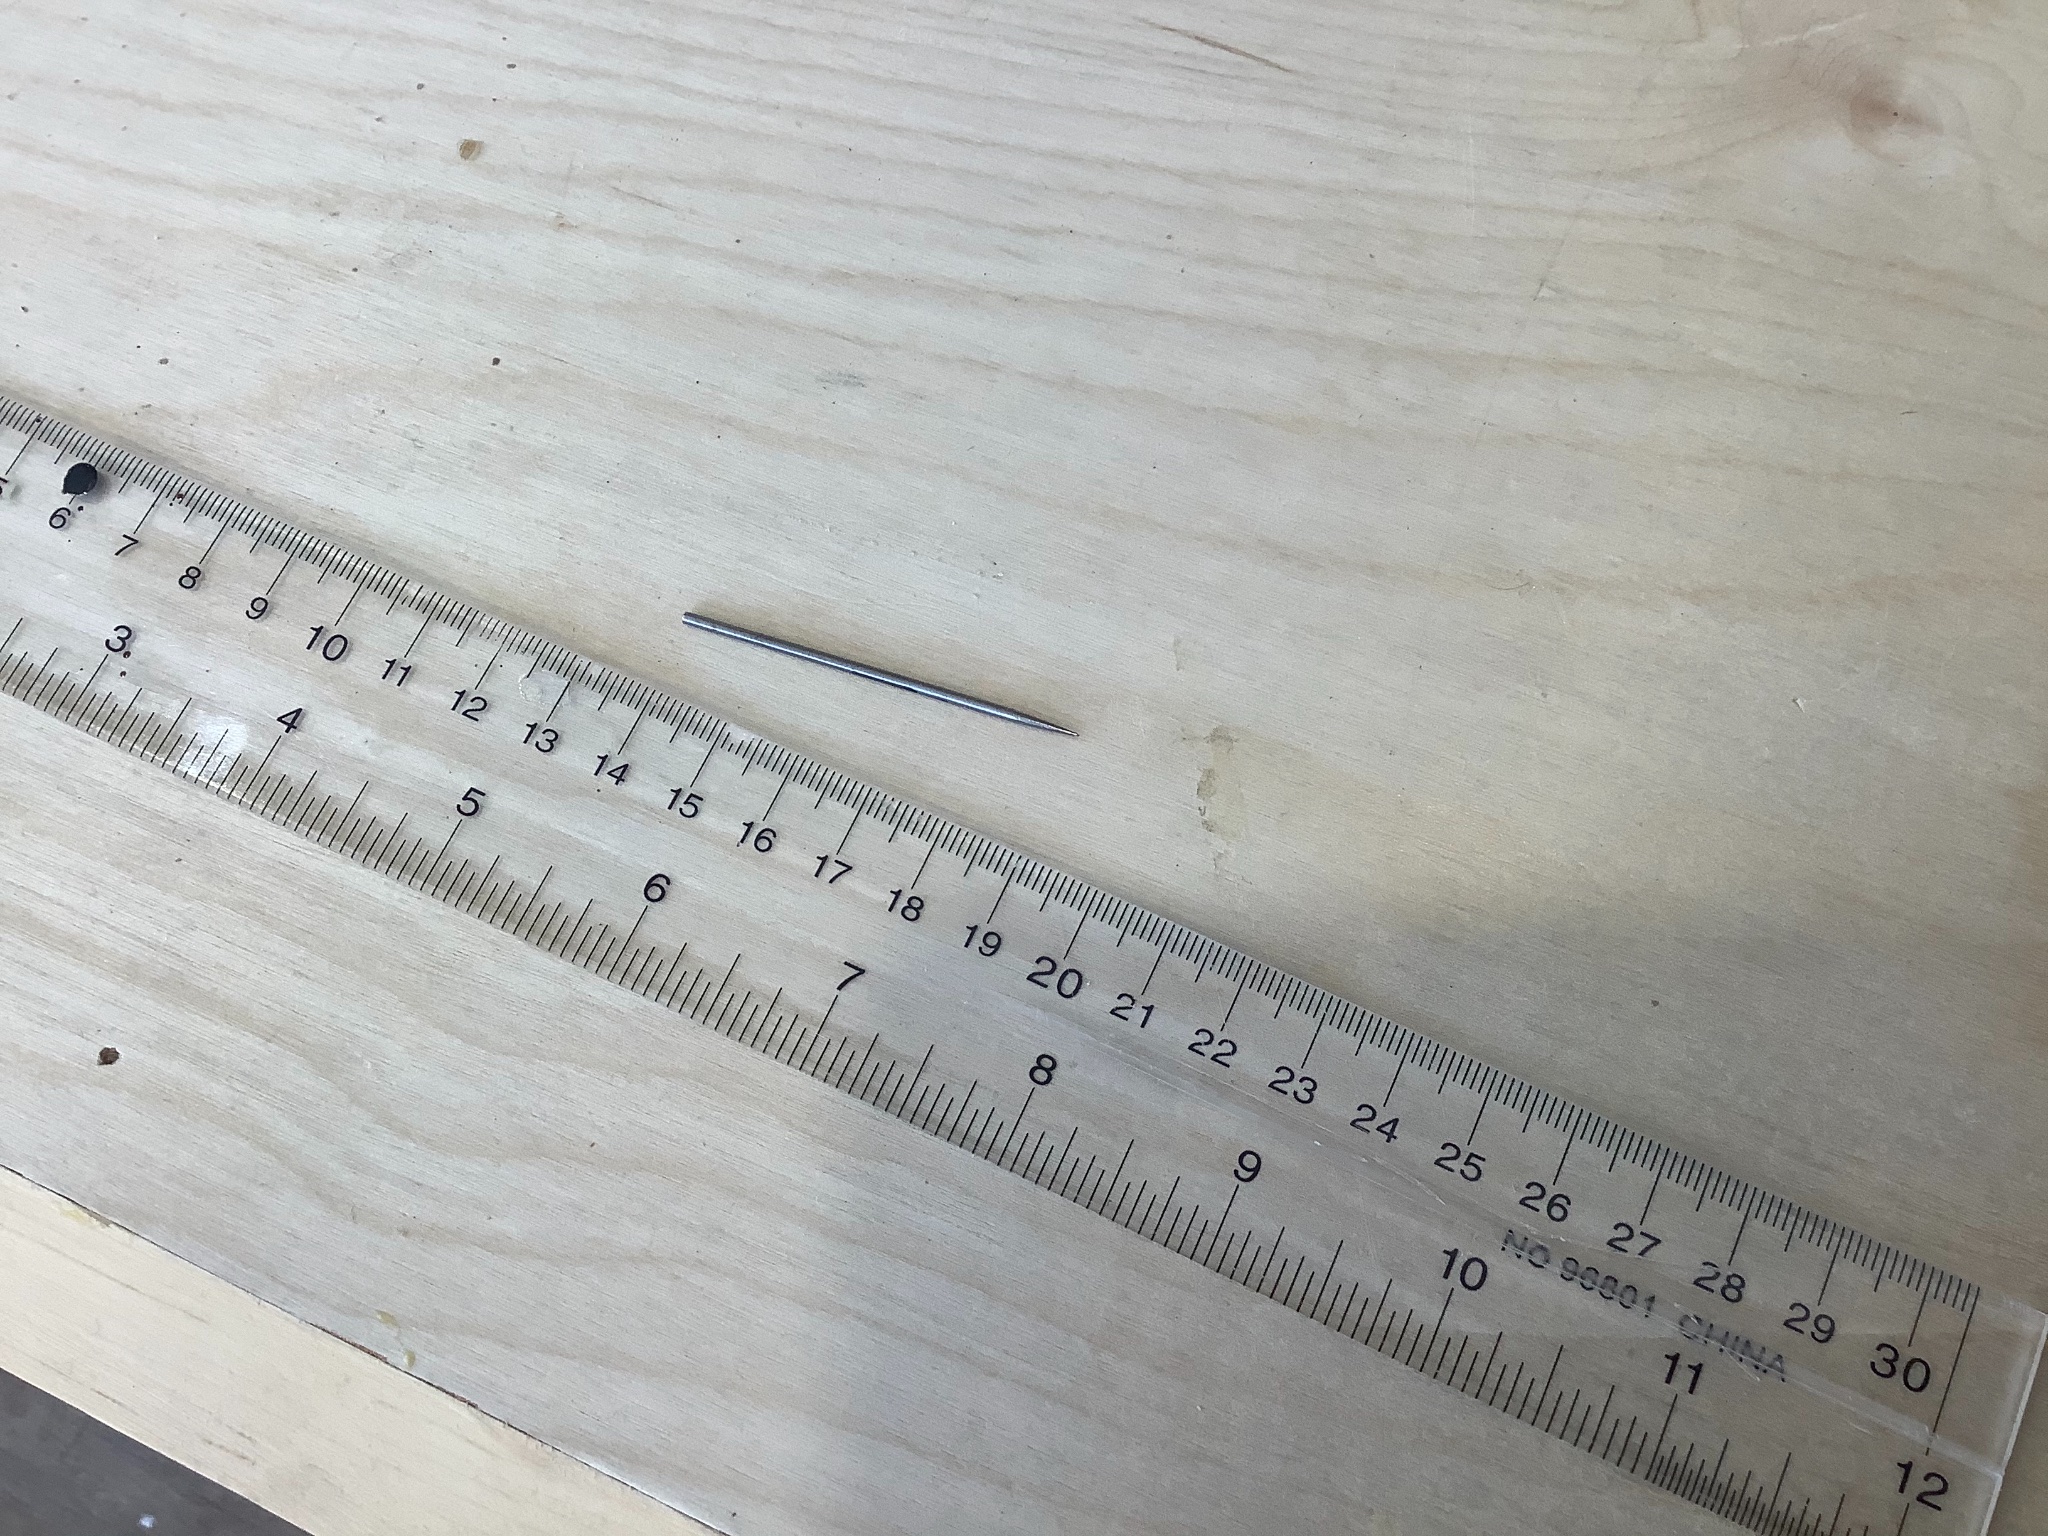
It’s pretty small. I’m going to try one or two other things on some more test pieces, but so far this is working best as far as making a smooth edged mark.

-
Thanks Slowhand! I’m just waiting on delivery of an airbrush so I can press on with finishing. And thanks everyone for suggestions re panel marking. I tried everything suggested and so far a fine ss awl I have seems to work best.
-
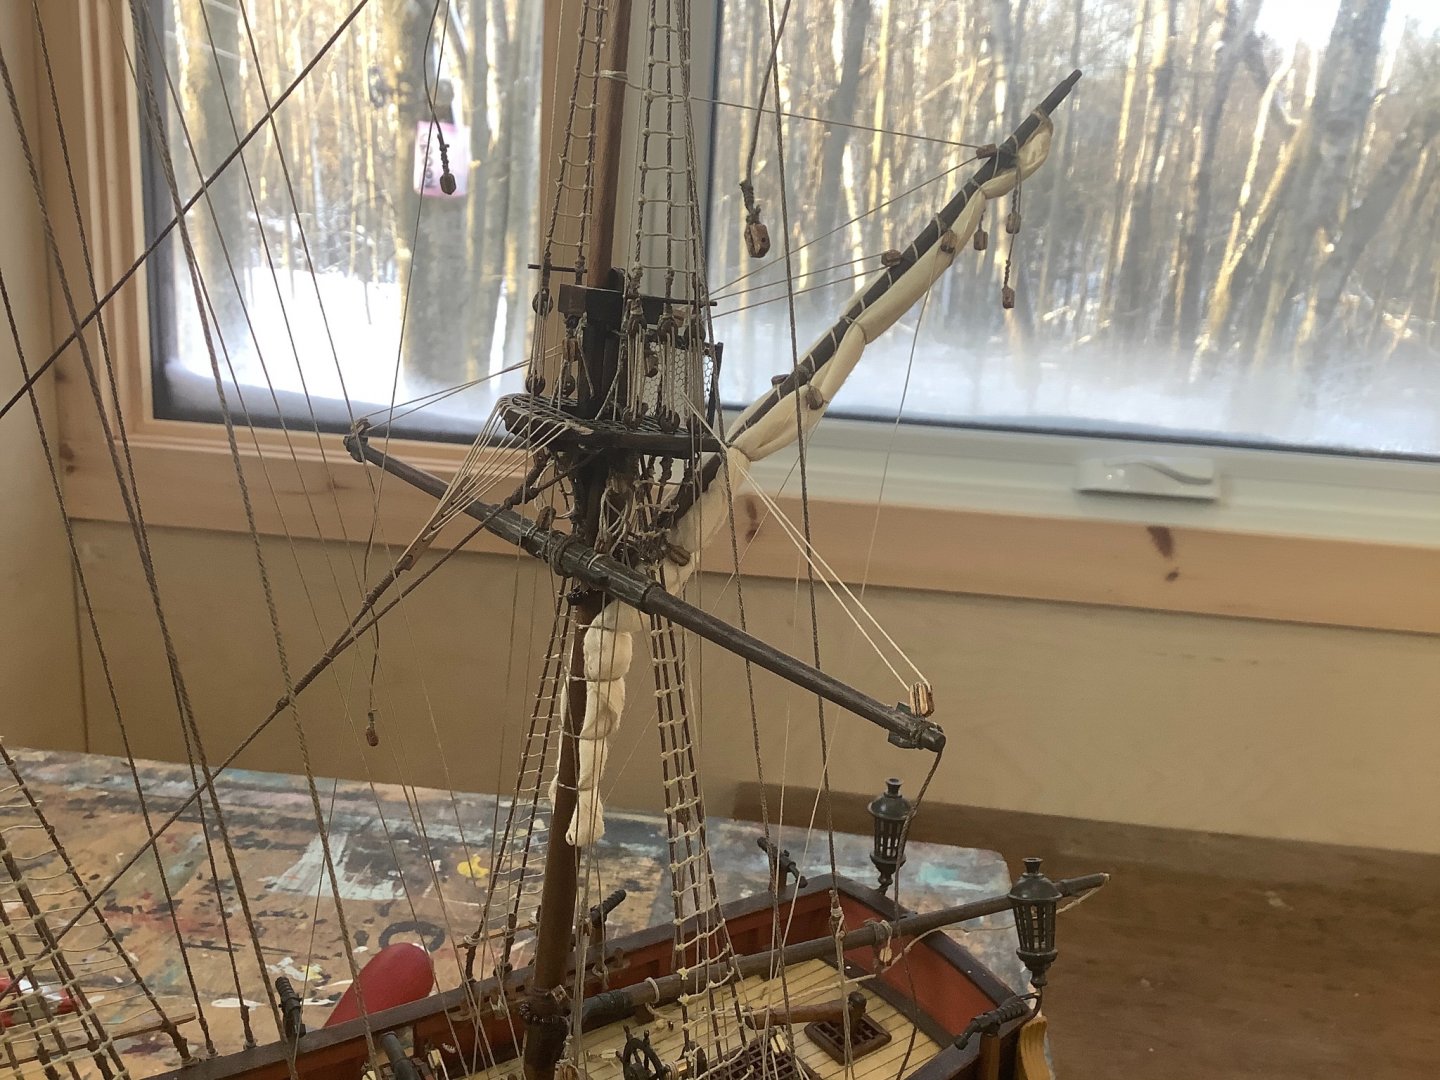
Fussy Gaffsail up. Rather than try to fathom how to make it look right, I decided not to overthink it and just rigged everything according to the book and then hoisted everything up to the head using the 6 brail lines I had attached to the leech of the sail. A bit of tightening and gathering up at the mast and this should be good to go.

- 171 replies
-
- 8
-
-
- artesania latina
- bounty
- (and 1 more)
-
Lyle: yes I’m just using the sails in the kit - thought about creating something thinner but after doing this first one I think these should work fine. I didn’t age them - They are a bit off white anyway and I want the contrast with the ship which in my version is mainly dark stained components. I’ll let you know if I change tack after doing a couple more of the larger ones.
- 171 replies
-
- 2
-
-
- artesania latina
- bounty
- (and 1 more)
-
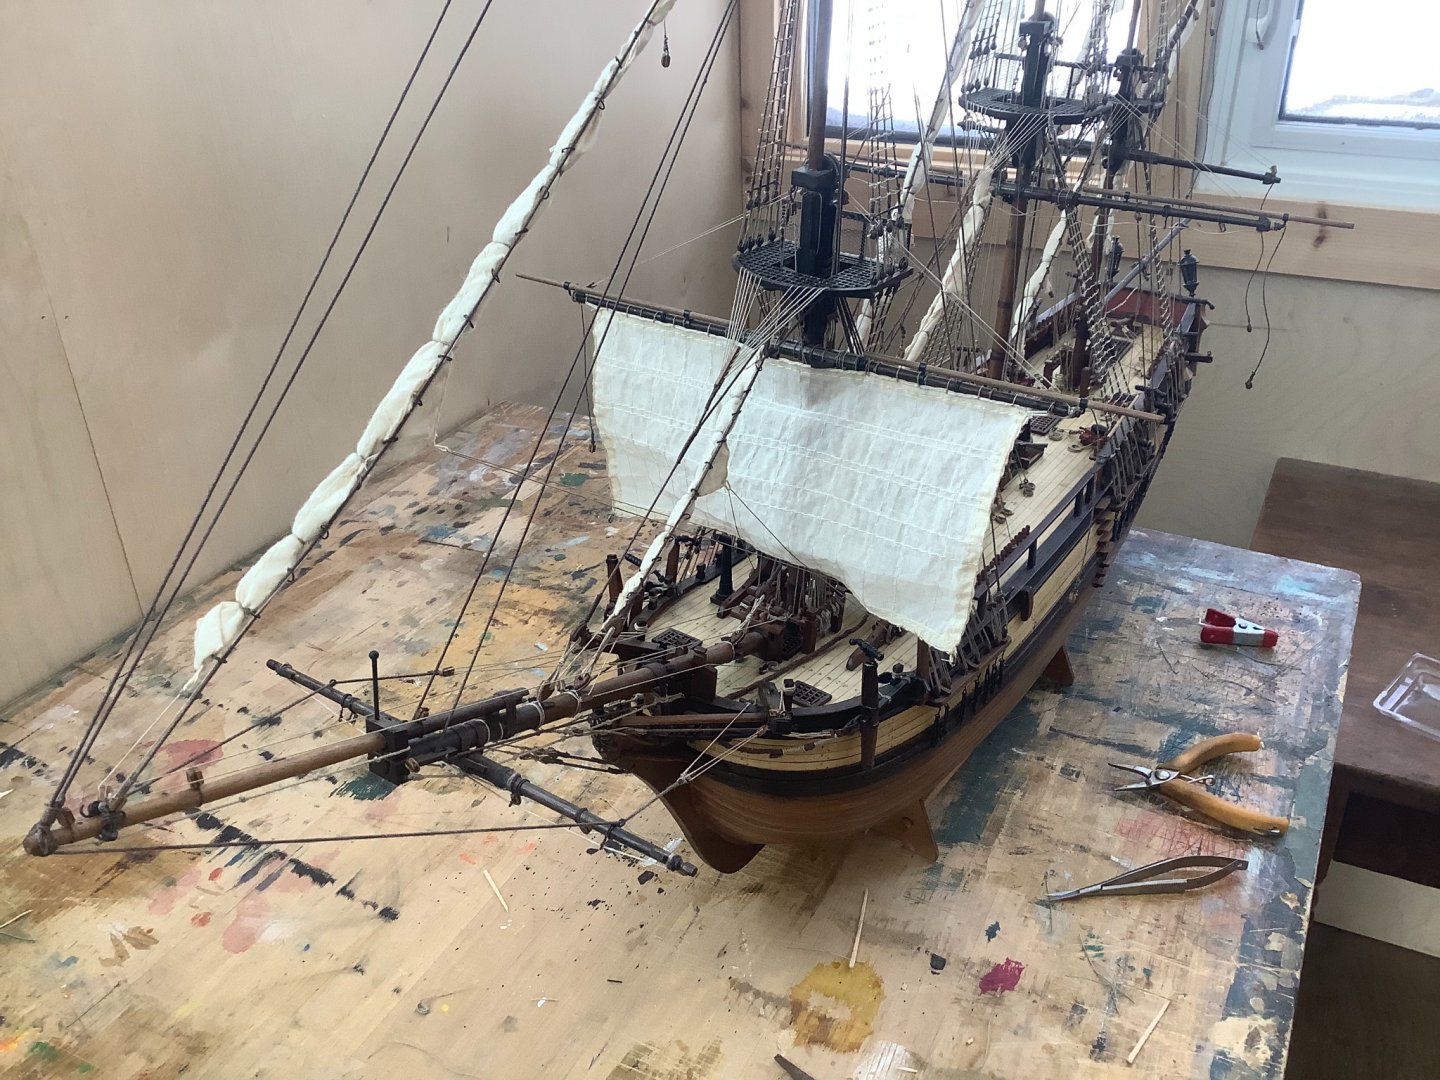
First sail is up as a blizzard rages outside. Many thanks to Landlubber Mike I found his post from 2013 on furling sails very useful. I’ve rigged this one with all the blocks and lines in place so it looks like it could be hoisted. For a first go I don’t think it’s too bad. The gaffsail looks slightly problematic though I may have to get more creative there.
- 171 replies
-
- 8
-
-
- artesania latina
- bounty
- (and 1 more)
-
You should be a happy camper! Really lovely and clean piece of craftsmanship, great looking model you’ve created.
- 91 replies
-
- 1
-
-
- amati
- grand banks 46
- (and 1 more)
-
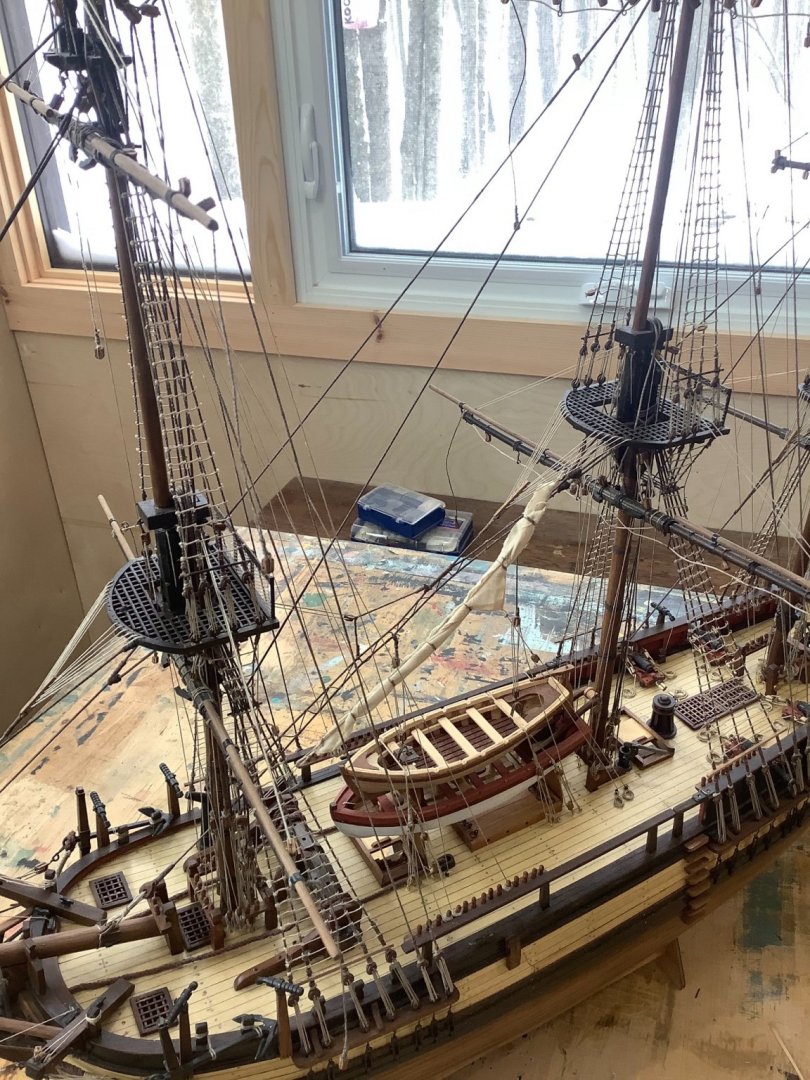
So that’s all the timber all done with the gaff and boom now on. Regrettably the admiral just visited the workshop and casually suggested I put proper looking furled sails on the Bounty. Great. She tossed that remark off as if it should only take a few extra minutes.
- 171 replies
-
- 7
-
-
- artesania latina
- bounty
- (and 1 more)
-
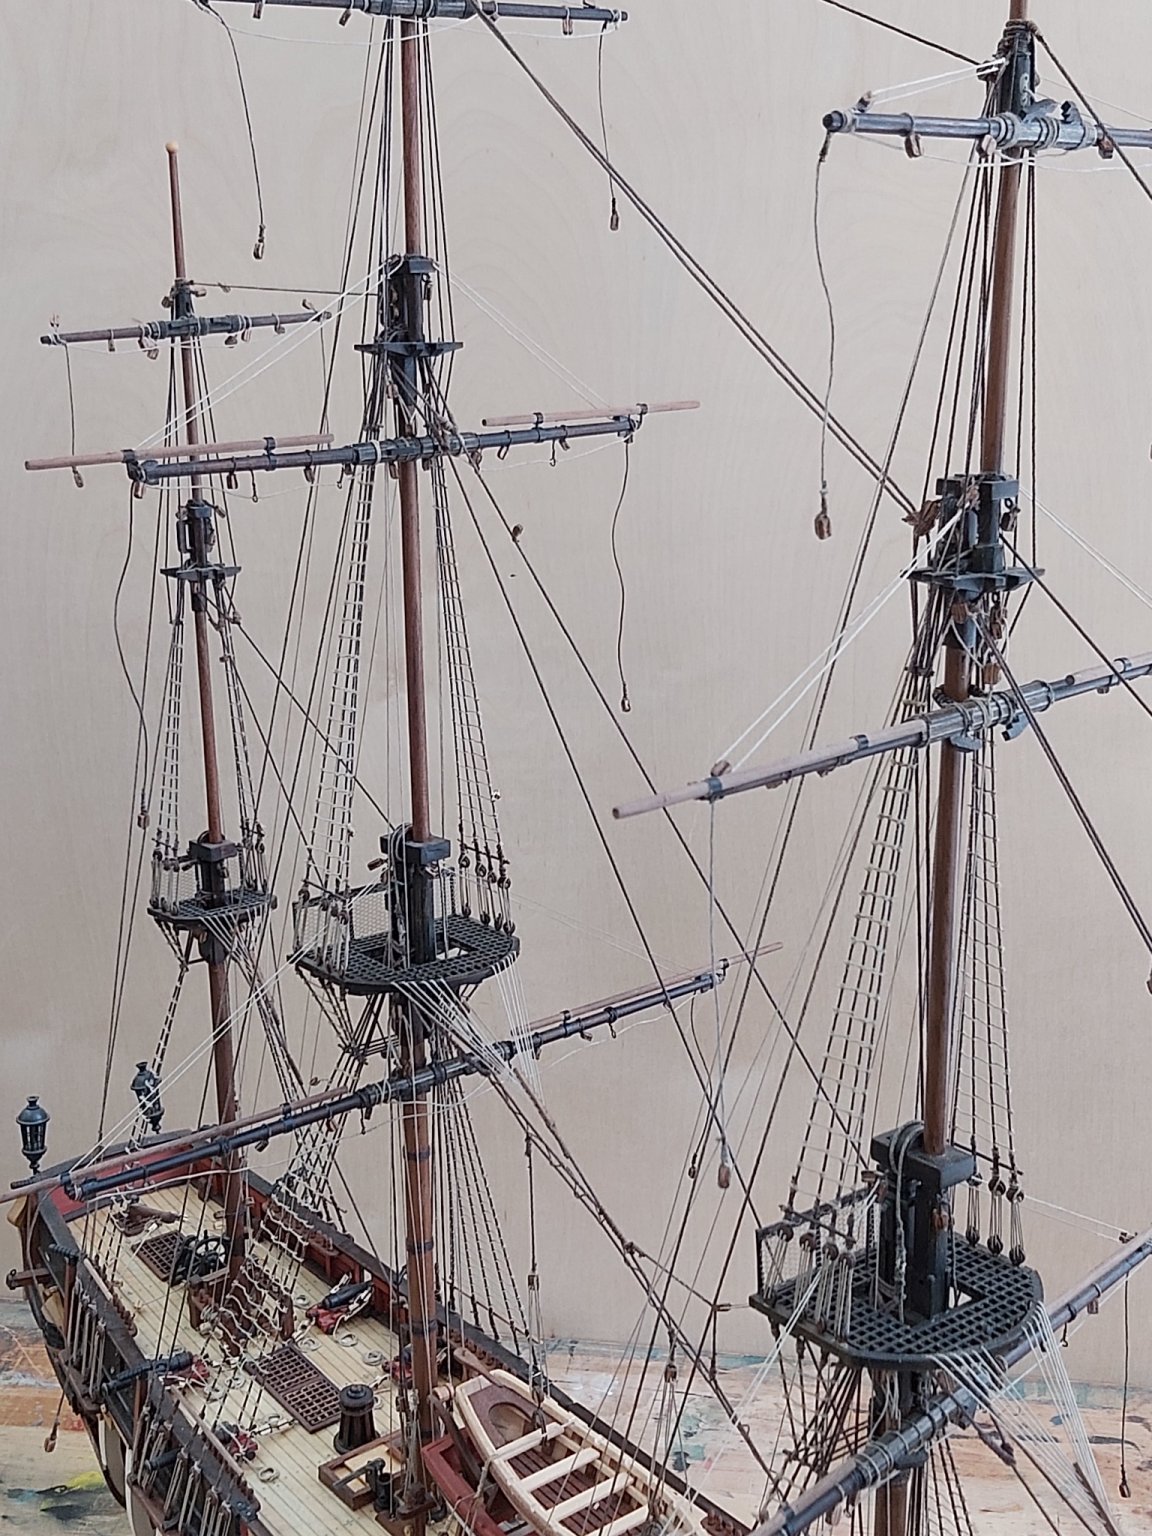
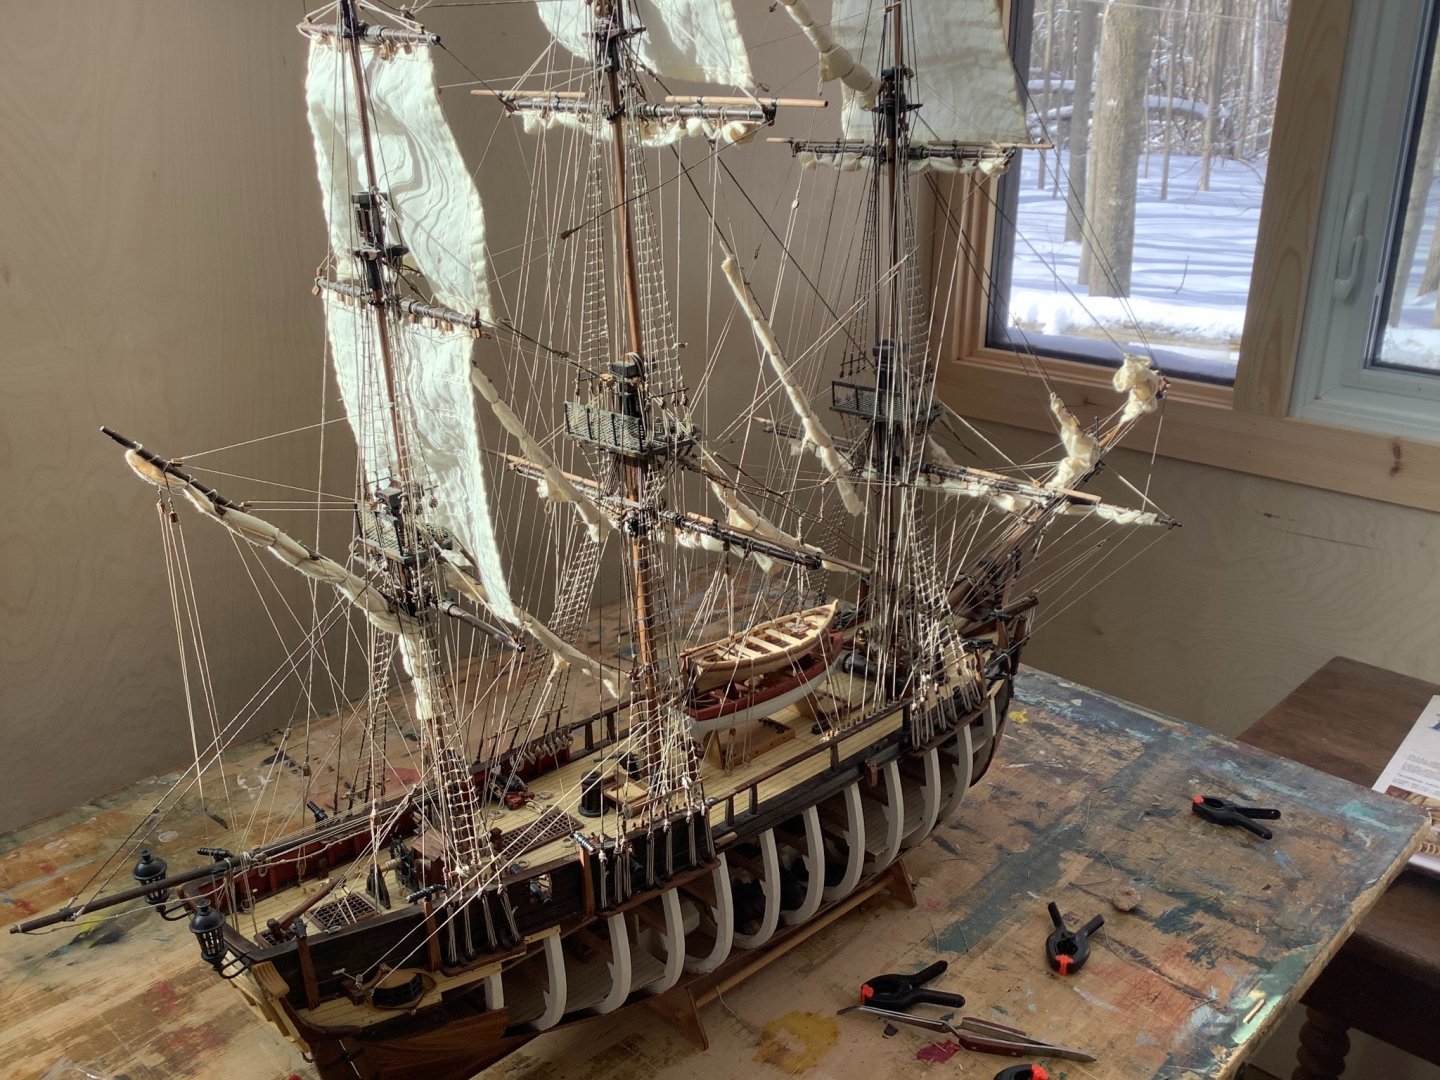
Fore and mainmast now complete. That’s 7 of the 9 yards installed and fully rigged. Just the mizzenmast yards left to do. I’ll take some better pictures with the proper camera when I’m finished this stage. The rigging gets to be routine as you go along, except of course for all the previously installed ropes increasingly getting in the way of everything you’re trying to accomplish.


- 171 replies
-
- 7
-
-
- artesania latina
- bounty
- (and 1 more)
-
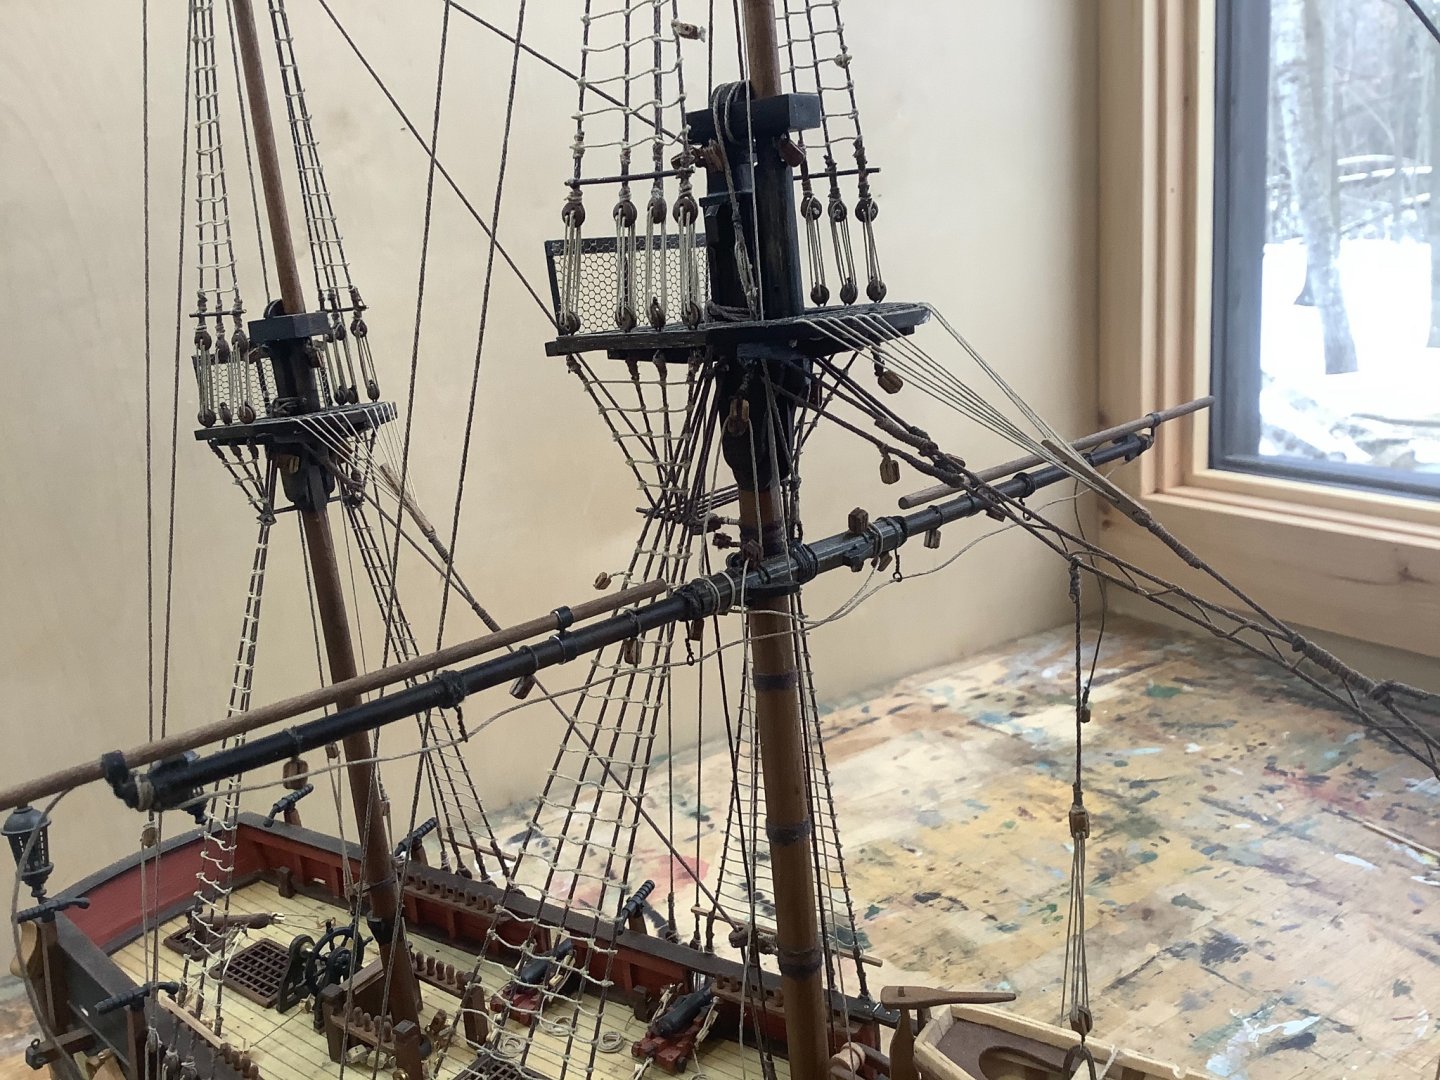
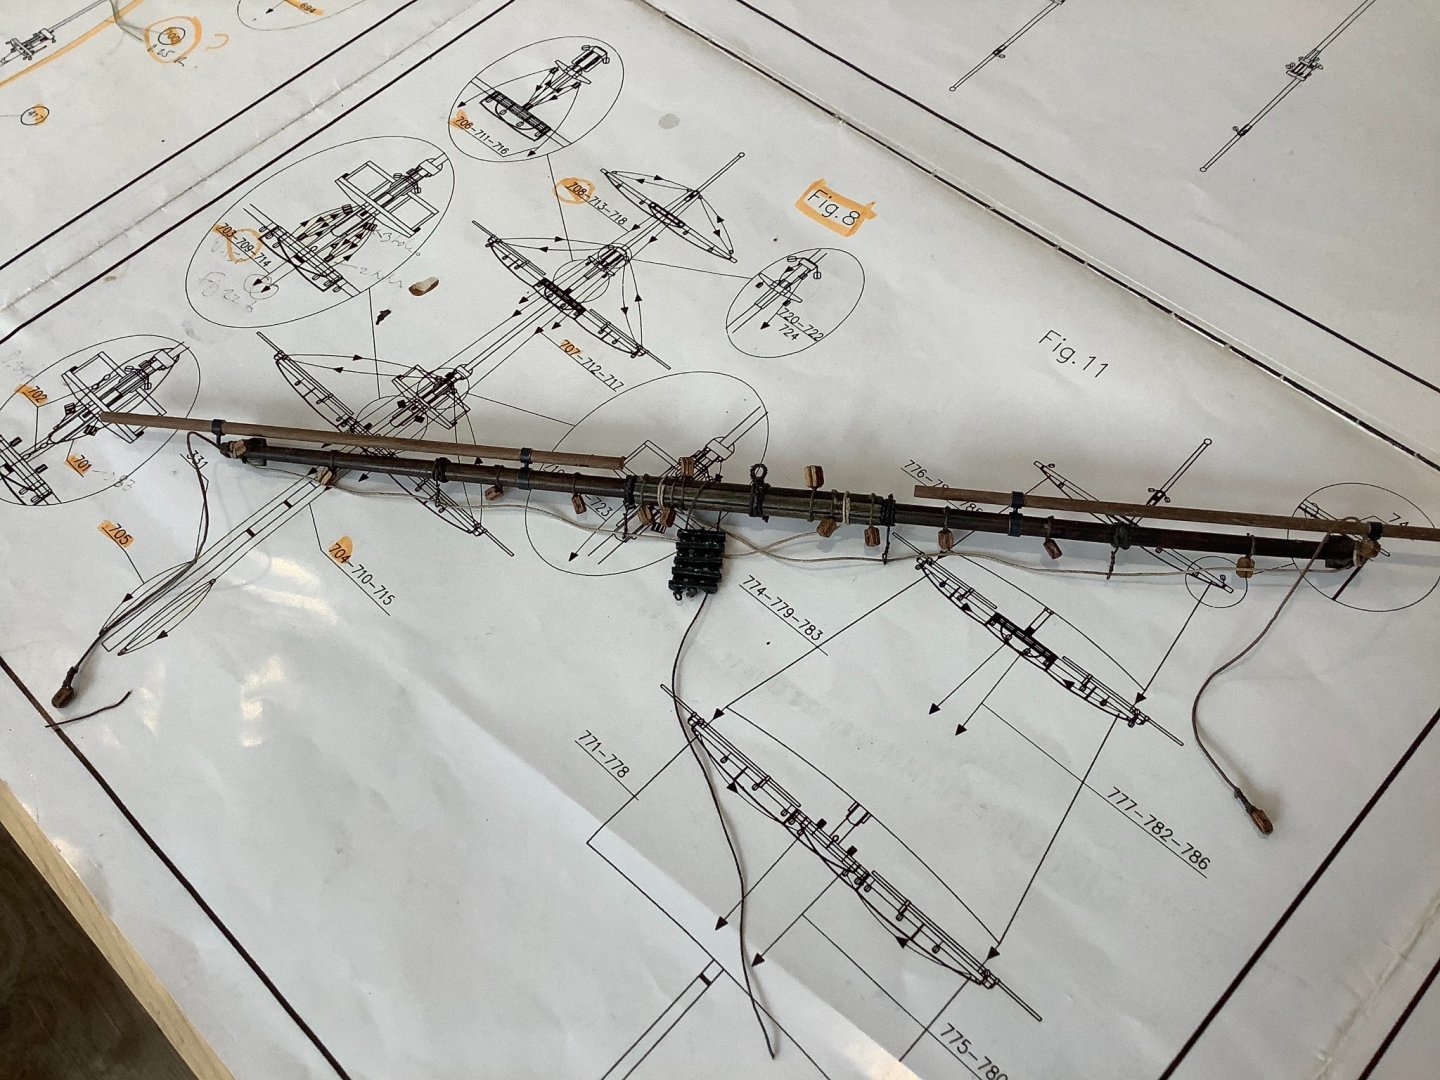
Executing the concurrent installation of the parrel assembly, chains and loop rigging necessary to connect the main yard to the mast is a bit complicated. Possibly the point where a % of model shipbuilders go mad and think, hey she looks pretty good without all these stupid ropes all over the place, maybe I’ll call it a day.
- 171 replies
-
- 7
-
-
- artesania latina
- bounty
- (and 1 more)
-
Thanks Jeff...really nice work you are doing on the Lively, Standout colour scheme and some fine details. I notice you are also doing a plane or two - I’m concurrently building a wood spitfire which is a nice contrast from the Bounty work.
- 171 replies
-
- 1
-
-
- artesania latina
- bounty
- (and 1 more)
-
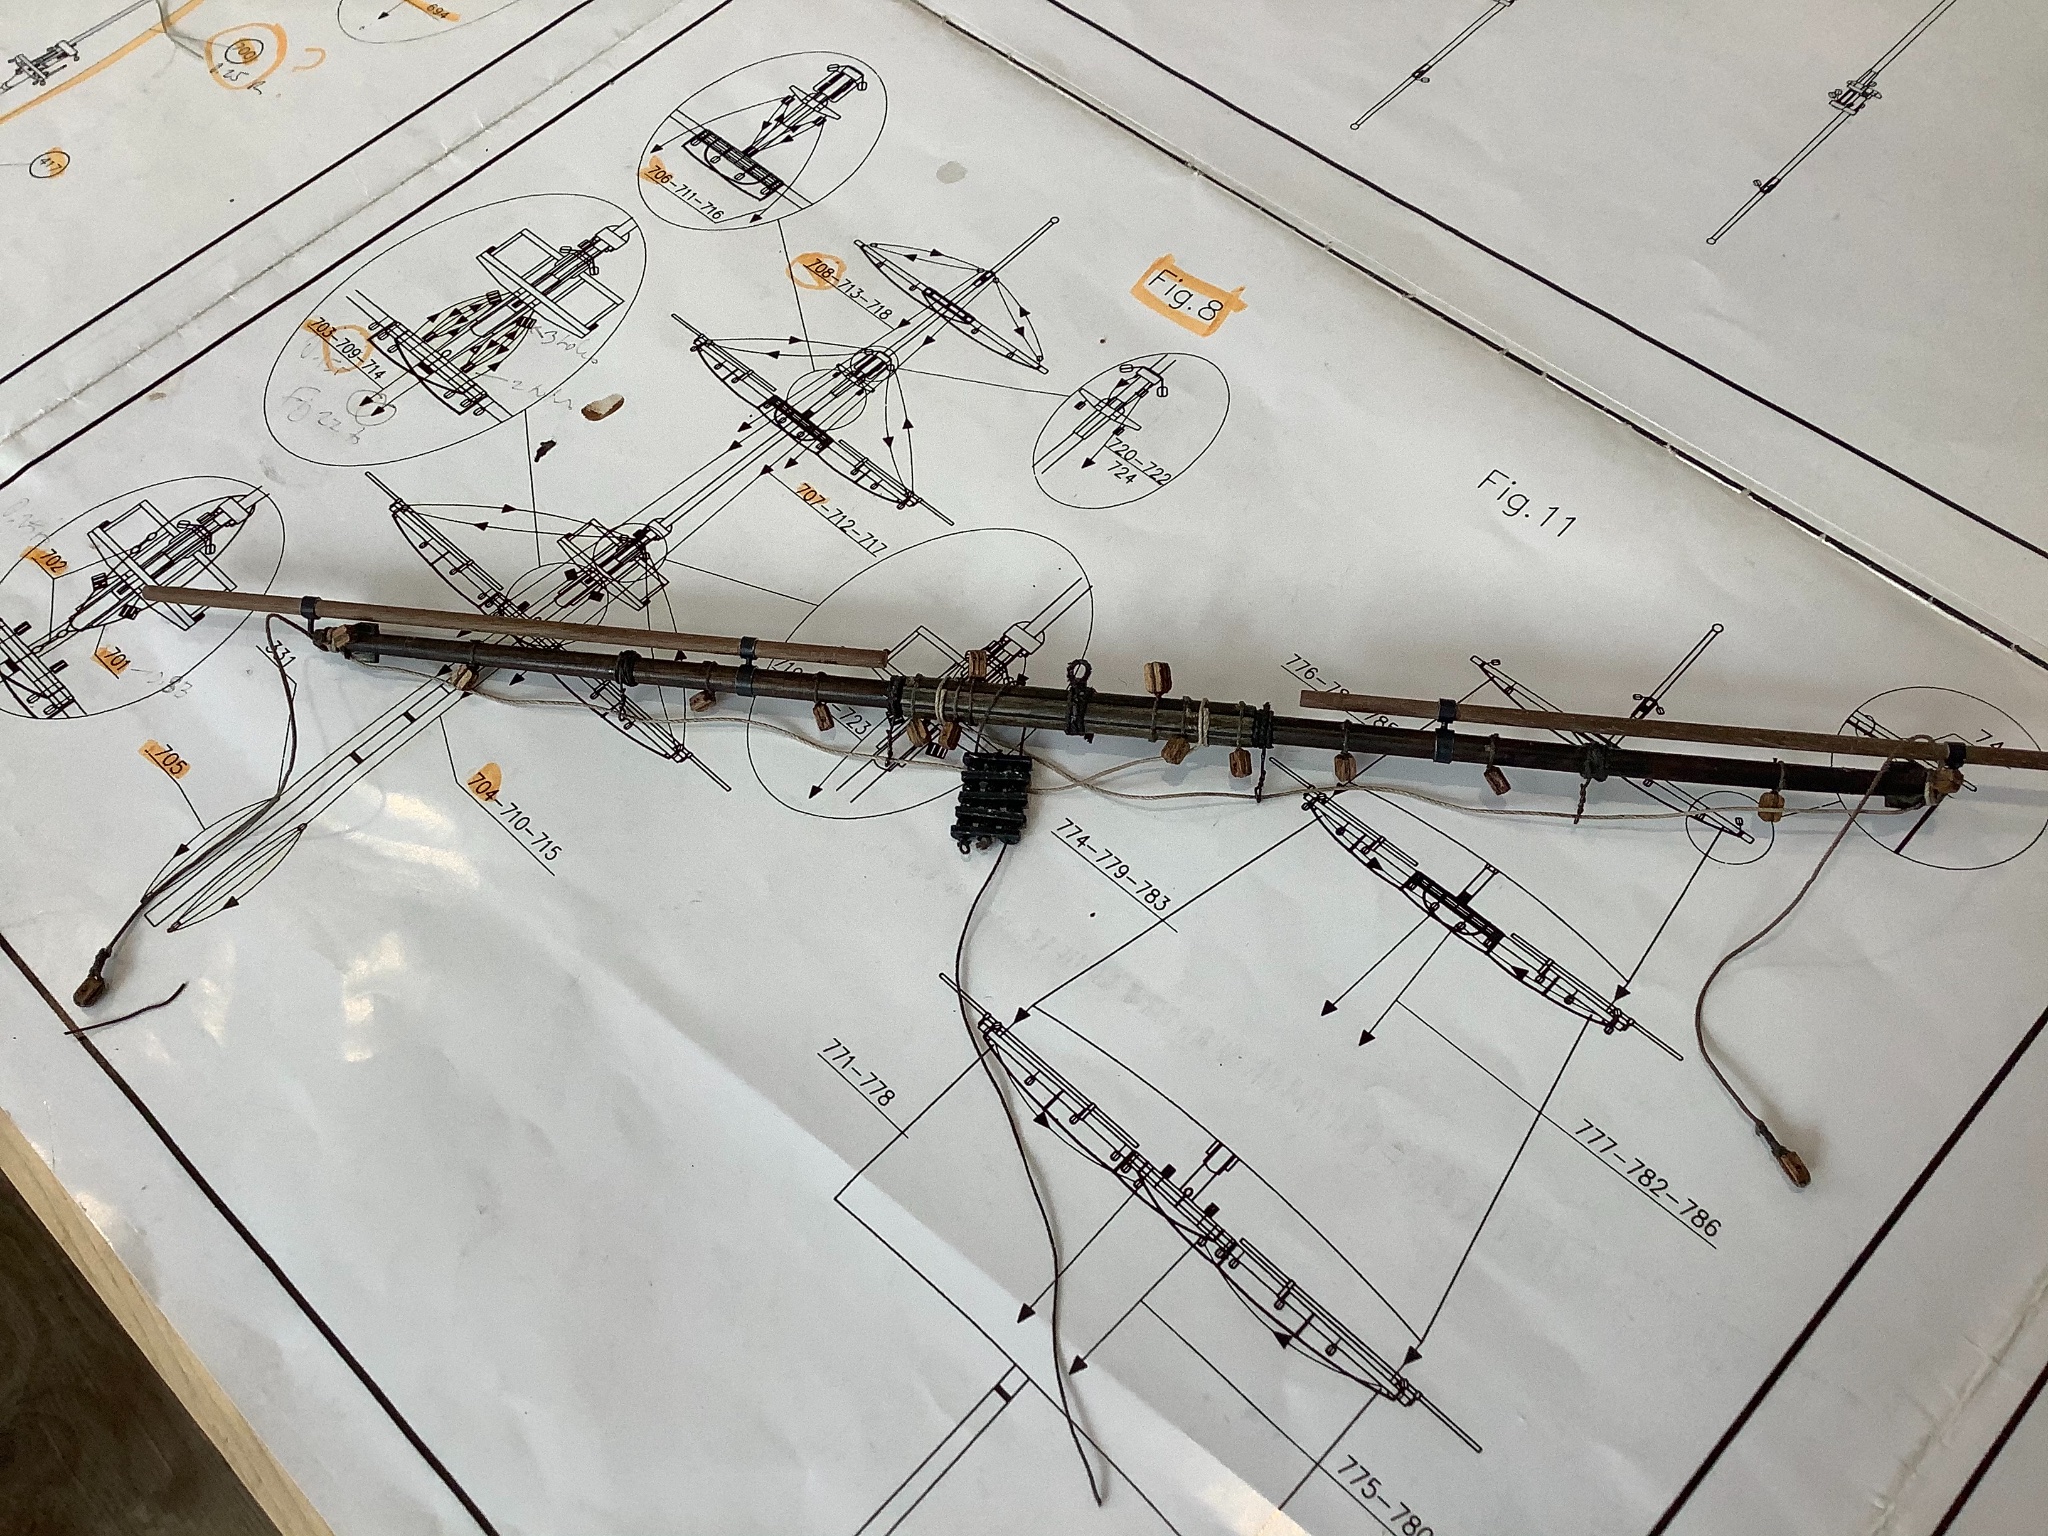
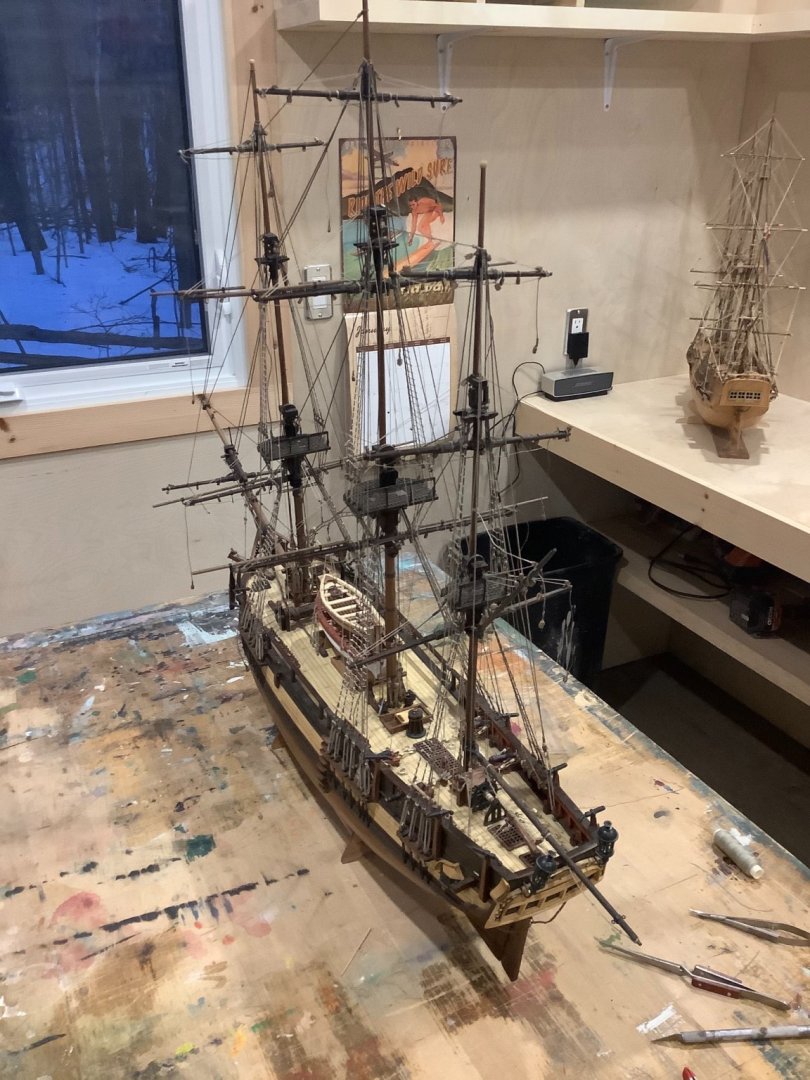
The main yard on the Bounty is almost a model unto itself with all the fiddly attachments. Just about ready to hang from the mainmast now. Checking the parts list I am now at number 709 out of 856. Much of the remainder is running rigging for the sails, which I’m not sure yet I will install or not. Concerned it may look a little cluttered with them. I’ll perhaps install the first couple after I finish the yards and associated lines and see how I feel about it.
- 171 replies
-
- 7
-
-
- artesania latina
- bounty
- (and 1 more)
-
Hey thanks for all the suggestions from everybody...yes I’ll mark all the panel lines on and make a tool as suggested for scribing. Surface should hold firm the with the thick primer I put on but I’ve made a test piece to experiment with first, see what works best.
-
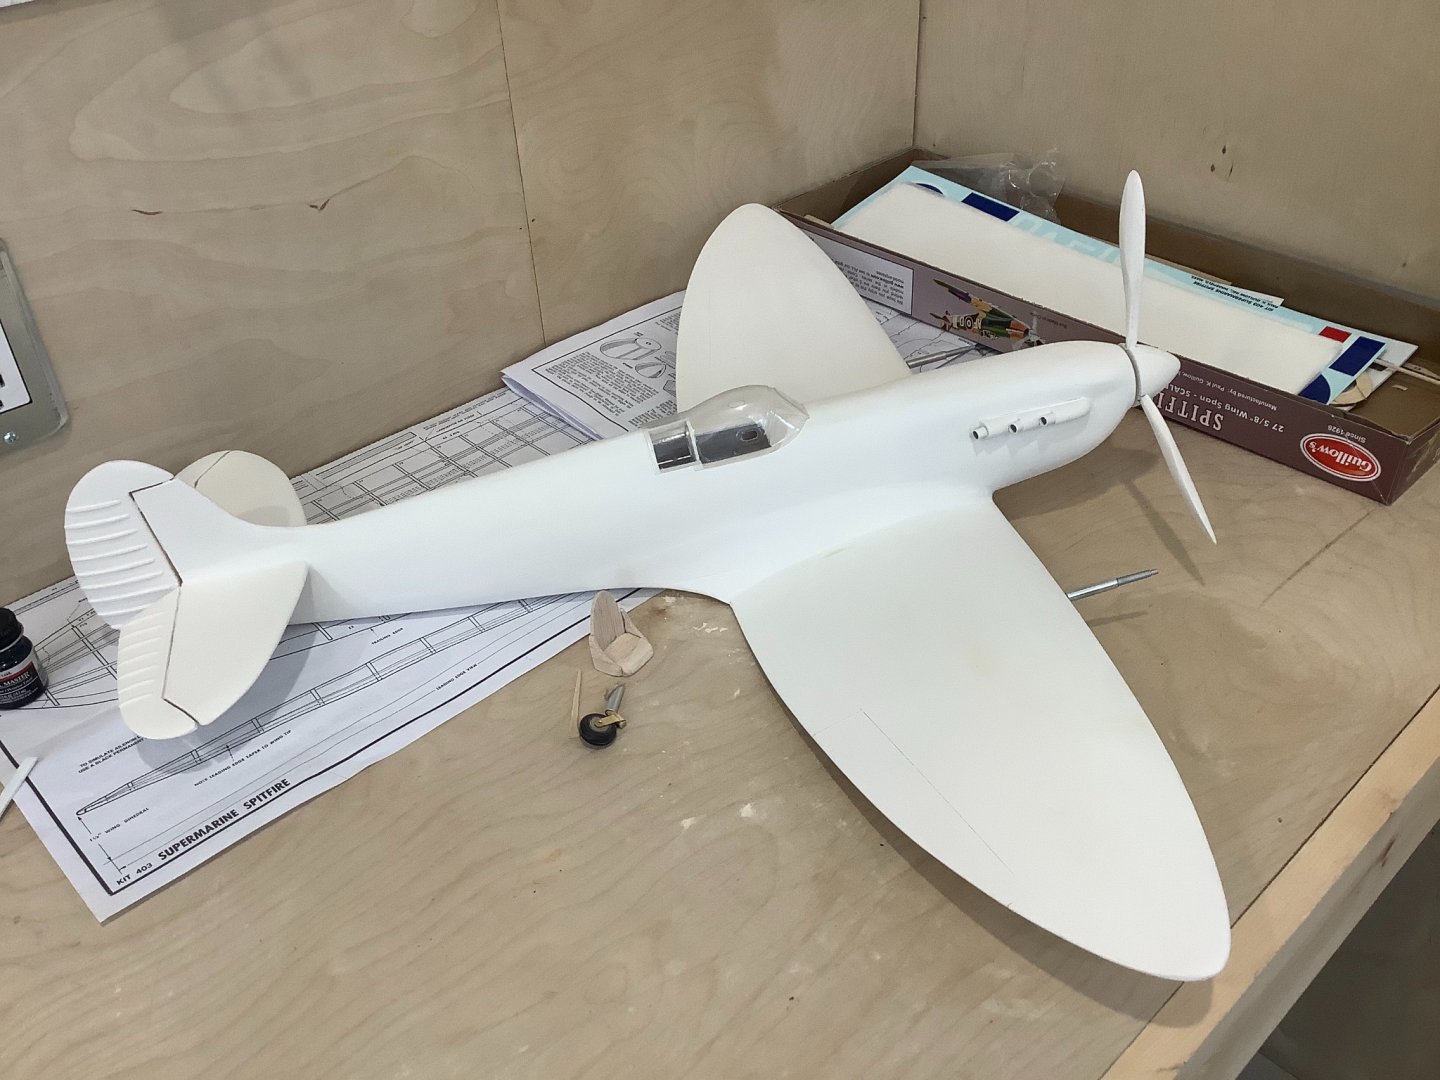
Thanks guys! Yes I’m pretty pleased how it turned out given it’s a bit of a dodgy balsa frame under there. The technique of painting on a slightly thin paste of plastic wood on top of thin balsa or plywood really works. I used a white primer to show up any defects but it’s pretty clean overall. I’d like to figure out a way to define panel lines on the fuselage - not sure yet what would be the best approach on wood. If anyone has ideas let me know. I have some 2” metal tape I thought about using to create panel effect but may be tricky to lay flat on such a rounded body.
-
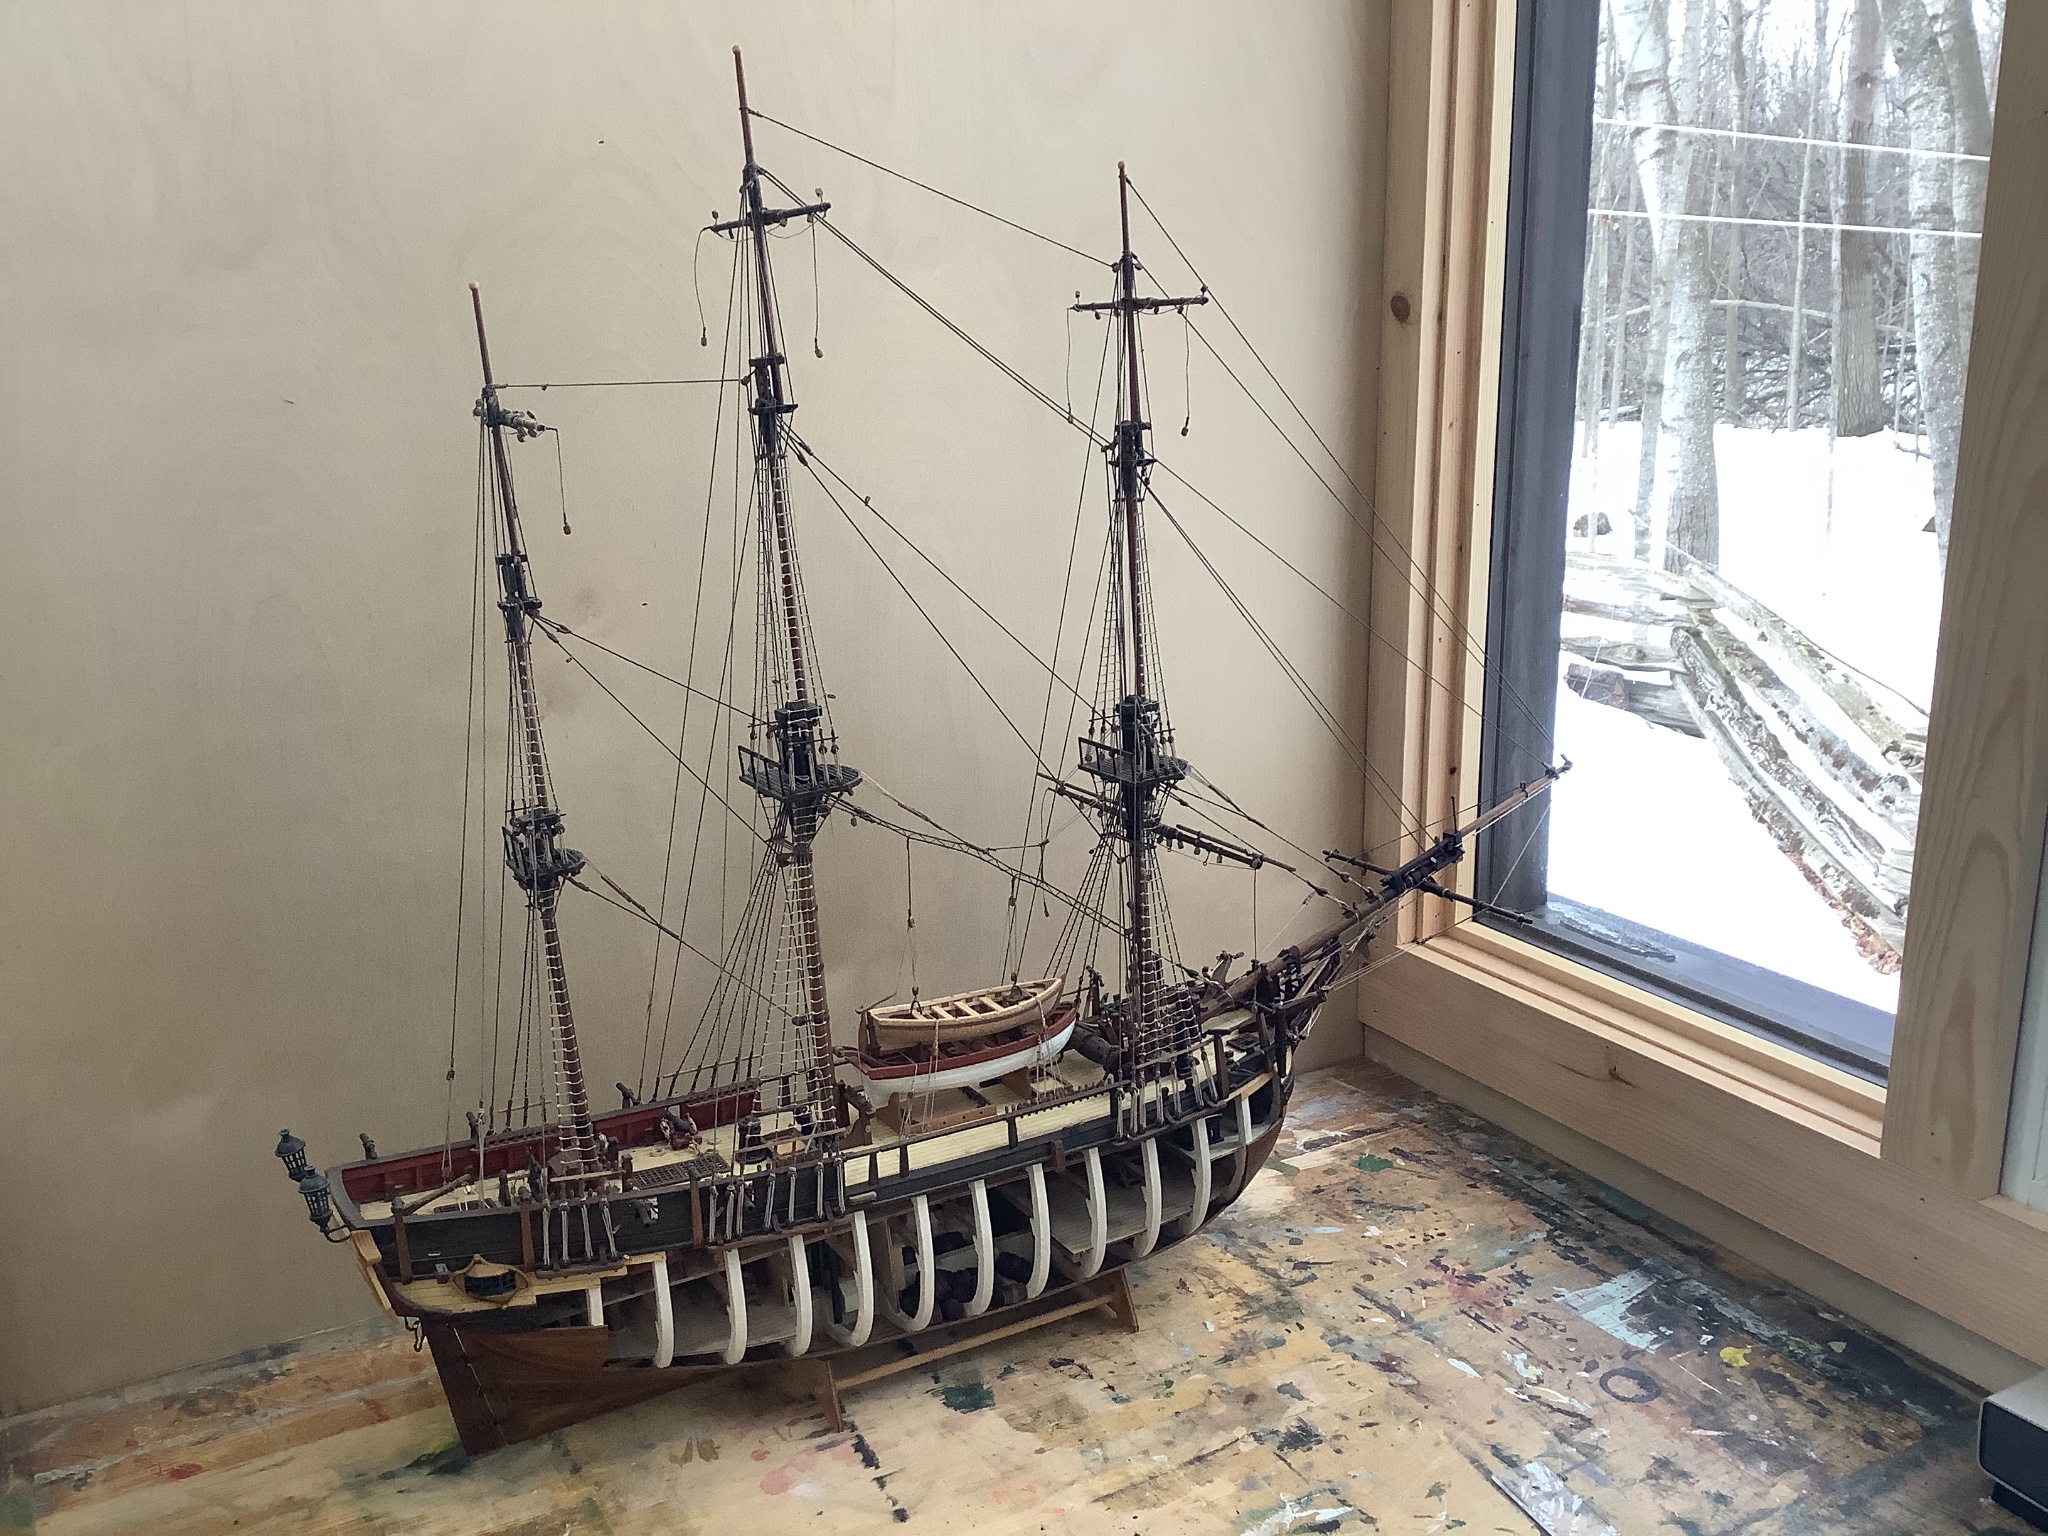
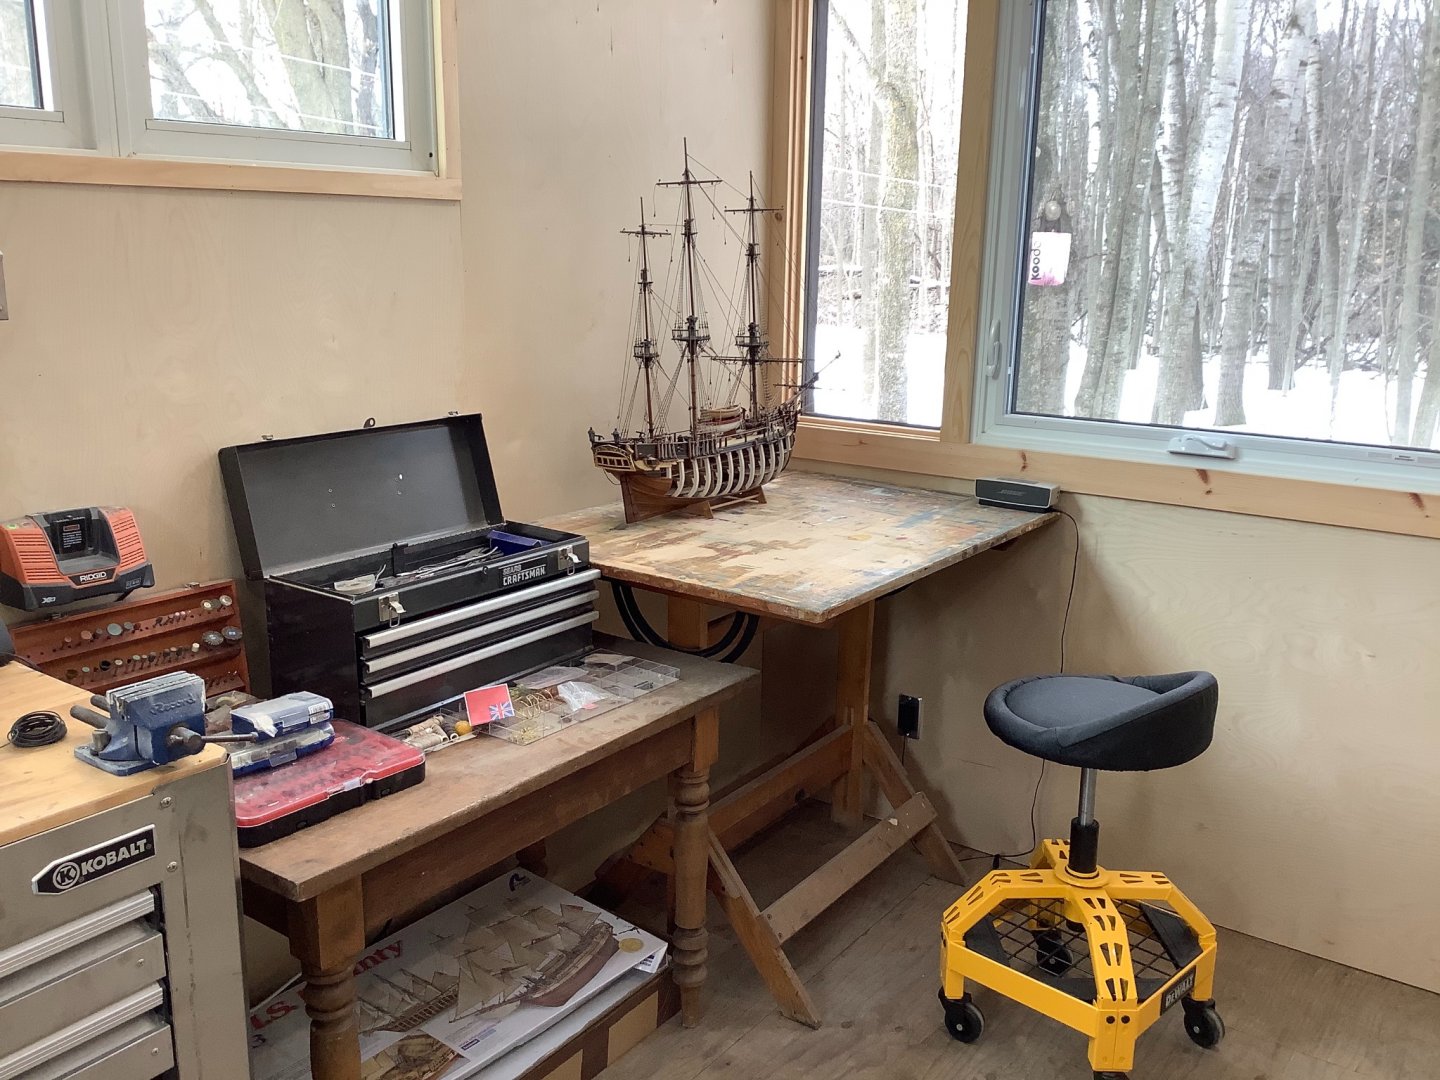
Back on the Bounty in the winter shipyard - just a few yards left to rig up then I can launch her and get started on a Moore presentation of Fifie which I’m keen to get going on. The new workshop is working great, really good light for working and good music setup in here. I really wonder how people without hobbies like ours are managing their sanity in this pandemic.

- 171 replies
-
- 6
-
-
- artesania latina
- bounty
- (and 1 more)
-
All primed, sanded smooth and ready for painting and final detailing - waiting on a paint and airbrush delivery which may take a bit of time since the brush is on backorder until February. Going back to the shipyard in the meantime to finish off rigging the last yards on the Bounty.
- 74 replies
-
- 17
-
-
The interior is looking terrific Lyle. Meticulous and unique work, really well done. Going to be a great Bounty.
-
Interesting! So this model building is definitely in your blood. Before ships I started out with all sorts of planes as well. Did one or two of the rubber powered Guillows, and then a massive u control flying wing with a 0.35 gas engine which I struggled to get off the ground. Then I got cocky and scratch built a smaller plane of my own design, which strangely flew better than any of the kits. After that I decided to quit while I was ahead, called it a day on planes and started shipbuilding.
-
The kit has tissue for covering the frames, which you would then cover with dope. I decided to try covering with a wood skin instead, to make a better display model. I flew the one I made according to kit directions many years ago with the rubber apparatus. This one will just be for display but it is still very light - the plywood skin on the wings is only 1/32” basswood. You’d need an engine to get it up I imagine.