Supplies of the Ship Modeler's Handbook are running out. Get your copy NOW before they are gone! Click on photo to order.
×


hamilton
-
Posts
1,925 -
Joined
-
Last visited
Content Type
Profiles
Forums
Gallery
Events
Everything posted by hamilton
-
 Nice work so far! Glad that Harbour Freight made good on the scroll saw!! hamilton
 -
Incredible work Bob, as usual! hamilton
-
Looks great! Very clean planking job so far hamilton
-
Hello there: Work on Bluenose has slowed as I've had to reduce my modelling hours to Saturday mornings - October-December is a very busy time at work and home so I'm feeling like a very dull boy indeed with all work and no play.... In spite of this I've managed over the last couple of weeks to plank the main deck. The joggling of the deck planks adds a significant amount of time to the process, and I'm not sure about the results - from a distance they're adequate and (judging by the photos below) my camera lens is extremely forgiving. But like everything in modelling it's about practice and getting a better feel for things with each attempt. And once all the deck furniture and fittings are added later things will blend in. The quarterdeck planking is not laid parallel to the centre line like the main deck planking - it curves more or less in line with the tapering of the deck towards the stern. This will no doubt take longer even than the main deck, but I won't have a chance to start on this until next weekend, unless by some chance I can carve out some modelling time tomorrow. In any case, slow and steady..... Enjoy hamilton

-
looking back through your log, I wish I had stumbled on it earlier, as I might have been able to provide some assistance with the odd stern bulkheads. on my Greyhound kit, bulkheads 9 and 10 were WAY off - I had to add 3/16" x 1/32" to the edges of those bulkheads. I used a test batten across all the bulkheads to gauge how thick these extra shimming strips needed to be and to gauge the area of the bulkhead edge they had to cover. It was a very time consuming and frustrating process as i recall....anyway, this is definitely a manufacturer issue! And a big stumbling block for the modeller...despite many criticisms of them that can be found on this forum, I actually quite like Corel kits and have made a few - this one, though, had some problems! hamilton
-
look how it improves with elbow grease!! The planking looks great! - Nice solid foundation for the next layer. Keep on! hamilton
-
Looking through your build log is giving me flashbacks! This was initially a frustrating kit to work with for me, but ended up being very enjoyable and one of the models I'm proudest of. I also agree completely with Harlequin (with whom I've exchanged notes on this model and who was a great help to me when I was working on it). Each model is a learning experience and each time you can apply what you learned from the last one and improve. It's difficult when (as is almost always the case with my builds) things don't look exactly as pristine and clean and perfect as they do on the box or in more experienced modeller's hands. If you enjoy the process, then you will enjoy watching the results improve as you go. And to the list of things Harlequin mentions above - knife marks, scratches I'll add - the modeller's own blood, which I've spilled on every model I've ever built! hamilton
-
Looks really nice! Your planking is so clean! At first I thought the twisted wood strips were some kind of cat's cradle automaton - which would be pretty cool to see if you can work one up once you're done this! Have fun!! Wish I could build like that! I'll keep practicing! hamilton
-
Thanks Mark - I'm contemplating redoing the cabin as it is a little off plumb and the skylight looks like a half-baked cake to me...not in any rush to complete this build, so probably worthwhile to try a re-do while version 1 is still not fixed to the model.....we'll see....bye for now! hamilton
-
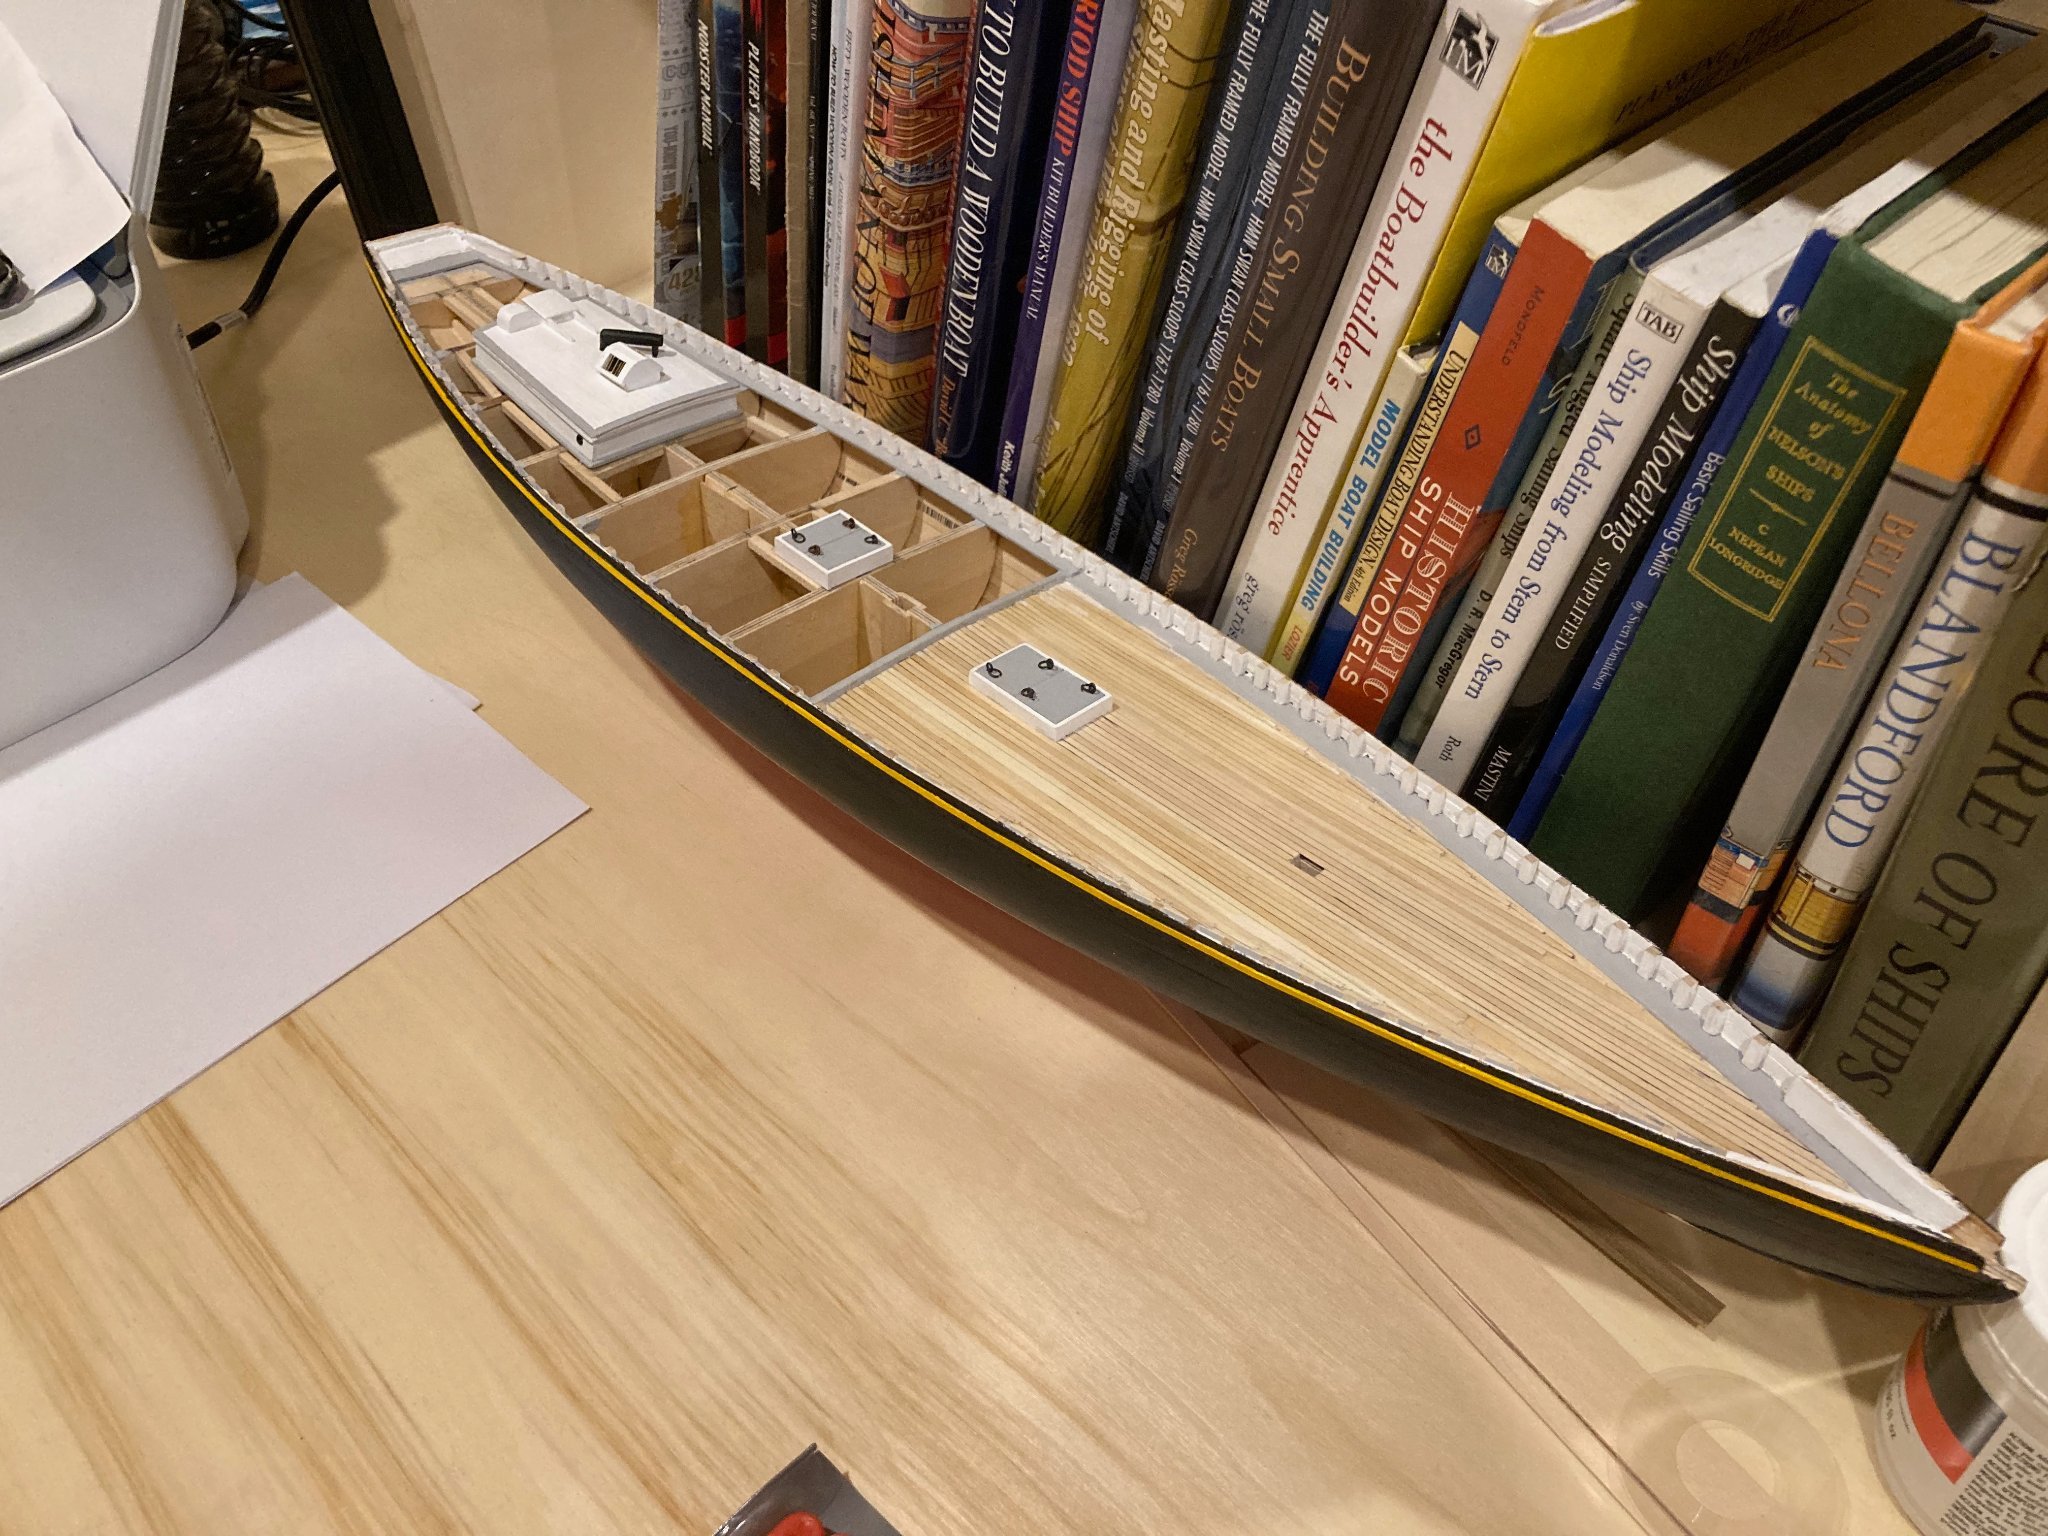
Another quick update on Bluenose. At this point, I've completed the cabin, adding binnacle, skylight and stove pipe - the latter made from some old dowelling I had lying around. I had thought to integrate the cabin, hatches and skylight/companionway into the deck planking, but in the end, I decided only to do this with the hatches and fit the other deck superstructures on top of the deck planking - planking around the cabin aft would have been pretty tricky given that the planking does not run parallel to the centre line on the quarterdeck, which the forward companionway and skylight are so small and close together, that (again) the finickiness of the planking was a deterrent. So I put together the hatches, fixed them loosely to the deck to begin the planking process and will fit them permanently once the deck planking has been finished fore and aft of them (this is to ensure that the planking runs evenly around them. I still have not found a good replace for the now unavailable blacken-it product, with which I always had decent results. With the product I'm using now I feel like parts either don't really blacken at all (likely there is a lacquer or some other coating on the brass that needs to be chemically removed first) or they get really flakey, indicating a very loose chemical bond.....I've read through a couple of threads on blackening and will try some experiments with different ideas/products I've read about here....but I miss blacken-it! So simple..... Anyways, After getting the hatches together I began on the main deck planking. The photos below show only the two centre strips but at this point I've laid down eight strakes of deck planking, which pushes the planks to the outside edges of the hatches. Now the hatches can be more permanently fixed and the deck planking will continue with the winch pads up in the bows, the nibbing strake run agains the waterways and the remainder of the forward deck planking. It looks a little rough (some bleeding of the simulated caulking seams through the action of the CA...Sanding has minimised this effect and the volume of forward deck features will likely make a lot of the little blemishes fade into the background as building continues.... Enjoy!


-
PS - I haven't built (or got) the Caldercraft Victory, but I usually locate gunports by taking a vertical measurement from the plans at midships, then at fore and aft, then at a couple of spots in between. Then run a batten across the marks to check for fairness and adjust as necessary to achieve a good fair run. You can do this for top or bottom of the gunports and then mark the other edge by measuring the height of the gunports and then marking this line across the bulkhead edges.....There may be other techniques used by other modellers and you may get other suggestions here, but this is one that worked for me. Hope this helps! hamilton
-
Hello from down the road from you in Vancouver. Your Victory looks good so far - keep posting your progress! hamilton
-
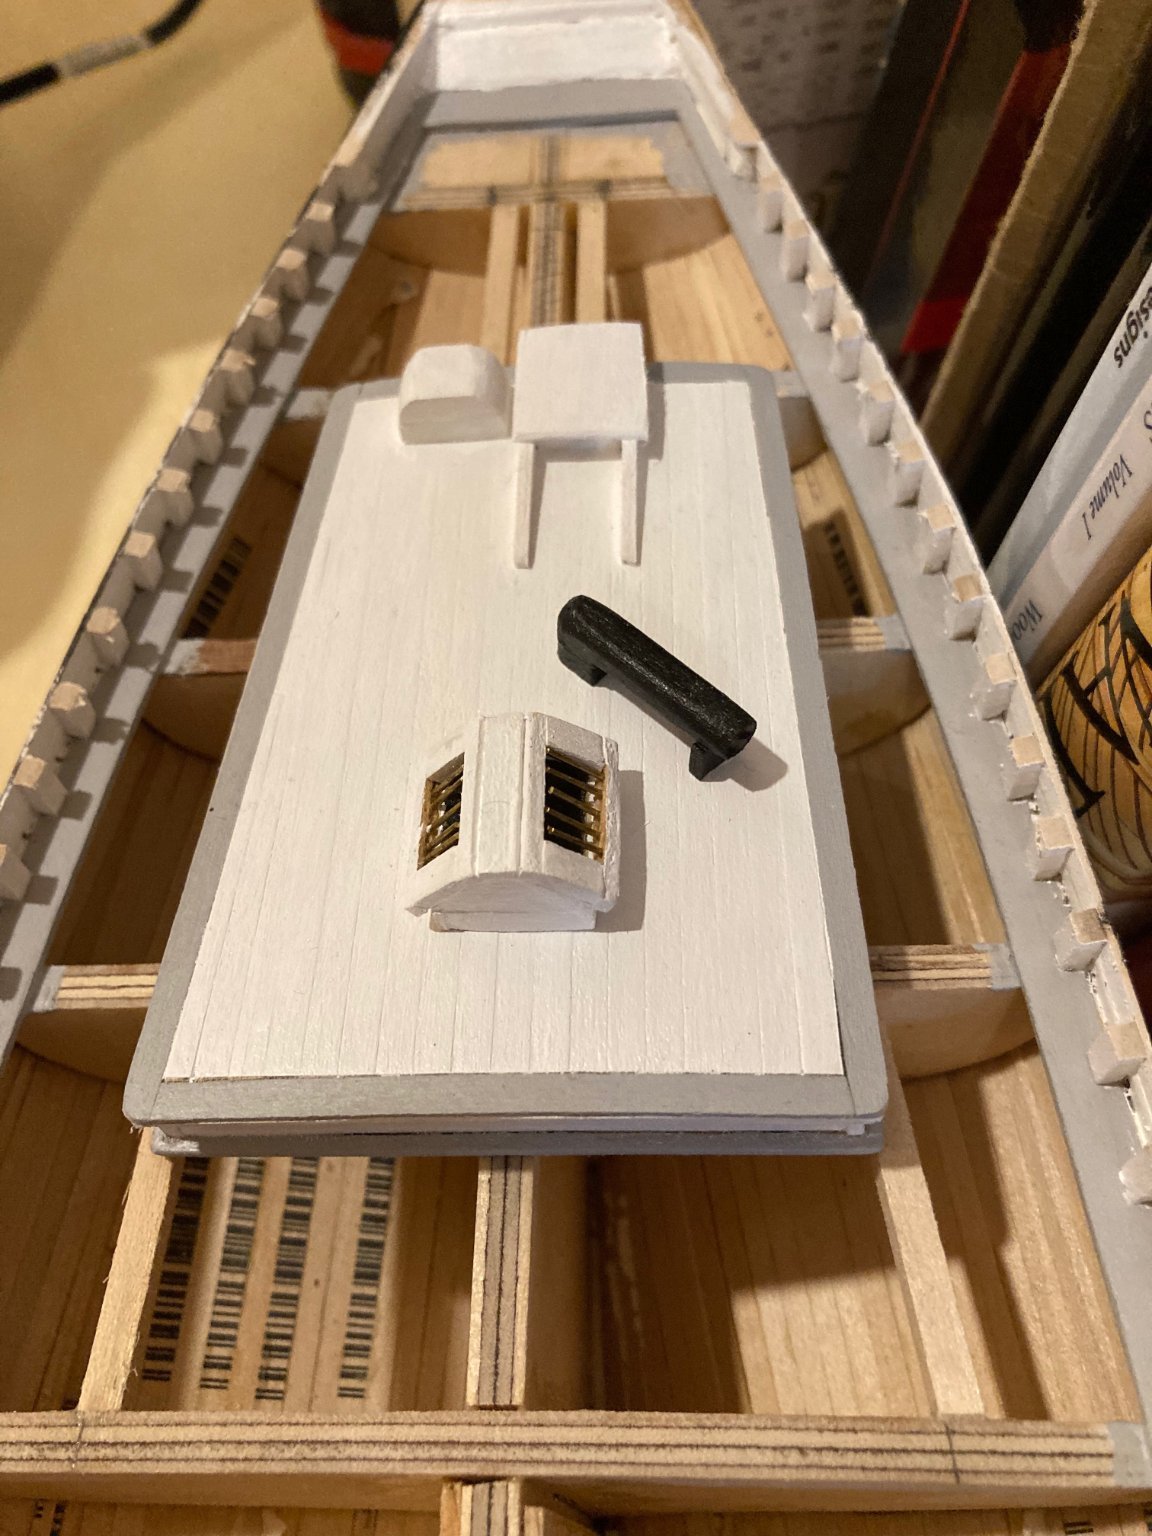
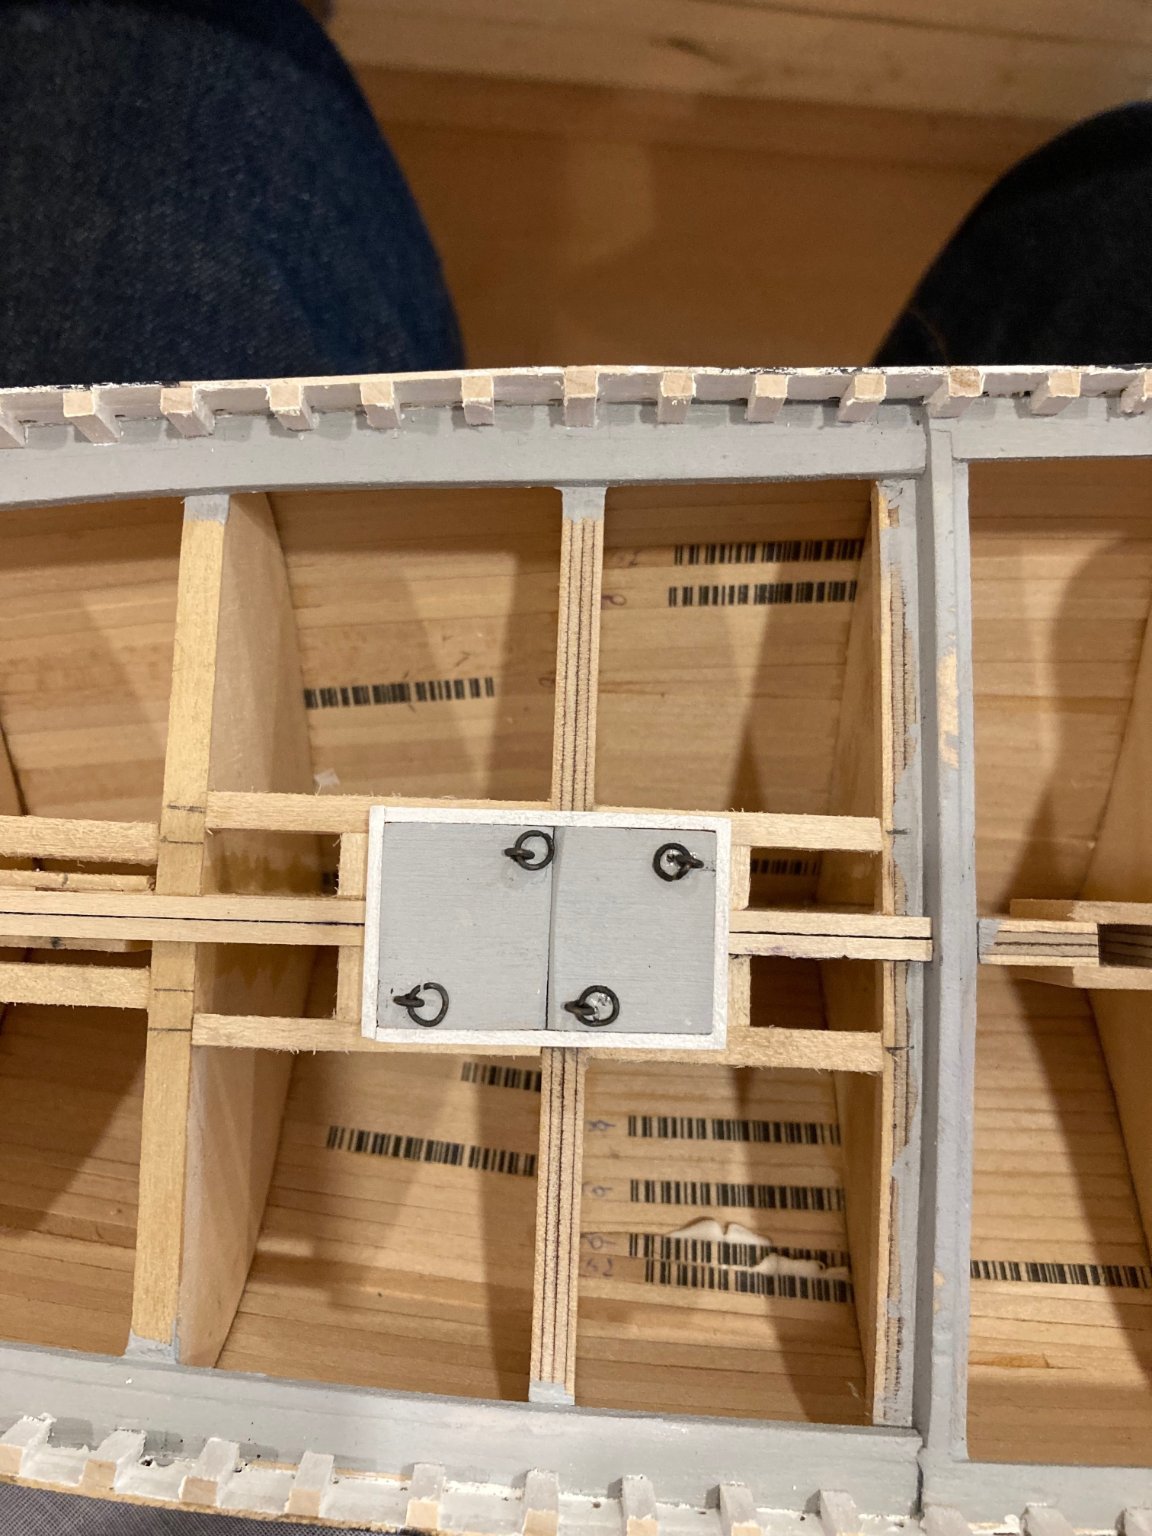
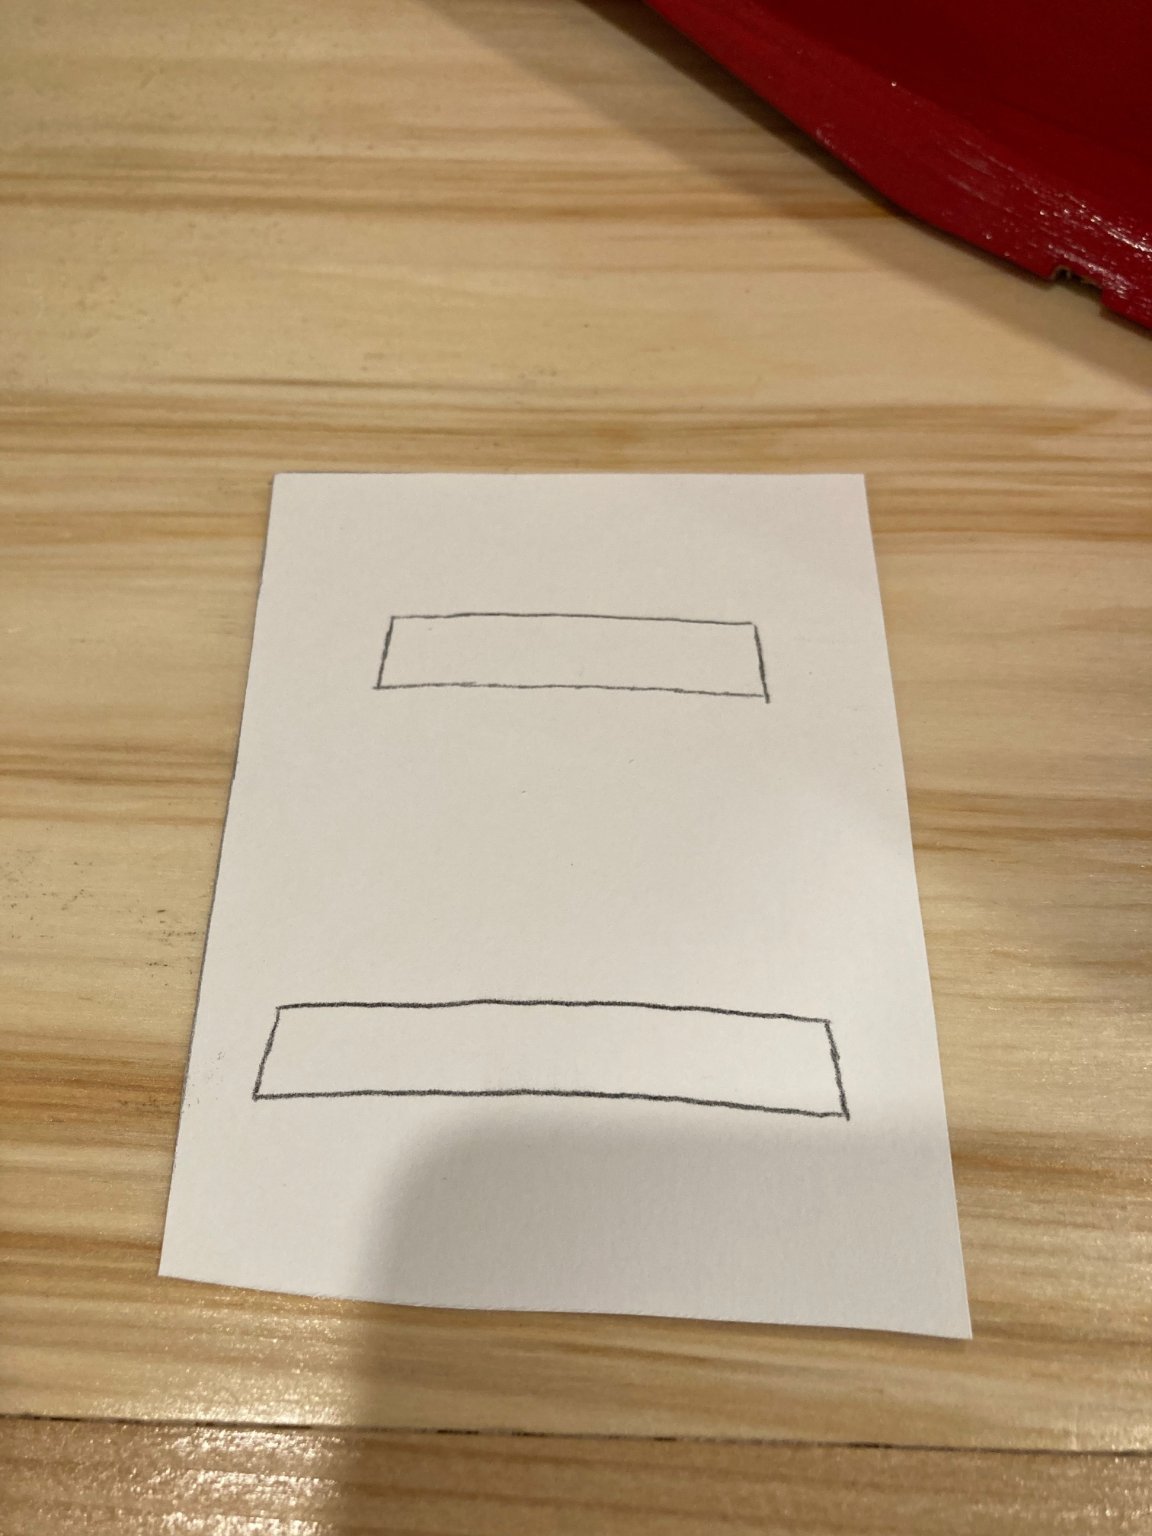
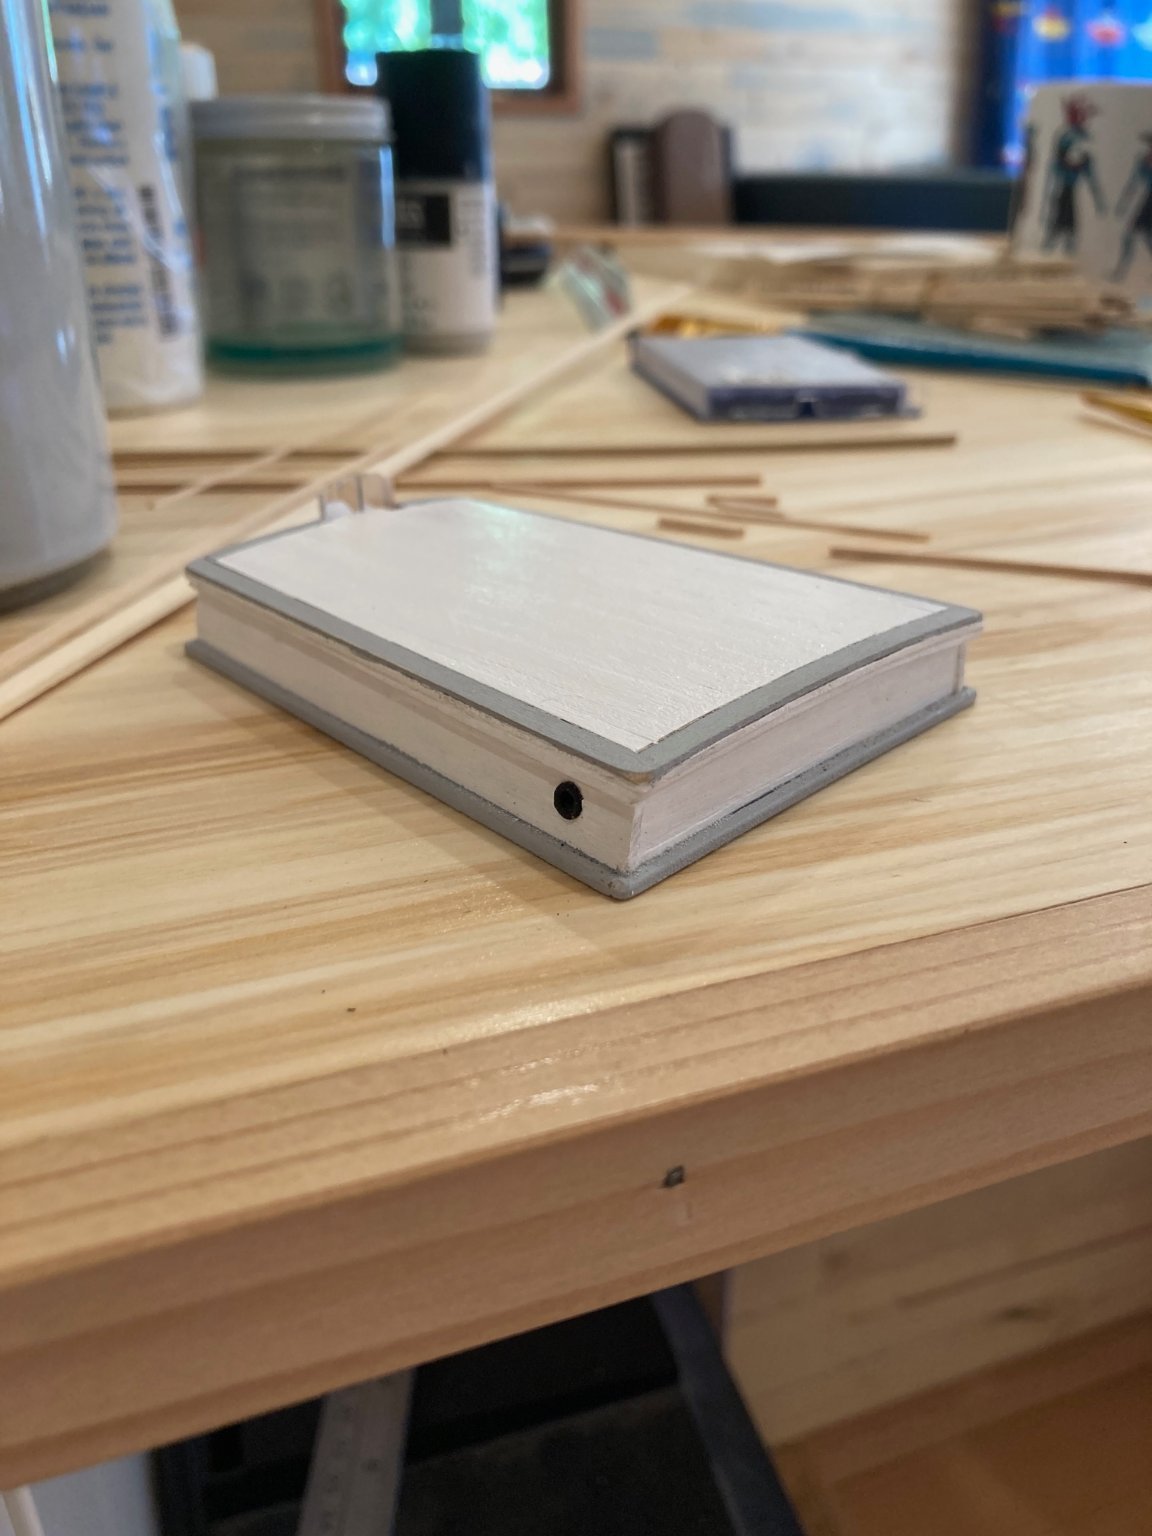
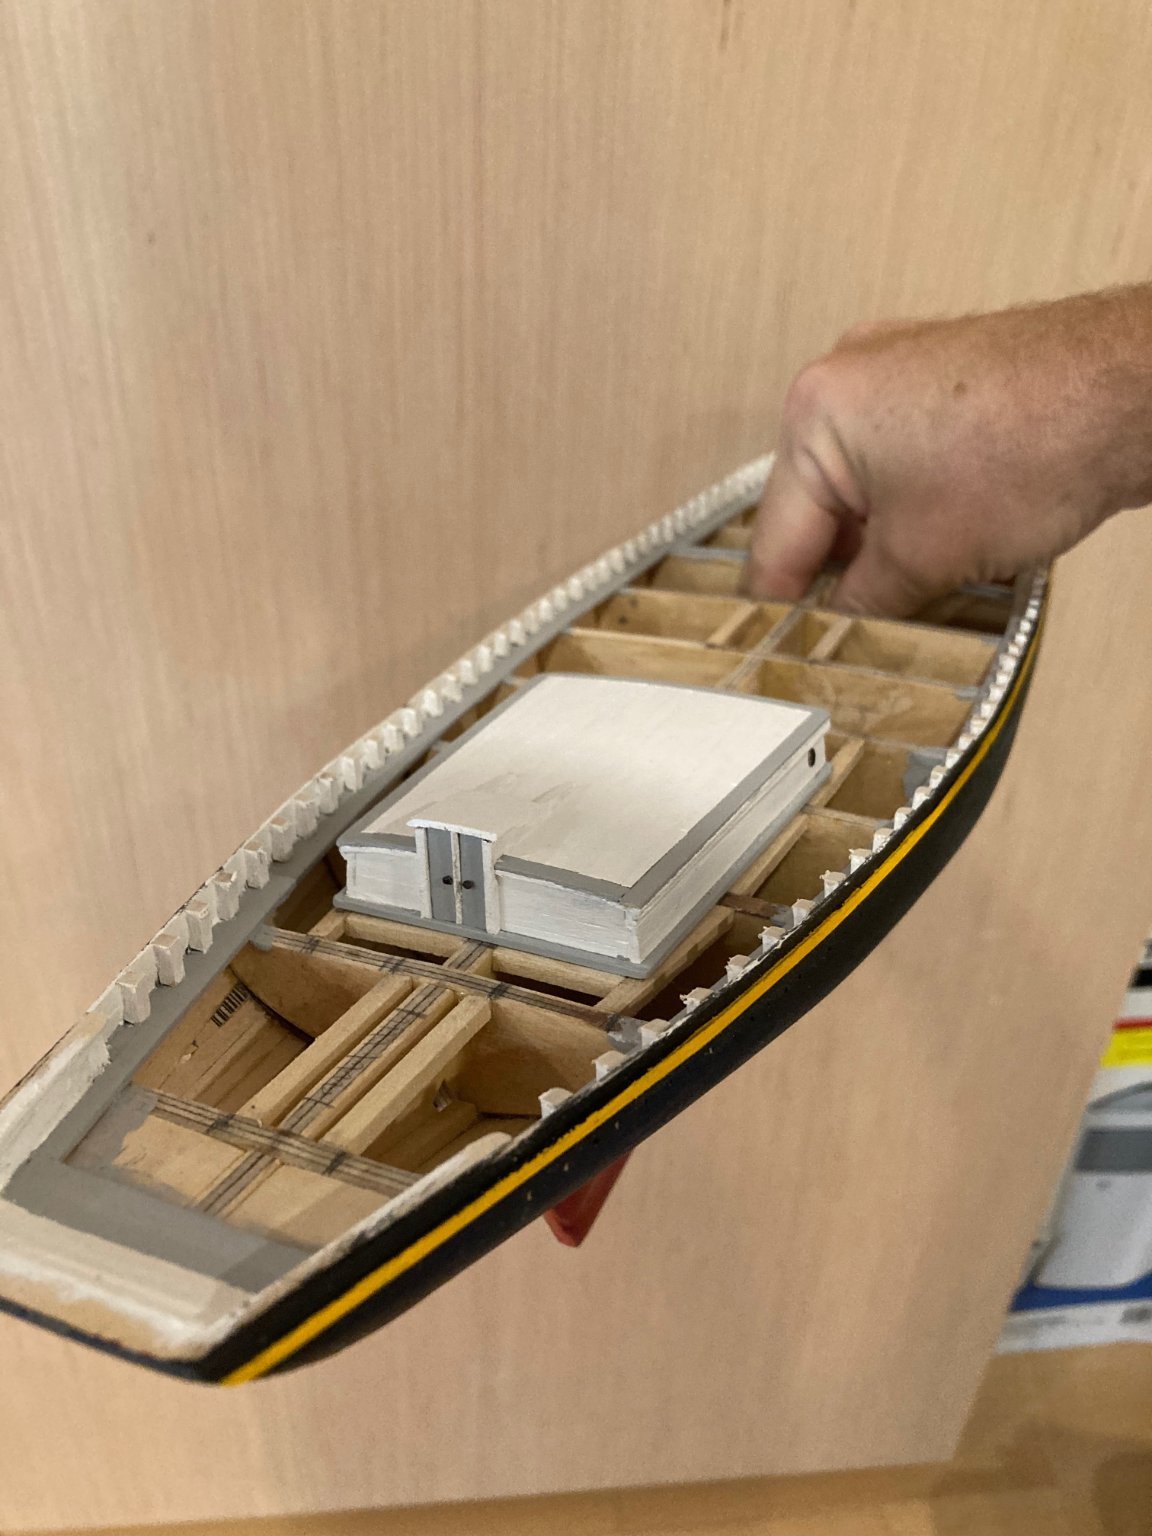
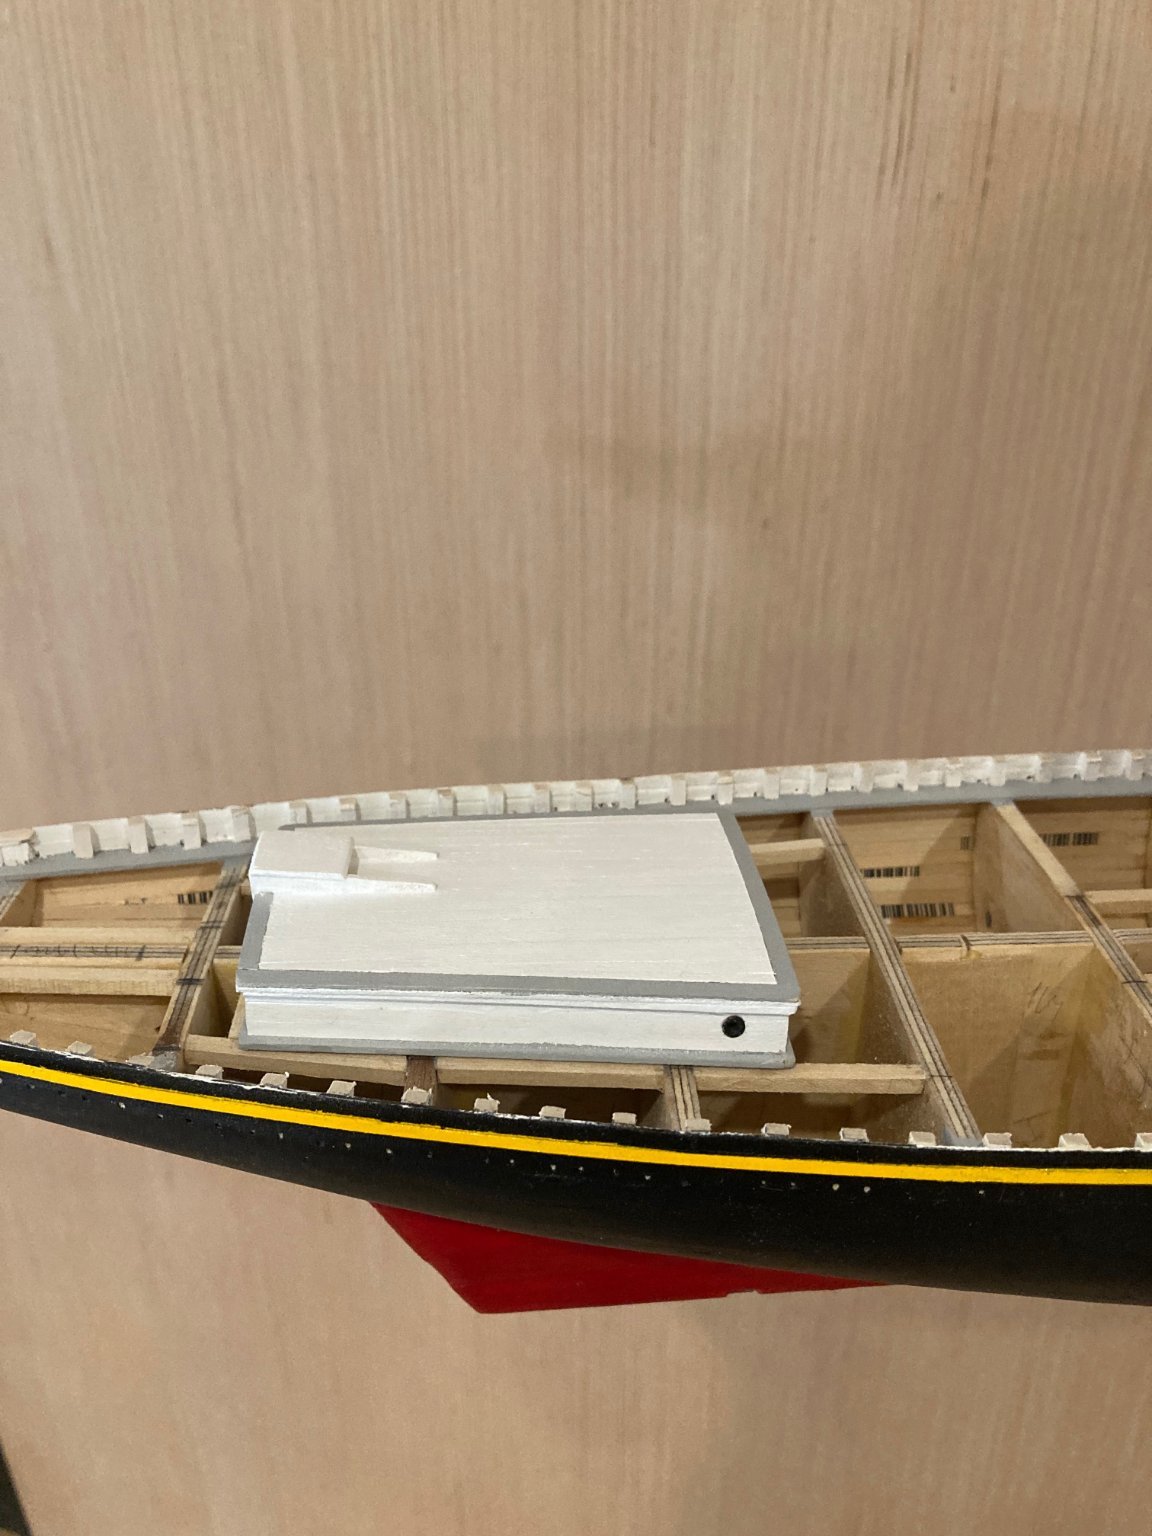
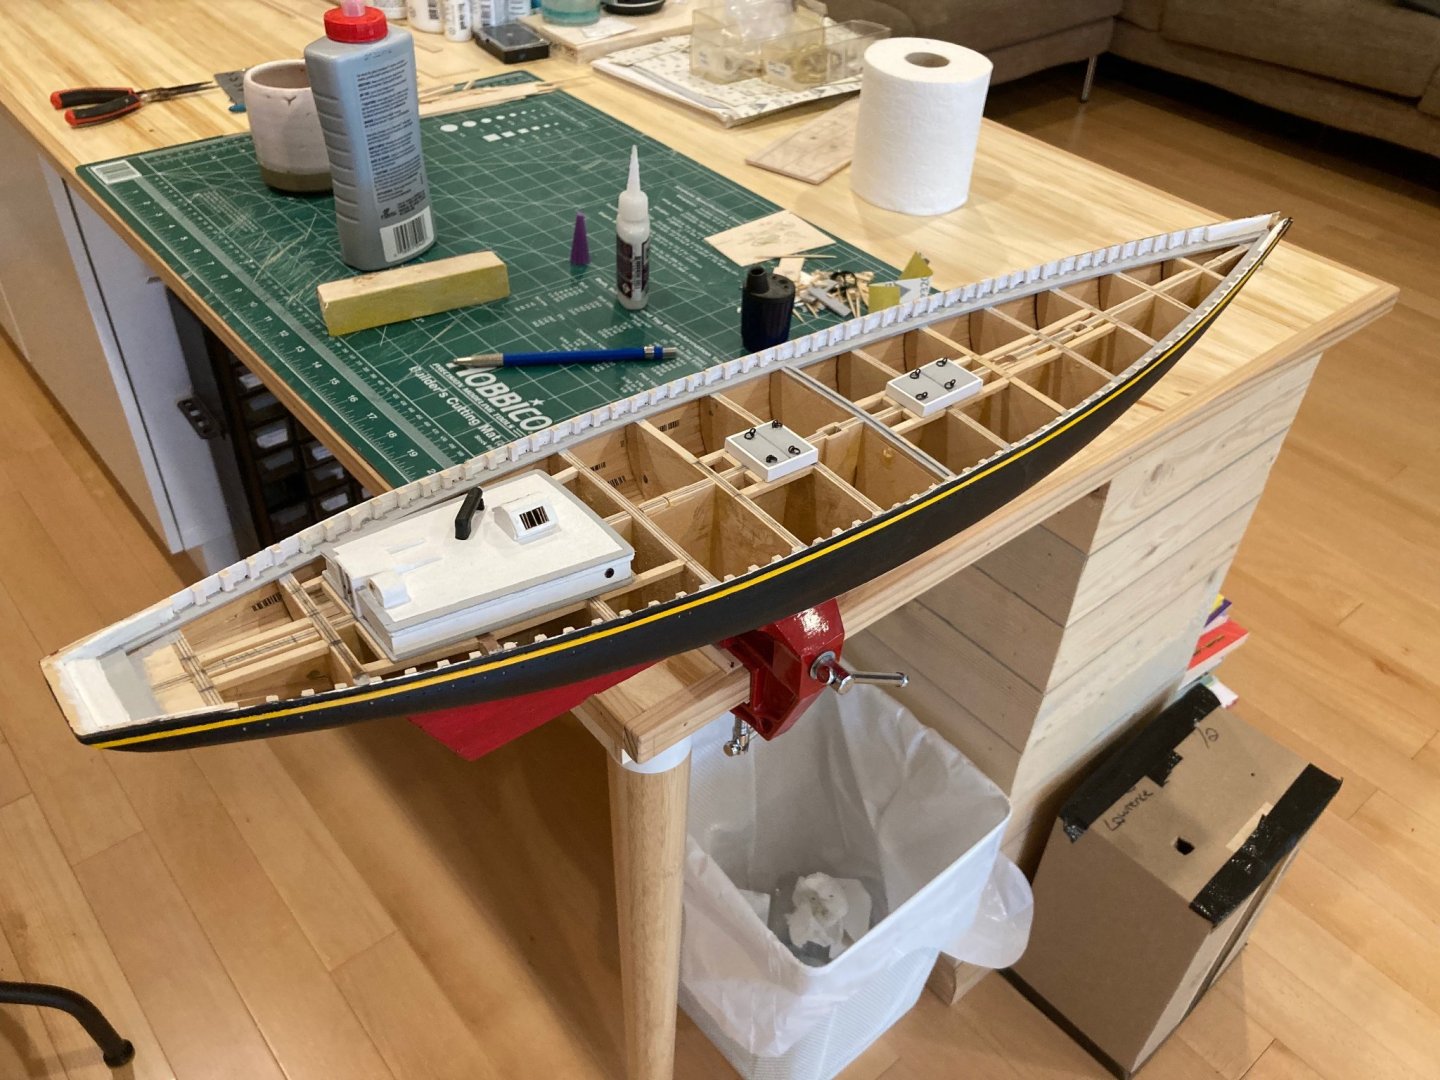
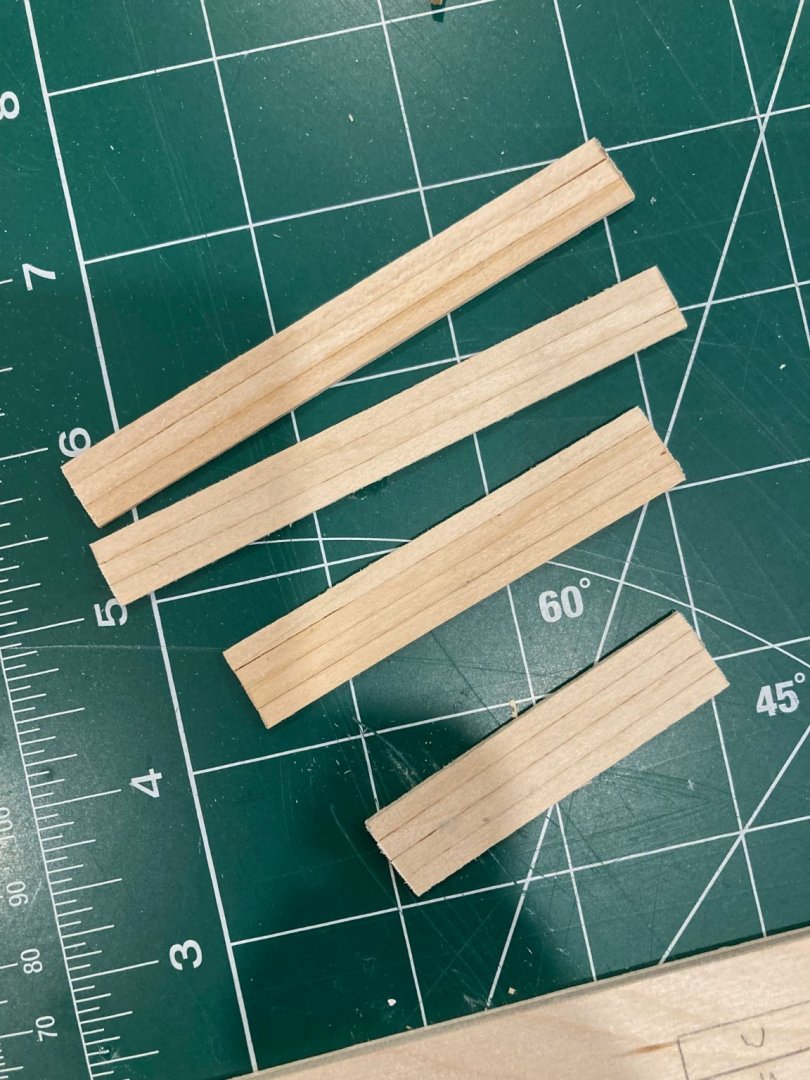
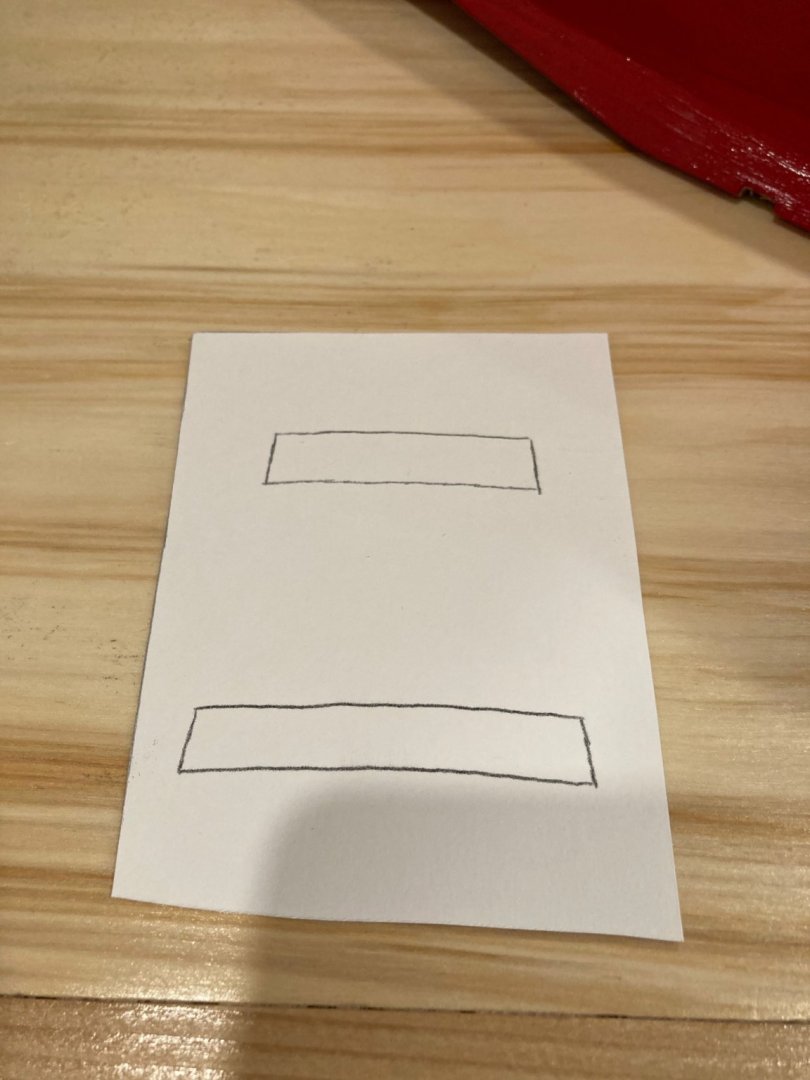
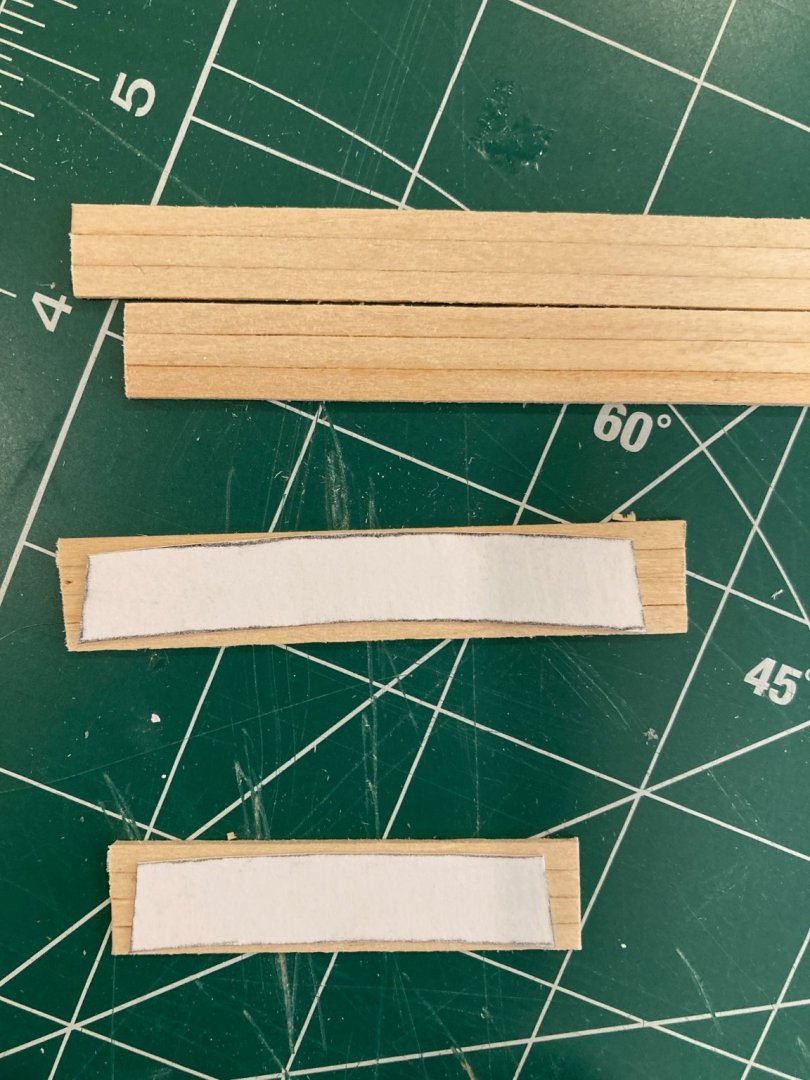
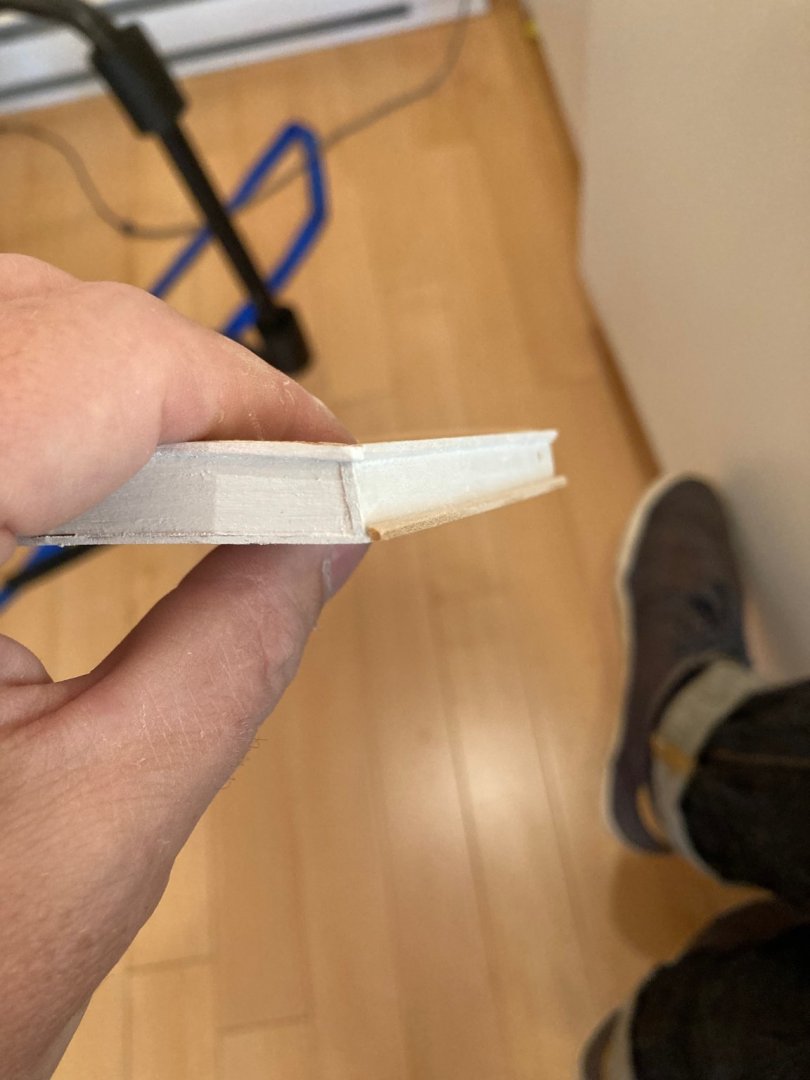
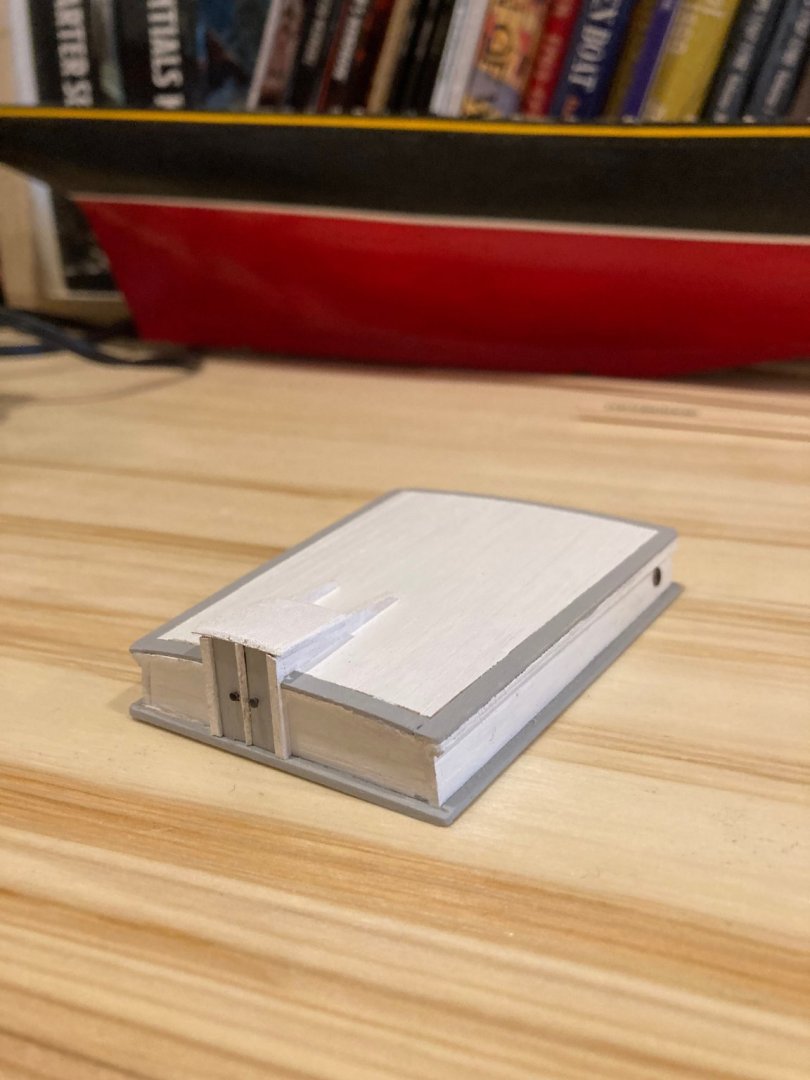
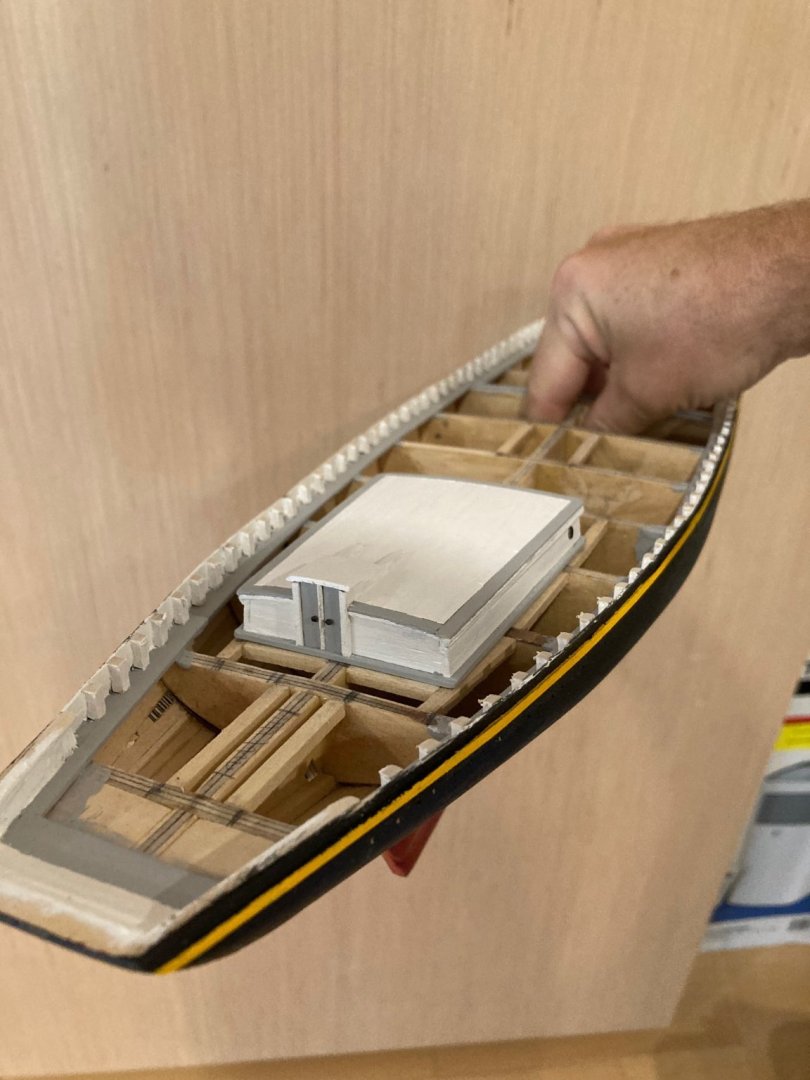
Spent Labour Day working on Bluenose - specifically the cabin construction. I've not yet completed it - with the skylight, binnacle and stovepipe still to add - but so far this has been a fun little mini-build. It's a lot of fun to put these deck features together - one of my favourite parts of ship modelling (other than tying ratlines, obviously)! I took patterns from the deck framing drawings for the general outline of all the superstructural elements on deck, then transferred these to card stock and made templates for the general "footprint" of these elements as well as for the fore and aft panels of the cabin, which curve in line with the deck camber. I started by edge gluing some 1/16" x 1/8" strips together, then trimming these built up panels to the correct size and shape. I then added internal reinforcements (1/8" square pieces) and also reinforced the whole assembly by adding a base cut from a sheet of 1/32" lime and some 1/8" square battens on this. After that it was pretty straightforward - I used some leftover parts for the portholes and went with a different colour scheme than the one suggested on the plans - neutral grey (like the waterways) in place of burnt umber. I made the companionway frames a bit too wide for the 3/16" door panels, but I had a 1/32" x 1/32" strip that worked perfectly as a divider...some brass nails serve as door handles. Anyway, it's a little rustic looking, but I'm decently happy with the results. Now that a new working year has begun, I'm going to have to restrict my modelling to weekend mornings for a while....in the meantime....enjoy the photos! hamilton


-
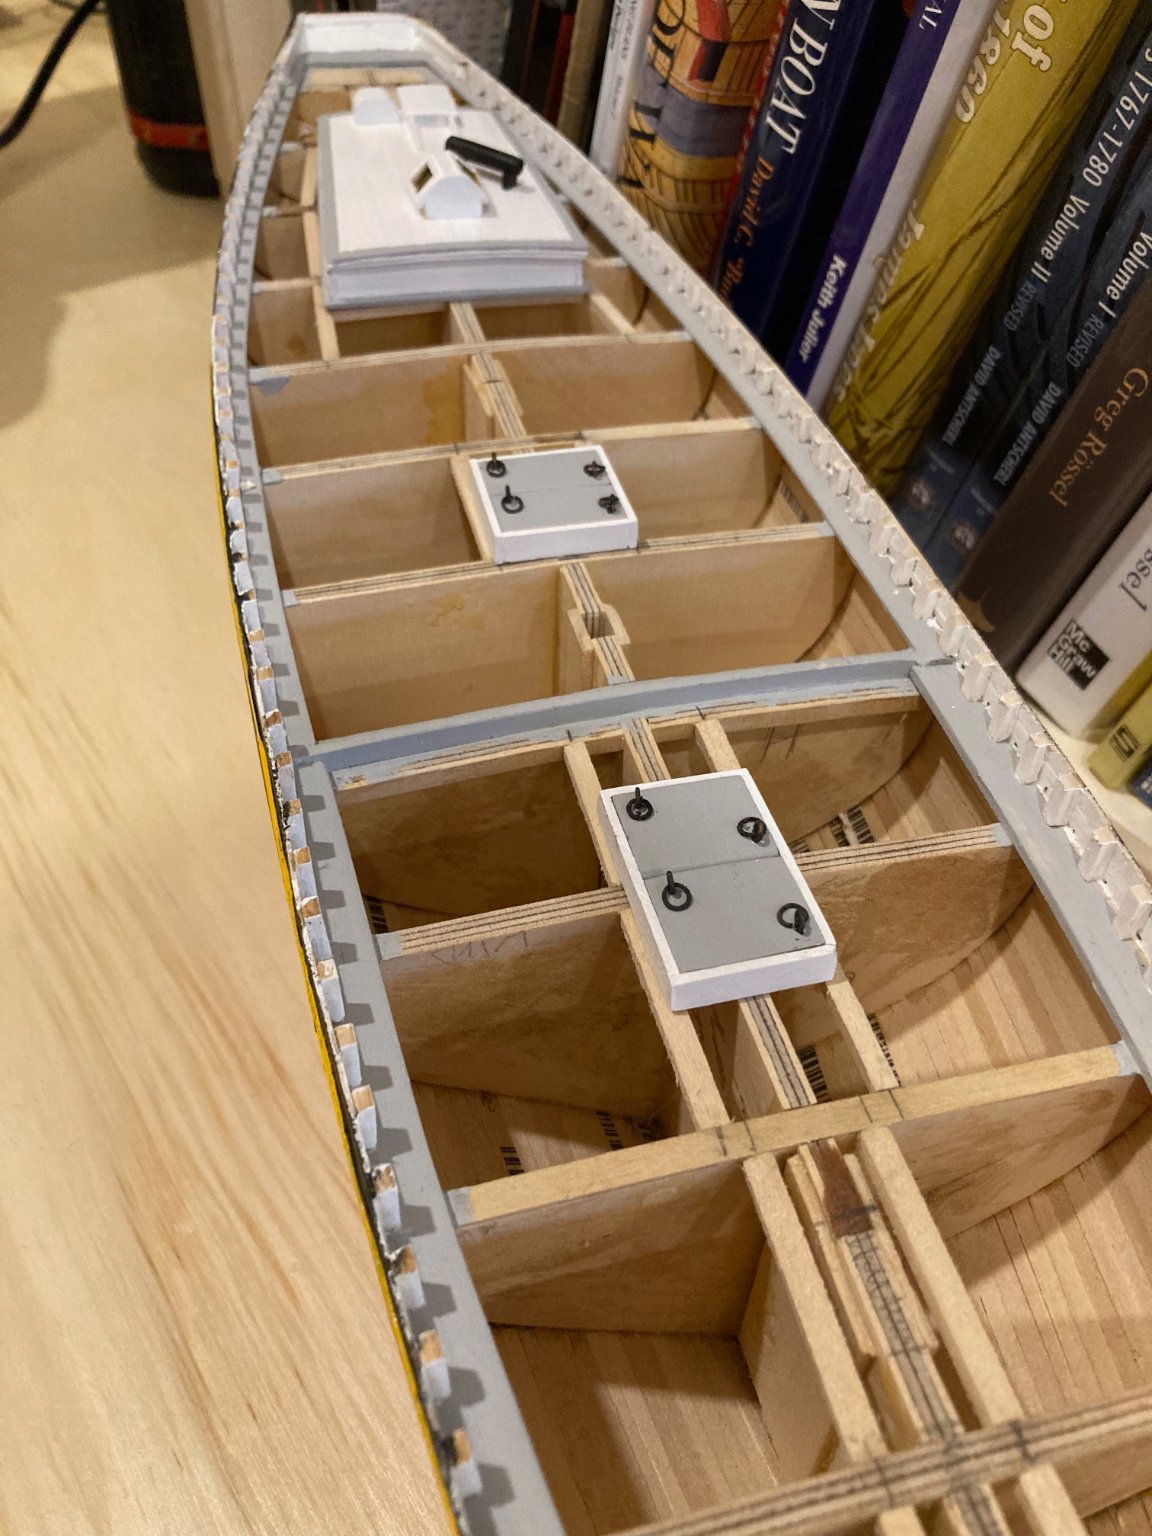
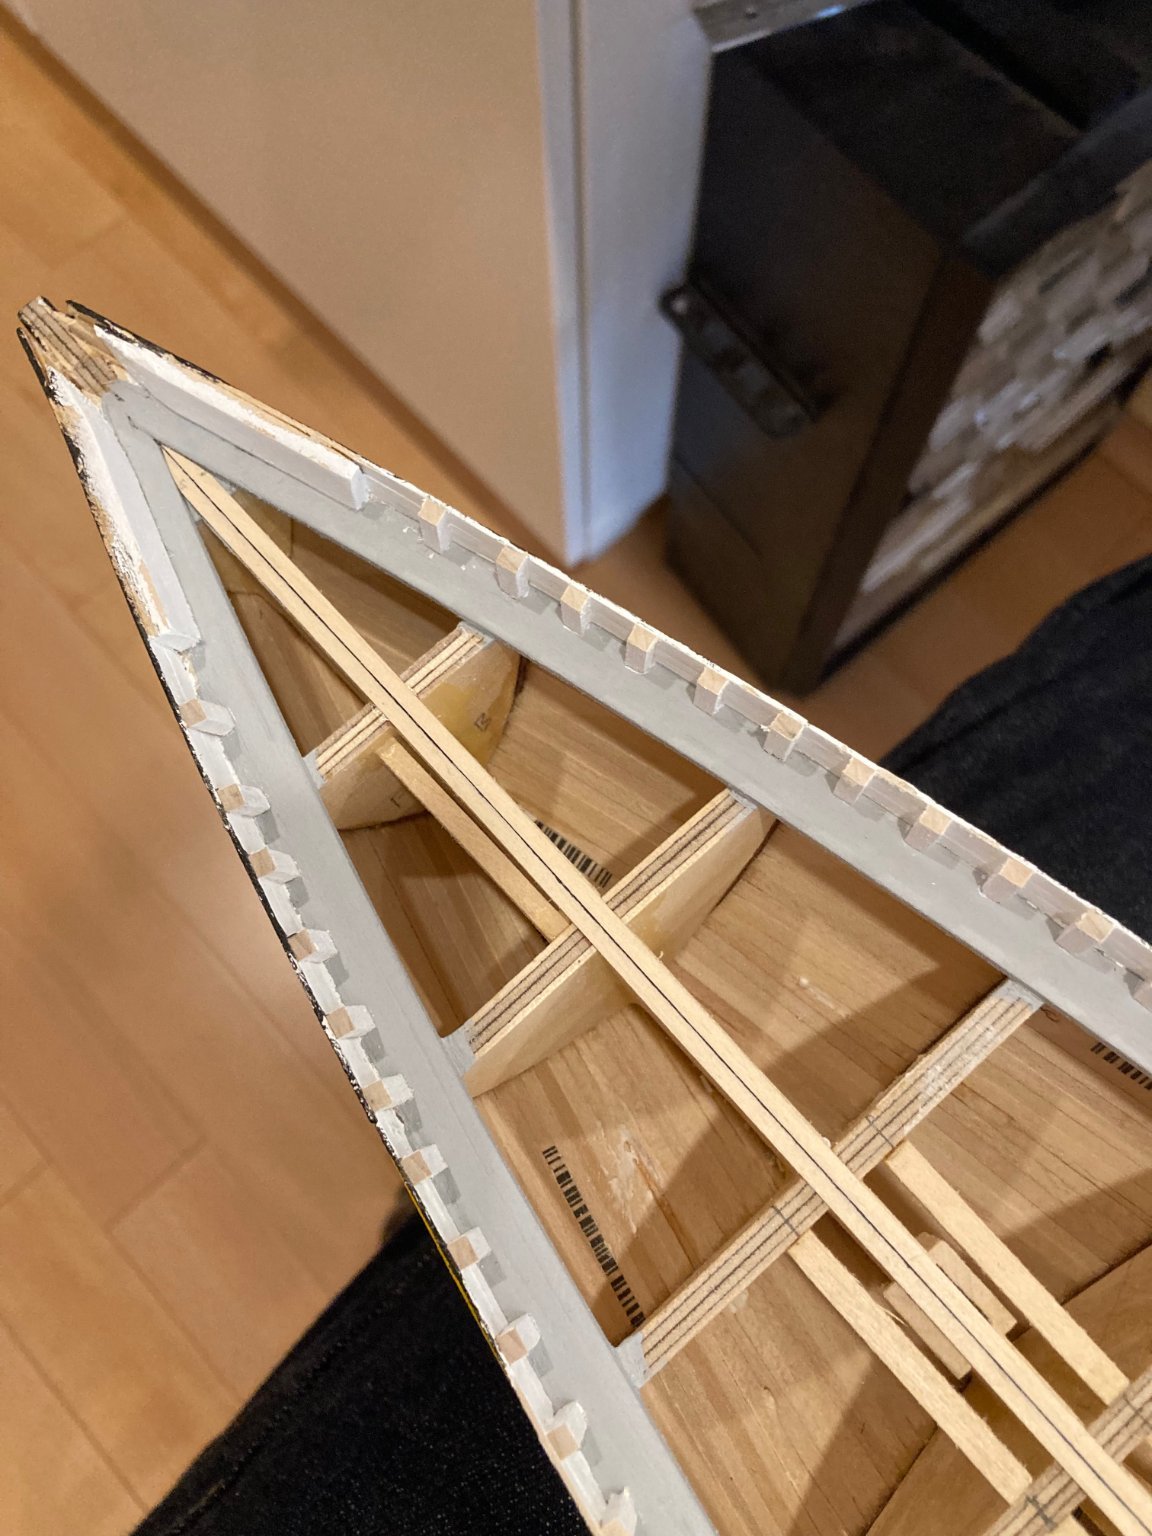
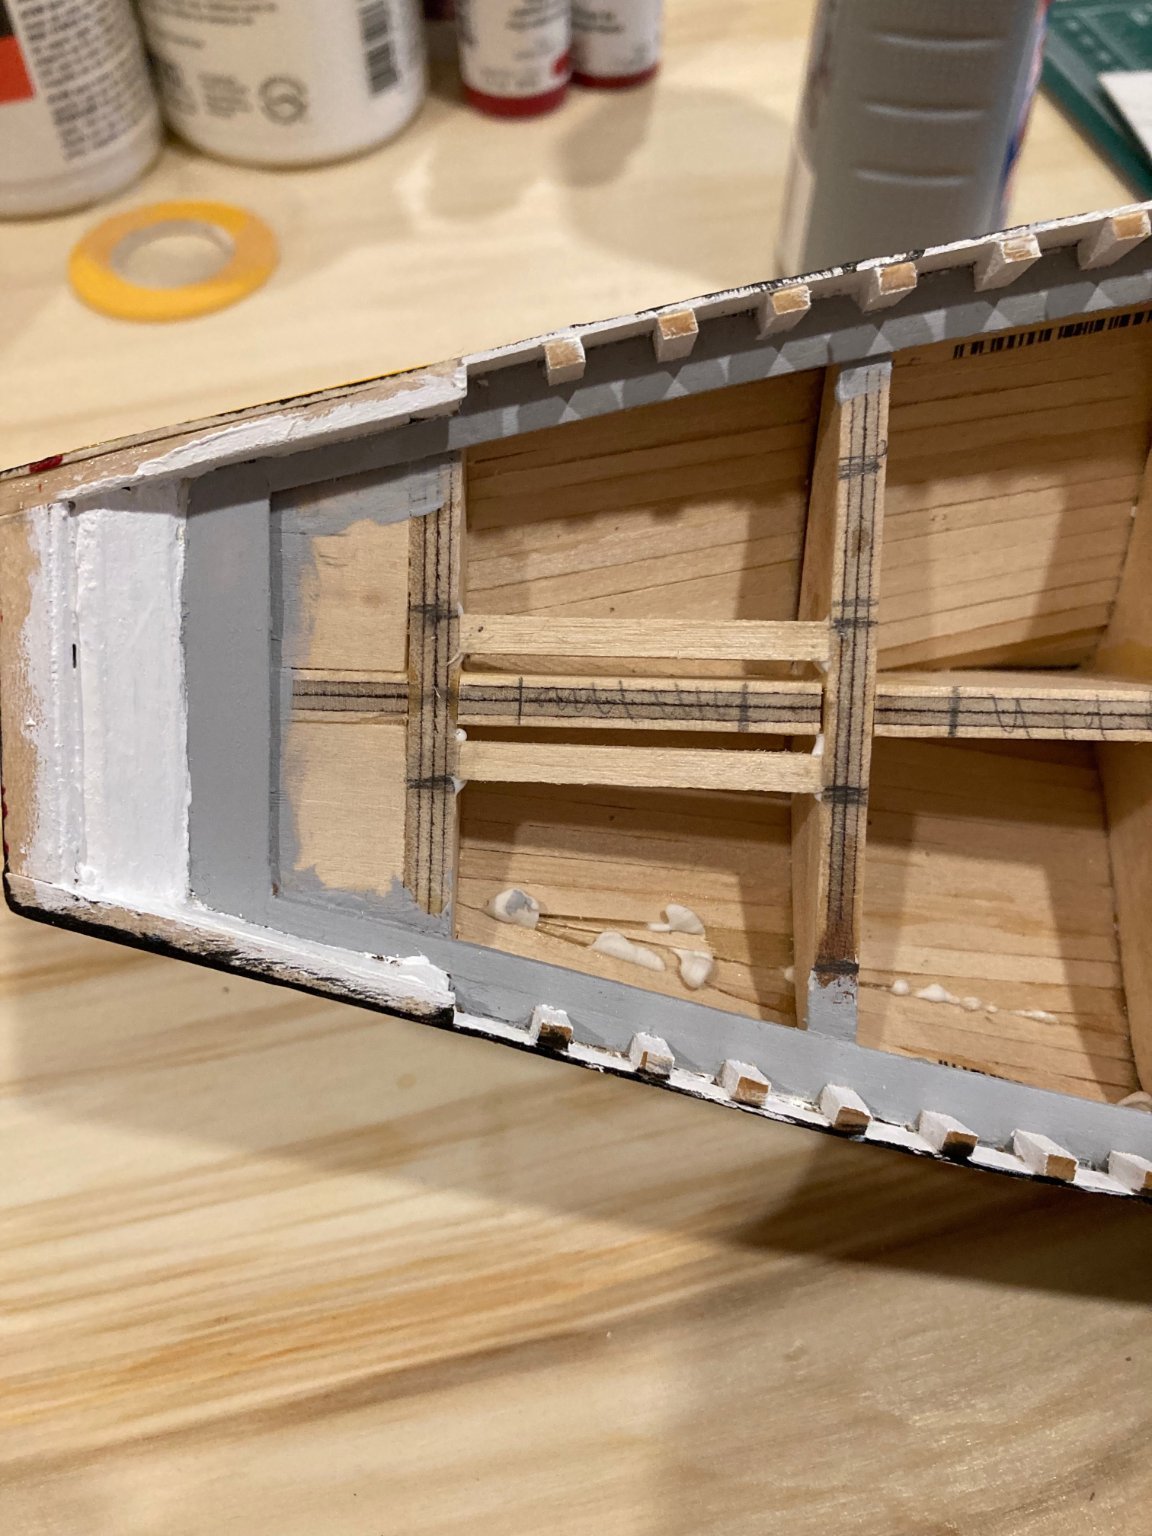
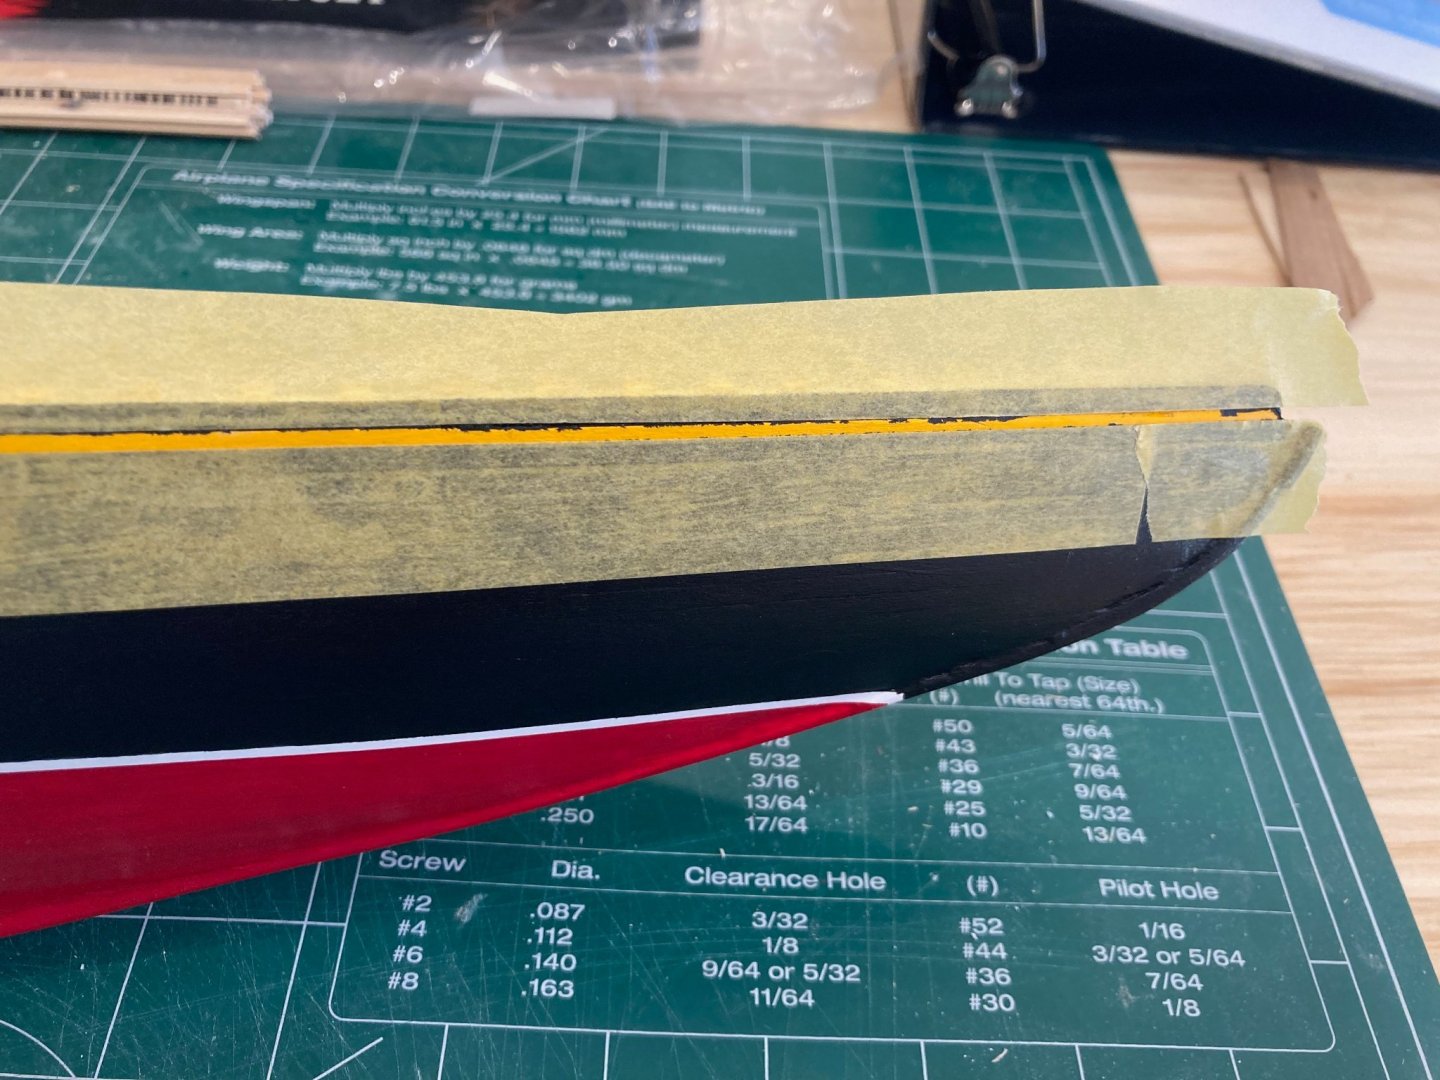
Hello all and happy Saturday Quick update on Bluenose. Over the last couple of days, I've touched up the outboard hull painting, focusing specifically on the cove (yellow) and the waterline strip (white) to clean them up as much as possible - I only have a photo of the preparation of this and don't seem to have any right now of the cleaned up paint job....sorry! I also made templates of the deck superstructures from card paper, fixing them temporarily to the top of the bulkhead frames to mark out their positions and identify where framing strips need to be added between the bulkheads. I added this framing this morning after completing the finishing of the inboard bulwarks and stanchions. There are a couple of little clean-up tasks to complete before starting to build up the deck superstructures. First I need to sand down the stanchions to the level of the sheer - a tedious process, but unavoidable. Then I need to epoxy the forward mounting nut to the bottom of the keel. Then it's on to more fun stuff with the superstructures and deck planking! Enjoy the photos hamilton

-
I know well the frustration when fitting a laser-cut part that doesn't fit on the model as built - but you did a great job overcoming the issue here - nice work! hamilton
-
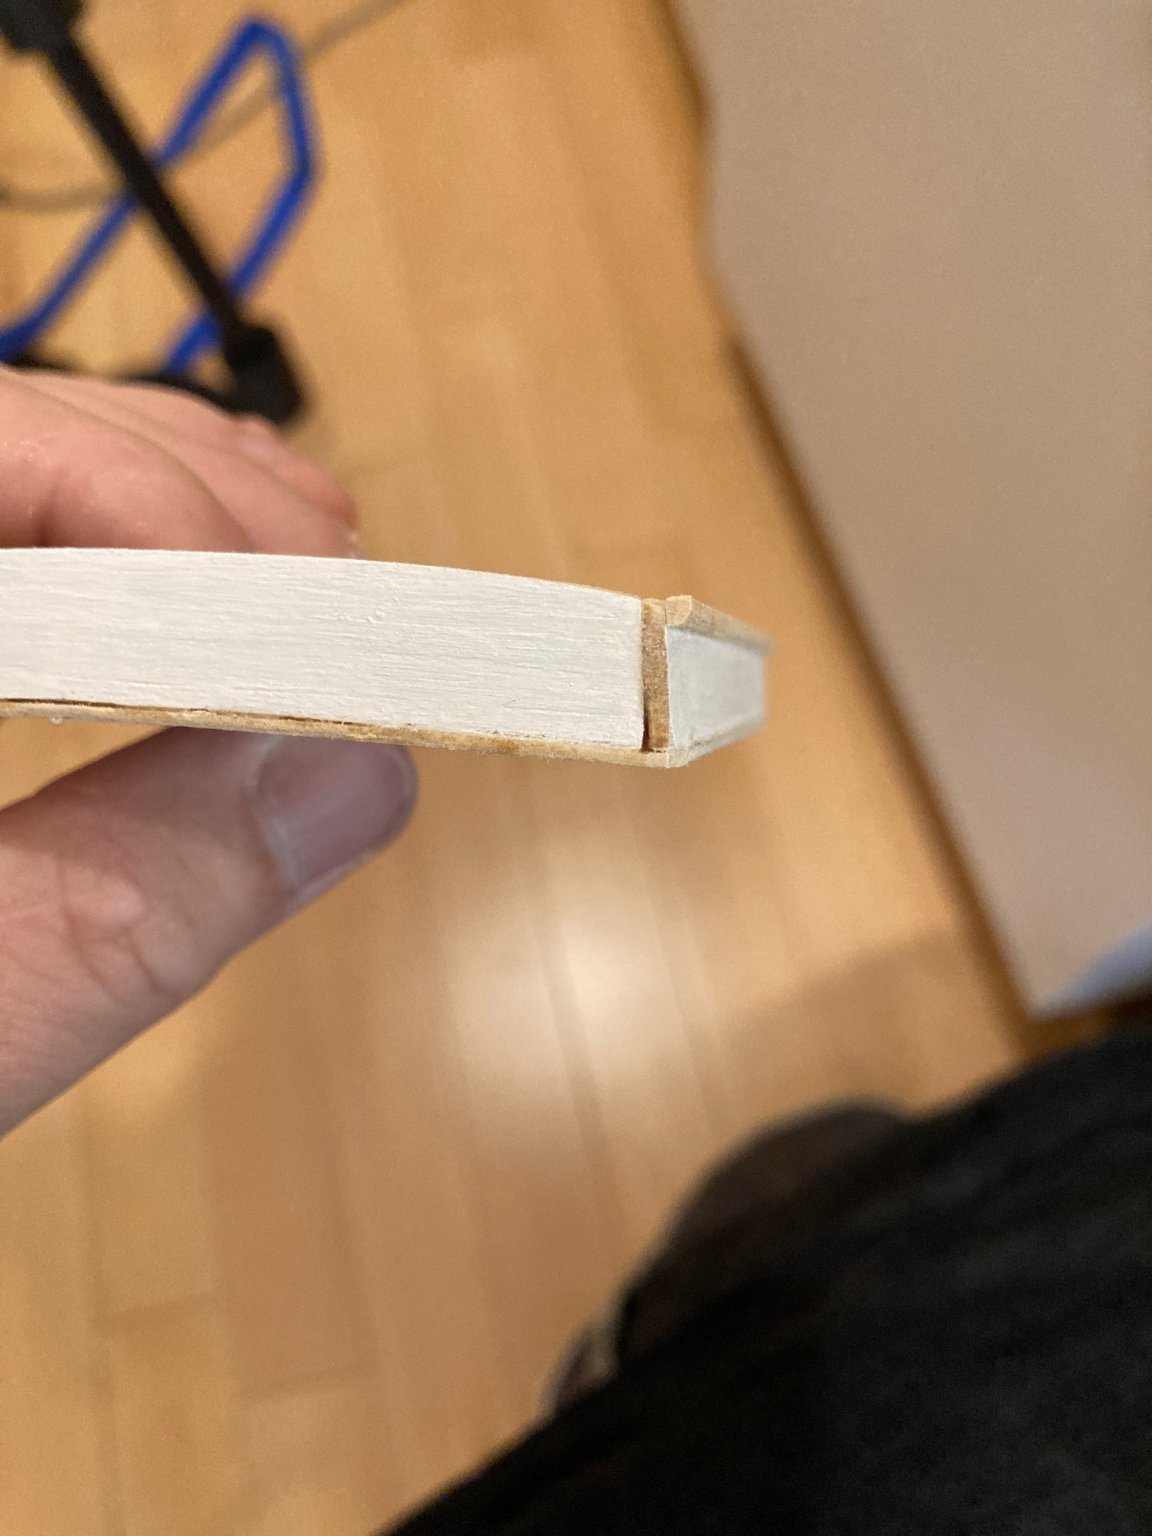
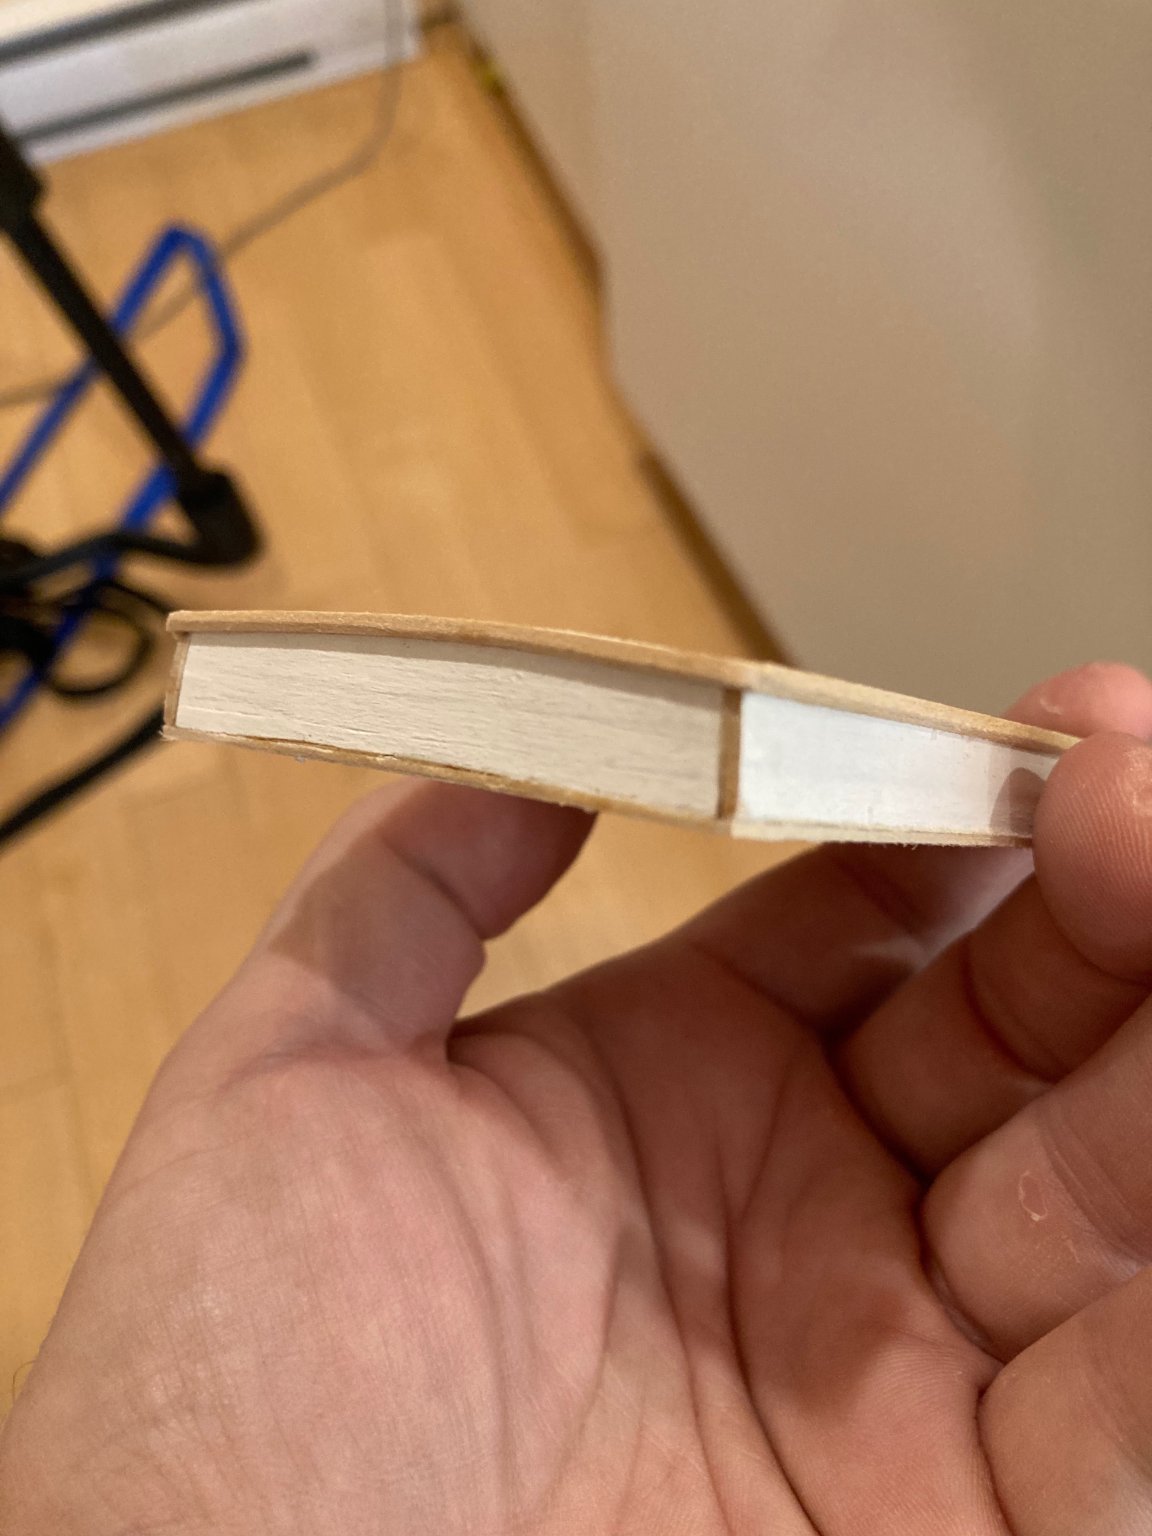
Thanks Steve - definitely some clean up to do - the sheer strake is 1/32" thick while the remaining bulwark planking is 1/16". The cove runs along the top edge of the uppermost 1/16" plank so the bleeding of the black hull paint onto the yellow cove paint was a result of some uneven masking along the "step" between the thicker and thinner planks....a bit of sraping and filing and sanding and careful touch-ups will hopefully correct for the bleeding. hamilton
-
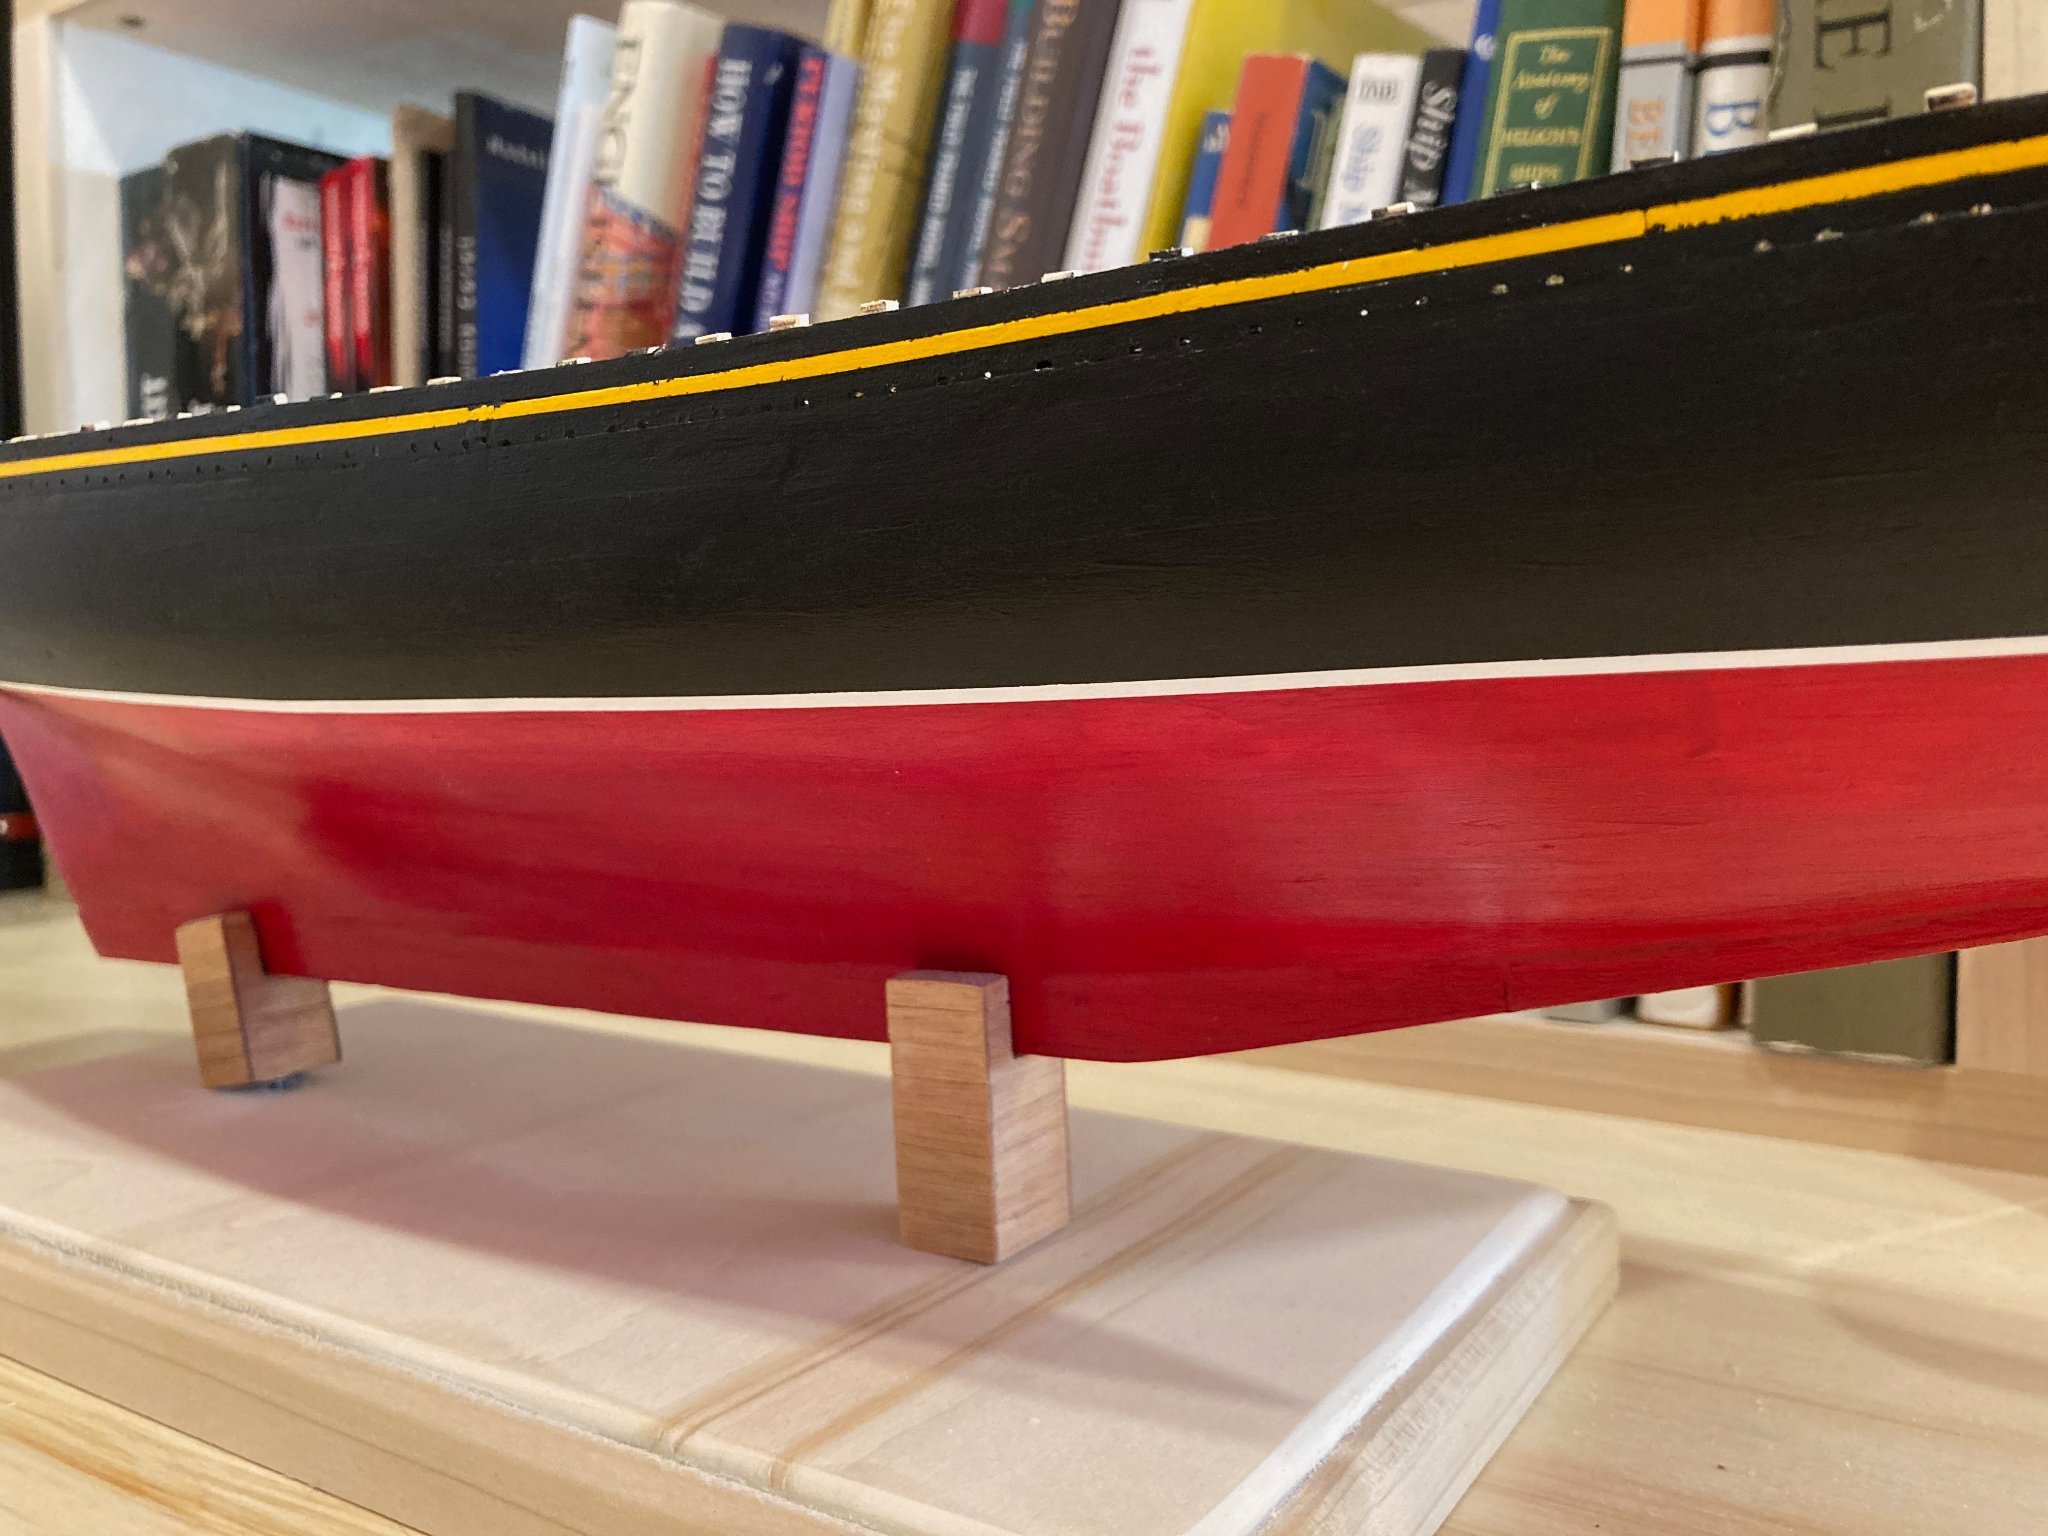
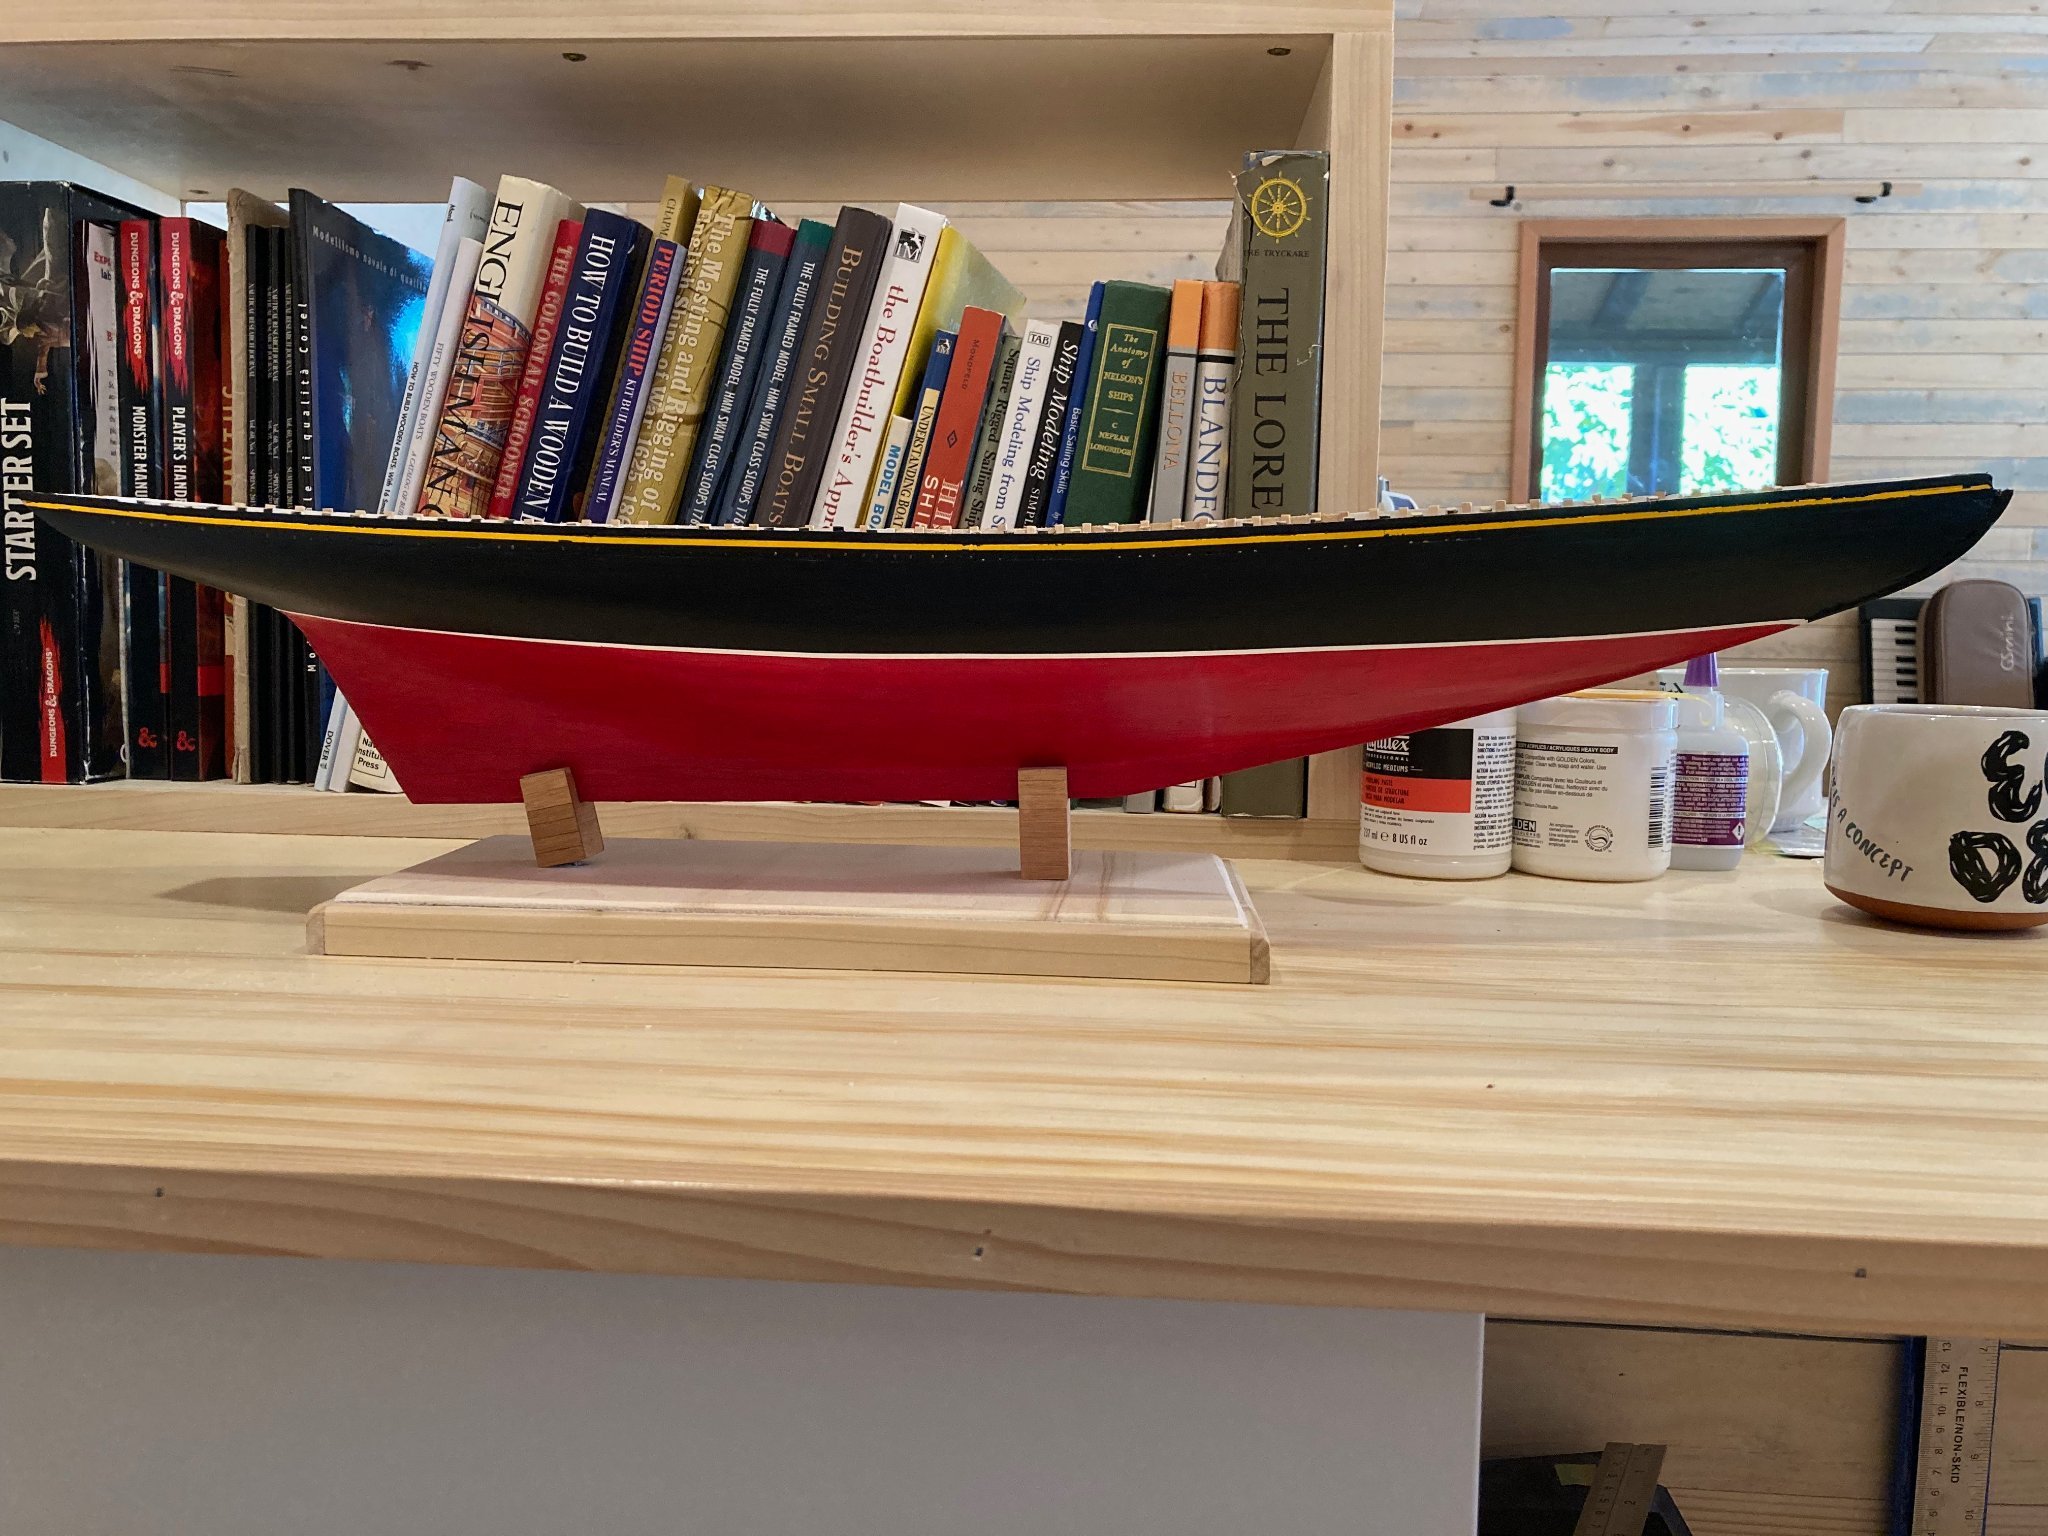
Another update on Bluenose - finished the hull. I first applied a few coats of yellow paint to the bulwarks for the cove and a few coats of white along the hull's waterline region, then masked off where the white waterline stripe and the cove (yellow) are located using 1/16" masking tape. The 1/16" strip is too wide for the cove, but.... I then used a mix of two slightly different shades of red applied one after the other in four coats to get a slightly weathered look to the hull below the waterline and used Bone Black (a slightly bluish black) on the hull above the waterline (three coats here were sufficient). The test for me is always having the patience to wait to remove the masking and reveal the full finished effect. The waterline stripe worked out very well, but the cove needs touching up here and there - the port side is a bit better than starboard and I think a bit of fine knife work will help to clean this up to a decent standard. Next steps - finishing the mounting and adding framing strips for cabin and hatches on deck....nice to be moving on to more superstructural work! Bye for now and enjoy! hamilton


-
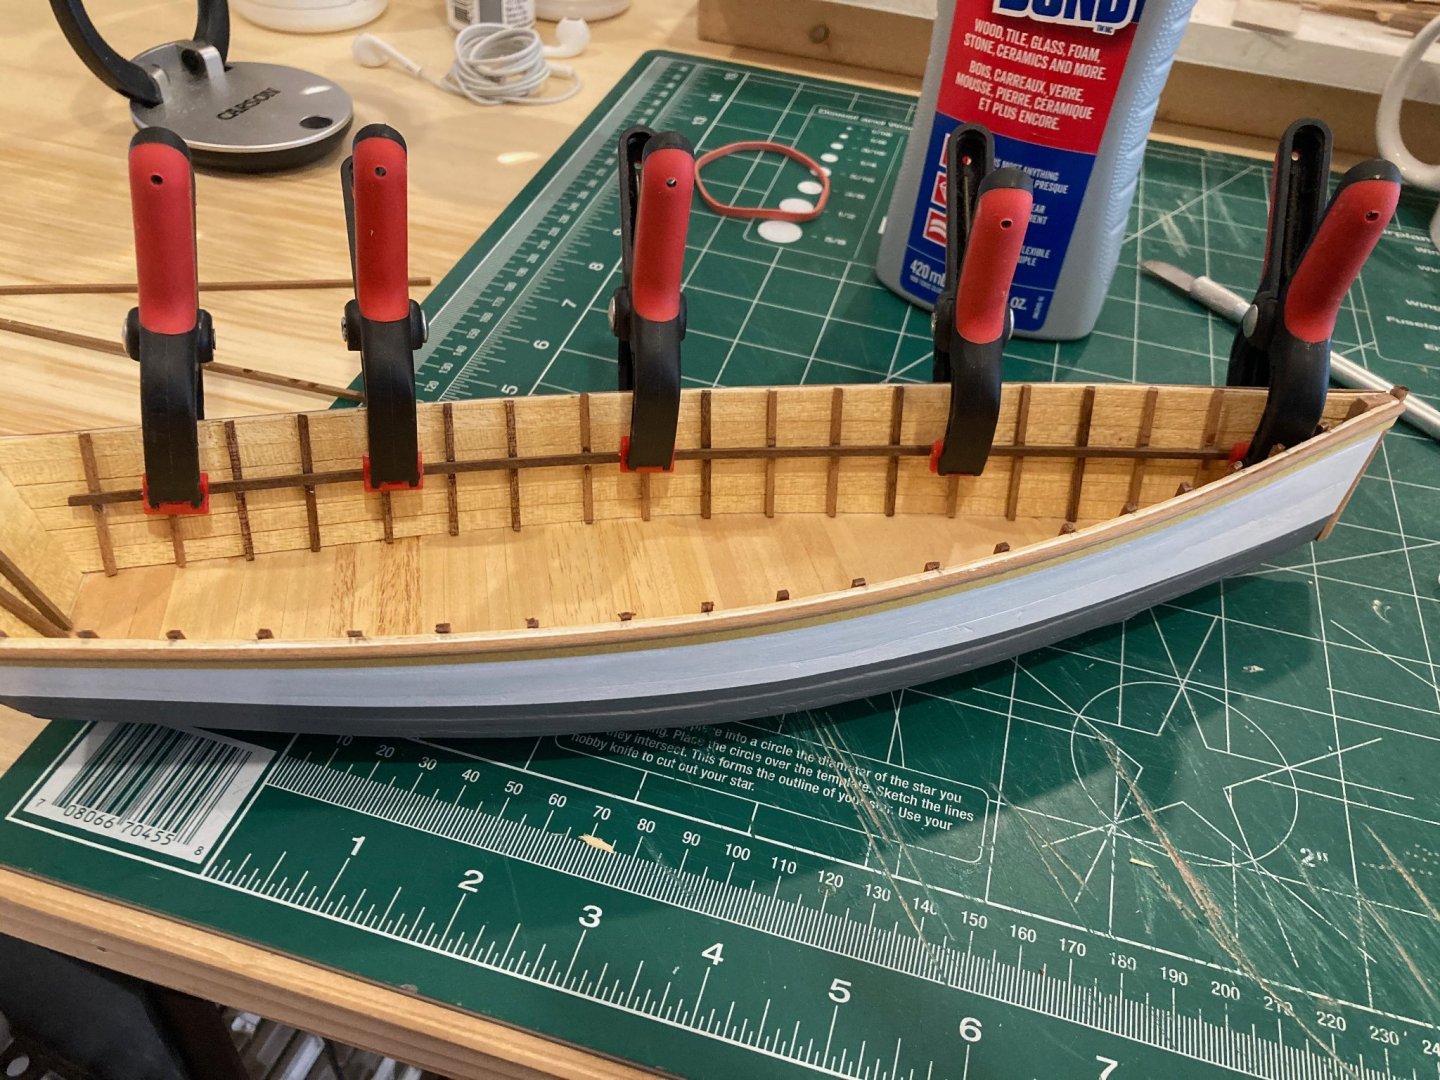
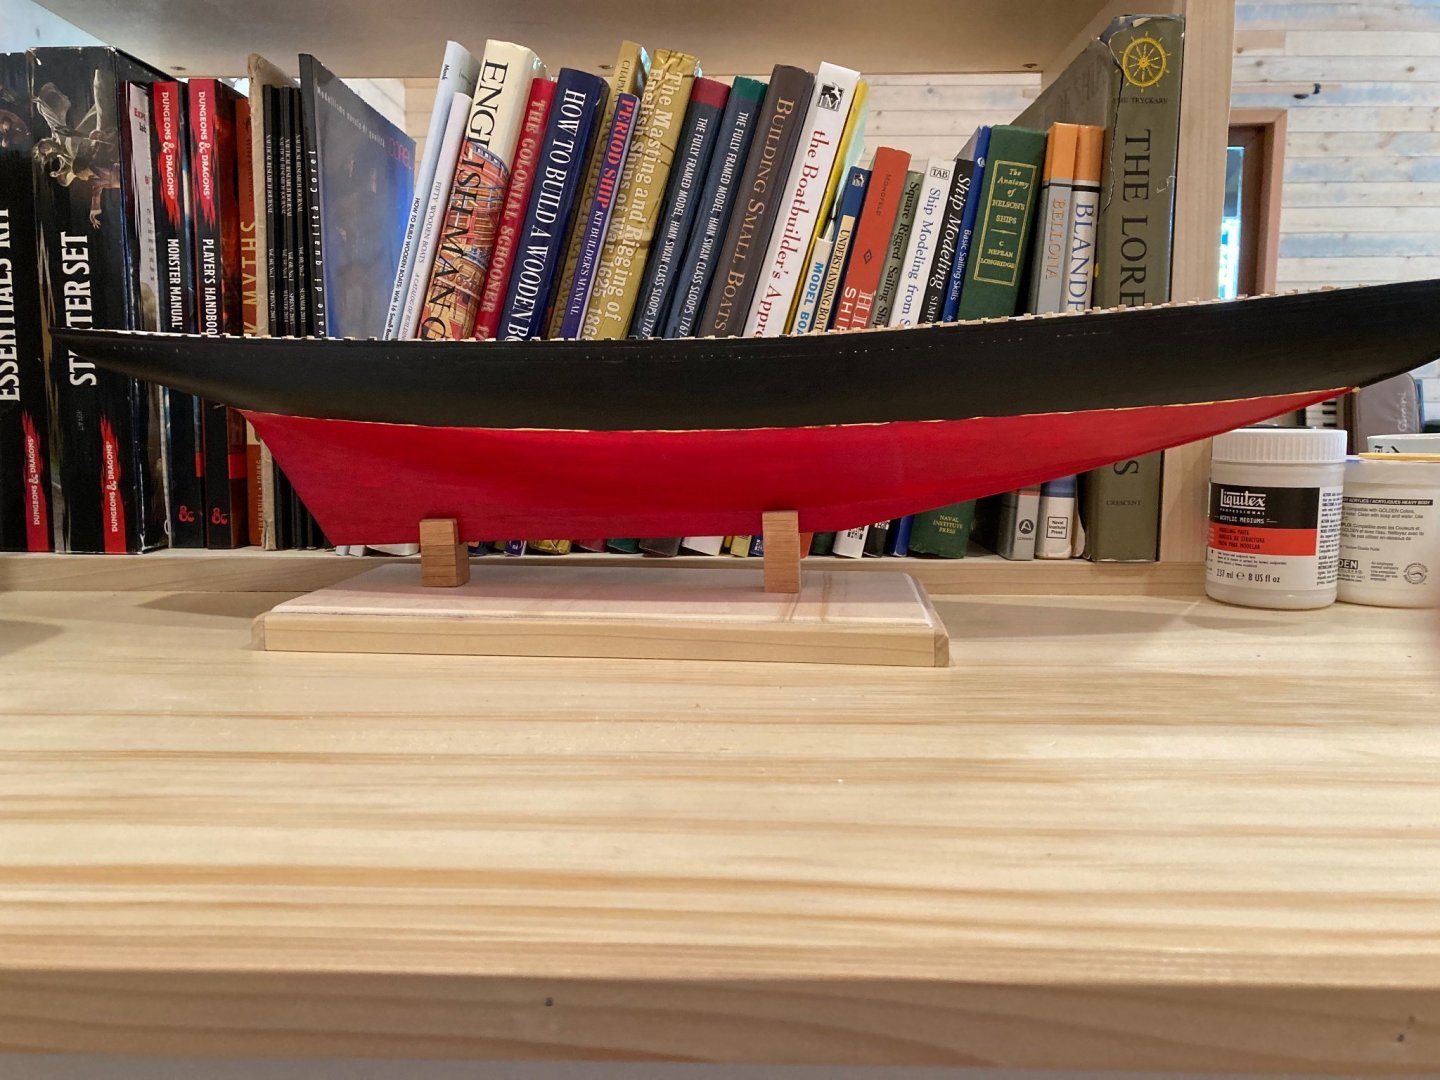
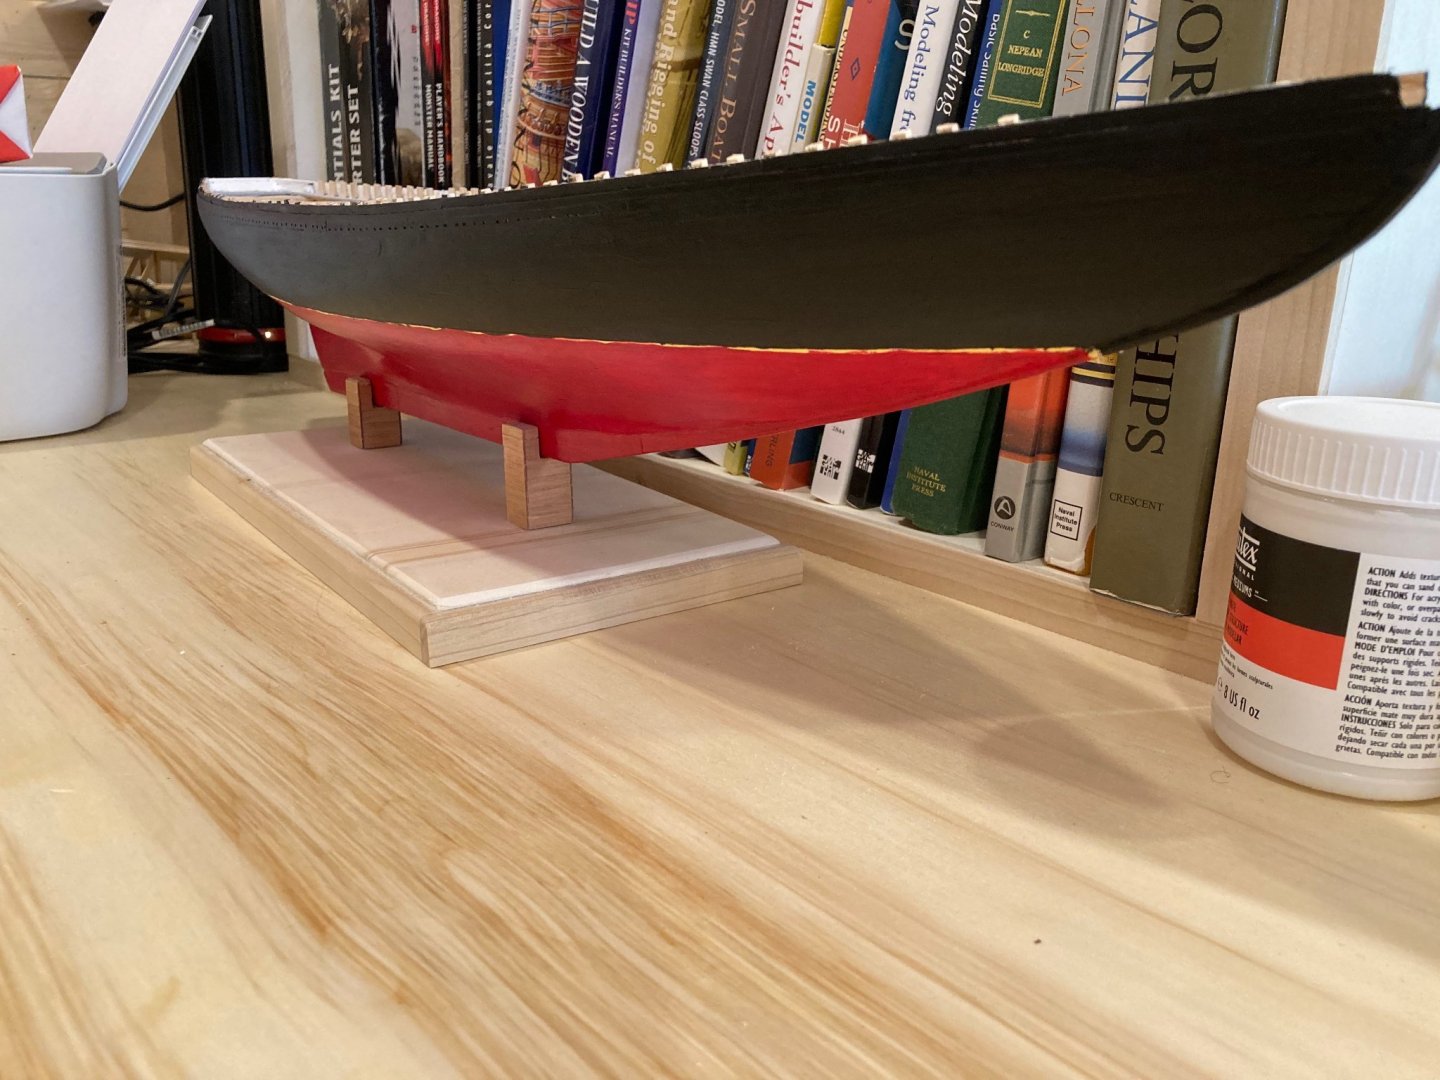
Well this is the third time I've posted something to the following effect - I'll soon be getting back to the Bluenose. Except this time, it has actually been happening! I dedicated some time over the summer to scratch building a small model of a rowing skiff - mostly to get myself back into ship modelling in general but also because it seemed like a nice, small, self--contained project that I could easily complete in a couple of months casual work. The skiff is now very near completion, with only a couple of things to go, and I've turned back once again to the Bluenose. Since my last actual update on the build, I have done and redone the bulwarks/scuppers three times...I found this very difficult to get right, and even now I am not happy with the results - but I also know that as the model gets built up the more obviously offensive aspects of them will begin to fade into the background so it is definitely time to move on. And (at long last) move on I have. Once the bulwarks were done, I painted them inboard (white) and also finished the waterways (grey), after much sanding and a bit of filling. I also spent a bit of time making a stand and mounting arrangement for the finished model - using 3/4" ply with 3/4" x 1/4" hemlock as trim around the edges. You can see the stand a little bit in one of the photos below. The last thing I've done to this point is install the bulwark stanchions - as yet unfinished - that's the next step. At the moment it is a bit rough looking, but a bit of tidying up will bring it up to a more or less decent standard. I'm very happy to back into the swing of modelling - I've missed it a lot in the years that my practice has languished - I only wish it were still Spring and I had a more regular 40-hour work week to sustain a more regular modelling practice - but...modelling will not put food in my kids' stomachs or pay my mortgage, so..... Enjoy the pics hamilton

-
Thanks John - good to know the right word for the job! And yes - definitely there will be some hardware at the bows for this purpose - I also considered making 2 or 3 fenders to add in addition to the oars...but we'll see. And thank you Gary - I thought the cap might be overdoing it a bit....it definitely is not a usual feature of a small boat this size...but I like the look, and I suppose that's that!! Glad at least one other likes it too! hamilton
-
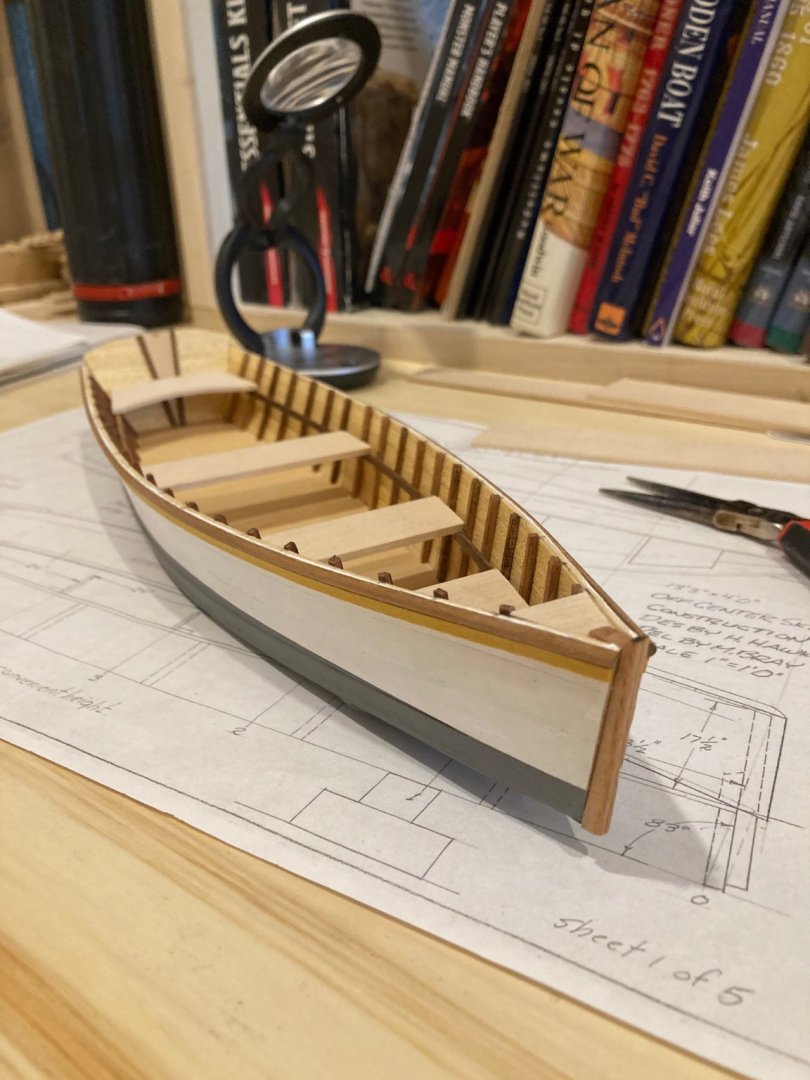
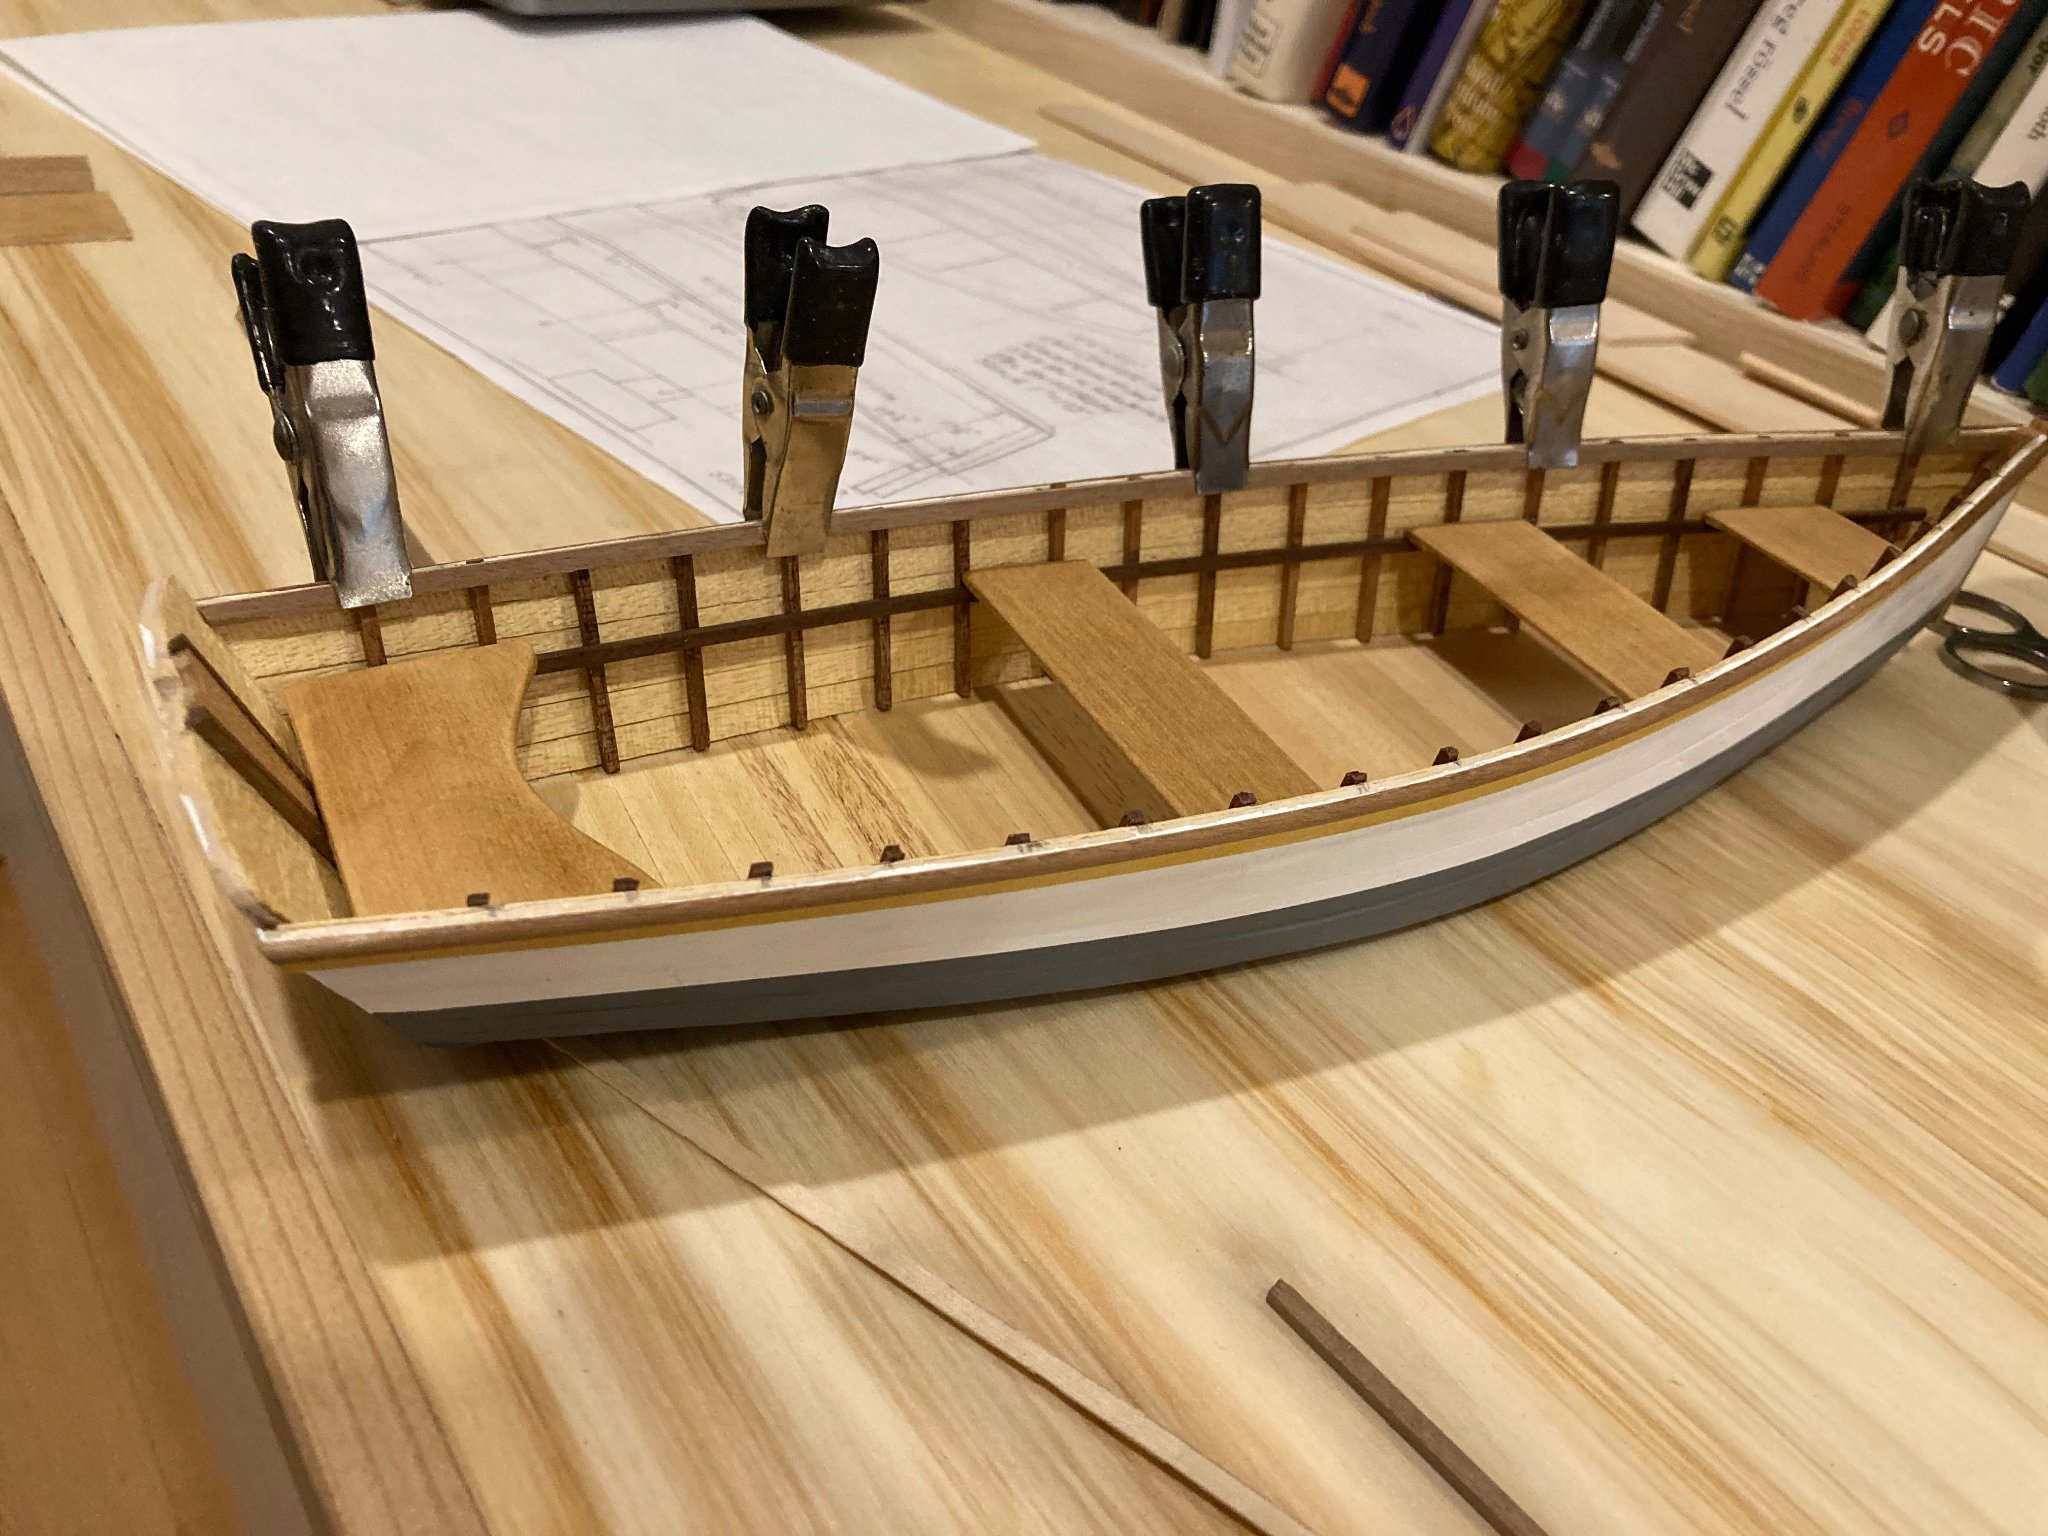
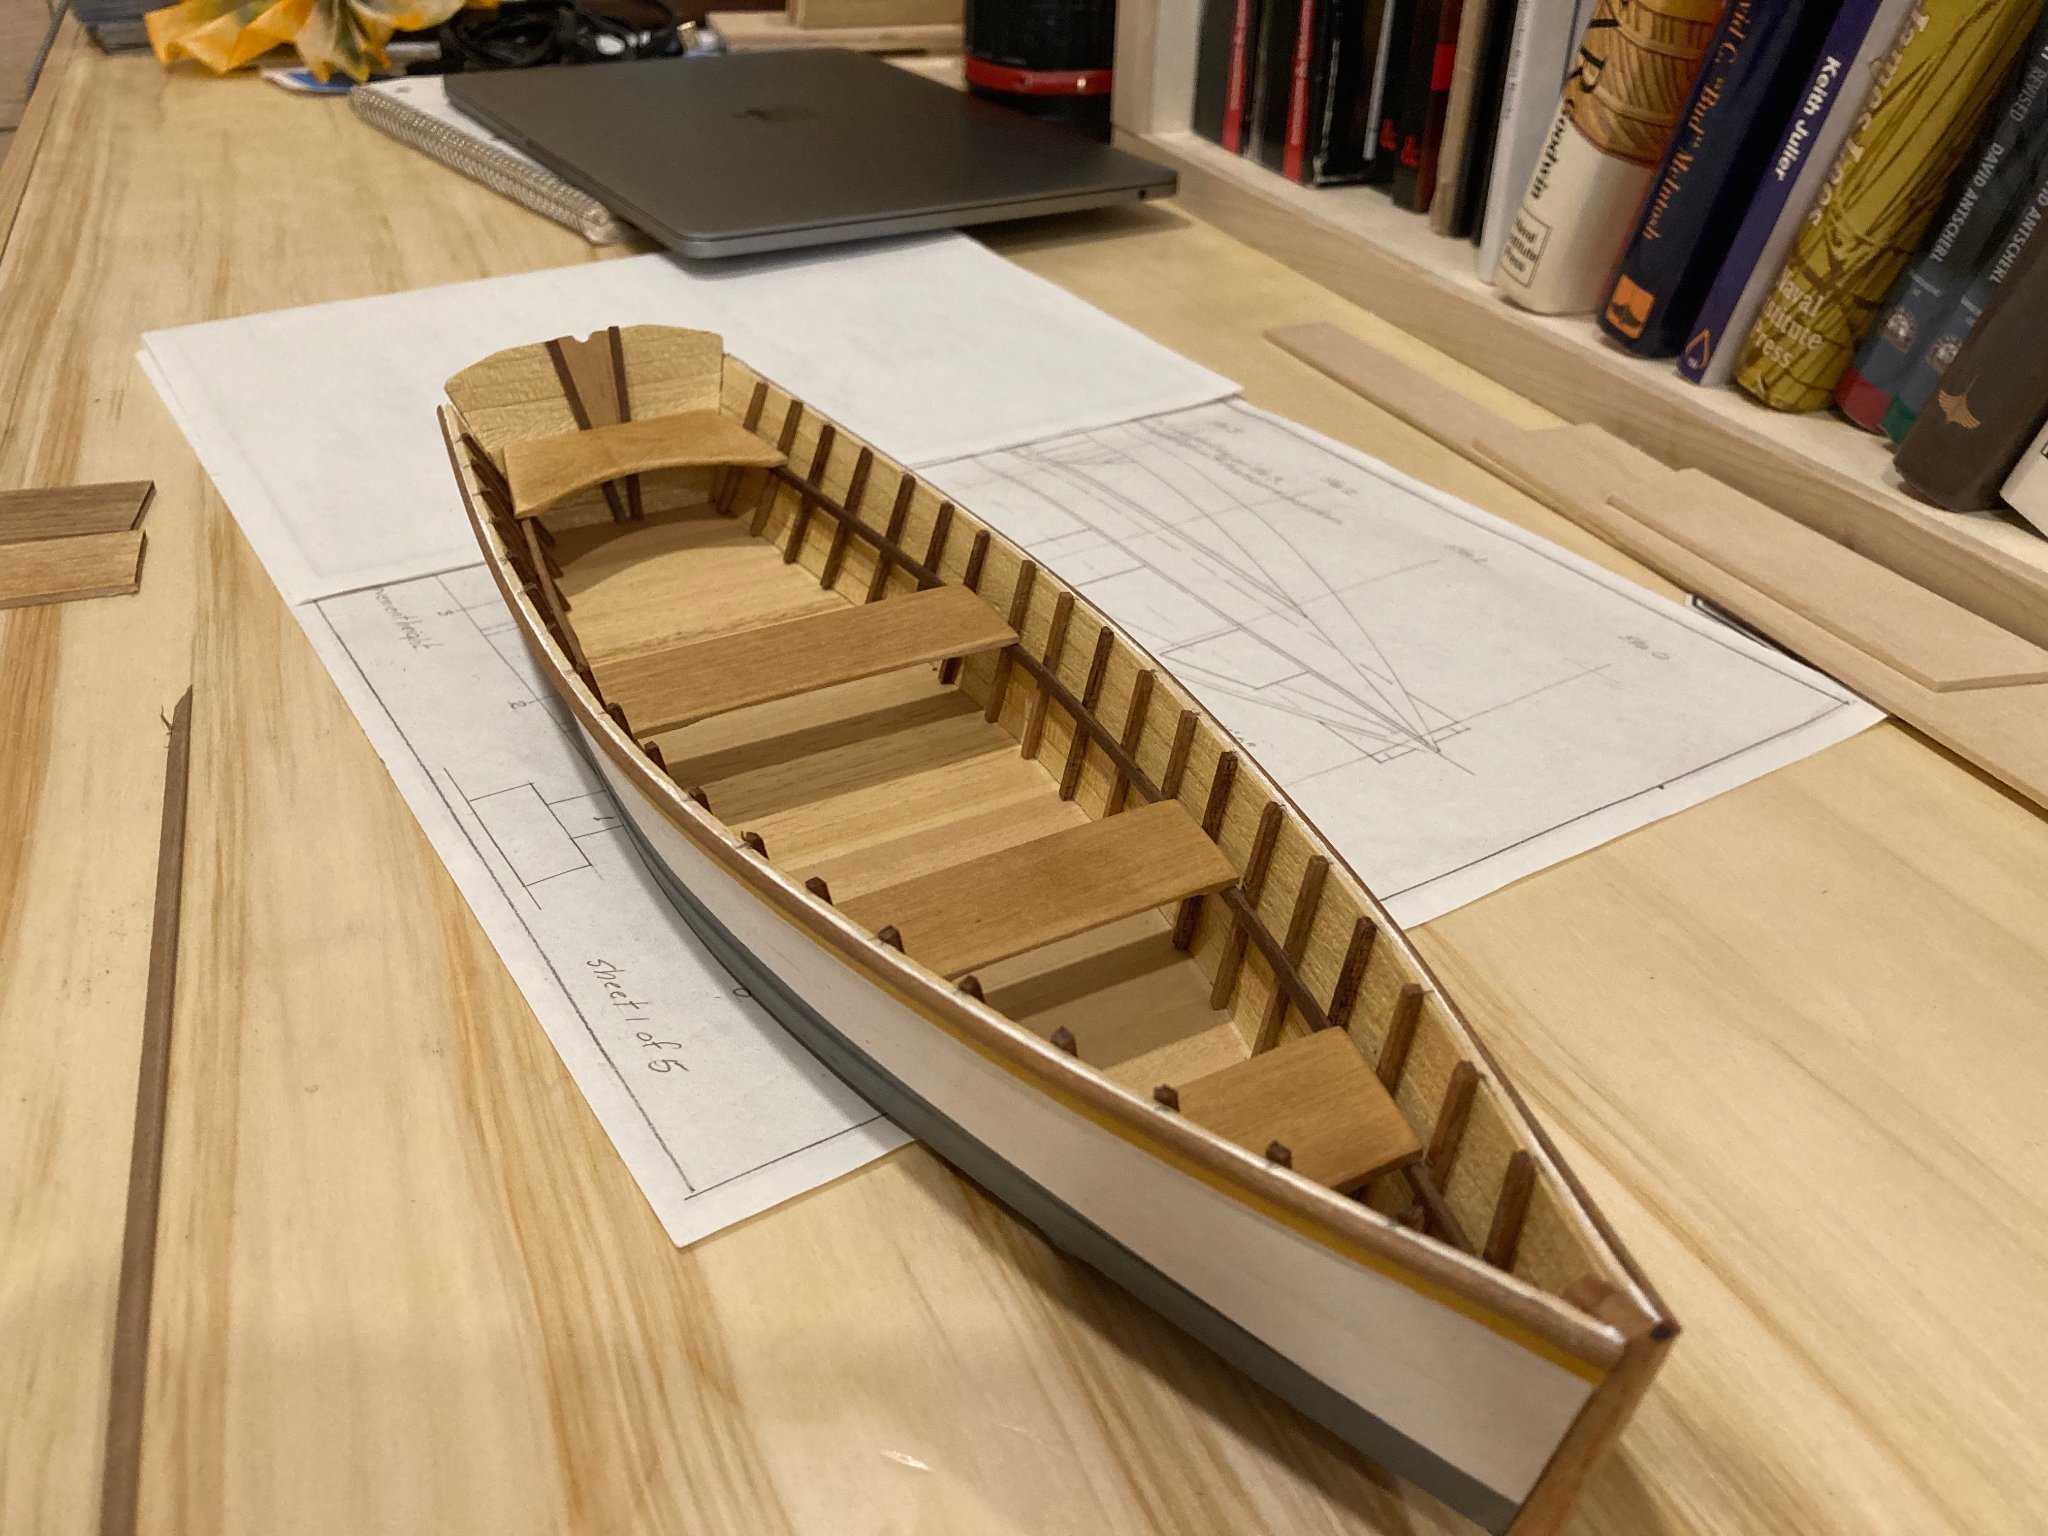
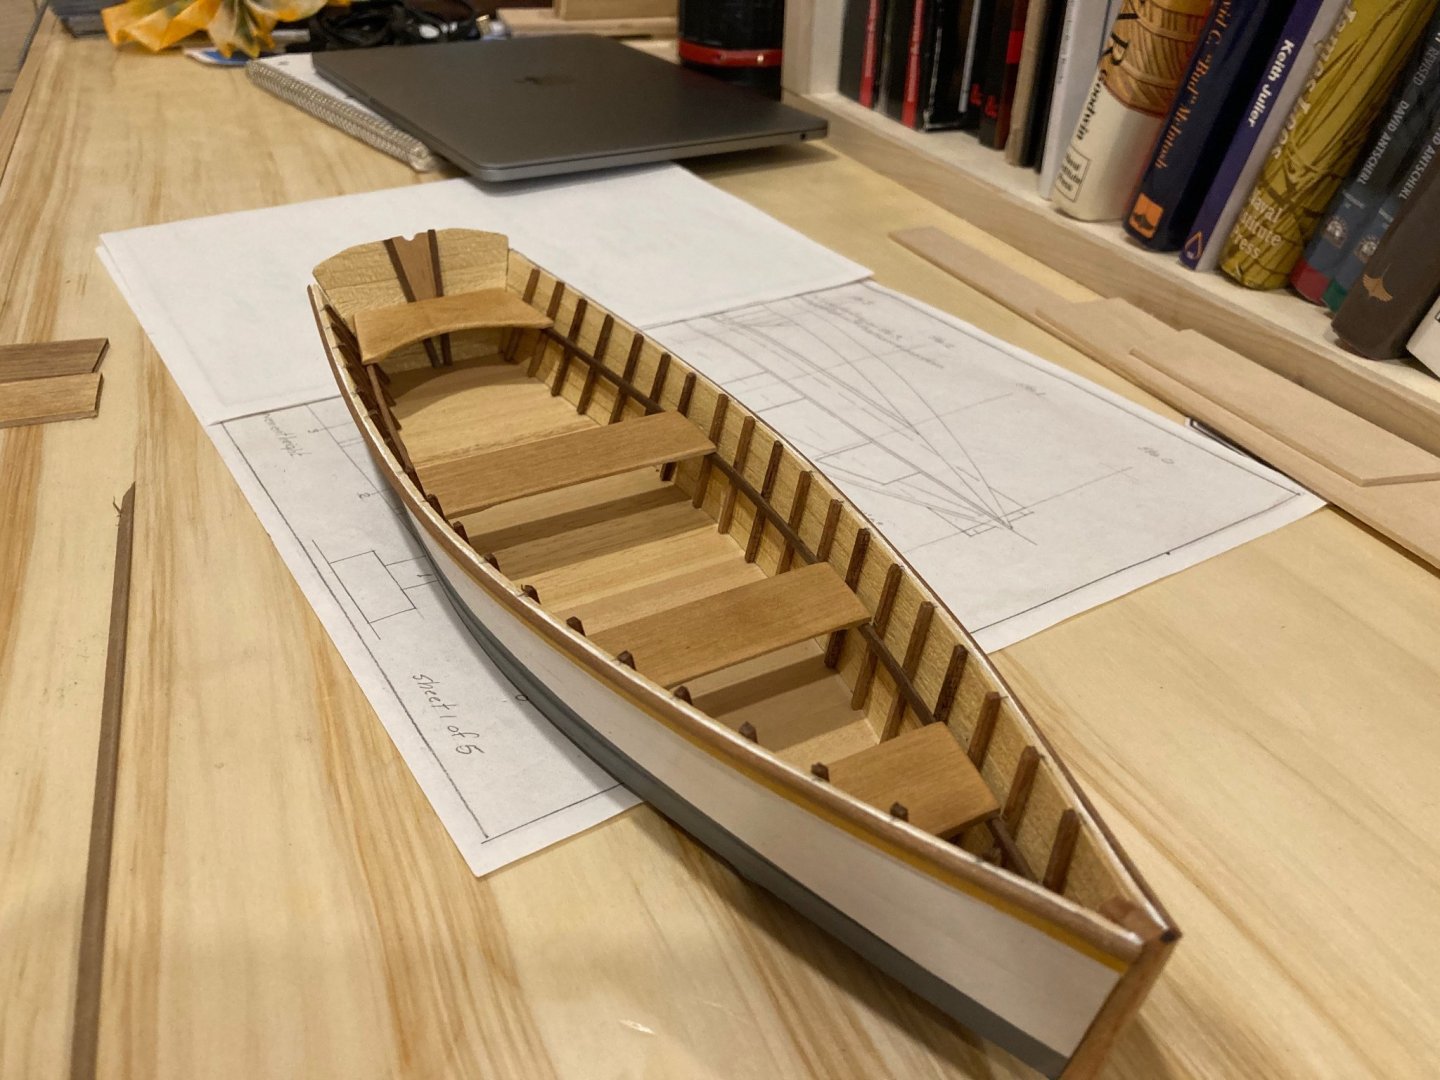
It's getting very close now to the end of this little build...In the last little while, I've Installed the inboard sheer rail - I'm really not sure how to refer to this longitudinal....can someone tell me the correct term? Anyways, this was made from 1/8 x 1/16" walnut to match the outboard half-round walnut sheer strake. Once these were installed, I spent a bit of time sanding down the frames and evening things out. At this point, the boat was (barring oarlock pads and oarlocks and any accessory features I might add) complete. However, I was not happy with the way the finished boat looked. I can't put my finger on exactly what was bugging me about it, but I decided in any case to add a caprail. I made these rails from some 1/16" lime sheeting I had lying around, and stained them with golden oak. In doing this I snapped off the outer stem, which now will need to be redone, so in overgoing the plans,m I've also set myself back a bit....so next up a redo of the stem, followed by the oarlocks, and accessories - possibly only oars....since work is now starting to really build up towards the end of the month and my modelling time is shrinking.....sadly as this has been a very enjoyable build. Enjoy the photos hamilton


-
Hi John - thanks! I think that this skiff design was generated first to supply exactly that - as a tender for larger sail boats. I'm also gifting this to my father, who turned 80 this year, as a nod to the tender we used to drag behind our sail boat when I was a teen and 20-something - though the design of that one was very different. hamilton
-
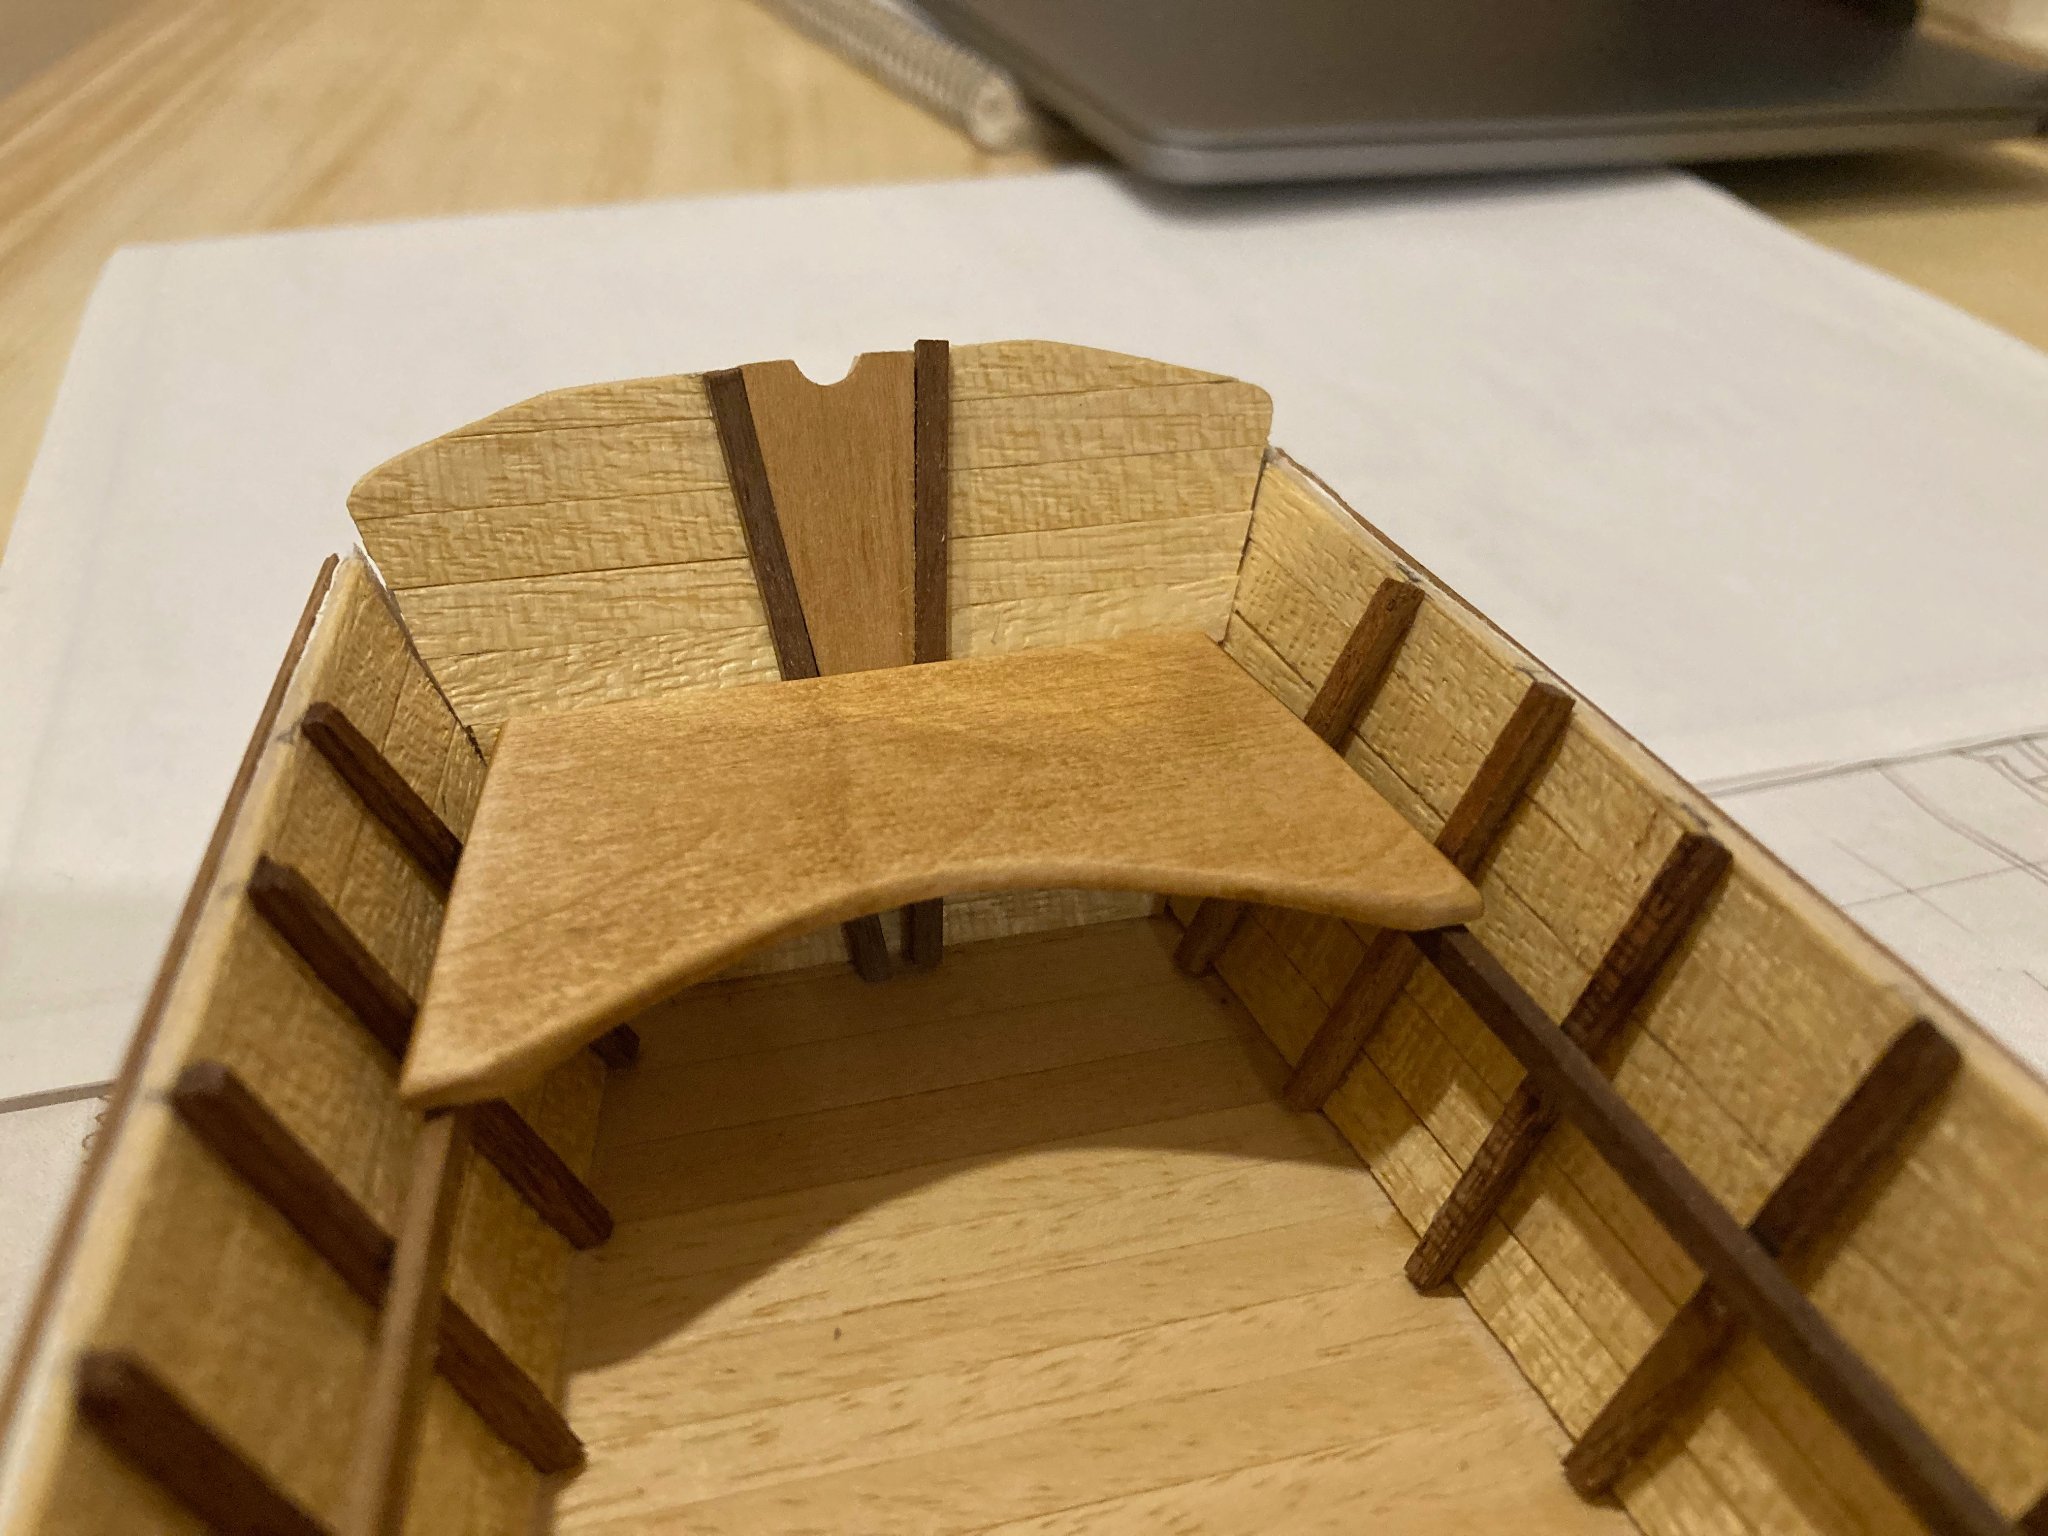
A very quick update on the OC Skiff - thwarts finished and installed. Not much to say about this - in the first photo you can see the sculling pad I installed based on an image of the OC Skiff I saw online which bears this feature, and in the second photo you can sort of see where I've thinned out the edges of the thwarts to lighten their look - a small feature, but I wanted to try to add this detail.... Enjoy! hamilton


-
Thanks Jon! I remember your remarkable Bluenose build from back then! It will be nice to return to my much more modest one in the near future! hamilton
-
Thanks Mark! It's been quite satisfying making something small and contained - next up will be a return to the 1:64 scale Bluenose I started some years ago...feel like the momentum and desire are there now - if only I can keep my workdays contained enough to eke out some modelling time in the evenings! Bye for now hamilton
-
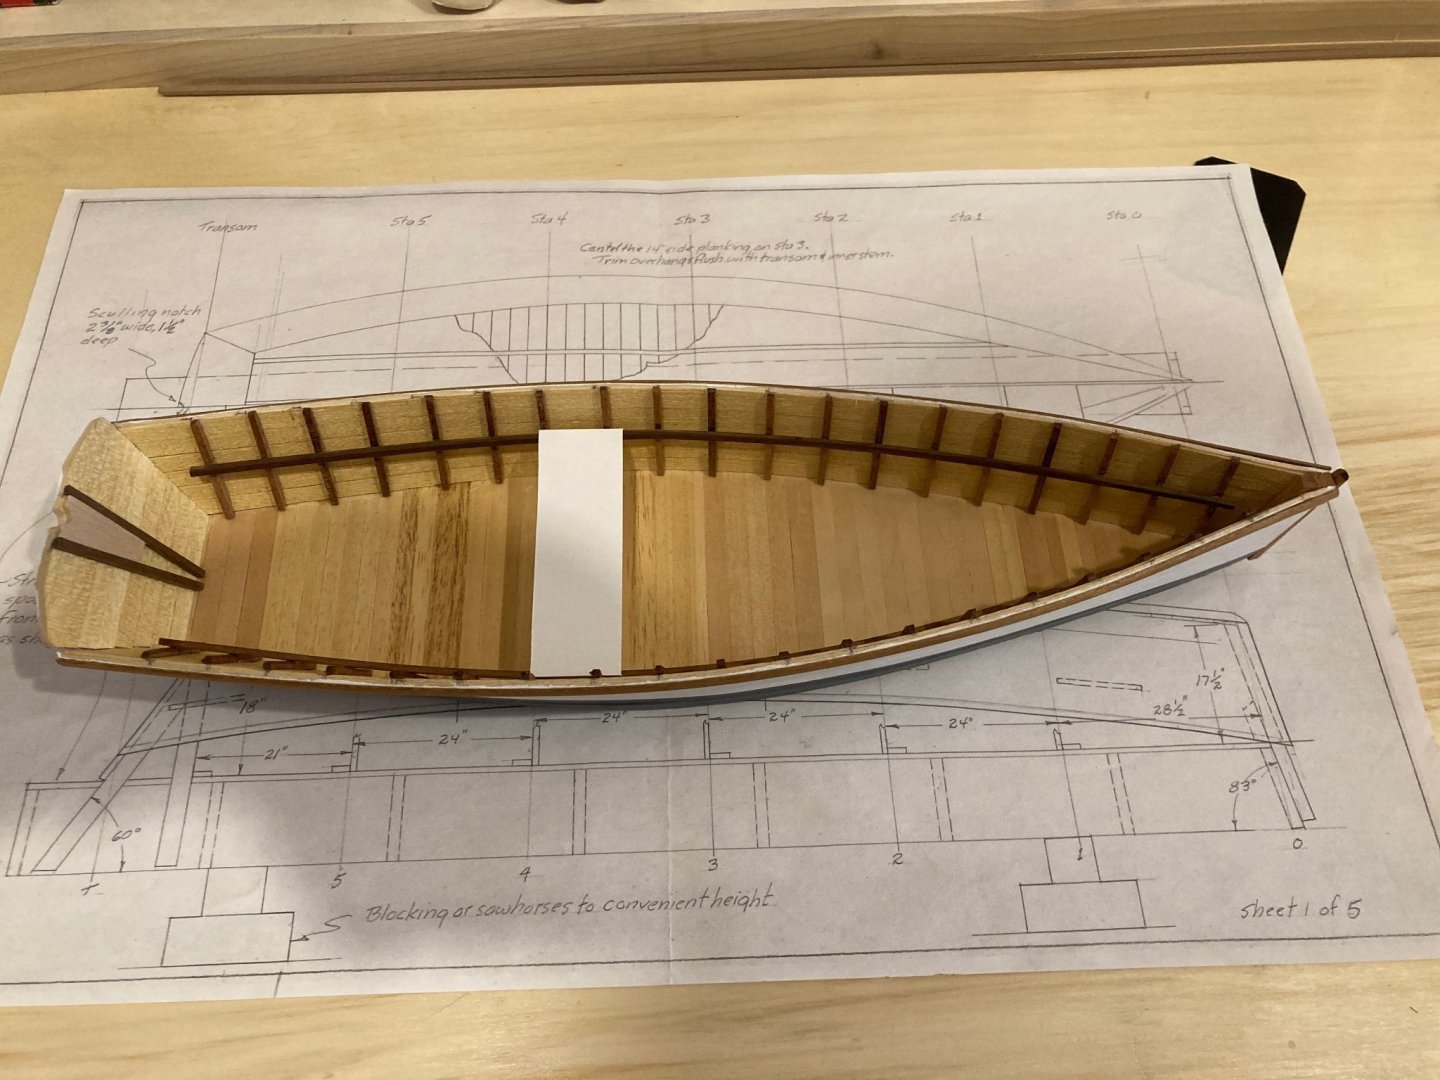
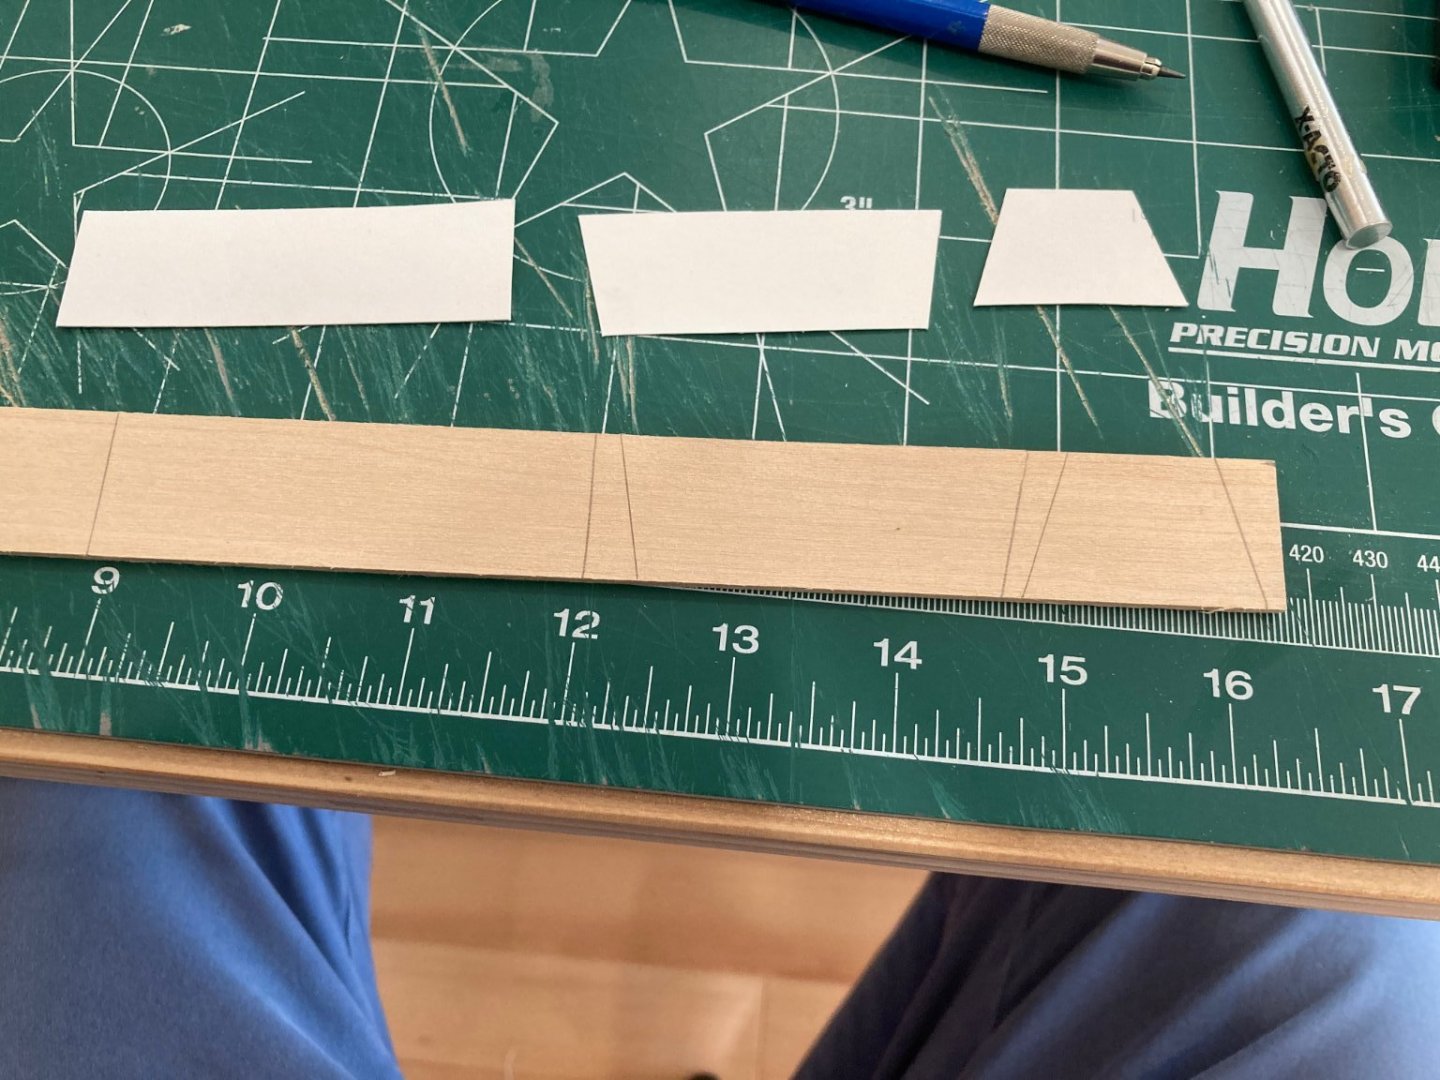
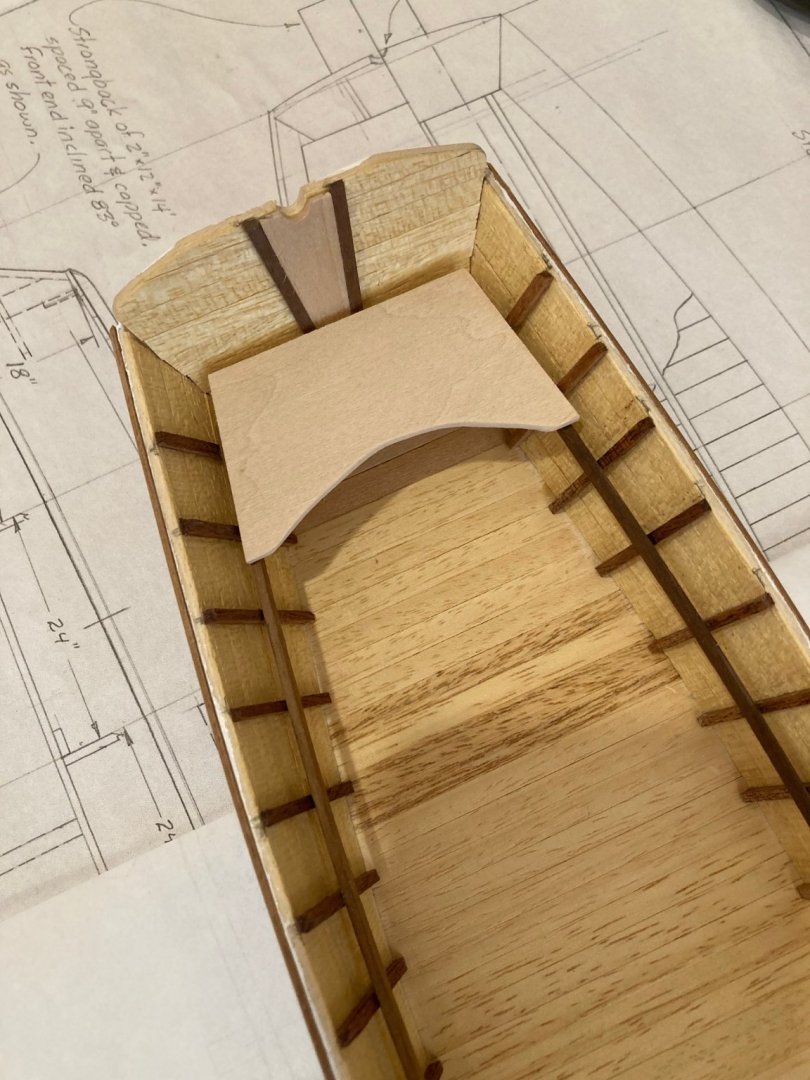
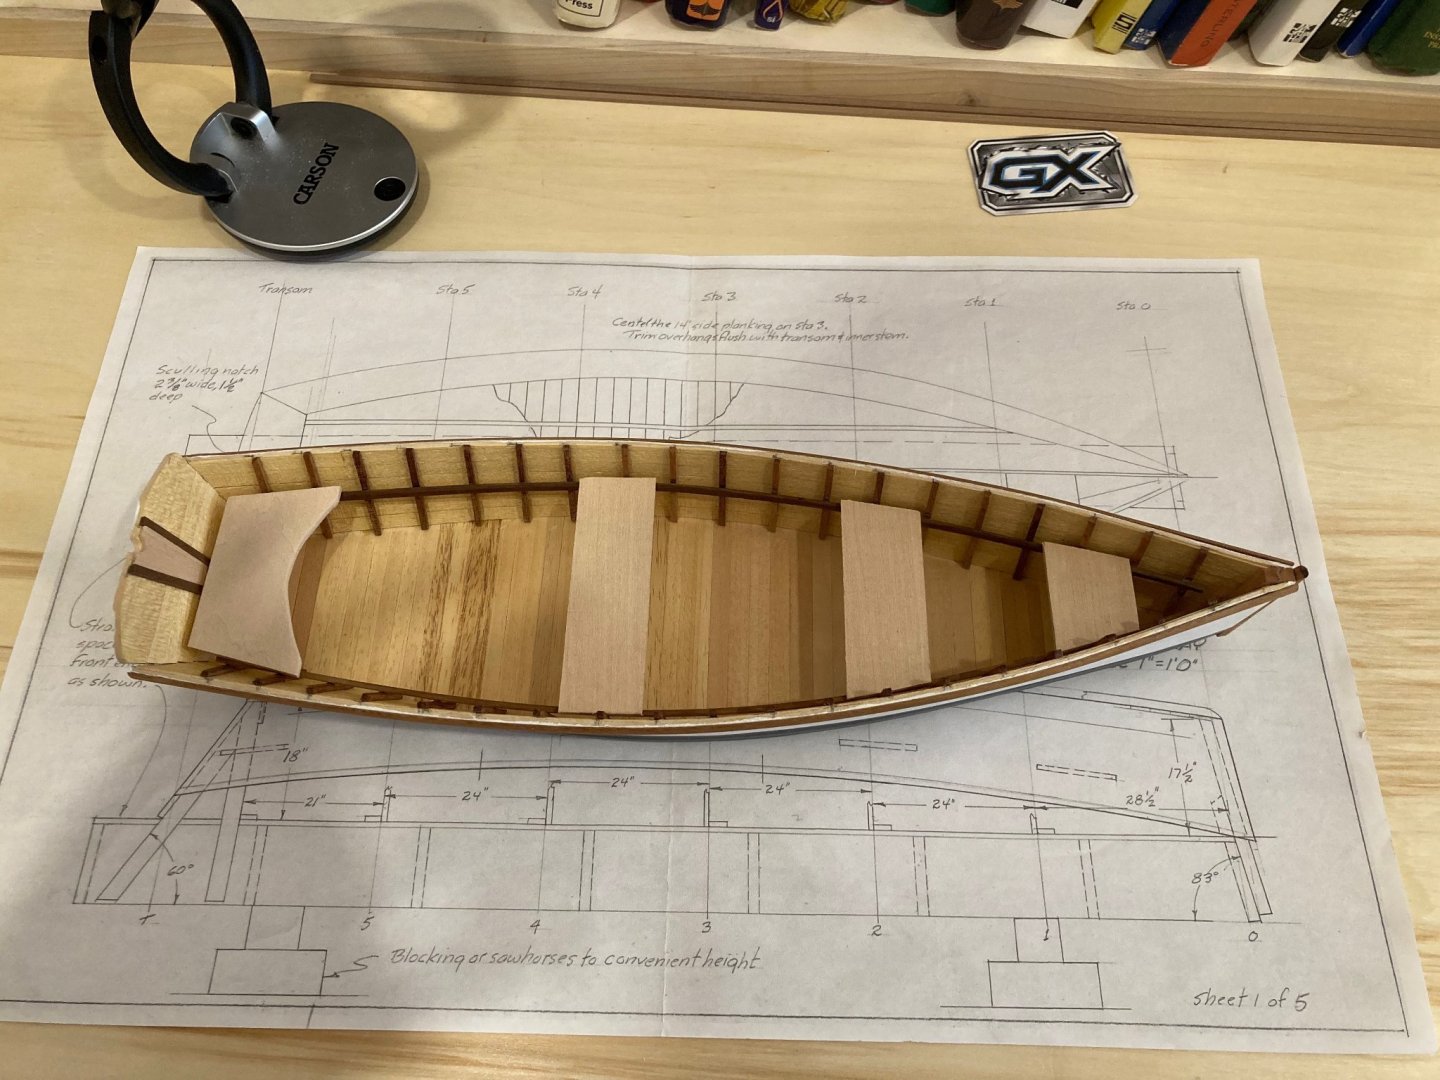
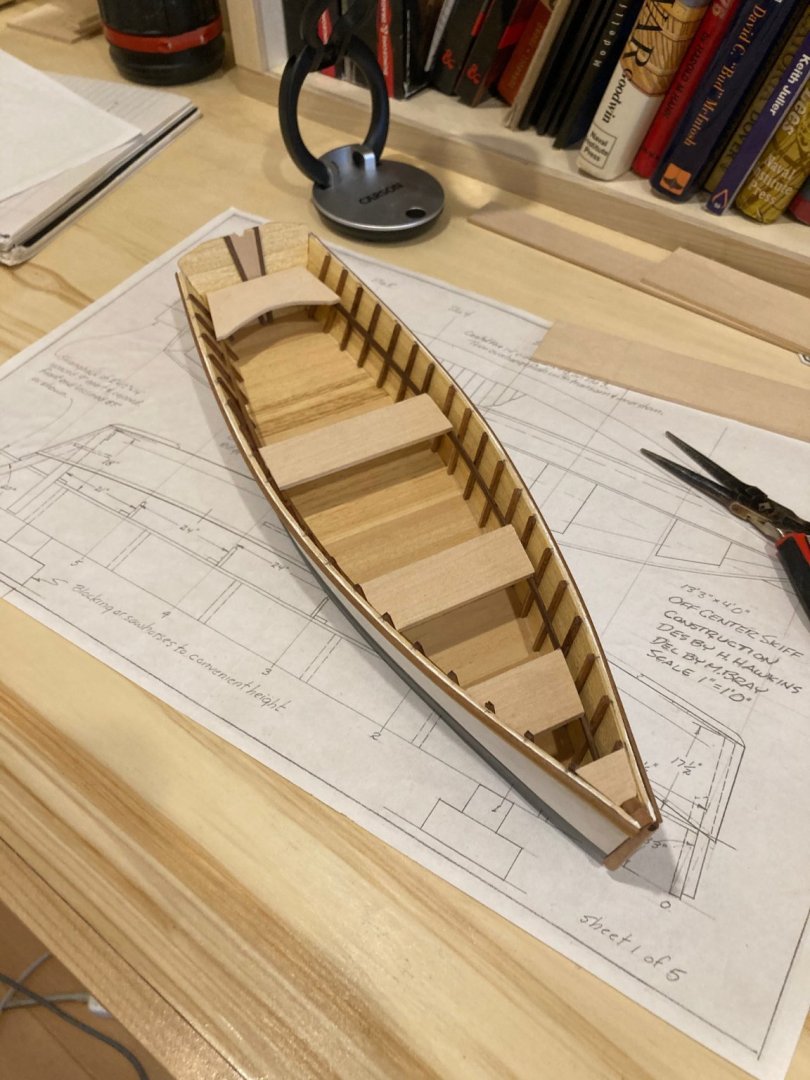
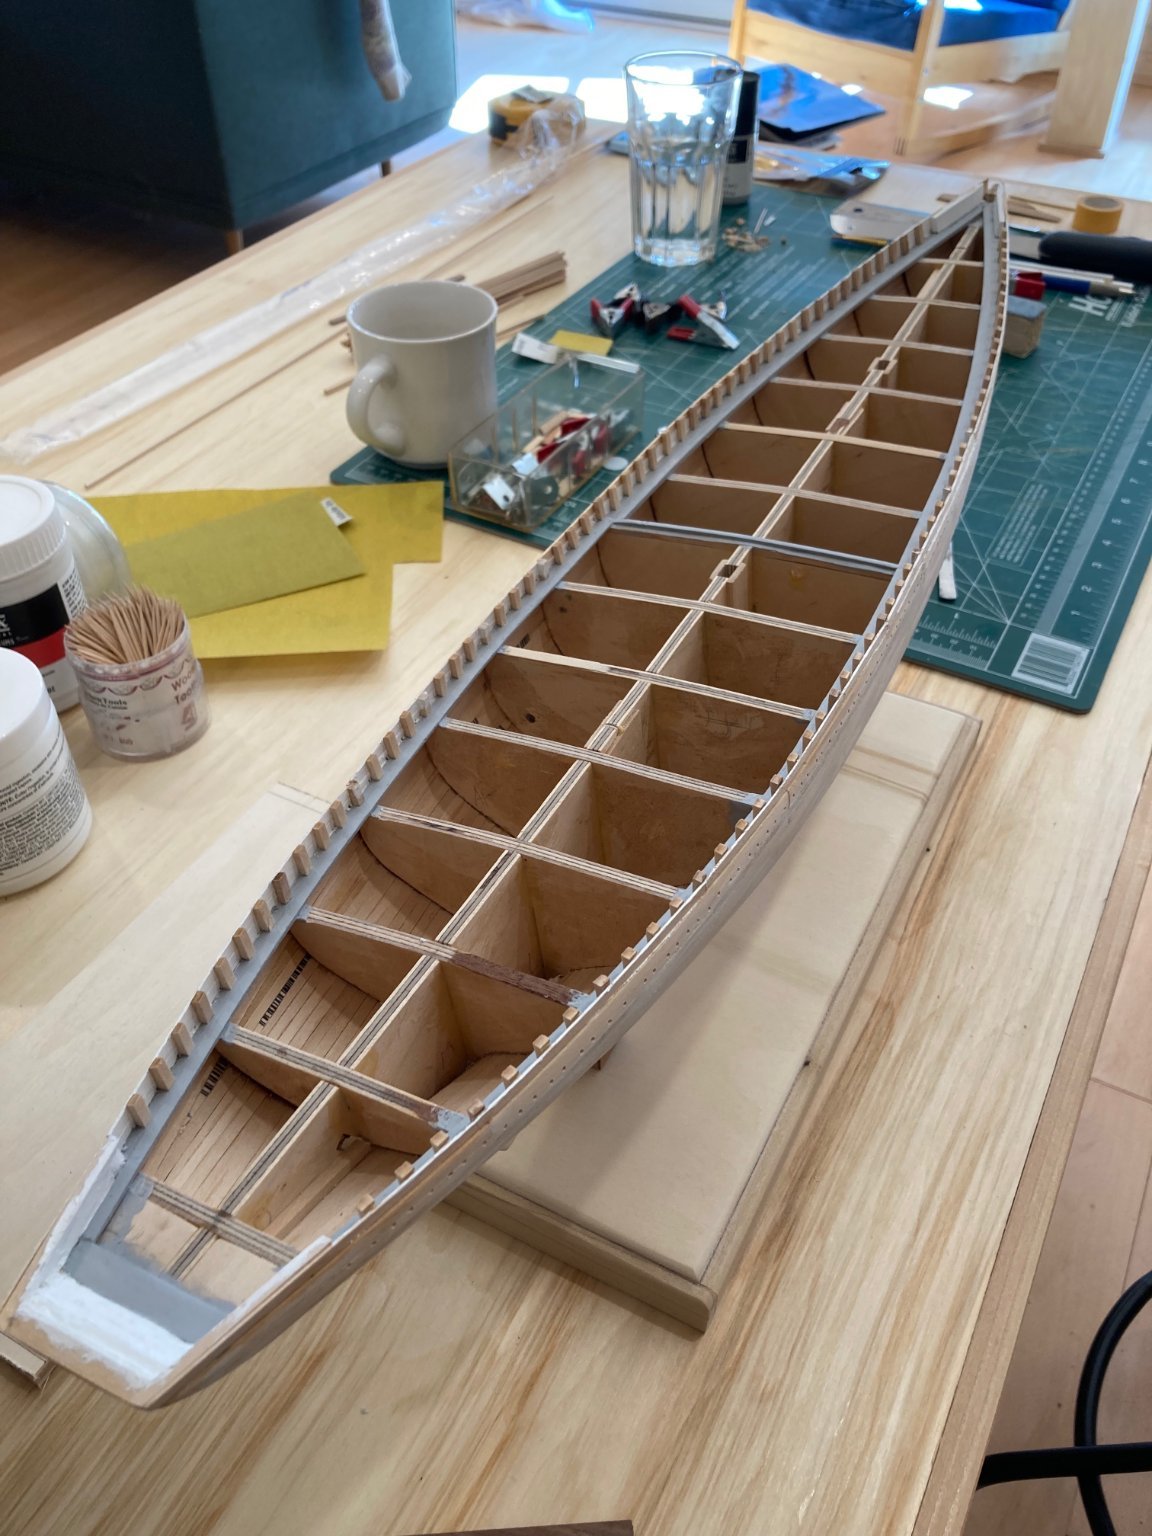
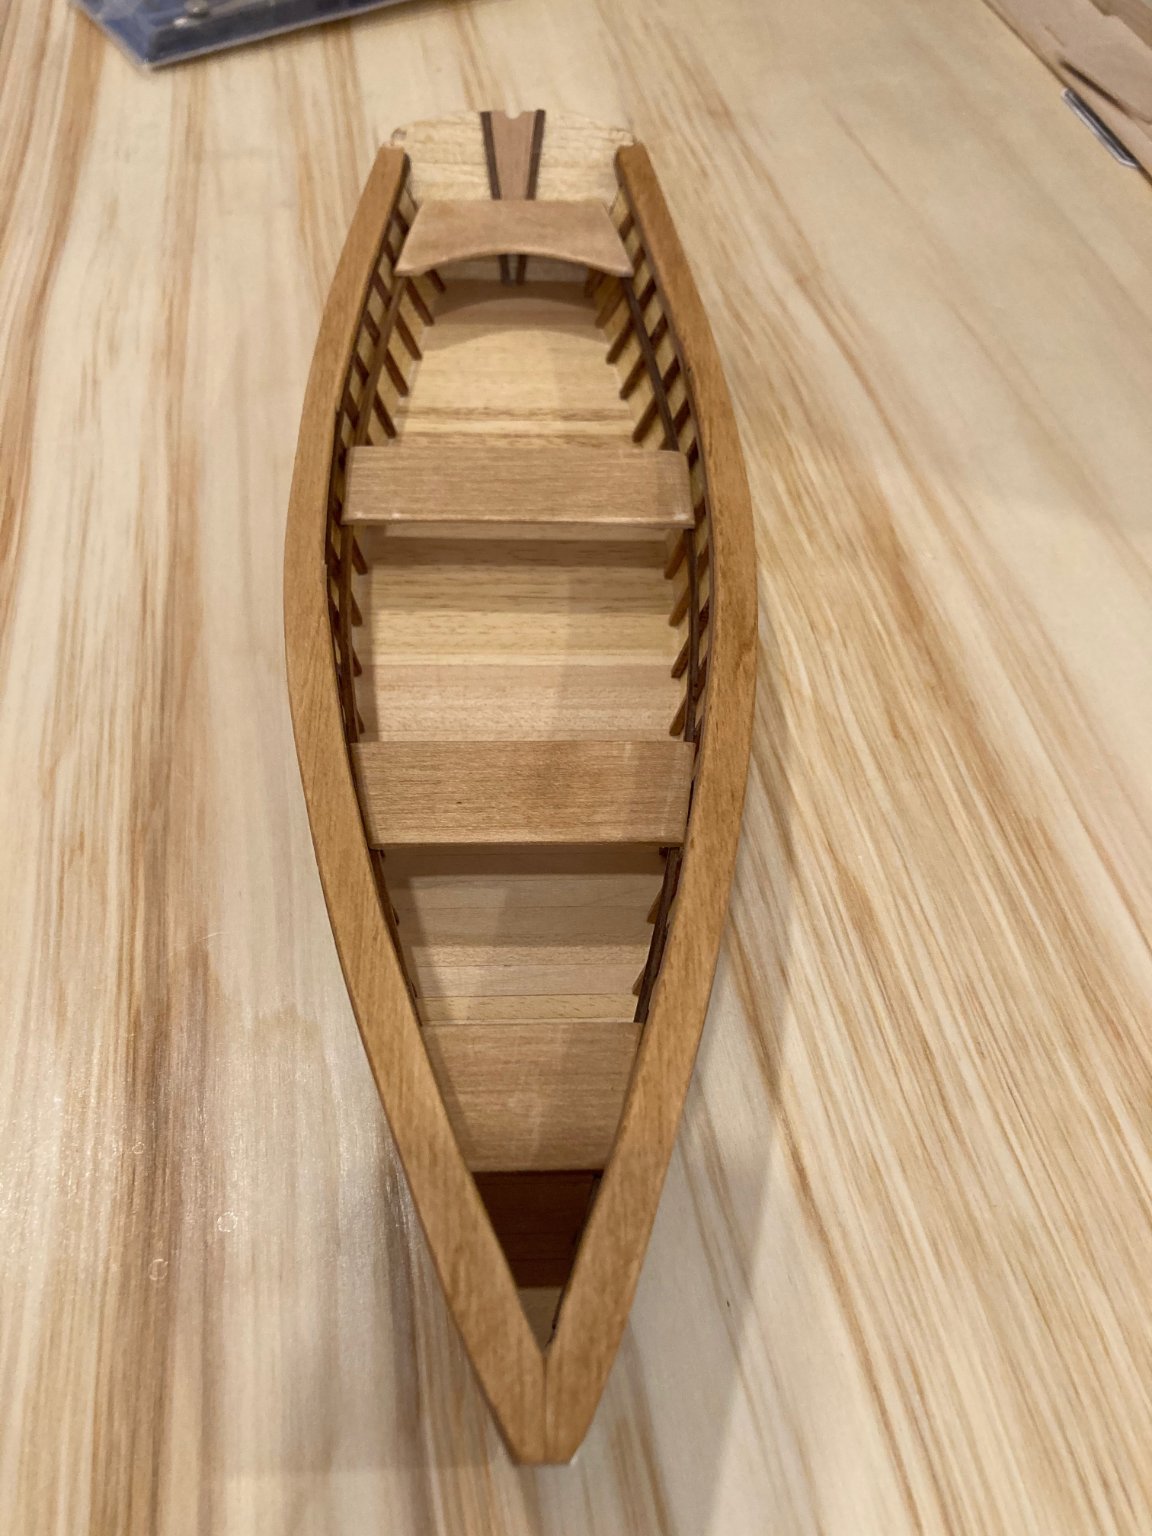
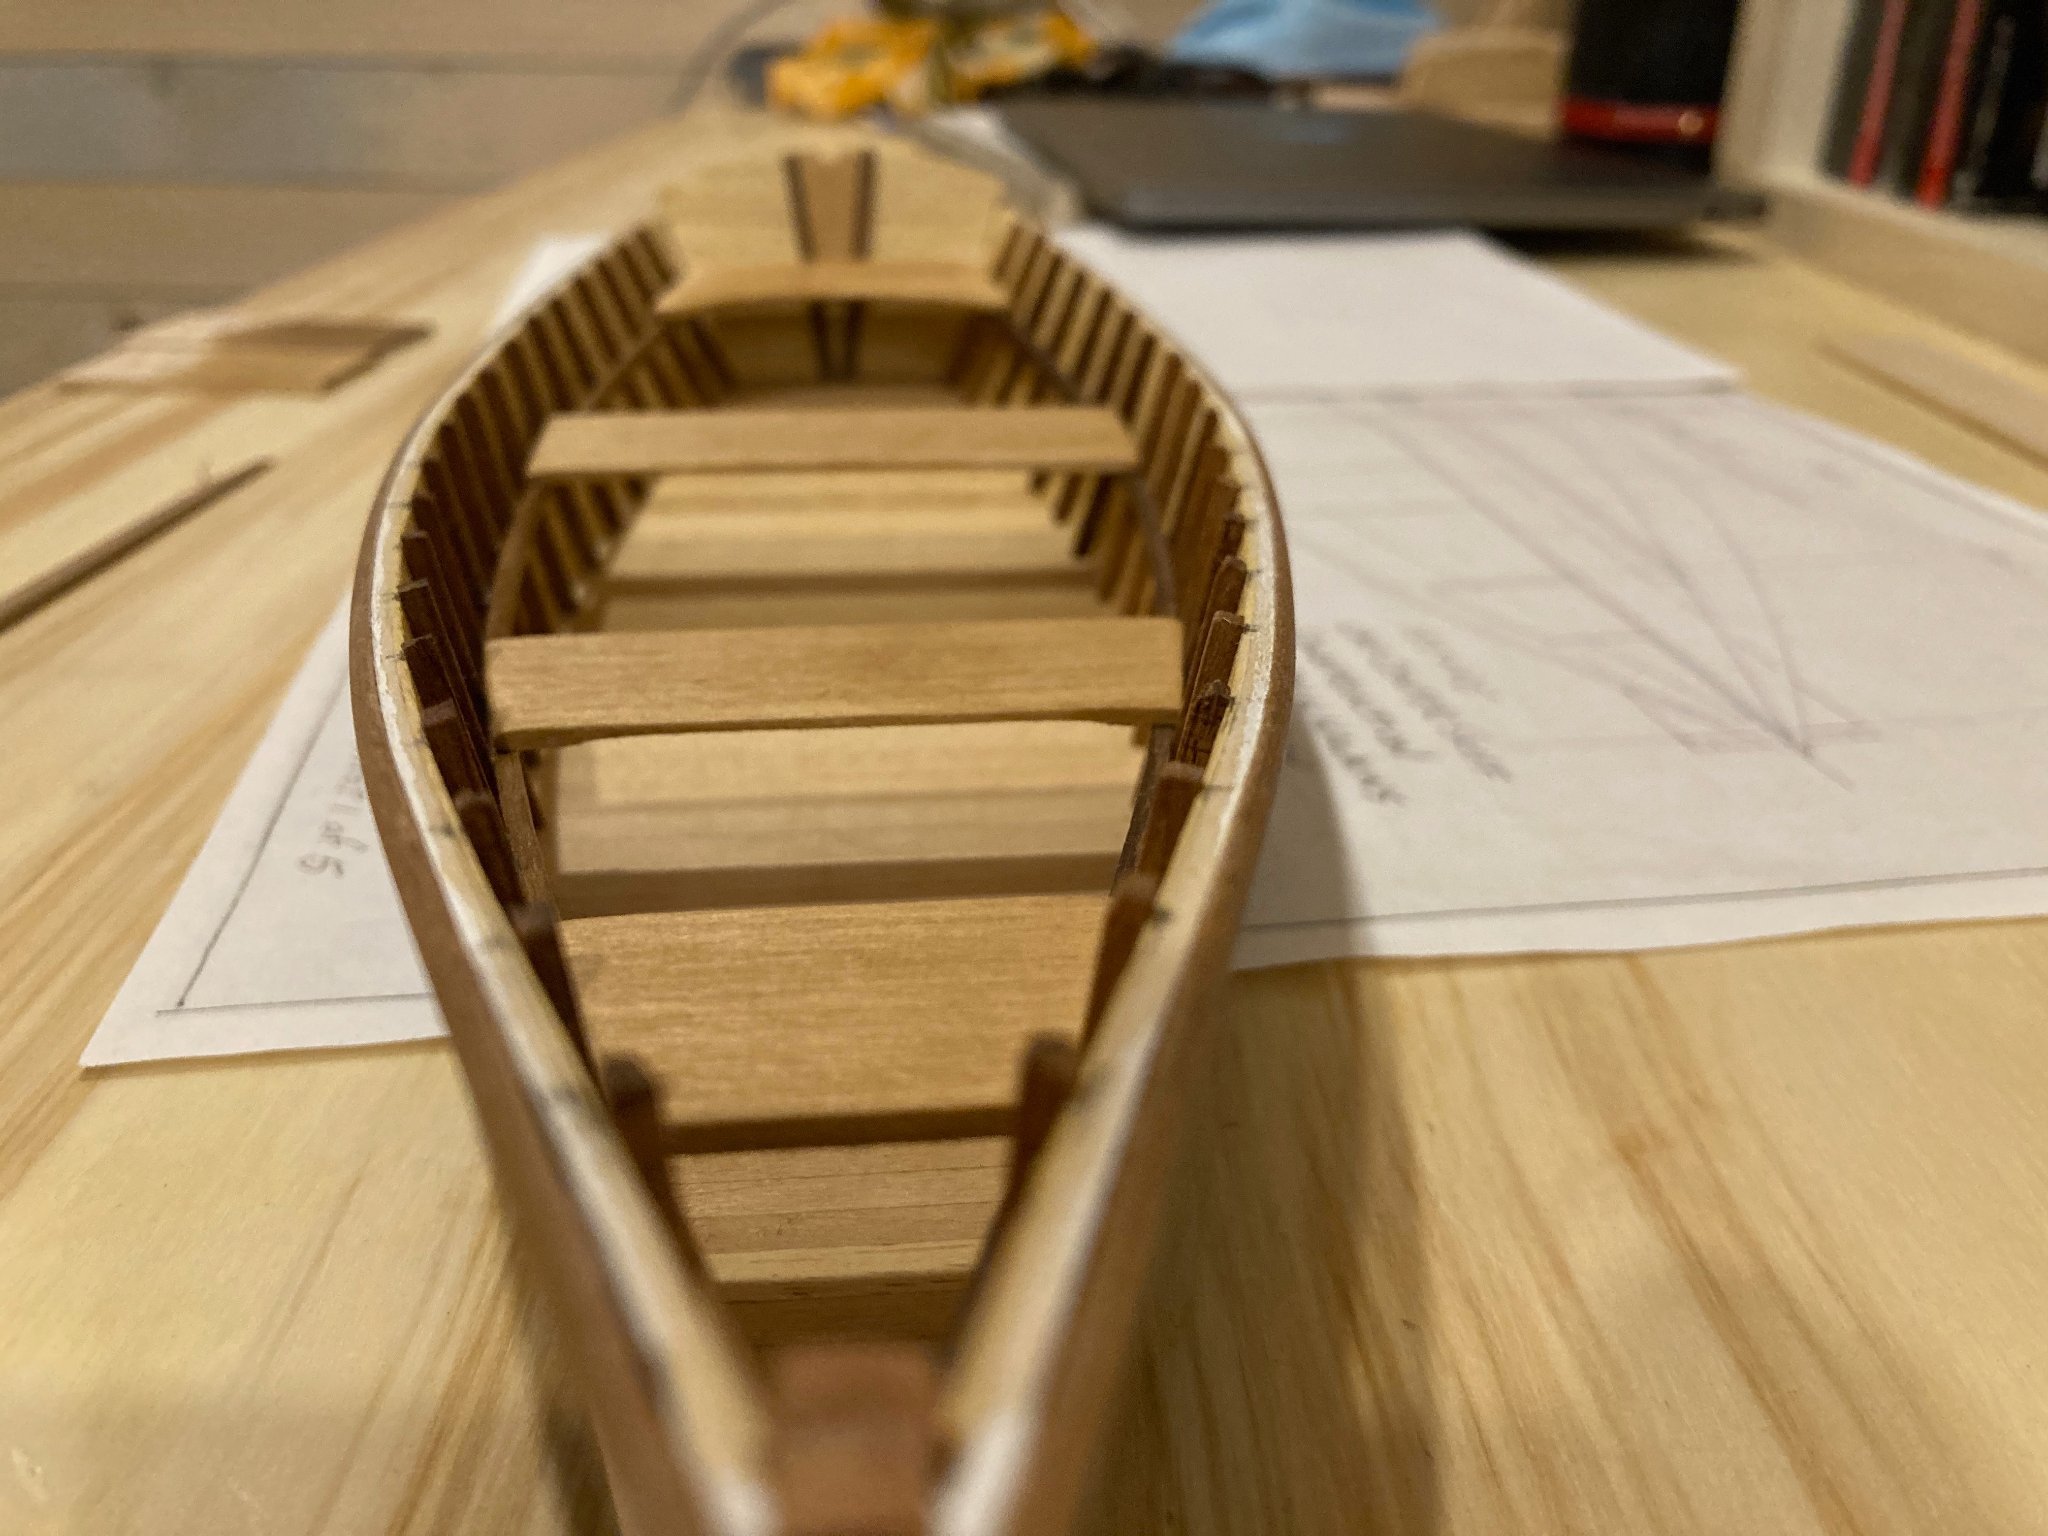
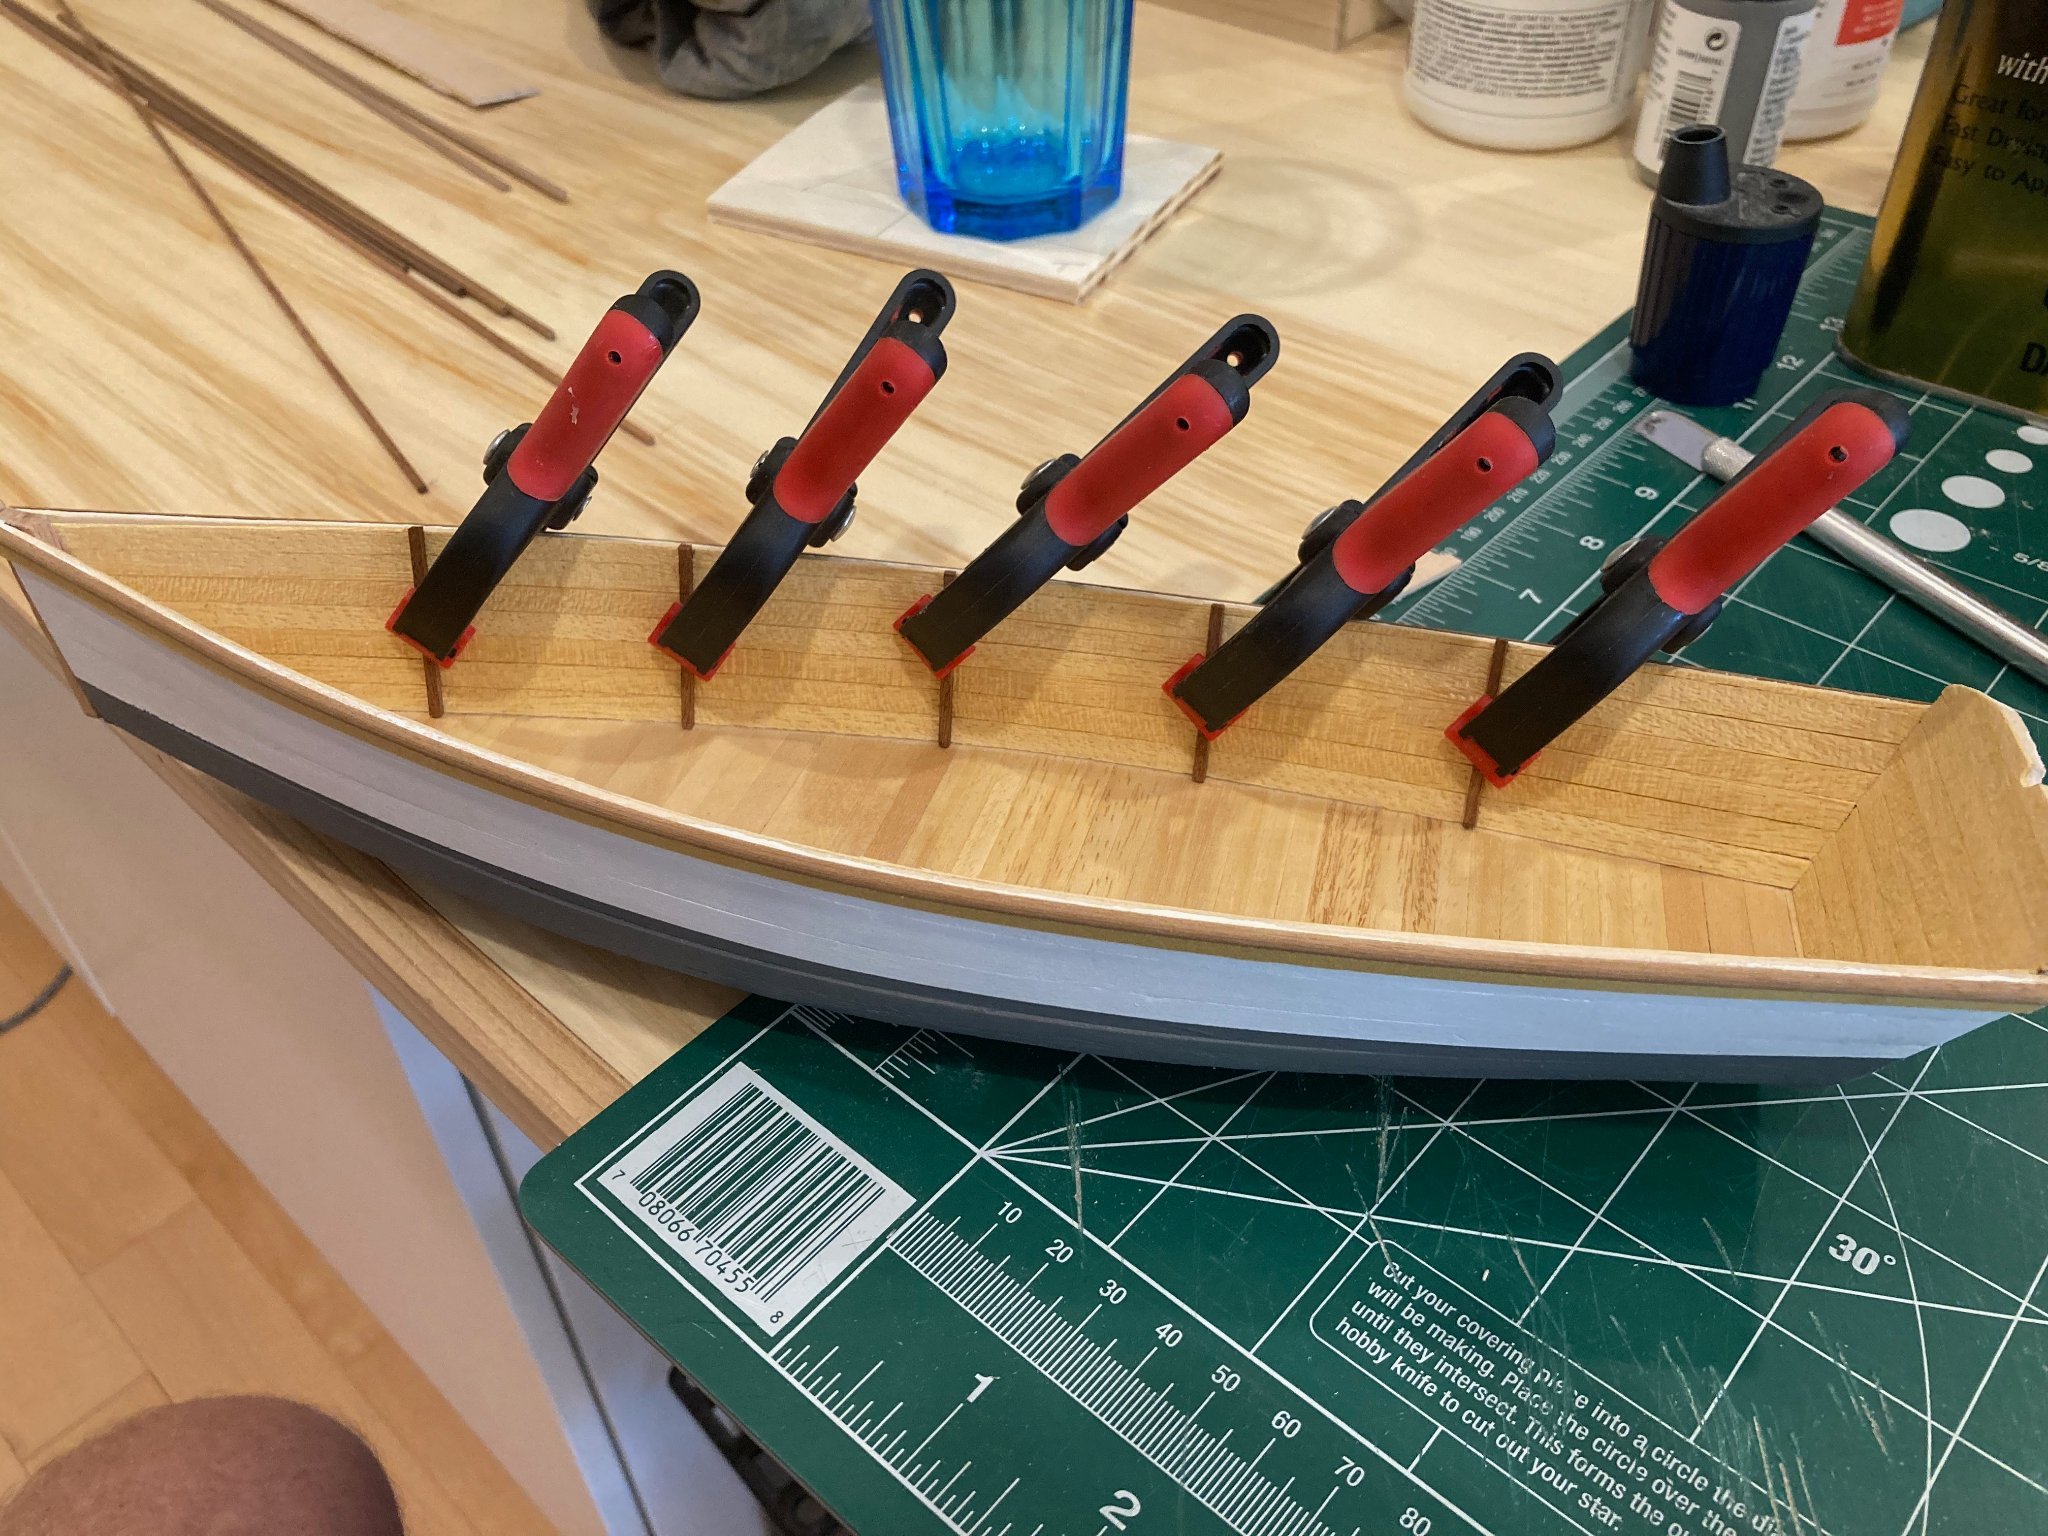
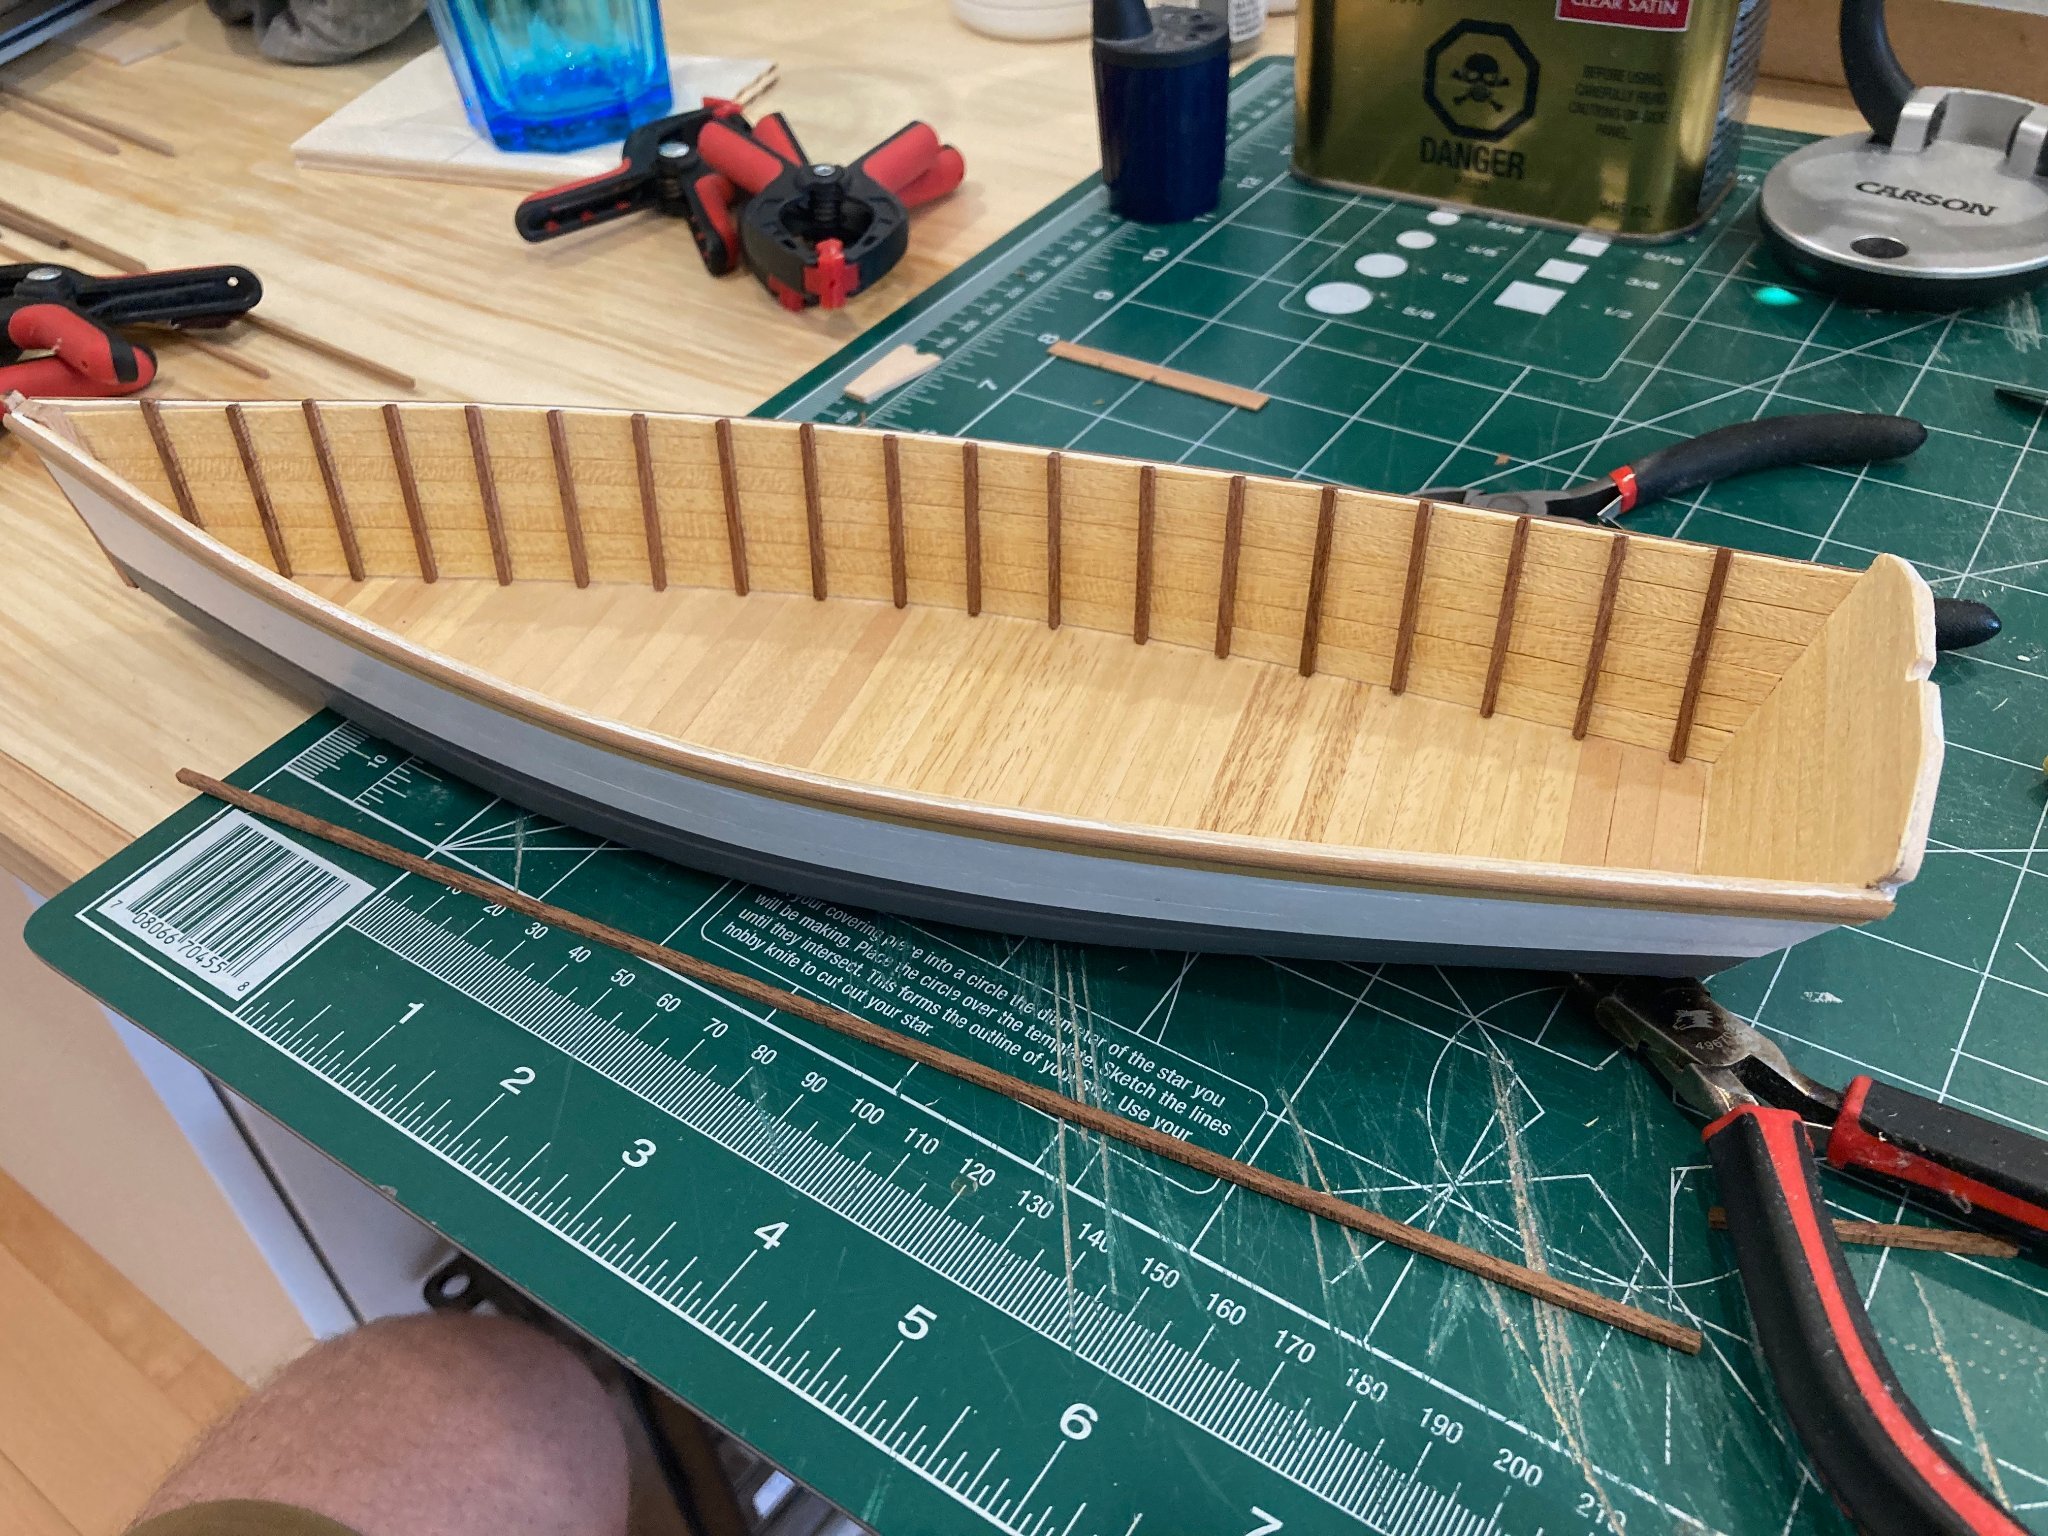
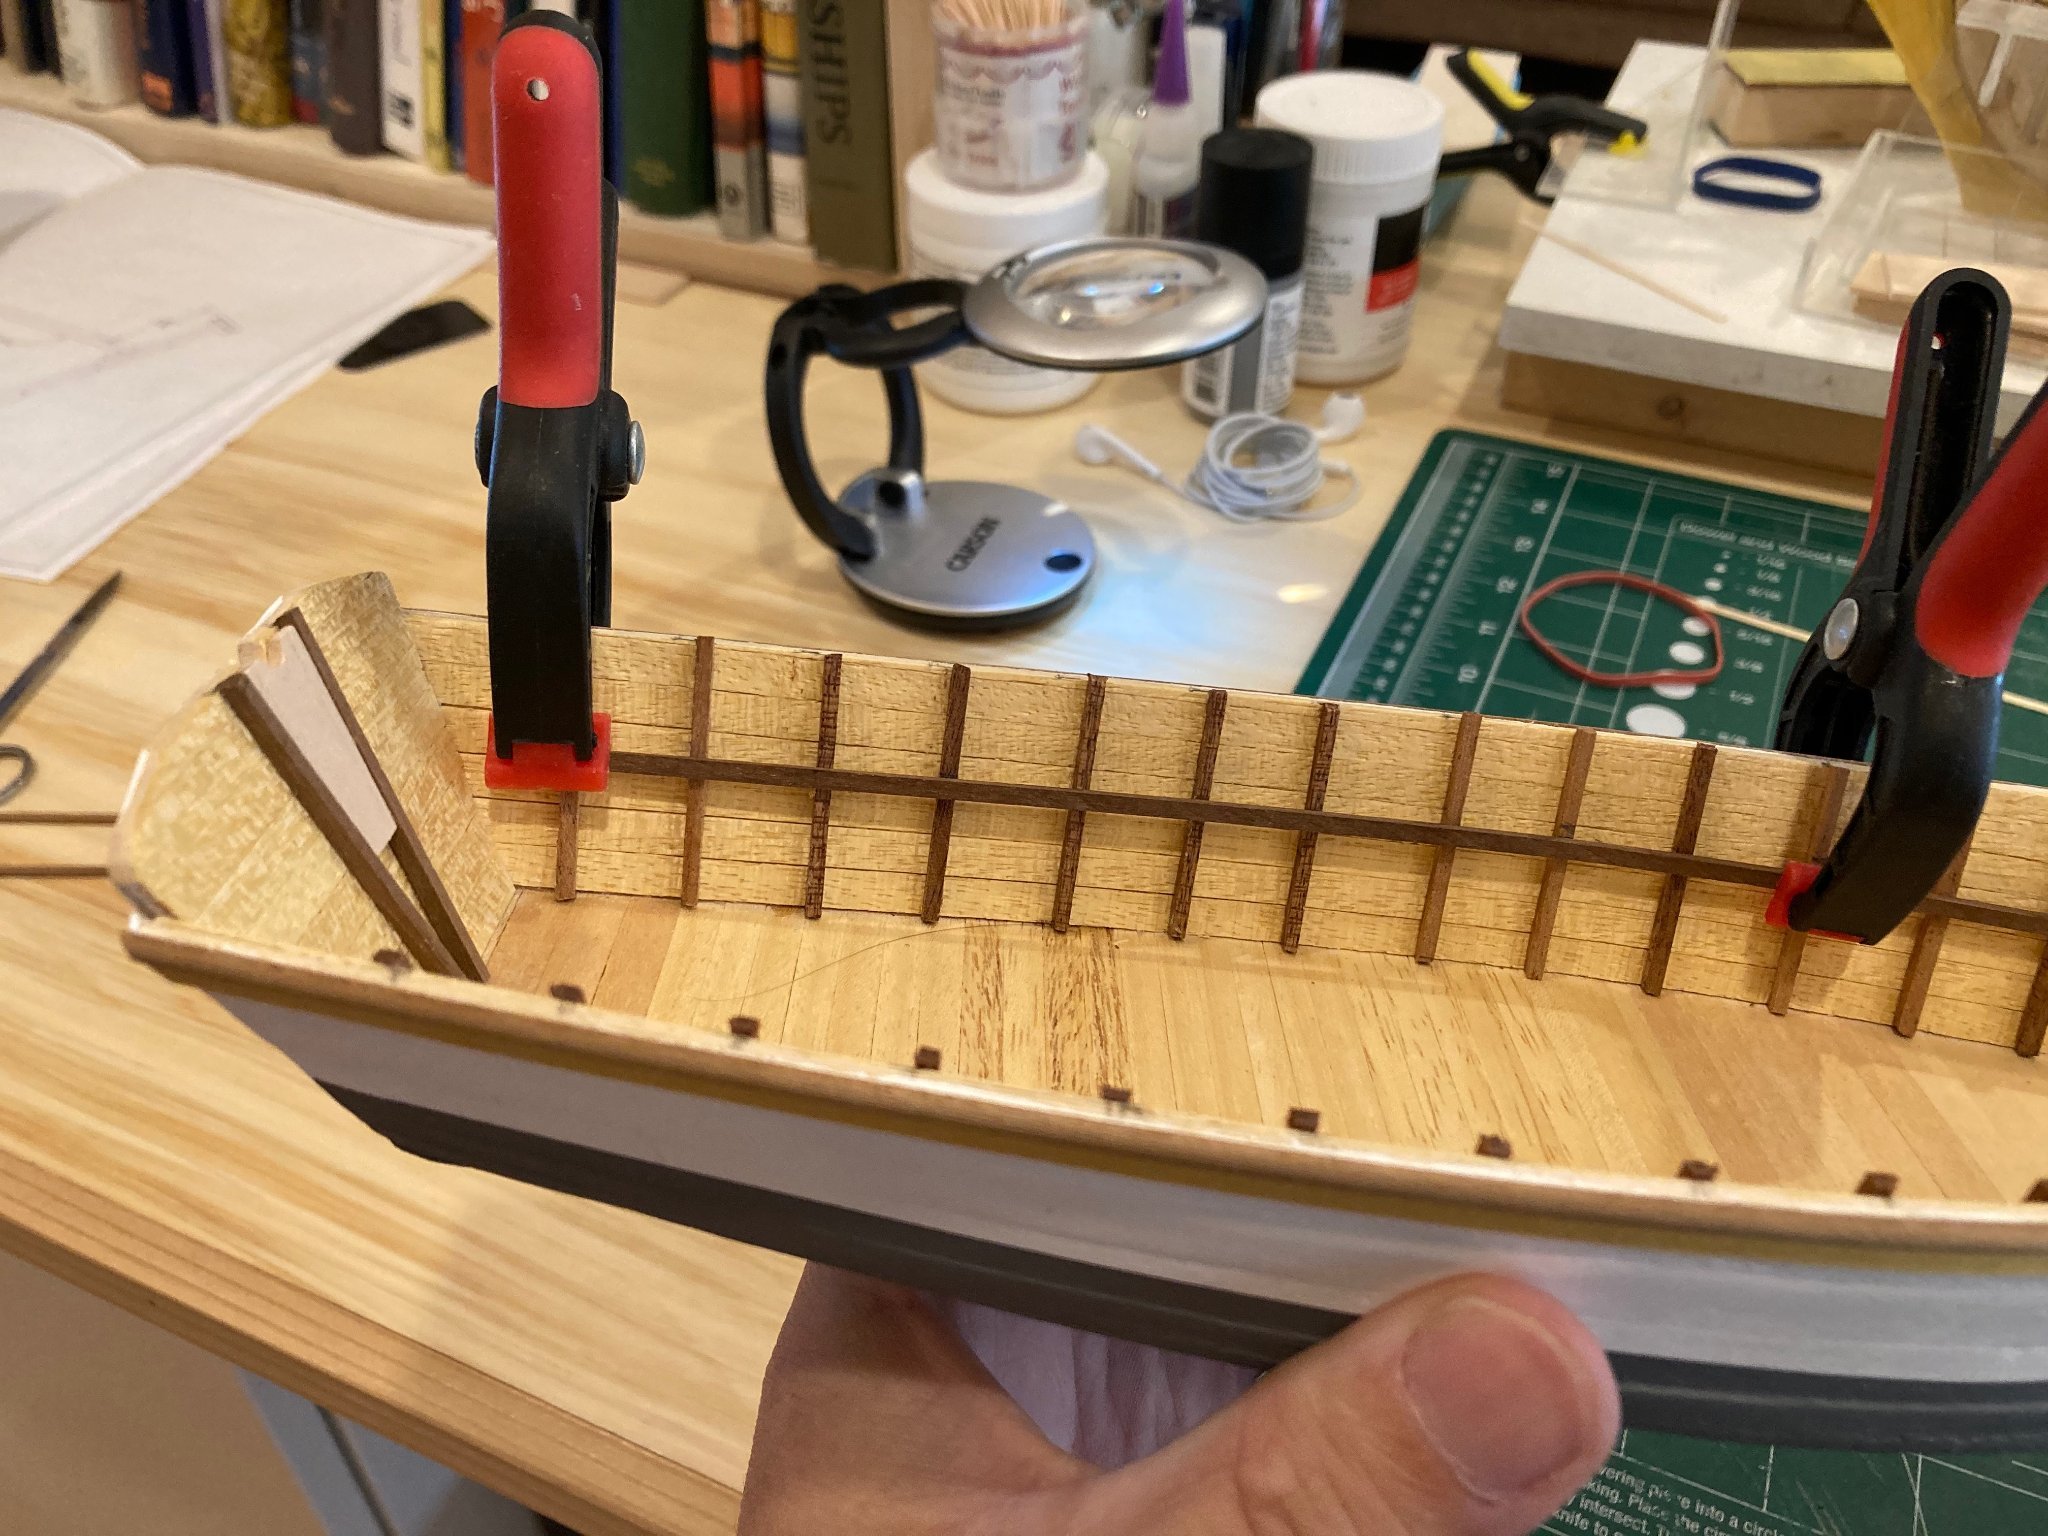
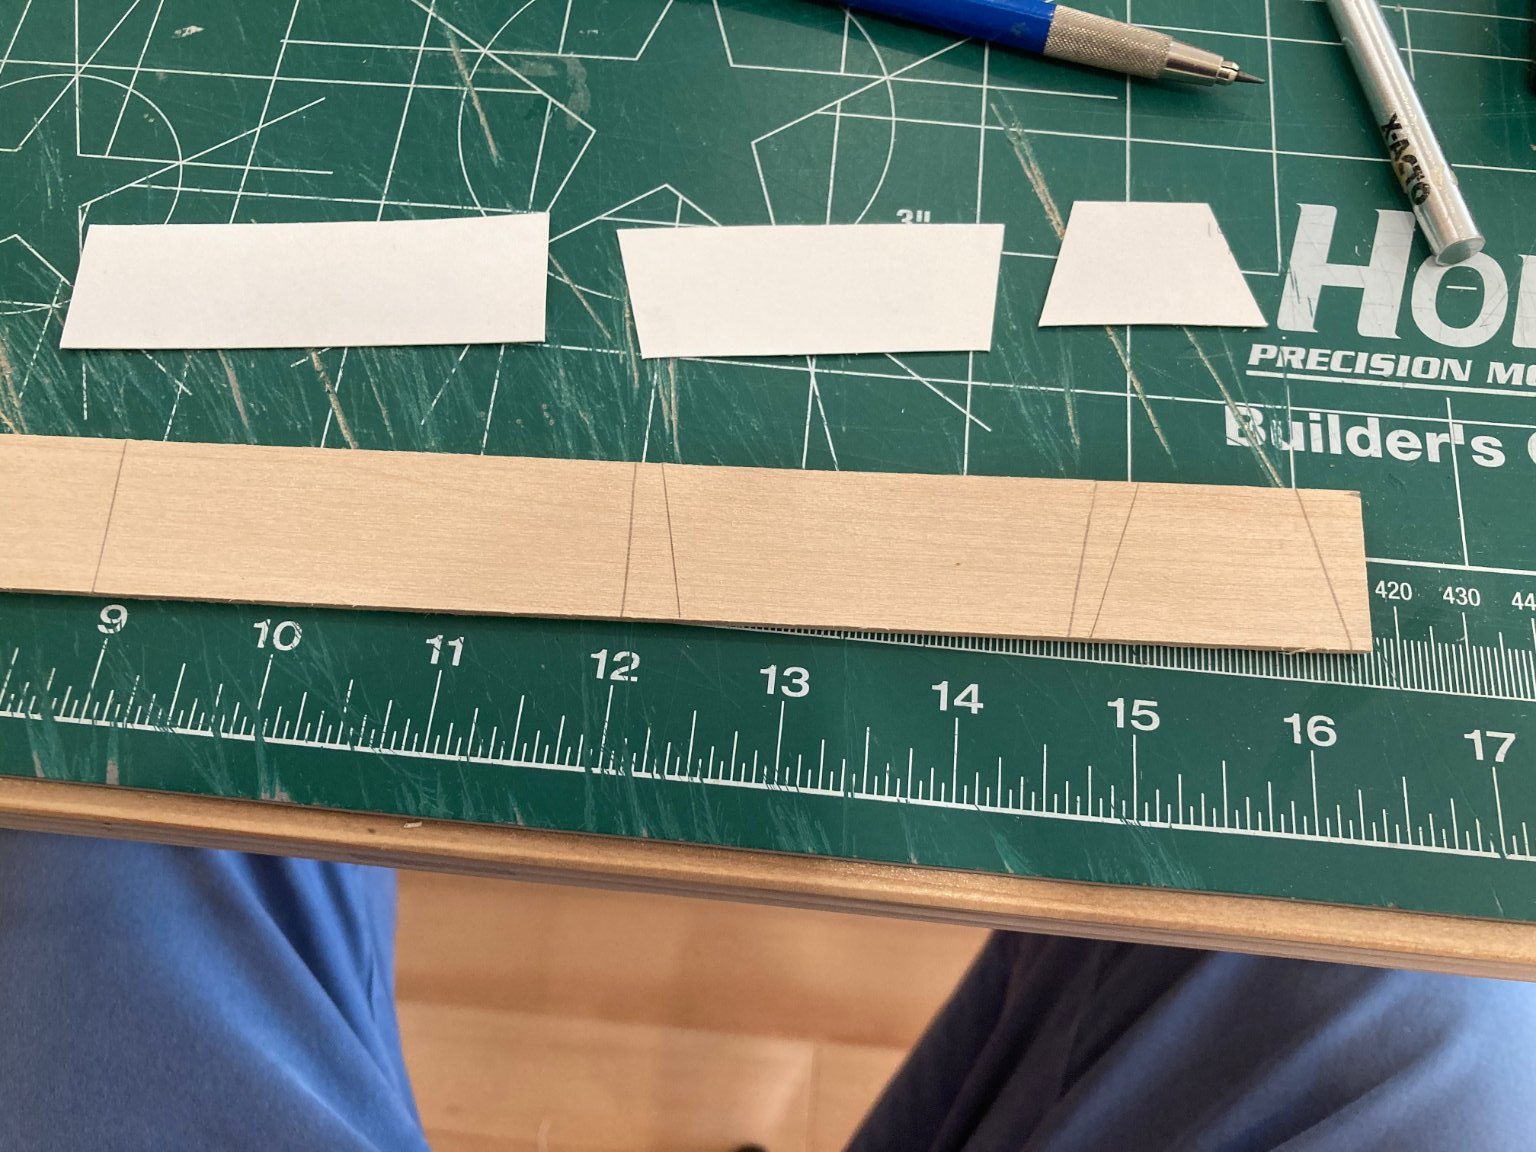
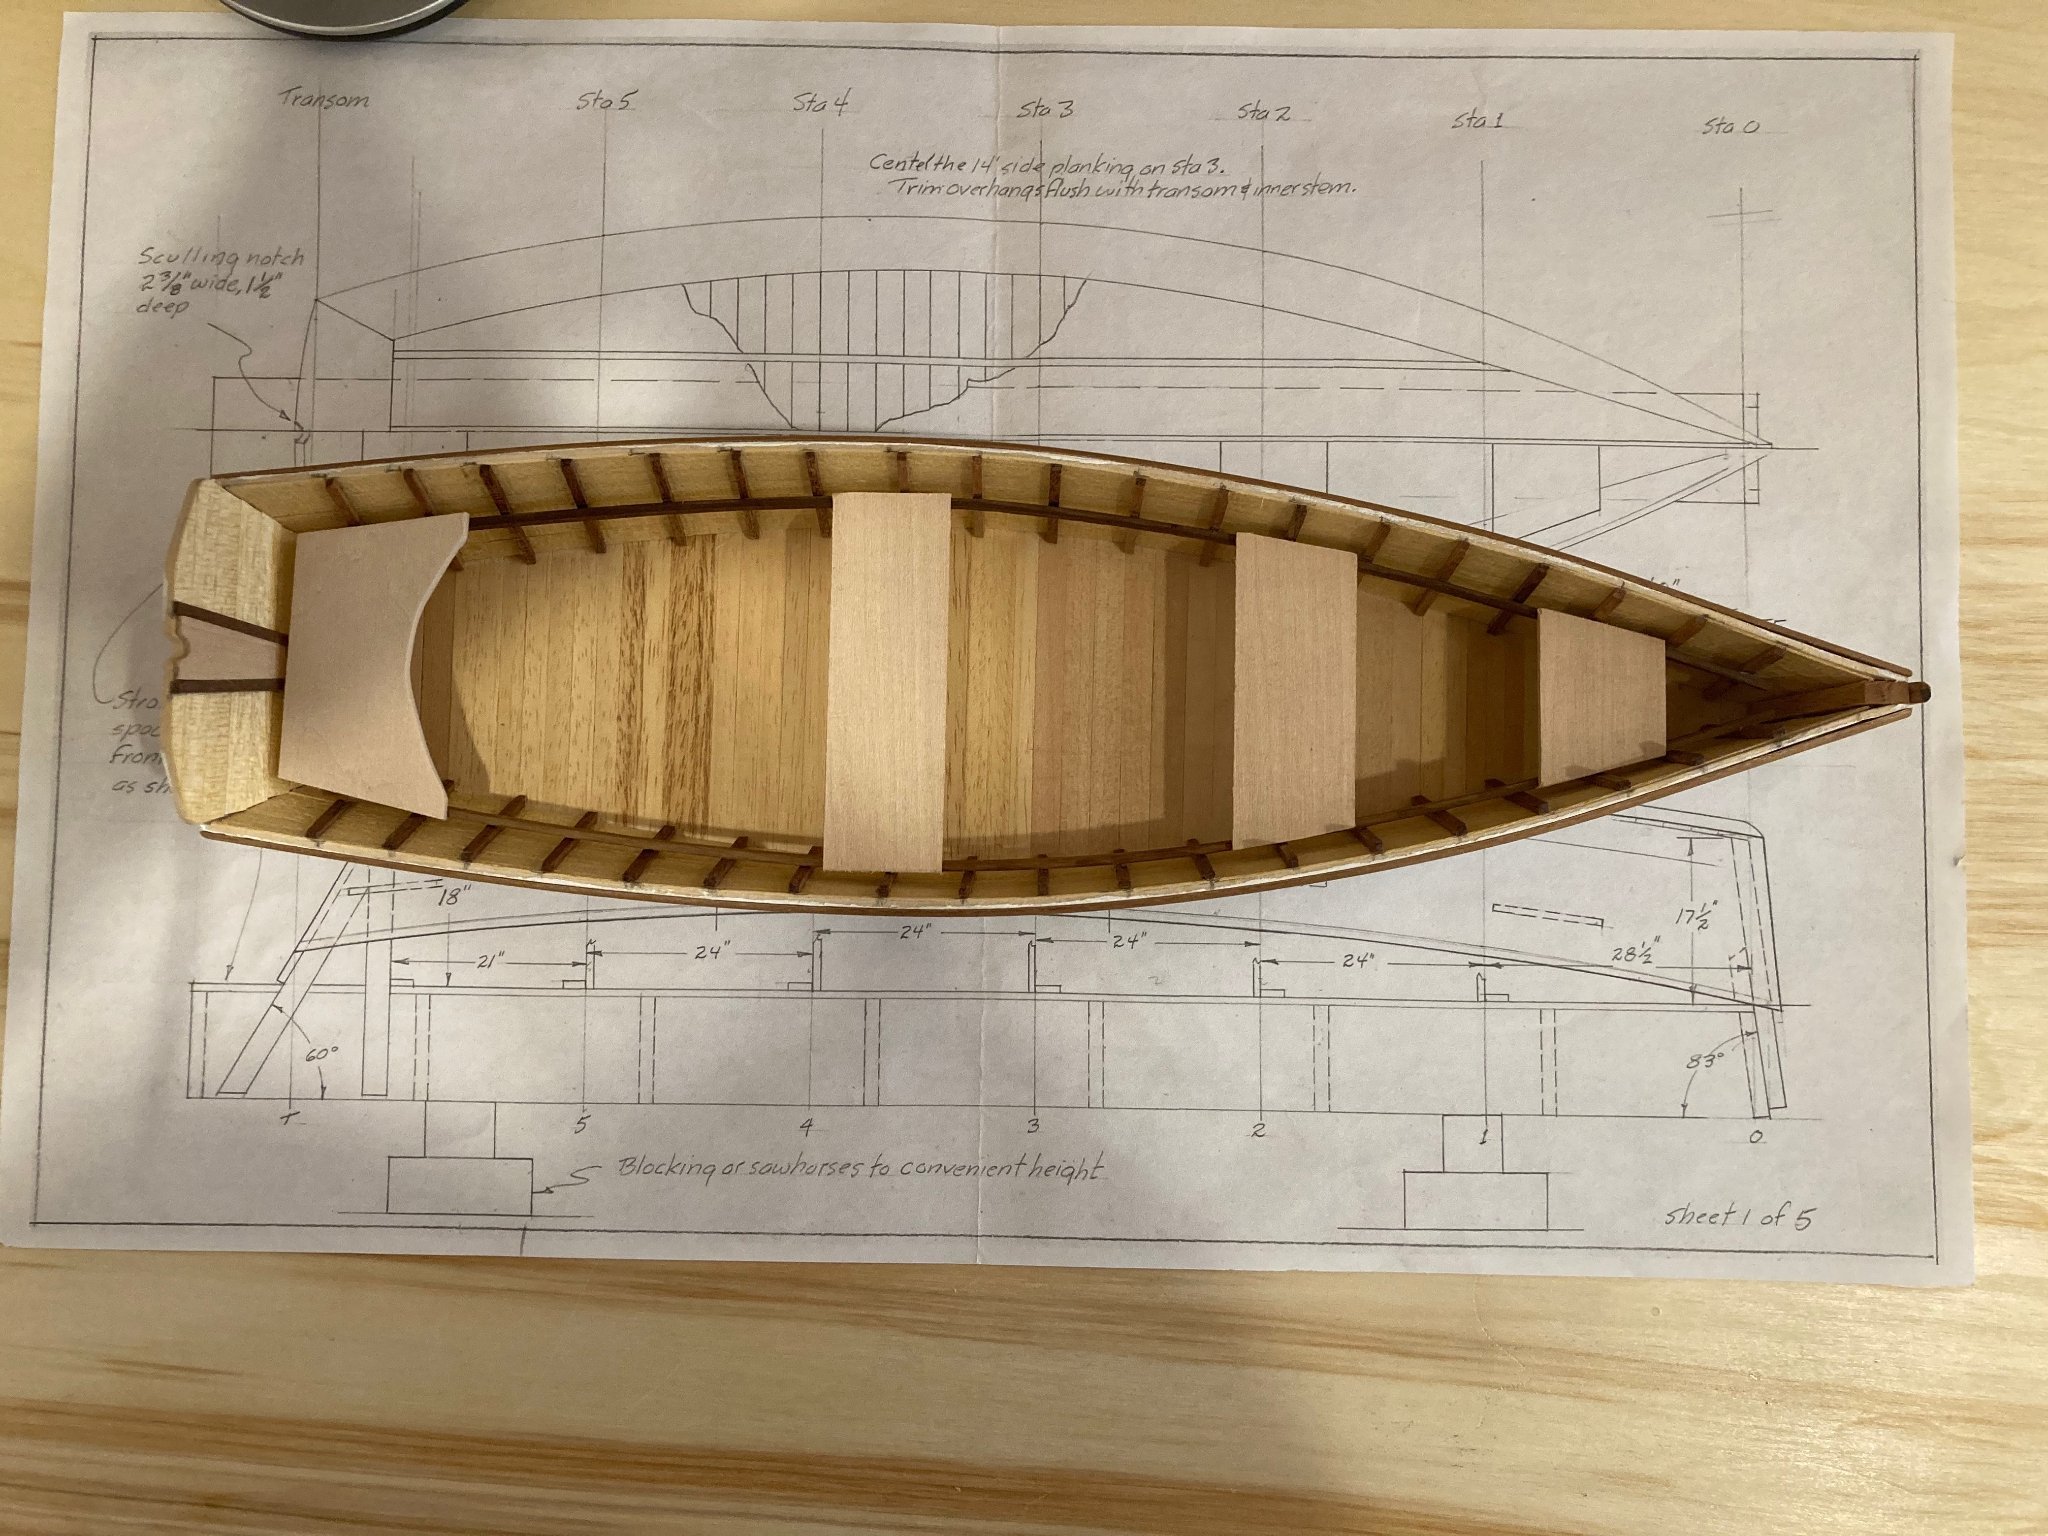
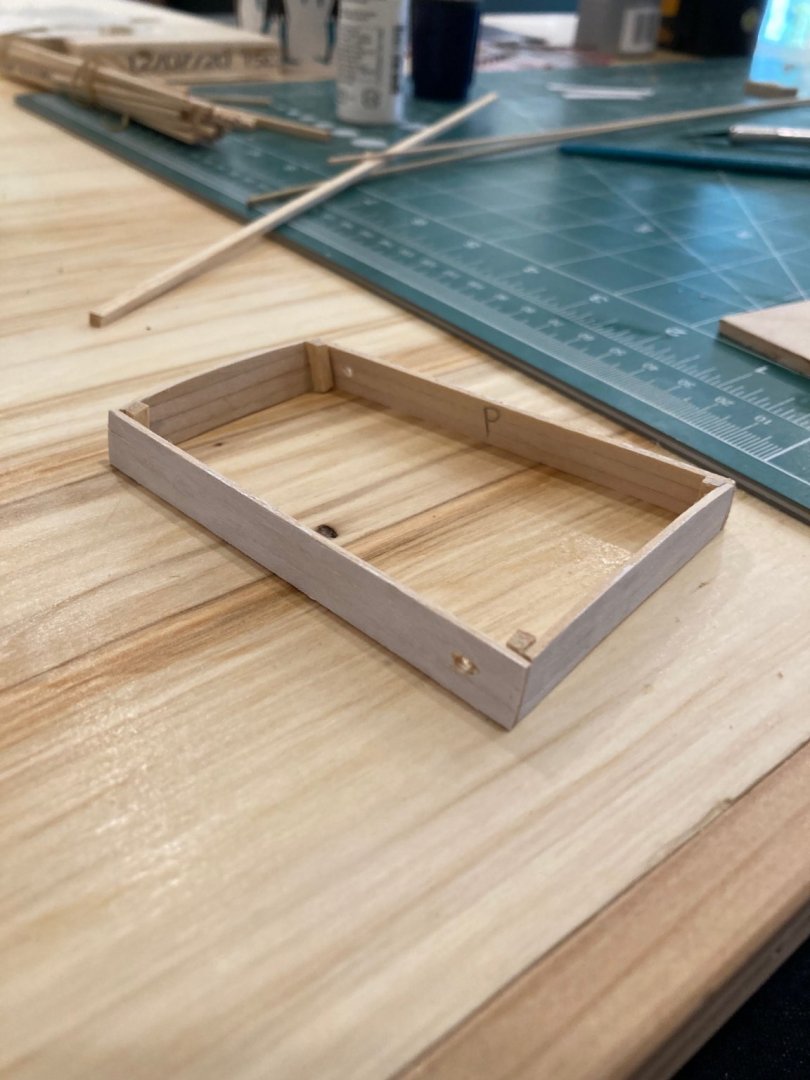
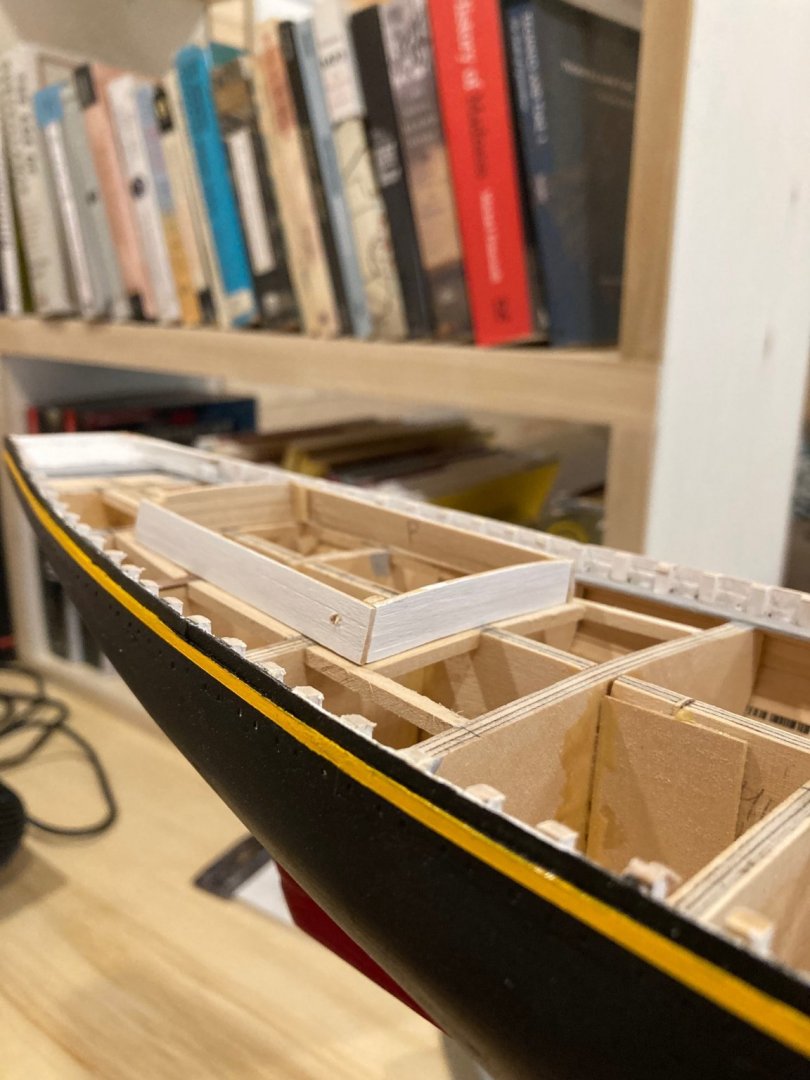
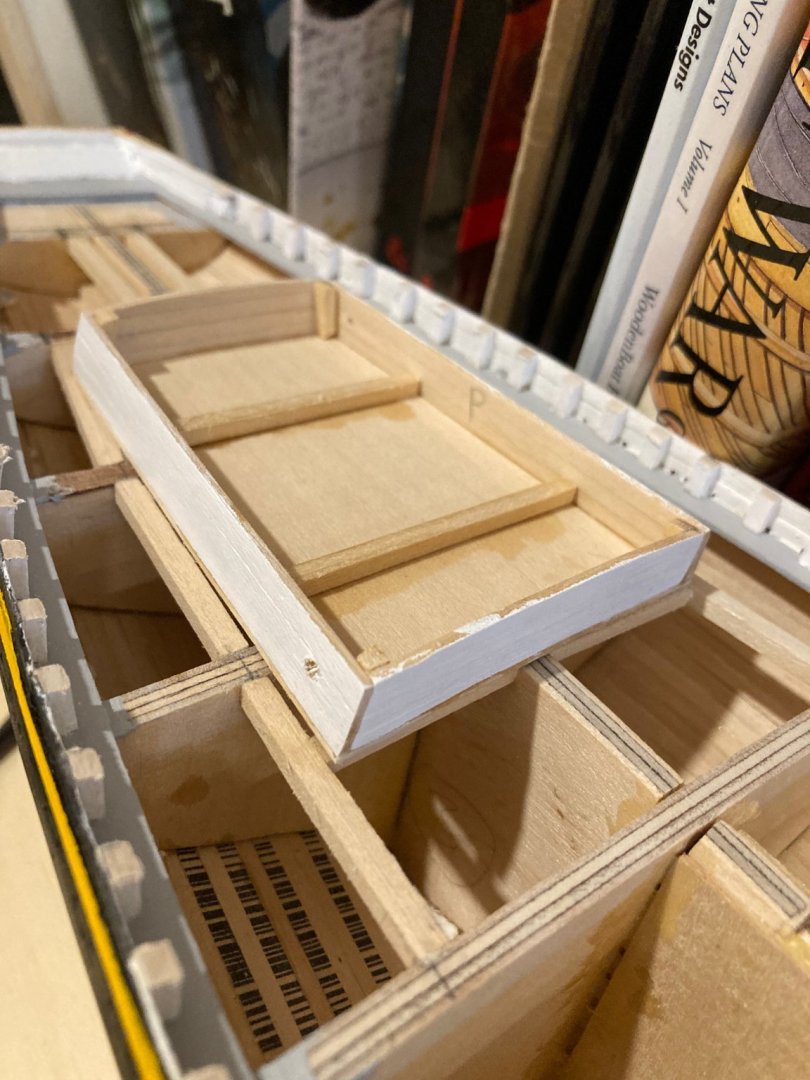
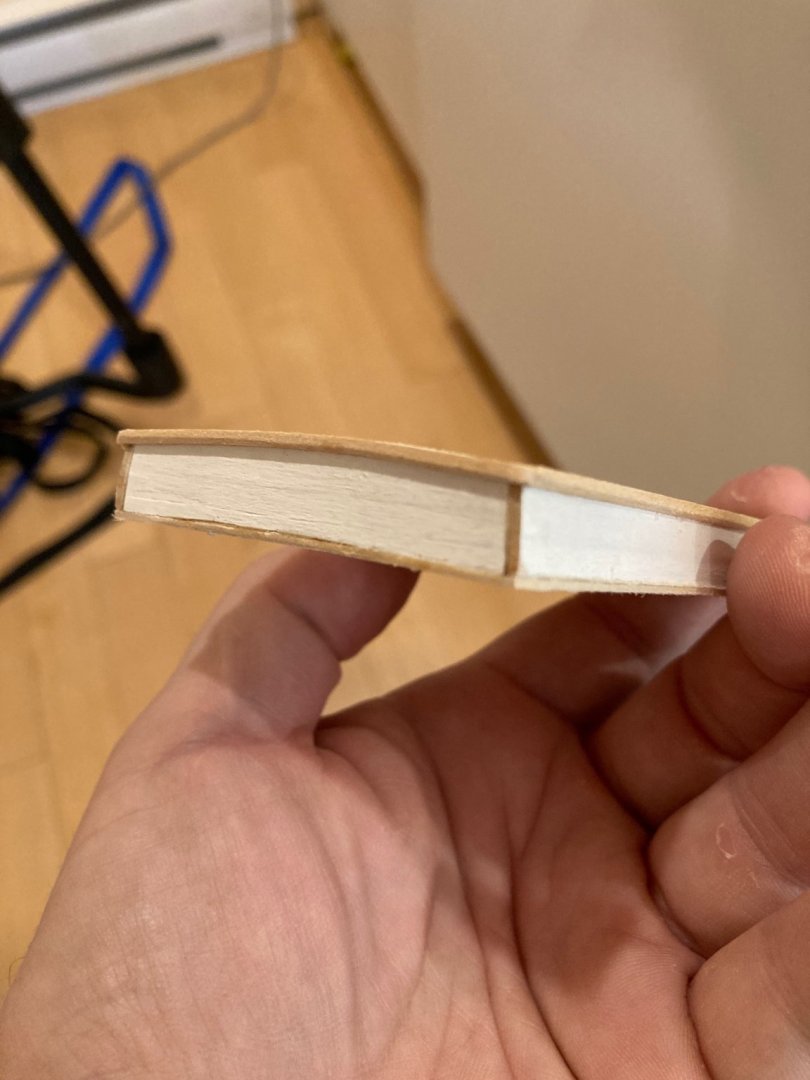
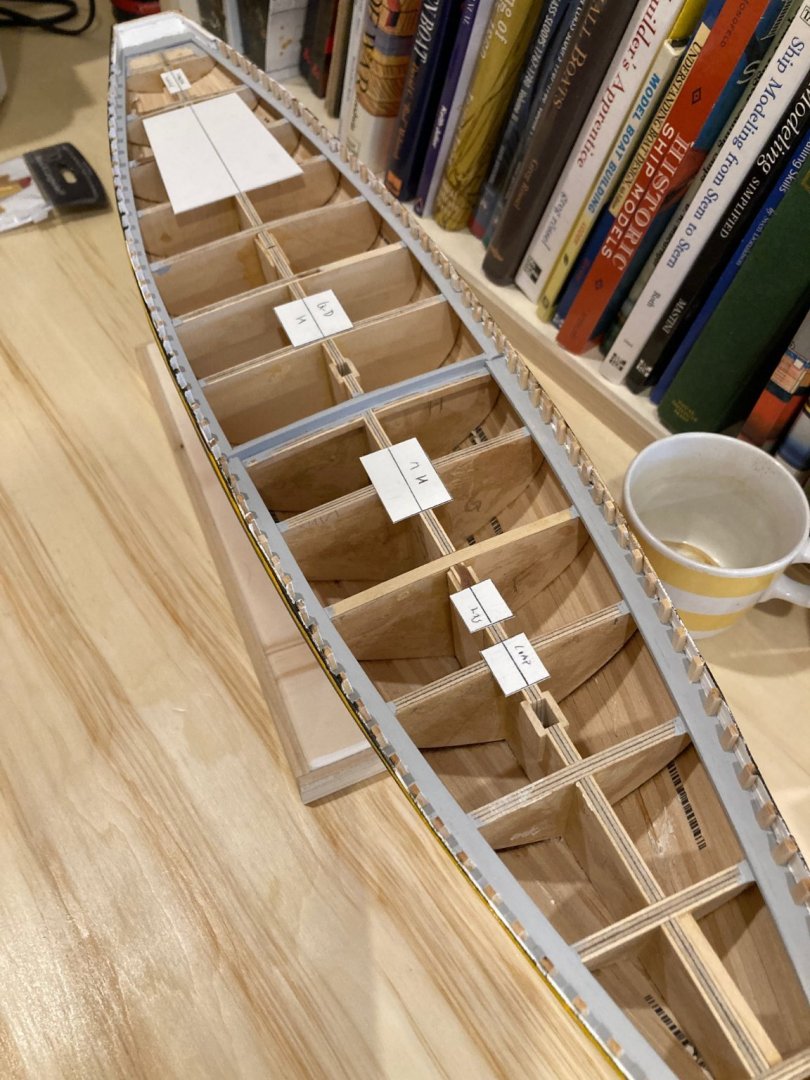
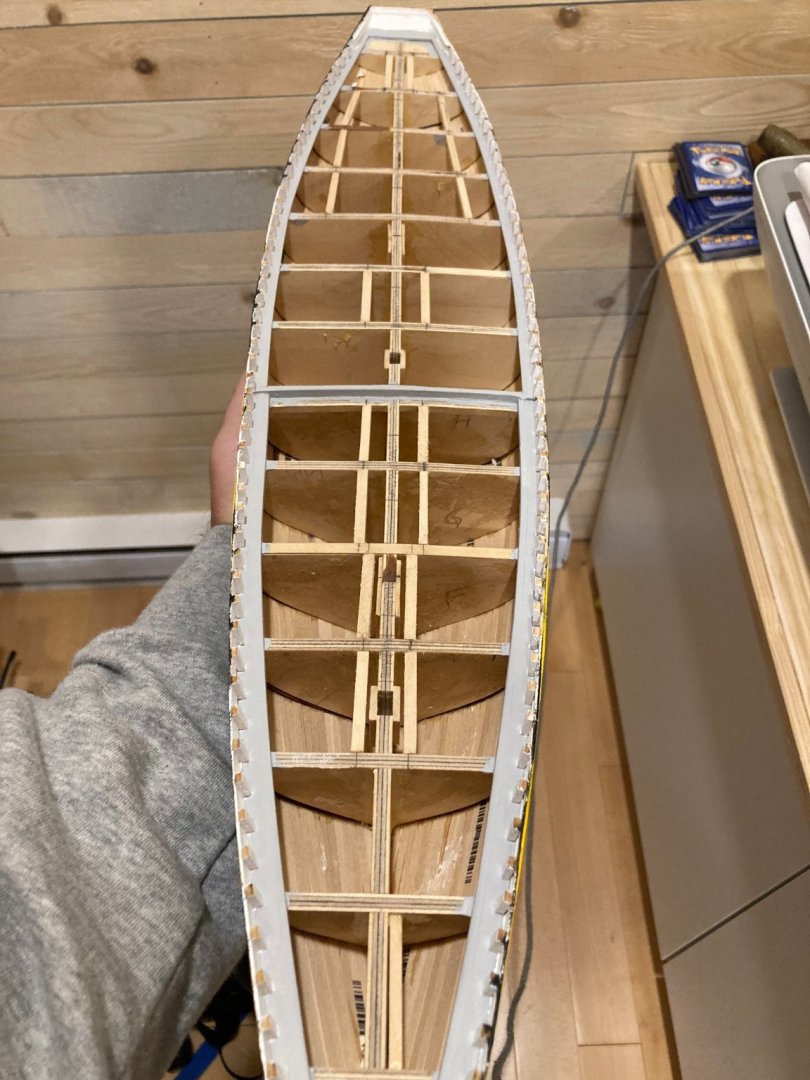
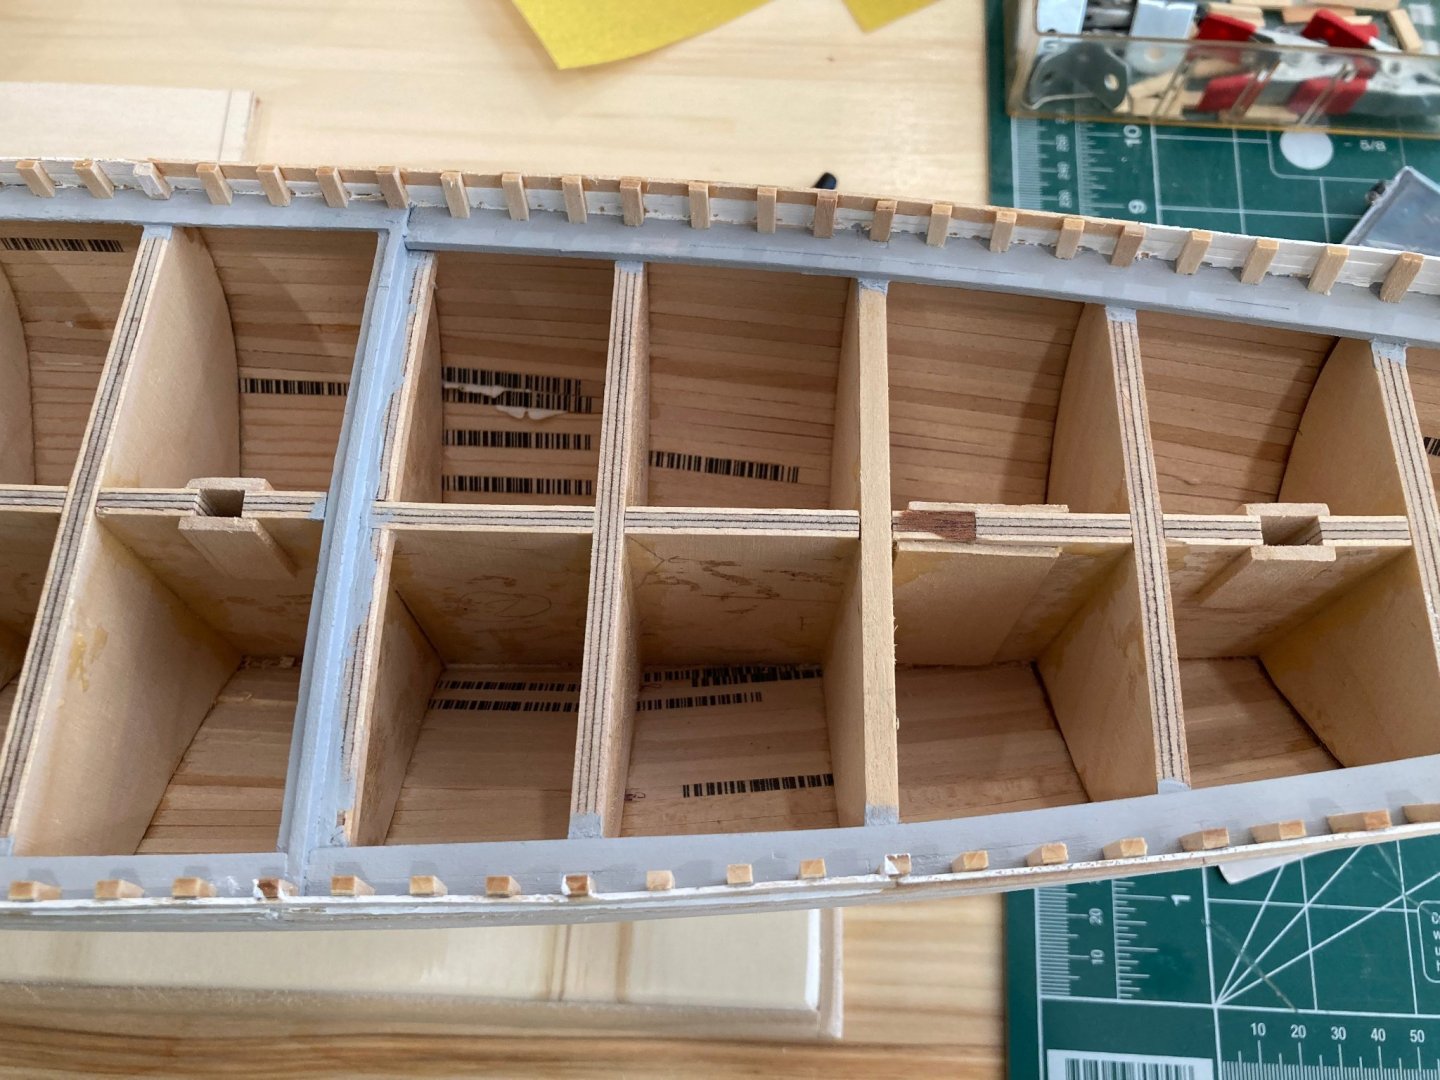
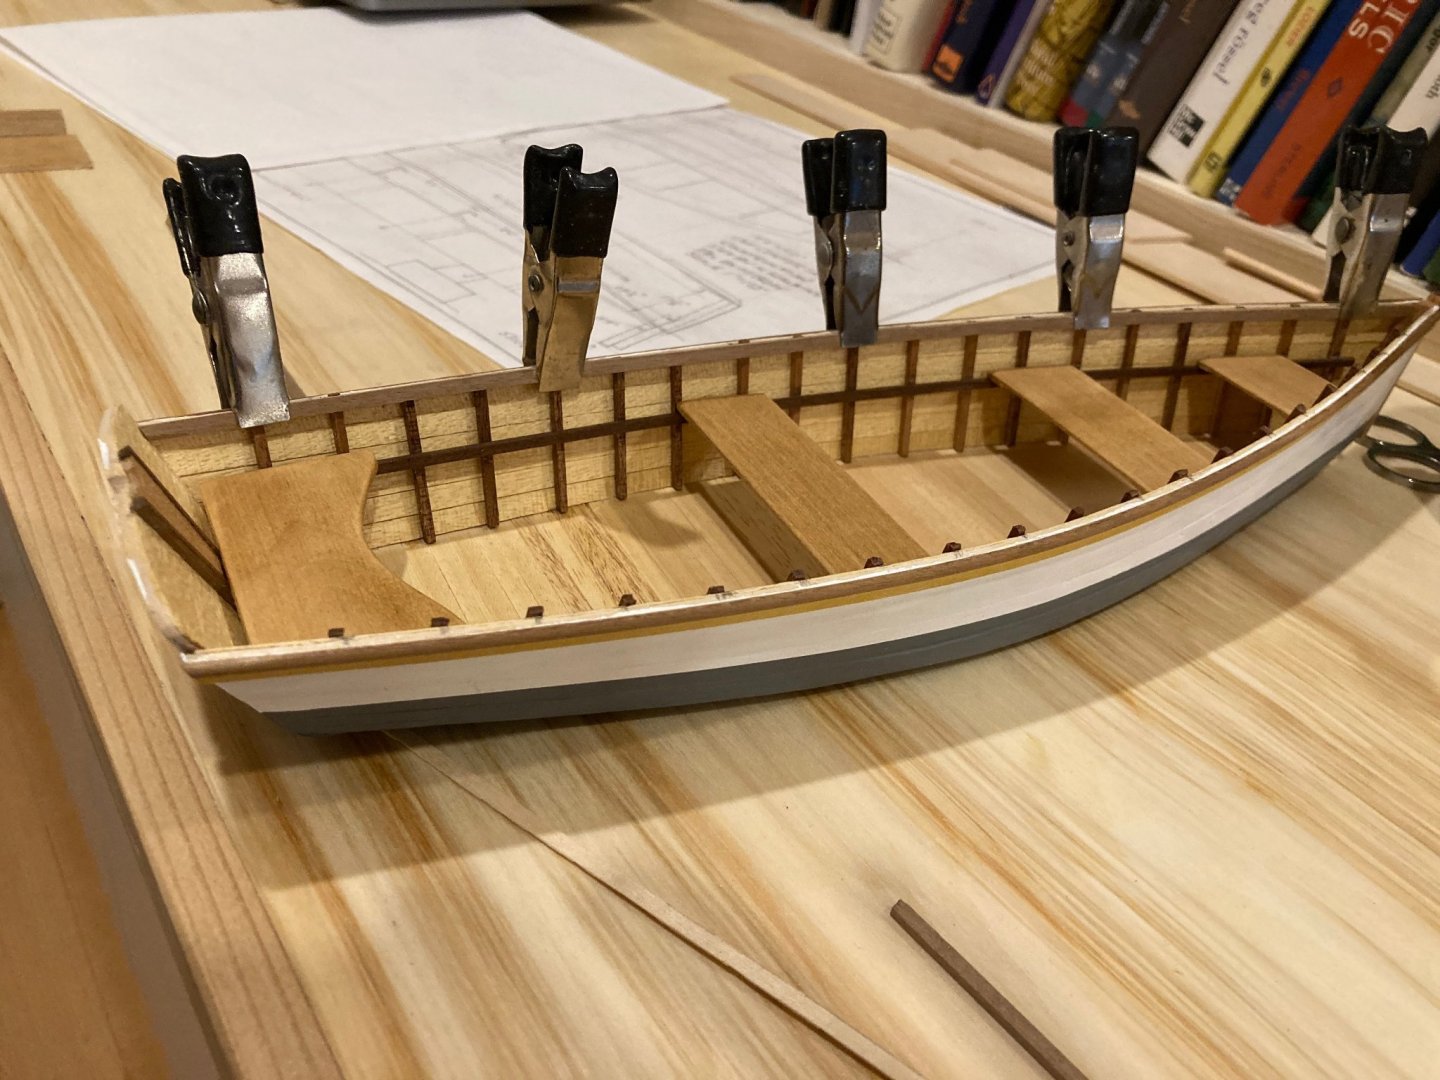
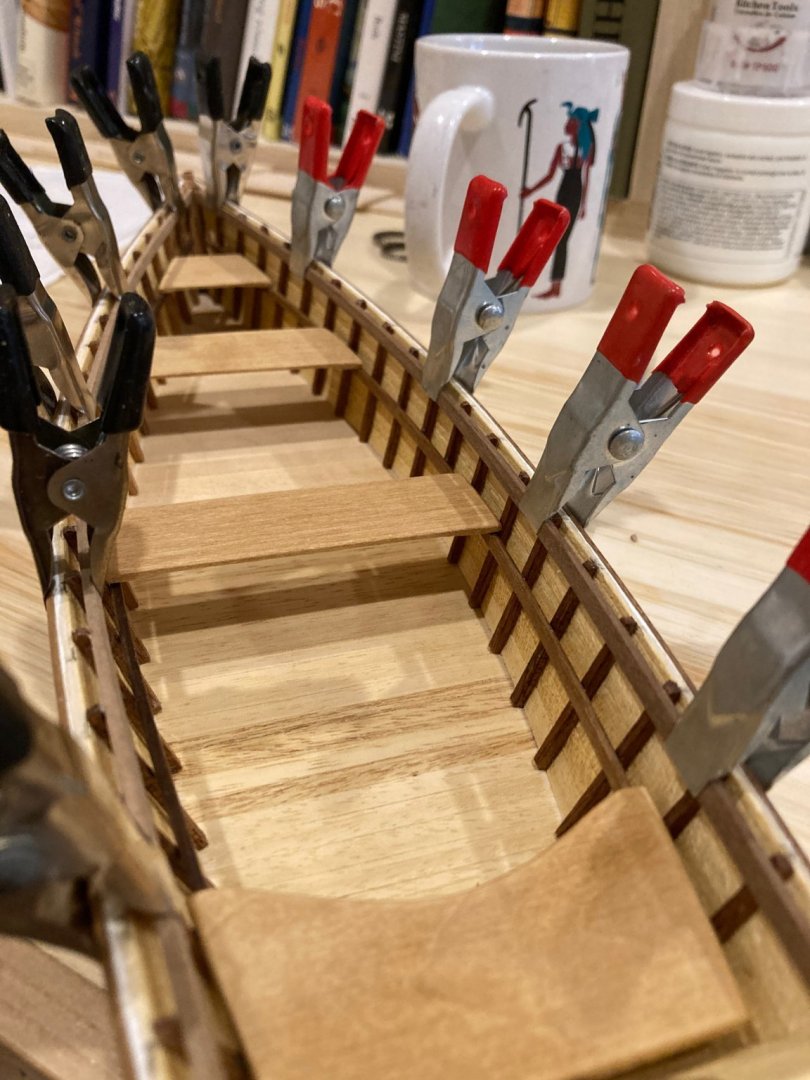
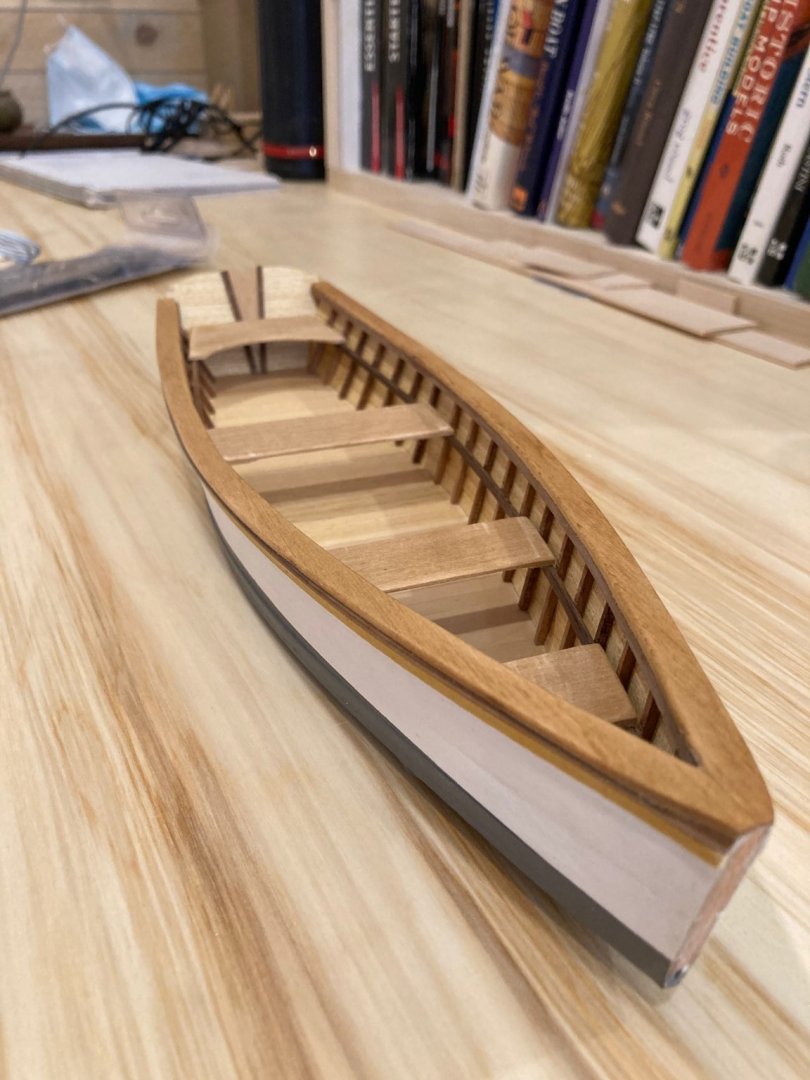
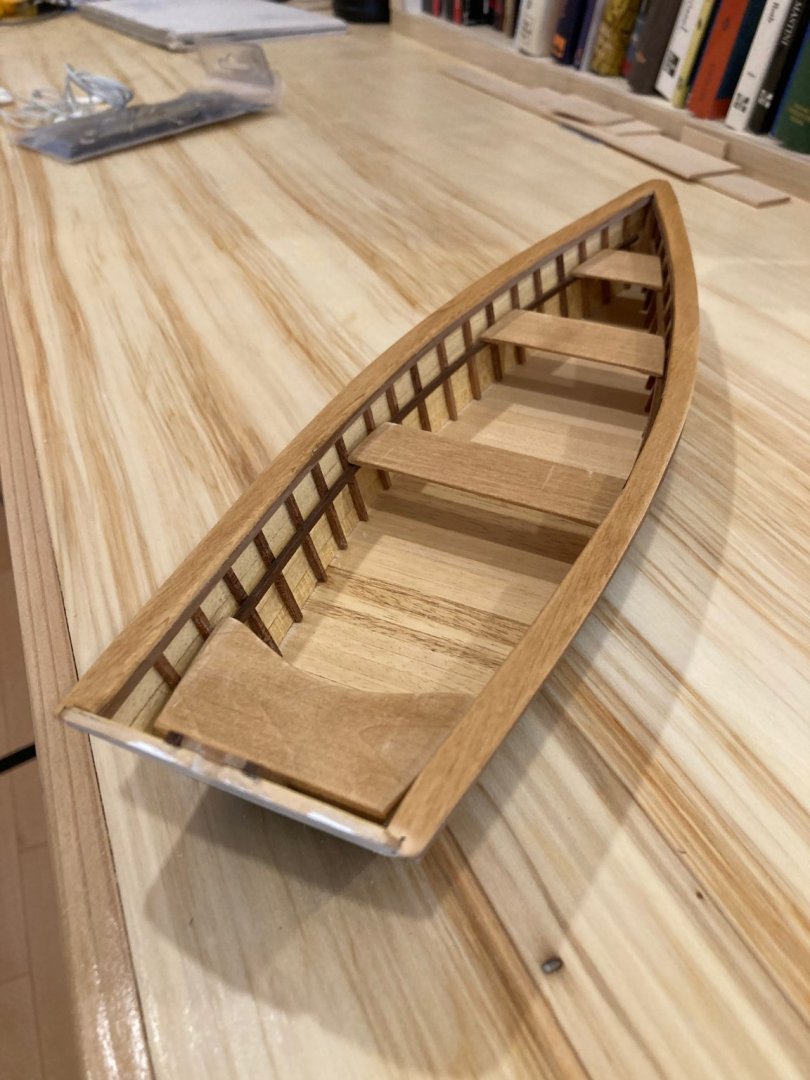
Hello again Another progress report on the OC Skiff, which is now very near completion. I've decided not to rig her after all, though I think she would look quite attractive in this mode - I may build a second version rigged at some point, but I realised that there were too many unknowns to proceed with this adaptation at present. So she will remain a rowing skiff. This leaves a very short list of jobs left before completion. The first step was to add the frames inboard. These were cut from 1/16" square mahogany thinned down slightly to match the dimensions given on the plans. I first marked out the station lines and inserted frames corresponding to the stations (first photo below). The plans call for two frames spaced evenly between each station - easy enough - with one extra frame at bow and stern. A very straightforward job. Next was to install the stringers. These also were fabricated from 1/16" square stock (walnut this time, since that was what was available to me), slightly thinned, once again to match the dimensions given. They are situated 6 3/4" down from the sheer (full size obviously!) so I marked this distance on a tick strip and marked the frames all along, correcting with the rough cut stringer clamped in place to ensure a smooth run. Once these were installed (which was a bit ore finicky than I had expected, I cut out the thwarts. I modified the stern thwart slightly from the plans, where it is drawn as a simple plank. I used drawings of a skiff in a book of small boat designs I had to come up with what you see here, modified slightly to fit the model. I also cut a small triangular "breast hook" (not sure that term applies to this piece) for the bow of the skiff - also a modification from the plans and installed partly to draw attention away from a bit of messiness in my construction at the bow, though I'm not sure it works for this purpose.... My next task is to do some finishing experiments with to arrive at a decent look for the thwarts. Once I come up with something that I think looks good, I'll finish and install the thwarts and then move on to the inboard sheer rails, oarlock pads & oarlocks and a couple of other little things - oars most obviously and perhaps some other little oddments to stow inside.... Enjoy! hamilton