Kenneth Powell
-
Posts
276 -
Joined
-
Last visited
Content Type
Profiles
Forums
Gallery
Events
Everything posted by Kenneth Powell
-
 Proto lids and hinges look great. Color is perfect. -Kenneth
 -
I can only echo the earlier comments. Great job. - Kenneth
-
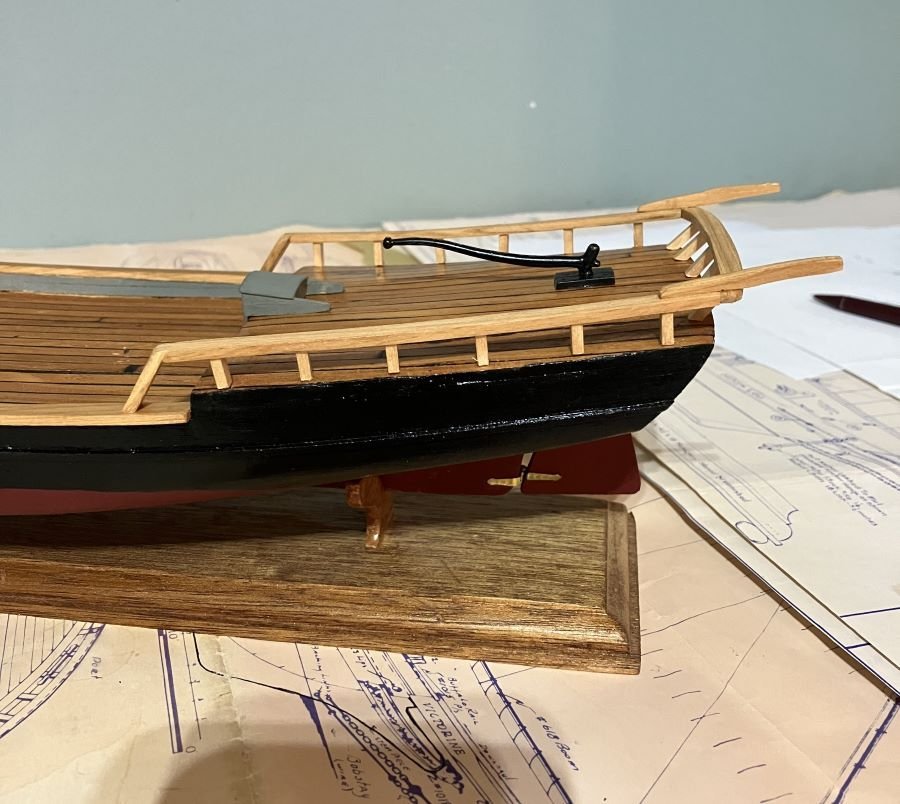
Thanks, JacquesCousteau for stopping by with comments and asking the thought-provoking questions. You certainly are right about the needed support under the davits. Please see the photo below. That's a part of soft metal railings with the davit that came with the model, and it does have a support right underneath. I will correct this on my model. Good catch. As far as higher bulwarks for crew protection, I was thinking they would avoid a fight as best they can and just exchange crew and goods with the larger fighters. The guns are defensive. But you bring up a good point. Let me give it some thought. Comments welcome - Kenneth

-
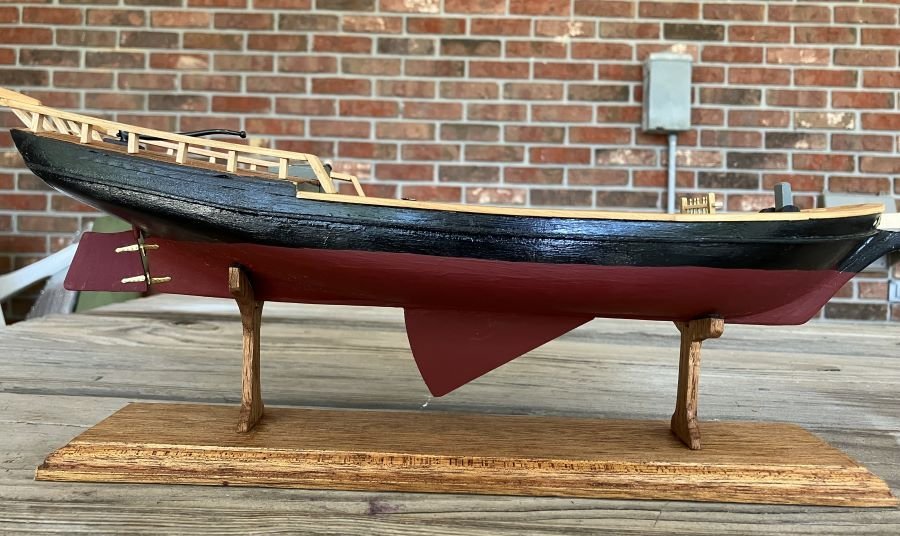
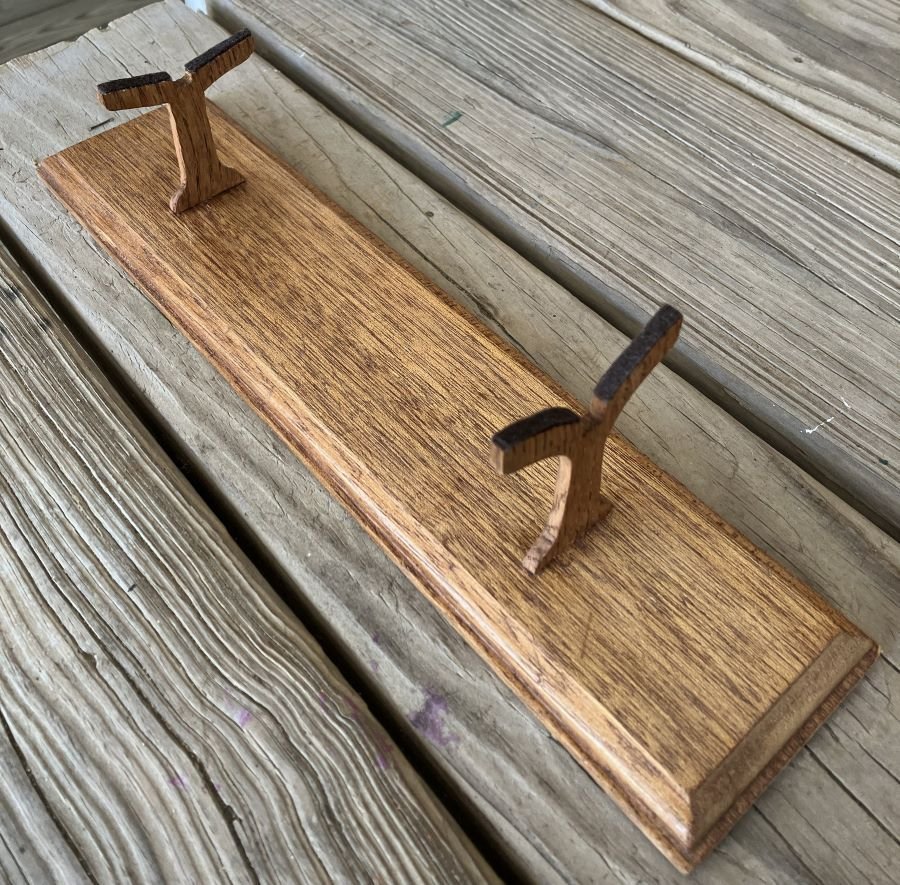
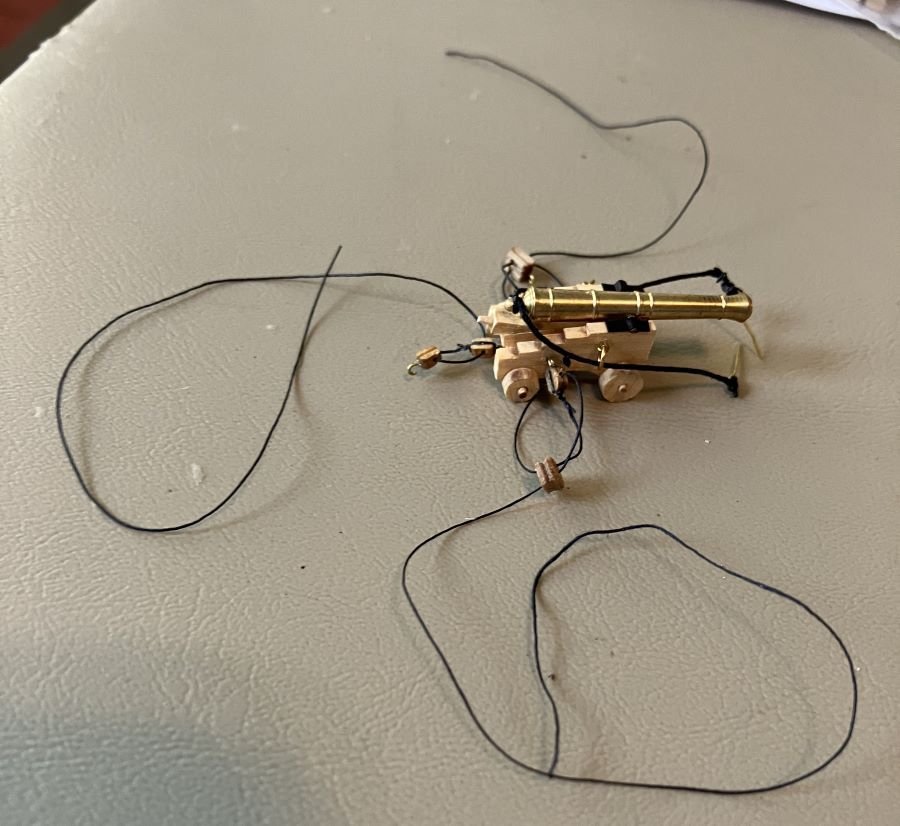
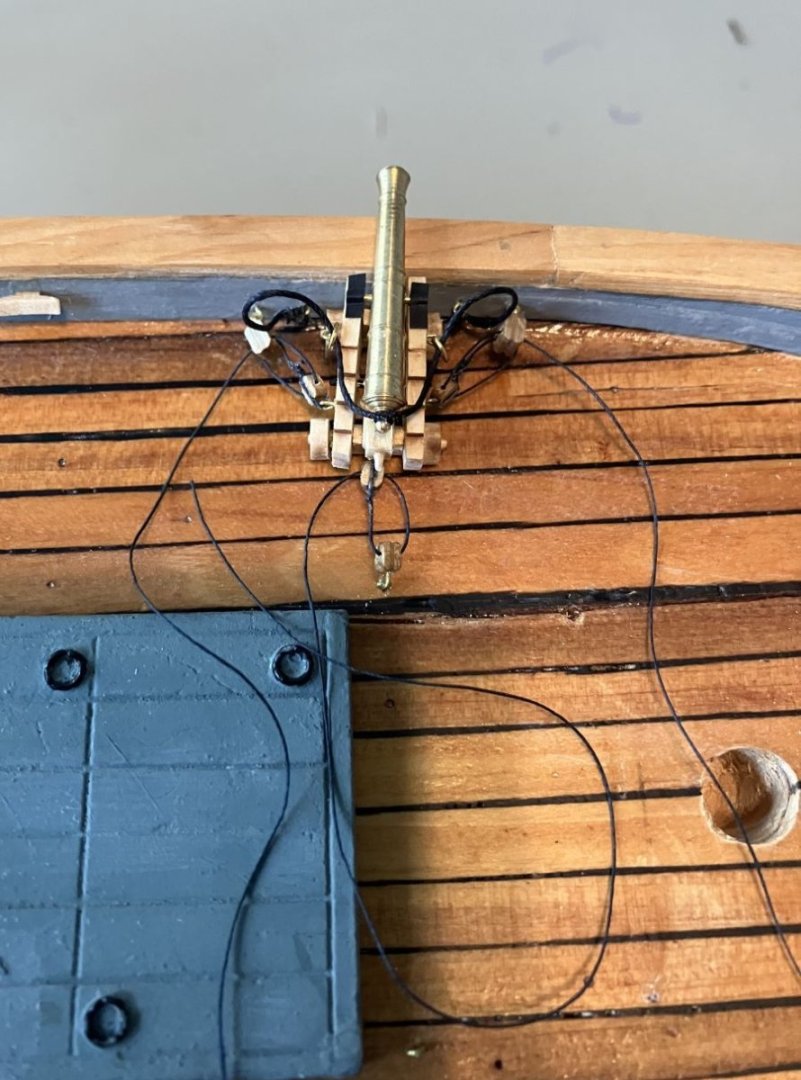
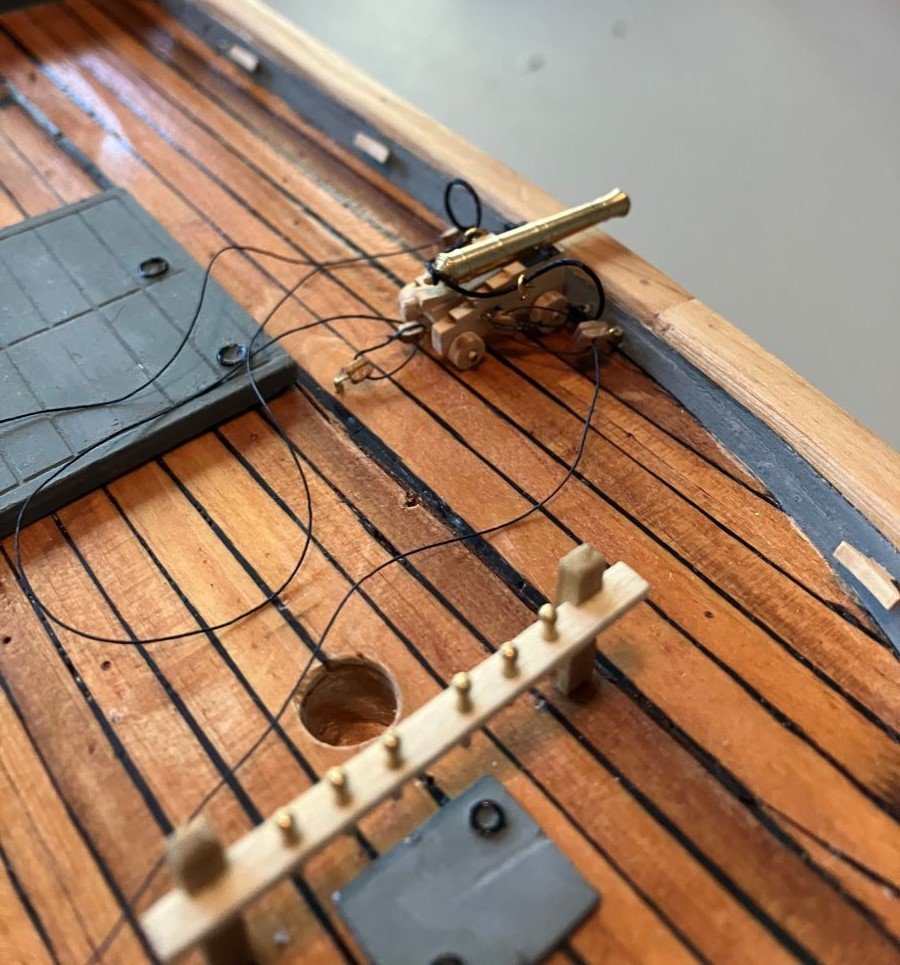
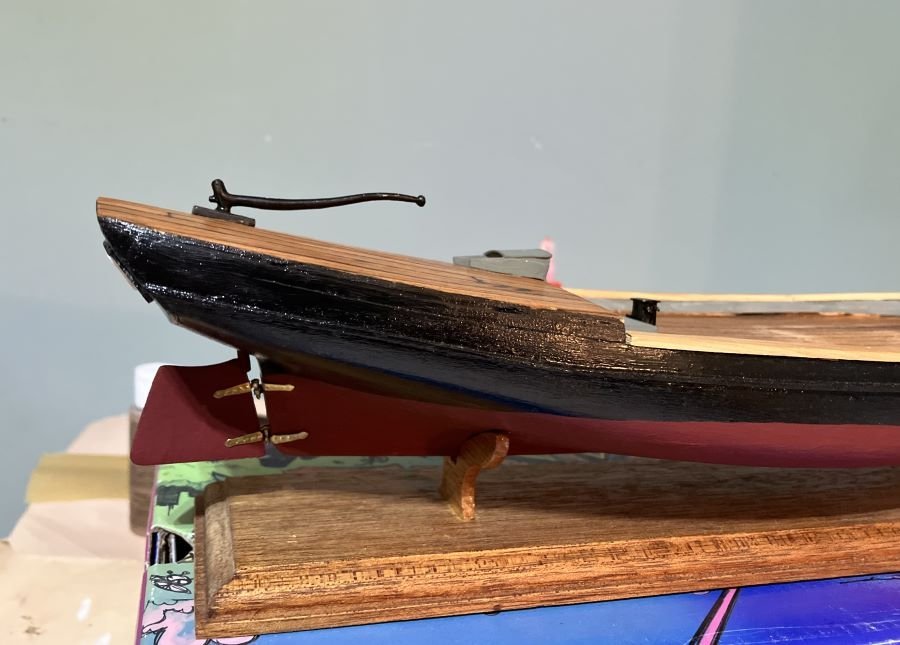
I had to skip the guns and go to the centerboard. The guns would have fallen off when she went upside down. 🧐 So then I adjusted the stand. I went under the porch to get a special piece of oak for the job and met up with a group of wasps. After a good sting on the shoulder, I made new uprights. All snug together with plenty of room: I did do some work on the guns. Rigged gun ready to mount: Gun mounted: Once I learn the coiled rope technique I will tidy everything up. By the way, this guy met me for my morning walk in my front yard: Comments welcome - Kenneth


-
Steps on both sides, please. Your counter timbers and fashion pieces are great! - Kenneth
-
OOPS I got my centuries wrong. She would be a 19th century crew and supply boat. 😳
-
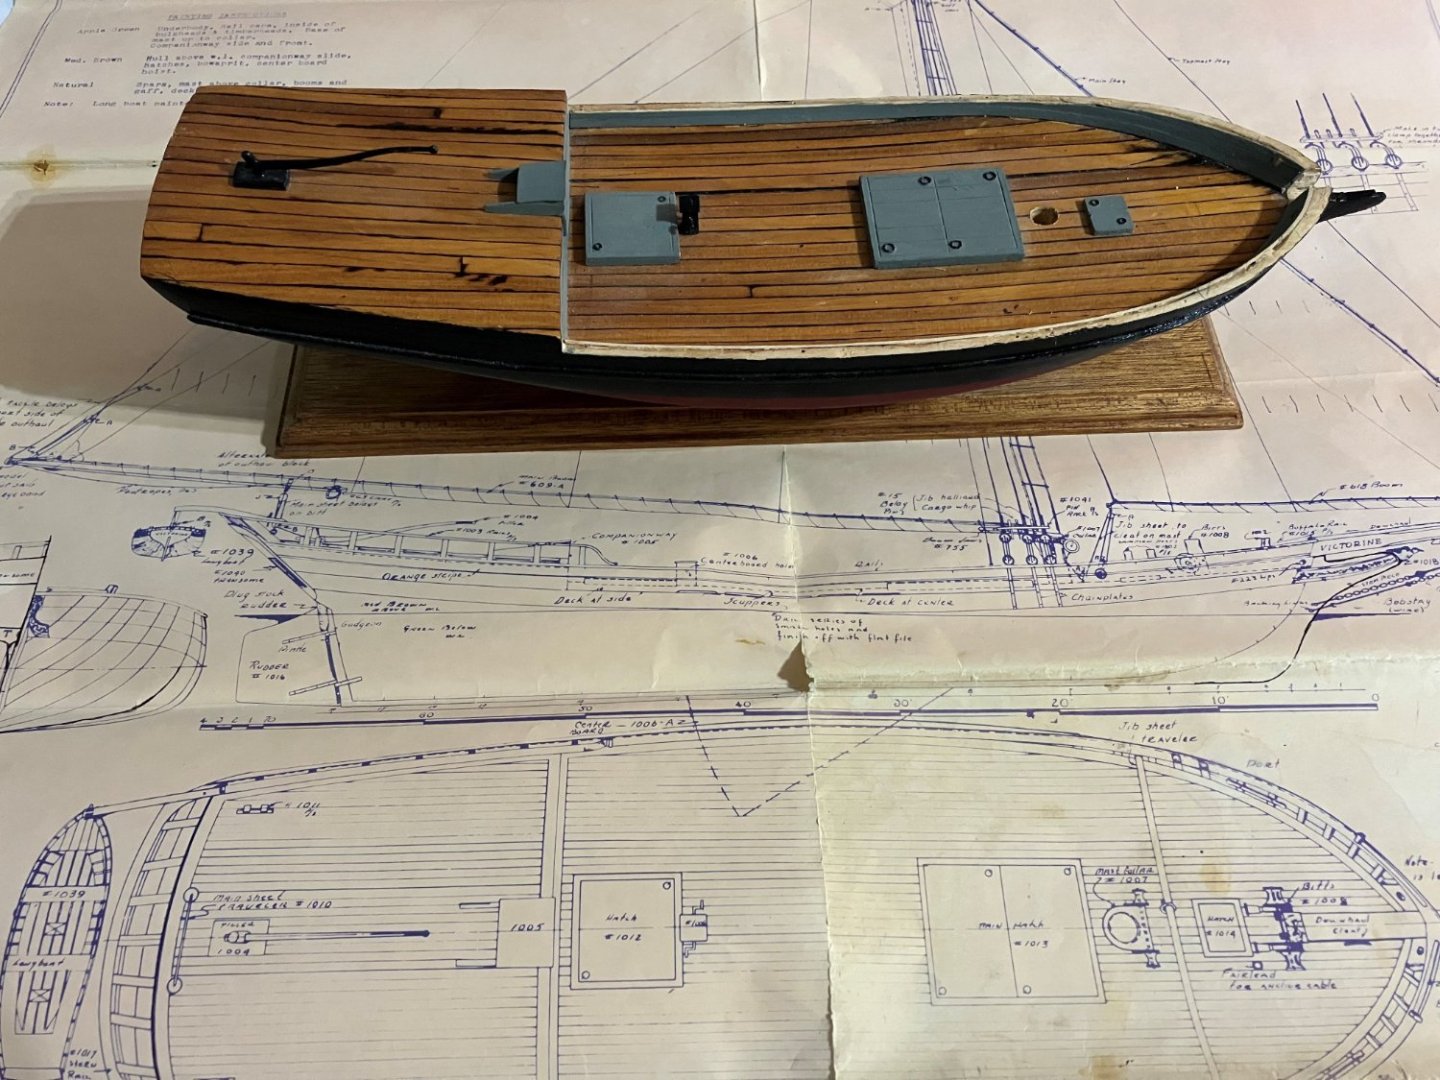
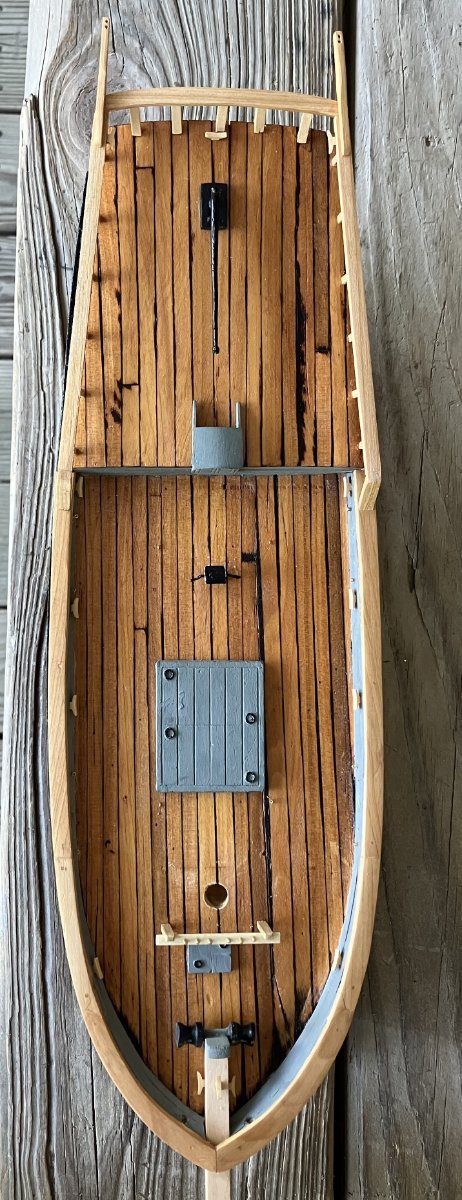
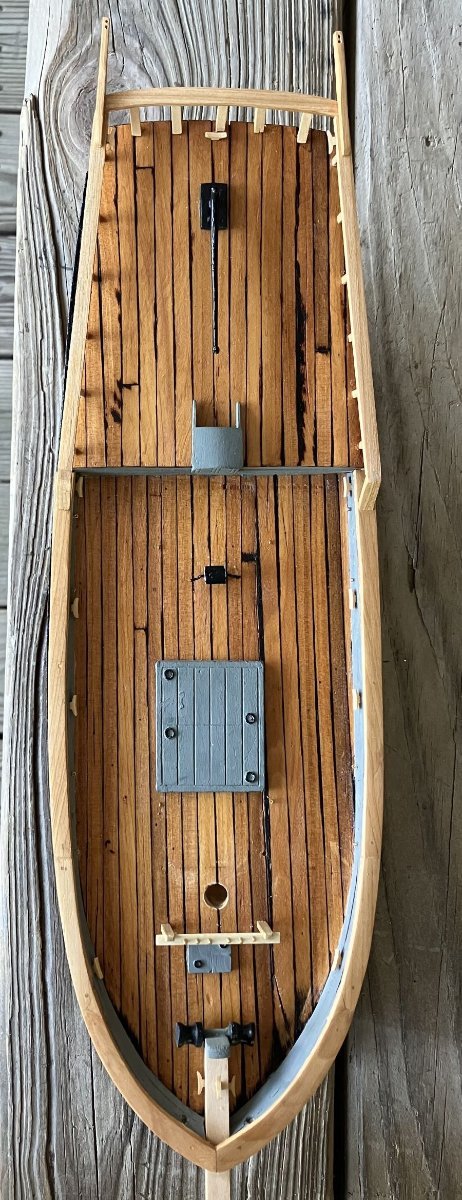
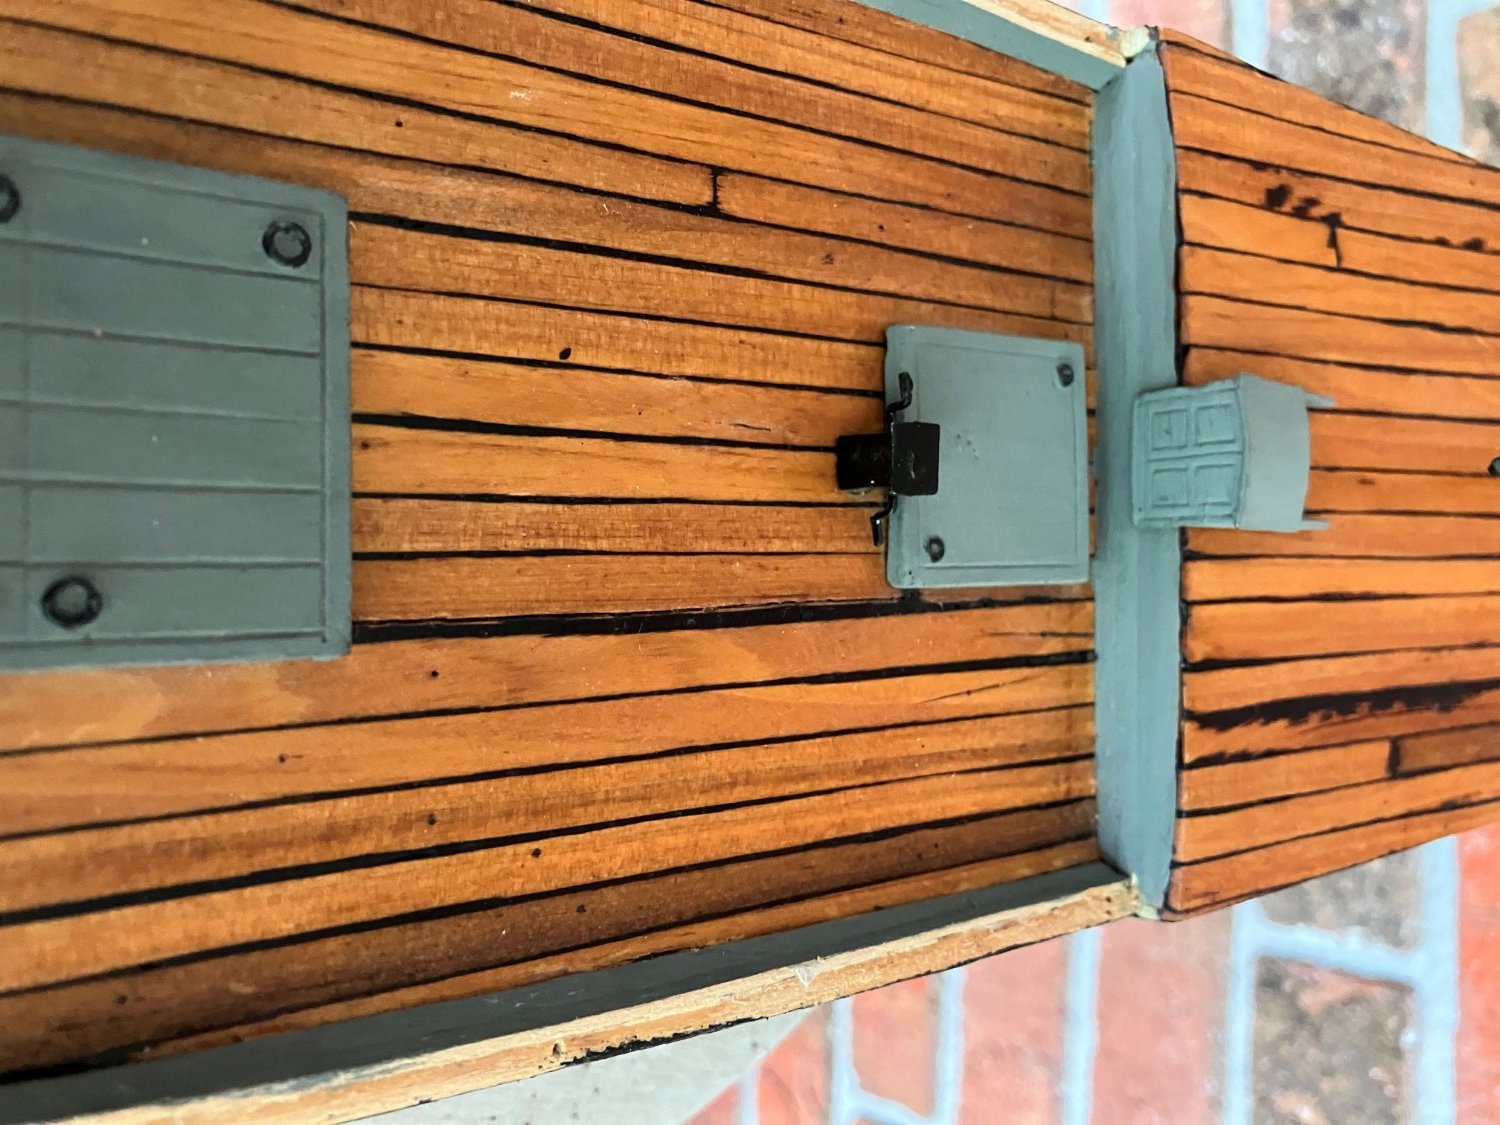
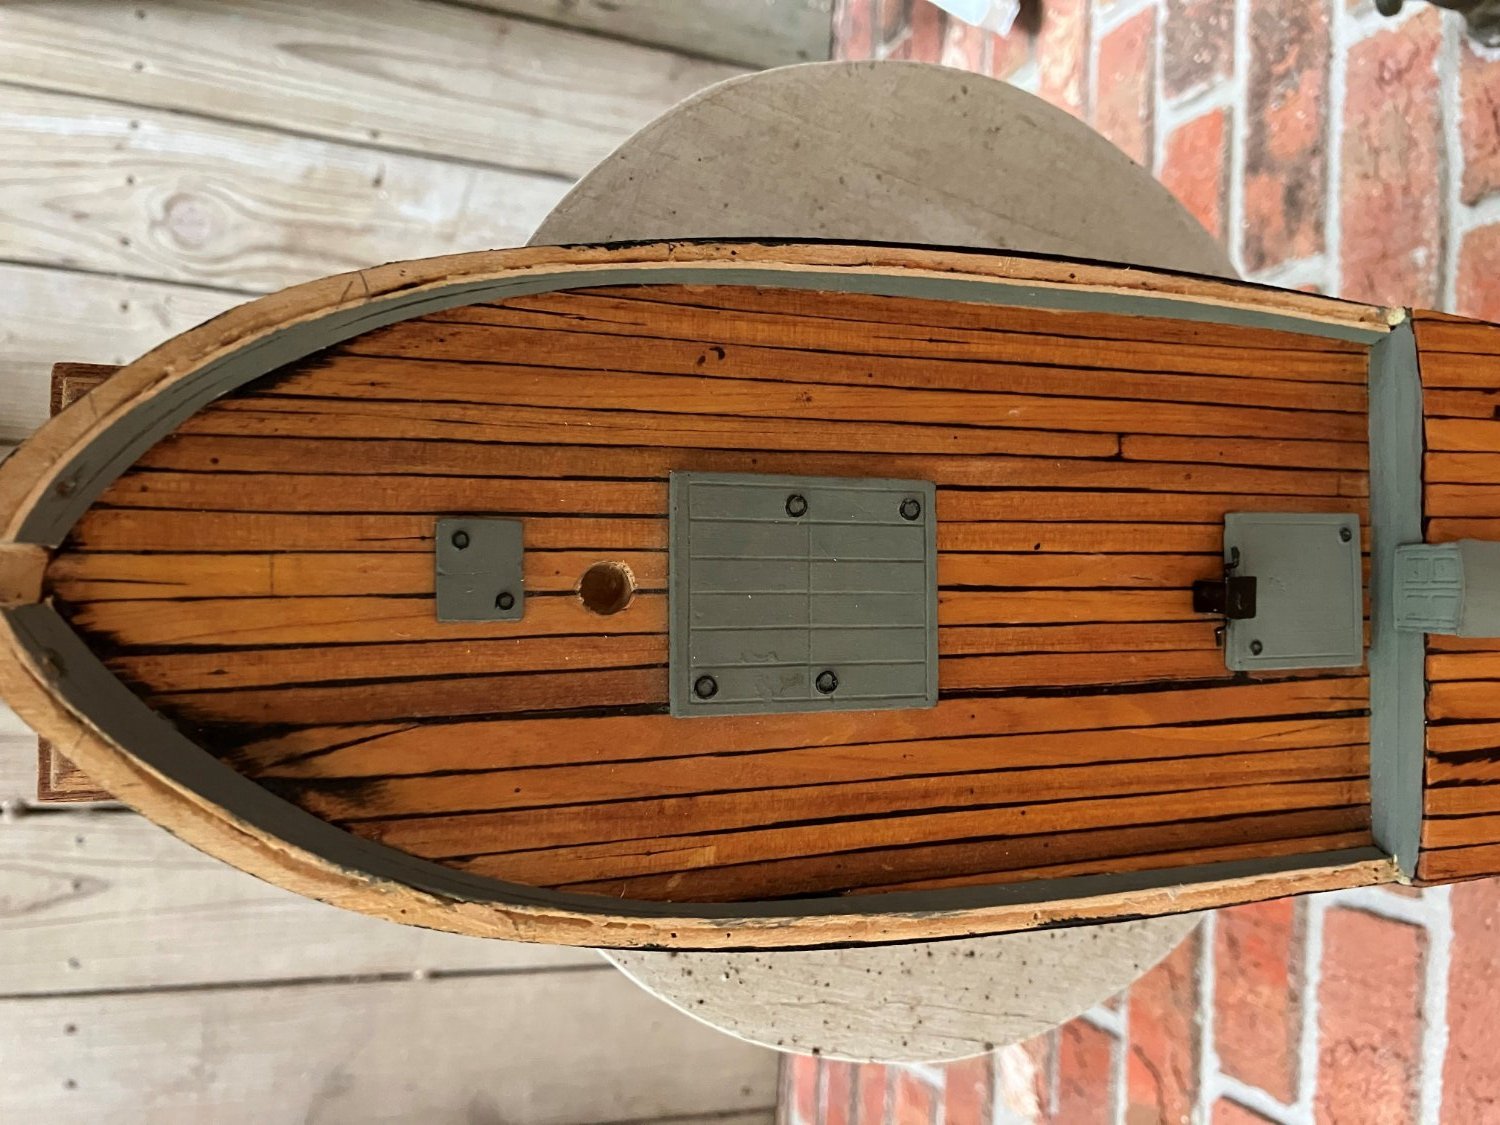
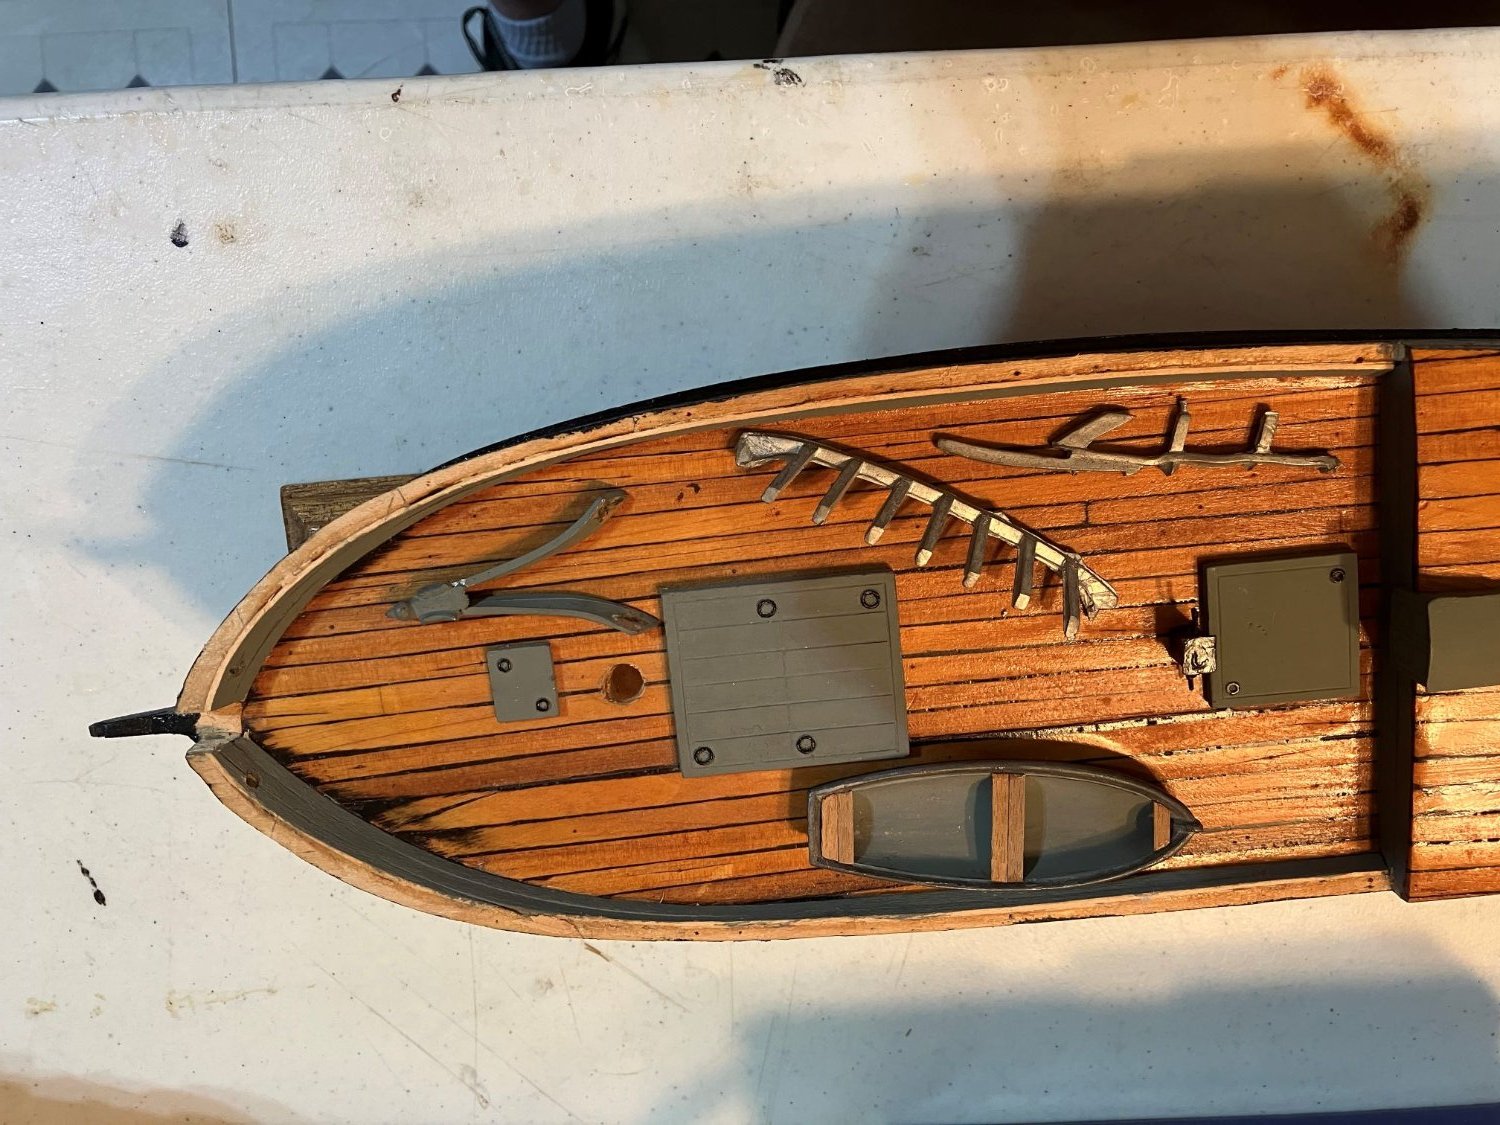
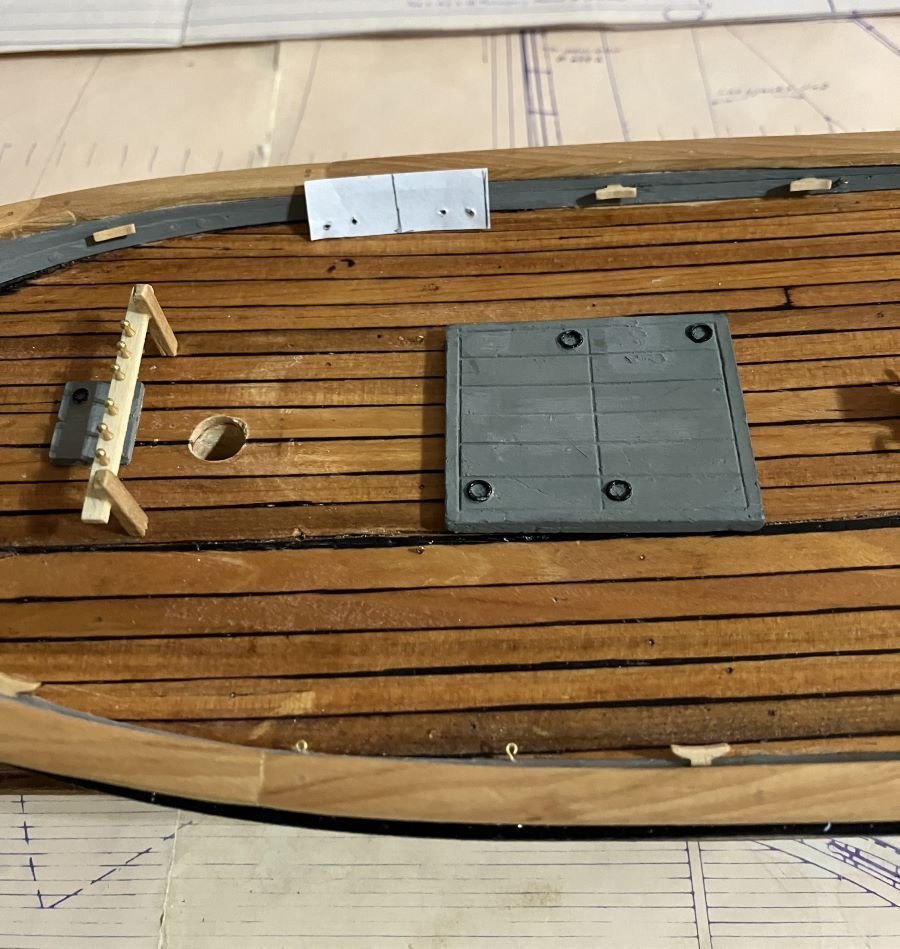
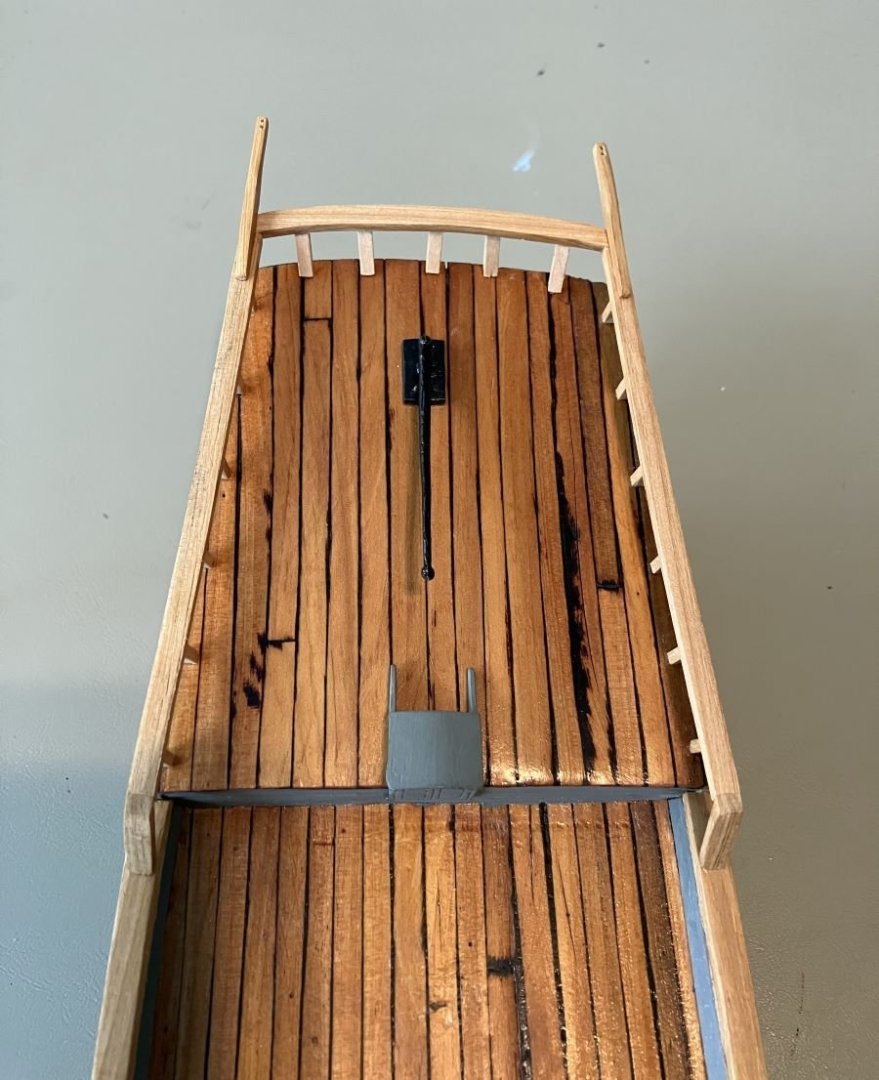
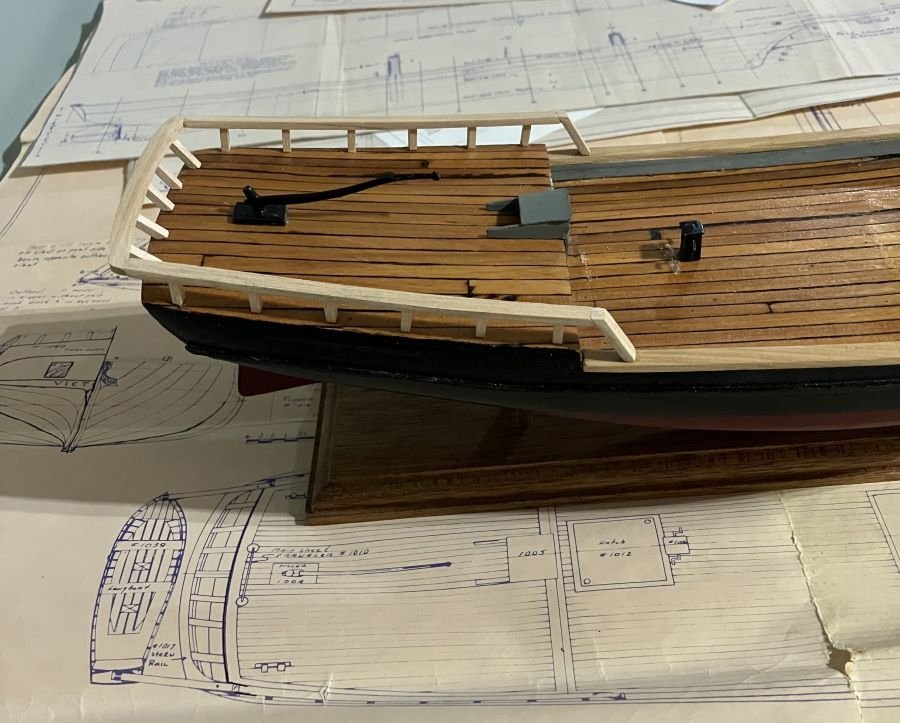
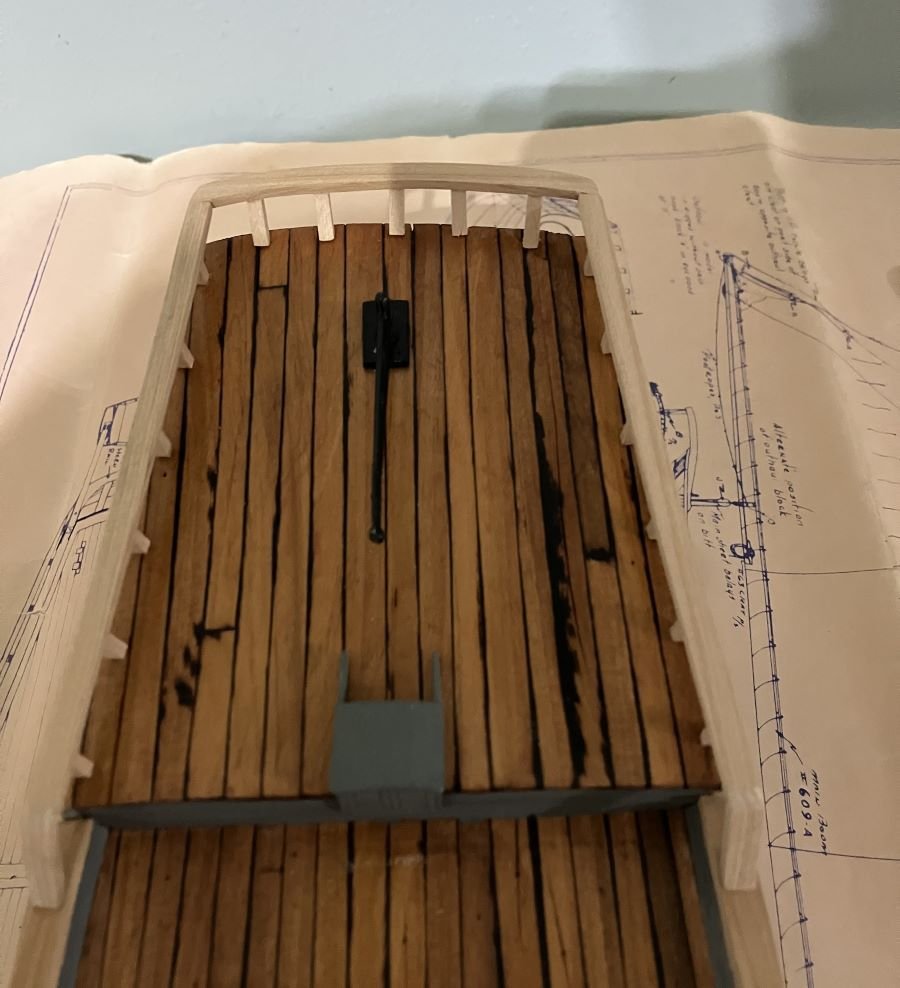
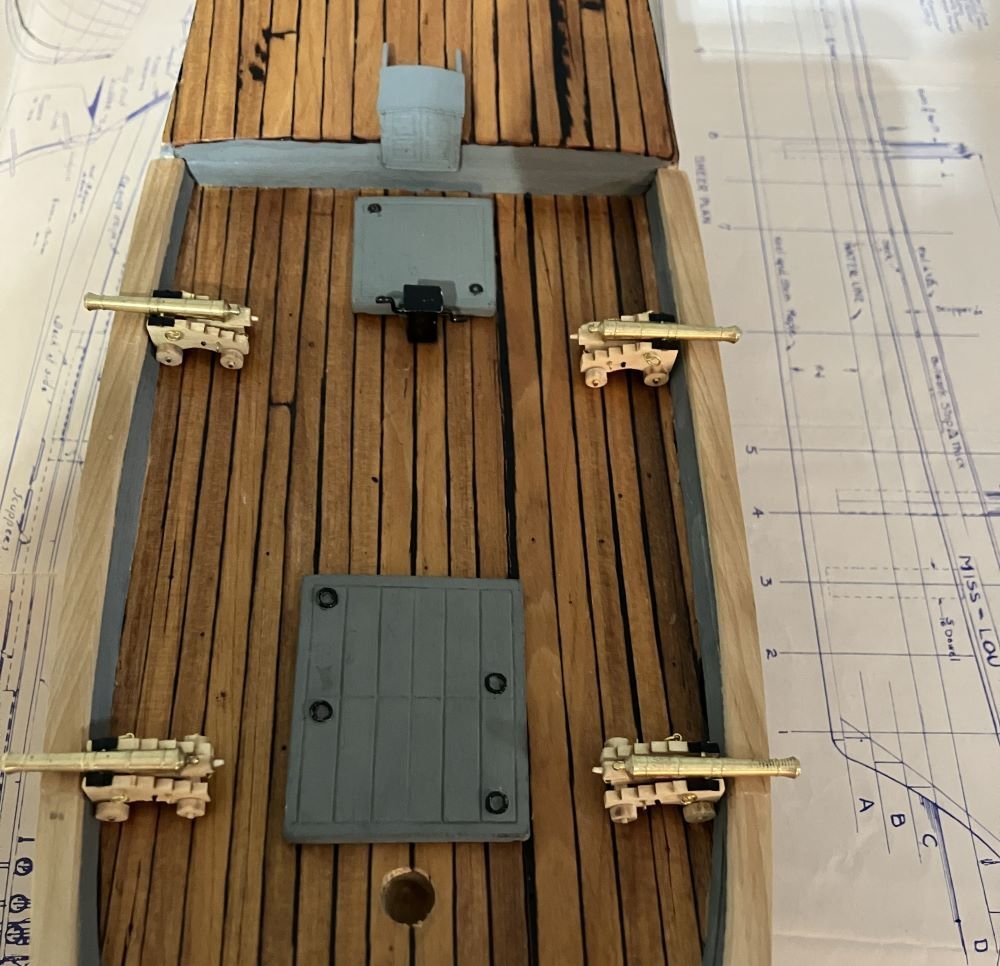
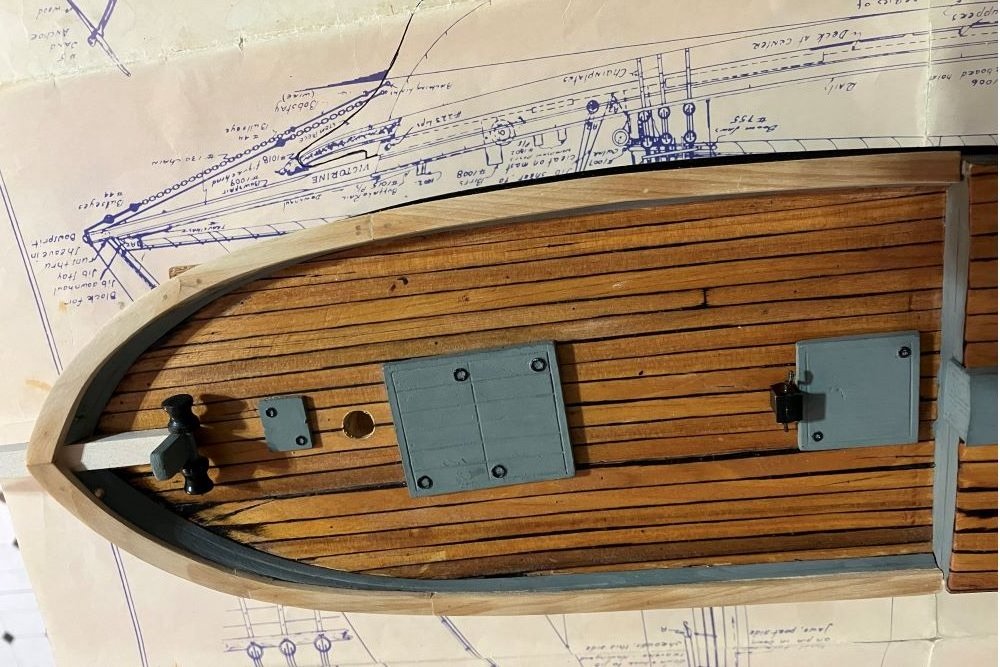
Hello Everyone - I've been working on the deck fittings and such: I moved some things around on deck to accommodate the guns. One hatch cover was removed and the other placed more in the center. At 65 ft and shallow draft, this boat would bring men and supplies out to the larger attack ships and return with men and plunder through the bayous and marshes to the hideouts. Kind of a 17th century crew-change boat. My little pin rail: A paper template to place the eyebolts for the guns consistently. The guns will be installed next. Comments welcome - Kenneth


-
As promised: Only subtle differences after the finish. You can certainly see how the juniper picks of the finish differently than the basswood. Happy 4th and comments welcome - Kenneth

-
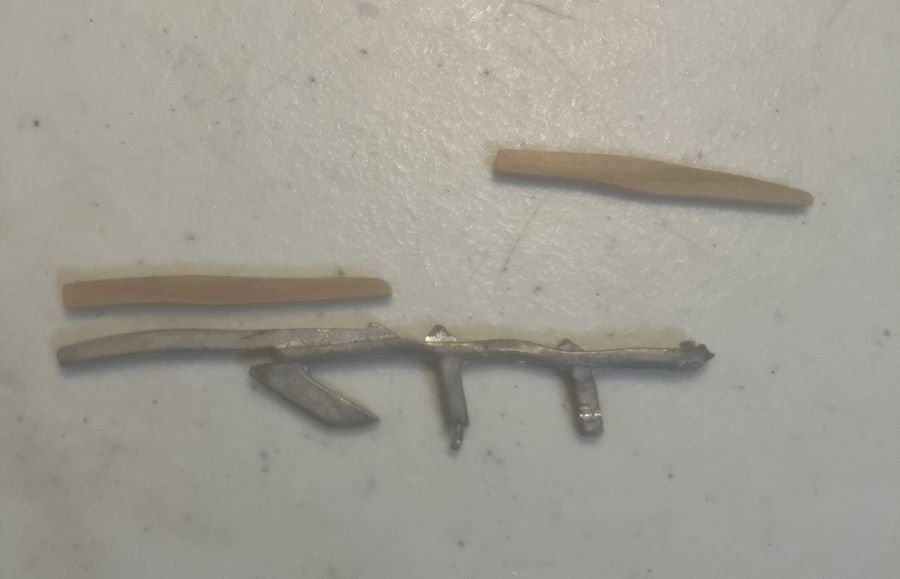
Hello - I made the stern davits from the same juniper and using a piece of a part from the kit as a template. As you can see, the metal parts that survived the years have been bounced around and not in good shape. That's okay because I was going to scrap build them anyway. Attached after finish sanding: I'll alter the bowsprit next. Then I'll put a coat of Testors Dullcote Lacquer on all the unfinished wood. Comments welcome - Kenneth
-
Great work, Ed! And another tutorial. All your detail work is really looking good. Adding to the scrap pile is just a part of the process. - Kenneth
-
Nice recovery, she looks great. It seems like every part is fragile. I can't count the number of times I've had to make repairs. - Kenneth
-
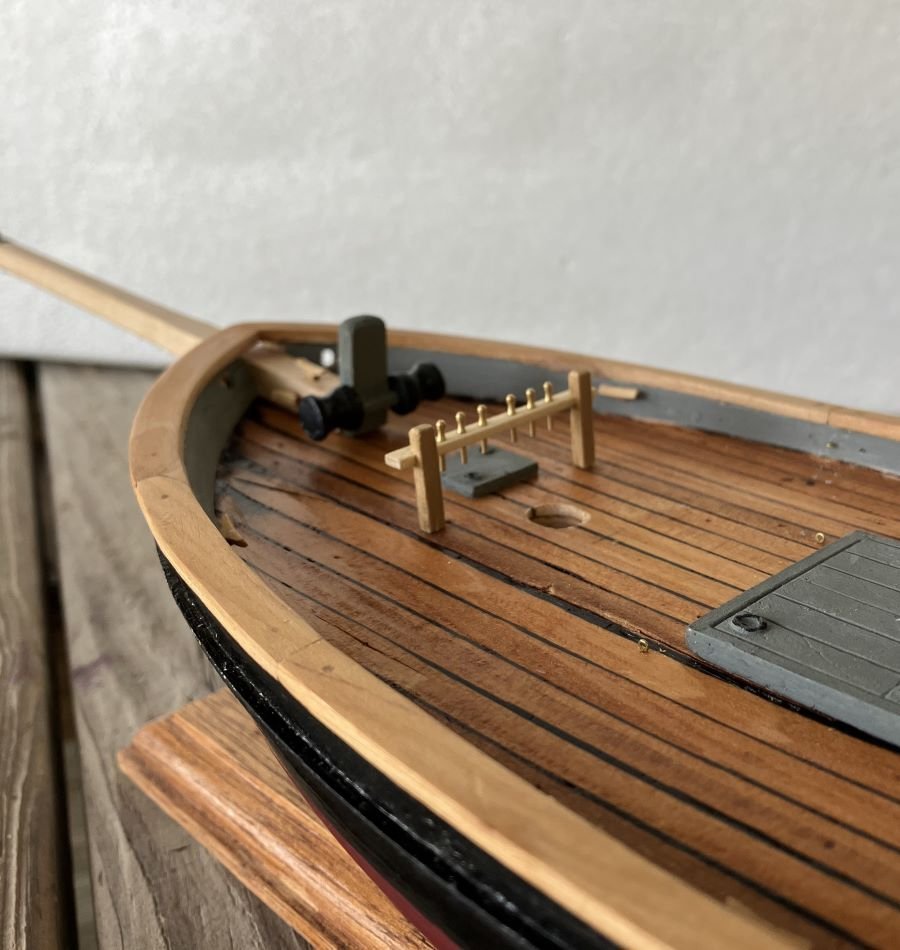
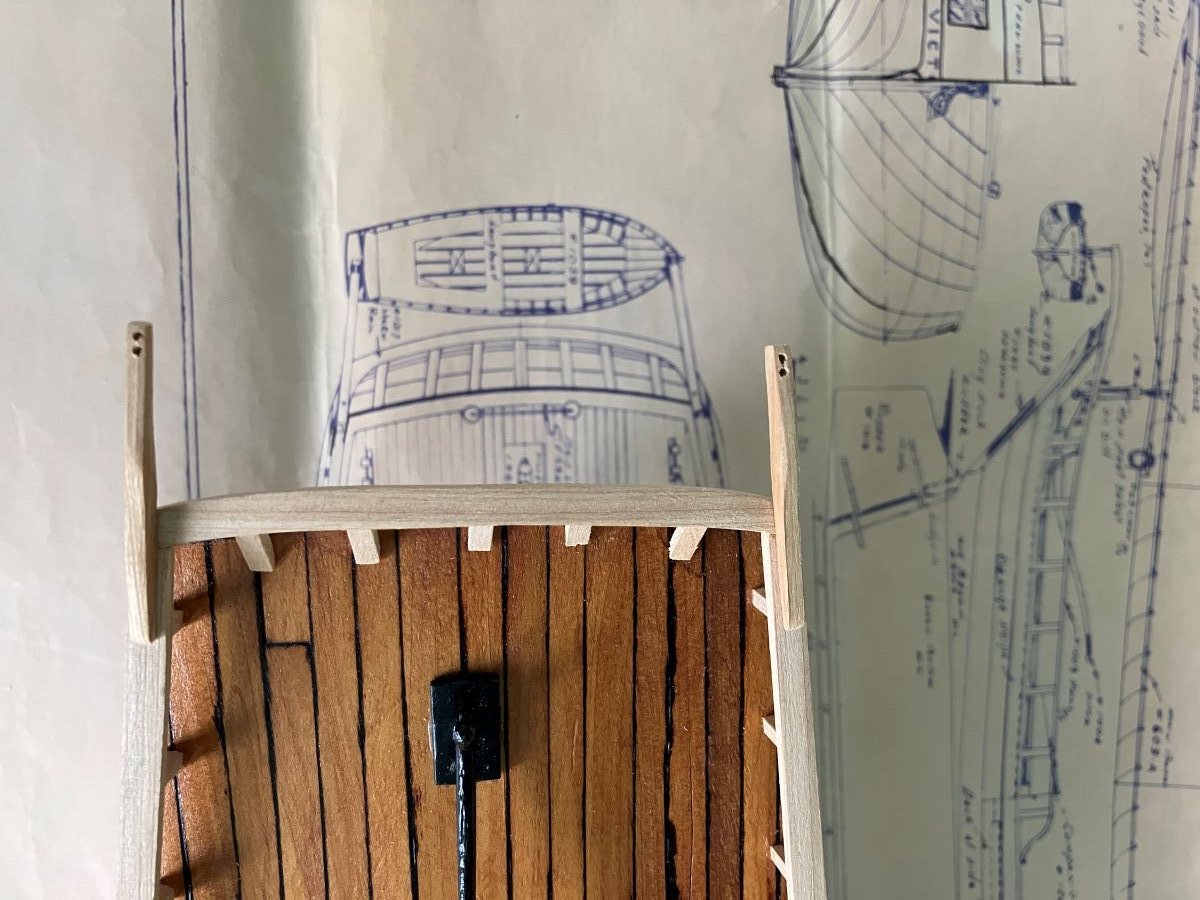
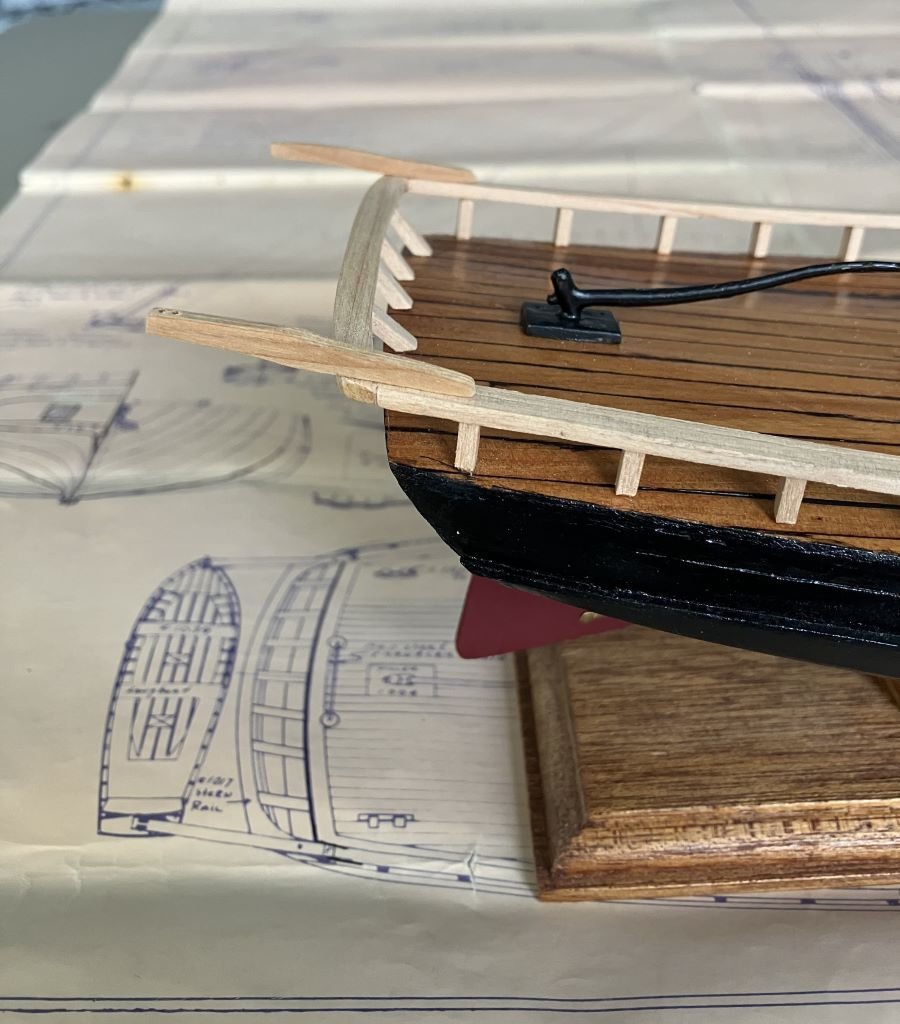
I added the railings. Made from the same juniper as the deck. The deck above isn't perfectly curved so some of the stanchions look a little snaggle-toothed up close. This is the first time I've done some of these things without parts cut for a kit, so I'm learning and enjoying. Comments welcome - Kenneth

-
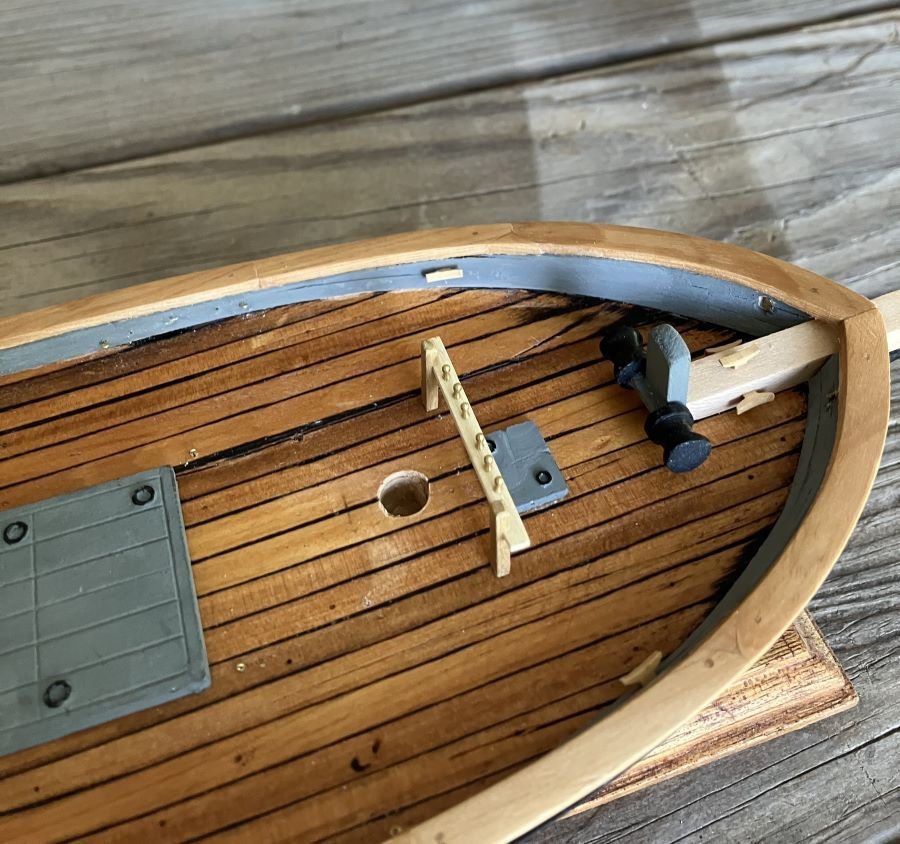
I added the rudder. These are actually model furniture hinges, but they look cool. Railings are next. Comments welcome - Kenneth

-
This is amazing - Kenneth
-
I agree with Gregory; it's what suits the builder. While we want to be as accurate as possible, our hobbies are for fun and accomplishment and no one will measure it with calipers. Just my 2 cents, and maybe not worth it - Kenneth 😋
-
If I'm understanding the question, the cap rail of the gundeck and quarterdeck overhangs the same on the inboard side as the outboard side. Refer to the sheet of plans with the planking bets and use the section drawings. They are very modest overhangs. At least that's the way I did it. Hope this helps - Kenneth
-
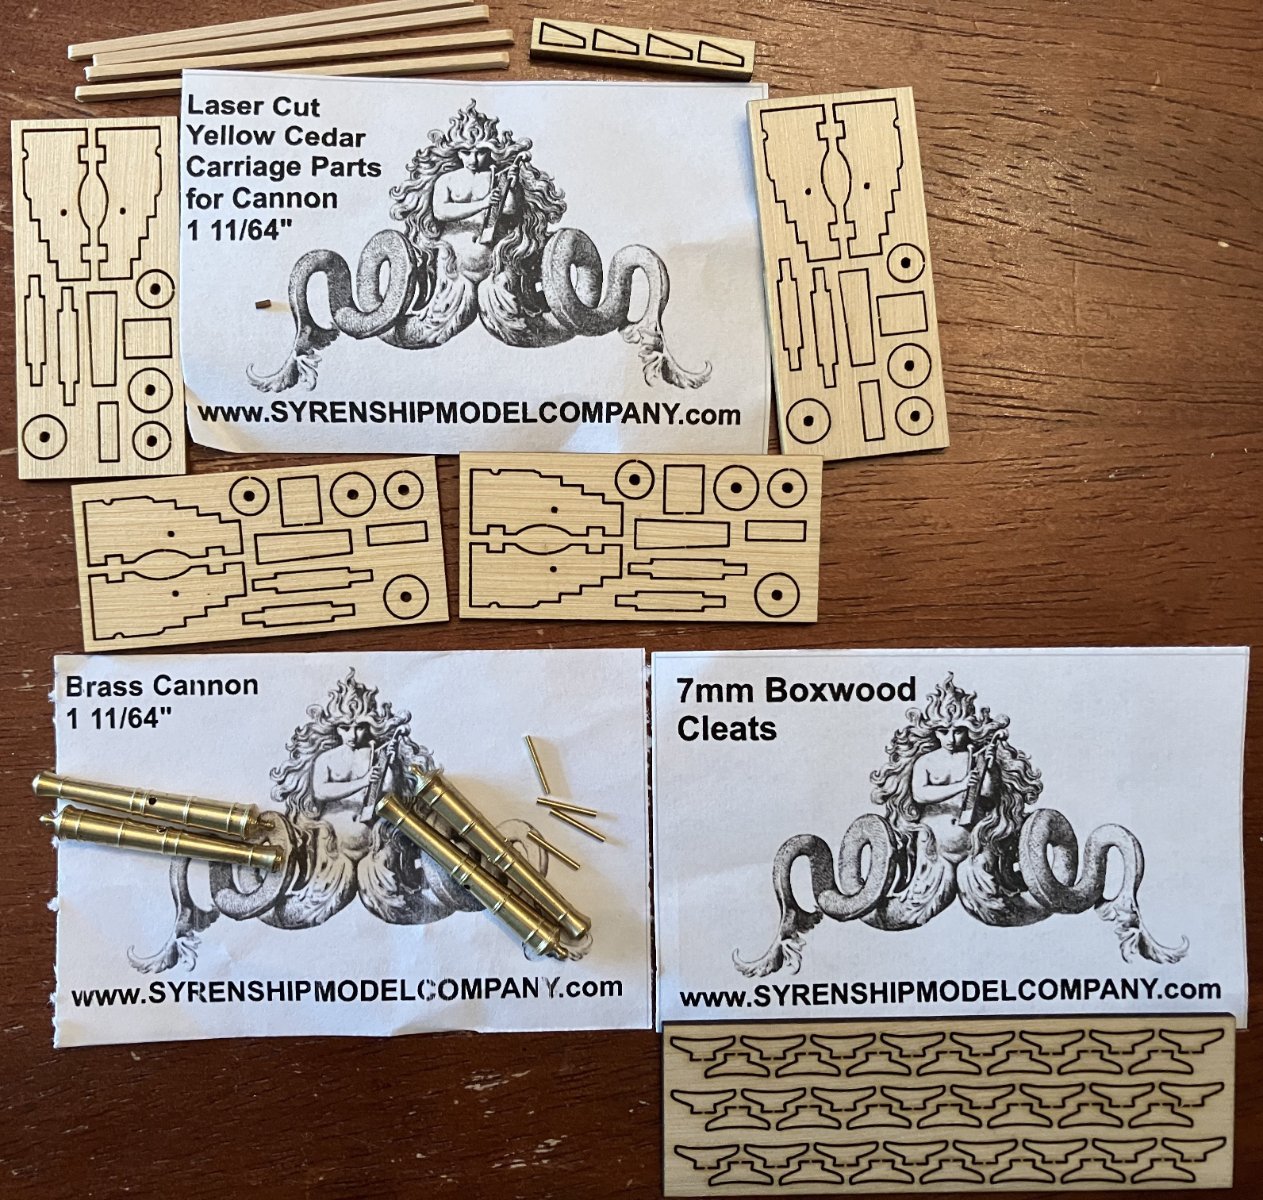
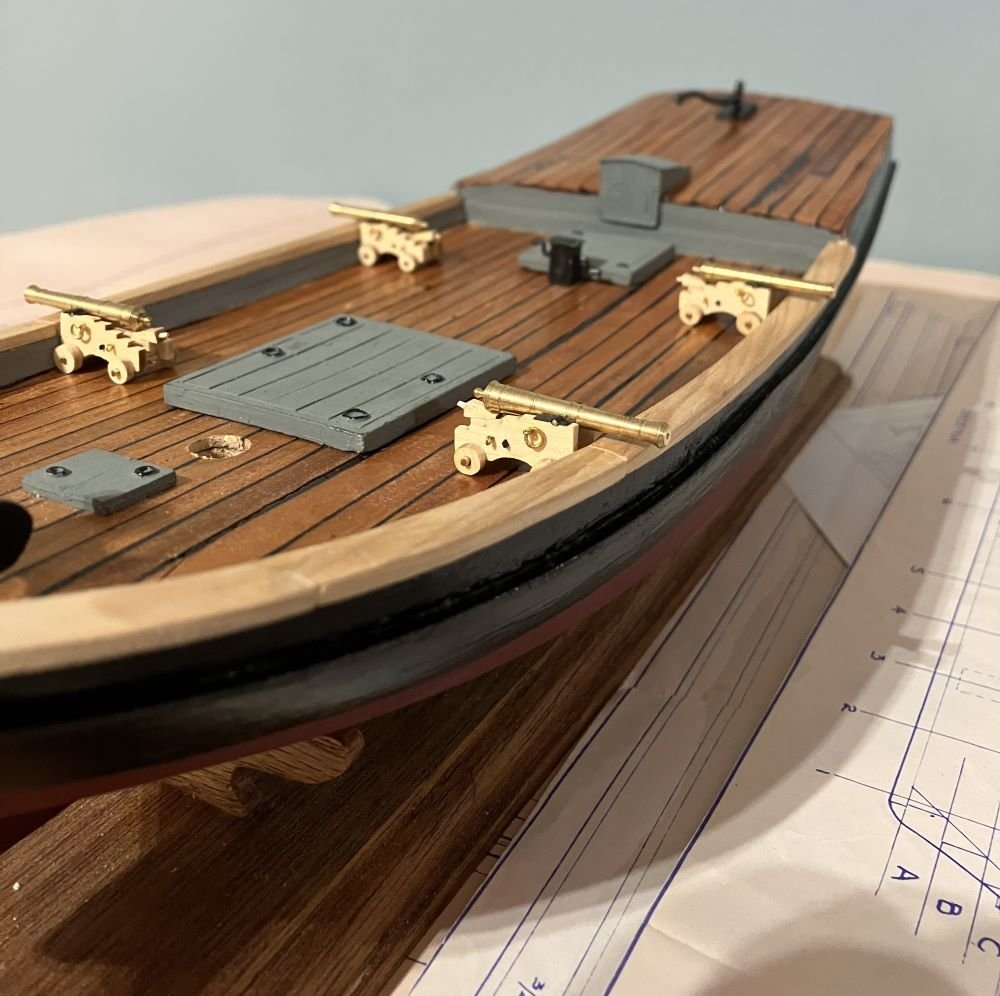
Hello Everyone - I put my cannons together and placed them on the deck for a photo opp. They are the perfect size, just big enough to peek over the rail. There was very little char present on the laser cut sheets so they were easy to clean up. The yellow cedar was easy to work with and looks great so I think I'll leave them natural. The cap squares were cut from black construction paper. Comments Welcome - Kenneth
-
Fantastic job! And a tutorial to boot. - Kenneth
-
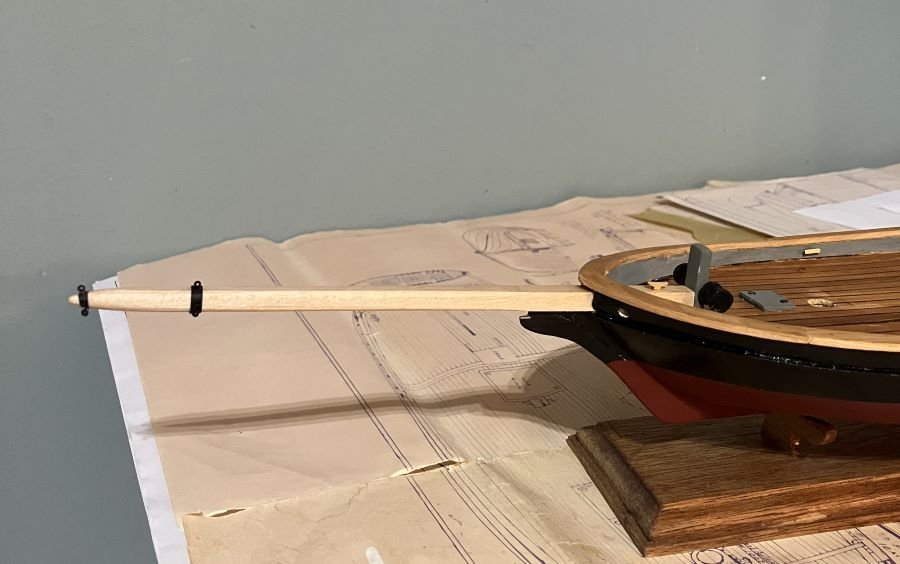
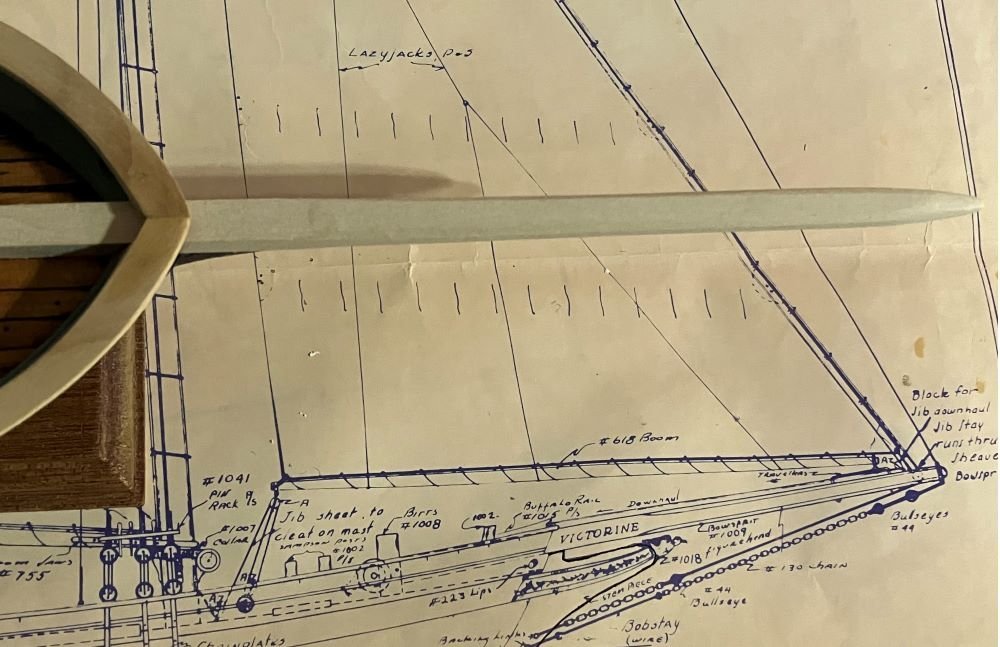
I've been working on the rails using the same juniper. And the bow sprit. Made from basswood. I made it a little longer to accommodate a jib. Modifications to come. Thanks all and comments welcome - Kenneth.
-
My parts arrived. This is just right for what I'm doing. The Syren site has a spot for 3/16 scale cannons and I wanted four, 6 lb guns. So I chose a set of barrels and a matching set of carriages and I'm in business. These cleats are just what I wanted also. I have a little work to do and tomorrow is Mother's day so it may be a little while before I get to put everything together. Happy Mother's Day to you and yours - Kenneth And as always - Comments Welcome

-
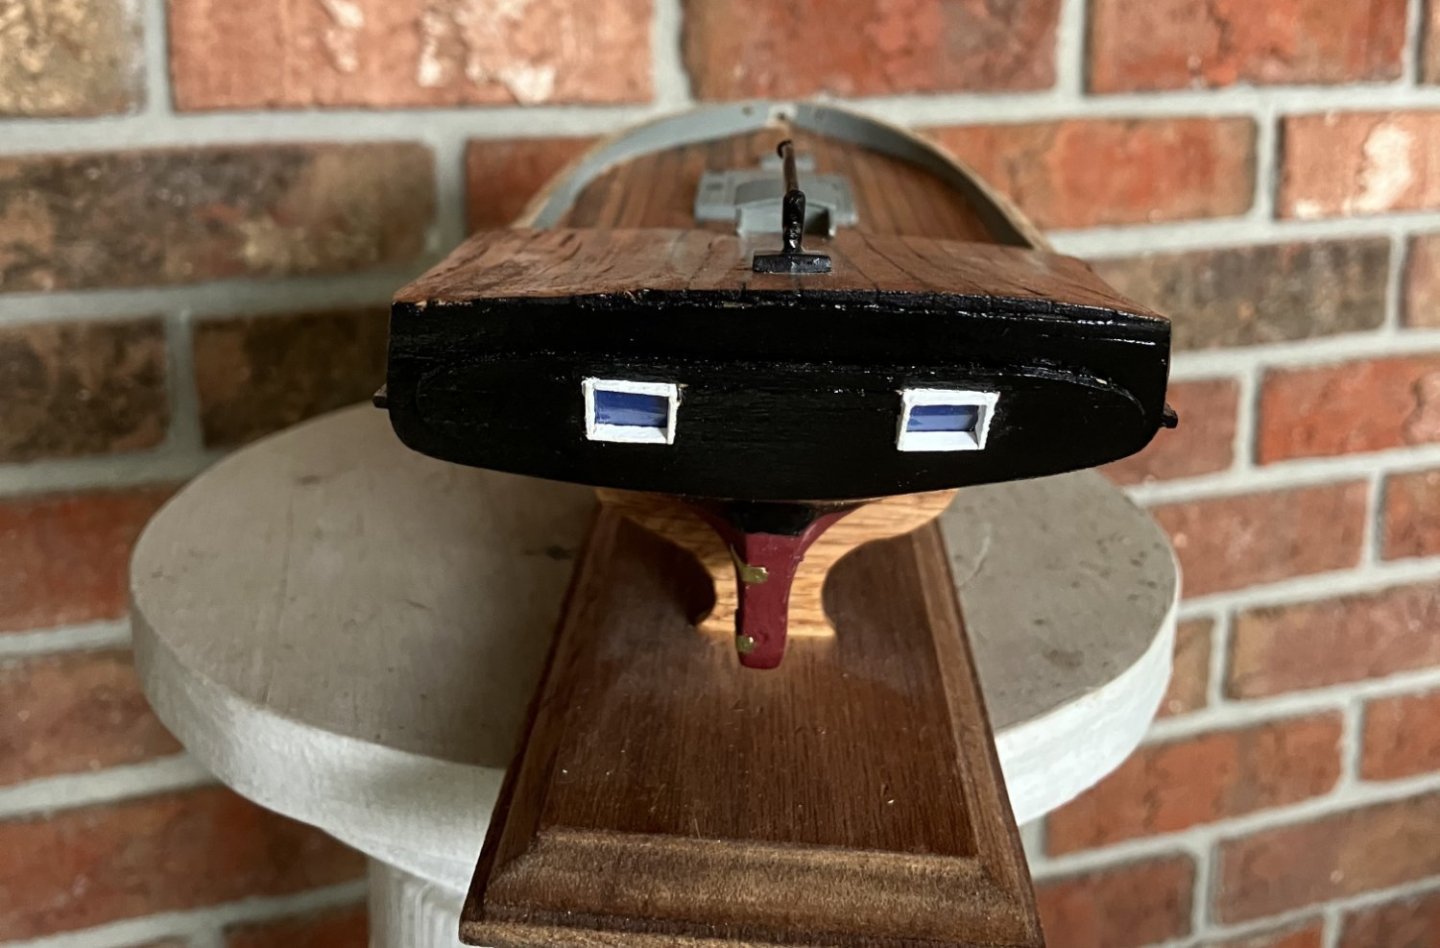
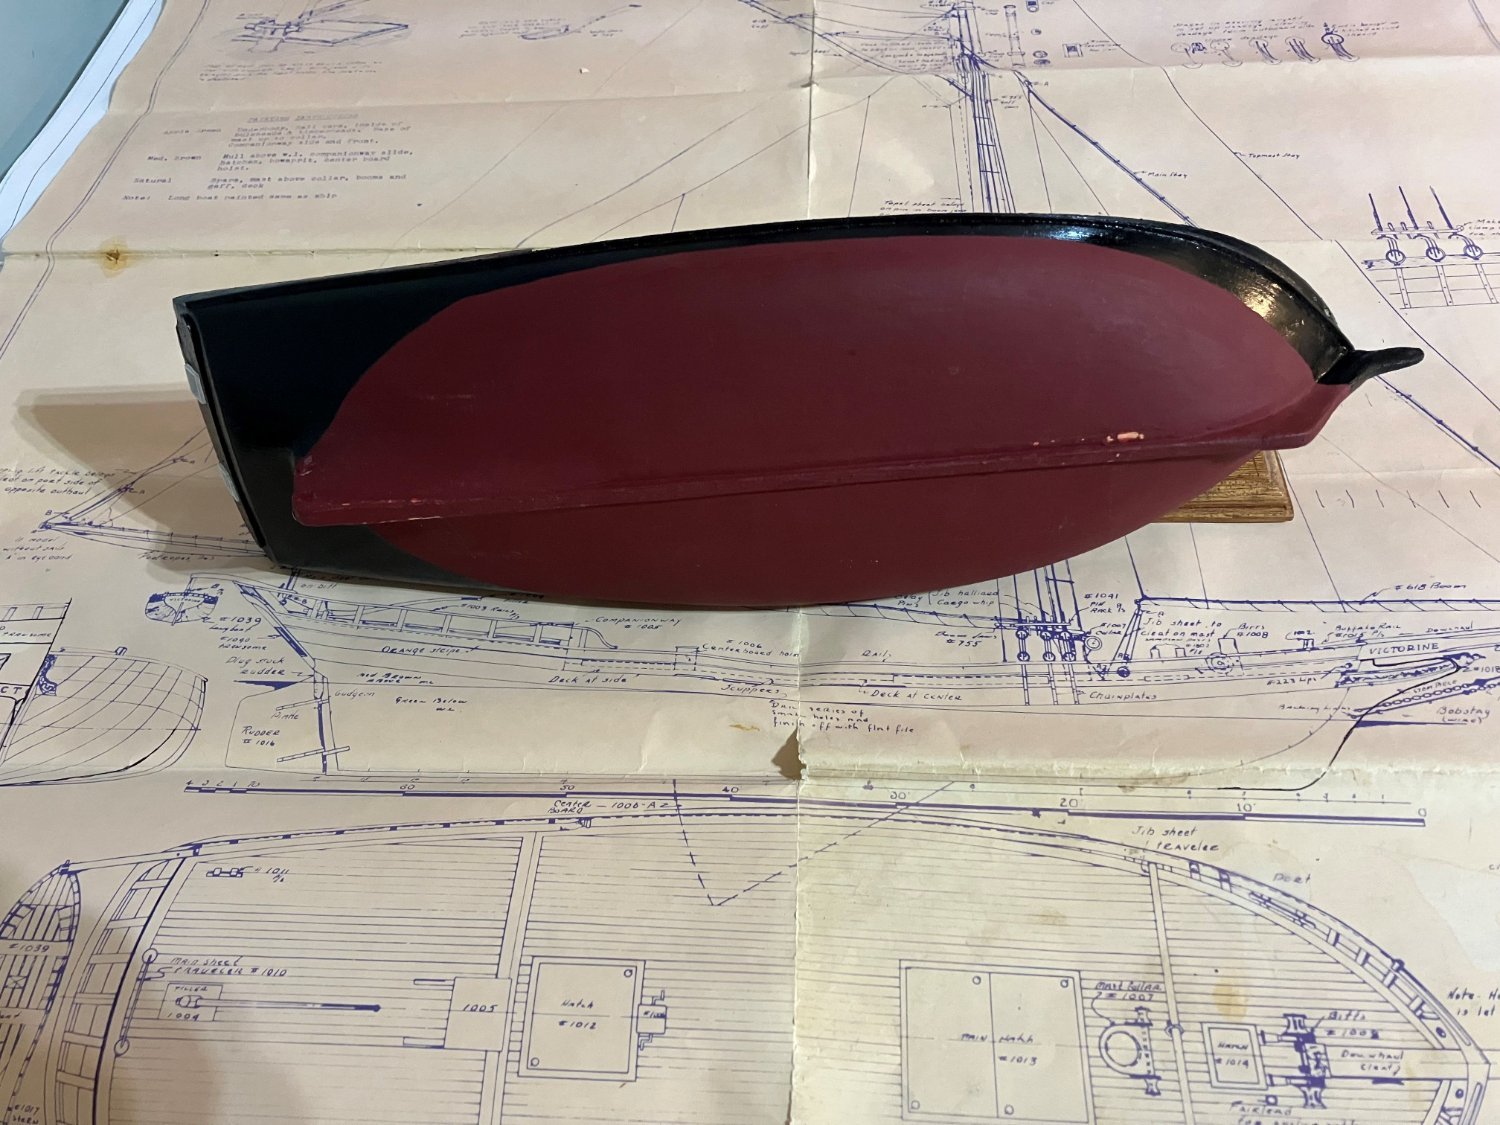
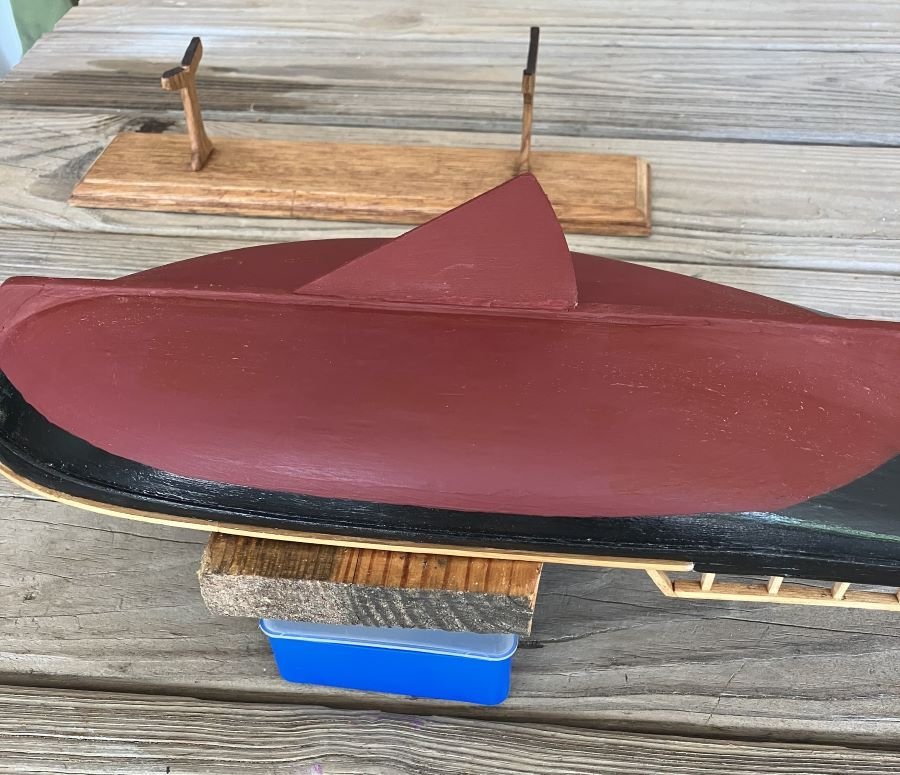
Reviewing the photos and the model I discovered the keel at the stern is not symmetrical at all and too thick. I must have overlooked it all those many years ago when I first started. I've been sanding and sanding to correct it and I think I've got it now. Also, the shrimp-boat copper paint on the bottom just won't do. (I got a 35mm film canister full to bring home) Does anyone have any suggestions for this time period. Comments welcome - Kenneth
-
Ed - Yes, that's my point. That's the way I did it, but no one has to follow along. Please see page 1 of my Rattlesnake build log to see how it turned out. I did use a very small amount of filler and sanded, but not to the point of being really slick. I kind of like the wooden ship character. Of course, it's your model and please finish it to your own liking. Hobbies allow us to express ourselves. One person's humble opinion - Kenneth
-
Ed - Excellent milestone. Your planking really looks good. Sanding too smooth with remove all the beauty marks from a planked wooden ship. Just an opinion. - Kenneth
-
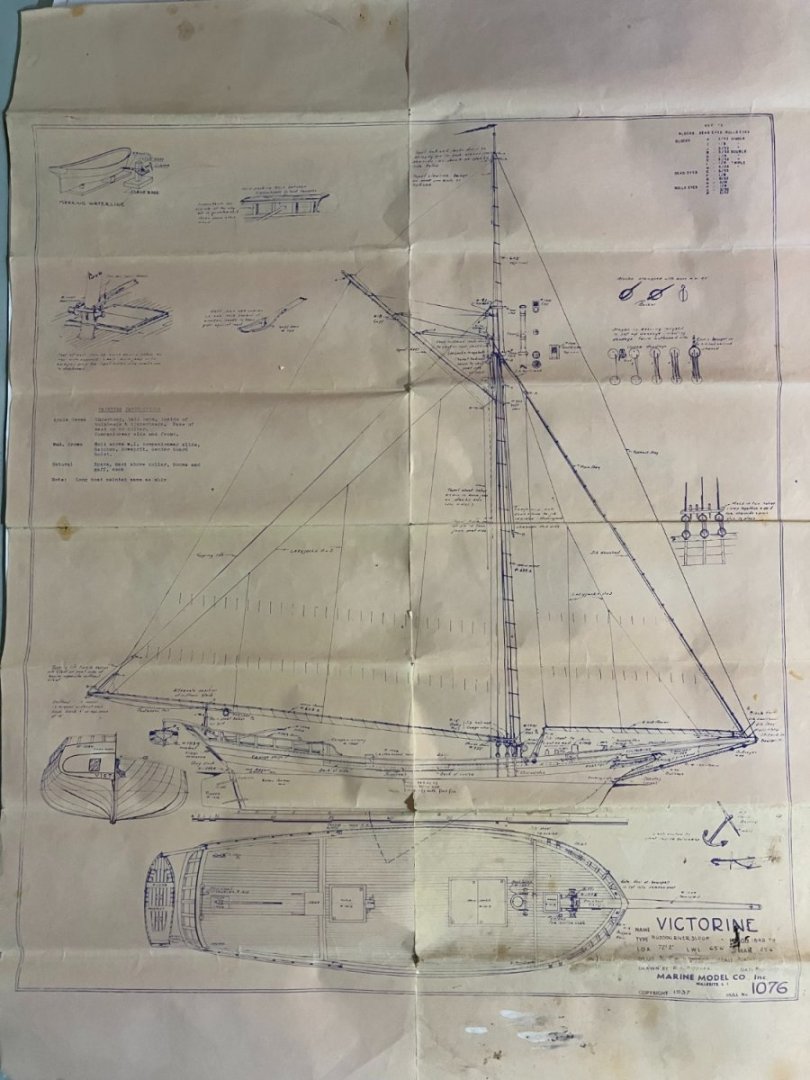
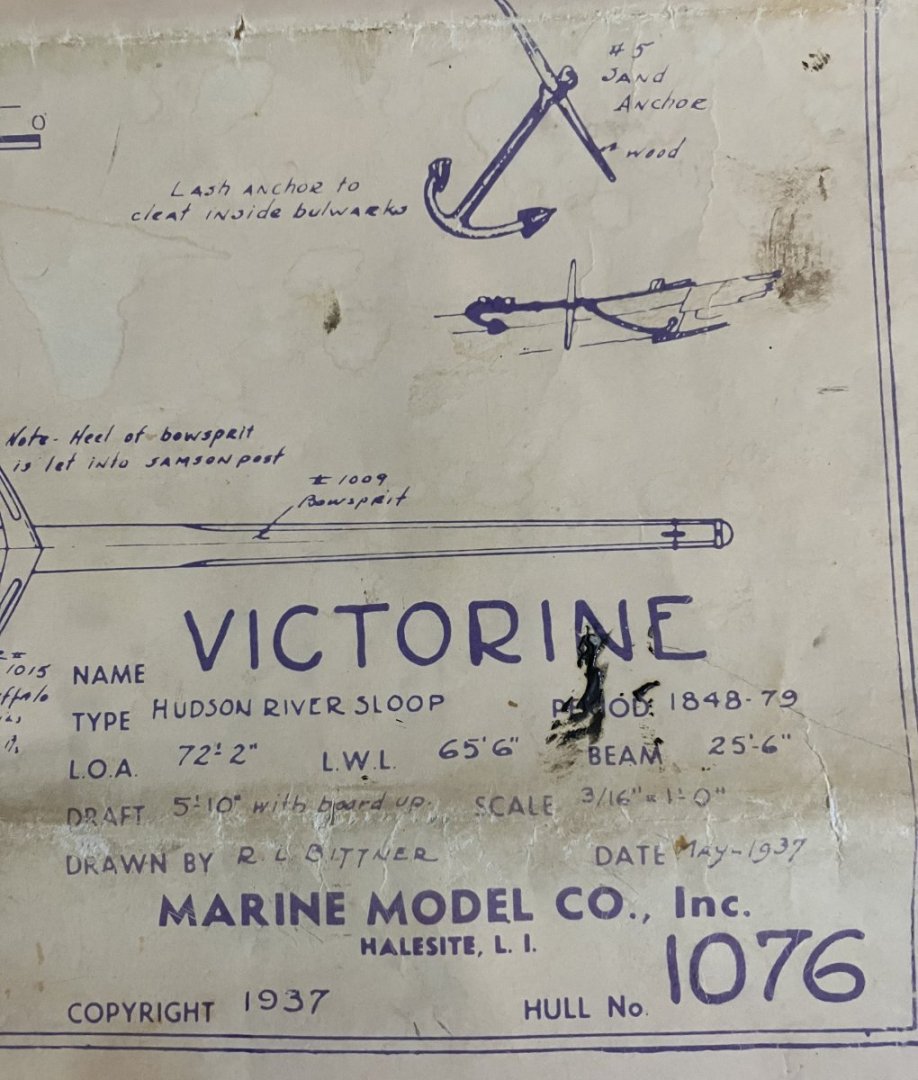
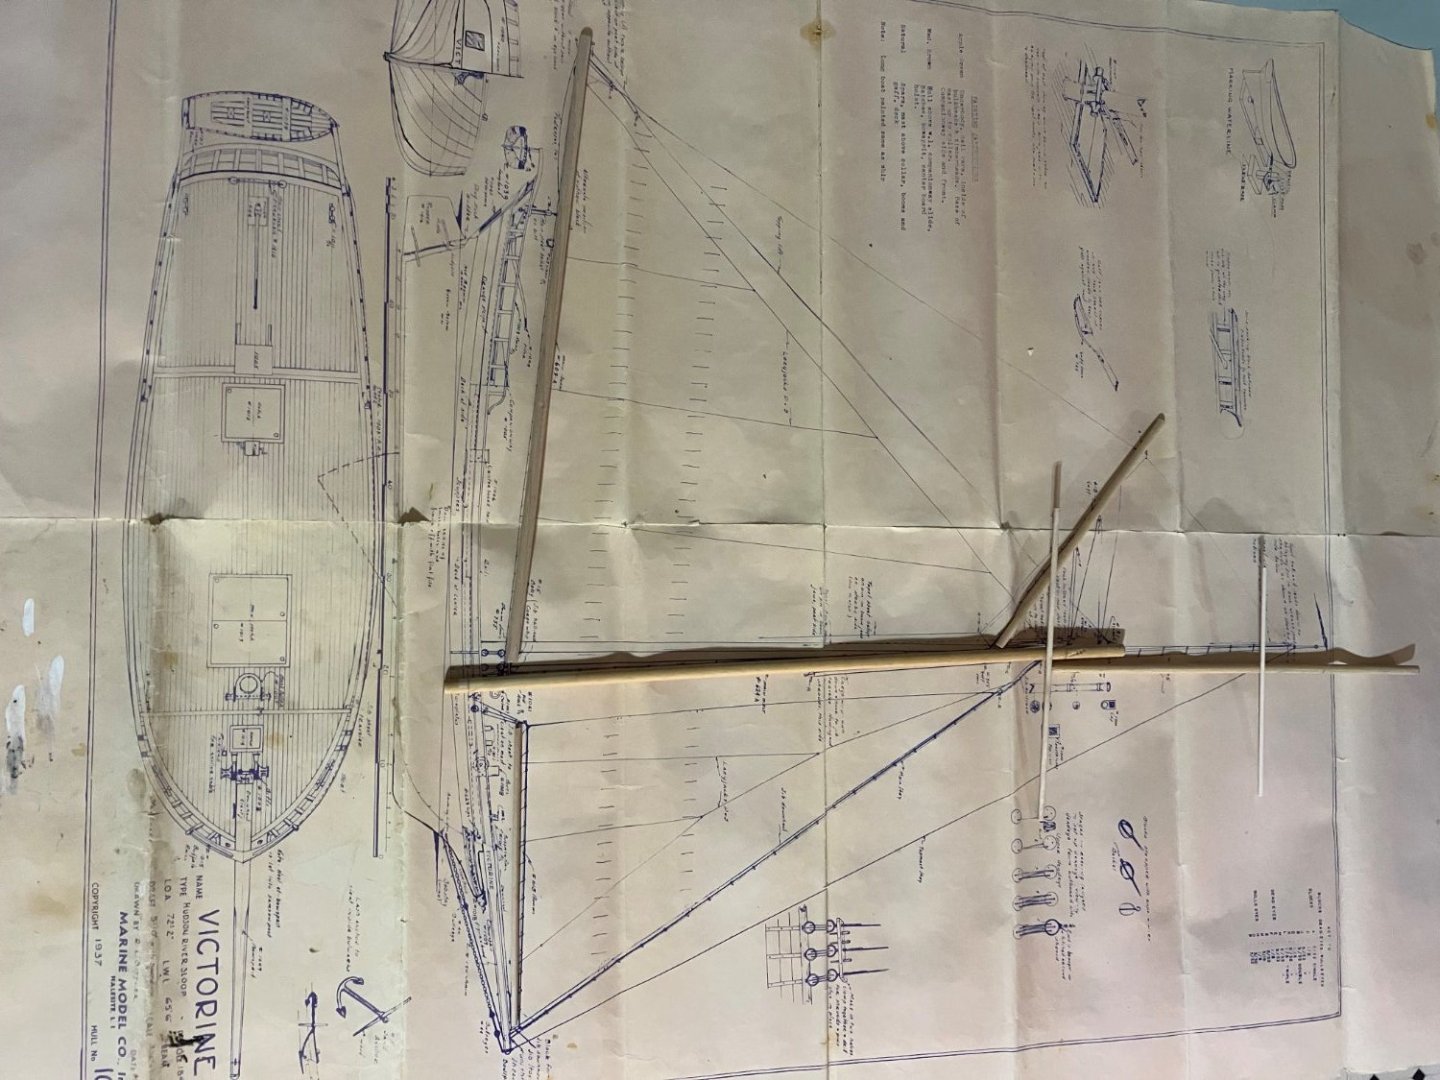
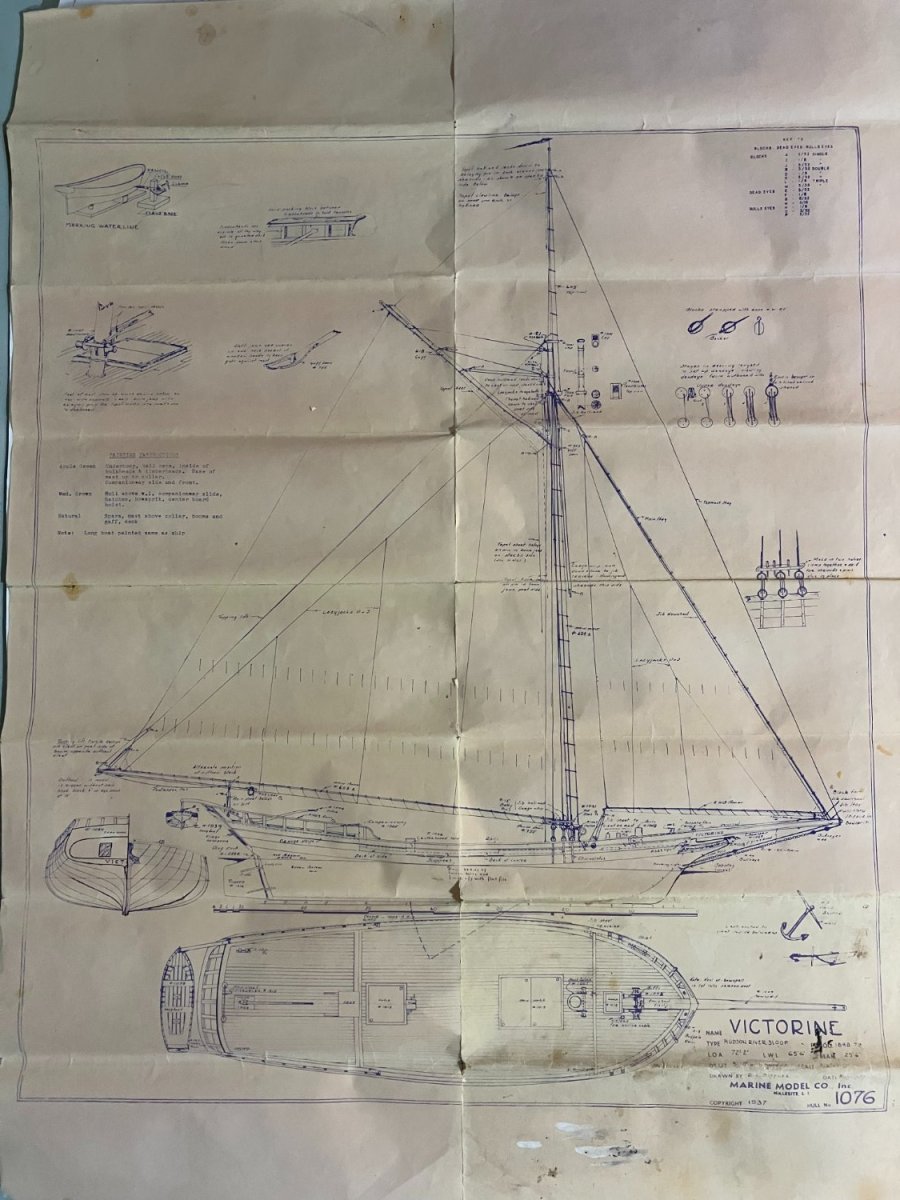
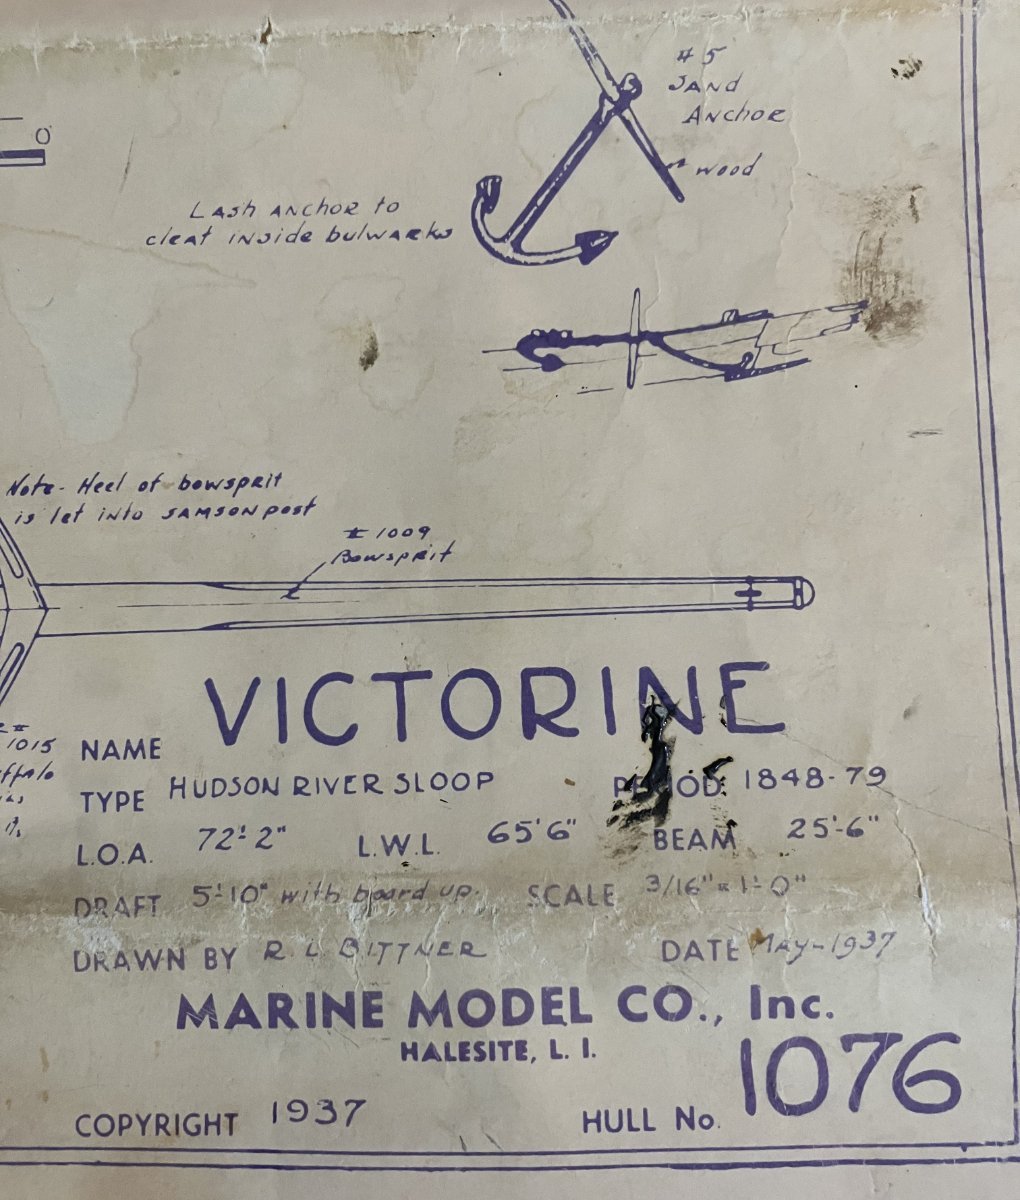
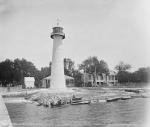
I got this model back in the 1980s. The owner wanted to use the hull to build a local Biloxi schooner, but lost interest. I've kept it ever since. You can tell by the photos that the plans have been folded up for quite a while. I intend to build a coastal pirate/smuggler vessel that could have operated in the shallows and bayous of the Louisiana marshes. She's 65 ft on deck, has a wide hull, shallow draft, and a centerboard; exactly what a flamboyant Frenchman needed for his operation. The timeline is between 1800 and 1820, so I'll have to adjust some items to make it more era specific. The biggest change is that she'll be a topsail sloop. Let's really change things up. I used some of the parts salvaged form the kit. I lined the bulwarks with thin planks of basswood to smoothen sanding defects. The deck planking is juniper with resorcinol glue - not advisable - then finished with spar varnish. That is the centerboard crank. I don't know if it's era appropriate. Other metal parts from the kit. I will use the boat and the bird. Mast, boom, gaff, and spars cut and ready to shape. But I will work on hull details first. Comments Welcome - Kenneth