


Koopyetz
-
Posts
43 -
Joined
-
Last visited
Content Type
Profiles
Forums
Gallery
Events
Posts posted by Koopyetz
-
-
On 3/12/2023 at 11:12 AM, rlb said:
Thanks everyone for the comments, likes, etc.!
I adjusted about a quarter of the frames which were slightly out of alignment, ungluing and regluing them. Those starboard hawse timbers that gave me so much trouble needed to be disassembled and adjusted as well. I'm using my bottle of isopropyl alcohol quite a bit, but hopefully now everything is good to go.
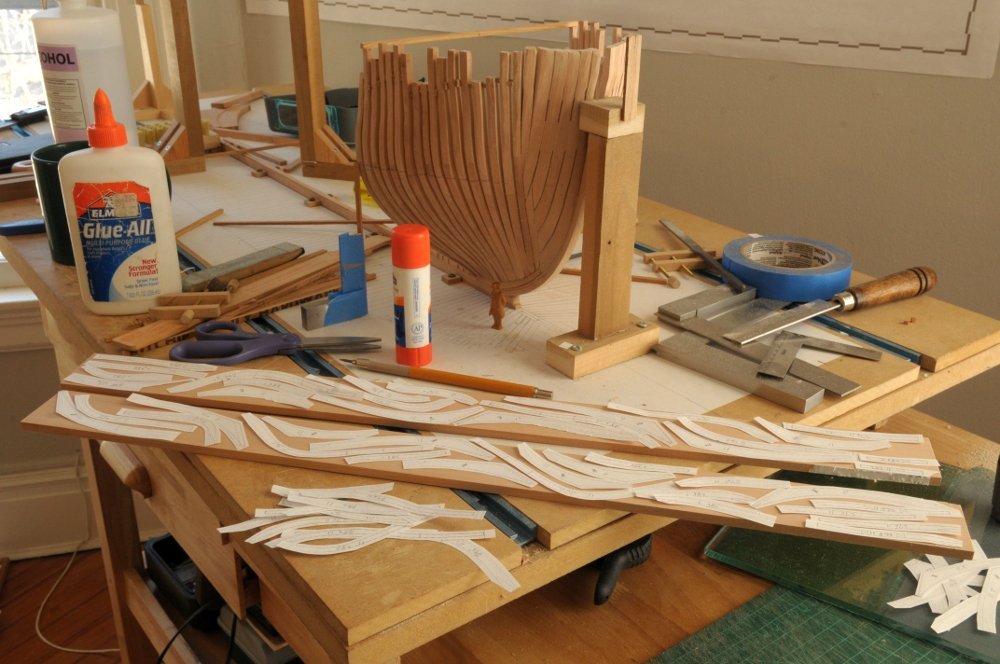
Fairing the interior has begun--
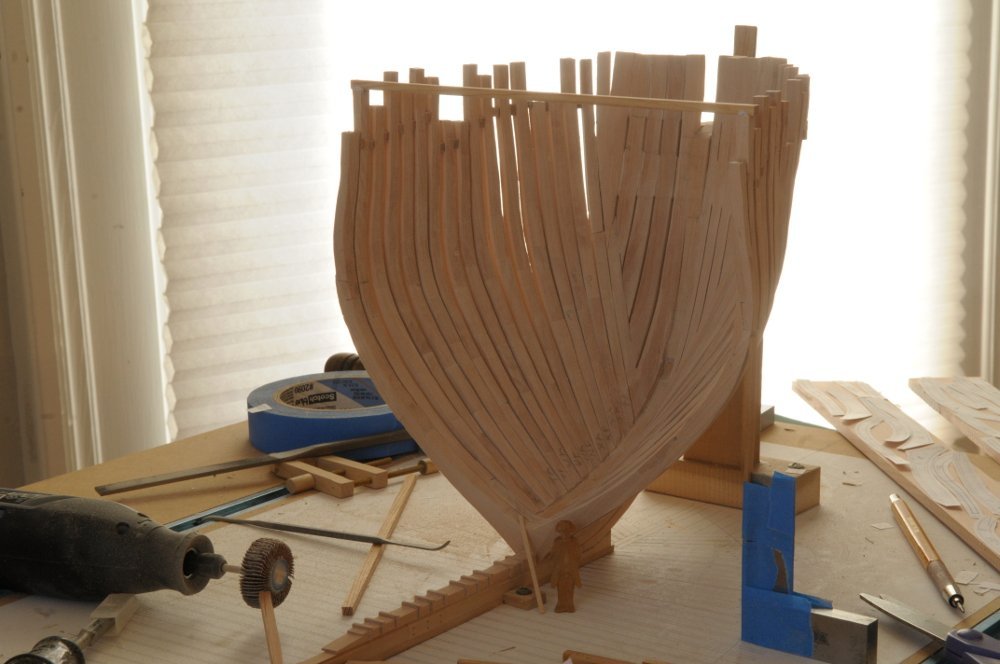
I'm also starting to cut out the aft cant frames, with the ongoing puzzle of laying out frame pieces as efficiently as I can manage--
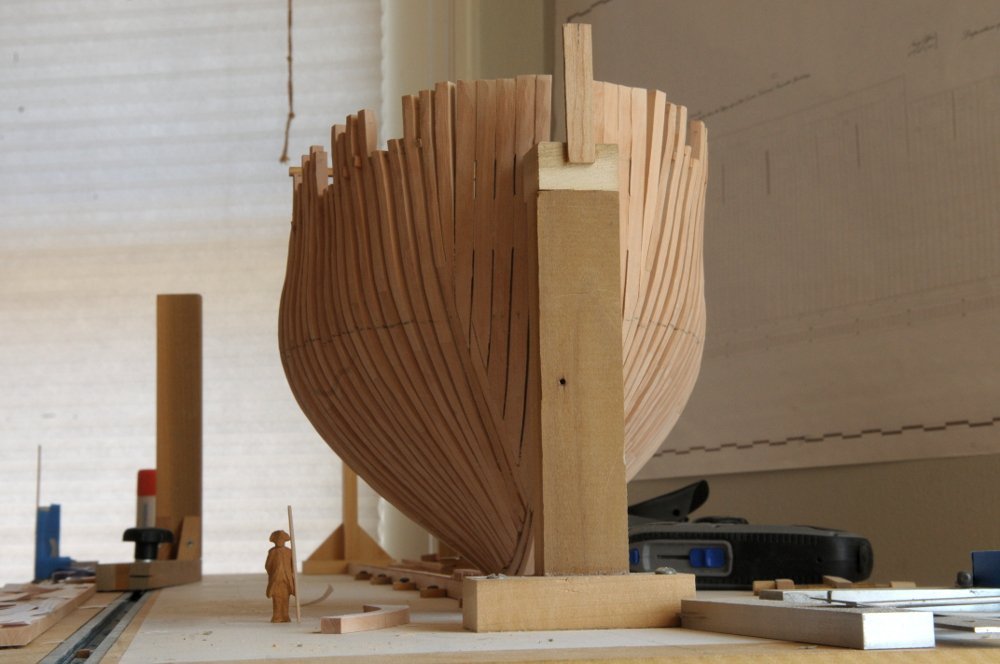
Finally for today, a near eye-level view, with a scale figure. He's holding a modern-day 2x4 to help give some idea of the size of the massive timbers that went into these ships--
Ron
Great elevation.I like this photo with the scale figure. Really helps give one a sense of size .
She is shaping up nicely.
-
-
-
-
-
I was looking for build log for Halifax and found this thread. Your thread has inspired me to make this kit my next build.
Top notch craftsmanship.
Regards
Rick
-
-
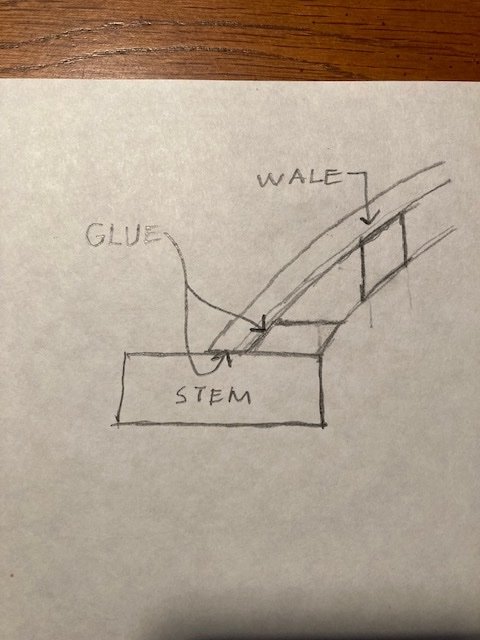
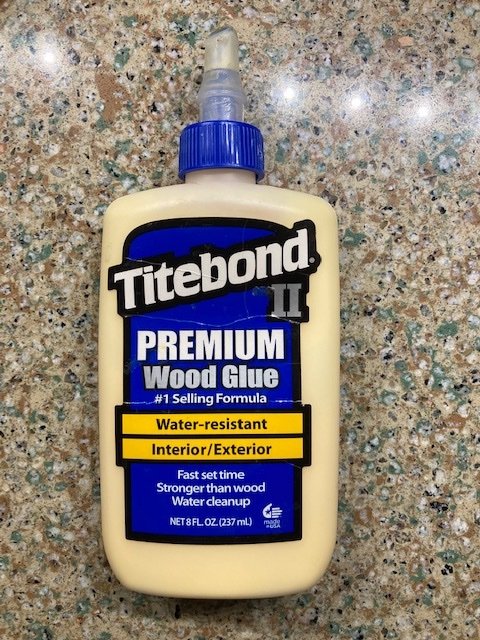
Working on attaching wale using titebond II. Ive noticed that at the stem / ajoining timber connection the wale pops loose.
The remaining wale has stayed in place. The wale is prepared for this attachment by being boiled and shaped on a board with pins to hold it until it dries.
The wood for the wale is walnut. I ve used this technique and type of glue for all wood needing to be shaped to follow hull line.
Is there another glue suggestion someone could please recommend at this location.
Thank you
Rick
-
-
-
-
-
-
Your answers have been very helpful and informative.
- mtaylor and thibaultron
-
 2
2
-
Thank you both for your help.
- mtaylor, Canute and thibaultron
-
3
-
Hello
I'm going to make a second wood part from extra wood in kit . I have a paper template that I want to attach to wood I'm going to shape.
What type of glue do you recommend.
Will all purpose white glue be ok with cleanup of wood after or would you recommend another.
Thank you
-
-
Ron
I hope this post finds you well. I'm find some frames a bit fat for keel. Any thoughts to various grit sandpaper to reduce thickness.
Thank you
Rick
- Martin W, GrandpaPhil and mtaylor
-
3
-
-
-
Thank you for your thread on this kit. I'm working on my own ECB and will be referring to your build to help me along.
Regards and healthy 2021
Rick
-
5 hours ago, VTHokiEE said:
I’ve been contemplating something similar (exposed frames) for the future and the CAF Le Coureur is one of the few kits that I’m aware of that is POF and would allow for exposed frames.
An alternative could be scratch building a section to expose frames in that area maybe?Thank you for the suggestion. I’ll research the kit.
-
I'm wondering about my next kit after Emma C. Berry.
I find the laser cut parts enjoyable to work with . I appreciate especially the frames precut in this way .
Im find that the lines of the hull with potential for exposing the frames to be what I see in my next kit .
Something at a bit larger scale than the Emma. Something with single deck . Also , the wood provided in Emma ( basswood ) is a bit delicate to work with
so would like to work with a harder species of wood.
Thank you
Rick
-
For LA Don:
Sir;
Having done a number of “plank-on-frame” pieces I have developed a couple of “tips” for builders.
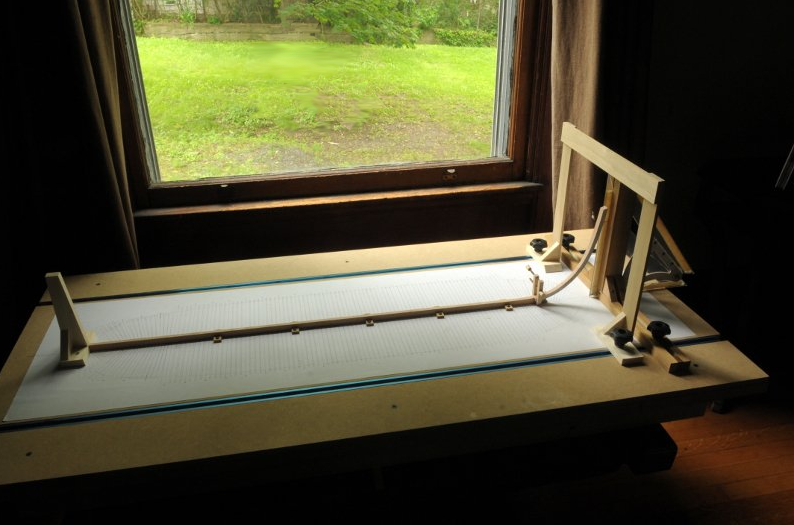
The first problem that can emerge is a bowed keel (piece #1). This was the case with part #1 of Sanson.
My solution is to align two or four (or maybe more) “filets” on either side of where the keel assembly will meet the deck to position the keel along the centerline of the deck;
one on each side of course .Pieces for these little fillets can be taken from any of the "right angles" of the parts sheets;There are plenty of those.
The second problem I have previously had with “plank-on-frame” models is that sometimes the frames slip out of a 90 degree relationship with the keel.
I have cemented some small (scrap) pieces of “1/4 round” on the the keel and each frame to hold the 90 degree positioning; (It make me feel better anyway).
I will try to attach a photo of a sample section of the hull (keel and frame assembly).
Second item (maybe a note to builders): On my current Sanson, I would perform step #11 before starting on step #4. It may preclude any damage to “upper-works” and deck during what can be some rough handling during procedure 11.
I'm going to try and attach a photo.
file:///Users/HuBREPLOGLE/Desktop/Sanson%20filet.jpg
Opps ! Sez this file is too big to upload.
I can attach it to an email if you like......get to me at rj44444@comcast.net
Hugh
Sanson filet
Question for Koopyetz..............are you photos ".jpg: files ?
Hugh
Yes, they are JPG files.
Rick

HMS Euryalus 1803 by rlb - 1:48 scale
in - Build logs for subjects built 1801 - 1850
Posted · Edited by Koopyetz
When I see you conquering complex connections like this I’m reminded that your field of endeavour has given you the ability to visualize many dimensions all at once.