CPDDET
-
Posts
1,193 -
Joined
-
Last visited
Content Type
Profiles
Forums
Gallery
Events
Everything posted by CPDDET
-
 Thanks Phill!R Reallybogged down at the moment making these small gears. But there is always time to learn new skills.
- 389 replies
-
- 2
-

-
- bluenose
- model shipways
- (and 1 more)
-
Only experience will cure that. And this being my first build I don't have much! 😜
-
Beautiful work as always, Patrick.
-
There are times when I've turned things over in my mind for a day or two before the light comes on. LOL
-
Lighting is often overlooked, especially by newbies like me. But it's very important. Congrats on your new lighting!
-
Yes, it's great for the brain. Just figuring out how to build each piece really expands our knowledge of tools and how to use them to our advantage. Bluenose is my first build and I view it as a primer for future builds. So much to learn.
-
Keep at it. You'll be surprised at how your skills develop as you move through the build.
-
Unless, or untill, you reach the point of scratch building your models, the errors in the kit are just a fact of life. I have already accepted that my Bluenose, which is my first build, is more of a learning tool for future builds. I doubt anyone becomes an accomplished shiprwright untill they work their way through the first build. Stick with it and make each stage your best effort. You will be surprised at how much you skill improves as you progress through the build.
-
Seems like many parts and pieces leave a lot to be desired. My MS Bluenose was the same way. Just have to do the best you can with what you have. Don't get too discouraged.
-
Check out this build as well. I believe the topic is covered there. https://suburbanshipmodeler.com/category/bluenose-canadian-schooner/
-
Another option is to carefully cut each extension so they all match. Then when you make the false frame pieces, cut them to match the dimensions of the extensions.
-
You could use the bulkhead extensions as a guide and carefully edge glue the bulwarks to the hull plank. Then use an Excel saw blade bent to a 90 degree angle to cut the extensions flush.
-
I would not remove the extensions until after the bulwarks are in place.
-
Looking good!
-
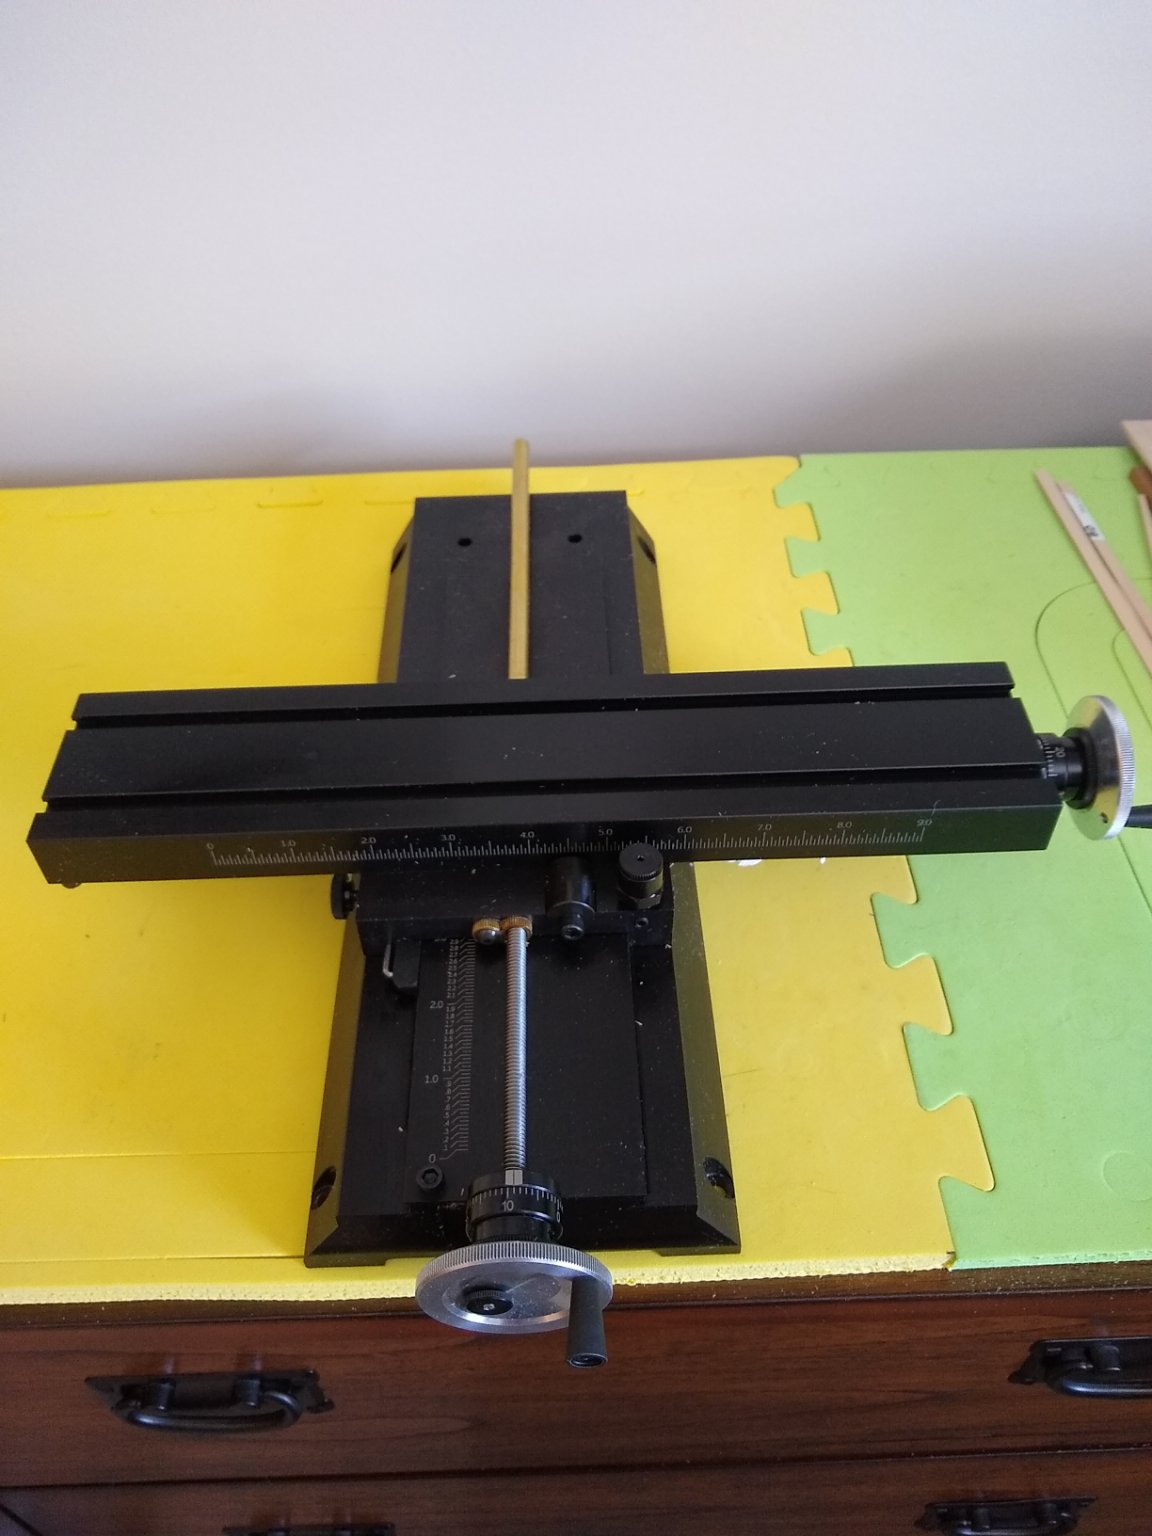
Unfortunately my skills with the new mill are very limited. It will take time, practice and the help of more experienced builders to reach a fuller potential. But one has to start someplace.
- 389 replies
-
- 1
-
-
- bluenose
- model shipways
- (and 1 more)
-
Sherline 2000 with multiple options. Will list if interested. Got great advice from an experienced modeler, retired guy. Dave
- 389 replies
-
- 2
-
-
- bluenose
- model shipways
- (and 1 more)
-
No hurry, take you time
-
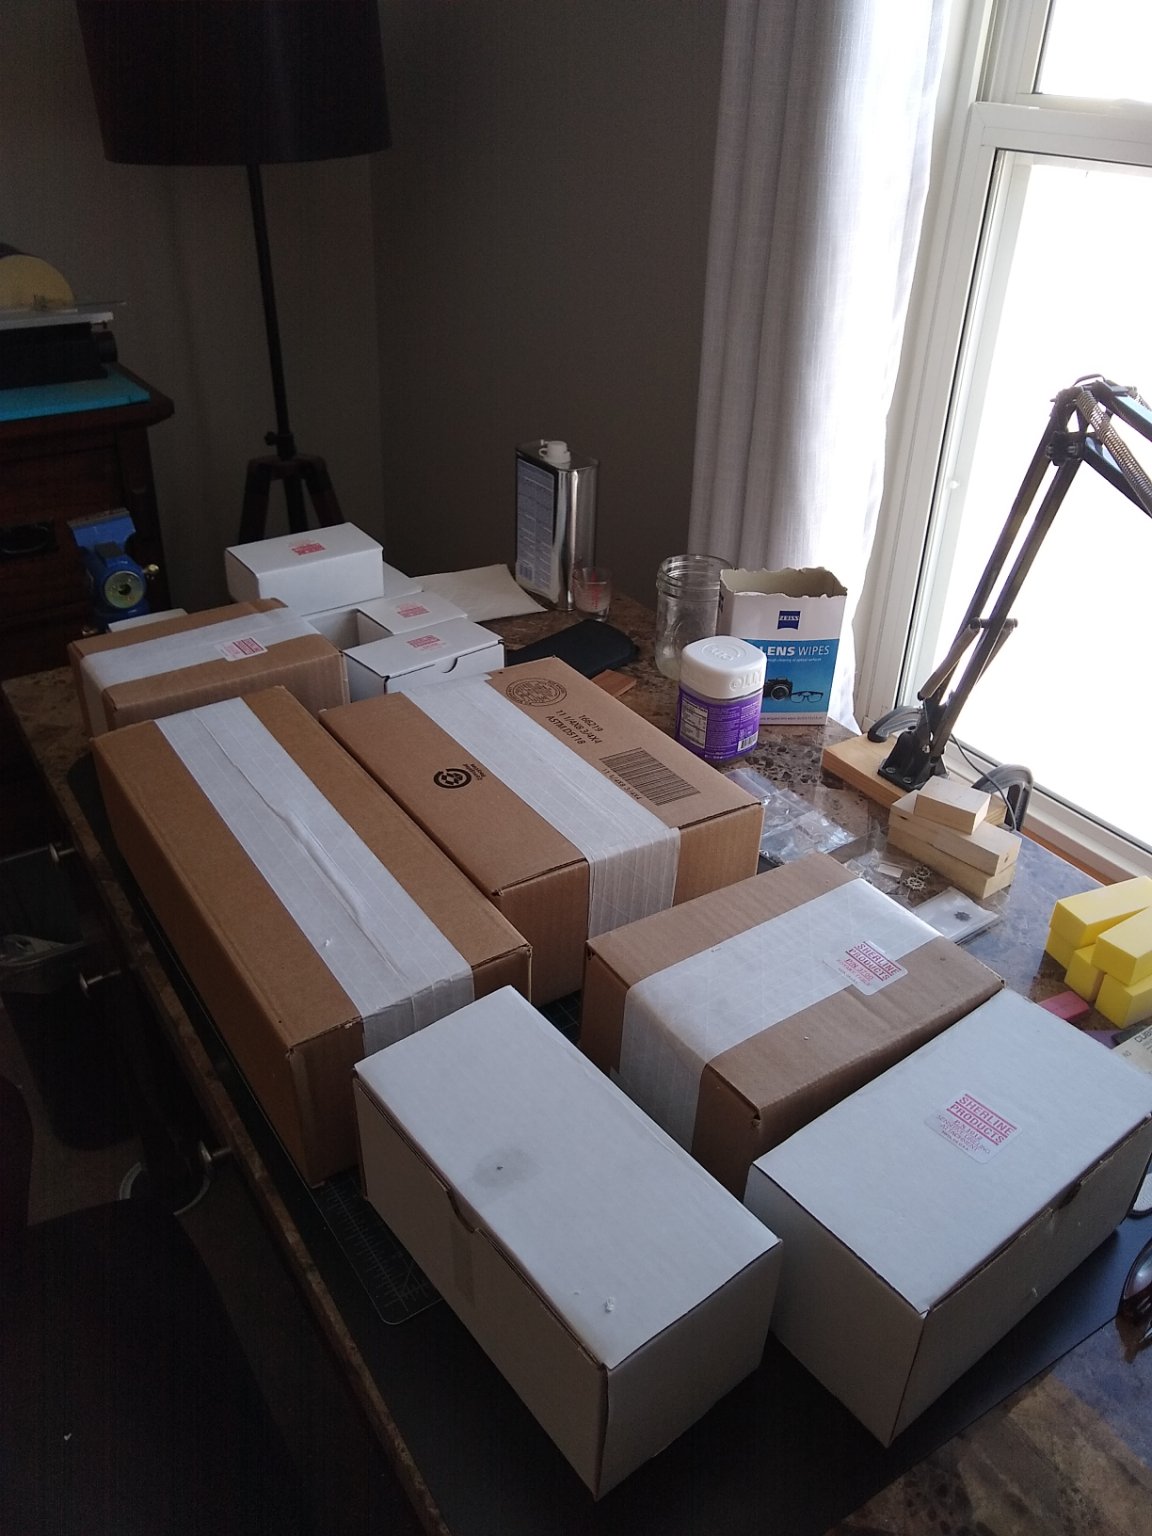
The mill and attachments arrived today. Going to have to shut down the boatyard for a couple days to assemble and experiment.


- 389 replies
-
- 4
-
-
- bluenose
- model shipways
- (and 1 more)
-
I have found a light sanding with 800 grit paper does a pretty nice job. If paint is to be applied I sand as above, paint on a light coating of Delta Ceramcoat (sanding sealer), let dry and sand again. This gives a nice clean, fuzz free surface. After paint has dried I spray a matt finish of acrylic sealer. Both the Ceramcoat and acrylic sealer can be found at Hobby Lobby, or probably Michael's Crafts.
- 389 replies
-
- 1
-
-
- bluenose
- model shipways
- (and 1 more)
-
Looking very nice!
-
Looking very nice, Patrick.