


CPDDET
-
Posts
1,098 -
Joined
-
Last visited
Content Type
Profiles
Forums
Gallery
Events
Posts posted by CPDDET
-
-
I'm following this closely. Nice job on the gammon iron.
-
Thanks for your kind words of encouragement, Dave. You're quite the philosopher!
-
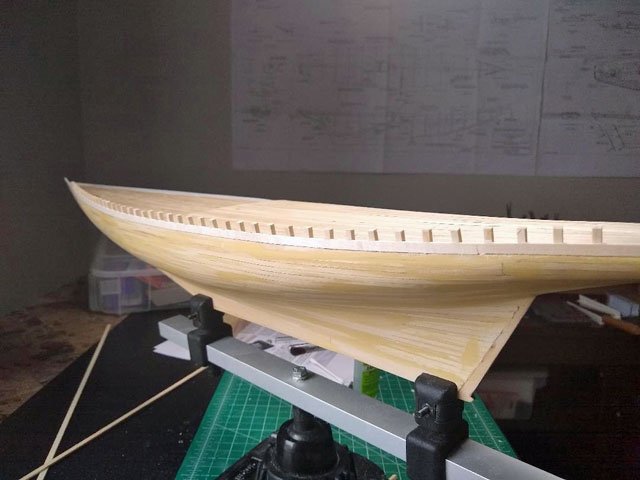
Following the same procedure I used on the port side, I managed to complete the starboard side.
First cutting and gluing in the false frame timbers
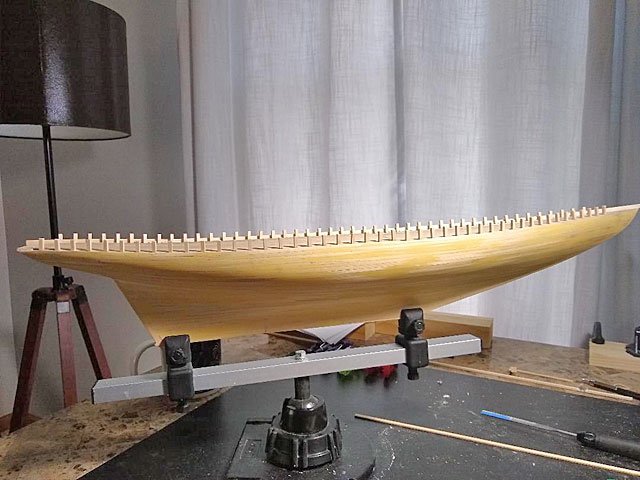
Then clamping the bulwark board, marking the scuppers, removing it, filing in the scuppers and finally gluing it in place.
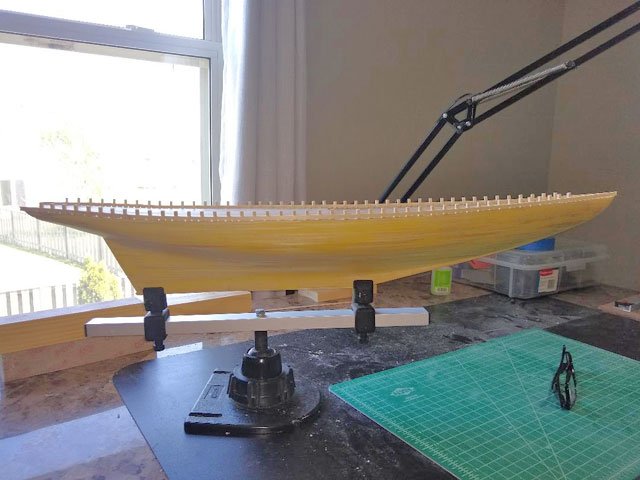
I see the mating of this lower bulwark board and the top hull plank isn't the best in some places. It's going to take some putty and sanding to get those areas looking good. But I'll have to be very careful not to "plug up" the small scupper holes with putty.
But first I have to install the upper bulwark board and do some work on the transom to finish the hull.
Then it's on to a bit of painting, a subject on which I'm completely ignorant. But I've posted questions to the group on the subject and getting lots of help.
- Duanelaker and GrandpaPhil
-
 2
2
-
-
Well, lots to learn here. My list now includes:
Paint: (if I need to replace my MS acrylic) Valego
Brushes: synthetic (Daler - Rowney system 3 / Prorate system 3)
Thinner: (I have contacted MS and asked them about this since its the paint they sell)
Extender / Retarder / Japan dryer (still learning about these)
Sealer: (Delta Ceramcoat / Americana / Varnish/ and I have a can of Varathane Sander Sealer to try as well)
Tape: Frog tape / Tamiya / Fine Line / "frisket"
Sandpaper: fine grit 320 / 400
I have plenty of extra stock wood to do test strips
Thanks for all the help!
-
-
It won't be long before I begin to paint parts of my Bluenose. I purchased Model Shipways arcylic paint kit for the model and plan on using brushes.
I have no idea of what type / quality of brushes to purchase.
Should the paint be thinned? If so, how?
It seems very thick to me. I assume it's water base paint?
Should the wood be sealed before painting? If so, with what?
The hull already has a couple coats of wipe on poly. Will my paint stick to that? Do I need to use primer over the poly?
I really need some help with painting basics.
Thanks in advance for your advice/ instructions.
Dave
- mtaylor and GrandpaPhil
-
2
-
-
-
What's that old saying? "When in doubt, rip it out", or is it "There's never enough time to do it right but there's always enough time to do it twice"?
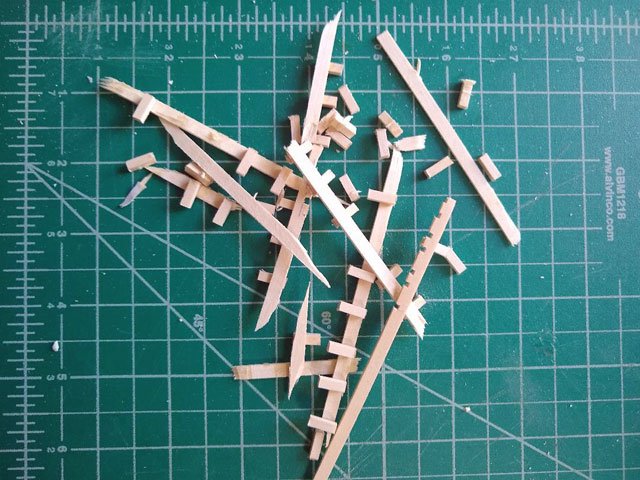
Just couldn't get the drill and cut method to work for me, the more scuppers I cut the bigger they were getting. So I decided to start fresh and tore out the false timbers and bulwark.
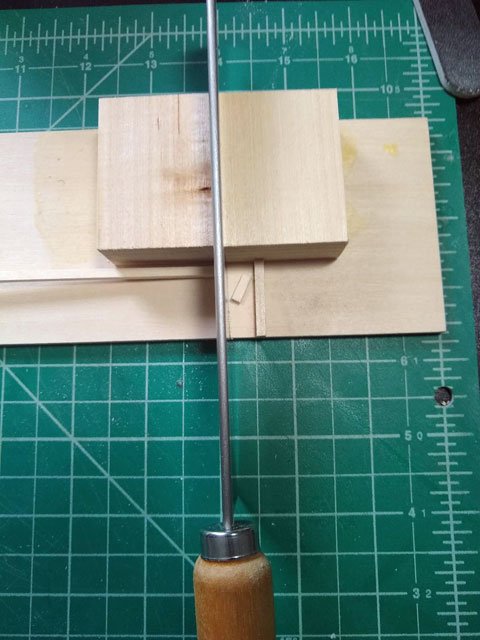
First thing I did was to make a jig to be sure each false timber was correctly cut.
Then lightly sanded each end of the cut pieces
Made up a spacer with a "handle" to get the same distance between false timbers, sealed the ends with a touch of CA and glued them in place.
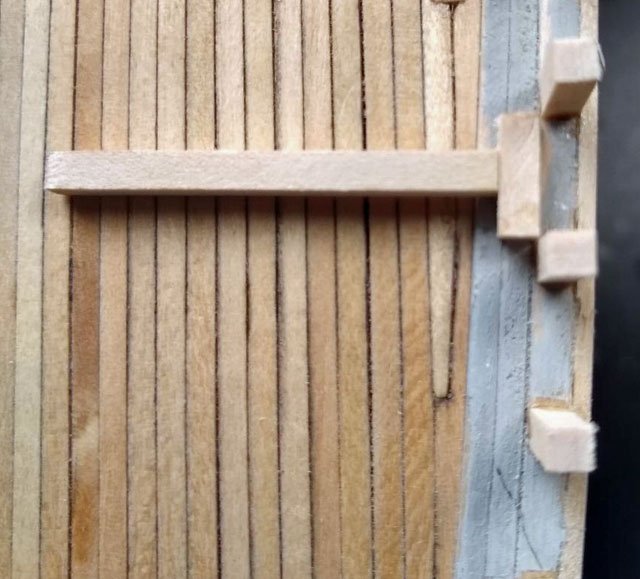
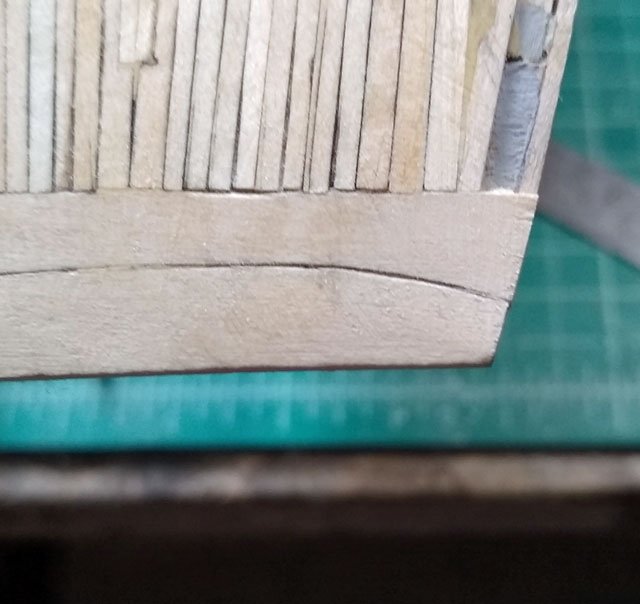
Took a new piece of bulwark and clamped it to the false timbers, marking the places for the scuppers to be cut and removed it.
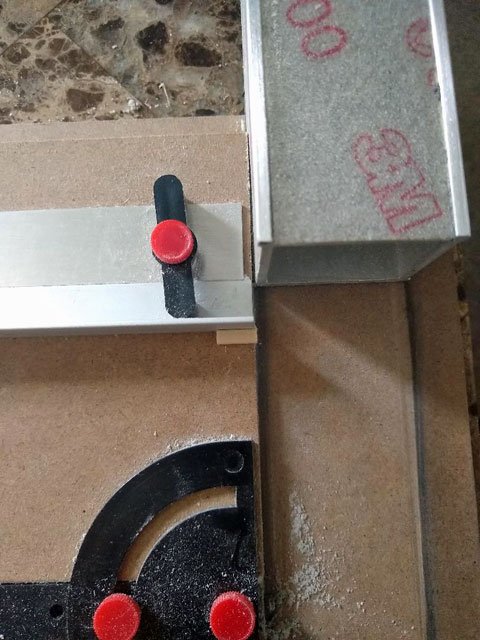
Then I made up a second jig to cut the scuppers. The plans say the scuppers should be 1/64 X 3/64. Since the side of my file was 1/16, I decided to make the scuppers 1/16 X 1/16. Since the bulwark is 3/16 high I used 1/8 stock, leaving 1/16 exposed to the file.
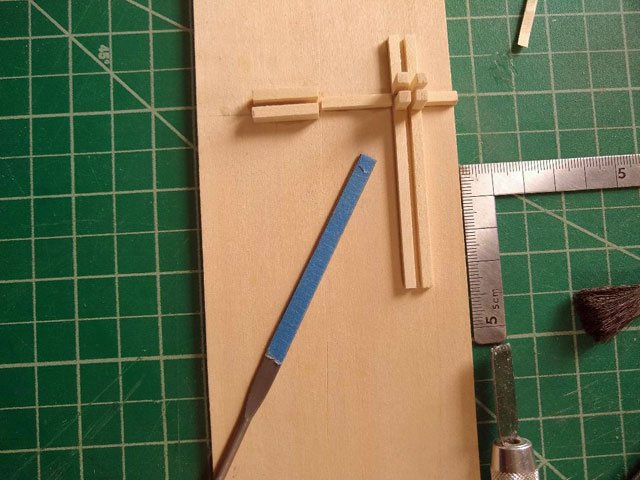
I found the side of the file dragging against the guides, so I covered it with painters tape. I could now slide the bulwark through one guide and the file through the other.
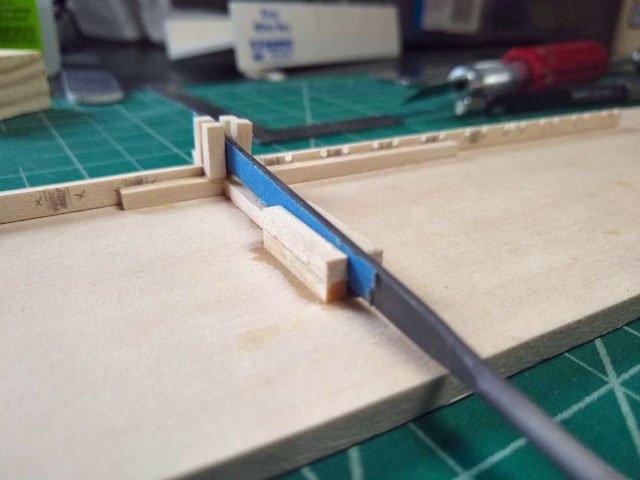
Worked pretty well.
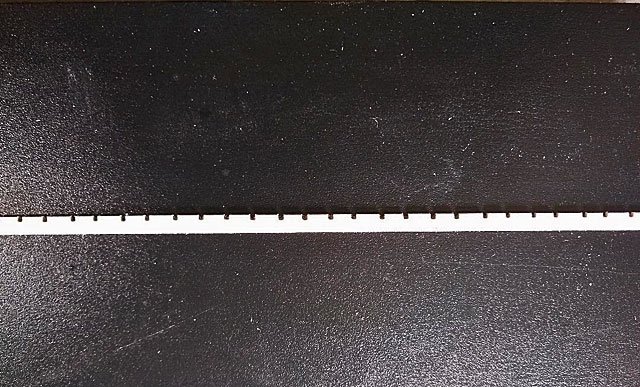
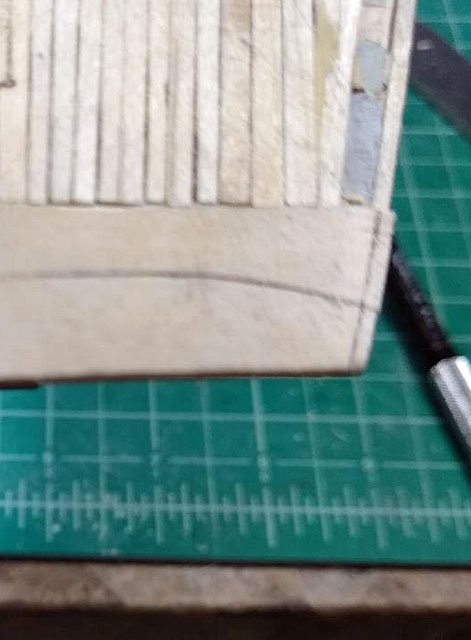
Then, lining up the scuppers, glued the bulwark in place. I now have scuppers!
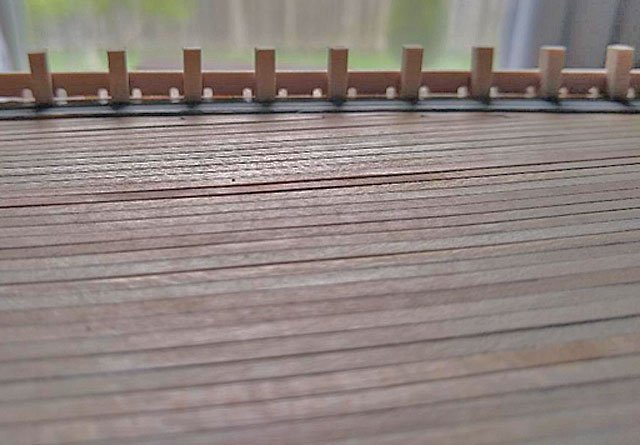
Still have to finish off the aft end of the port side and all of the starboard side, but at least now I have a system that works for me.
- Javlin, David Lester, GrandpaPhil and 3 others
-
6
-
Another bonehead move on my part. I was so absorbed on correcting my previous mistake that I forgot to cut in the scuppers before glueing the lower bulwark in place.
I could use Bob Hunts suggested method: use a pin vise with small drill bit and drill from the inside, next to each false frame timber. Then use a #11 X-acto to square up the holes. It's a bit risky but I might try it. Since there aren't yet any false frame timbers or bulwarks on the starboard side access would be a bit easier.
Then on the starboard side I could glue in the false frame timbers, clamp the lower bulwark to those, mark the scuppers, remove it, cut the scuppers and then glue it in.
Just have to make sure the size of the scuppers match on both sides. Tomorrow I will measure my files and see if one of them will work.
This should be an adventure. LOL
-
Well, things went a bit easier than I thought. As for the glue "test", all three seemed to have about the same holding power. So I went with CA because I could hold things tight while it set up.
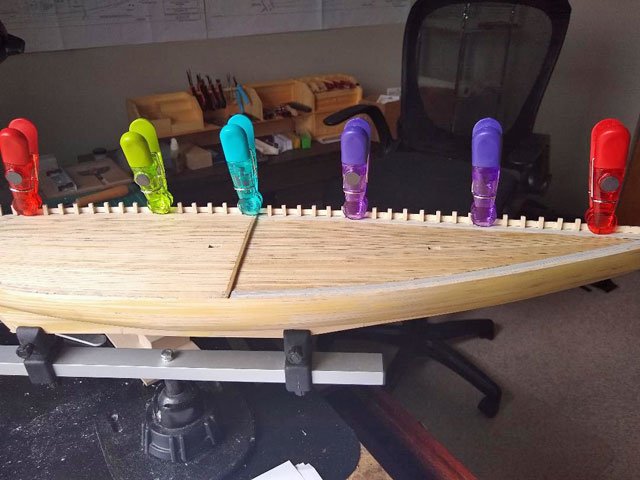
I worked the port side foredeck and then the portside quarterdeck separately. I began by glueing in every 3rd false frame timber on the foredeck and then edge glued the bulwark to the top hull plank, as well as to the false frame timbers I had put it. Then I went back and glued in the remainder of the false frame timbers. The Bulwark plank is only 1/16 inch thick and takes an easy sweeping curve so it didnt take much to hold it in place (no big "spring back" force). I then did the same on the port side of the quarterdeck. Took about 4 hours to complete the entire port side.
I was having an issue gluing the false frame timbers until I realized the end grain was sucking up the CA. So I began placing just a touch on the end of each timber and quickly wiping it off to seal it up. Did this to all the pre-cut timbers before I installed them and it solved the problem.
Still have to do a bit of wood putty and sanding on hull where I edge glued, but not too much. The butt joint near the aft end will need some touch up as well.
- Jond, oneslim and GrandpaPhil
-
3
-
-
I'm not sure the false frame timbers will require fairing as the bulwarks have a very gentle curve, but we will see tomorrow.
The problem I created was caused by cutting the bulkhead extensions even with the top of the bulkheads and then glueing the waterway board in one piece, covering all the cut off bulkhead extensions. With both decks now fully planked it would be difficult to precisely locate the center of each bulkhead. What I should have done was to leave the bulkhead extensions and glued the waterway boards between each one.
But I do have a few ideas, one of which is to edge glue the bulwark and then install all the false frame timbers. Or, glue in all the false timbers and then install the bulwark. I'll have to take care that the height of the false frame timbers is correct before I glue them. No problem if they are a bit too high as the Dremel will take care of that. But if they are too short it will be much more difficult to fix.
I might take a small pieces of the 2 bulwarks and edge glue them together. Then glue that to a piece of 1/8 X 1/8 that could be used as a "handle". I could then use this to measure the correct height of the false frame timber before I glue them.
It's a bit late now and getting close to bedtime so I will work something out tomorrow and post my solution.
-
-
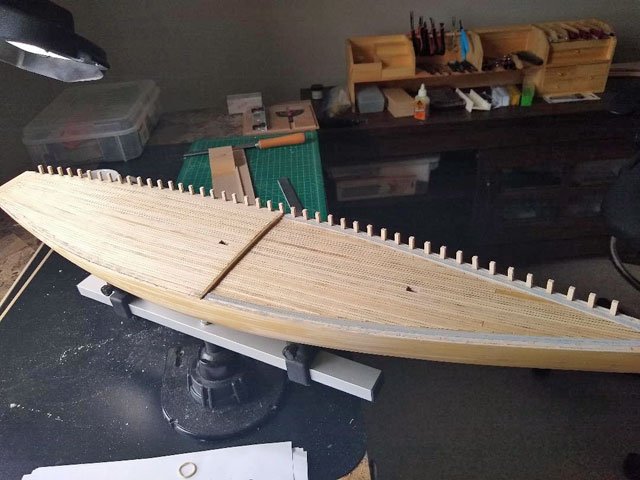
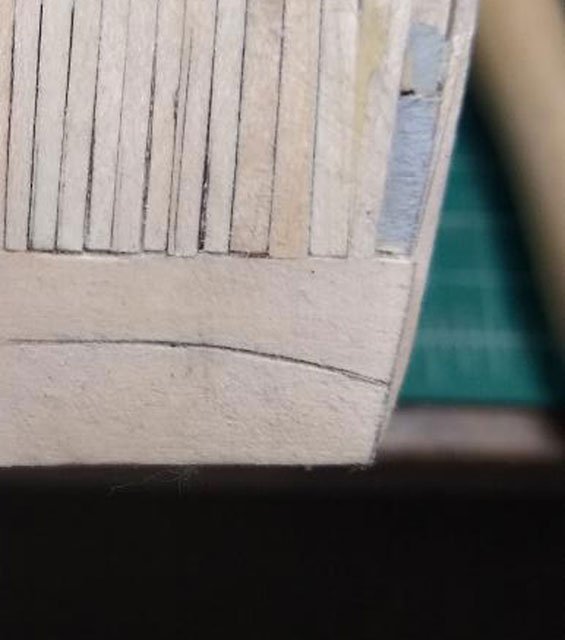
Finished planking the quarterdeck. Gave both decks a light sanding and a single coat of wipe on poly.
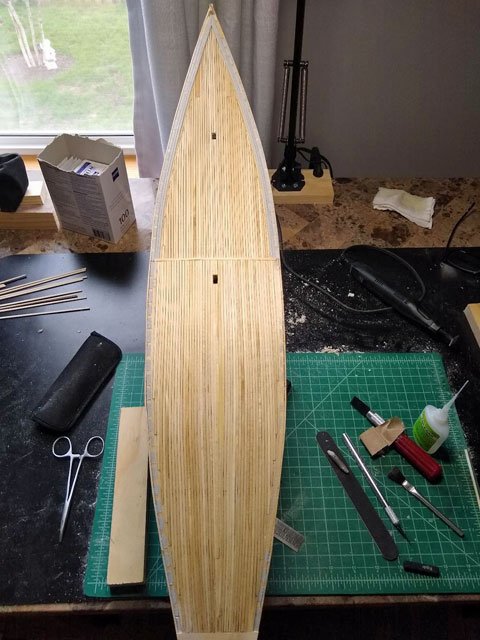
I noticed that when I installed the deck end planks I made them a bit too wide, covering the top hull plank. I see that the bulwark needs to rest on the top hull plank so I needed to trim back the deck end planks.
I drew a guide line on both sides and used a razor blade saw to trim them. May still need some sanding to make enough room for the bulwarks.

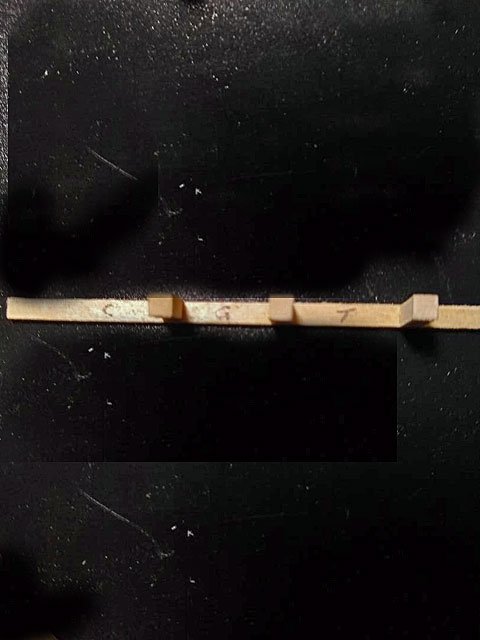
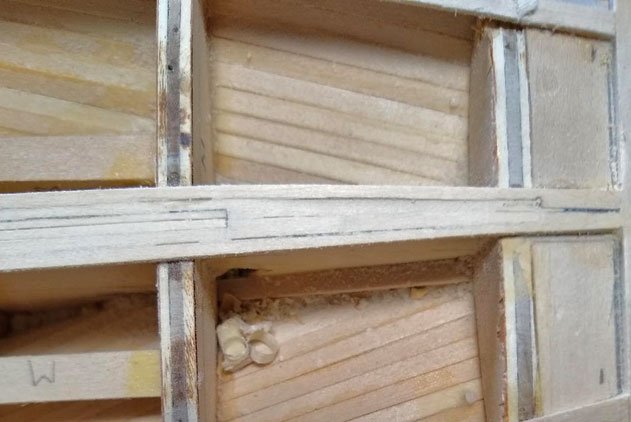
Now my chickens have come home to roost.
I have to pay for my error of trimming off all the bulkhead extensions before installing the bulwarks. Since I will have to glue all the false frame timbers I decided to run a small test on adhesives. I took a scrap piece of waterway board and glued 3 false frame timbers to it. I used CA on one, Gorilla glue on another and Original Titebond on the 3rd. Because it will be impossible to clamp the false frame timbers, I’ll leave that dry overnight and see if one glue is better than the others.
Any advice on the upcoming process would be greatly appreciated. It's tough being a newbie on their first build, LOL.
- GrandpaPhil, Duanelaker, Nirvana and 1 other
-
4
-
-
I'll be pleased if my rigging looks half as good.
- GrandpaPhil, mtaylor and CDW
-
3
-
Thanks for the instructions Griphos.
I'm going to trim about 1/16 inch or so of the abrasive cloth away from the innermost edge of the 3/64 support board. That should be enough so that the cutting blade won't contact the abrasive cloth when cutting the taper and still leave enough to grip the plank.
As for what to use to do the cutting, I find a scalpel the most troublesome as it seem to stray quite easily (due to the thin blade?) and a standard utility knife the easiest. Any advice?
Dave
-
You're making great progress, Phil
- GrandpaPhil and mtaylor
-
2
-
Total work time on this build is now 127.5 hours.
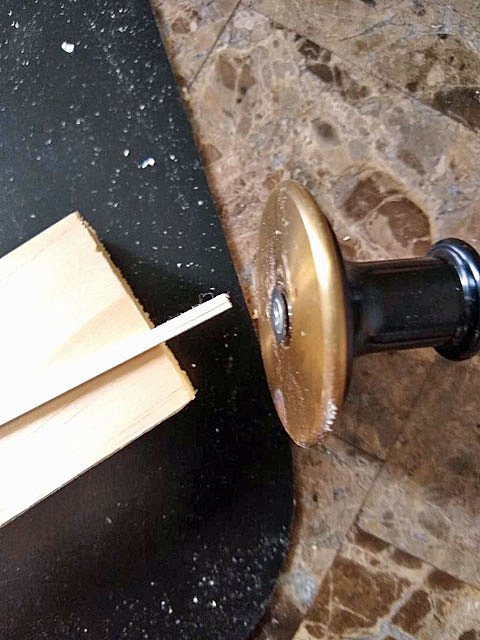
After reading all the tips I received I made up something that made the tapering easier for me.
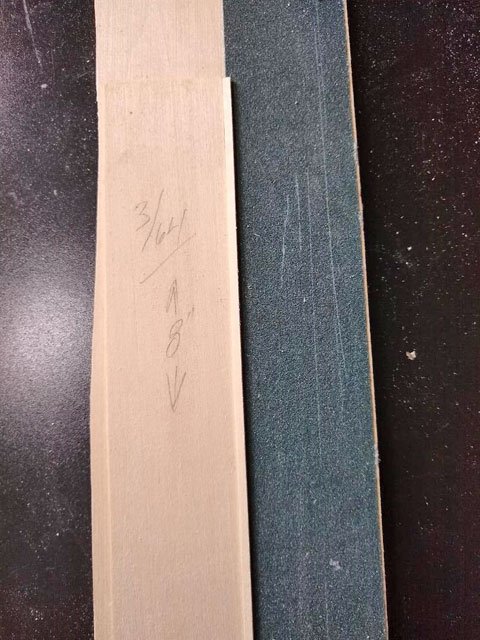
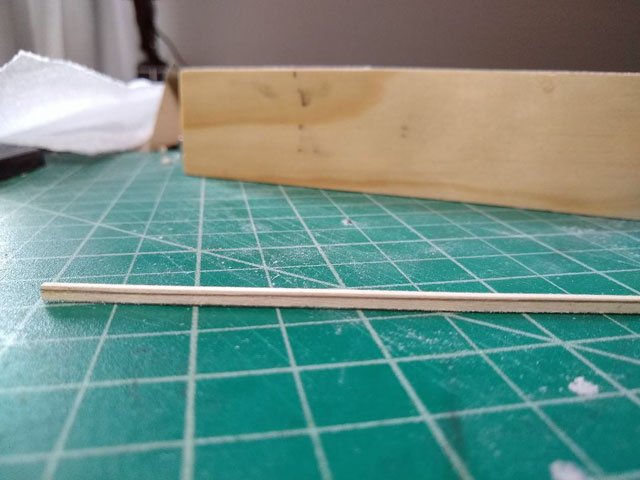
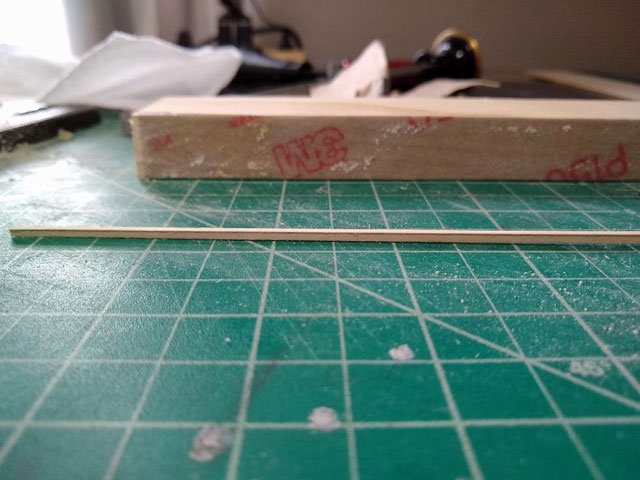
Taking the board I had glued the abrasive cloth to, I cut a piece of 3/64th basswood about 2 inch wide and 8 inches long.
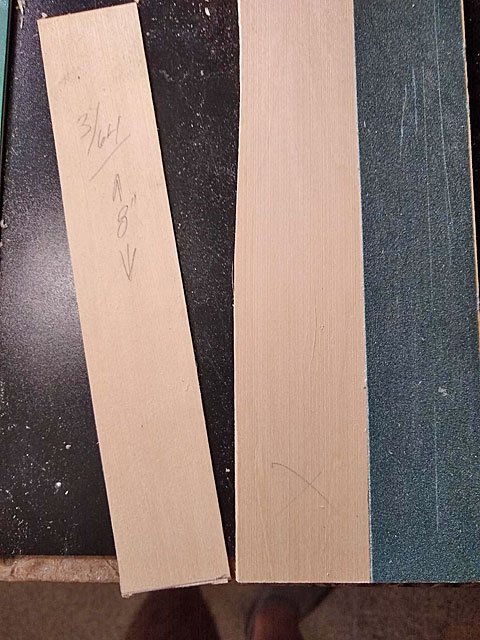
I then glued the strip next to the abrasive cloth. This provided 2 advantages, it gave the plank something to butt up against and provided support for a metal ruler. The abrasive cloth keeps the plank from sliding around.
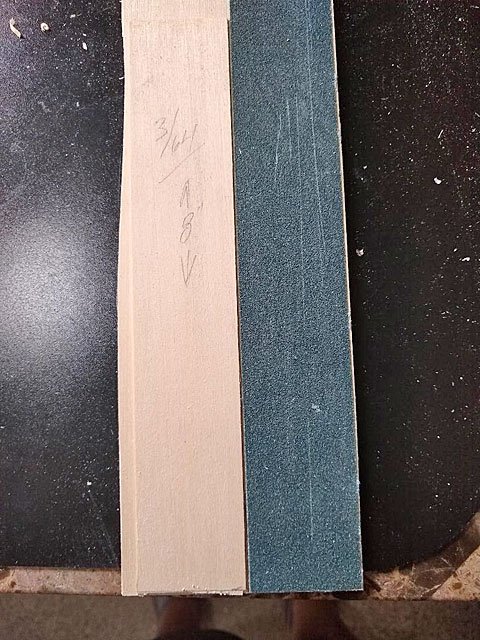
Then I took a plank and, using a wheel marking gauge set at about 1/32nd, scribed the end of the plank.
Then laid the plank on the abrasive cloth, along the raised 3/64th piece of wood. Using my 6 inch steel ruler I lined up on the scribed mark.
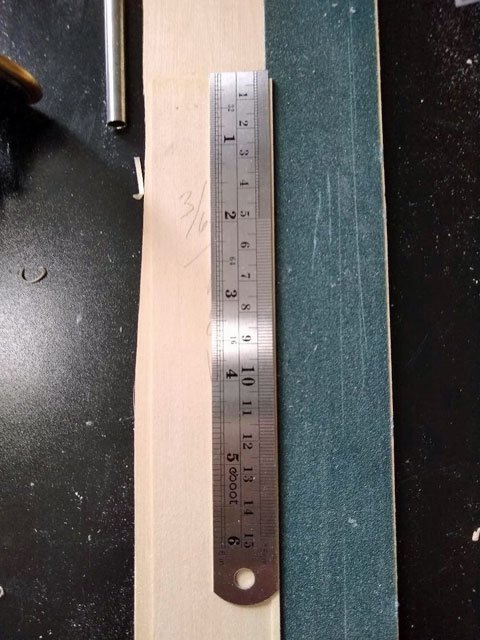
Using a mechanical pencil I drew the taper on the plank.
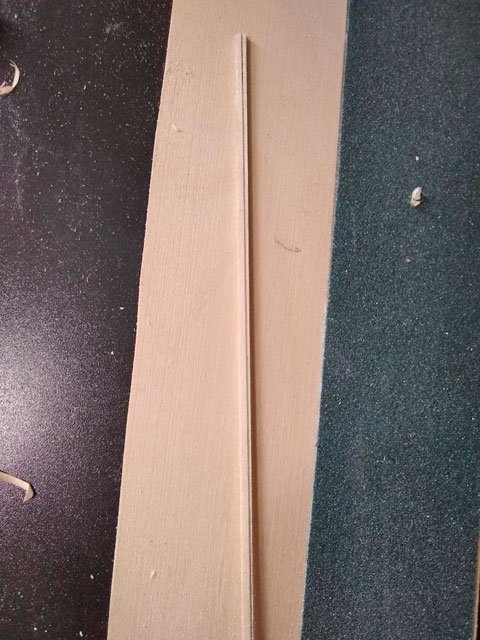
Setting the plank on edge, I used an 8 inch sanding block to sand down to the drawn line. This is one of the sanding blocks I used to fair the bulkheads.
If I had planks to spare I might try adding abrasive cloth to the back of the 6 inch ruler to really grip the plank and try cutting the taper. But for some reason I have a tough time making proper cuts this way and it looks like I'm going to have just enough planks to finish the quarter deck. So for now I'll stick to sanding.
Anyway, I managed to finish the starboard side of the quarterdeck. Still needs sanding and a few coats of wipe on poly.

Thanks to everyone for sharing your expertise and helping the newbie move forward.
- GrandpaPhil and Duanelaker
-
2
-
-
Boy, that sure sound much easier, and very tempting. But with this being my first build, I wonder if I should continue tapering just to gain the experience. Tough decision.
On 5/6/2019 at 8:11 AM, GrandpaPhil said: -
Had a few things on the "honey do" list but managed to get the first 6 quarterdeck planks in. Tapering using the Xacto chisel blade and then sanding with the 8 inch long, 3/4 inch wide block is working well. Things should move along now since I dont have to notch (nib?) and more planks until I hit the outside nibbing strake.

Prince de Neufchatel by GrandpaPhil - FINISHED - 1/72 - CARD - from Chapelle Plans
in - Build logs for subjects built 1801 - 1850
Posted
A shipwrights work is never done....