CPDDET
-
Posts
1,194 -
Joined
-
Last visited
Content Type
Profiles
Forums
Gallery
Events
Everything posted by CPDDET
-
 You might want to think about a mount for your dremel to convert it into a drill press.
 -
Welcome aboard! All the help you need can be found here.
-
Welcome aboard!
-
I've had good success with Delta Ceramcoat All Purpose Sealer. Any art and craft store should carry it. I get mine at Hobby Lobby.
-
This model is a film prop, but from which film?
CPDDET replied to MadisonU6's topic in New member Introductions
Can't help you but that's an interesting piece. -
Welcome aboard! I'm sure you will find the help you need here.
-
Welcome back! You're not the first to "leave things for awhile" and surely not the last. Mistakes are learning events. Dave
-
1/200 handrails
CPDDET replied to JKC27's topic in Discussion for a Ship's Deck Furniture, Guns, boats and other Fittings
Piano wire?- 1 reply
-
- 2
-

-
I too have the Starrett set. Not cheap but bought it and never looked back. Quality tool.
-
Display setting
CPDDET replied to tonyp398's topic in Painting, finishing and weathering products and techniques
Thin brass shims to narrow the slot? . Wide variety of thicknesses available. CA glue to bond the shim to the standoff. -
Welcome to the Zen of model shipbuilding
-
Welcome aboard!
-
Halò from the Highlands of Scotland.
CPDDET replied to Highlander's topic in New member Introductions
Welcome aboard, Highlander! Great people here with lots of knowledge to get you on your way. Dave -
If they make parallel pliers, why can't they make parallel tweezers?
-
Glad to hear things worked out.
-
Keep us posted, please.
-
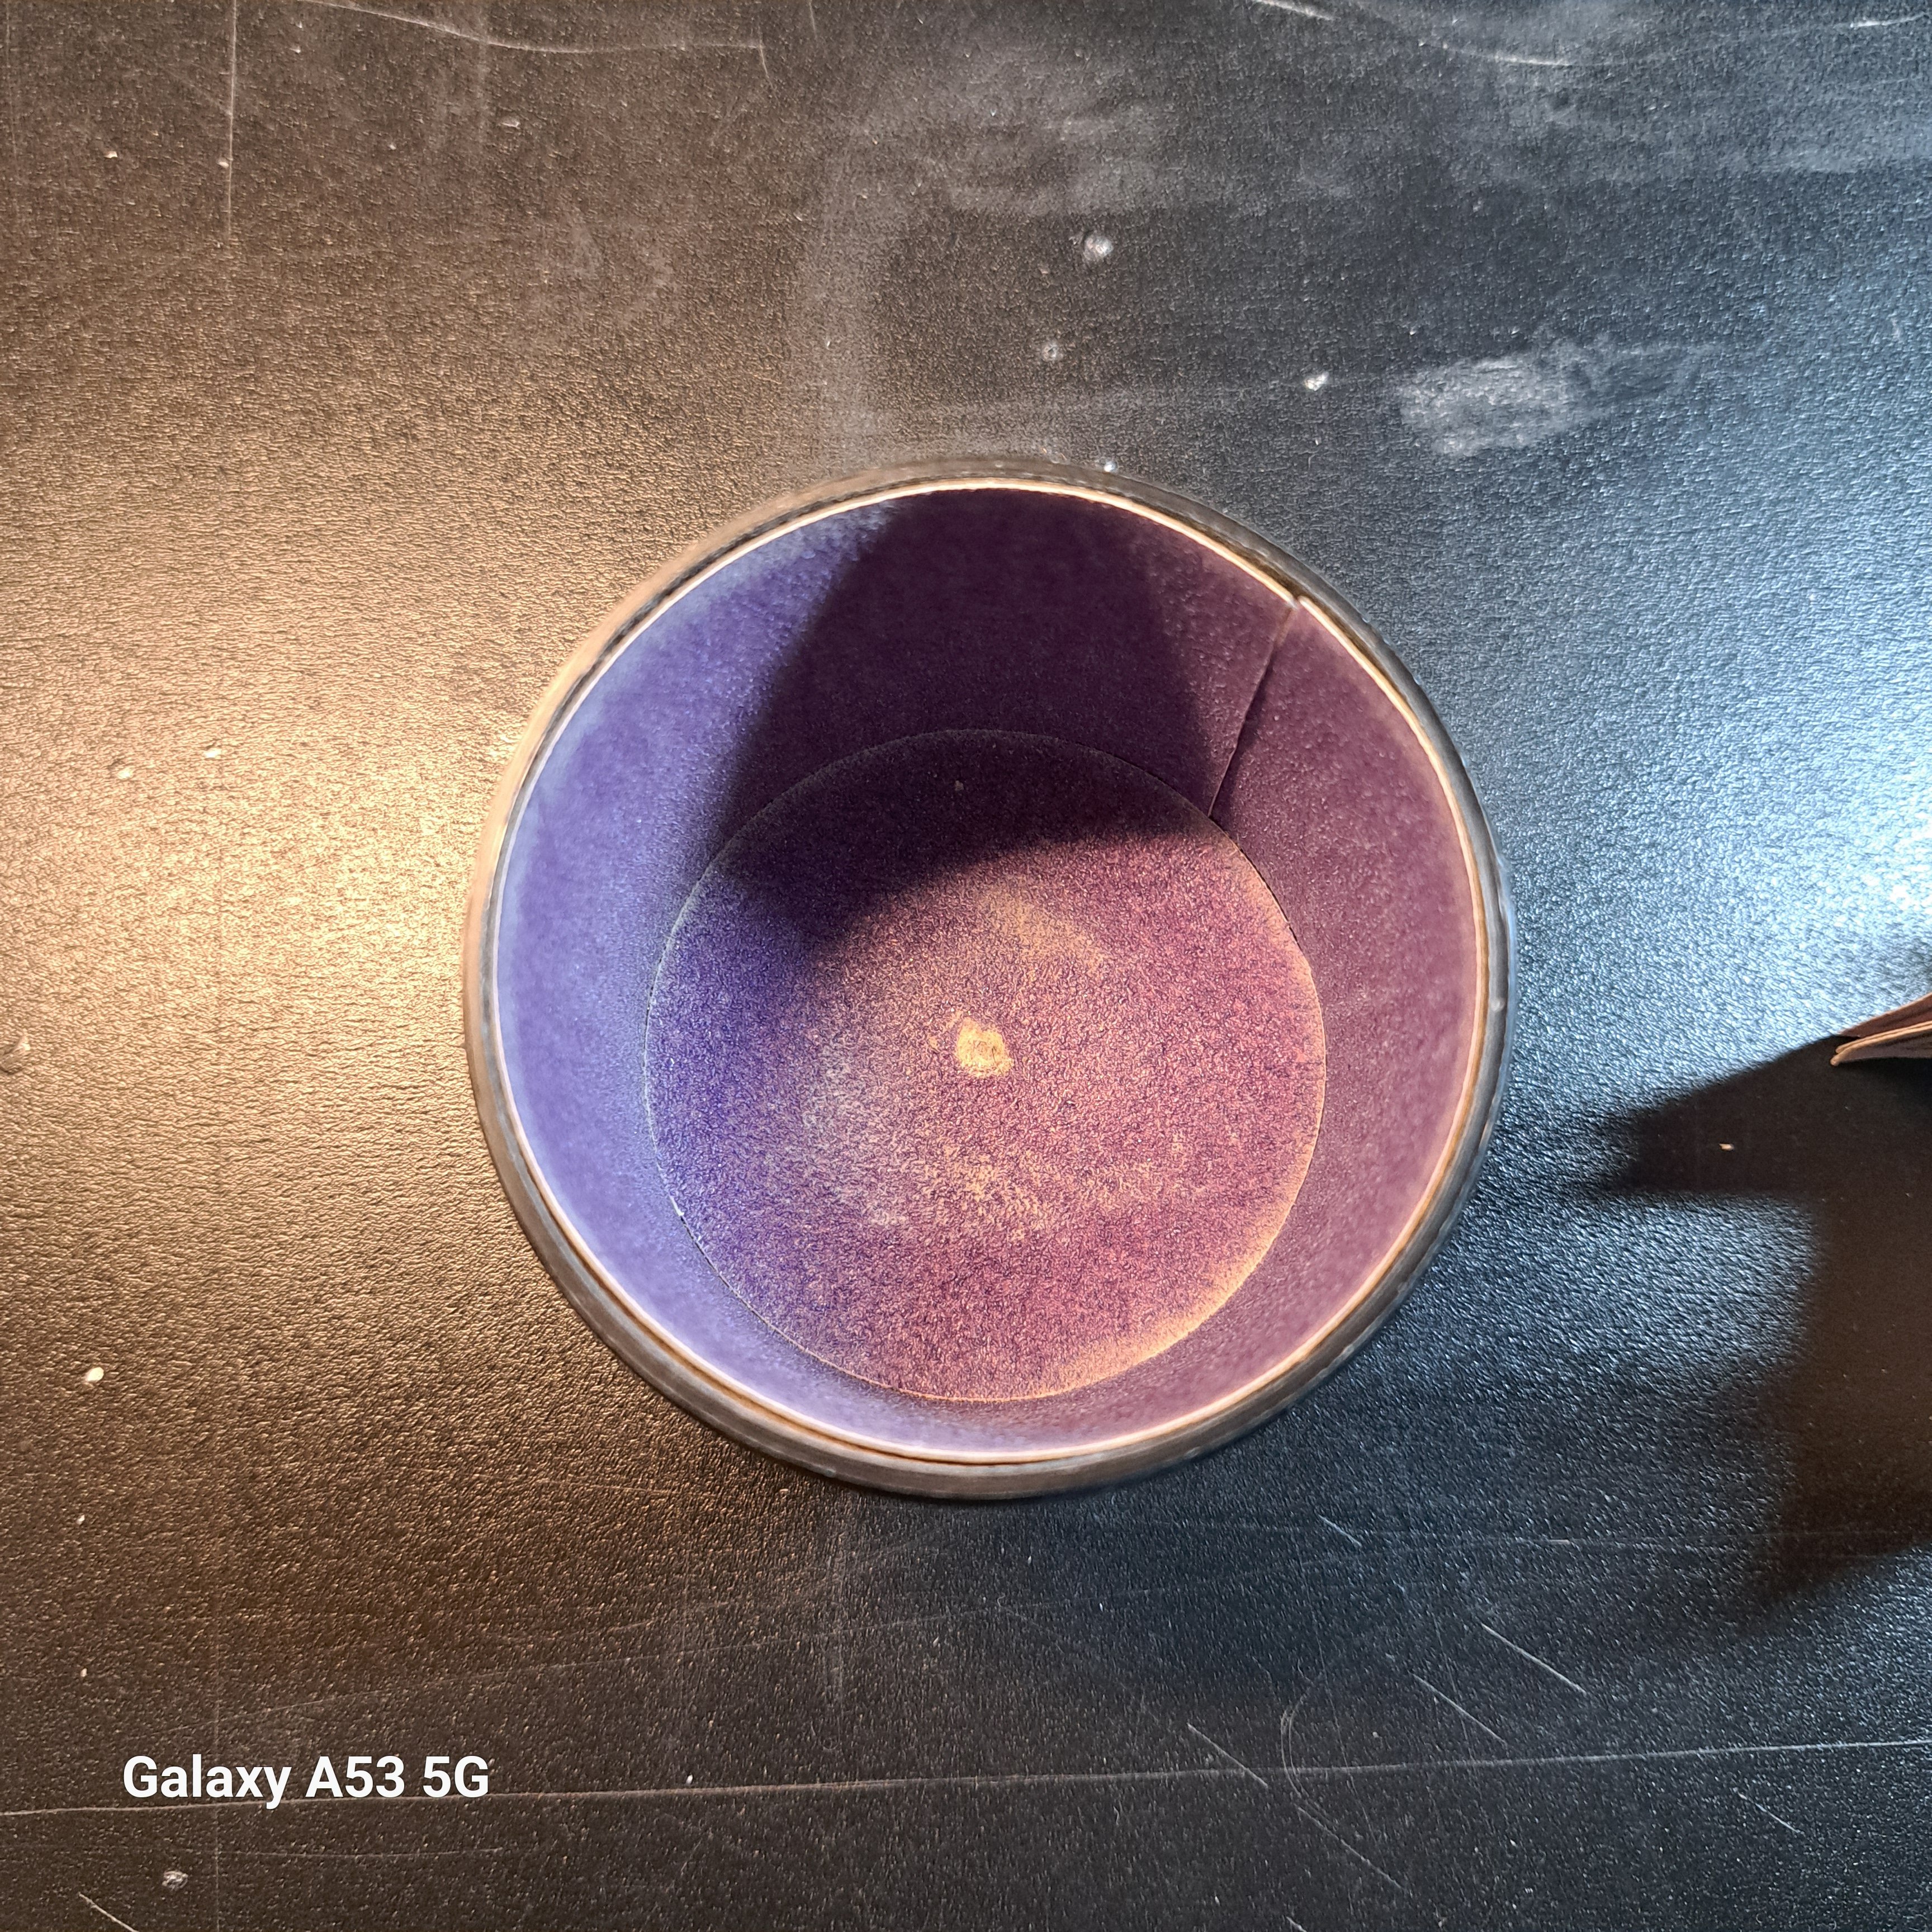
This is a picture from the Syren pdf file on assembly and sanding blocks.
-
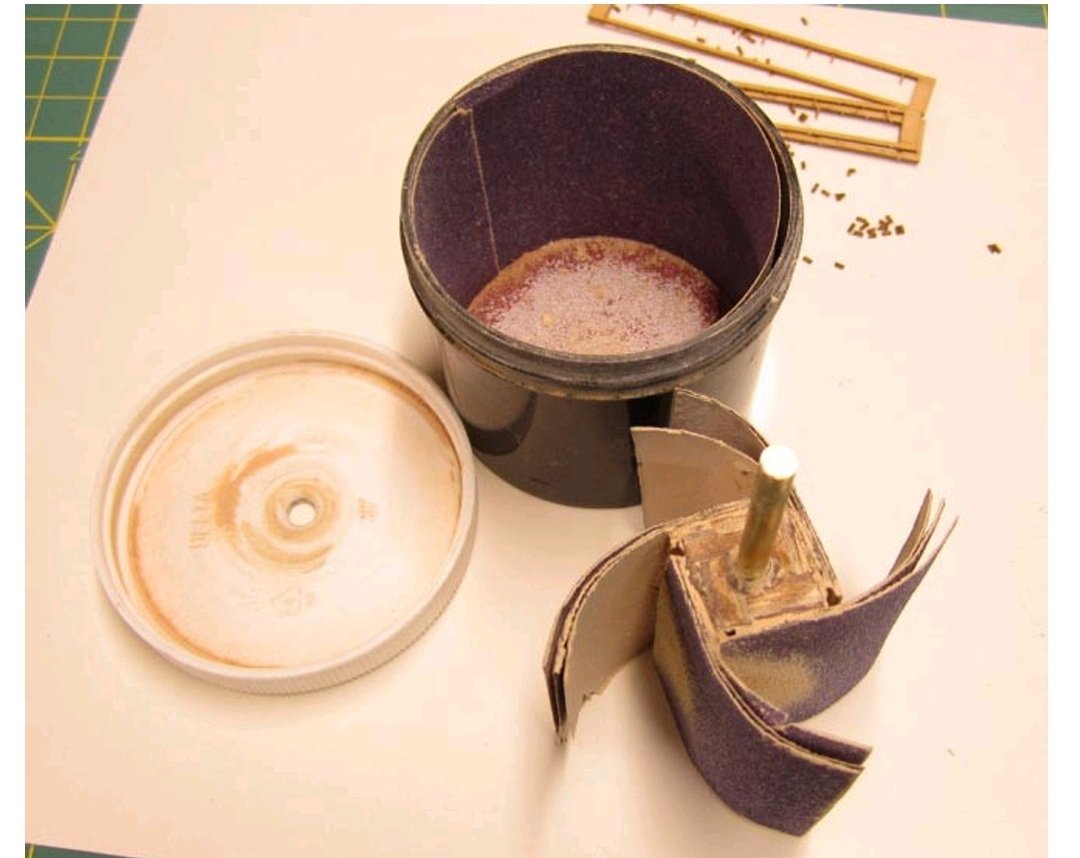
This was my mod. 150 grit paper with 3 pieces glued to each of the 4 wood blocks. The triple sheets give the needed stiffness. Can't recall exactly where I got this idea, but it was a reliable source.

-
Seems that if the plastic is flexable enough it should work great. I know I had instruction on modifying the sanding drum. I think it was published by Syren but I'll have to dig around, at times my organization skills are lacking.
-
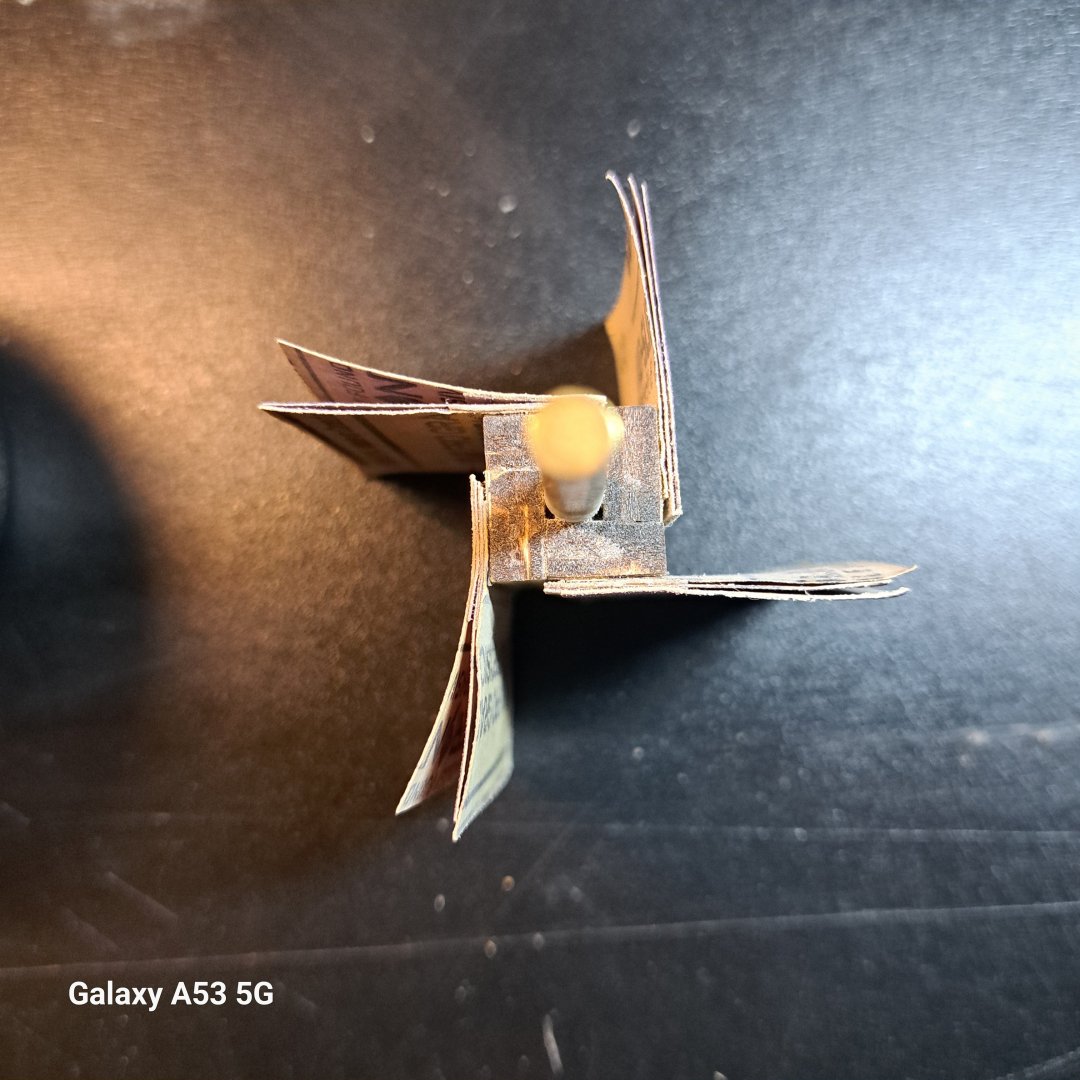
I modified mine the same way as shown here. Great improvement in results.
-
Welcome aboard!
-
Decisions can sometimes be difficult and at other times quite easy.
-
Thanks for the details! Stay safe.
-
CA glue? No worries about having the paint adhered to the wood? Just curious, I'm always interested in the thought process and techniques of experienced builders.
-
Nice to see you're back in the shipyard. Great little jig with good results.