CPDDET
-
Posts
1,194 -
Joined
-
Last visited
Content Type
Profiles
Forums
Gallery
Events
Everything posted by CPDDET
-
Welcome! Your off to a great start.
-
Welcome to the forum! Great people here.
-
Two people working on the same model is an interesting concept. I would think it depends on how well you work together when performing other tasks. Perhaps trying it with a smaller model, such as a Pram or Lobster Smack, would be a good test.
-
Welcome! Beautiful models you have there.
-
 Very innovative!
 -
A warm welcome and a compliment on your first two builds, they look great!
-
Looking good! Have a great Thanksgiving.
-
Welcome, nice workshop you have there!
-
Nice builds! Welcome aboard.
-
Welcome to the most rewarding and frustrating hobby.
-
As always, splendid detail work!
-
Welcome home!
-
Welcome to the forum!
-
Chisel hone guide question
CPDDET replied to CPDDET's topic in Modeling tools and Workshop Equipment
Thanks Toni, I'll check it out. -
Chisel hone guide question
CPDDET replied to CPDDET's topic in Modeling tools and Workshop Equipment
Looks like it could be an attachment for a Tormek -
I have1/4, 1/8 and 1/16 chisels along with the dogleg ones from Stumac. I think I will stick with those for now and hopefully improve with practice. Although a micro plane is definitely in my future. Christmas isn't far off and maybe Santa will be good to me.
-
I considered something similar but thought it would limit me to 45 degree bevels. Seem like I rarely get a 90 or 45 when building my models. But vertais does make a very nice 45 bevel attachment for their plane. Tempting!
-
While sandpaper and files will work, I think they are perhaps the most difficult in attaining a crisp bevel that allows the greatest amount of glue area. Thank you all for some great ideas. I think this is just another task that takes time and practice to develop with sharp hand tools.
-
Wondering how others are cutting chamfers, I'm having a bit of on issue getting smooth flat chamfers at different angles. While I do have a burns saw, it doesn't have a tilt arbor and besides, most the time the pieces I need to chamfer are much to small for that anyway. I suppose some type of jig used with a hand chisel might work but just cant seem to find an easy, reliable method. Anyone have a method their using that works well for them? Dave
-
Chisel hone guide question
CPDDET replied to CPDDET's topic in Modeling tools and Workshop Equipment
Perhaps you could supply more information? Such as manufacturer, availability and so on. -
Chisel hone guide question
CPDDET replied to CPDDET's topic in Modeling tools and Workshop Equipment
Over the years of shaving with a straight razor I have become pretty adapt to honing and stopping a razor. There was, of course, a learning curve but over that time I have acquired the stones and skill to do it. I imagine, with time, a similar skill could be attained with these chisles. Thank you for your thoughts and insights. -
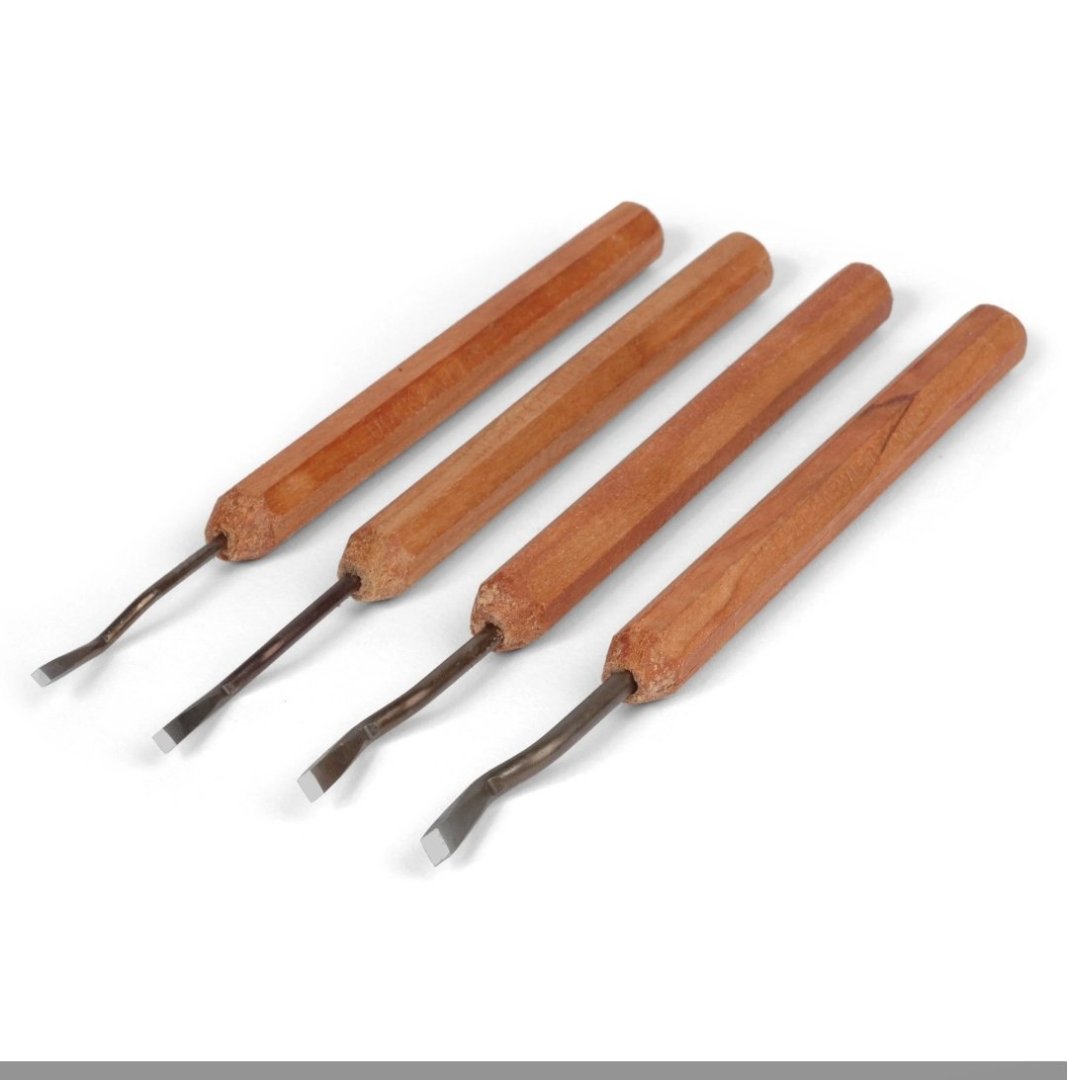
I recently purchased this set of 4 micro chisels from Stumac. I'm very pleased with them and the dogleg shape allows great control. Cutting widths include 2mm, 2.4mm, 2.75mm and 3.25mm But I need to find a honing guide that will work with them. Anyone have ideas?