-
Posts
629 -
Joined
-
Last visited
Content Type
Profiles
Forums
Gallery
Events
Everything posted by Matt D
-
Hi Gary. I can't answer your question about the 6mm lite ply. But regarding the false keel: it's designed in 3 pieces and shouldn't be built as one piece. The main reason is that it will tend to warp if it's not broken up. In fact, the middle piece is also reversed to negate the effects of any warping that might occur. One word of warning I will offer is to make sure your printout is done a 100% scale, not "fit to page". I have a second Winchelsea bulkhead set that's about 96% scale from learning that lesson the hard way.
-
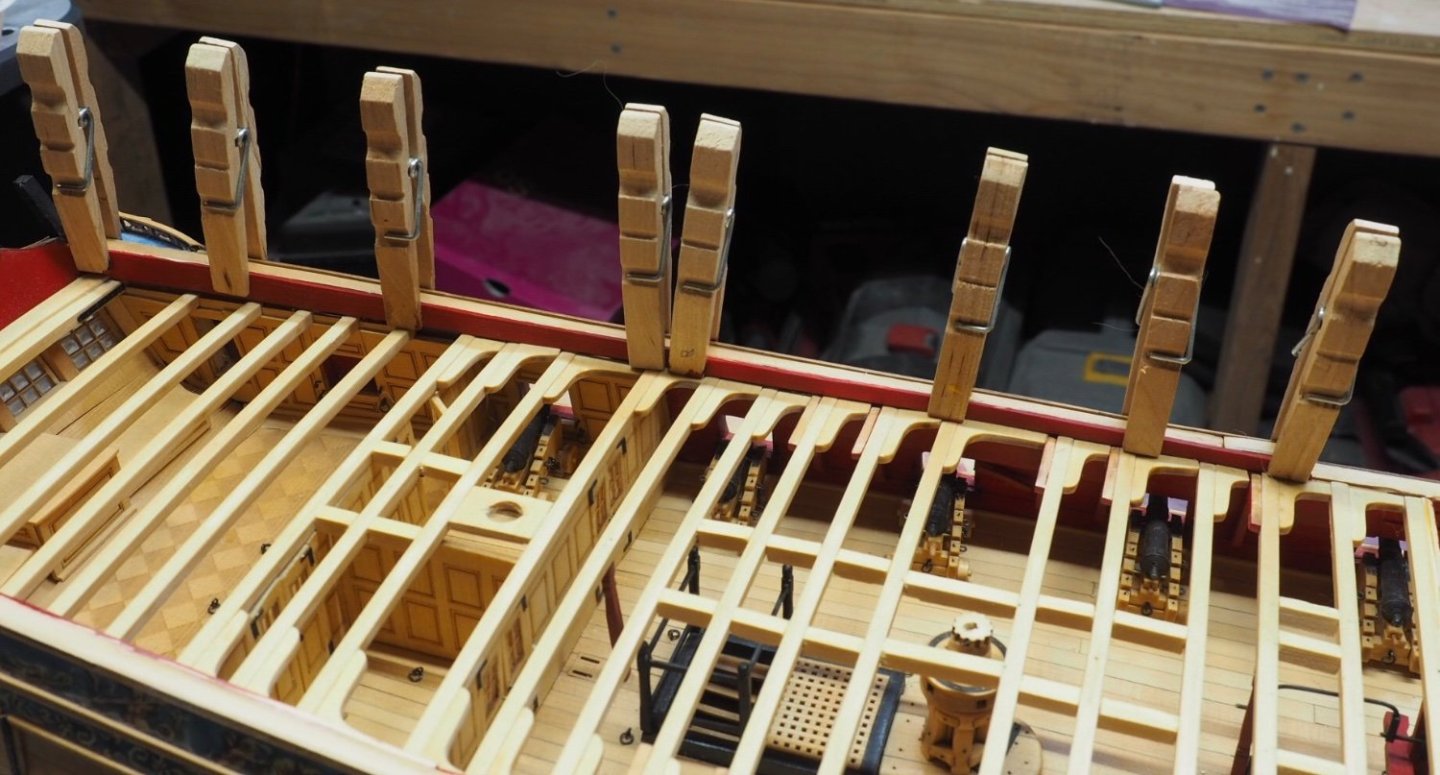
Thank you guys for looking at this. That seems like the most sensible way to fix it. I'll get to work carefully cutting the clamps back. I probably won't have anything to post for a couple of weeks. Between my two kids, we've got 3 lacrosse games and a track meet this week. I'm also hoping to go walleye fishing on Saturday. And I have to travel for work next week. April and May are going to kick my butt.
-
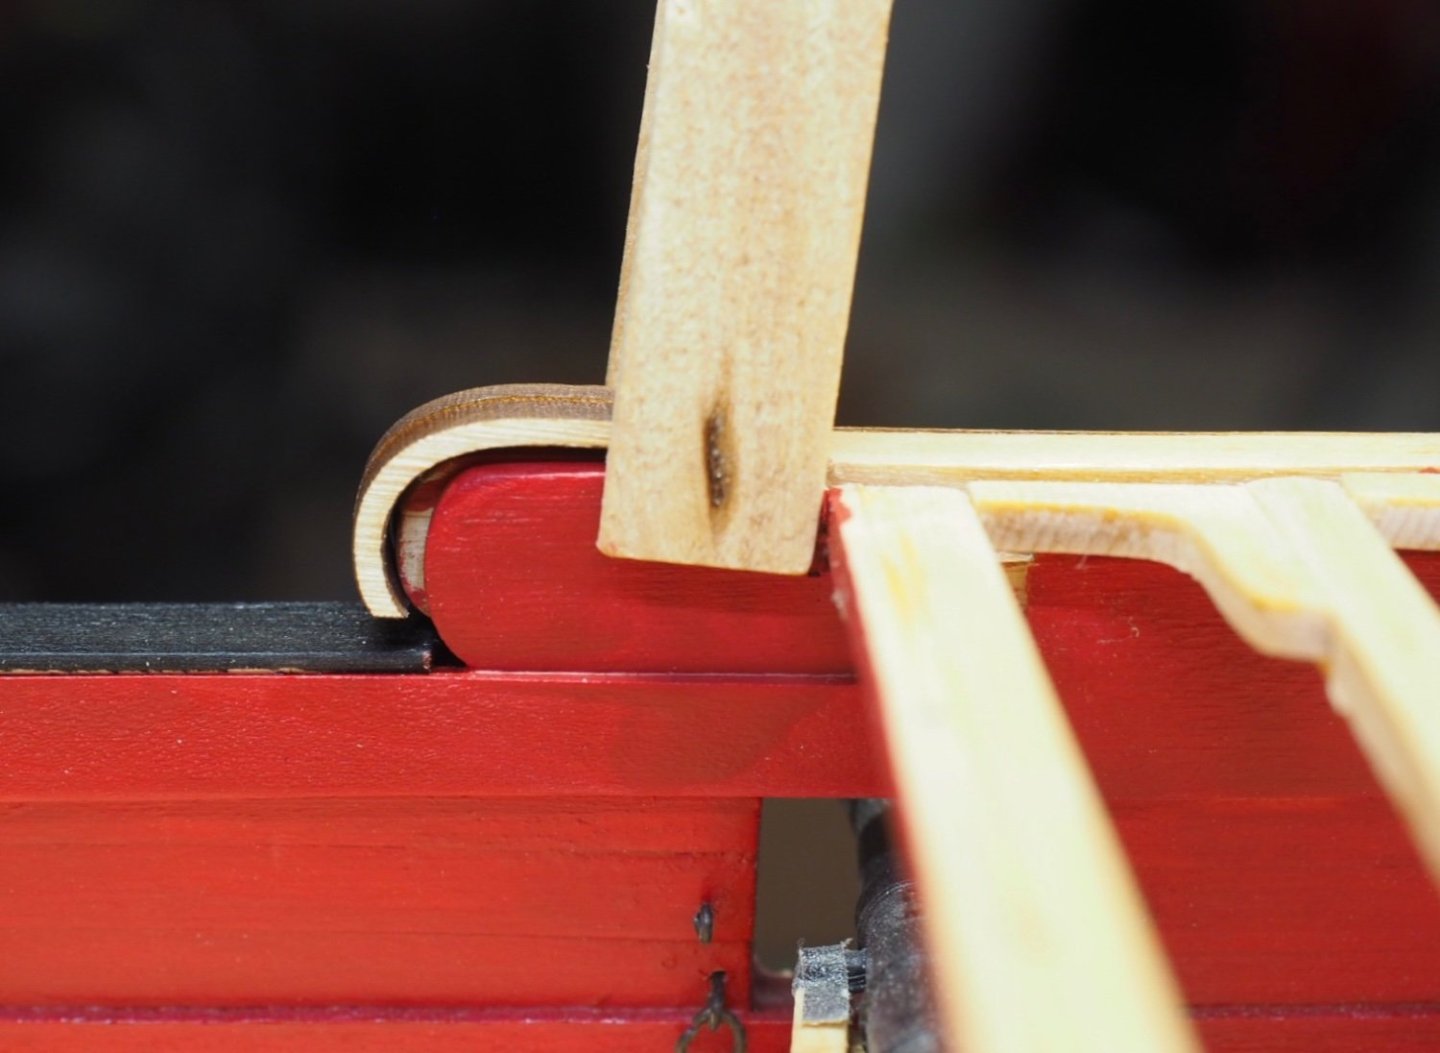
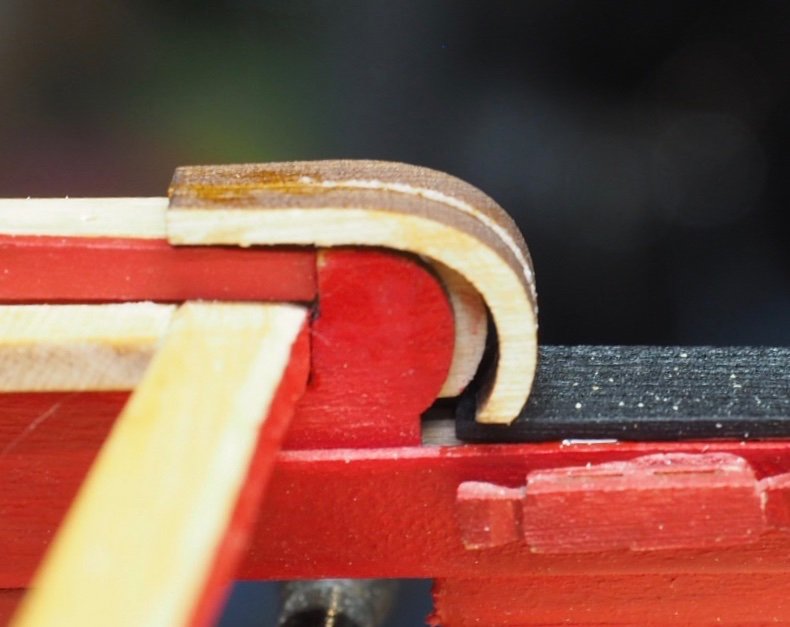
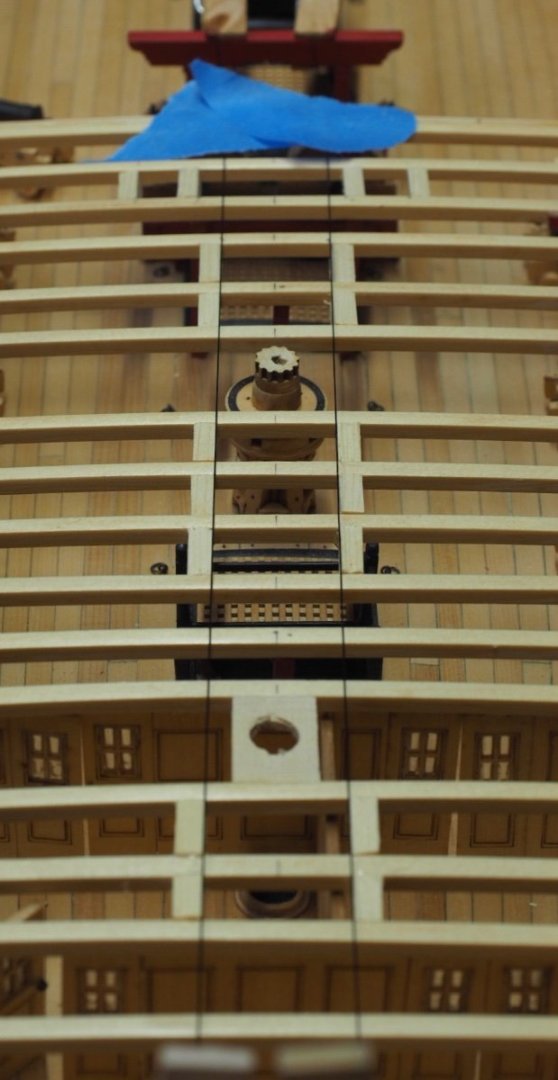
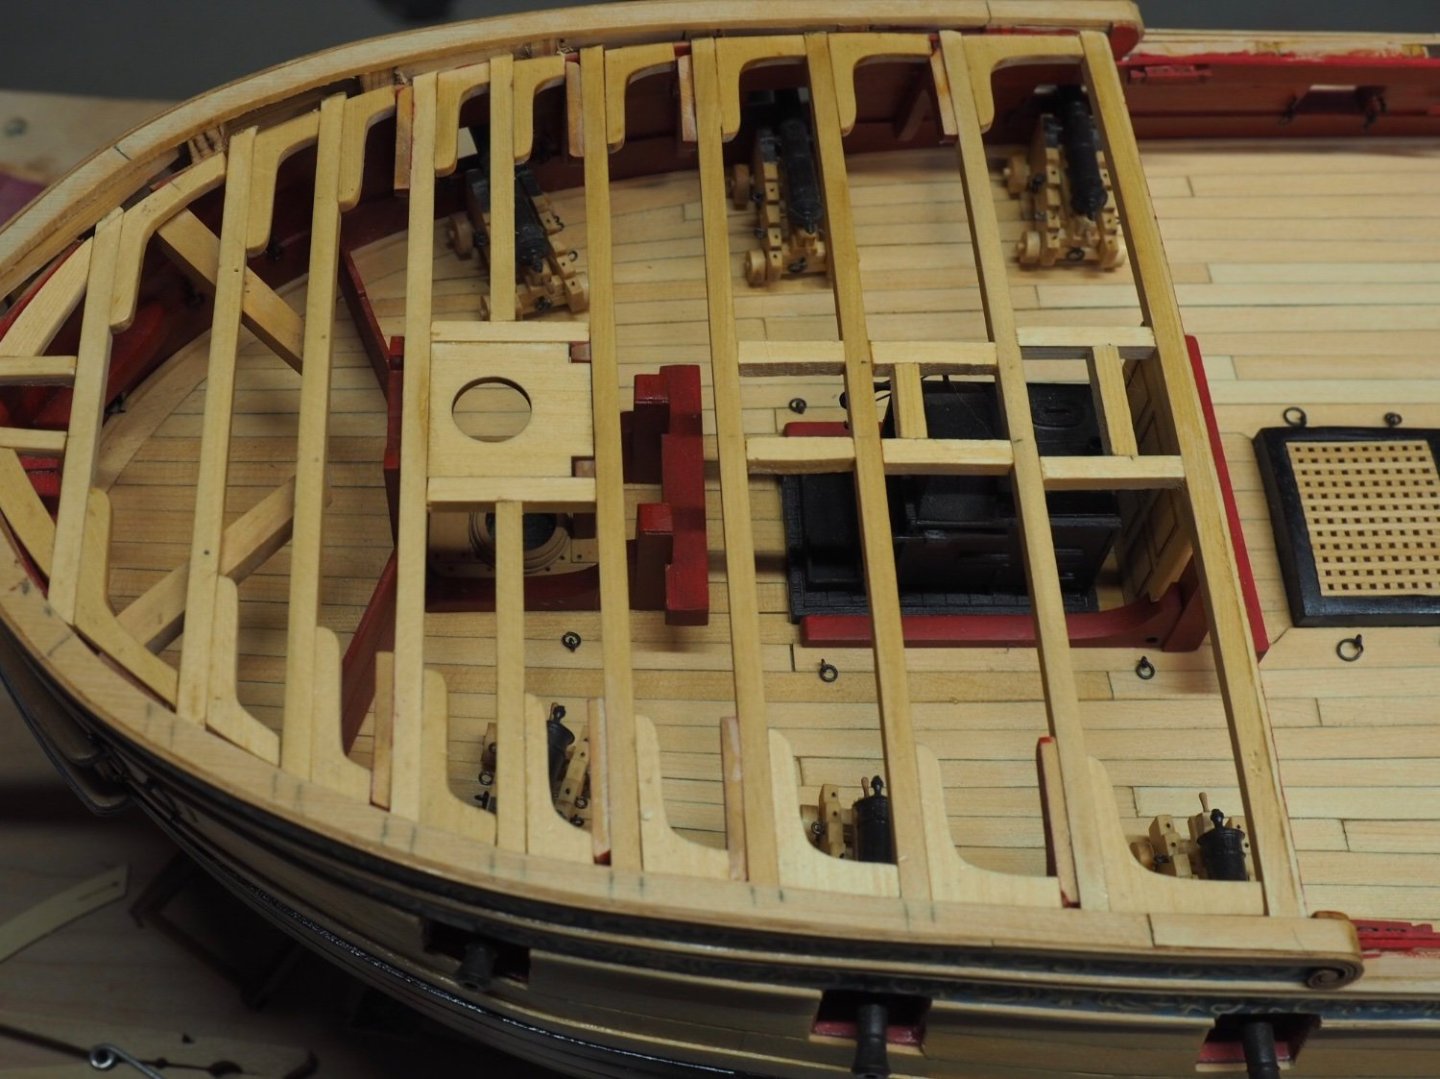
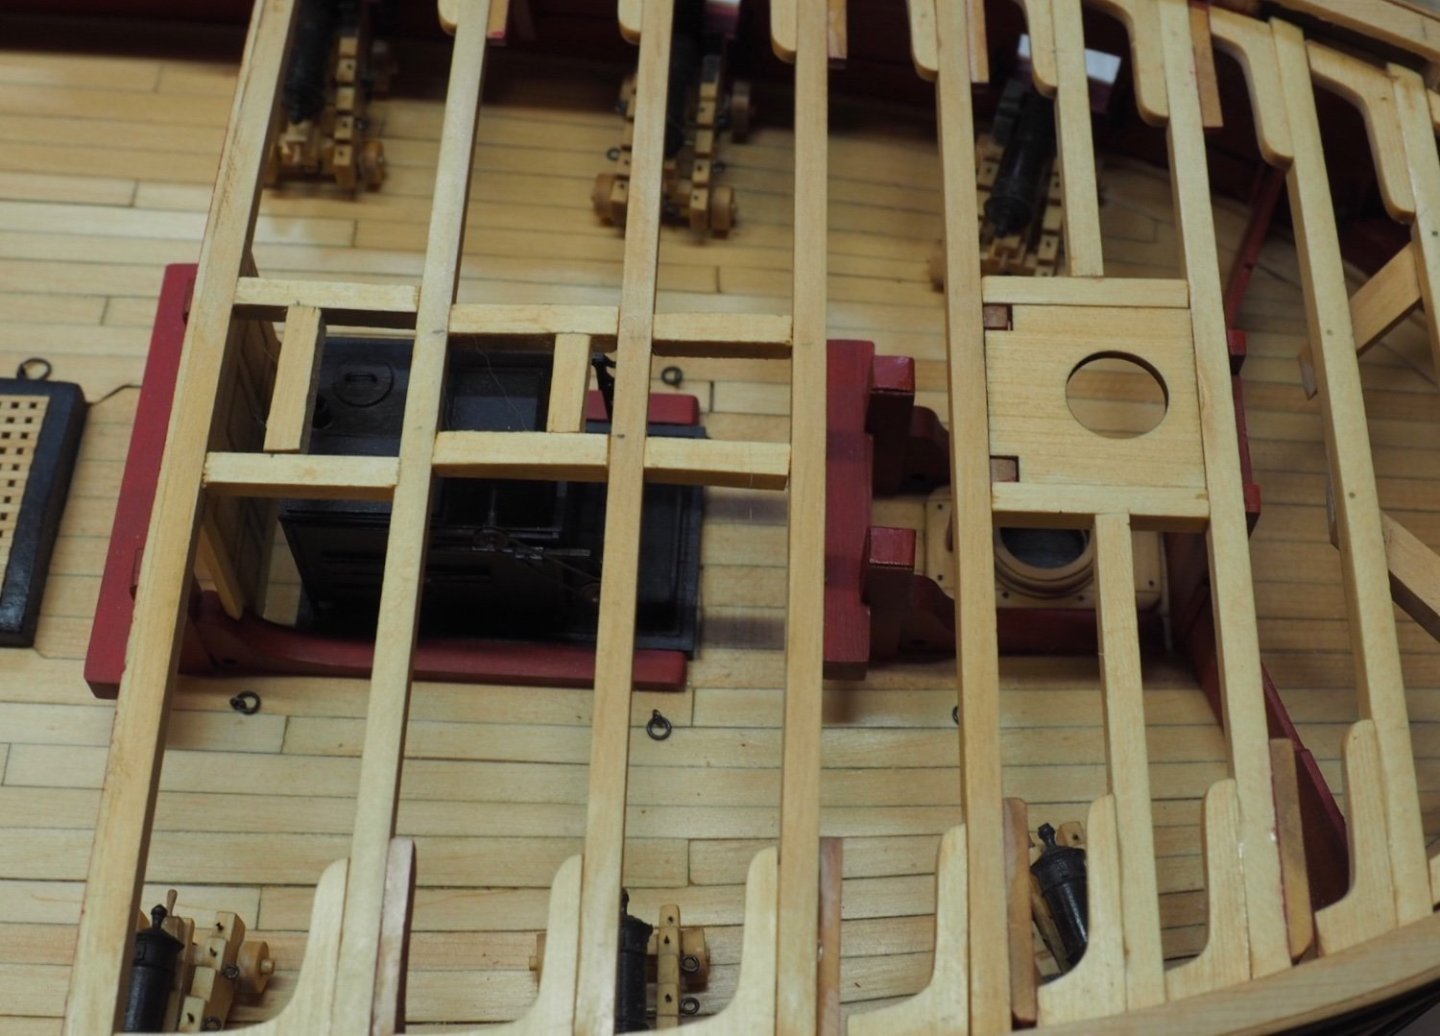
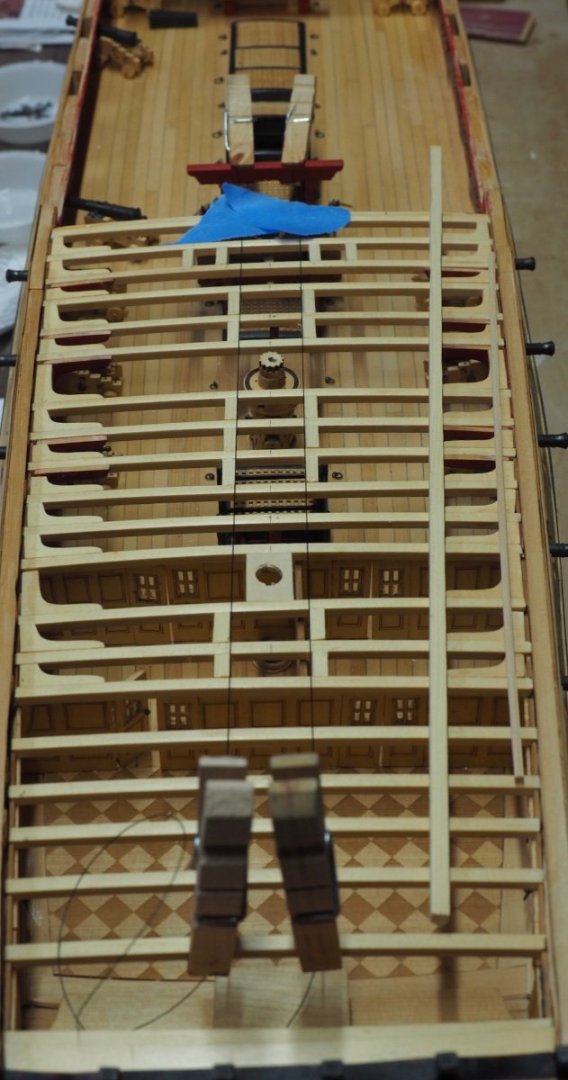
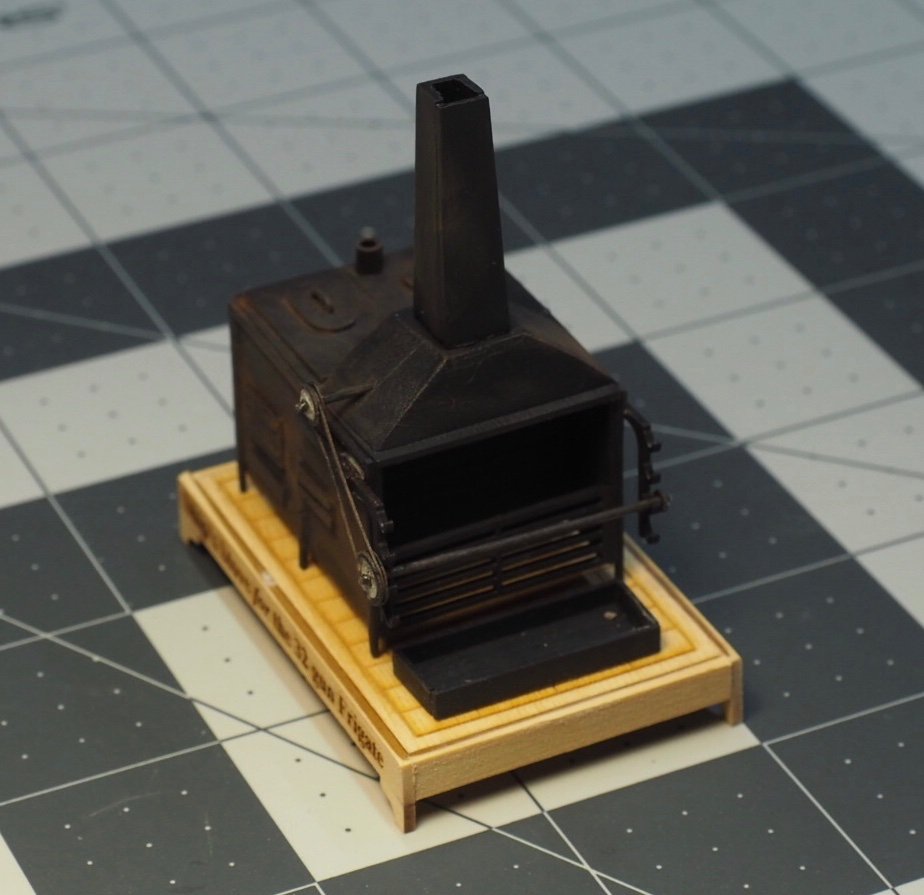
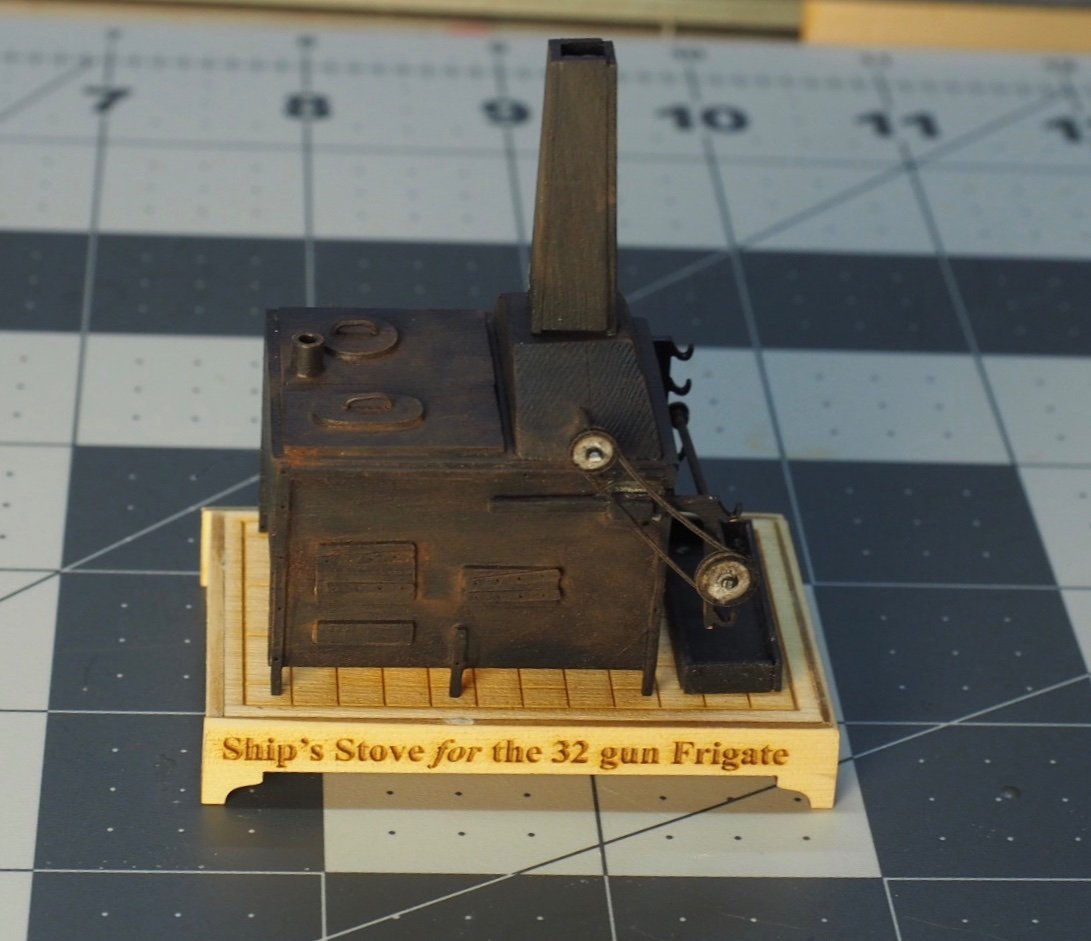
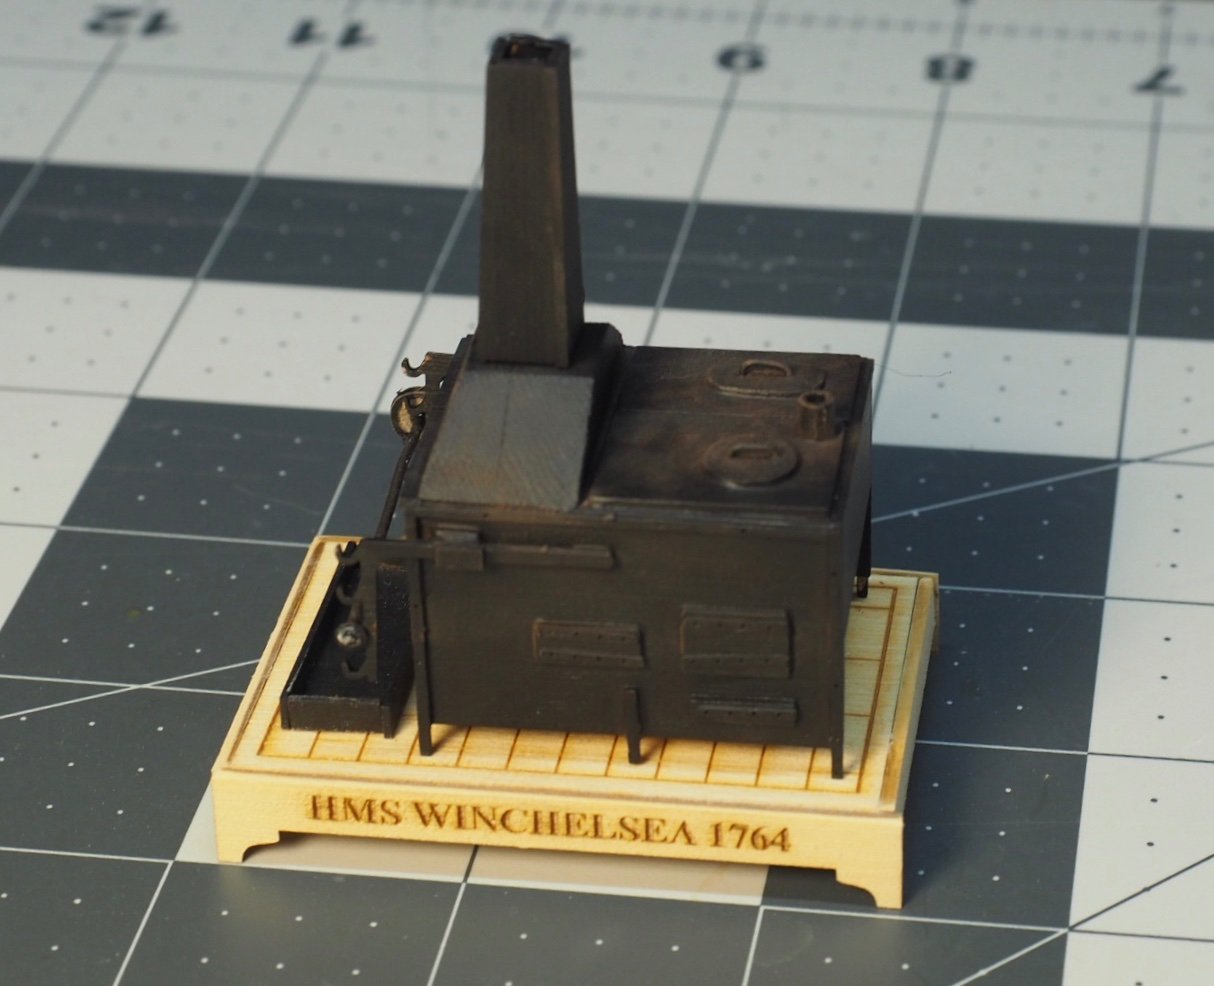
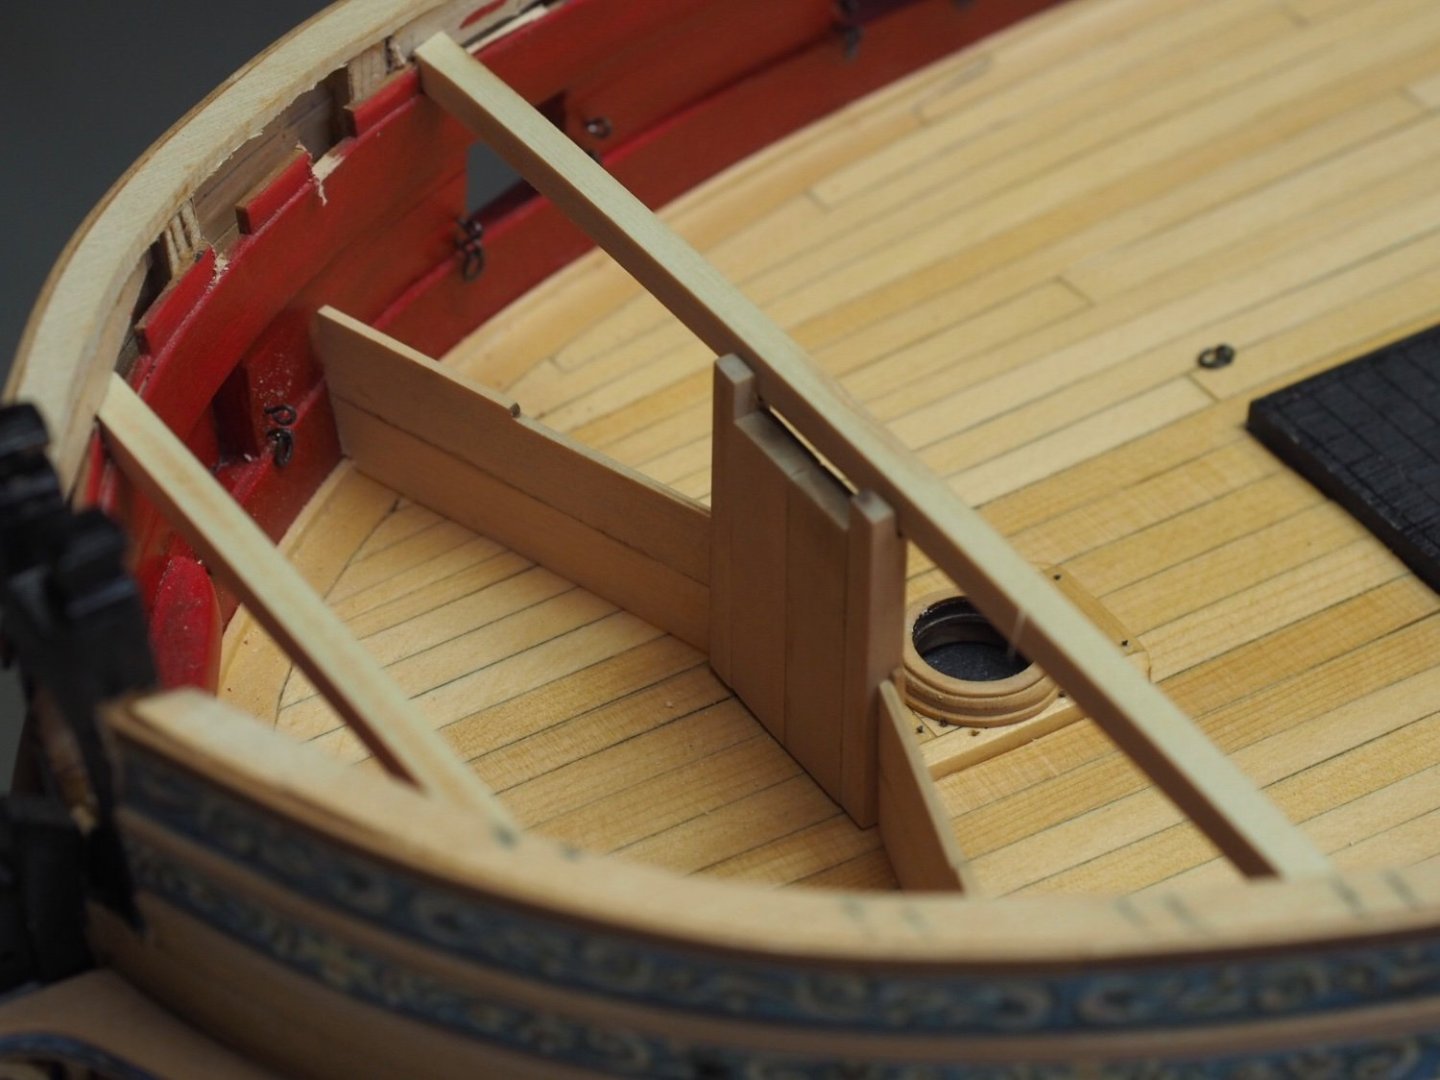
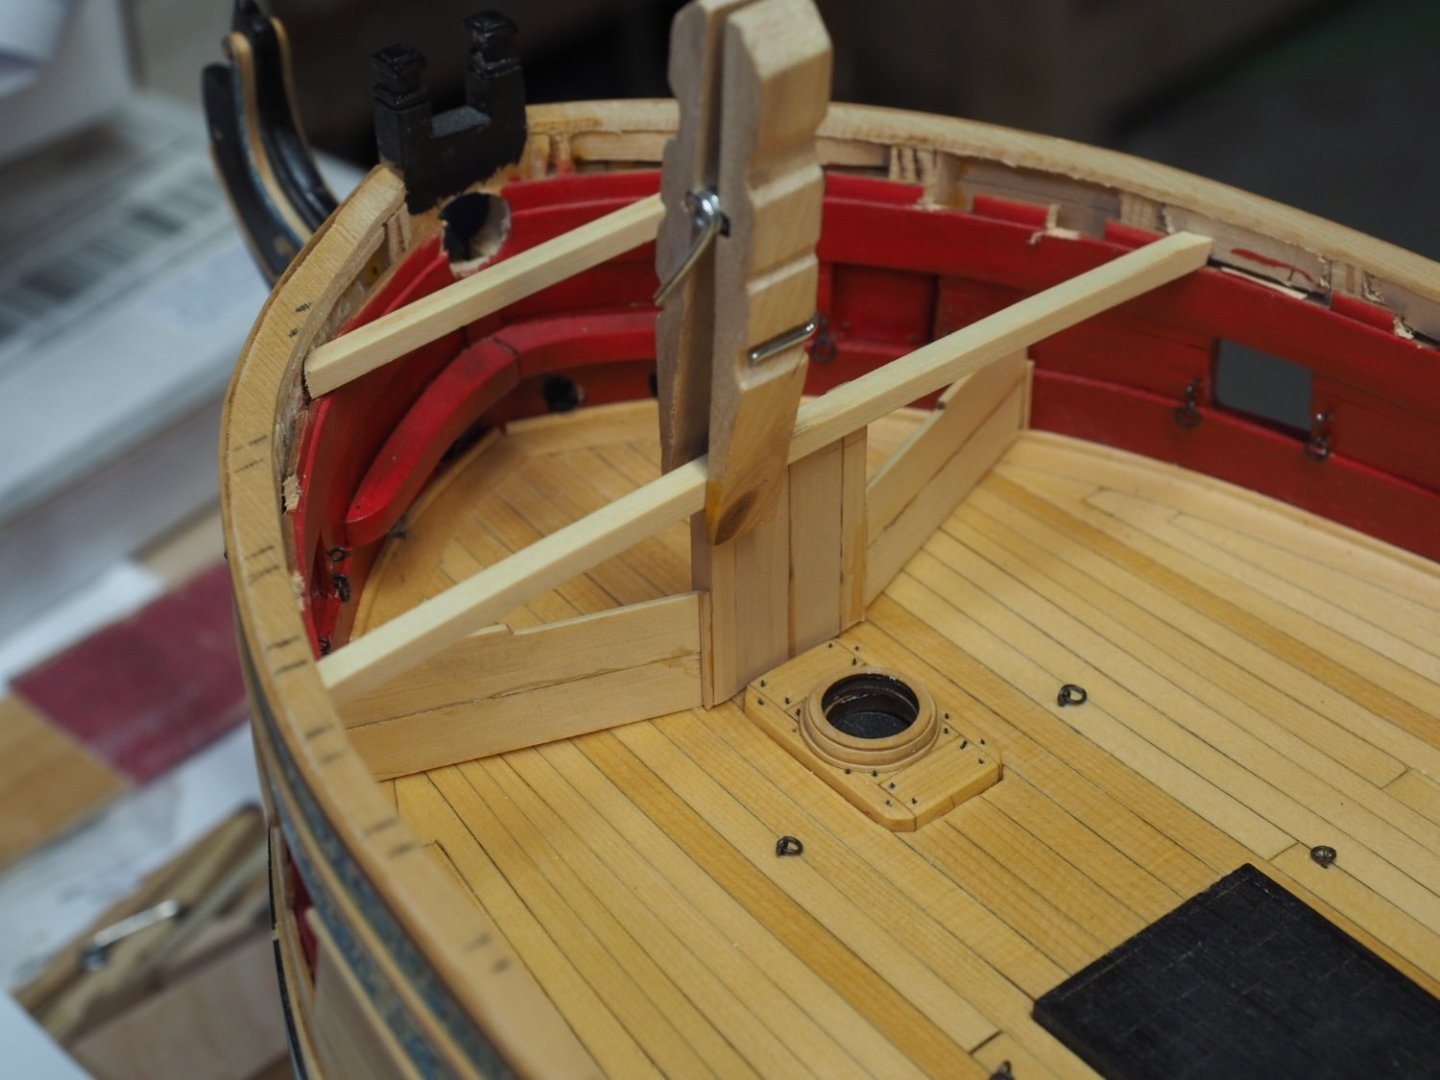
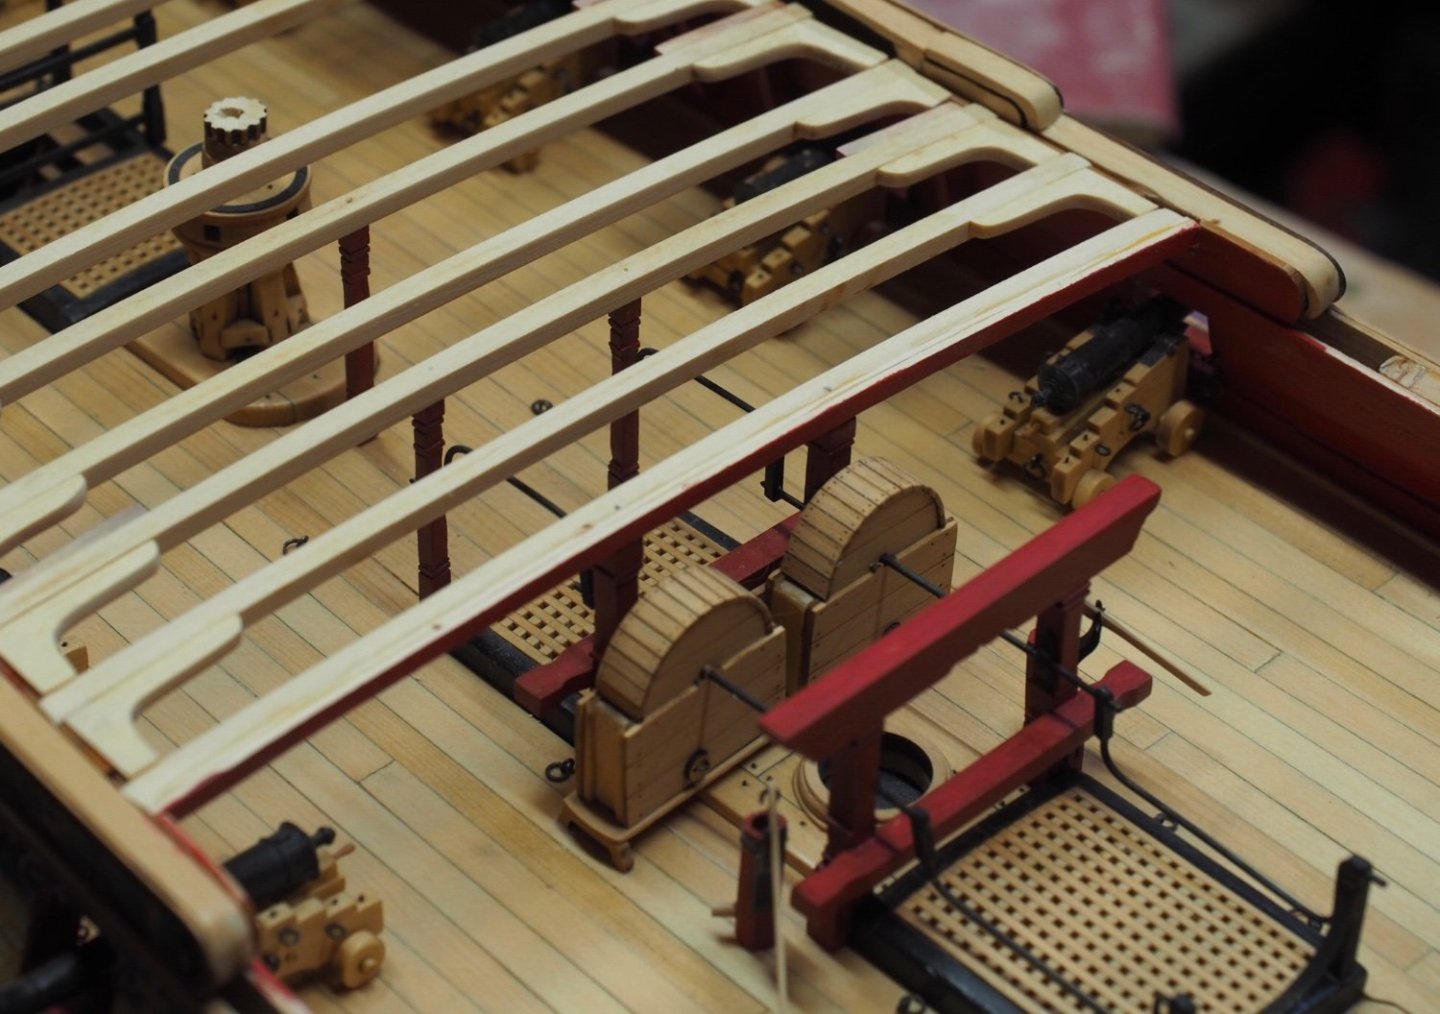
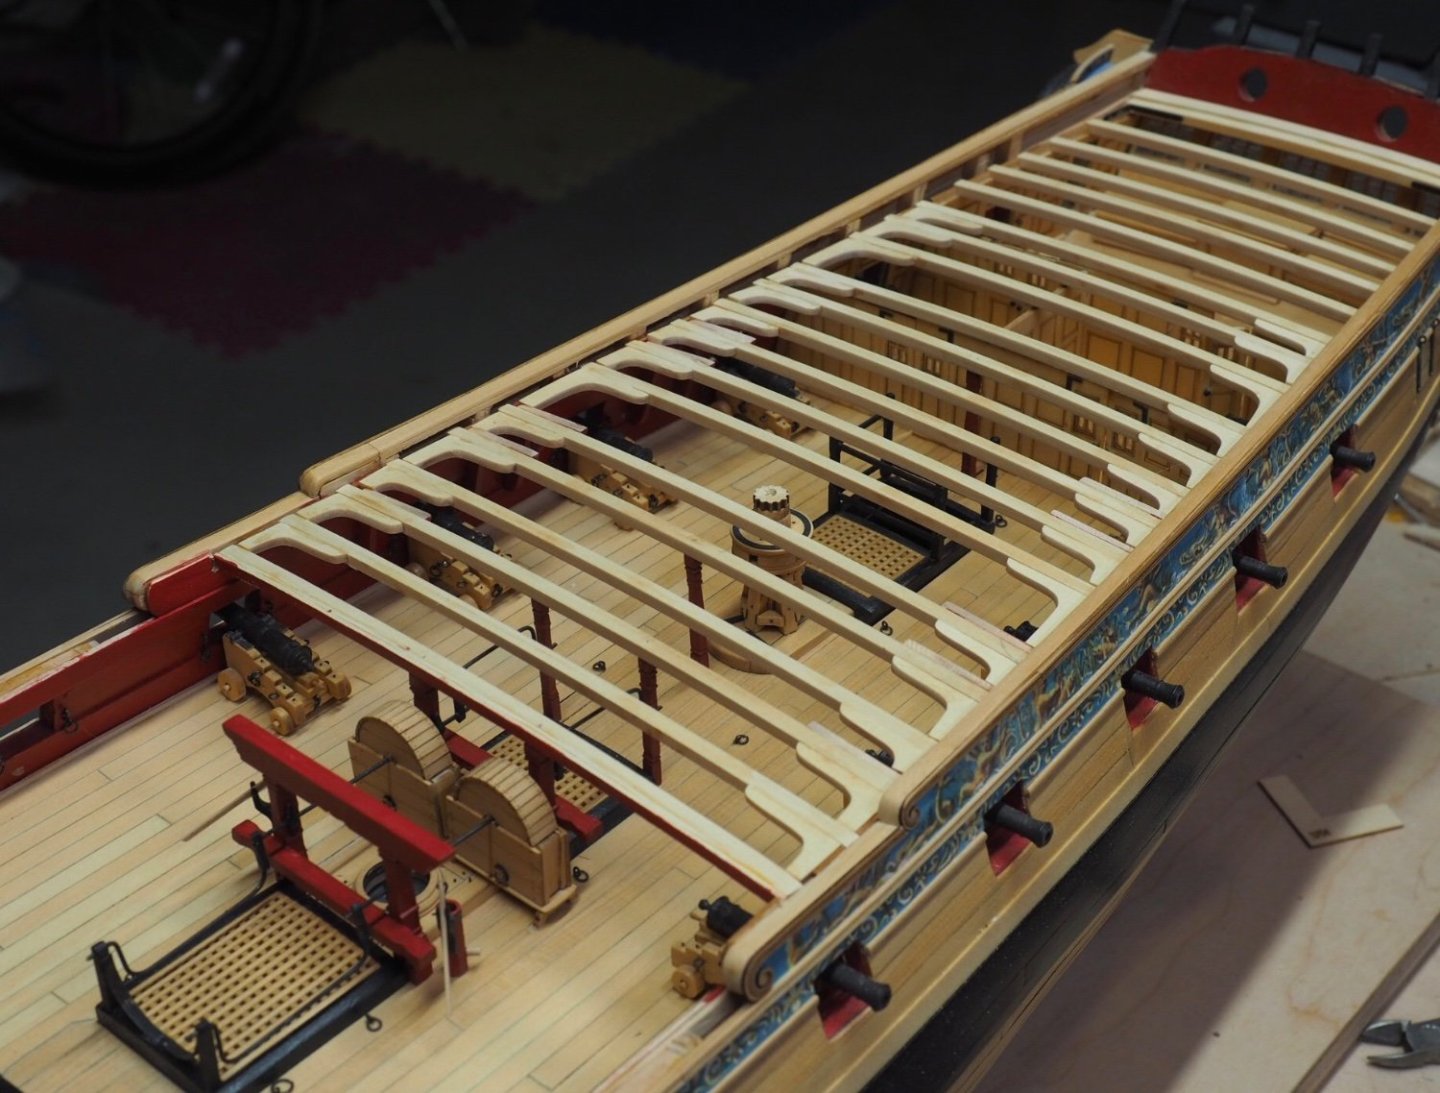
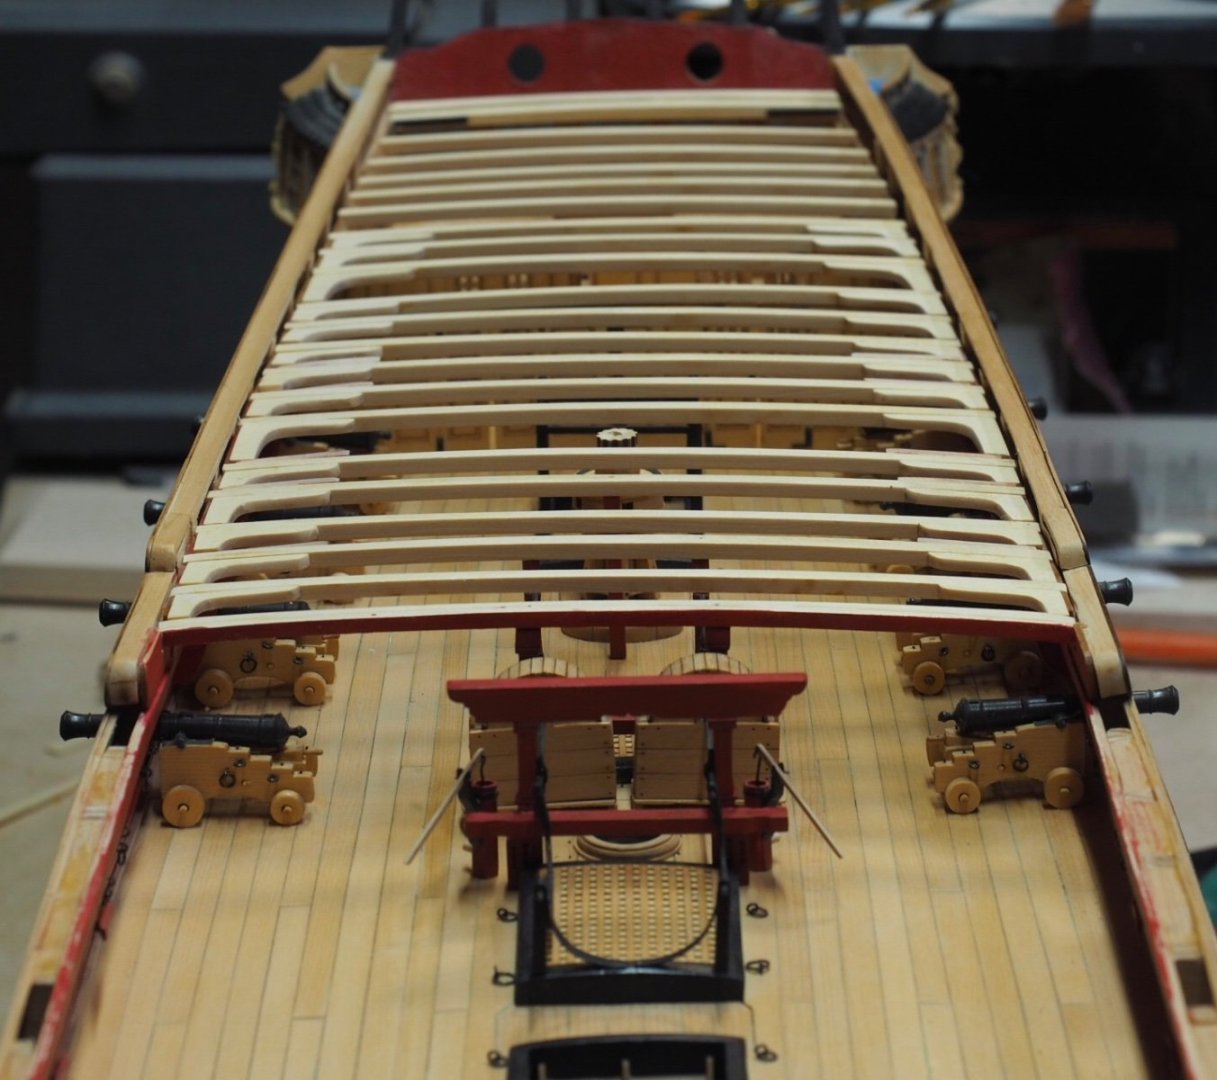
Thanks for saying that, Chuck! And thank you for making this project happen. It means a lot to me that you put in the amazing work to bring this to us. Thanks, Rusty! I’ve been lucky to get some time to work on her lately. With spring sports starting, it’s going to get tougher soon. Thanks, Jim! I agree with you and JJ, too. Thanks, Dusan. This is the first time I’ve ever tried weathering. I used pastels because I as able to get a lot of colors. I mixed some dark grey with a deep rust red. To use the pastels, I scraped them with a blade into a dish. Then I applied them with a brush. Thanks, JJ. And thank you to everyone who liked my previous post. About those cap rails: I have a problem and need advice. You can see in the pictures that I have a gap between the beam clamp pieces and the curved cap pieces. This will look awful if I don’t fill that in. I think the best course of action is to cut the beam clamp back to the beam and then make a new piece out of 3/64 stock. Does that sound like a good idea, or is there a better option?
-
Beautiful work, Rusty! Those head rails look really fun to build.
- 642 replies
-
- winchelsea
- Syren Ship Model Company
-
(and 1 more)
Tagged with:
-
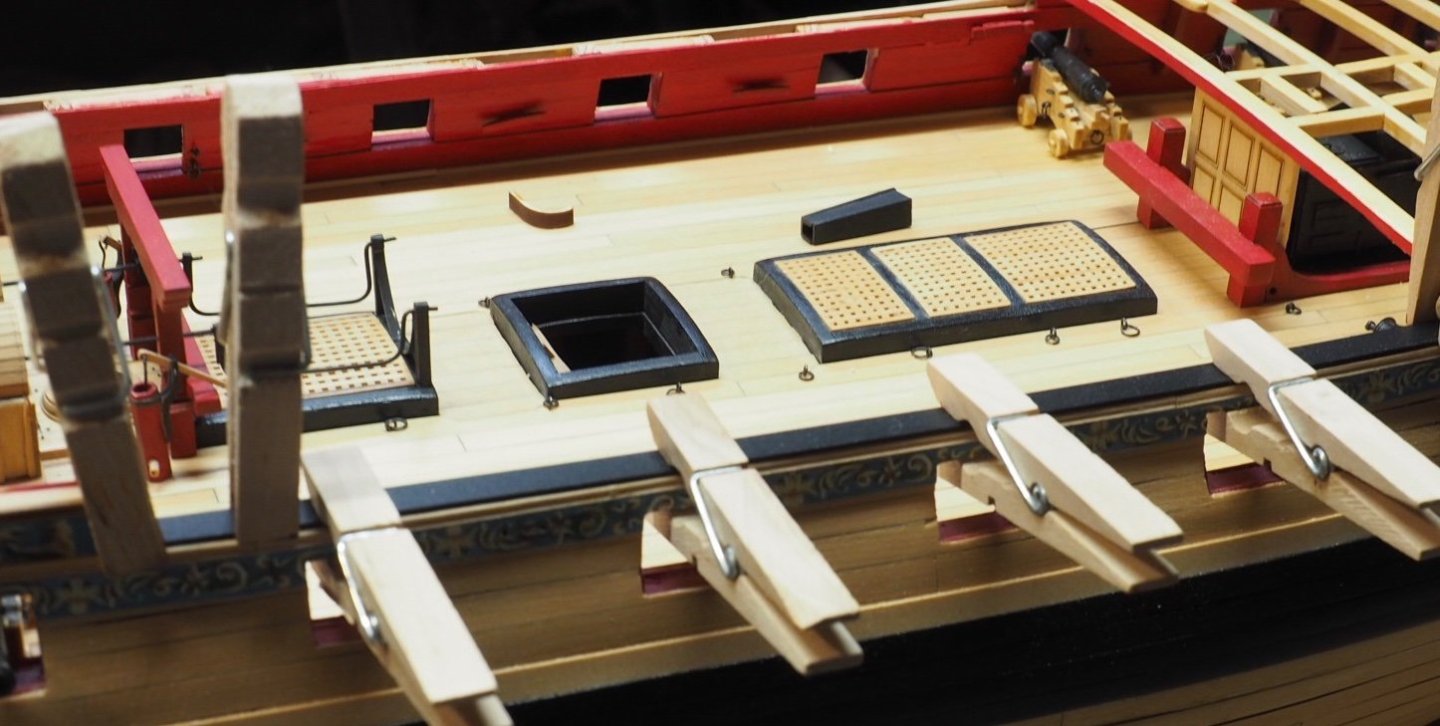
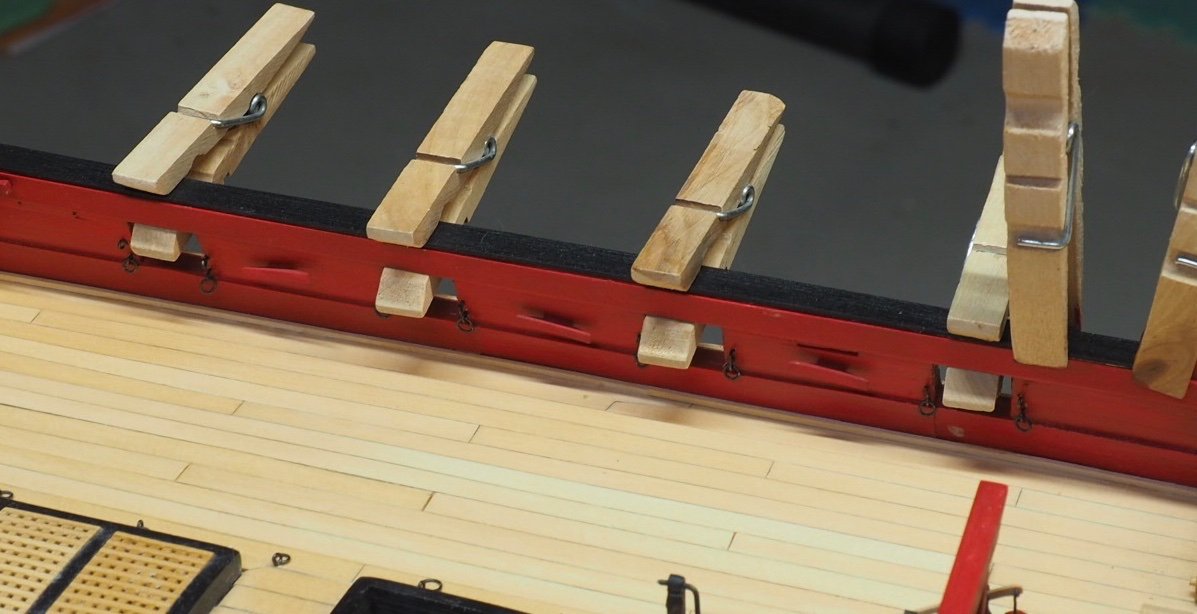
Thank you, Rusty, JJ, Chuck, Glenn, and Jim, for your comments. JJ, you’re right about the fun stuff! Chapter nine is full of really neat stuff. I’ve planked the bulwarks on the quarterdeck and made the cap rail on one side of the waist. These two things make a huge difference. Having finished surfaces in those areas is a world of difference.
-
Caption on a photo about halfway down the article: “The Petrel was pictured in an neighbouring berth in January, before being moved into the dry dock.” So she has only been in dry dock a short while.
-
Beautiful work, Rusty! Those gangways are so cool. Thanks for sharing this with us.
- 642 replies
-
- winchelsea
- Syren Ship Model Company
-
(and 1 more)
Tagged with:
-
Thank you for your nice comments, Glenn, JJ, and Jim. And thank you to the people who clicked the "like" button. As Chuck describes at the end of the Chapter 7 instructions, that bow area sure looks empty now. I'm looking forward to filling it in with the beautiful Chapter 8 pieces. But first, I need to make more eye bolts and split rings.
-
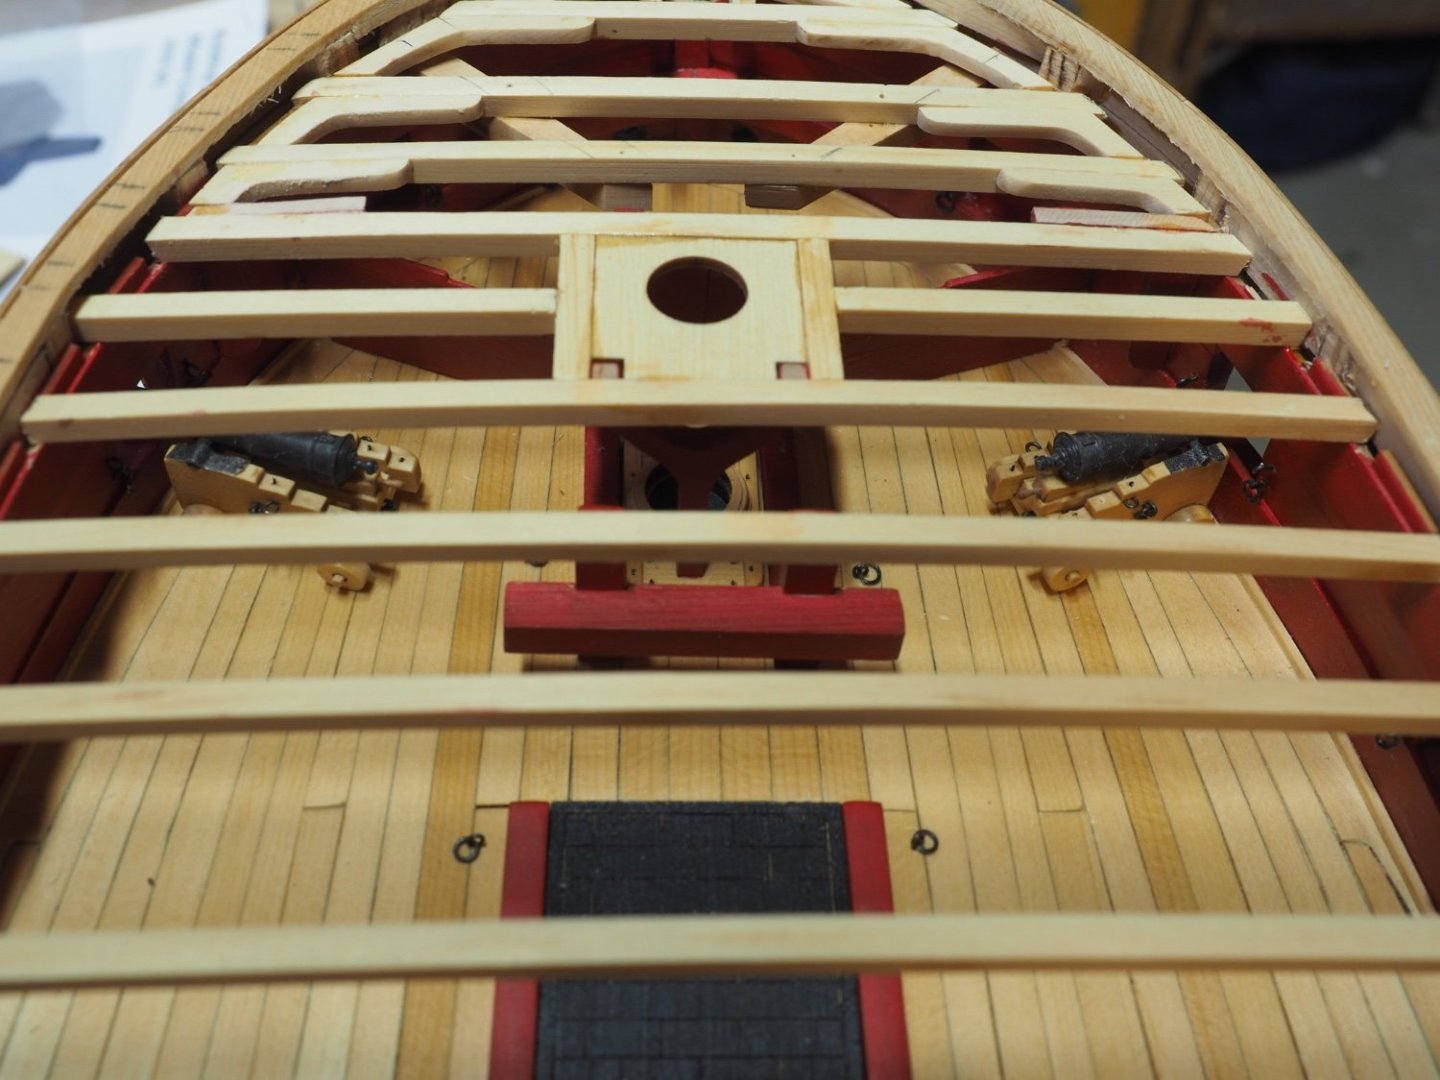
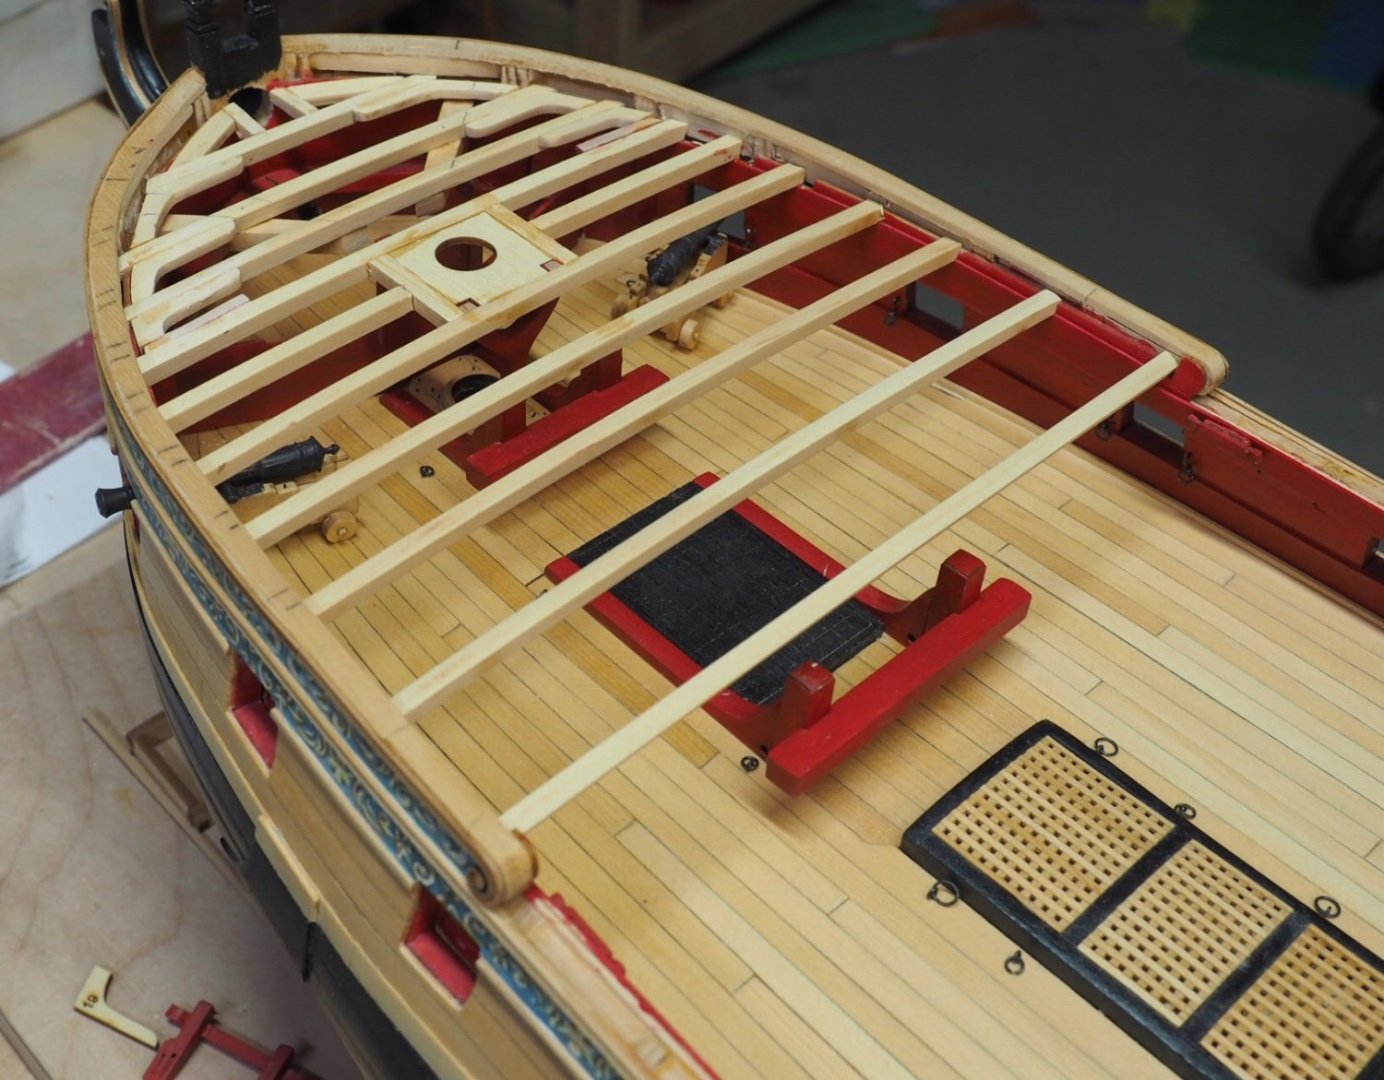
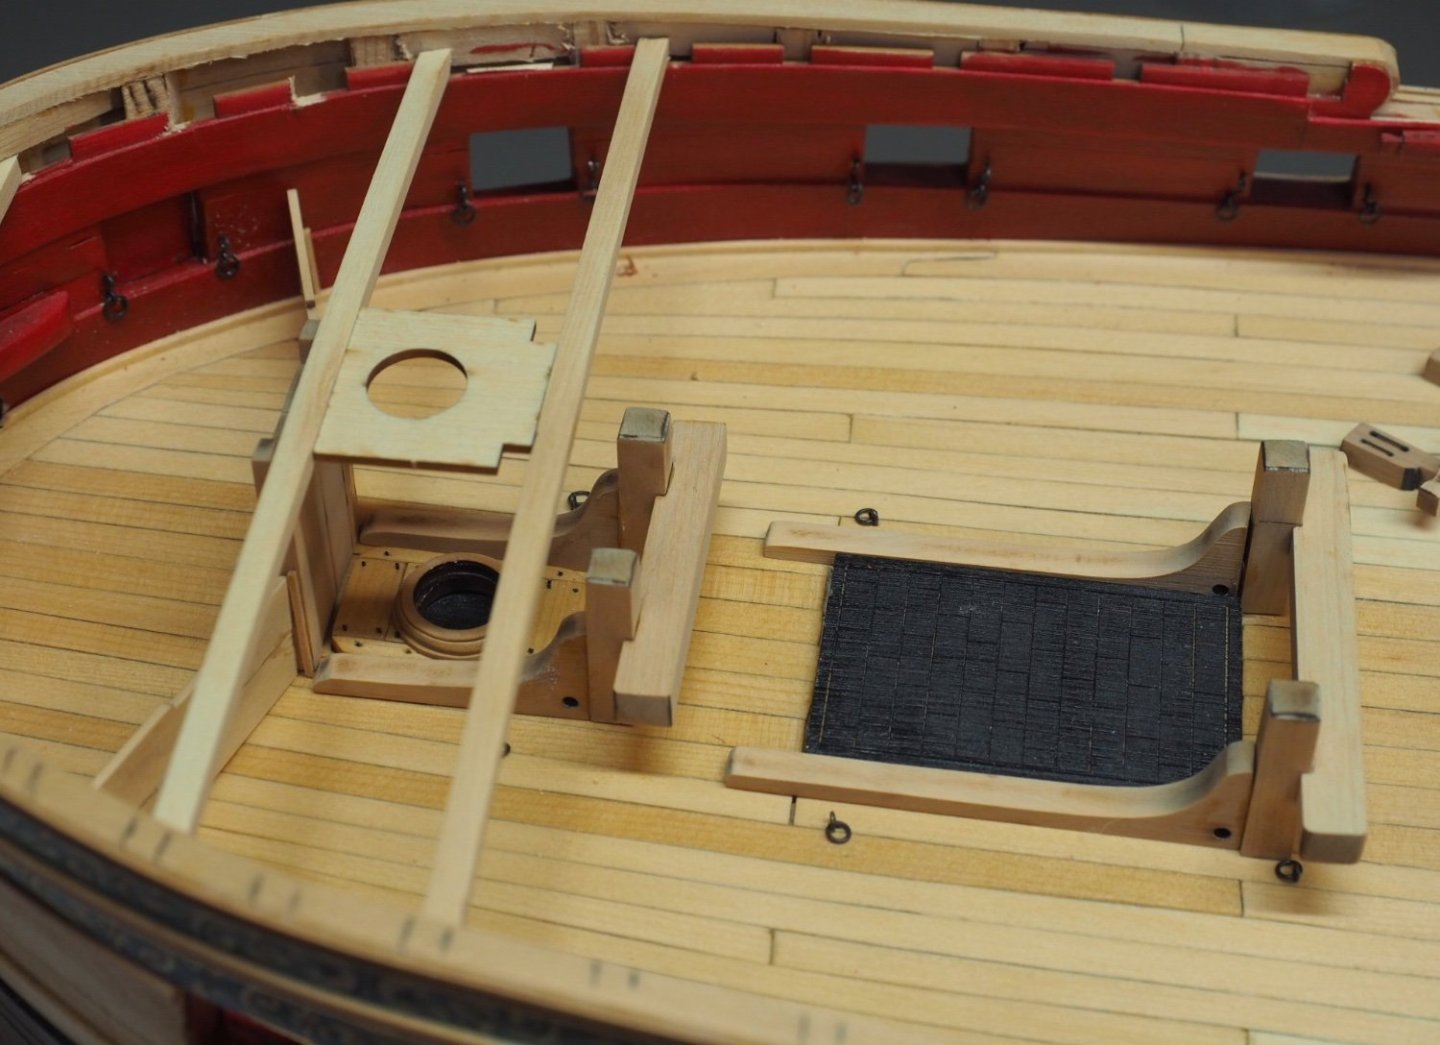
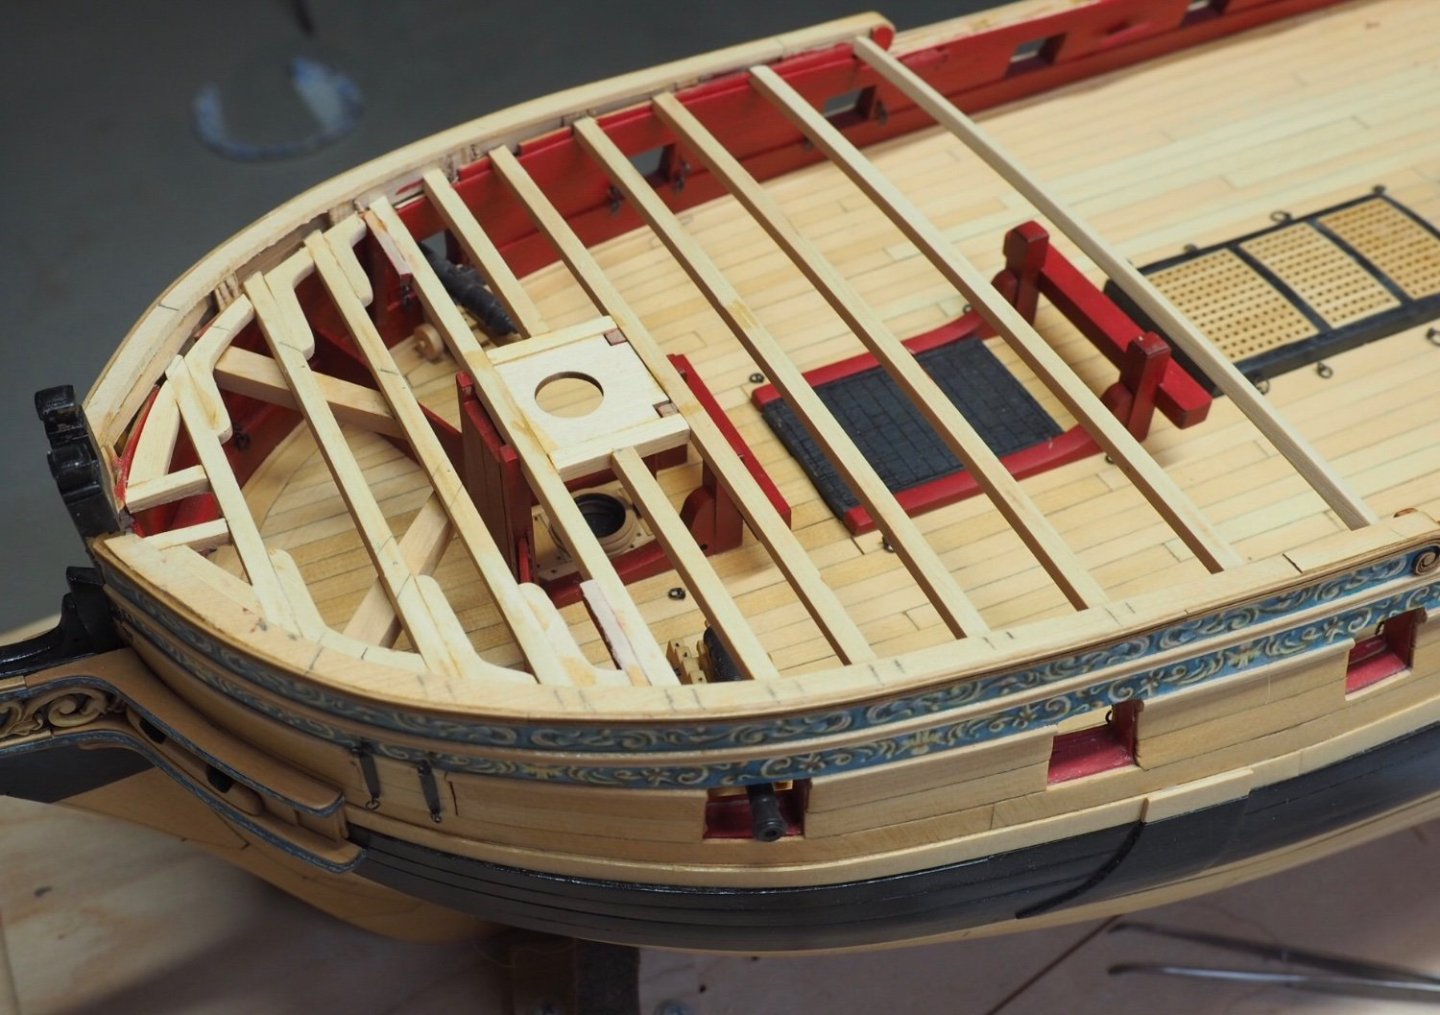
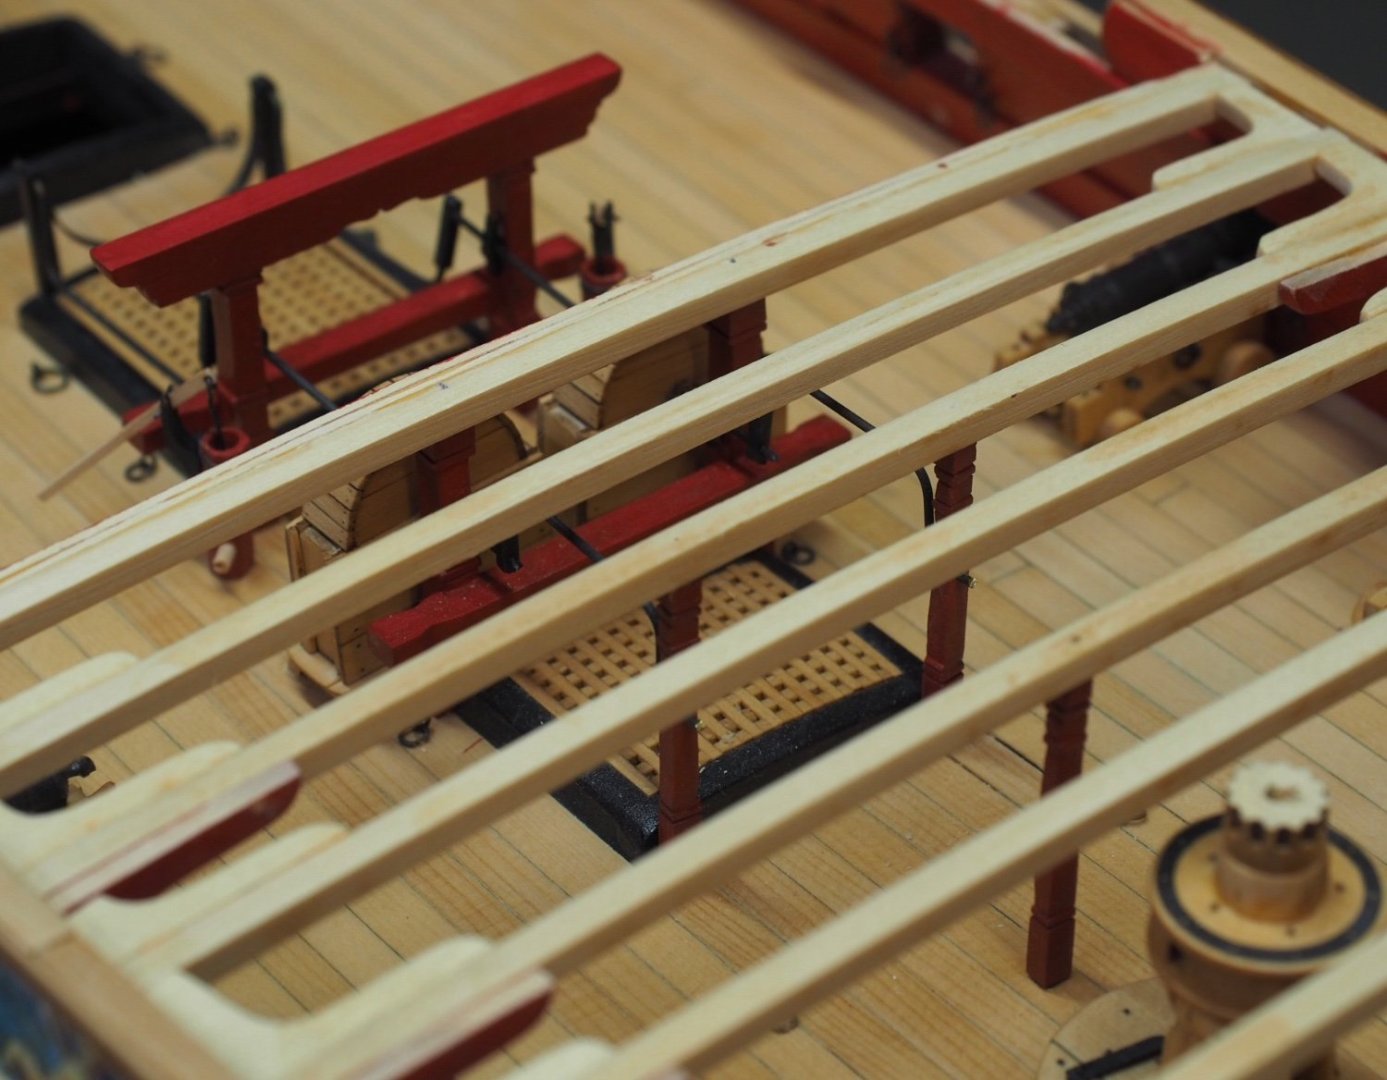
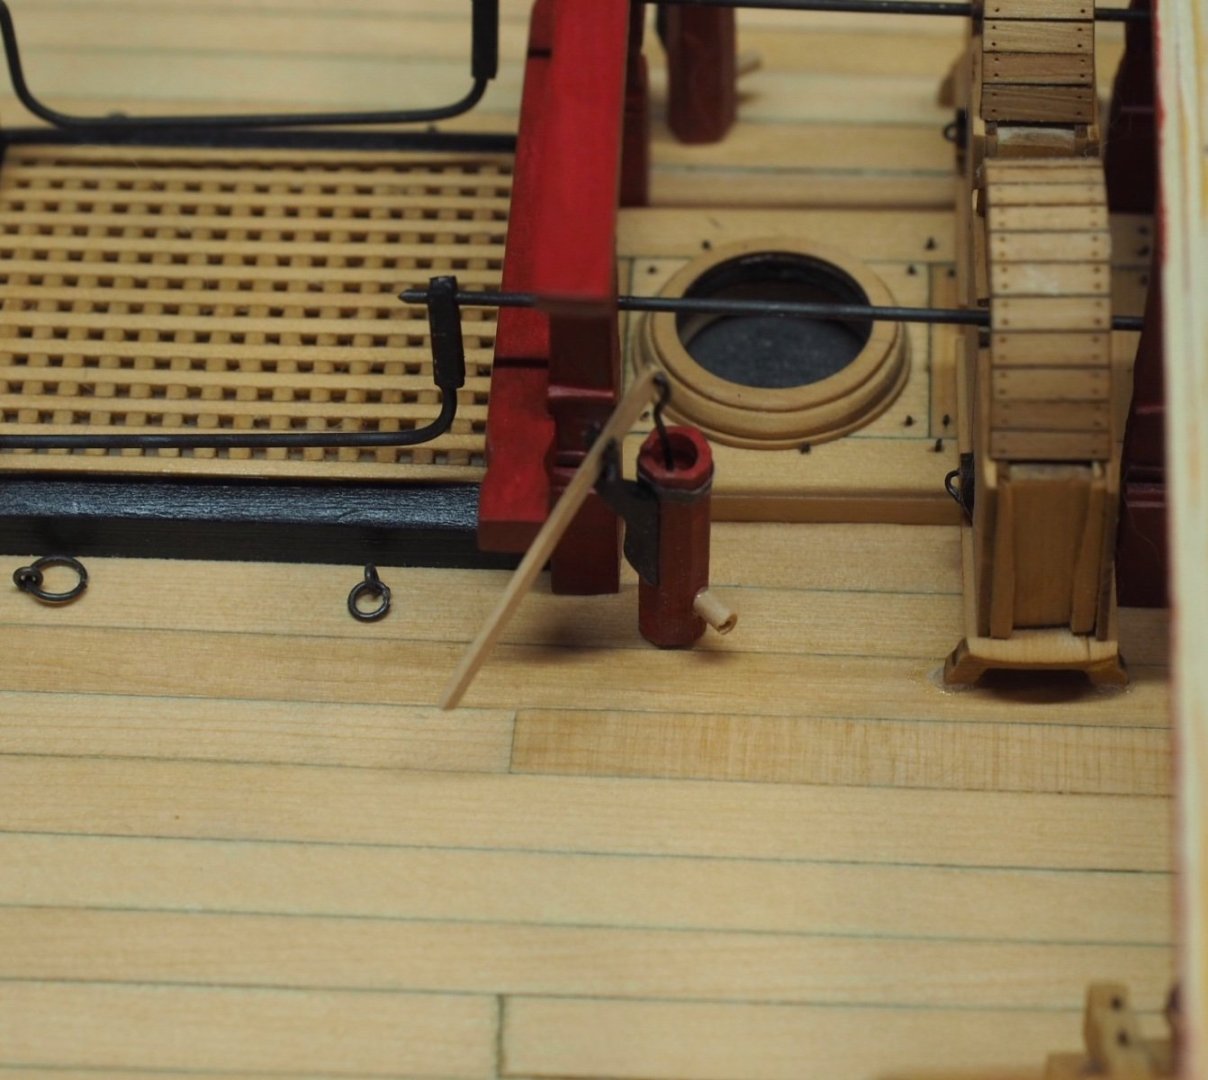
I completed chapter seven. My elm pumps are not glued in yet. The handles seem pretty fragile they might be in the way down the road, so I left them pinned but not glued. As you can see, I left the beams bright, rather than painting them. The only exception was the forward side of the front-most beam.
About us
Modelshipworld - Advancing Ship Modeling through Research
SSL Secured
Your security is important for us so this Website is SSL-Secured
NRG Mailing Address
Nautical Research Guild
237 South Lincoln Street
Westmont IL, 60559-1917
Model Ship World ® and the MSW logo are Registered Trademarks, and belong to the Nautical Research Guild (United States Patent and Trademark Office: No. 6,929,264 & No. 6,929,274, registered Dec. 20, 2022)
Helpful Links
About the NRG
If you enjoy building ship models that are historically accurate as well as beautiful, then The Nautical Research Guild (NRG) is just right for you.
The Guild is a non-profit educational organization whose mission is to “Advance Ship Modeling Through Research”. We provide support to our members in their efforts to raise the quality of their model ships.
The Nautical Research Guild has published our world-renowned quarterly magazine, The Nautical Research Journal, since 1955. The pages of the Journal are full of articles by accomplished ship modelers who show you how they create those exquisite details on their models, and by maritime historians who show you the correct details to build. The Journal is available in both print and digital editions. Go to the NRG web site (www.thenrg.org) to download a complimentary digital copy of the Journal. The NRG also publishes plan sets, books and compilations of back issues of the Journal and the former Ships in Scale and Model Ship Builder magazines.


.thumb.jpg.6d6ee4bdbfaac2c58ecc77e7b80ae374.jpg)

