Mirabell61
-
Posts
7,422 -
Joined
-
Last visited
Content Type
Profiles
Forums
Gallery
Events
Everything posted by Mirabell61
-
 Welcome to the build Jason, glad to have you on board, and many thanks for looking in and catching up. Little Caspar is doing so well, one can see the improvement and also the growth from week to week (yesterday 10 weeks, since birth). He is still "leaking" a bit, but also that will be soon overcome... Nils
- 401 replies
-
- 18
-

-
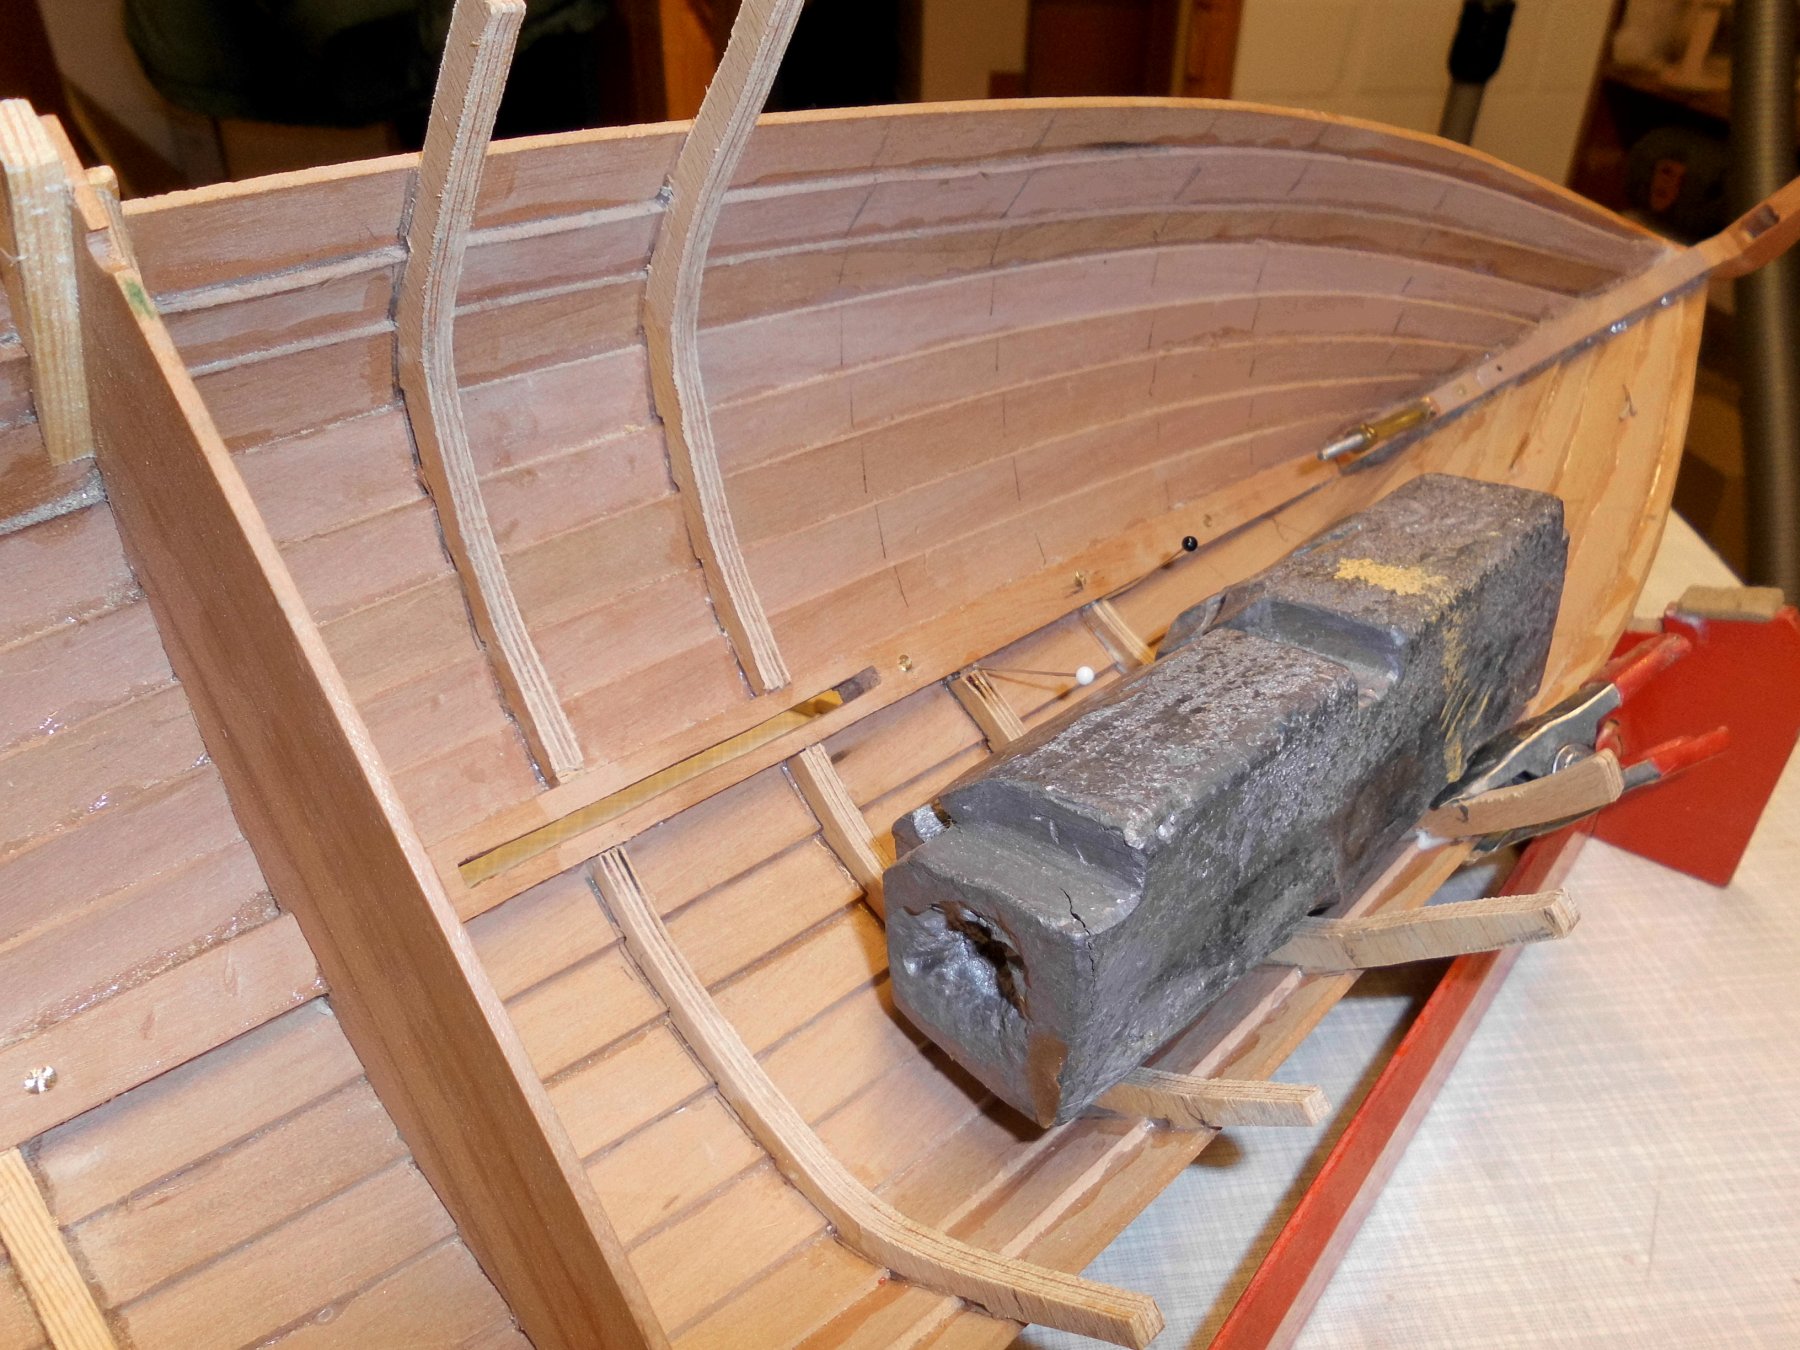
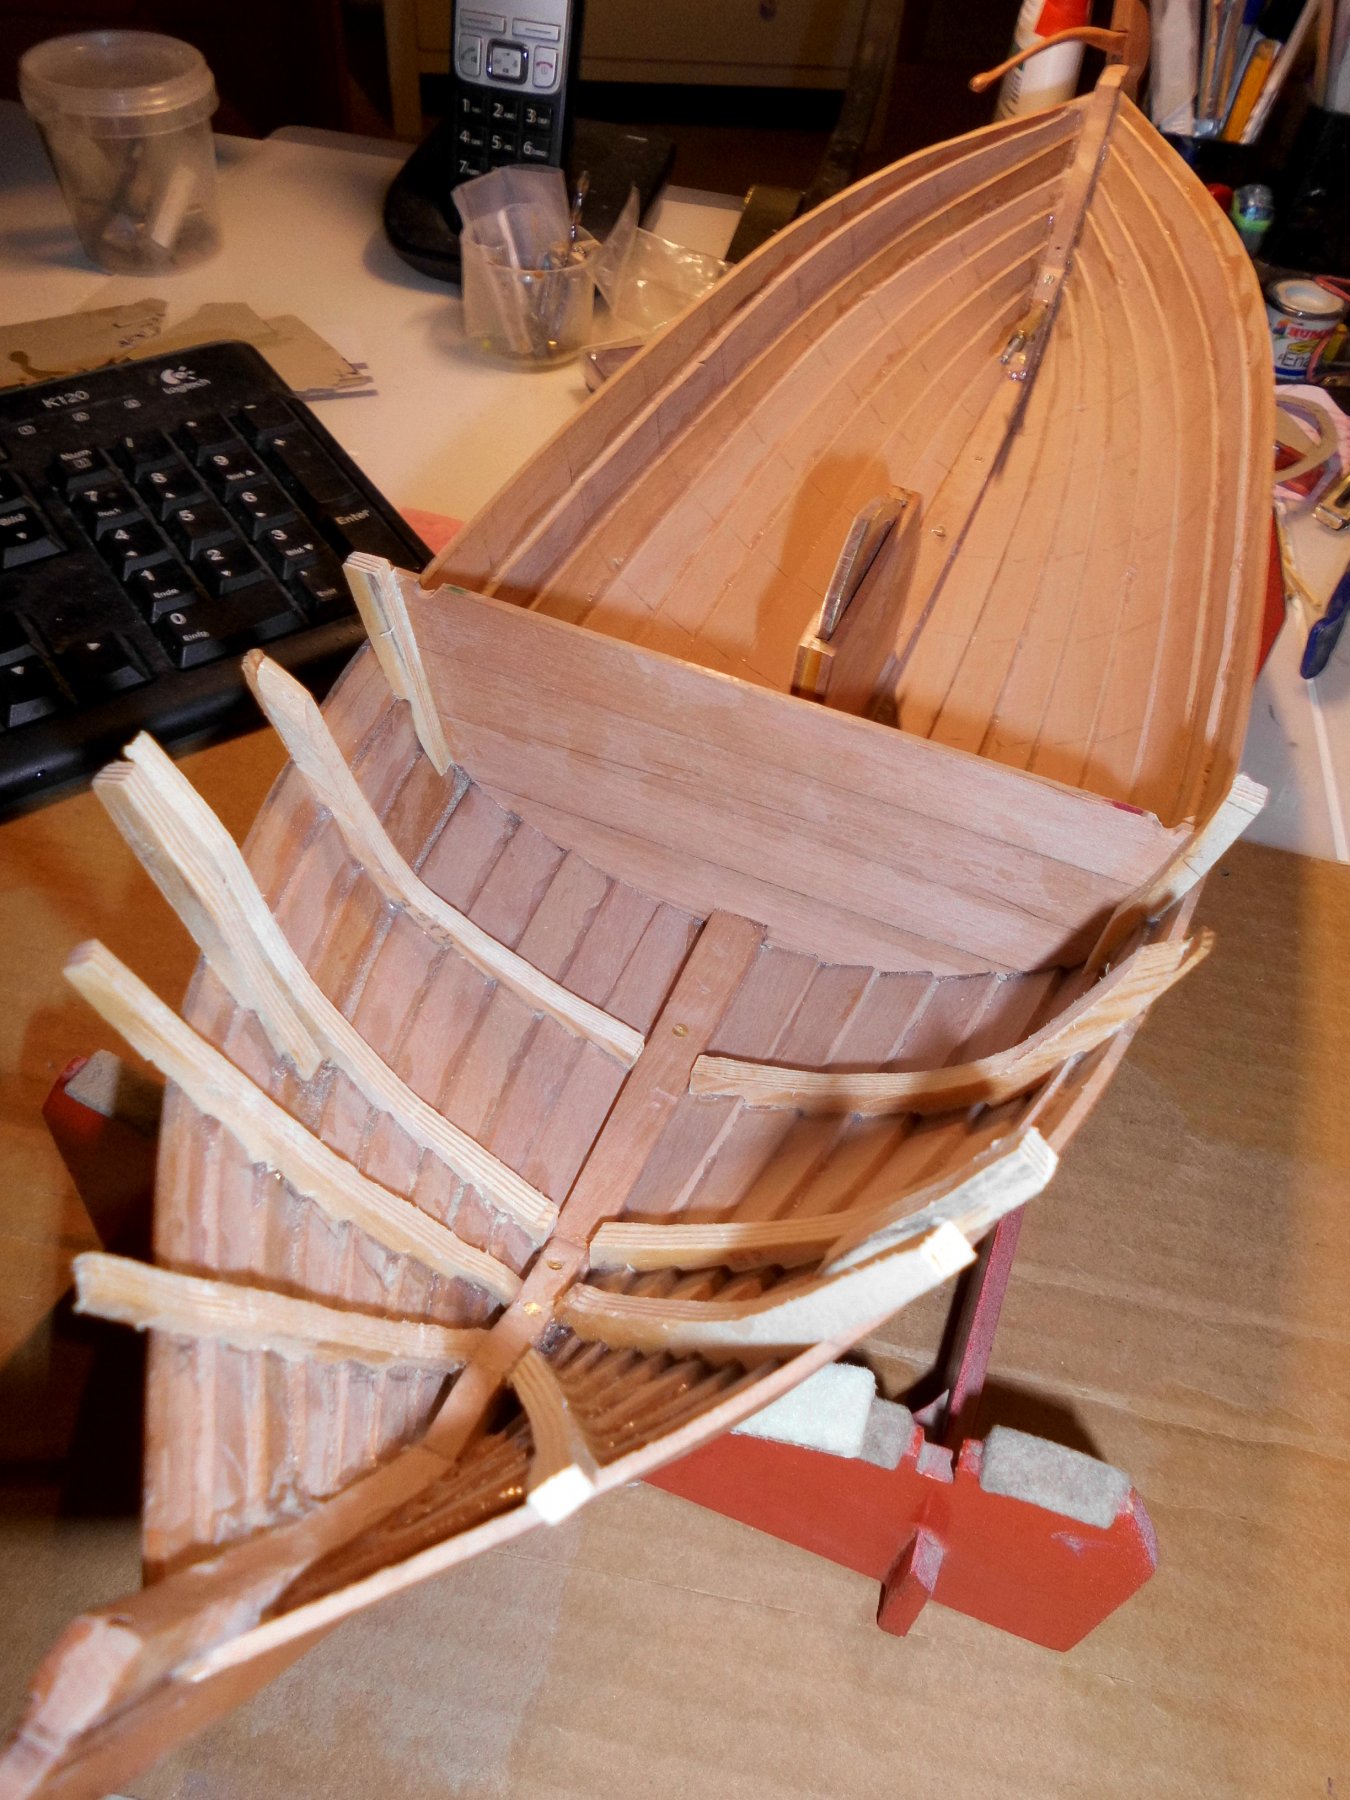
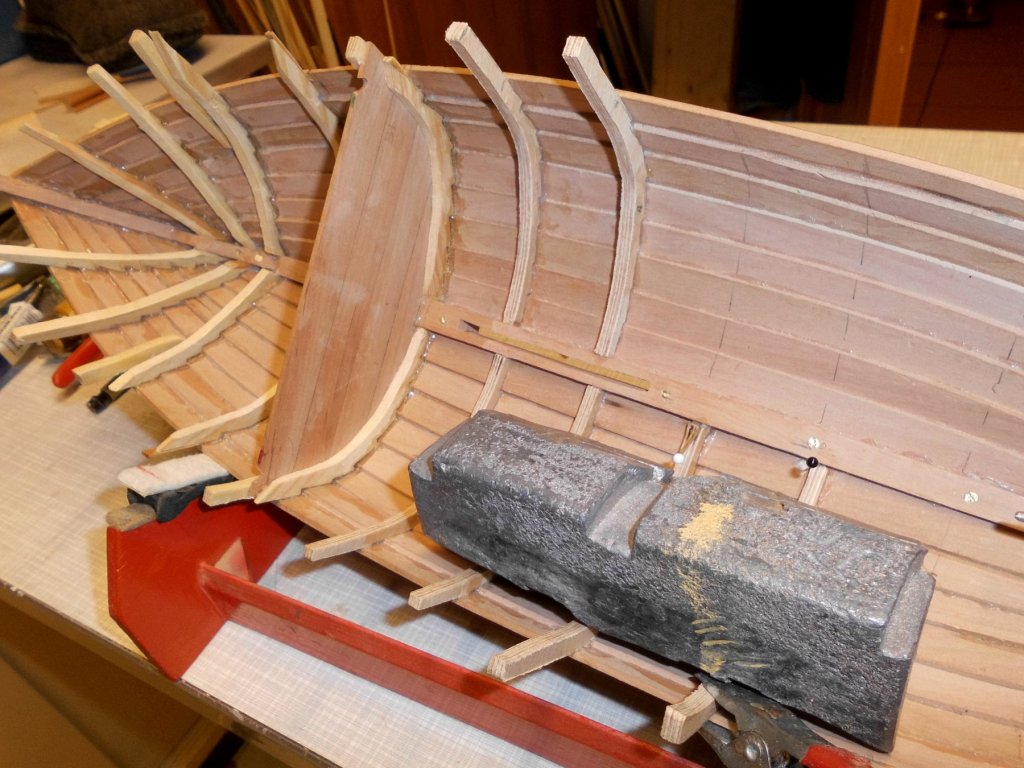
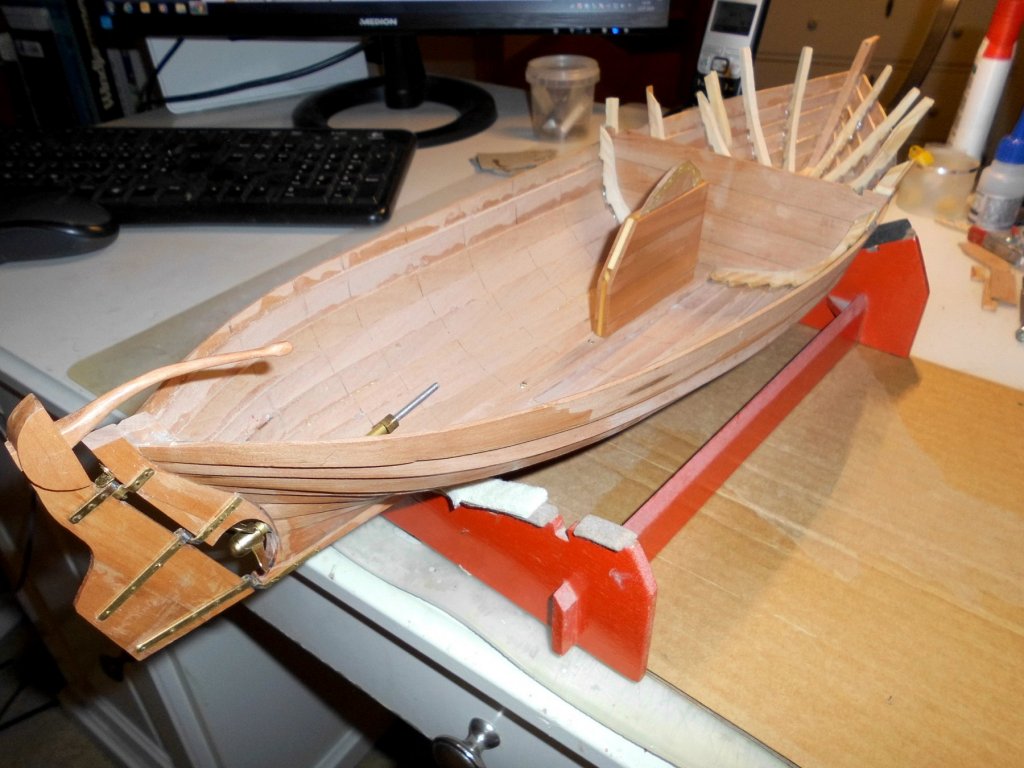
Getting further on with the ribs... shaping, saw-cutting, a bit fairing to fit, glueing, I get about 4 per day placed. The lead weight I still had, it was orignaly intended as an internal weight block for a schooner some years ago. Nils


- 401 replies
-
- 20
-
-
Well build Jason, love that model.... Nils
-
Excellent build Christian, you`ve done a fantastic job, shes a beauty !! Nils
-
very nice build Javier, it looks a little bit like a small chebec... Nils
-
Thank you very much Geert, the overstanding rib ends will be trimmed to the sheer-edge line later on, when the deckbeams and cabin interior are fitted.... Nils
-
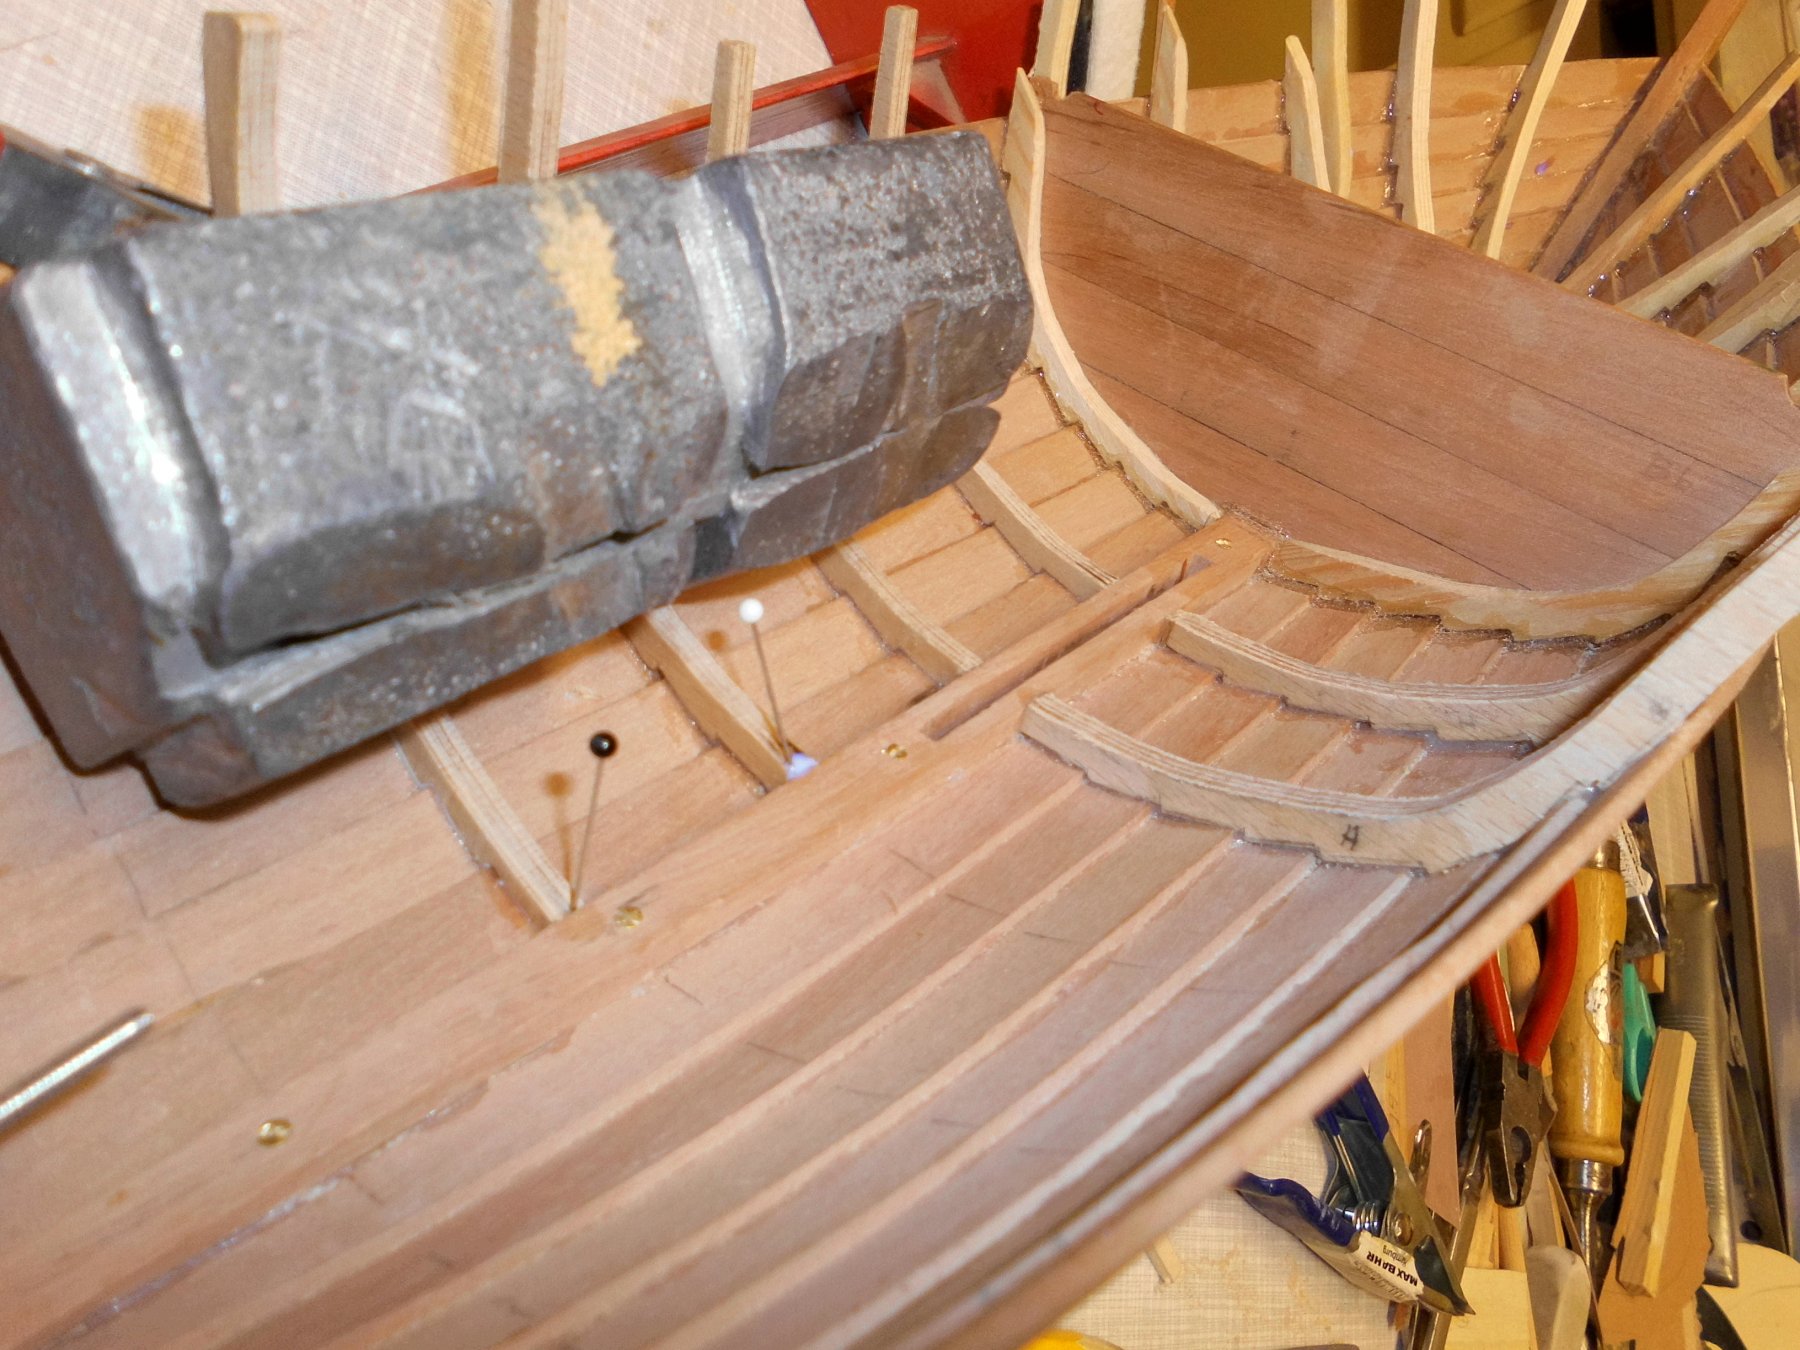
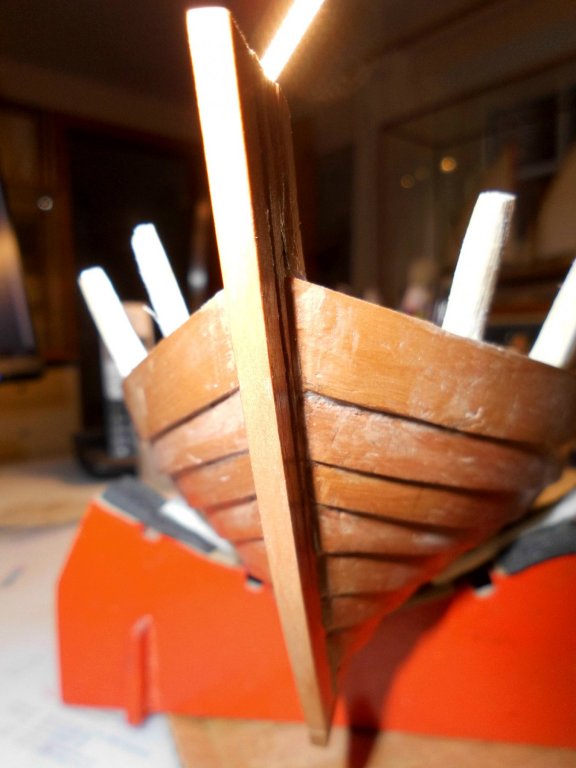
Hi freinds, many thanks for the "likes".... further on with the ribs of the front section, on the stb. side I will need to add half a plank to get the hight acc. to the port side planking Nils


- 401 replies
-
- 21
-
-
Antony, great work, I`m enjoying your build, the idea for building a half-model is realy special to look at... Nils

-
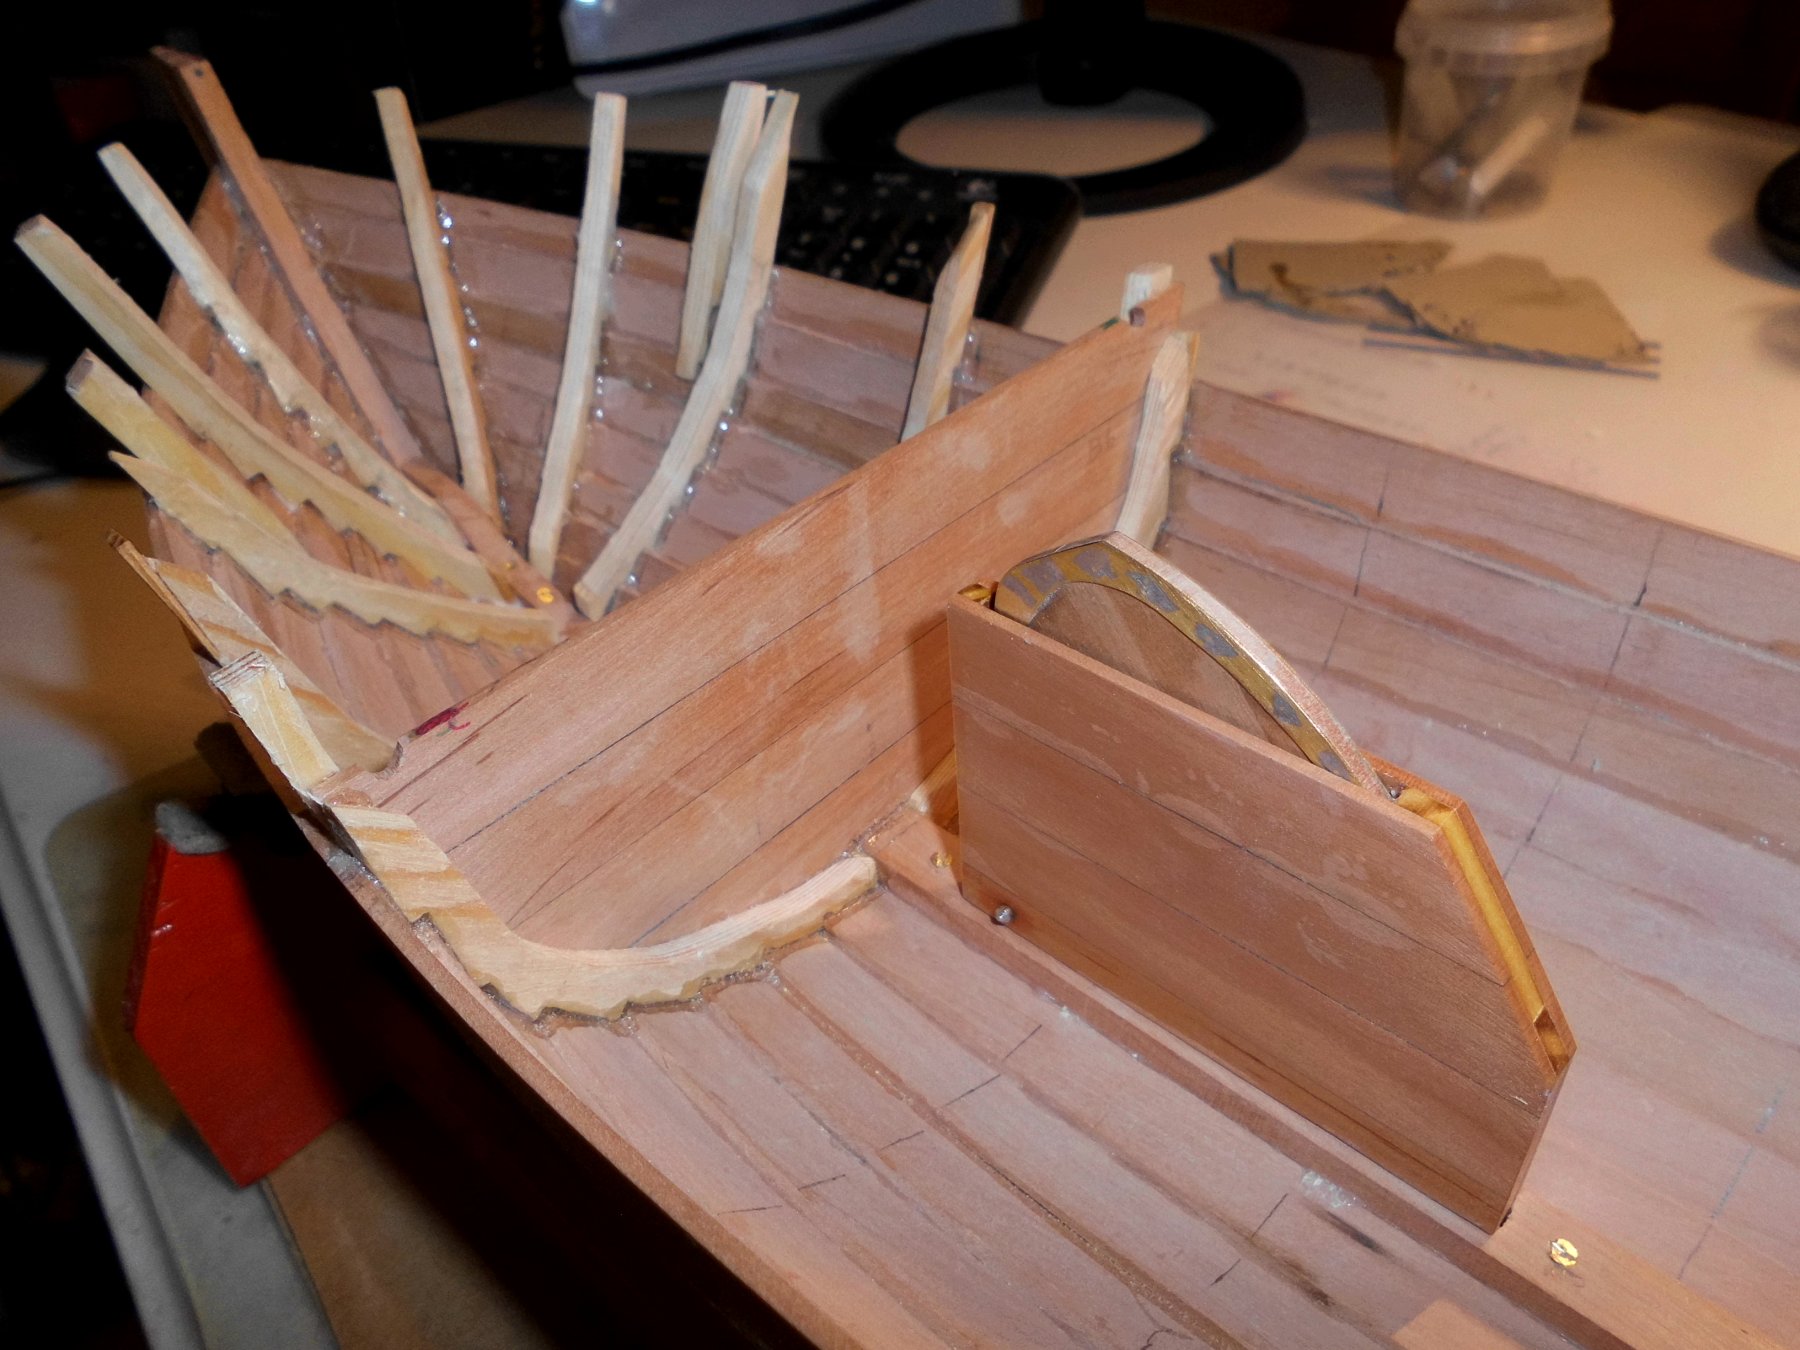
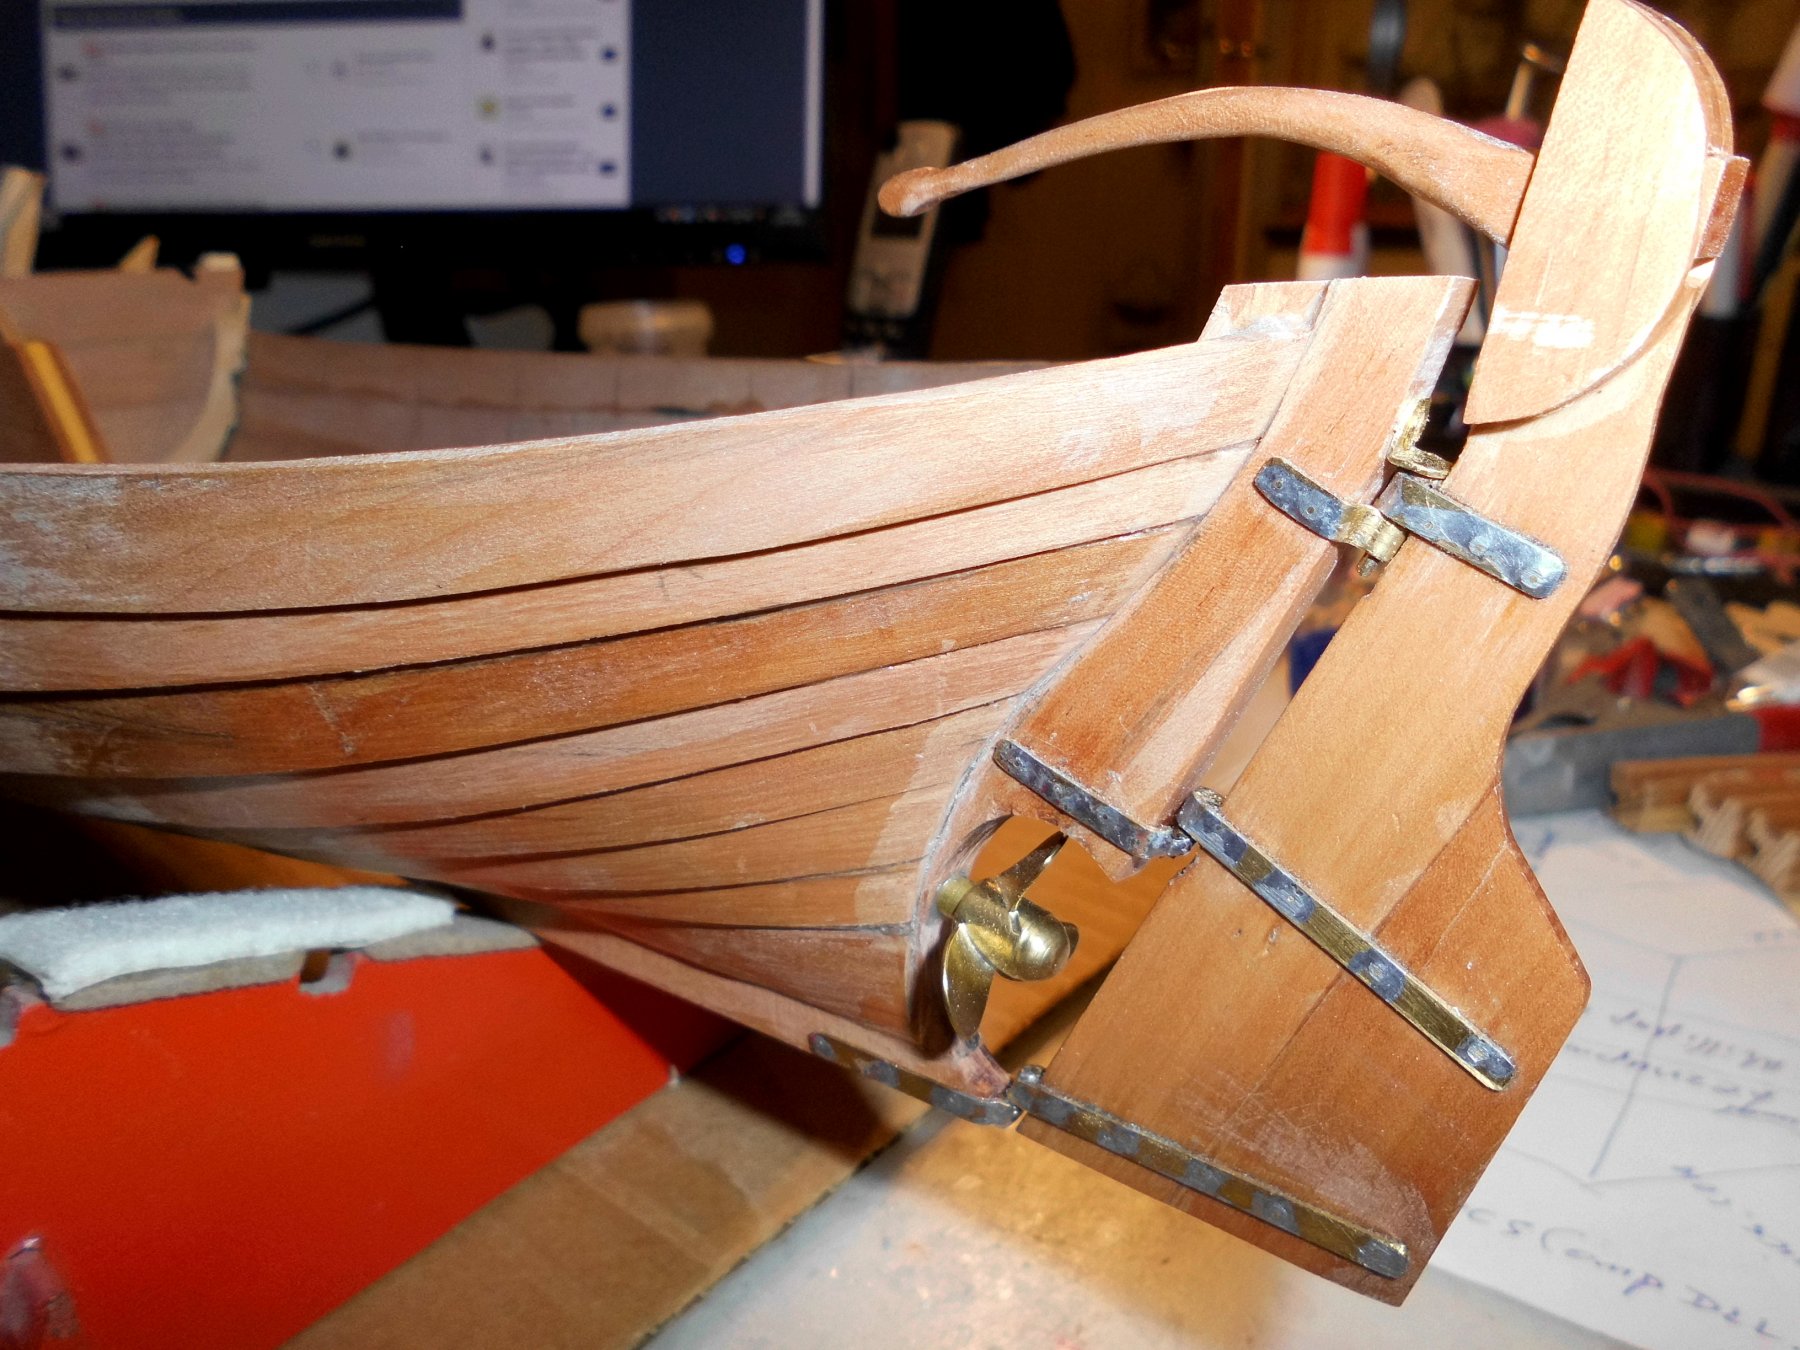
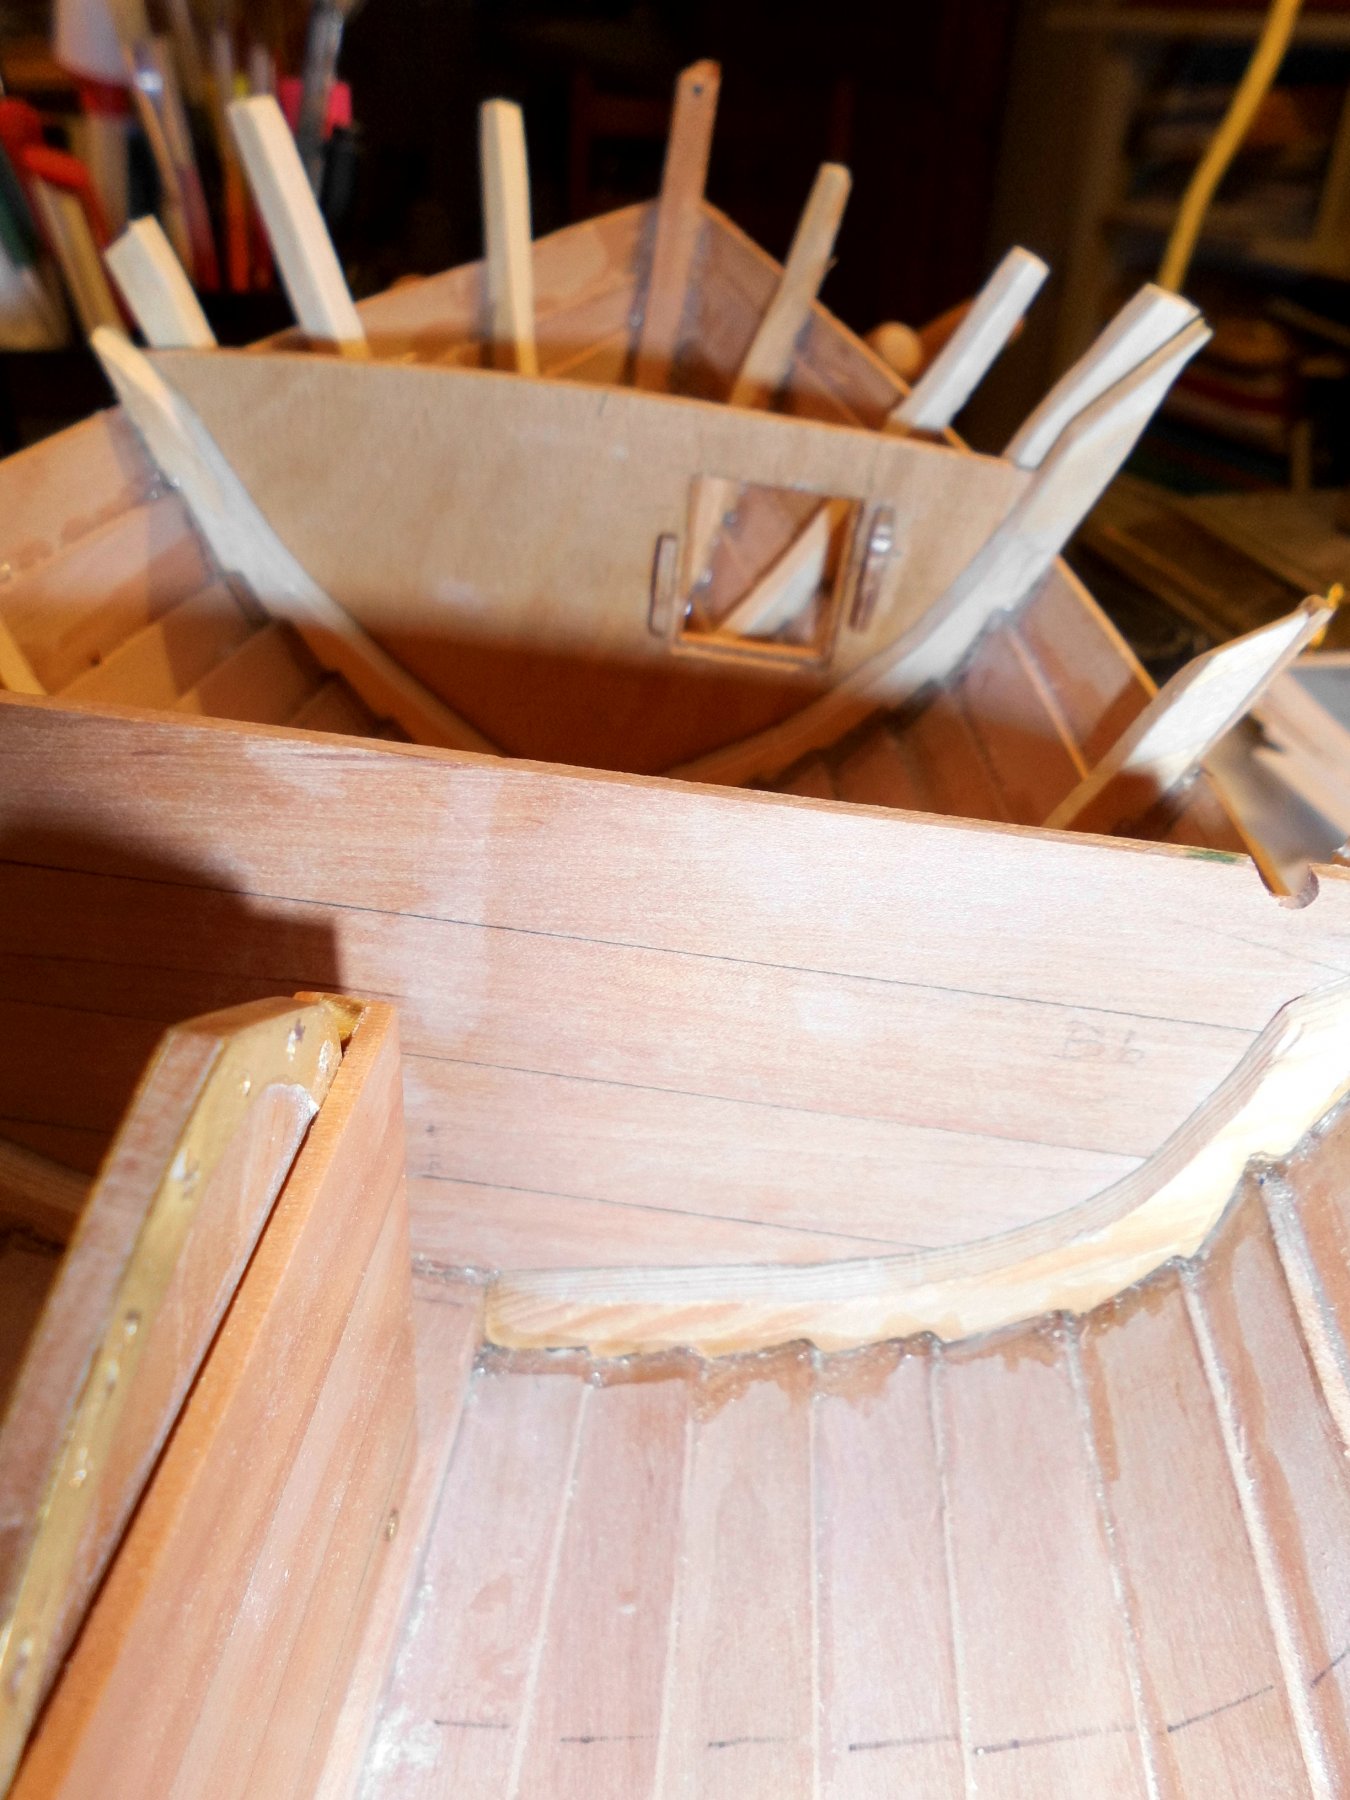
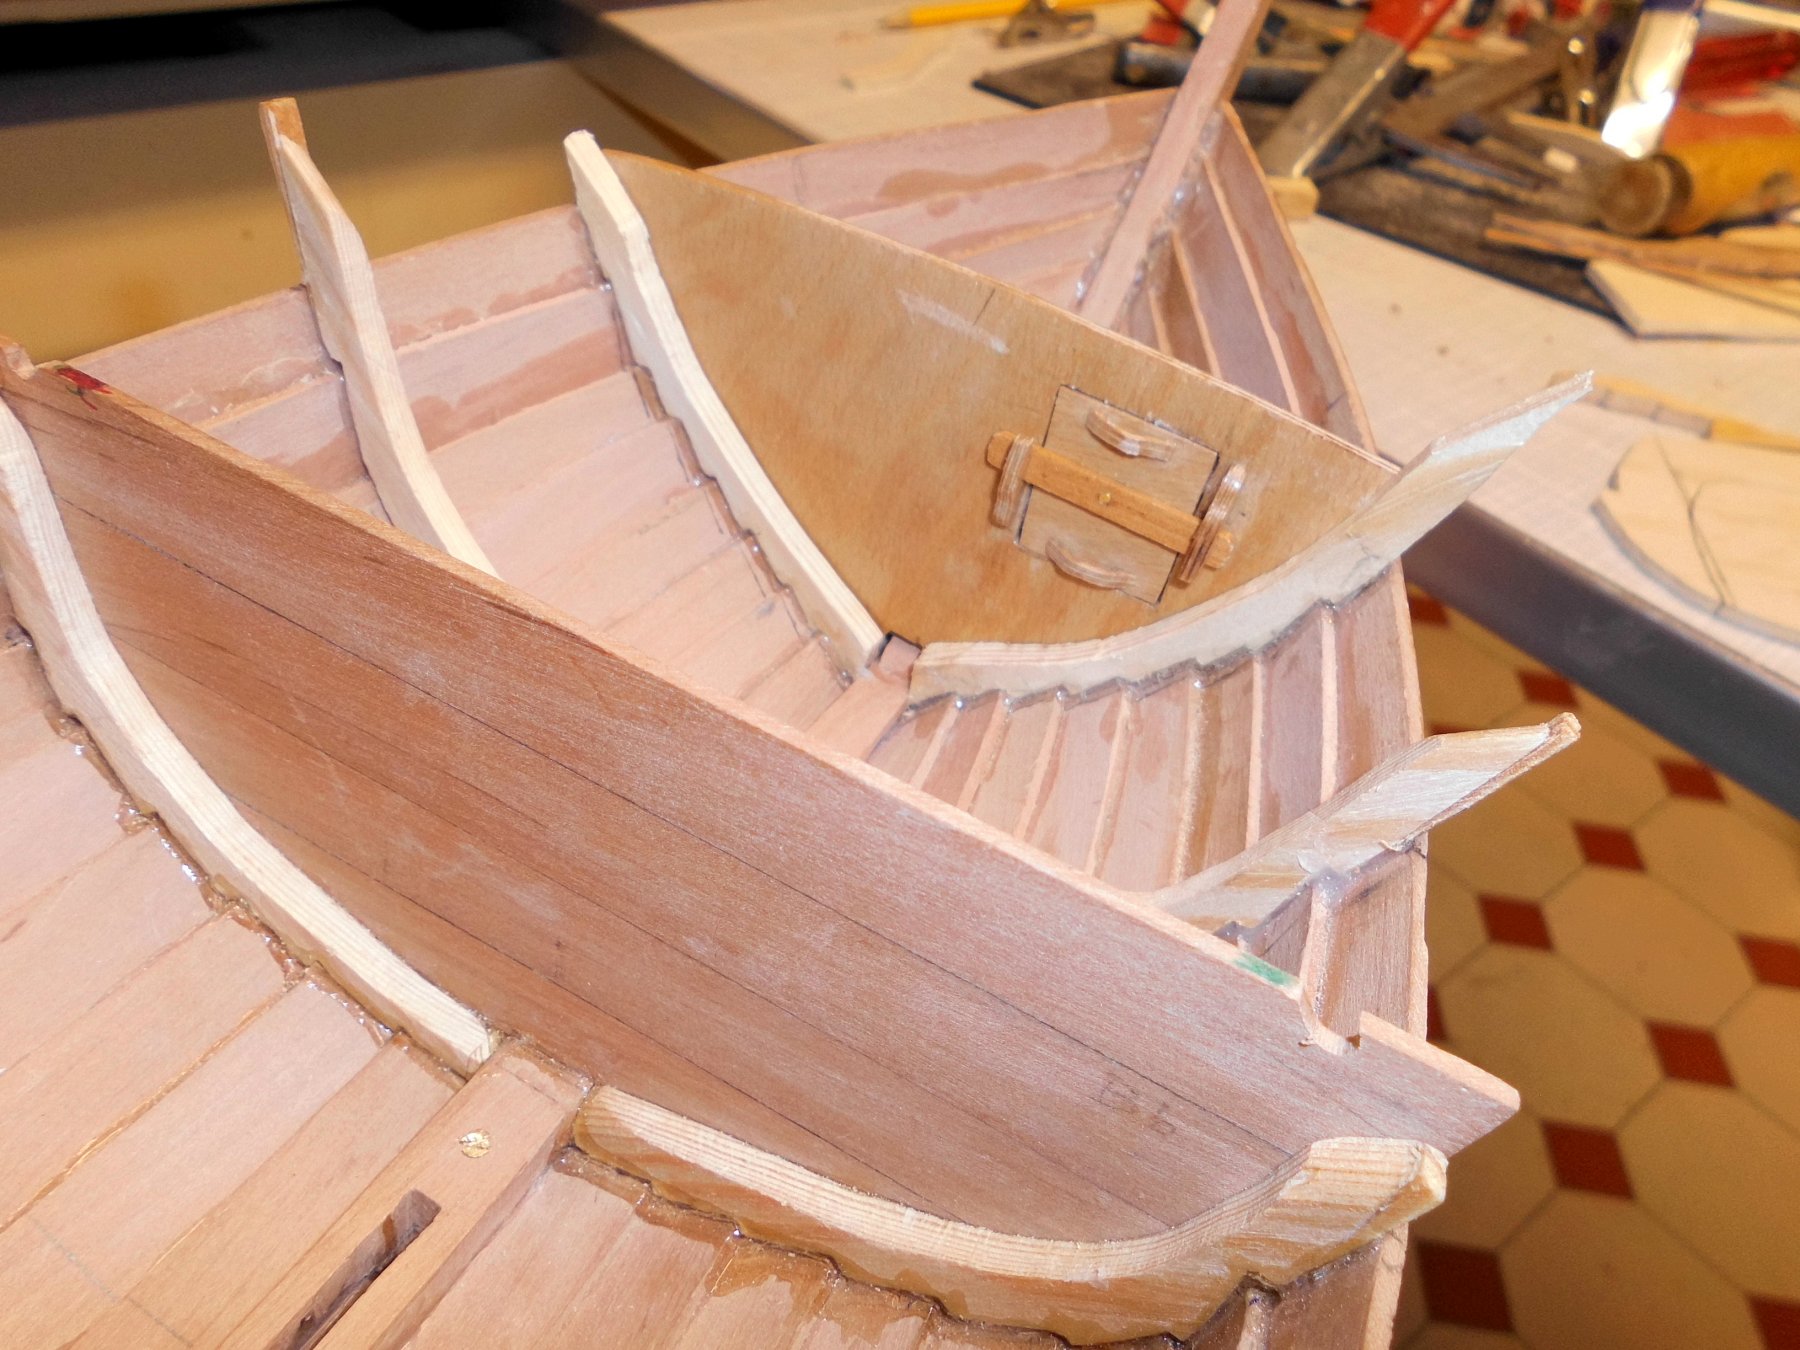
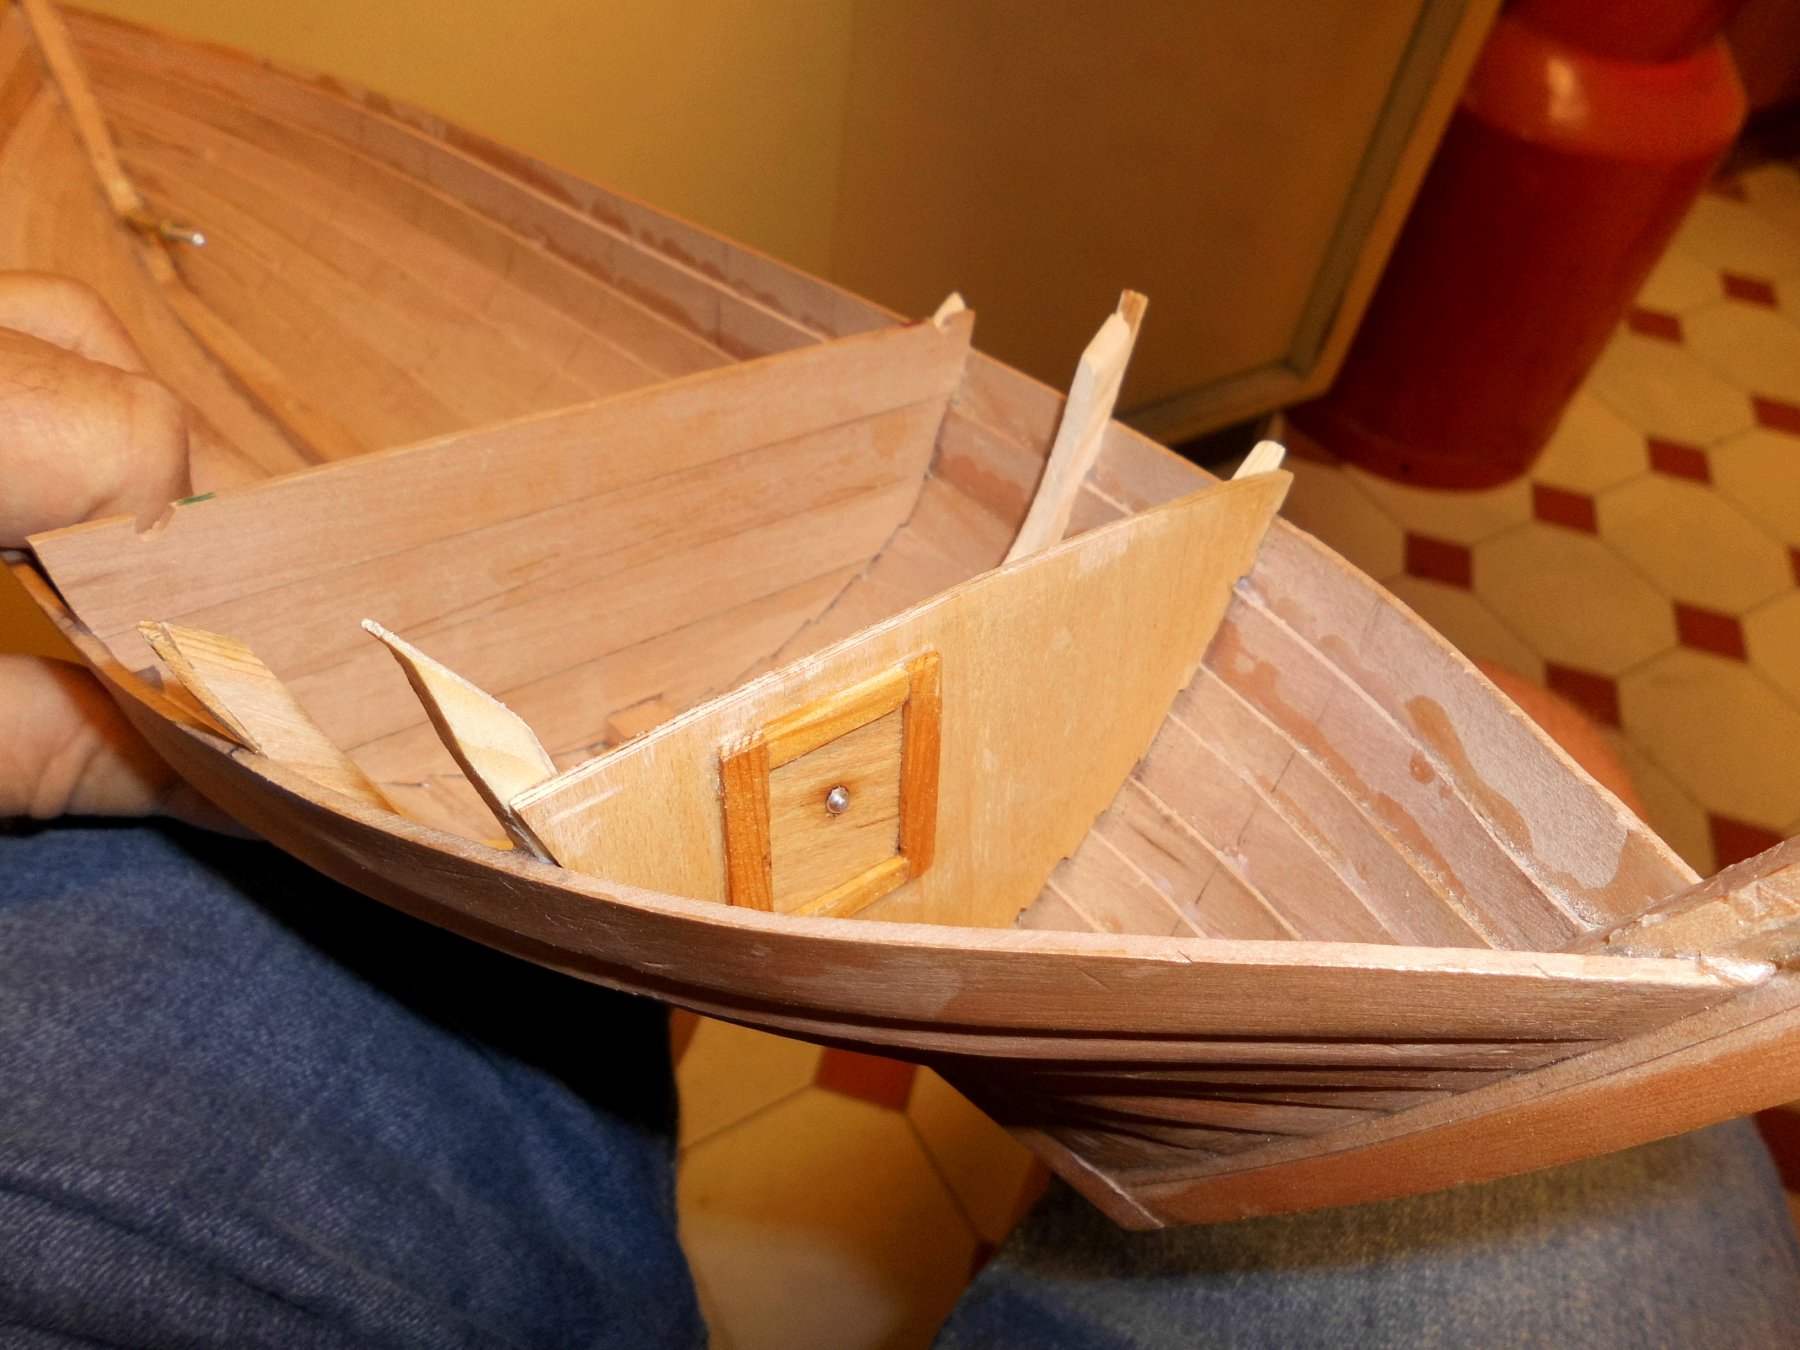
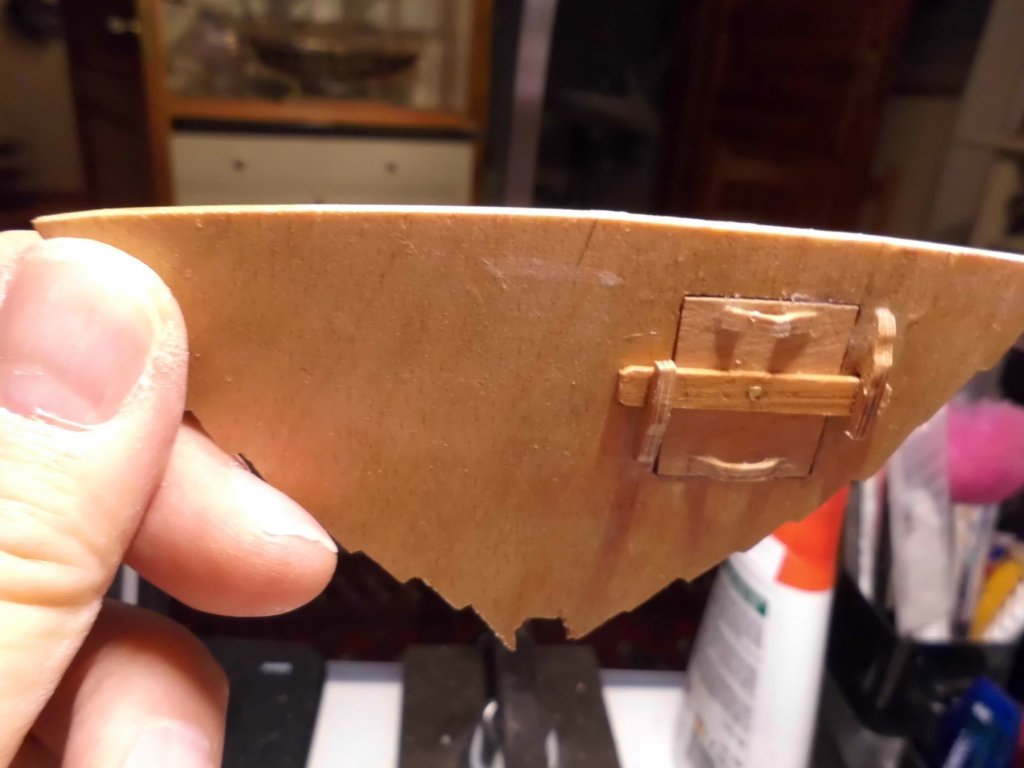
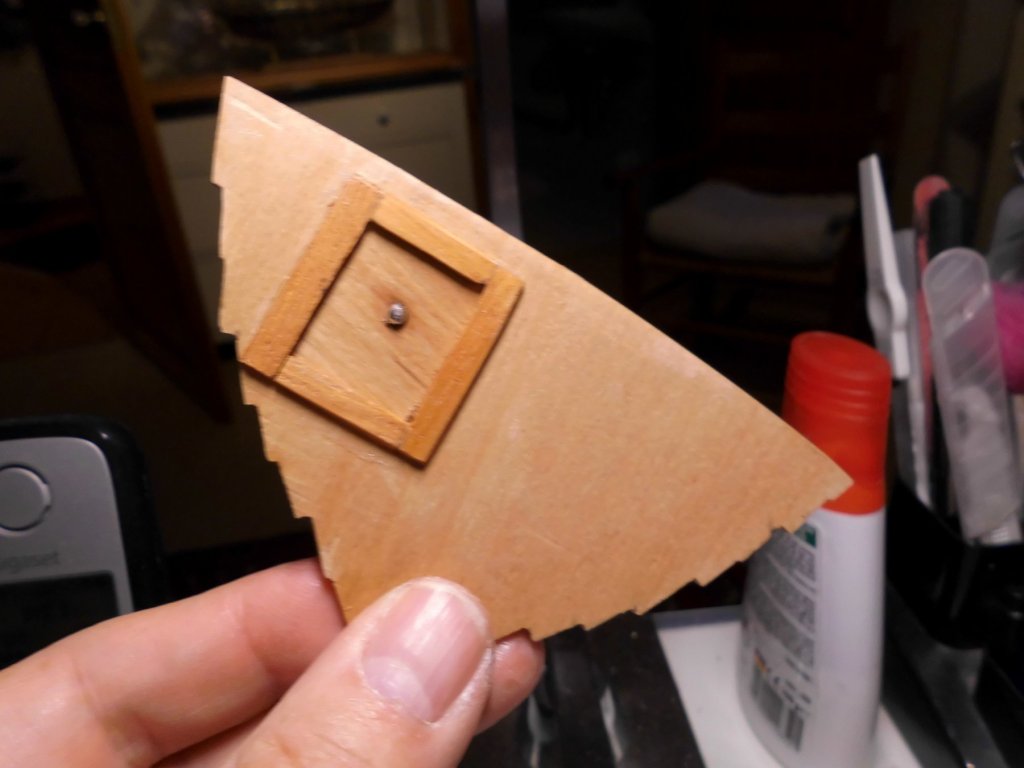
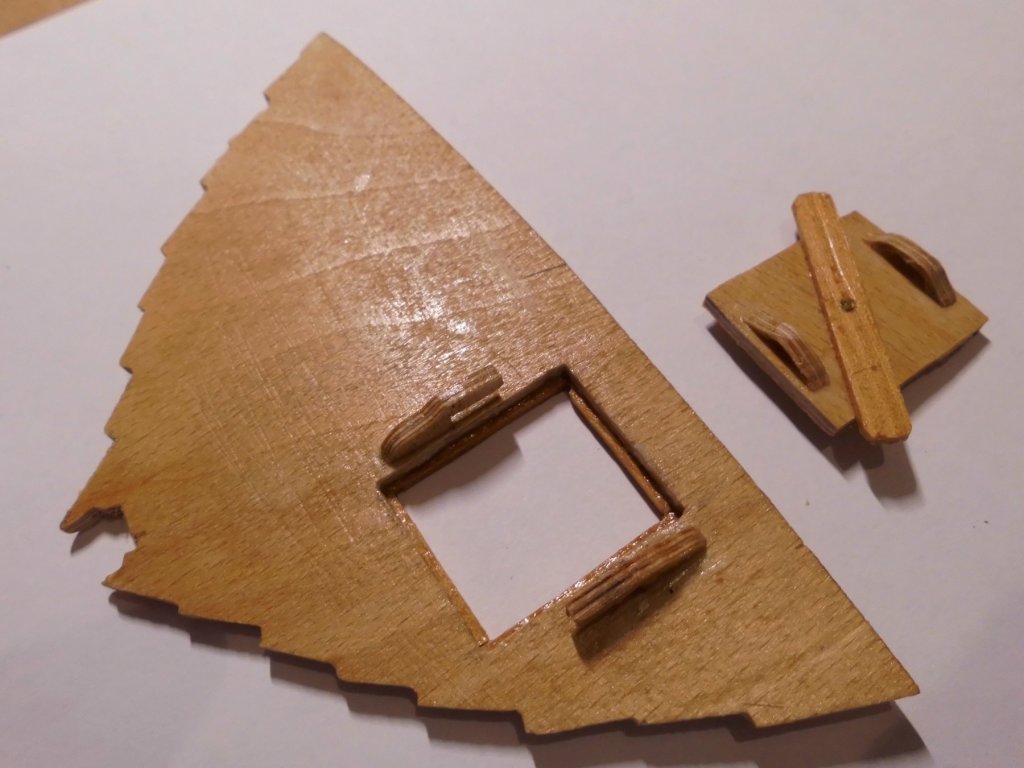
Thank you Martin, I`ve been working on the front bulkhead its seperating the cabin area from the compartment ( as a locker for anchor chain, ropes and other things that need to be stowed out of the way ) Nils


- 401 replies
-
- 21
-
-
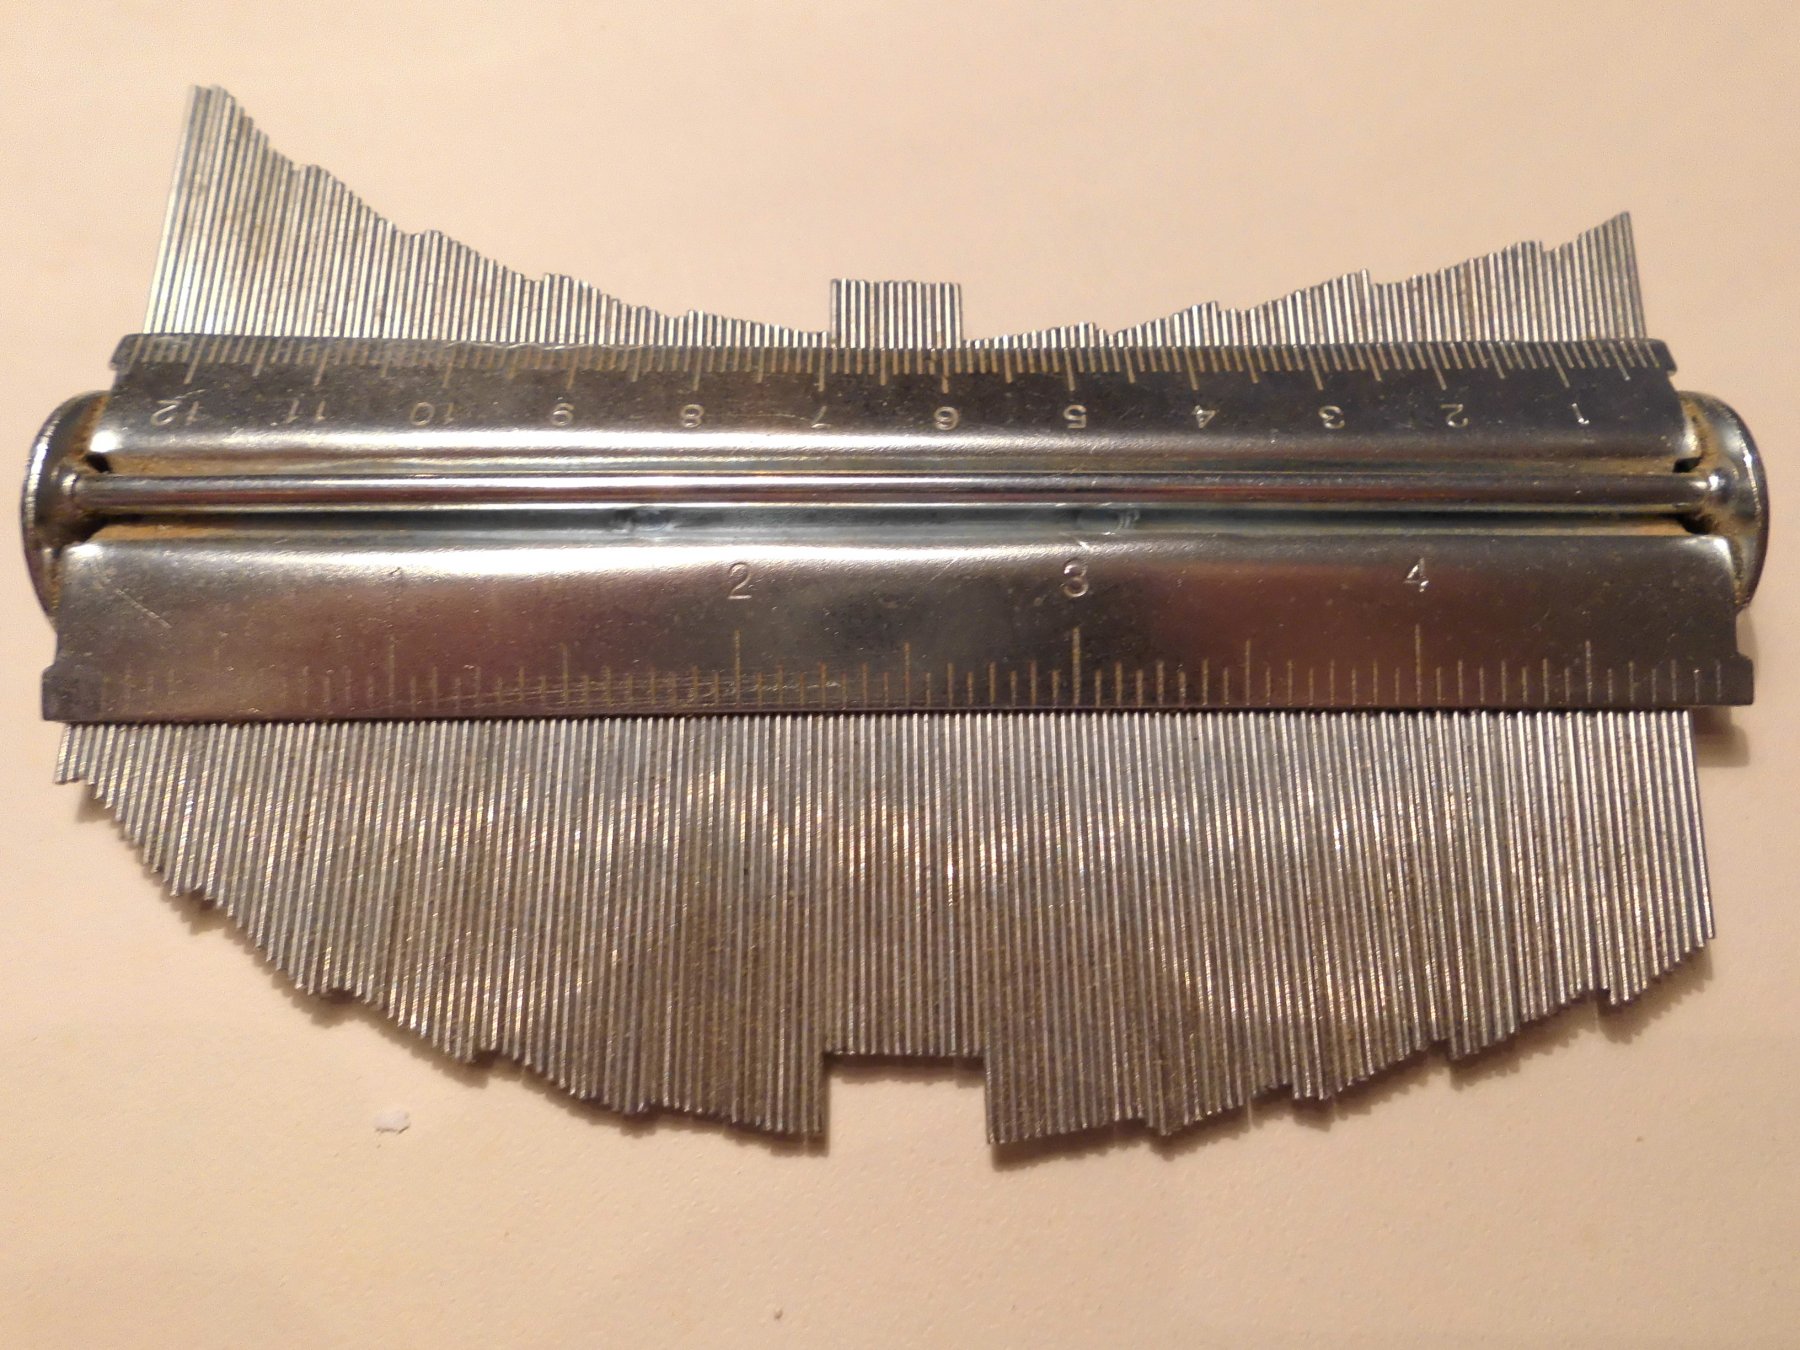
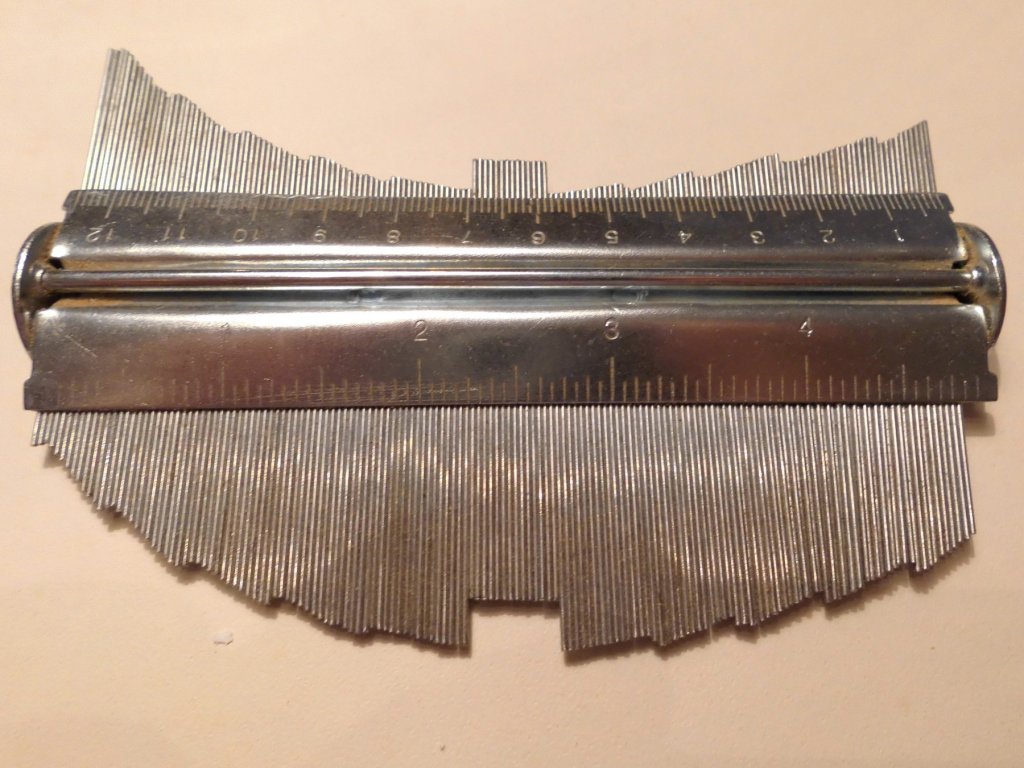
Hi Gary, many thanks your words are much appreciated. The use of the contour gauge was the recomendation by a fellow member and I would`nt want to mis it anymore Nils
-
Thats a beautiful steam launch Ian... and a very nice Billngs kit Nils
-
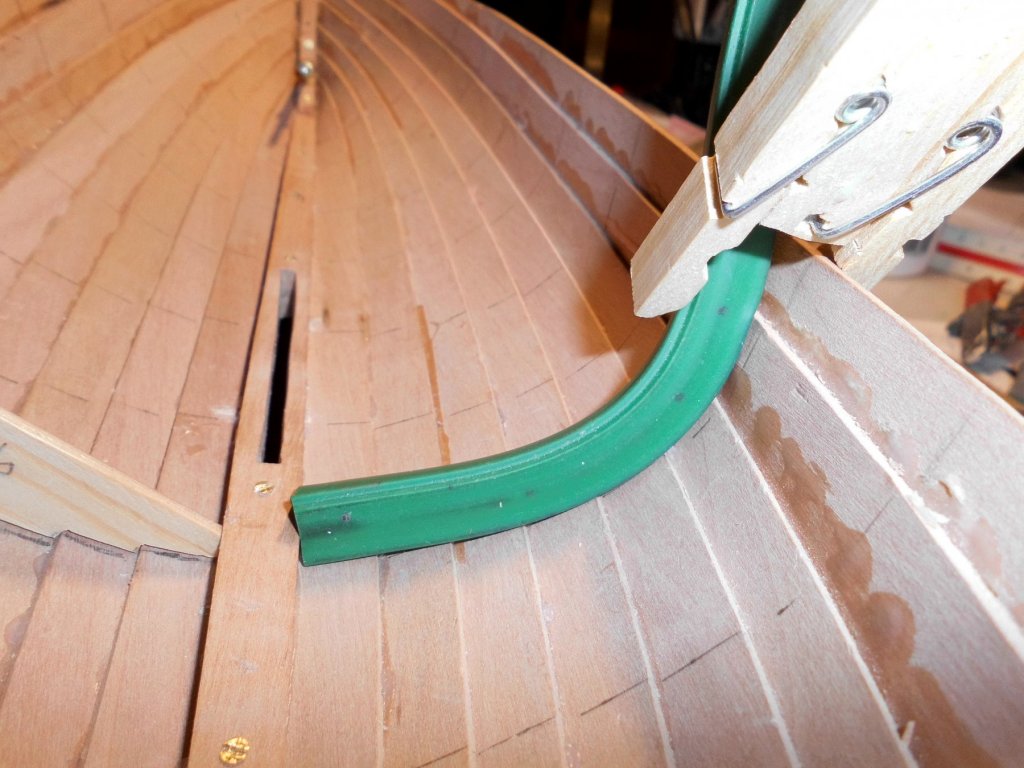
An improvement for taking off inner lapstrake contours of the hullplanking...... Yesterday had a vist by a freind and fellow MSW member, we meet now and then to exchange thoughts on our builds and general building techniqes... Many thanks to Siggi52 and appreciations, for introducing his contour gauge that he lent to me, to try it out, and that will make the production of the interior hull ribs with improved contour quality, vs. my humble methode shown here earlier I tried it out today and am very pleased with the results. It also saves time. Nils
- 401 replies
-
- 14
-
-
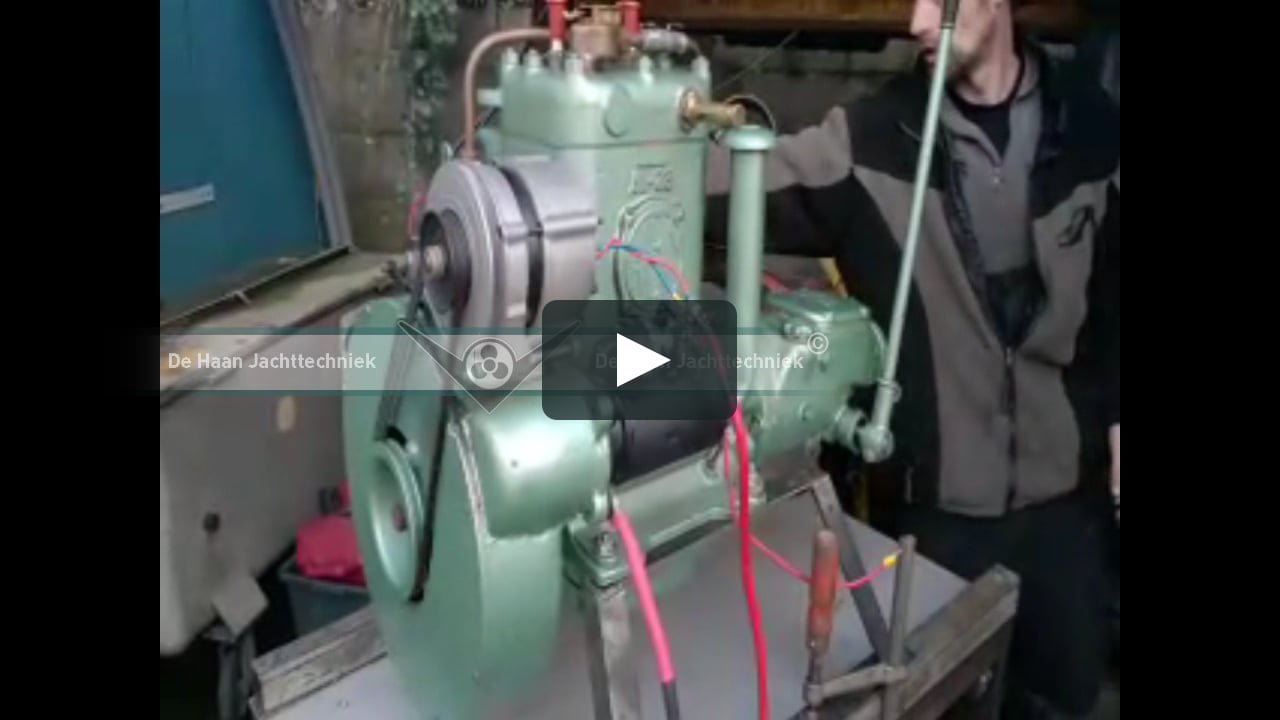
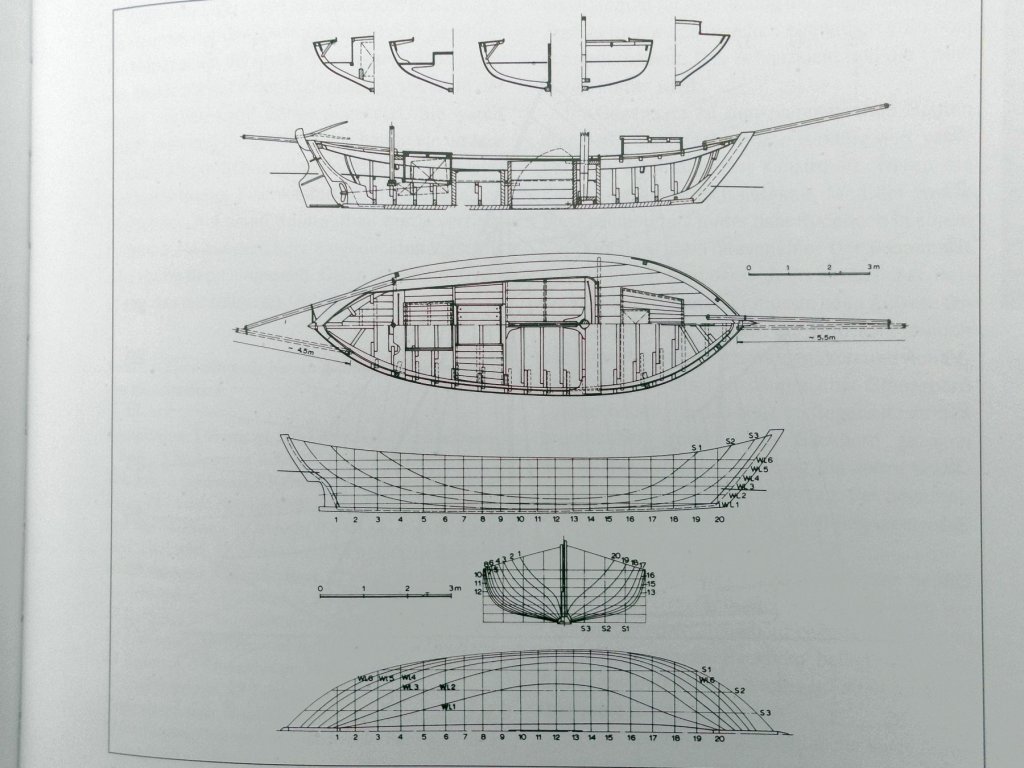
Hi Bruce, I intend to install the things that were necessary for this type of working boat in general, such as : Cockpit planked floors, well-box for live fish, motor well, both access form above. Diesel tuck-tuck motor (Dummy) 1-2 cylinders, gear clutch, reverse gear, with large flywheel, machine exhaust Cabin with 2 berths, locker, ladder, cast iron oven with exhaust over cabin roof, fresh air vent, perhaps a small foldable table. As it is a workboat, it will mainly be held in varnished wood The motor pics I borowed from the web. I intend to to work some outcuts into the main cockpit floor to enable view to the stone Ballast beneath, and perhaps into deck /cabin to view underneath /resp inside cabin Unfortunately I have no other finish details or plans (pics) available at this time, other than the enclosed.... Nils
.jpg.508ad85b69dc12b89325bdc8457c936f.jpg)


- 401 replies
-
- 12
-
-
Many thanks Geert and Bruce, Geert, it realy seems to work... , there will be a sectional bulkhead in combination with the two first half-frames I`m working on this monent. Behind it the main mast will be situated, and in front of that bulkhead the cabin fits in, with entry from above Bruce, I`m pleased that you are enjoying the build. The little one is so sweet, he`s laying at my feet at the desk in my hobby room, although he still "leaks", sometimes also on the carpet, if we`re not fast enough to recognise what he has in mind. Nils
-
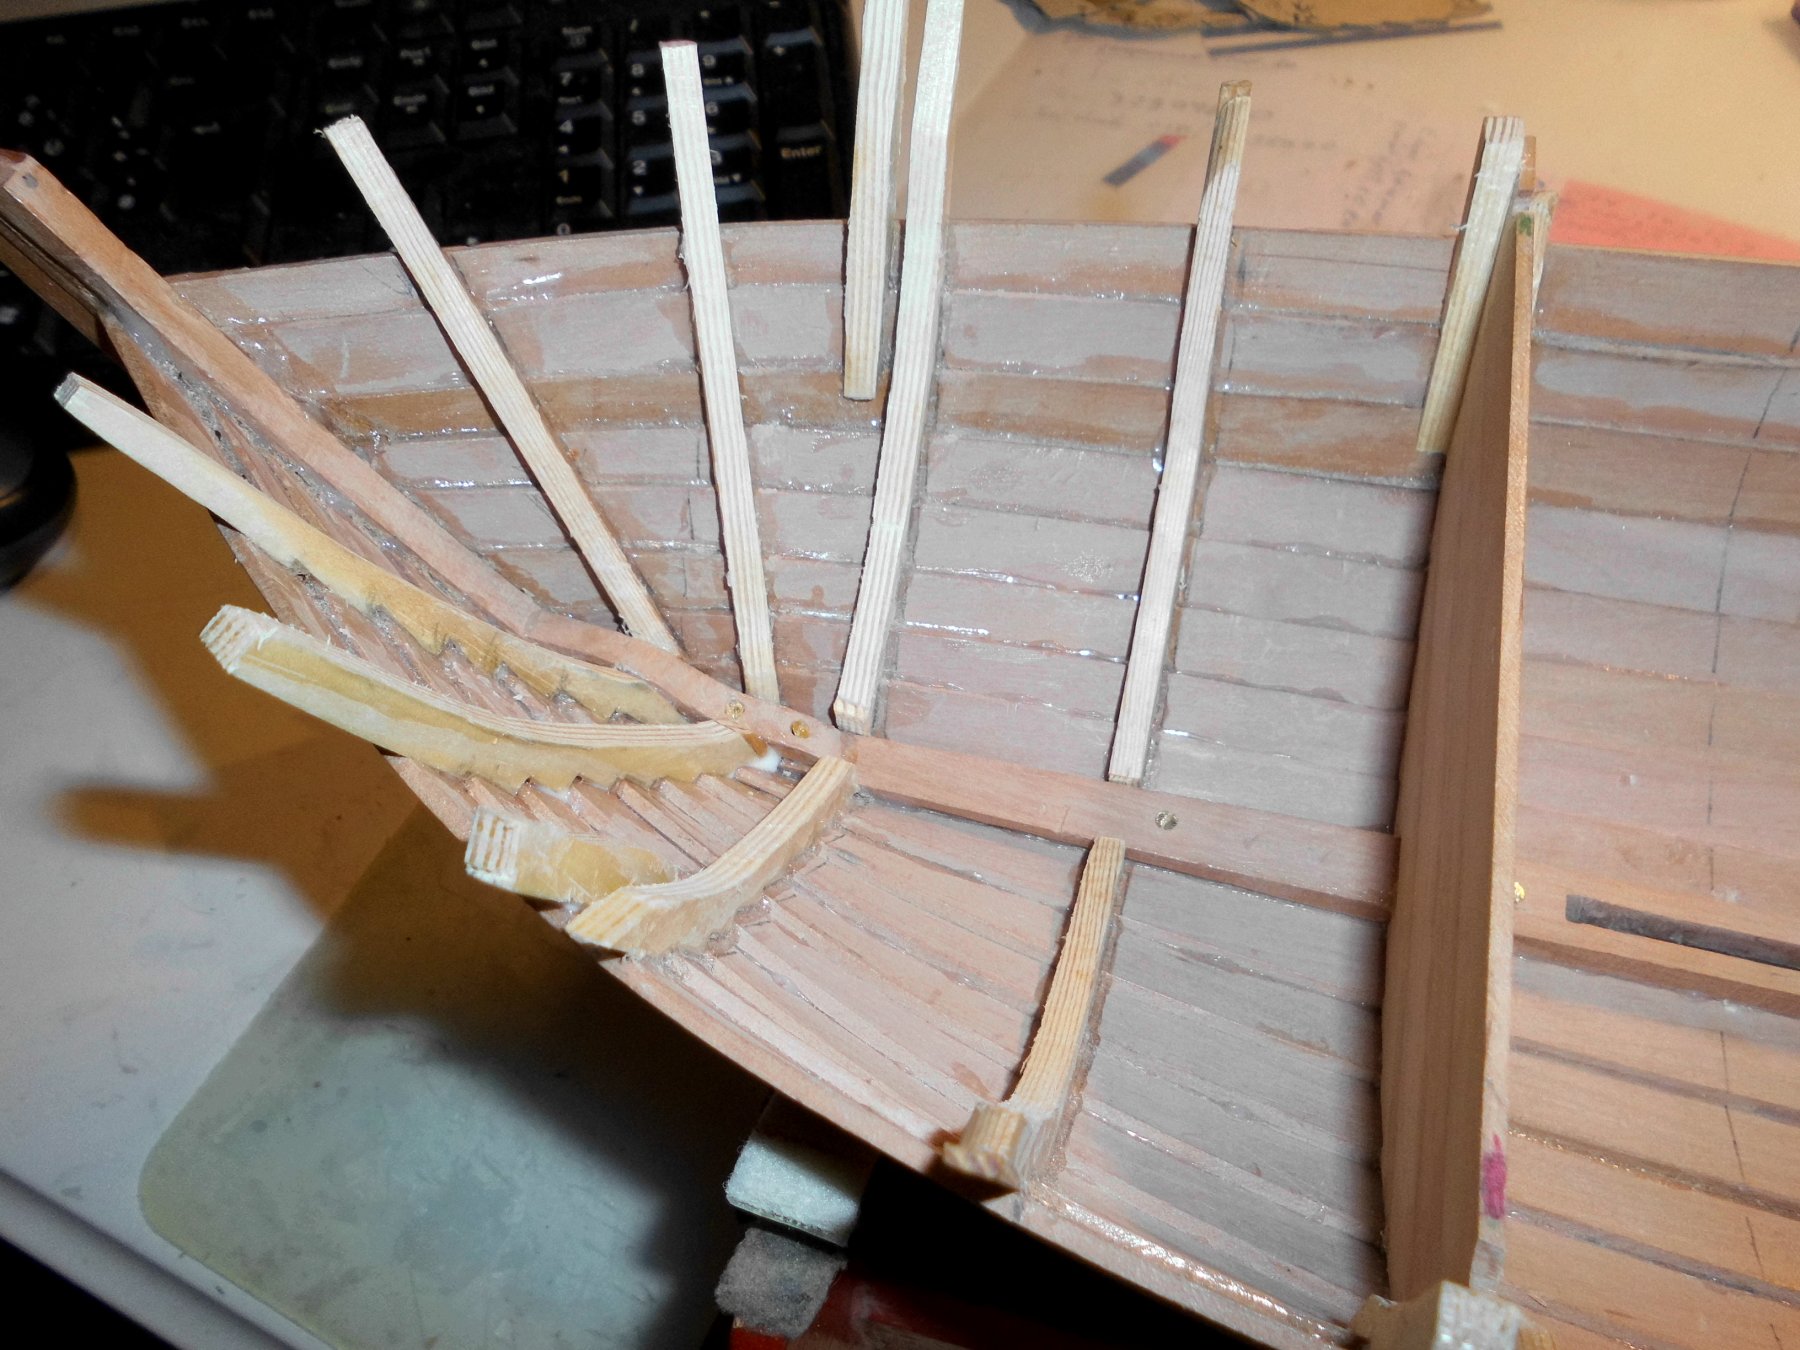
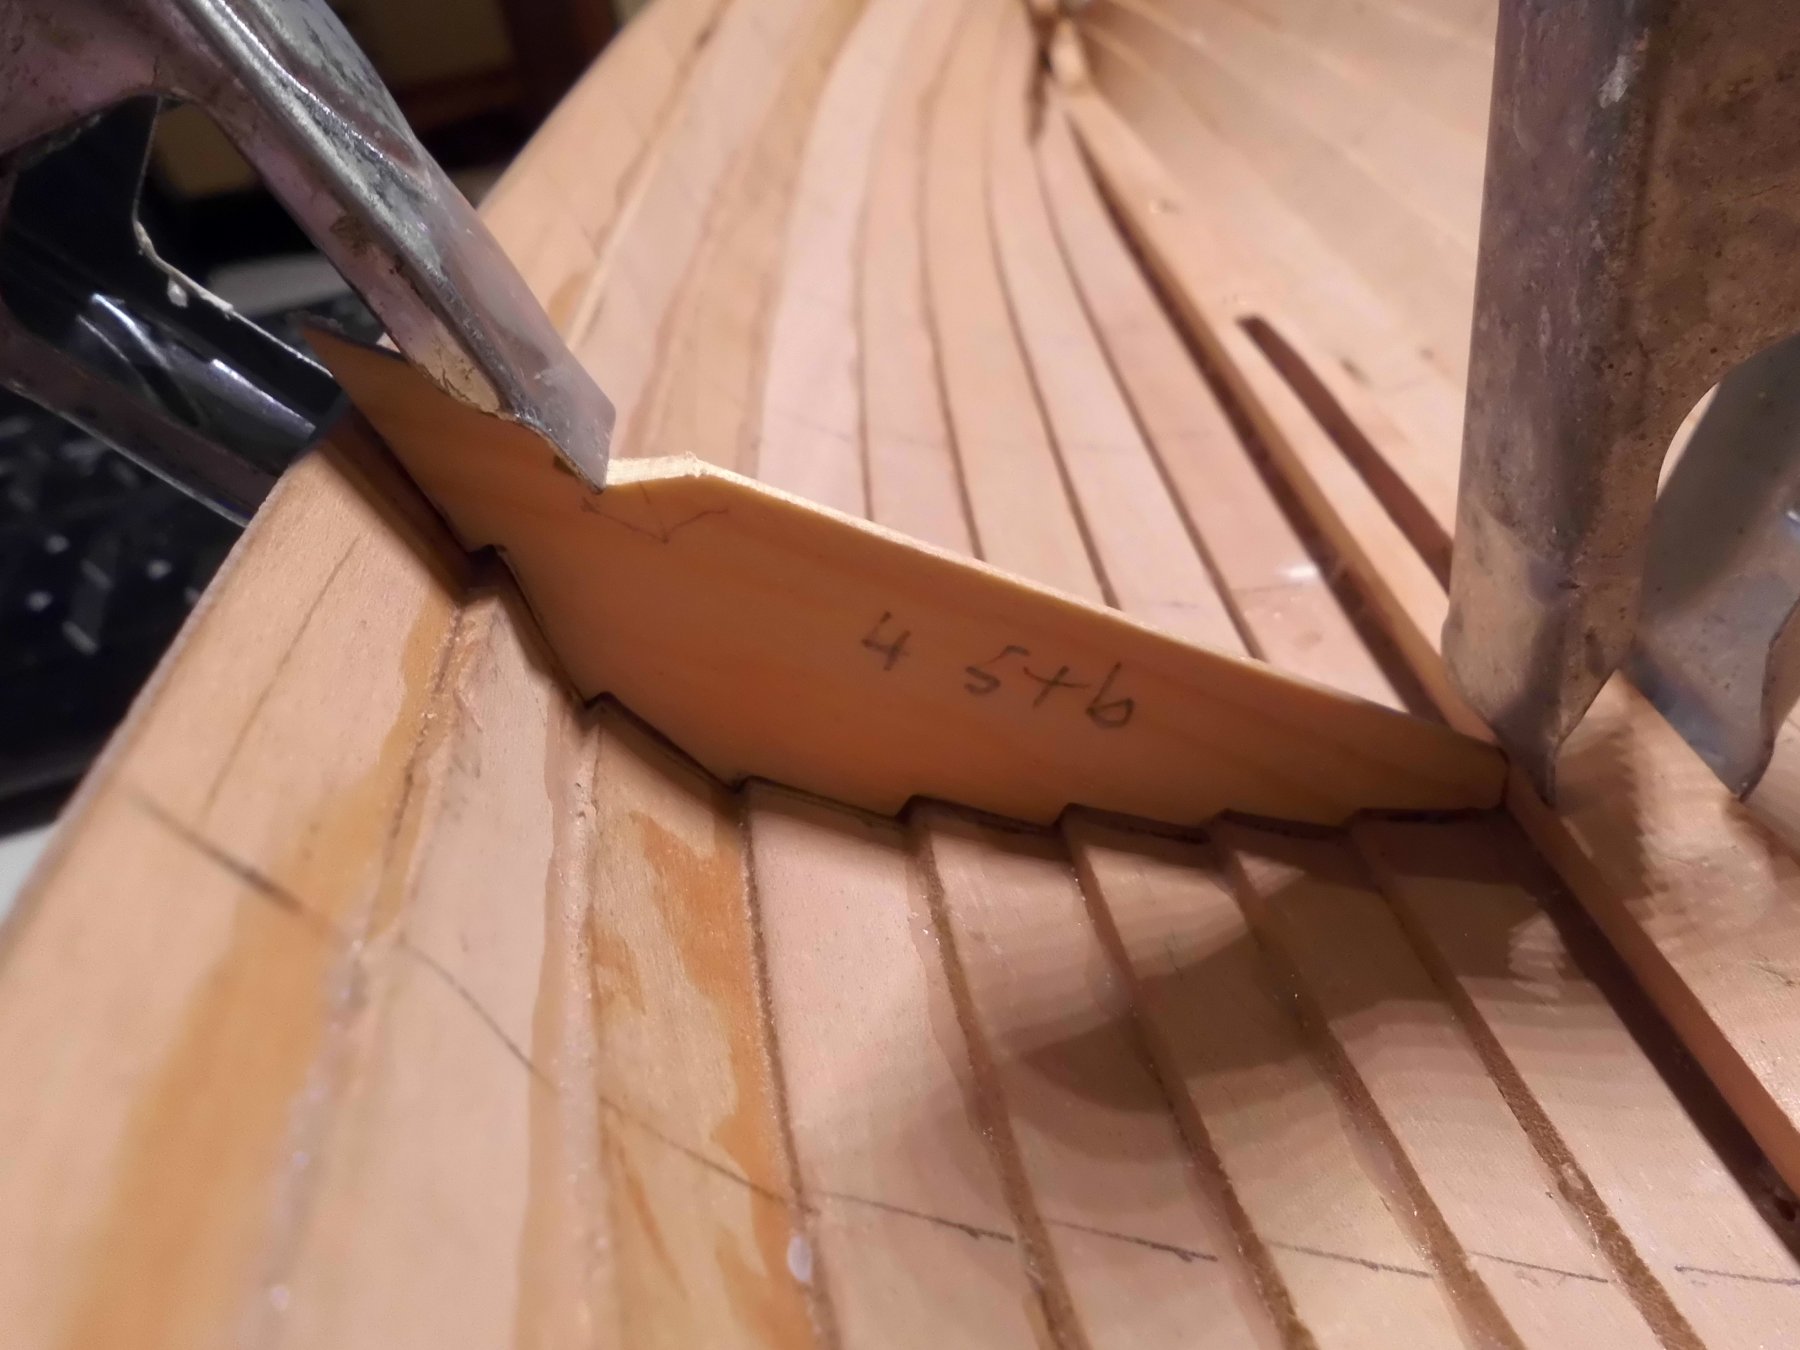
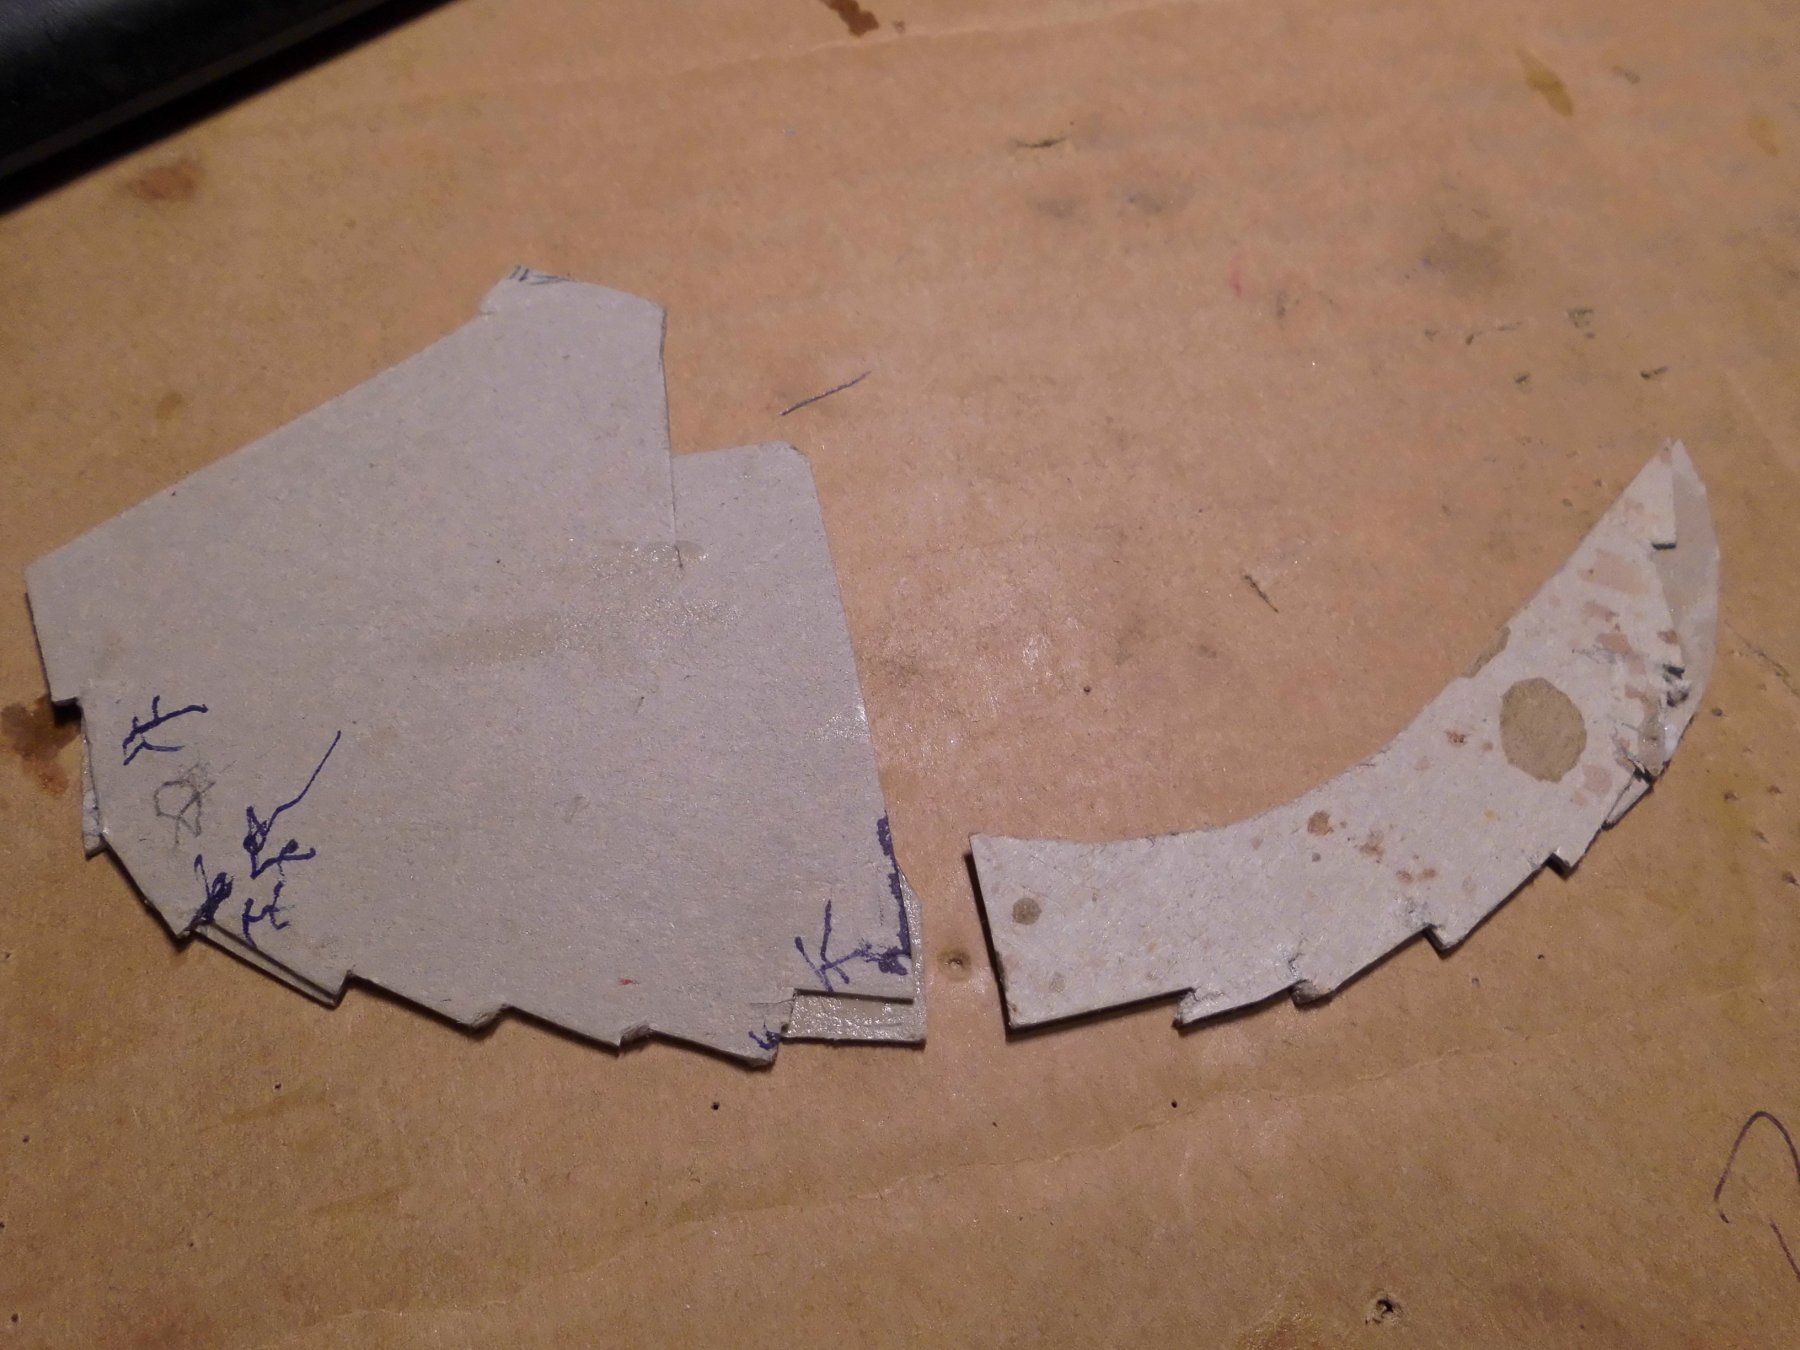
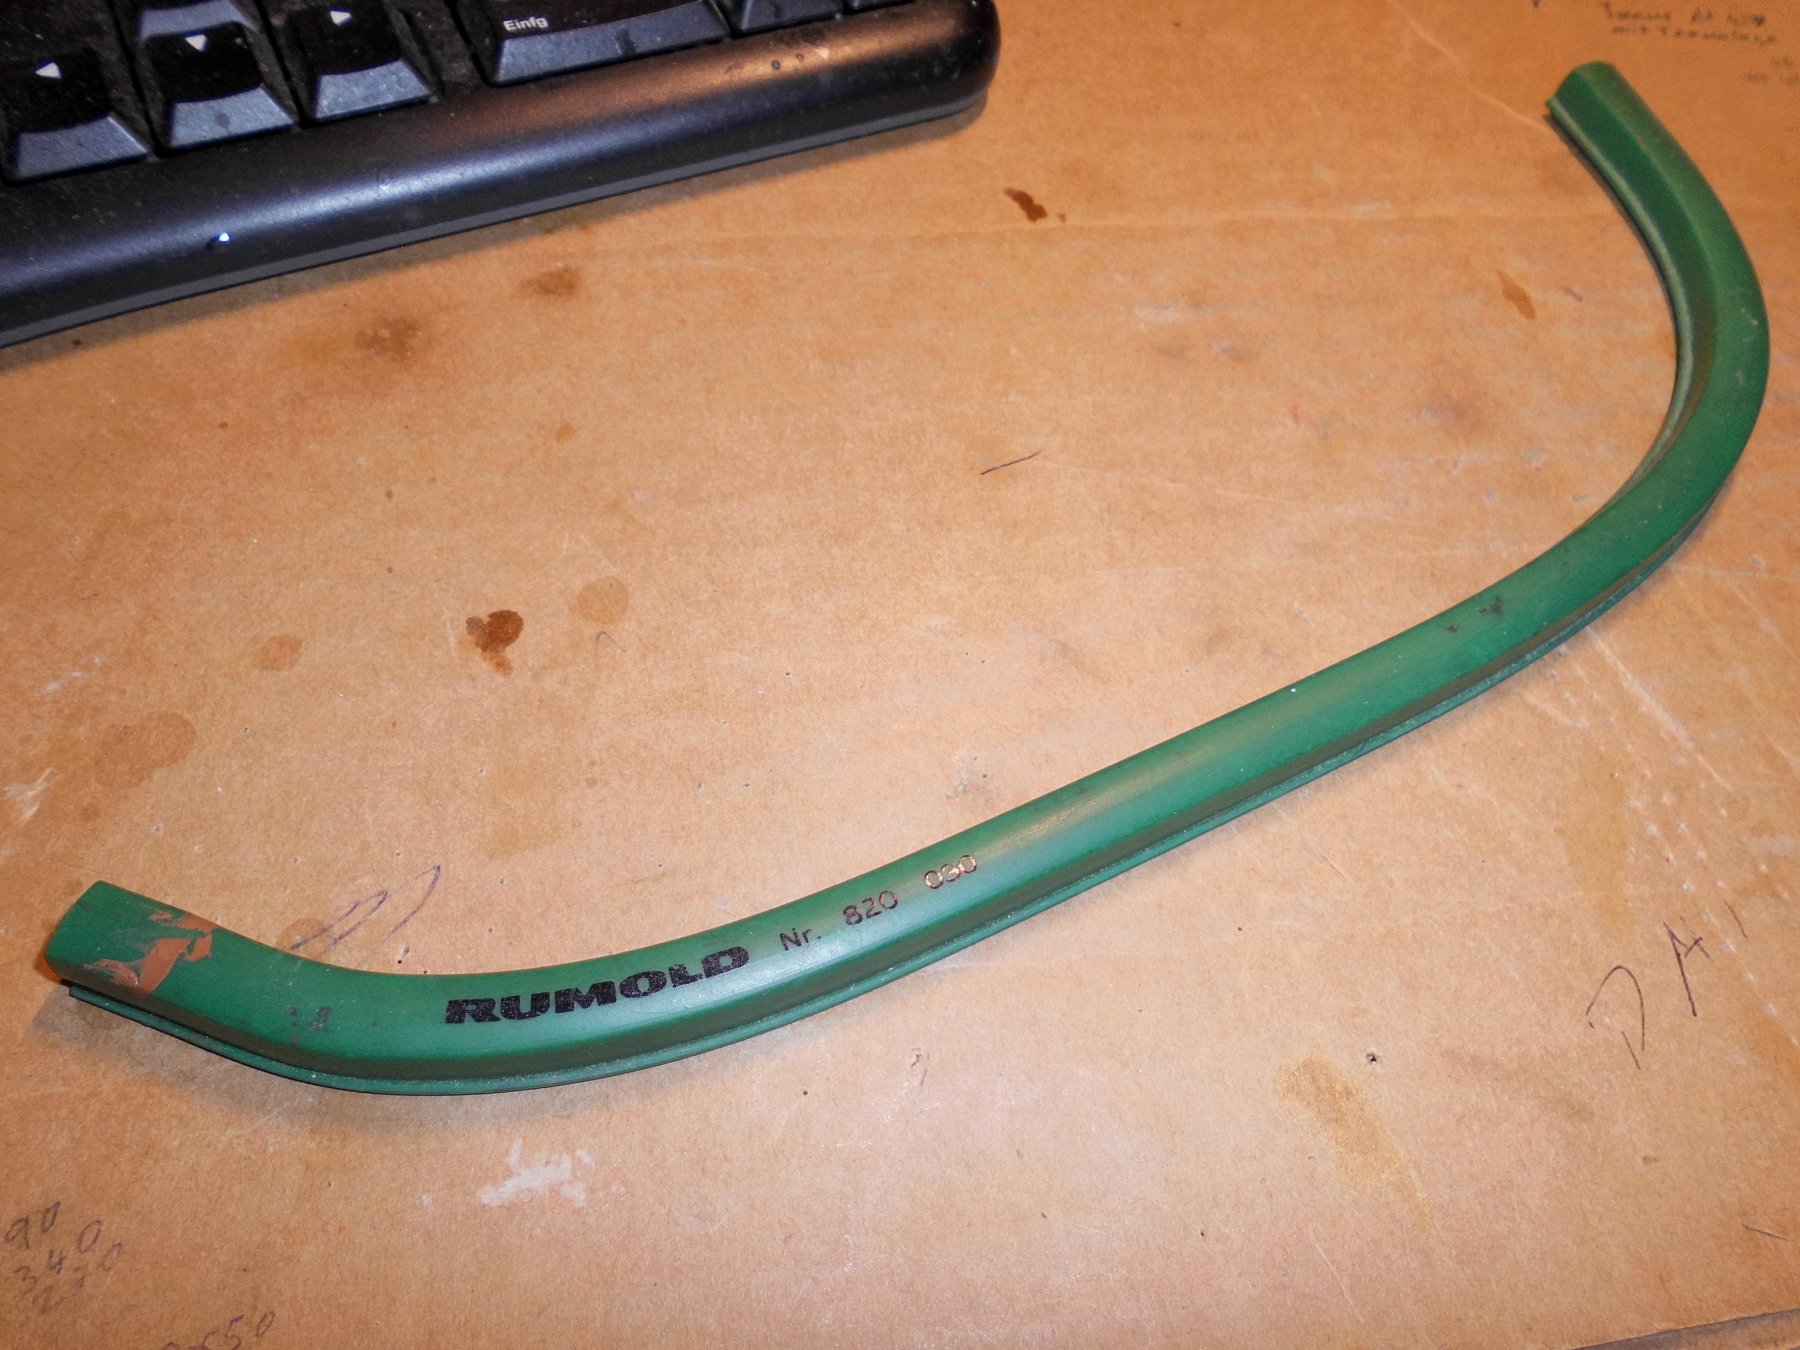
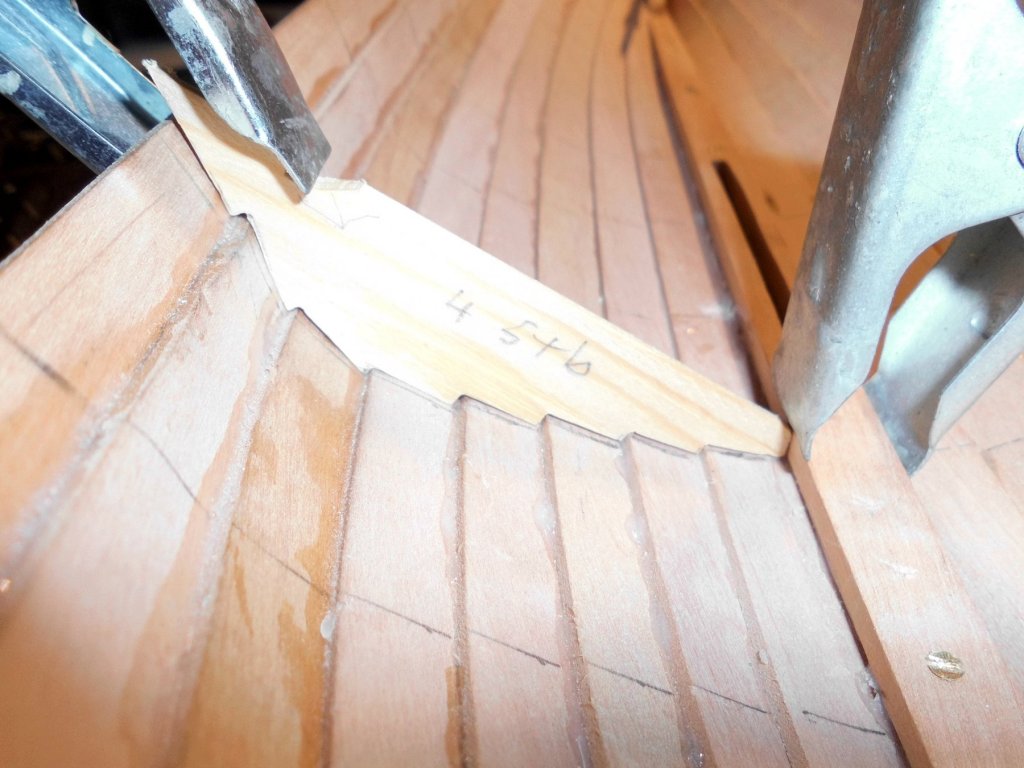
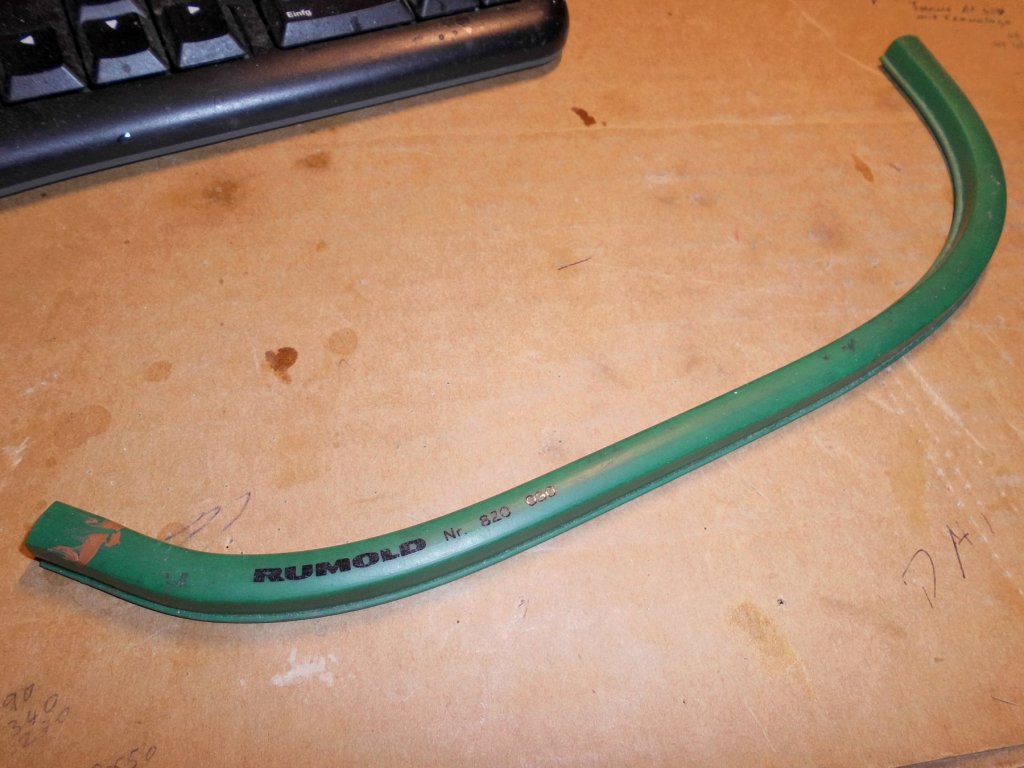
Next sequence is doing the framing ribs.... need to make some well fitting templates fist, that adopt to the inner lapstrake contour Nils flexible ruler is of great help fot this job A flexible ruler to take off the rough shape for transfering it to card card for taking off the clinker stagered strake outcuts doing it in a bit of 4mm thick scrap wood provides the template for the final ribs I must admit, its a bit tricky job.....


- 401 replies
-
- 20
-
-
hello Tim, I liked your introduction, wish you a pleasant stay with MSW, and look forward to your first buildlog here... Nils
-
Thanks for your welcoming words B.E. we`re just back in from a walk in the park not far from the house... Caspar and Nils
-
Thank you Geert, yes, he`s a real clever little chap, but it takes much attension at this stage of age to help in learning and during discovering new impressions daily... Nils
-
Hi Peta, excellent work ! its a real beauty, and the progress is lovely to follow, what a nice pricise planking !... Nils
- 315 replies
-
- 1
-
-
- master korabel
- avos
- (and 1 more)
-
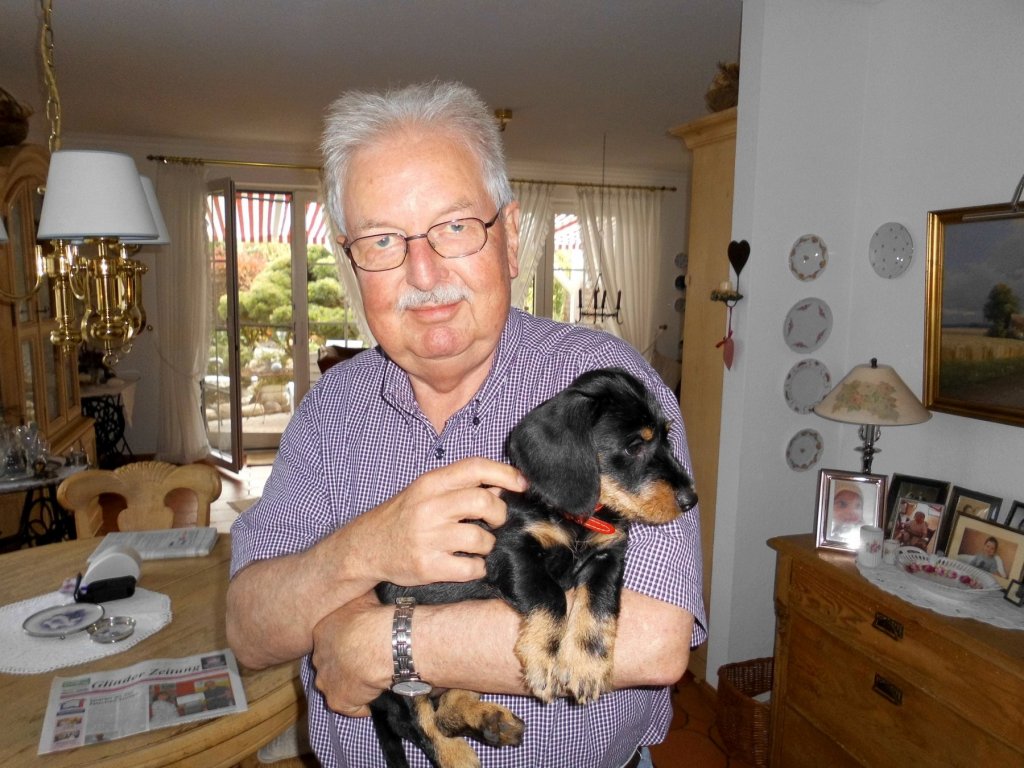
New family member, after our Ronny (Foxterrier) passed away 7 months ago, due to a stroke from which he unfortunately could`nt recover, we did`nt want to have a new dog again. To make it short, the decision did not last long, we missed the house being without any four legged pal...... Here now is our new two months old darling "Caspar", (rough haired Dachshund), puppy pet, since last Saturday, and picked up in southern Germay. There is much life and joy in the house again Nils
- 401 replies
-
- 20
-
-
Very impressing work Danny, and so well detailed Nils