John Ruy
-
Posts
1,584 -
Joined
-
Last visited
Content Type
Profiles
Forums
Gallery
Events
Everything posted by John Ruy
-
 BTW… Maine’s First Ship was built in 1607 by one of the first English Colonies in Popham Maine. Here a link to their website. https://mfship.org/ Maine’s First Ship museum has built a replica.
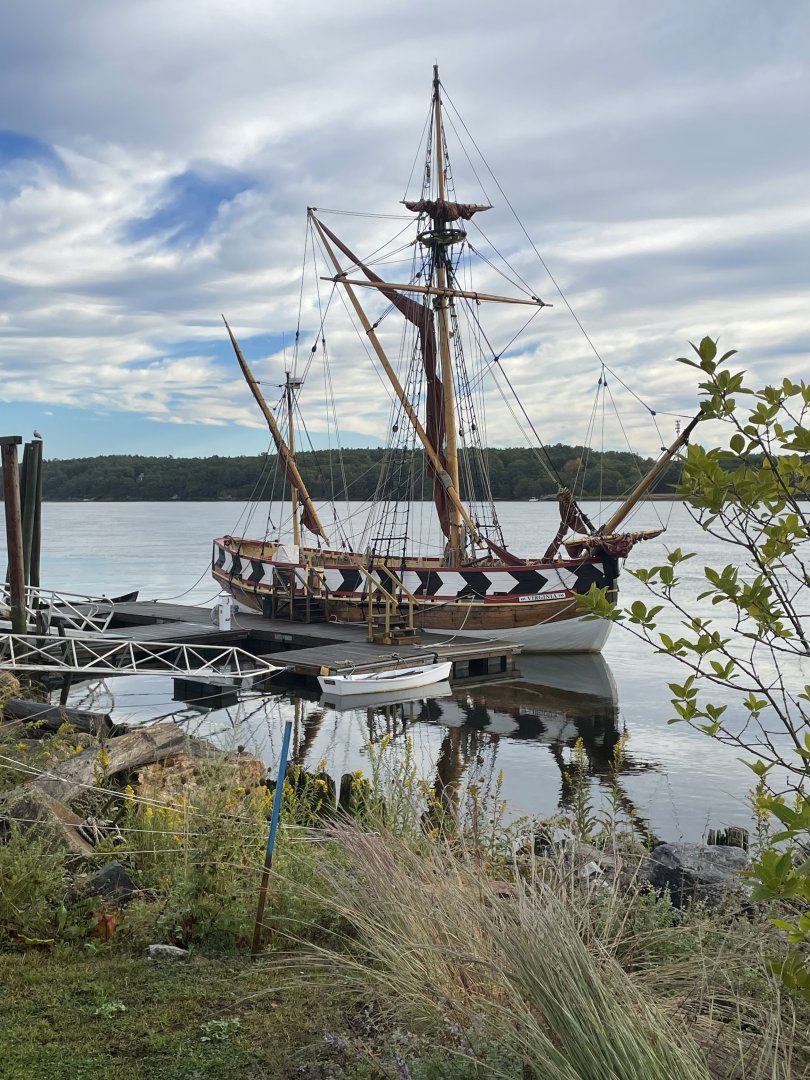
-
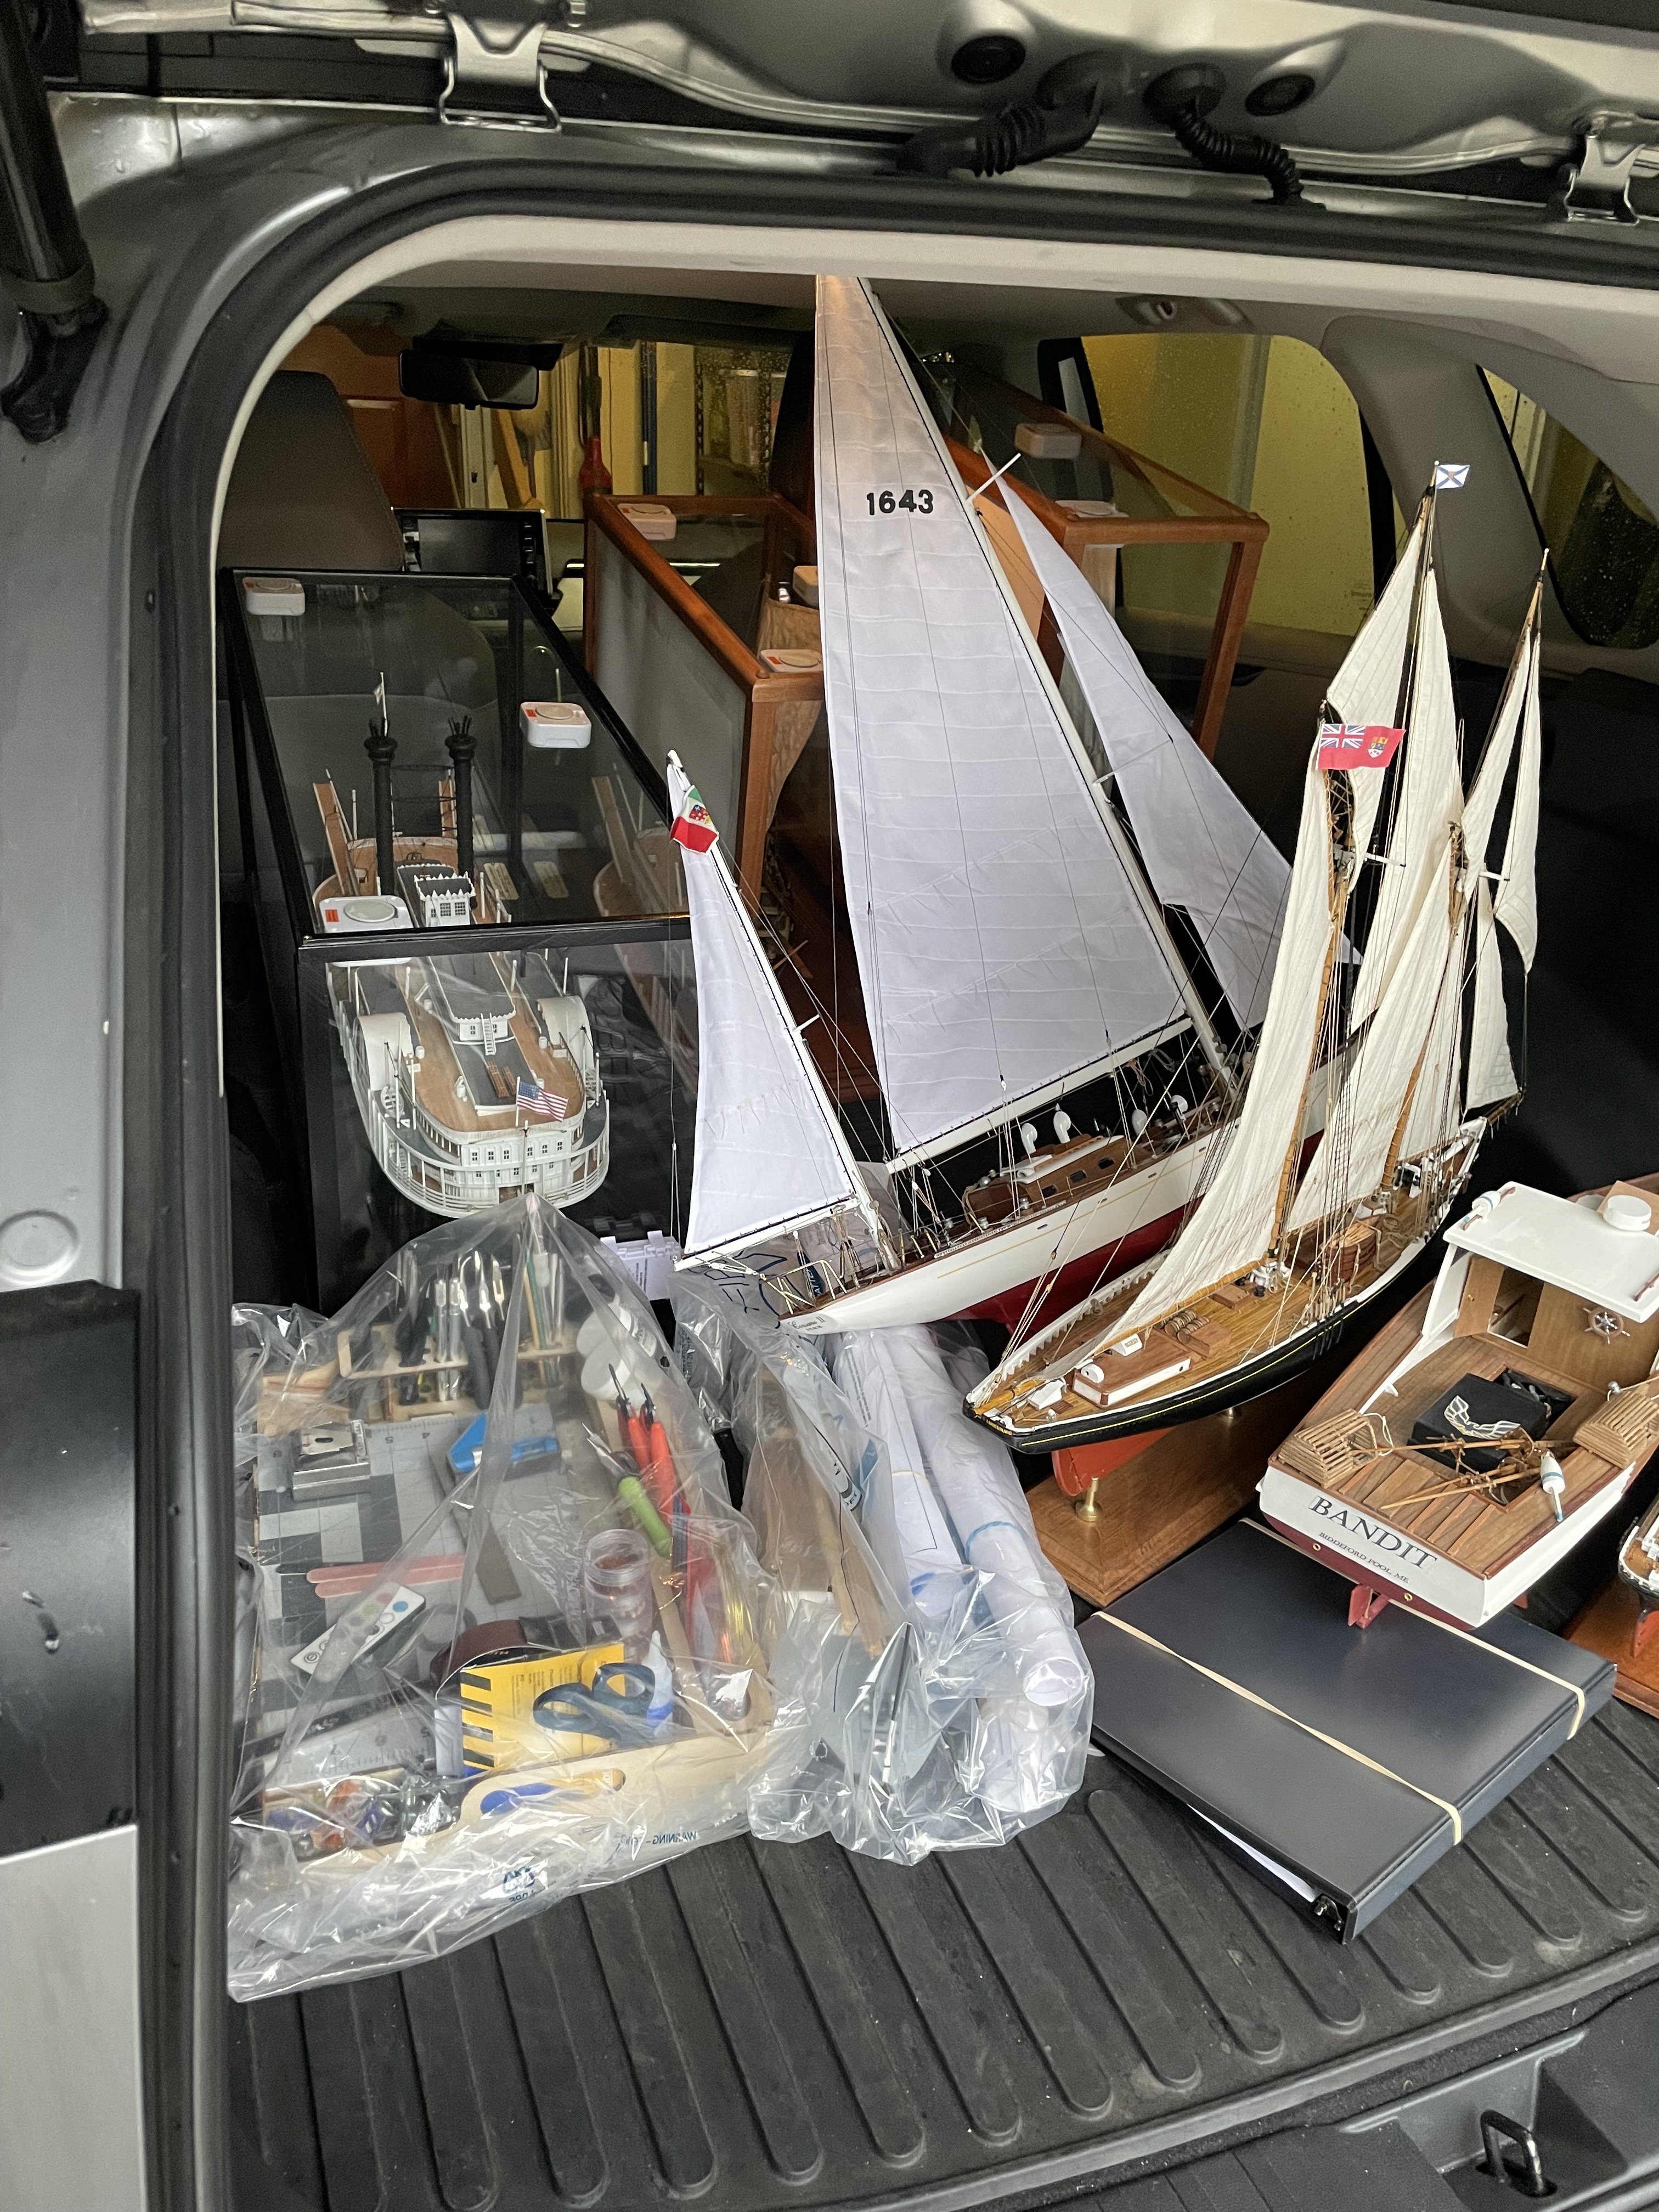
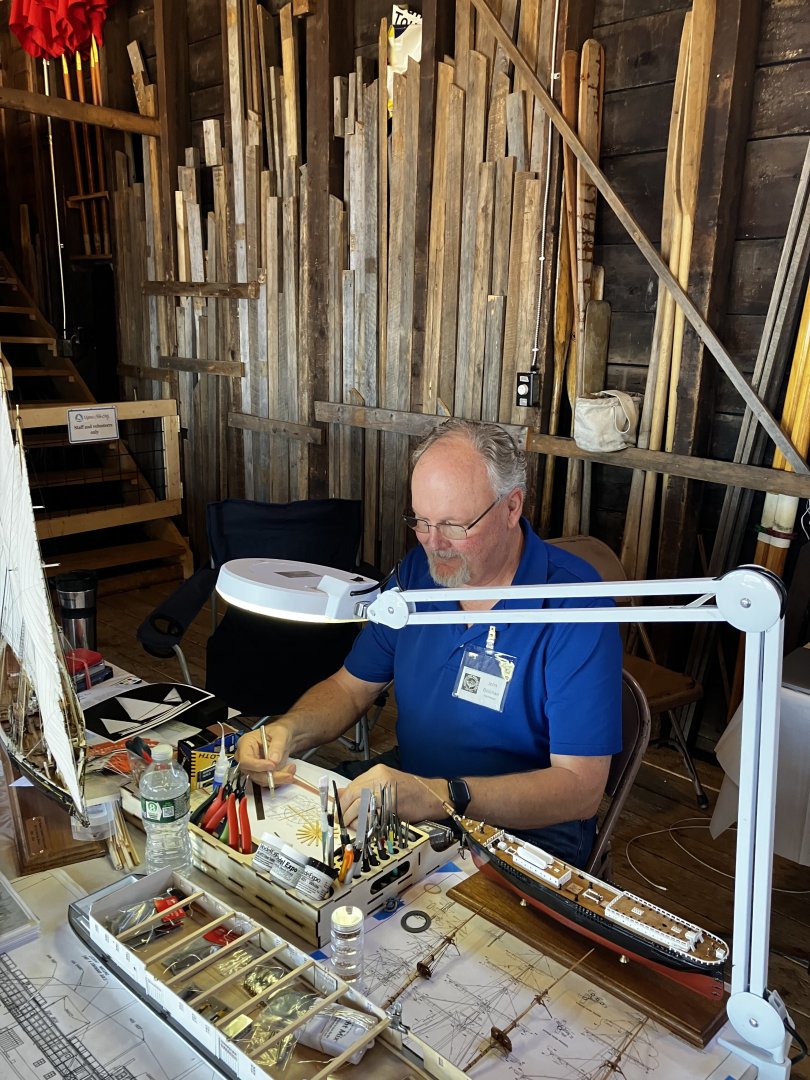
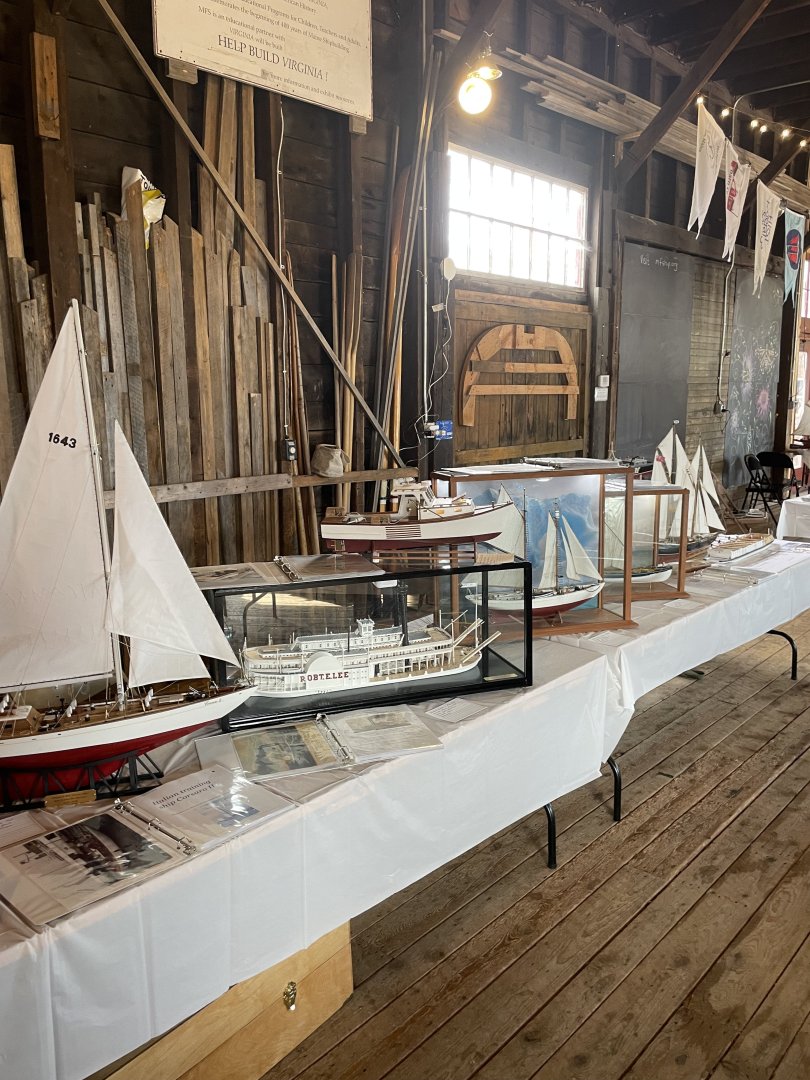
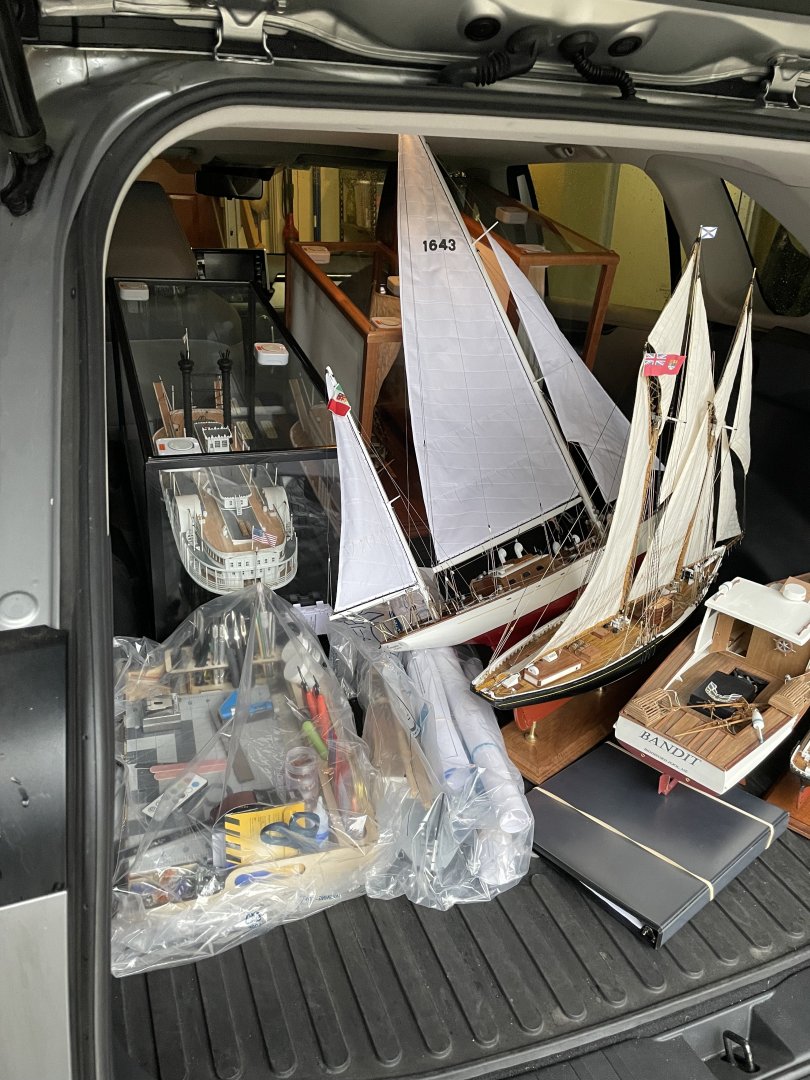
Follow up on the DESMG Expo… I Demonstrated building the Paddle Wheel for the Klondike and Displayed 6 of my completed models. It was a great 3 day Expo held in Bath Maine at Maine’s First Ship Museum. The hours drive up each day was well worth it. Transportation of the models was a bit sketchy but they all survived the trip. Everything is back home, now it’s time to get to work in the ship yard. Cheers 🍻

-
Thanks John, We will see how my duplication x5 comes out.
-
Thanks Keith, I also took your advice and purchased some small chisel blades to trim the ends. Much cleaner square cuts. 👍
-
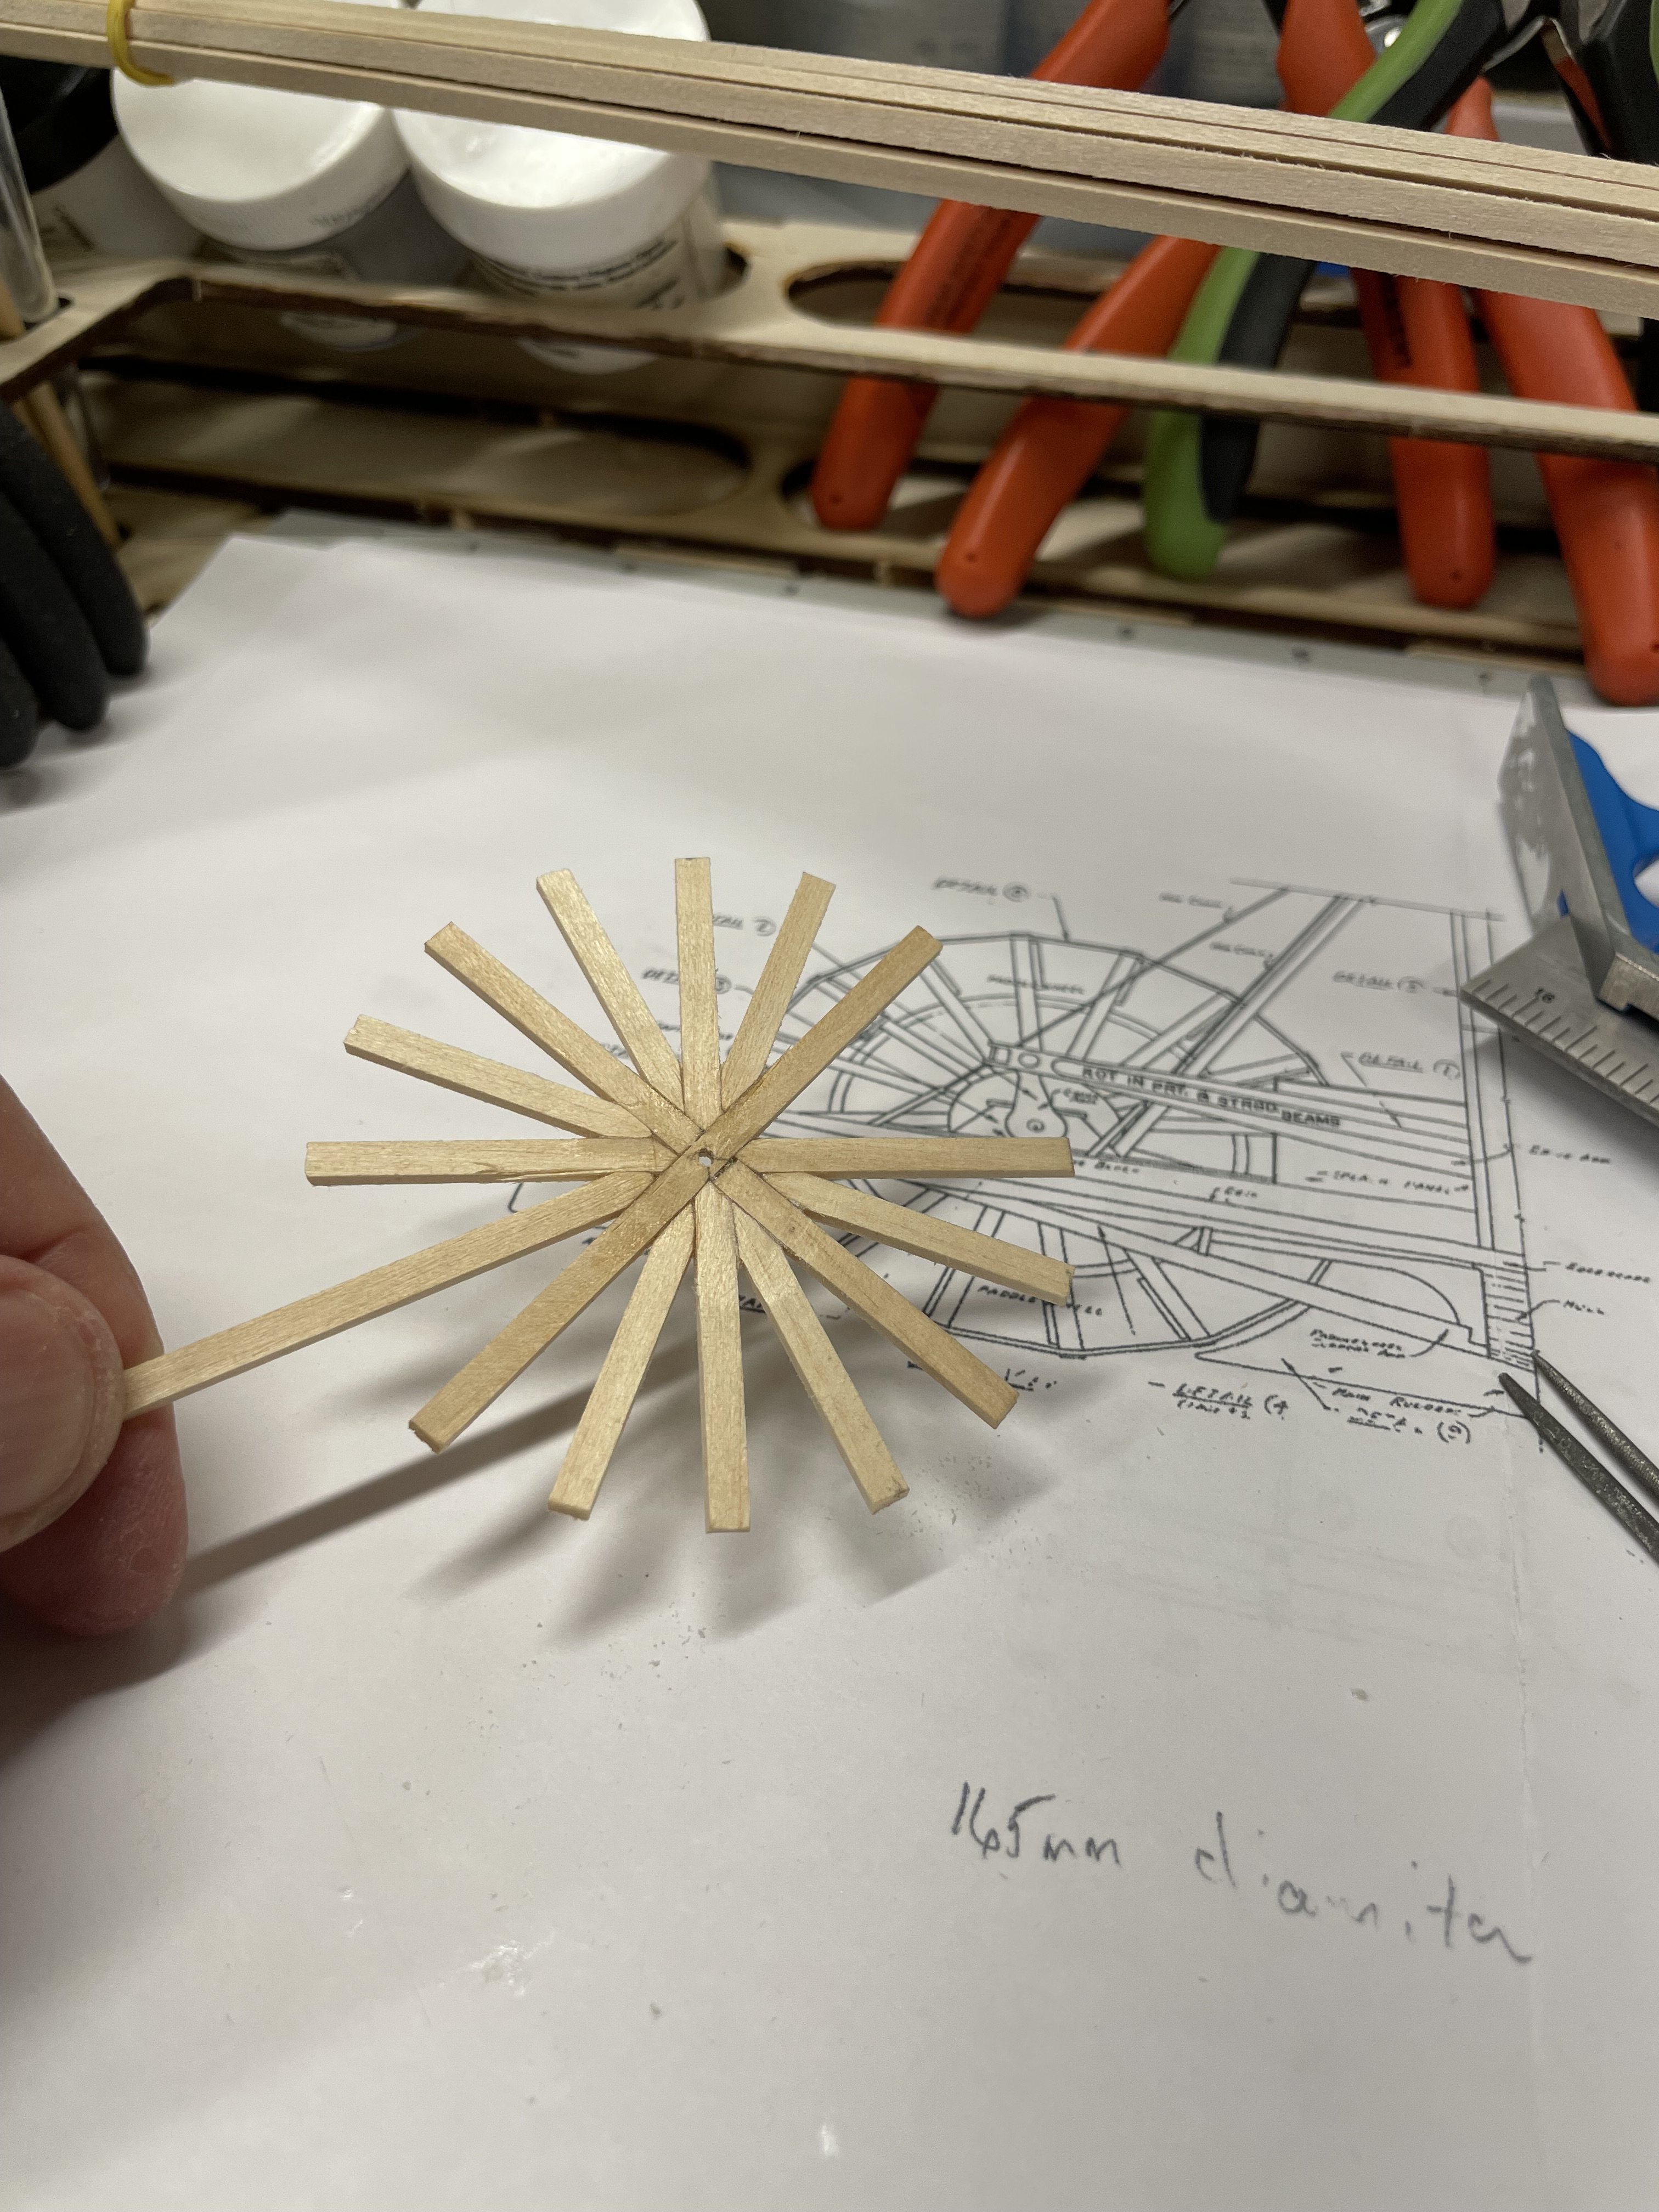
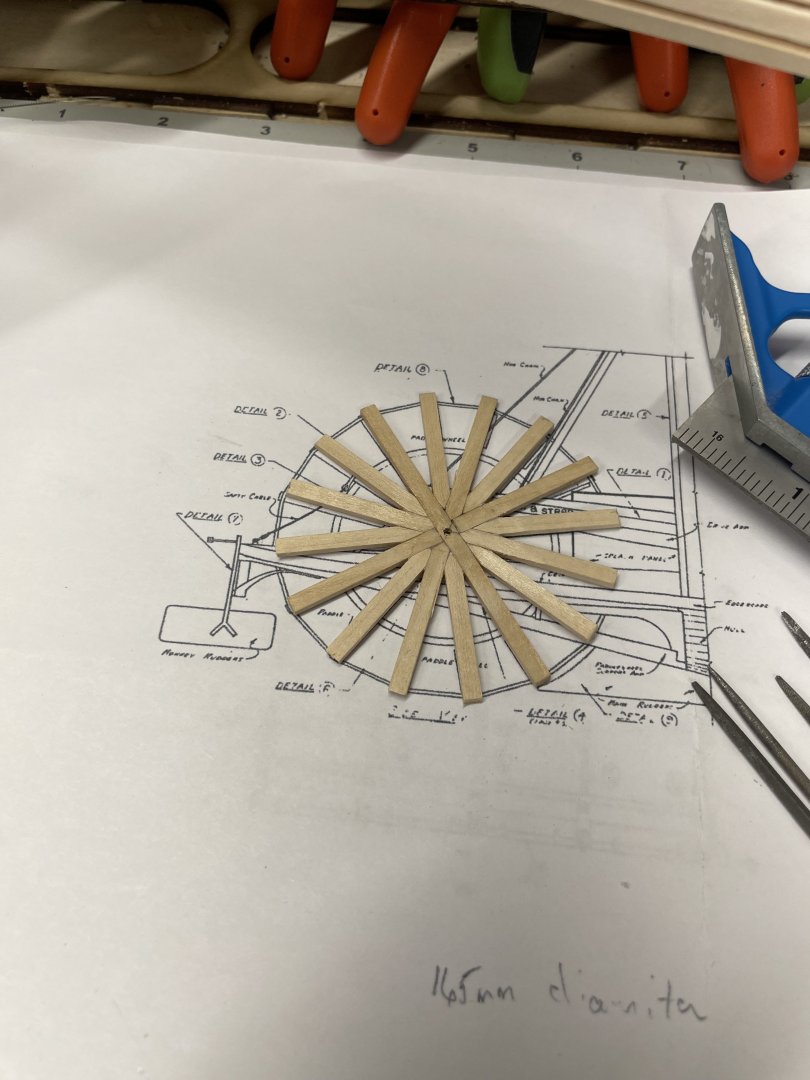
Paddle Wheel 2.0… Determined to get this right, started over with the spokes. 1.0 wheel spokes were to big. Winter is coming, should start getting some more time in the ship yard. Cheers 🍻


-
Displayed the Red Jacket (in progress) at our Down East Ship Modelers Guild Expo in Bath Maine. Along with a few of my completed models. Should have more progress to post soon. Cheers 🍻


- 165 replies
-
- 7
-

-
- Red Jacket
- Marine Model Company
- (and 2 more)
-
I agree Kieth, we here on MSW do inspire each other to do what’s right in our world of model ships. Thank you for your comment, as well. John
- 457 replies
-
- 5
-

-
-
- sternwheeler
- Hard Coal Navy
- (and 1 more)
-
Kieth, I cannot even imagine that something you put together would not be absolutely perfectly correct. John
- 457 replies
-
- 6
-
-
-
- sternwheeler
- Hard Coal Navy
- (and 1 more)
-
The weathering is incredible. Love the rust hard water staining.
- 457 replies
-
- 6
-
-
-
- sternwheeler
- Hard Coal Navy
- (and 1 more)
-
Absolutely amazing Kieth… The detail is just incredible. WOW!😮
- 457 replies
-
- 8
-
-
-
- sternwheeler
- Hard Coal Navy
- (and 1 more)
-
Thanks Keith… I will give them a try. Found these on eBay https://ebay.us/m/62KBXb
-
It’s a #11 x-Acto. I buy them in bulk on eBay. https://ebay.us/m/qxAnN5
-
That’s the goal! Requires some very careful cutting. The Xacto kind… 😎
-
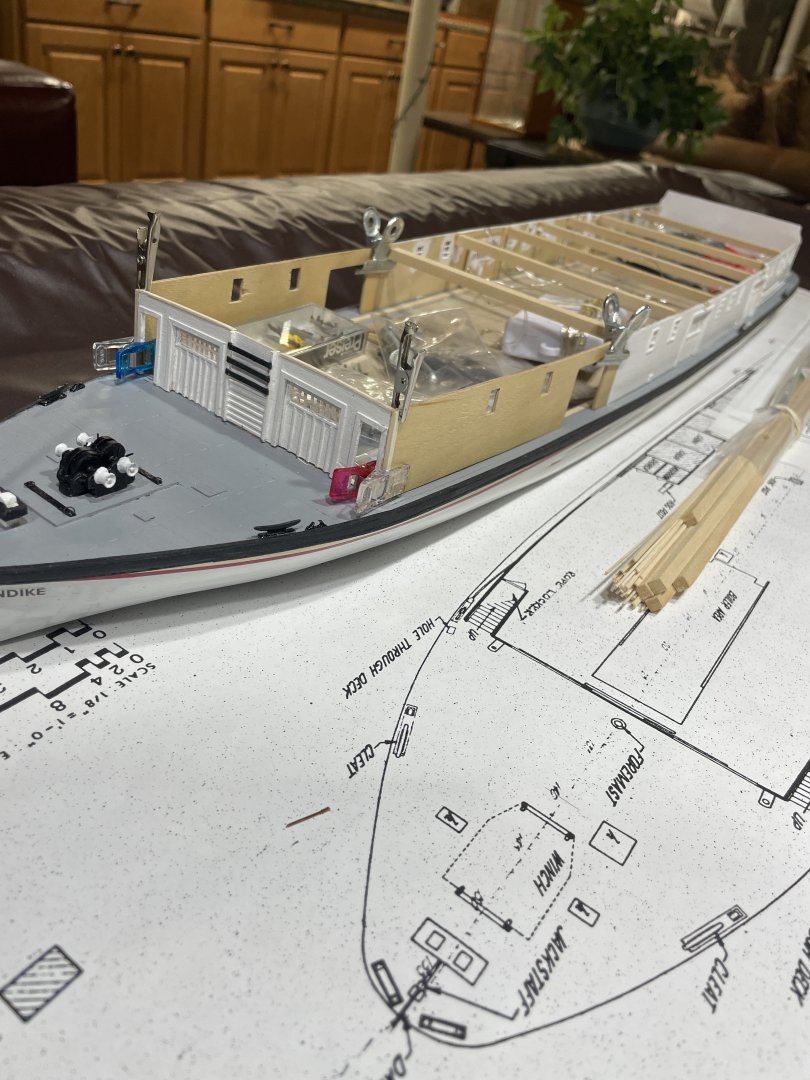
I am taking the Klondike up to our DESMG 2025 Ship Modelers Exposition. If you are in the Neighborhood, Come see us in beautiful downtown Bath Maine. Should be a good time. 😎🍻 Here is an update on the build… Almost finished with the Main Deck. 1 of 5 wheels for the Paddle Wheel. Cheers 🍻


-
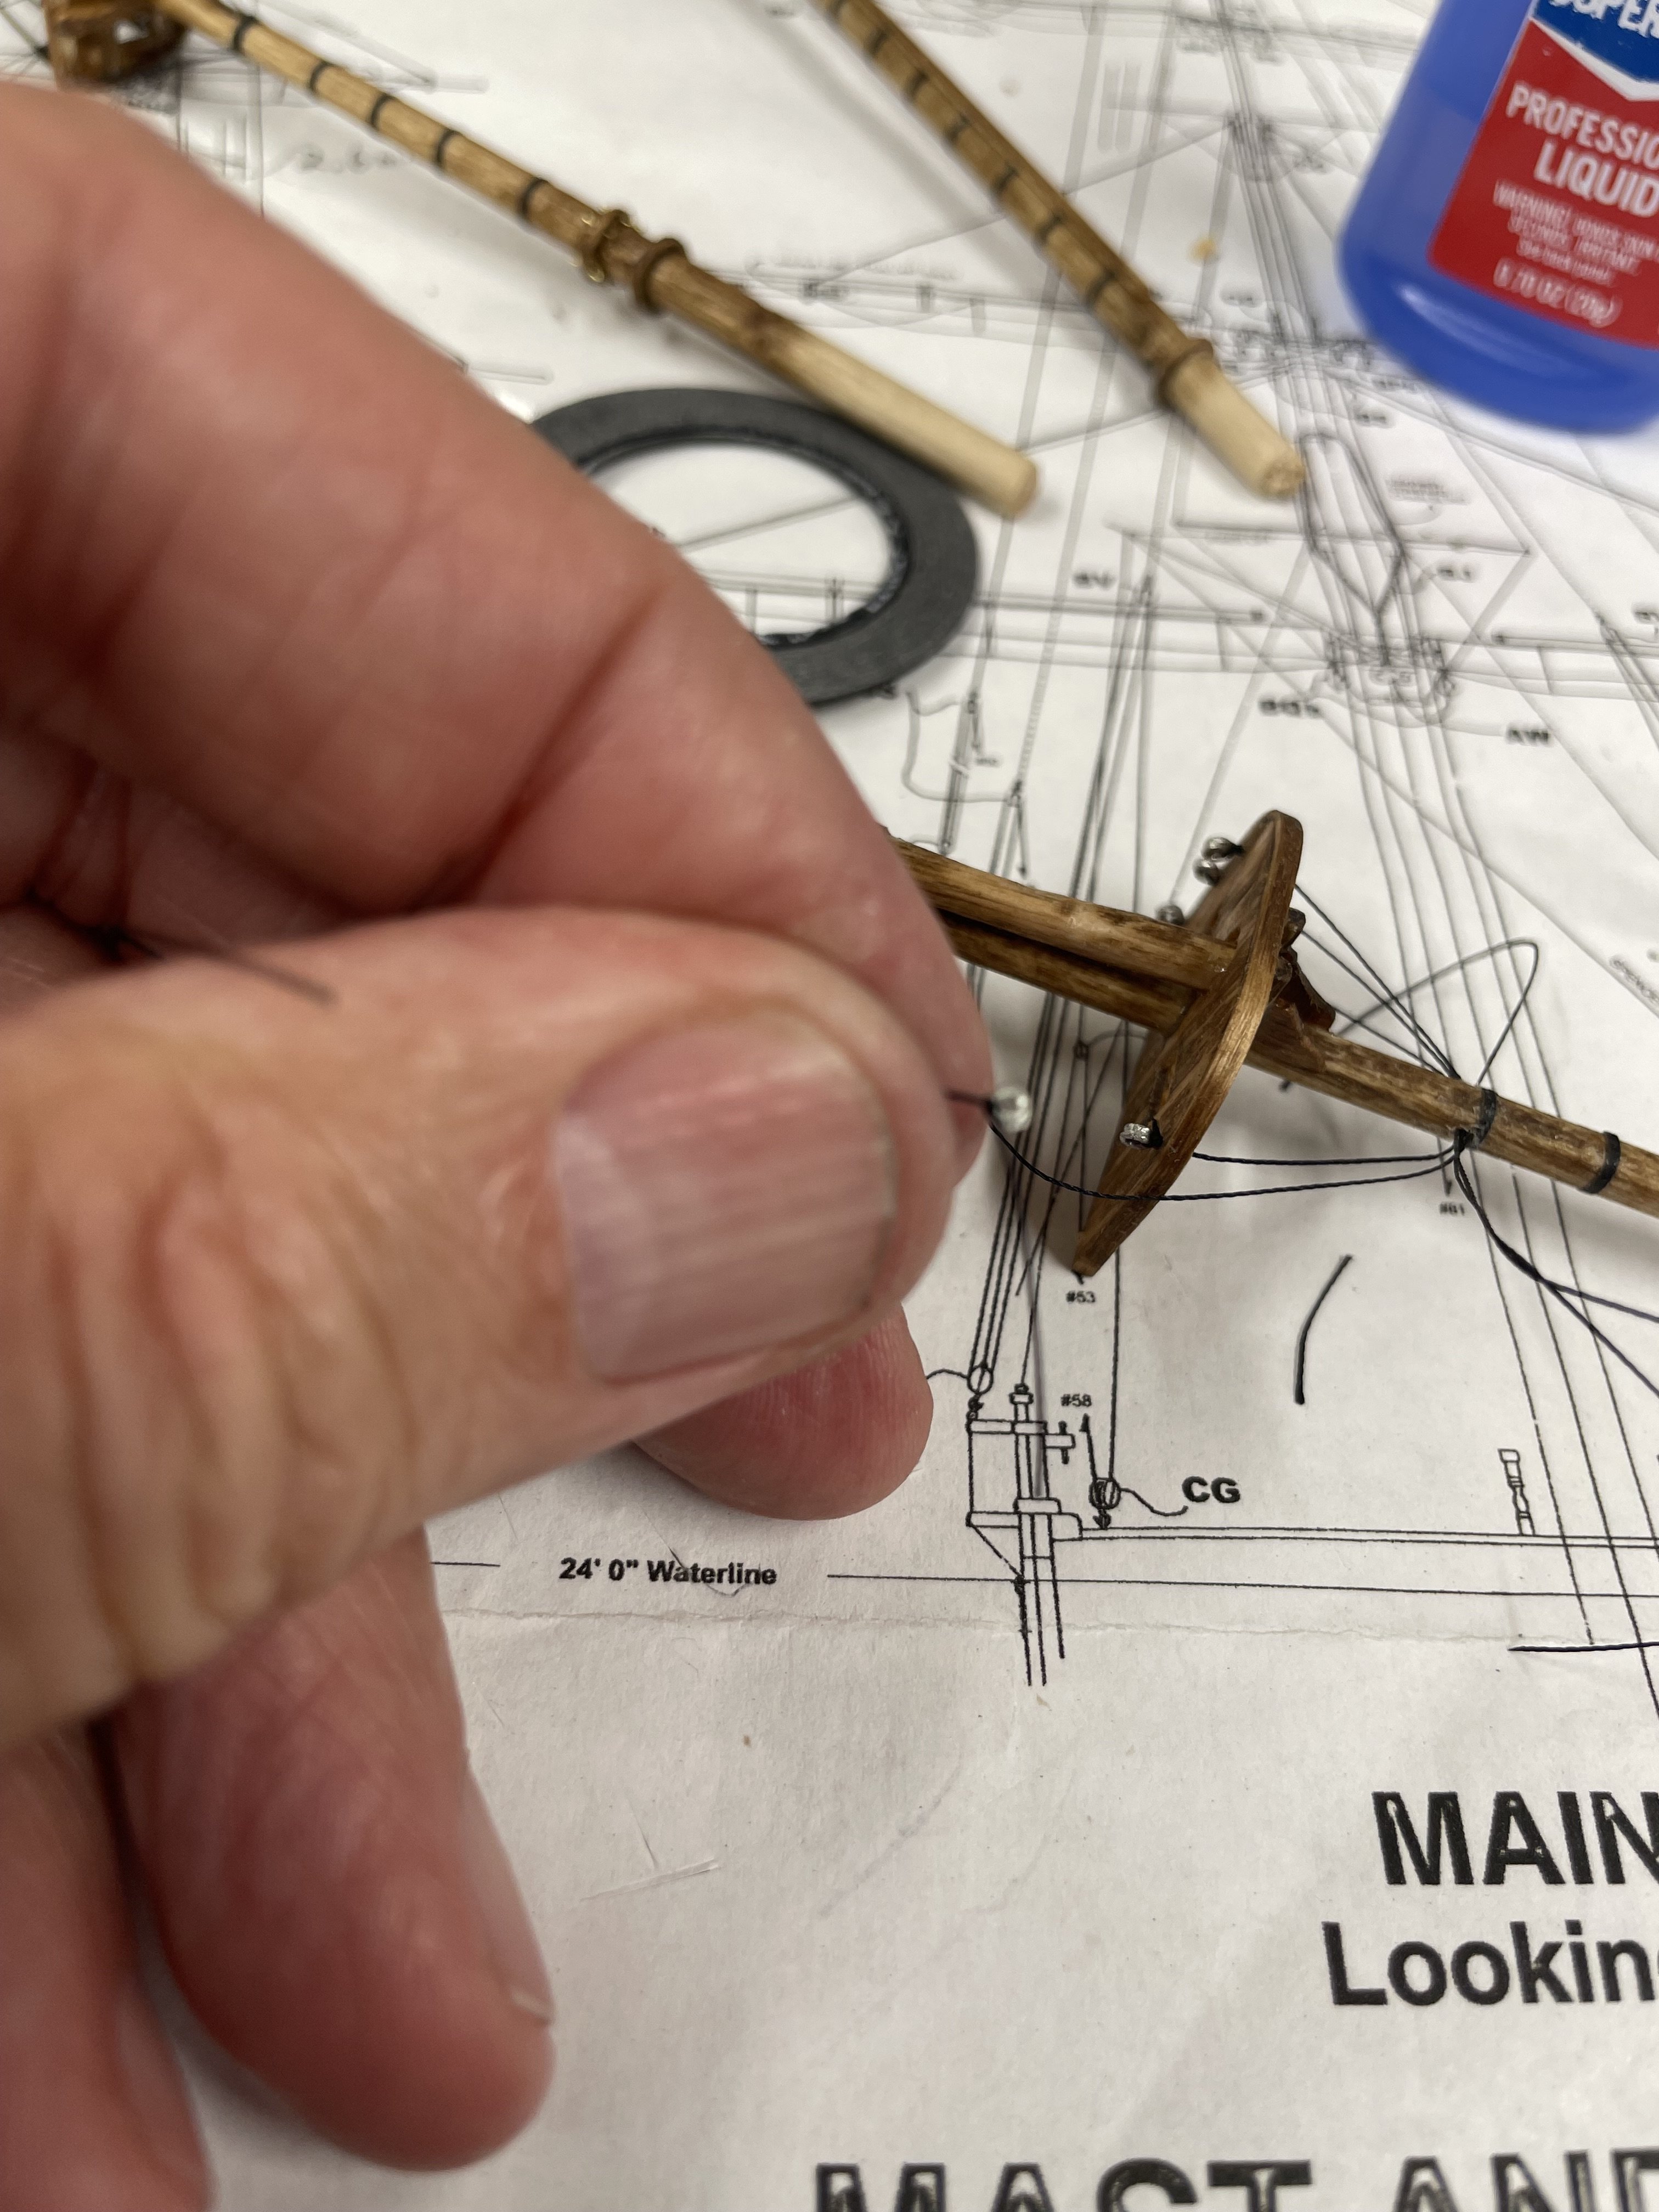
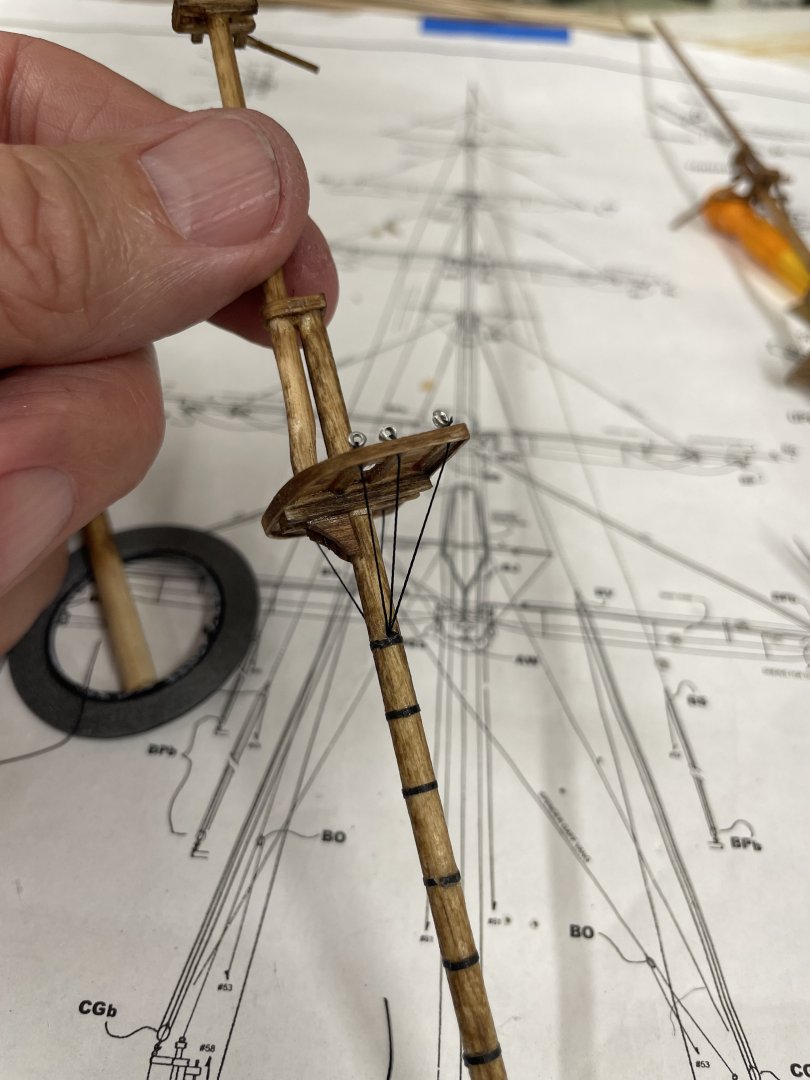
Main Mast Futtock shrouds… One step at a time… Cheers 🍻


- 165 replies
-
- 6
-
-
- Red Jacket
- Marine Model Company
- (and 2 more)
-
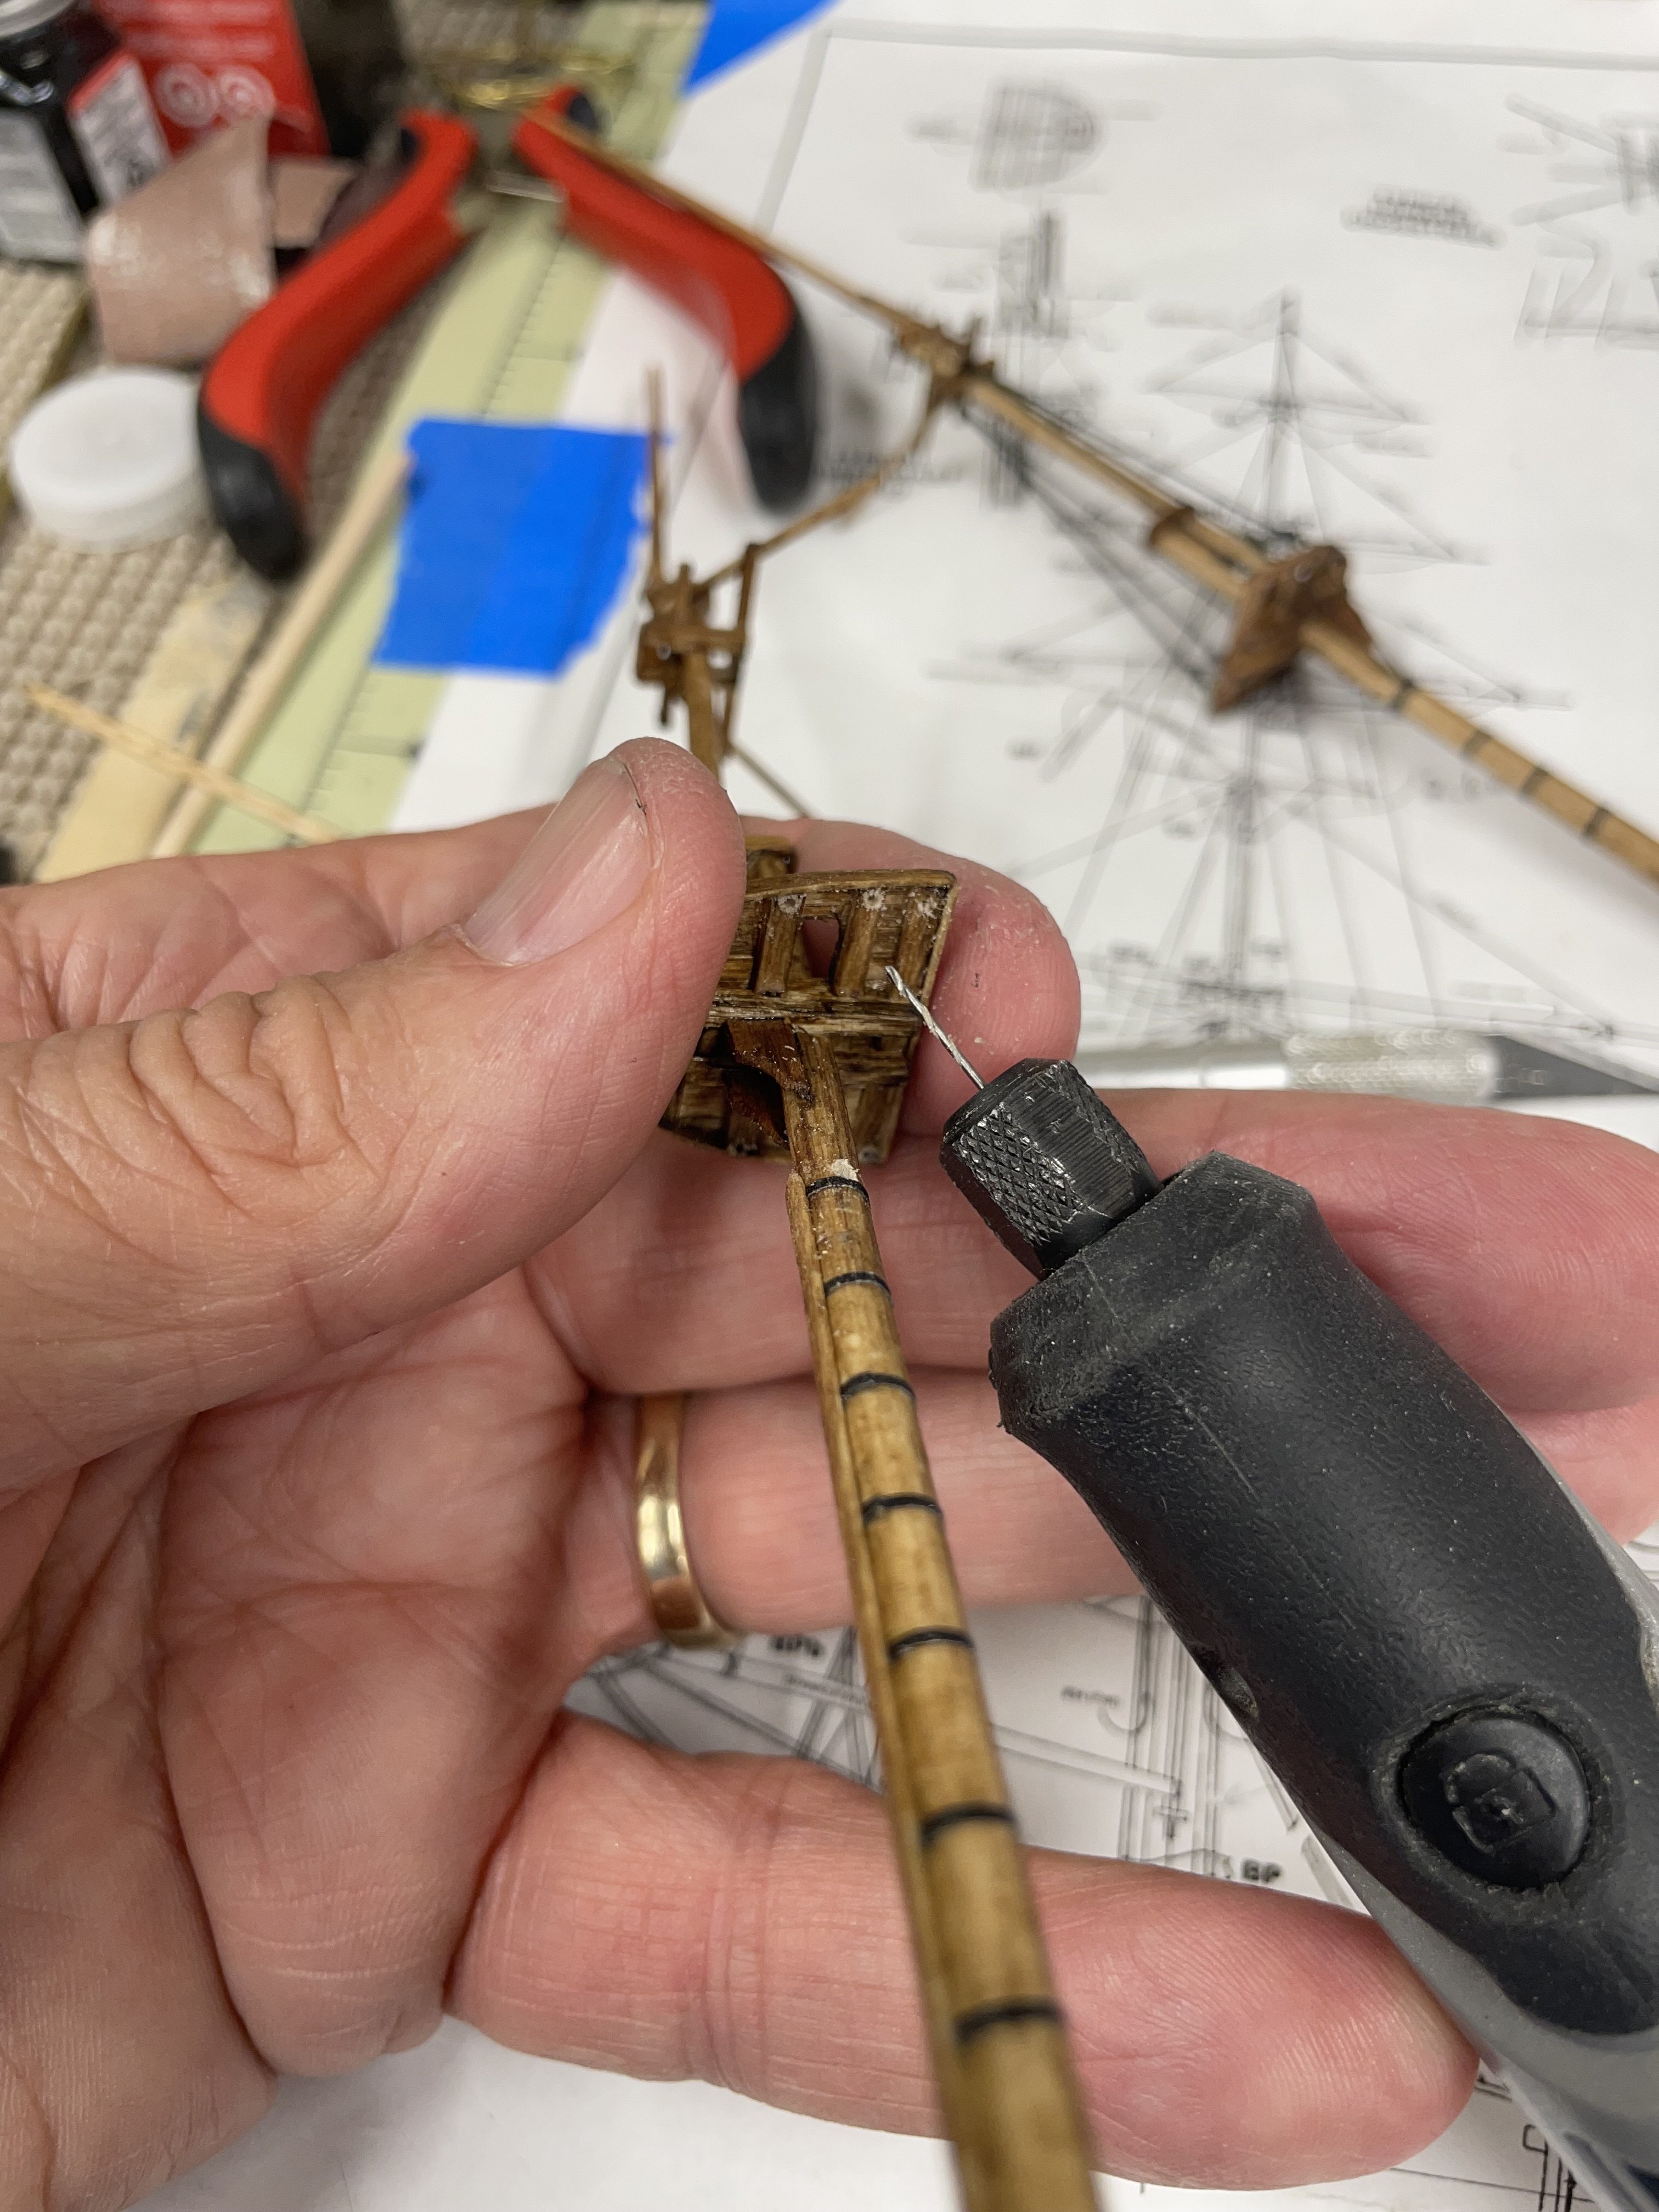
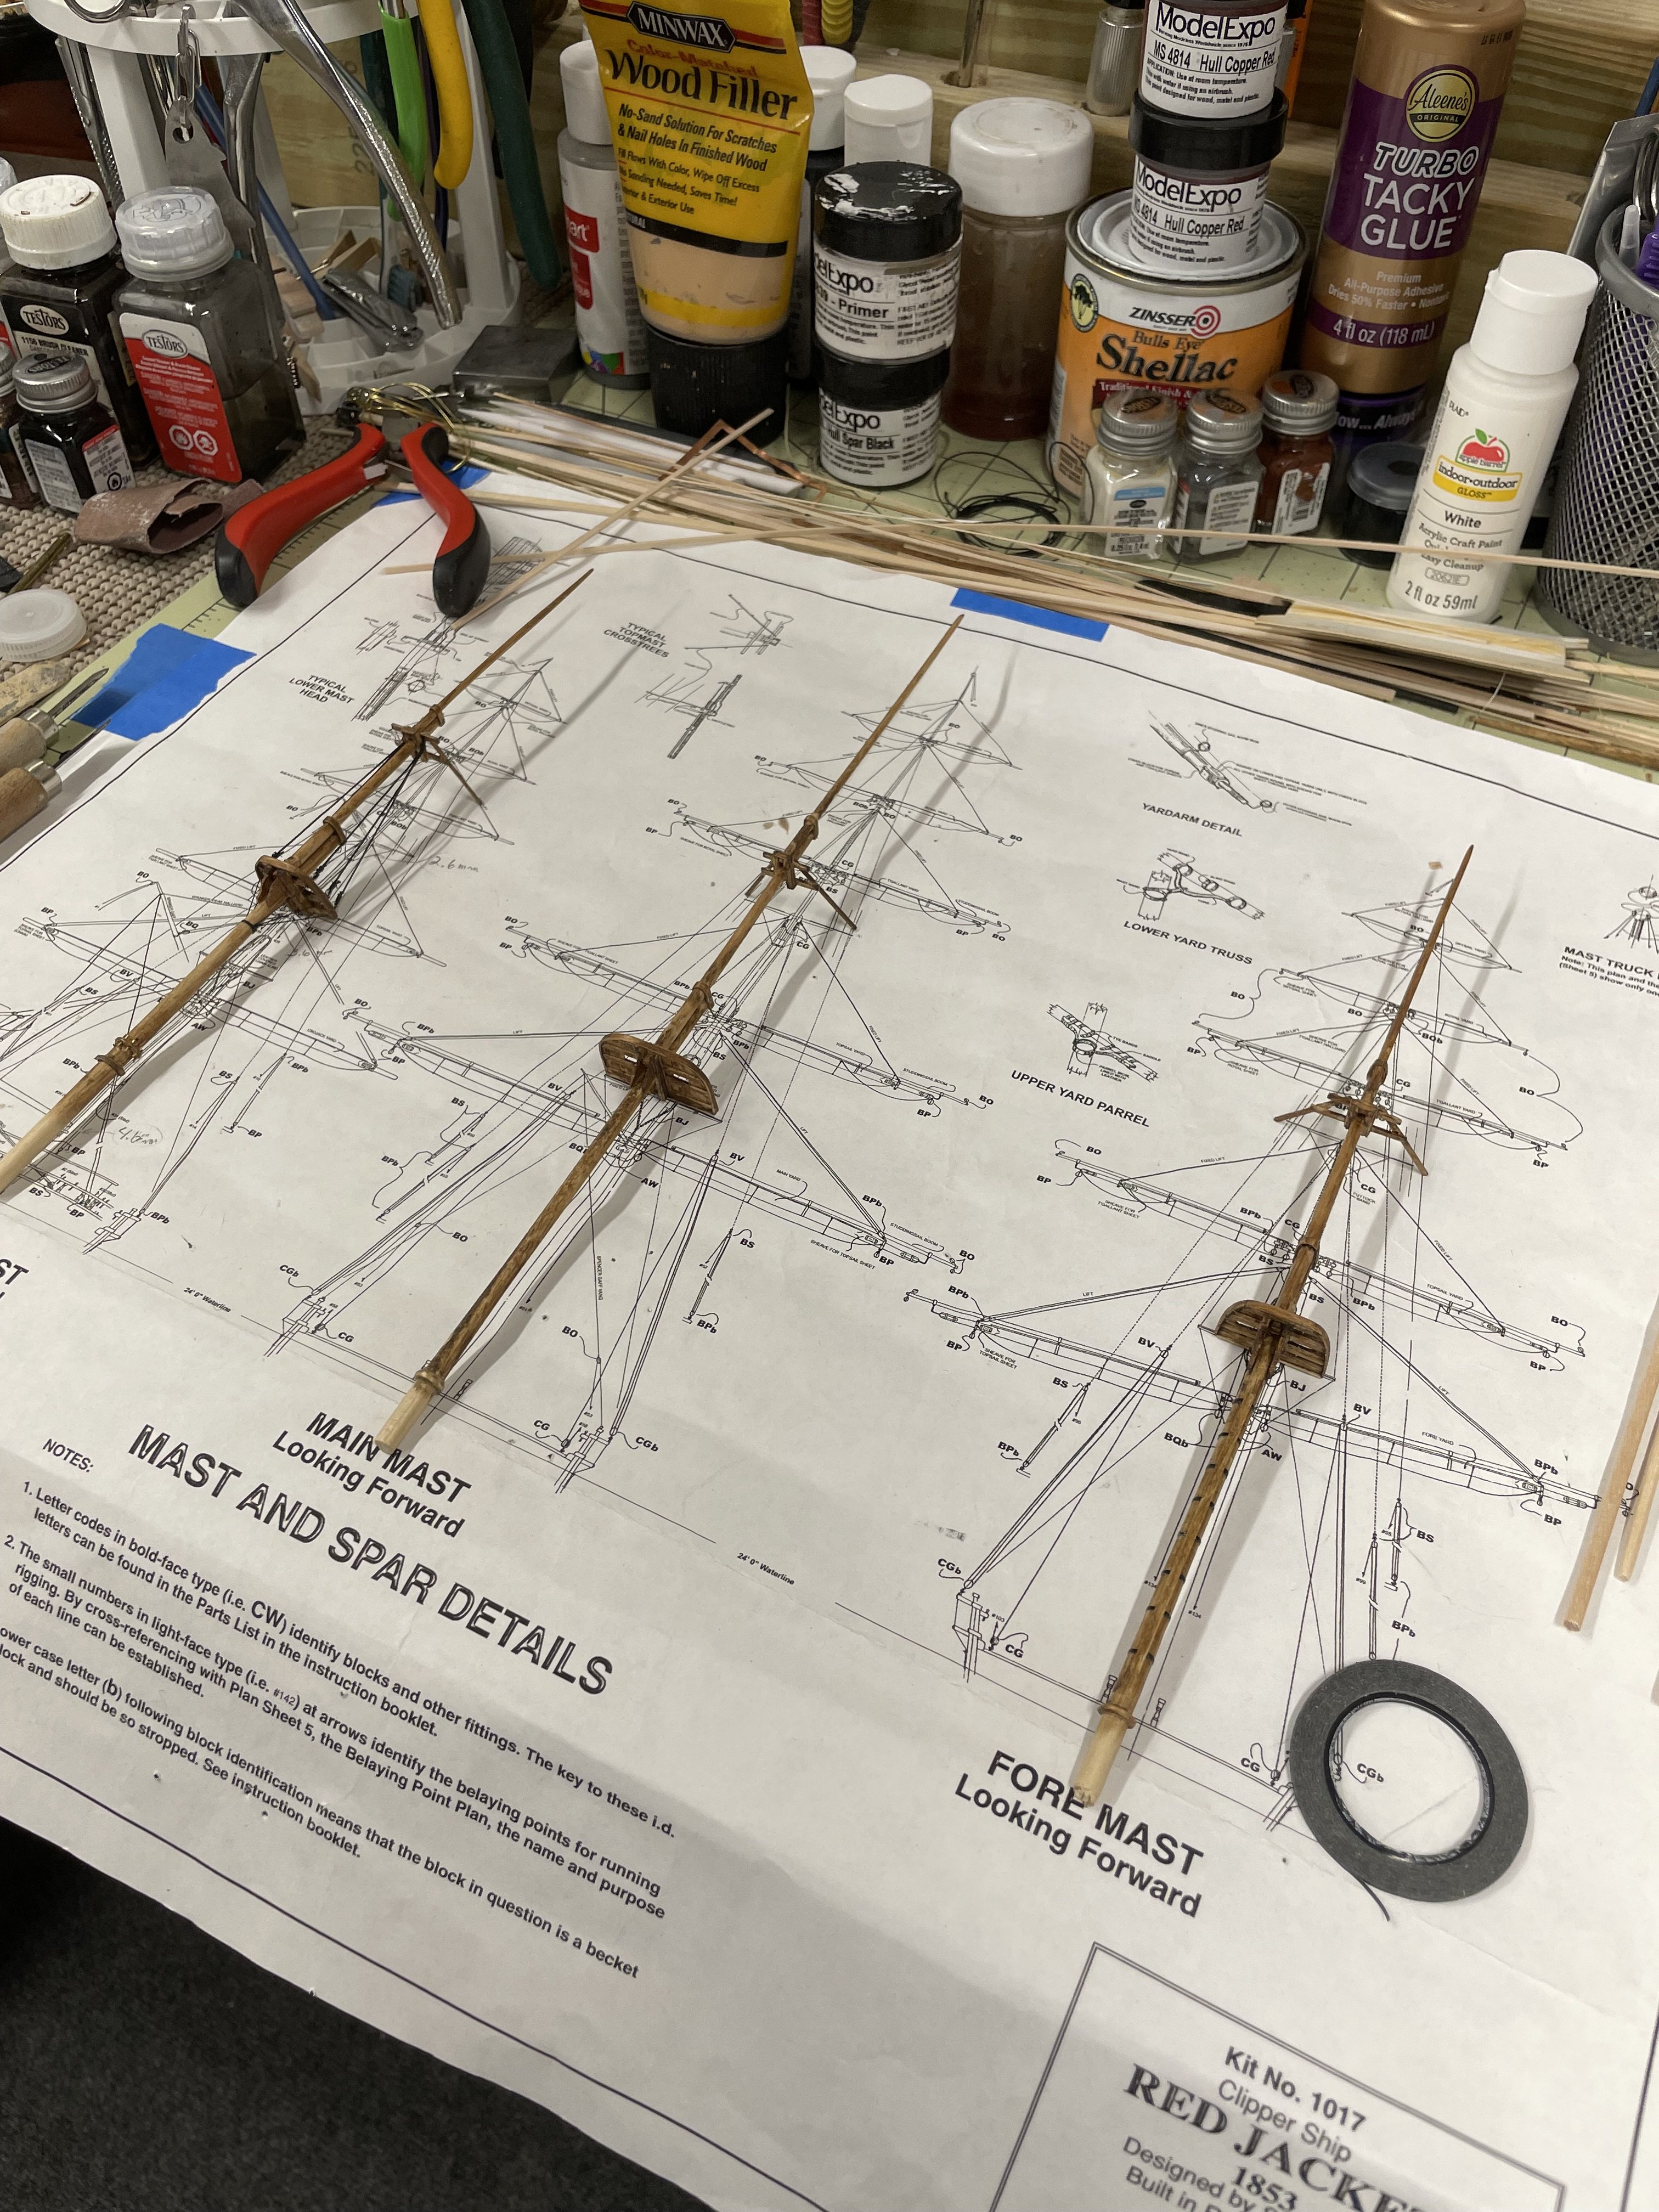
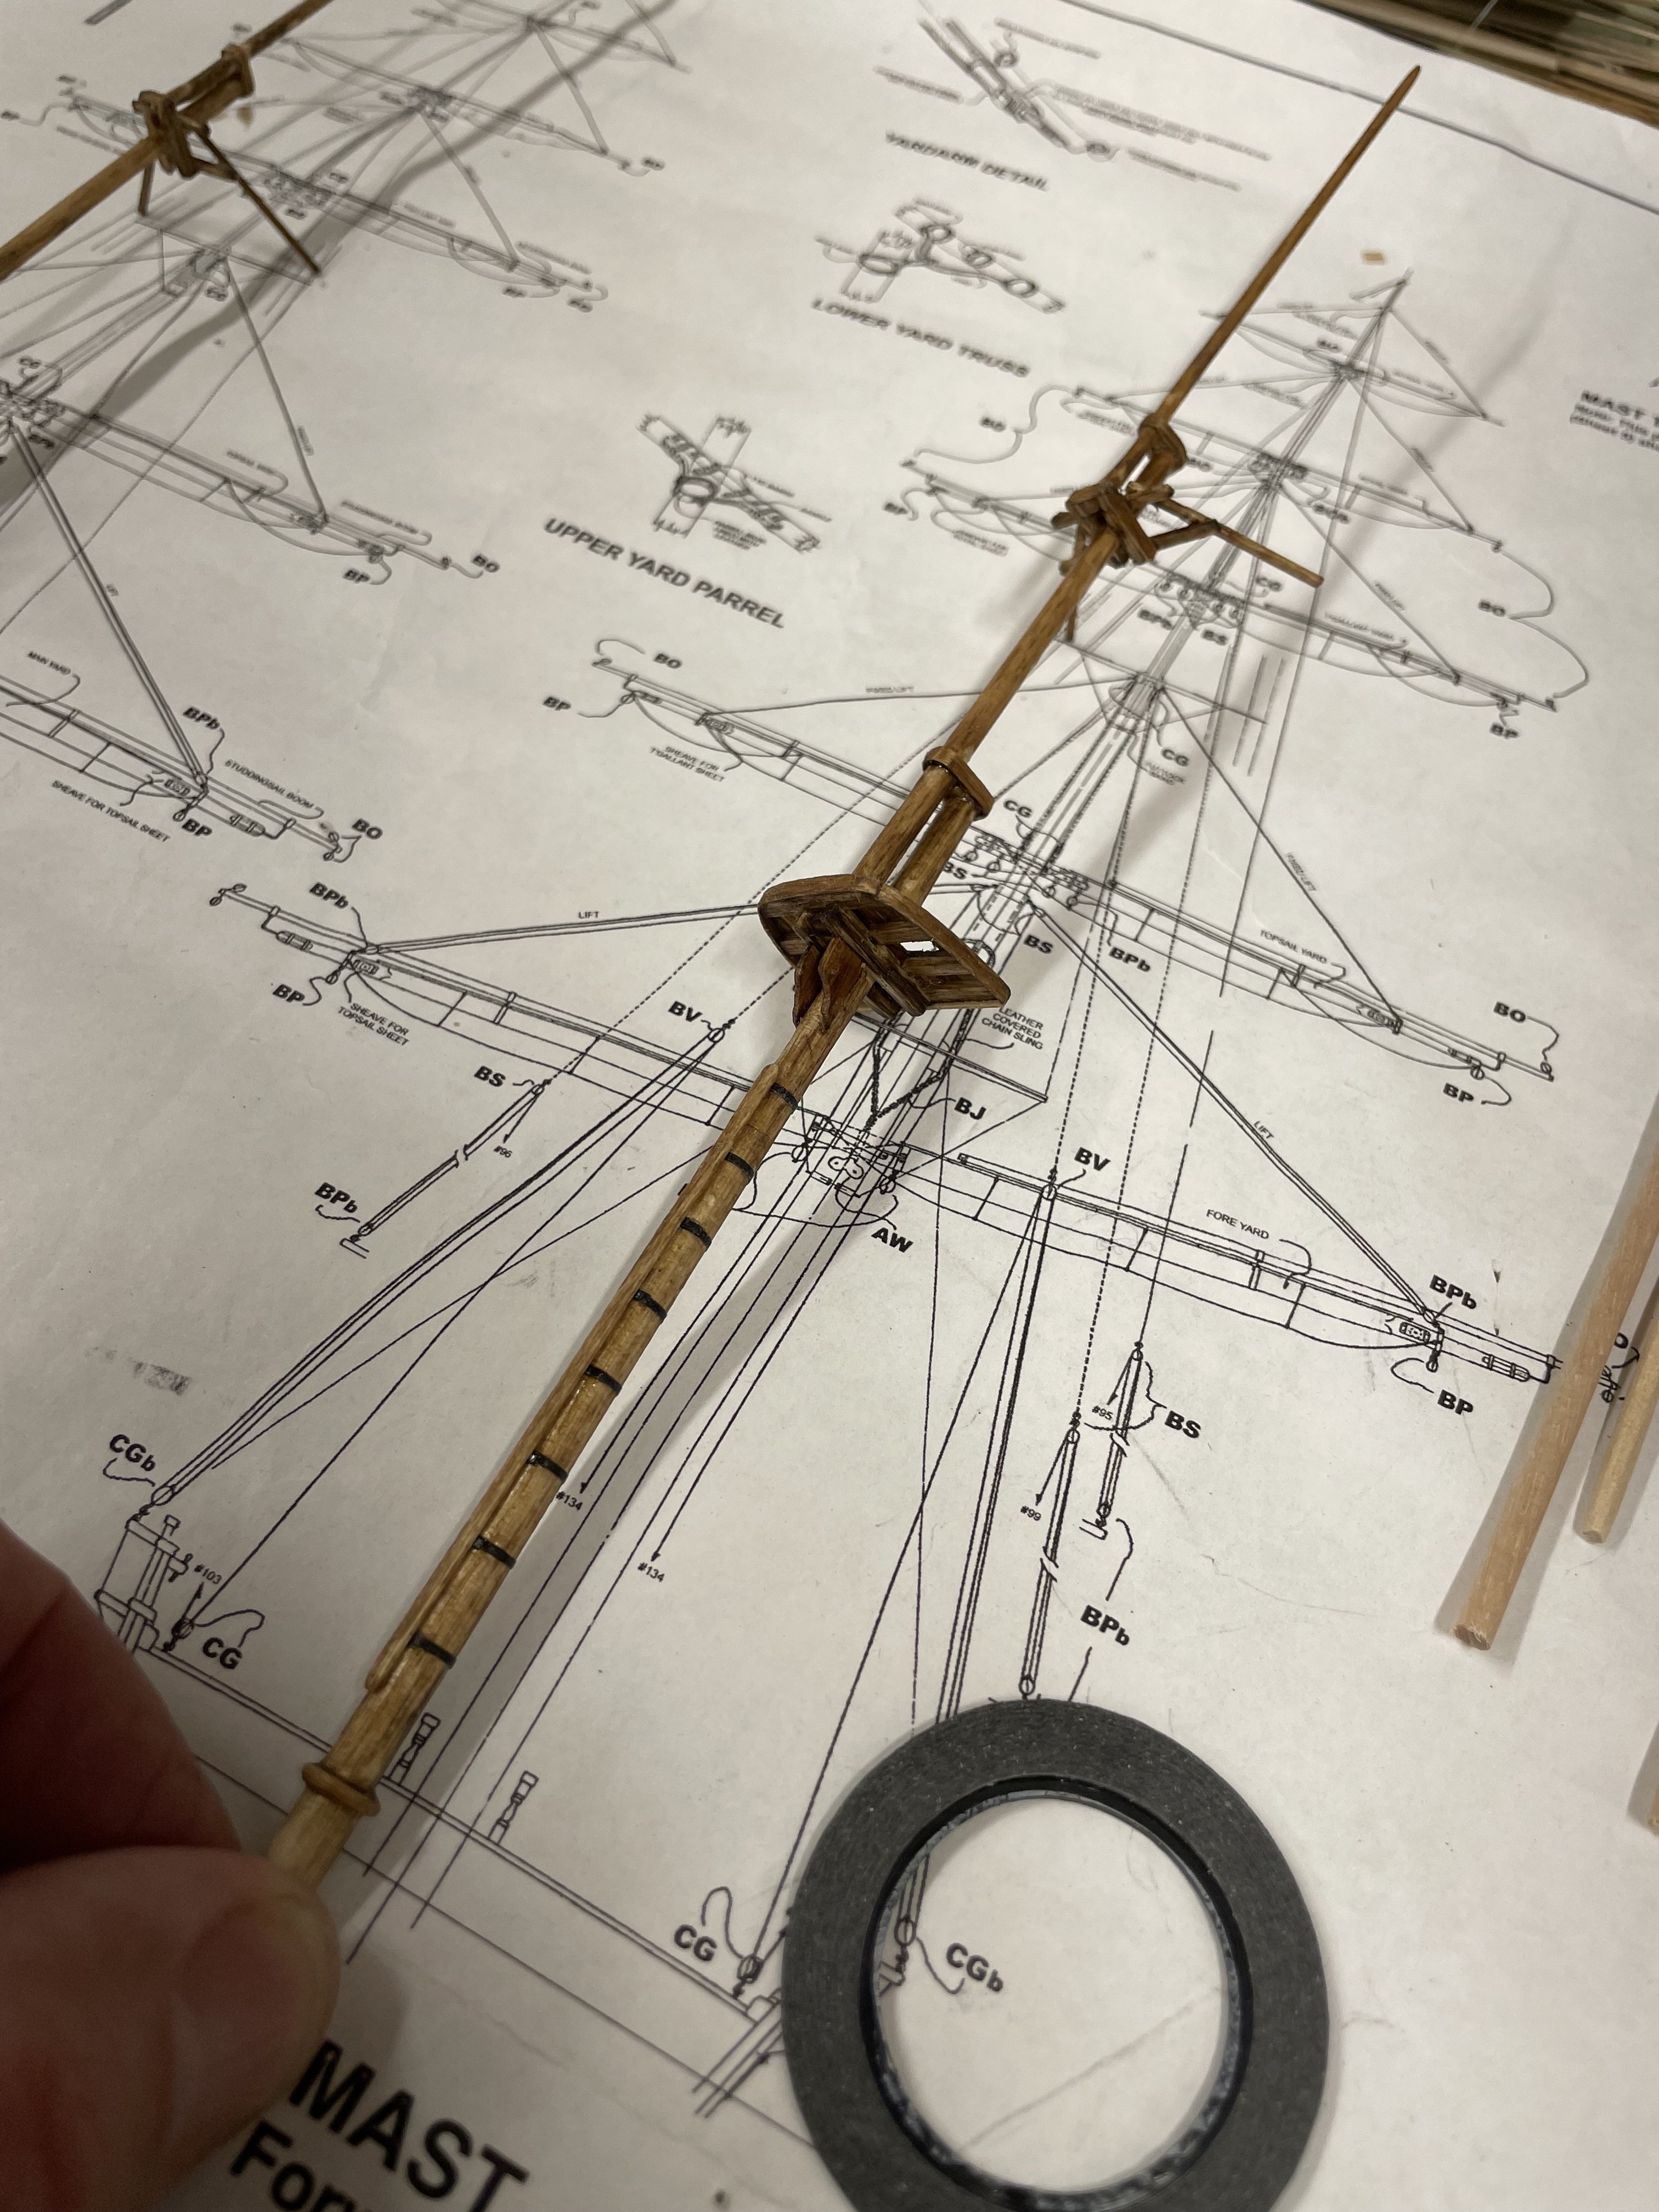
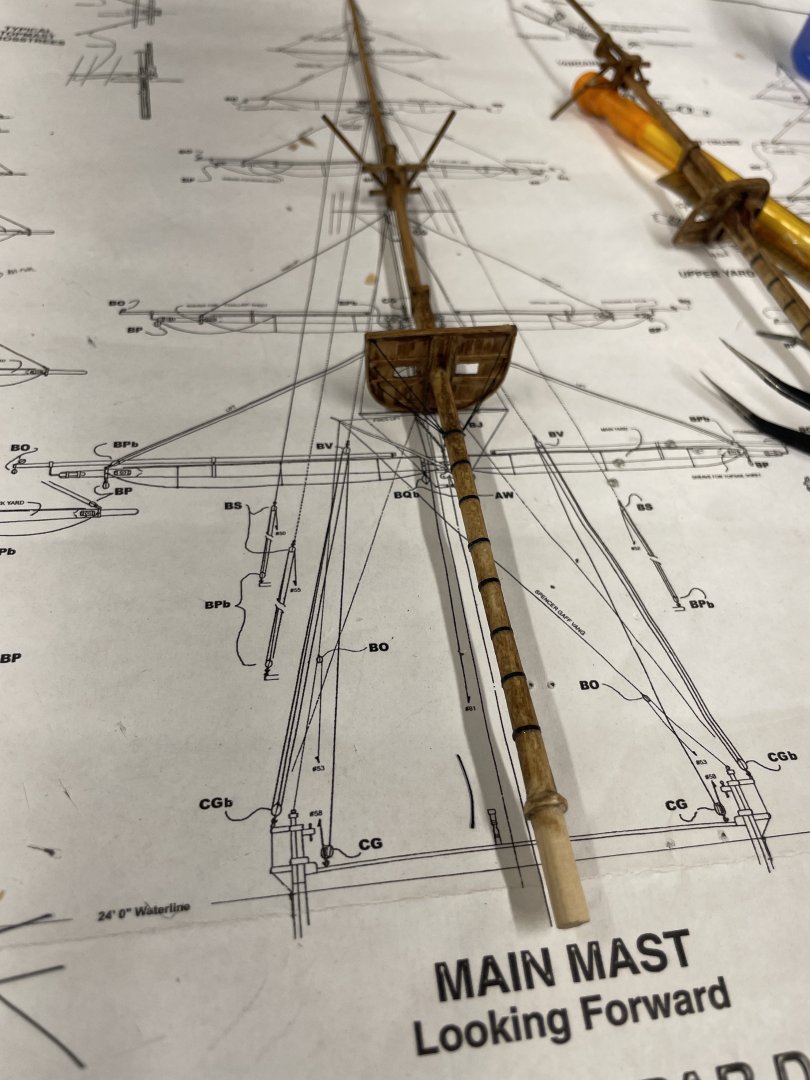
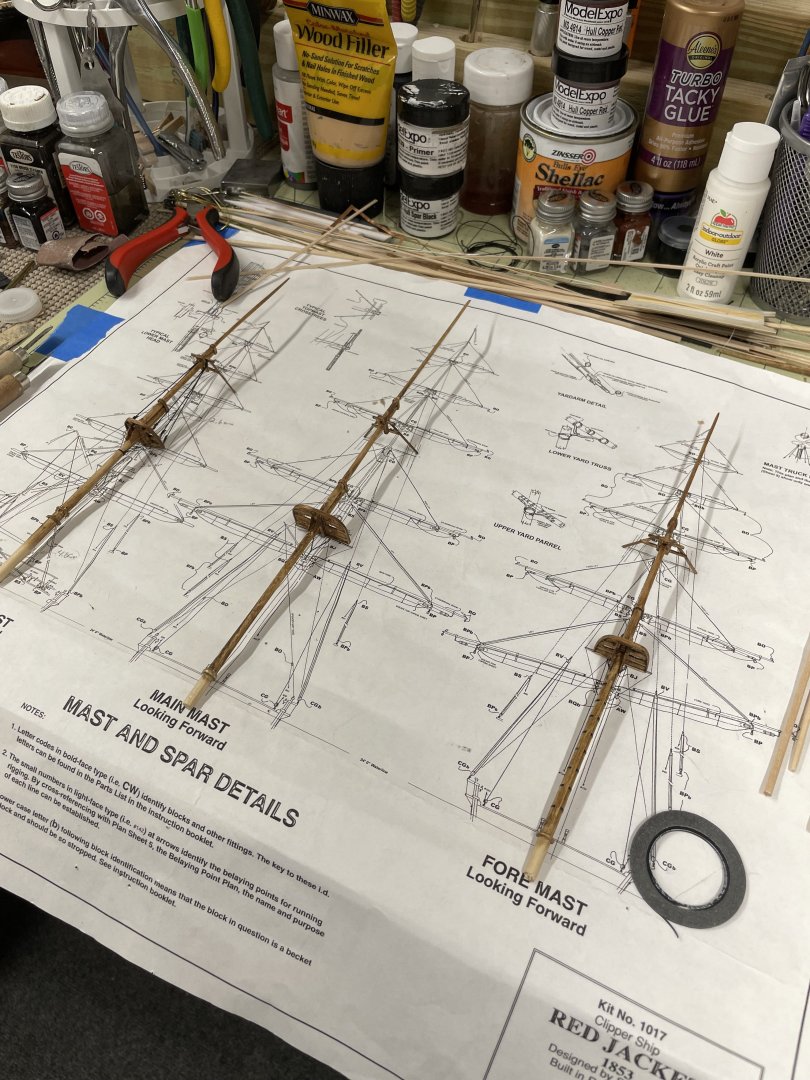
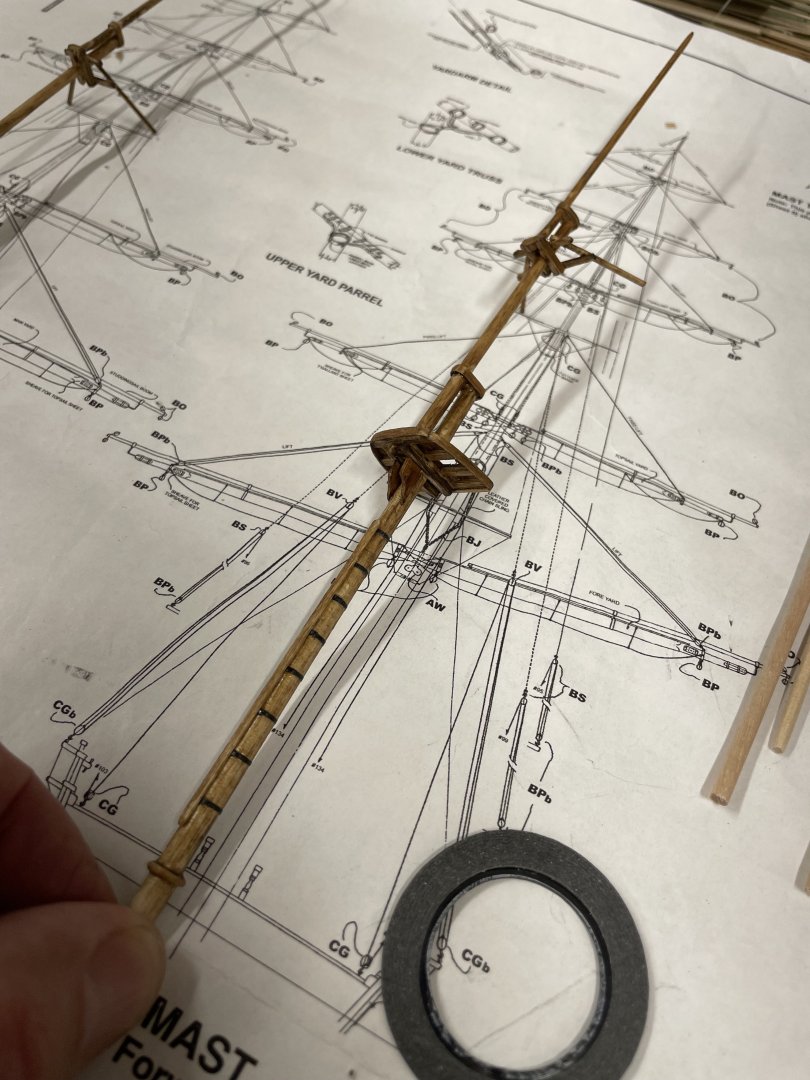
I am back… starting work on the Mast and Spar details. 🧐. Let the minute fun begin. LOL 😆 Iron bands were used to strengthen the lower masts. I used 1/32” vinyl tape to represent those bands. I will be back… Cheers 🍻
- 165 replies
-
- 8
-
-
- Red Jacket
- Marine Model Company
- (and 2 more)
-
Love the detail and weathering technics. Awesome work, Keith. Holds up to magnification and inspection. 🧐 John
- 457 replies
-
- 5
-
-
-
- sternwheeler
- Hard Coal Navy
- (and 1 more)
-
Best to stay on that schedule if it works for you and Maggie. John 👍
- 457 replies
-
- 4
-
-
- sternwheeler
- Hard Coal Navy
- (and 1 more)
-
Old habits die hard. Who needs sleep at our age anyway. LOL 😂
- 457 replies
-
- 4
-

-
- sternwheeler
- Hard Coal Navy
- (and 1 more)
-
Great job Keith, Paddle Wheels have got to be the worst part of building these steam ships. Not looking forward to building the Klondike’s Paddle Wheel. John
- 457 replies
-
- 4
-
-
-
- sternwheeler
- Hard Coal Navy
- (and 1 more)