HOLIDAY DONATION DRIVE - SUPPORT MSW - DO YOUR PART TO KEEP THIS GREAT FORUM GOING! (Only 24 donations so far out of 49,000 members - C'mon guys!)
×


John Ruy
-
Posts
1,568 -
Joined
-
Last visited
Content Type
Profiles
Forums
Gallery
Events
Everything posted by John Ruy
-
 Thanks for the PM Bob, I didn’t know you had started on the Bluenoses. I will pull up a chair, just as you are ready to paint the hull. John
- 44 replies
-
- 2
-

-
- Scientific
- Billings Boats
- (and 1 more)
-
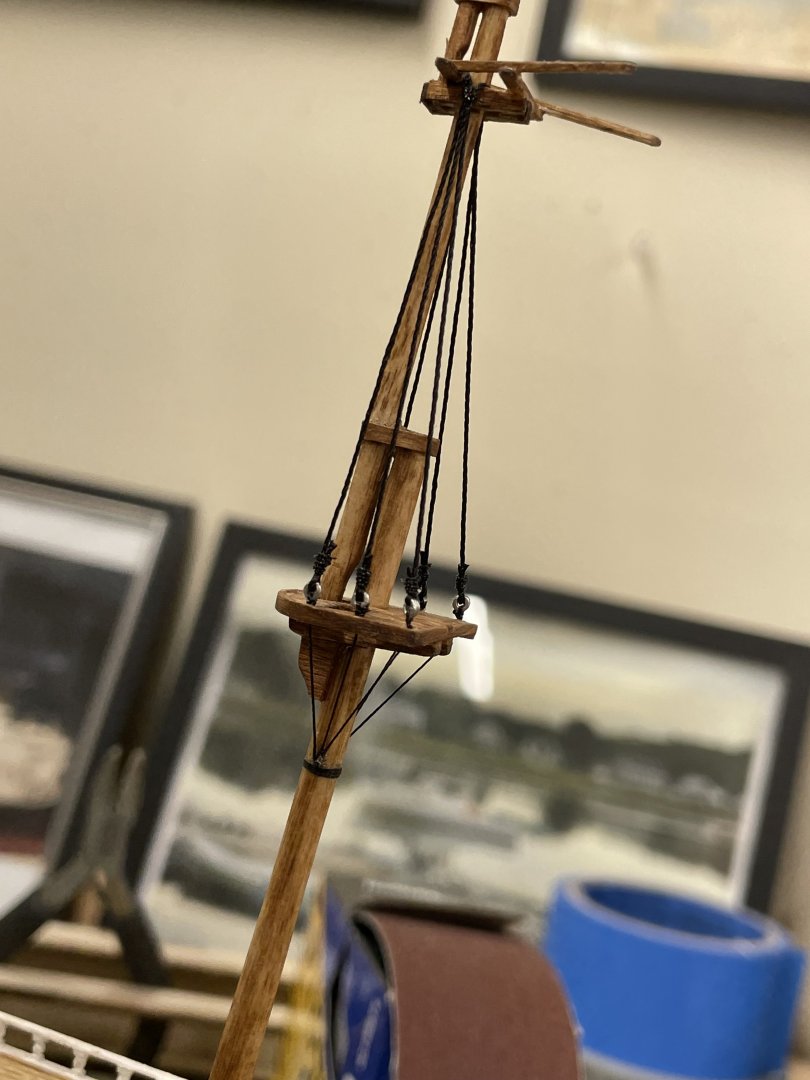
Agreed… here is a look at my first attempt at the mizen mast upper shrouds. I have line from HisModel. I’m still considering a rework of these shrouds. Darn OCD… LOL 😆
- 457 replies
-
- 9
-
-
- sternwheeler
- Hard Coal Navy
- (and 1 more)
-
Thanks Keith… I do have the deadeyes covered. Shrouds and Standing rigging are not the issue it’s the running rigging, should I choose to represent it, I was referring to. Yes, I will need both great eyesight and a magnifier as well as steady hands. 😆
- 457 replies
-
- 2
-
-
- sternwheeler
- Hard Coal Navy
- (and 1 more)
-
Agreed, At 1/192 my Redjacket will most certainly have many things left to the viewers imagination. i.e. rigging blocks will probably be carefully tied knots in the thread. I have already learned that a suggestion of paint color is a way to scale down the painting. But then I believe I learned this from you Keith. 😎 John
- 457 replies
-
- 5
-
-

-
- sternwheeler
- Hard Coal Navy
- (and 1 more)
-
Keith, Nice natural weathering. Off to a really good start. 😎
- 457 replies
-
- 5
-
-
-
- sternwheeler
- Hard Coal Navy
- (and 1 more)
-
Hi Rob, Just found your build. Excellent work. I’m going to tag along on this build. 👍 John
-
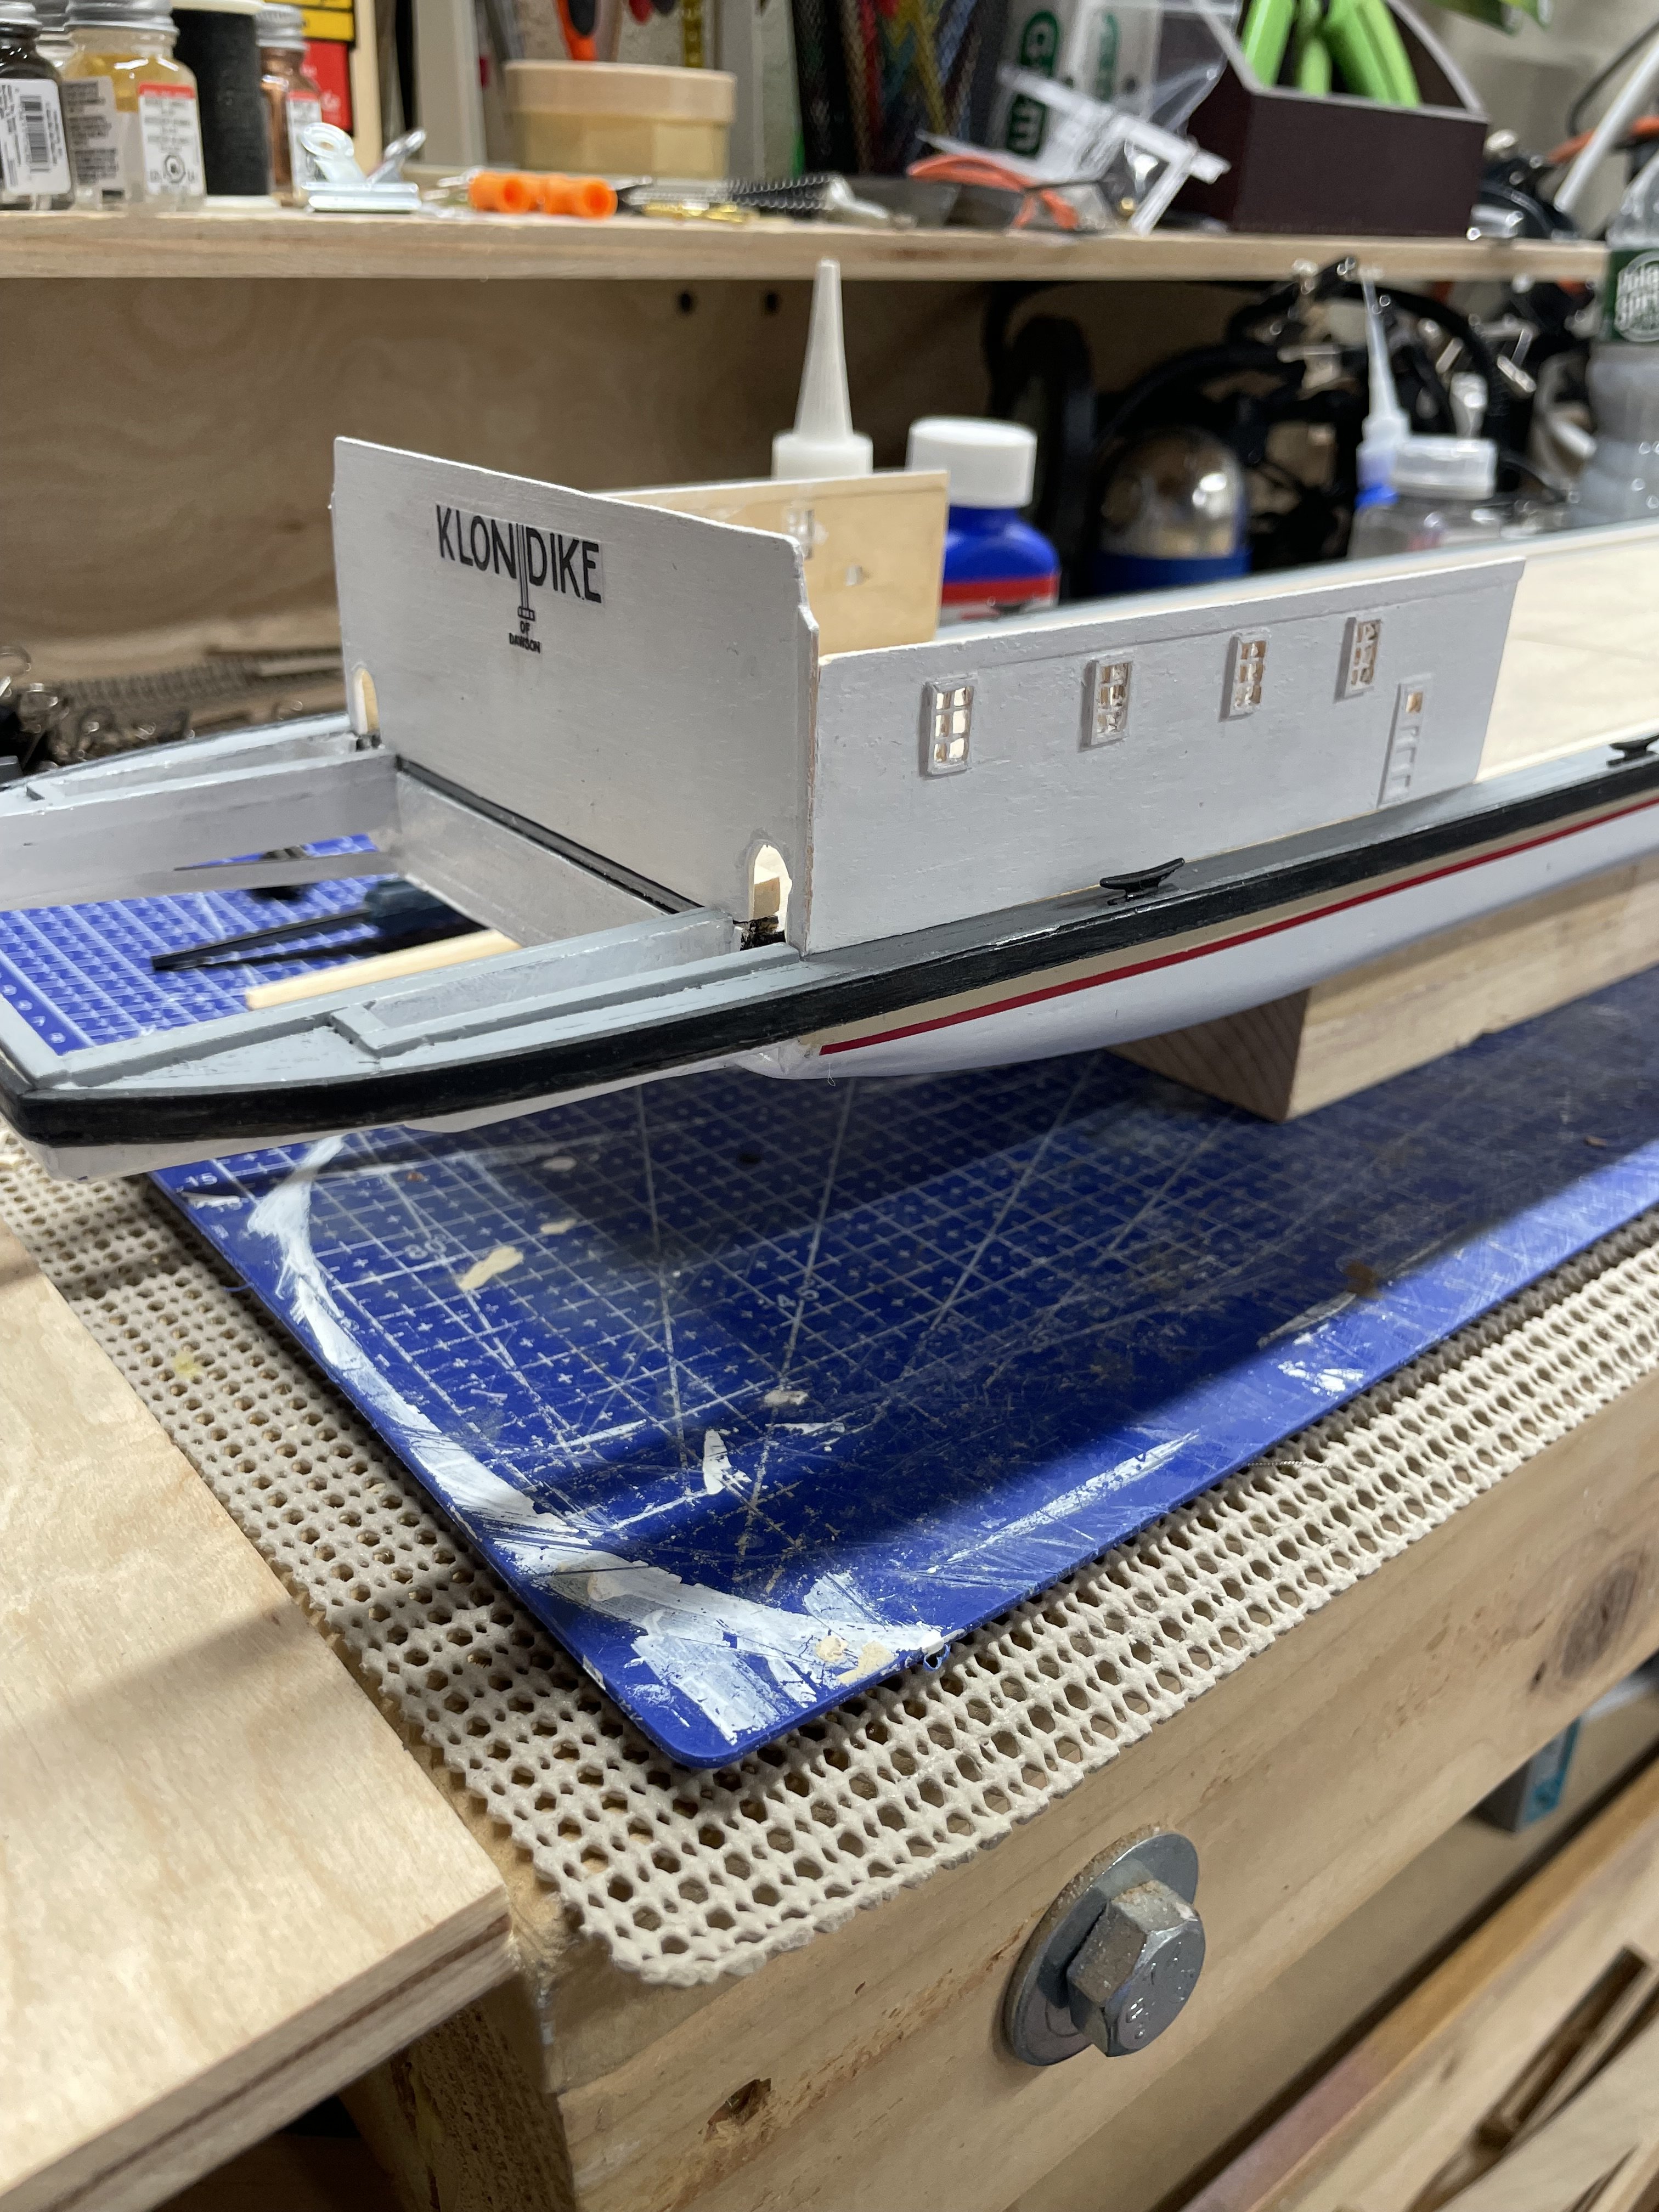
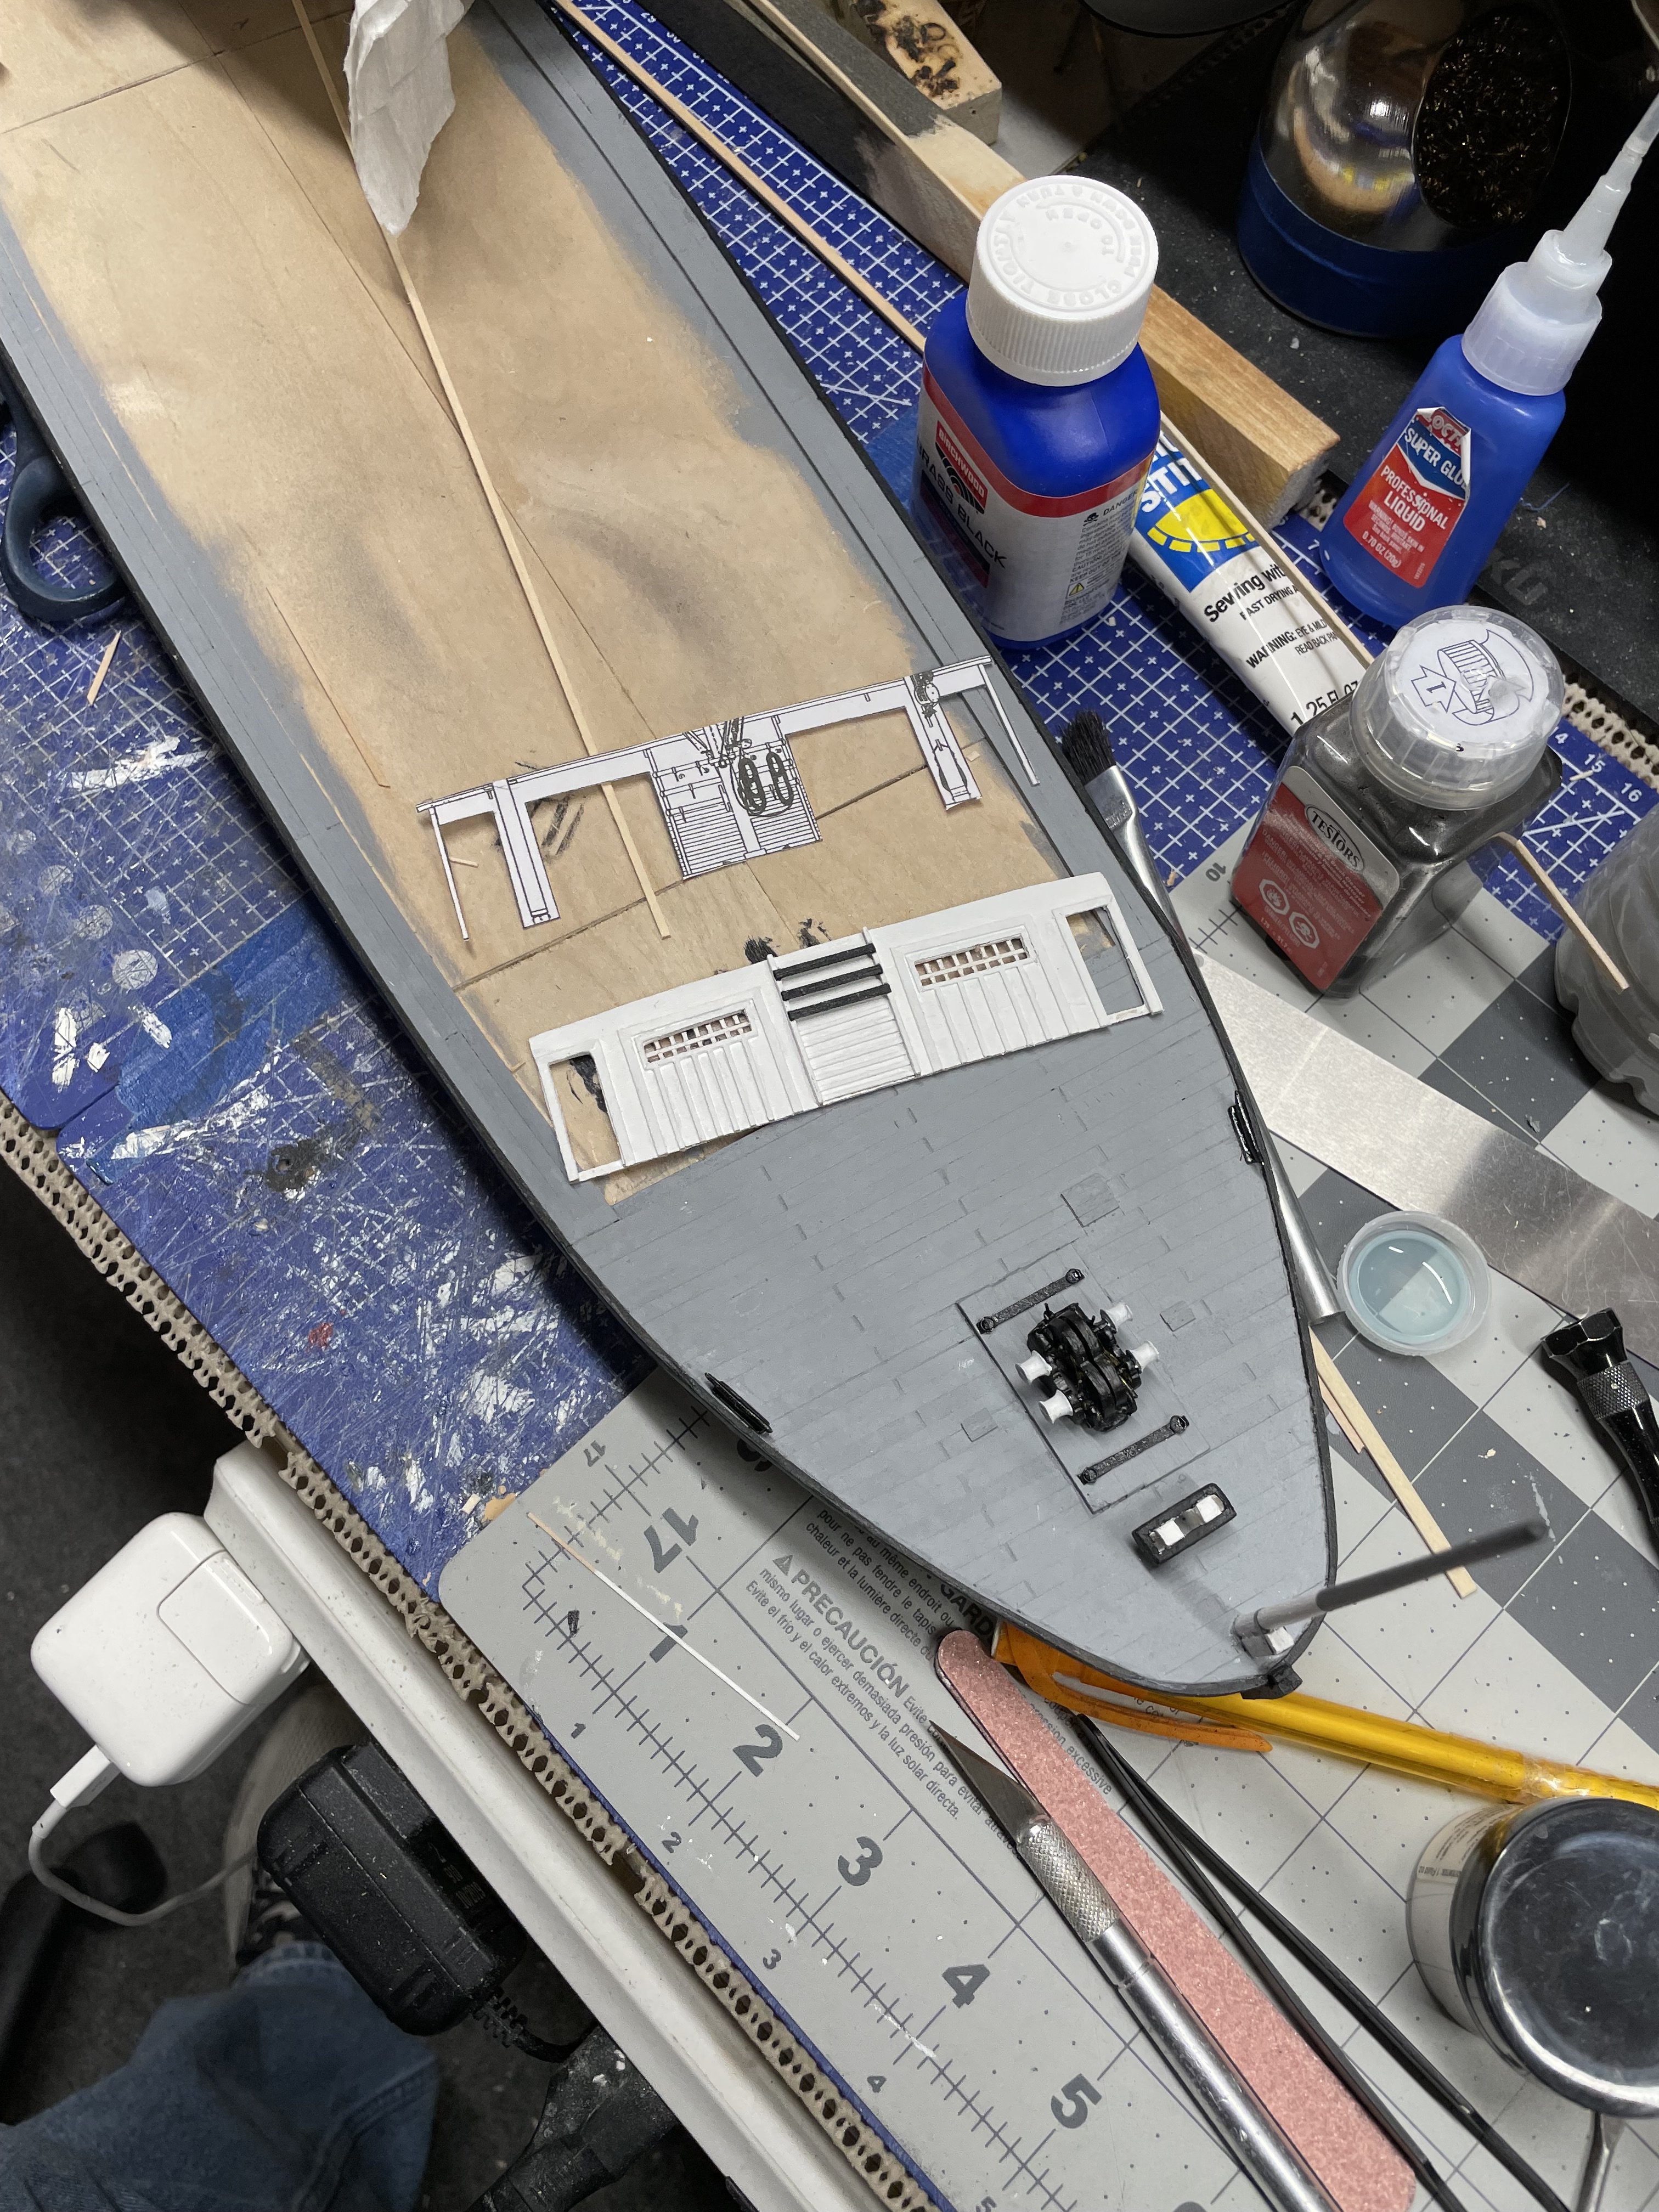
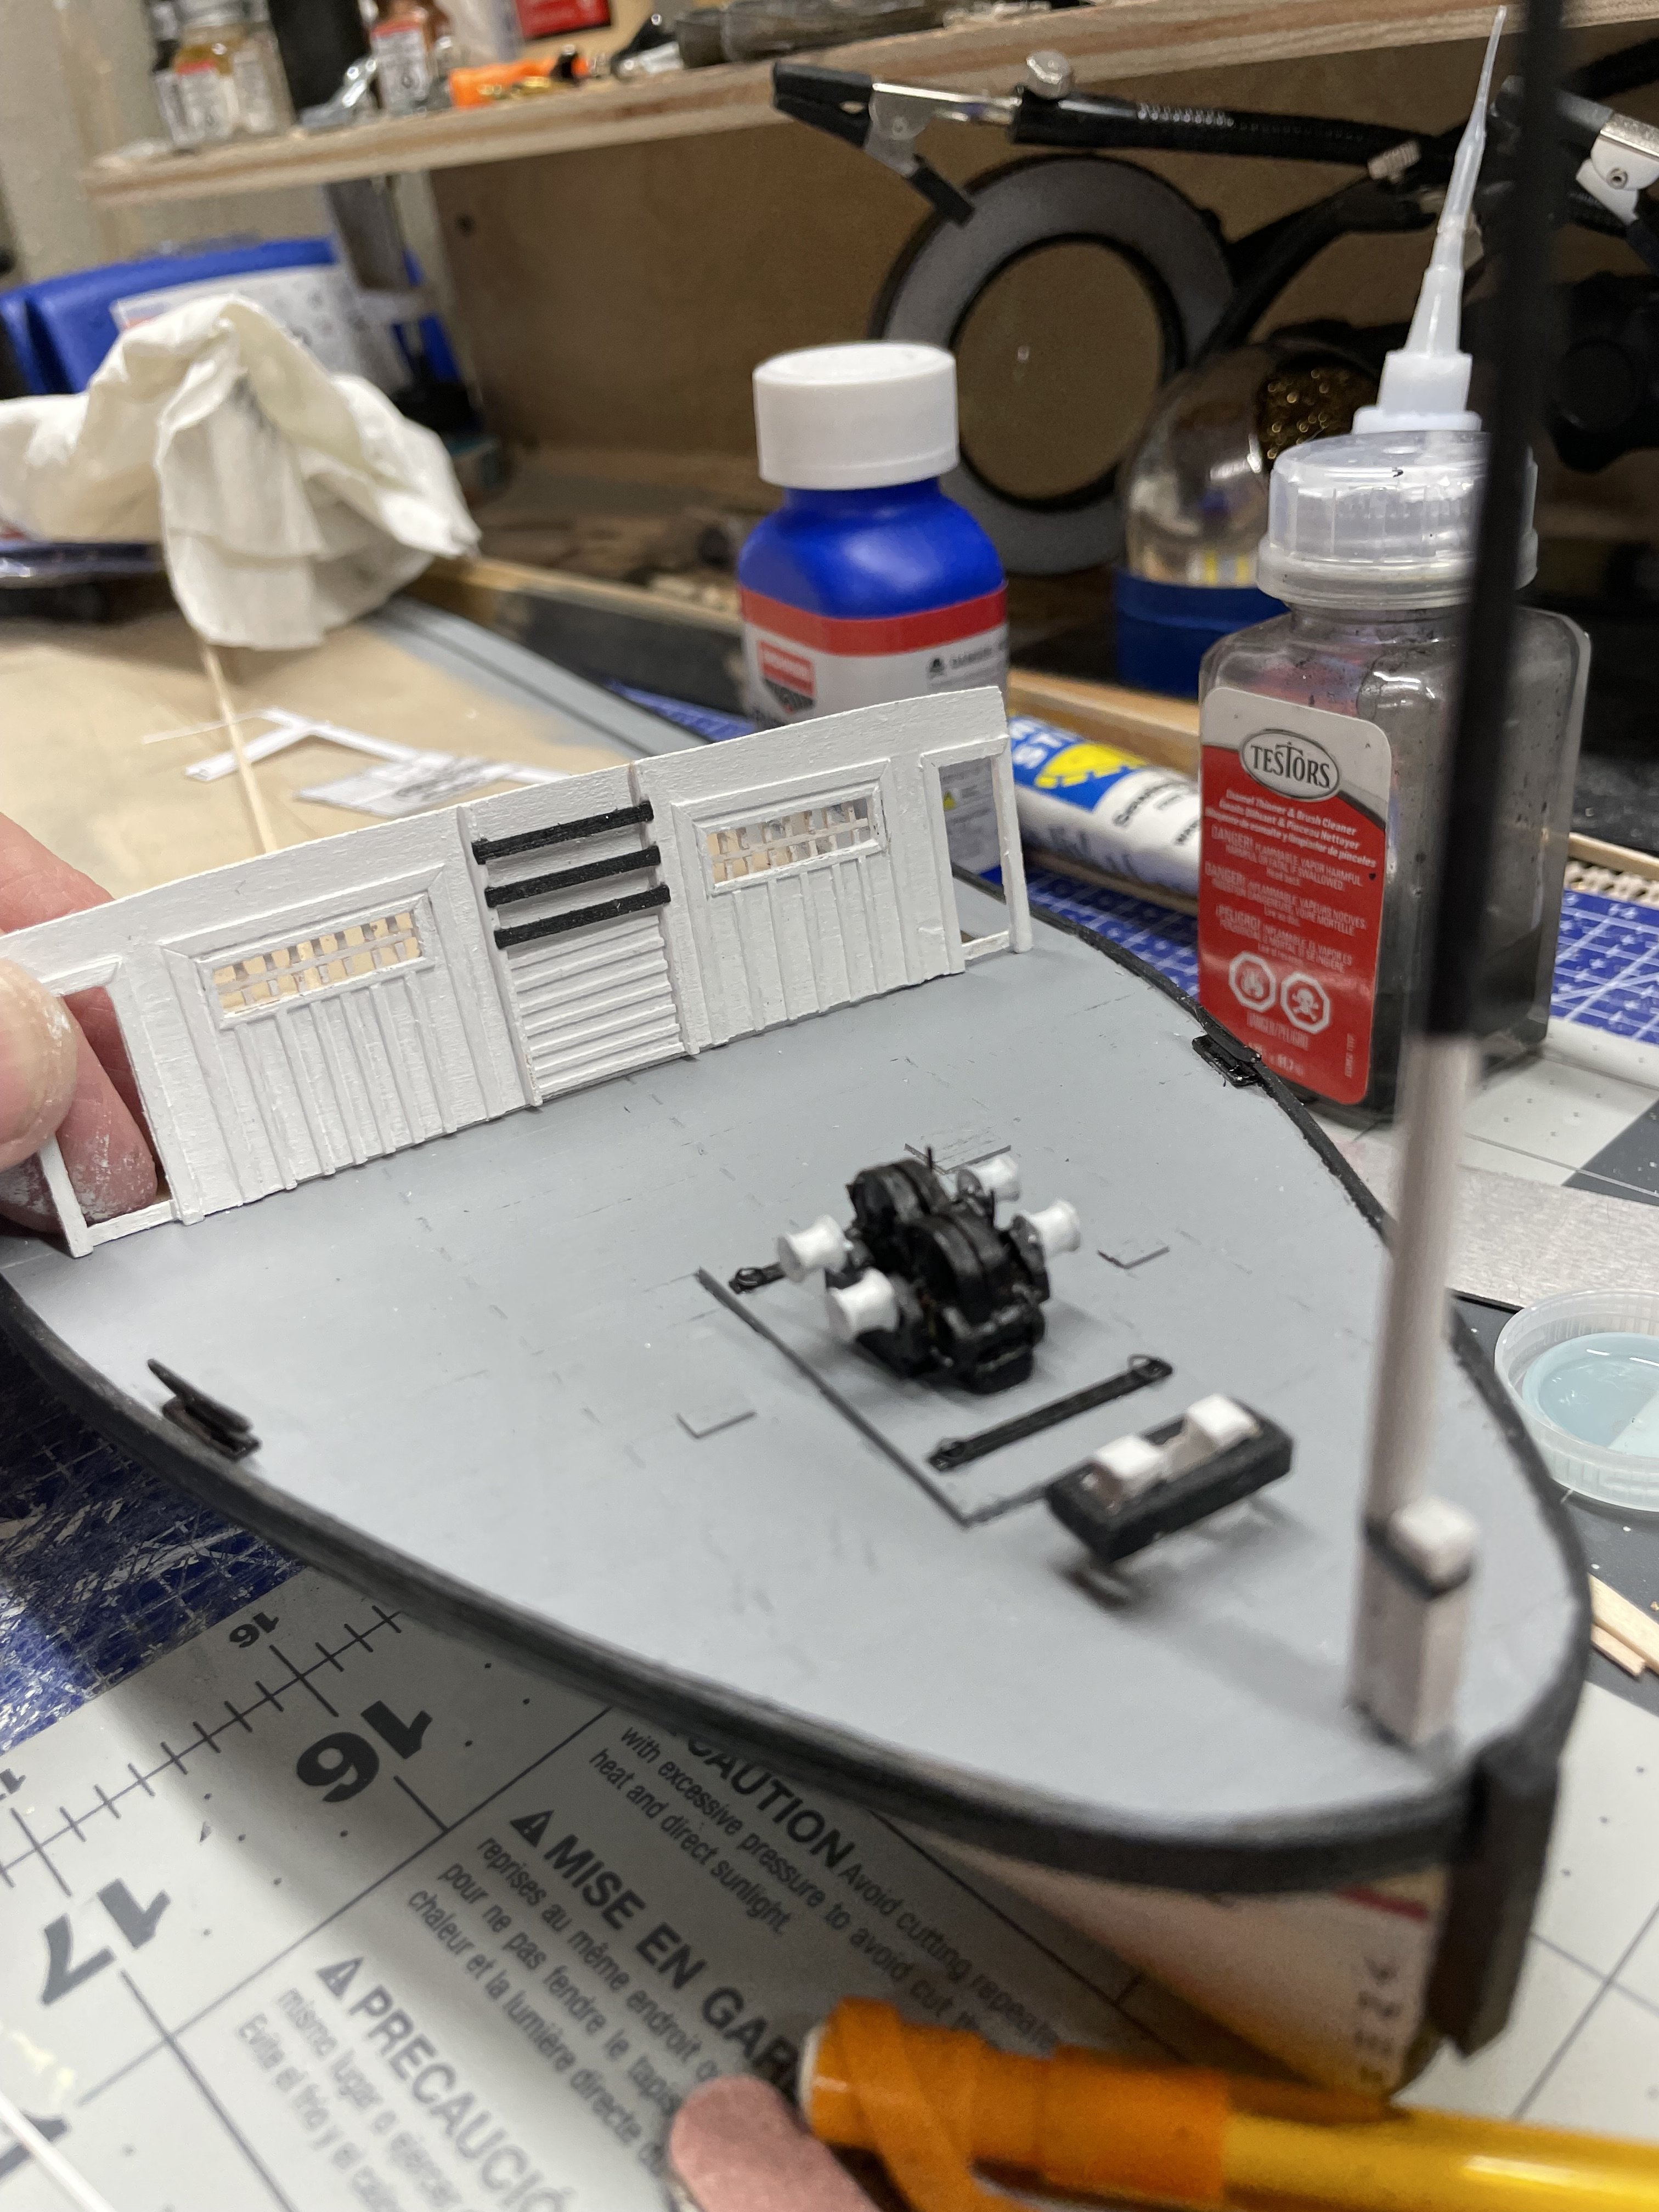
Engine Room coming together… Cheers 🍻


-
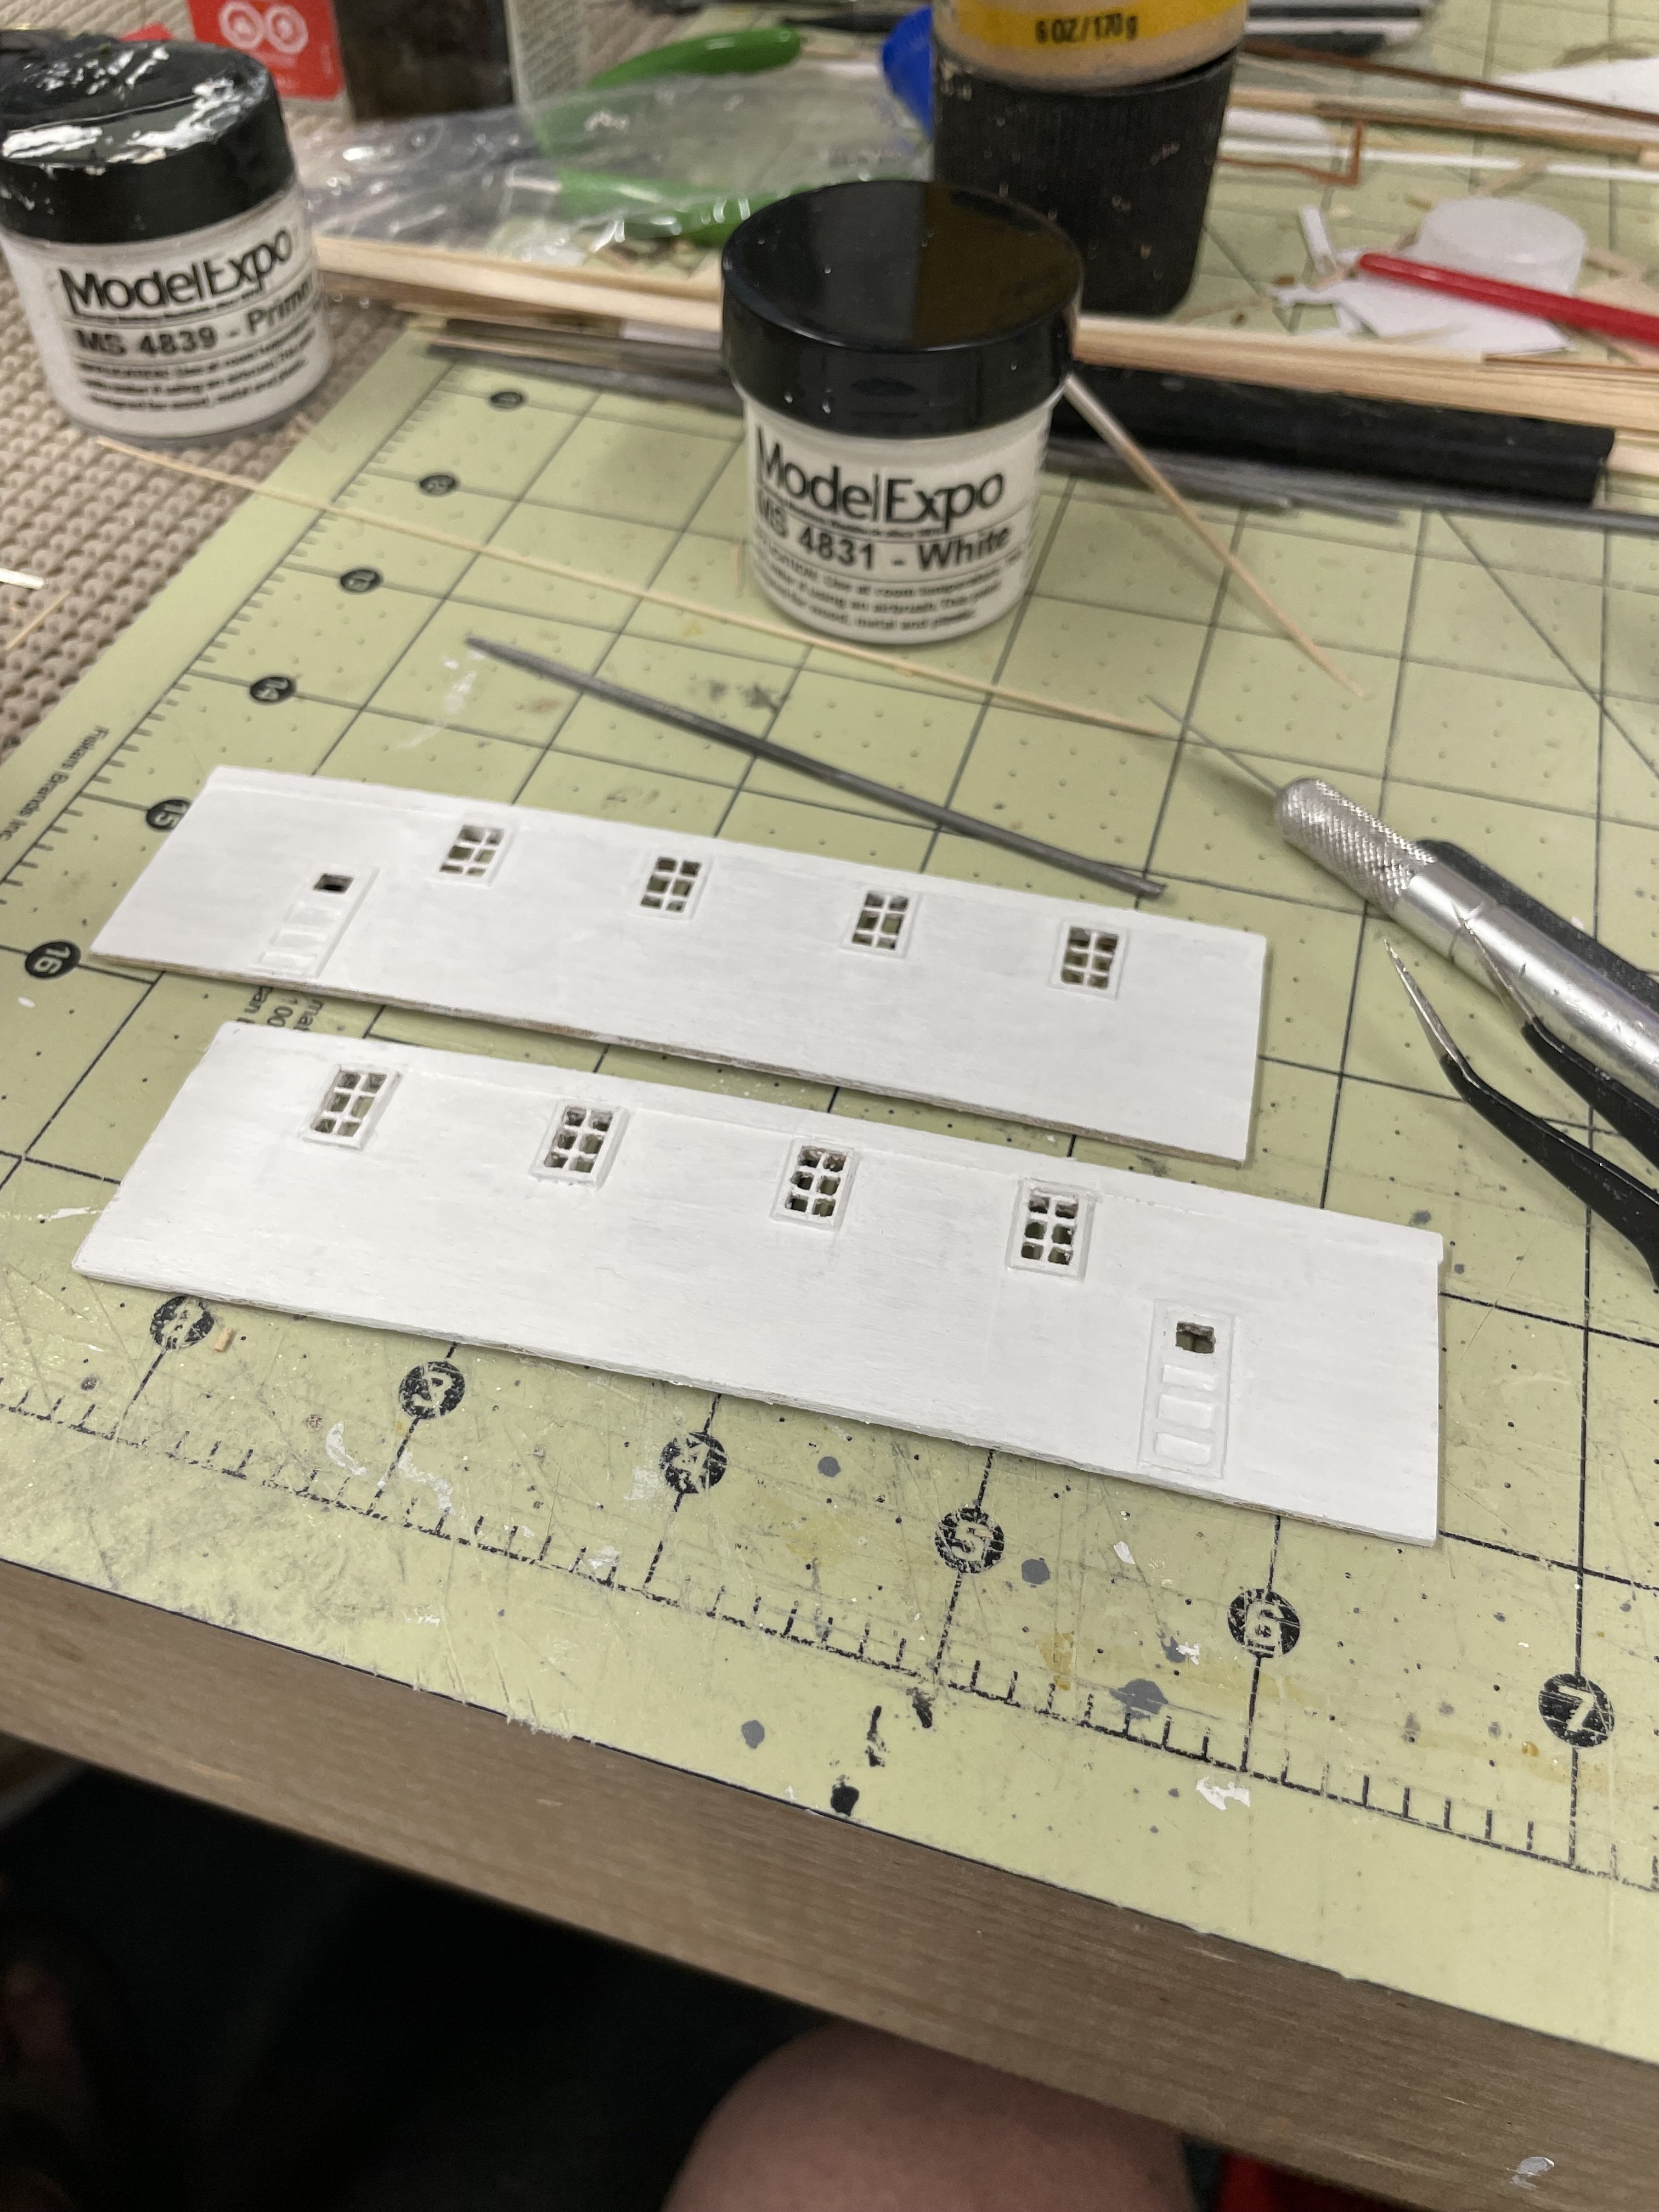
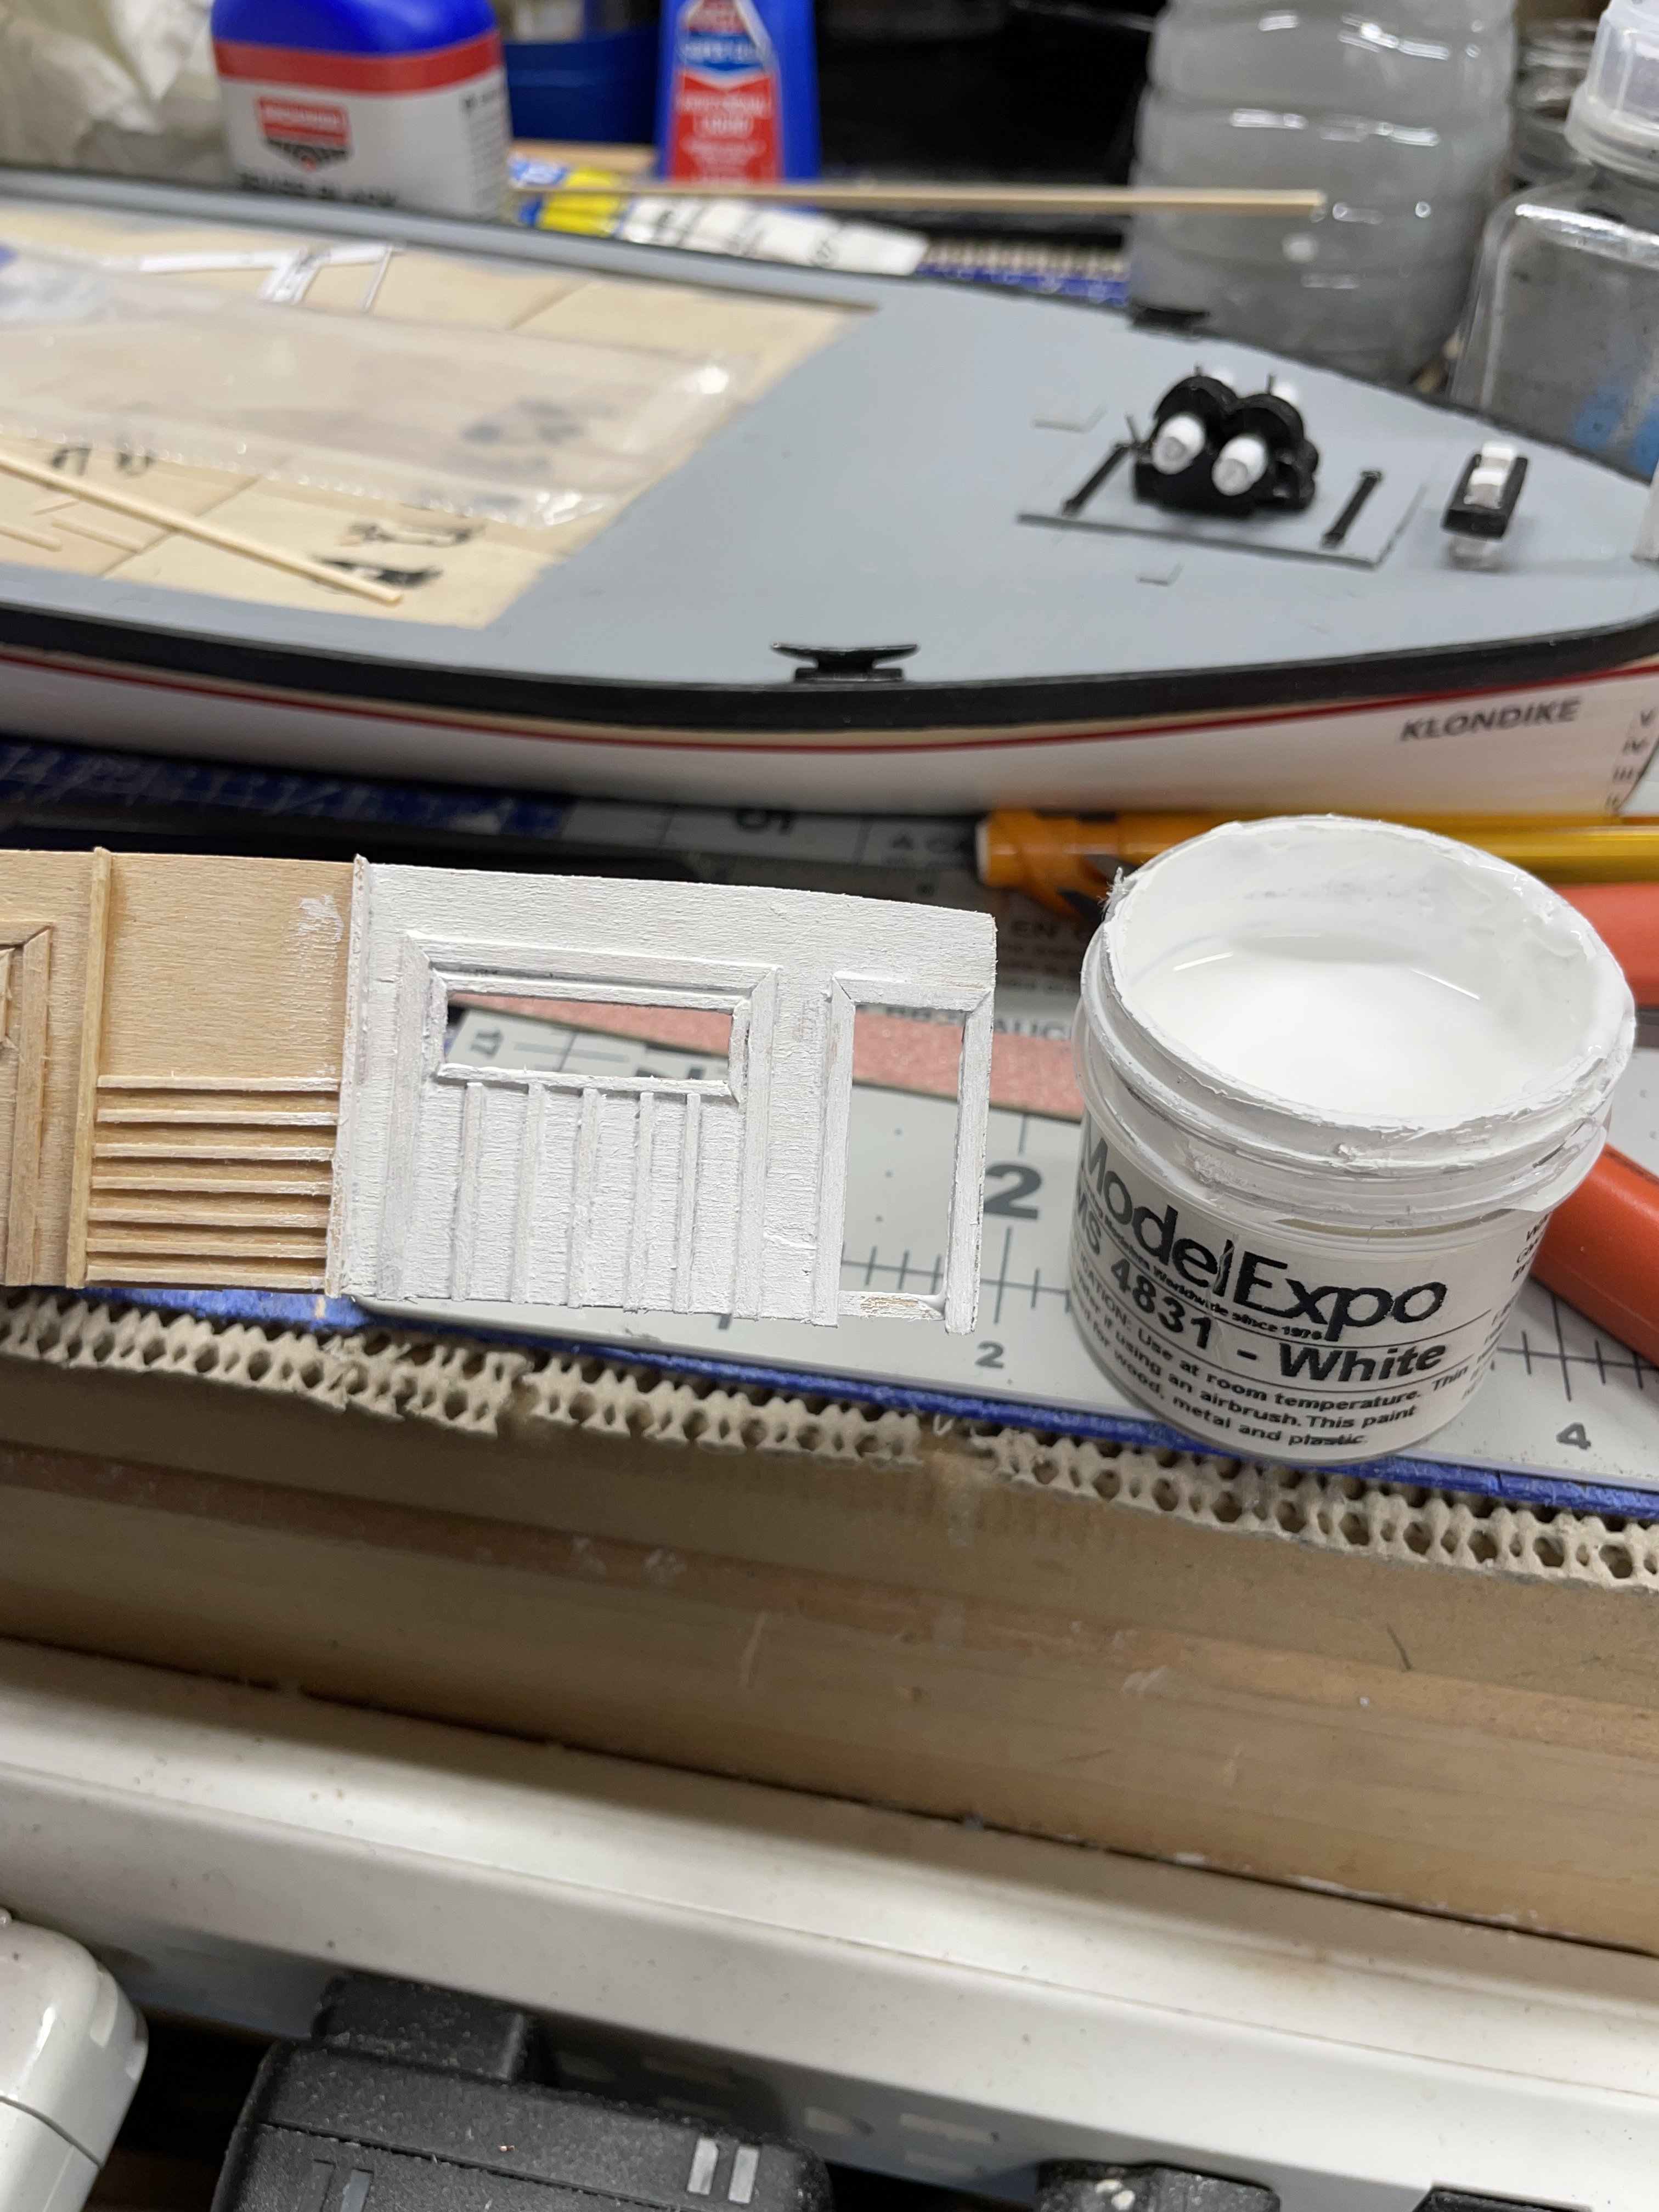
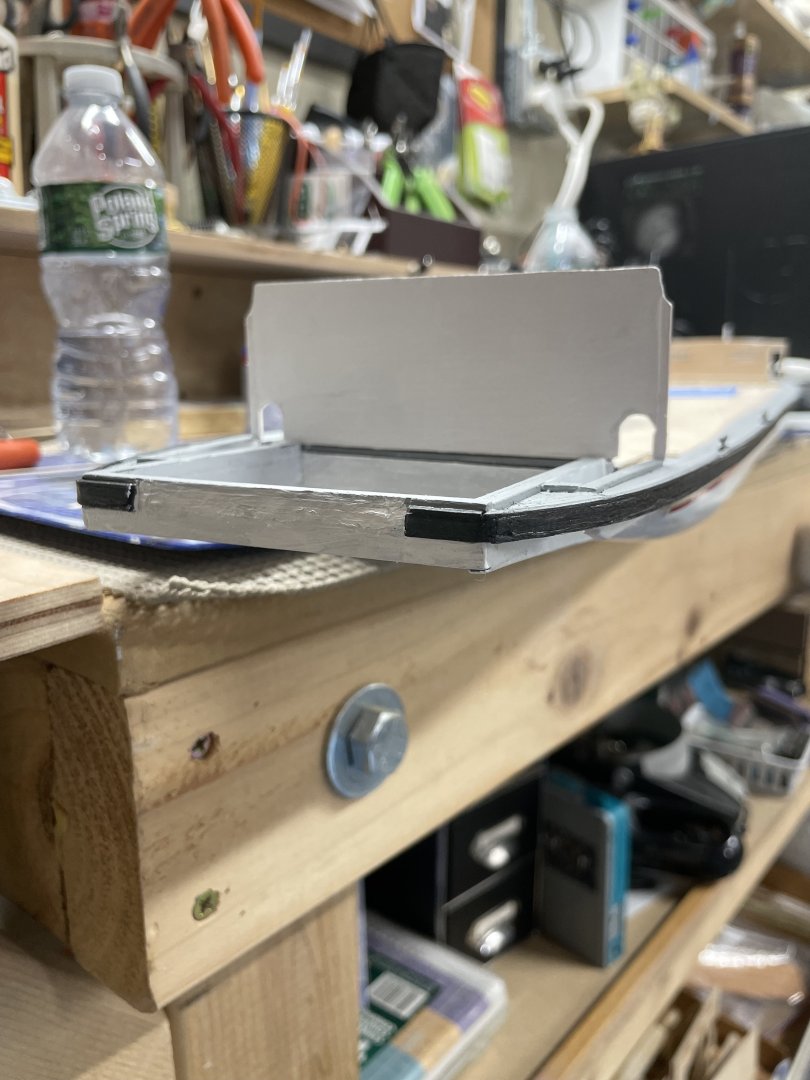
Engine Room walls completed… Cheers 🍻

-
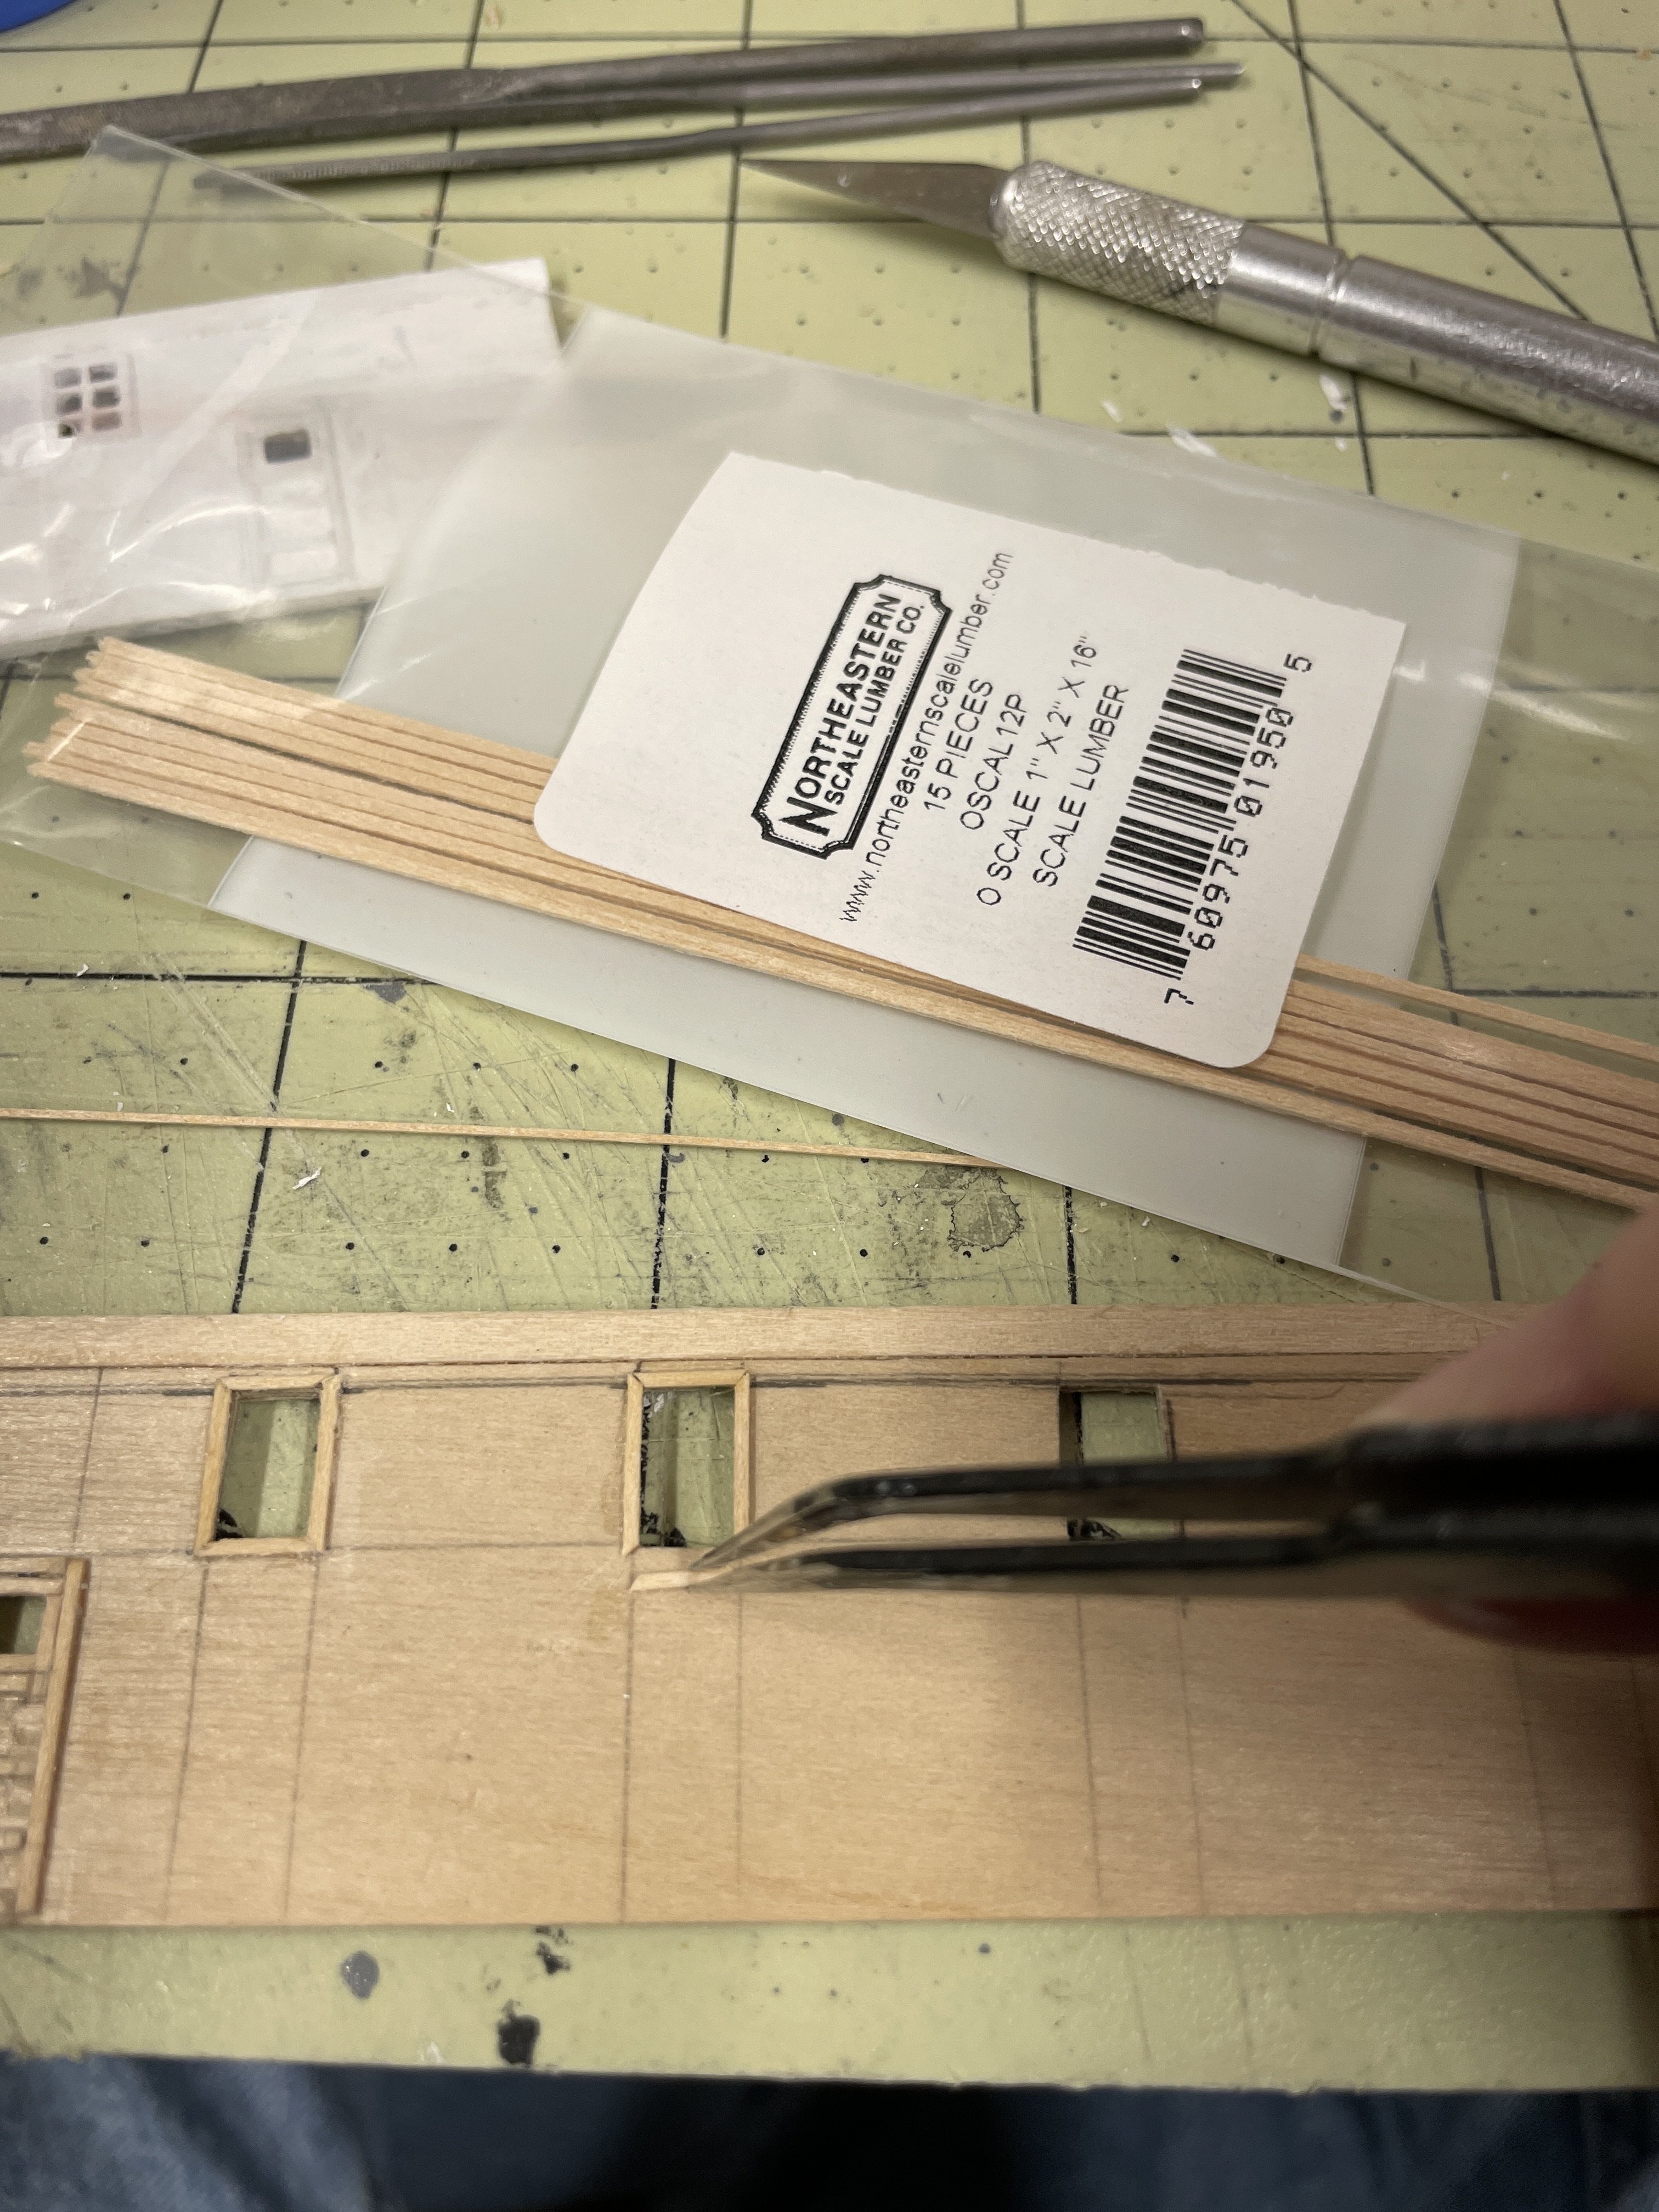
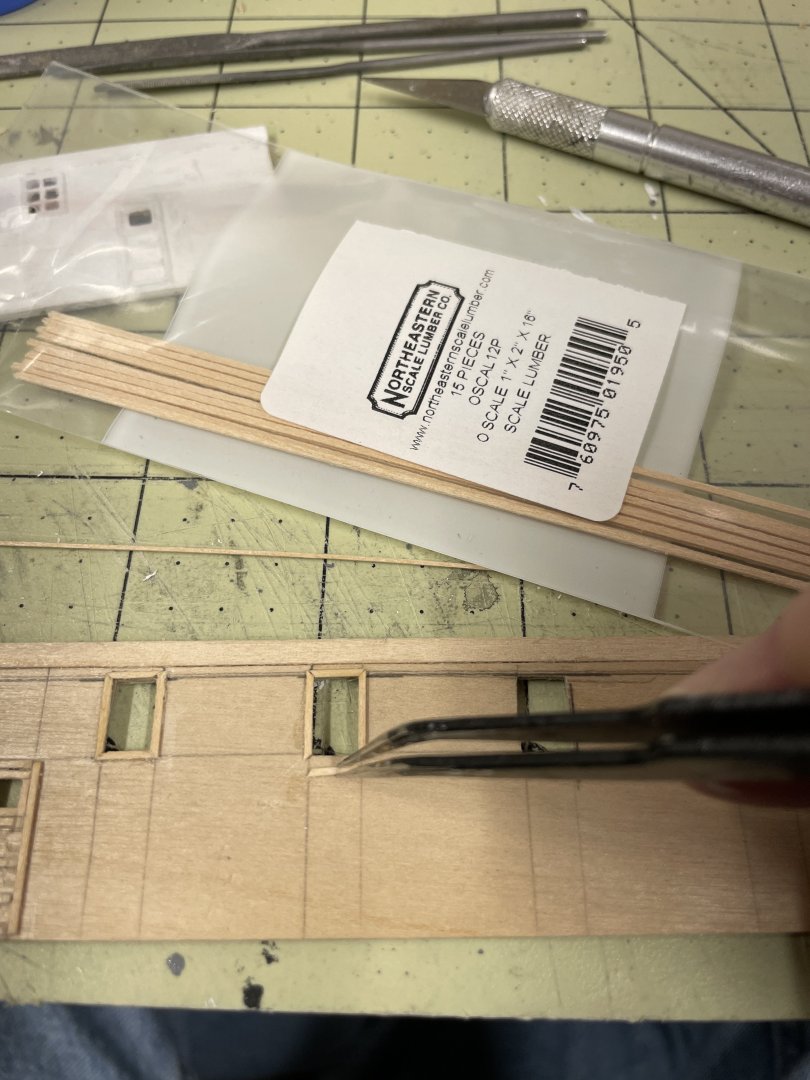
I know we can never have enough resources for scale lumber. 🪵 so I will add mine. https://www.northeasternscalelumber.com/index.php https://www.northeasternscalelumber.com/pub_data/1/cms/2022 Retail Price Sheet.pdf
-
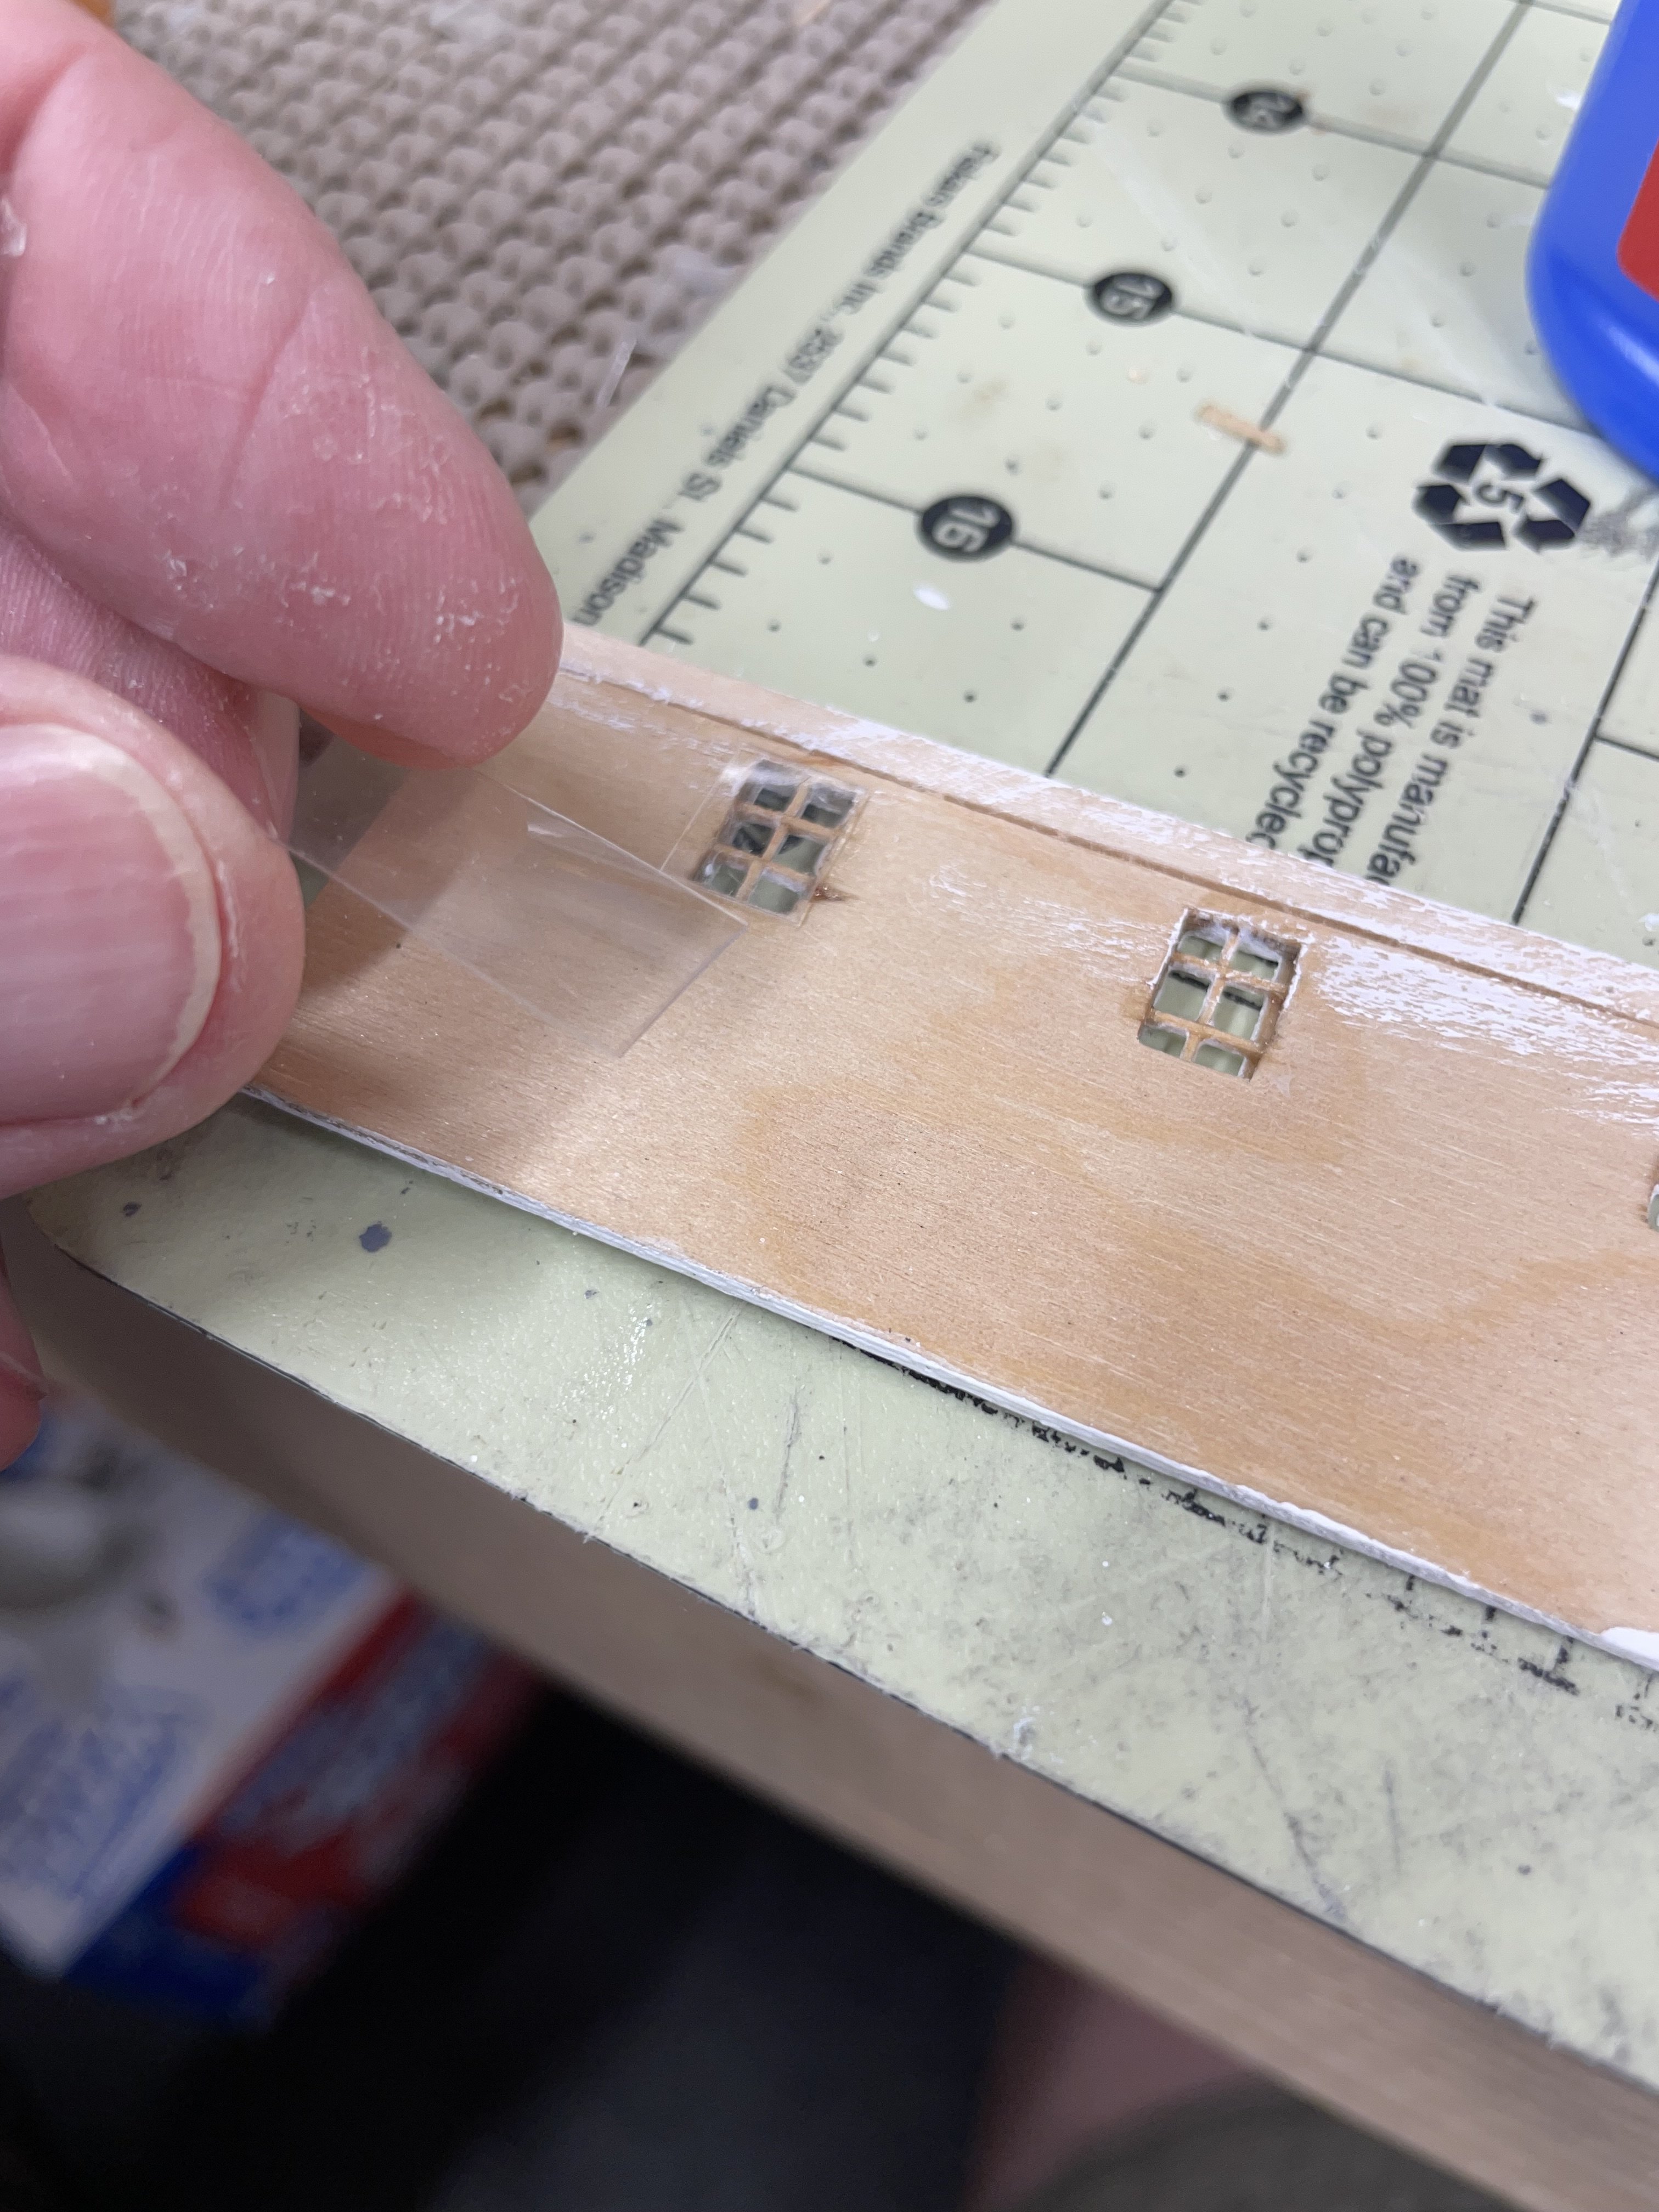
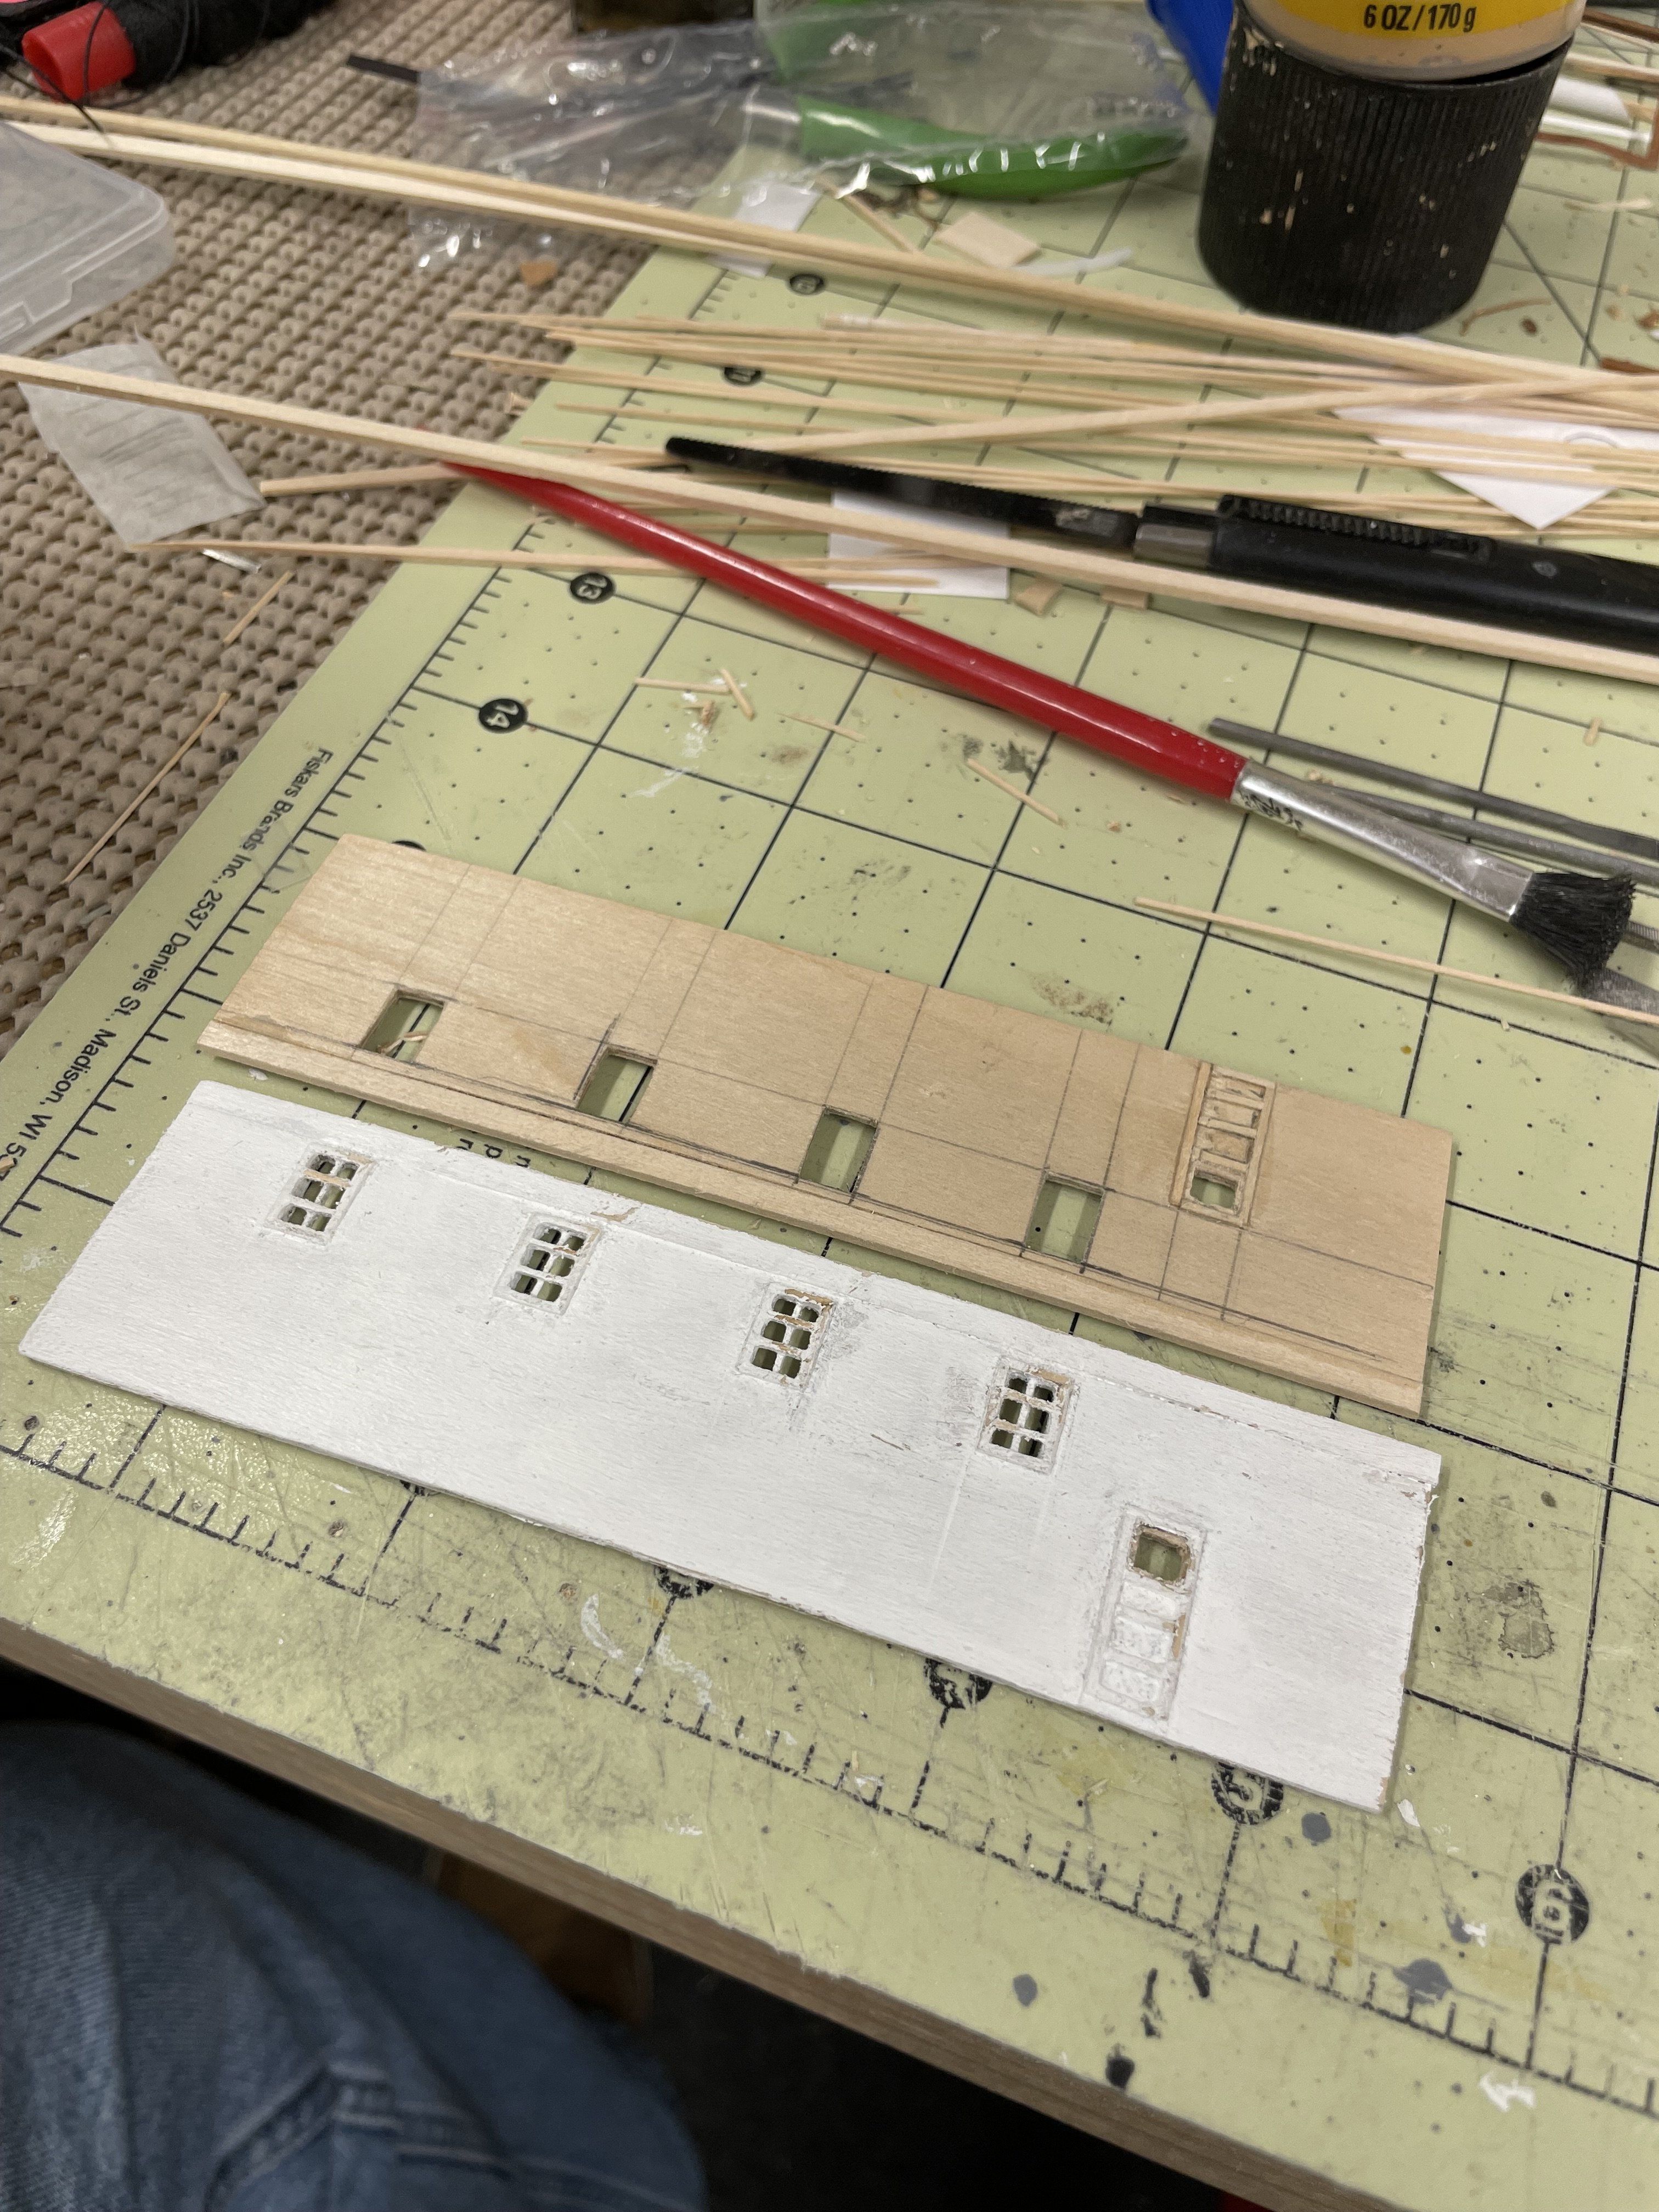
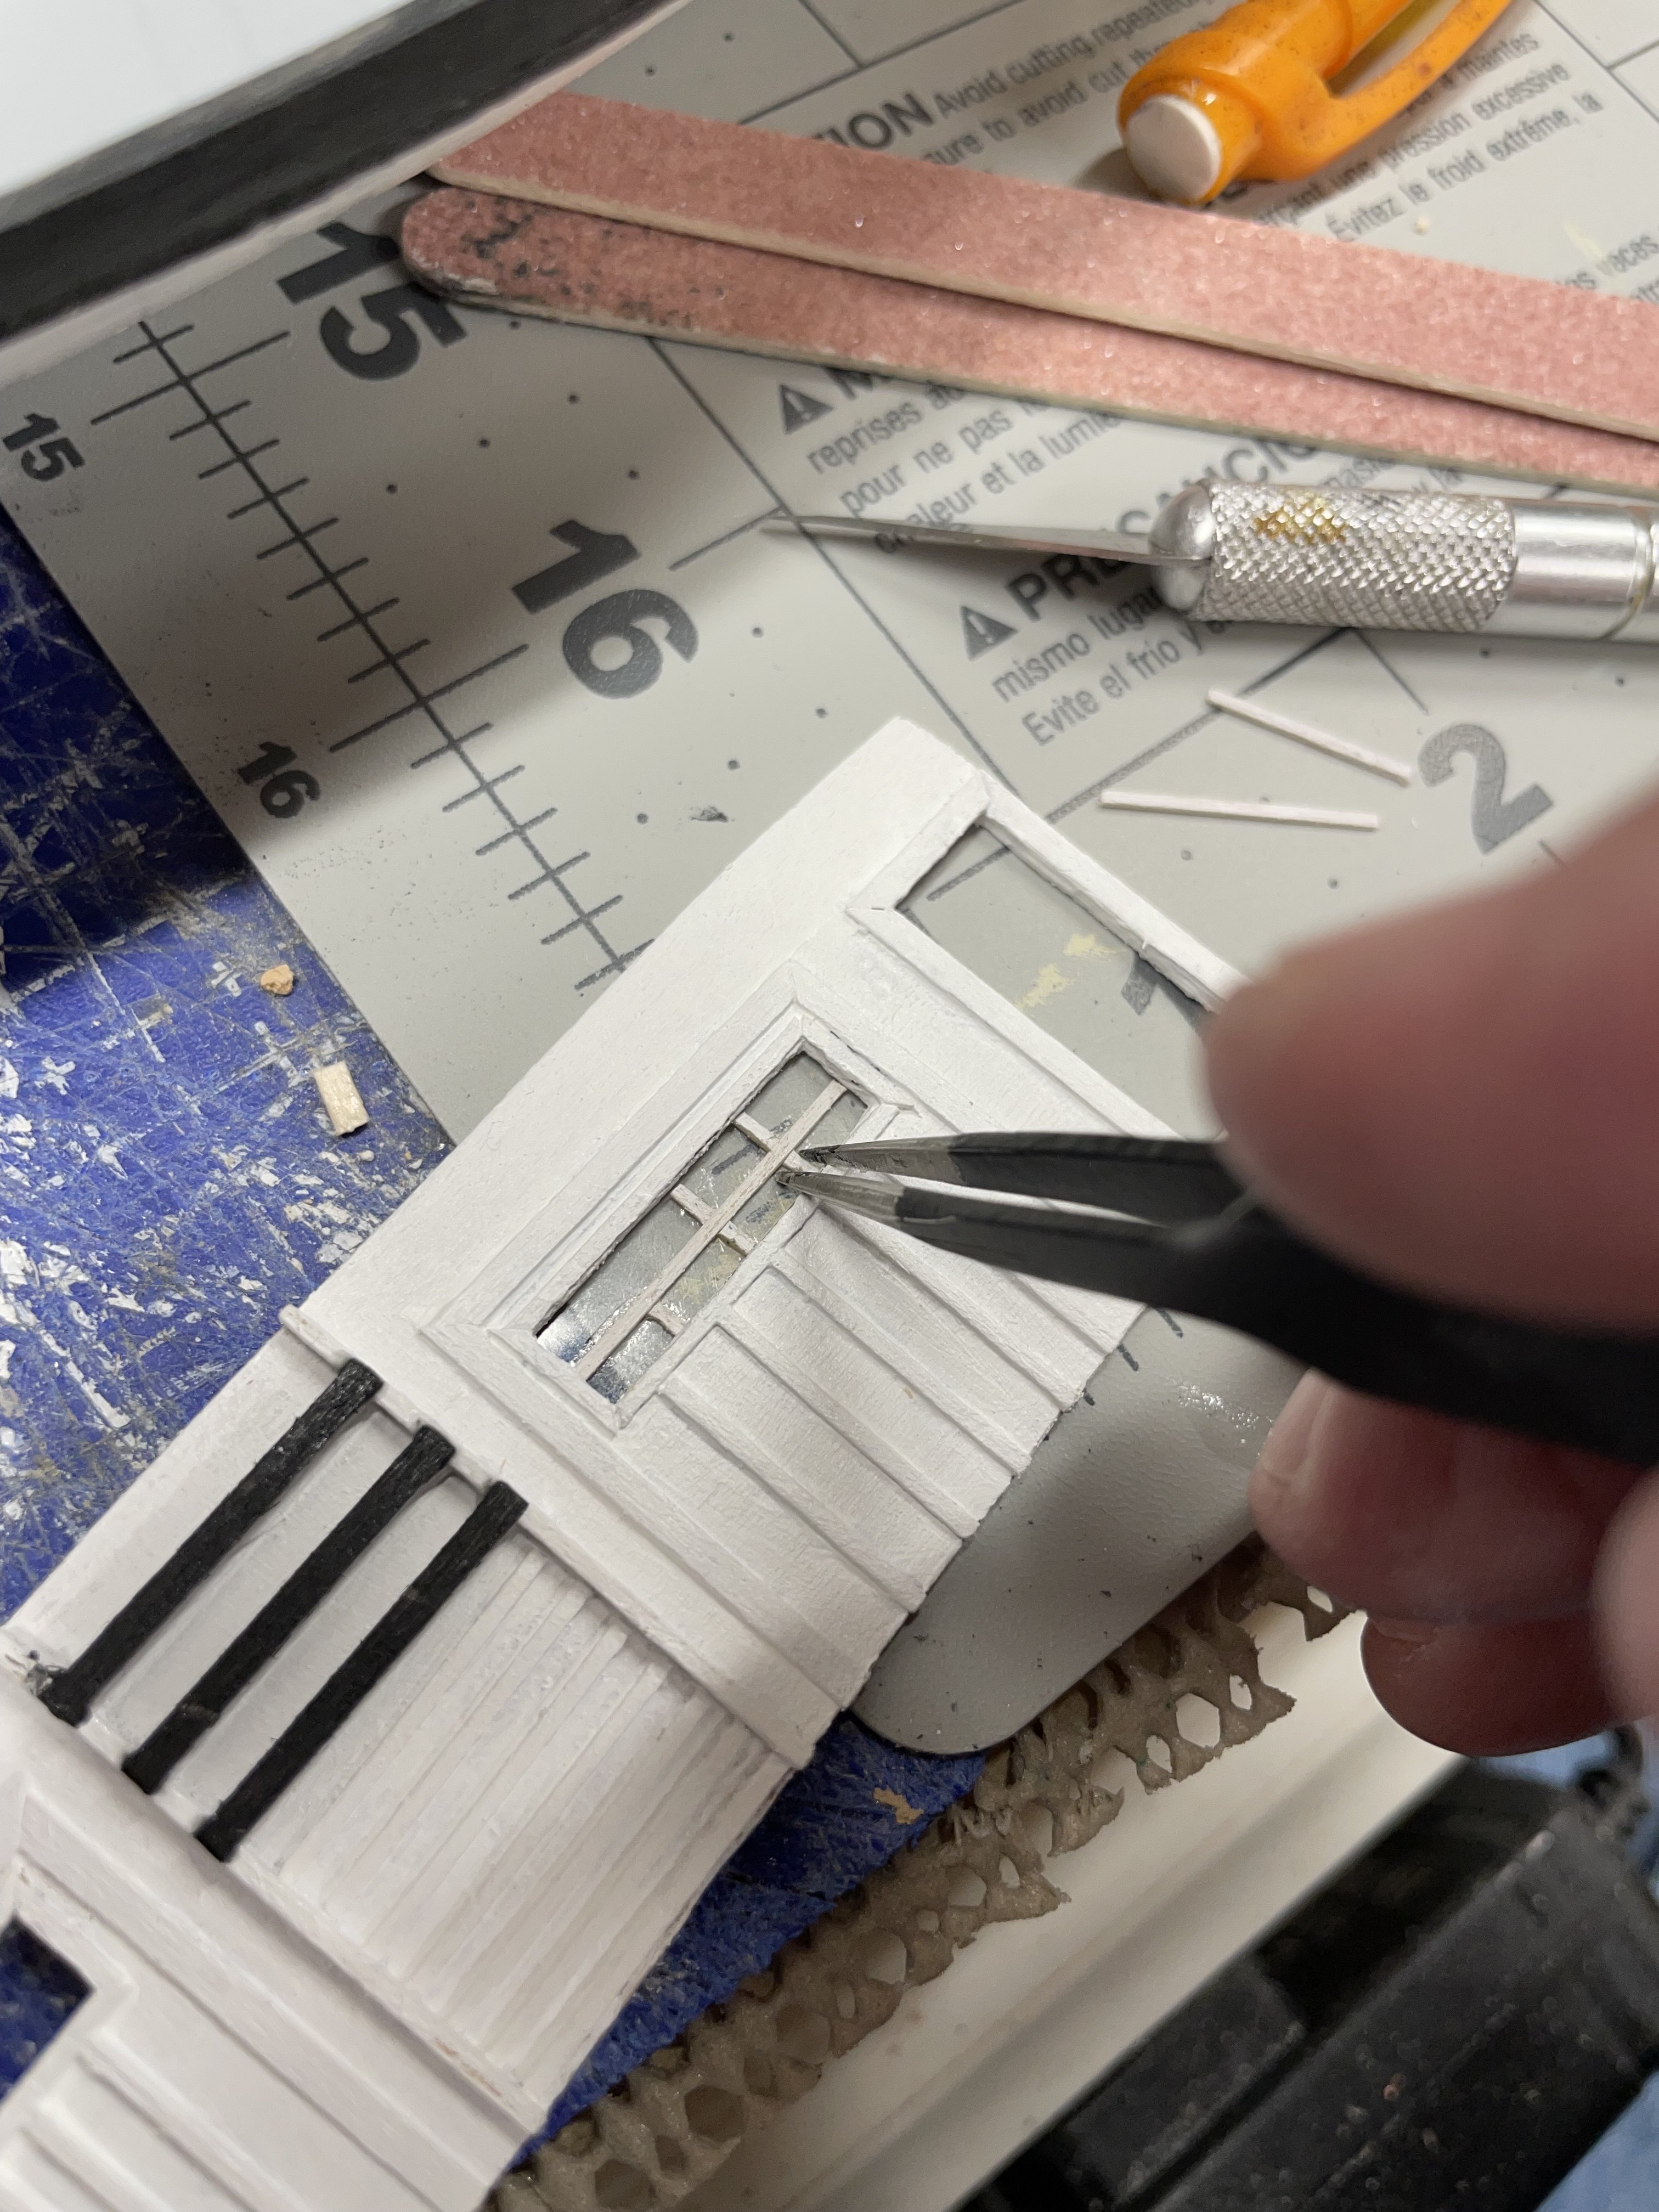
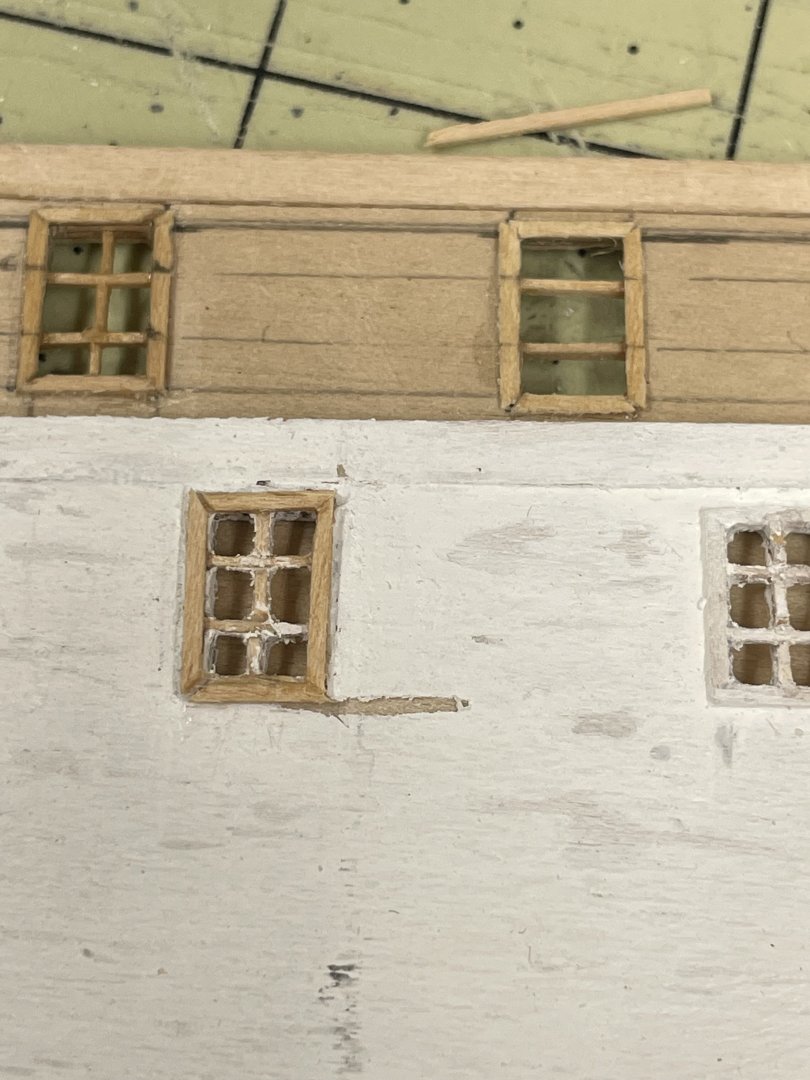
OK… I can fix the first four by setting a new frame and striping down the paint. I will have scale down the paint now… Cheers 🍻
-
Been there, the smallest I can find is 1/16 x 1/16. Practice makes perfect. 👌 I just may have to go back and rework the first four windows. OCD IS KICKING IN. 🤪
-
Kieth, Thanks for the tip, my Xacto Knife is working well for me… Midwest Products is the first place I went. If you click on those products listed they are “temporarily out of stock” and have been for some time. Northeastern Scale Lumber is here in MA And is a good company as well.
-
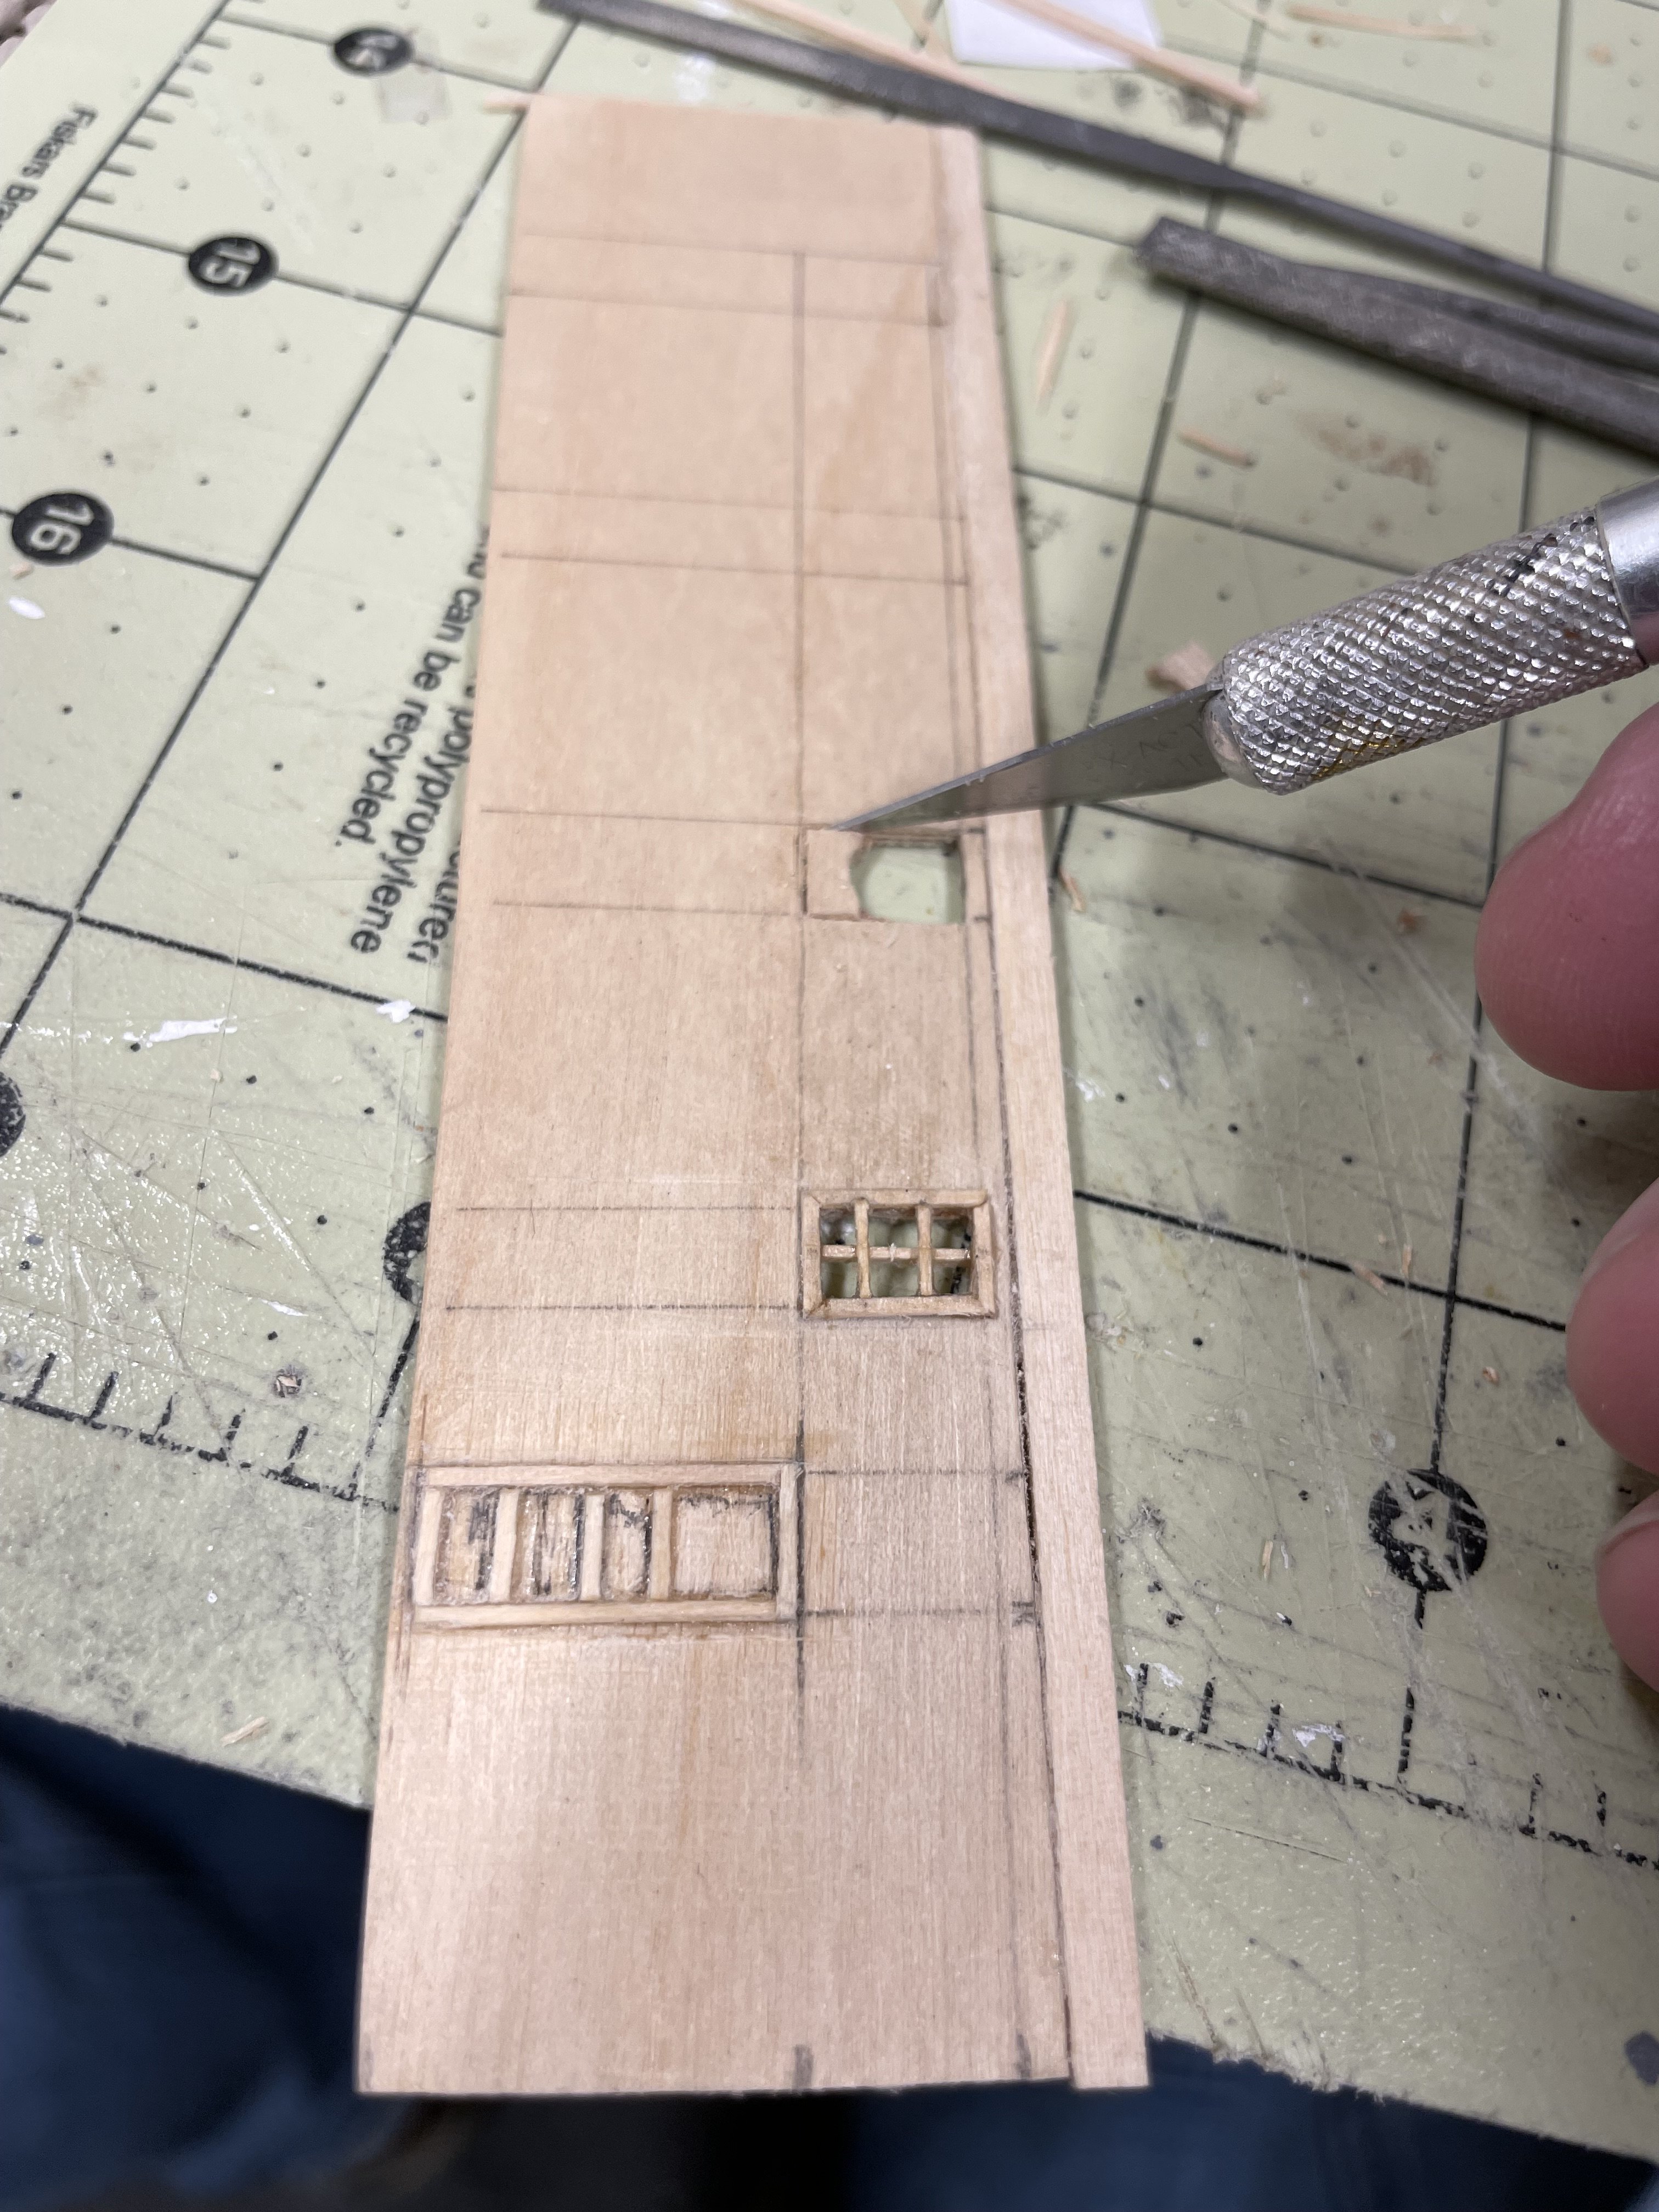
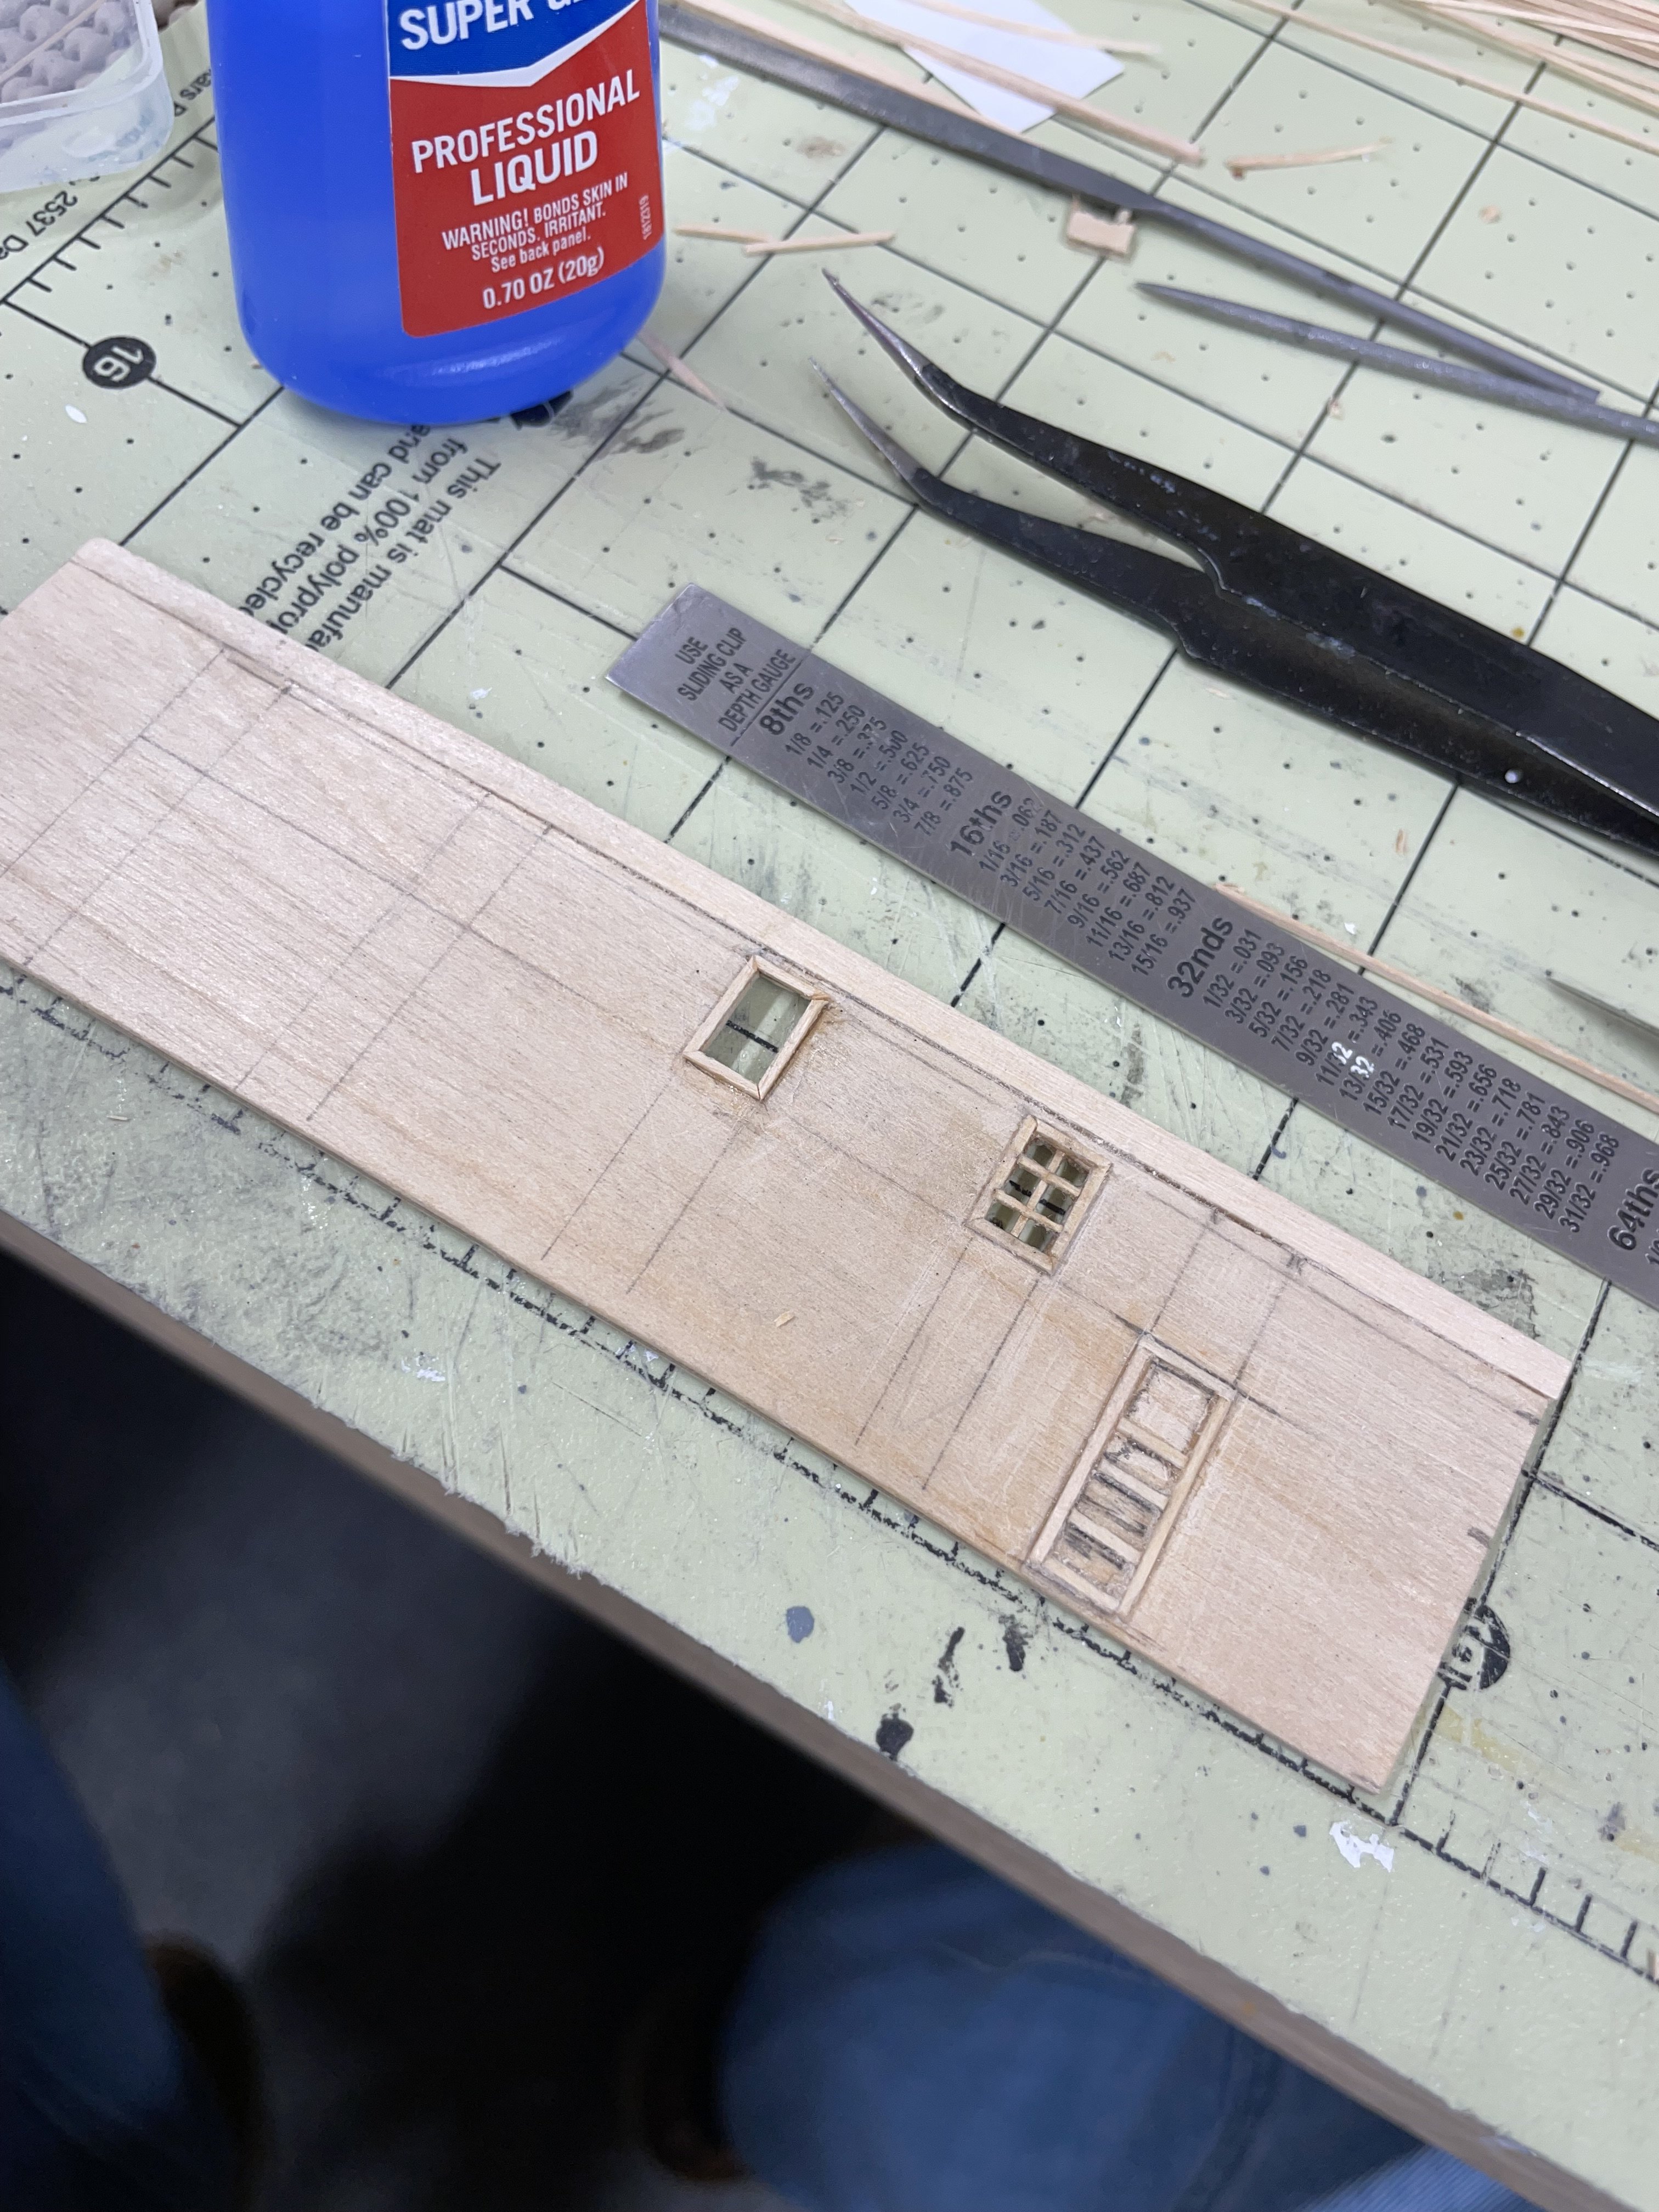
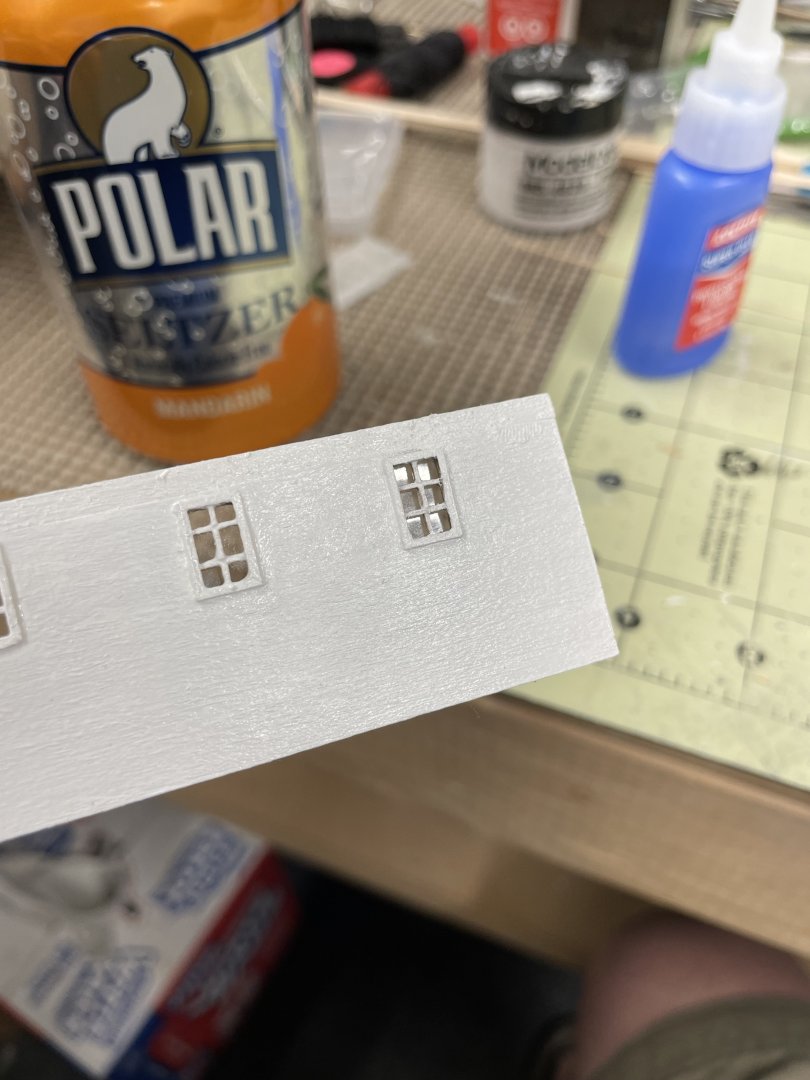
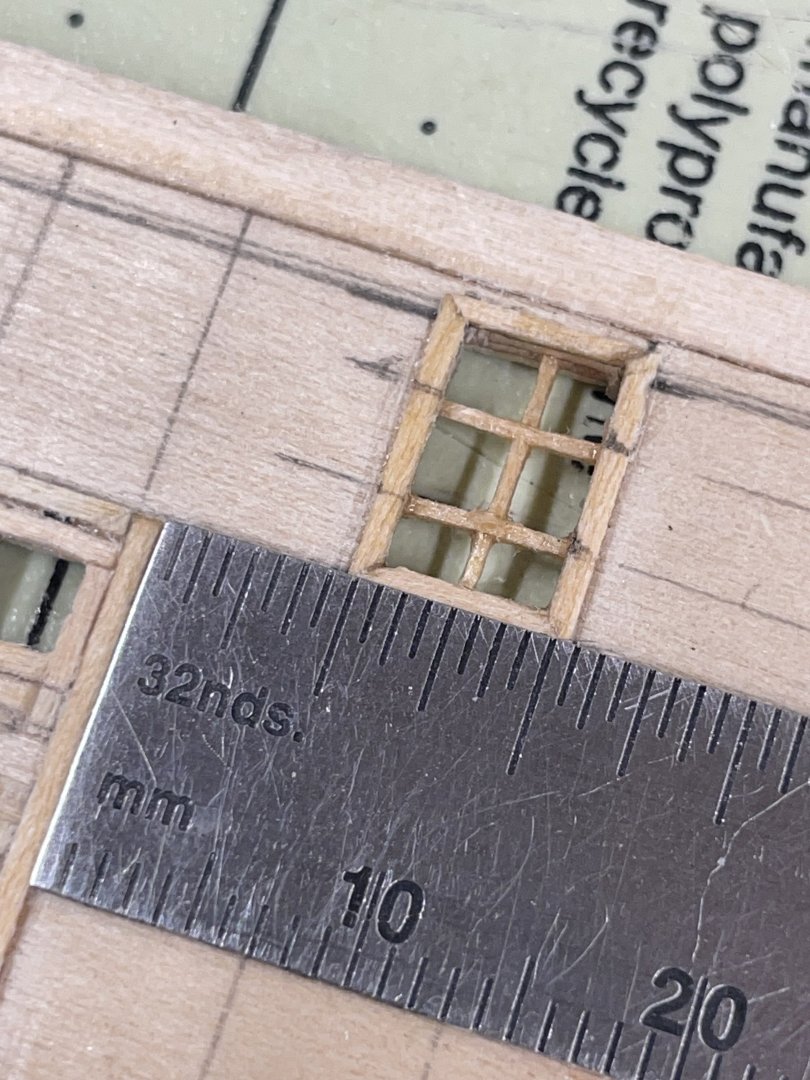
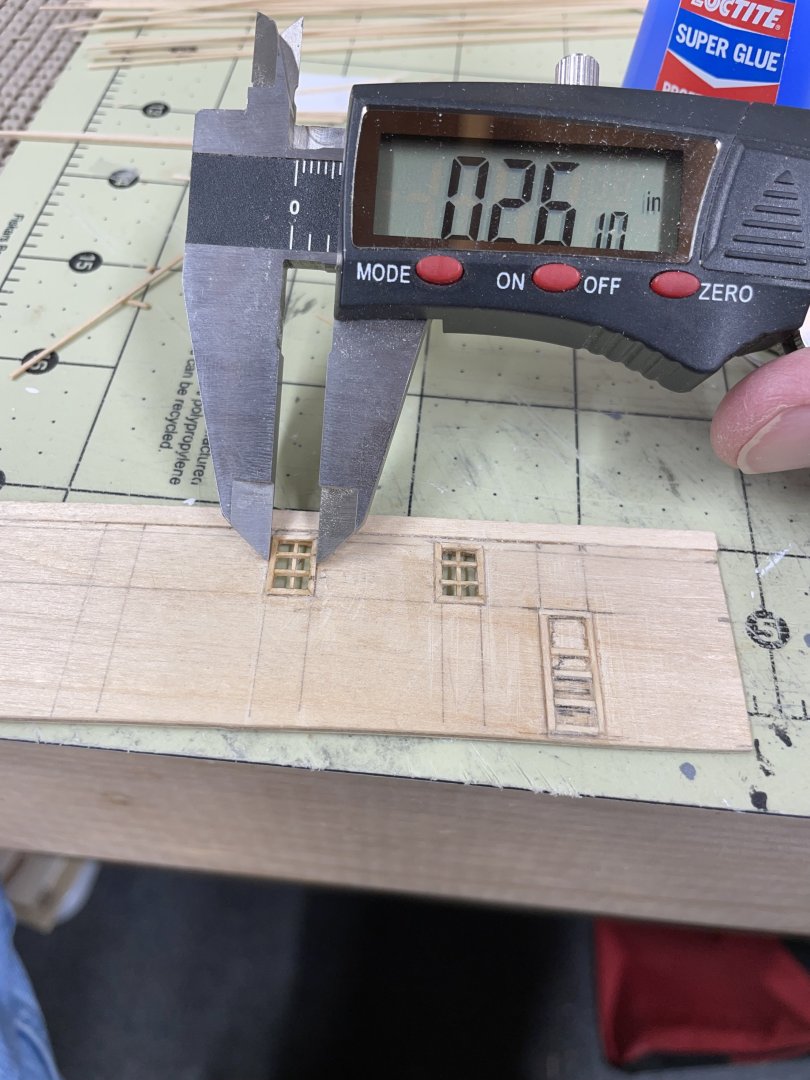
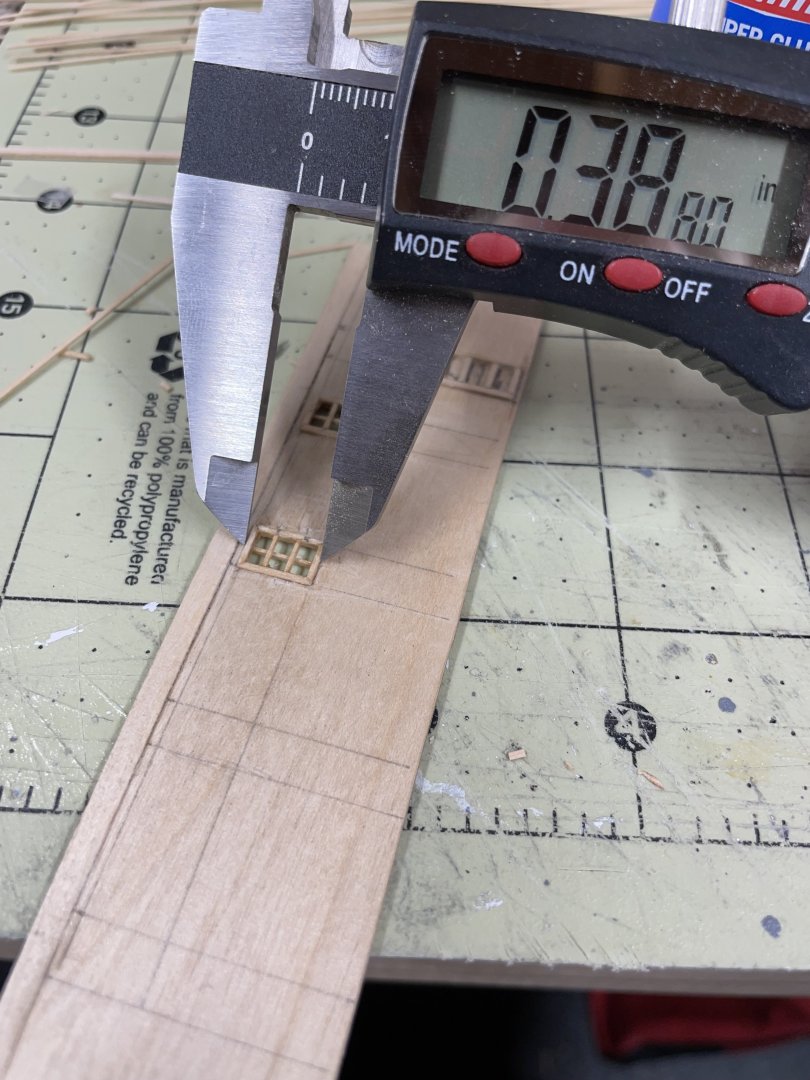
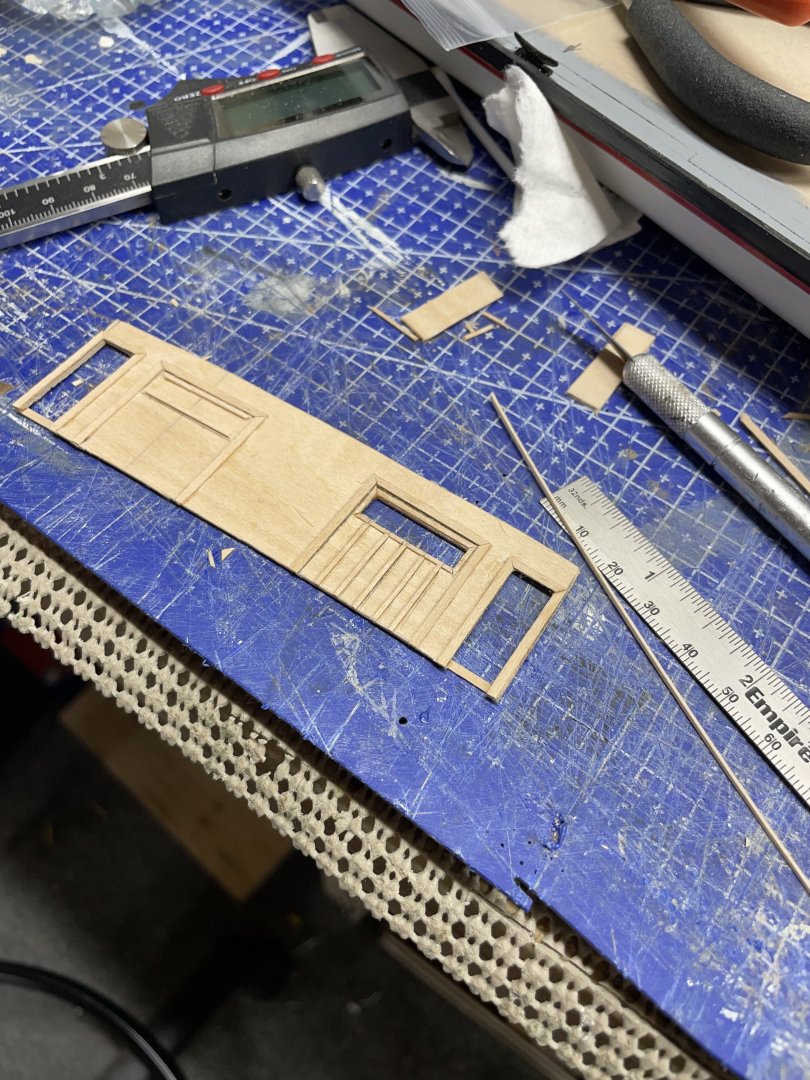
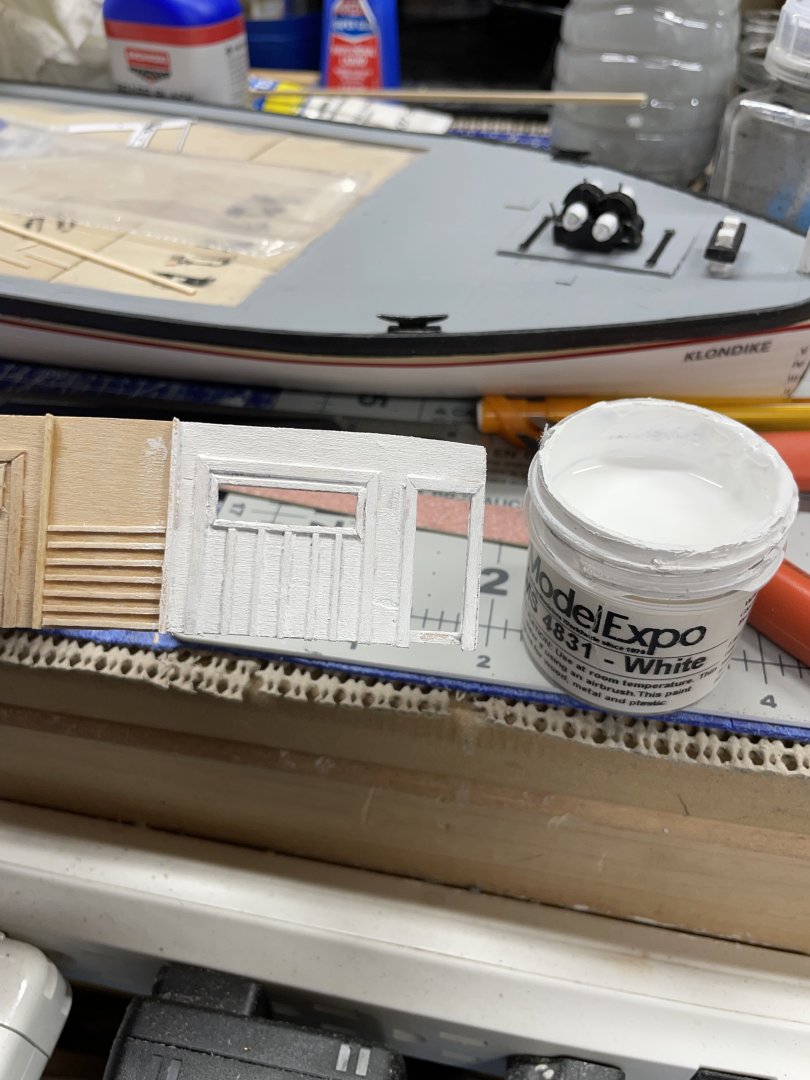
Thanks Keith, The Smallest wood I could get at Northeastern Scale Lumber. (O Scale 1” x 2”) Laid flat for the trim and on its side for the sash. That and a steady hand. 😜 TEDIOUS! The trick is getting them all the same size. LOL 😂 John
-
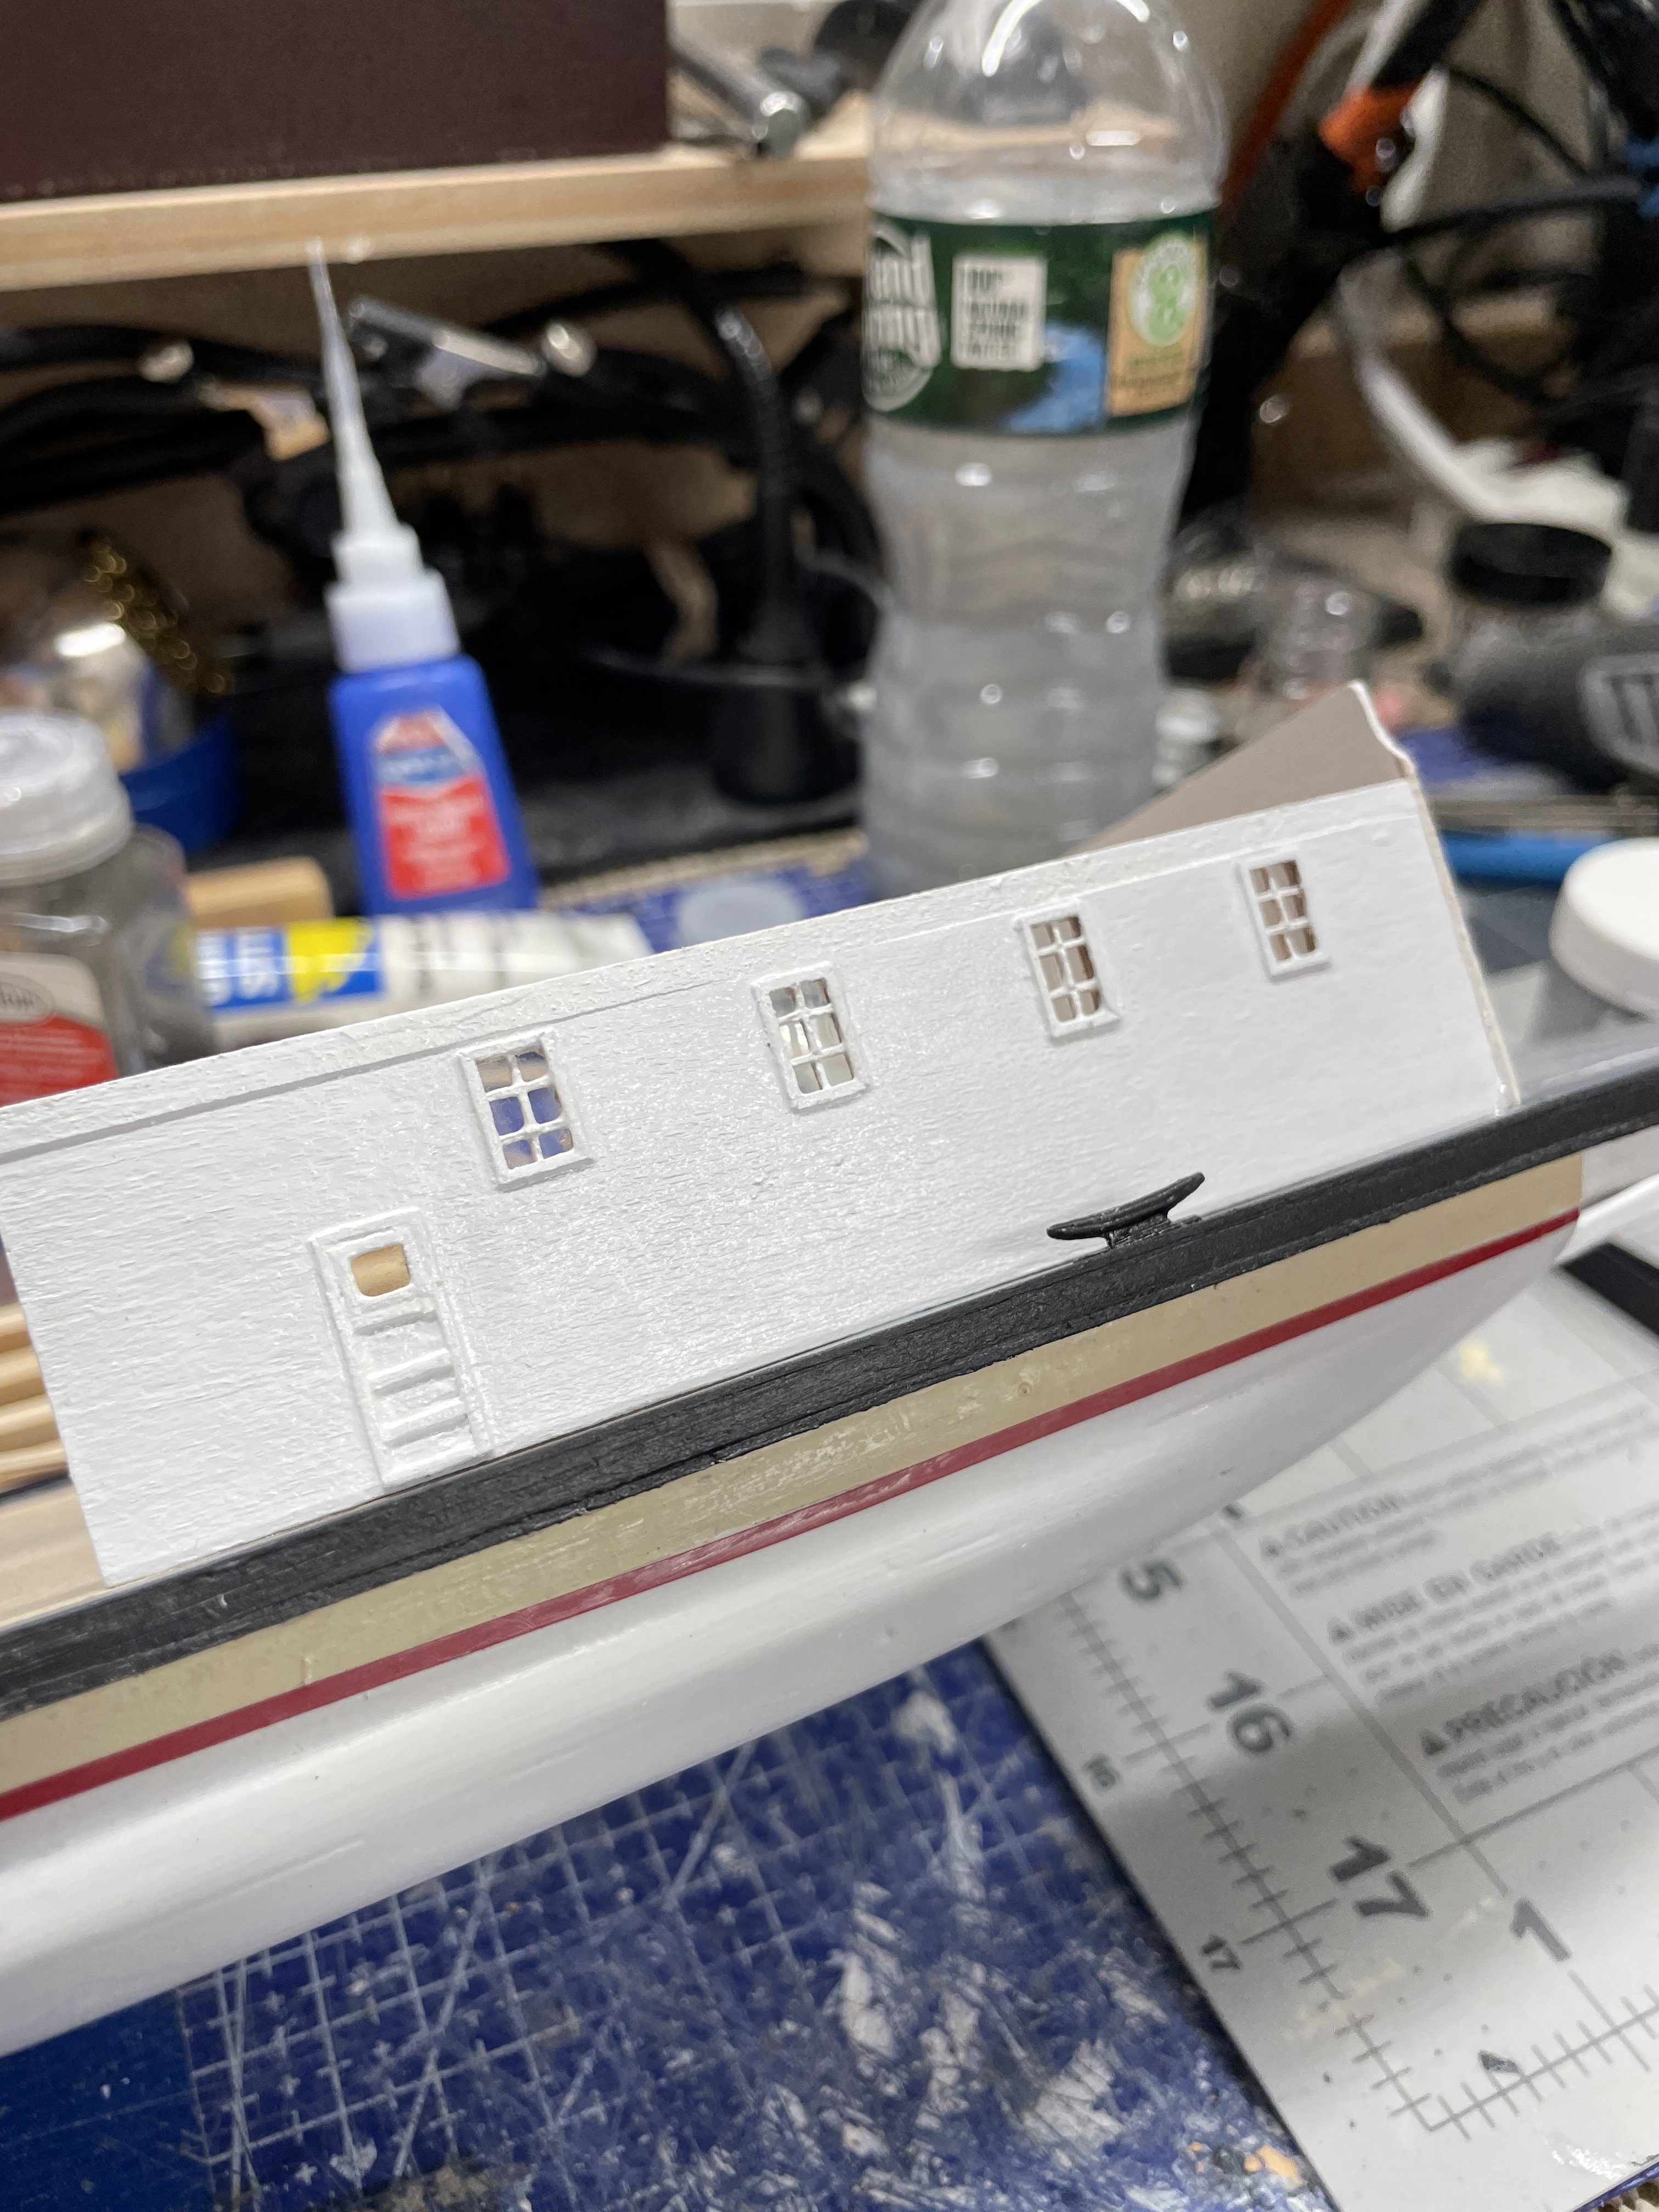
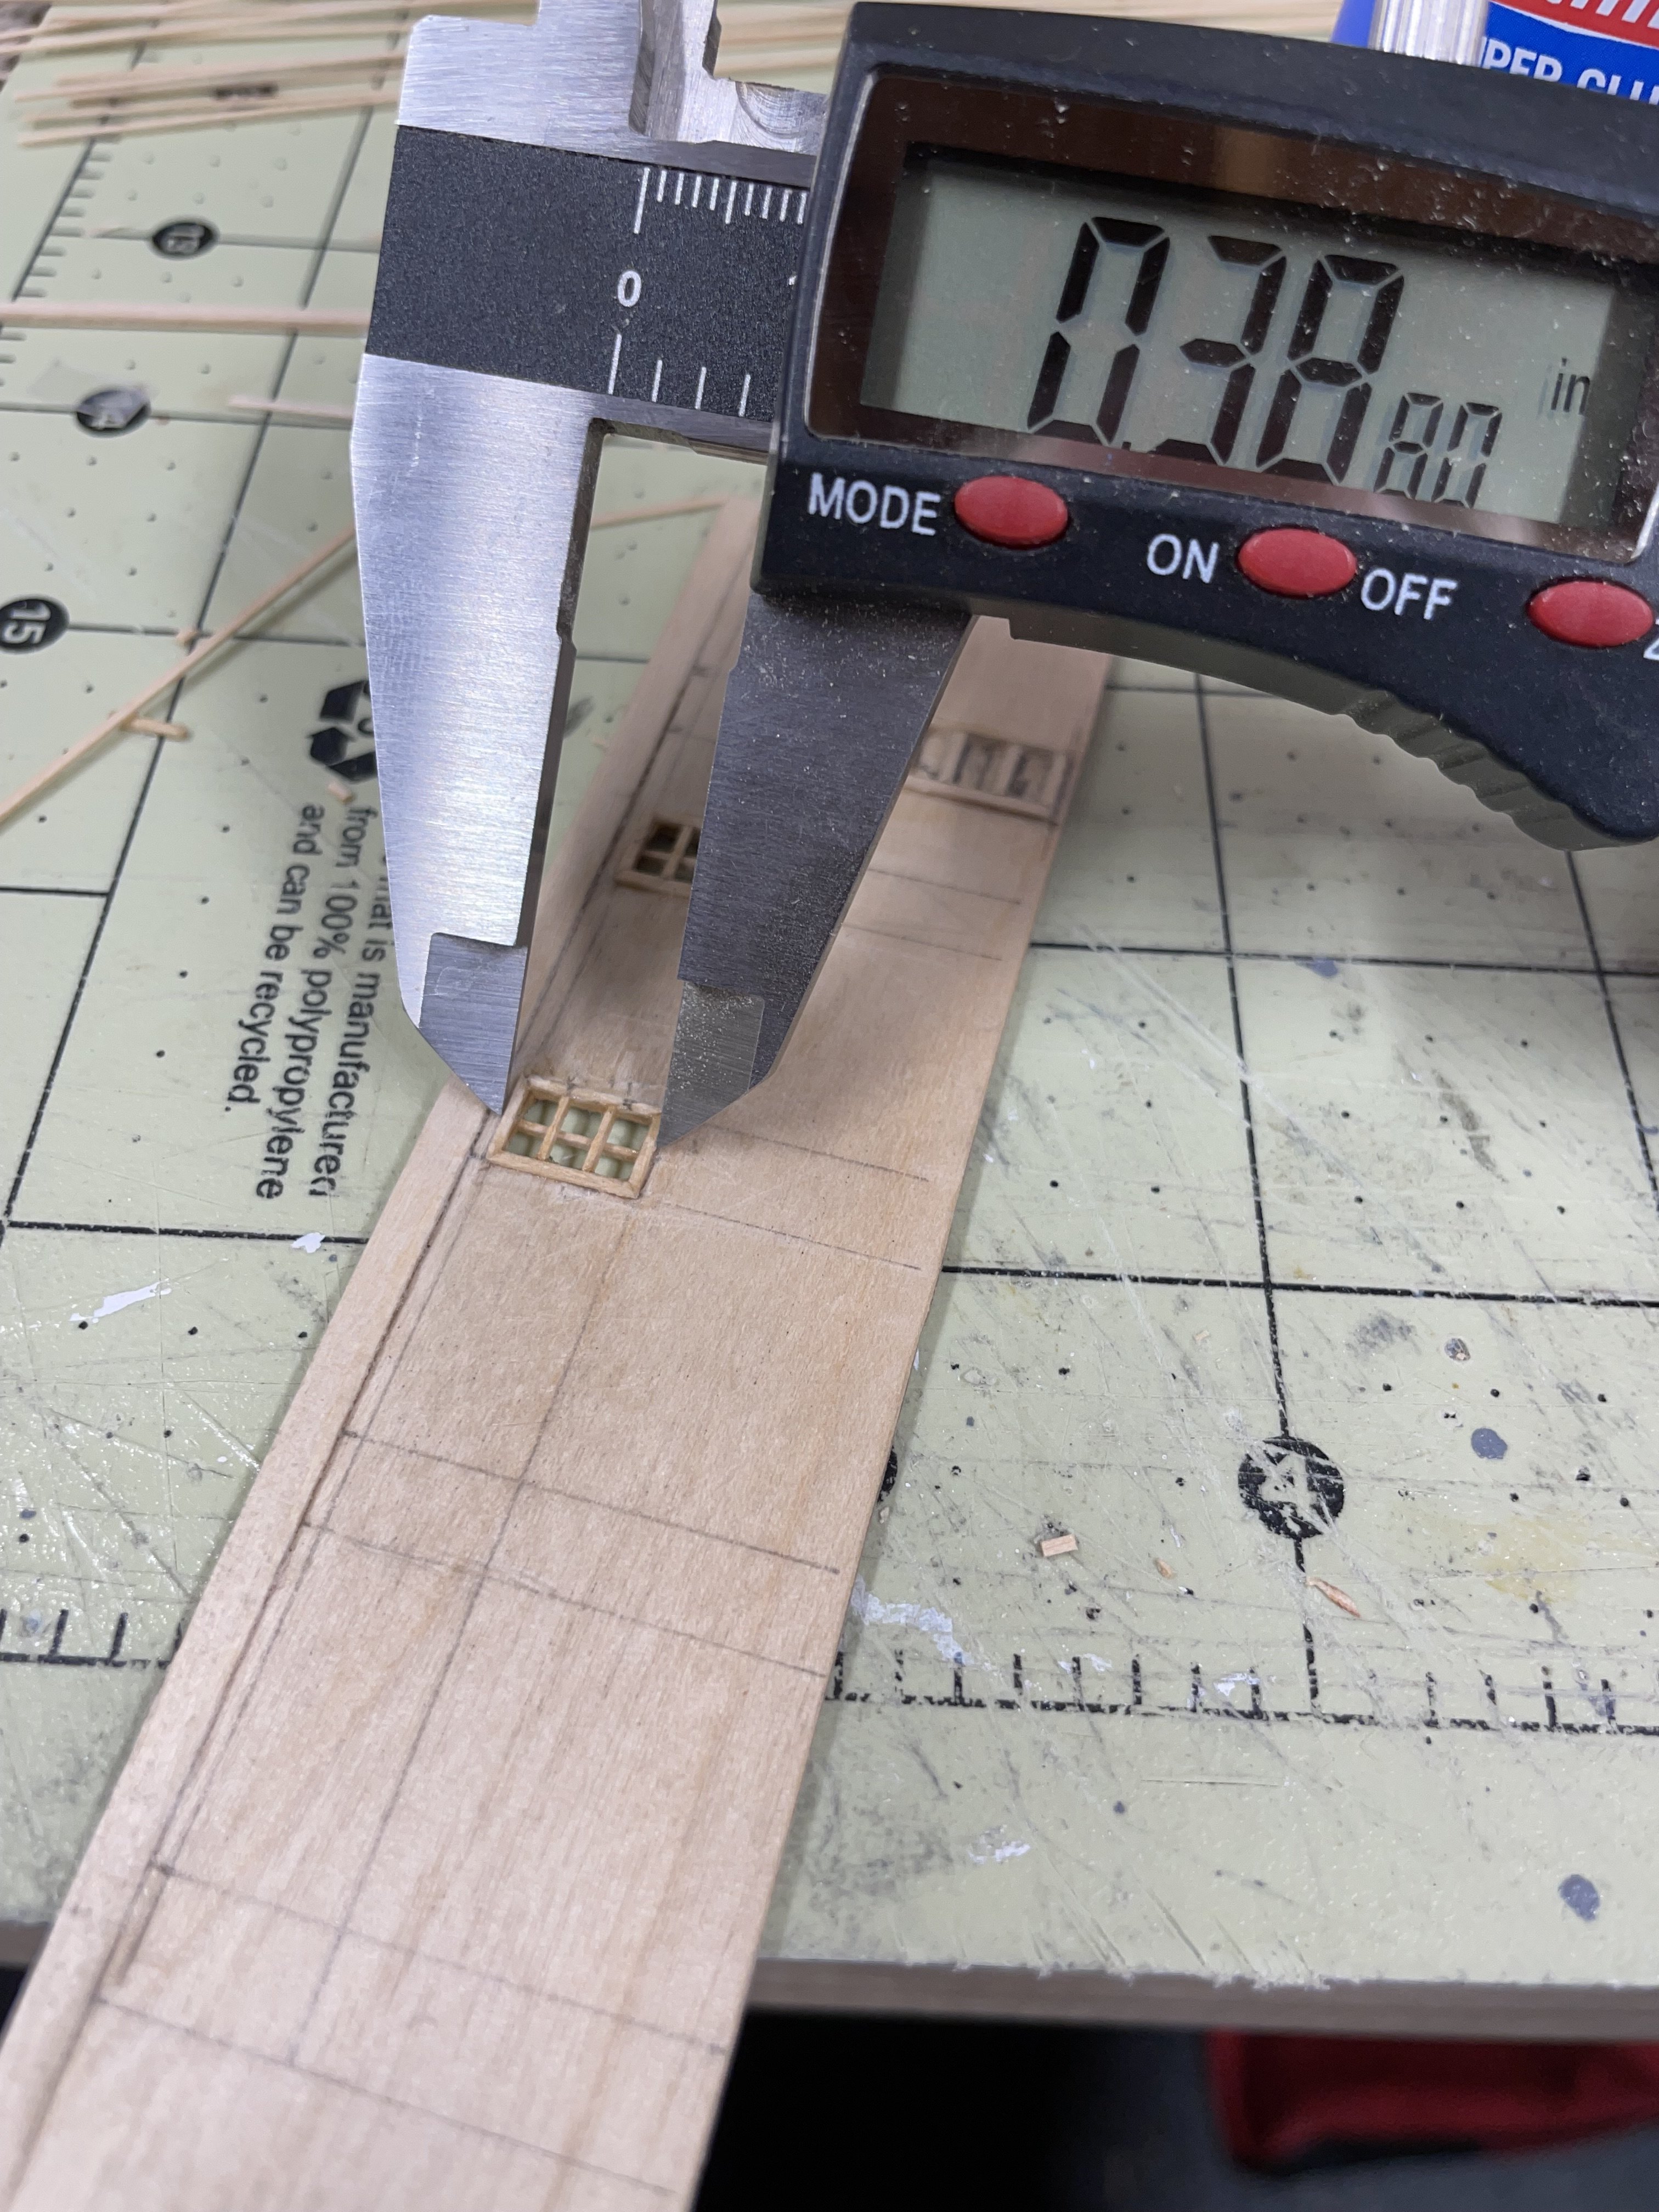
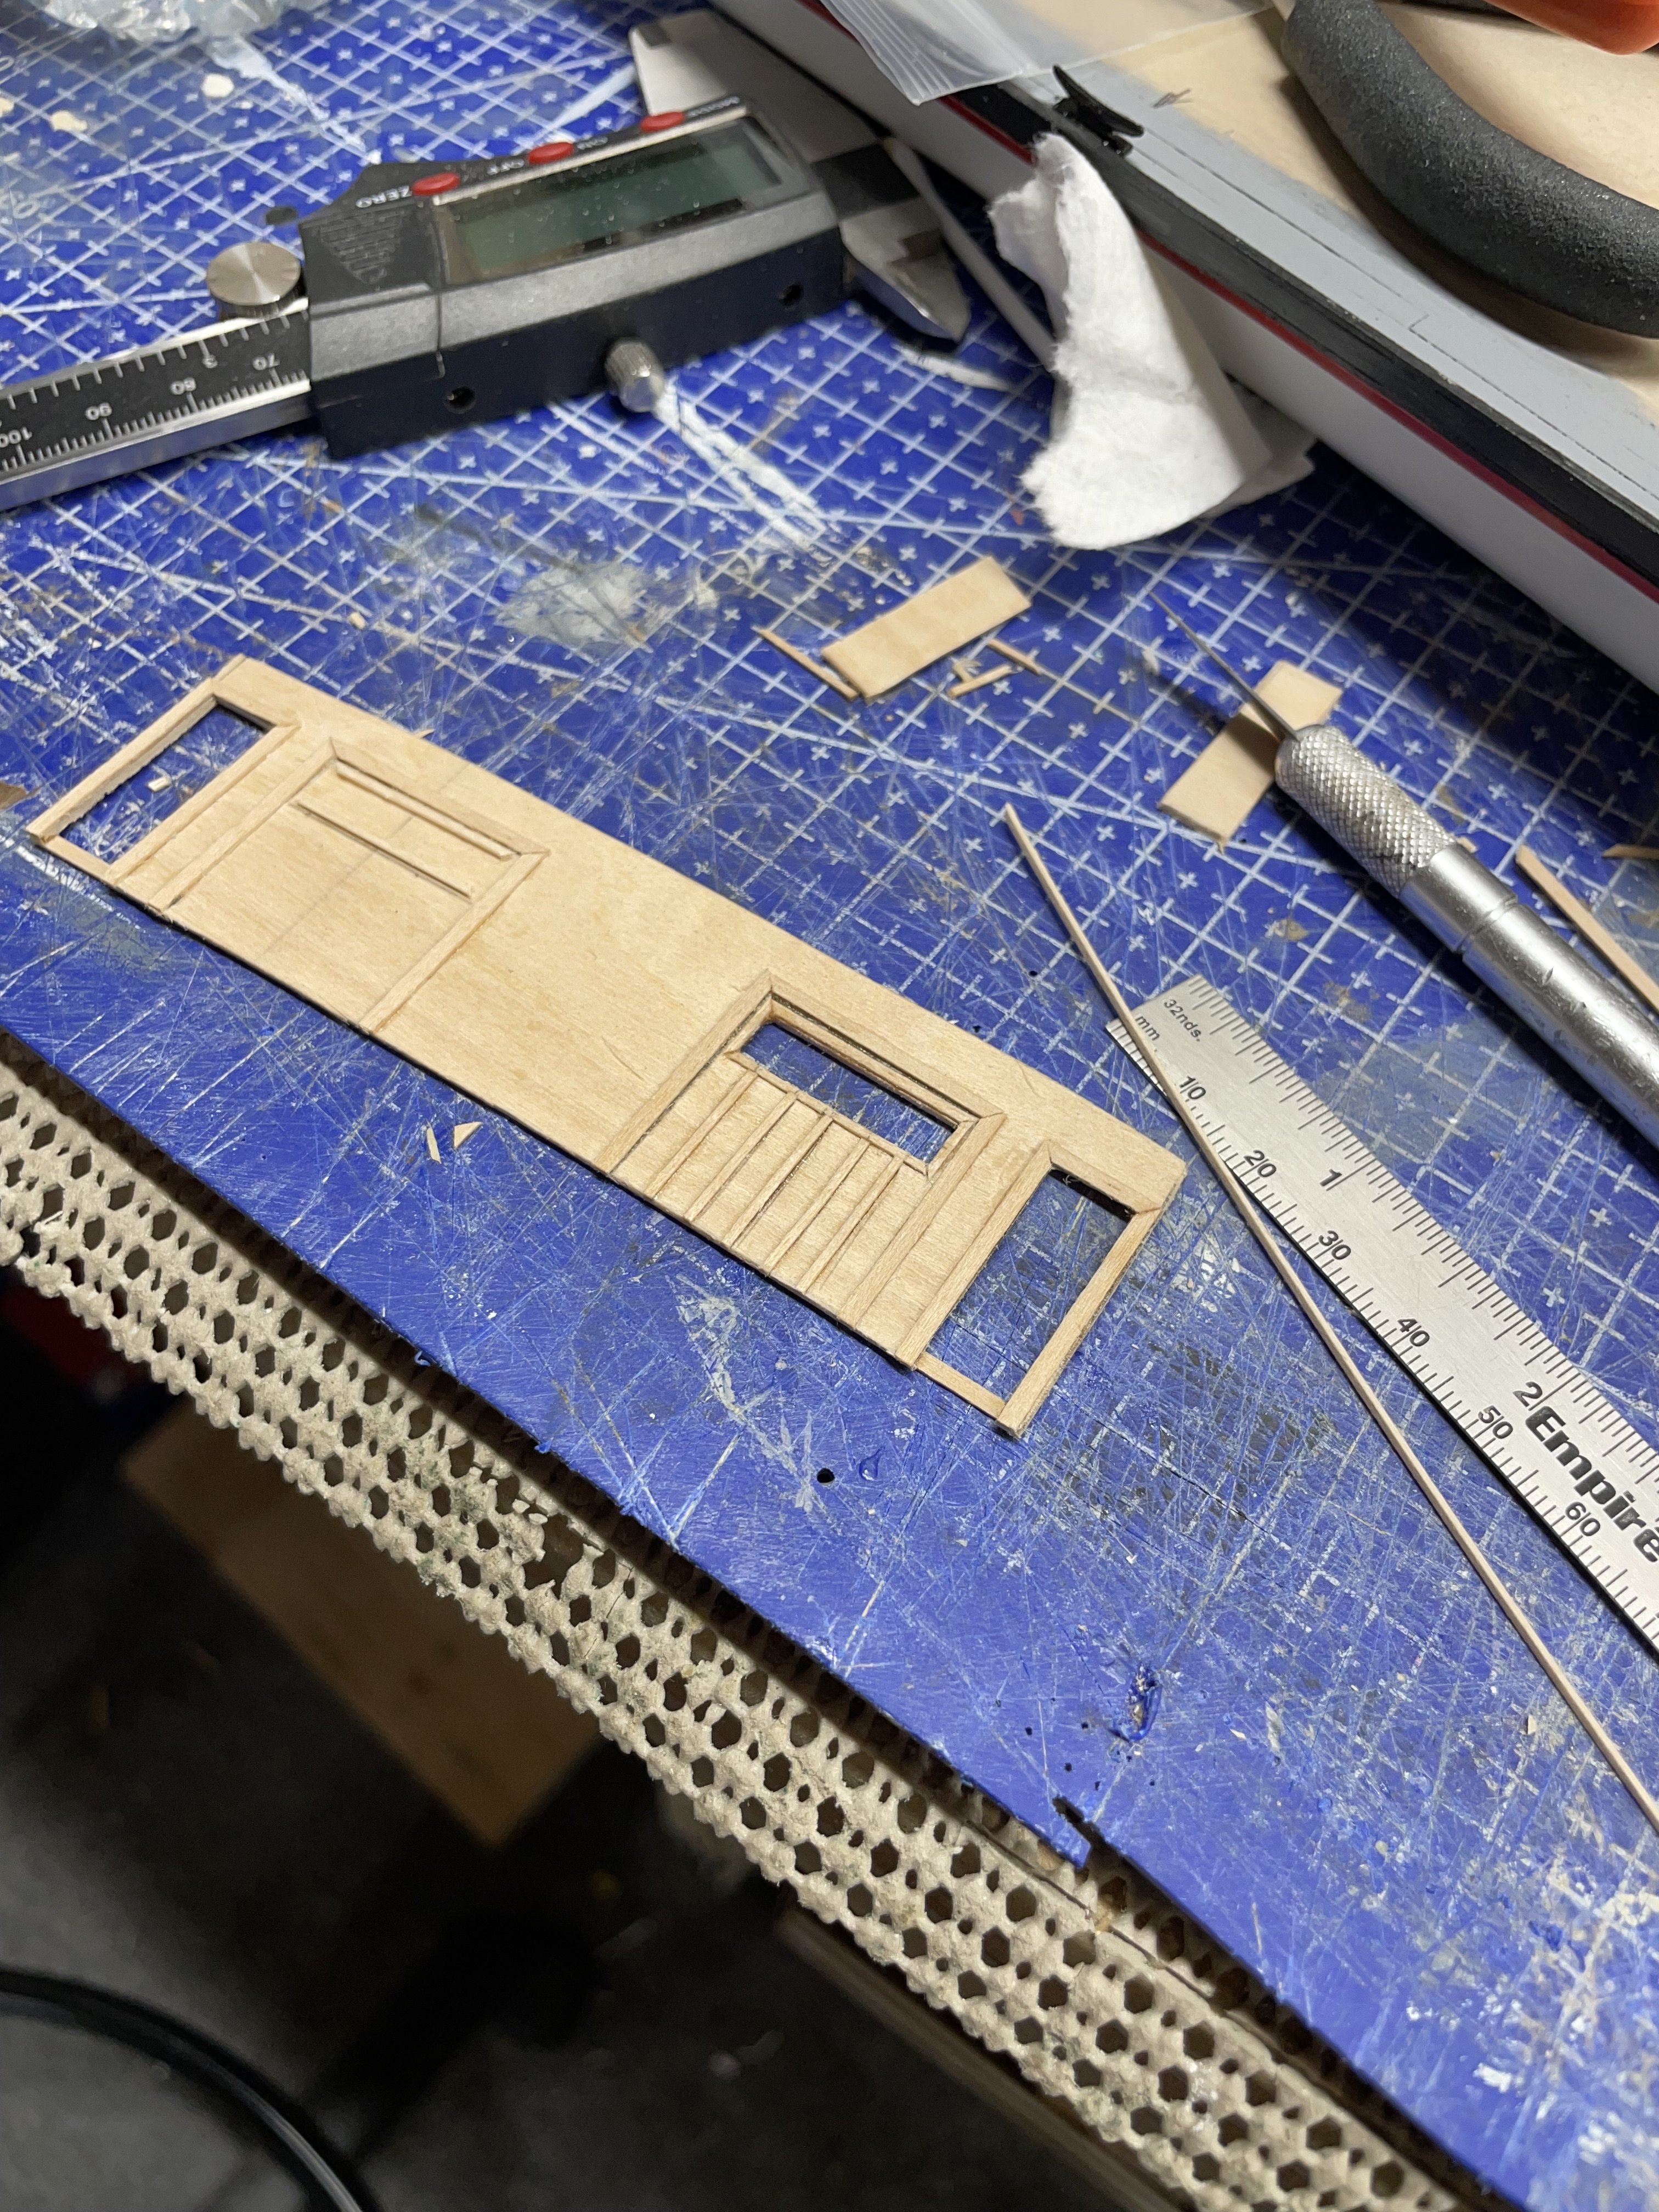
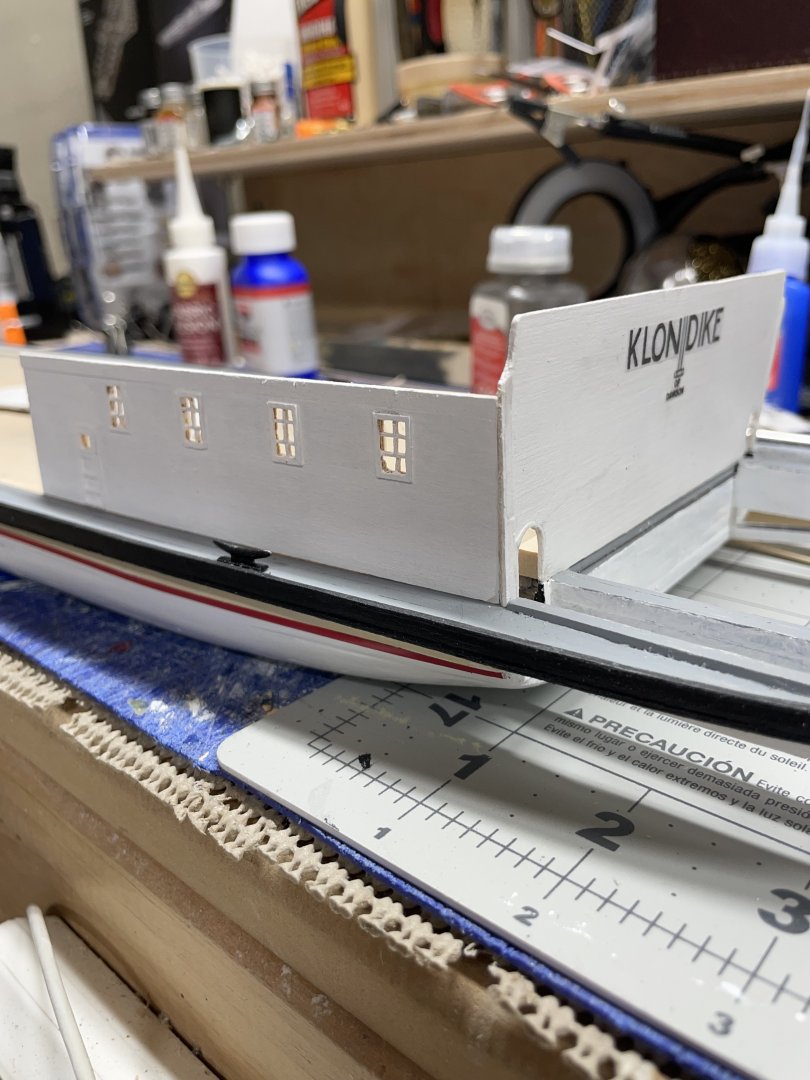
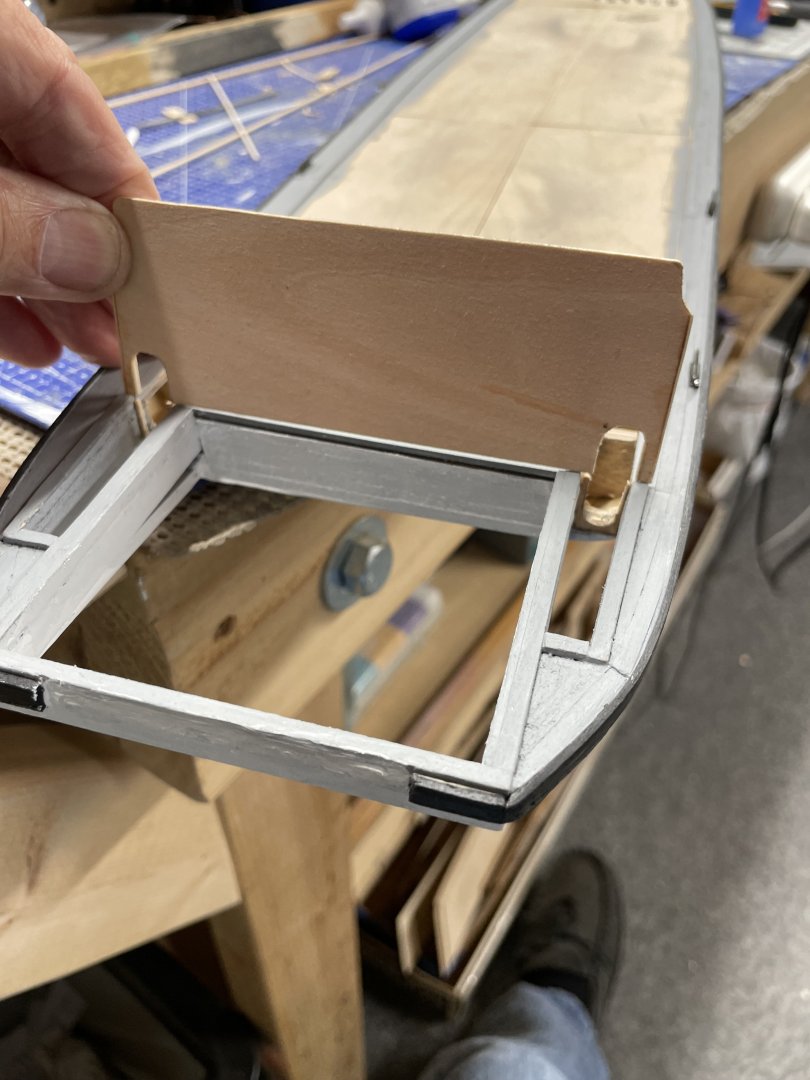
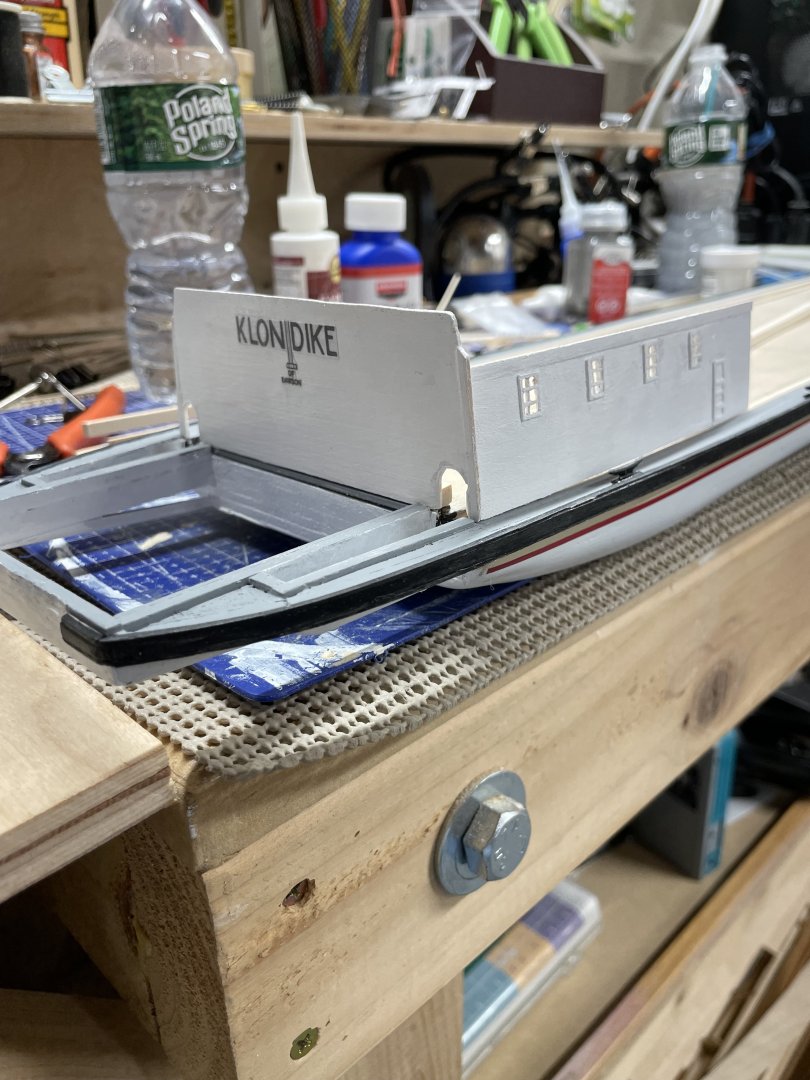
Windows and doors… Aft Bulkhead… Engine Room Windows and Doors on Main Deck. Verifying consistent sizing… Onwards 🍻


-
Progress… @Ian_Grant Cabin work has begun. 😎 Cheers 🍻


-
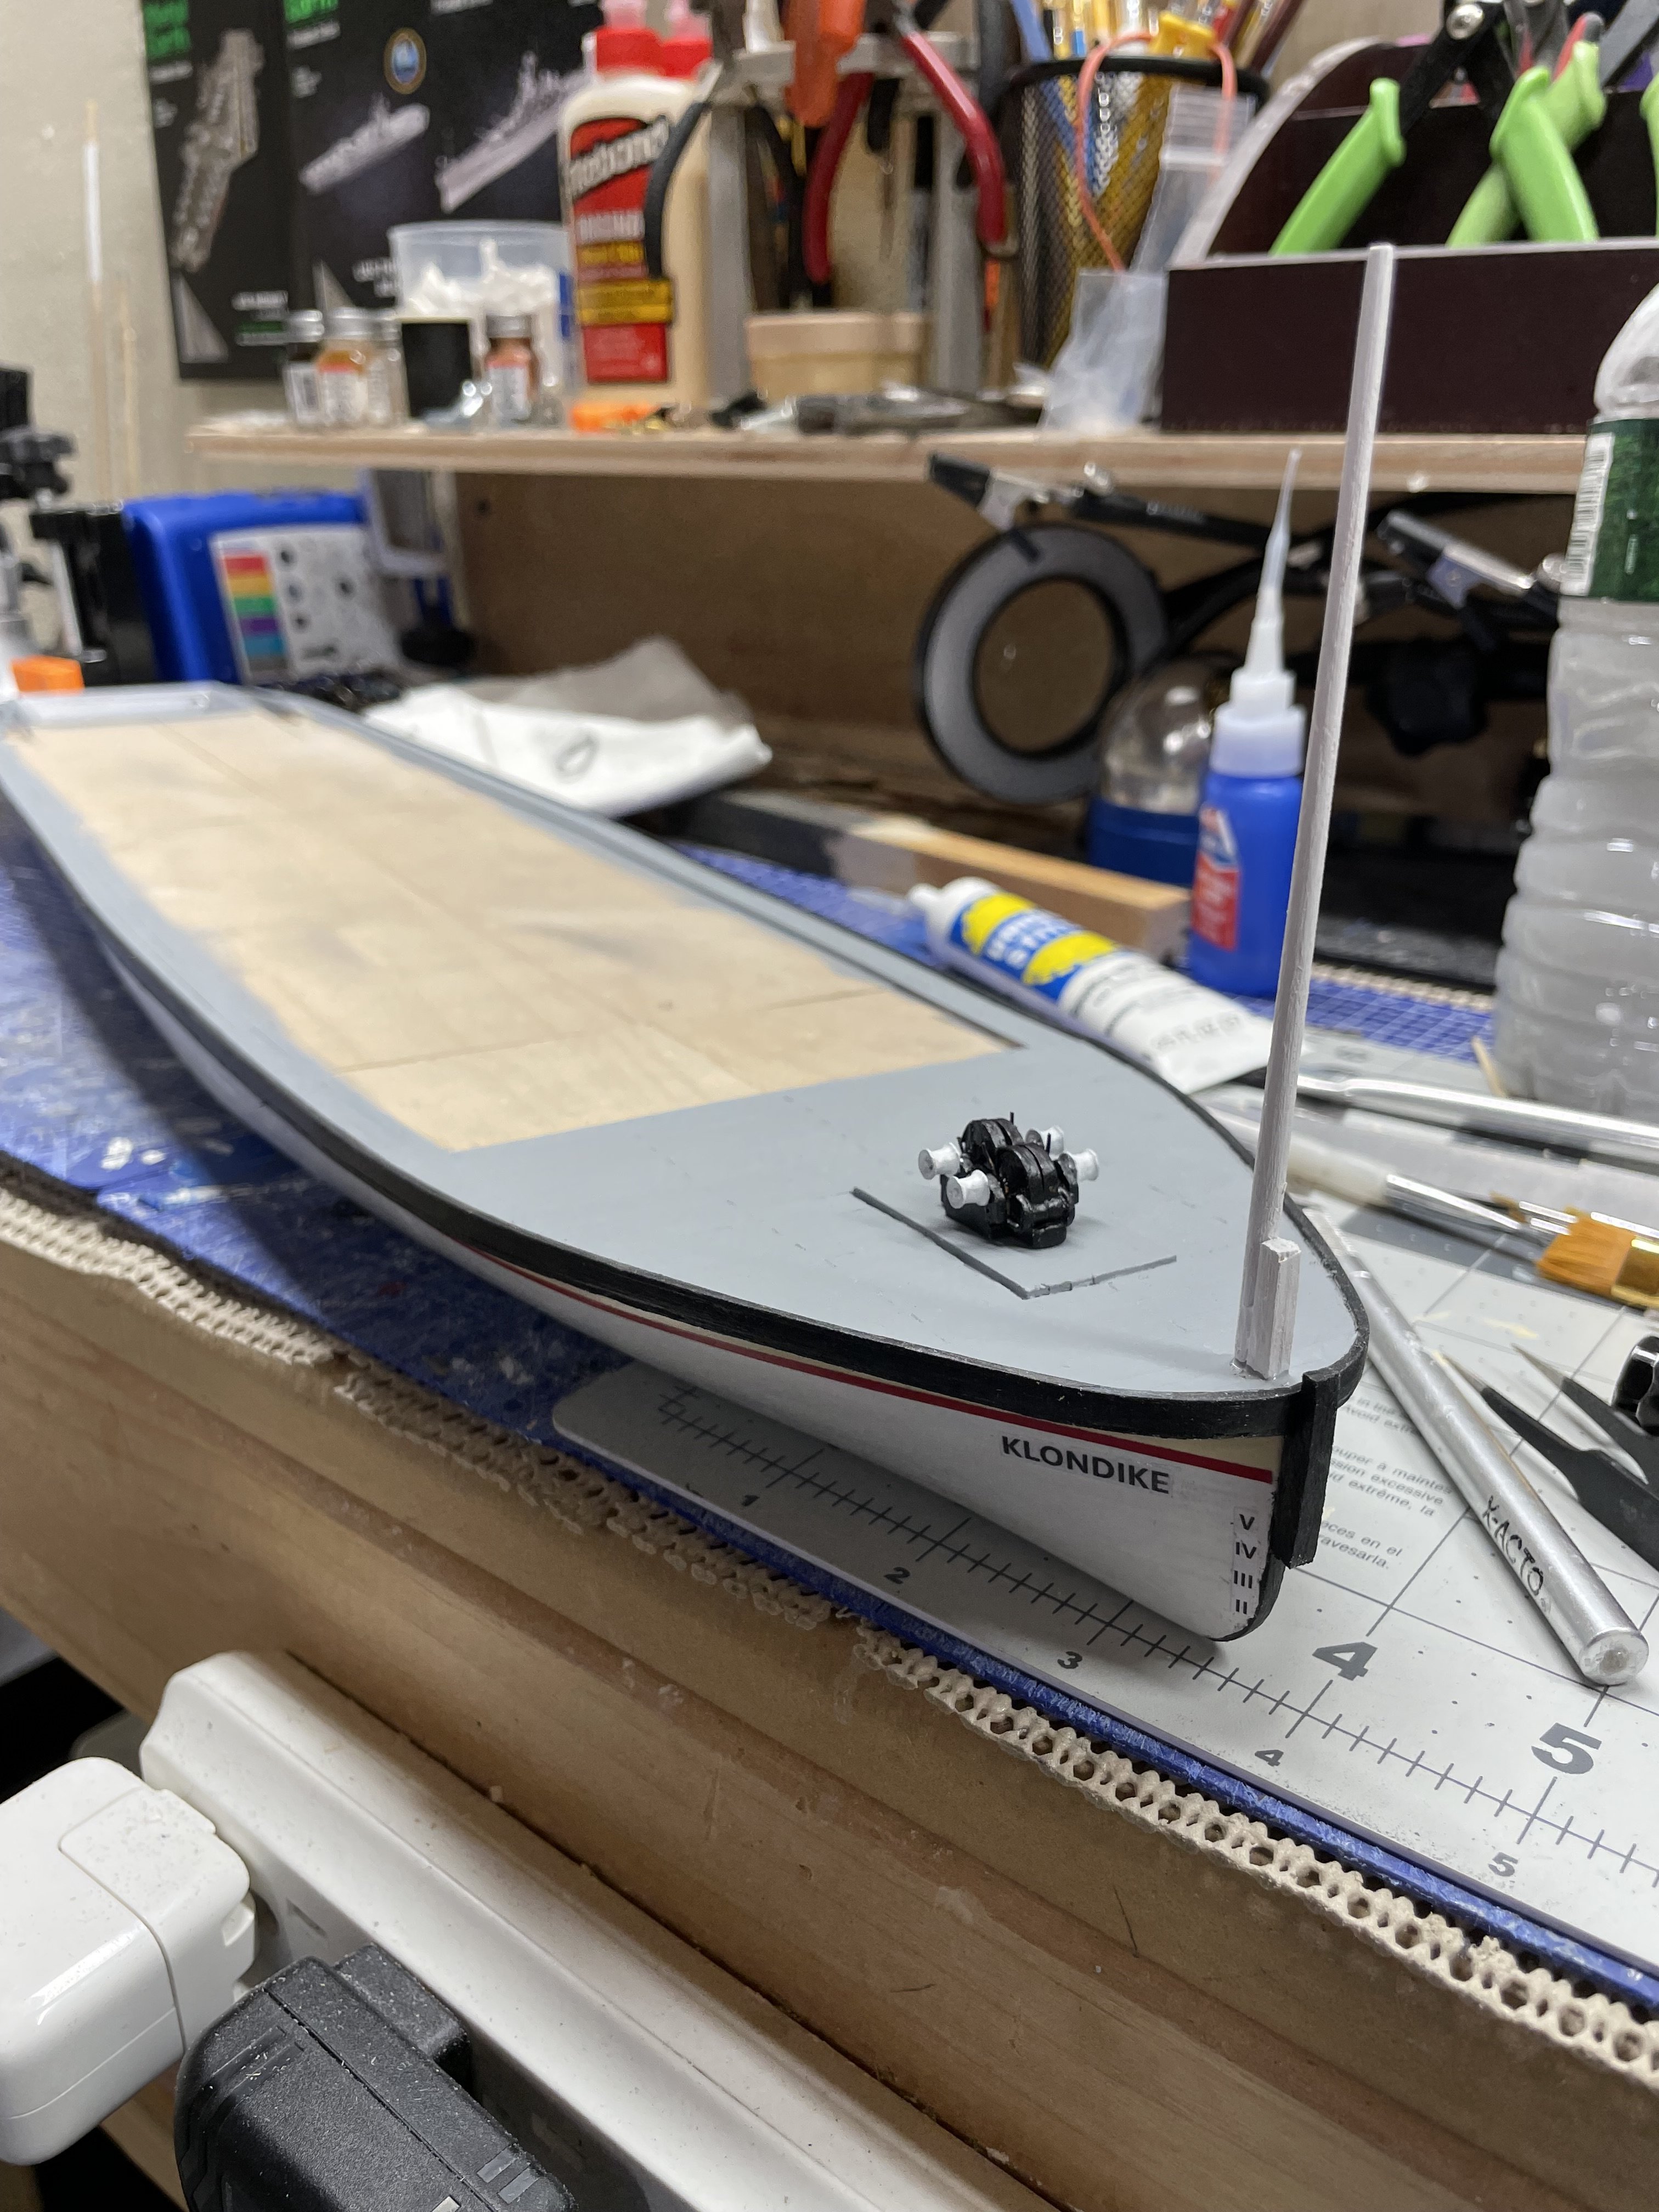
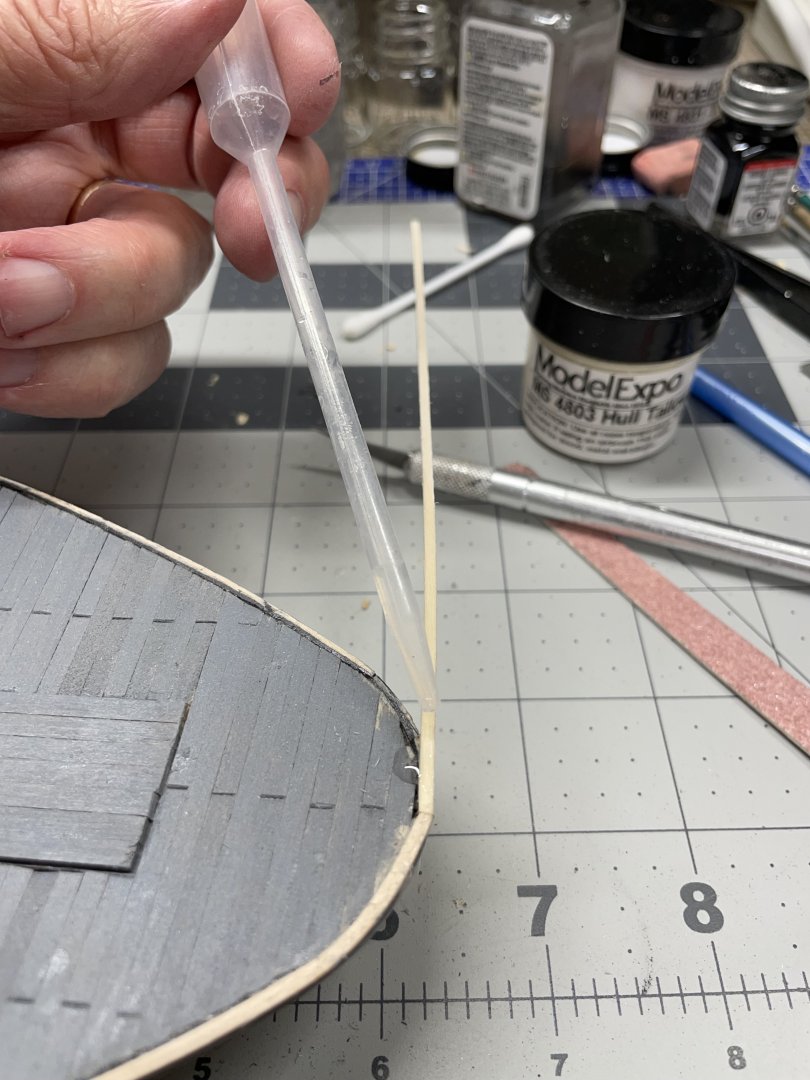
… and so it begins at the bow and working my way back.

-
Yes… Really looking forward to the Paddlewheel. 😆
-
Thanks… Yes “very tedious. 🤨 But that’s what it’s all about, accuracy…
-
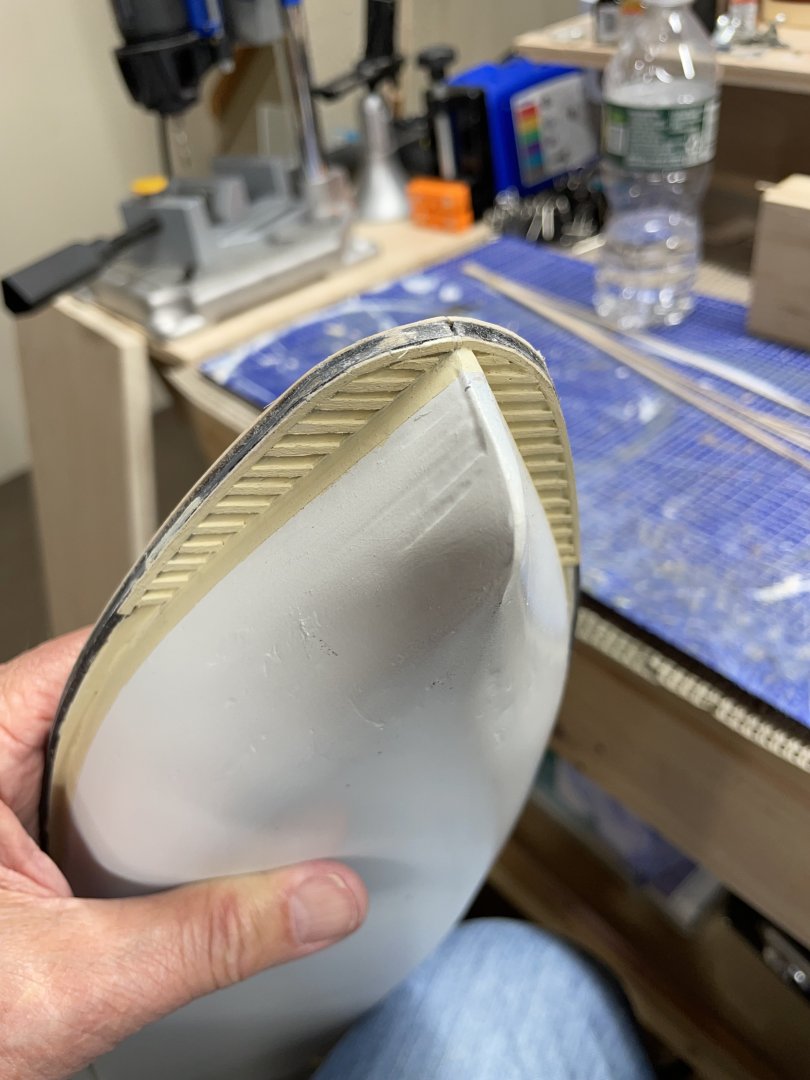
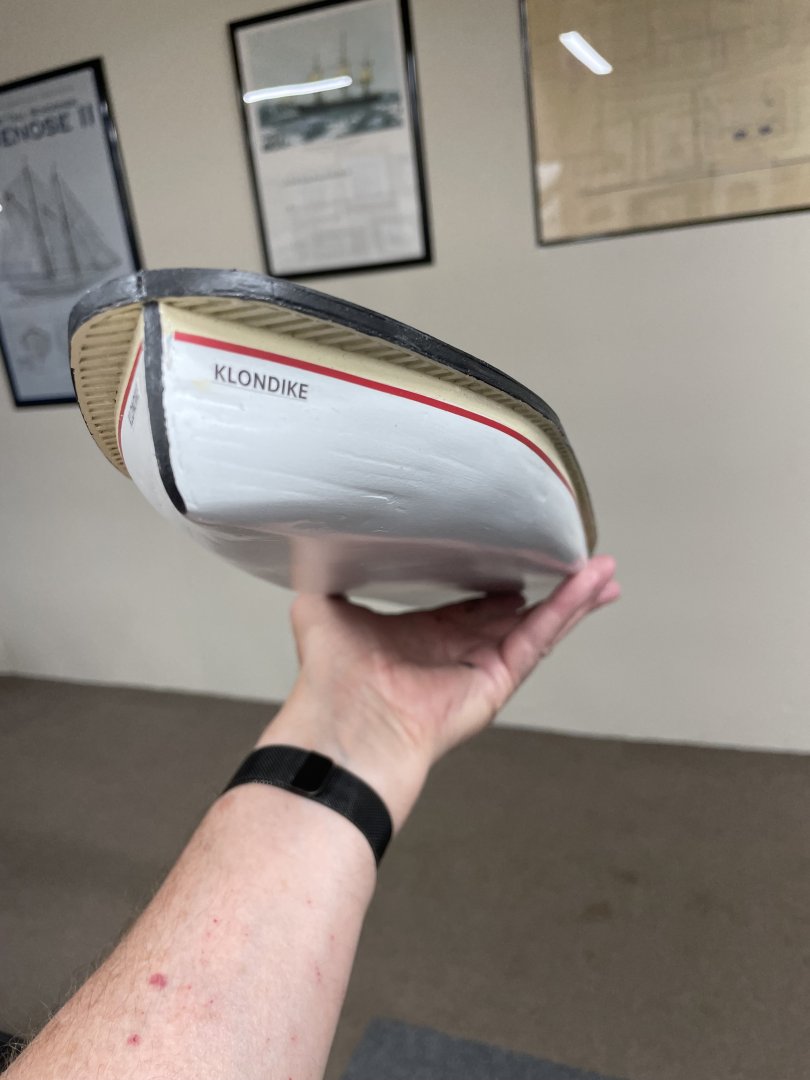
Hull and Main Deck completed… Ready to mount on a base… Cheers 🍻


-
Congratulations Phil, What a journey it was for you, your detailed explanations and in depth reporting of your research are such an inspiration. It has been great following your build to its completion. John
-
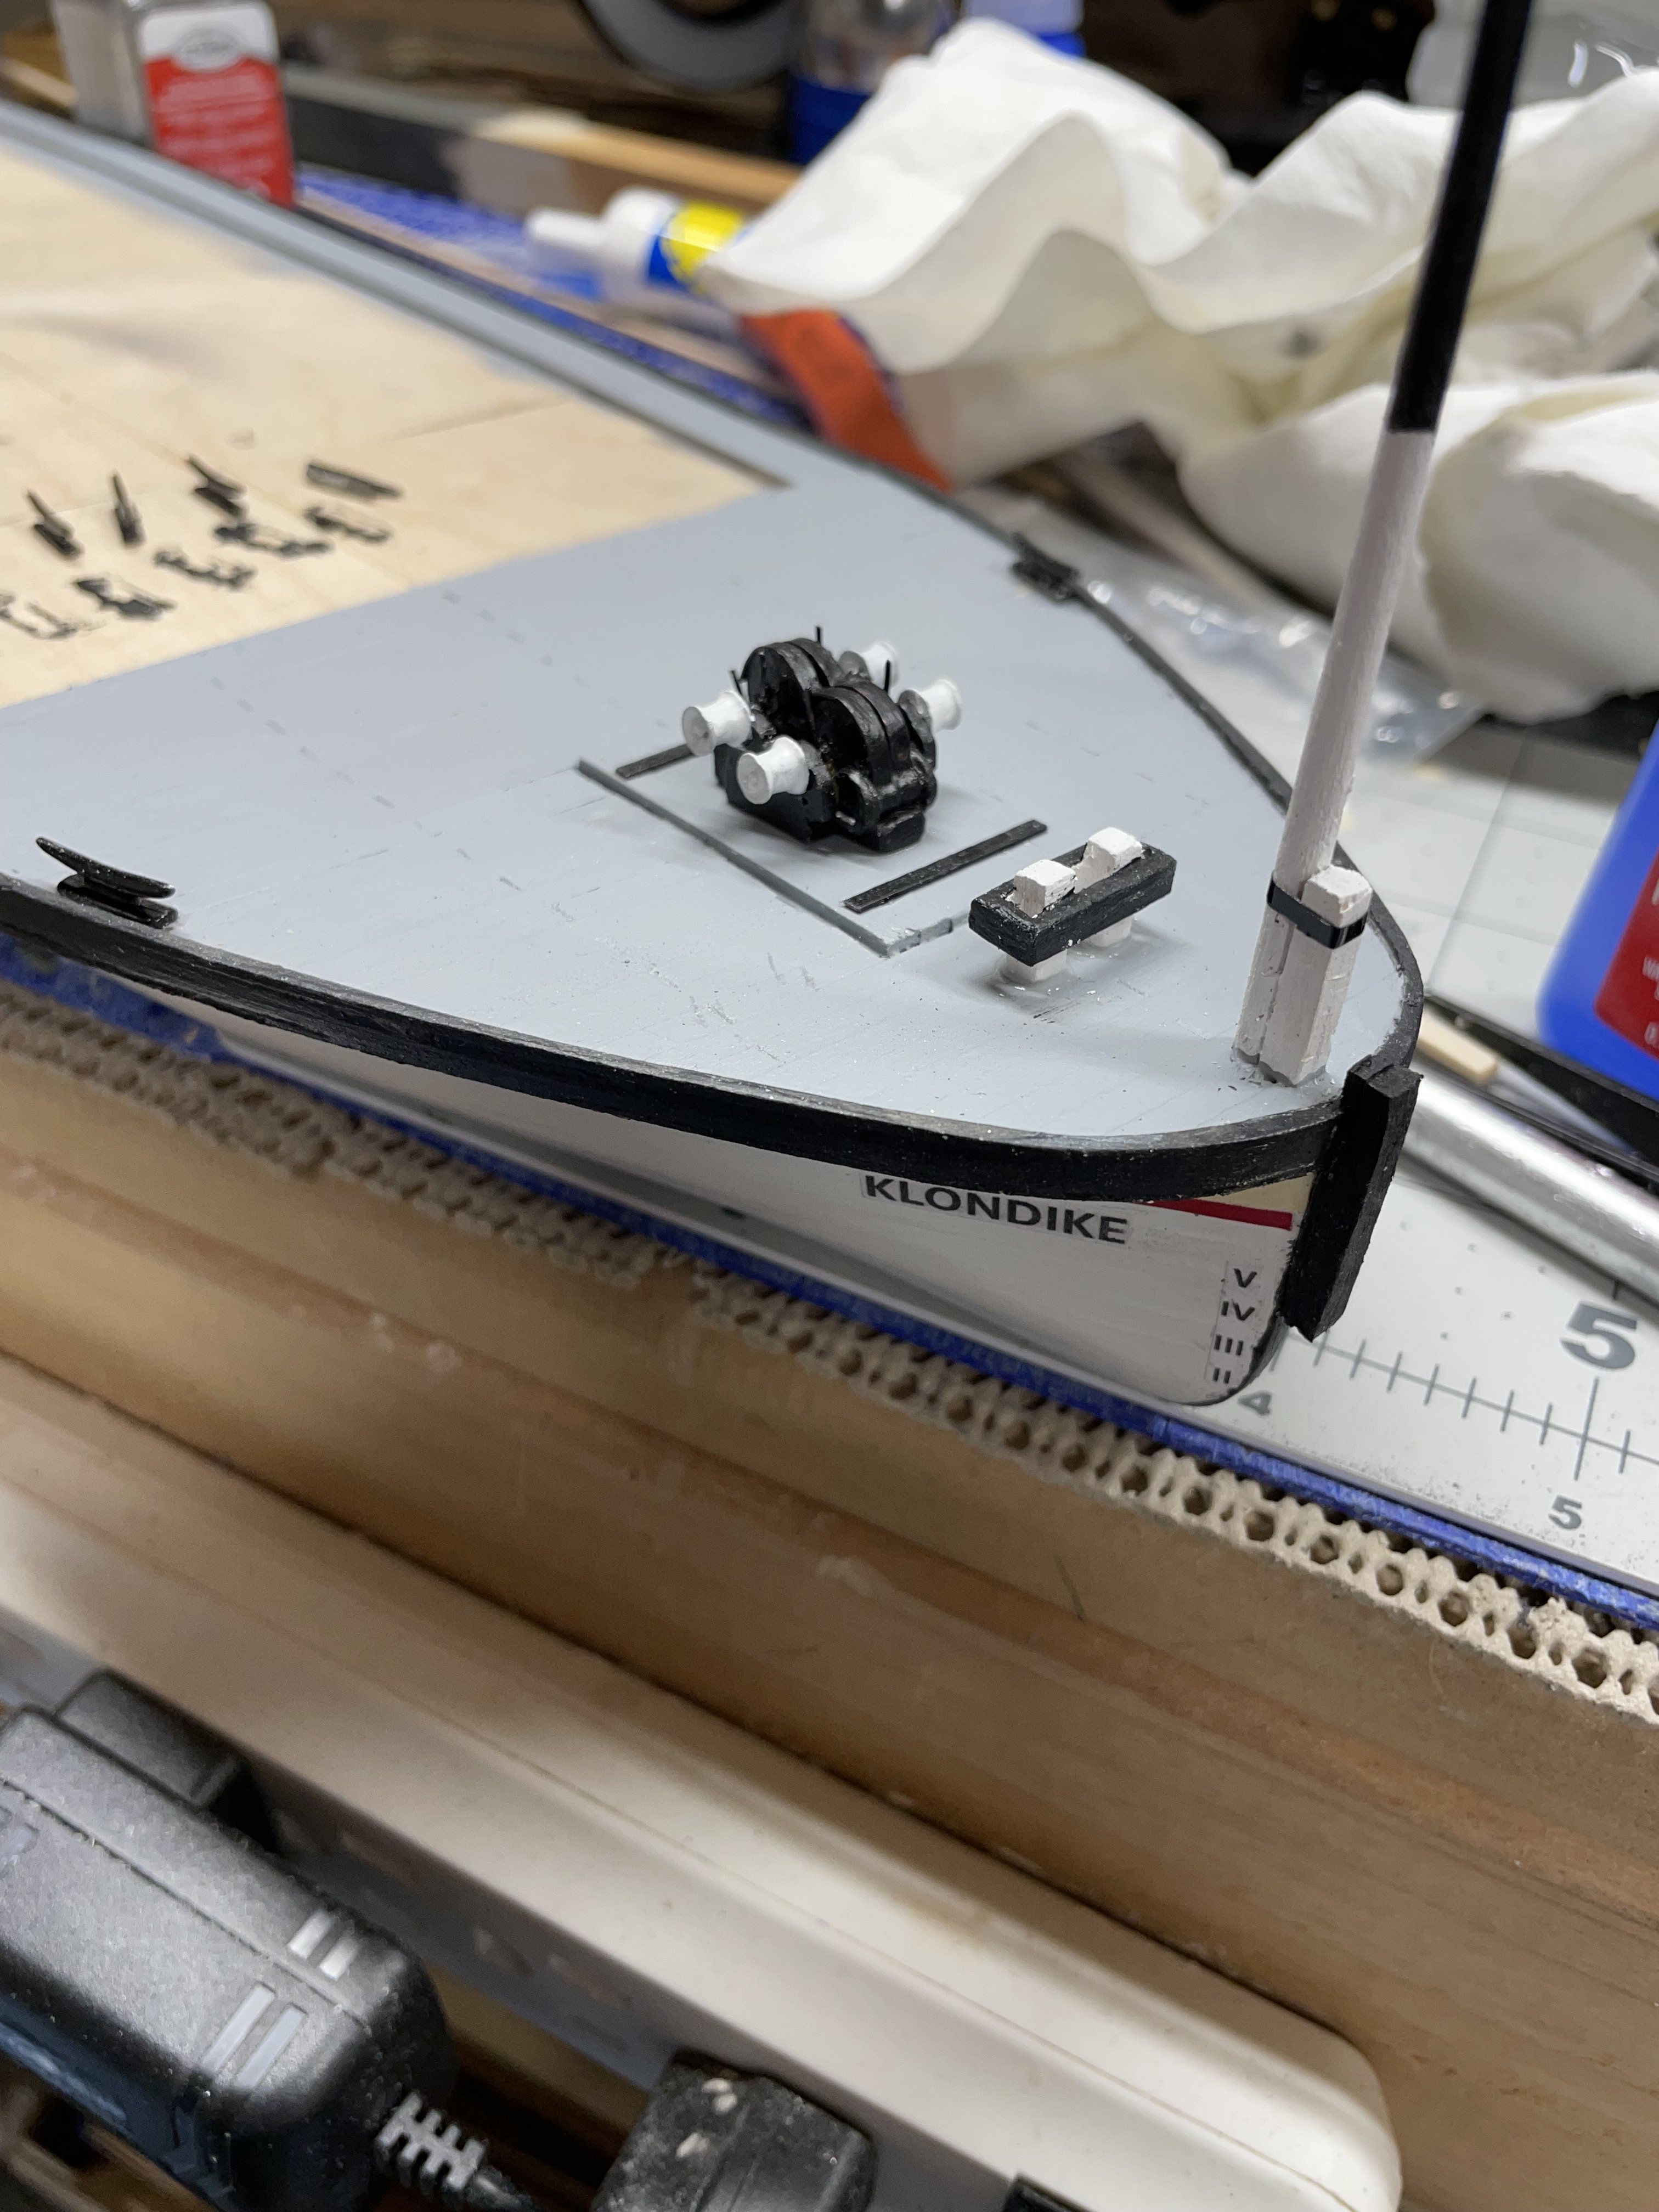
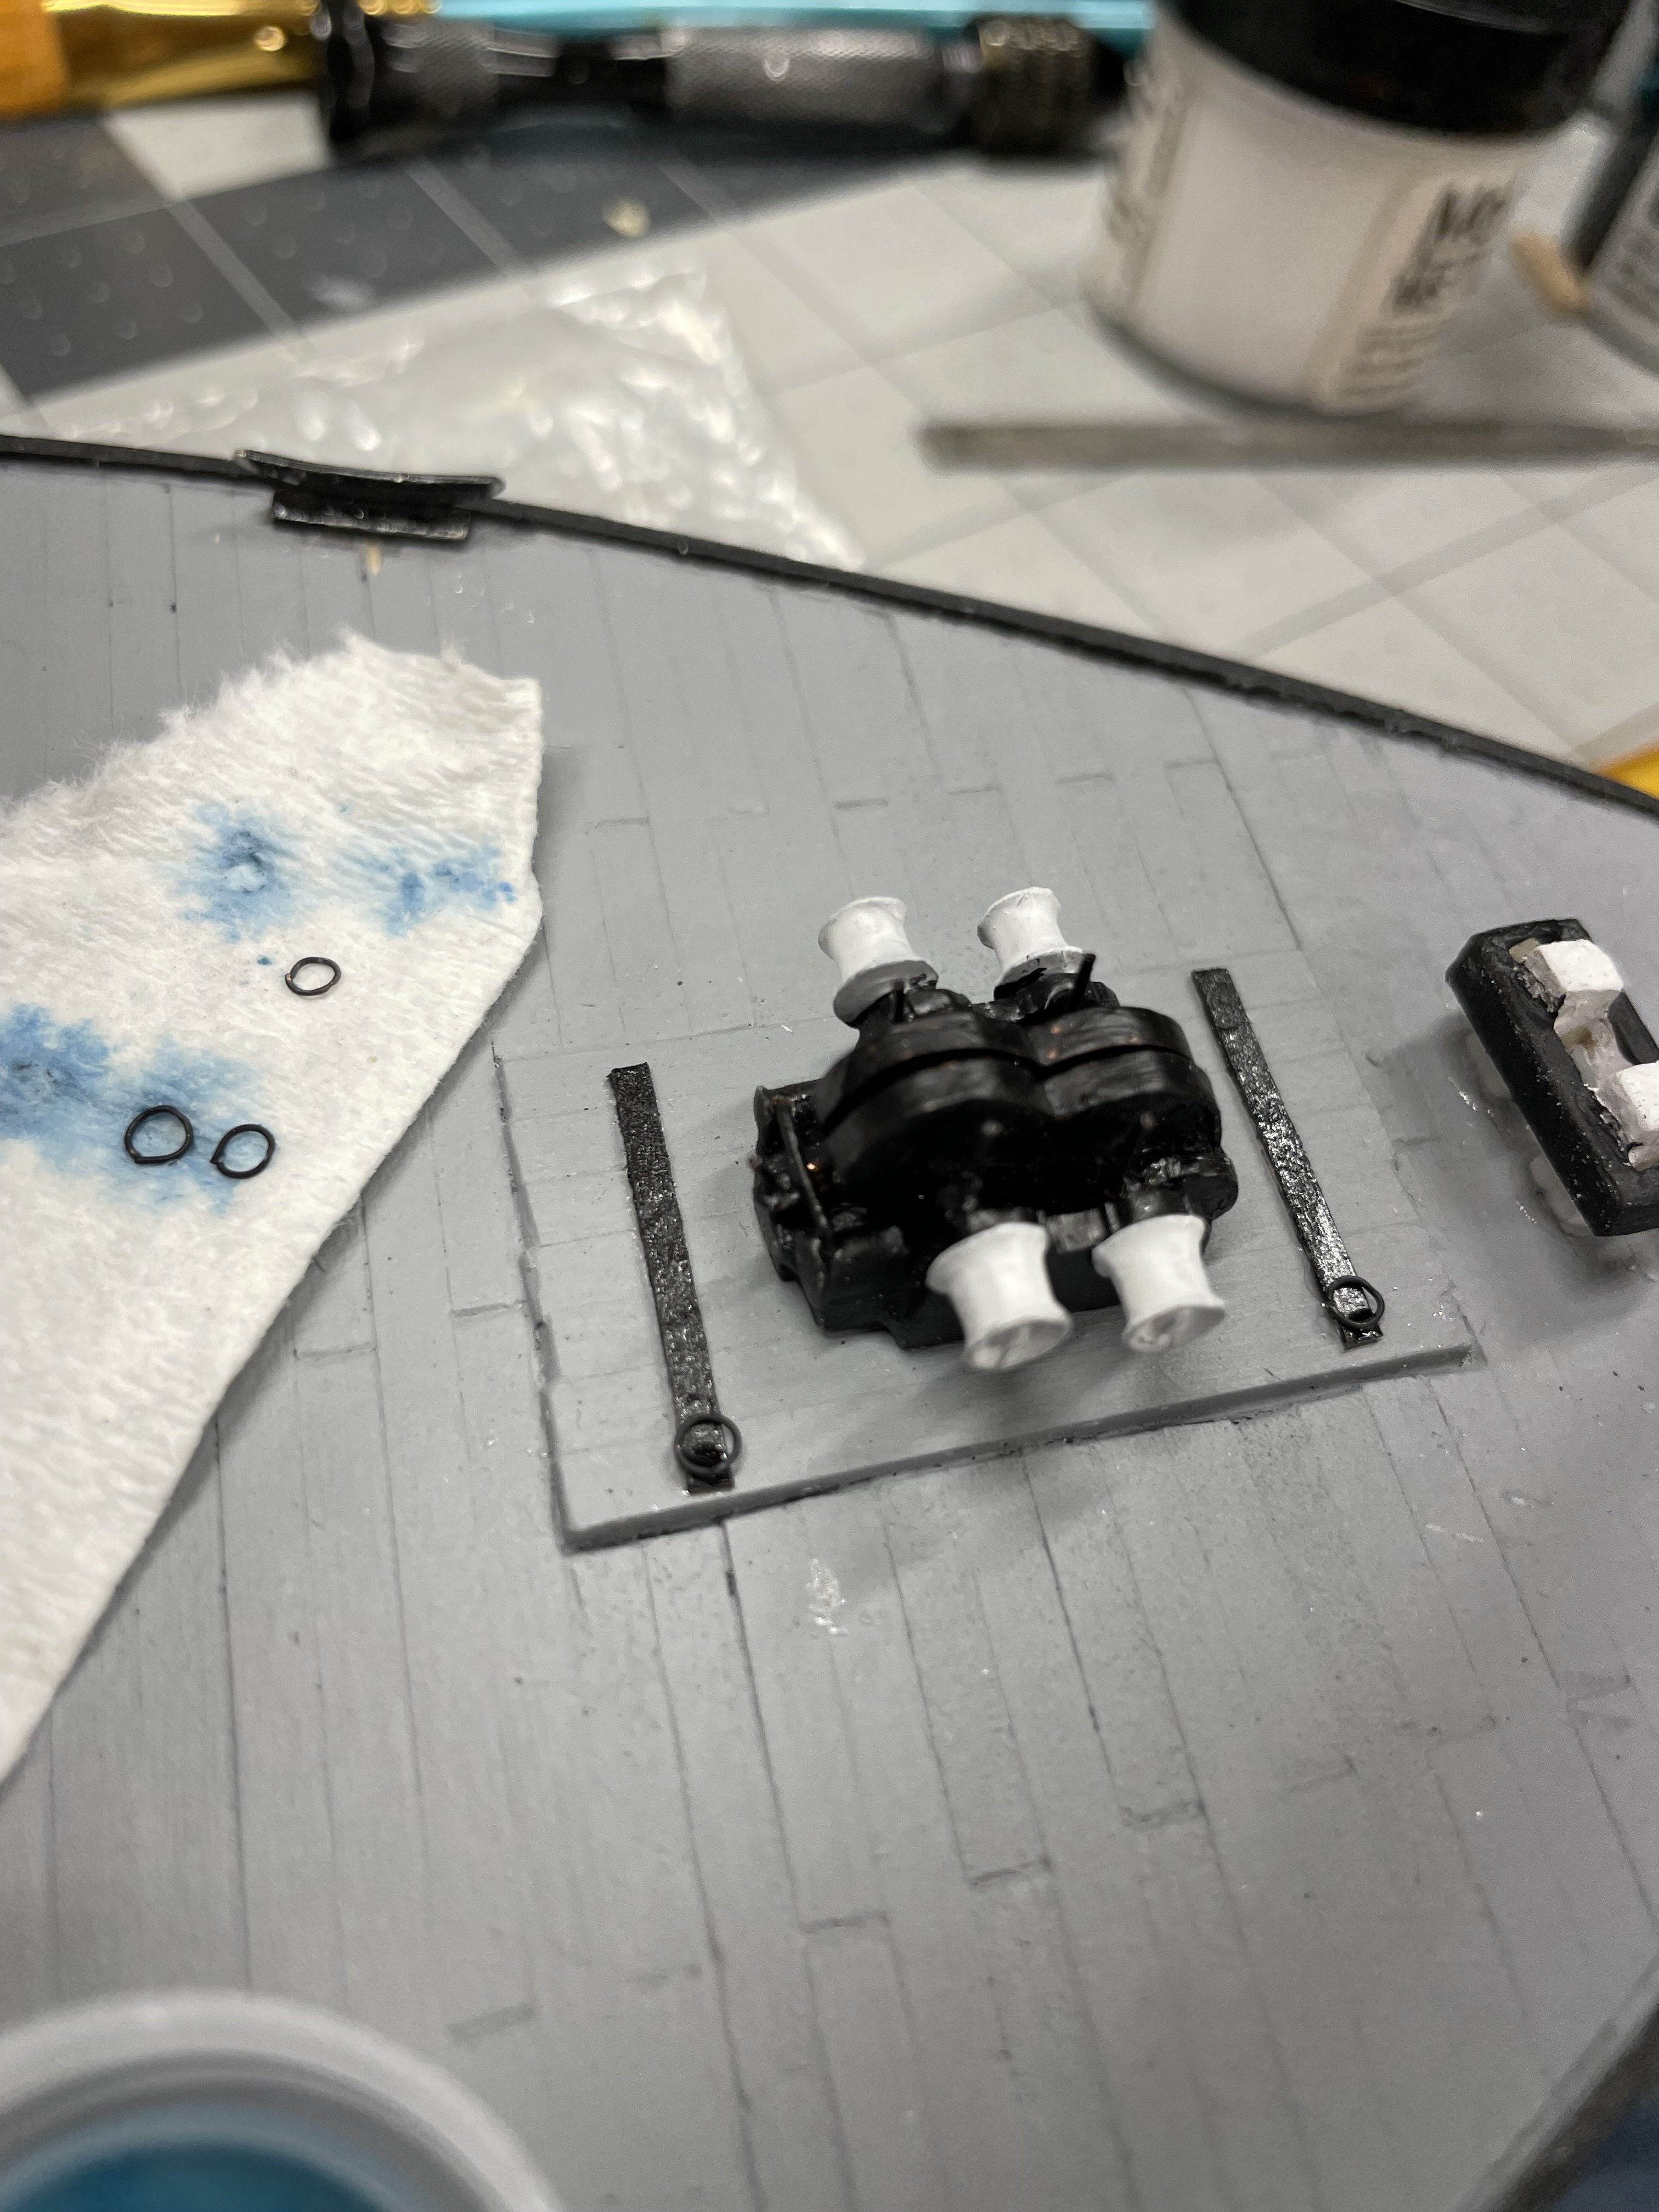
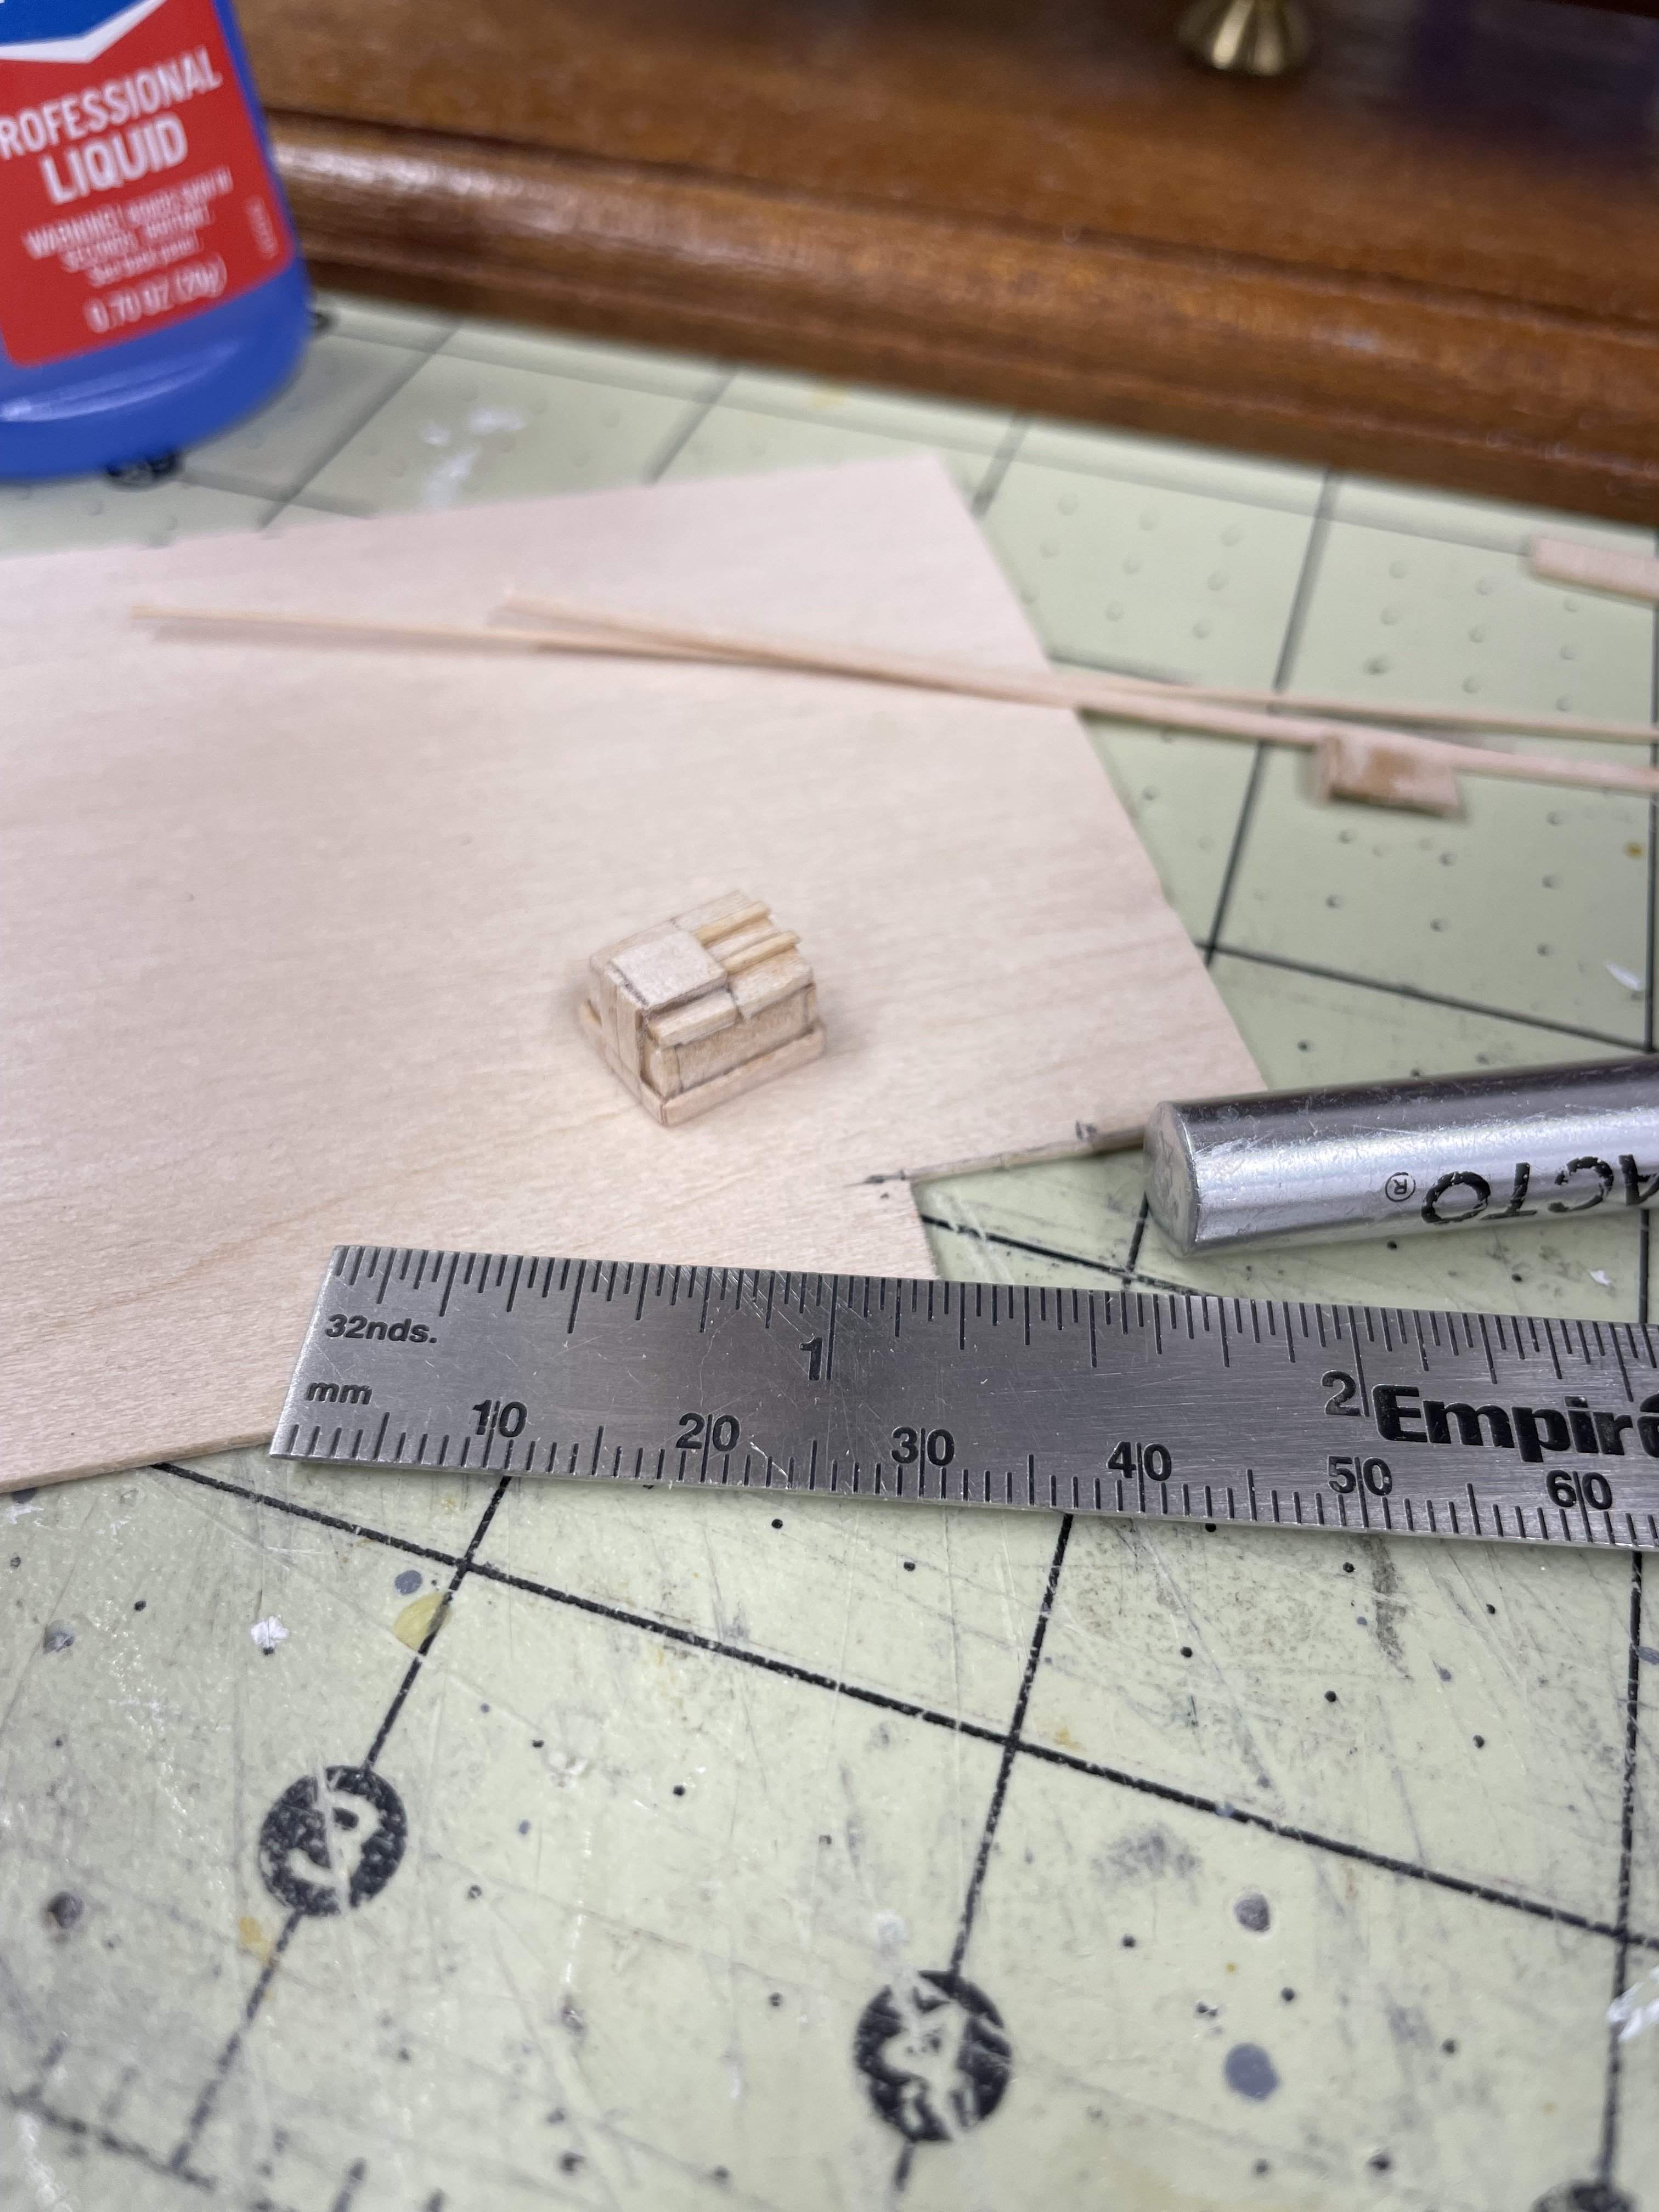
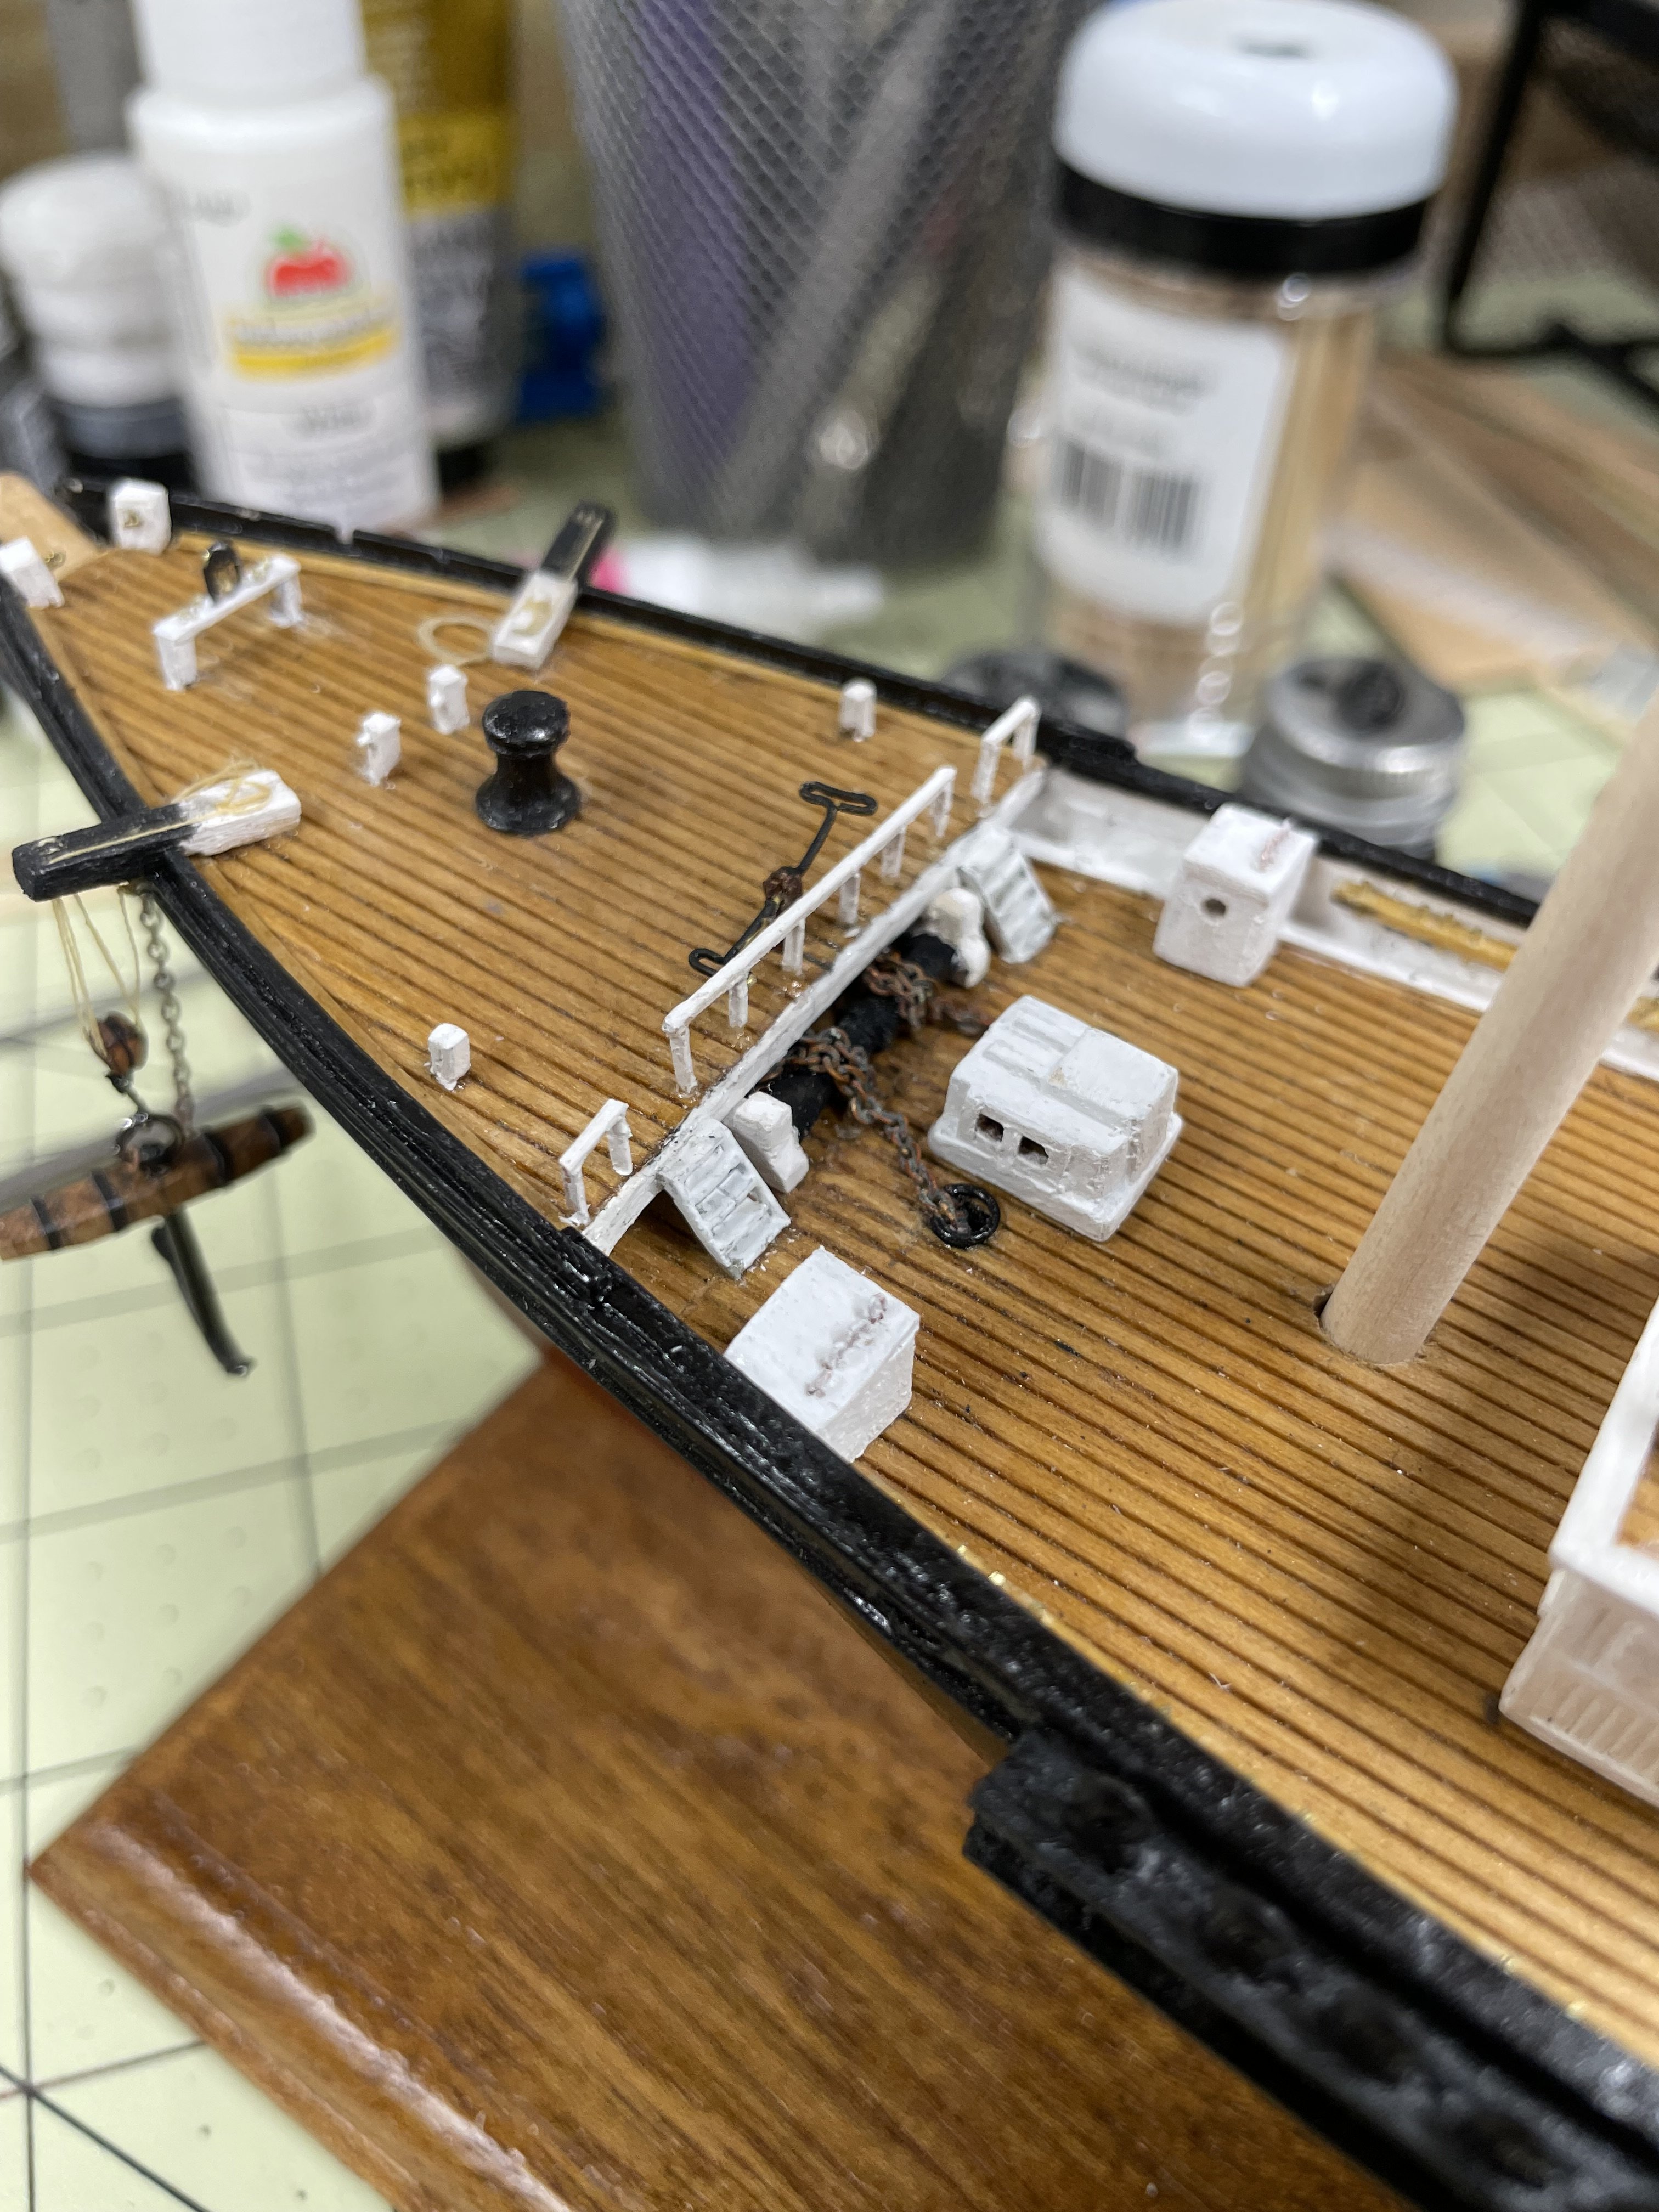
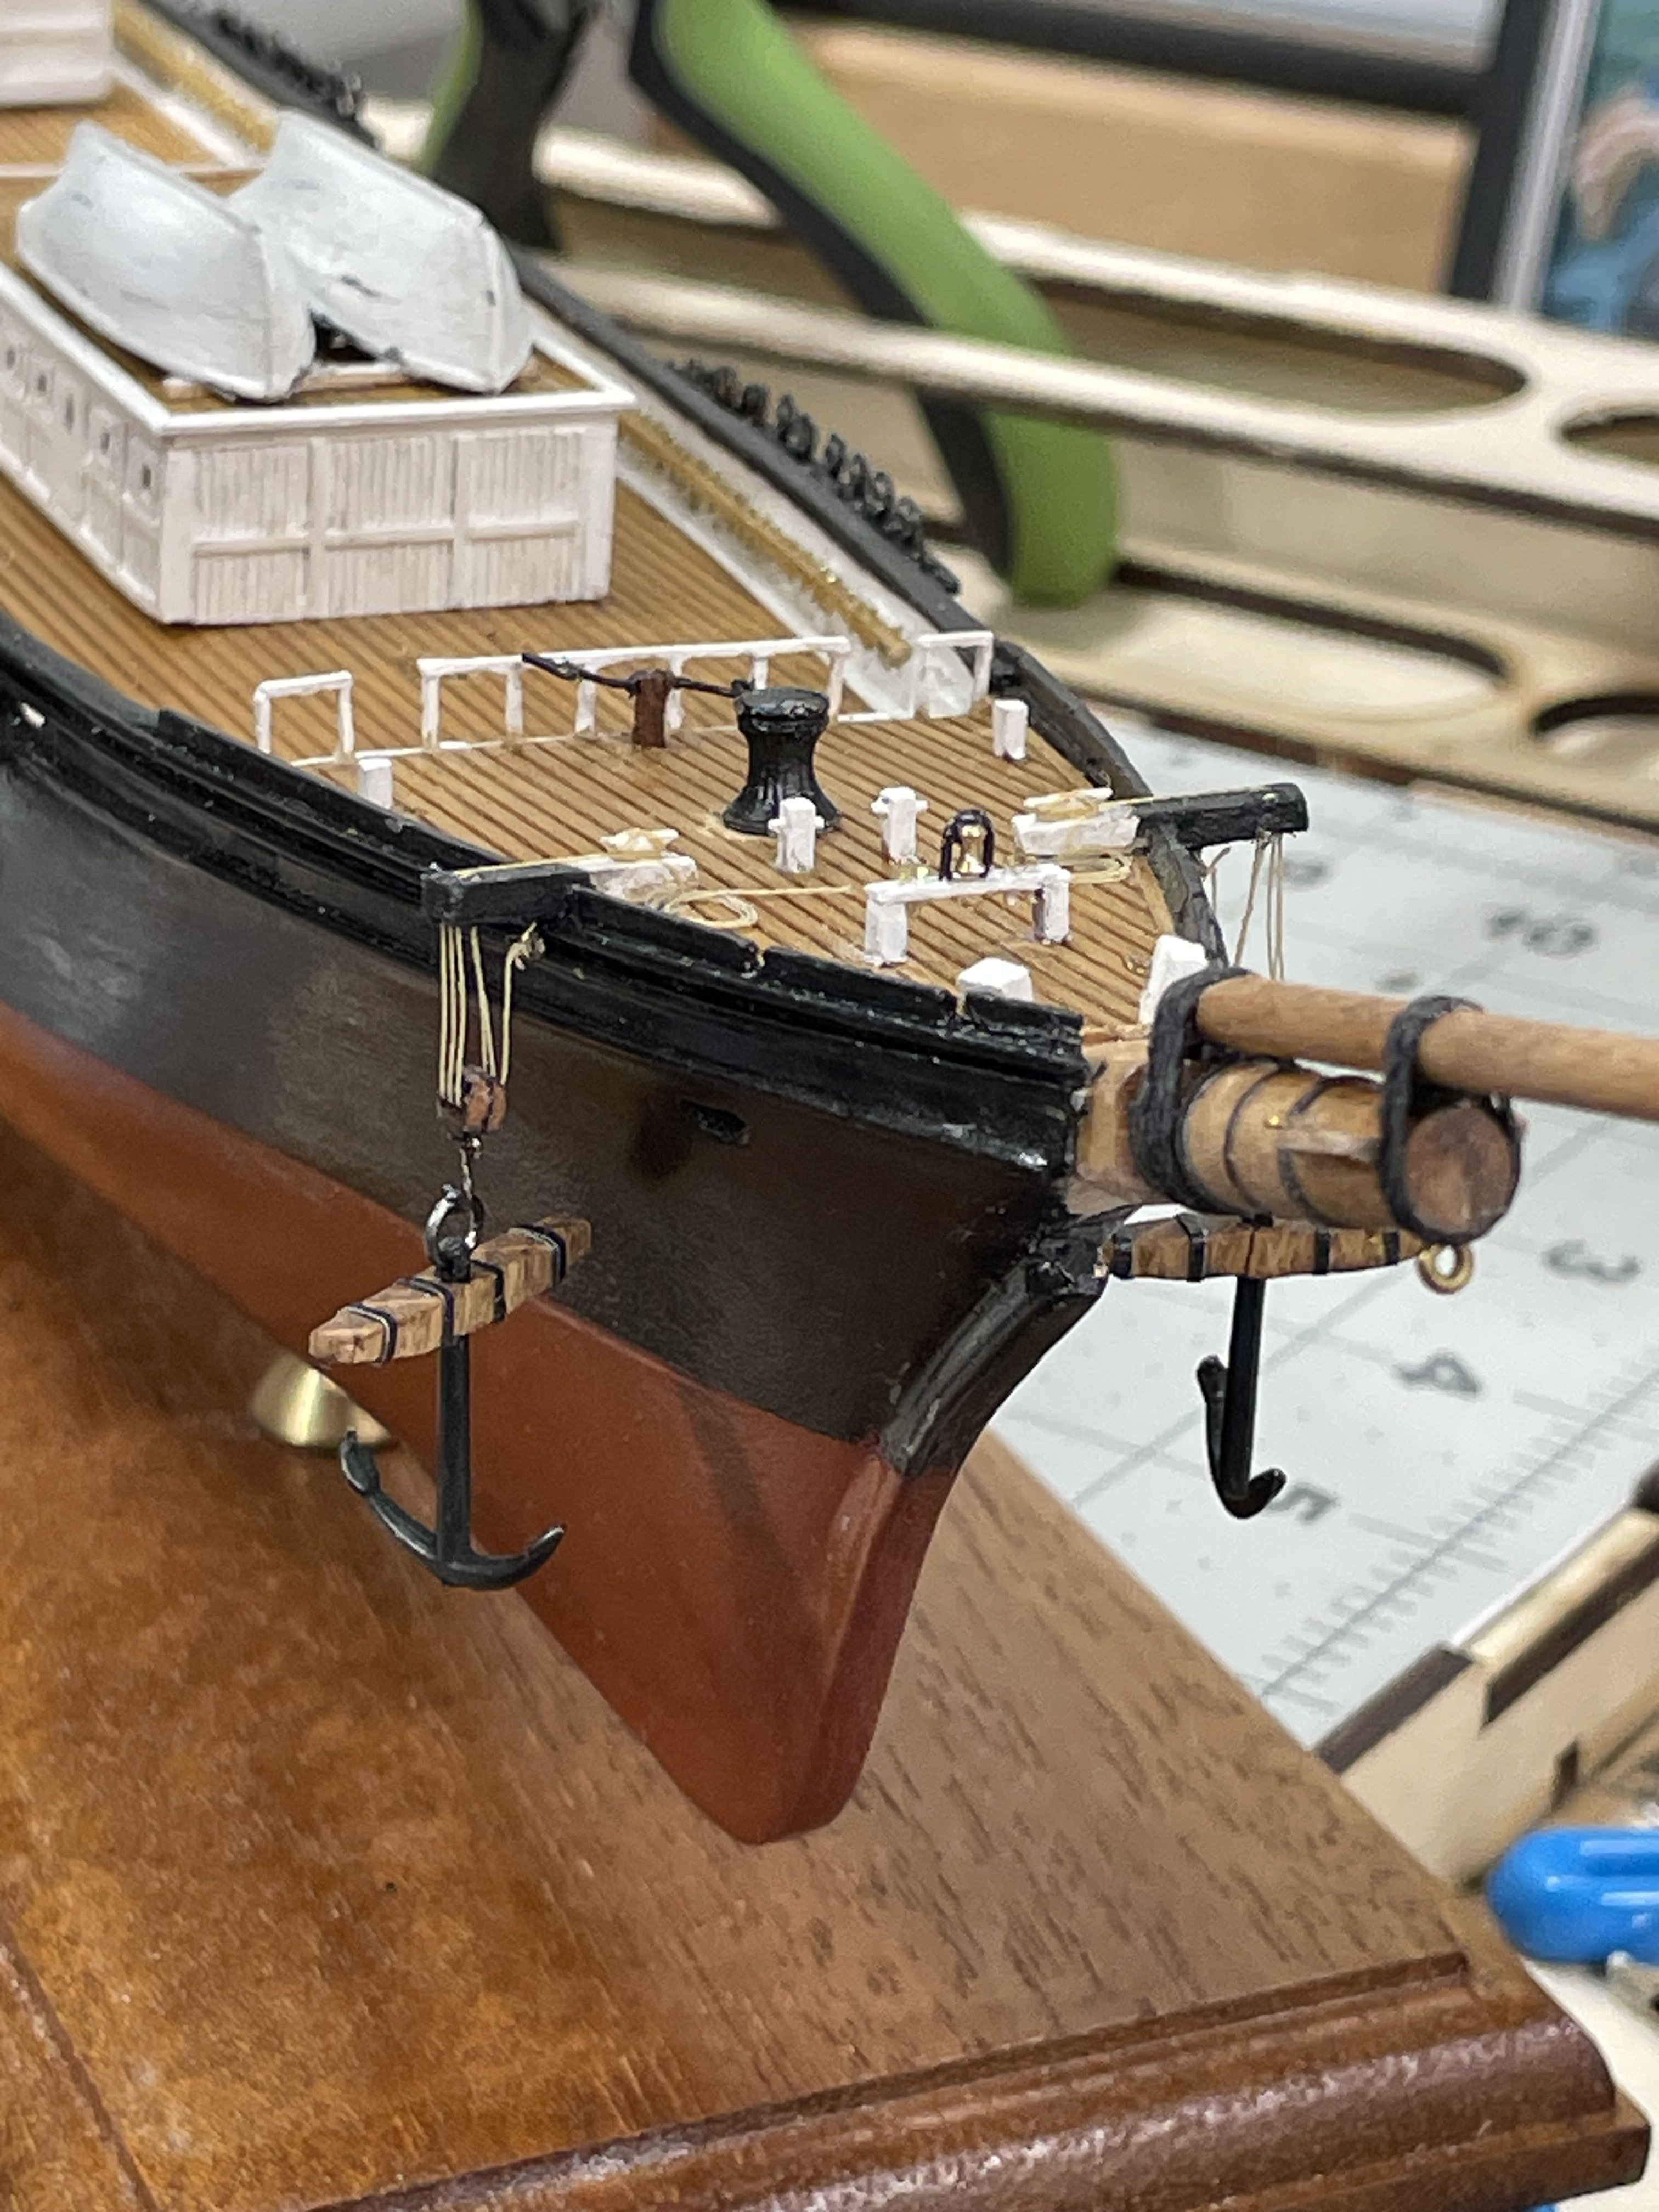
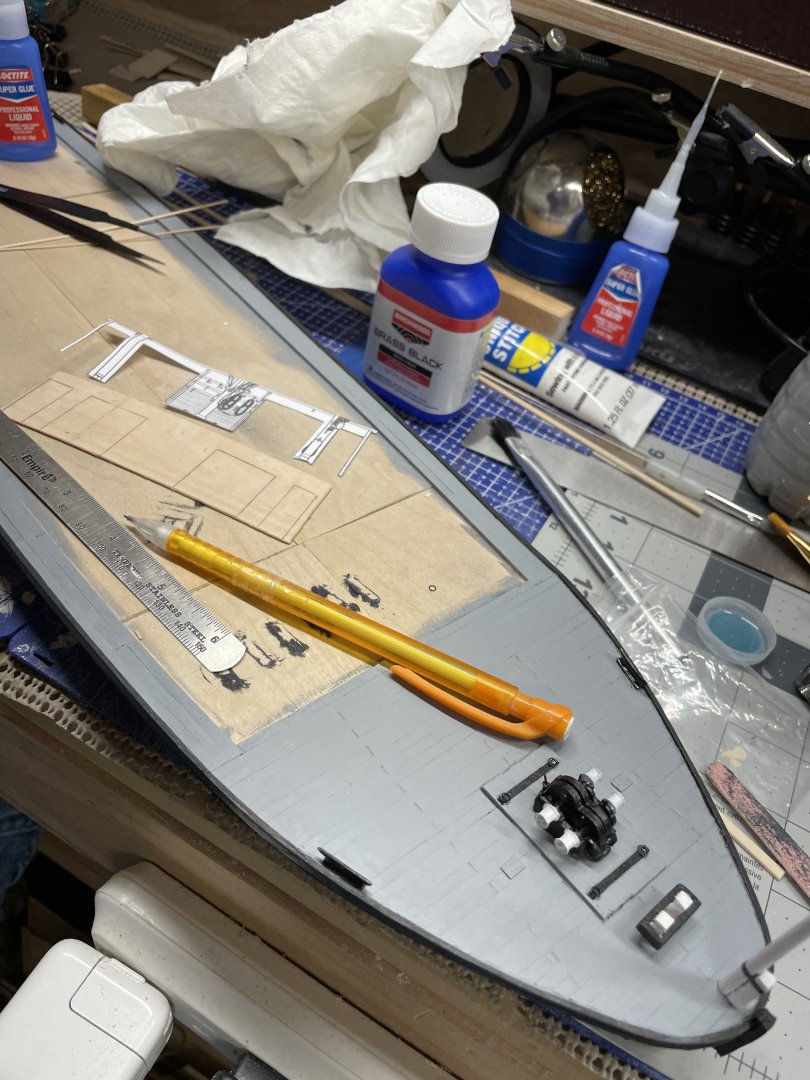
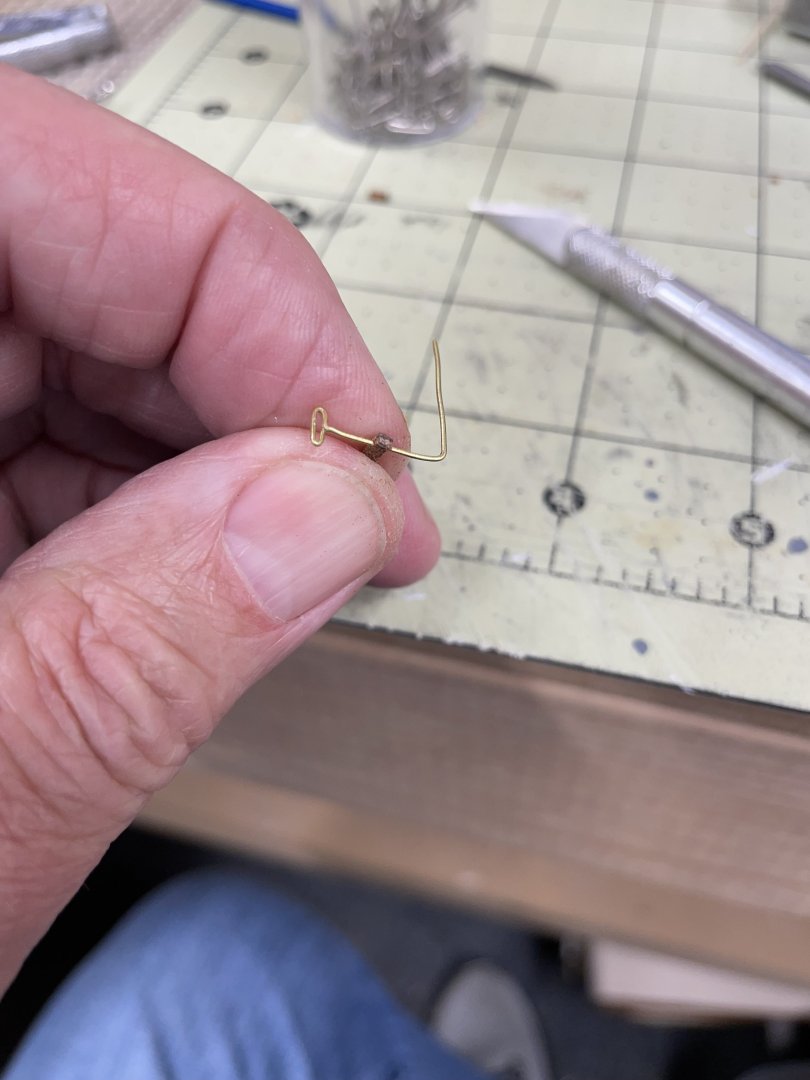
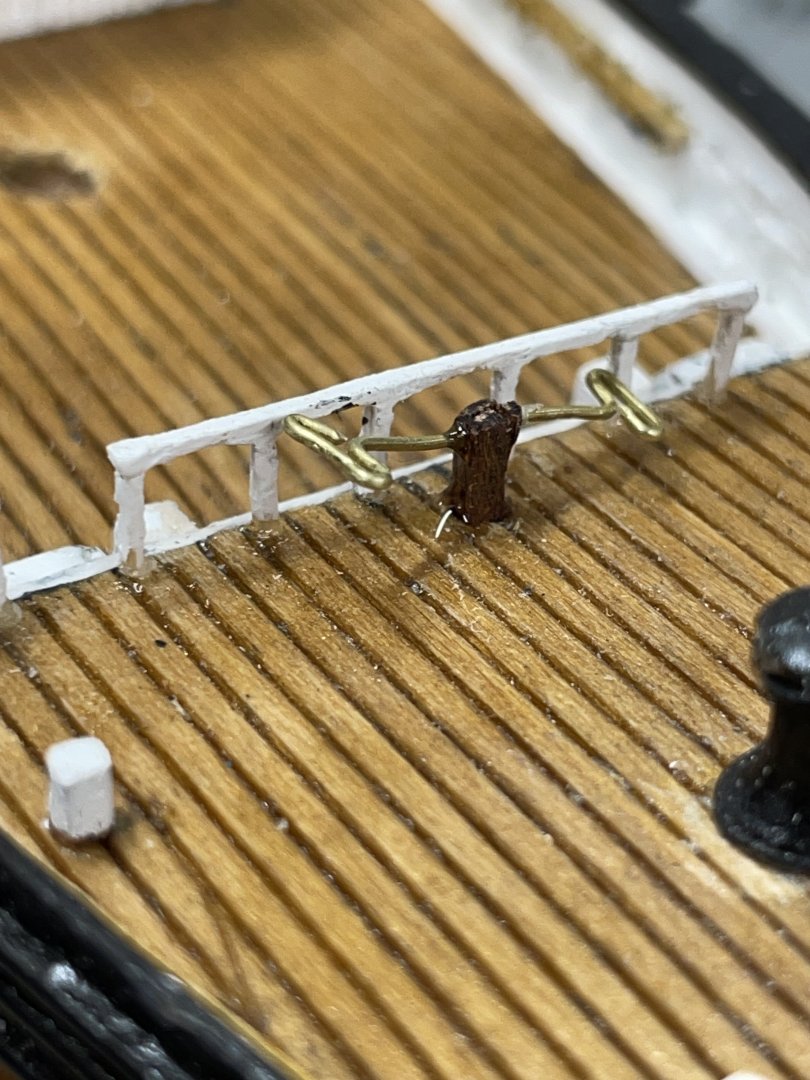
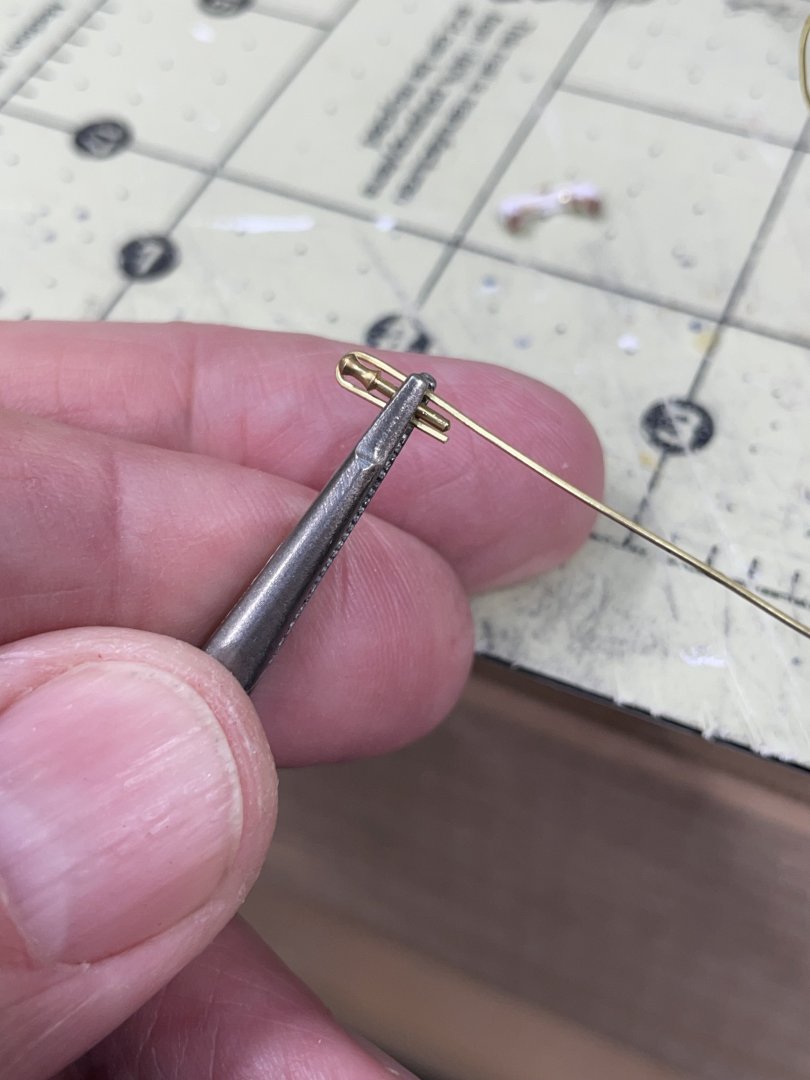
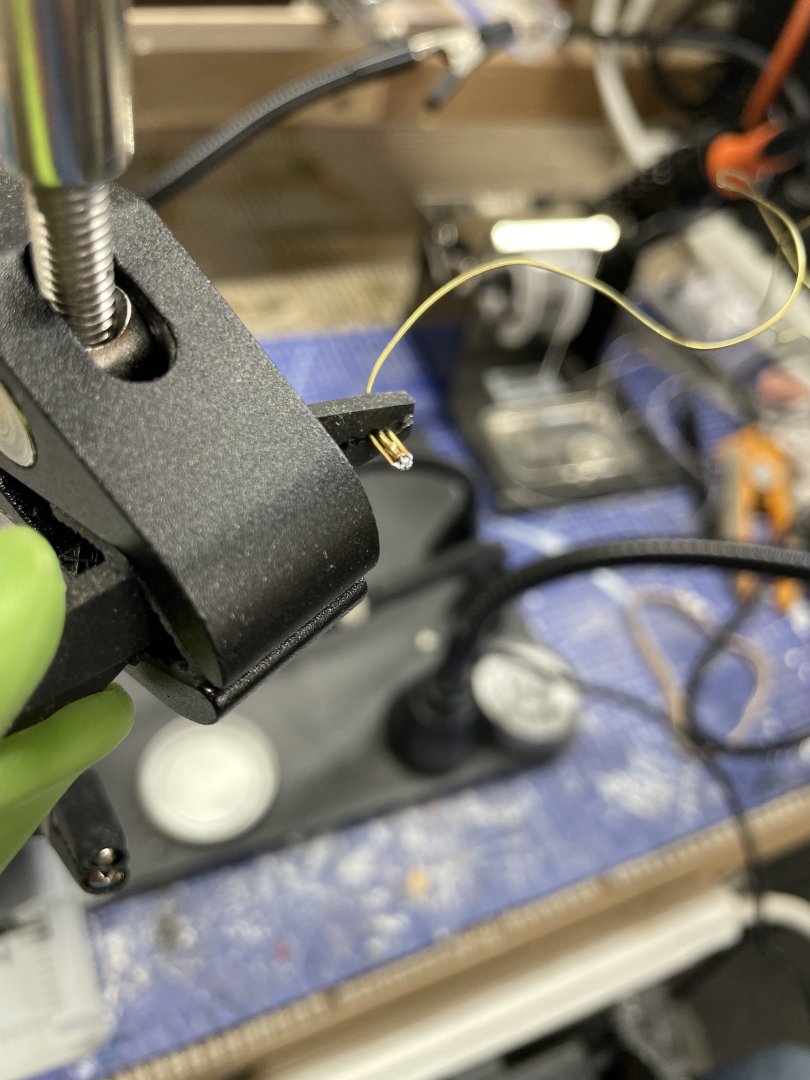
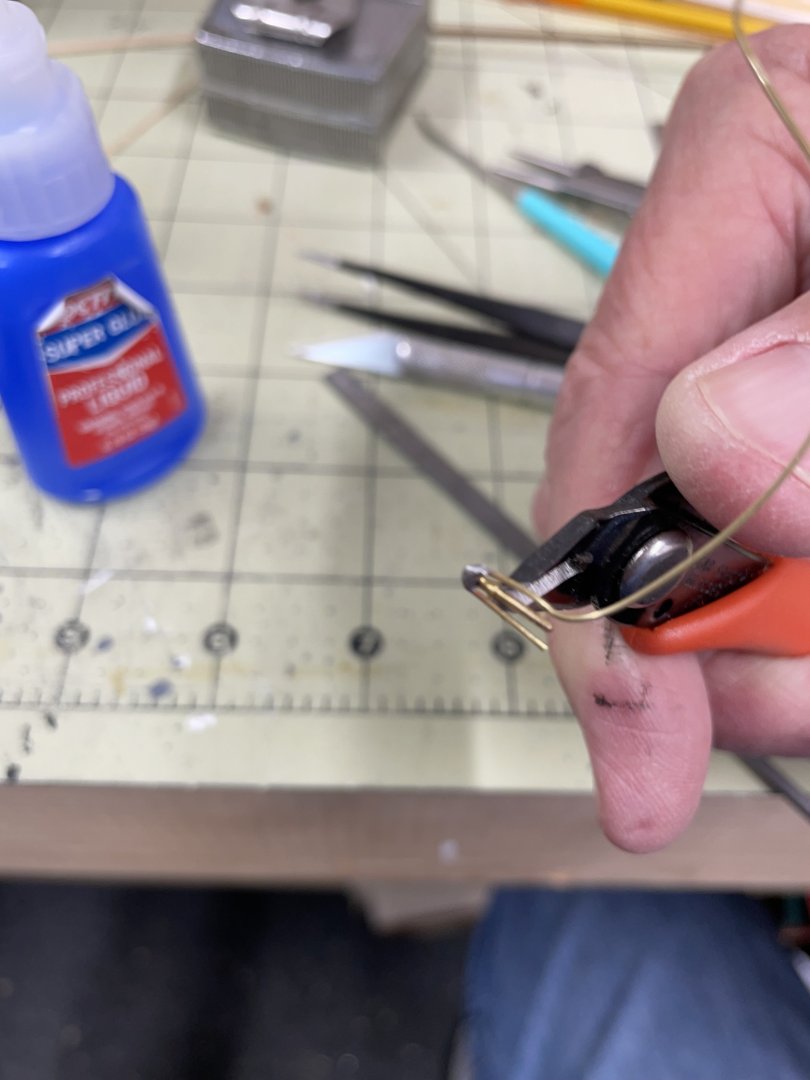
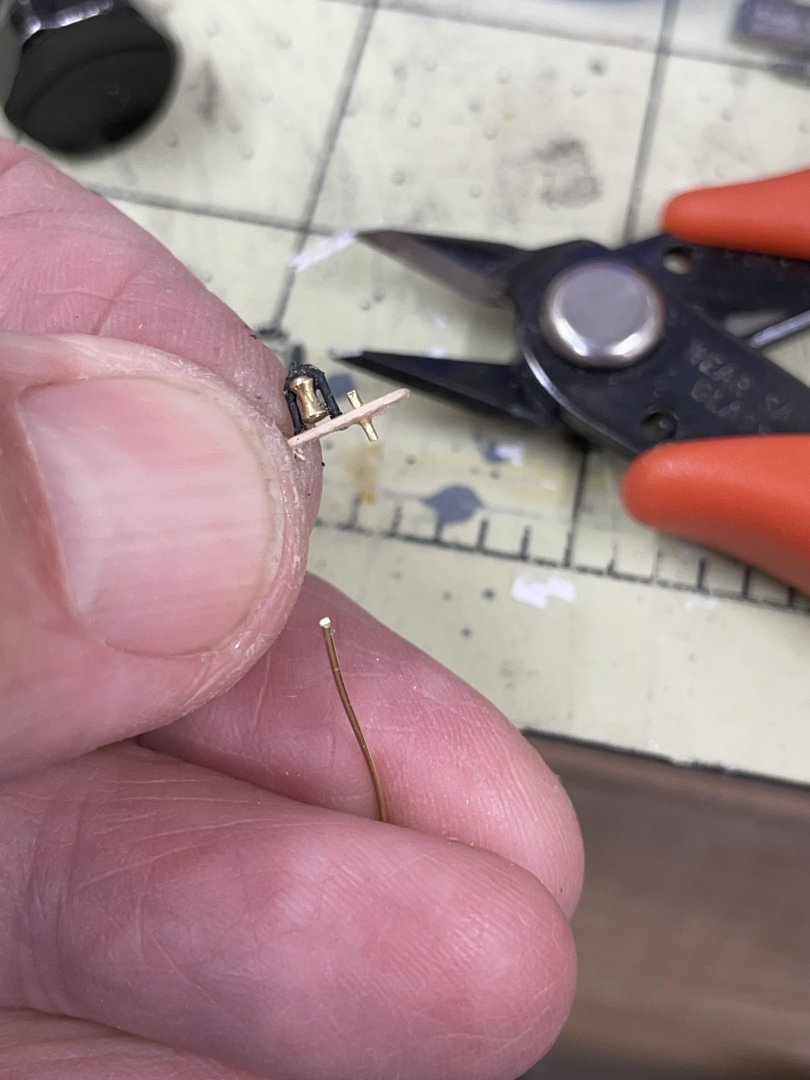
Deck Furnishings continue… Forward Companionway… Bosun’s Locker and Head… Fair Leads for Head sail Sheets… Cheers 🍻


- 165 replies
-
- 3
-
-
- Red Jacket
- Marine Model Company
- (and 2 more)
-
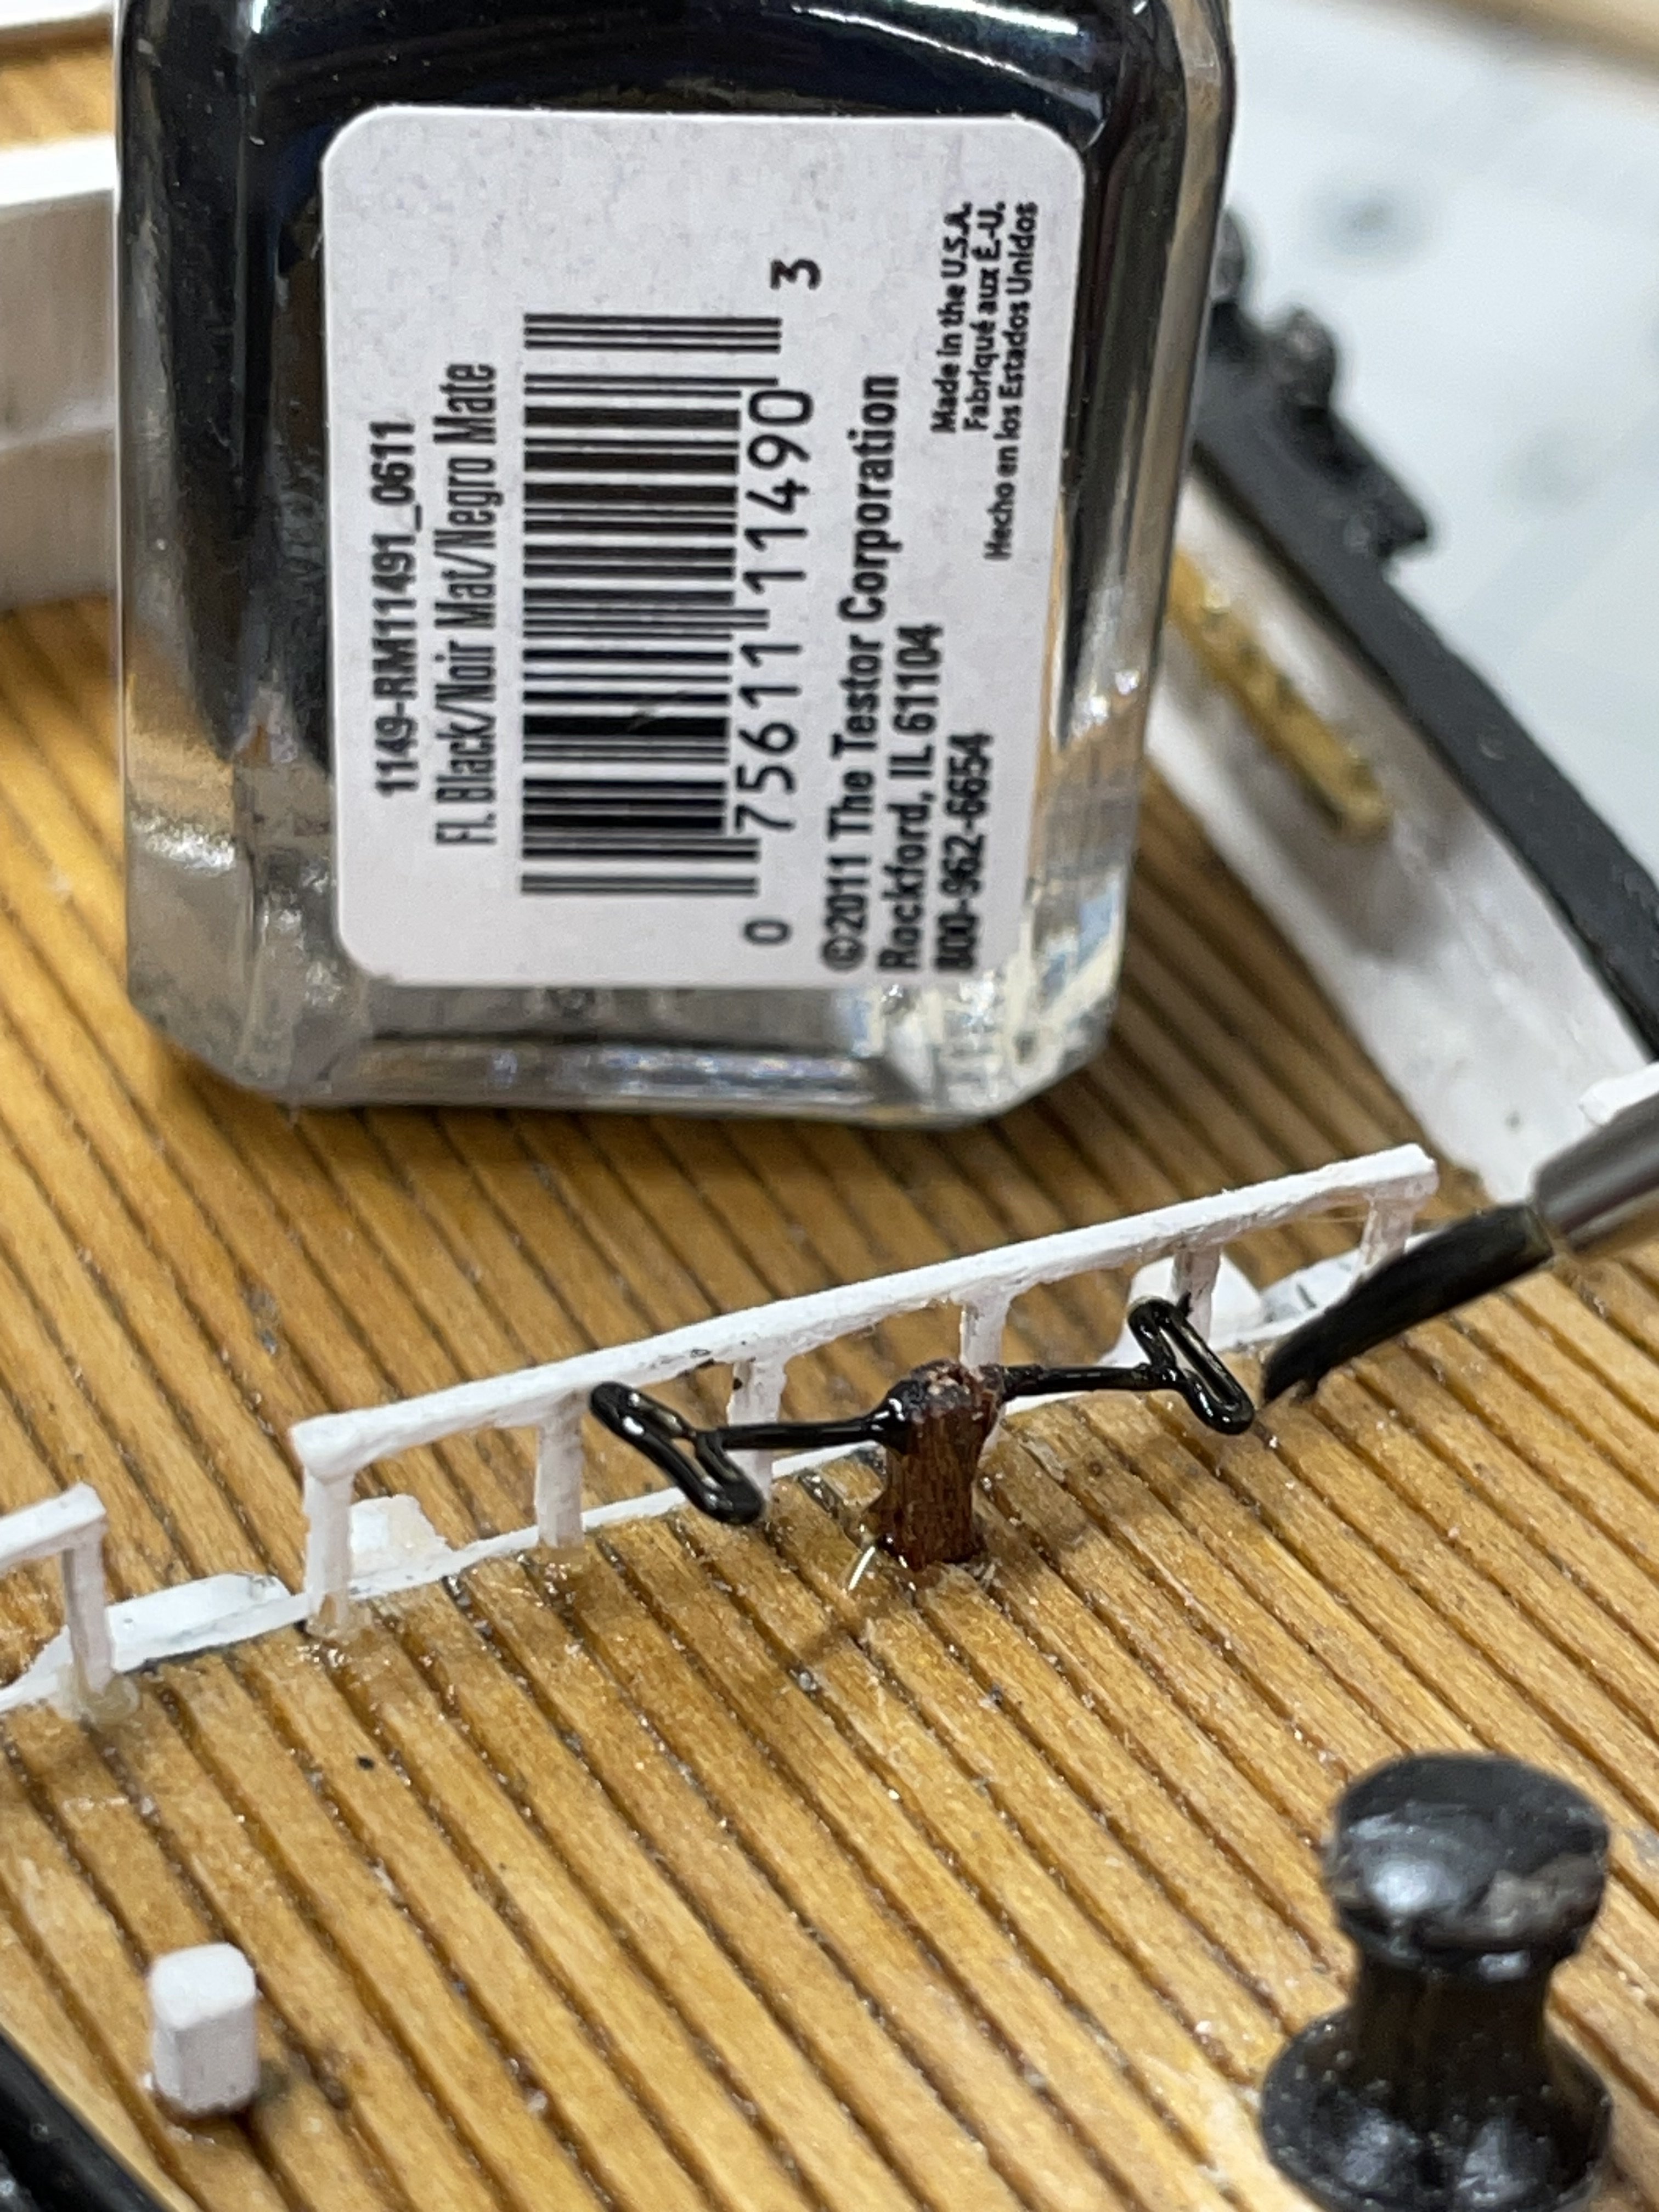
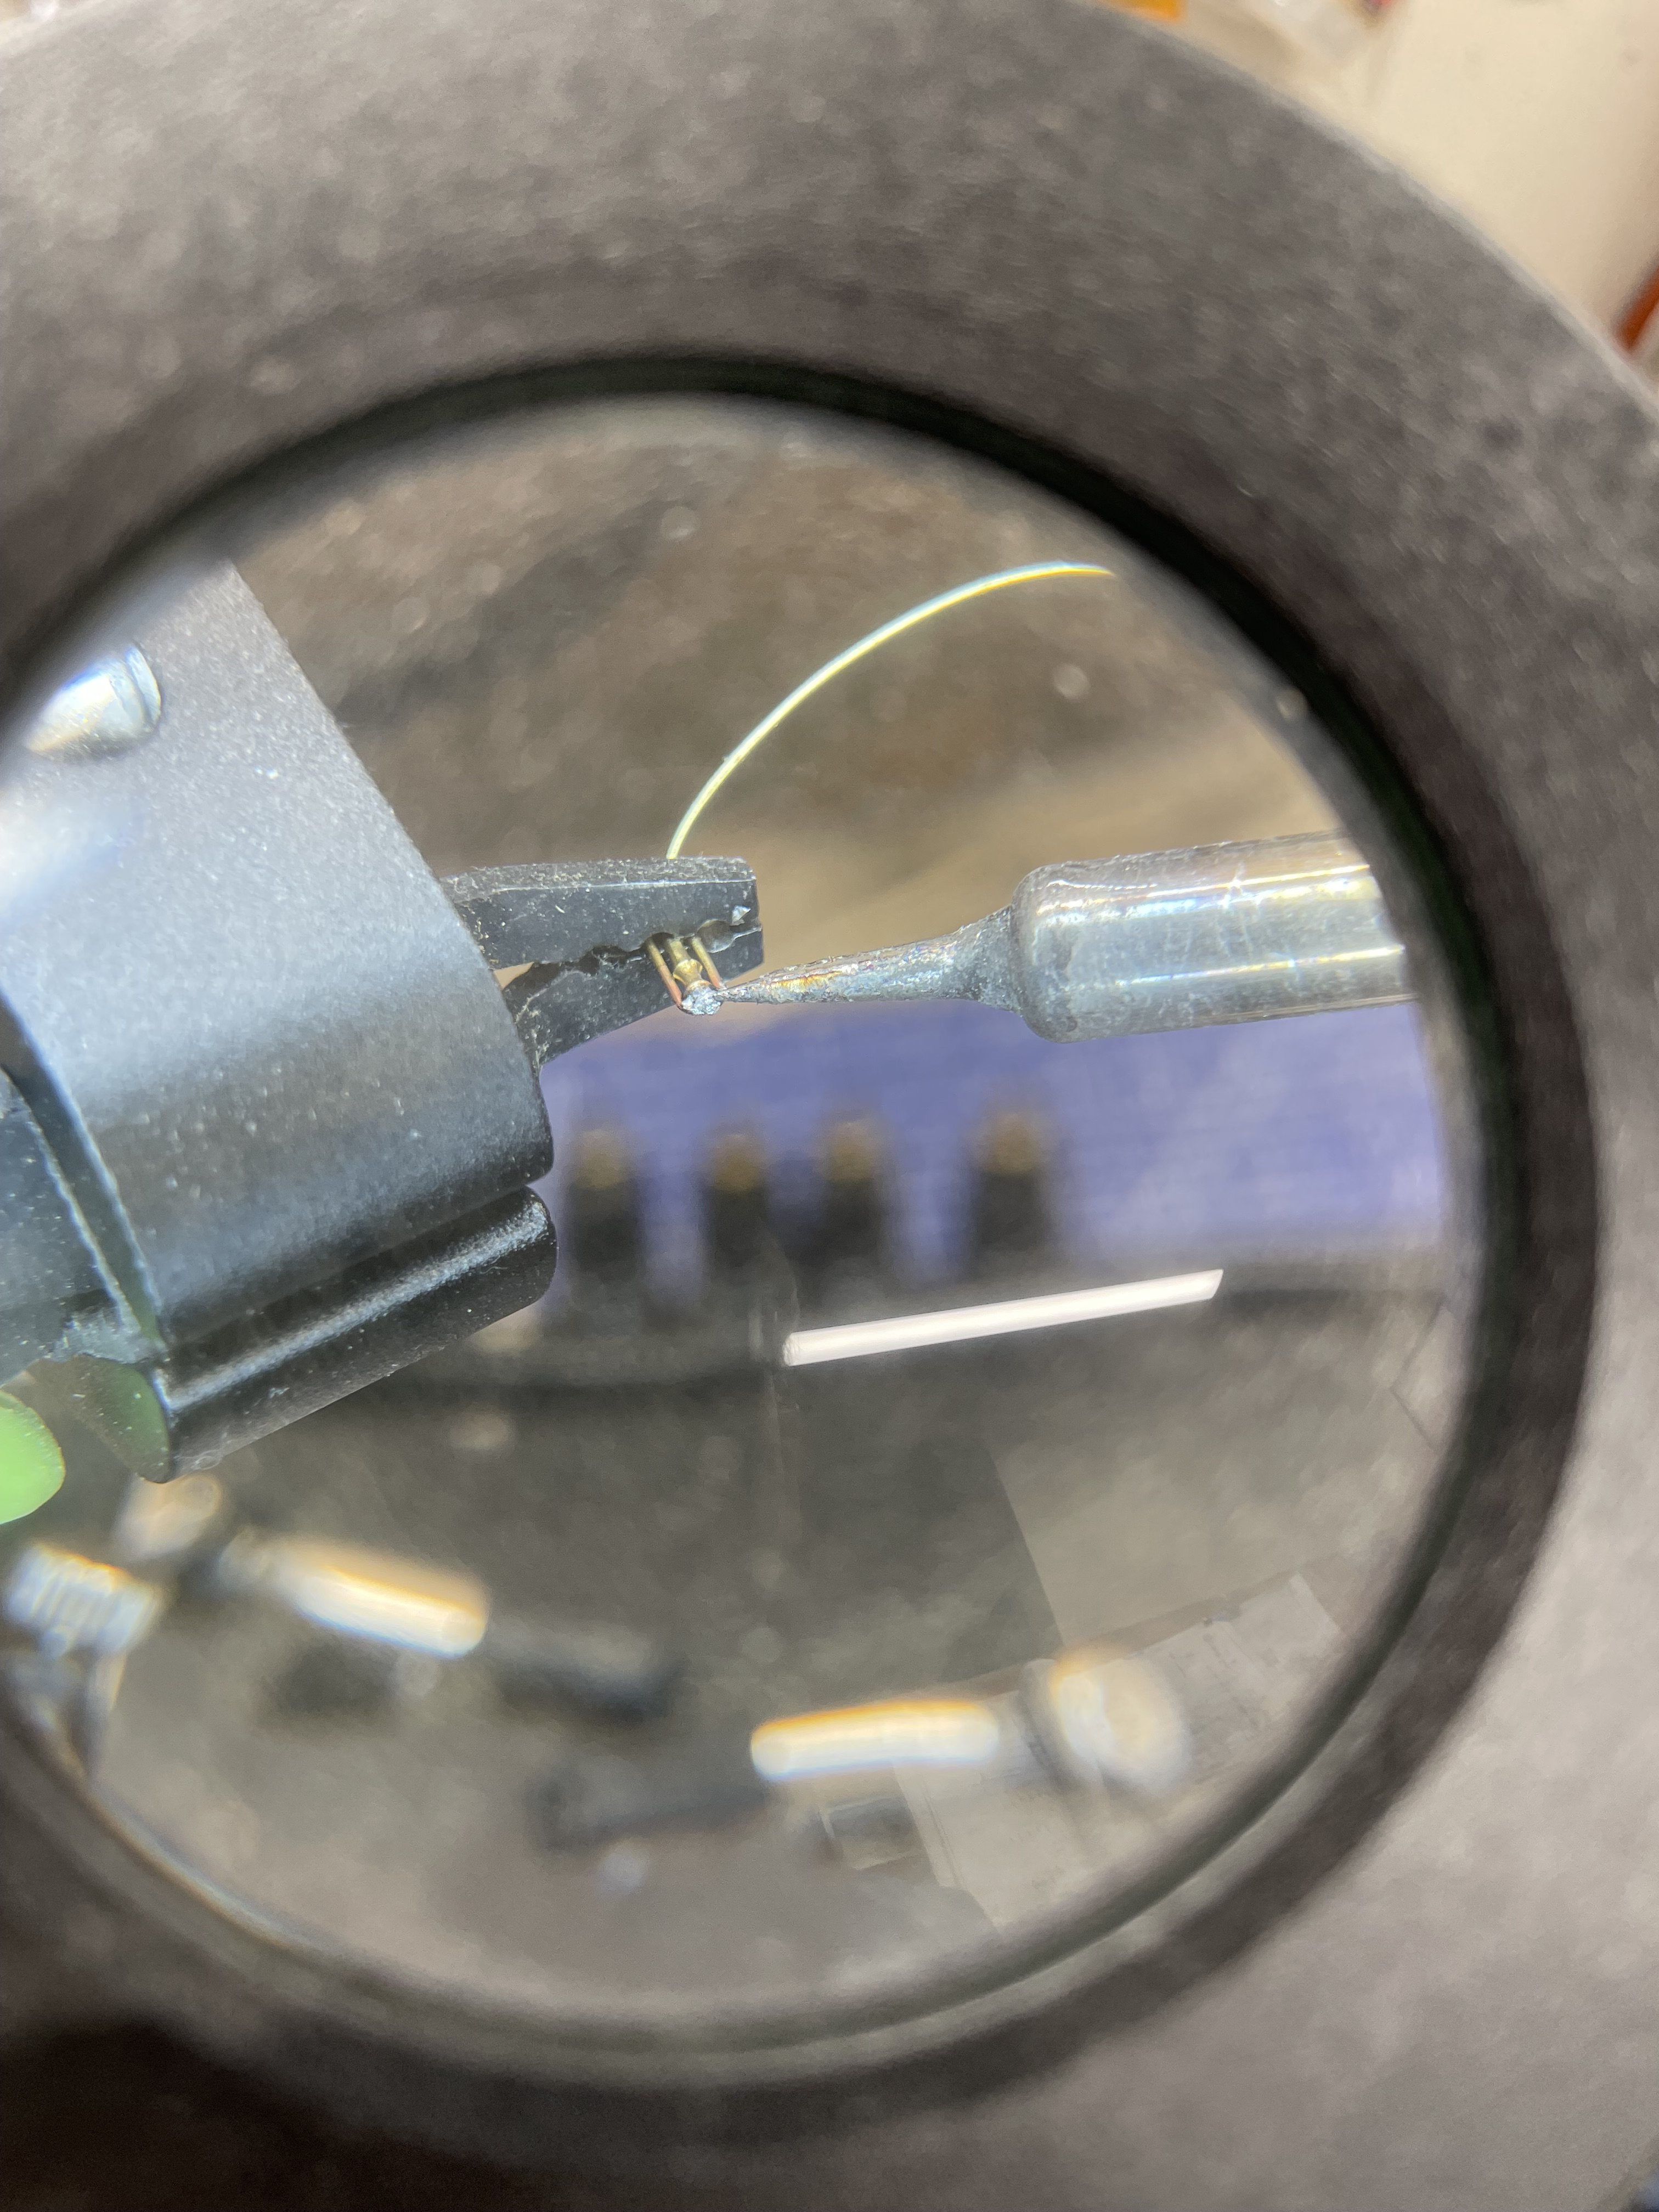
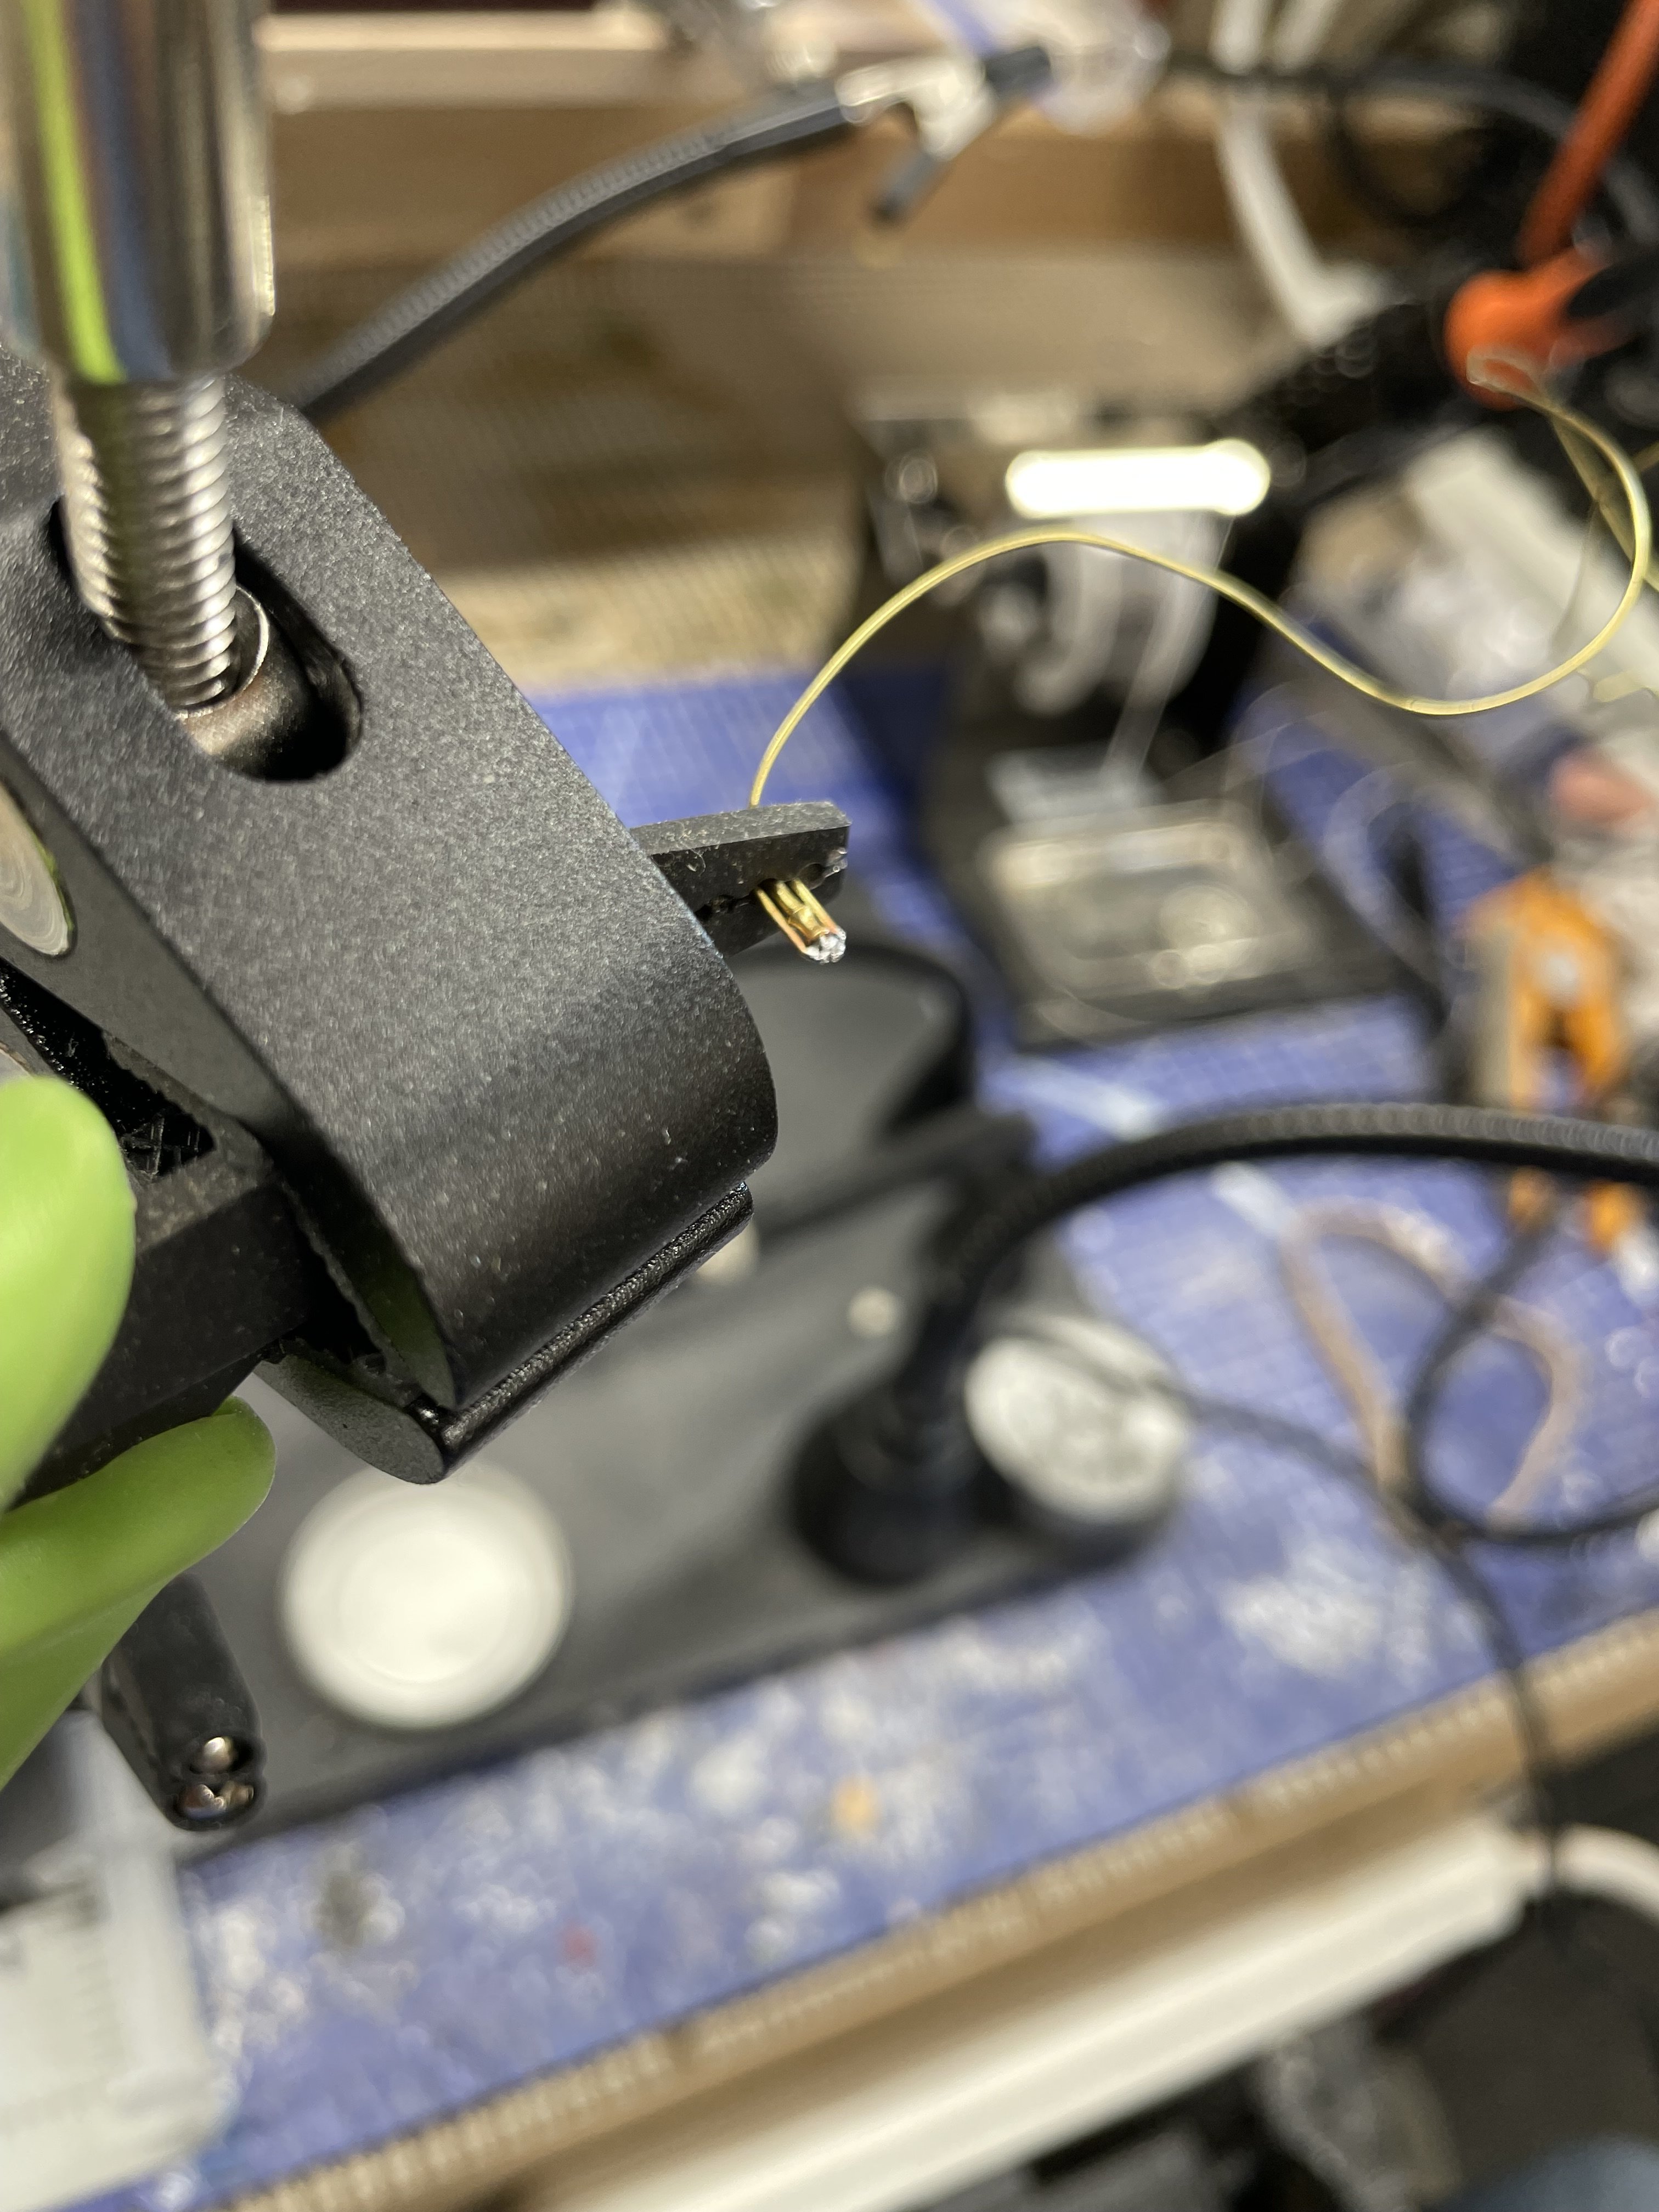
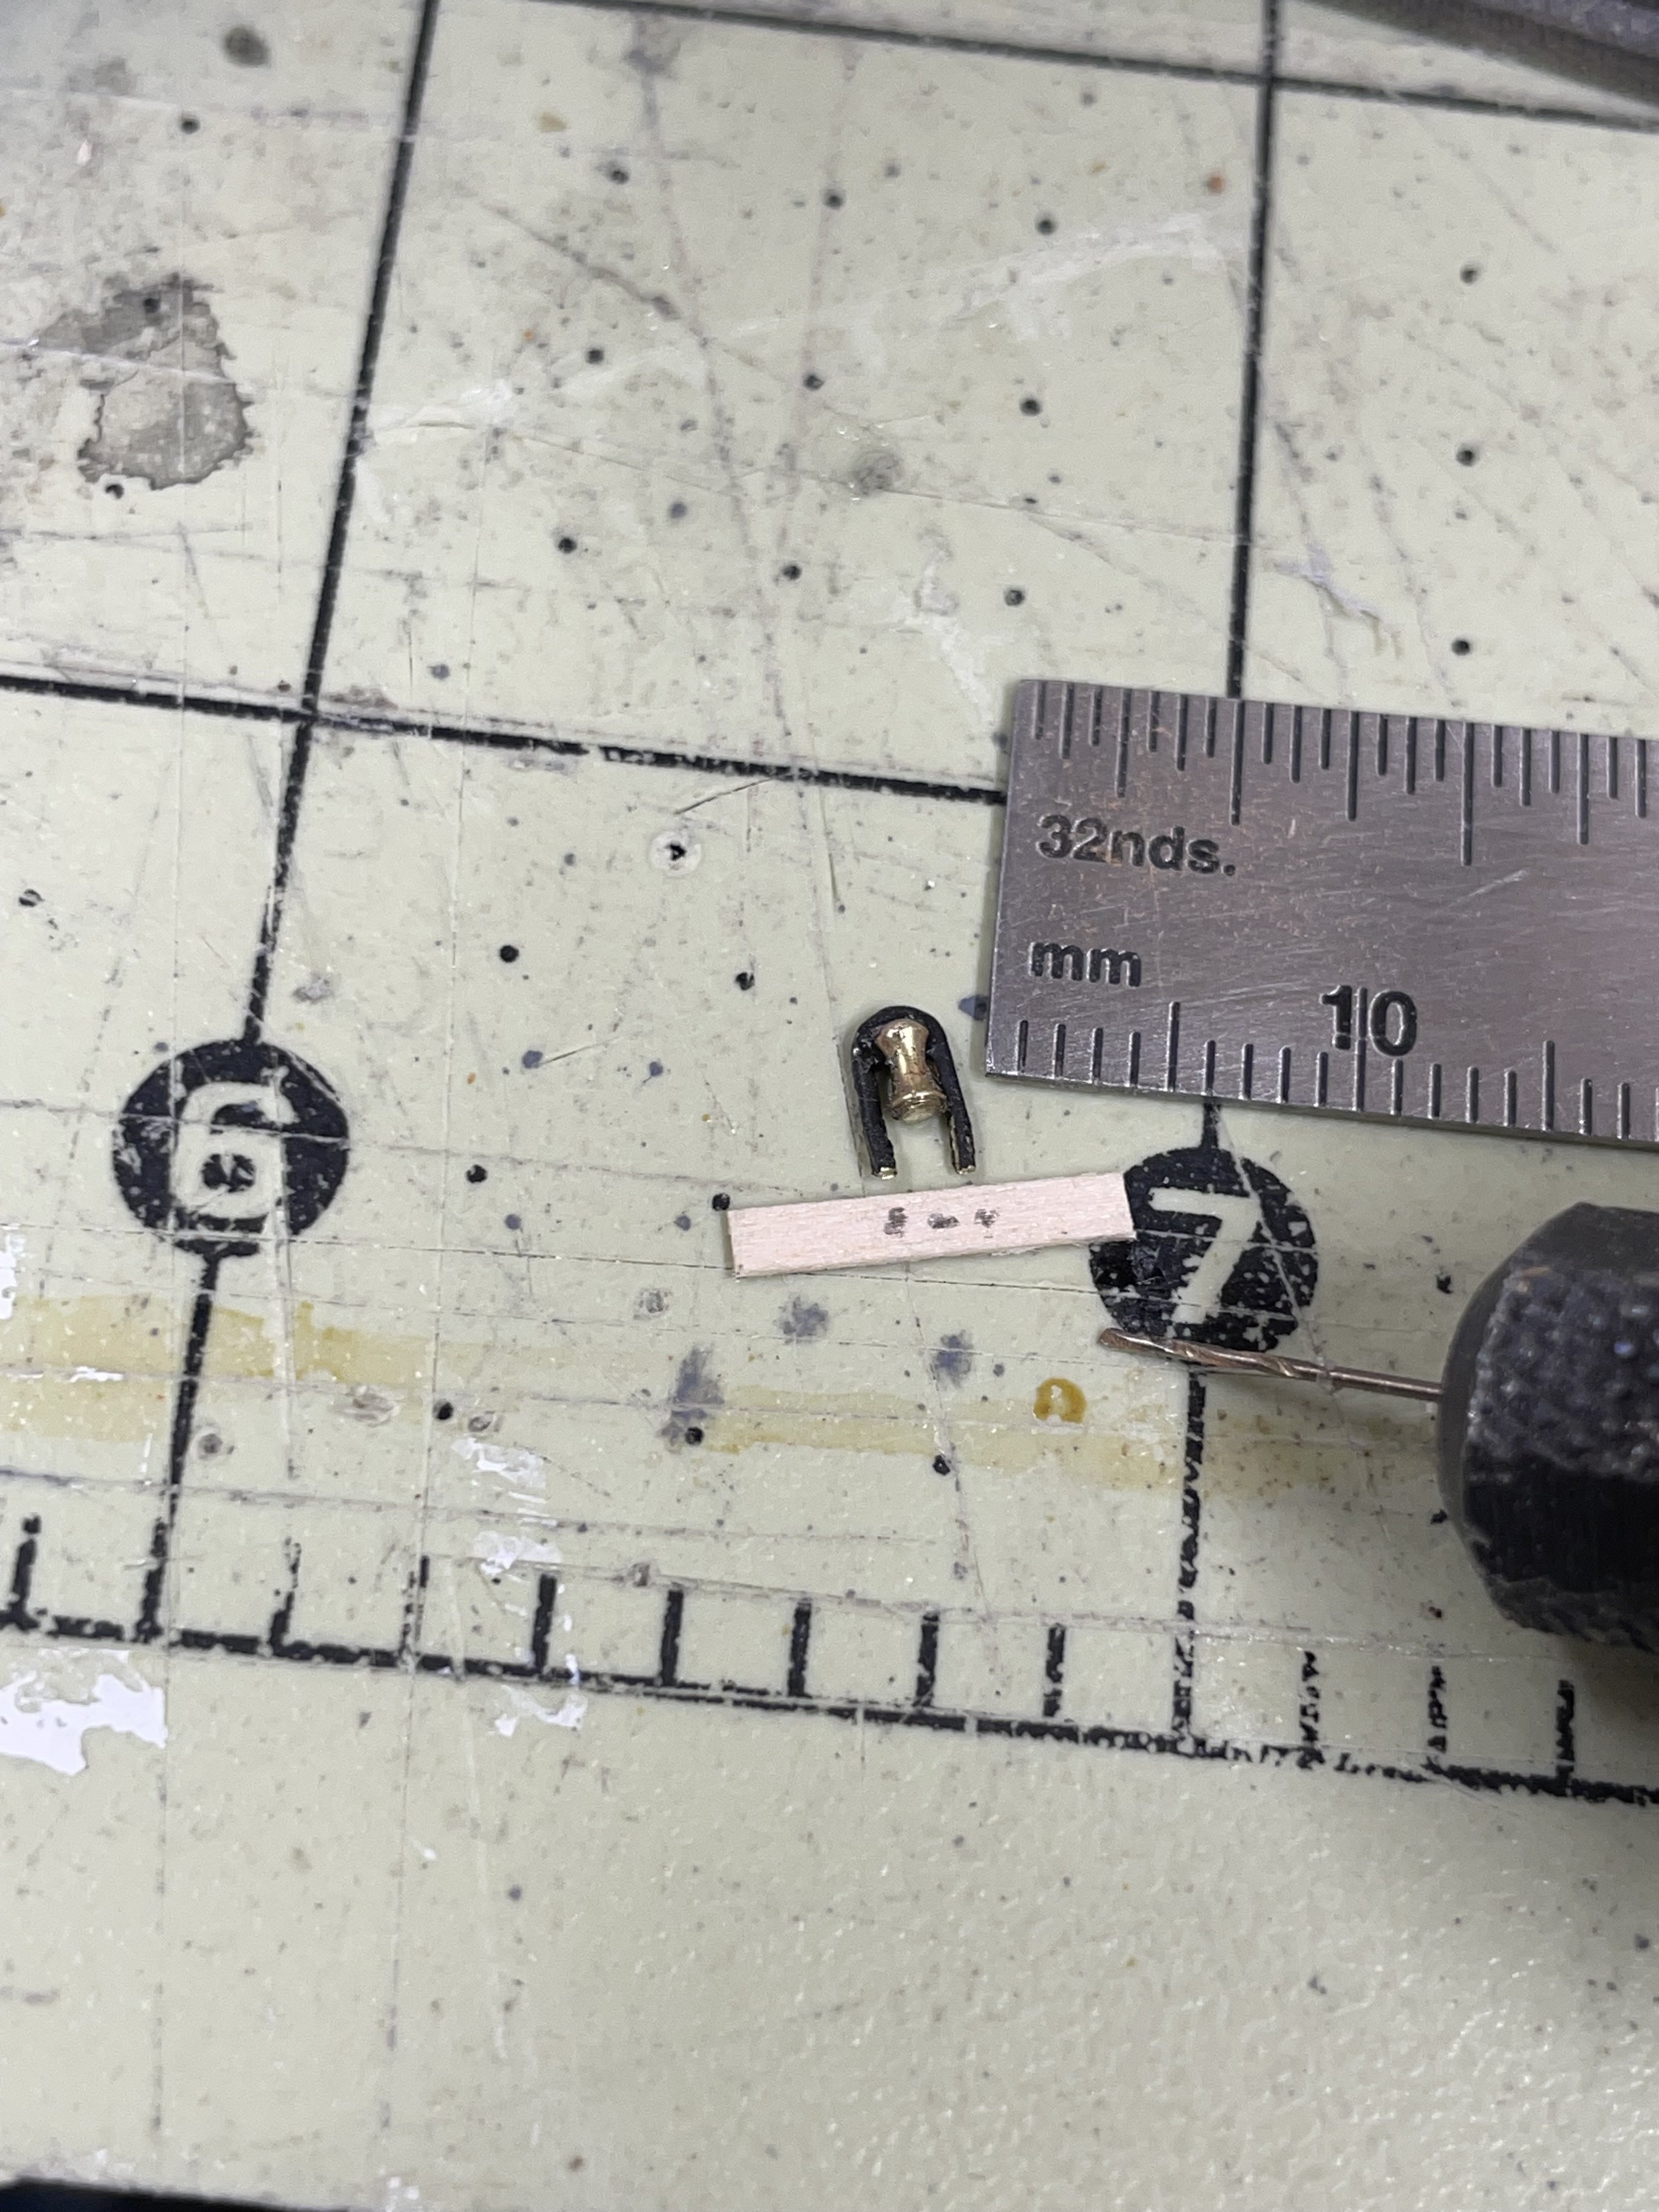
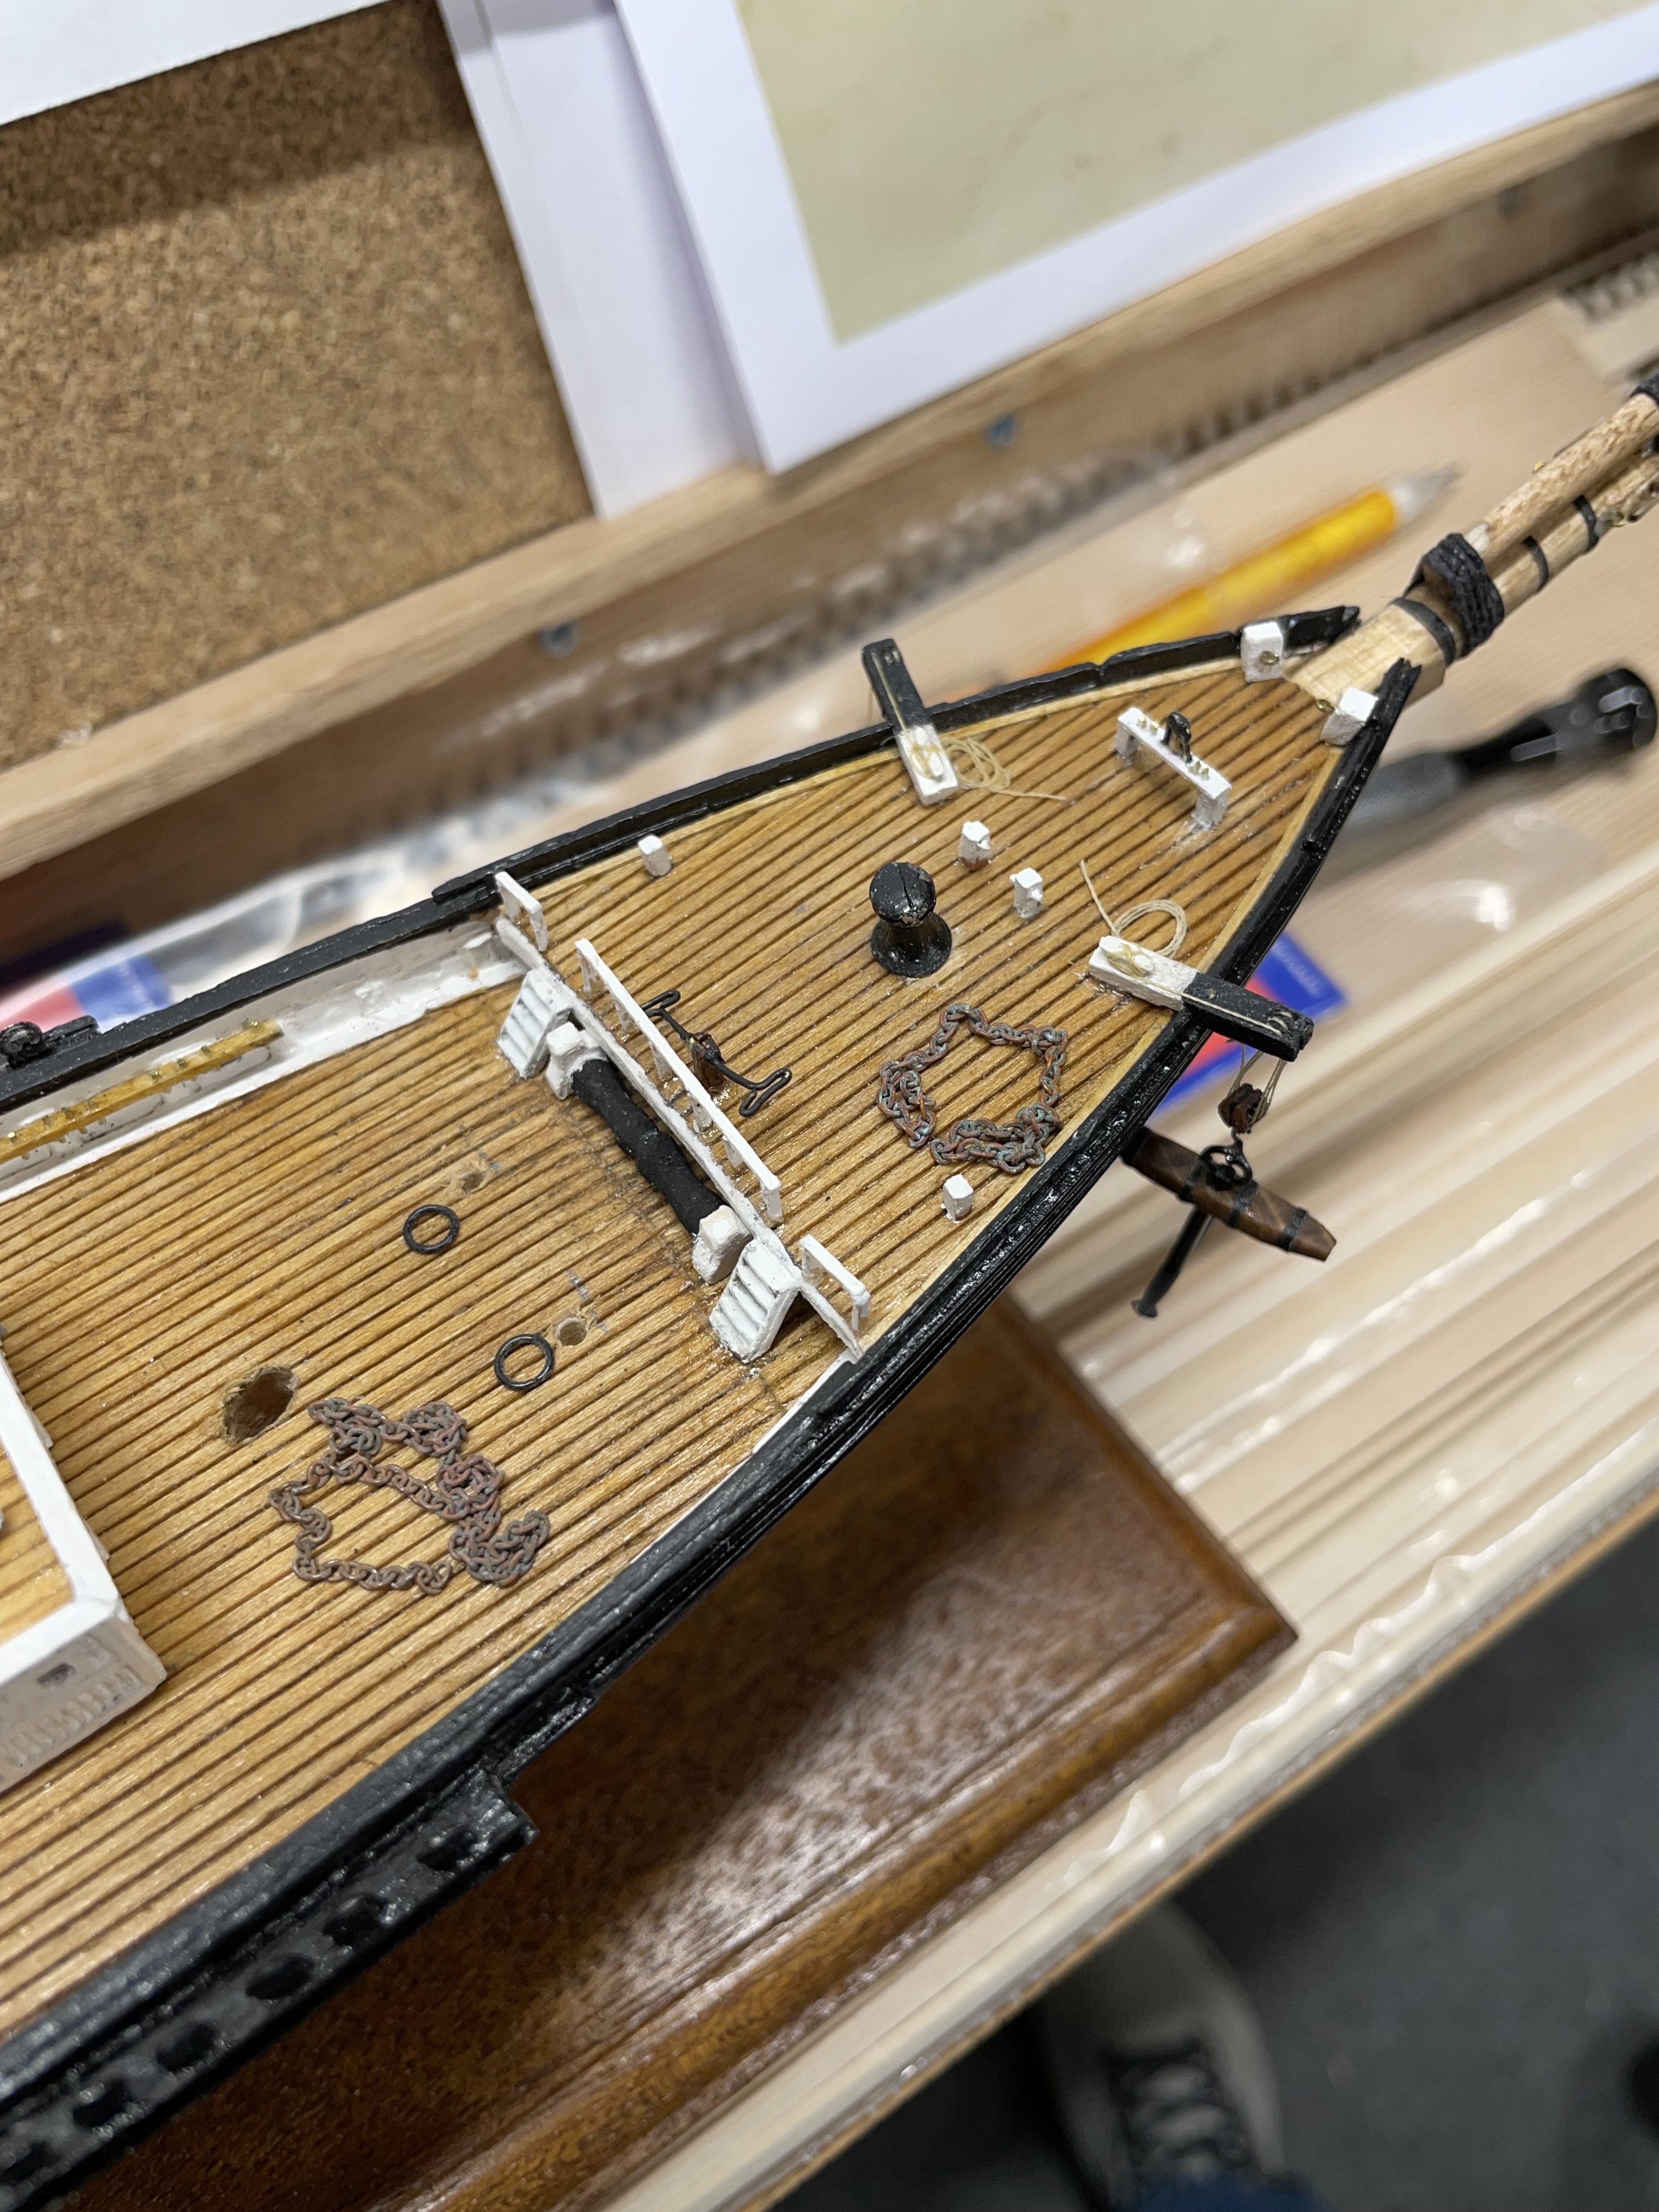
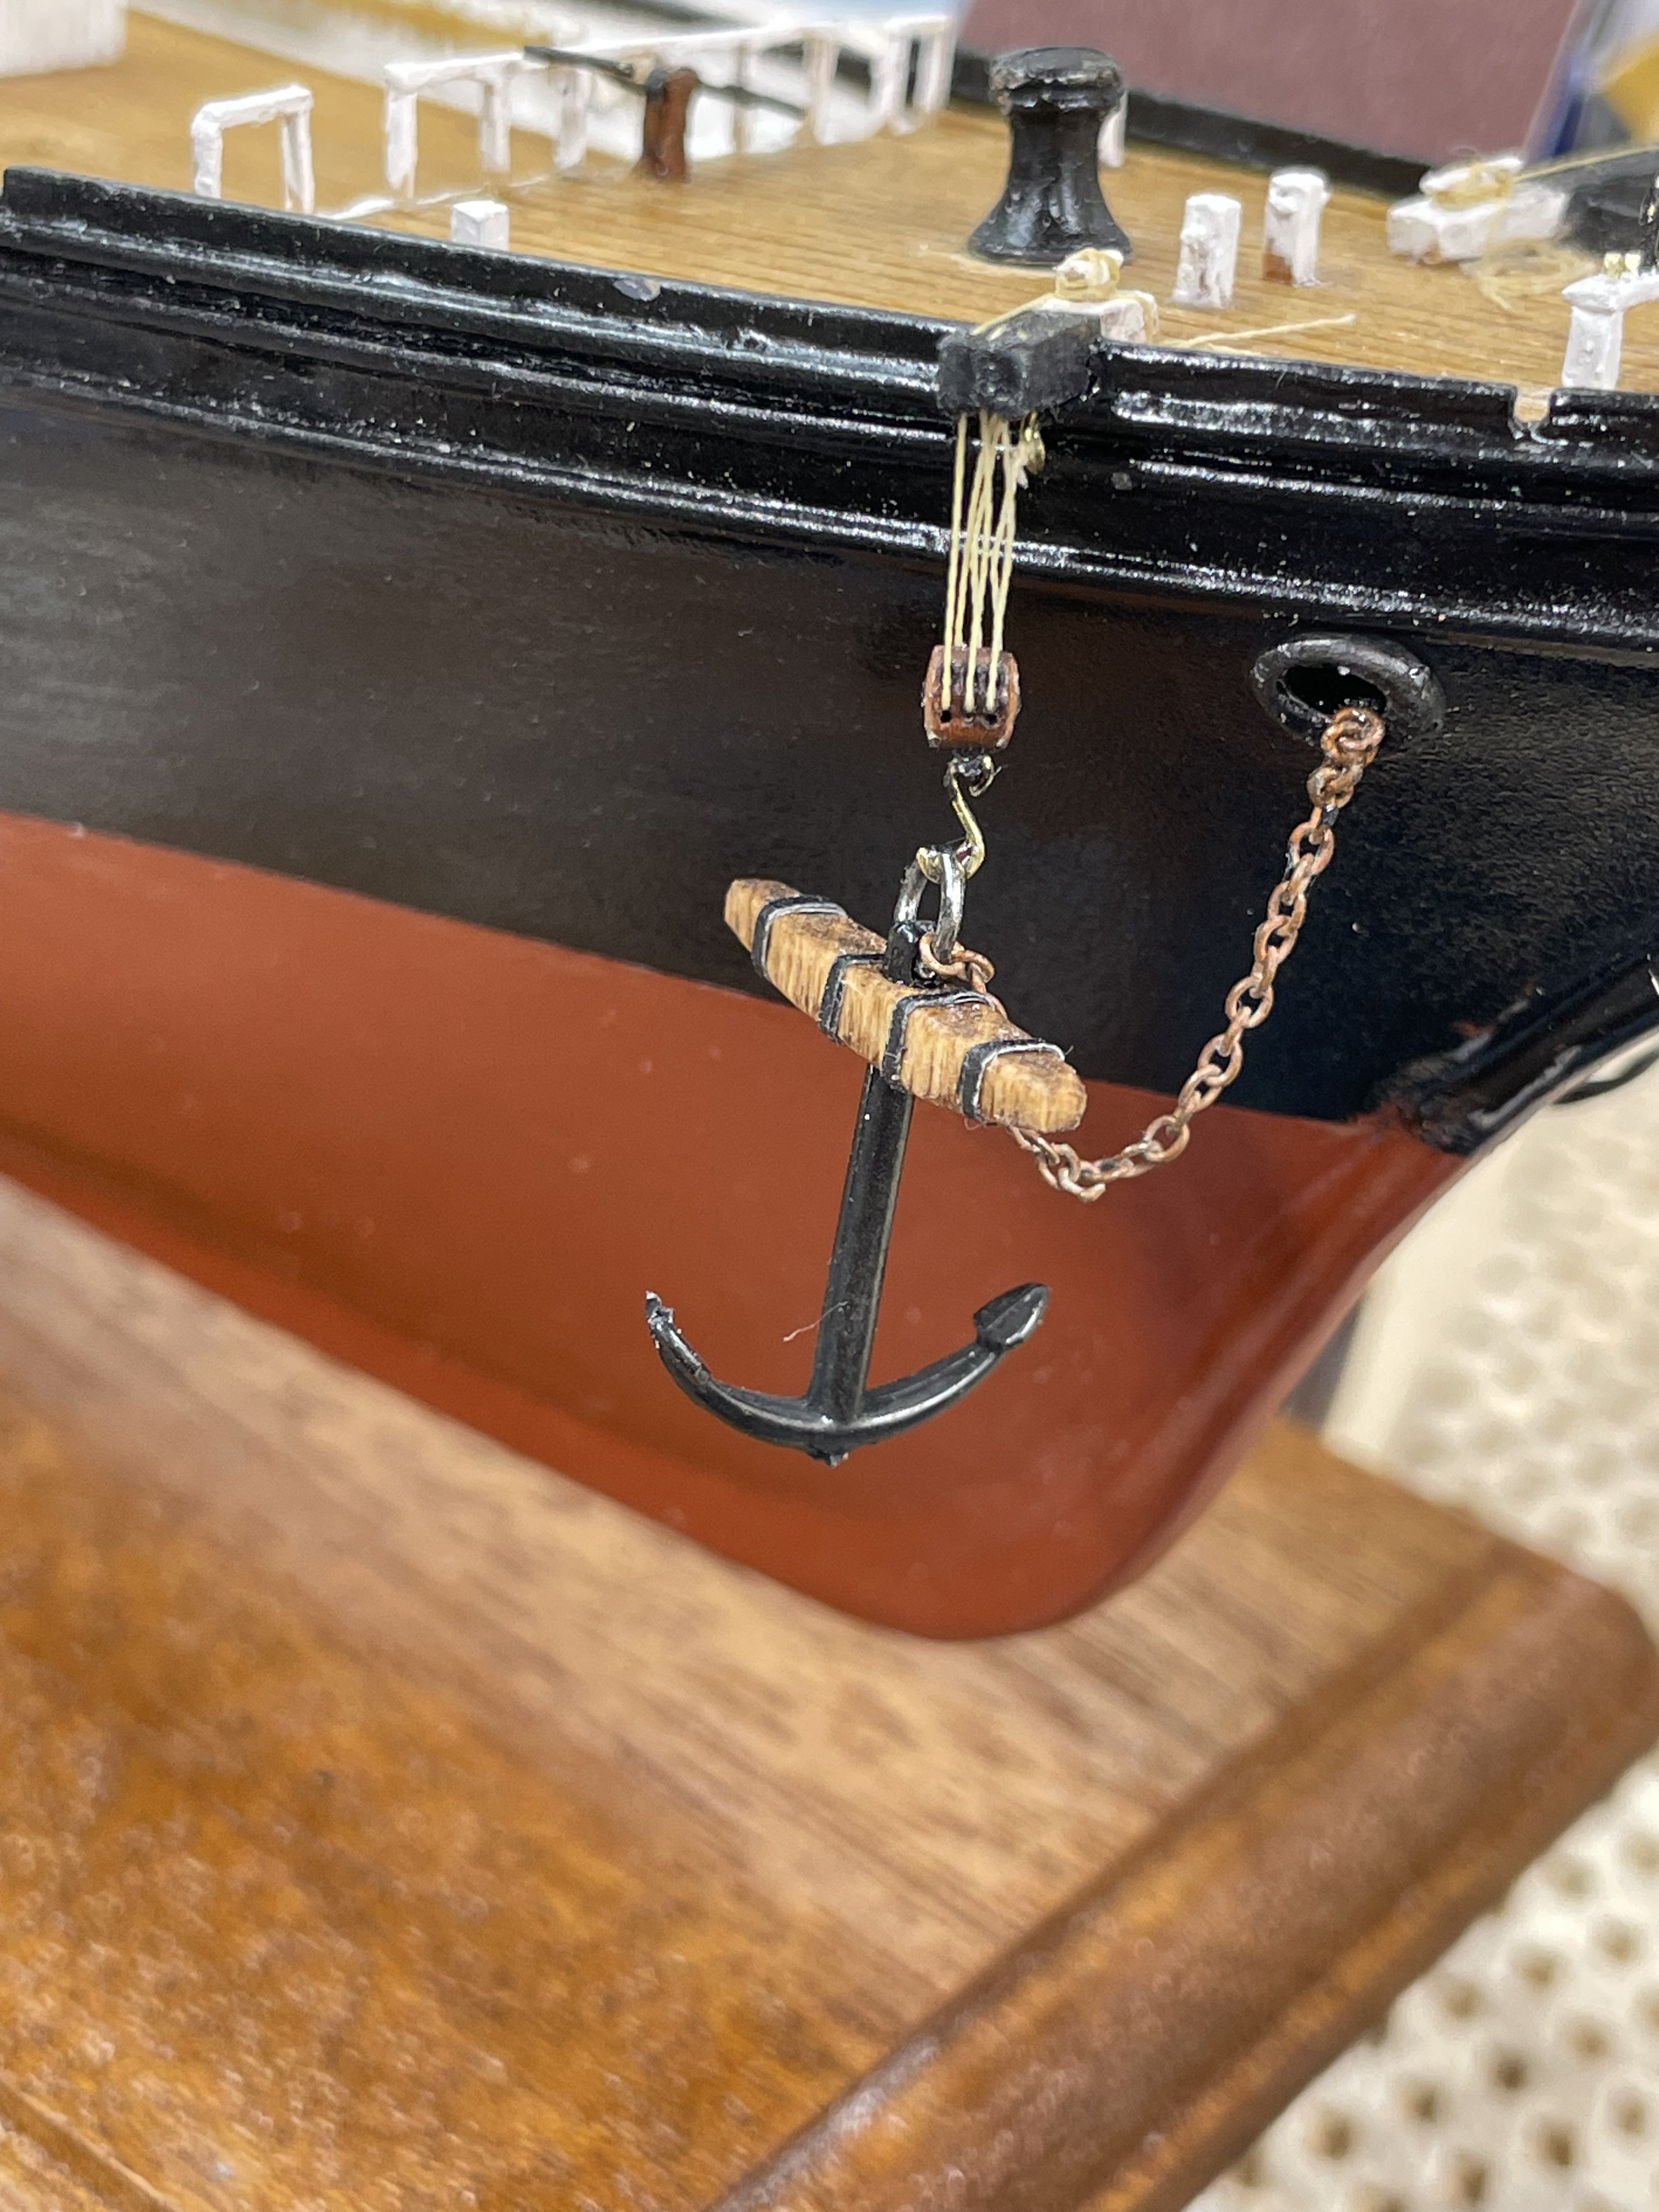
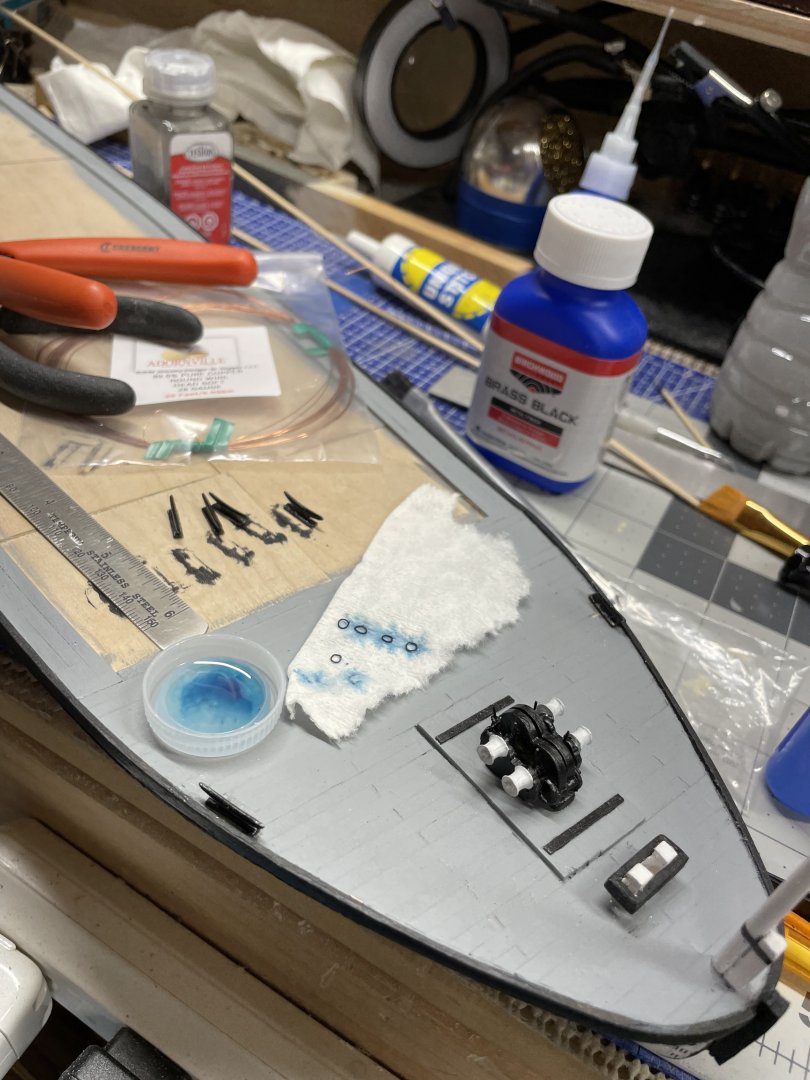
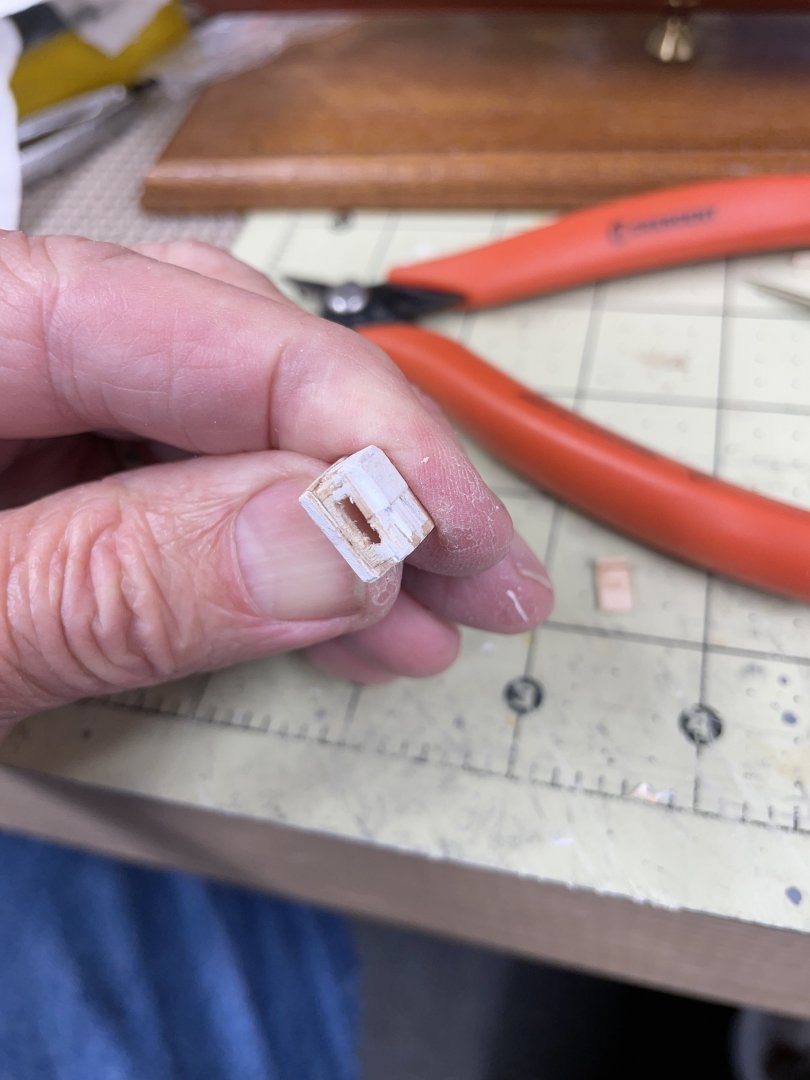
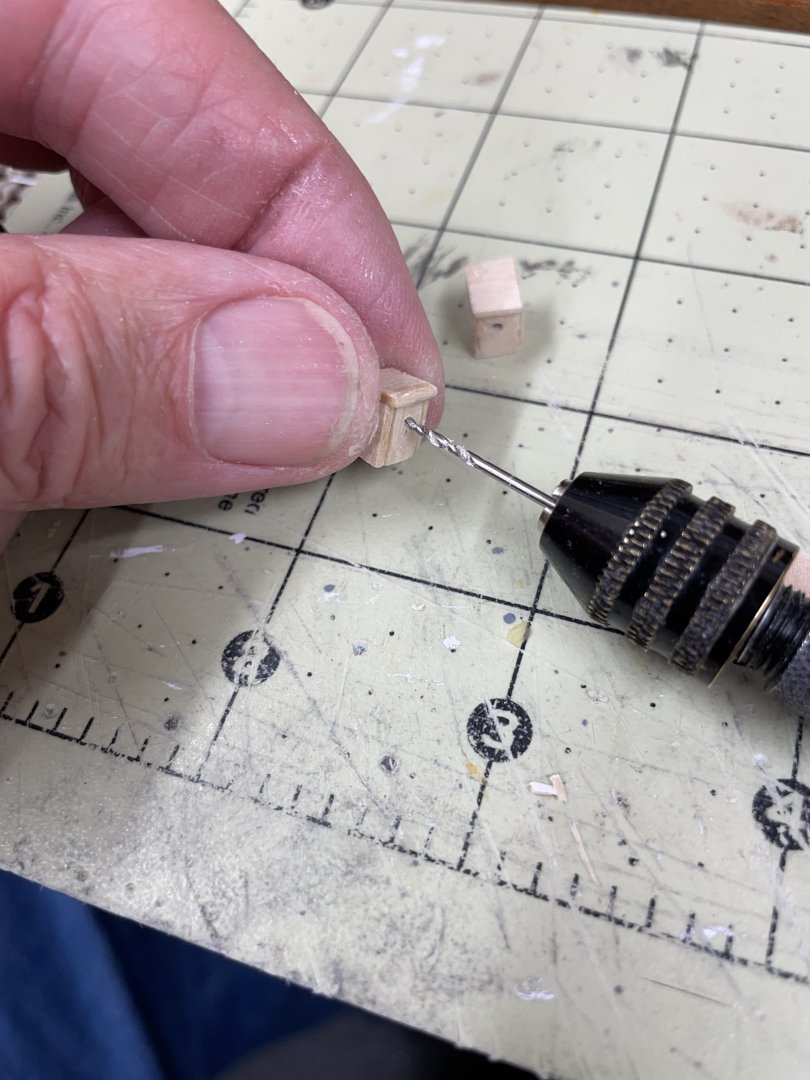
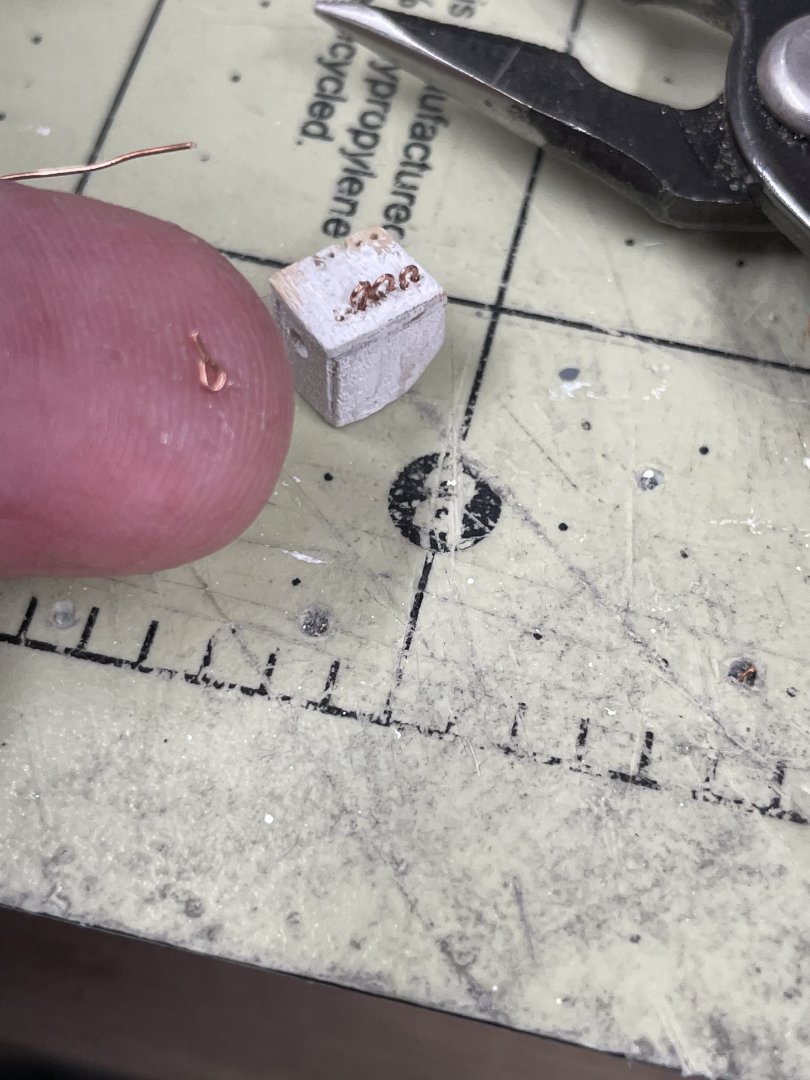
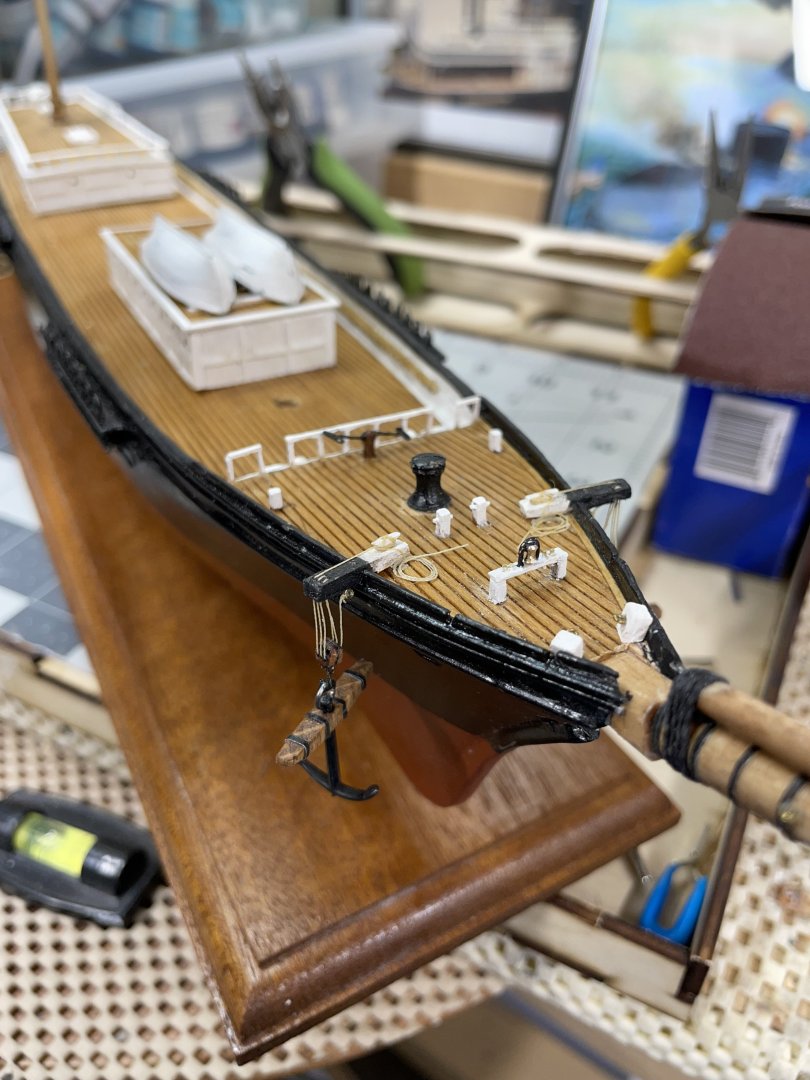
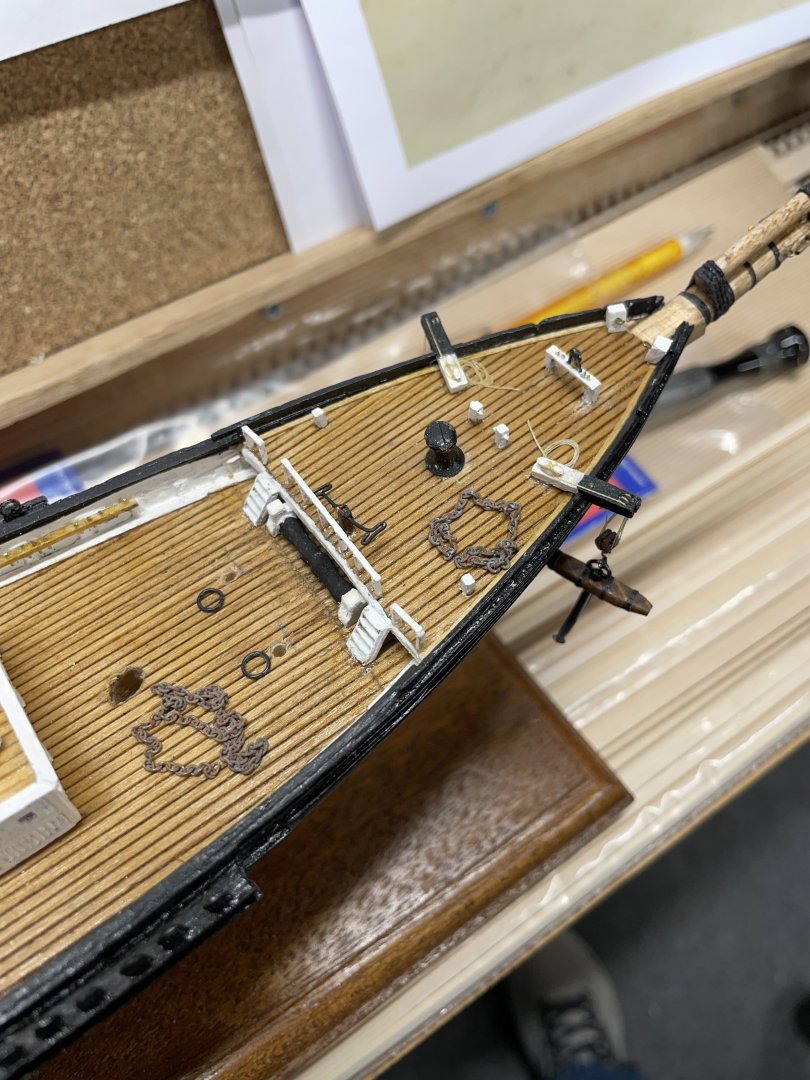
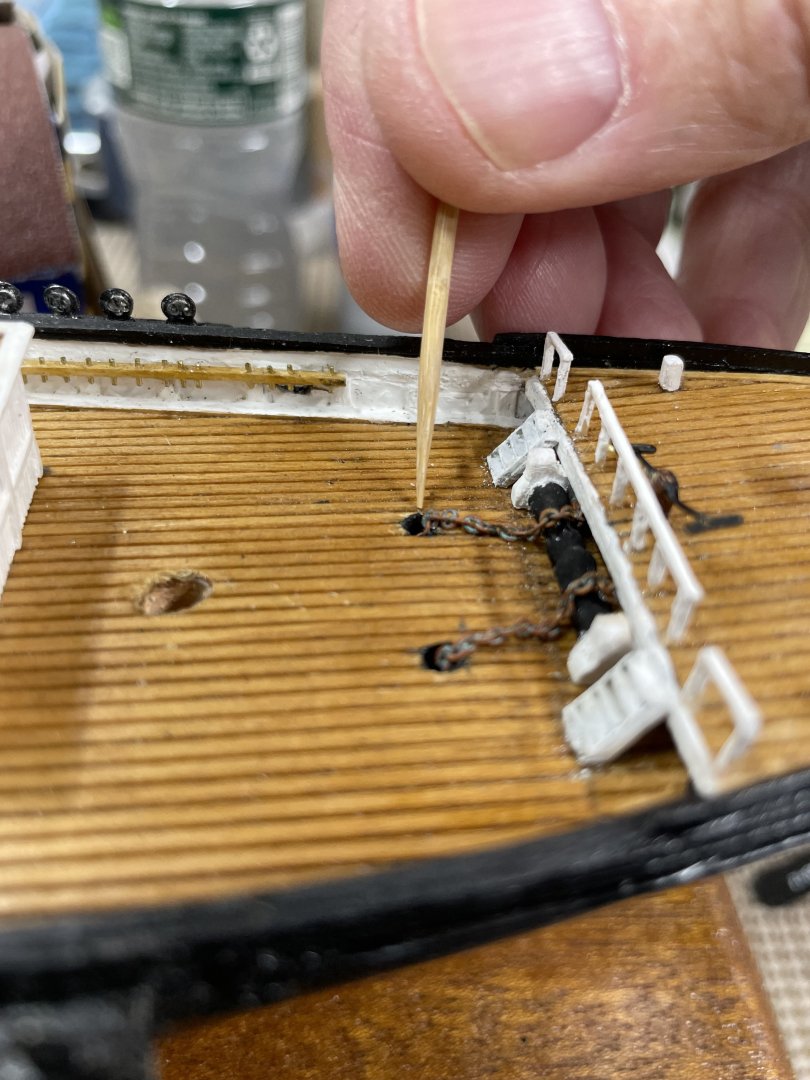
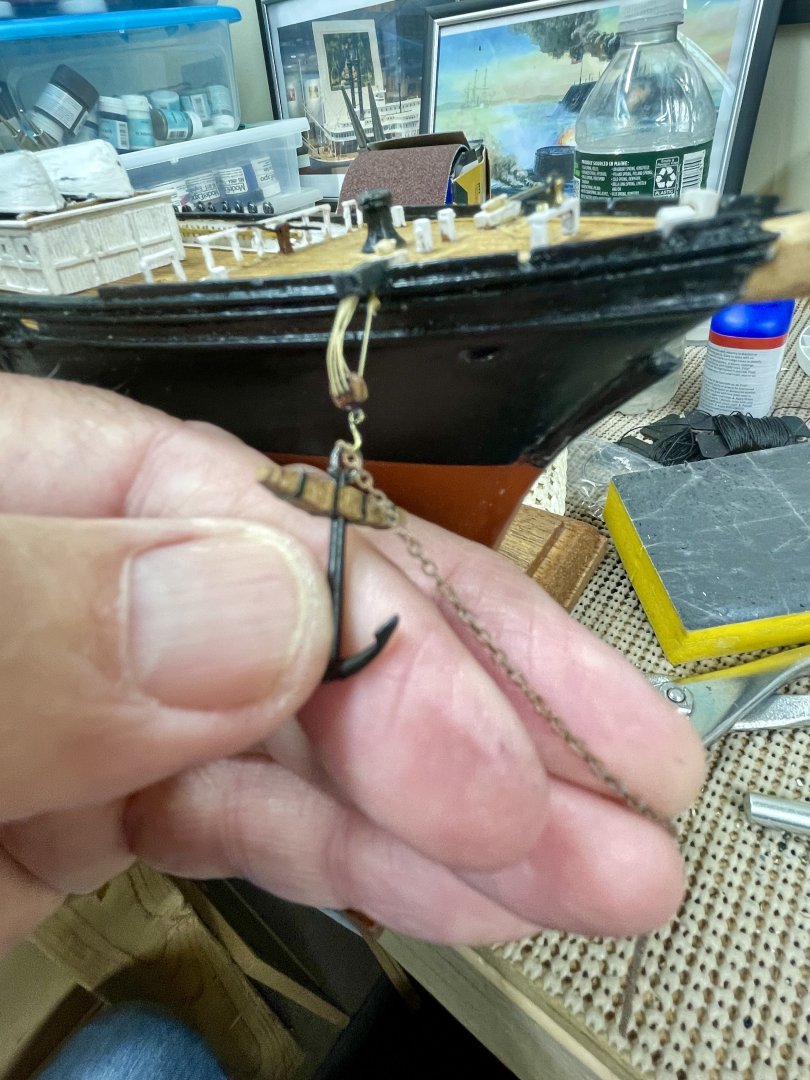
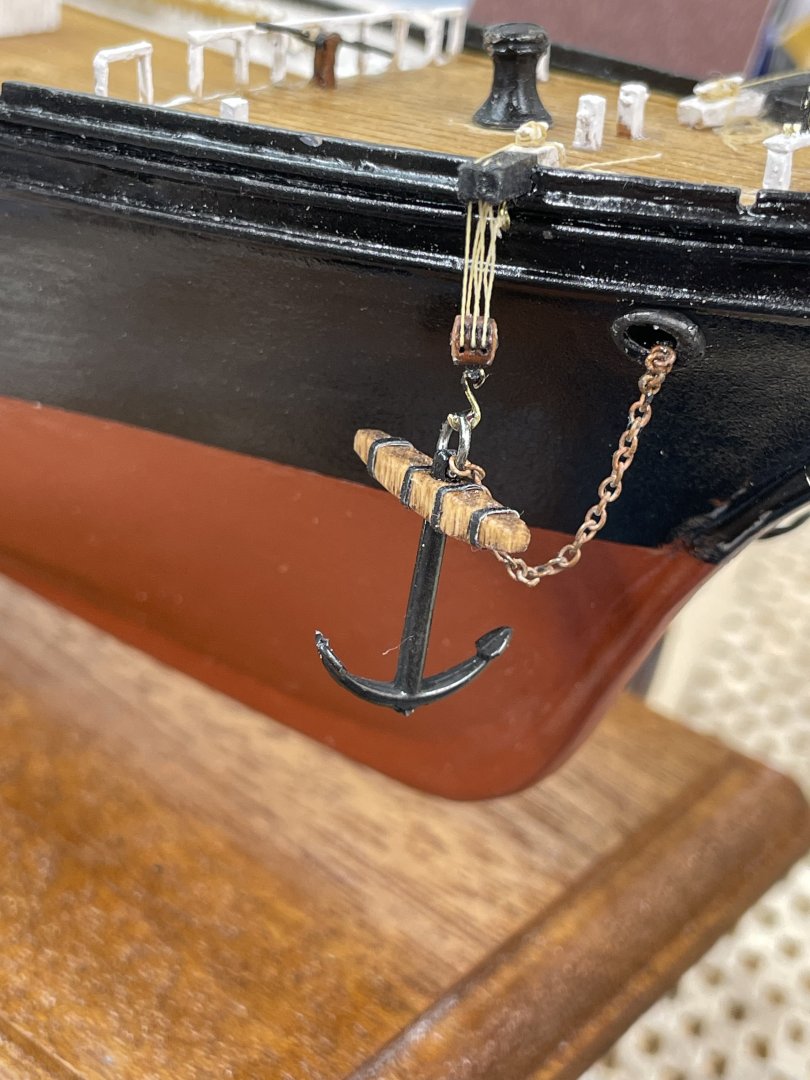
Details Forecastle… Windless Post… Ships Bell 🔔 Anchor Chains… Cheers 🍻


- 165 replies
-
- 8
-
-
- Red Jacket
- Marine Model Company
- (and 2 more)
-
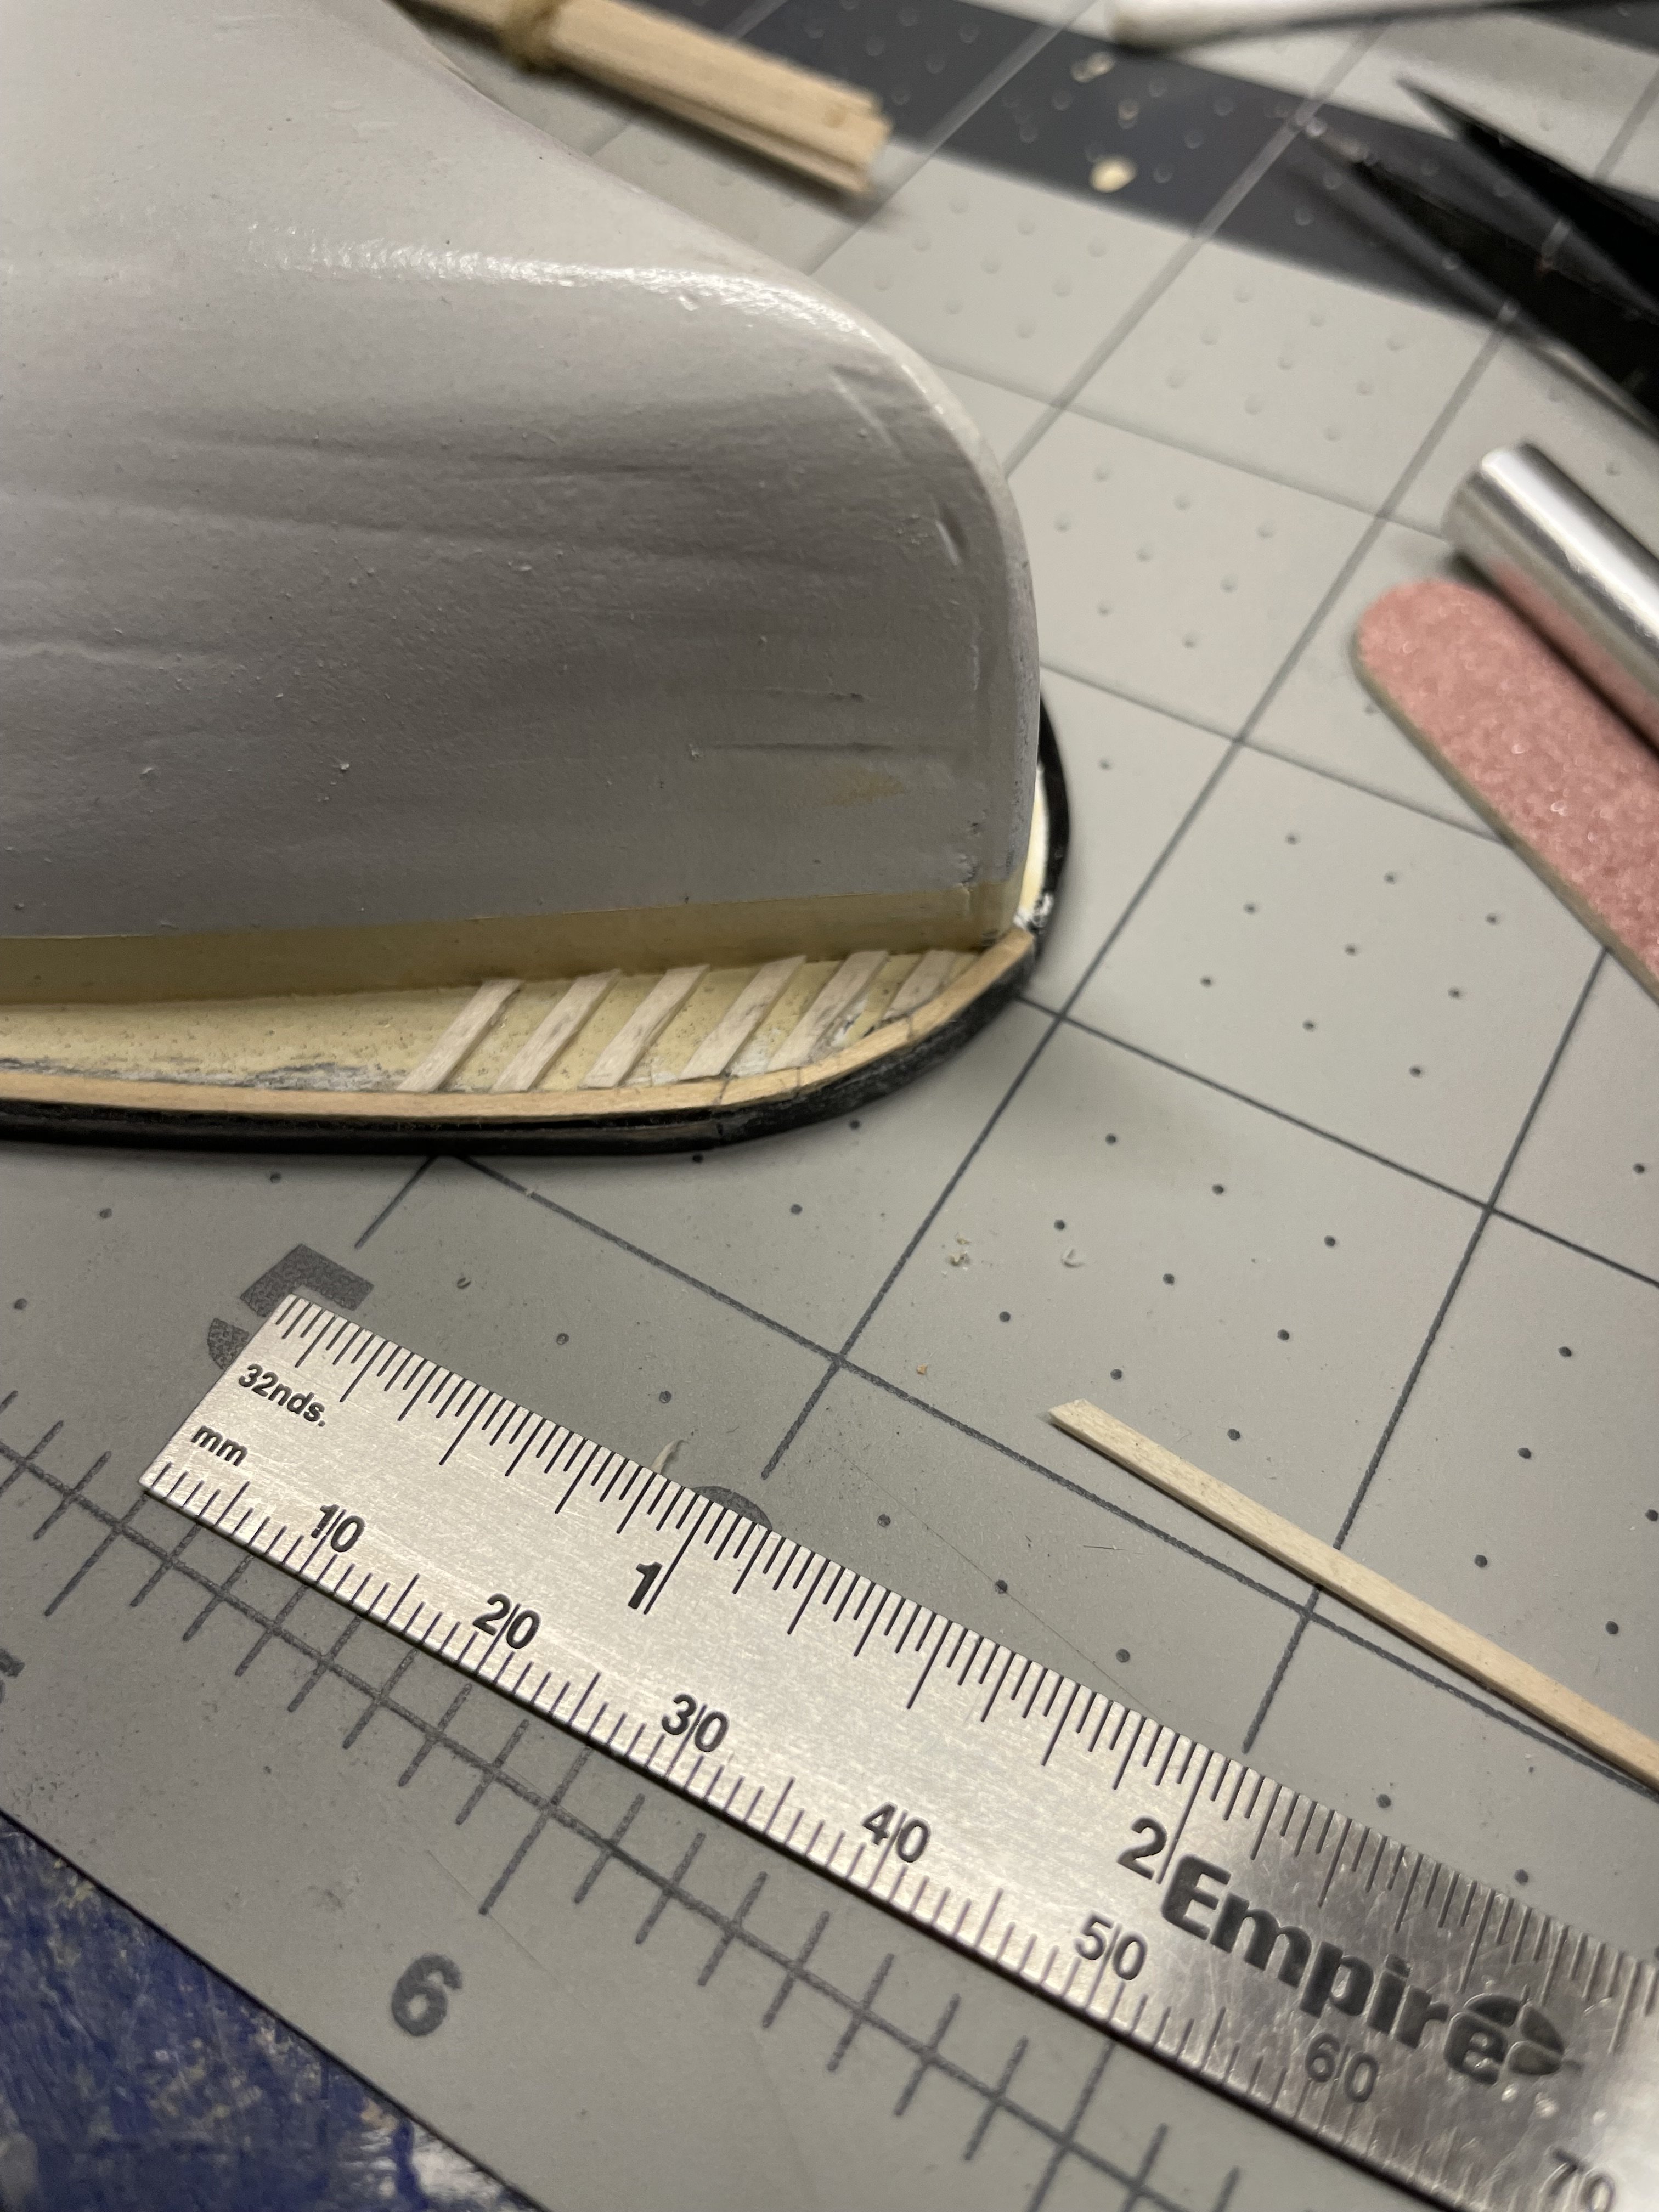
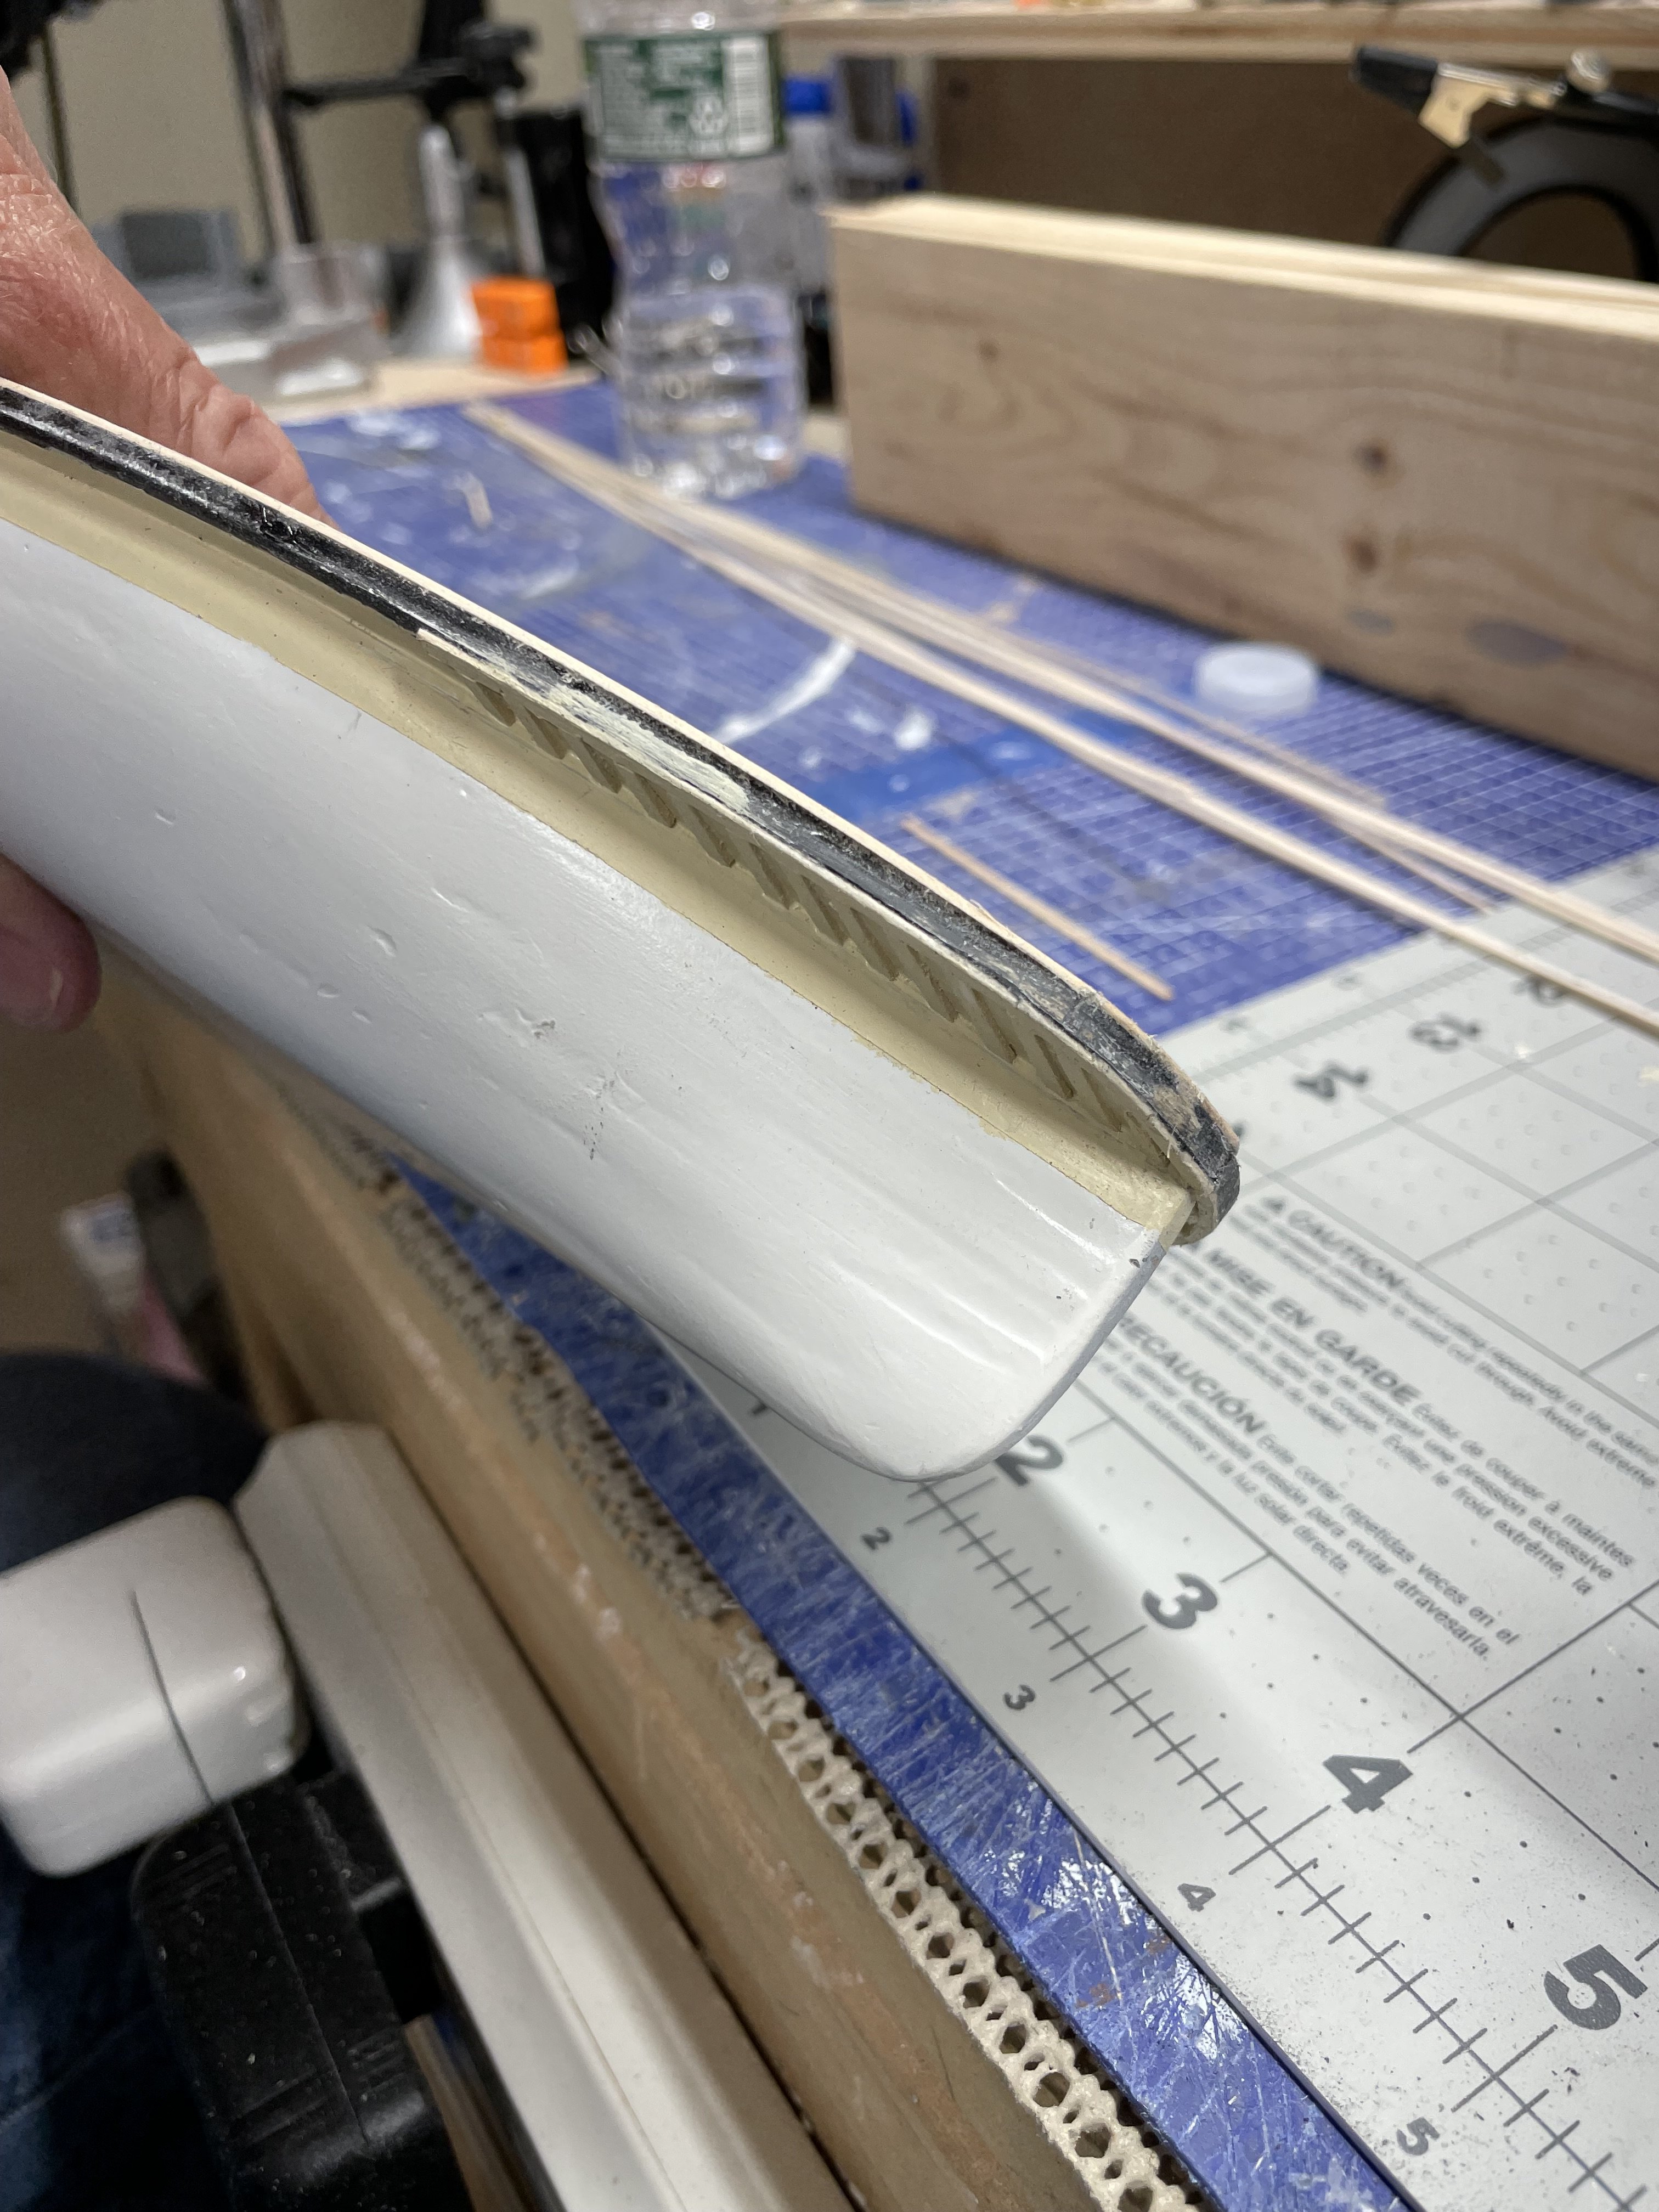
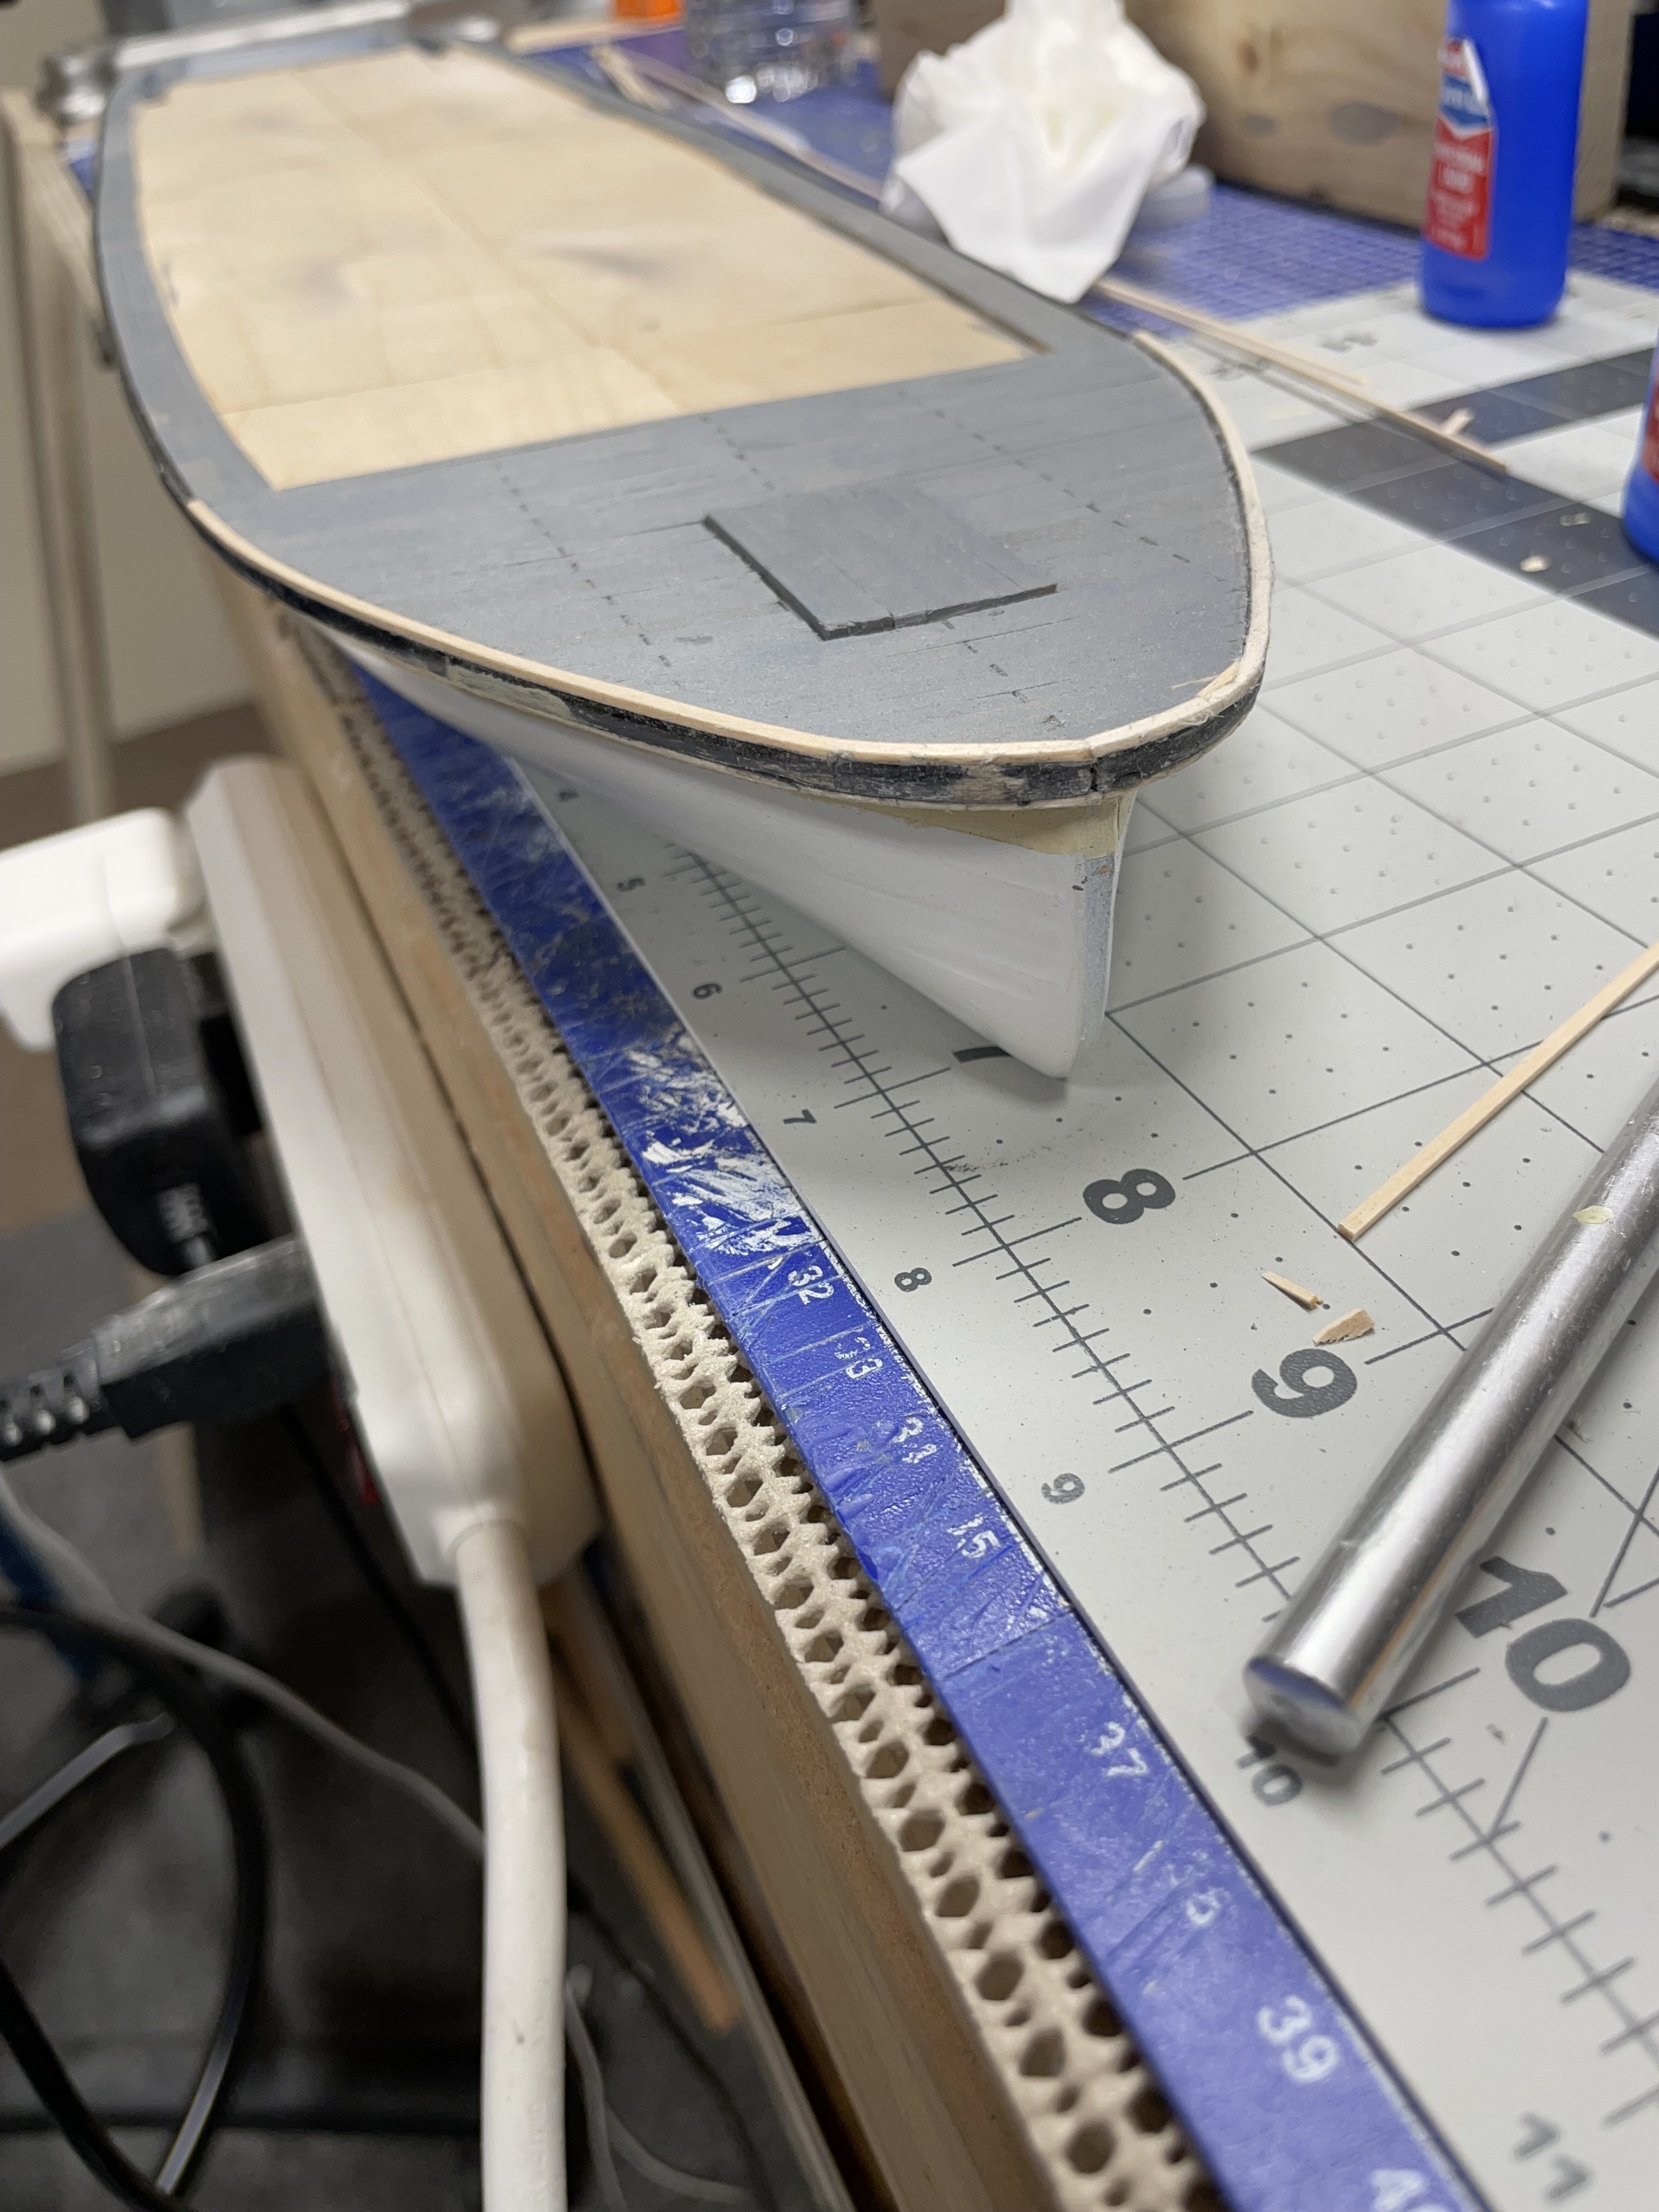
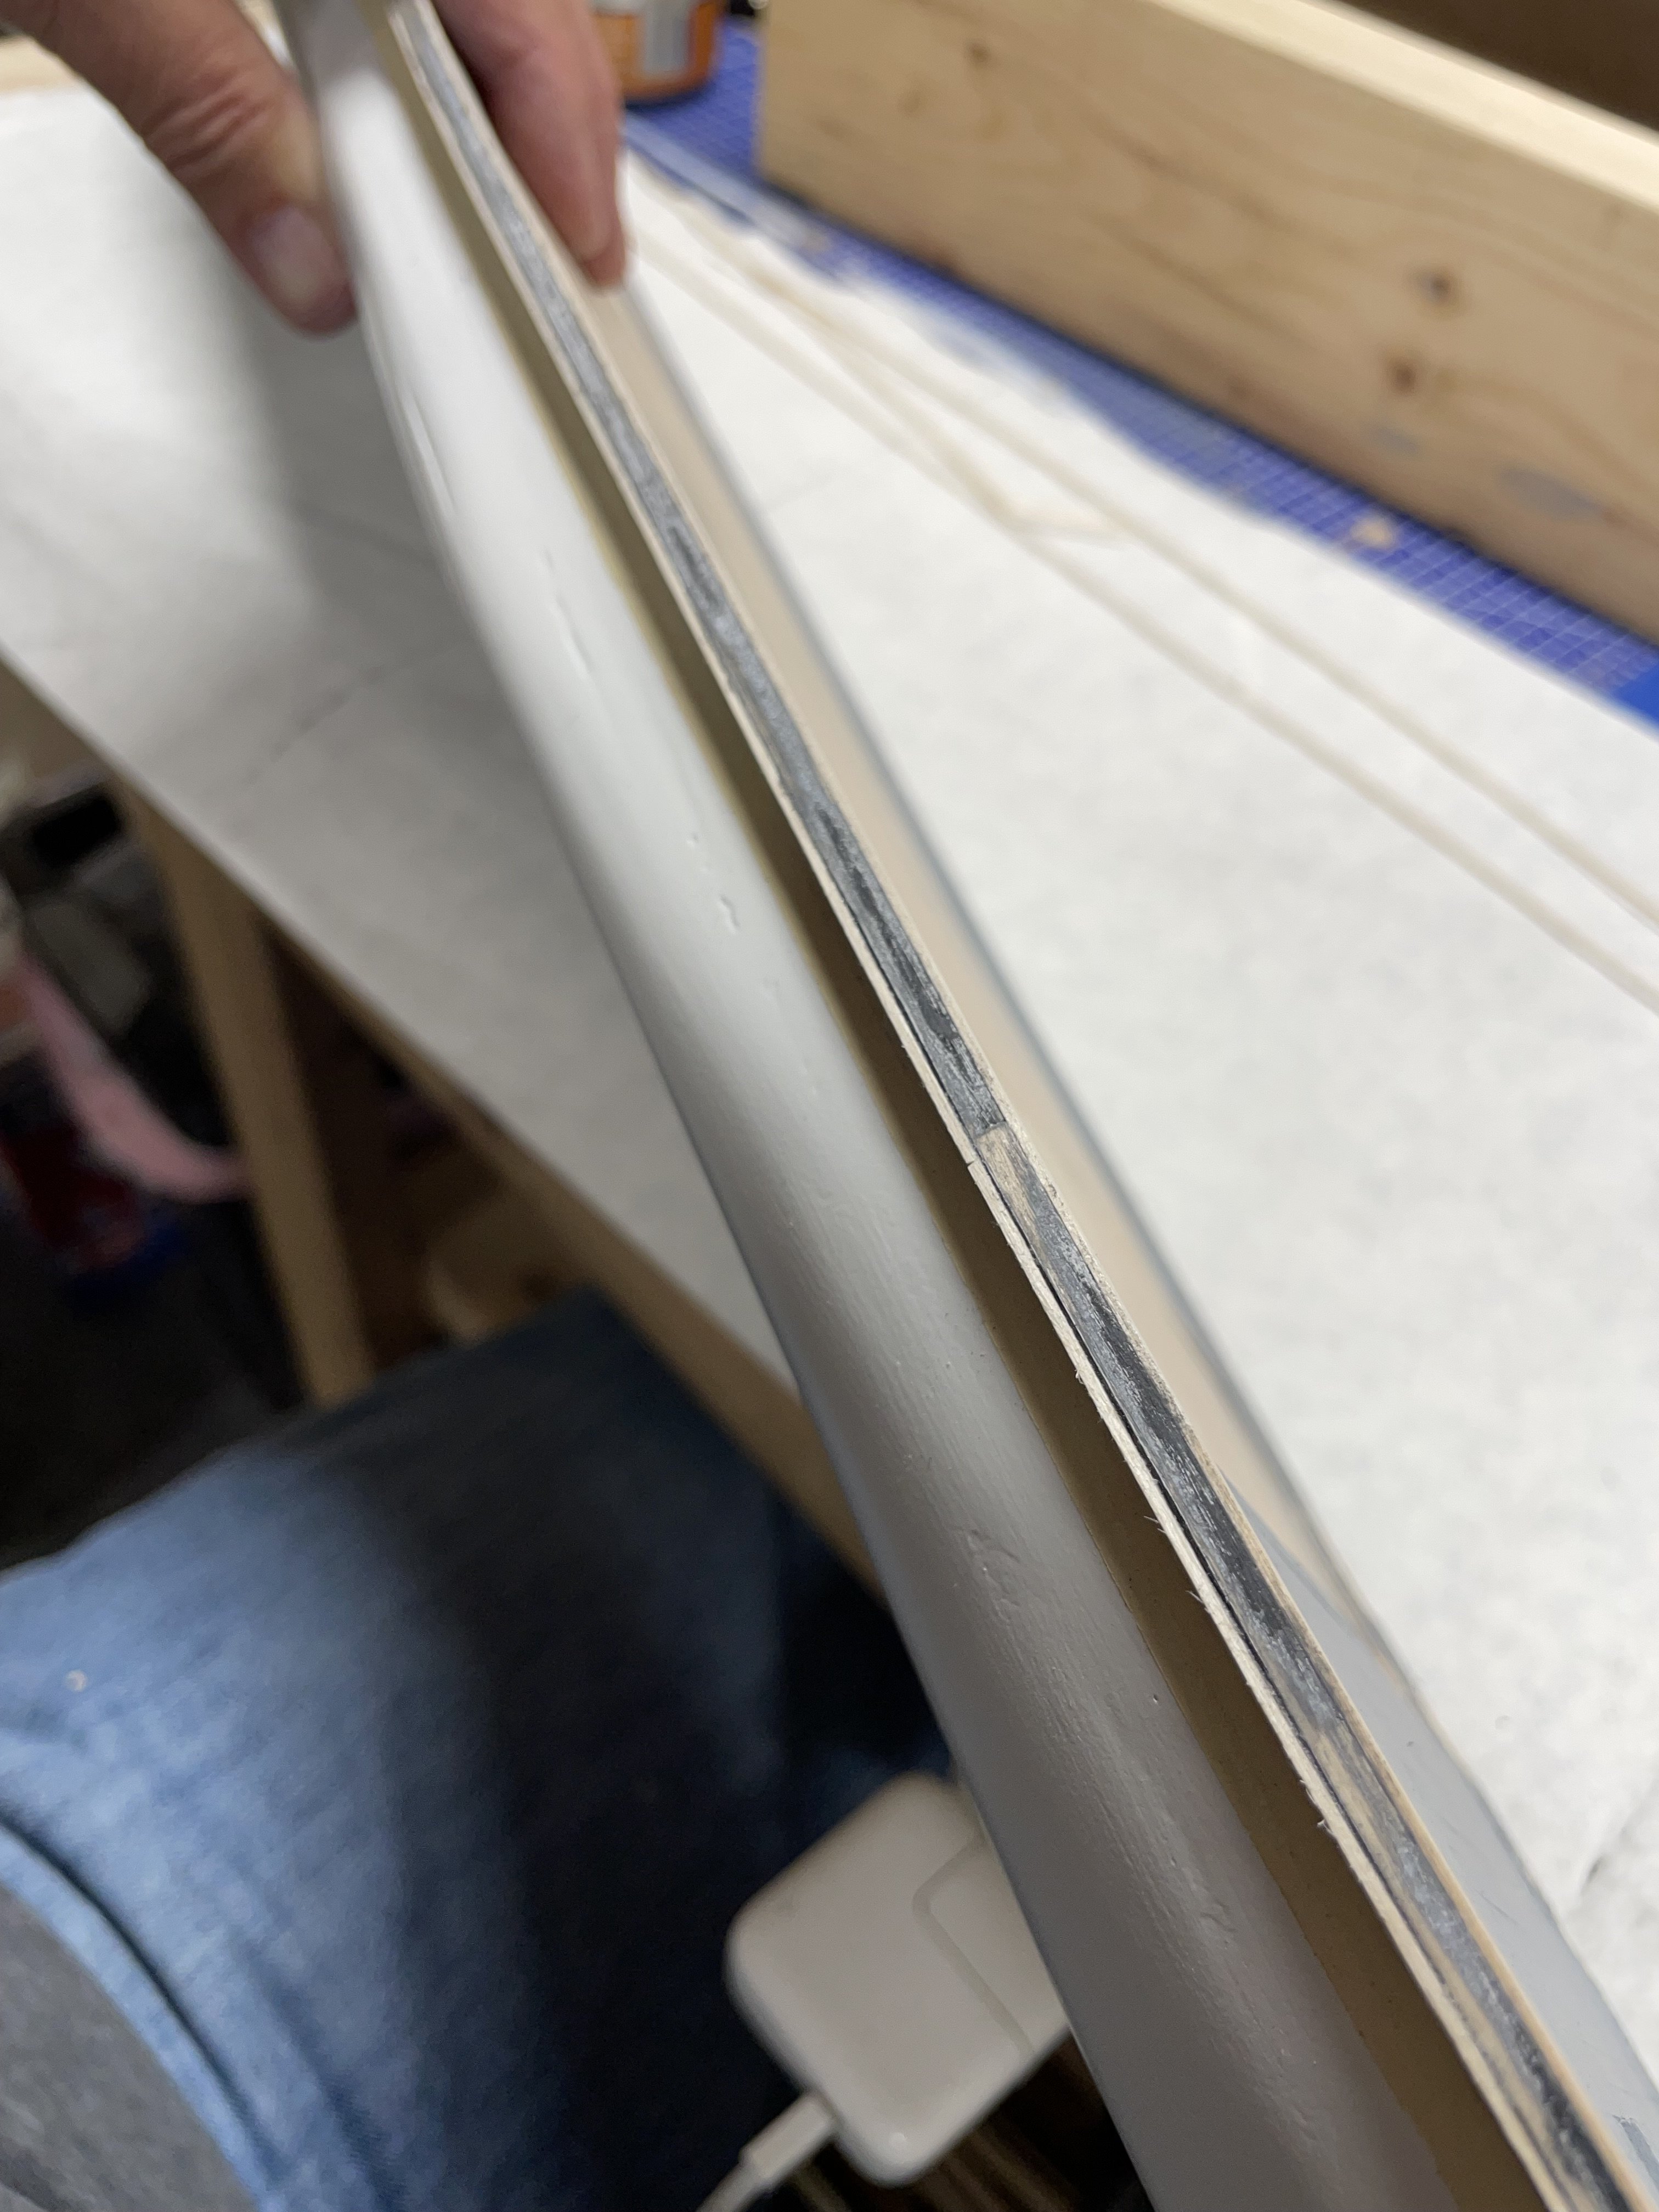
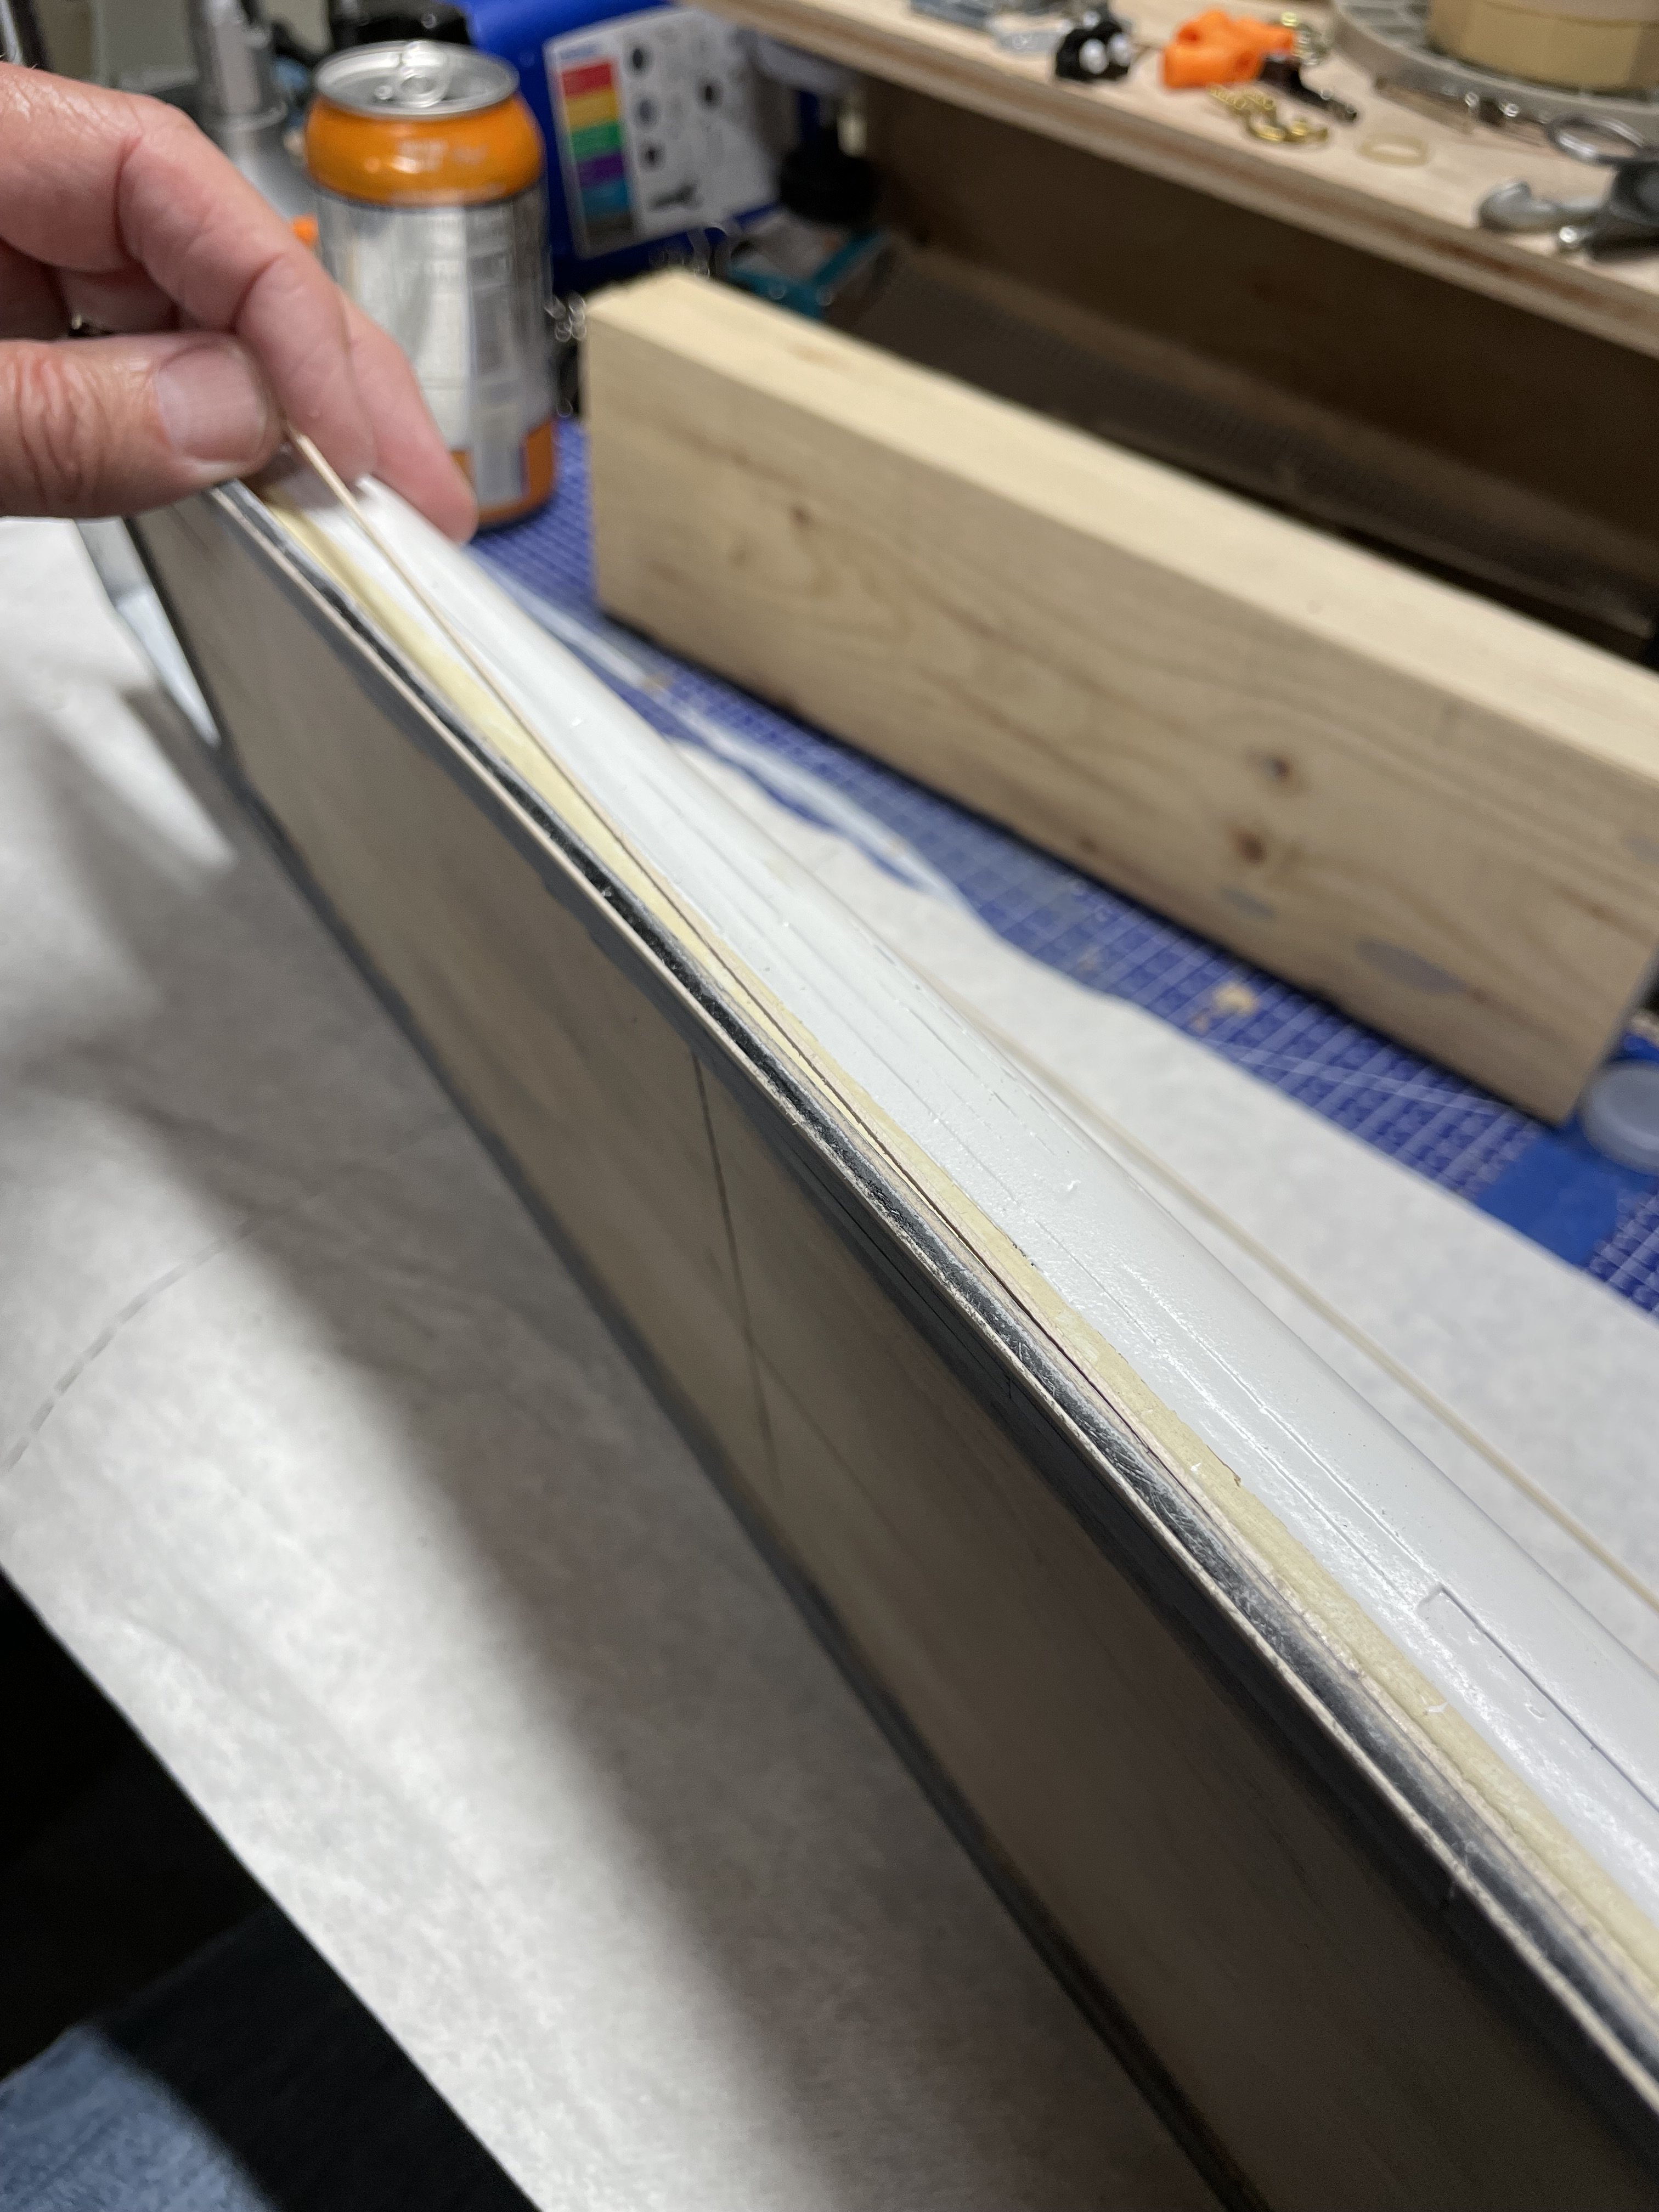
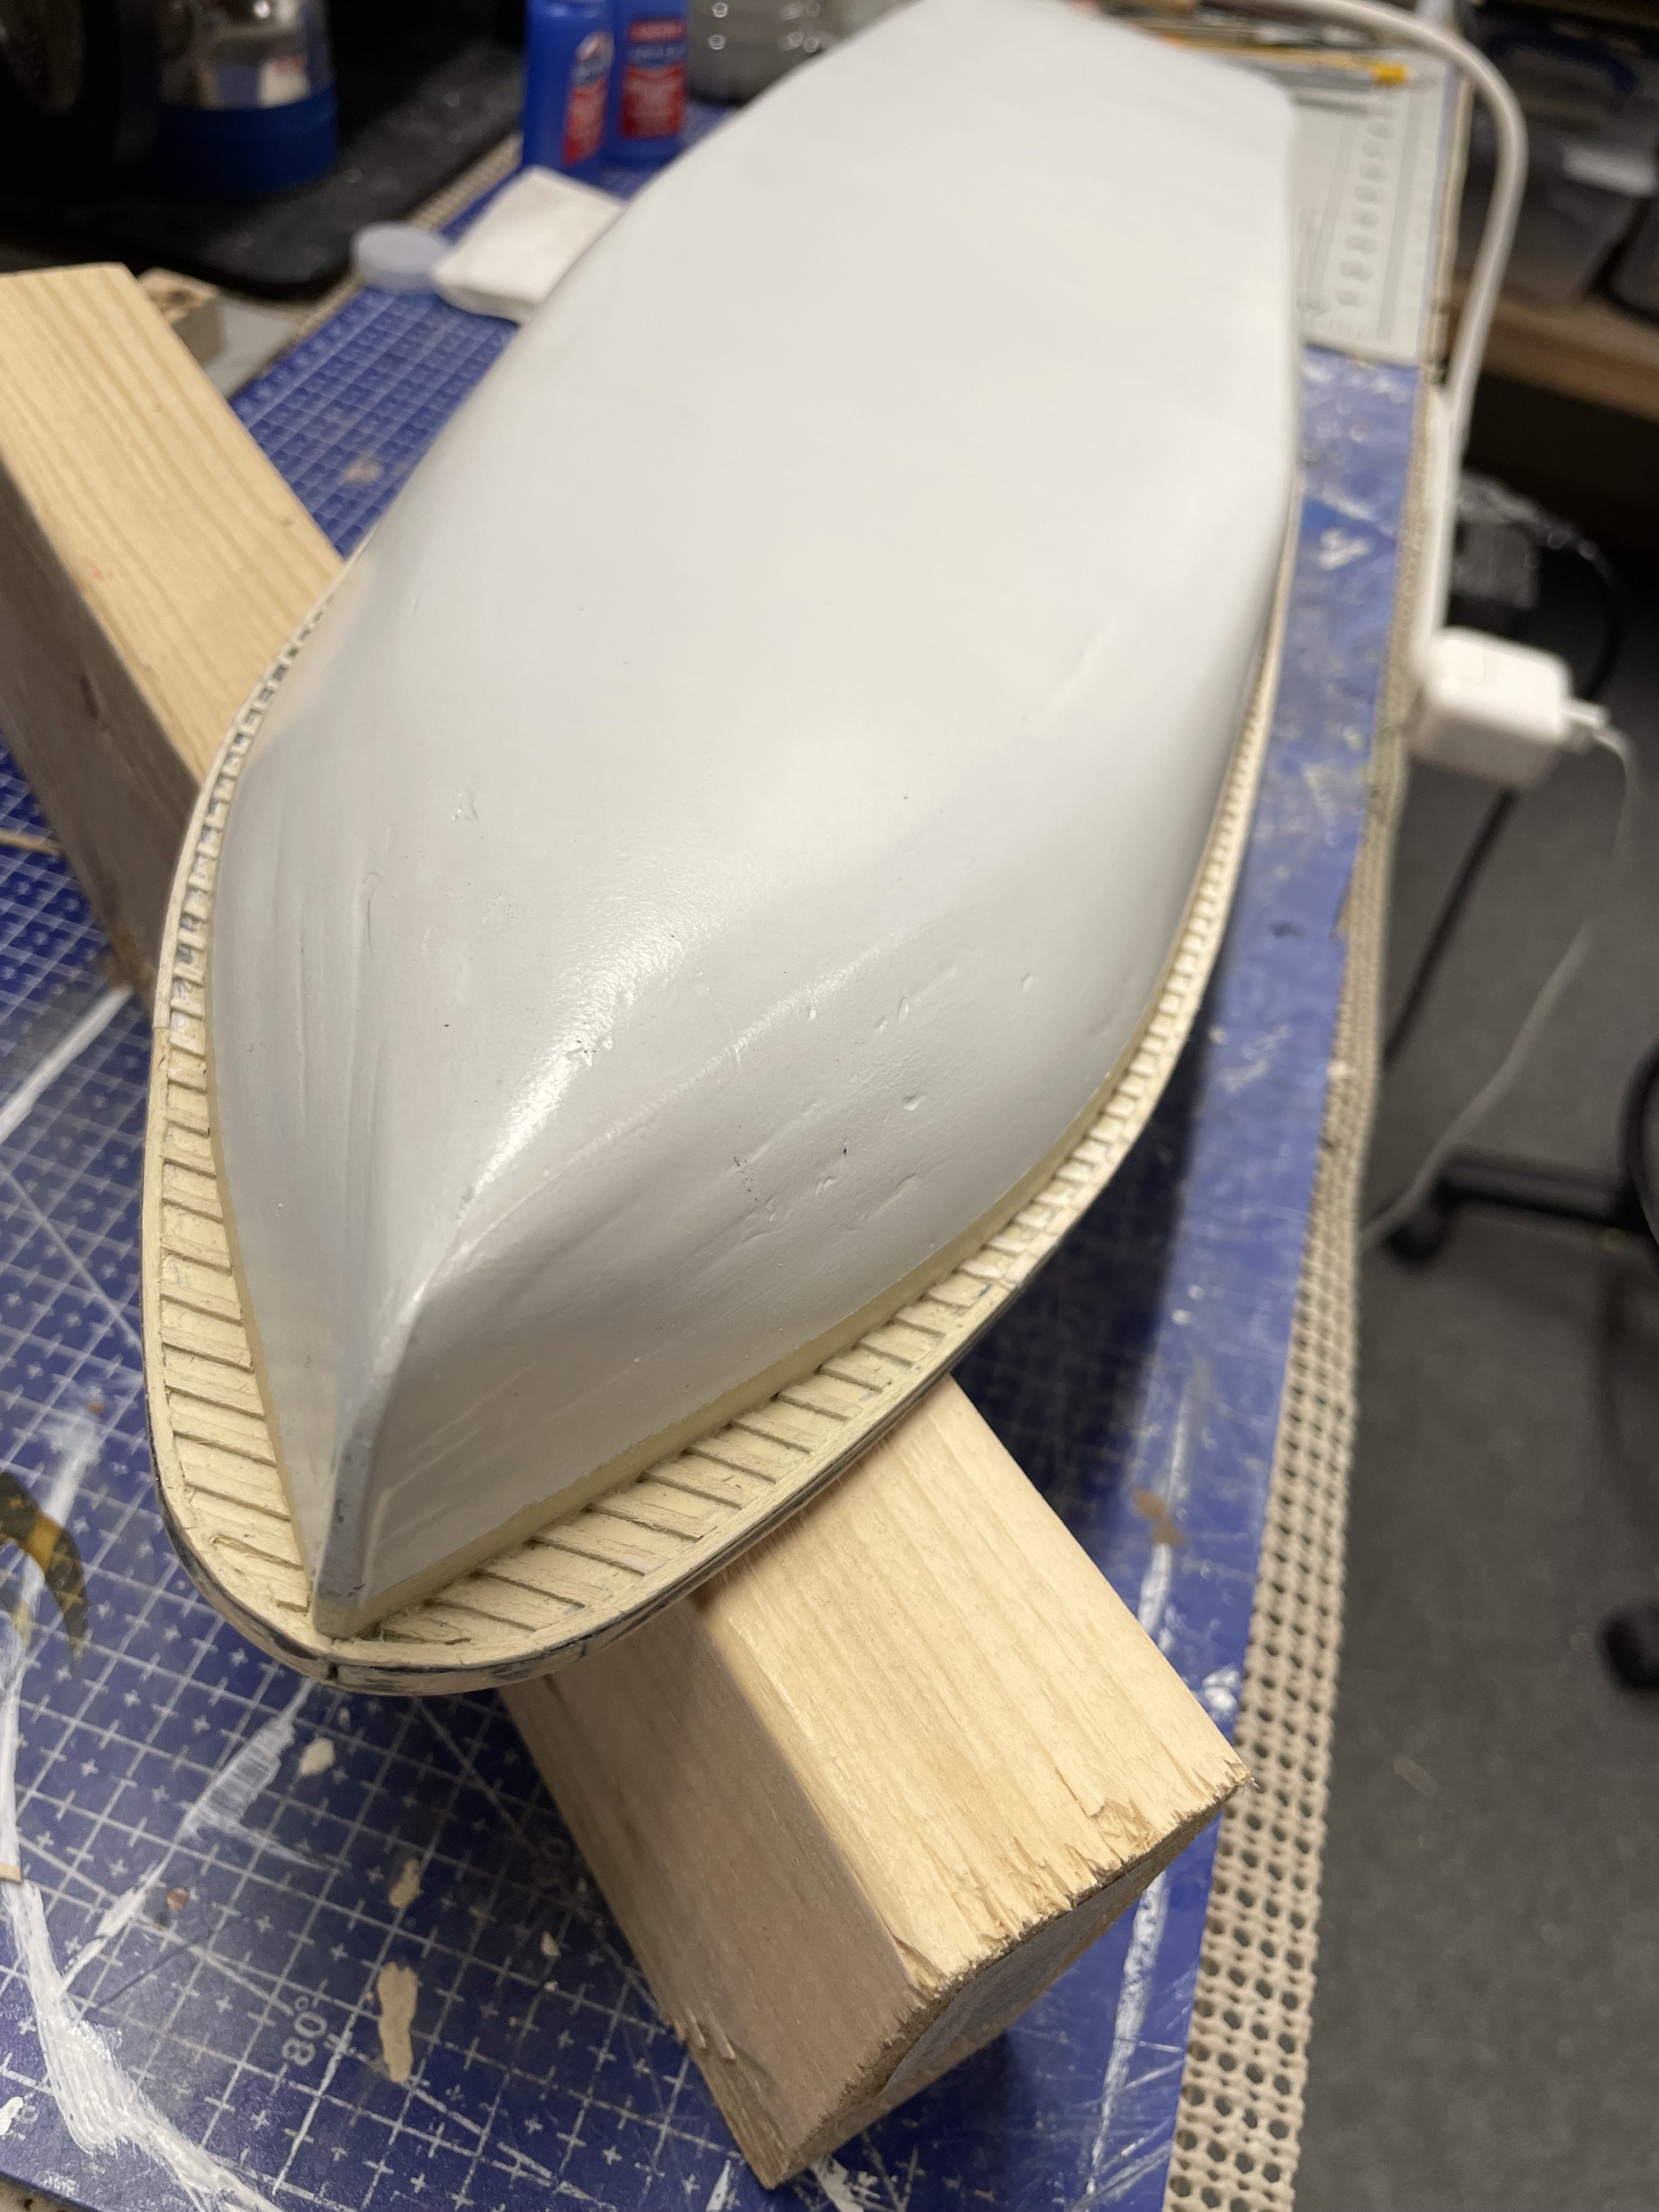
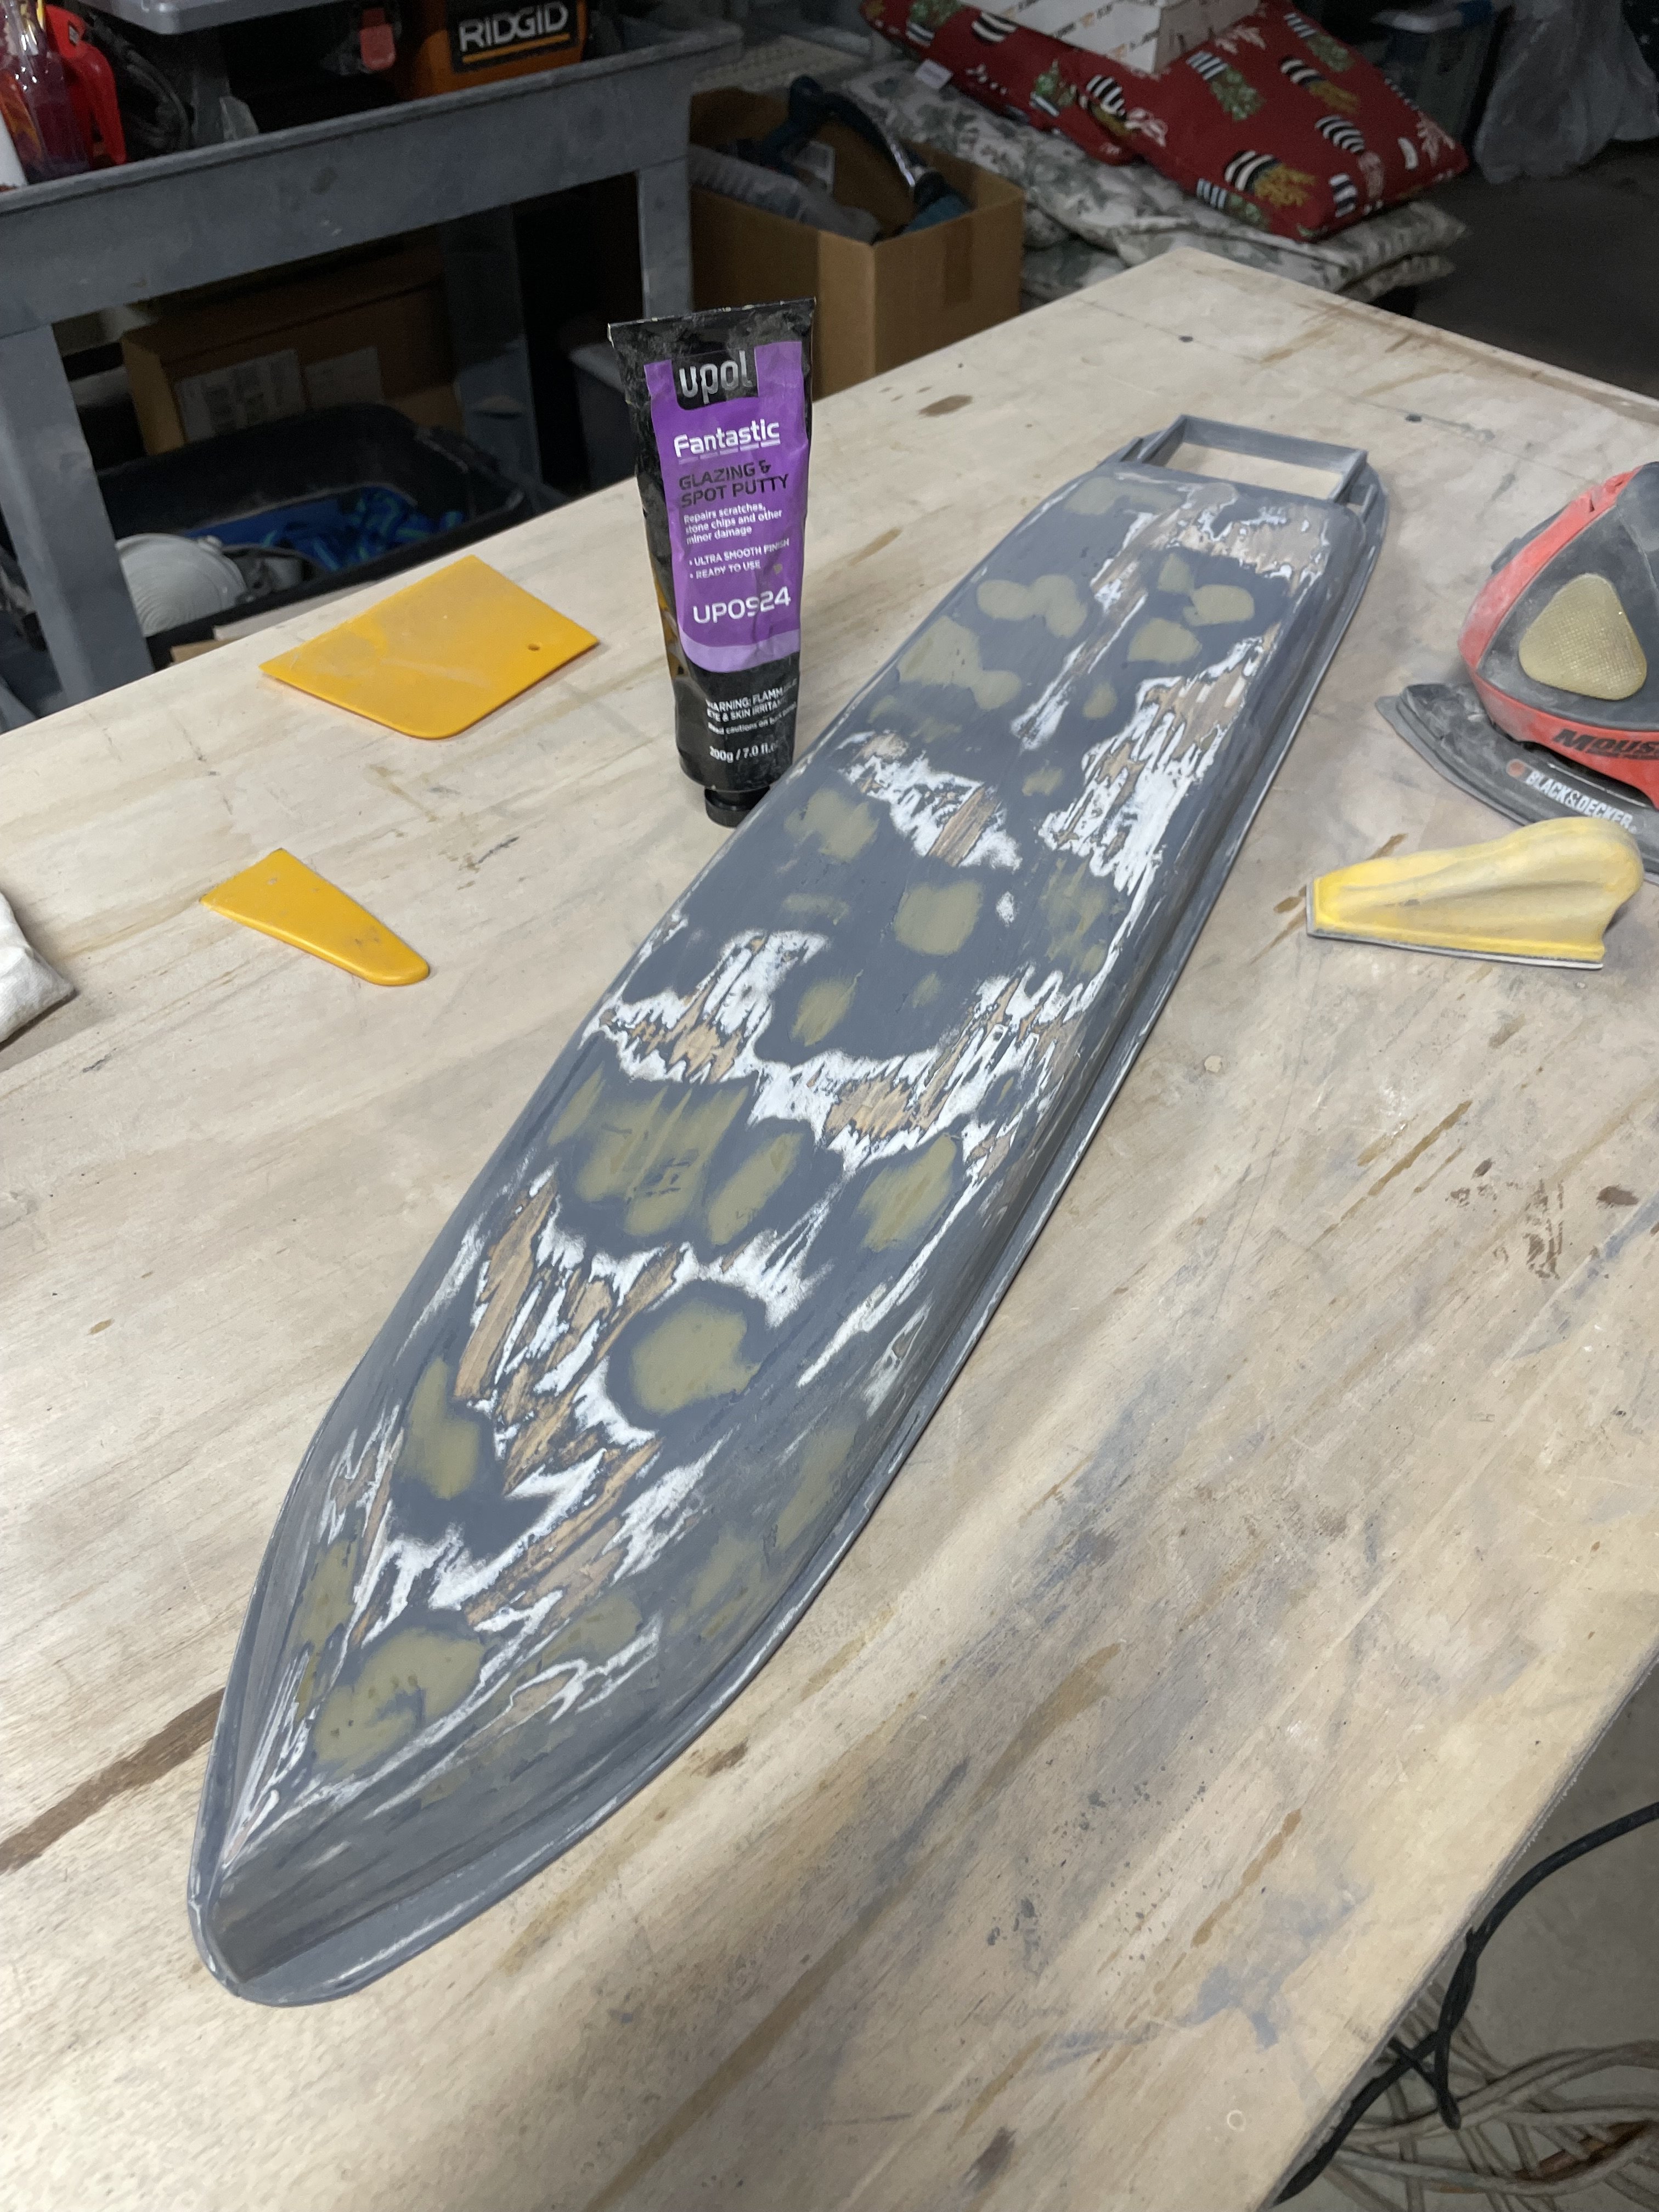
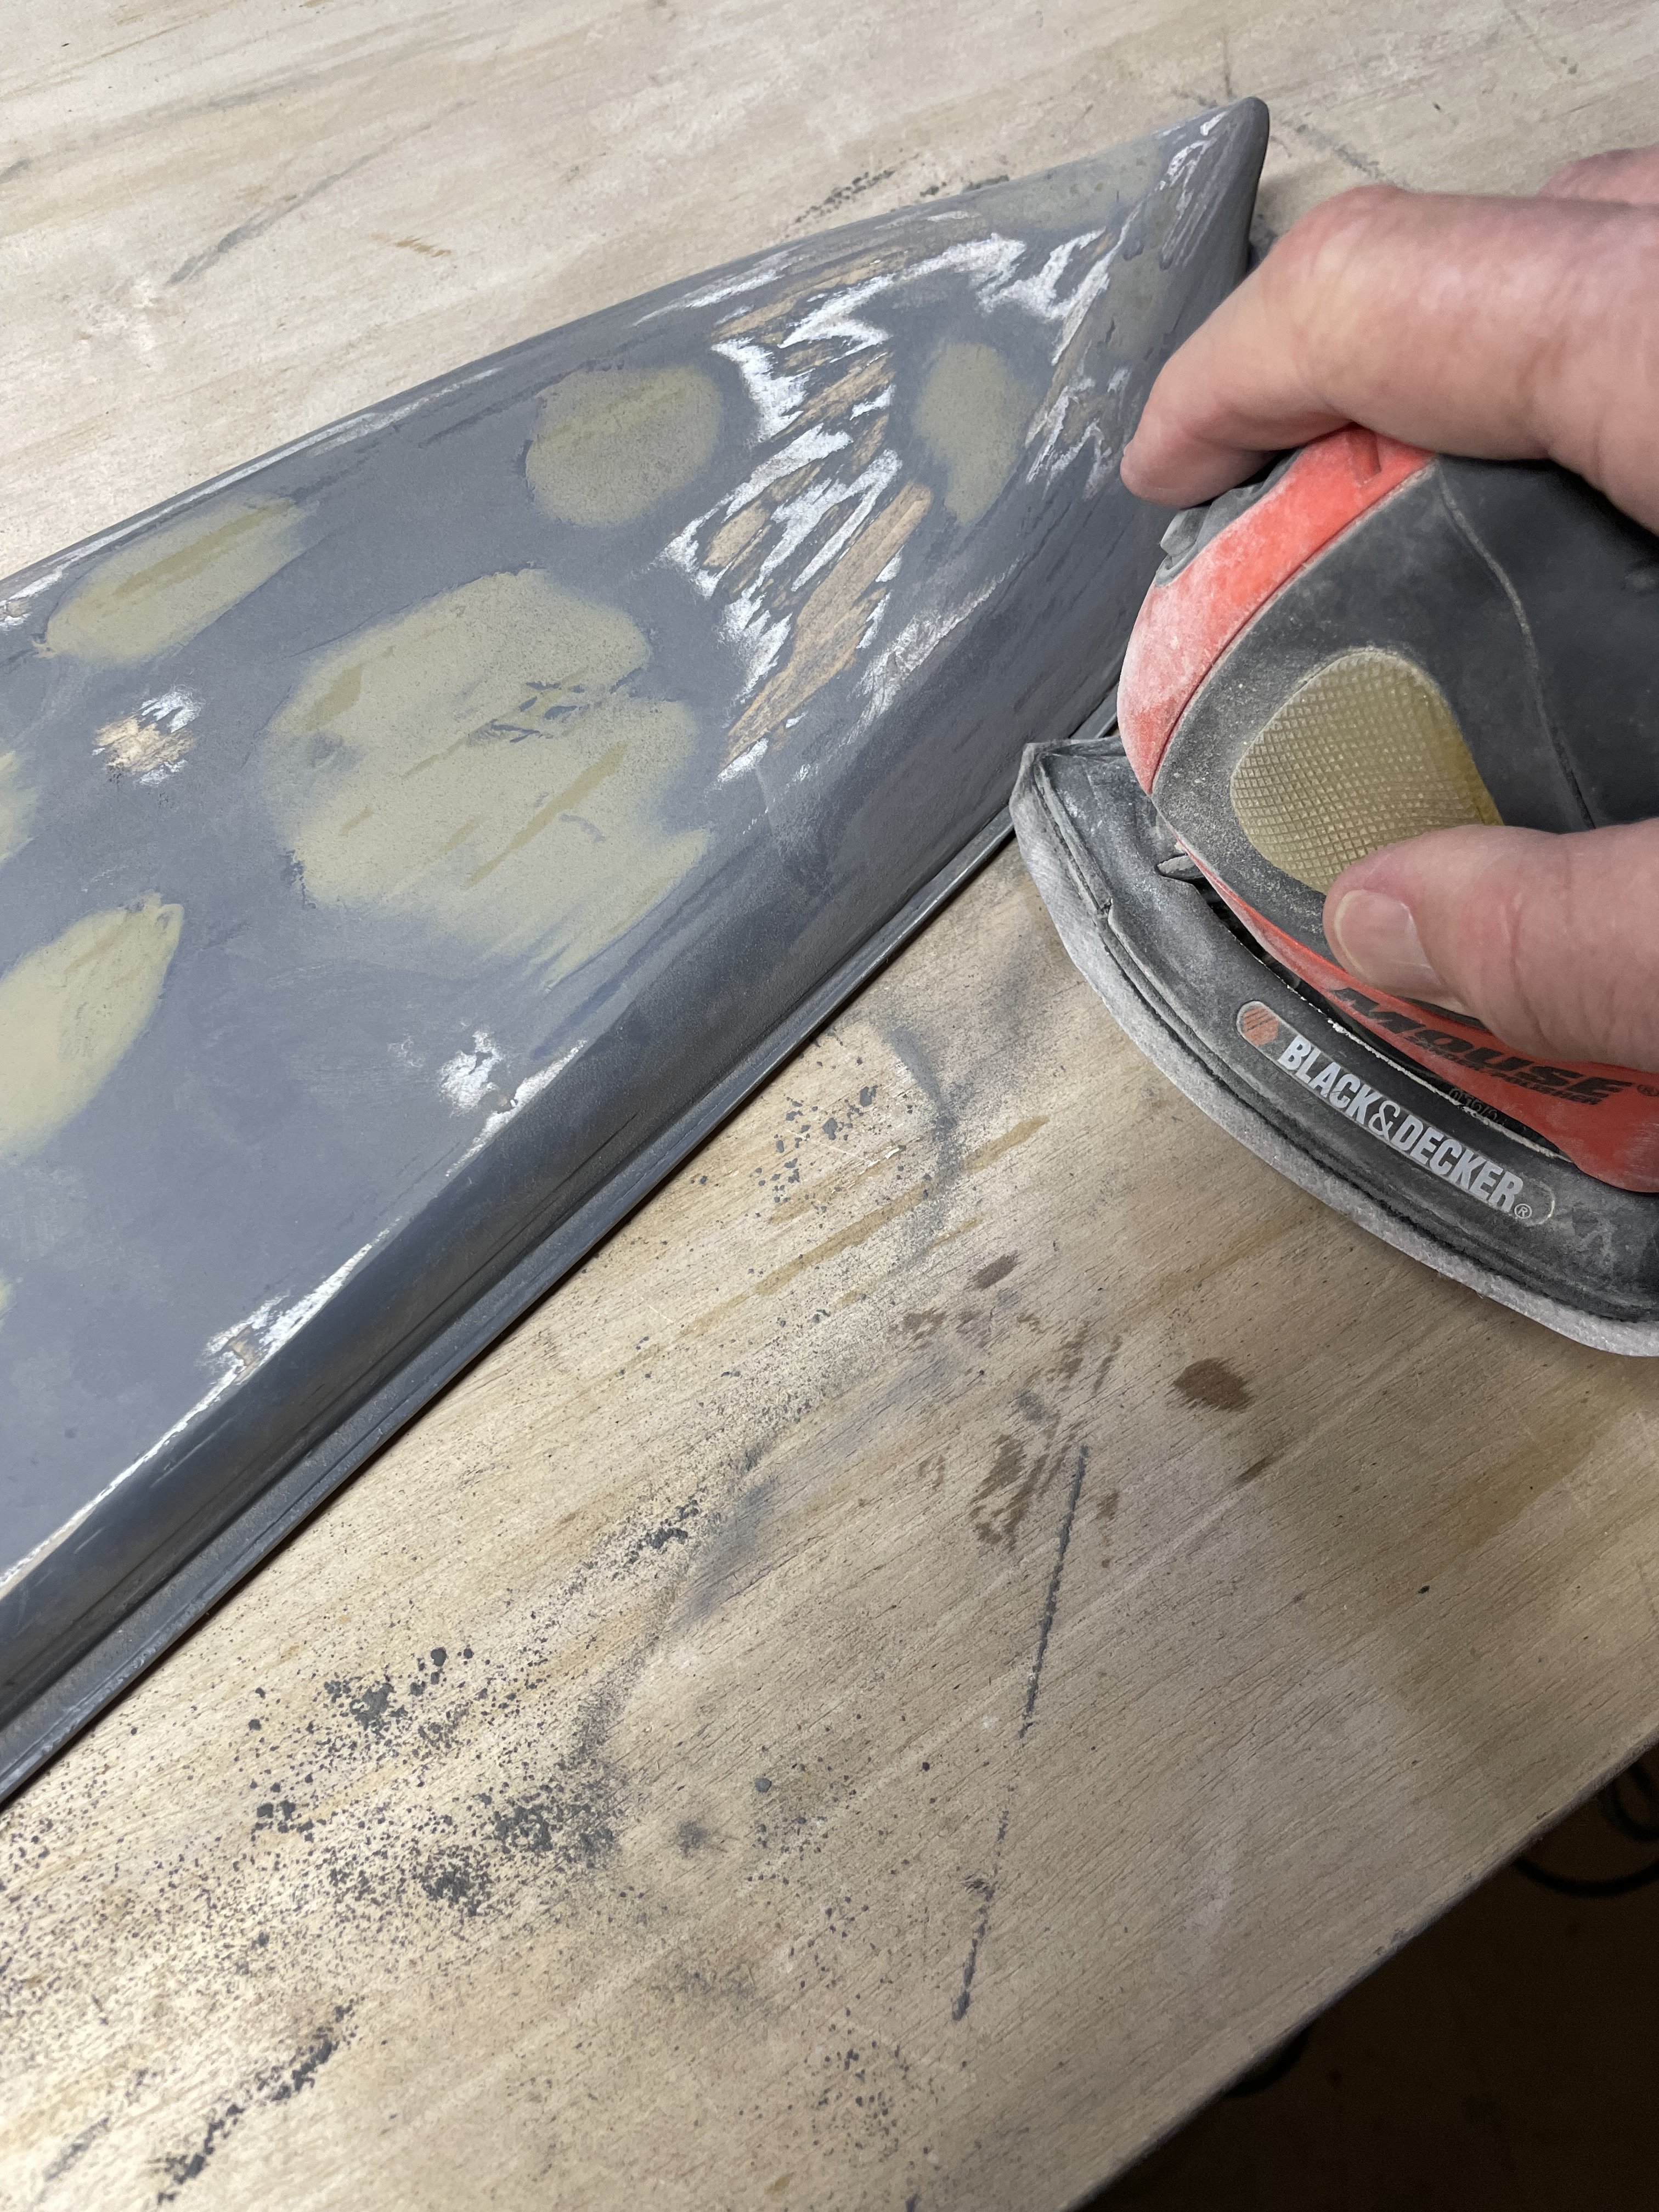
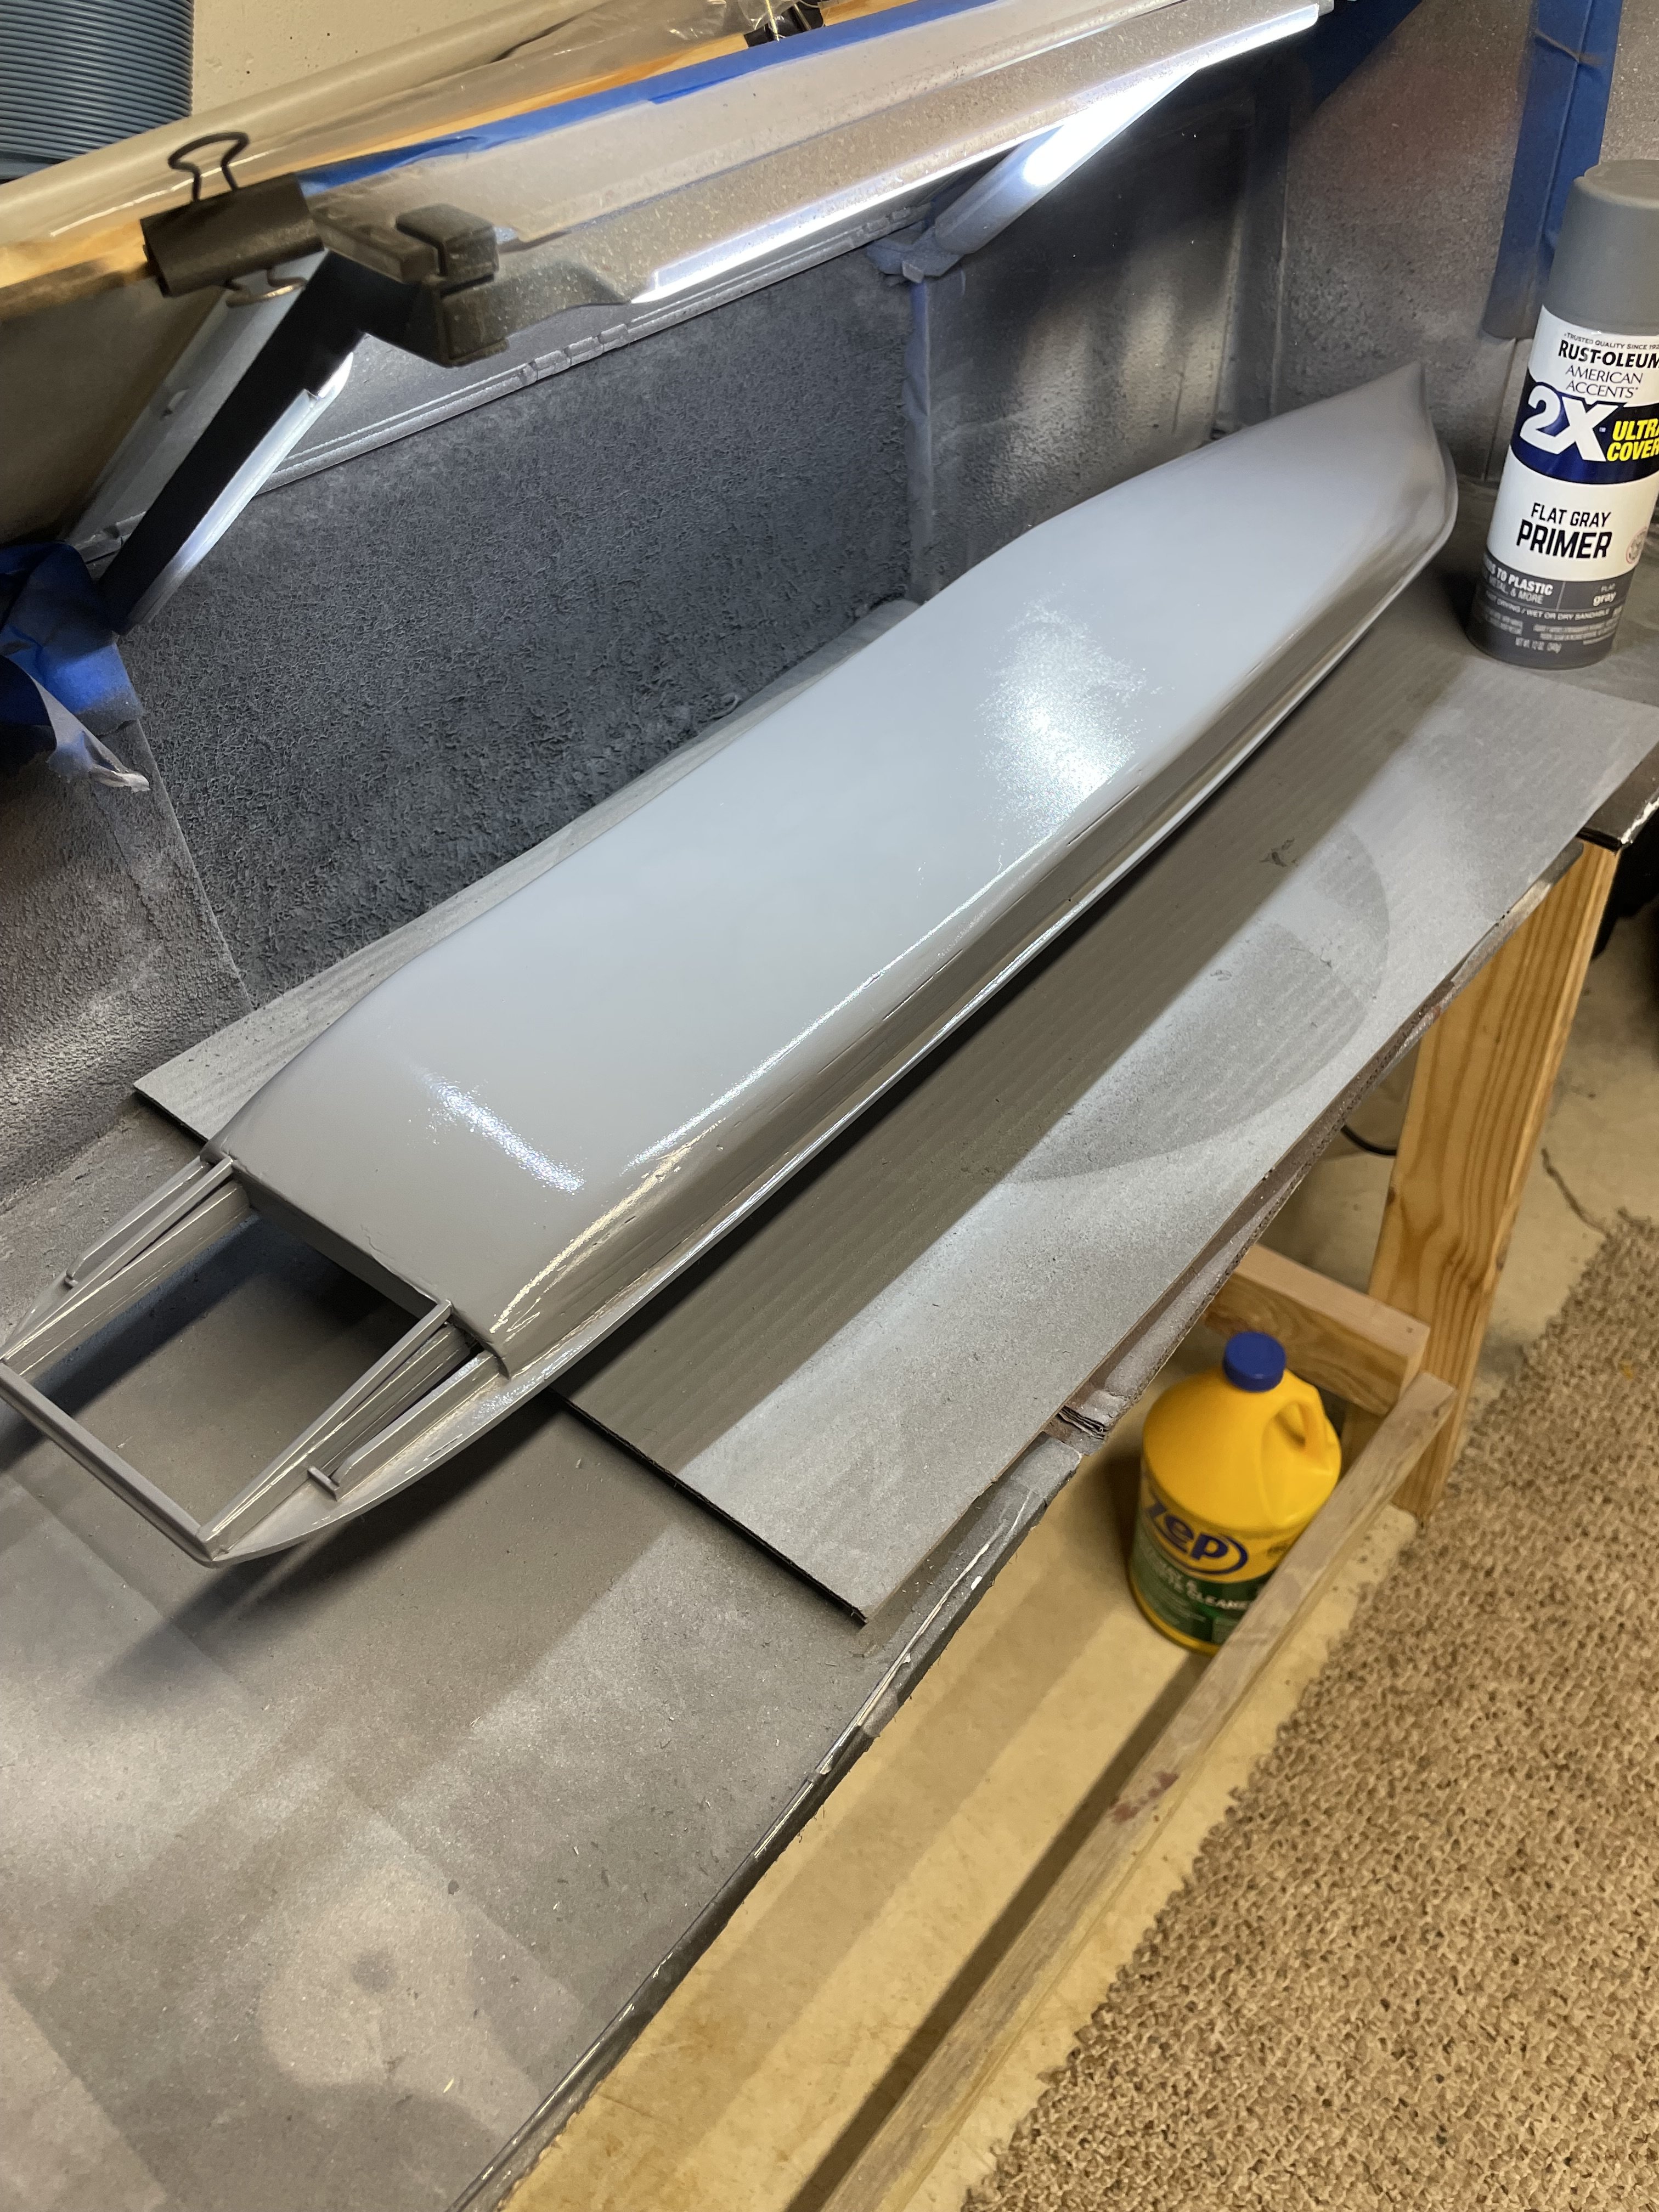
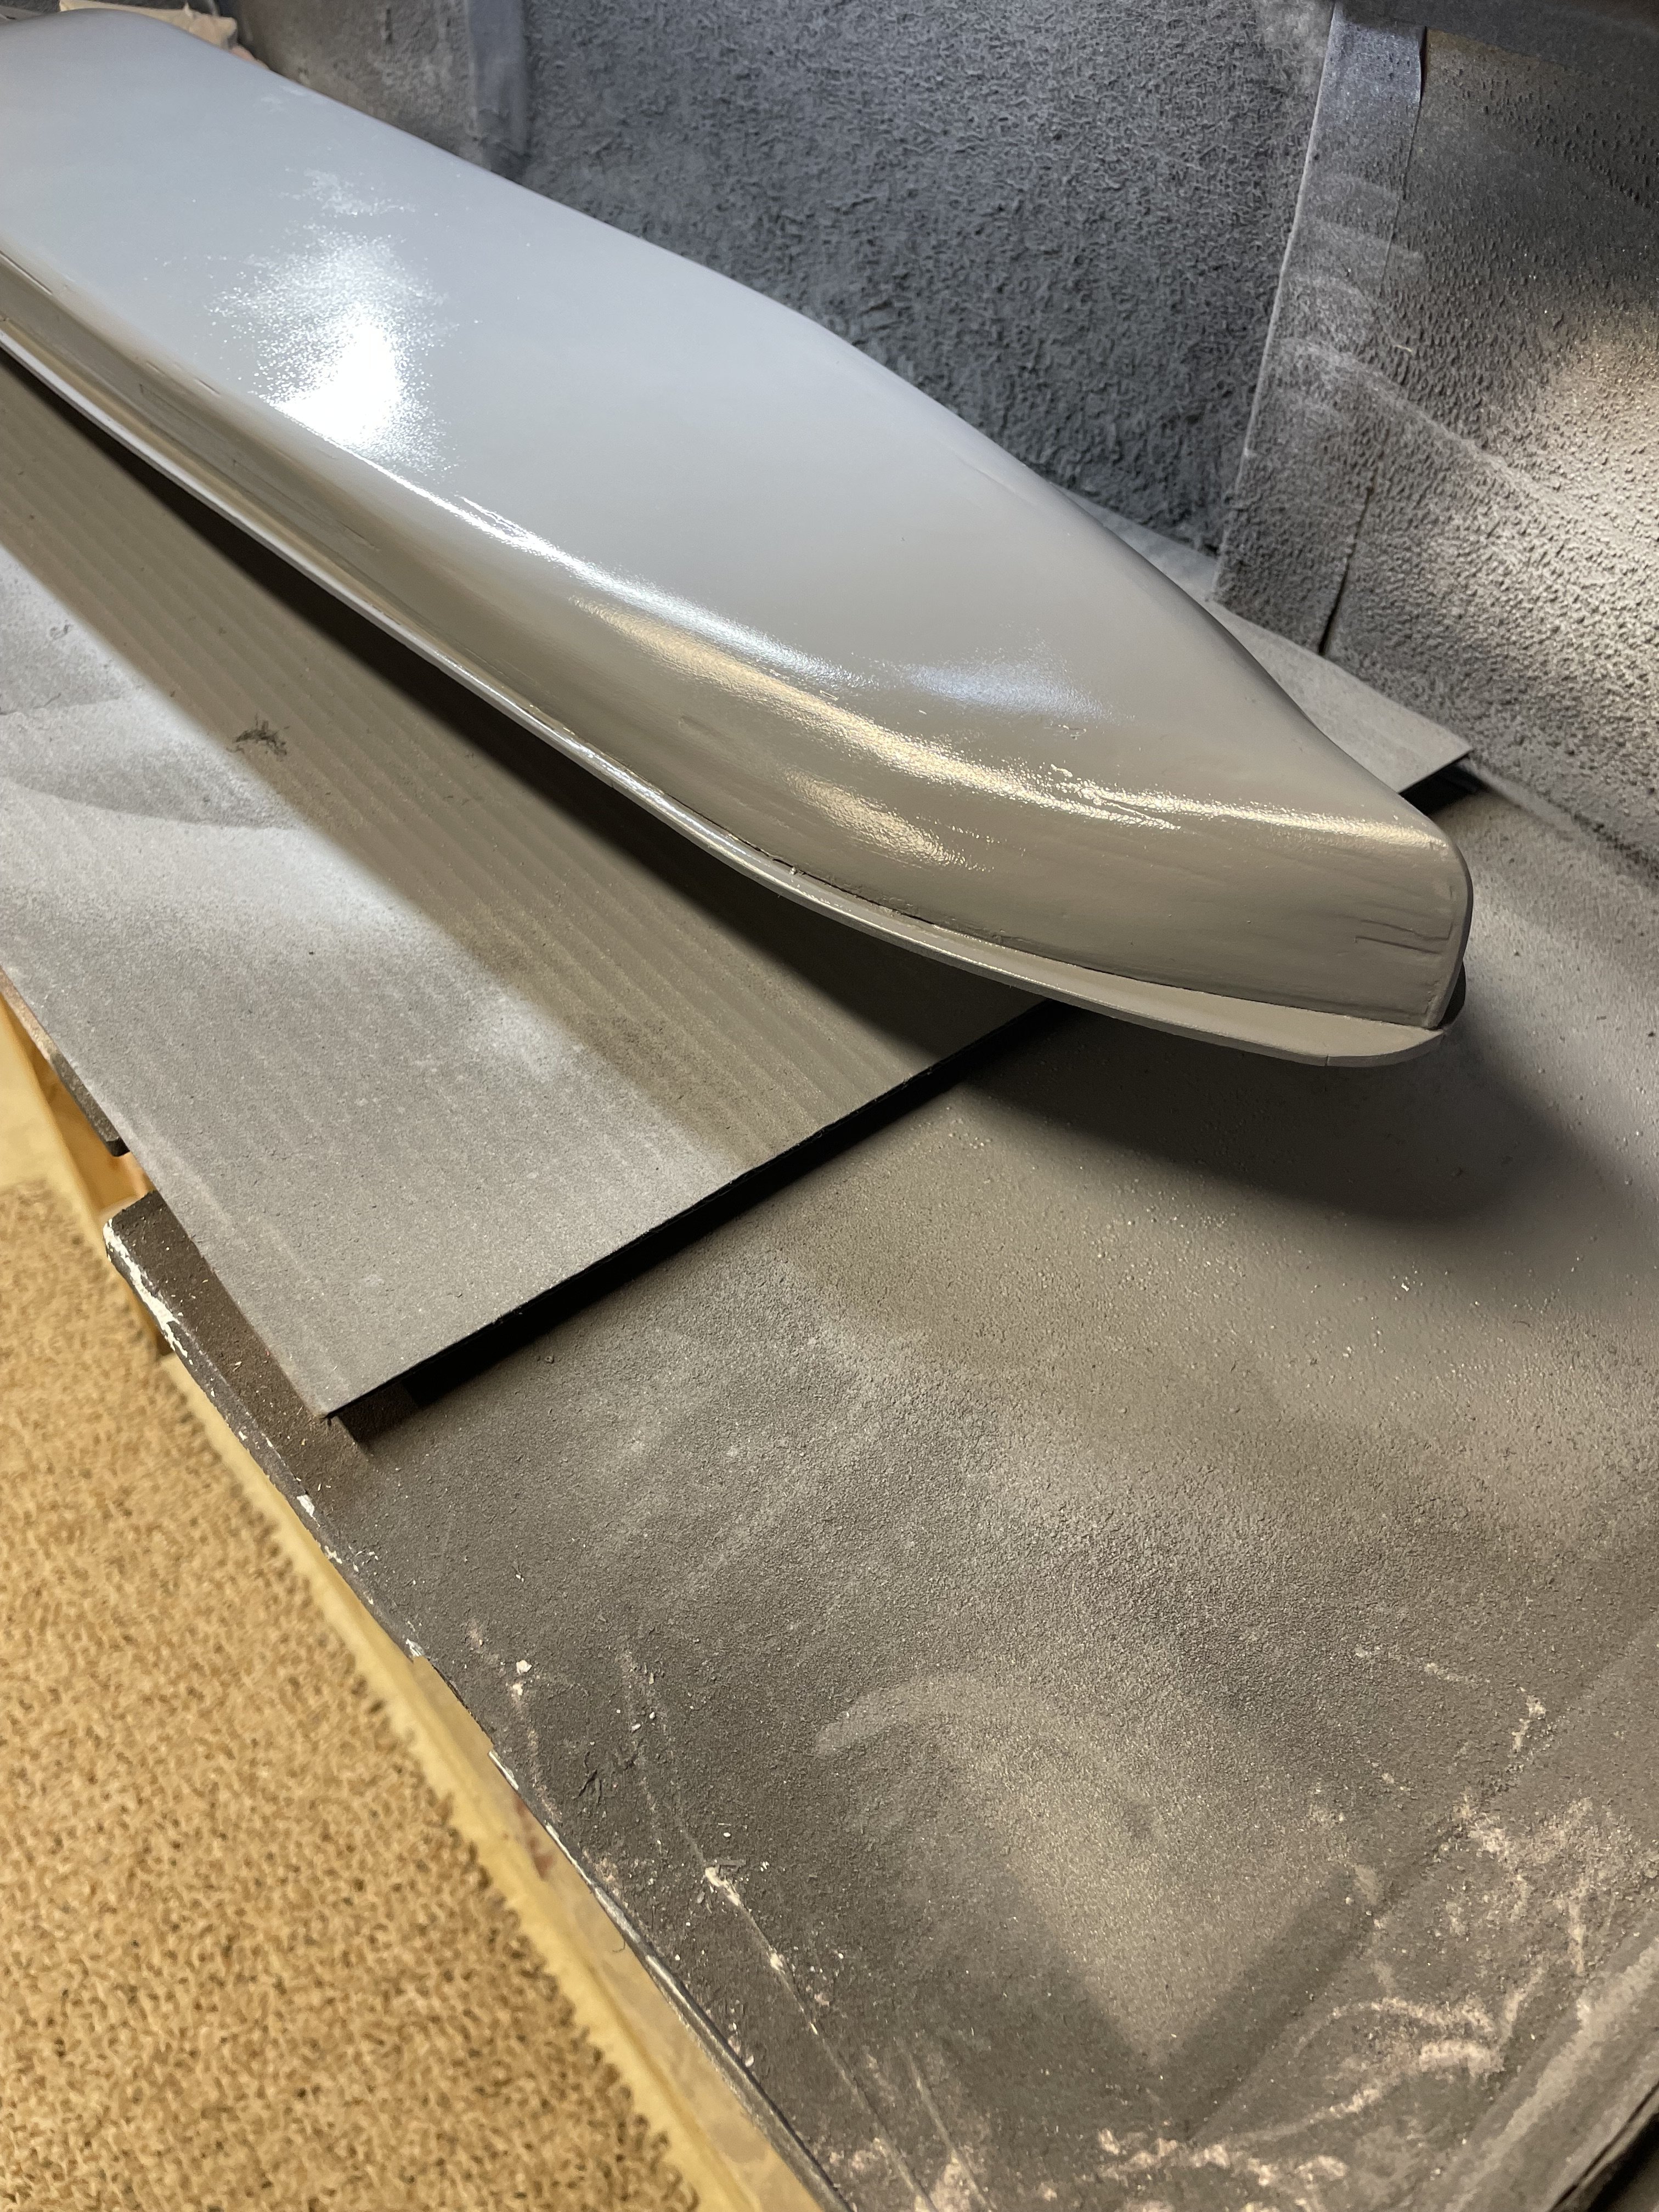
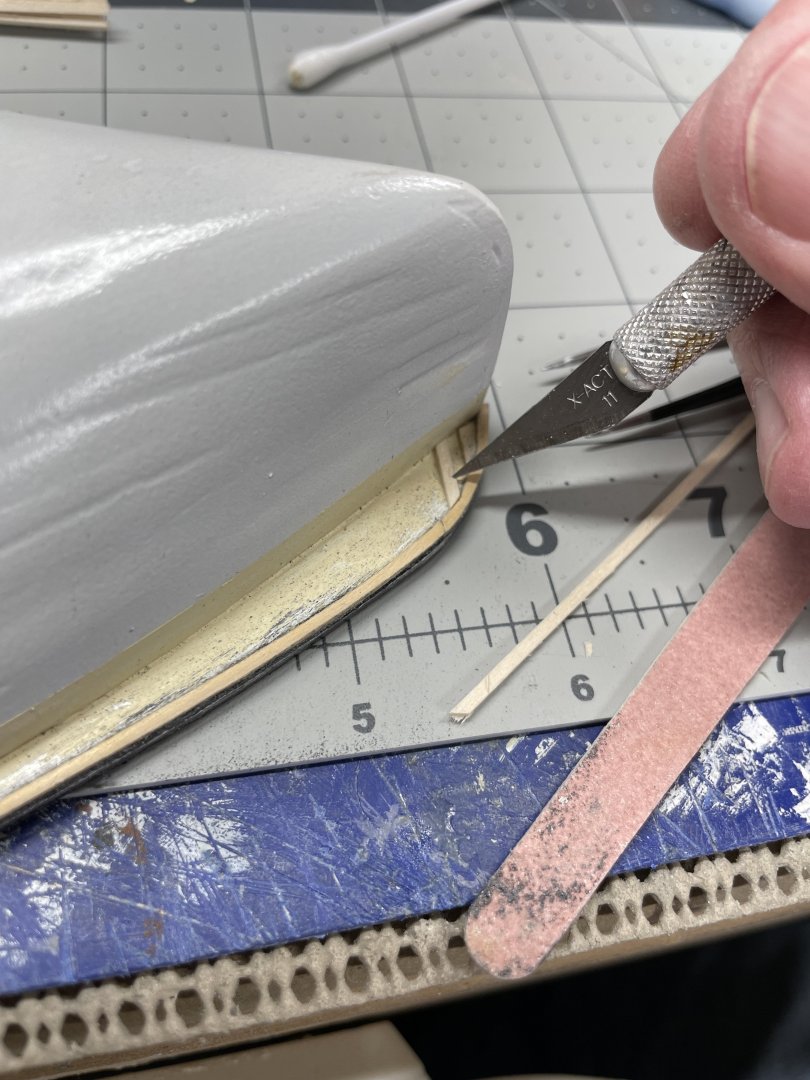
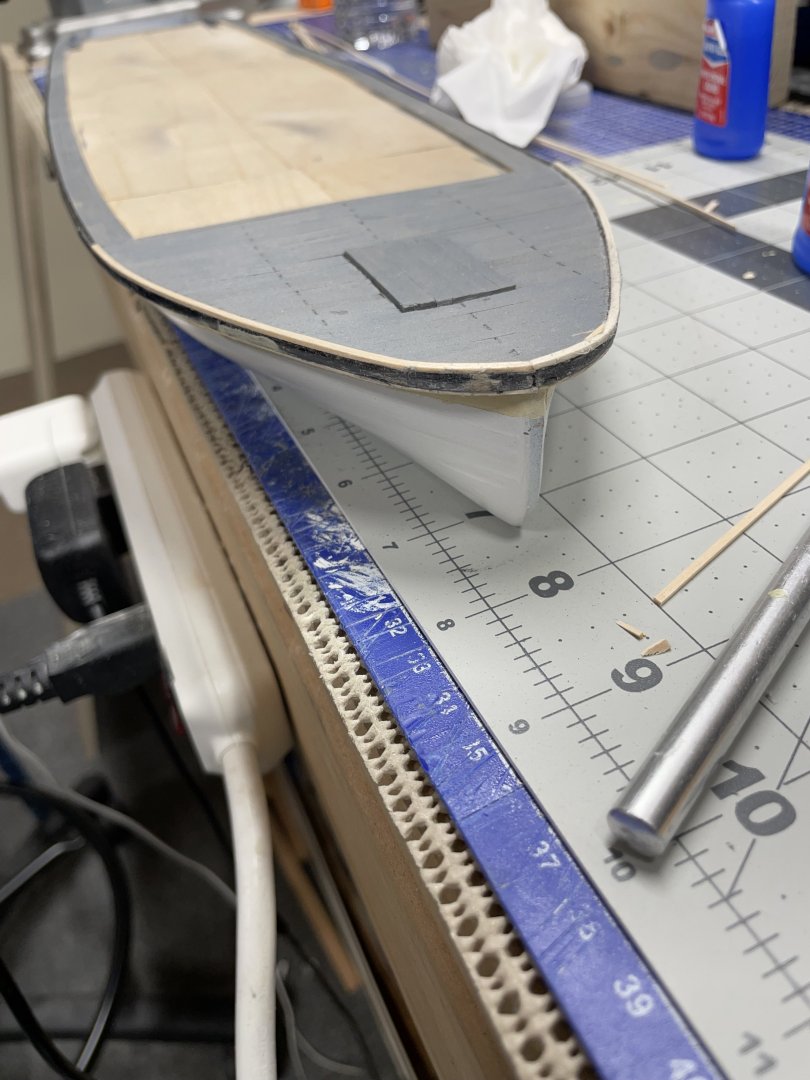
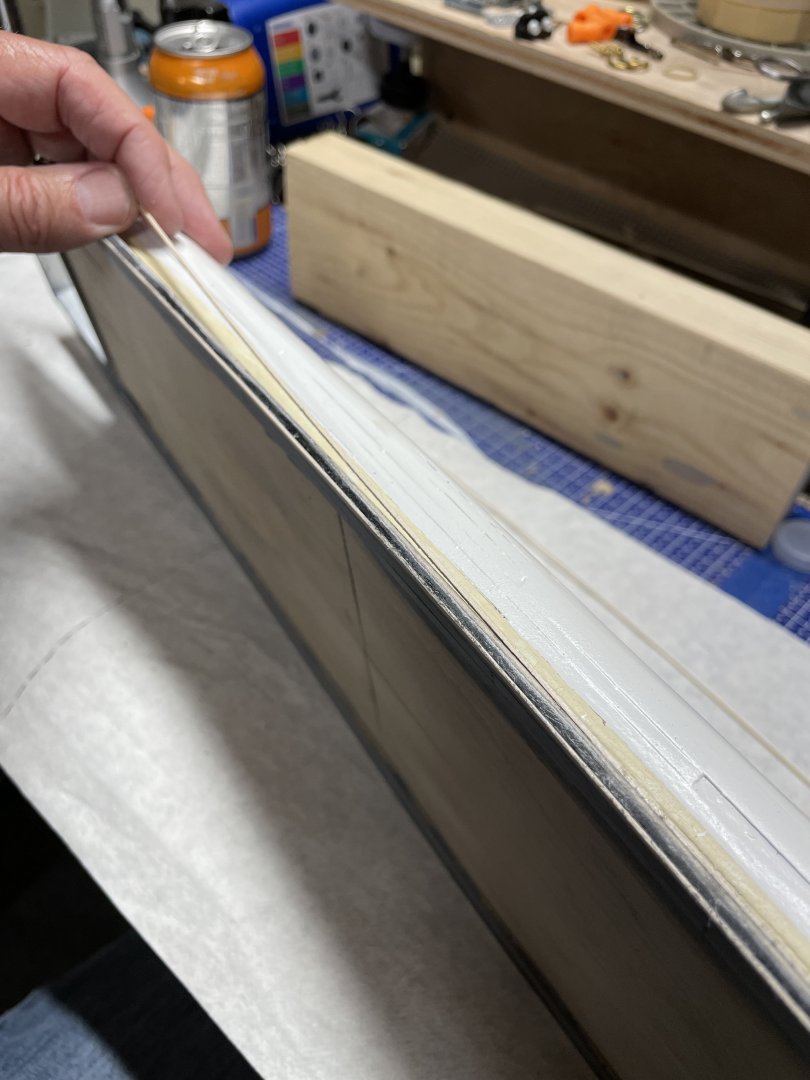
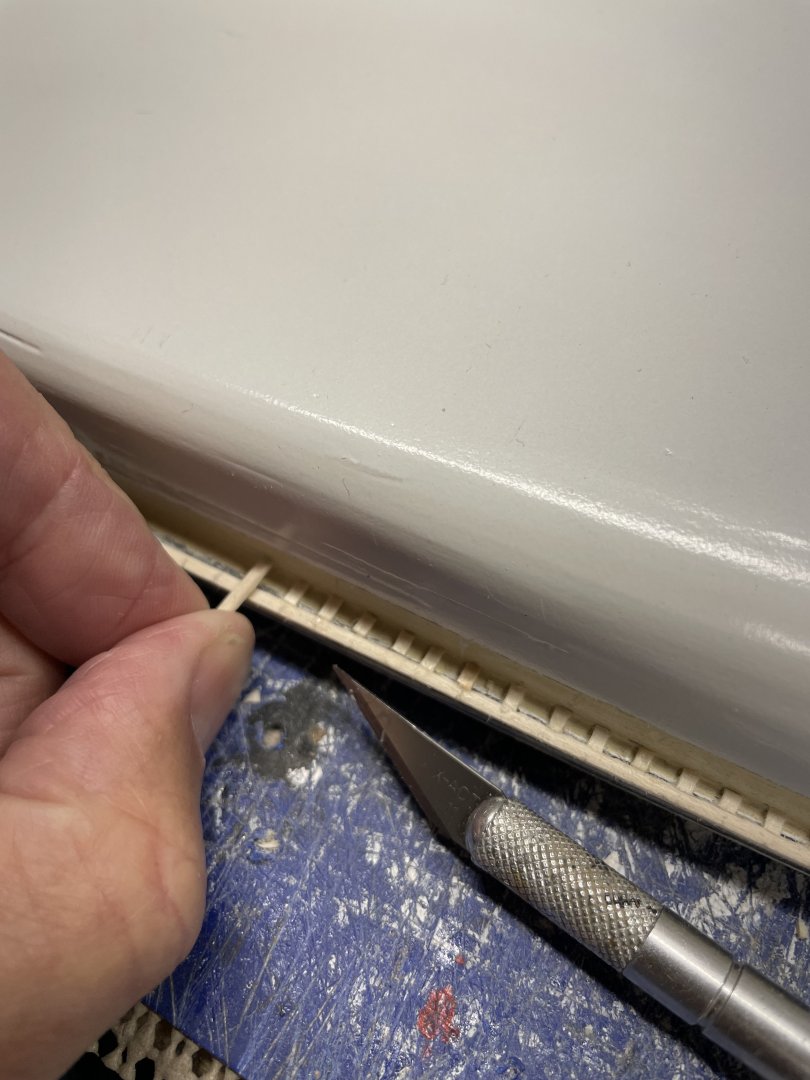
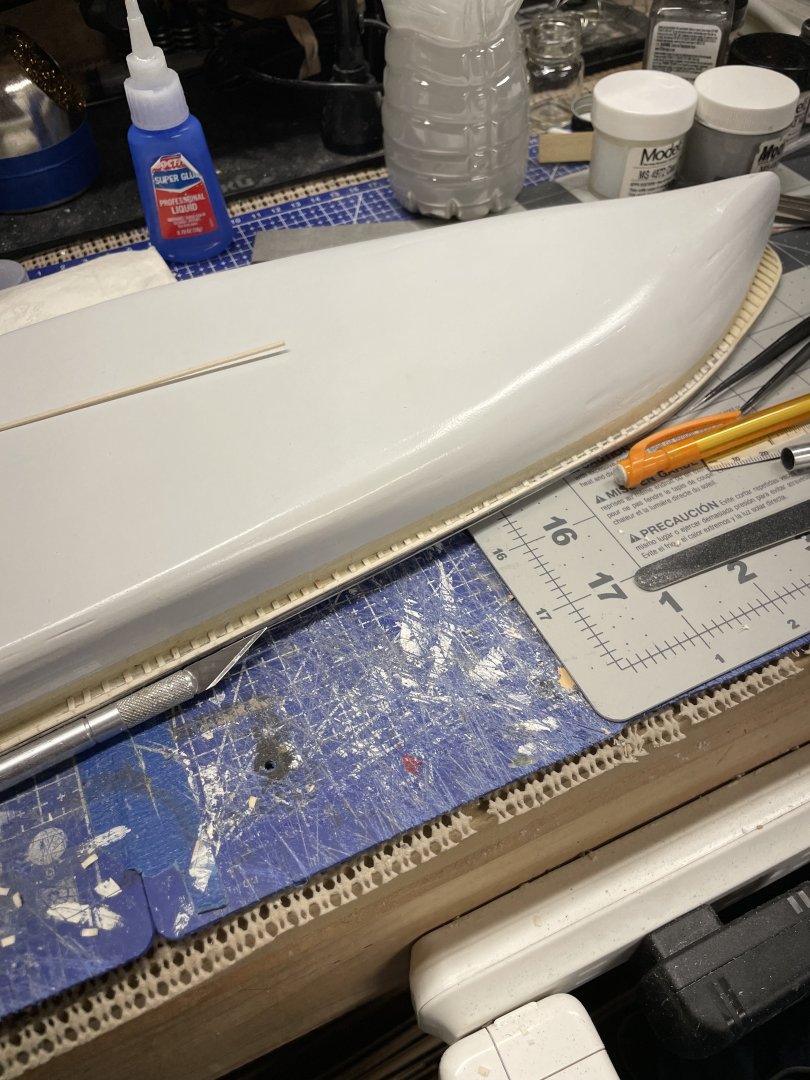
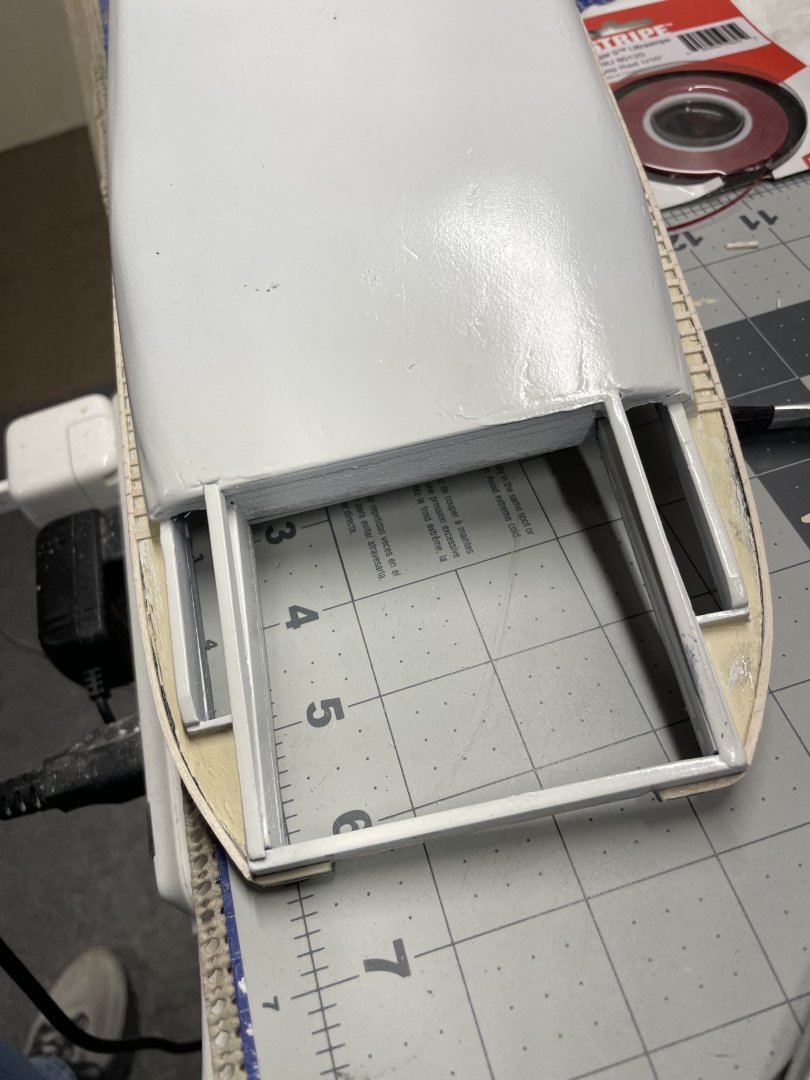
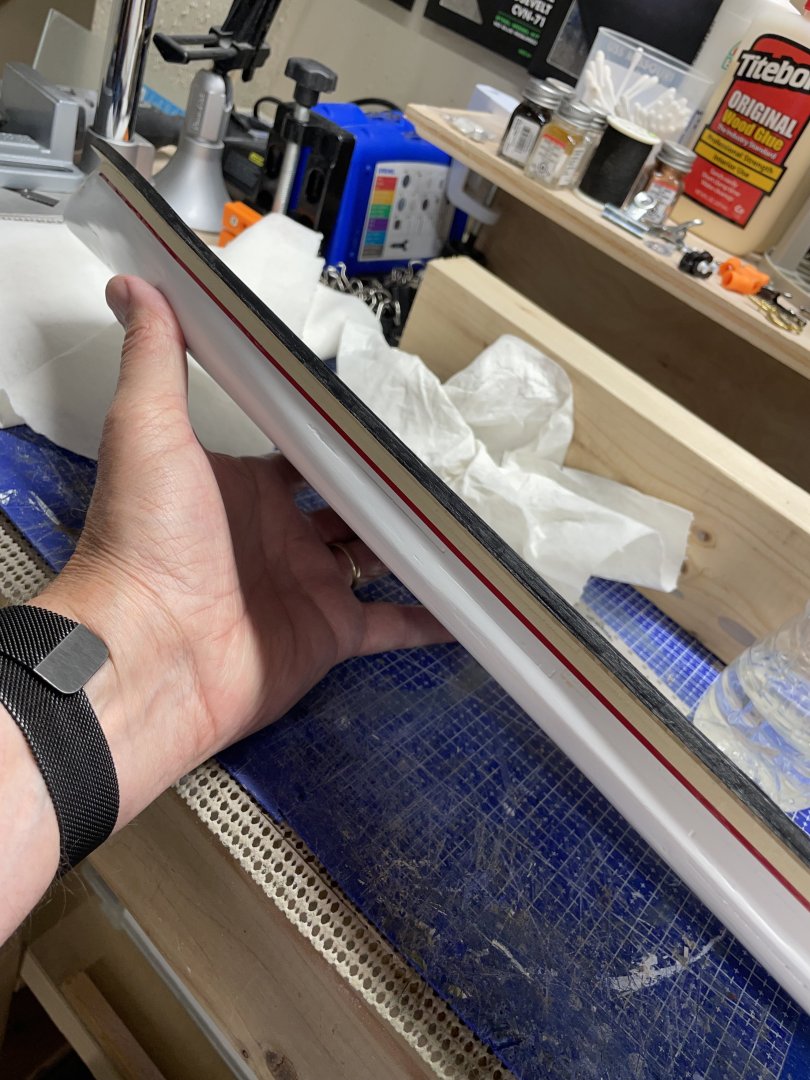
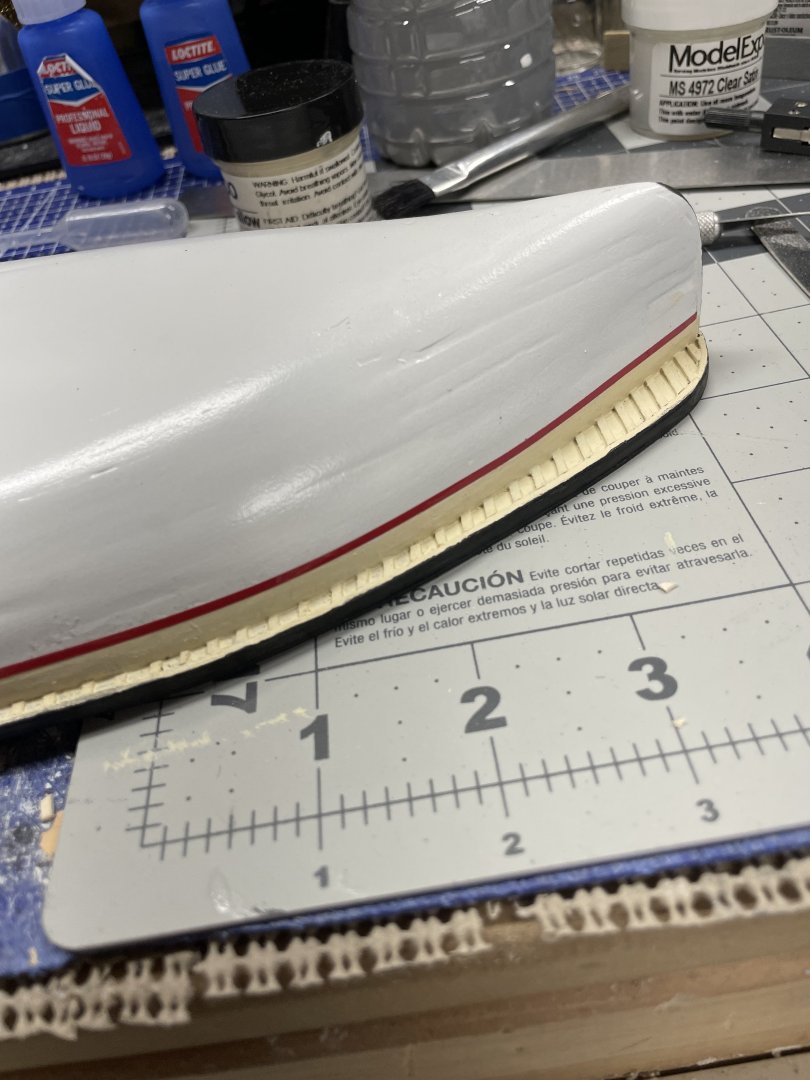
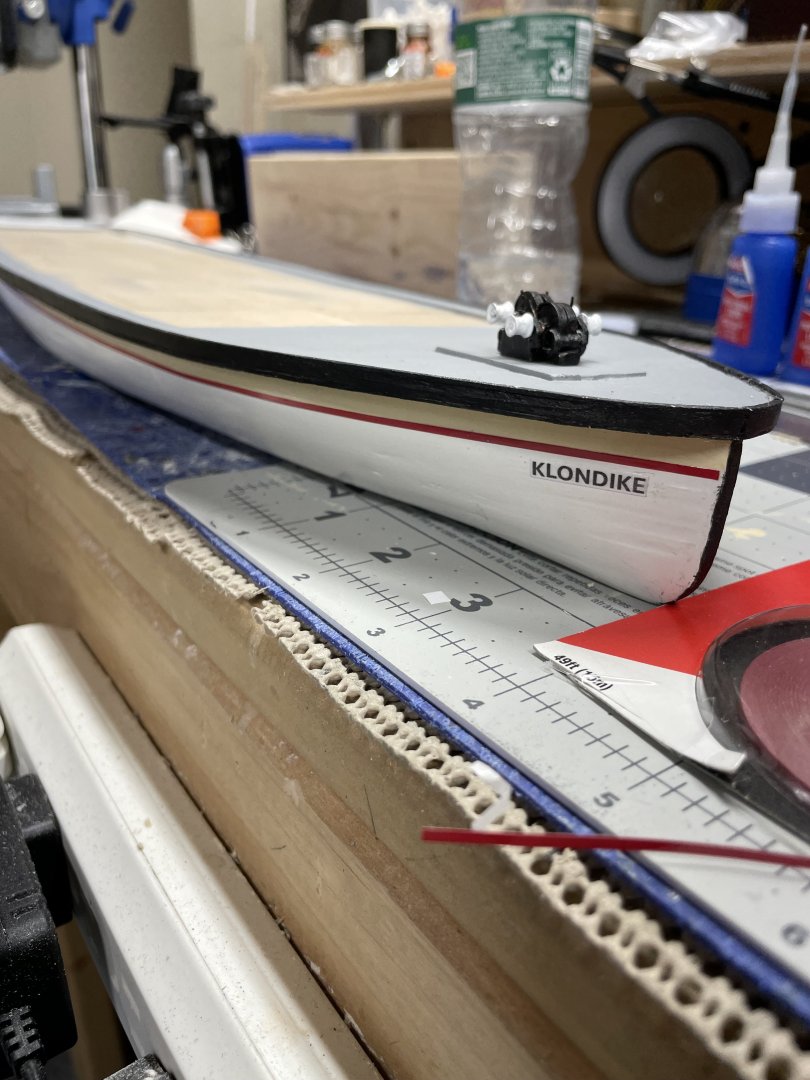
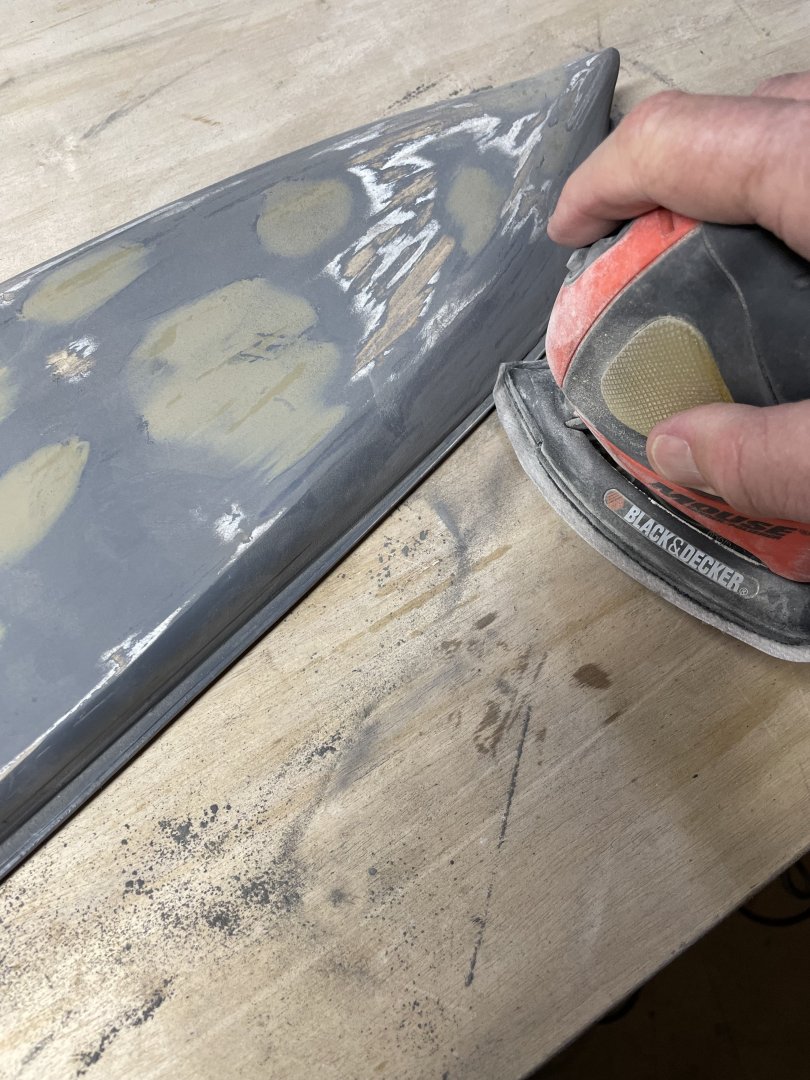
More work on the hull… I use Upol Glazing and Spot Putty to fill in small imperfections… Then sand some more… Another coat of primer… Cheers 🍻


-
VERY NICE! Phil