HOLIDAY DONATION DRIVE - SUPPORT MSW - DO YOUR PART TO KEEP THIS GREAT FORUM GOING! (Only 20 donations so far - C'mon guys!)
×


John Ruy
-
Posts
1,568 -
Joined
-
Last visited
Content Type
Profiles
Forums
Gallery
Events
Everything posted by John Ruy
-
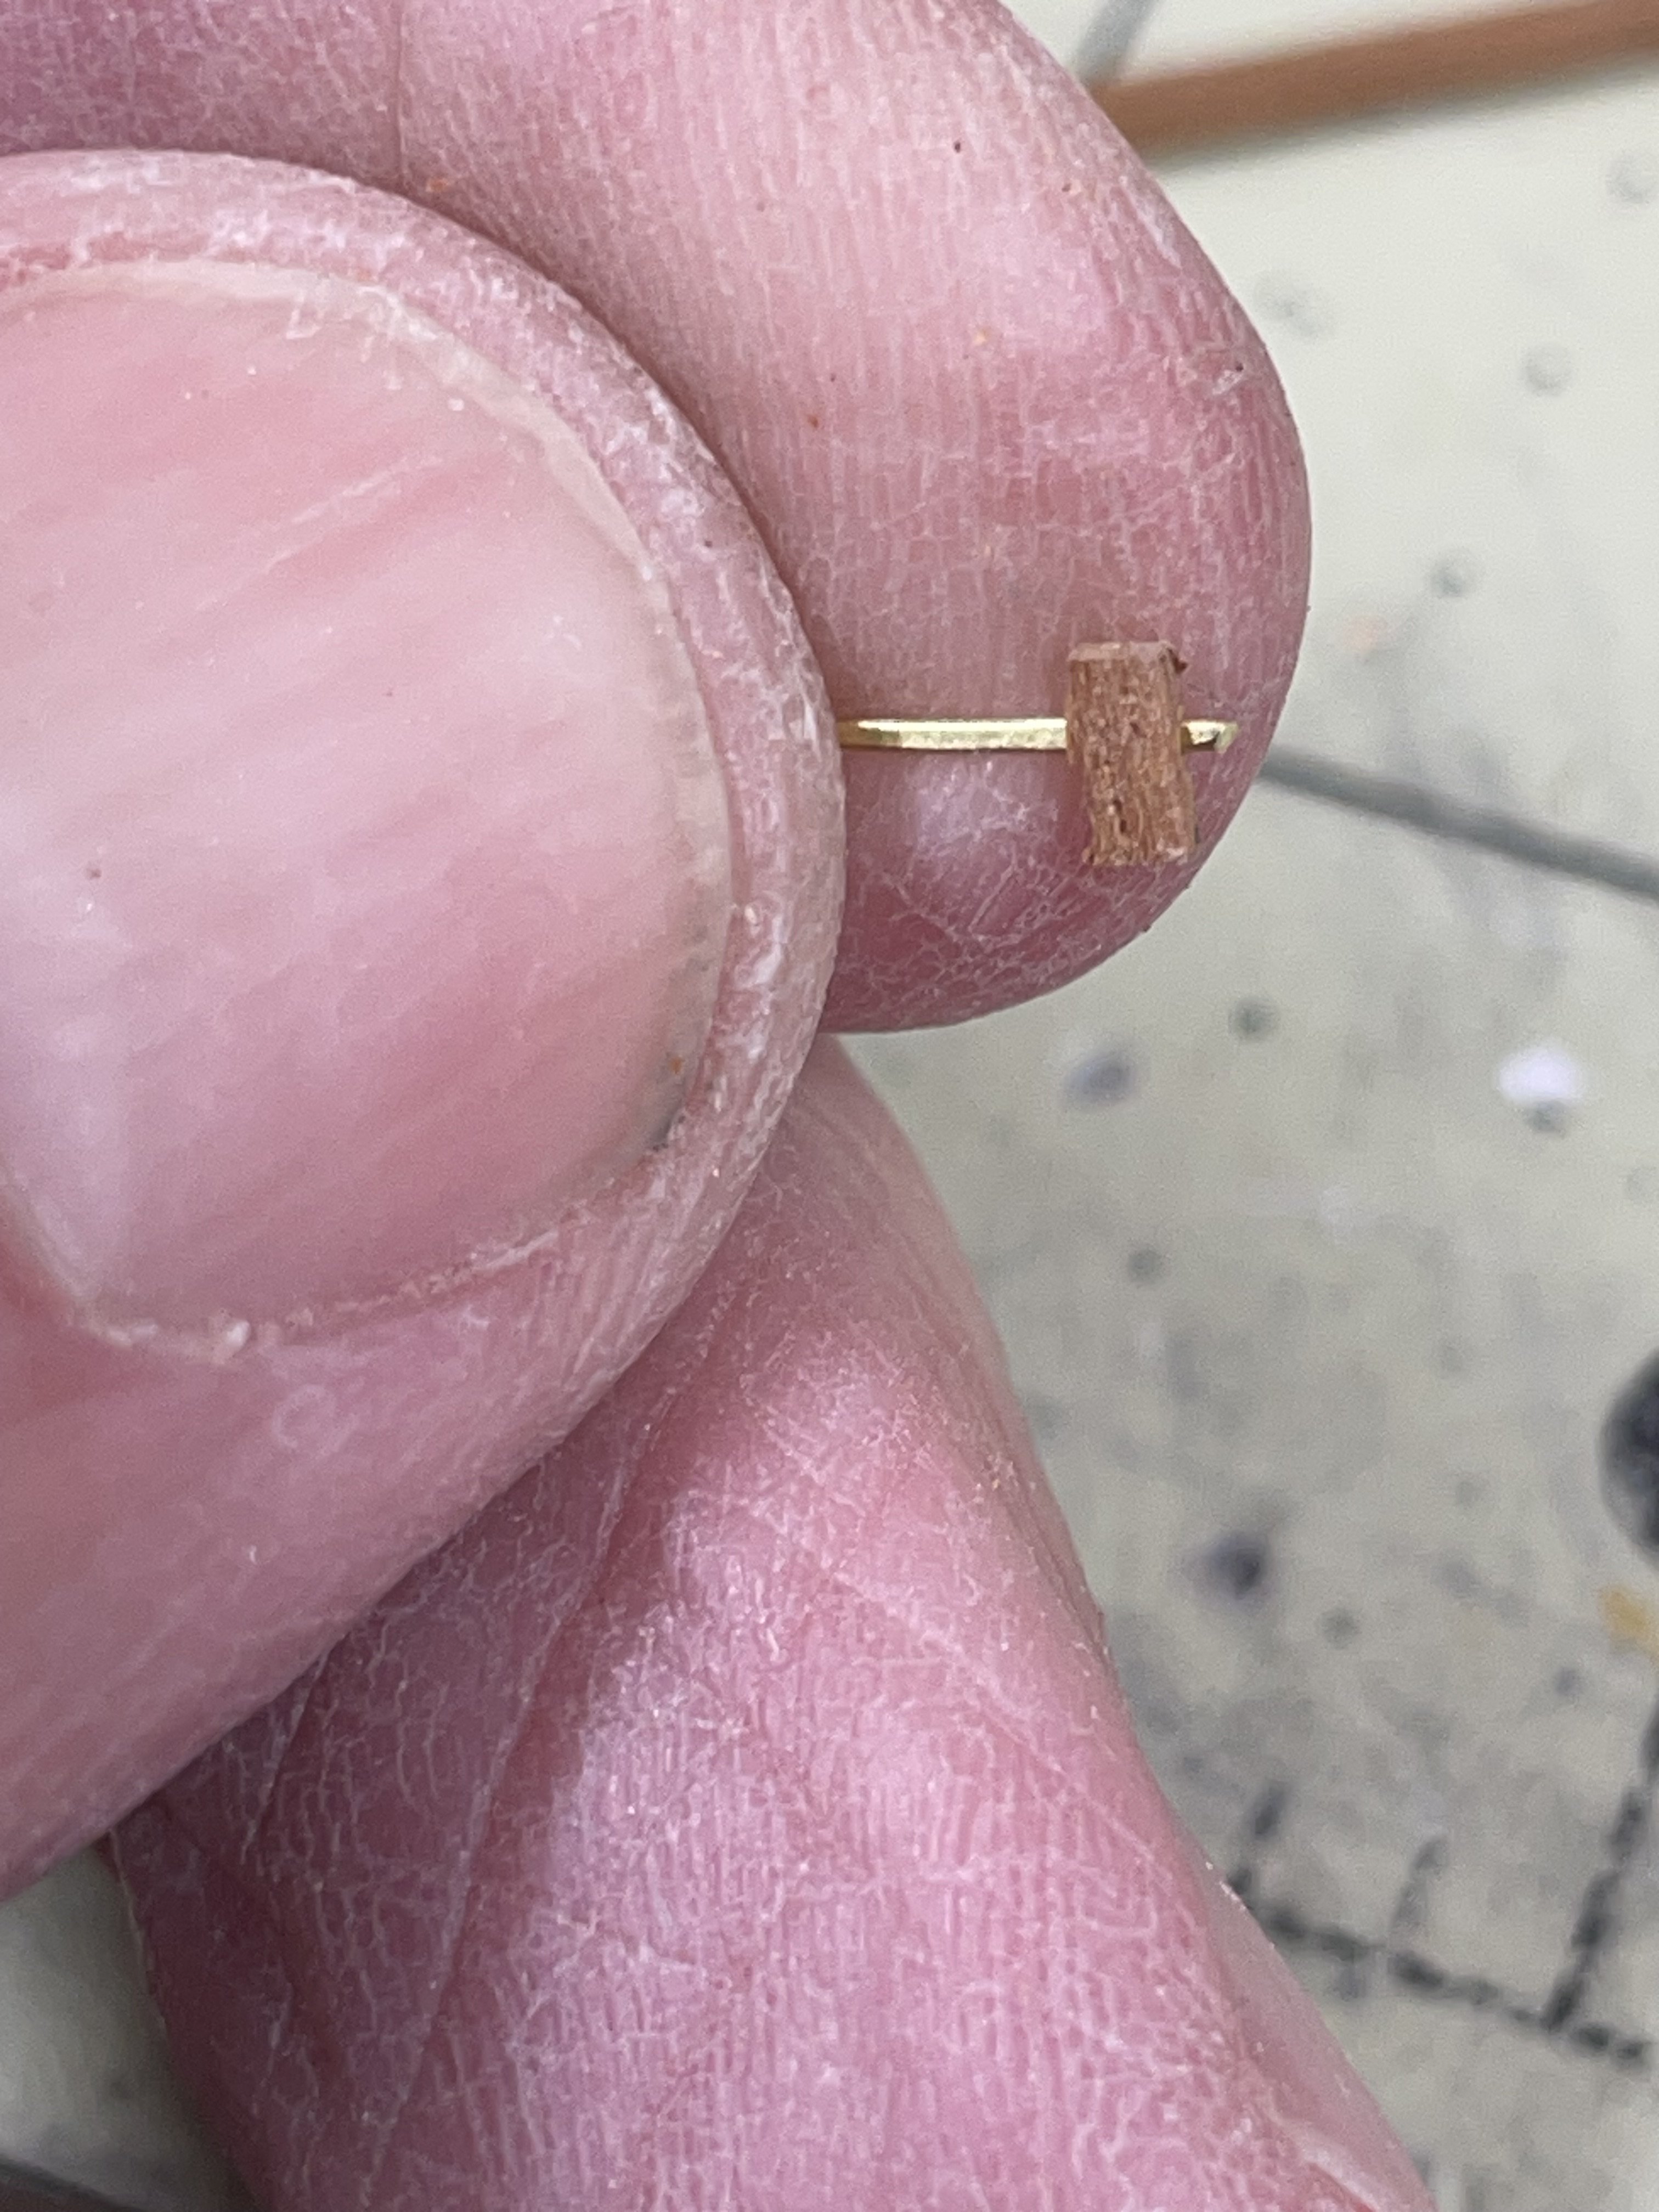
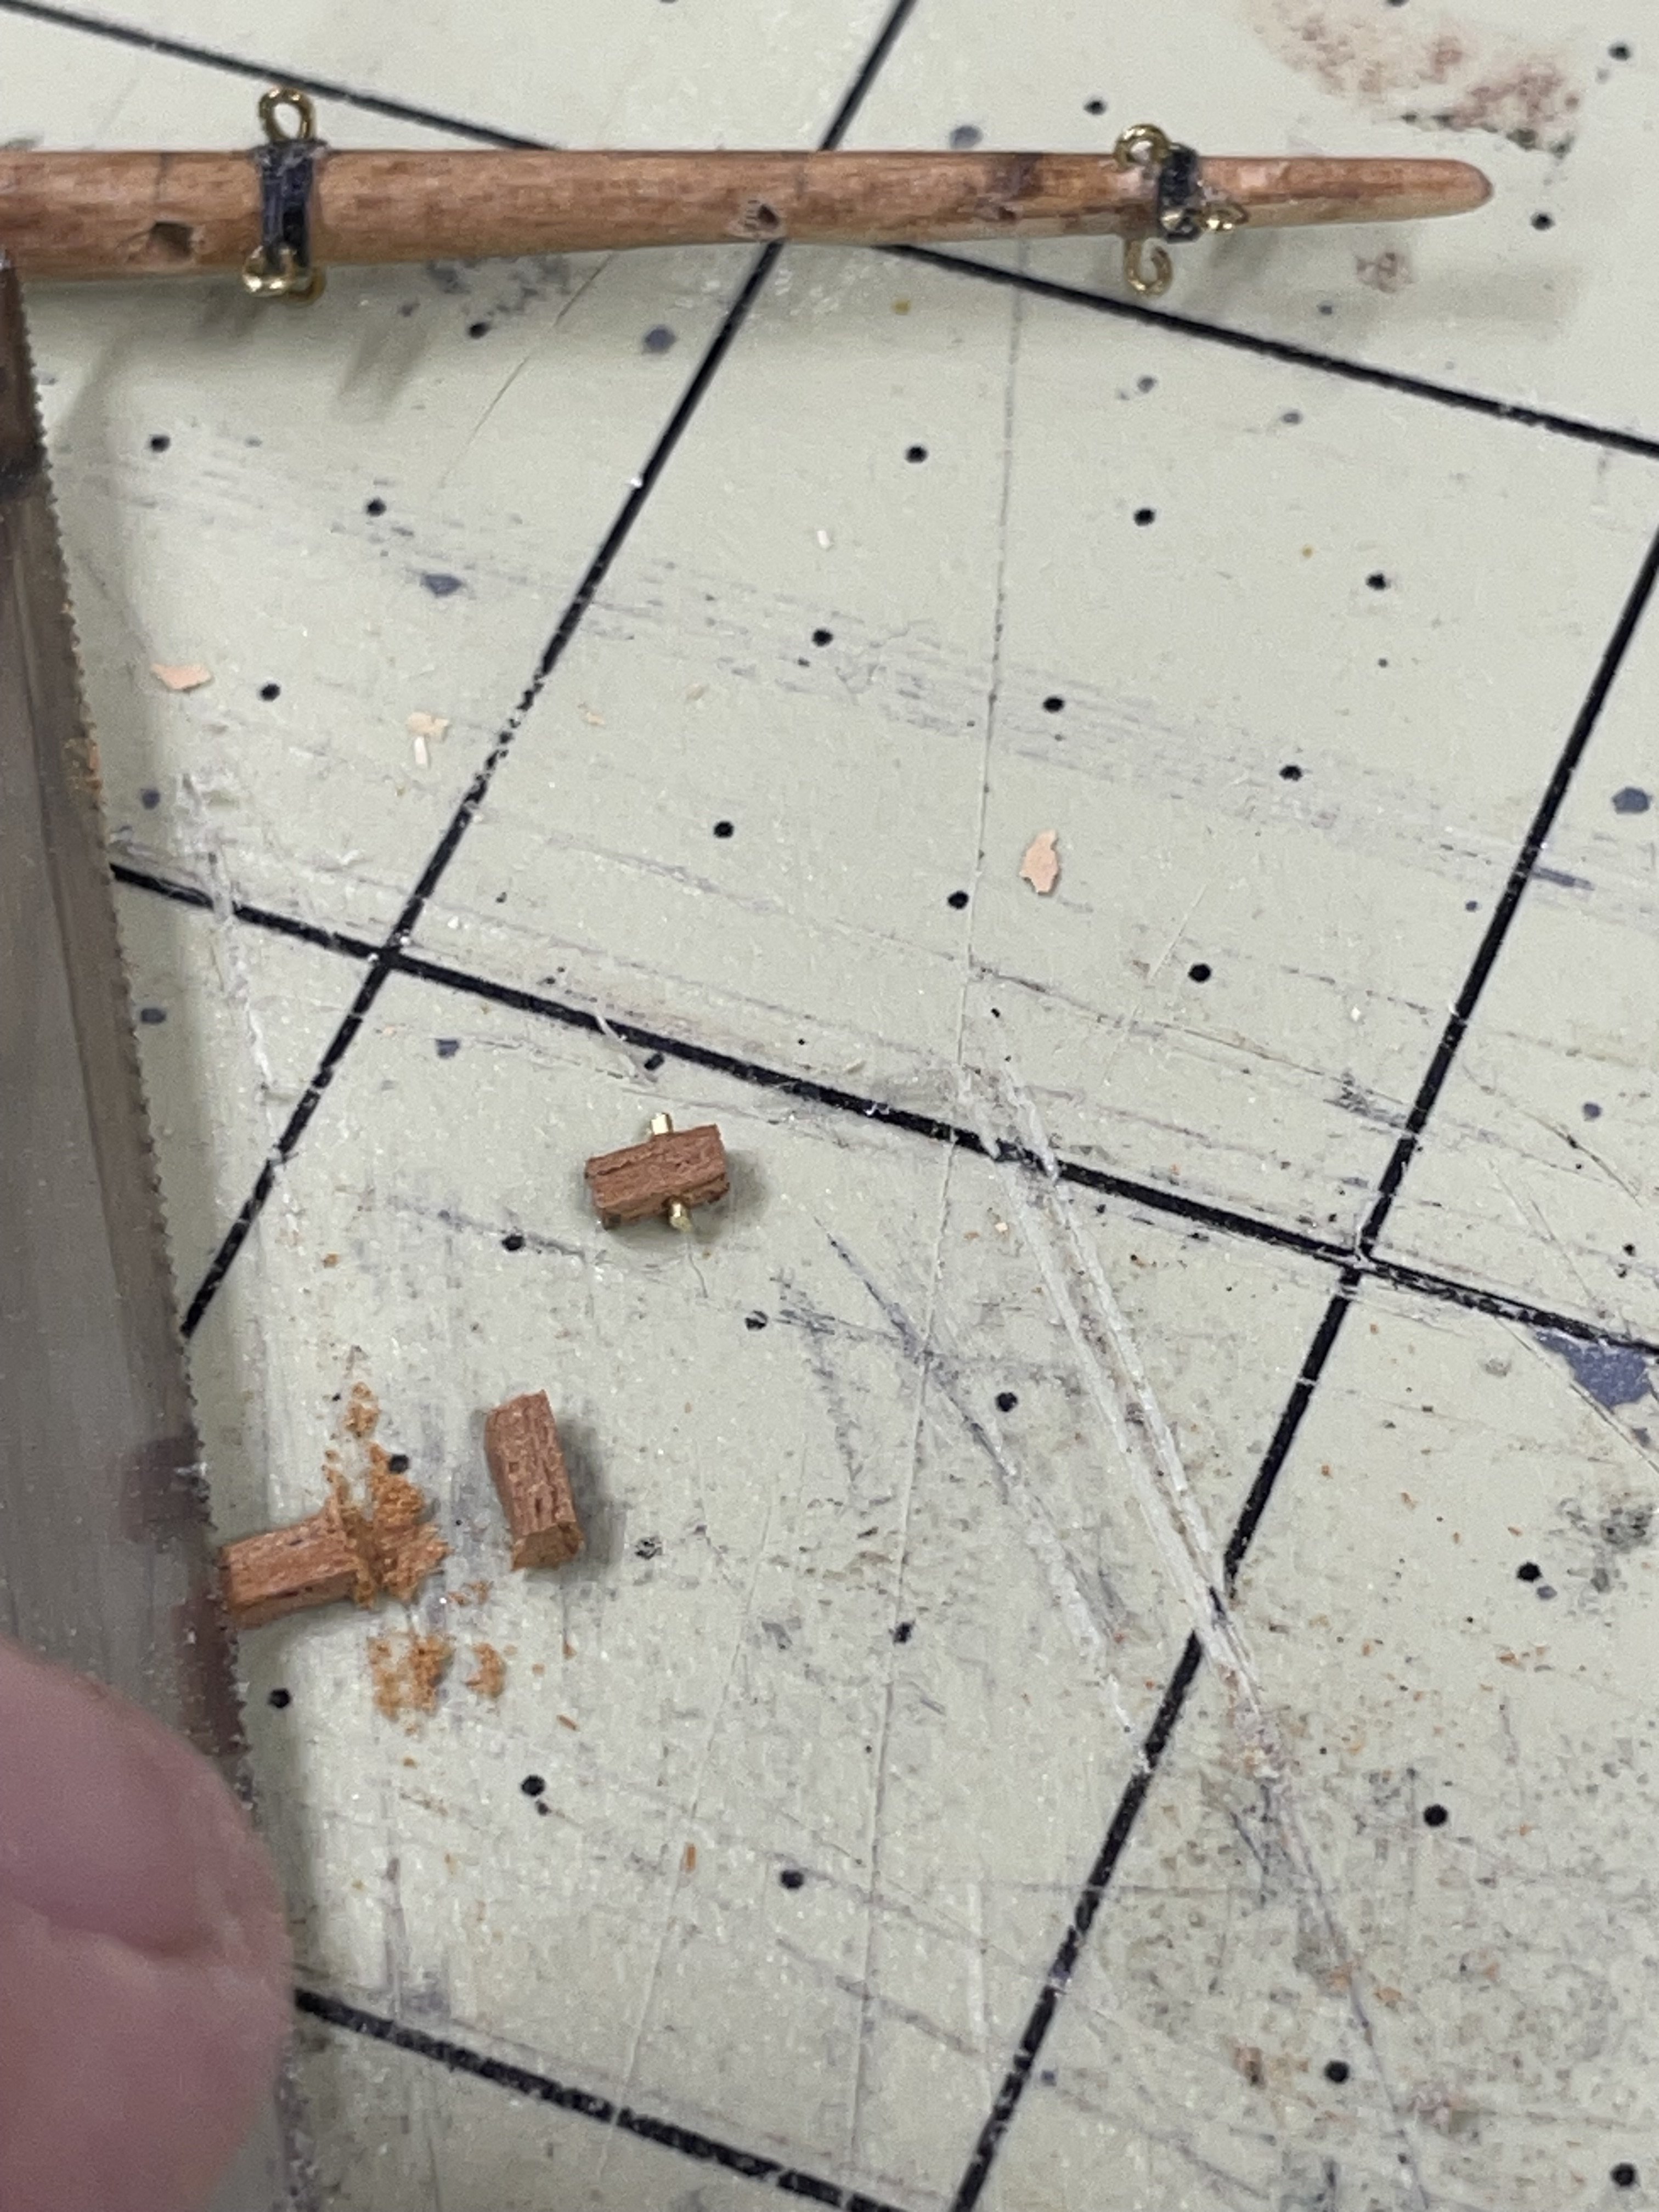
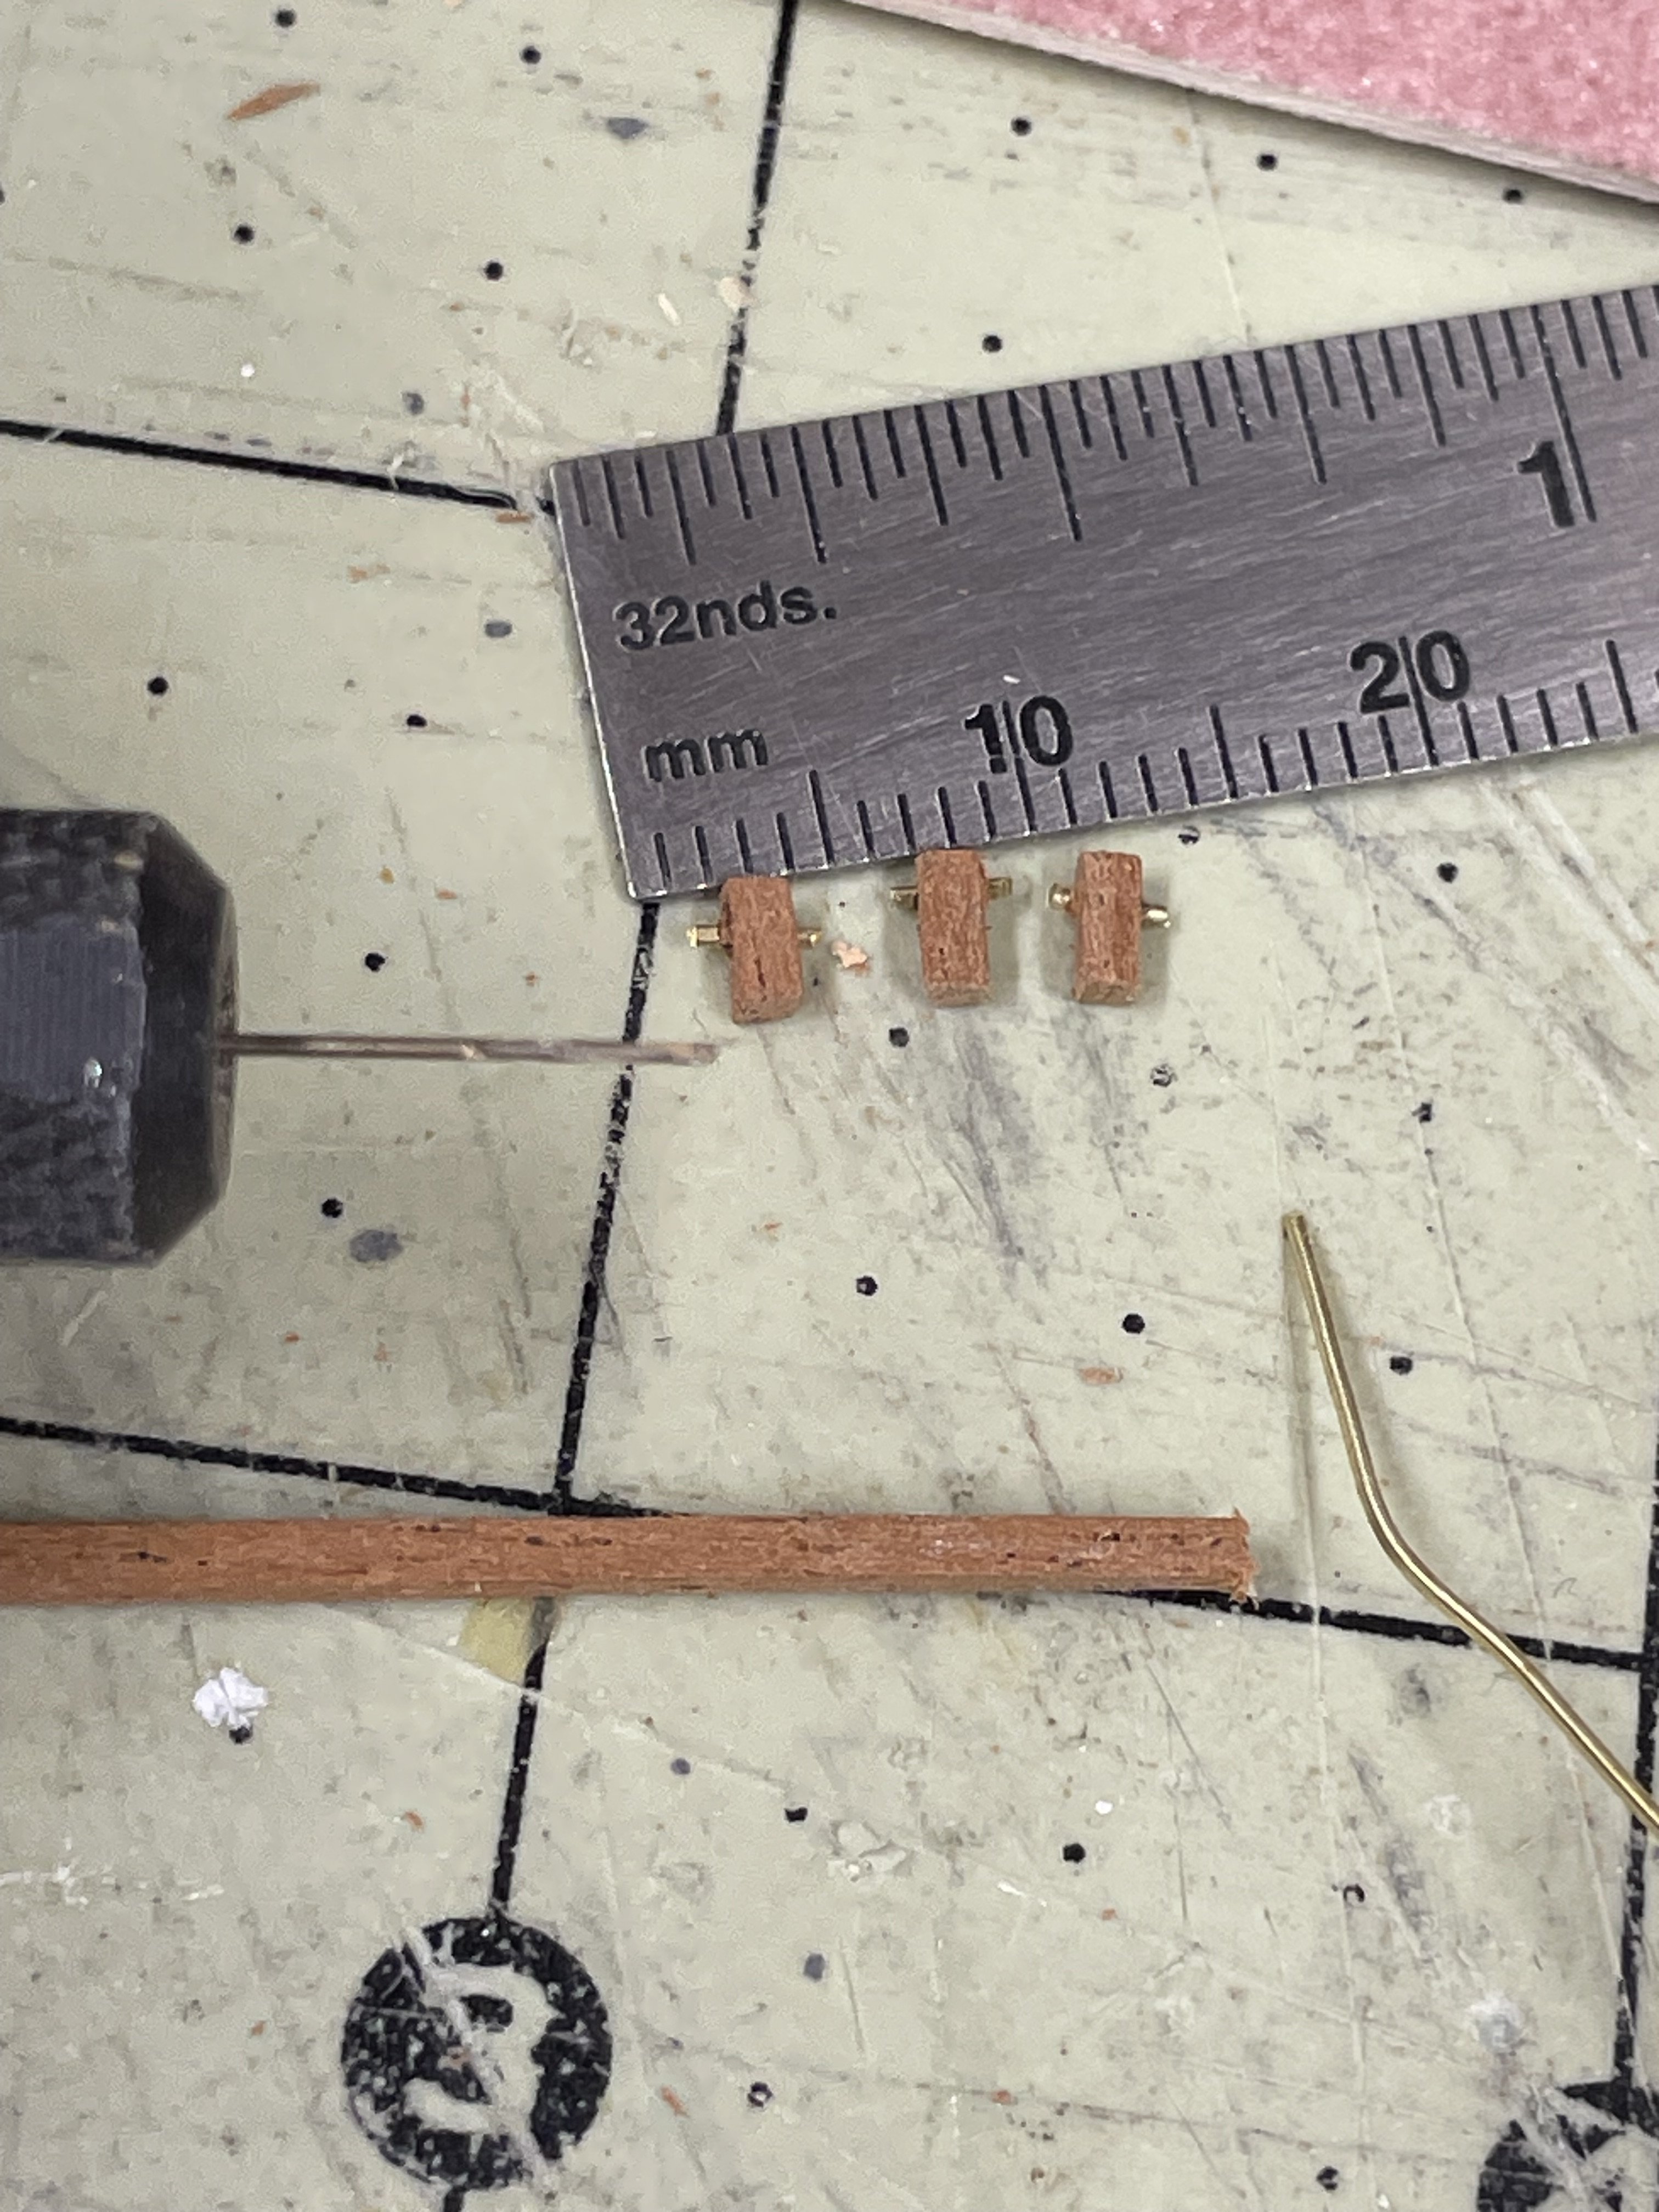
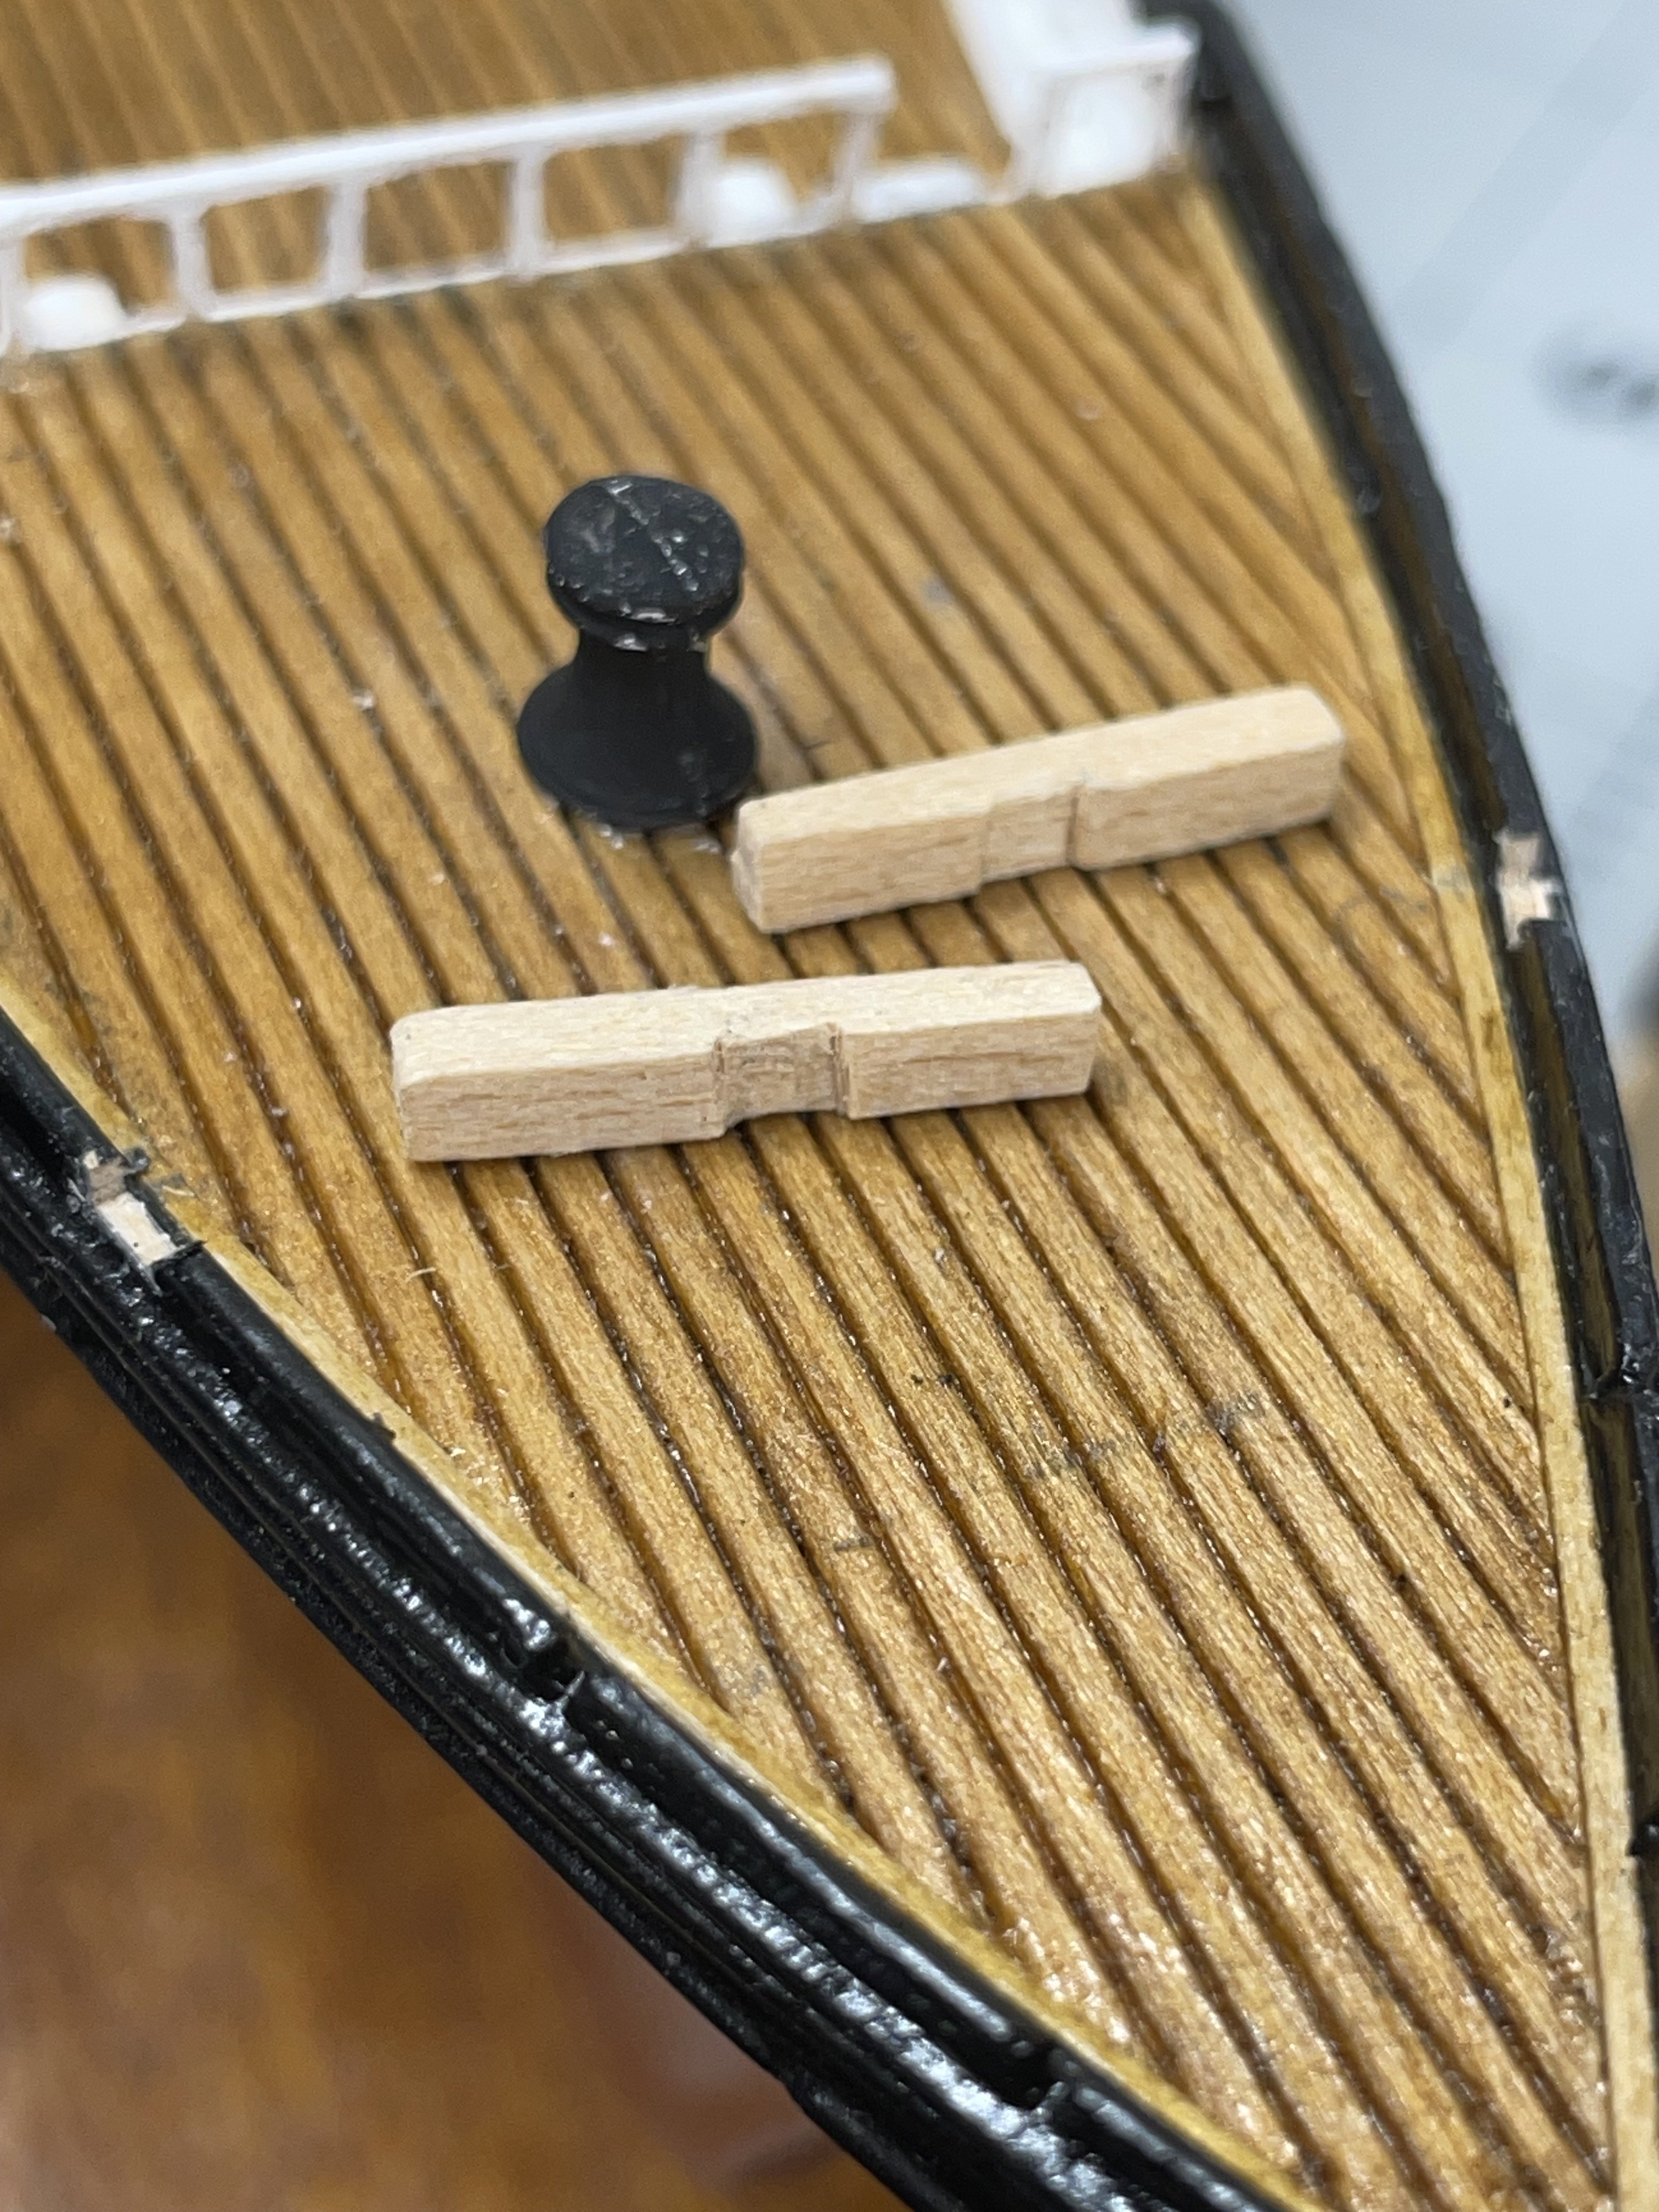
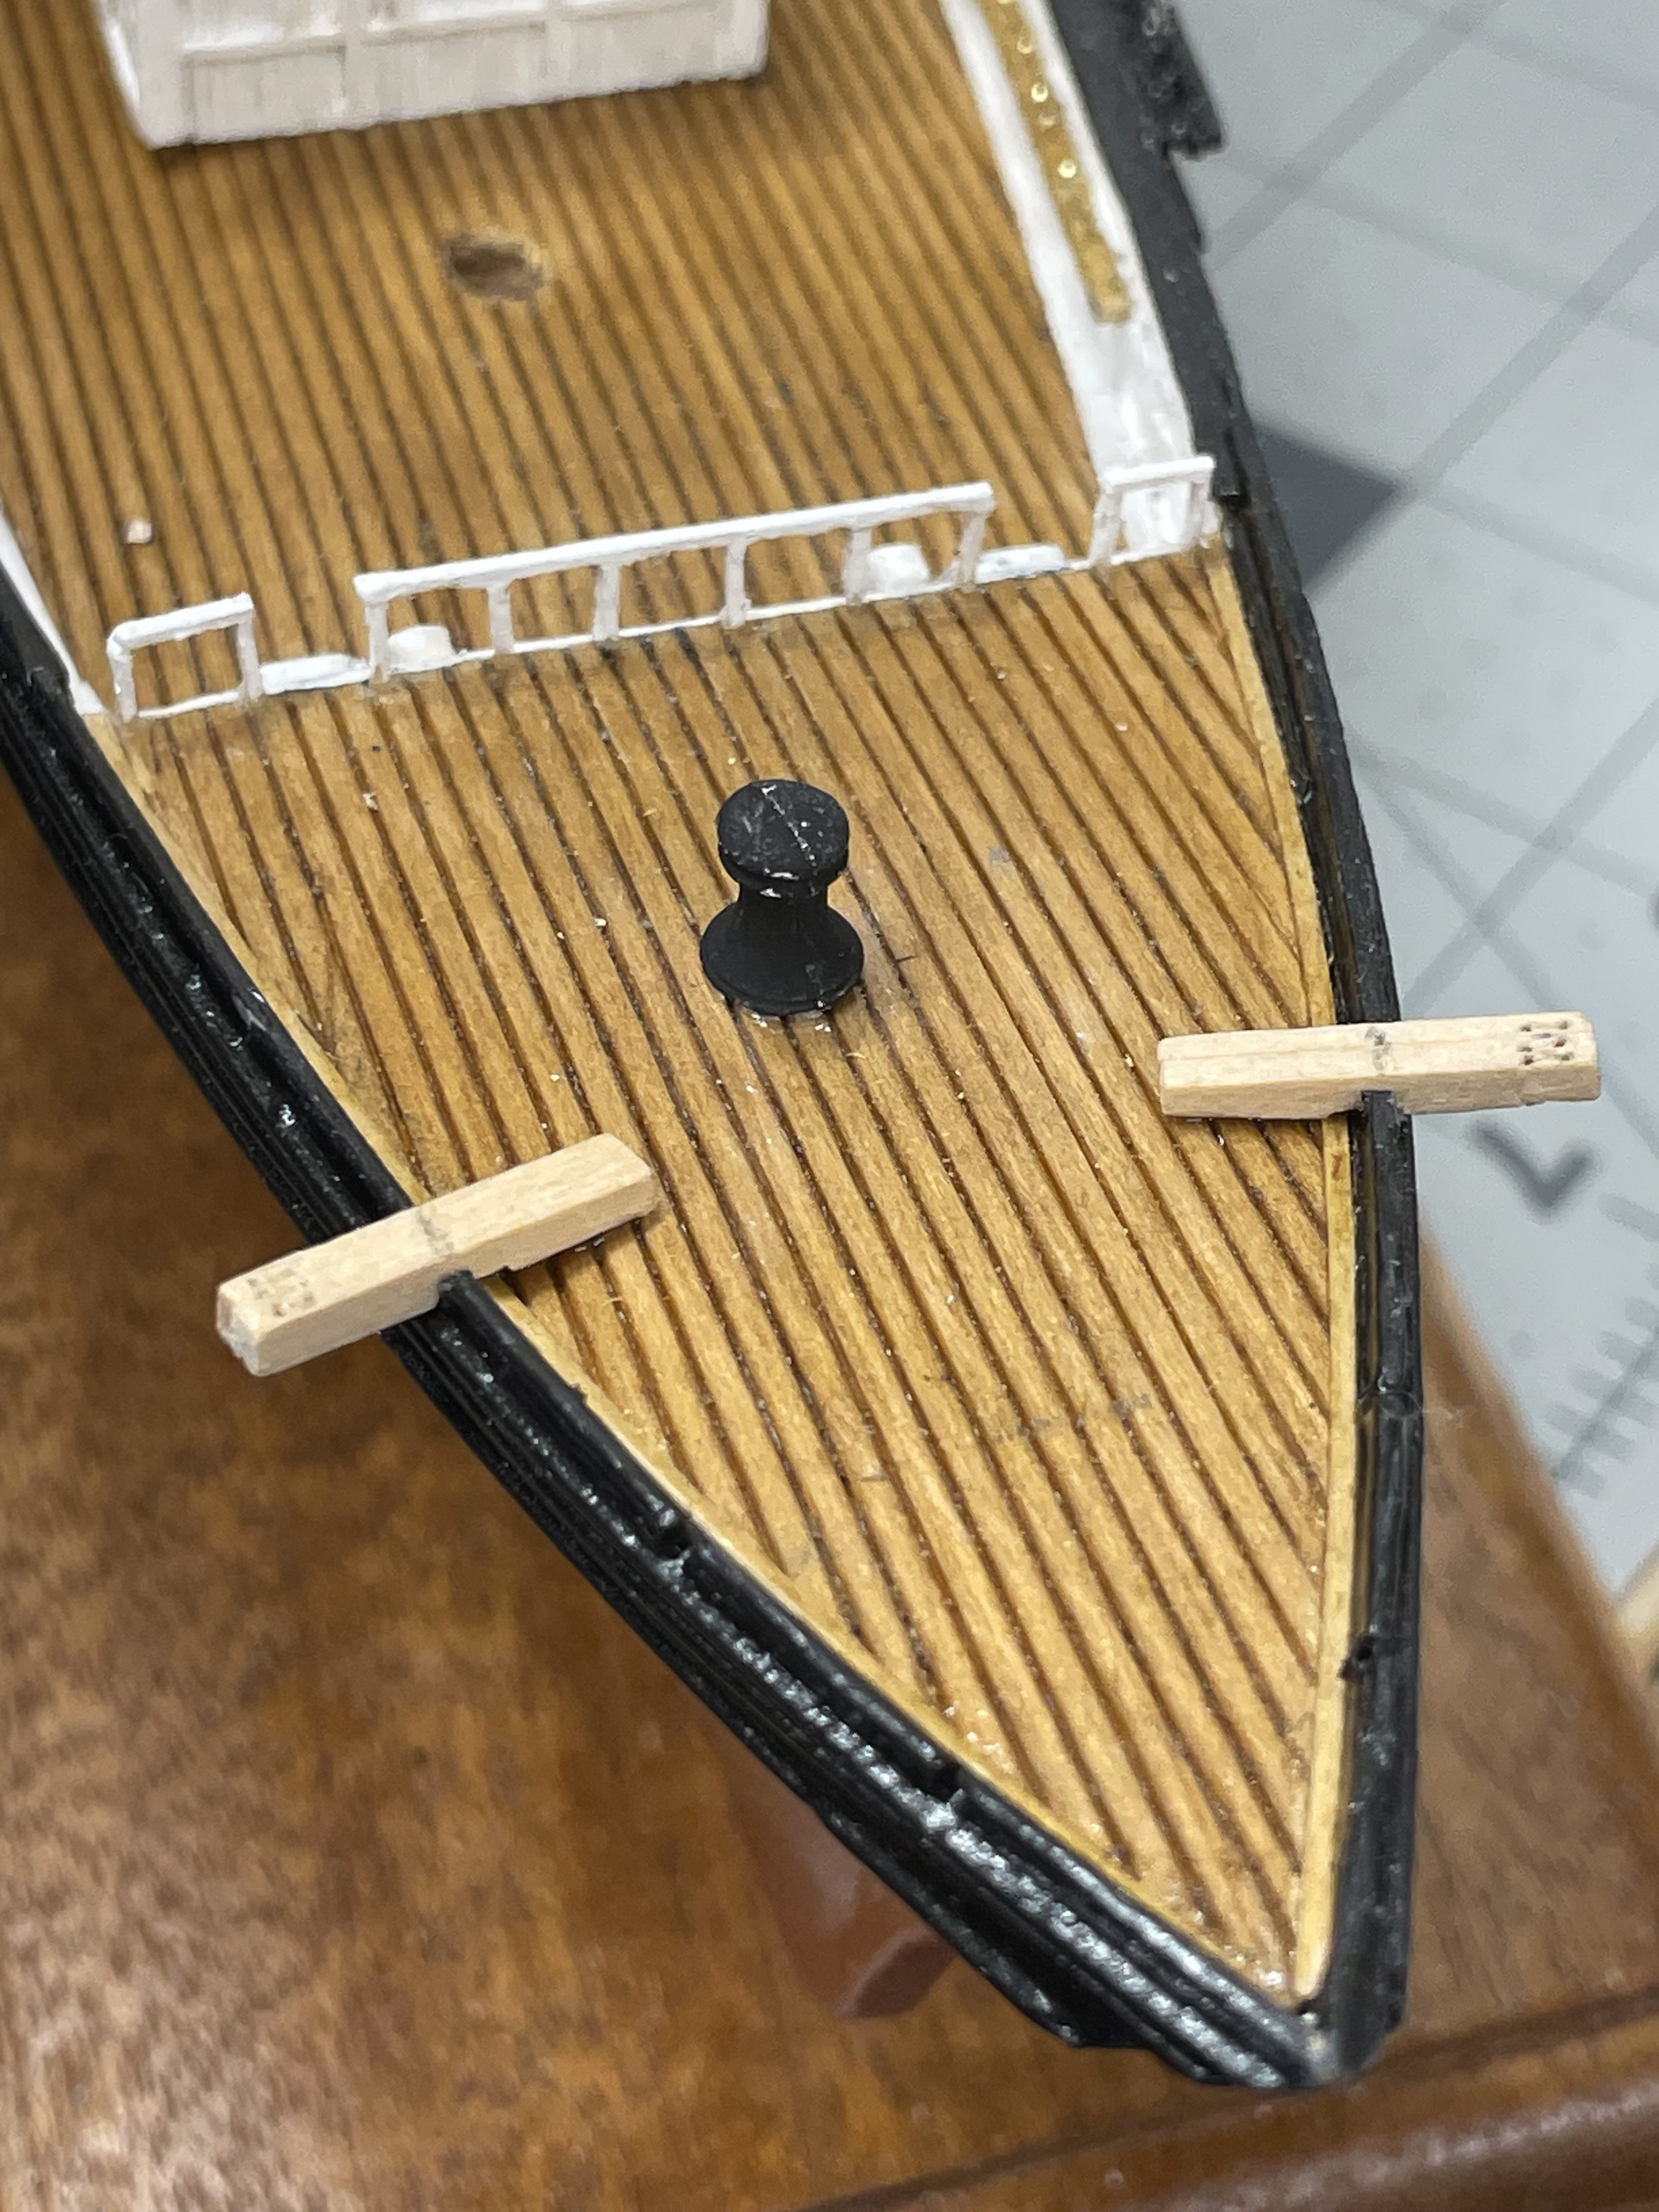
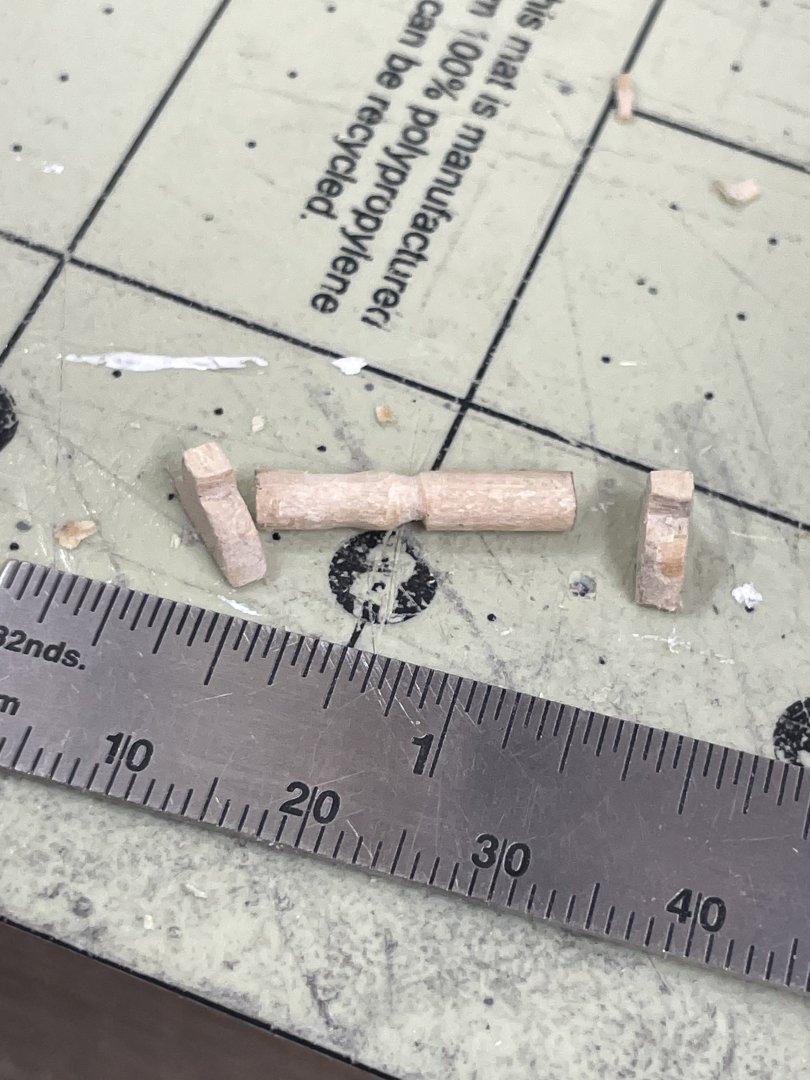
 Samson Post Bitts… Second Bitt was a bit better than my first Bitt, so I made a third Bitt to match the second Bitt. 😆 Samson Post complete. Cheers 🍻


- 165 replies
-
- 6
-

-
- Red Jacket
- Marine Model Company
- (and 2 more)
-
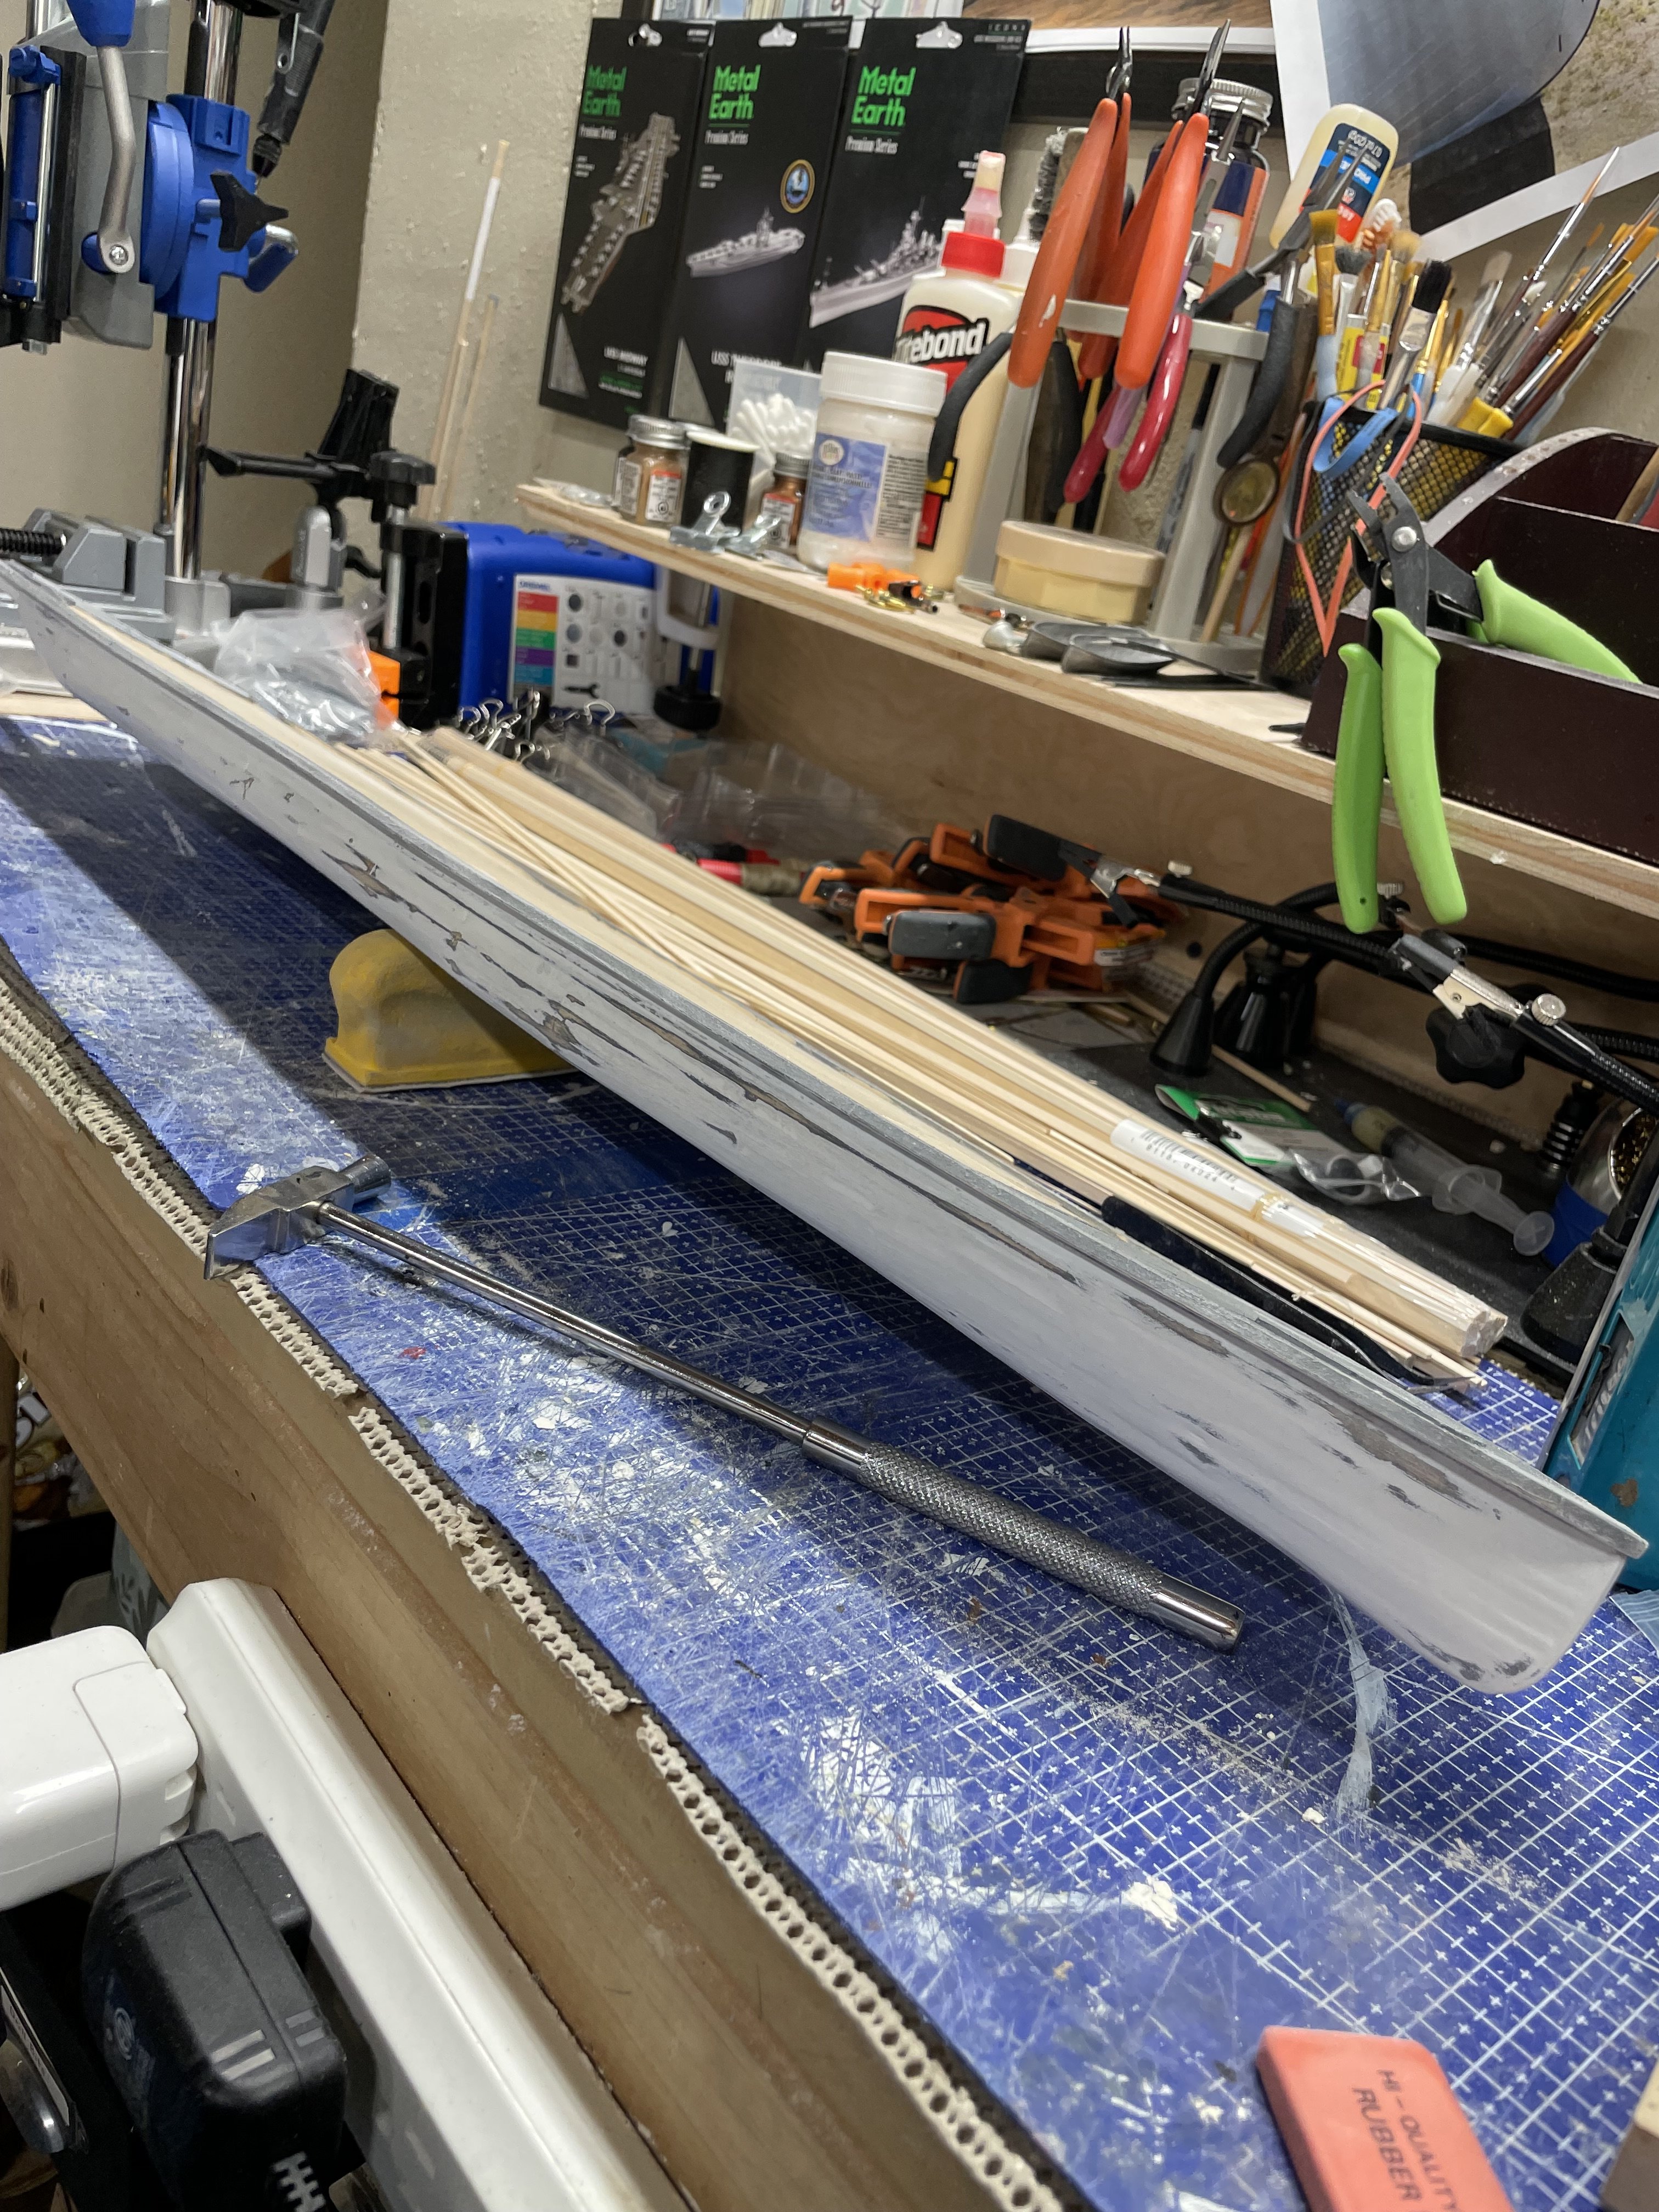
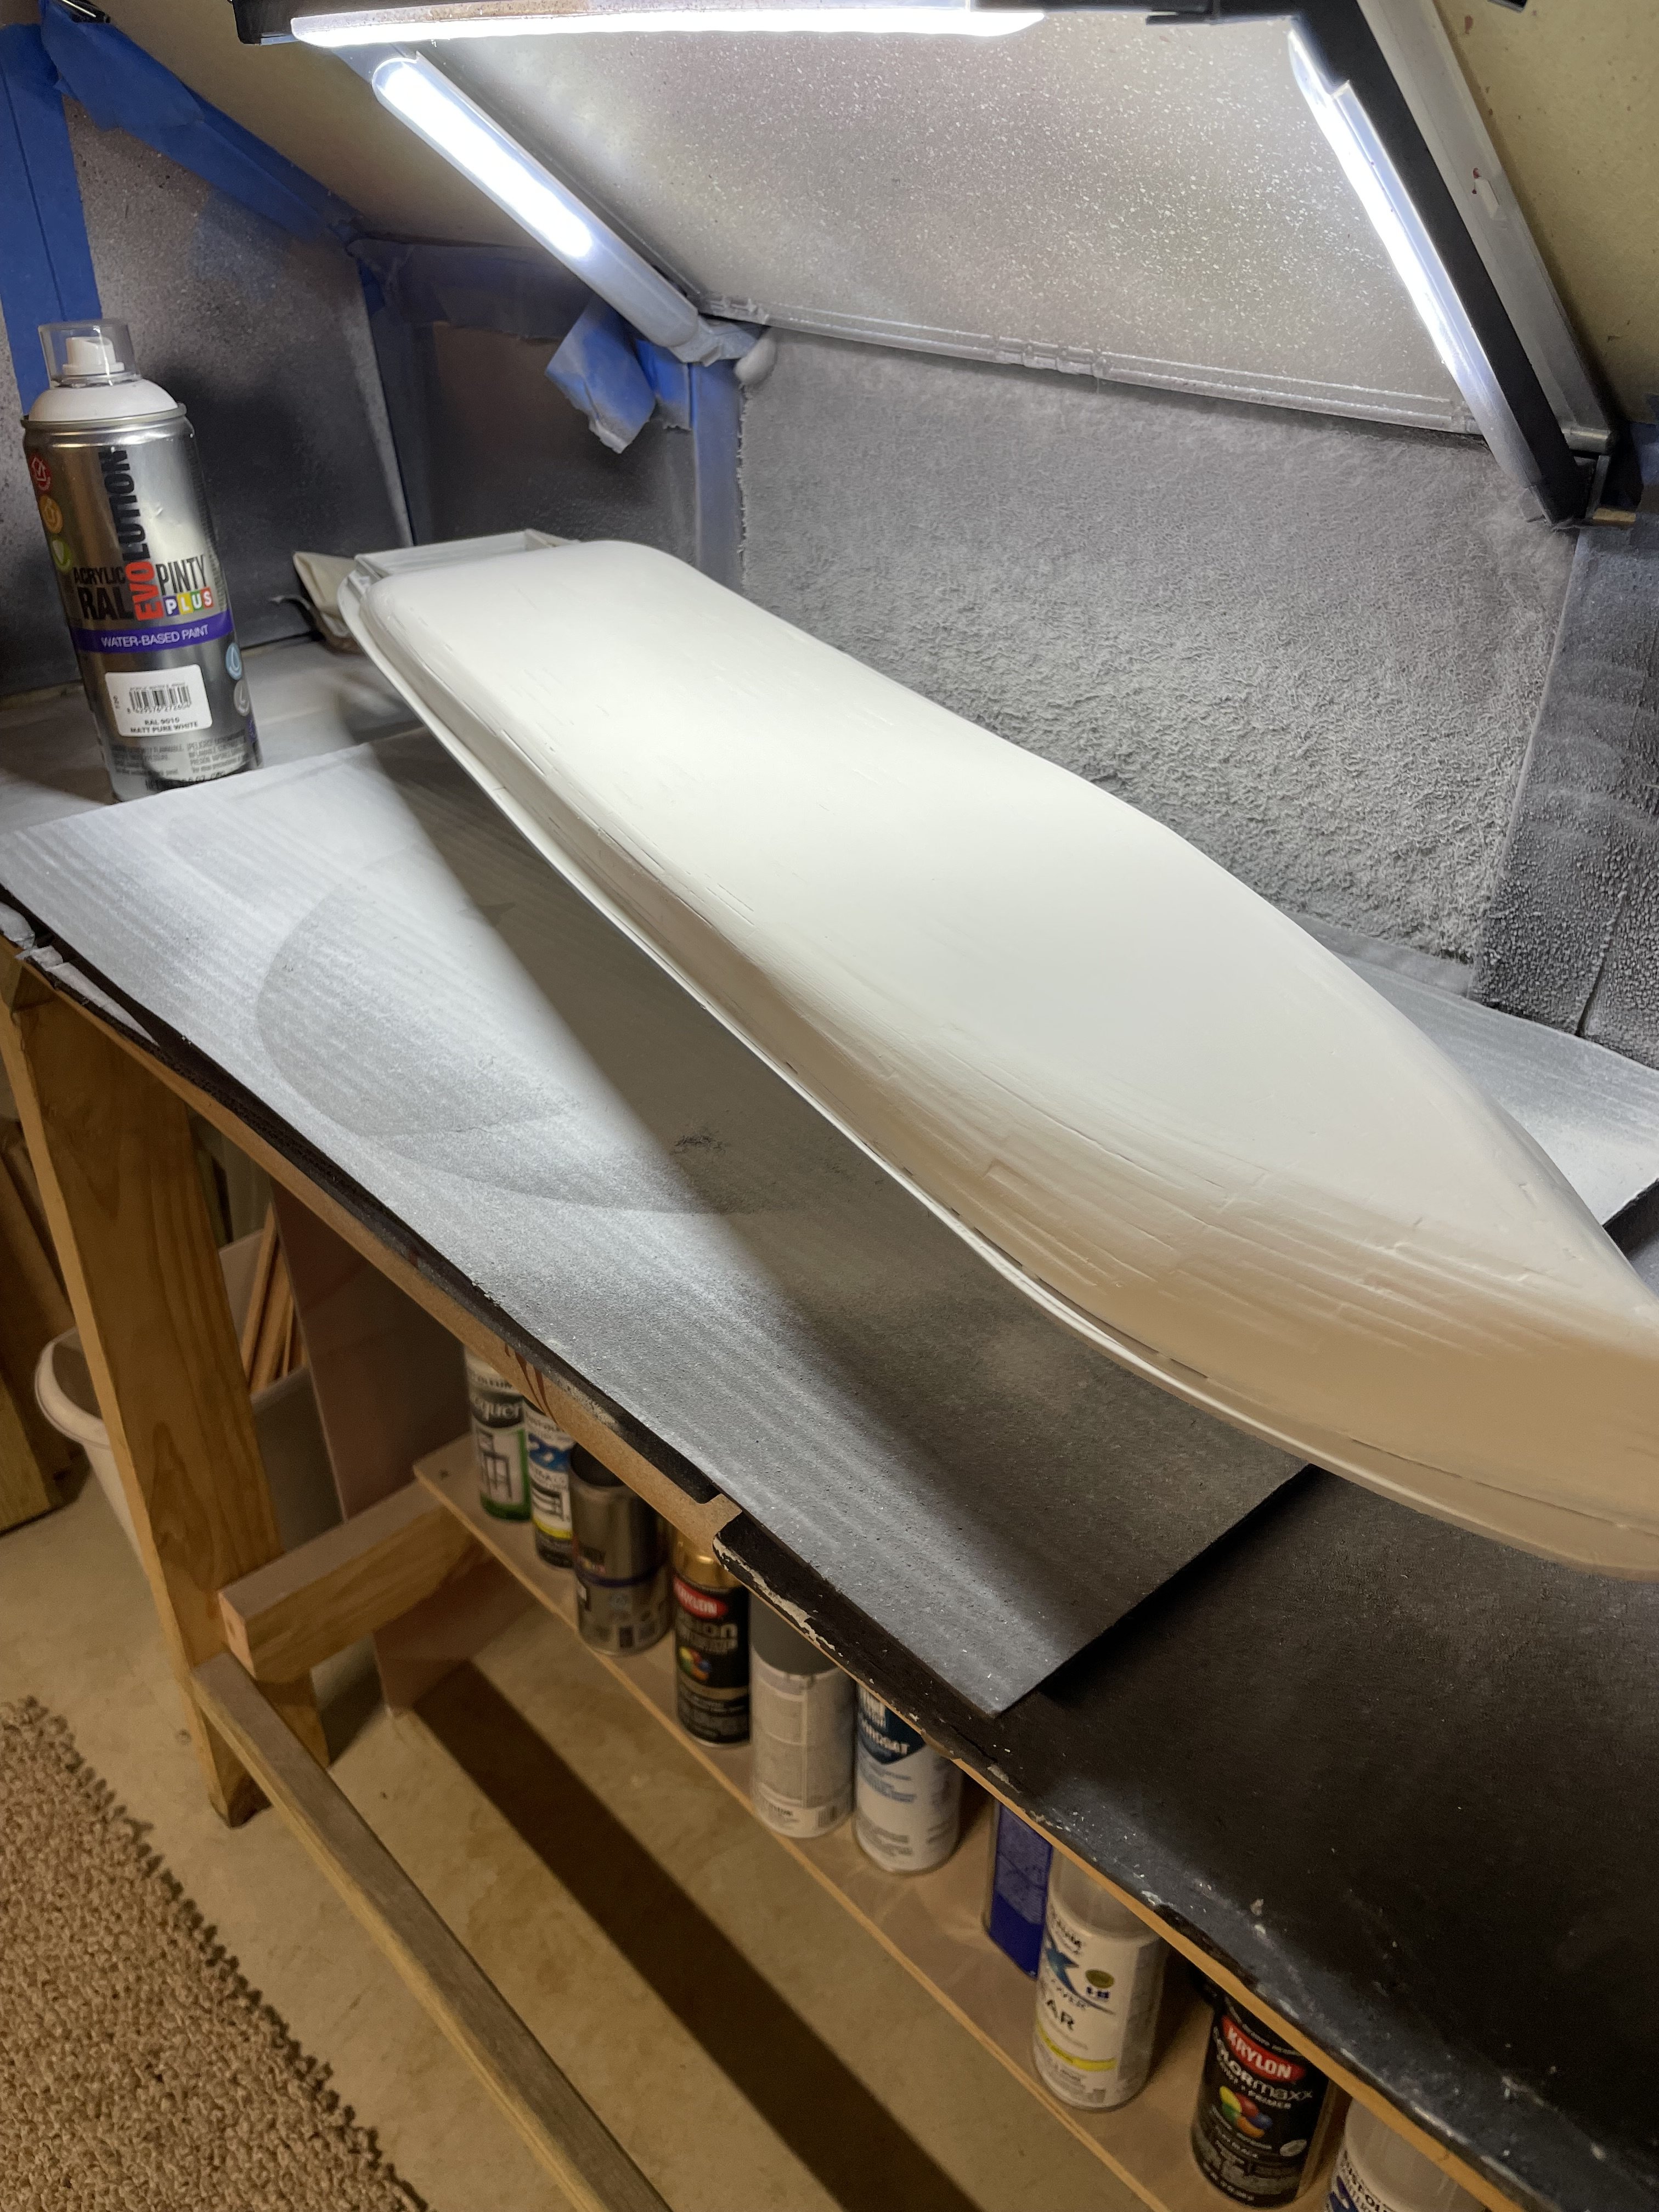
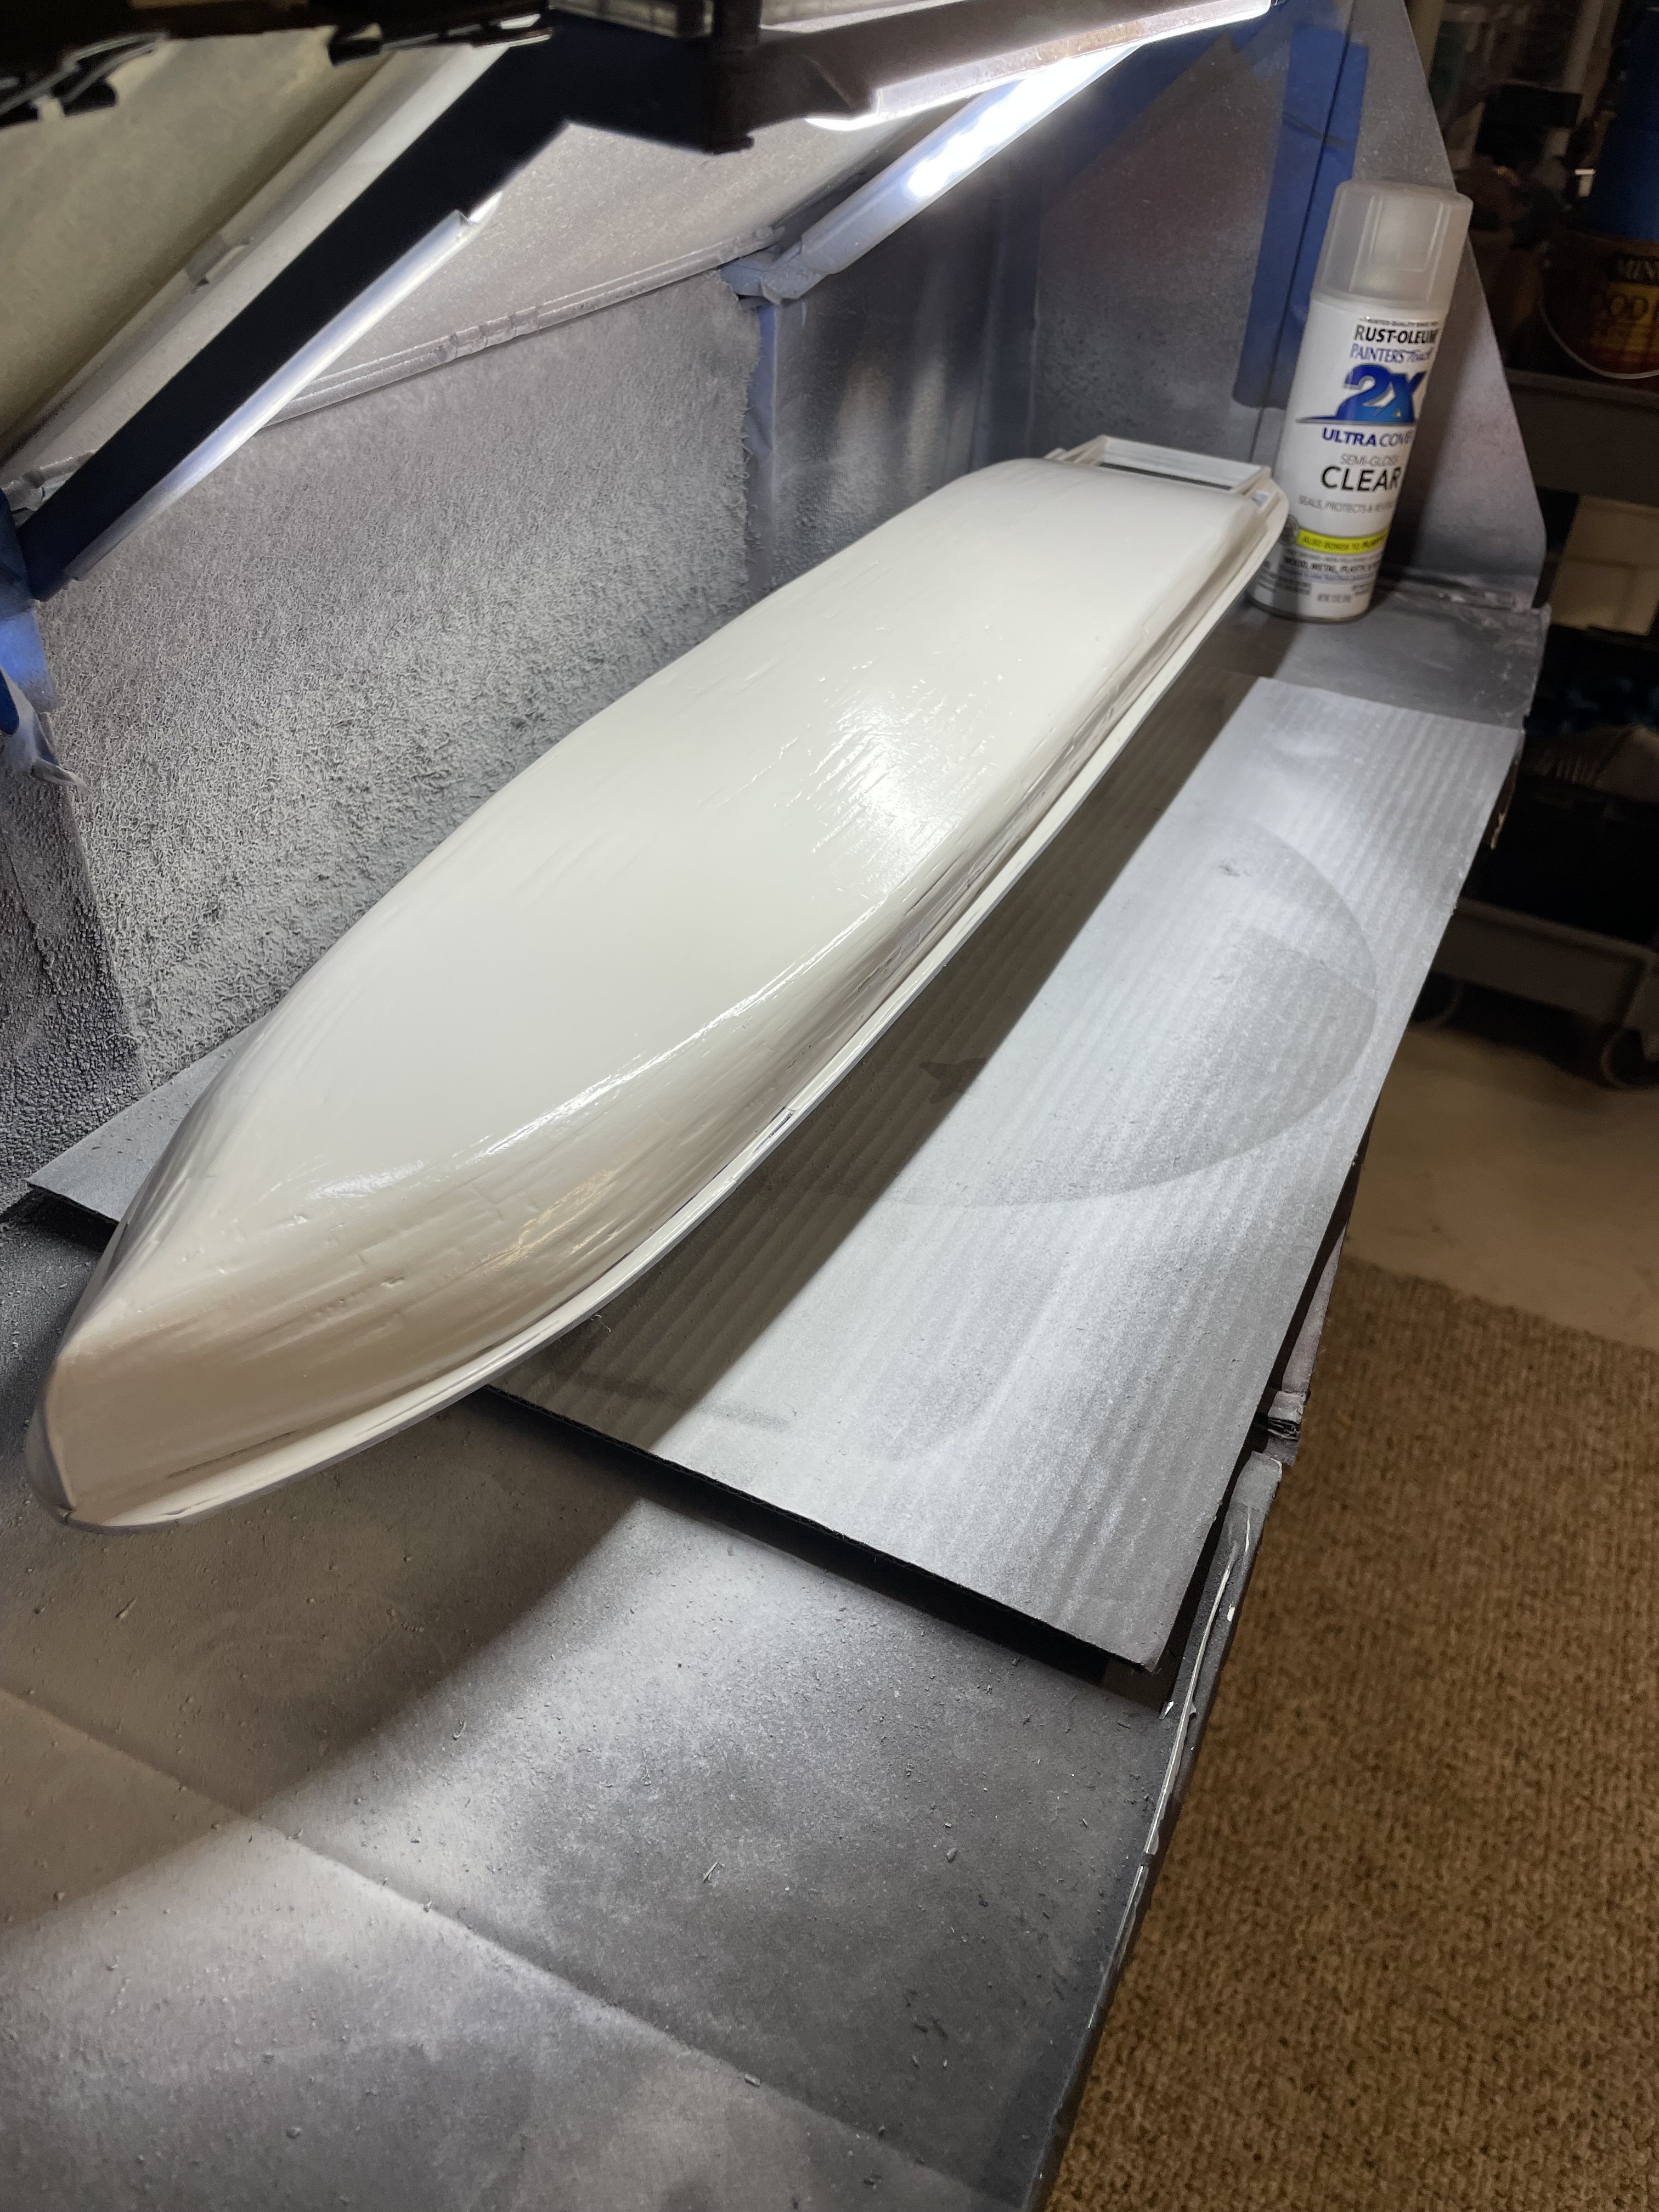
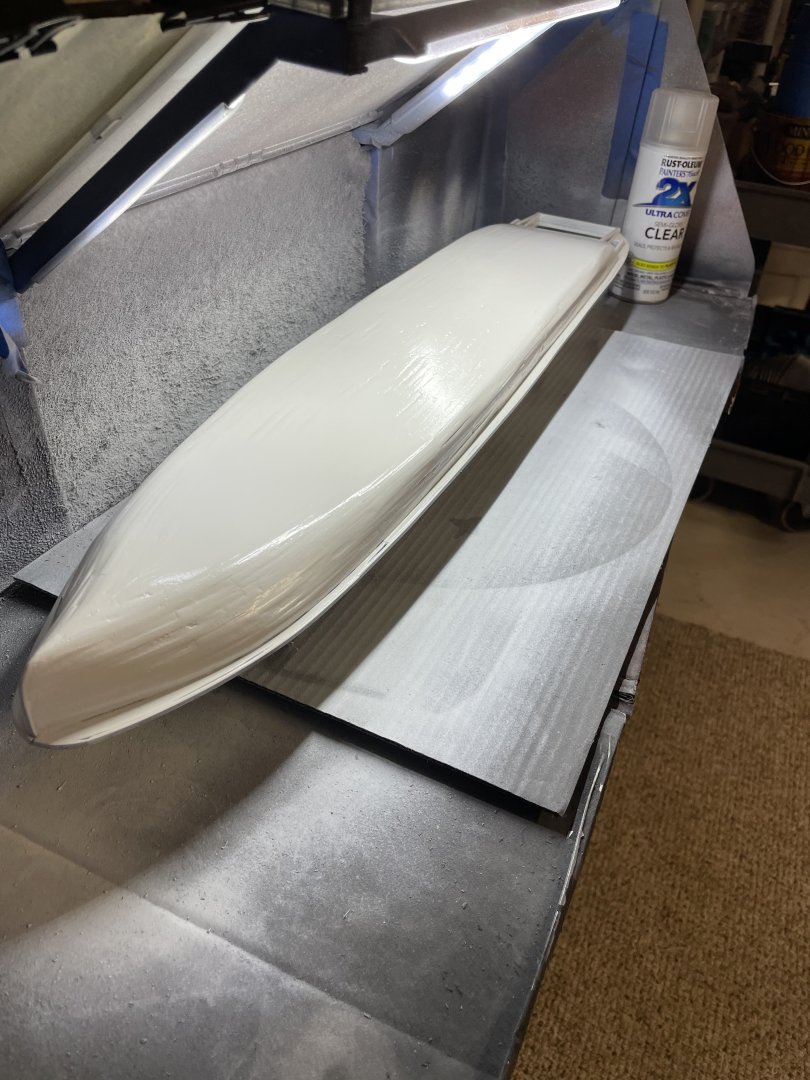
Ready for another coat… Cheers 🍻
-
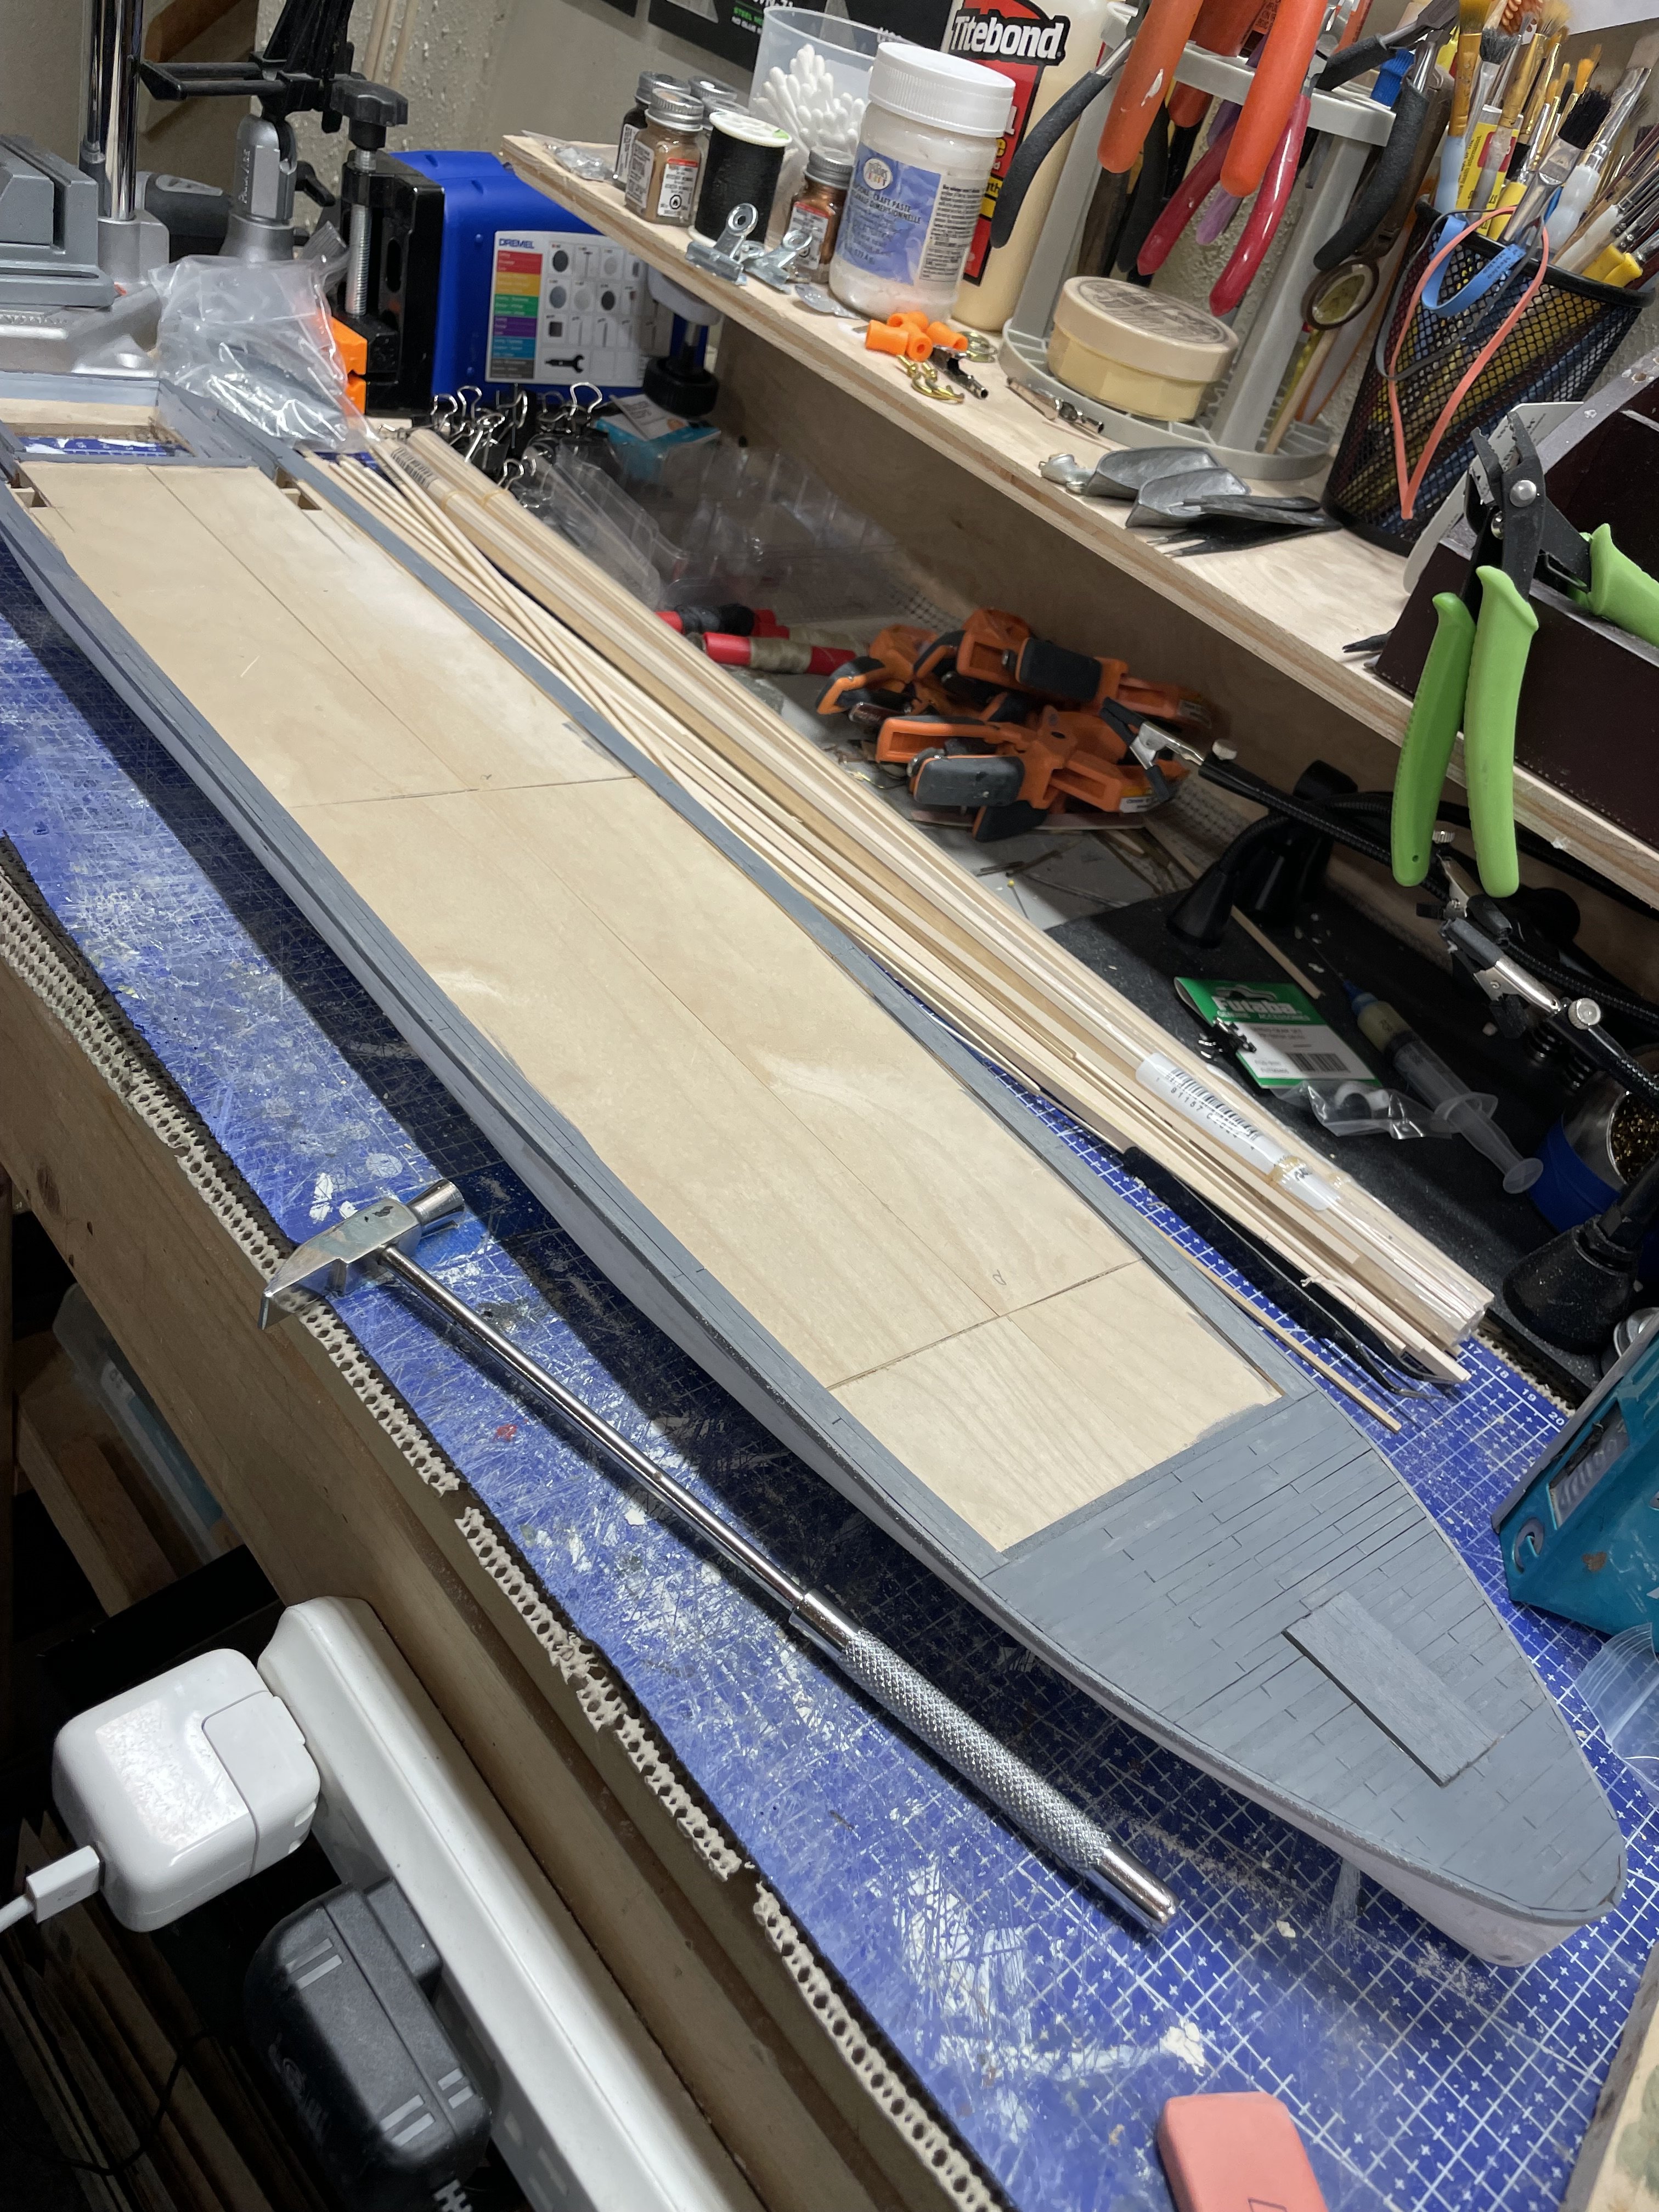
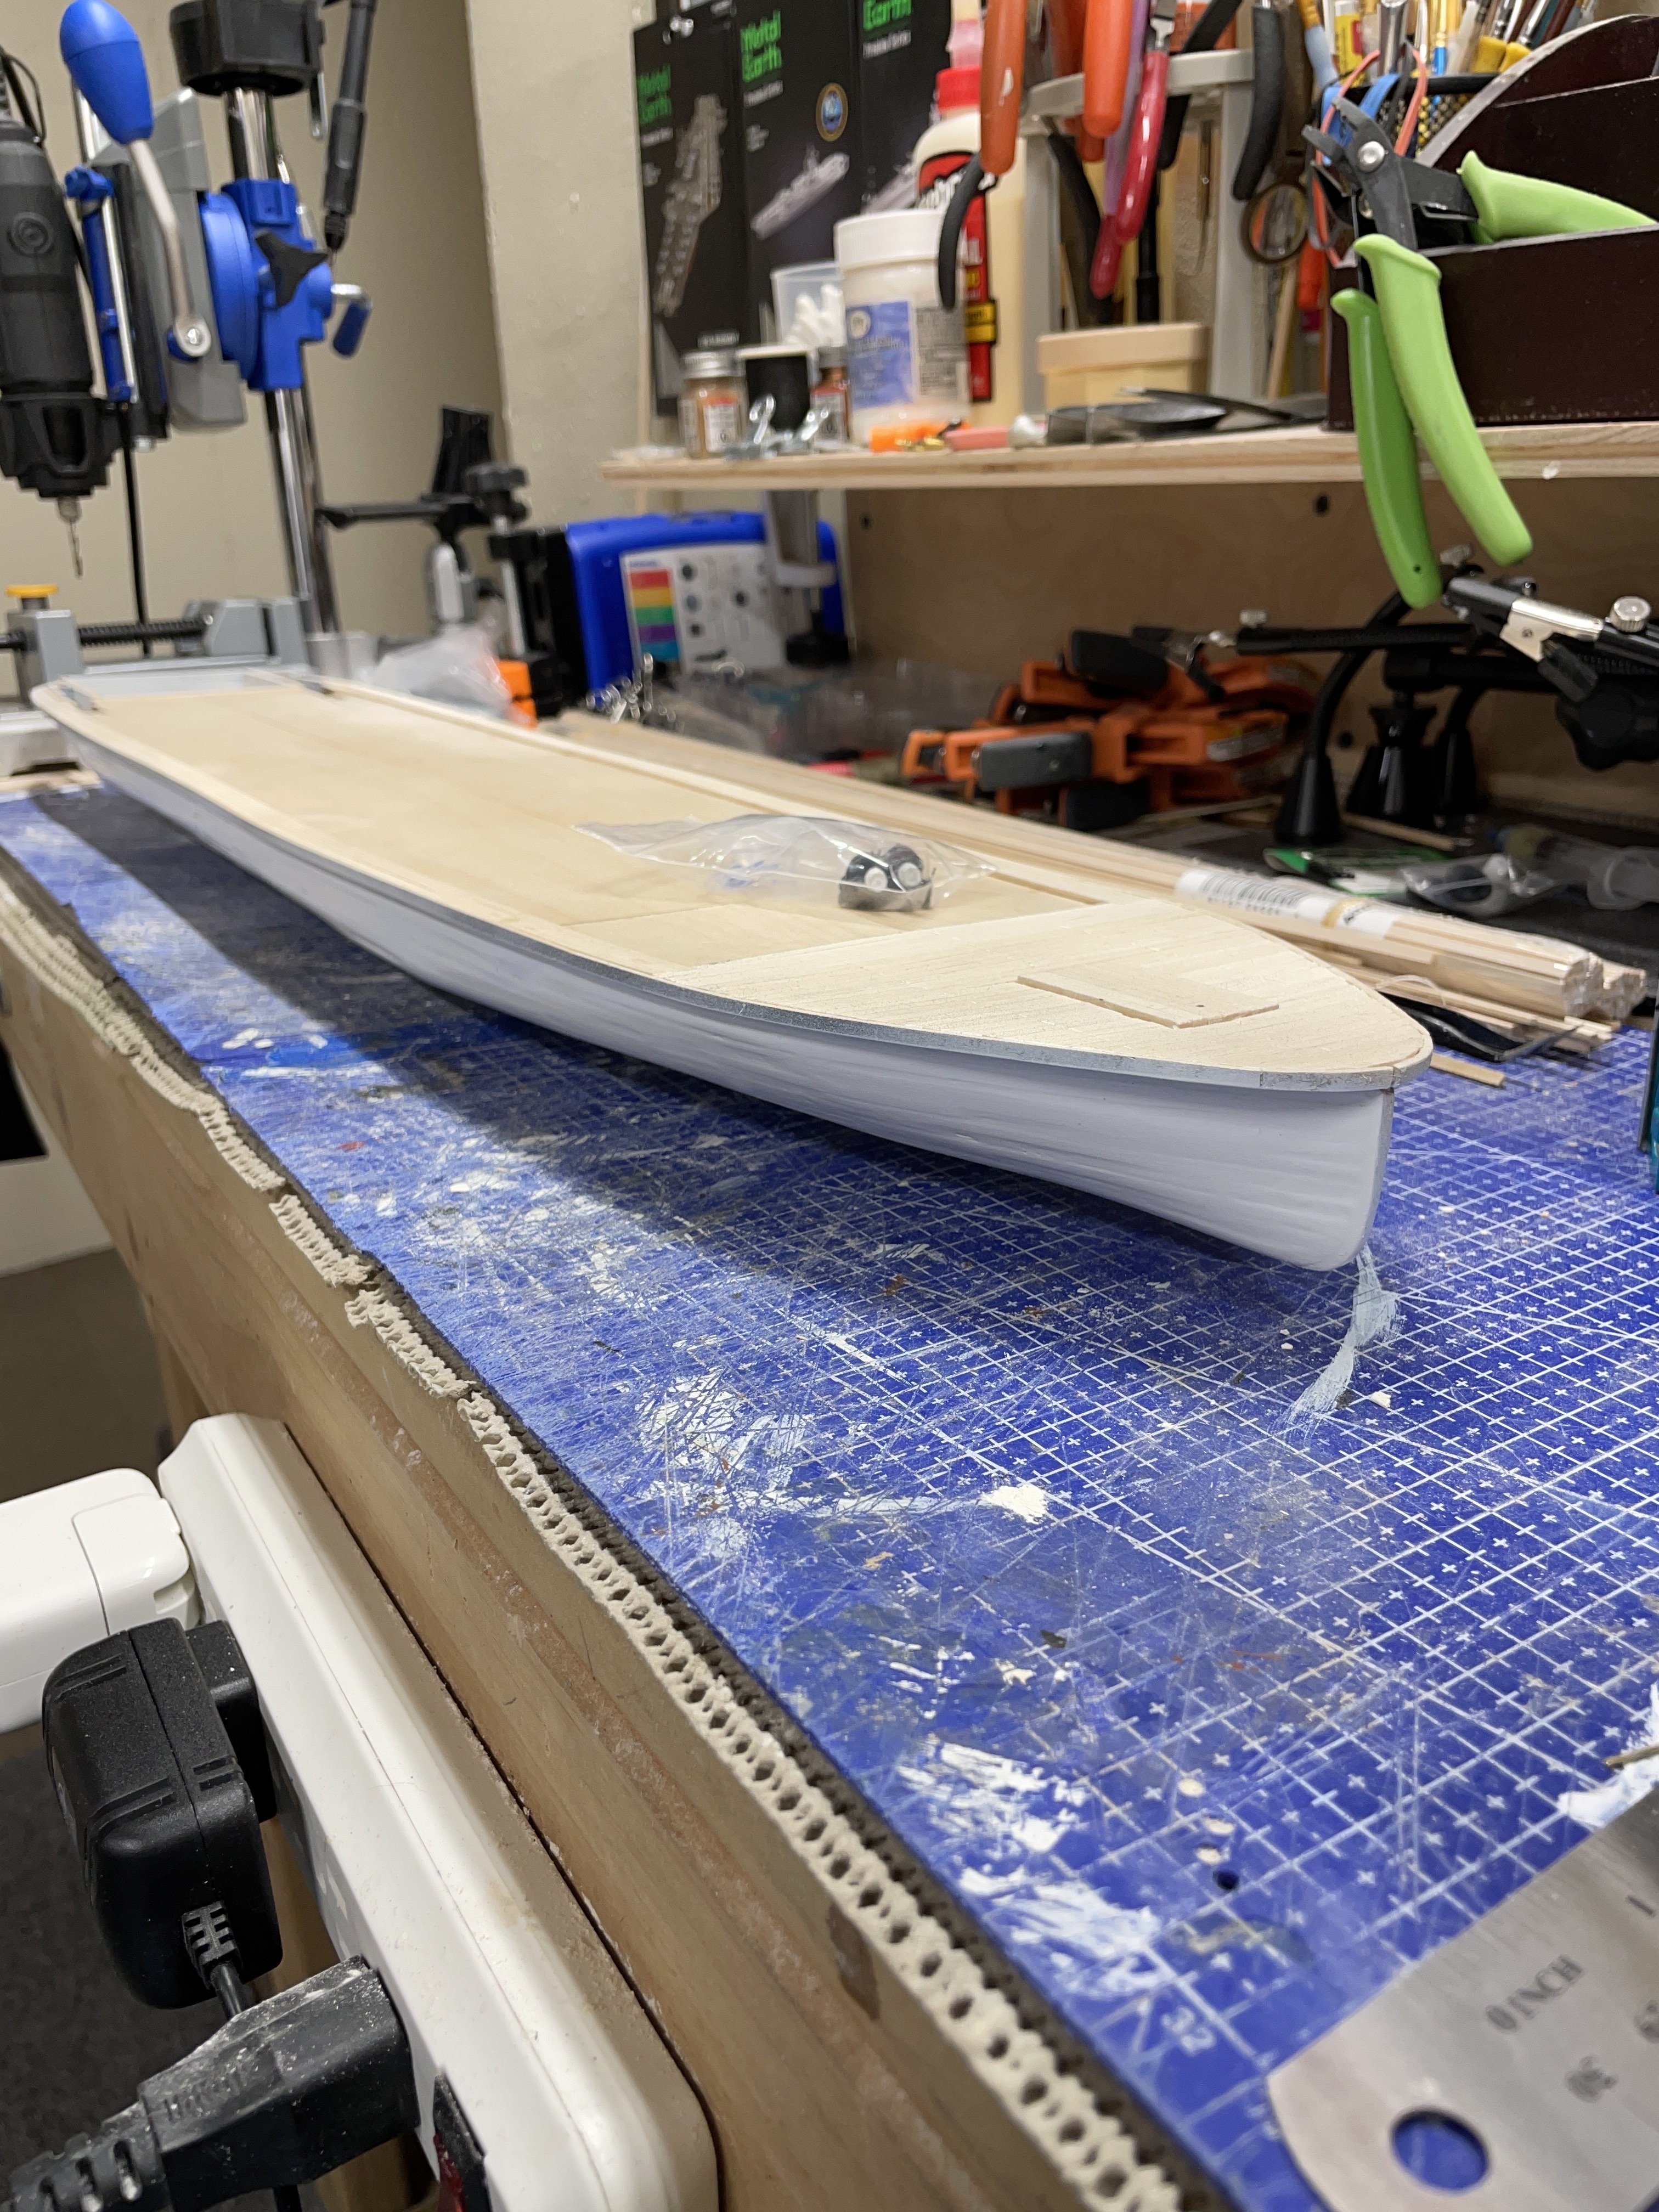
Main Deck and Hull work continue. @Knocklouder Can’t exactly see myself in her hull, just yet. LOL Cheers 🍻


-
Thanks for sharing… Nicely done. If you would like to share a few photos at various stage of the build it would be helpful. Good inspiration. Please send them to me via PM so we don’t load up my build log. Thank you Cheers 🍻
-
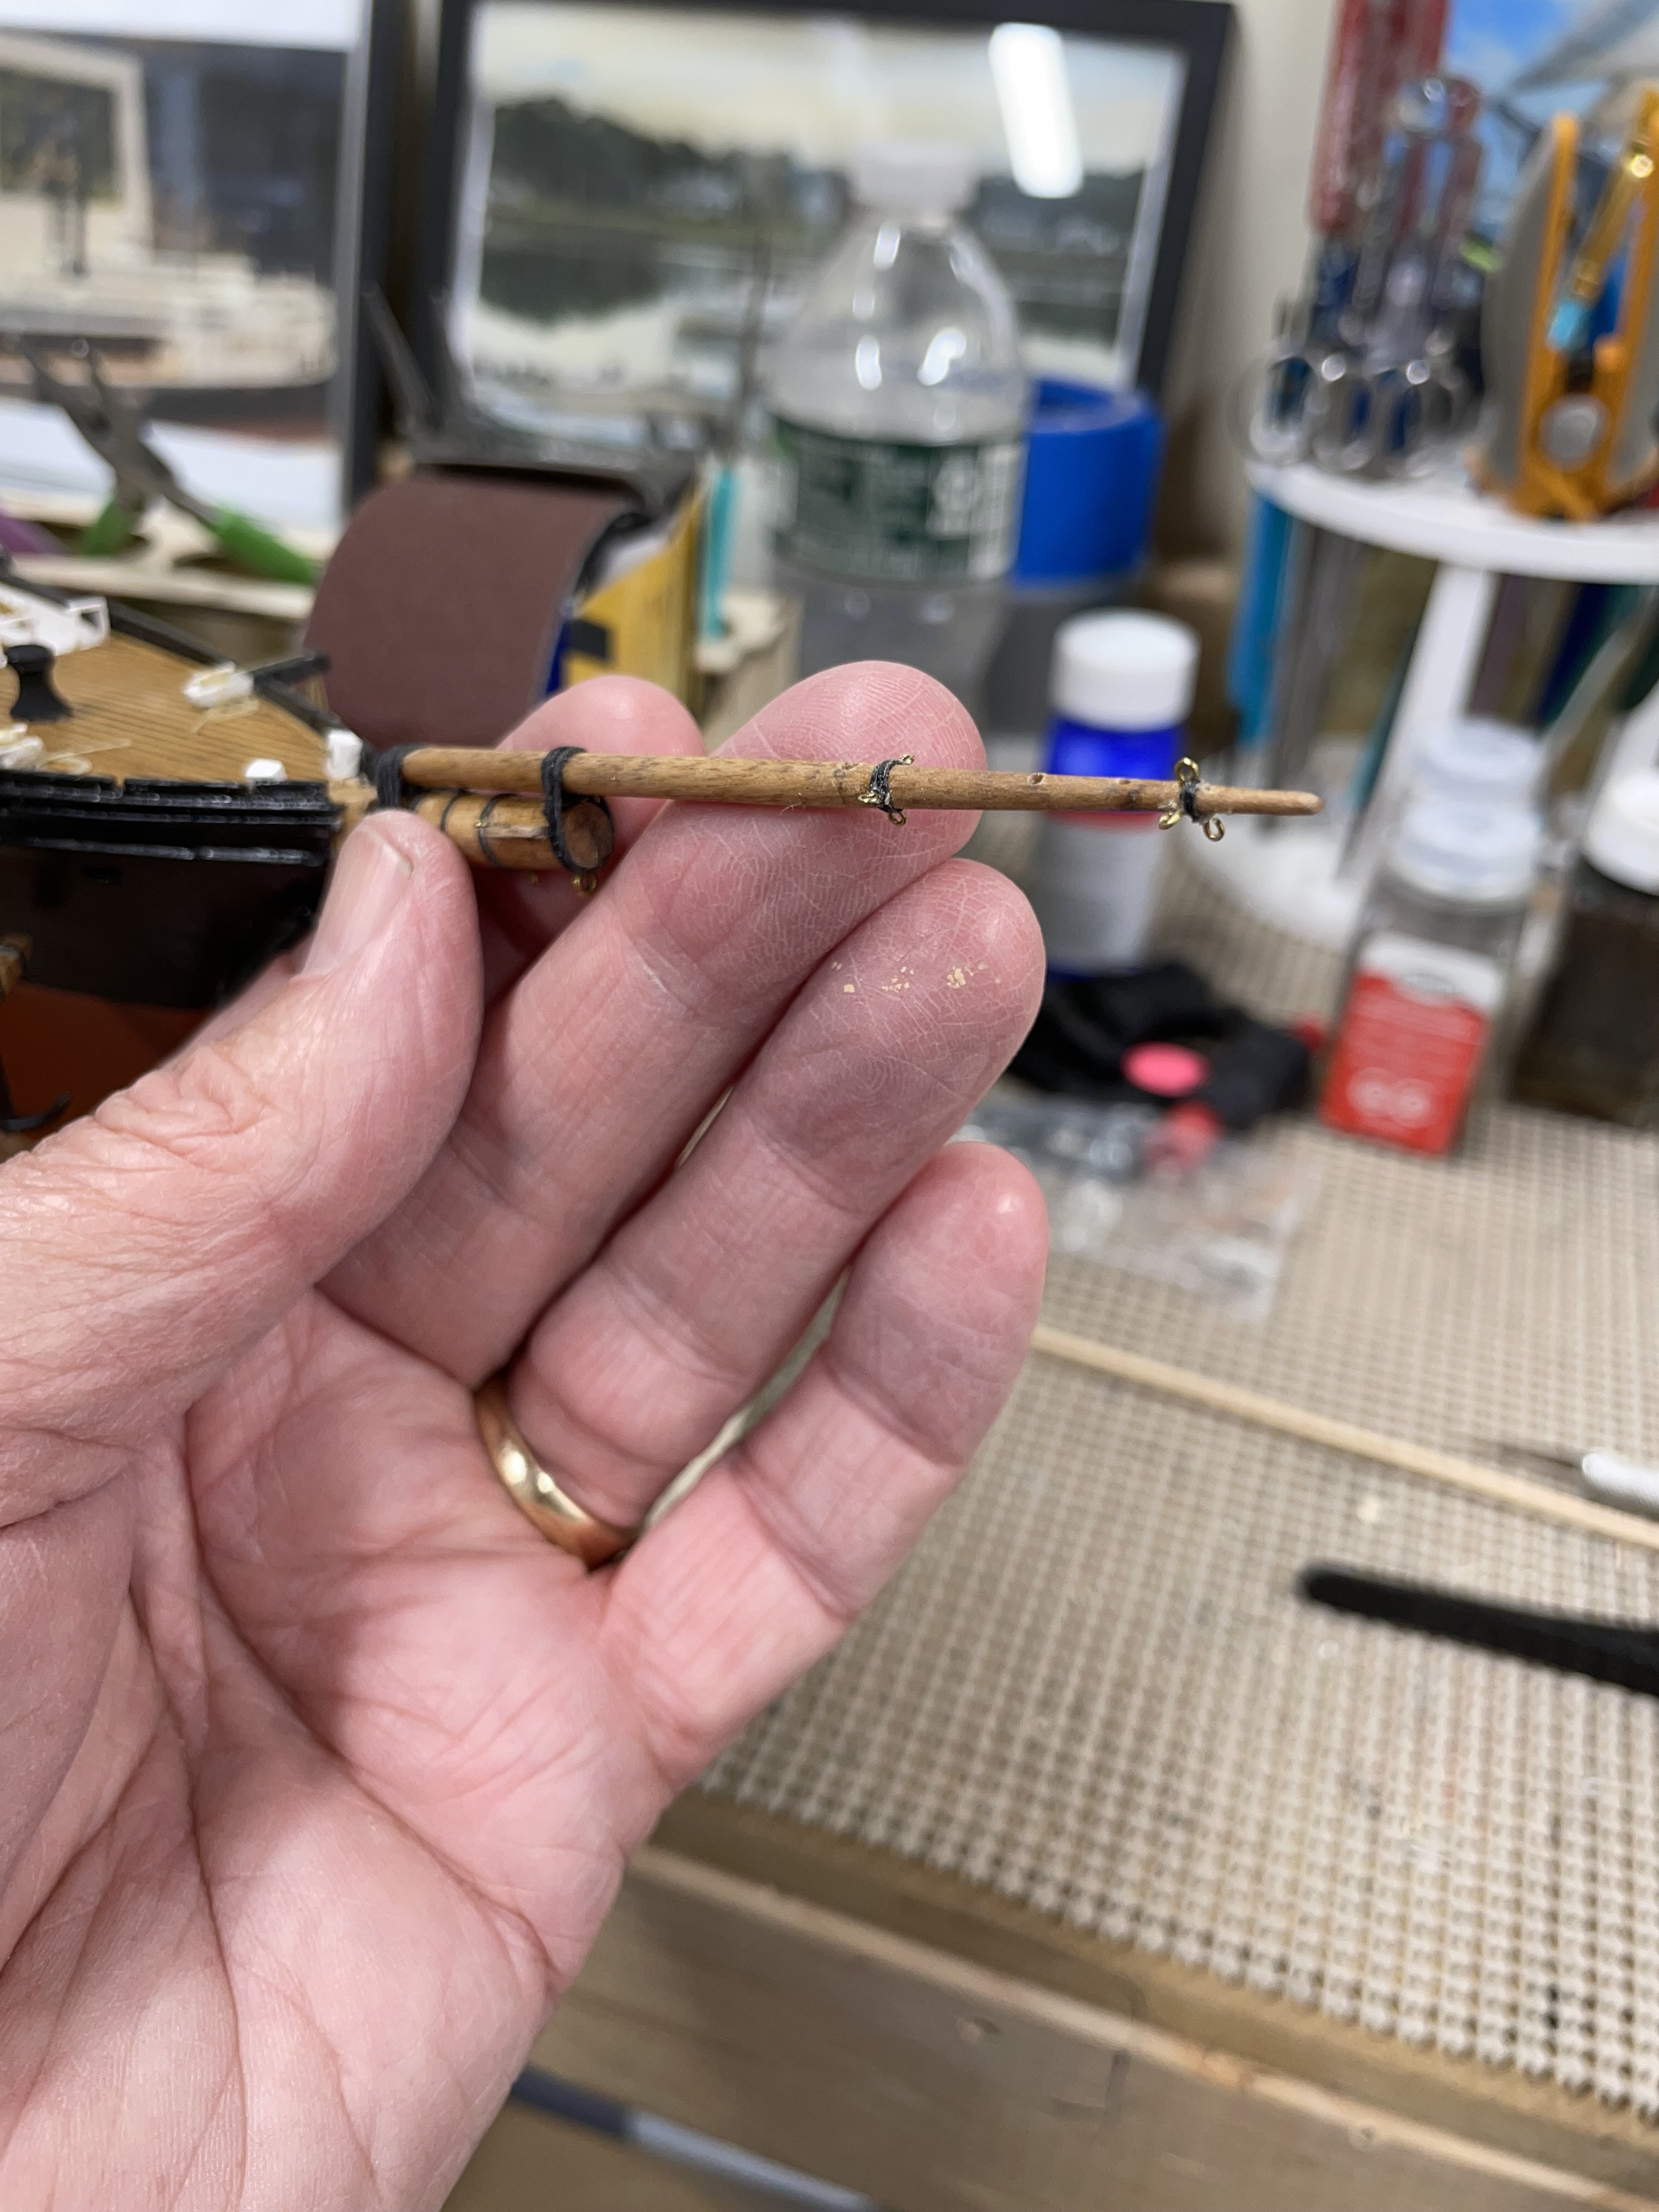
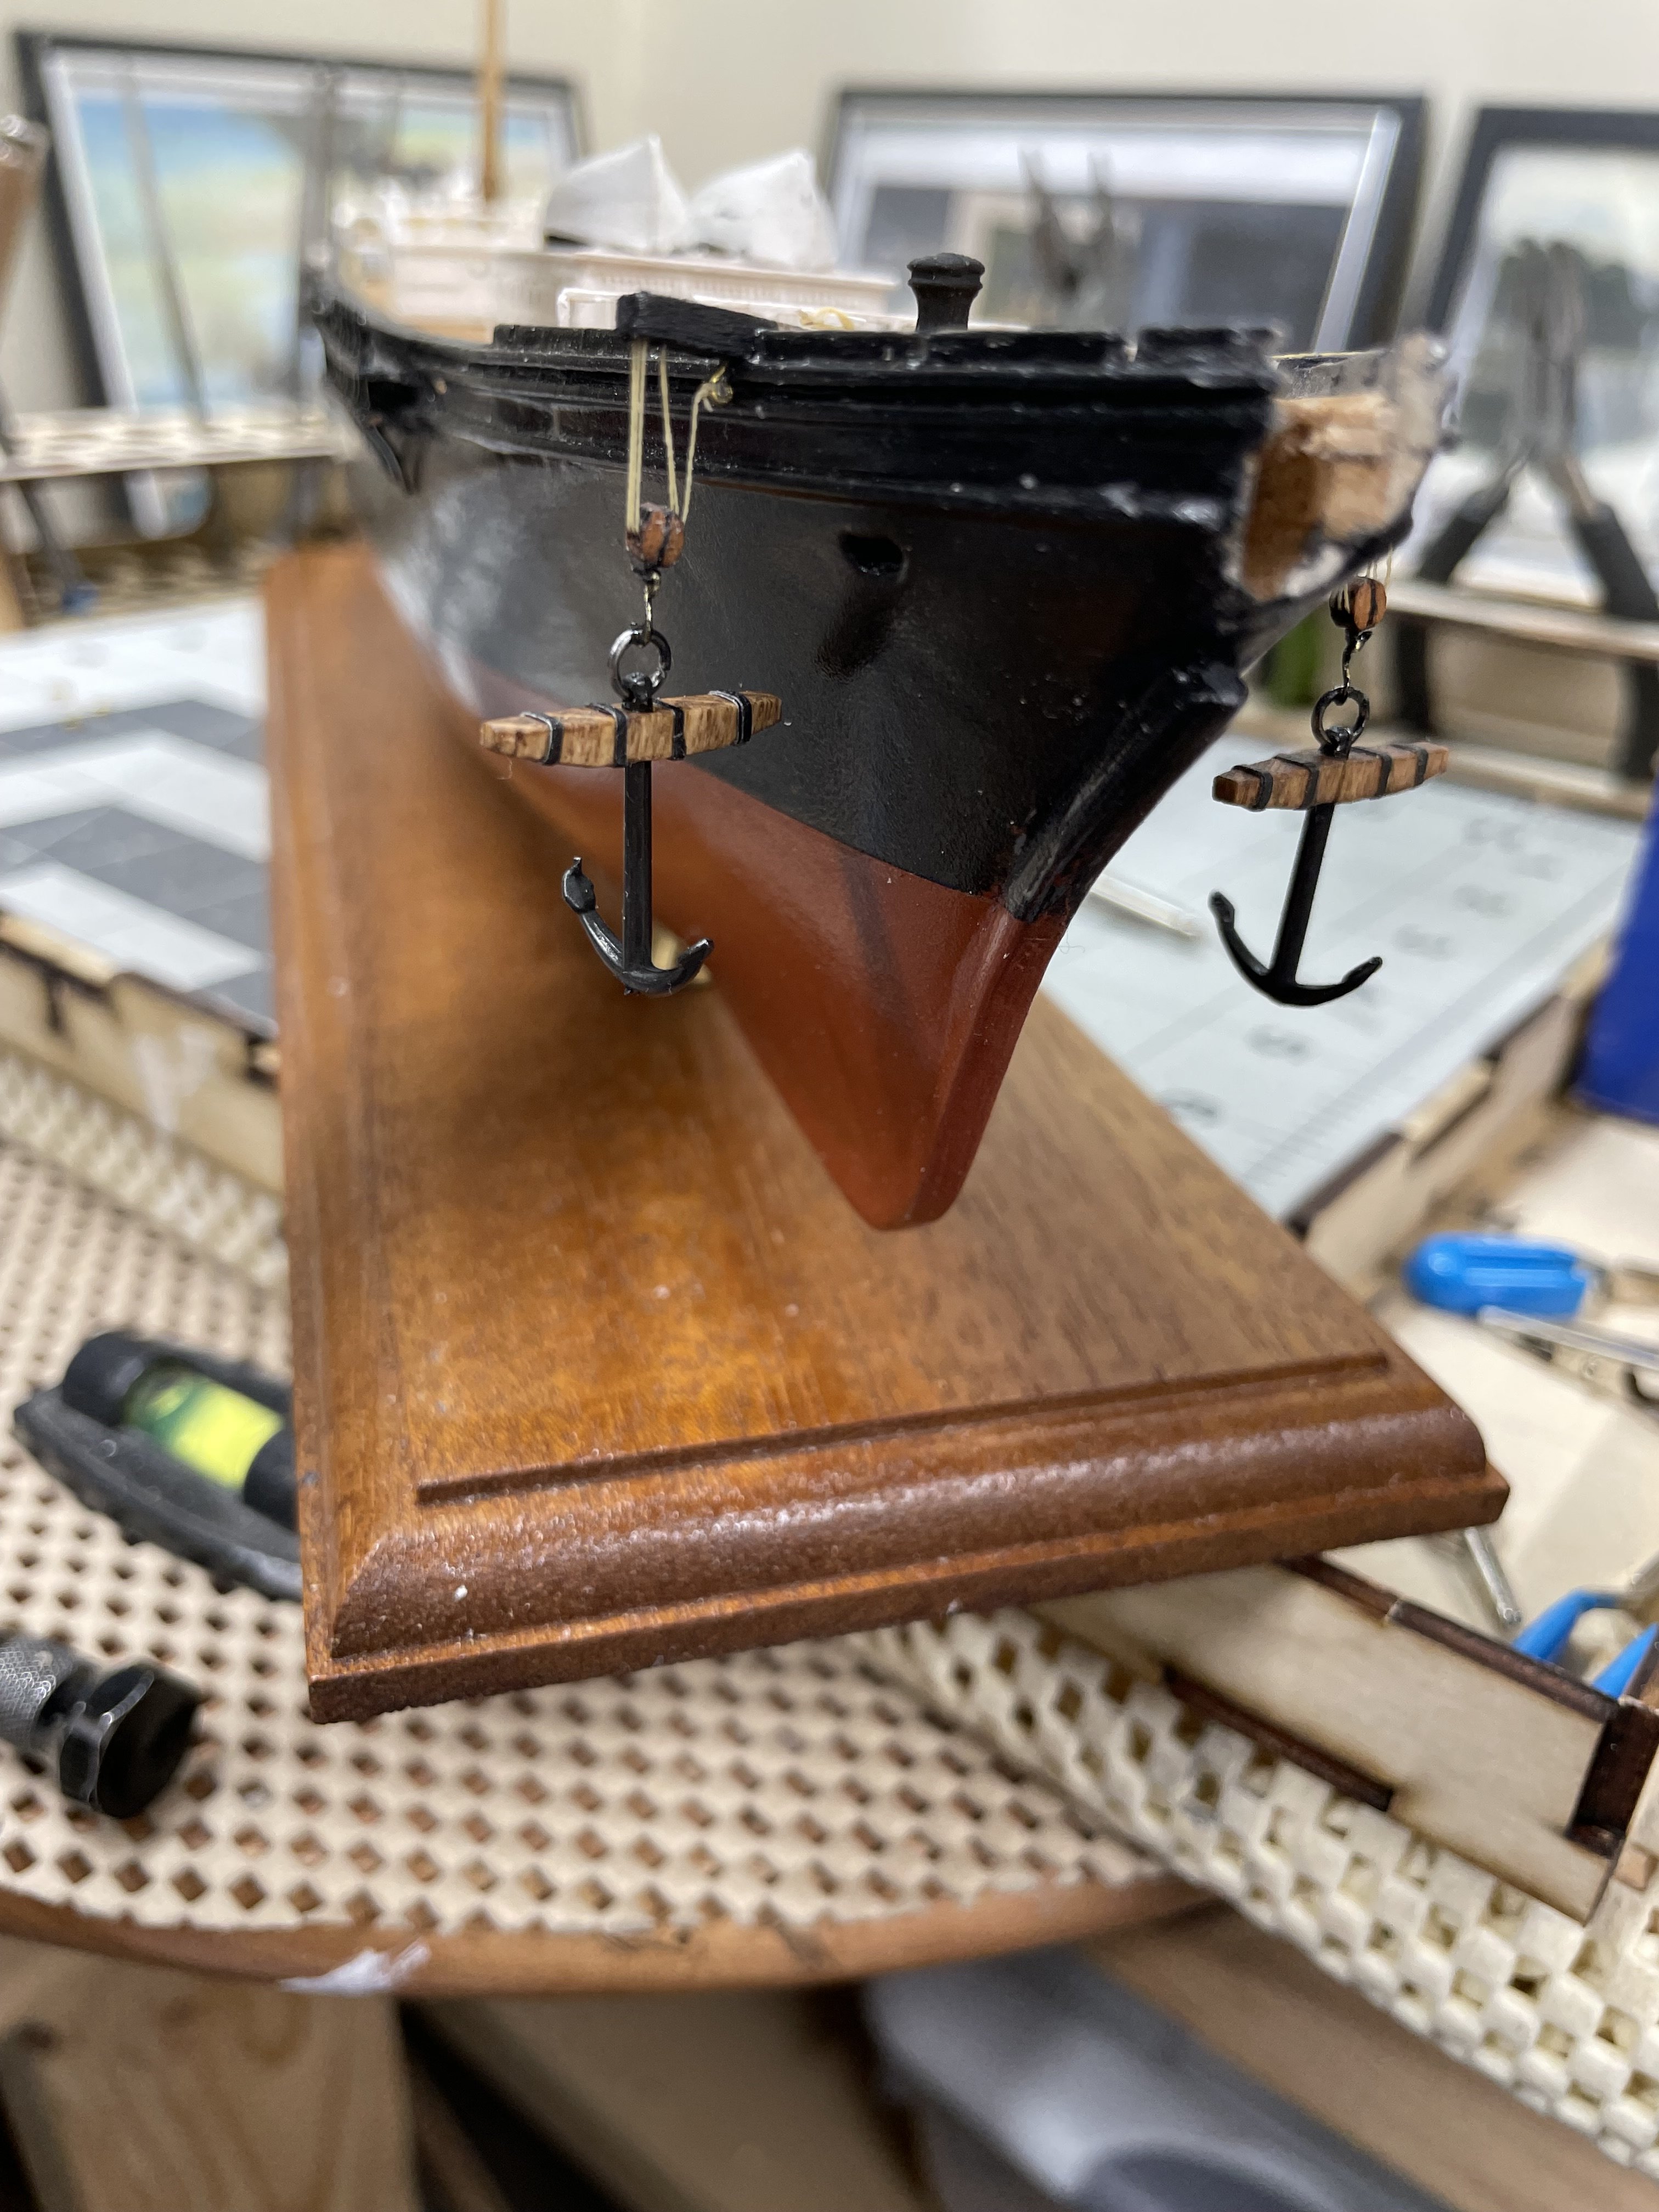
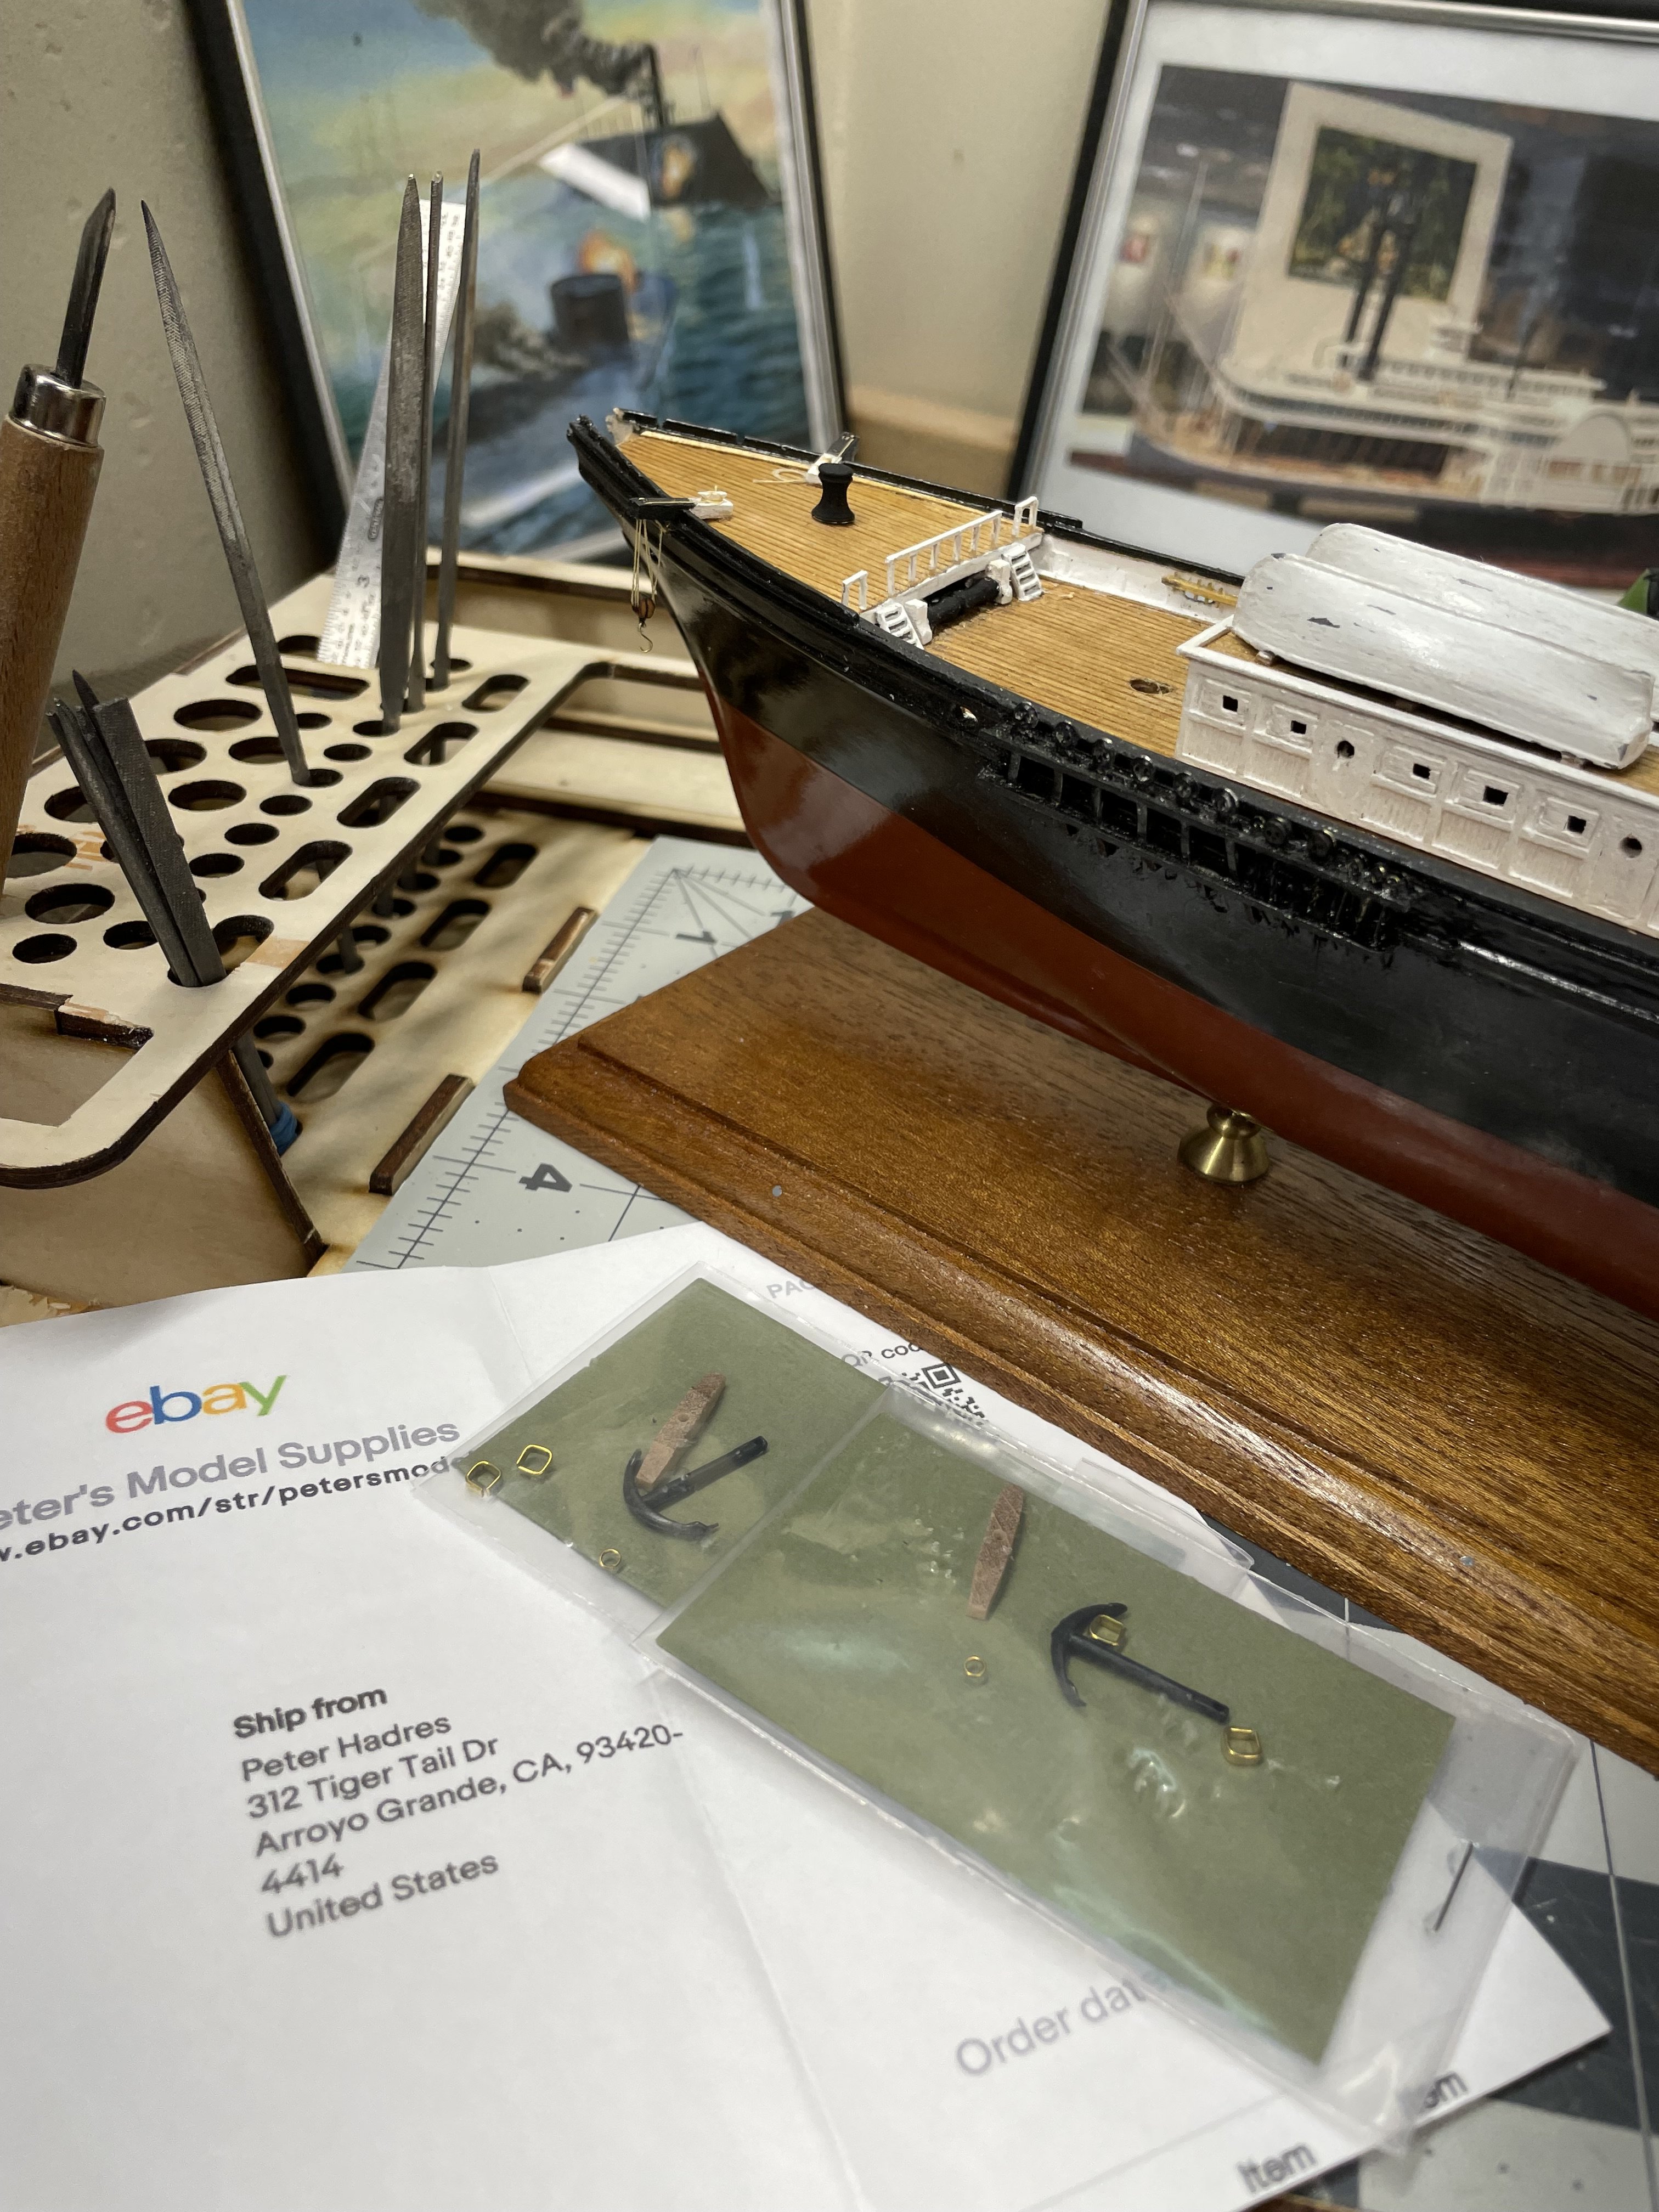
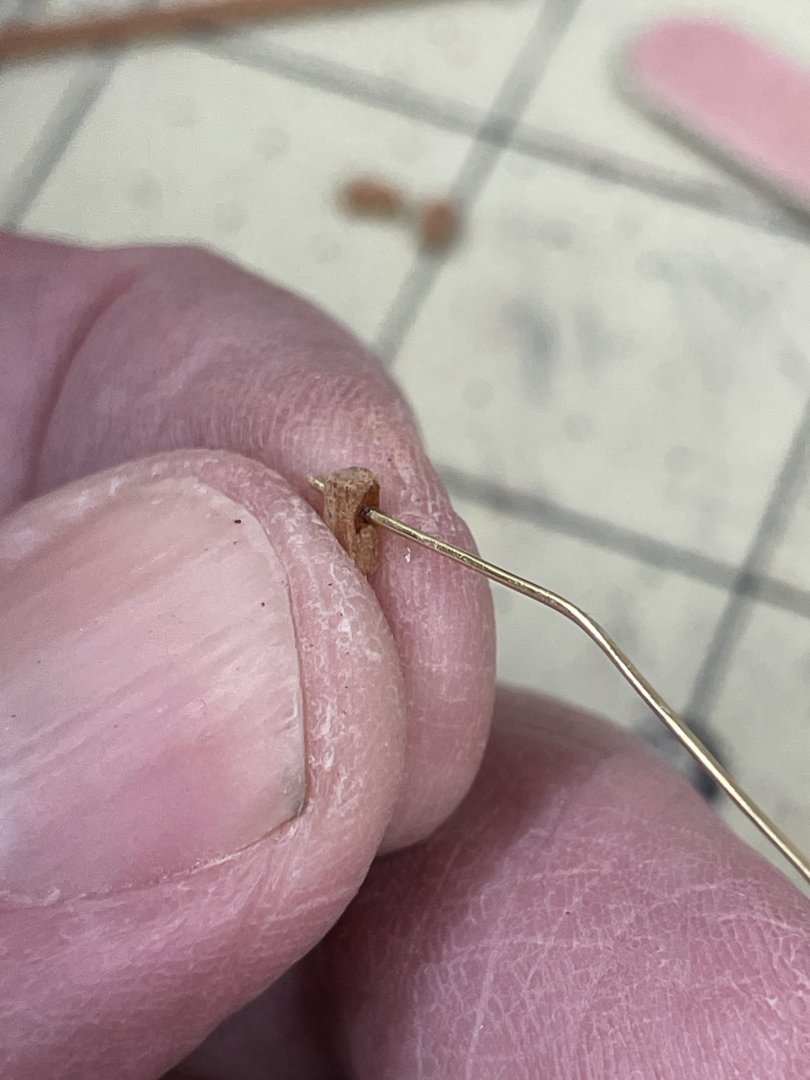
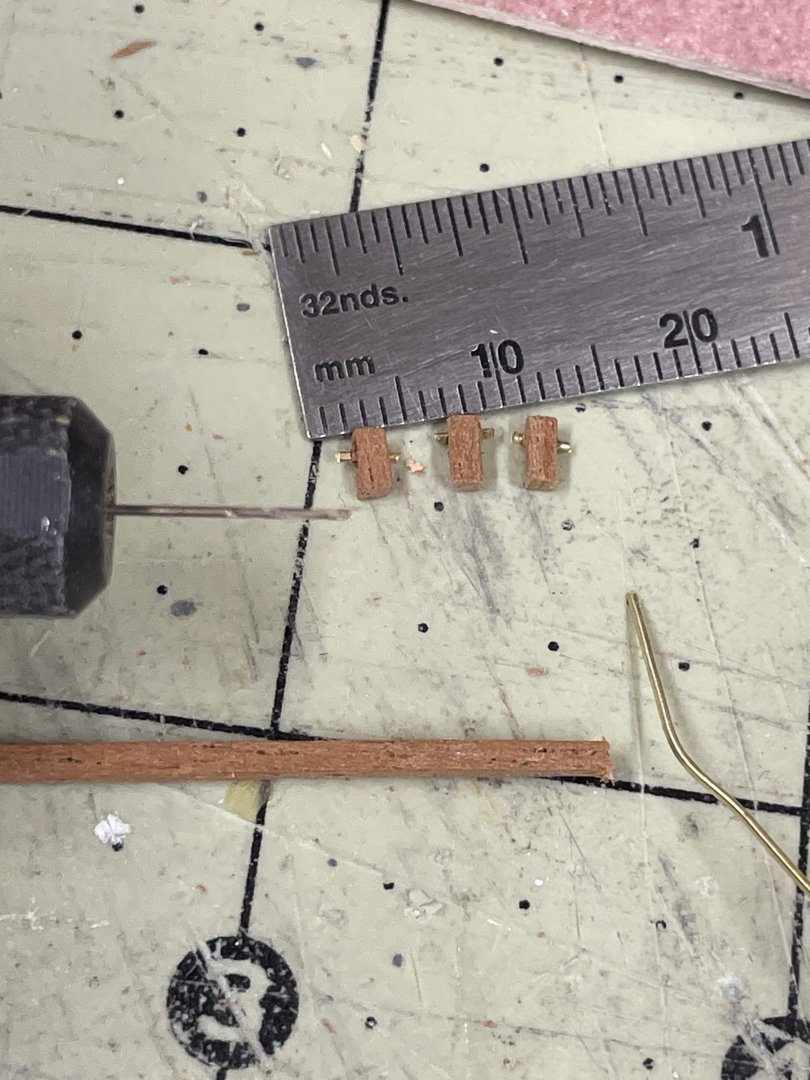
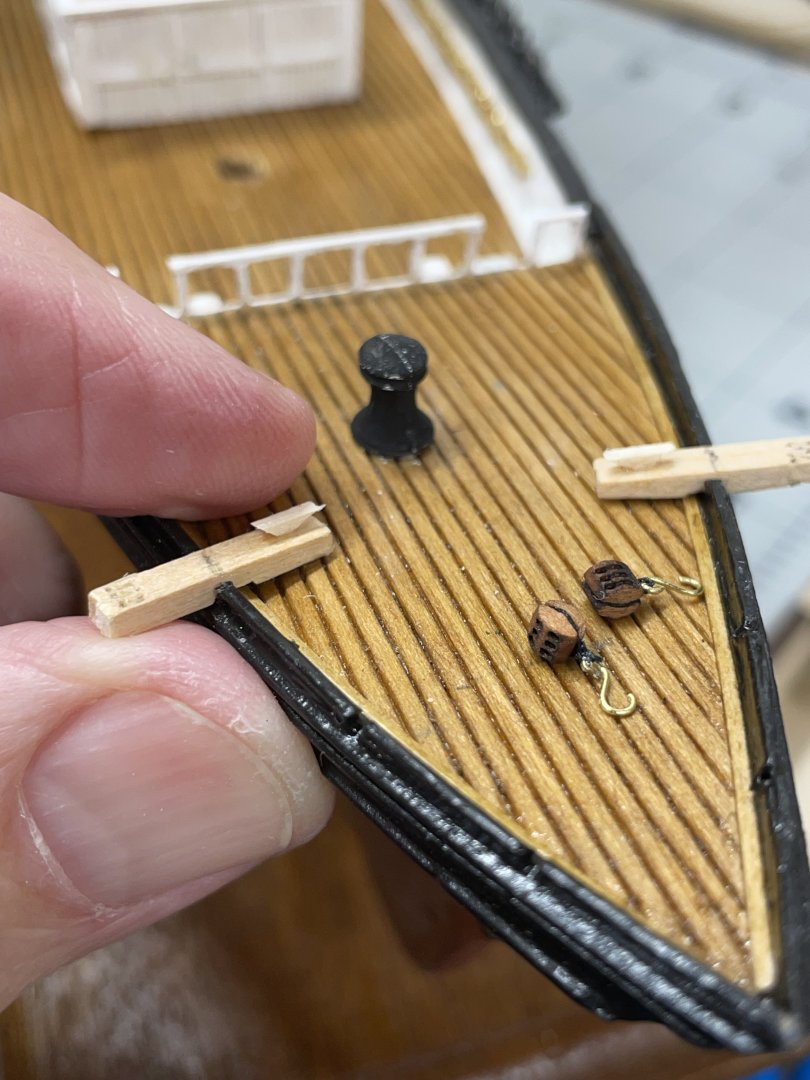
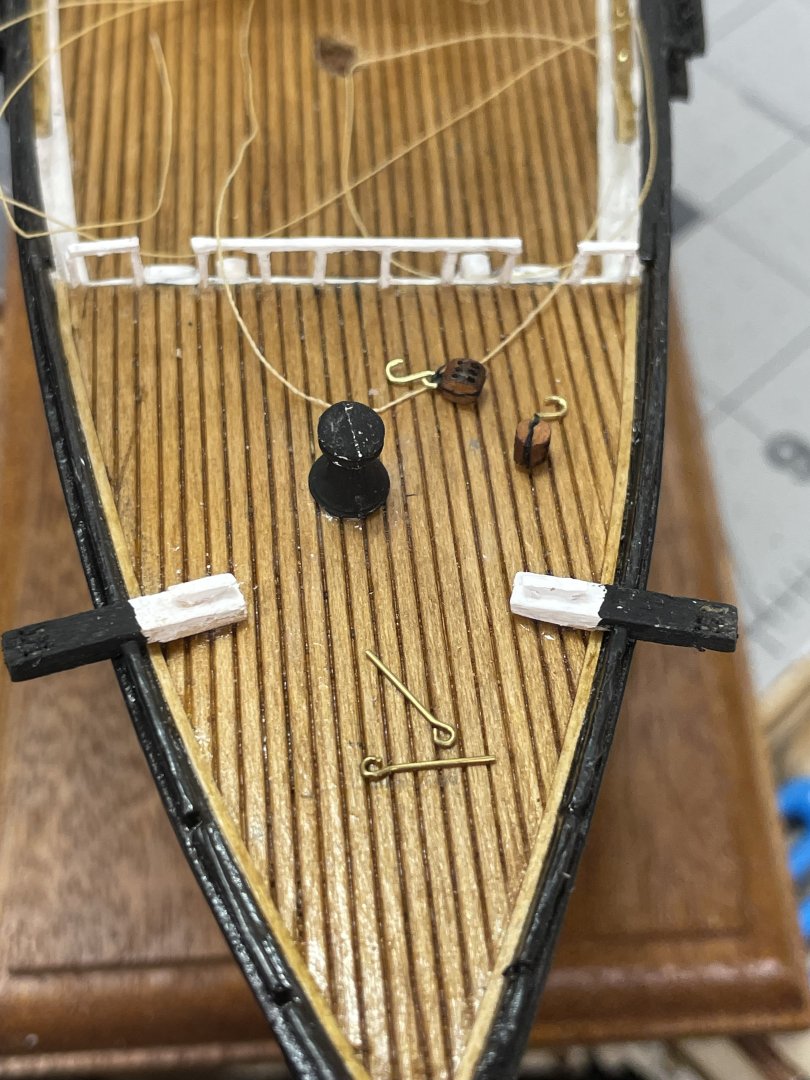
Anchors… Moving on to the Bowsprit… Cheers 🍻

- 165 replies
-
- 4
-
-
- Red Jacket
- Marine Model Company
- (and 2 more)
-
Wow! 😮 She’s looking really good Bob. CHEERS 🍻
-
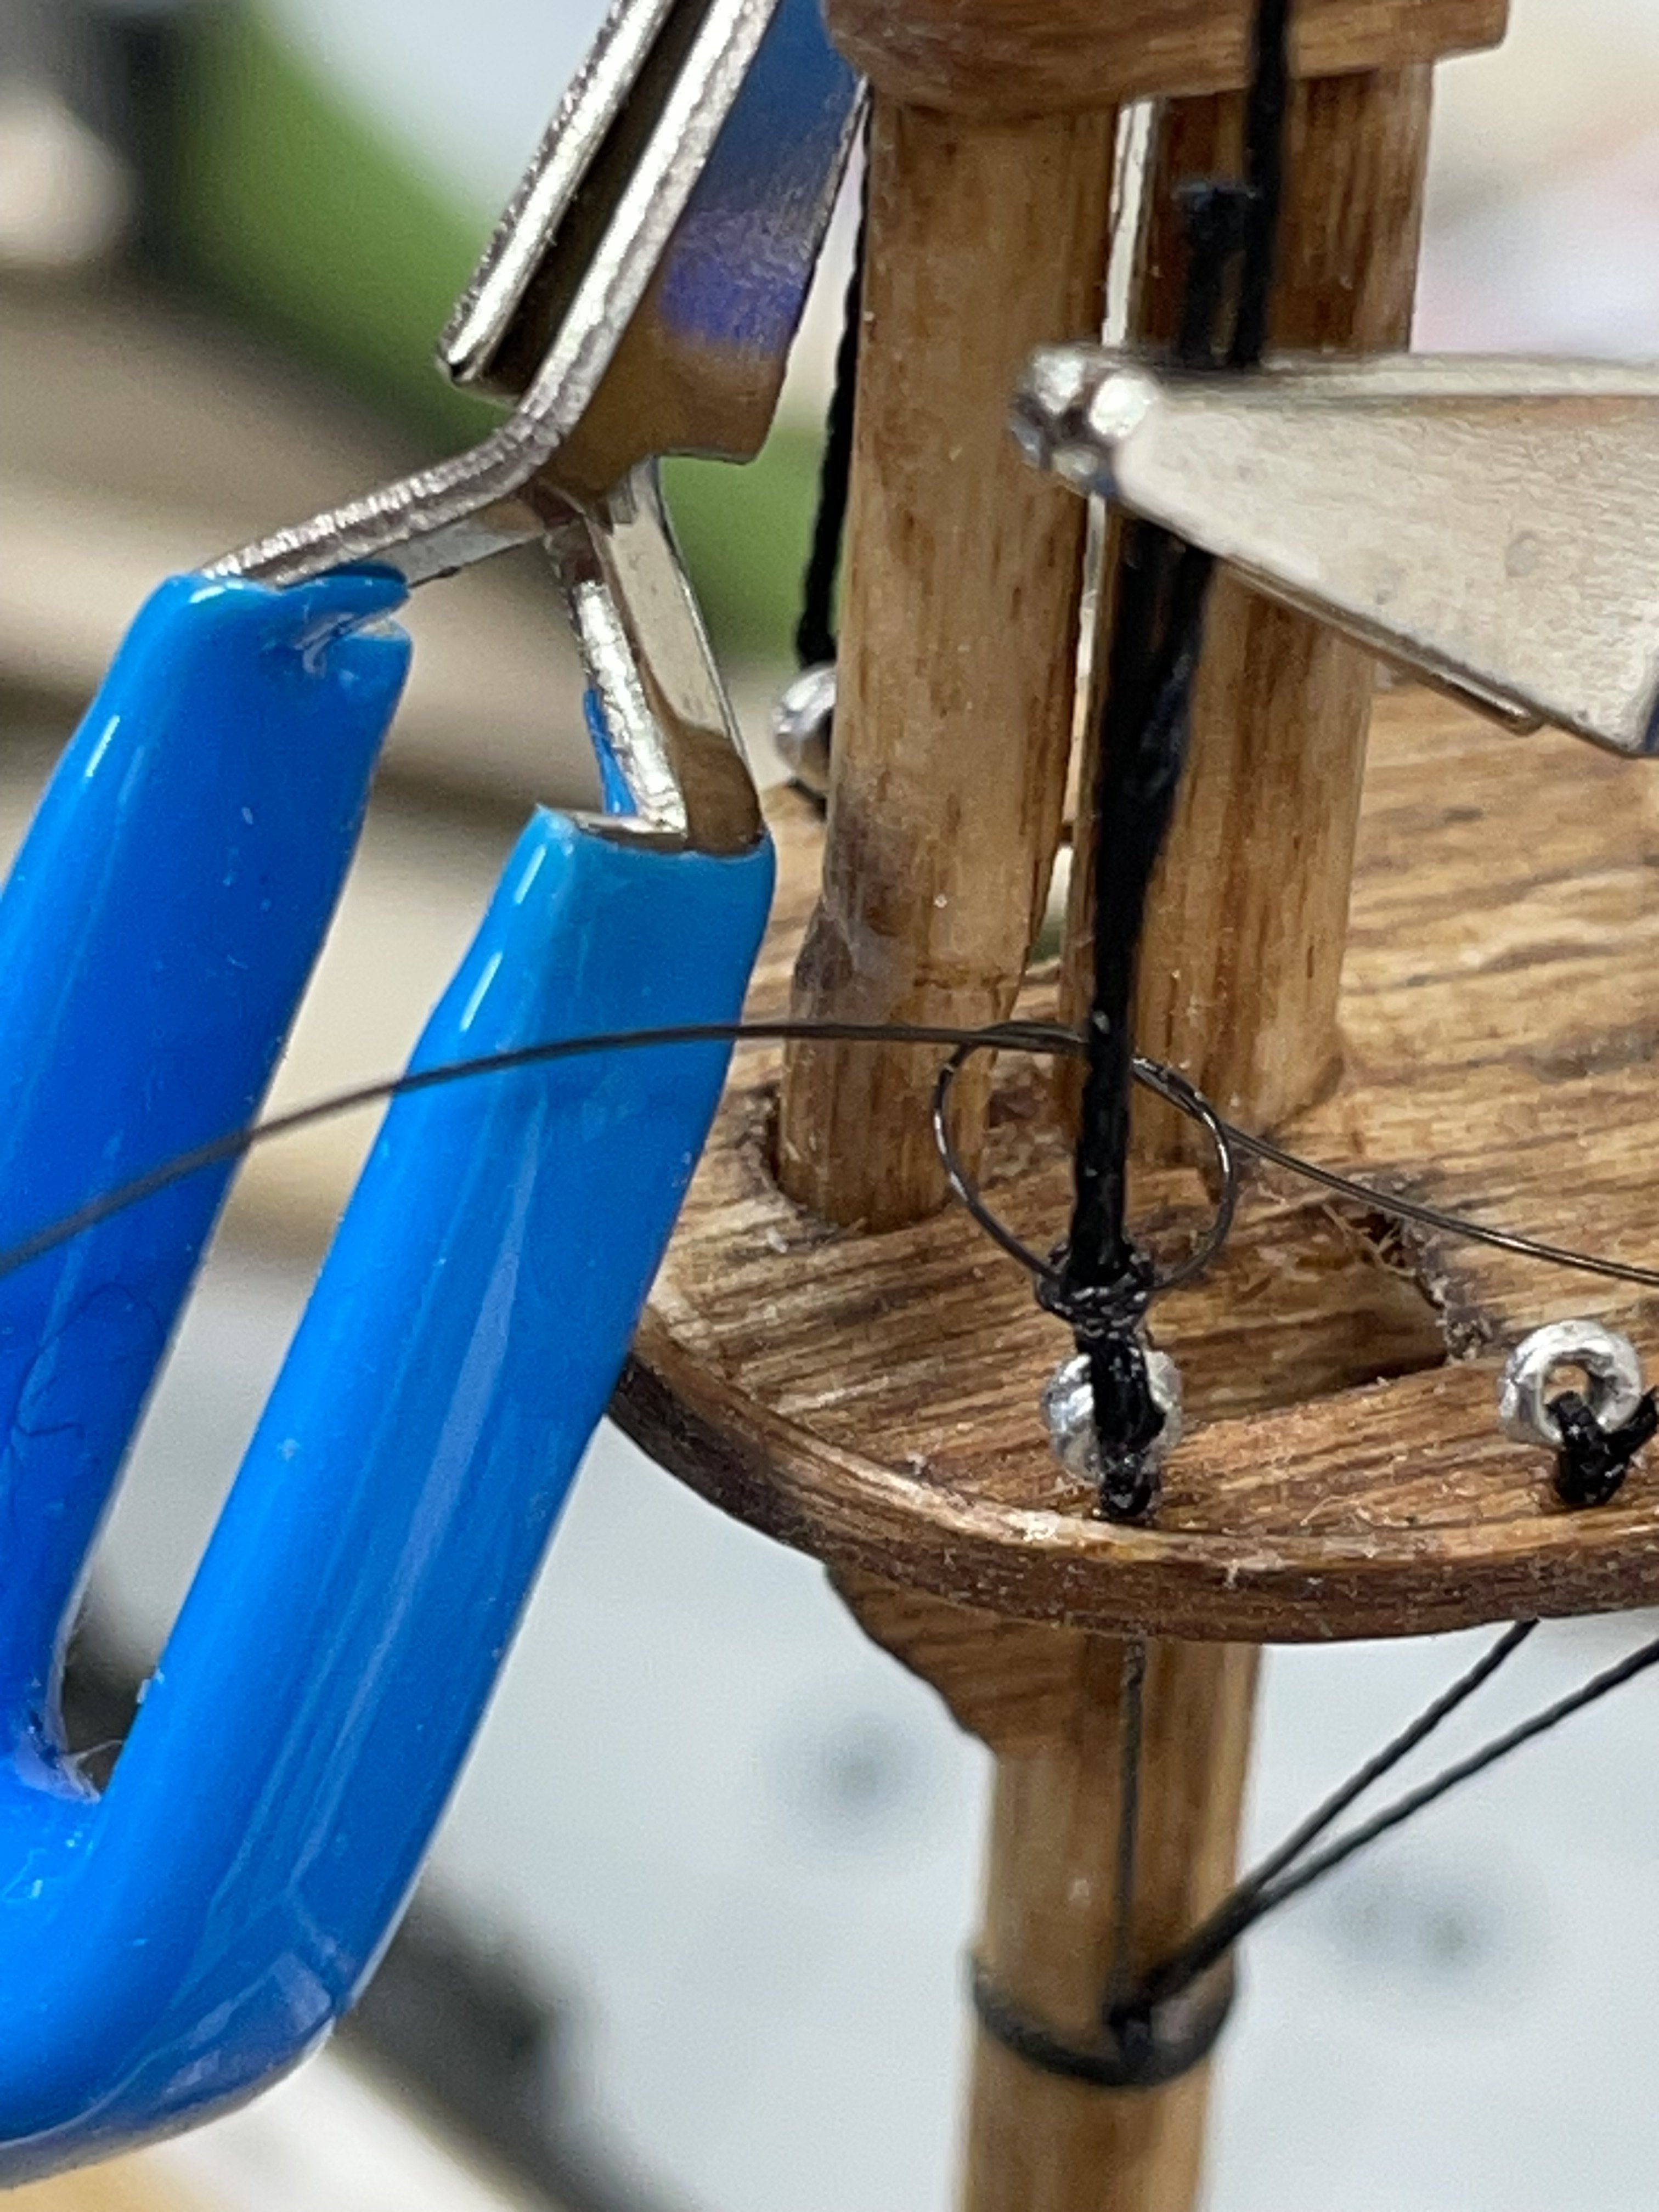
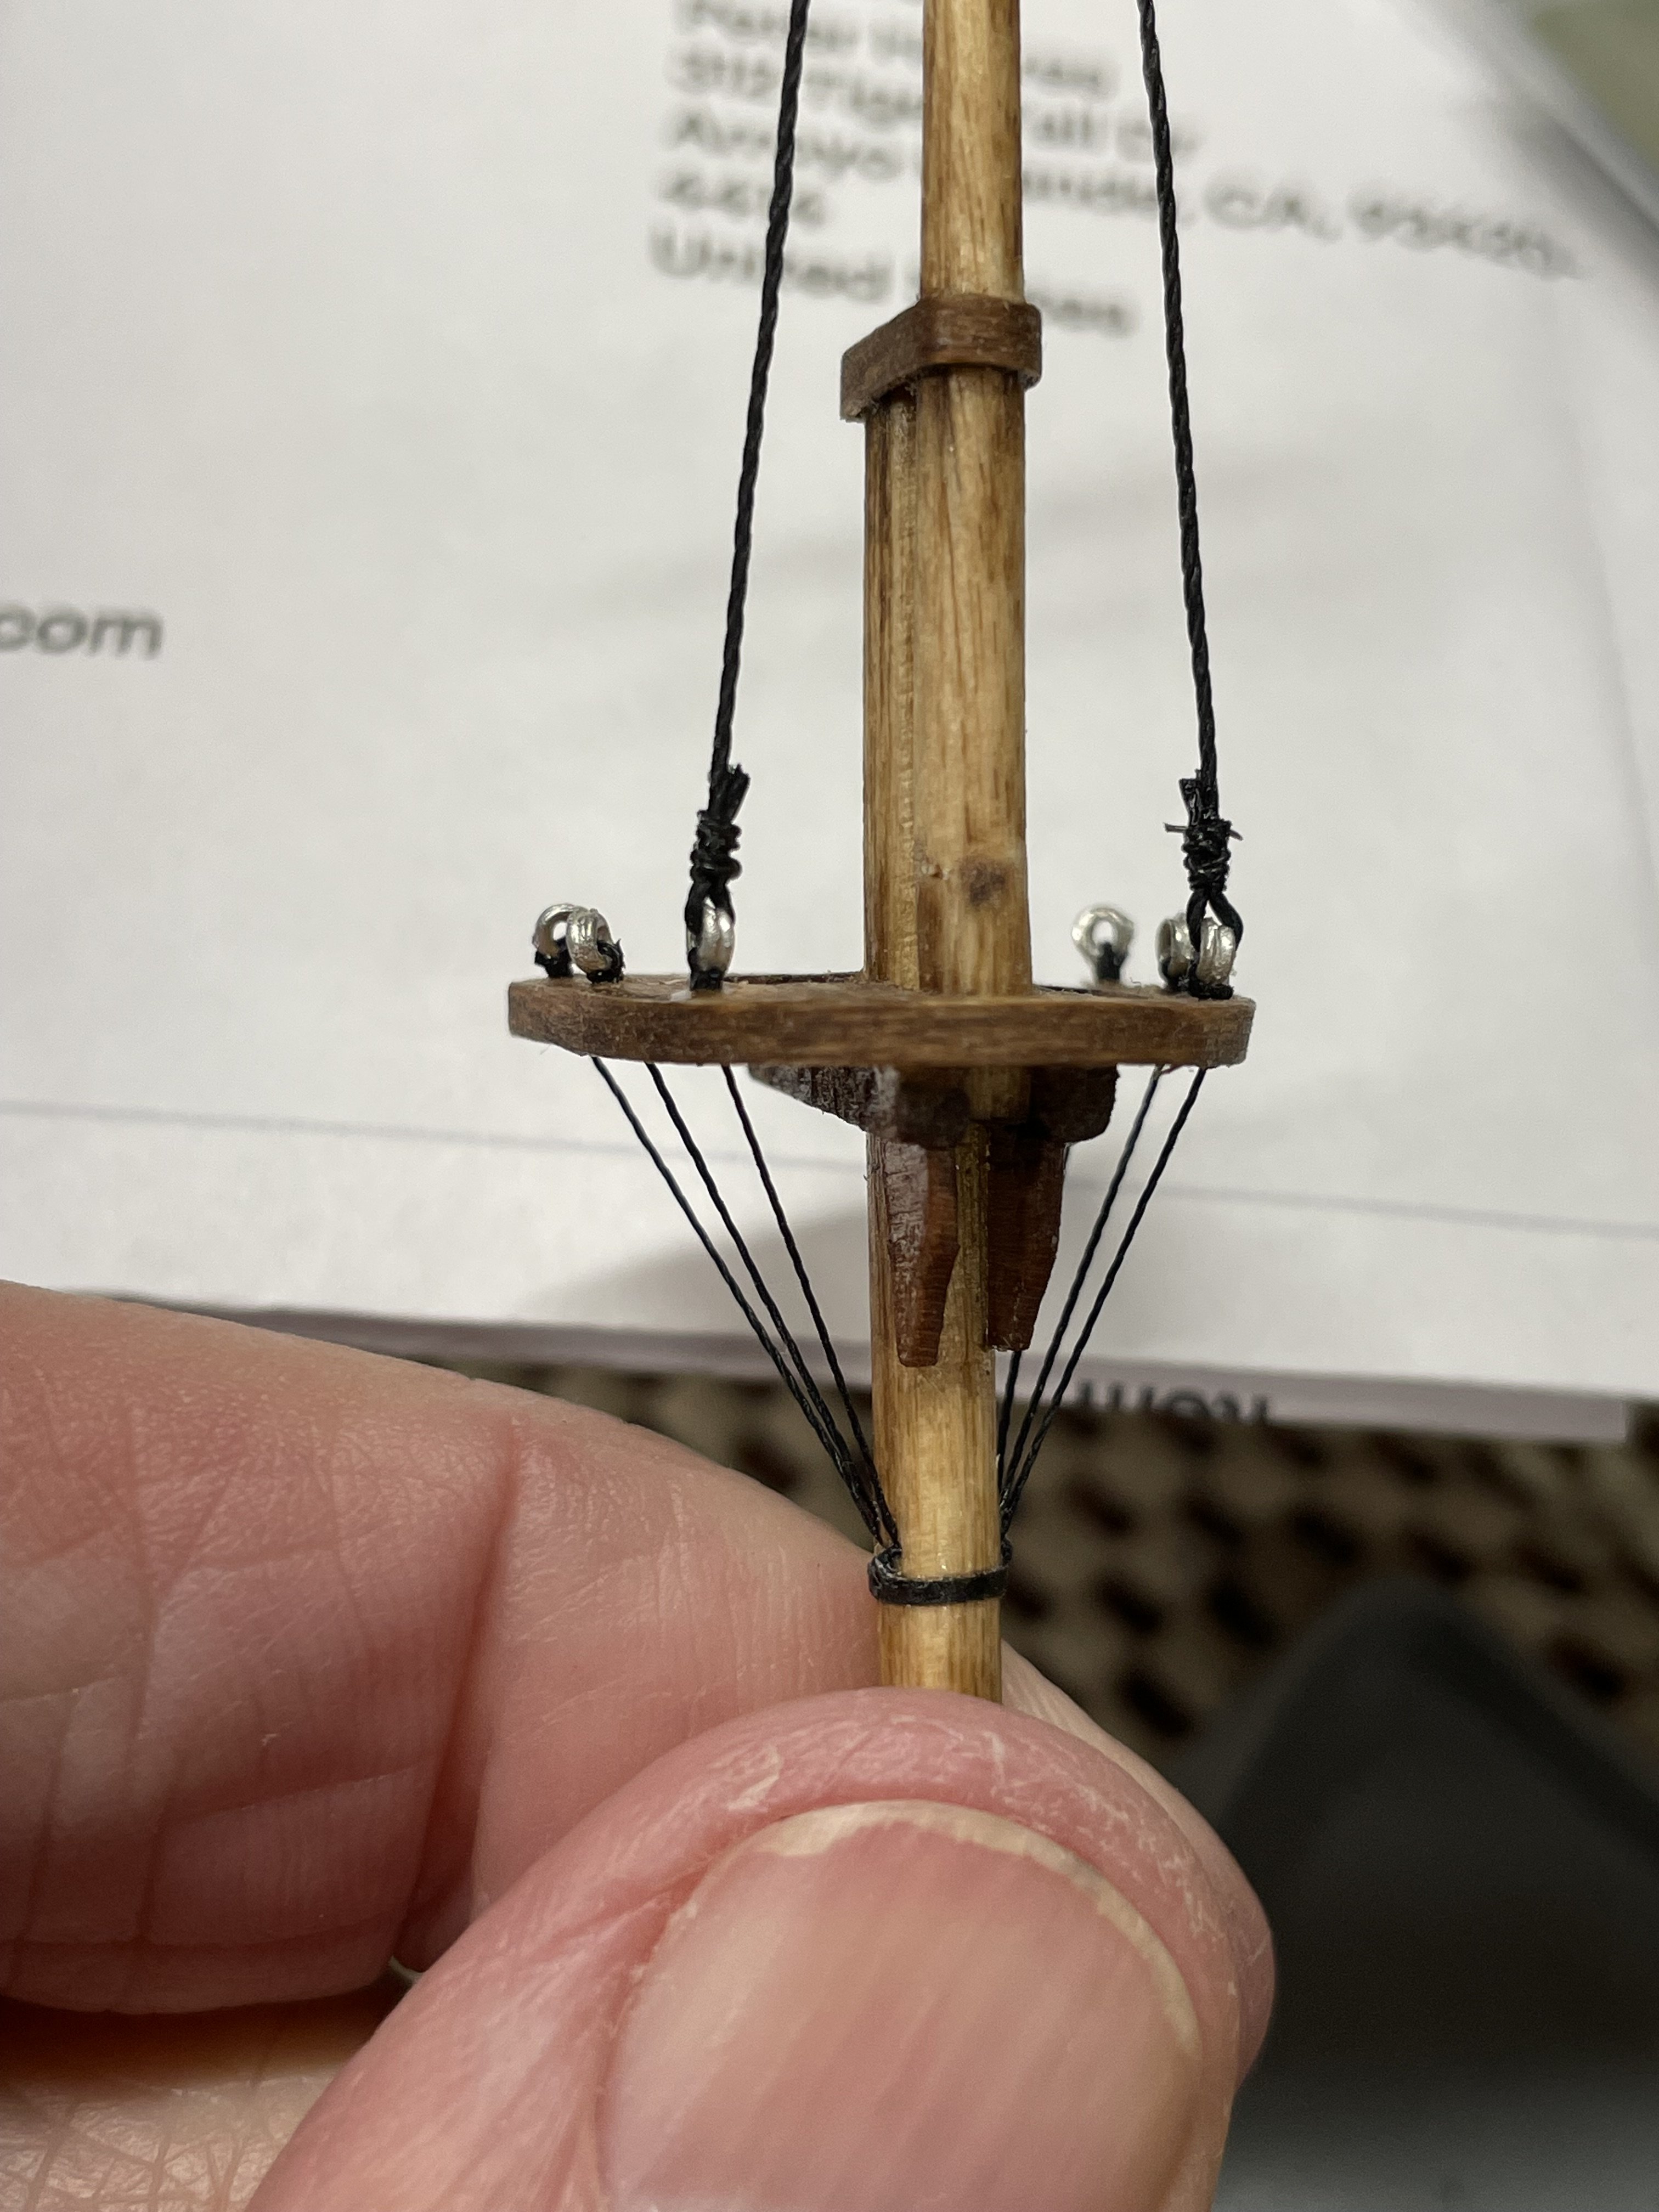
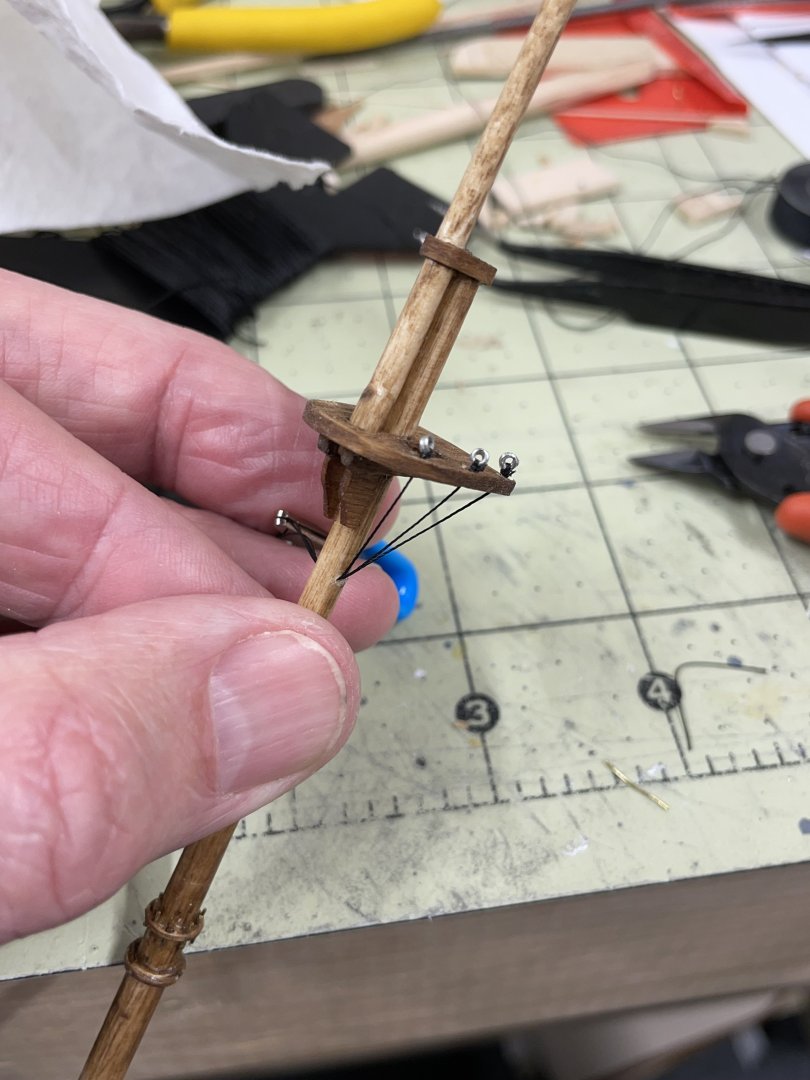
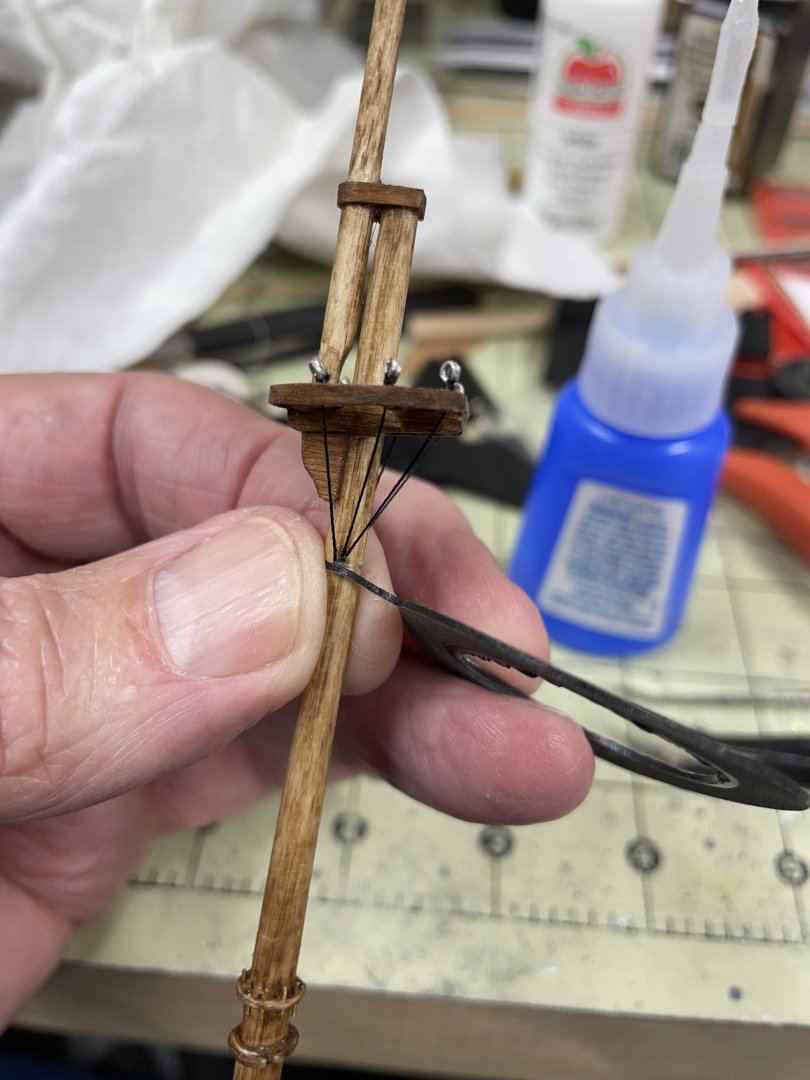
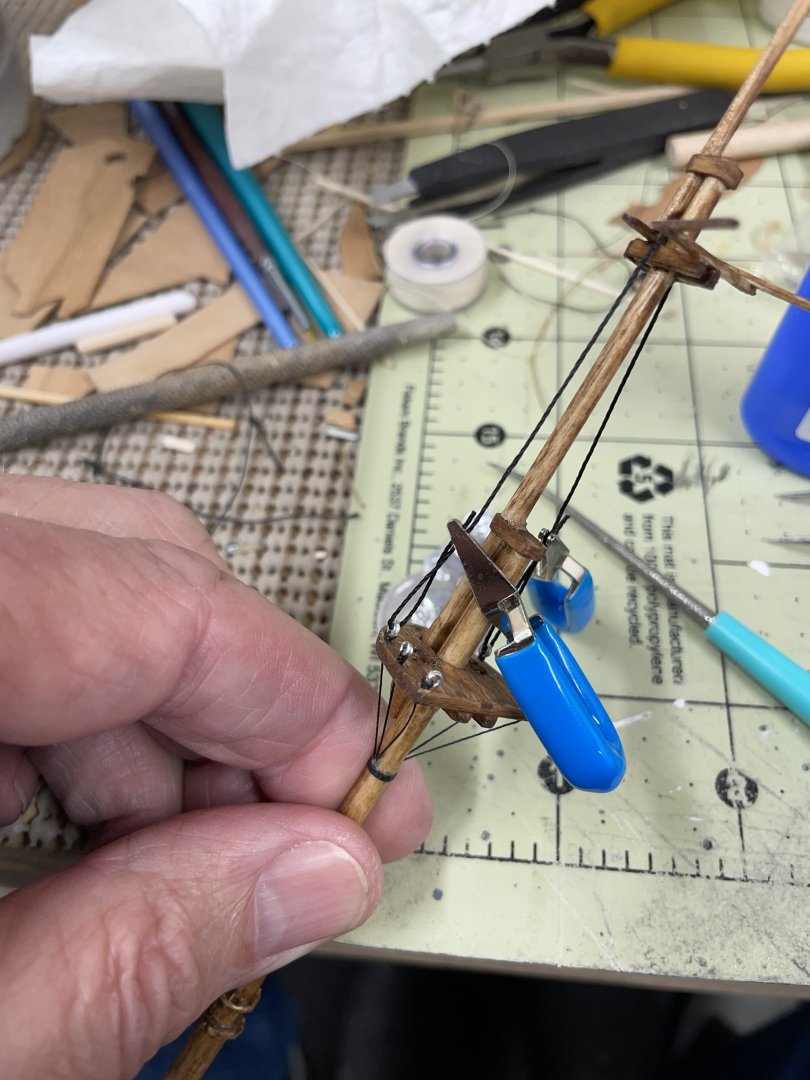
Thanks Bill, You think that’s small, watch this. LOL Futtock and upper shrouds on Mizzen Mast… Anchors came in today from Peter’s Model Supplies on eBay. Great sources for parts. Can’t wait to do Ratlines on this one. Steady as she goes… Cheers


- 165 replies
-
- 6
-
-
- Red Jacket
- Marine Model Company
- (and 2 more)
-
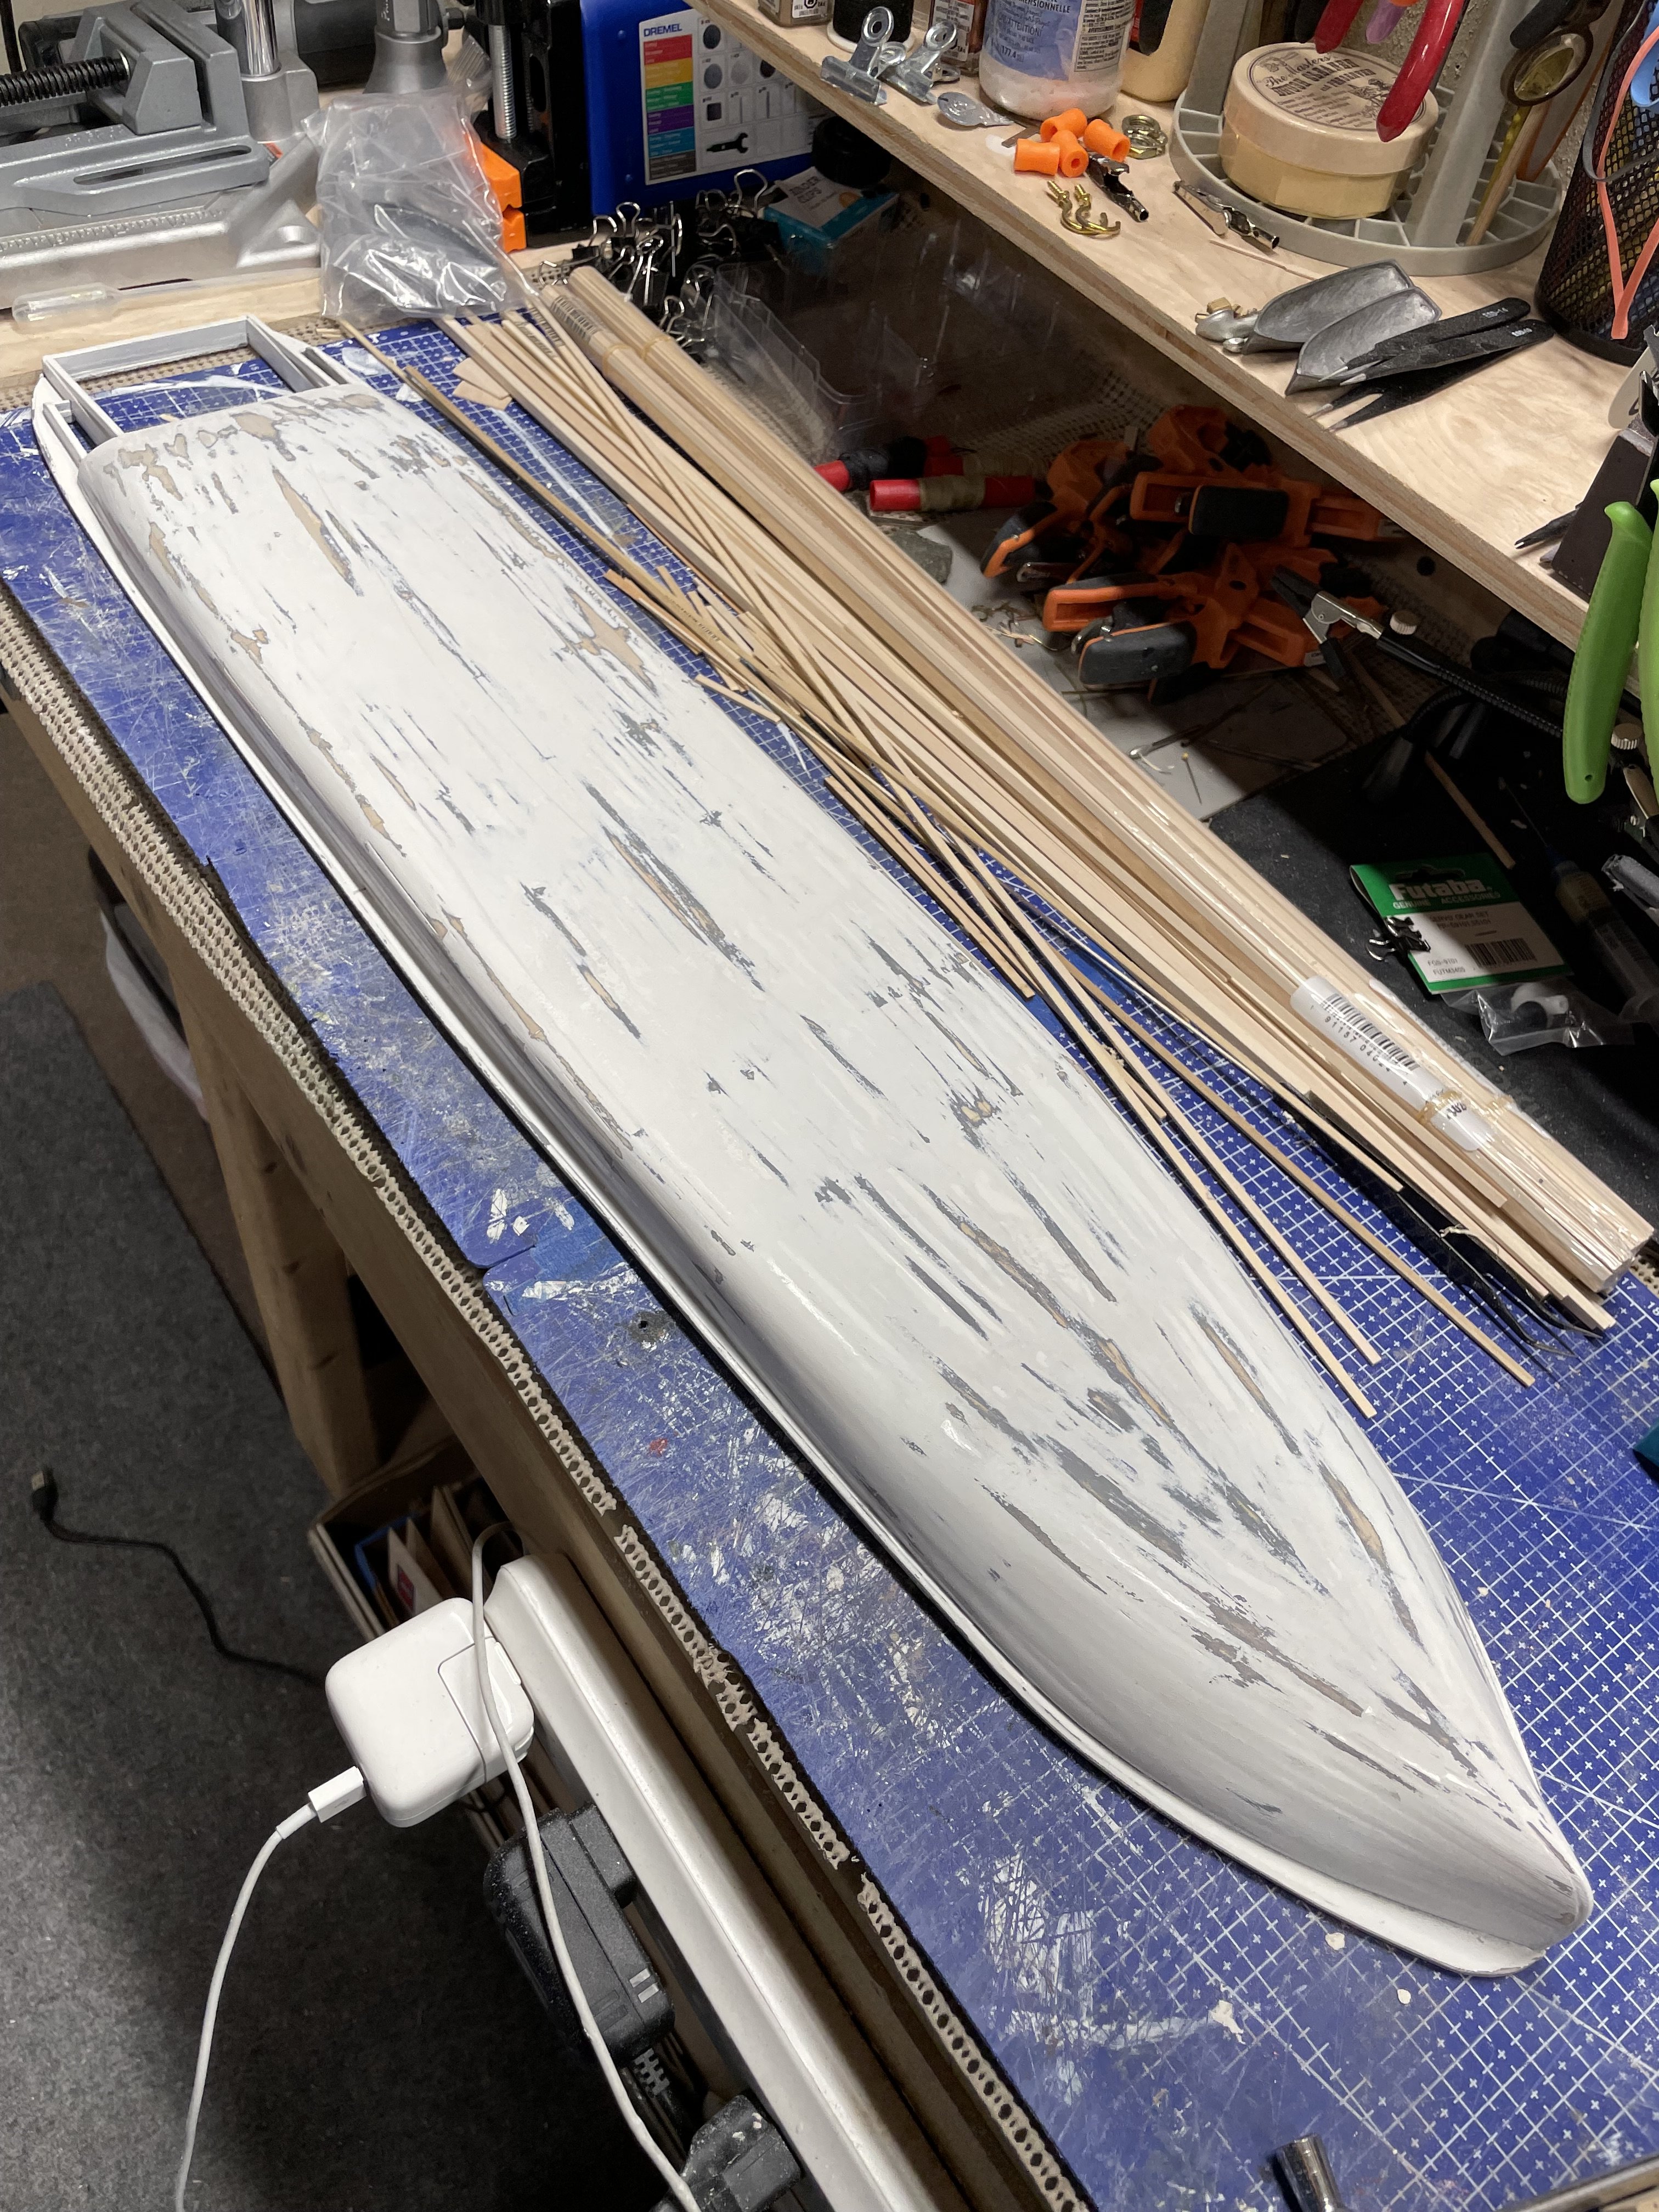
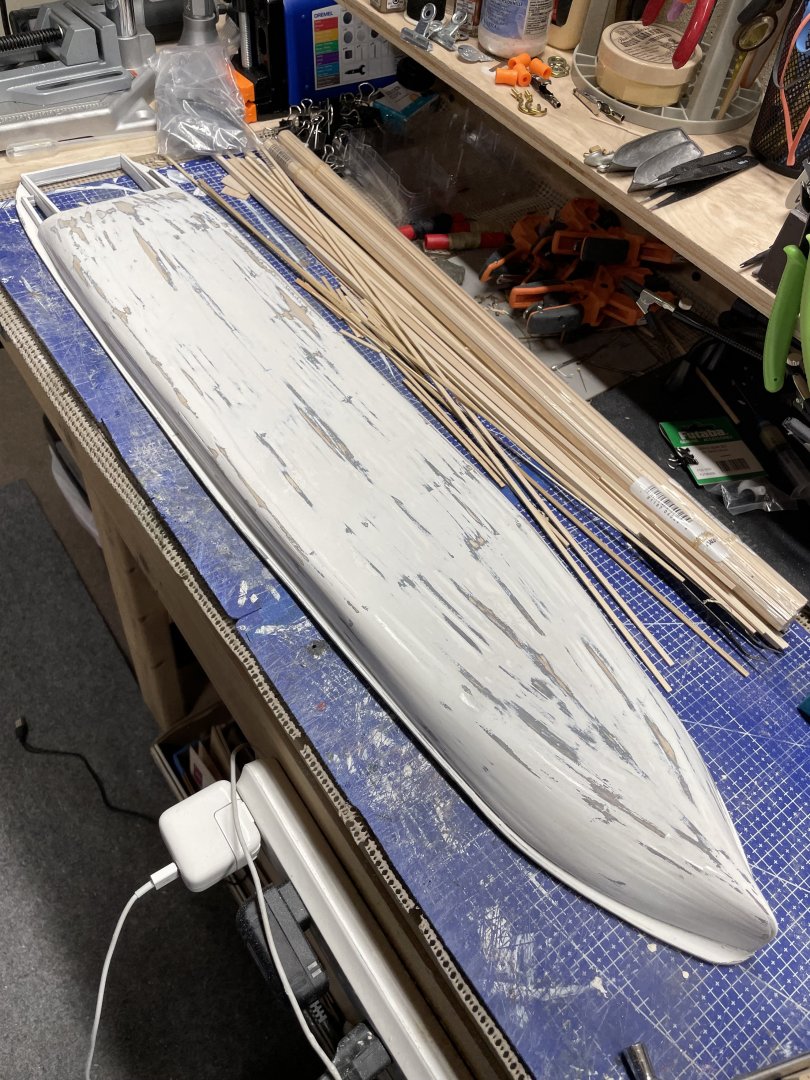
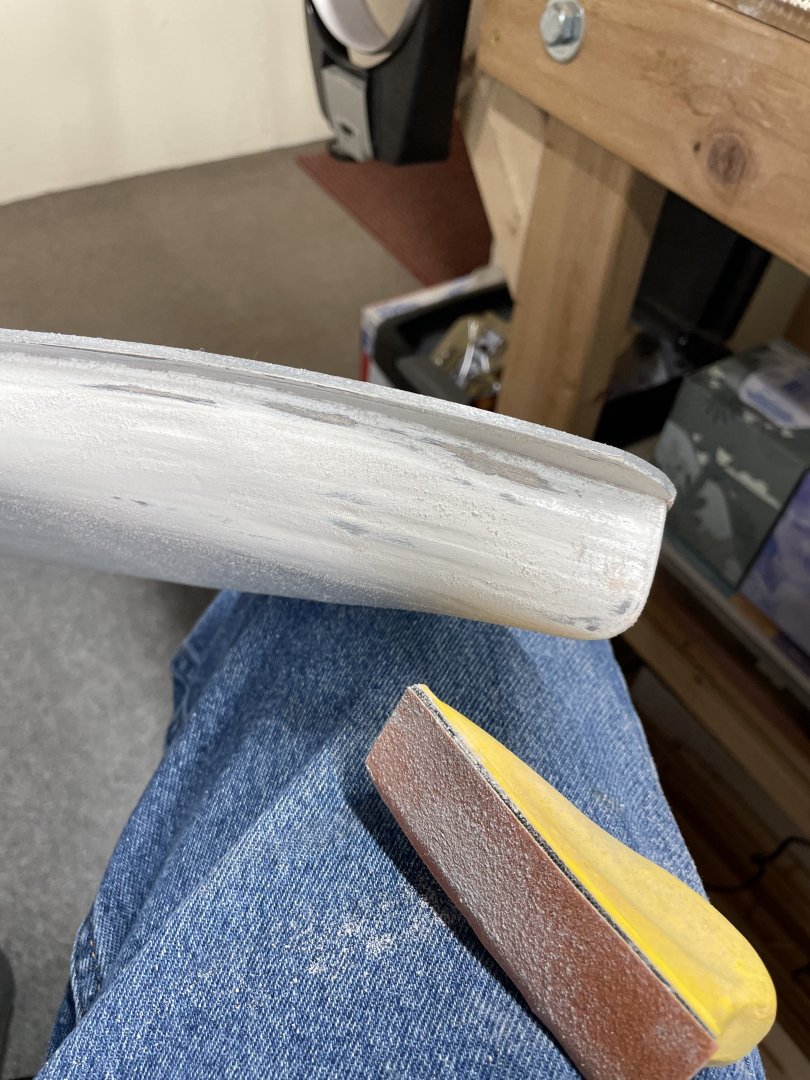
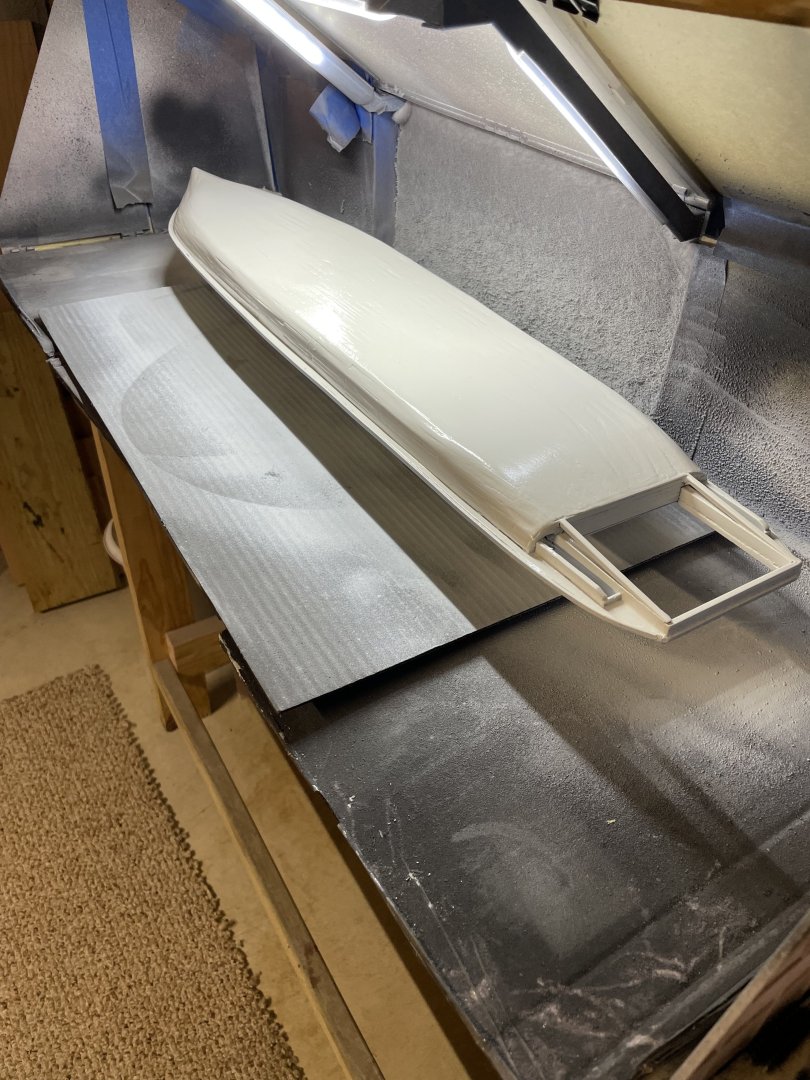
Painting the Hull… Back in the shipyard… Cheers 🍻


-
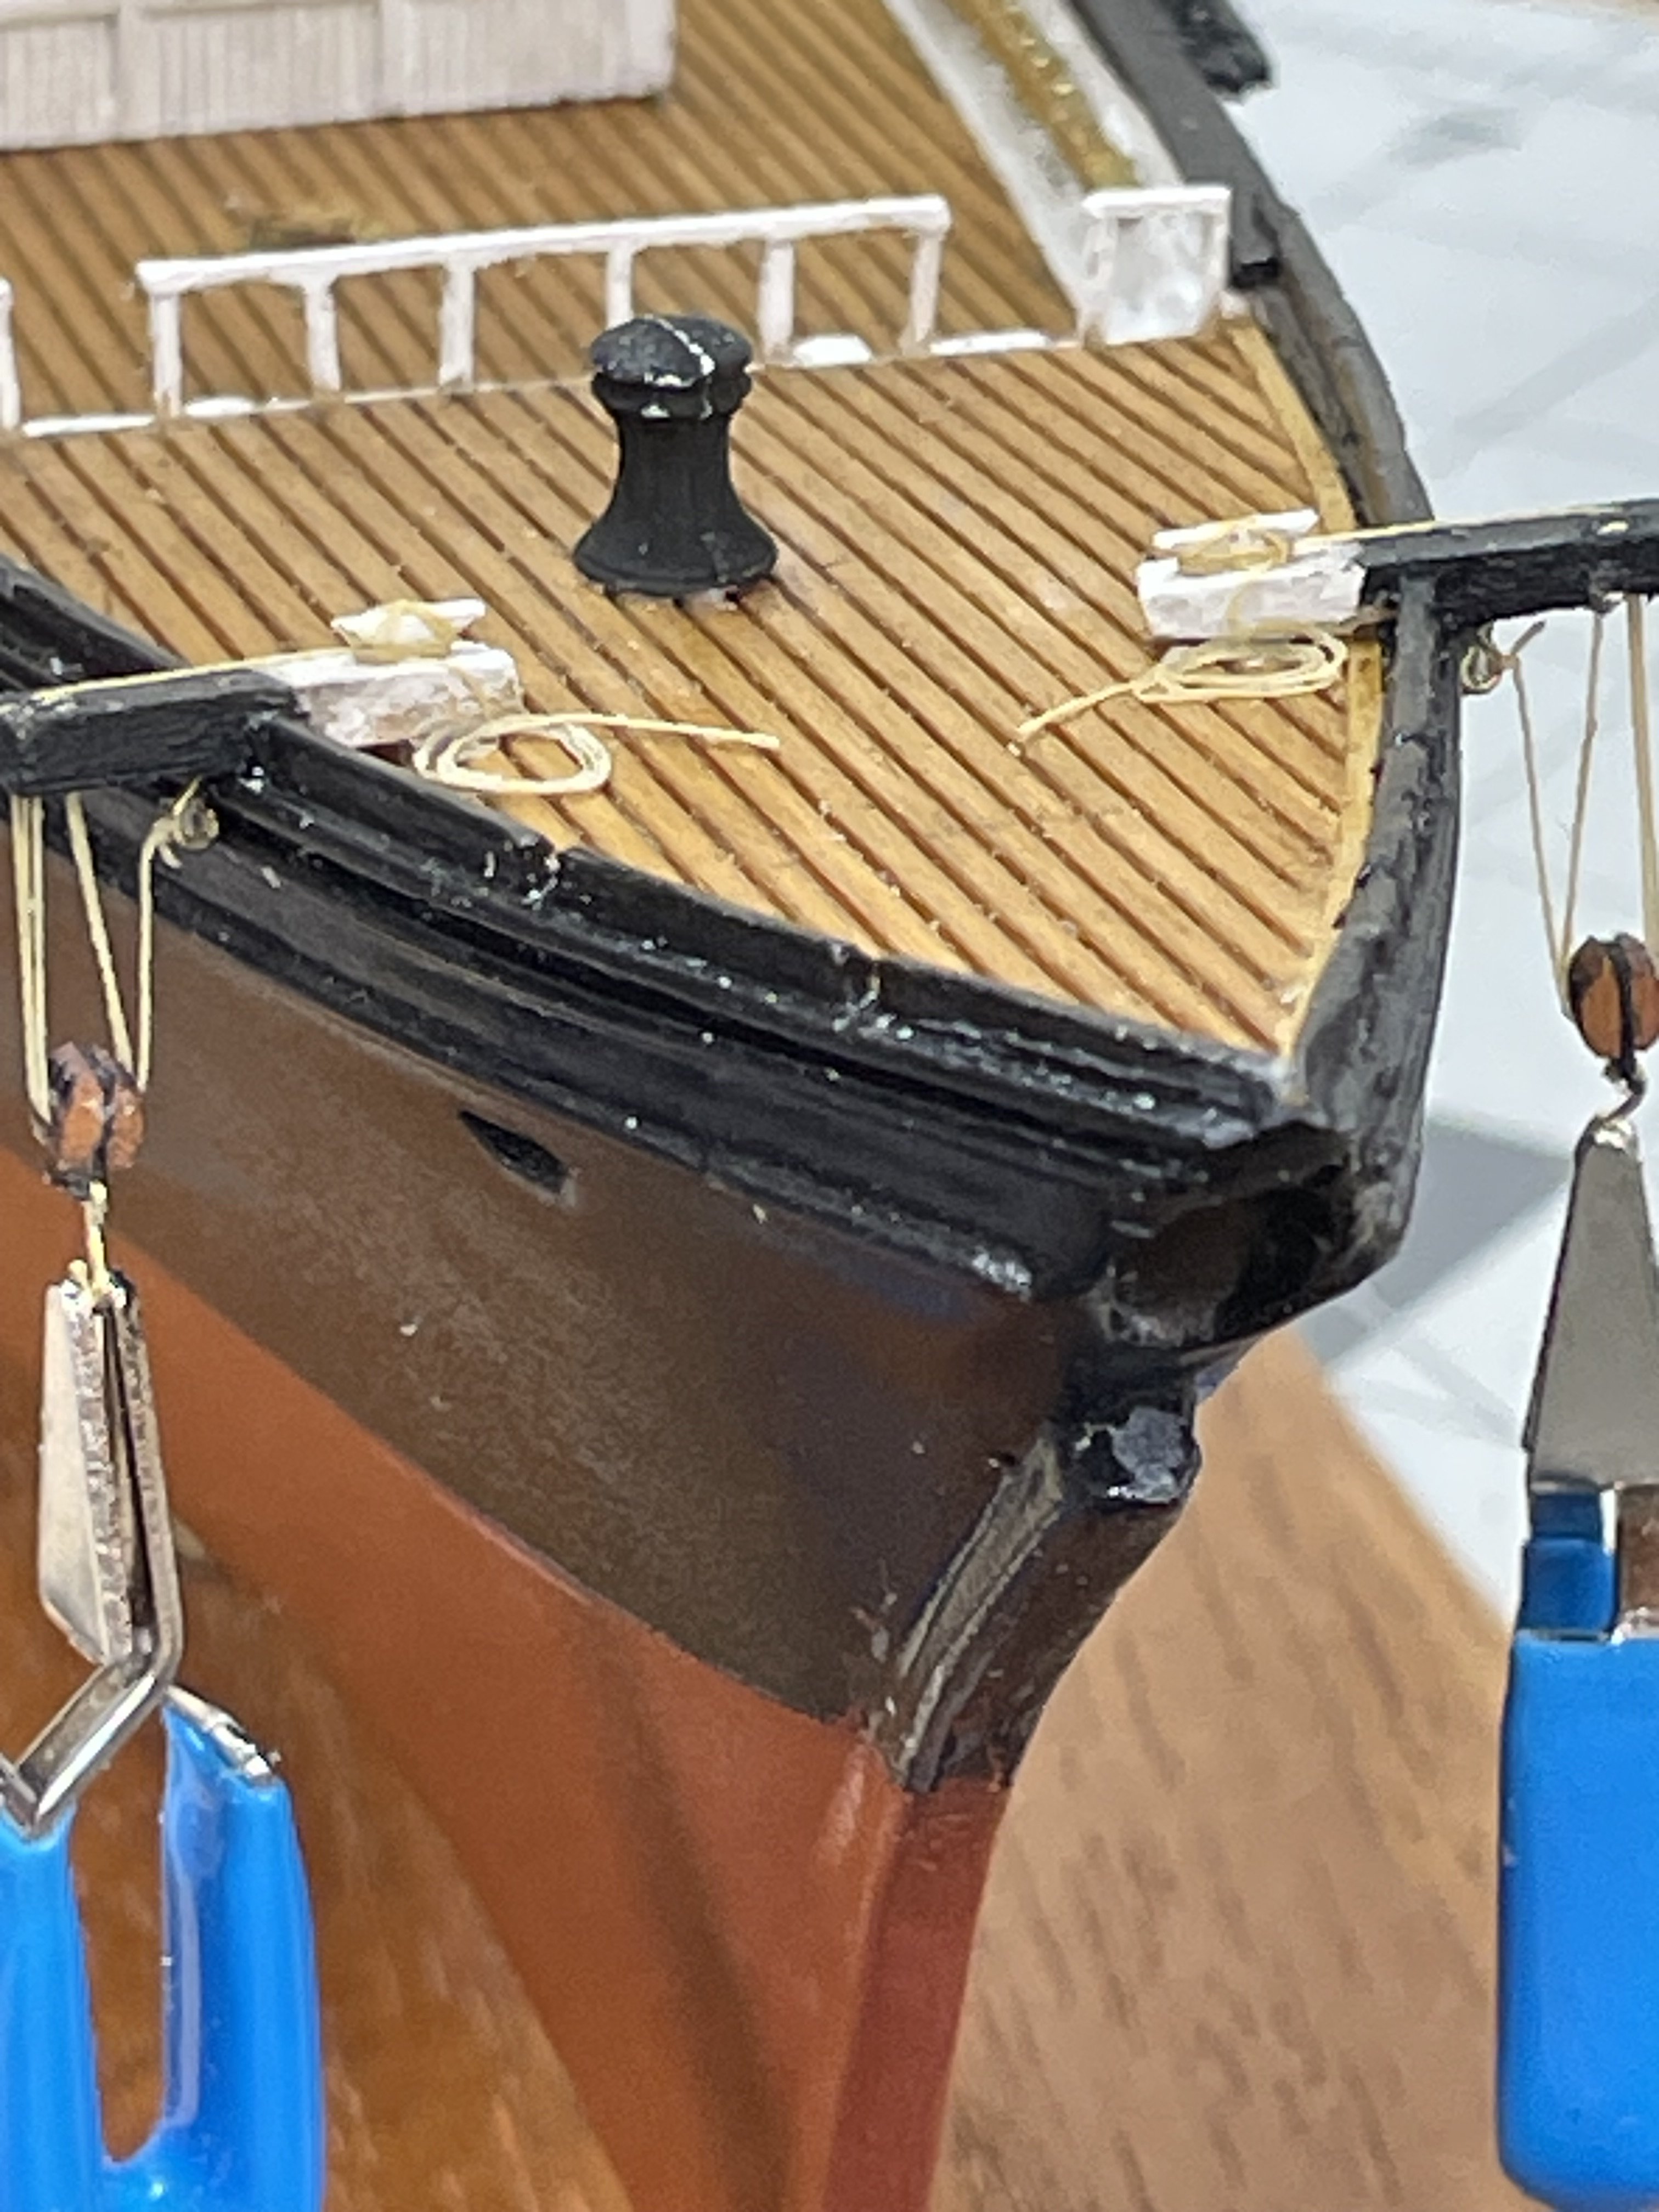
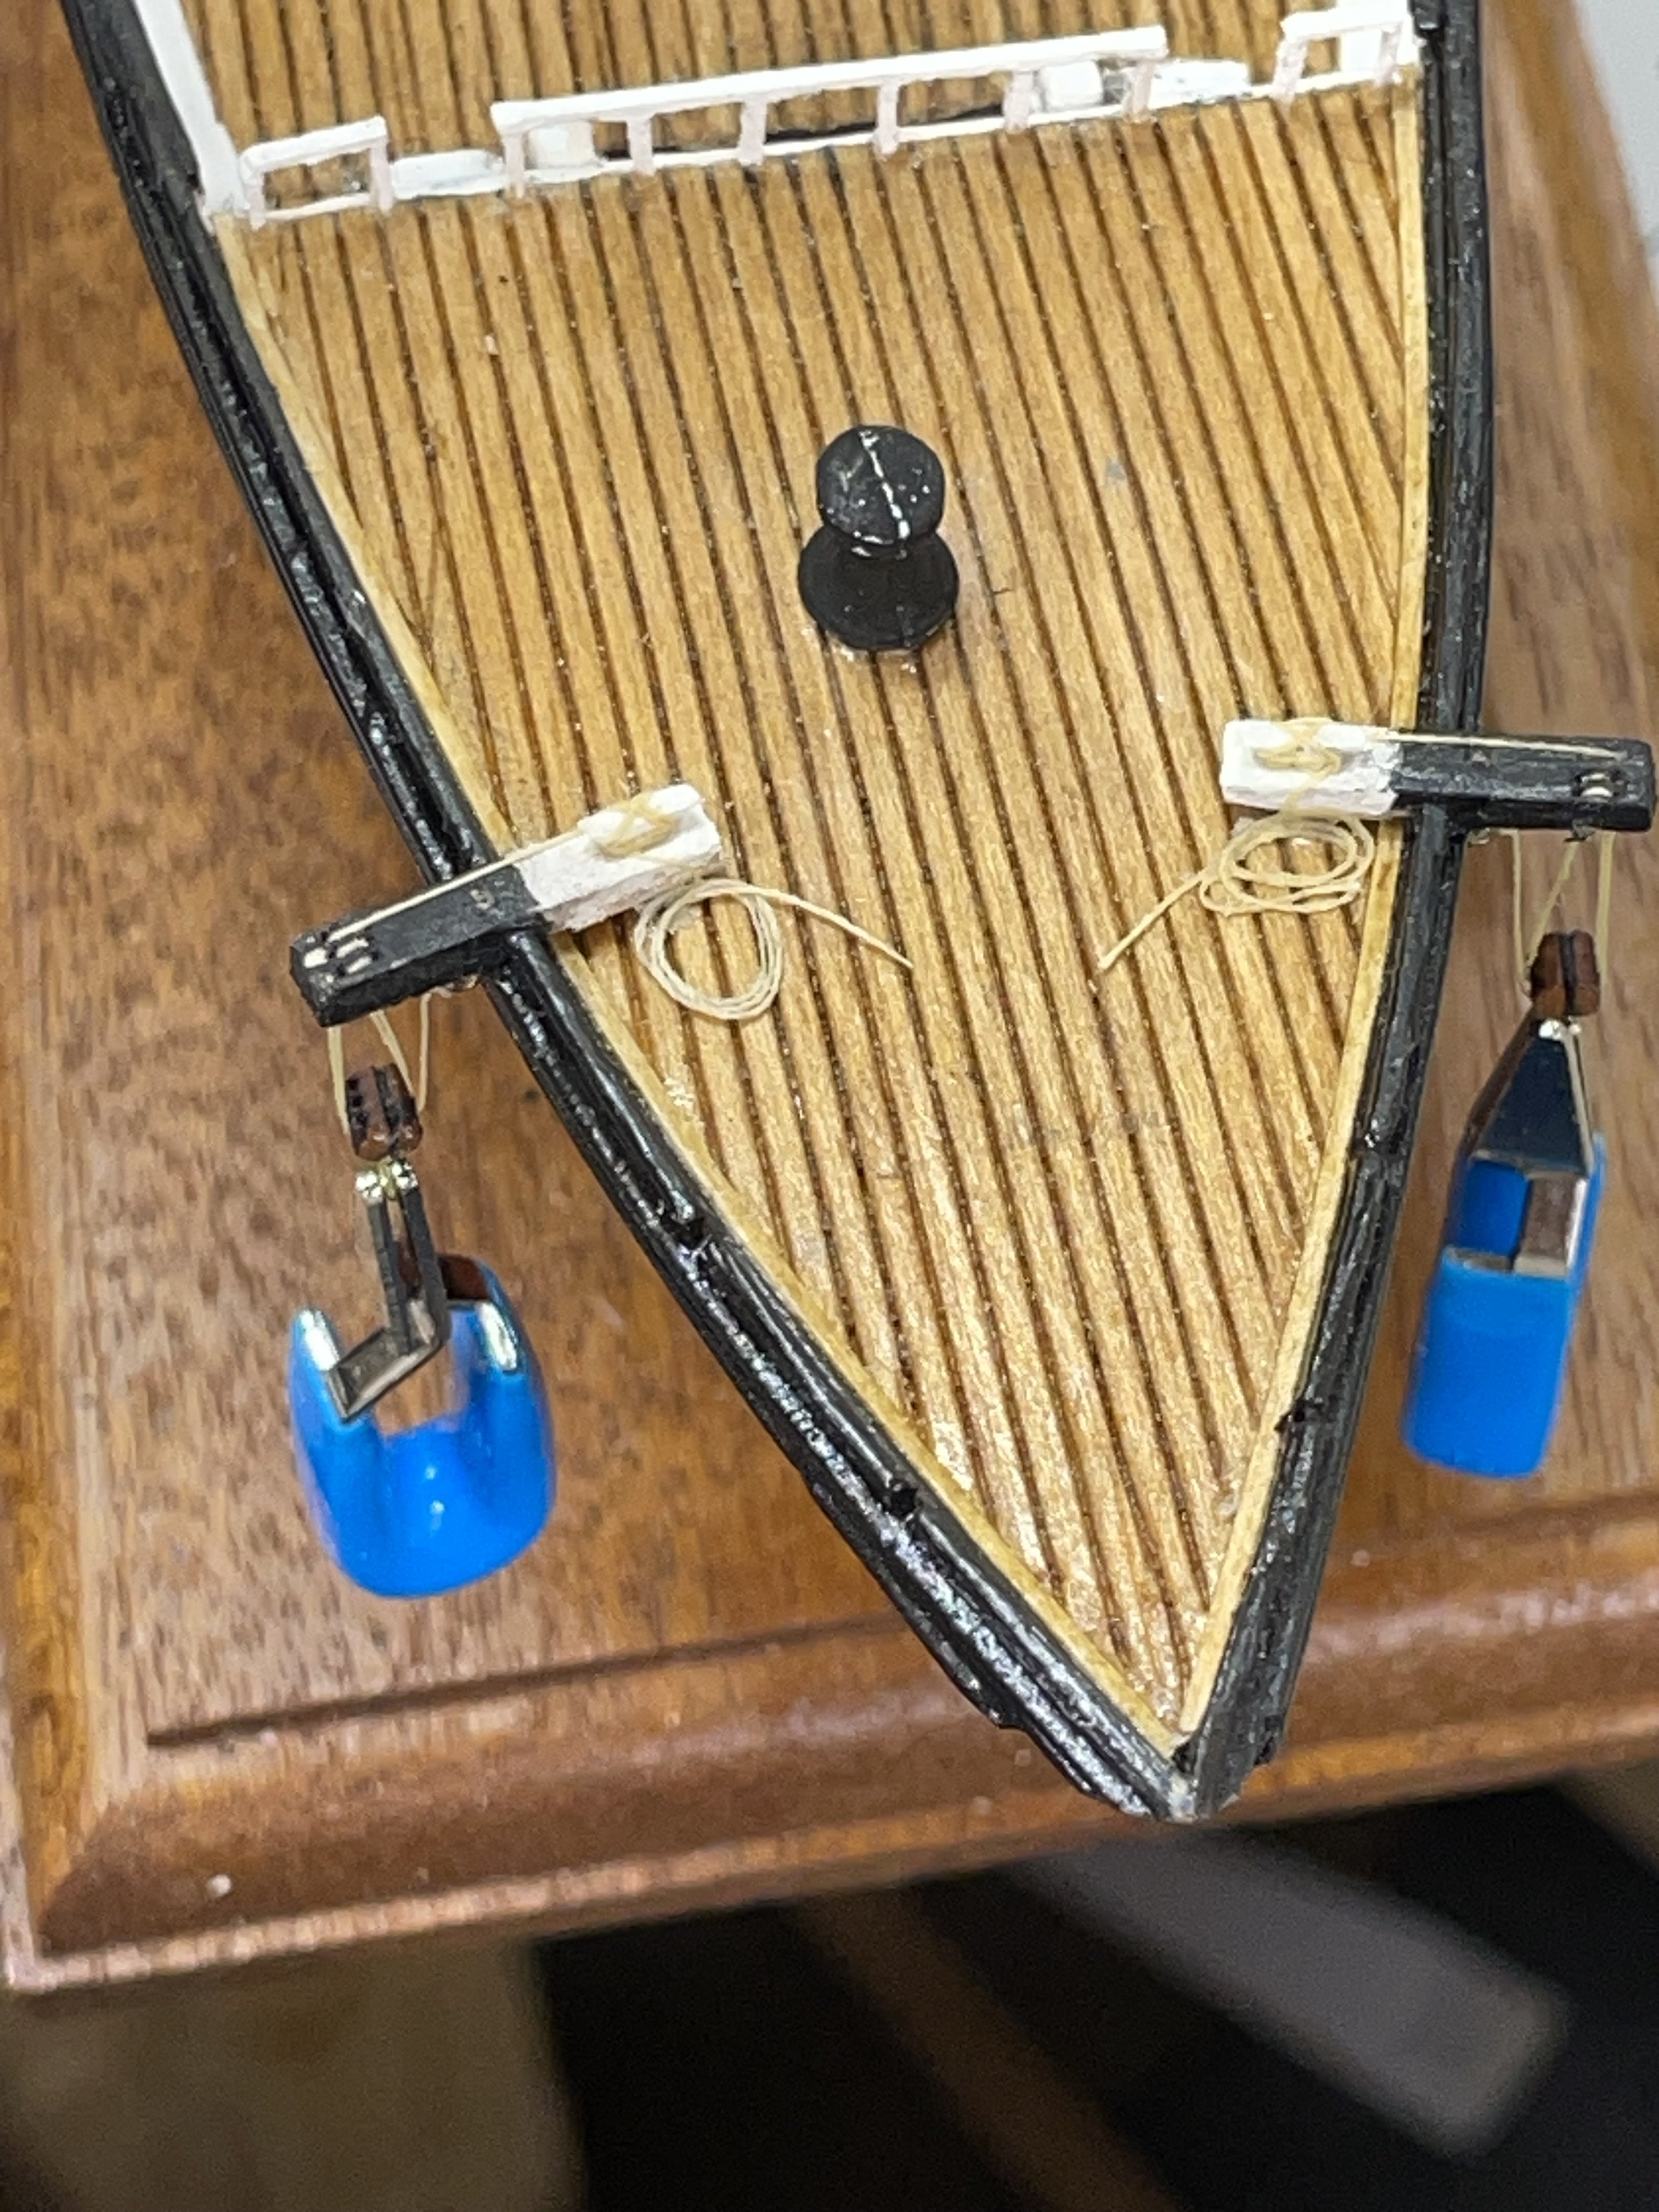
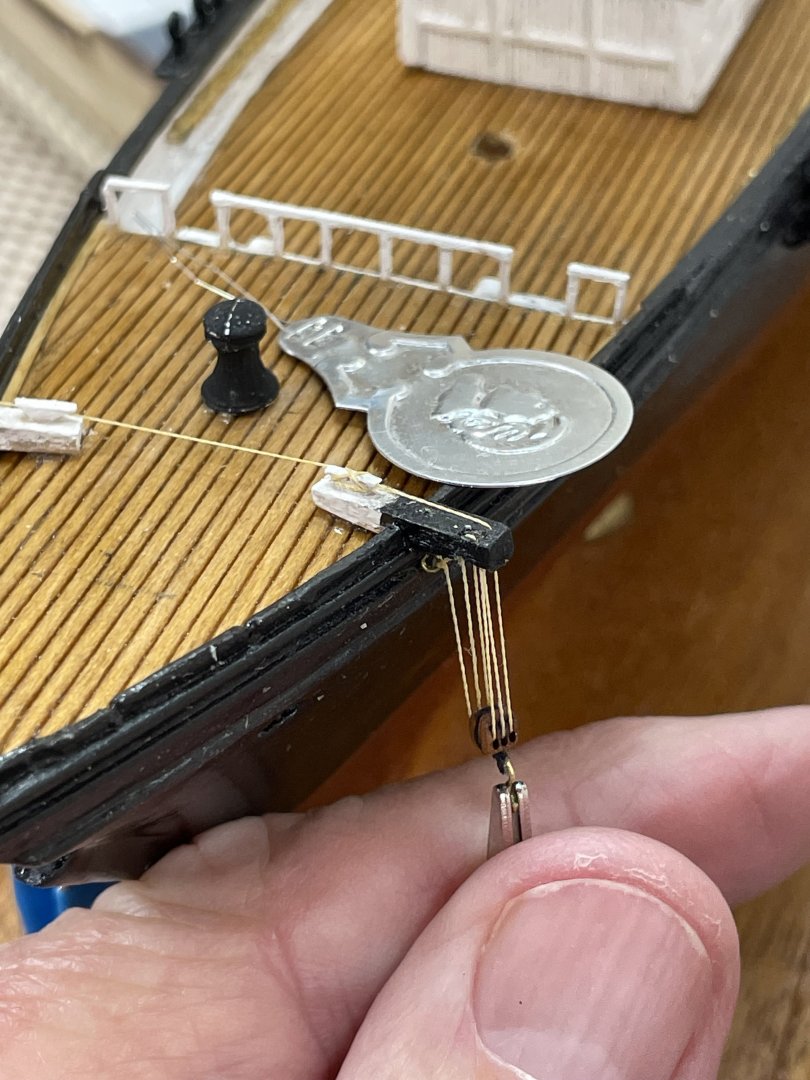
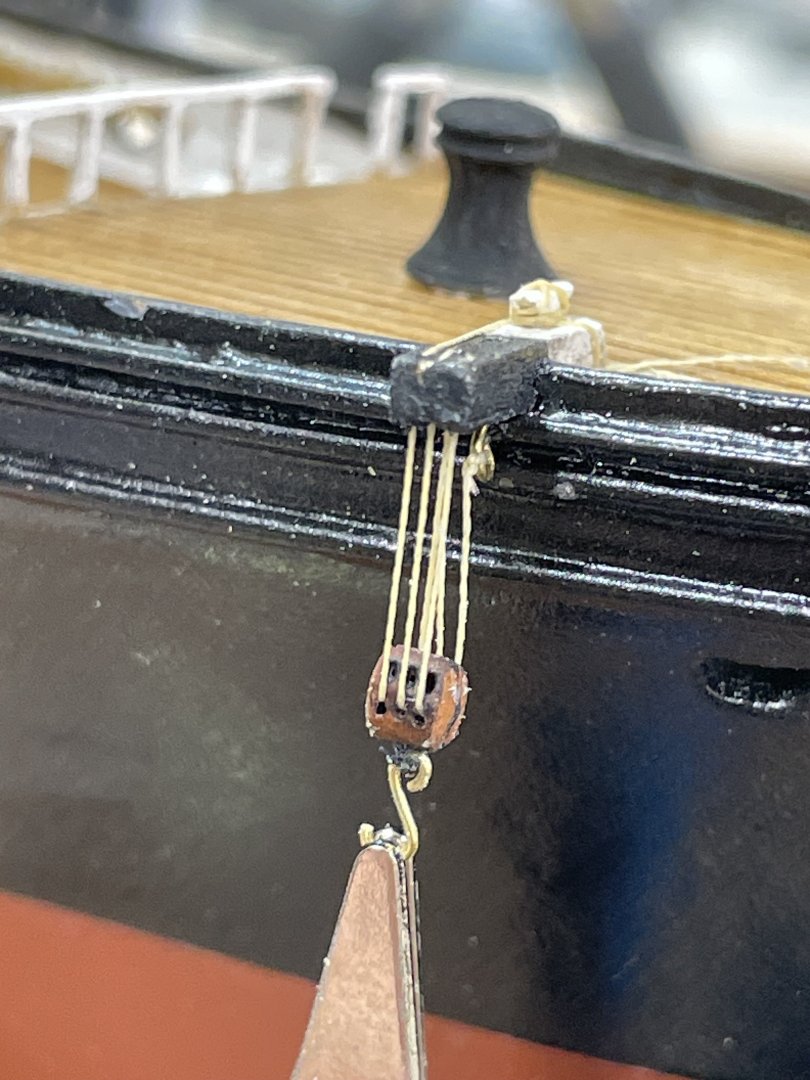
Catheads… Catheads rigged and ready for Anchors. Note: 2mm Triple Blocks Cheers 🍻


- 165 replies
-
- 8
-
-
- Red Jacket
- Marine Model Company
- (and 2 more)
-
YES! Working on a pair of Catheads now. Drilling out the triple block in the end is challenging. CAN’T WAIT TO START RIGGING. I think some blocks will have to be a painted knot 🪢 LOL 😂

- 165 replies
-
- 4
-
-
- Red Jacket
- Marine Model Company
- (and 2 more)
-
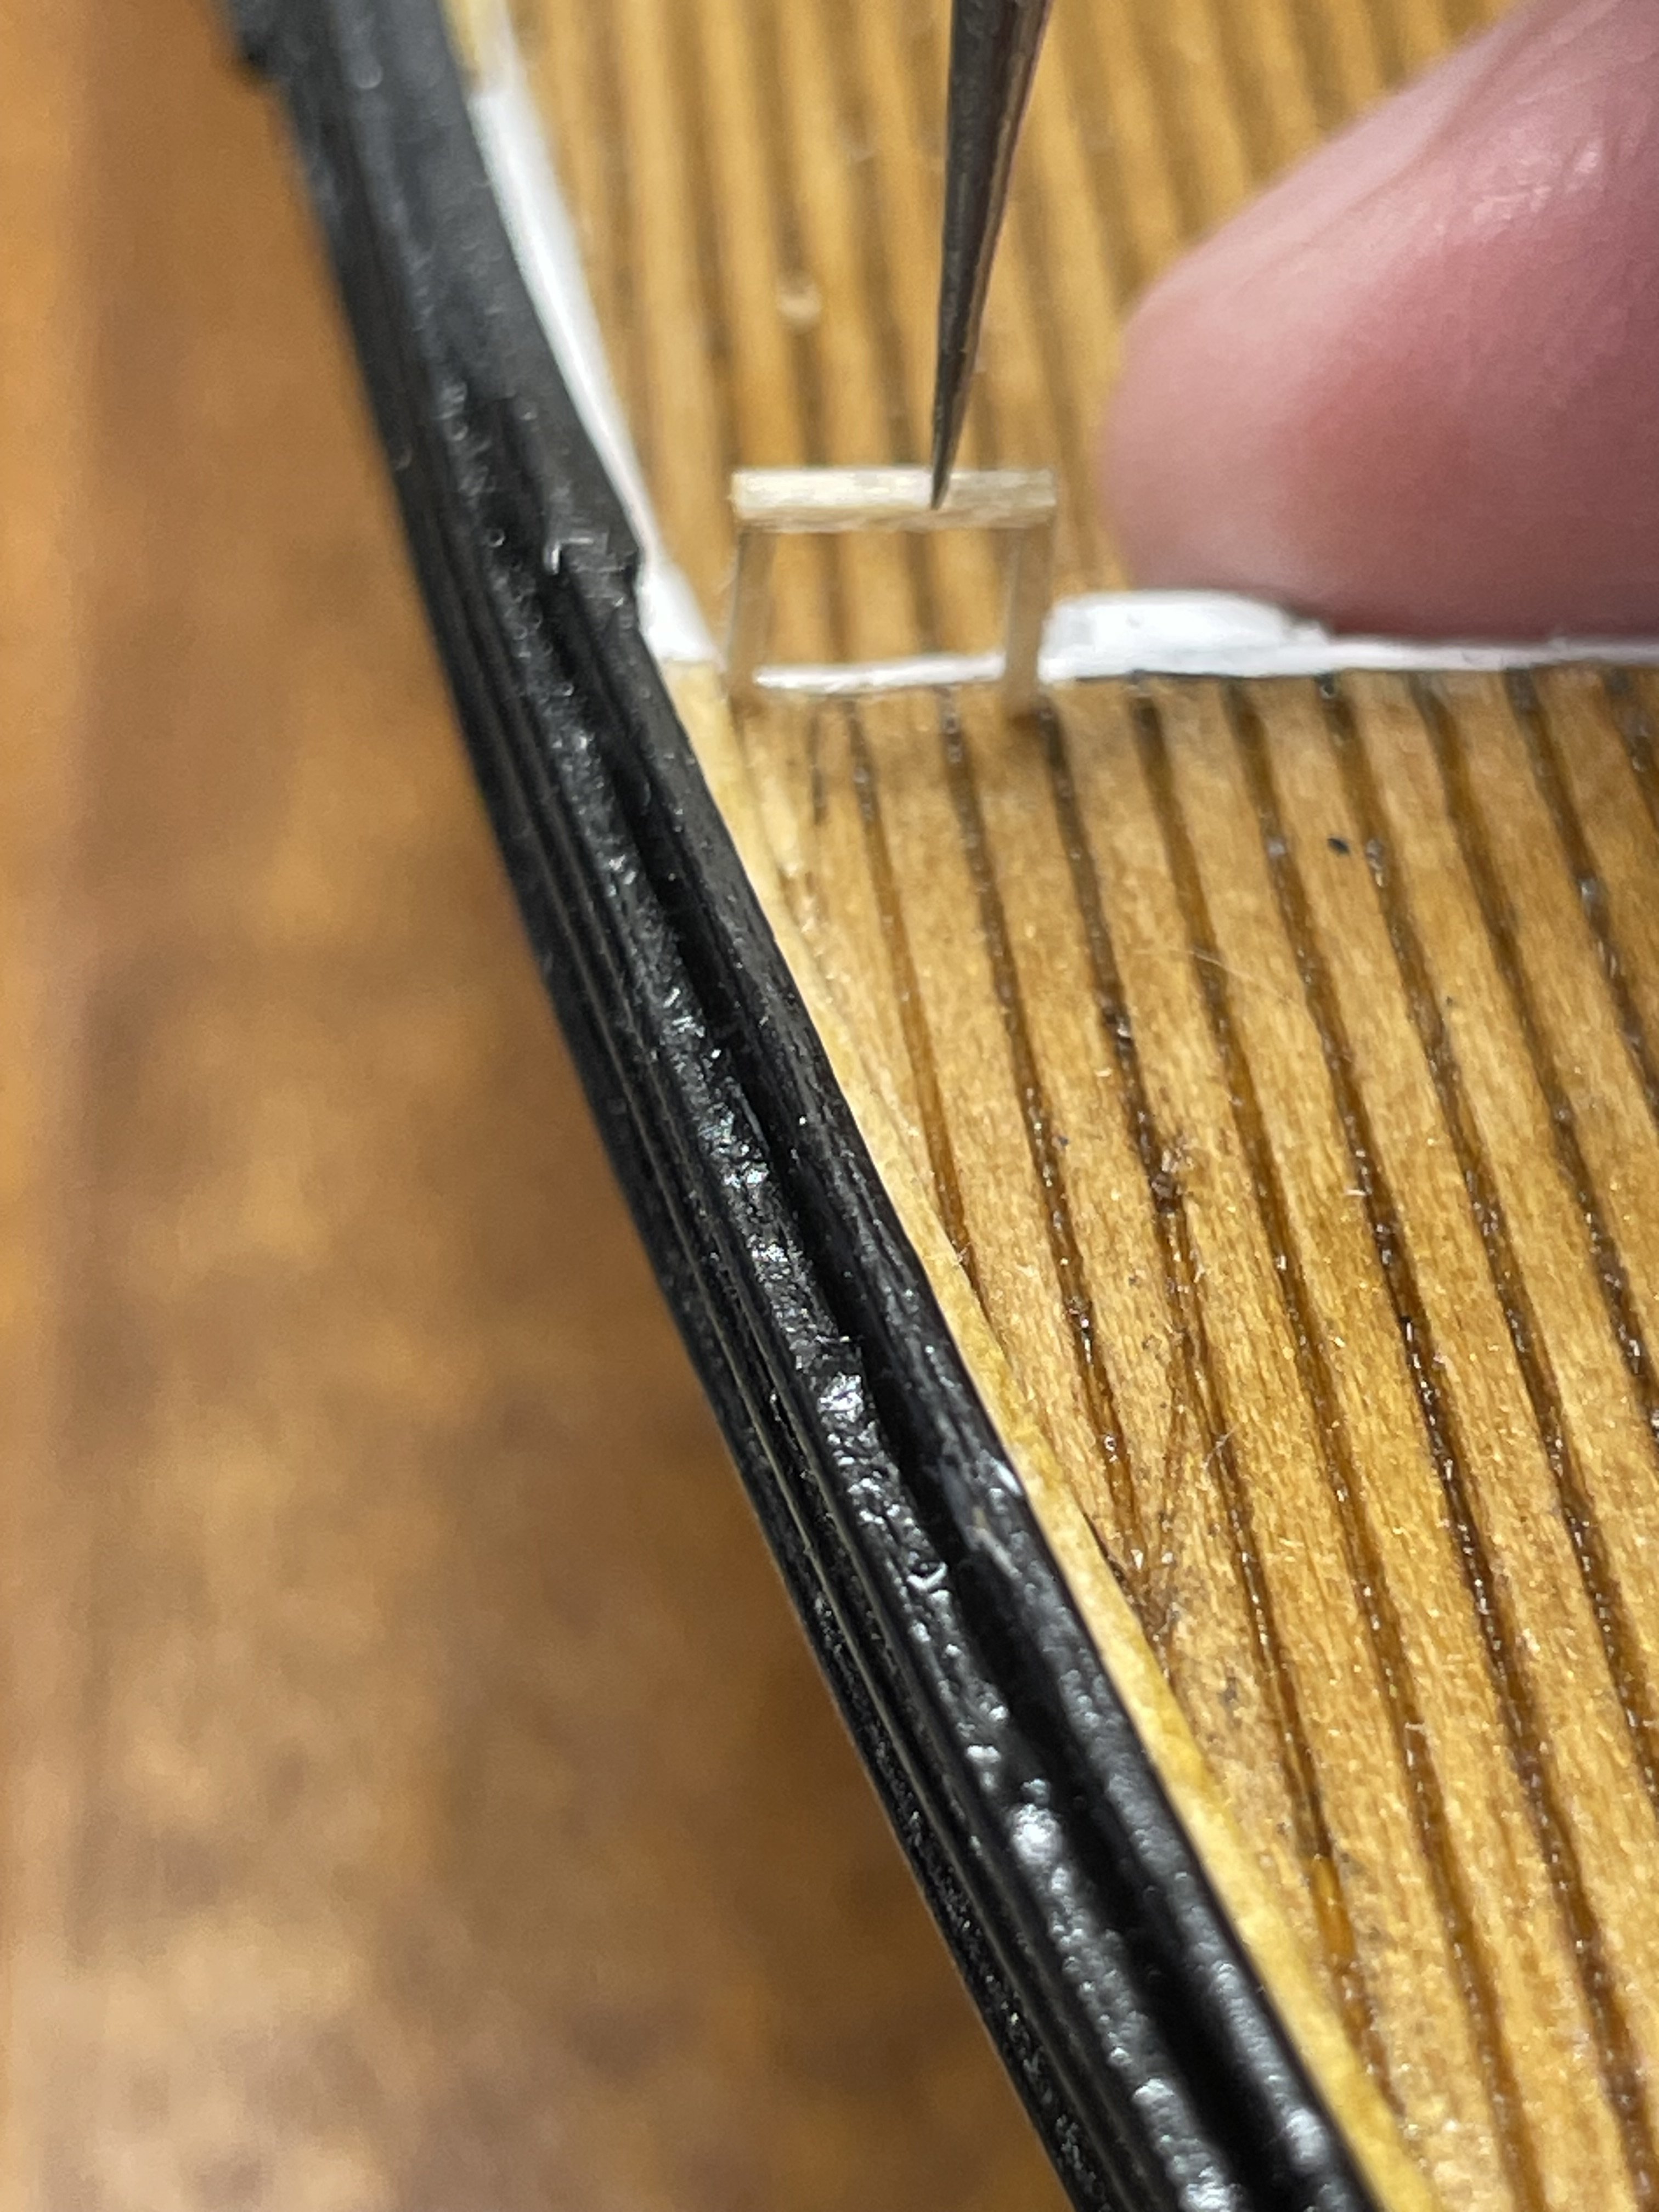
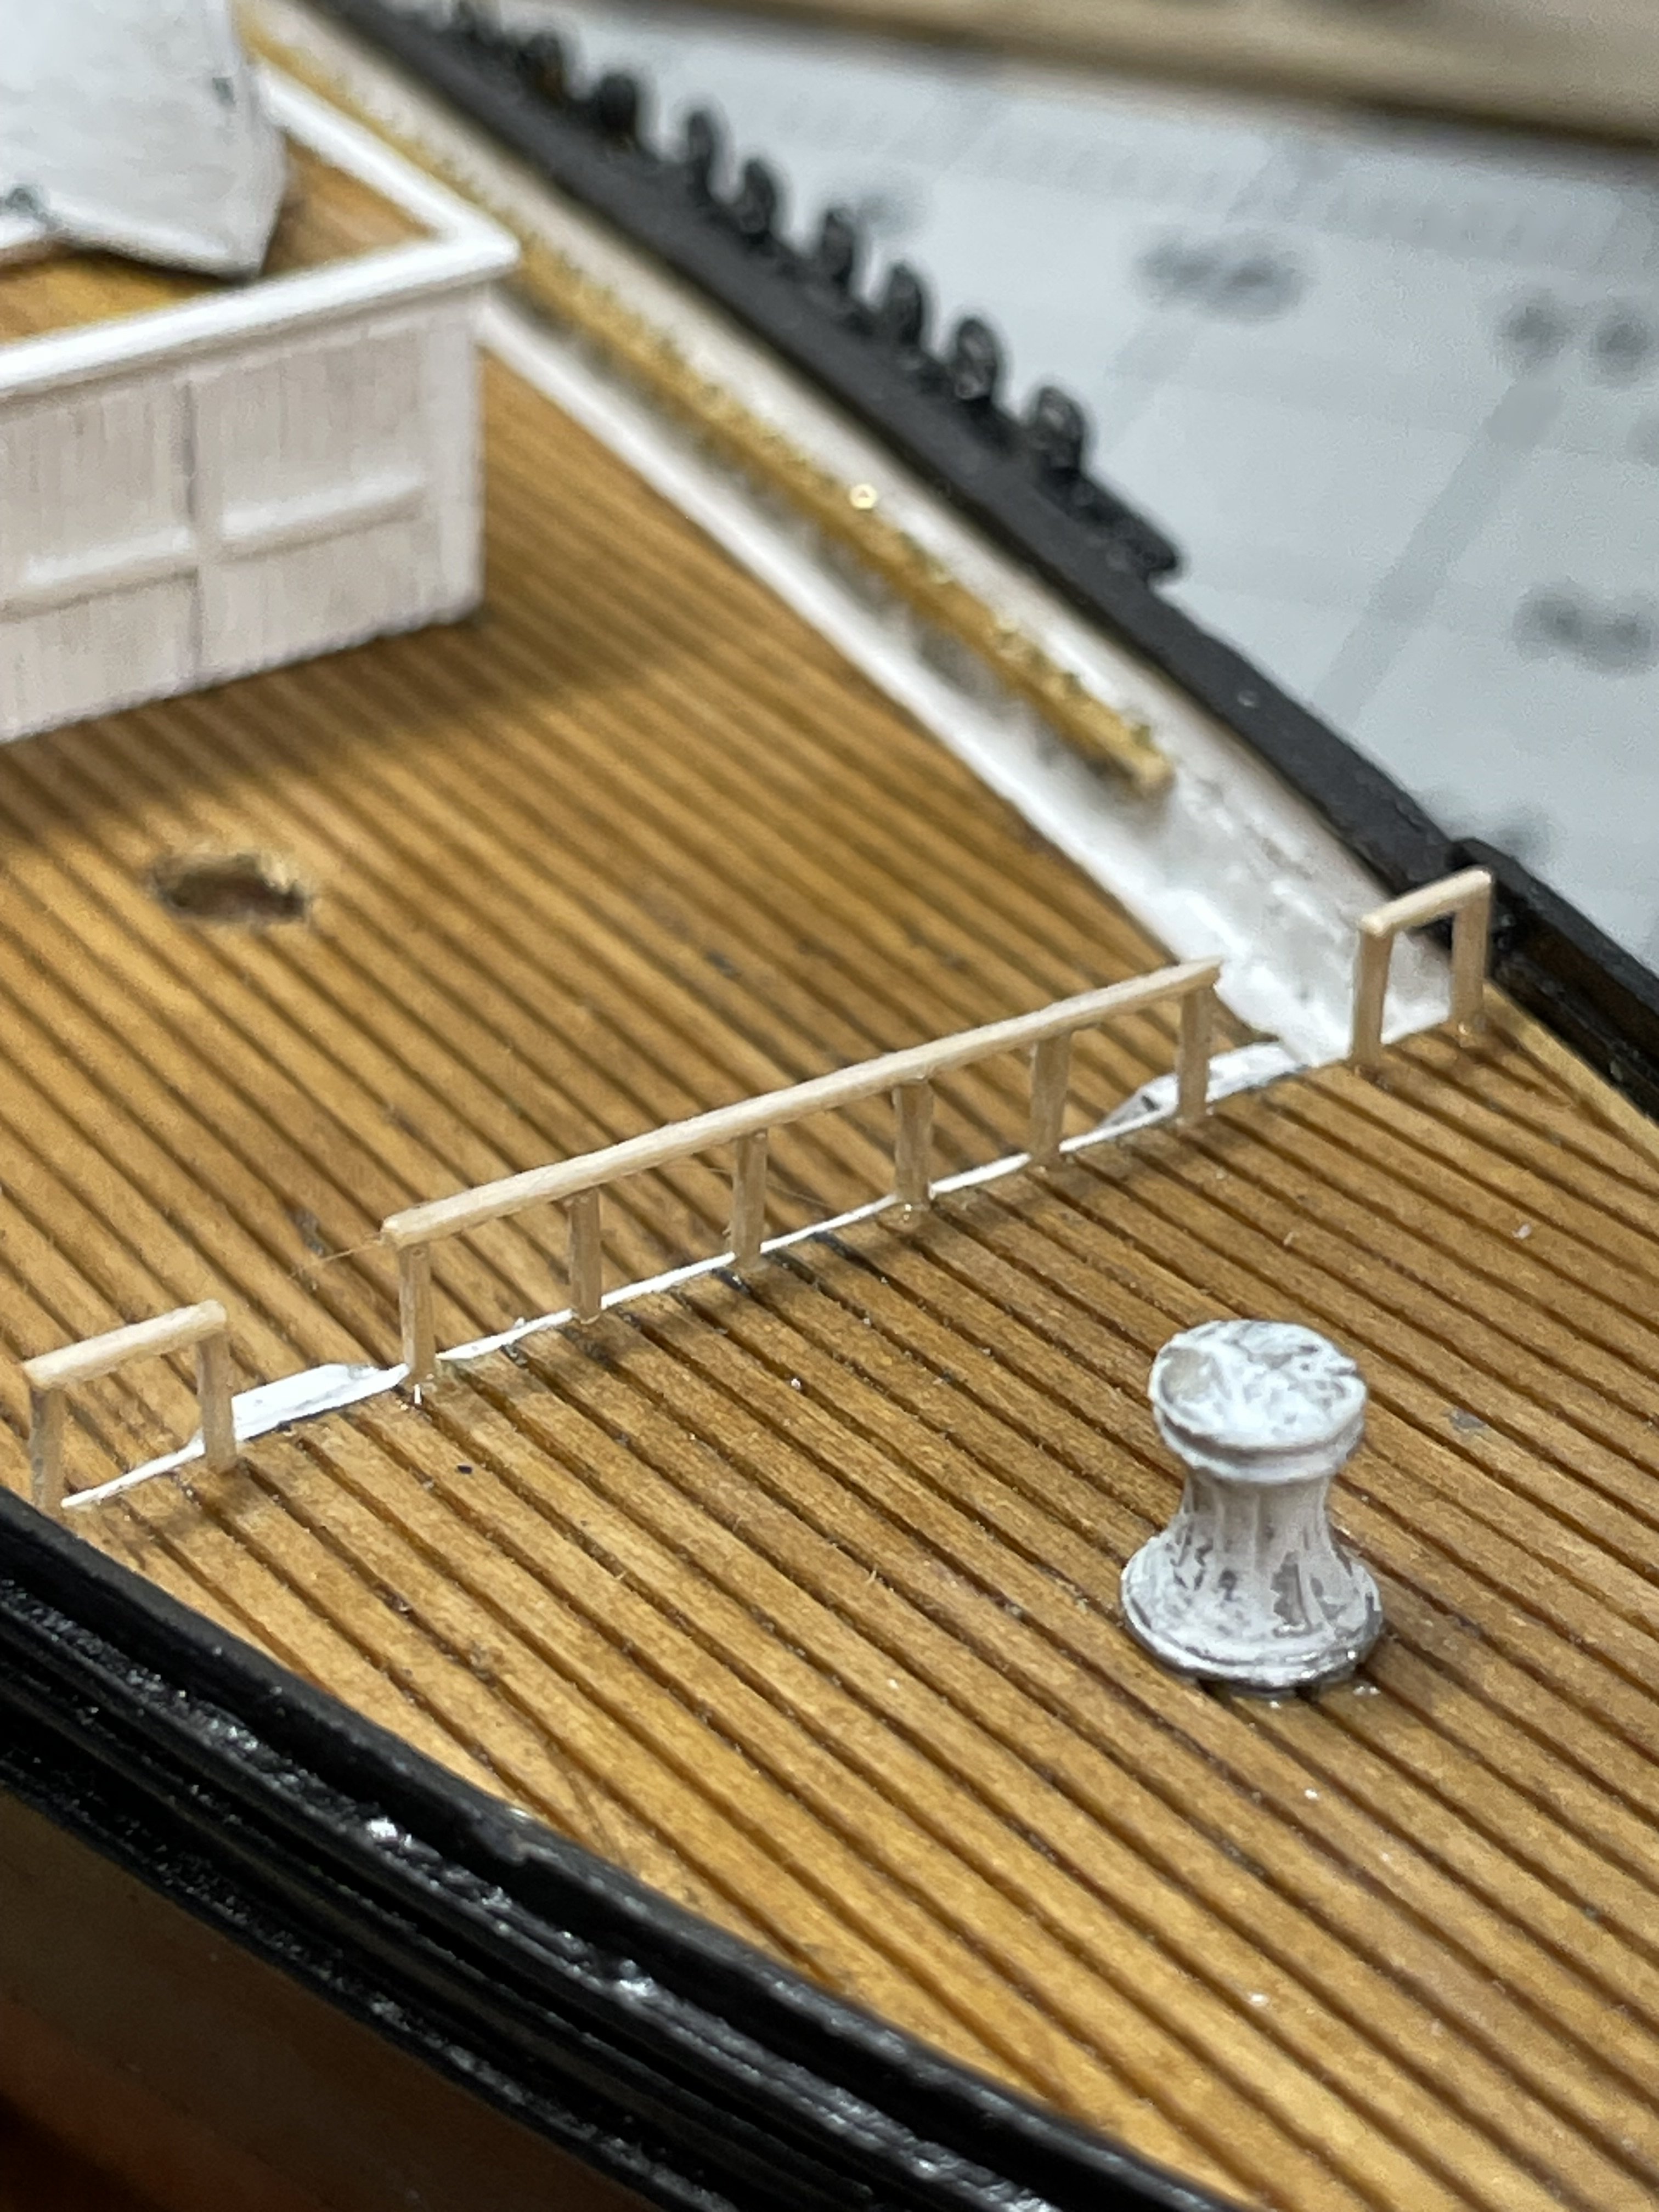
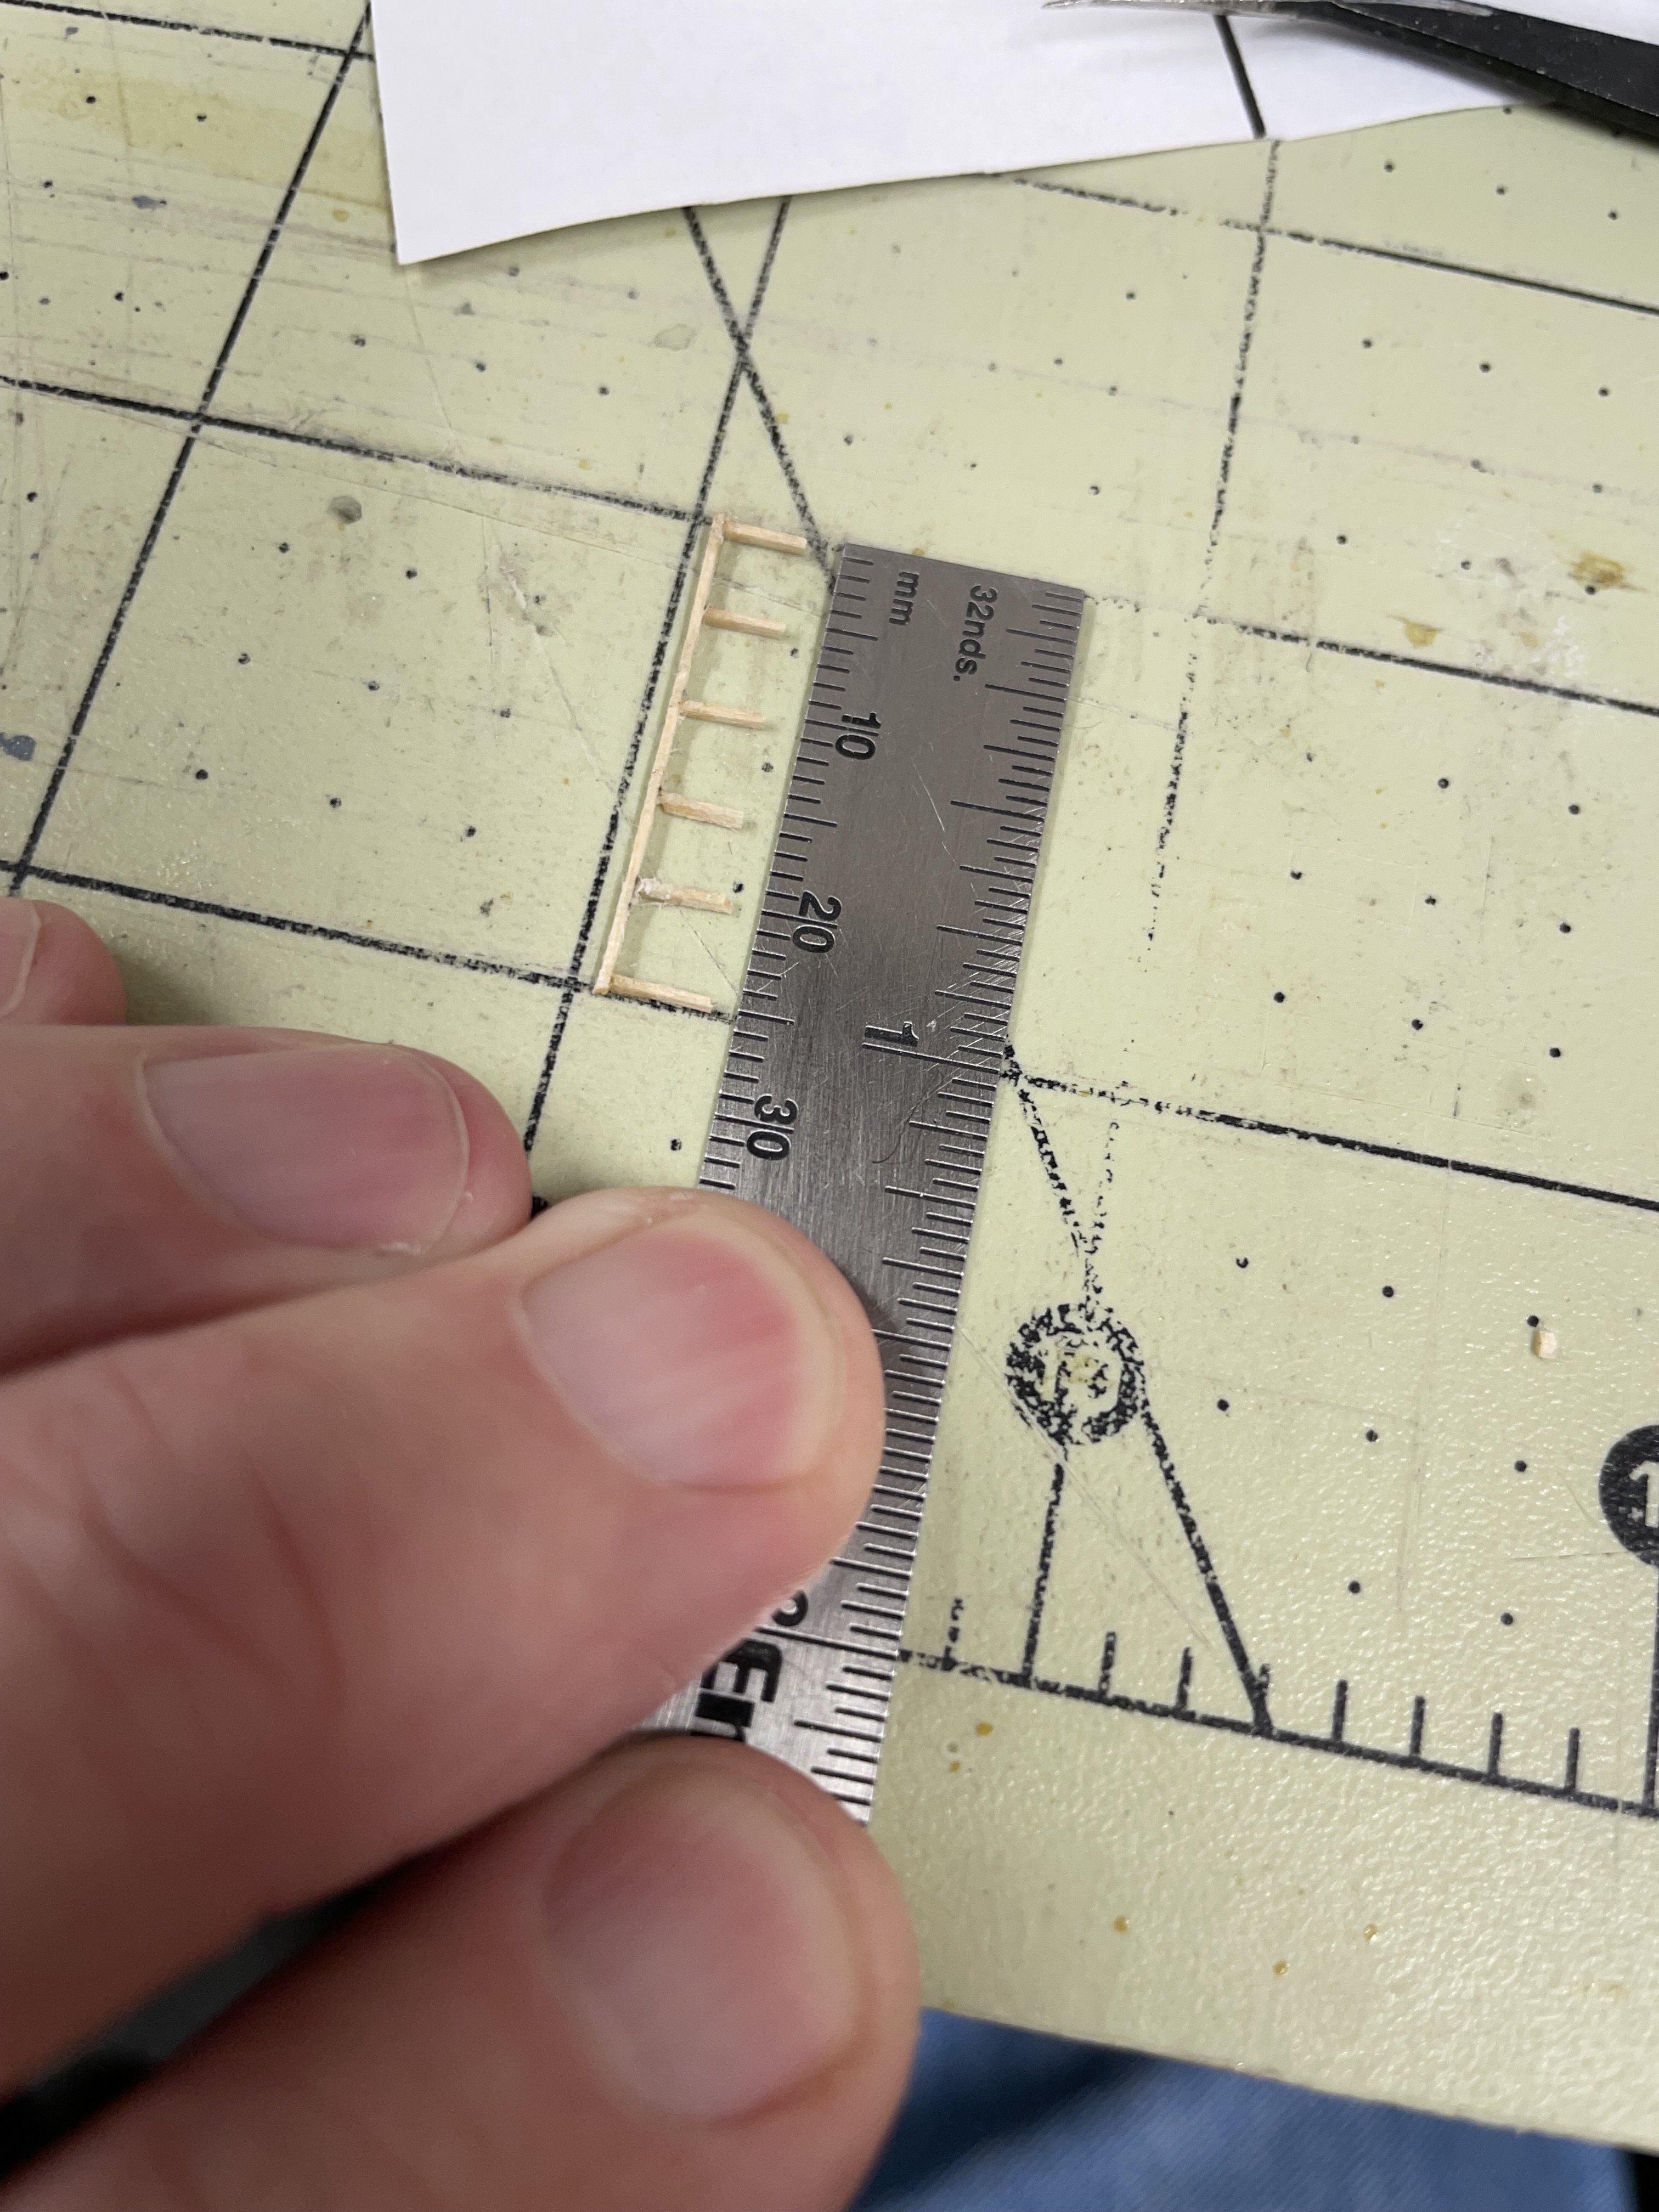
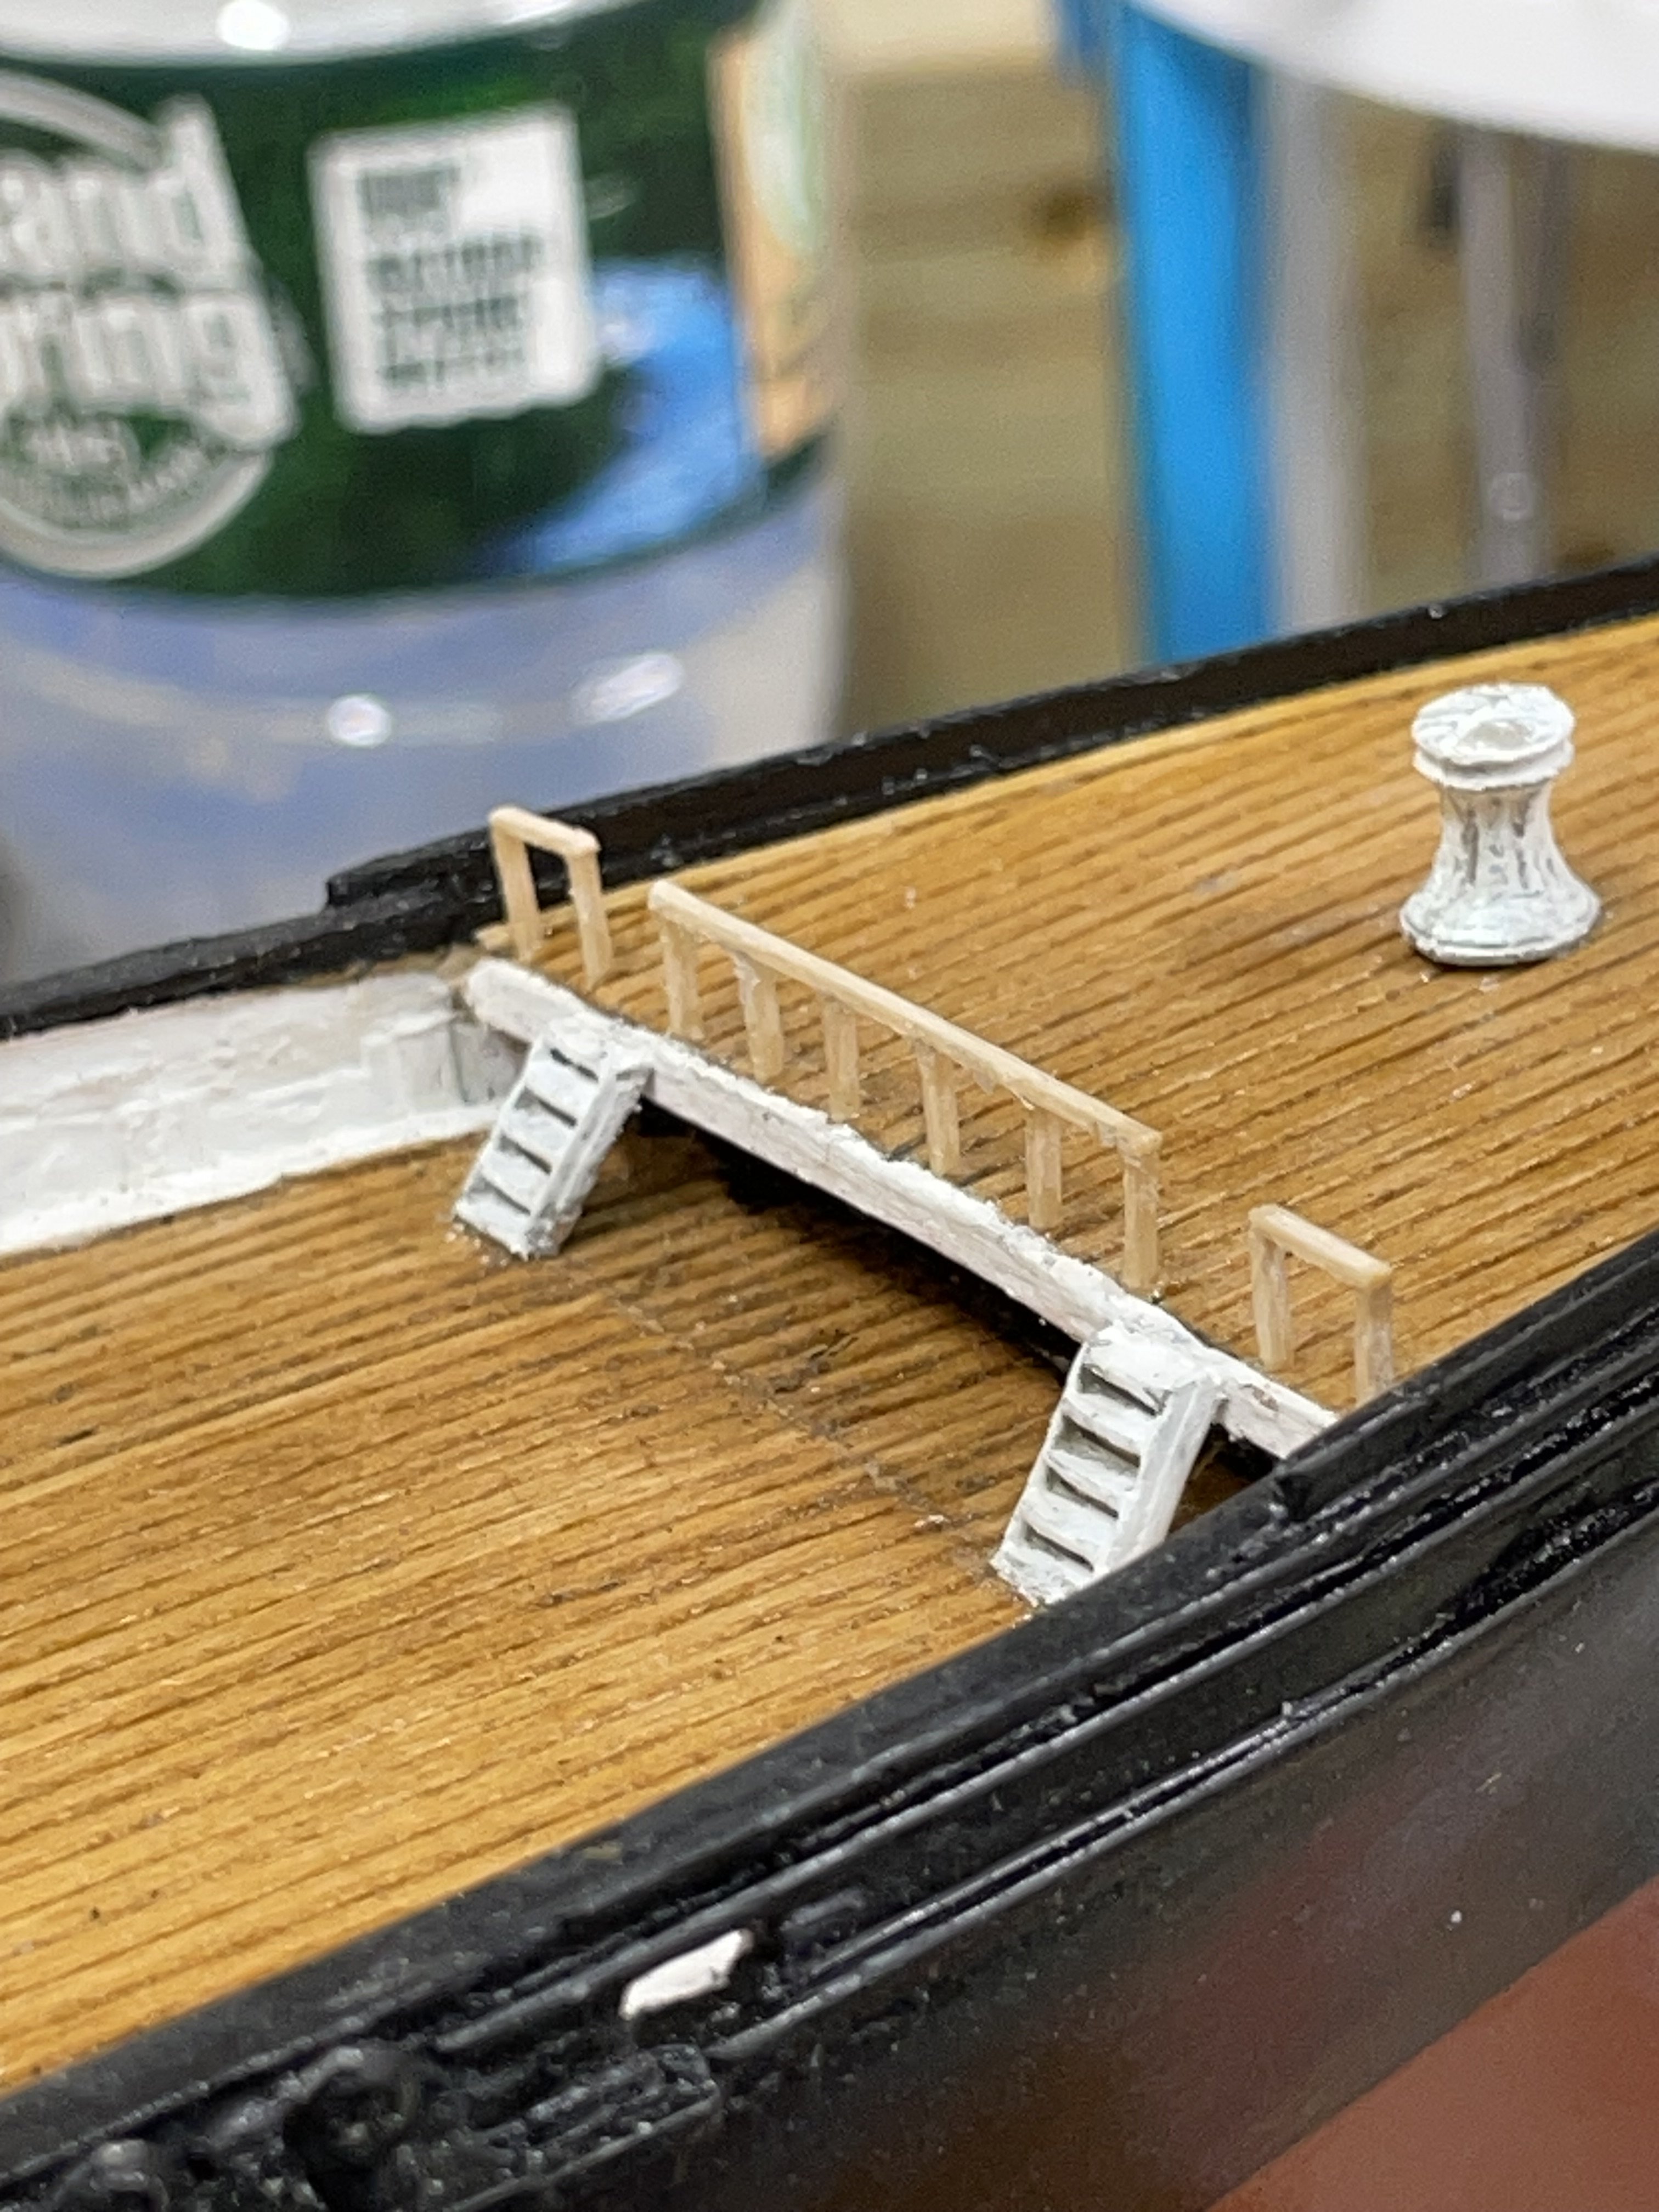
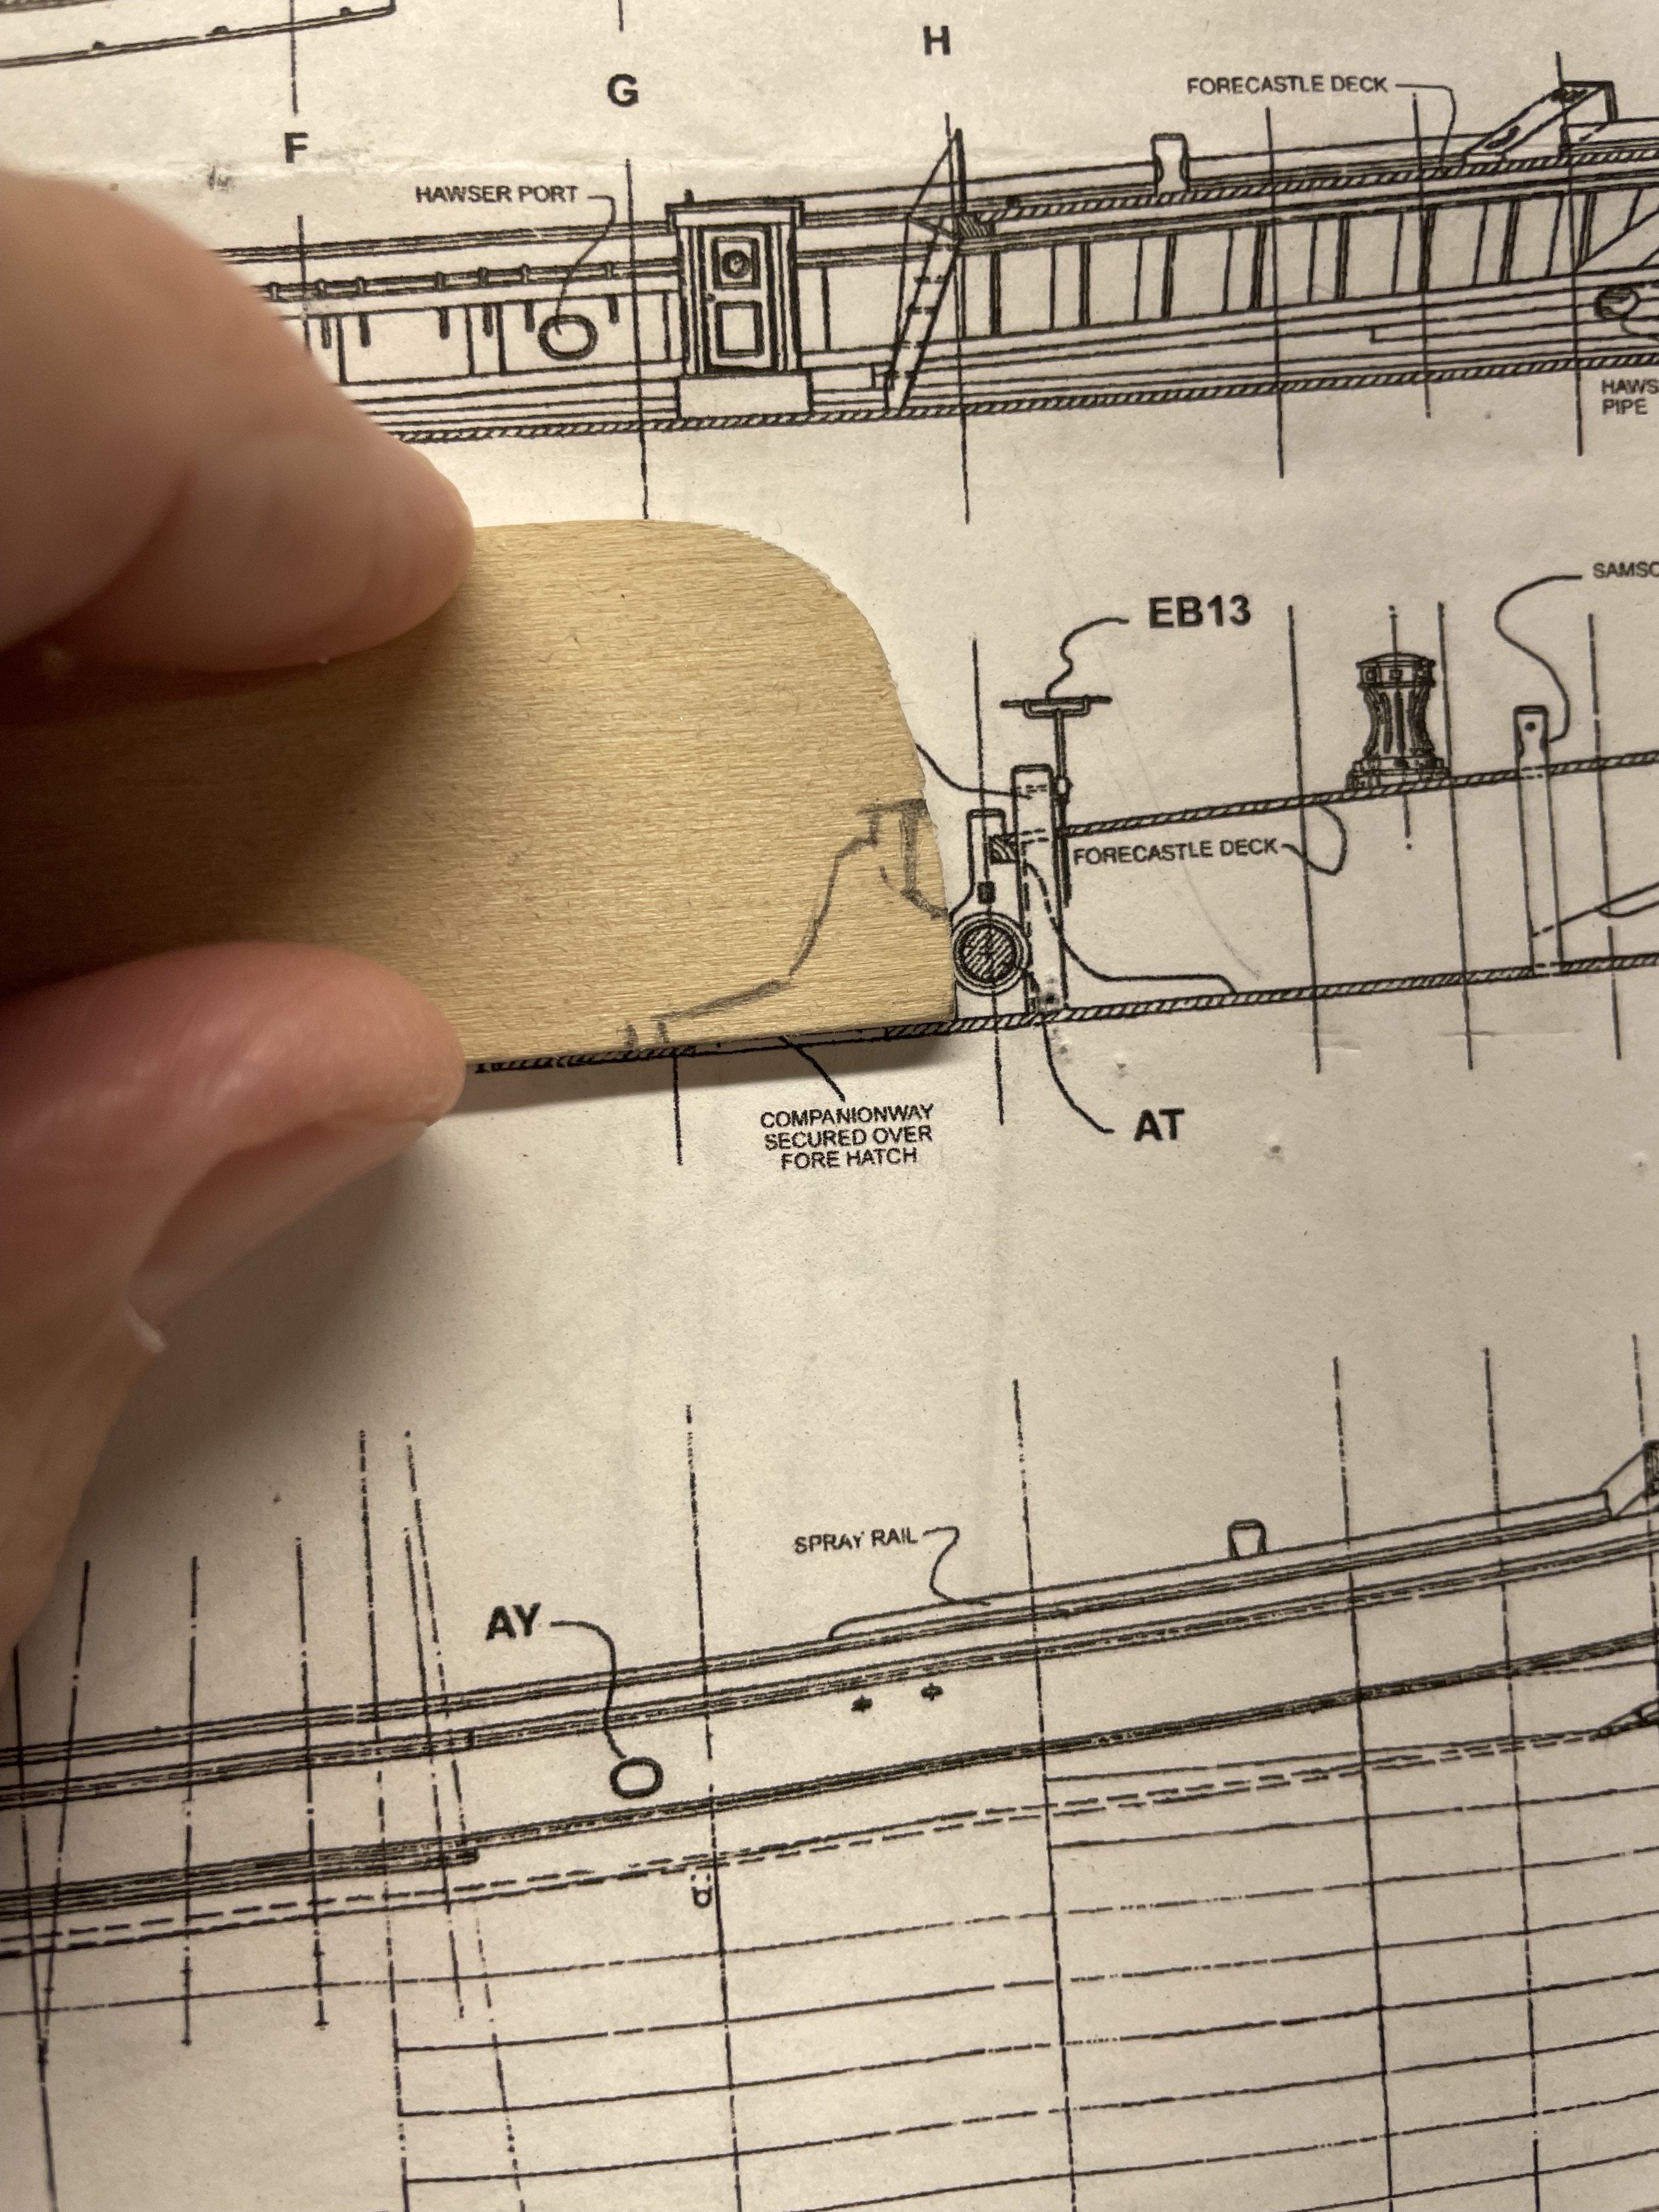
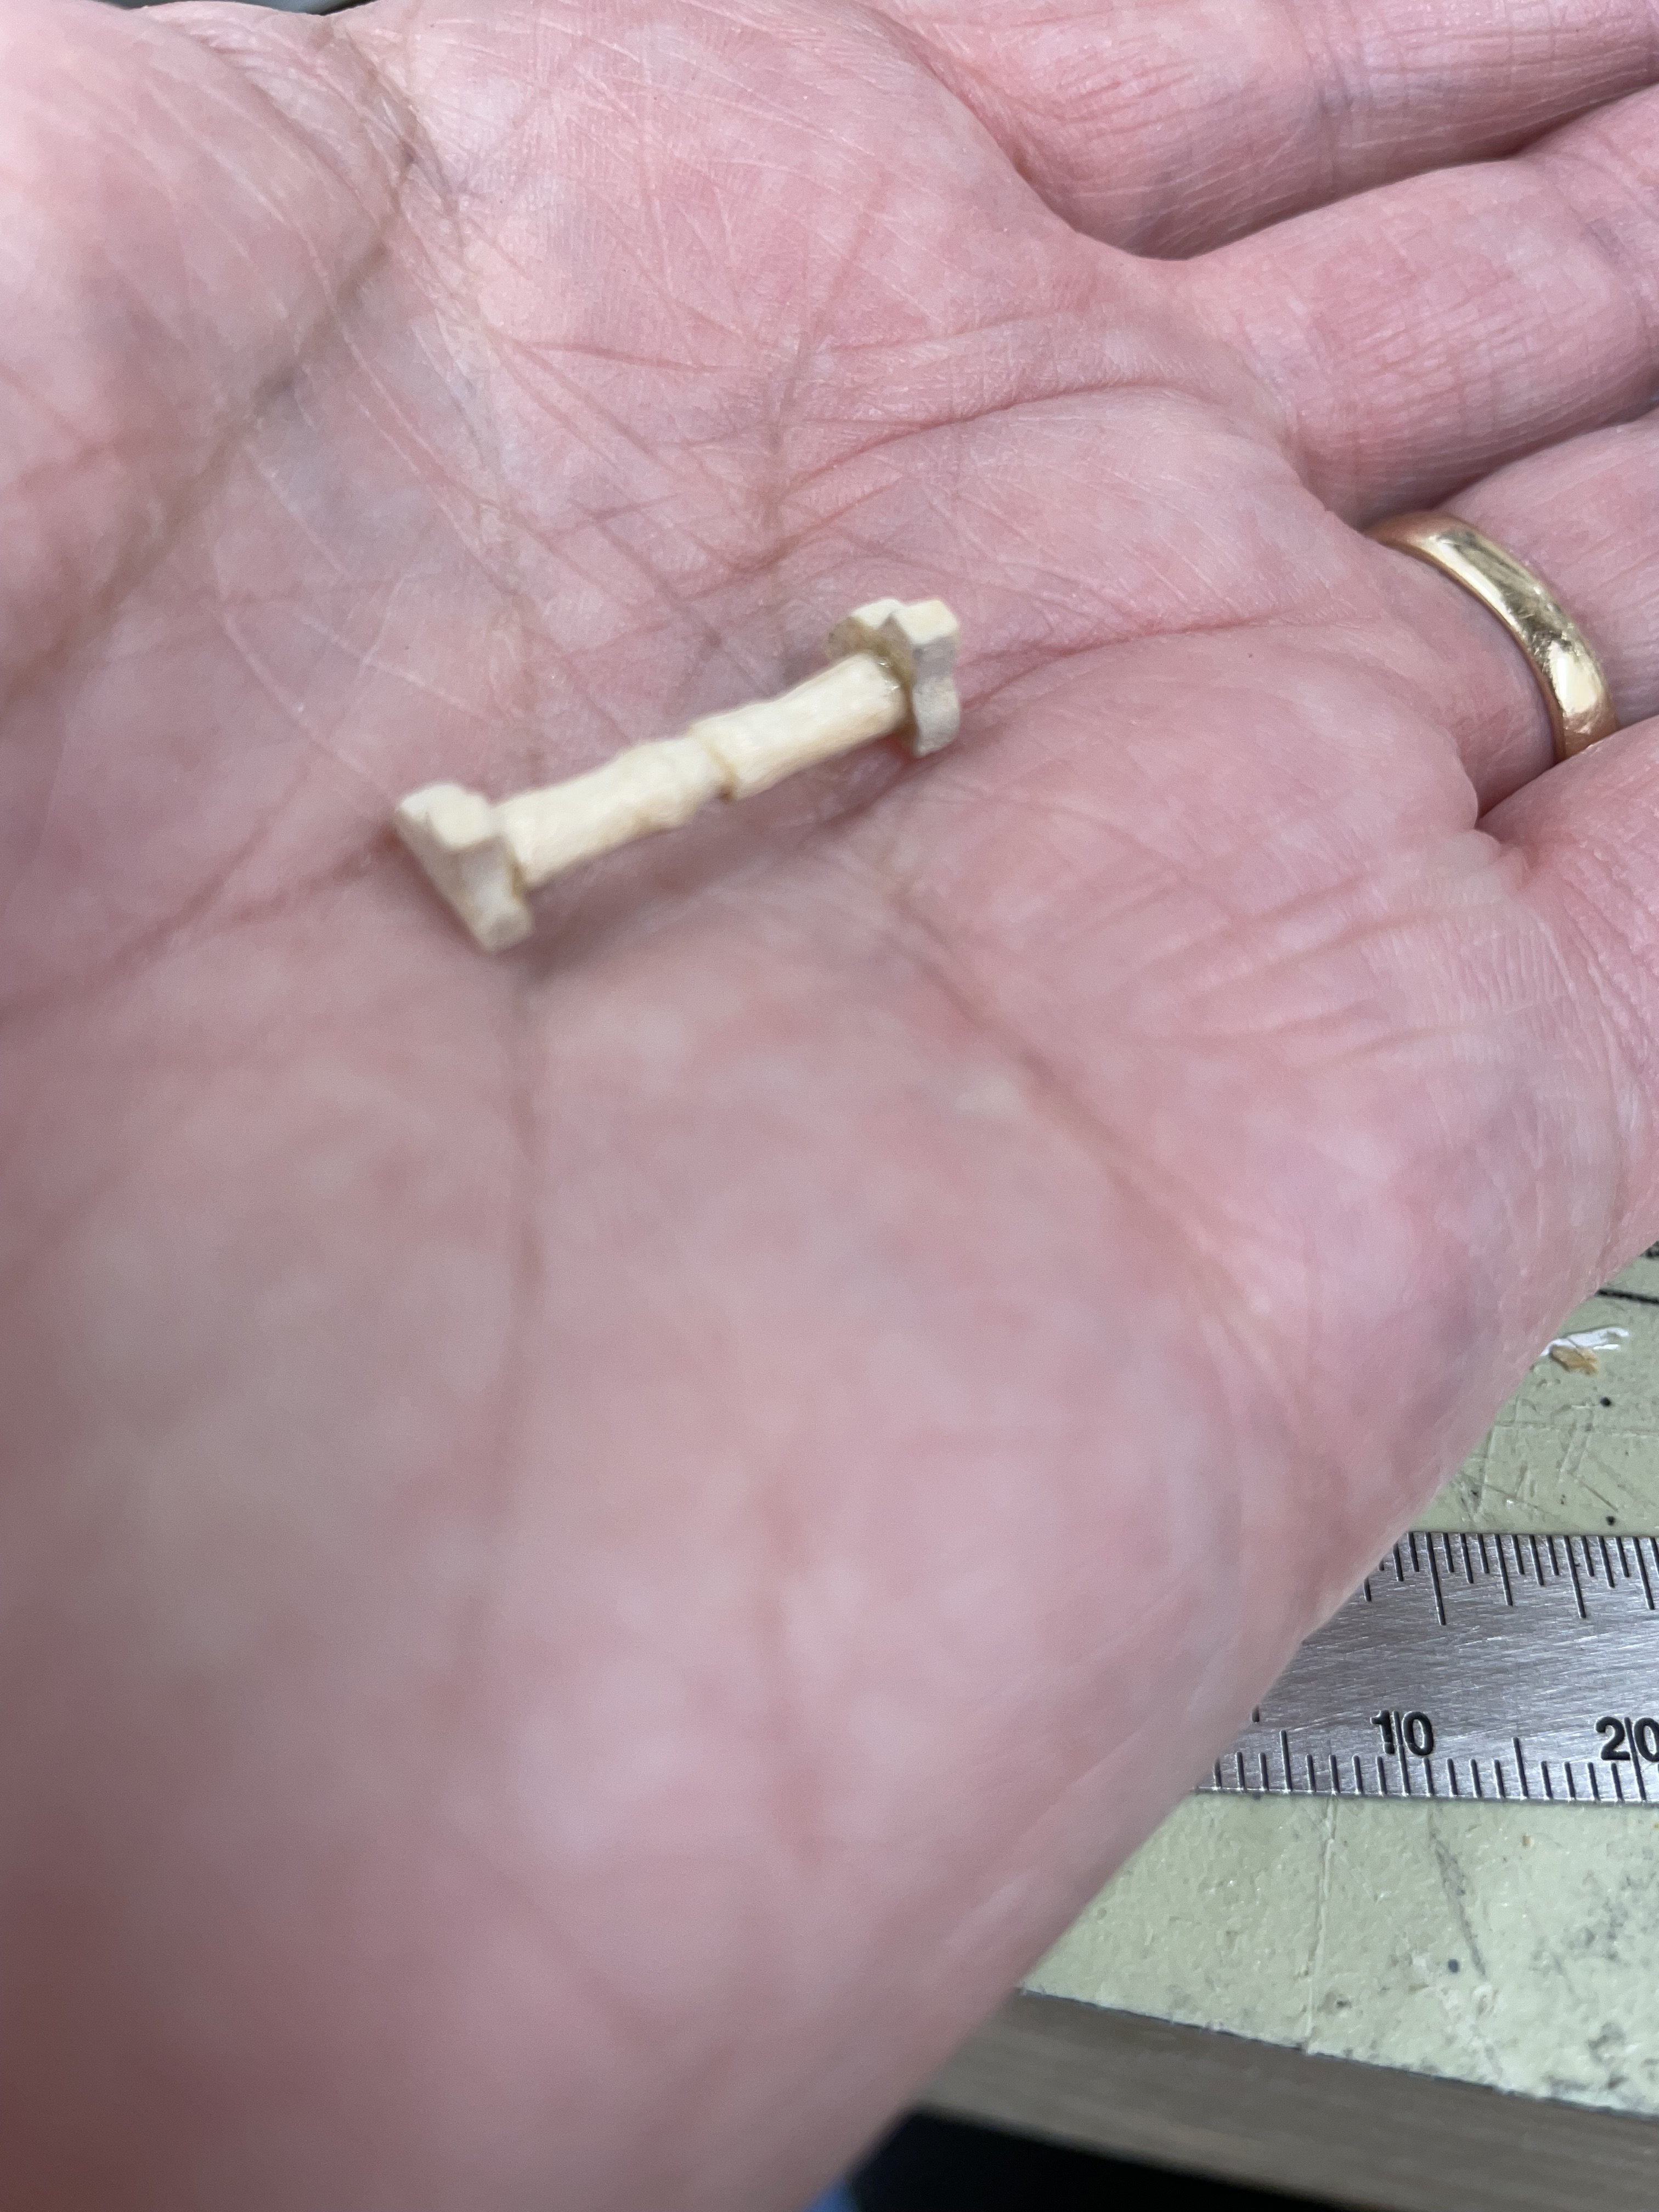
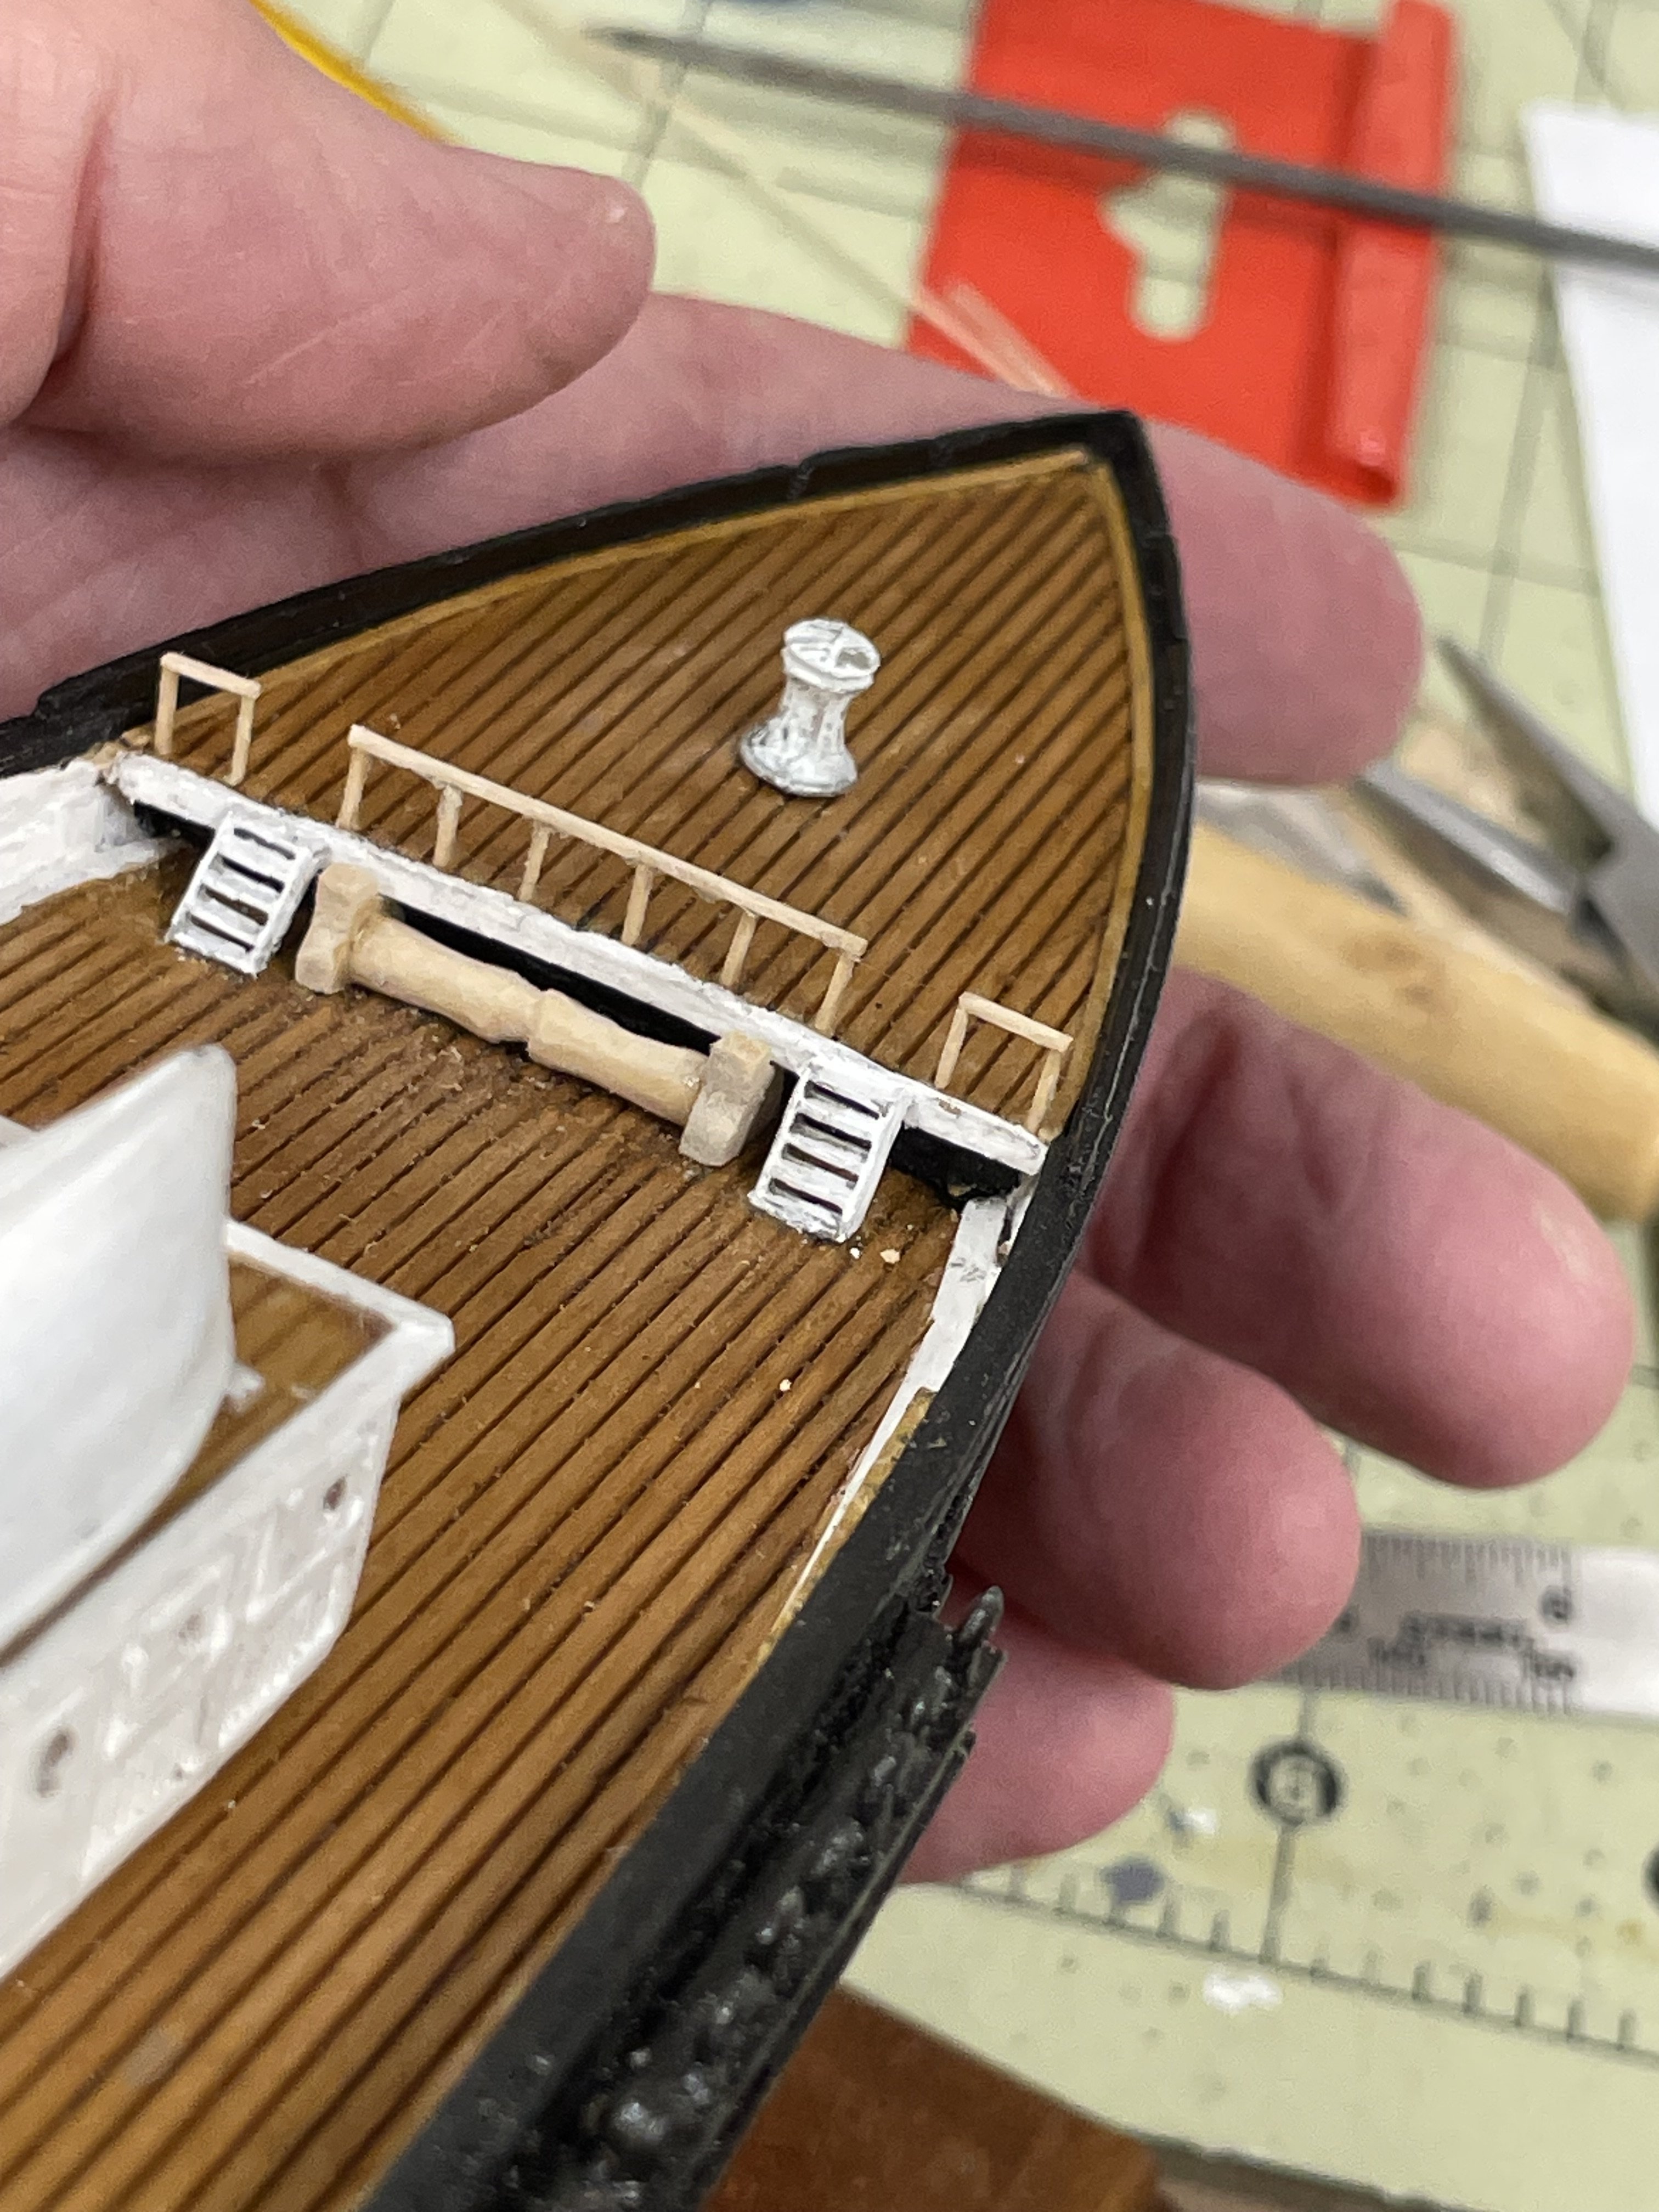
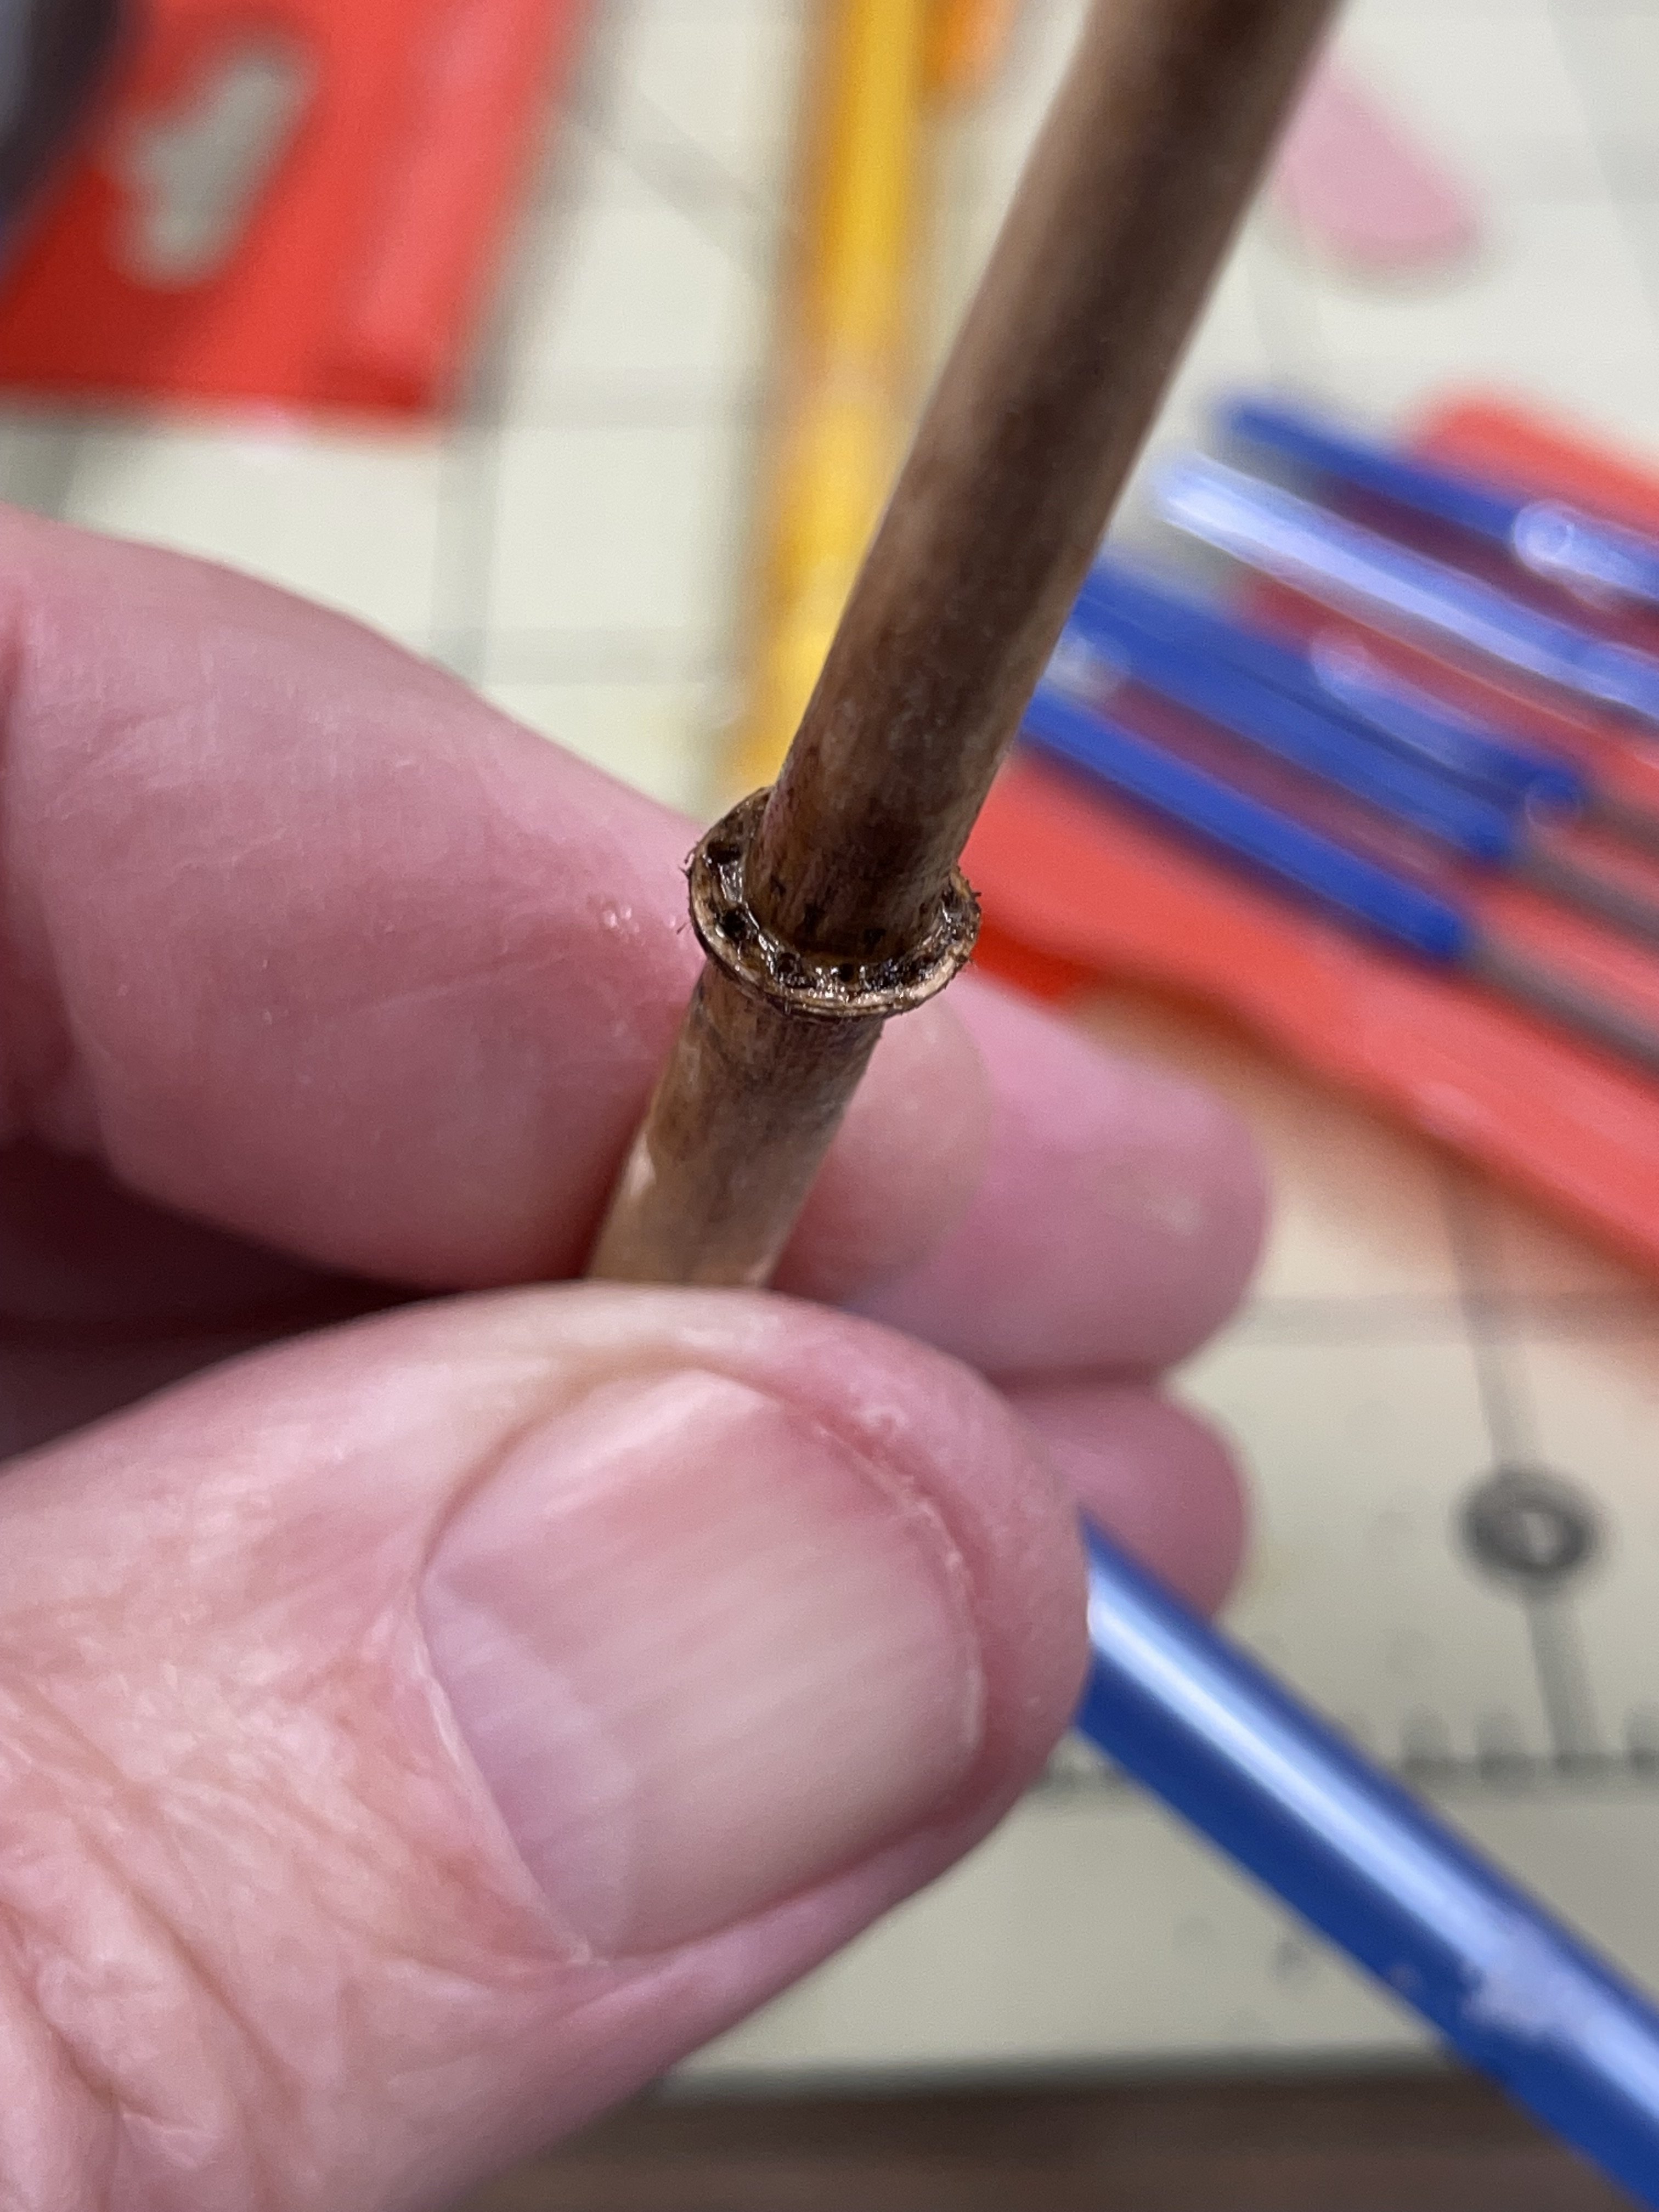
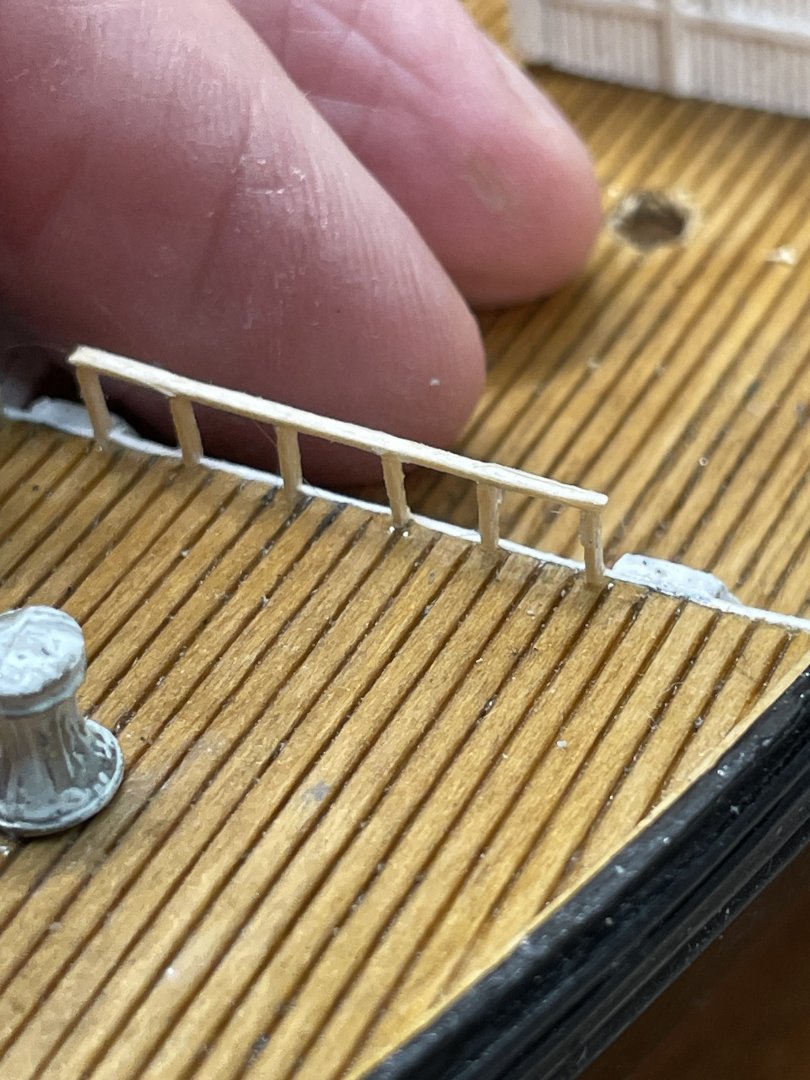
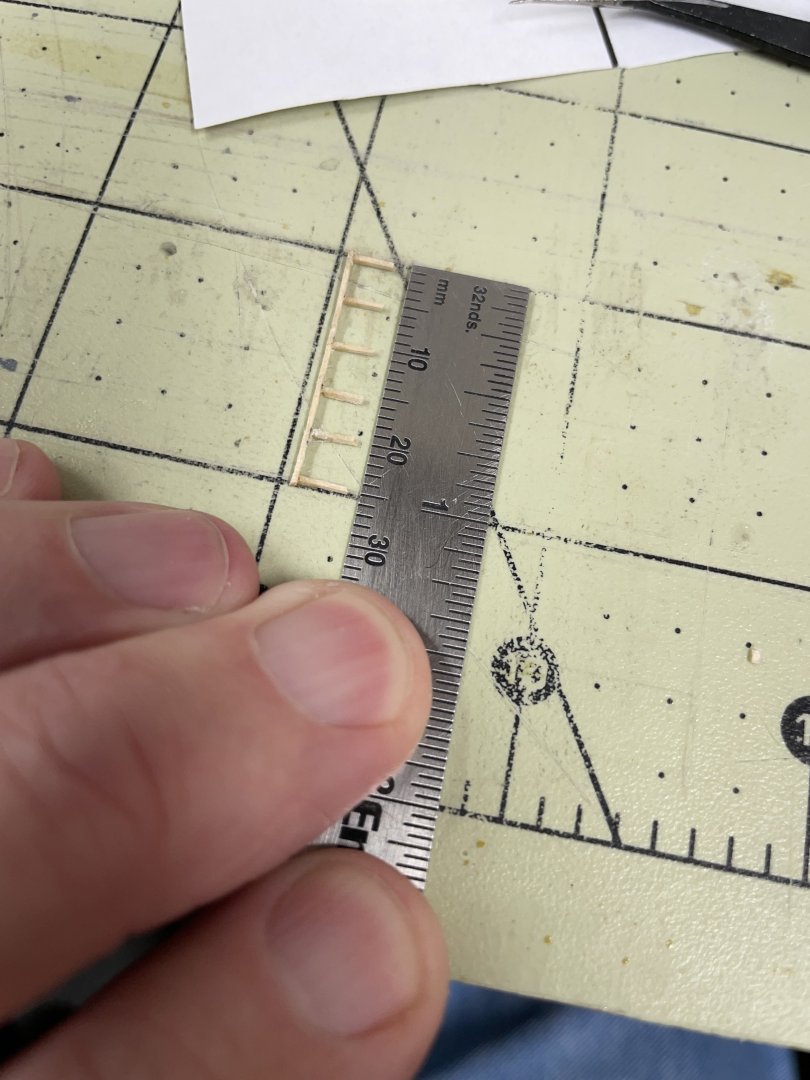
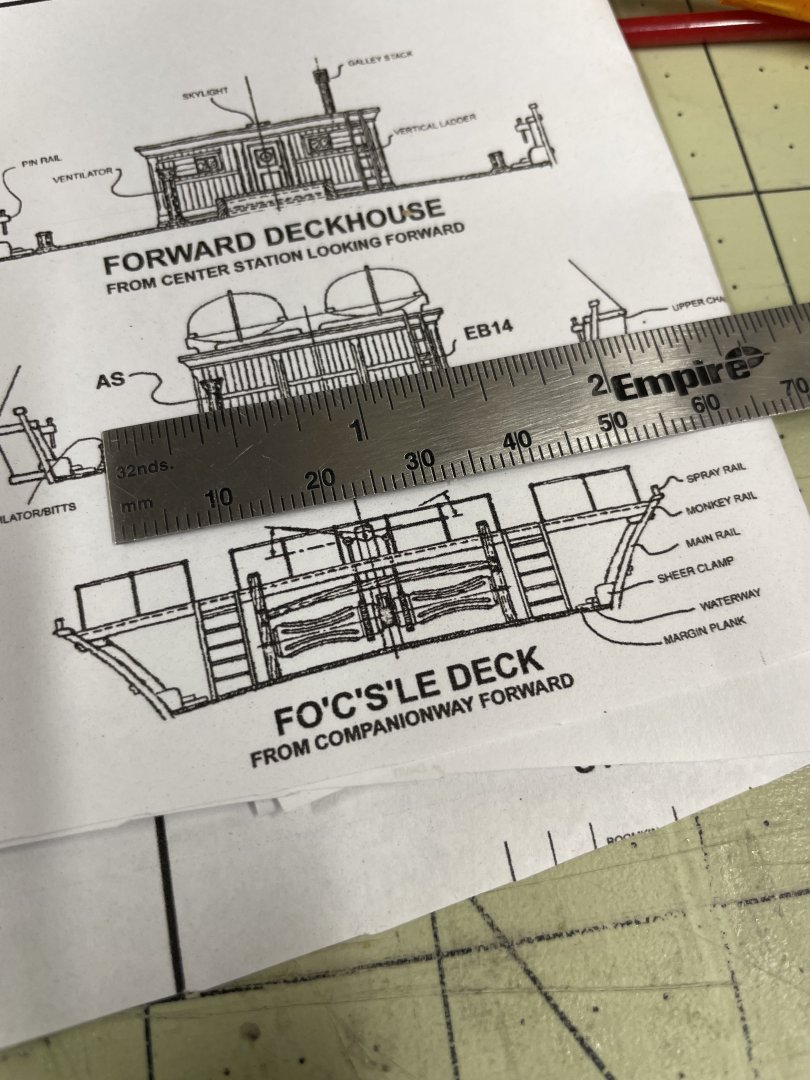
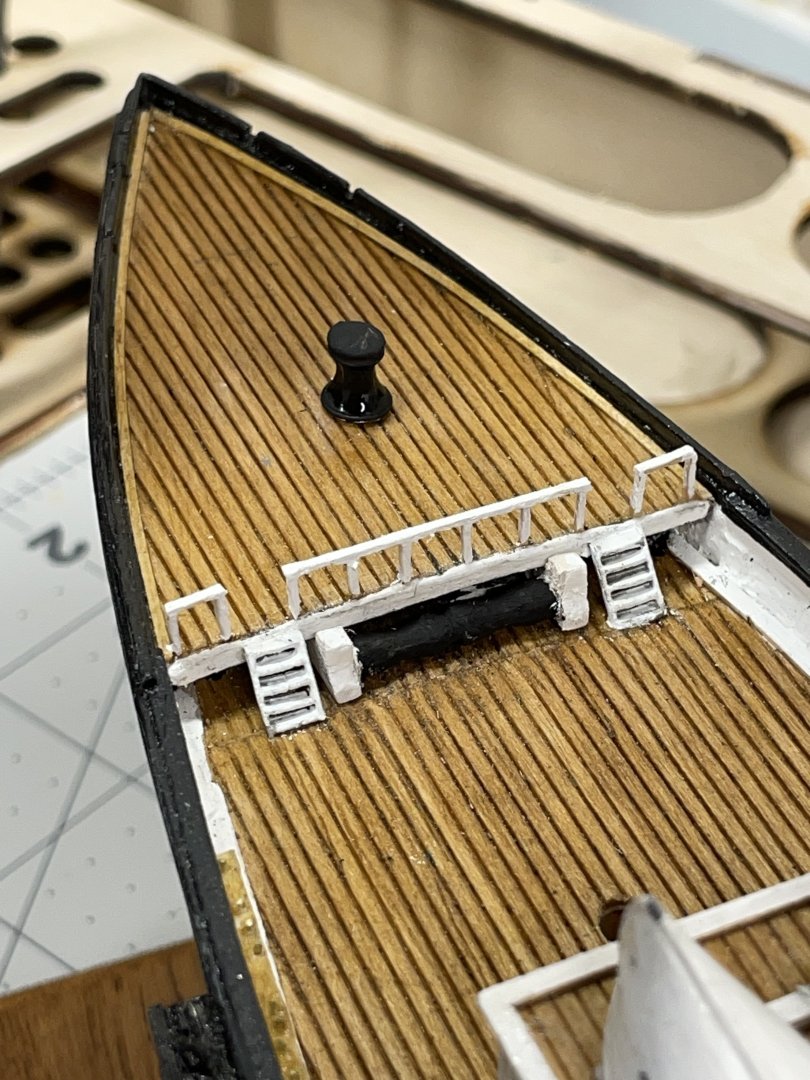
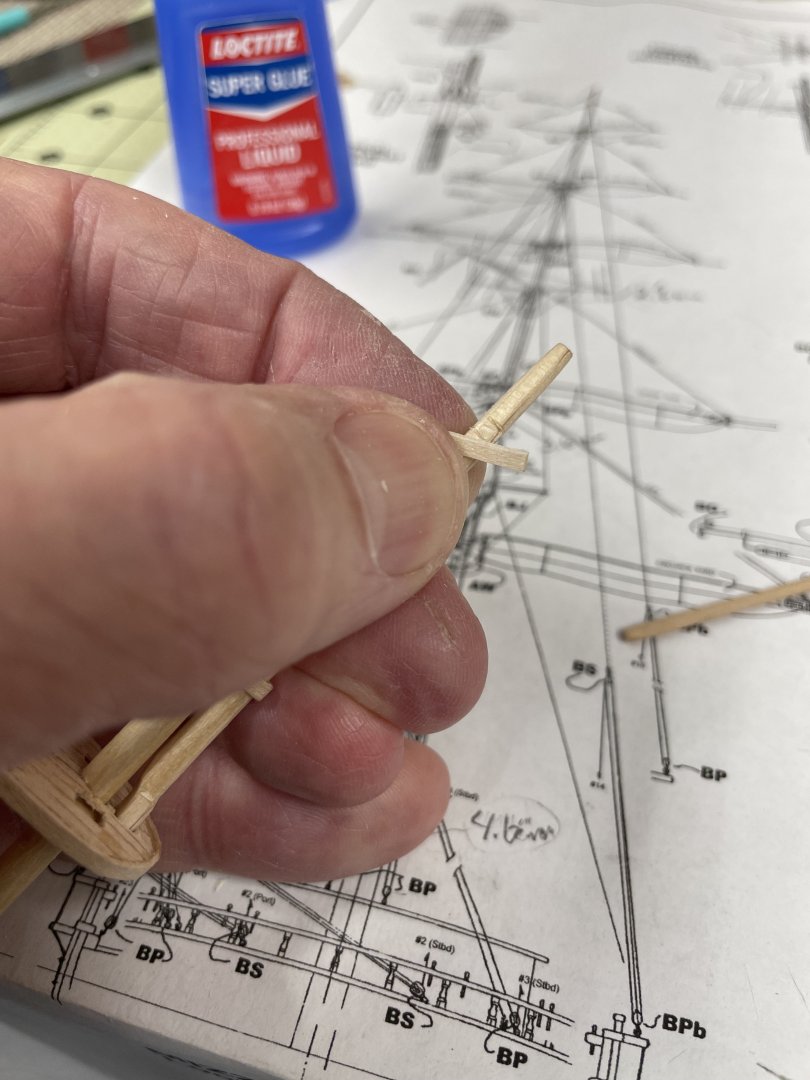
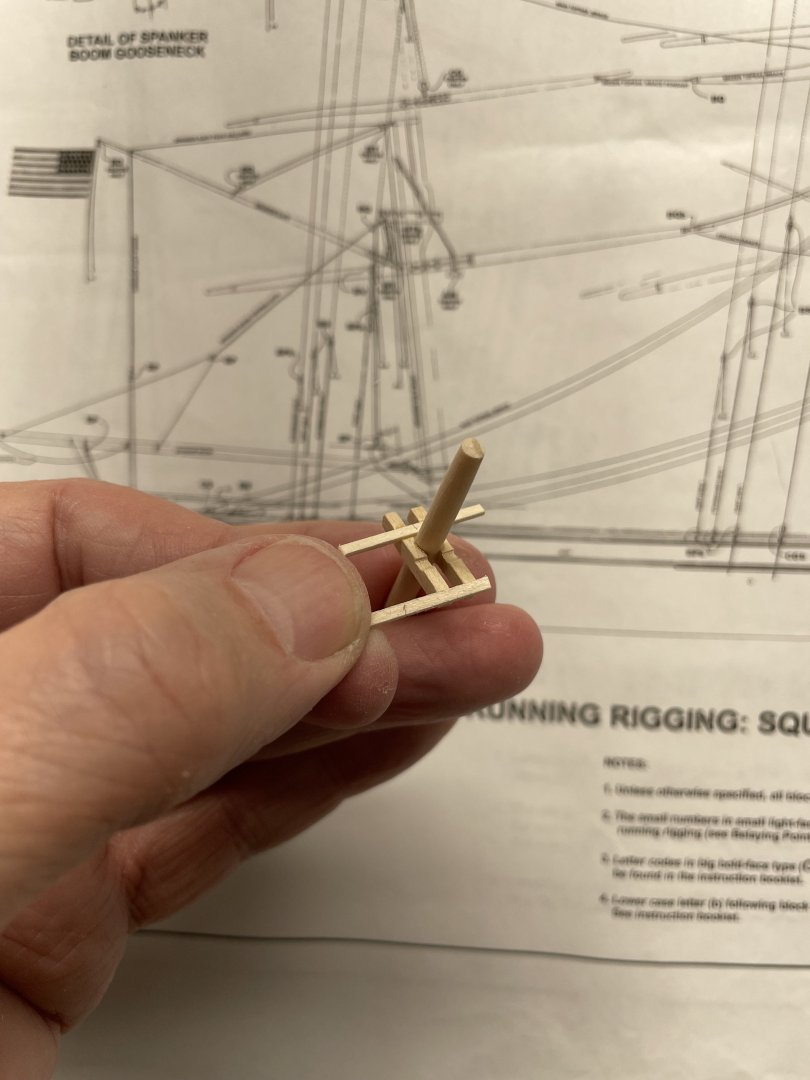
Forecastle Deck Furnishings… Forecastle Capstan, Railing and Windlass completed. Cheers 🍻


- 165 replies
-
- 5
-
-
- Red Jacket
- Marine Model Company
- (and 2 more)
-
Hi Jon, just went thru your build log here. Excellent work… Love your diorama. I saw your Bowdoin Diorama up close, several years ago in Boothbay. I was working on my own Bowdoin back then. Looking forward to getting a close up look at this one when you bring it to one of our meetings. Meanwhile, I’m going to pull up a chair and watch you finish. 🍻
- 62 replies
-
- 1
-
-
- Arctic Exploration
- OcCre
- (and 2 more)
-
Incredible work Bob, I’m sure that swear jar is filling up. LOL 😂 STEADY AS SHE GOES. 🍻
-
Beckets on bluejacket double block
John Ruy replied to Barbara's topic in Masting, rigging and sails
Barbara, You might Find this topic answers your question. Cheers -
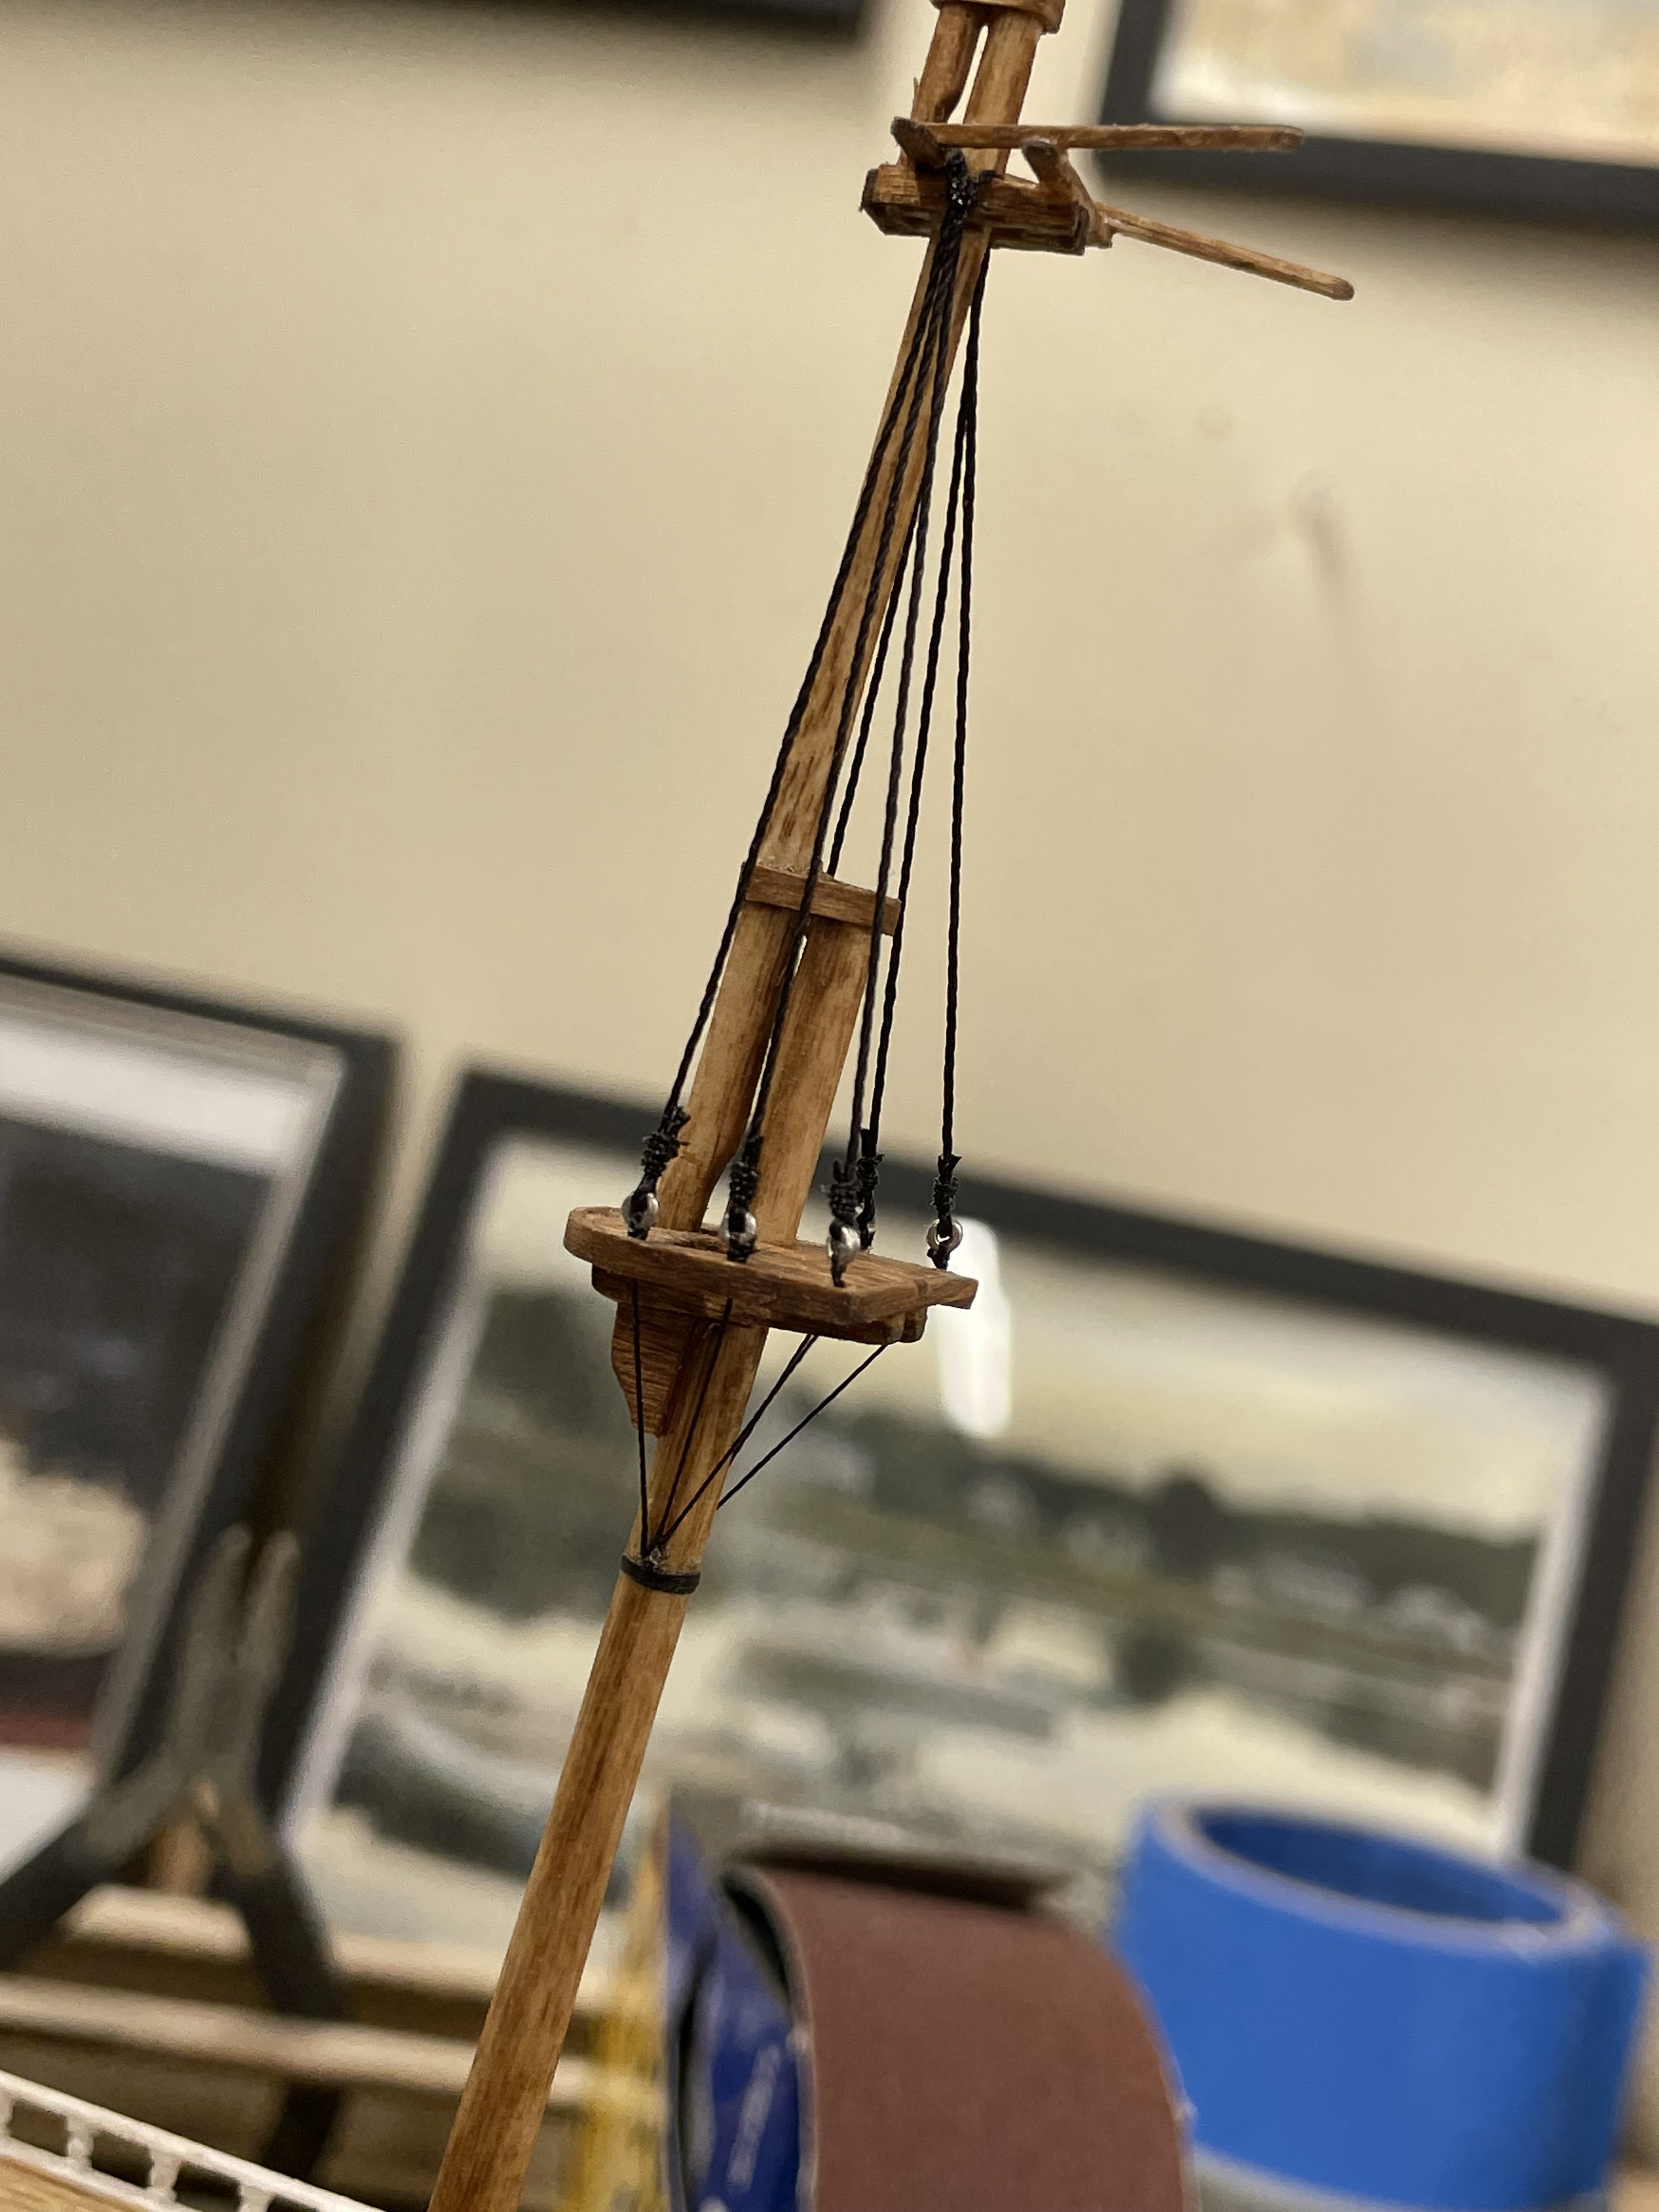
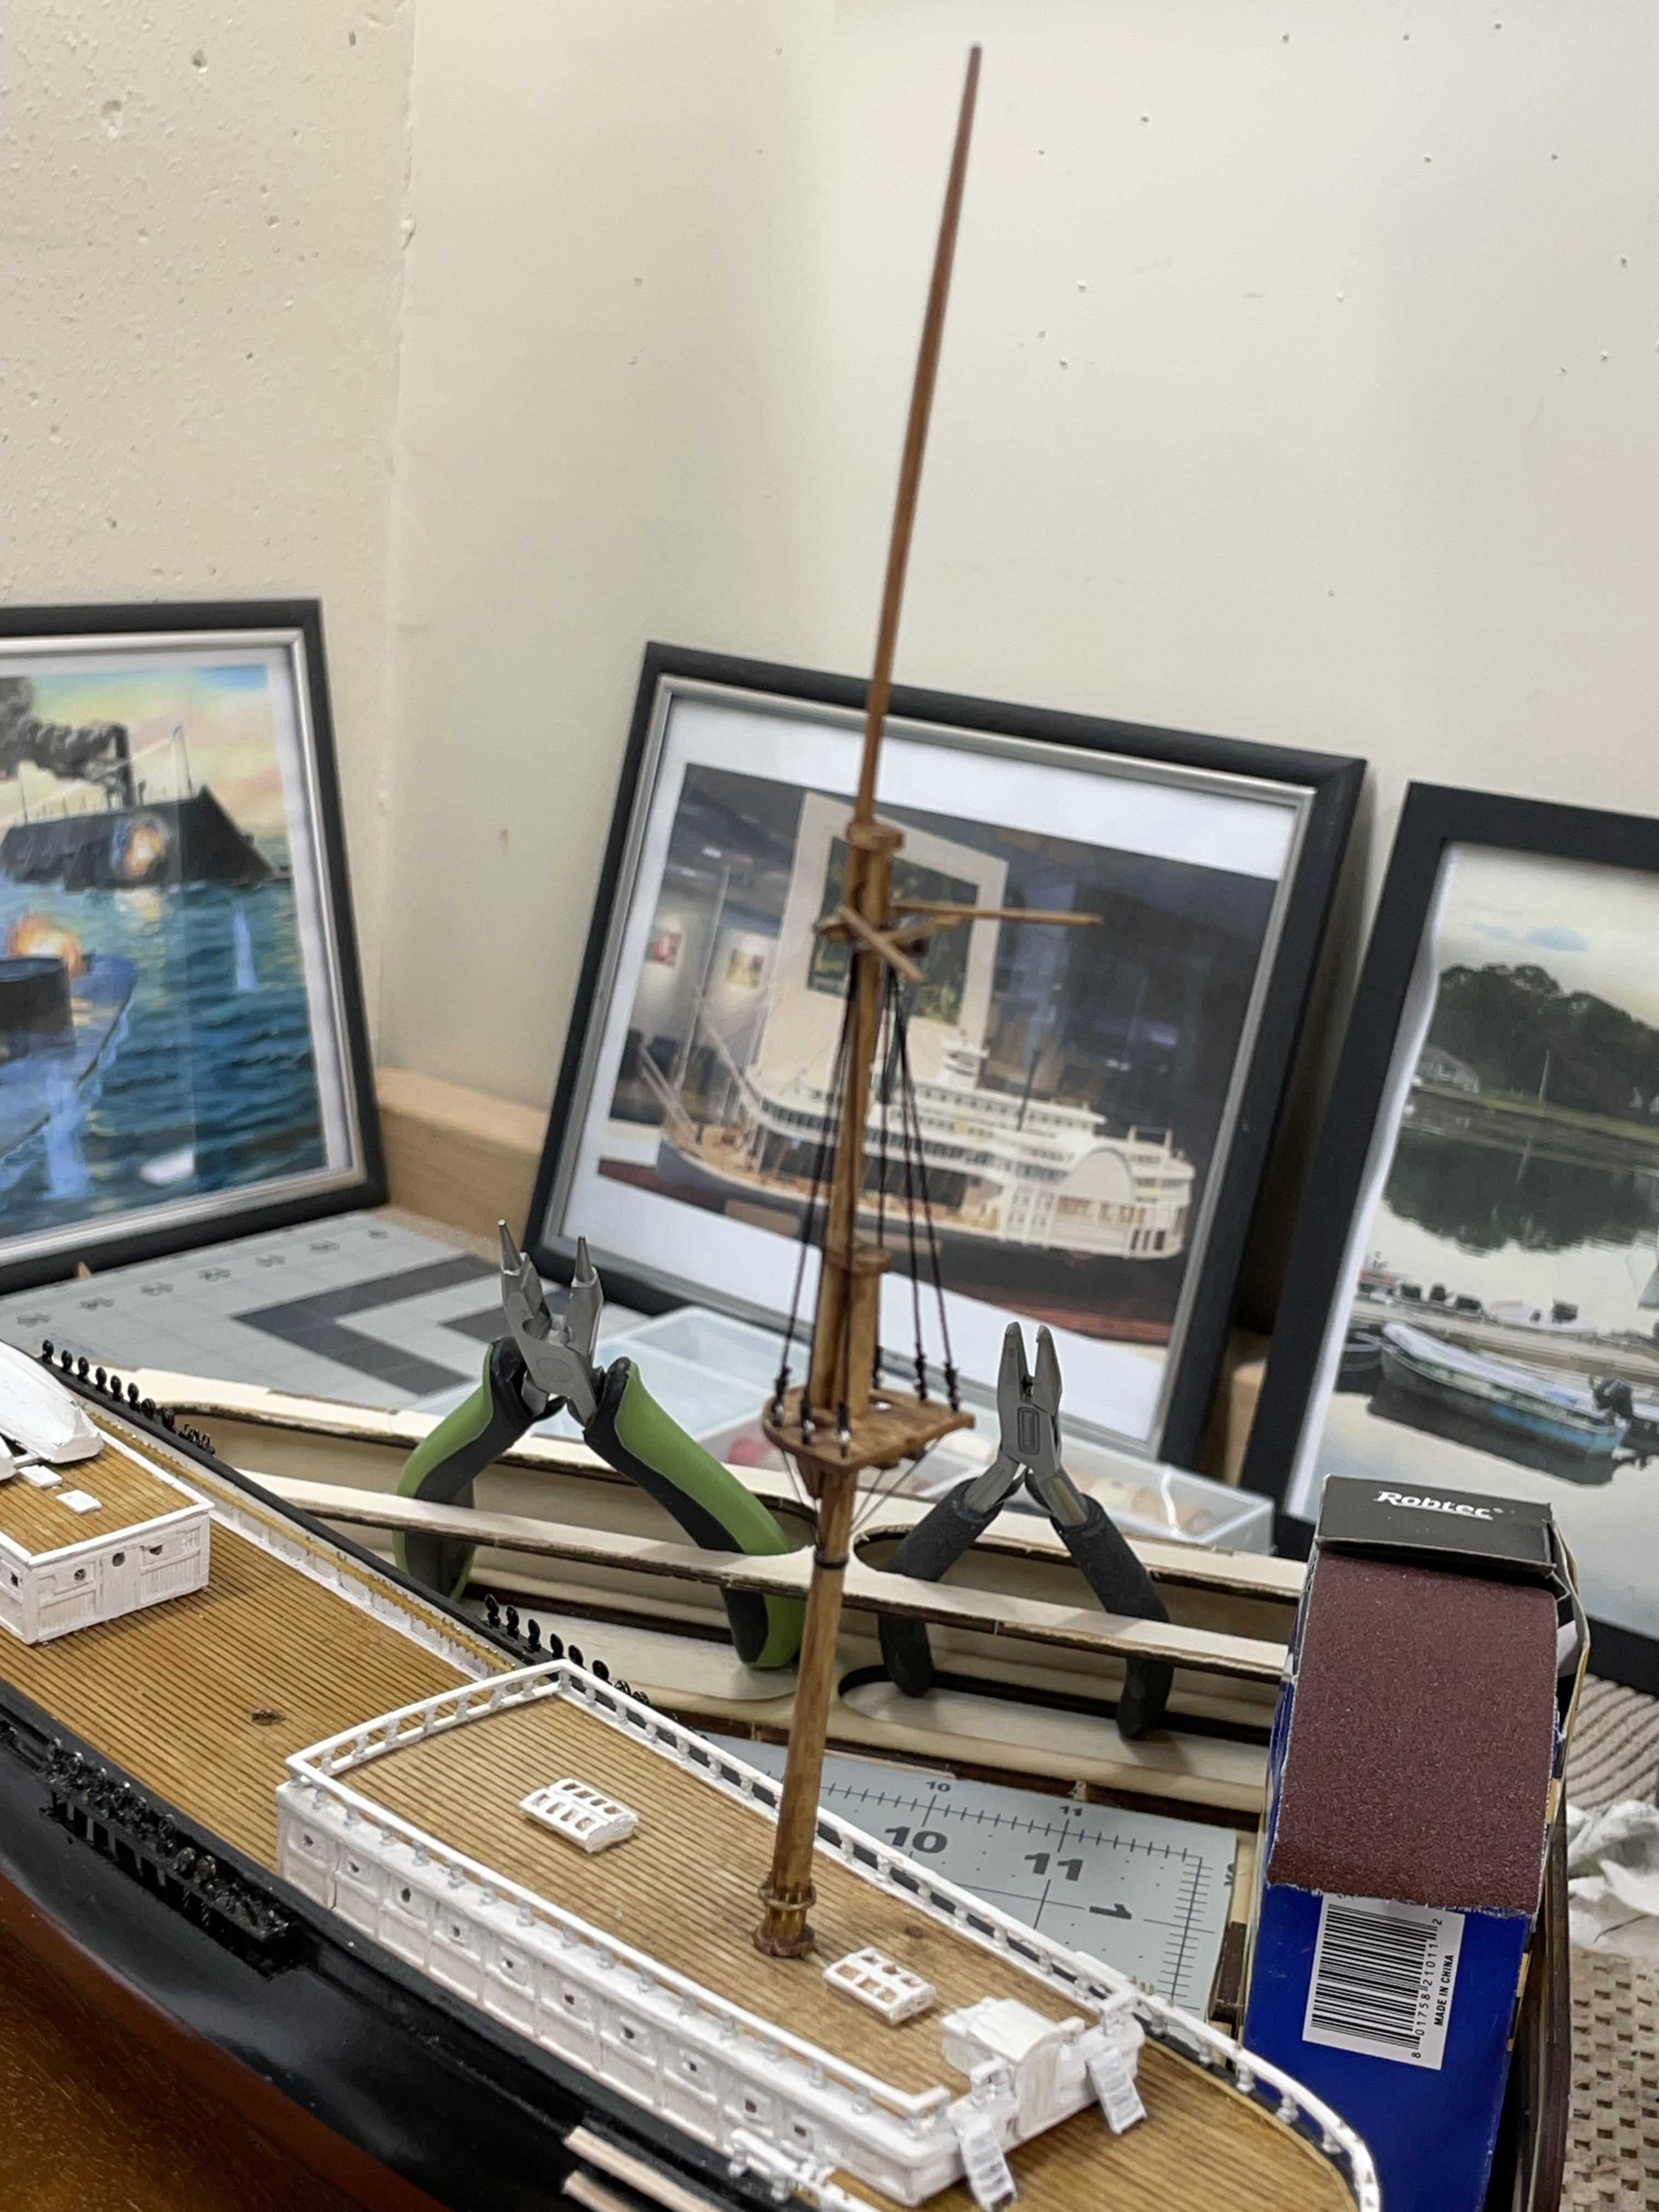
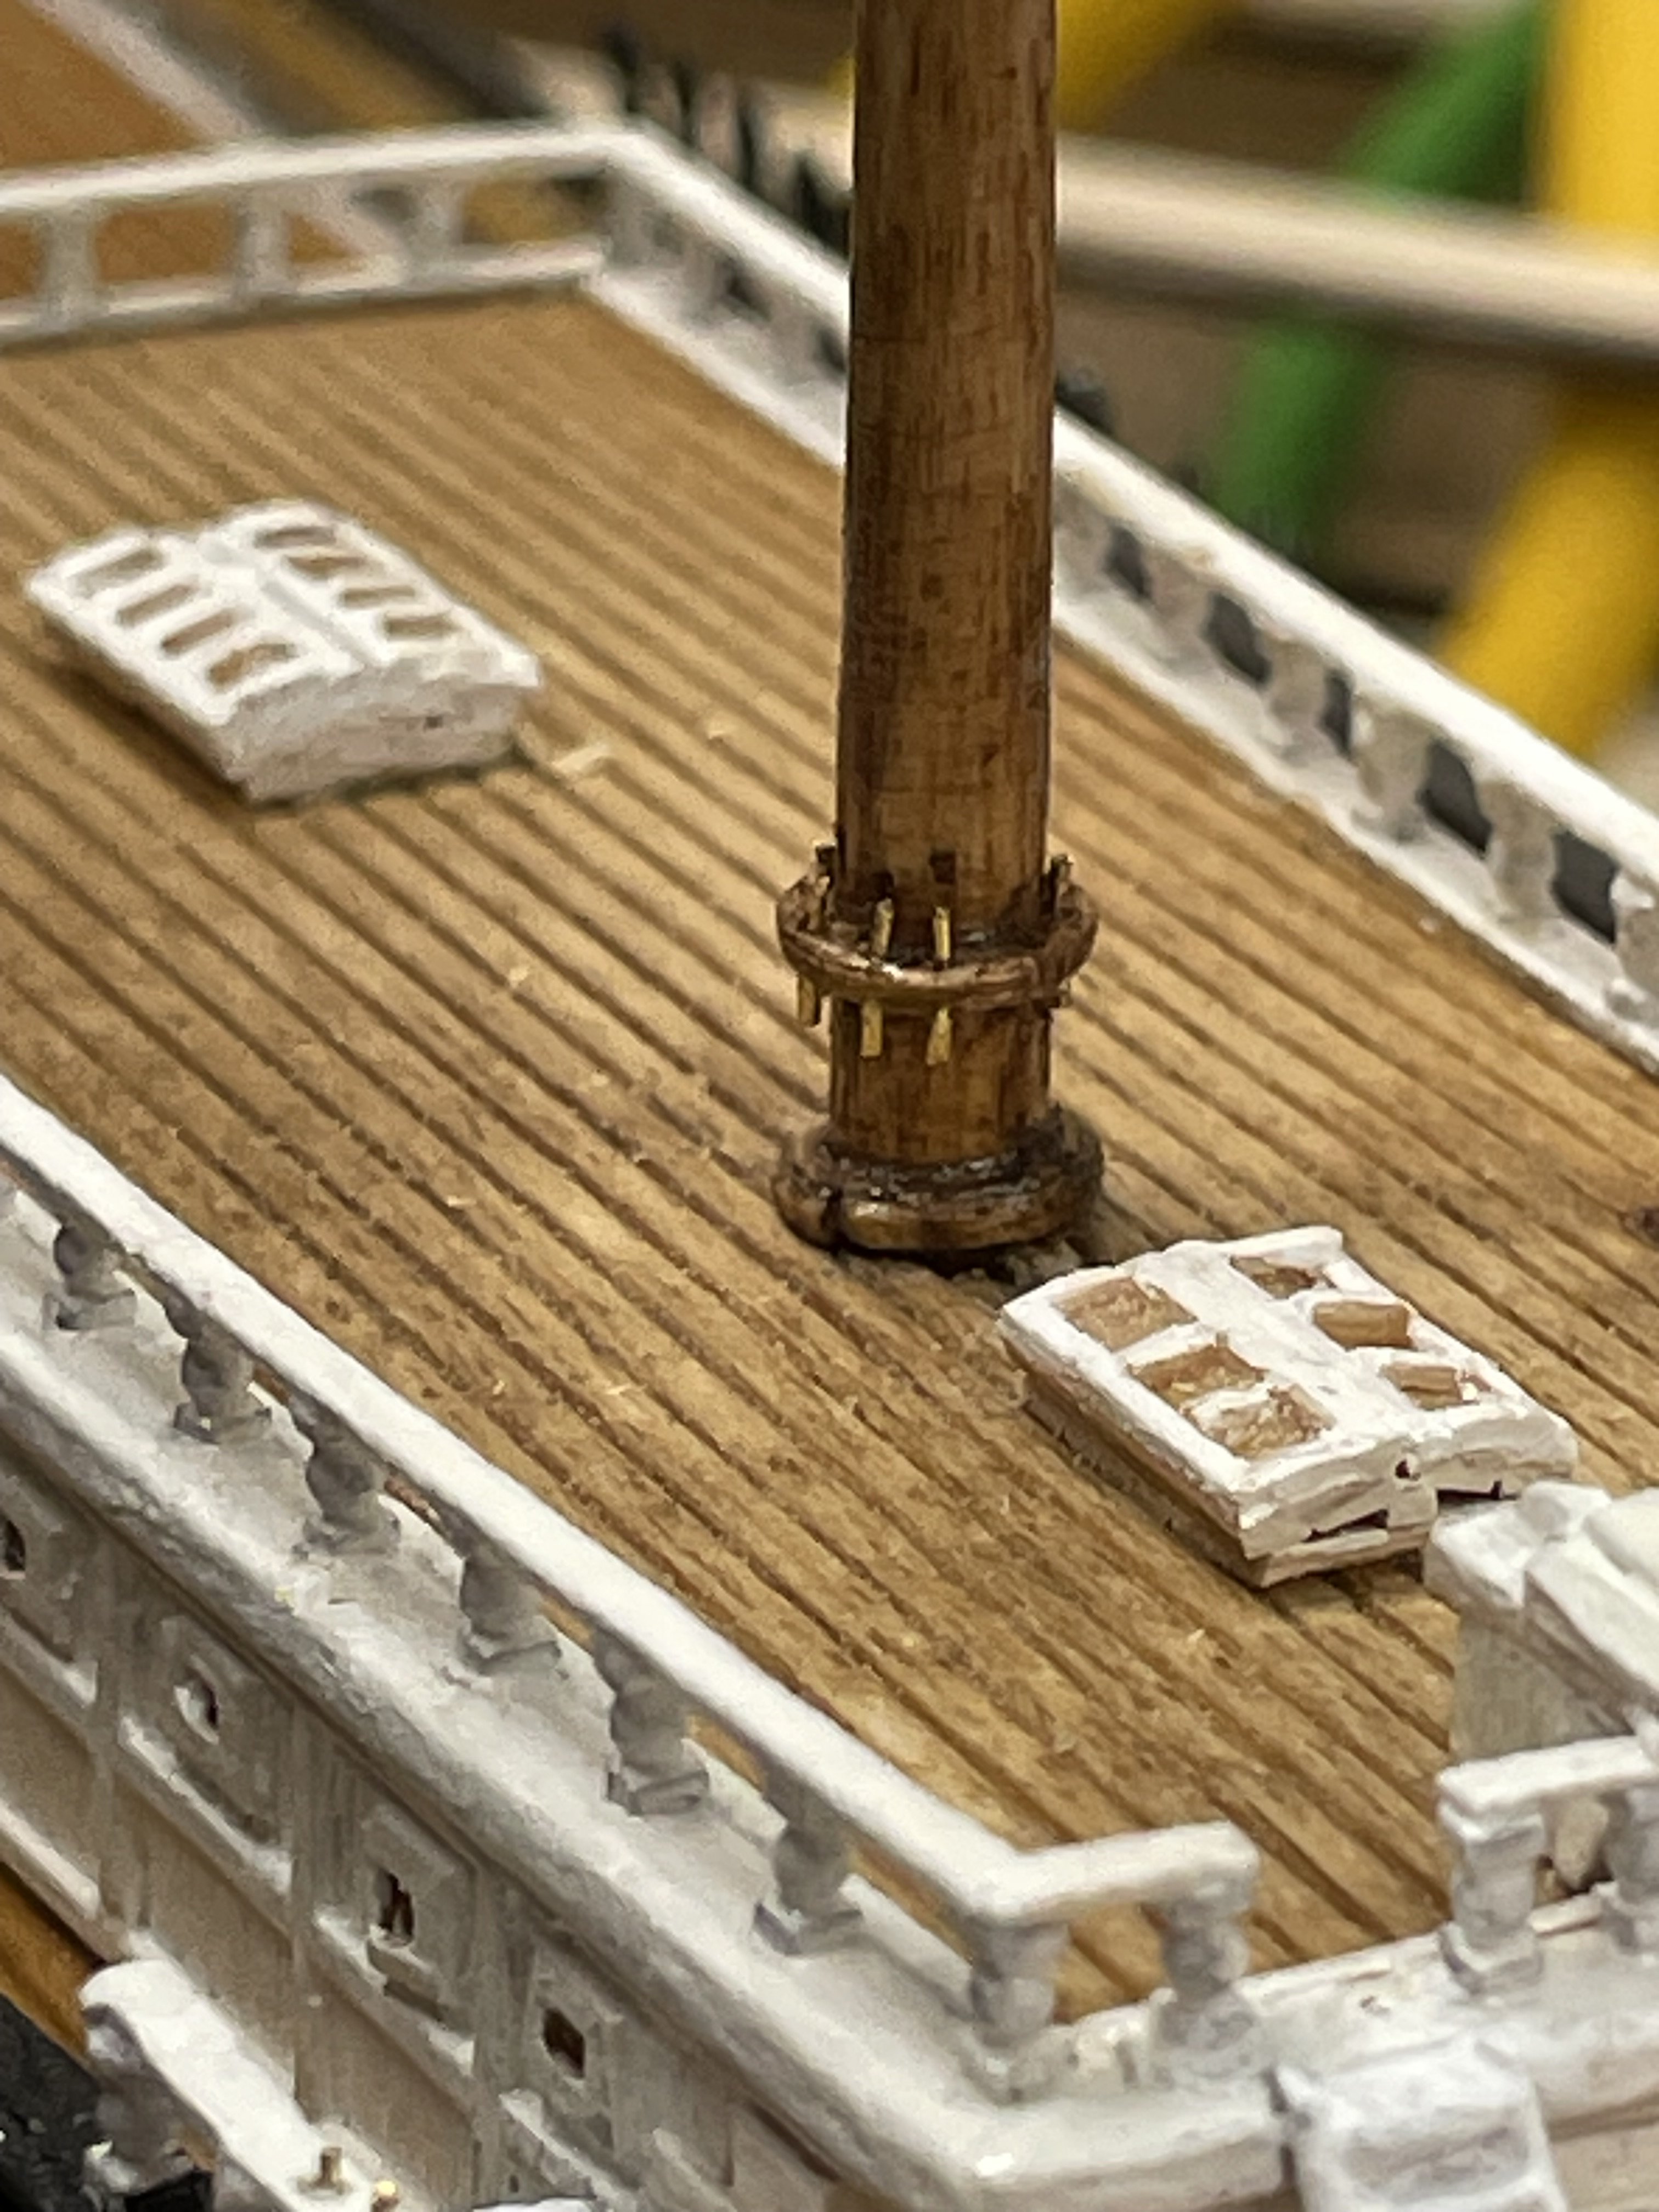
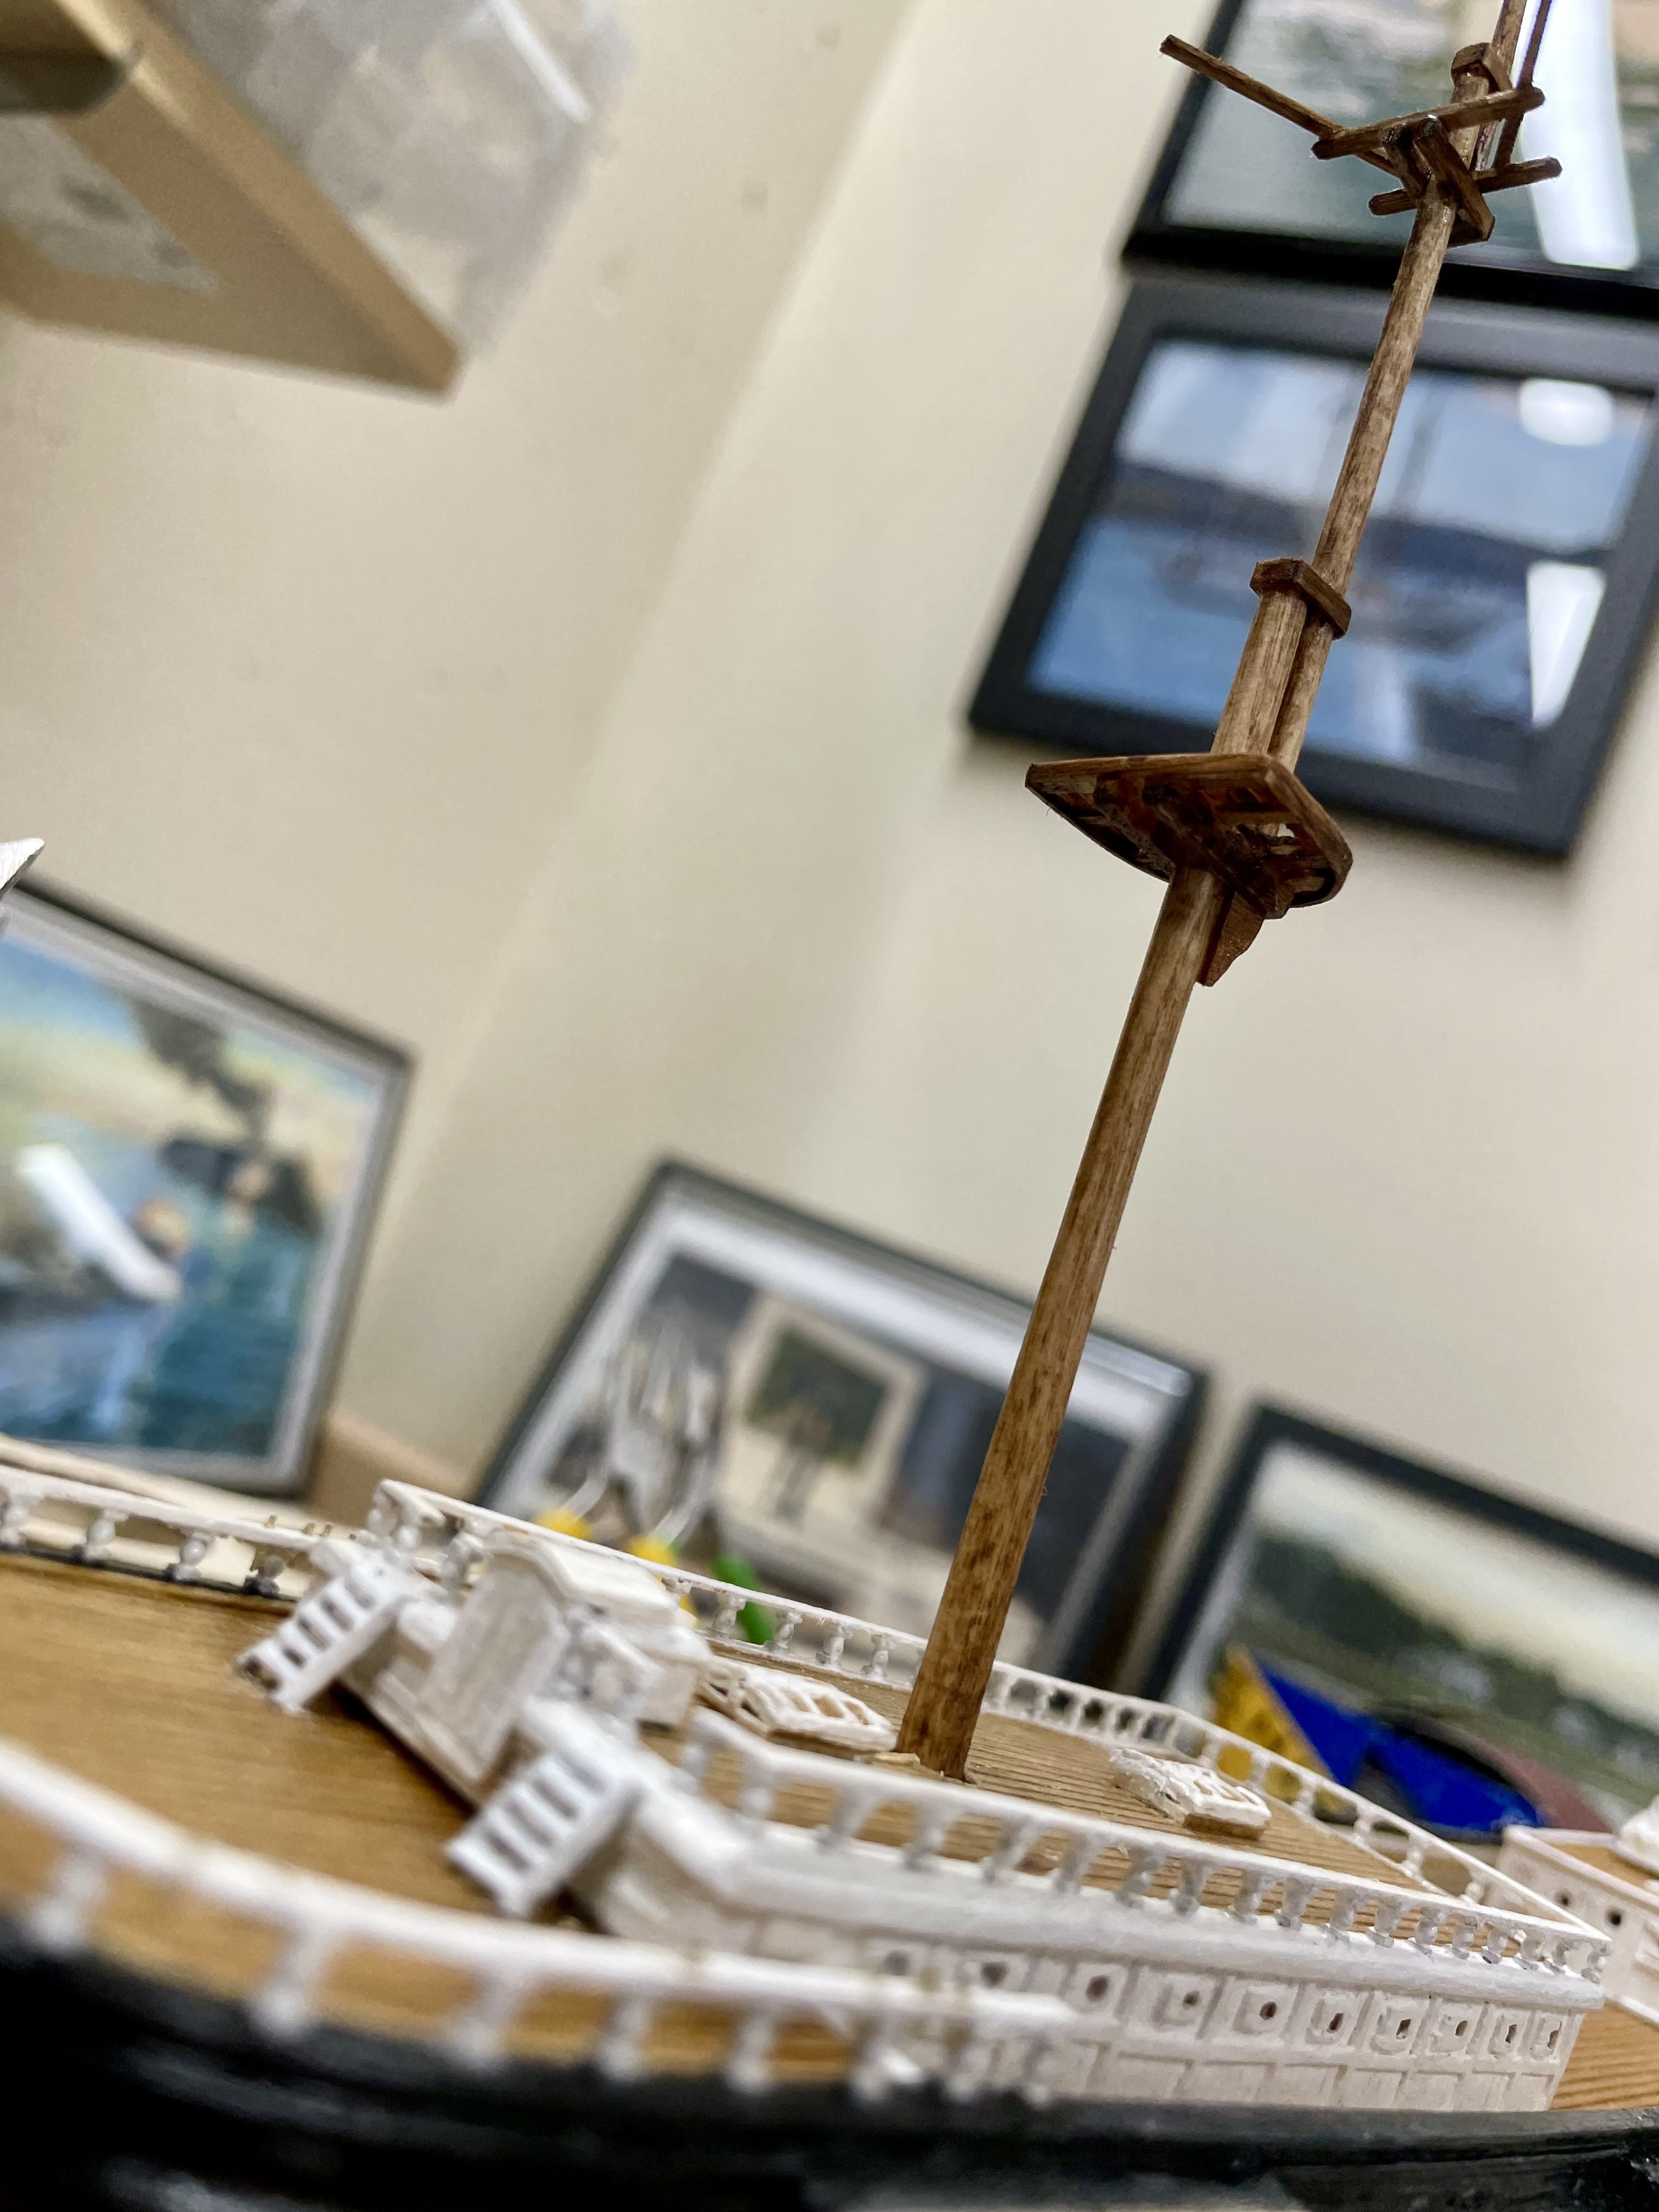
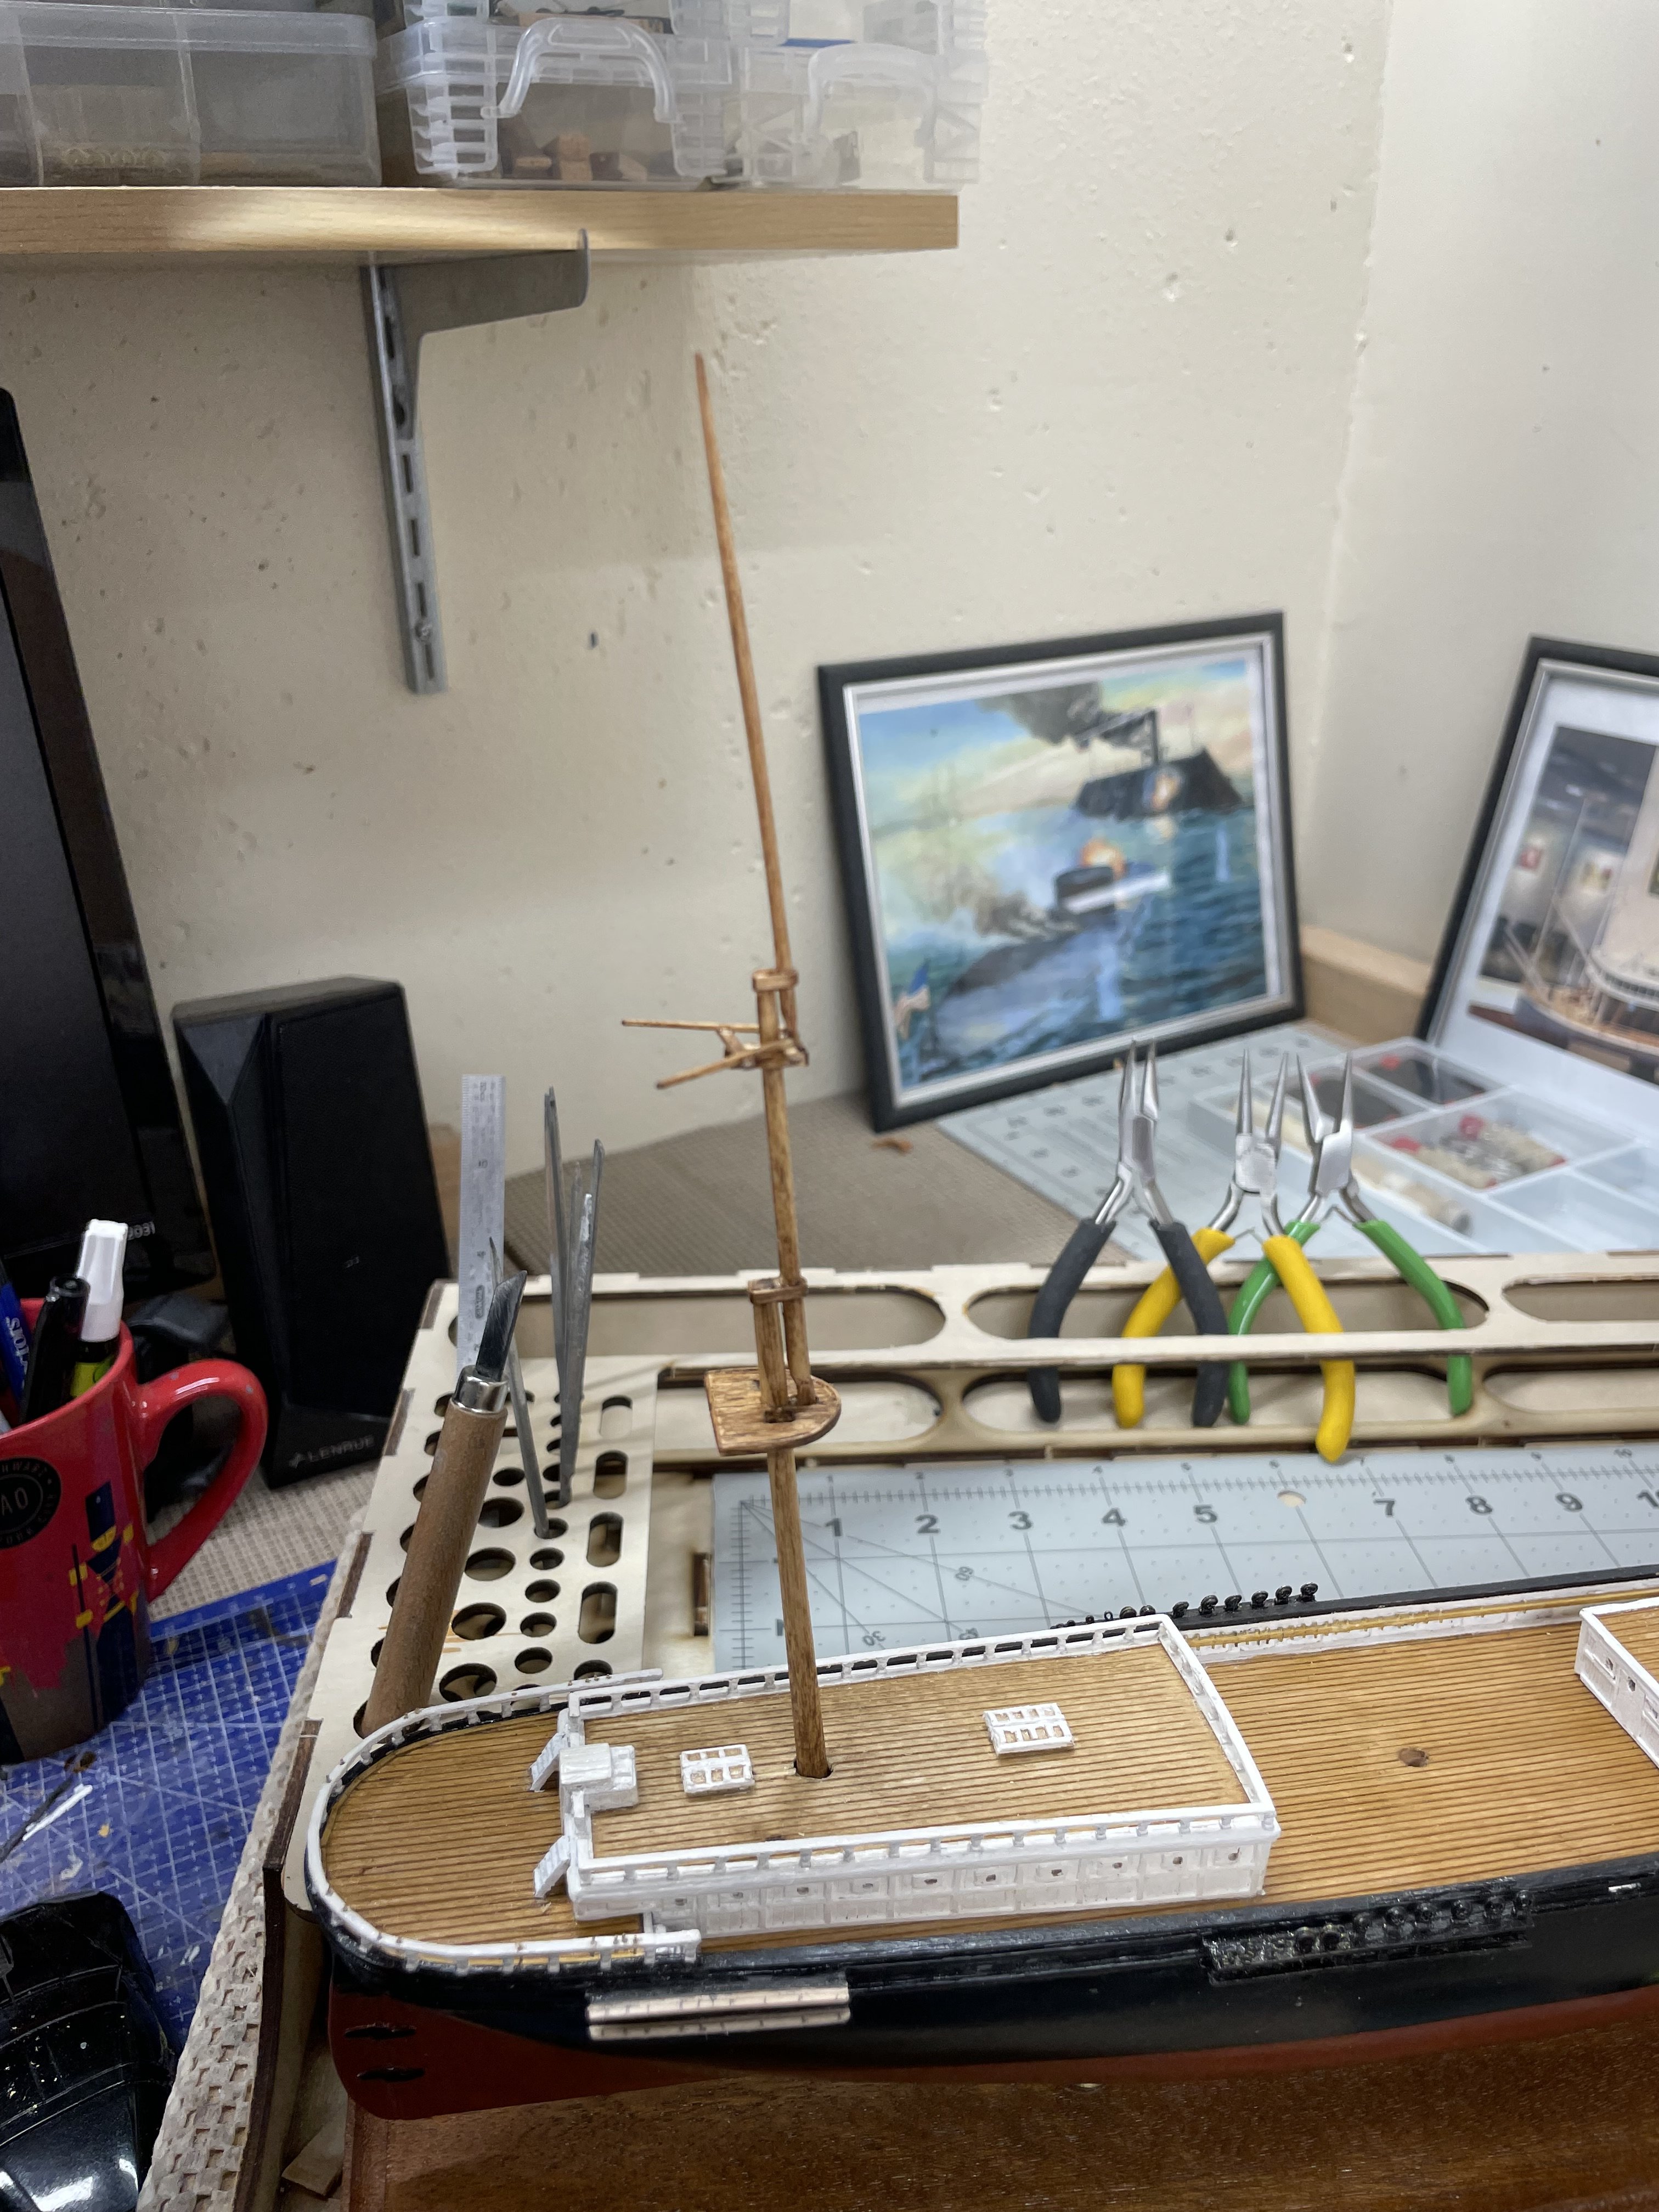
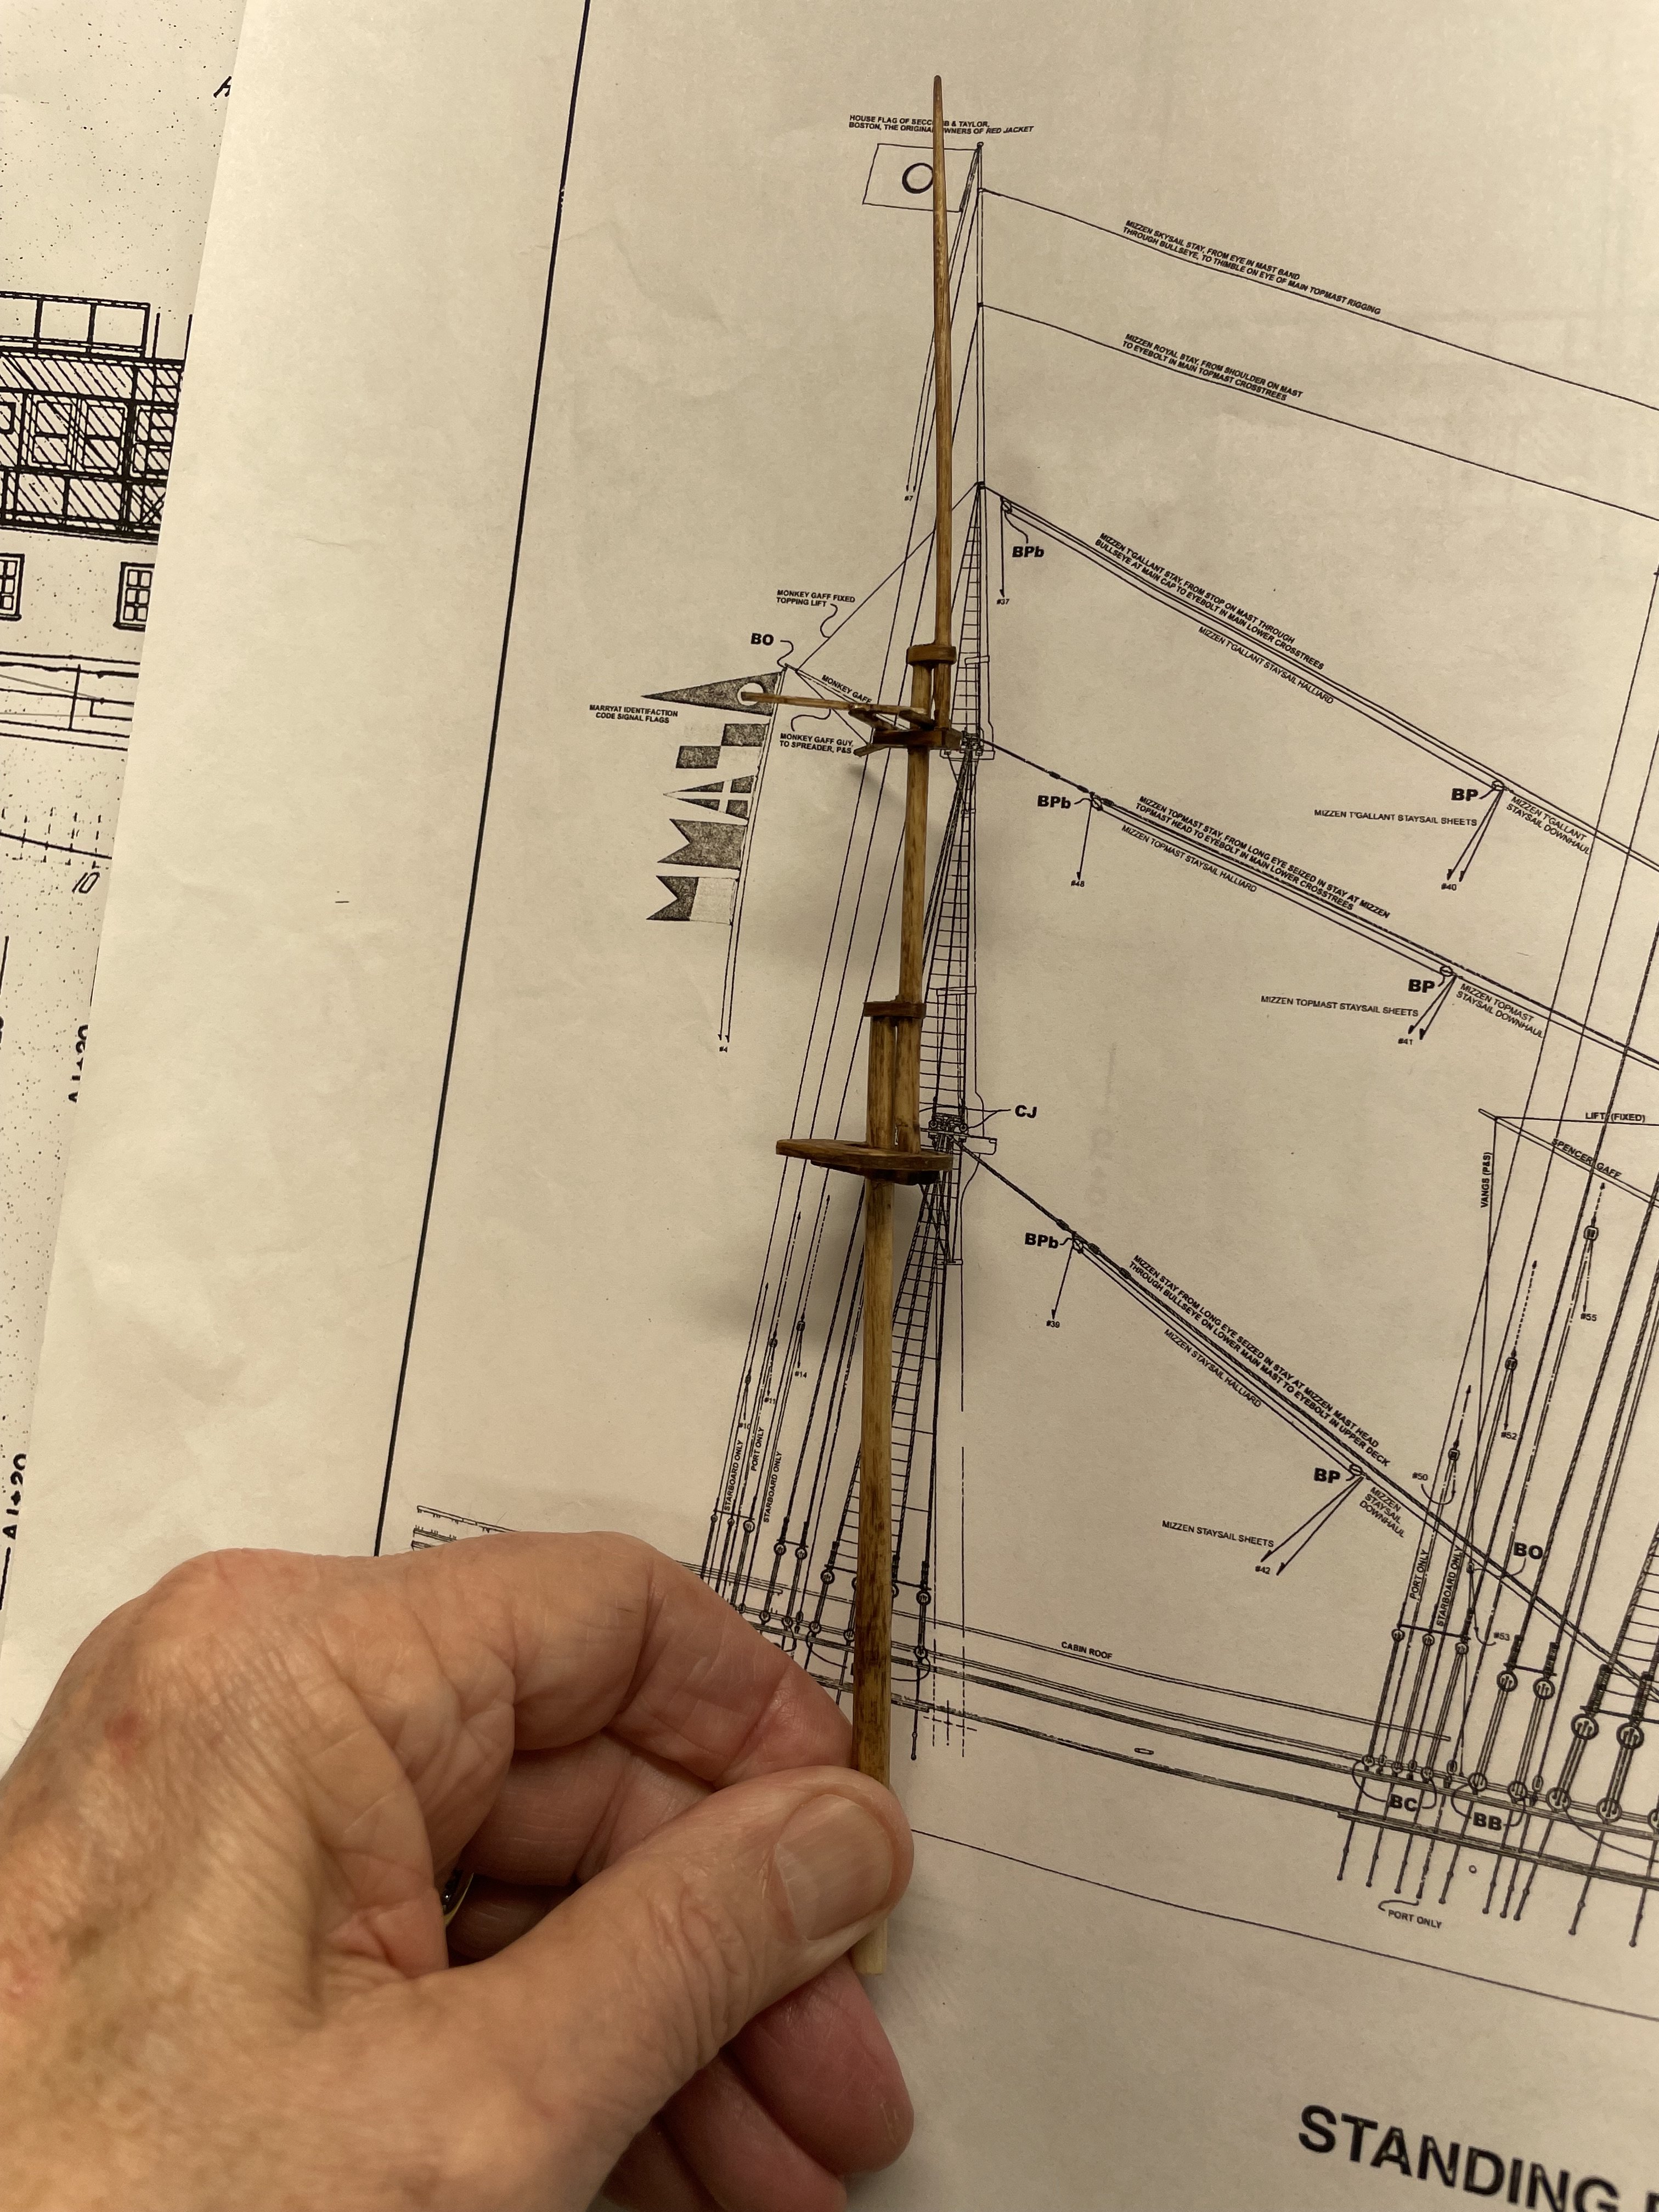
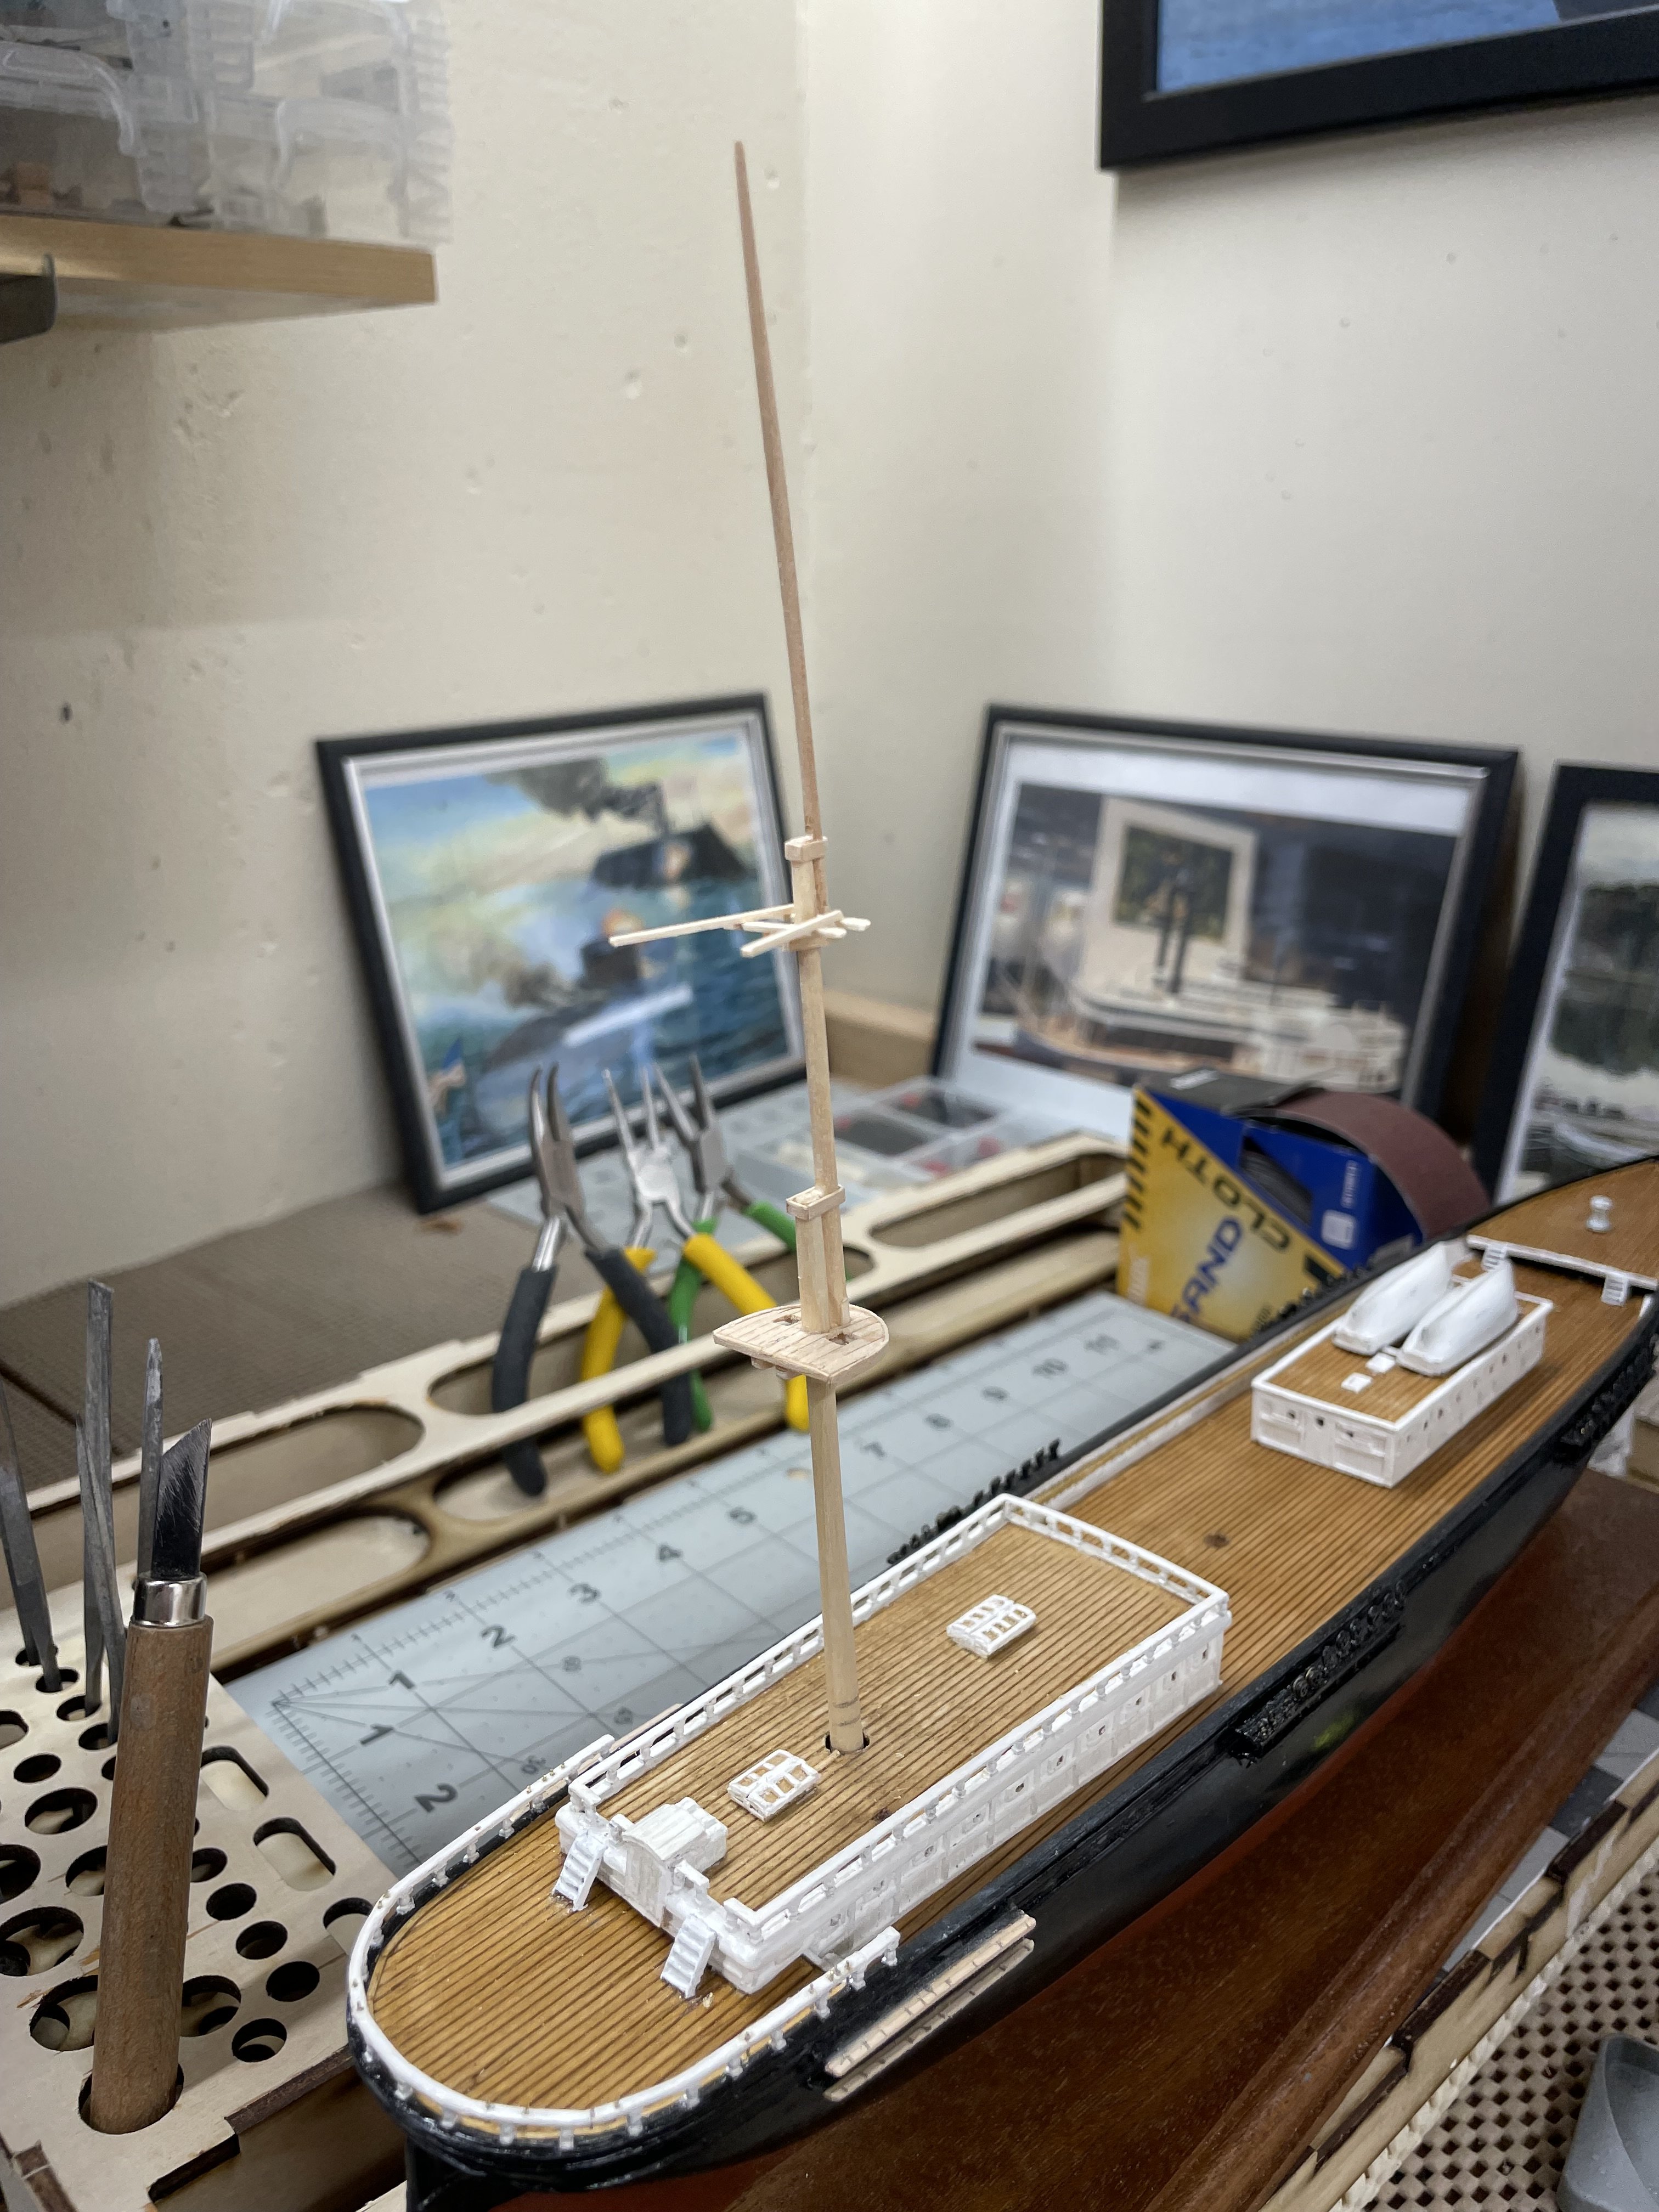
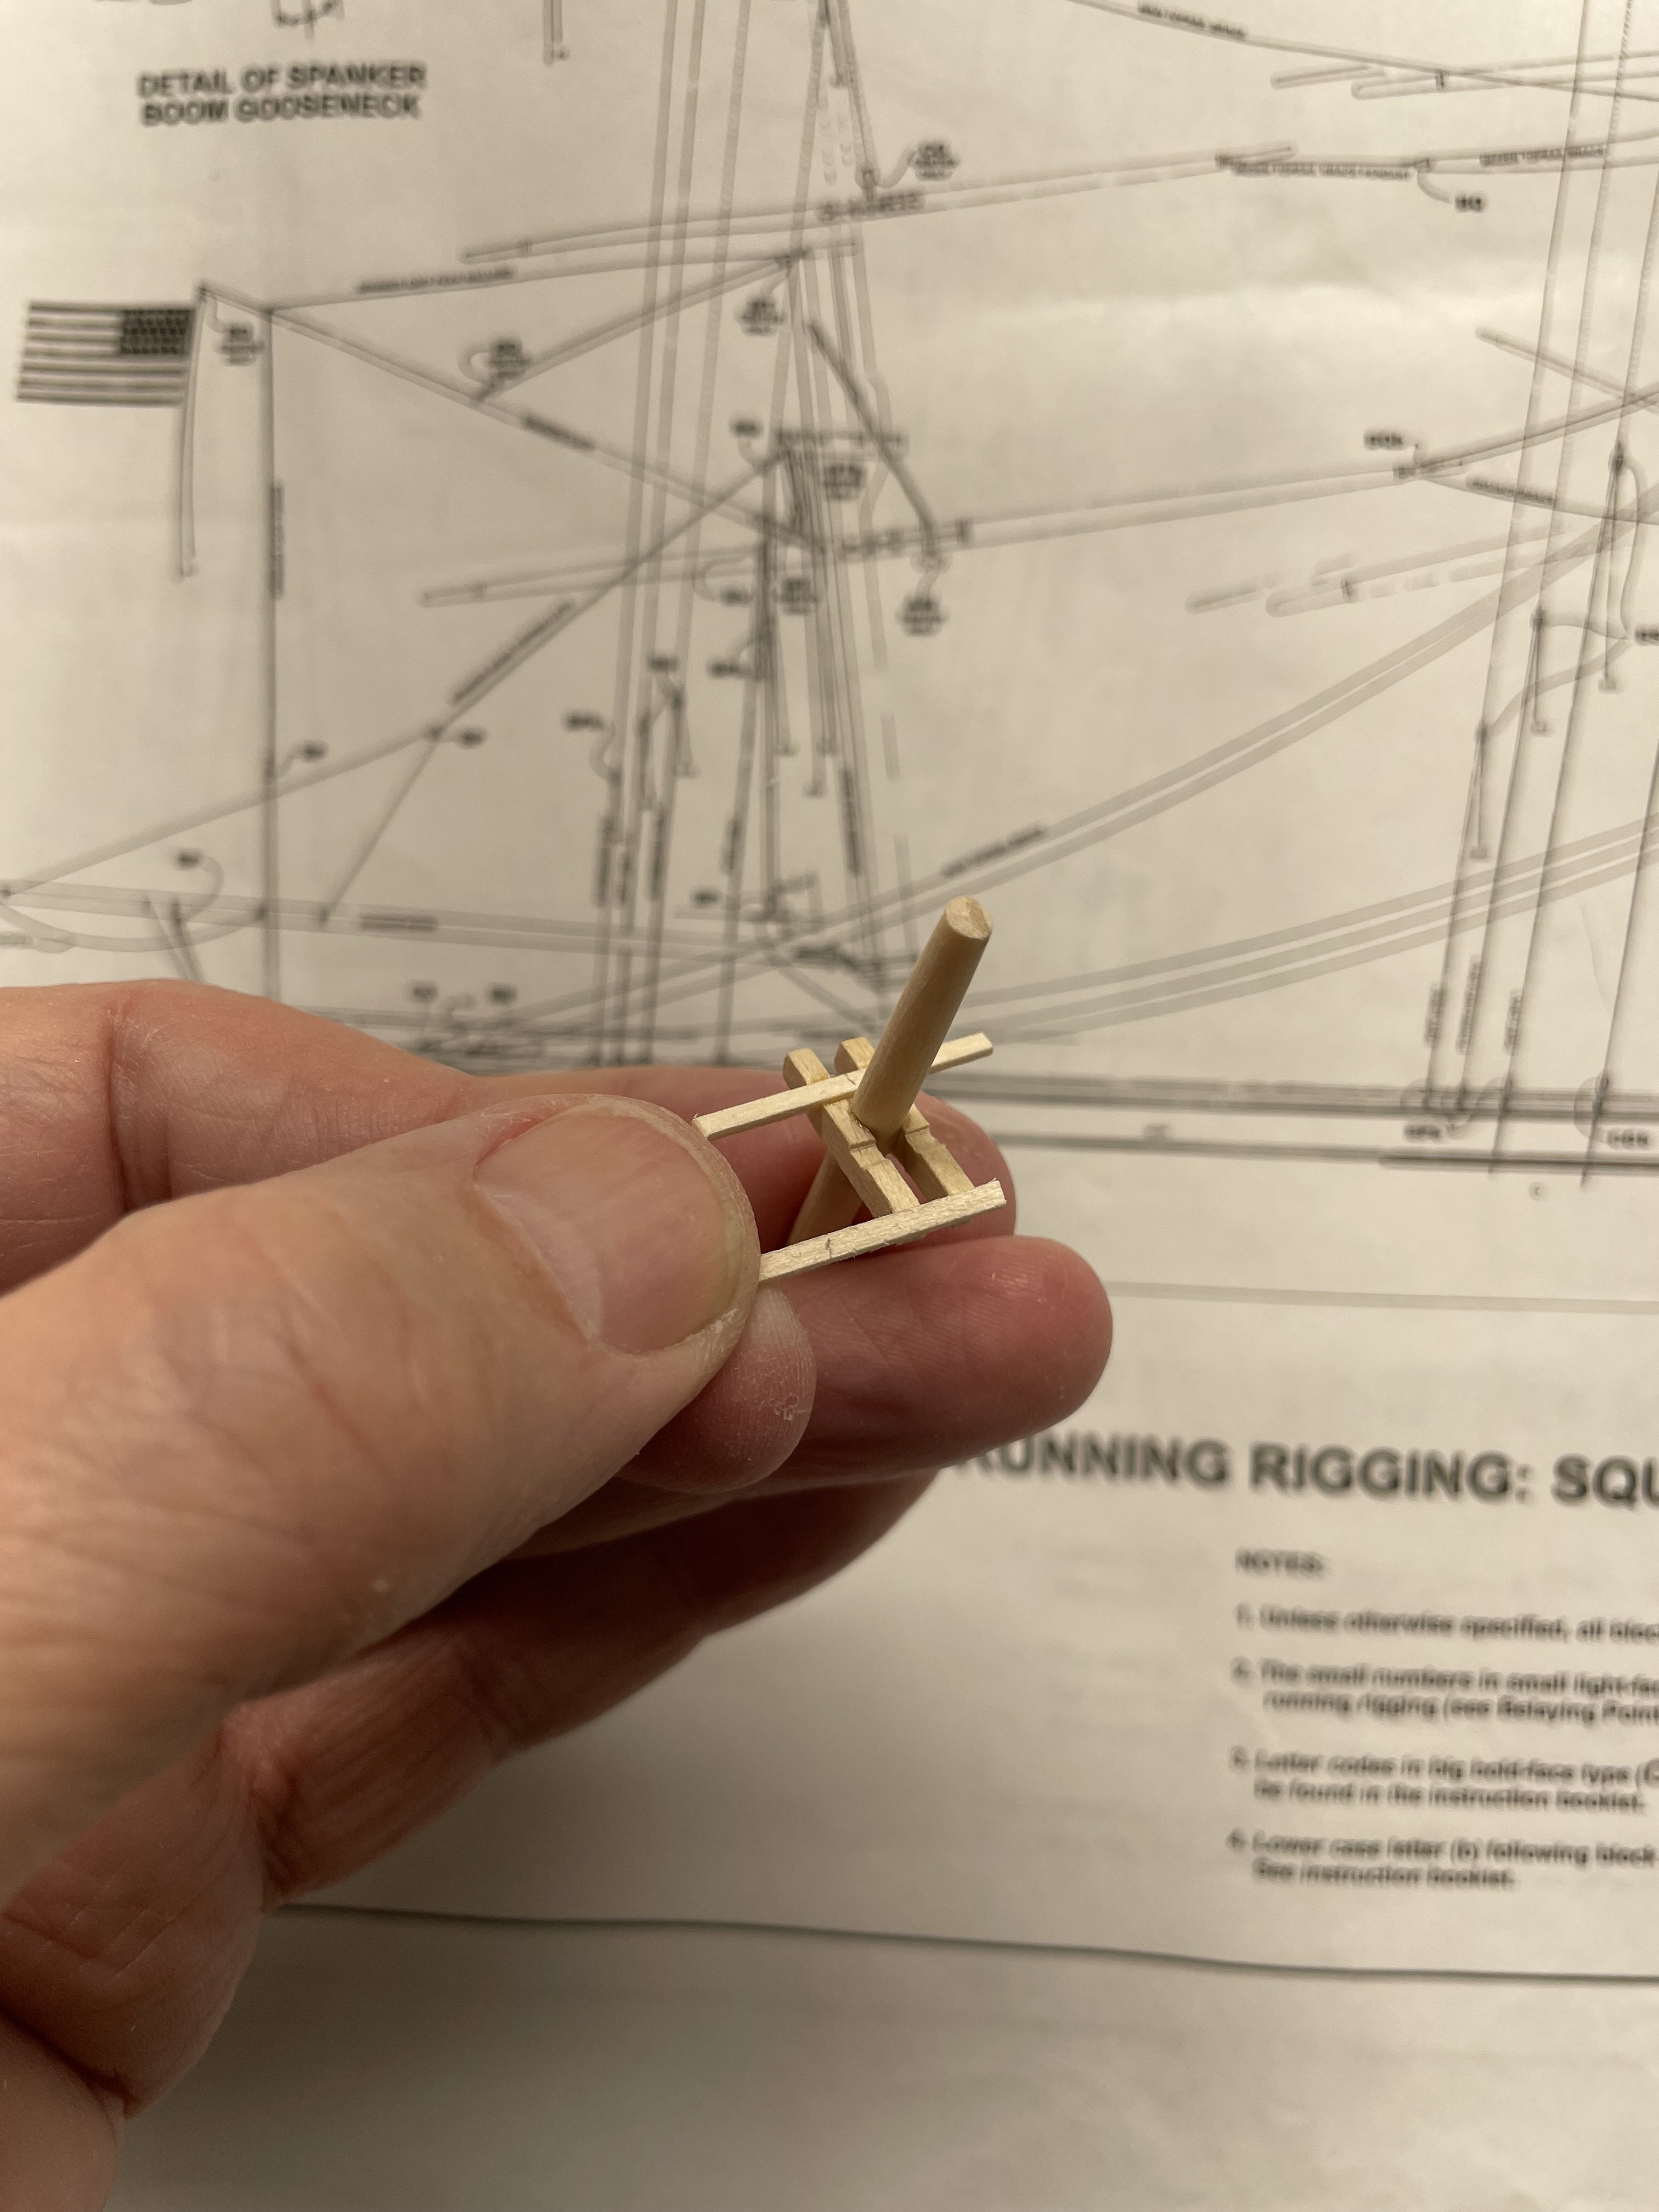
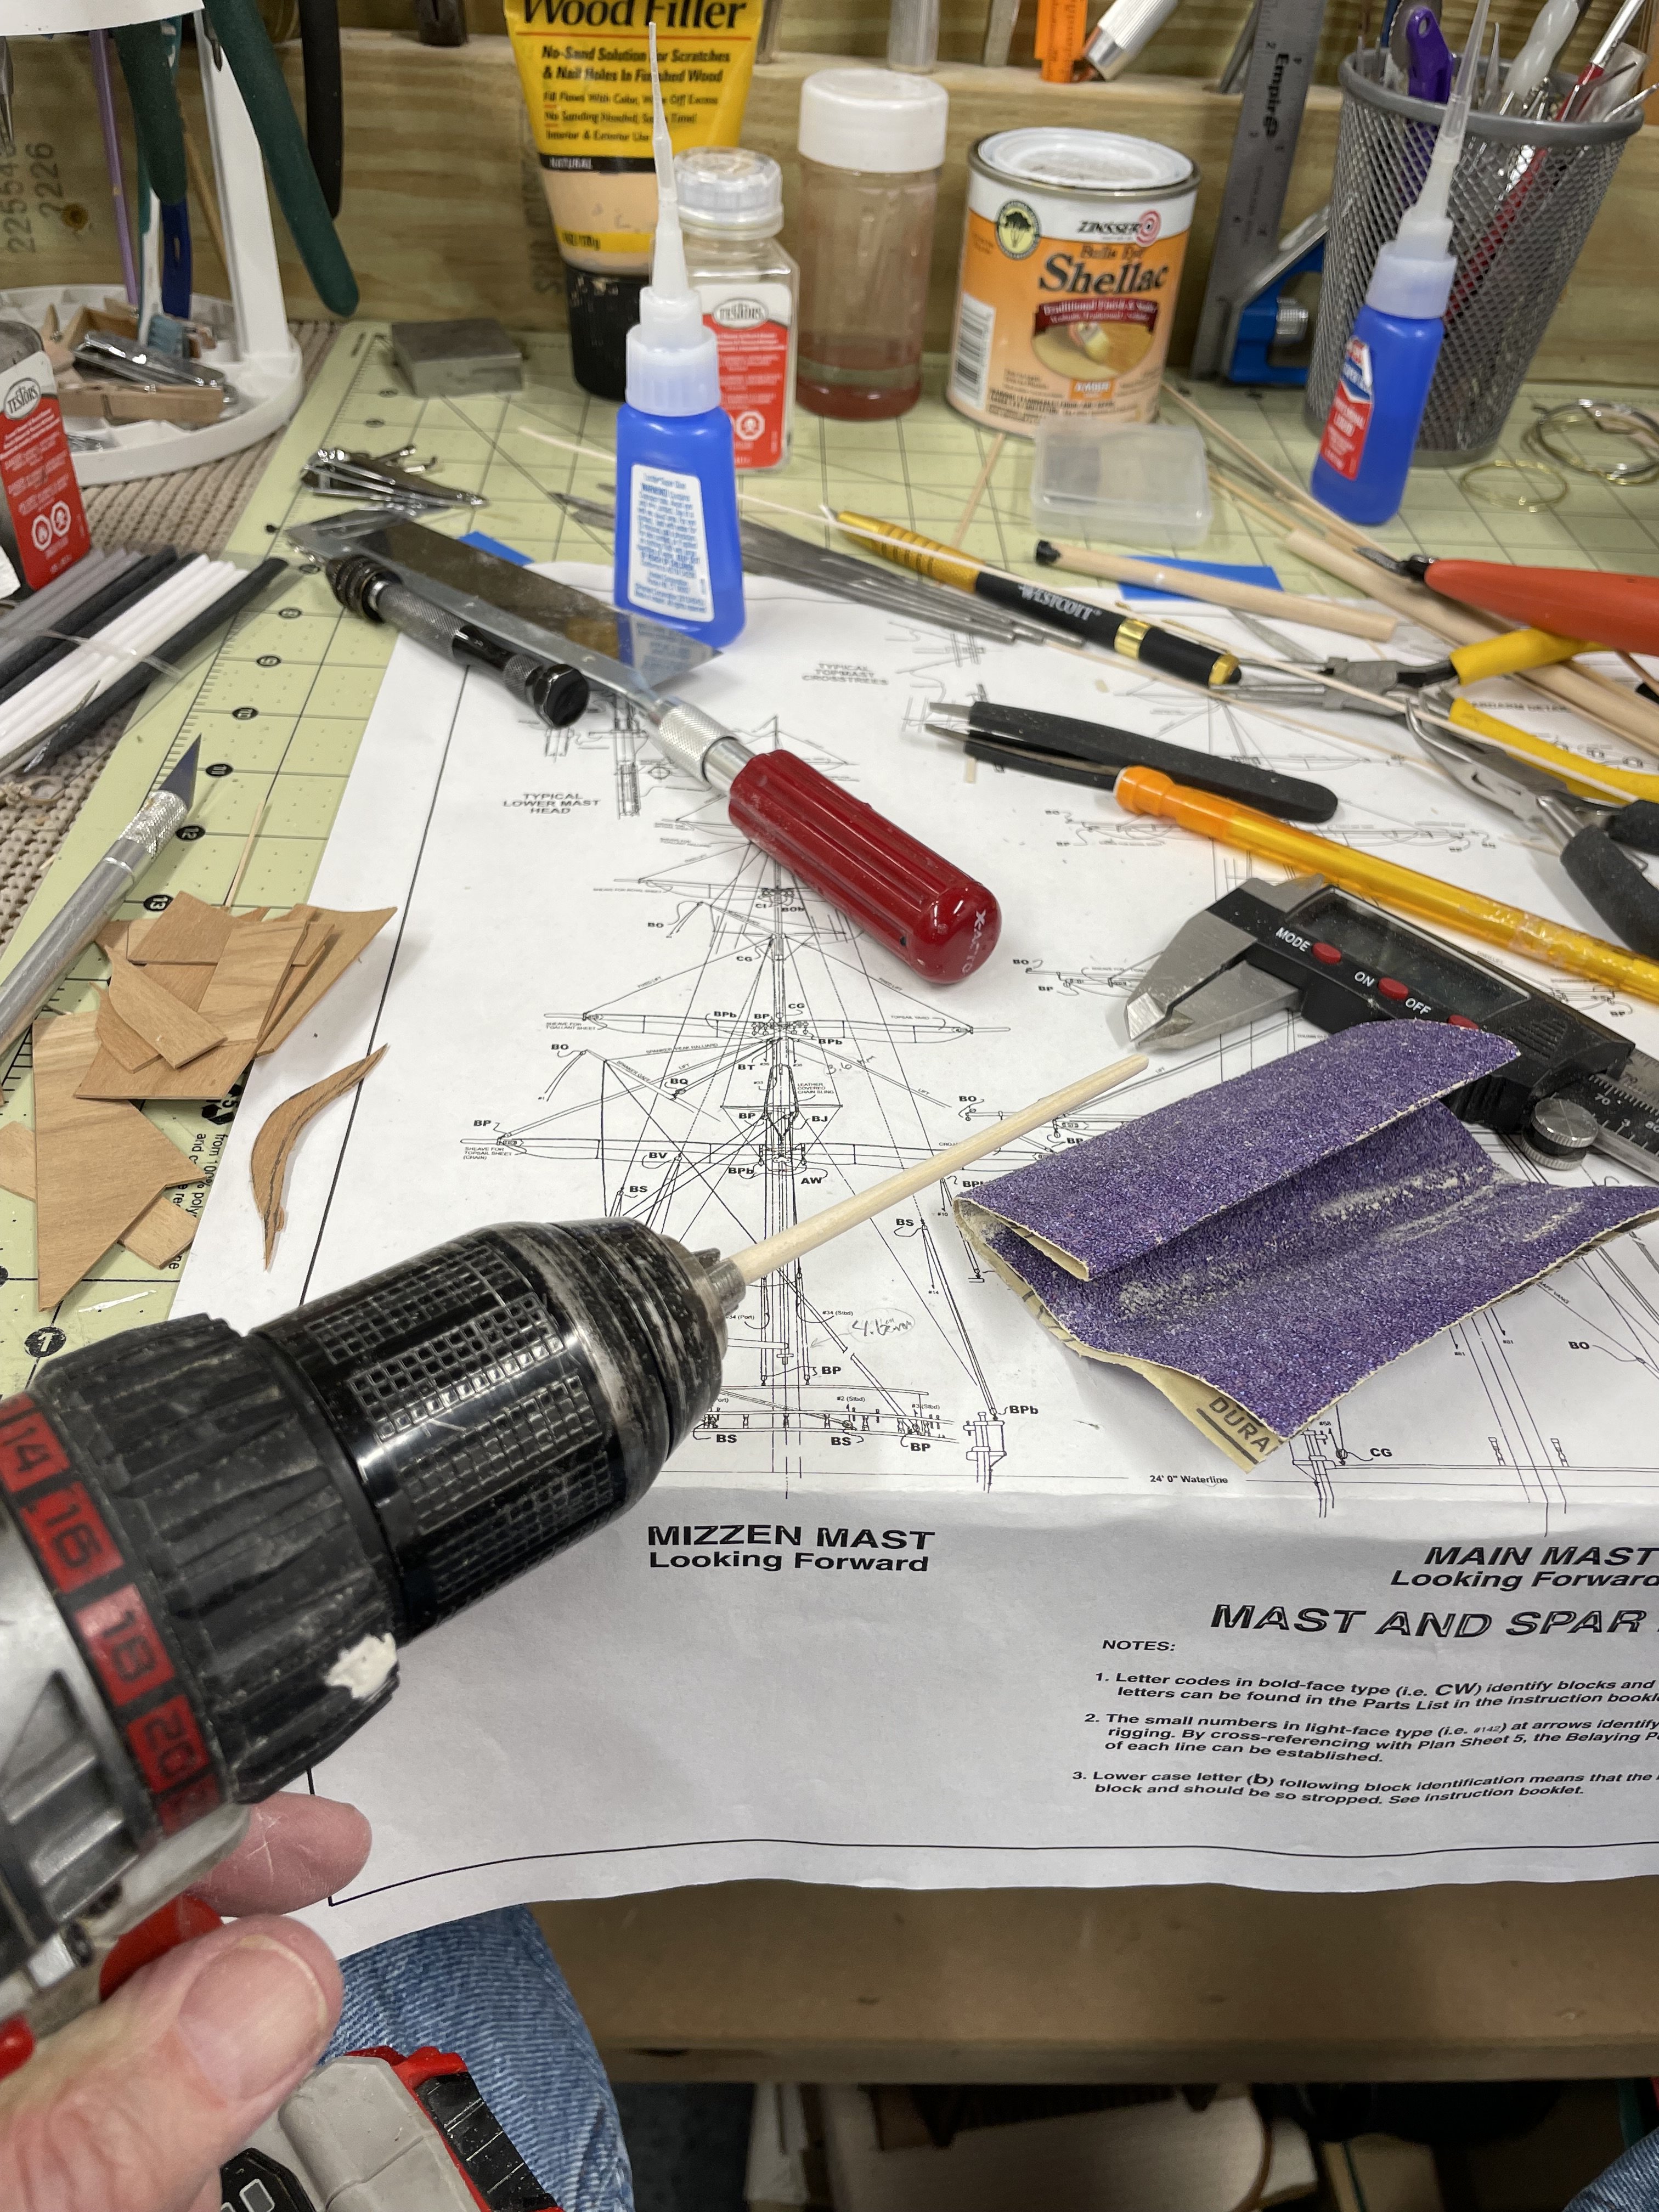
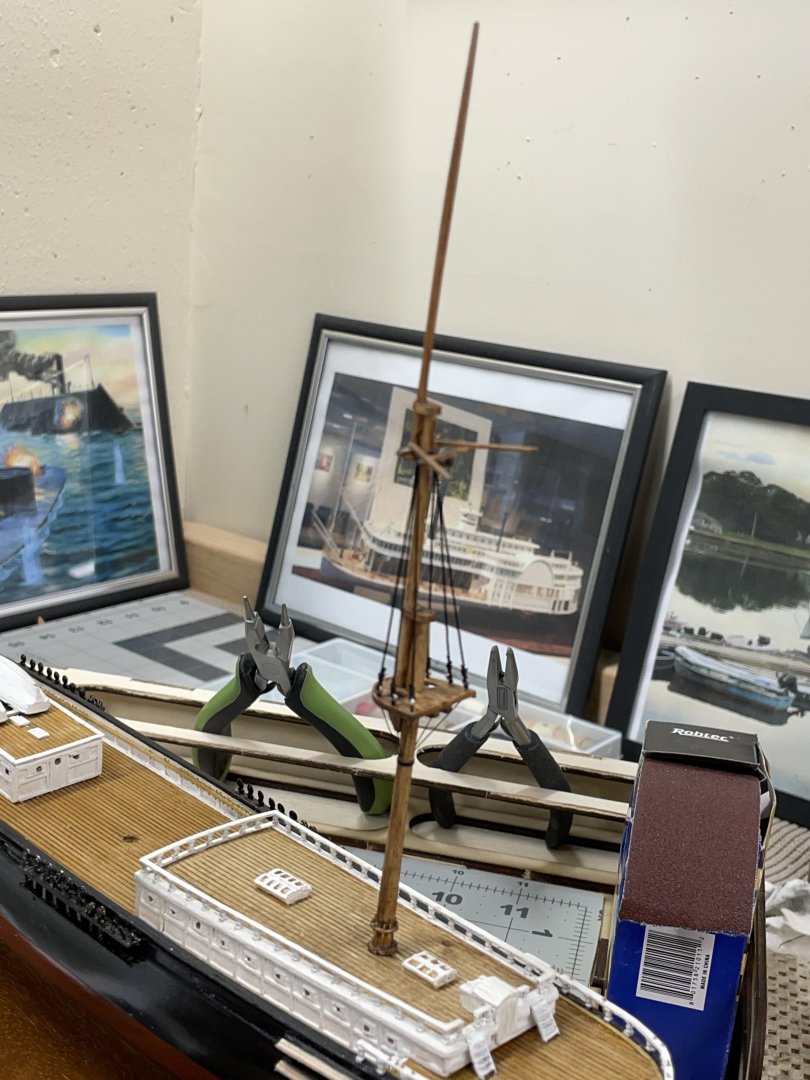
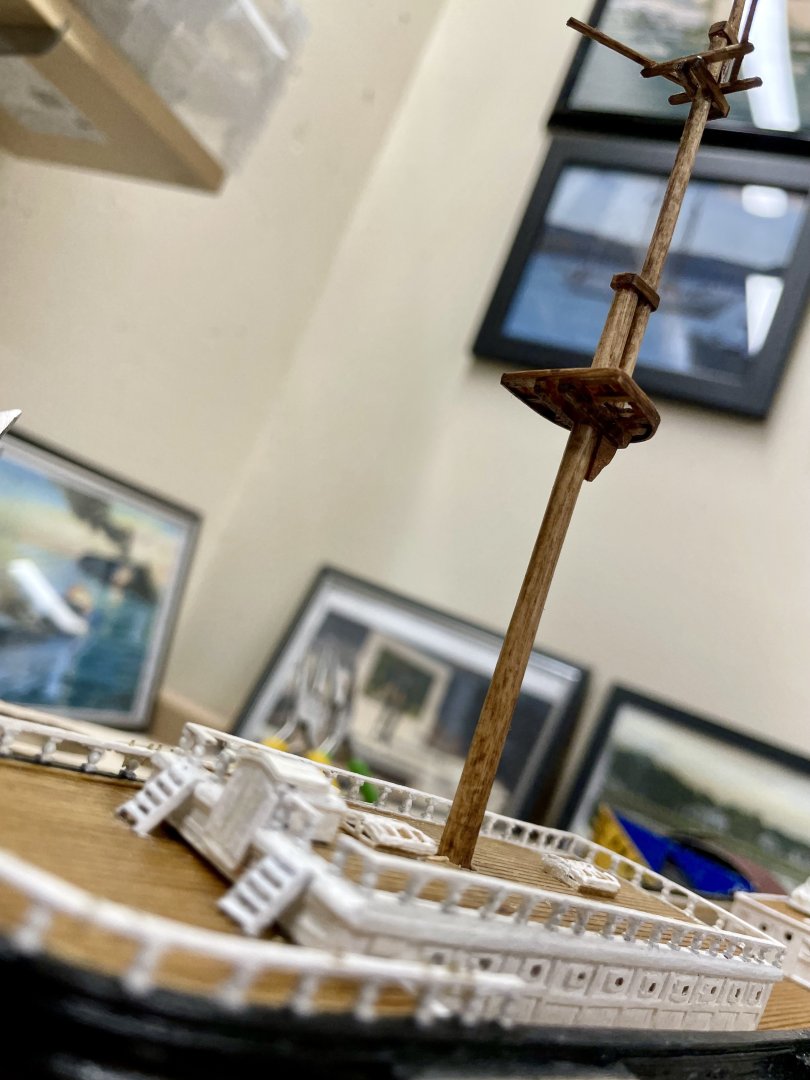
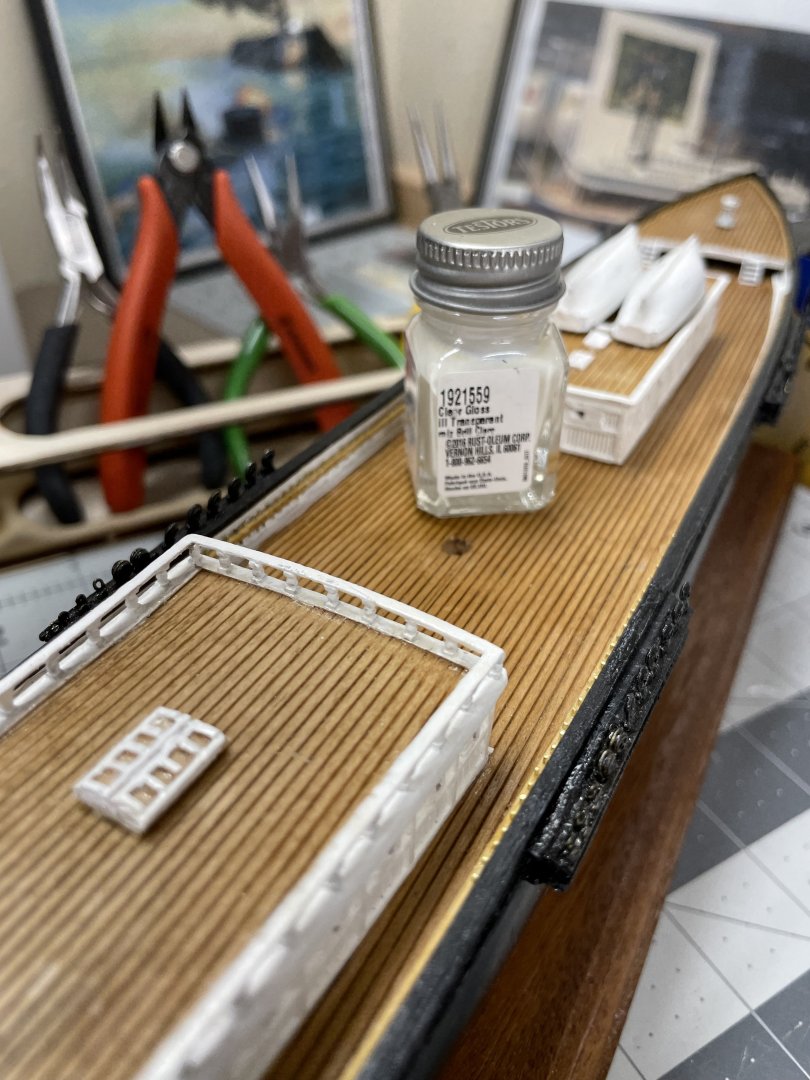
Time for an update… Progress is slow, I just haven’t had the time to work in the shipyard. Sealed the deck stain and white acrylic with Testors Clear Gloss Acrylic. Stepping the Masts Tapering the Mizzen Lower Mast utilizing my drill chuck lathe. 😎 Building the Lower Mast Head. Continuing with the Top Mast Triple Tree. Mizzen Mast completed. Cheers 🍻


- 165 replies
-
- 10
-
-
- Red Jacket
- Marine Model Company
- (and 2 more)
-
Phil, I think you should publish this build as a Book Titled “Murphy’s Top Masted Schooner”. Great work… 🍻
-
Looking for ideas for work area
John Ruy replied to Desertanimal's topic in Modeling tools and Workshop Equipment
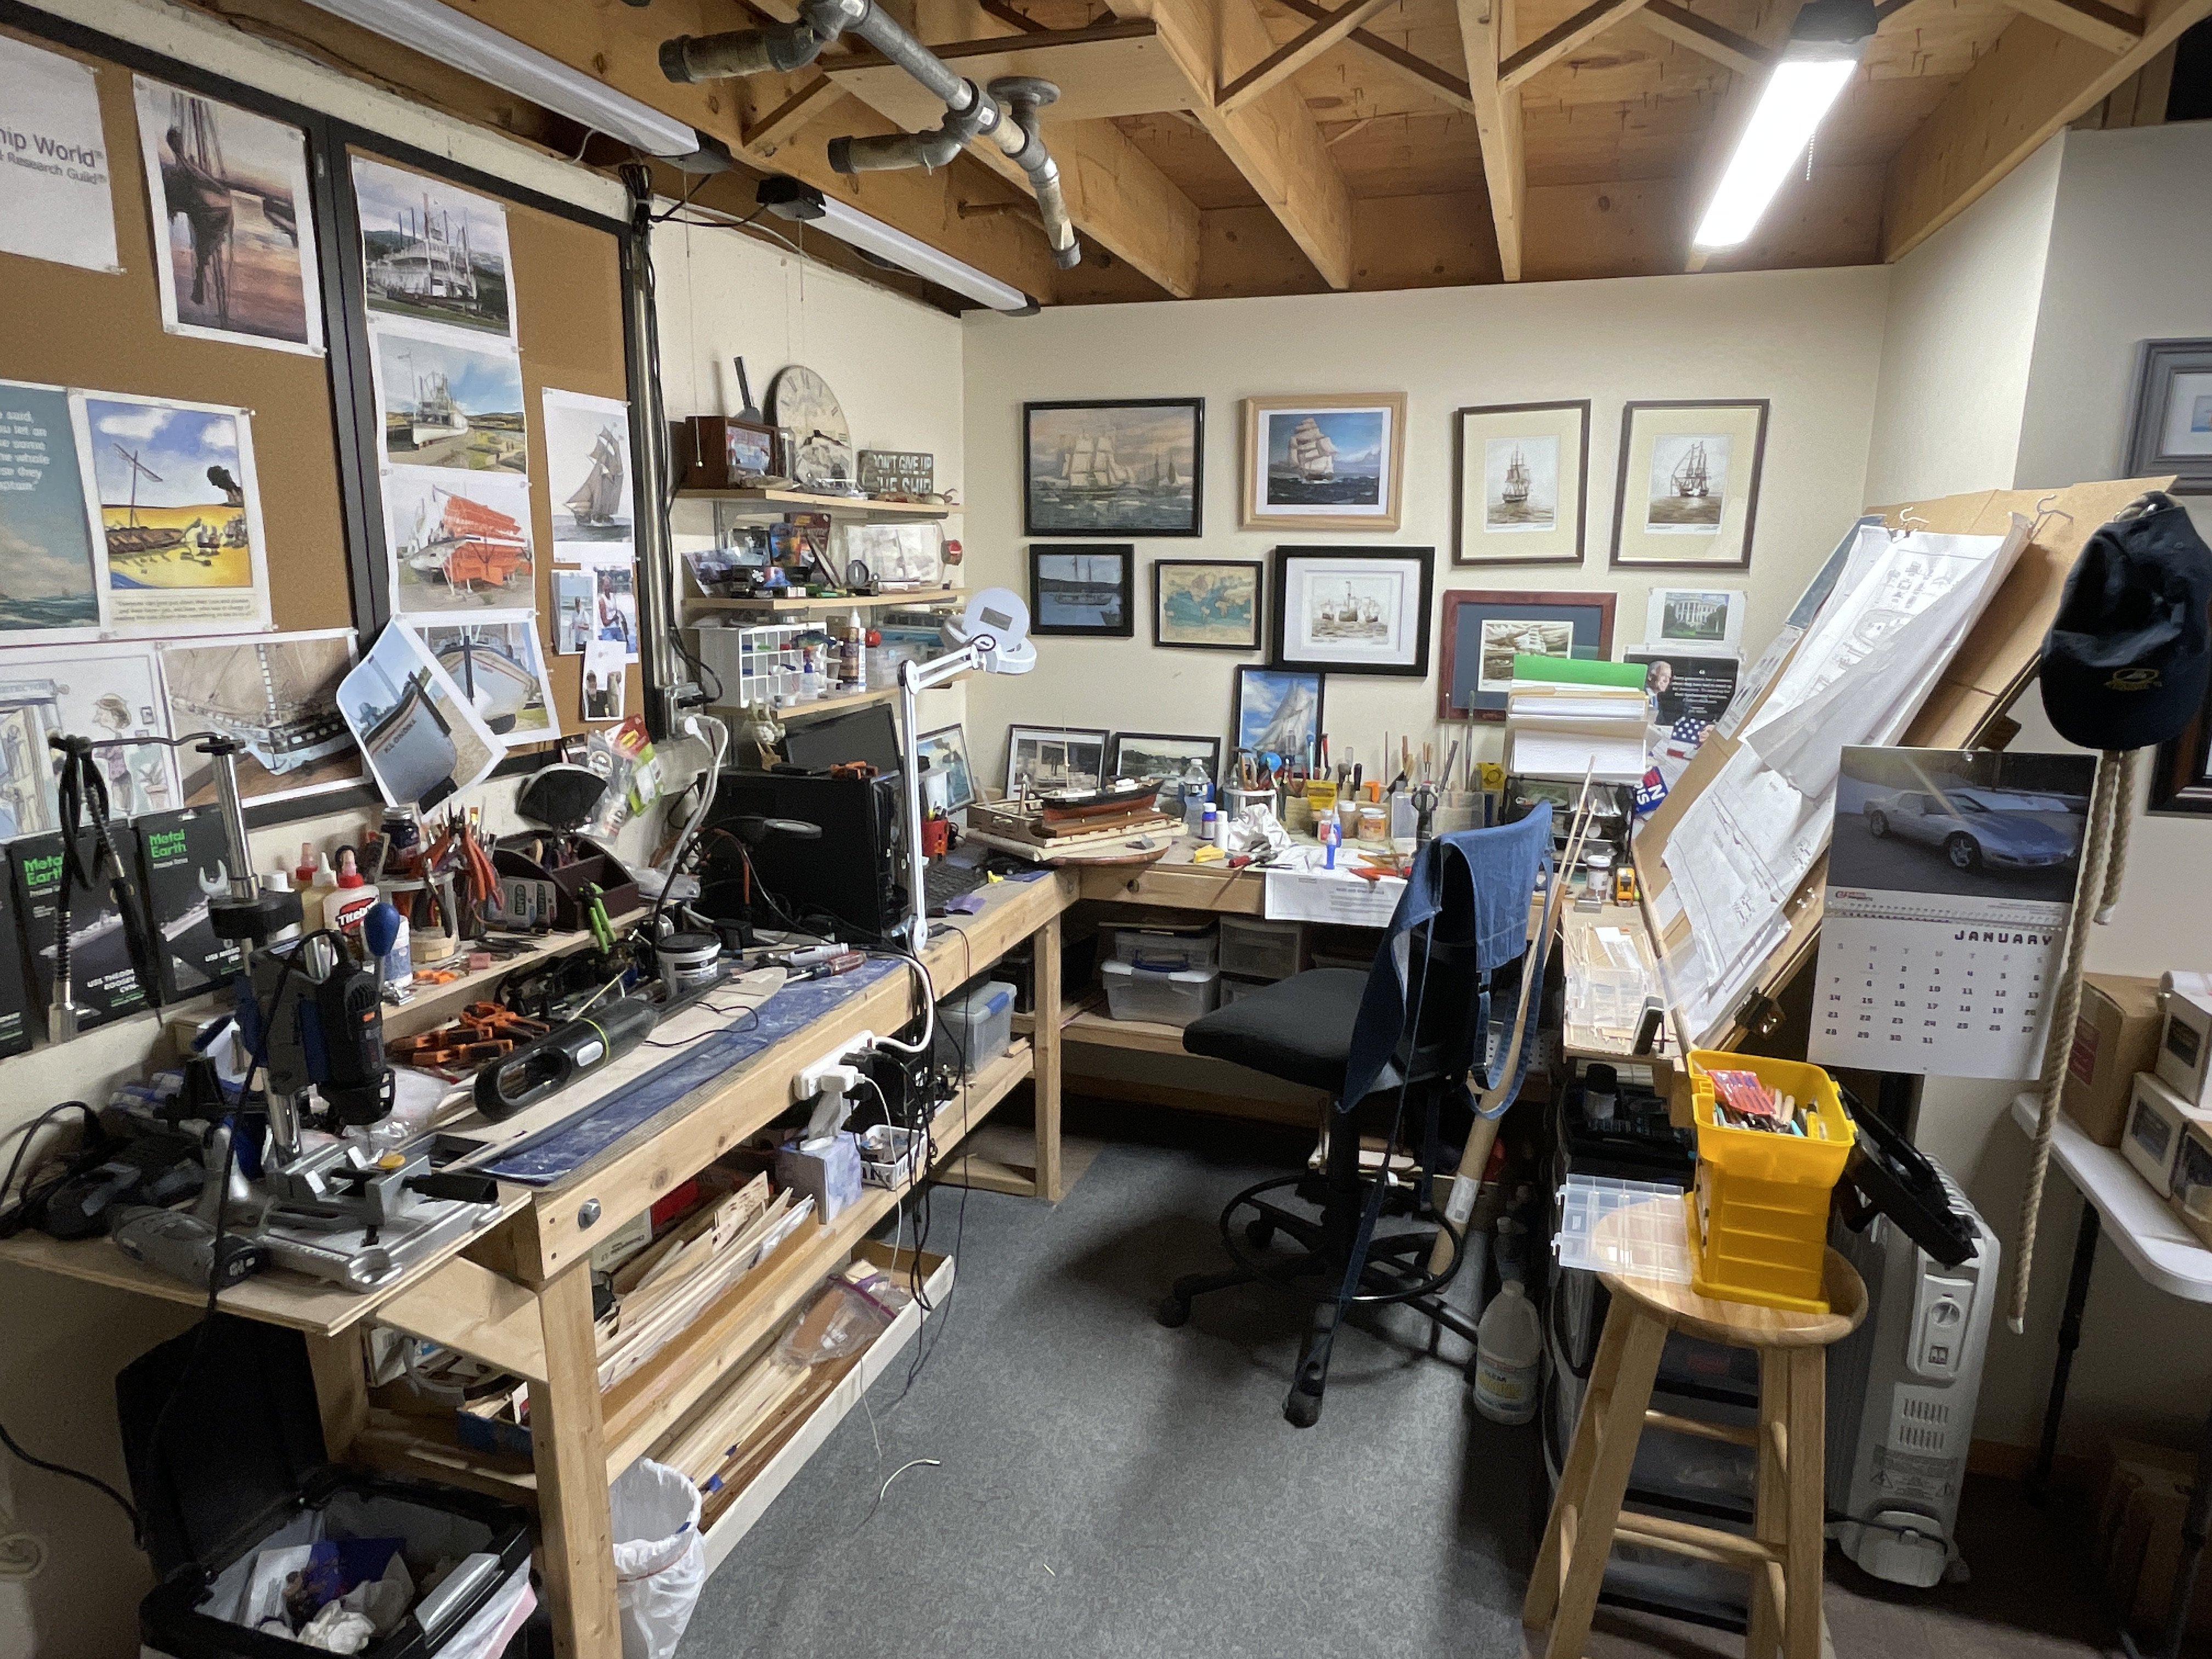
Hi, Chris My approach was to buy two work bench kits from Home Depot and configure a corner bench with a Lazy Susan attached in the corner. I then built a drawing board on the opposite return. works well for my confined space in my basement.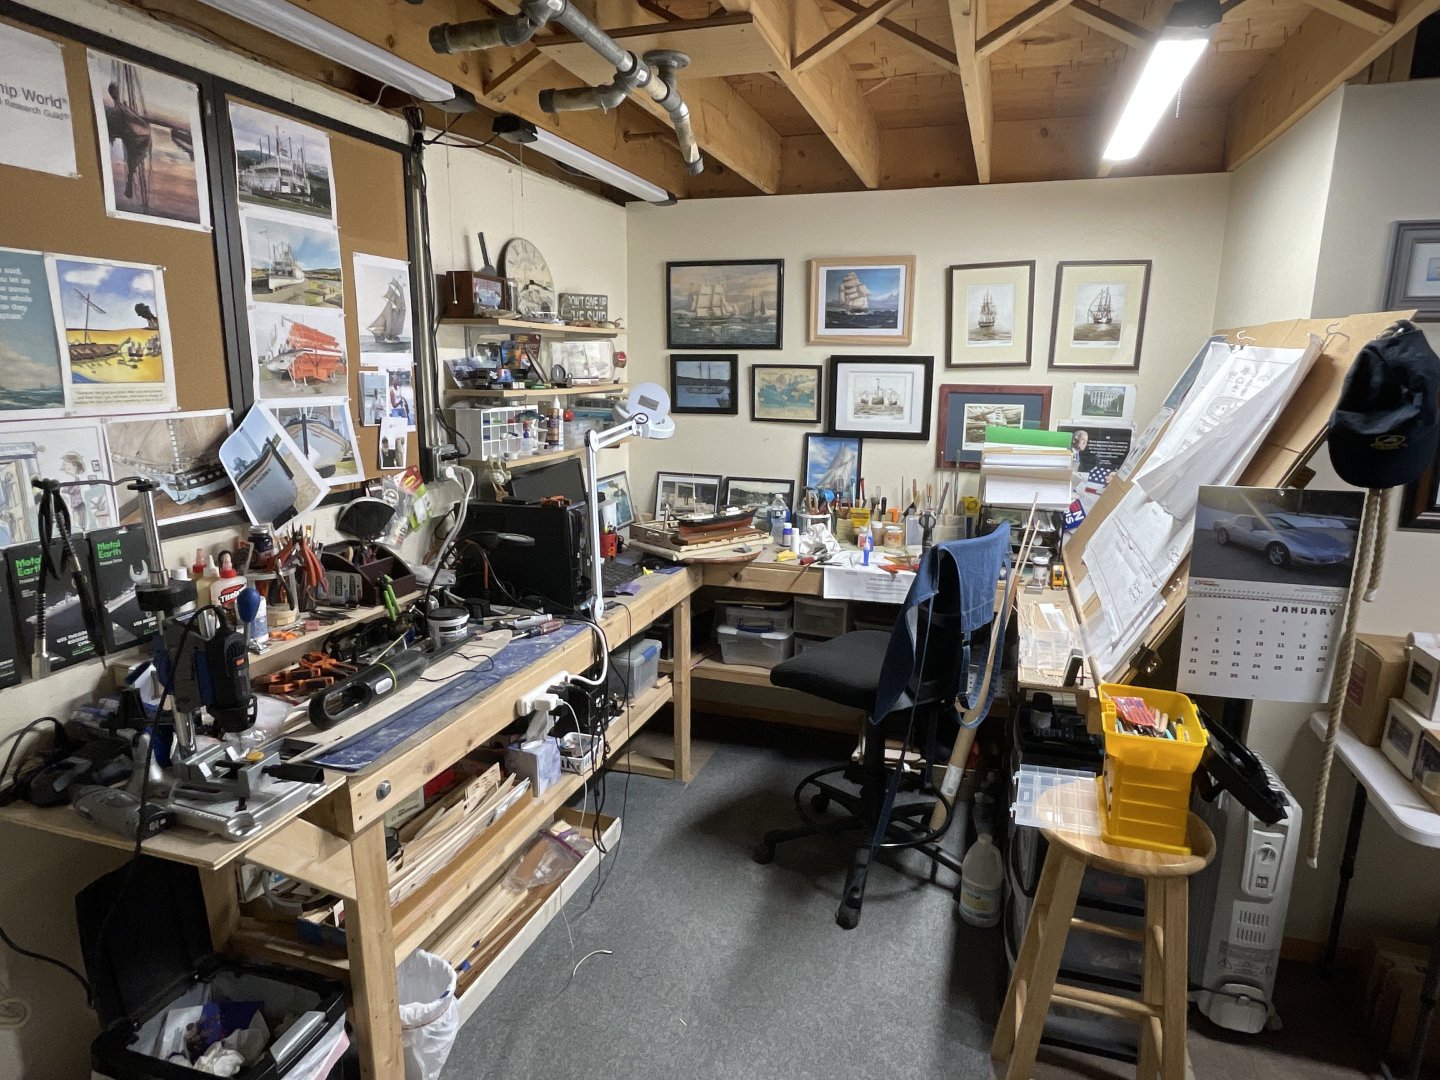
-
Sorry you had your fall. What A blessing you didn’t break anything. We just had our spring snow here in Maine. Now maybe we can get on with Mud Month. LOL 😆 Ice is good, as long as you’re not walking on it. Take Care my friend… 🙏
-
Horse Barge or not, she is looking great. Yes. Change is as good as a rest, actually better because you are moving forward. Carry on Sir… 🍻
-
Bob, Your work is incredible, that’s what striving for perfection will do. 🍻
-
As always, impressive work Phil… Steady as she goes. 🍺 John
-
Phil, Thanks for your very detailed description of issues and resolutions. As always, reading your log is a learning experience. Good job… 👍 Carry on Sir. 🍻 PS, Might I suggest the tinniest drop of Thin CA glue over your White Glue seizings to hold them from failing.