HOLIDAY DONATION DRIVE - SUPPORT MSW - DO YOUR PART TO KEEP THIS GREAT FORUM GOING! (Only 51 donations so far out of 49,000 members - C'mon guys!)
×

Vladimir_Wairoa
-
Posts
1,566 -
Joined
-
Last visited
Content Type
Profiles
Forums
Gallery
Events
Everything posted by Vladimir_Wairoa
-
 Its not bothering at All Rich. Its helpful in many respects and i am Thankful for that! What do You think of stern look atm?
 -
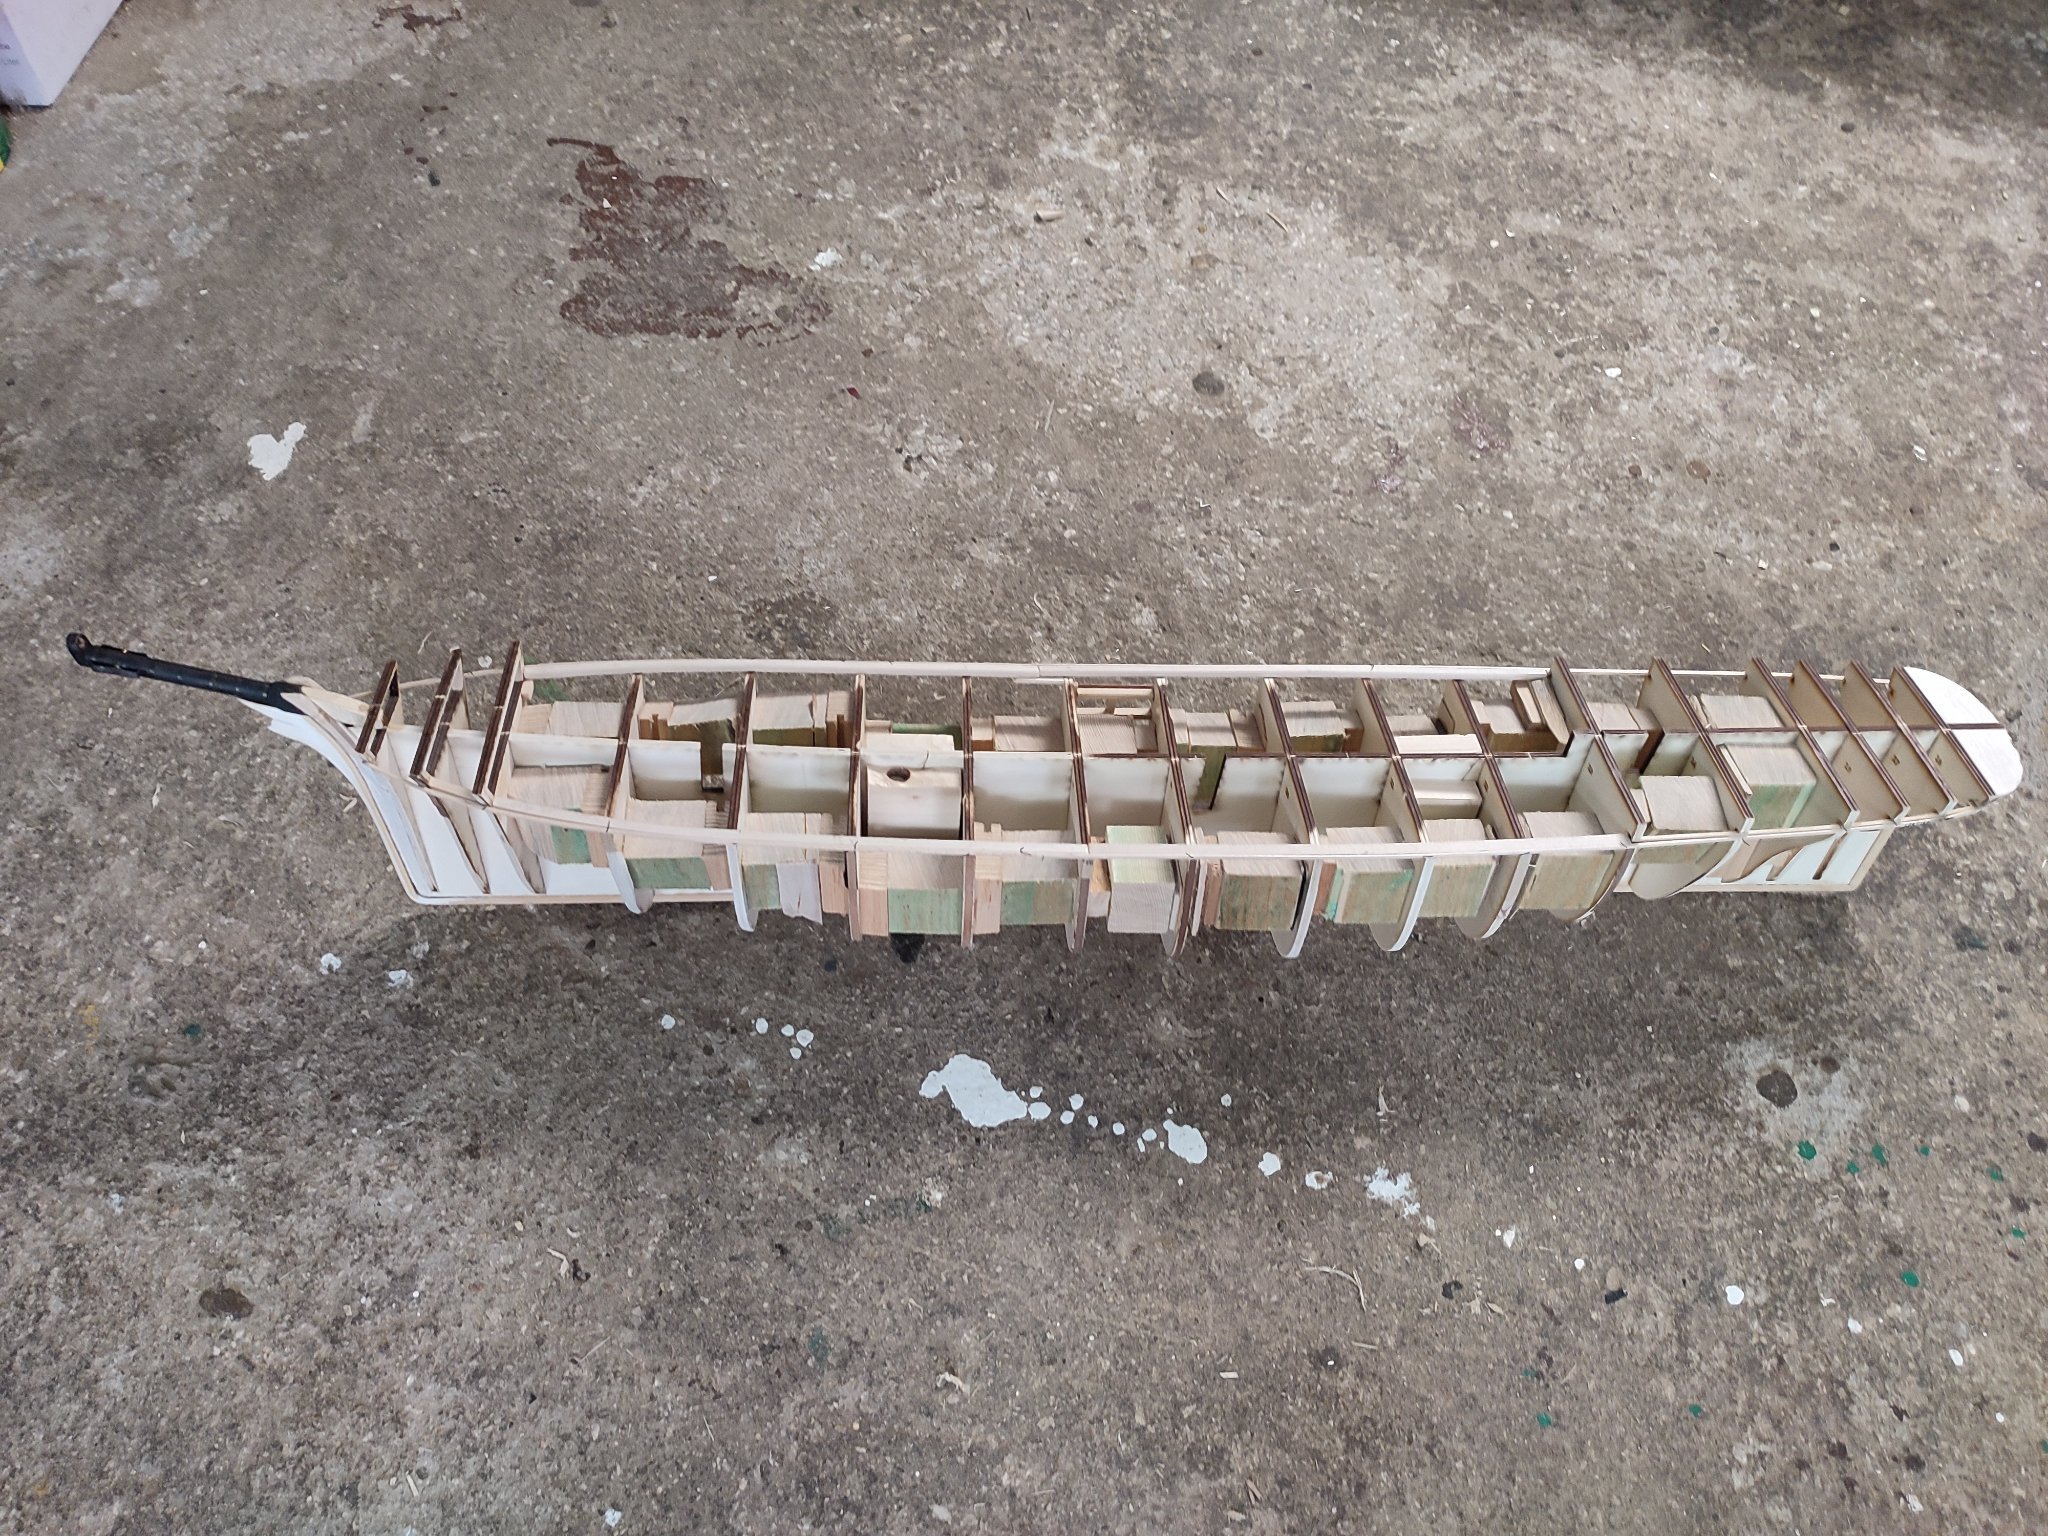
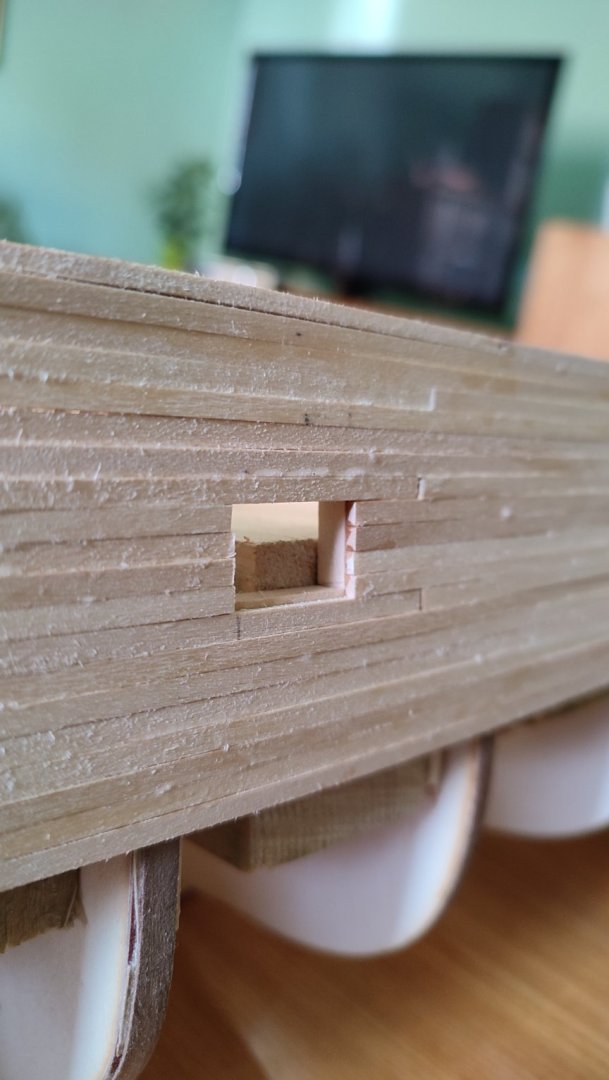
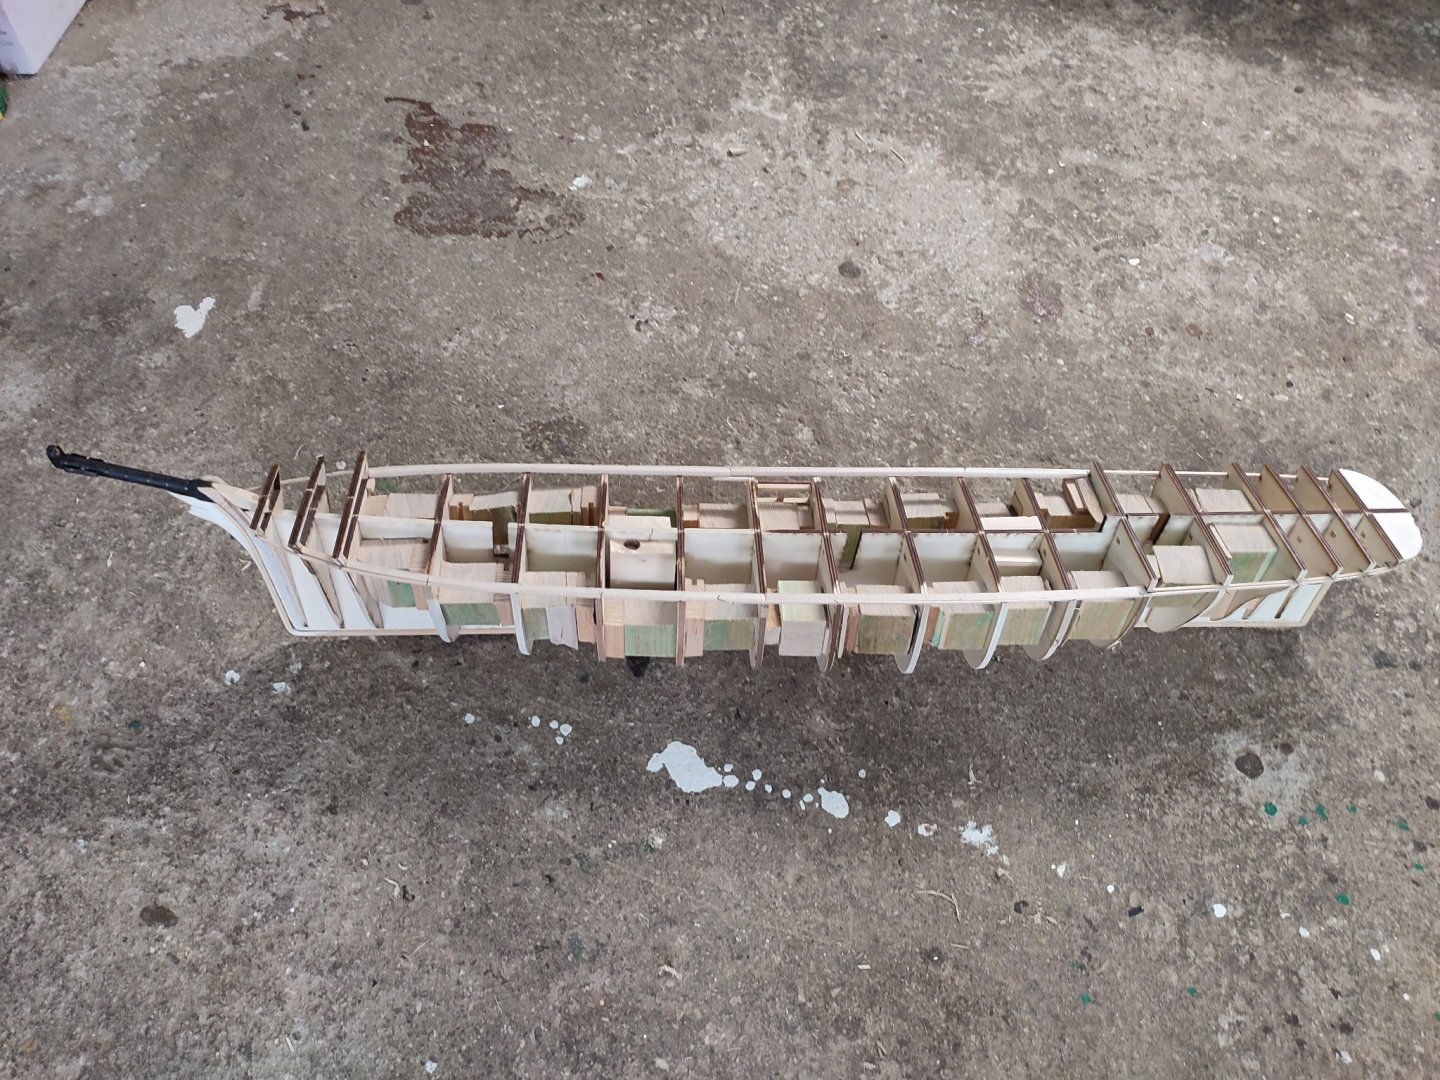
Oh well, Rich, understood. im afraid nothing of this sort really. In reality the opening is so small there is no point making effort to recreating these structrural parts for me at least. if i had wanted id have prepared bigger opening in planking to alow ribs etc...I will focus on continuing planking. also if you can see there are just big chunks of wood under planks suporting bulkheads so there is no space really. i would say one cannot have everything. This time of building i decided i will focus on utmost detailing of outer boat. speaking of laser cut decorations moldings, stanchions and houses with decoratinos as close as possible. hope that makes sense V.
-
Thank you Steve;)
-
Thanks Rich as always. Im glad you like it so far. Many thanks for coppering calculation i will run pencil line tomorrow. What do You mean by interior ? Deck profile or that opening interior? V.
-
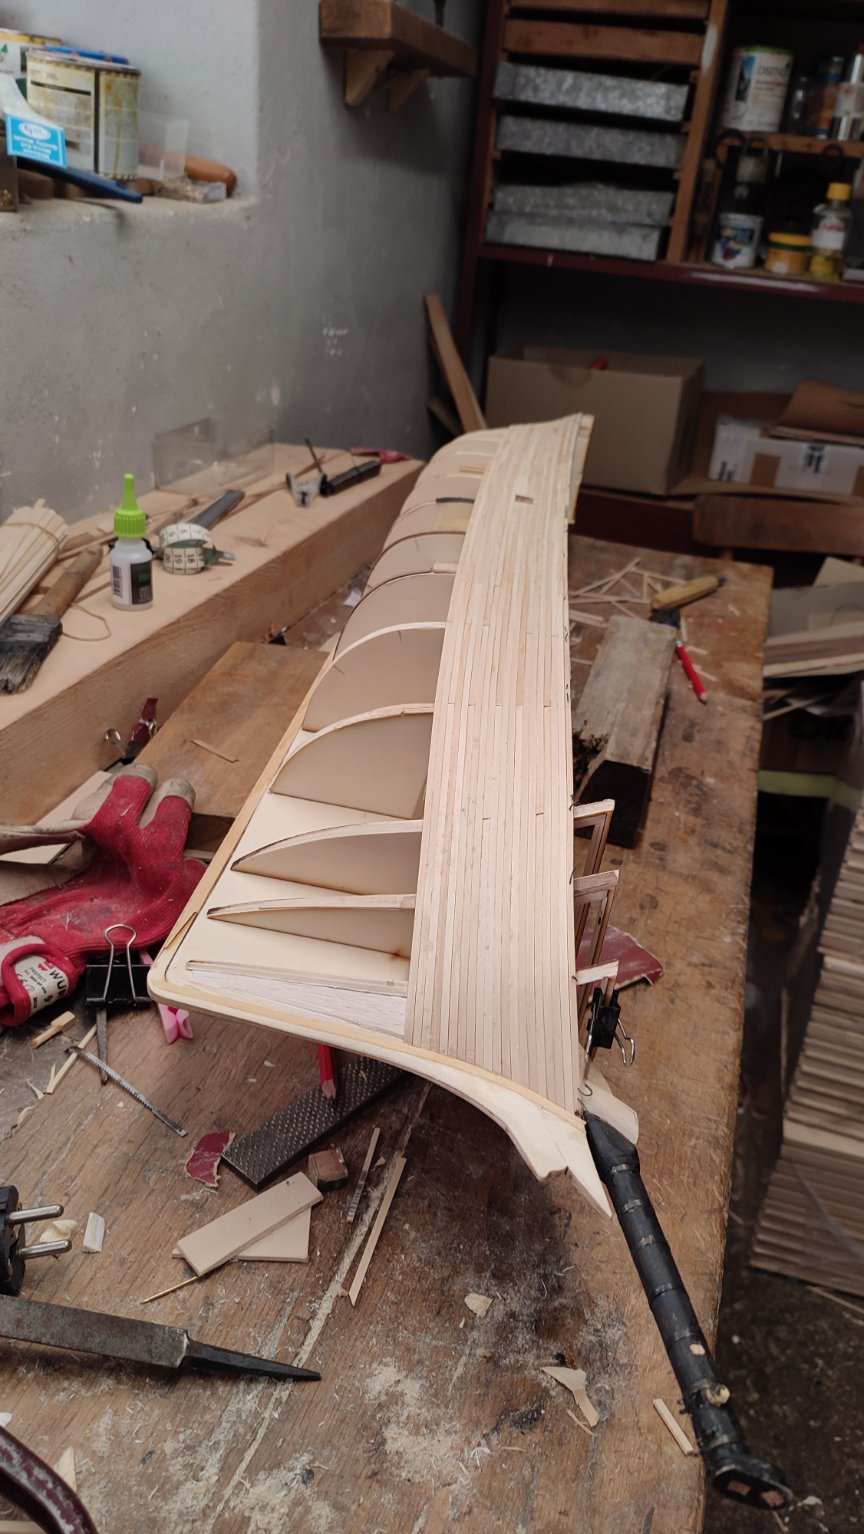
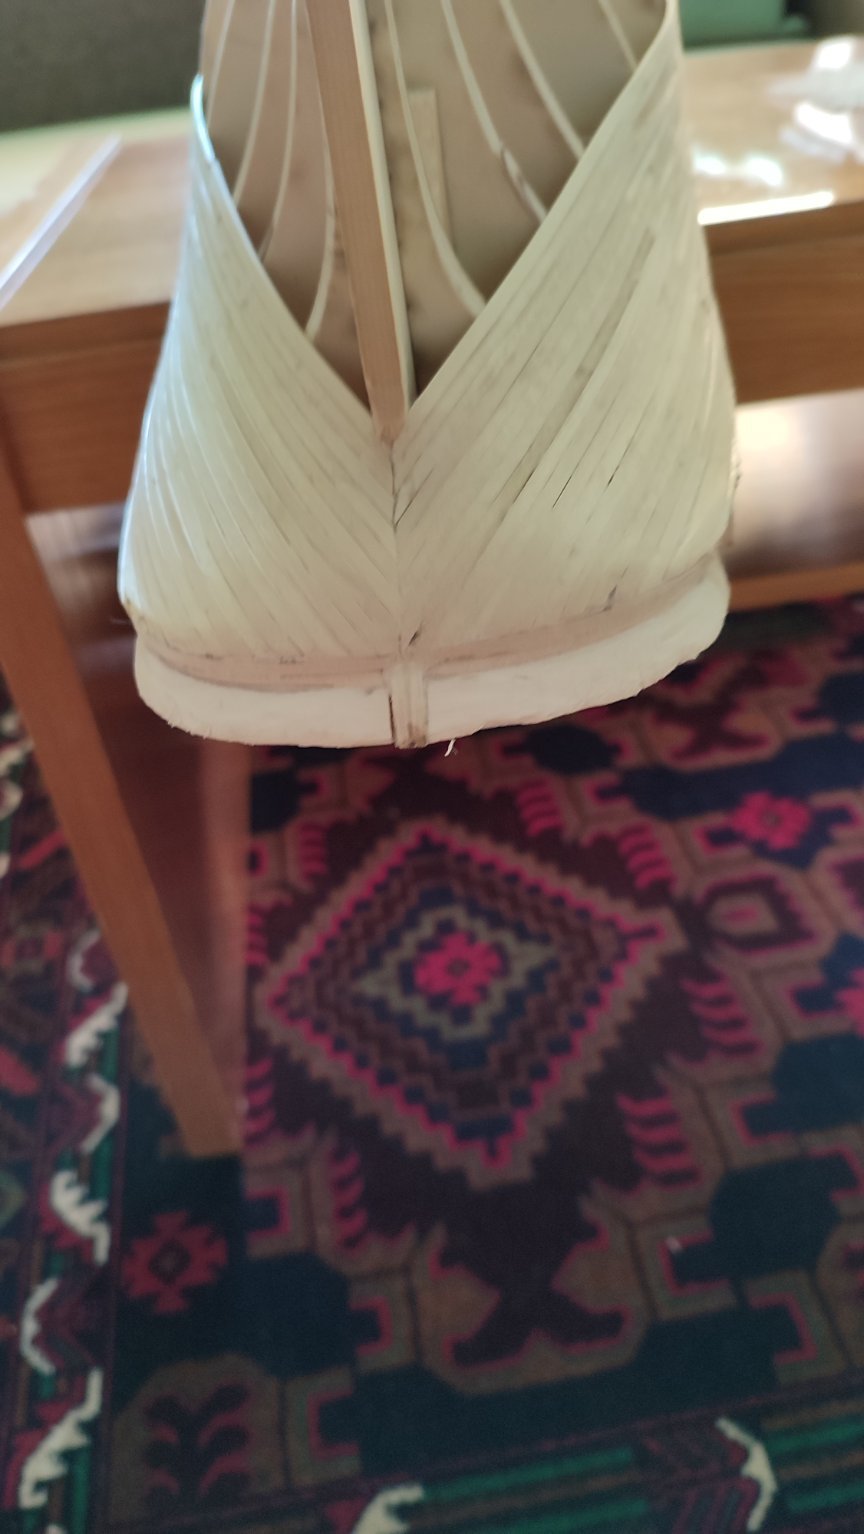
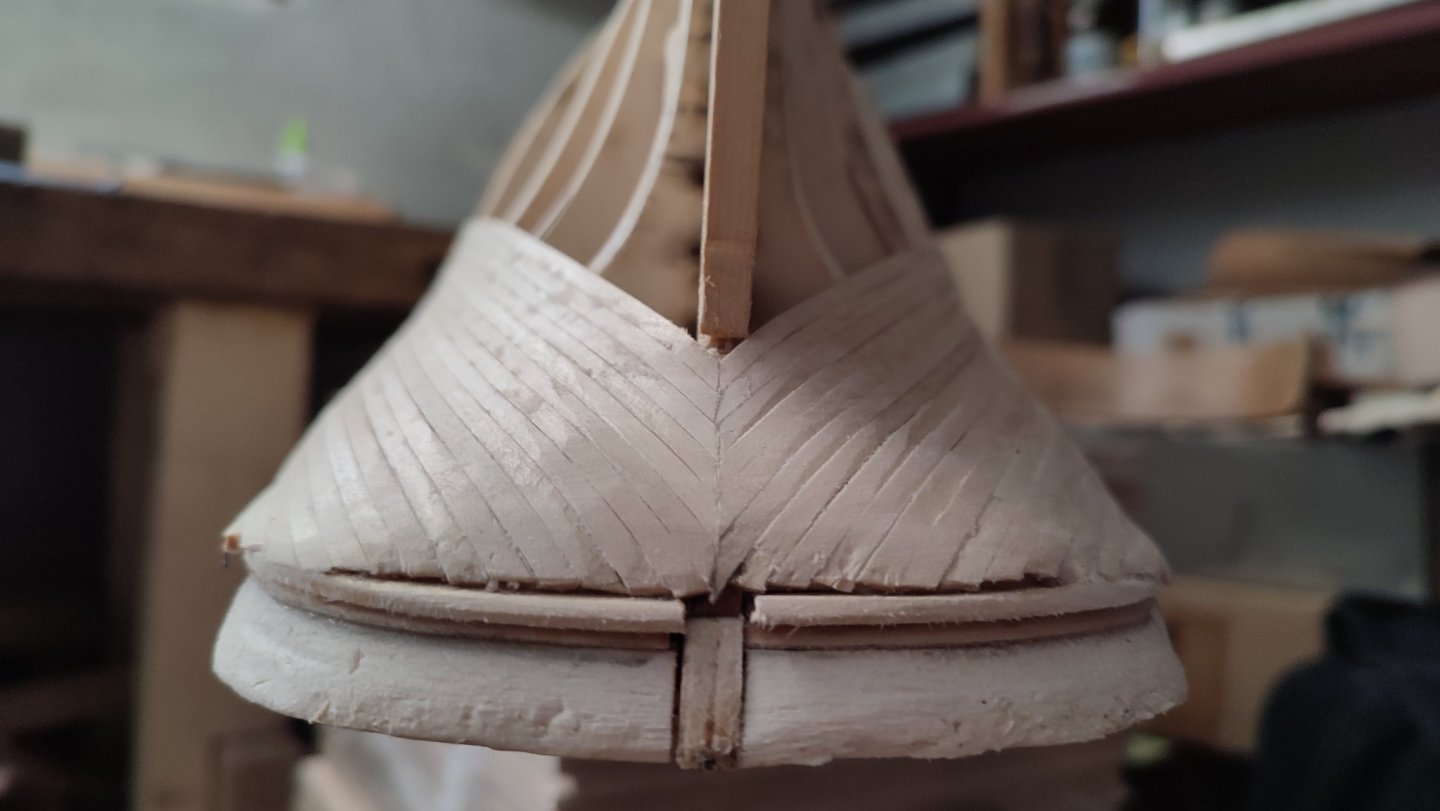
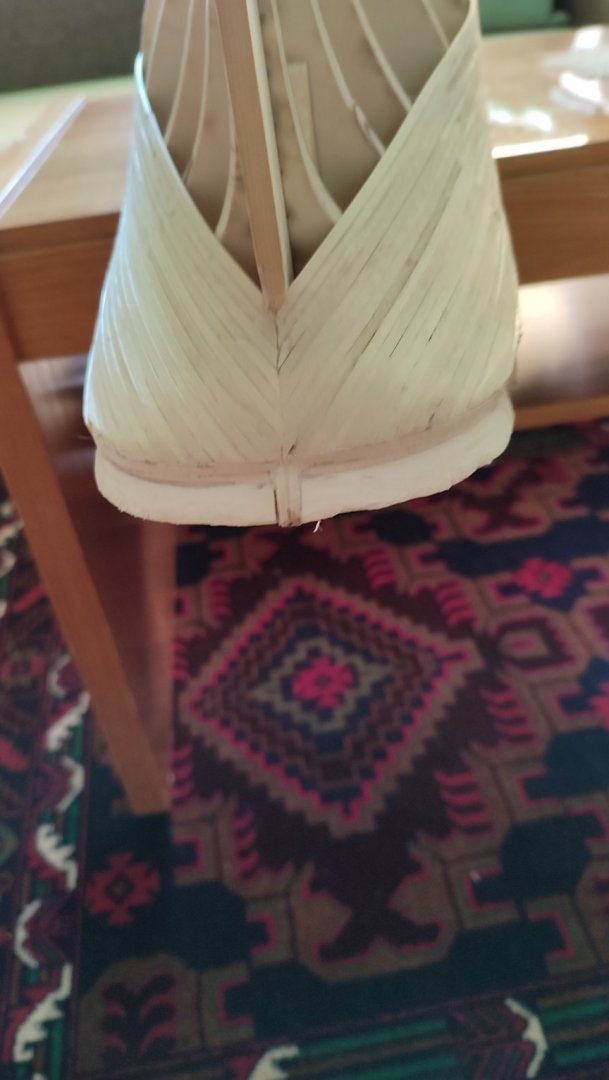
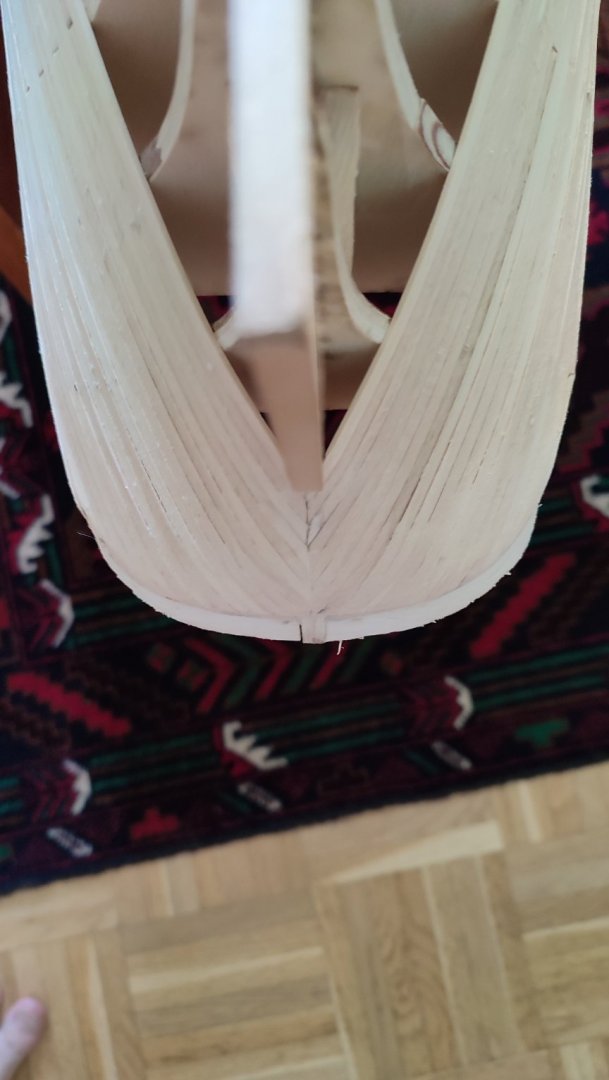
Continuation.... Now i would like to determine Cooper line...as i Will go Down with wider planks but i need to draw the plan first as if hlave to taper at the bow a bit. I hope Cooper line would cover what IS done because im out of thin planks but plenty glue at disposal hope you enjoy. Did some prelinary sanding on stern but i Will have to take a bit more as shloud be rounder i guess Thanks for any comment thought....V.


-
very nice with rail George. now Im looking fwd to copper plates installation process. V.
-
Thanks George, frankly so far I am surprised myself in that regard, but its just tiny portion covered so far. fingers crossed V.
-
Haha thanks much Rich. fingers crossed though. Well one day i guess i need to buy whole box of them . V.
-
thx Rob Rich - exactly! nothing pisses me more than this. i used almost each drop left and than i said few words not worth mentioning...now ordered 5 bottles! but having rest till monday. so no popcorn till than. so now i have wood but cant work . well its getting lovely weather so weekend will be swimming in nearby lake. i wish i made suxh progress Rob as I like idea we continue more less from same point as its useful when being discussed at one time...after i reach copper line i intend to use wider planks to get speed. have good weekend folks
-
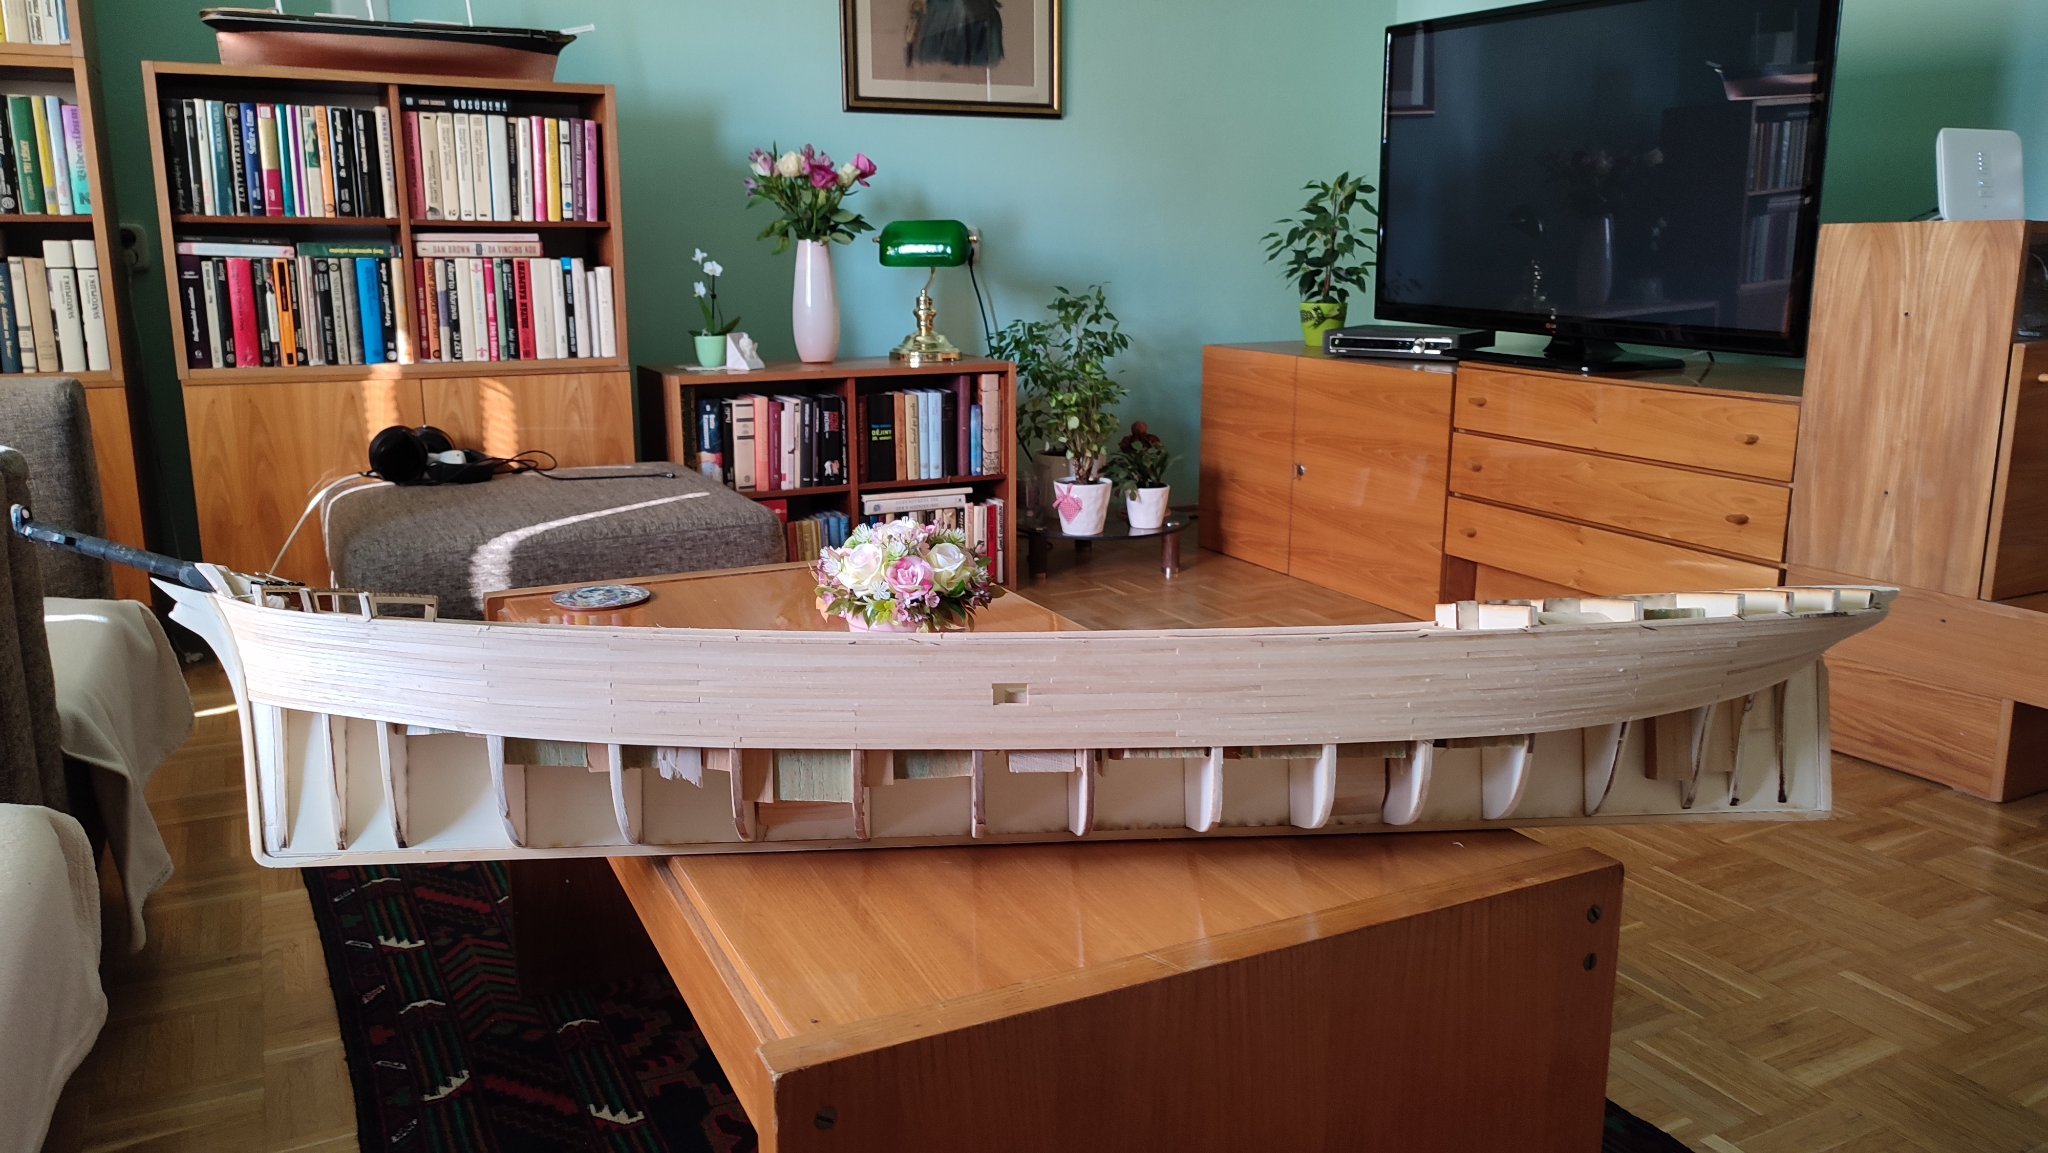
...One thing i hate most is running out of glue when work goes seamlesvperfectly. :(( Its busy at Boston shipyard...:)) After instaloing plank line 1 oneust Always check if planks run smoothly alongside...its so rewarding after year of preparations to se those elegantnt Lines rising from the ASH... Thanks for looking in etc...


-
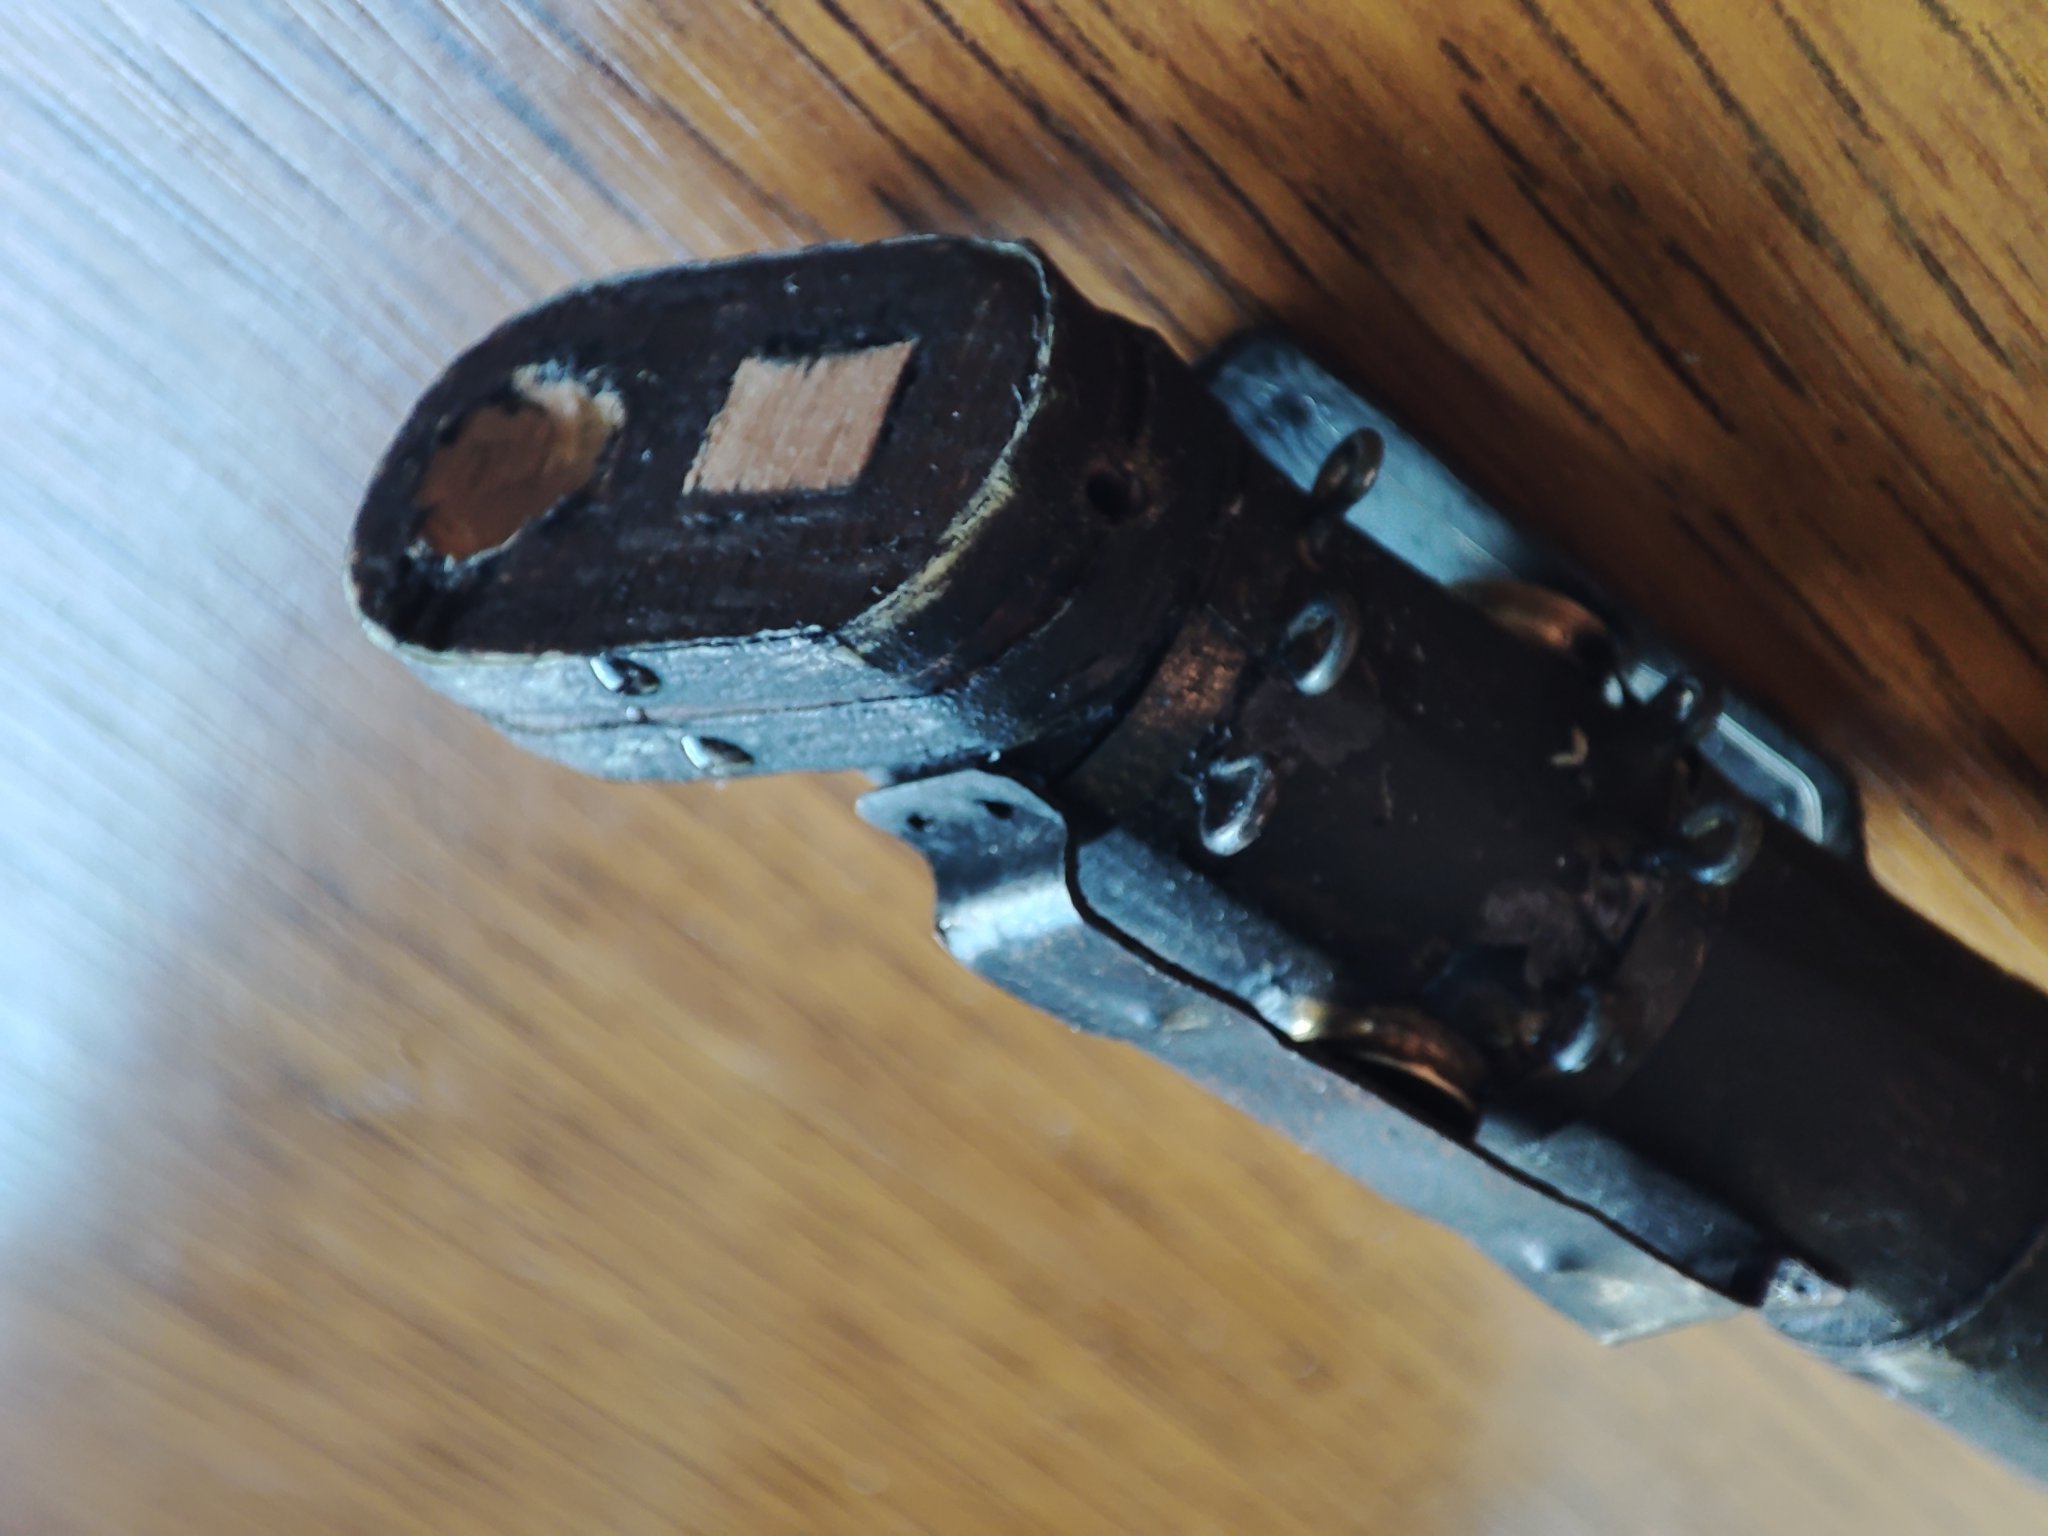
Thanks Rich i didnt know its wooden. Will check into that. Yes, aplying hot braces must hlave Been something ...V.
-
now i know ahead what santa ( miSelf) brings me this year
-
I am also happy glory as ship grabbed interest and is noticed by wider audience here on MSW!
-
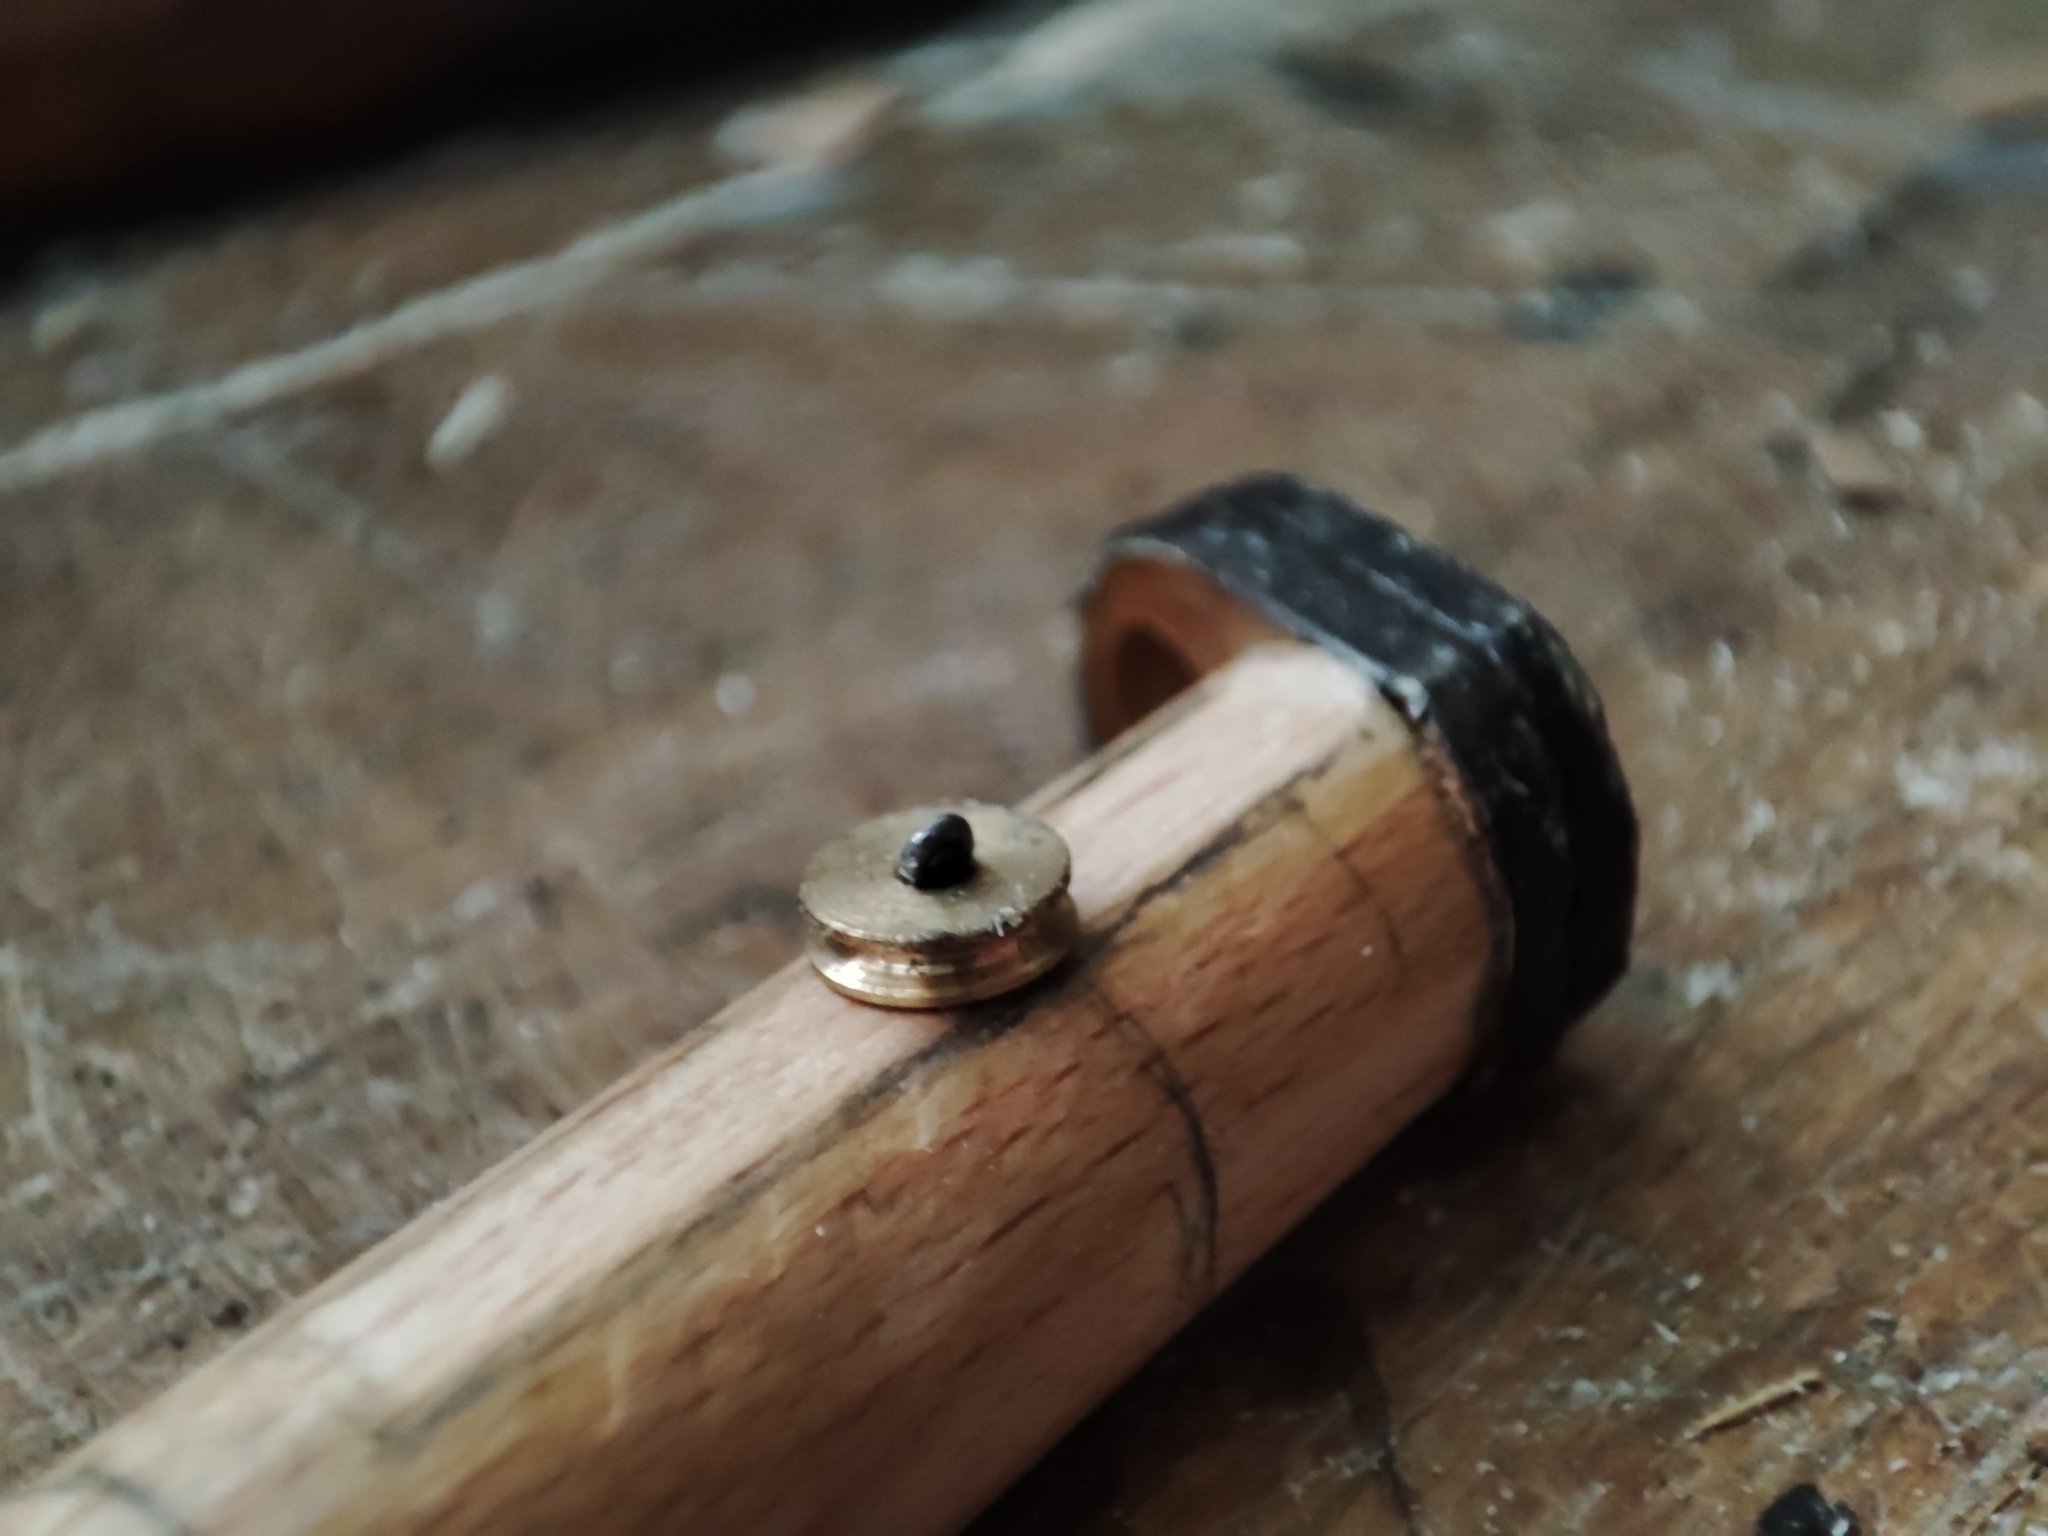
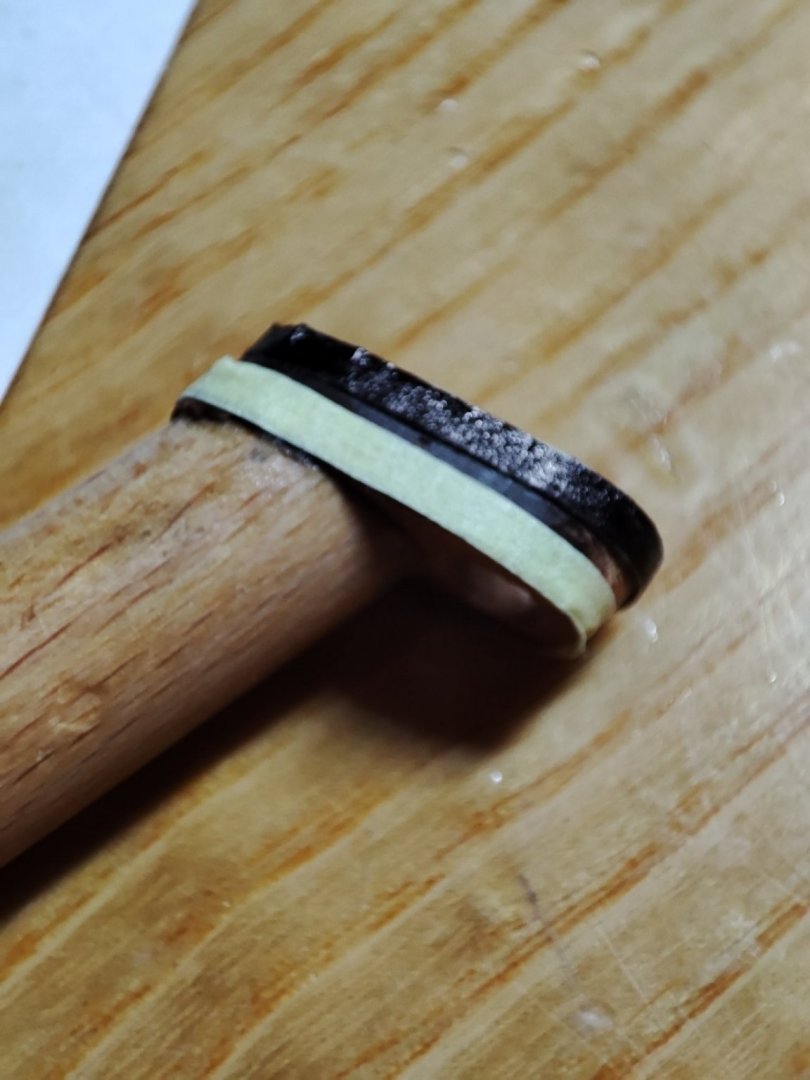
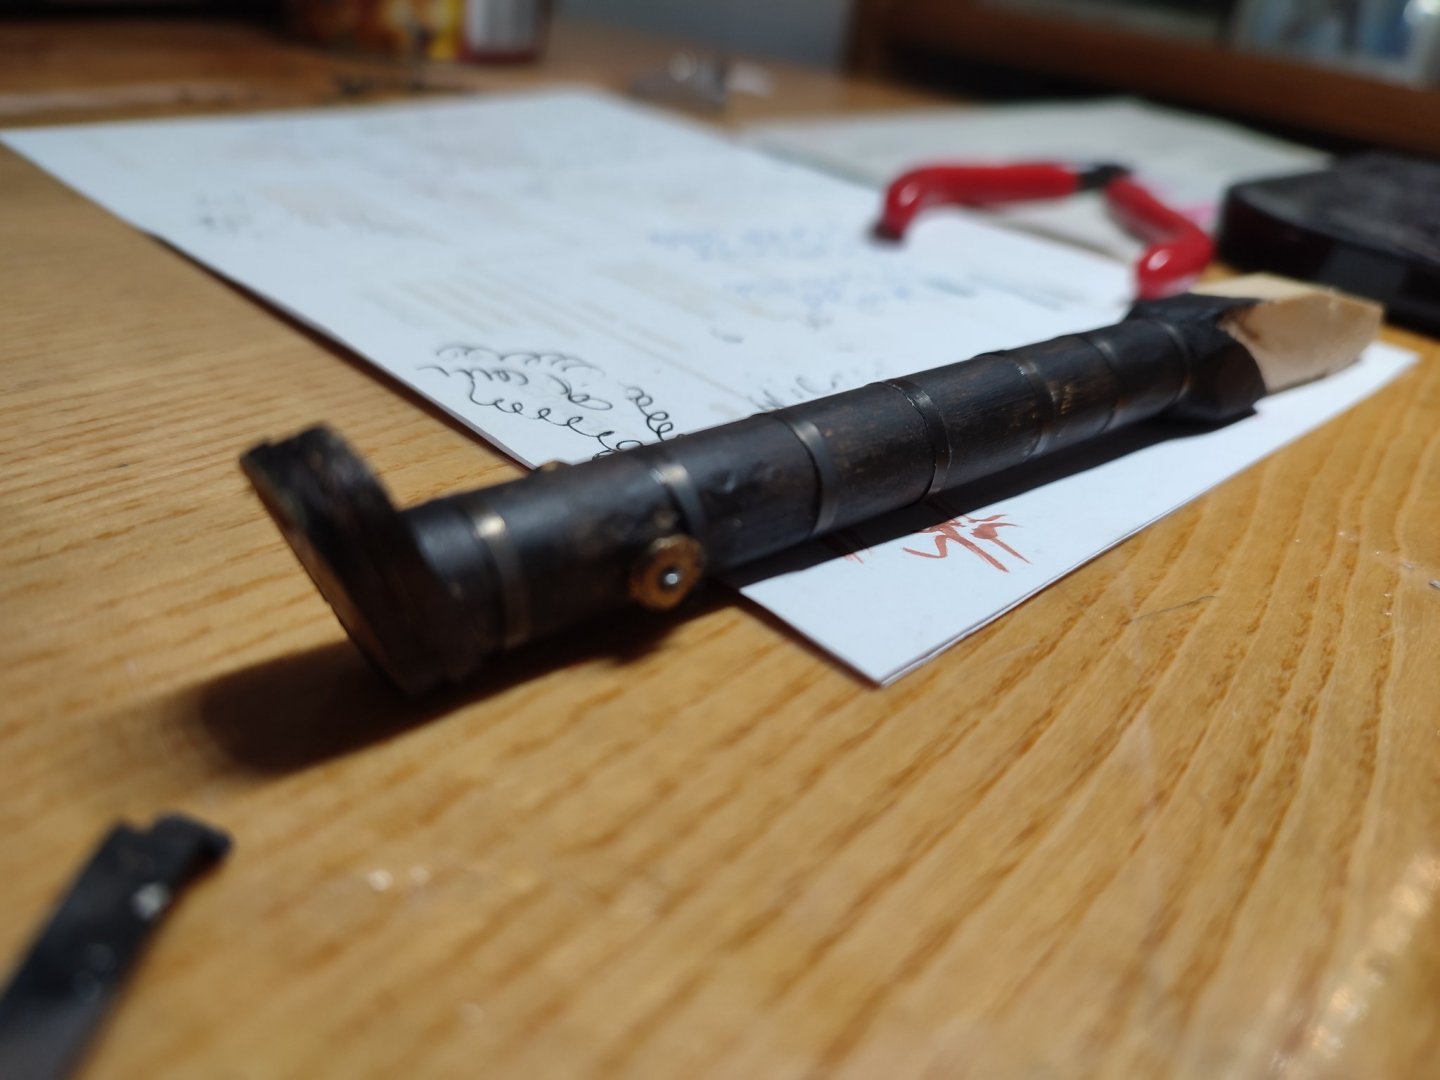
Thanks Rob i burnished brass . Matt and glow IT gives IS unsurpassesld by anything I think. Its almost as original and work with IT IS perfect as not losing color. I Will redo sheaver cover i think as should be a tad bit smaller and more precisely Made bent under angle not ať 90 degrees. Than i would be Happy. Now if planks come tomorrow party IS on
-
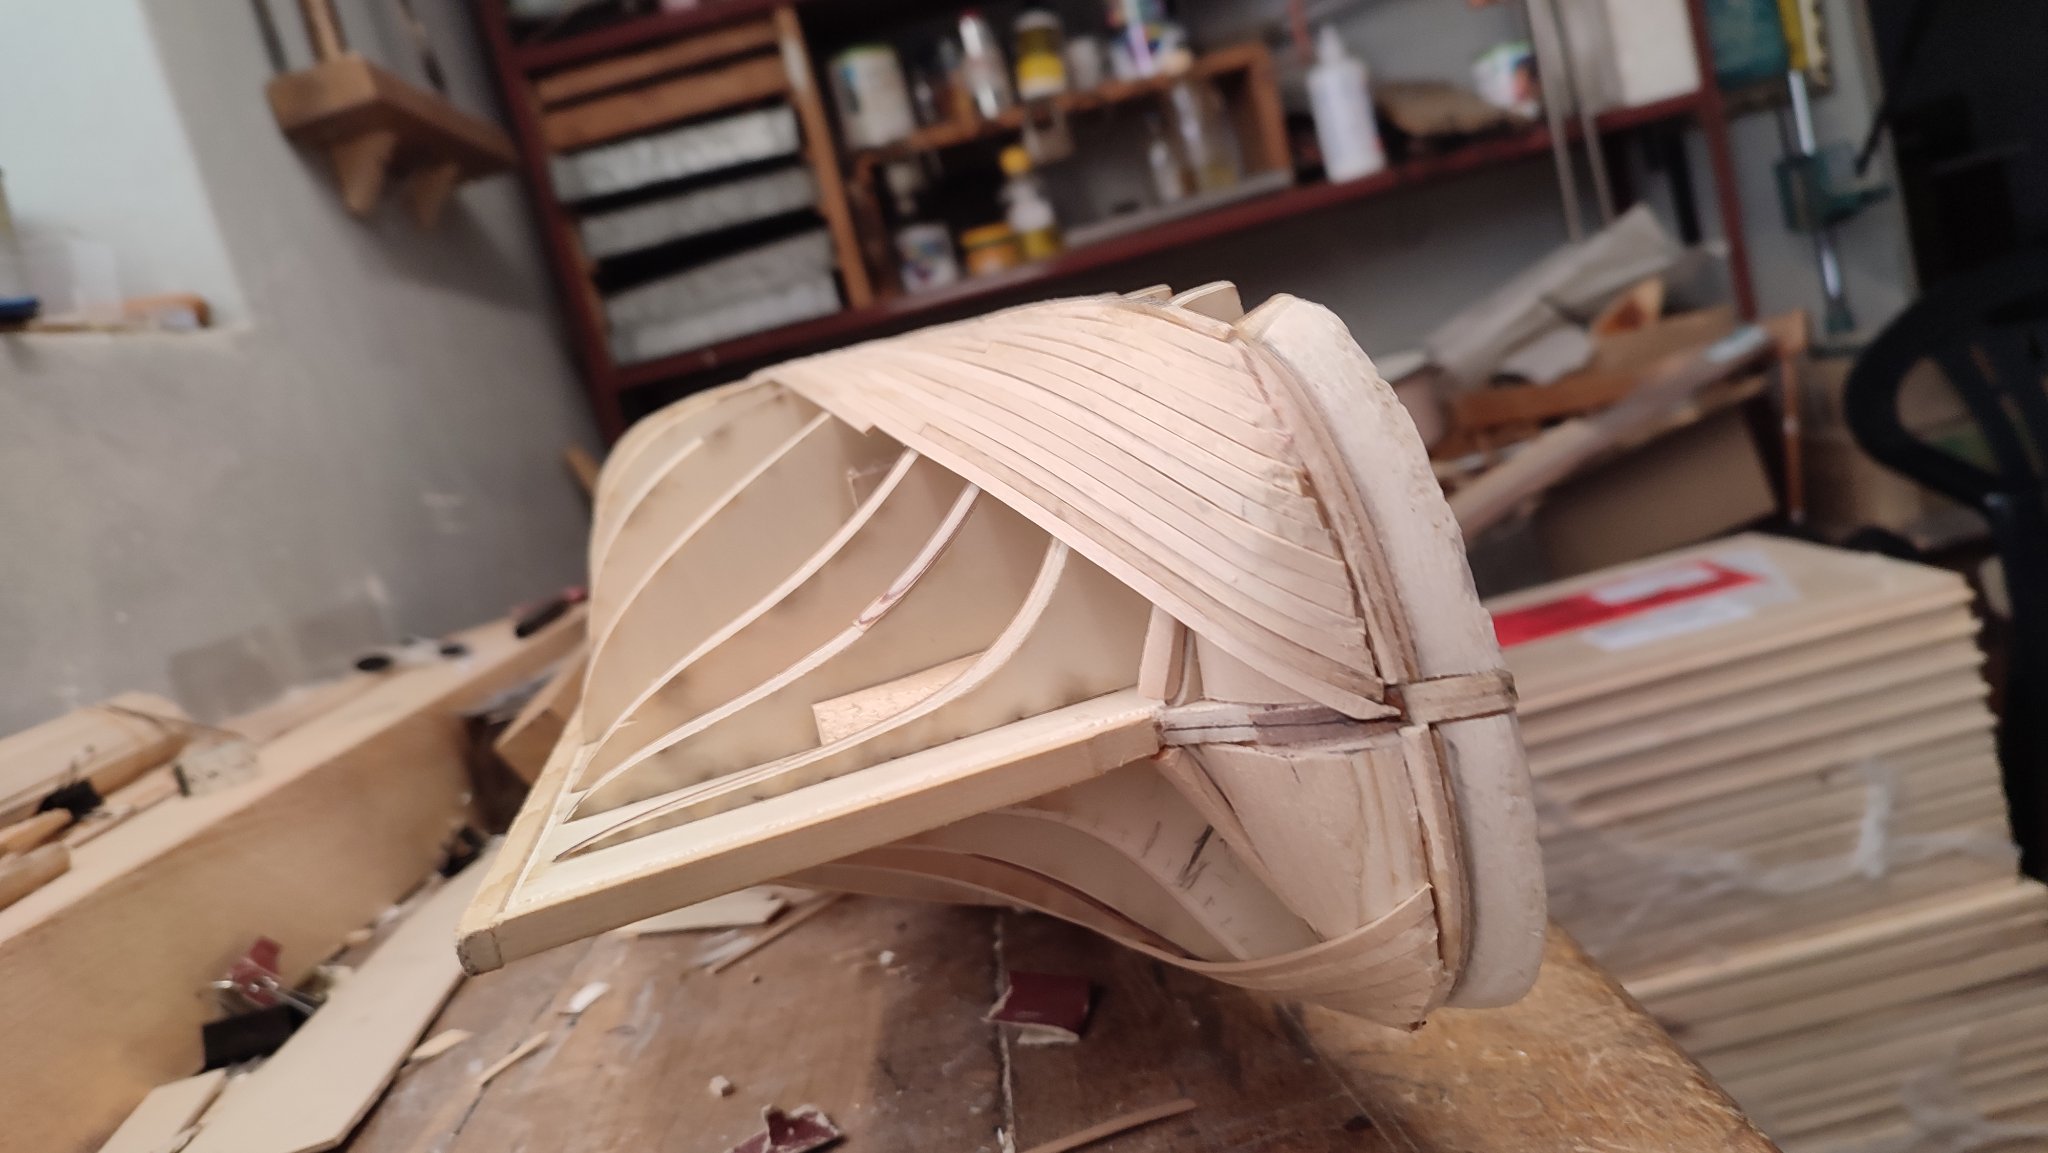
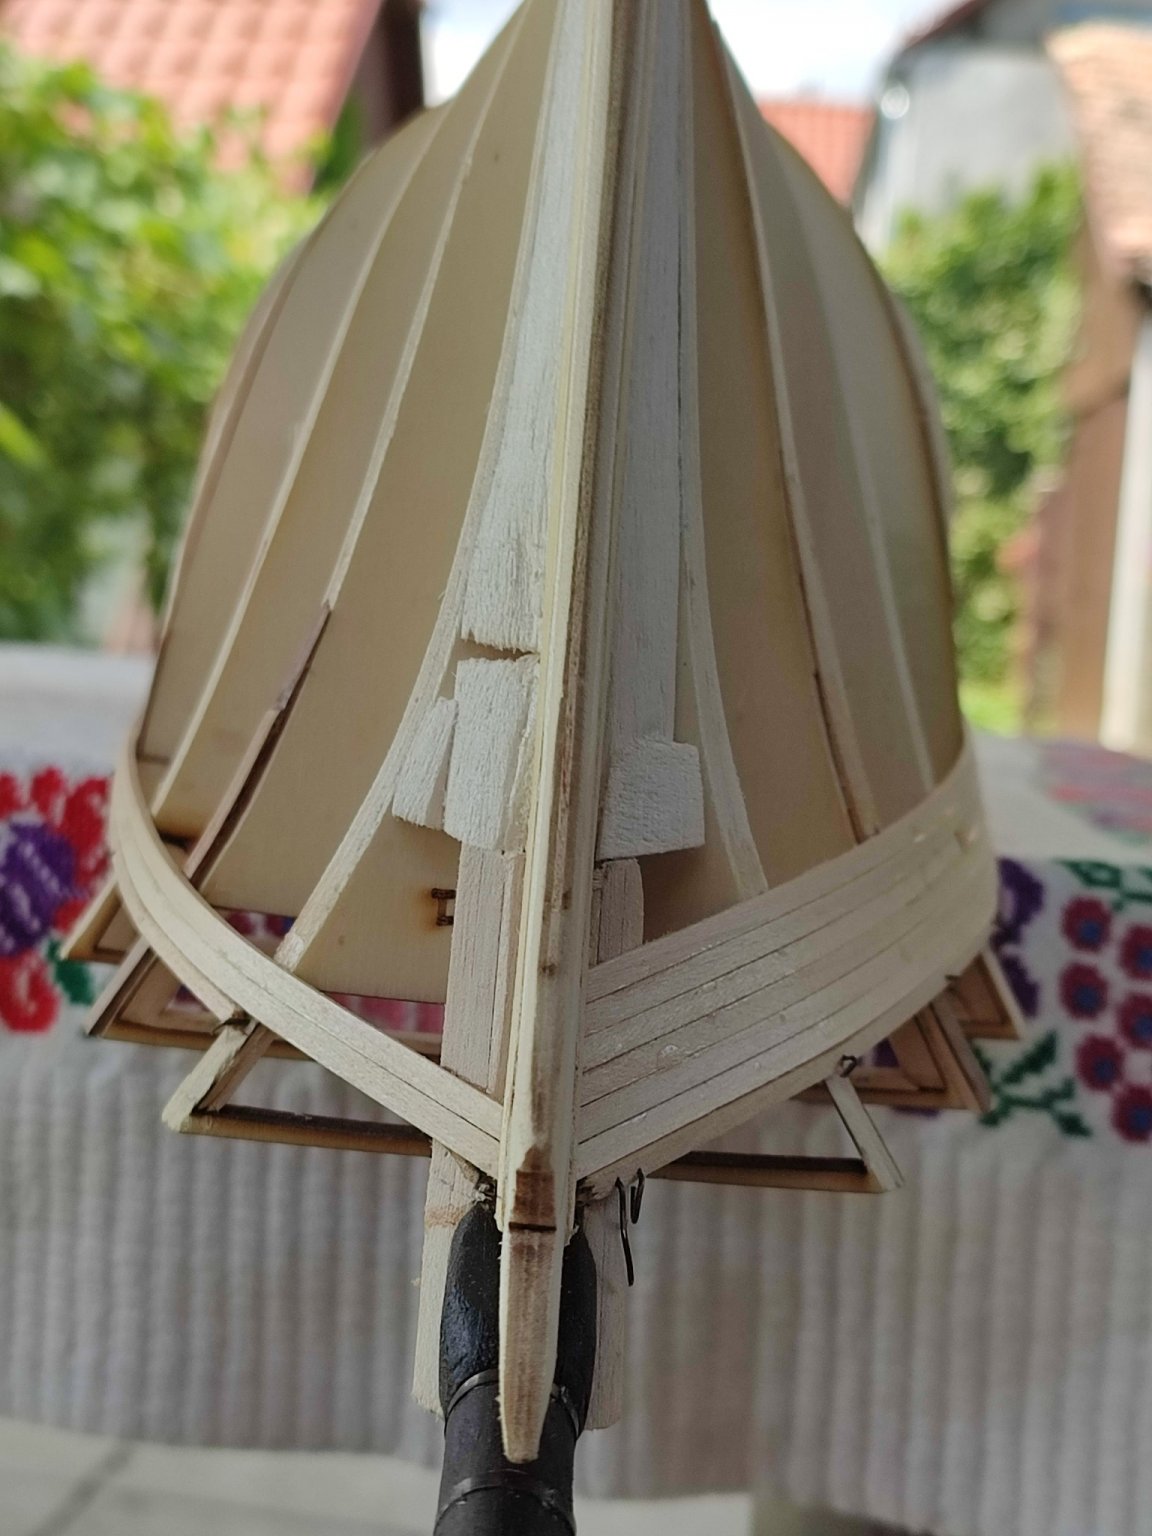
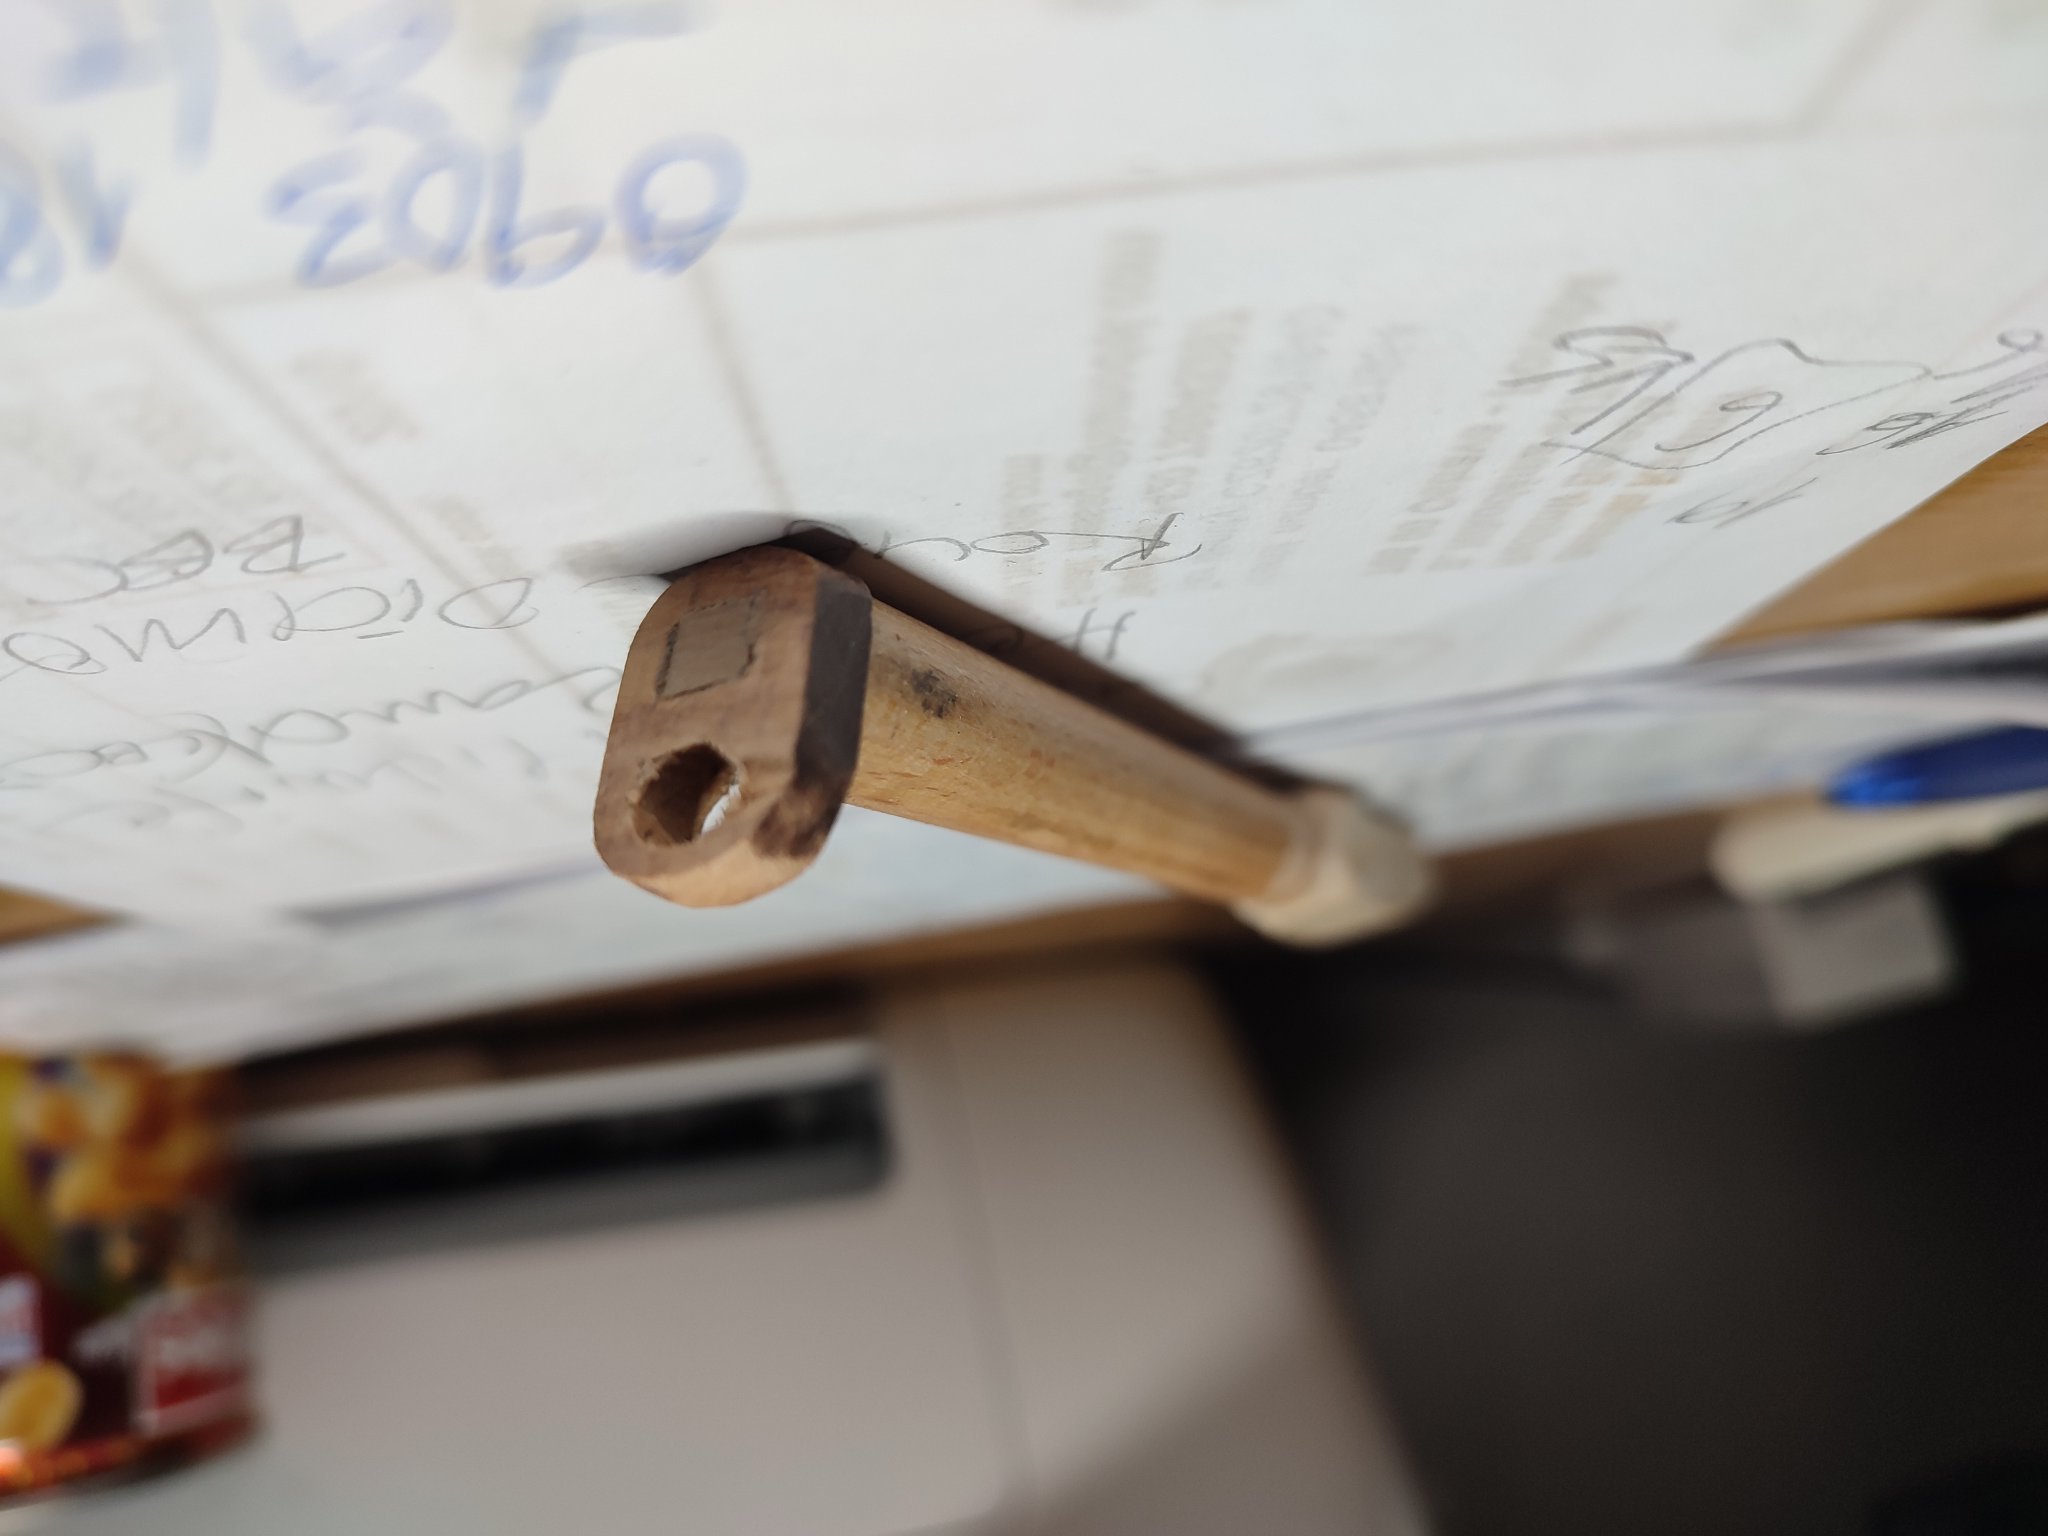
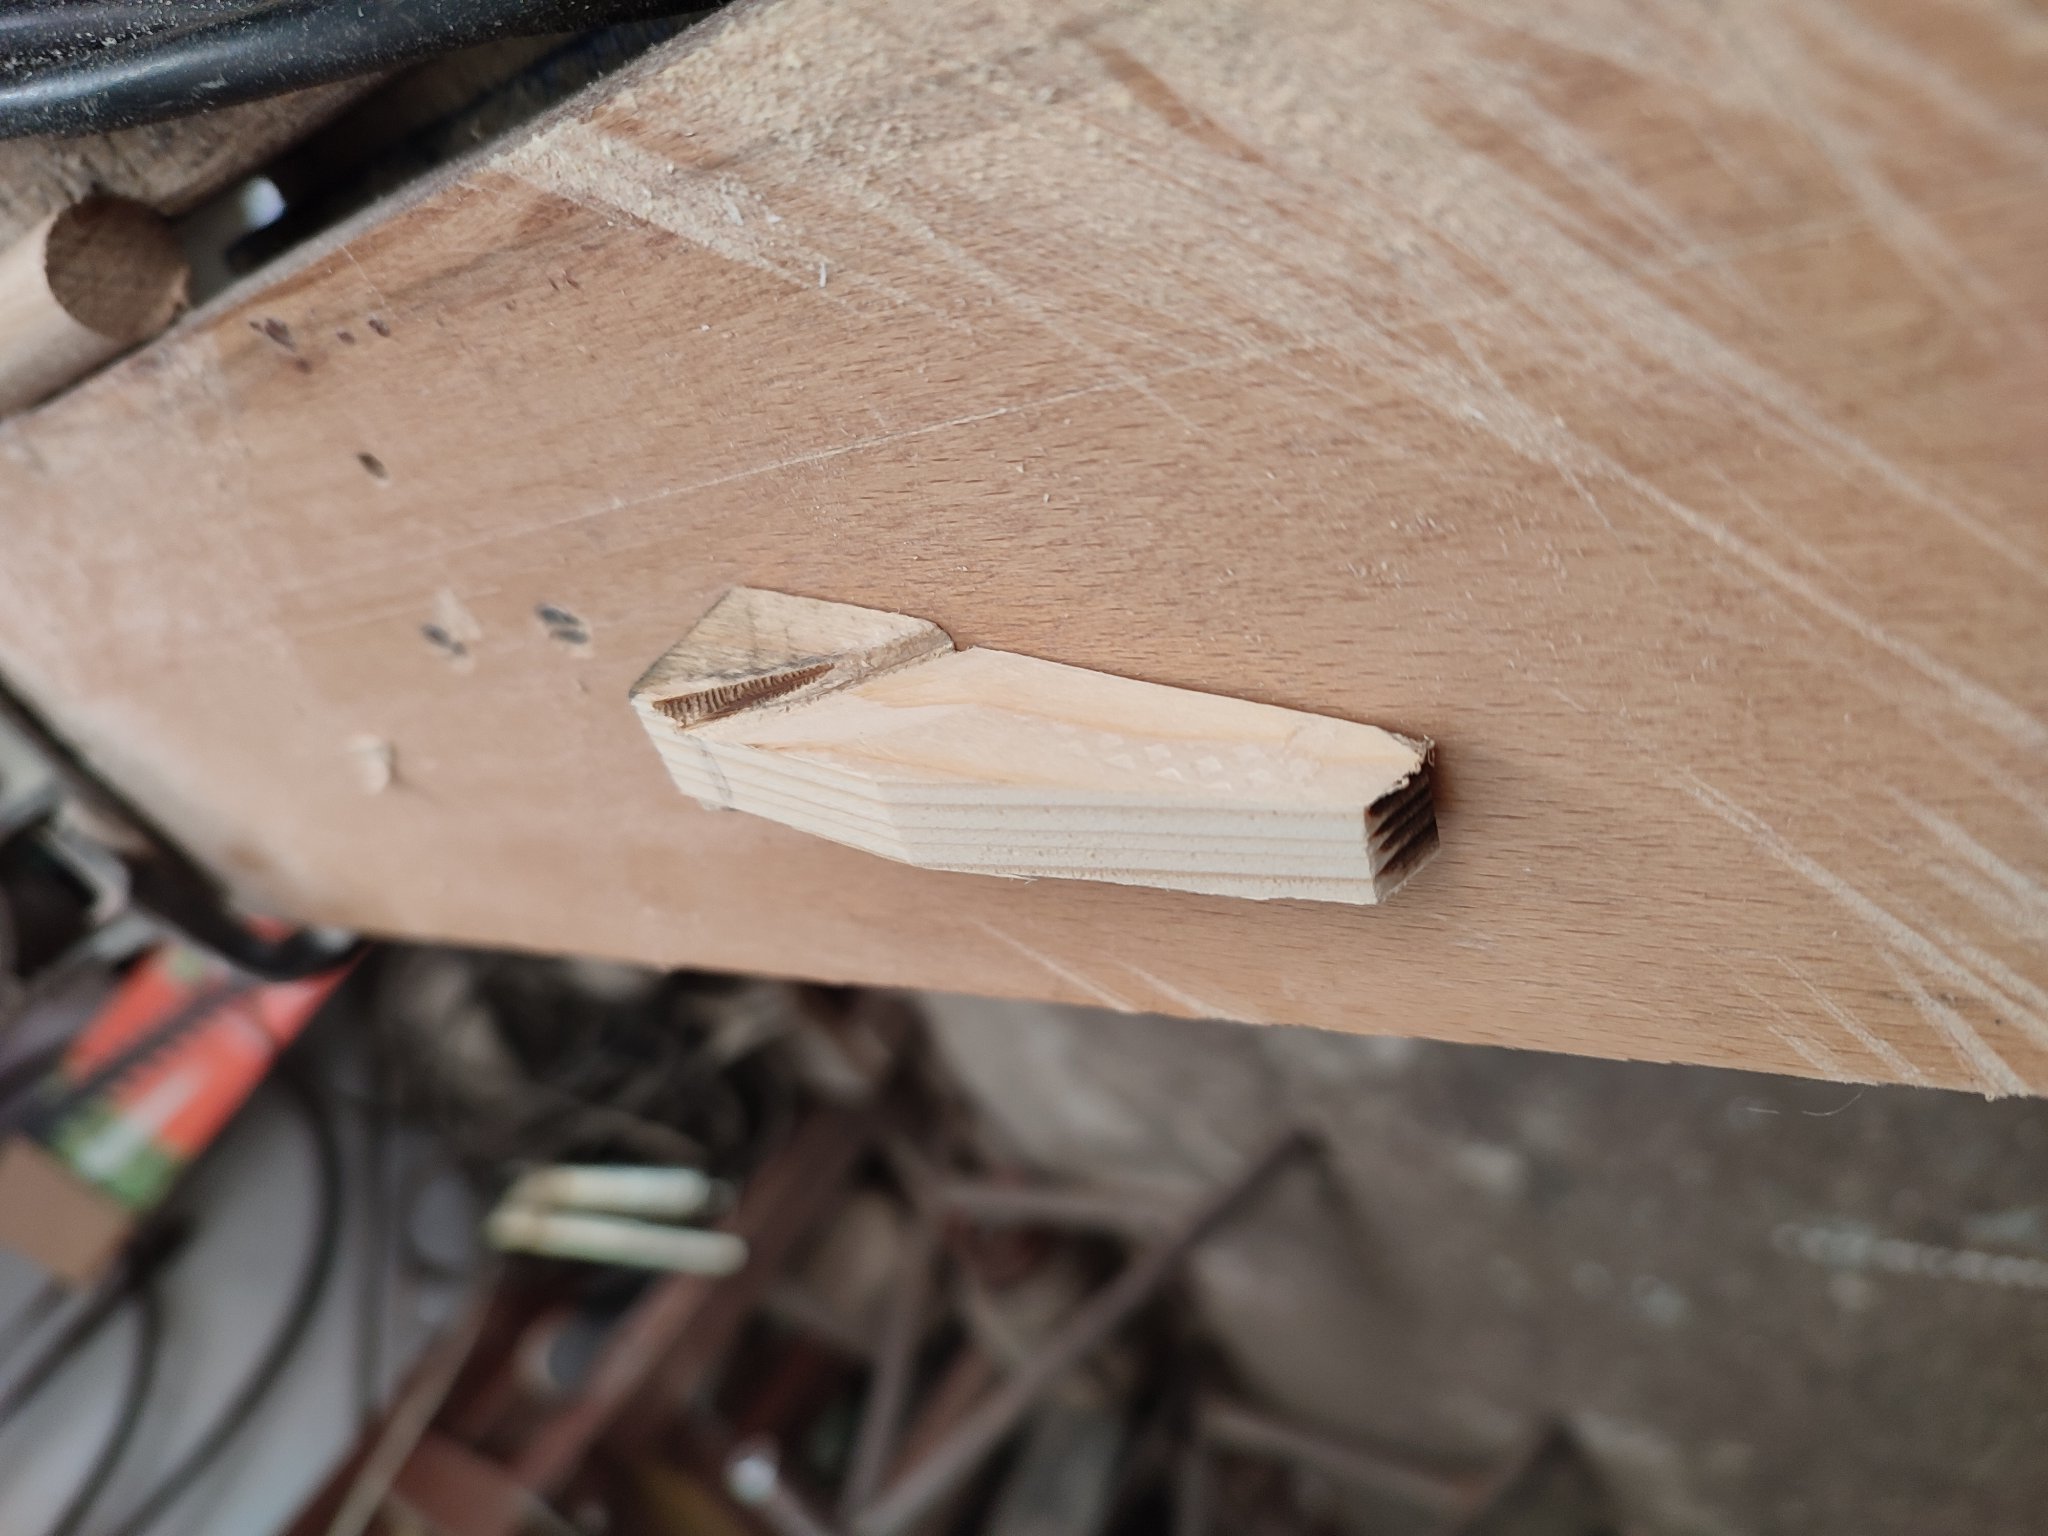
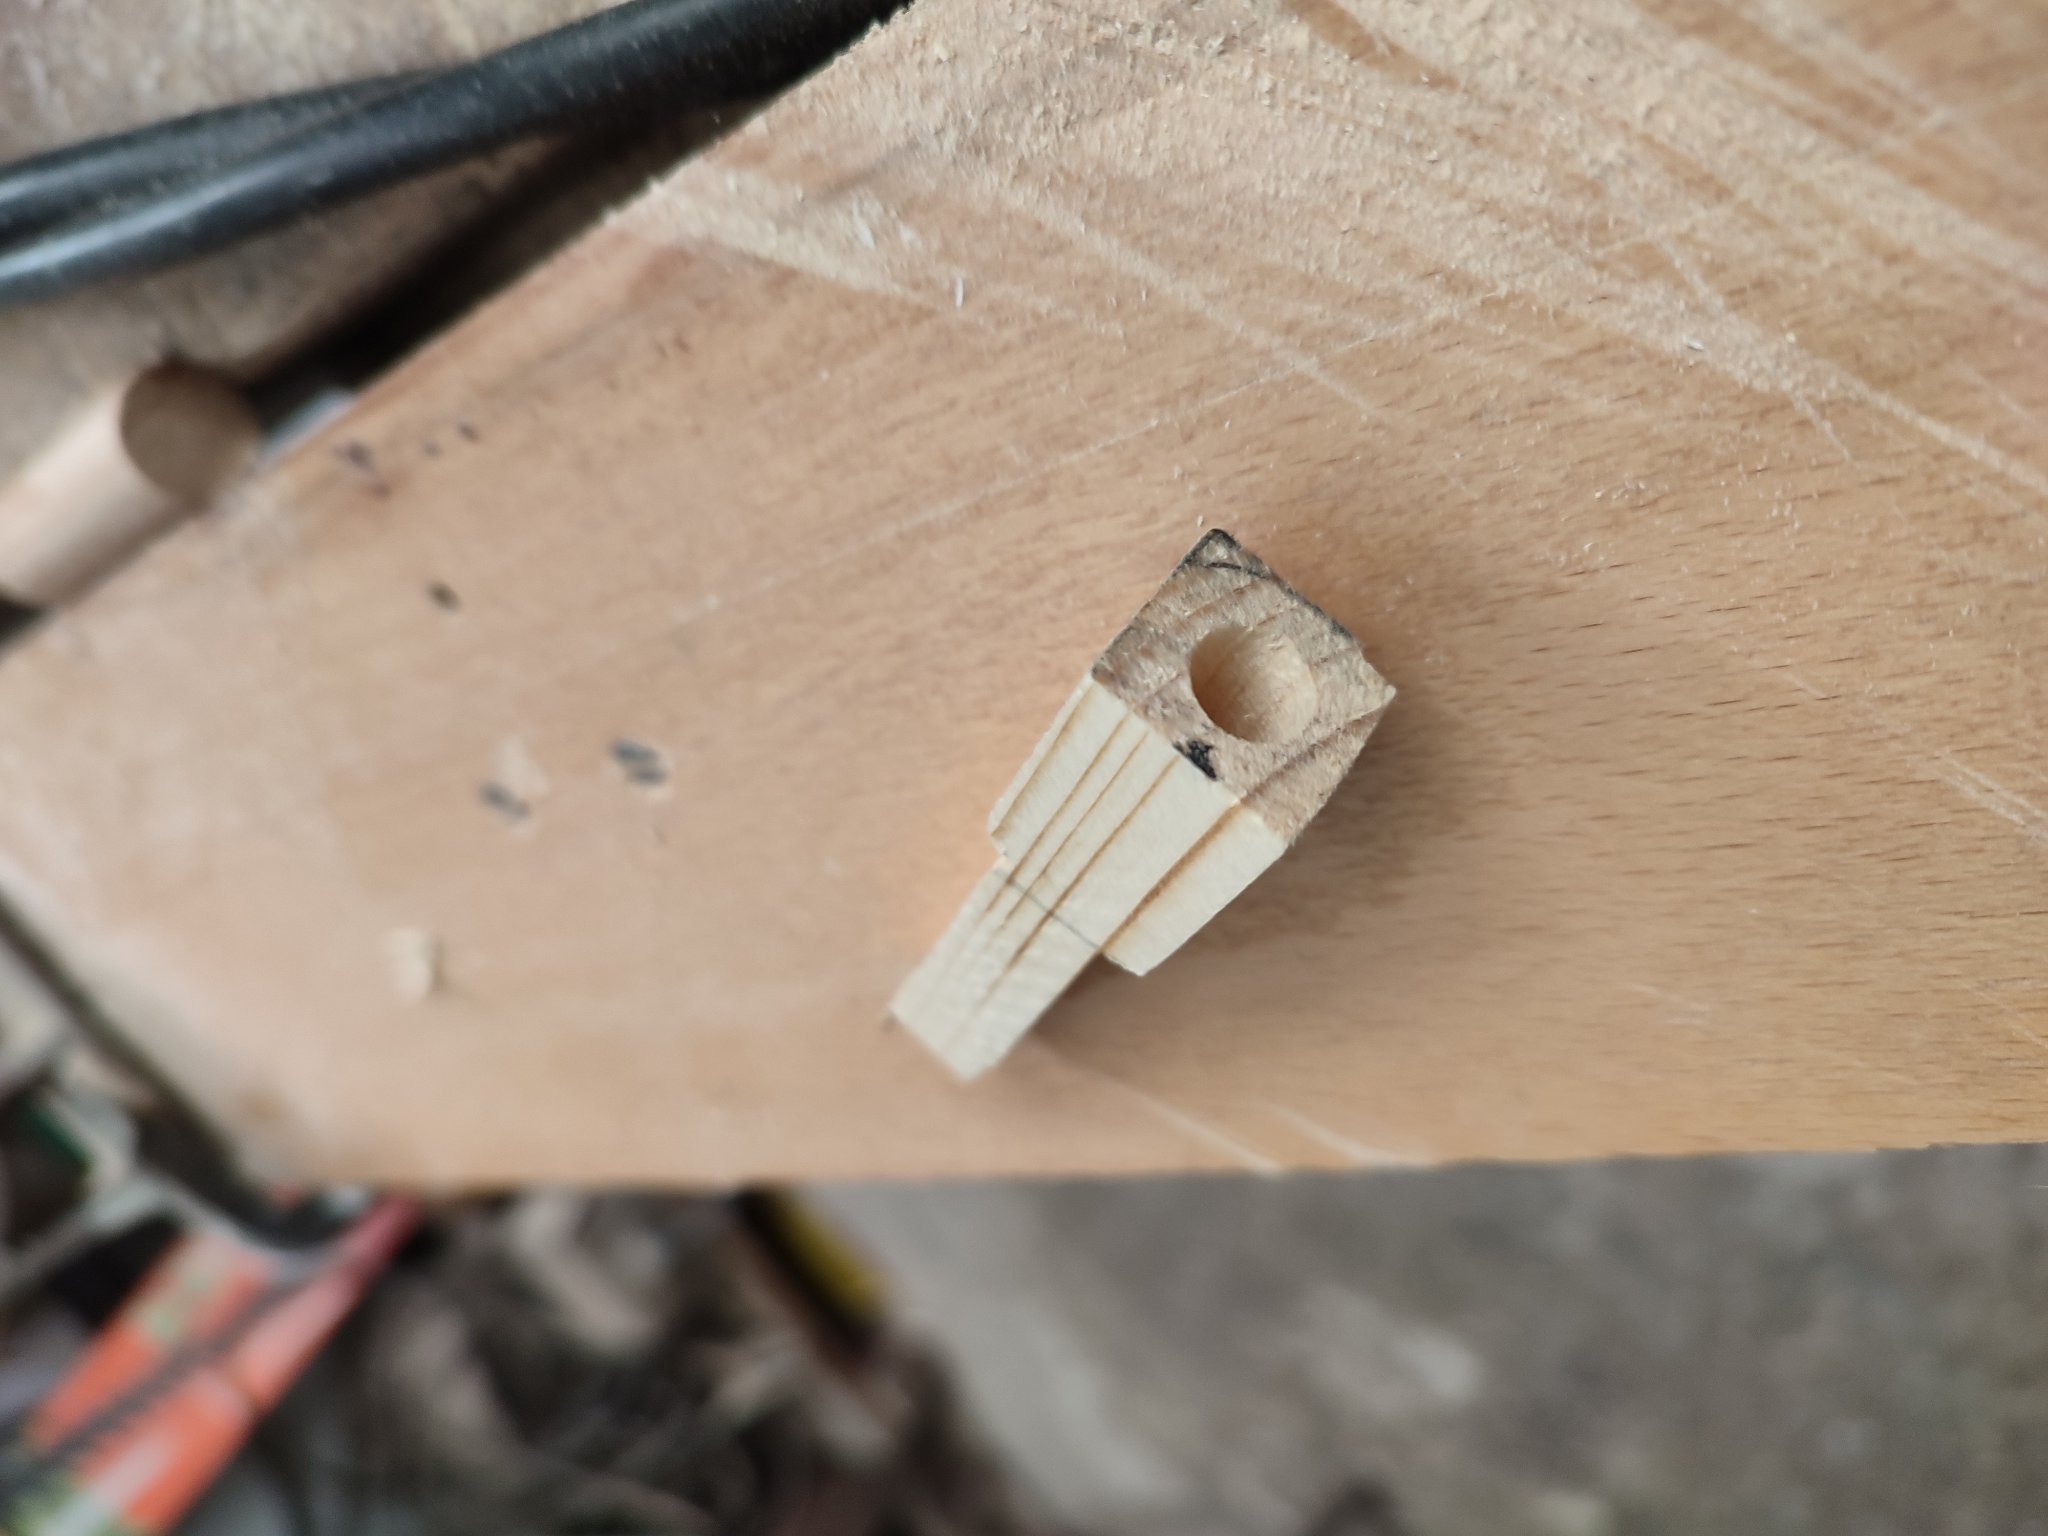
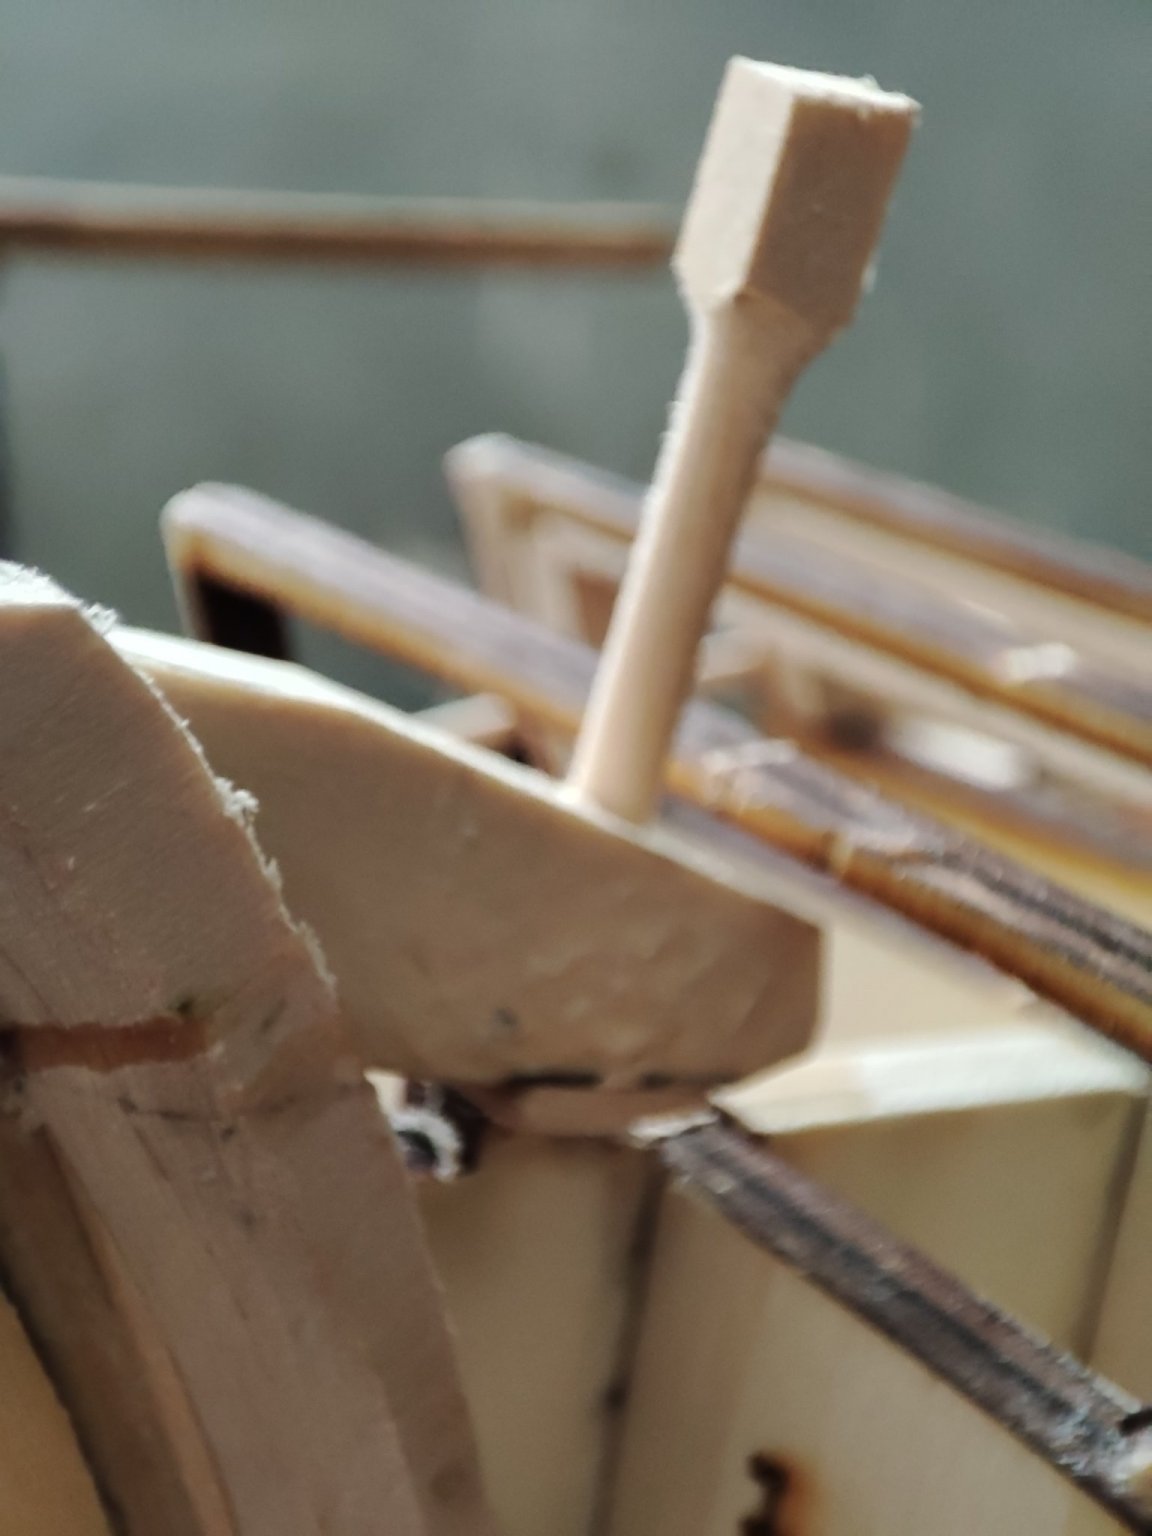
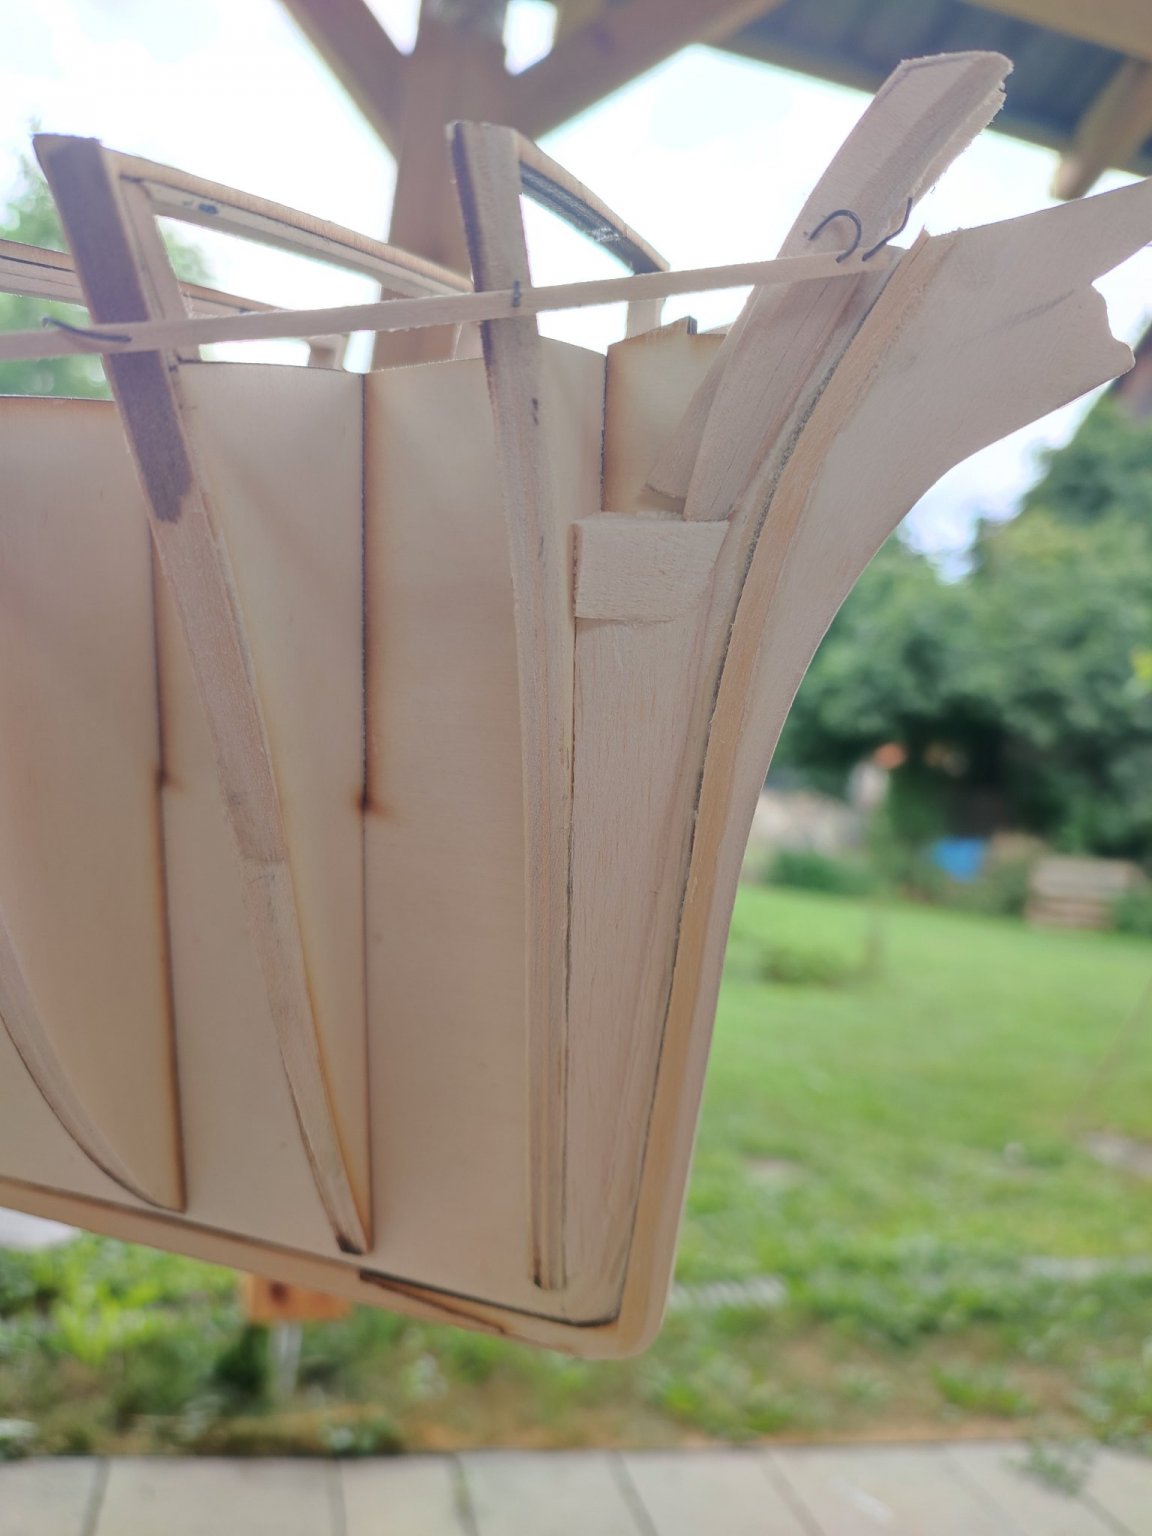
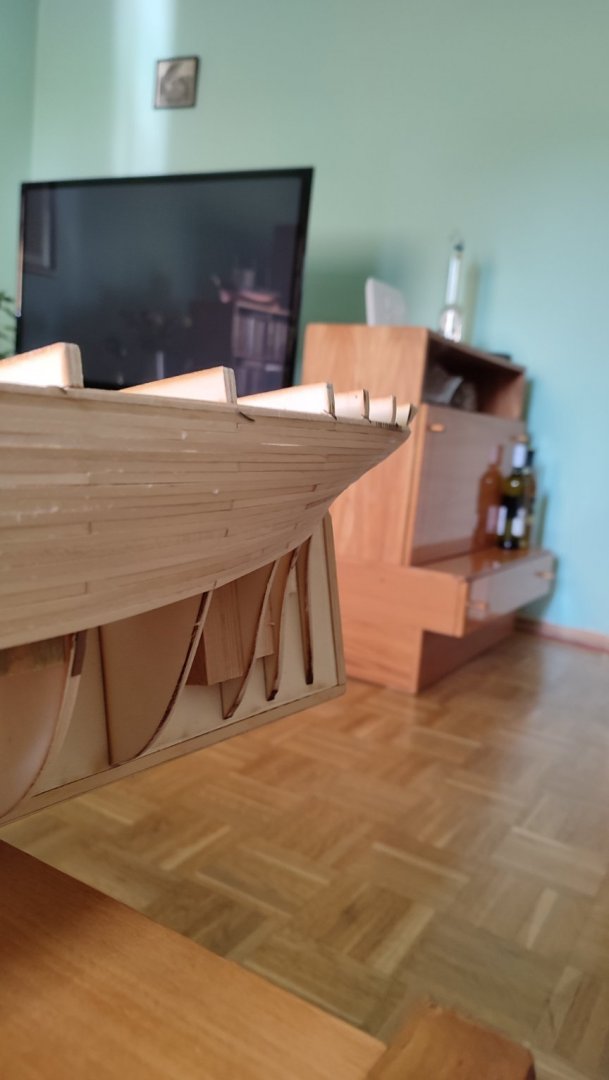
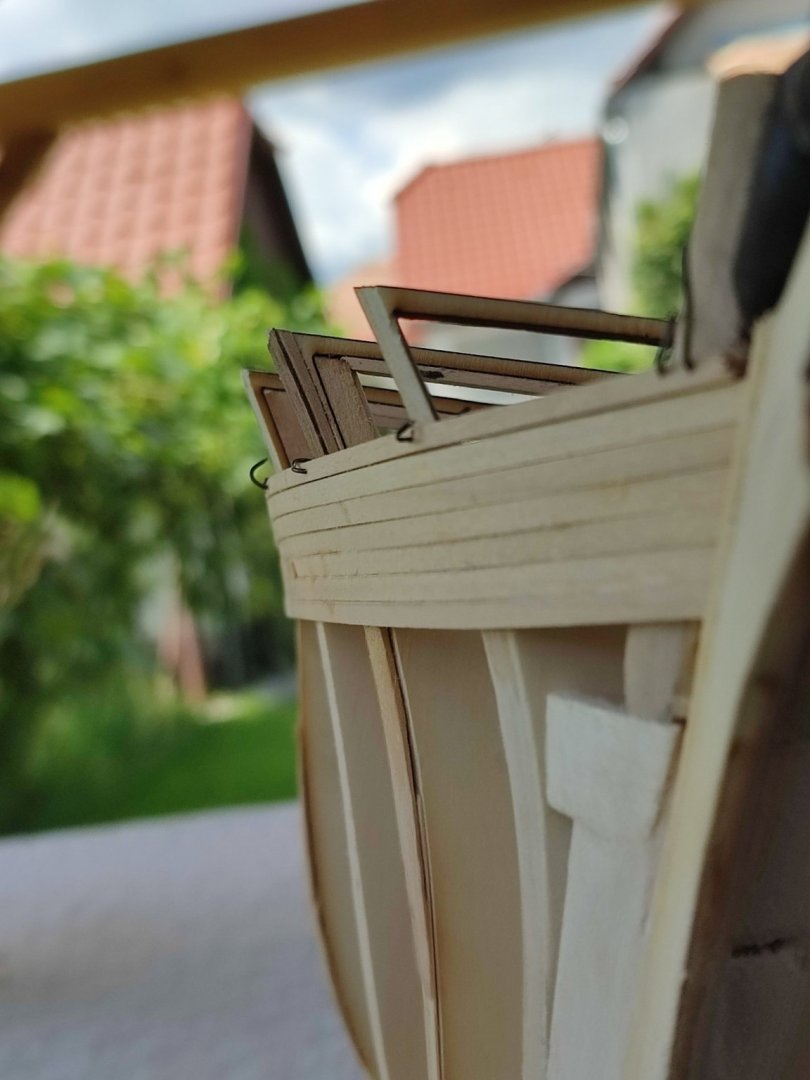
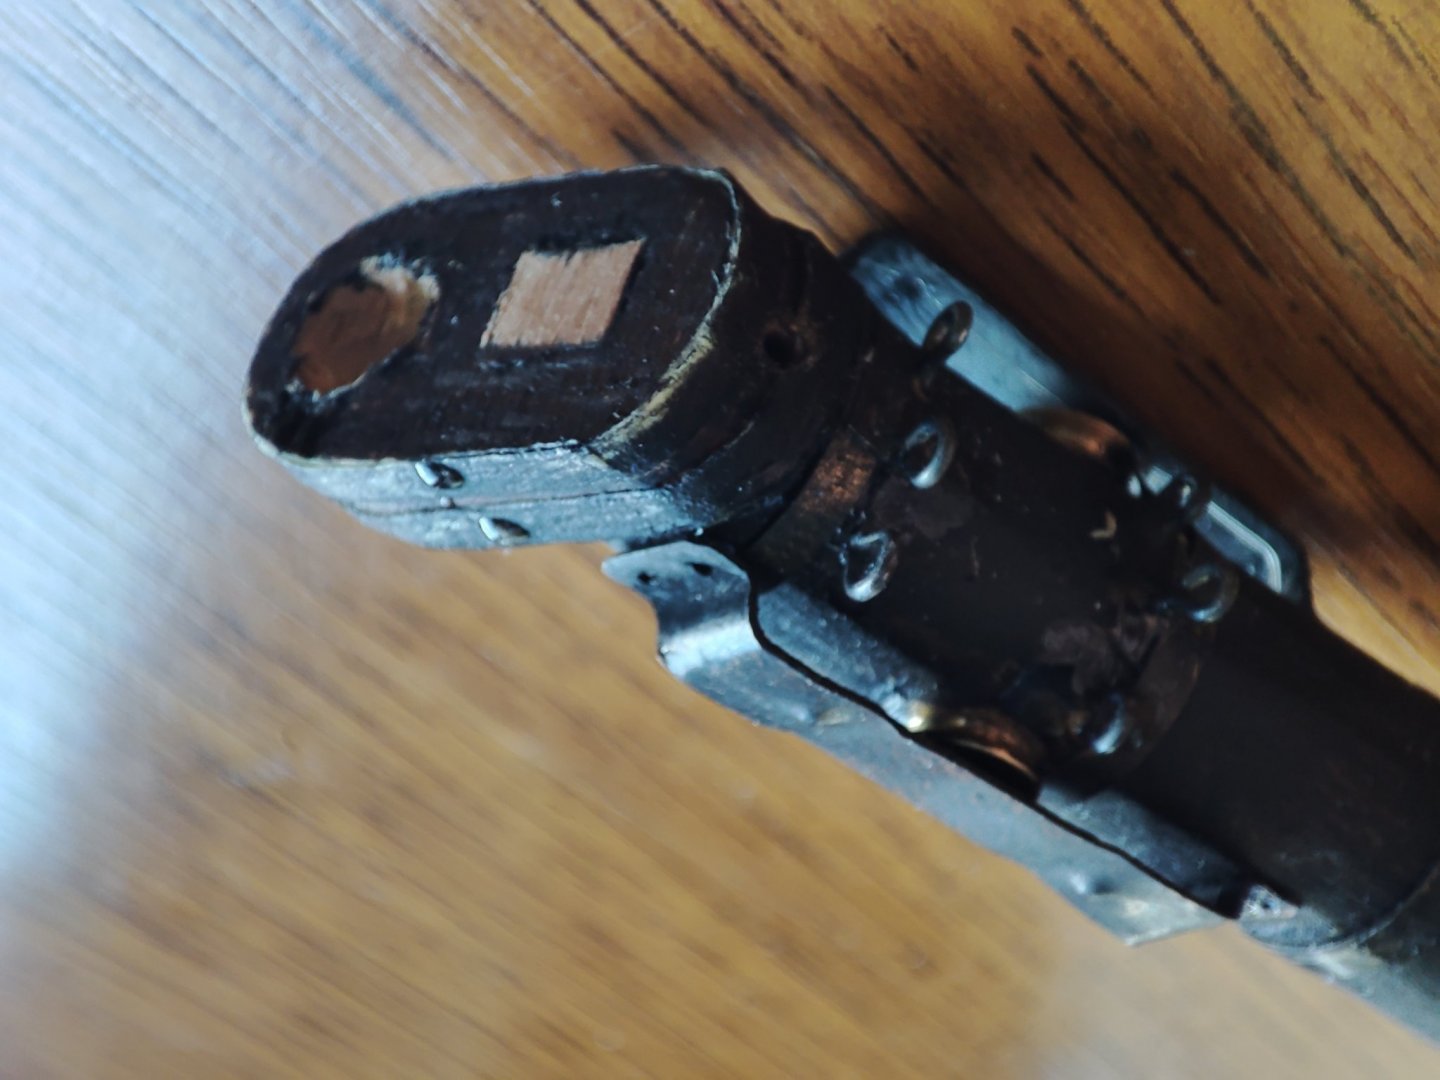
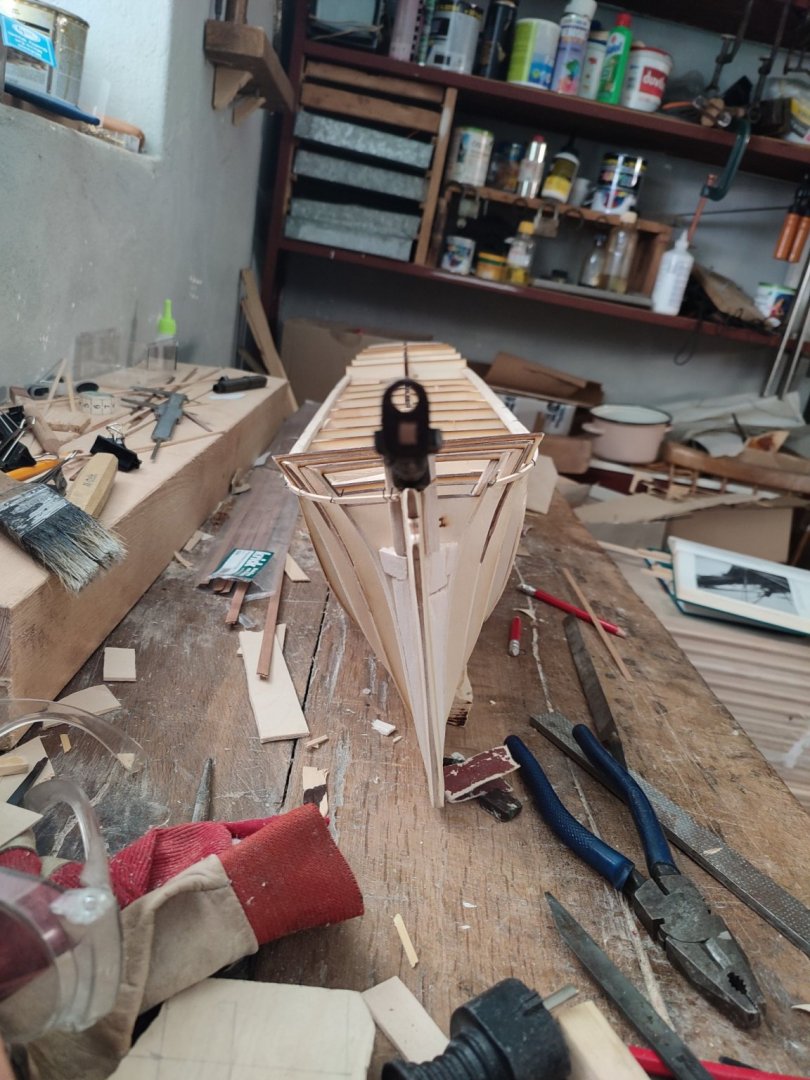
Continuation...well im not that good ať making miniatures. ..i just say its really challenging. ...herpes the outcome ....and bowsprit Has Been assembled and firmly fastened, wedge drew trhu and glued to knightheads.


-
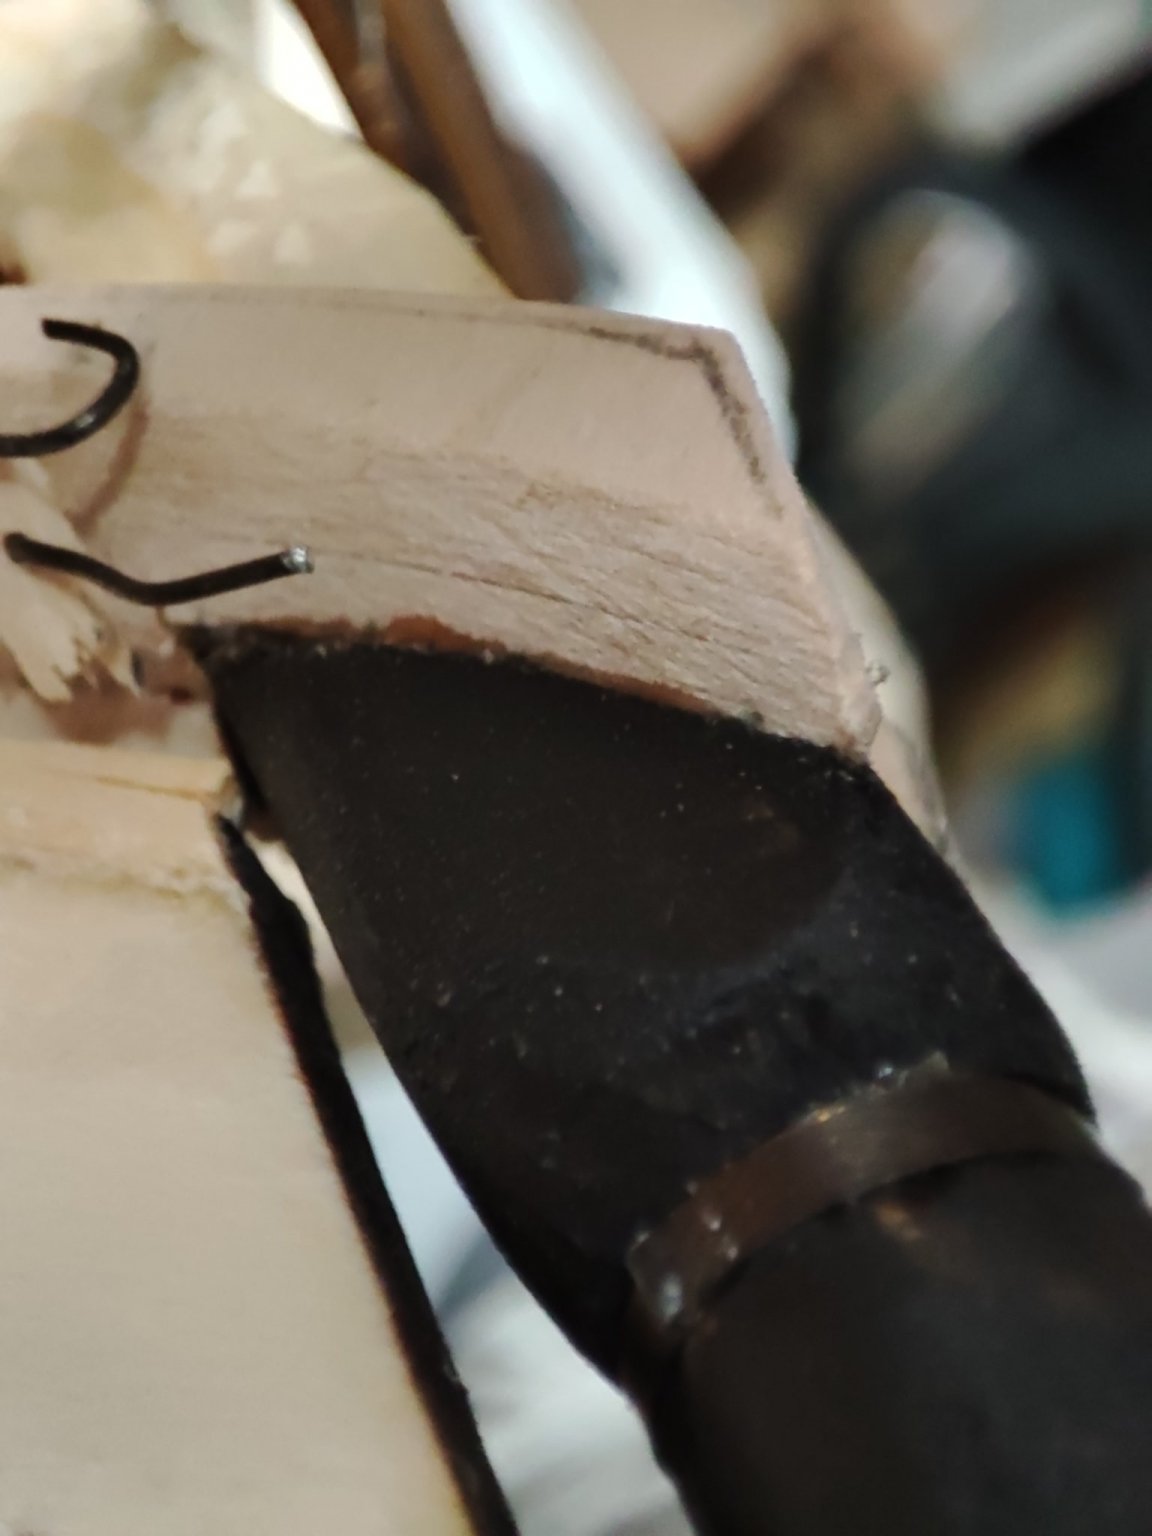
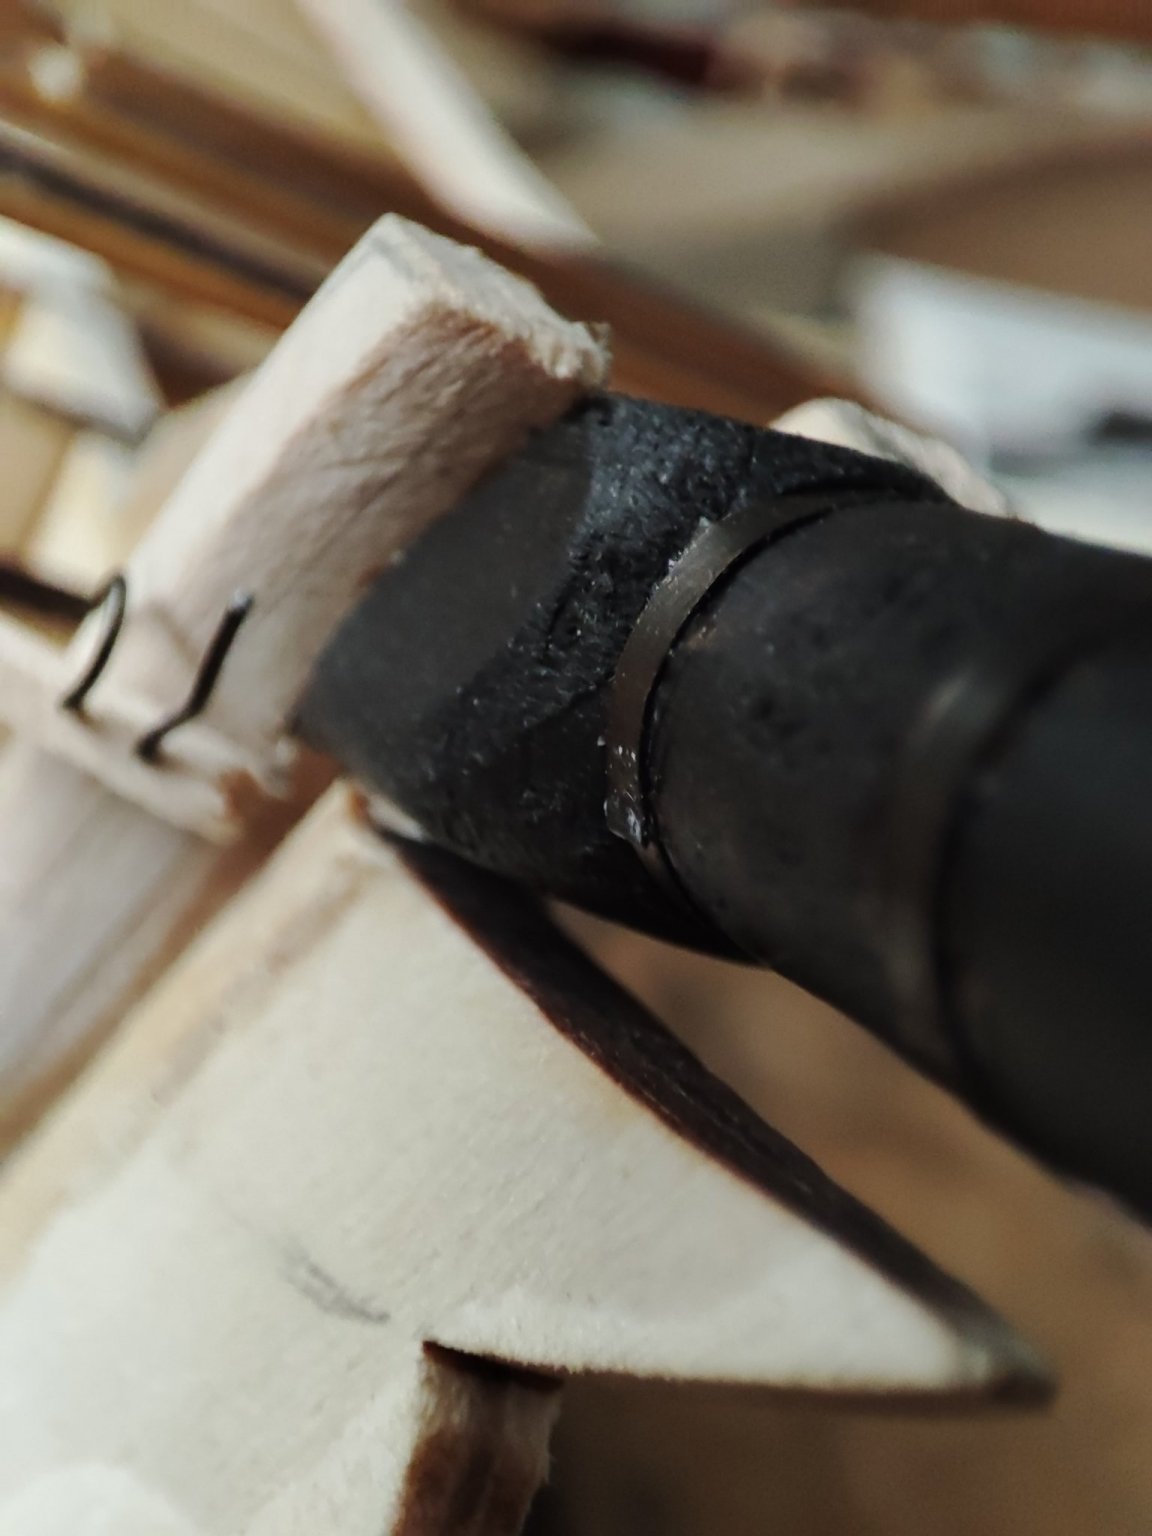
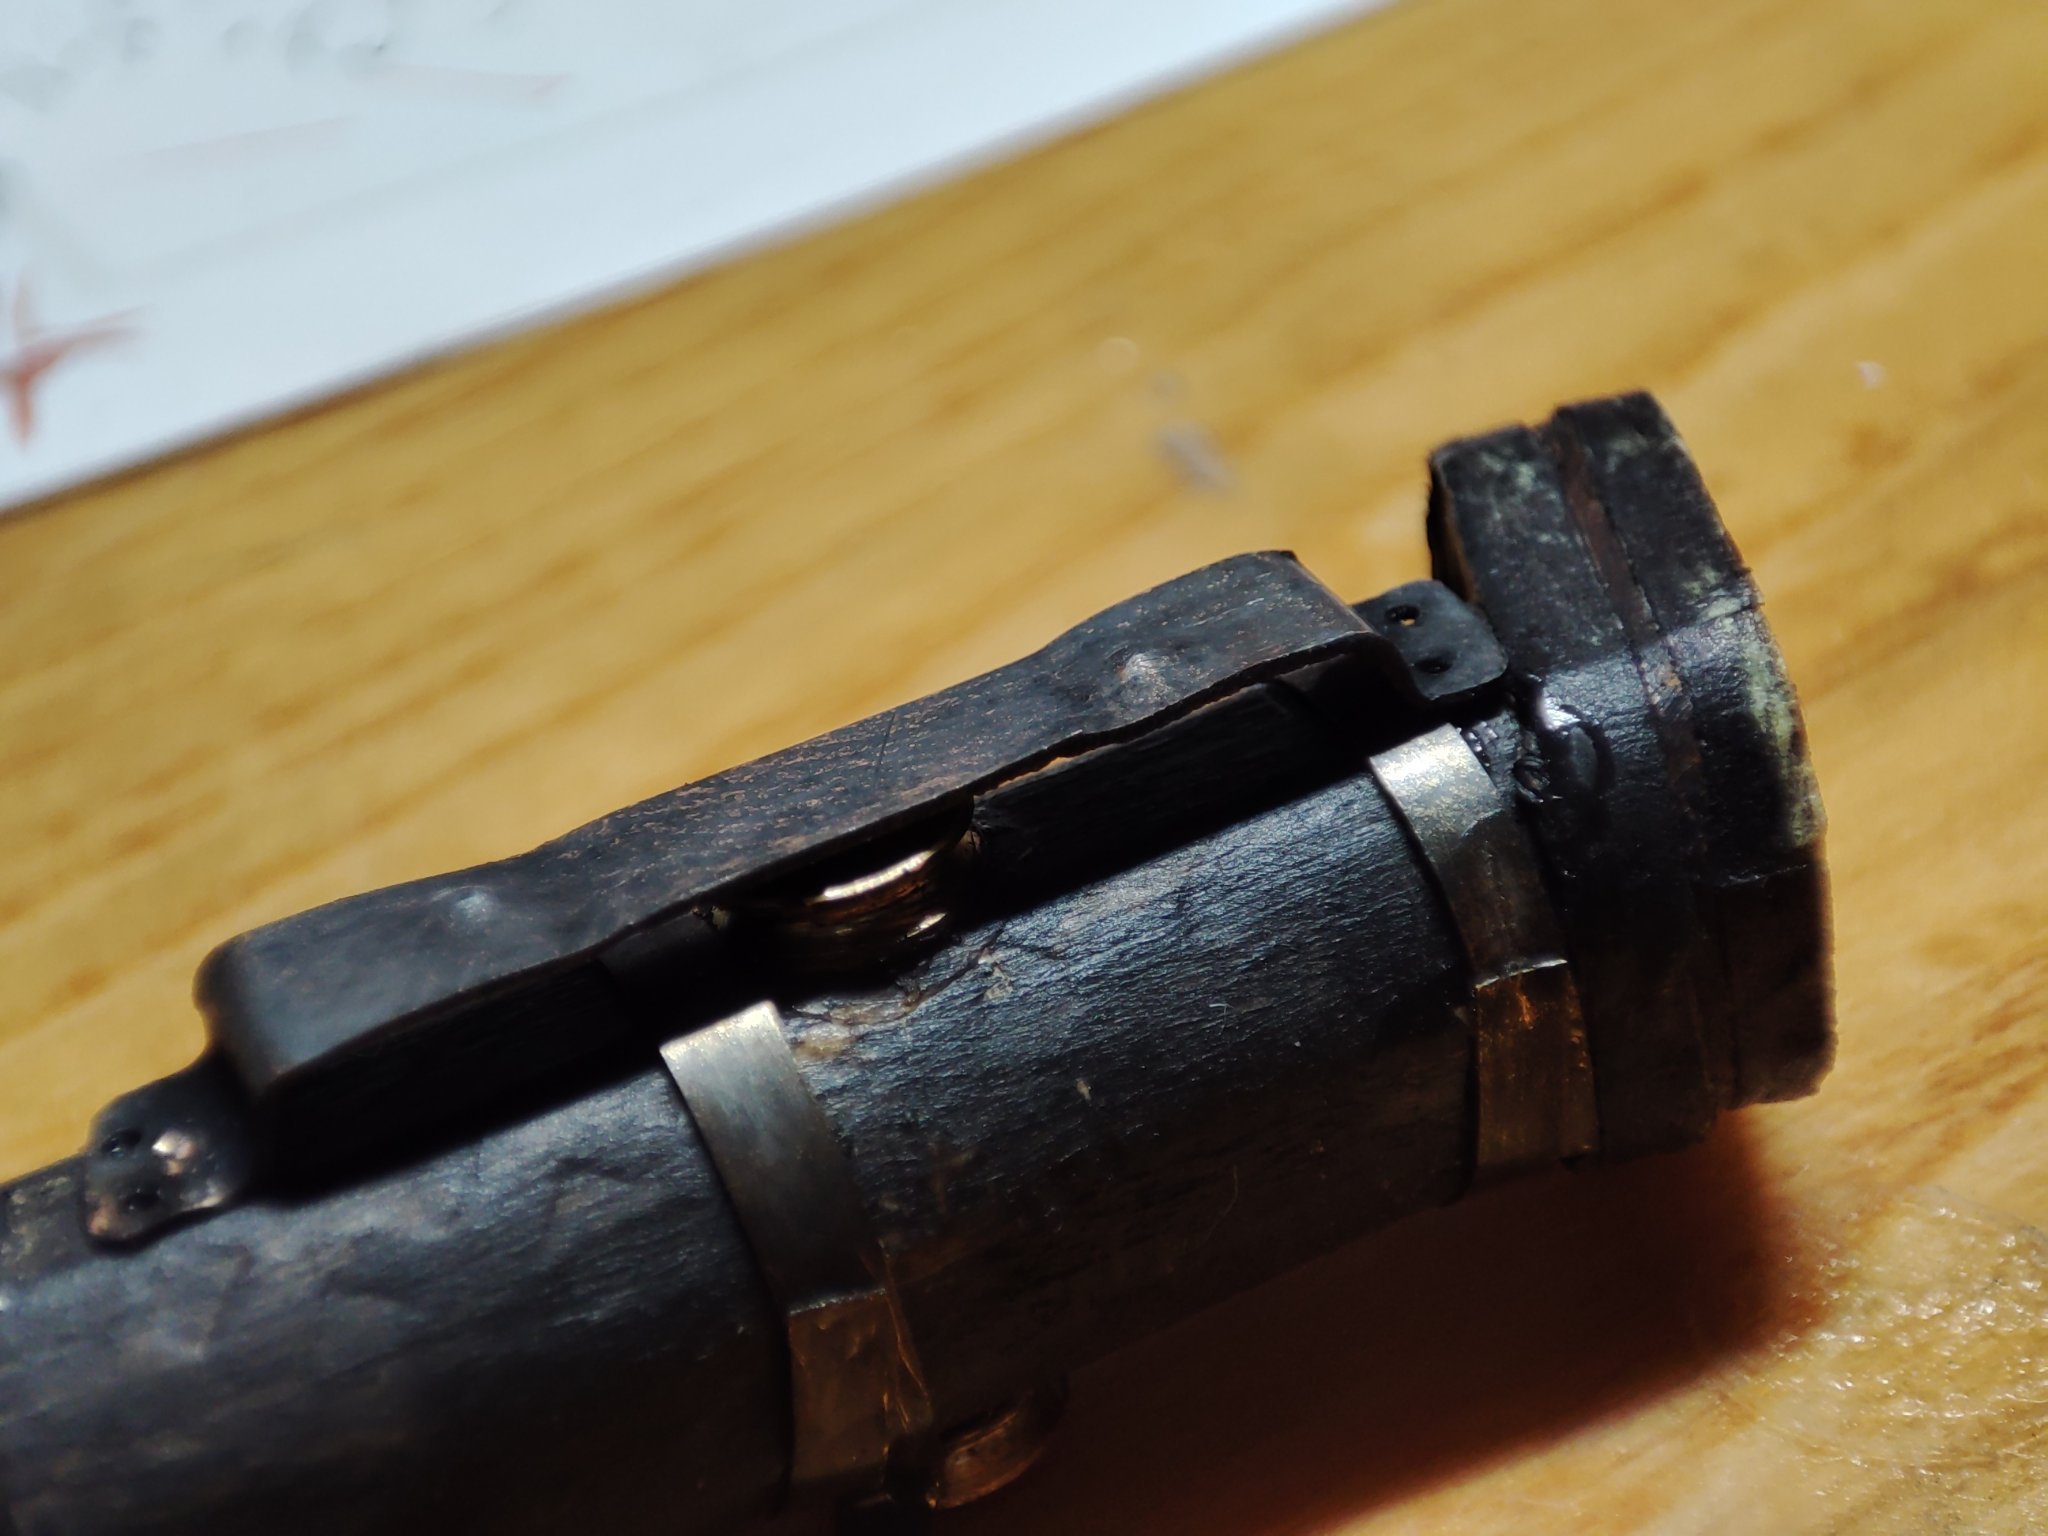
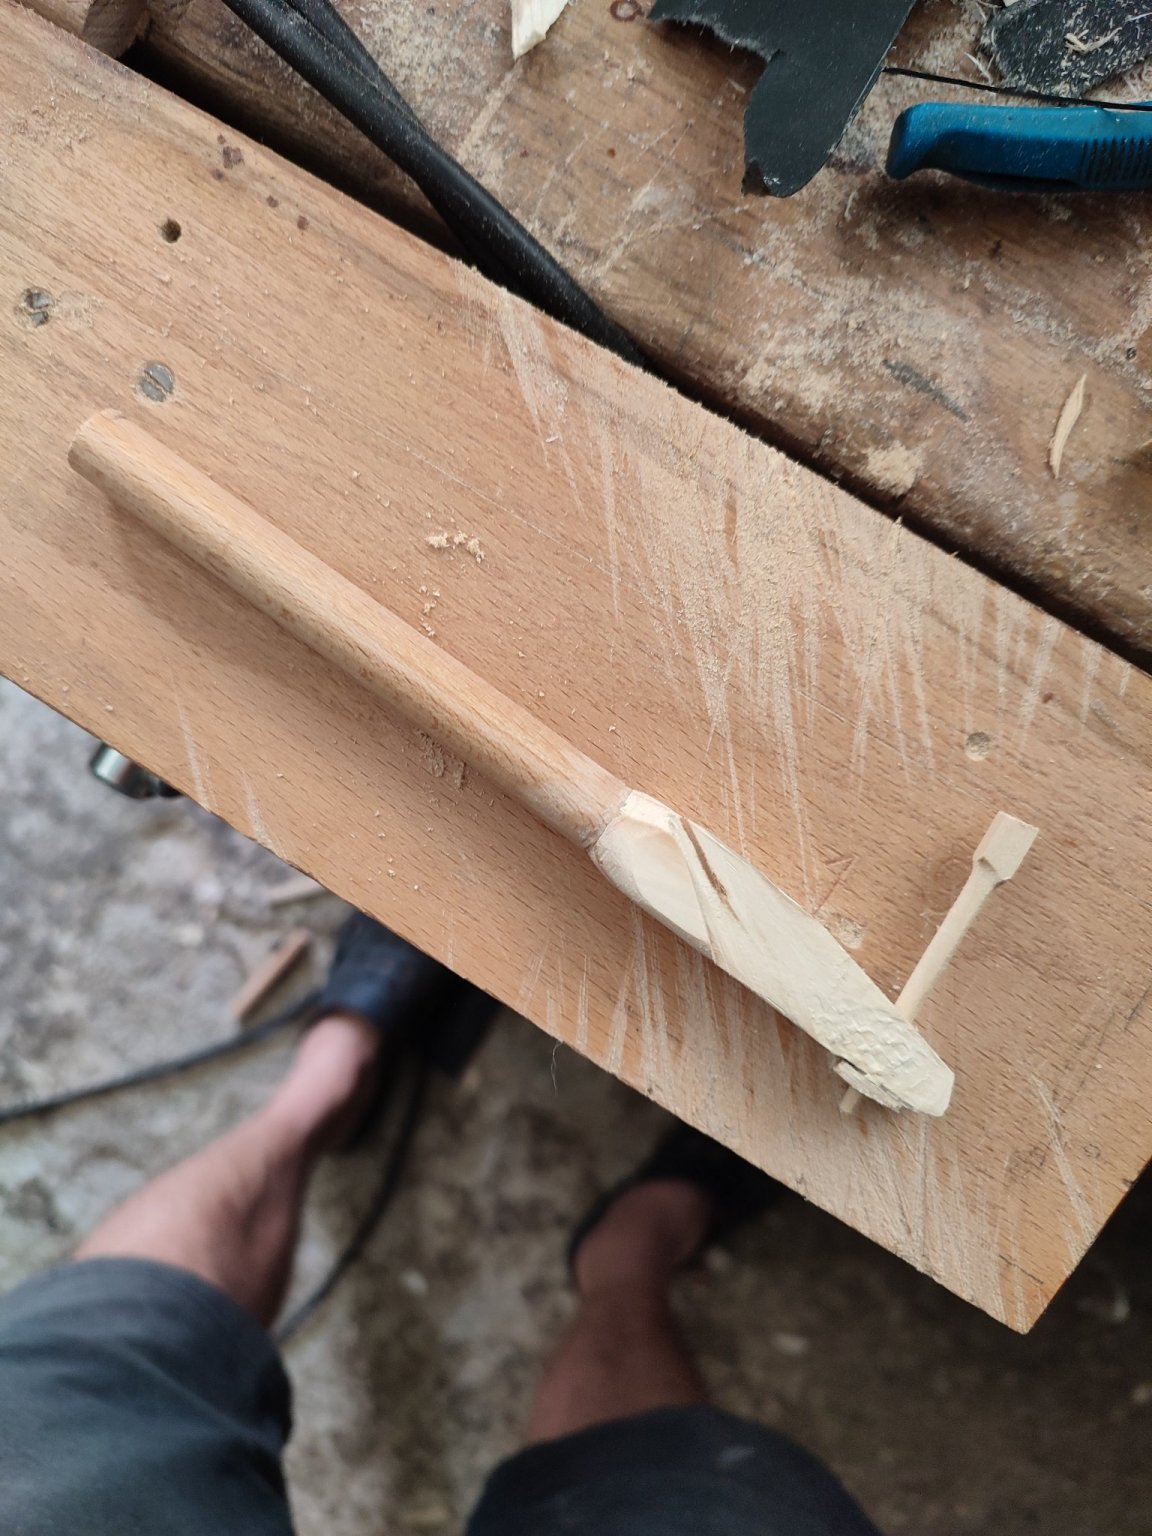
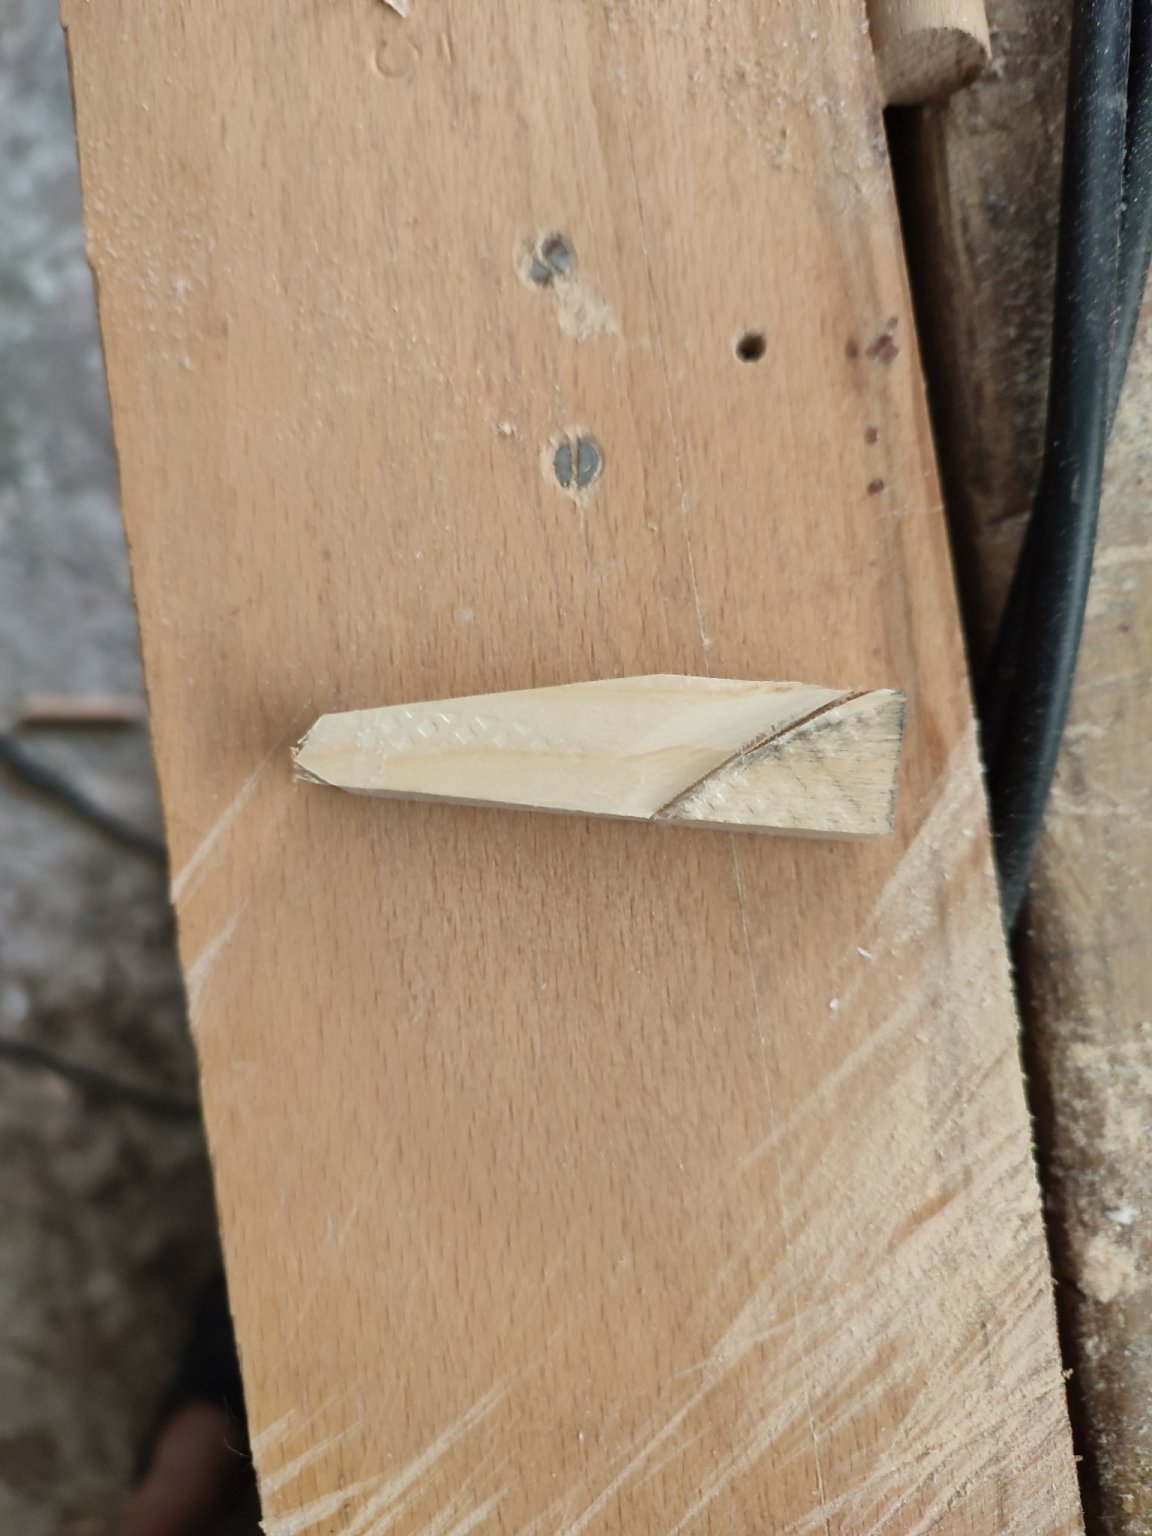
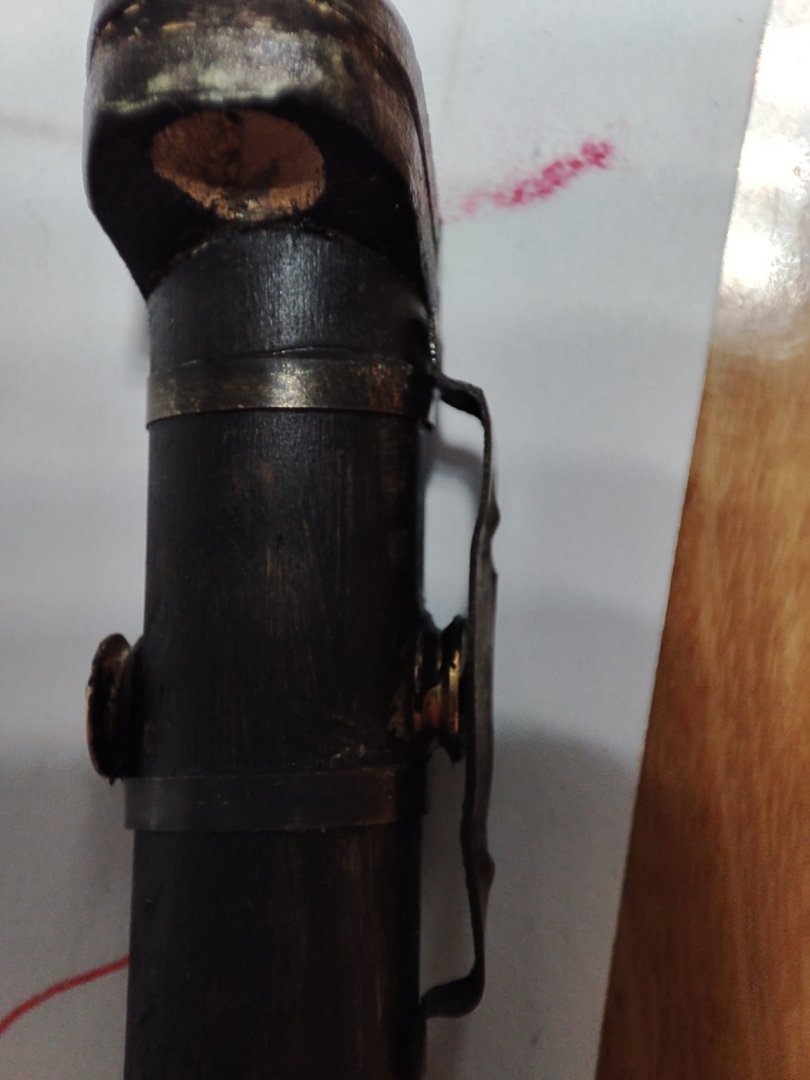
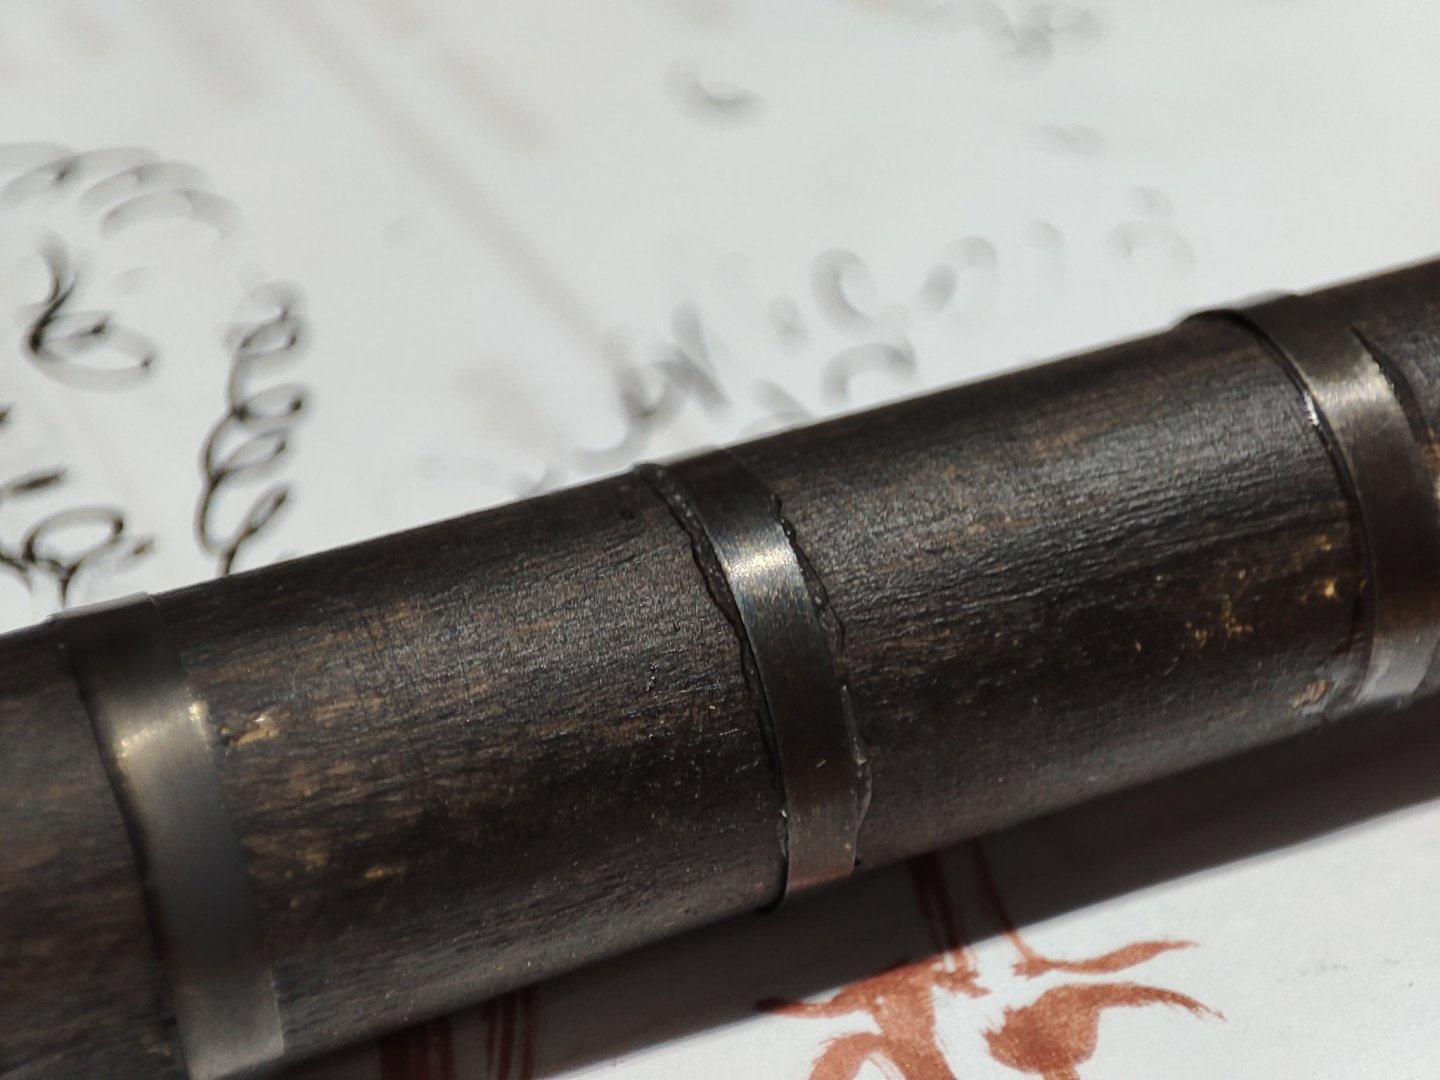
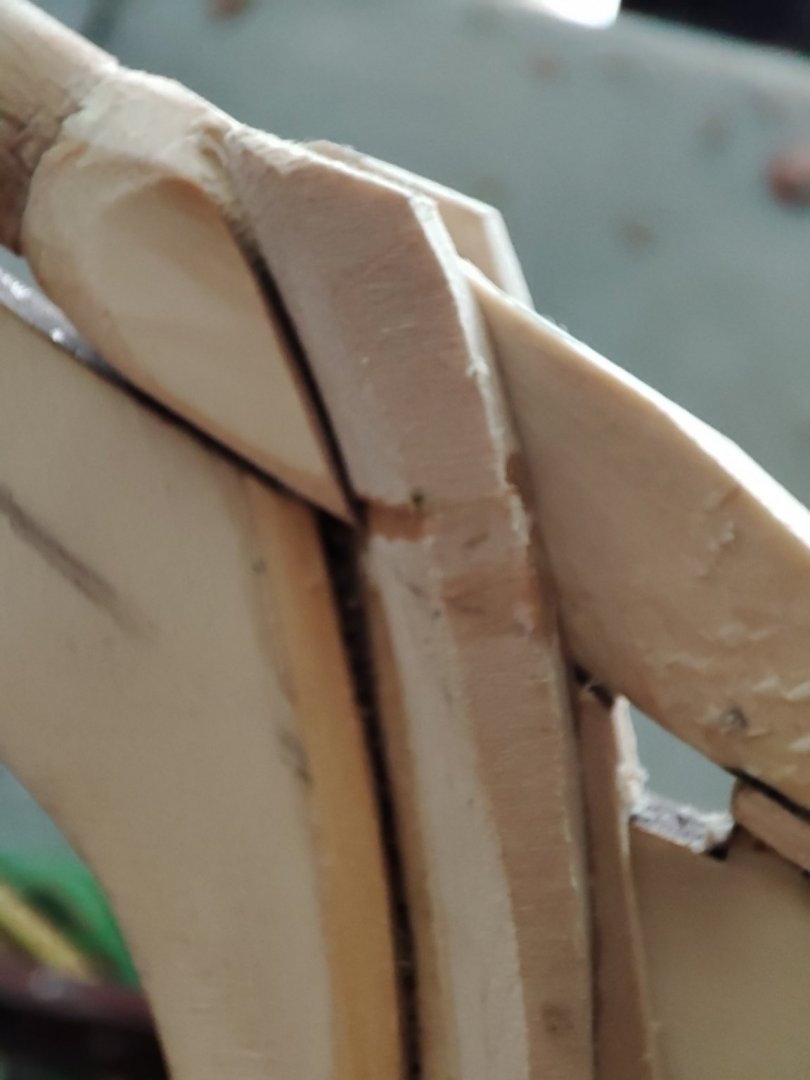
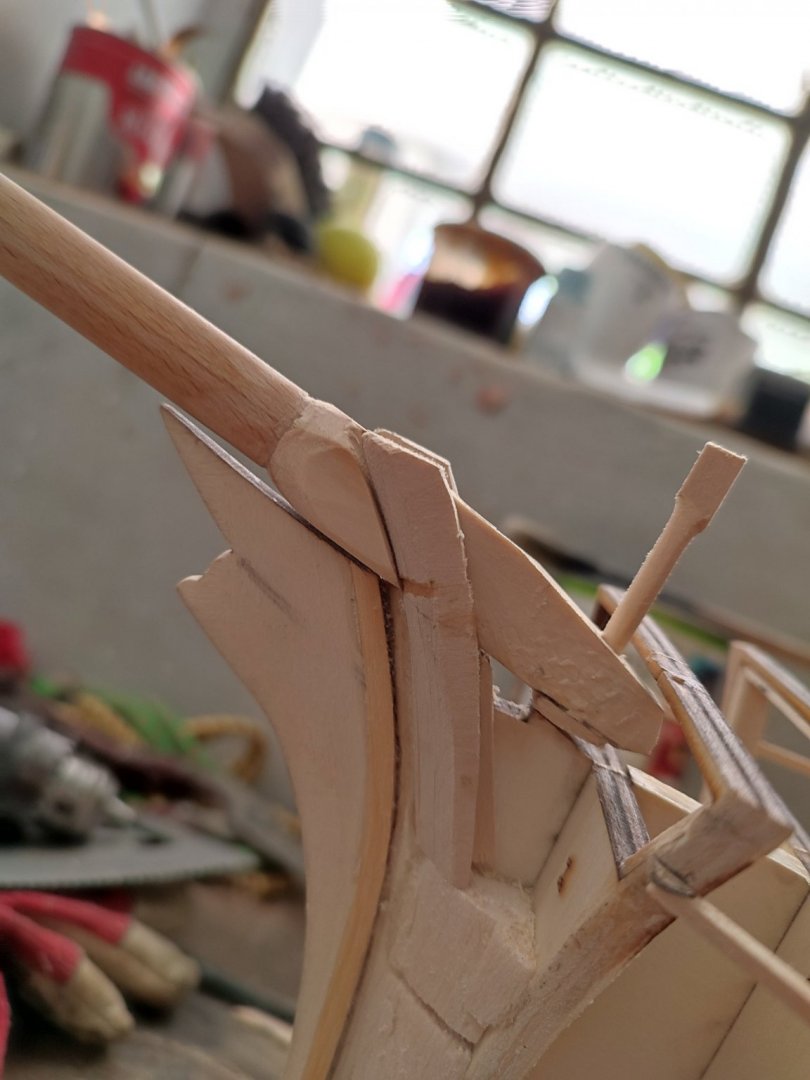
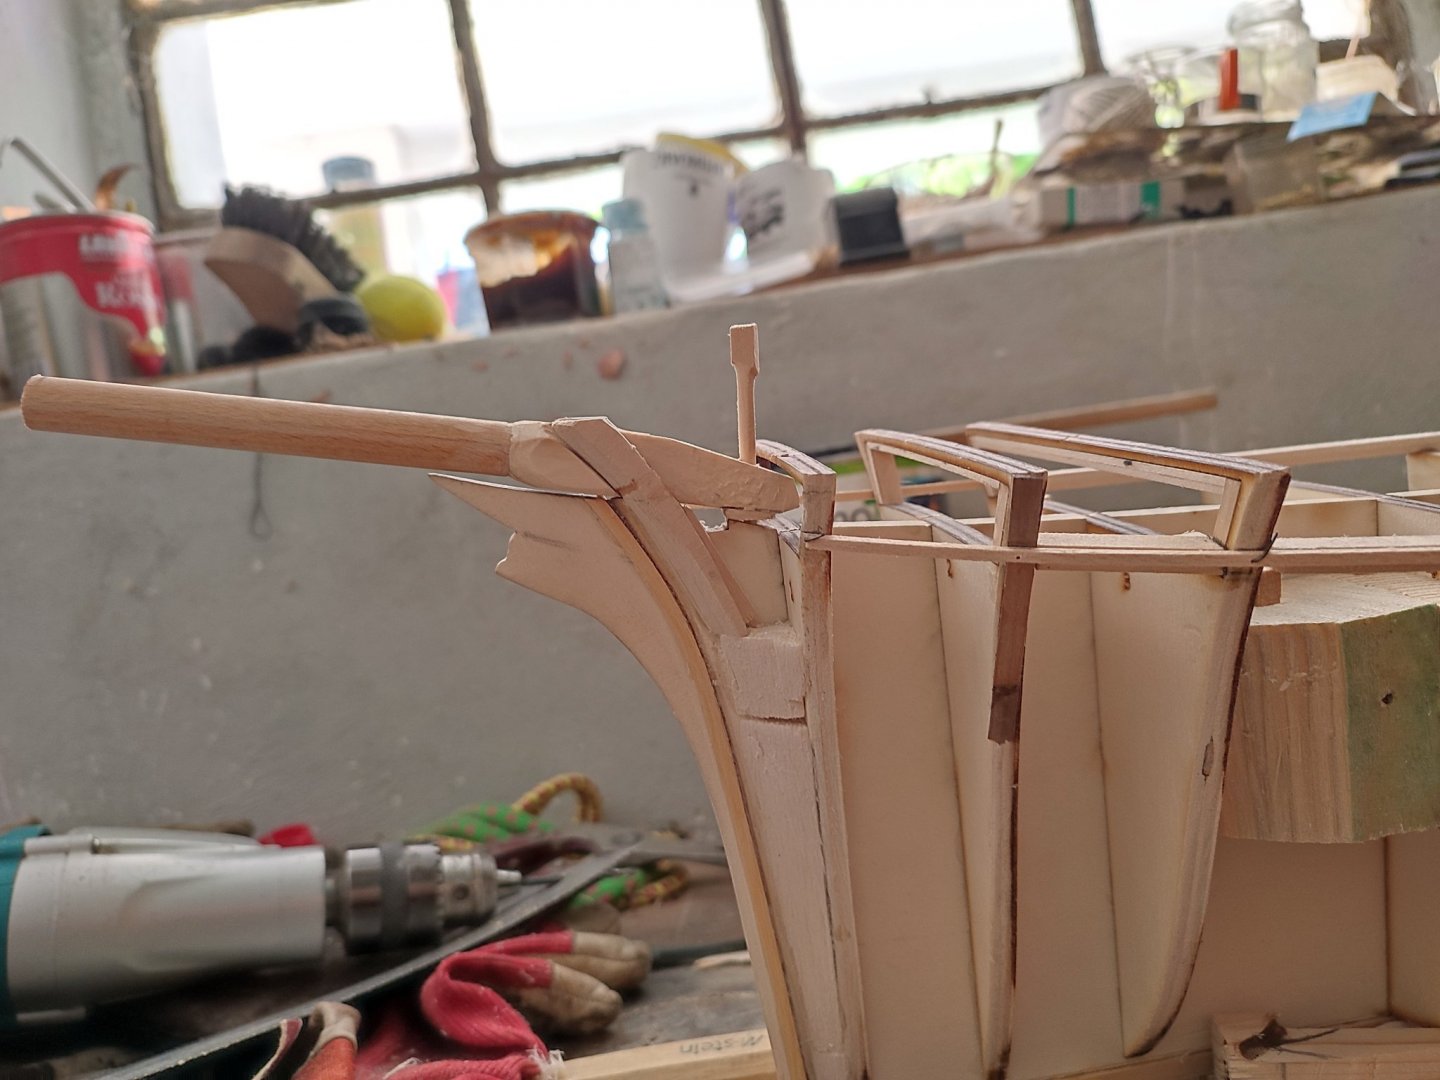
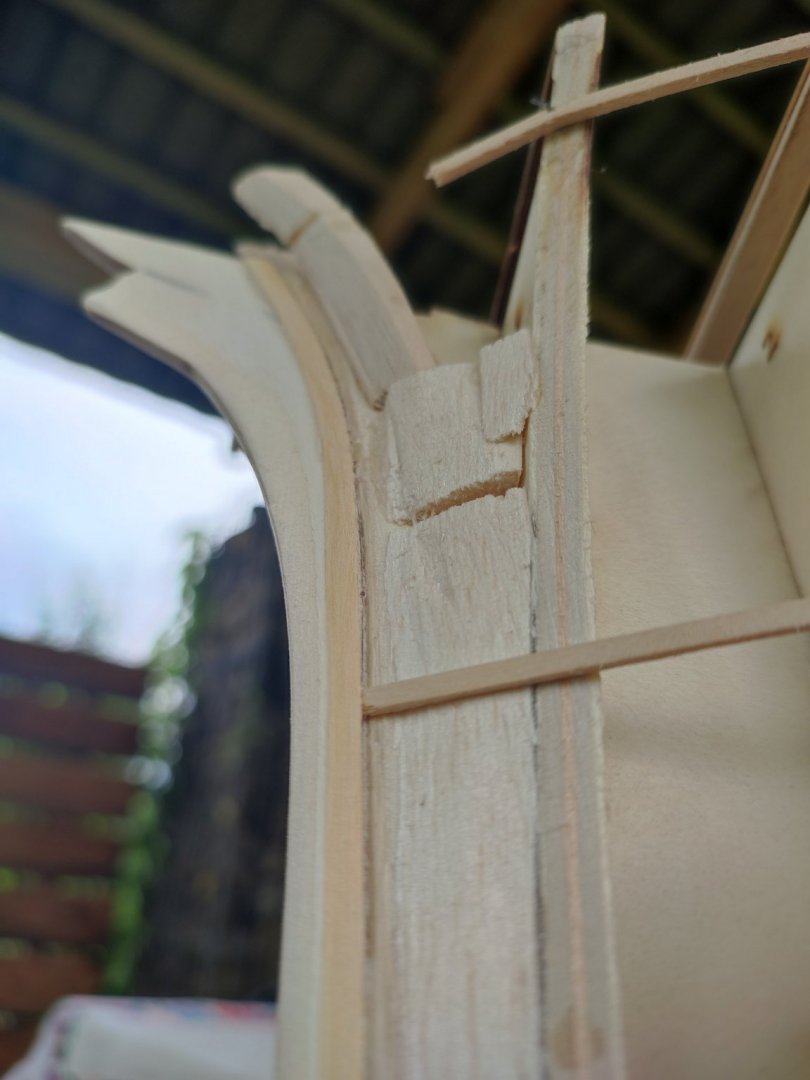
Continue...tried to angle elegant curves on cap...its a little smaller but i Will leave IT as such....brass bands Will go on top of cap and on bowsprit itself etc..

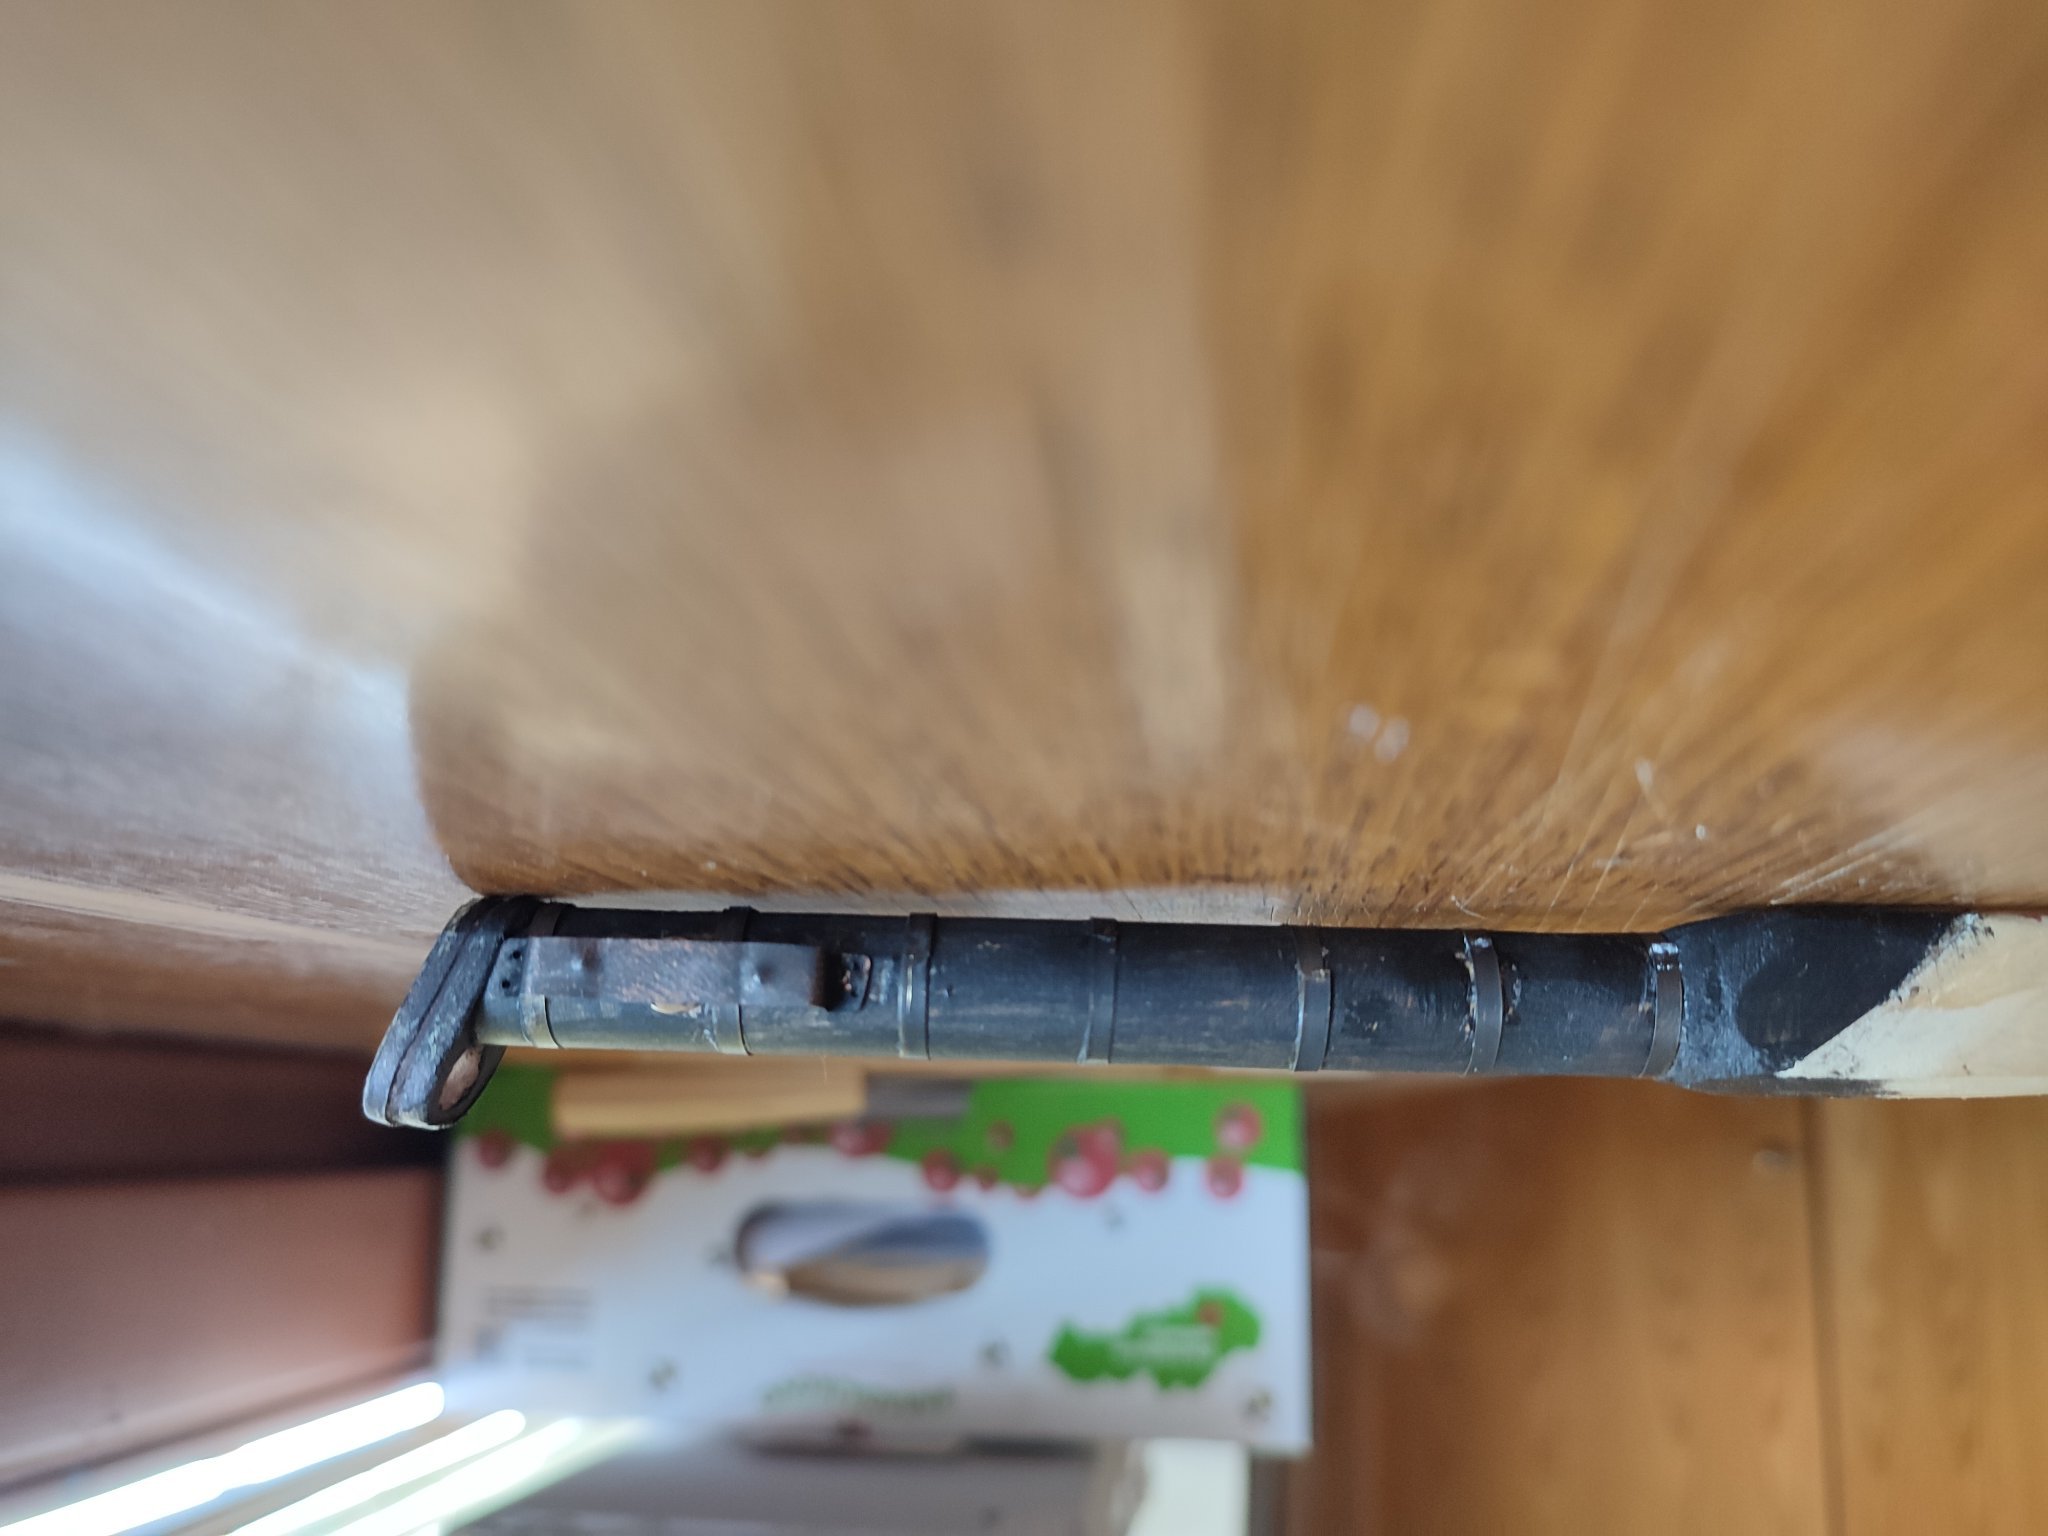
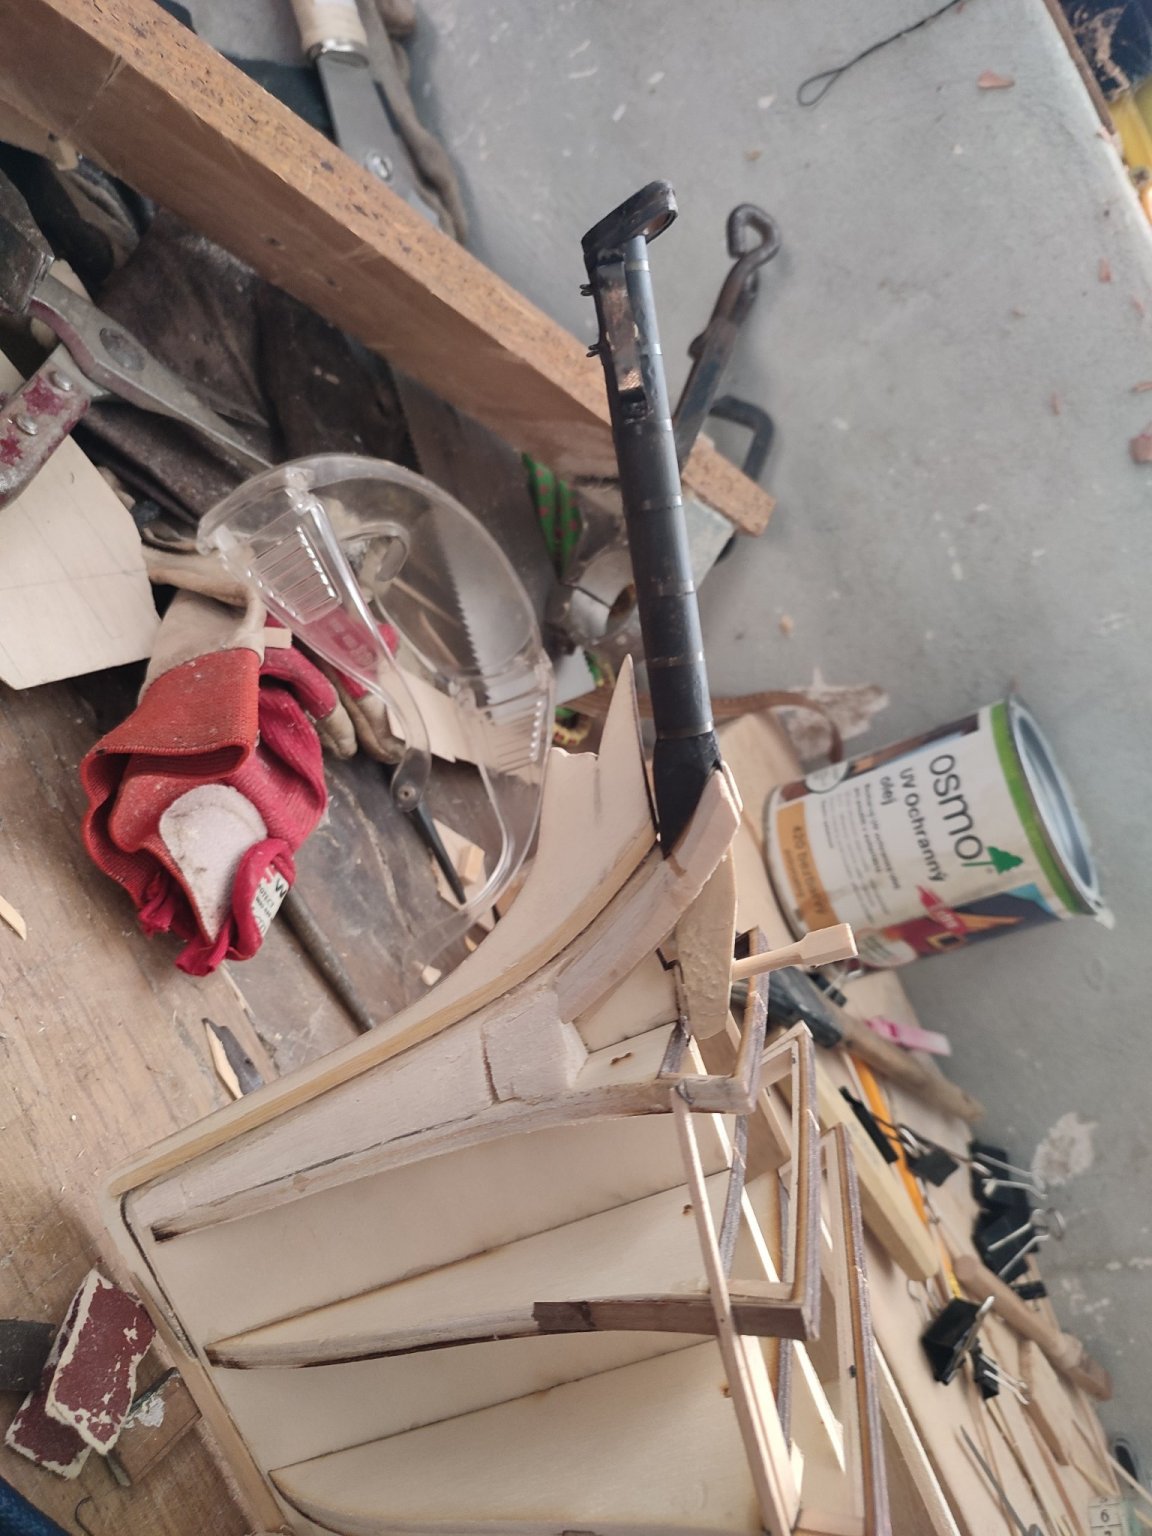
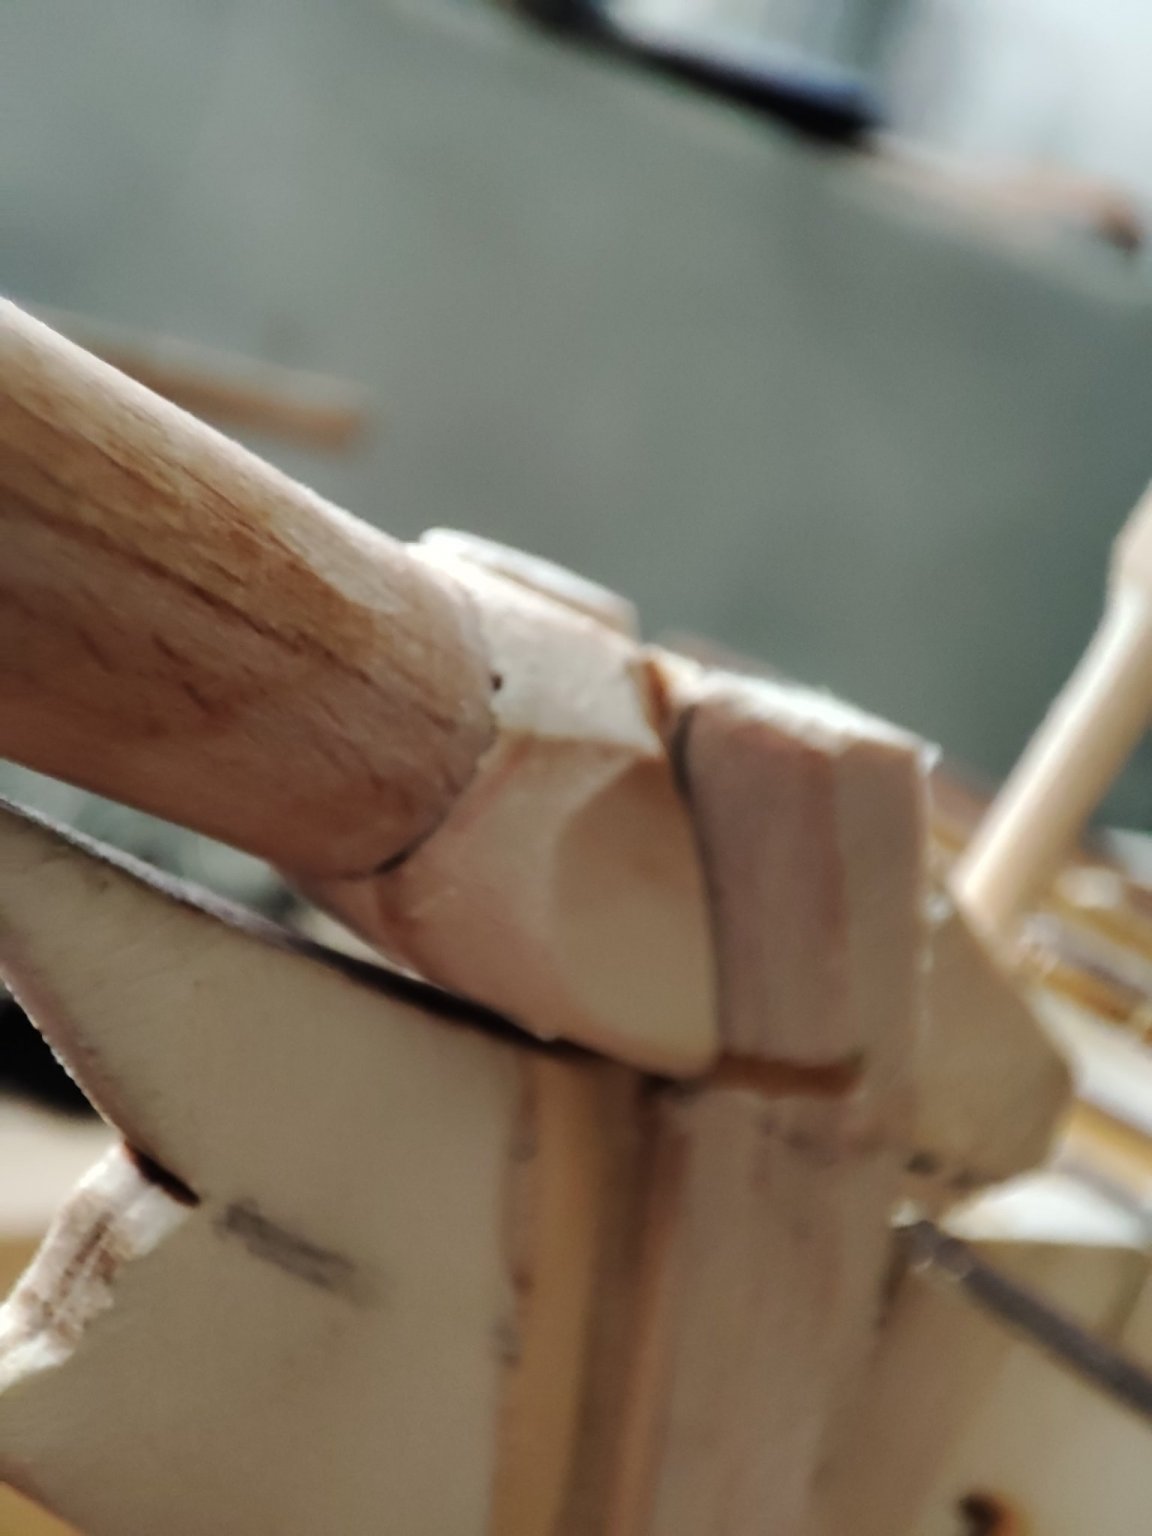
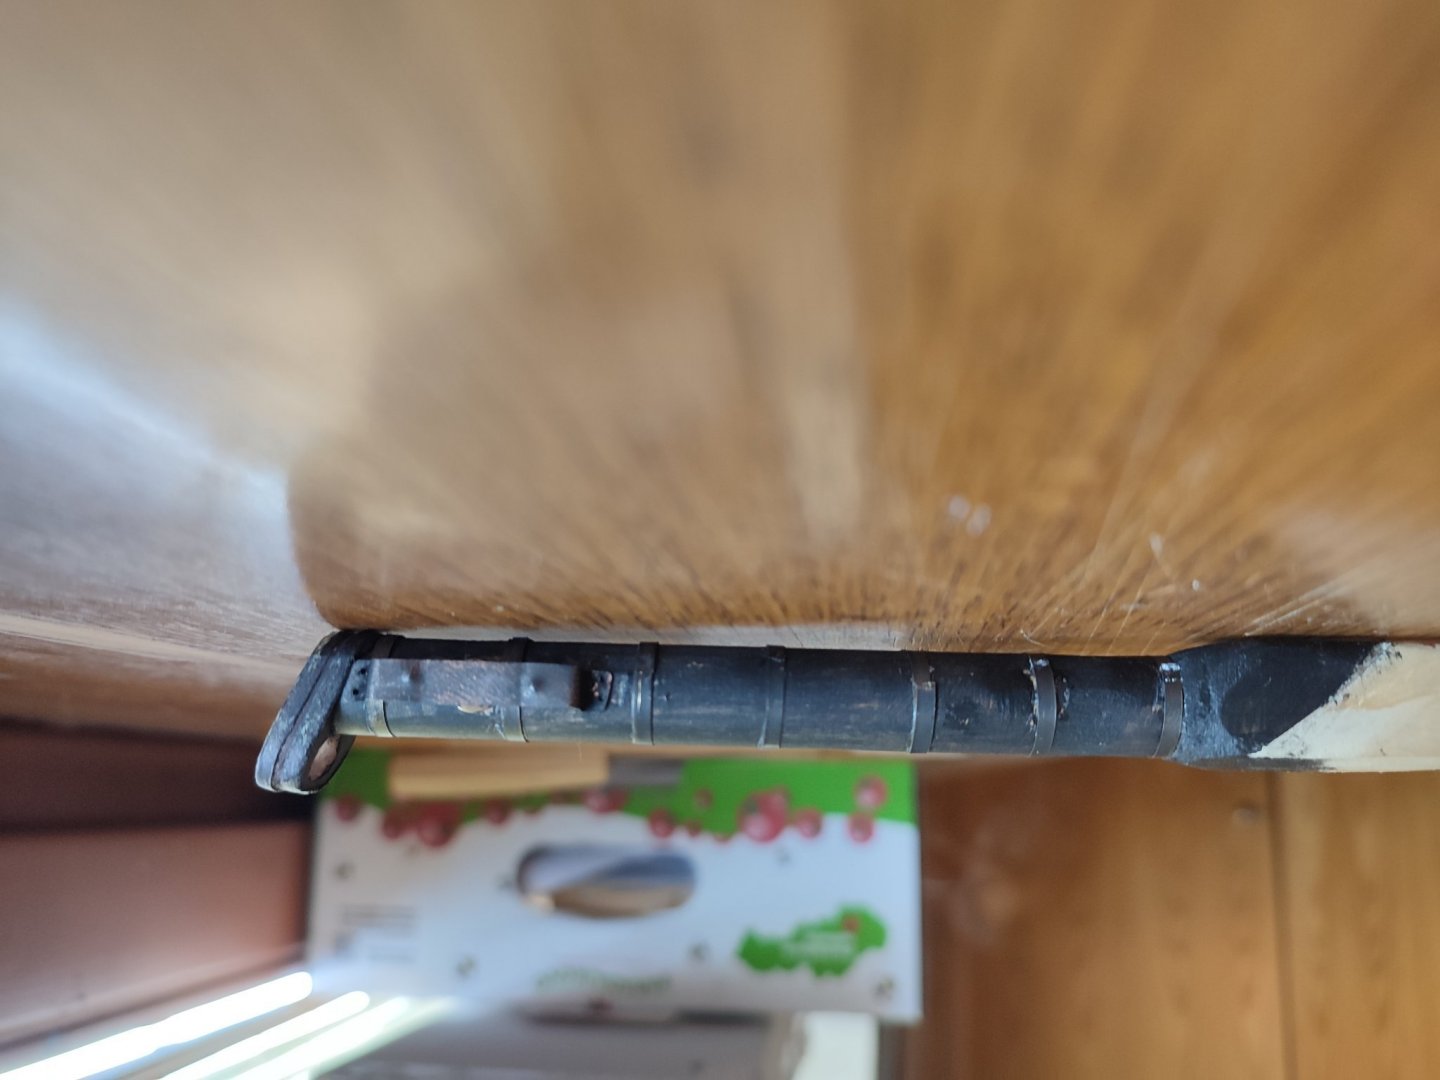
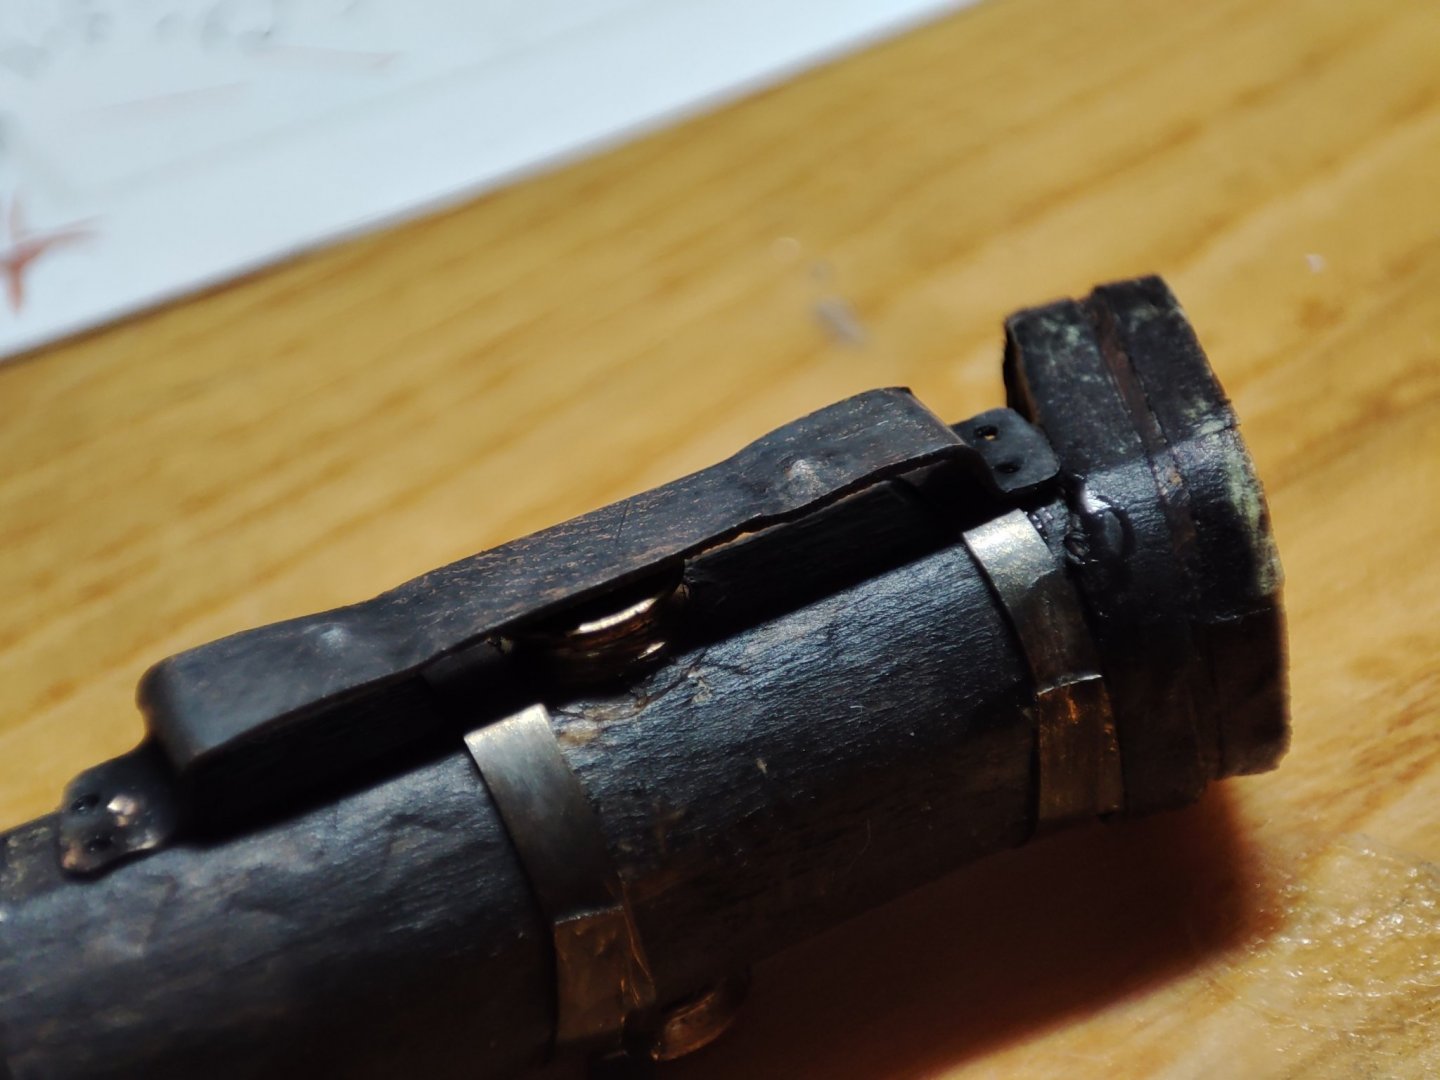
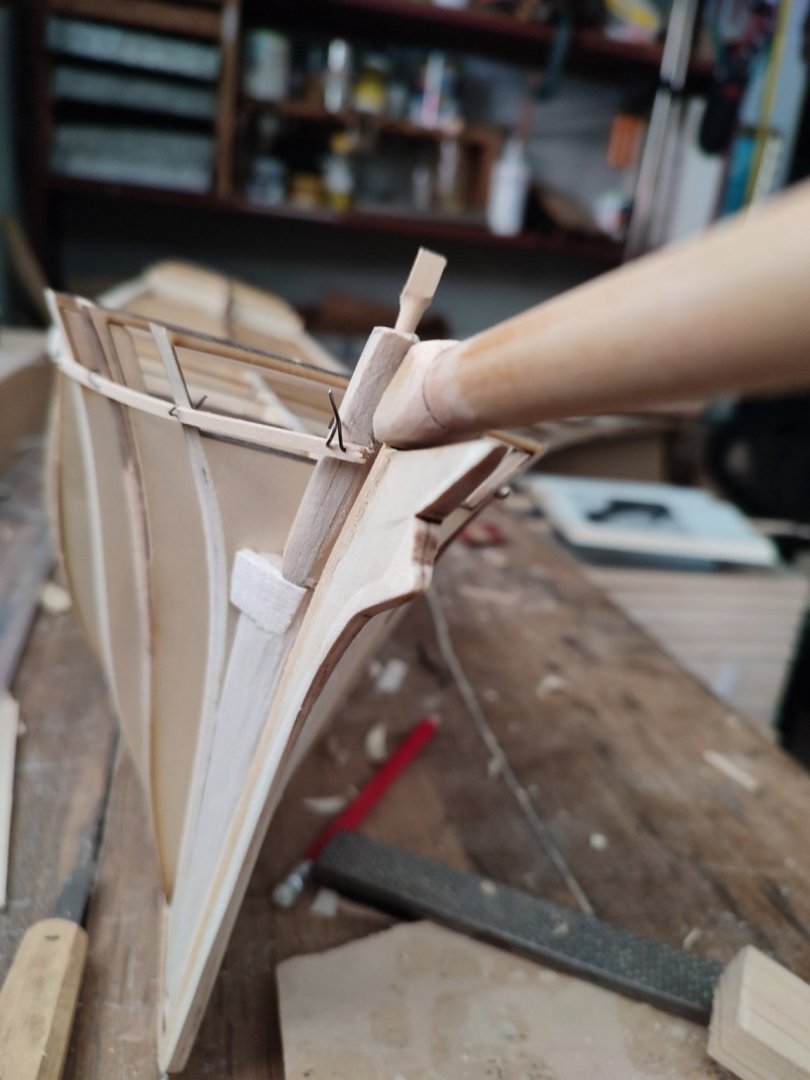
-
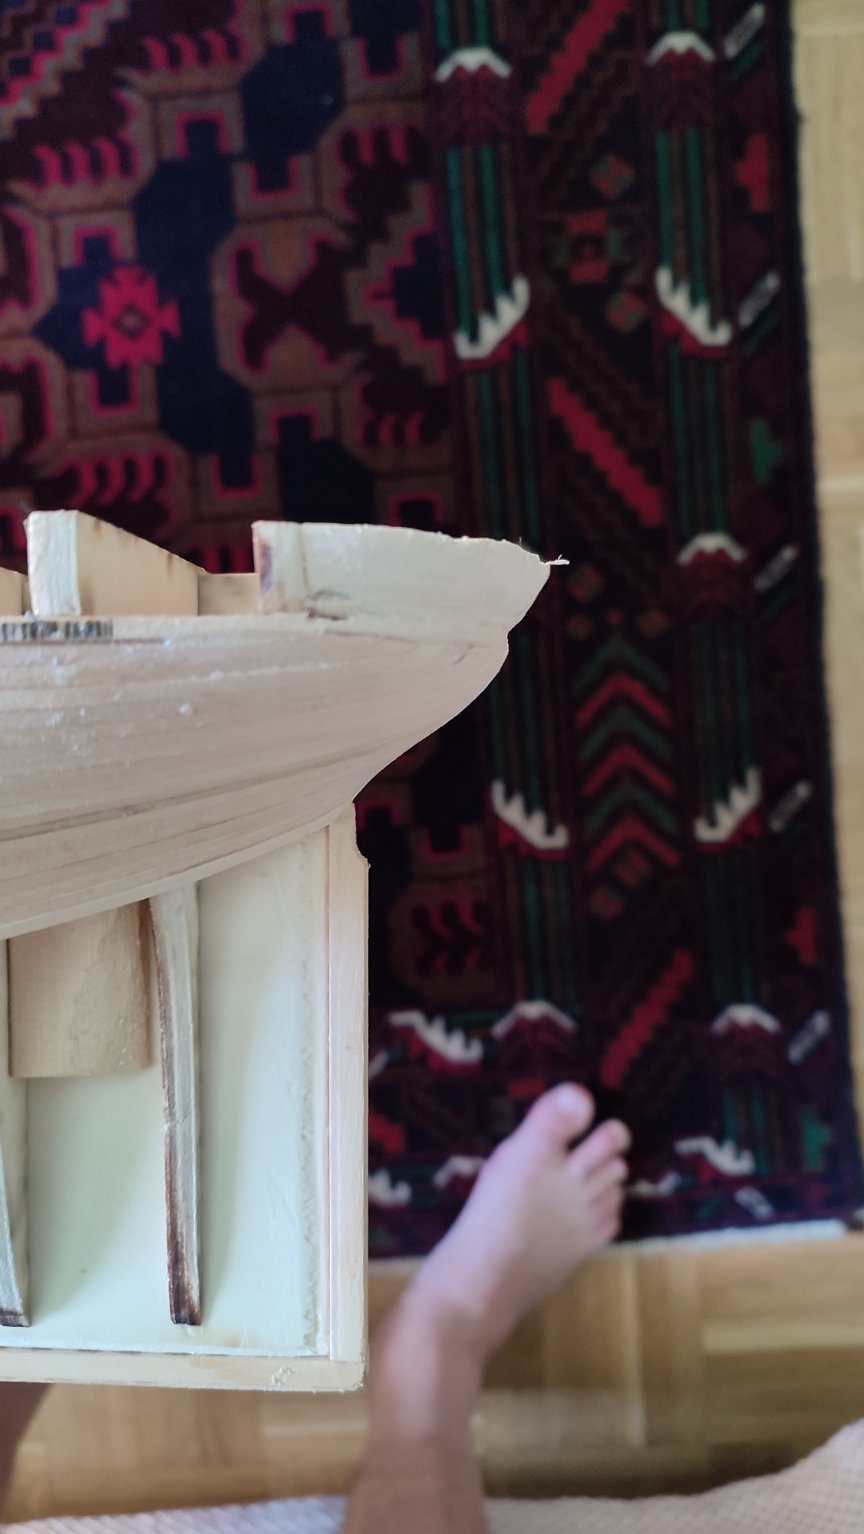
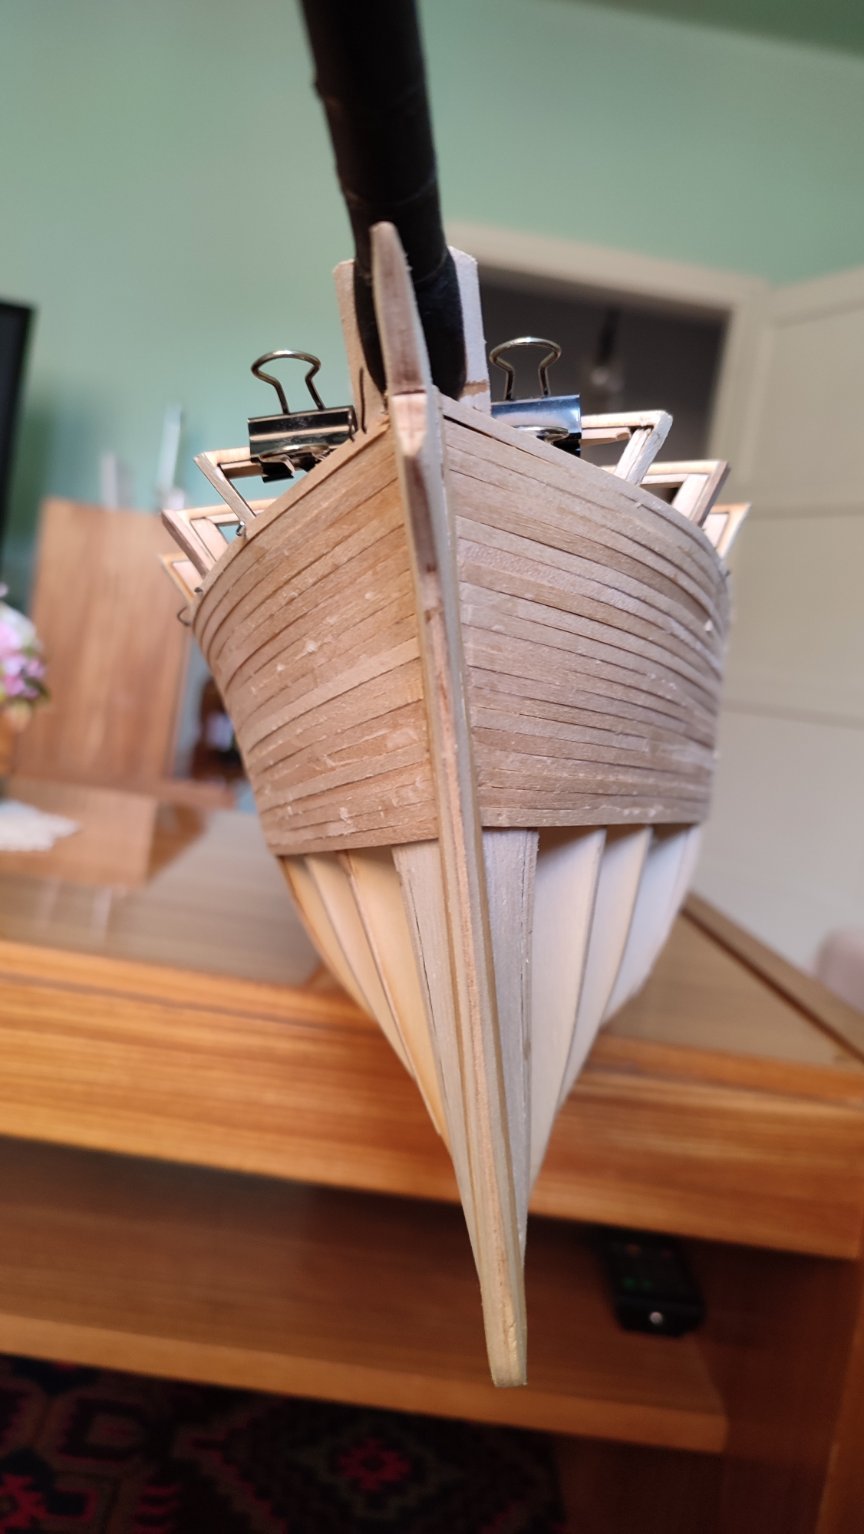
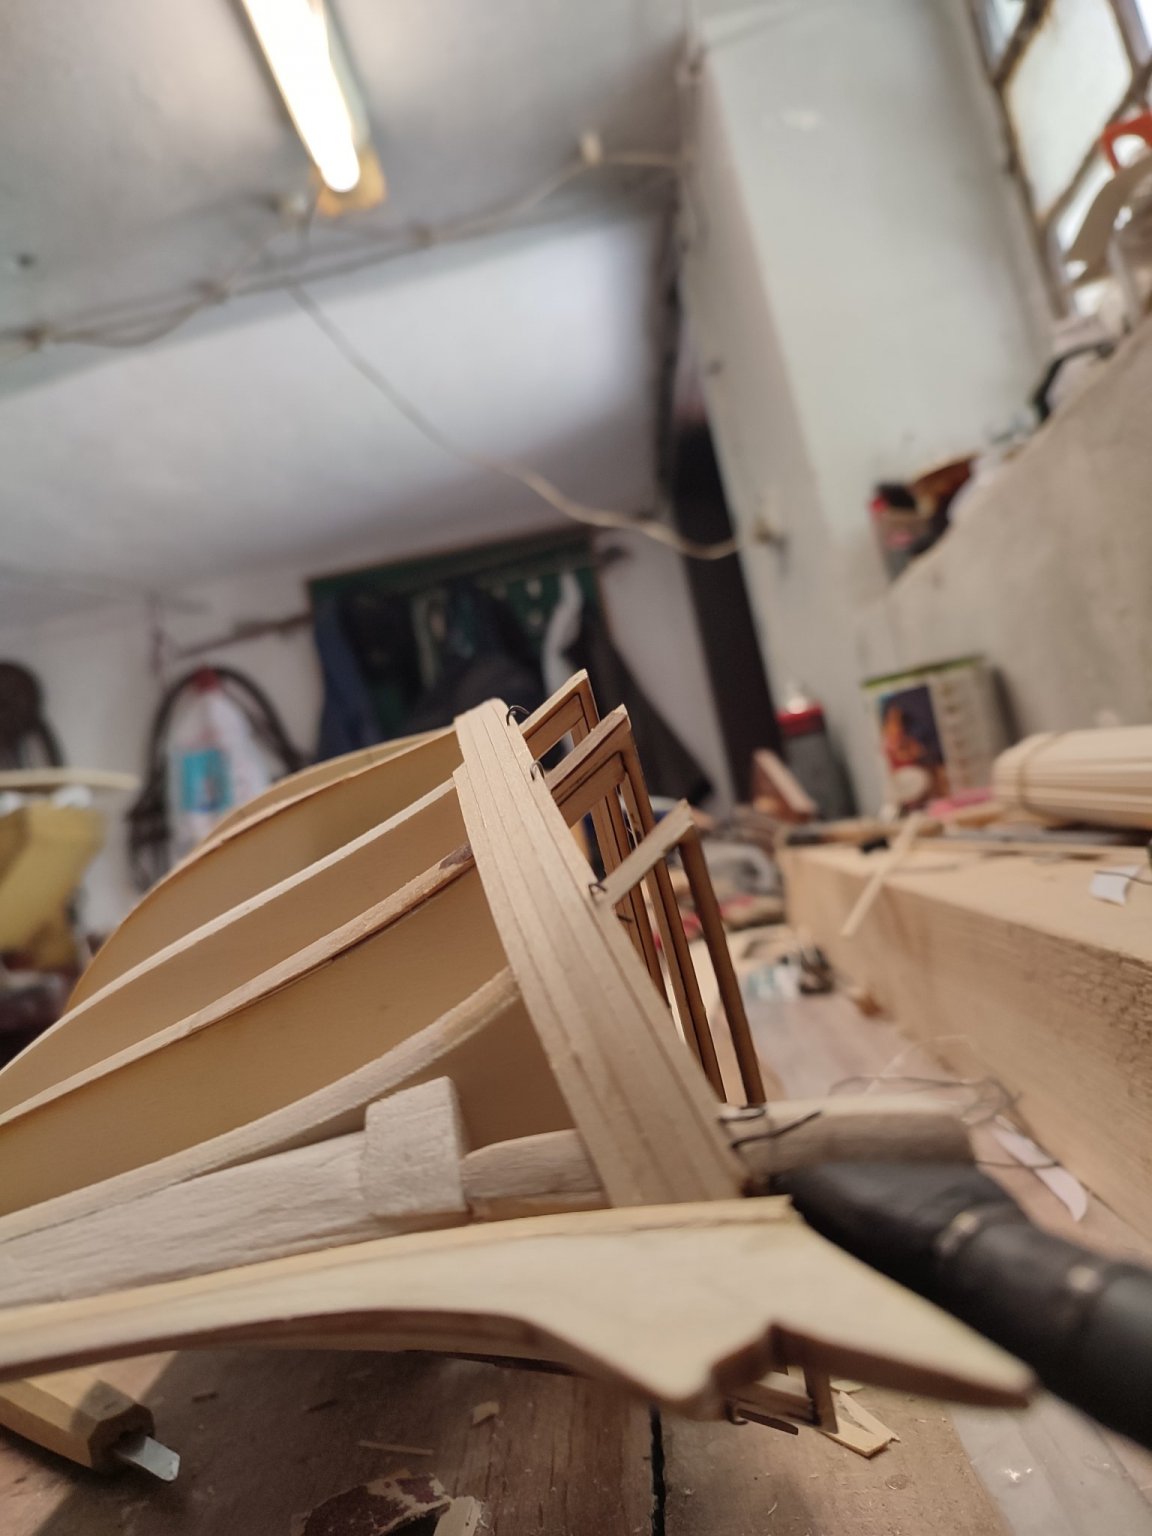
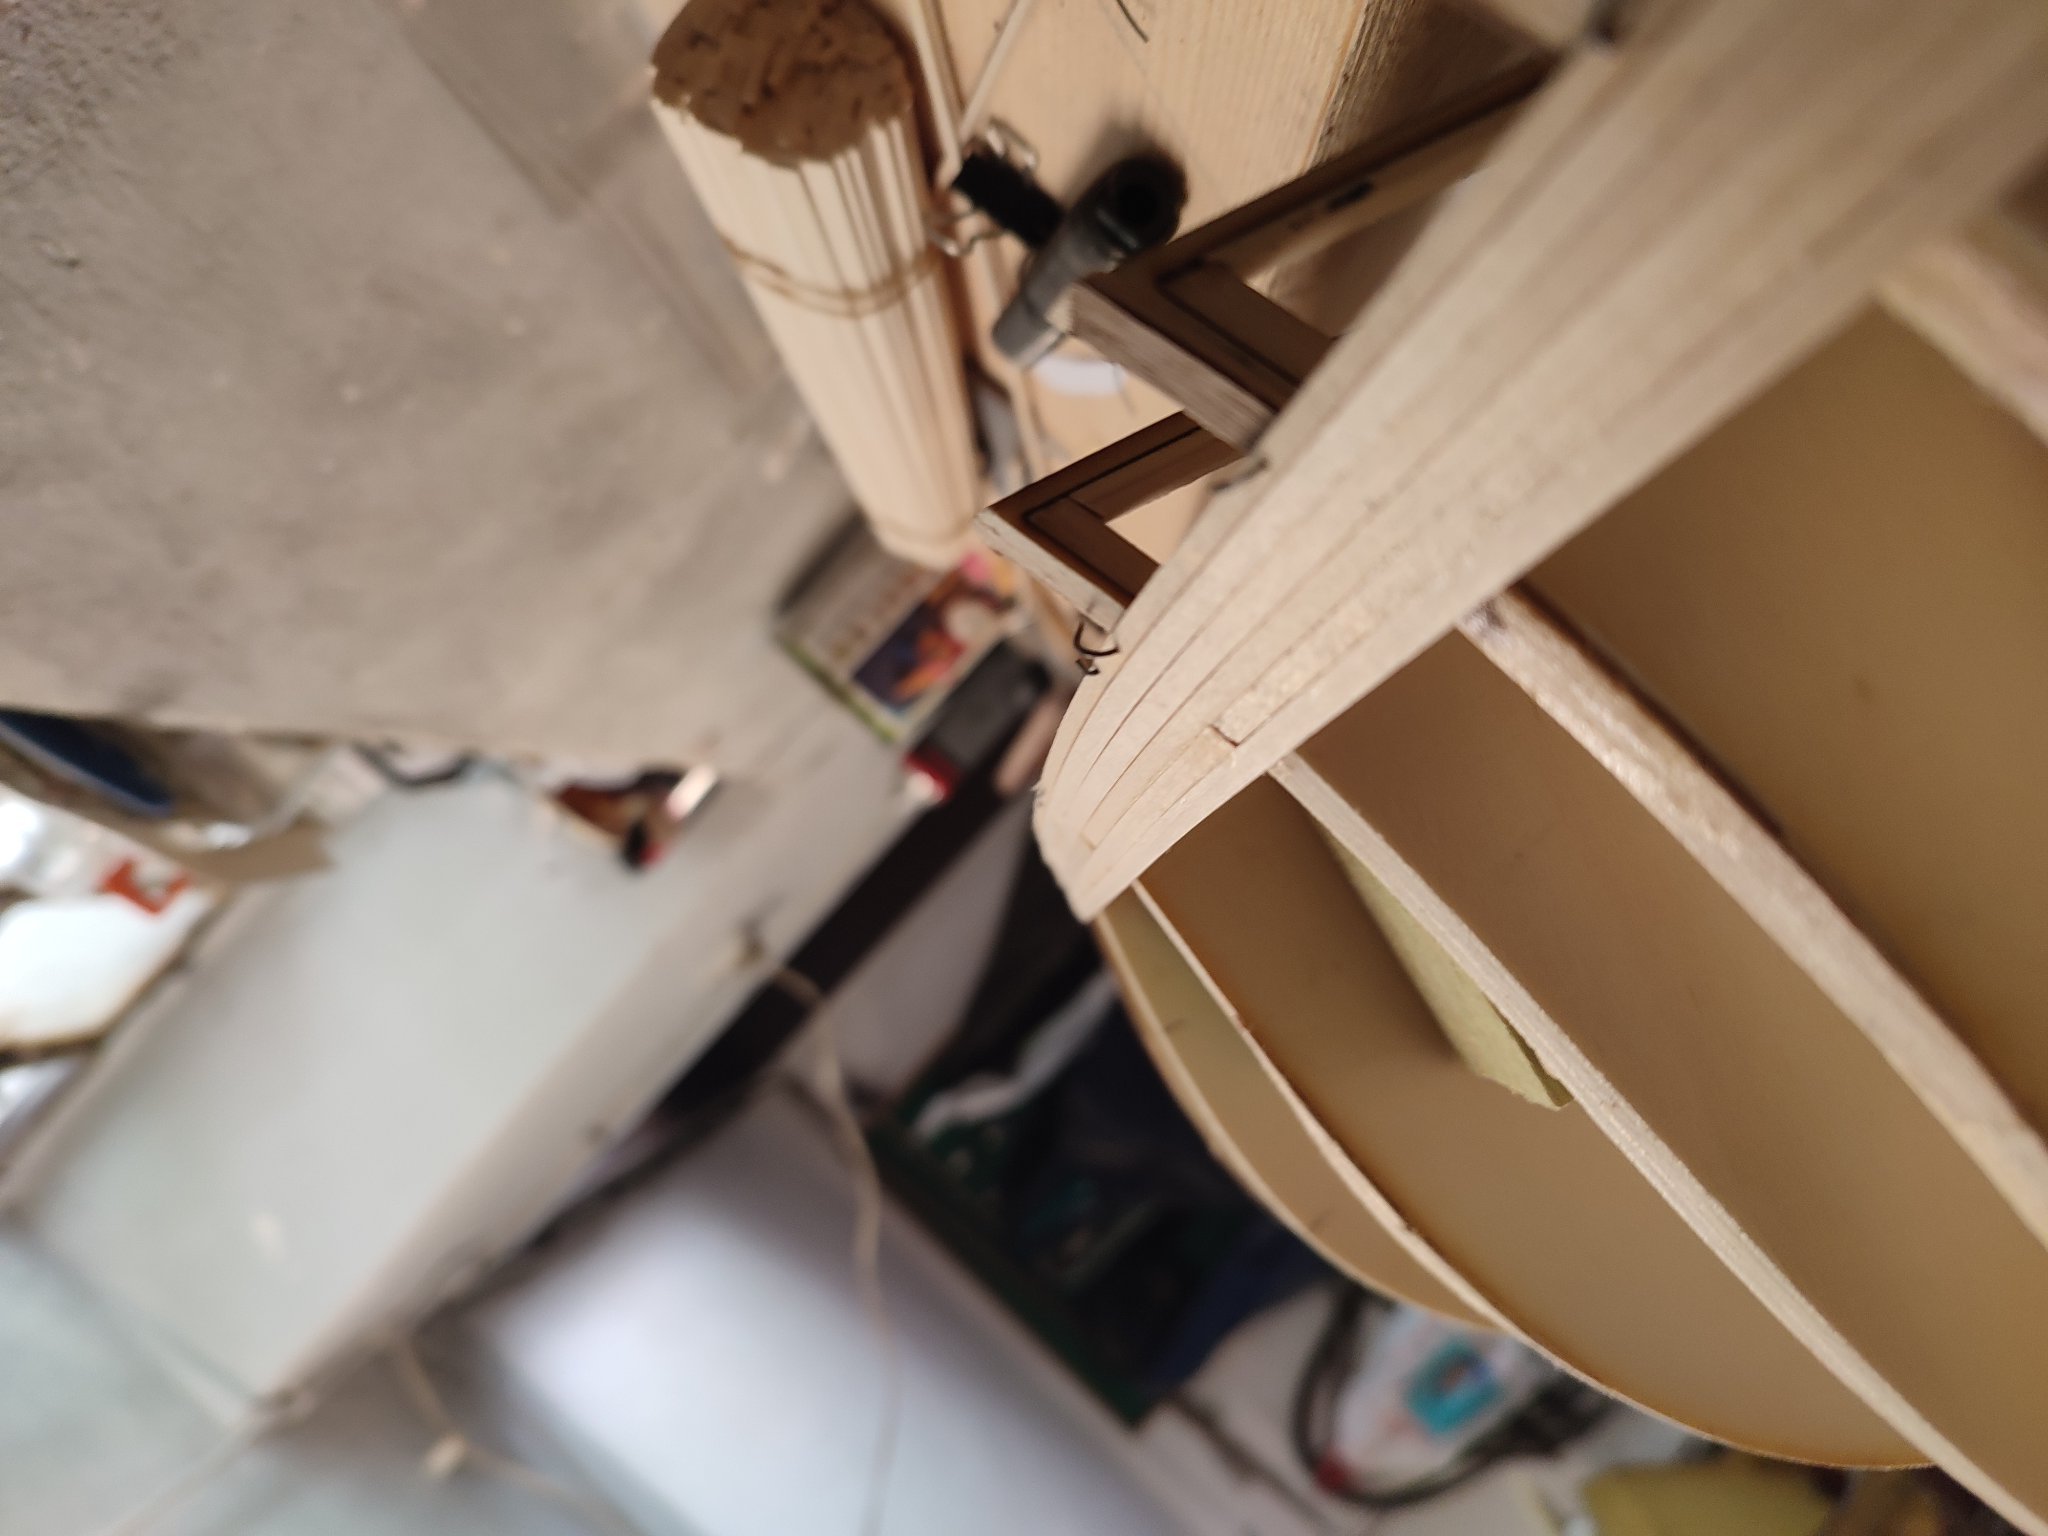
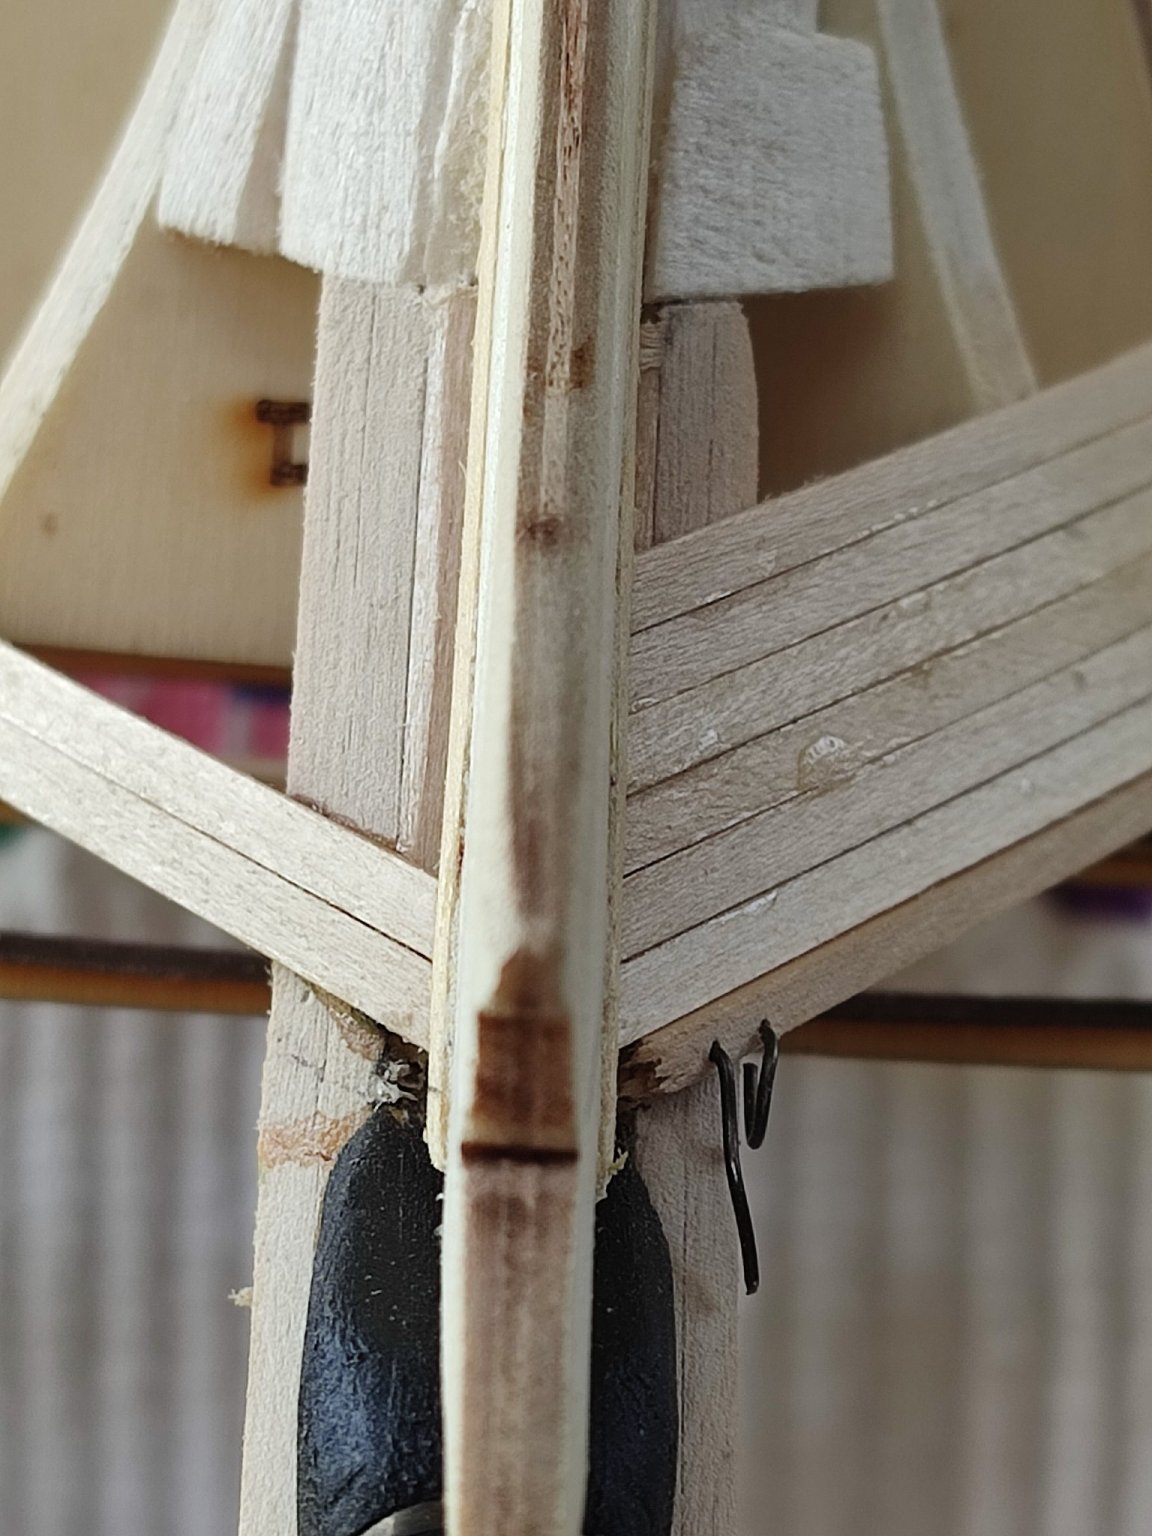
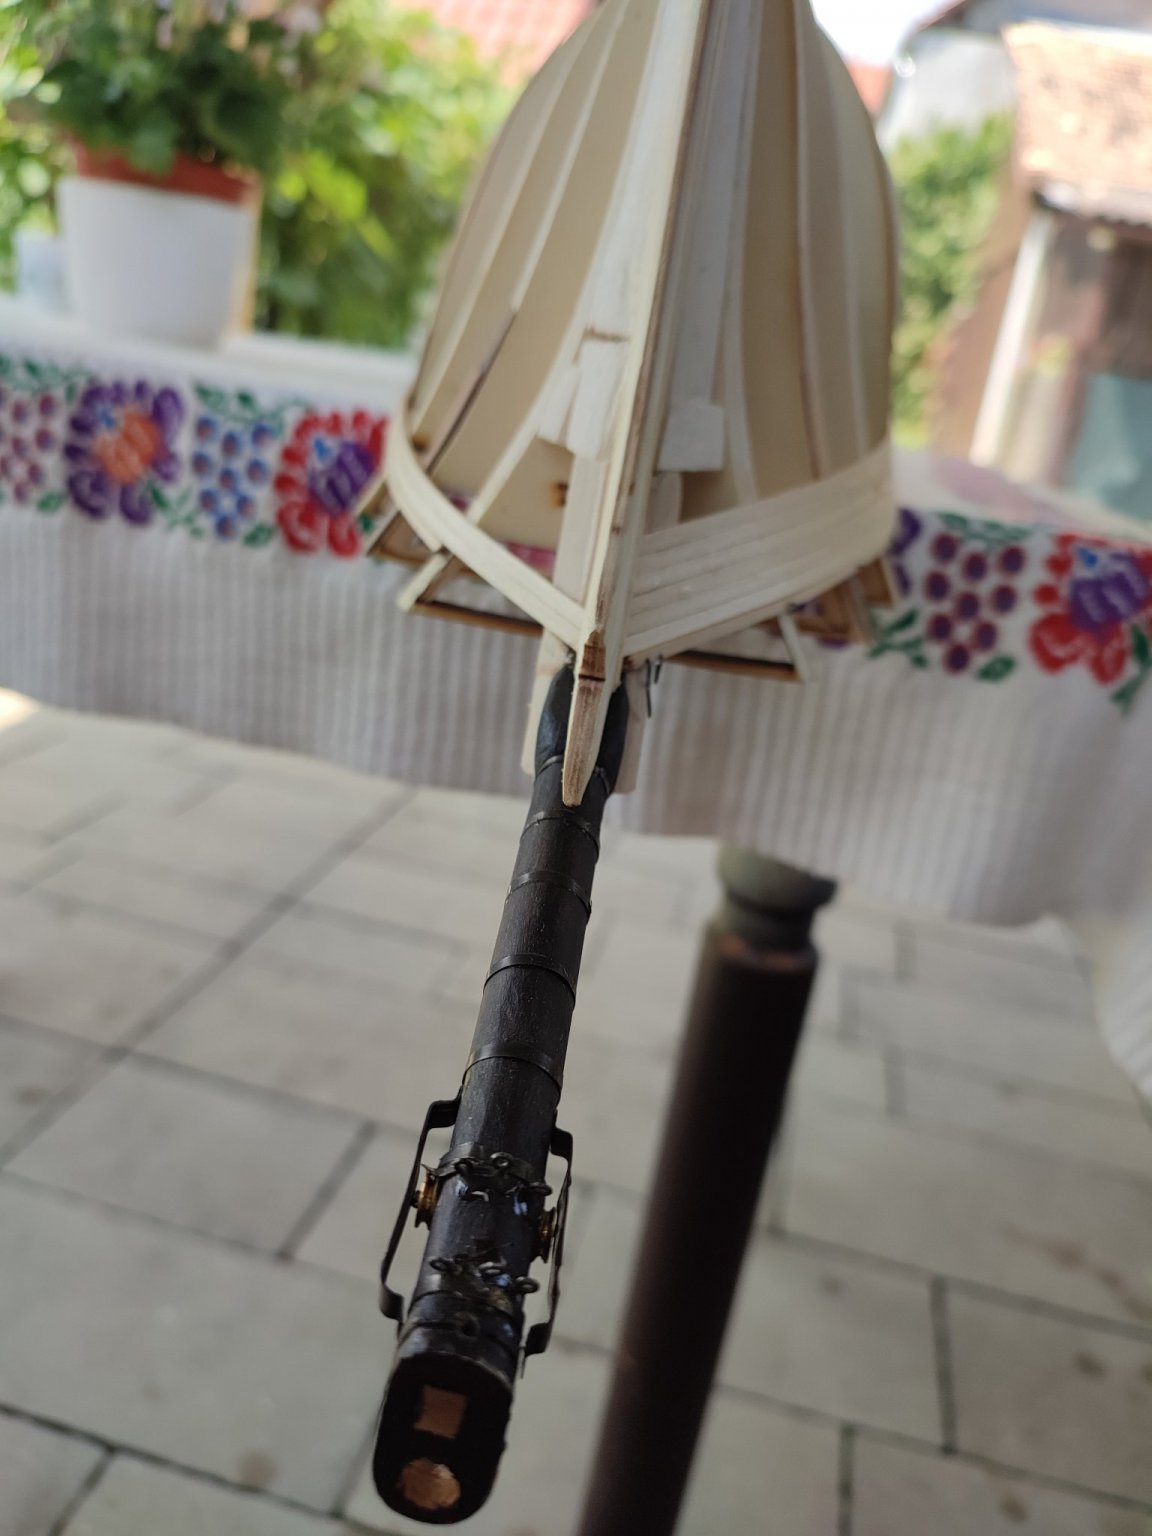
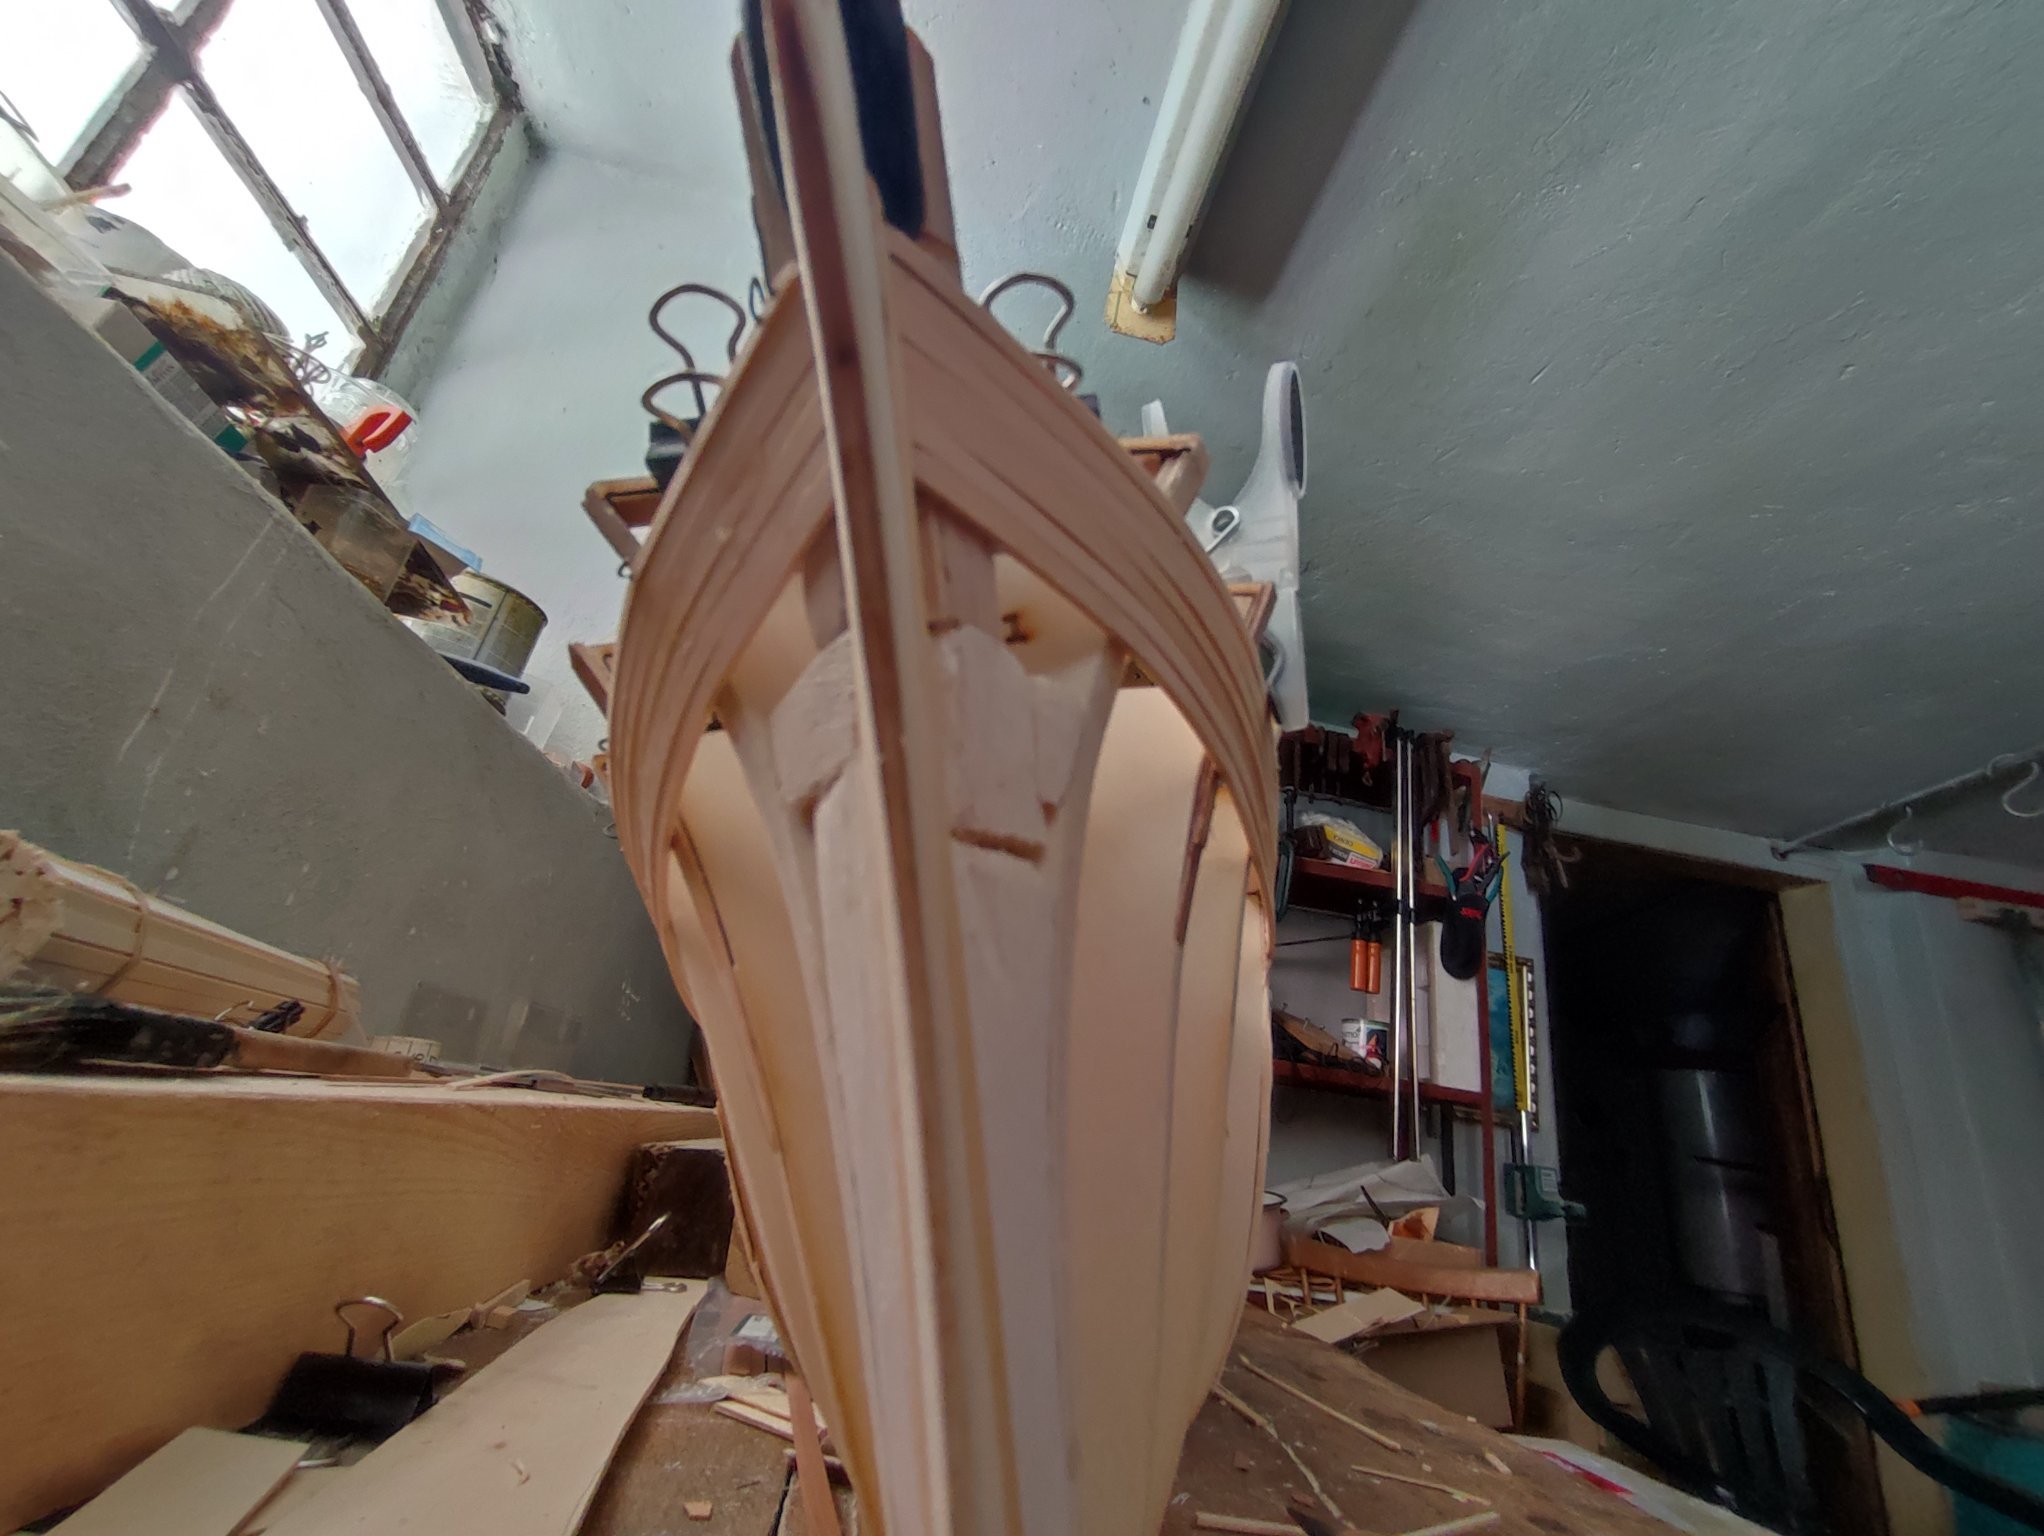
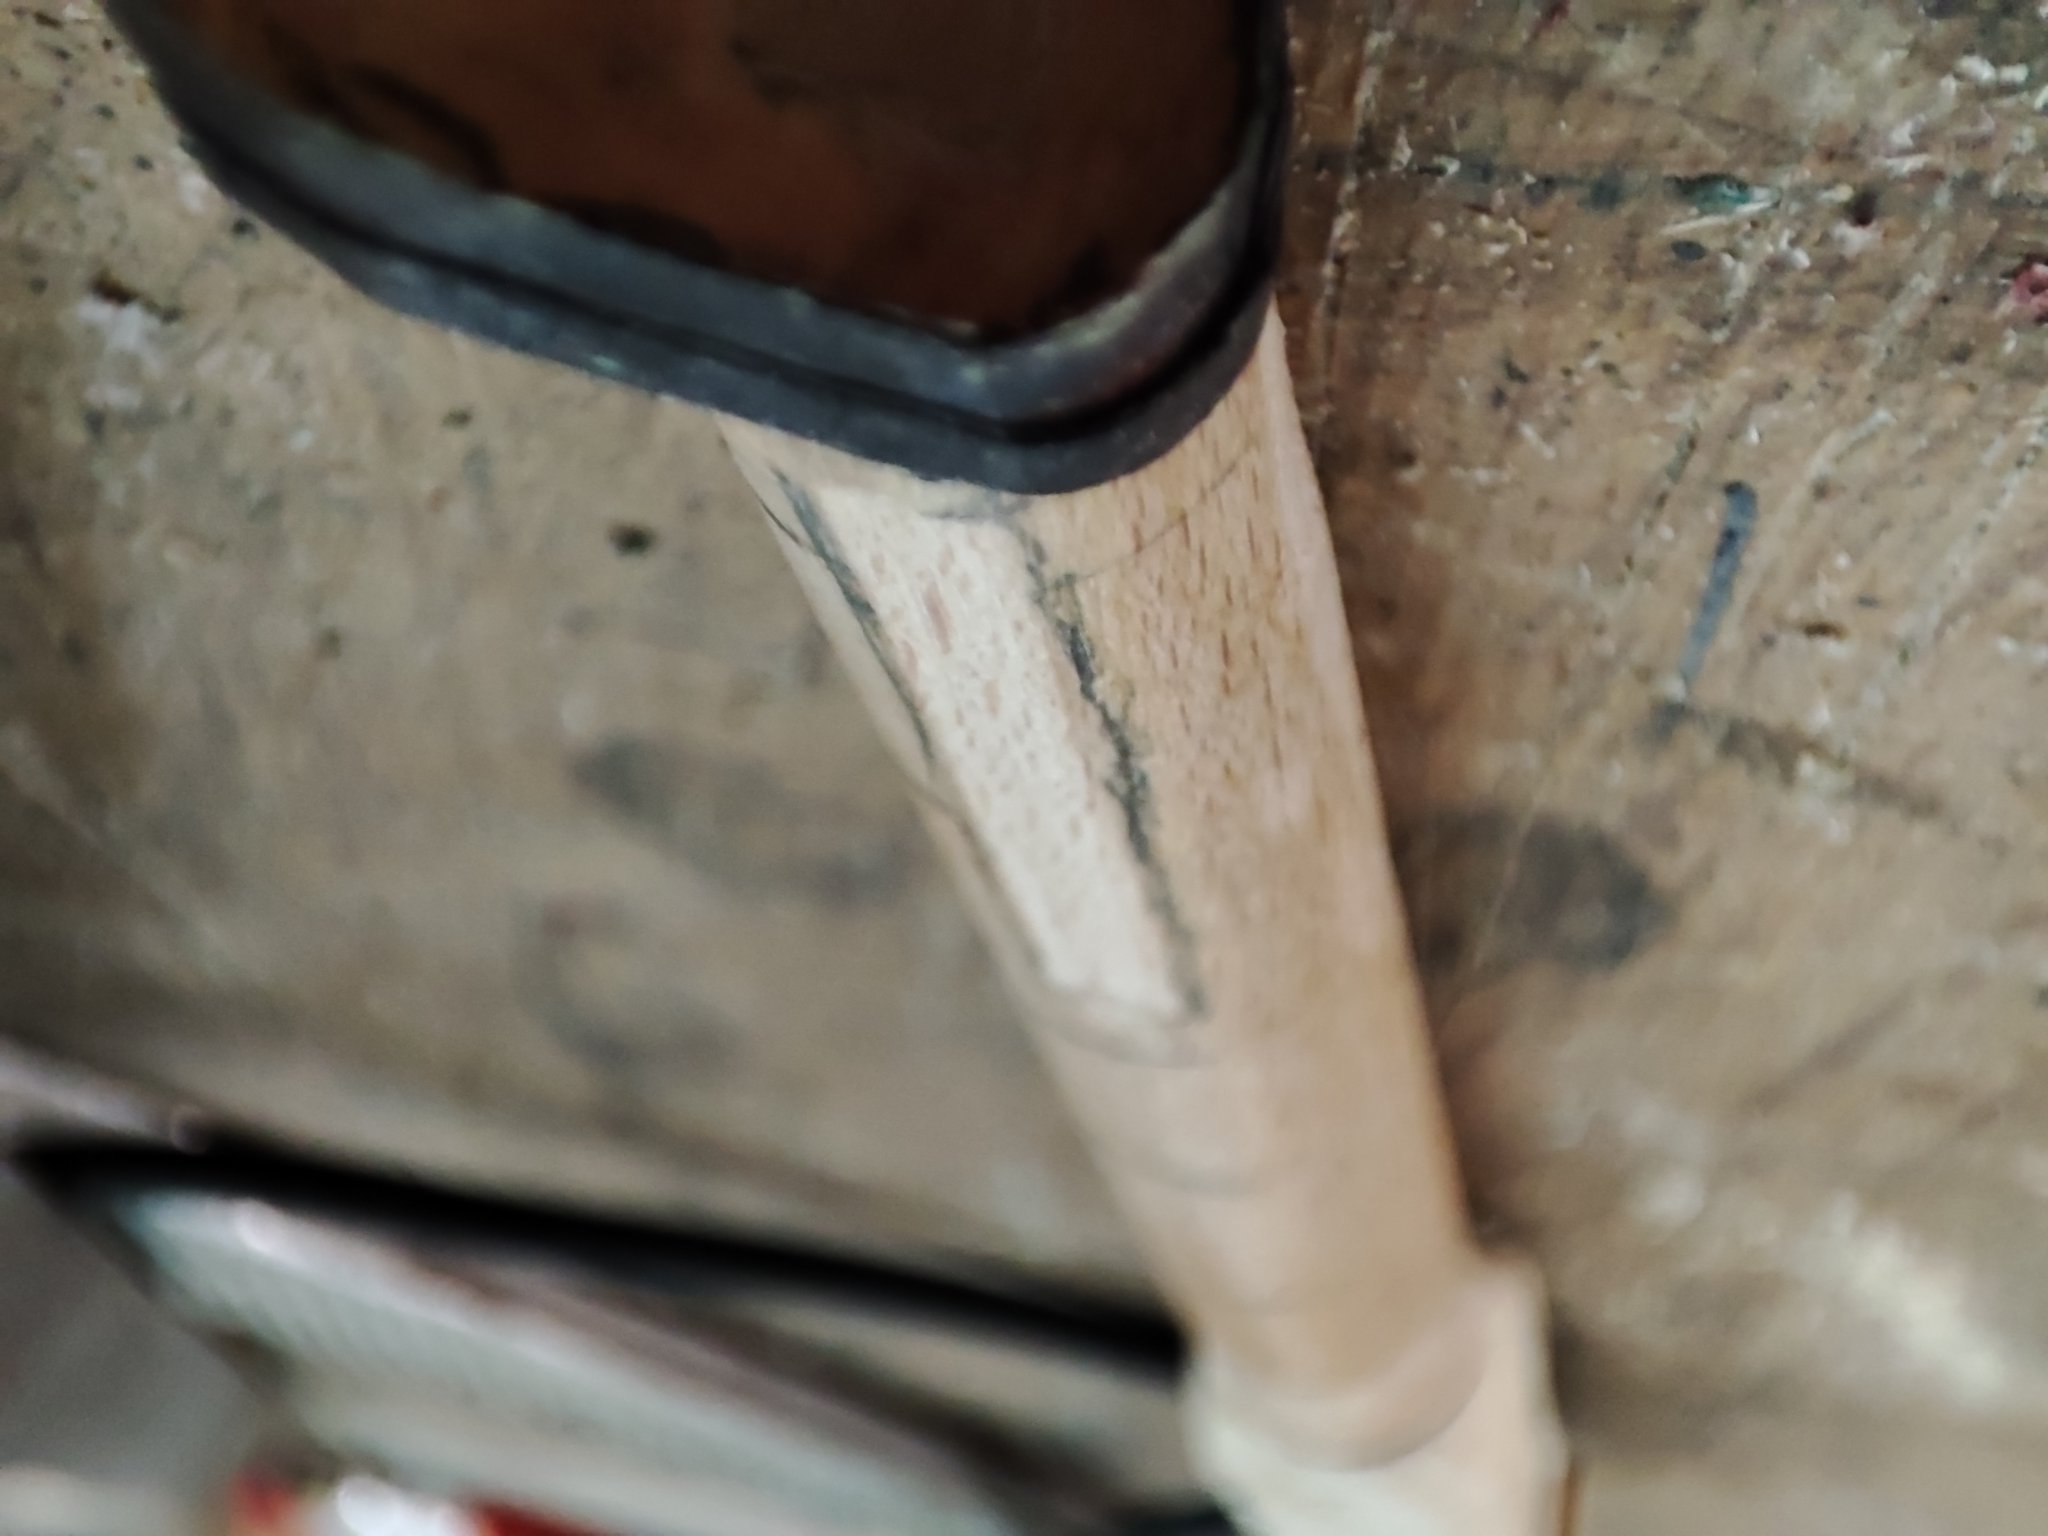
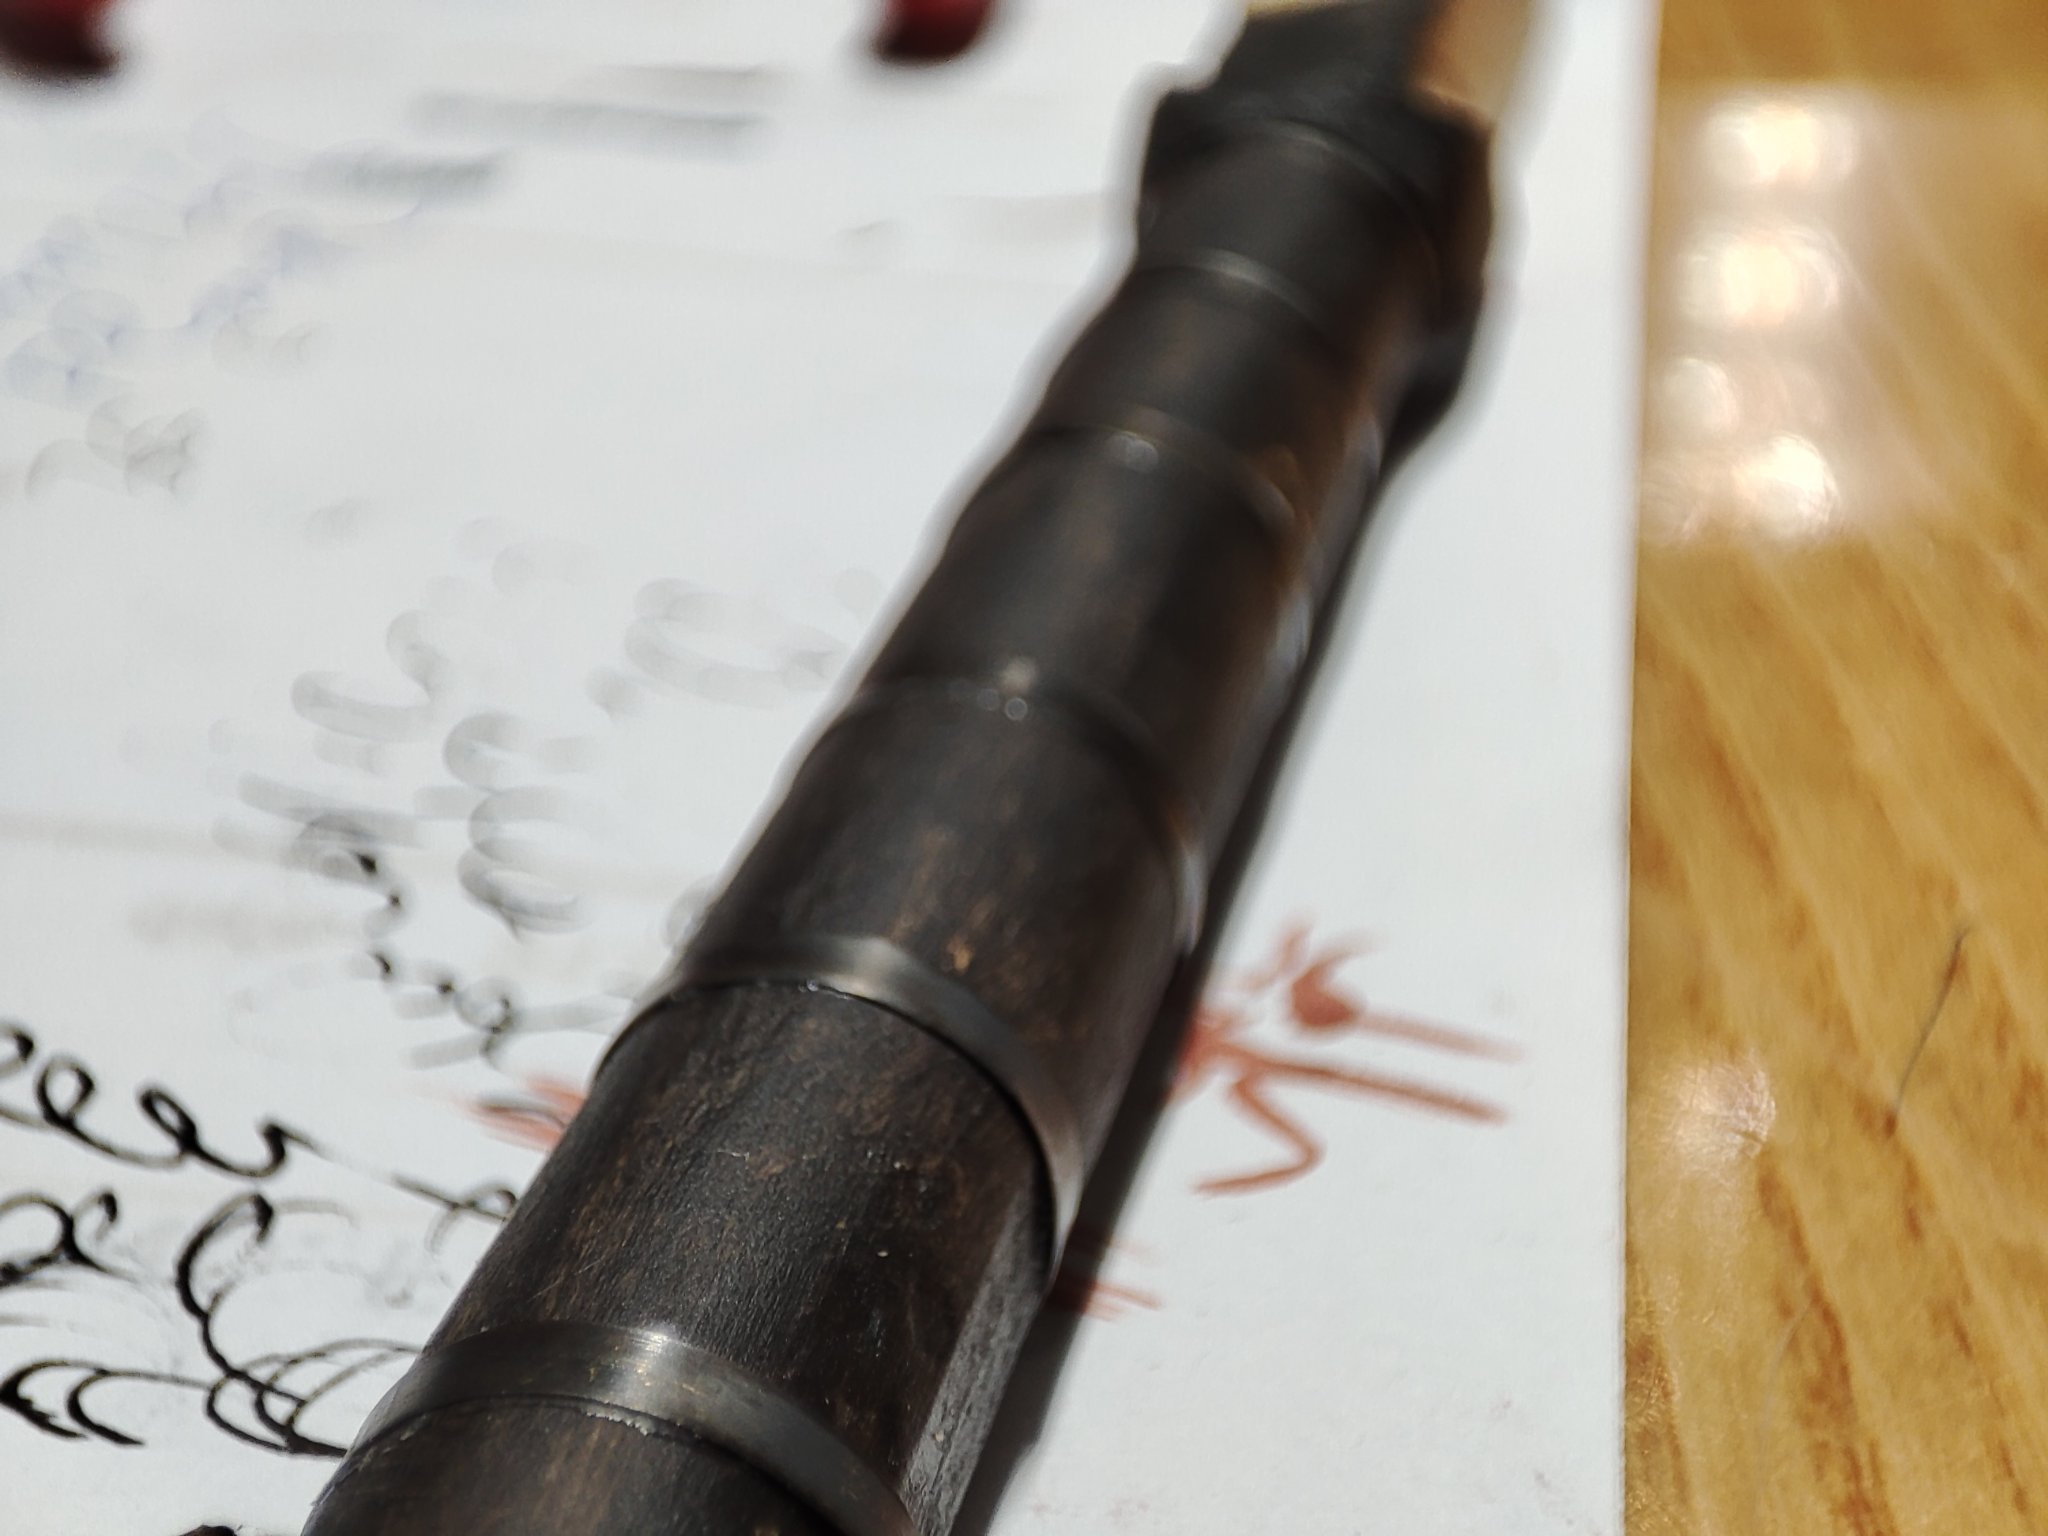
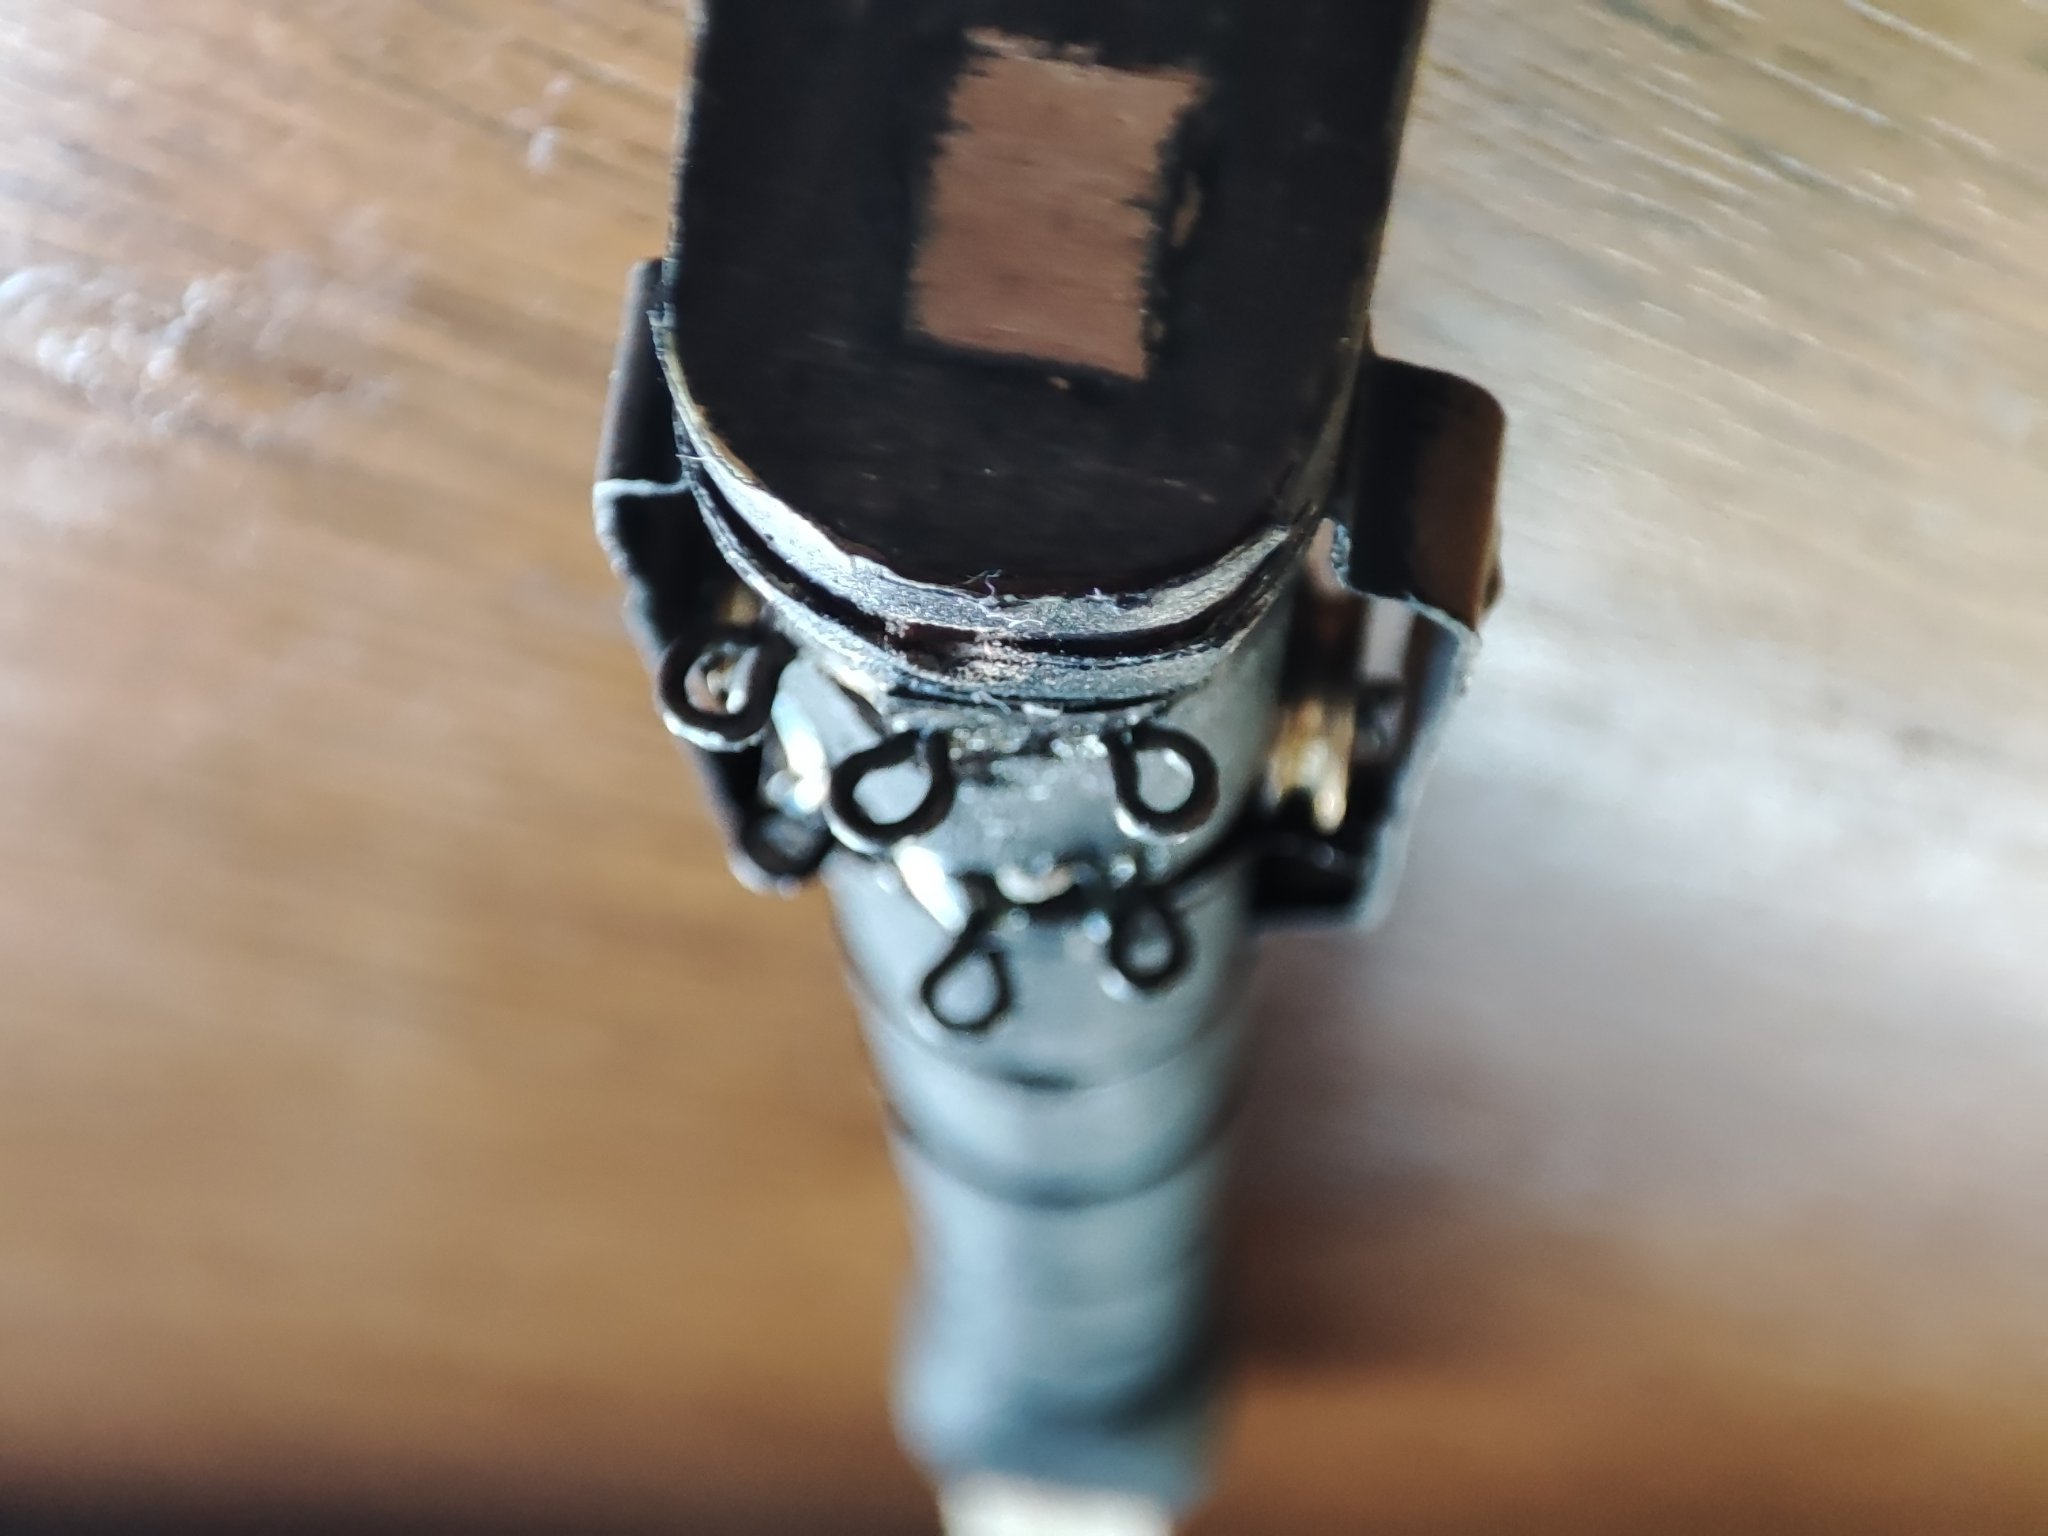
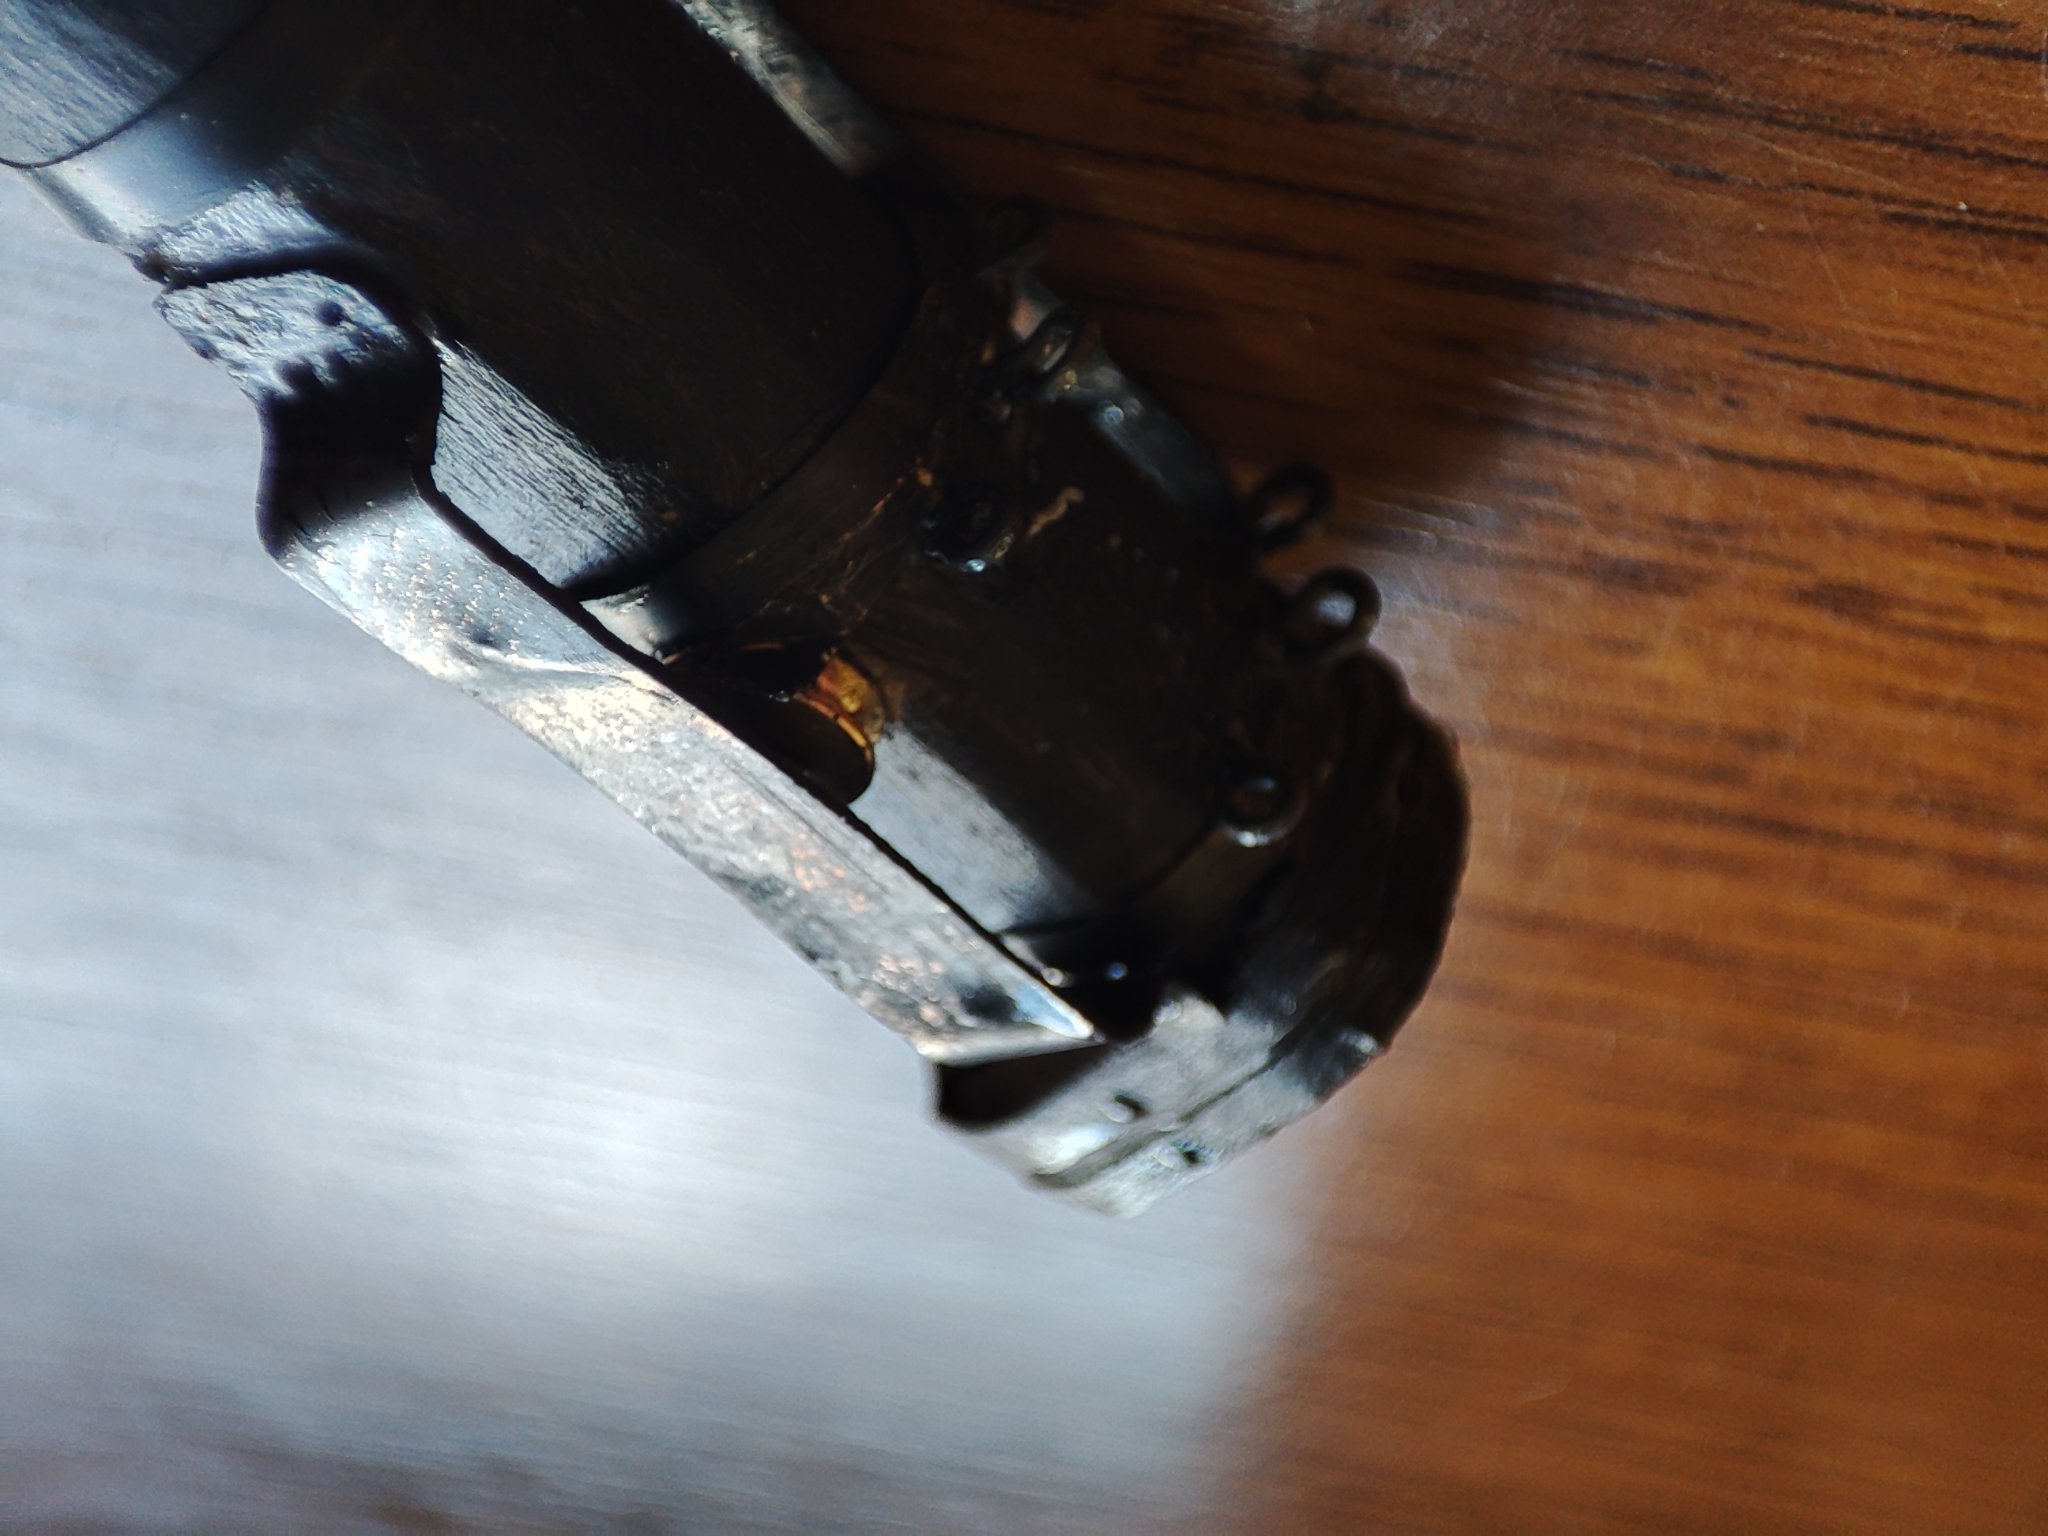
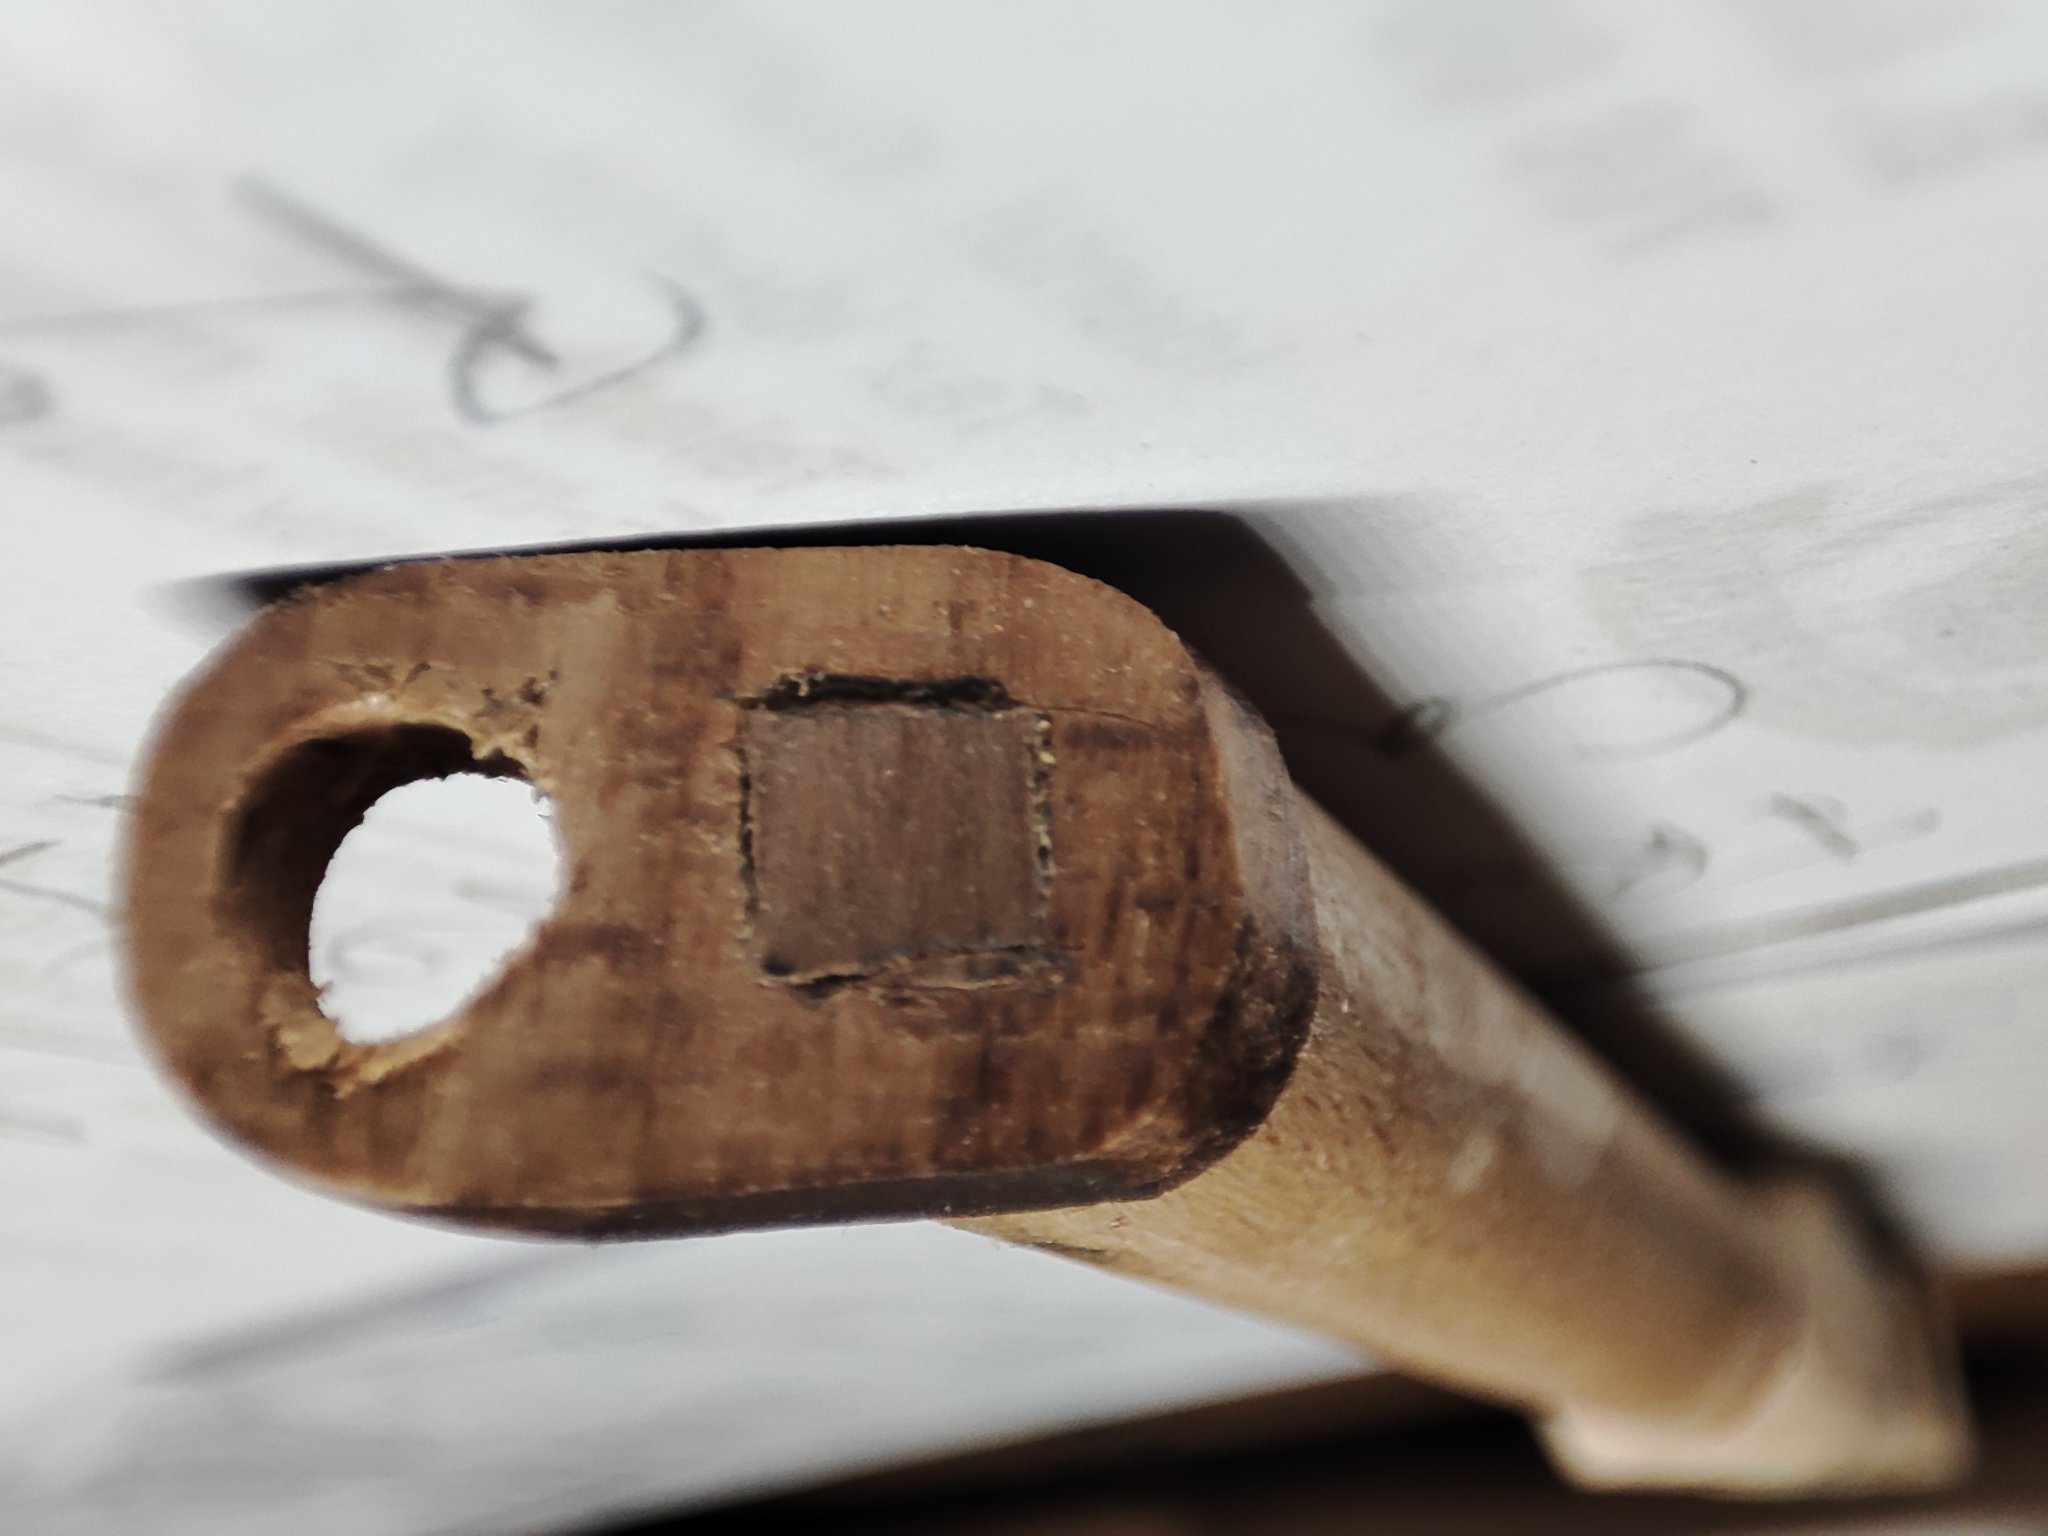
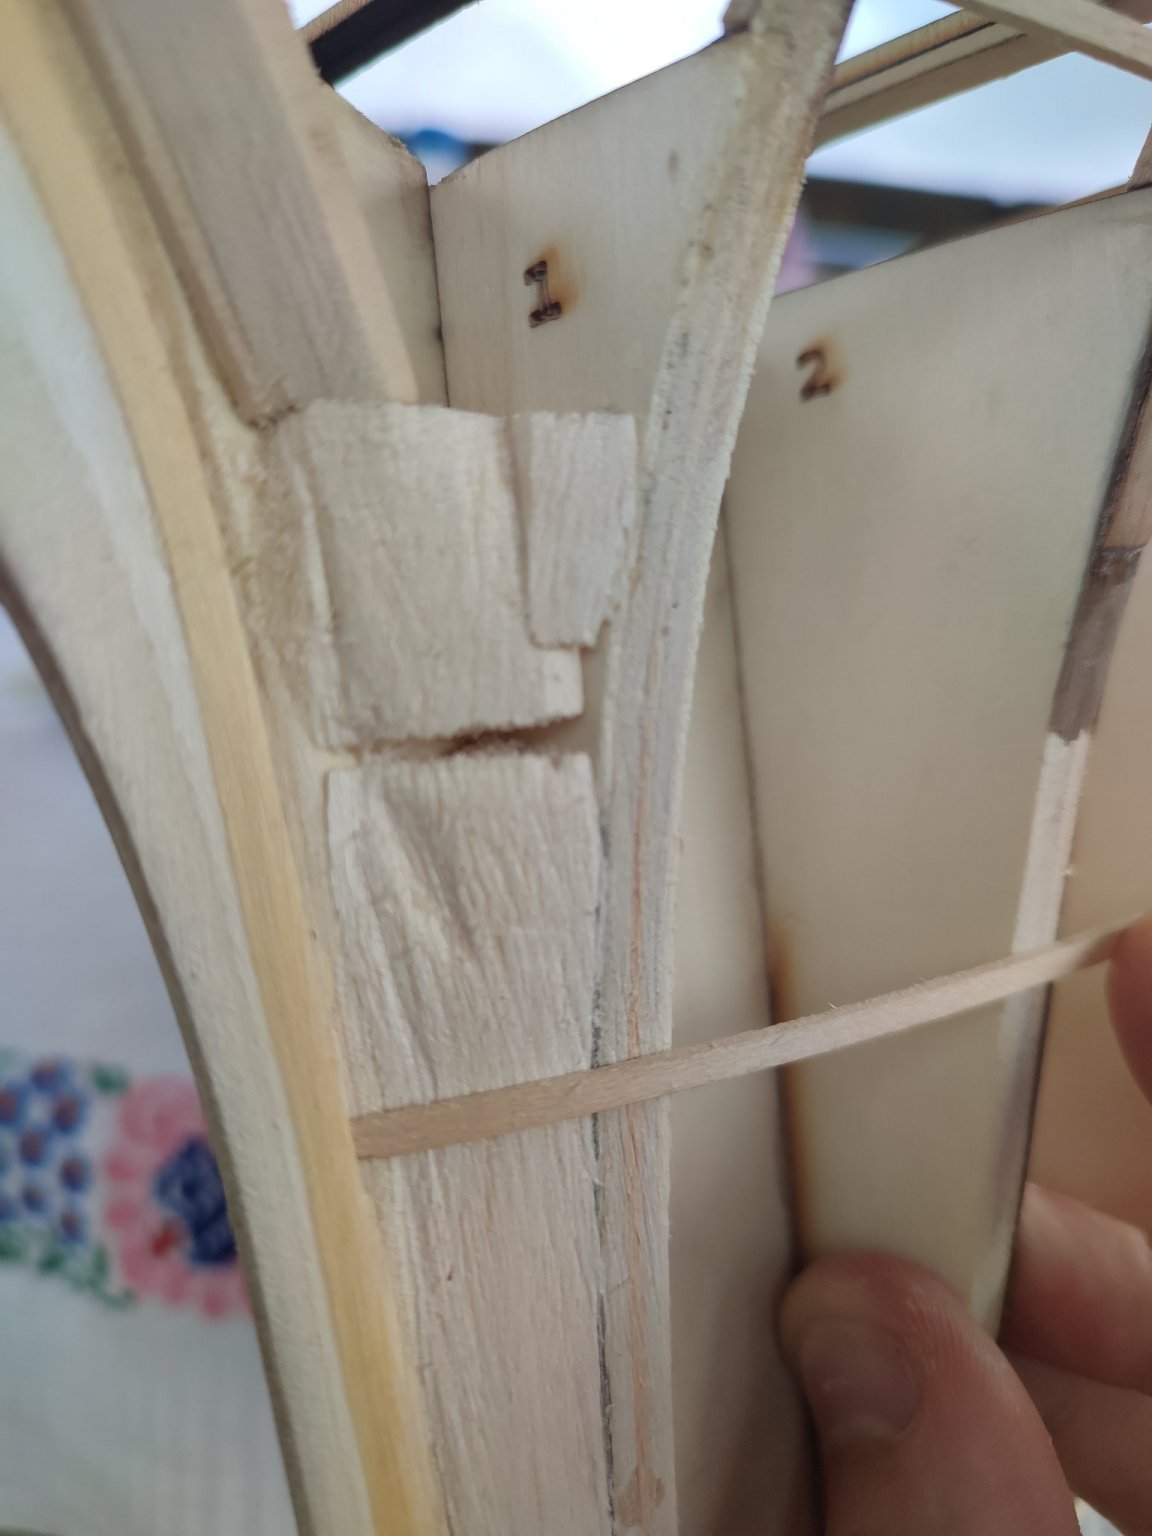
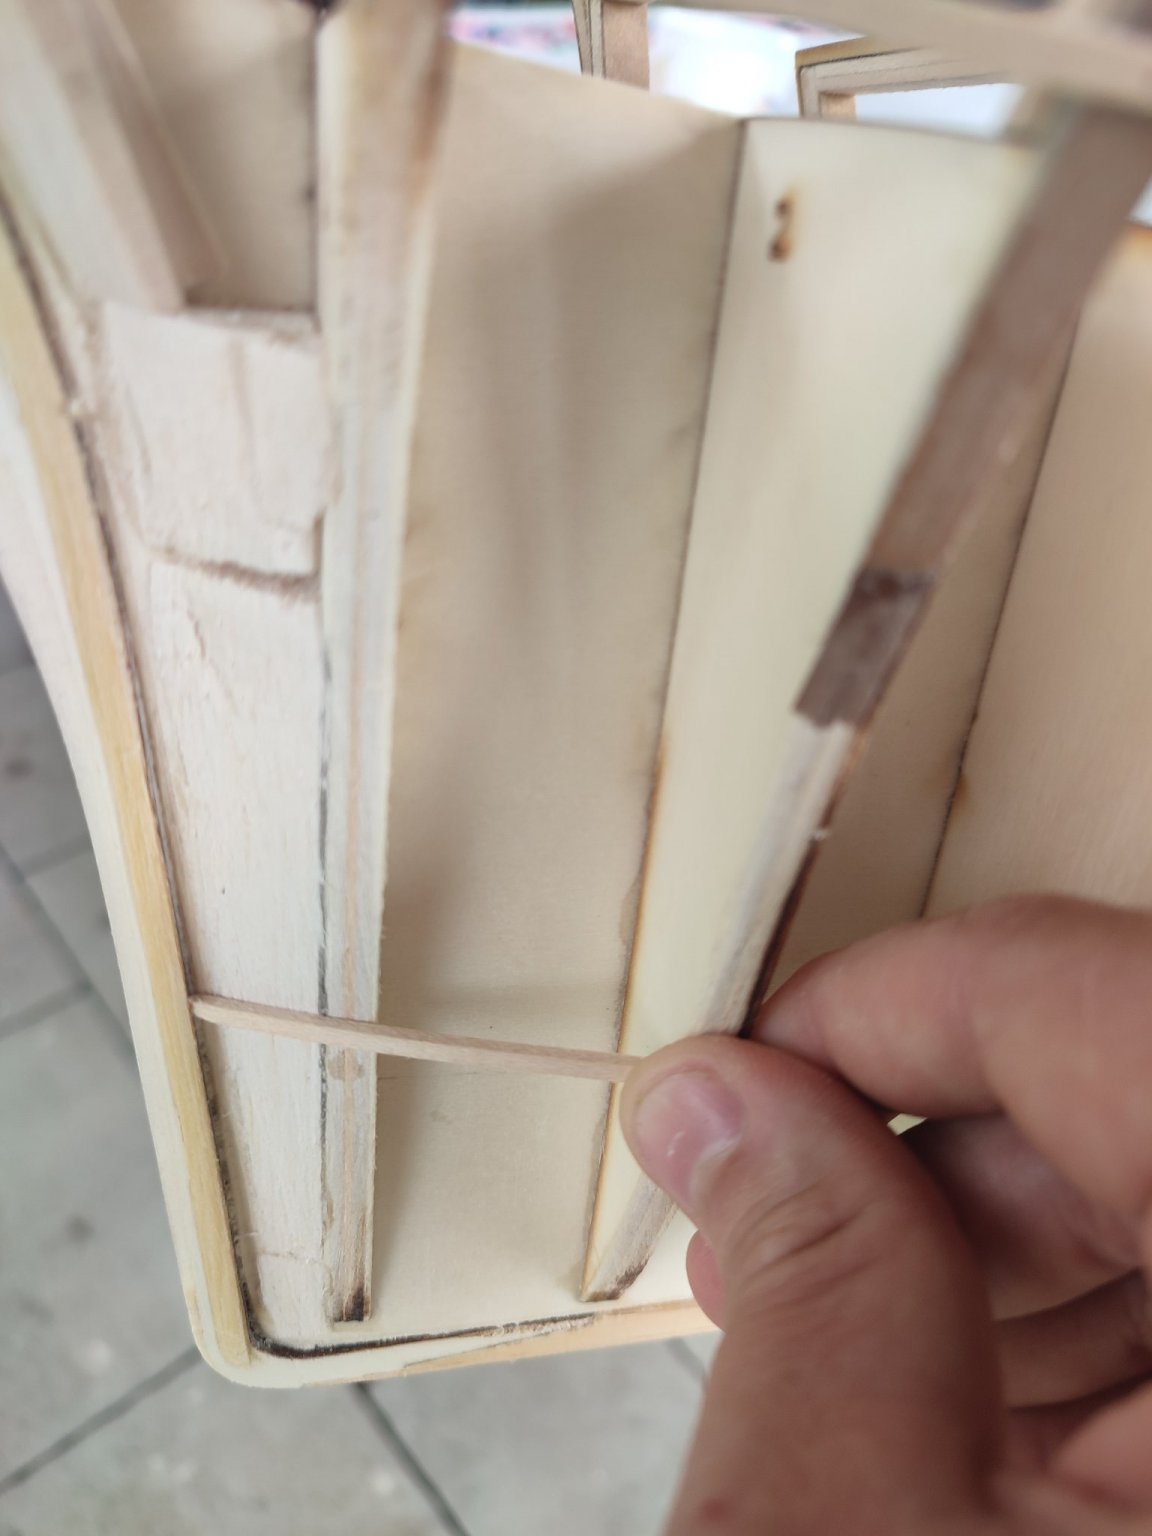
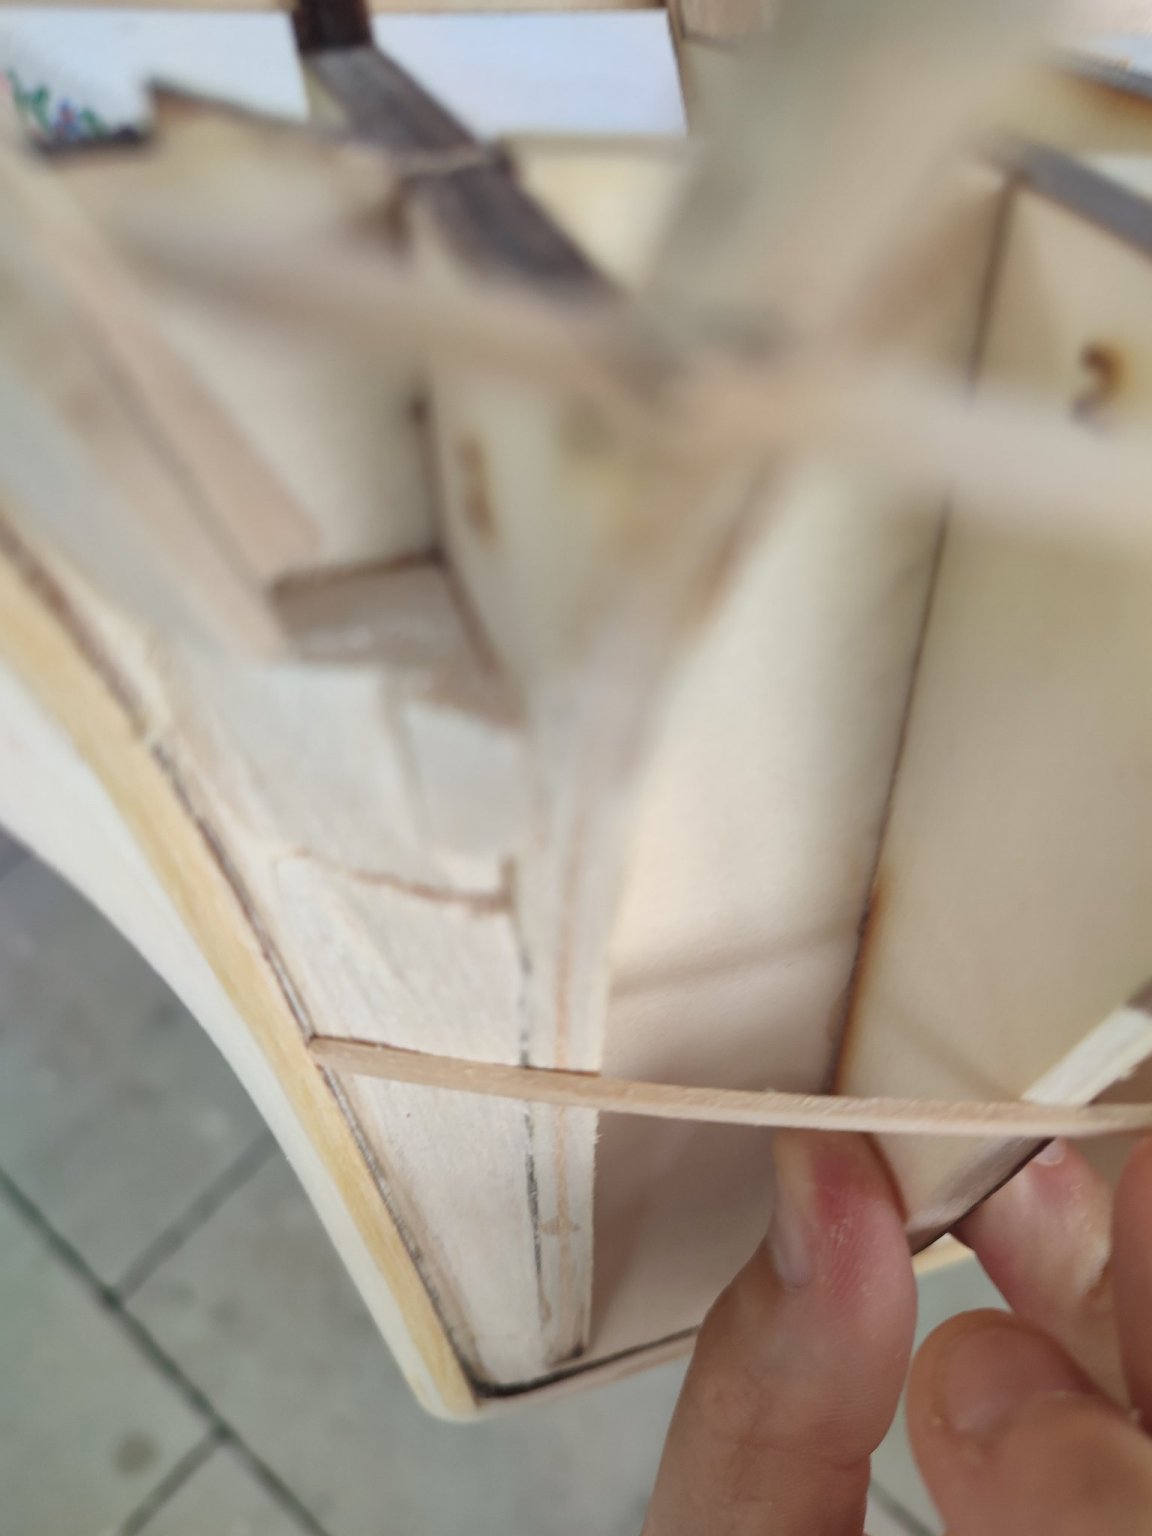
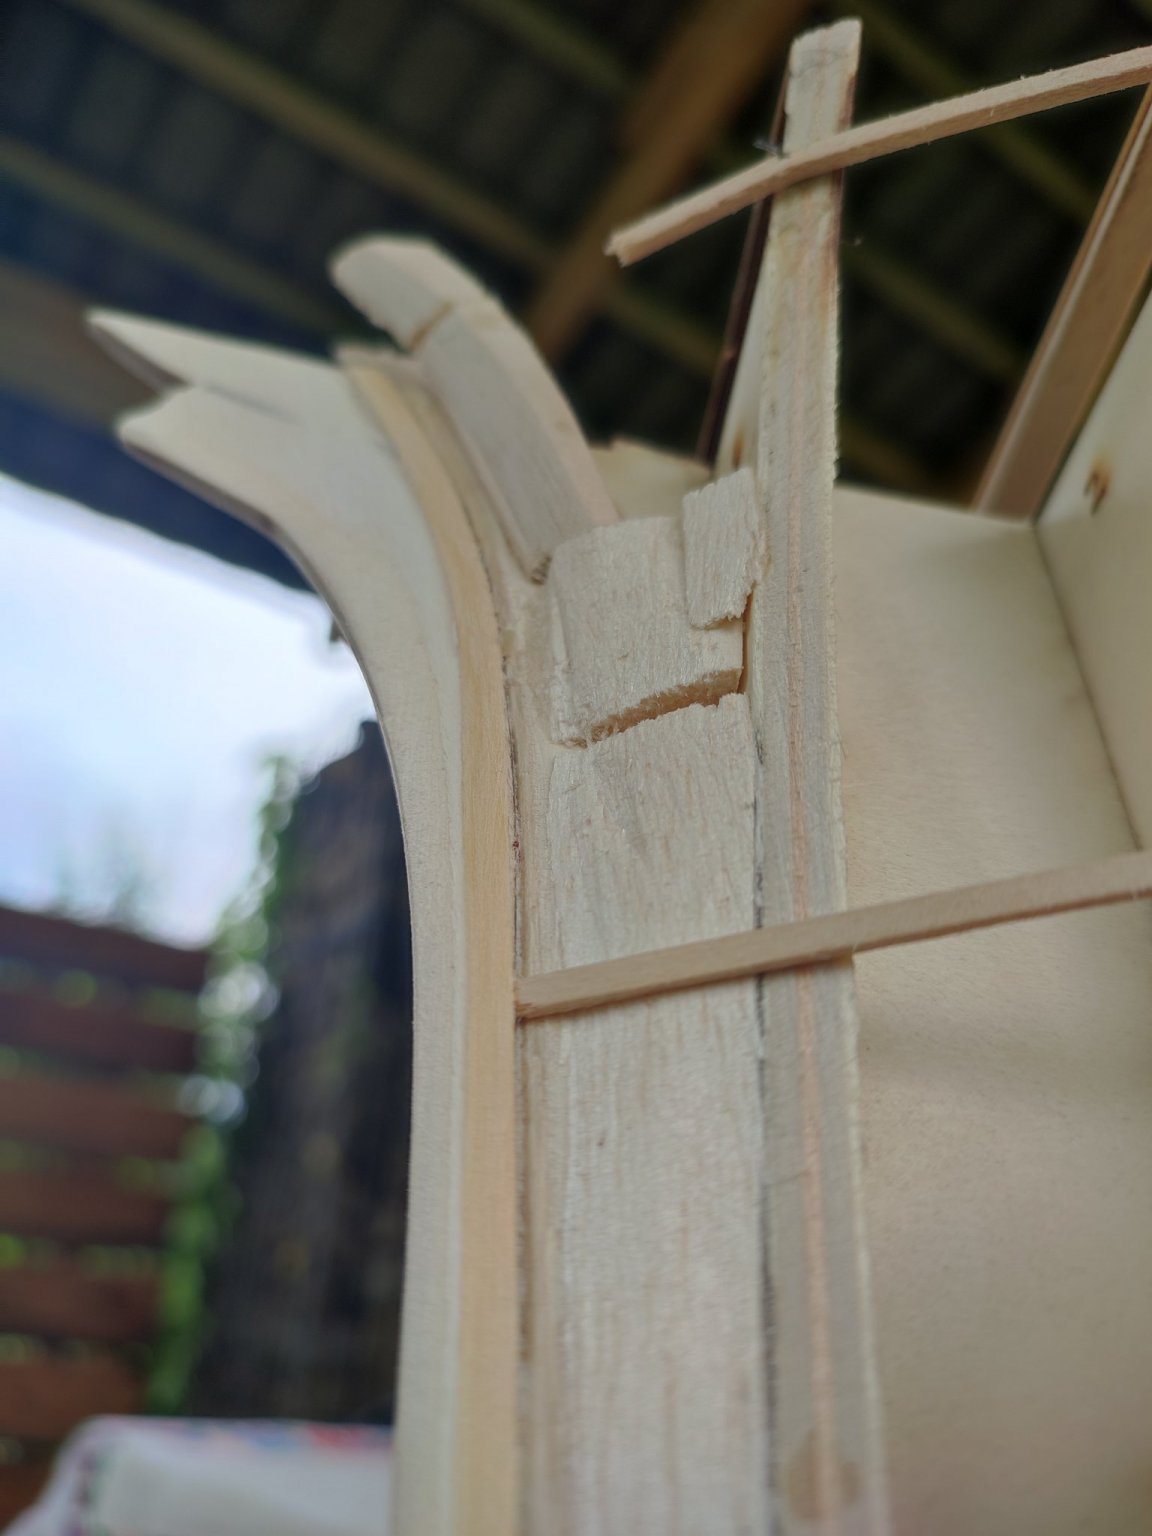
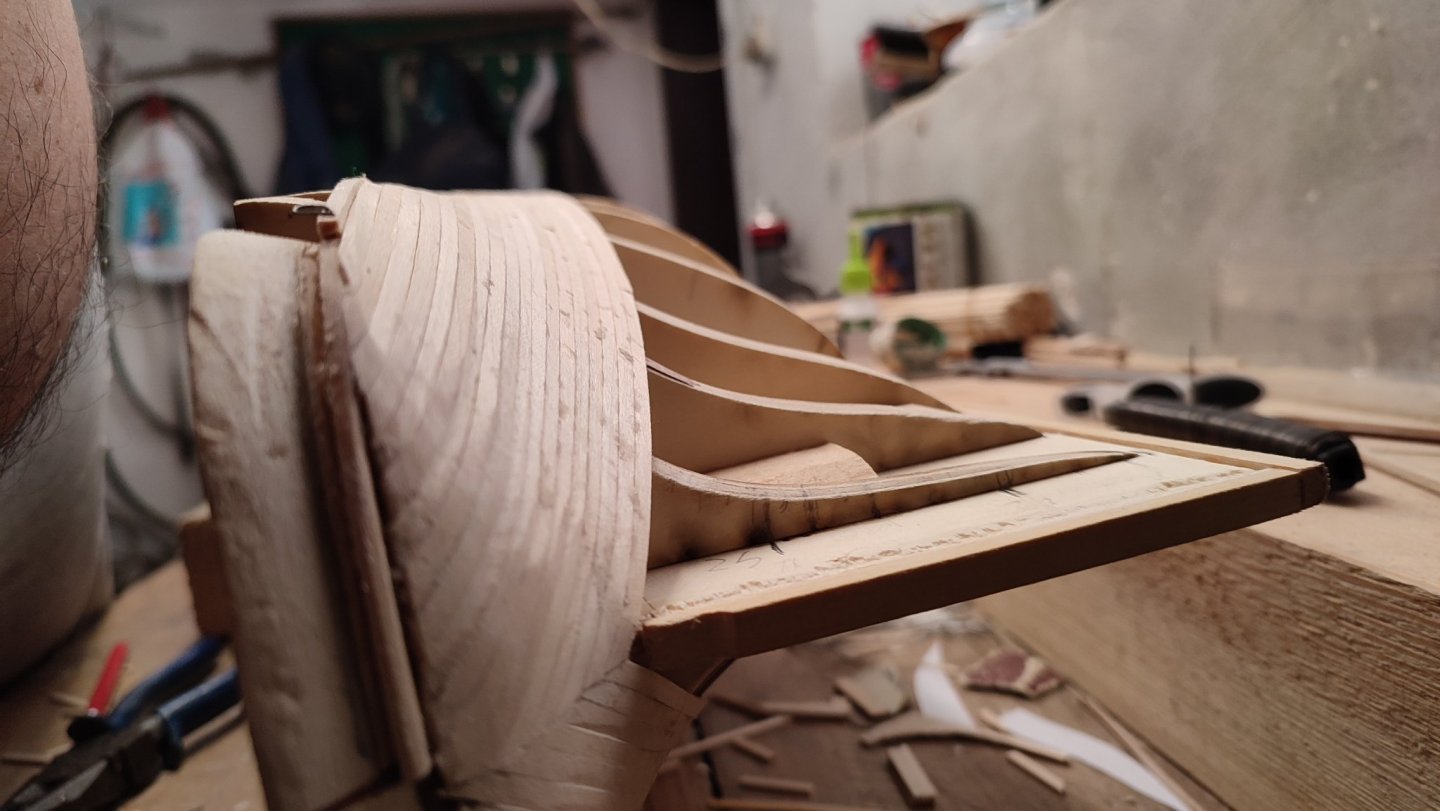
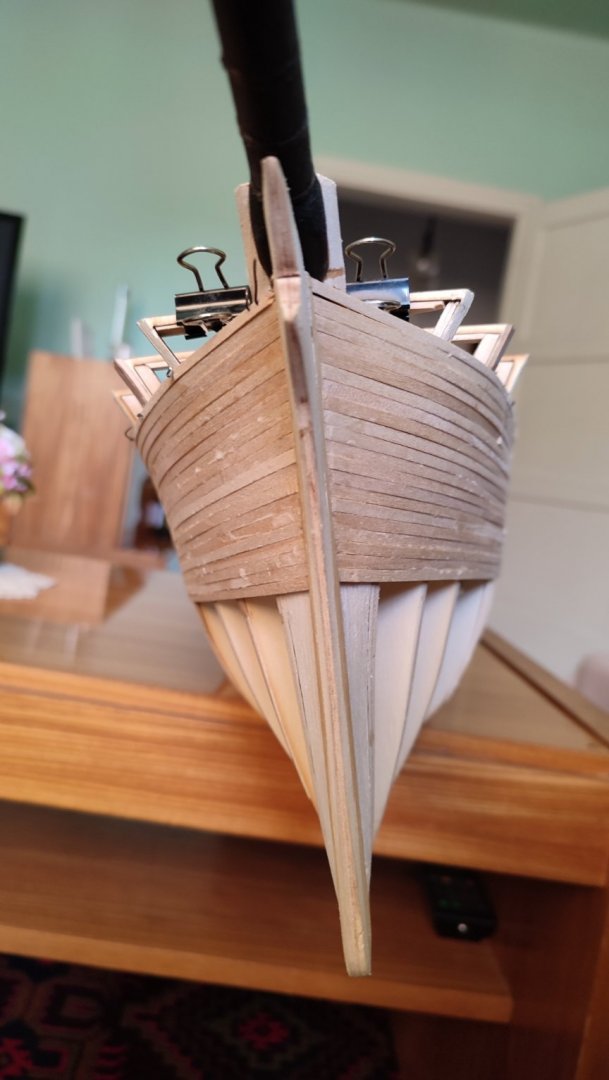
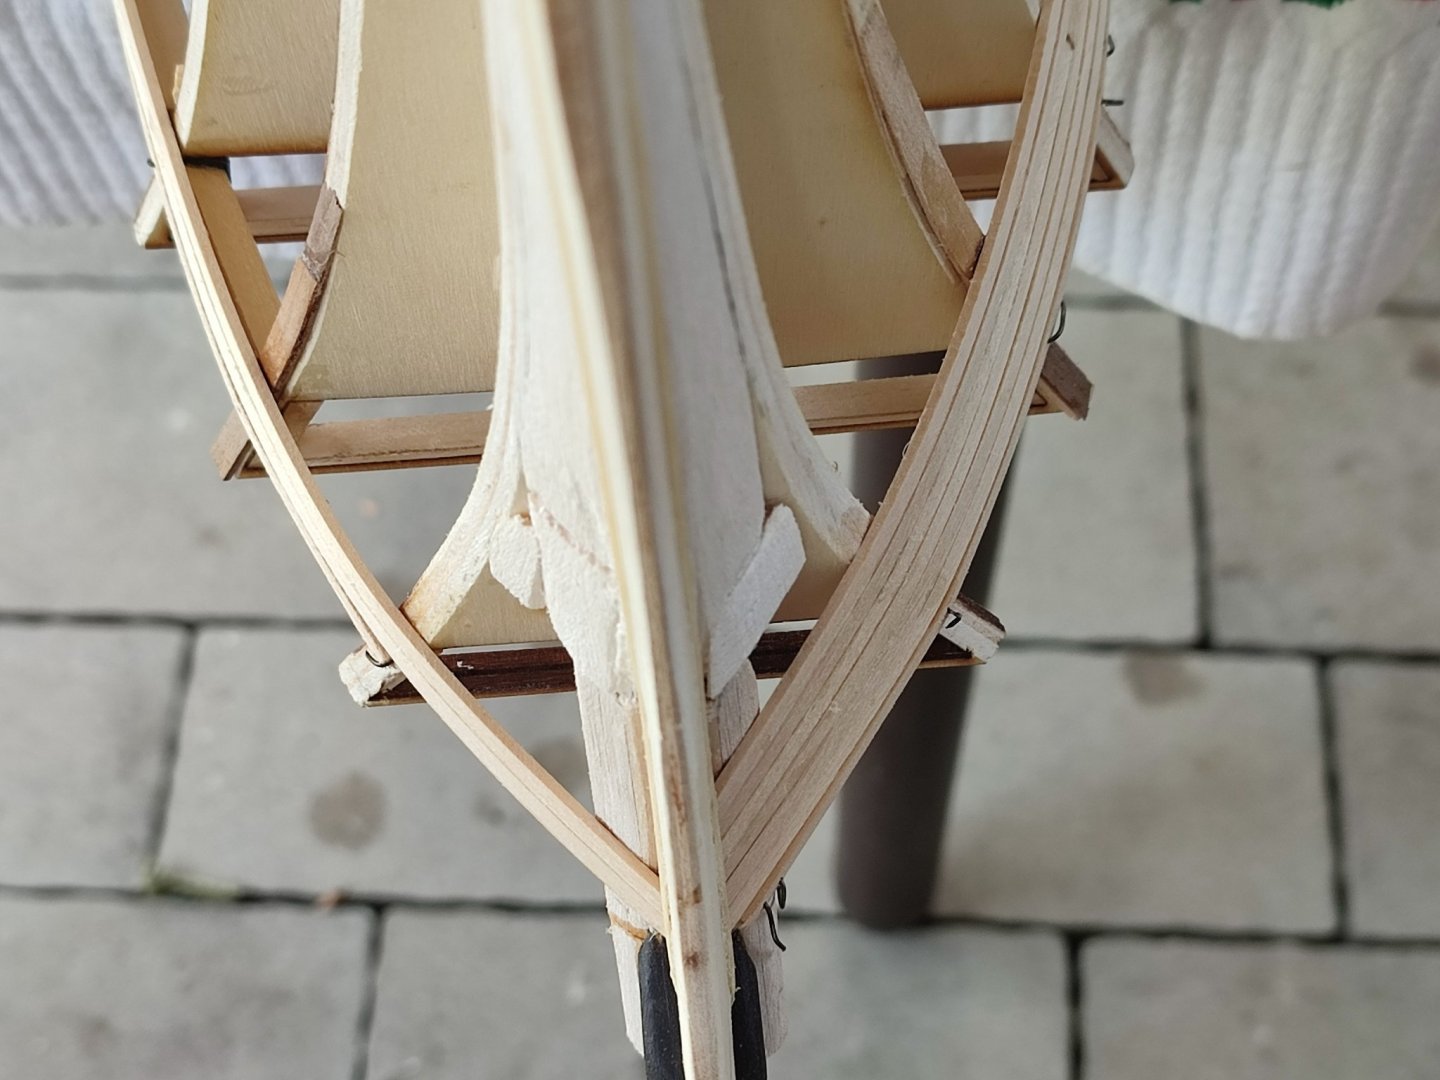
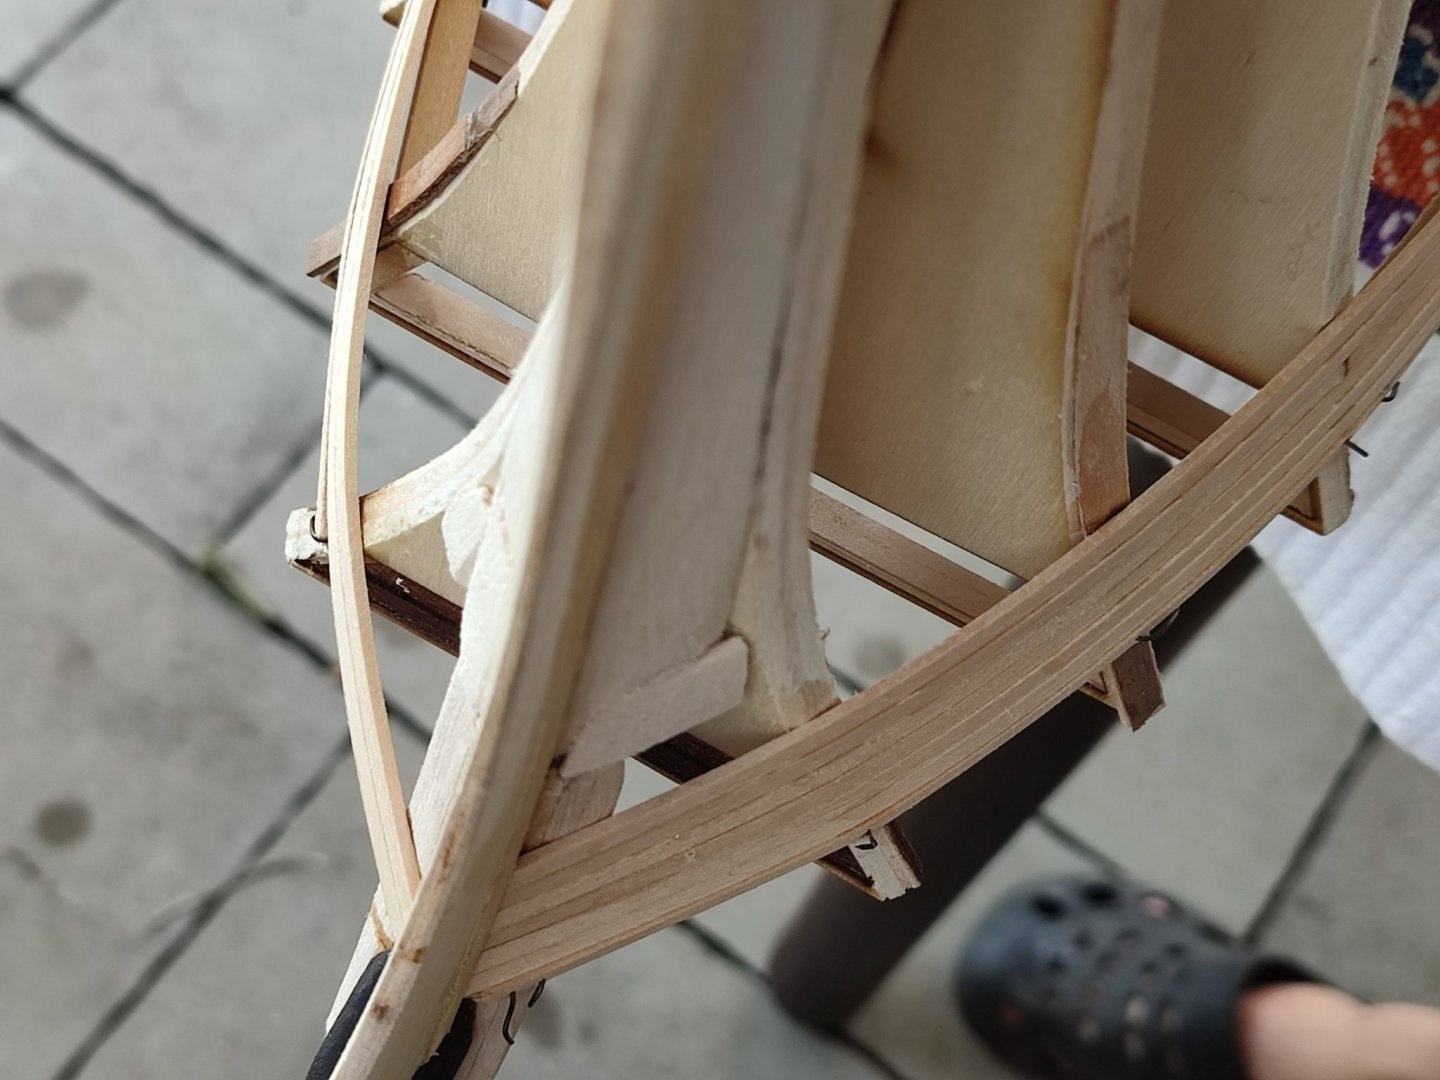
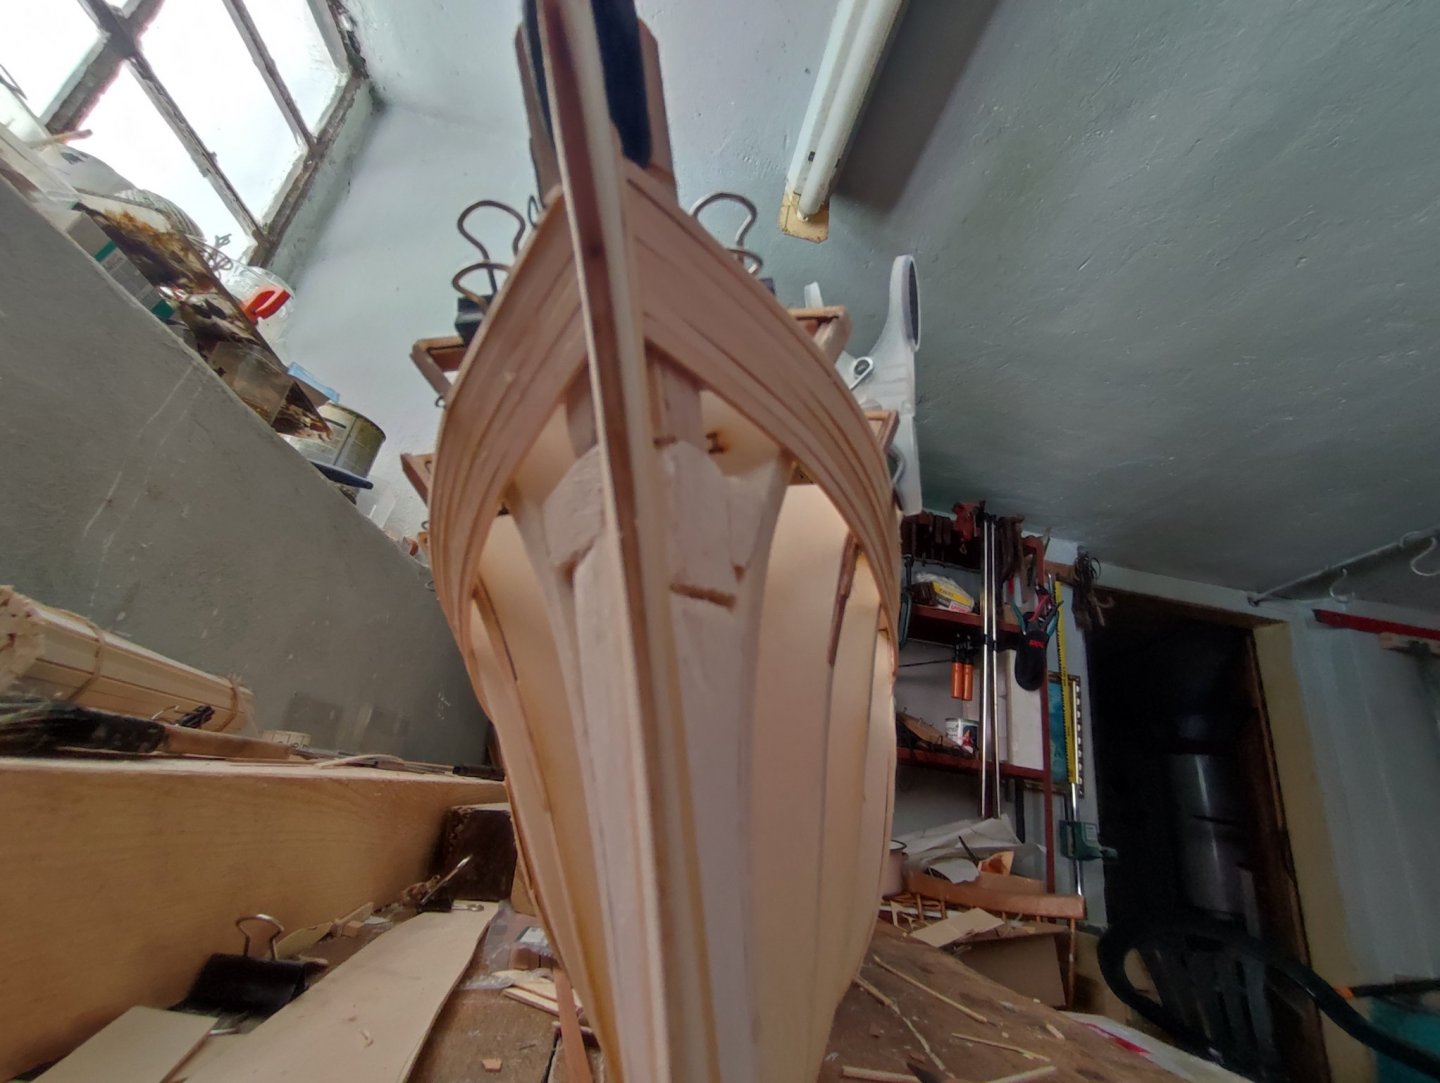
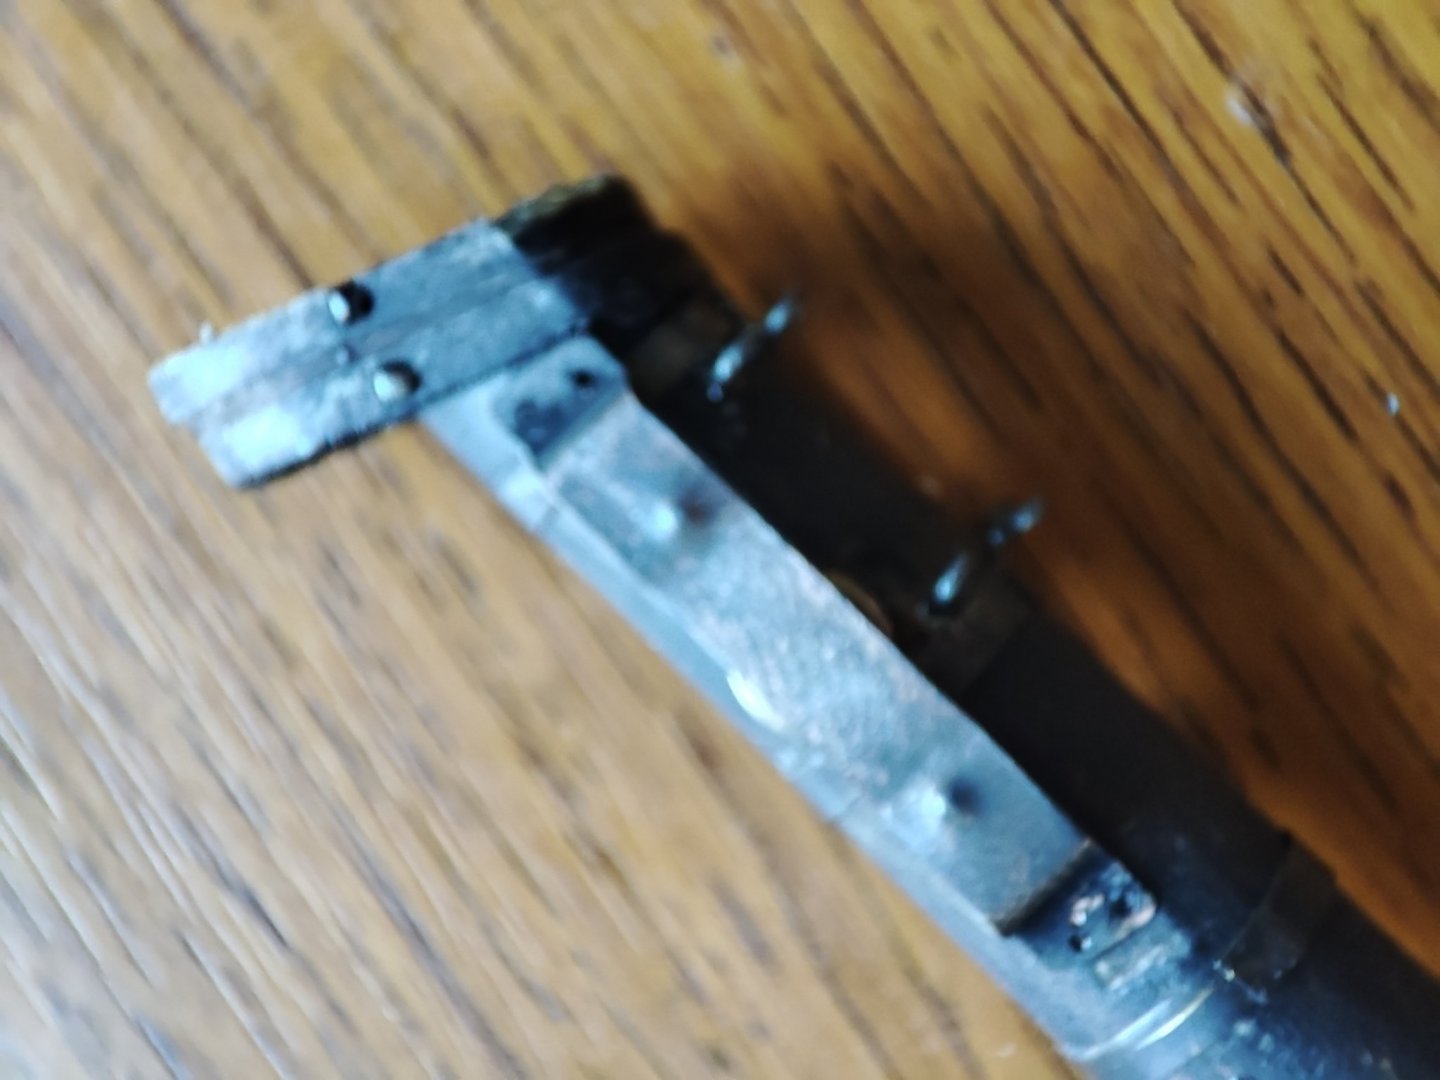
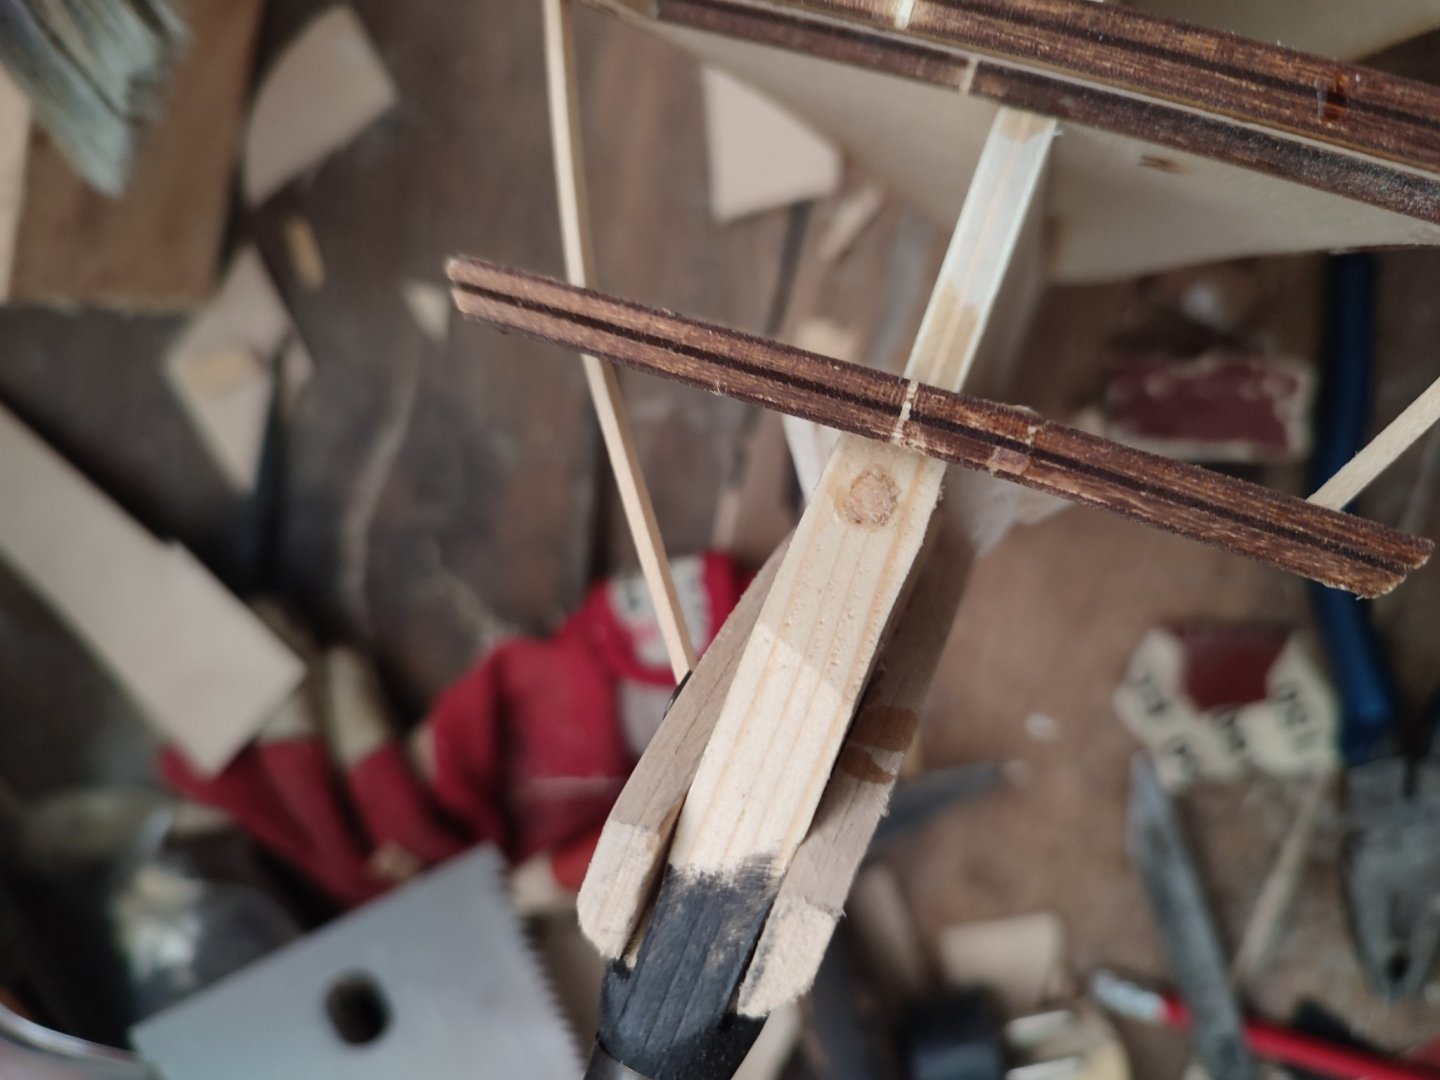
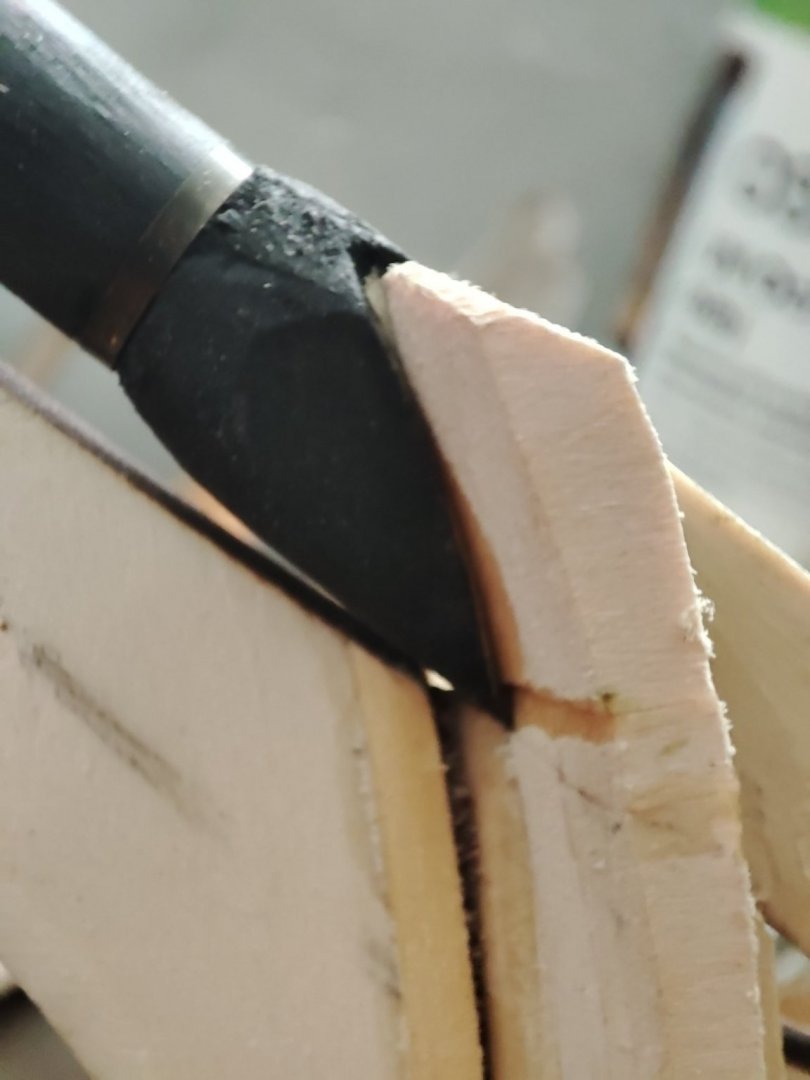
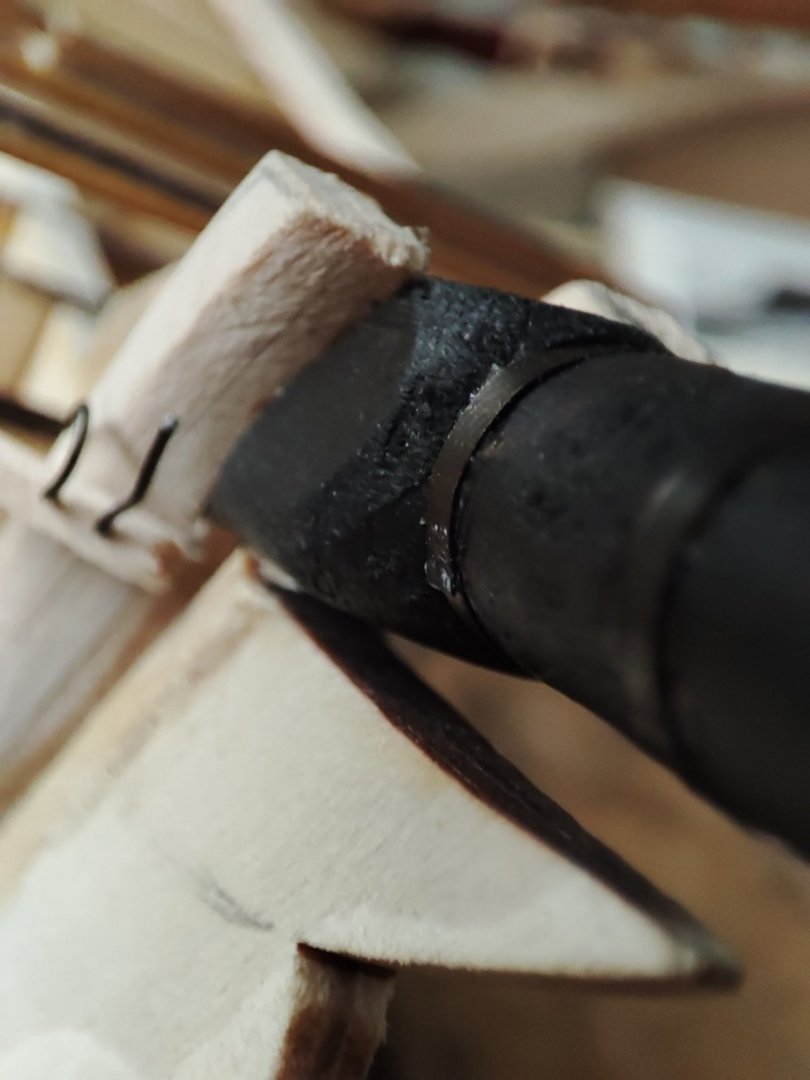
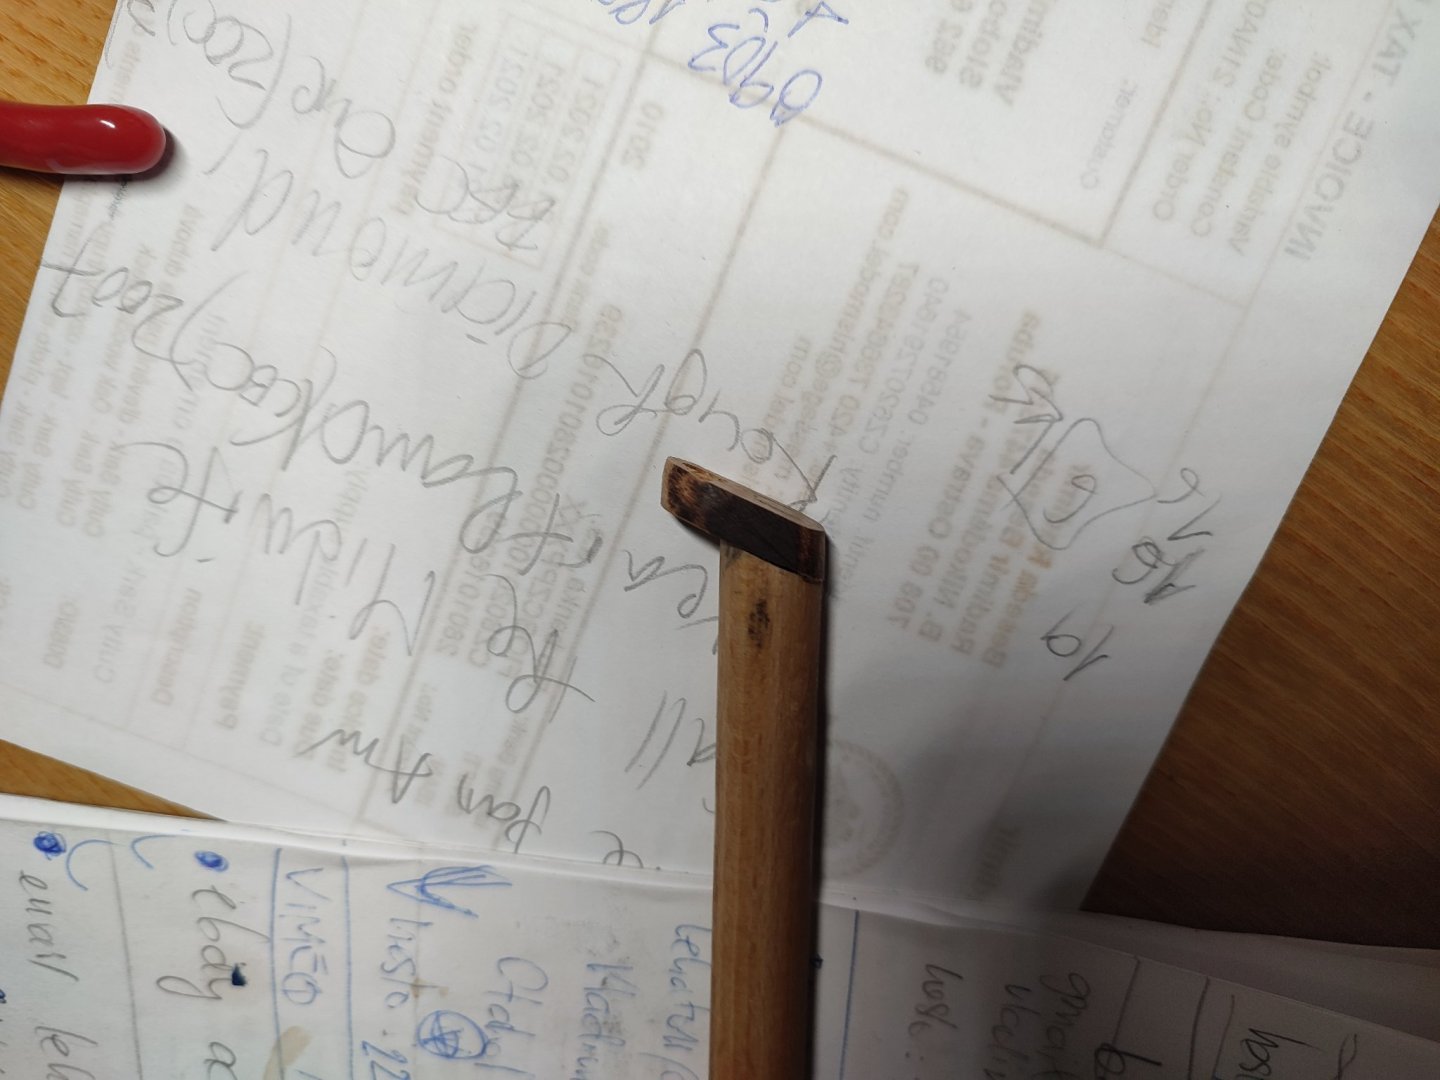
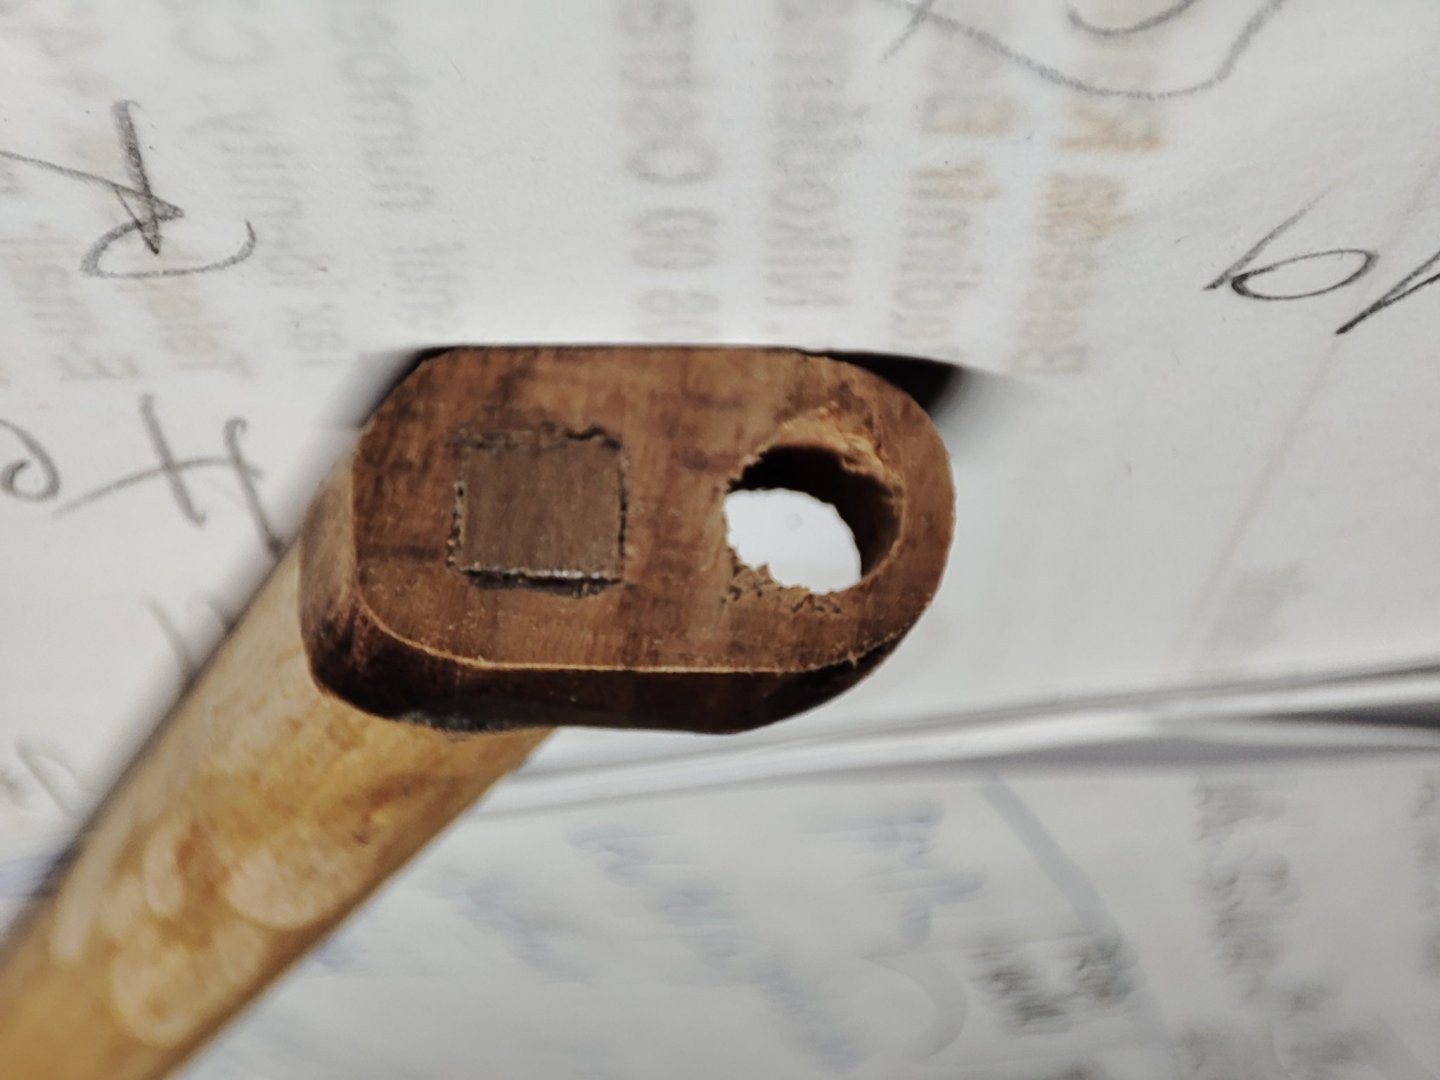
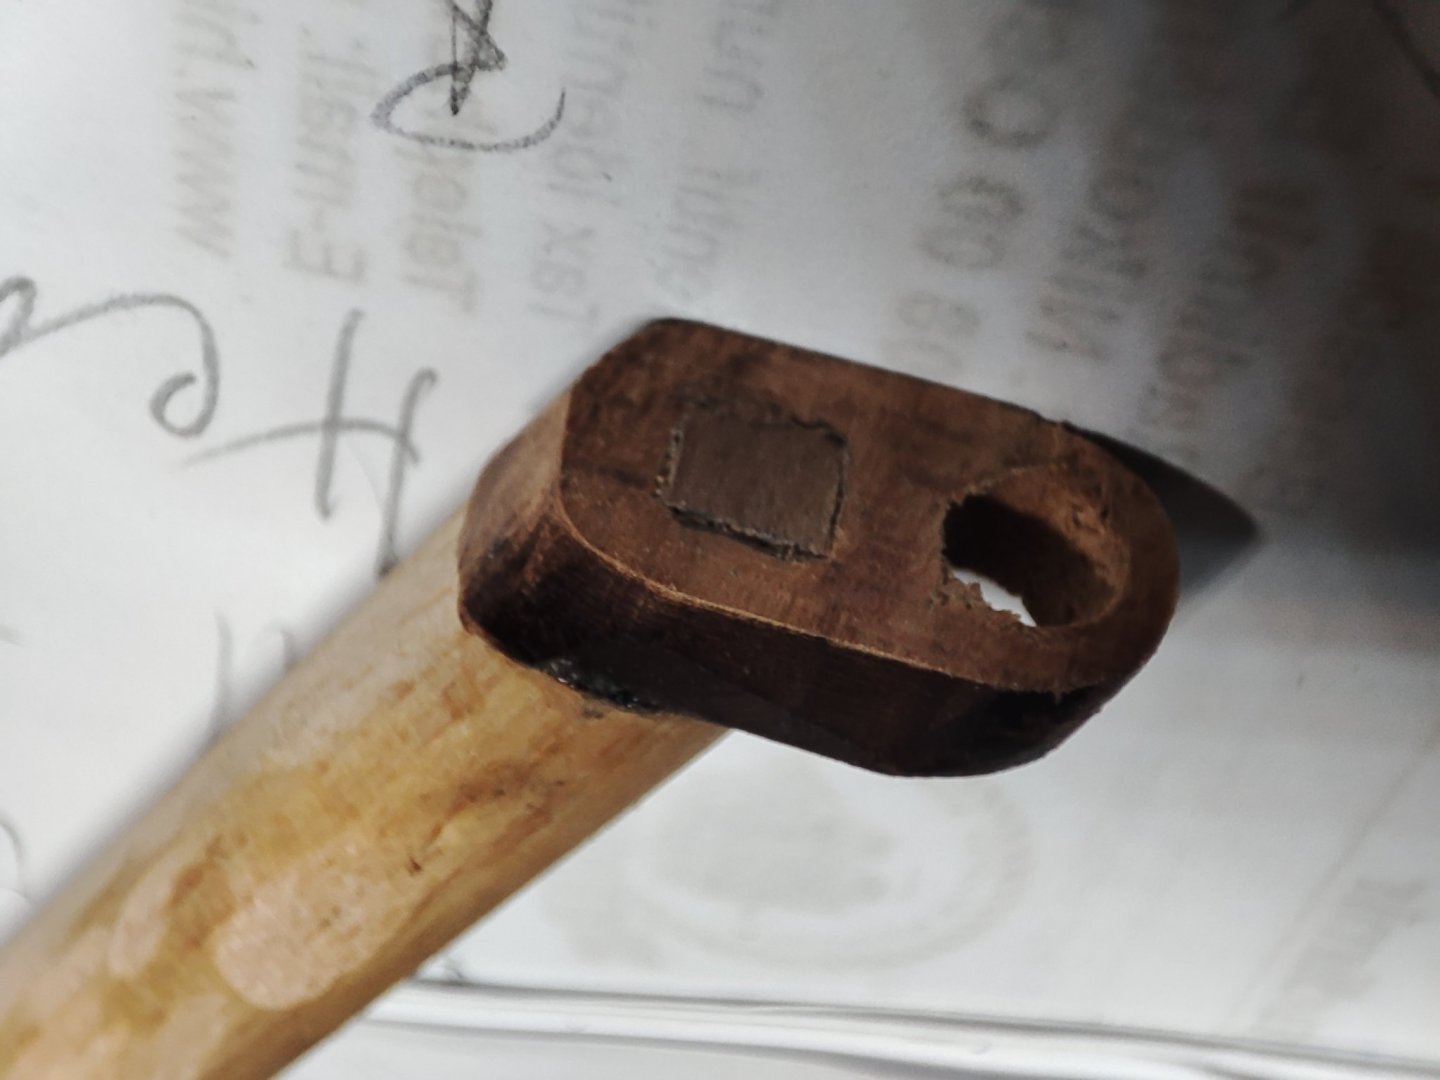
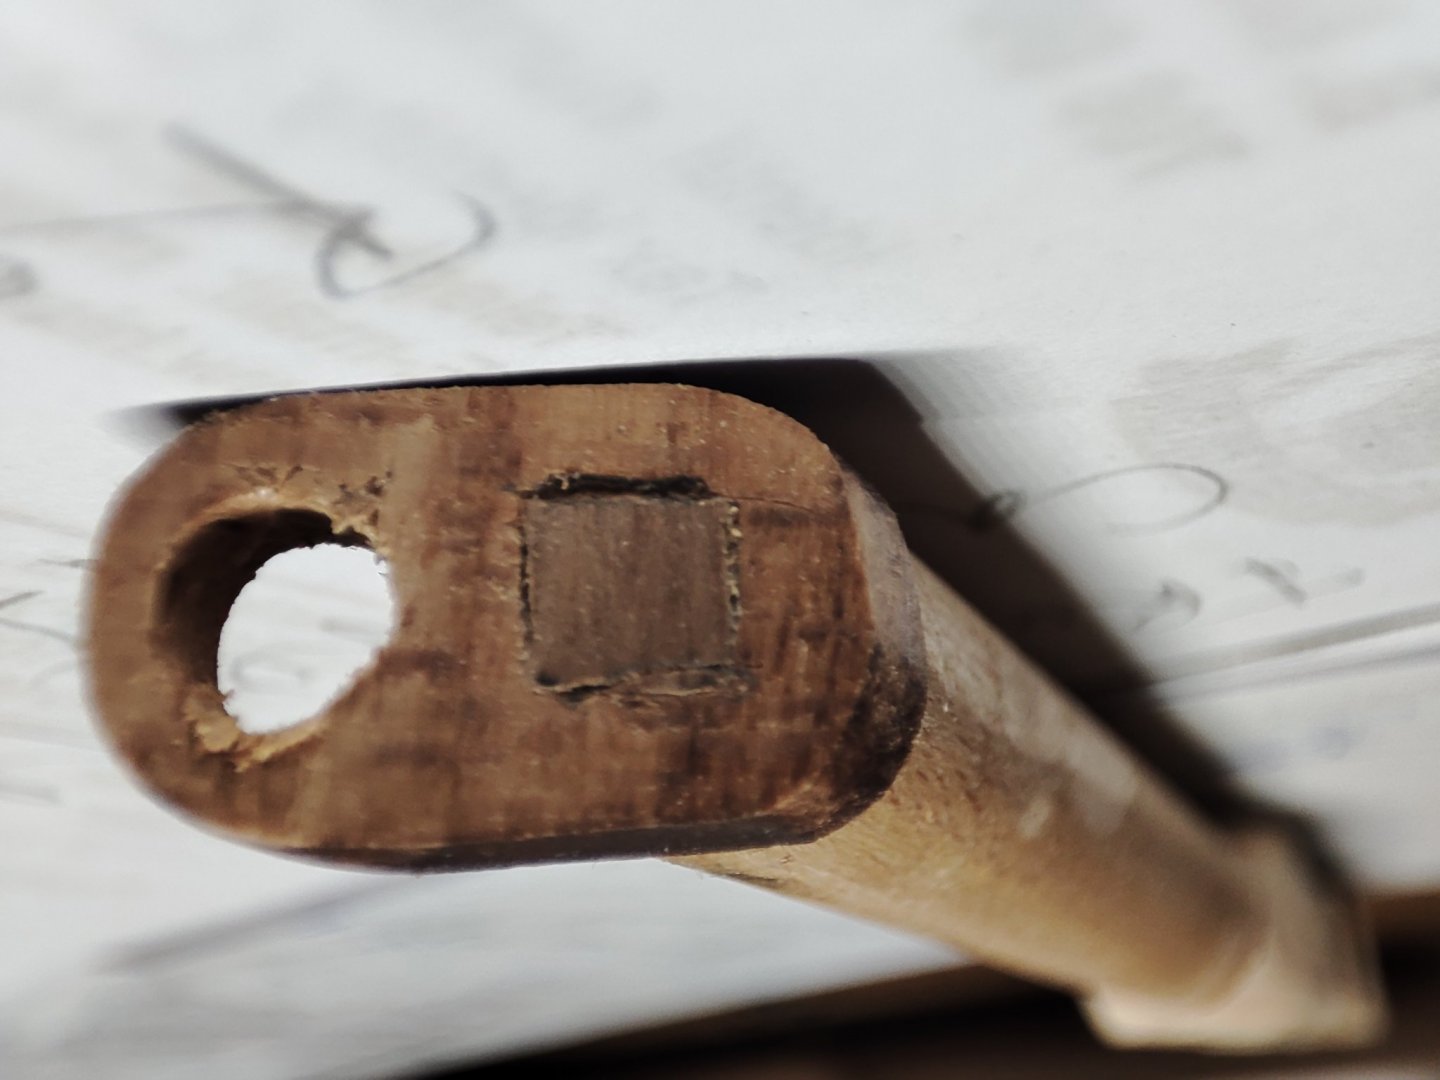
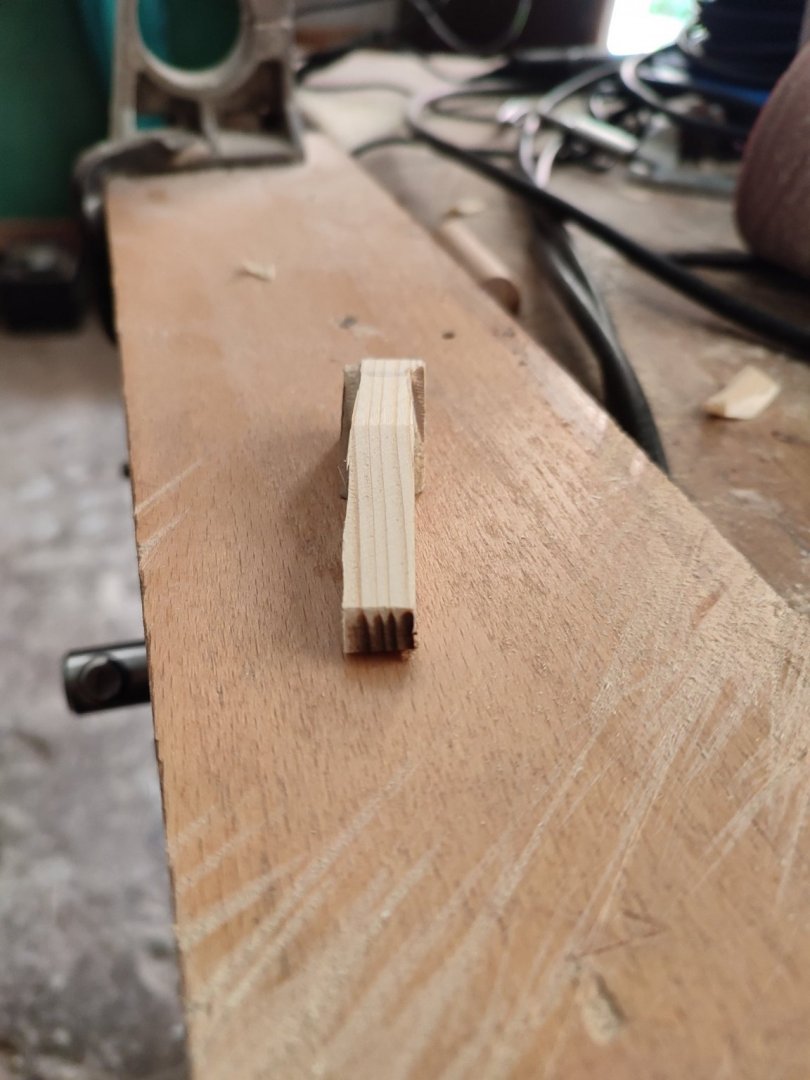
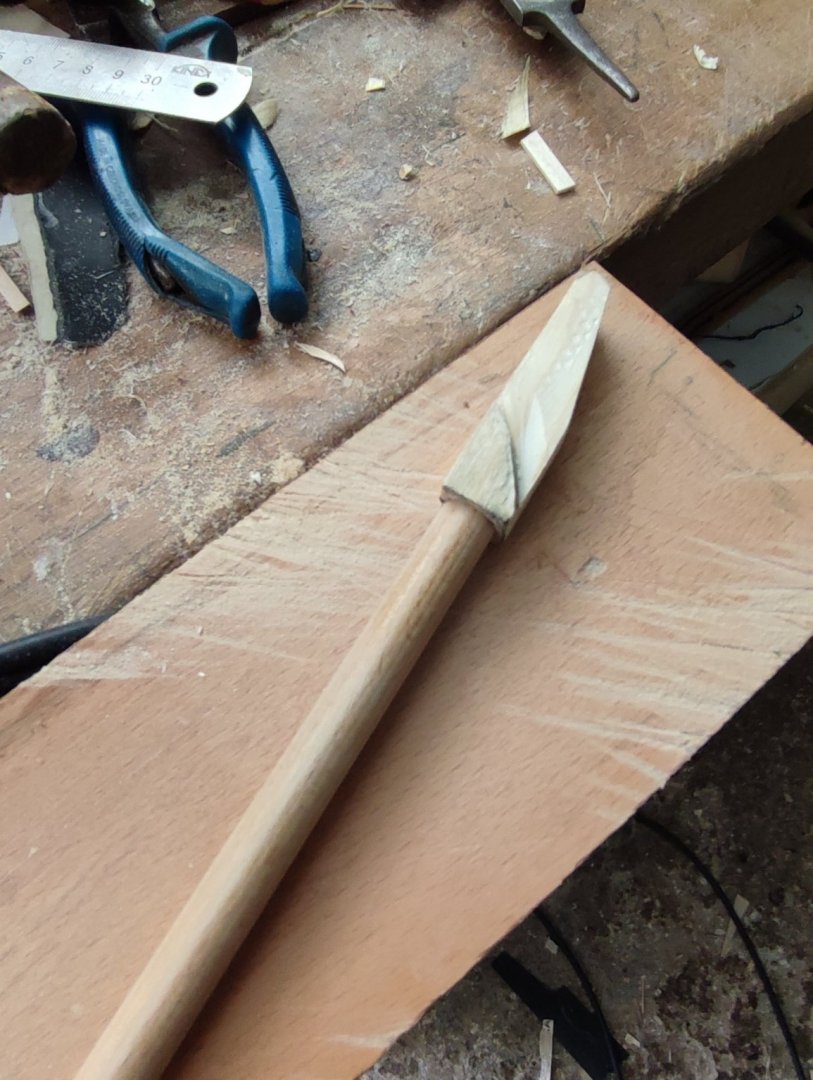
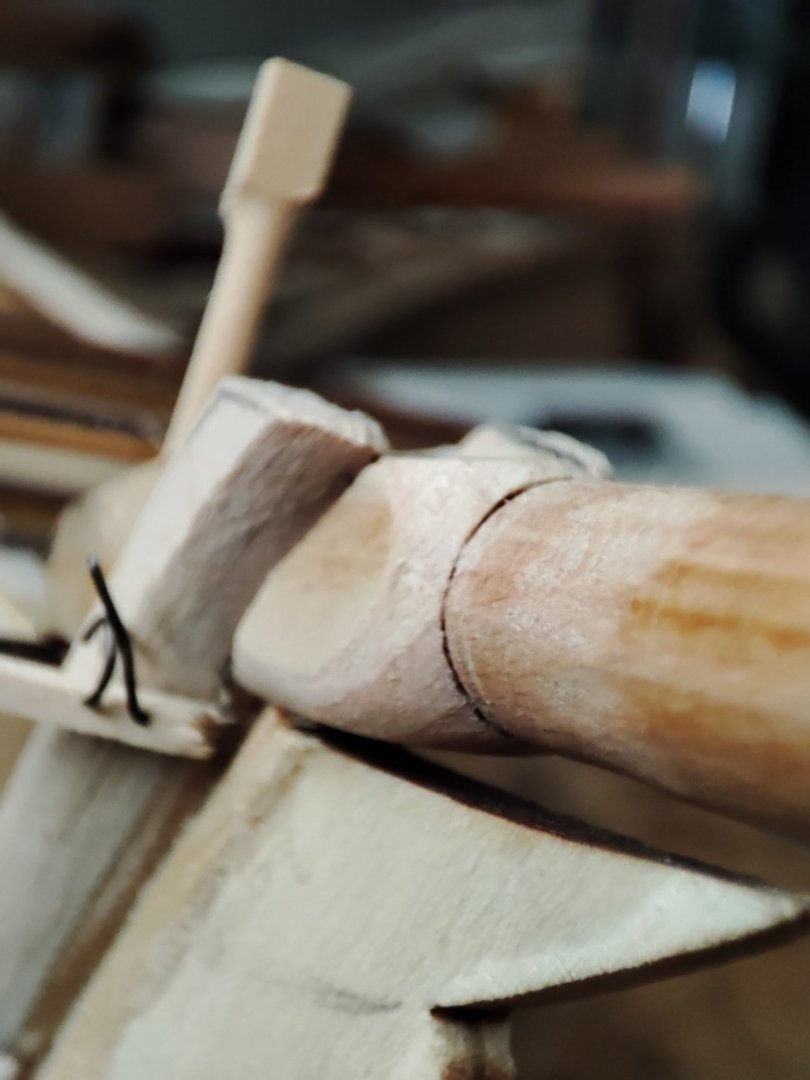
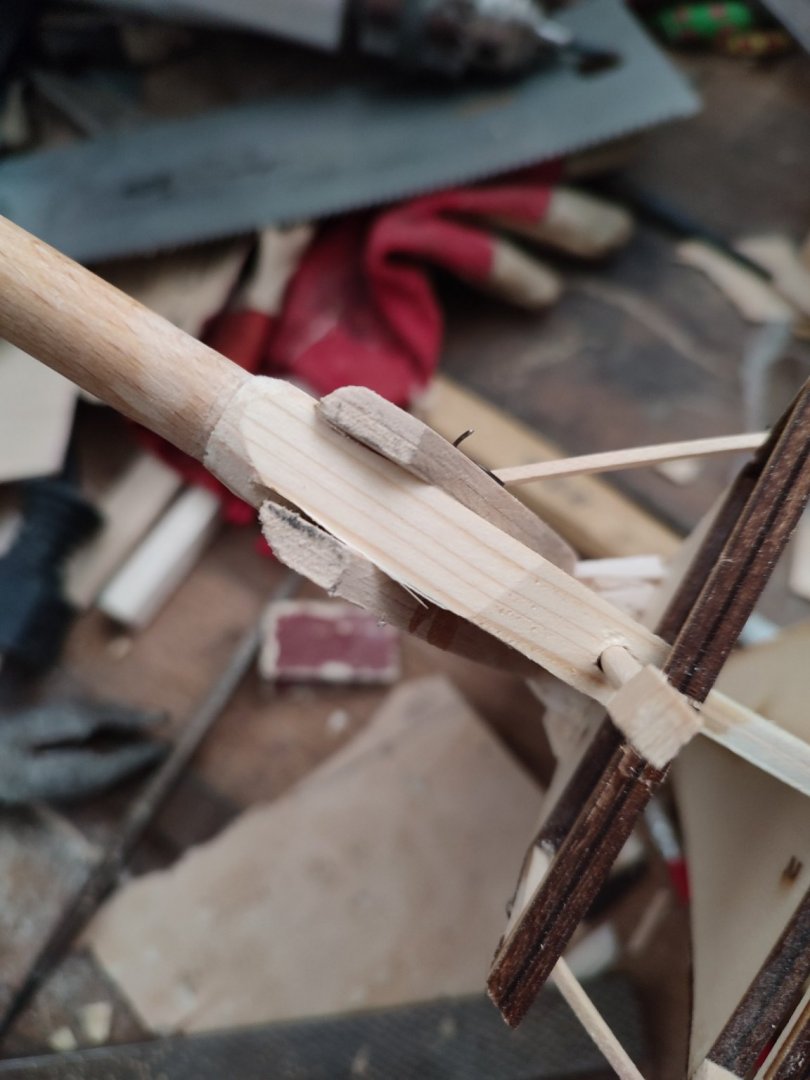
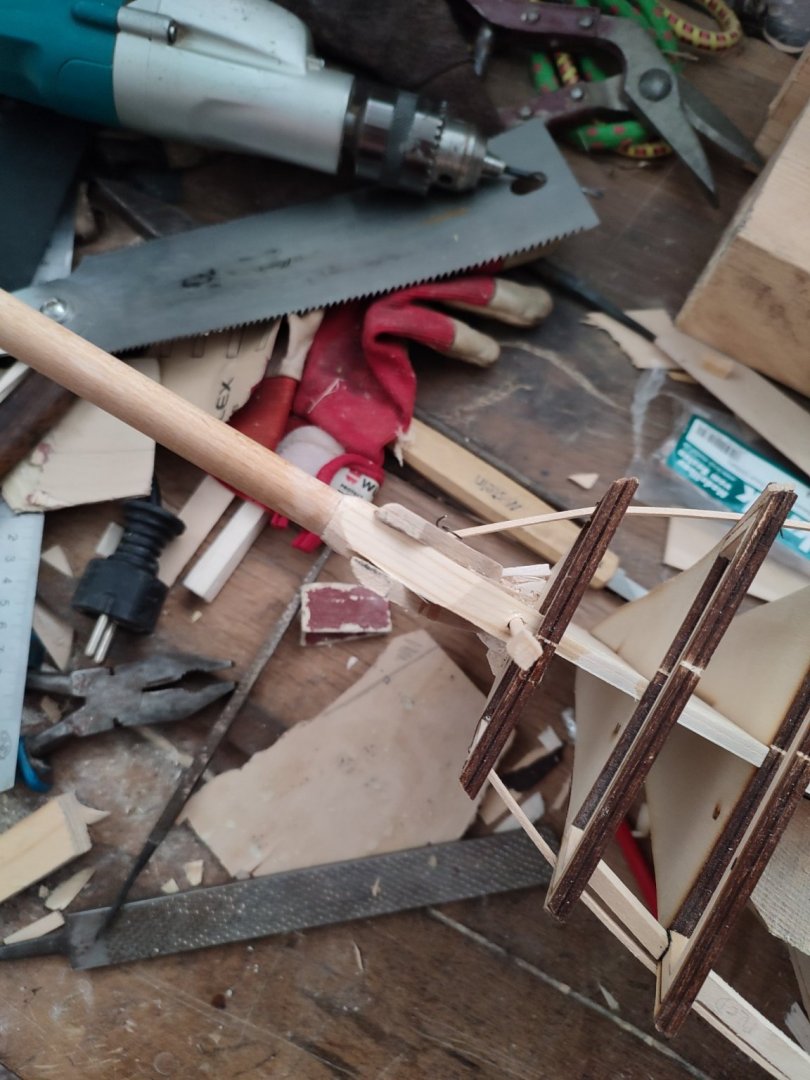
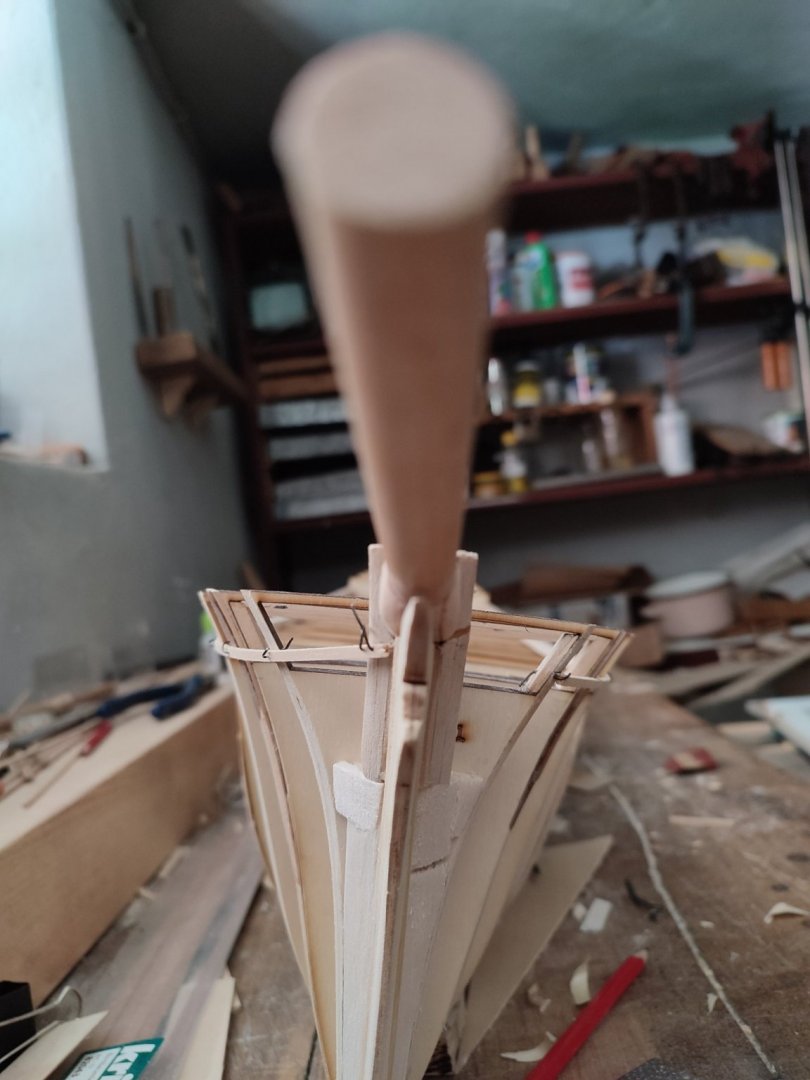
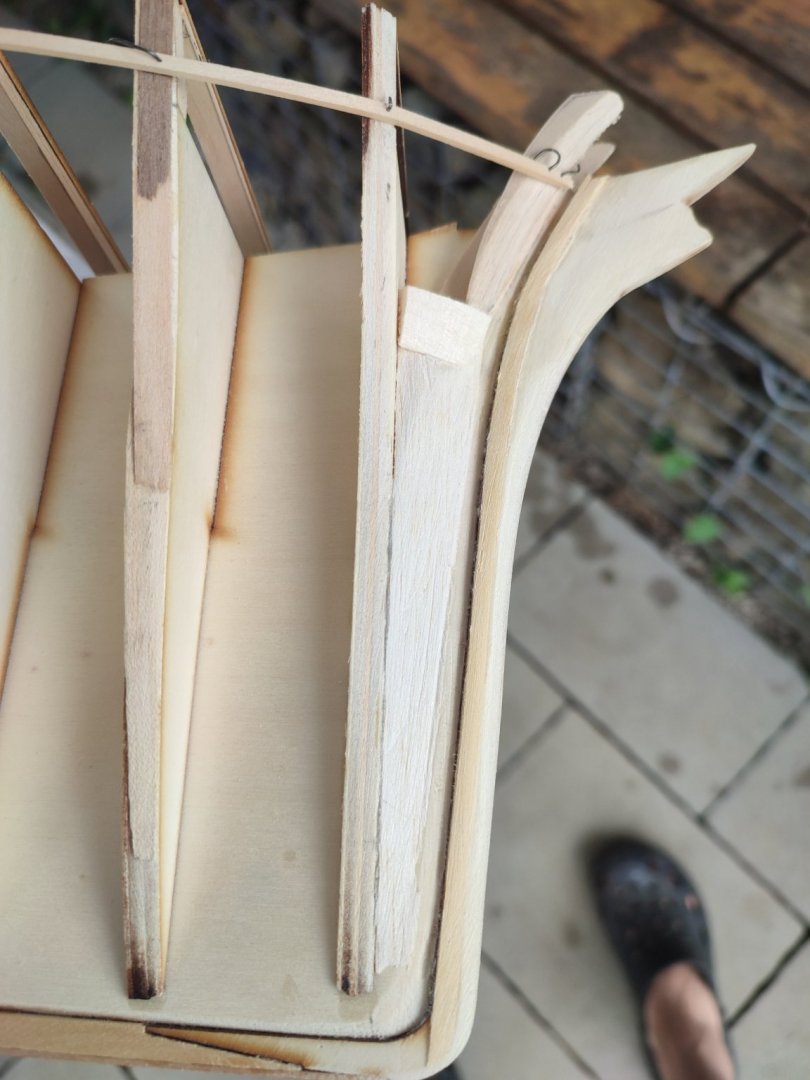
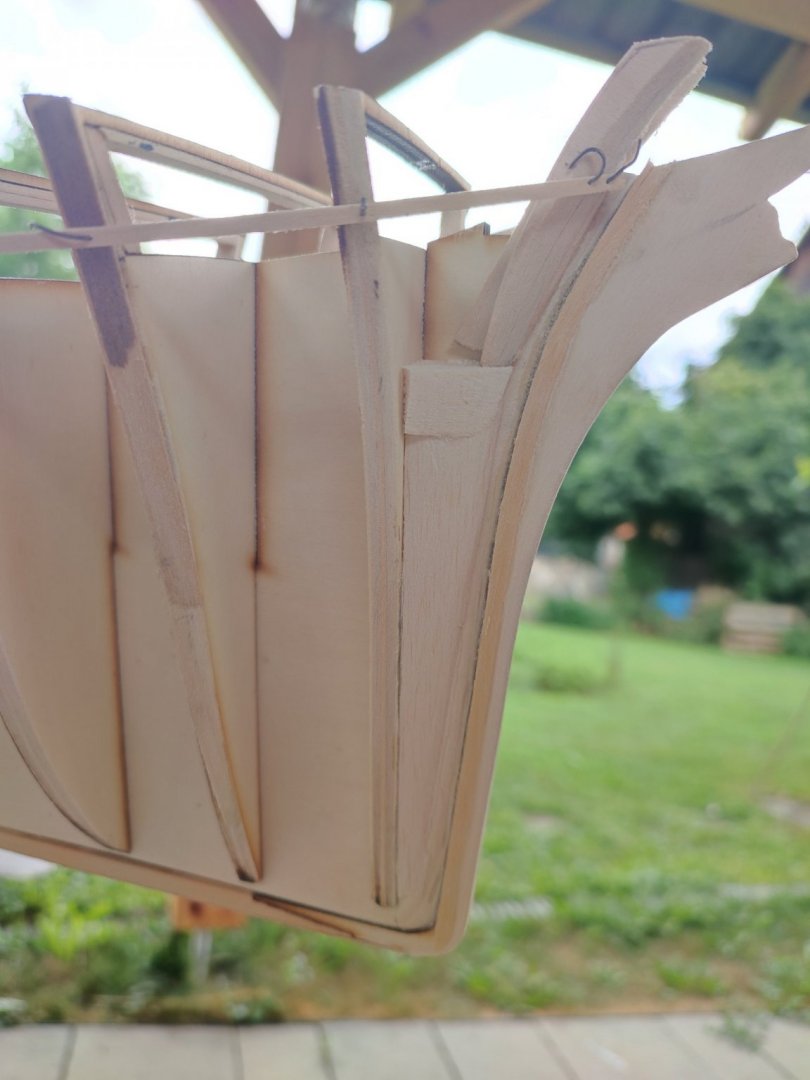
Bowsprit. I decided to make IT as its discussed atm so its convenient to hlave All infos ať hand and i would need IT secured firm before planking wales as i made knightheads foolishly fragile. Now i Made bowsprit quite complex. To achieve square boot out of knightheads and to fit in i Made IT out of two woods. Round and square Stuck into each other from some rubbish Wood i found around. I just say IT was pure fun what i like ať modeling the most. Inuendo of how to contruct things myself. I Made first a bit Bad around knightheads but second fit i think. Its temporary as angle Will sa bit steeper. As center line suggest. Its maybe not that Elegant as Robs but when painted black i guess IT would suggest one piece of Wood. I tried some macro photos. You May note that planks touchijg owsprit Will be offset back from planks below knightheads. Now i need to continue with bowsprit maybe. Maybe later who knows:)) any comment or remark welcomed. V.


-
Rob where those on both sides of the ship? I got assumption that only on starboard side...
-
youre welcome. though i am a bit scared when seeing that avatar of yours looking with unforgiving determination !
- 3,560 replies
-
- 1
-

-
- clipper
- hull model
- (and 2 more)
-
I work similarly. sometimes not sometimes when having time. good news Rob. Just got message from parcel that my planks are heading to me. looks like this week finally . yay !
-
I like Also idea being actually very far from that. Speaking of - ID be Happy to finish hull deck planking, bowsprit and outer stanchions by end of year. Than i Can put a flag and celebrate with famous photo I would like to start studying decko houses around autumn, but watching yours ahead and what we hlave in amichaels books i think it Will be great help and much easier than hull construction...:) If i event put masts on her, im sure IT Will be composite so ..probably not latest éra...i Wish spending more tíme on houses detaile as possible as could be dome similar as with cutty but this tíme more properly. I eant to také really slow pace with her...this tíme
-
youre right Rob. as we are utterly different I naturally lean towards her photograph at yeard even almost before compeltion... my choice is clean colors as possible.
-
Oh Rich, you make it all simple for us with encyclopedic knowledge i feel sometimes guilty as using this up without making effort to study those things myself - or read them up from books. well anyway, this is the say i will put the coat on! I love idea molding being black with golden entrance and upper rail natura varnished. Hay ho! Not that far as of now as my planks are on the way to me! by the way, guys, i settled on this- I decided to plank her as close to origina las possible ( but not entirely) meaning i will use 3 mm wide planks ( 2.44mm woudl be original thicknees as of 1:72 scale. from sheer downwards approx half of vessel where i would continue with 5 mm for fact i will cover it with yellow metal replication. i hope after sanding those aoudl be good enough to paint finally black.
-
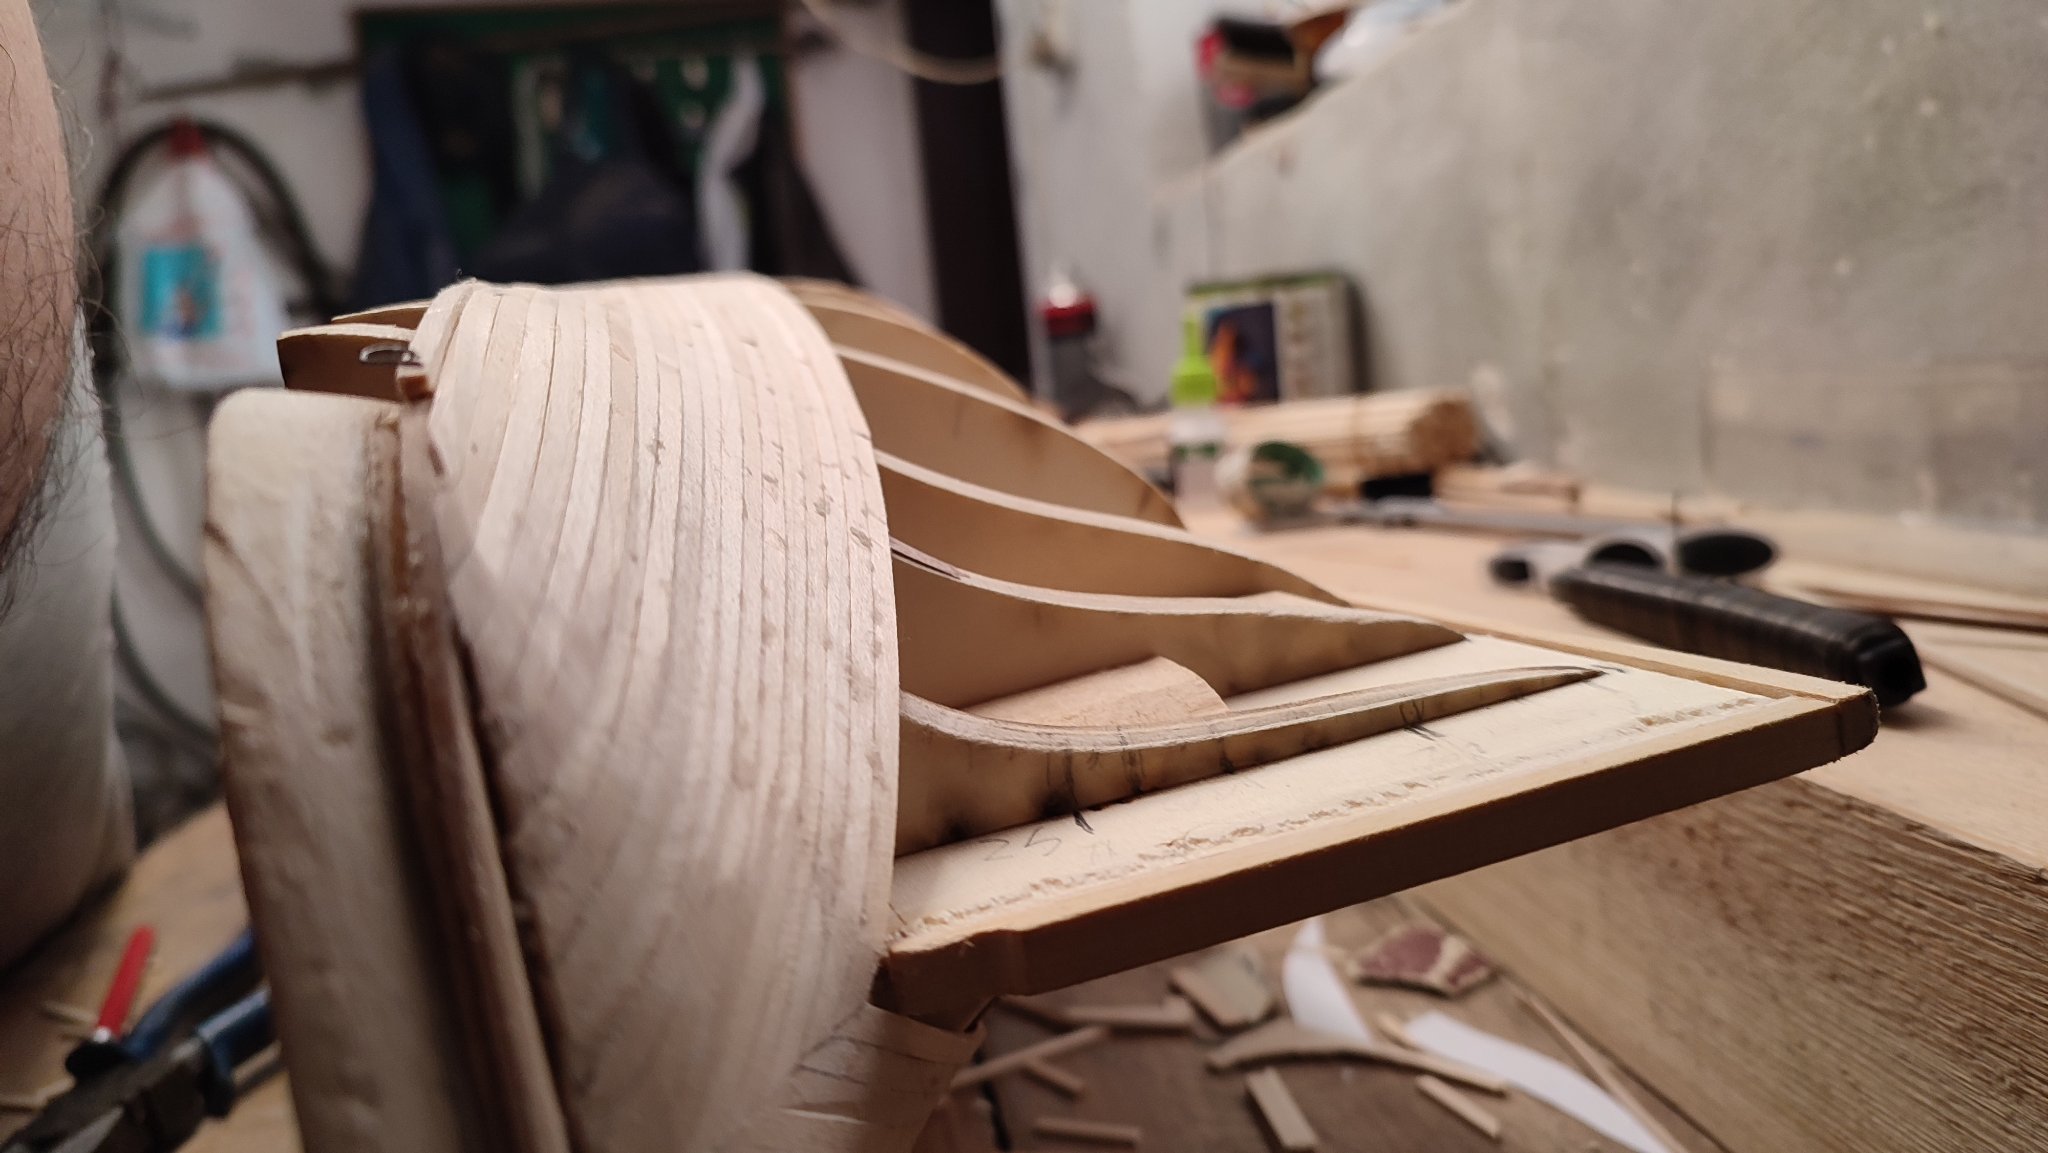
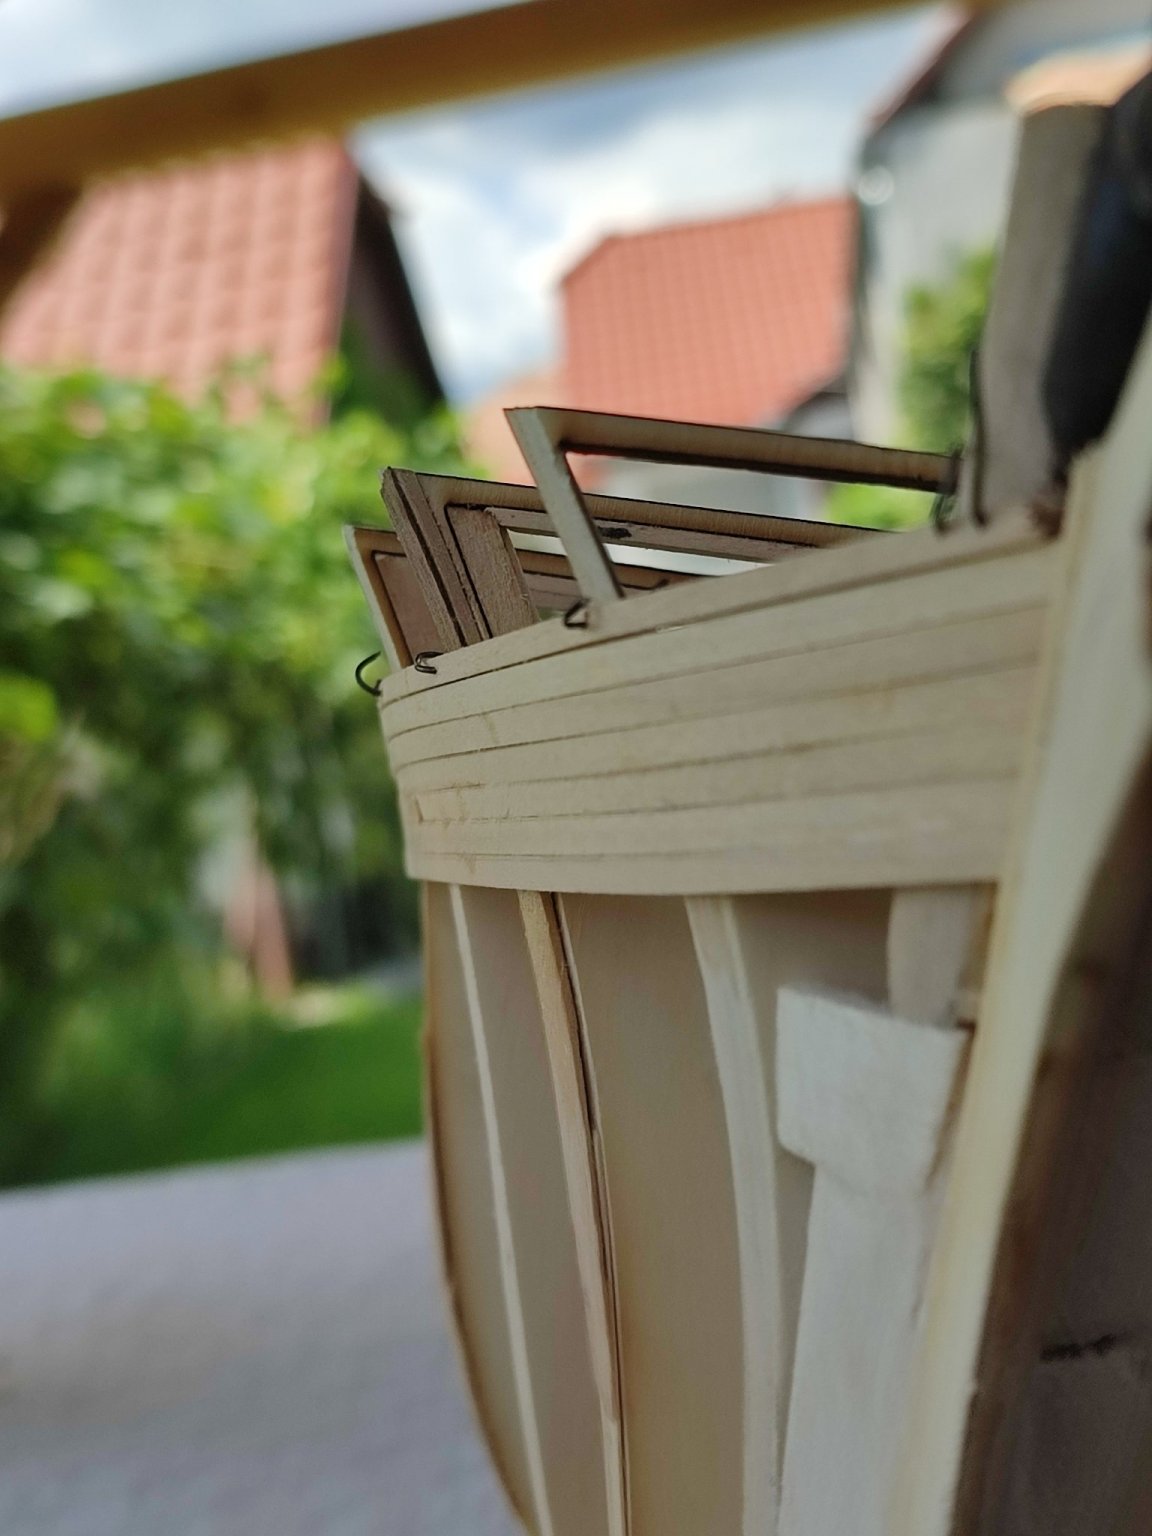
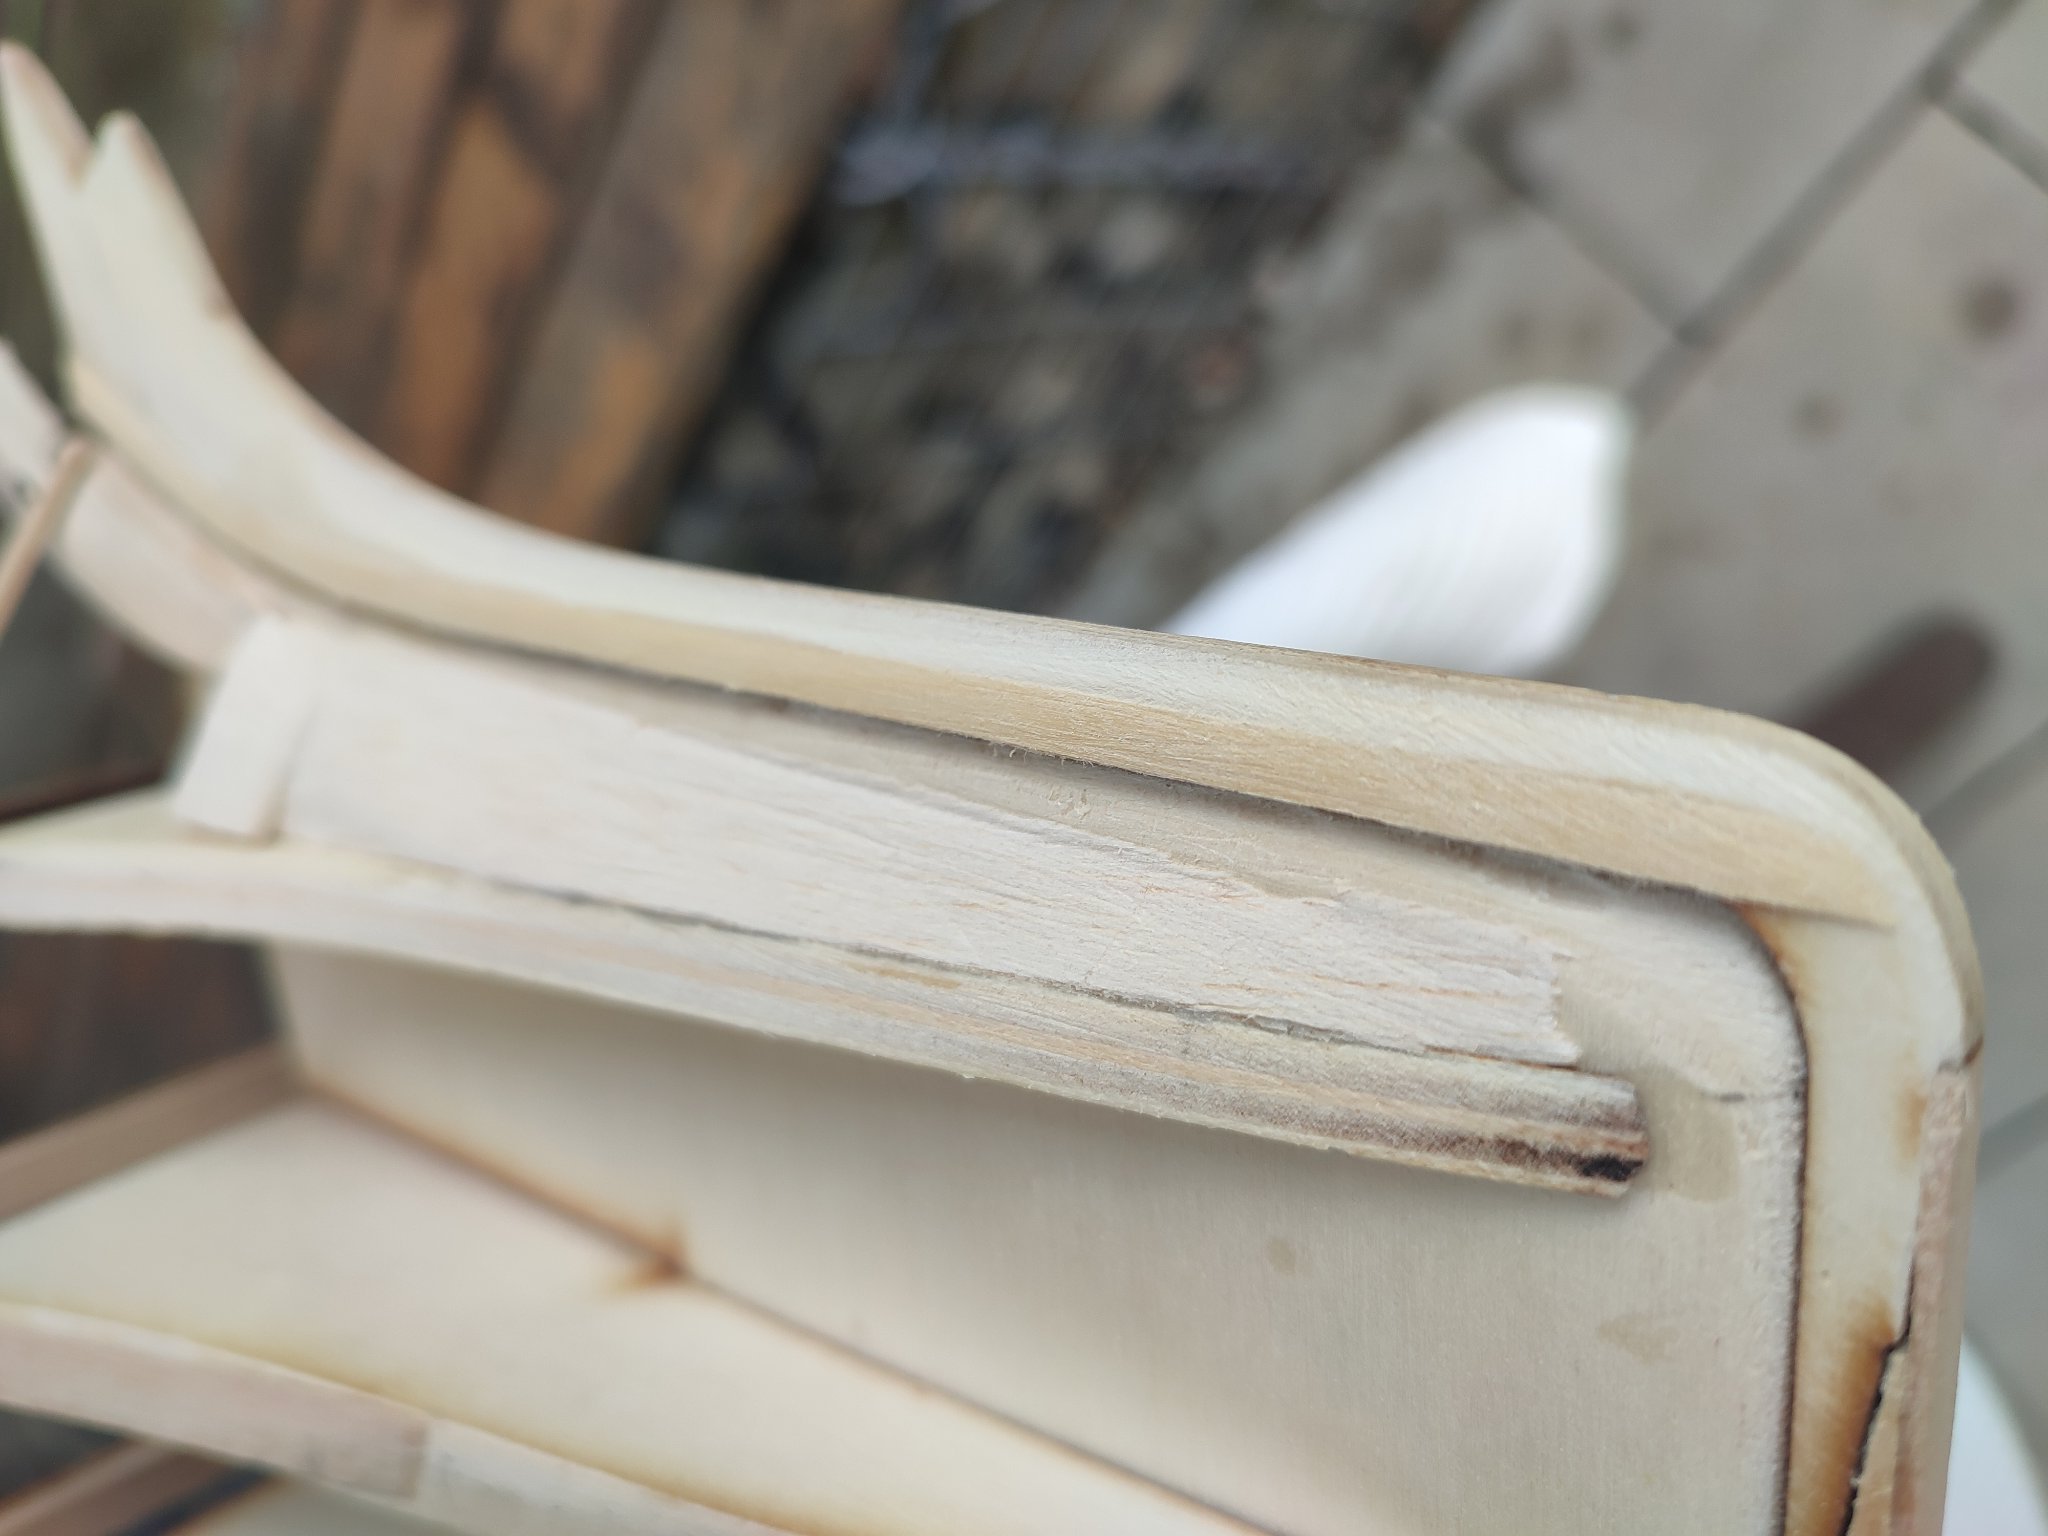
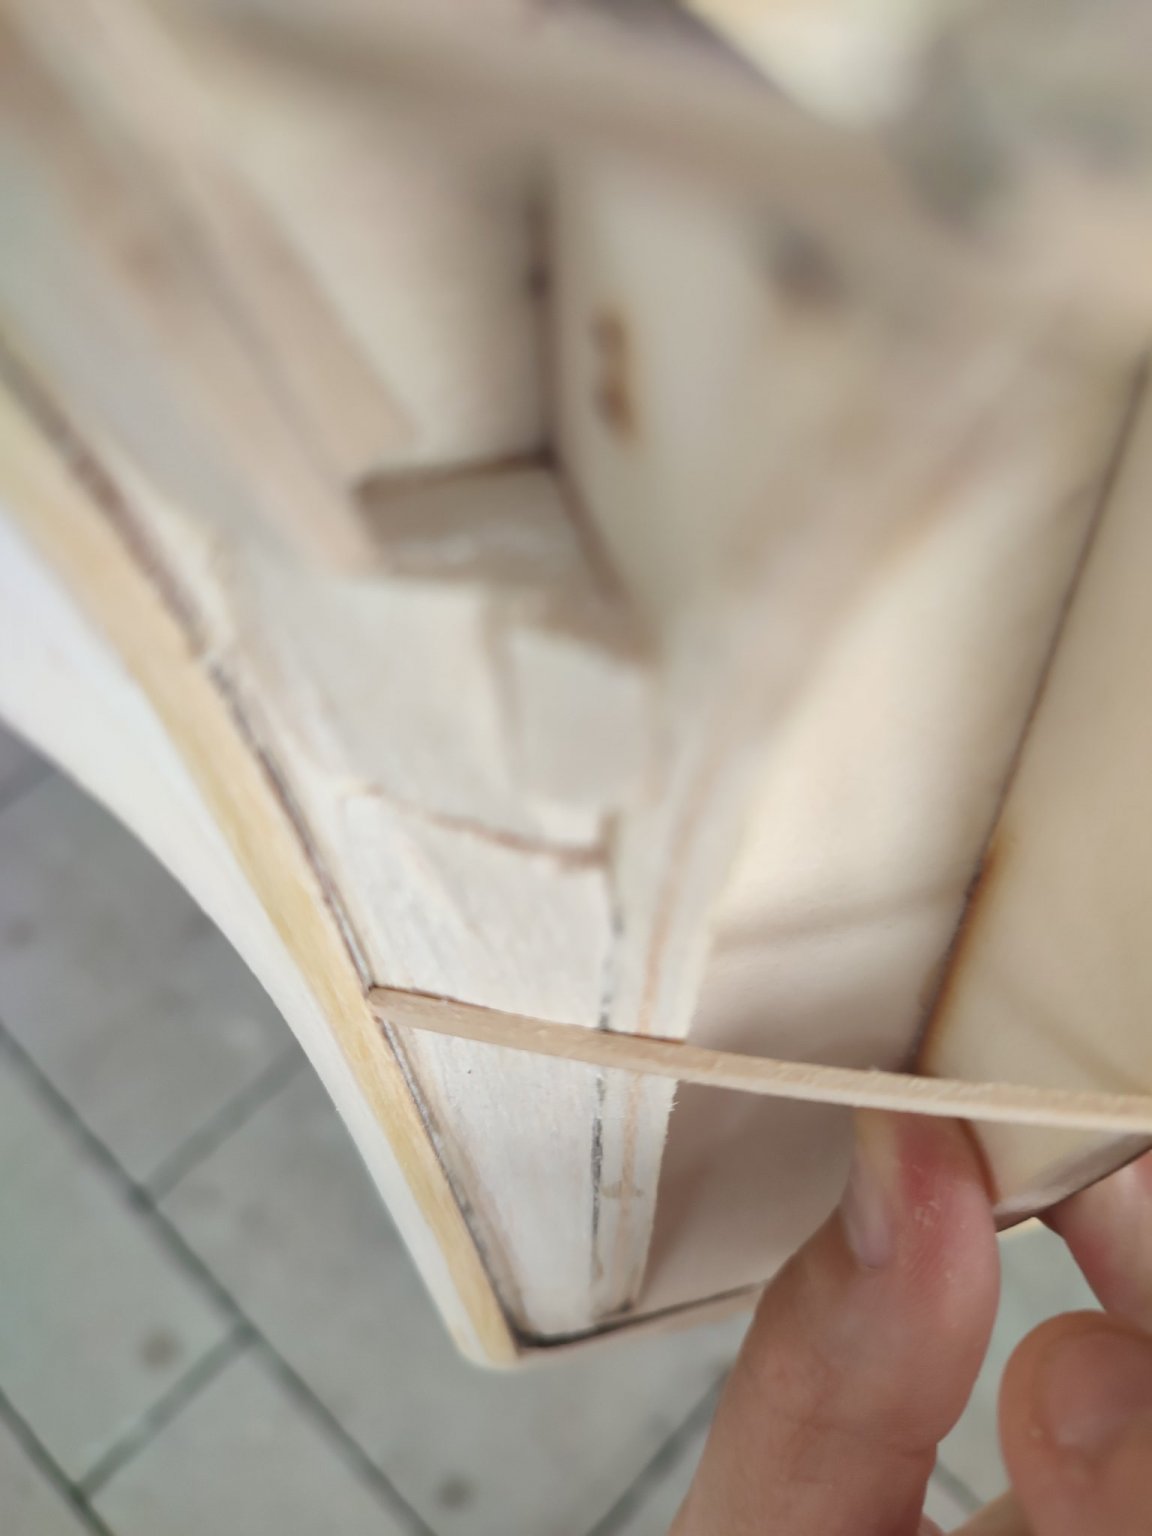
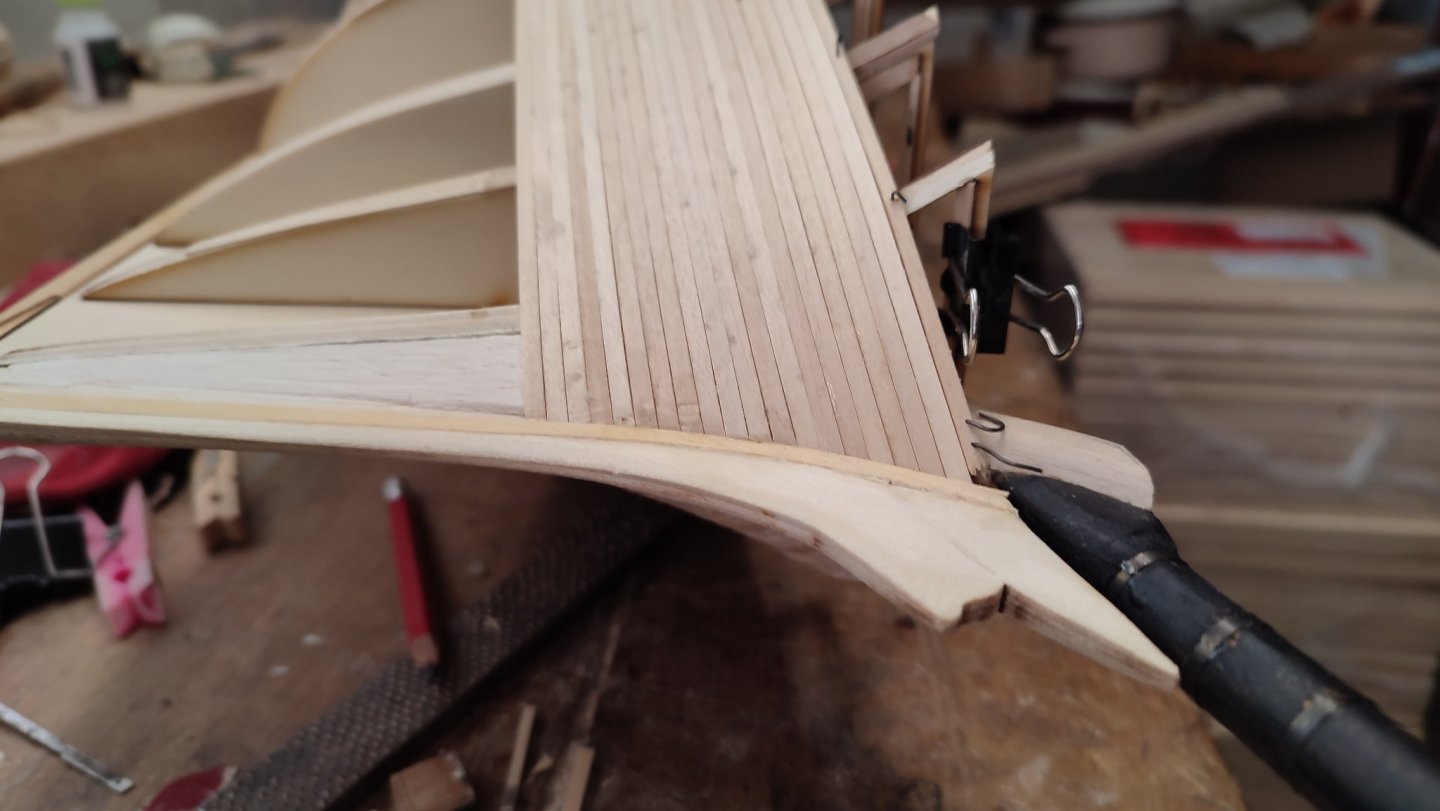
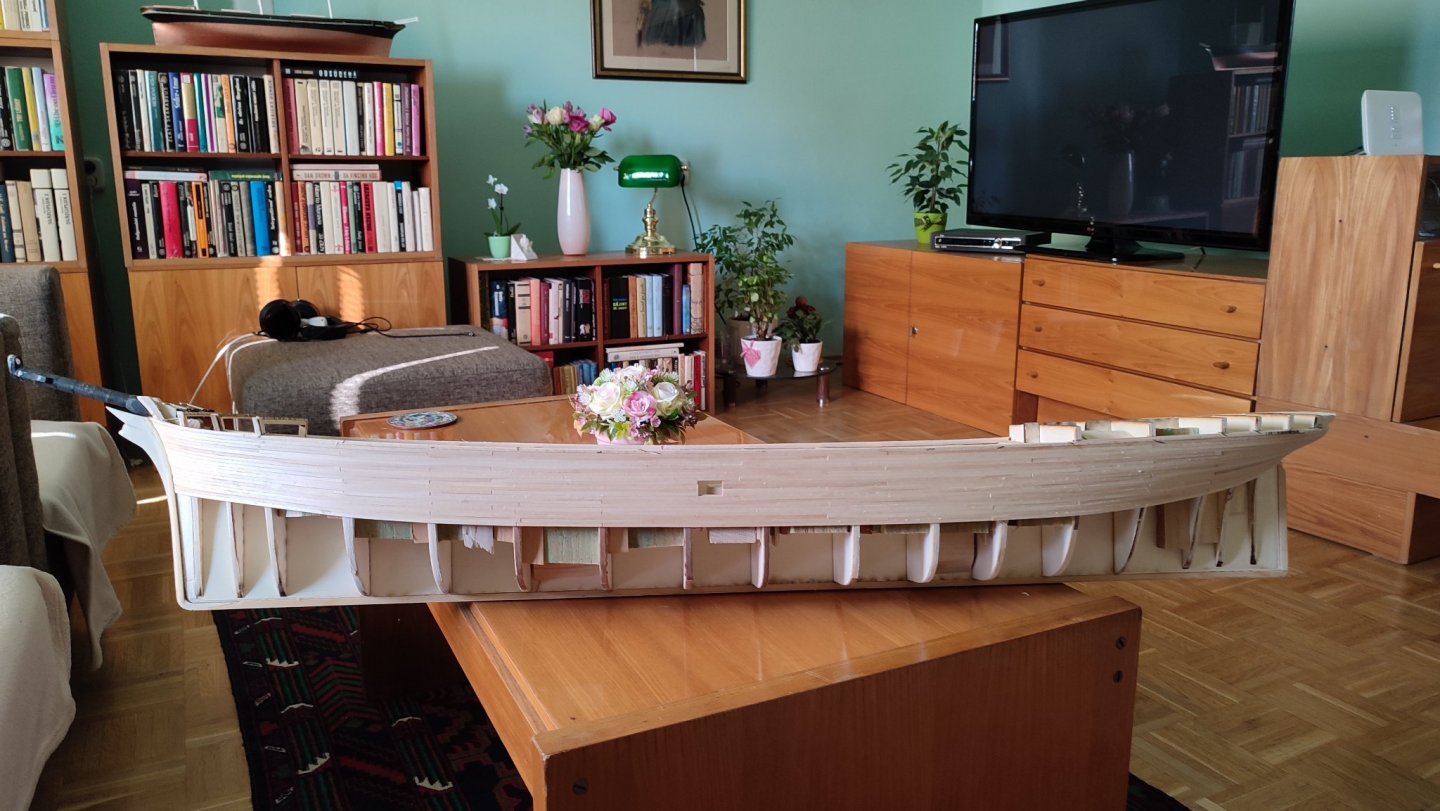
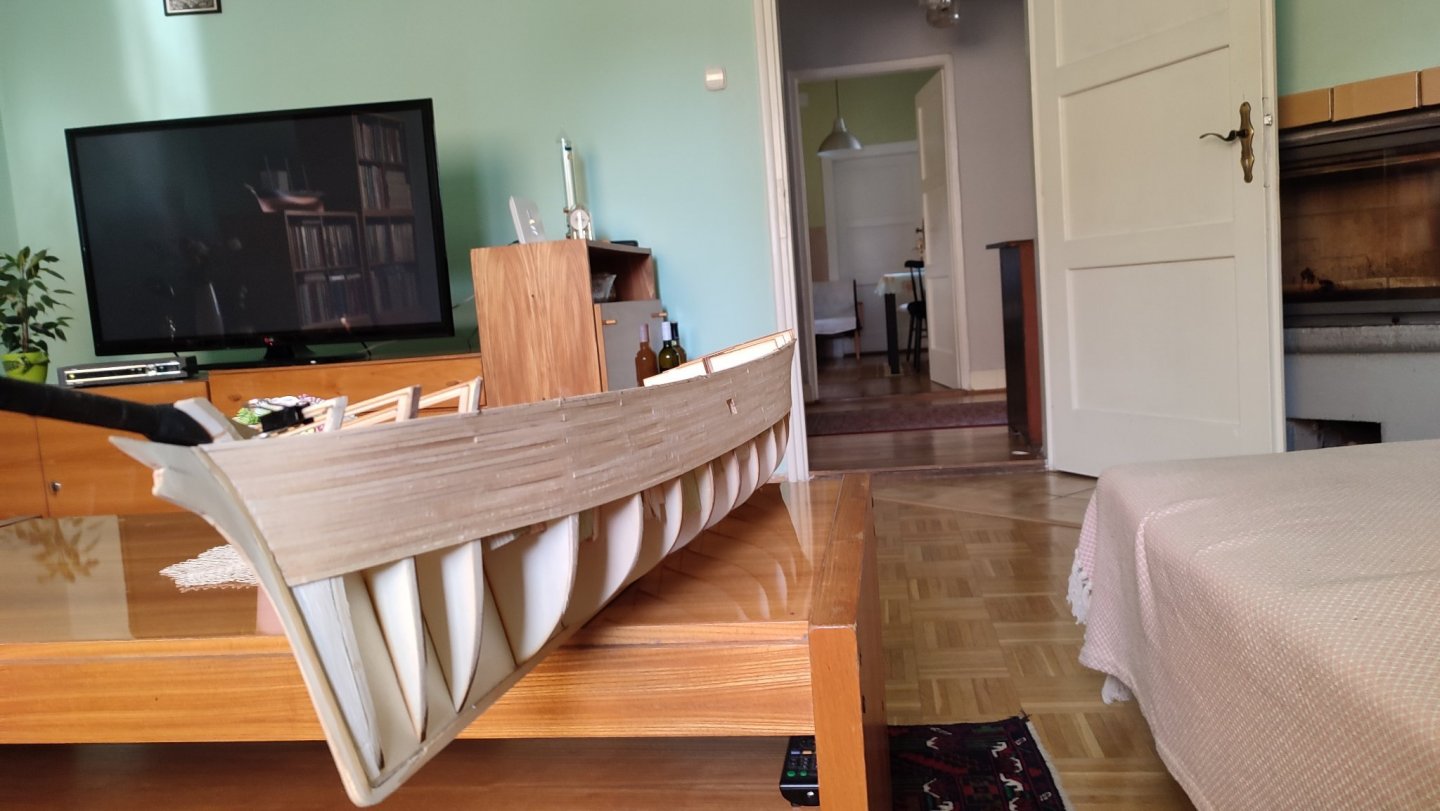
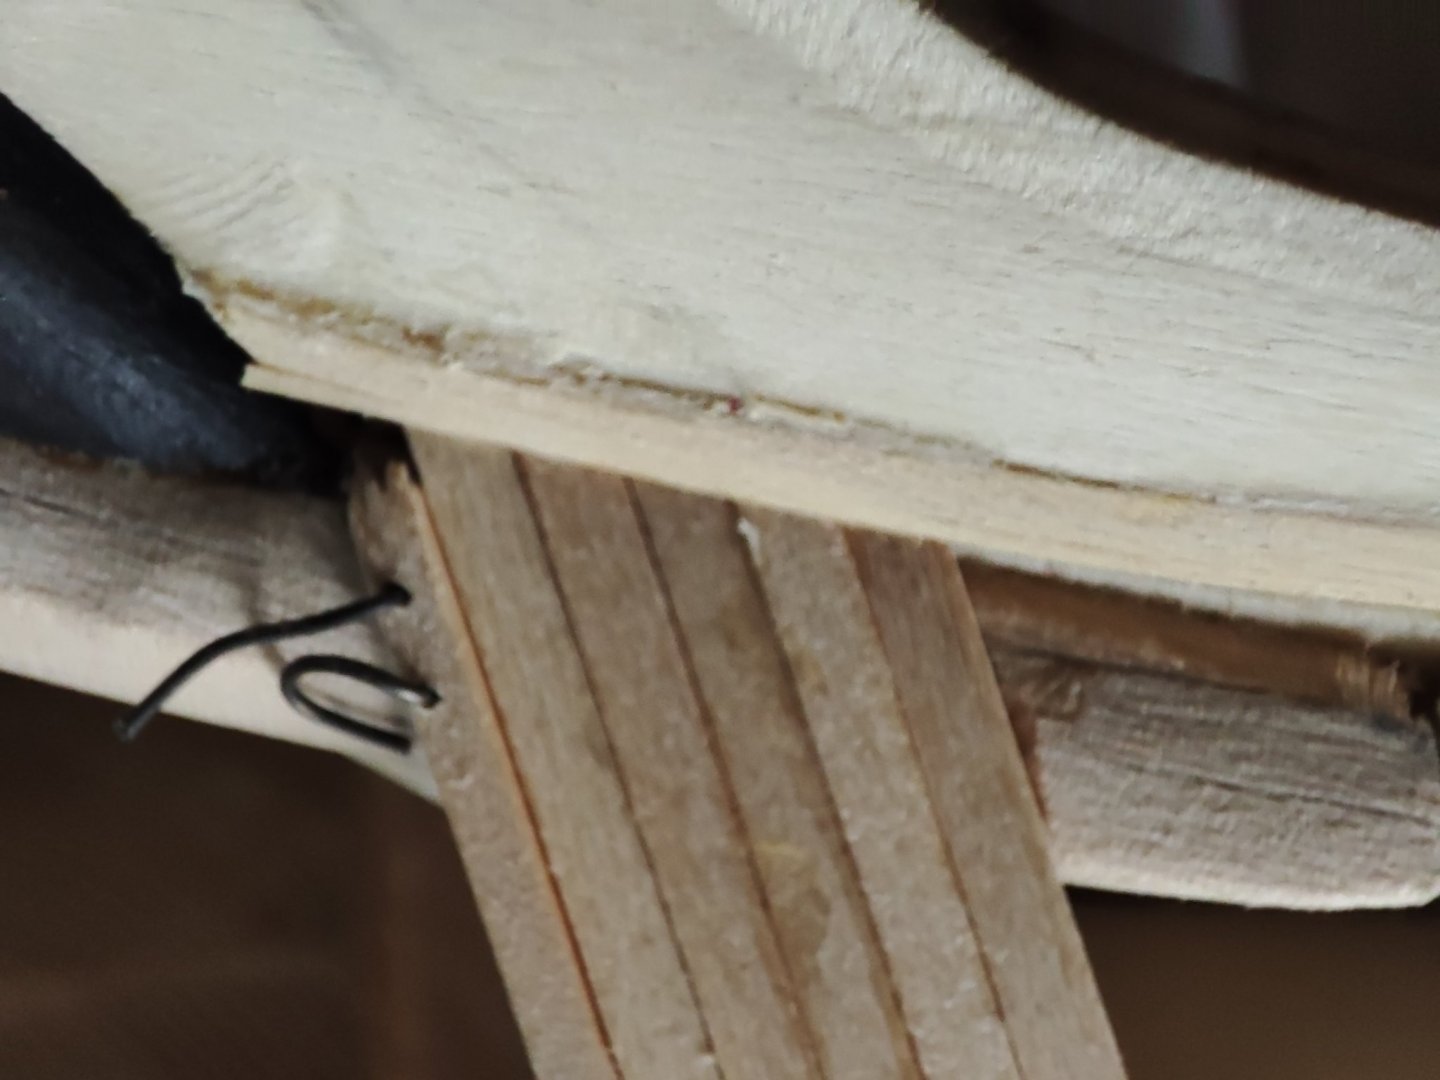
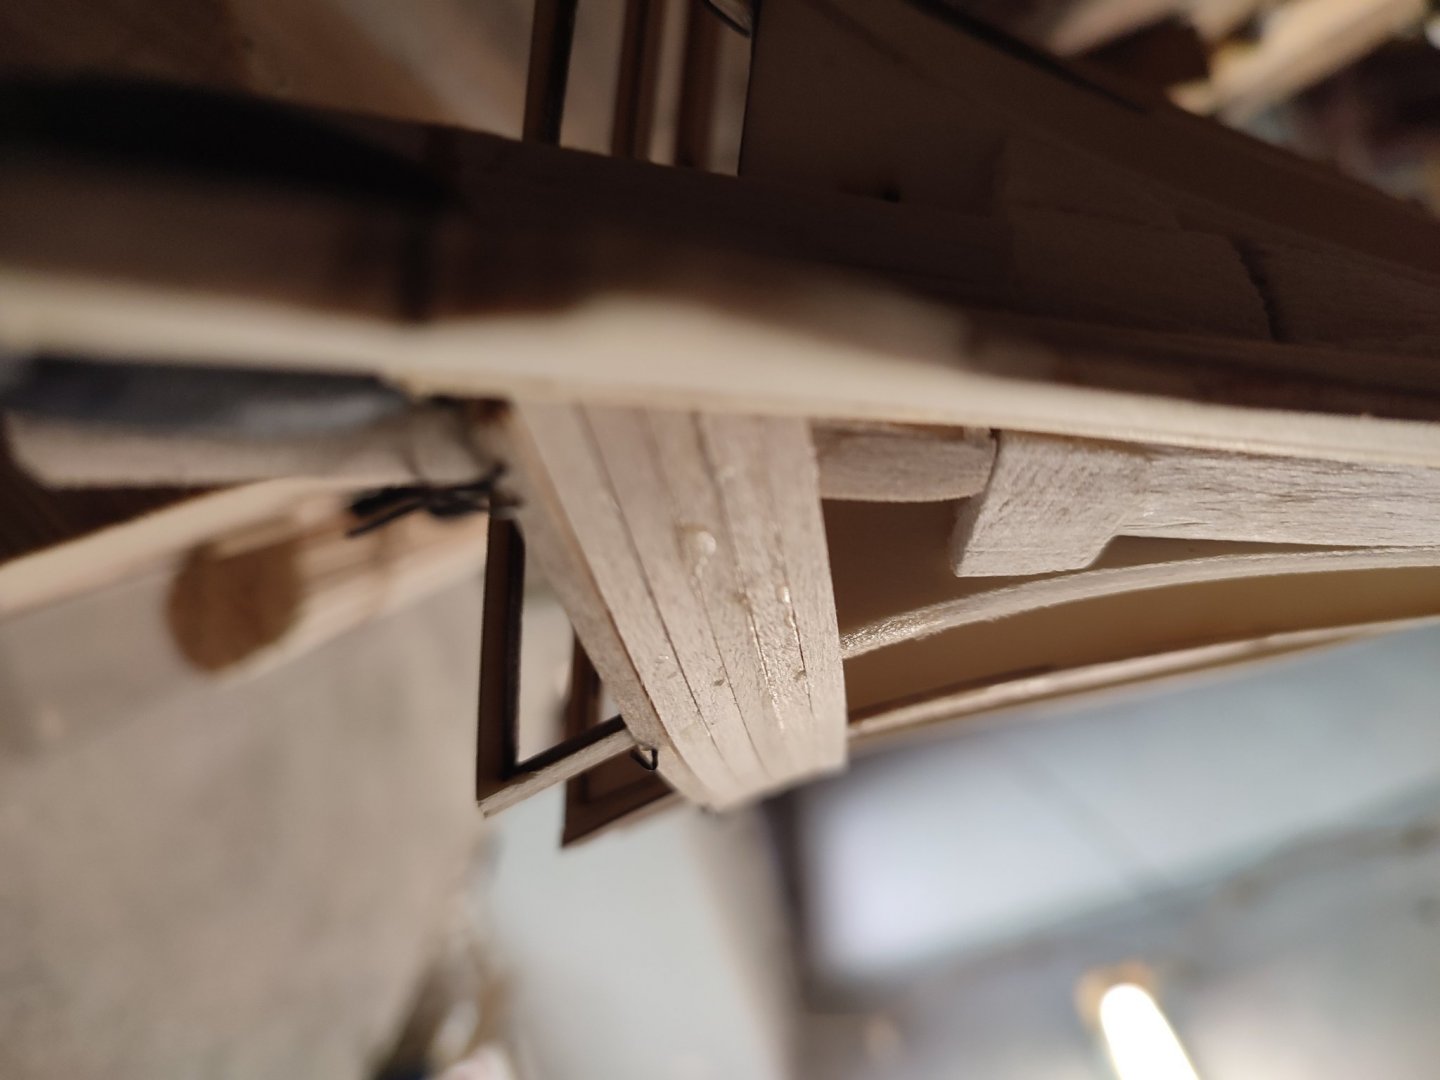
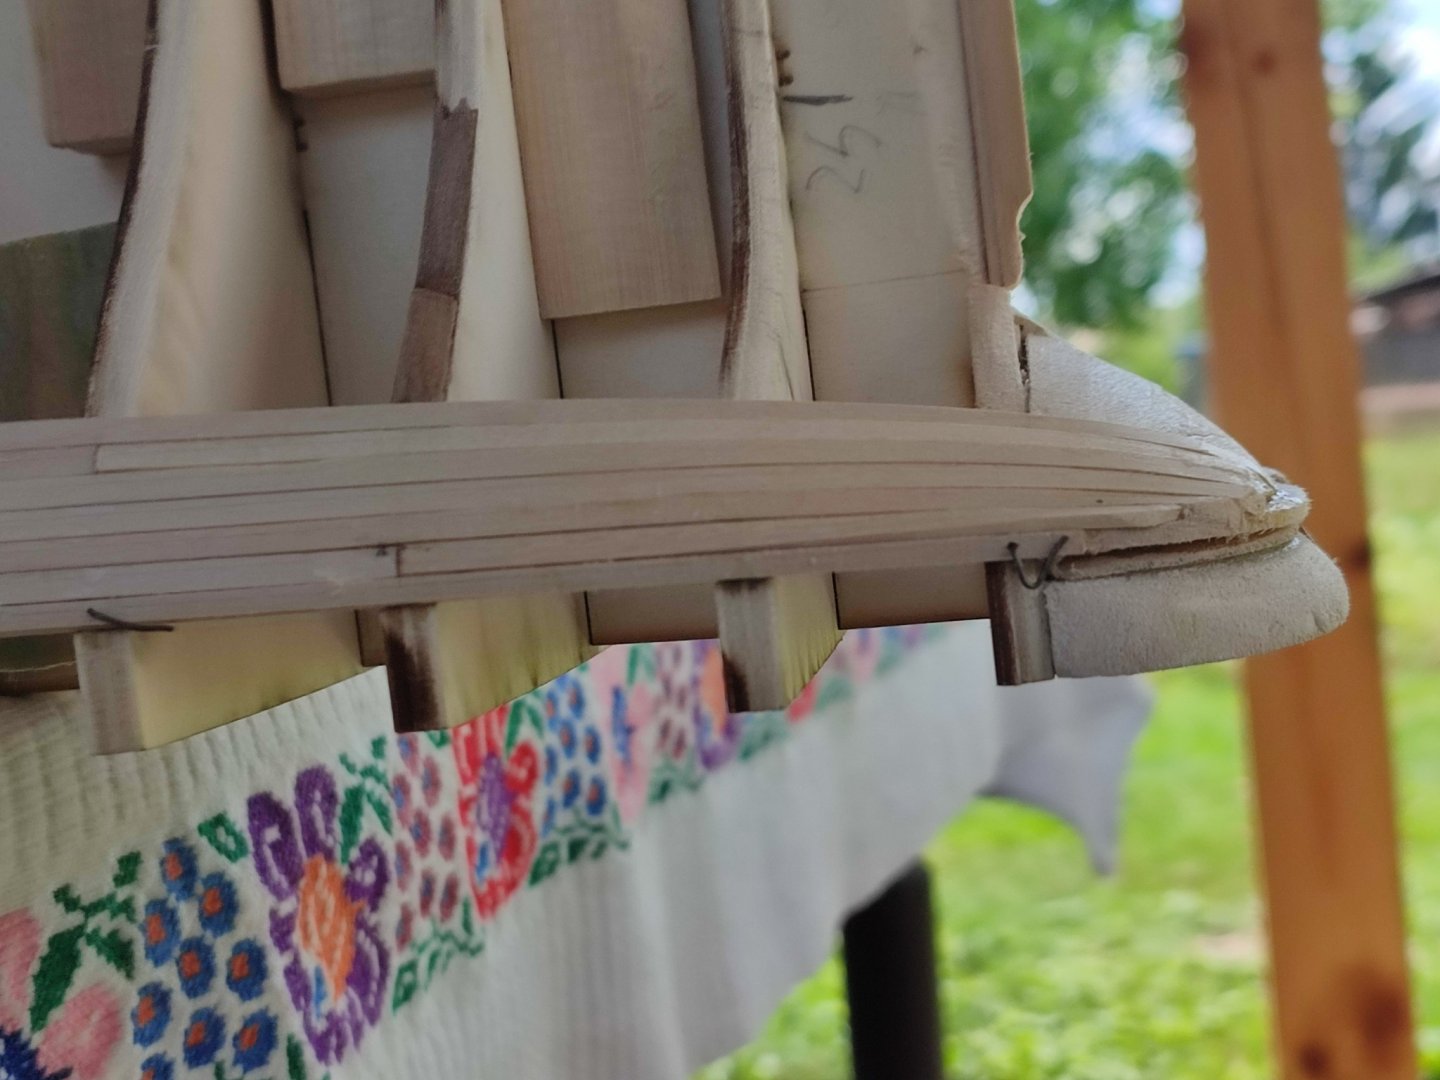
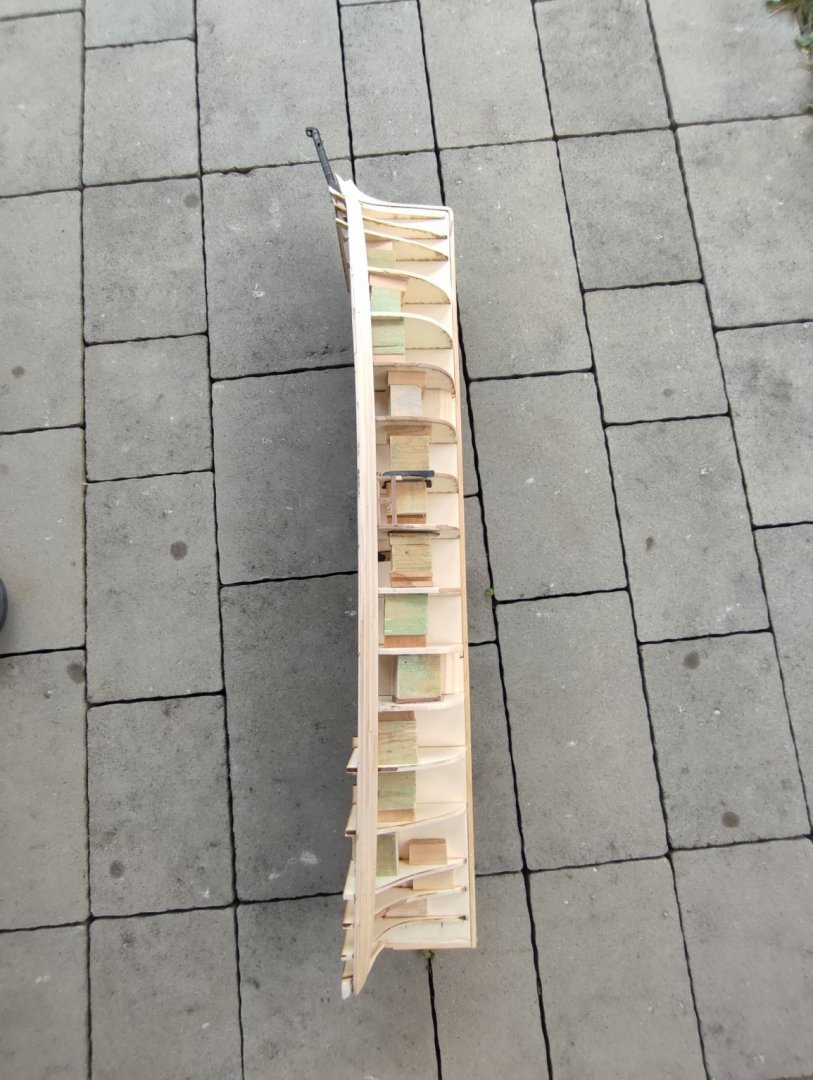
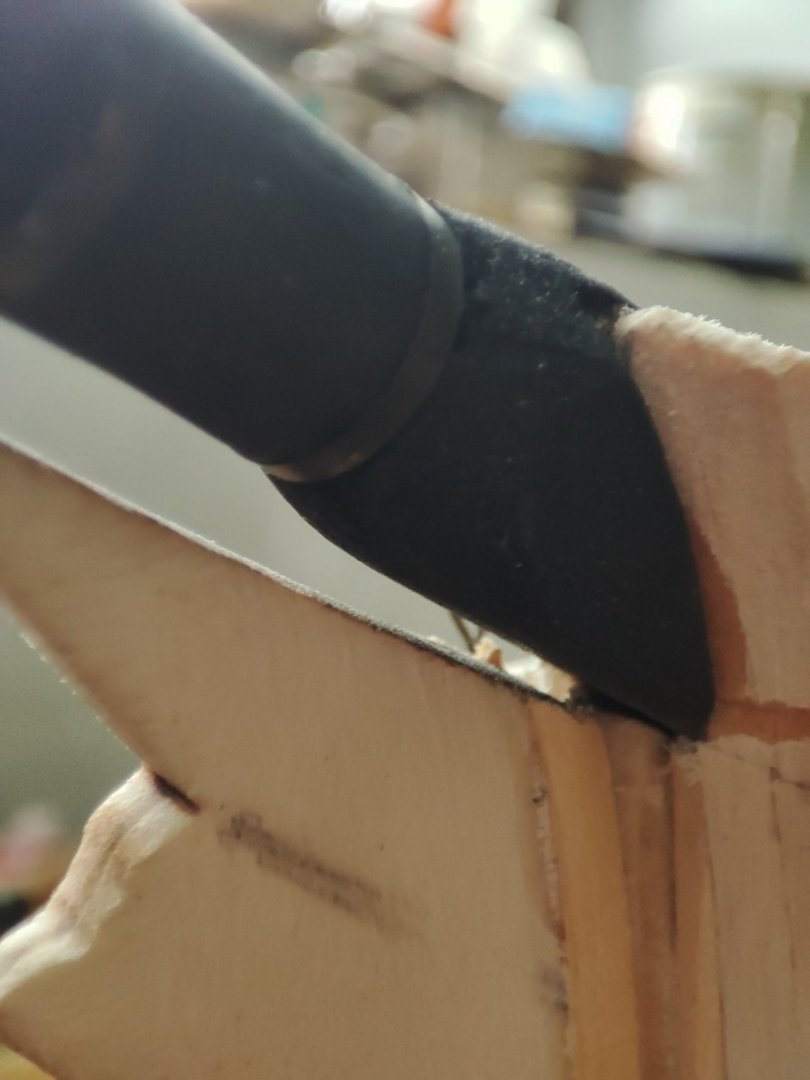
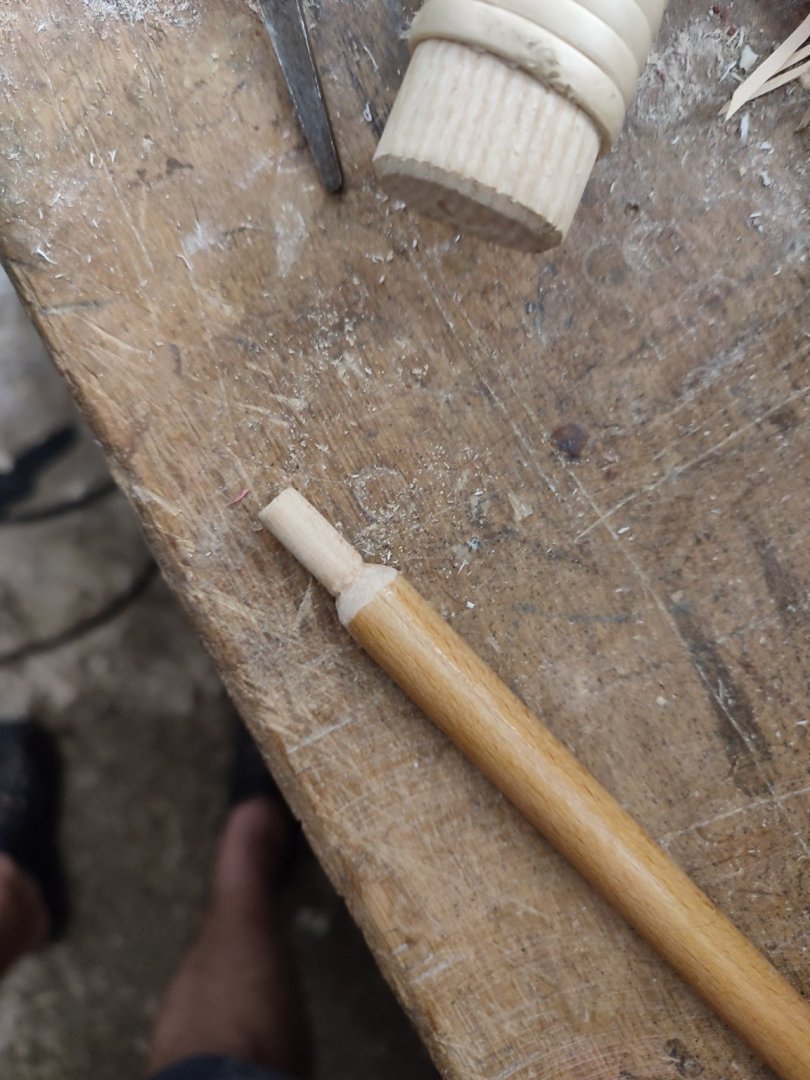
Still preparations.... Hi. Asi i went for thick planks 1.5 mm, I decided i hlave to widen glue sticking area as mjuch as possible fór planks meeting stem. Because rabbet line was too shallow to acomodate such planks I widened stem at the planks side by adding strip of alaskan cedar and sanded IT flush following stem Arrow and left wide at the rabbet back side. I used soft Wood to fill space between first planks and rabbet so planks are glued tight. Will hlave to do poassibly same to sternpost but IT Will be arranged as planking goes. Hopefully its All for preparations. Thanks for watching . V.


-
Rich, Rob would you mind guys a shed a little light about outer moldings and ornamental colors? i admit i am a bit confused myself feom various photographs seems to me well of course for each captain all splendor was individual if i remember correctly from Michaels book. speaking of it ahead of planking which is going to happen very soon! i spoke today with guy from czech republic ( funny i get magerial from another country but thats just best shipmodel shop i know off in nearby europe though:)) it might help me to decide overall picture of the ship. as Rob stressed probably first is to be determine timelap to where the ship is to be buidl ! well at ghis point im not even sure i will mast it because im set on spending this winter again drawing houses and deck instalation on computer and than laser cut it etc.... so, just from my persepctive - i must admit apart of beautiful golden leaves, i like myself also subl almost "no splendor of simpel uncolored or water splashed color? im not sure wood as seen on various photographs also with outer sheerlines uncolored ...well its b&w pictures but i assume white would contrast to the point it would be clearly visible on bw photographs...headache headache:)))