HOLIDAY DONATION DRIVE - SUPPORT MSW - DO YOUR PART TO KEEP THIS GREAT FORUM GOING! (Only 72 donations so far out of 49,000 members - Can we at least get 100? C'mon guys!)
×


Egilman
-
Posts
4,377 -
Joined
-
Last visited
Content Type
Profiles
Forums
Gallery
Events
Everything posted by Egilman
-
 Yeah, in my haste, I screwed it up, typical for me..... I missed transferring a line in the pattern to the ships hull, and painted the next section that is supposed to be 5-O Ocean Grey, 5-N Navy Blue....... There is a pattern line in that grey area between the two Navy blue splotches..... That blue section towards the stern should be grey.... So I've recoated it with Ocean Grey...... One coat so far looks like it is going to need another.... Here is where the super thinned paint works to your advantage, once the thinner evaporates it leaves a layer of paint only a few mils thick.... you can put several coats on over the same place and they will lay down so smooth you can't tell.... You can see where I use a 0.7mm pencil lead to draw out the pattern on the hull, then is simple, just lay your paint between the lines taking the lines as you paint... Just make sure you get all the lines in the pattern..... Small setback, once this is cured I'll throw on the second grey coat and you will never know.... Once that is cured I re-draw the lines adding the one I missed.... Oh well I'm not perfect..... (but I try hard) {chuckle}
-
Thank you guys, Very very much.... It means a lot... But alas I messed up, painted the wrong area the wrong color cause I missed a line.... will be posting the error and the correction in a few minutes.....
-
Yeah, but youse guys aren't in 1/350th scale.... and the admiral says to behave..... OR ELSE..... (I haven't a clue what or else is)
-
Yeah I've seen that technique demonstrated several times, problem is when using thinned oil enamels the thinner reacts with the glue in the tape dissolving it and it makes a mess... (which I've also seen several times) Works great for acrylics though..... I tried to manufacture masks for this kind of painting once, no matter what I tried, I always seem to tear the tape or film with the knife.... So over time I developed this way of doing it ...... It's one of the things we do, making materials do things other than they usually do....... In this case oil paint.... Using thinner to prevent it from drying as fast as it usually wants to.... Nothing special, applying good old paint with a brush by hand......
-
I see you over there brother, from all the way over here.... Glad you could join us....
-
I understand, there are many ways to reach the same goal, picking the right one for the situation and your skills is the issue...... Experience is what it is called trying out various solutions to find one that works and is repeatable... This is one technique that works for me, and it is surprisingly easy.... I've never had a good experience with masking and brushing oil enamels the paint always seen to creep......and thinning them works better than trying straight out of the bottle, the reason for the thinning is that the flow time last longer, this allows the paint to level much easier..... We have all experienced brushing paint on a surface and before you can load up a brush the edge dries and the middle thickens up to the point it gets globby.... with thinned paint and a good primer coat this doesn't happen... in fact you can do multiple coats without paint buildup, it looks like heck when wet, but when the thinner evaporates it lays down smooth even on overlapping edges.... May take several coats, but it's the only way to hand paint oils.... In a few I'm going to post an example of this by correcting a mistake on the pattern, I missed a line and as a result switched the color pattern around, Need to repaint the ocean grey over a part of the hull side and start over..... I'll post pictures of it so you can see what I mean....
-
KI-43 Oscar by Javlin - FINISHED - Hasegawa - 1/32 - PLASTIC
Egilman replied to Javlin's topic in Non-ship/categorised builds
The Bottom mottled green over olive is particularly attractive..... The upper one is more colorful though... Both would be beautiful when done...... -
Your technique is perfection brother.... I can't see where it needs the touchups, never mind I see it, looks like the decal stretched too much, Easy fix for you.... The steel color really pops against the black accent striping..... Nicely done....
-
Ok, short update here, half the starboard side's 5-N Navy blue is on... (from the bow back) I know it looks a bit streaky, (it didn't take long for the paint to start weathering) the cured -dried sections appear a bit lighter than the fresh ones and the edges are a bit jagged, but what do ya think? Any suggestions? EG
-
Thank you Gentlemen for joining, (and the likes) You boys in the rafters, be careful where you chuck those shells, we wouldn't want any friendly fire incidents below.... Small update here, I've got the base situated and assembled with the lower hull just slipped onto the pedestals.... (so I can remove it as needed, the running gear will be installed later if I decide to mount it this way) Base assembled and hull painted..... The painted upper hull.... That is two coats of hand brushed, 50/50 thinned True North 5-O Ocean Grey, definitely blue cast there isn't it..... Now the reason I'm hand brushing so thin a paint is this model is way too small for airbrushing, so the technique I use is to wash the primer coat with several coats of heavily thinned paint to maintain the details.... The paint dries extremely thin, not as thin as an airbrush true, but very close, still thin enough to not hide detail..... I get to do the same thing after this fully cures with the 5-N Navy Blue camo pattern. Historically, I'm painting it backwards, the 5-N usually went on first and the 5-O was painted on afterwards.... this way is better for modeling..... (dark covers lighter paint easier) I developed two images for the camo pattern.... Port... And Starboard... Hull only though, the superstructure camo I will wing as best I can from photographs... Next update will show how much skill I still have doing fine line painting, It has been a while..... EG

-
And you would be correct. She was hit by 4 bombs, 2-250kg bombs which did superficial damage, and two of the specials, 14" naval armor piercing rounds converted to bombs... One struck amidships and failed to explode and of course the other, (which glanced off the glasis plate of Turret #2 and penetrated to the magazine where the powder bags for the 16" guns were stored) destroyed the ship.... The bomb itself didn't cause the explosion, but created the situation for it to happen..... The damage it caused set fire to a ready-ammo locker outside the magazine wall, the blast effect also caused the wall to fracture and rupture some of the bags inside.... The fire reached the loose powder from the bags which started to burn and the magazine acted just like the breech of a gun concentrating the powder fire. which exploded with enough force to blow out all the athwart ship bulkheads back to the conning tower causing the forward decks to collapse upon themselves, and setting everything aboard in the damaged area on fire. The USS Vestal was also hit by two of the specials, they both went clean through the ship exiting the bottom where only one exploded bursting some seams causing her to list. She cut herself loose and moved away from the burning Arizona eventually needing to be beached to prevent sinking.... And yes, It was a flight of 6 I believe and that is how the aircraft were painted.... A beautiful job by the way........
-
Amen Brother, I prefer dealing with the admiralty rather than the war department thank you... Both are a challenge at times, but at least the Admiralty doesn't involve swinging skillets...
-
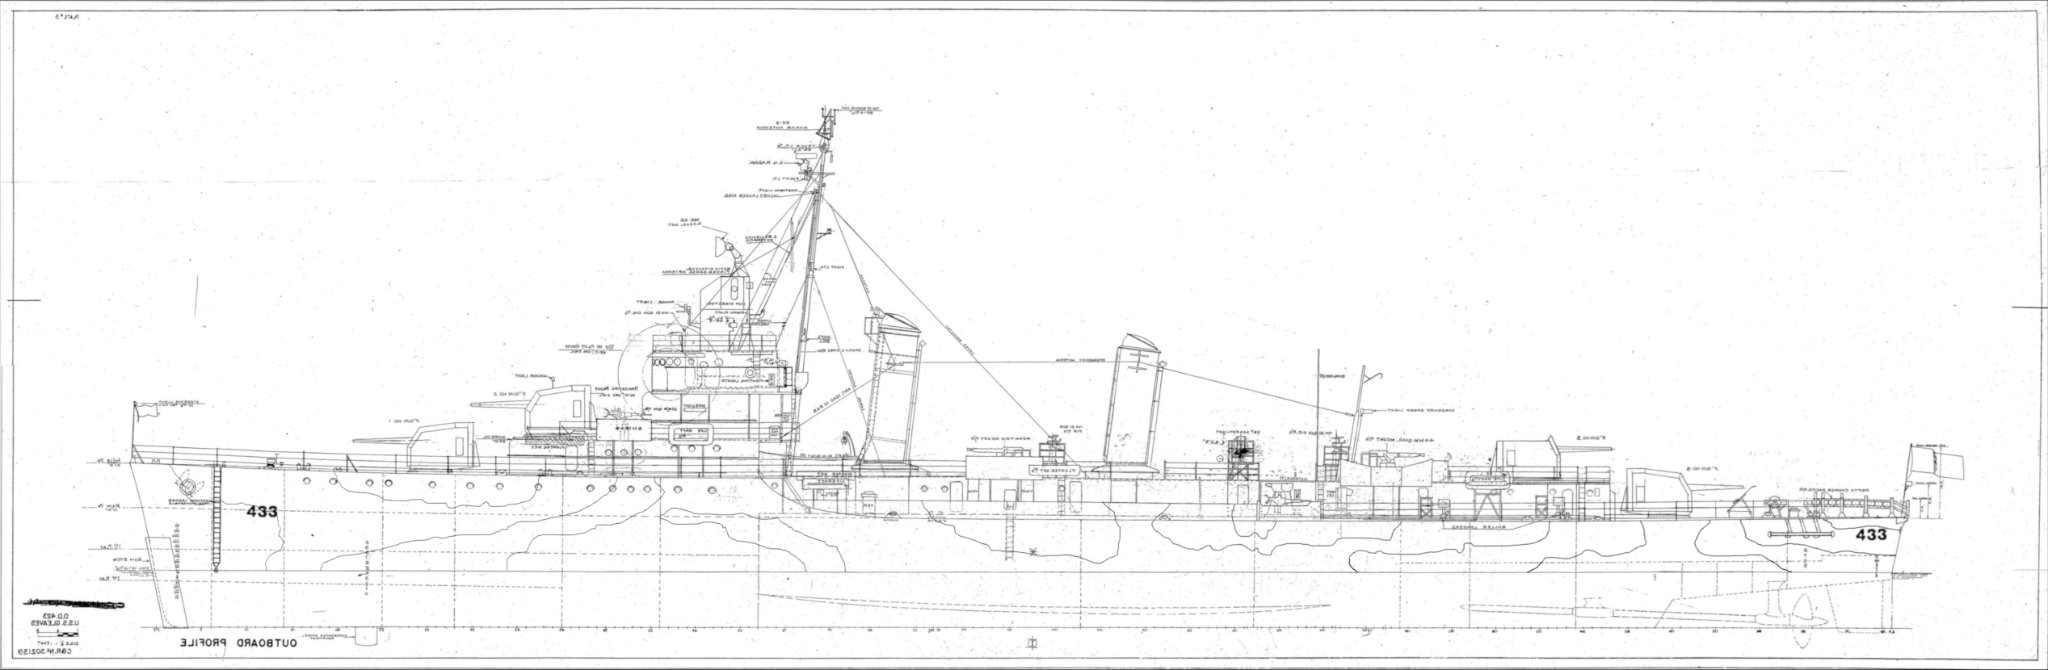
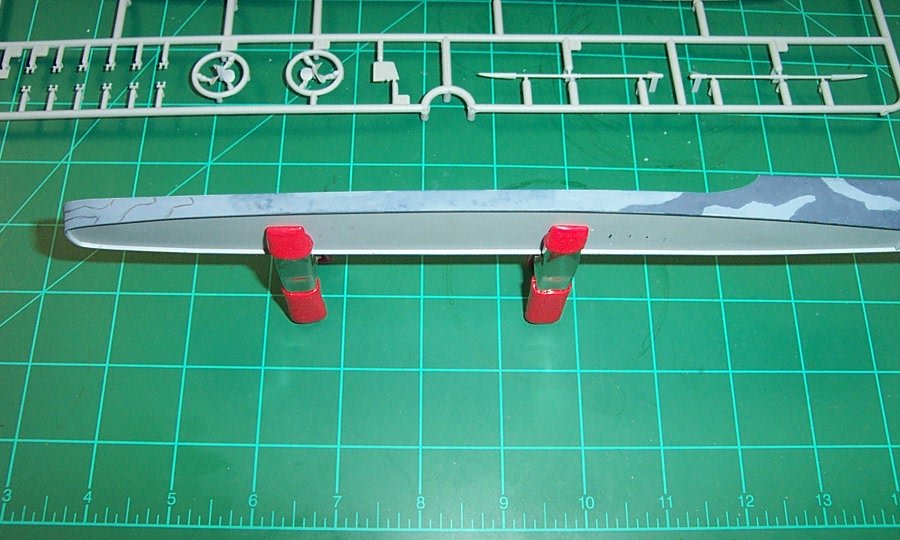
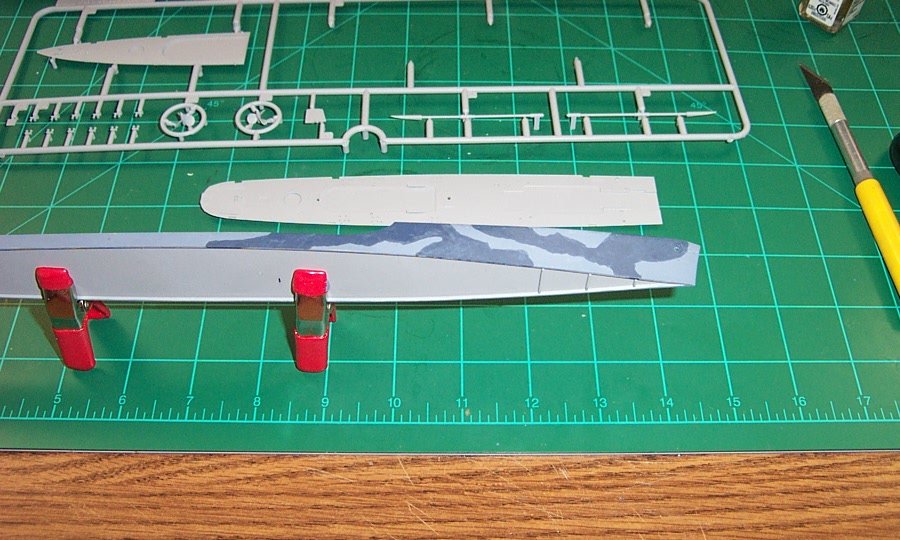
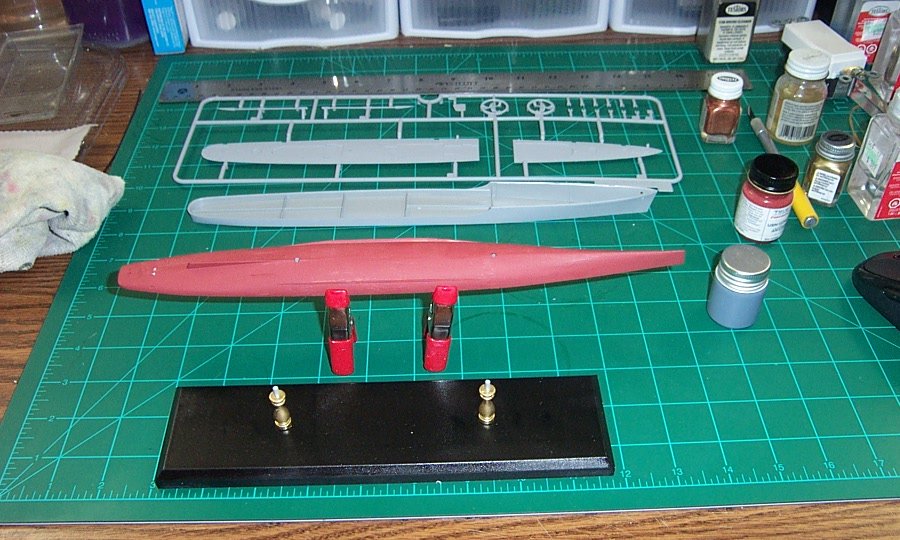
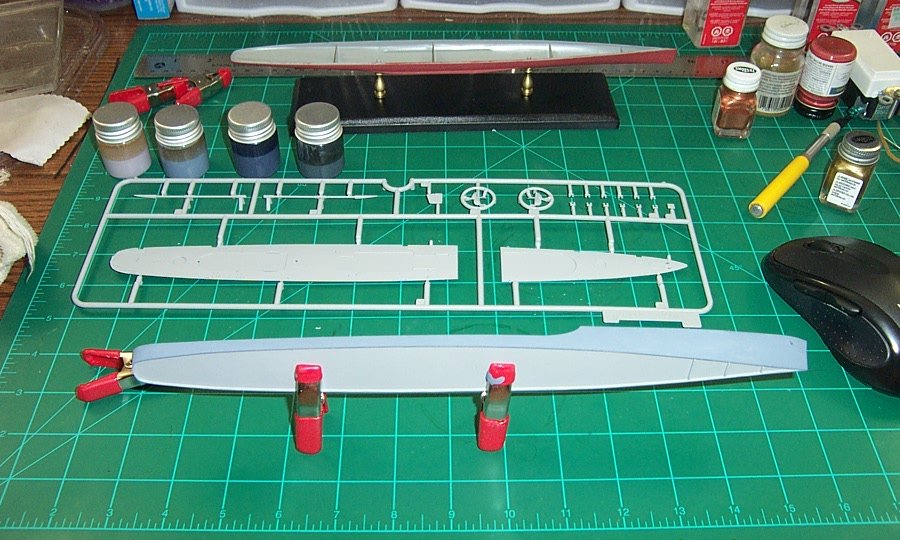
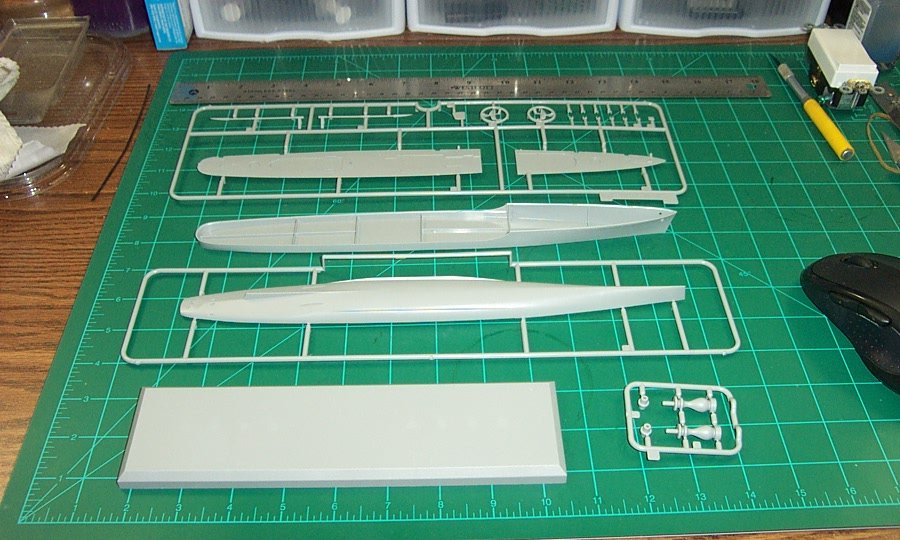
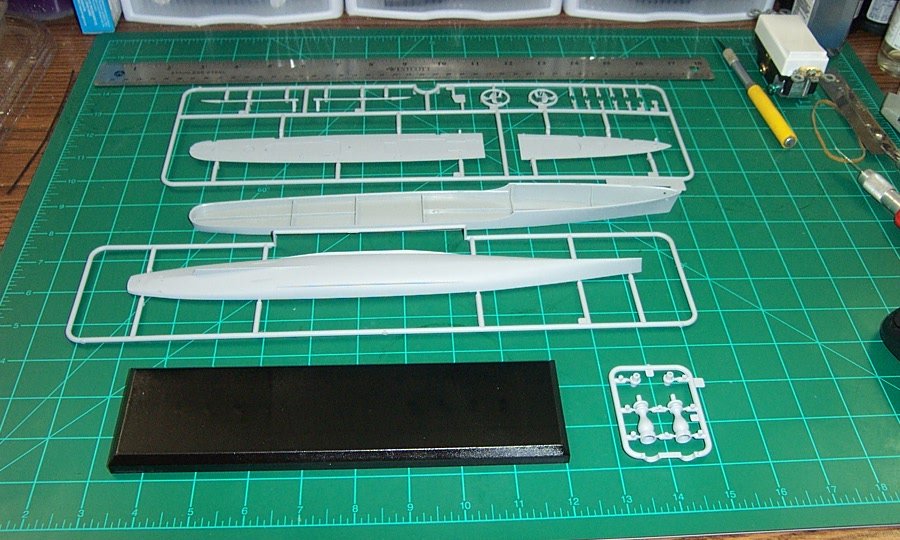
So, it's probably time to get this floaty thingy ready to go.... Now, A word about the kit construction order... they have you building all the subassemblies first mounting them to the deck, then mounting the deck to the hull once it is finished.... Bass Ackwards if you ask me, I"m not going to mount all this detail on this thing and then have to glue the deck to the hull afterwards... a disaster in the making..... So I'm going to jump all the way to step 10 and build the display stand and lower hull first. This has the advantage of giving me a place to put her out of the way when I start all the little pieces that need to go on her... And, I haven't decided if I'm going to do her waterline or pedestal yet and with this set up I can leave the choice until the end.... (I'm seriously thinking of doing a Frank Spahr inspired water base for her, easiest way to replicate the seas she was in on April 18th 1942) But I'll decide that later. Anyway here are the parts needed to set up the base and get started on the basic hull.... Primed and ready for paint with the base in semi-gloss black.... Going to do the pedestals in Bronze, Brass or Copper and the hull bottom in Norfolk 65-A Anti-Fouling Red.... The hull gets an overall coat of Late 1941 5-O ocean grey, and the Boston pattern 5-N Navy blue gets hand painted on afterwards. Now the Hull is split at the light load water line which is a good spot cause the bottom edge represents the middle of the boot topping.... In 1/350th scale it should be approx 1/16th inch along the bottom edge of the upper hull.... The deck of course will be 20B Deck Blue.... So, The Journey, it starts.... More coming my friends......
-
Those Infini parts are gorgeous aren't they.... A step up from the usual PE..... Nice work...
-
Oh, I completely understand, and agree. Pick a color, white/grey plastic is best and teach people about proper primer coating....
-
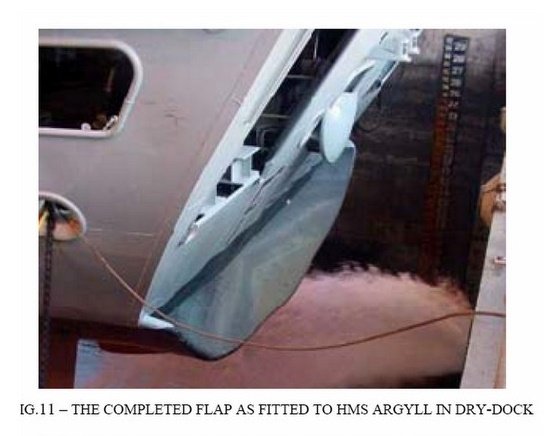
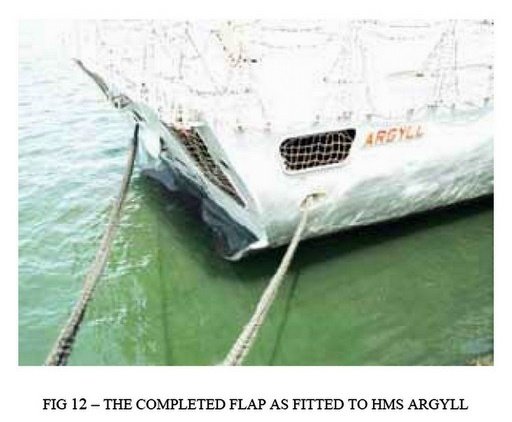
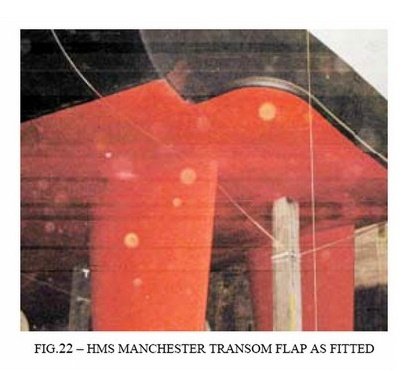
Actually no, that ship is doing at least 37kts the roostertail will always be there when pushing that much water, the transom flap is installed to reduce the vortex drag off the sharp chined transom, same principle as winglets on the wings of 747's....
-
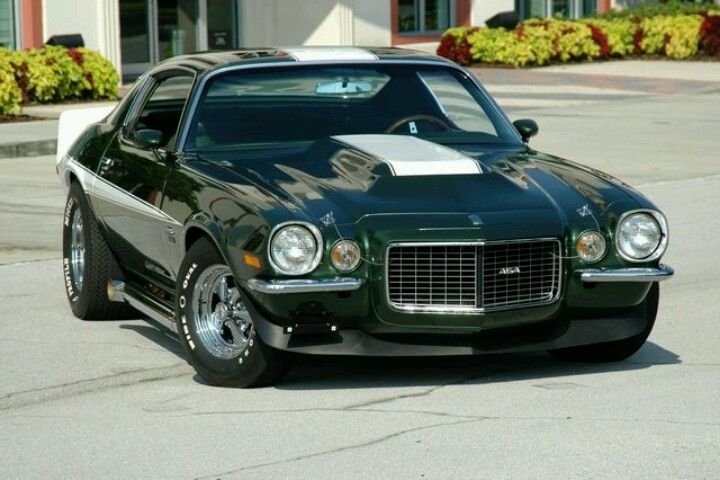
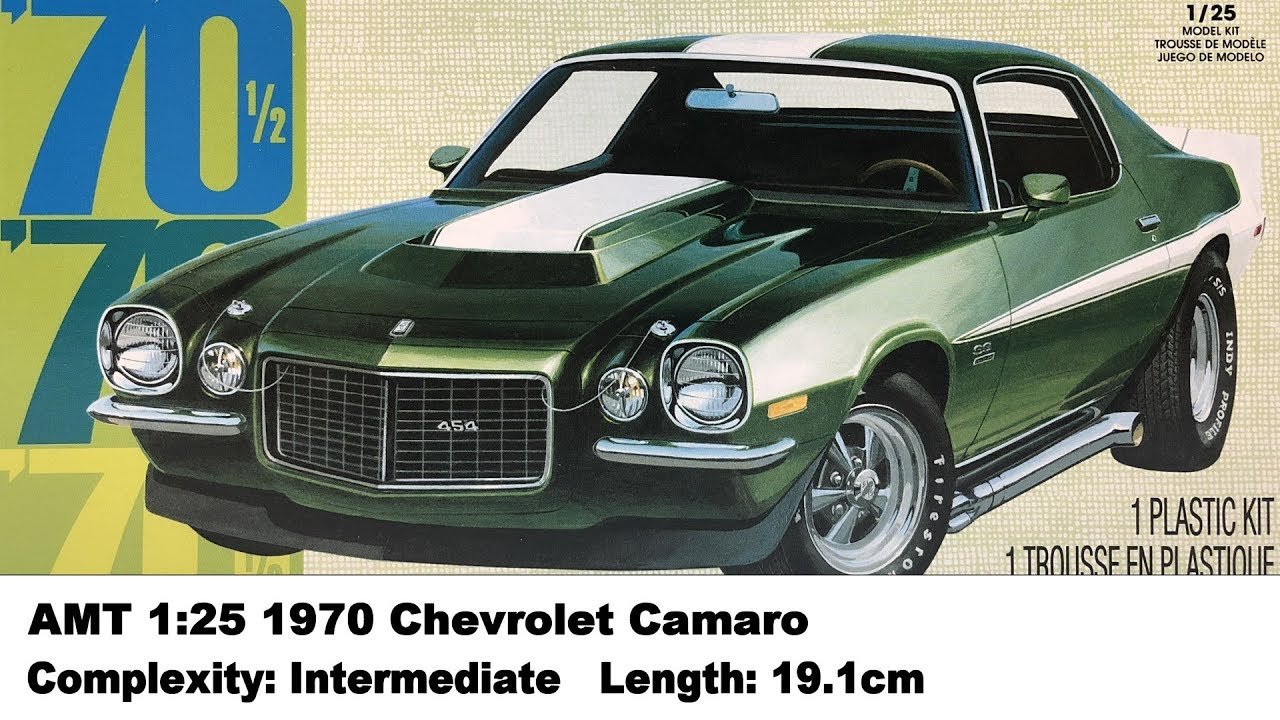
Nice Color.... Sharp lookin car.... And an even better one.... There's your car, (except it's in dark green) Now you know why it was molded in Green.....

-
The town has an ordnance, "no skinnydippin when drunk" The town would have to build a much much bigger Gaol....
-
Ah, there's my easy chair..... American Classic Muscle Car?? I'm here...
-
Enzo Ferrari by CDW - FINISHED - Tamiya 1:24 Scale
Egilman replied to CDW's topic in Non-ship/categorised builds
Beautiful car, beautiful model.... I like the steering slightly turned that is a nice touch to break the symmetry, a hair more would be better give a bit more action, but she is sleek. looks like she is moving when sitting still.... Question, do the lift doors open? if so, it would make for a much nicer display, show more of your great craftsmanship..... Wonderful Job brother, wonderful job well done...... -
I'm feelin' for him, I'll throw him a Jacobs ladder, if I can find one long enough..... But I will advise, If I can find it, don't be surprised if he chooses not to use it.....
- 164 replies
-
- 10
-

-

-
FINISHED - 1:8 GT500 Shelby Super Snake - Agora Models
Egilman replied to James H's topic in Non-ship/categorised builds
An excellent set of online directions my friend, one suggestion, break it up into smaller parcels to reduce the scrolling, that would make it much easier to read..... Beautiful work.... -
In the Royal Navy, it was used several years before that in the US Navy on the Spruance class ships.... Gives a 13% power reduction to achieve the same speed as without it with the resulting cost savings.... There are two types they had tested, the original type that was fitted to and tested on the HMS Argyll, then retrofitted to the HMS Kent & Northumberland.... And the second type that was fitted to the HMS Manchester..... The first type was more efficient than the second type..... Here is the report as posted to a ship design discussion board..... I hate to be the bearer of bad news, but the Kent had a different Transom Flap than the Type 42 Manchester had.... EG
-
1:8 1965 Shelby Cobra 427 S/C - Agora Models
Egilman replied to James H's topic in Non-ship/categorised builds
That's one of my dream models, still can't afford it, But it would be perfect behind the door to my workshop where it can't be seen until the door is closed.....