


Egilman
-
Posts
4,384 -
Joined
-
Last visited
Content Type
Profiles
Forums
Gallery
Events
Everything posted by Egilman
-
 Thanks Jack! I got the intakes mounted now and am going to throw up a couple of pics.... (then figure out how to mask them off) {chuckle} It's appreciated my friend...
 -
Thanks Ken, it's a different process for sure, but it can't be beaten in producing a polished or natural metal surface... I've had the occasion to walk near BMF airplanes quite a bit (brother in law in the AF for 20 prior to 911) no they are not mirrors but you can tell when someone is walking up behind you from the color reflection changes in the surface..... (and whether they are in uniform or not) From a distance they don't look all that polished, but up close it's a different experience that most photos just don't show.... There are some very nice painted aircraft, but nothing compares to standing next to a piece of jewelry that can move faster than a bullet..... I understand they need to keep the focus on their main content and it's fine with me..... I'll get there eventually with a couple of ship builds but for now, I like the little corner we are in and appreciate the space to ply our brand of modeling.... My problem is when I do build a ship, having to put it in one of the other sections, you know, the road less traveled so to speak, kinda getting used to the place here.... (but it's a road I do have to go down) Model On! Amen Brother!!
-
Thanks Lou. Just tryin' to get it right.... Appreciated my friend...
-
Thanks Ed... It's cool about the changes they need to keep their focus I understand that.... Gonna try to keep it up... but this is mee, I will flub something eventually... Again Thanks, Much appreciated...
-
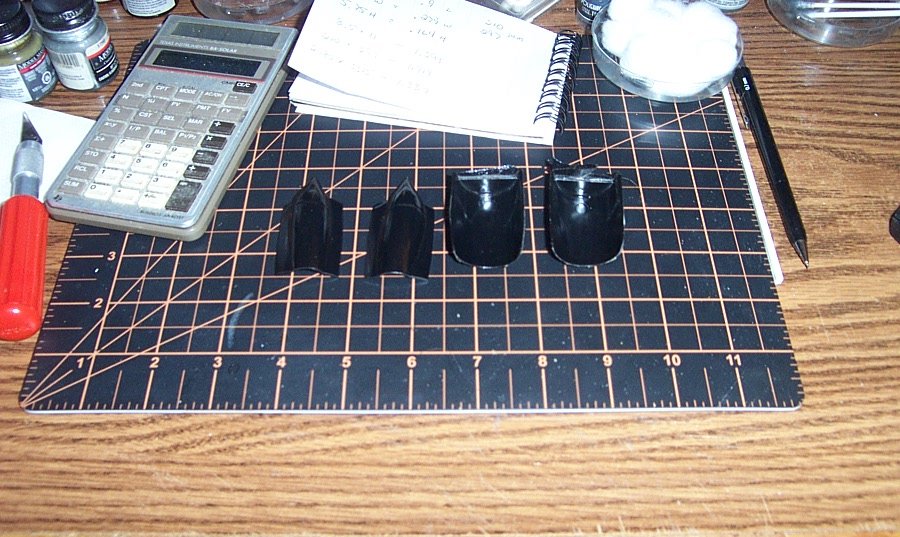
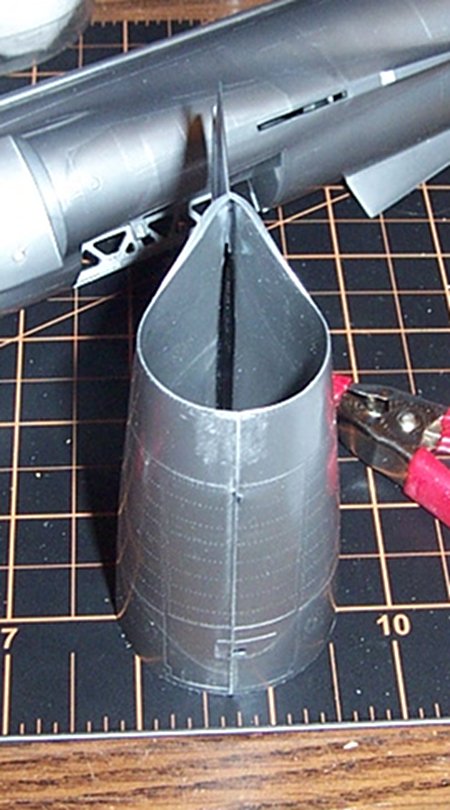
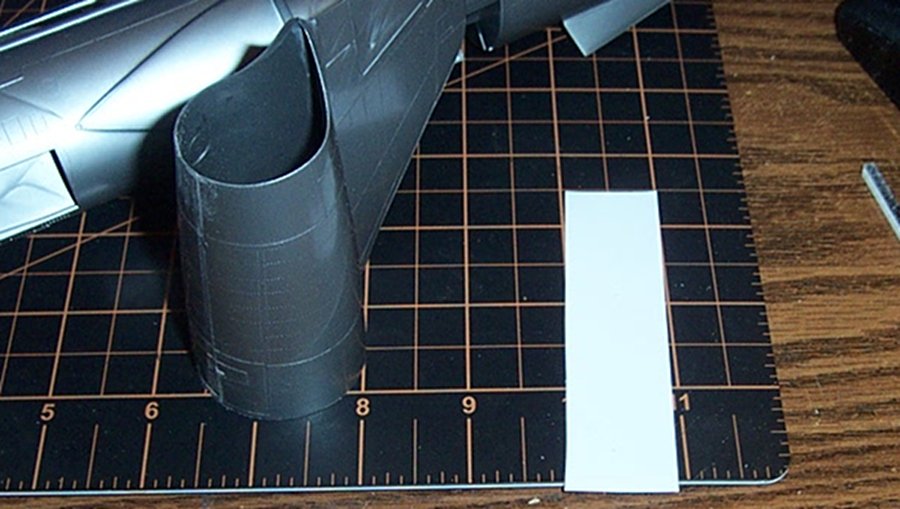
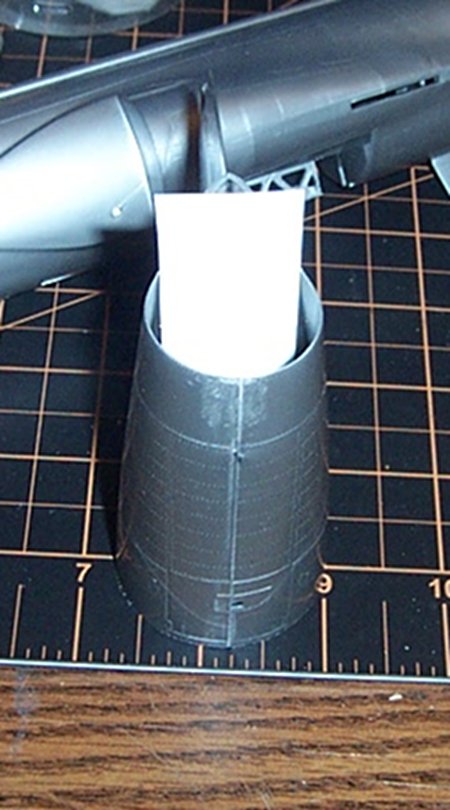
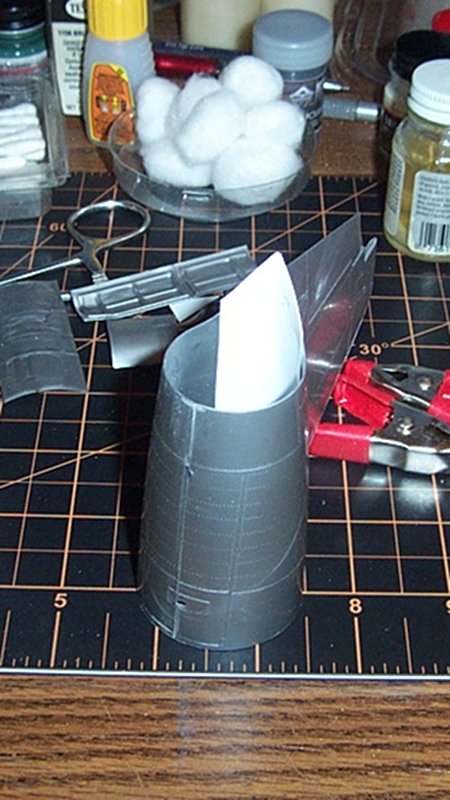
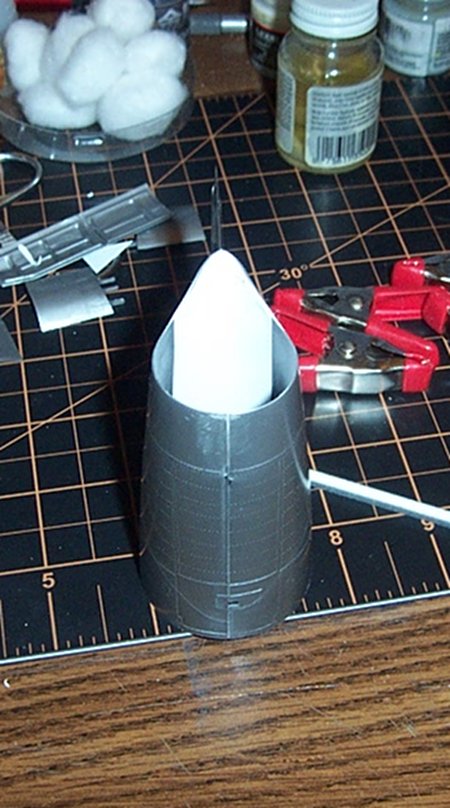
Ok I've done the steps, buffed them up, there isn't much to see looking down the intakes but a gleam..... Now that is about what I see when I've had the chance to look down the throats of a zipper... You don't see much but a gleam.... maybe a few flashes from time to time..... A couple of angled shots of the shock cones poking out of the intake plenum.... Not much, but they appear dark, the way they are supposed to when reflecting the interior of the intakes... They weren't glued together yet cause I wanted to show you what this stuff looks like when done.... Not reflective as in mirror, you can't see your face in them, but they do reflect colors as you can see and shine shine shine.... That's the polished metal look if I ever saw it... Ok, time to put them together and mount them to the fuselage.... EG
-
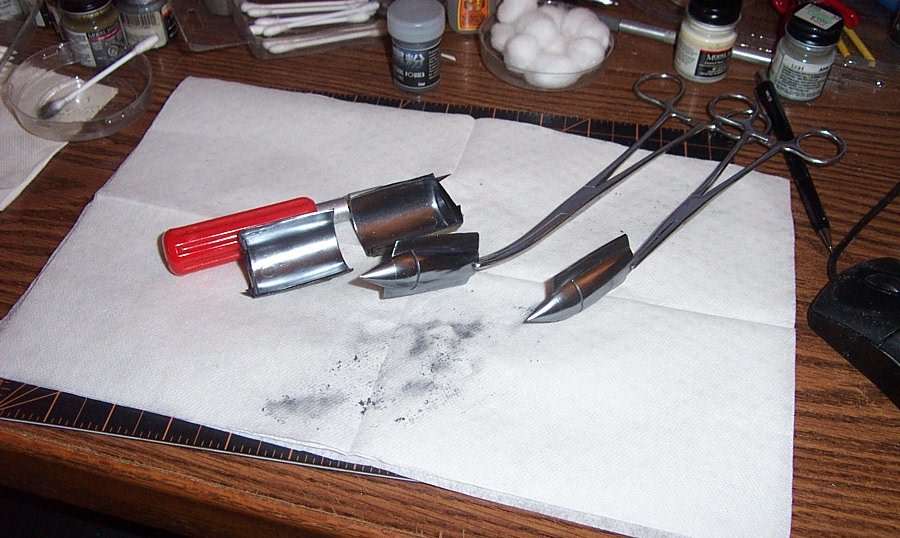
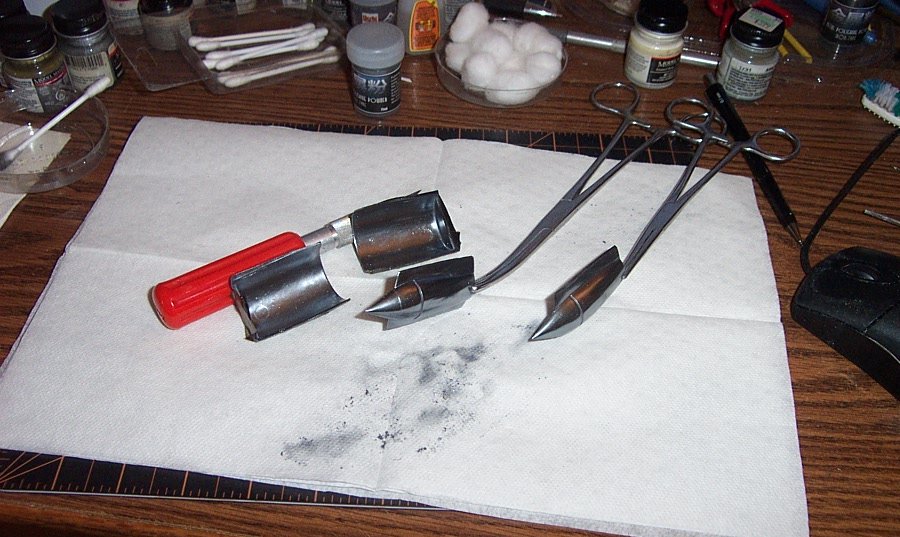
Hey Lou, yeah, I'm not getting my updates as well... Site seems a little slow the last few days also, no where near the activity there was a couple of days ago... I guess now that the covid chains are coming off and we are heading into summer it going to slow down a bit... Yep, I reasoned it out a while back, when she was sitting still parked, everything was at zero position slats, flaps and brakes... no pilot and an open canopy.... everything is shut or neutral... So that's how I'm building her besides I didn't need the extra work of making an accurate flap connection to the wing....... Second stab at BMF on the shock cones, splitters and intake tunnels I need to finish them first cause once they are mounted to the fuselage I have no access to do it... Just the interiors mind you, I can stuff the openings and mask off the cones to keep paint from getting in there when I do the whole fuselage... Some gloss black paint.... And some metal powder.... Jeese louise! that looks like real polished metal... Now I get to take them back out to the paint area and rattle can them with ultra gloss overcoat in prep for the second metal session.... More later.... EG
-
Been slow the last few days... Haven't posted here since wednesday and today's friday..... Well I have no pics today but I did work on the intakes. They have to be done first at least the insides do... they are BMF inside as well as outside... and they have one heck of a joint that is going to need filling where they attach to the fuselage. it will need to be fixed before I can do the fuselage... So the intake insides get done first.... Tried it once already, stripped it off once already.... Trying again.... EG
-
That would be my suggestion also, and, I believe that Testors put out a spray decal fixative also.... mostly intended to seal inkjet printed decals but I remember someone using to to fix weak decals...
-
Well, look at it this way, next time you will know with experience to allow more time, and how to do it faster since there is so much you've learned about it now...... That's if you want to do another.....
-
No your not!!! The admiral issues orders, the swab jocky's heave too... You got one guess as to who the swab jocky is around here... So's I remind her from time to time as to who actually built the place, at that point, she reminds me of who actually runs it.... I'm a husband I can't win for losing.... (and they need a women's march cause they are so abused and downtrodden)
-
That silver plastic does look remarkably like aluminium...... (I don't think it is painted yet)
-
Yep the Soviets at that time were pretty good at building crates with wings and getting them to fly.... Your replication of the look Dennis is superbe..... (particularly that weathered swamp water green paint, great stuff) Looking good!
-
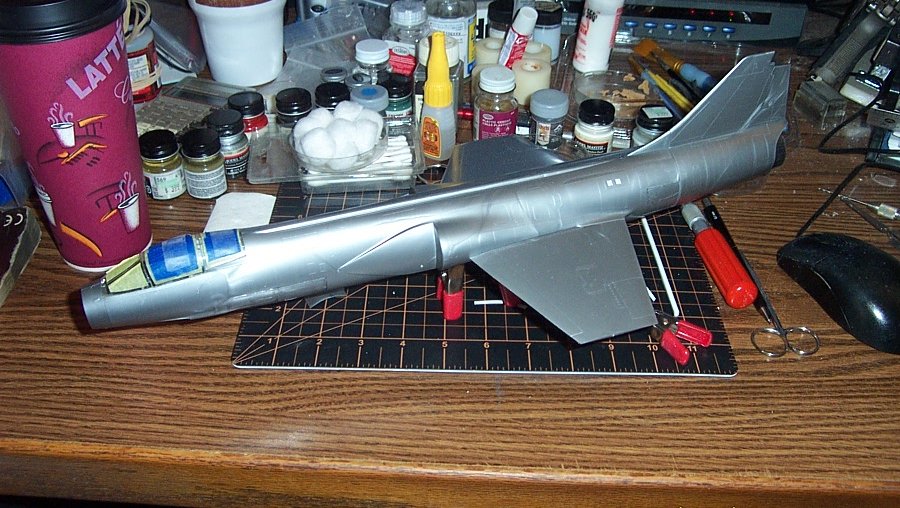
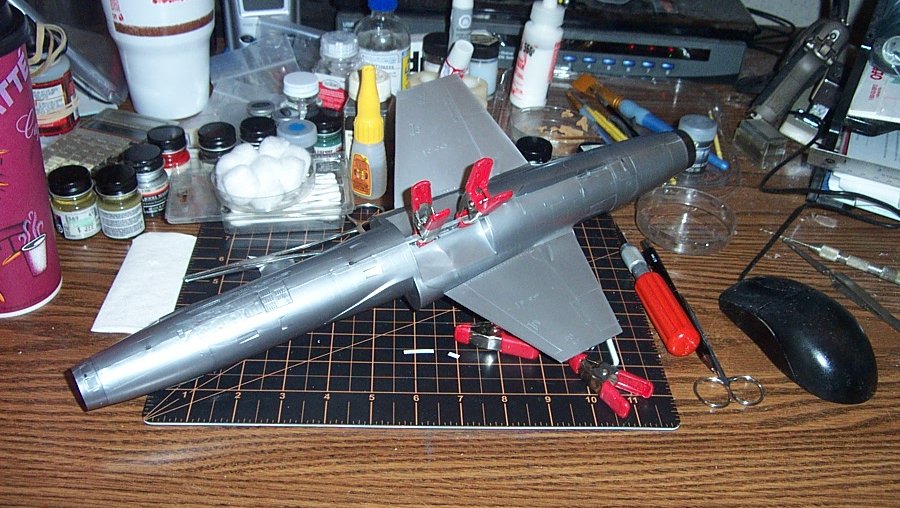
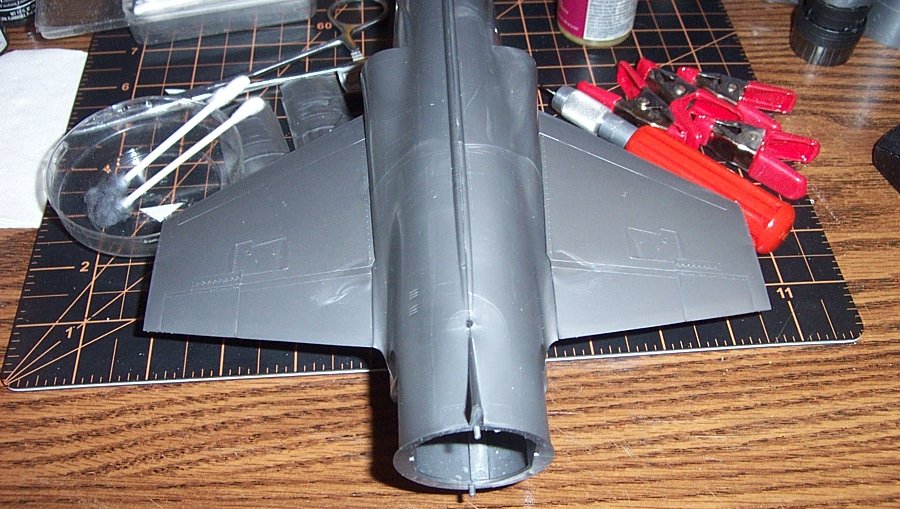
Small update for today, Almost ready for Mr Surfacer and primer... And the undersides... The front landing gear doors are only tacked on with canopy glue and I'm leaving the main gear doors off, there is too much surgery I would have to do with them to get them to sit flush so I'll do those separate from the fuselage.... The Radome gets painted Aircraft Grey with a black anti glare panel matched to the canopy line so it doesn't need to be mounted right now... as well as the wing tanks and horizontal live tail which will get the BMF treatment as well.... Onwards.... And thank you for all the likes and reparte' It's appreciated.... EG
- 518 replies
-
- 10
-

-
{chuckle} Enigmatic I say...
-
Well, he would need enough to clear the corn at the end....
-
Wiggly worms on hooks is not my idea of a gourmet meal.... QUACK, Quack, quack, quack, quack, quack................ It's too late anyway I've already glued the wings....
-
Ok I"m fickle... I've changed my mind, I'm not going to cut the flaps out and I"m going to close the speed brakes, that is the natural way it would be sitting on the ramp. And that is how it would be sitting on my shelf..... I have yet to see an action pic with the doors open and the flaps not lowered. what I found is that unlike some other kits where you can just cut them out and reglue, there is a LOT more work to getting it to look right. The flaps are hinged within the wing trailing edge, which means that no gap shows when they are down. So that means not only cutting them off, relieving the trailing edge and changing the leading edge so the flap fits within the wing yet holds it's rotational position. With no gaps..... A lot more than I'm willing to put into this build at the current time. Like I've said before, I can easily create myself a lot more work... Not this time already enough on my plate here.... EG
-
Thanks Nick, Thanks Carl, Right off the bat, that settles it for me... besides I can use the wings as handles when doing the very delicate metal powders...... I can see the high spots on the wing where they contact the fuselage so that will be my first step getting them to conform as much as possible... As far as the rest of the details the dropped flaps and extended speed brakes, I think I'm going to cut out the flaps and drop them as it looks better and is the look shown in the episode, which also means the brakes will be open... Otherwise it will look a bit plain.... Anyway, thank you gentlemen.... the course is now set... EG
-
I think it's a very smart move to keep the pie cooler next to a guard tower...... (even the barbarians knew where the good stuff was)
-
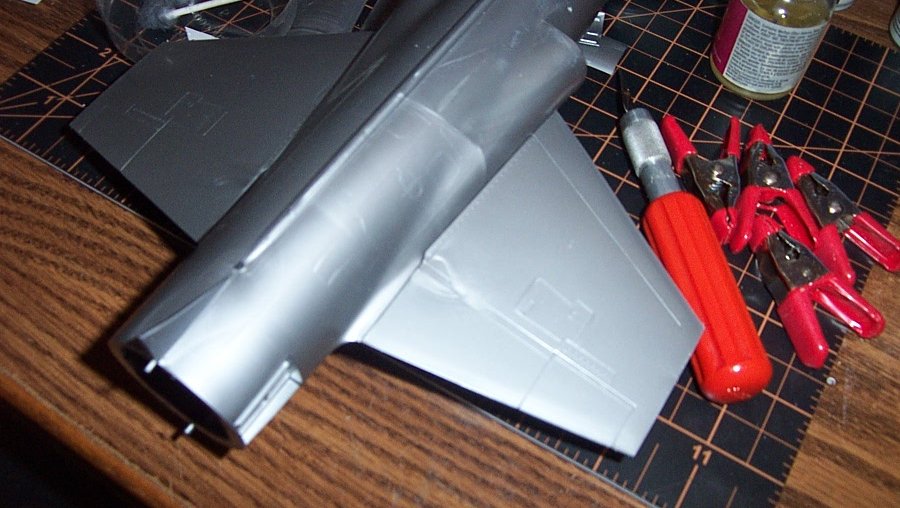
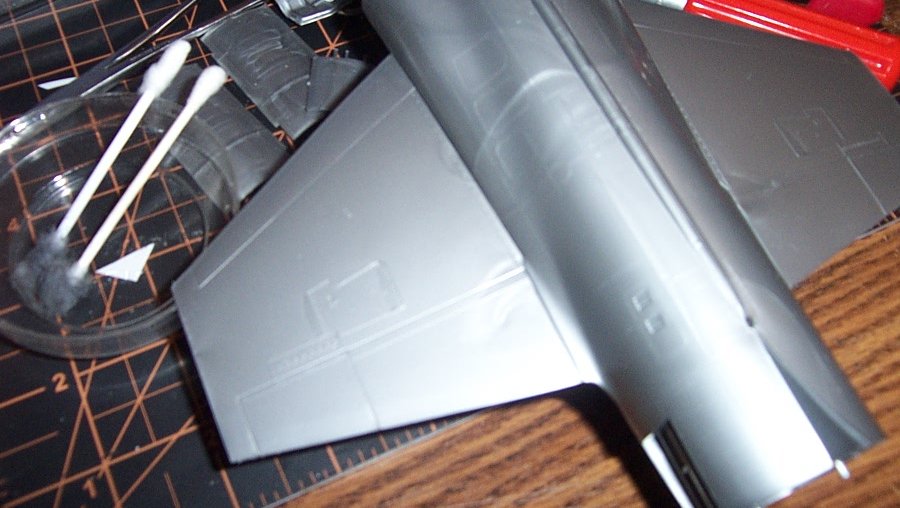
Next decision... Wings.. Not a whole lot of wing there. there is some small gaps between the fuselage and wings, I"m debating on whether to glue the wings on now and mask them off for painting, this will allow me to fill the gaps with Mr Surfacer. Or, leave them off and deal with the gaps after painting.... The wings get painted pure white top and bottom on this bird.... (most standard USAF F-104's had whit wings on top and aircraft grey on the bottom, but for a short period they were white top and bottom... Another question, when running and approaching take off or after landing, the flaps are always down, 45 degrees and at take off the slats are down 45 degrees also.... But when at rest on the tarmac they are both at zero.... (and locked that way) same thing with the airbrake panels, after landing they are out, when parked they are retracted..... Any suggestions? the video of Blue Jay Four shows the aircraft moving on the ground with the brake panels extended. (which is a discontinuity in the episode, if the aircraft is being scrambled they wouldn't be extended, I don't think too many people knew the difference) EG
-
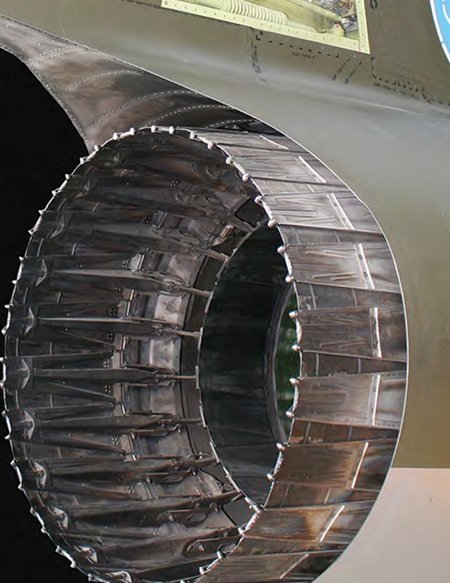
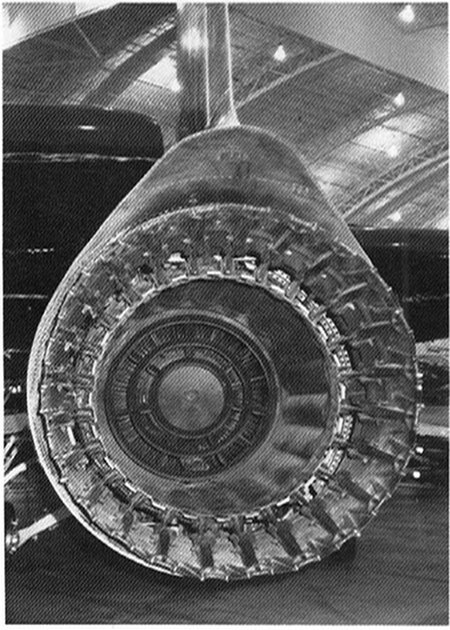
Thanks Ken, the three pics I got are of museum aircraft so that section is cleaned up quite a bit. (you can easily see the dust layer inside the AB chambers) The inflight pics I have all show it as black like the engine nozzle.... So what I think I"m going to do is color it the same as the engine nozzle... it is seeable but is not a huge noticeable feature
-
Absolutely agree on the Liquitex High Gloss Varnish. It's intended as a long term preservative for finely painted artwork so it doesn't get damaged when on display...... It goes on with a soft sable brush used gently to avoid air bubbles and dries in a couple of hours to a hard shell finish that is absolutely clear. (and doesn't effect the underlying paint, that why it used for serious artwork) It didn't effect the metal powder finish I applied to my test piece. (absolutely clean hands, freshly washed clean hands, leave fingerprints from skin oils on that metal powder finish, if it doesn't effect that it won't effect anything) I understand that it is a perfect surface for decal placement as well..... (but I haven't gotten that far yet) Thanks Ken..... EG
-
Are they really truly rubber, or vinyl? If they are rubber scrub them up with a toothbrush under running water...... If they are vinyl I would suggest denatured alcohol with a light scrubbing.....
-
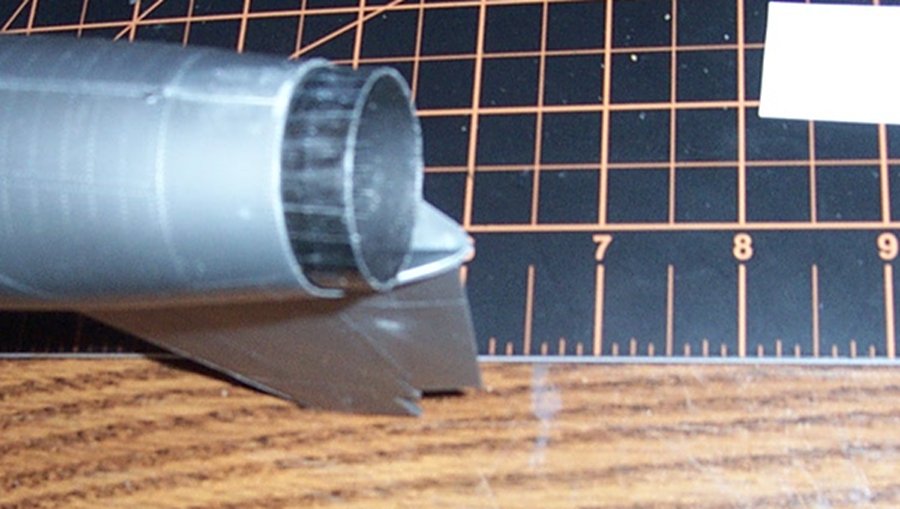
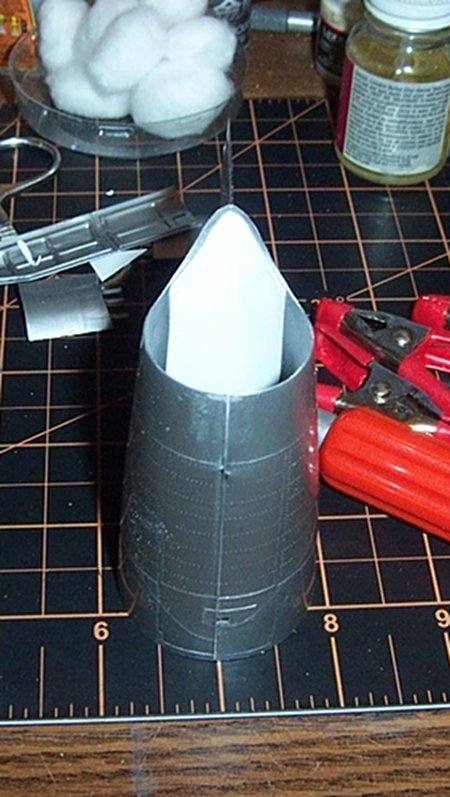
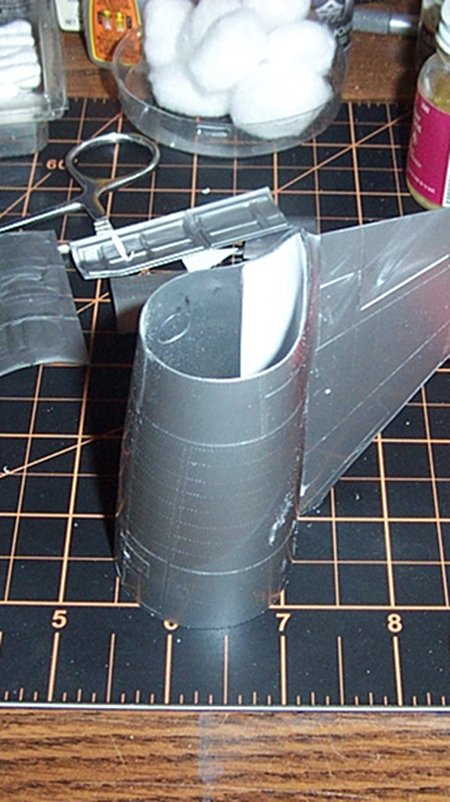
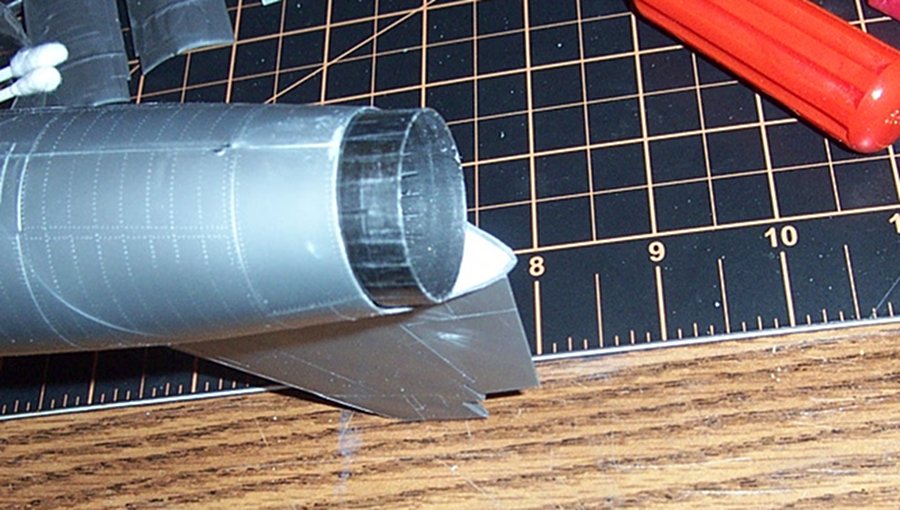
Today's update before a trip to the doc.... (nothing major) Well getting the fuselage ready for paint I noticed something with the tail.... The base of the tail above the engine... It doesn't look like that in real life I can tell you.... Something we gotta fix...... It will show.... Clamping in a piece of .010 plastic card to cover the hole... Glued in and rough shaped..... Sanded smooth.... Done, no more unsightly hole in the tail...... Little things like this, you would think that even for a 40+ year old kit, that was considered the top of the art when it was produced would get something this simple...... Any way getting closer to paint and finishing... EG


-
Fingers crossed, If there is a way to screw it up I will find it... (trust me)