
Robert Taylor
-
Posts
187 -
Joined
-
Last visited
Content Type
Profiles
Forums
Gallery
Events
Posts posted by Robert Taylor
-
-
-
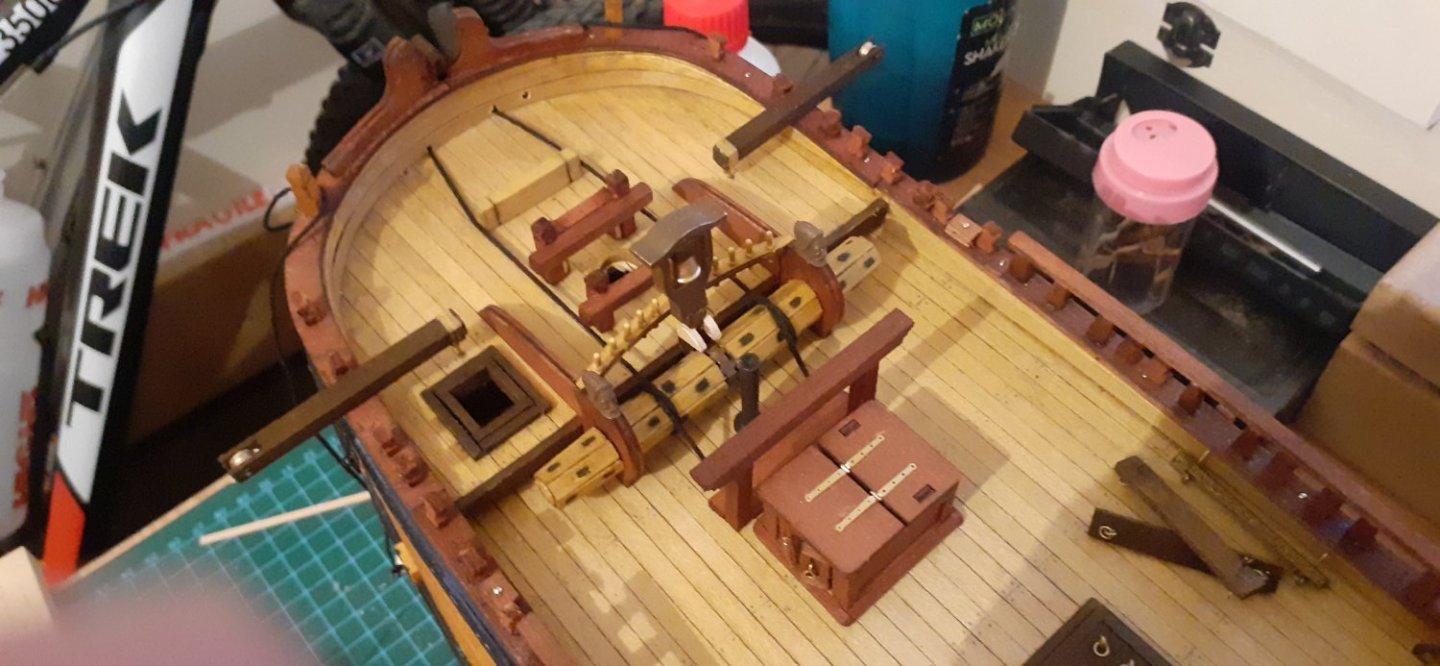
Occre Endeavour 1/54 WIP update.
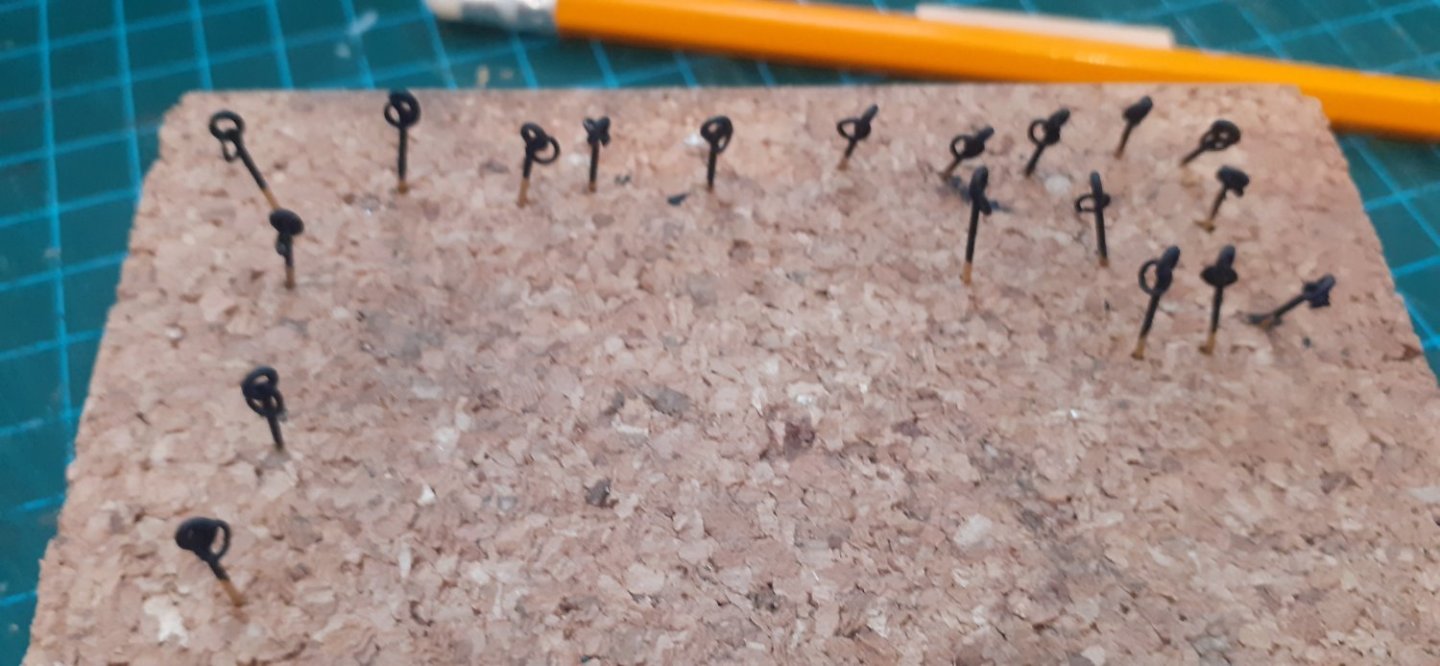
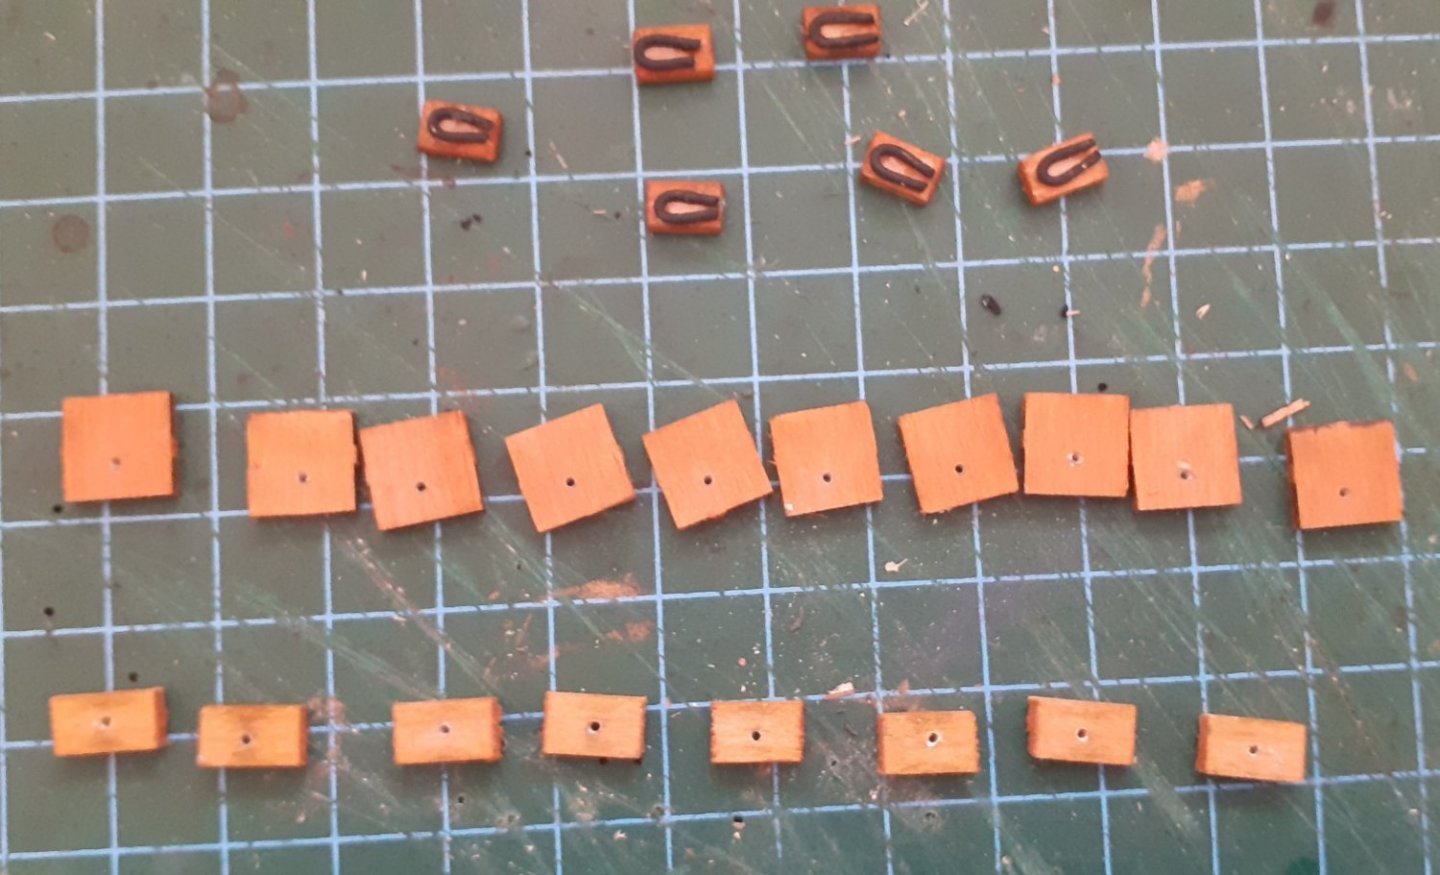
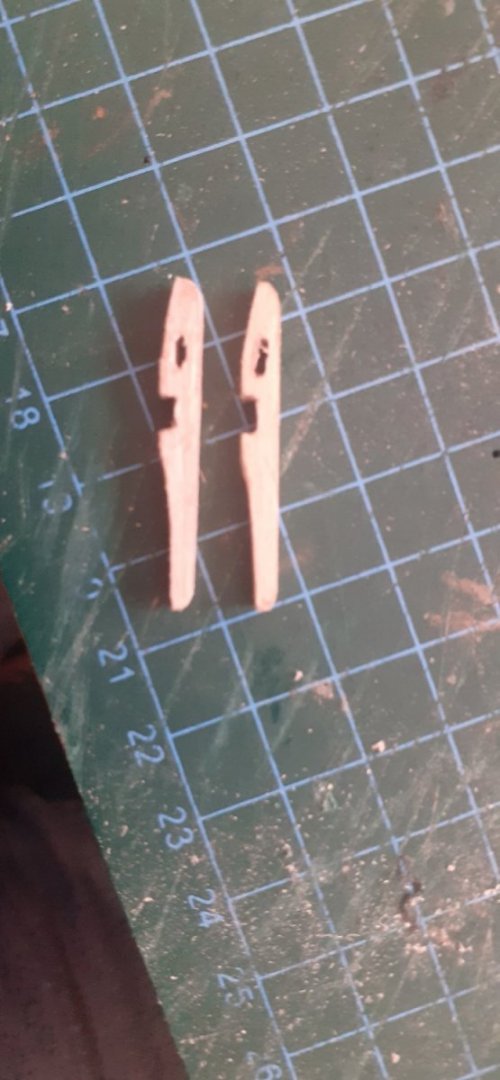
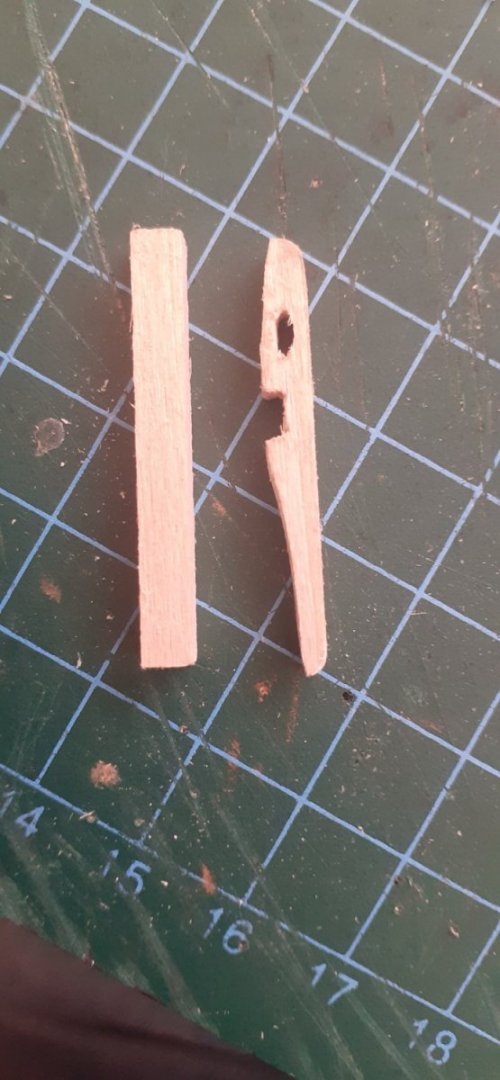
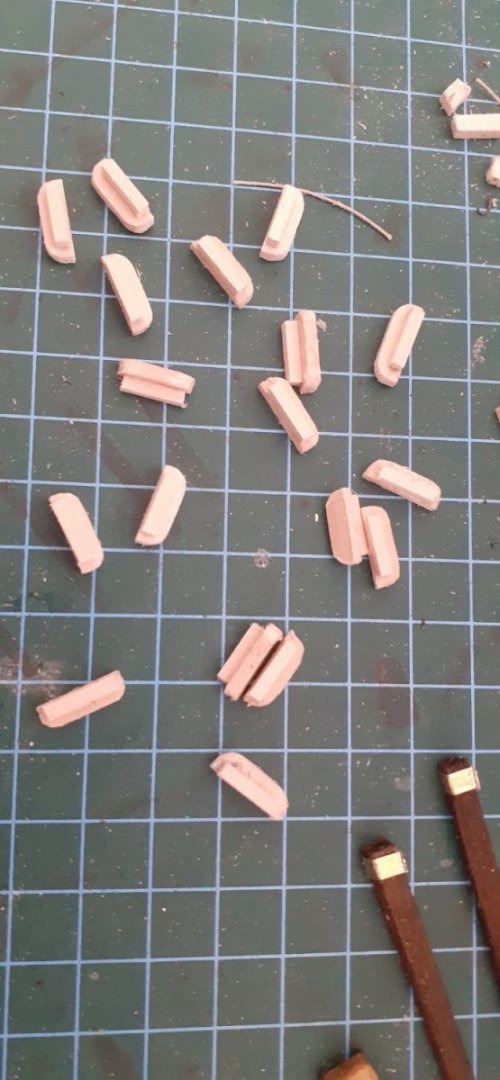
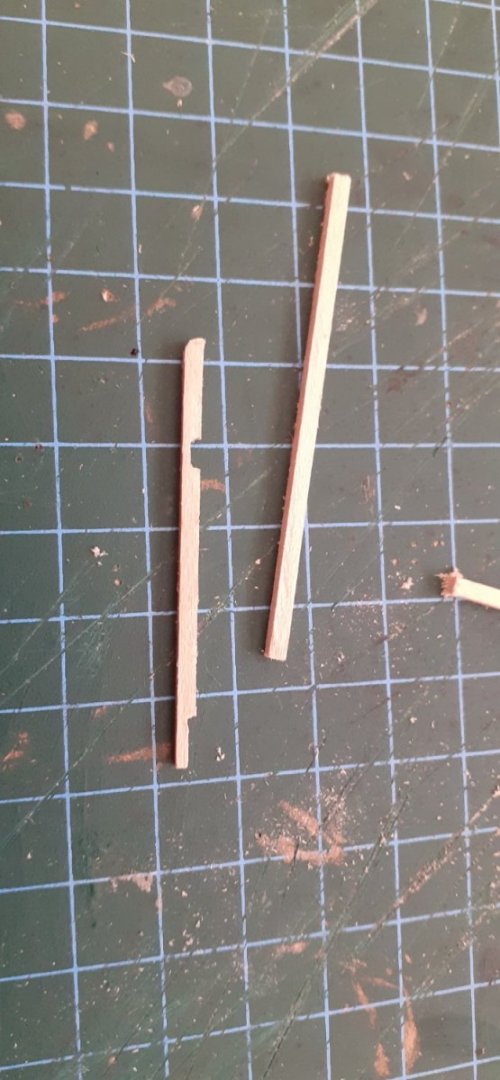
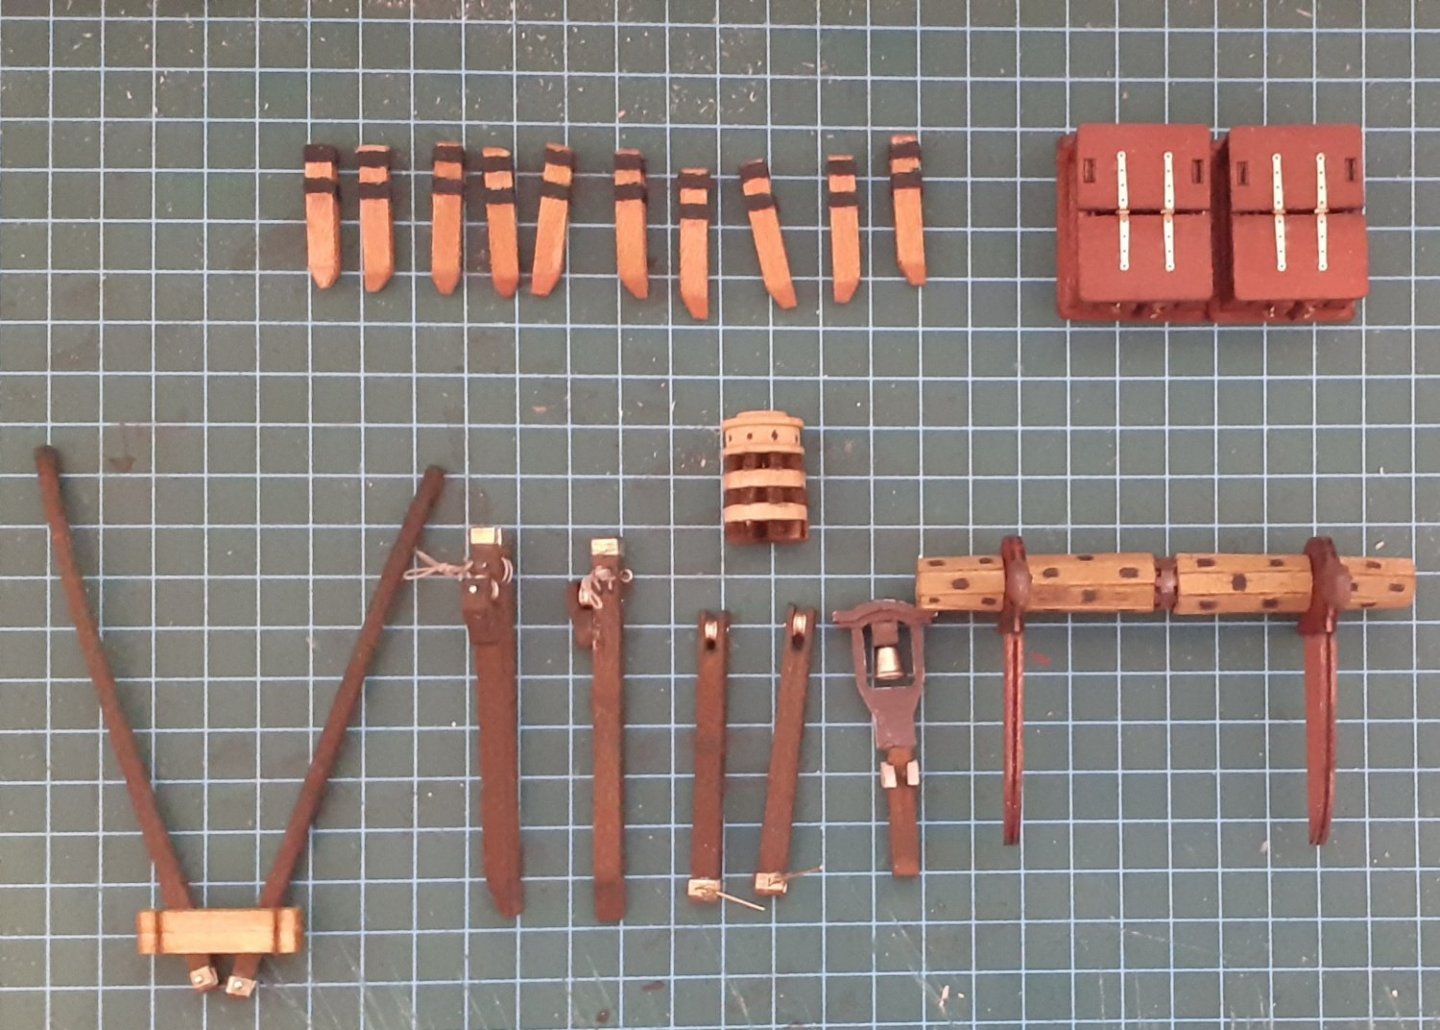
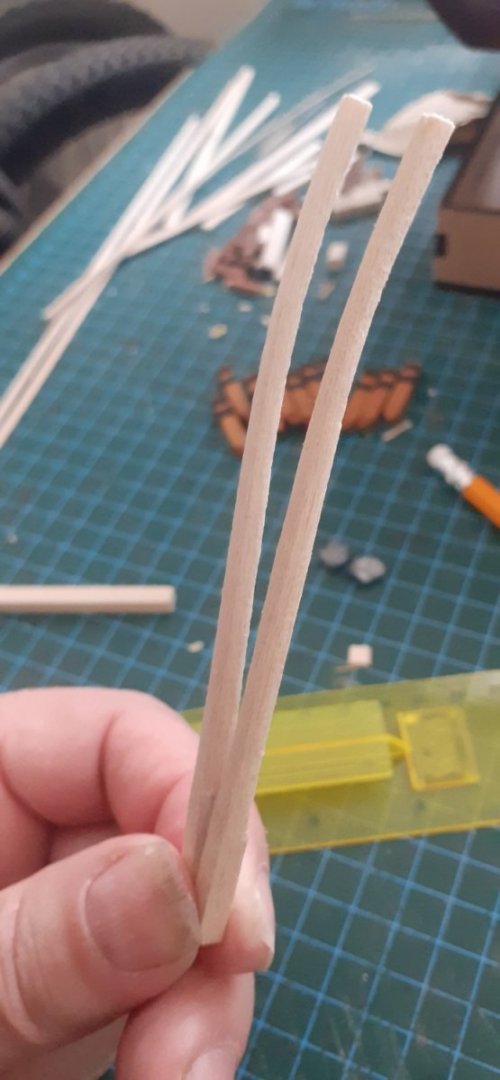
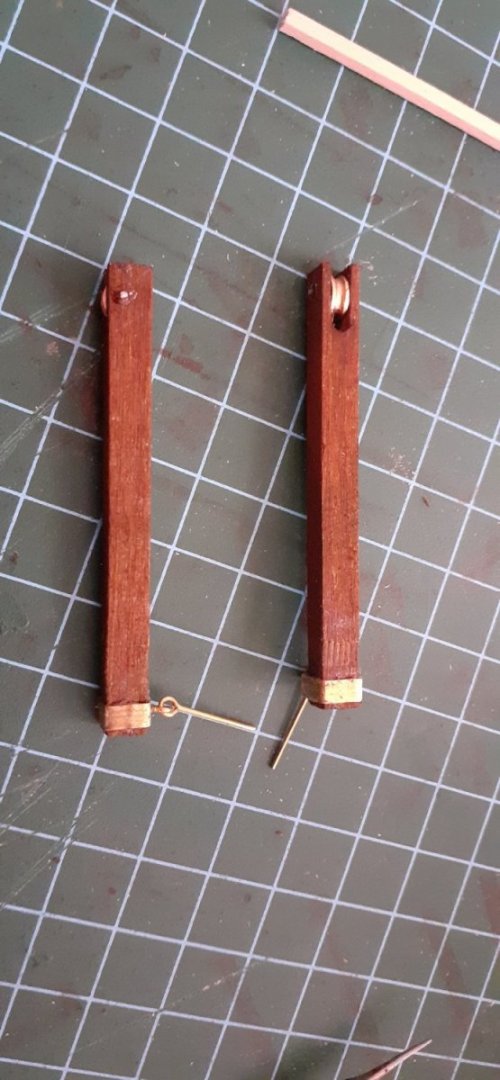
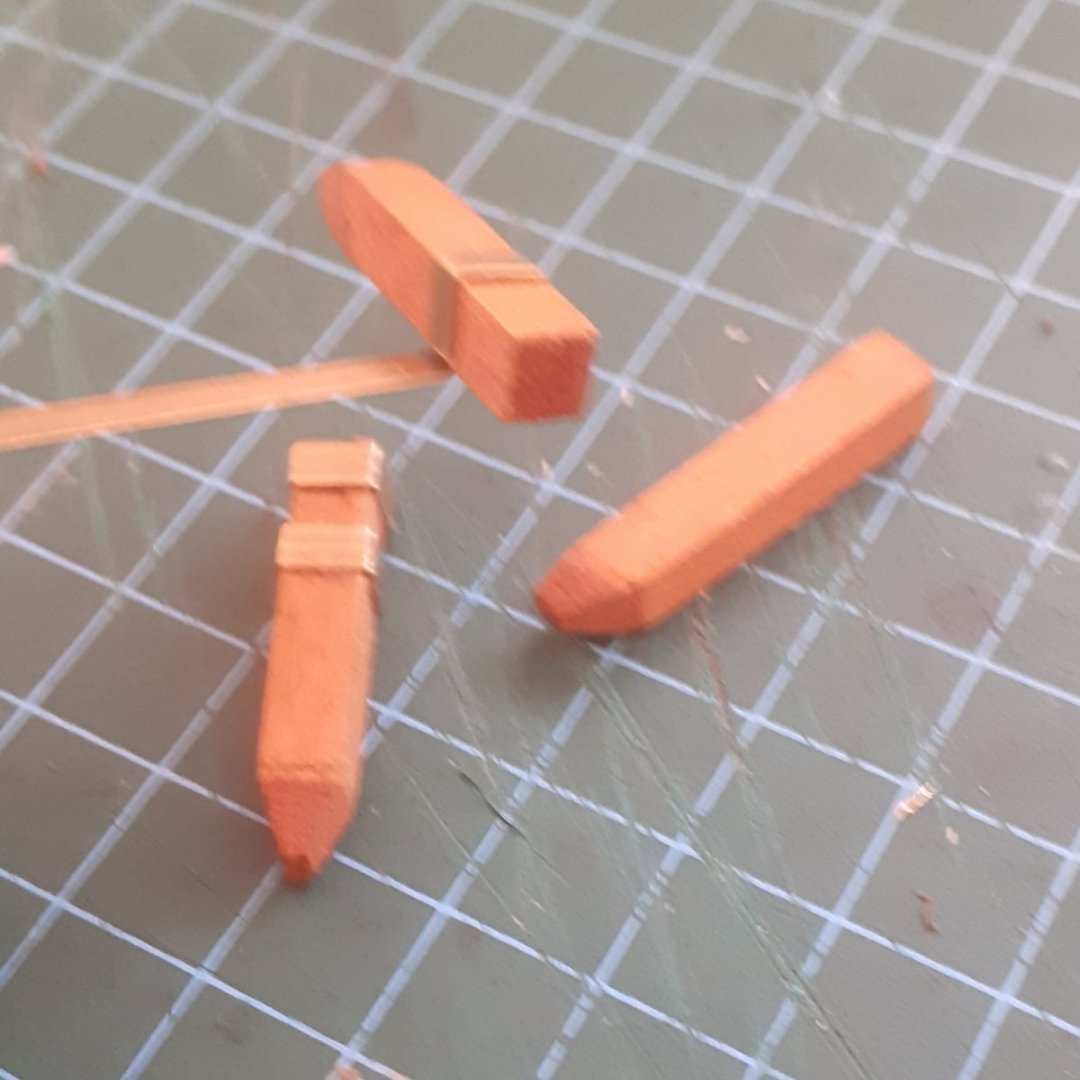
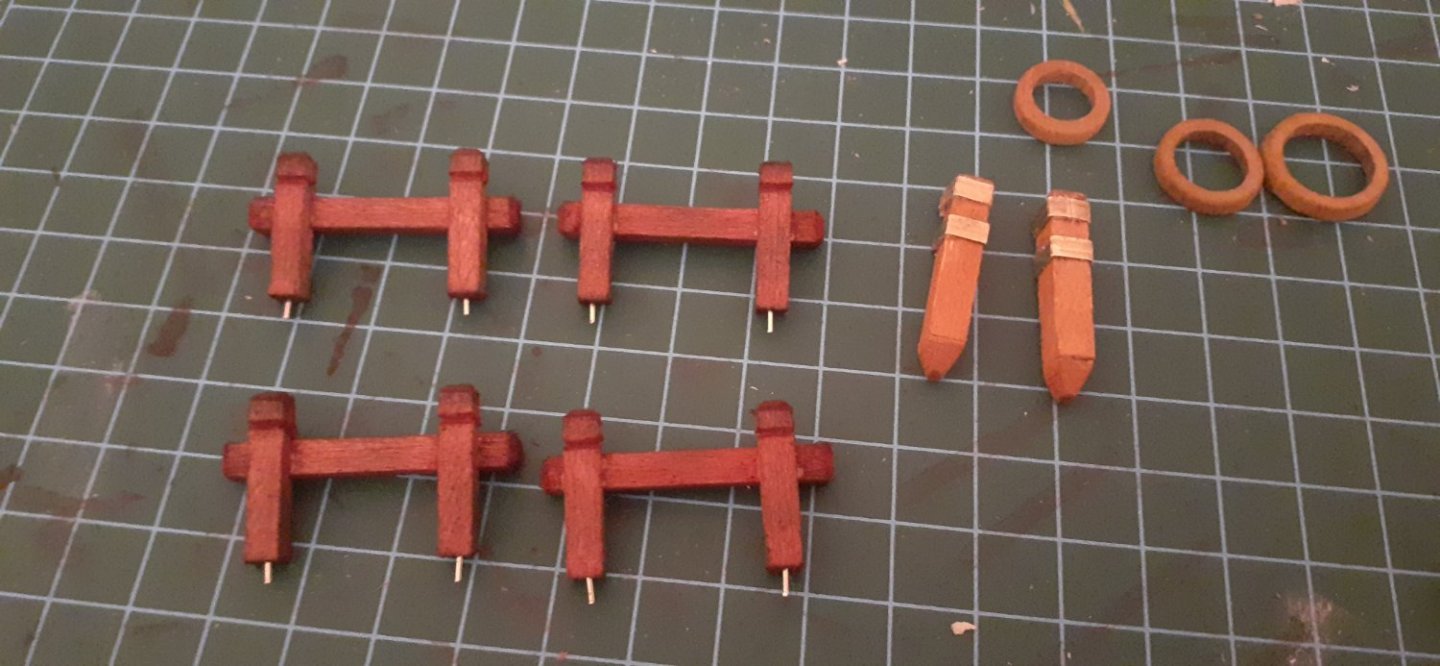
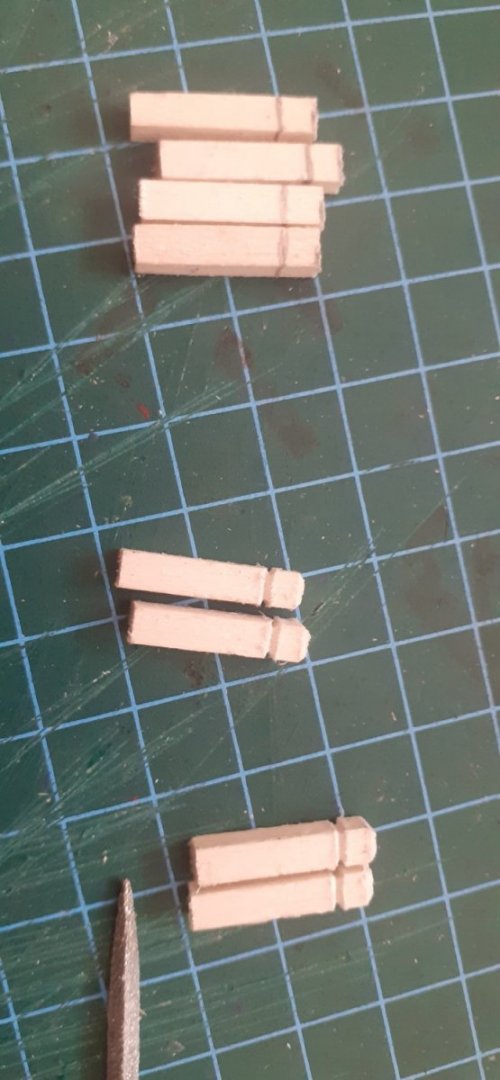
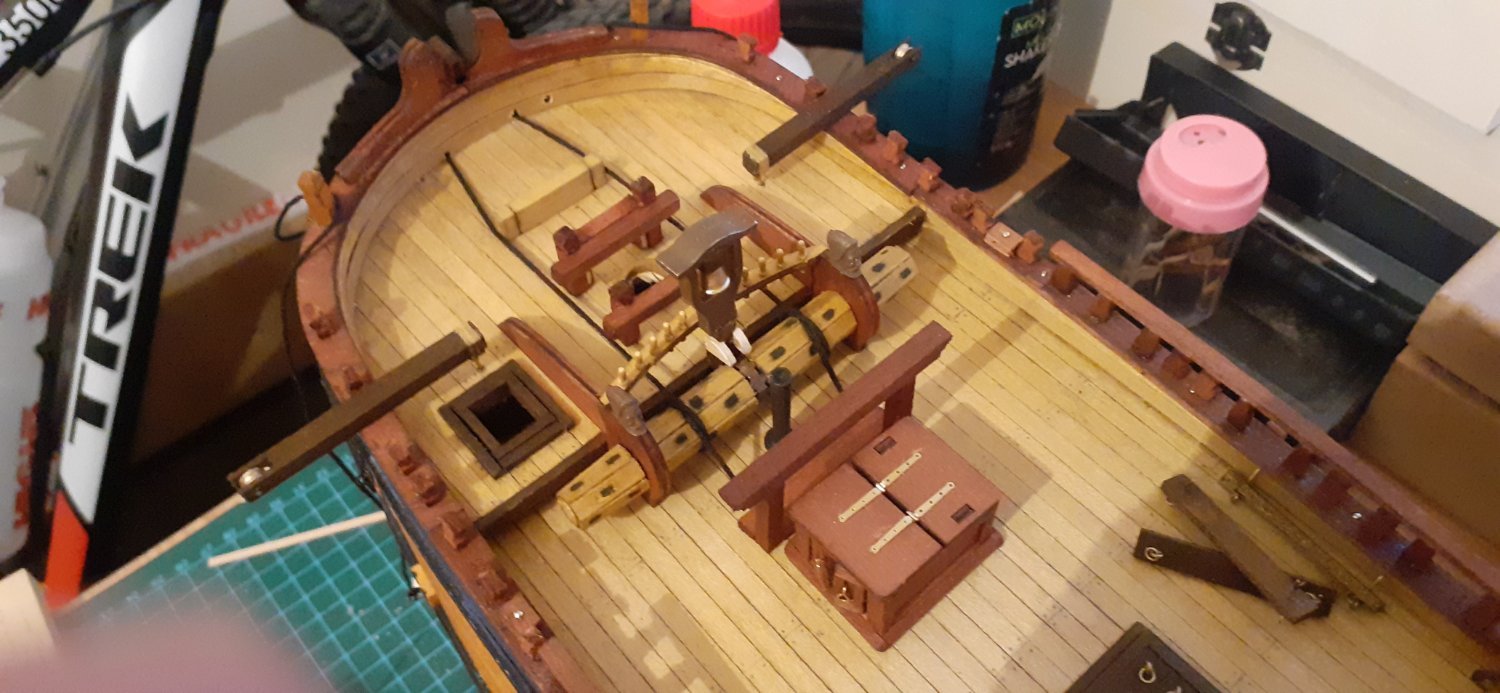
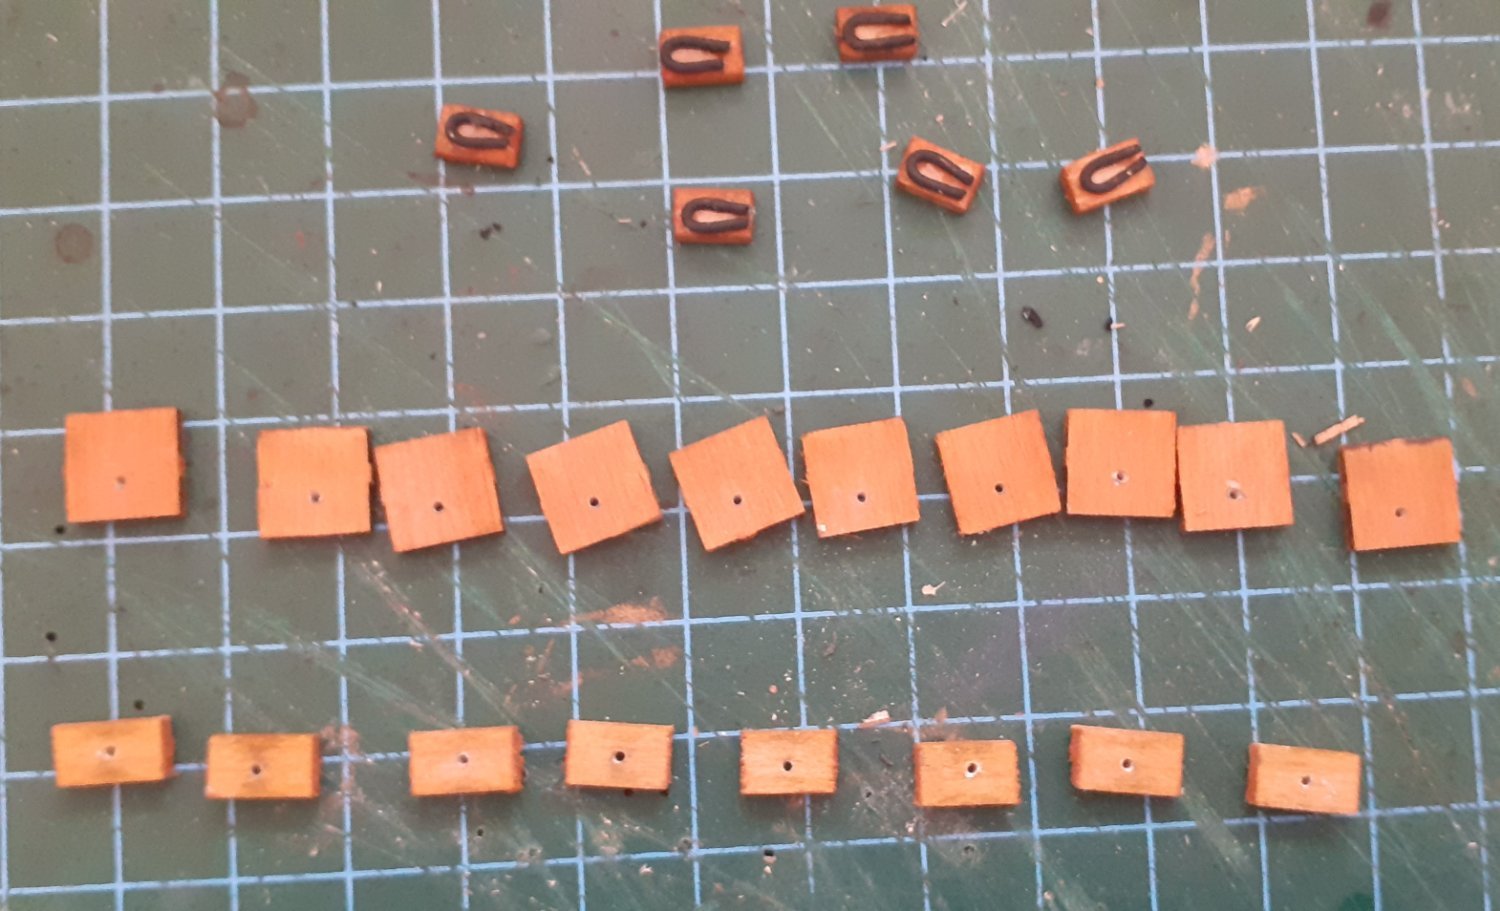
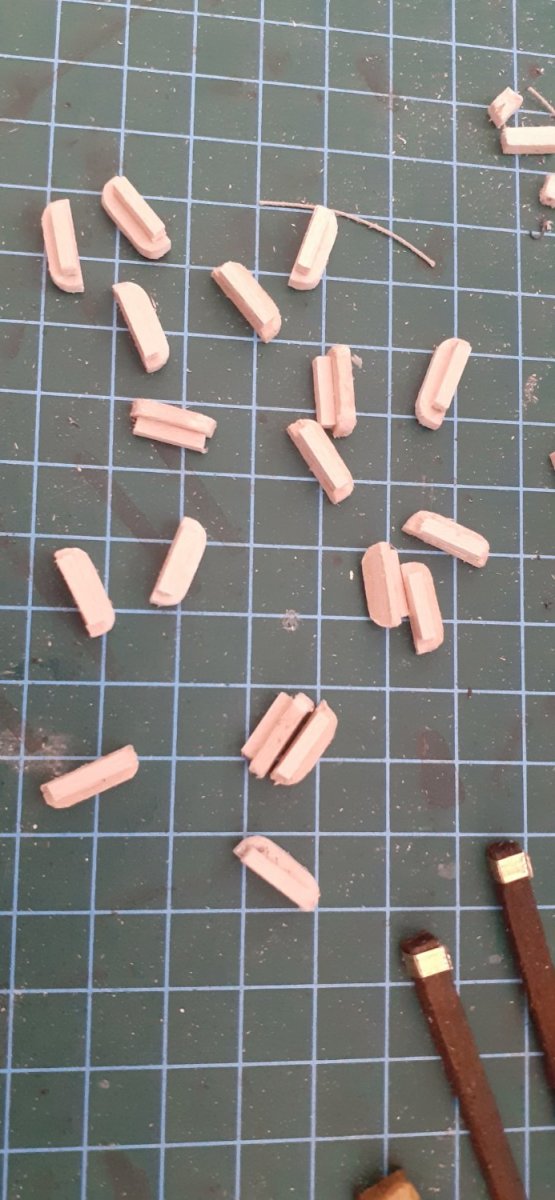
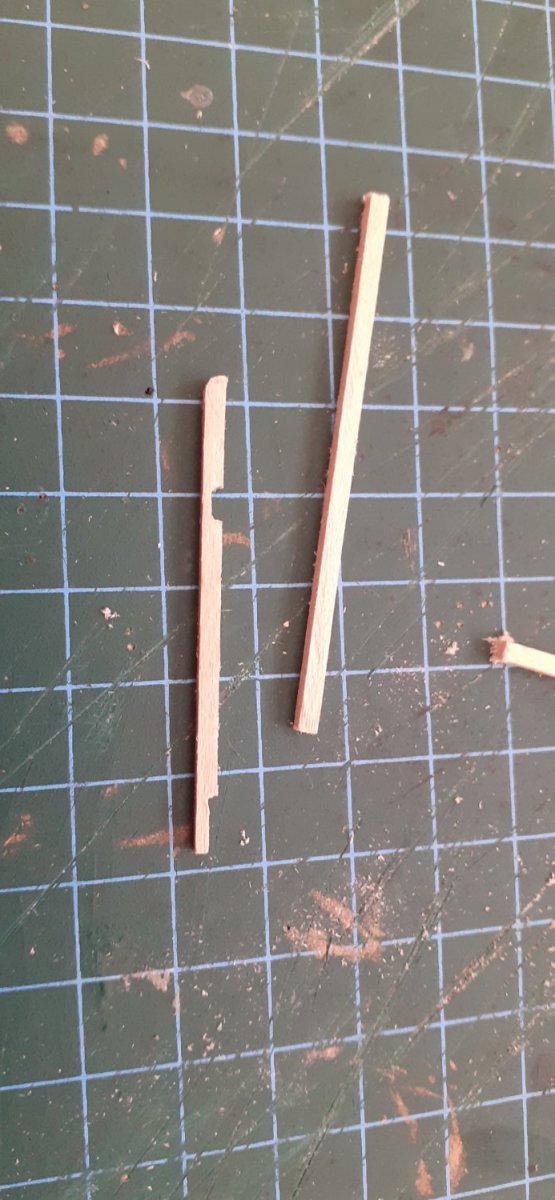
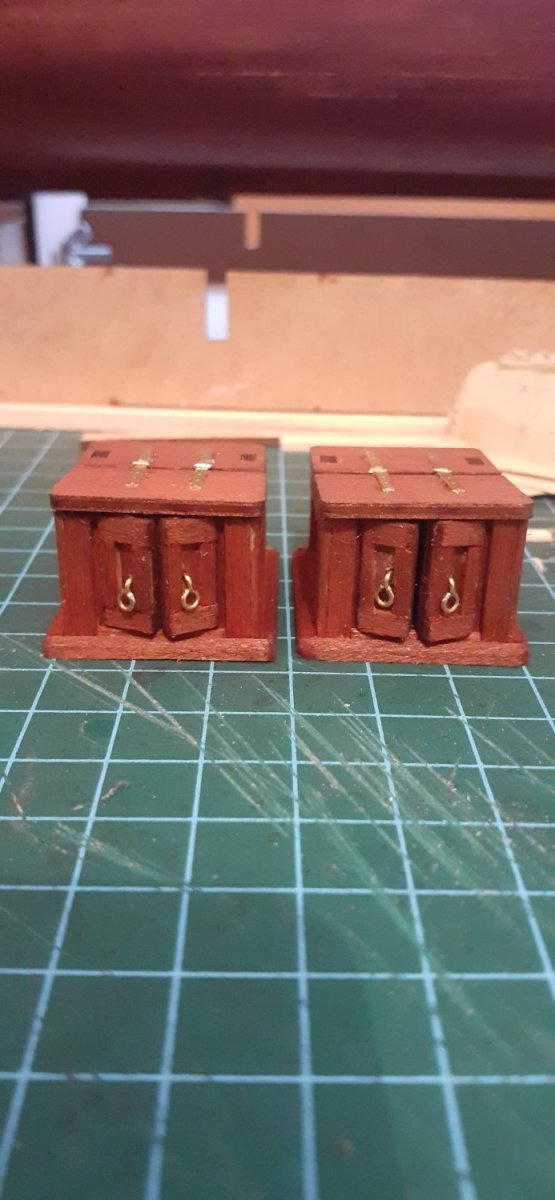
Been adding more Deck detail in the form of Anchor Bouys, Fish Davitt hooks, Cannon shot, Cartridge Bags, Barrels, Cannon Arnament tools in the shape of Sponge, Rammer, Ladle and Worm. Along with more belaying pins a Belaying block points for rigging.
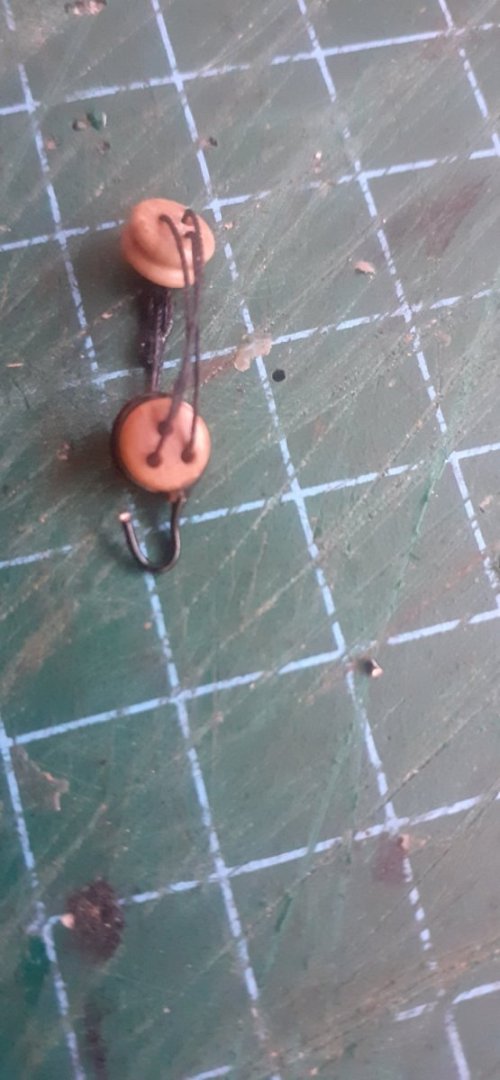
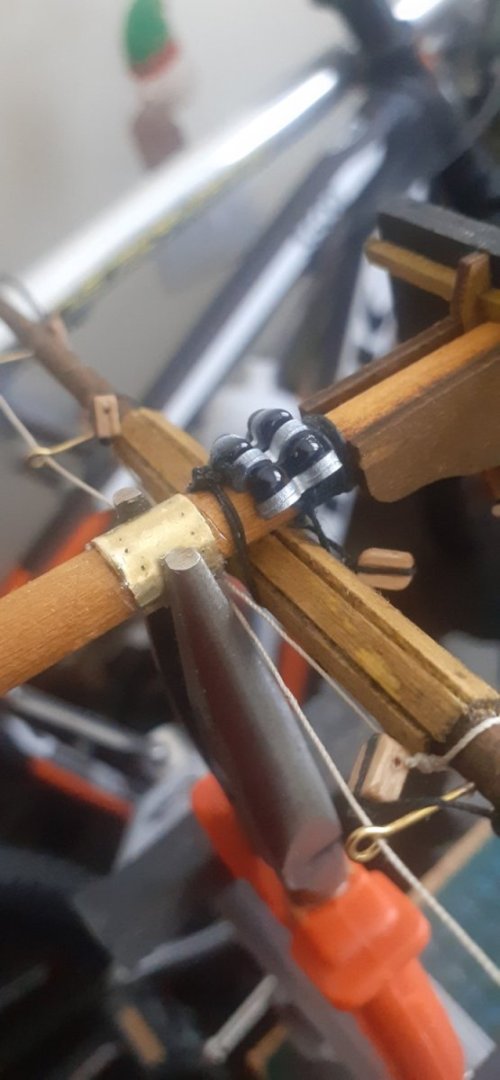
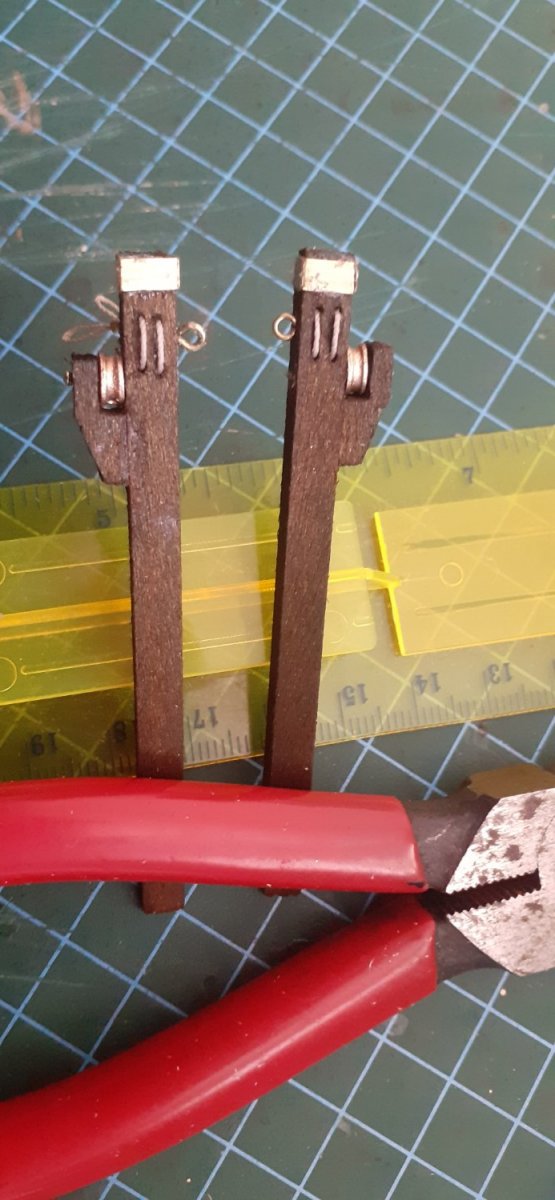
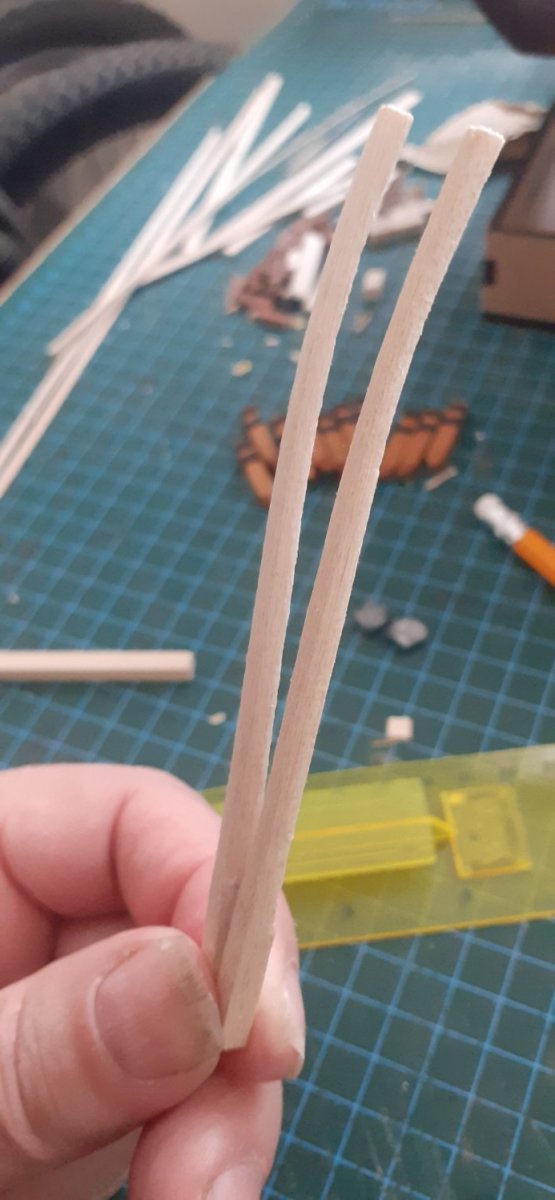
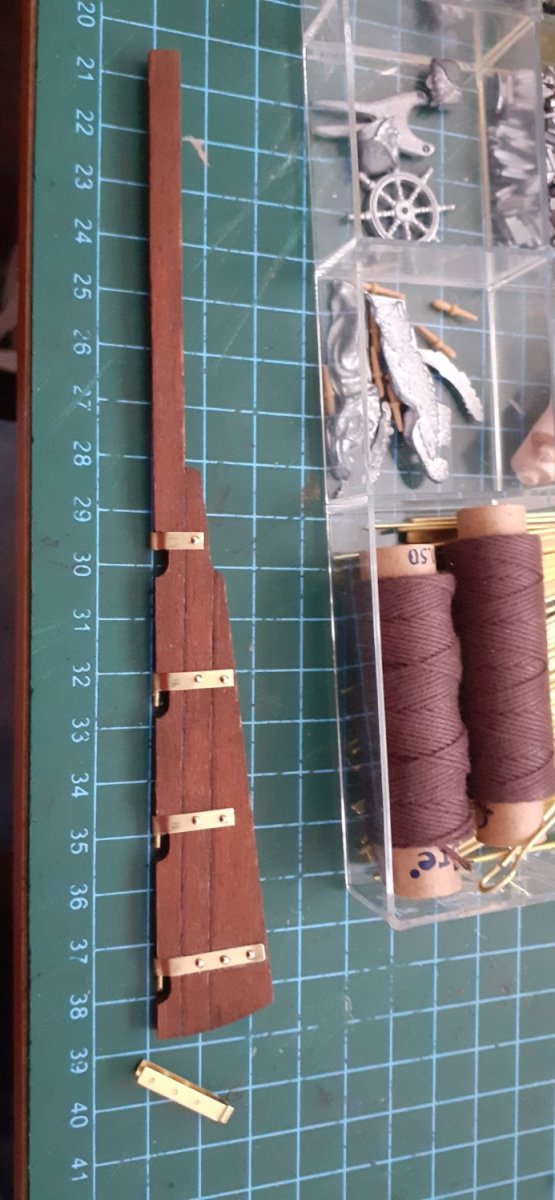
Swivel guns are all mounted as is the Lantern and Rudder chain. Starting the deadeyes which I am changing to chain plates to conform with the actual plans rather than the brass wire in the kit. I have also had to disregard the Deadeye strops as they didn't fit well with the caldercraft deadeyes I use, so I am using 8mm Black modelling wire to which I add a hook on the end to take the chainplates.Progress has been slowed somewhat due to my health atm, first being a chest infection the next being Carpal tunnel syndrome which is affecting myself now off work and struggling with modelling as any conserted pressure has swollen my wrist and forearm.
However trying my best through the pain barrier.
Happy modelling everyone all the best of health and staysafe. 👍🤺⚓


- Prowler901 and Cathead
-
 1
1
-
 1
1
-
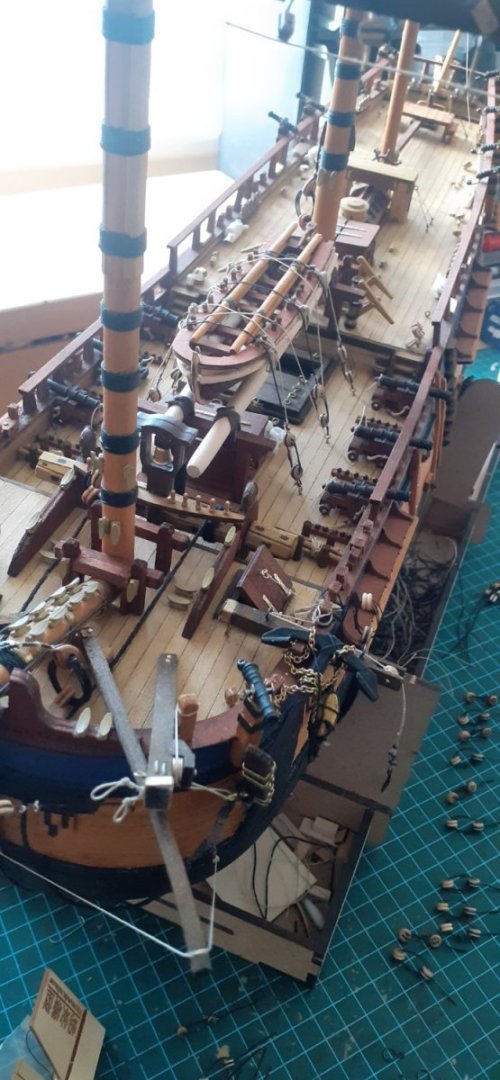
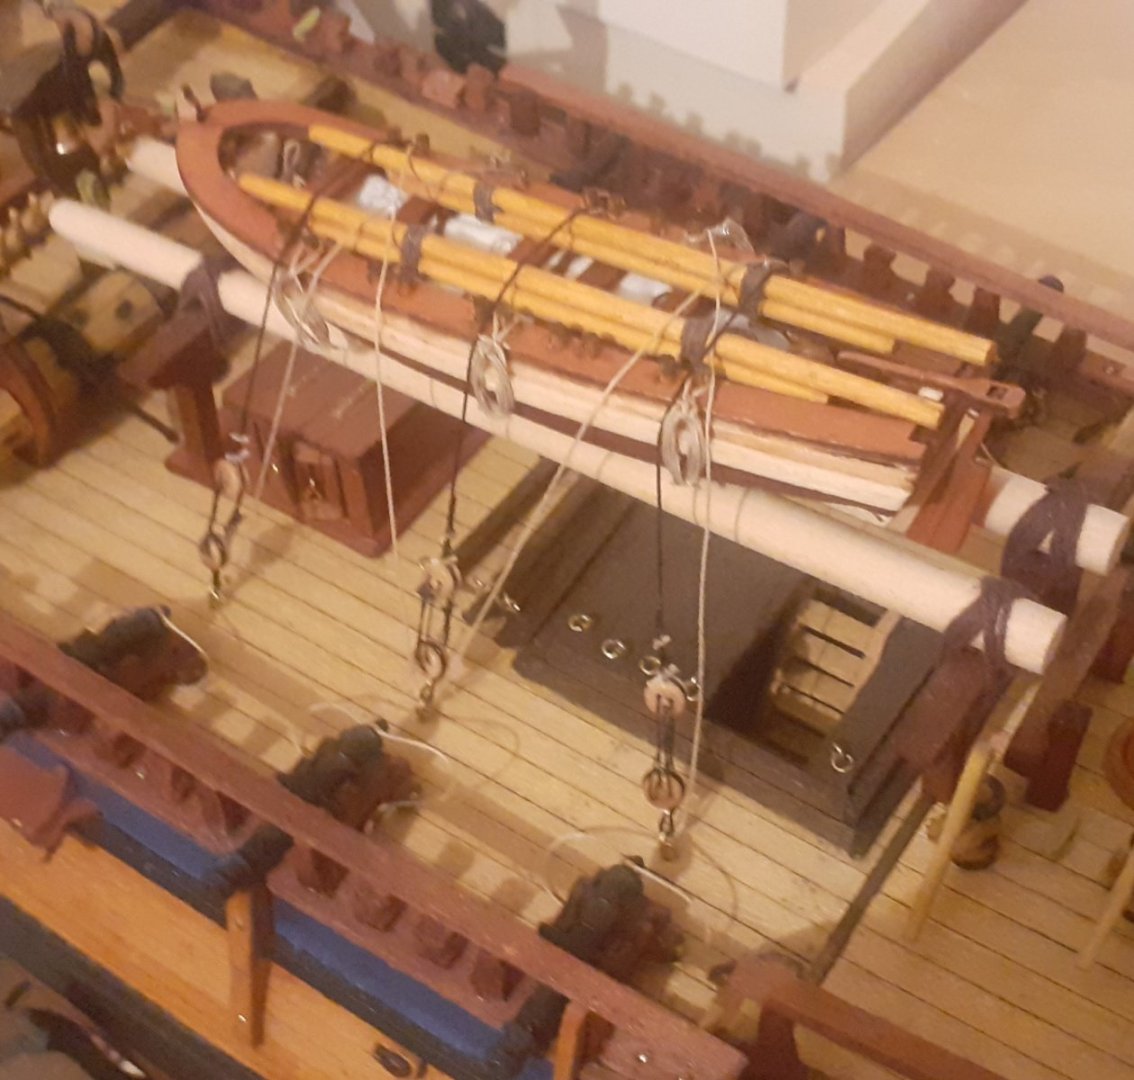
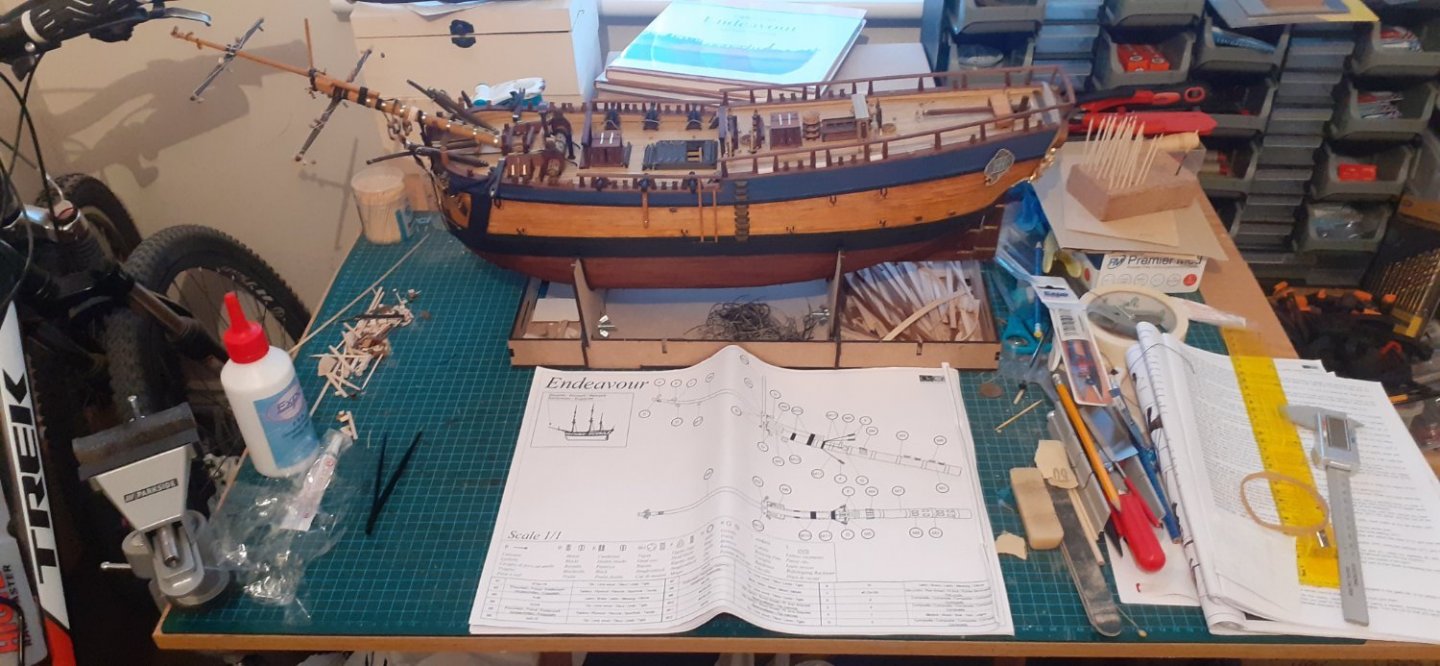
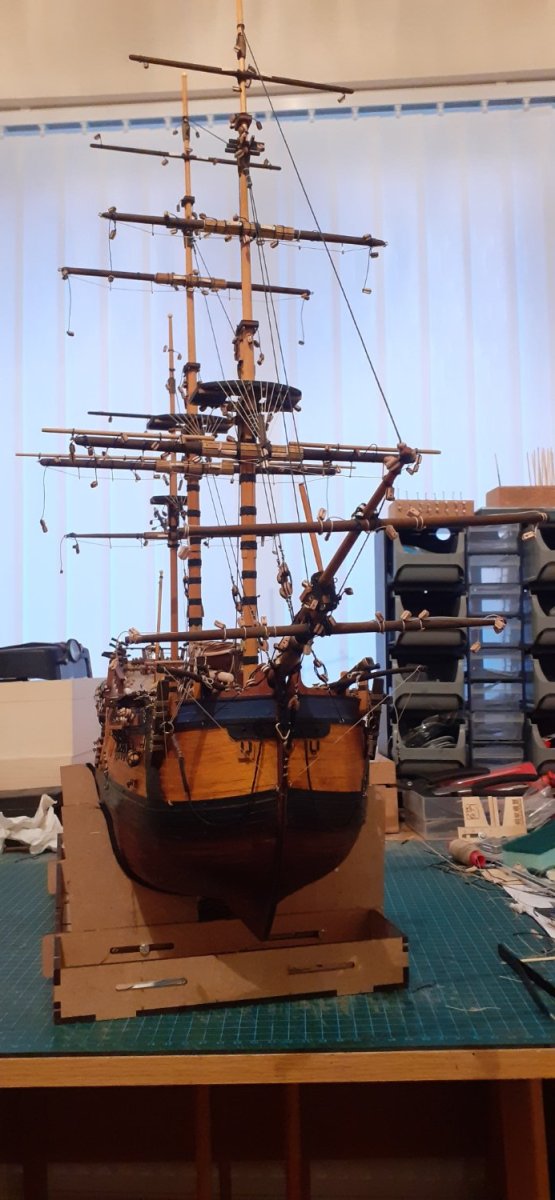
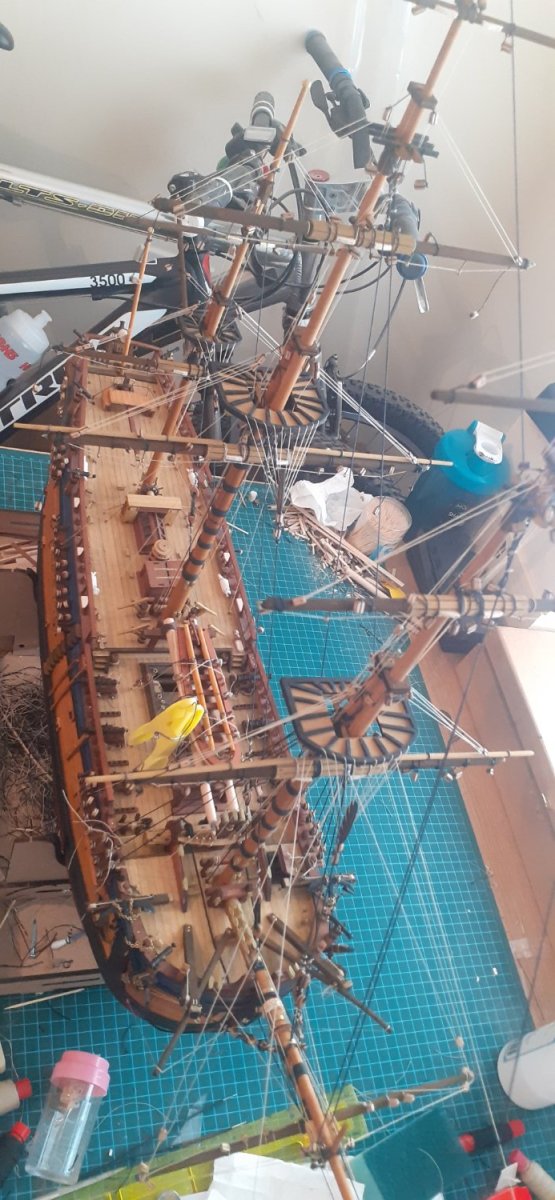
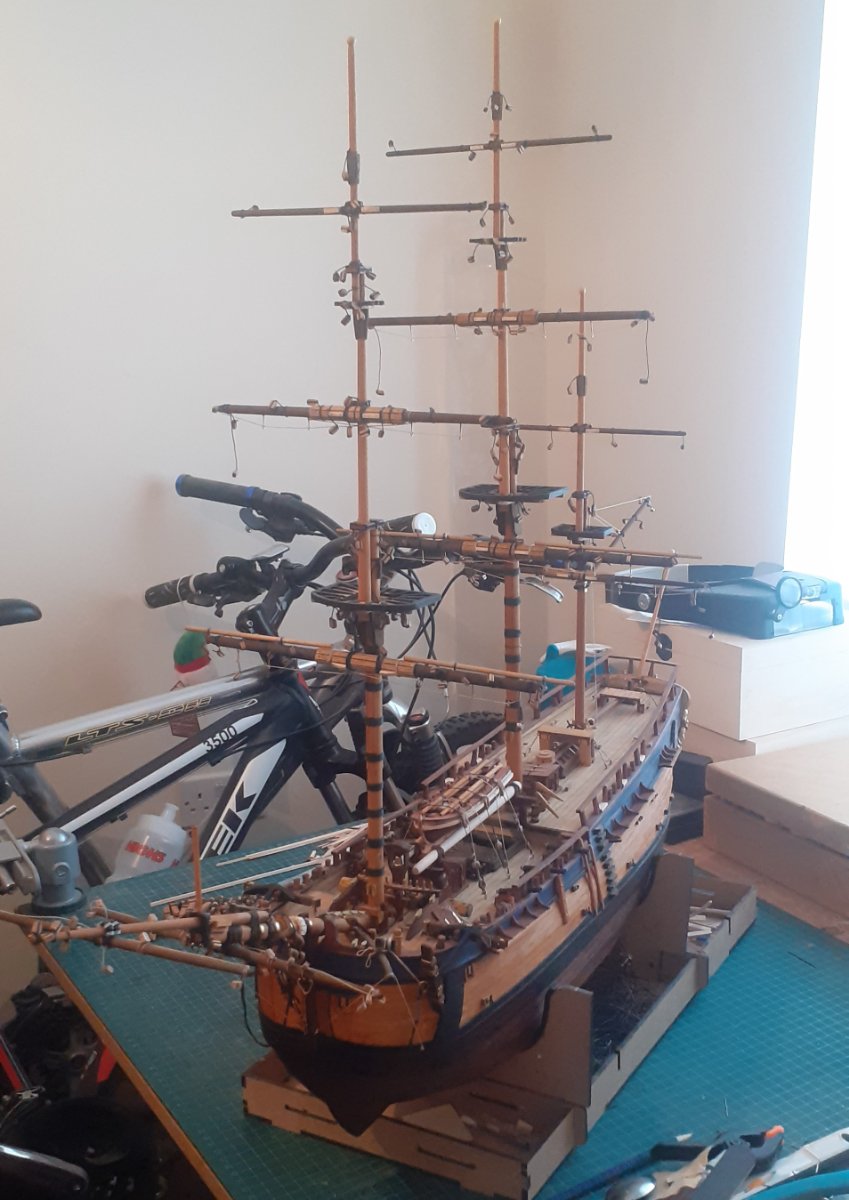
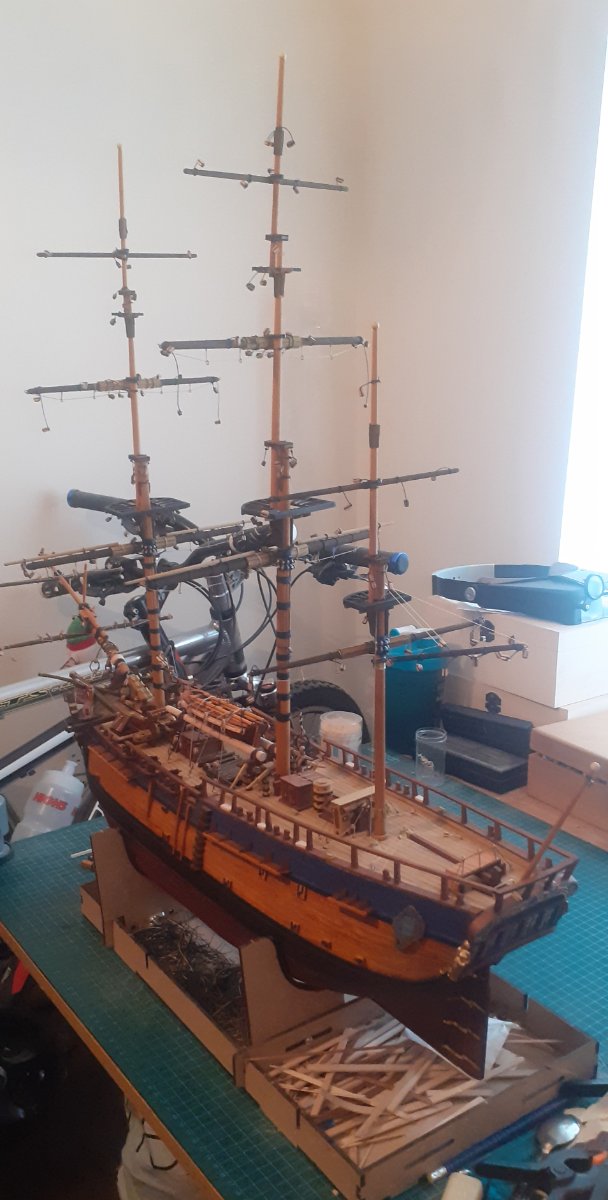
 Occre Endeavour 1/54
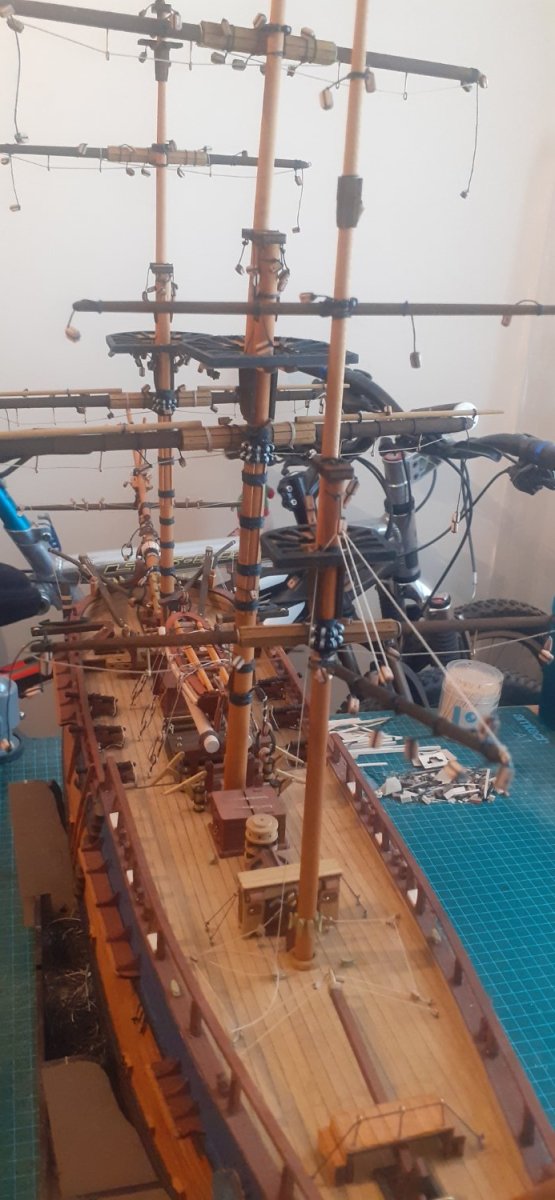
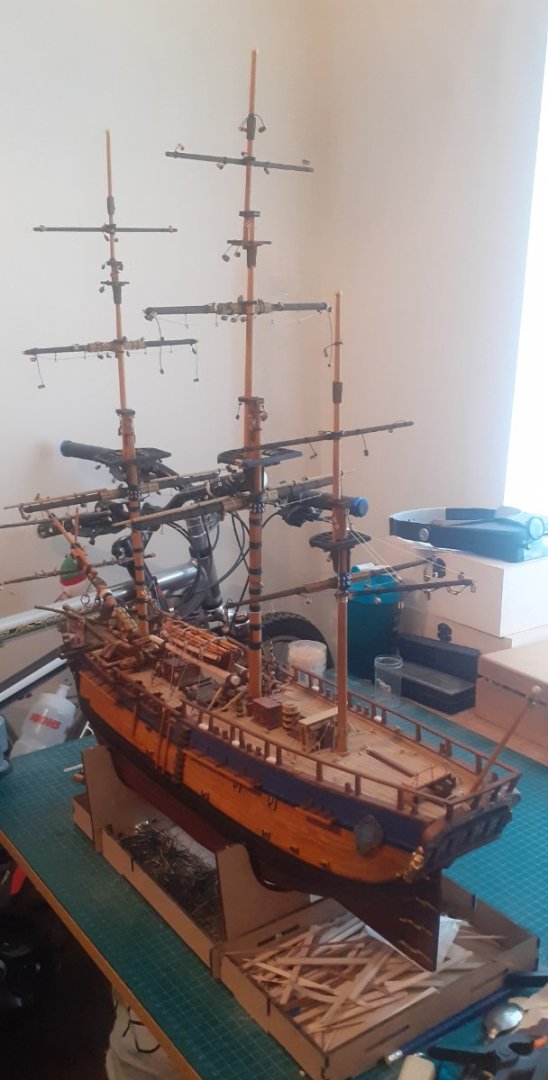
WIP Update:Its been 6 weeks or so since my last post with 2 of them being on holiday. Obviously took a few time outs as well through tiredness due to work, life and ship building balance.
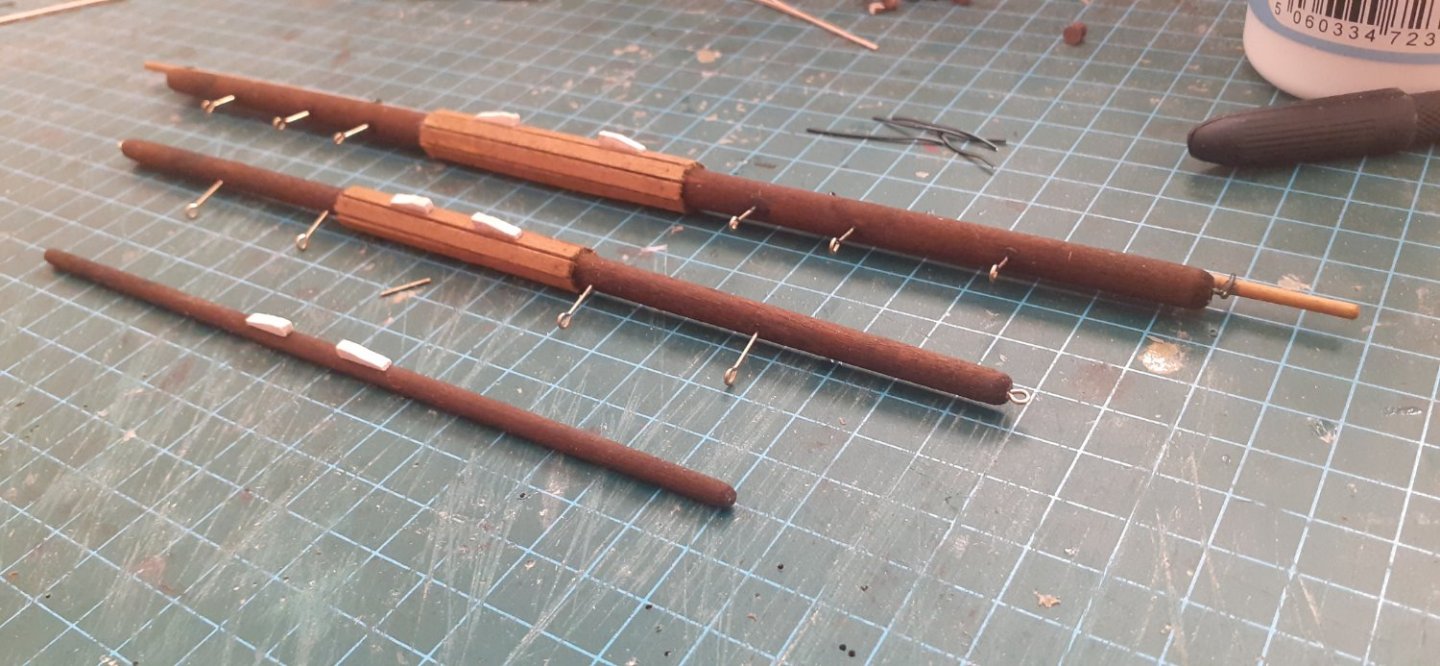
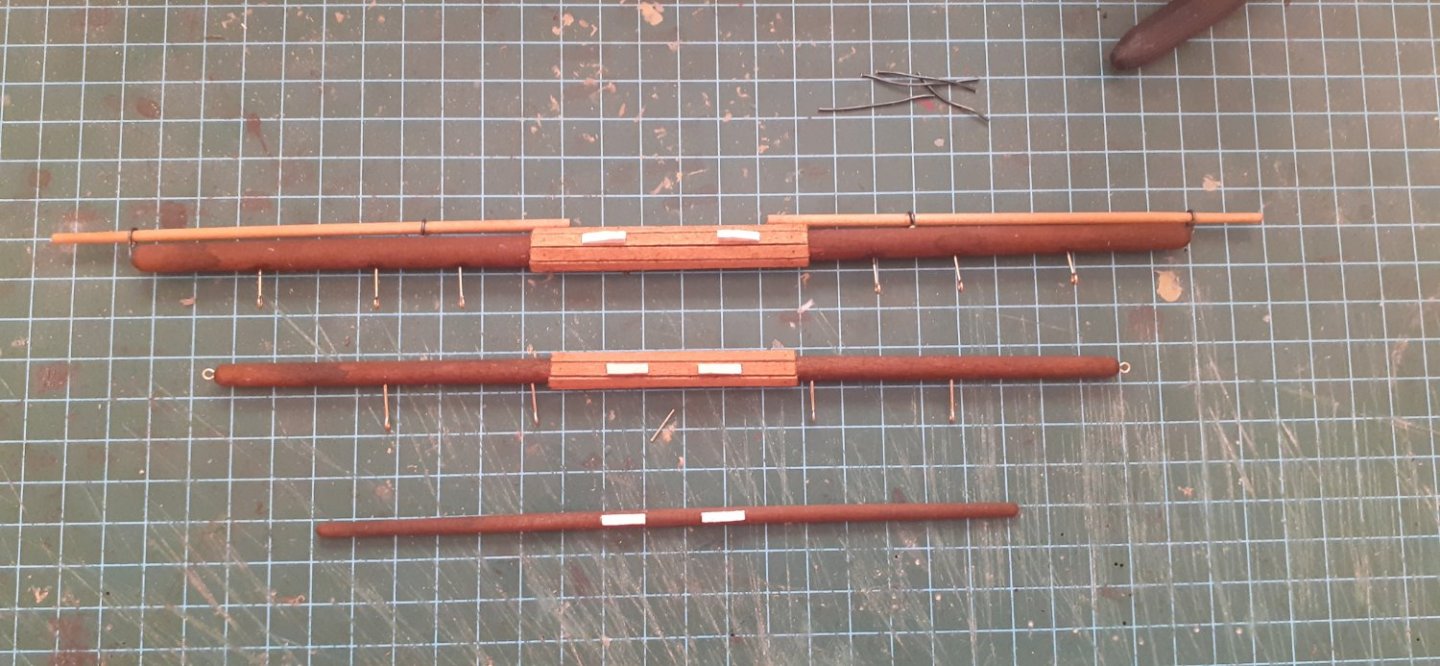
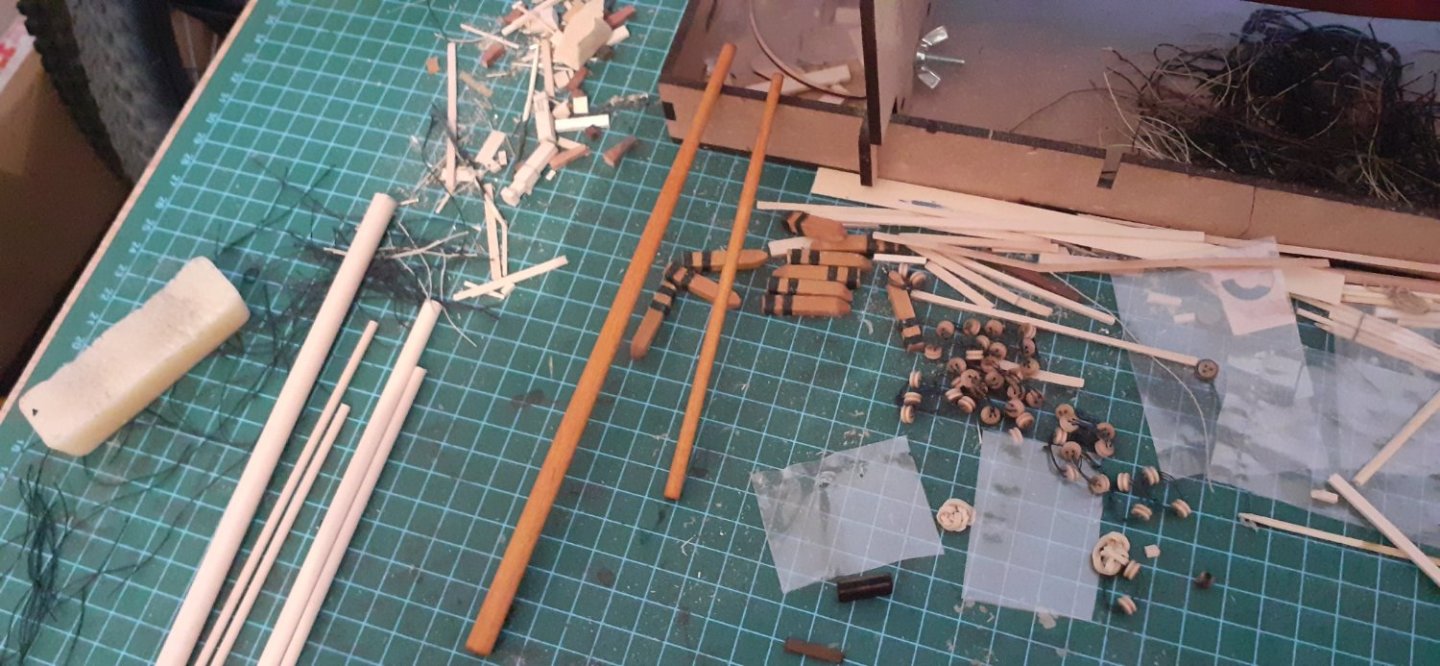
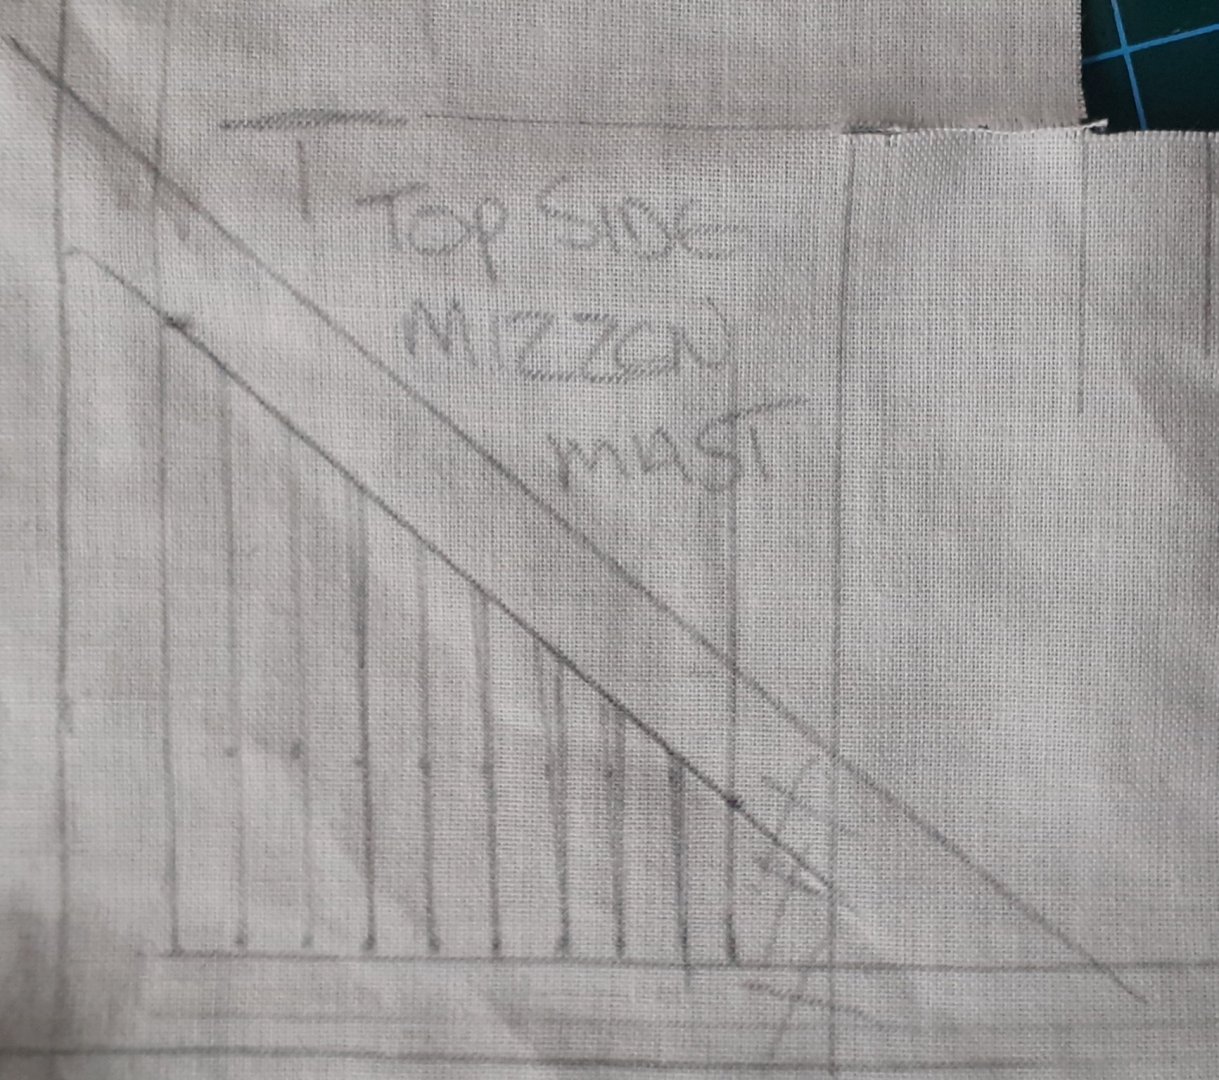
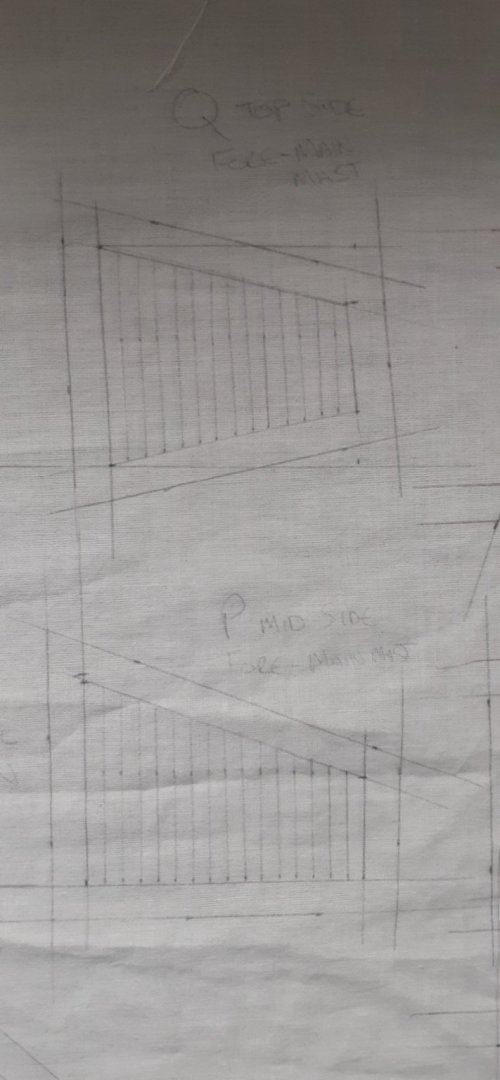
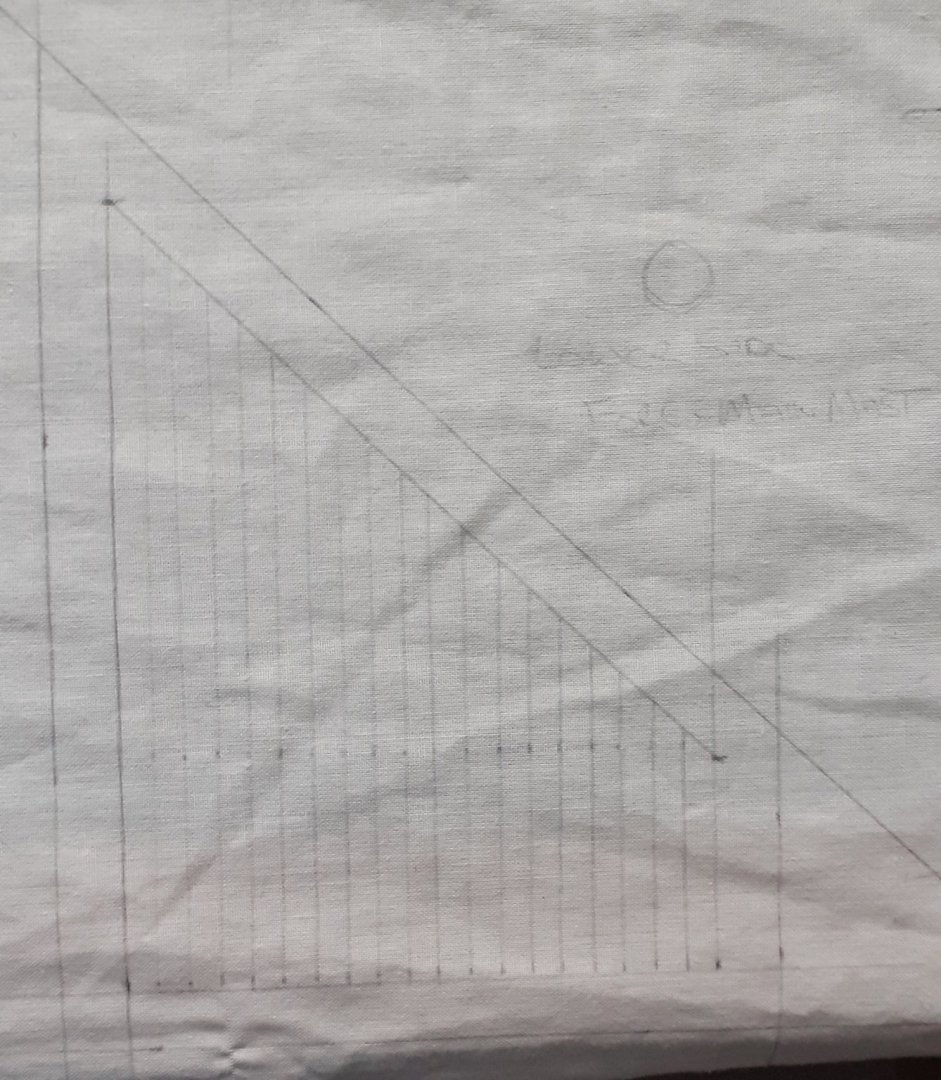
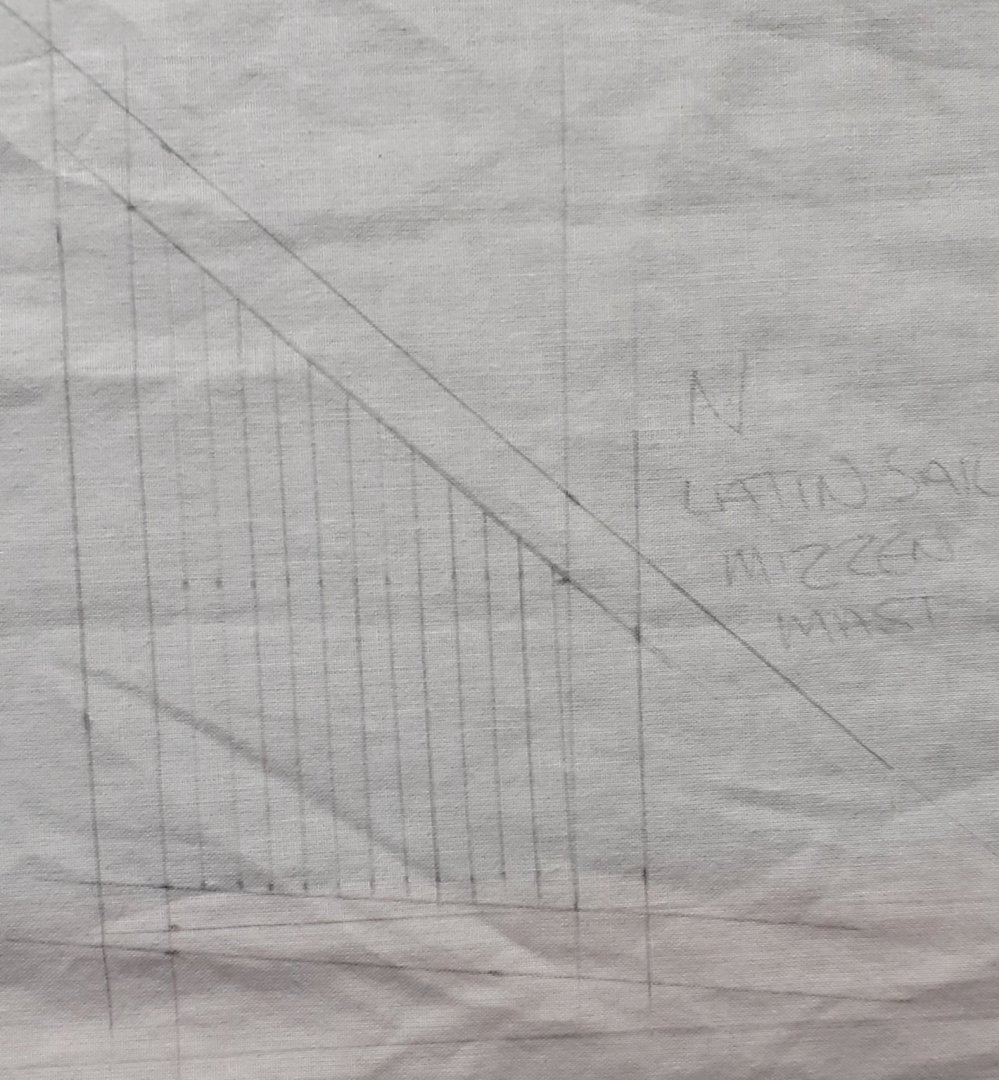
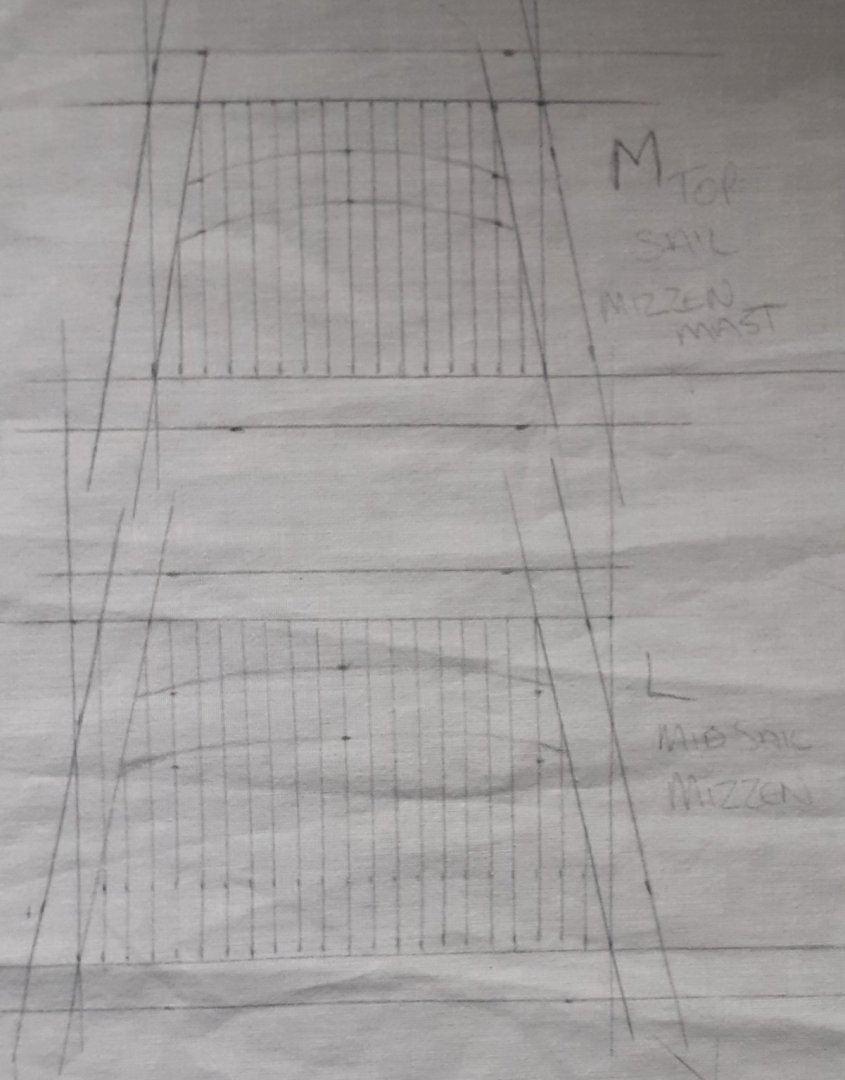
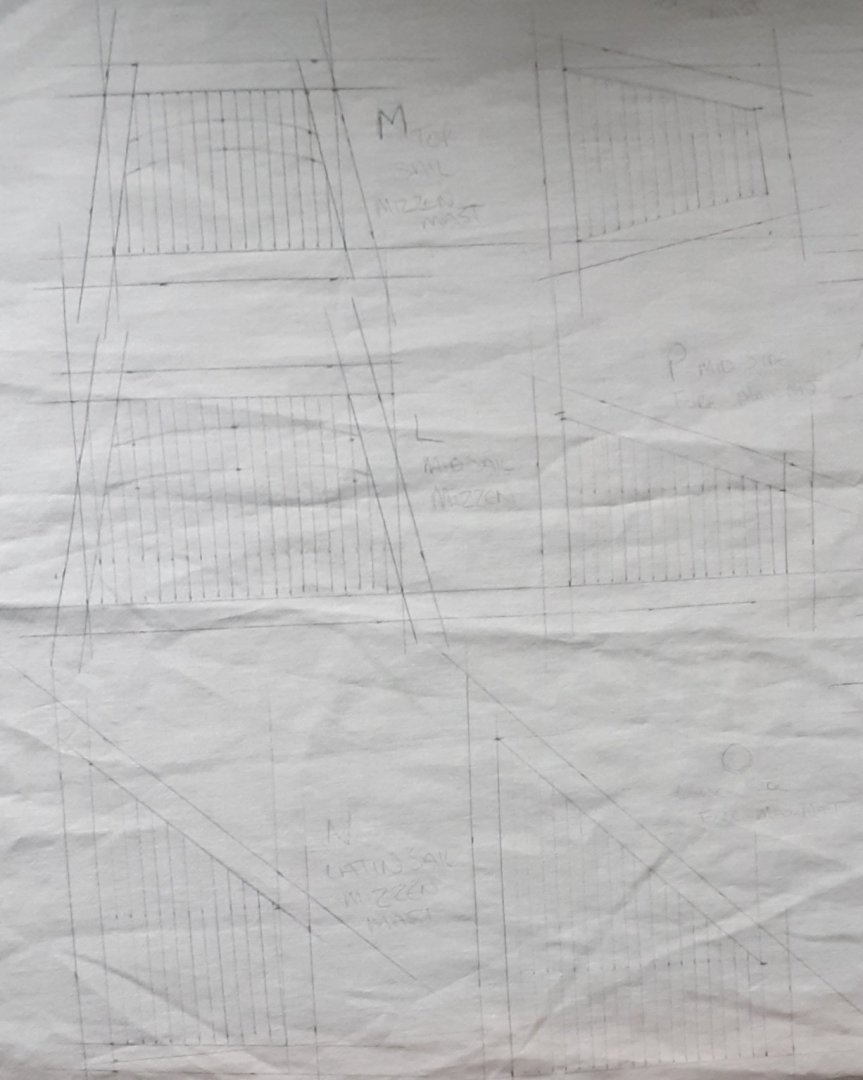
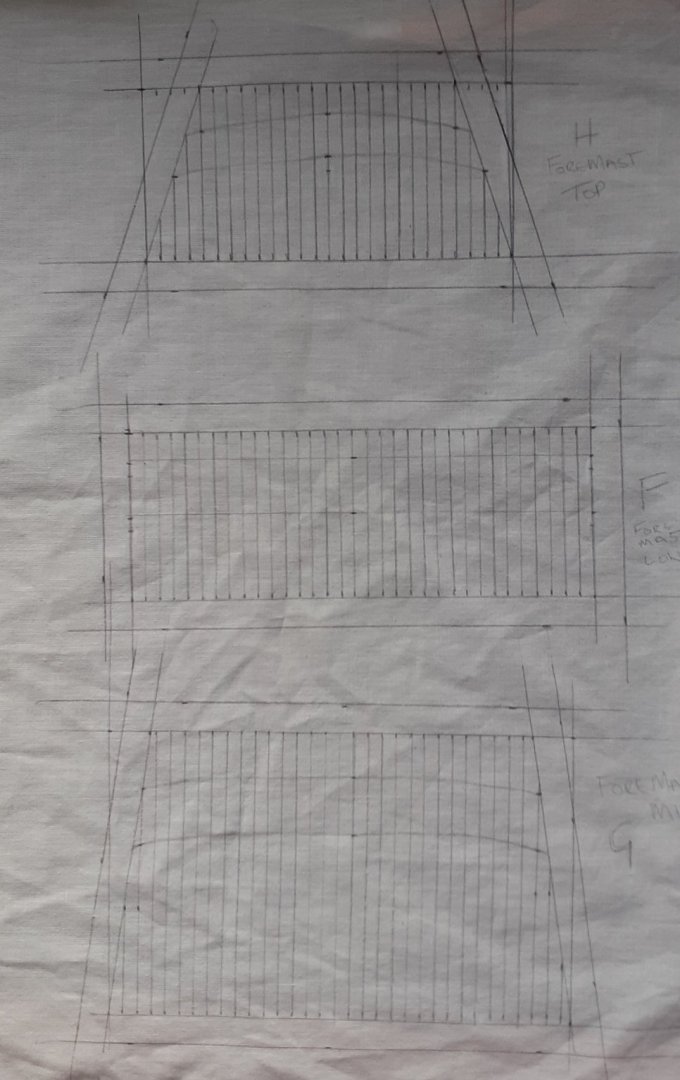
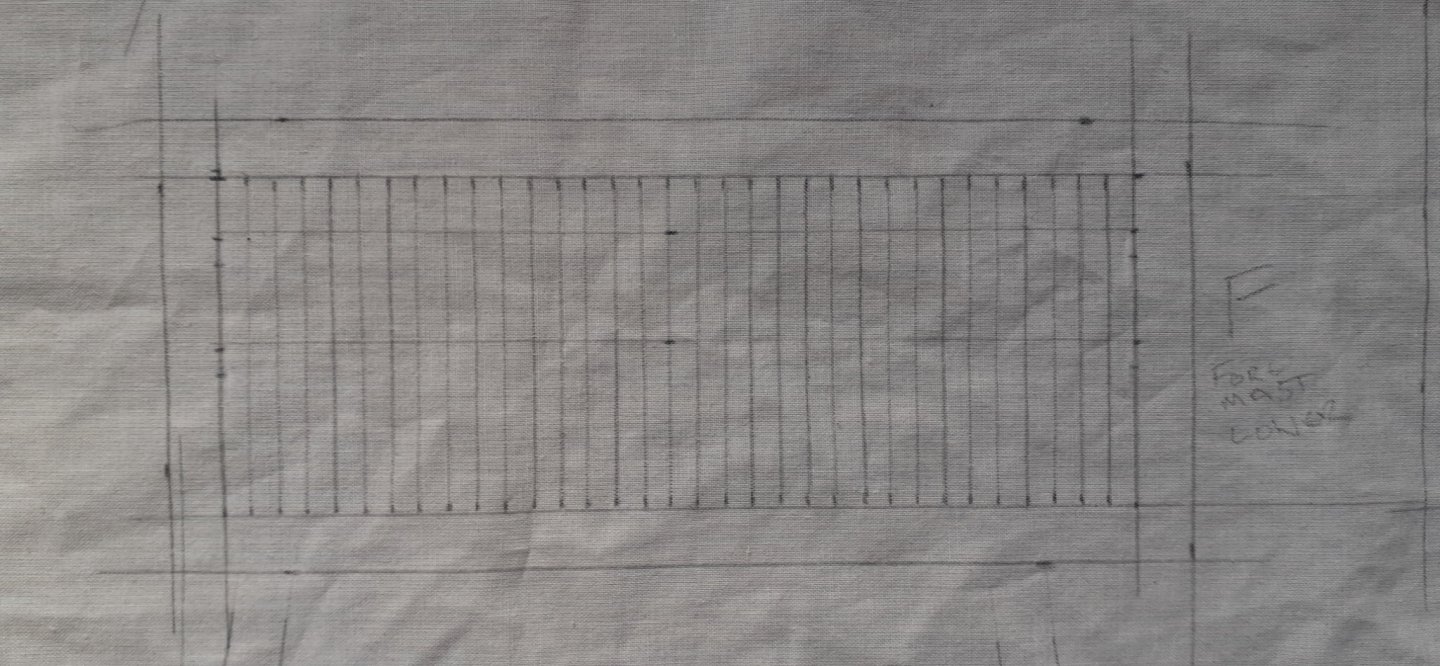
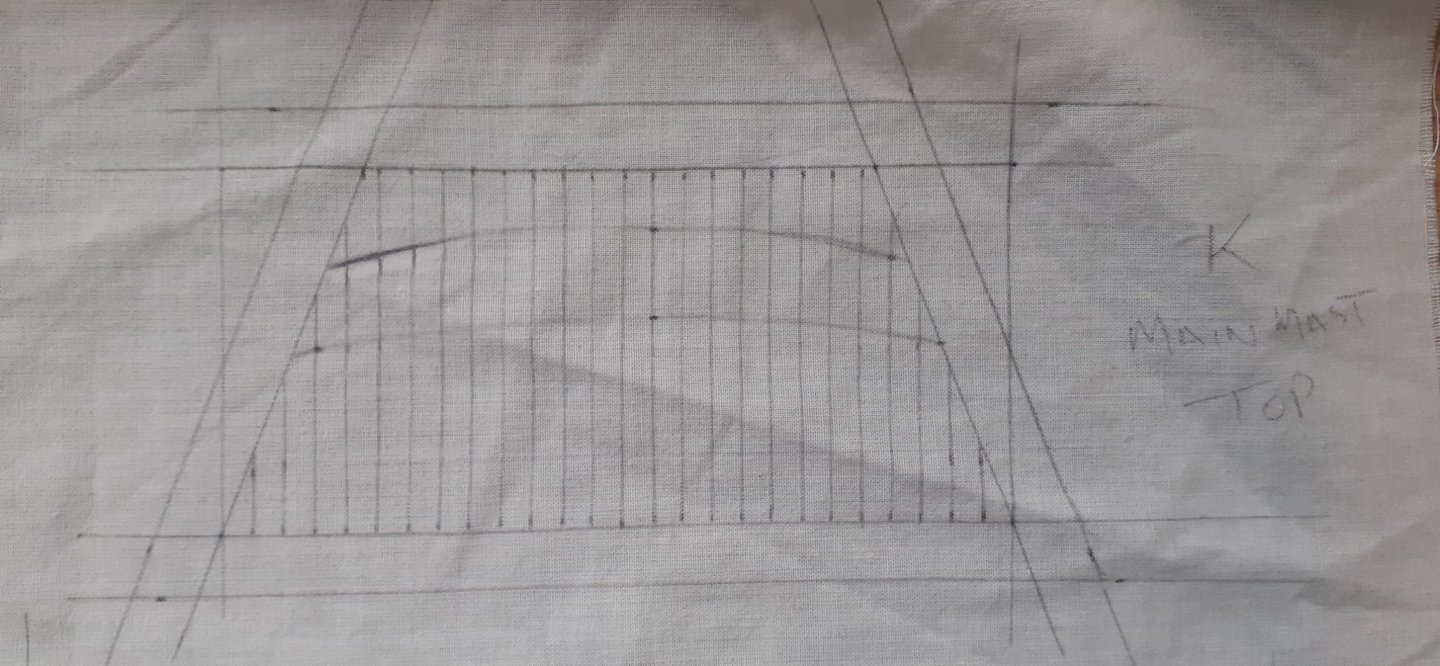
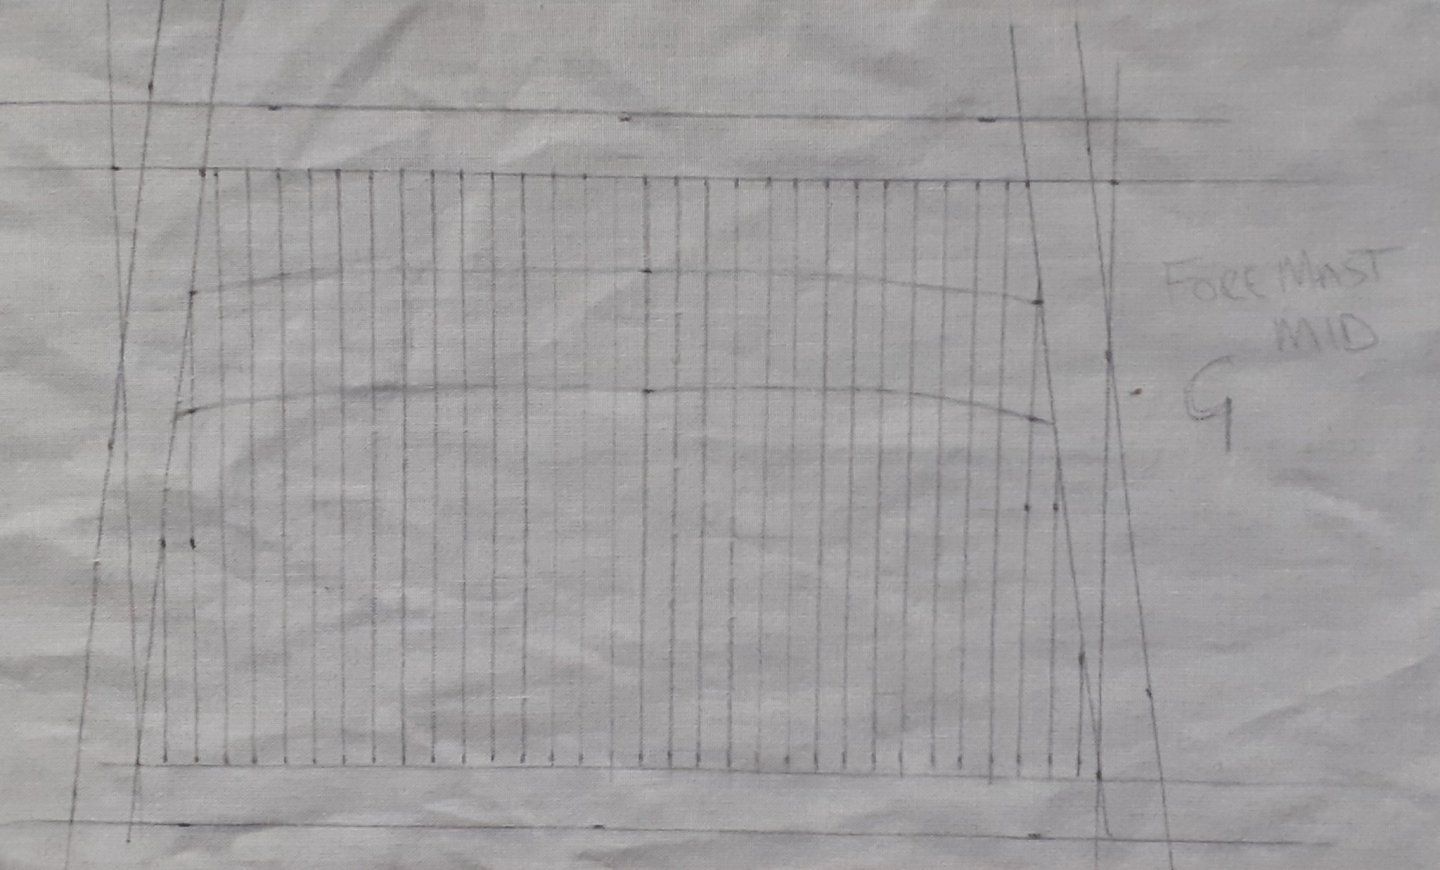
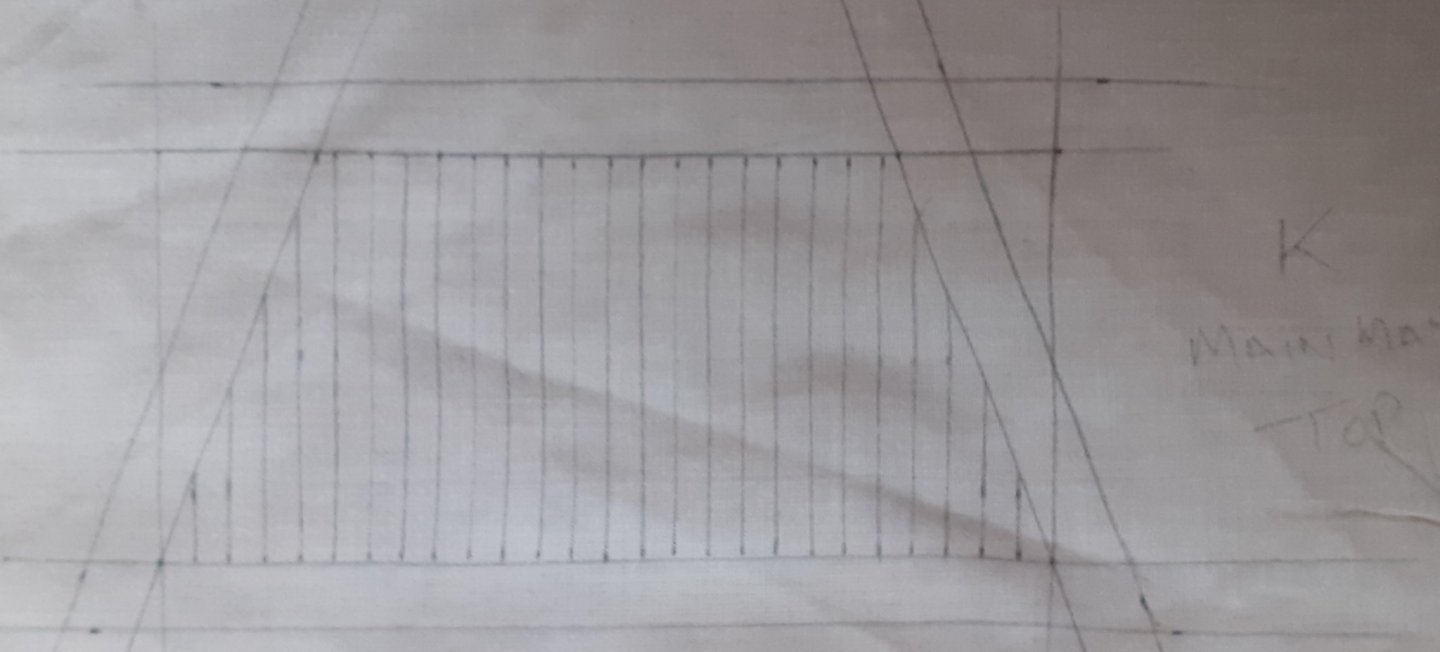
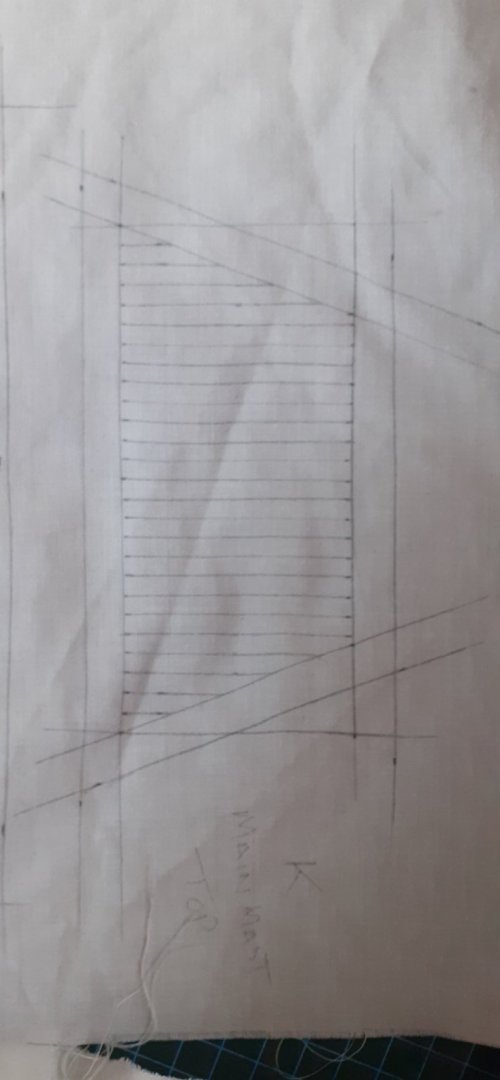
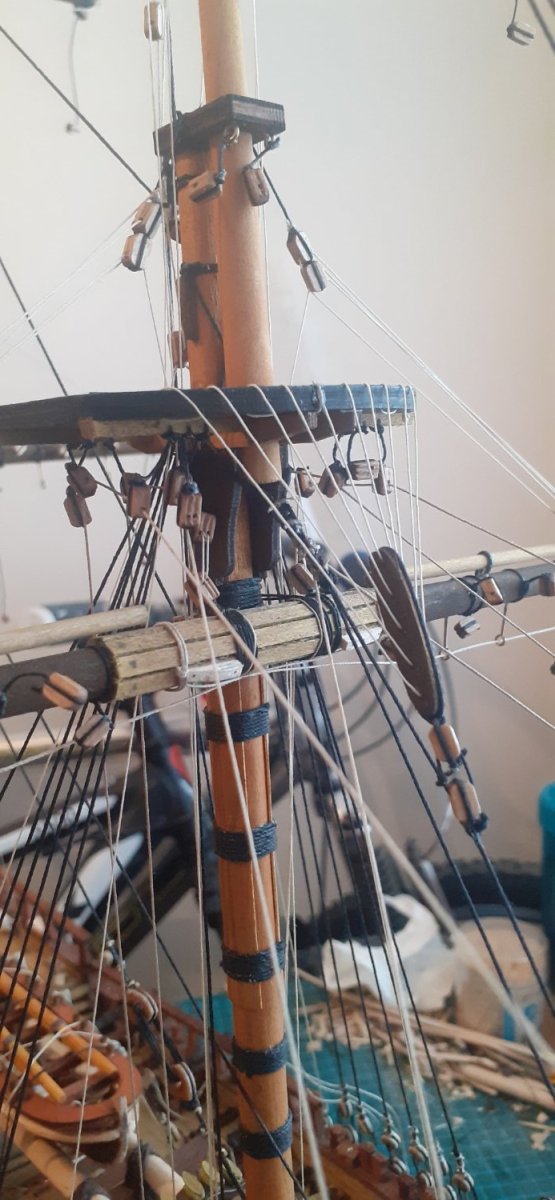
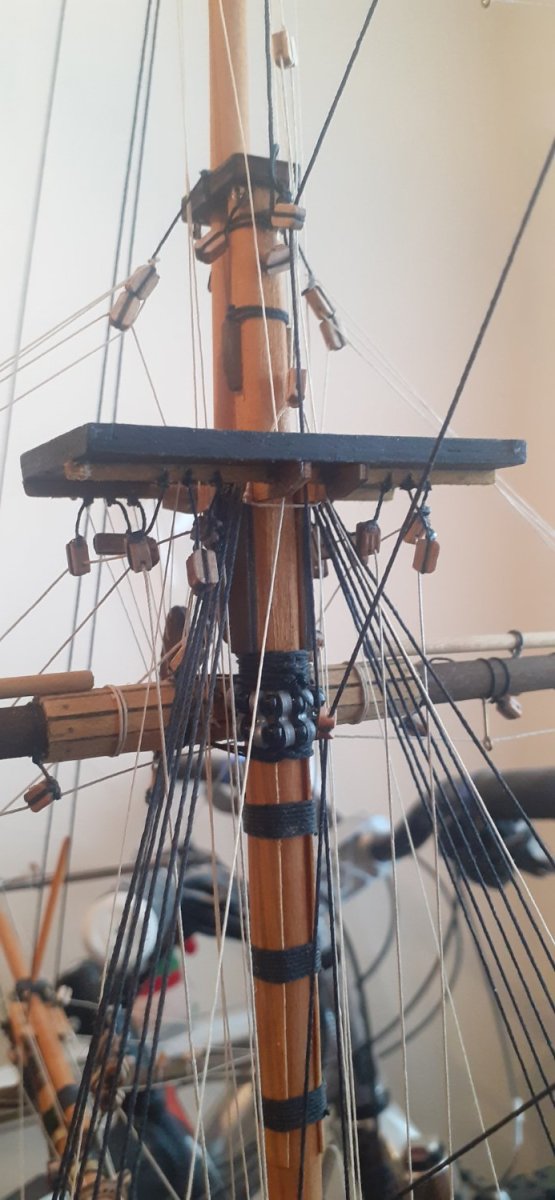
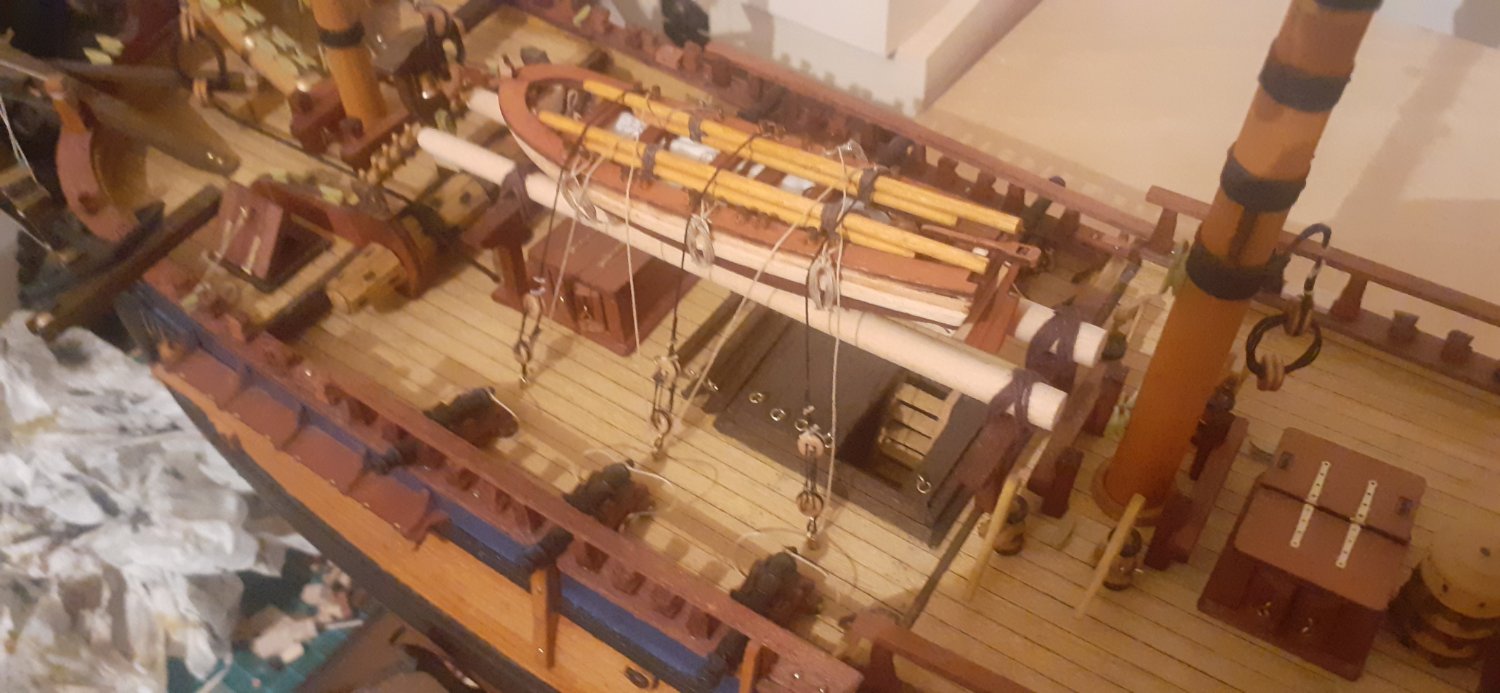
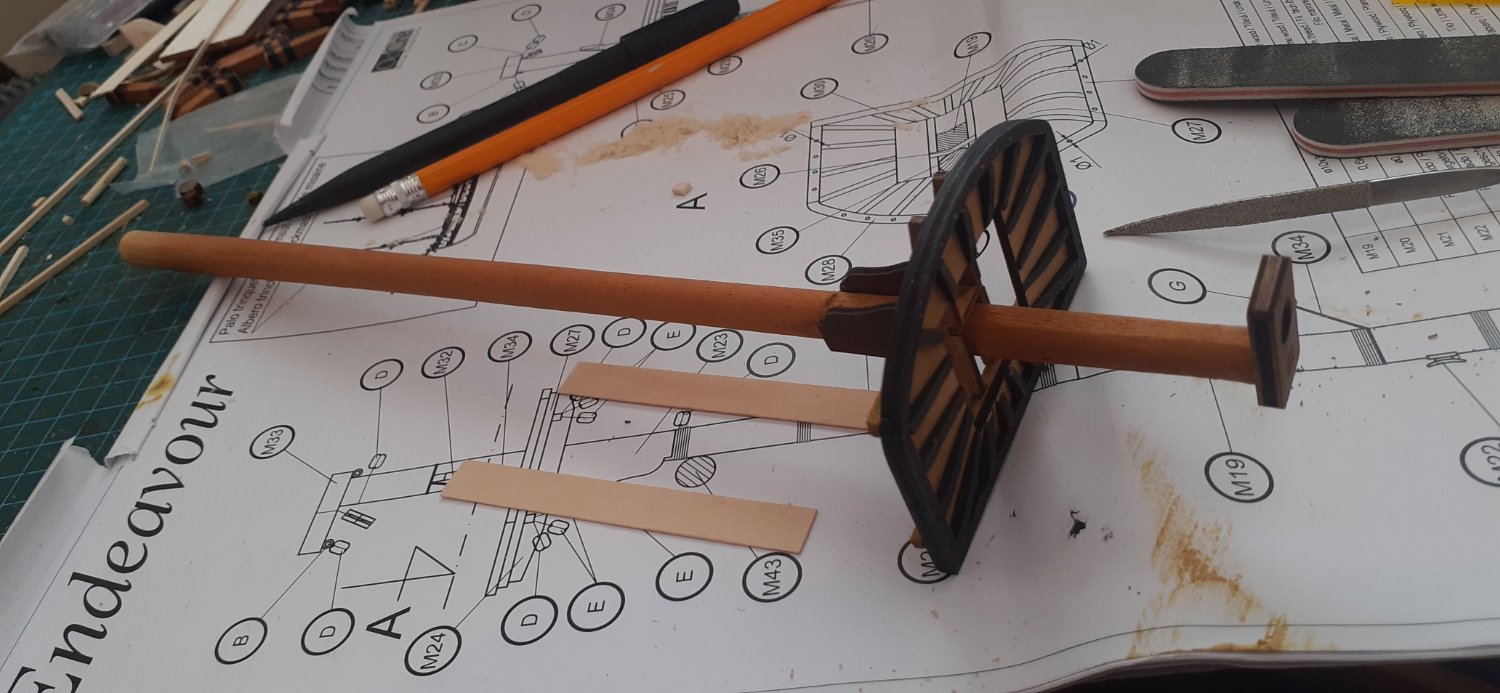
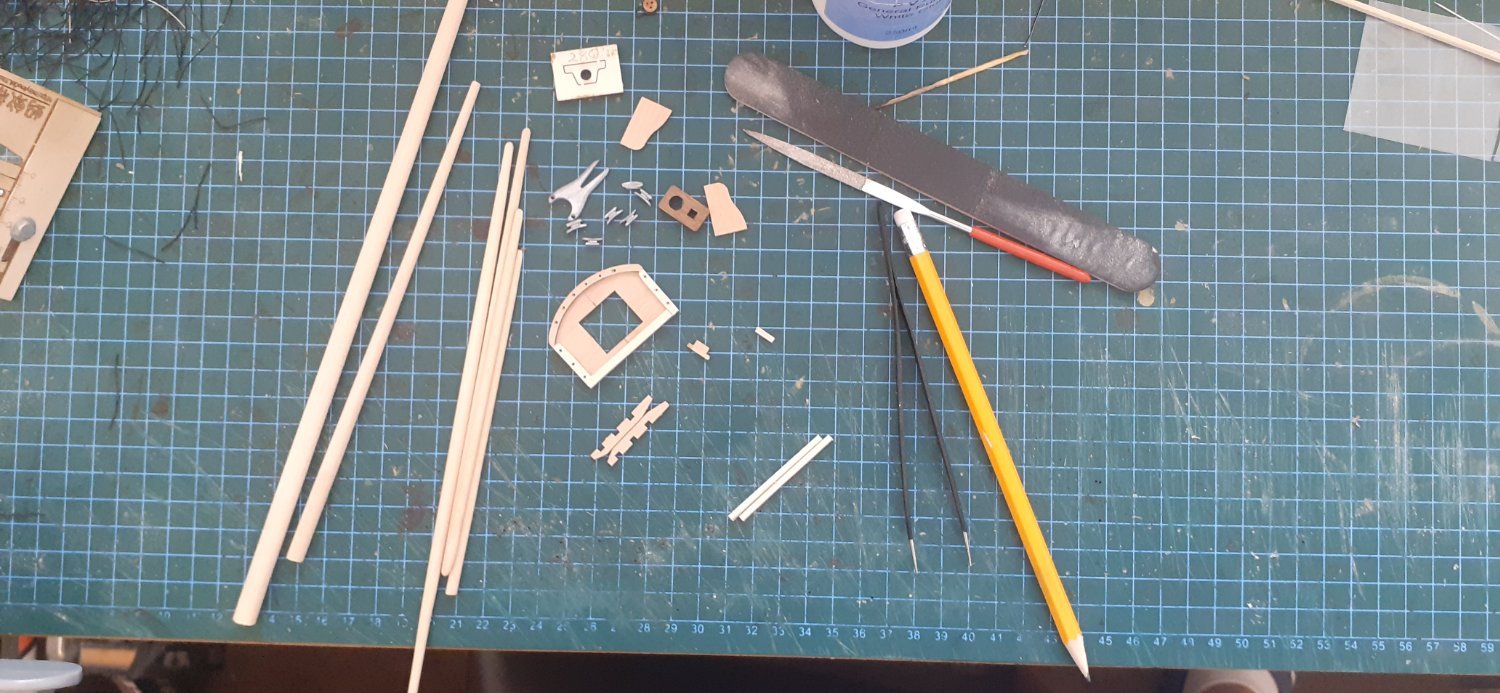
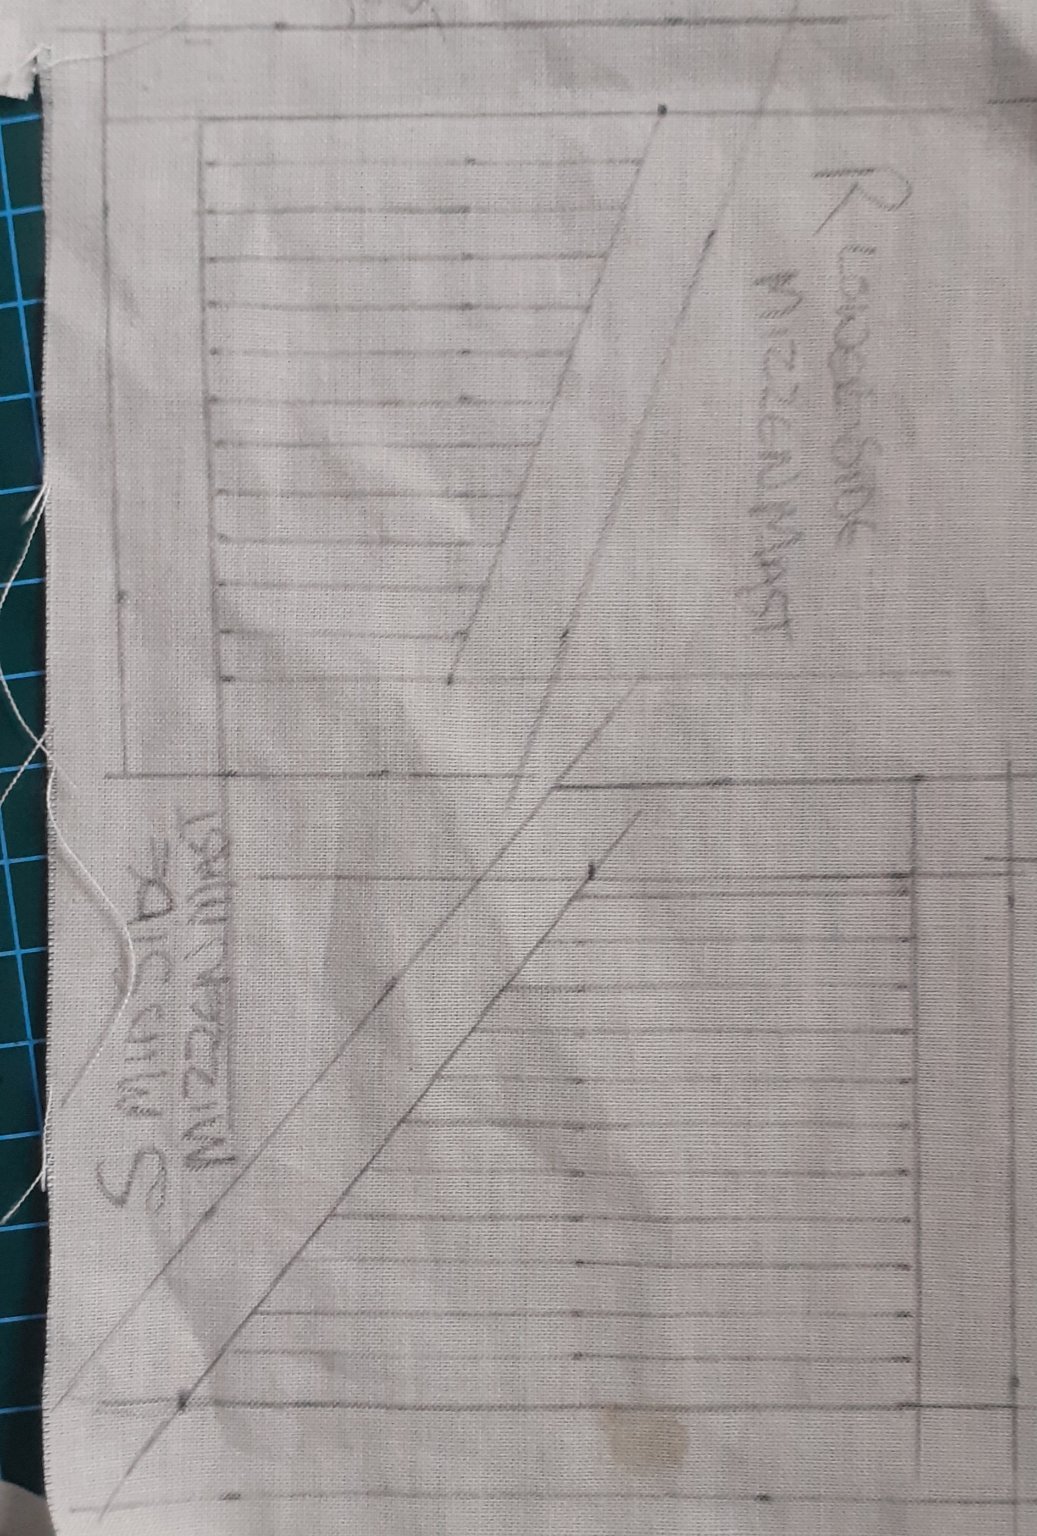
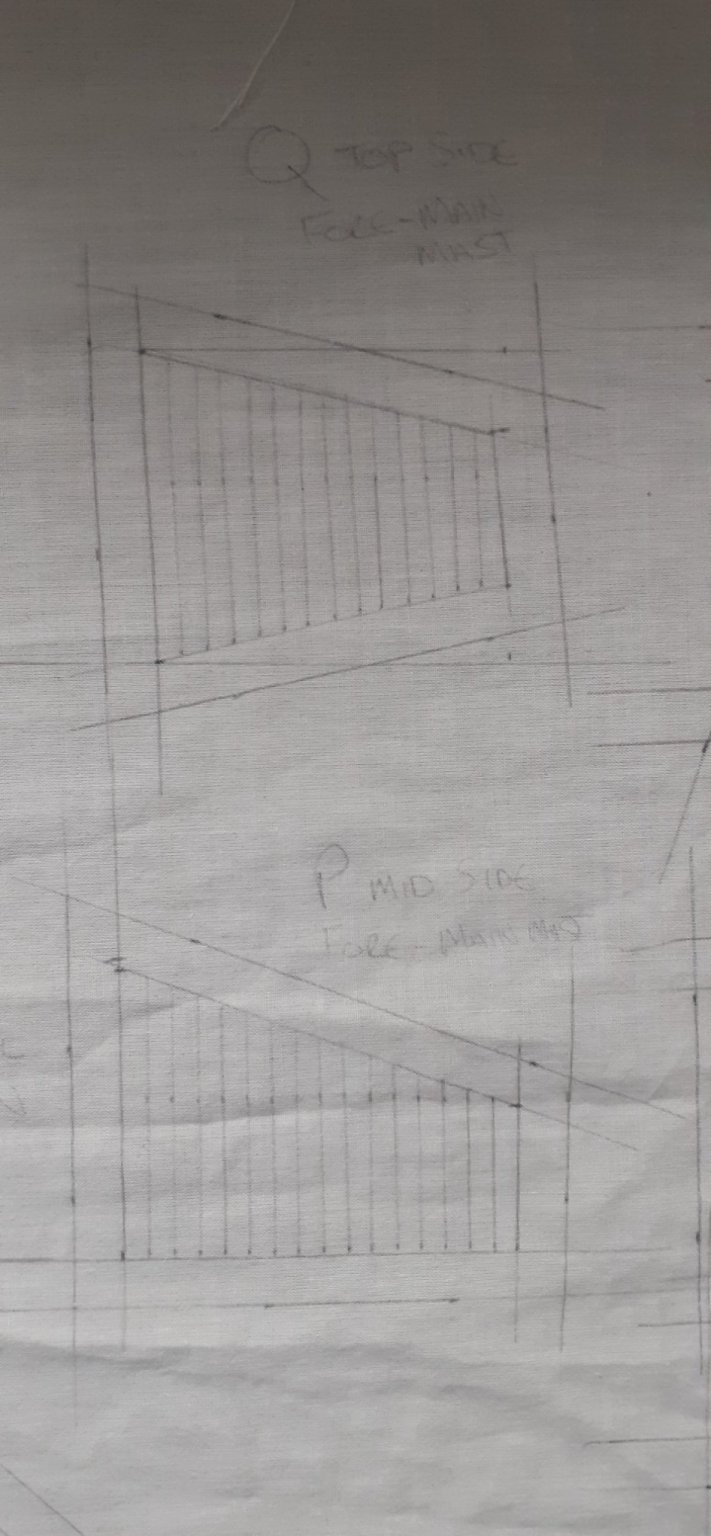
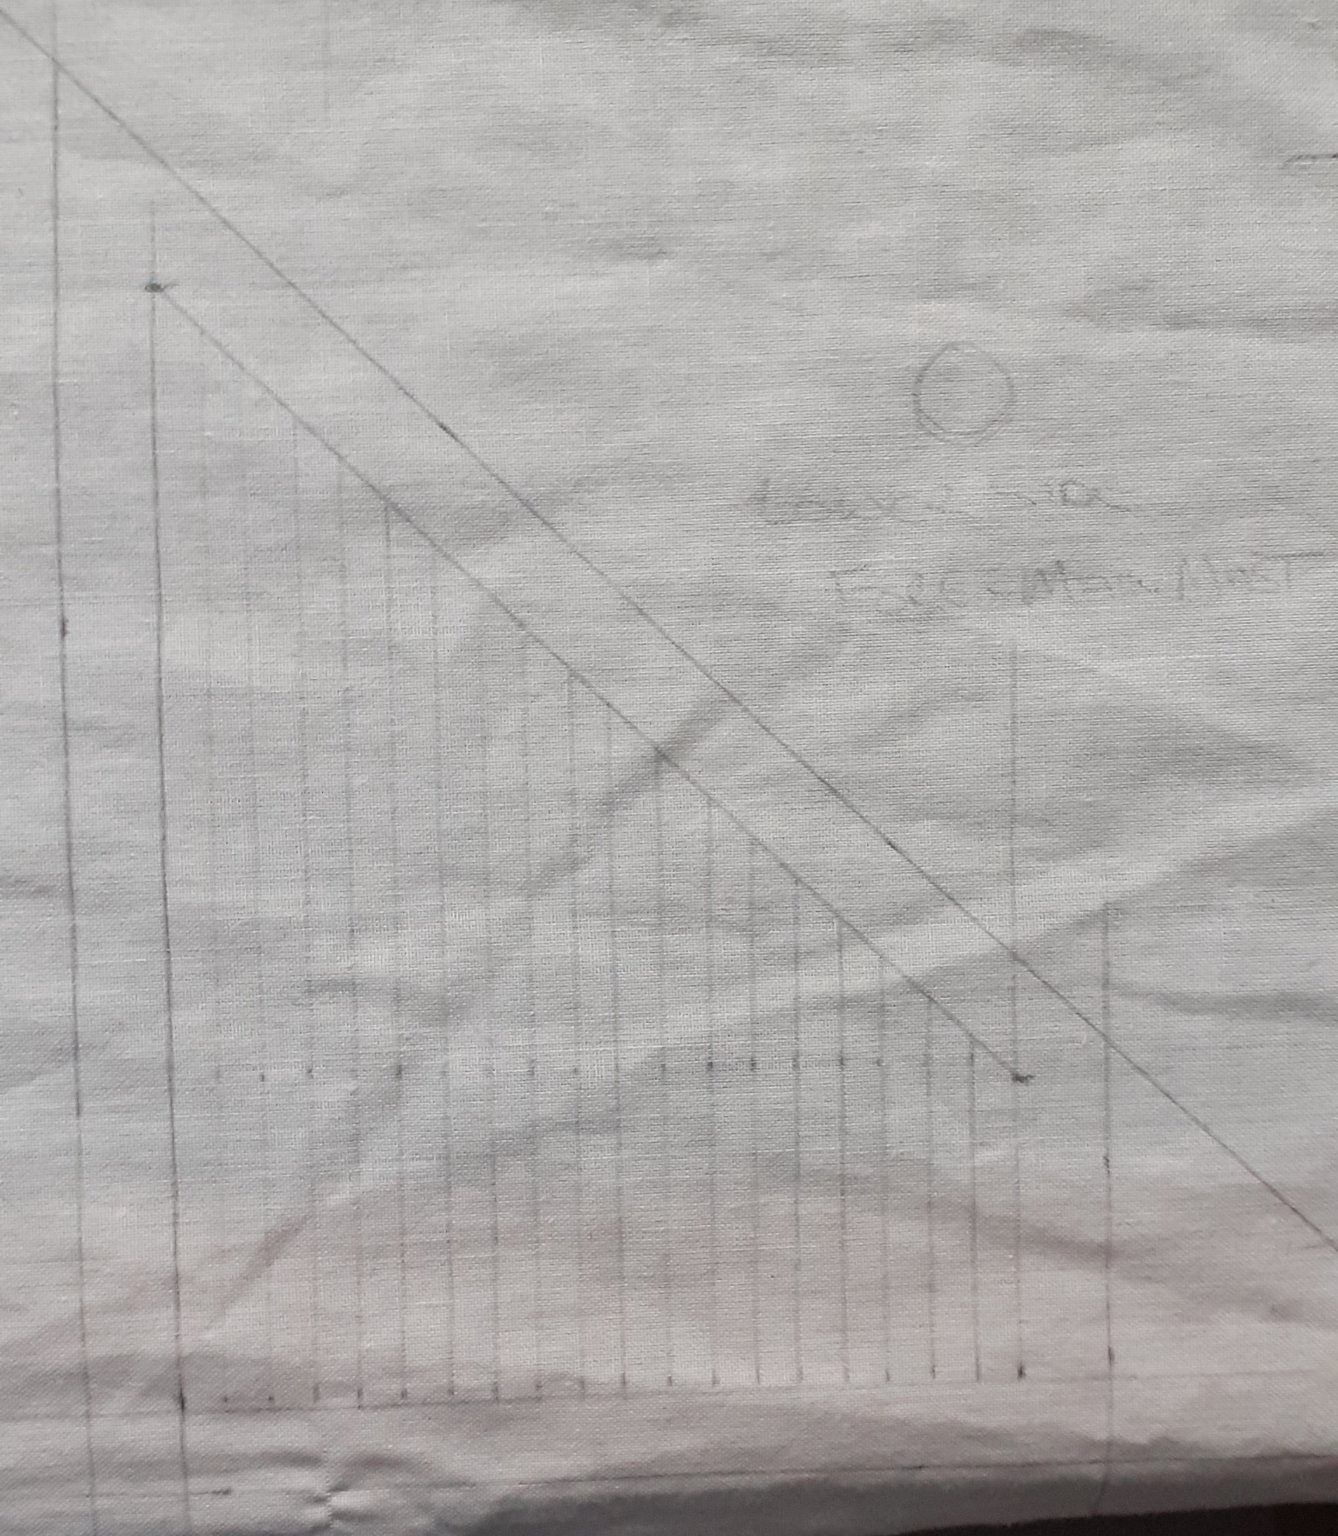
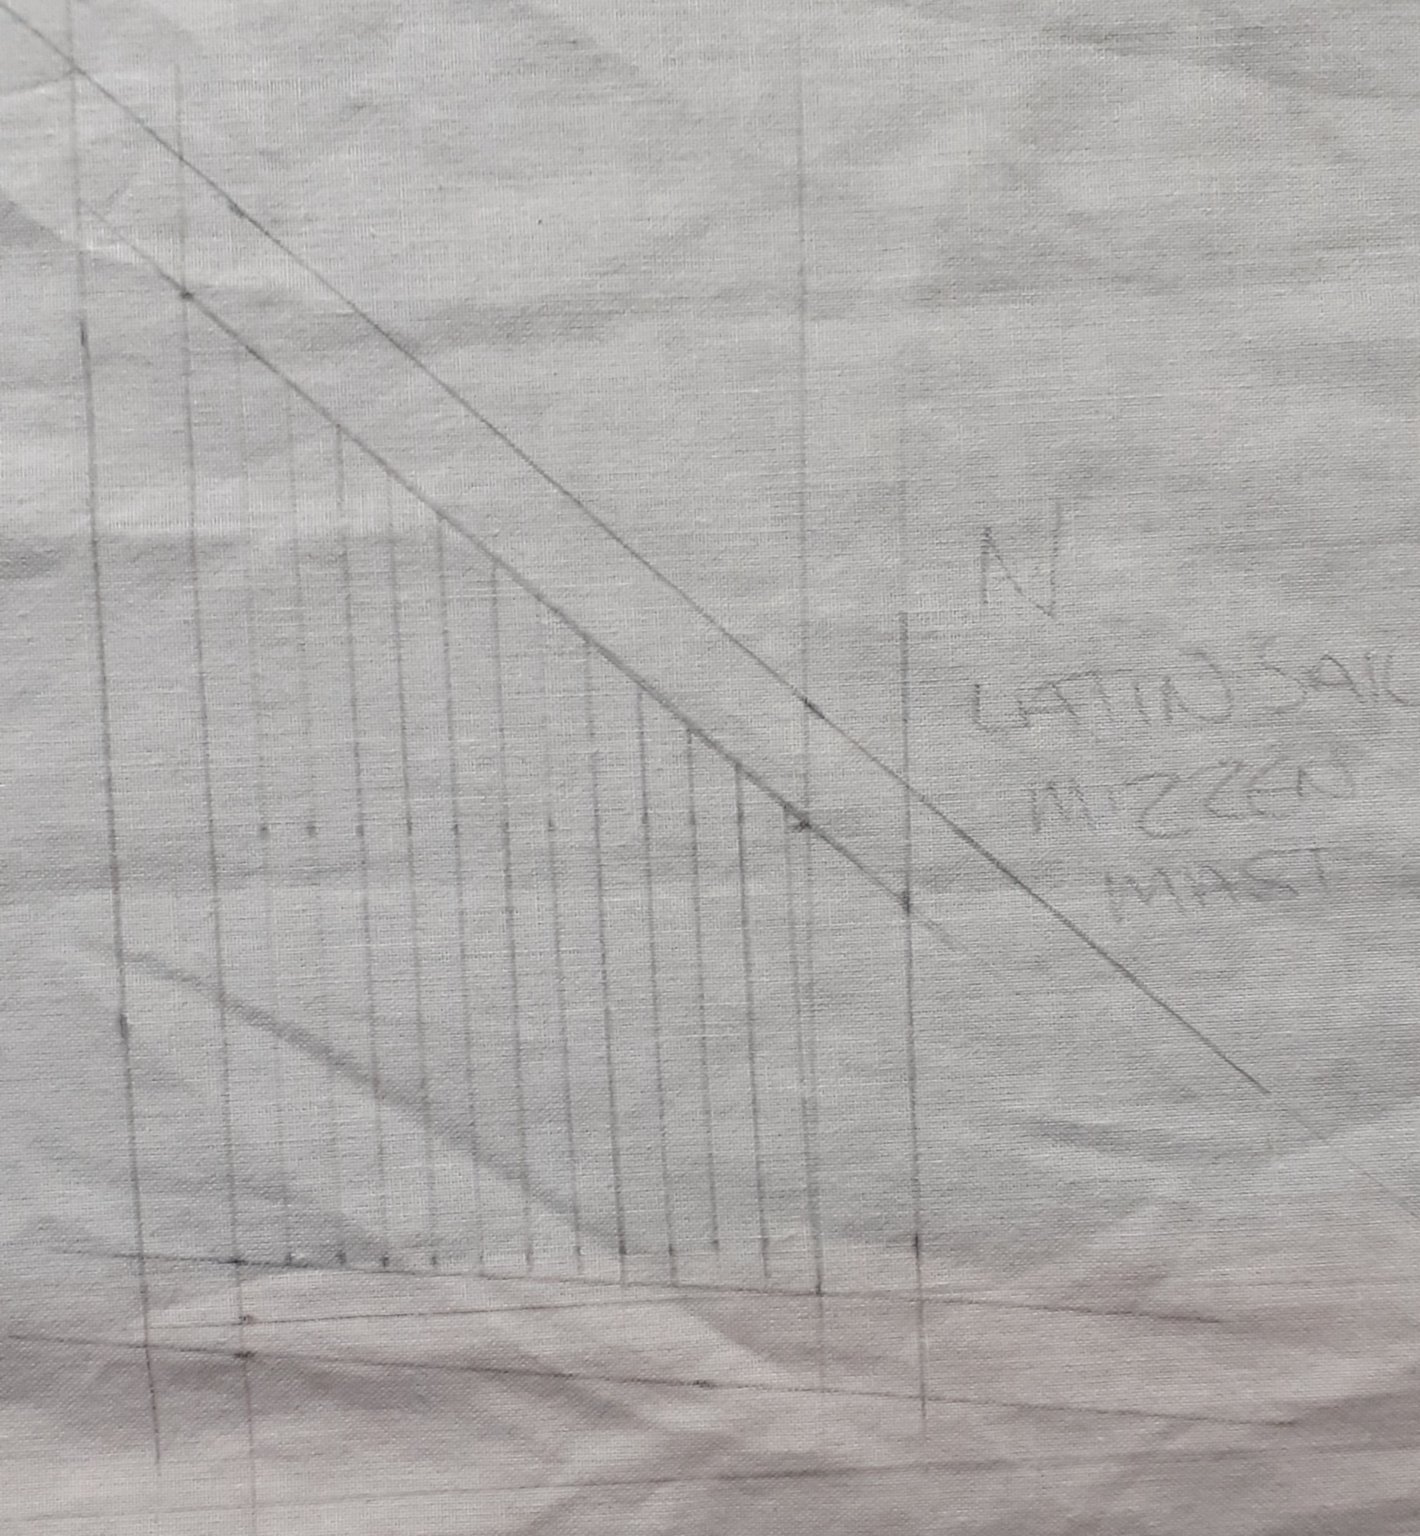
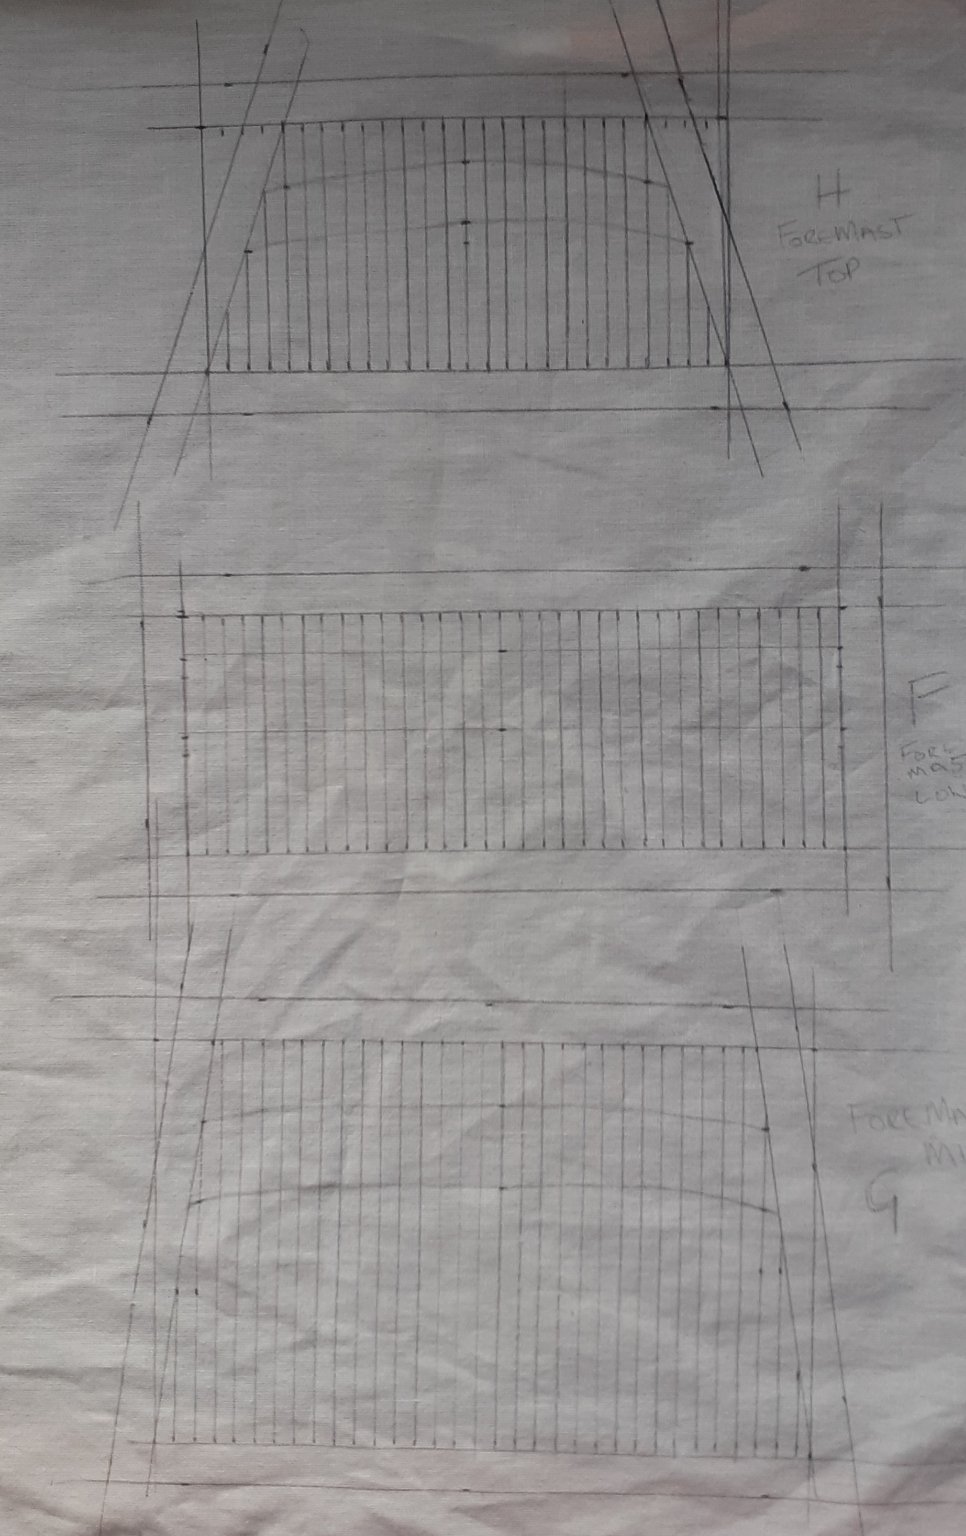
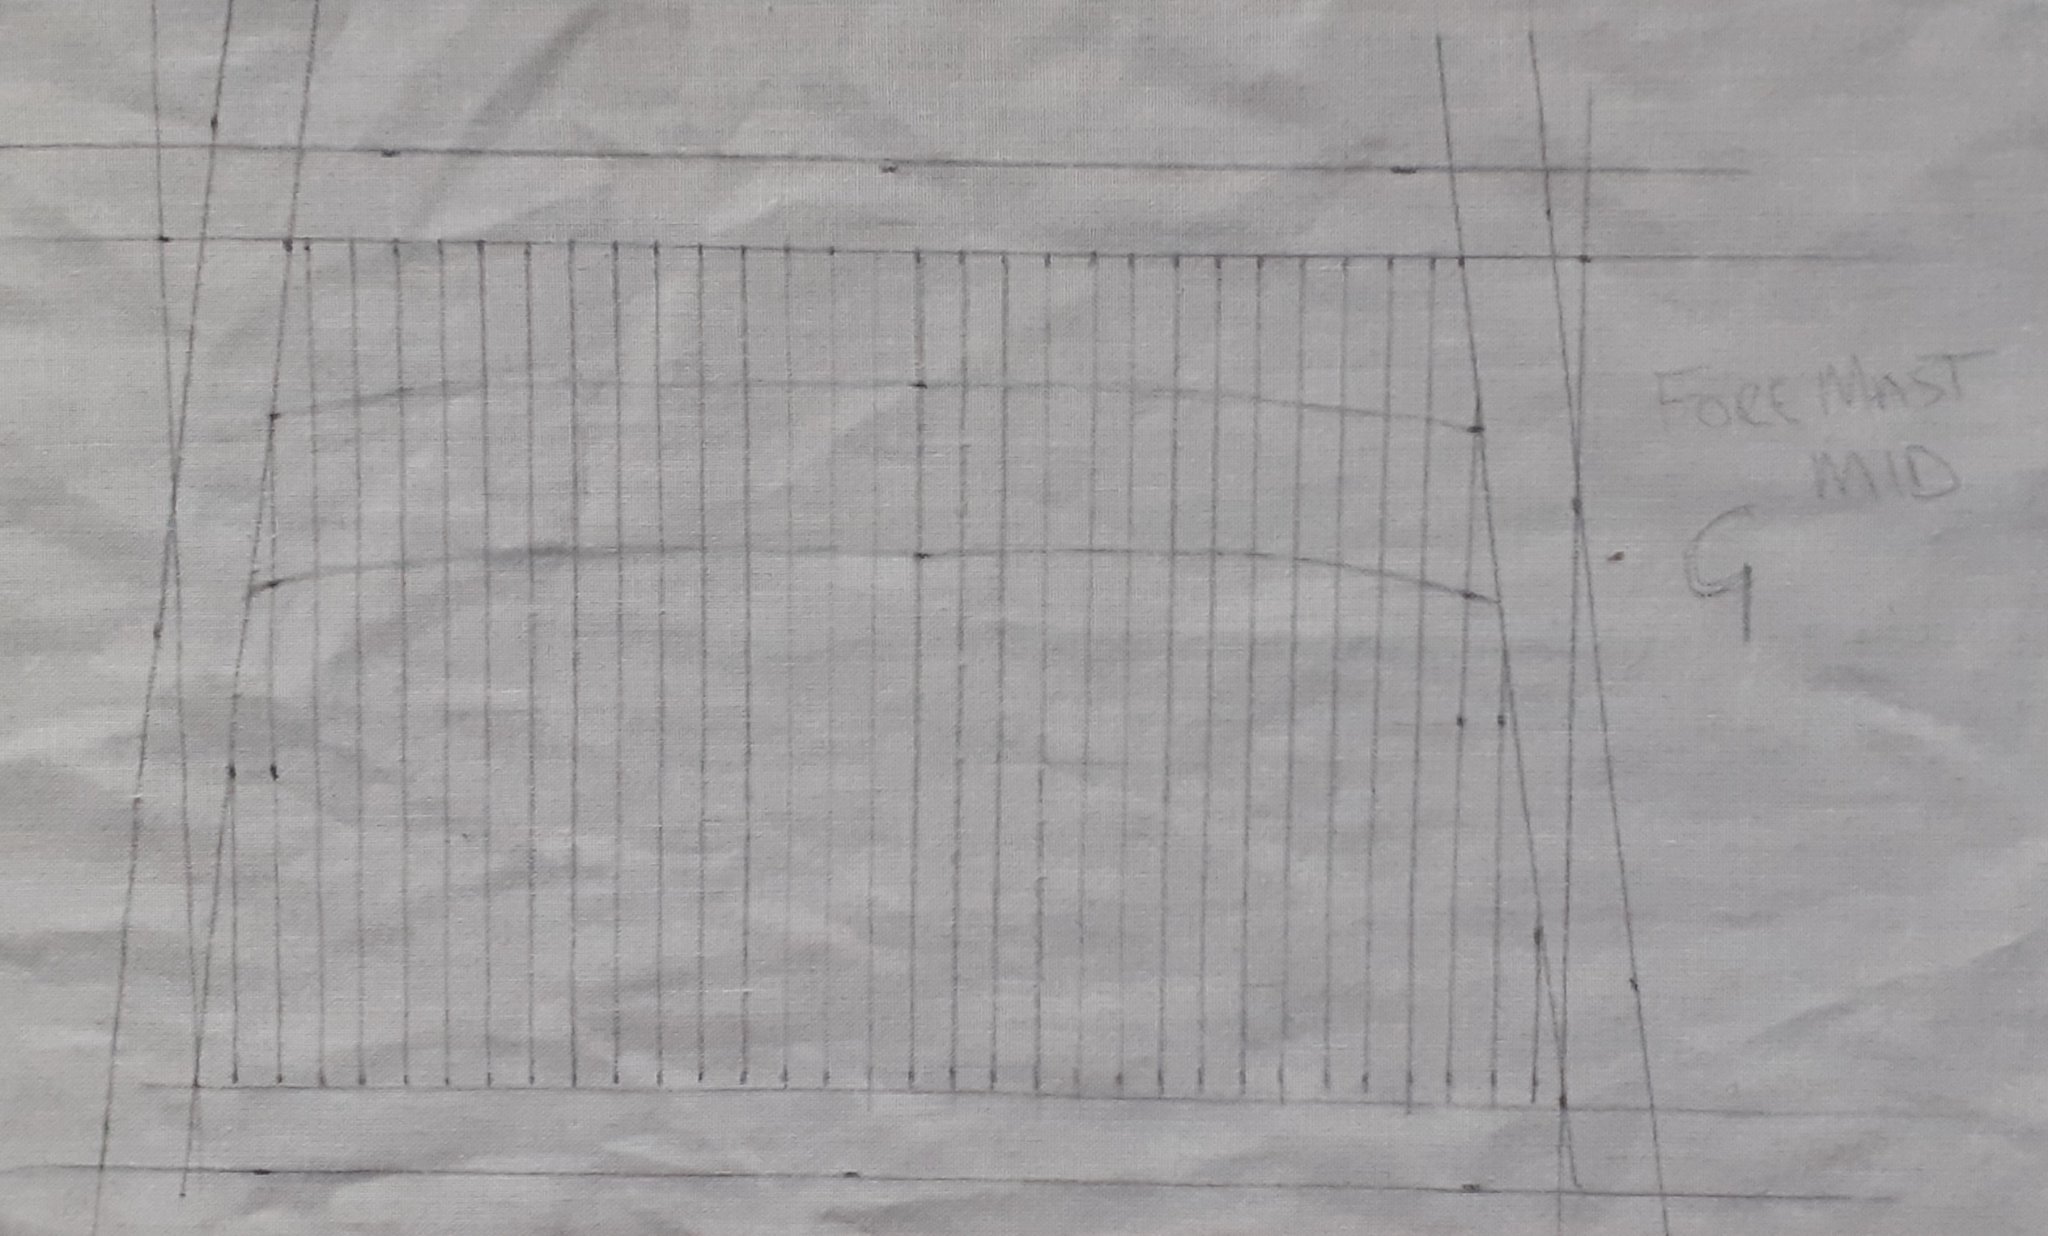
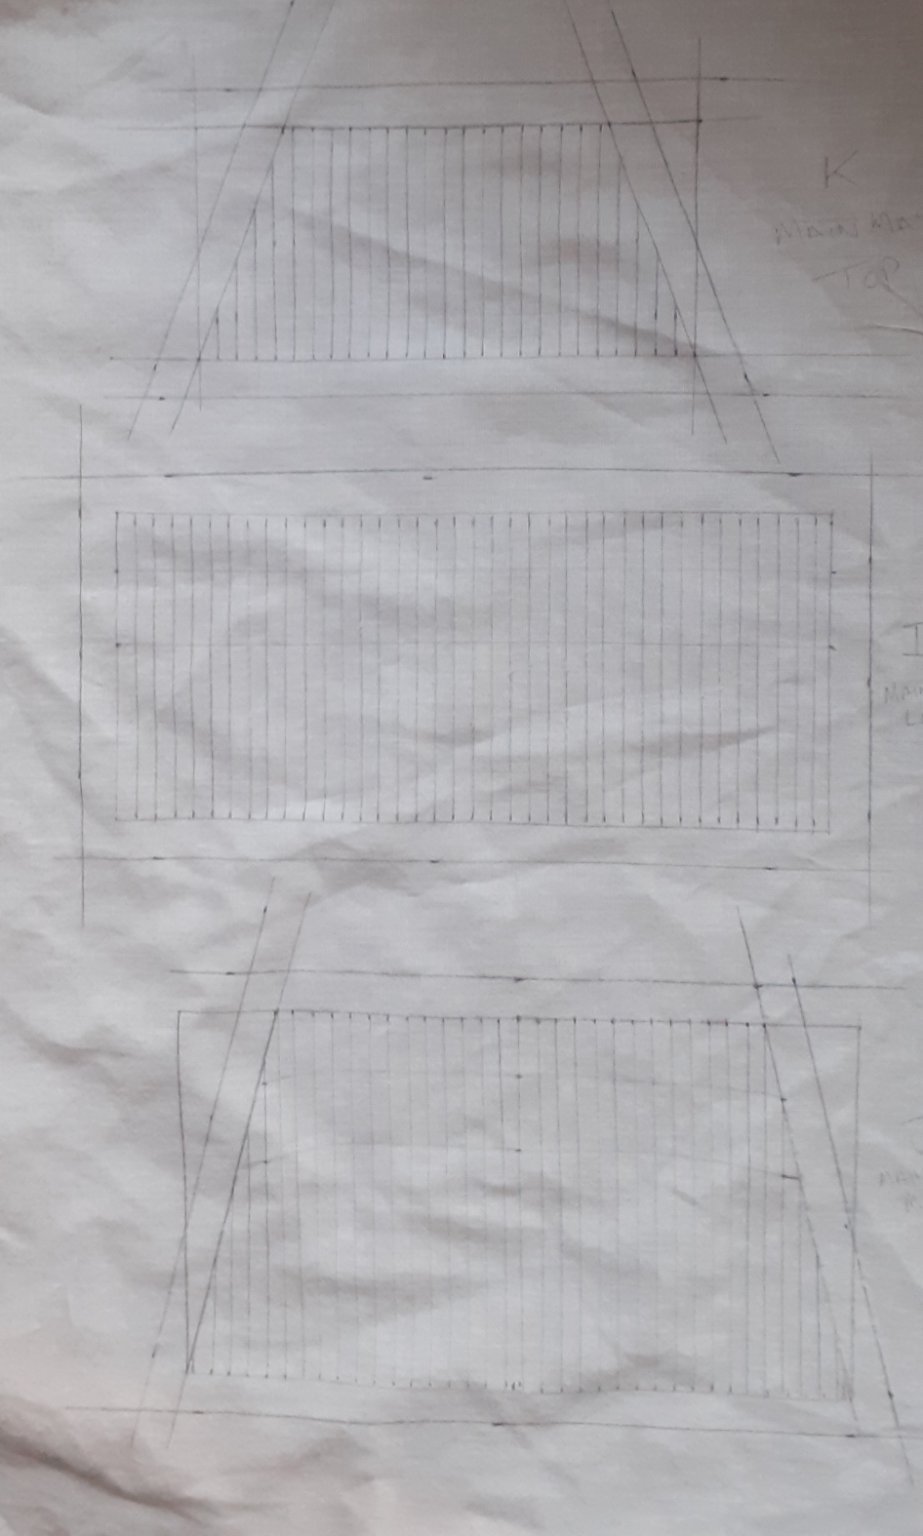
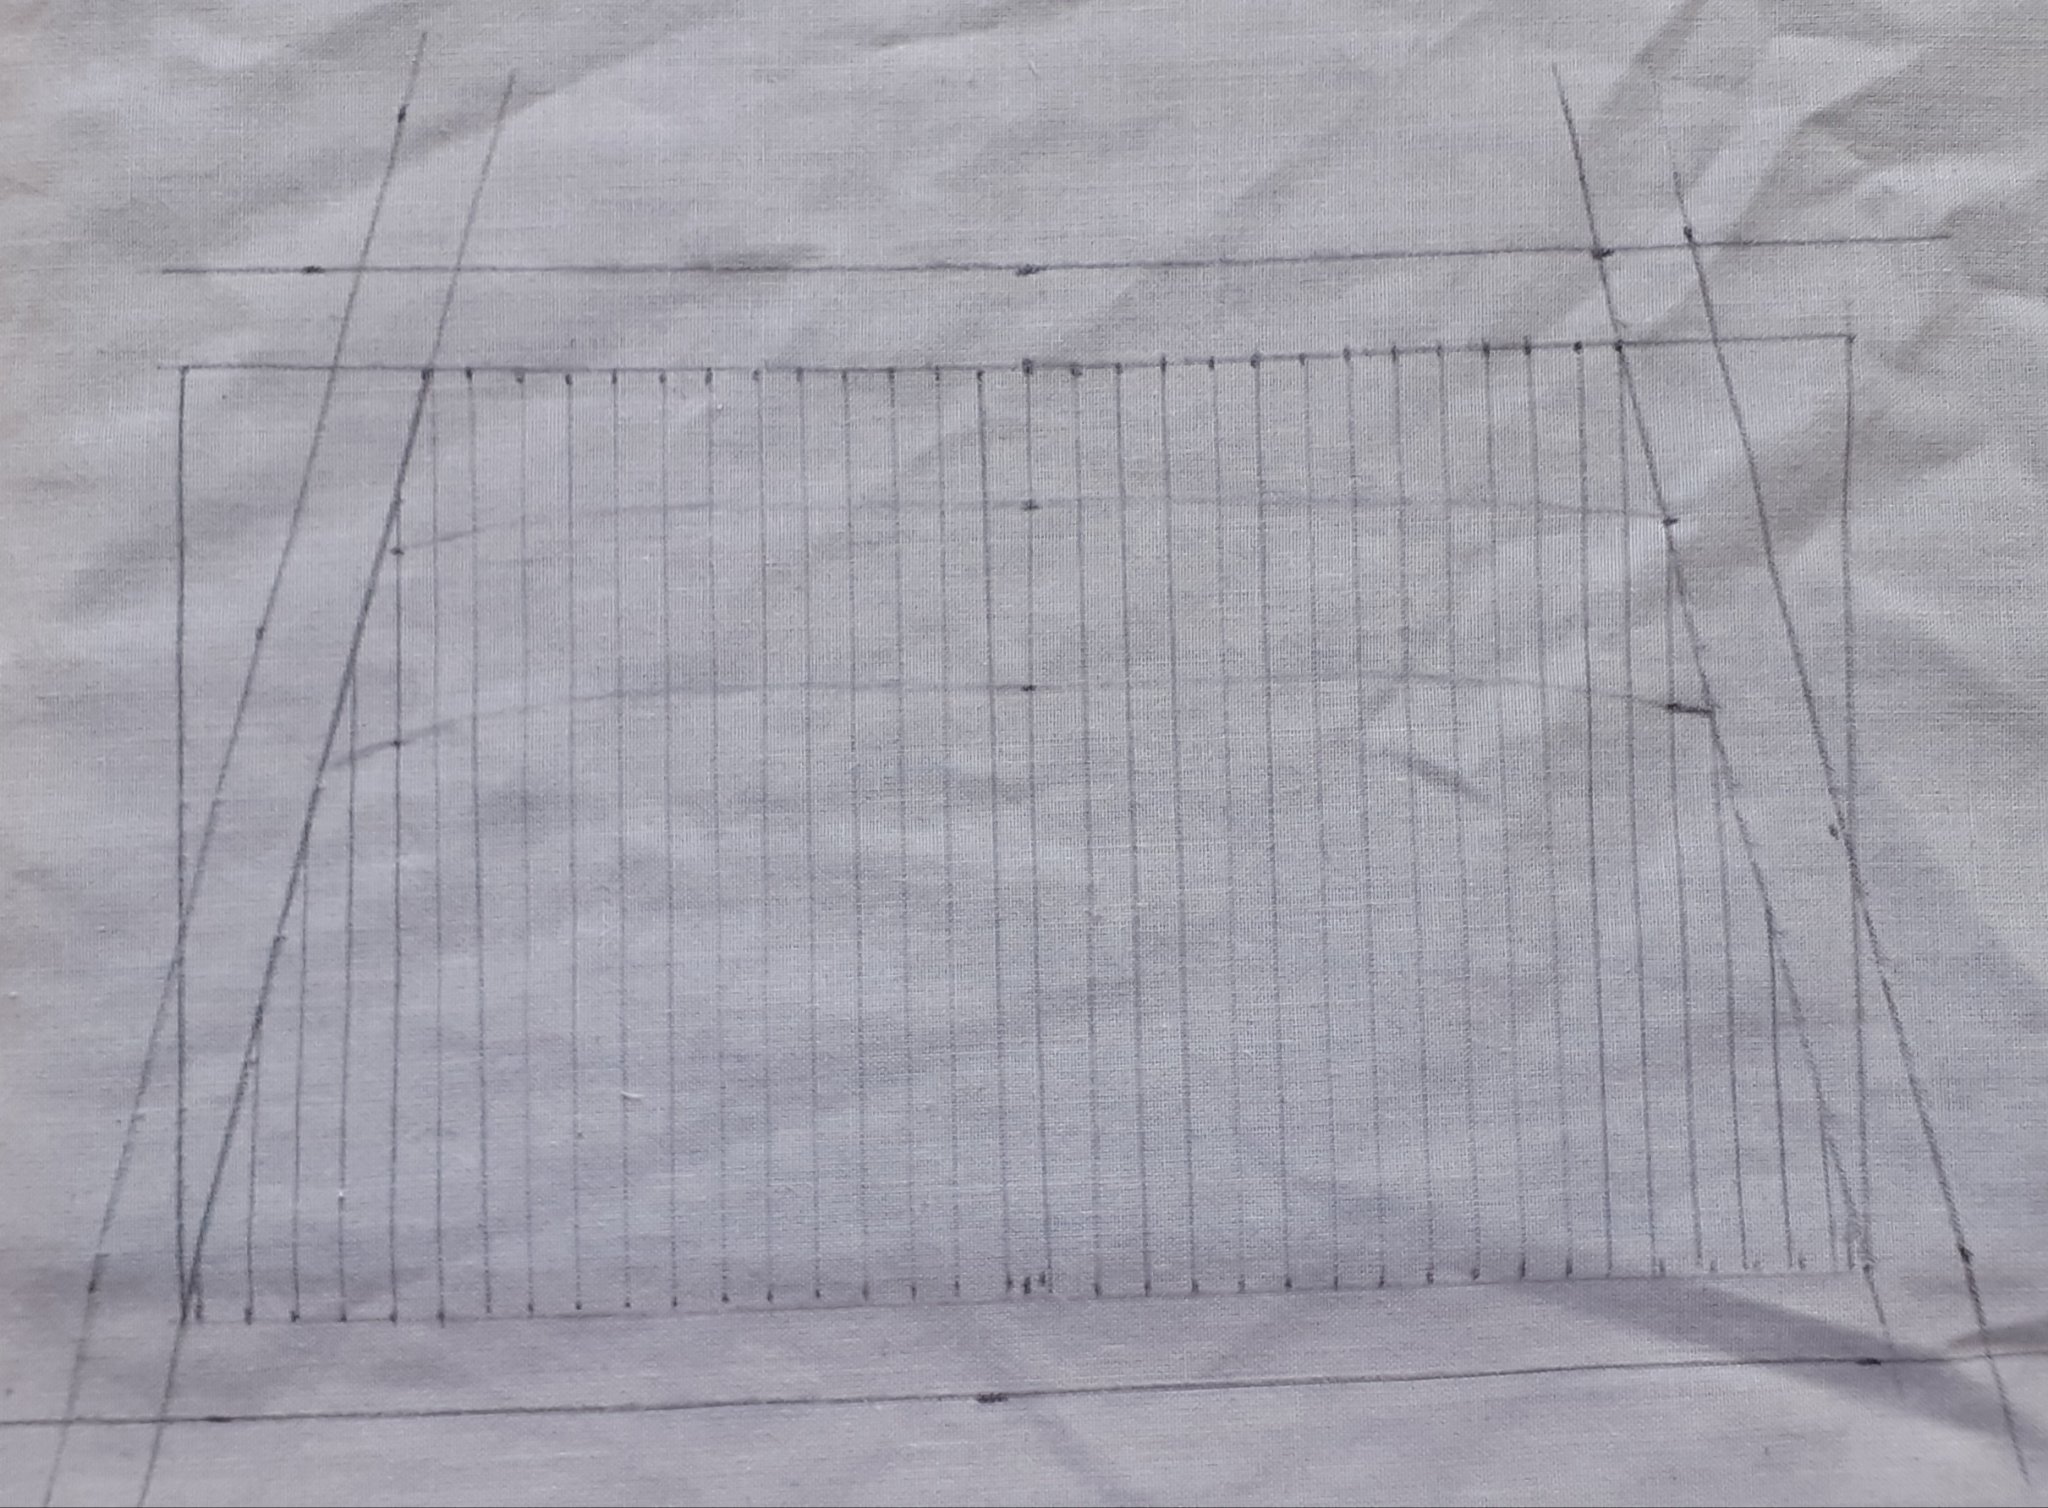
Fore, Main & Mizzen masts are all complete now and have been stained and painted along the way, including the Gaff and Flagstaff, all of which are only dry fitted to the ship atm as there is work still to be done on deck and around the Hull.
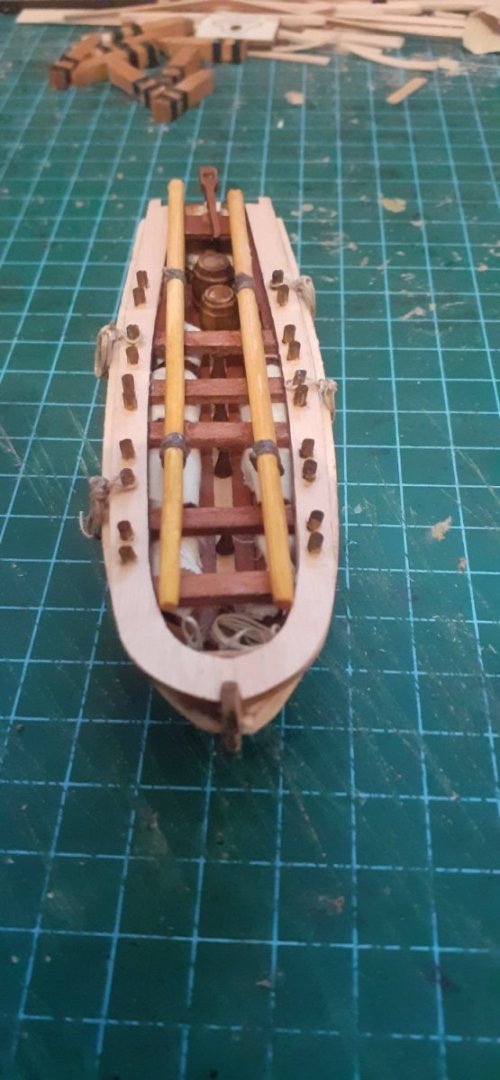
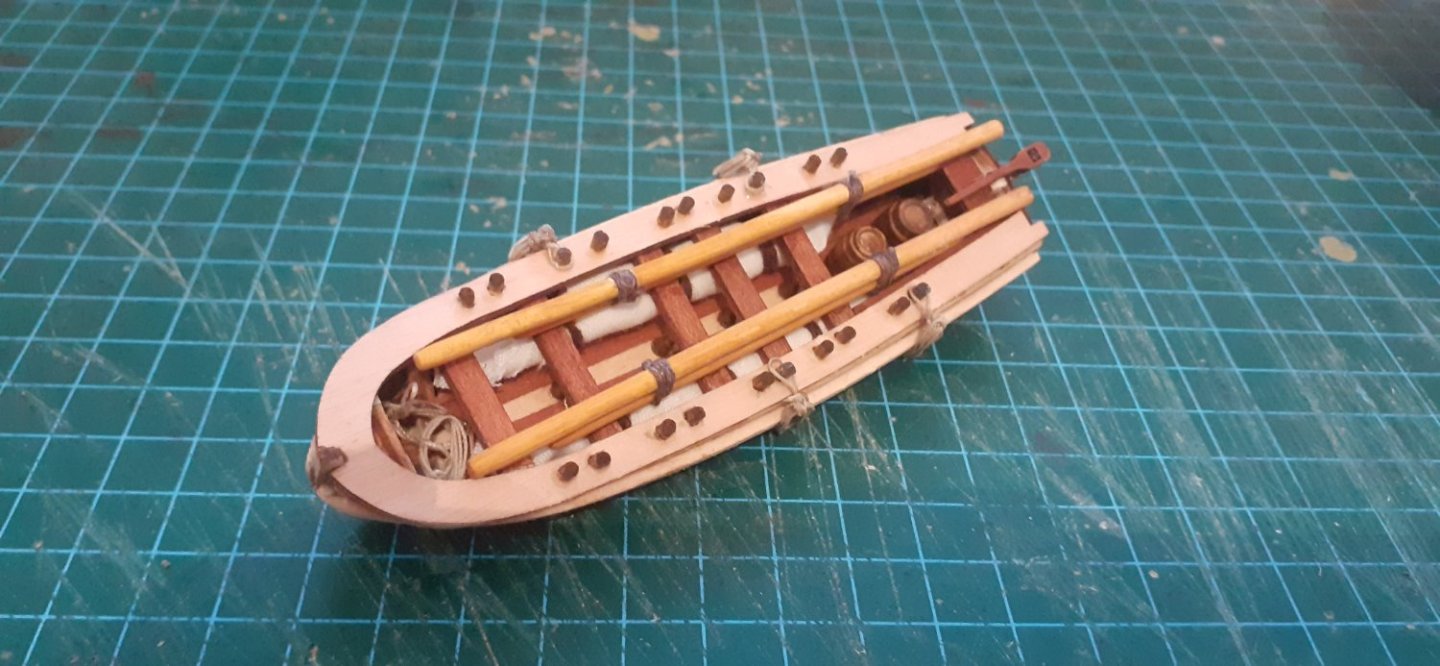
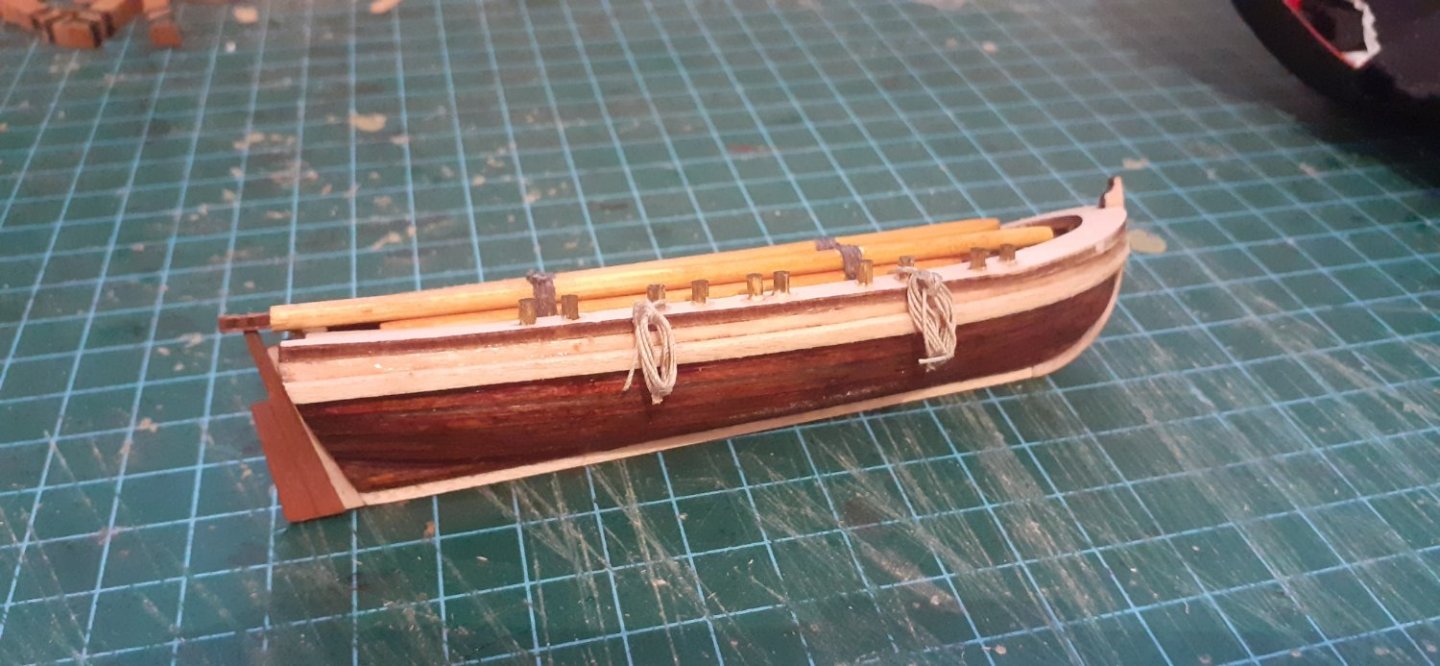
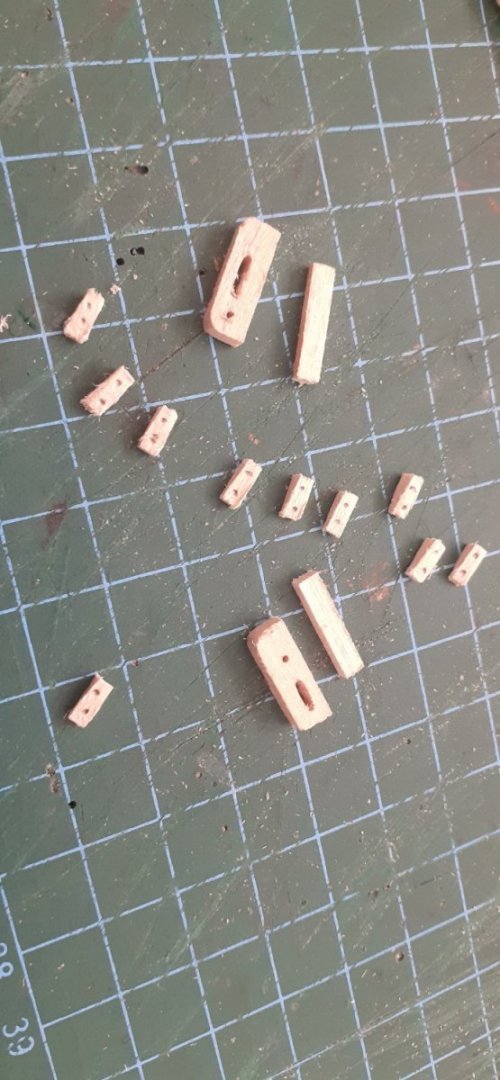
The Lifeboat is finished with a few extra details, and has been rigged to the spare masts.Next stage will be Fitting the Gun posts then painting and fitting the Swivel Guns. The Gun mounts will need the holes slightly drilled larger so the guns fit. After this I will be adding some more deck detail before I can permanently fit the masts one by one in preparation of the start of the Standing rigging.
All in all I am pretty happy with my progress and that satisfaction you get when you see your ship coming together.
Also a big thanks to OcCre - Ocio Creativo First Class Customer service which has supplied me with a few parts that I needed along the way.
Happy modelling everyone staysafe and take care 👍🤺⚓
Slainte Mhath 🍻🍻


-
Hi Hamilton
Pulling a chair up to watch your build on this with a lot of interests I have been eyeing this kit for over a year and have just recently managed to acquire this kit at a very low price, but one which wont be built for a while as I am working on one kit just now with a possible 2 others after that.
All the best
Robert 👍🤺⚓
-
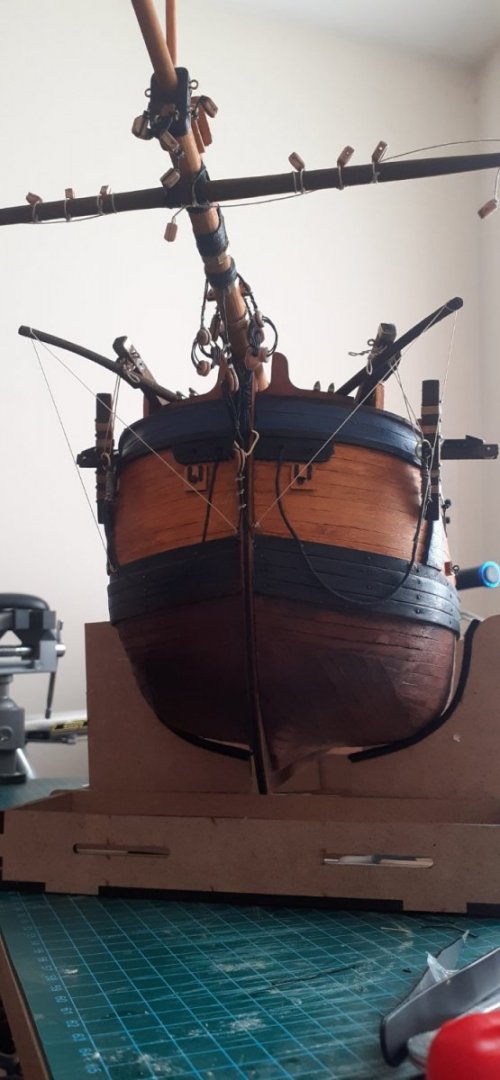
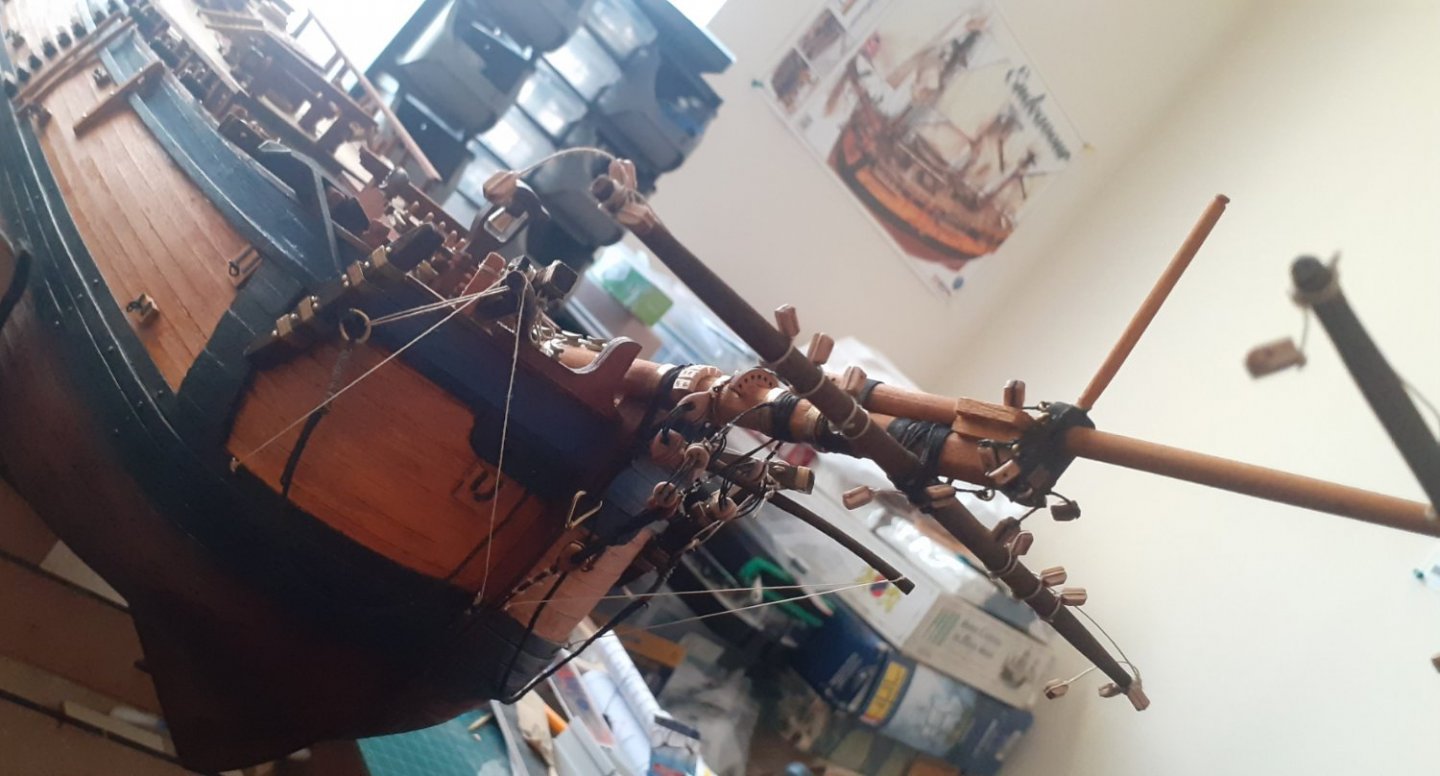
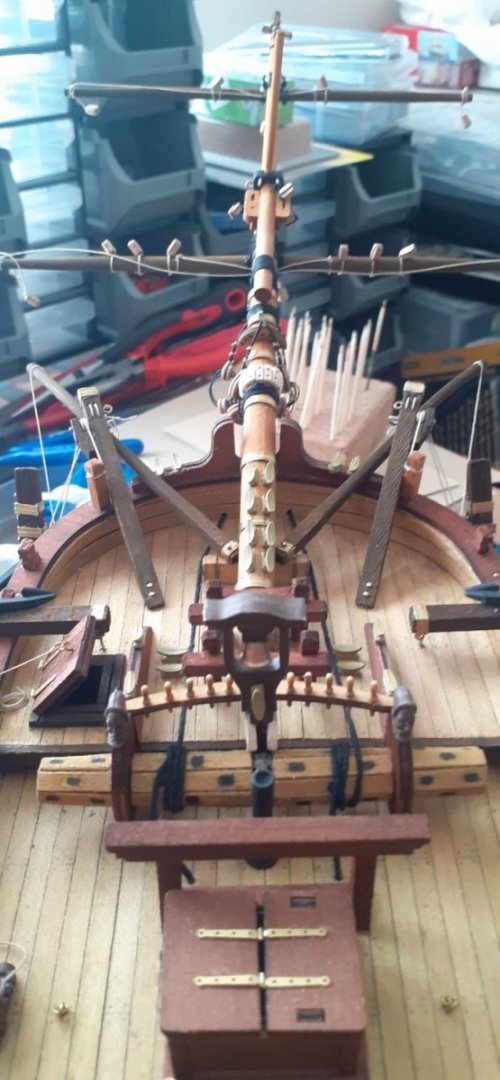
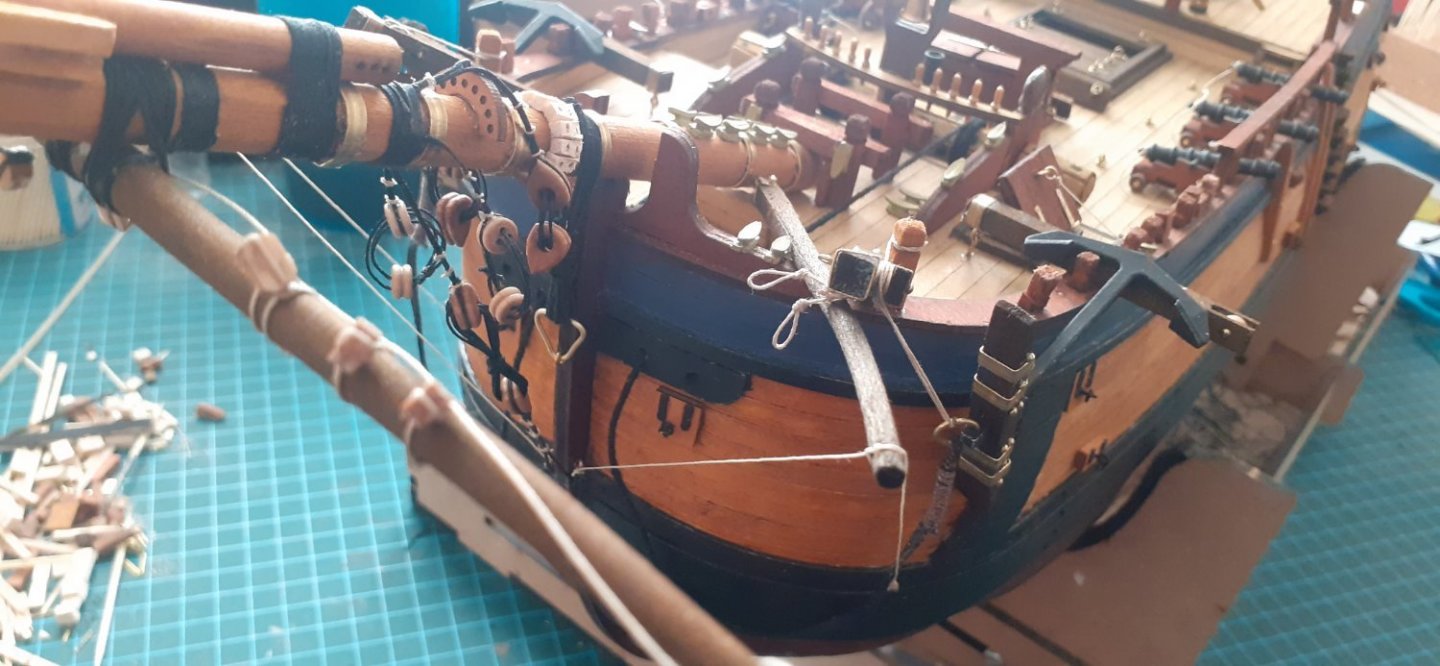
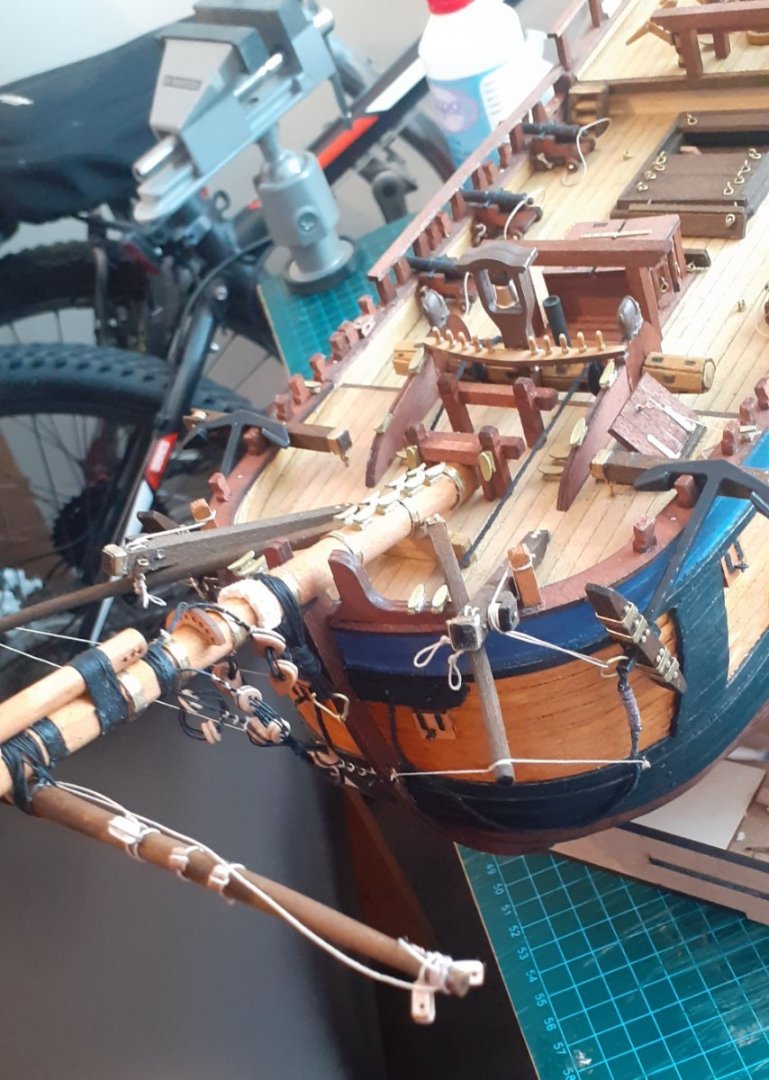
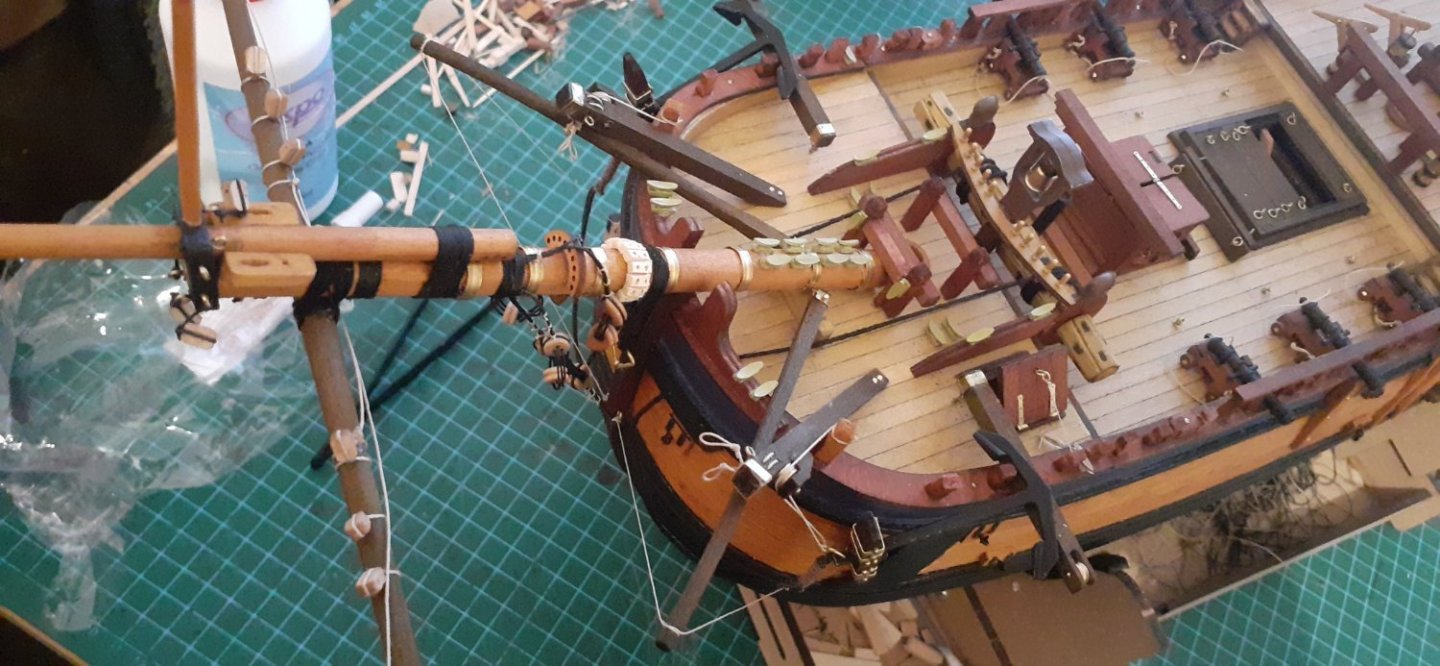
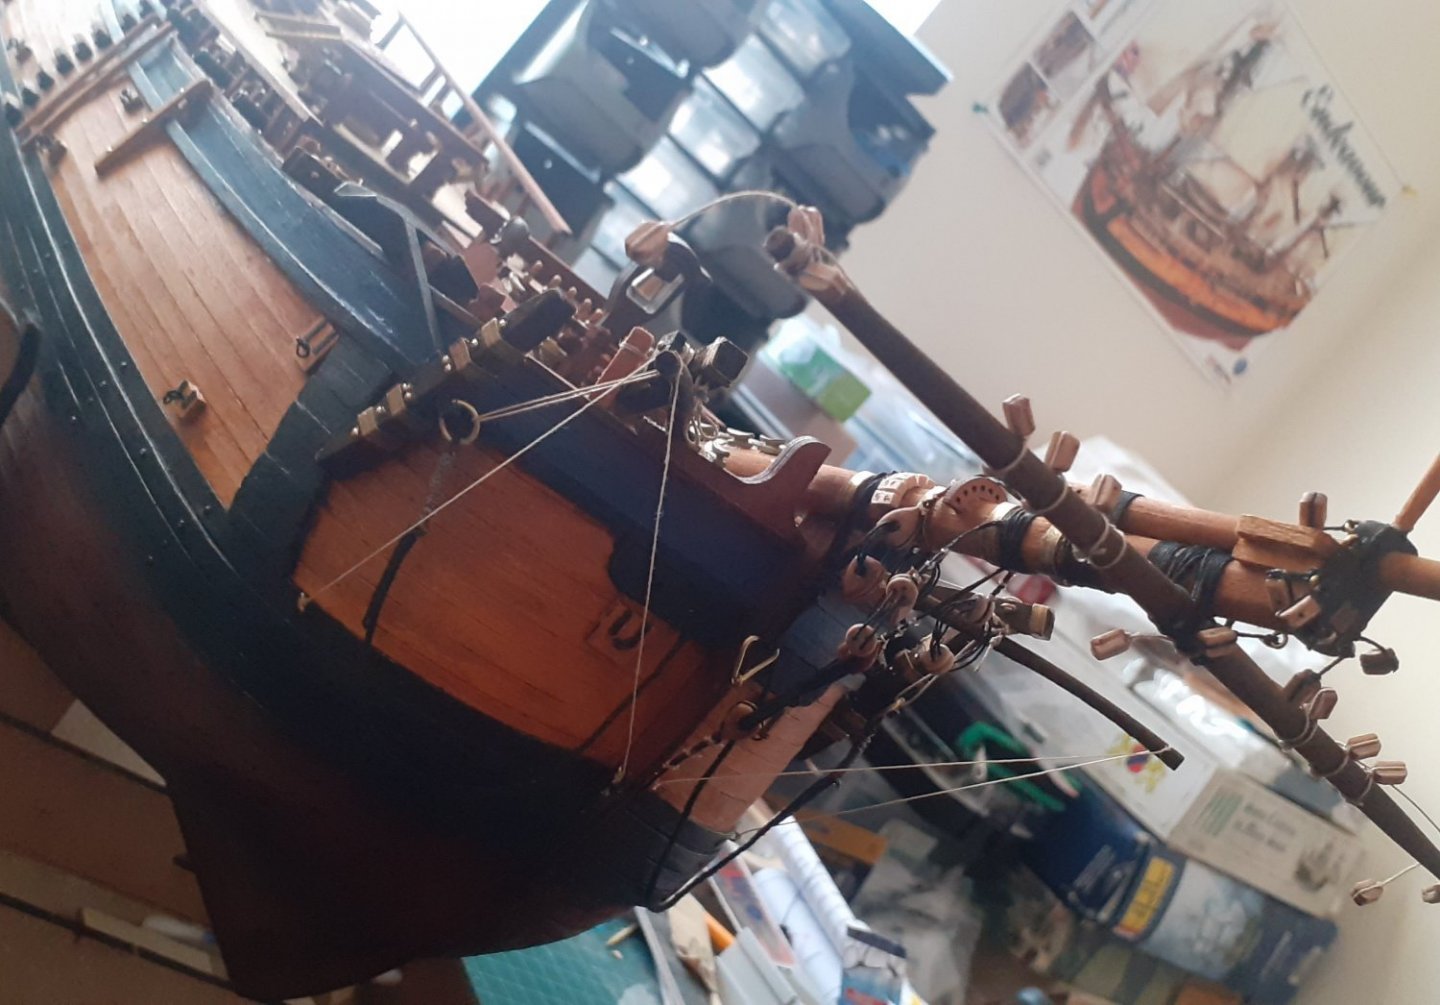
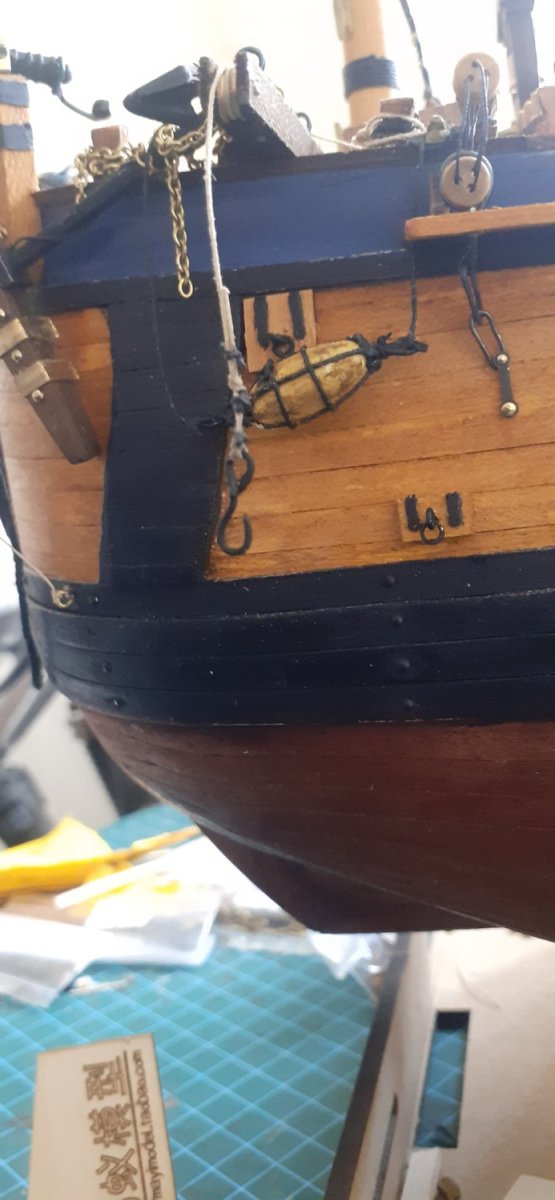
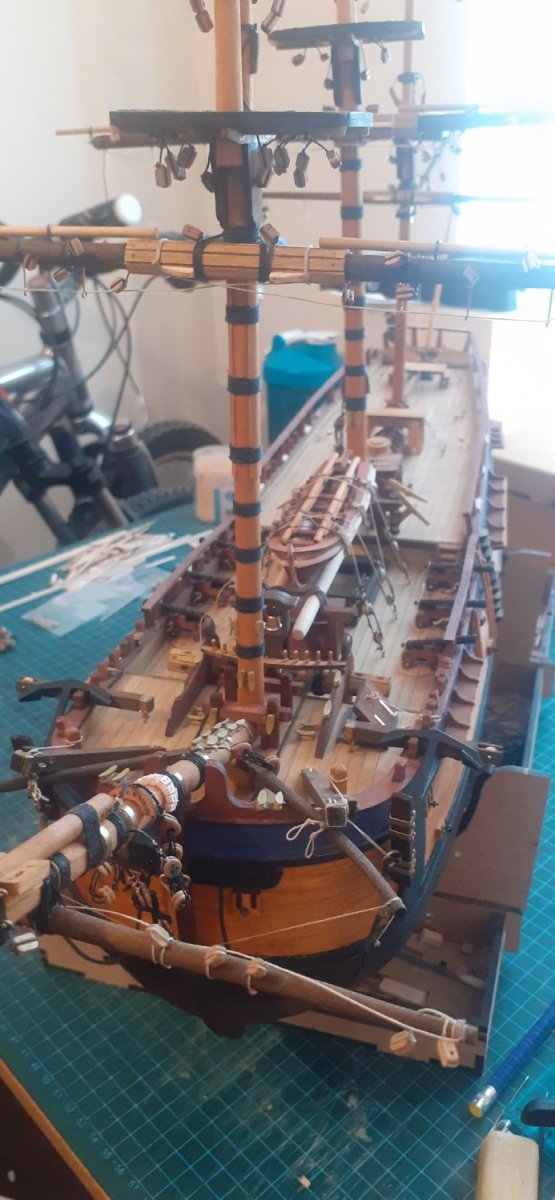
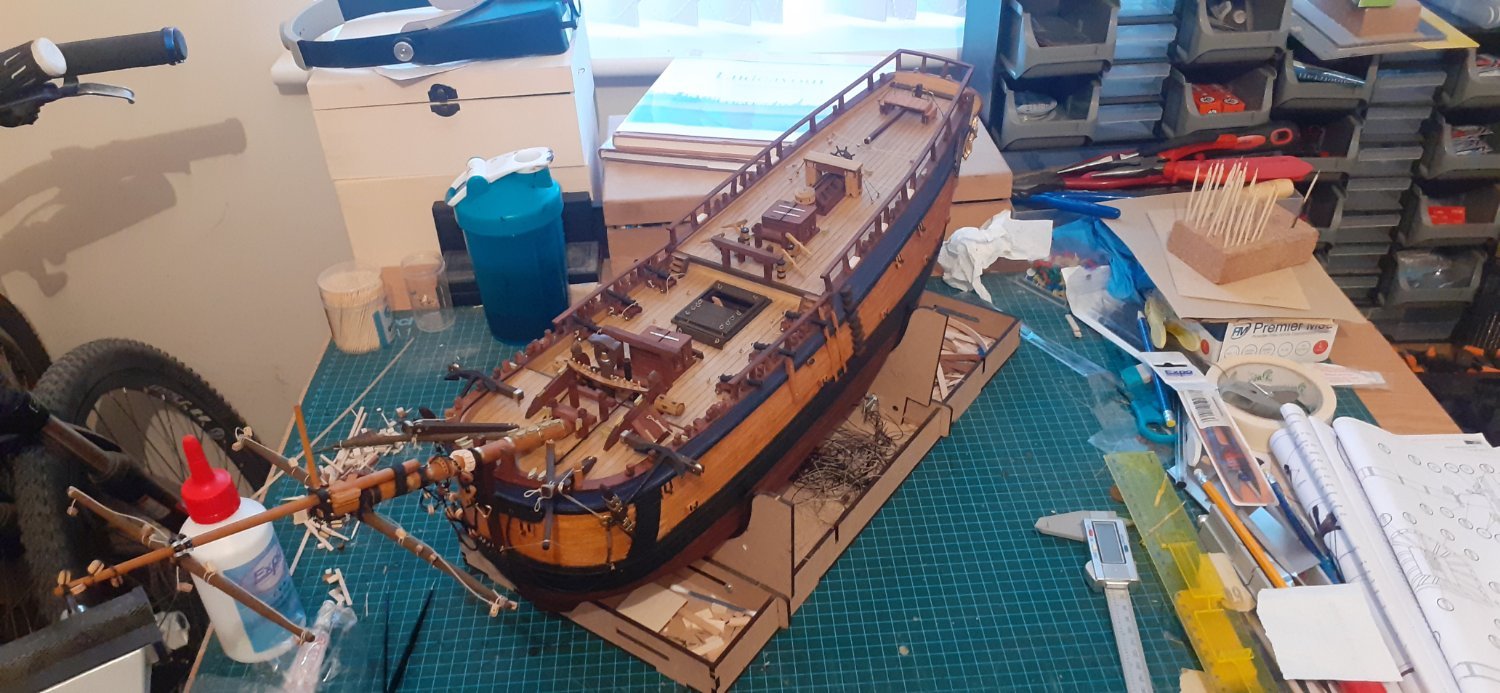
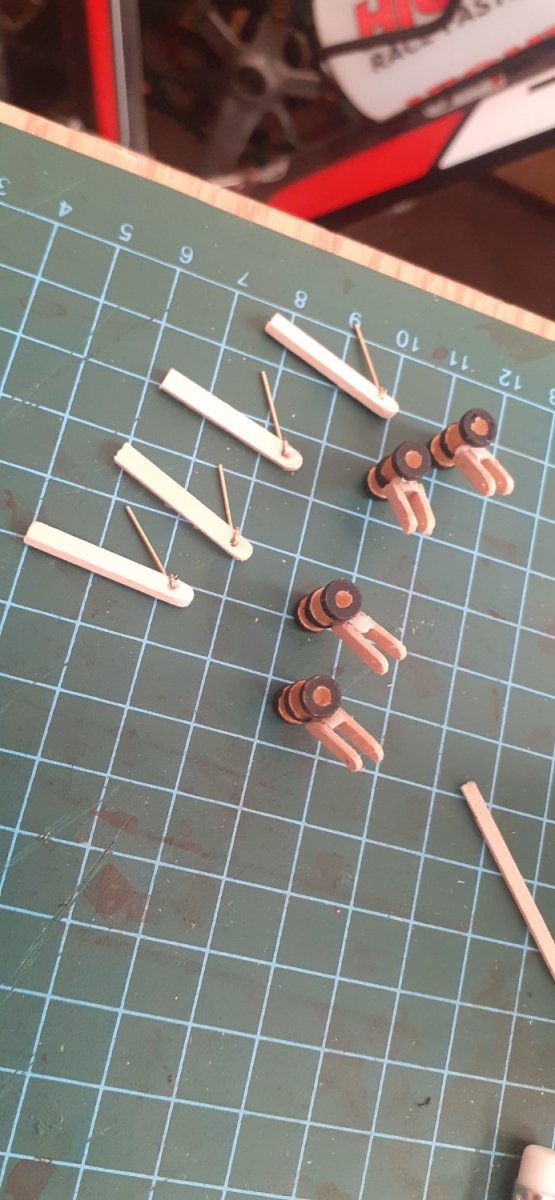
Occre Endeavour 1/54 WIP update.
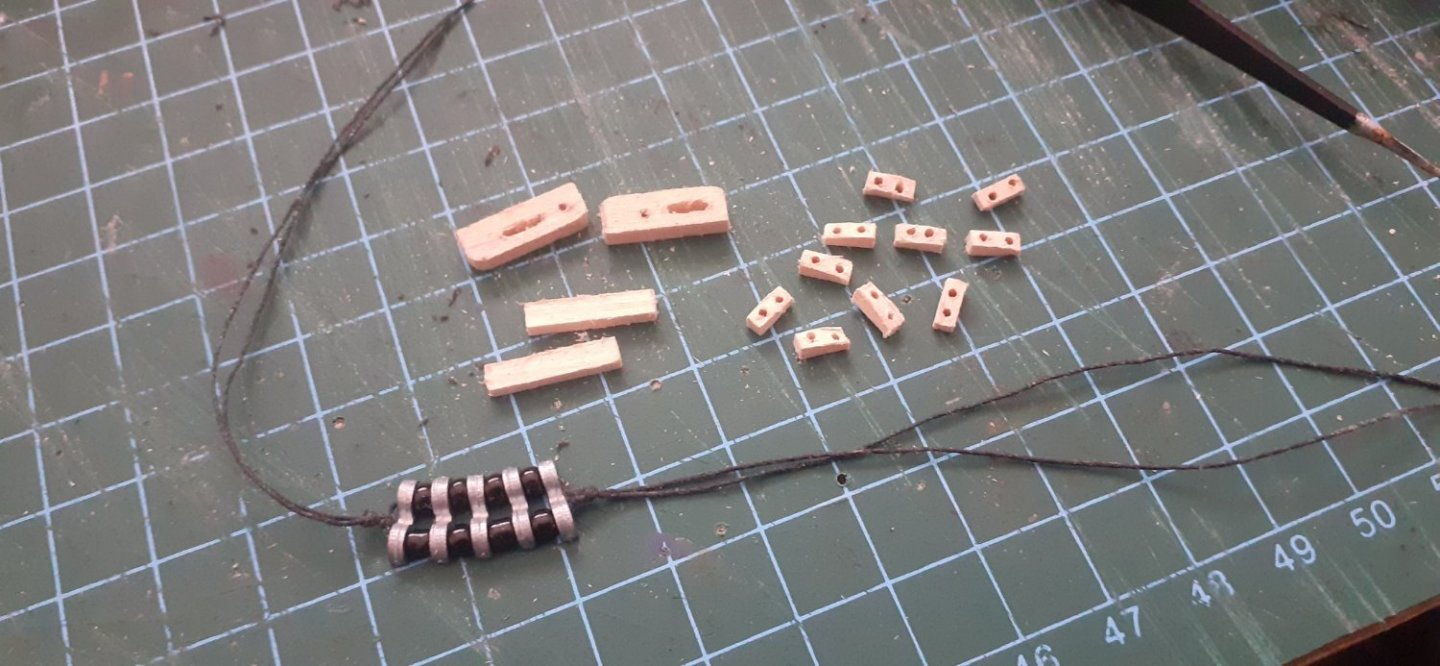
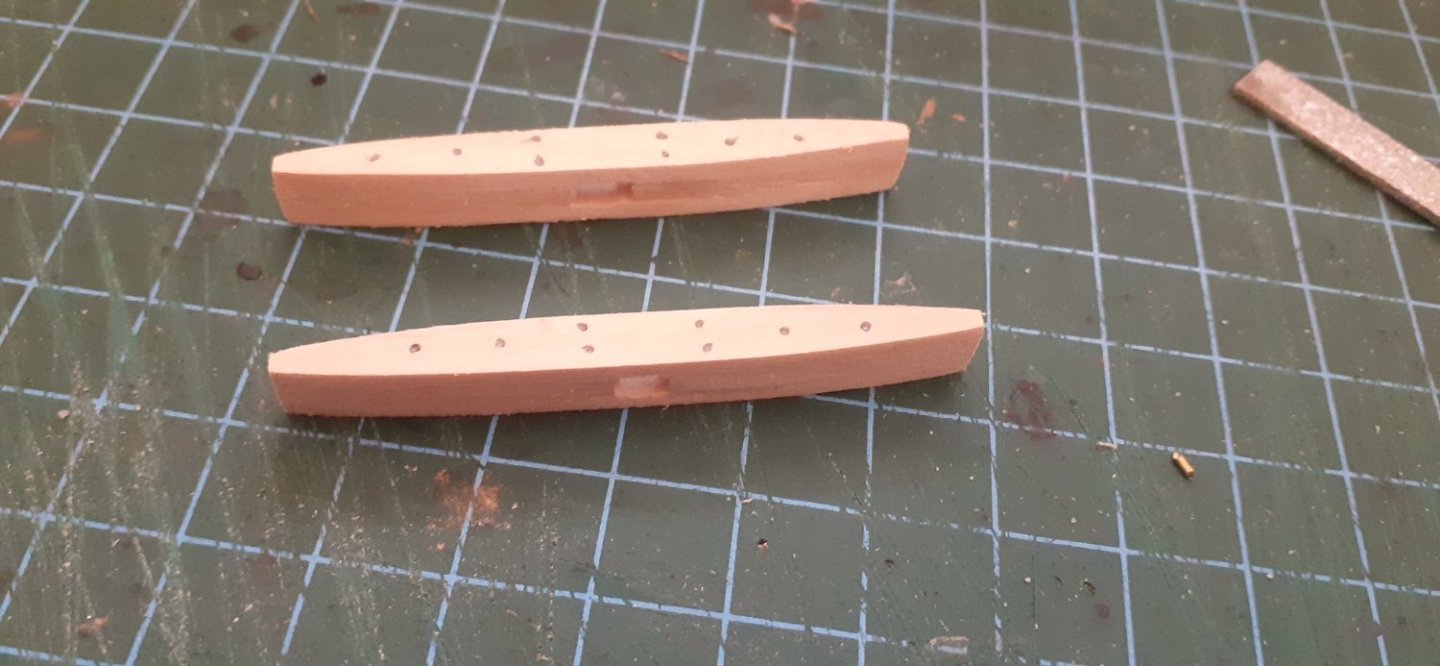
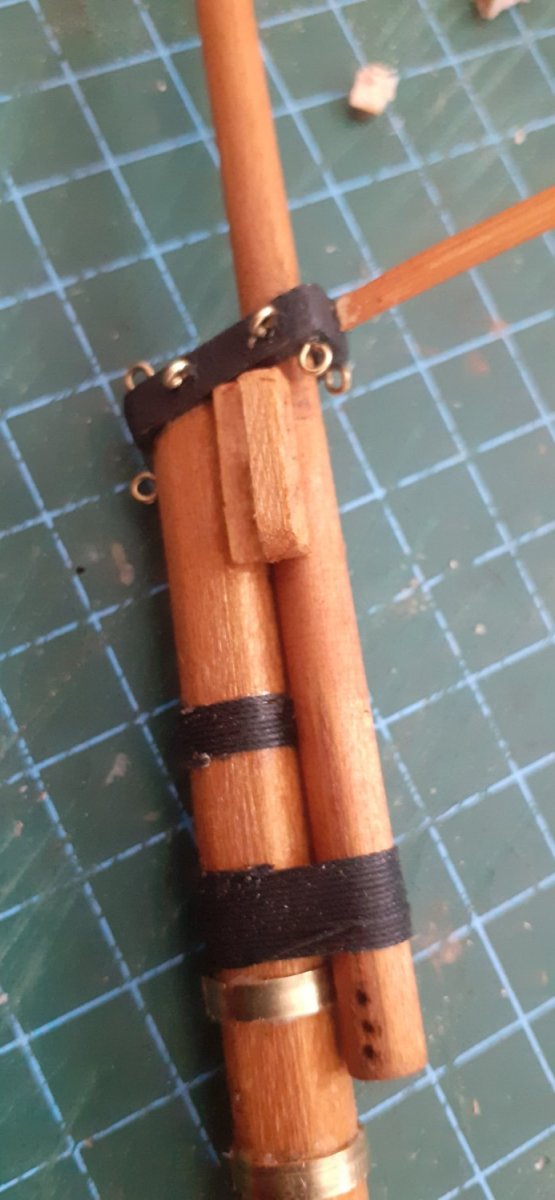
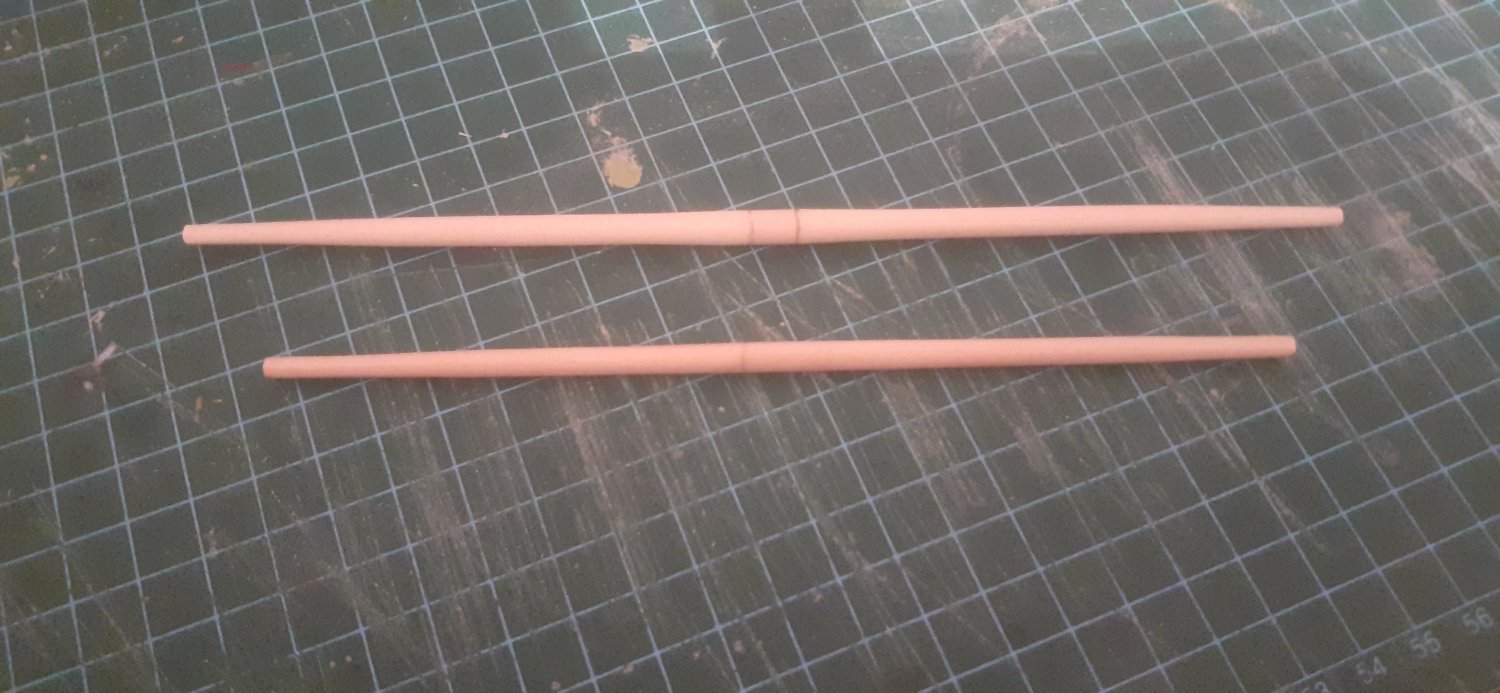
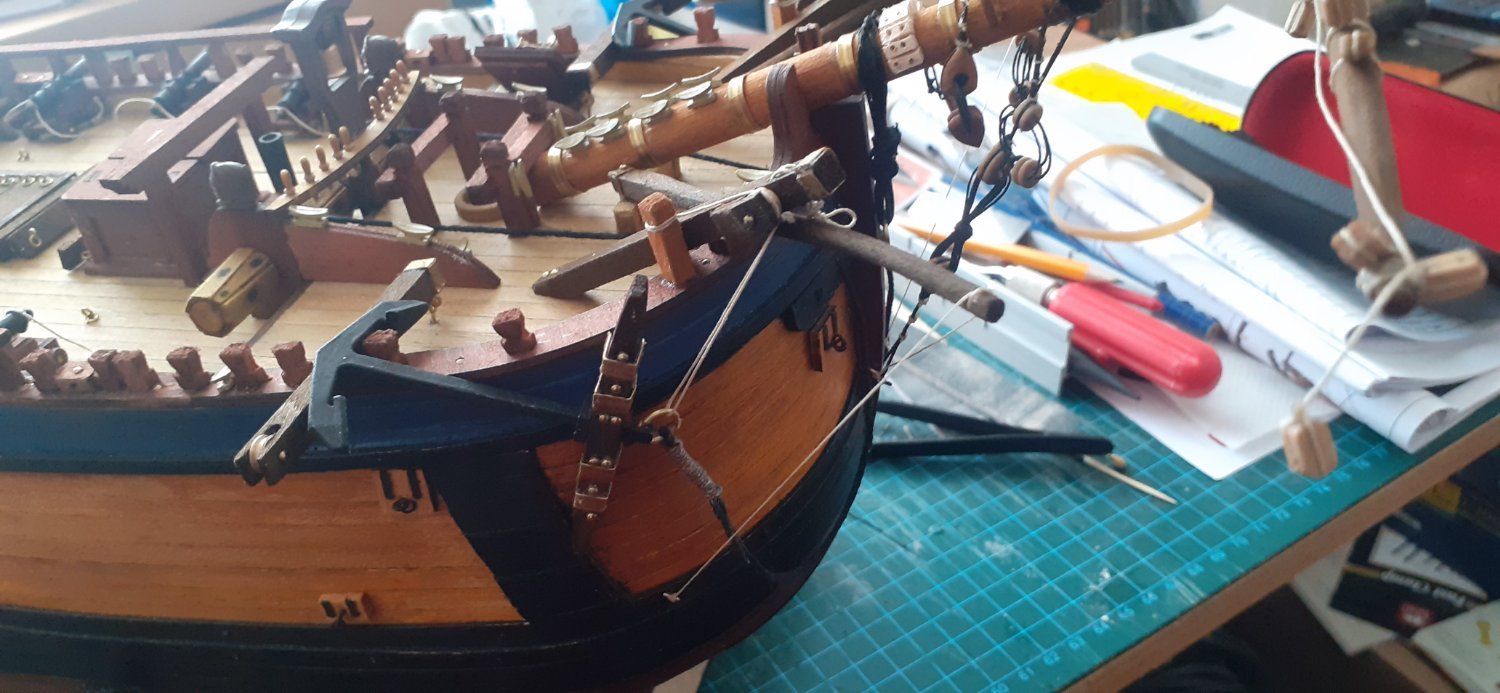
The Bowsprit is finished and permanently fitted with all relevant rigging blocks, heart blocks, cleats etc.. as well as the Yards.
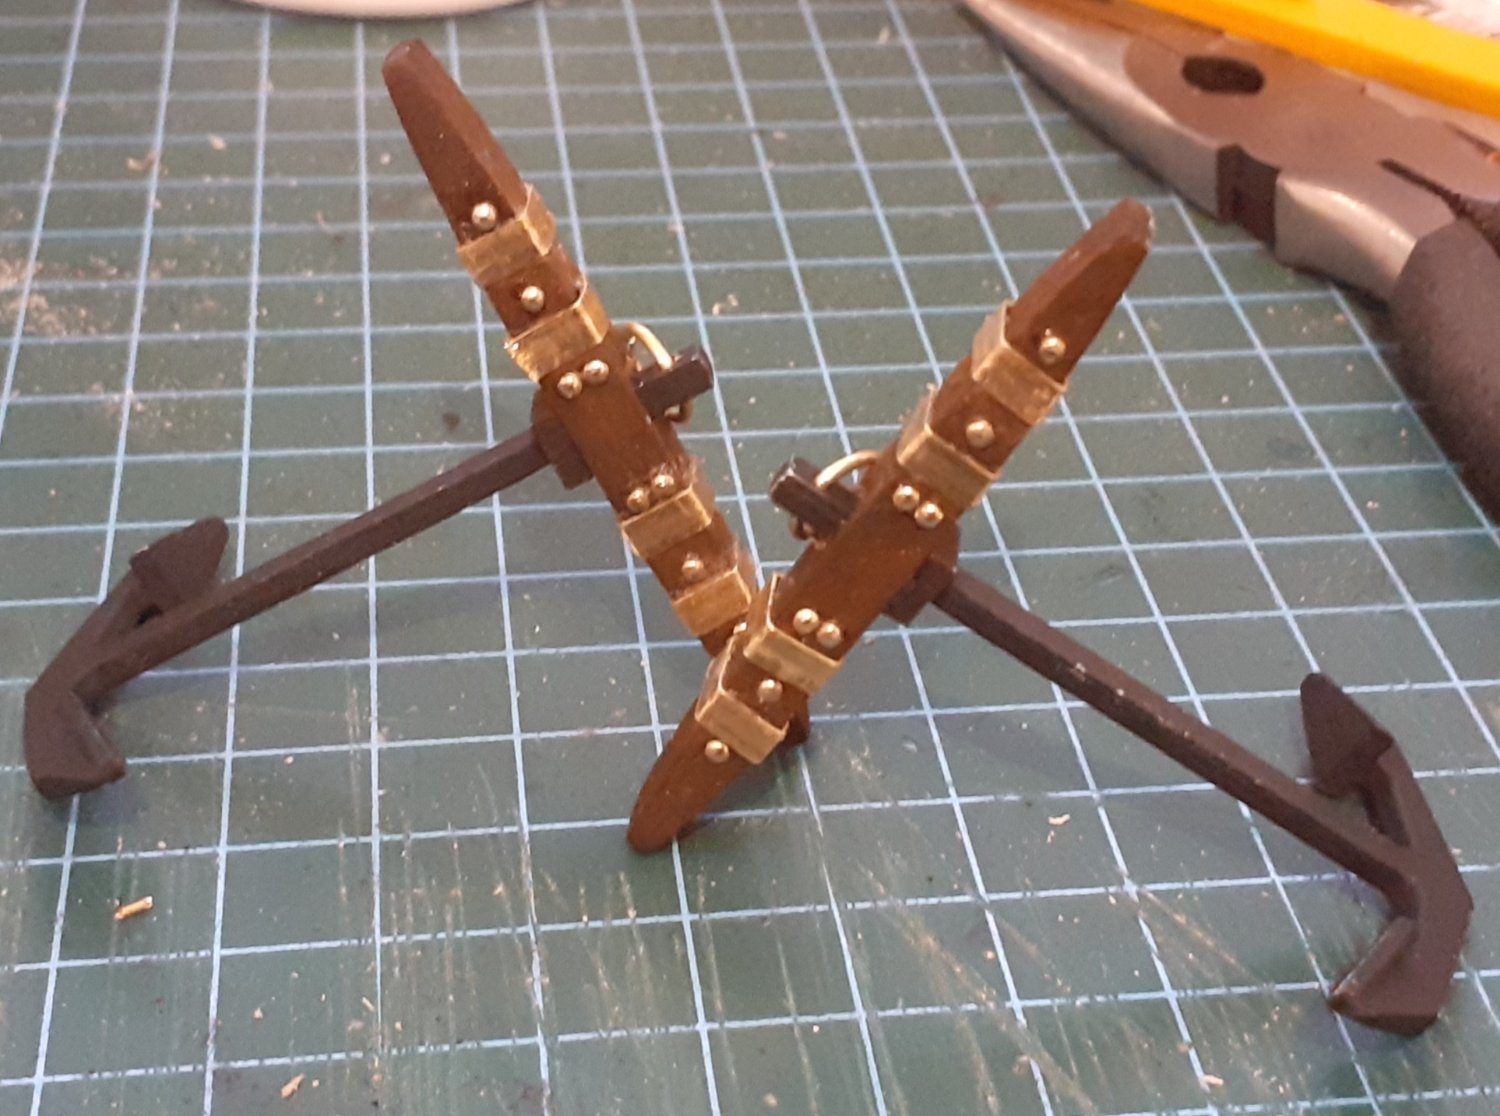
The Davitts, Booms and Anchors which I already made have now been fitted and rigged up.
I have left the chains off the Anchors for now so as to give myself enough room to remove Anchors when I eventually add the swivel gun posts and guns which I will be adding at a later date thus ensuring no clumsy accidents breaking them while trying to work round about them.
There will of course be touch ups and minor alterations near the end. It's not perfect but I am happy with it. Probably the hardest part in this was the bending of the brass rings around the Oval Bowsprit as there is a lot of tension in the brass which makes it hard to conform truly to the shape required.Next stage will be making the Foremast in between this I will continue to make the life boat as well.
All the best everyone
Happy health and modelling
Rob 👍🤺🤺⚓⚓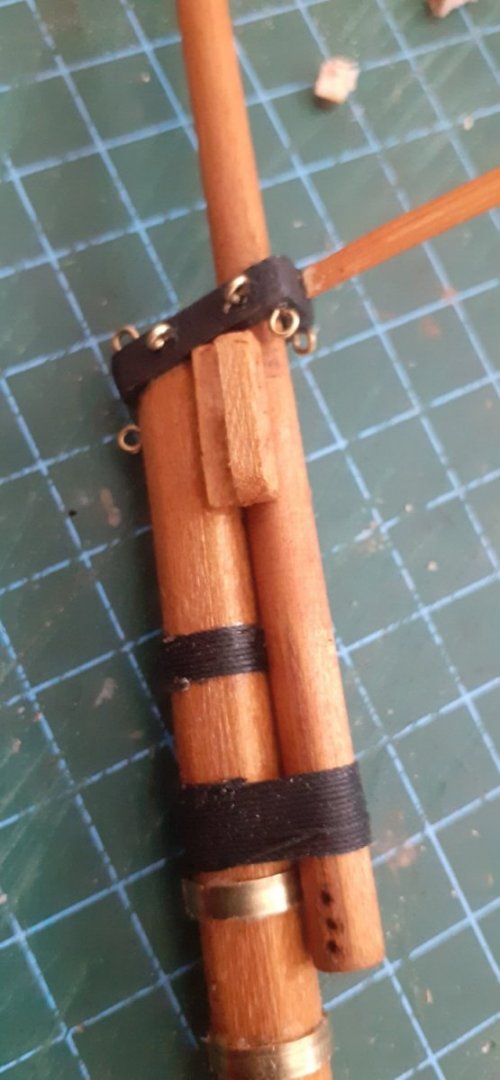


- Cathead and GrandpaPhil
-
2
-
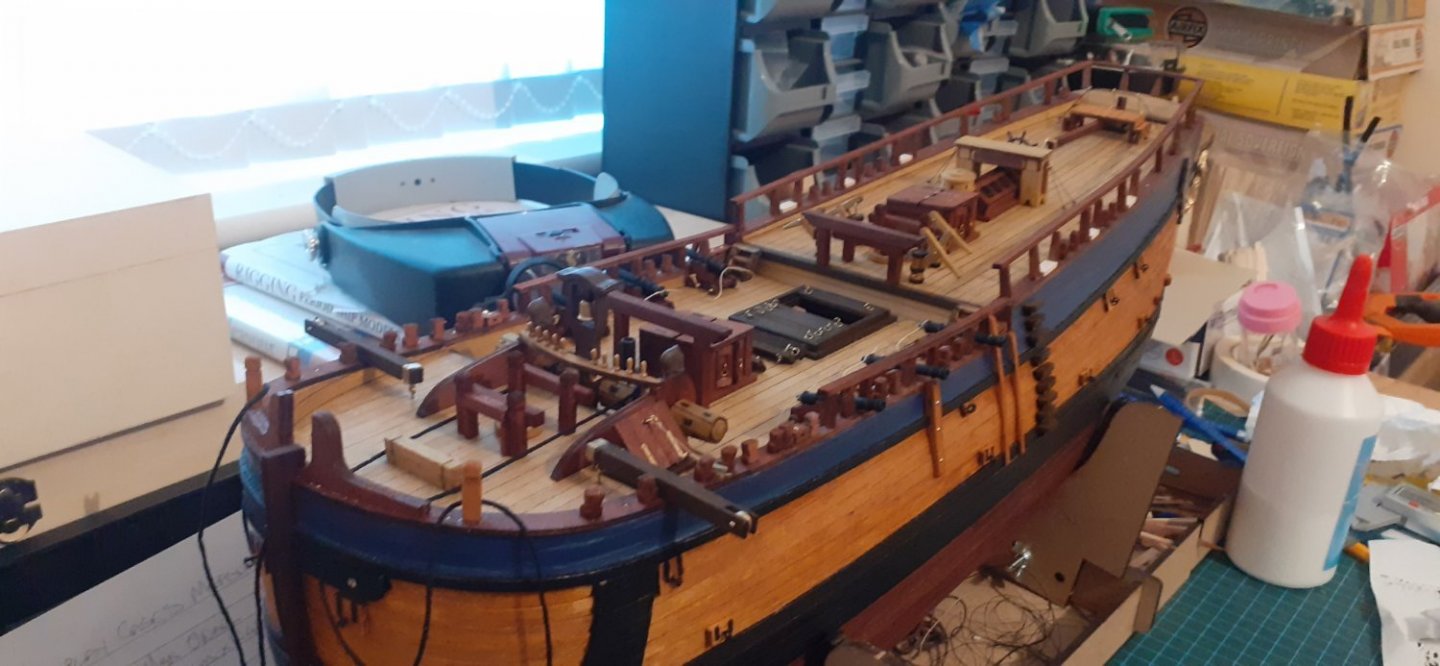
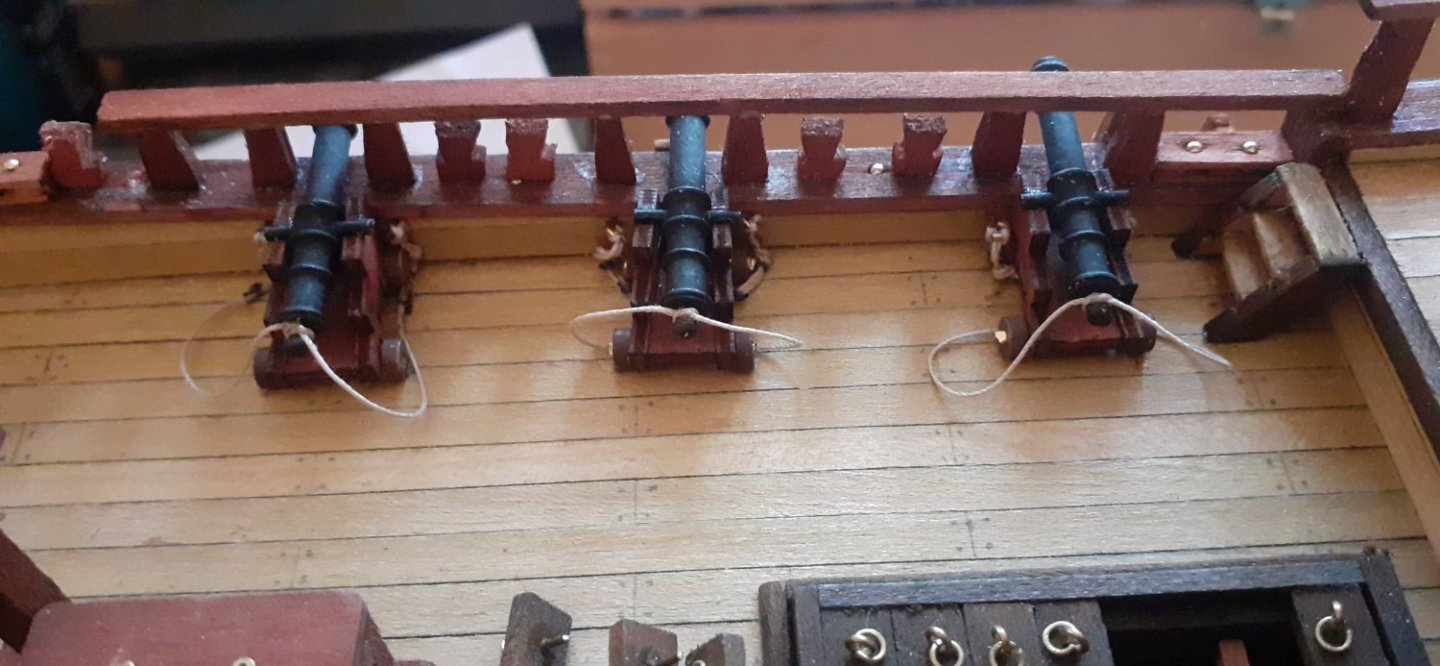
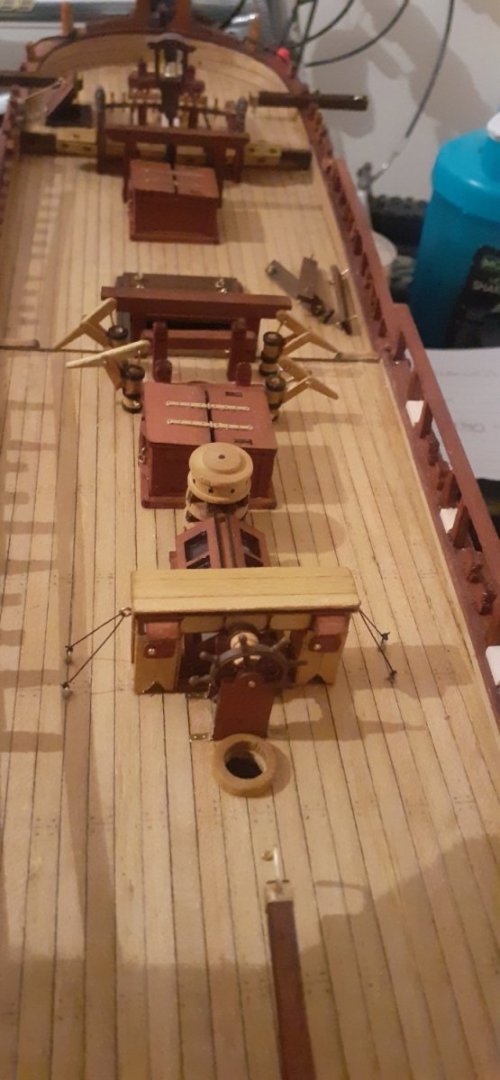
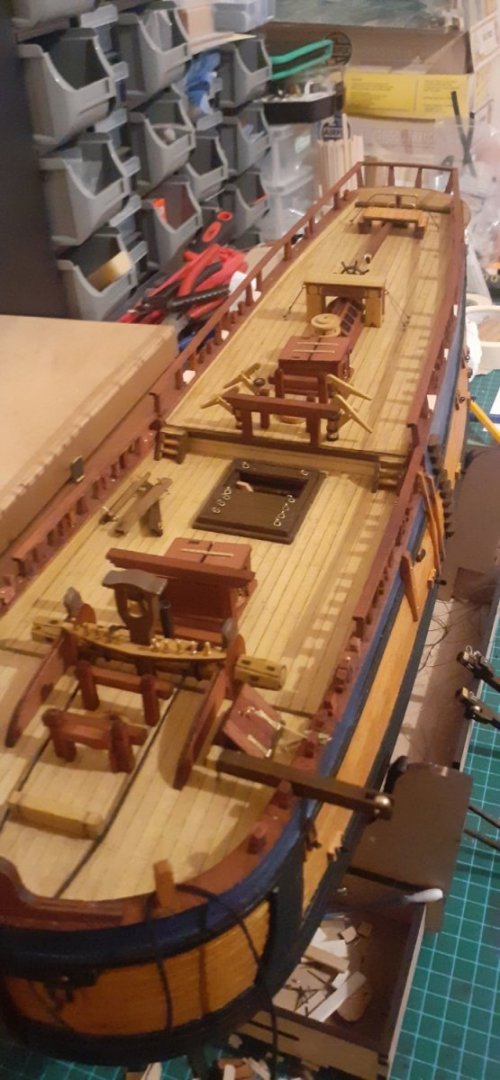
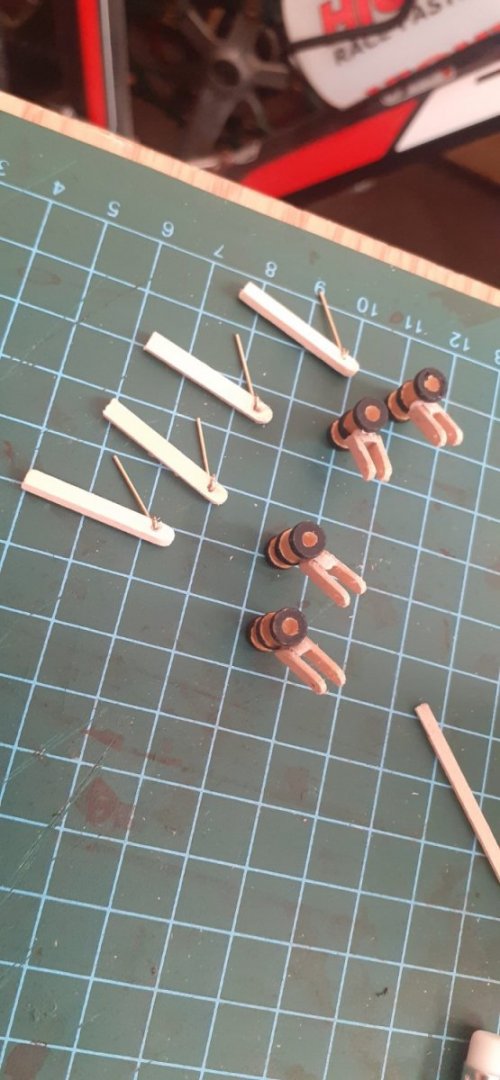
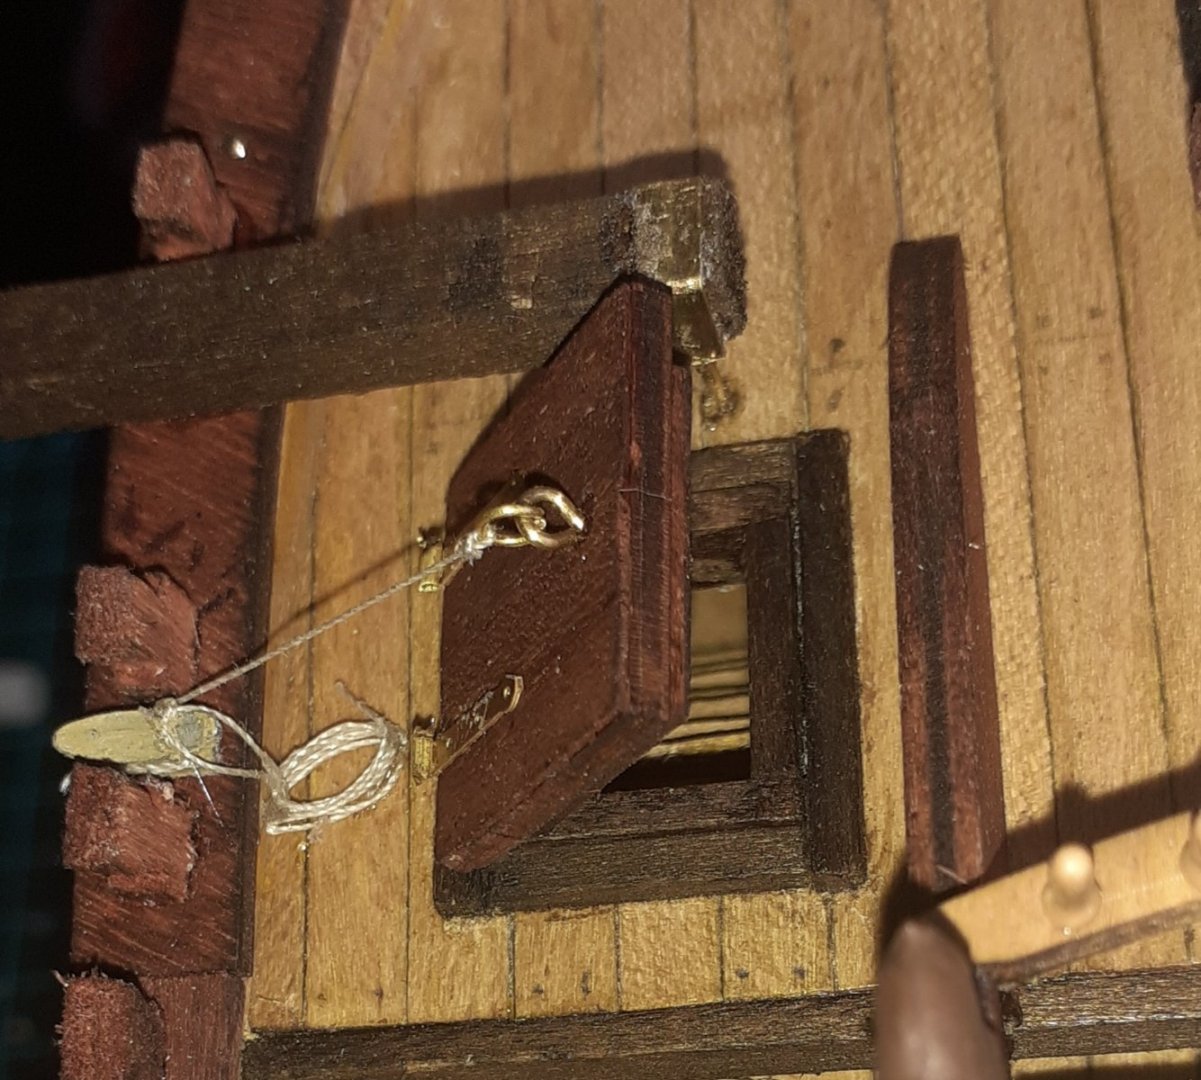
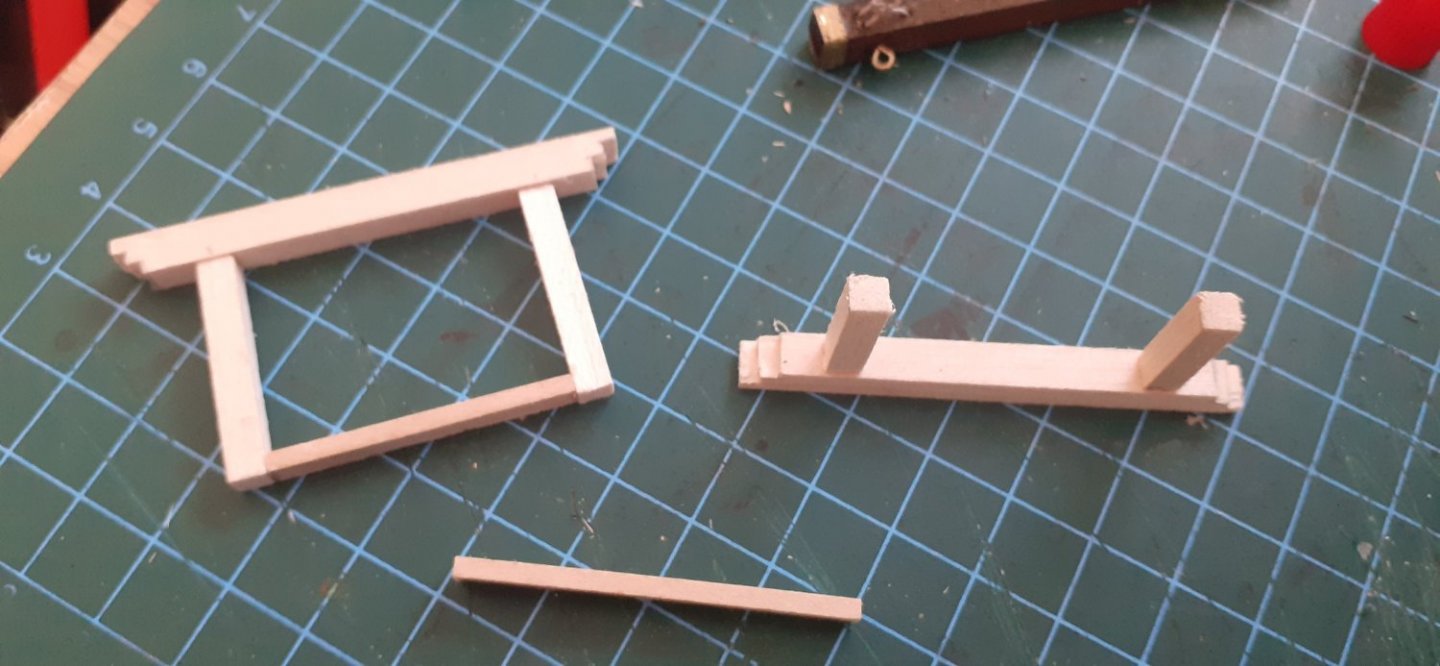
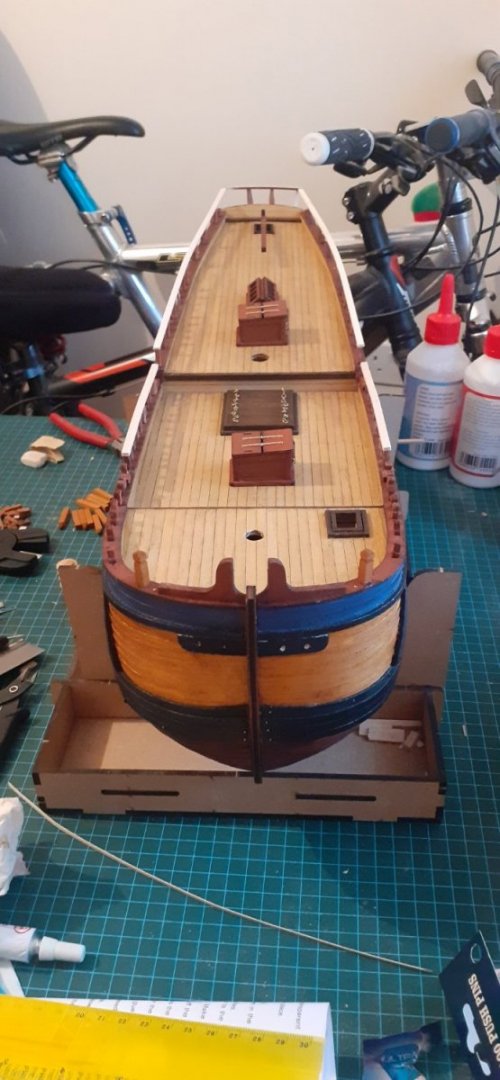
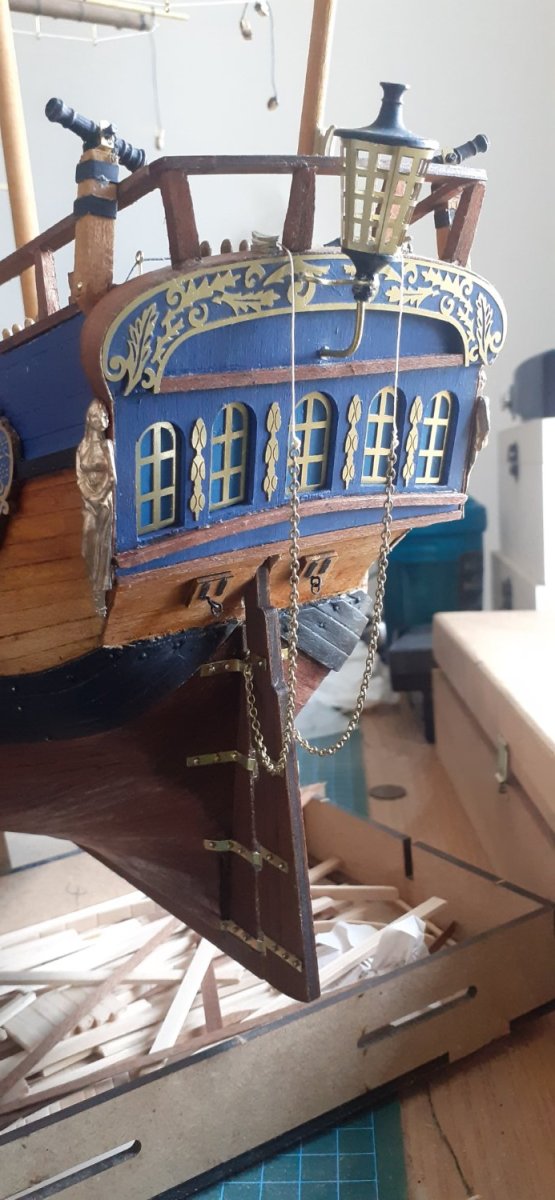
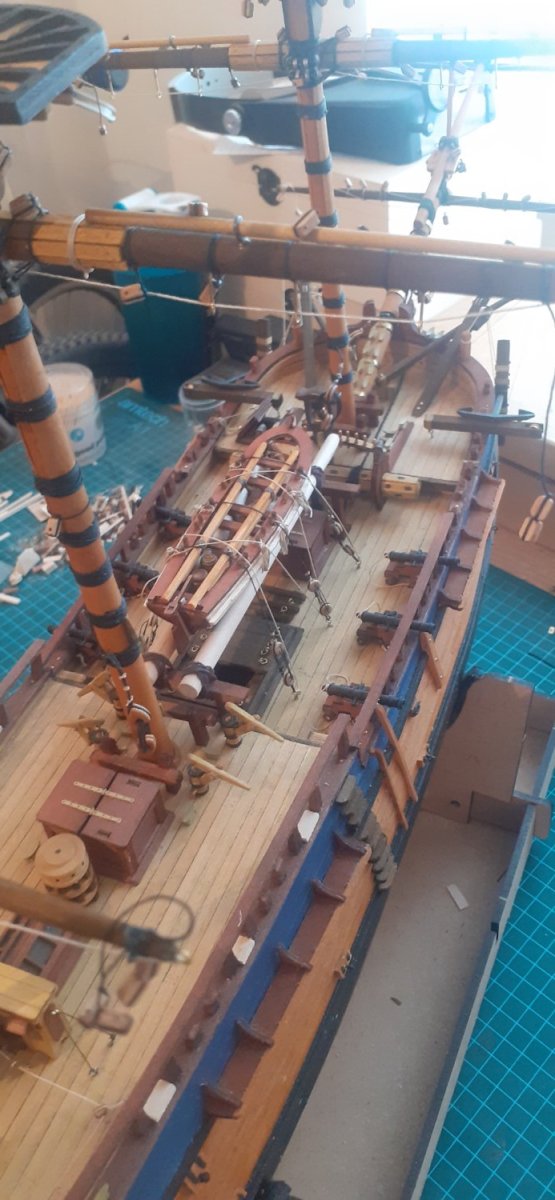
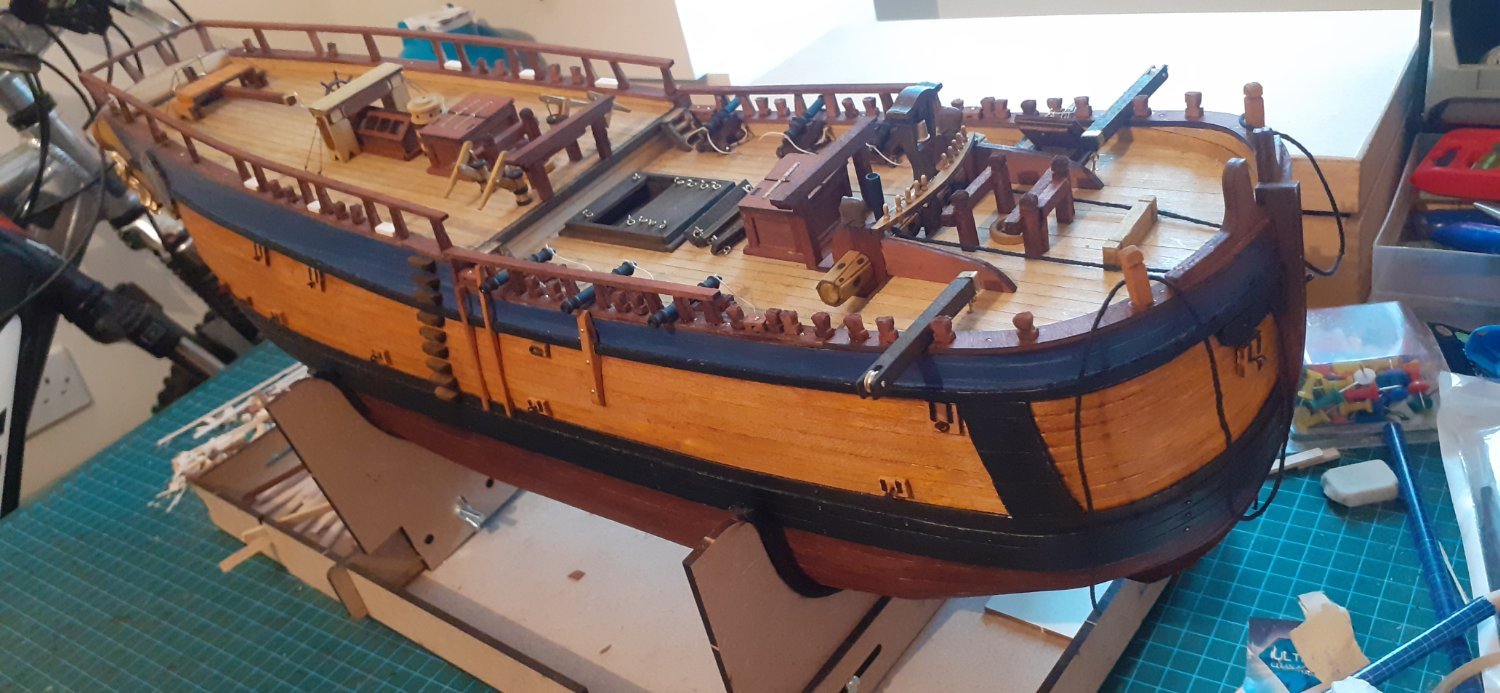
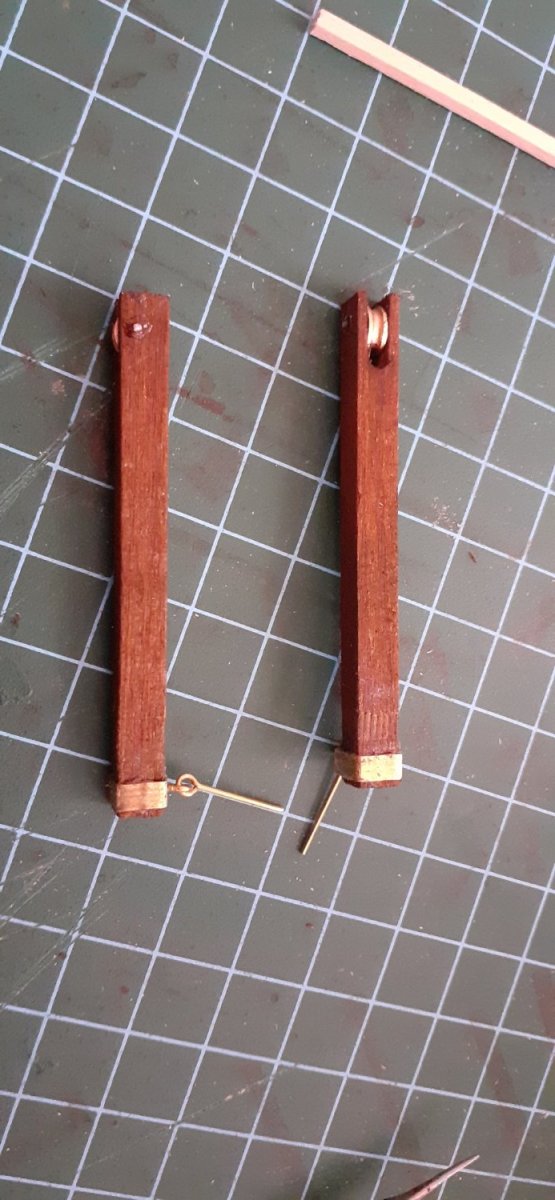
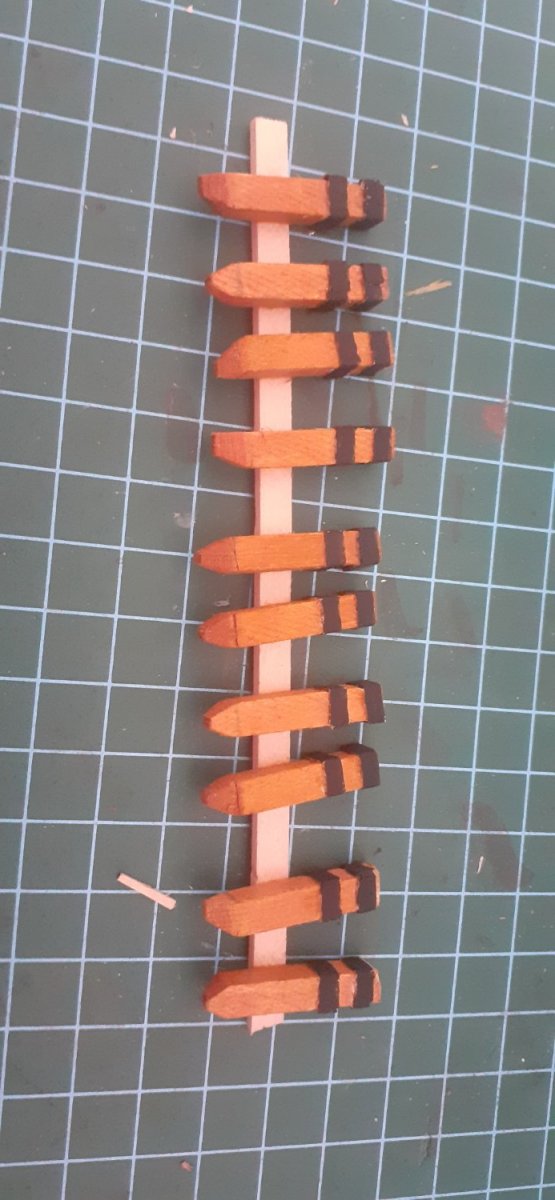
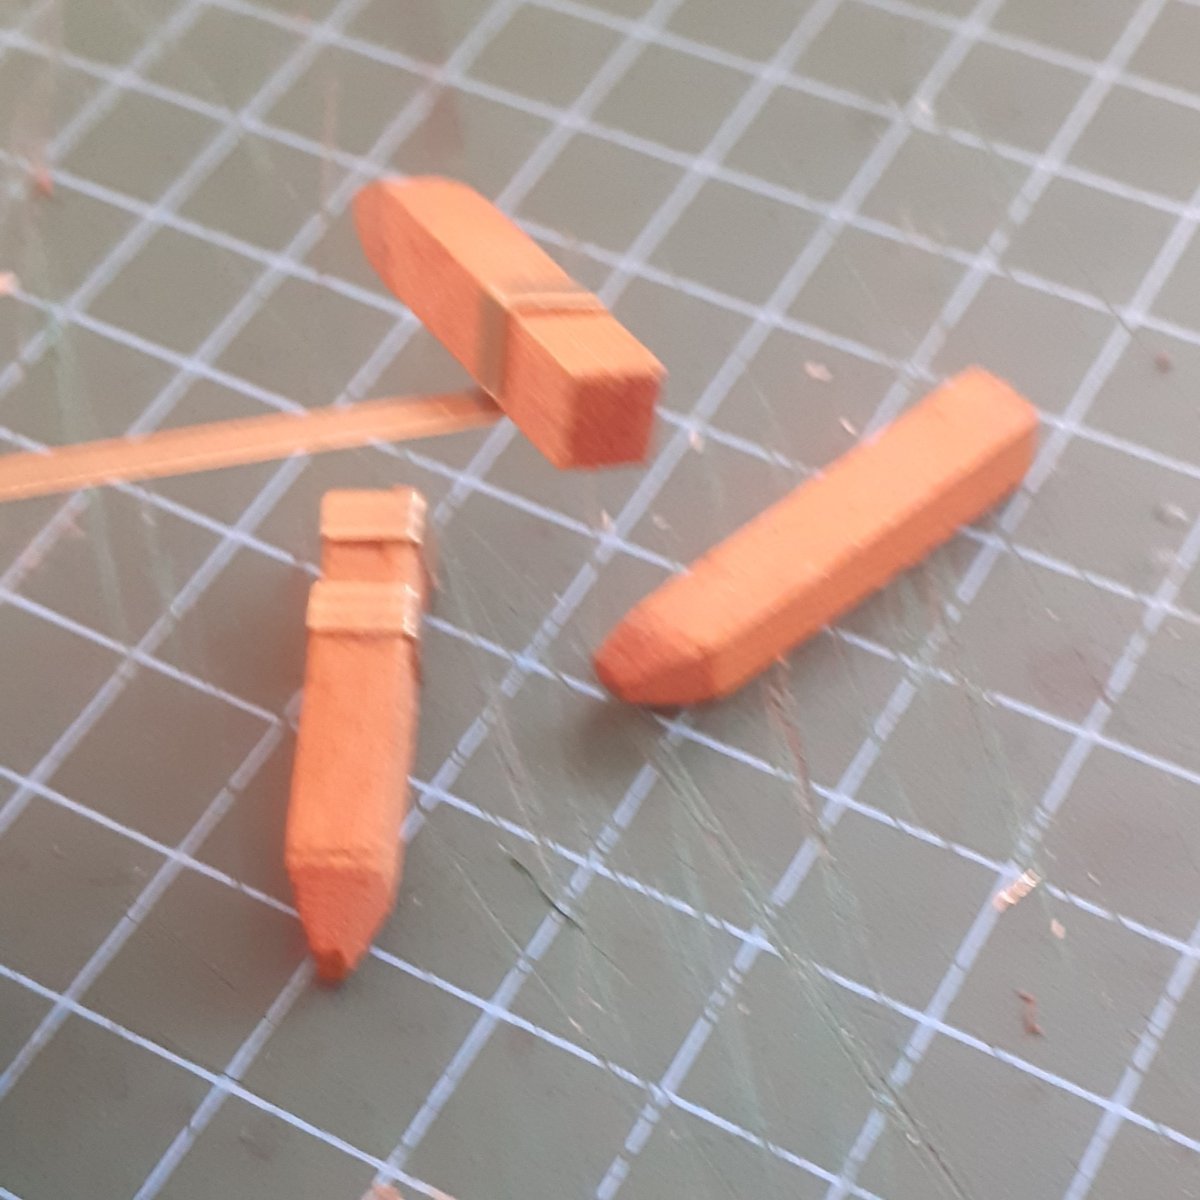
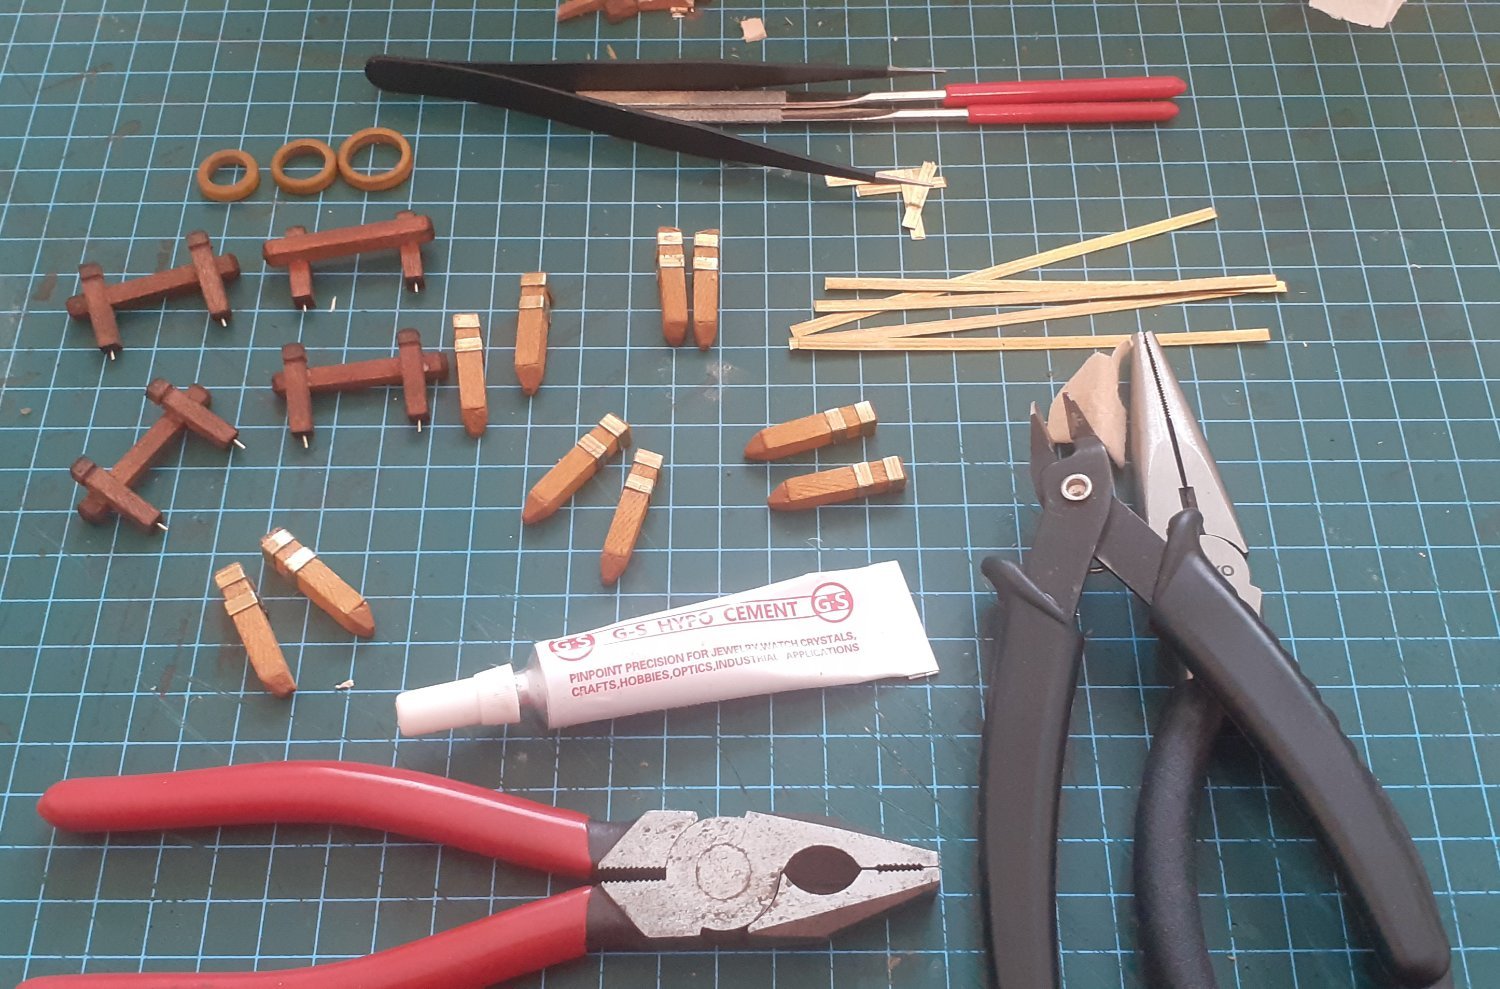
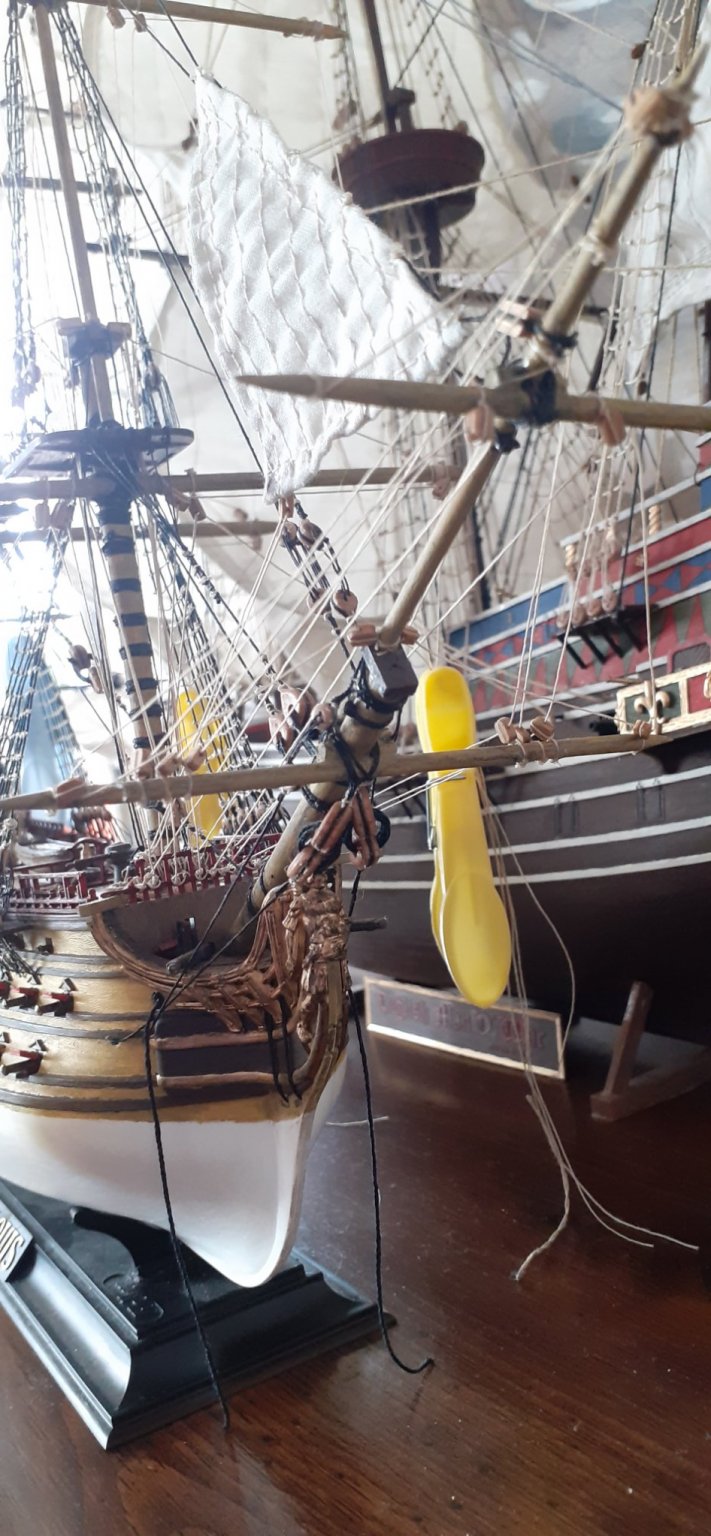
OCCRE ENDEAVOUR 1/54 Update!
Hi Everyone
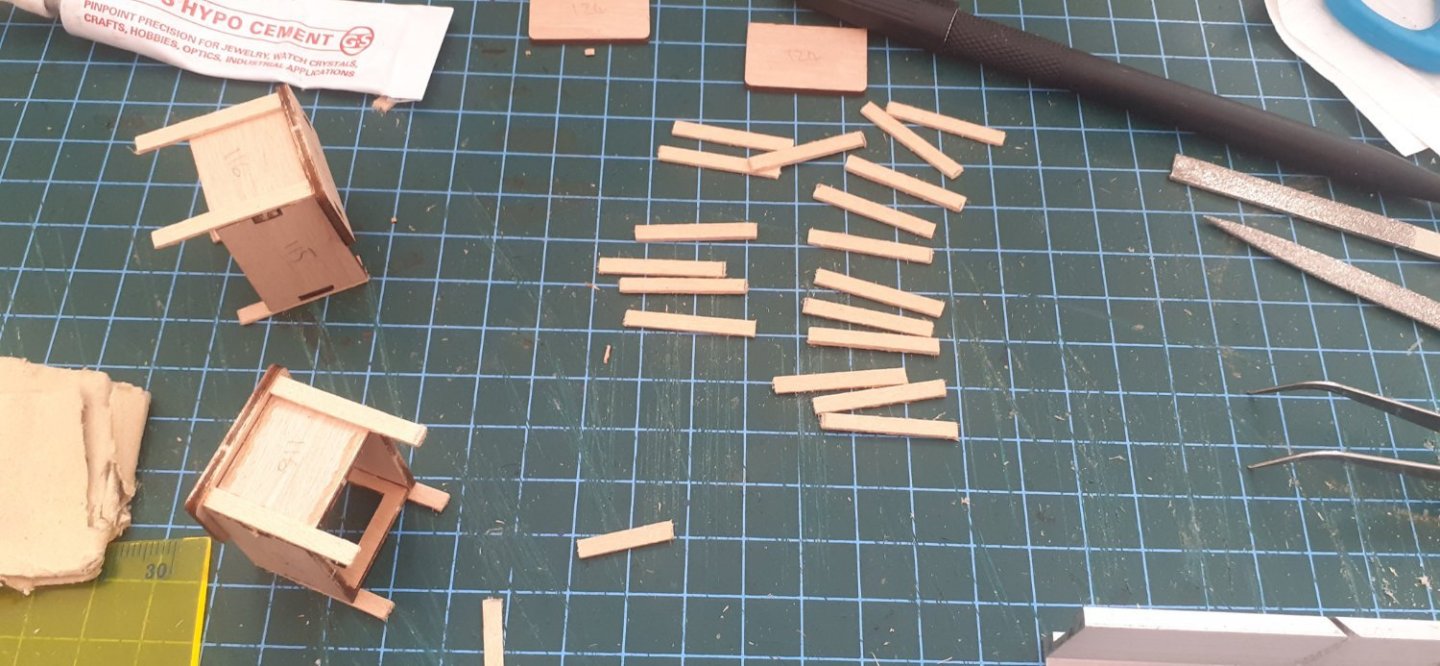
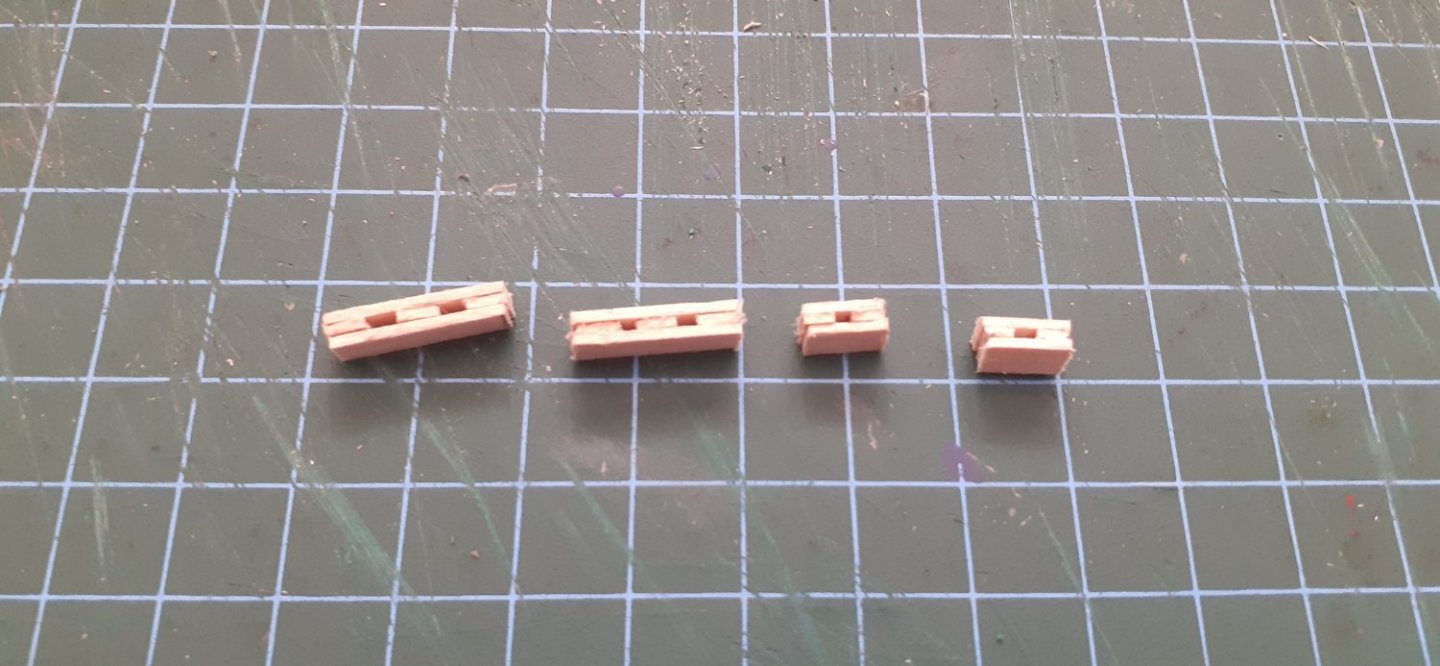
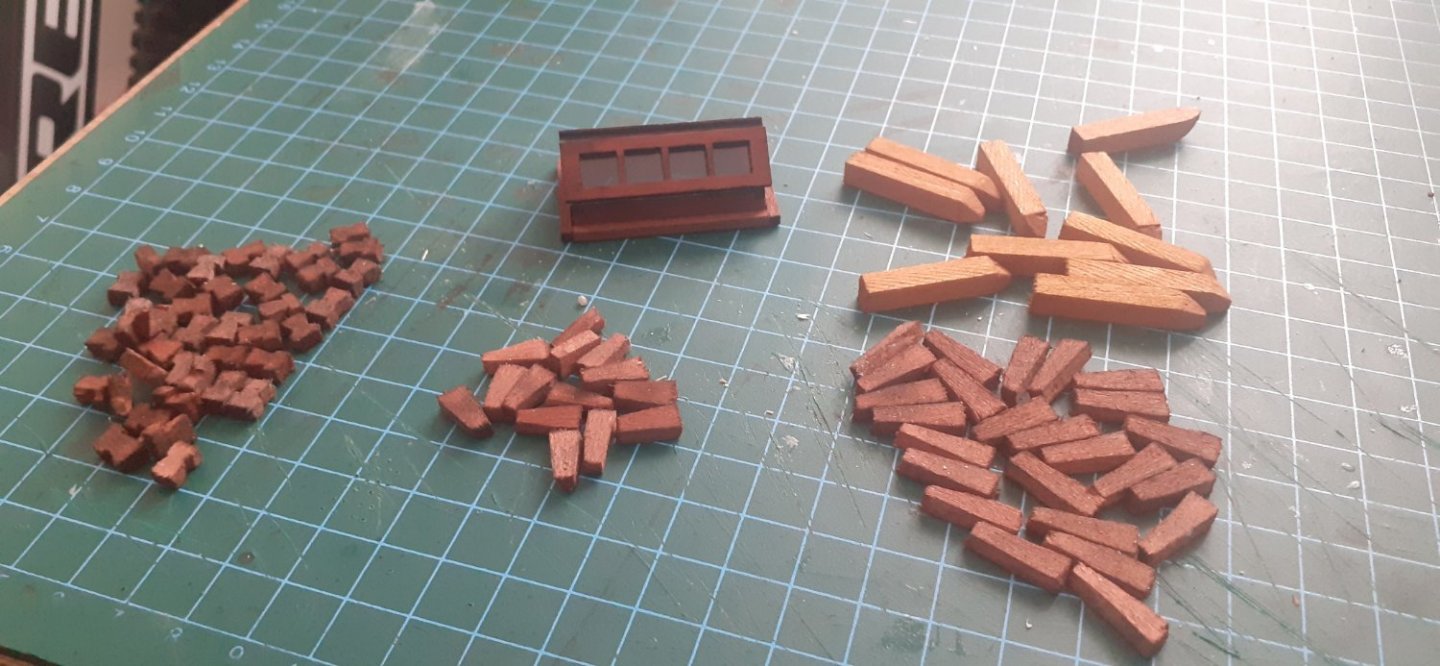
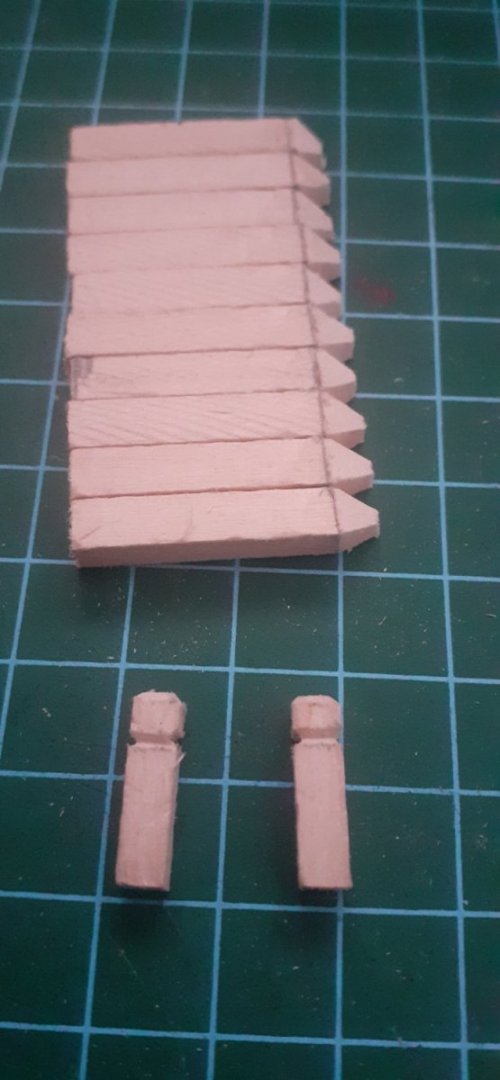
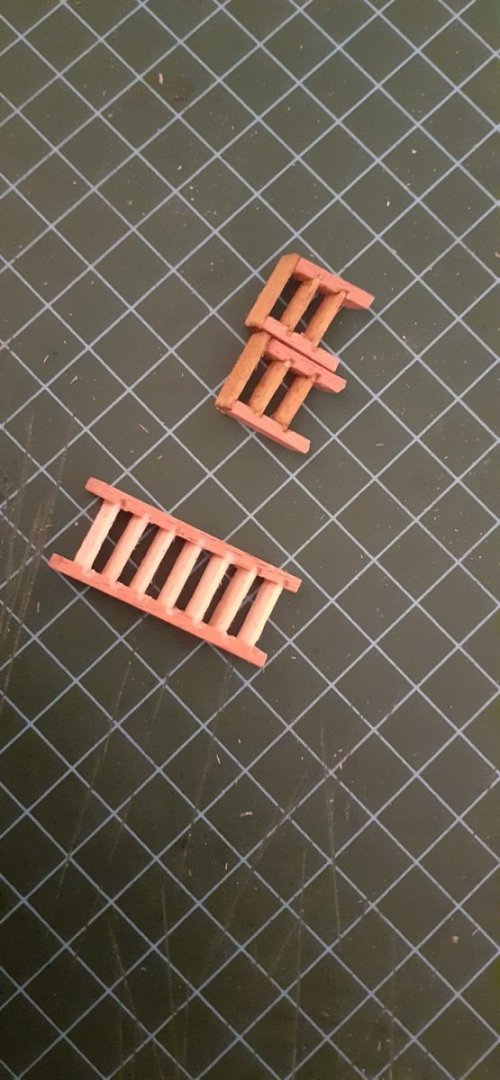
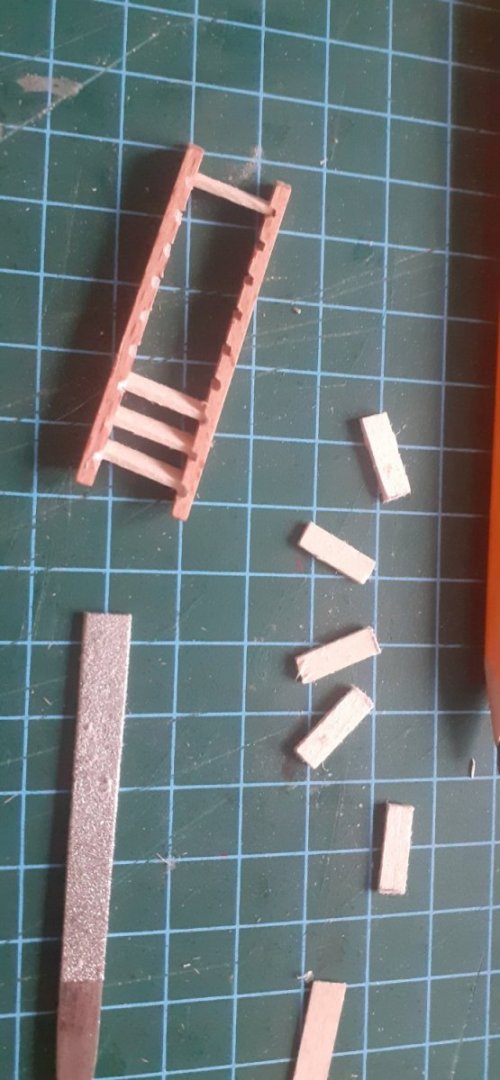
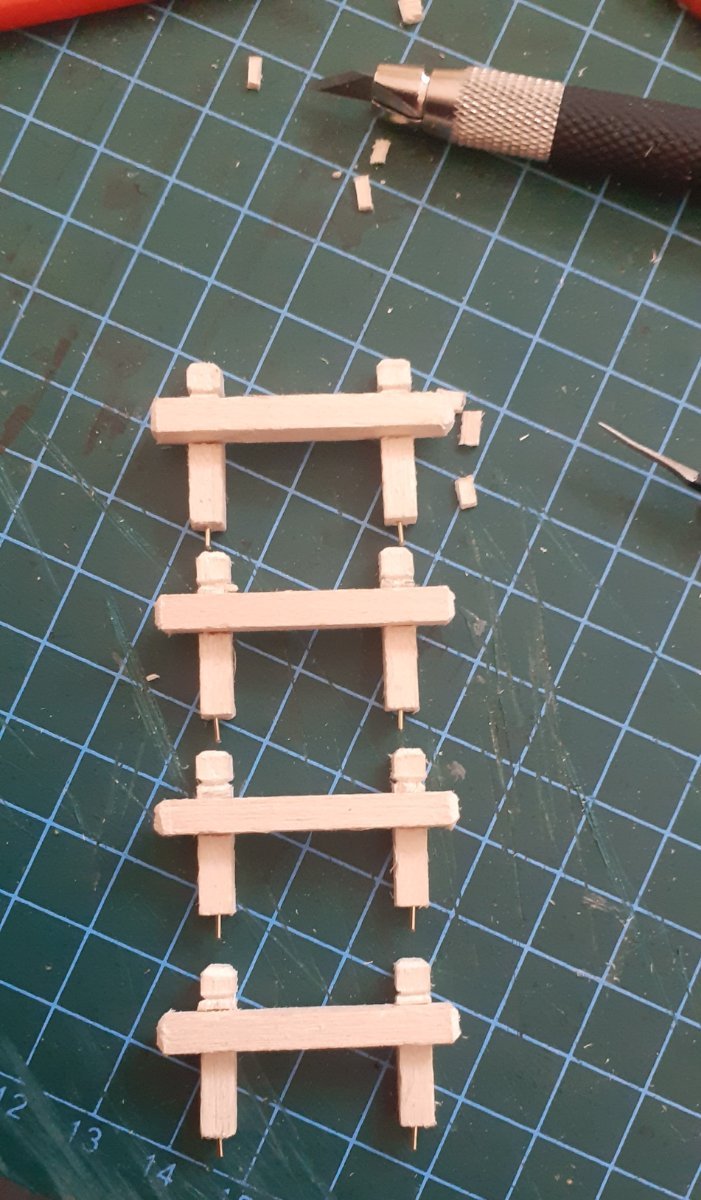
Its been a while since my last build post but there has been a lot going on regards deck detail. Cannons, Pumps, Windlass, Bell, Fore Hatch Cover, Davitts, Steps, Ladders, Skids, Chess-trees, Capstan, Binnacle cupboard, Wheel, Tiller platform etc.. all permanently fixed. The other Davitts and Booms have been made but I will be building the Bowsprit next so I can fit these all correctly at the same time as well as all the cleats.
All in all it's been a very very enjoyable learning curve, and I am pretty pleased with the outcome so far considering it's my first wooden build.
Next stage as I say will probably be making the channels although like the post/swivel guns, I wont be fitting these for a while yet. After the channels I will be building the Bowsprit so I can fit the other davitts, booms and cleats for the Bow and the rest of the ship.Happy modelling everyone
All the best and Staysafe and healthy
Rob 👍🍻🤺🤺⚓⚓


.thumb.jpg.7a3c776d03fbc3ed201c8235a255c5ae.jpg)


- DaveBaxt, Seventynet, KJackson and 2 others
-
5
-
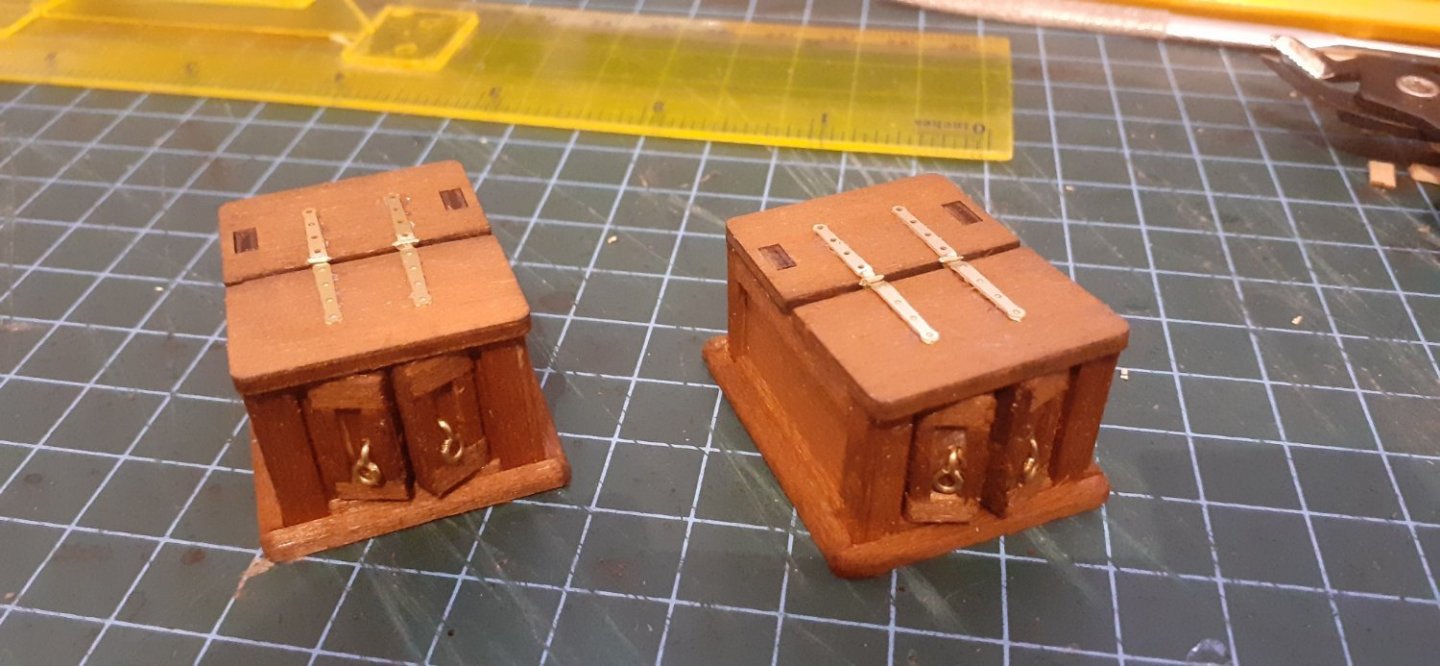
9 hours ago, KJackson said:
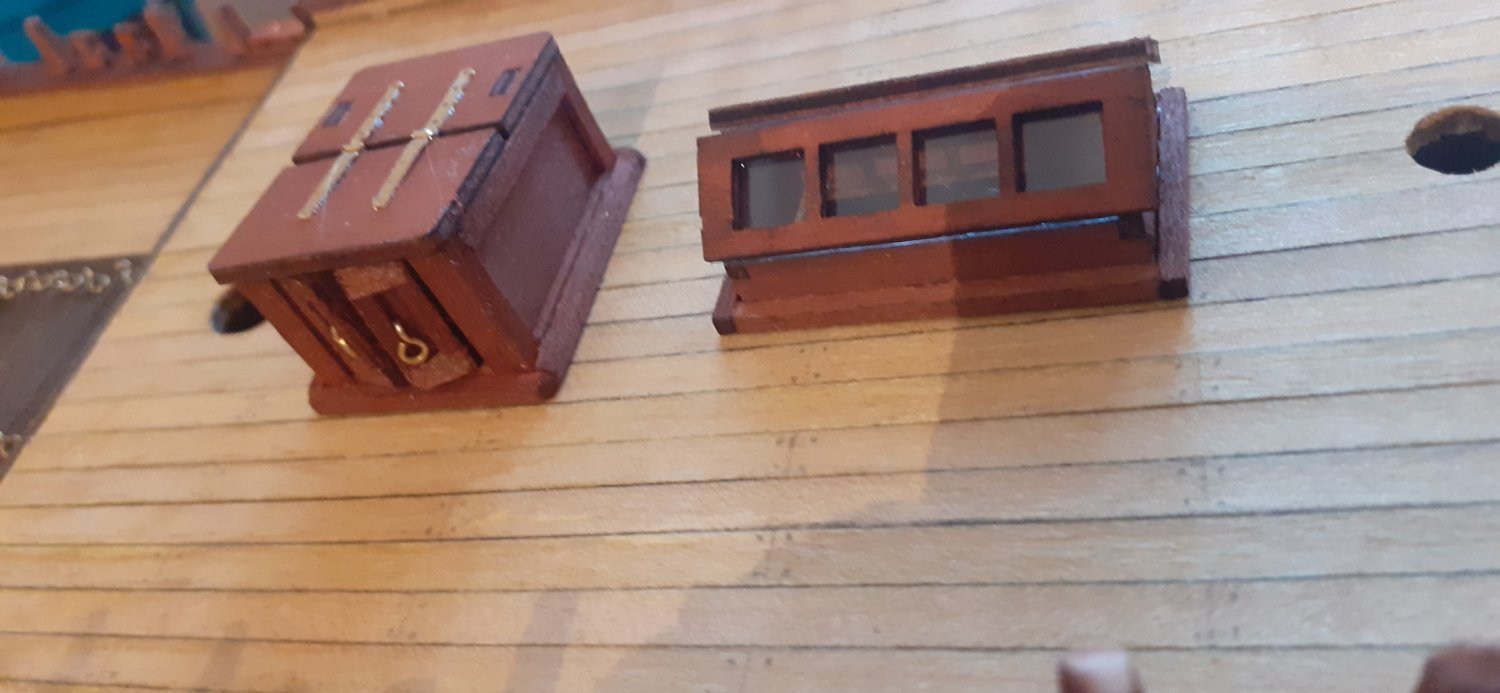
This is looking amazing so far, Robert. Curious, what varnish (or paint, perhaps?) did you use on the deck furniture?
I have the same kit and will be starting shortly; your build is very helpful!
Hi there I used Occre Sapelli wood stain for the deck furniture.
But I am also using a number of Occre wood stains for various bits n pieces about the kit.
The only paint I have used so far is the Blue on the top half of the Hull, which Revell 56 Matt Enamel.
Hope this helps.
-
9 hours ago, DavidG said:
Robert, congratulations for your first wooden build. You are a fine builder and your ship will be a great model.
As someone, who builds an Occre model for a long time, trying to make it more accurate, let me have some recommendations.
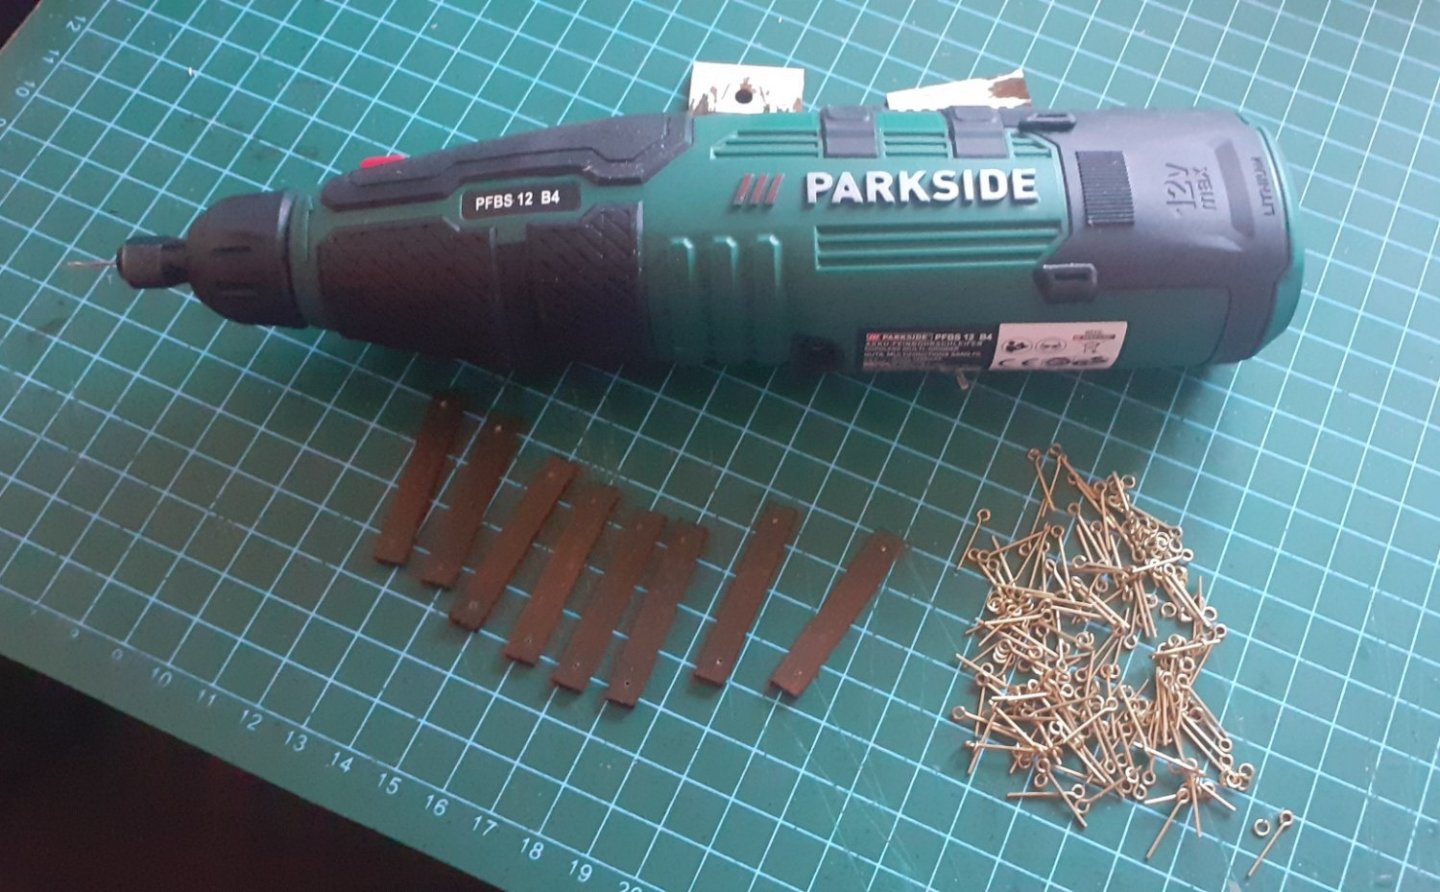
- please consider to change the eyelets in the kit, they are too big to scale. Buy 2 packs of 2 mm Amati copper eyebolts (comes by 100). If you don't want to paint them, heat them up with a torch and immerse in water, they will turn dark brown. They can be easily formed into hooks, should you wish.
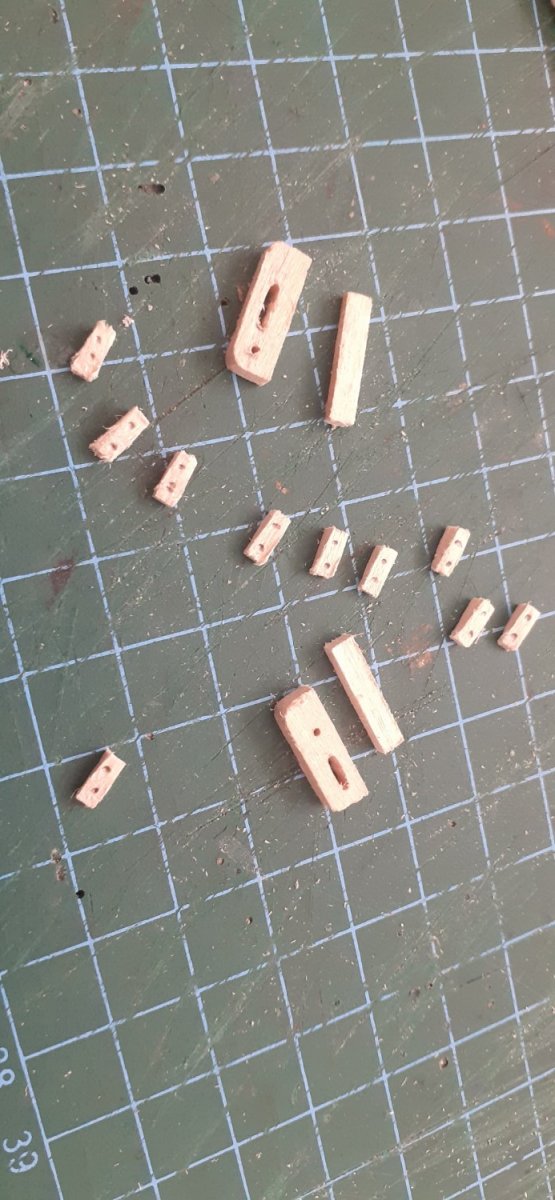
- you will need a selection of blocks sizes, from 2 mm to 6 mm. The Occre blocks are not bad for a kit, but there are no sufficient sizes supplied. Going upwards the blocks will diminish in size, also, clueline blocks should be smaller than the ones for lifts and sheets, etc. There are a selection of blocks available at Syren, Vanguard or Hismodel. I tried all of them, being in Europe the Hismodel ones are pretty good and not expensive.
- the same goes for the rigging thread, you can go as far as you want, but consider 4 sizes for standing and running rigging each. Similarly, there is a wide selection to choose from, but standard Amati thread available in different sizes is already a step up and pretty cheap. You need to dye them though, wood stain worked well for me.
- I saw many inaccuracies / simplification in the Occre rigging plan. Don't know how it is for Endeavour, but i found a rigging book, like Petersson's great help. Vanguard Models sells it.
I see the Occre Endeavour is a nice looking subject. By making small and inexpensive adjustments you can make it even better. My build log have some tips for kit bashing, if you are interested.
Keep on the good work,
best,
David
Thanks for those kind words and the upgrade information. I have quite a lot of these upgrades in the plan already as I have improvised a few plastic sailing kits already using these same methods you talk about including Peterson's Rigging period ship models as well as I have sticks of Amati rigging thread and Caldercraft blocks and Deadeyes to hand in different sizes.
All the best and thanks Dave
Robert 👍🤺⚓
-
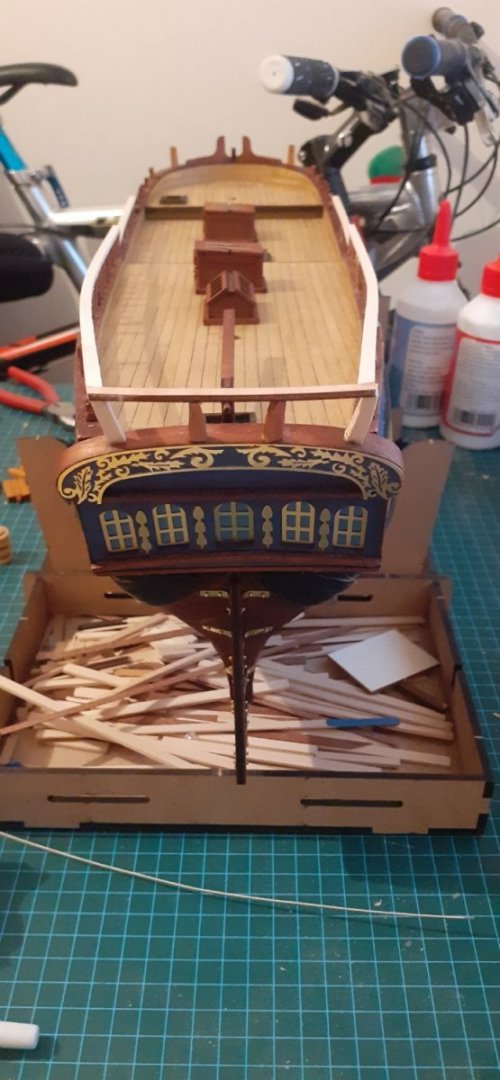
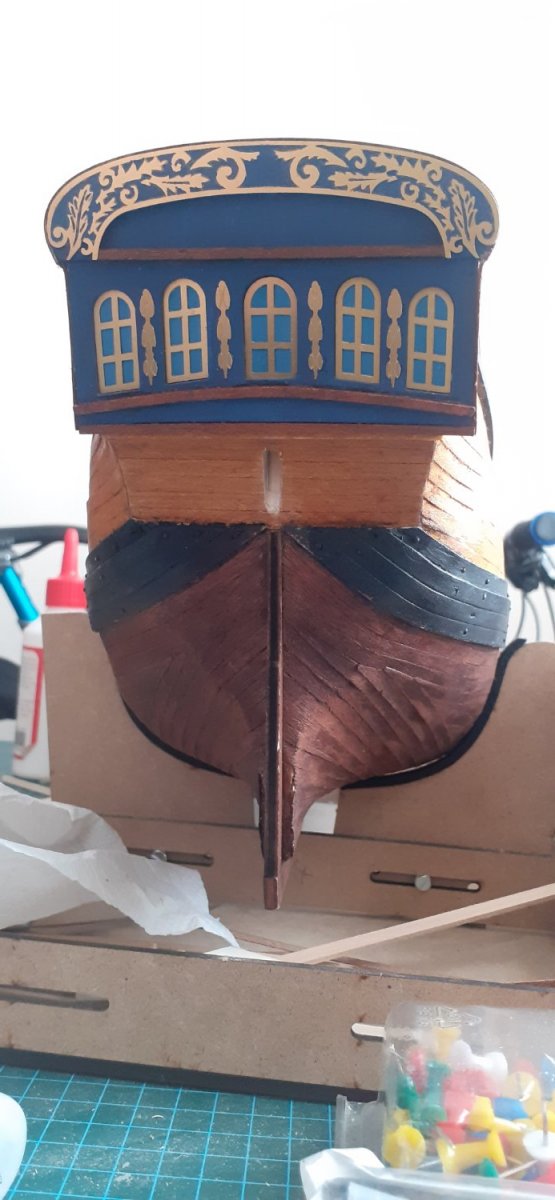
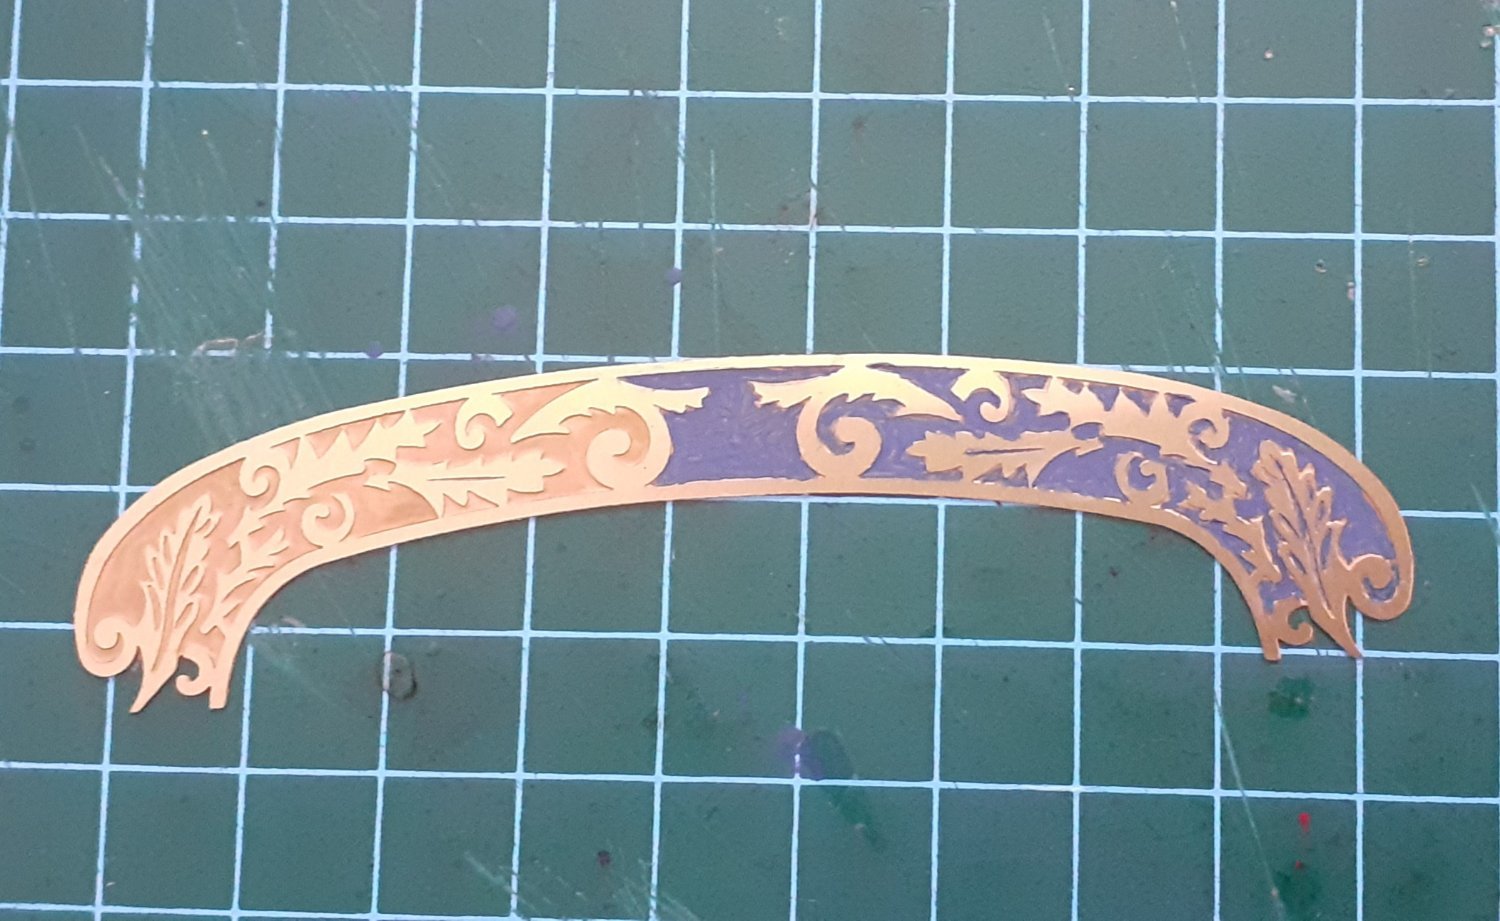
1 hour ago, DaveBaxt said:
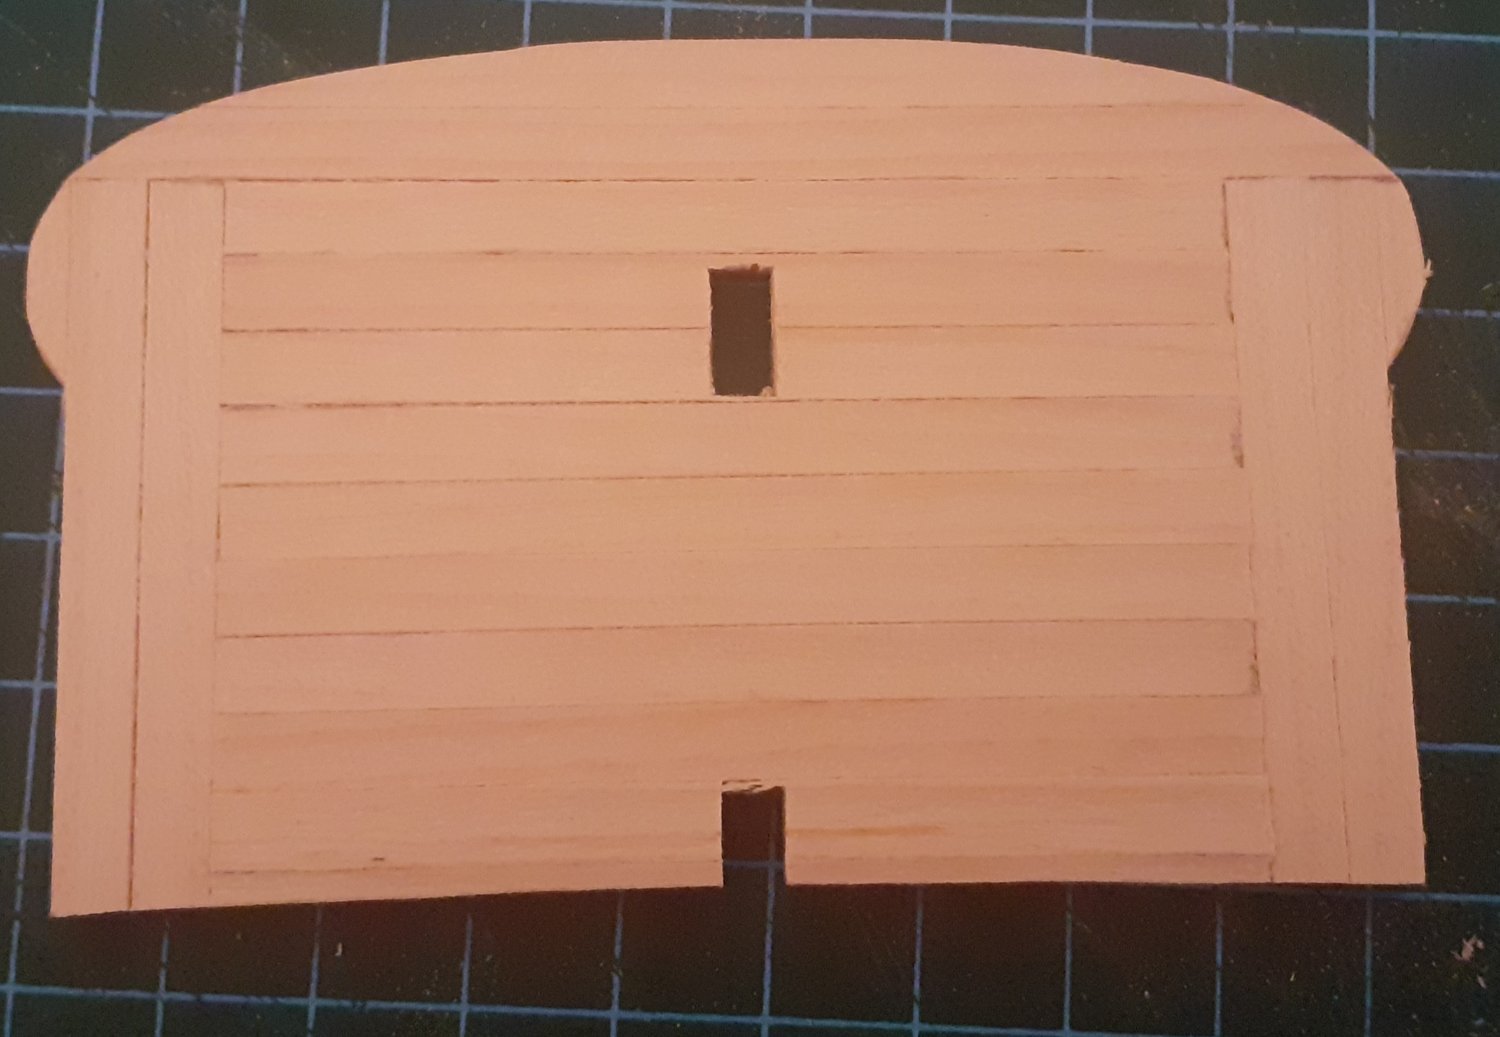
Great looking stern Facia and great to see you are making great progress|
Thanks very much Dave 👍🤺⚓
-
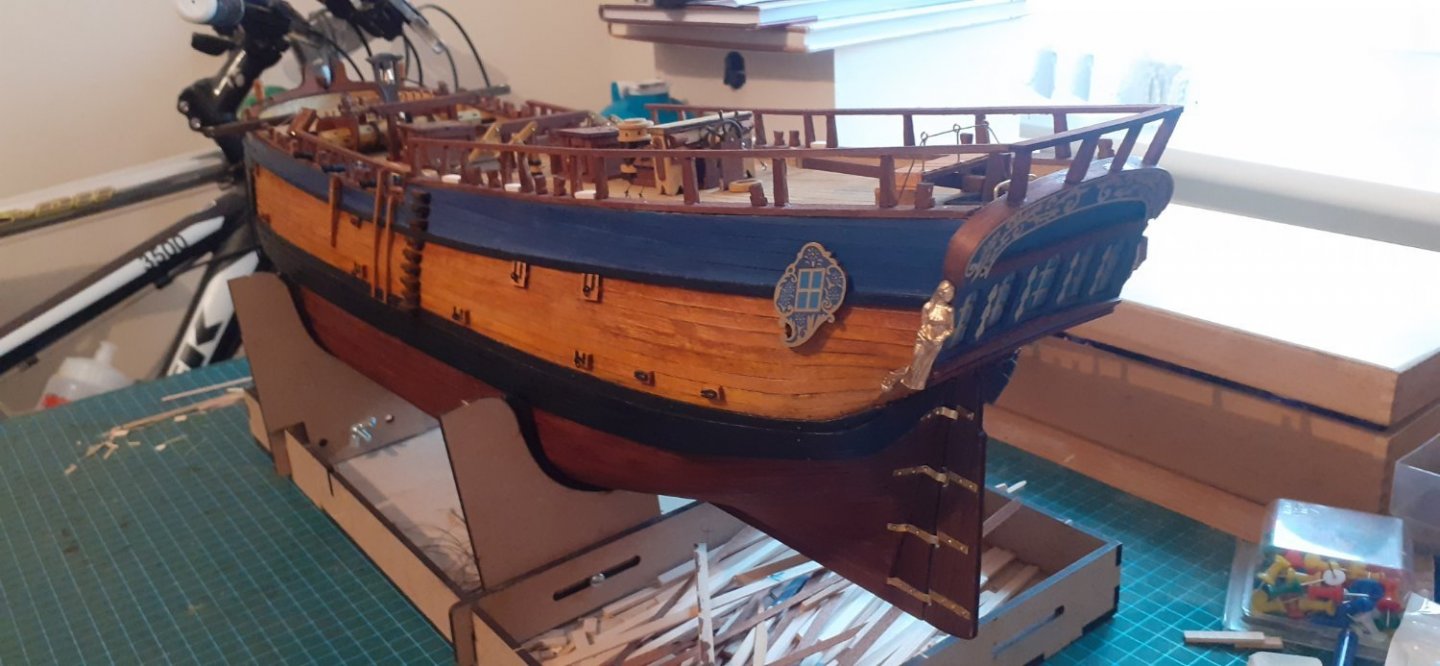
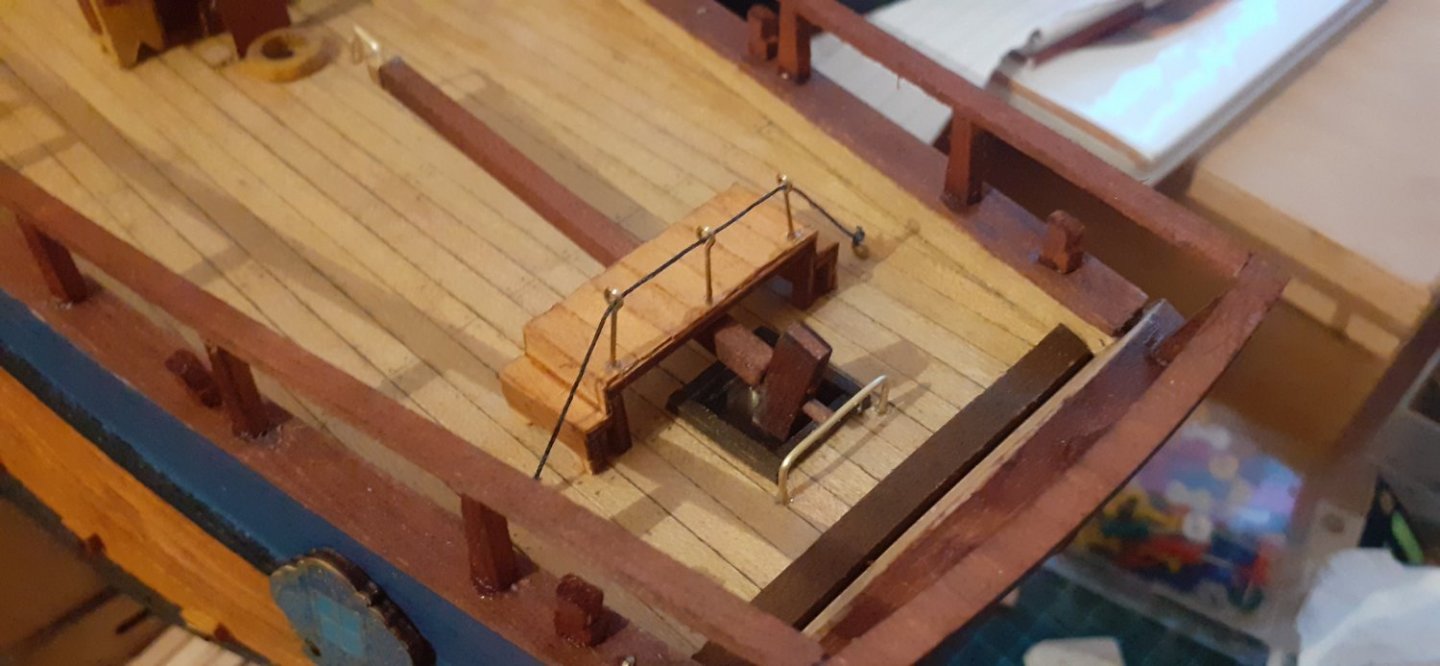
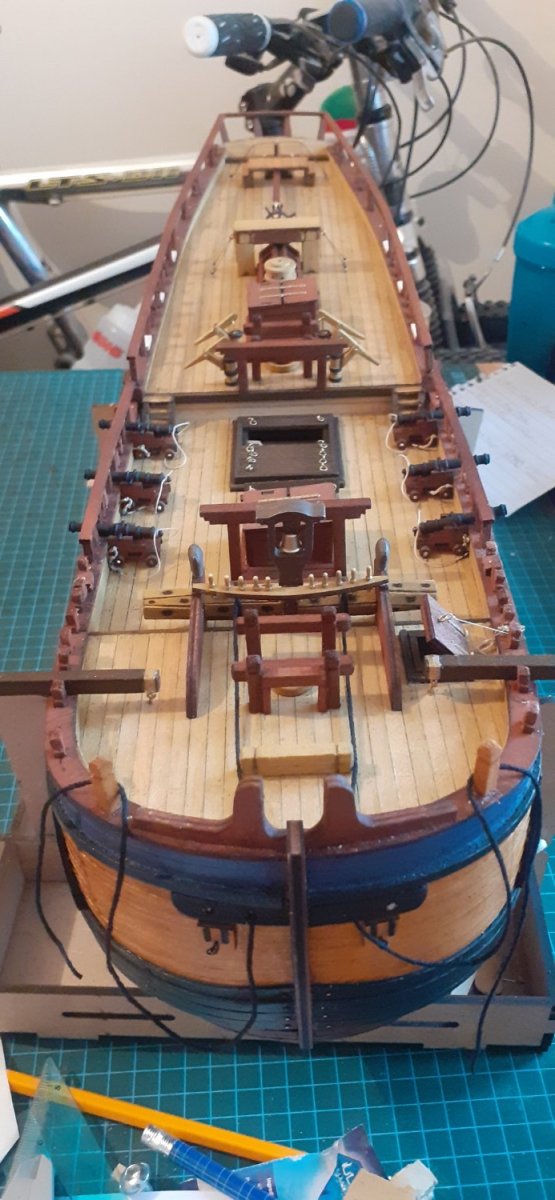
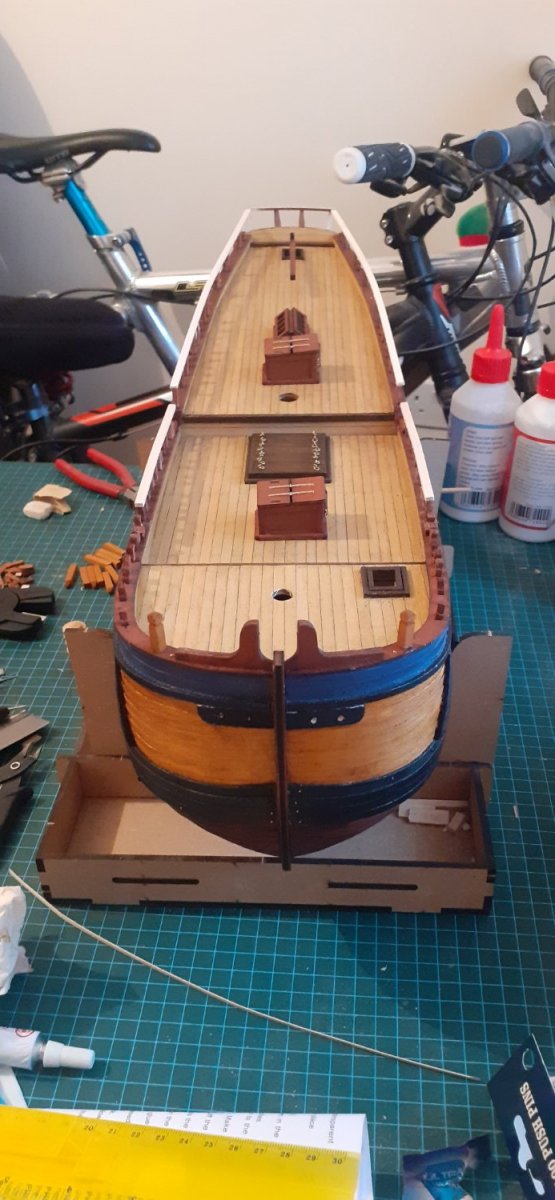
Hi Everyone
Its been a while since my last update.
This is where I am at with the Endeavour.
Not perfect by any manner of means but I am happy with her so far.
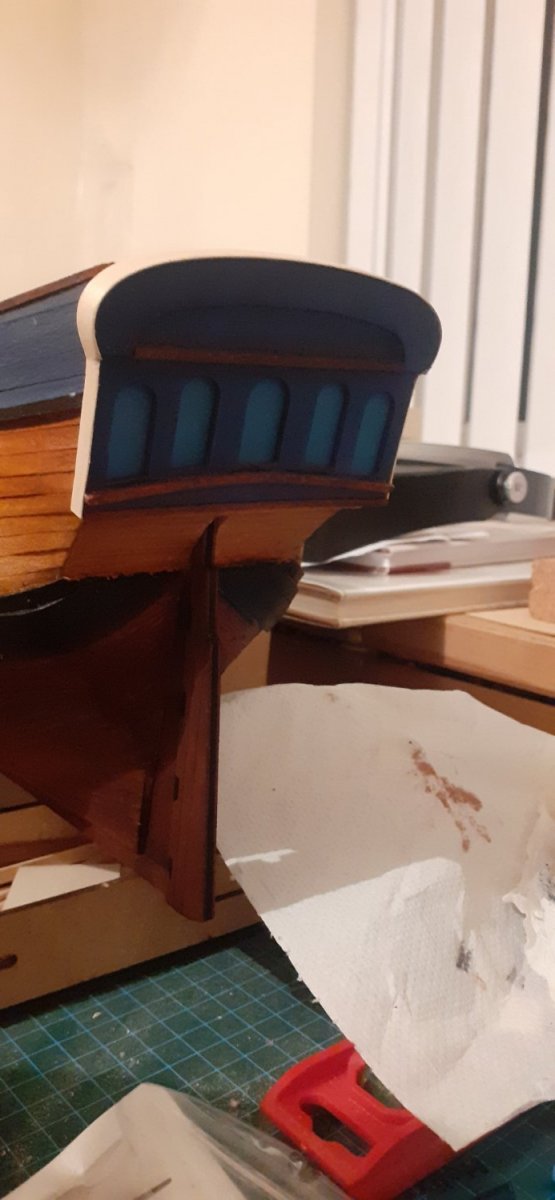
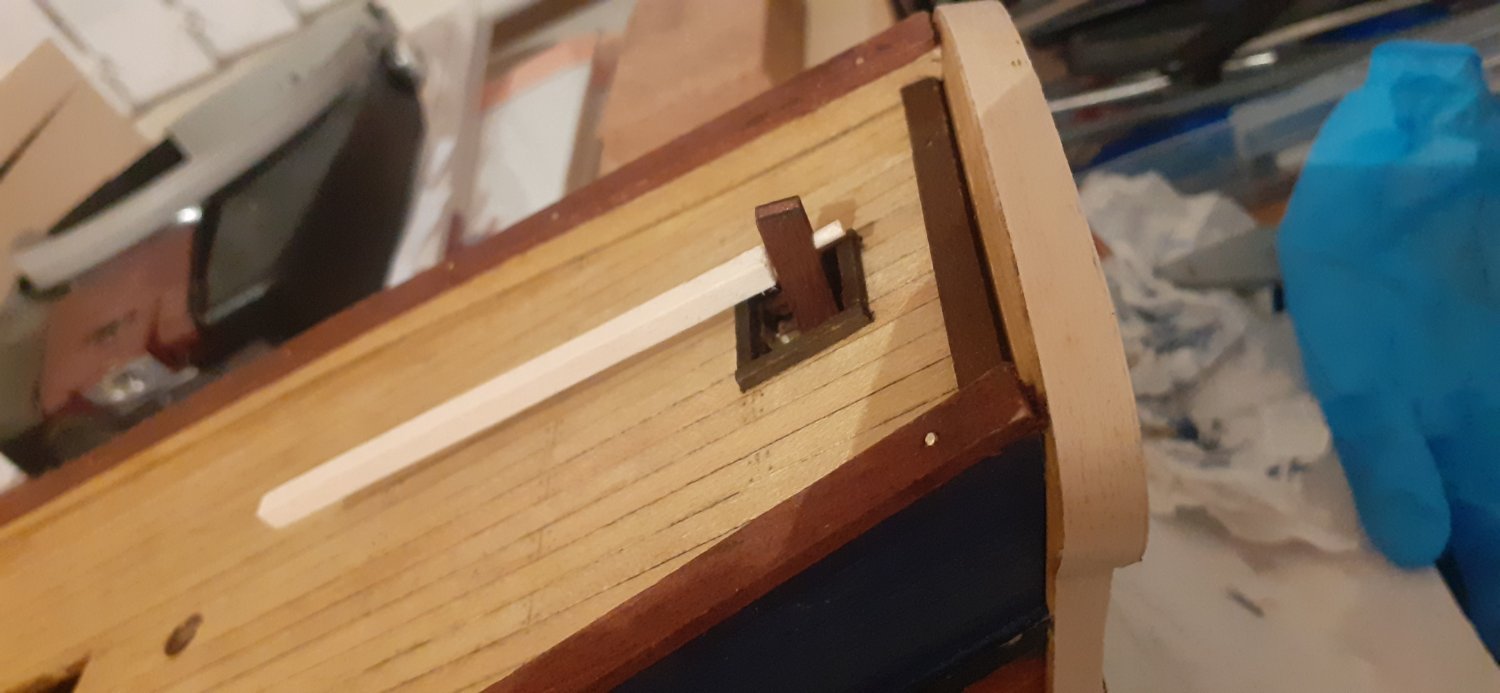
Just finished the rails so letting them bond properly overnight before I stain them.
The hatches, skylight and tiller are obviously only dry fitted.
Its been an enjoyable and learning experience building her so far, being my first wooden build I am under no illusions that there is more tests to come as well as thinking out of the box.Wishing everyone the best of health and staysafe. And most of all keep modelling and building. This hobby and Art of ours is just brilliant and a great rest bite from all our working lives.
Happy modelling
Rob 👍🤺🤺🤺⚓⚓⚓


- Cathead, Seventynet, GrandpaPhil and 1 other
-
4
-
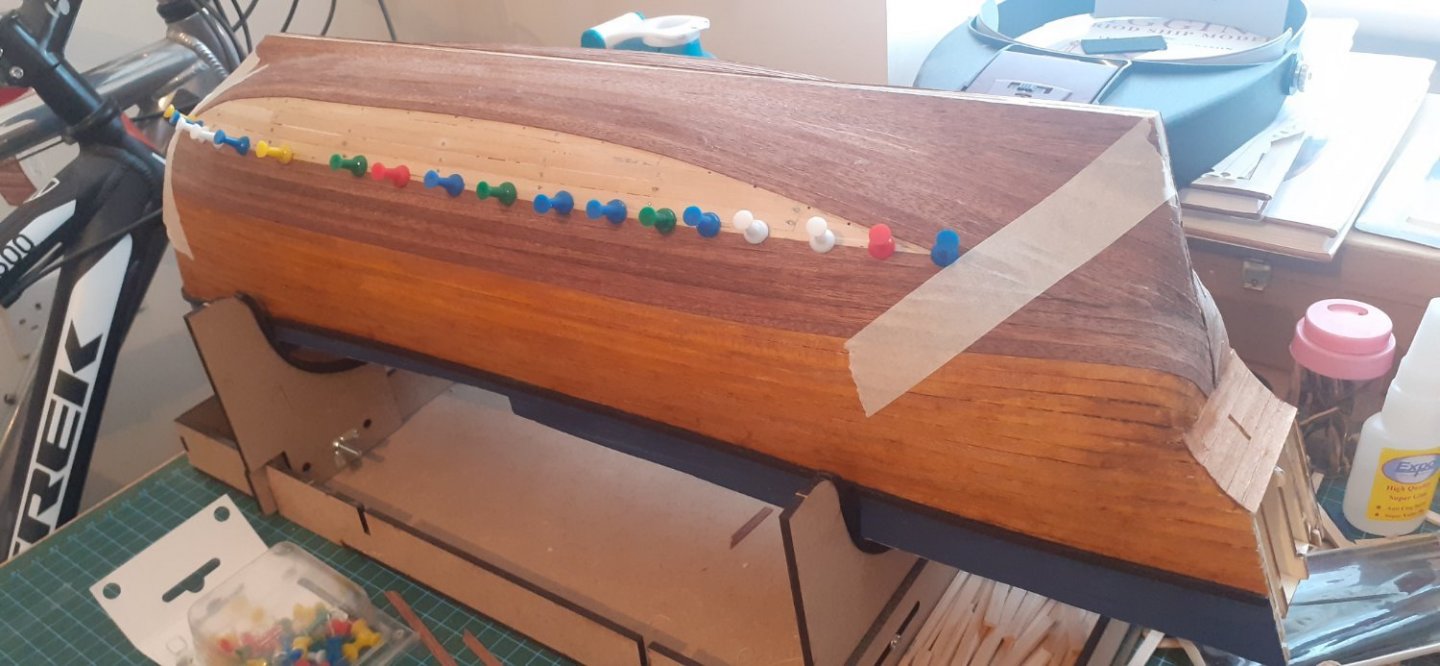
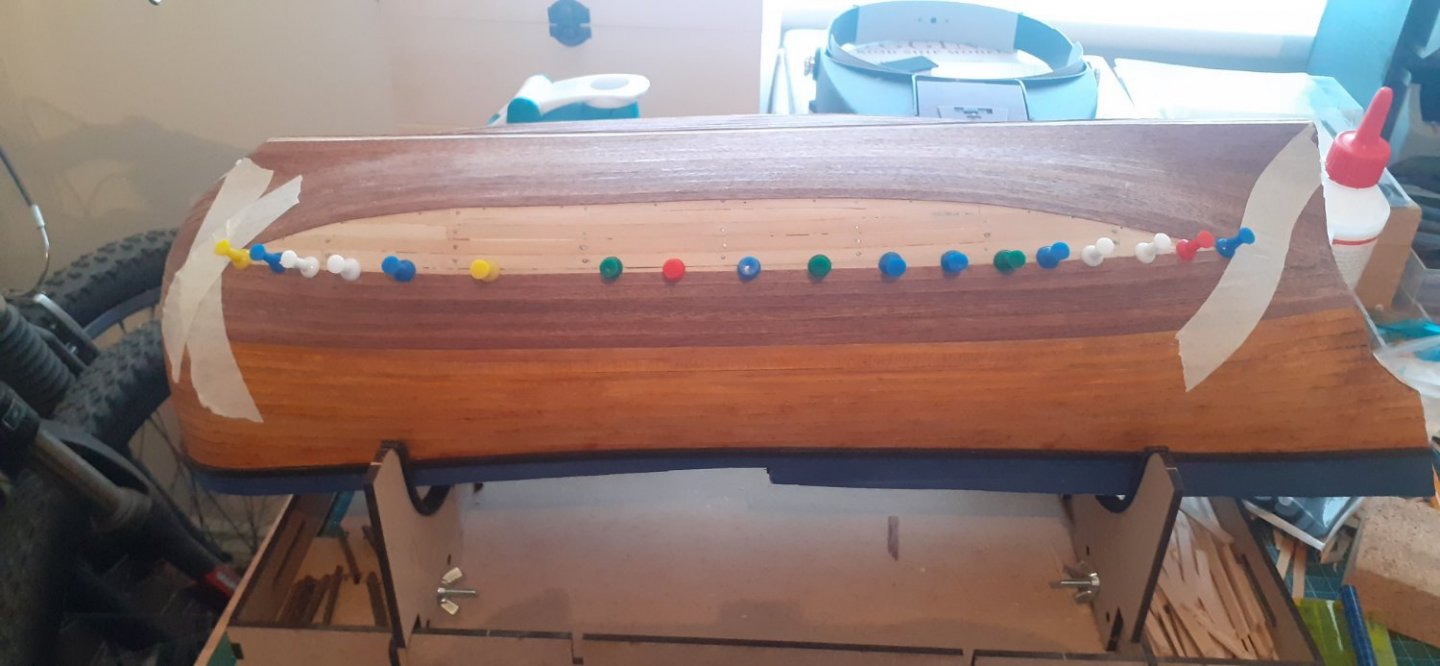
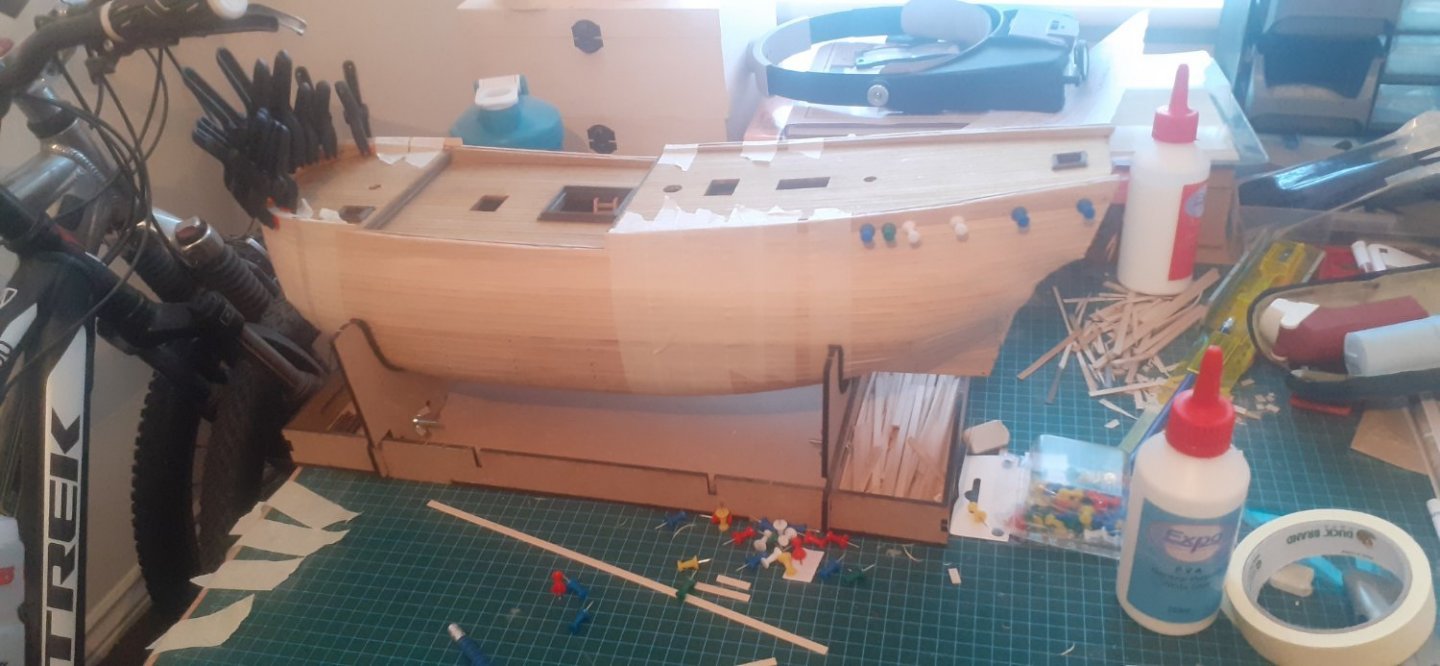
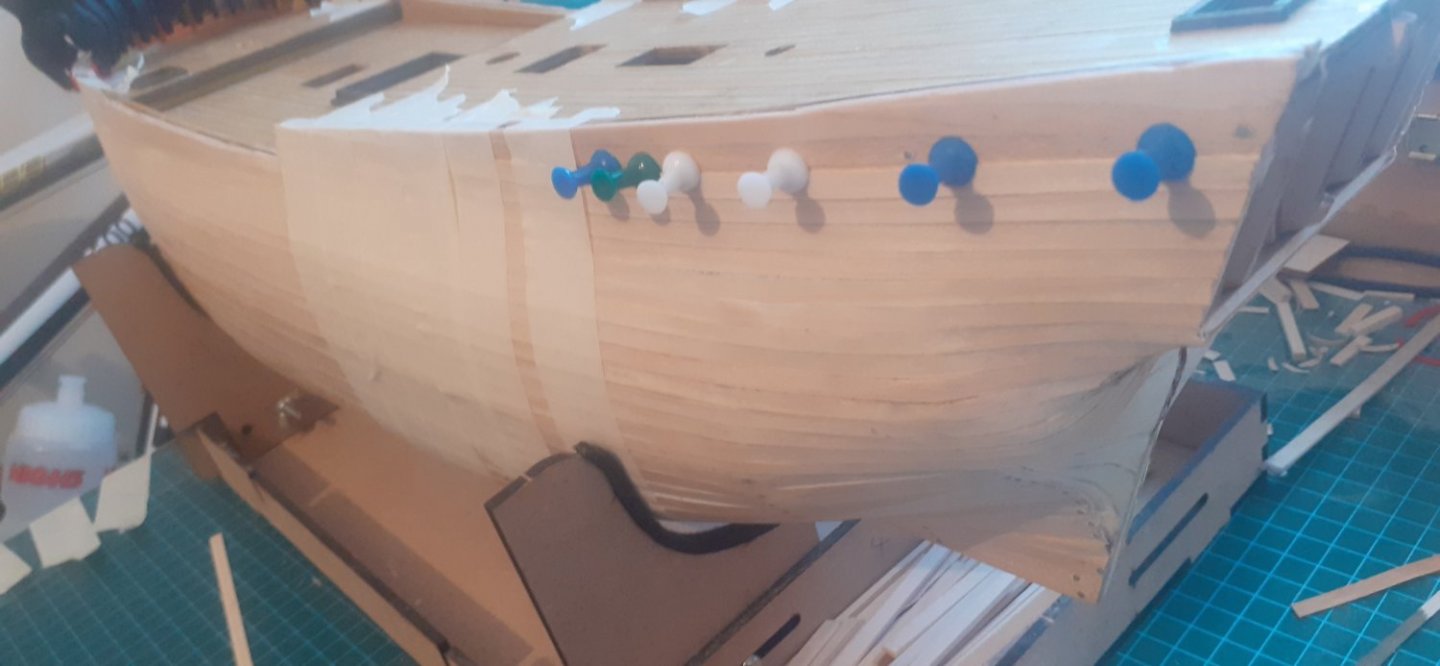
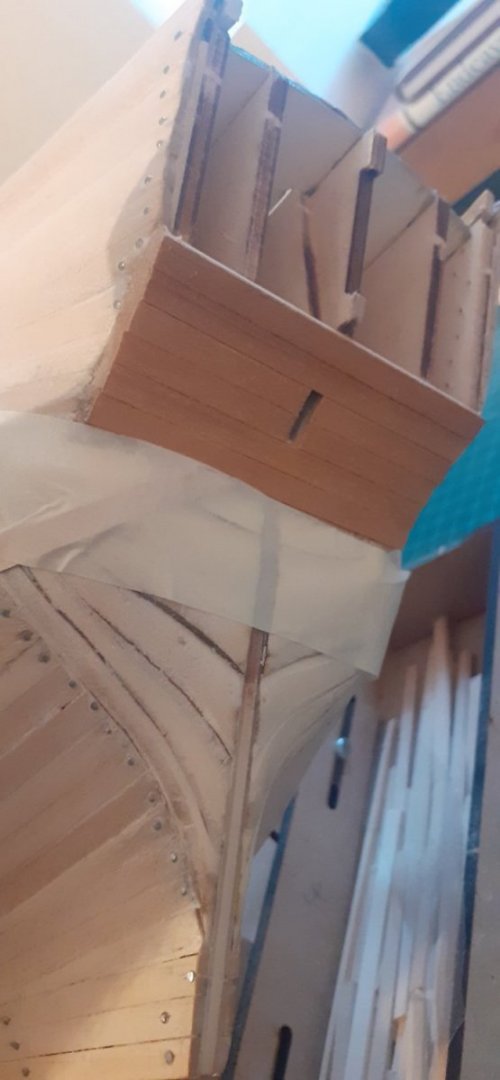
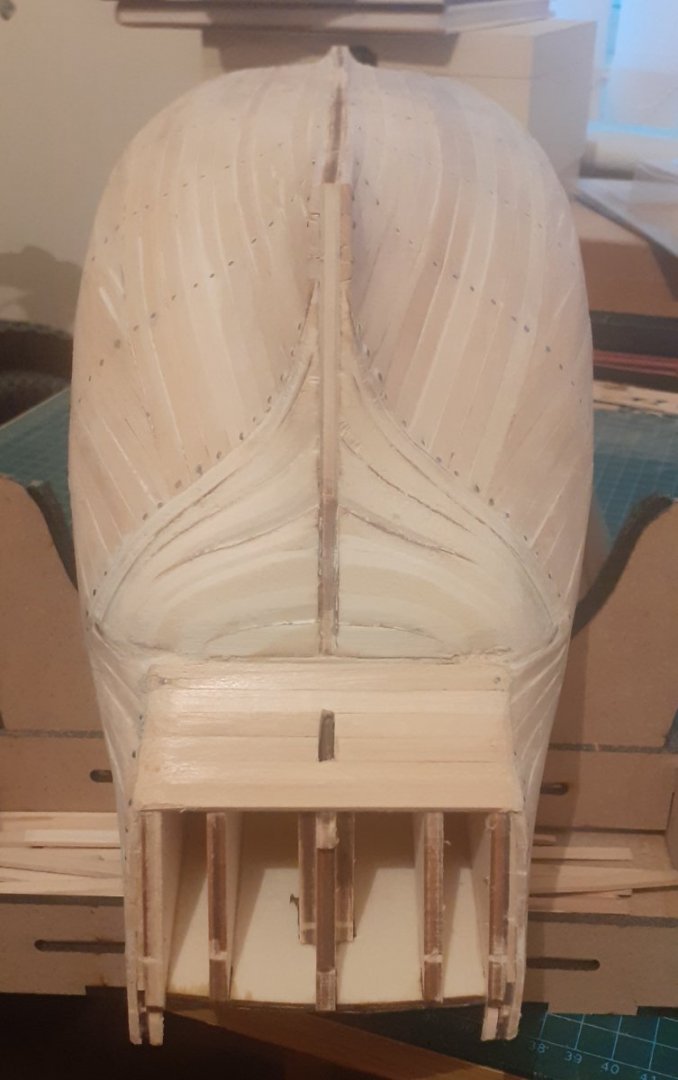
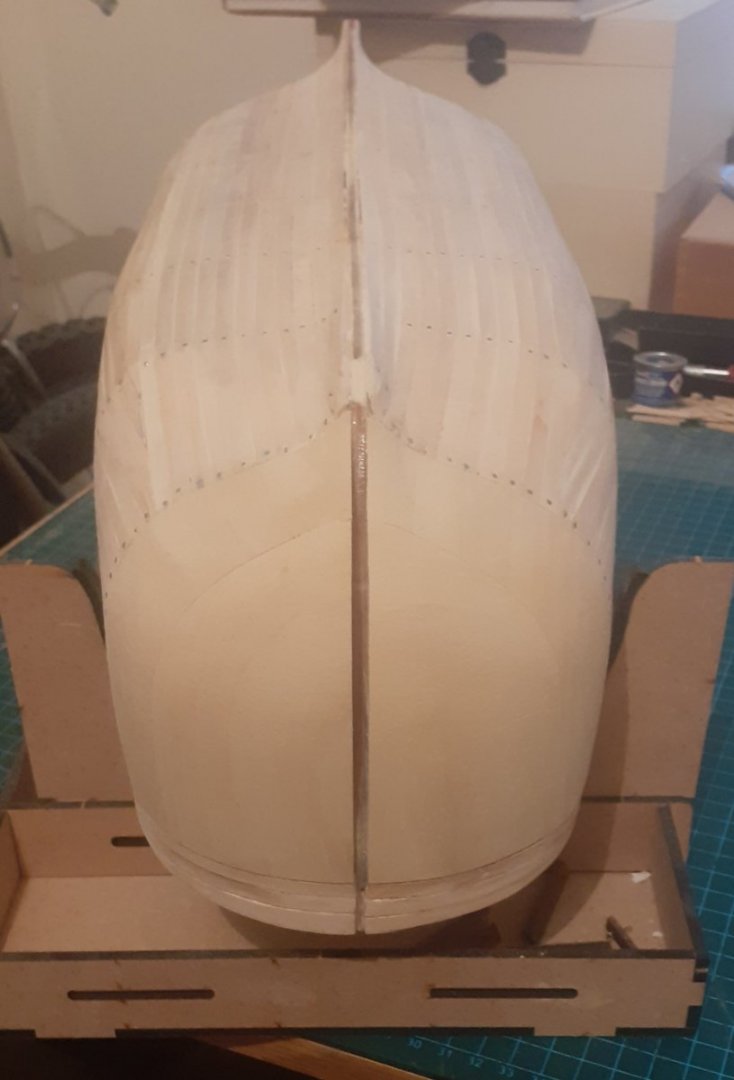
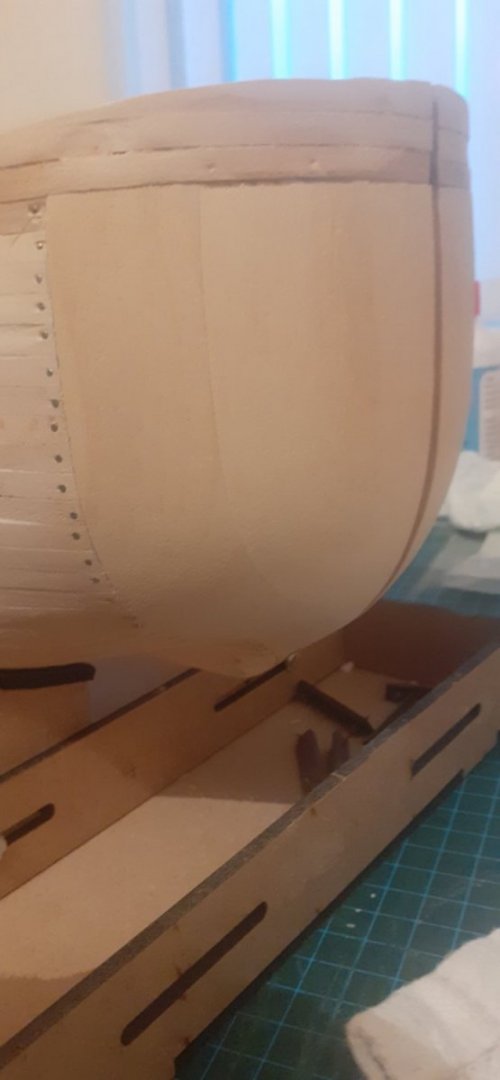
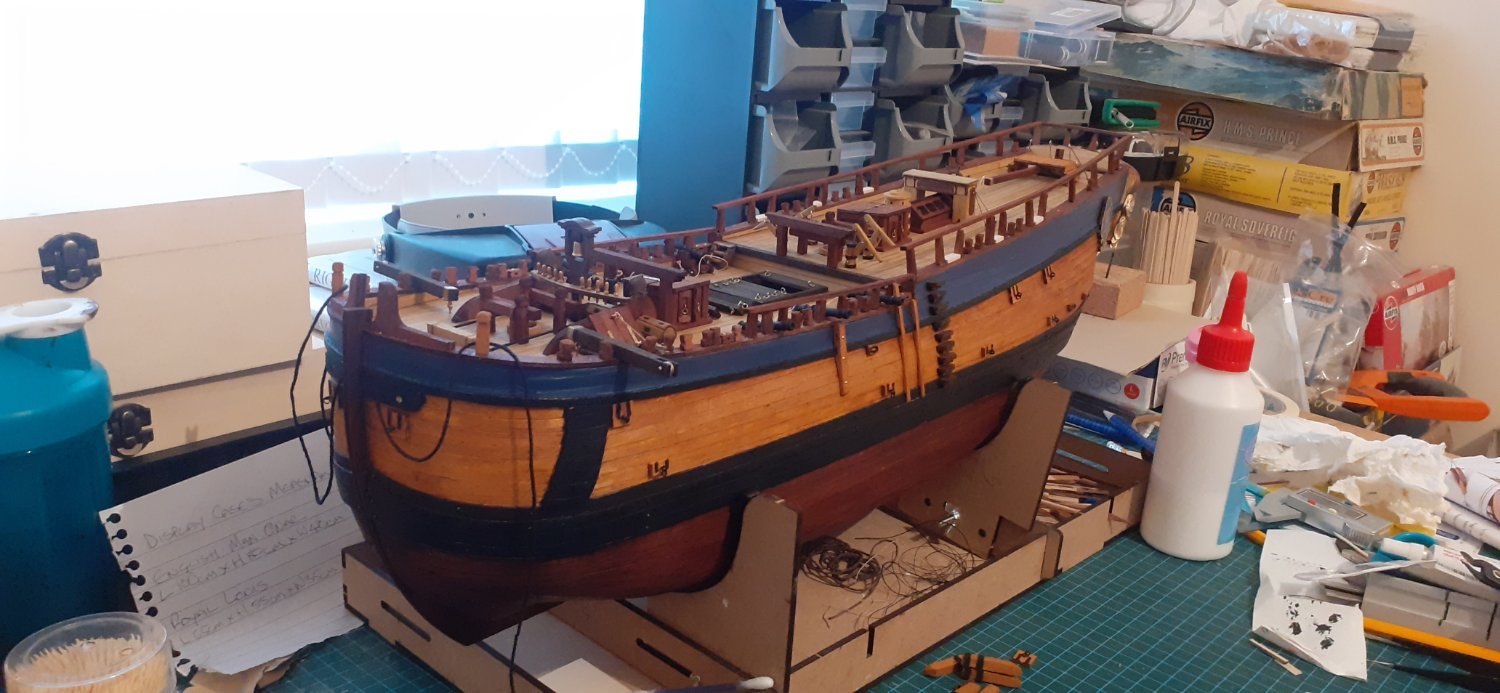
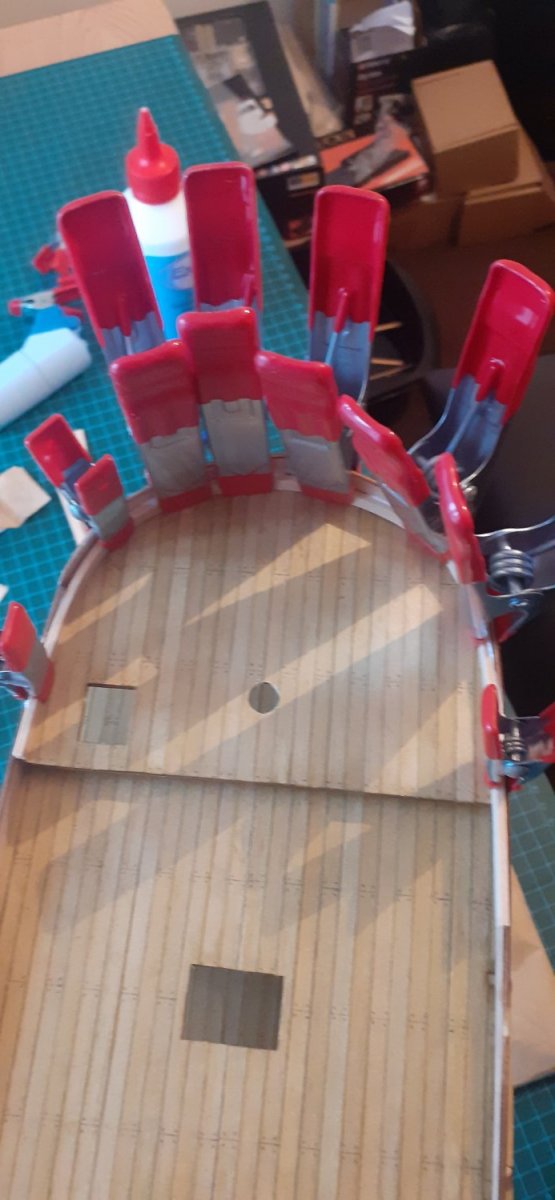
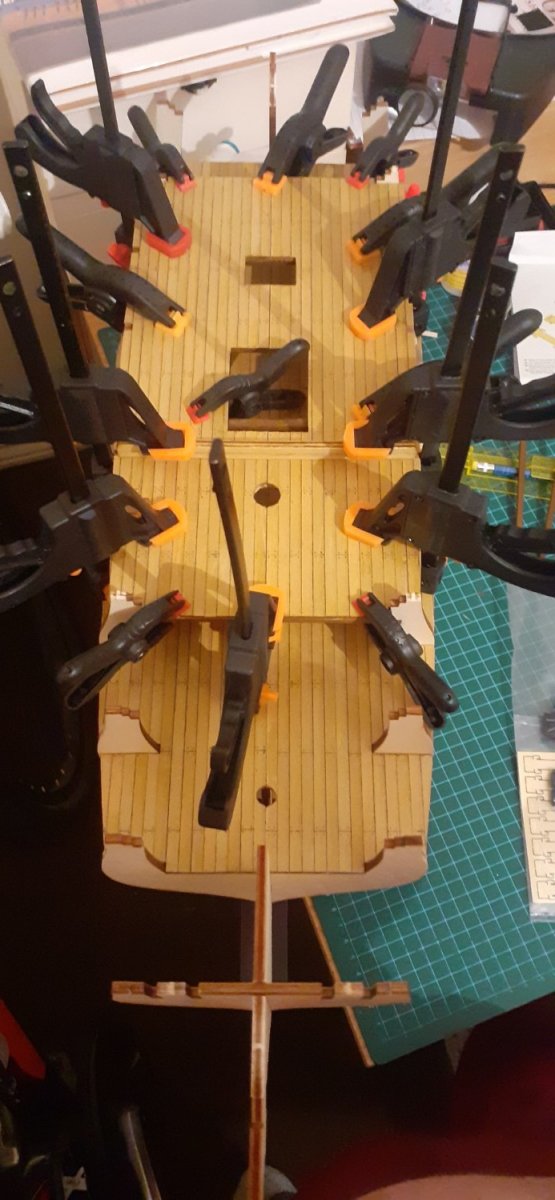
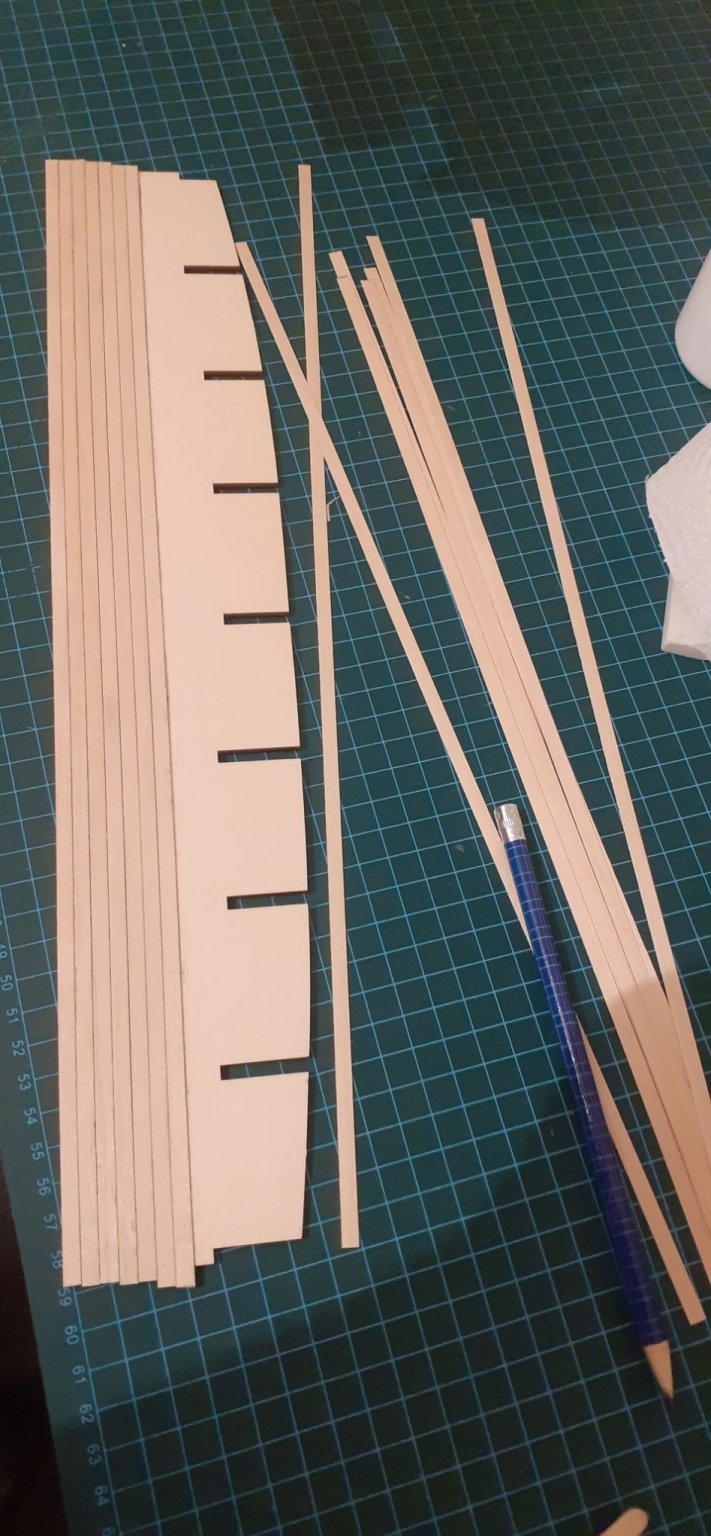
H.M.B. ENDEAVOUR 1/54
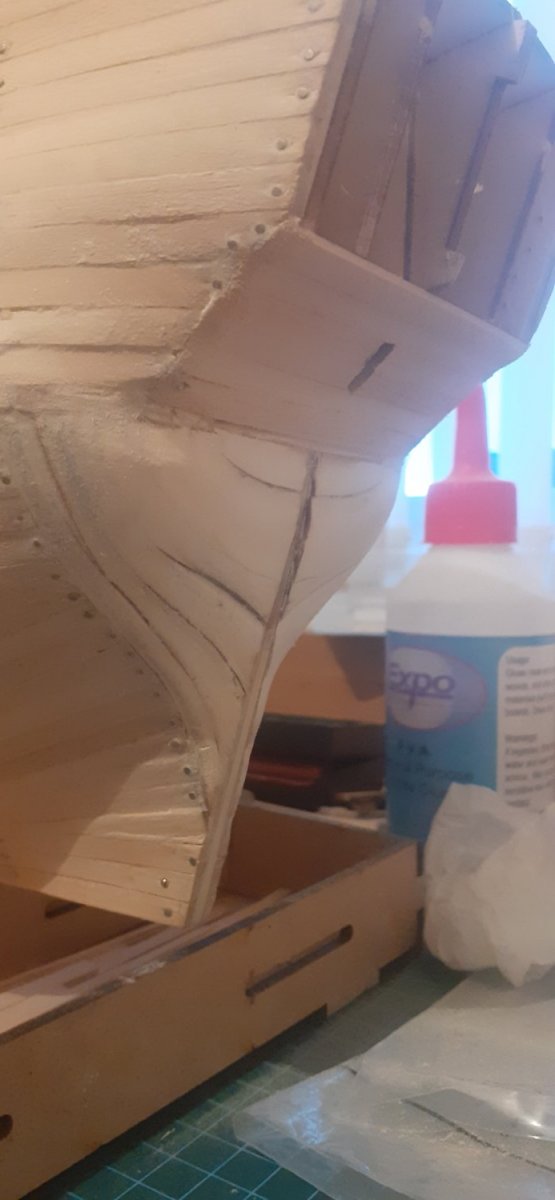
Progress update.Its been sometime since my last build post due to work hrs, and life in general halting any building.
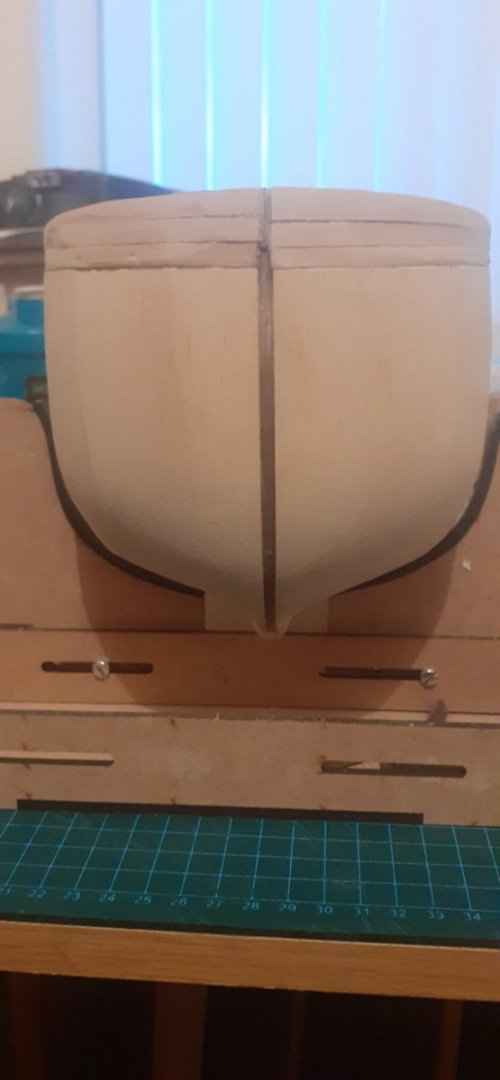
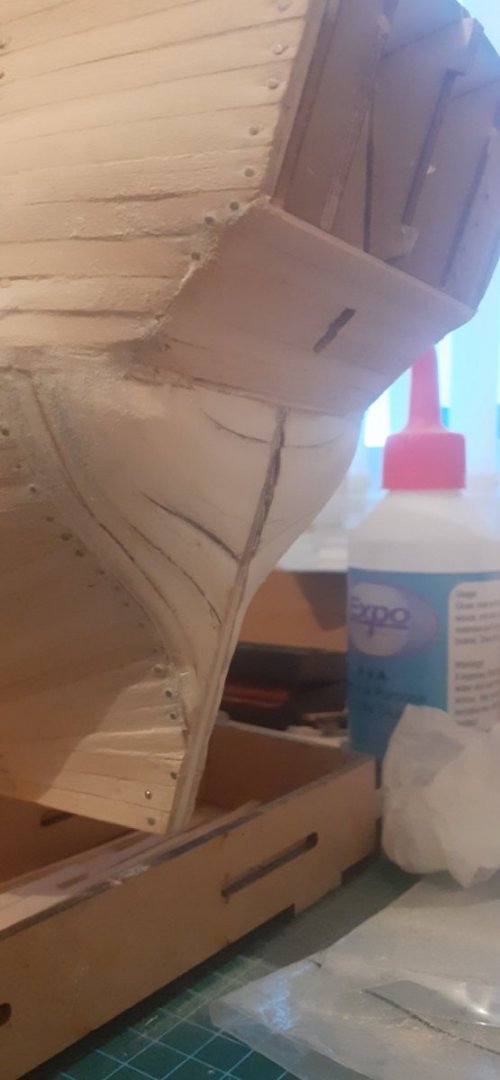
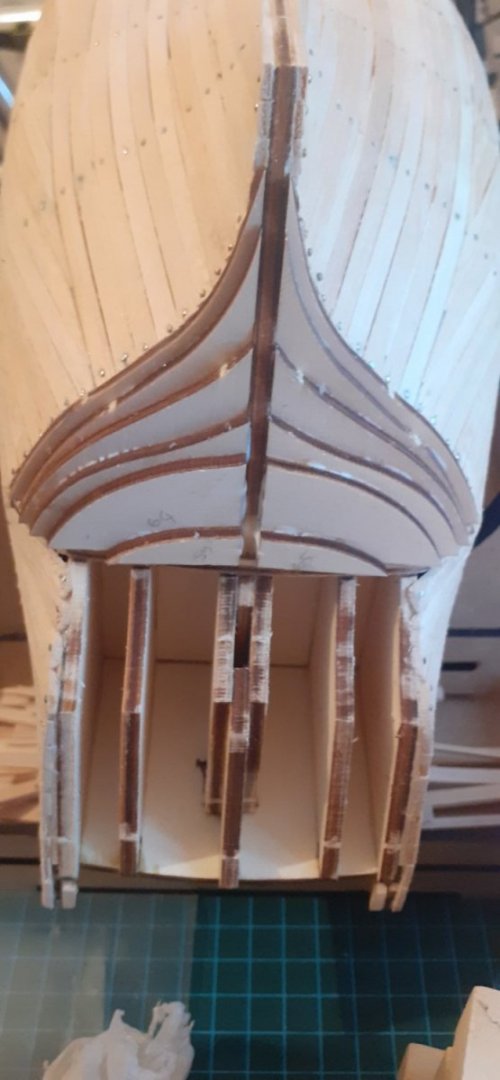
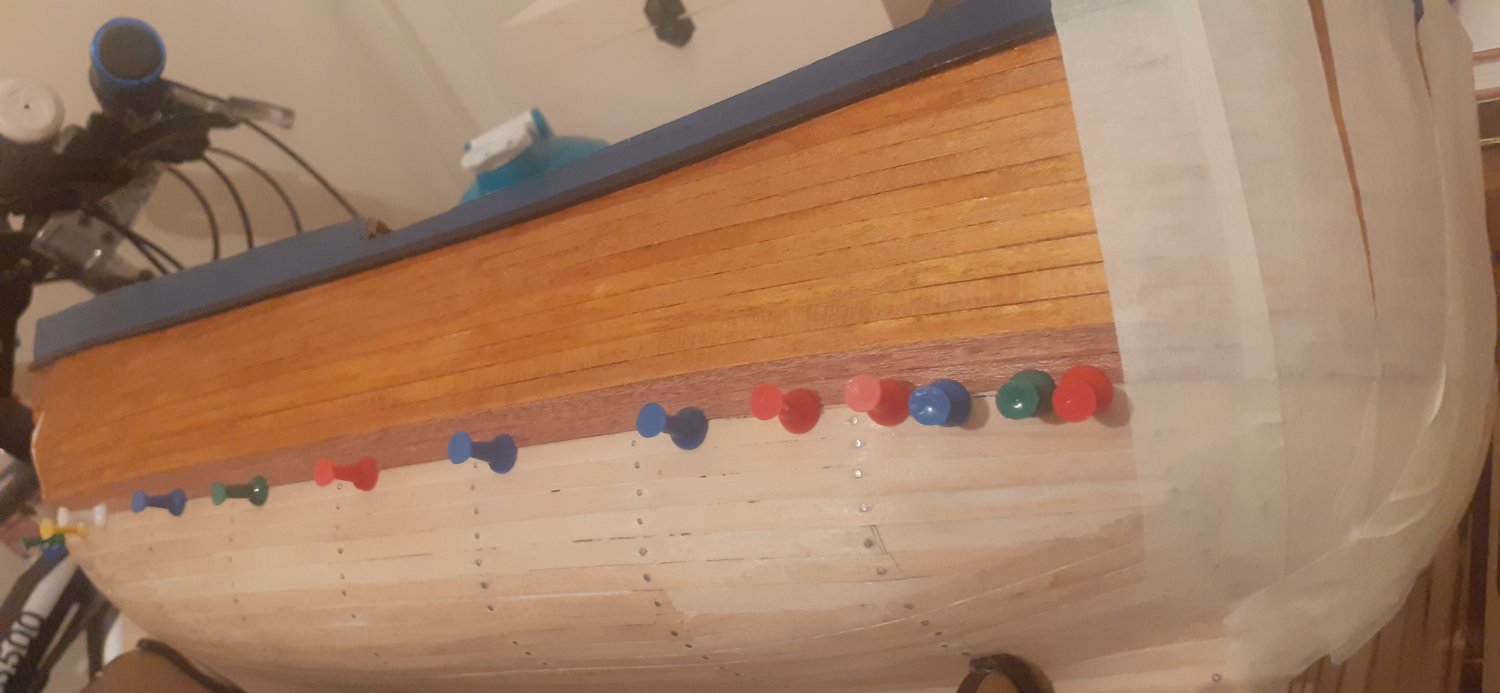
Bow and Stern Reinforcements built and sanded down to the contours of the ship.
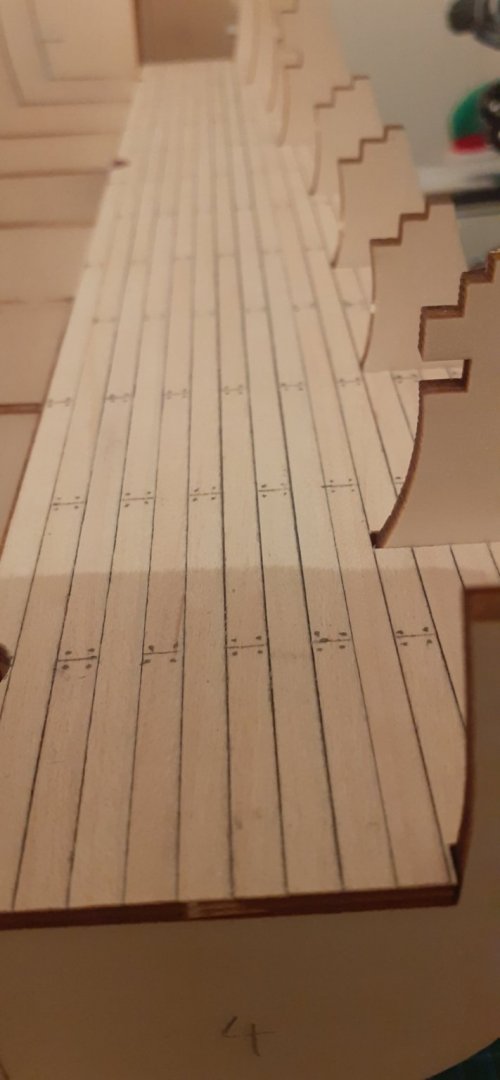
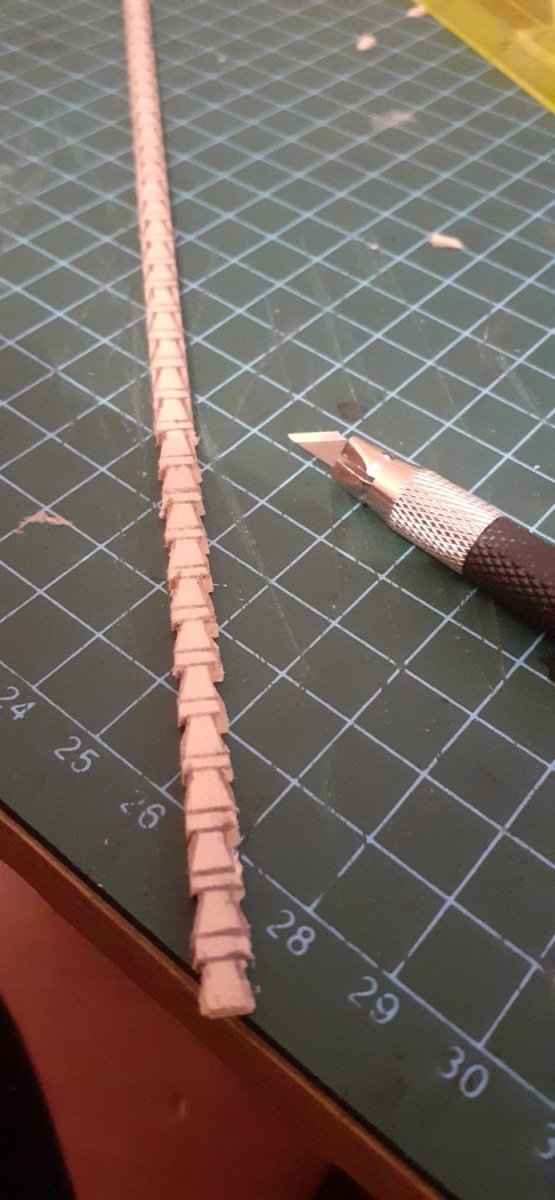
2nd planking Finished, Painted and stained in appropriate areas.Top sheer strakes crimped, painted and affixed.
Next stage will be brushing a second Occre Sapelli stain coat to the lower Hull before tackling the Rubbing strakes which I have already crimped.
It may not be perfect for a first wooden ship build but iam happy with her so far.
Happy modelling and staysafe everyone
👍🤺🤺🤺⚓⚓⚓

- GrandpaPhil, Cathead and Seventynet
-
3
-
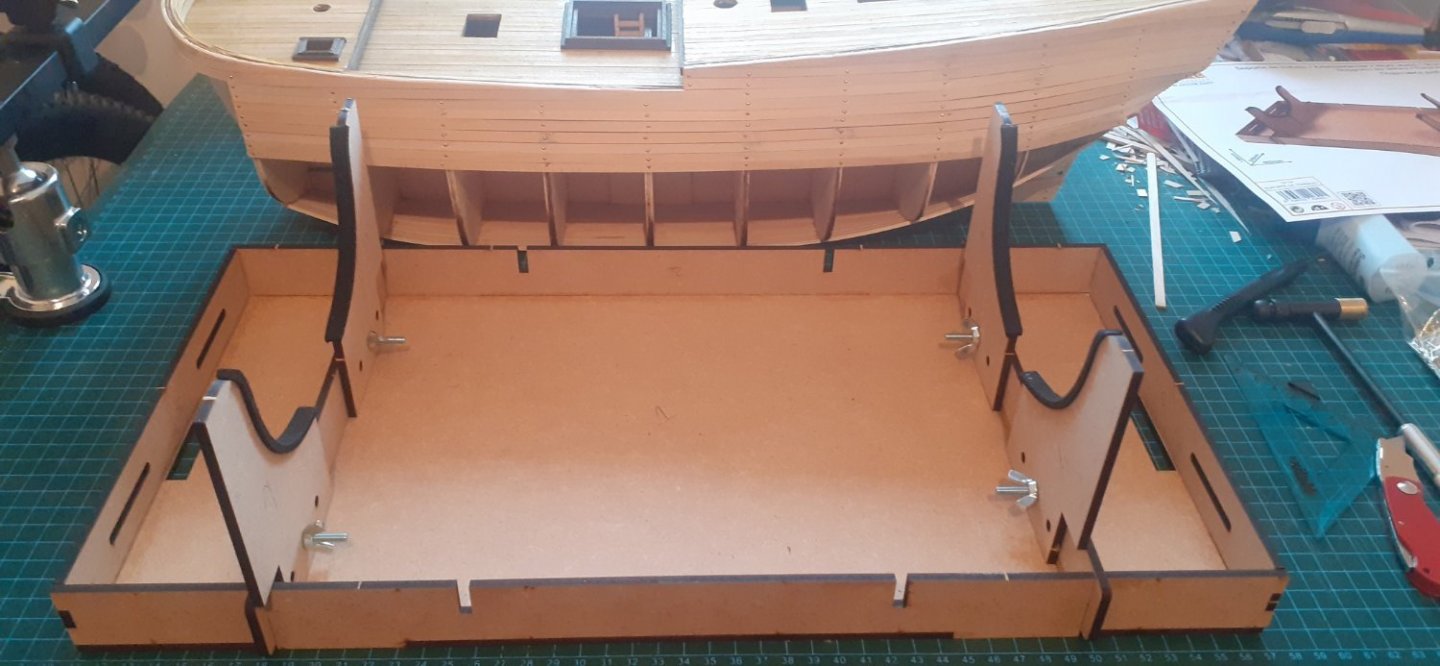
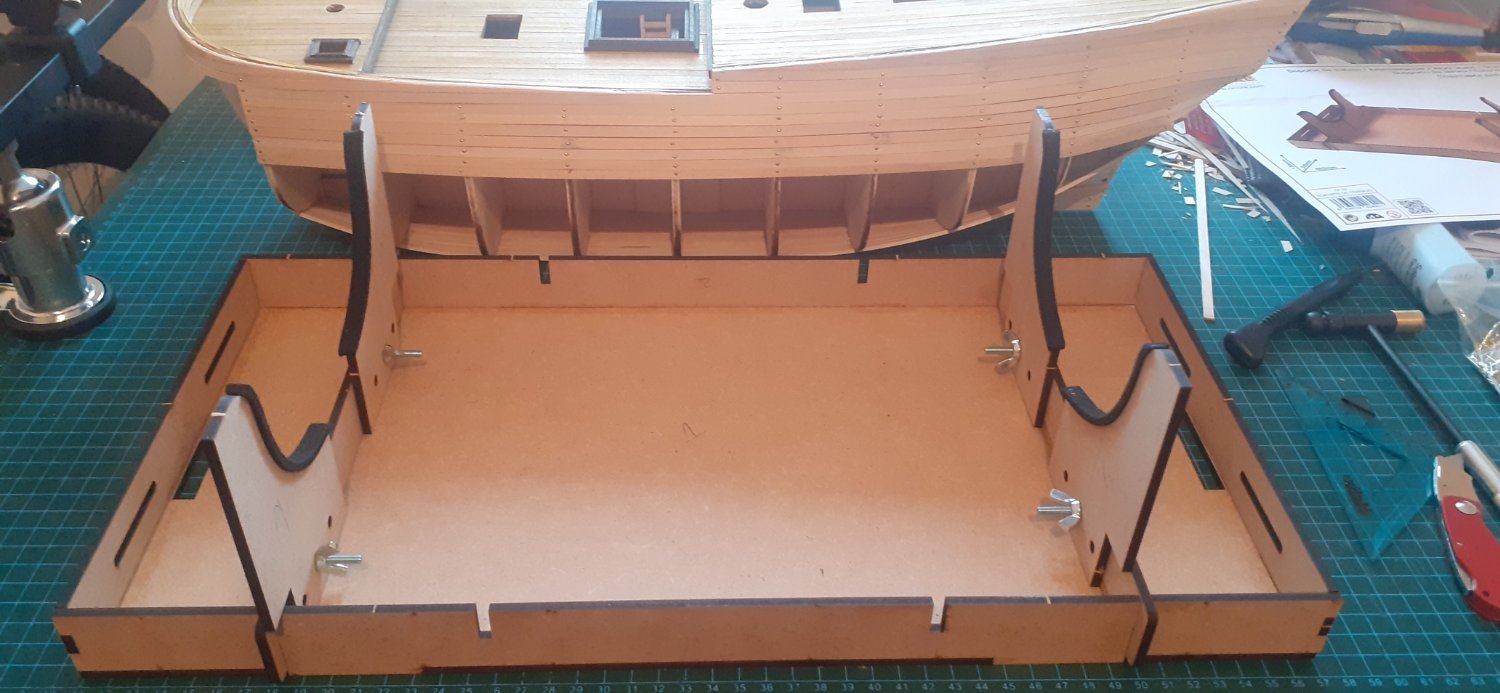
On 2/18/2022 at 8:39 PM, CapnCarss said:
Looking great! I'll be starting one soon, so will be following closely. Planking looks top notch... what's the support/stand you're using?
Hi there sorry for the late reply the support stand is made by OCCRE as well purchased online from "Hobbies" here in the UK.
-
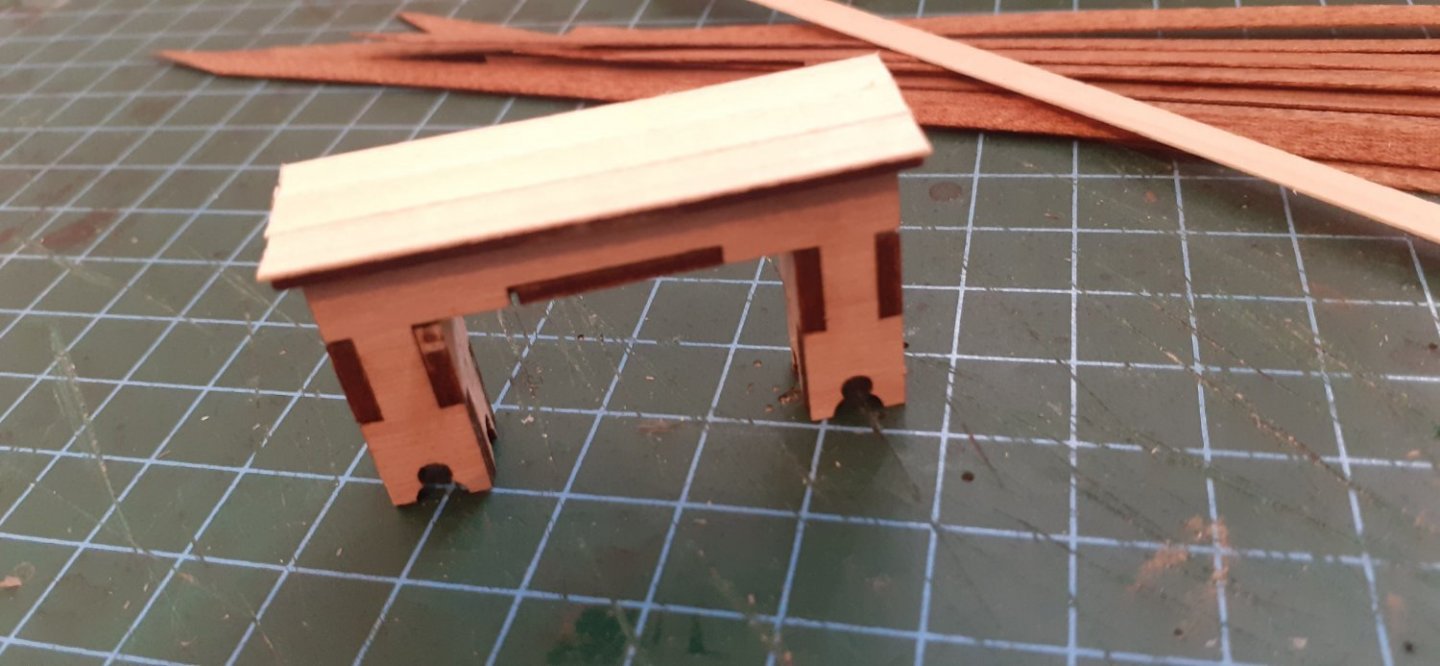
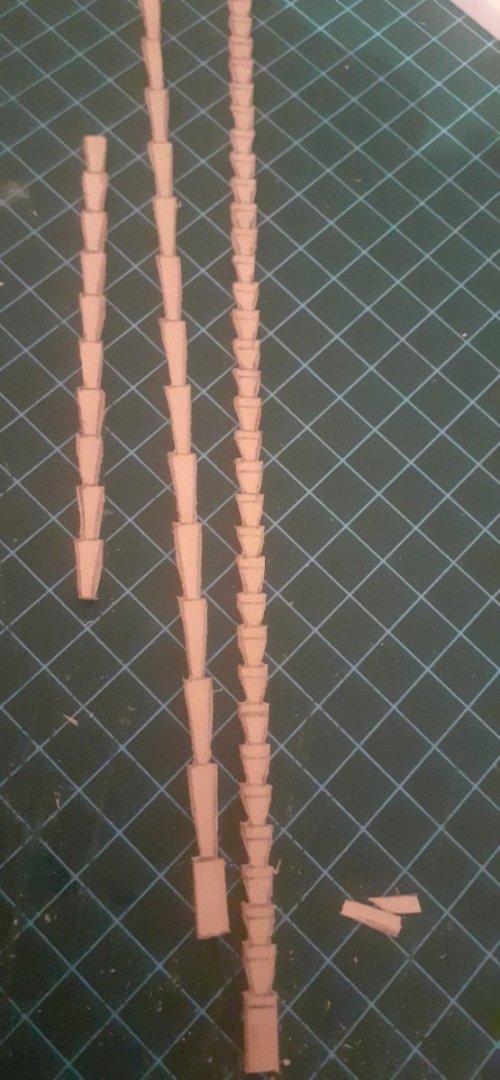
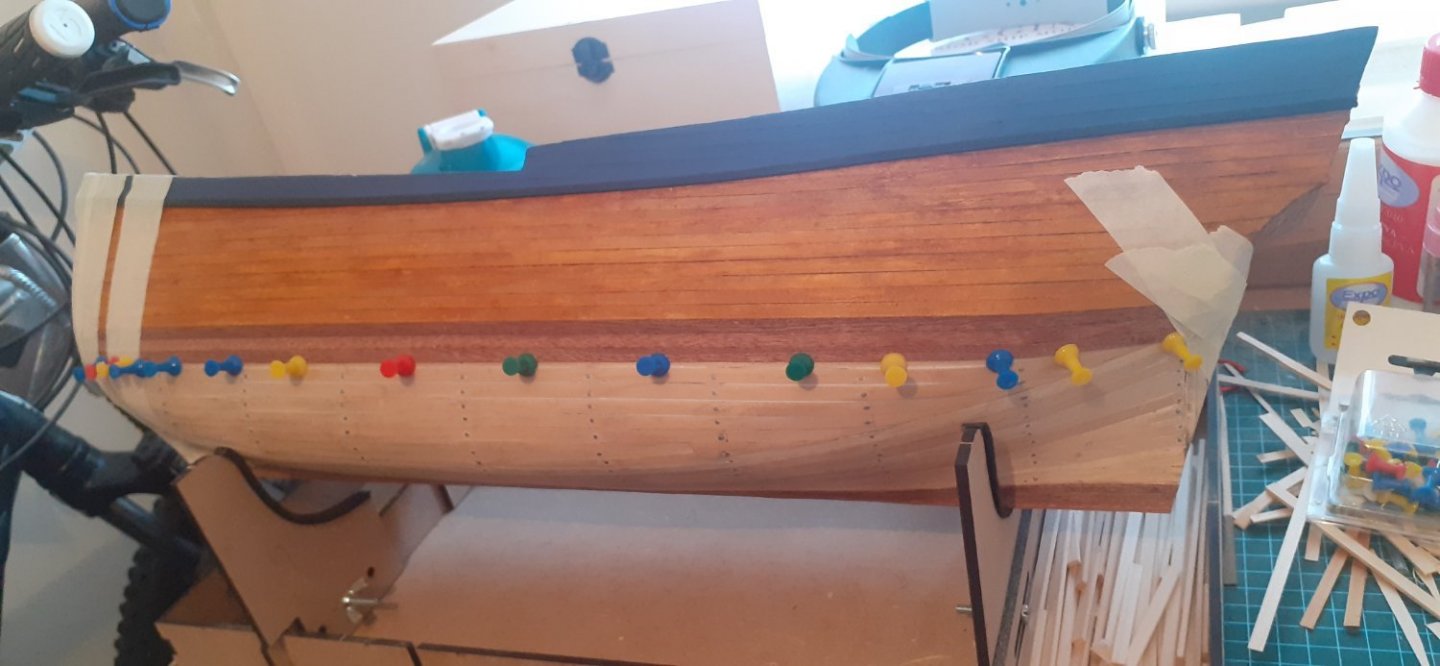
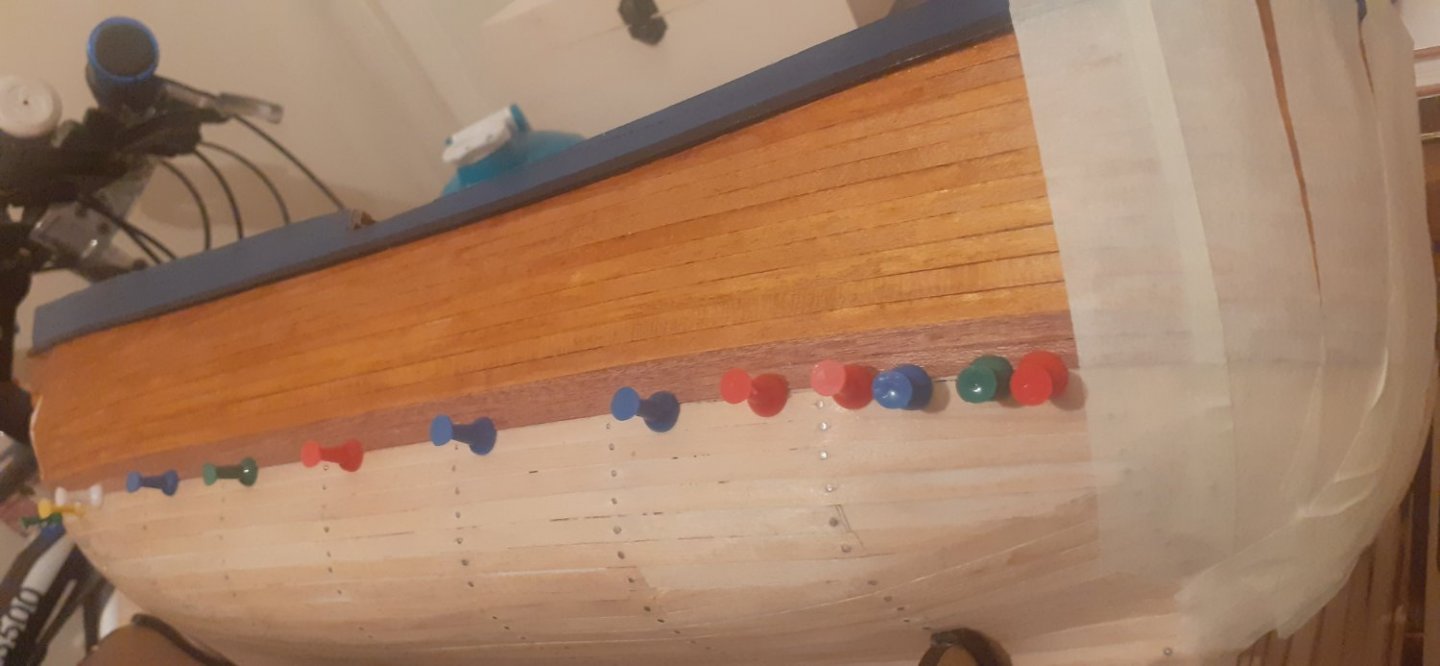
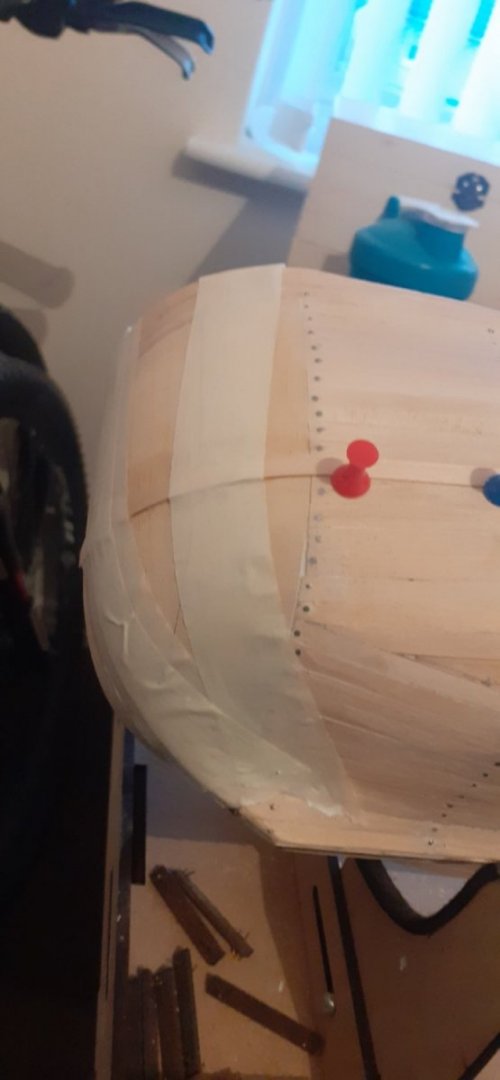
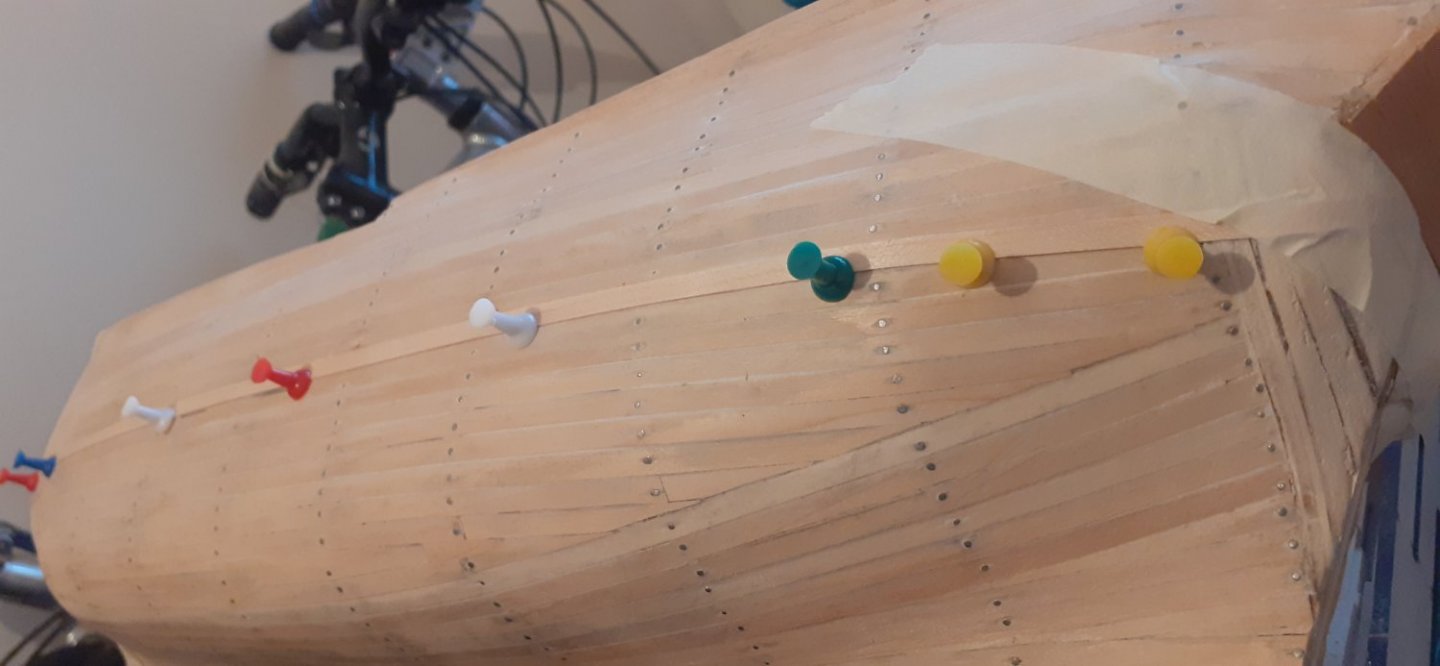
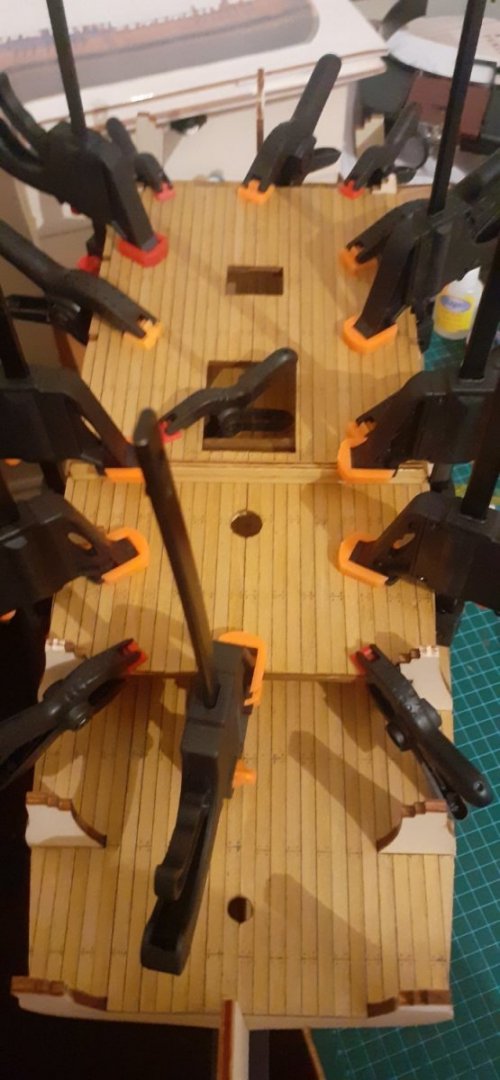
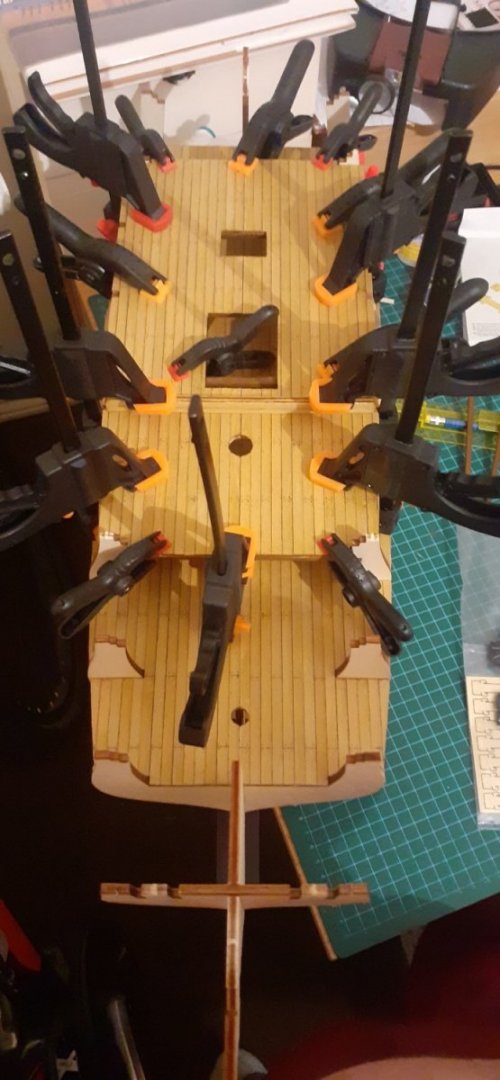
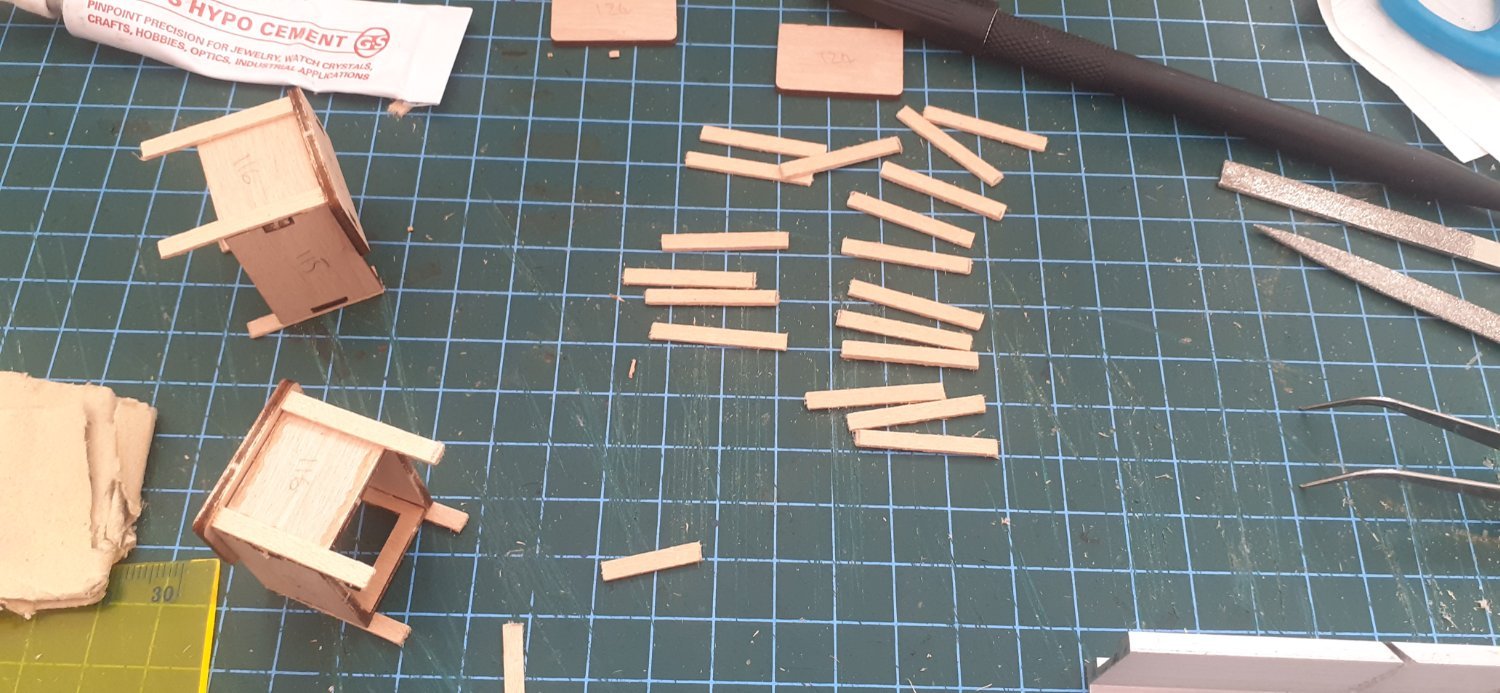
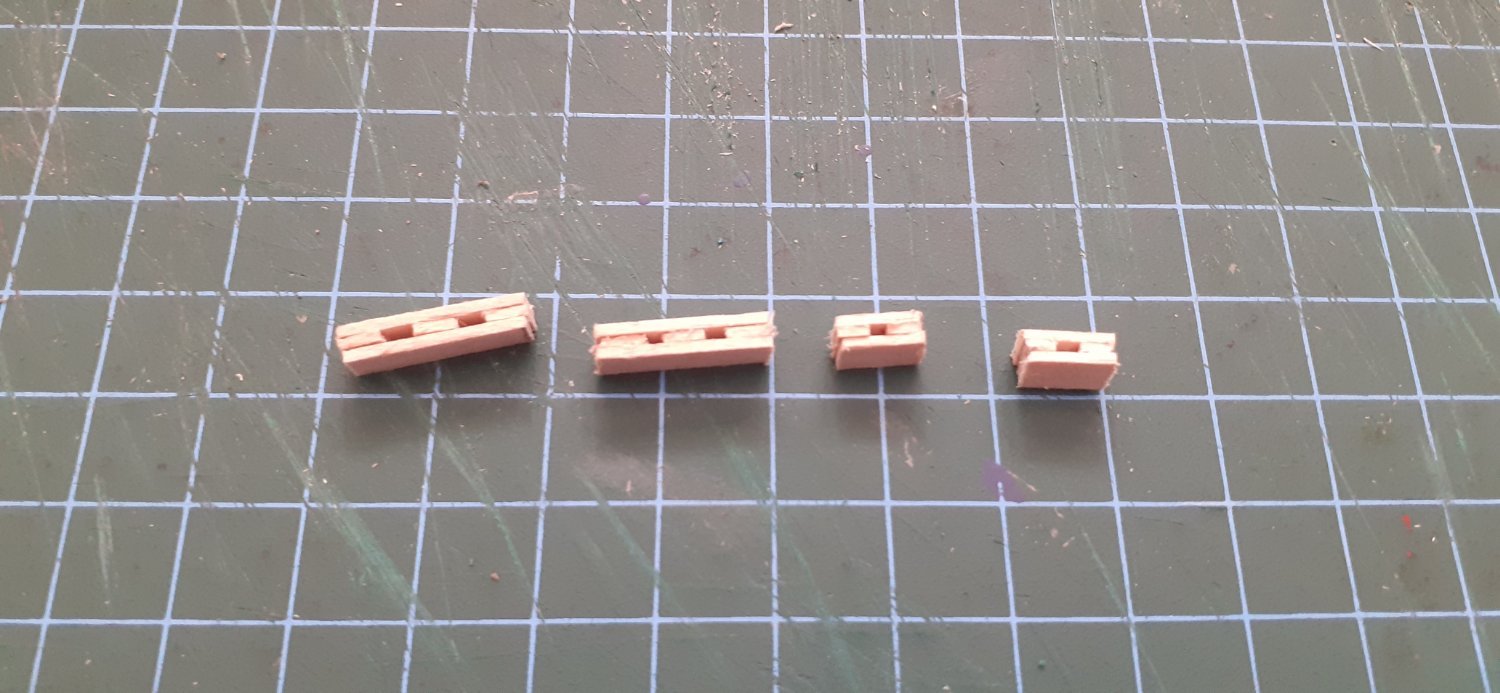
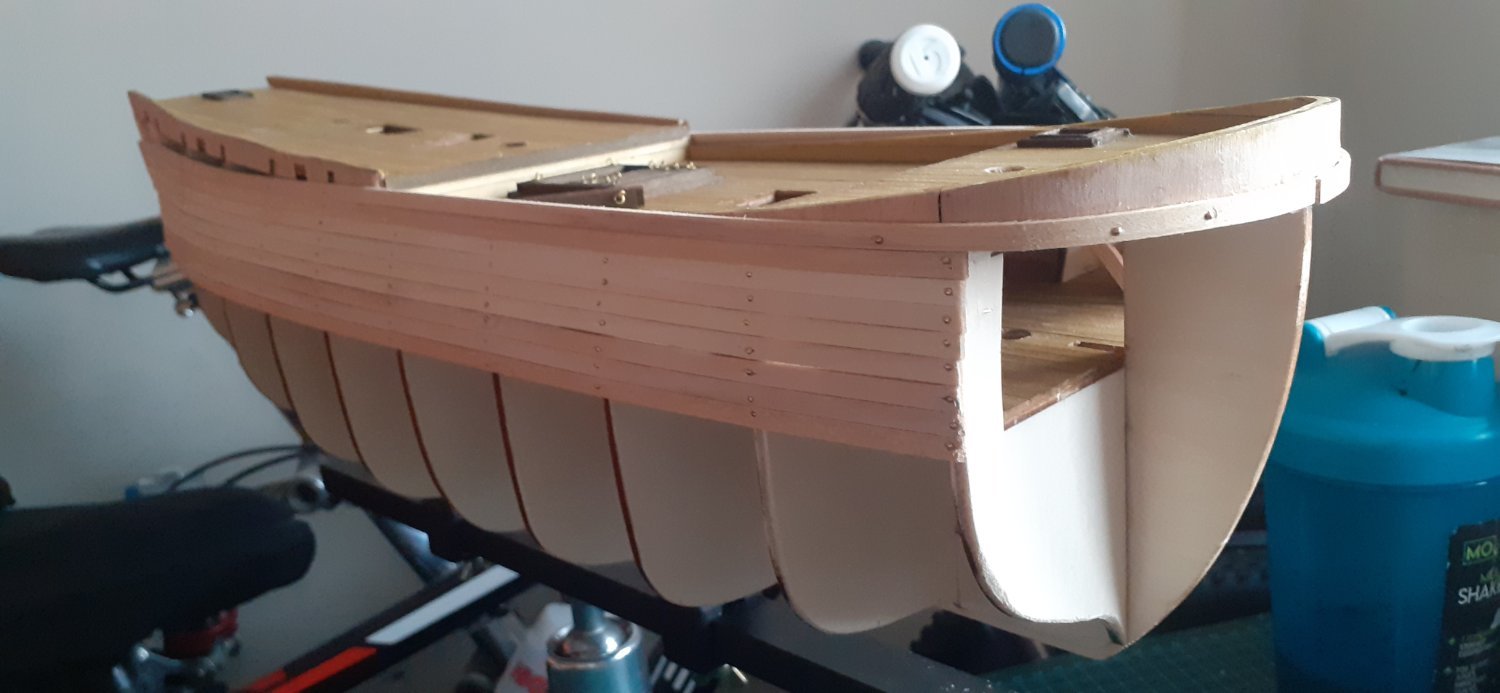
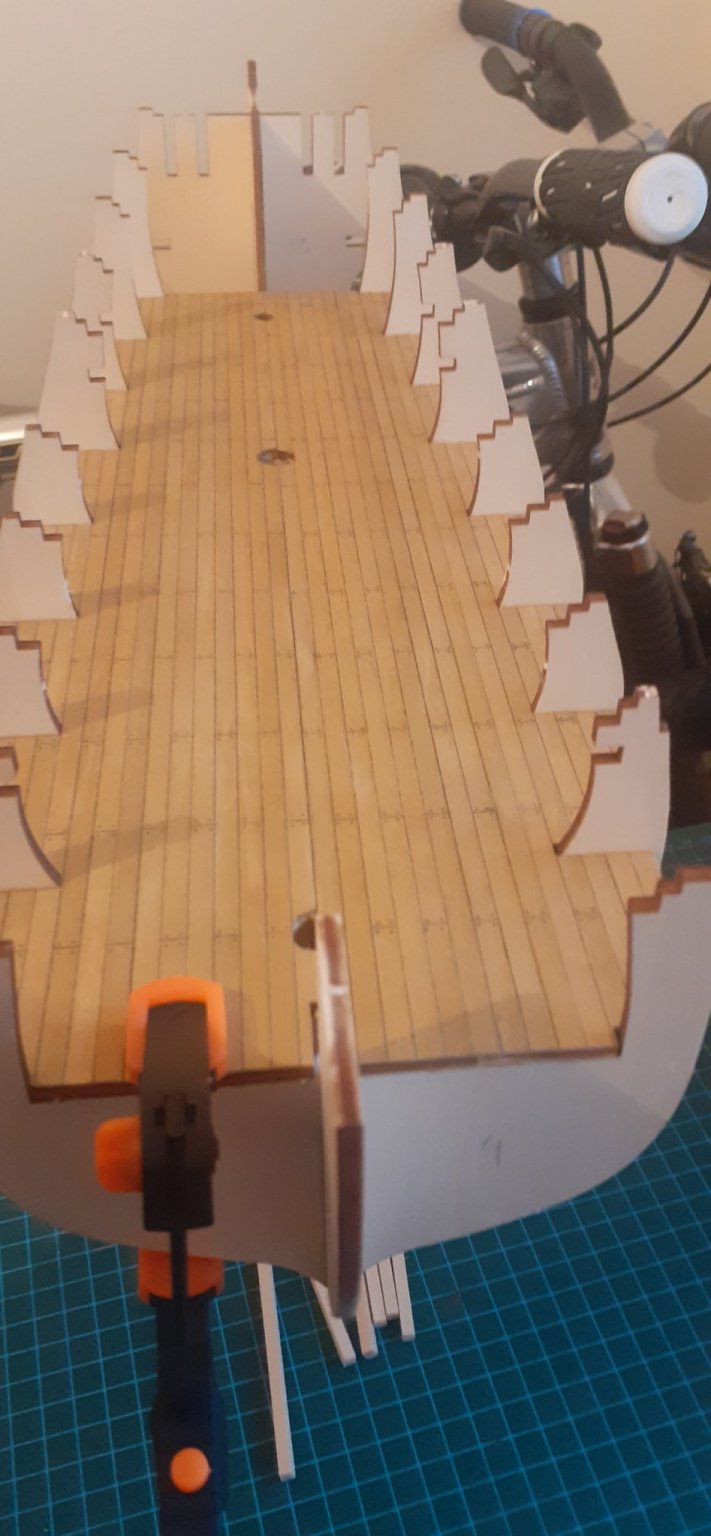
Endeavour 1/54 Construction update.
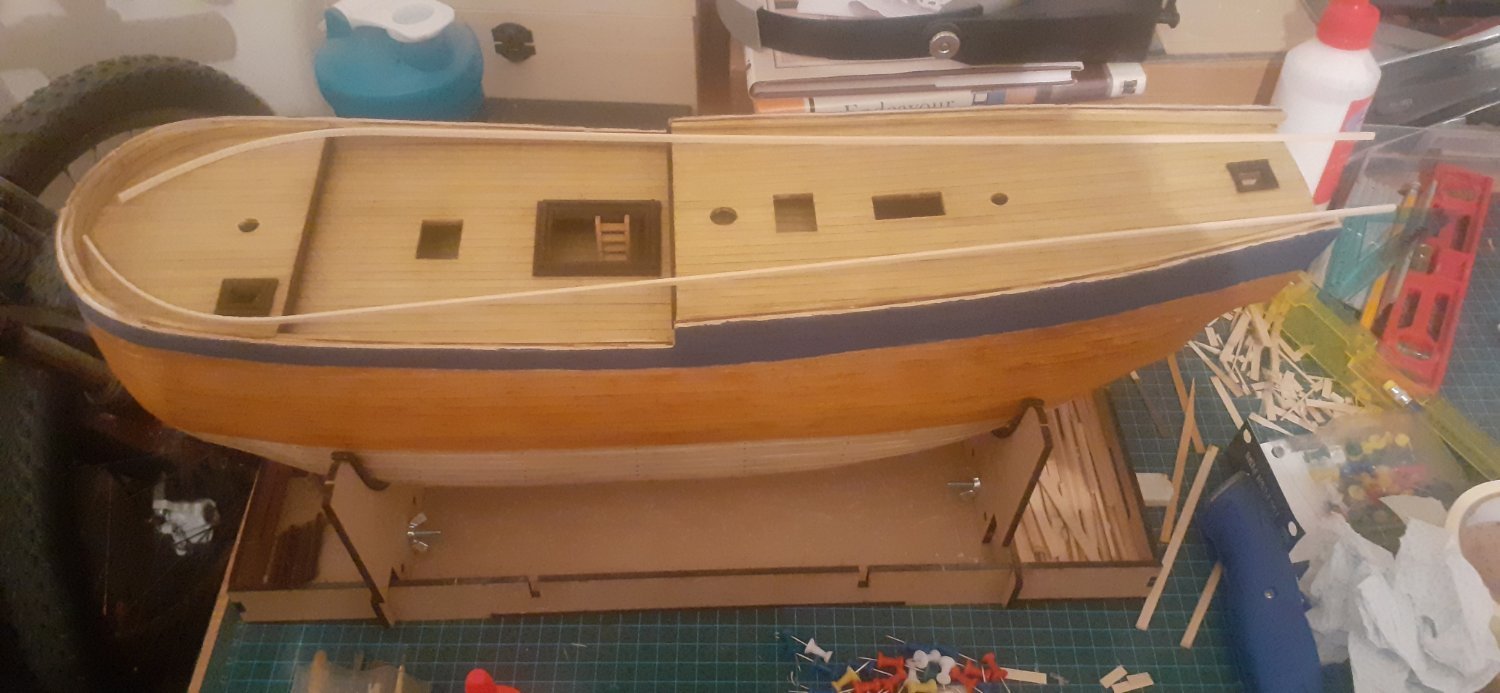
All Bulwarks have been fully installed, lined, and brushed with Oak dye to compliment the Decks.
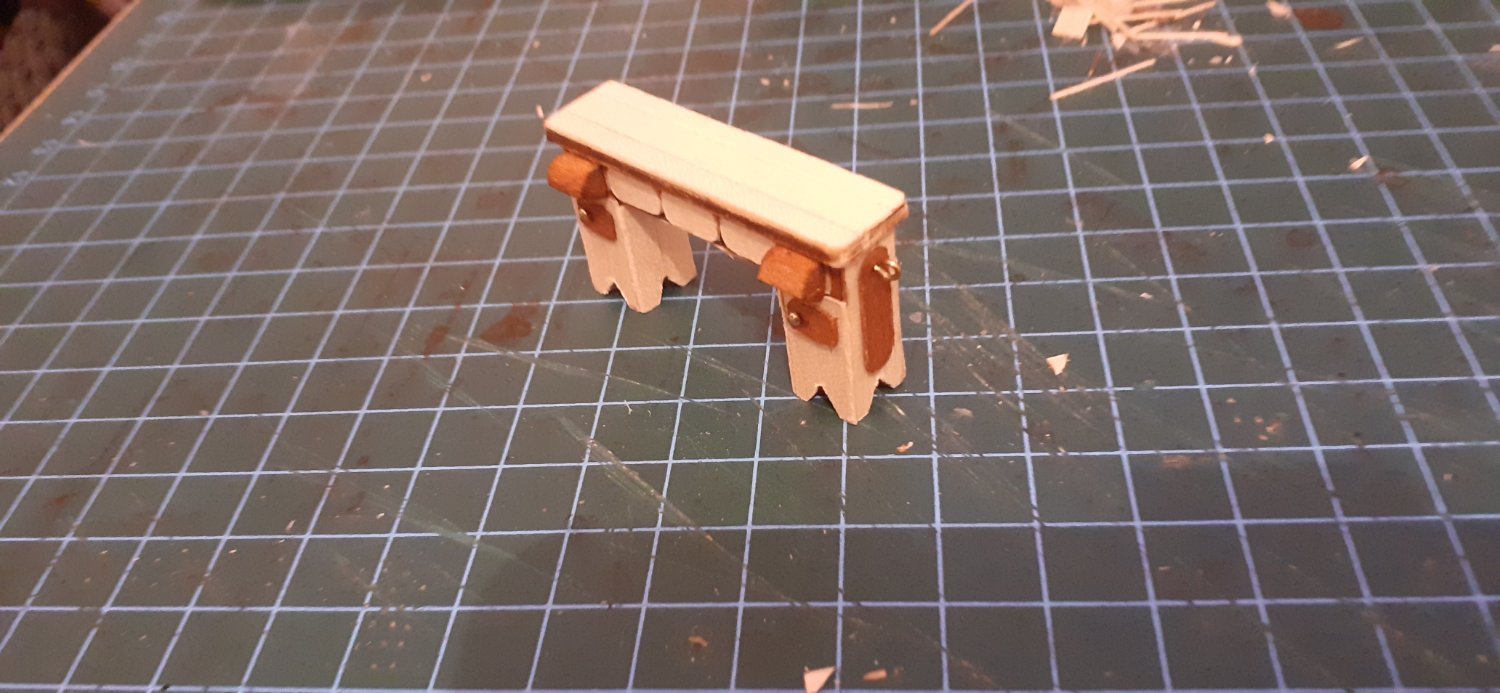
4 sets of stairs have been made 2 small(for the Rear deck, but not installed) and 2 large(Large ones have been installed to the Main Hatch and Fore fall Scuttle. All steps brushed with Oak dye.
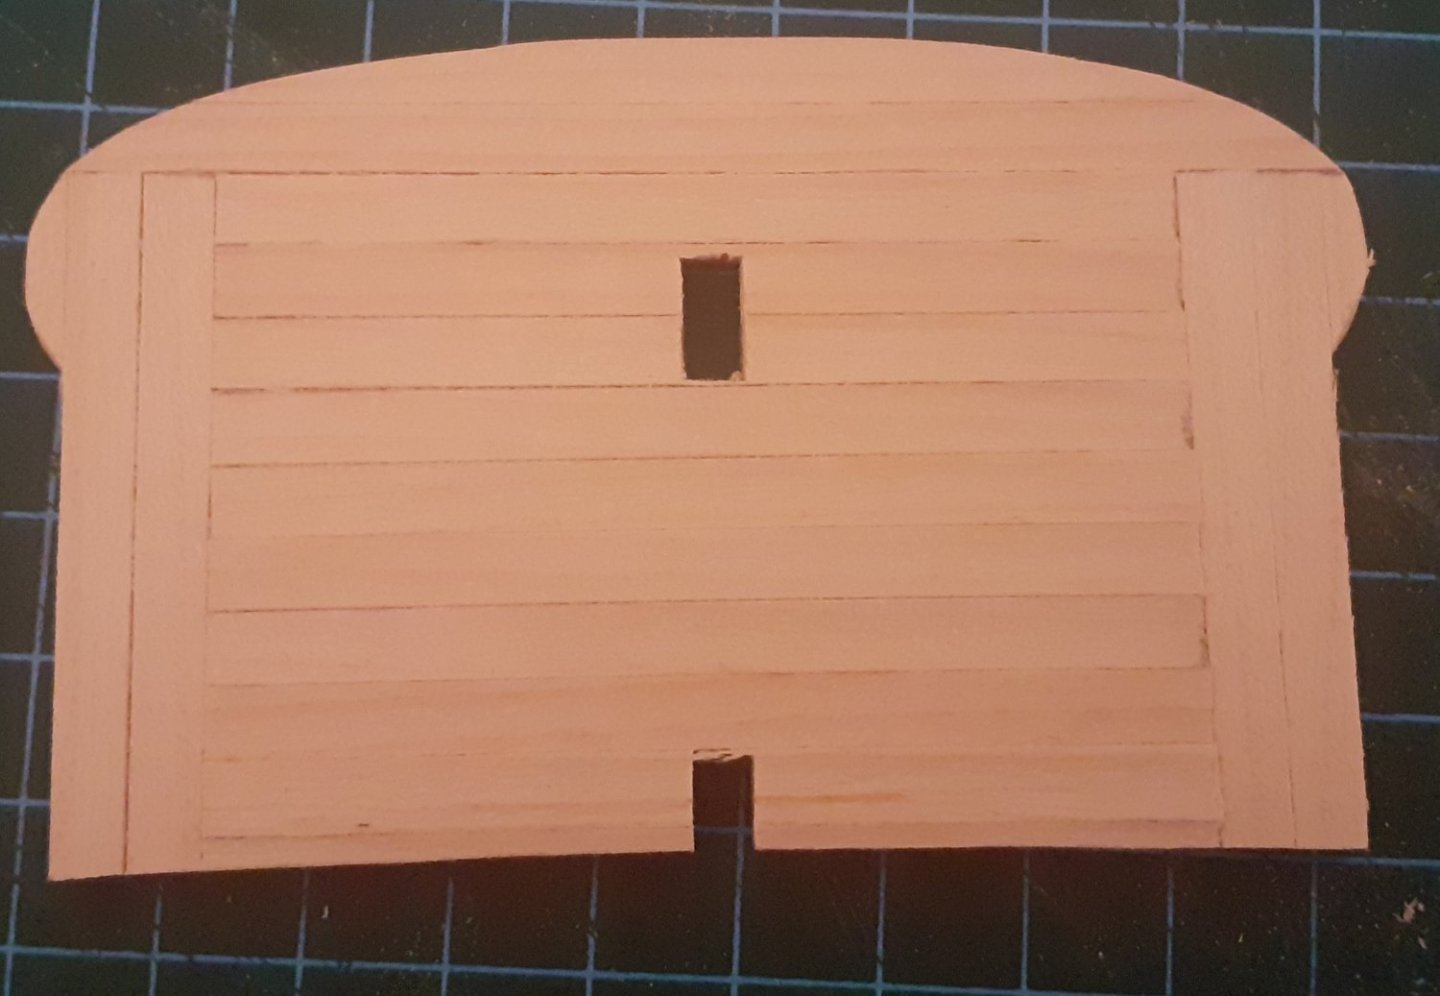
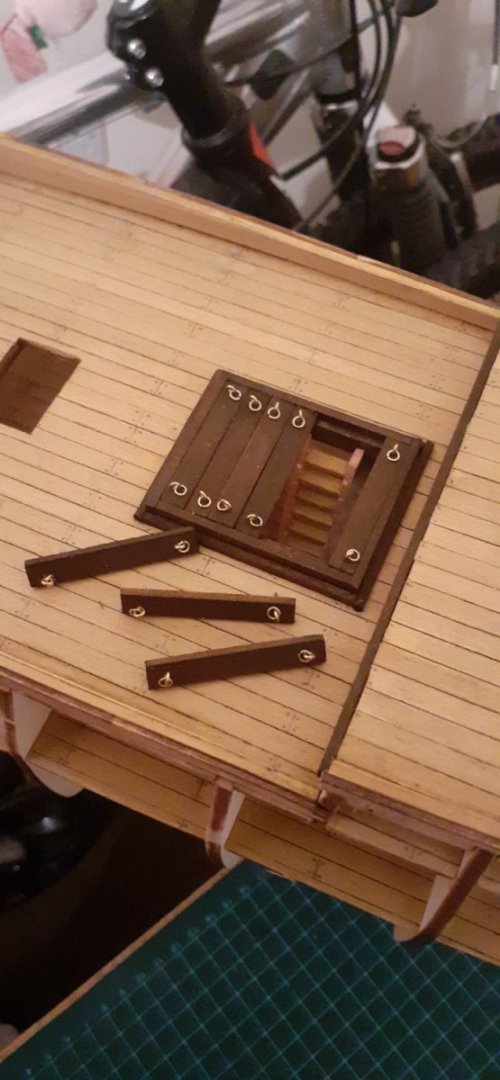
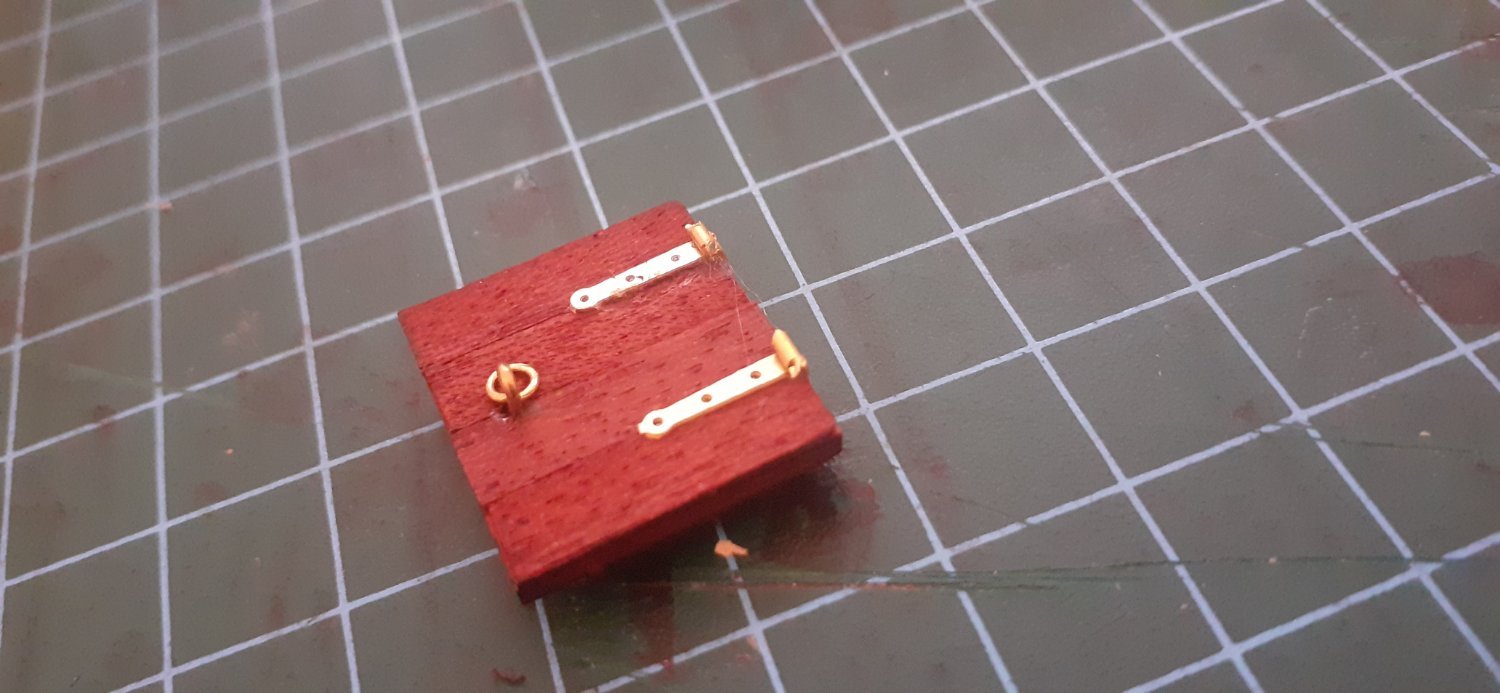
Hatches for the Fore fall scuttle, Main Hatch and small rear stern Hatch have been built, installed and brushed with Occre's Walnut dye.
The Ringed Plank covers for the Main hatch have also been built, installed and again brushed with Occre's walnut dye.
Deck Finishes for the Fore and Aft deck cut, brushed with Occre's walnut dye and installed.
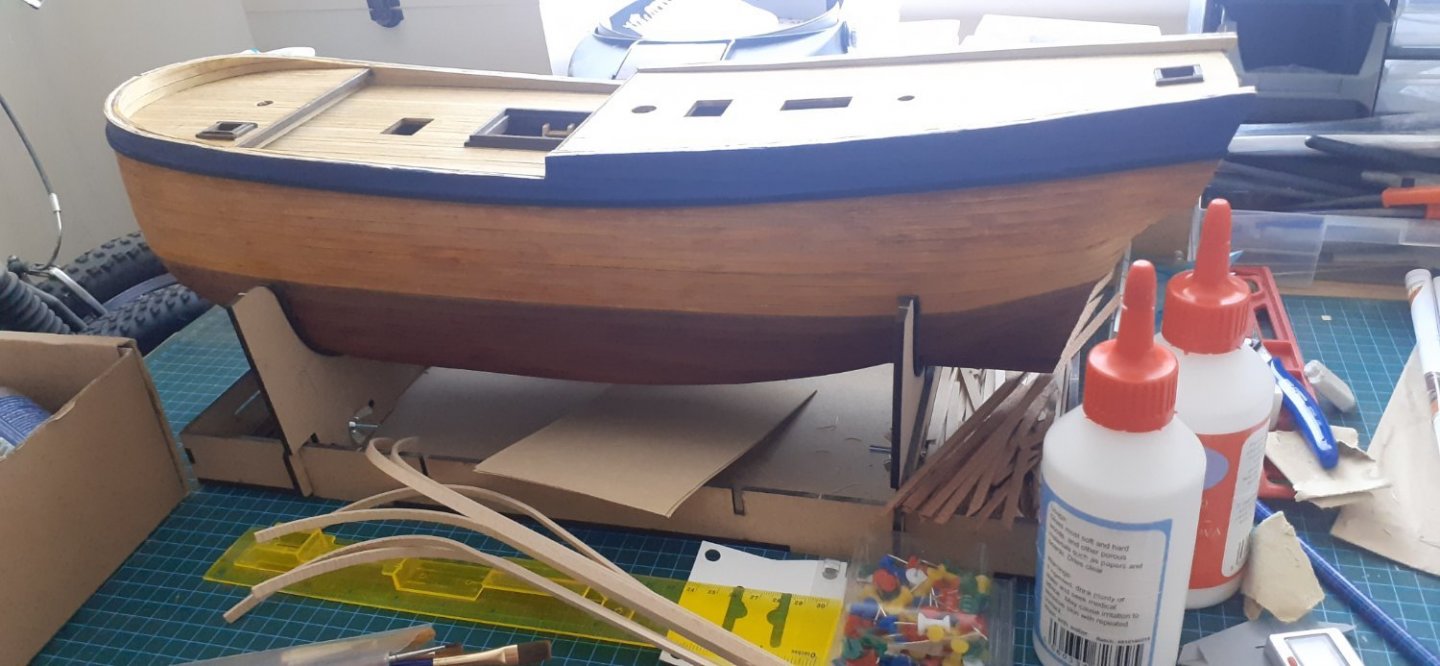
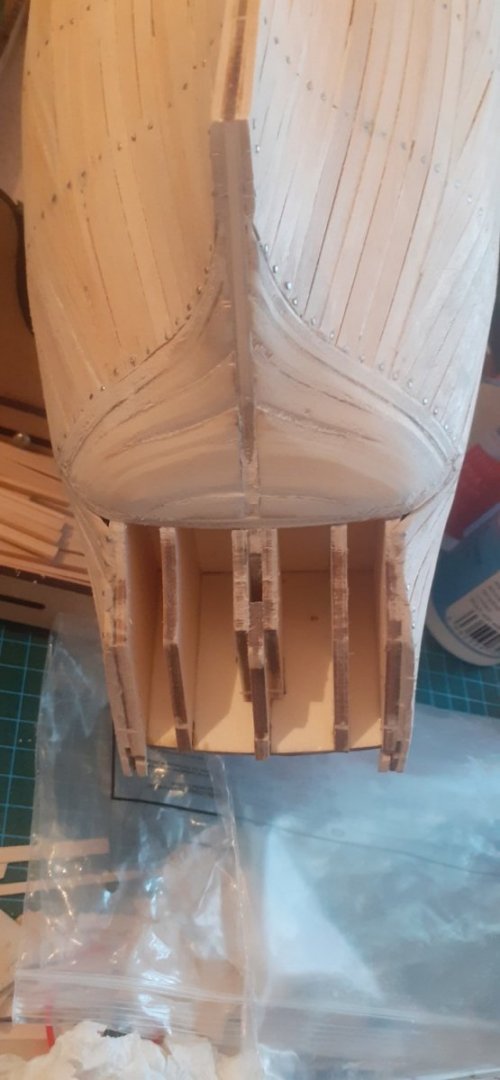
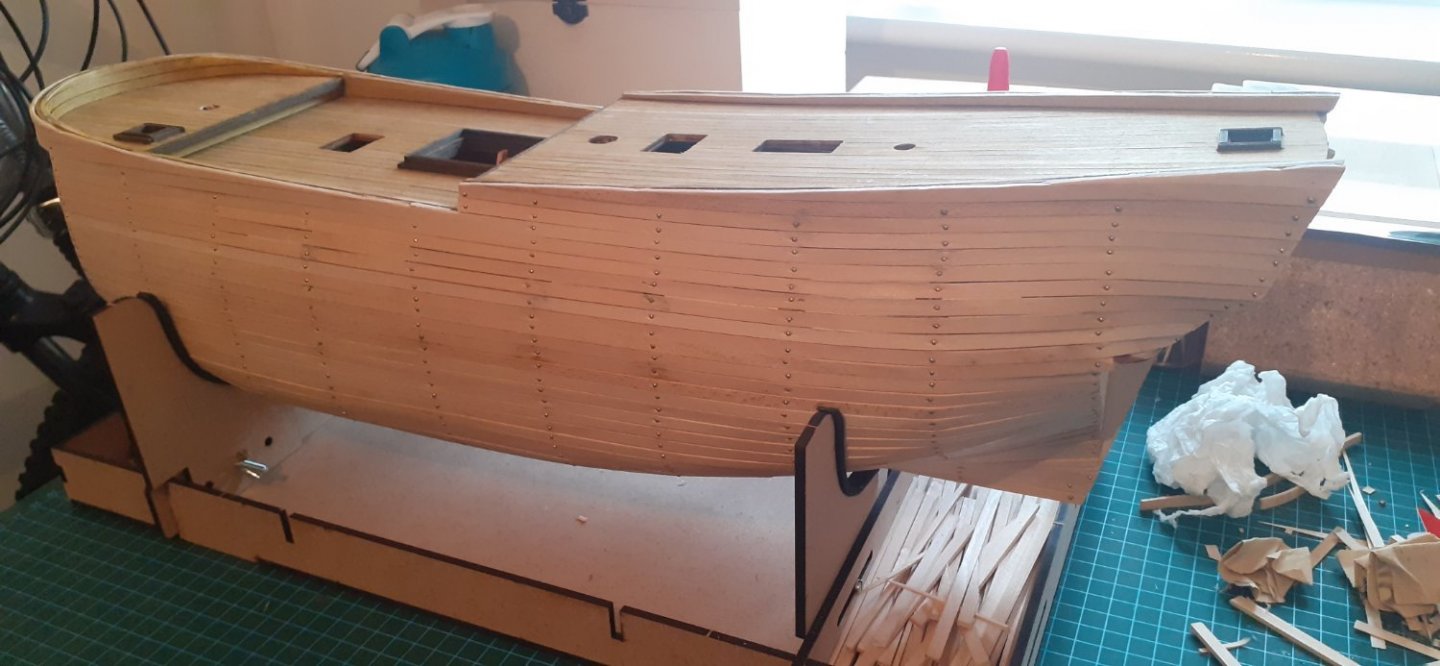
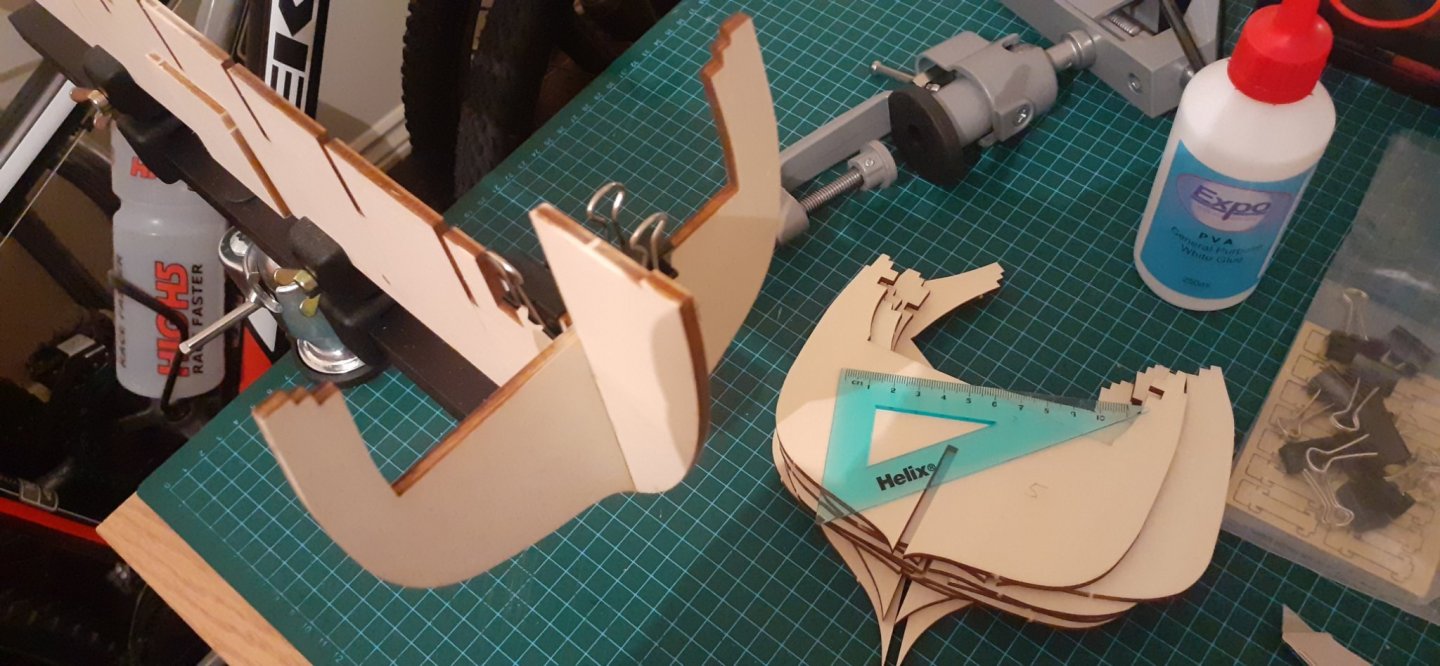
Bow and Stern Reinforcements have been cut, shaped and installed.Progress now will be slowing dramatically due to work sadly.
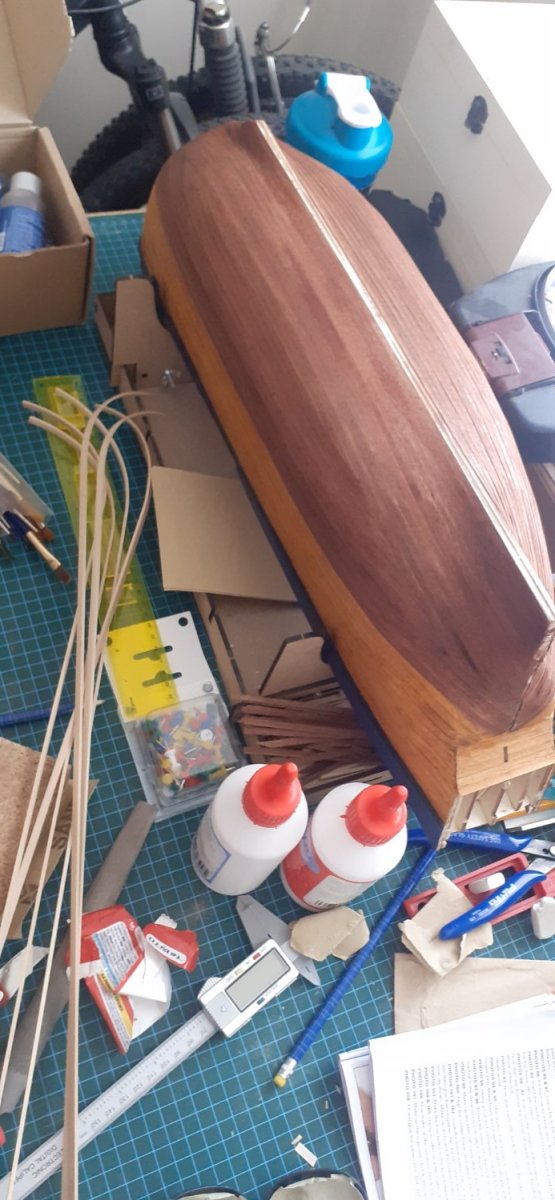
First layer of Hull planking finished and stern Reinforcements installed.
Next stage to install Bow Reinforcements then cut and Sand everything down to shape, with a bit of filling here and there.
Lots and lots of Sanding....
Not to bad for my first wooden model and first time planking a ship.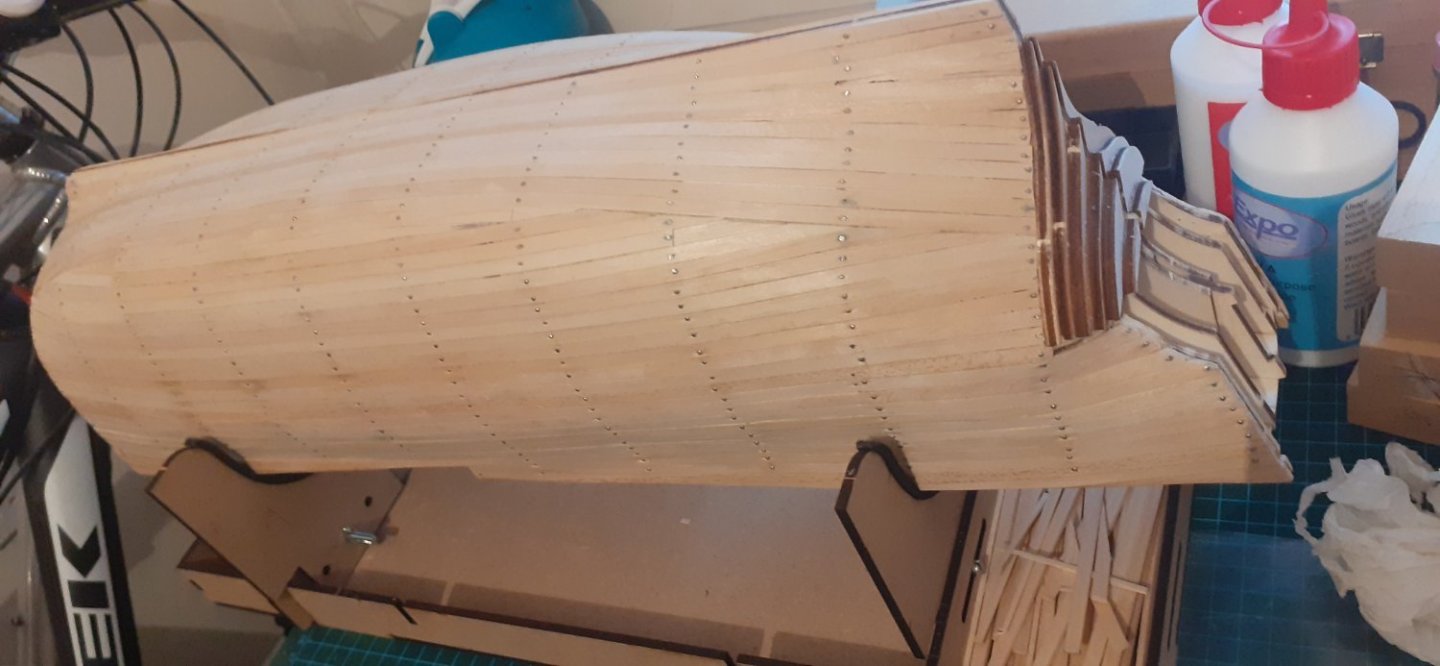


-
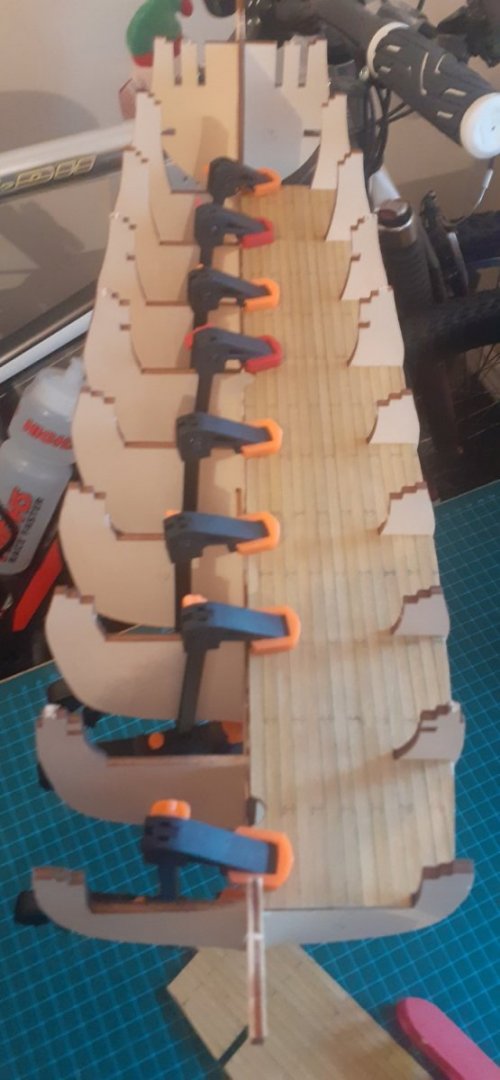
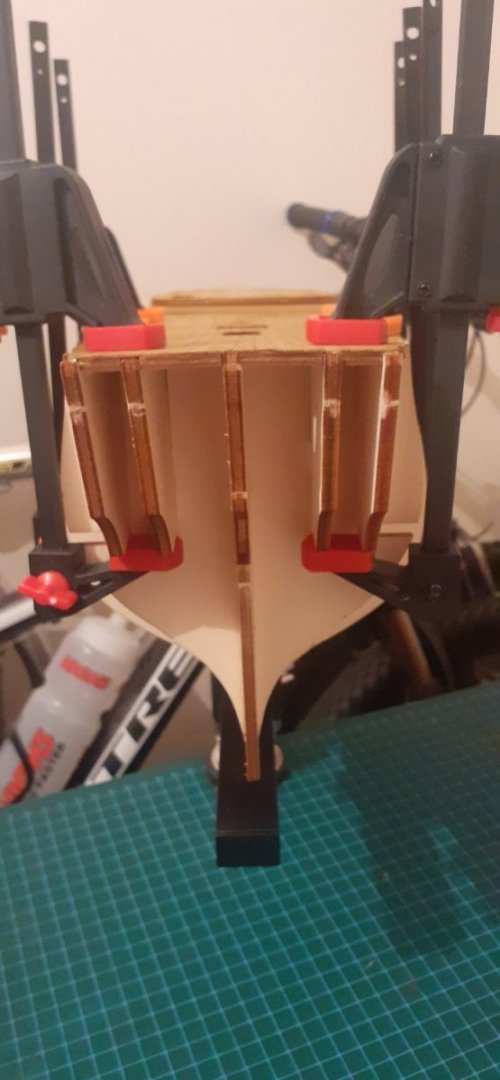
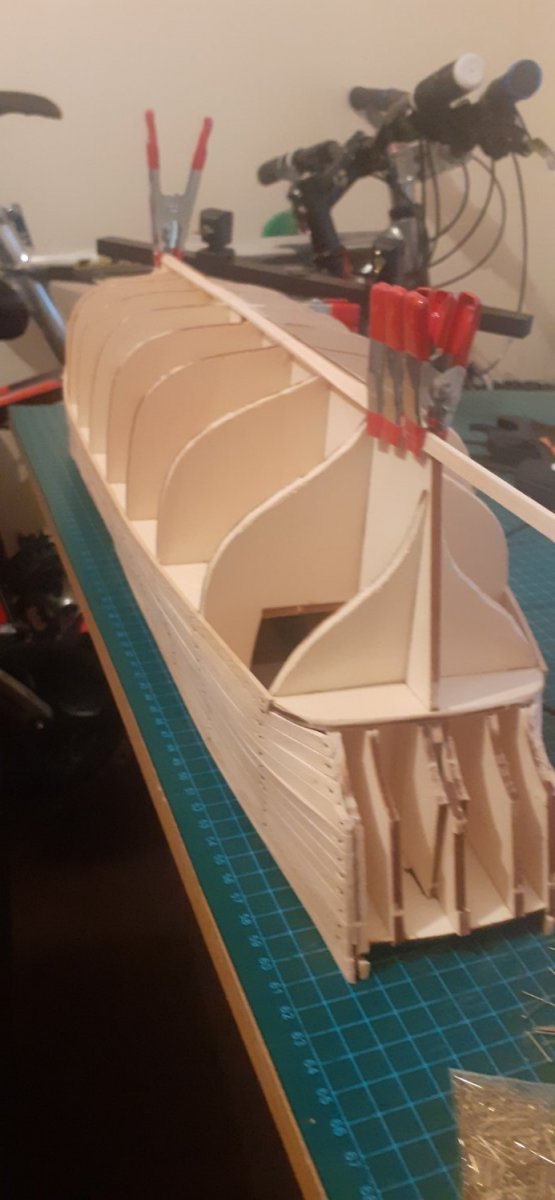
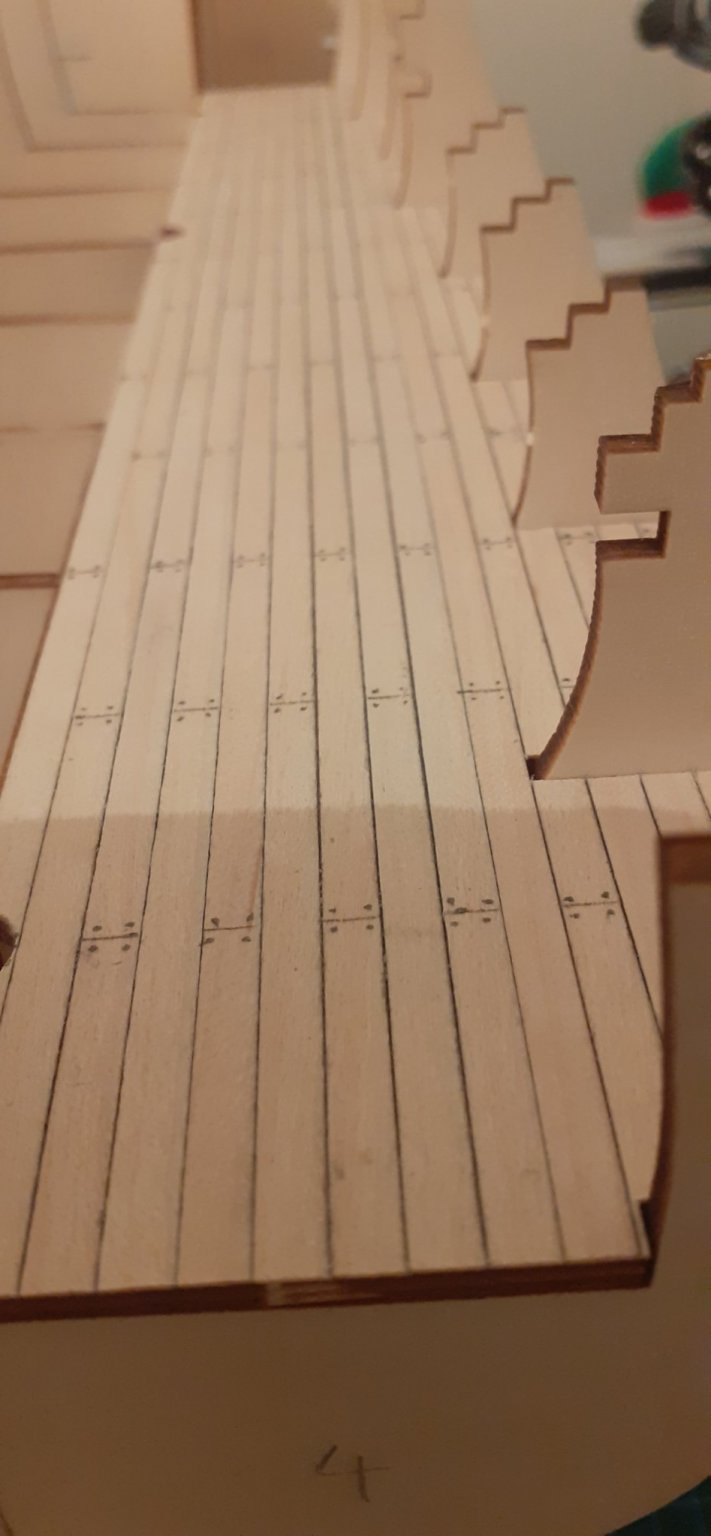
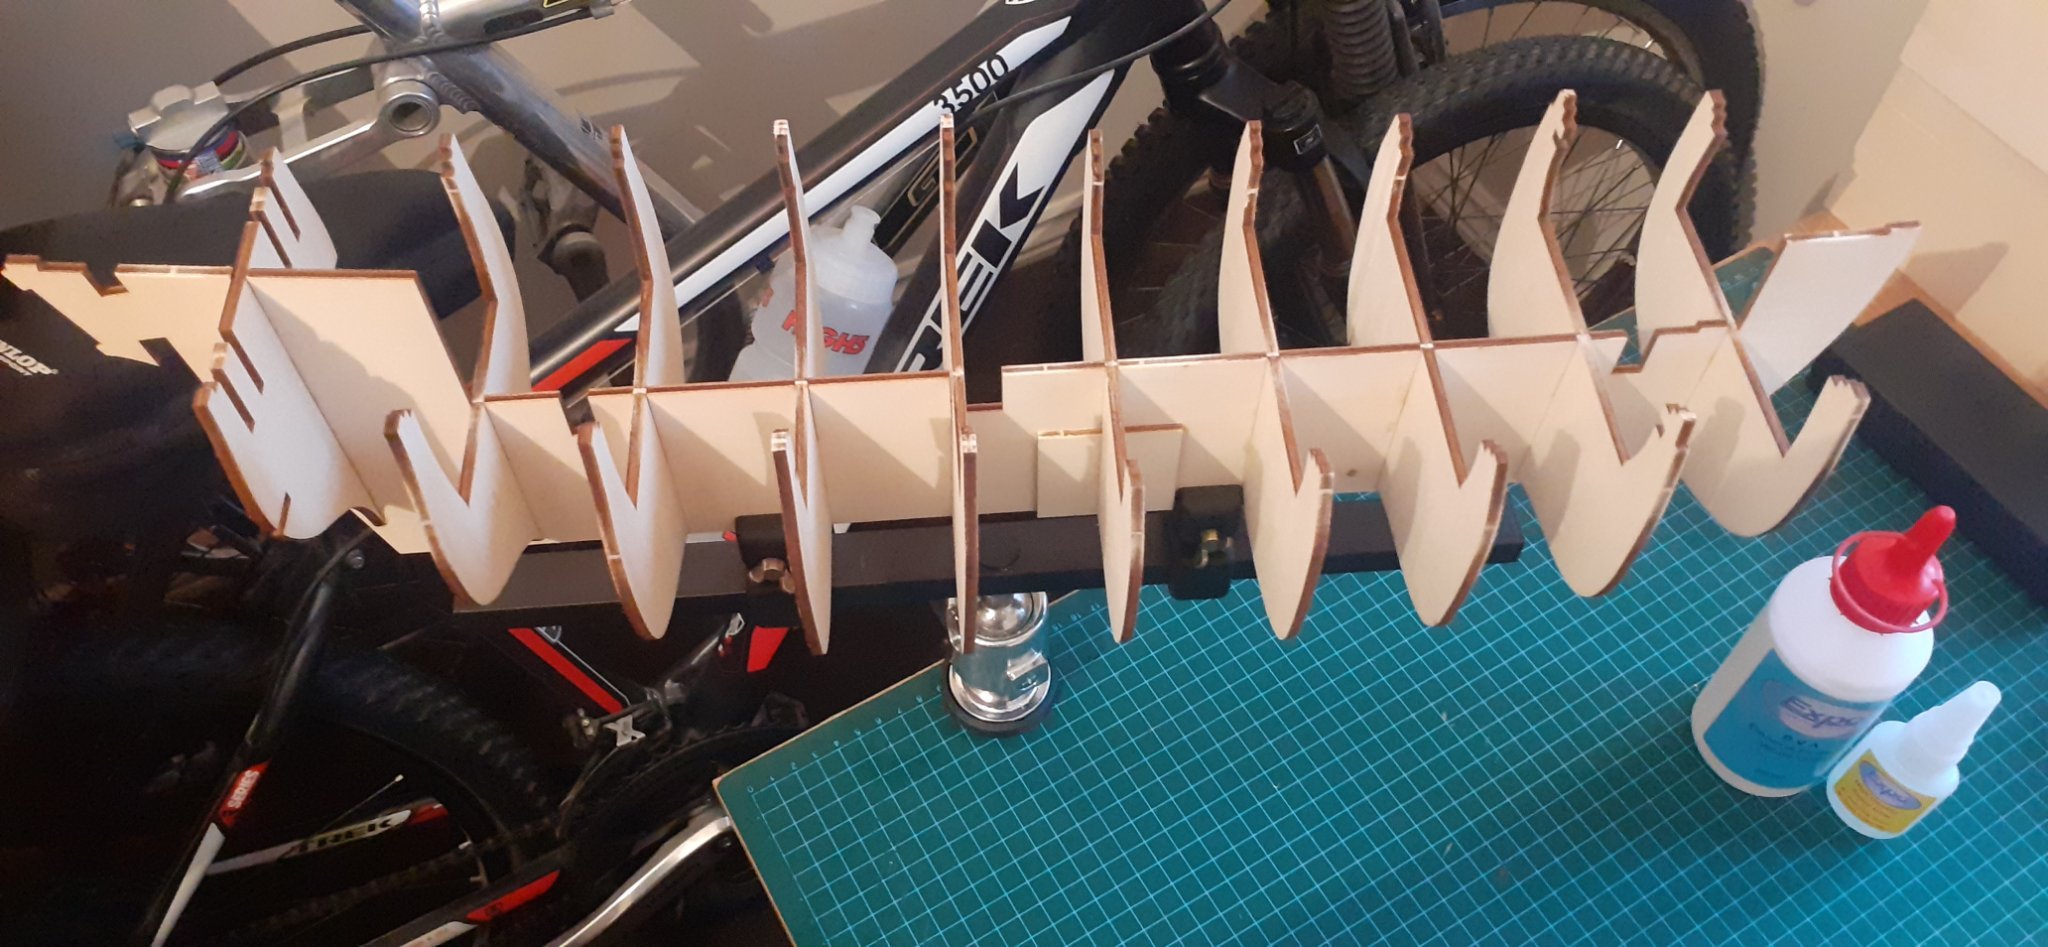
ENDEAVOUR 1/54
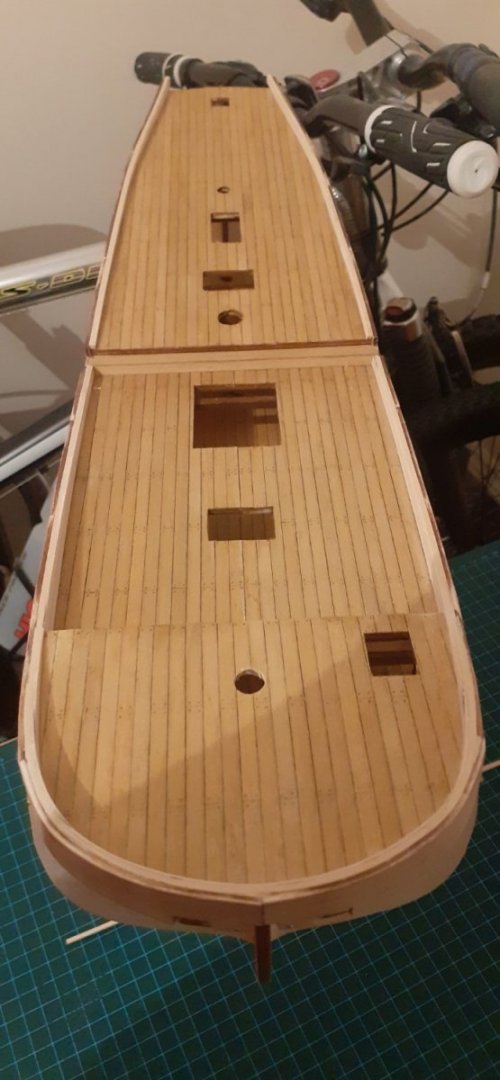
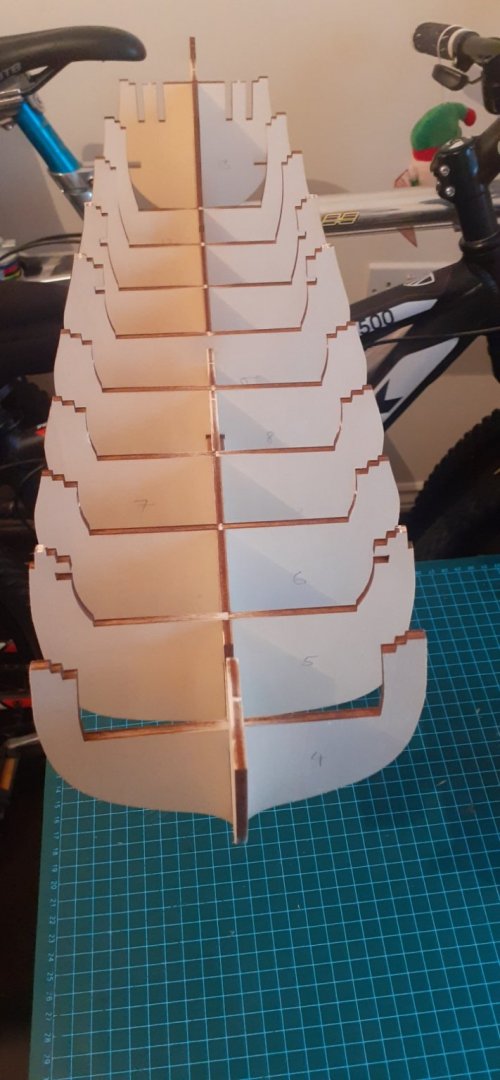
Early days in Construction False keel built, Ribs in place, Lower deck Caulked, Planked and installed, brushed with Occre's Oak dye. Beams cut, brushed with Occre's Walnut dye and installed.
Next up Main Deck planking and Caulking.
Merry Christmas & All the best for 2022 #staysafe Everyone & Happy Modelling. 👍🤺🤺⚓⚓😷😷🎅🎅


- KJackson, Fernando E, yvesvidal and 1 other
-
4
-
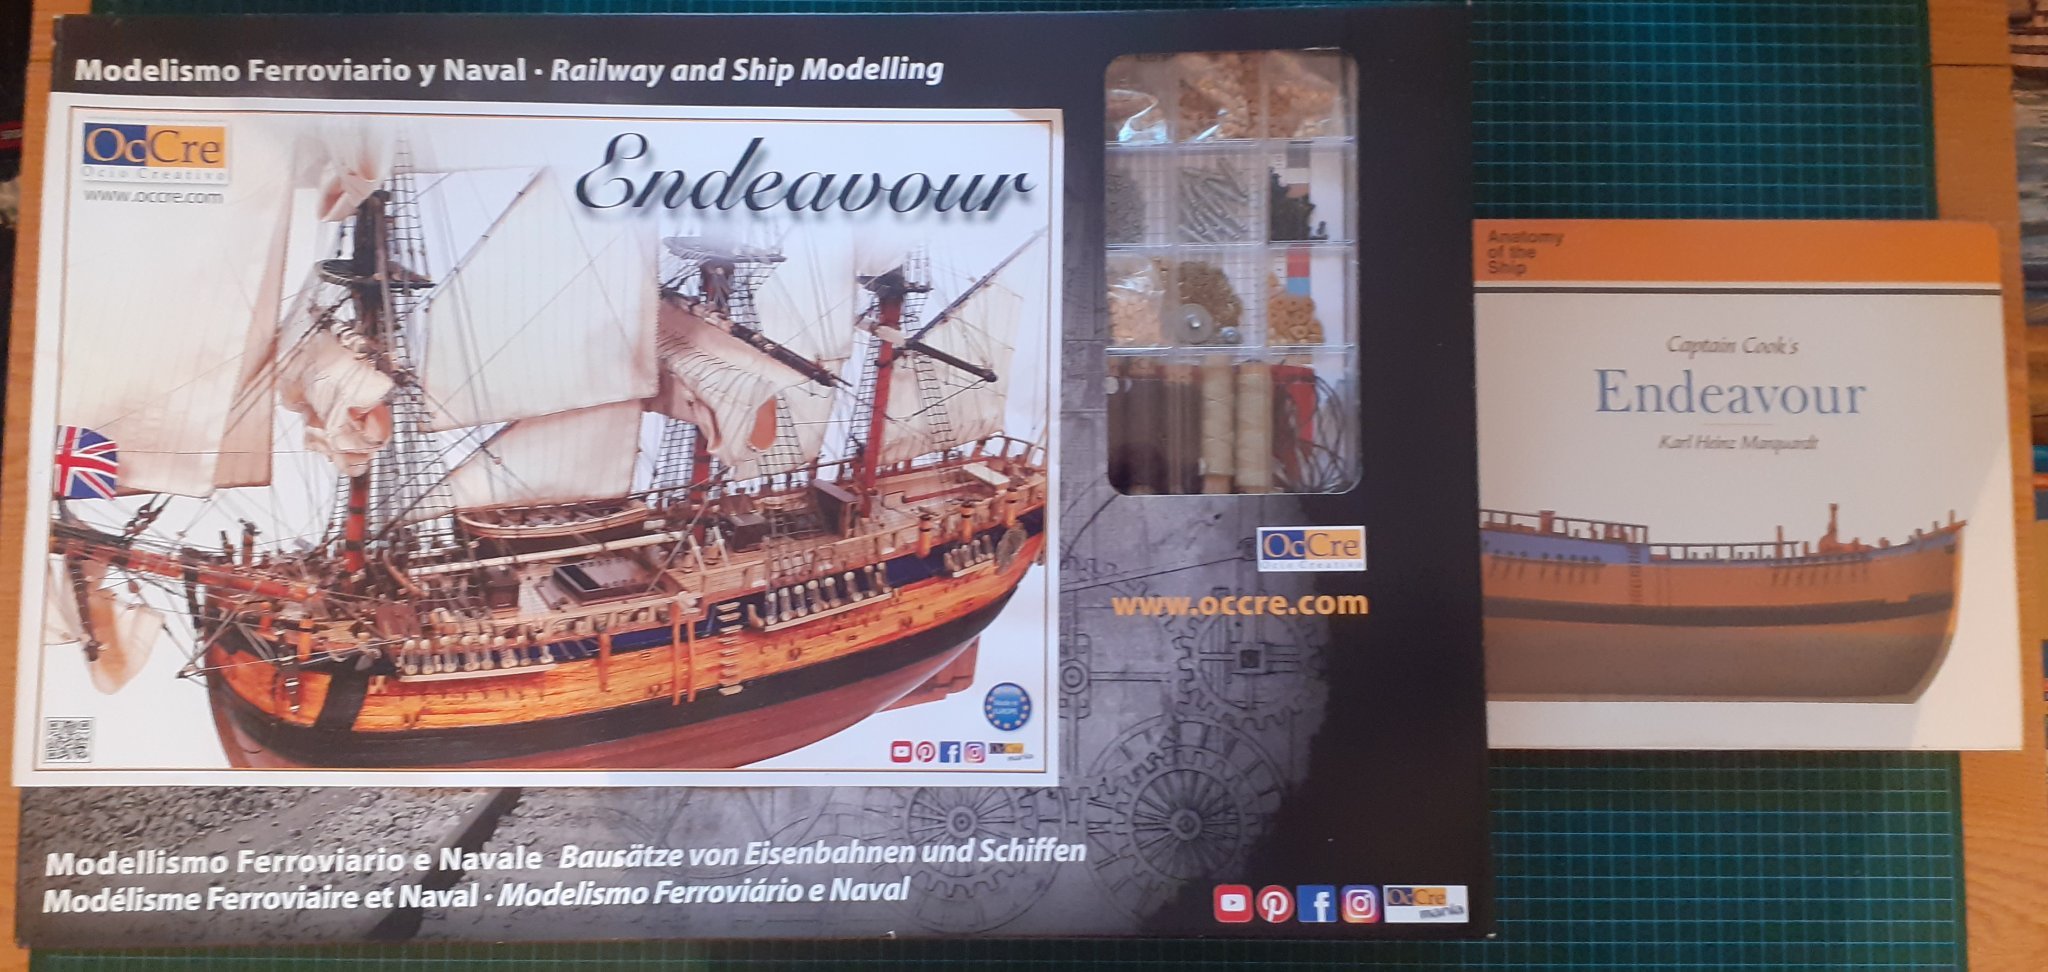
Well I've put this off long enough, with a much needed break after my Royal Louis and now off work till the 6th January, it's now time for the next kit on my workbench. After watching so many videos and trying to gather as much info as possible, This will be my first wooden kit in the shape of OCCRE'S ENDEAVOUR. A ship that has an Enormous Historical story and a kit once finished, will look beautiful. There is an Anticipation and nervousness about this for me, taking me slightly out of my comfort zone, but again pushing my capabilities. I have worked with wood before many times, but not on this level or scale. Patience is key as always, checking and double checking, dry fitting etc... There will be challenges ahead, and the need to think outside the box, but most of all patience and enjoying the build and learning are foremost. Happy modelling everyone & #staysafe 😷👍🤺🤺⚓⚓

- ccoyle, Fernando E, Cathead and 1 other
-
4
-
On 12/6/2021 at 6:17 AM, GrandpaPhil said:
Congratulations! Nicely done!
Thank you very much mate 👍🤺⚓
-
5 hours ago, docidle said:
Robert,
Great work on your English Galion, looks fabulous. If I may suggest a change on your next ship, Standing rigging is either in Dark Brown or Black, such as the Shrouds and Ratlines. Otherwise my hat is off to you doing your own Ratlines!
Backer,
What is the name of the book and the author in these pictures? I would love to find it for future projects.
Steve
Hi Steve
Thanks for your kind words.
Not to sure what you meant by way of Standing rigging on this kit as it is in Black, however I deliberately done the ratlines in a natural beige colour to offset against the Colour scheme I improvised on and totally changed regards to the kit instructions.
I have recently completed my Next kit the "Royal Louis" - Heller 1/200 which I again have heavily improvised. There is a Log on here with regards to the whole build.
All the best
Robert.
👍🤺⚓
-
On 10/26/2021 at 1:26 PM, ccoyle said:
Congratulations, Robert! Well done!
Thank you very mate 👍🤺⚓
-
On 10/26/2021 at 3:32 AM, Ian_Grant said:
Lovely model!
Thank you very much 👍🤺⚓
-
On 10/26/2021 at 2:24 AM, EJ_L said:
Congratulations and well done!!
Thank you very much my friend 👍🤺⚓
-
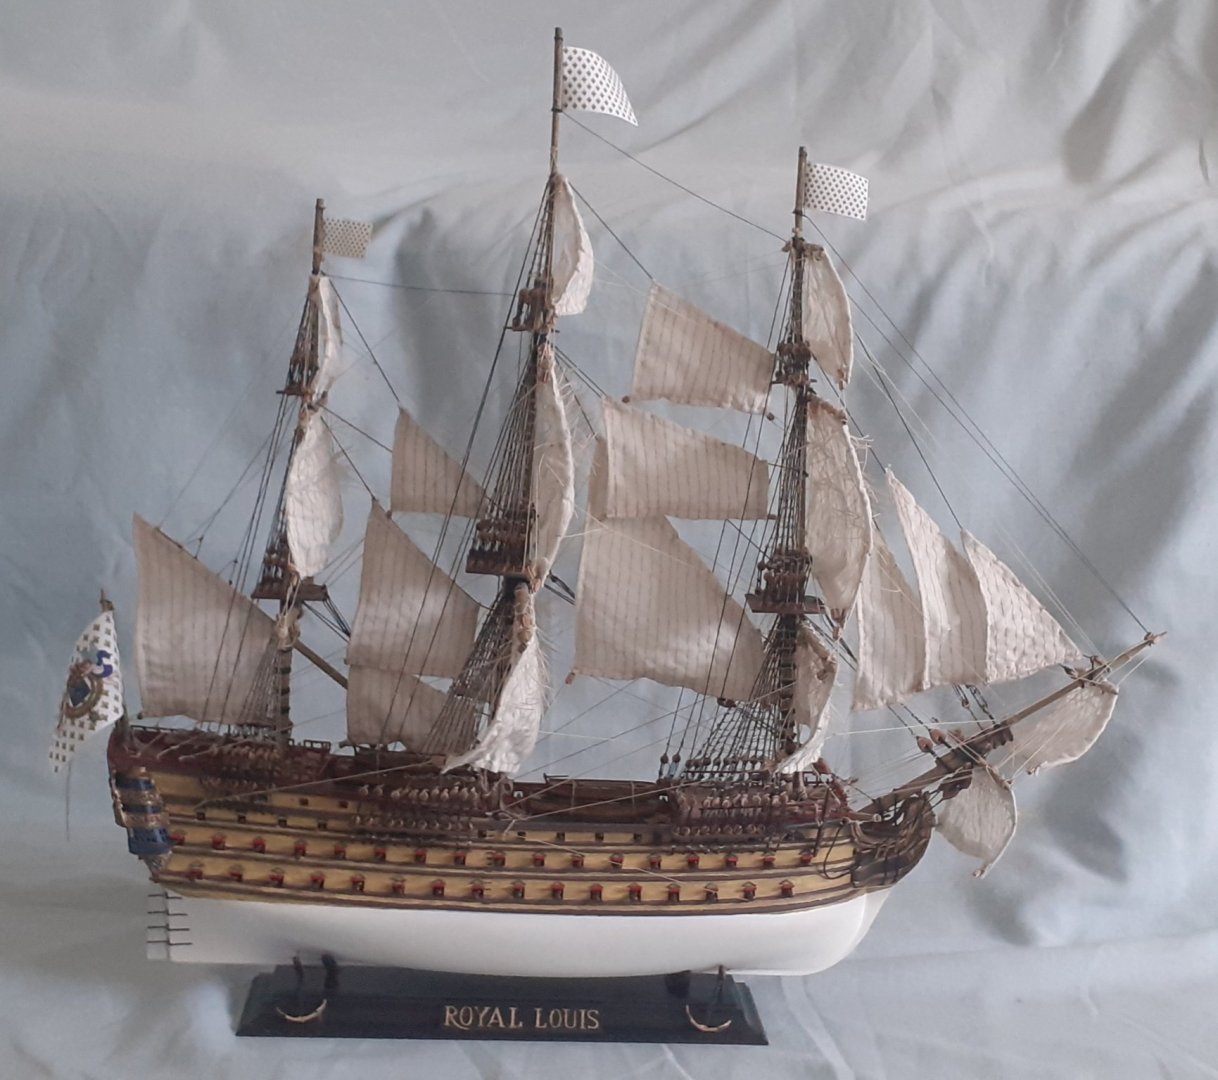
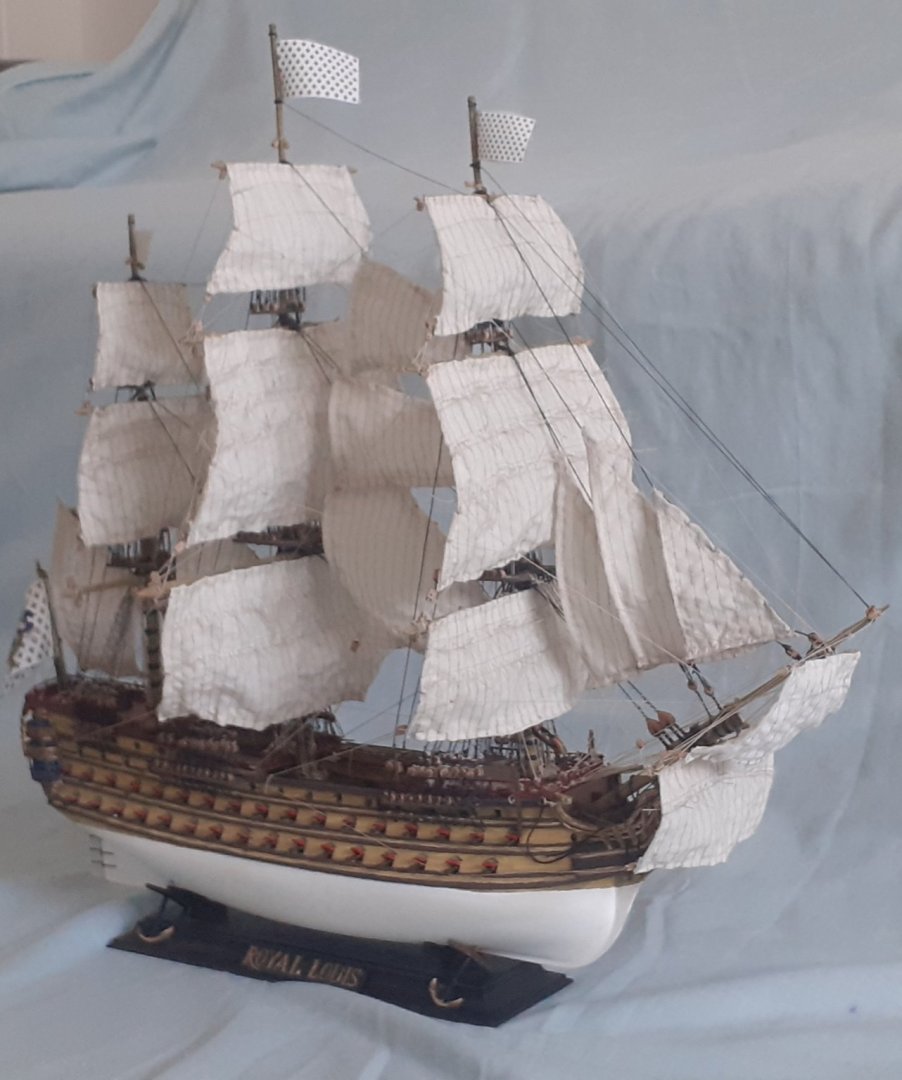
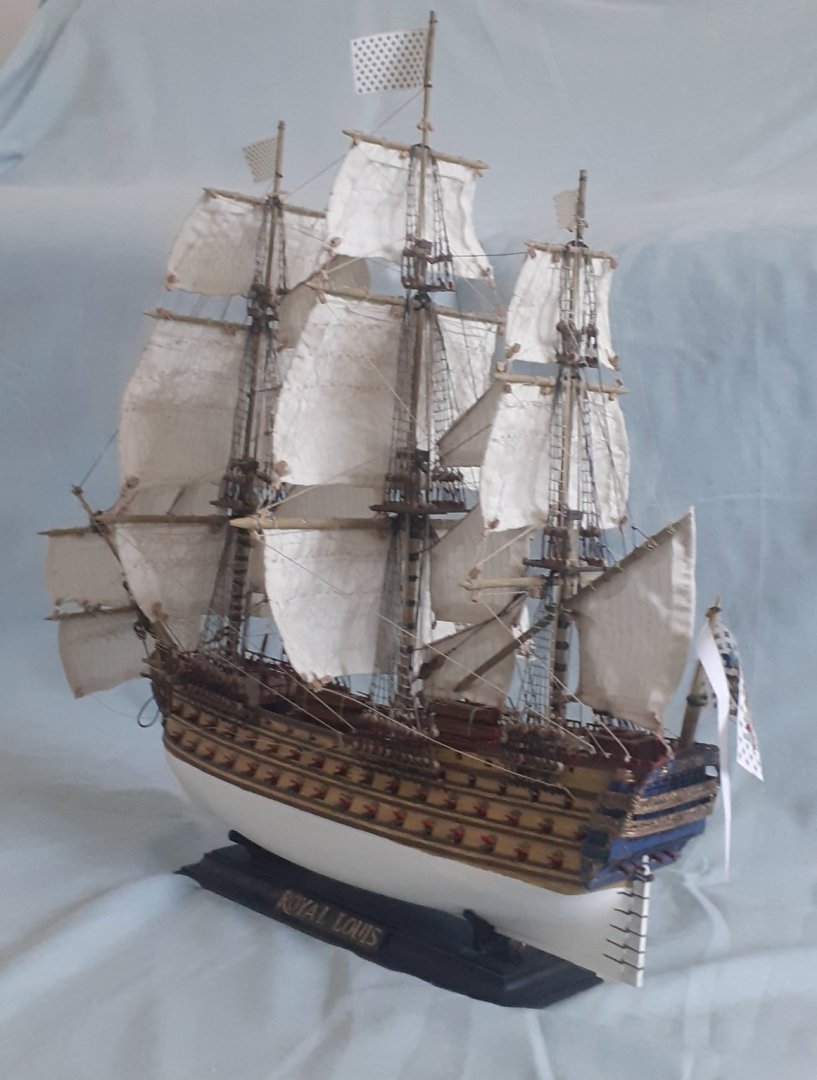
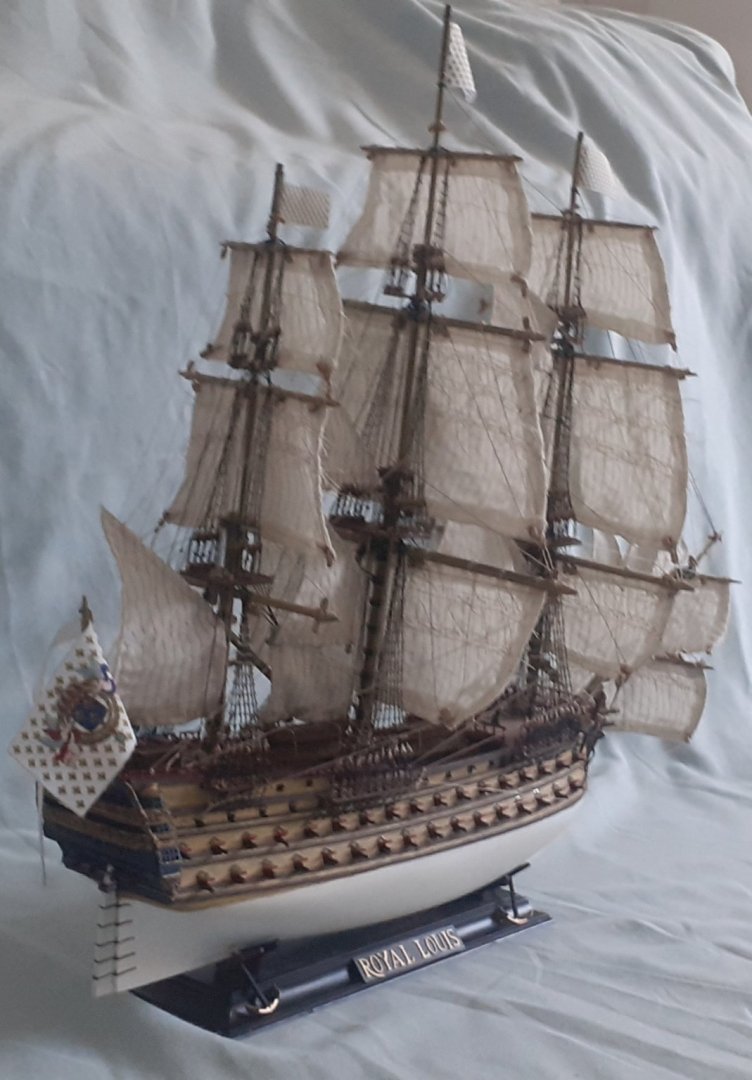
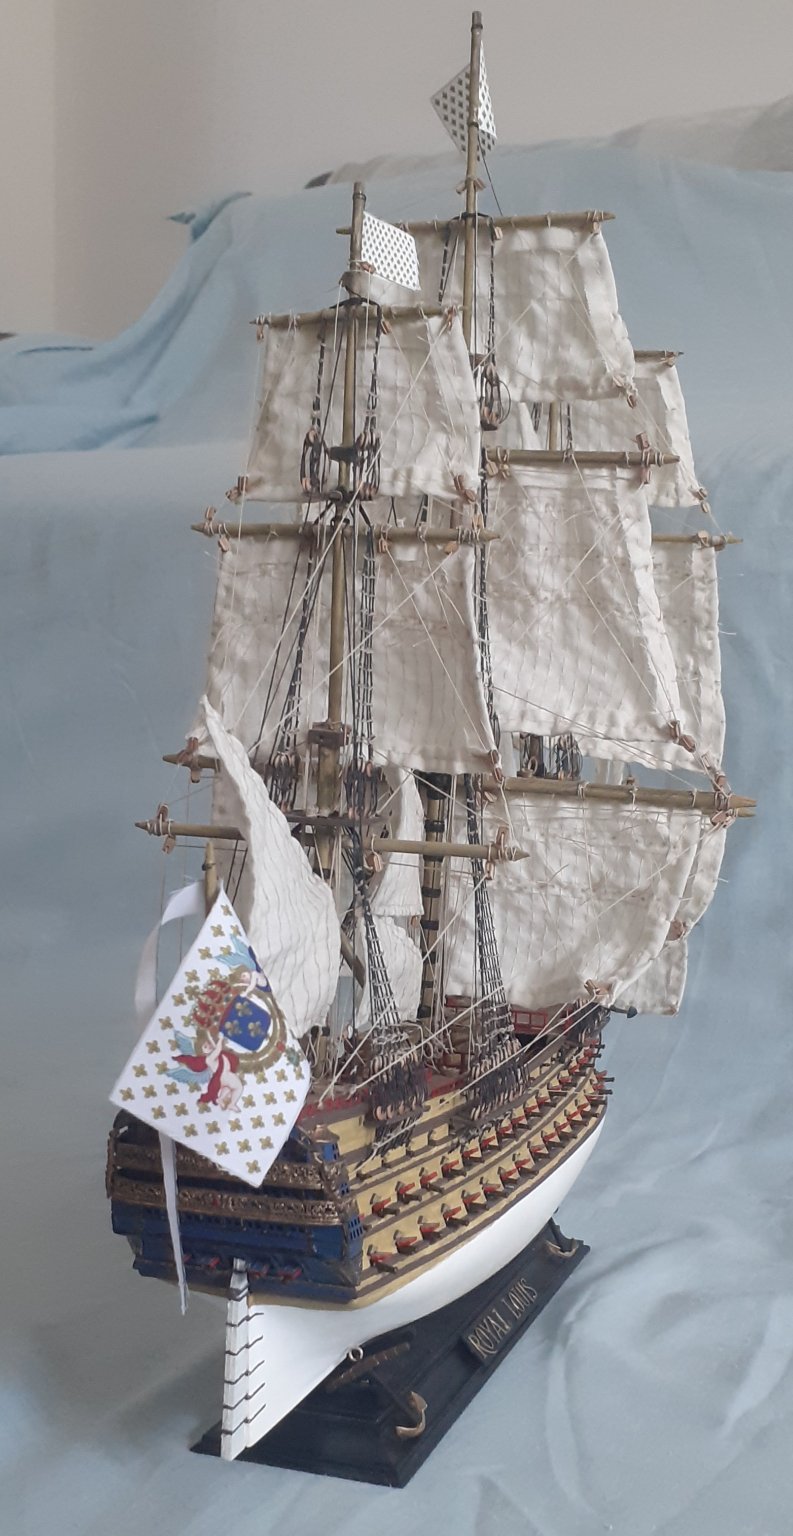
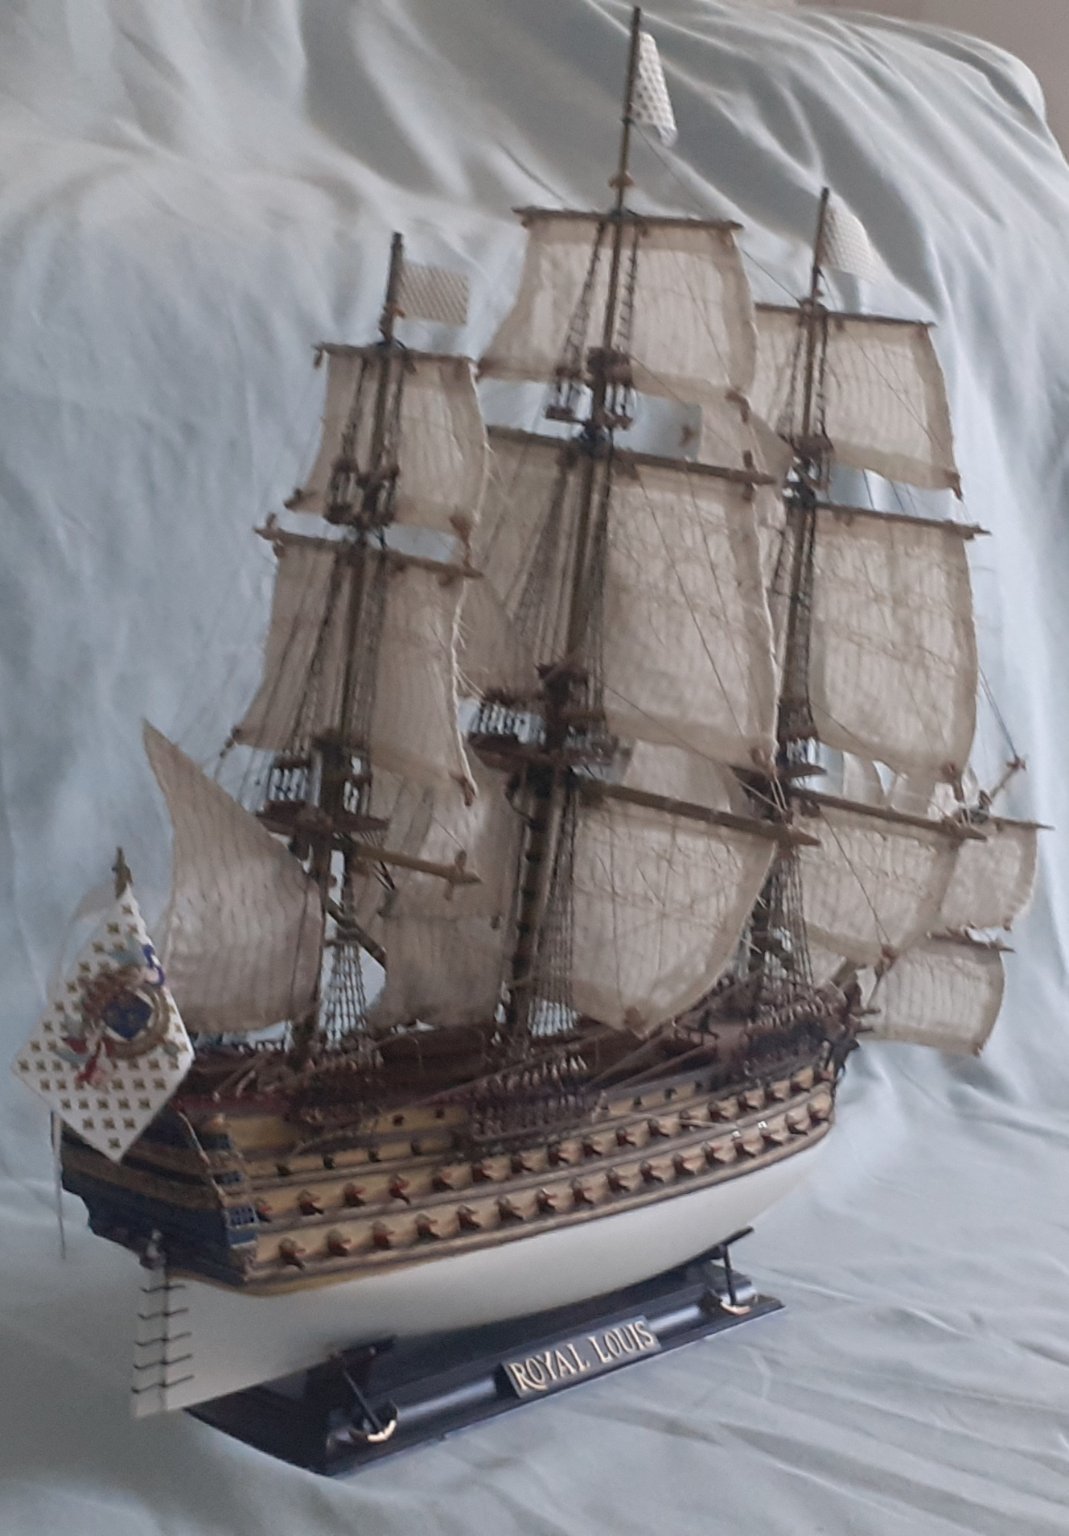
After 8 Months of loving this build, heavily improvising and pushing my capabilities, my 1759 ROYAL LOUIS - HELLER 1/200 is FINISHED.
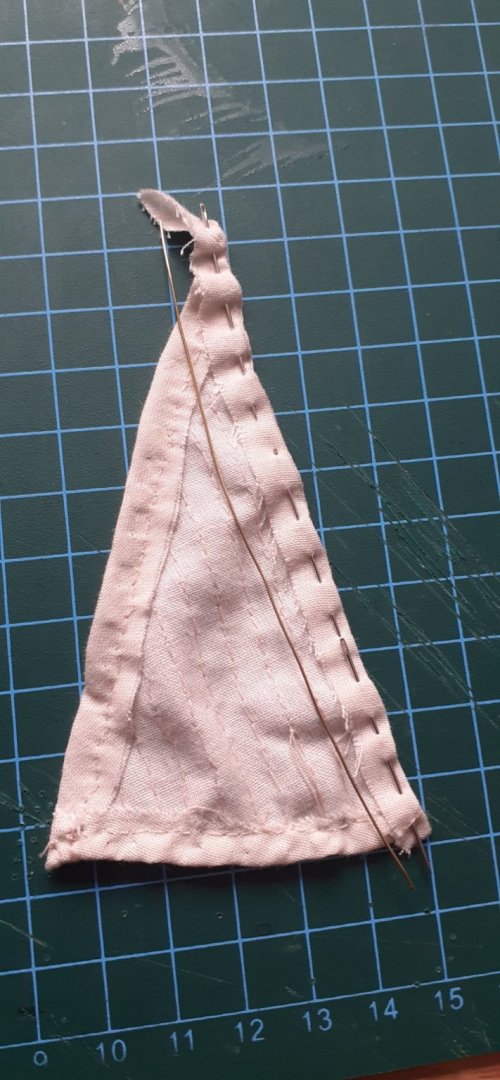
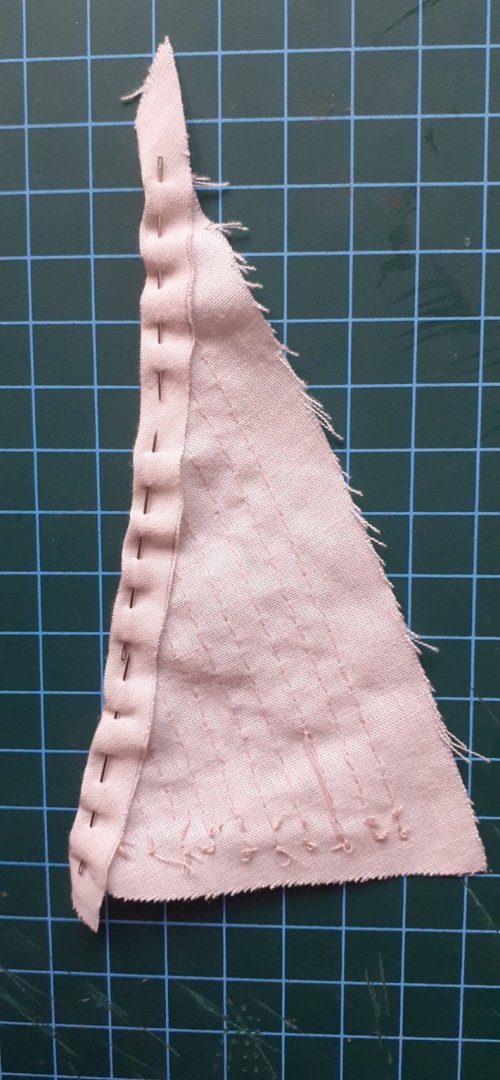
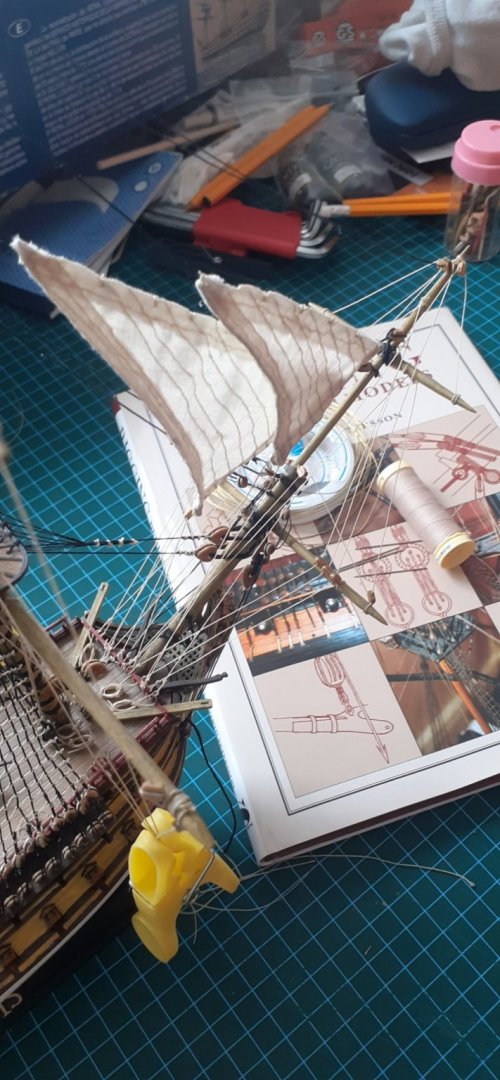
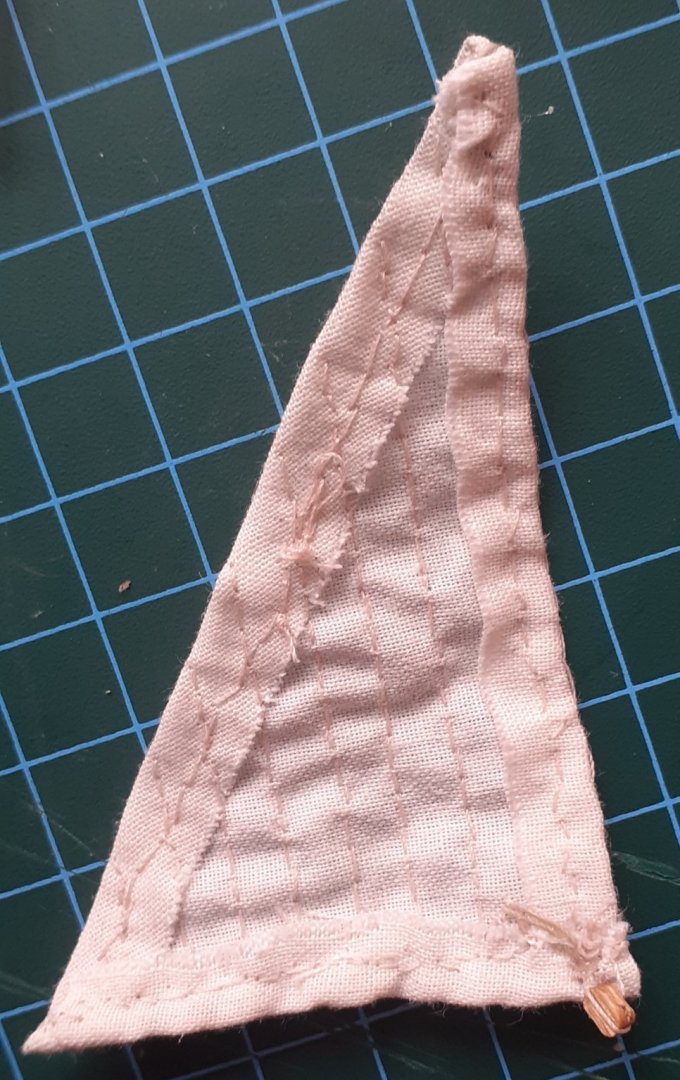
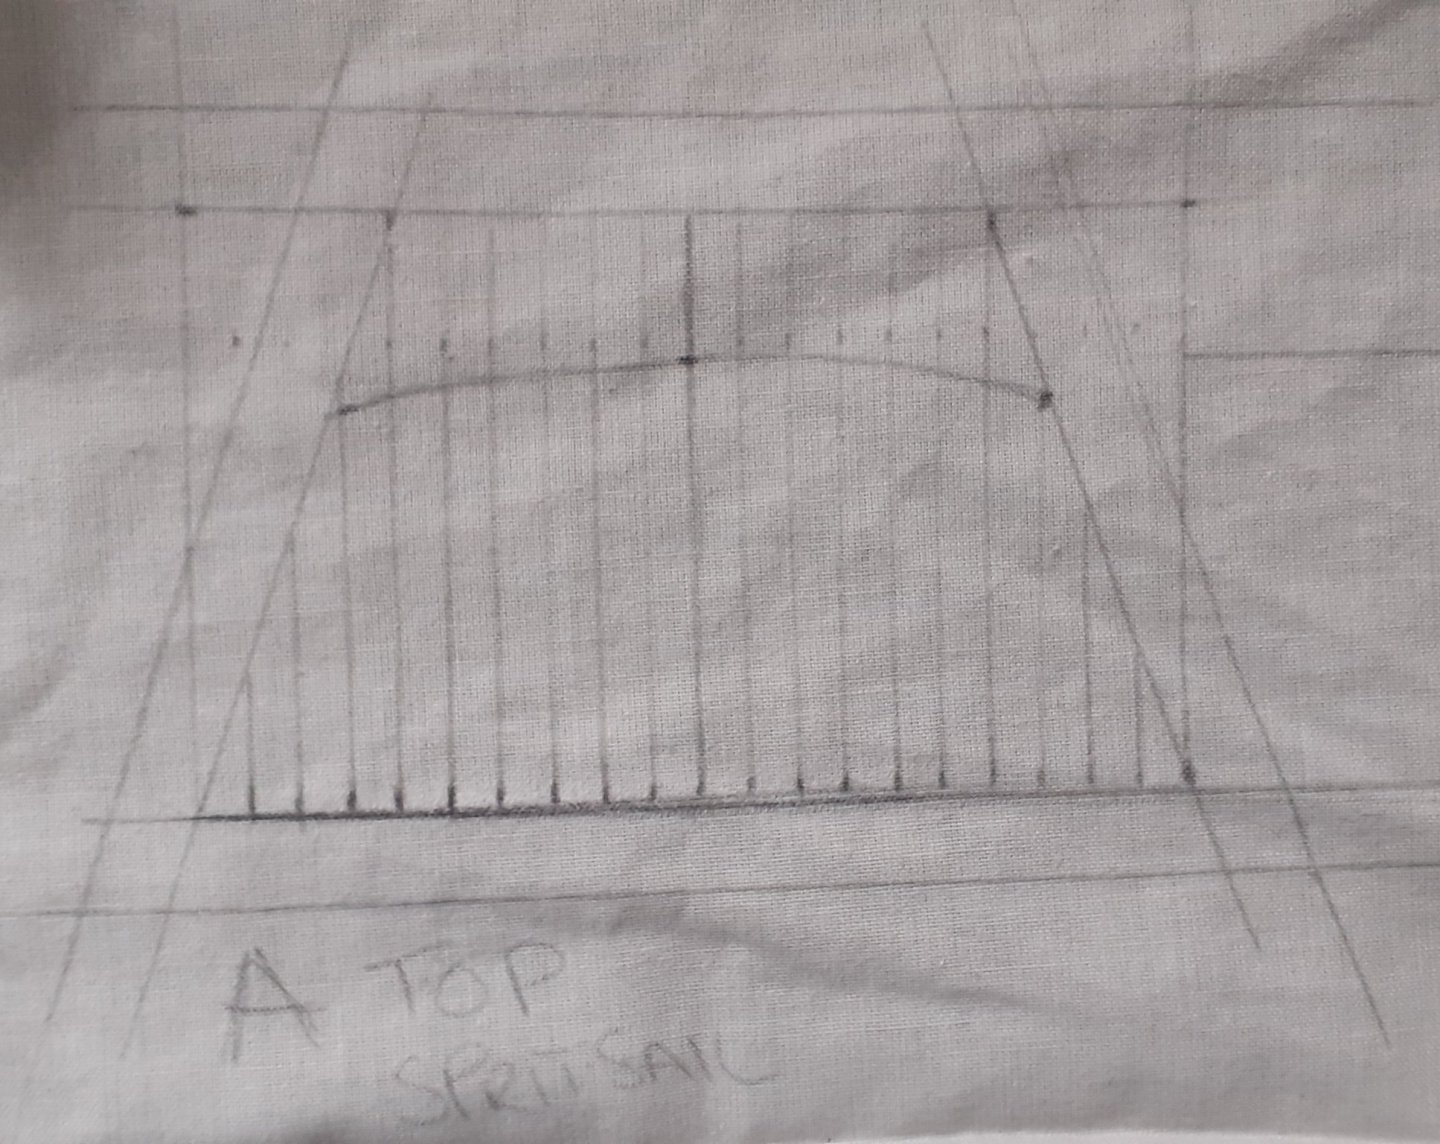
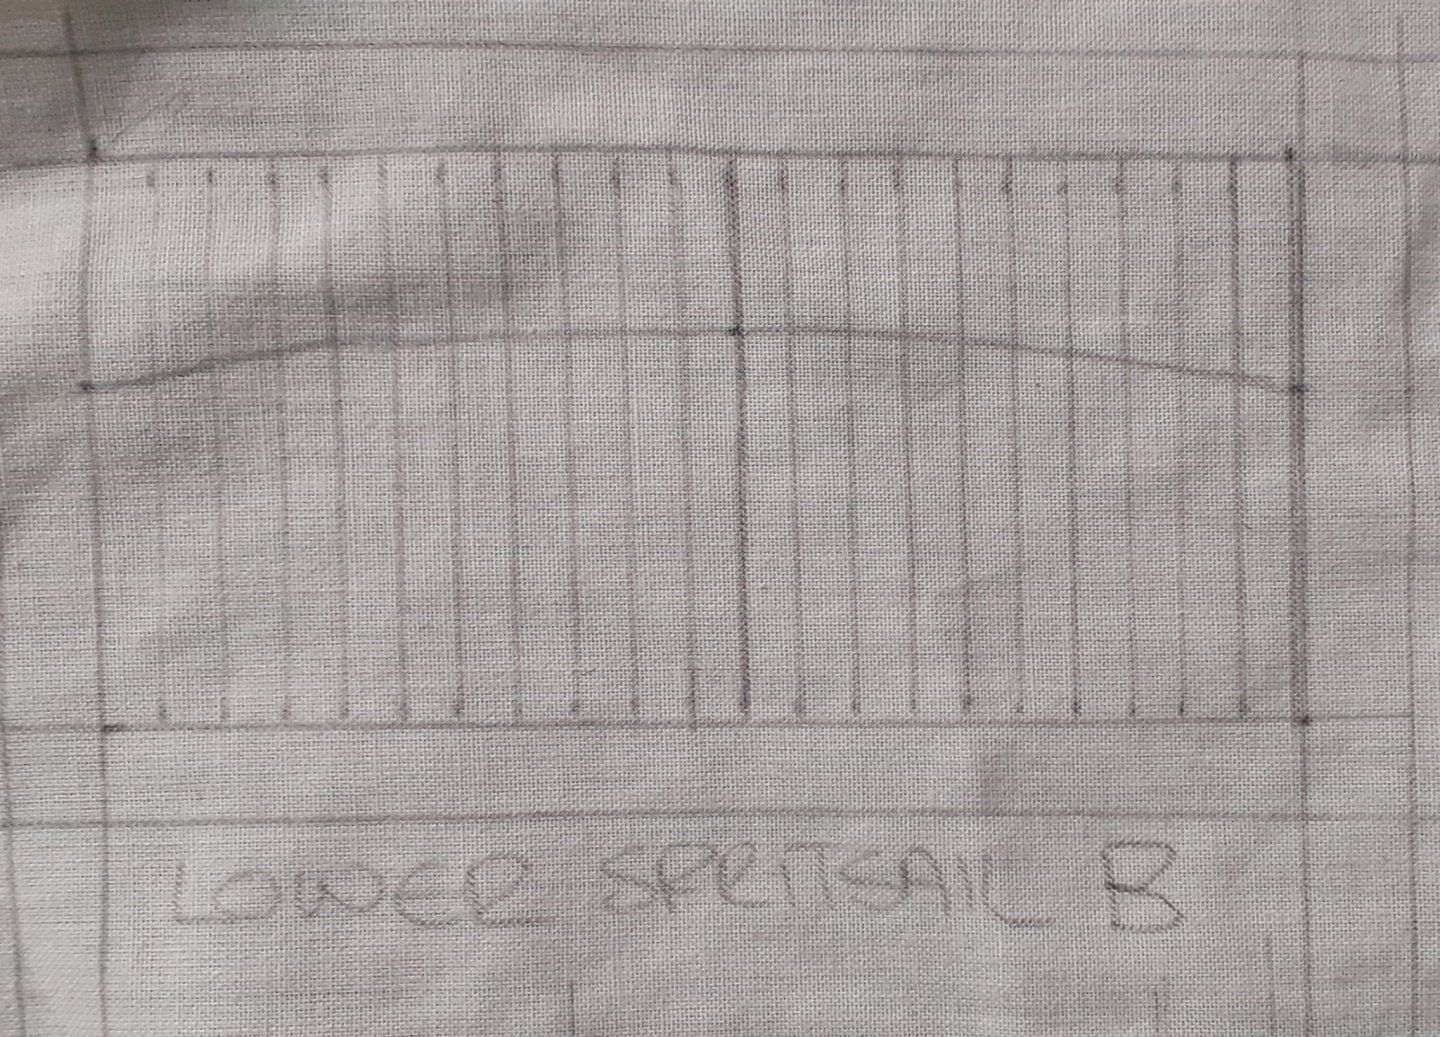
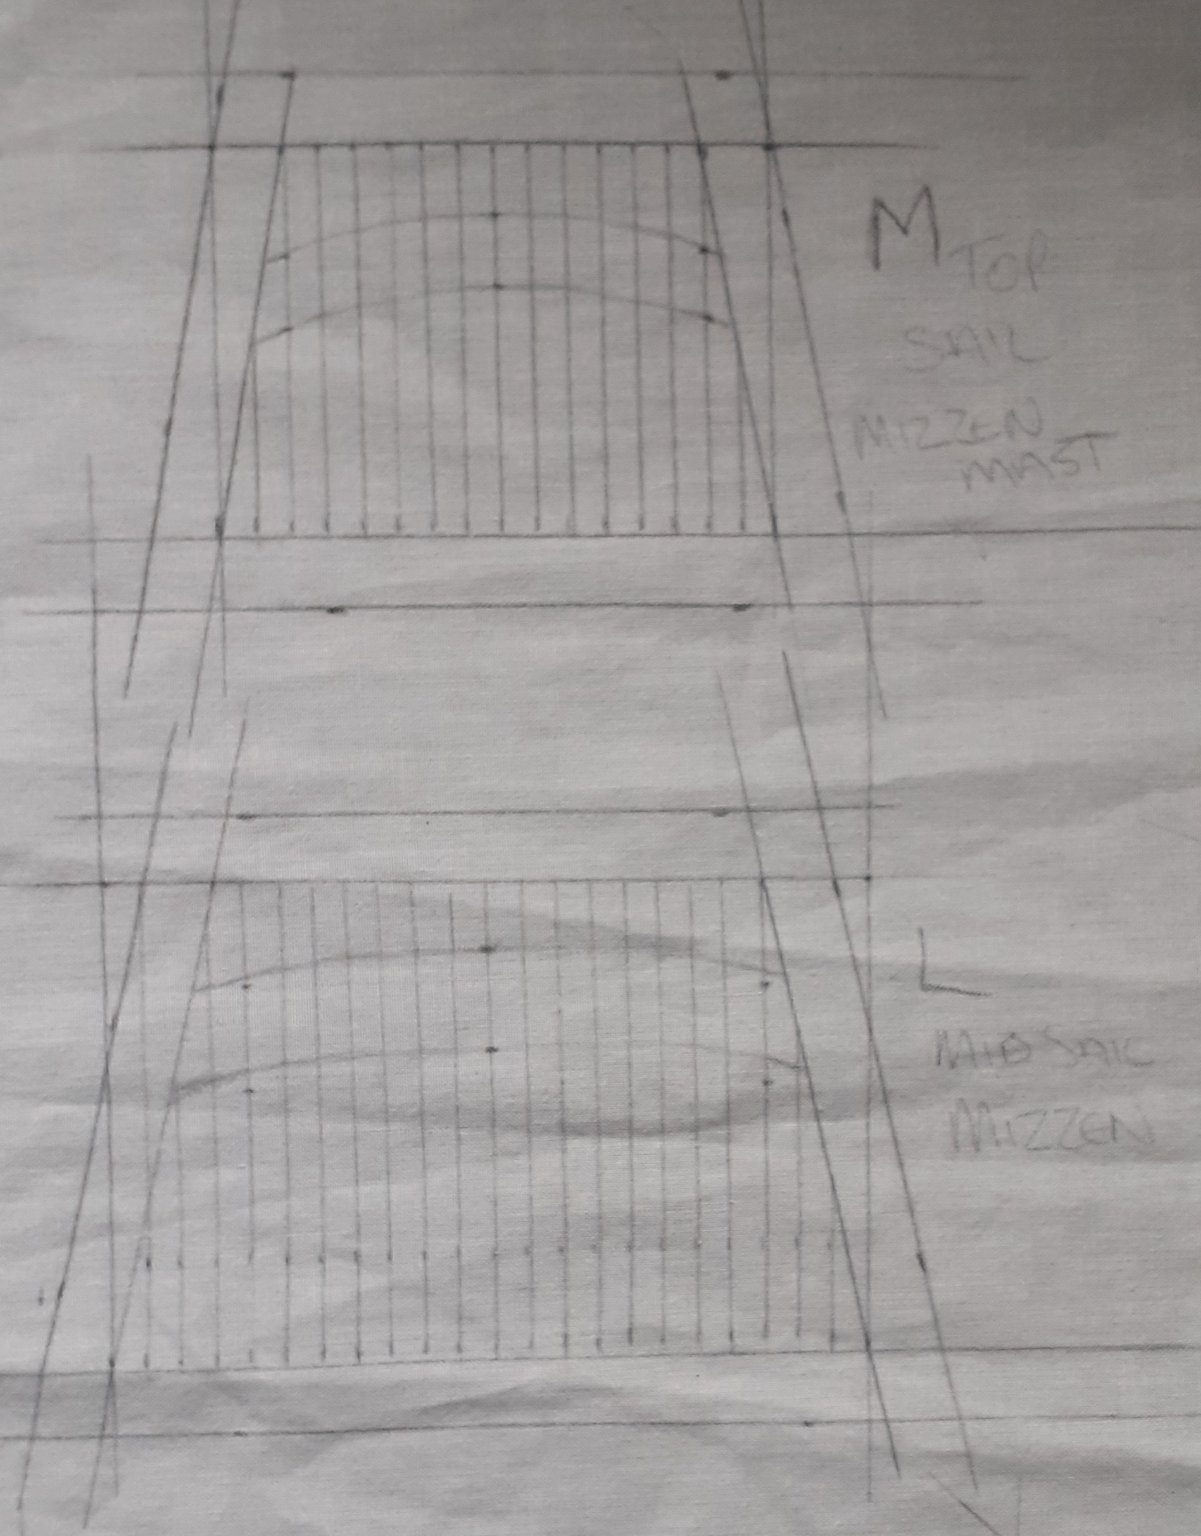
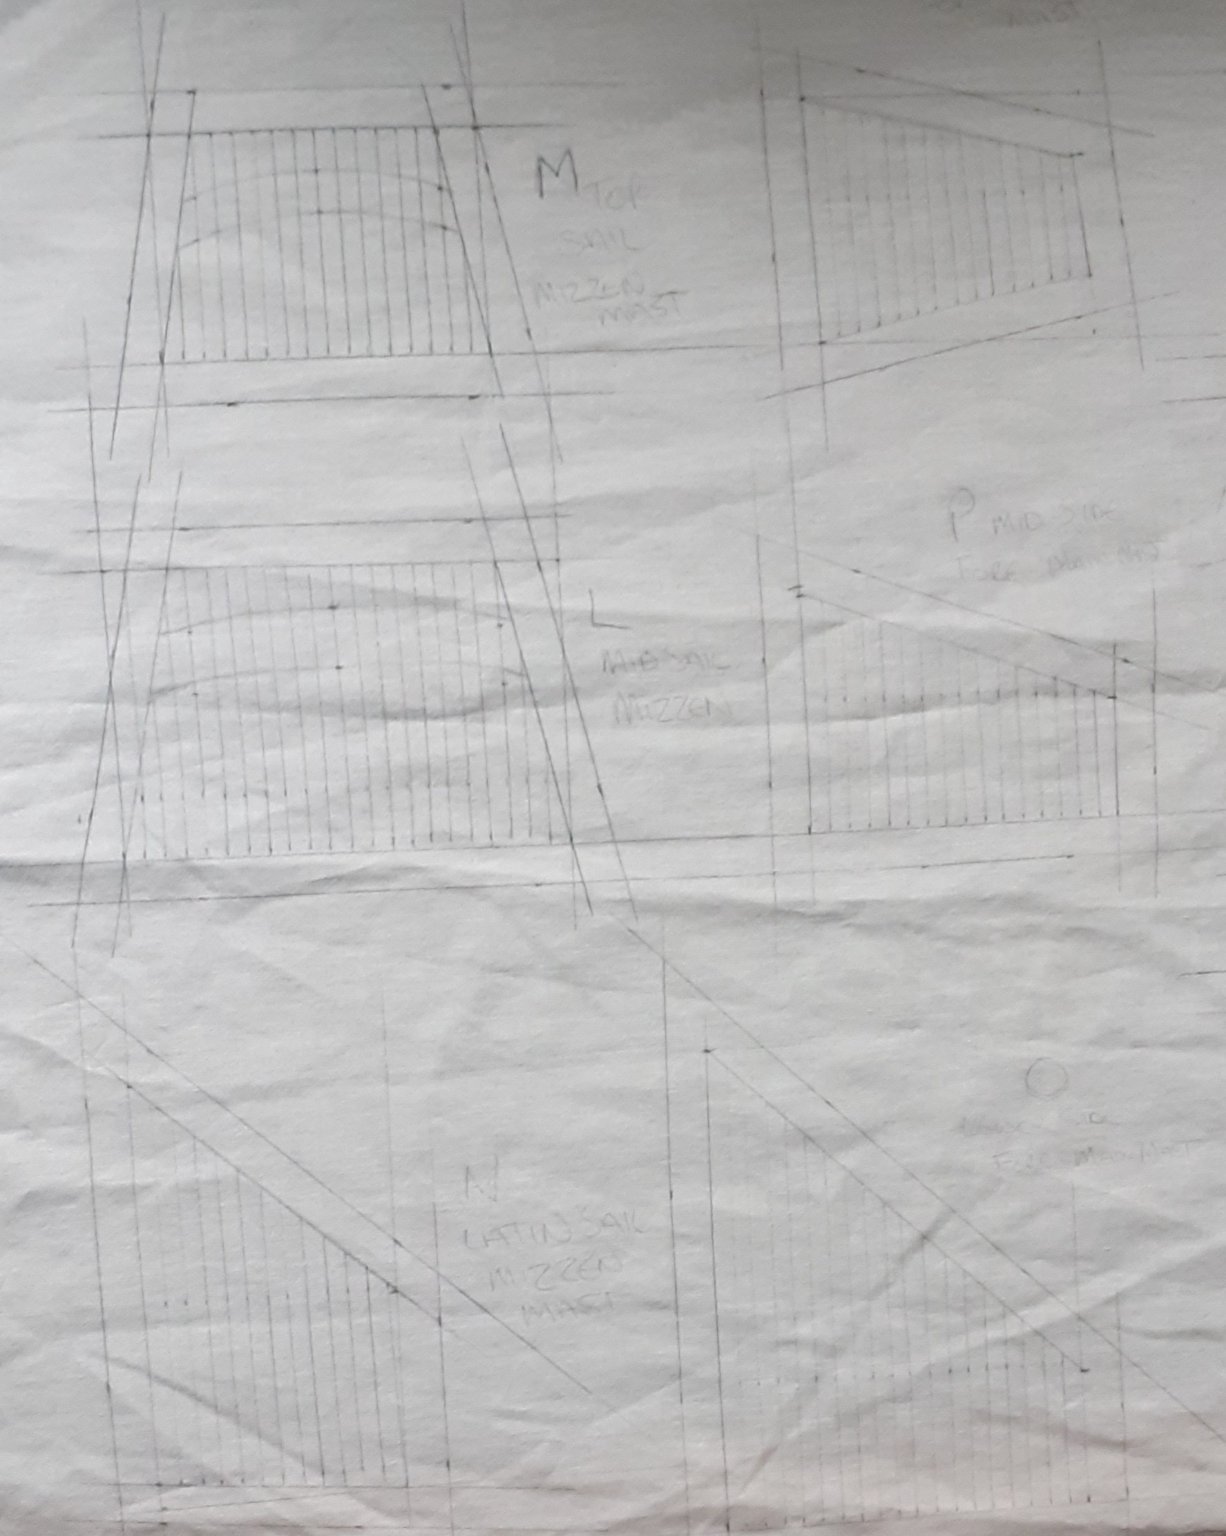
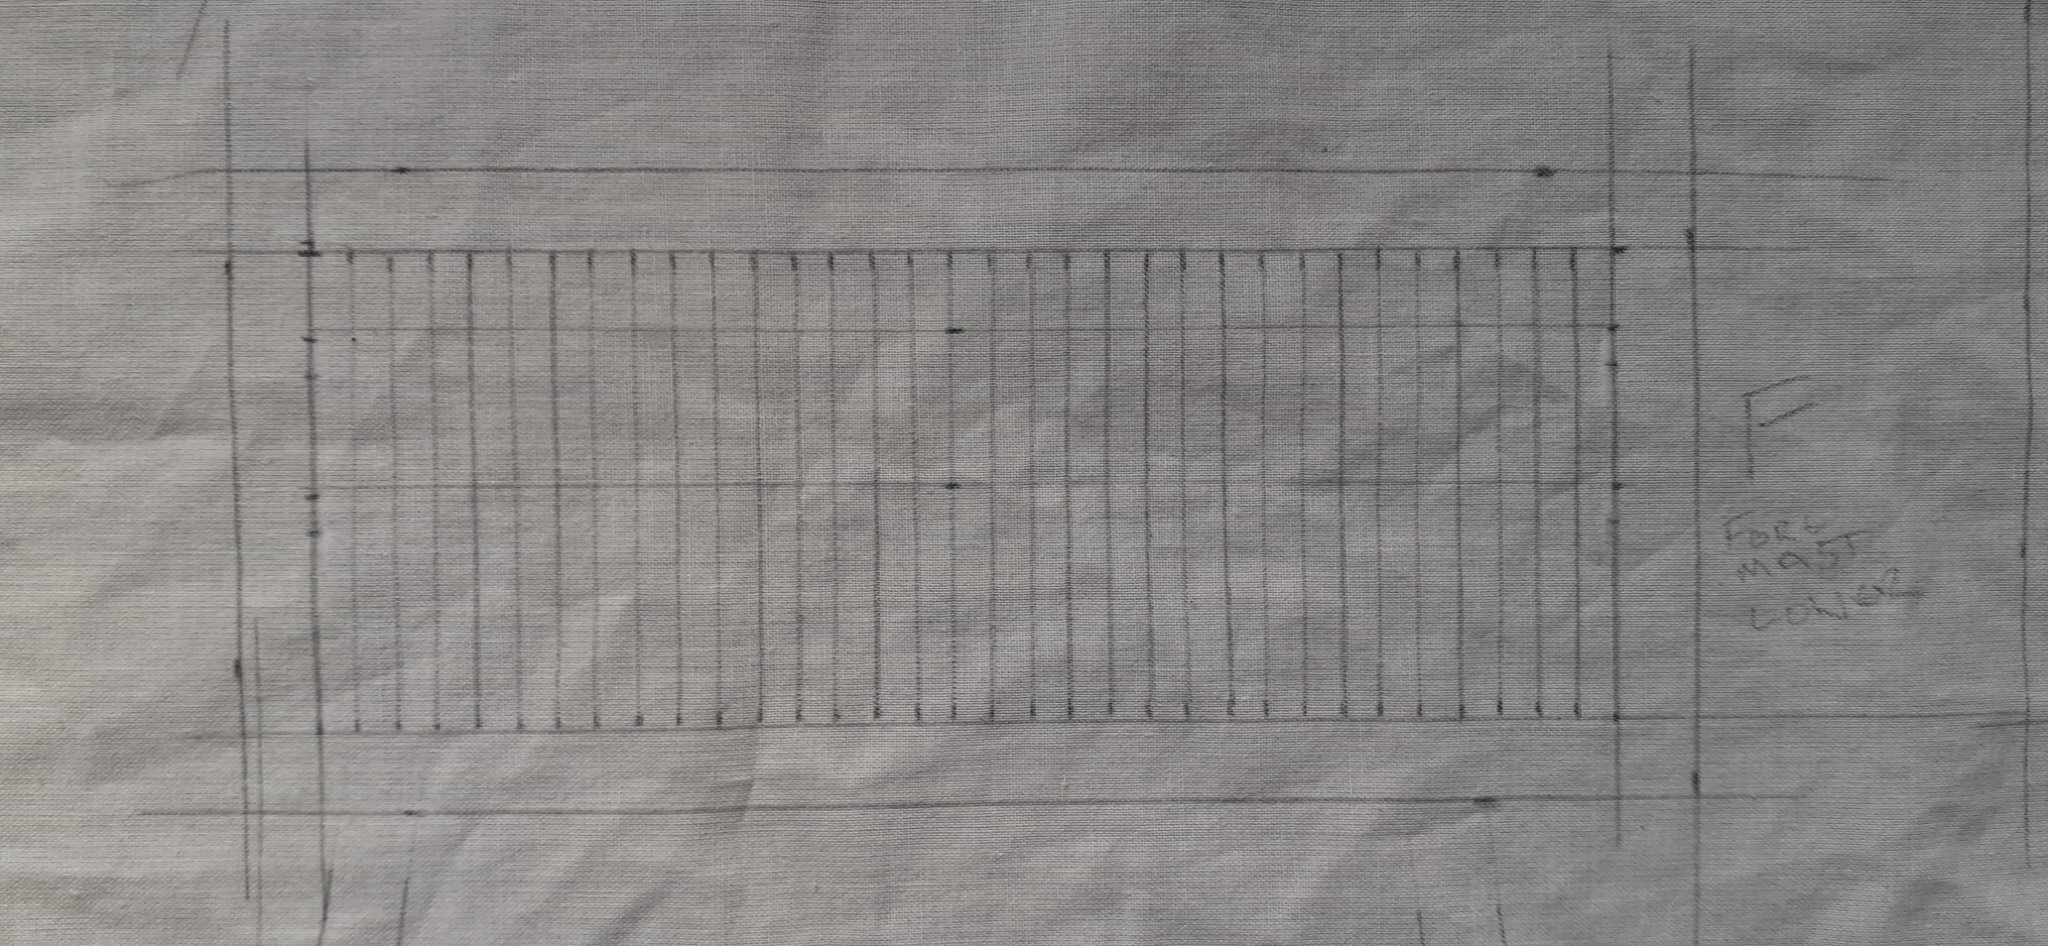
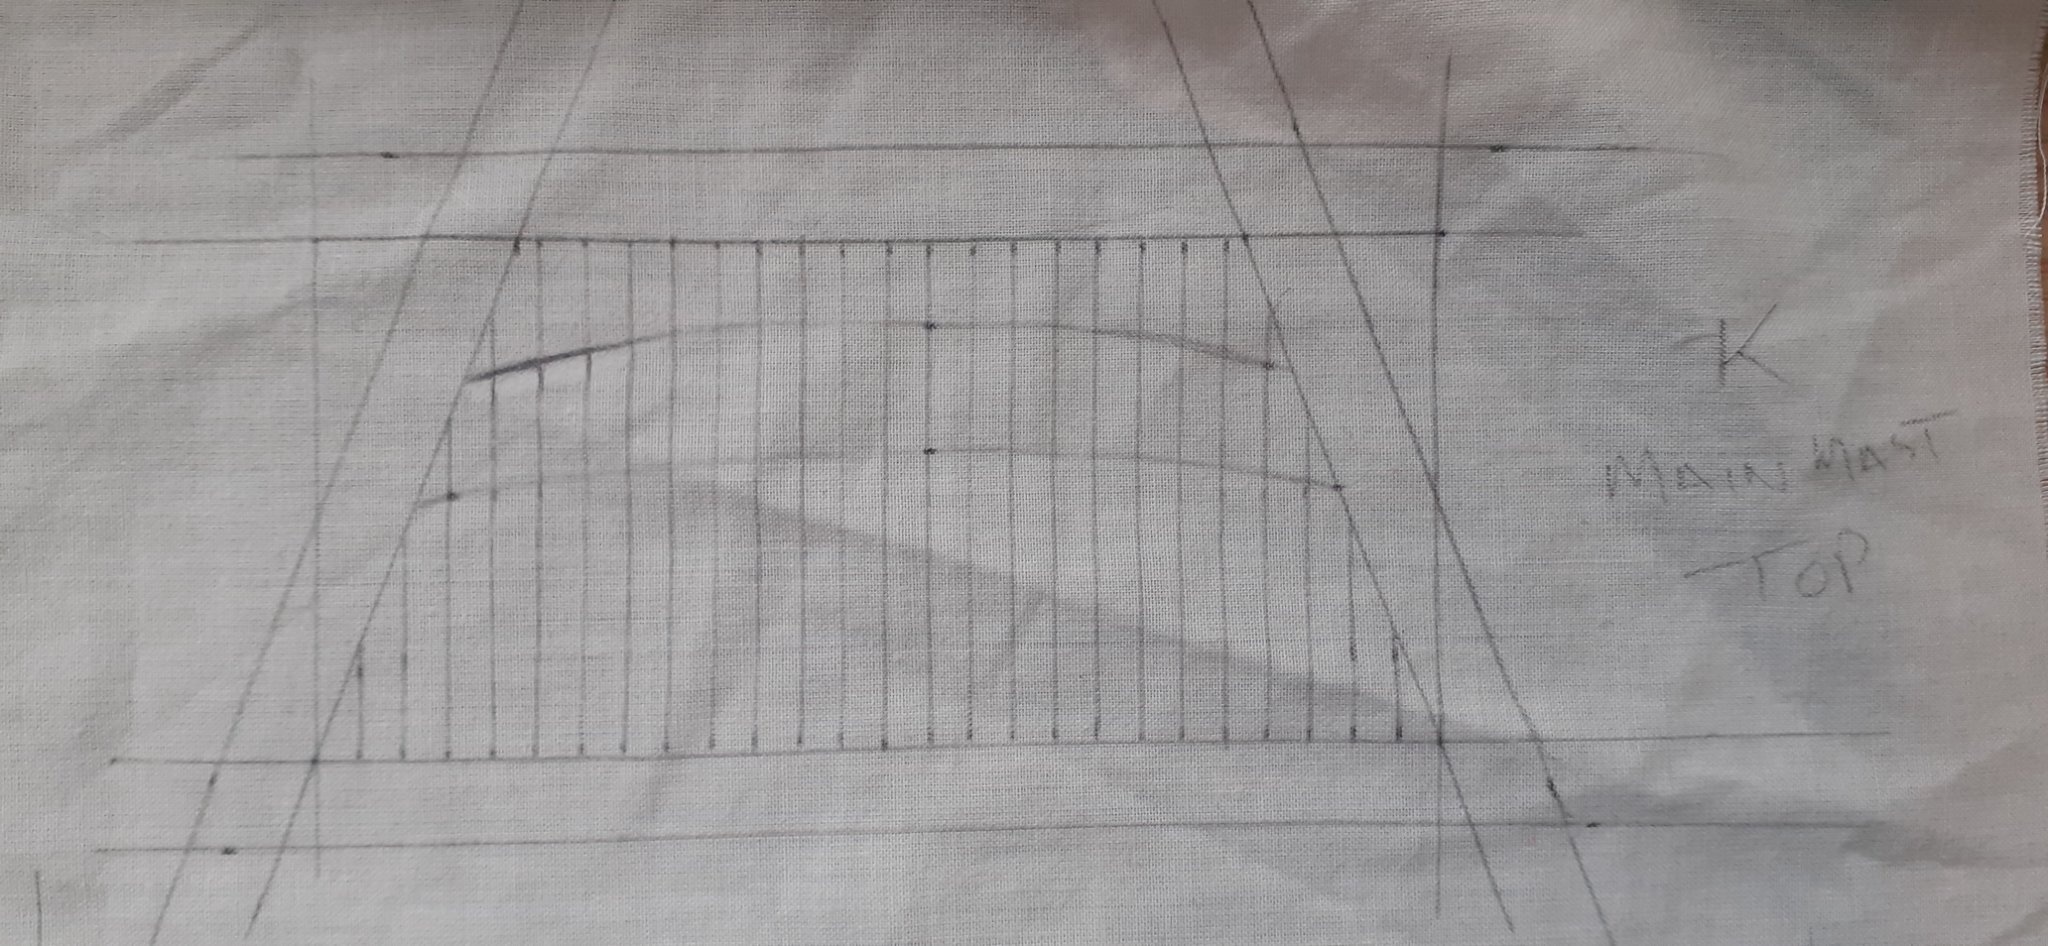
5 months of building the kit and rigging her up and 3 months to Hand sew 20 sails and add reef lines, Bowlinesand Braces, I can honestly say I feel burnt out, strained but very happy.
It may not be perfect or historically accurate but I have pushed my own capabilities to the max, I still have a lot to perfect and learn, if I can. But for now I can sit bk and enjoy her as I hope some of you will.
Happy modelling everyone and keep building and enjoying our great hobby and Art.
All the best and #staysafe Rob 👍🤺🤺🤺⚓⚓⚓

-
On 9/3/2021 at 12:10 PM, Louie da fly said:
Somehow I managed to miss seeing her complete until now. Congratulations, mate!
Steven
Thanks very much Steven 👍🤺⚓
-
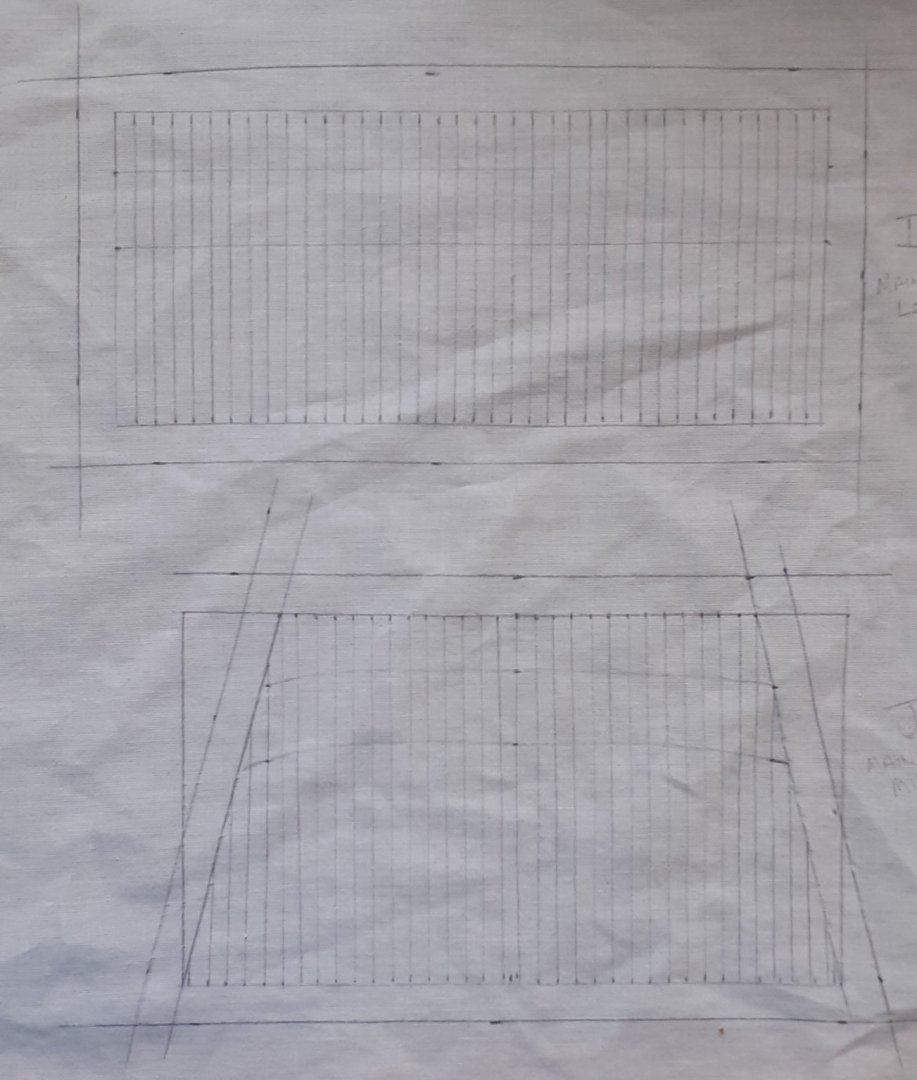
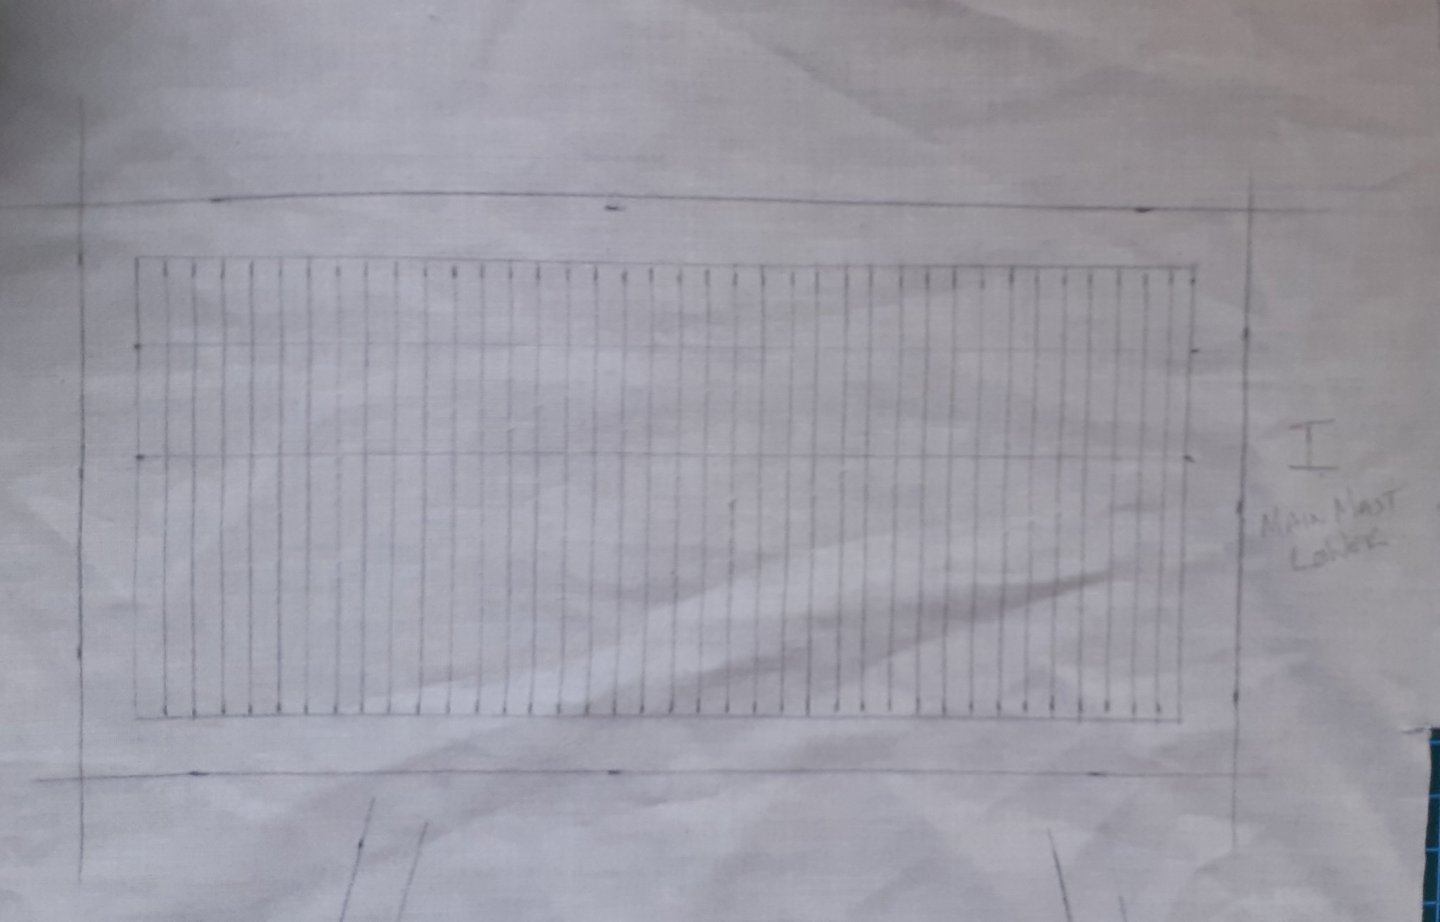
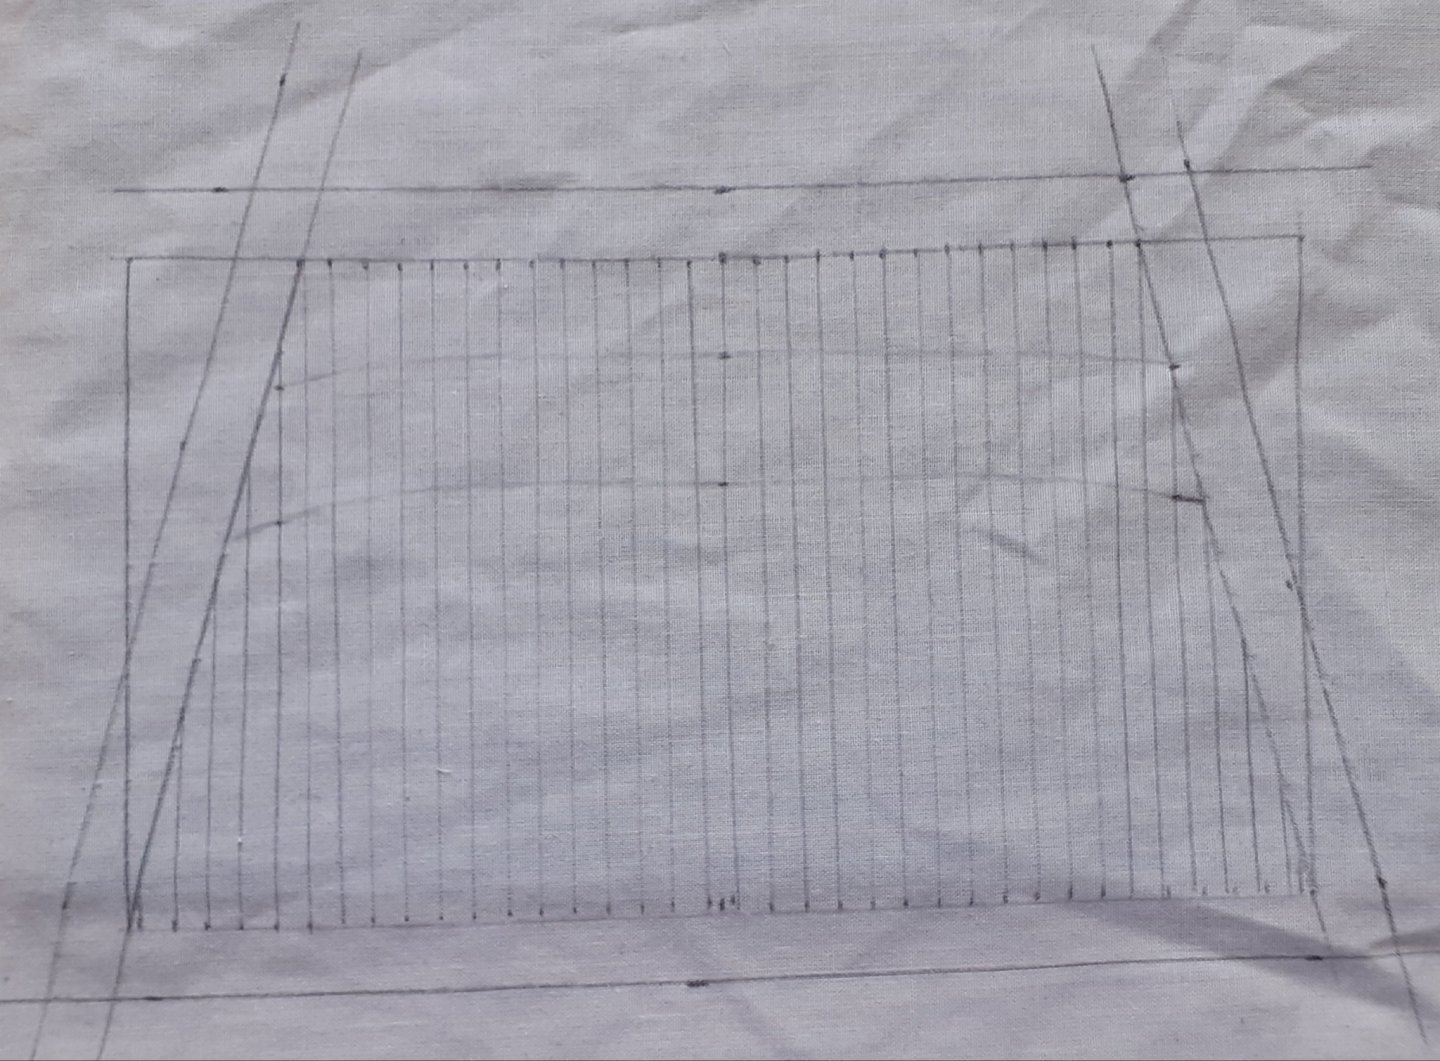
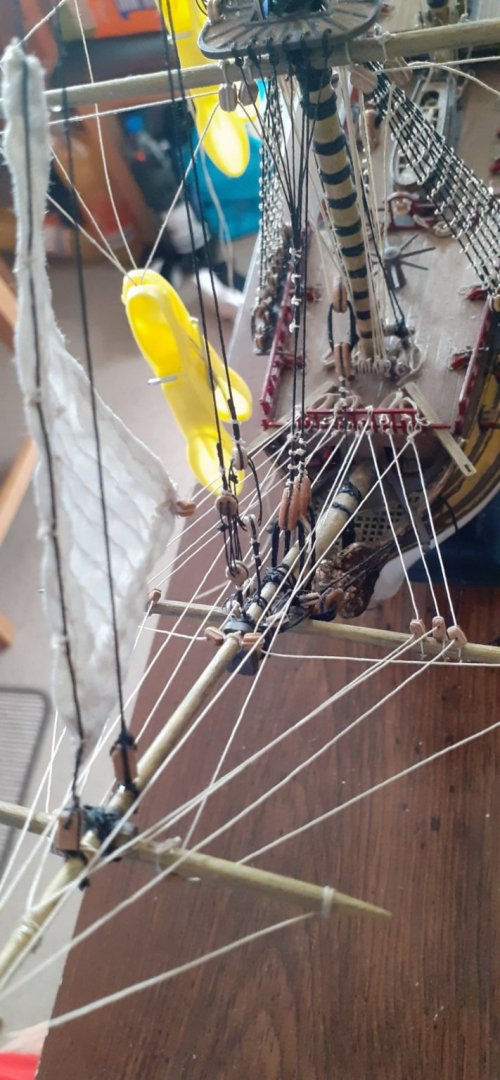
1759 ROYAL LOUIS -
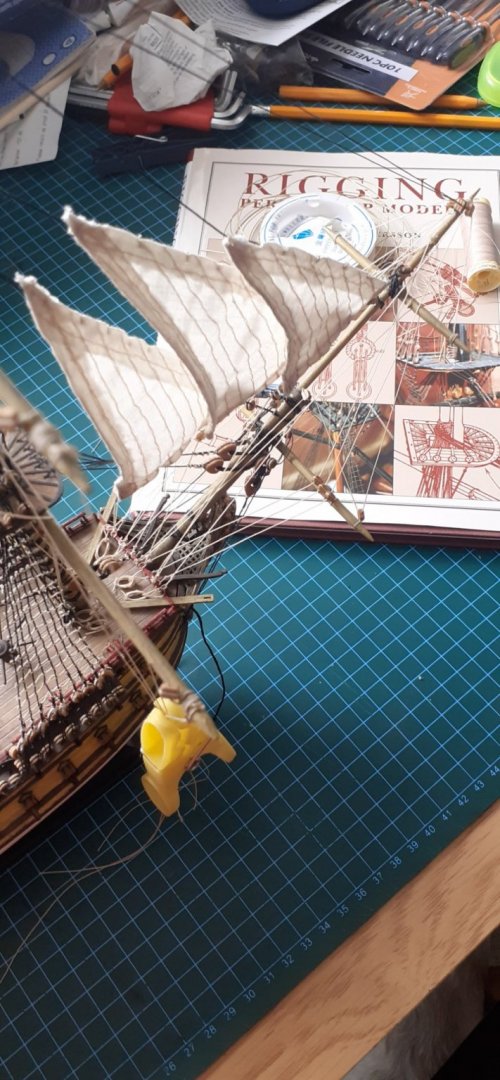
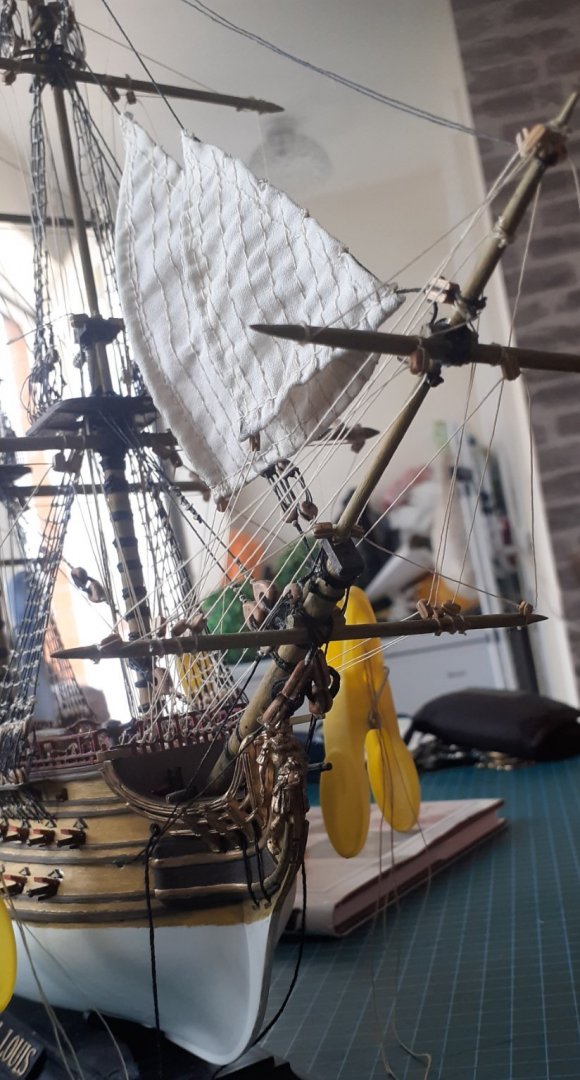
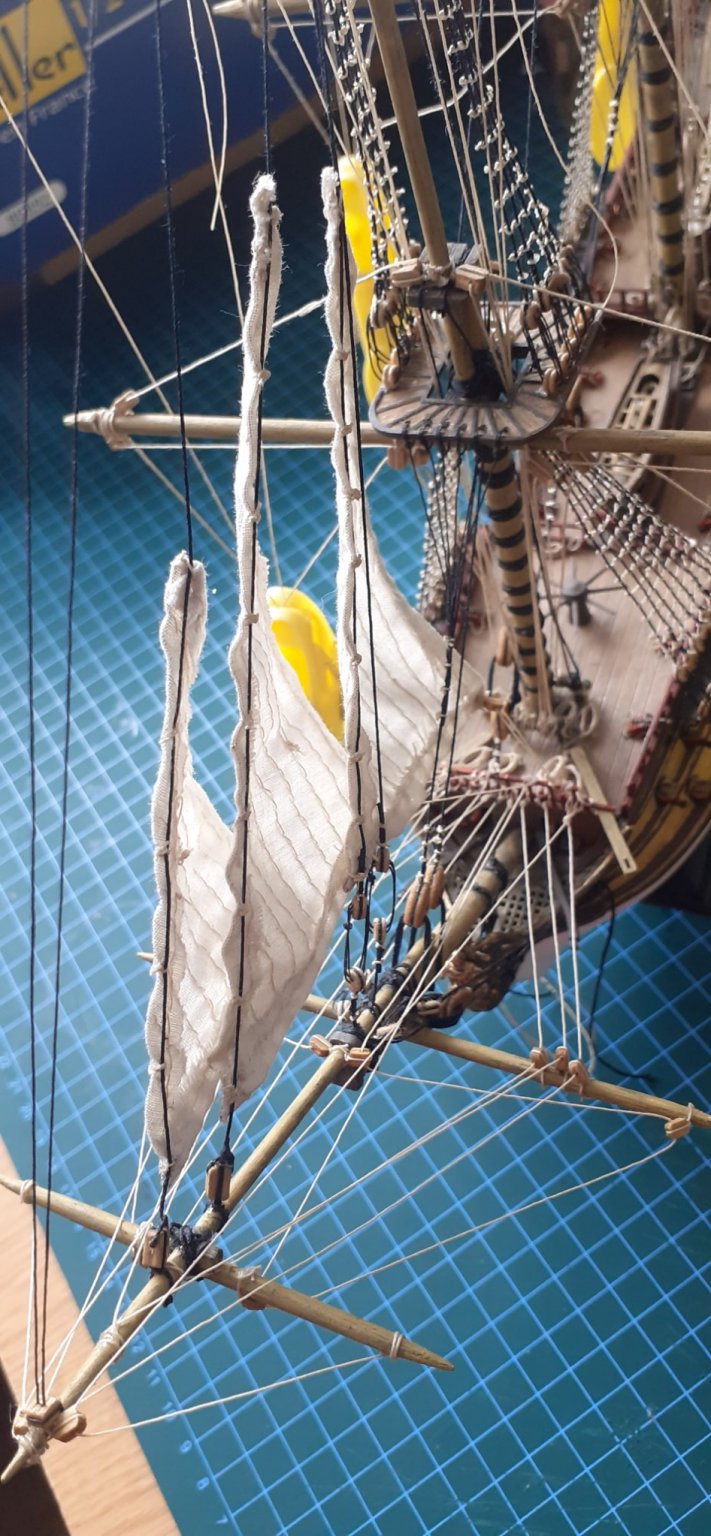
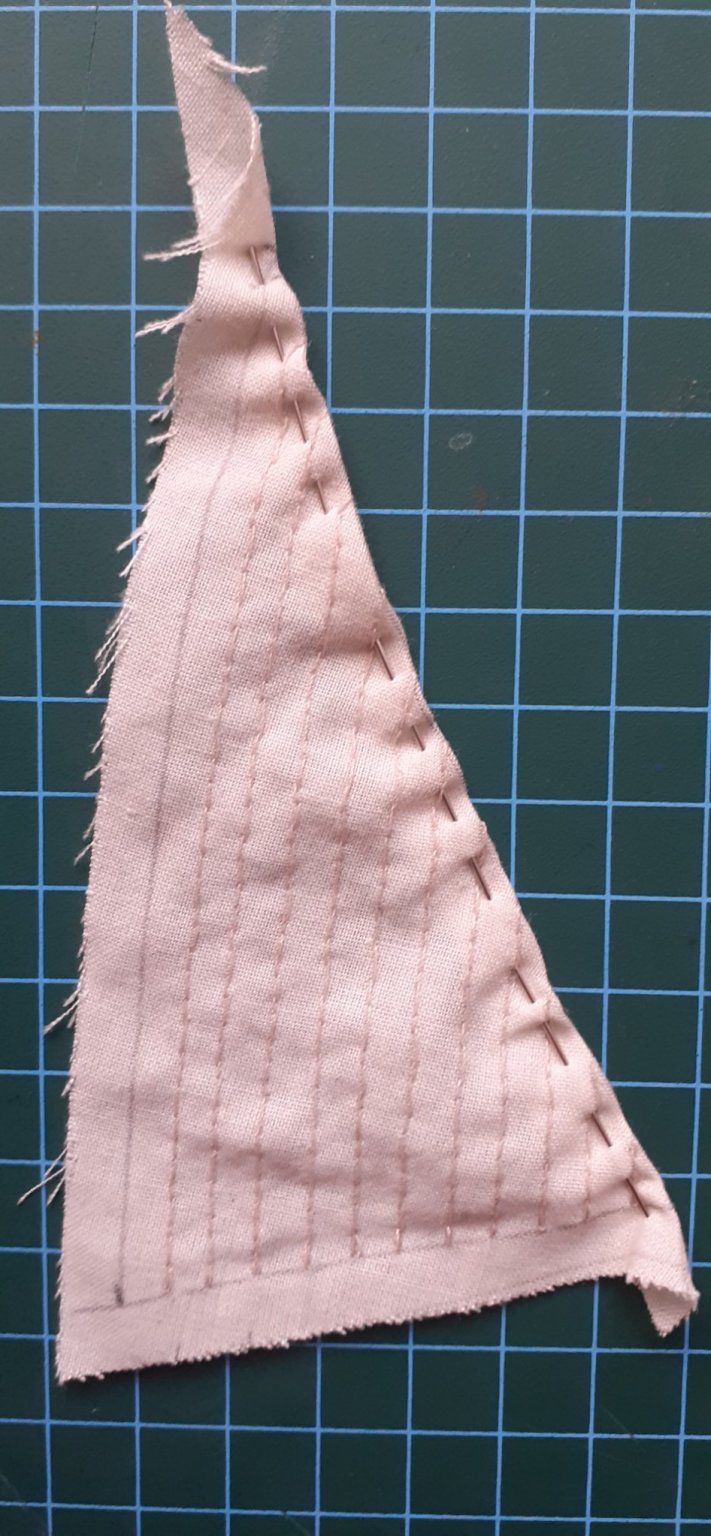
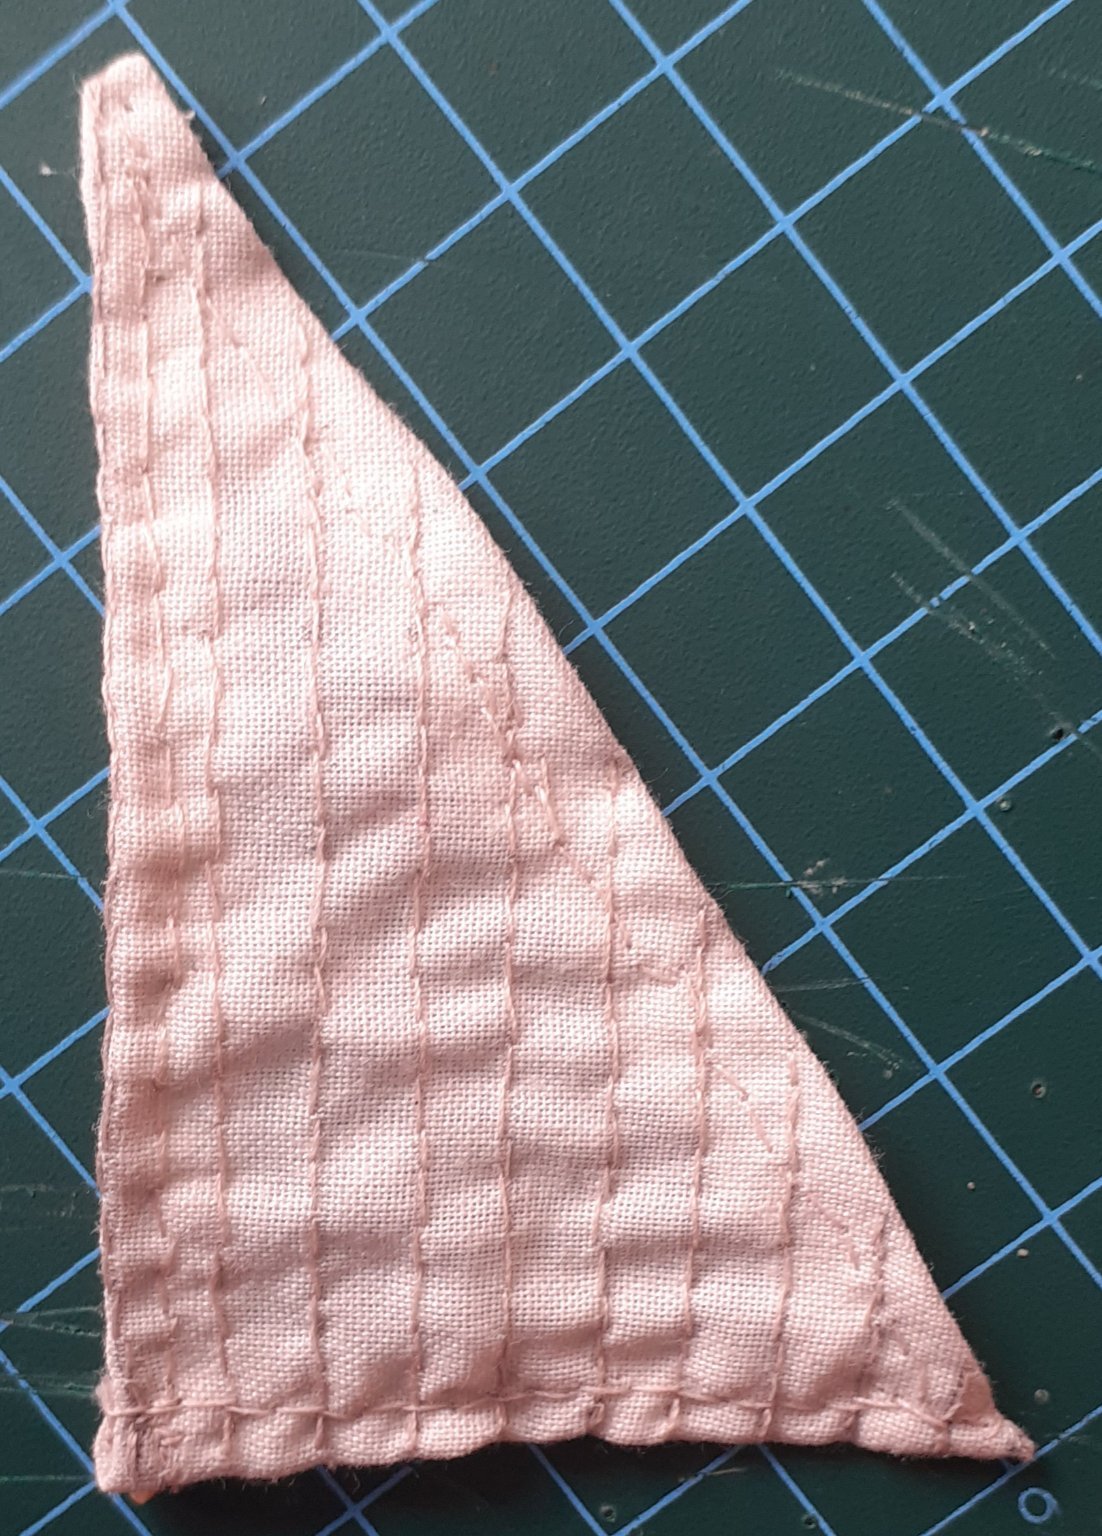
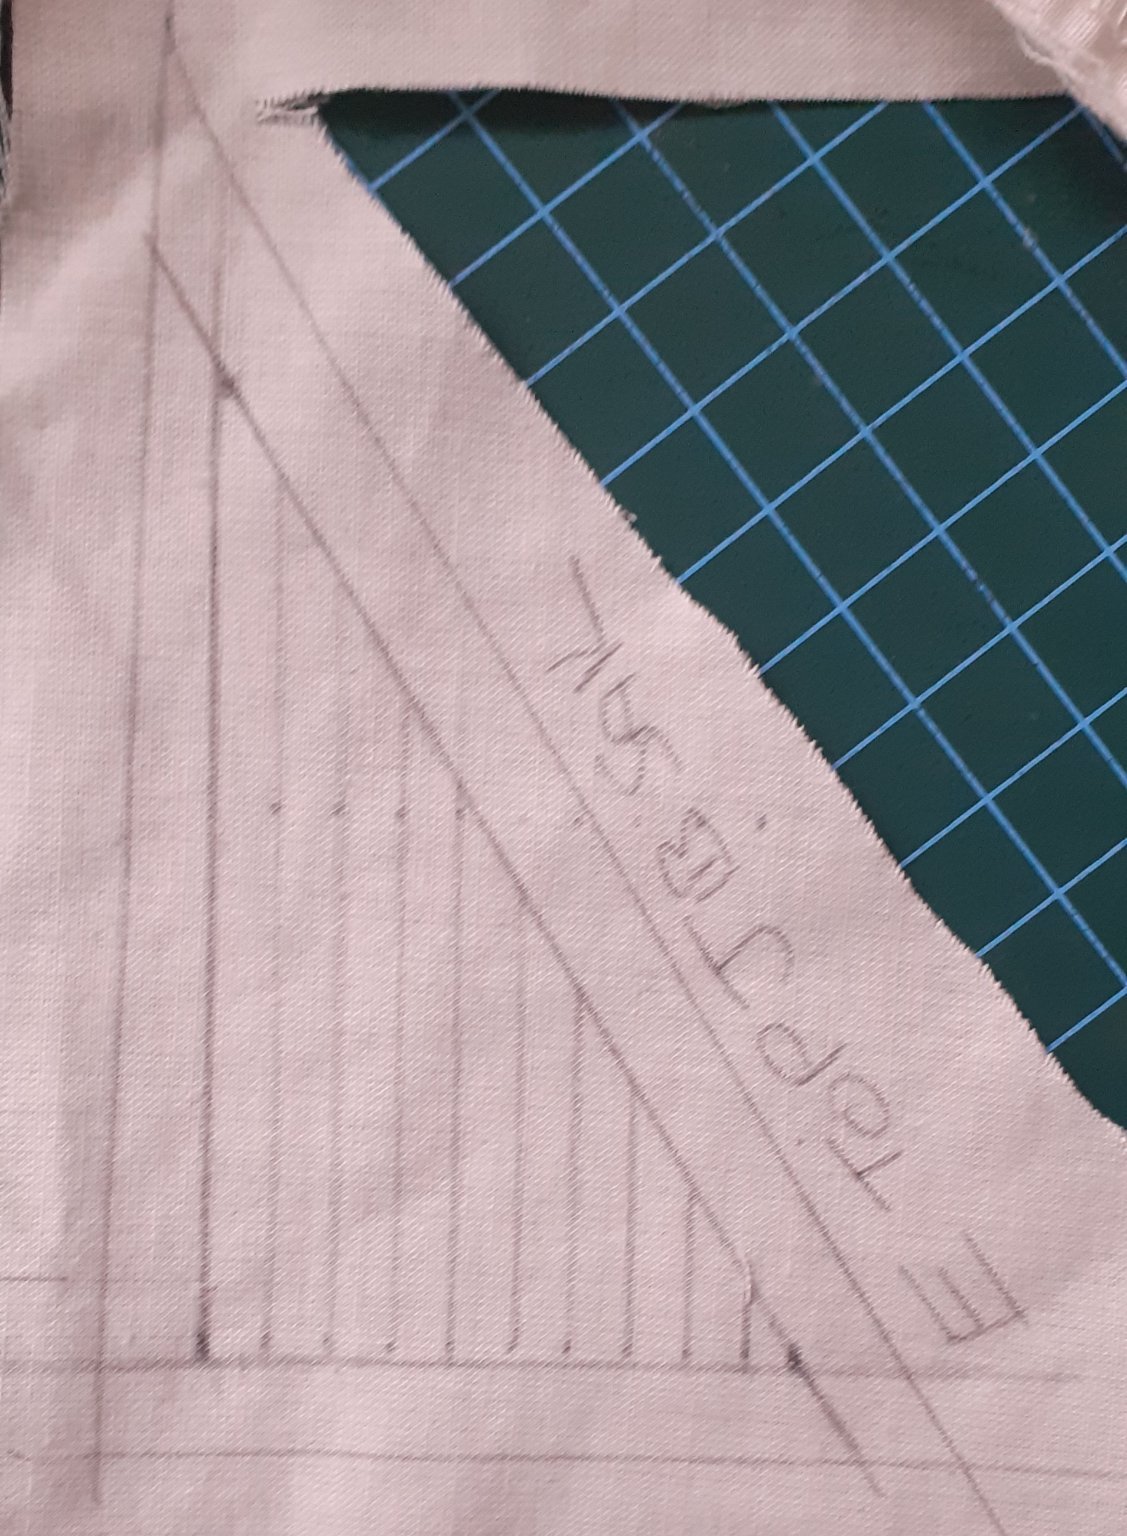
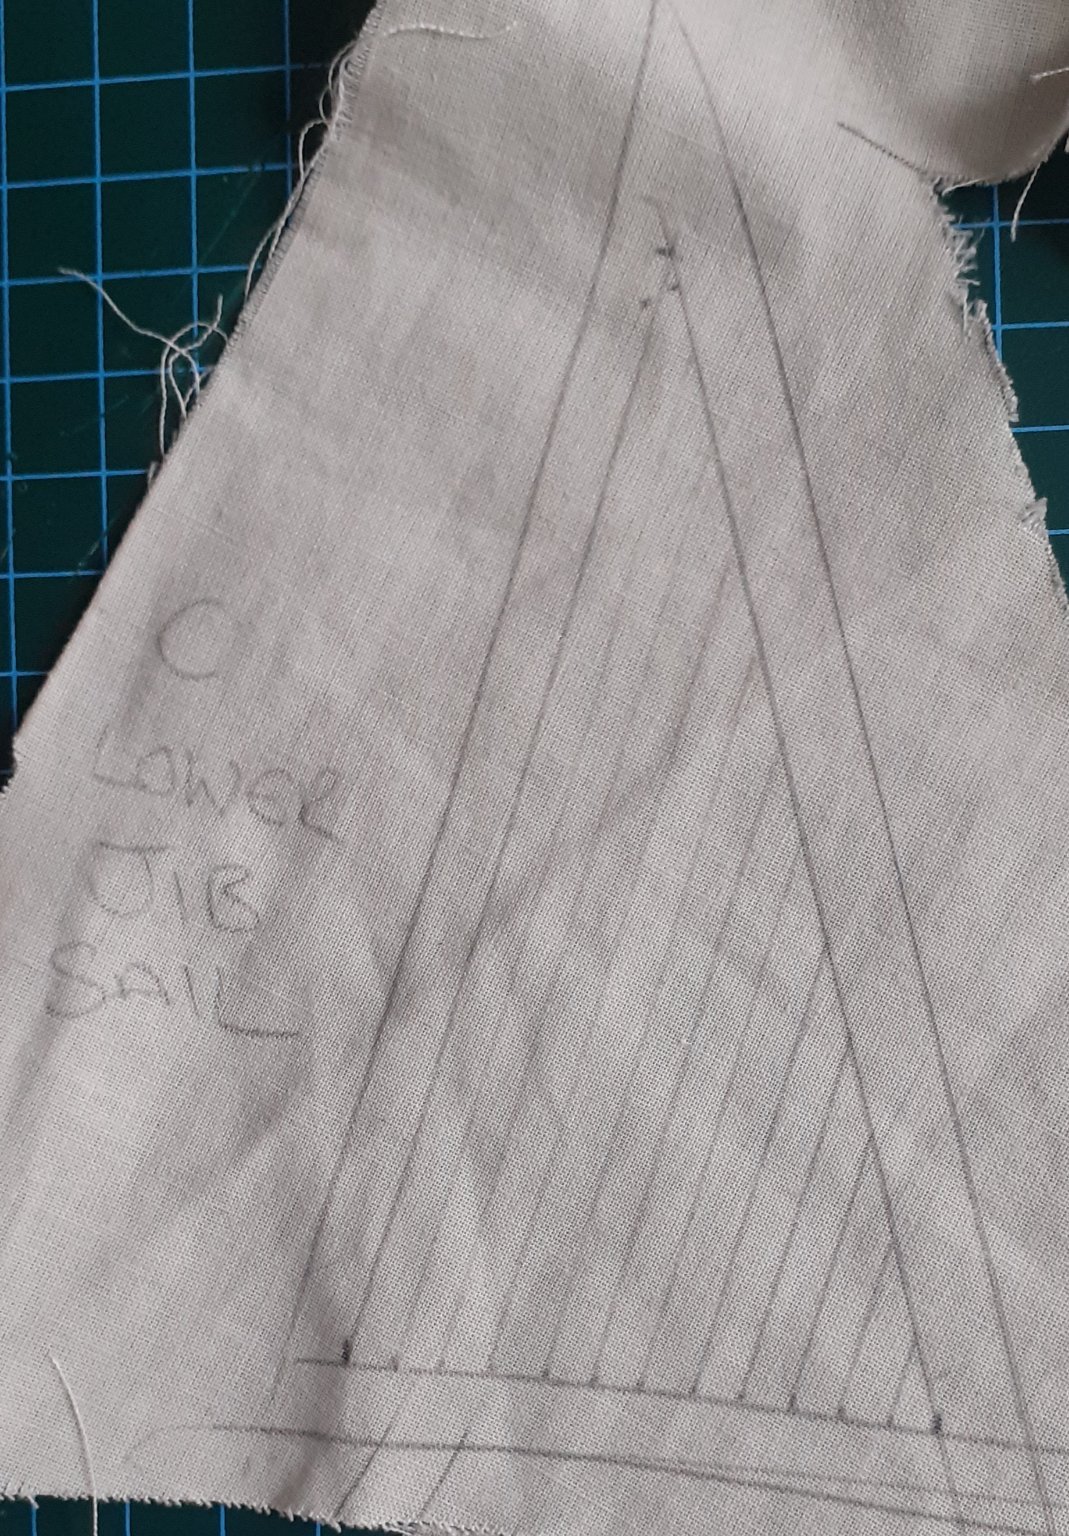
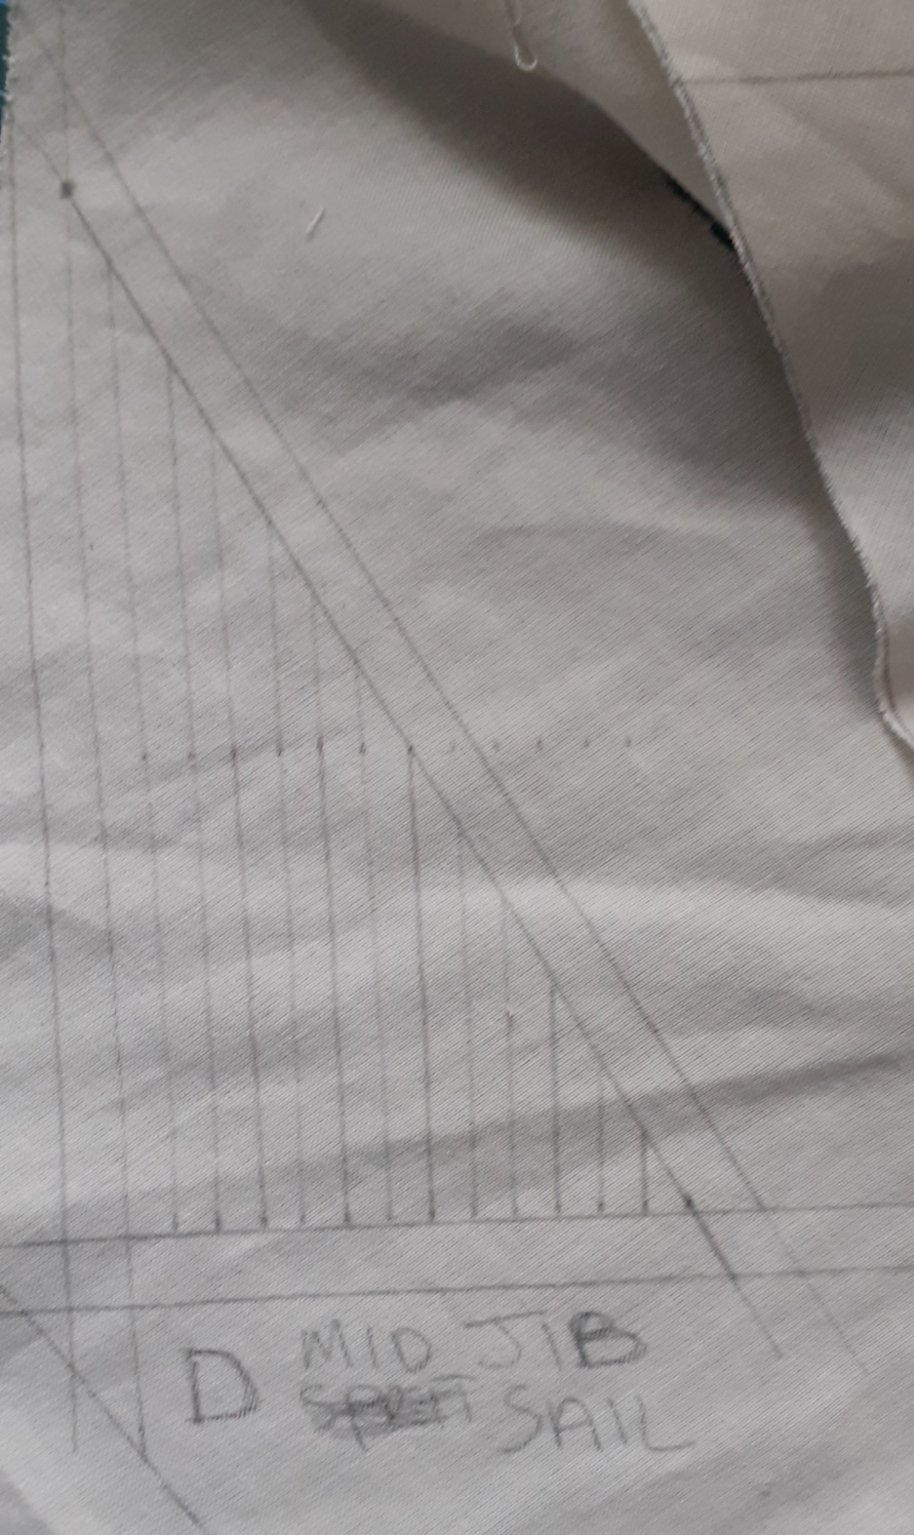
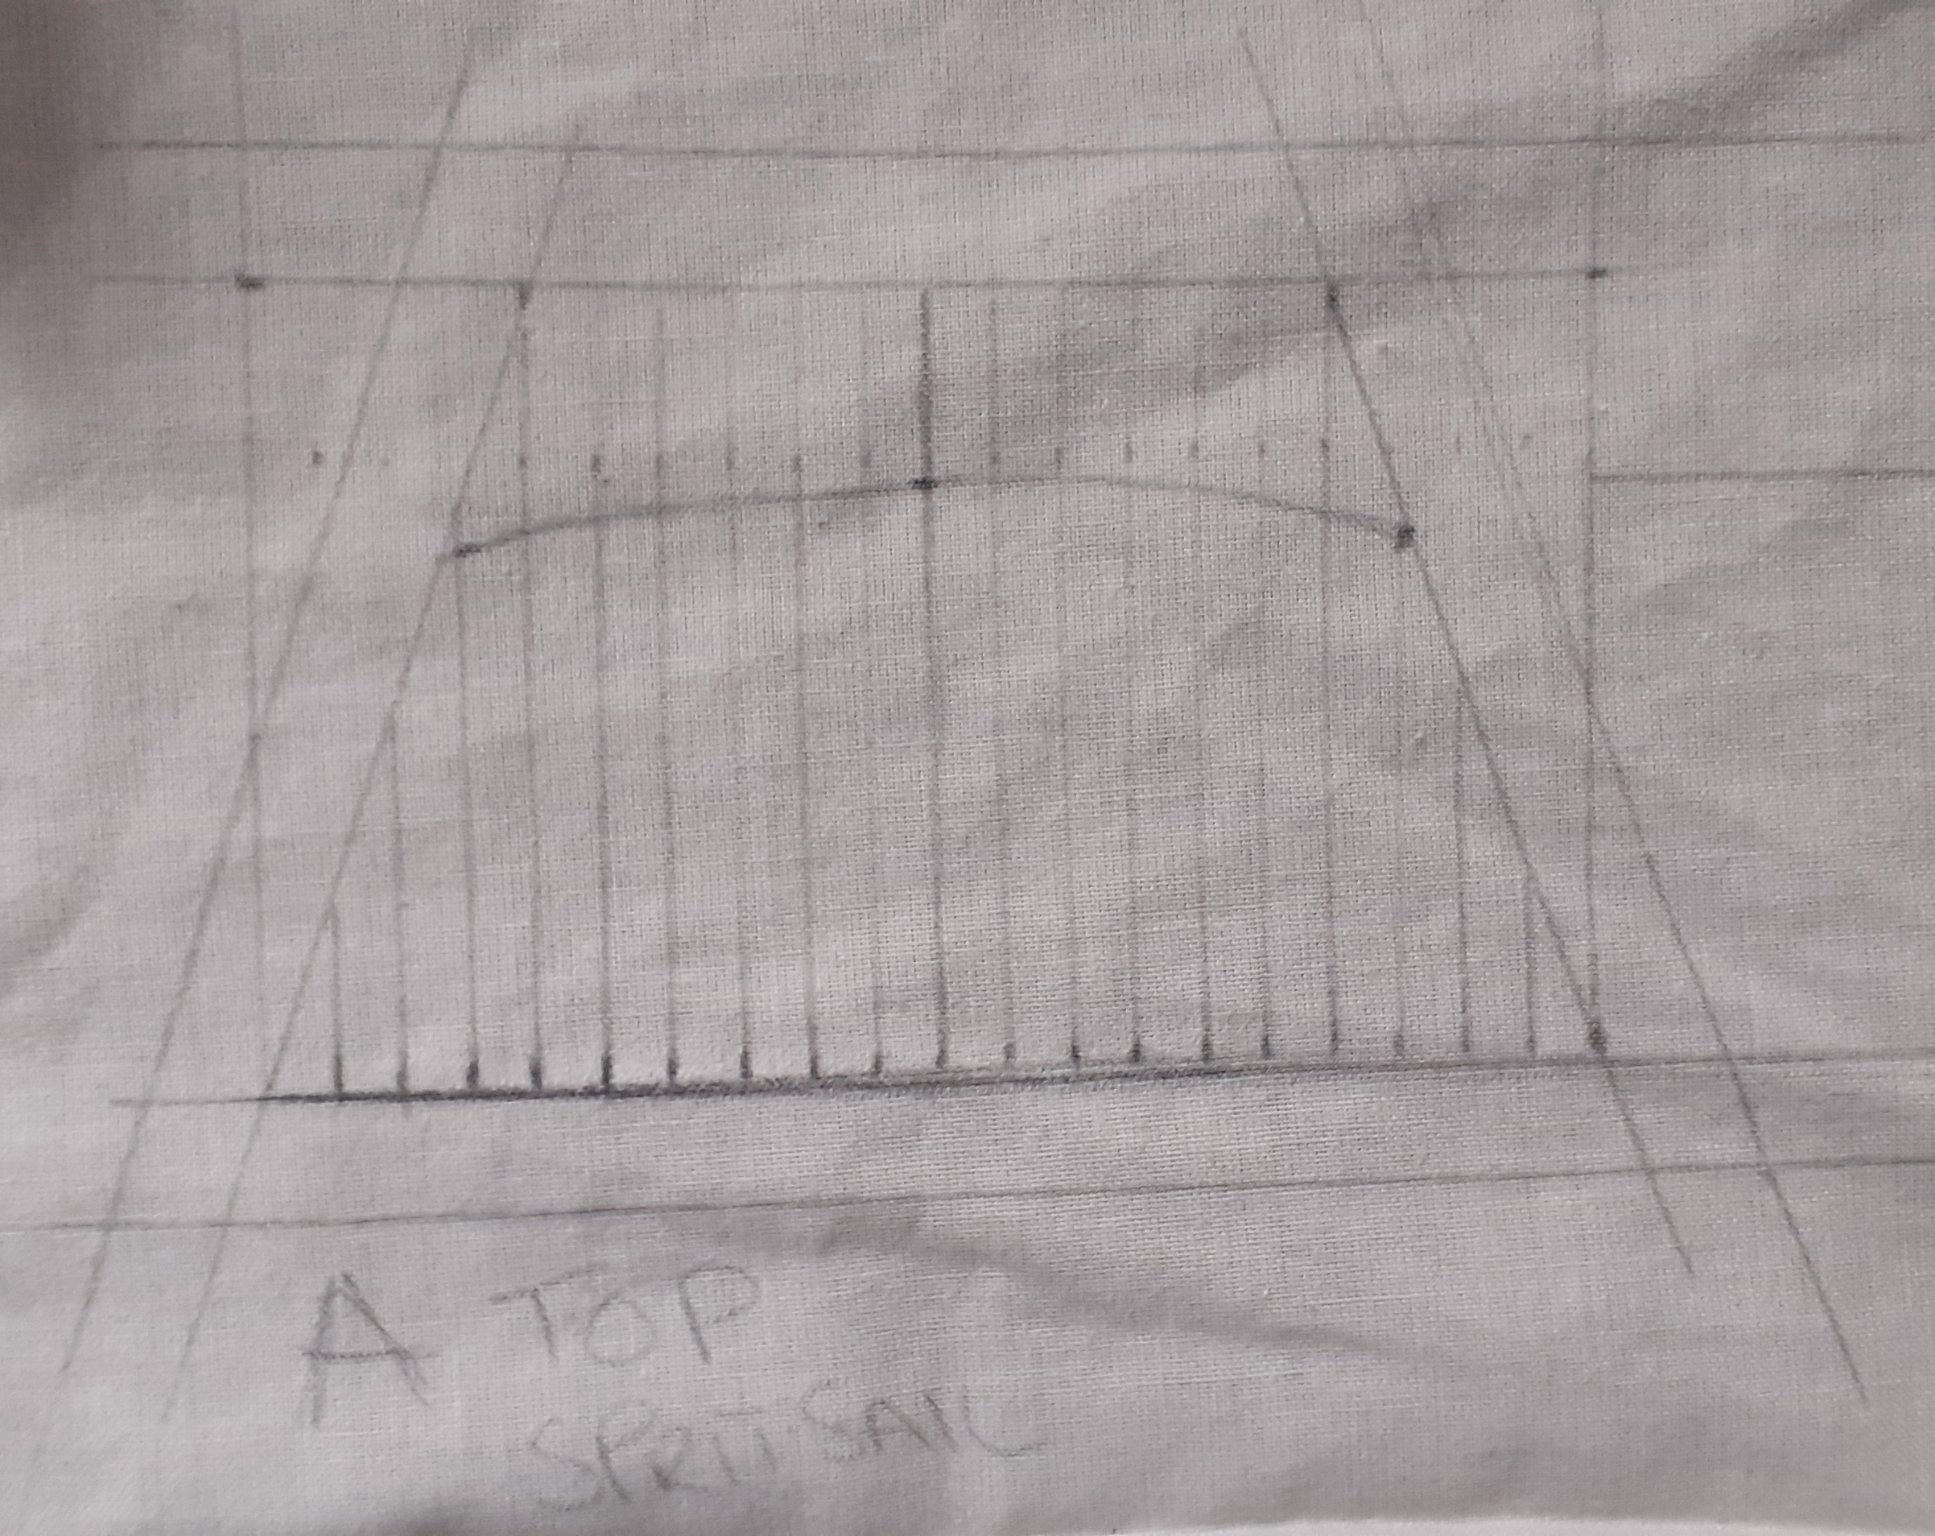
Heller 1/200 WIP UPDATEJib sail, Fore Topmast staysail & Foremast staysail all sewn and rigged.
Next stage will be to cut and sew Mainmast Topgallant & Topmast staysails as well as Mainmast staysail then rig them up.
Rigging all the staysails first as it will give me more room to manoeuvre when I go to rig Fore, Main & Mizzen sails with regards to their own rigging and eventually the backstays.Happy modelling everyone
#staysafe 👍🤺🤺⚓⚓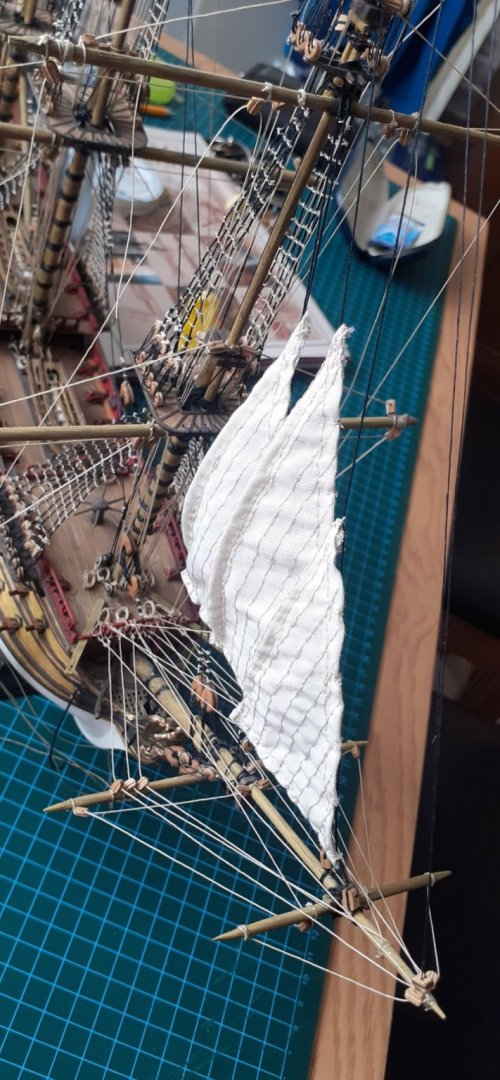


- EJ_L and GrandpaPhil
-
2
-
On 8/8/2021 at 12:13 PM, GrandpaPhil said:
Congratulations! Well done!
Thank you very much 👍🤺⚓


.jpg.f90fae03c4cca5f8235c984ef36e936a.jpg)


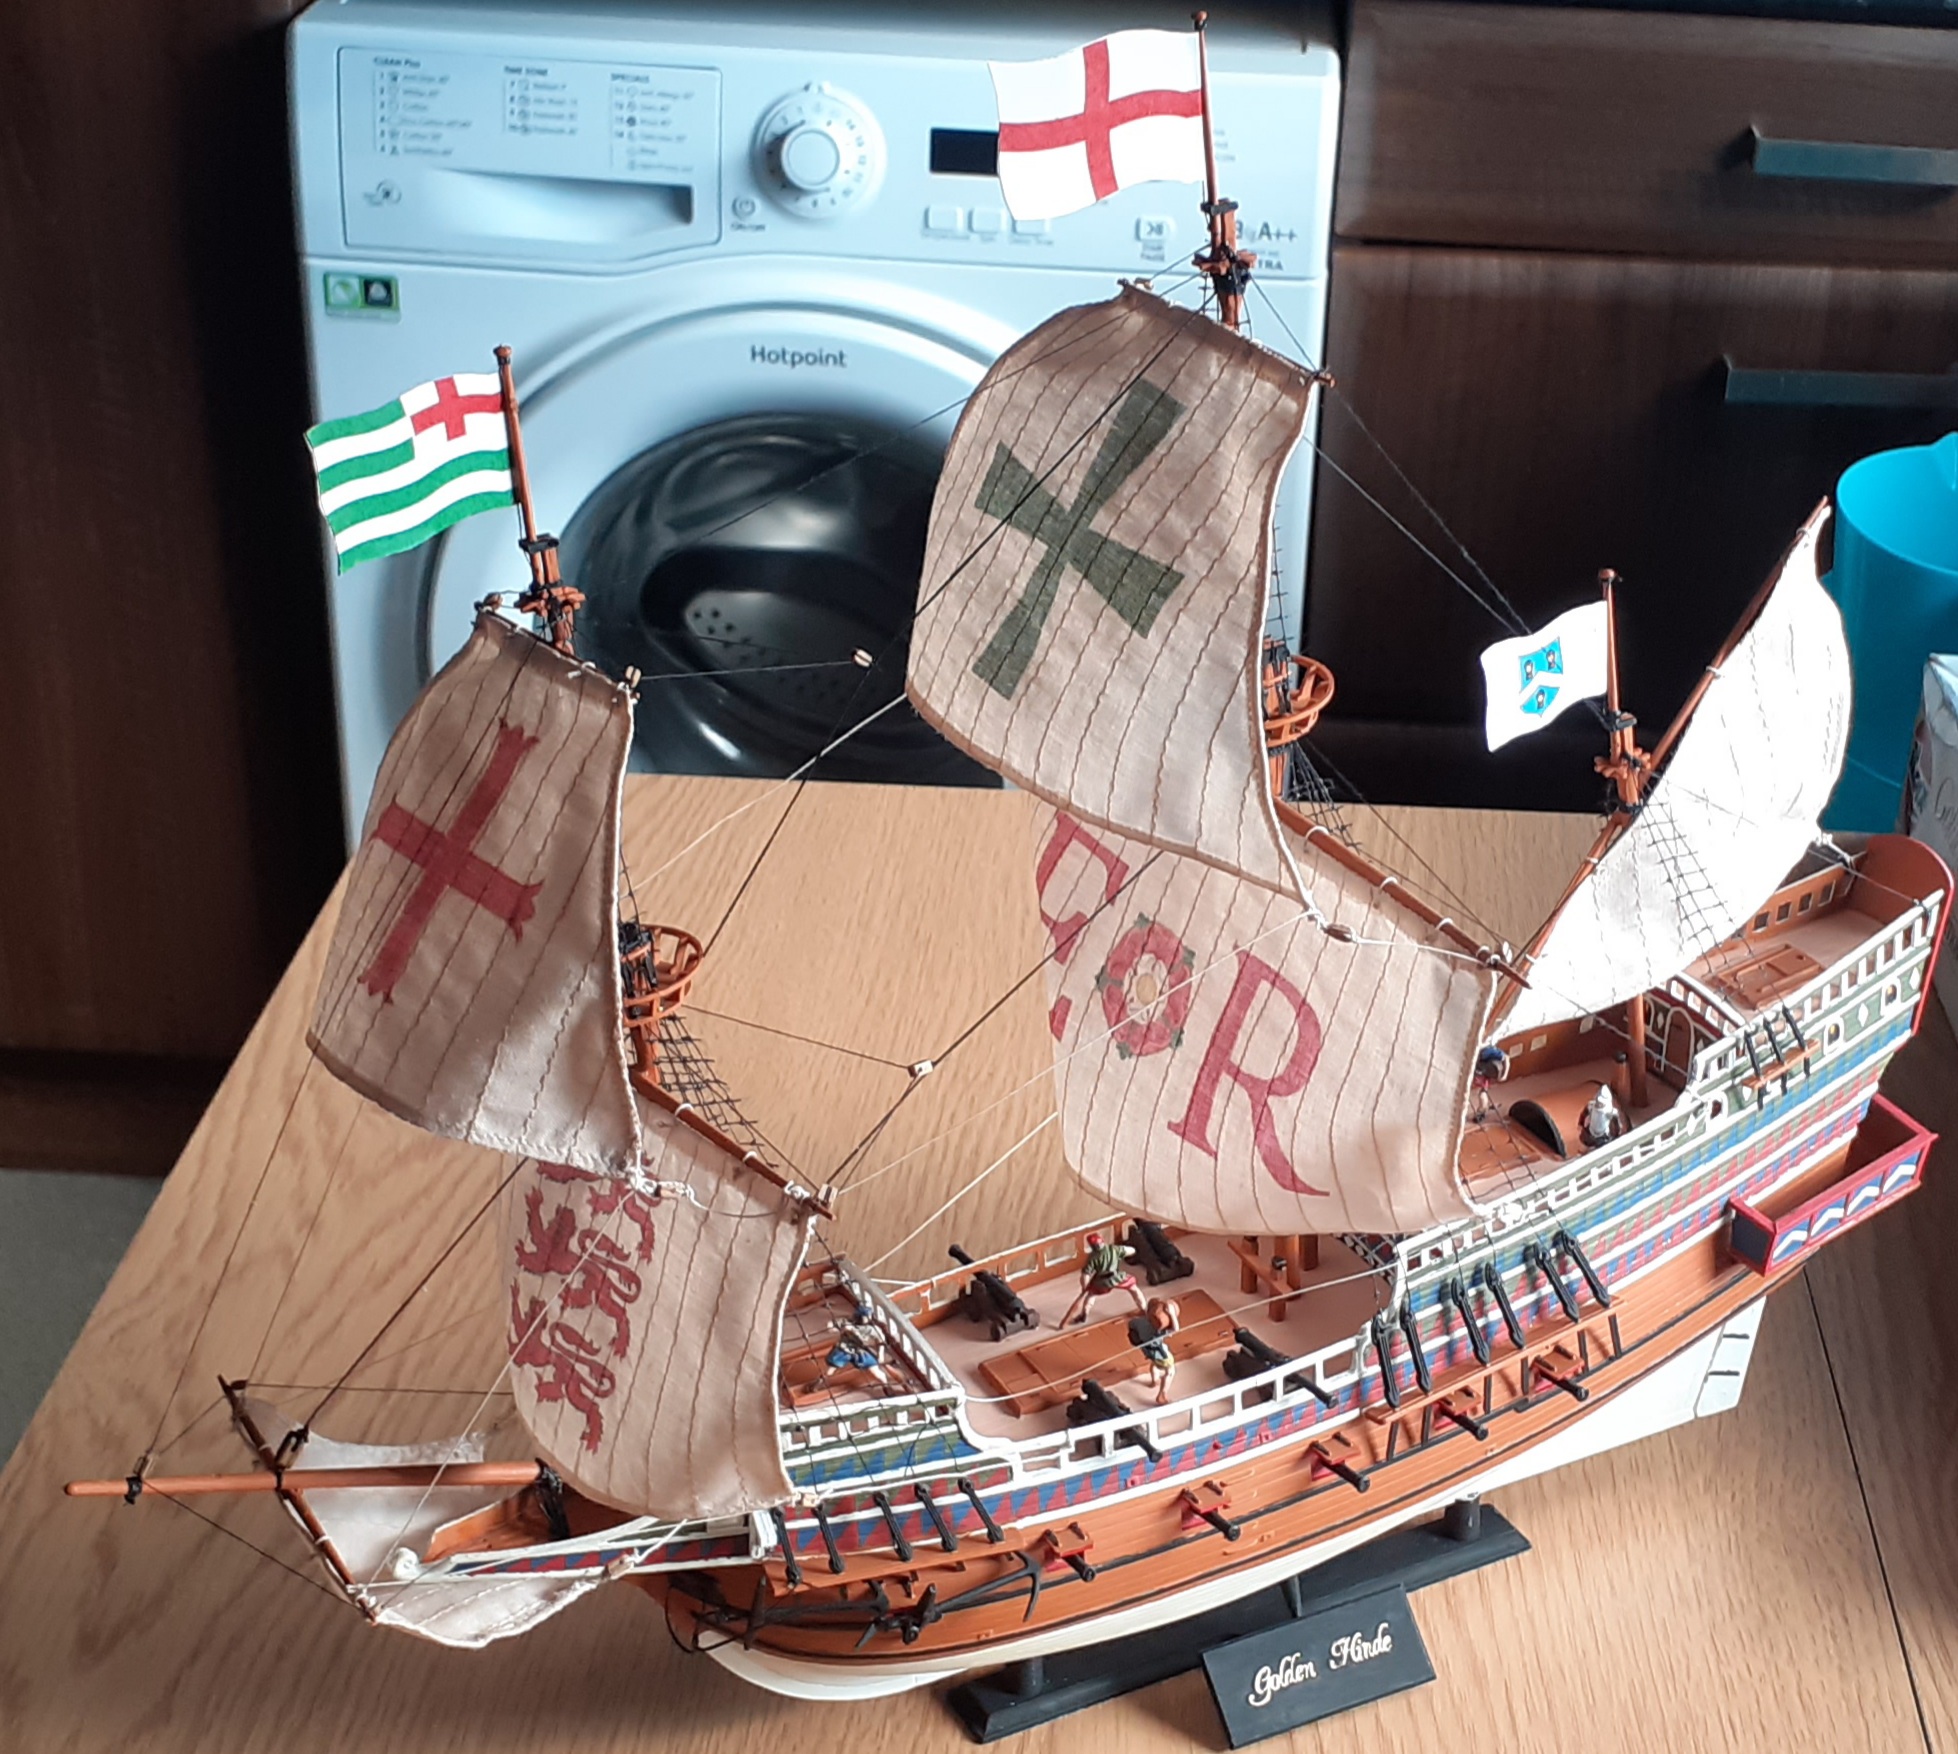
Golden Hind by Robert Taylor - FINISHED - Airfix - 1:72 scale - Plastic
in - Kit build logs for subjects built from 1501 - 1750
Posted
Hi Pete
First of all Deepest apologies for the waiting so long for am answer. I am not sure how this MSW system works as I haven't had a notification as to your question as I have been on here several times since your question.
If I remember right I used a mix between 3cm and 5mm blocks mostly 3mm, these I purchase from "Cornwall Model Boats" a company here in the UK which I thoroughly recommend as they have an extensive range of kits, fittings and accessories for kit building.
Hope this helps Pete
All the best
Robert