


Jeff59
-
Posts
536 -
Joined
-
Last visited
Content Type
Profiles
Forums
Gallery
Events
Posts posted by Jeff59
-
-
1 hour ago, Roger Pellett said:
You are doing a great job building what I would consider to be a difficult model. Scantlings for steel ships are much thinner than those for wooden vessels. Your scale is small enough that many details are really tiny but large enough where they just can’t be omitted.
Roger
Thanks Rodger, appreciate your comments, the truth is I thought I was getting away from the madness in 1/350 and 1/700 scale, it’s not working out that way, they just shrink the madness into 1/200 scale lol. 🤪 On a positive note she is a lovely model to have in ones collection and am learning a lot, some through mistakes. But I’m sure my son will love it when it’s finished. Then I can move on to the Bismarck which I’m guessing will be a lot more straightforward. 🤞
-
11 hours ago, S-boat 55 said:
Must say what's you've achieved so far is really impressive,
And did my eyes deceive me or was there a large scale Arizona in the background of one of the photos?
Thanks for that, I have to say I’m not being modest when I say this is pushing me to my limits, don’t find this easy at all in fact my better half has shouted upstairs that I’m supposed to be enjoying this, it’s your hobby, more than a few times 😂 Please tell me I’m not the only one who has these problems. 😂 And yes it is the Arizona in background, my first build in this scale, and really enjoyed it, was a lot easier than the Mikasa 👀 there are some photos of her further back in my build log for Mikasa, did the same with Arizona as Saltydog did with his Mikasa in as much as didn’t paint the etch so as to highlight the work that goes into building a ship model, still to do a bit on her painting wise when I get the time. Thanks for your comment, always encouraging when someone likes what you are doing. 🤛
-
On 2/27/2022 at 6:40 PM, Tim Moore said:
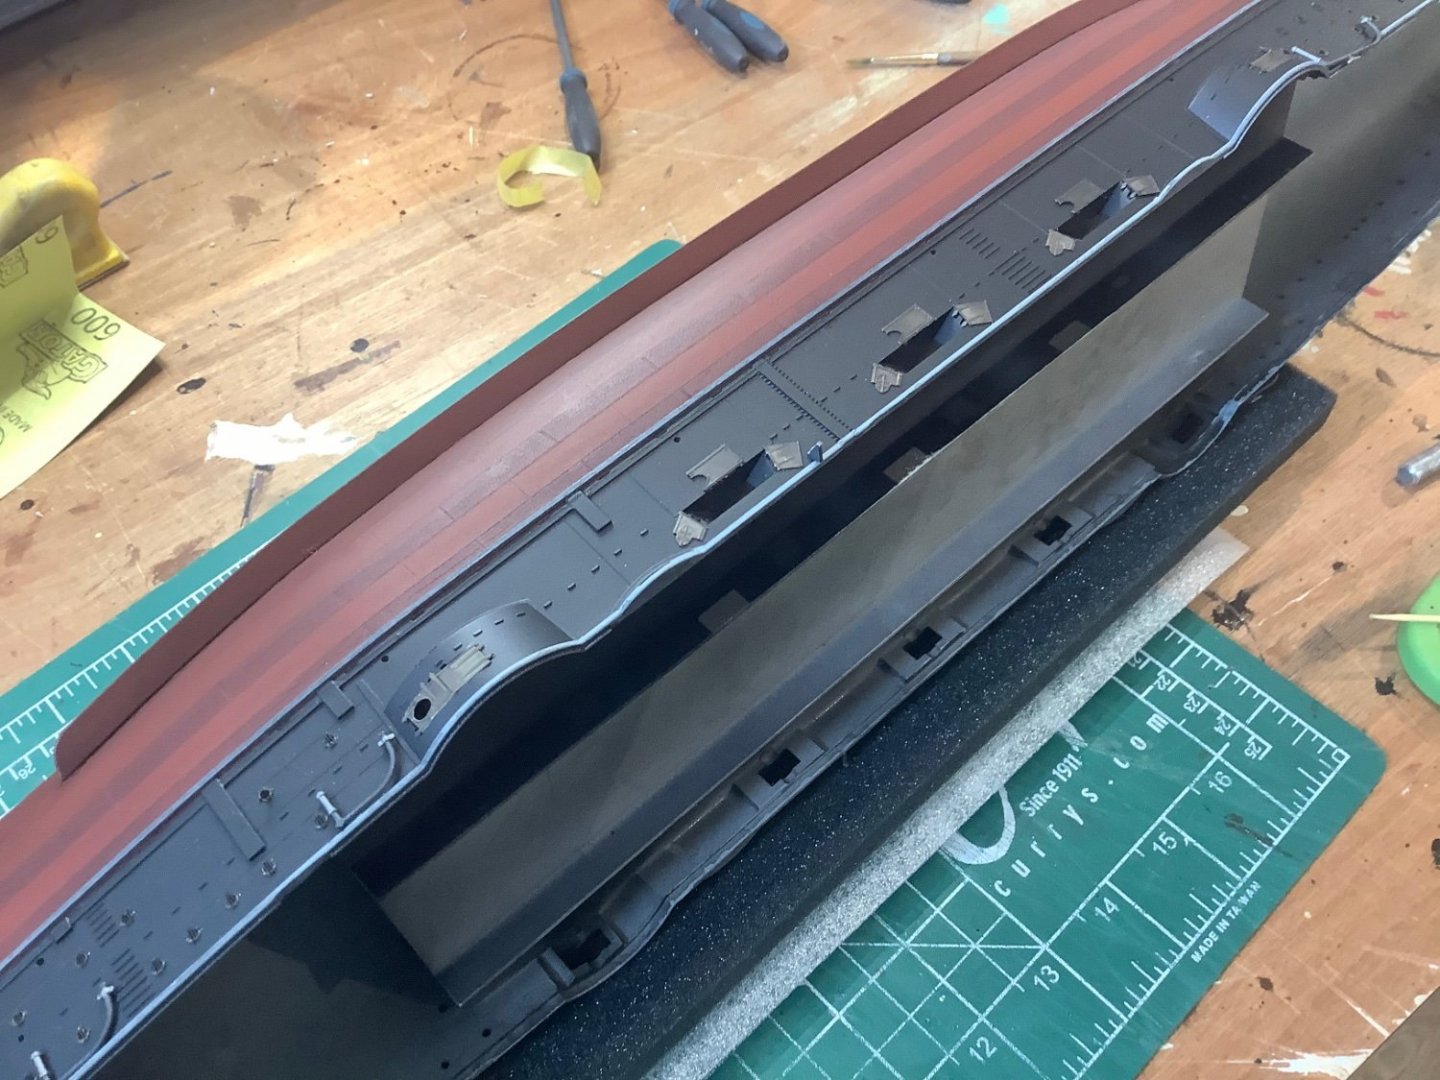
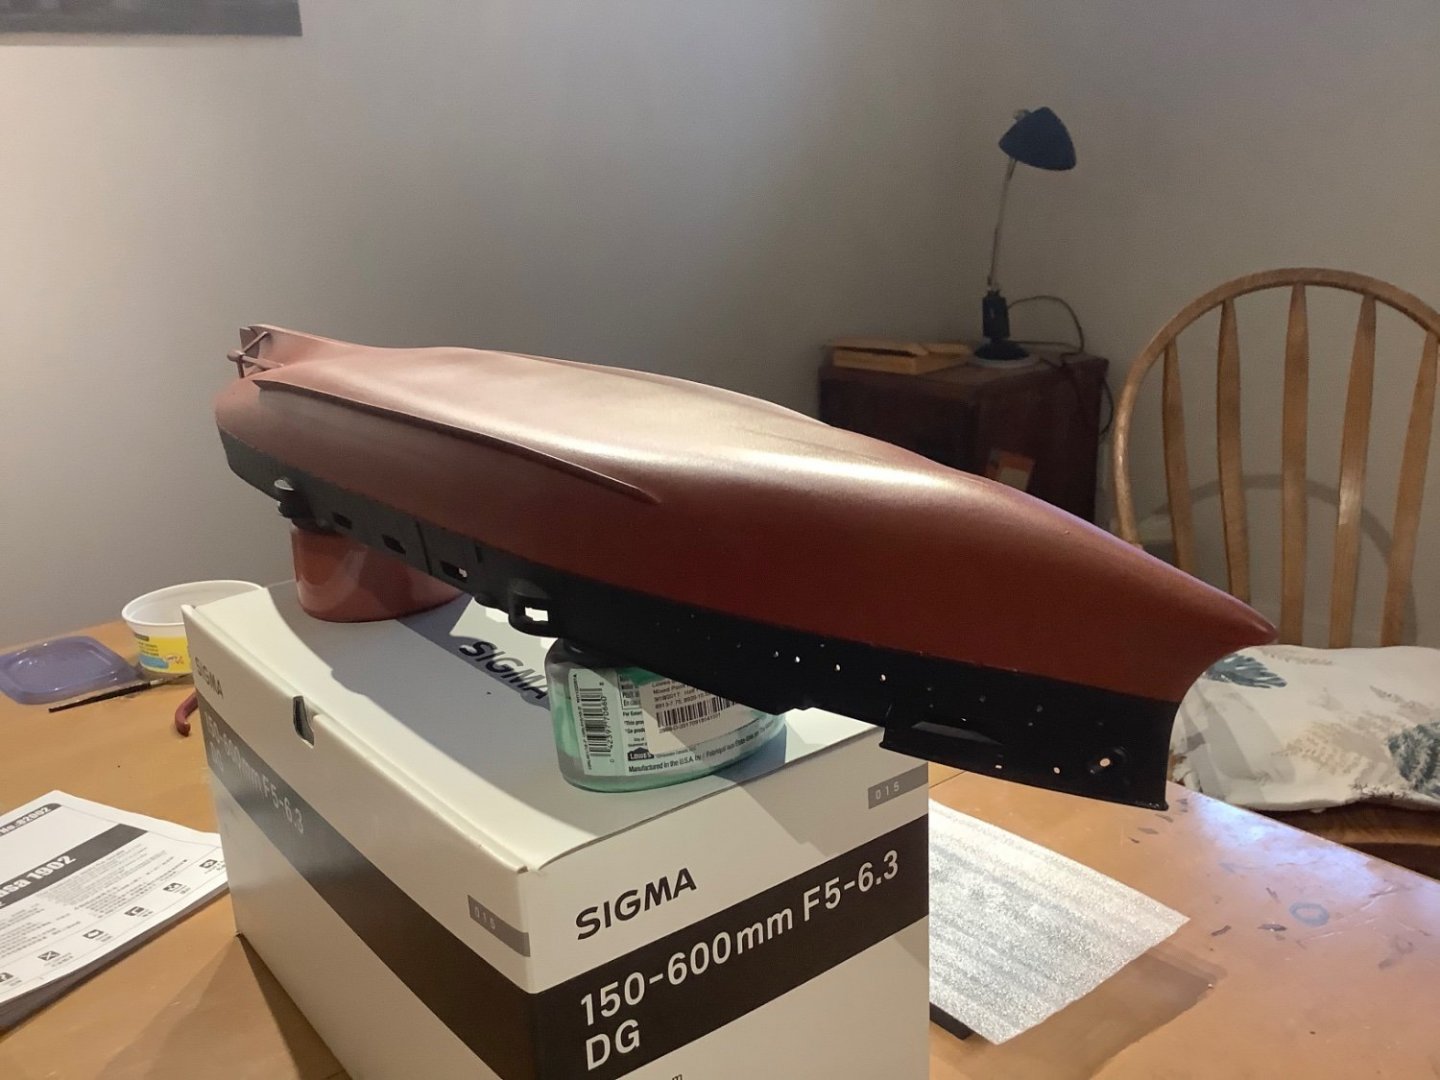
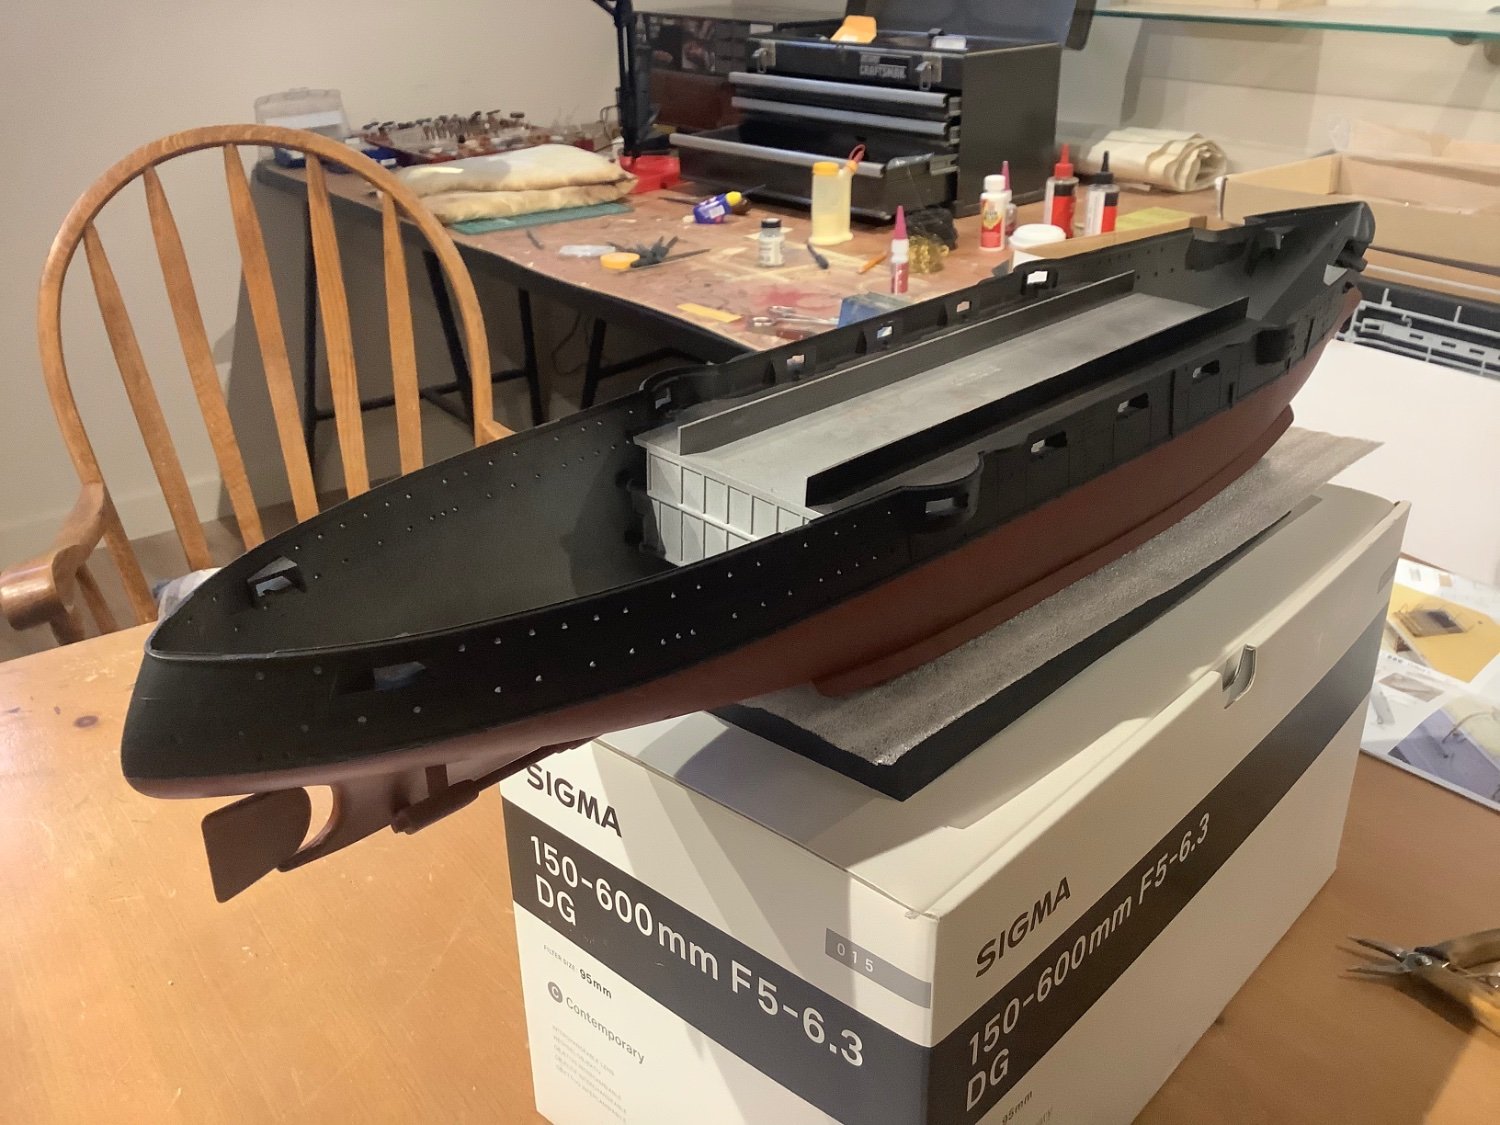
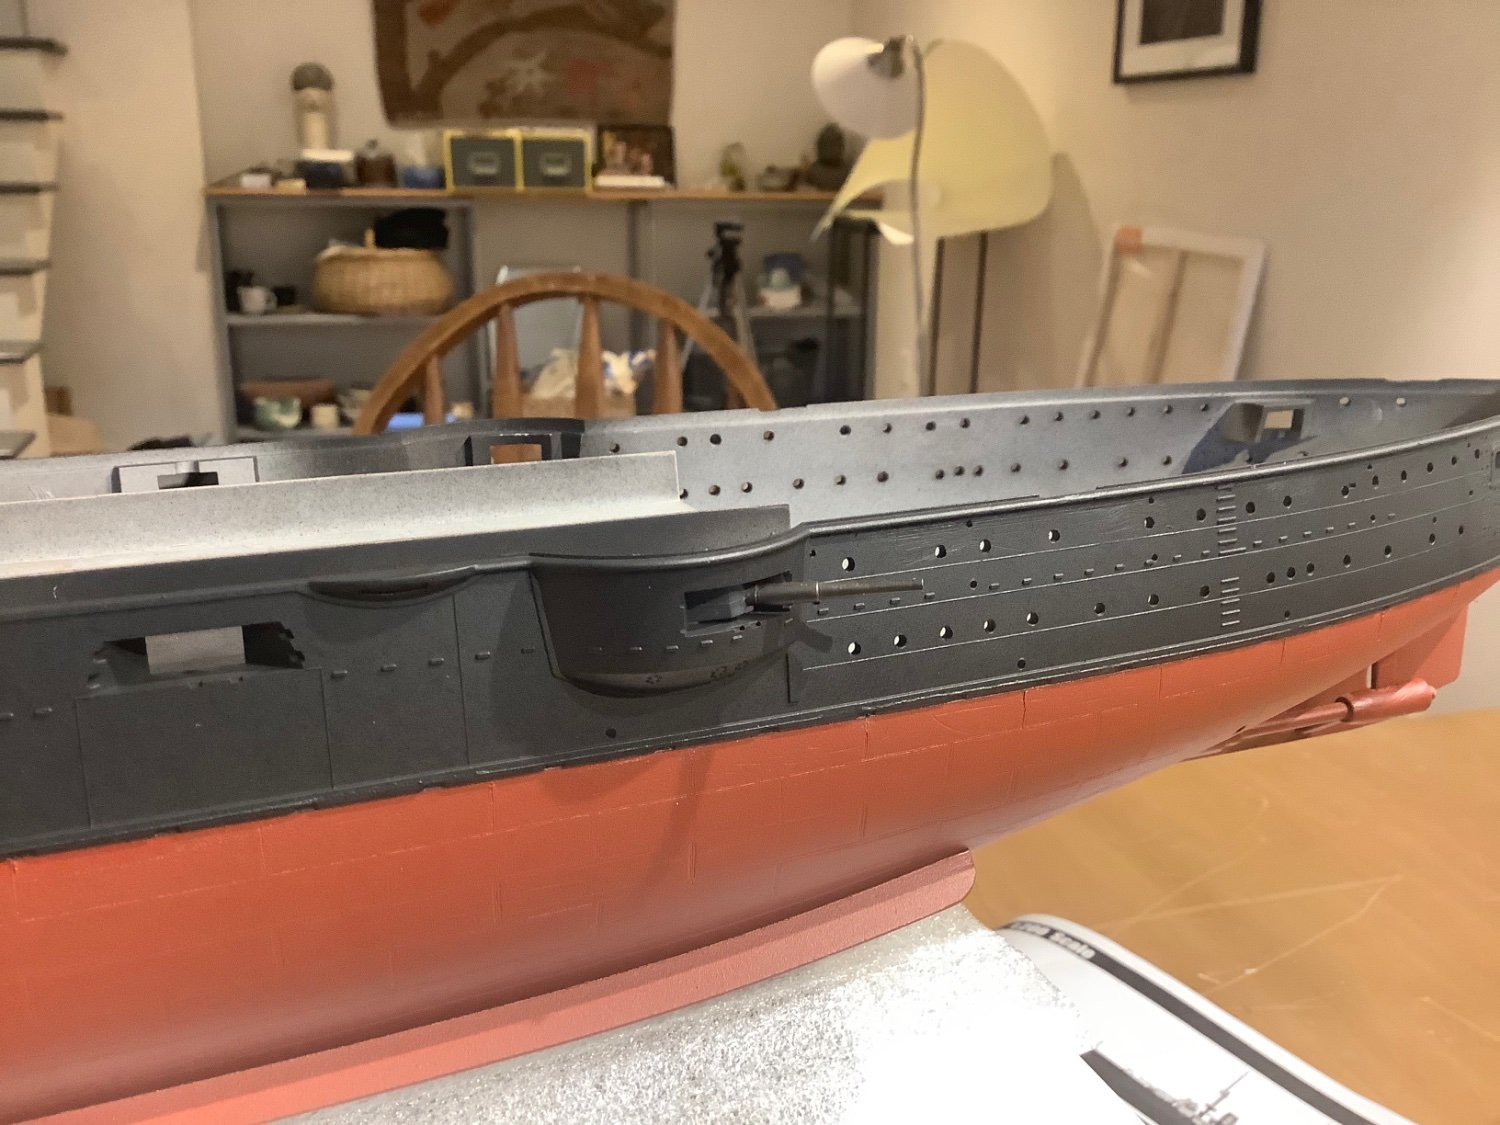
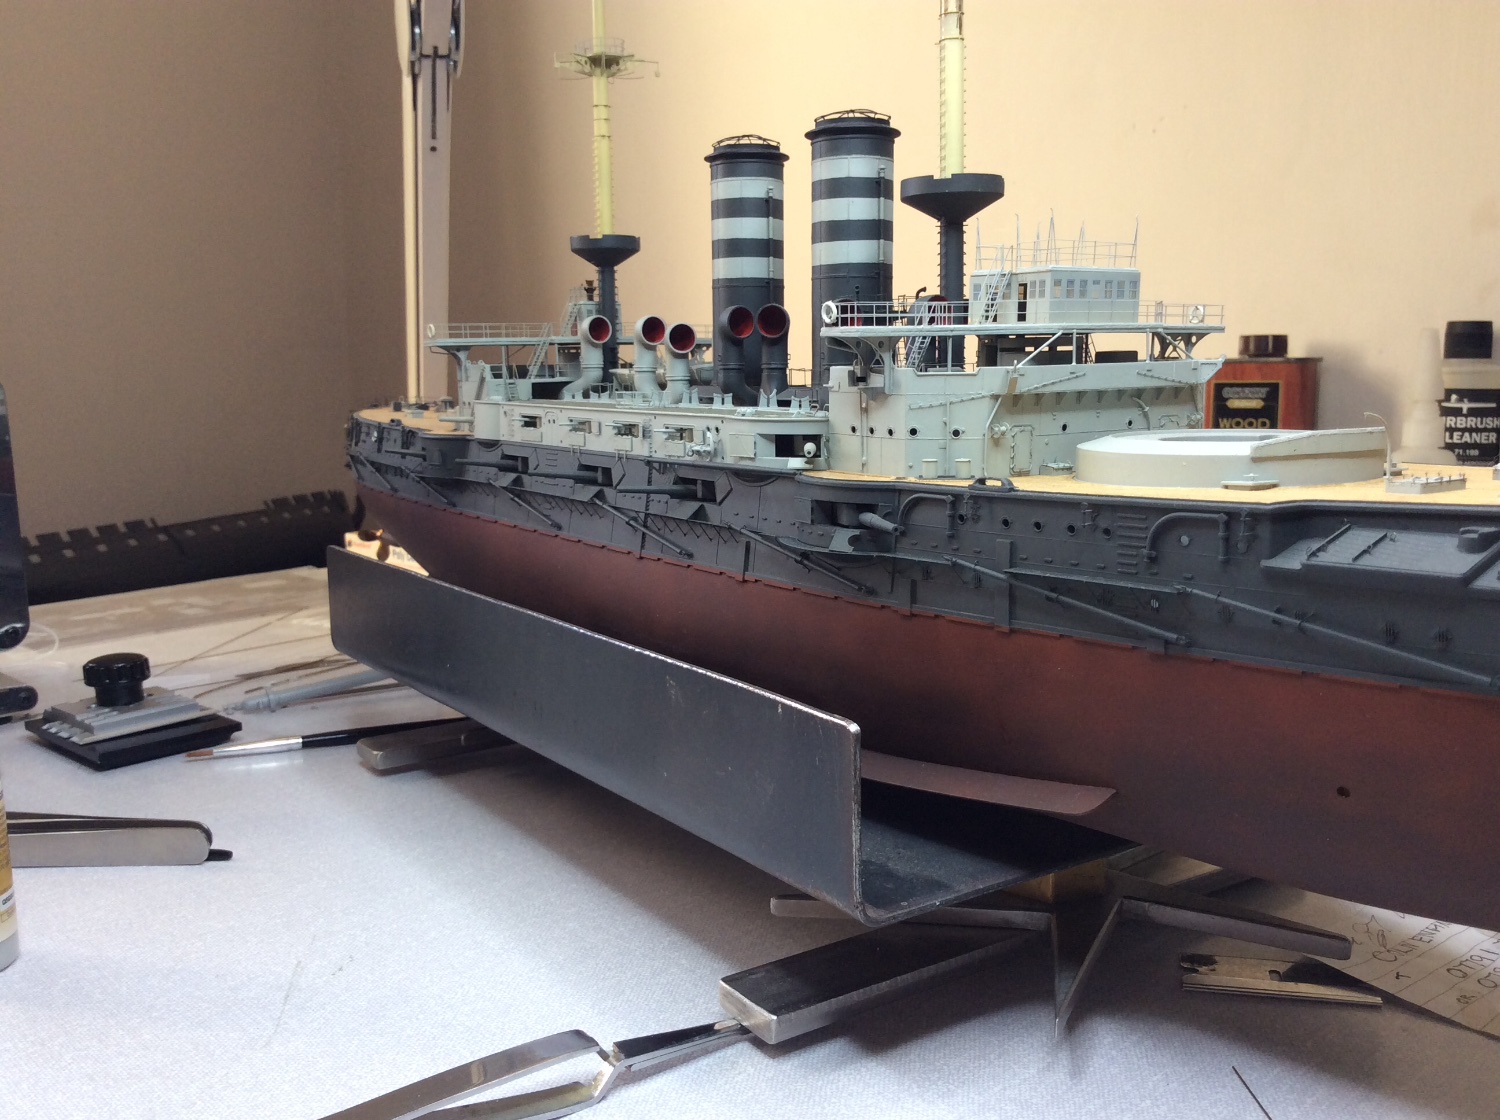
Progress: some more hull detail added, used a wash to darken it, which looks way better, and add visual interest/texture and definition between plate lines. Still much more work to do on that. It’ll be more subtle when finished, hopefully with the richness I’m looking for. Added a grey trim piece just below the black, and painted the deck trim grey, both to give more definition overall. I’ll play around with the hull a few more days then probably set it aside and begin on the deck for a change of pace. I’ll leave most of the weathering until later to tie it all together.
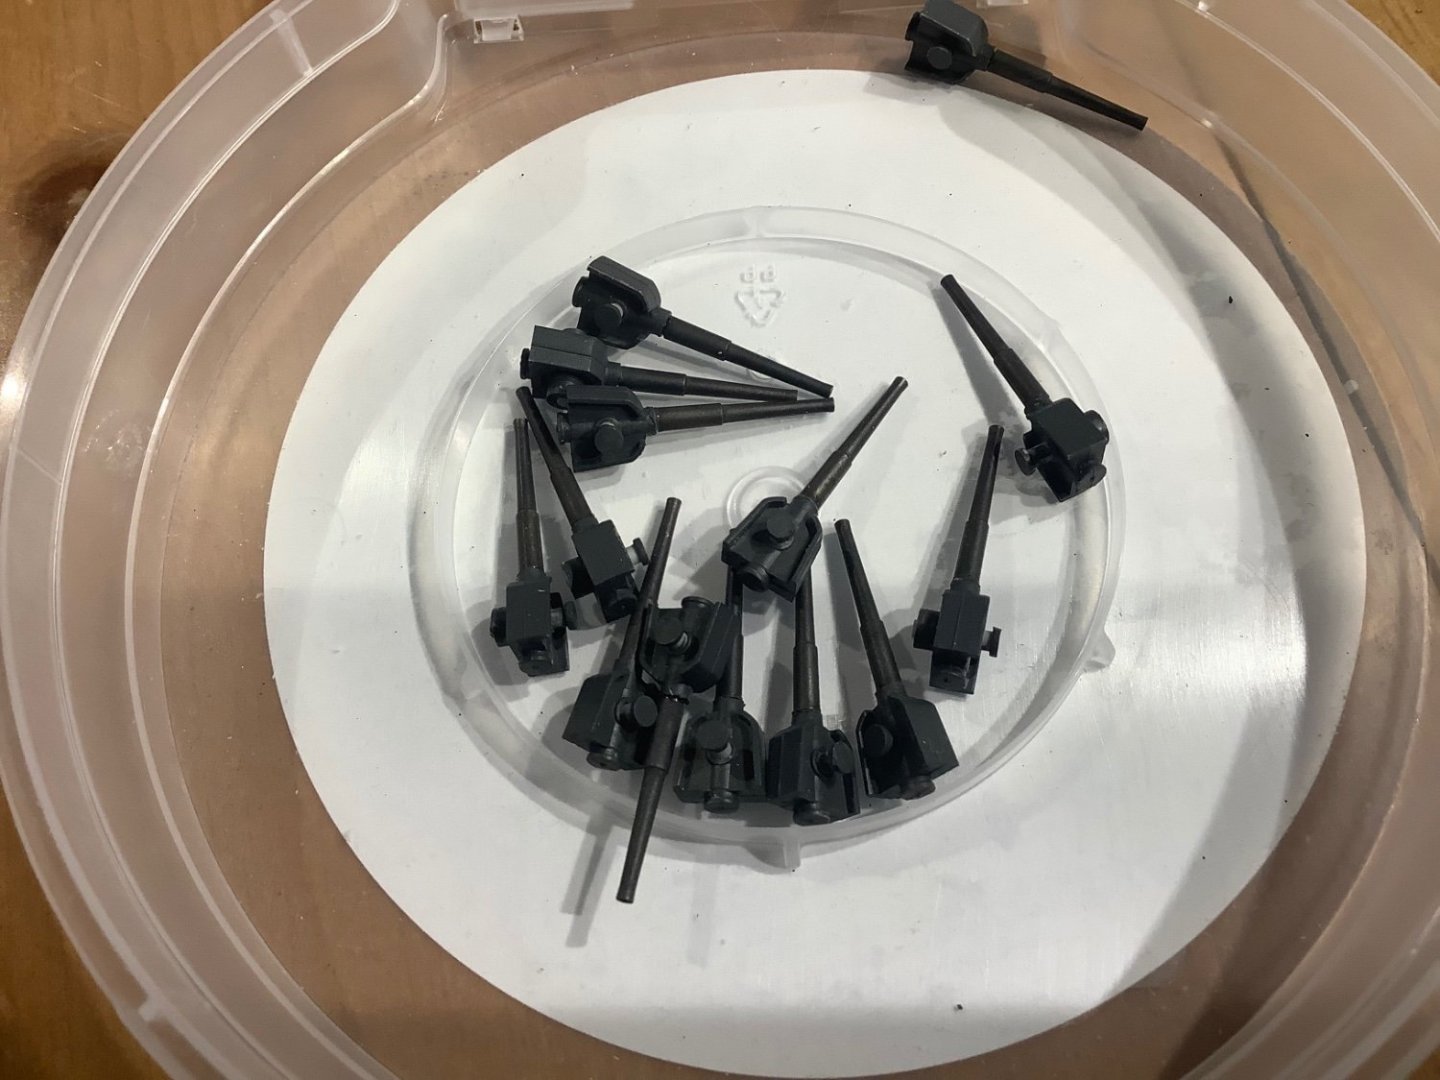
Musings: my hat goes off to the PE enthusiast Swiss watchmakers out there. I’m good with doing it a while under the glass but after a day or two the tiny brass work gets a bit tedious to me, particularly if there isn’t a visible payoff. I suppose I’m just more at home with woodwork at present. I’ll probably do some PE editing on Mikasa, dispense with one or two things where it isn’t very visible or that different from the kit package after finishing. On the 4” fore and aft guns, for instance, I completed the Pontos upgrade on one, looked nice in my hand, installed it and realized the work is largely invisible. The brass props are nice, I aged them in gun blue for a few seconds just to take off the raw shine that wouldn’t work with the presentation I’m doing, repolished them with the dremel and painted the nacelles. I’m keen to get the 6” guns I finished earlier mounted in the hull I think it’s going to look sweet.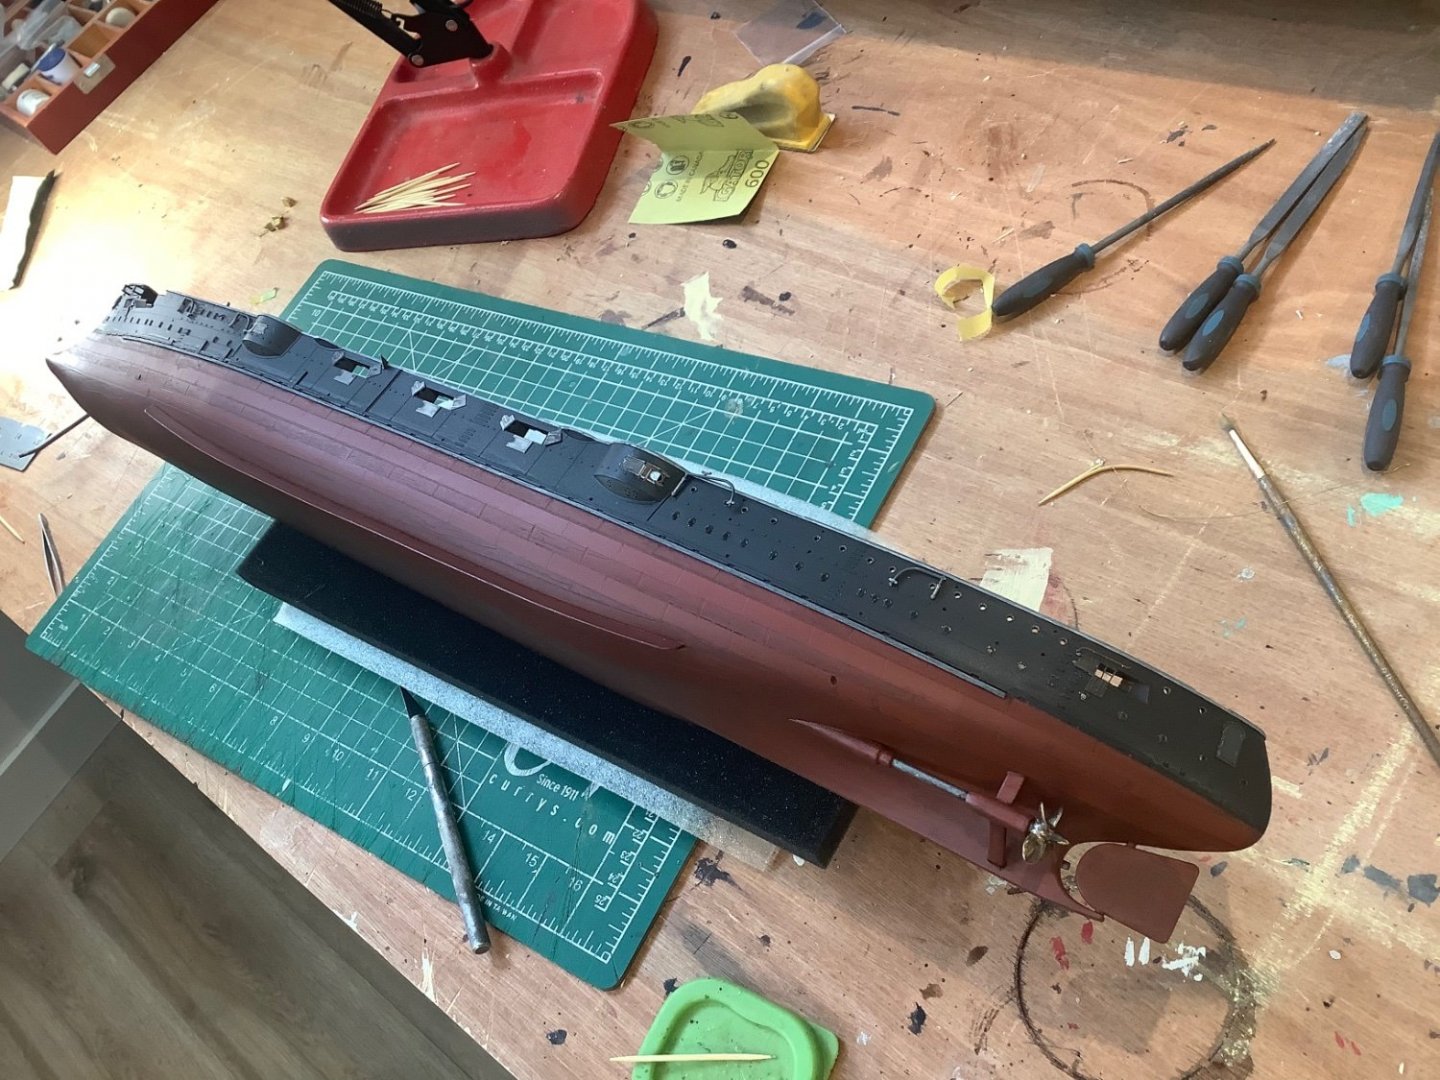

Think you are going to enjoy building this Tim, clad I stumbled across your build whilst looking on Mikasa Meuseum page, not going to rush to get up to date, just going to take it all in, like it though, I’m presently working on fore mast, making corrections when you see the difference you wonder how Pontos never spotted the errors, not that I don’t make them. It’s a slogging match for sure but it gets better closer to the end. 👍
- Canute, mtaylor and Keith Black
-
 3
3
-
Glad to have found your build Tim, what you did to simulate the hull plating after painting was really effective wish I had done this. 👍🤛
- Canute, Keith Black and mtaylor
-
3
-
On 2/17/2022 at 9:14 PM, Tim Moore said:
Progress:
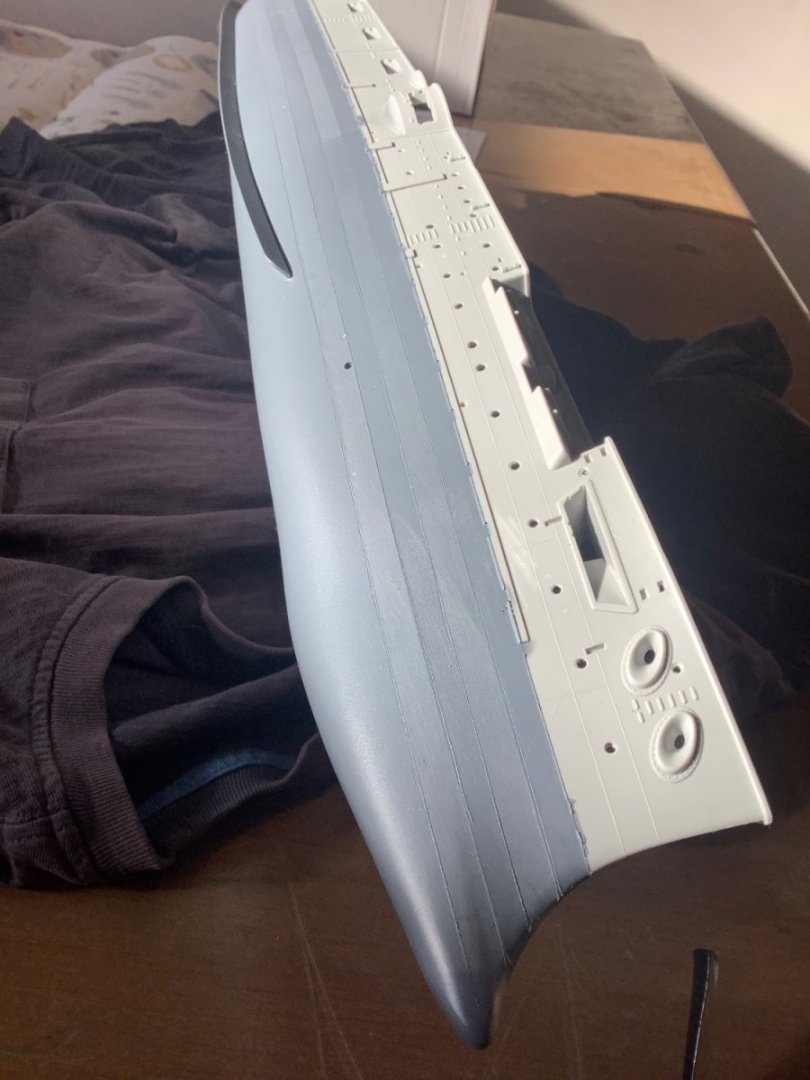
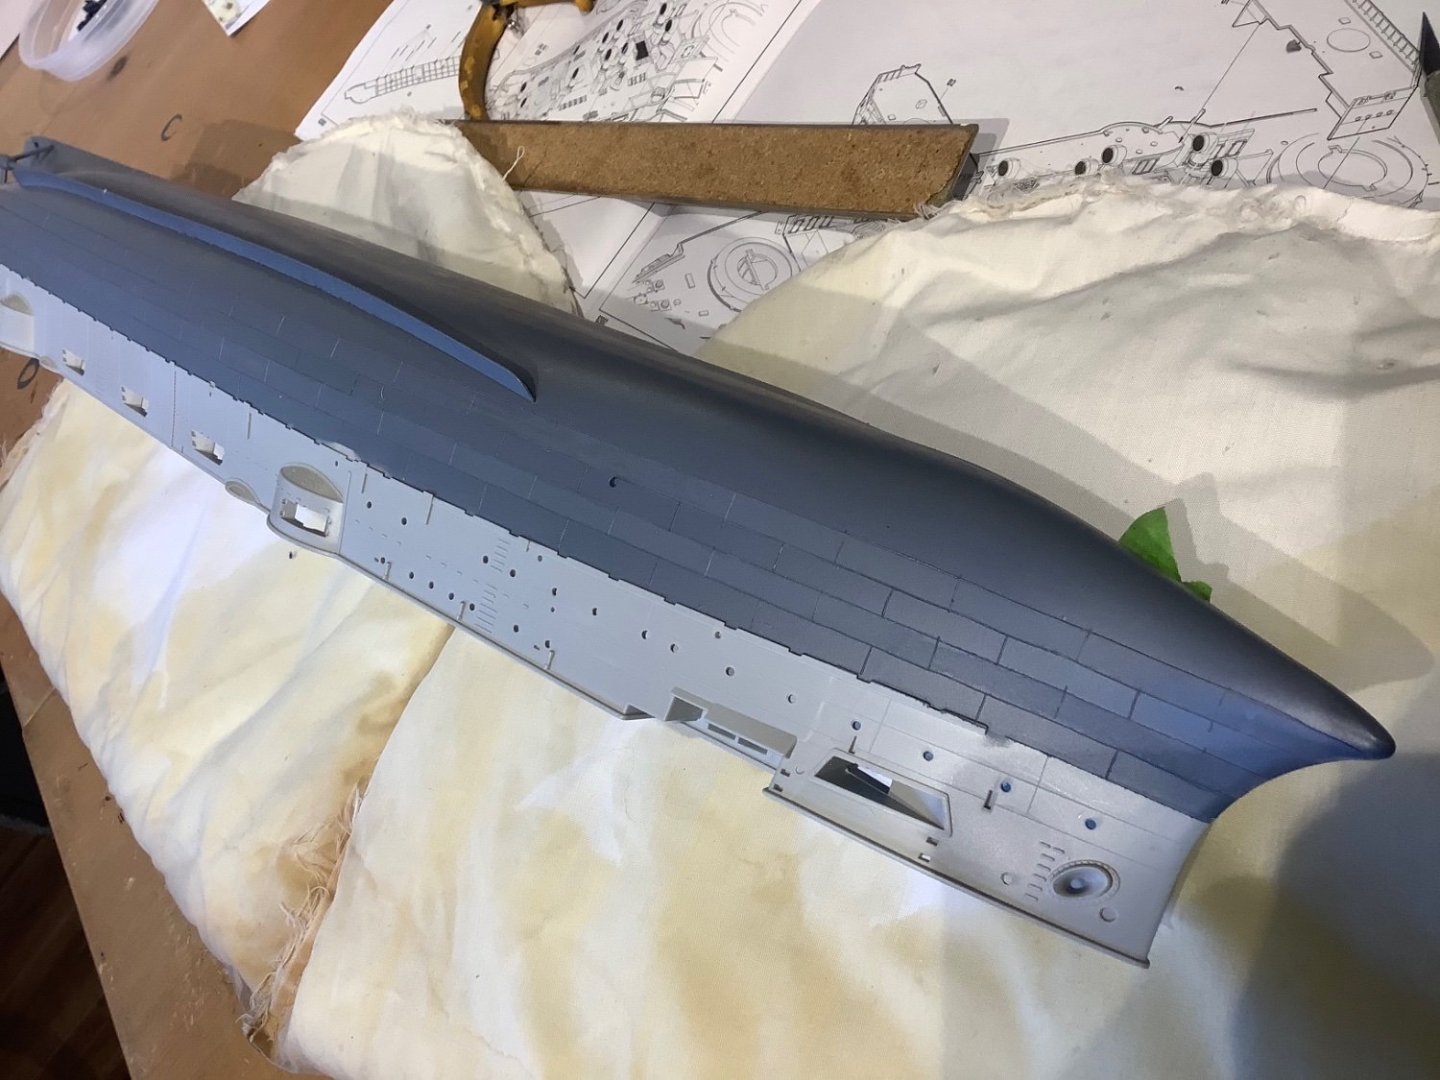
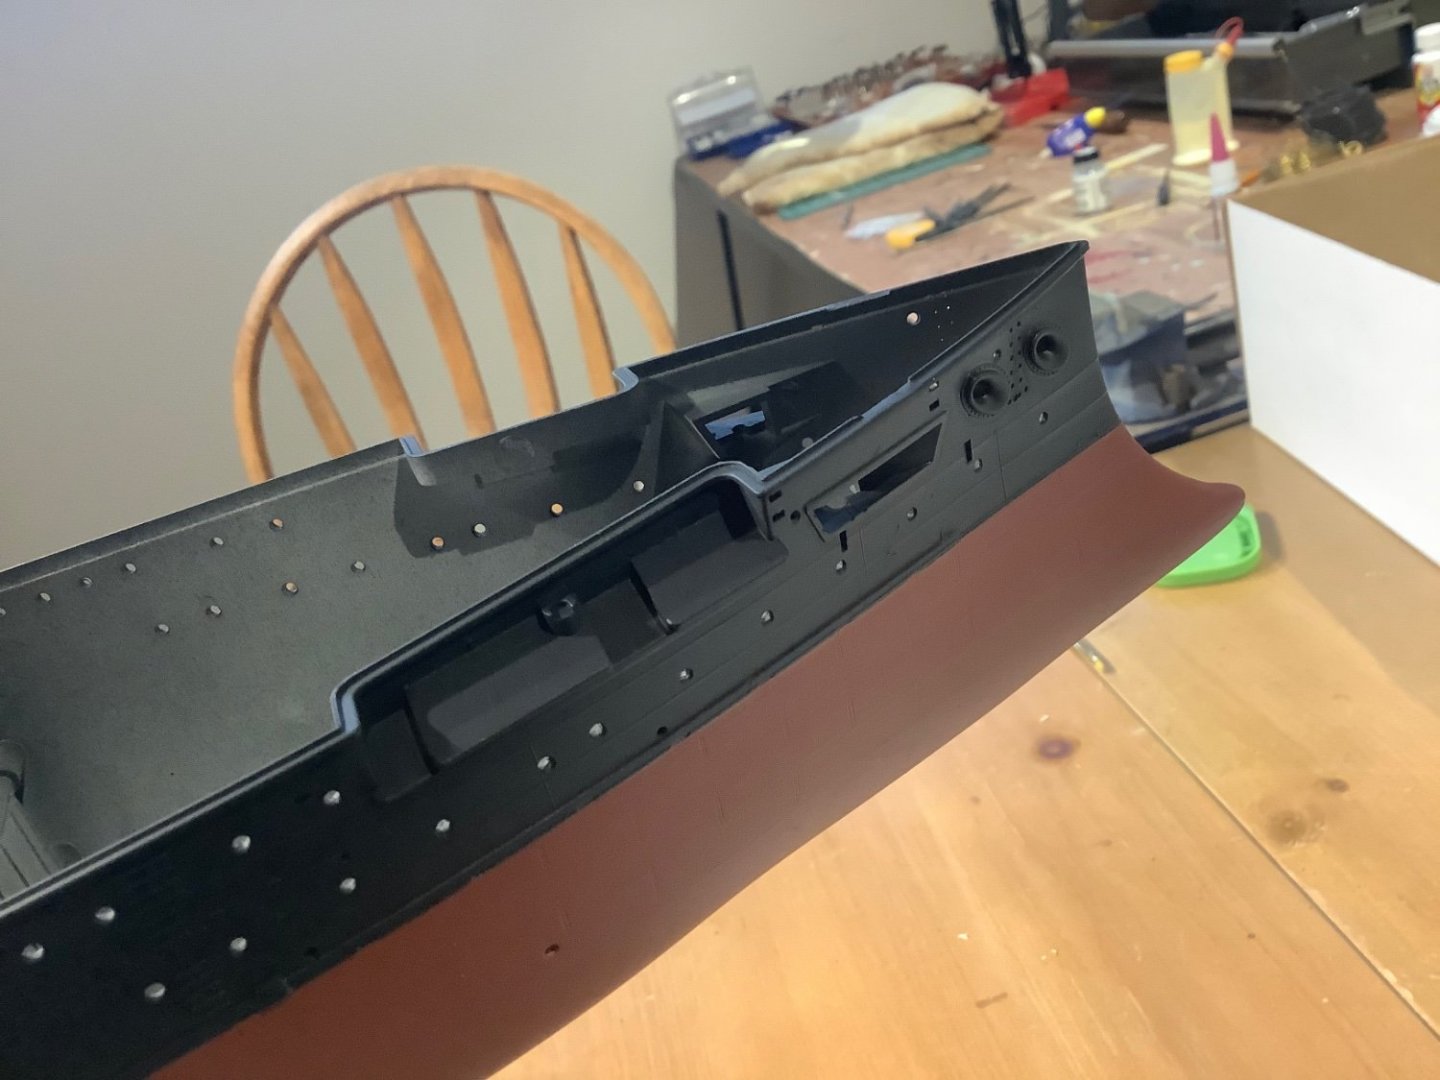
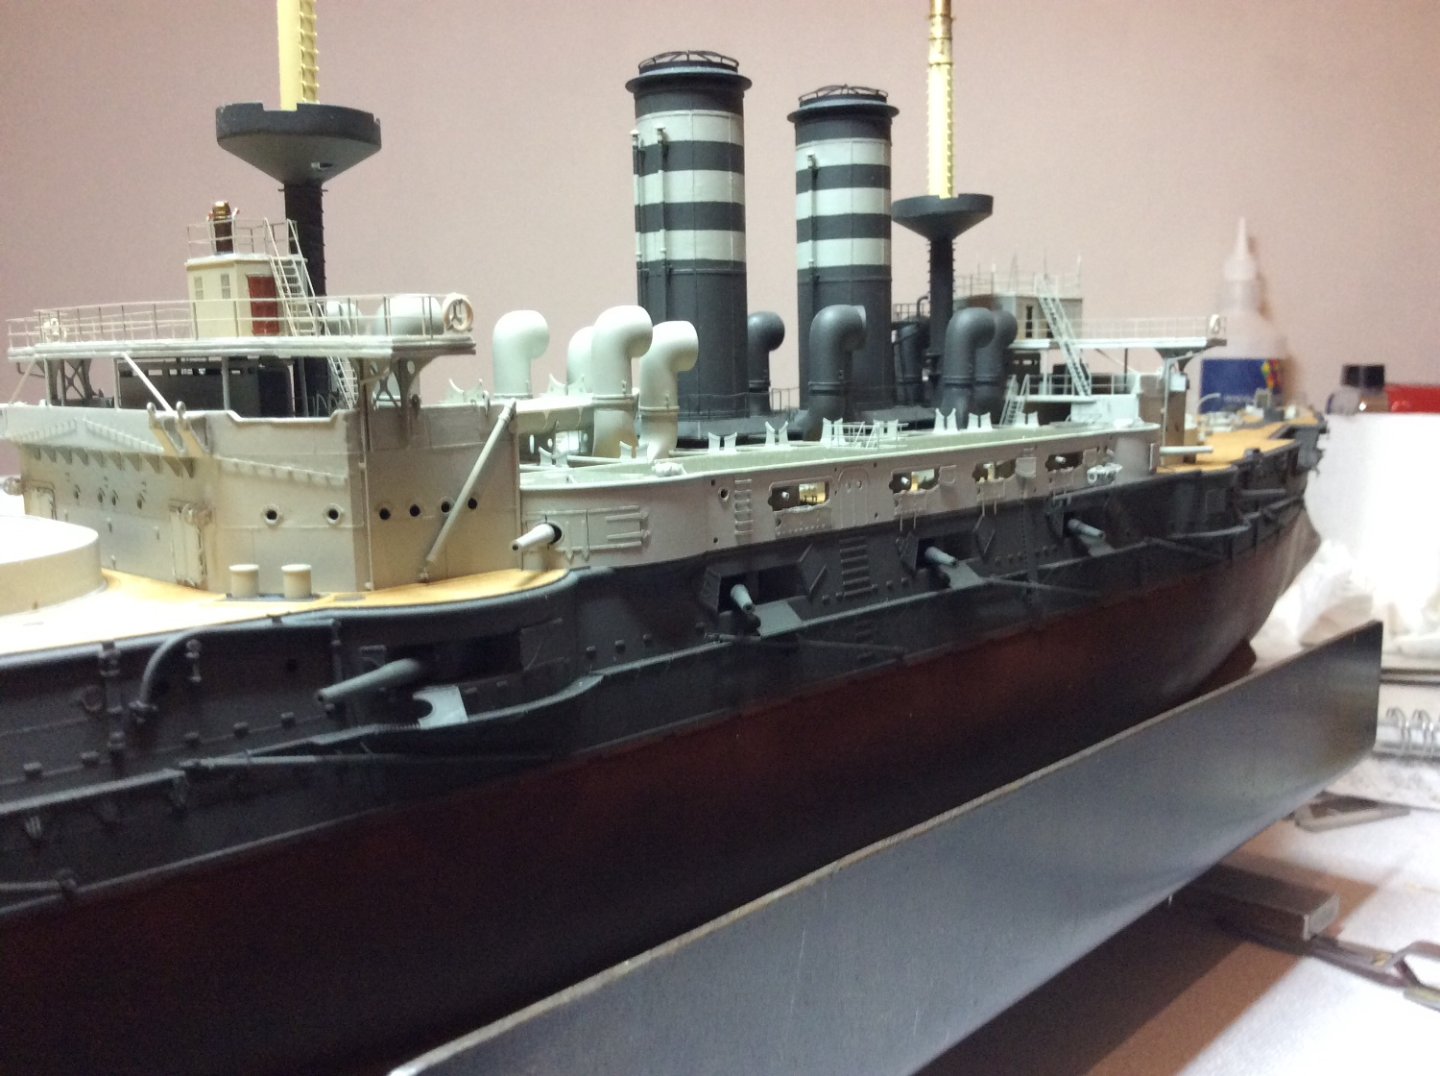
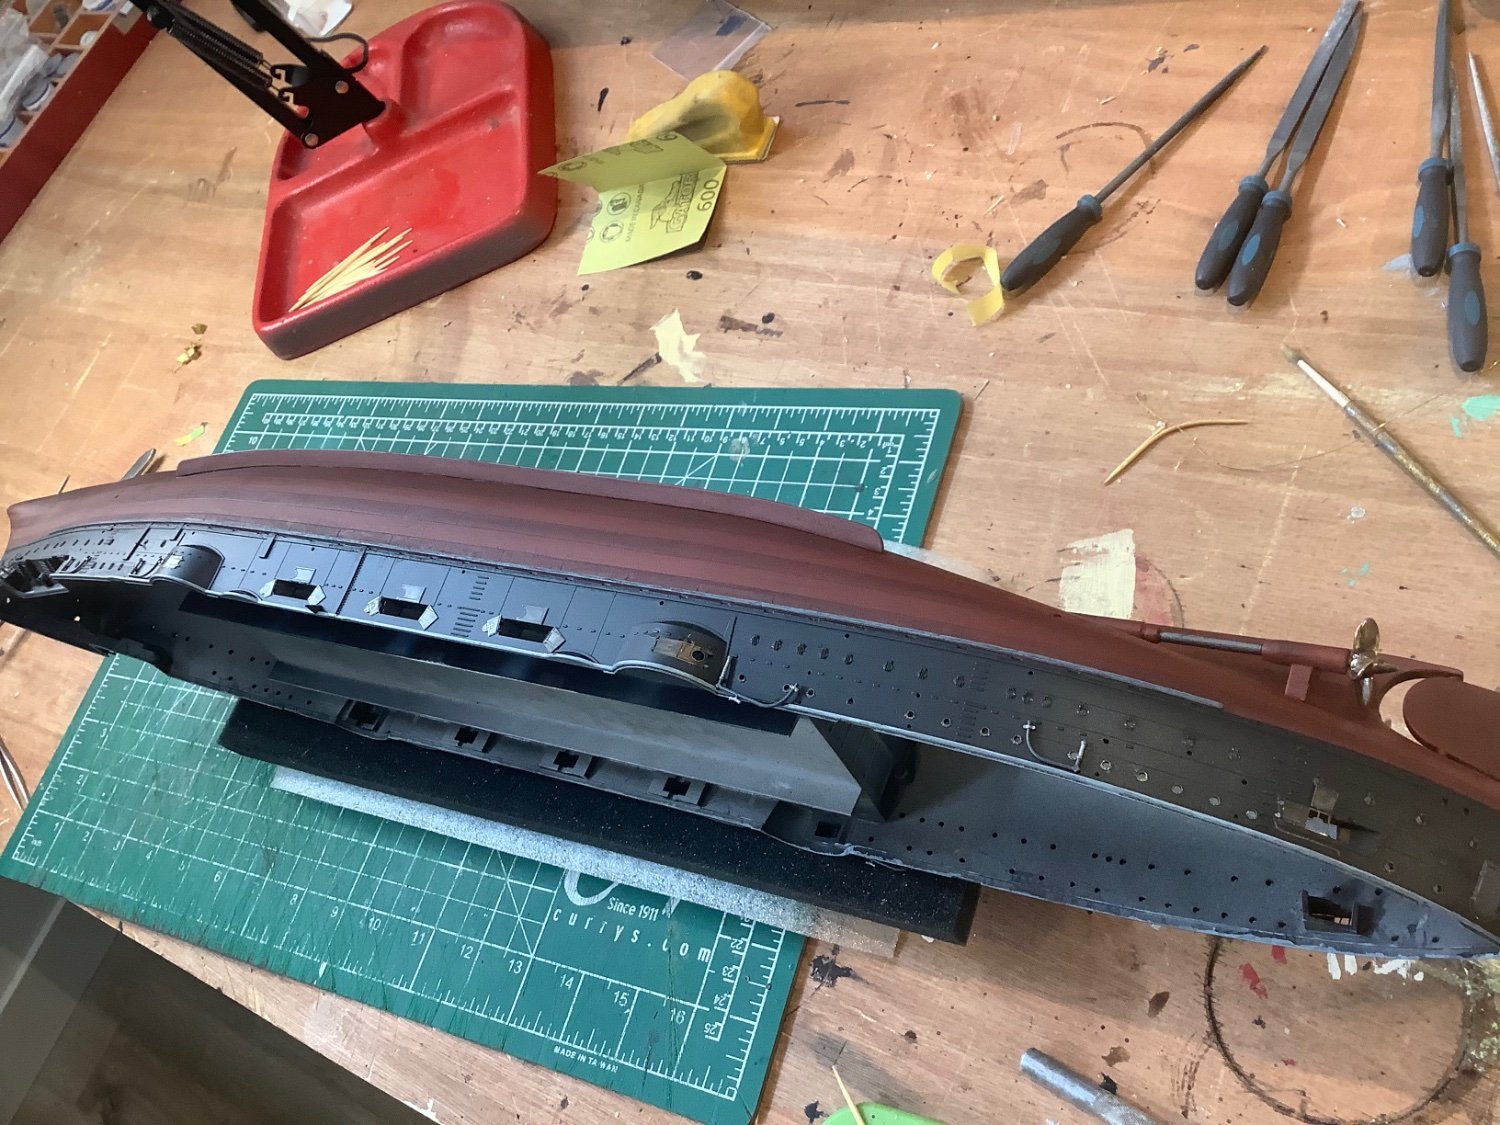
Delay waiting for supplies, paint etc and due to various domestic duties but I’ve punched back in at shipyard now. The 14x6inch guns are all done and look mighty good I have to say. I’ve removed all the hull detail to allow for the Pontos upgrades, pre painted the base hull and finished with a satin acrylic topcoat to fix it. I will be applying most of the brass detail after bluing to add realism and retain a metallic patina. I’m hoping this will give the model an interesting texture and visual appeal, retaining all the Pontos complexity. I scribed the lower part of the hull to etch in a series of plates before painting, which I wanted to do in a white grey tone originally. Didn’t really care for how it looked, a bit too dramatic for my taste so I sanded it down and reluctantly went with the traditional red oxide. The plating is much more subtle now, although not sure it shows as well in photos as it is in reality. I’ve gone for a true black above the water for contrast with all the later fittings. It all looks a little stark at the moment but when all the detail and weathering goes on it will be a different kettle of fish.
Kit Musings:After looking through the Pontos box it all looks like a piece of cake and I should be launching this Mikasa by about mid century. My plan is to do most or all of the attachments on the hull, and then set that aside and work on the deck and superstructures, and only marry the two much later in the build. If any of the Mikasa alumni are reading this and know of a flaw in this strategy please let me know.


Love the hull plaiting really works well. 👍
- Canute, Keith Black and mtaylor
-
3
-
-
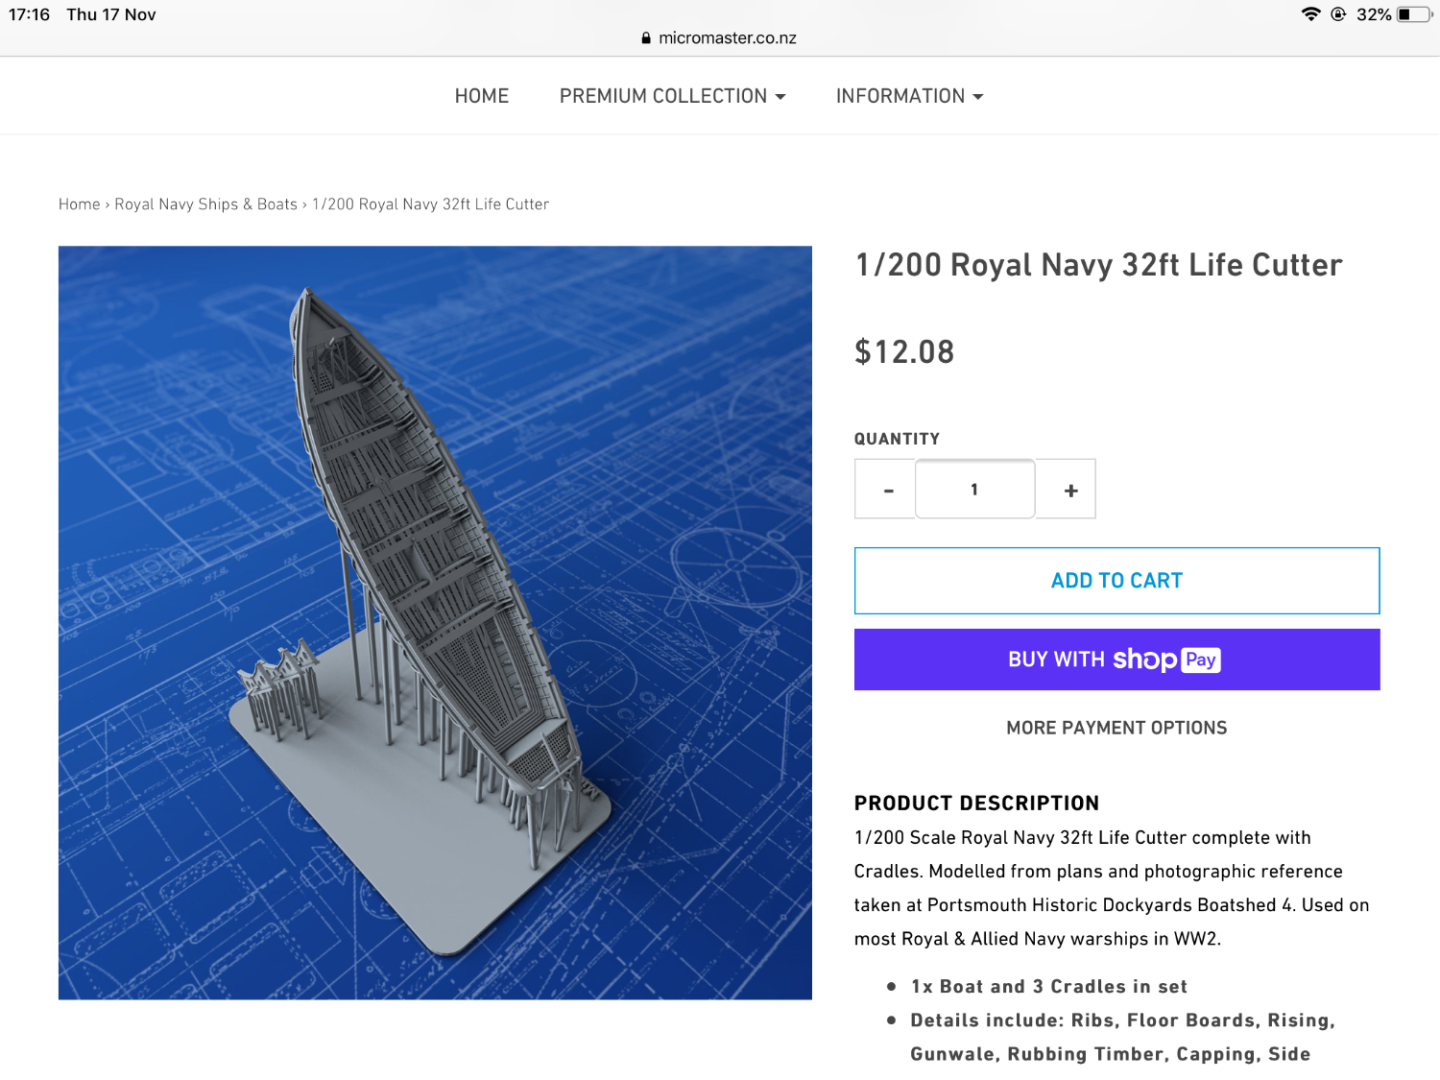
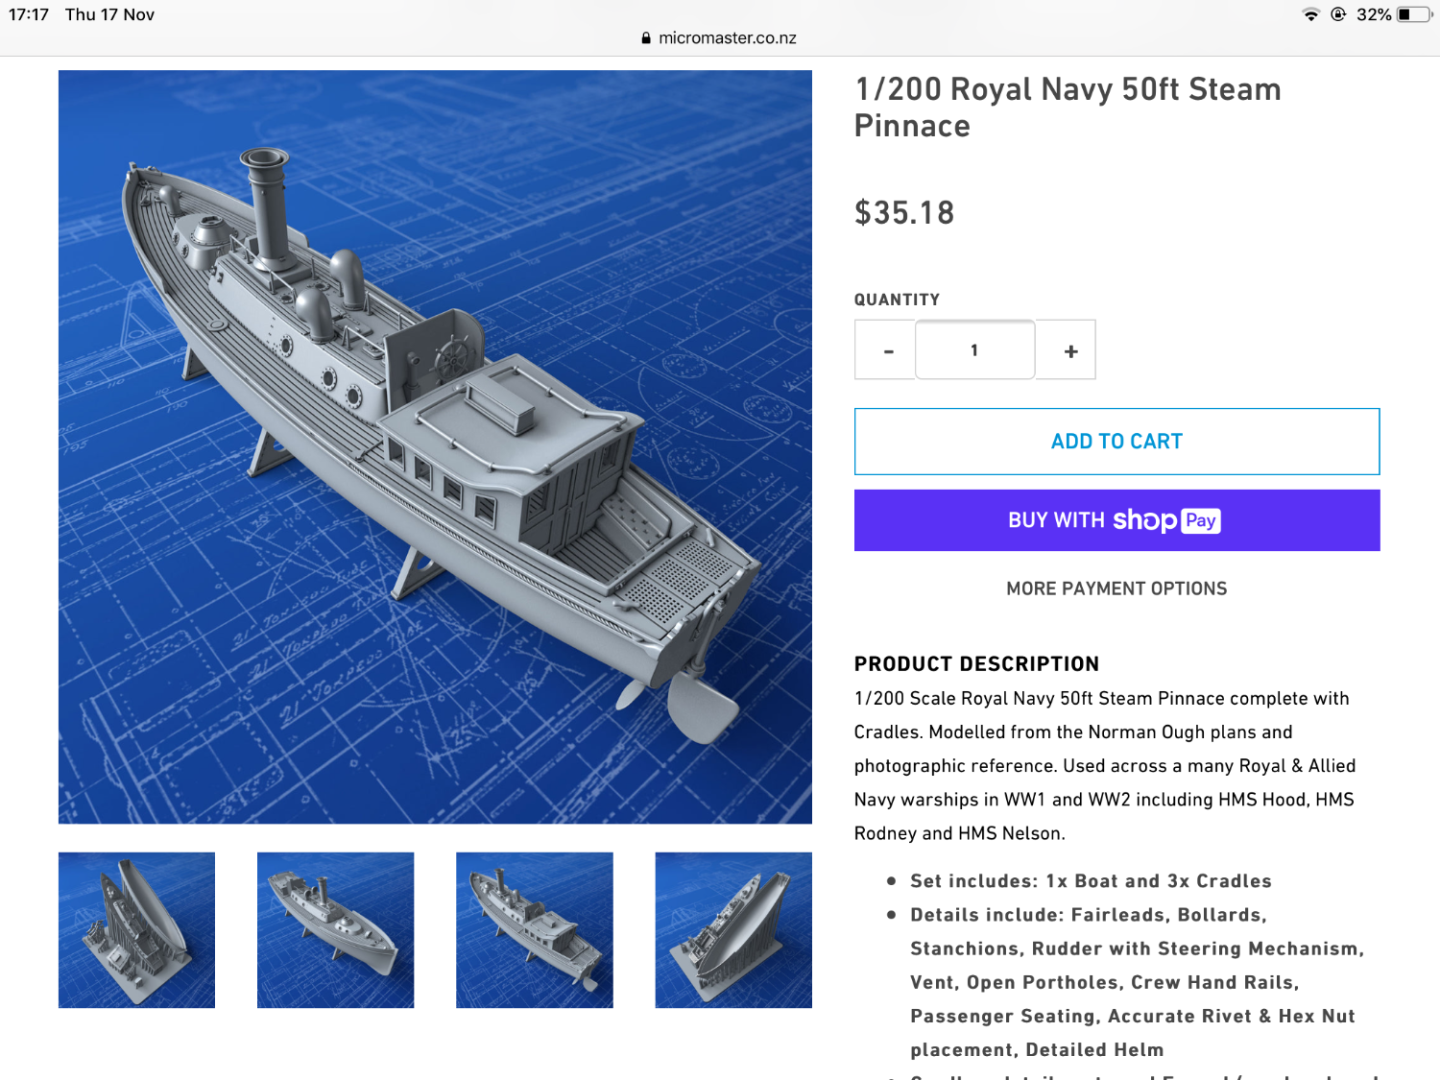
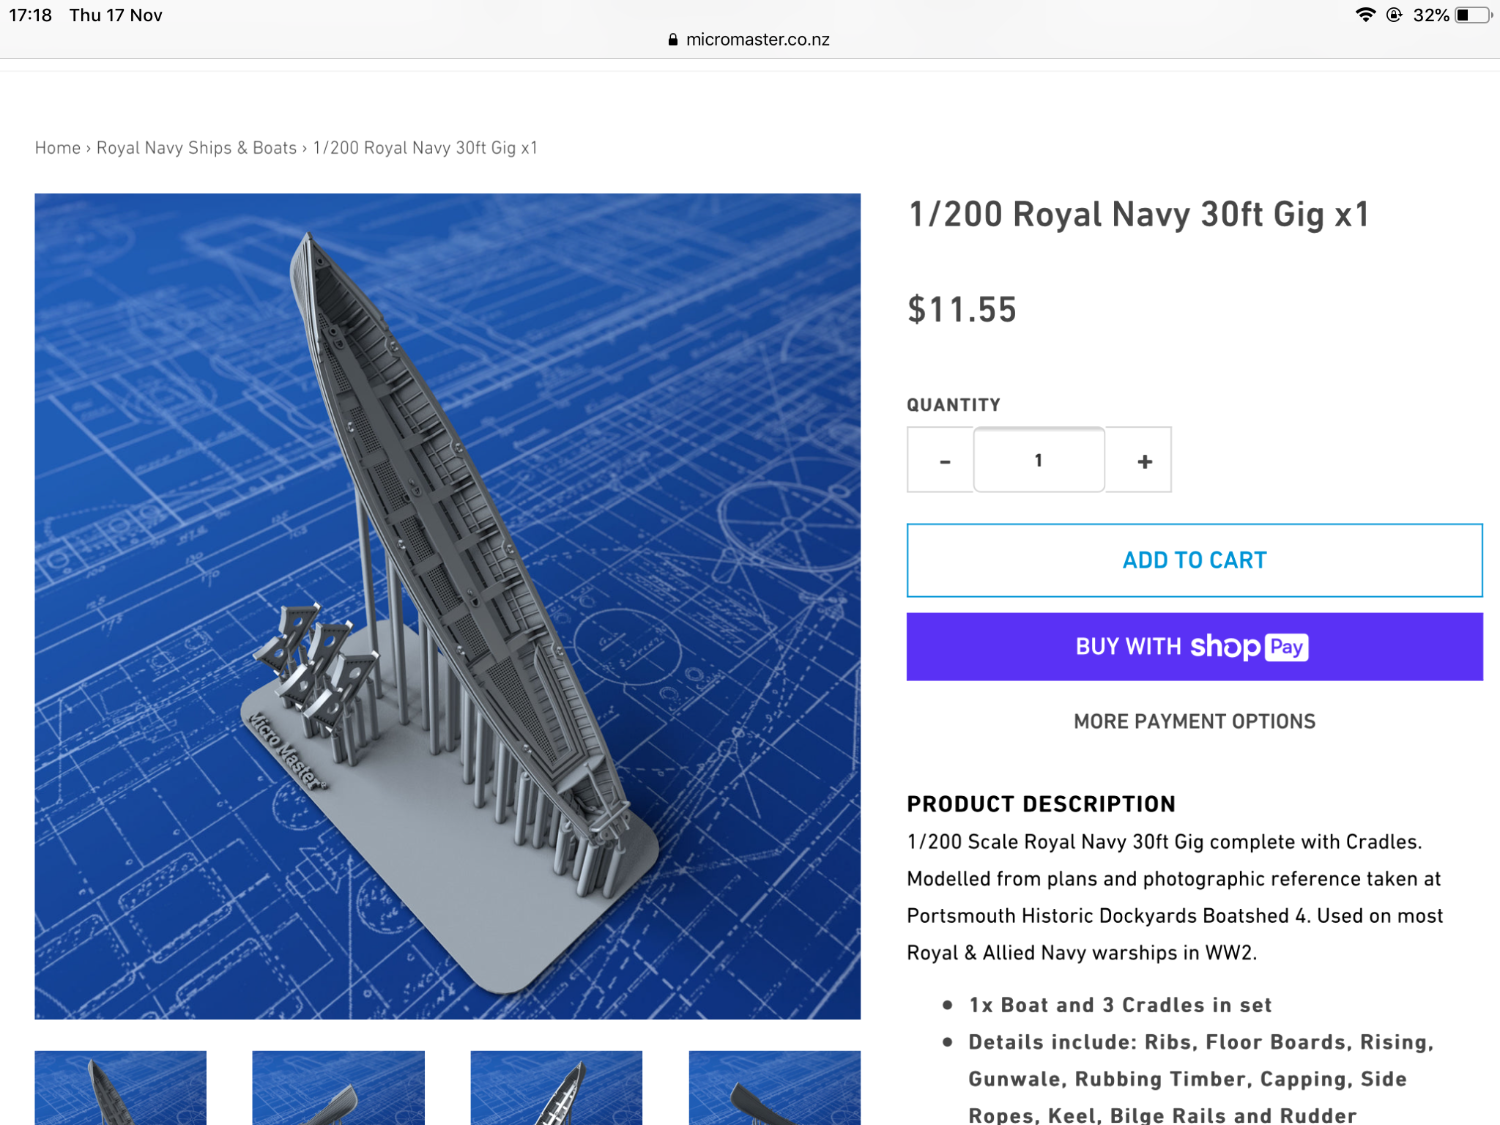
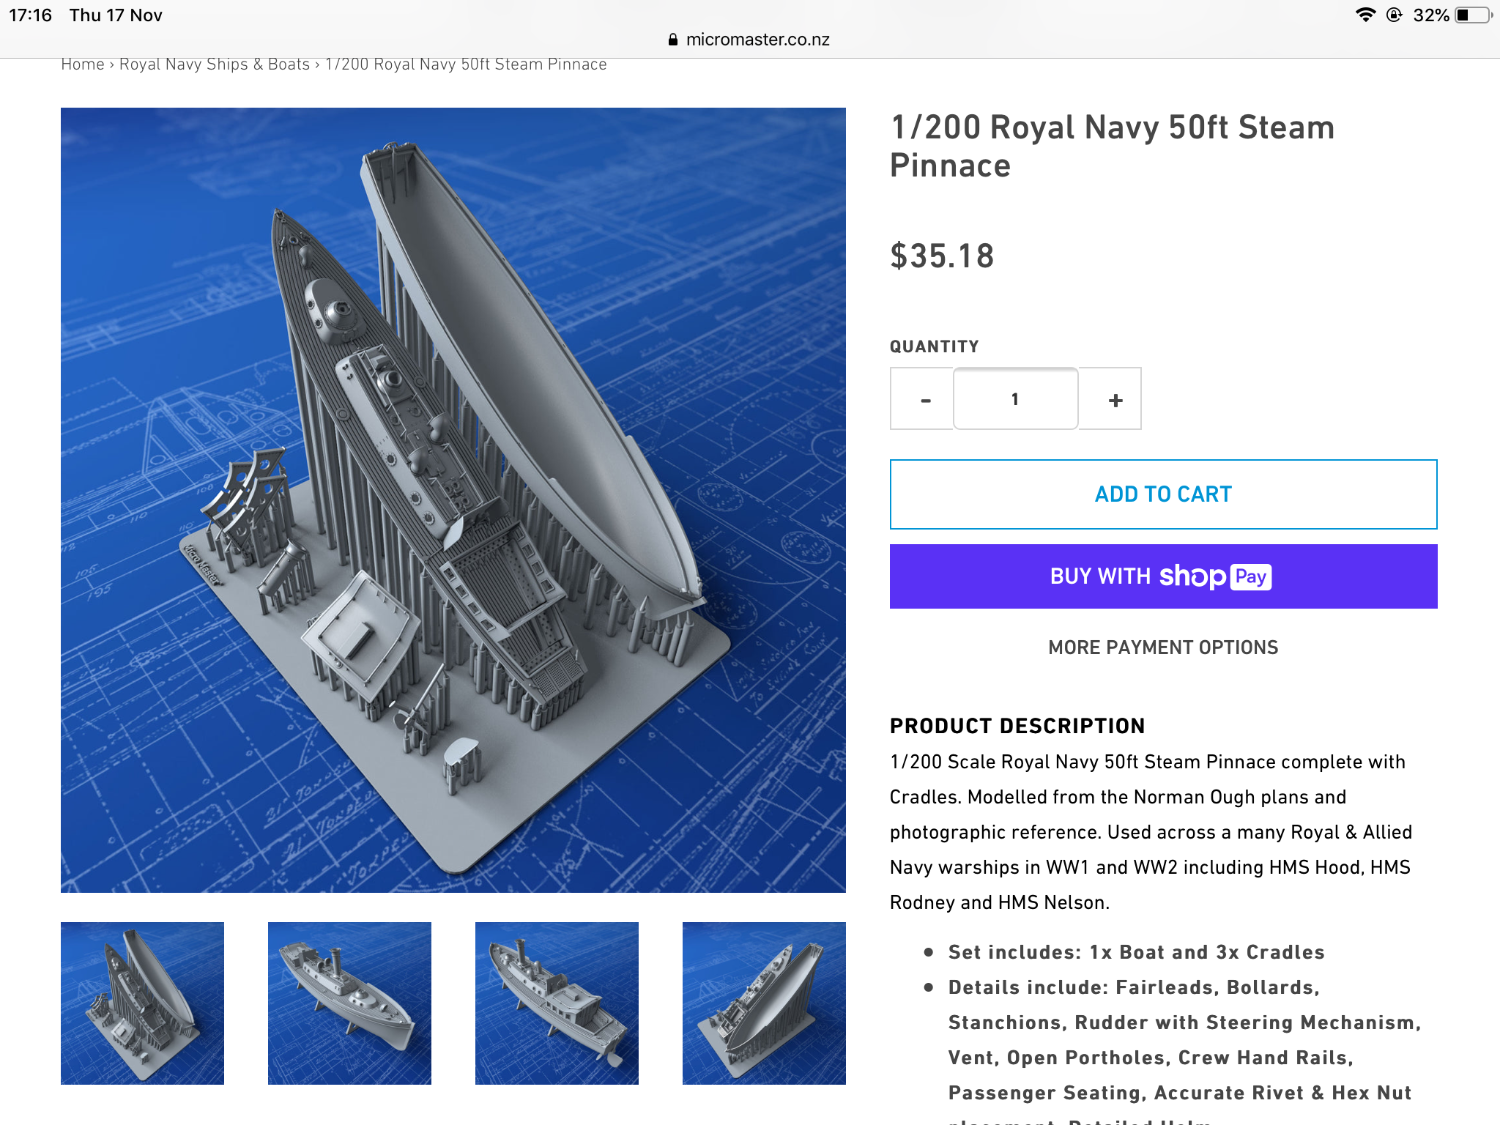
On Mikasa’s ships boats I said at start of build a really nice set of resin boats would really enhance this model, no takers yet. Person in model club said try MicroMaster Shapeways, did and came up with some success, ongoing, found the 50 ft Pinnace, the kit one is two large in this scale, still waiting on it and some other boats to arrive, fingers x on this.


- Ryland Craze, GrandpaPhil, mtaylor and 1 other
-
4
-
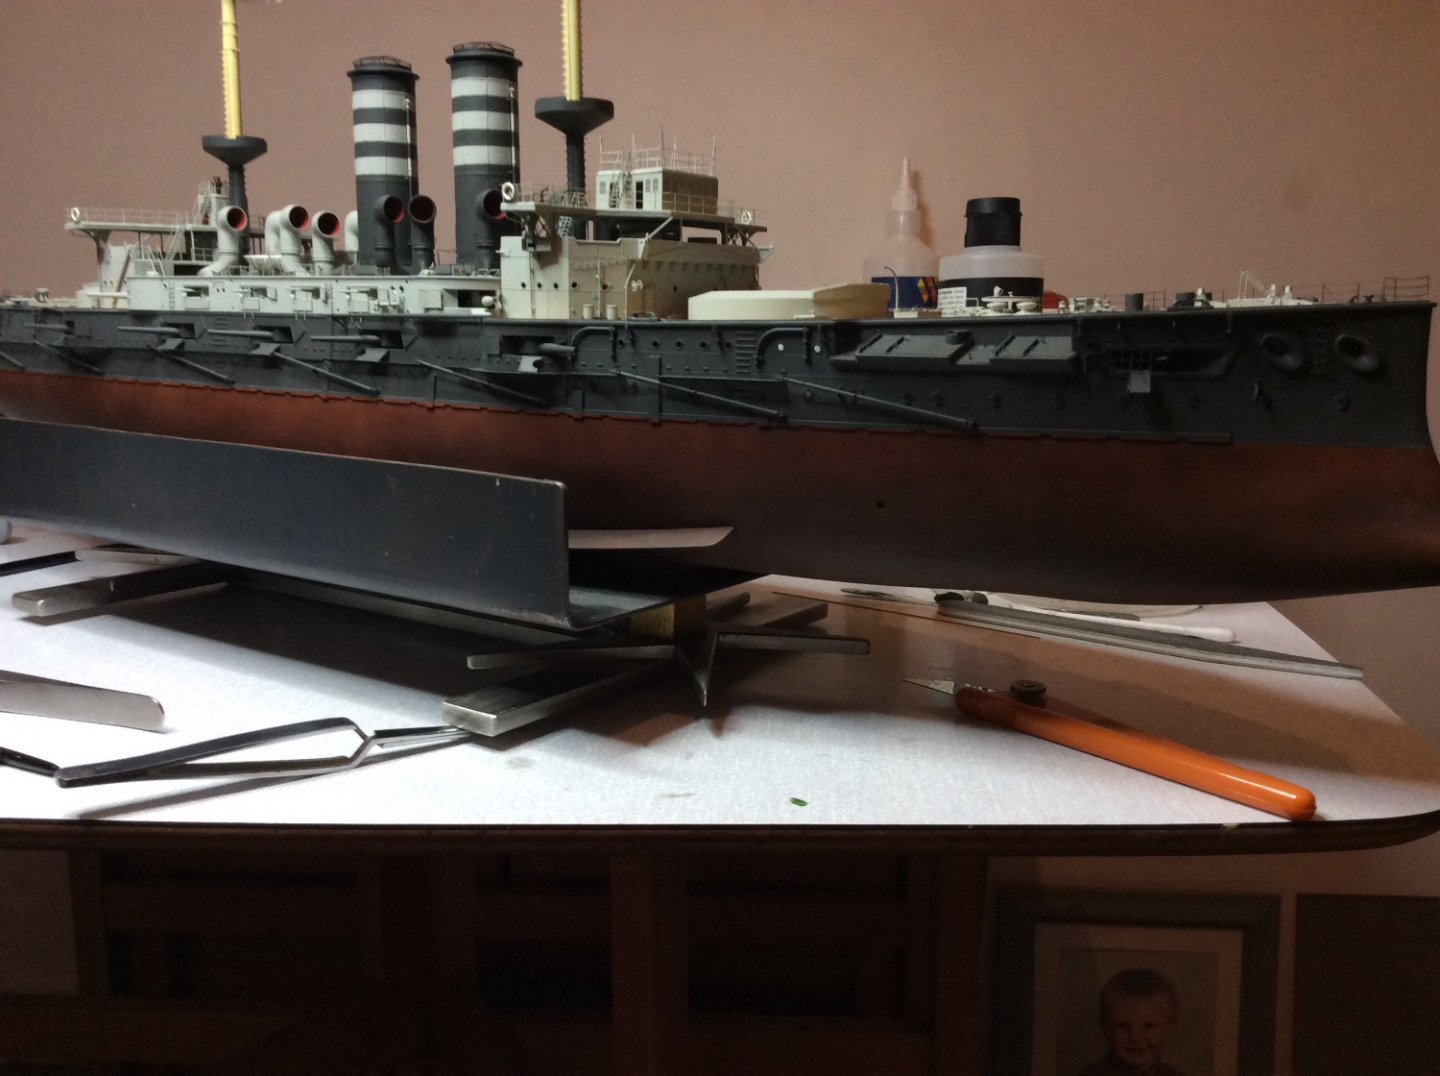
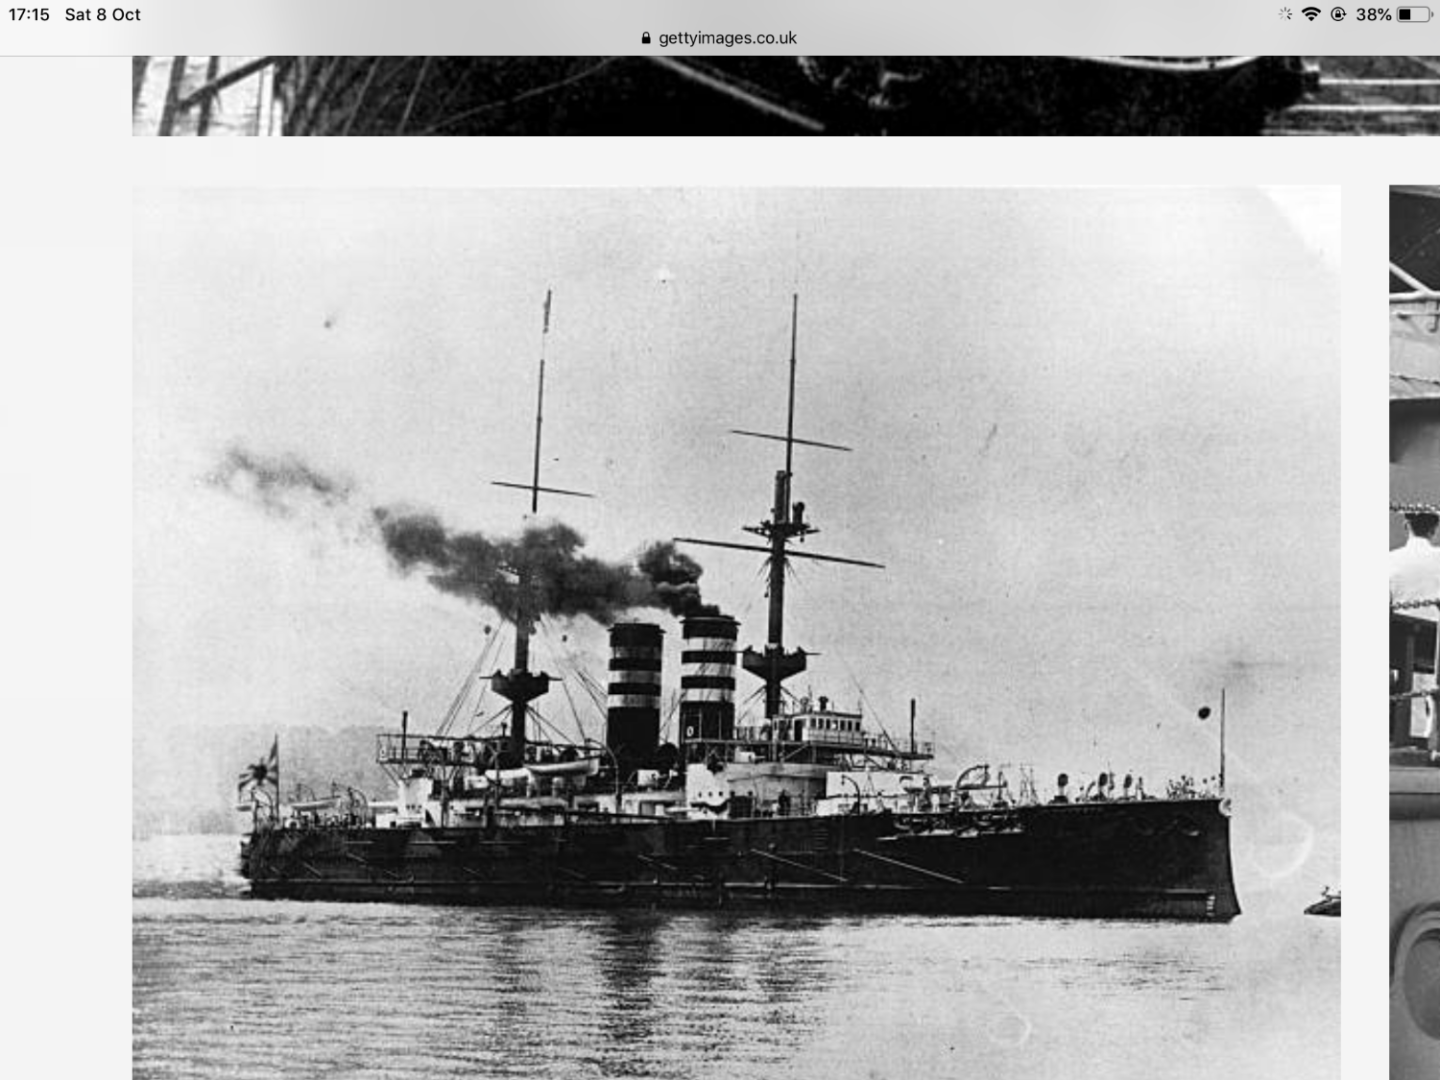
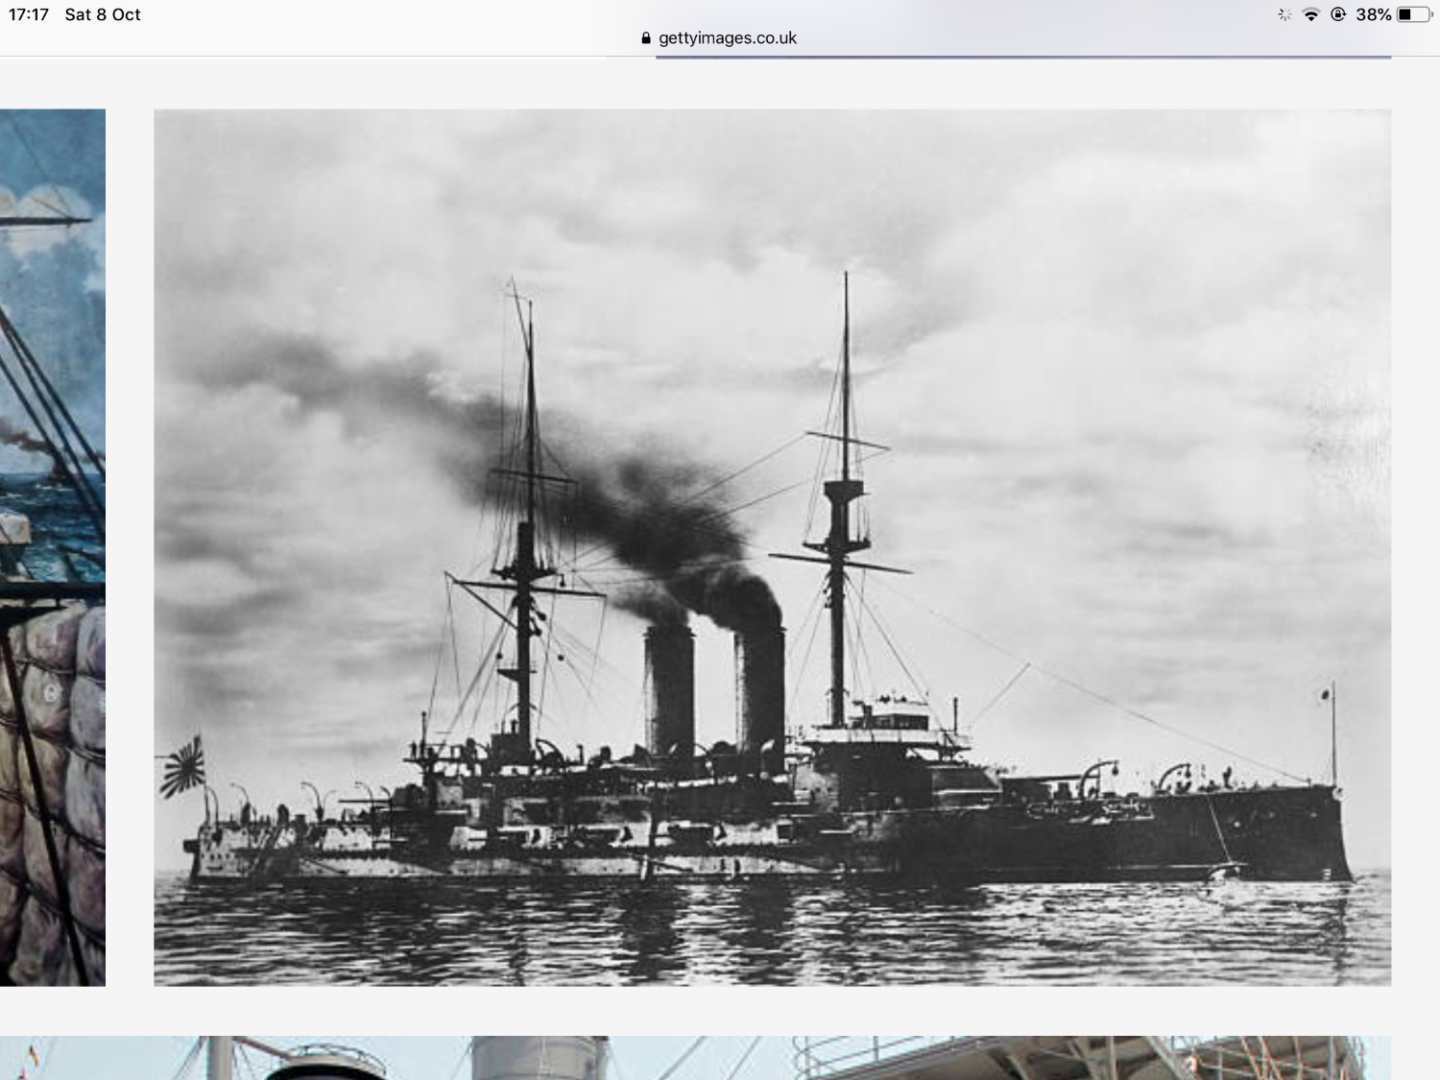
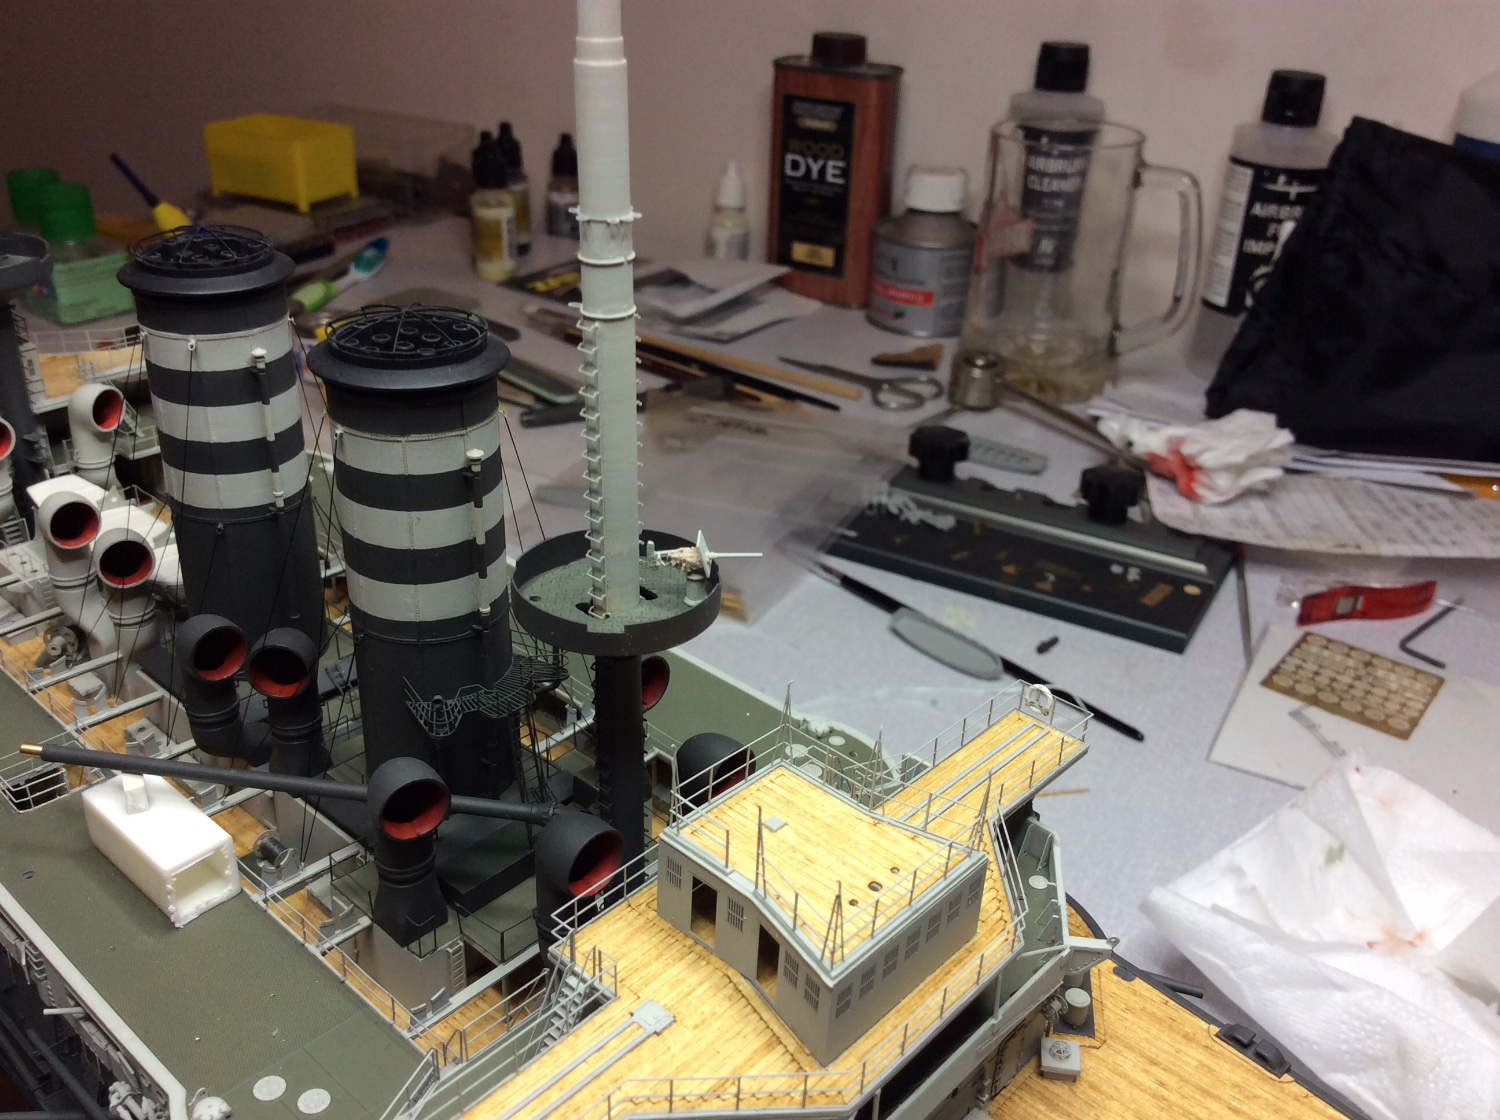
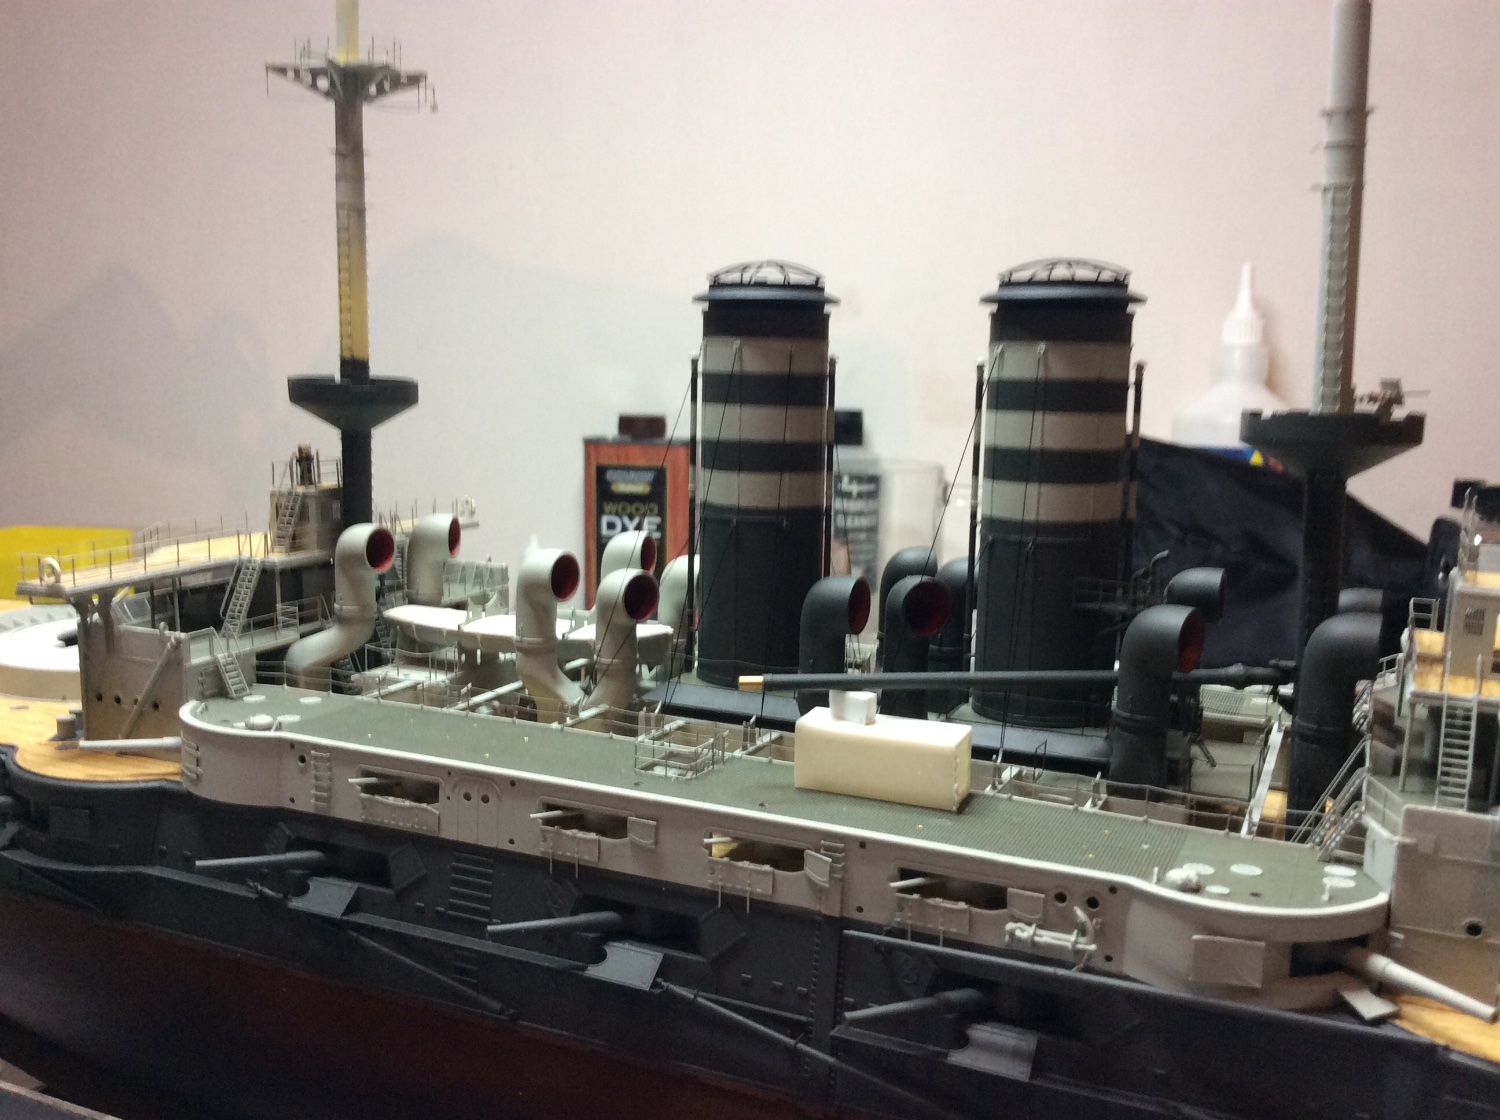
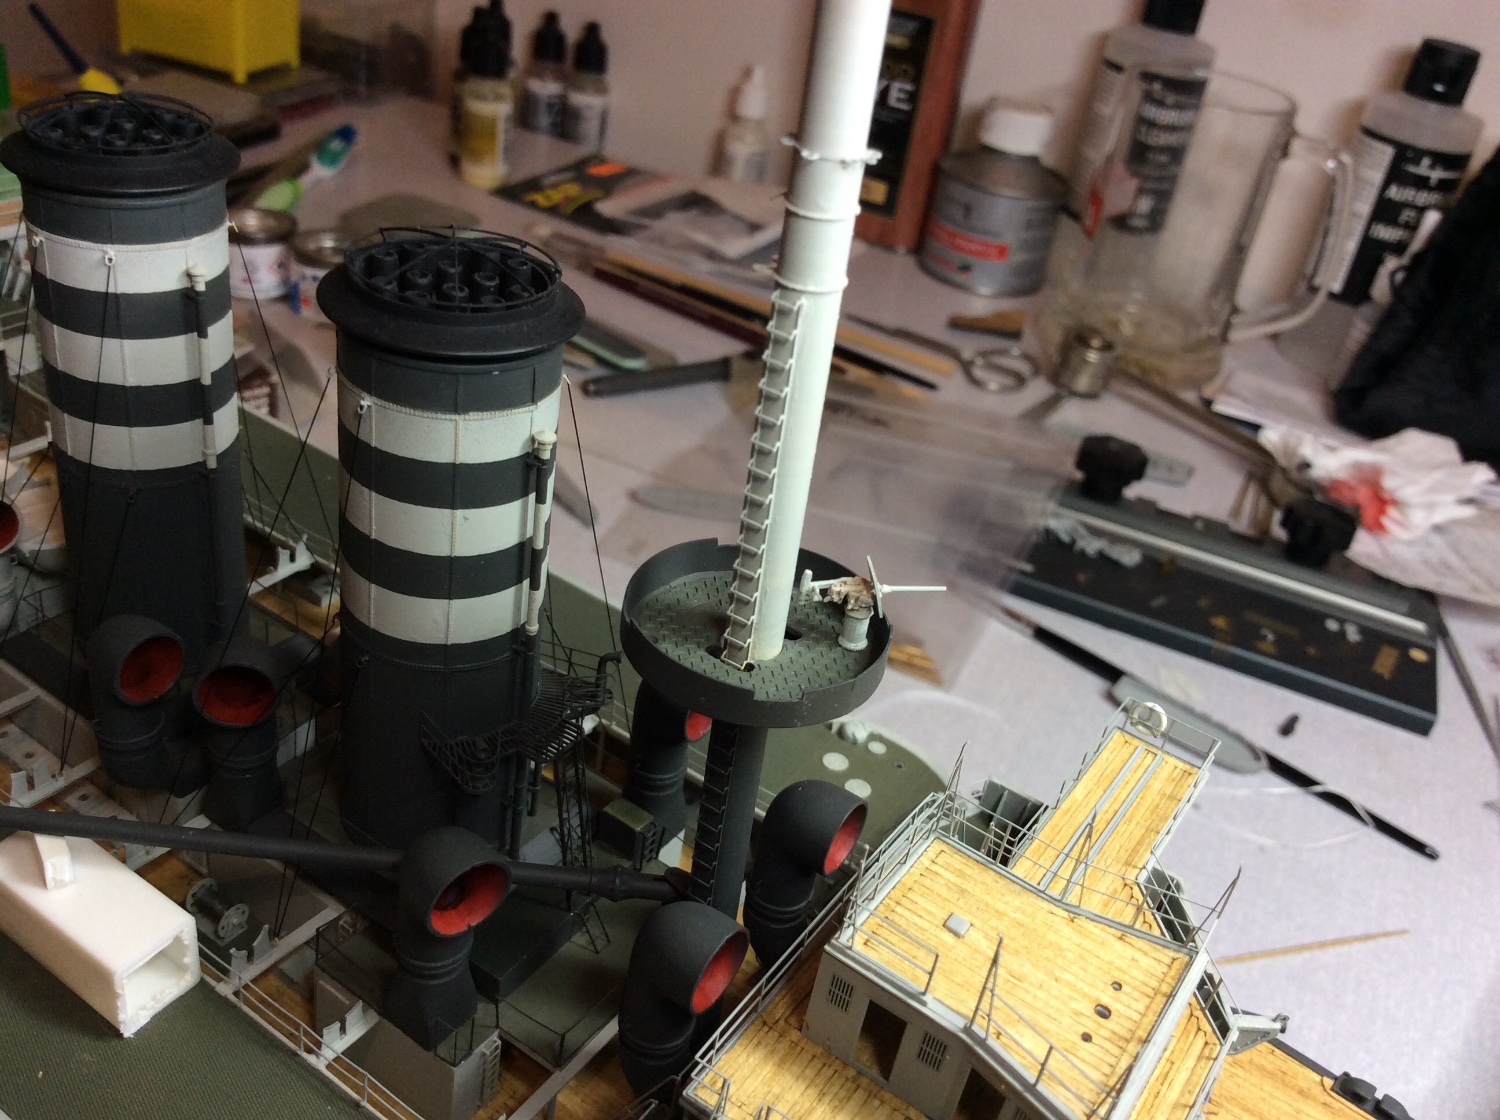
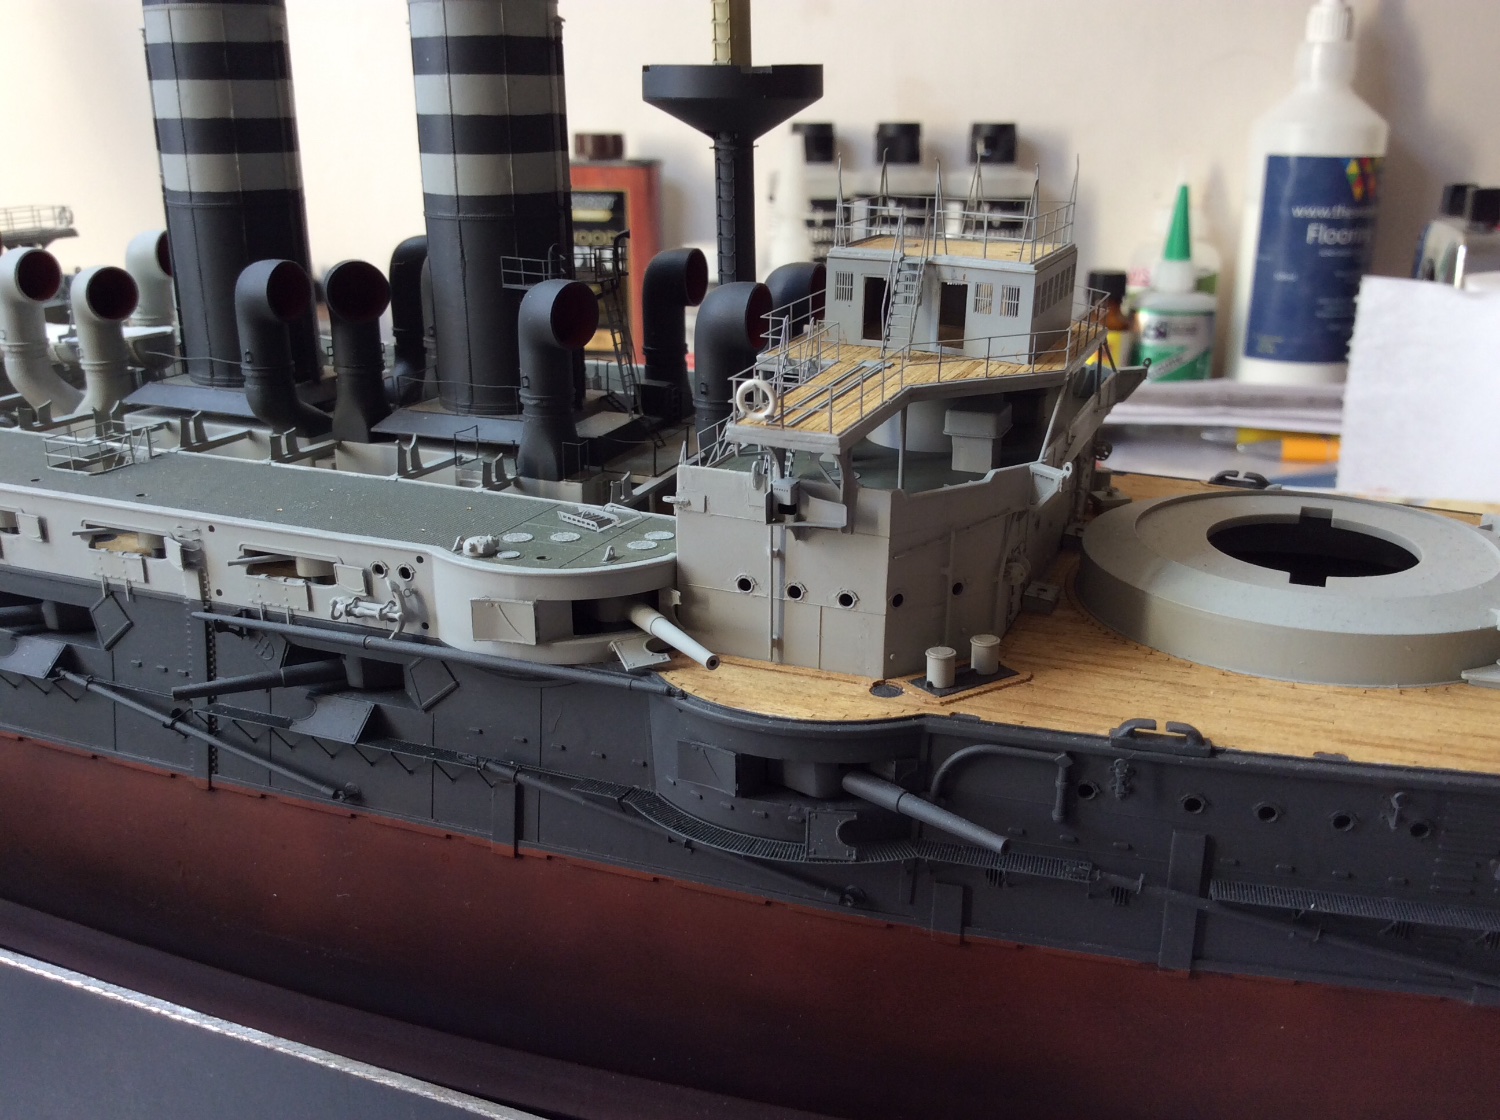
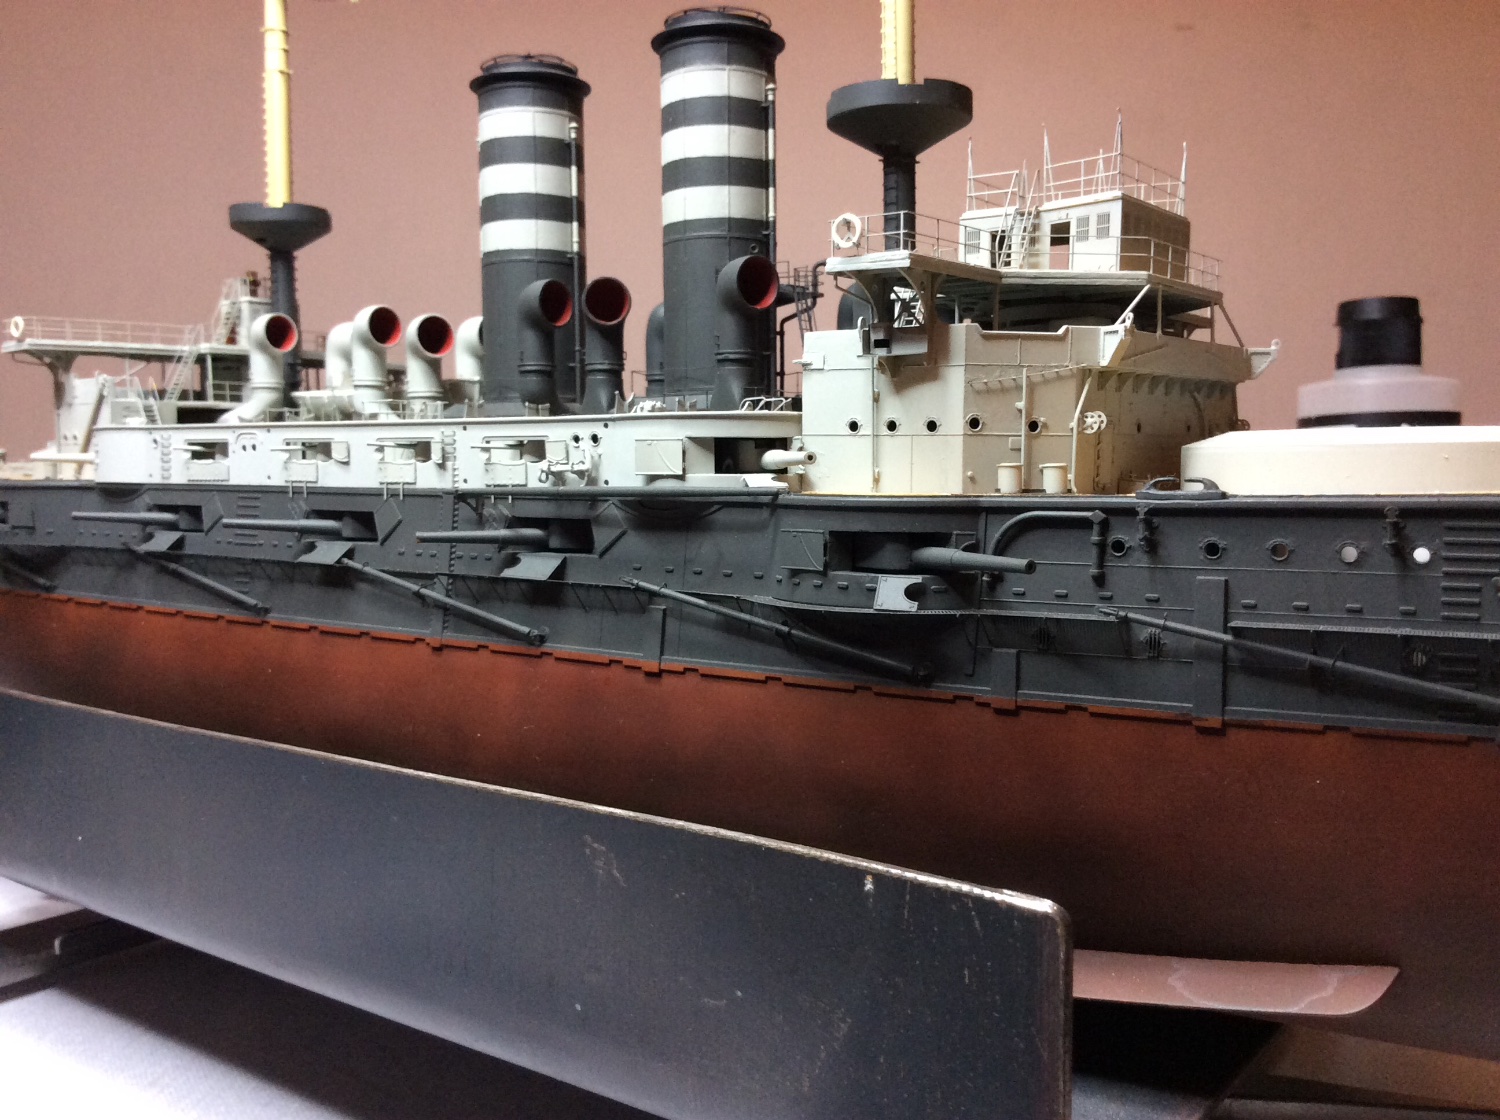
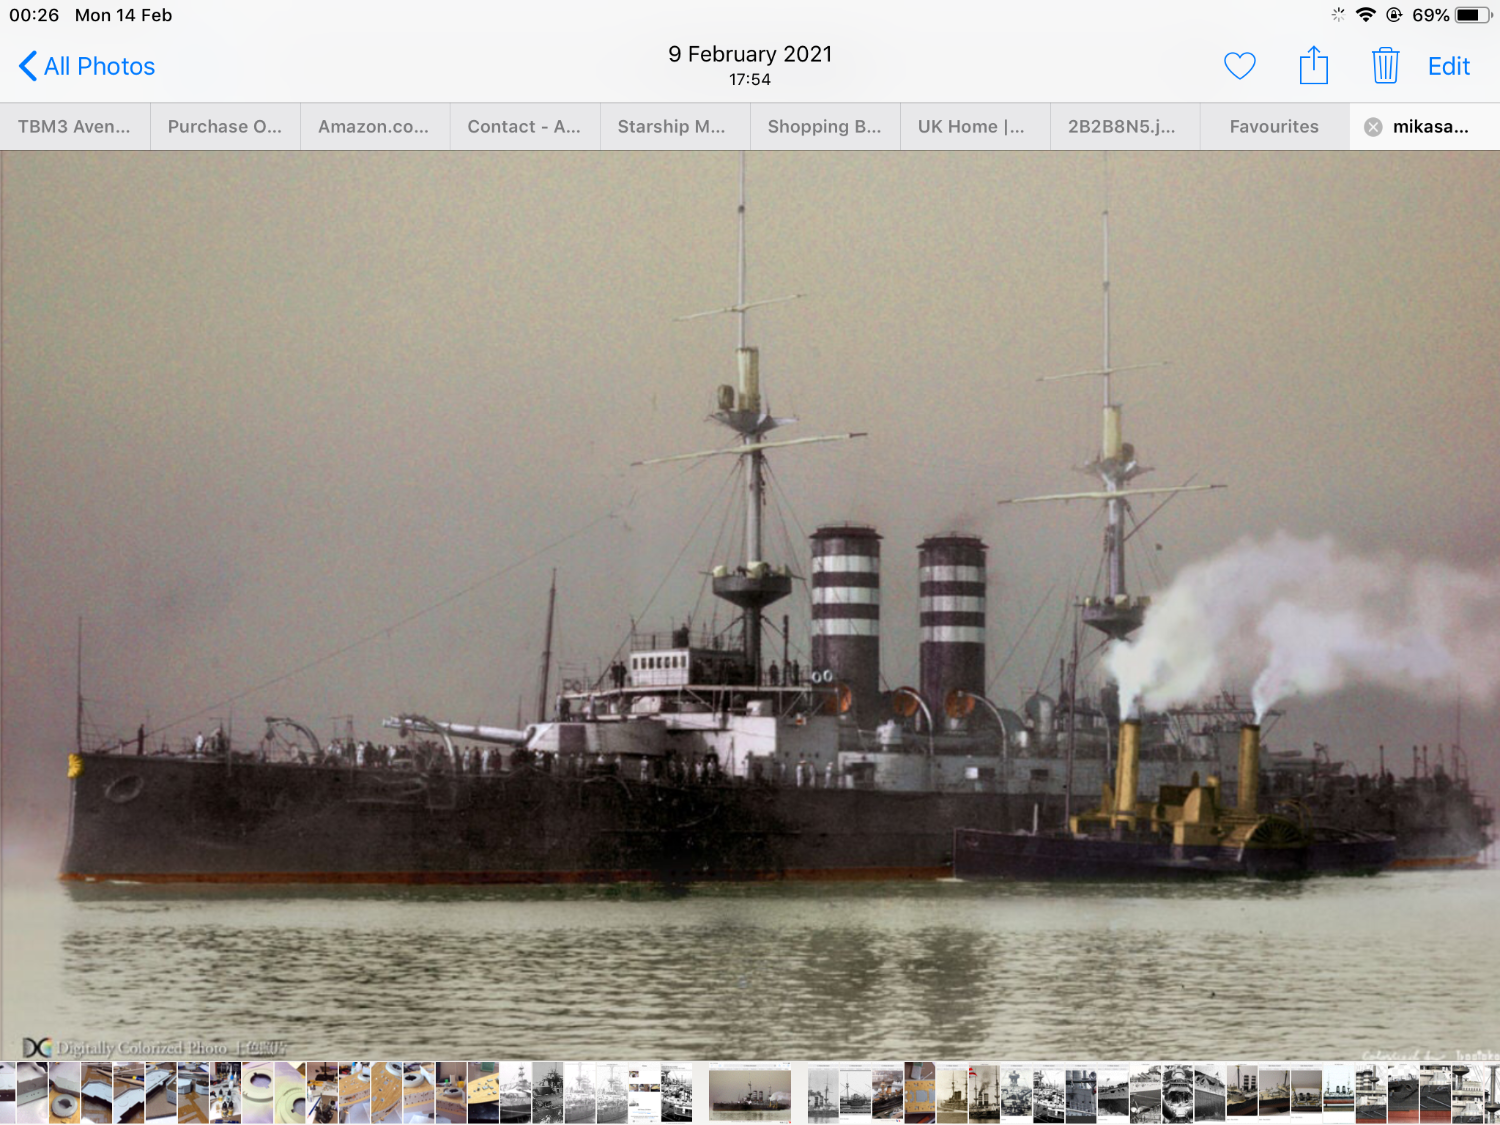
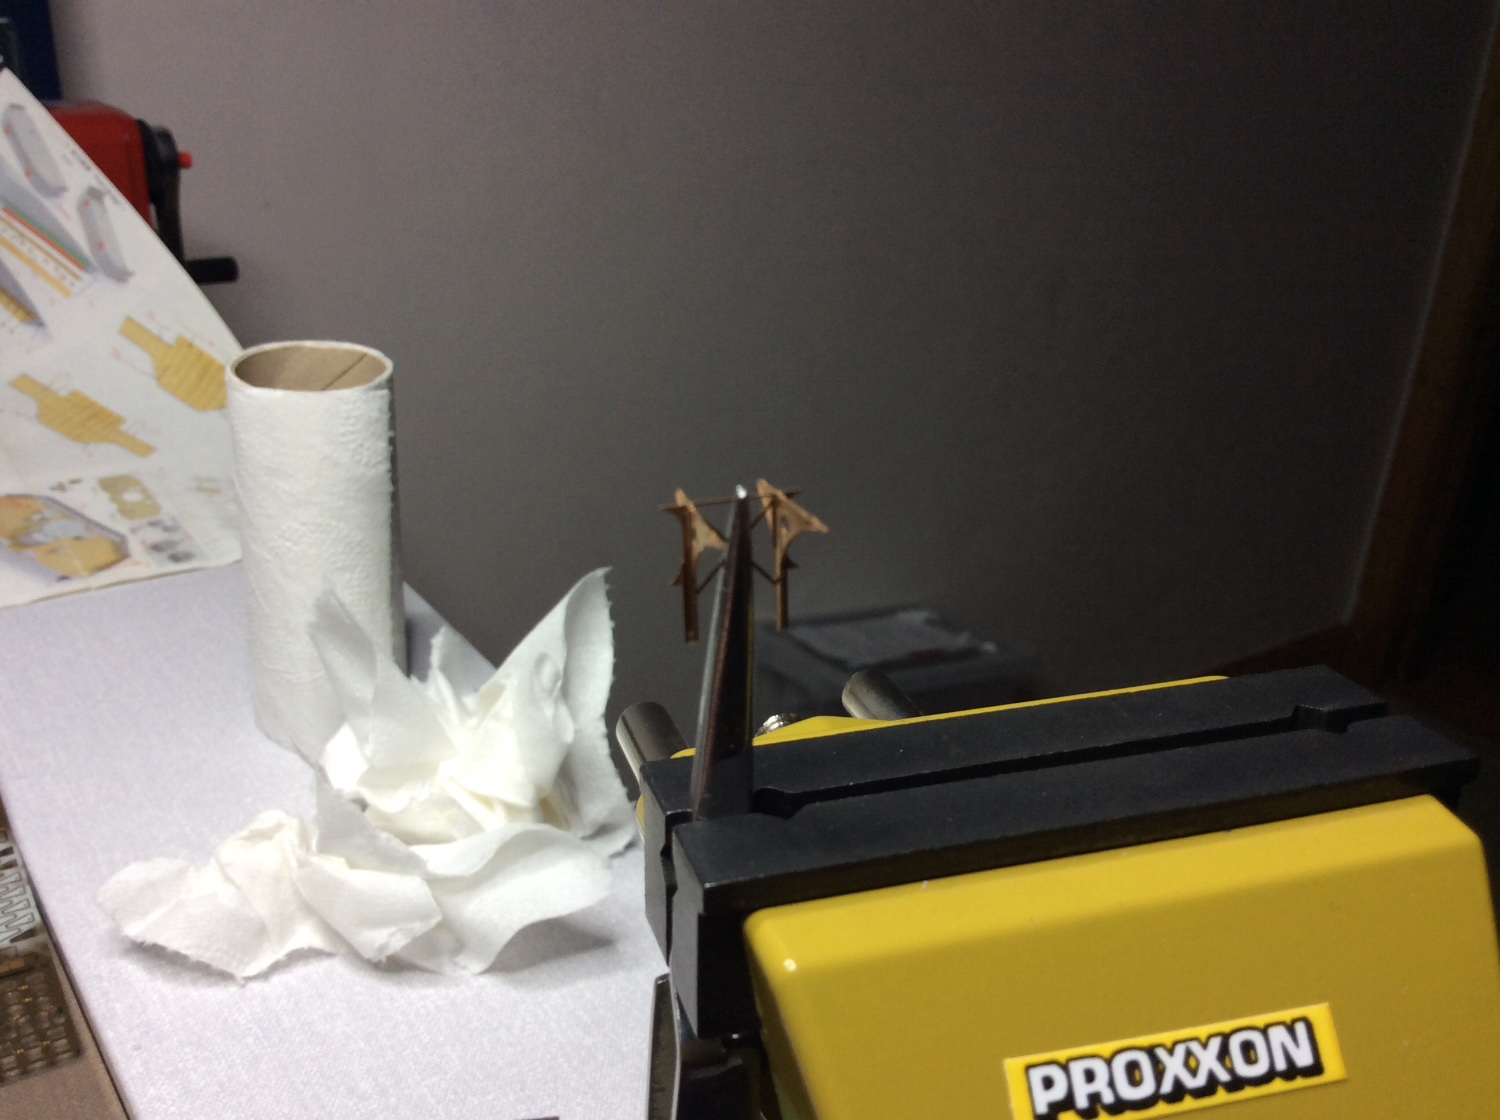
As I mentioned earlier, I have decided to change the colours on my masts, again a case of using the Force, deciding on the light grey and tyre wall black, also on the masts, the spars are two high and not long enough, this means quite a lot of modifications, so going to stick with it and try to change this area slightly, is it worth the bother ? won’t know till I’ve tried it. 🤞Some early photos show the bottom spars about the same width as bridge wing. put some photos up to show my point.


- CDW, Canute, Ryland Craze and 5 others
-
8
-
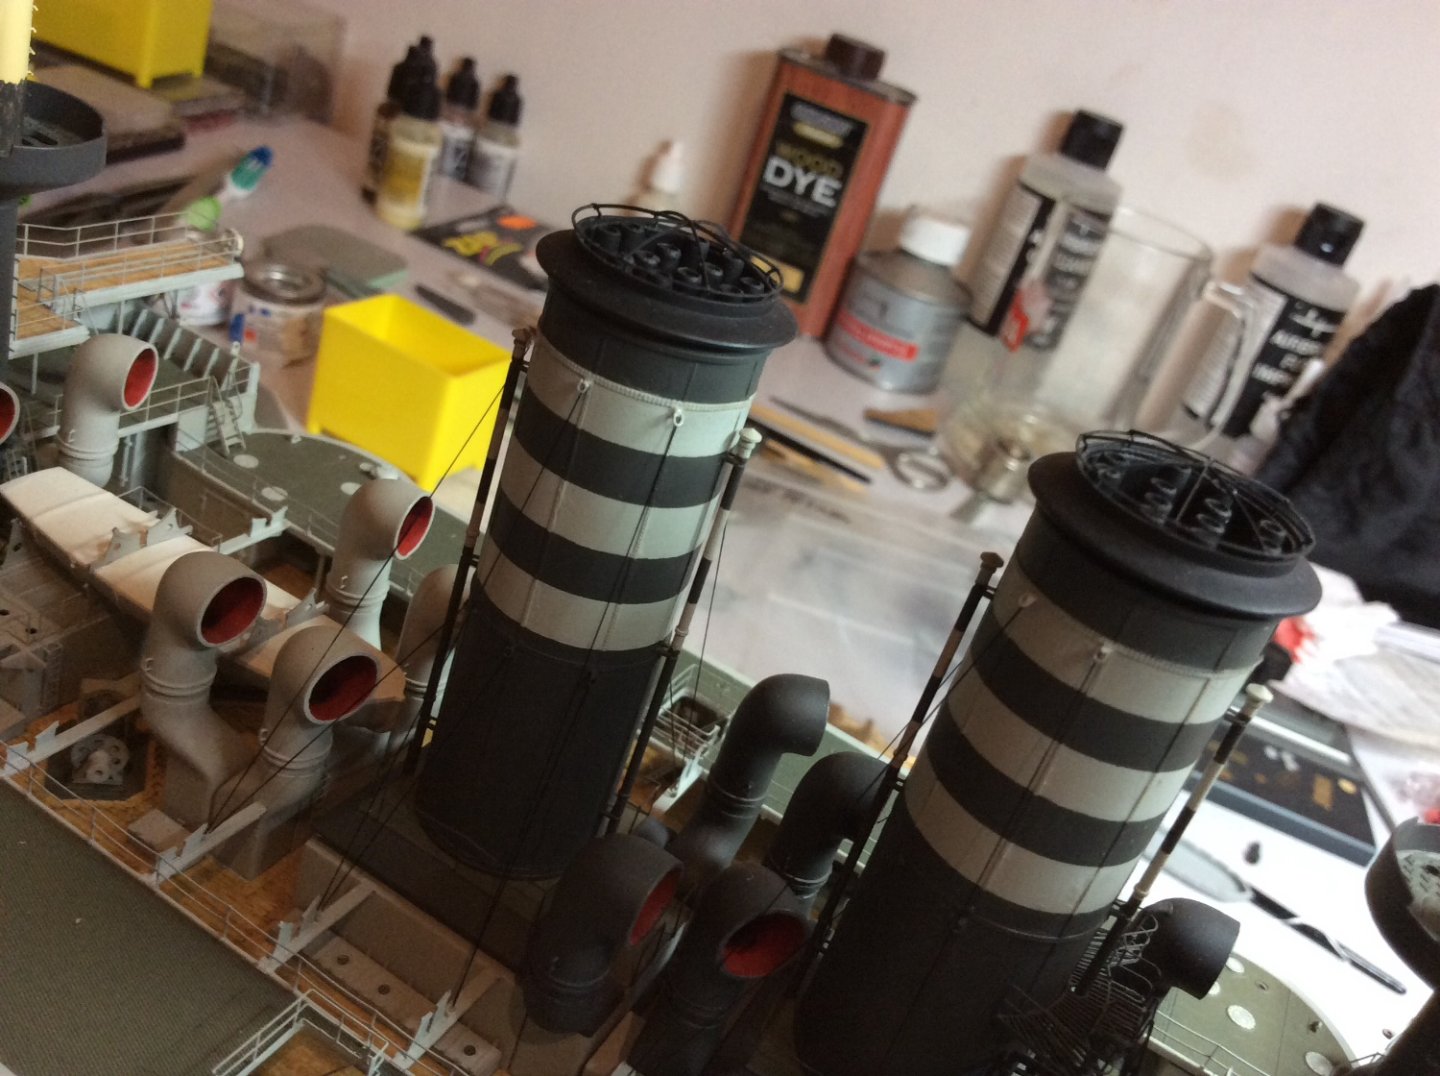
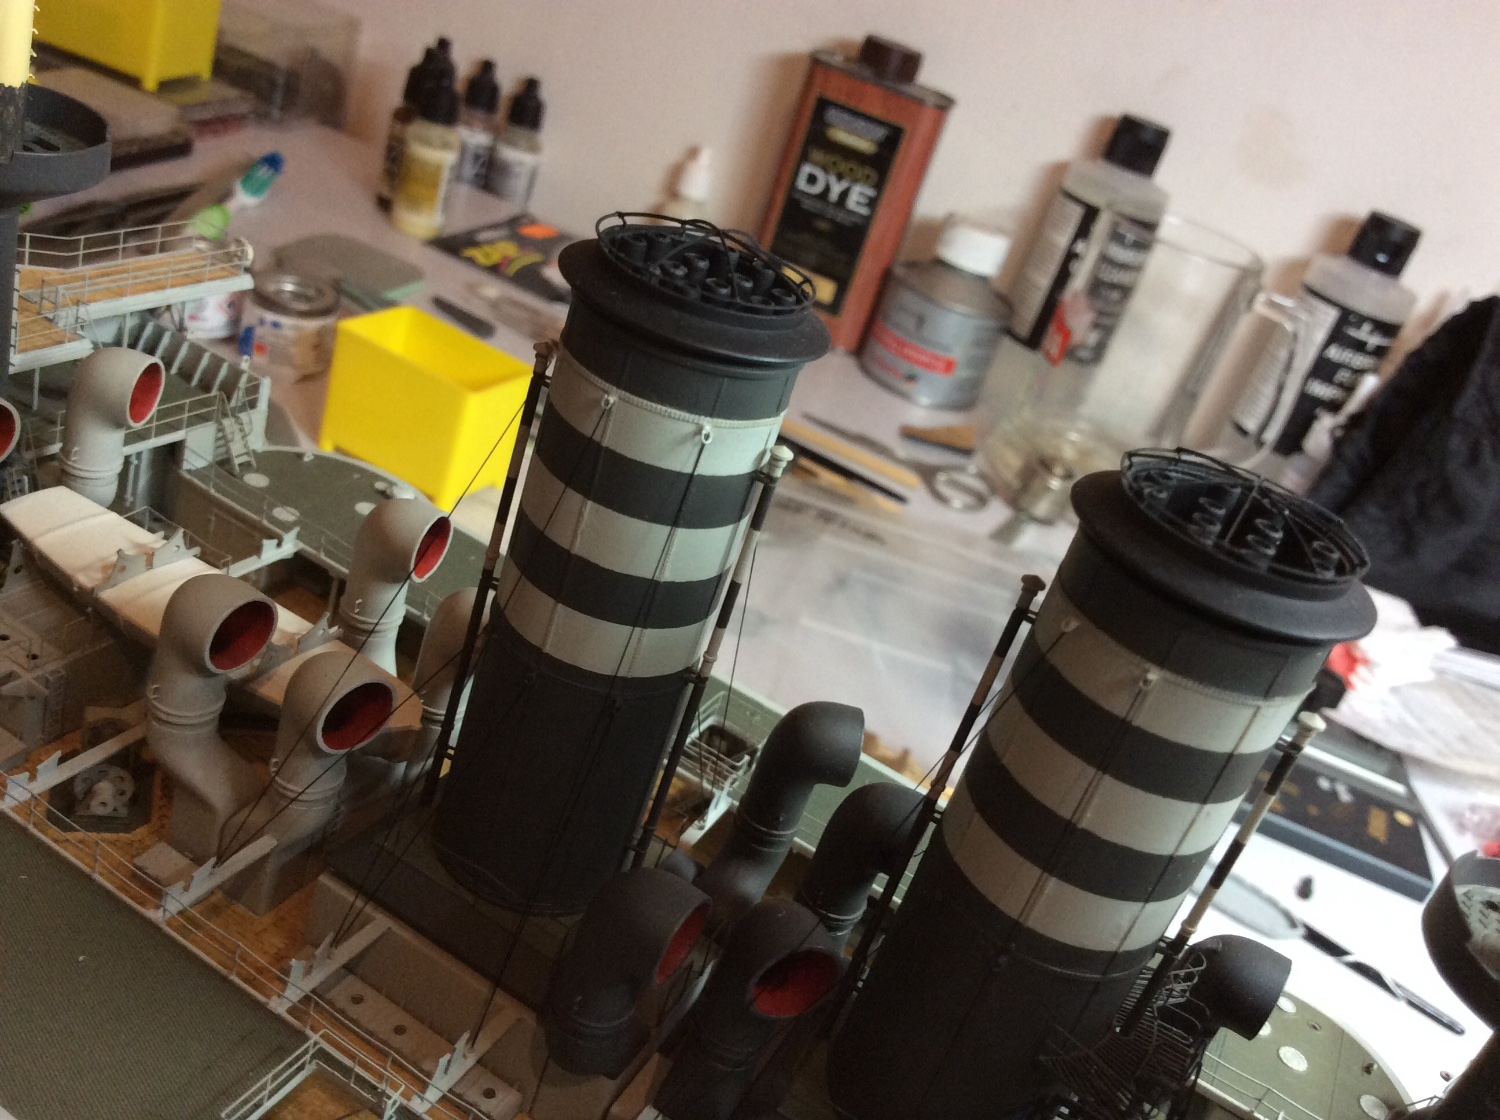
Hello again, hope everyone is well and have their Xmas wish list made out 😄 were was i with this build ? I’ll start with rigging on the chimneys,just kidding 😂since I was daft enough to buy another detail set I better use as much as I can. Used all the small shackle points for the funnel attachments for stays. Because she is quite hard to get cut and dry facts and photos on her, you just have to be like Luke Skywalker, use the Force 🤪. Got some advice from guys in model club on doing this👍 Turns out not to difficult, but you do have to be careful when working around the model at this stage, so easy to damage, when trying to glue some of rigging, steadying my hand I felt something give a little, god it was one of the twelve pounder guns underneath the boat deck, so that one isn’t as secure as I would want, then I thought imagine if I totally dislodged it, you’d never be able to reset it, you’d have to reset the gun hatches in the shut position. Took this as a warning shot across the bows, if you take this model on I’m sure you’ll feel the same way. Put some photos up to show progress, be easy on me I’ve never done this before.


- Prowler901, Canute, Ryland Craze and 4 others
-
7
-
4 hours ago, yvesvidal said:
Impressive work. I like the U shaped piece of metal to protect the hull and guns.
Yves
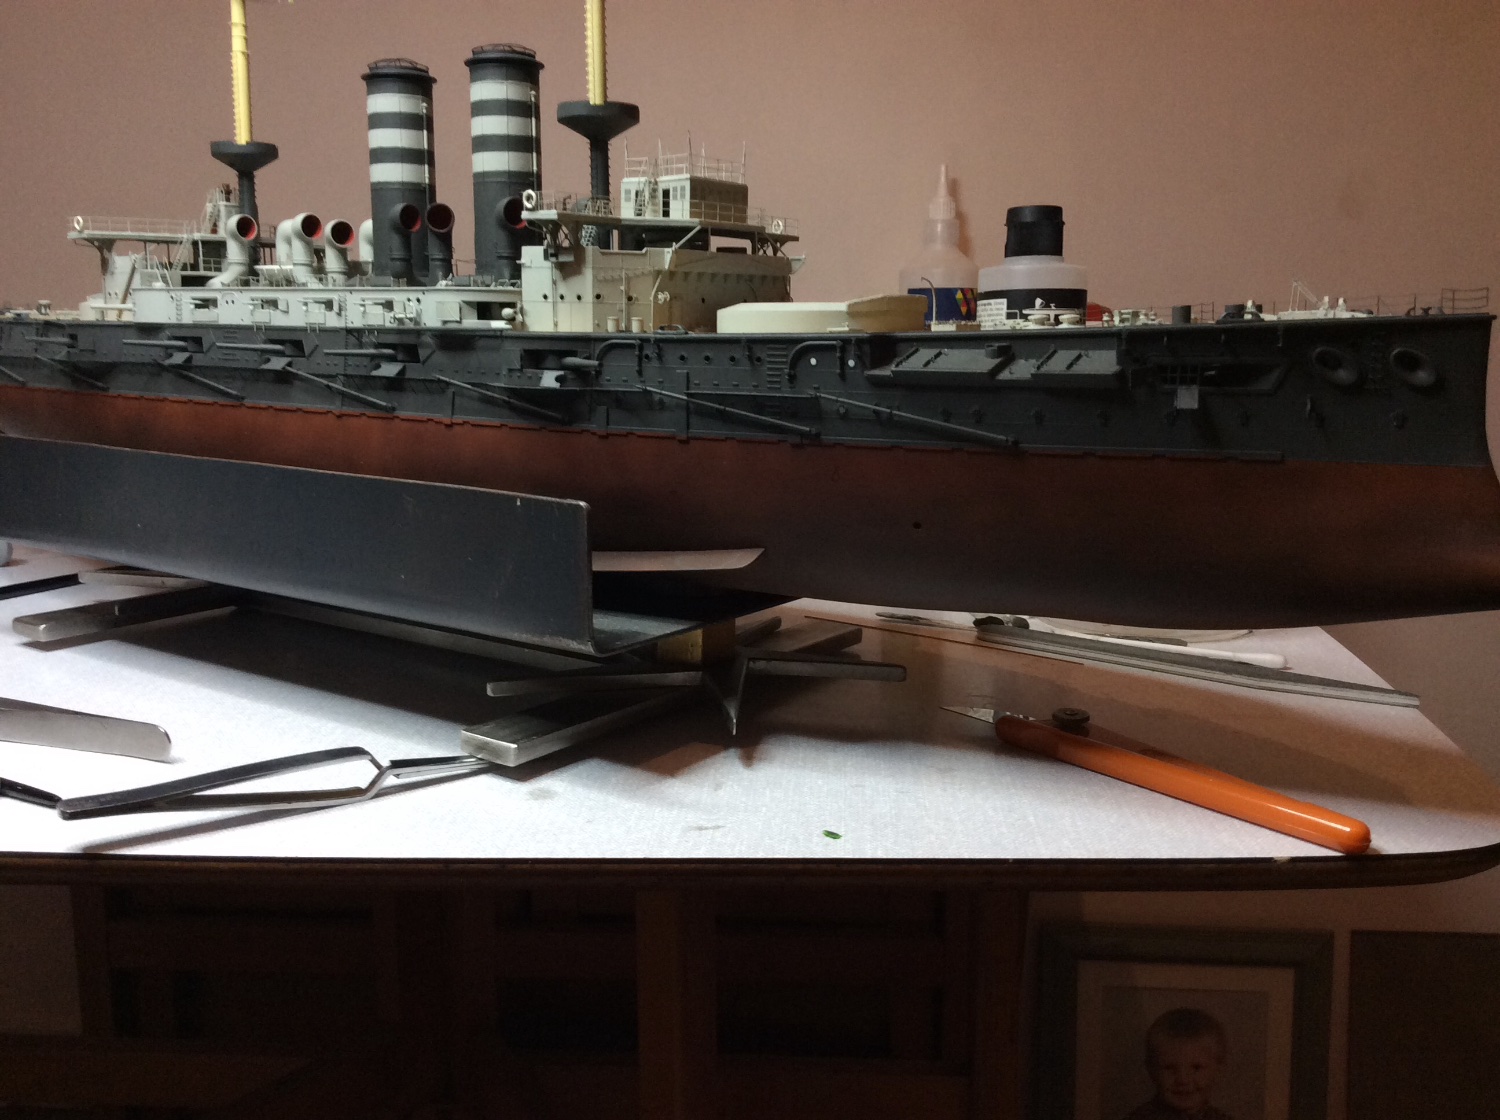
Actually this works really well on a lot of counts, designed it to support the ship on its side giving enough distance for clearance on the six inch guns pointing outwards, also there is so much photo etch on the side of the hull that fitting this is a lot easier whilst the model is on its side, the small flat bar frame I added later helped balance it better, I can still balance the model on it’s side now. Another plus’s is its excellent for handling the model, doesn’t have to be made out of metal, it’s the design that works well, I am definitely going to do similar with my Bismarck and Titanic builds. Can recommend this, sometimes something’s just work well. 👍
-
-
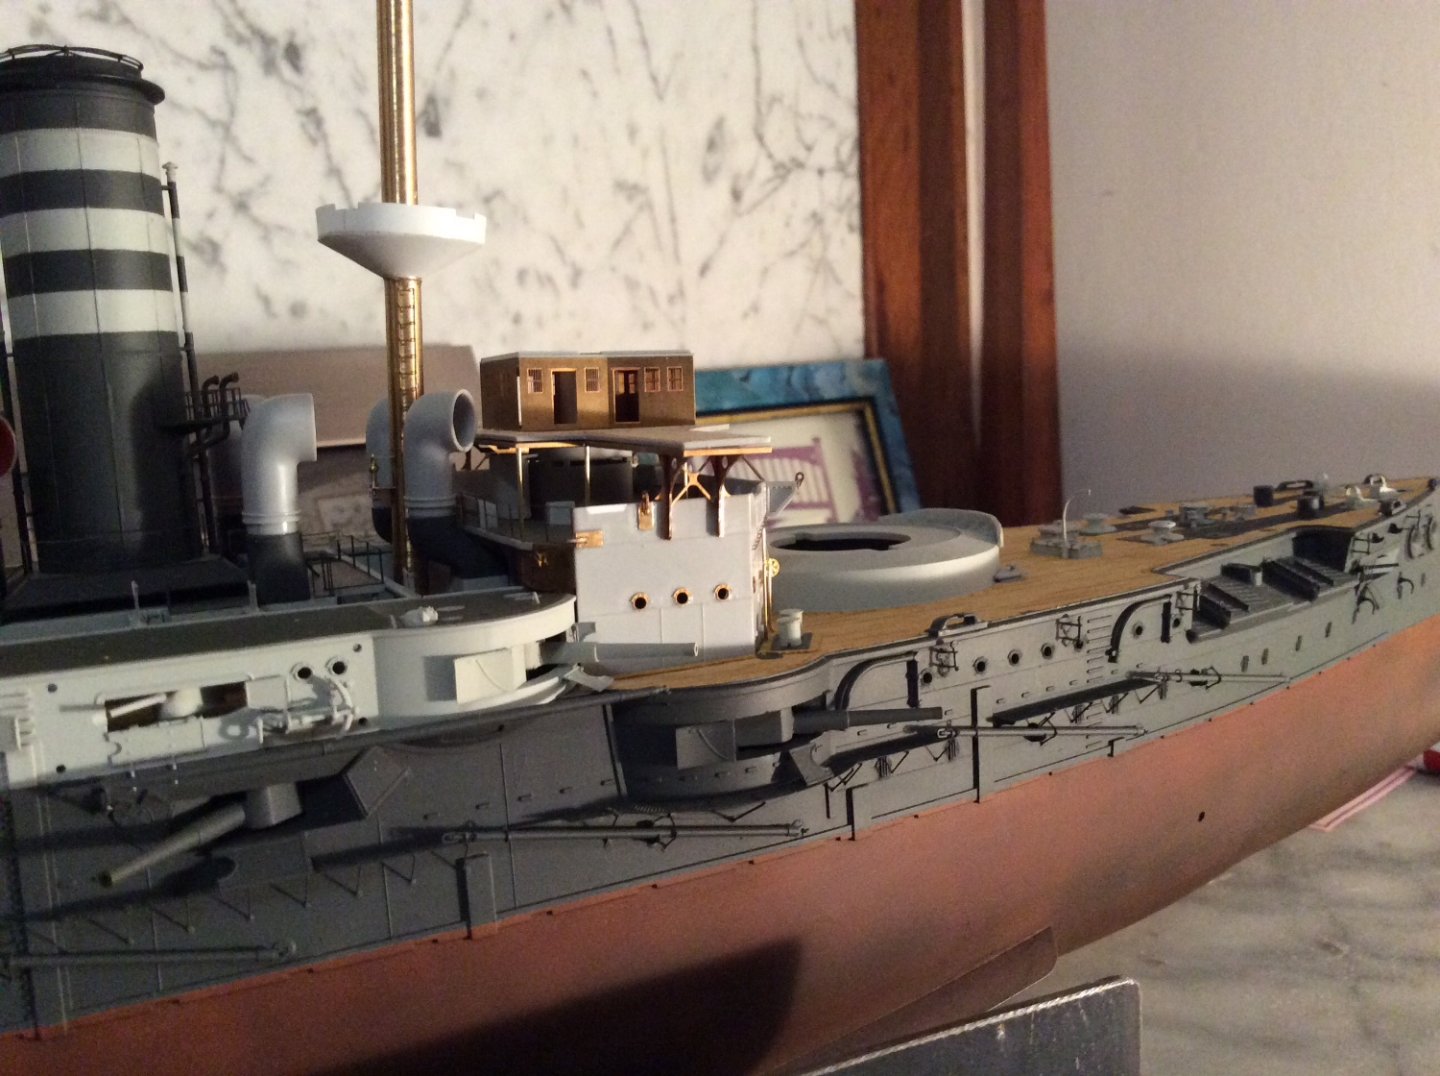
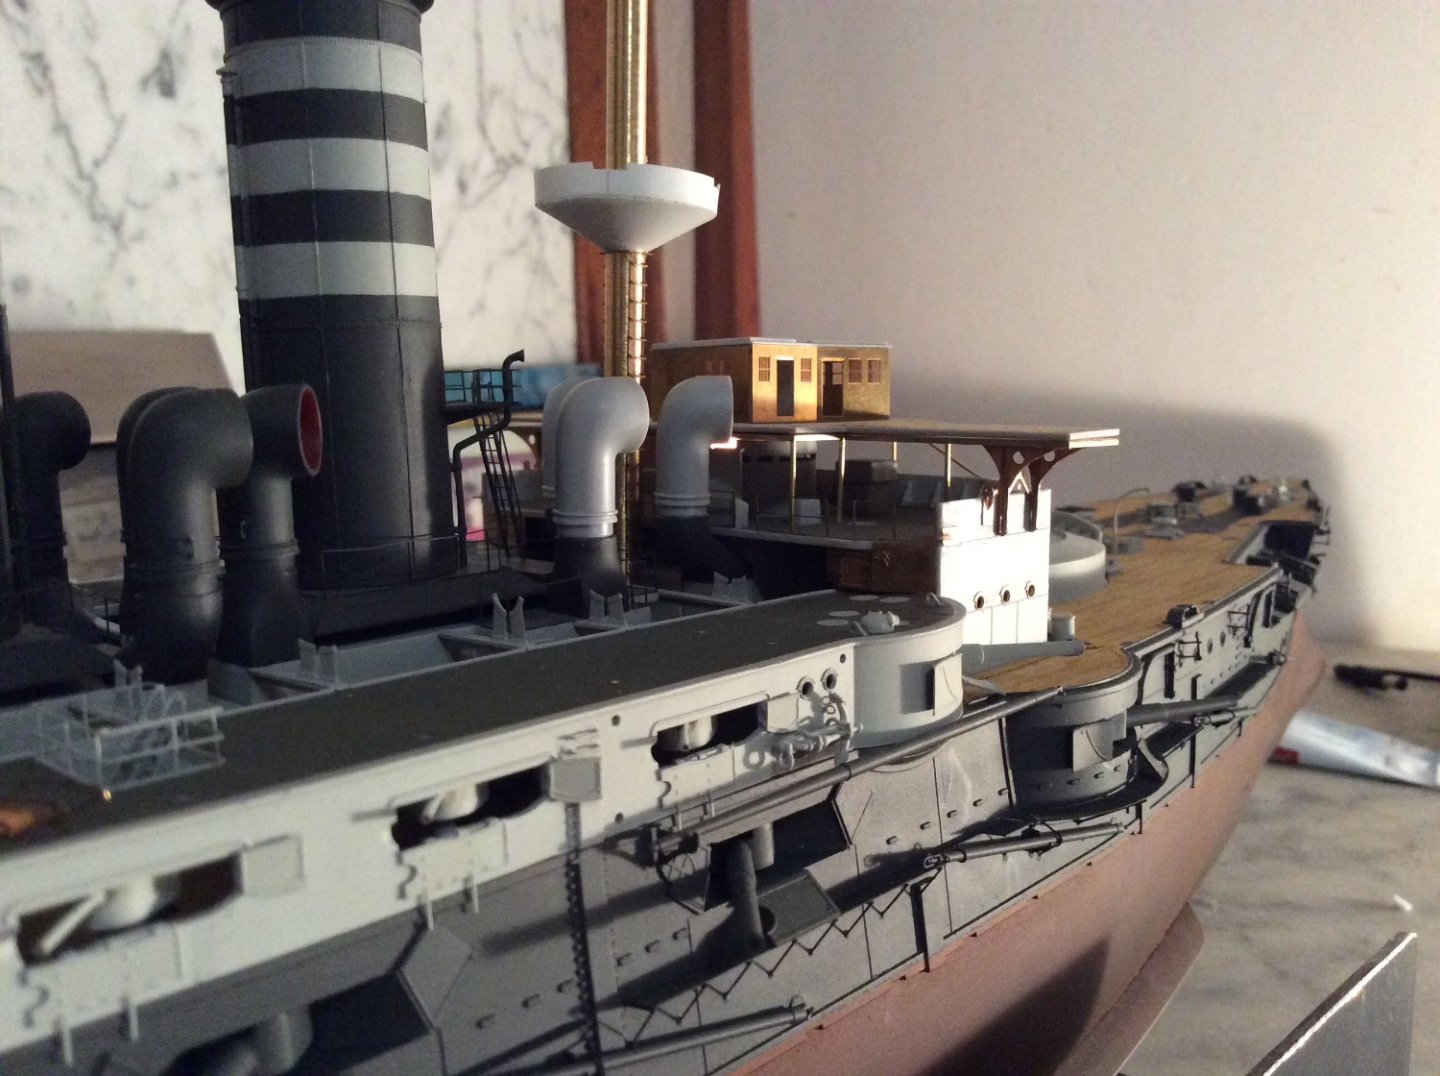
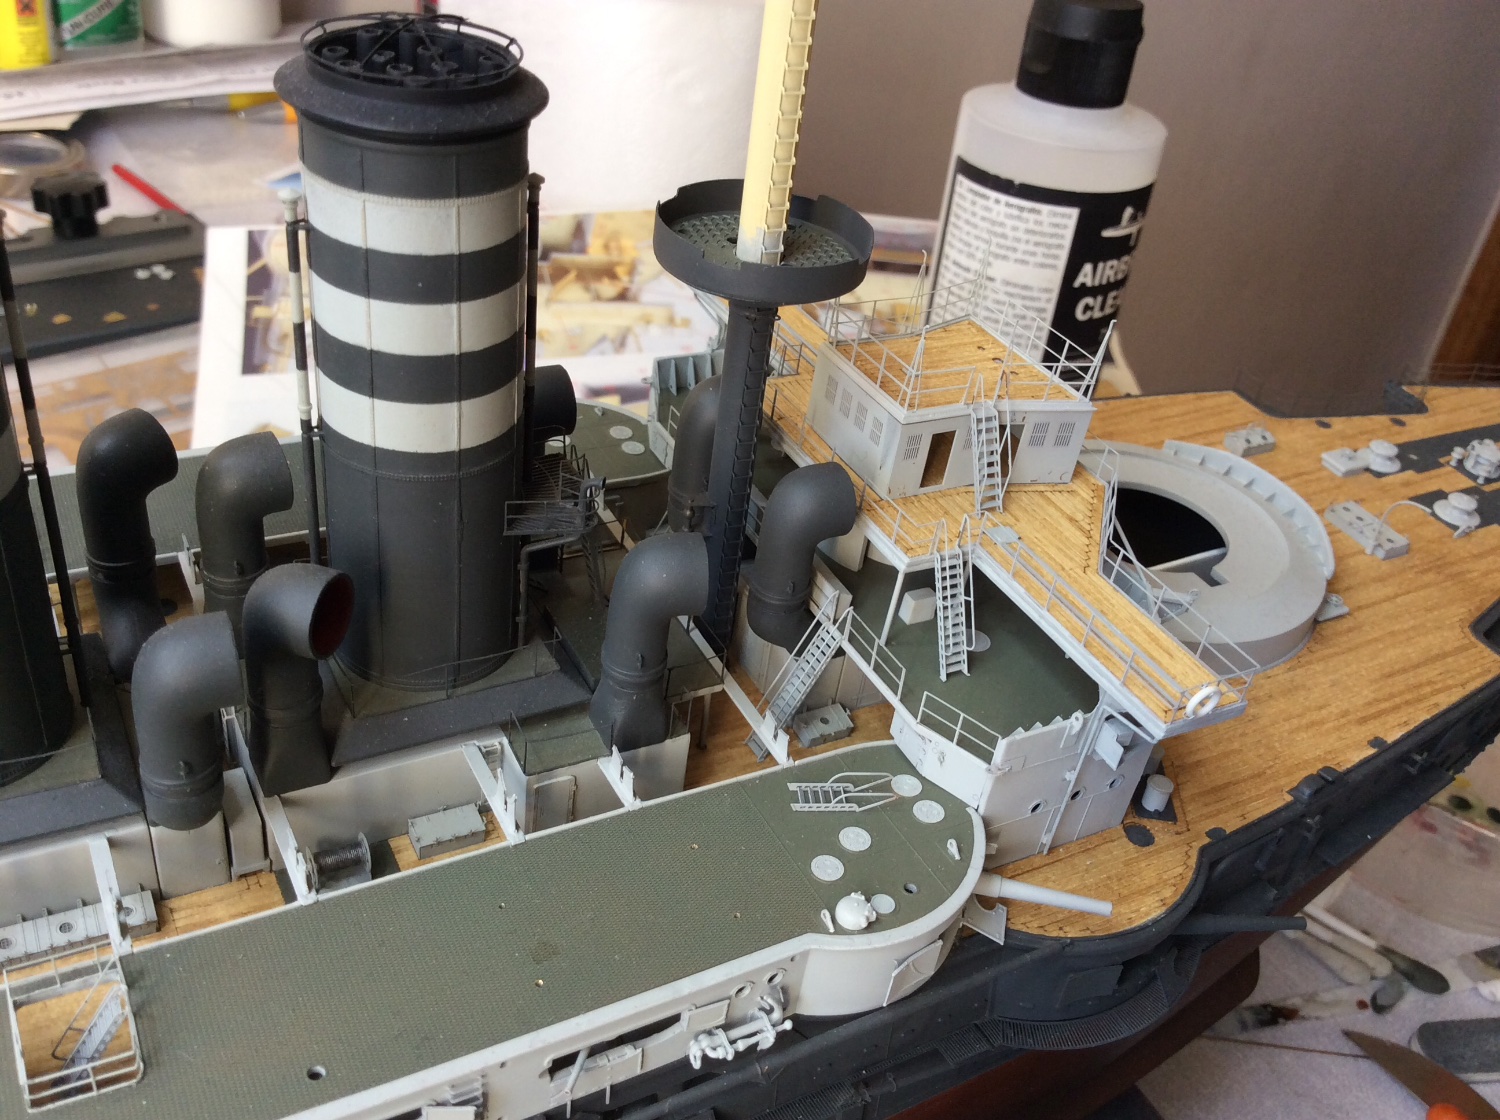
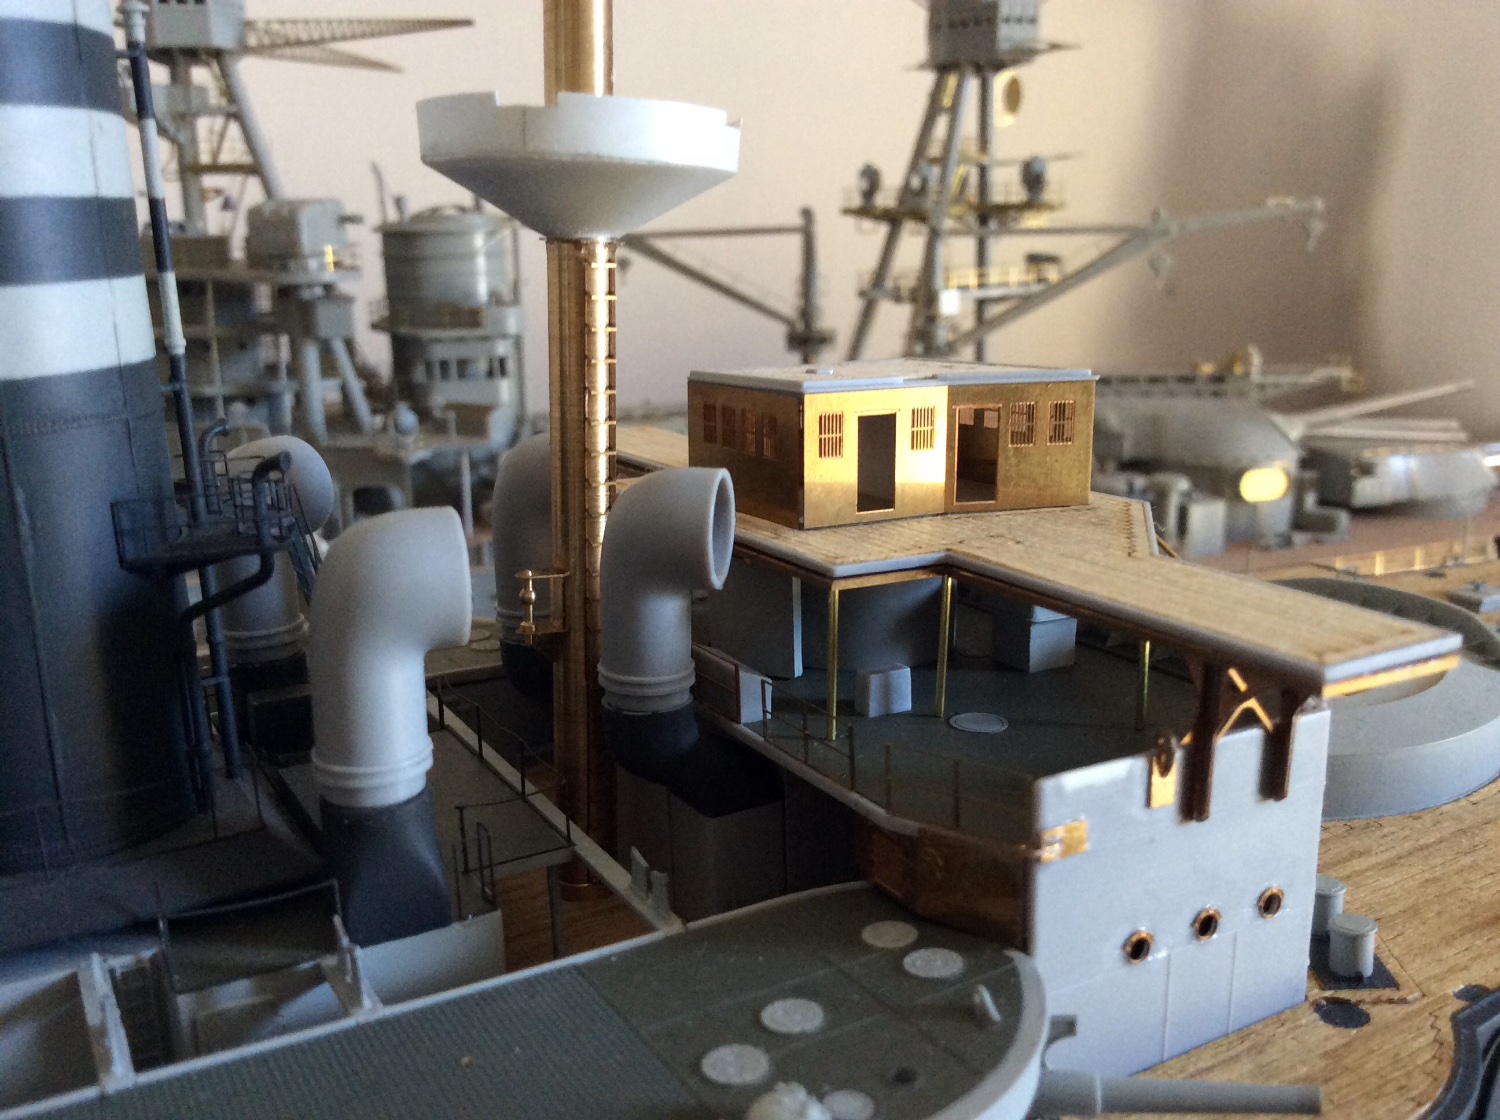
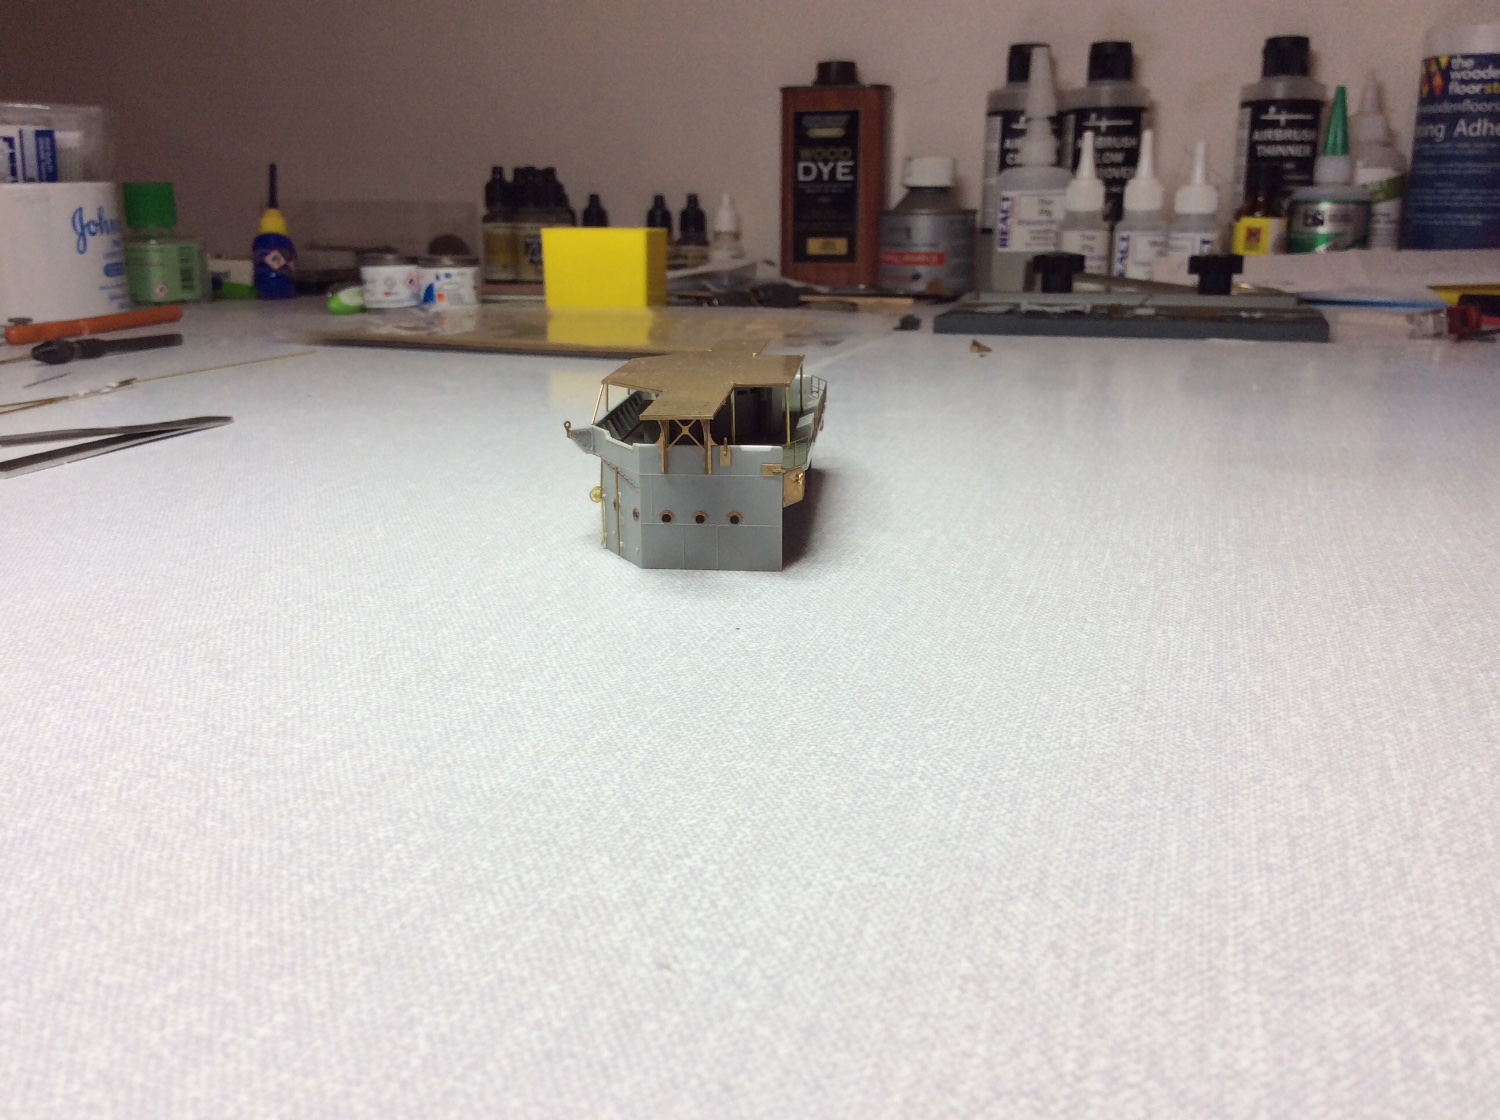
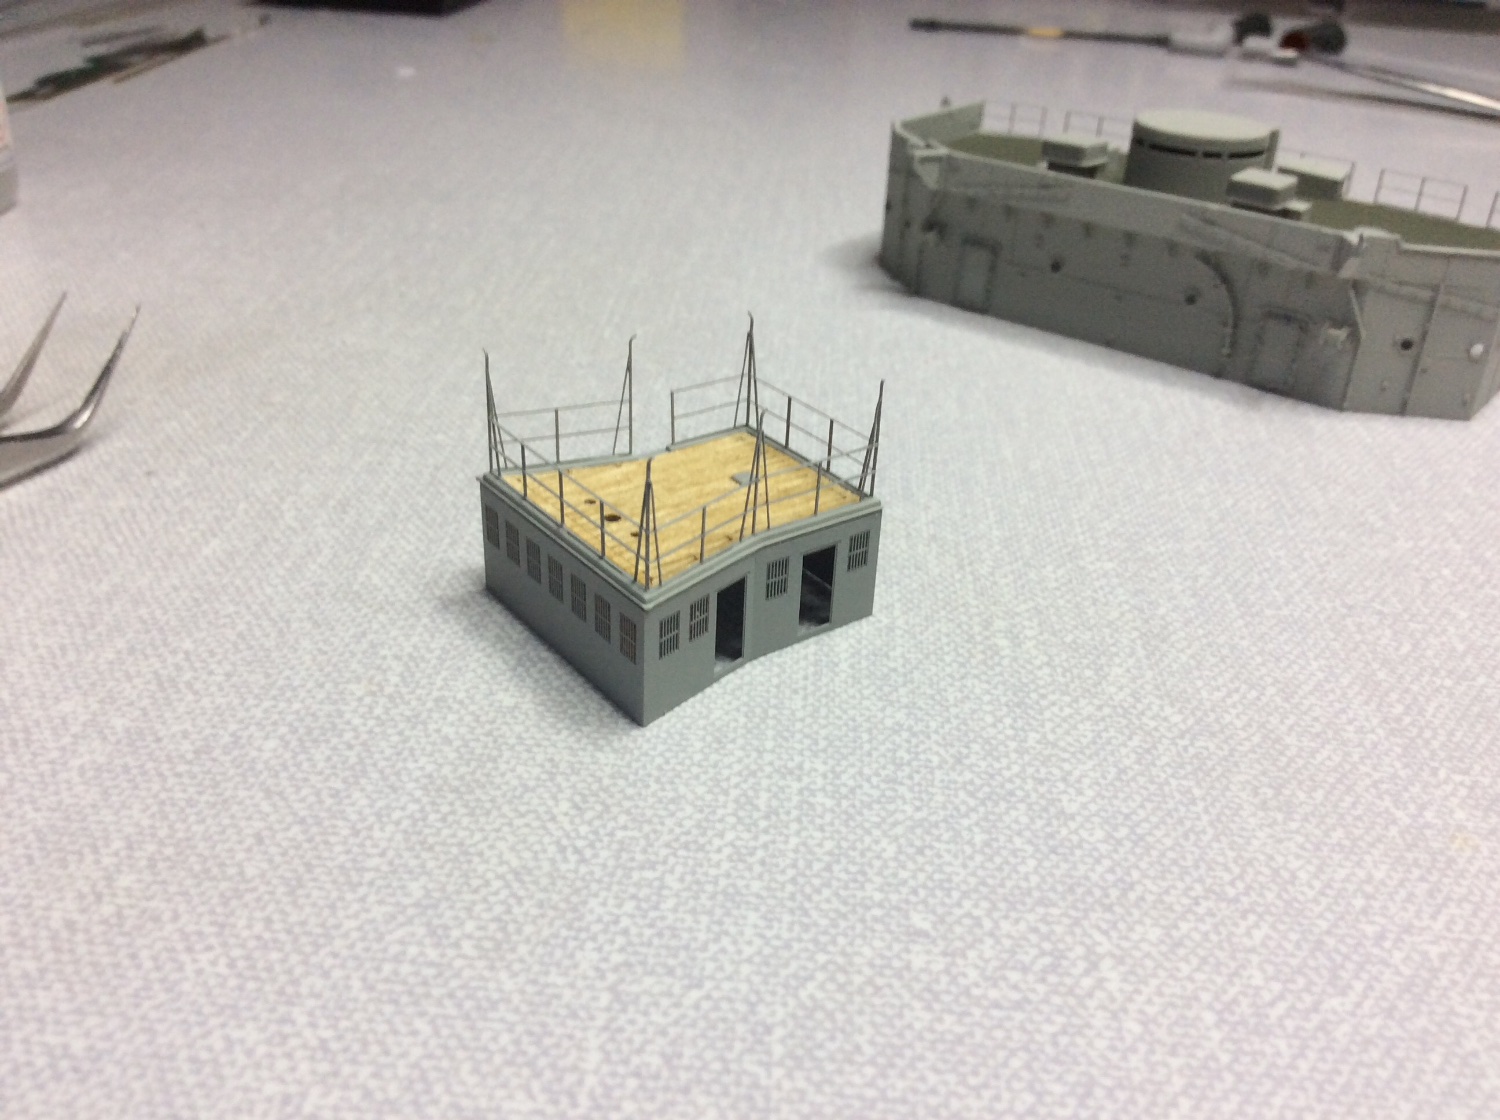
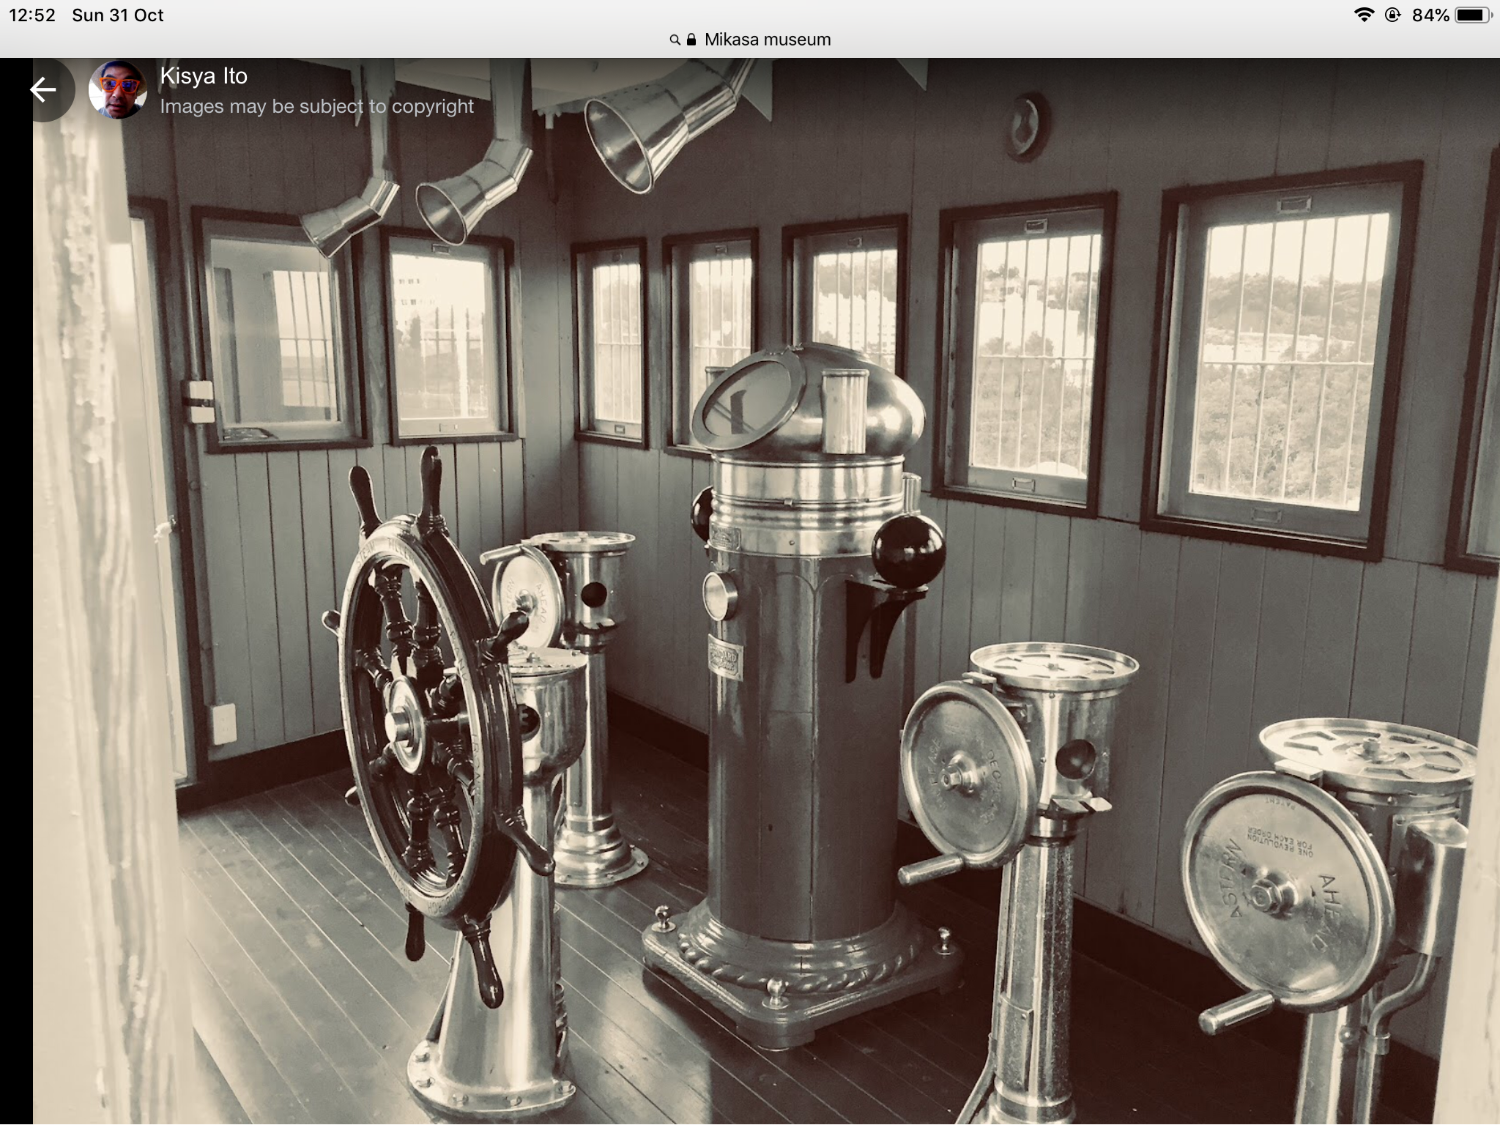
Finally fitted on some more details to bridge super structure painted and fitted bridge structure to deck to see if that stops me breaking things, 🙄 watch when making the small navigation lights from etch all the parts are handed including part 124. Also my drainpipe from my bridge wing should have had a small offset, can’t achieve this so had to run it up vert same as after bridge, a Well can’t get everything. 🤪 put some more photos up. Does anyone know of after market parts in this scale that might help me with details for inside the bridge, like telegraphs ships wheel and binnacle?

- yvesvidal, mtaylor, GrandpaPhil and 1 other
-
4
-
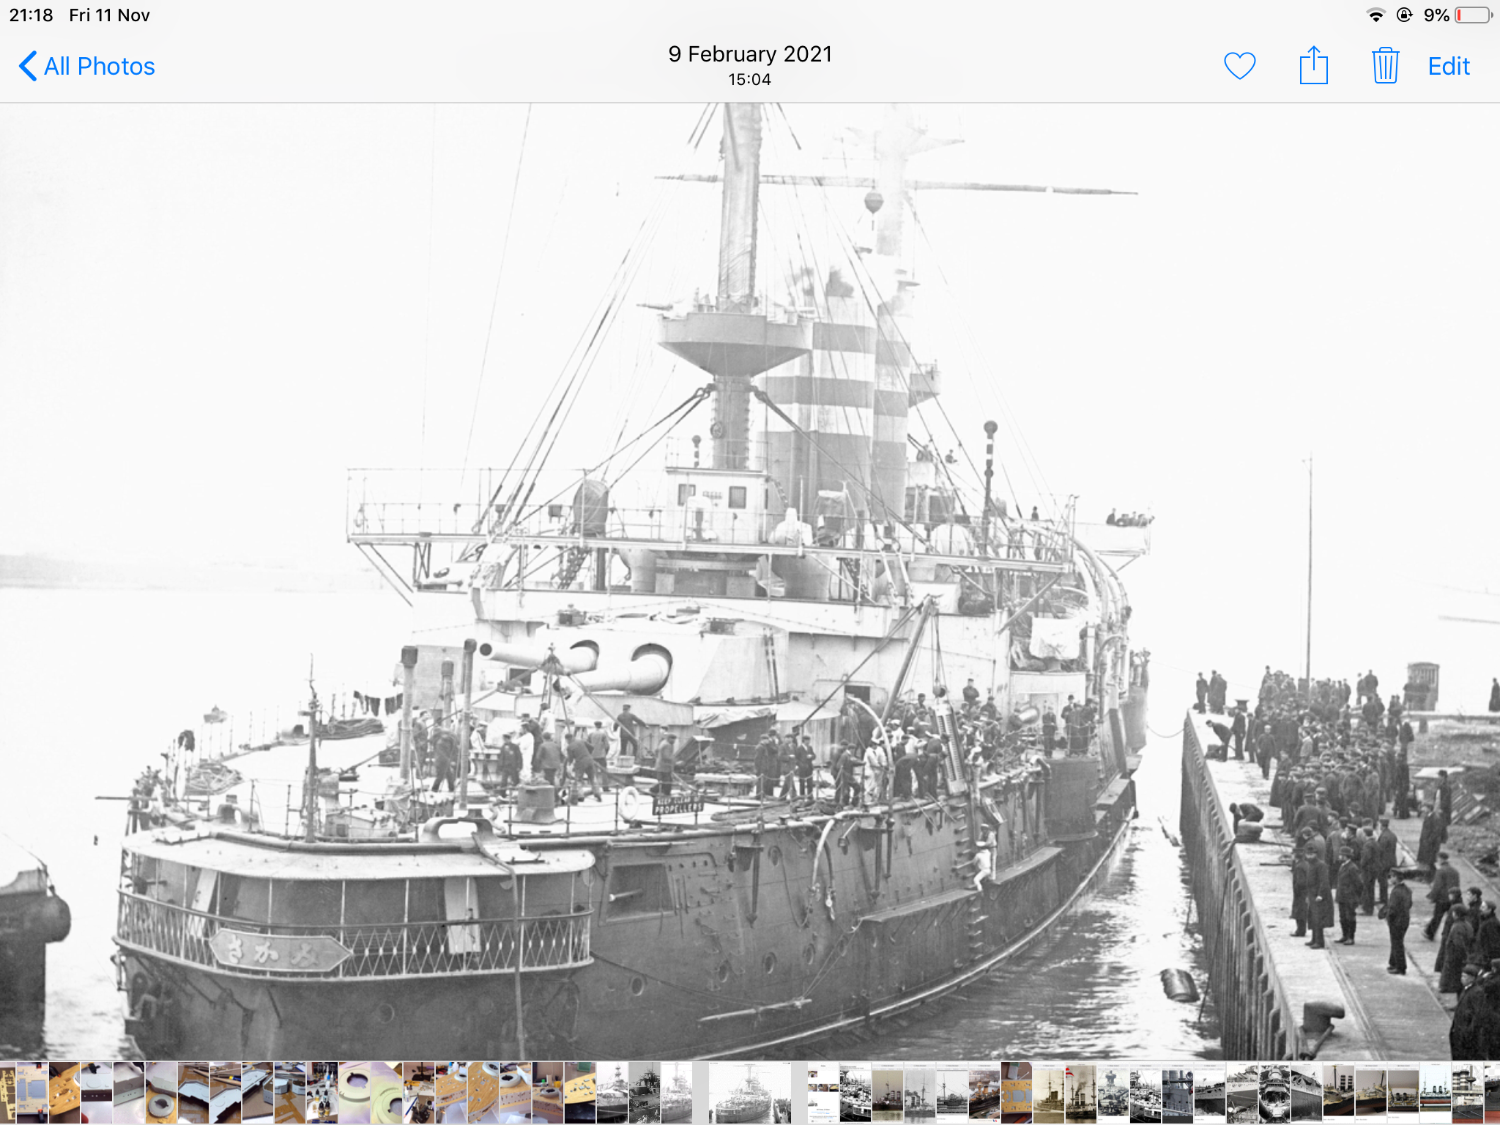
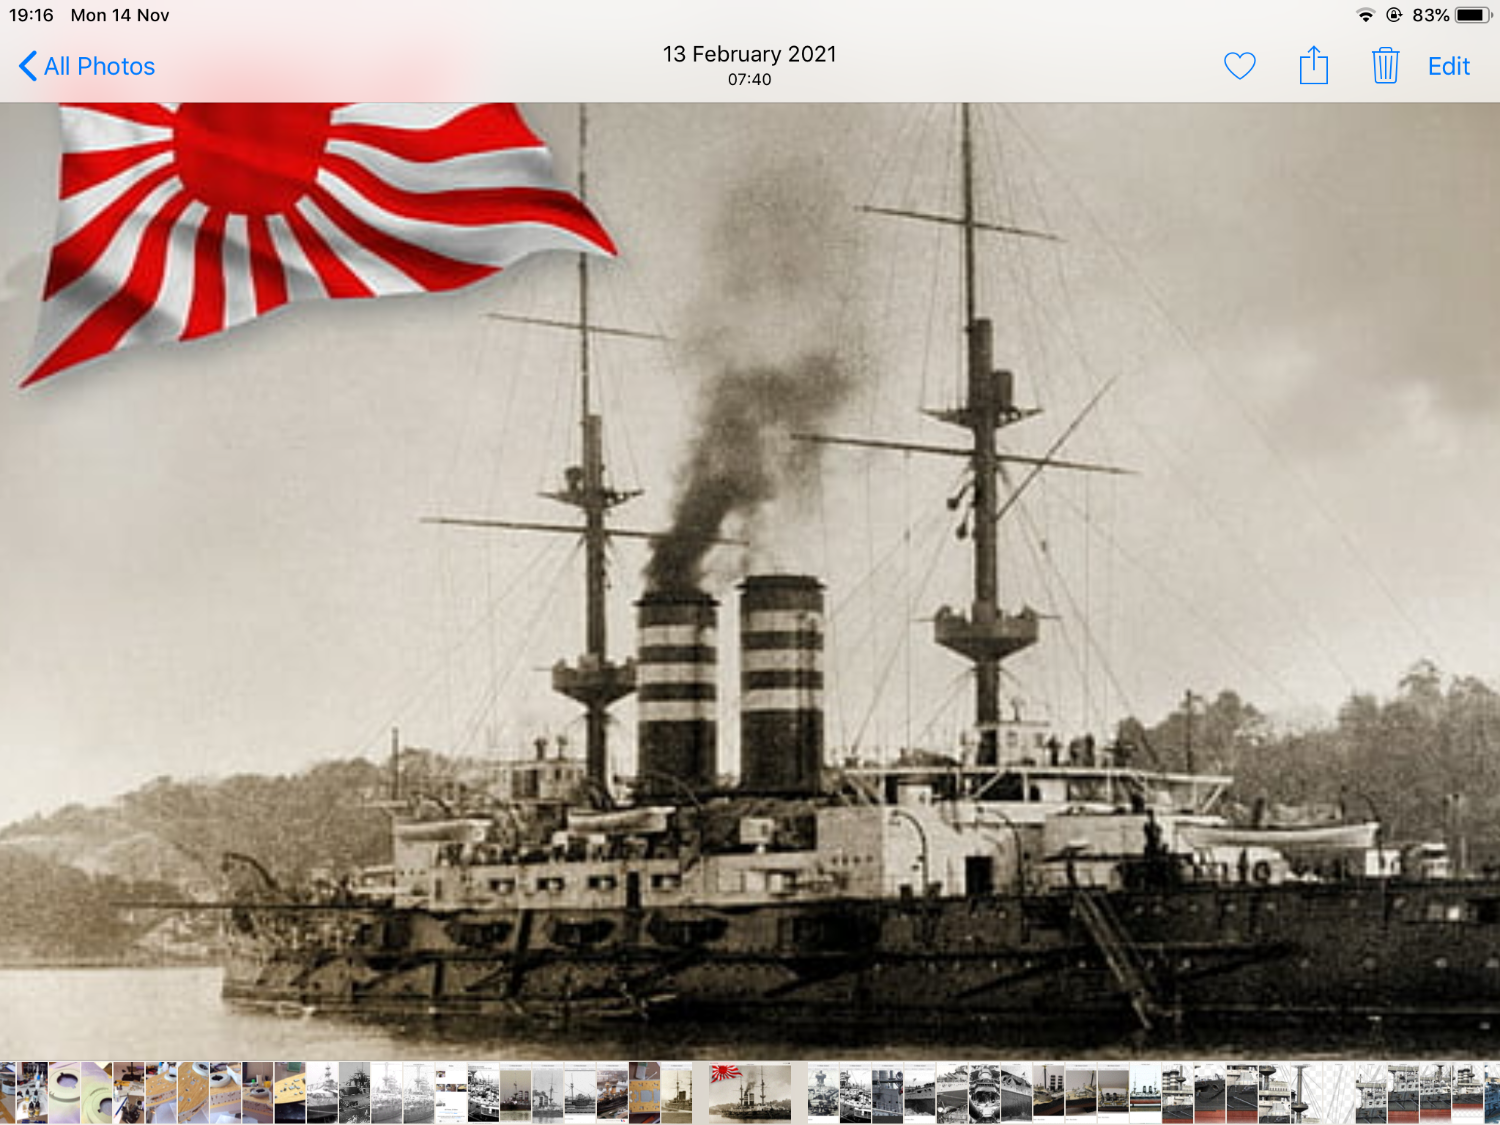
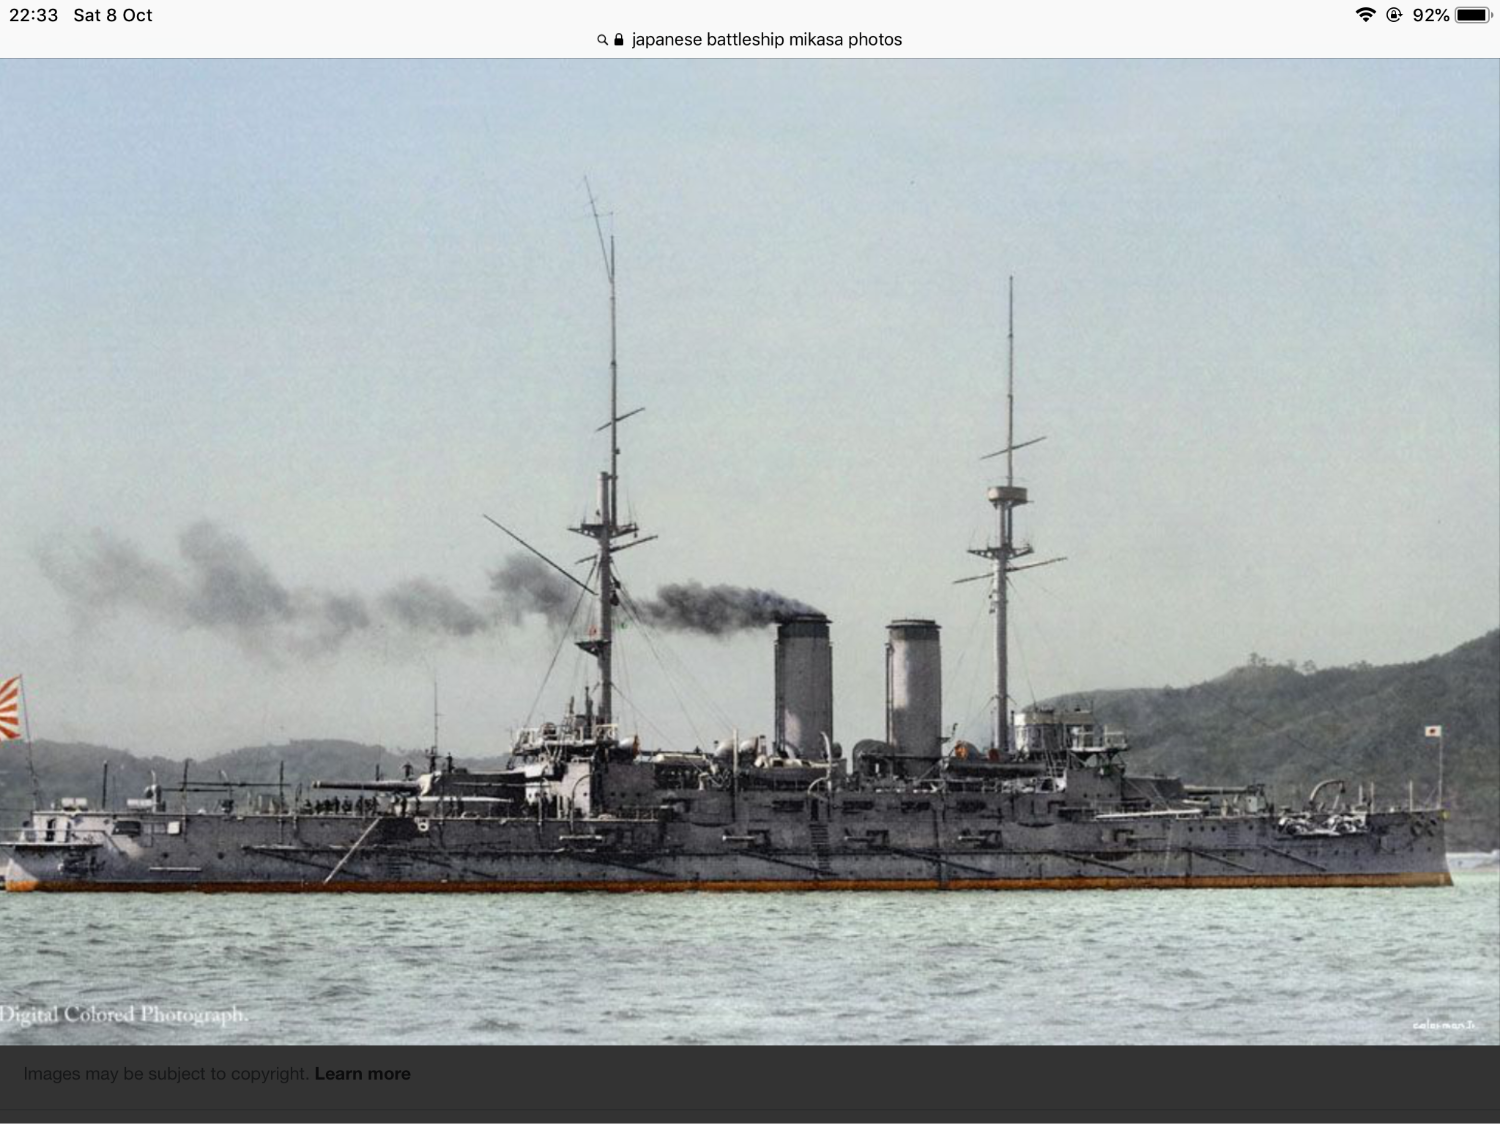
Also see another alteration that I shall need to try, the mast spars are to high up on the detail set for either version of Mikasa so shall attempt to correct this, they should be approximately 25 30 feet further down the masts, clearly below the searchlight platform. The main mast seems to show the darker grey above the gun tub for a distance, possibly to hide smoke discolouration from funnels 🤔 and in other period photo in black and white she looks like all the upper works are in dark grey, certainly not the light beige colour asked for in kit. Also notice three vents on forward deck next to anchors. ?
-
Here is one of her in 1905 I suspect.

- ccoyle, GrandpaPhil, Canute and 3 others
-
6
-
Also changed my mind on colour scheme on masts, can’t see any evidence that the light beige colour is genuine, I am going to go with a mixture of dark grey and light grey, it’s not the easiest ship to sort out. Even the period photos for 1902 period seem to contradict.

- mtaylor, GrandpaPhil, Tony Hunt and 3 others
-
6
-
Hello again, ain’t it just typical, like buses, don’t come for ages then three come at same time 😂 this one showed take me up to speed. 👍 finished the last four ships vents then painted dark grey, changes the model and ships appearance. At long last i here you saying, also the forward mast, progress was made, that entailed making another gun tub as before, one difference I did make was in the oval sections on either side of mast, was as I suspected, this should be around the ladders and was you’re access to gun tub platform, I did discover a photo showing this, so tried to replicate this. Post some photos to show this👍


-
-
On 10/26/2022 at 7:28 PM, Tigerdvr said:
A pleasure to view your work and log, Thanks for sharing.😀
Thanks for liking it, it’s not till you go back to the start of the log that you are reminded how much work and time is taken to get were you are😳 worse thing is that I have hundreds of models up the loft to build. I do realise that this is just not going to happen, considering this shall be the first model I’ve completed in decades, How did you like building your Arizona ?
- GrandpaPhil, Canute and mtaylor
-
3
-
Try another update tomorrow guys, past my bedtime wife says 😂 🤛
- GrandpaPhil and Canute
-
1
-
 1
1
-
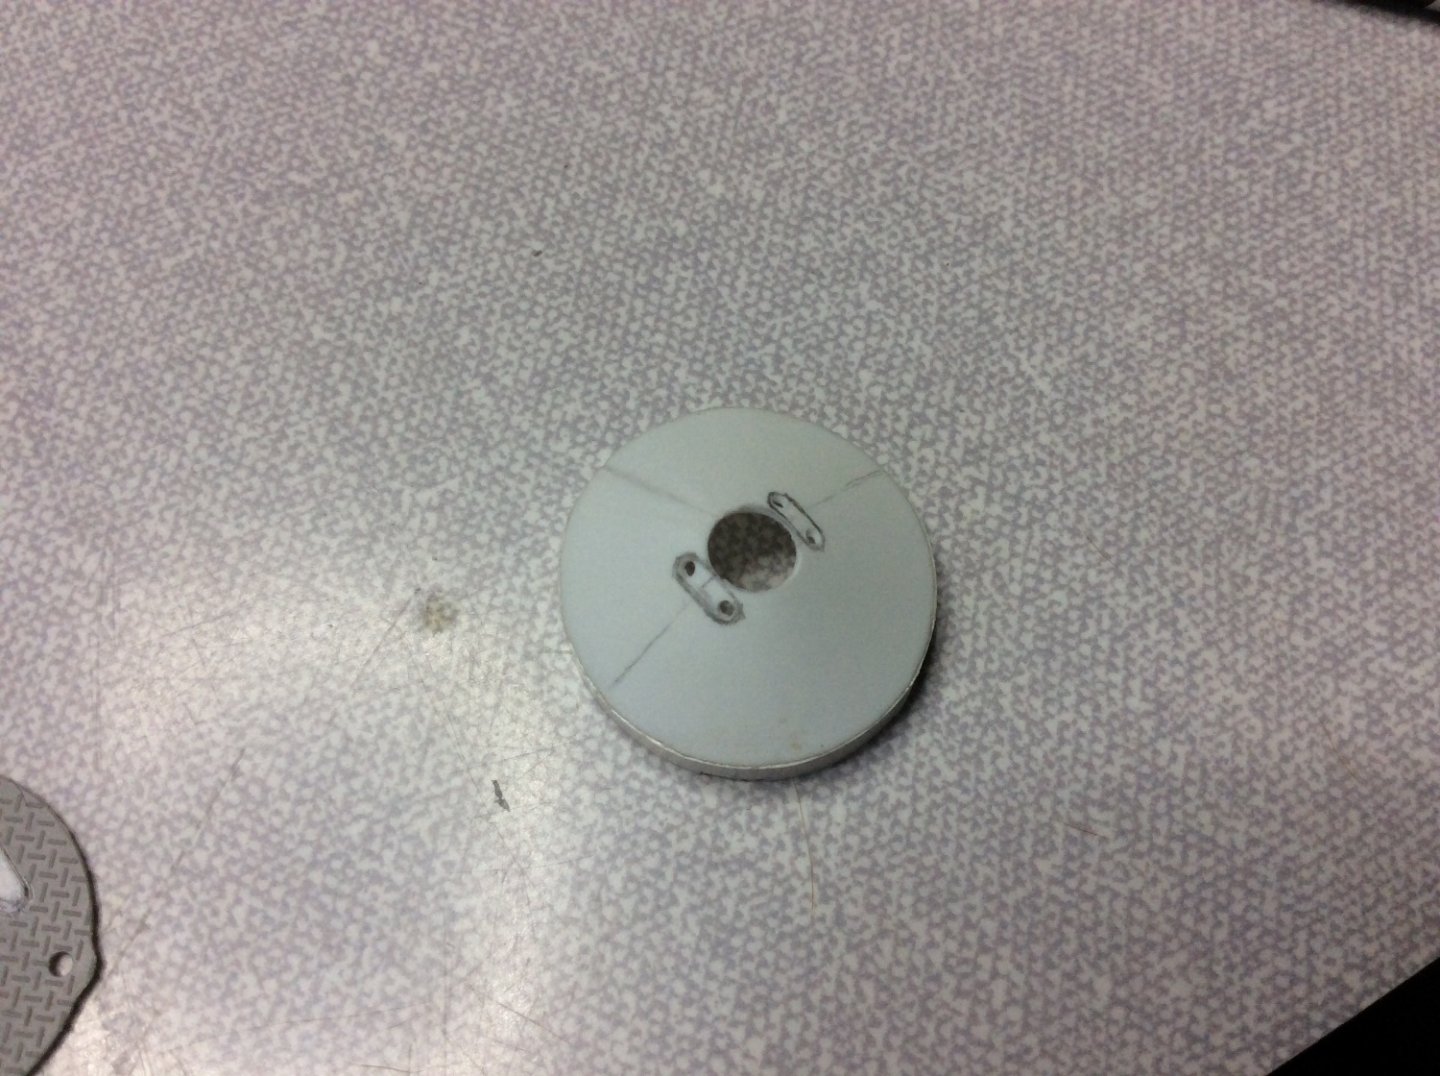
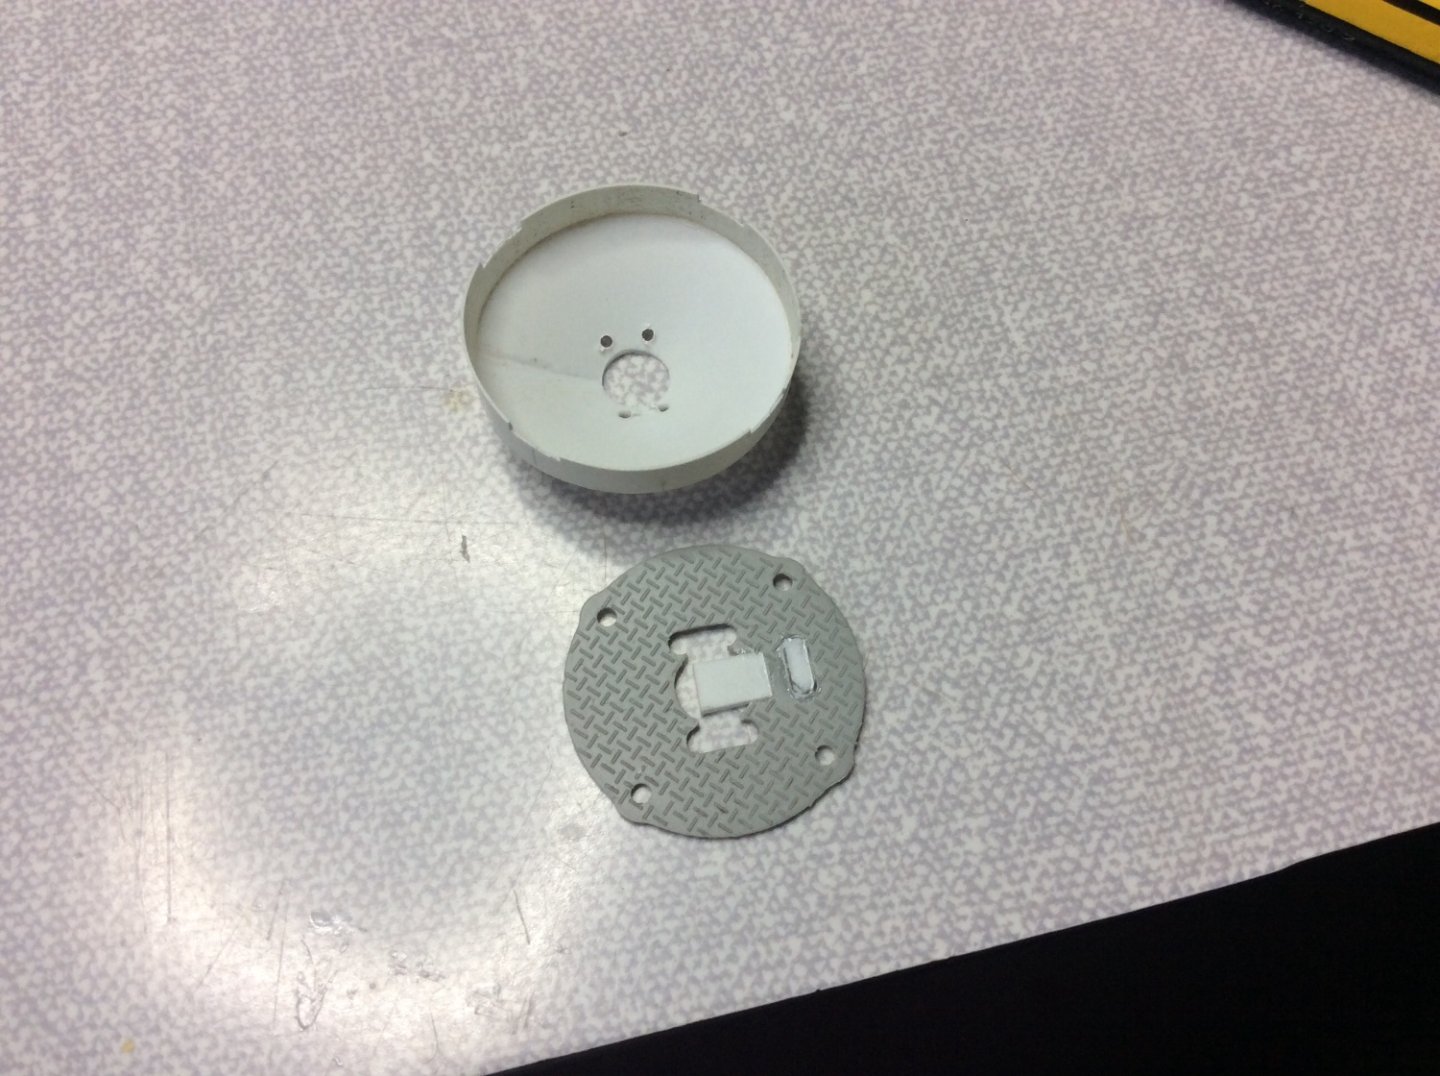
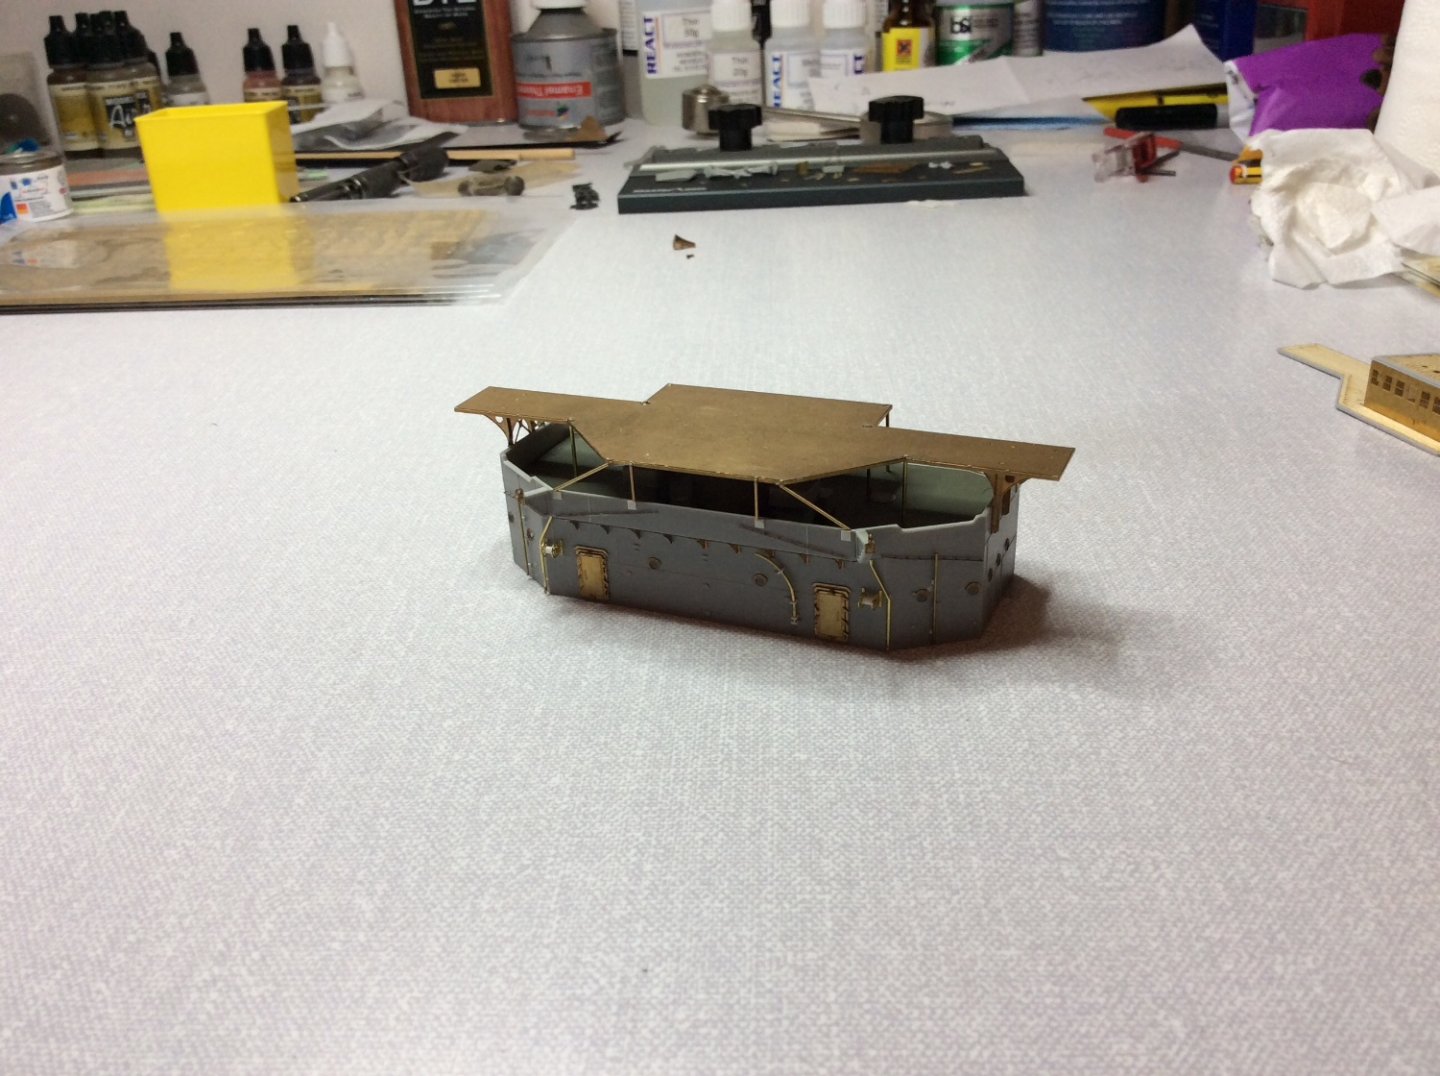
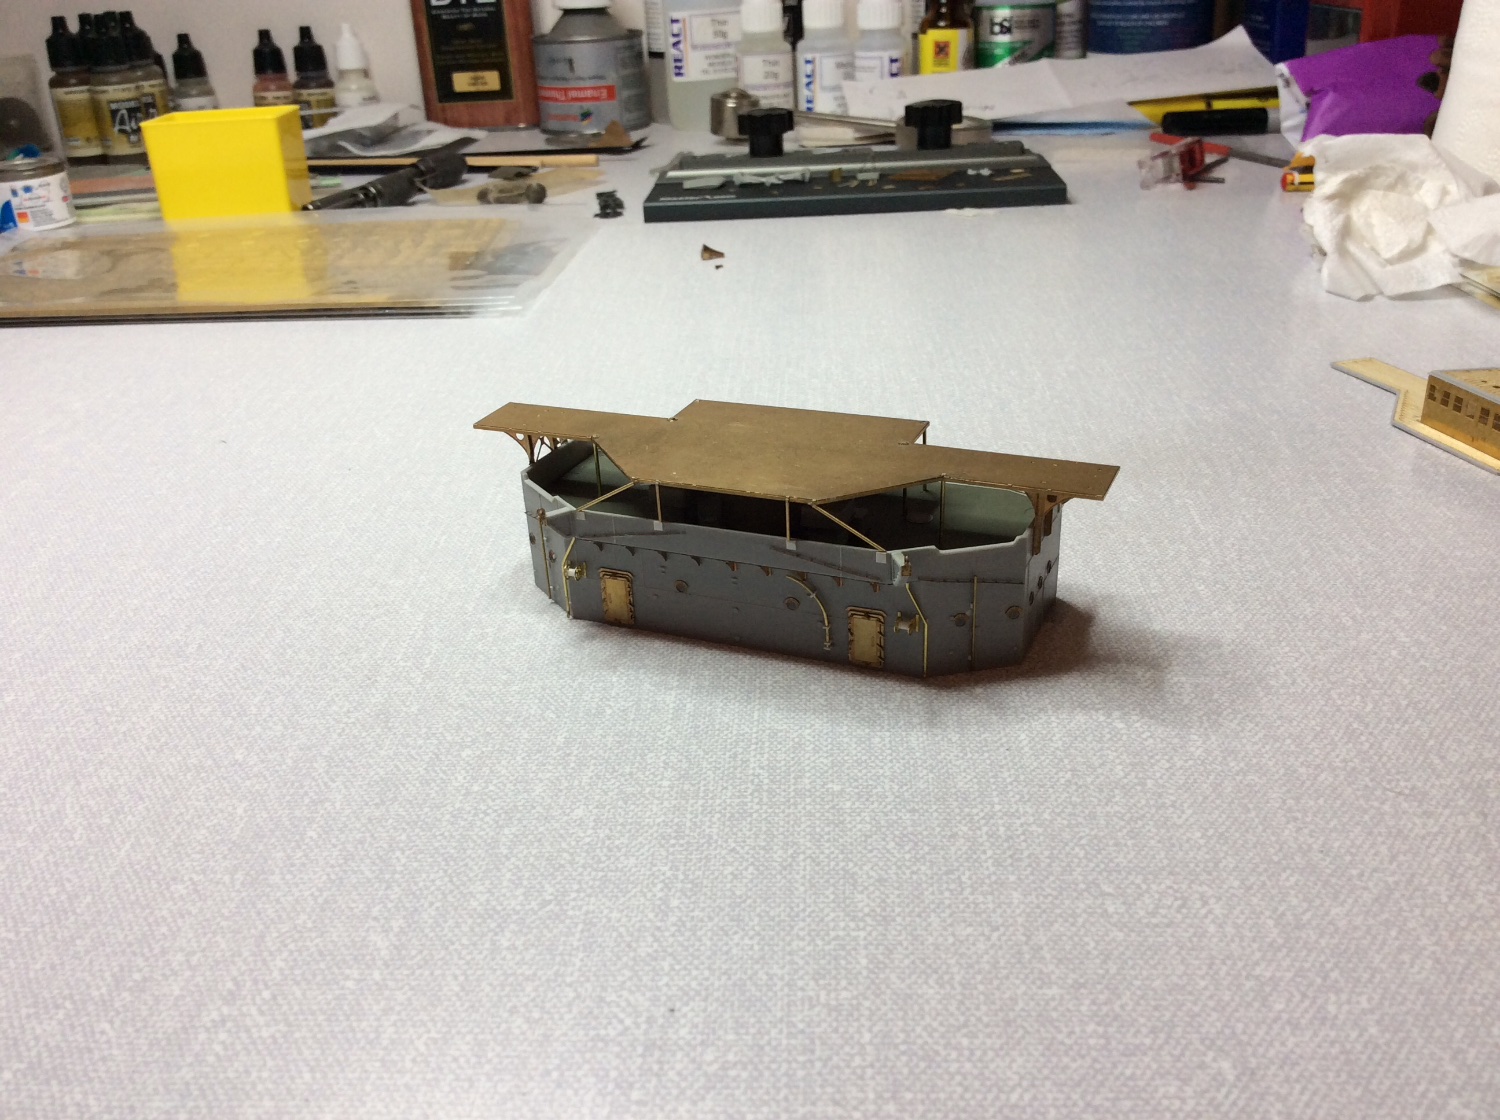
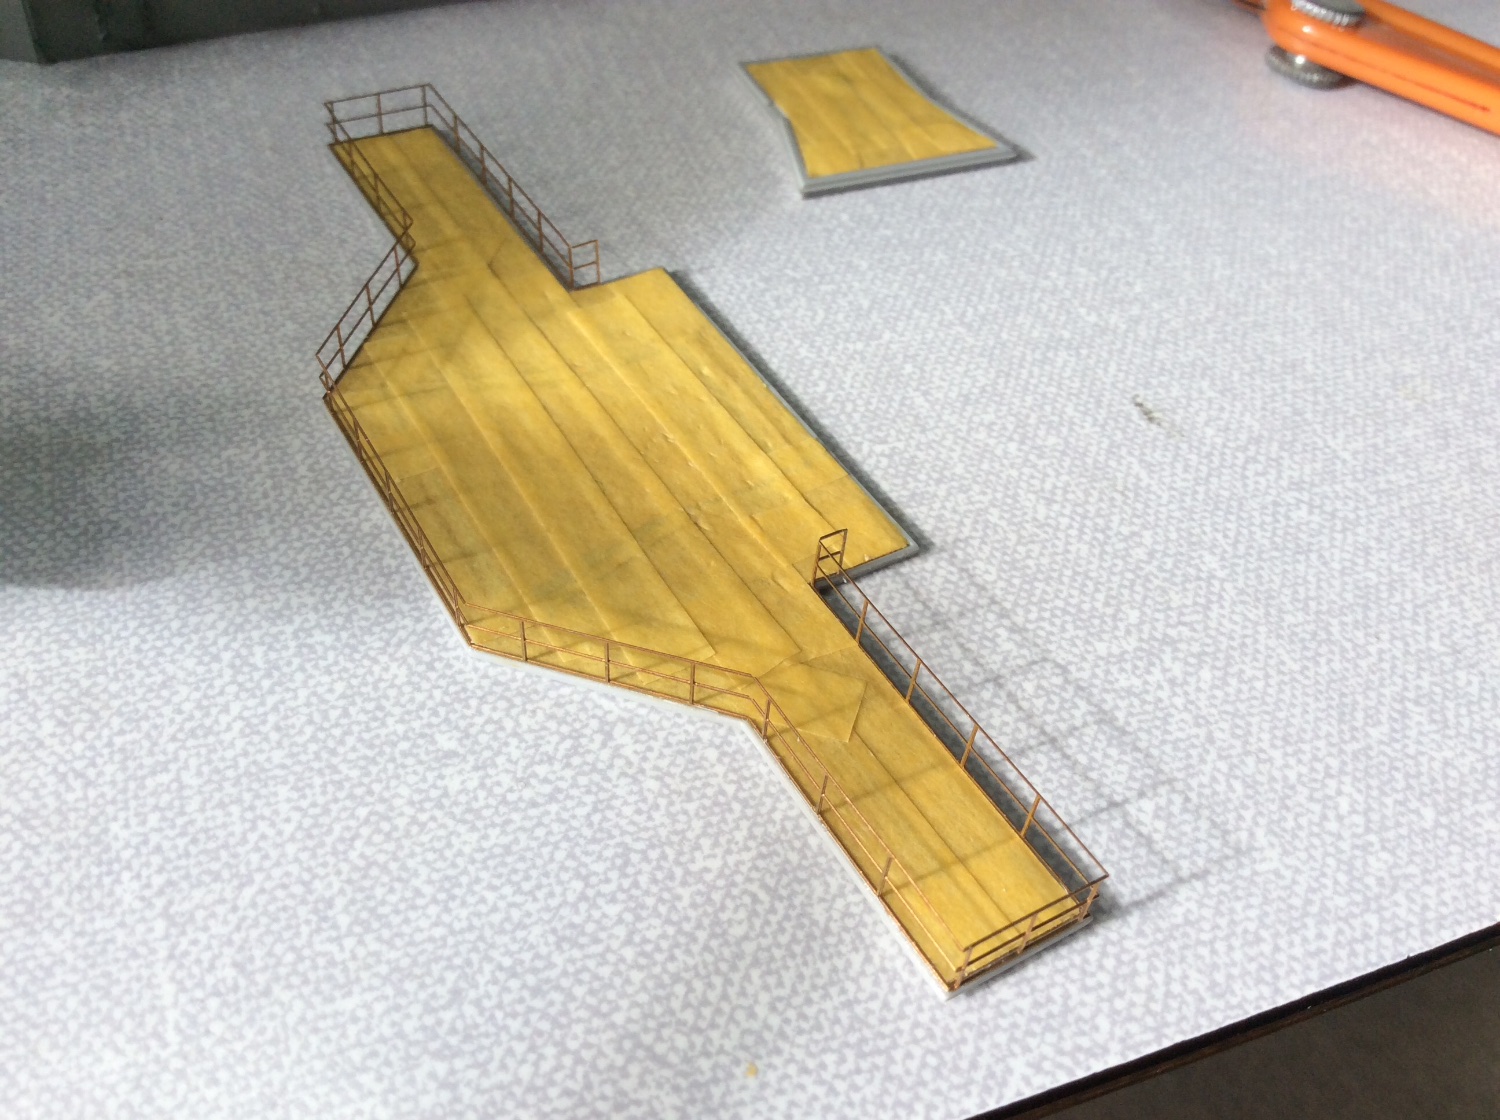
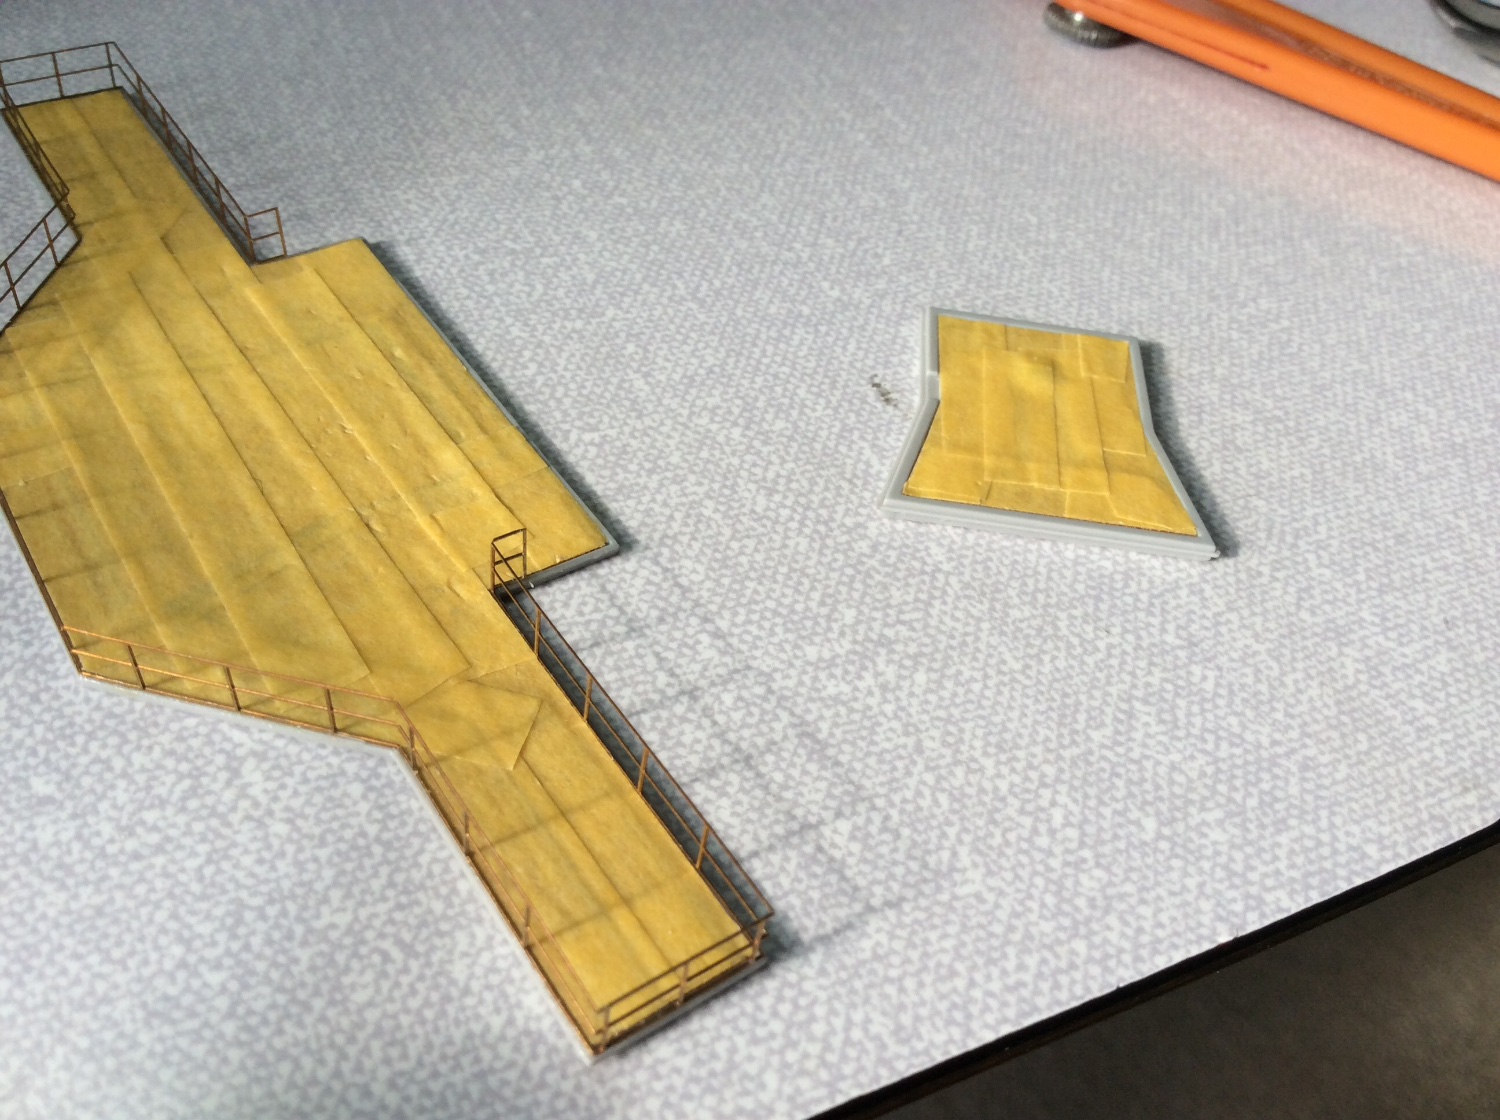
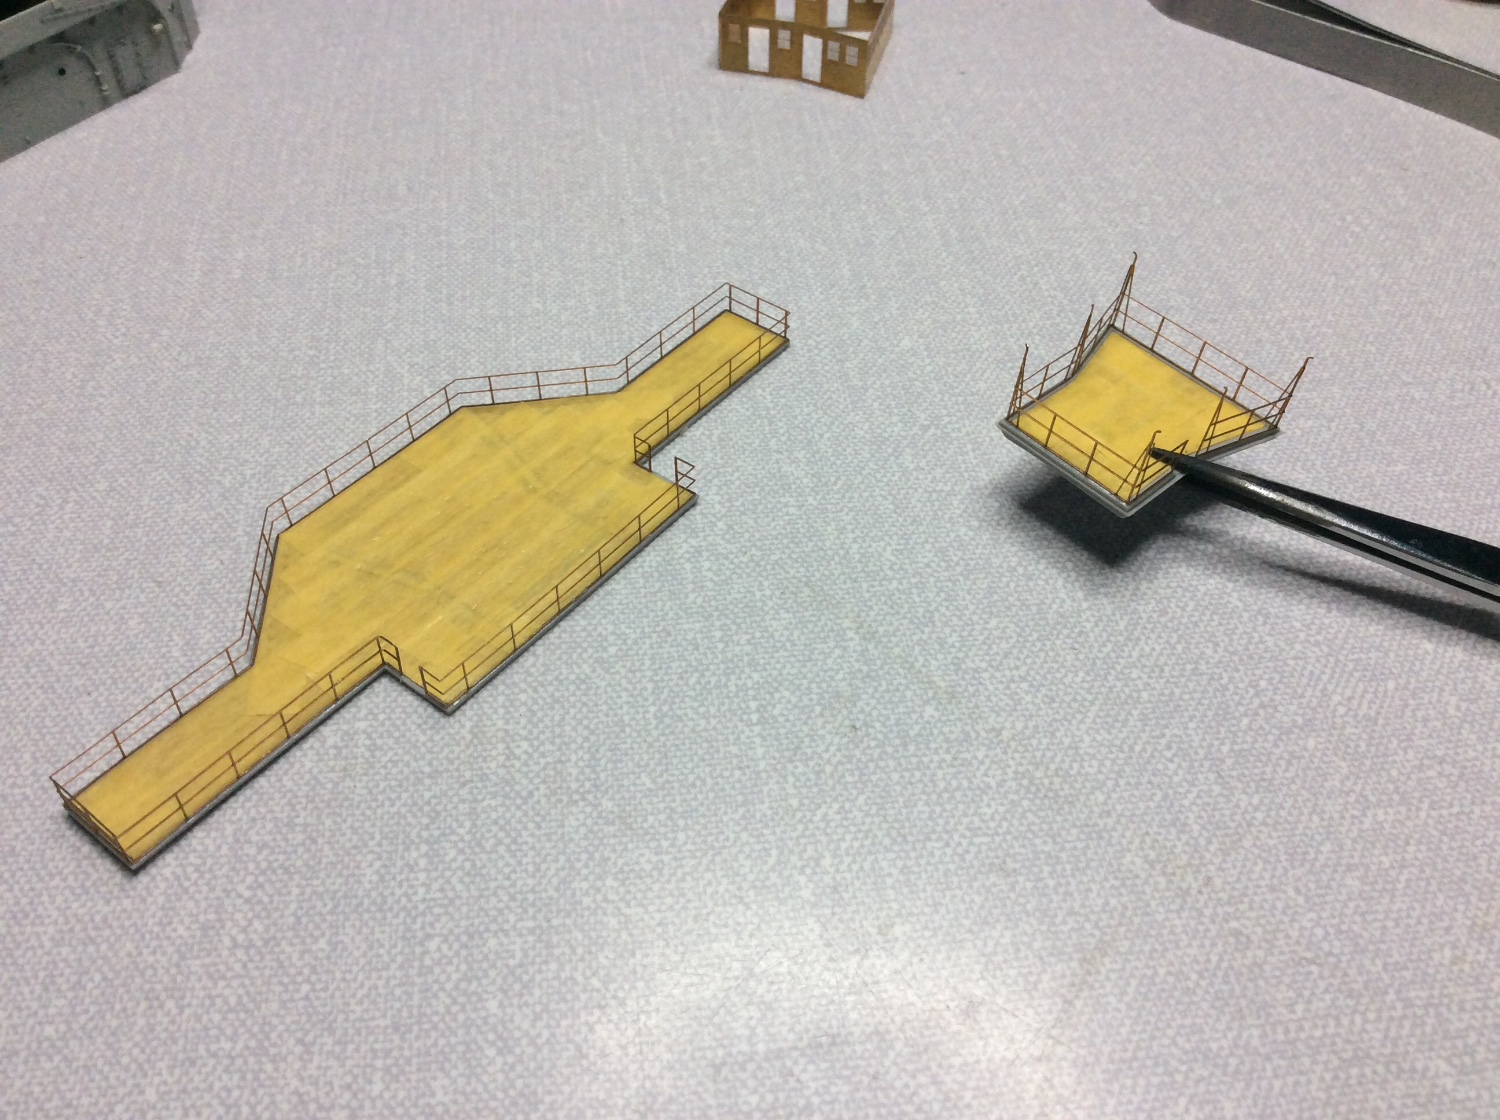
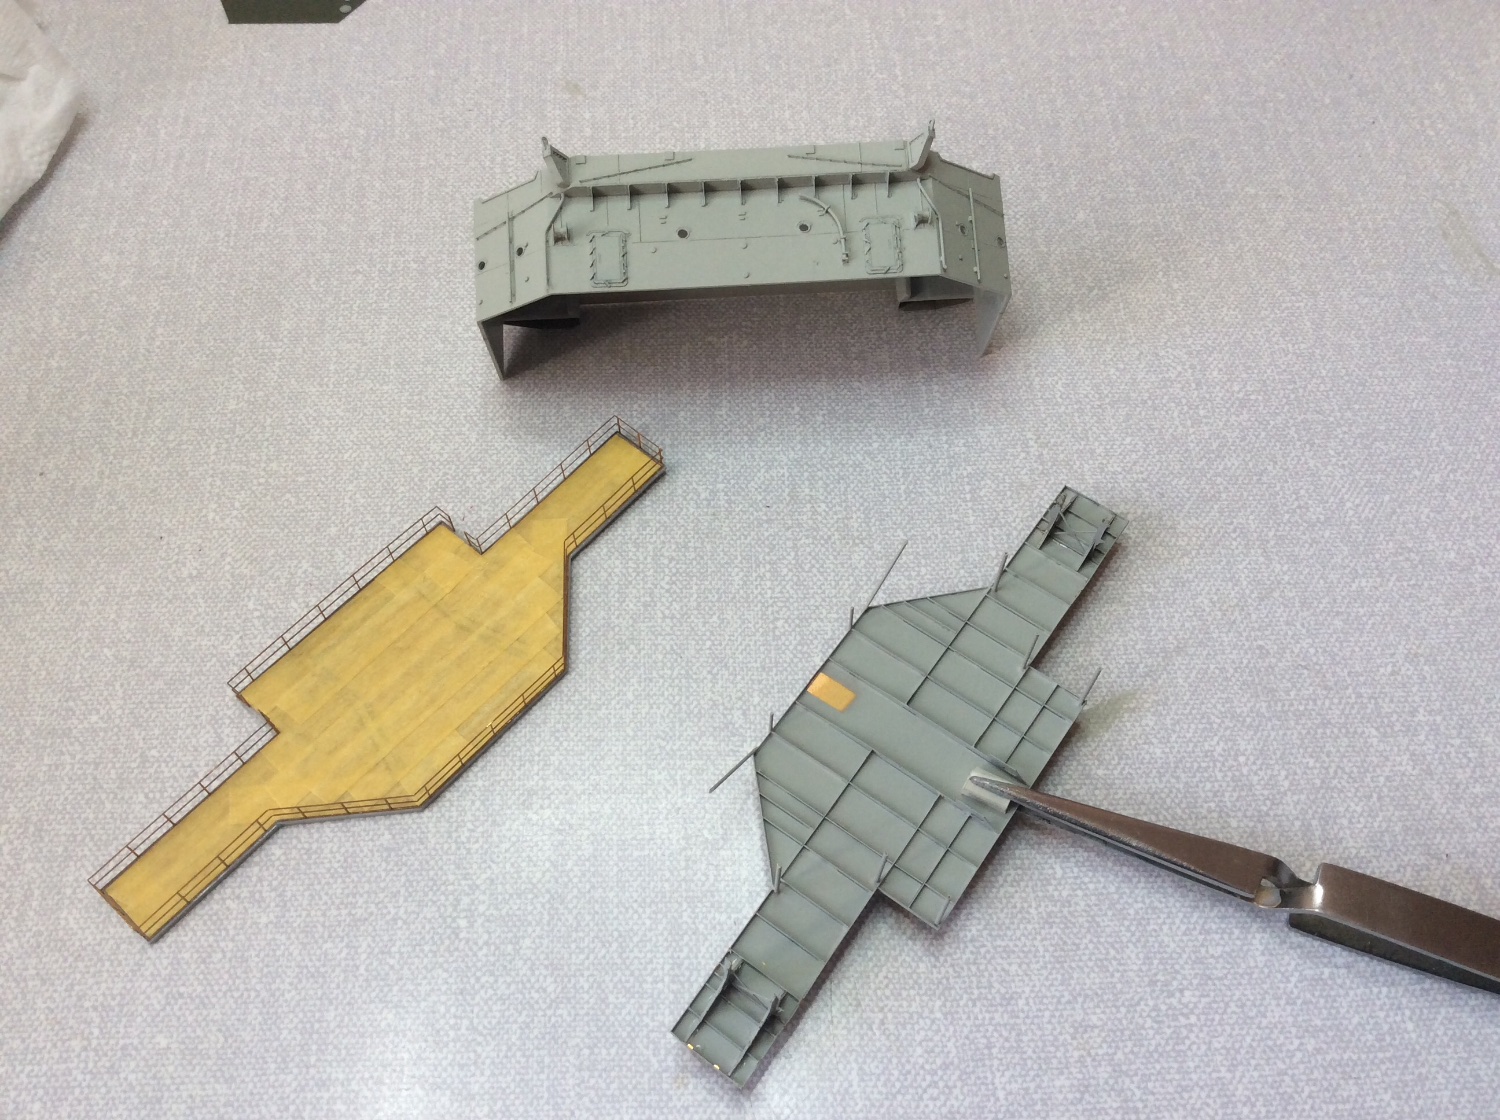
Also try to show how I glued the plastic part of bridge wing to the metal etch part which is all very fragile. After both parts painted separately the handrails were turned upside down to sit on flat surface, then lined up the etched bridge wing on top of this and glued together applying light pressure were necessary, take plenty of time here. You may prefer another method, not saying this is suitable for anyone, just my own solution. 👍

-
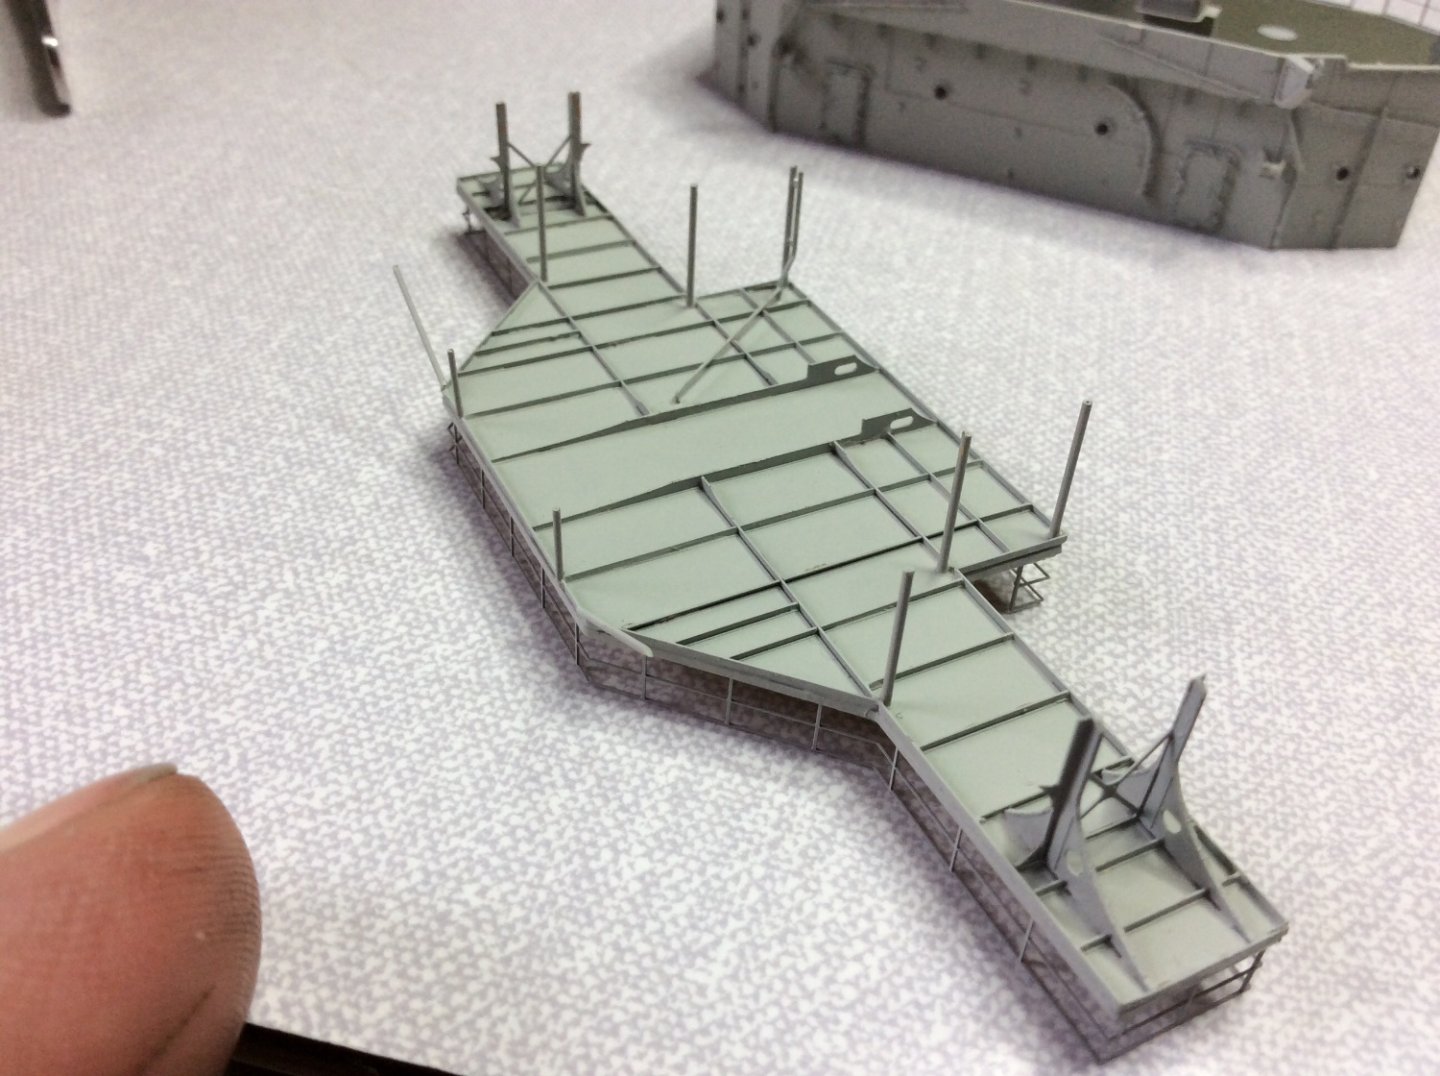
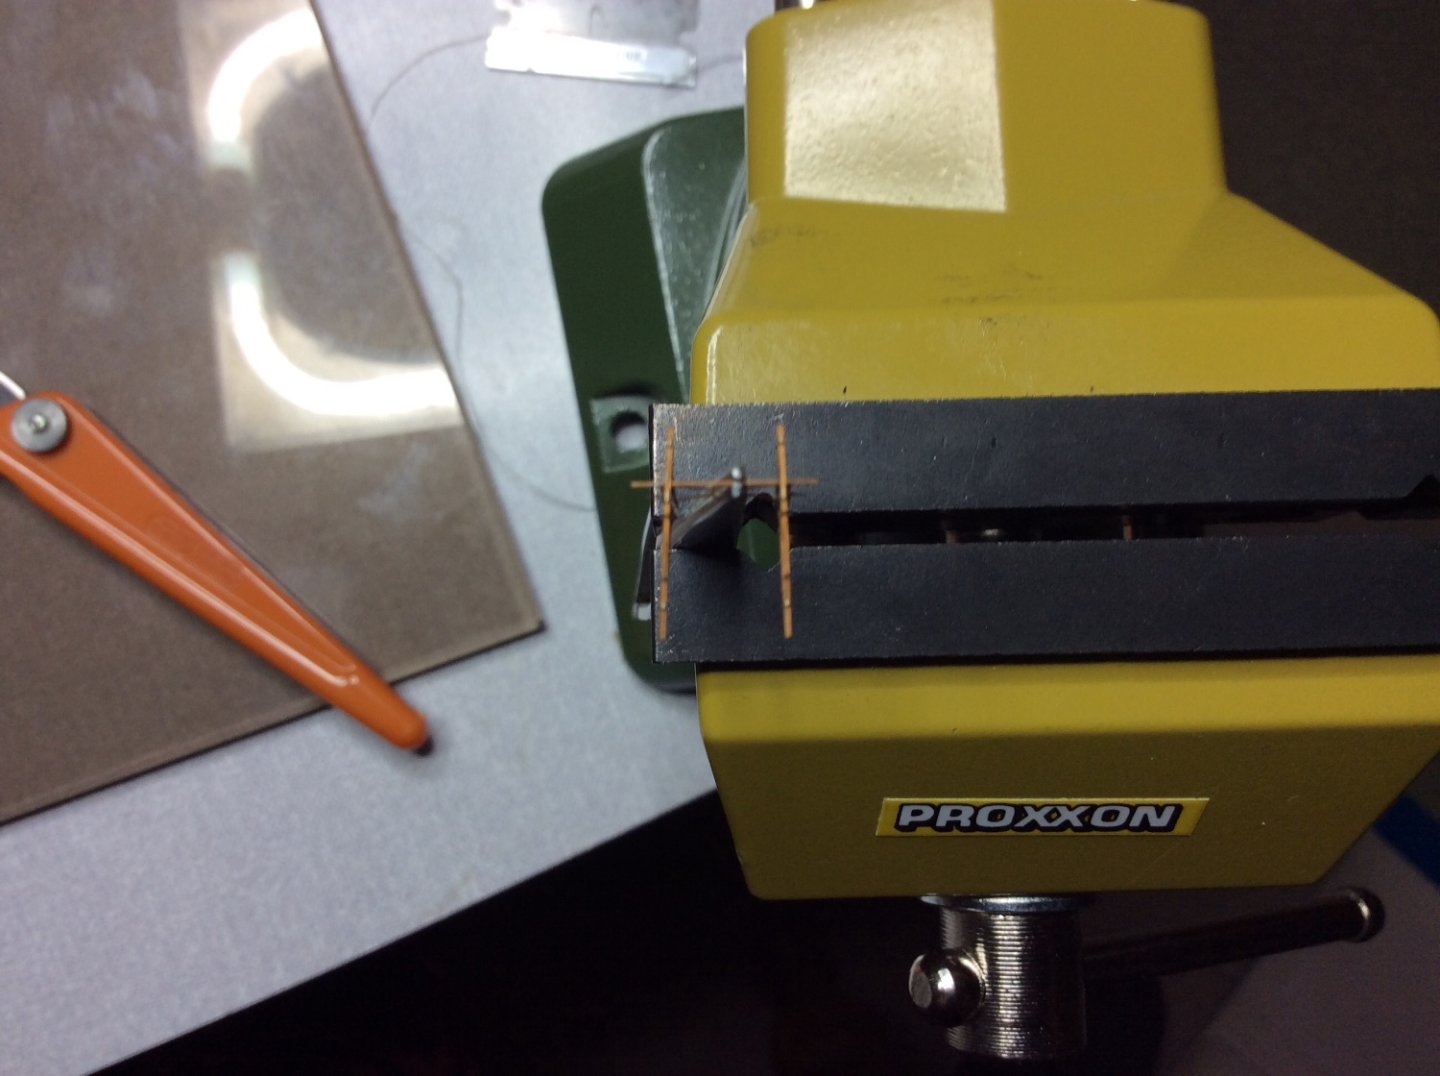
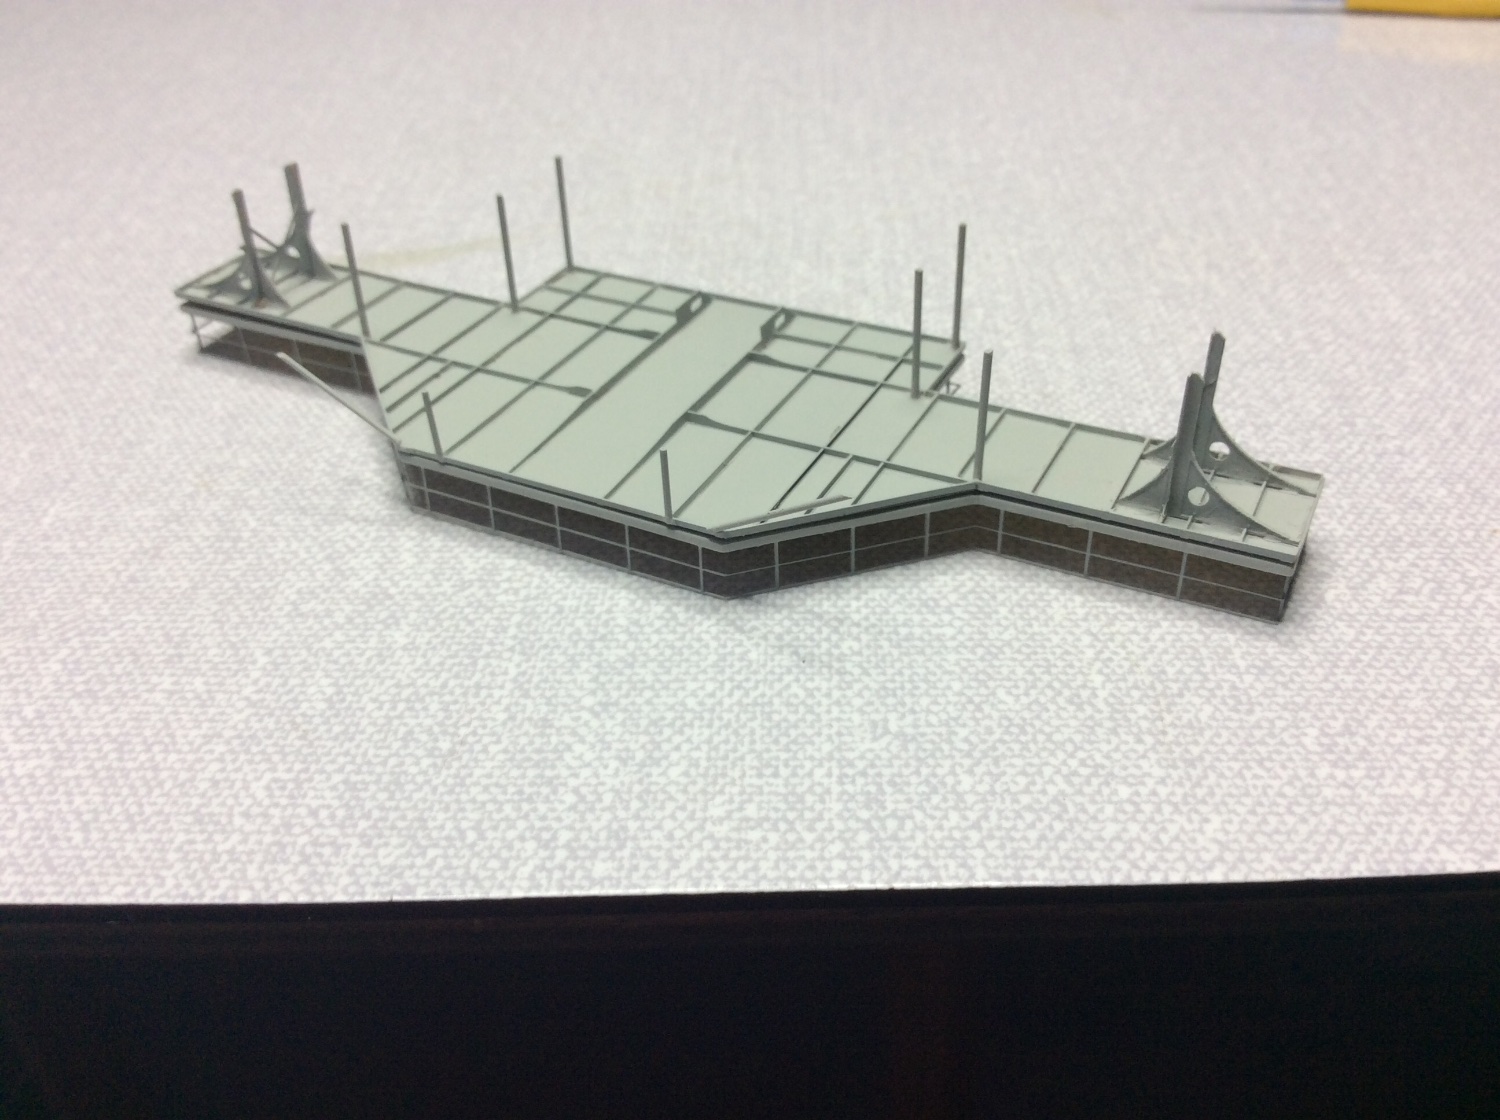
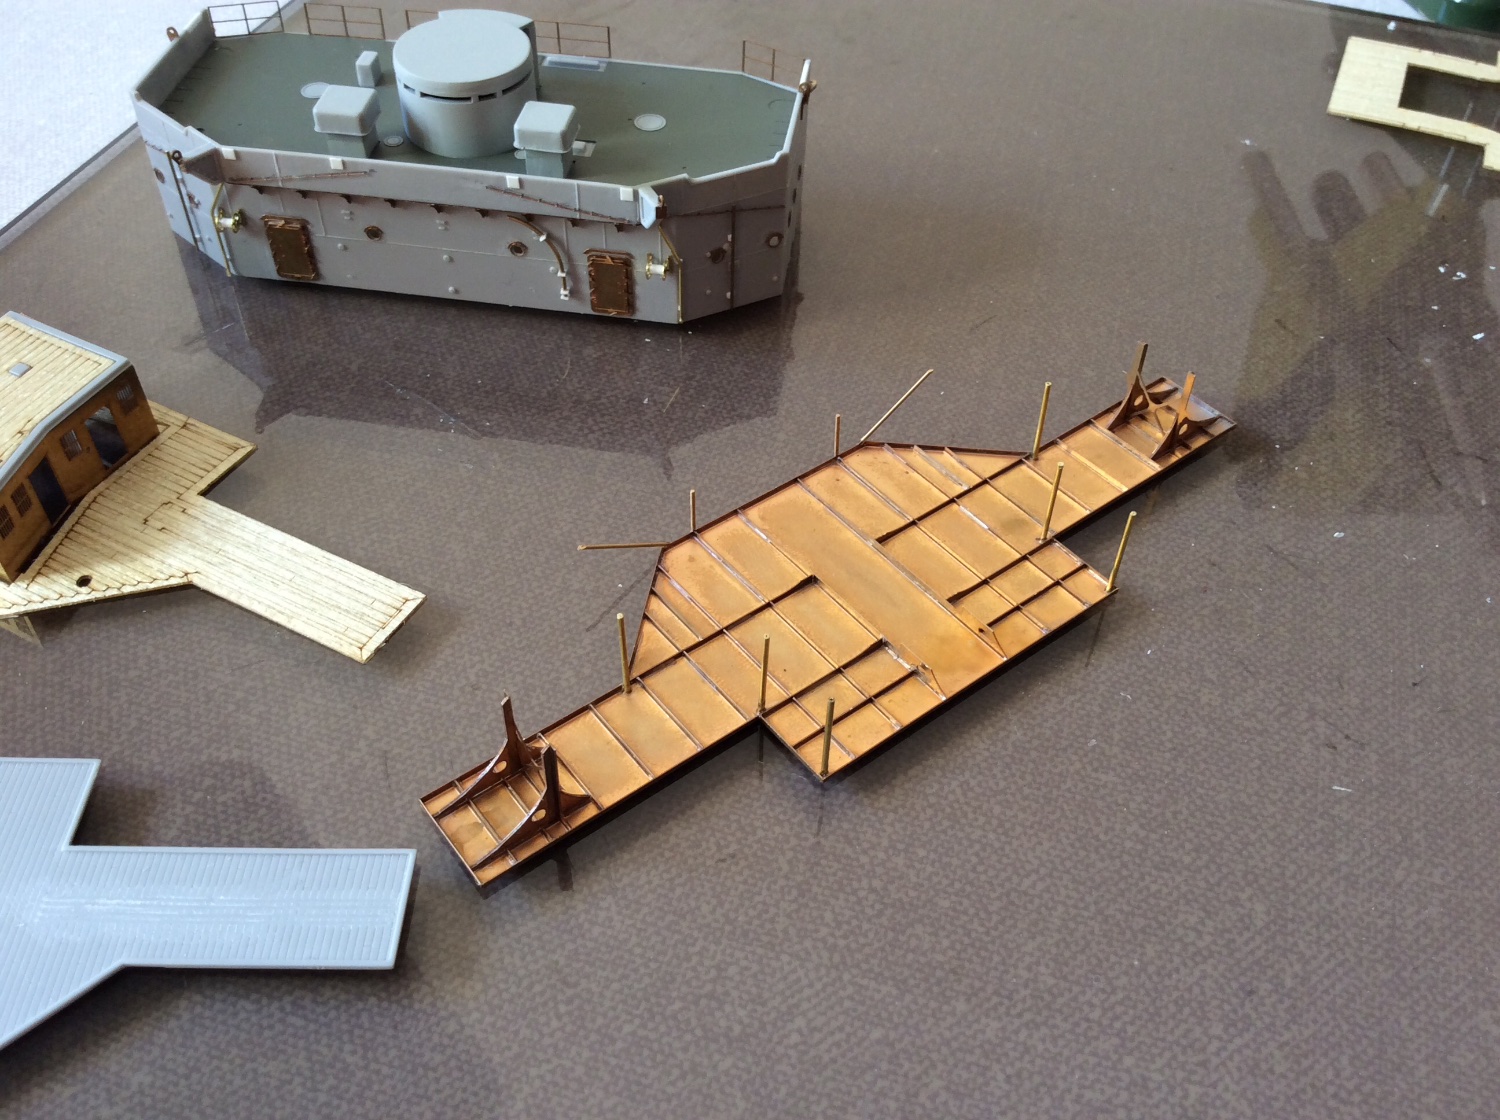
Time to try to progress with another update. The metal etch details for the underside of the bridge wing is a little gem but a lot of work, same as after bridge really, the steelwork framework at each end is quite tricky. Shall put some photos up to show how I tried to set them, still not easy though.

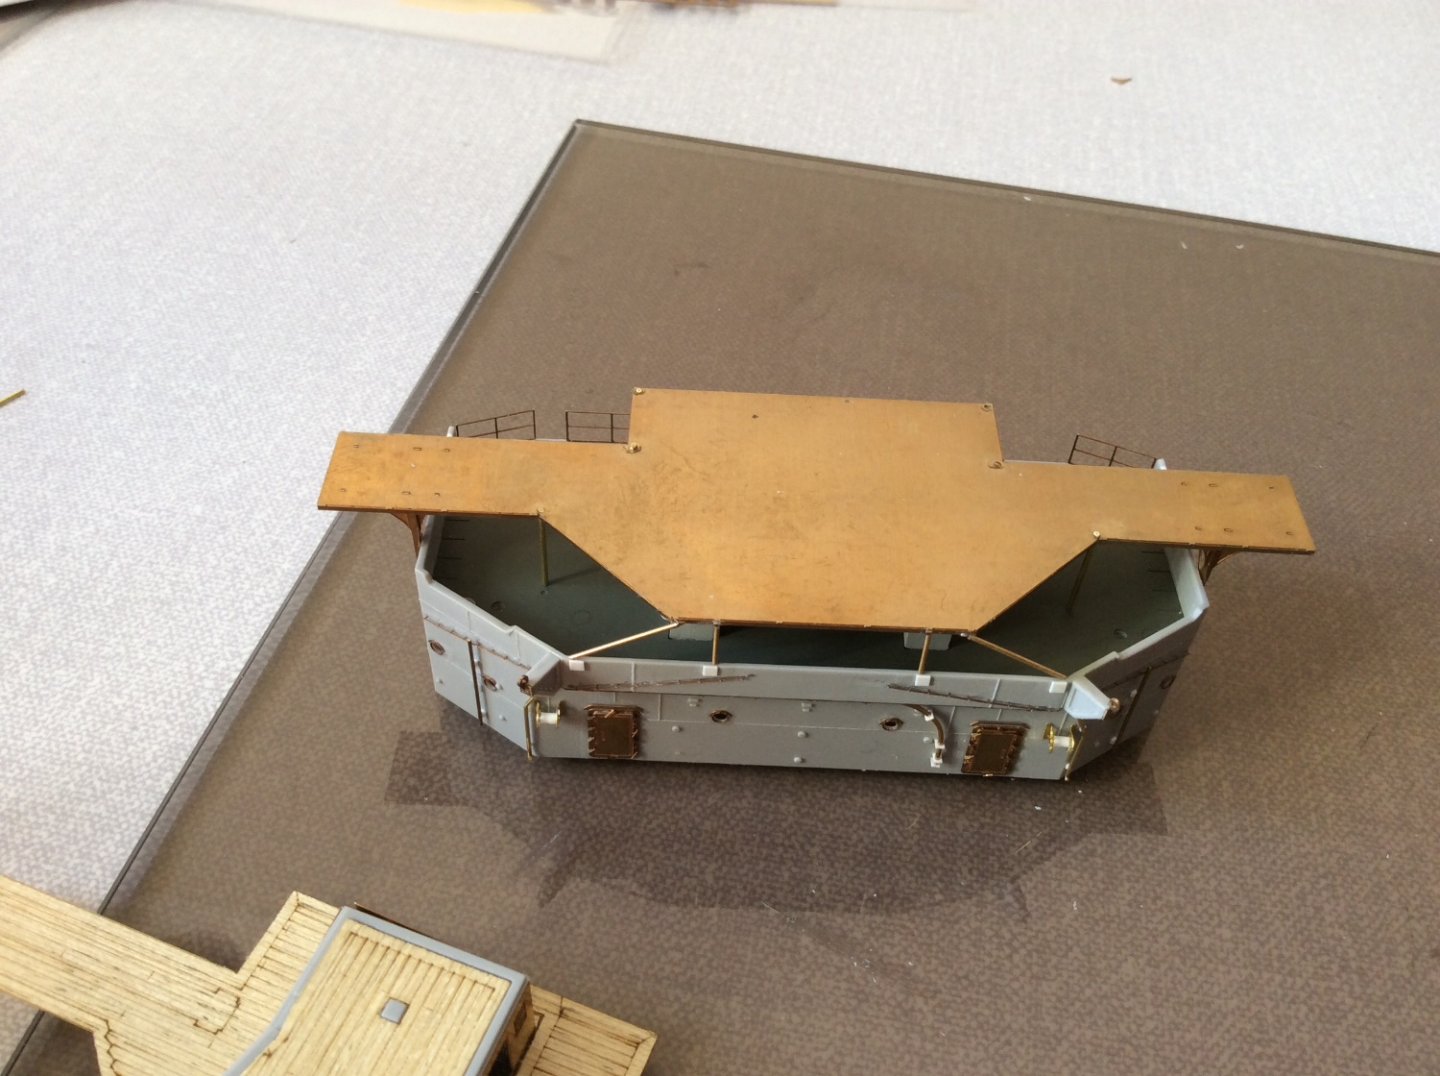


- Ryland Craze, Tony Hunt, mtaylor and 3 others
-
6
-
-
-


HIJMS MIKASA 1902 by Jeff59 - FINISHED - HobbyBoss - 1/200 - PLASTIC
in - Kit build logs for subjects built from 1901 - Present Day
Posted · Edited by Jeff59
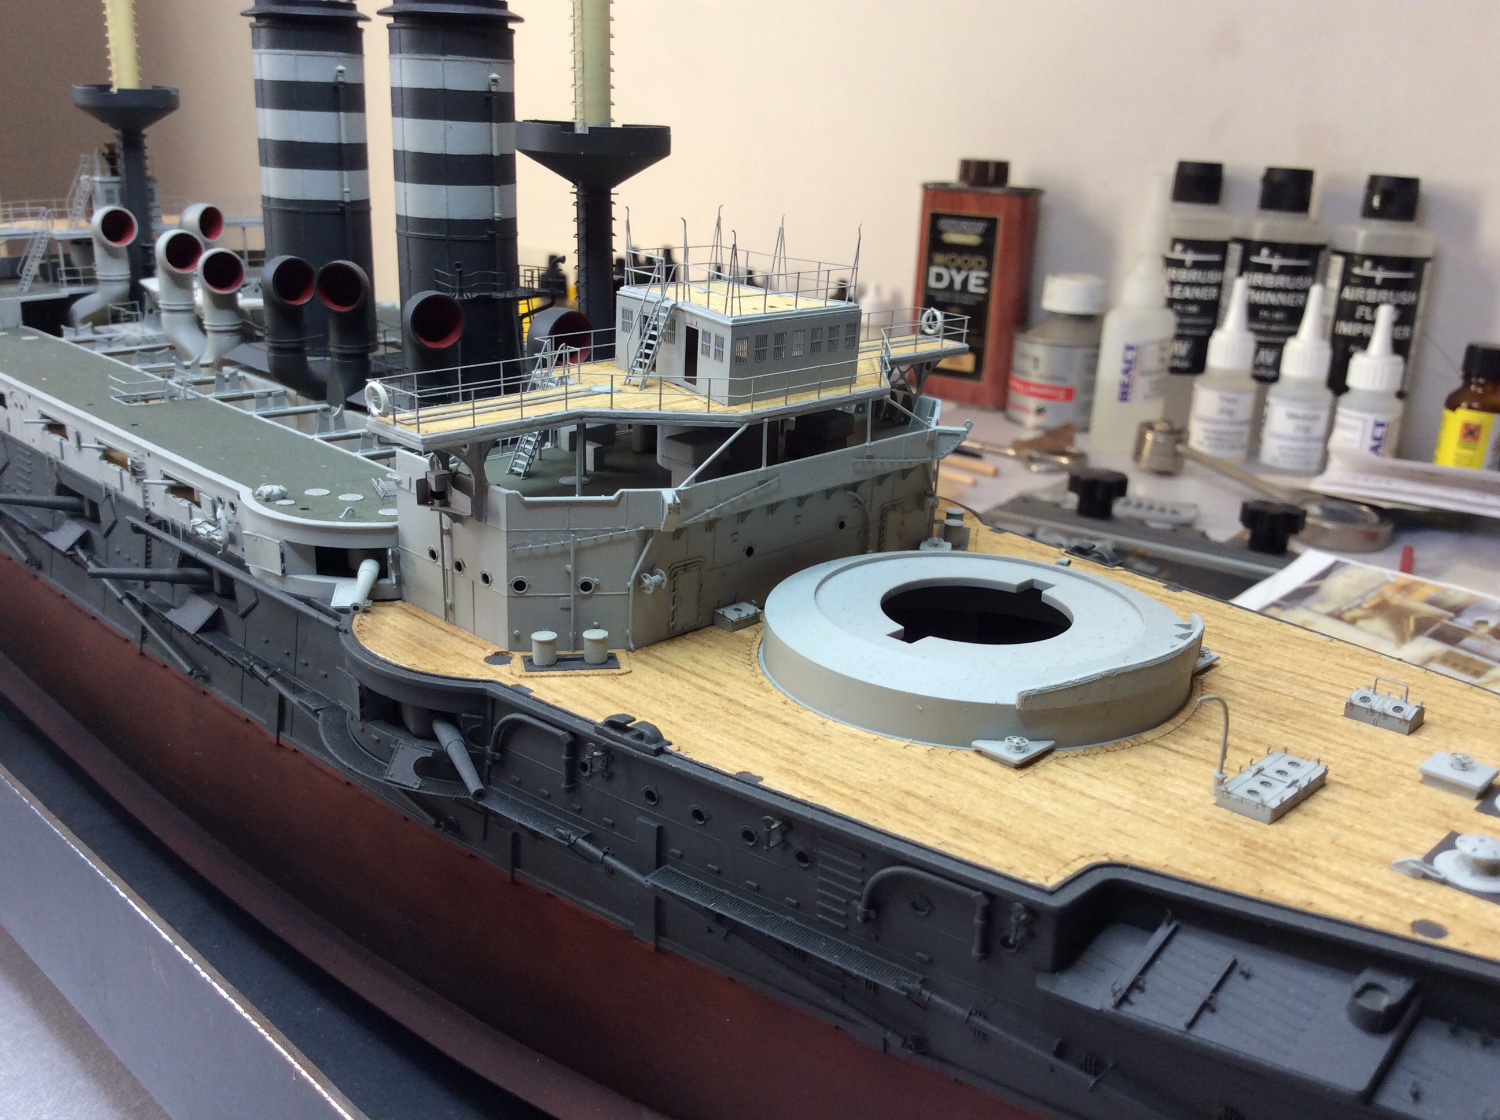
Did a little bit more on extra details, working on old photos of Mikasa as reference, I did notice the three ships cowels on fore deck in anchor area just towards bow. Shall show photo.