


Jeff59
-
Posts
536 -
Joined
-
Last visited
Content Type
Profiles
Forums
Gallery
Events
Posts posted by Jeff59
-
-
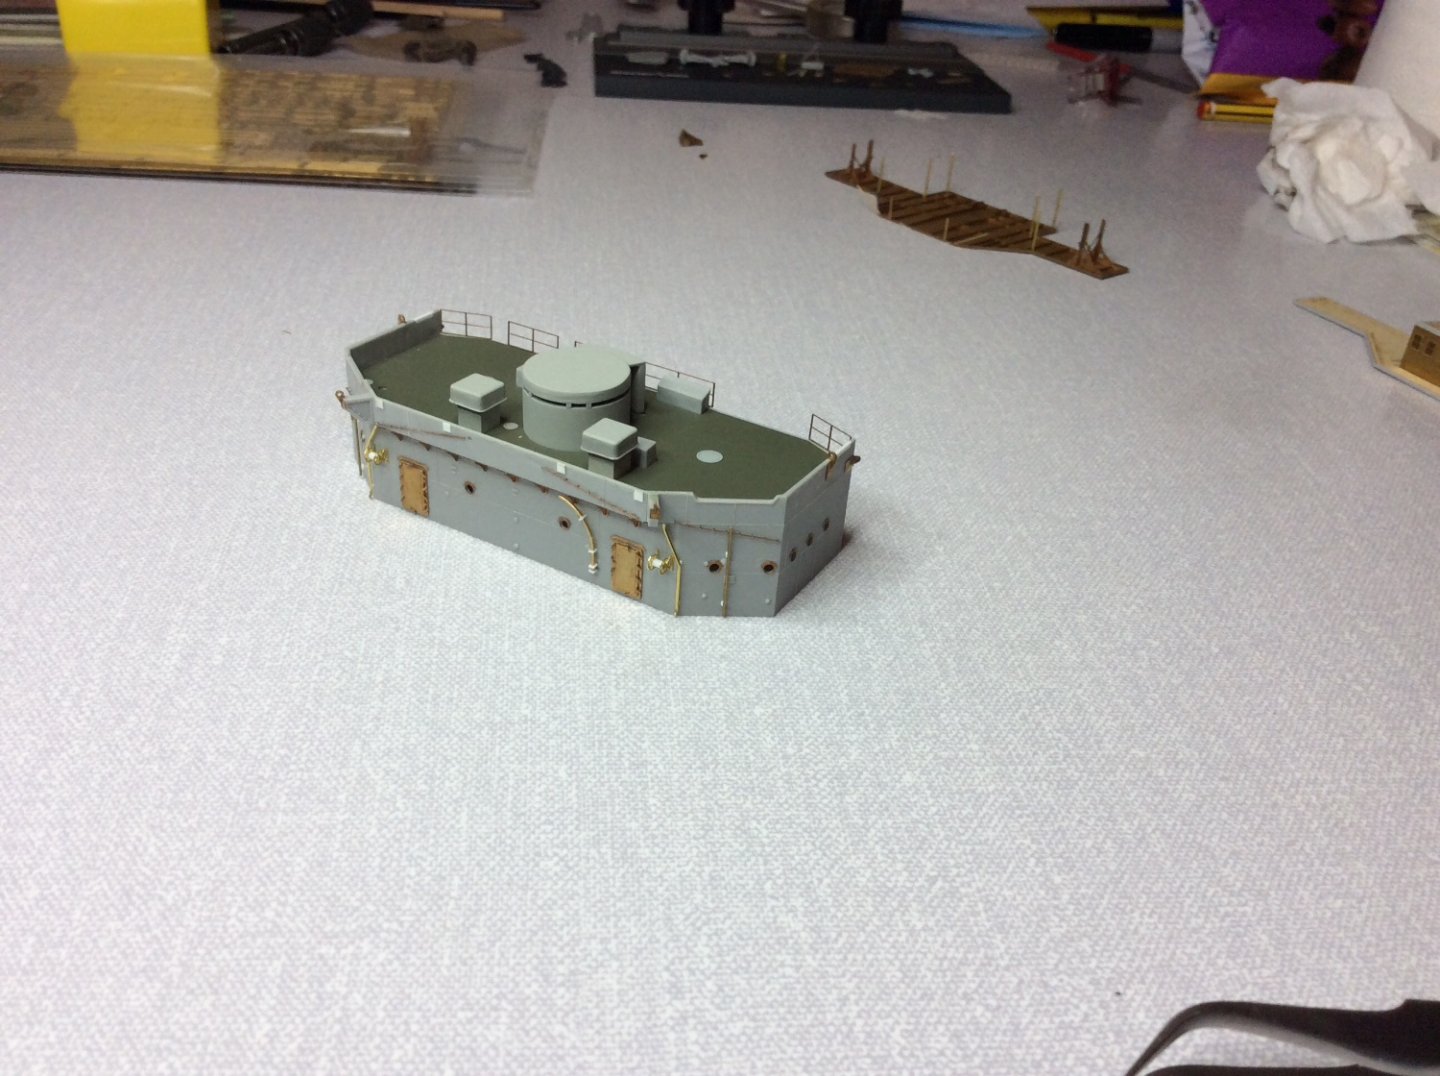
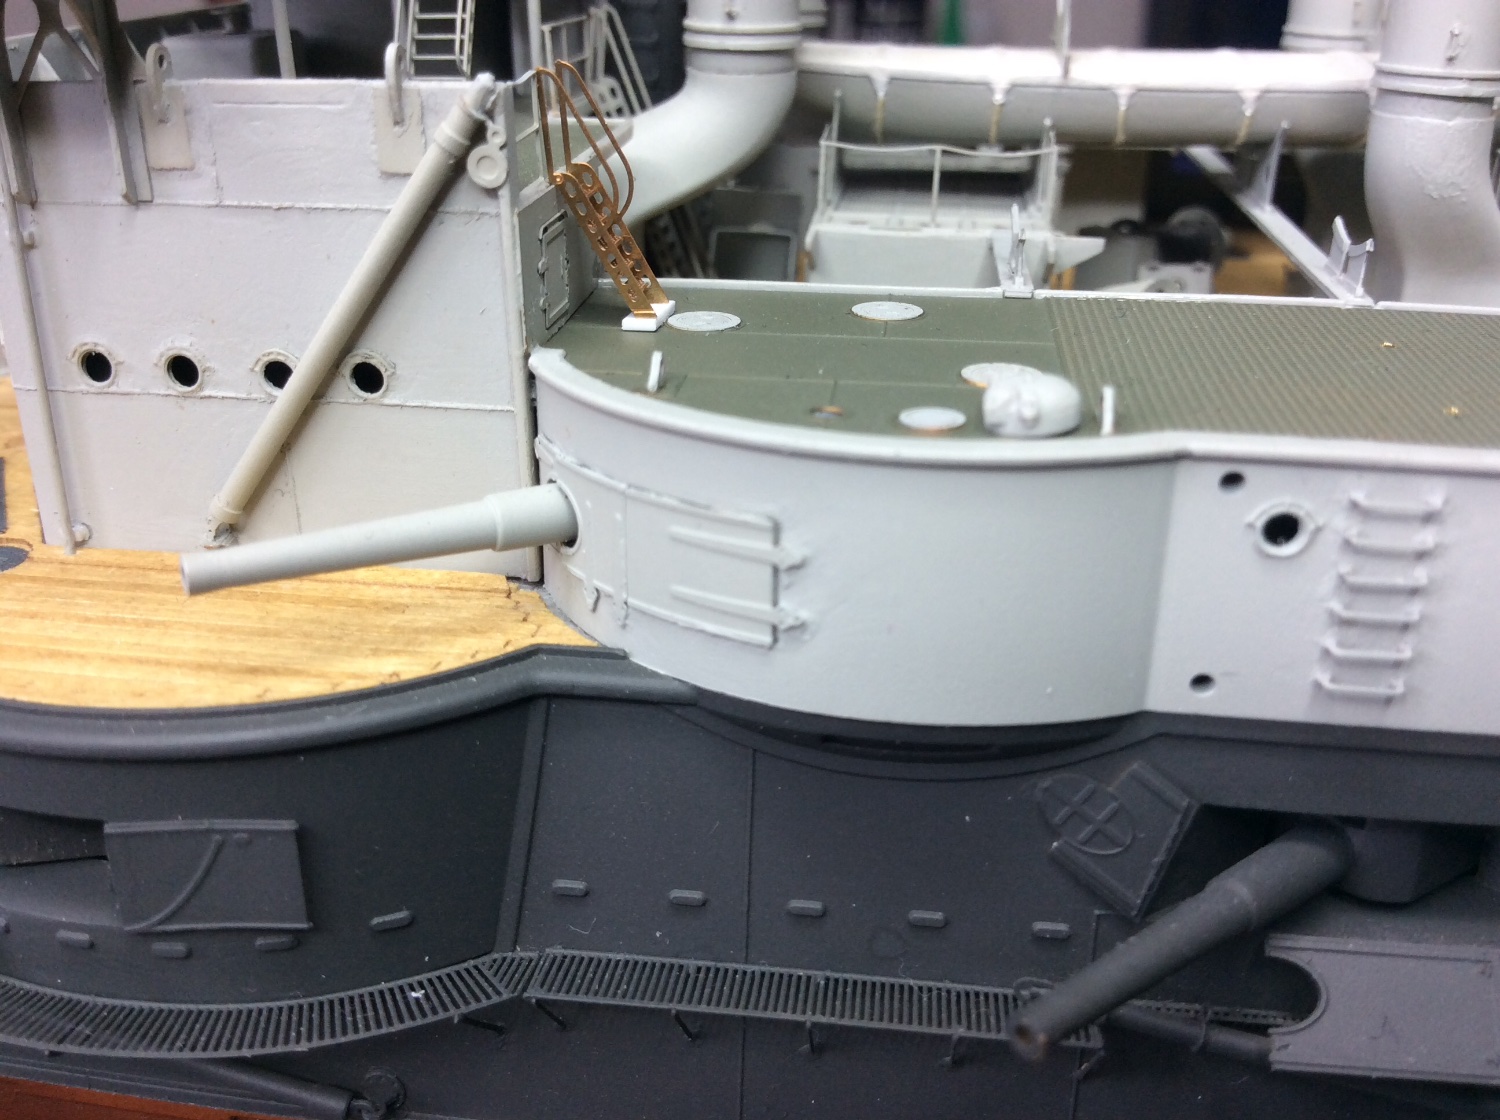
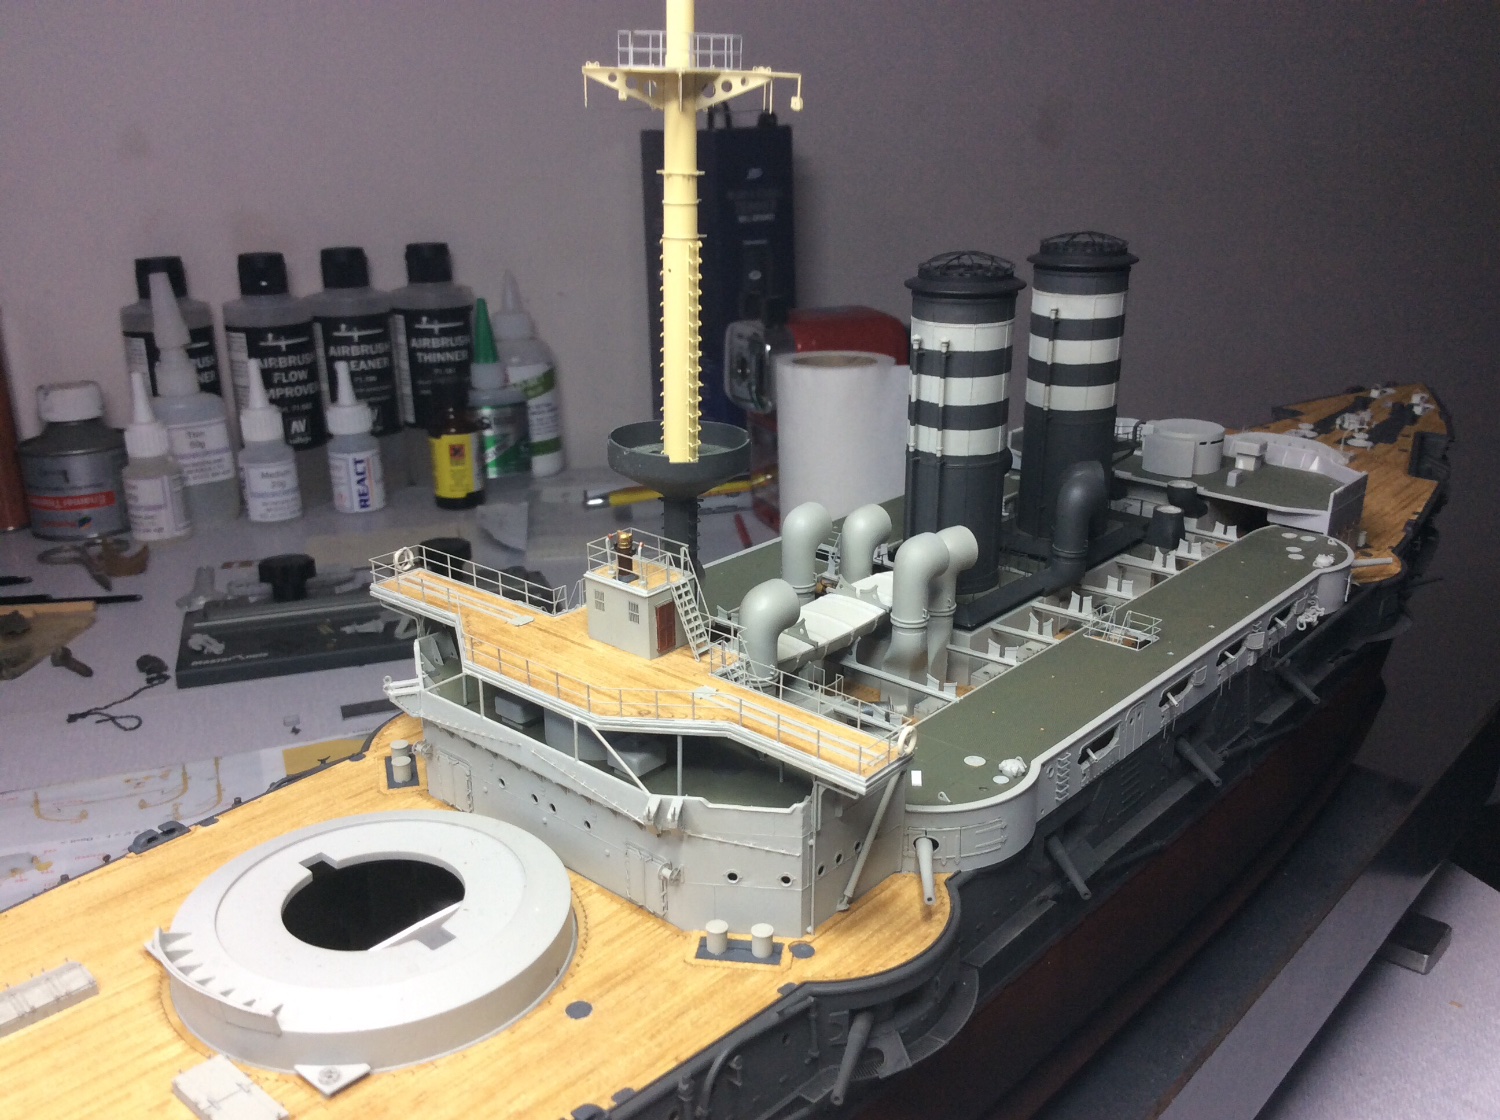
The bridge wing deck requires plastic details removed top and bottom. My sequence was to stain the wooden decking for this and the bridge roof, then clue to plastic parts using white glue. Followed by masking of the decking, I then fitted the handrails then painted them, carefully removing masking once paint was dry. Incidentally I did alter the position of the upper bridge forward by about 2mm, seems to be this way on actual ship at mueseum. My best guess anyway.

- Roger Pellett, mtaylor, GrandpaPhil and 1 other
-
 4
4
-
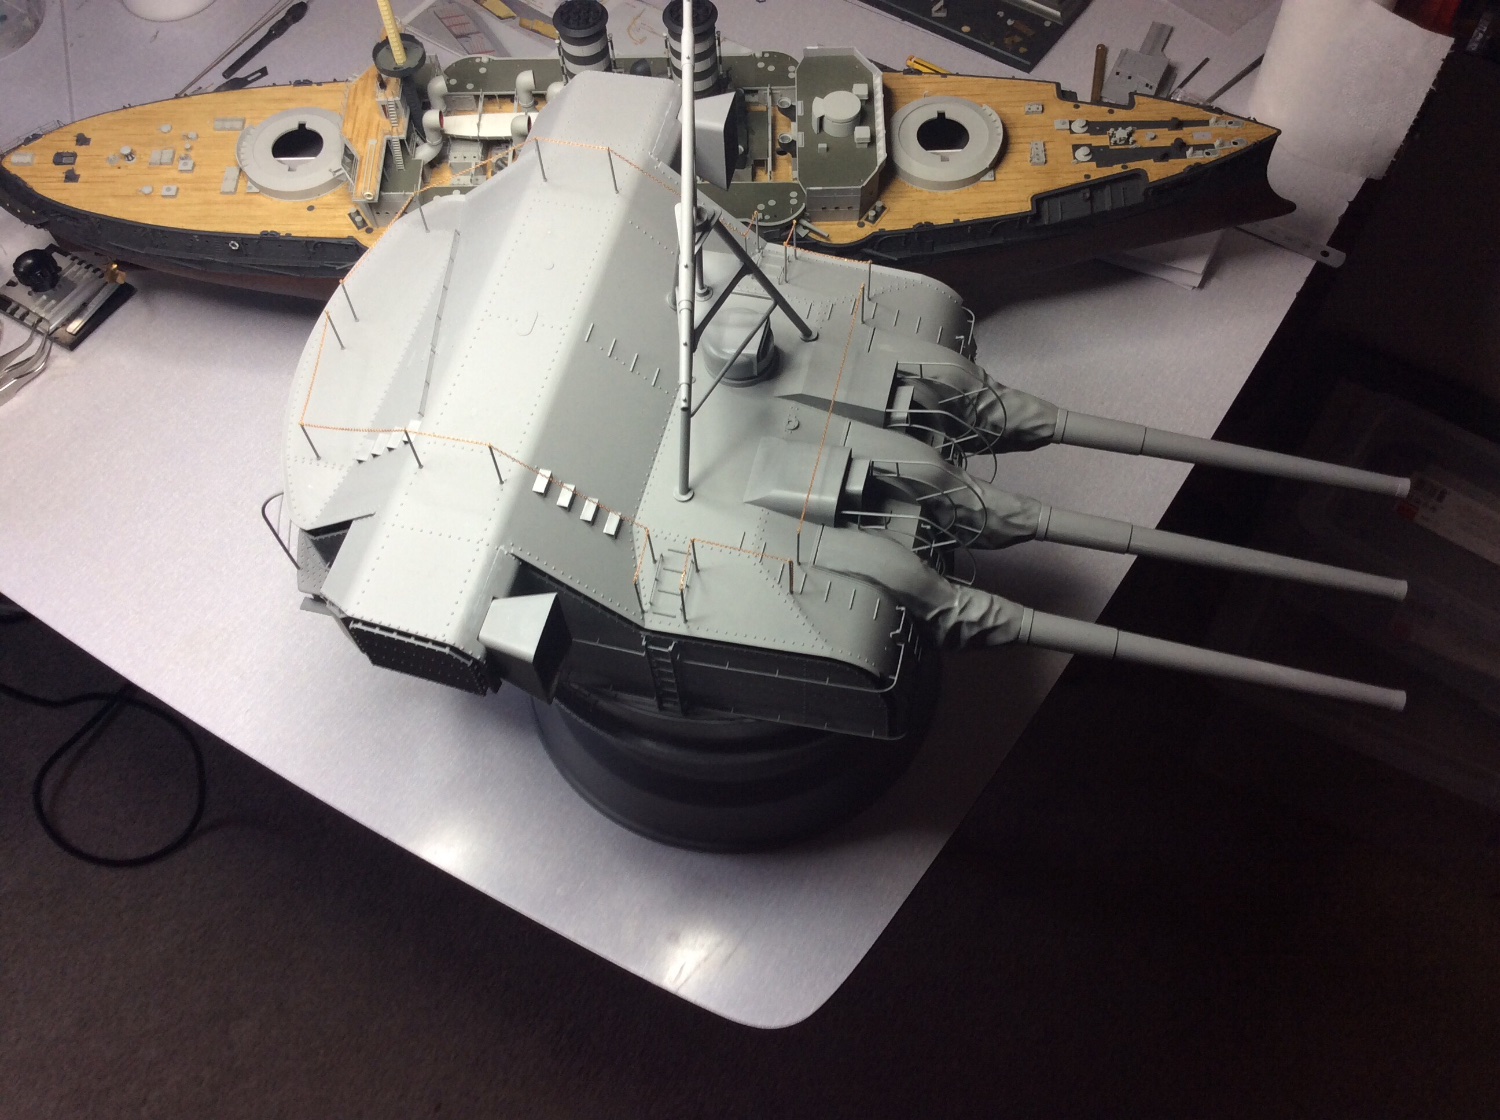
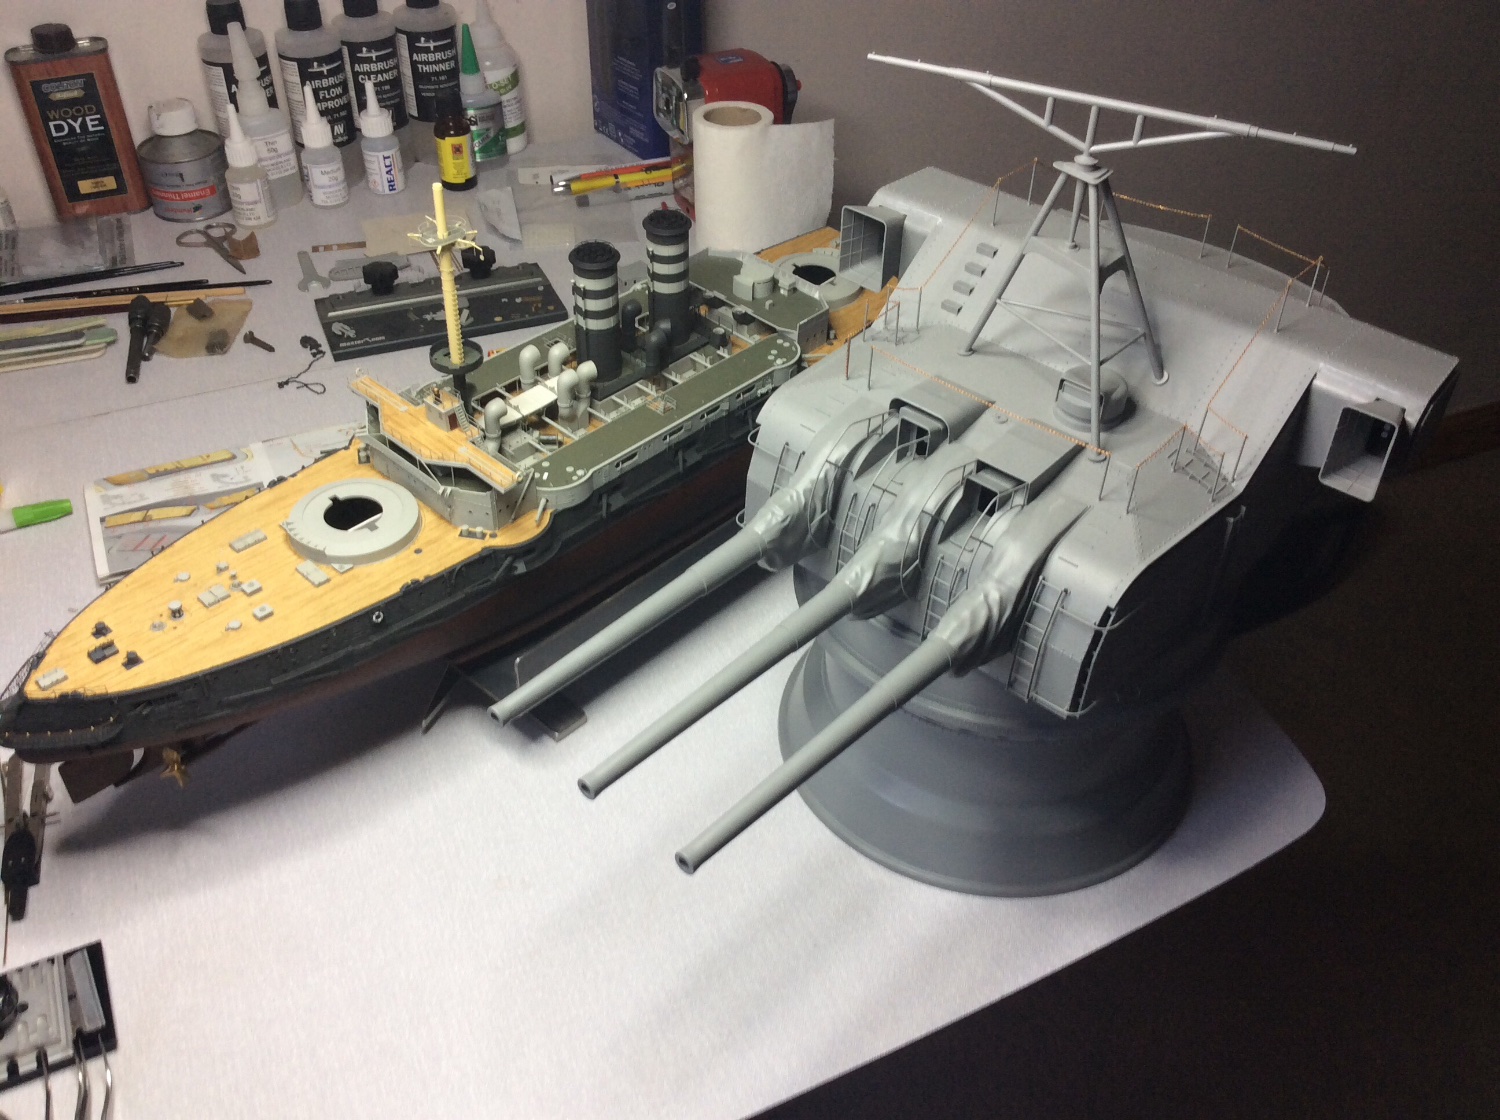
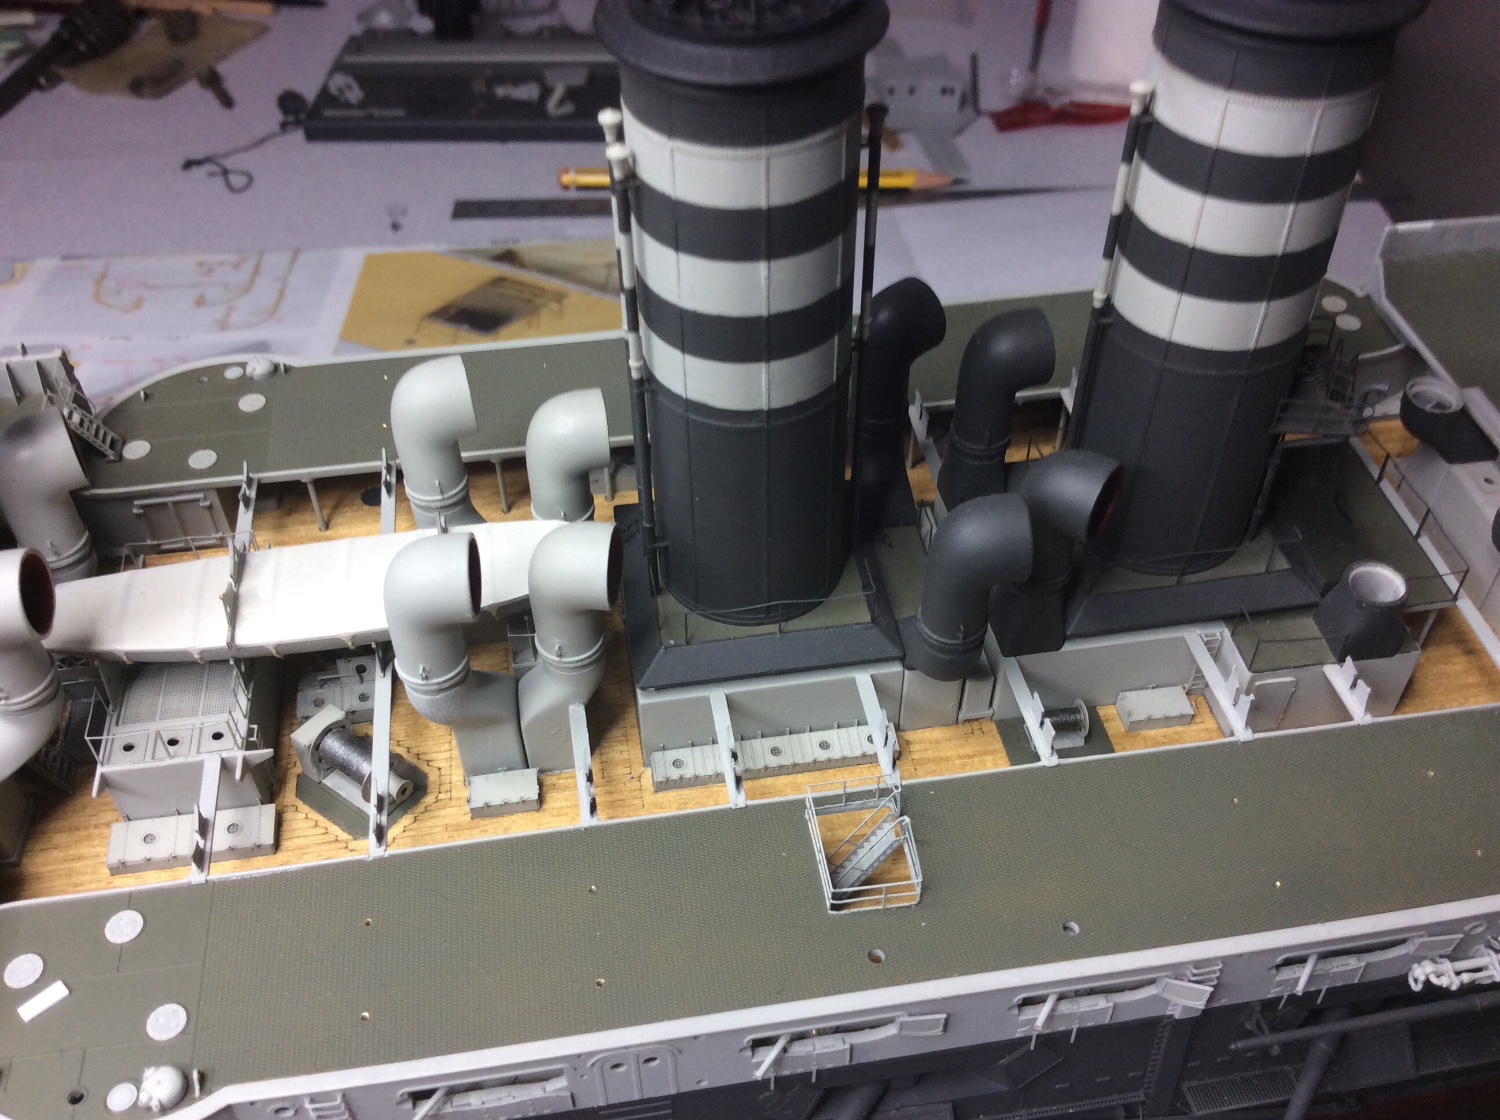
It takes a while to get round all the detailing and painting them separately before fitting, I did purchase a second Pontos set to get the necessary parts I wanted, I know this is over the top but there’s no way of producing the 1902 version without the necessary parts, it would be great if Pontos could do an additional set to help if the markets out there. 👍

-
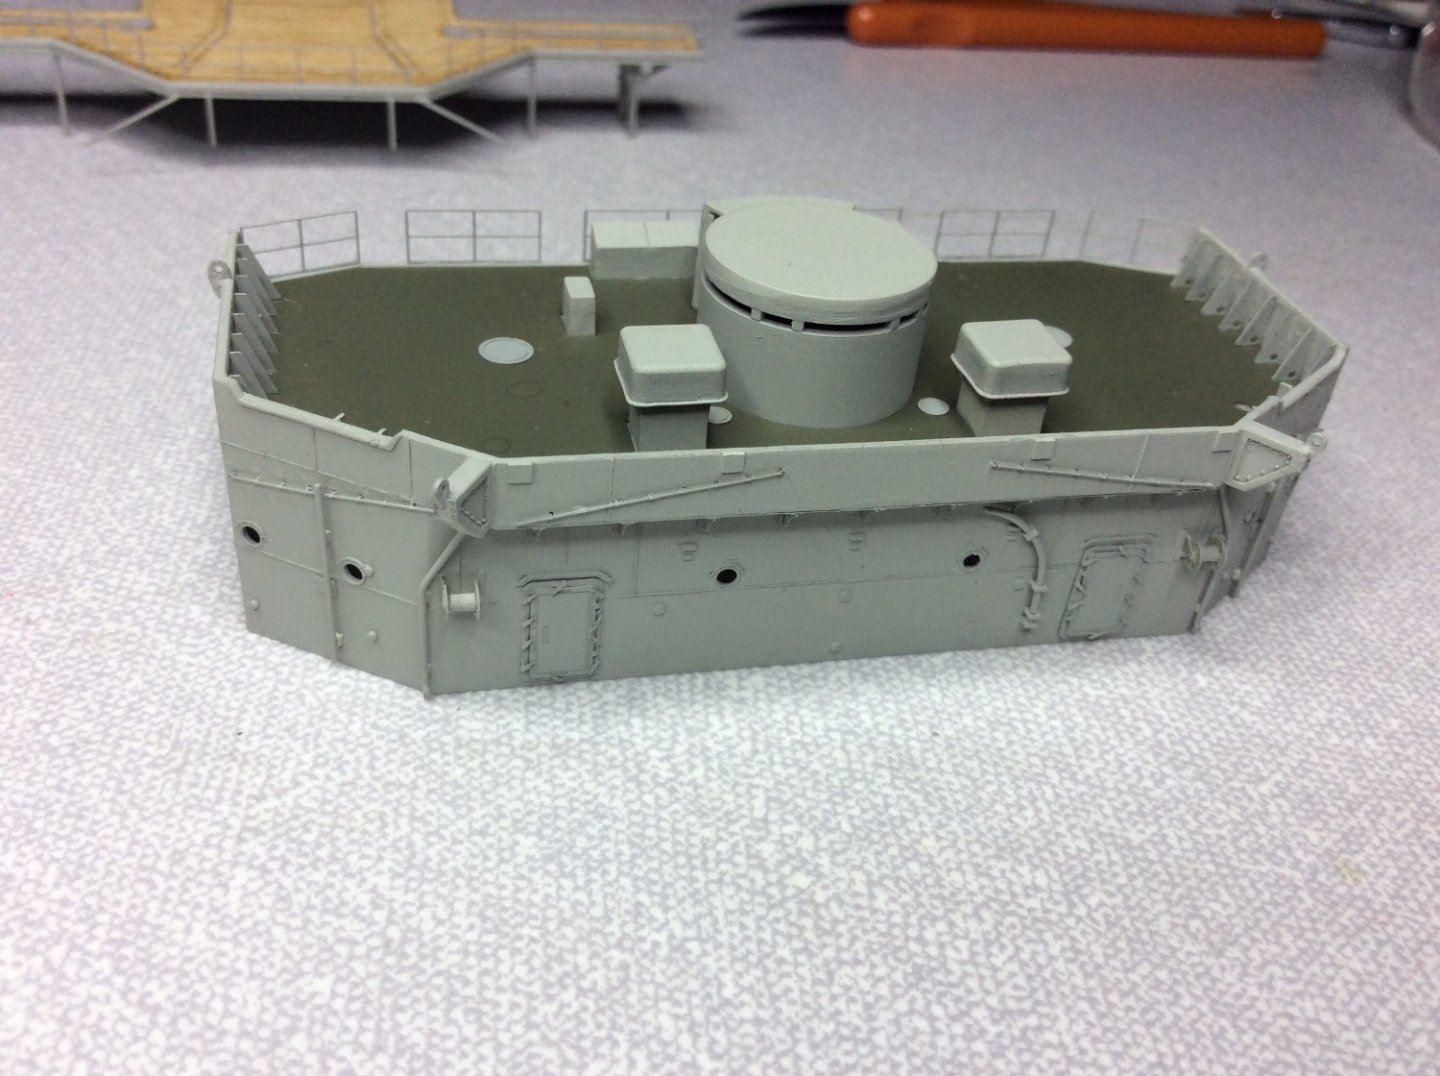
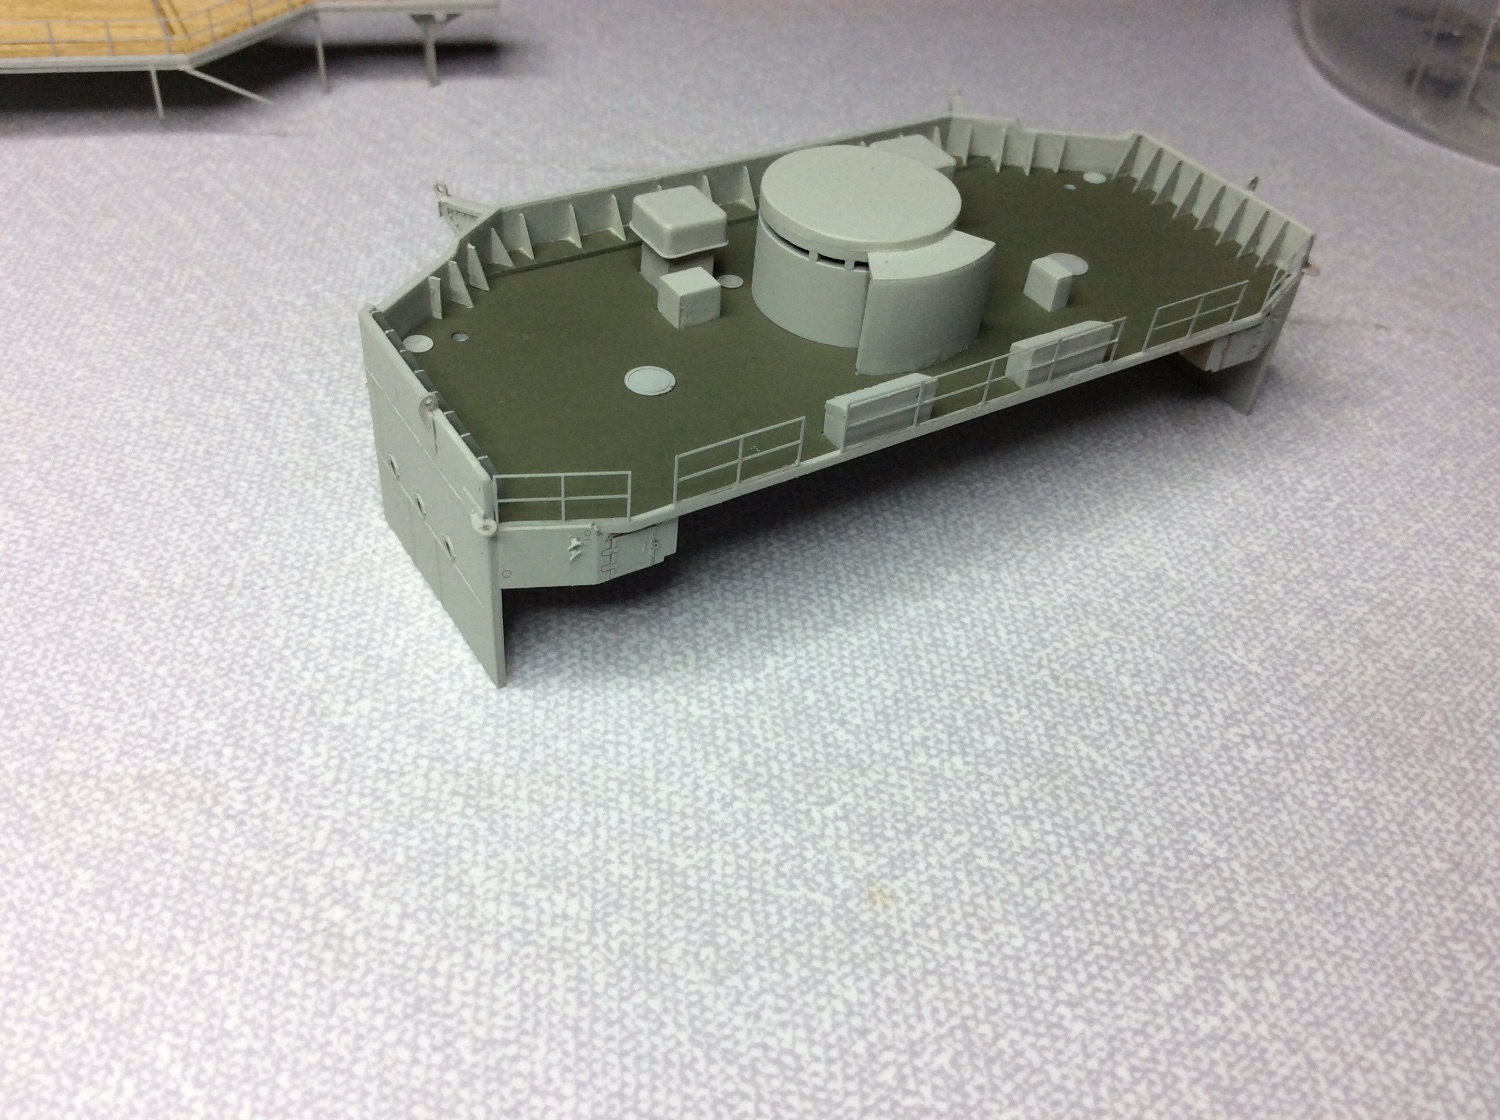
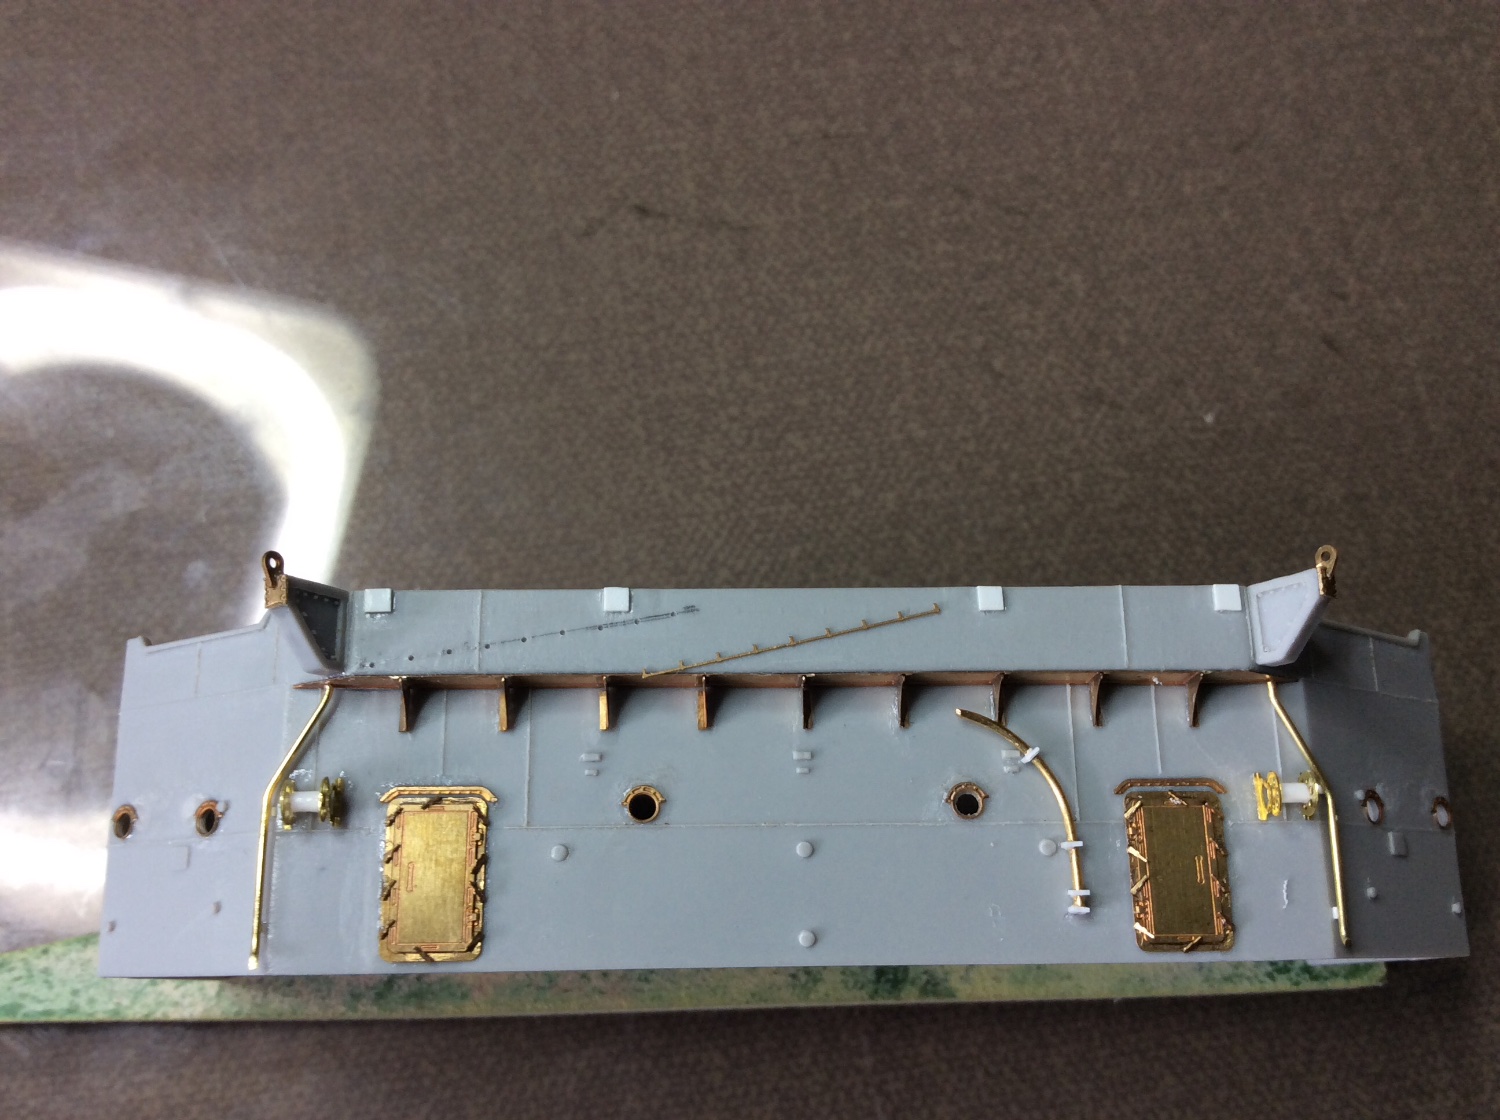
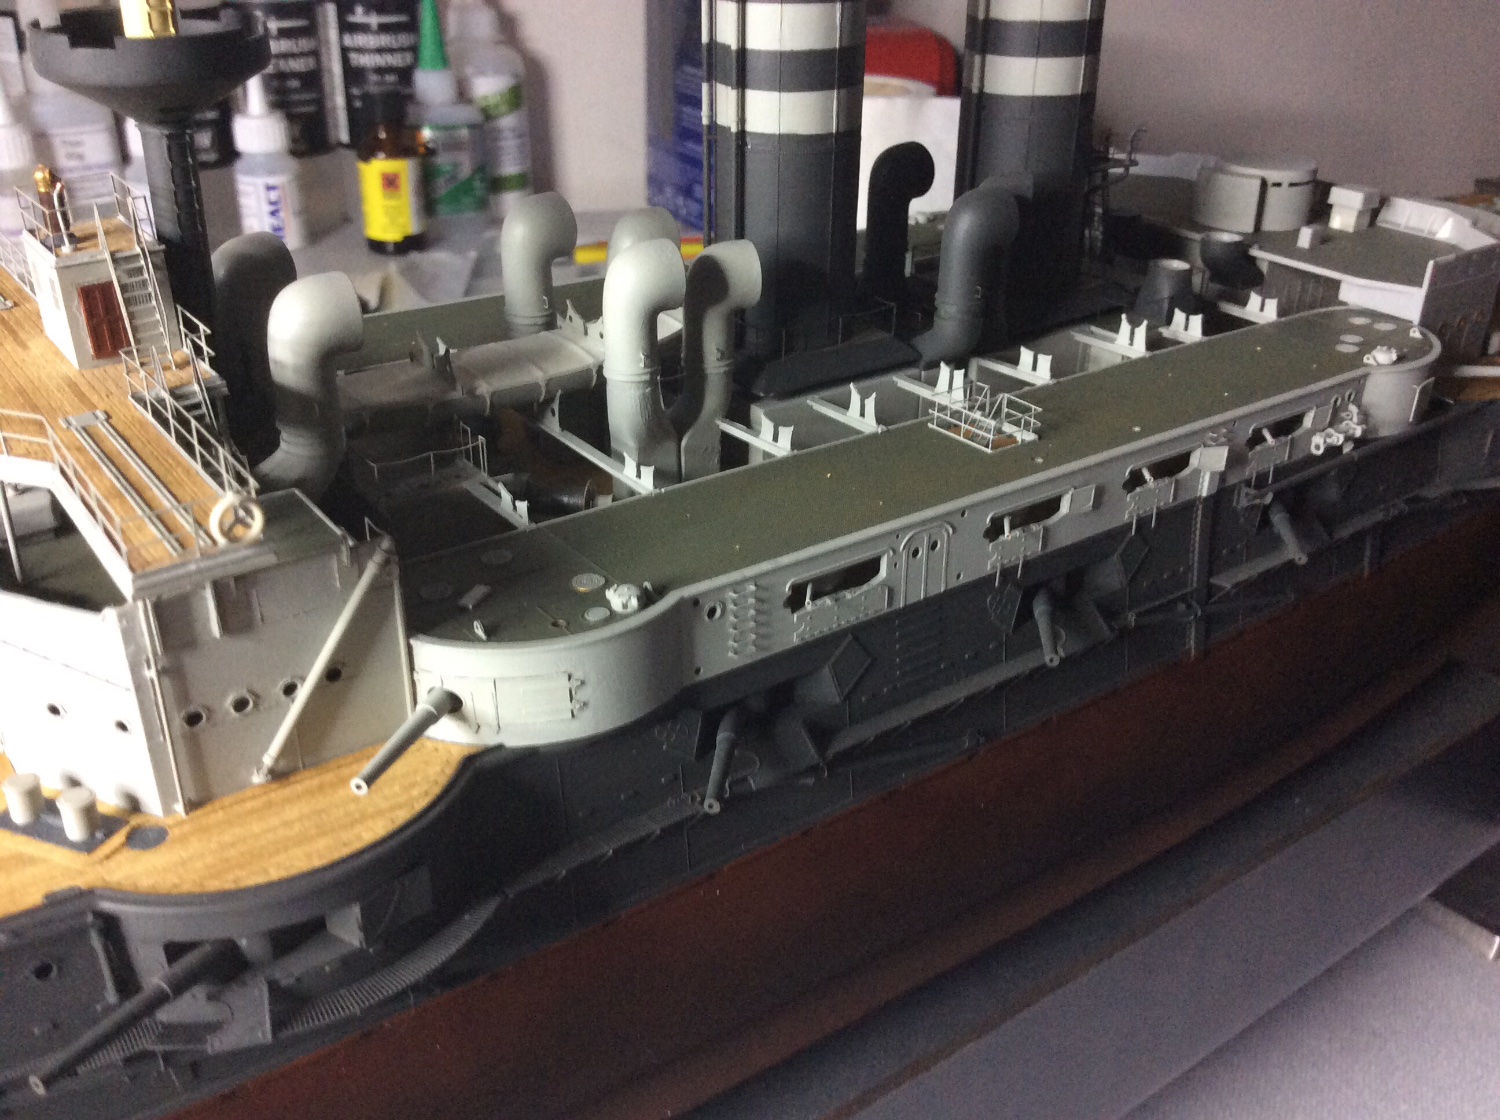
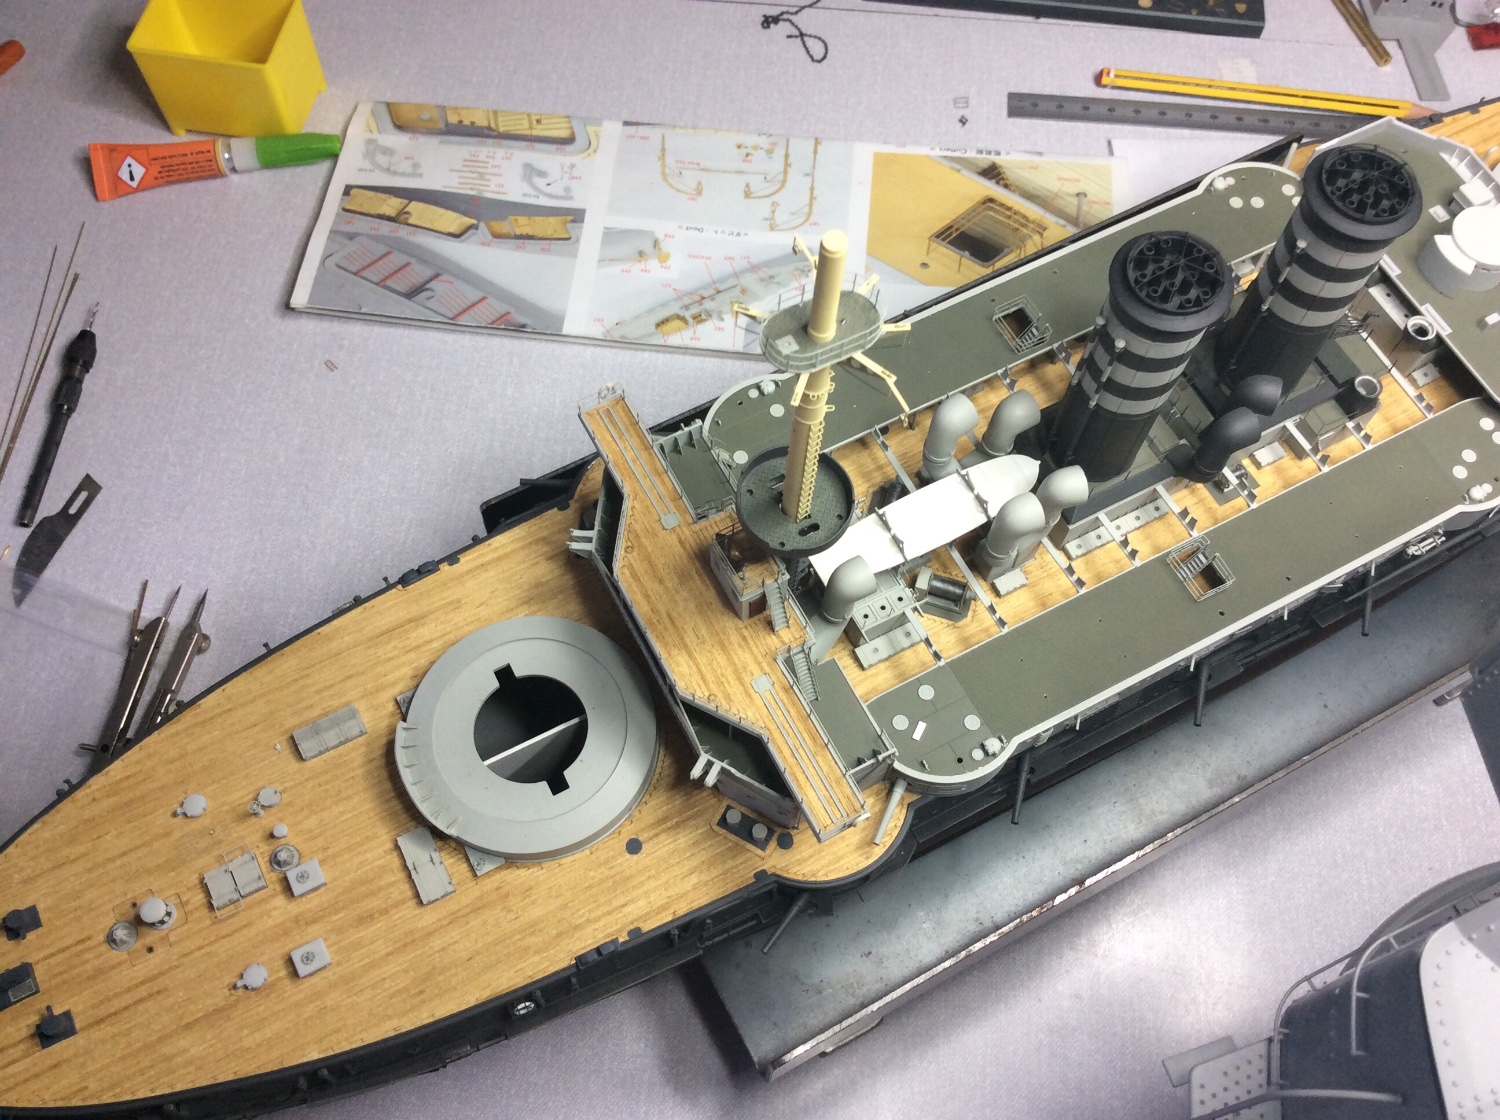
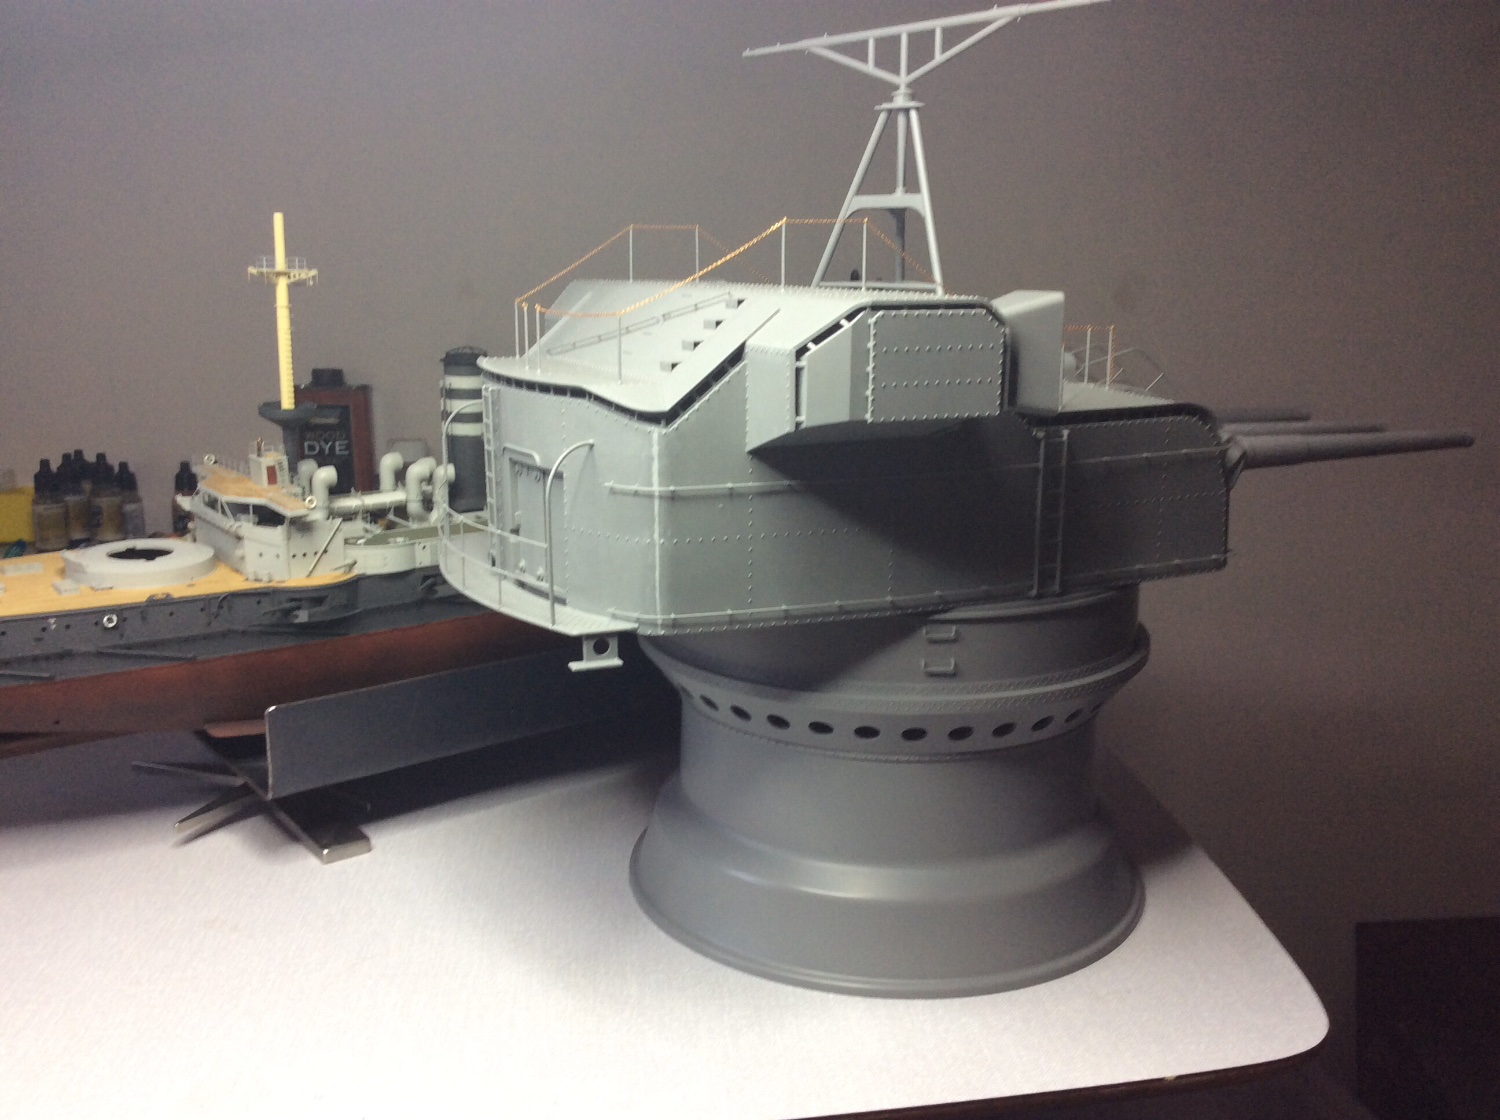
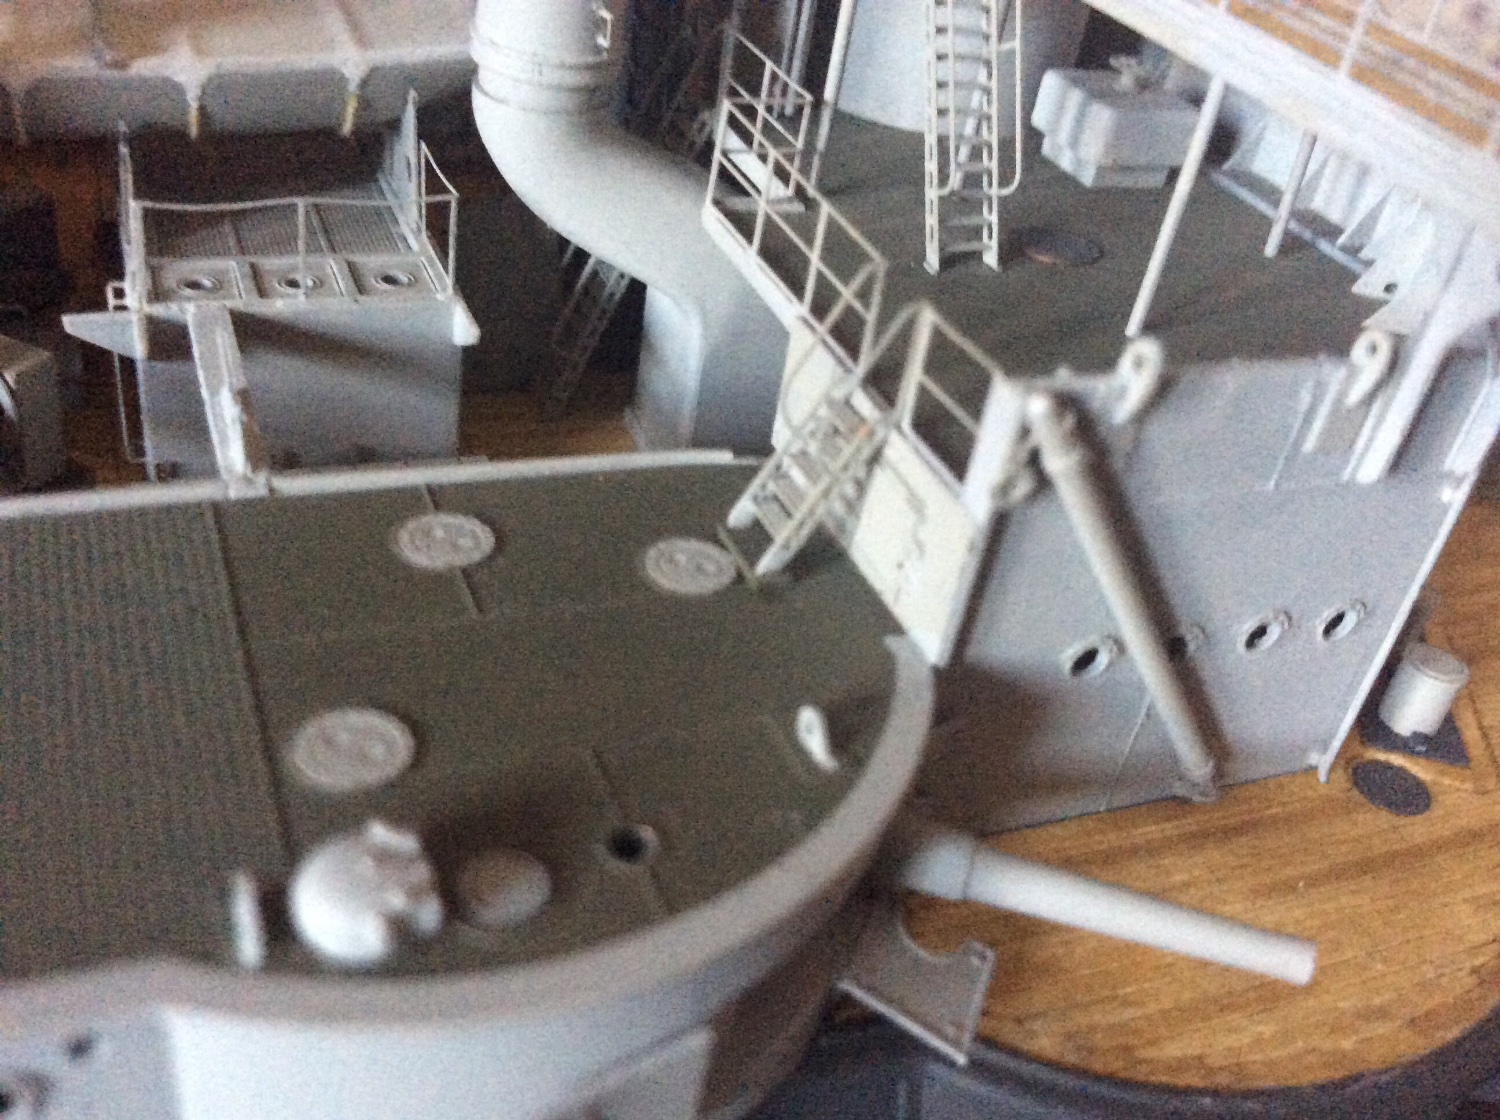
Hello again, Yip it’s that time of life, time for an update. I remember this part of build being quite busy to say the least and knew it would take a while. Starting with the lower bridge super structure following Pontos instructions removed unwanted surface details using electric chisel and my craft knife with curved blade, then start fitting the etch details, following the sequence in instructions works easy enough. Just added some extra details, pipes and jibes, cable drums, it all helps to bring the model to life.

-
-
Thanks Tim, seems we are always trying to get better. As usual the photos show up the imperfections that makes you strive to doing them better, guess that’s what modelling is about. 👍 Hope your build coming on well. ?
- Canute, mtaylor and king derelict
-
3
-
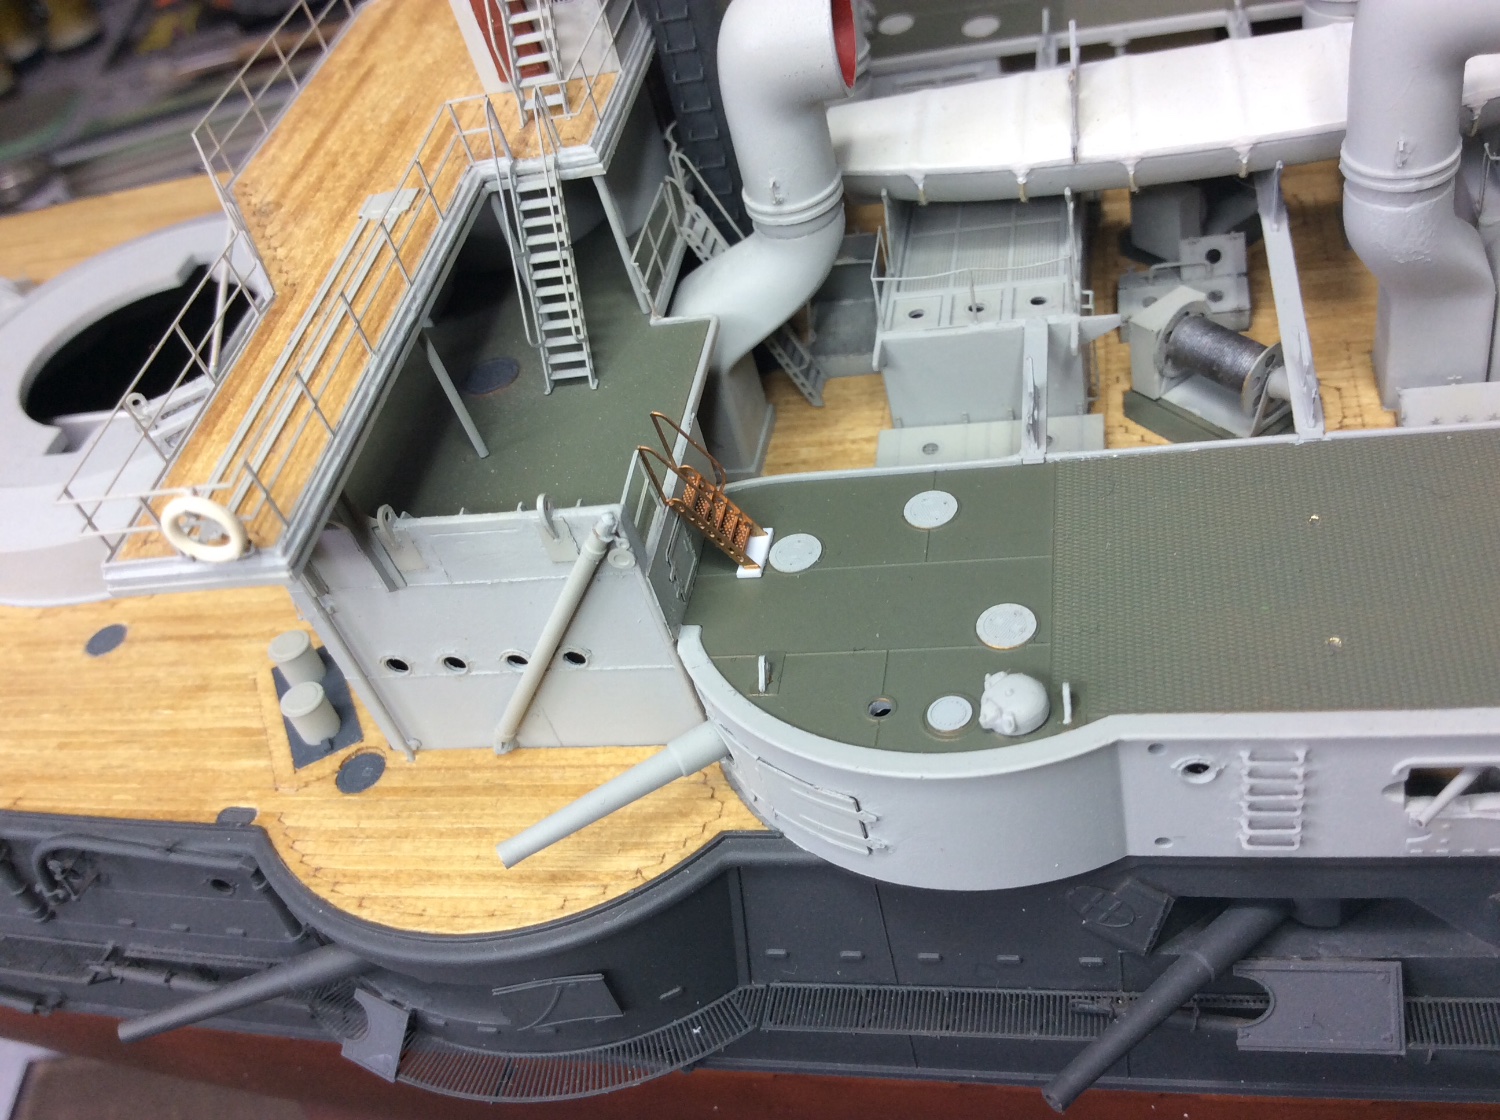
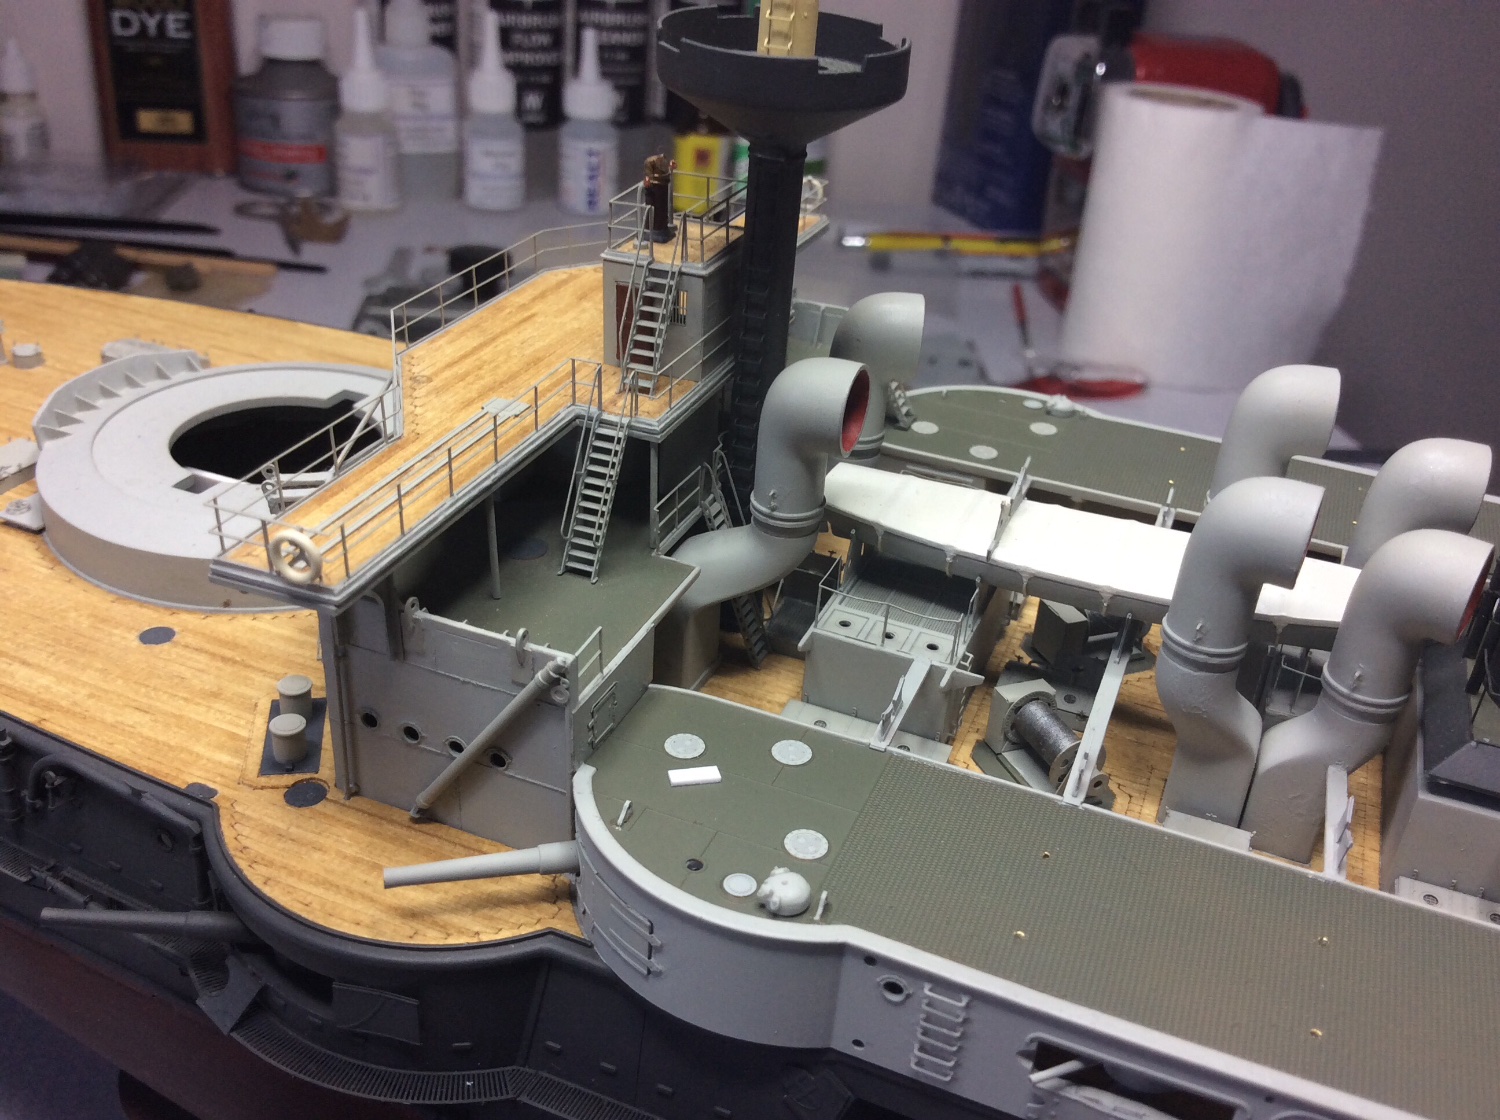
You can see more clearly in these photos the point I’m trying to show. Think all these sort of steps would be generically set at the same angle, shows up this way as you can see it lining up with the handrails which is always more pleasing to the eye. Hope you agree.
- mtaylor, king derelict and Canute
-
3
-
-
Greg it is quite big, a lot of wow factor for £70 kit. Seriously I would buy the whole Battleship in this scale if they were mad enough to go for it. Building it in sections would be quite manageable. Would be good for the likes of a modelling club to tackle. Just living the dream. 😂
-
-
-
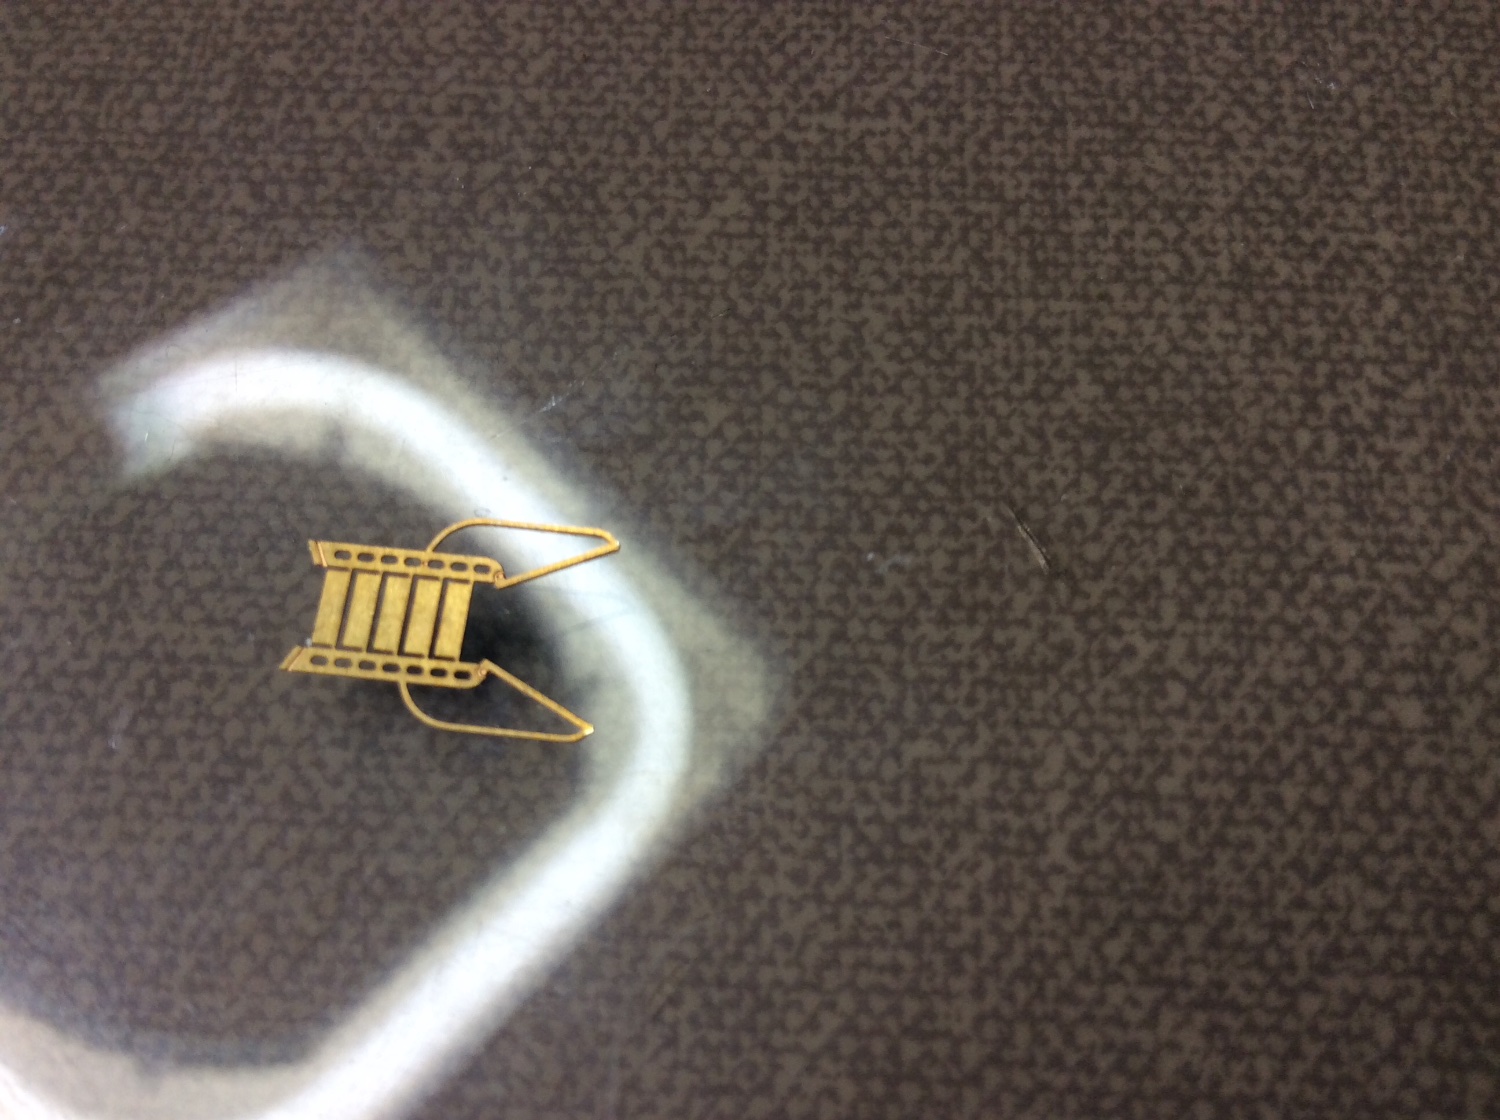
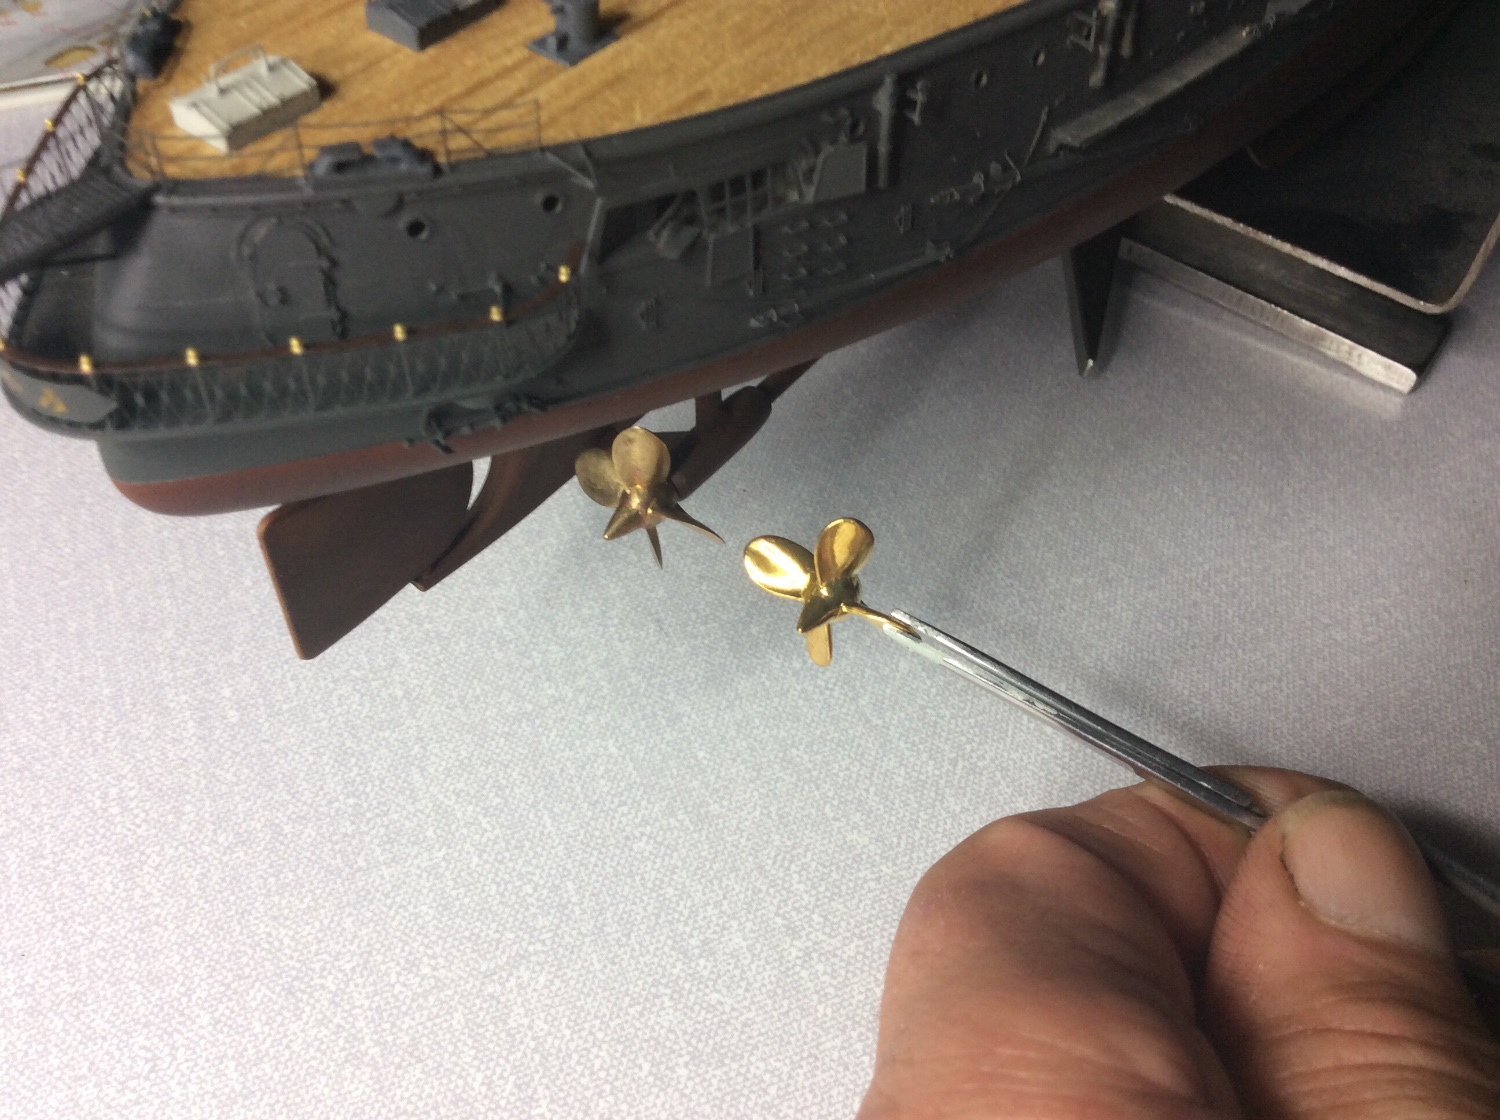
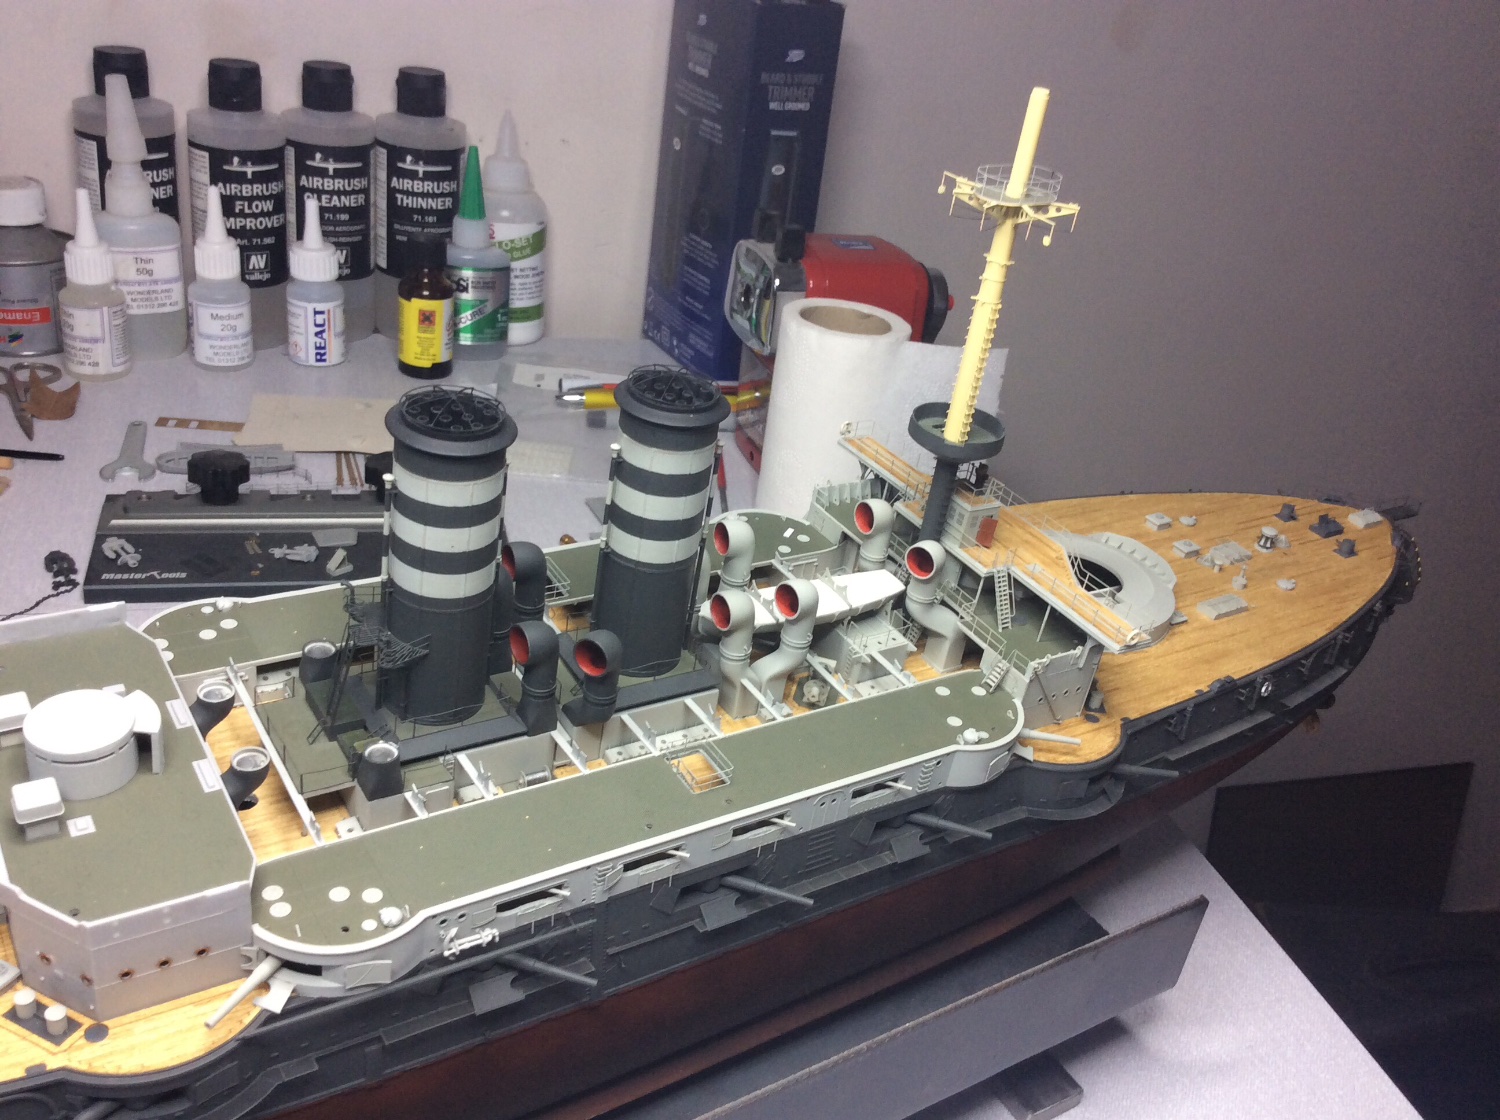
Well that’s it for now, shall need to start work on forward bridge structure and mast, a lot of work in this area so don’t hold your breath. 🤪 Jacqueline also bought me a second Pontos set so l have the parts I need to go forward. Who said us modellers are sane. Here’s a photo of the propeller before I dressed it up.

- Ryland Craze, mikegr, yvesvidal and 3 others
-
6
-
-
-
-
-
-
-
-
-
-
-
-
The steps to the boat deck, didn’t fold this plus cut a bit styrene stock thick enough to let the steps sit at desired angle then painted the part as deck colour. Not correct but solved the bigger problem, seems to be a similar problem when fitting the other steps from boat deck down to main deck, except here the part is too long and requires altering again to get a desired result. Think I managed to steal all this. 🤞

- GrandpaPhil, Canute, mtaylor and 2 others
-
5
-


HIJMS MIKASA 1902 by Jeff59 - FINISHED - HobbyBoss - 1/200 - PLASTIC
in - Kit build logs for subjects built from 1901 - Present Day
Posted
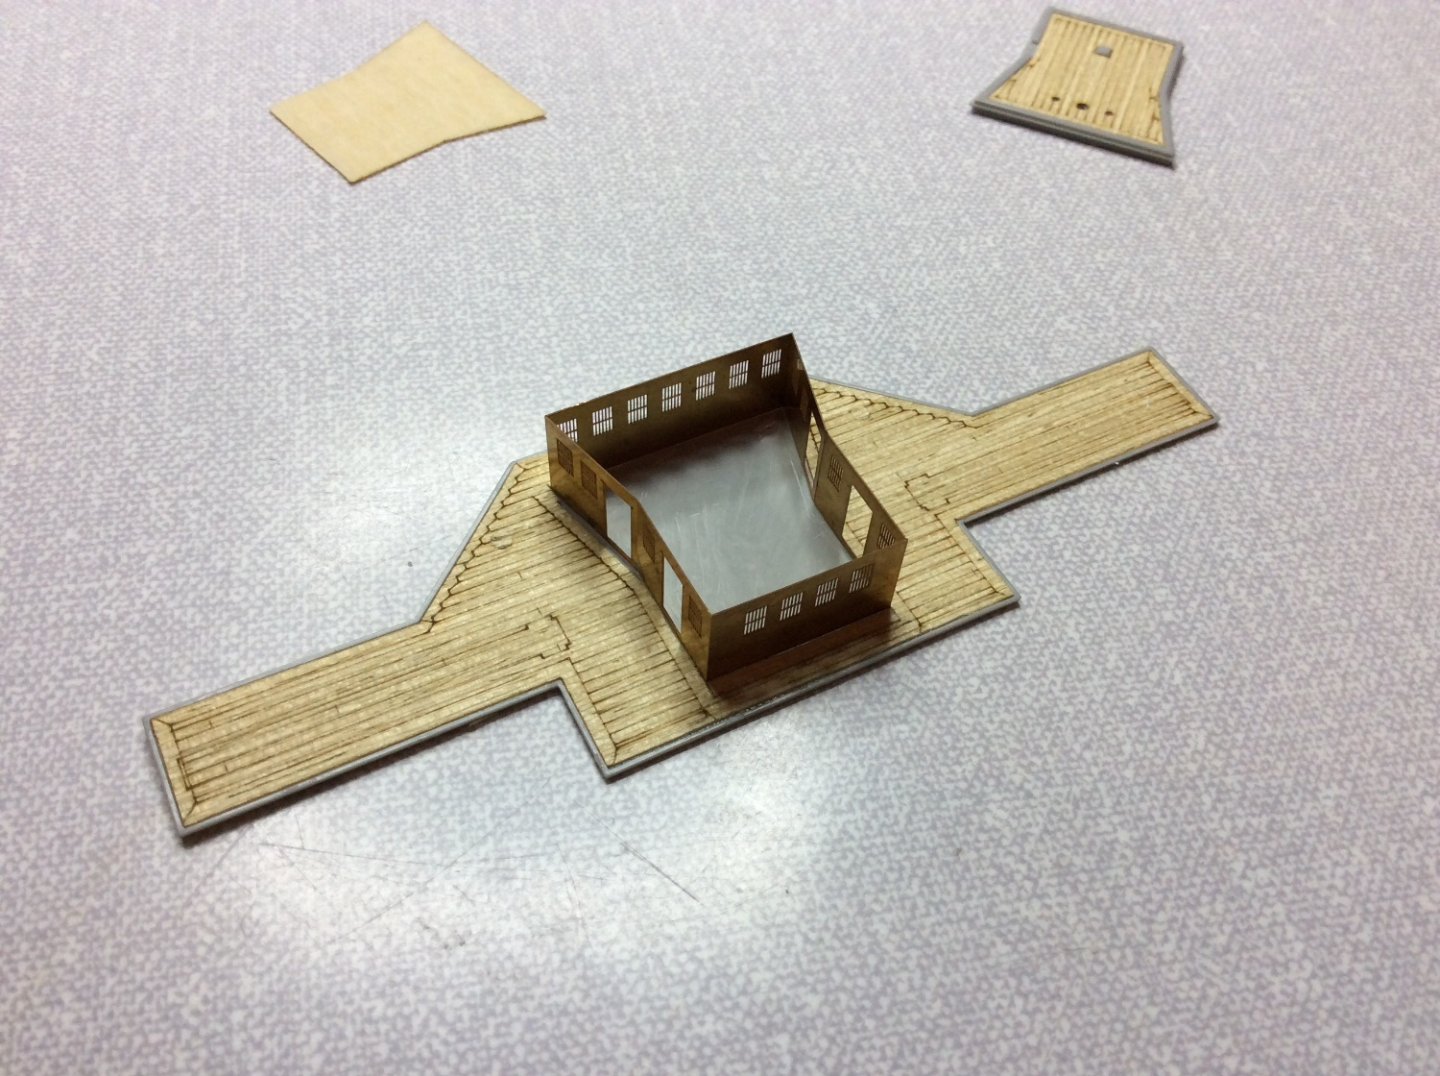
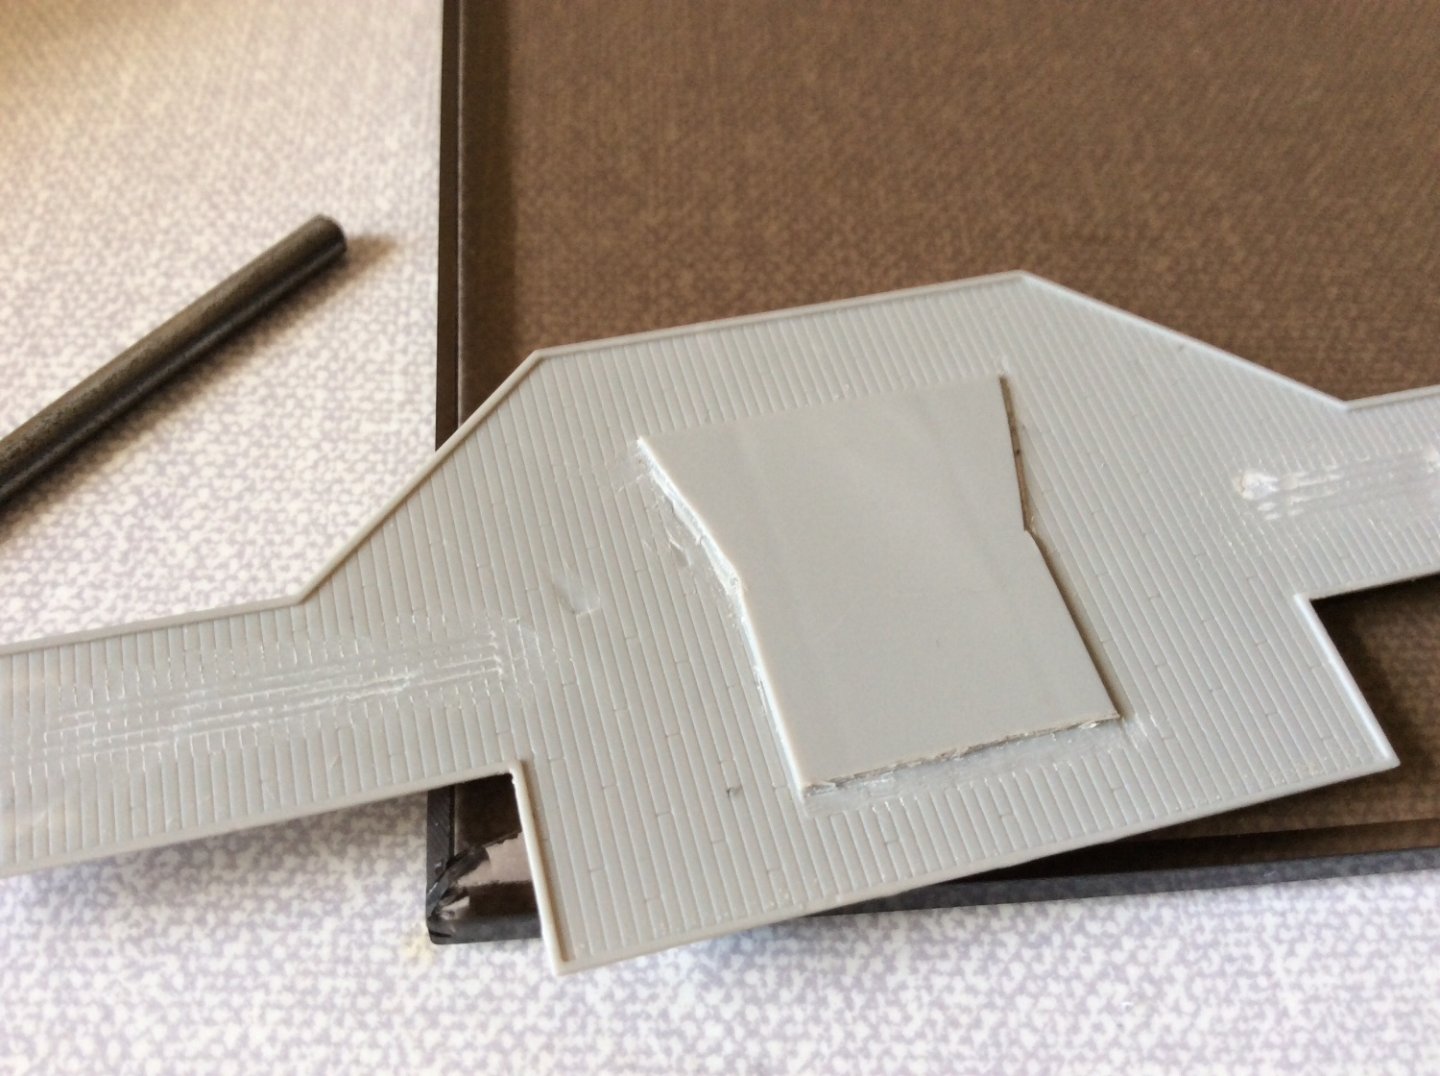
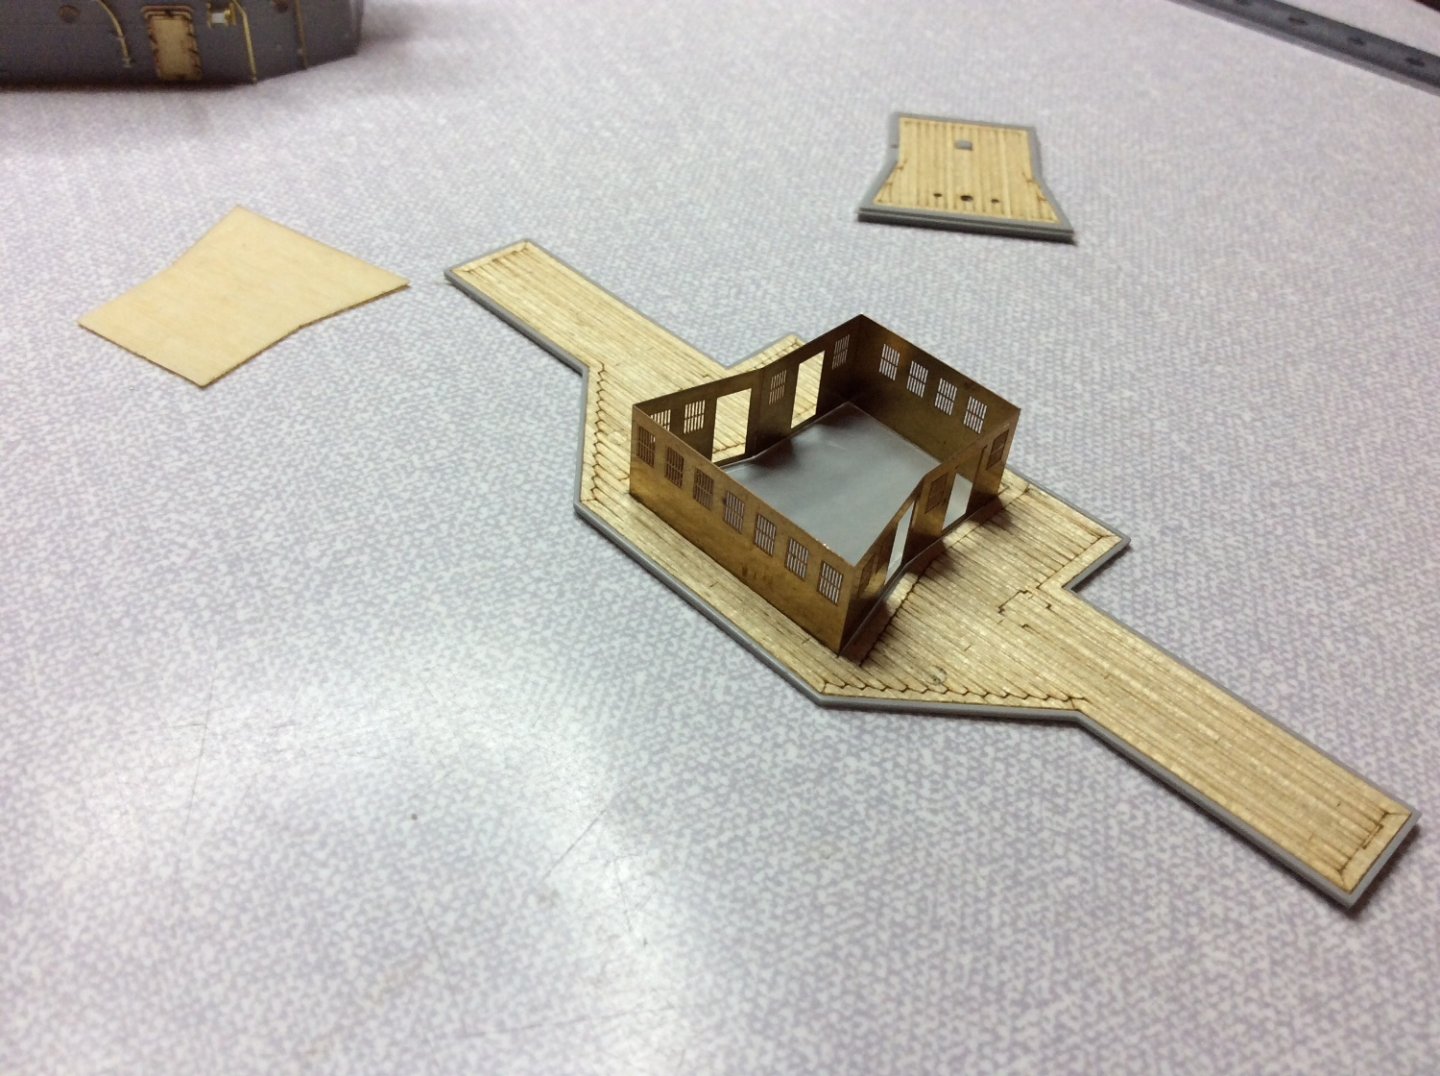
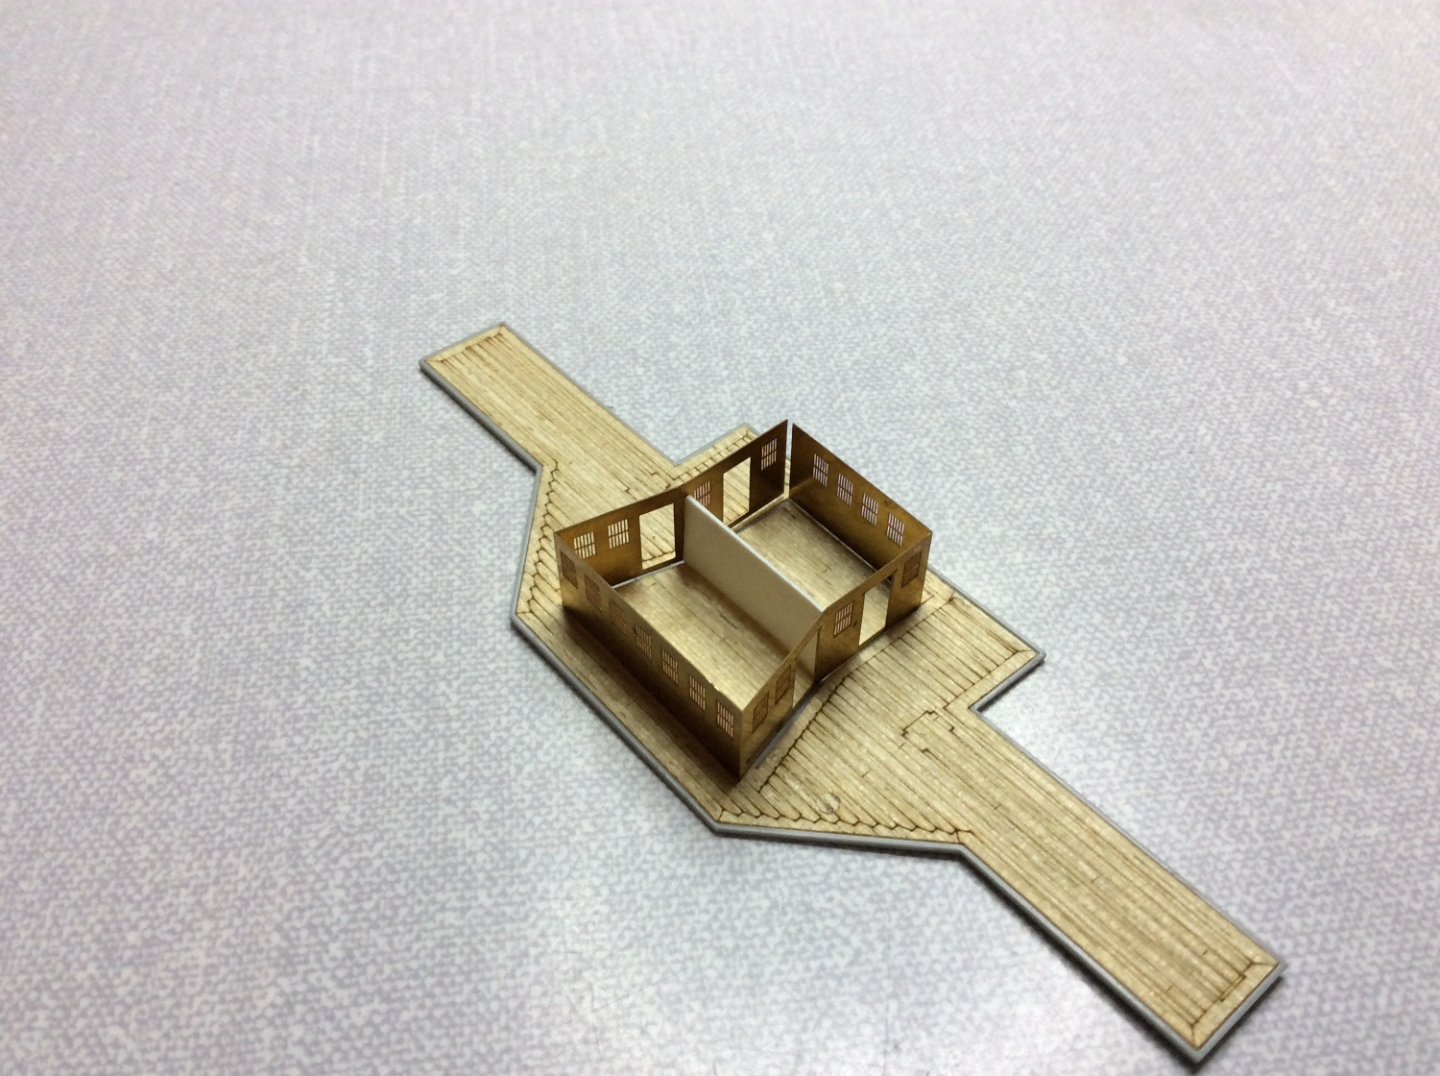
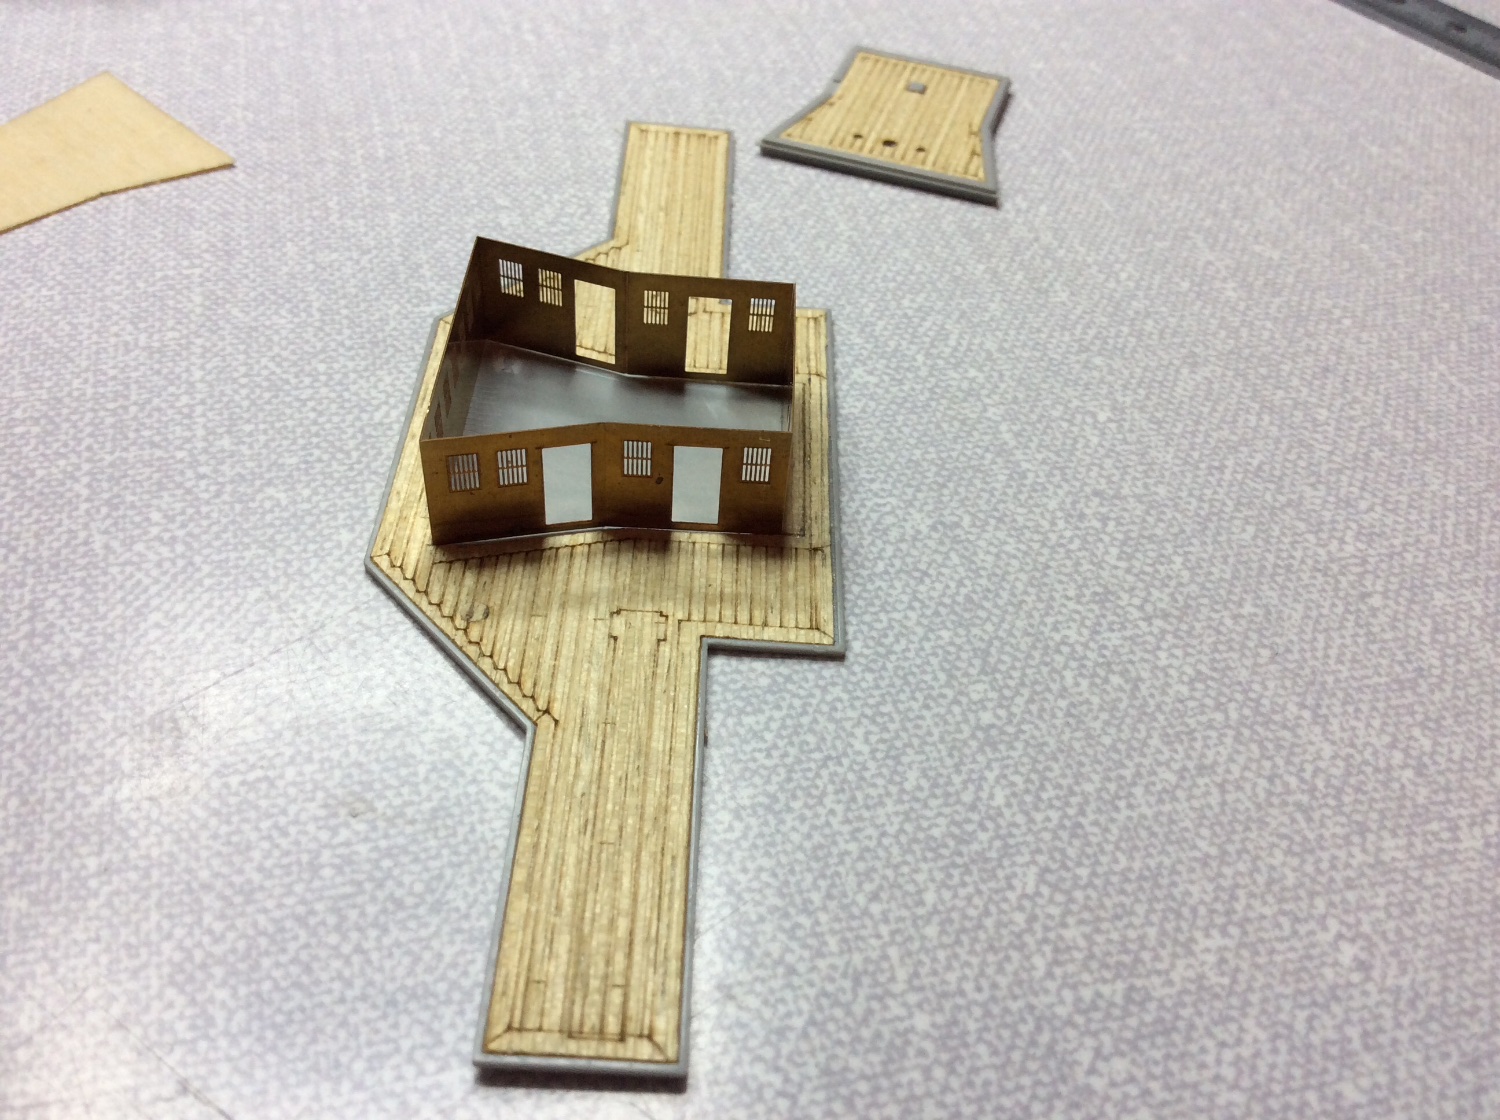
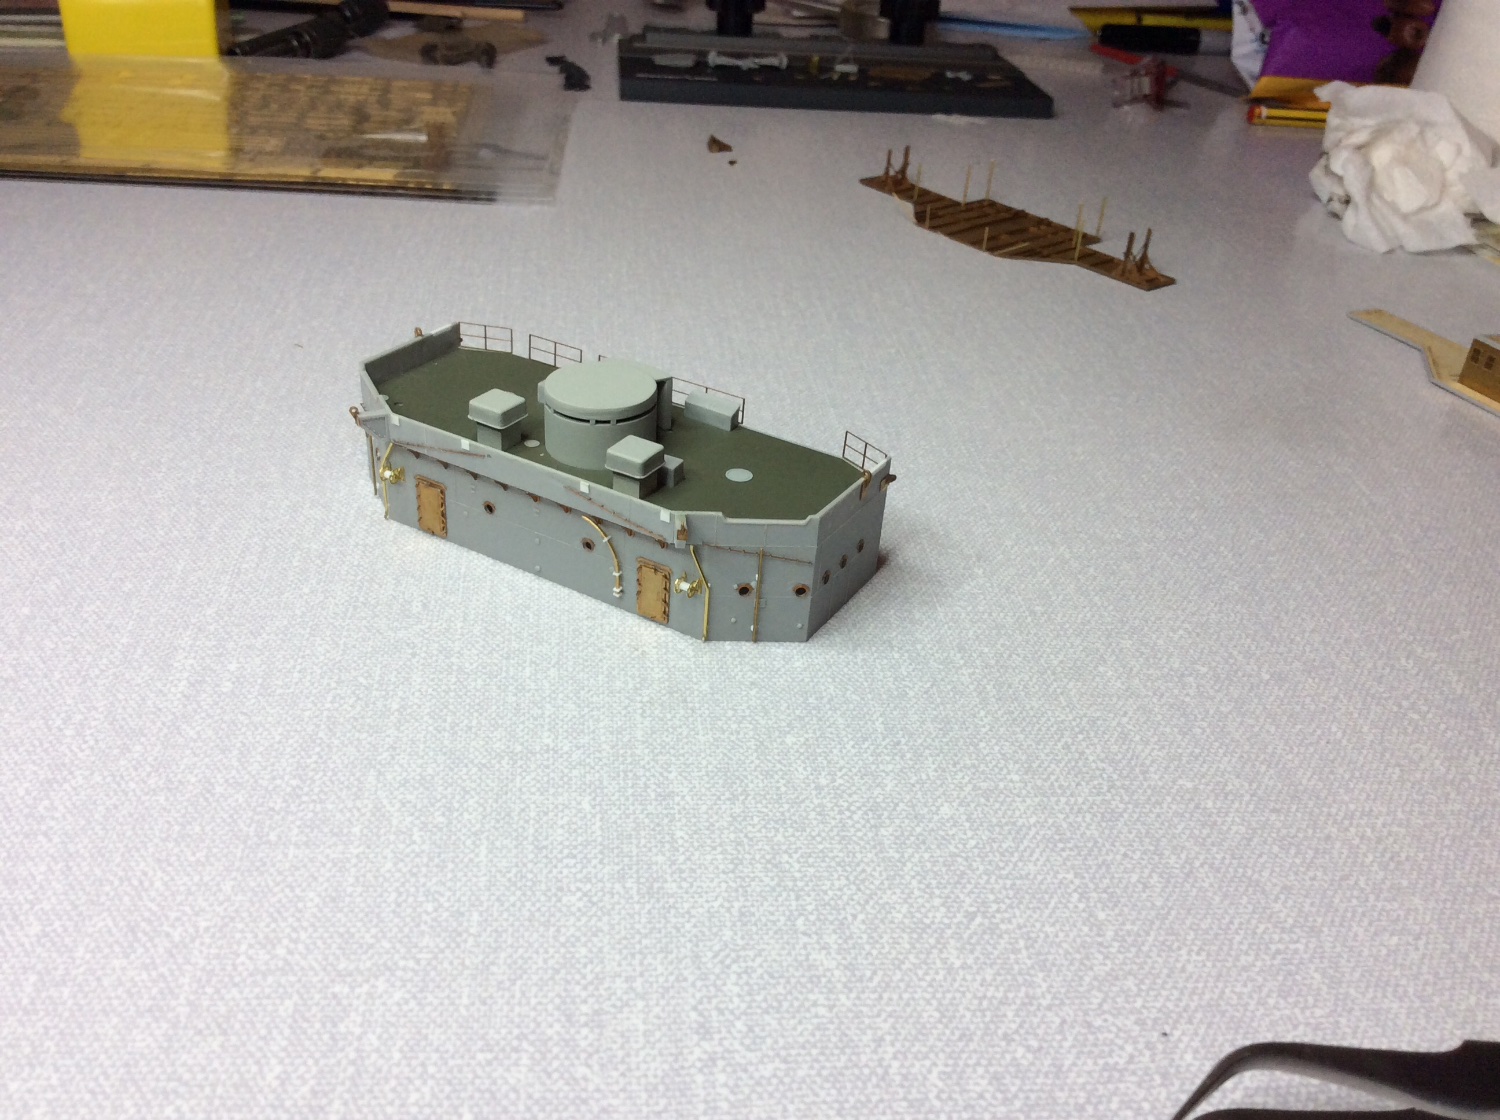
Decided to try to fit some details to inside of bridge, hence making wooden flooring and bulkhead.