Papa
-
Posts
1,305 -
Joined
-
Last visited
Content Type
Profiles
Forums
Gallery
Events
Everything posted by Papa
-
 Impressive work. I will have to pay attention and perhaps learn something. My plastic models never come out well.
 -
I fill the larger cracks with slivers of wood. They blend in very nicely when sanded.
-
FYI, I wont be posting over the rest of the month. Mrs and I are taking a trip to Italy to celebrate our 51st wedding anniversary. We missed out 50th celebration as my wife needed gall bladder surgery. Good thing we had trip insurance!
-
Fantastic work.
-
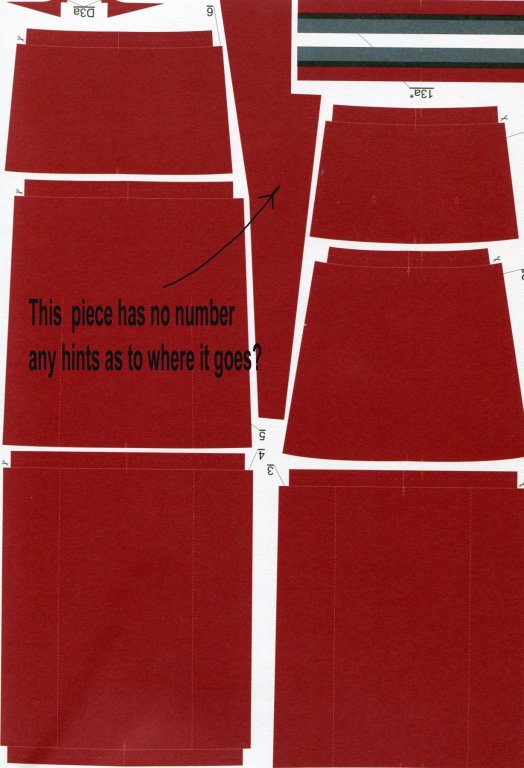
Capt Slog, i was also thinking it might just be an extra piece. All of the pieces on that page are for the lower hull except the one marked 13a.
-
Dan, maybe you can help identify the piece on this page with the bottom plates. It has no number and all the bottom plates 1-8 are present and accounted for. Also, followed your advice and am putting in some longitudinal braces
-
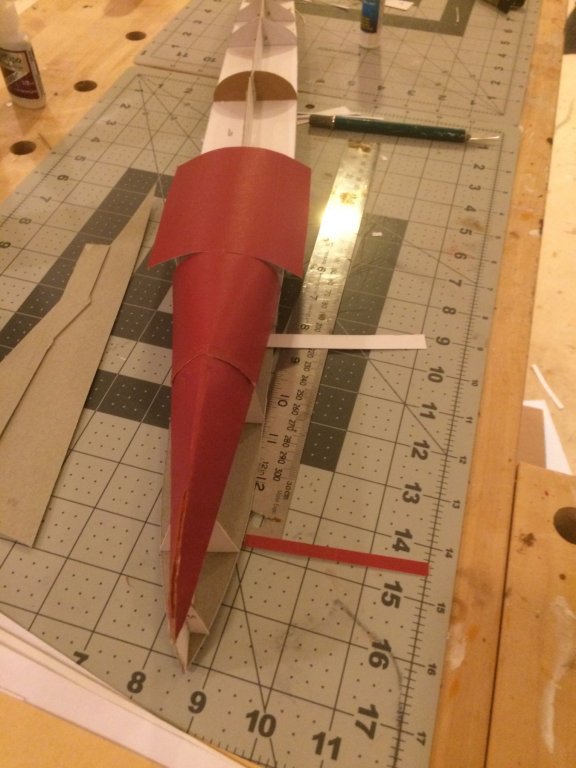
I am finding that putting the bottom plates on is fussy work. Not happy with the first 2. Trying a new technique on plate 3. align and glue the center-line first. Then do the ends and sides.
-
You have some nice tools!. I like the way you are taking time to get everything precise. There is a good lesson there!
- 17 replies
-
- 2
-

-
- pride of baltimore ii
- model shipways
- (and 1 more)
-
I followed Danny's advice and inserted some tiny brass "eye bolts" in the deck at the marked points. You can't see them in the photo
-
"Height Adjustable Workbench" sorta.
Papa replied to Papa's topic in Modeling tools and Workshop Equipment
It is so obvious I wonder why it took me so long to see it. -
OH WOW!!!!! Thanks so much. Google gets a bit confused sometimes, and this is so much clearer. Thank you thank you
-
Thanks. Generally google translate is doing ok. I just have to take the build slowly and double check everything
-
I will scan the "directions" today. I have figured out that the tiny white spots are for rigging.
-
Danny, Thanks for the advice. The plans aren't very detailed, but, the more I stare at them the more I see.
-
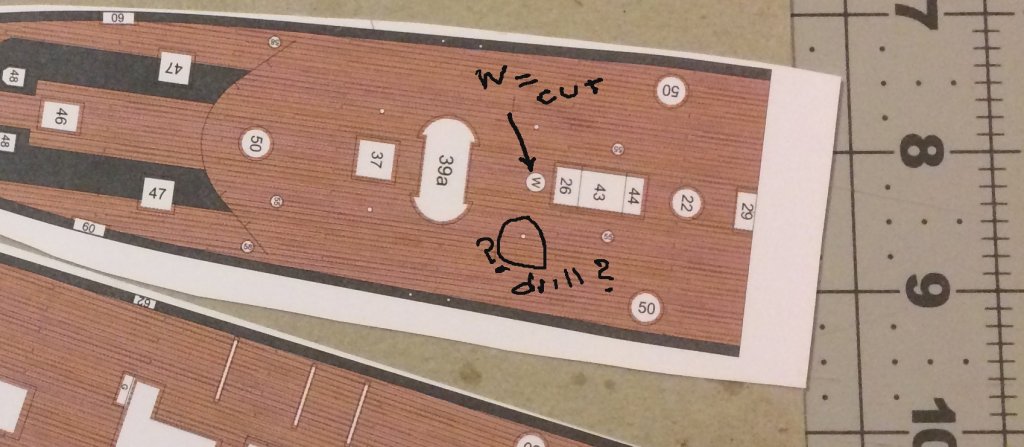
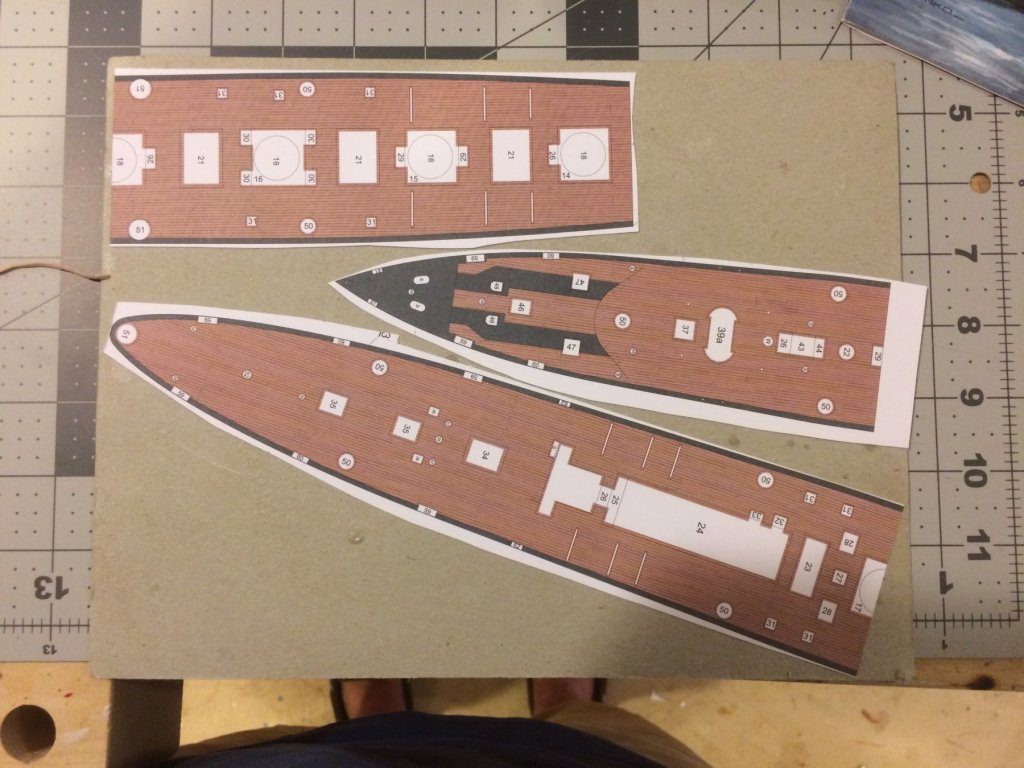
OK, I studied the directions some more. A "W" indicates "cut". The W in the attached picture is about where one of the masts should be. I am wondering about the other tiny white disks. Are they to be drilled out for davits or rails?
-
The instructs say to pre-drill the mast holes. It is not clear to me on the deck plan where the mast holes are.
-
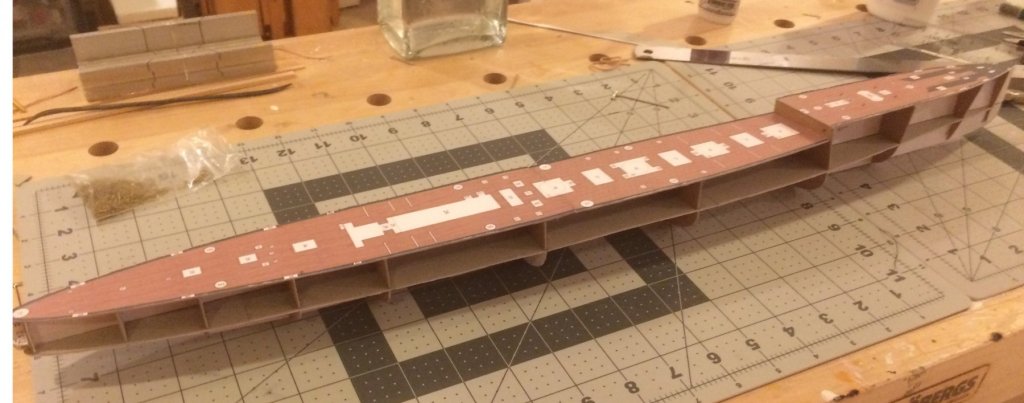
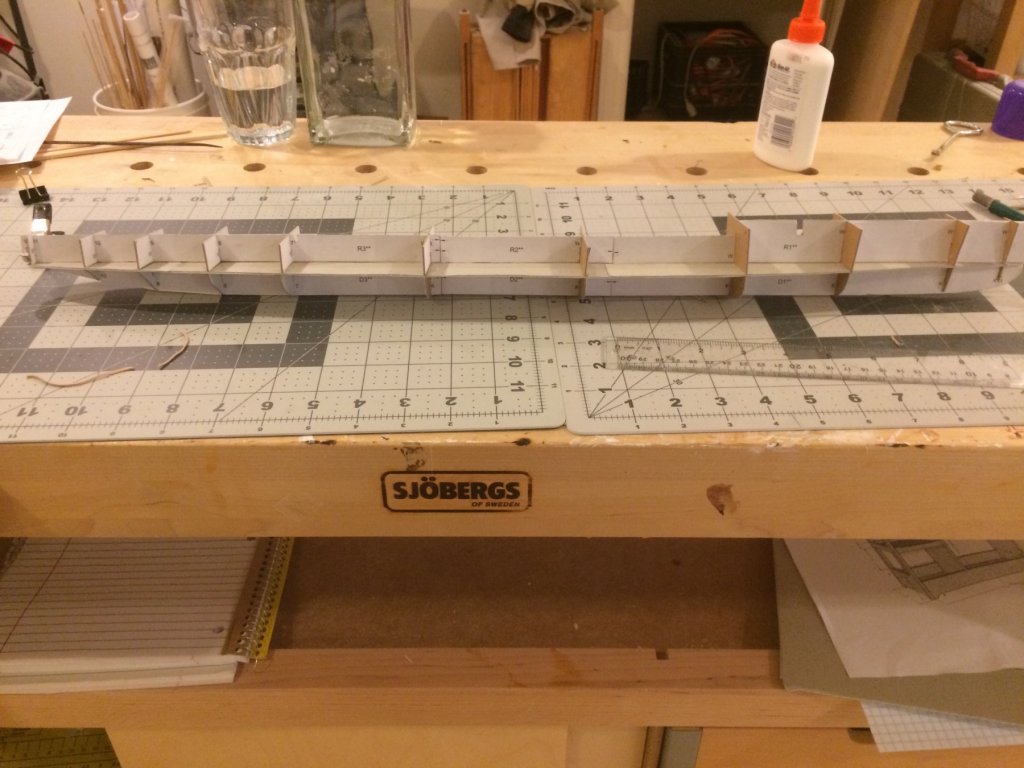
I finished the skeleton, except for the decks. The instructions say that the deck pieces are to be glued to 1 mm card but the schematics don not indicate this. (a "**" is attached to the part number if it is to be glued to a card; the deck pieces don't have this indication.) I decided to follow the written instructions and have glued them to a card. Hope it works out OK.
-
If you do not happen to like Ferrero Rocher chocolates you can send them to me after unwrapping.
- 295 replies
-
- 4
-
-
- amatsukaze
- halinski
- (and 2 more)
-
Super job on the ratlines. I can't even come close to that level of perfection.
- 652 replies
-
- 1
-
-
- royal william
- euromodel
- (and 1 more)