Papa
-
Posts
1,305 -
Joined
-
Last visited
Content Type
Profiles
Forums
Gallery
Events
Everything posted by Papa
-

Hobbyzone building slip for wooden ship models
Papa replied to aydingocer's topic in Modeling tools and Workshop Equipment
Thanks for the reminder. A paste wax after varnish is a good plan. -
Hobbyzone building slip for wooden ship models
Papa replied to aydingocer's topic in Modeling tools and Workshop Equipment
I have been wondering if a few coats of varnish on the building slip would help to clean up glue spills and the like. Thoughts? -
Hobbyzone building slip for wooden ship models
Papa replied to aydingocer's topic in Modeling tools and Workshop Equipment
thanks -
Hobbyzone building slip for wooden ship models
Papa replied to aydingocer's topic in Modeling tools and Workshop Equipment
i received my building slip a couple days ago. I will depend heavily on this build log. Aydingocer's photos are much clearer than the directions. -
Buffalo Bill's Stagecoach by JohnReid - WOOD
Papa replied to JohnReid's topic in Completed non-ship models
Amazing model. I thought it was the real thing. -
Hobbyzone building slip for wooden ship models
Papa replied to aydingocer's topic in Modeling tools and Workshop Equipment
I just checked the link and it is up to $88.95 + shipping--total would be over $100. Hobby World USA has it for $64.99 +$13 shipping -
Coming along quite nicely. A very interesting looking ship. It is nice to have a change from fully rigged ships, nicht wahr.
- 6 replies
-
- 1
-

-
- altsu mendi
- talhoer
- (and 1 more)
-
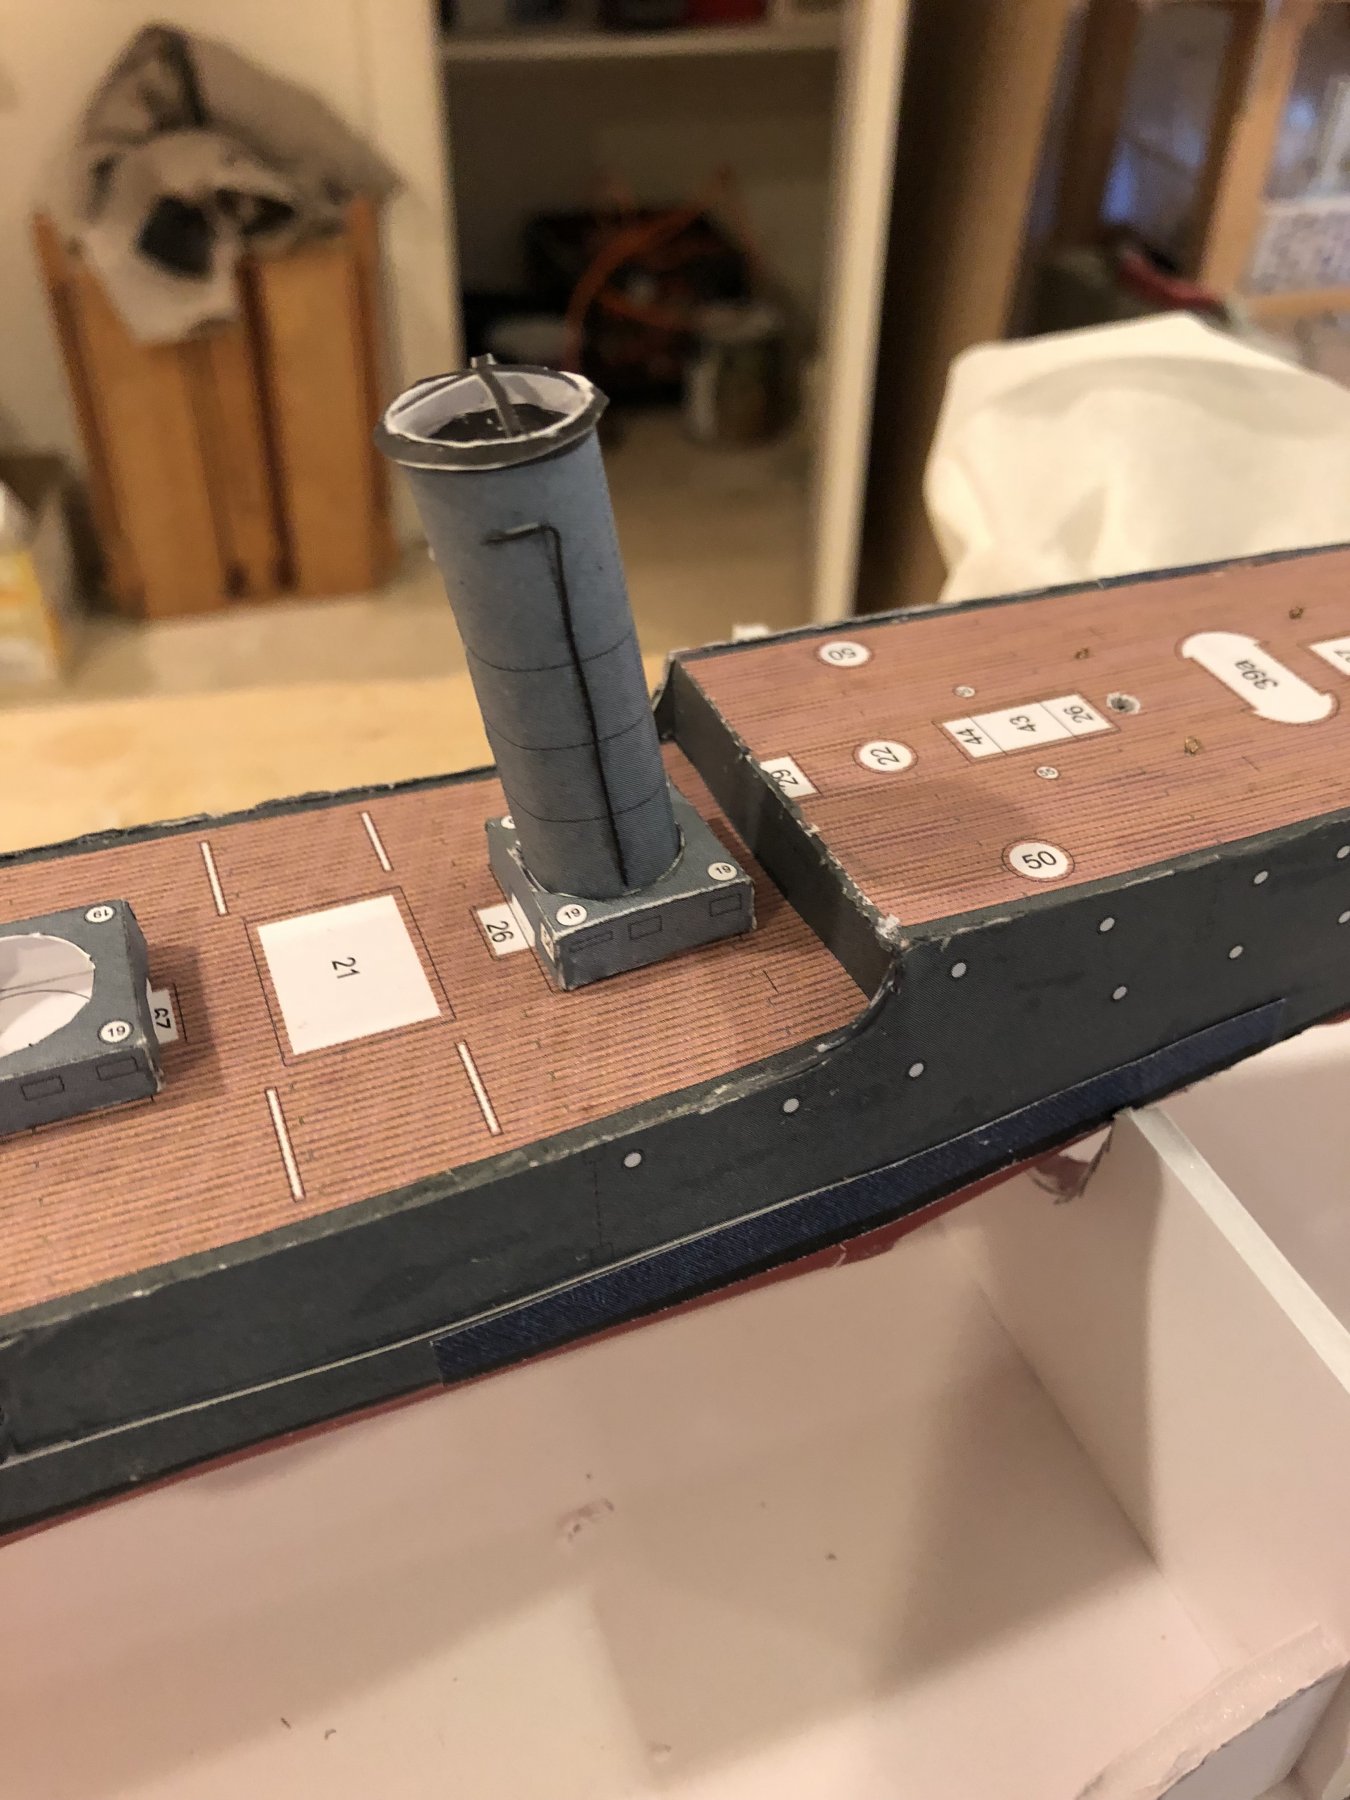
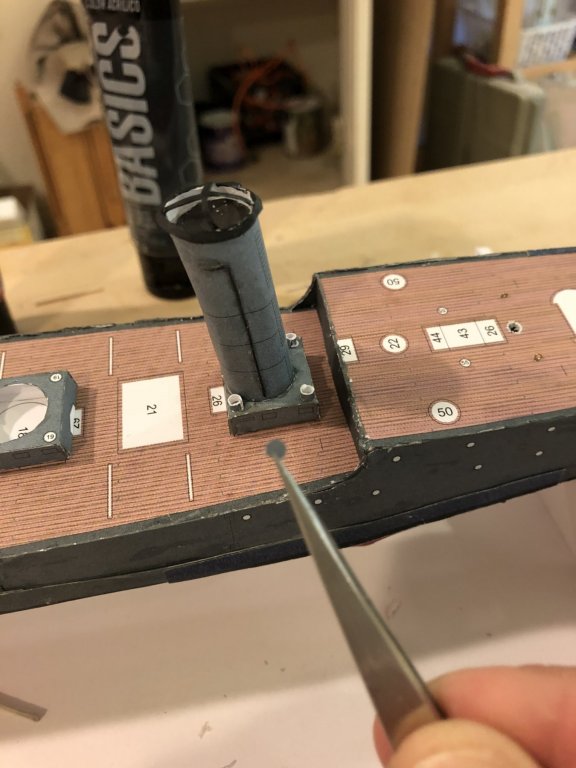
There are some tiny pieces in this model! I have to cut out and attach 16 of these little buggers around the funnels.
-
Turned out that the scale was too small to use the bandage stuff. I just wrapped some thread around the stay and made a reasonable approximation. Good enough for my old eyes anyway.
-
It has taken a while to figure out all the pieces for the funnels. i think I've got it. Some touch-up paint needed I see.

-
I need to make a mouse for my Granado. This looks like a good technique.
-
review BlueJacket Shipcrafters Lobster Boat: A Review
Papa replied to Cathead's topic in REVIEWS: Model kits
i purchased the kit around 2008, I think it was, when we were visiting Maine and I stopped into their facility in Searsport, ME and got around to building it just a couple years ago. Perhaps the kit had been up-graded since that time. It might even have been a Laughing Whale kit in a Bluekacket box. I have a Laughing Whale model of Slocum's "Spray" that I had been sort of reluctant to start. I just re-read his "Sailing Alone Around the World" and that has encouraged me to give it a go. -
review BlueJacket Shipcrafters Lobster Boat: A Review
Papa replied to Cathead's topic in REVIEWS: Model kits
And I should add: Cathead’s model looks fantastic. Could be taken for a real boat with some clever photoshopping -
review BlueJacket Shipcrafters Lobster Boat: A Review
Papa replied to Cathead's topic in REVIEWS: Model kits
I also built this lobster boat and had similar experiences as cathead: bulkheads not correct and needing shims etc. I also thought the plans were very poor and the instructions often bore little relationship to the plans. The wood was brittle and I was constantly fixing broken parts. Over all I was very disappointed with the kit, as I have been with other the Bluejacket kits I built: ironclads Monitor and Virginia. -
I love the jig for the bulkheads. You should do a short construction article on that alone!
- 55 replies
-
- 1
-
-
- cutty sark
- sergal
- (and 2 more)
-
The detail is amazing. You have a steady hand and a sharp eye. This model just blows me away.
-
Don't think that is necessary, the cradle is foam-core poster board so not likely to injure me. But, point taken, the edges might get in the way. I will see how it goes as i progress. Not sure what to do for a permanent mount if she ever gets finished.
-
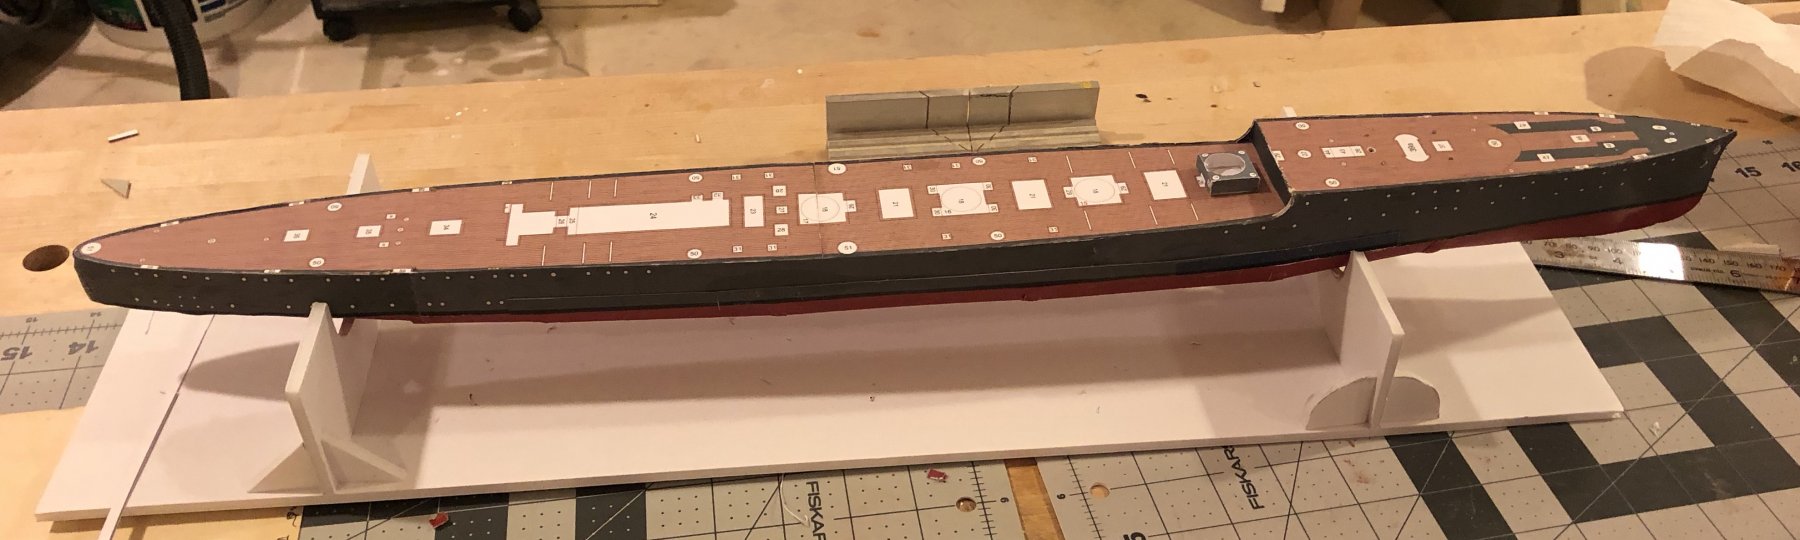
Now that I have nearly finished the hull I have learned some valuable lessons. 1. Use white glue VERY sparingly. 2. Keep your workspace spotless so that you don't lay a critical part on some wet paint 3. Thicken the bulkheads or add lots of longitudinal bracing so that all of the hull plates lie smoothly. 4. Trim the seam-hiding strips so that the additional armor plates do not overlap and leave an ugly bump. 5. Write part numbers on the back before cutting out. I can't wait to see what I learn as I attempt the deck furnishings.
-
Trip to Italy was the Tauck "Classic Italy". We started in Sorrento and the Amalfi coast, then went to Pompeii, Rome, Orvieto, Assisi,San Gimignano, Cinque Terre, Florence, and Venice. A fantastic trip
-
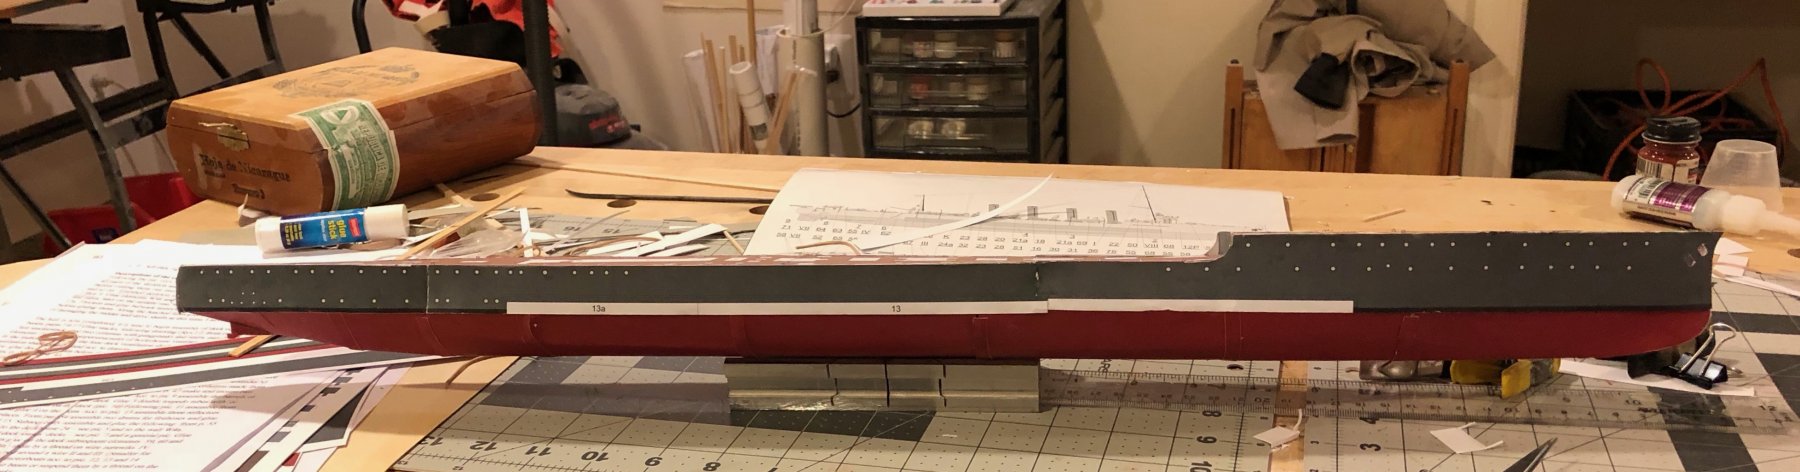
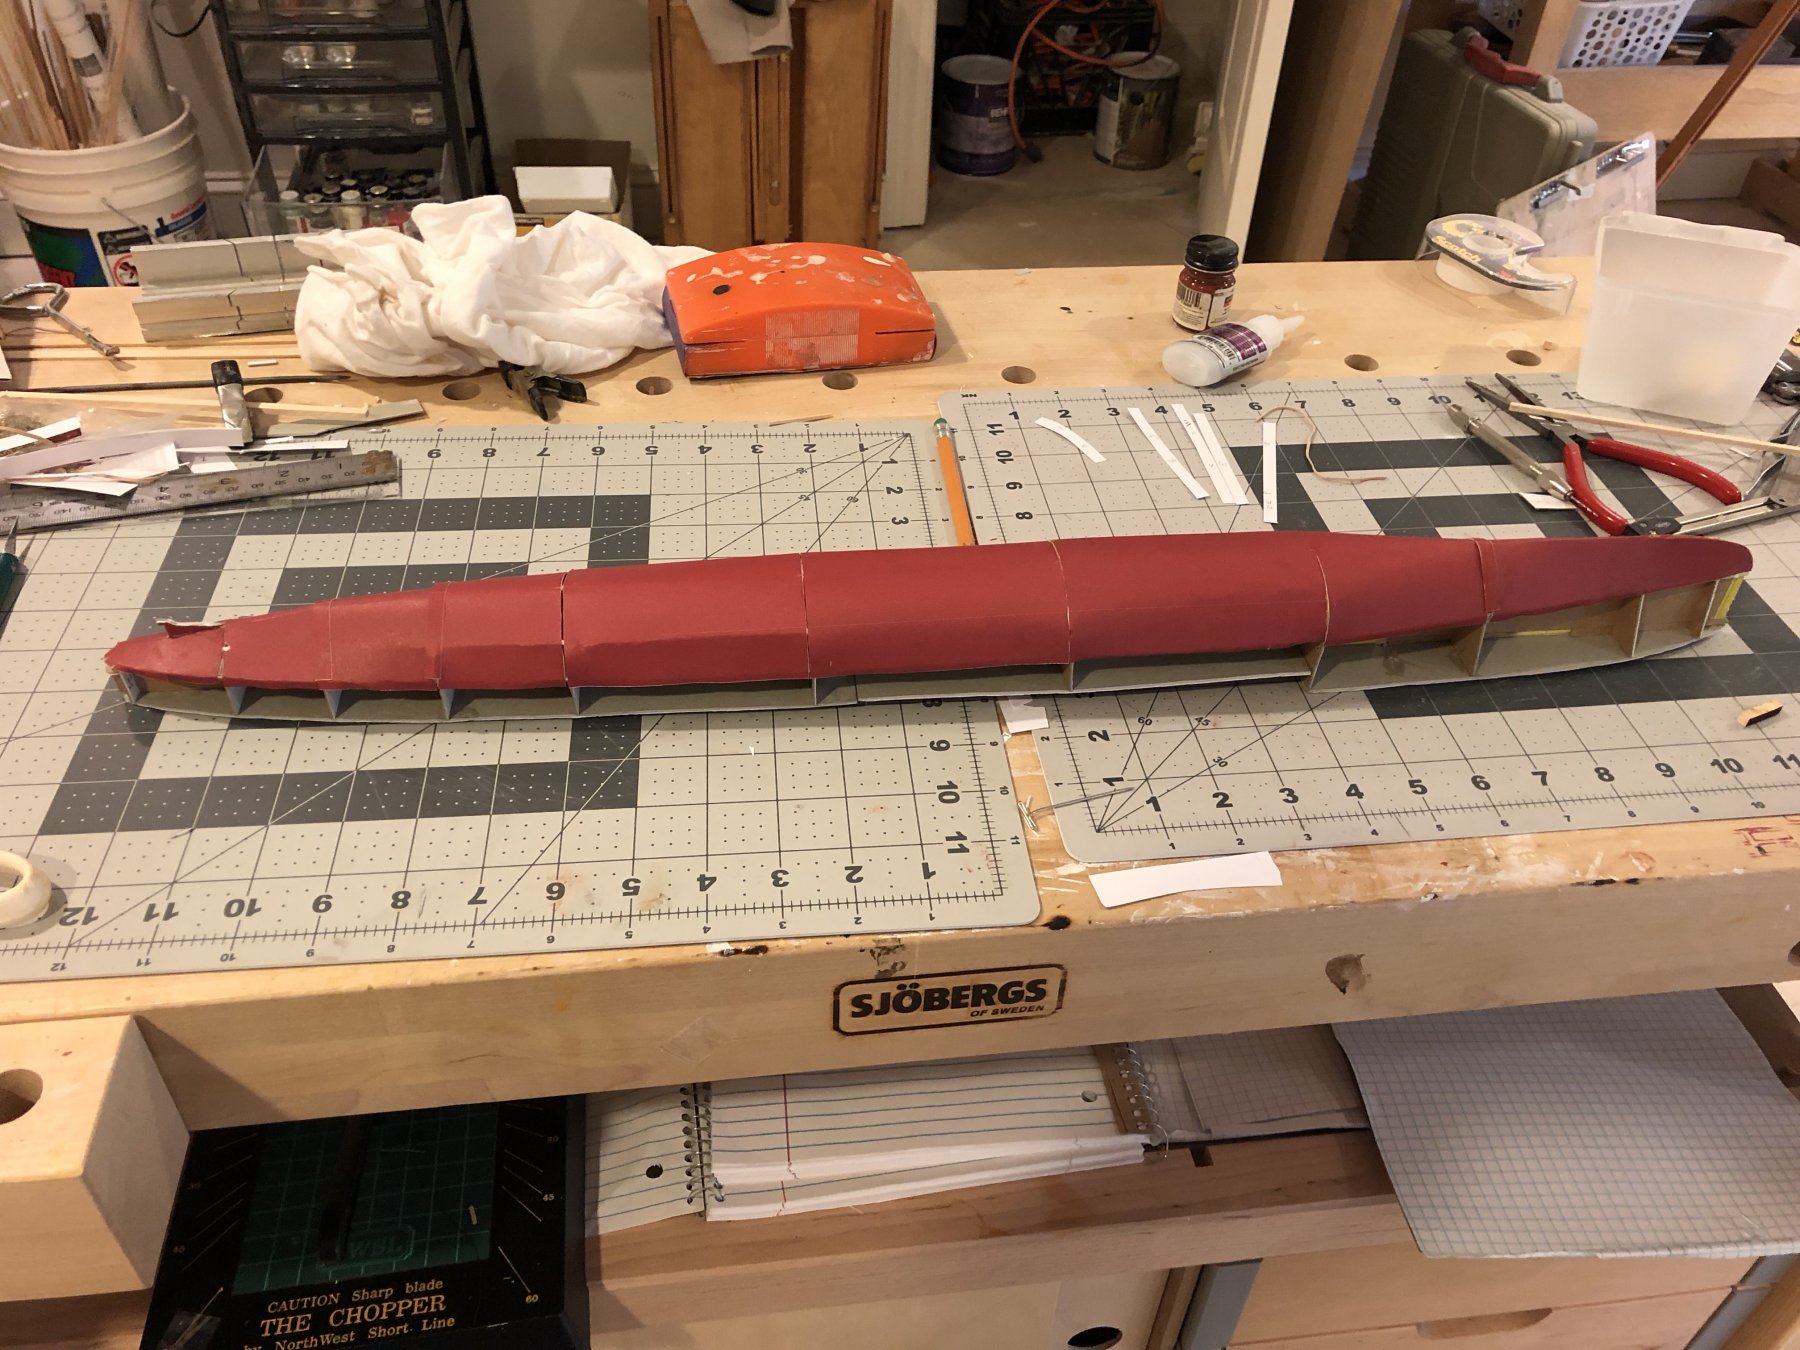
Back from our tour of Italy and back to my models. Almost finished with the lower hull. Adding the seam hiding strips

-
I did a log on the Chaperon by Model Shipways and I am doing a paper model now--Helgoland