HOLIDAY DONATION DRIVE - SUPPORT MSW - DO YOUR PART TO KEEP THIS GREAT FORUM GOING!
×


Bill97
-
Posts
2,701 -
Joined
-
Last visited
Content Type
Profiles
Forums
Gallery
Events
Everything posted by Bill97
-
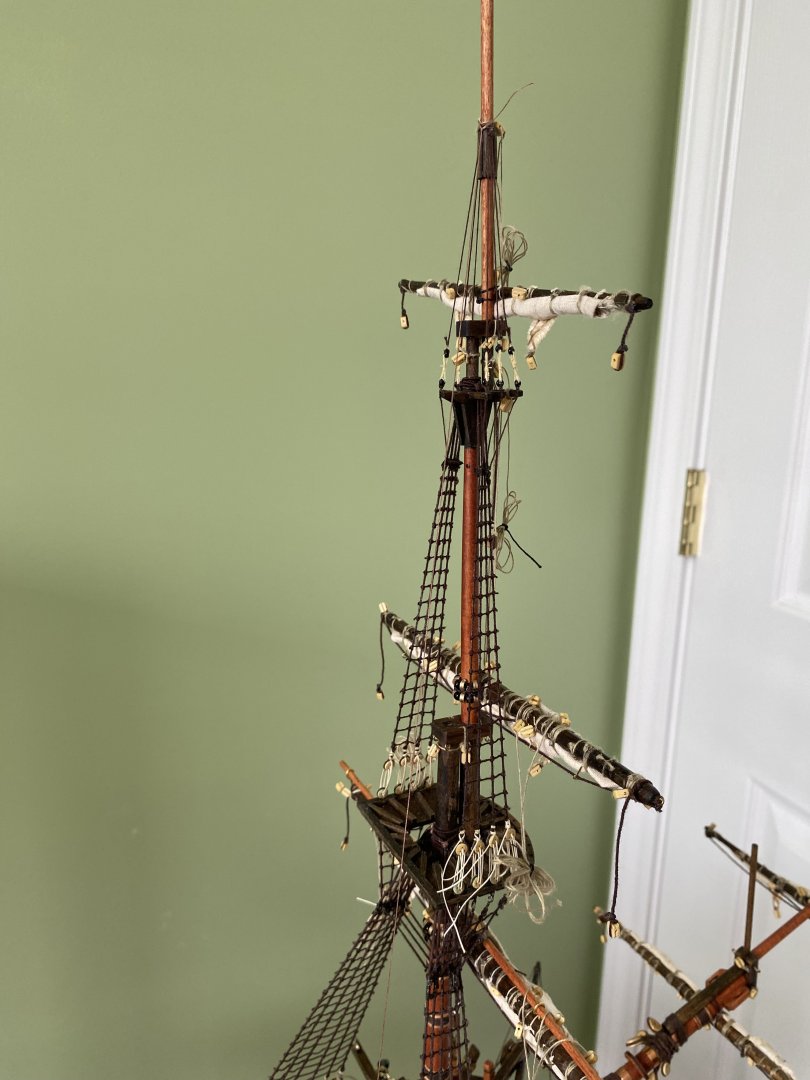
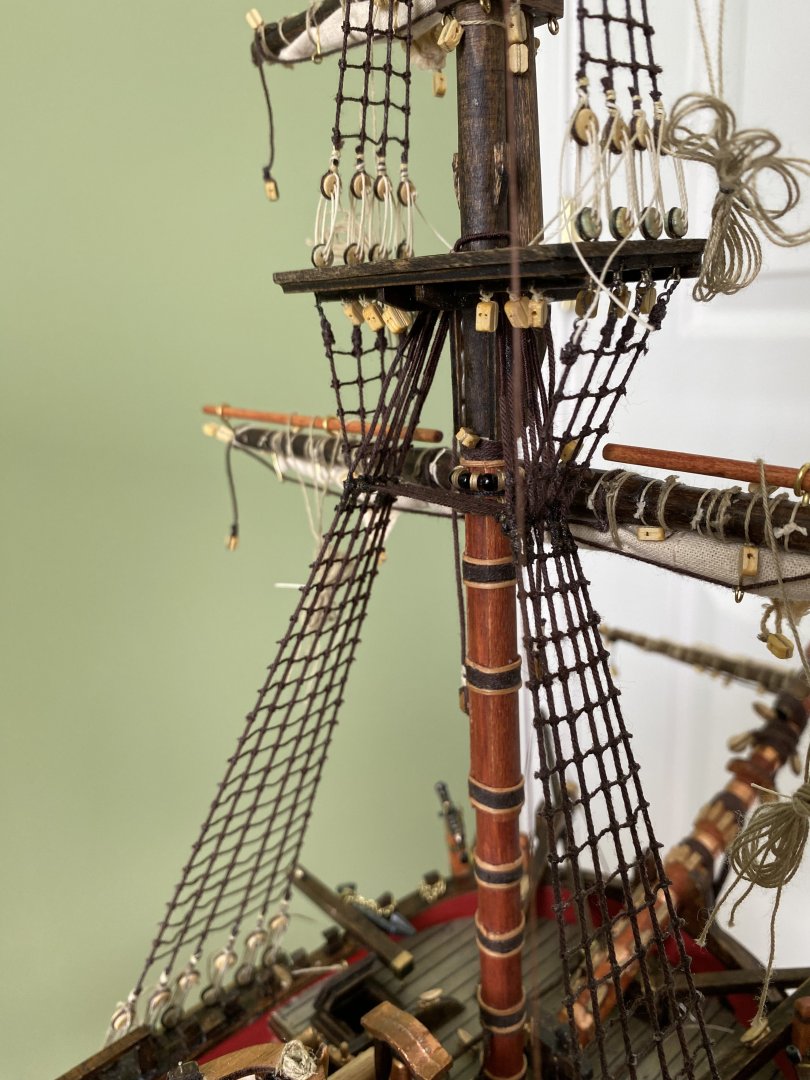
Ok. Wow there is a bunch of stuff! Finished the foremast standing rigging except for the stays. Let’s see what is included on this mast. Of course the lower and top shrouds and ratlines. Lower and upper futtock shrouds. Lower and upper catherpins. Lower and upper tackles. Fully rigged yards. And so much more. Now to the main mast.

-
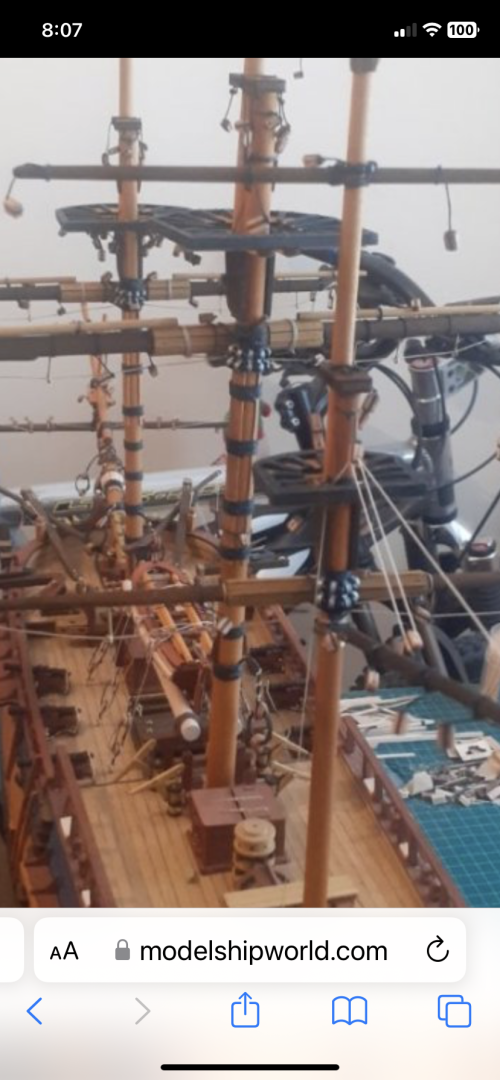
Beautiful Dan. I noticed the AV does not use deadeyes and at the end of the shrouds but instead those little white pieces. I see that is the same on the actual ship, not an OcCre short cut. They are interesting. 🤔. I imagine there are a number of differences in the ship mechanisms from the 16-17 century ships I have built.
-
Thanks Daniel. That is the same for the Endeavour. Easy to add nautical accuracy. Will check the web site.
-
Daniel I just ordered the OcCre Amerigo Vespucci. Expect it to arrive soon. I will open the kit after I complete the OcCre Endeavour I am currently building. I checked the index here on MSW and discovered your build is the only OcCre! I have read through yours and have it saved for easy reference. I really like what you did with the lighting. I would so appreciate it if you would share with me any advice you might have for me.
-
Happy Thanksgiving to all my MSW friends. Those who celebrate the day as well as everyone else. I am truly thankful for all the help, advice, encouragement, and general comraderie you have shown me.
-
Port side lower foremast shrouds and ratlines finished. Oh so many knots! Starting starboard side.
-
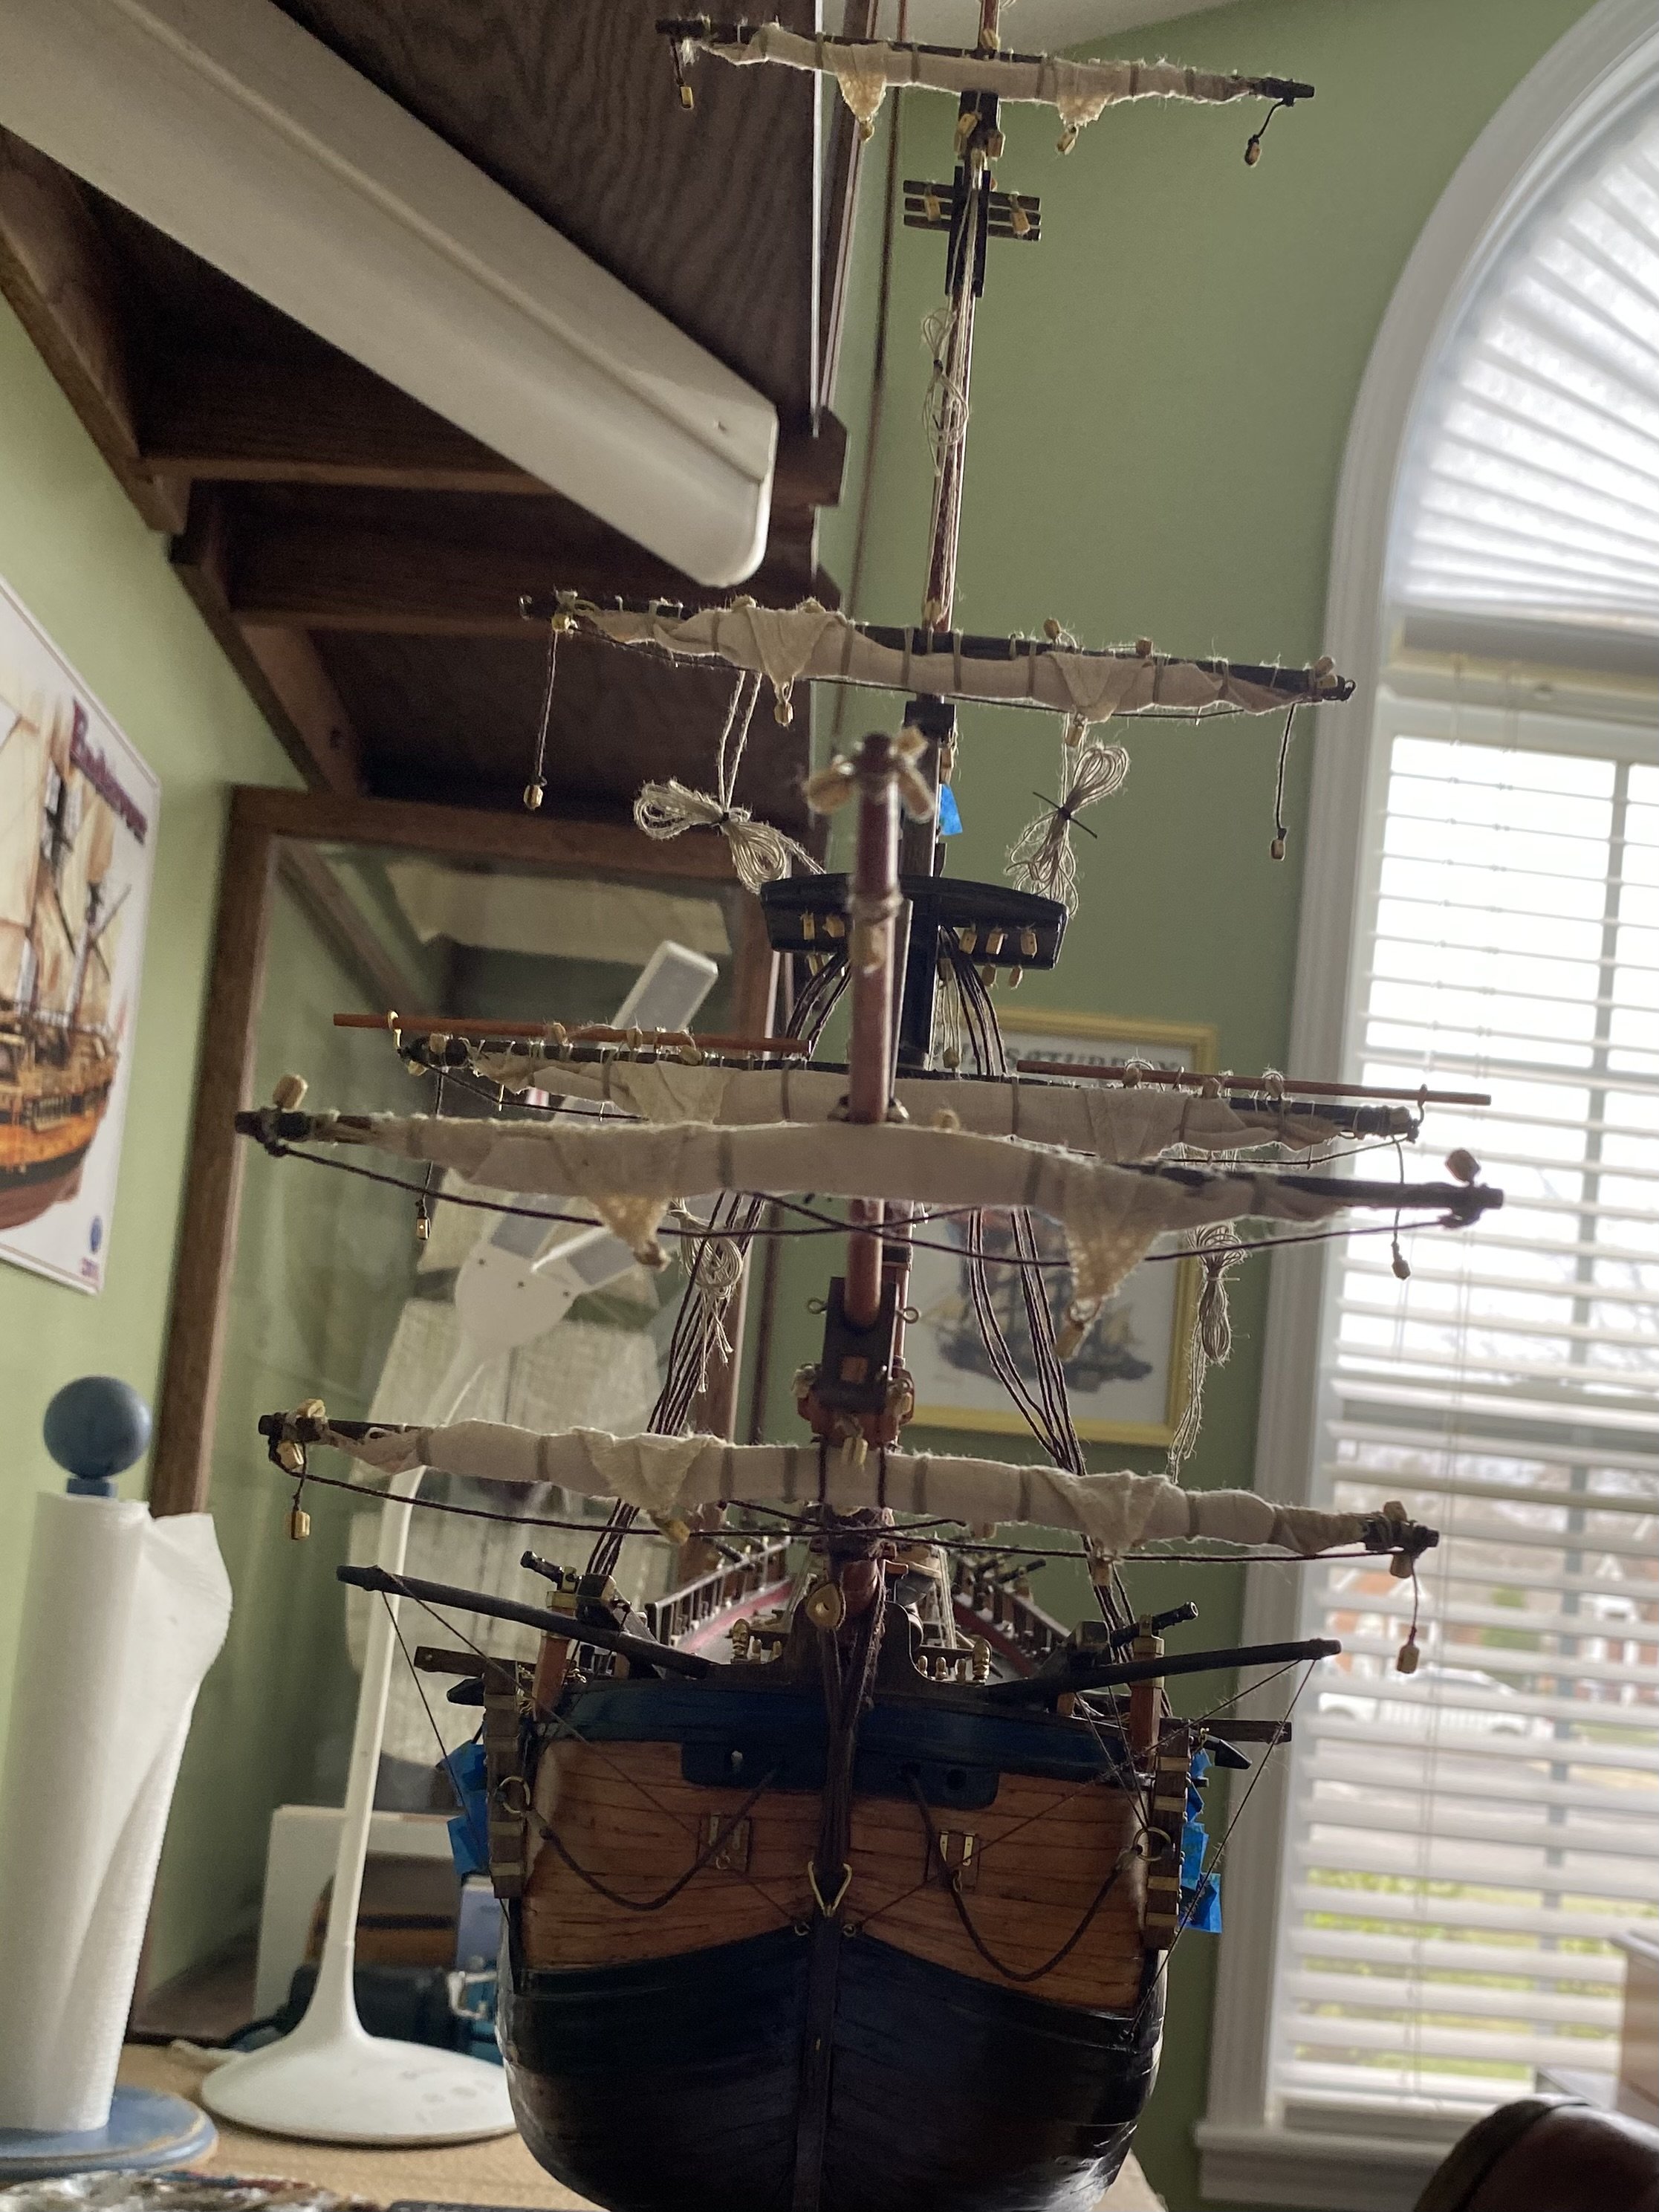
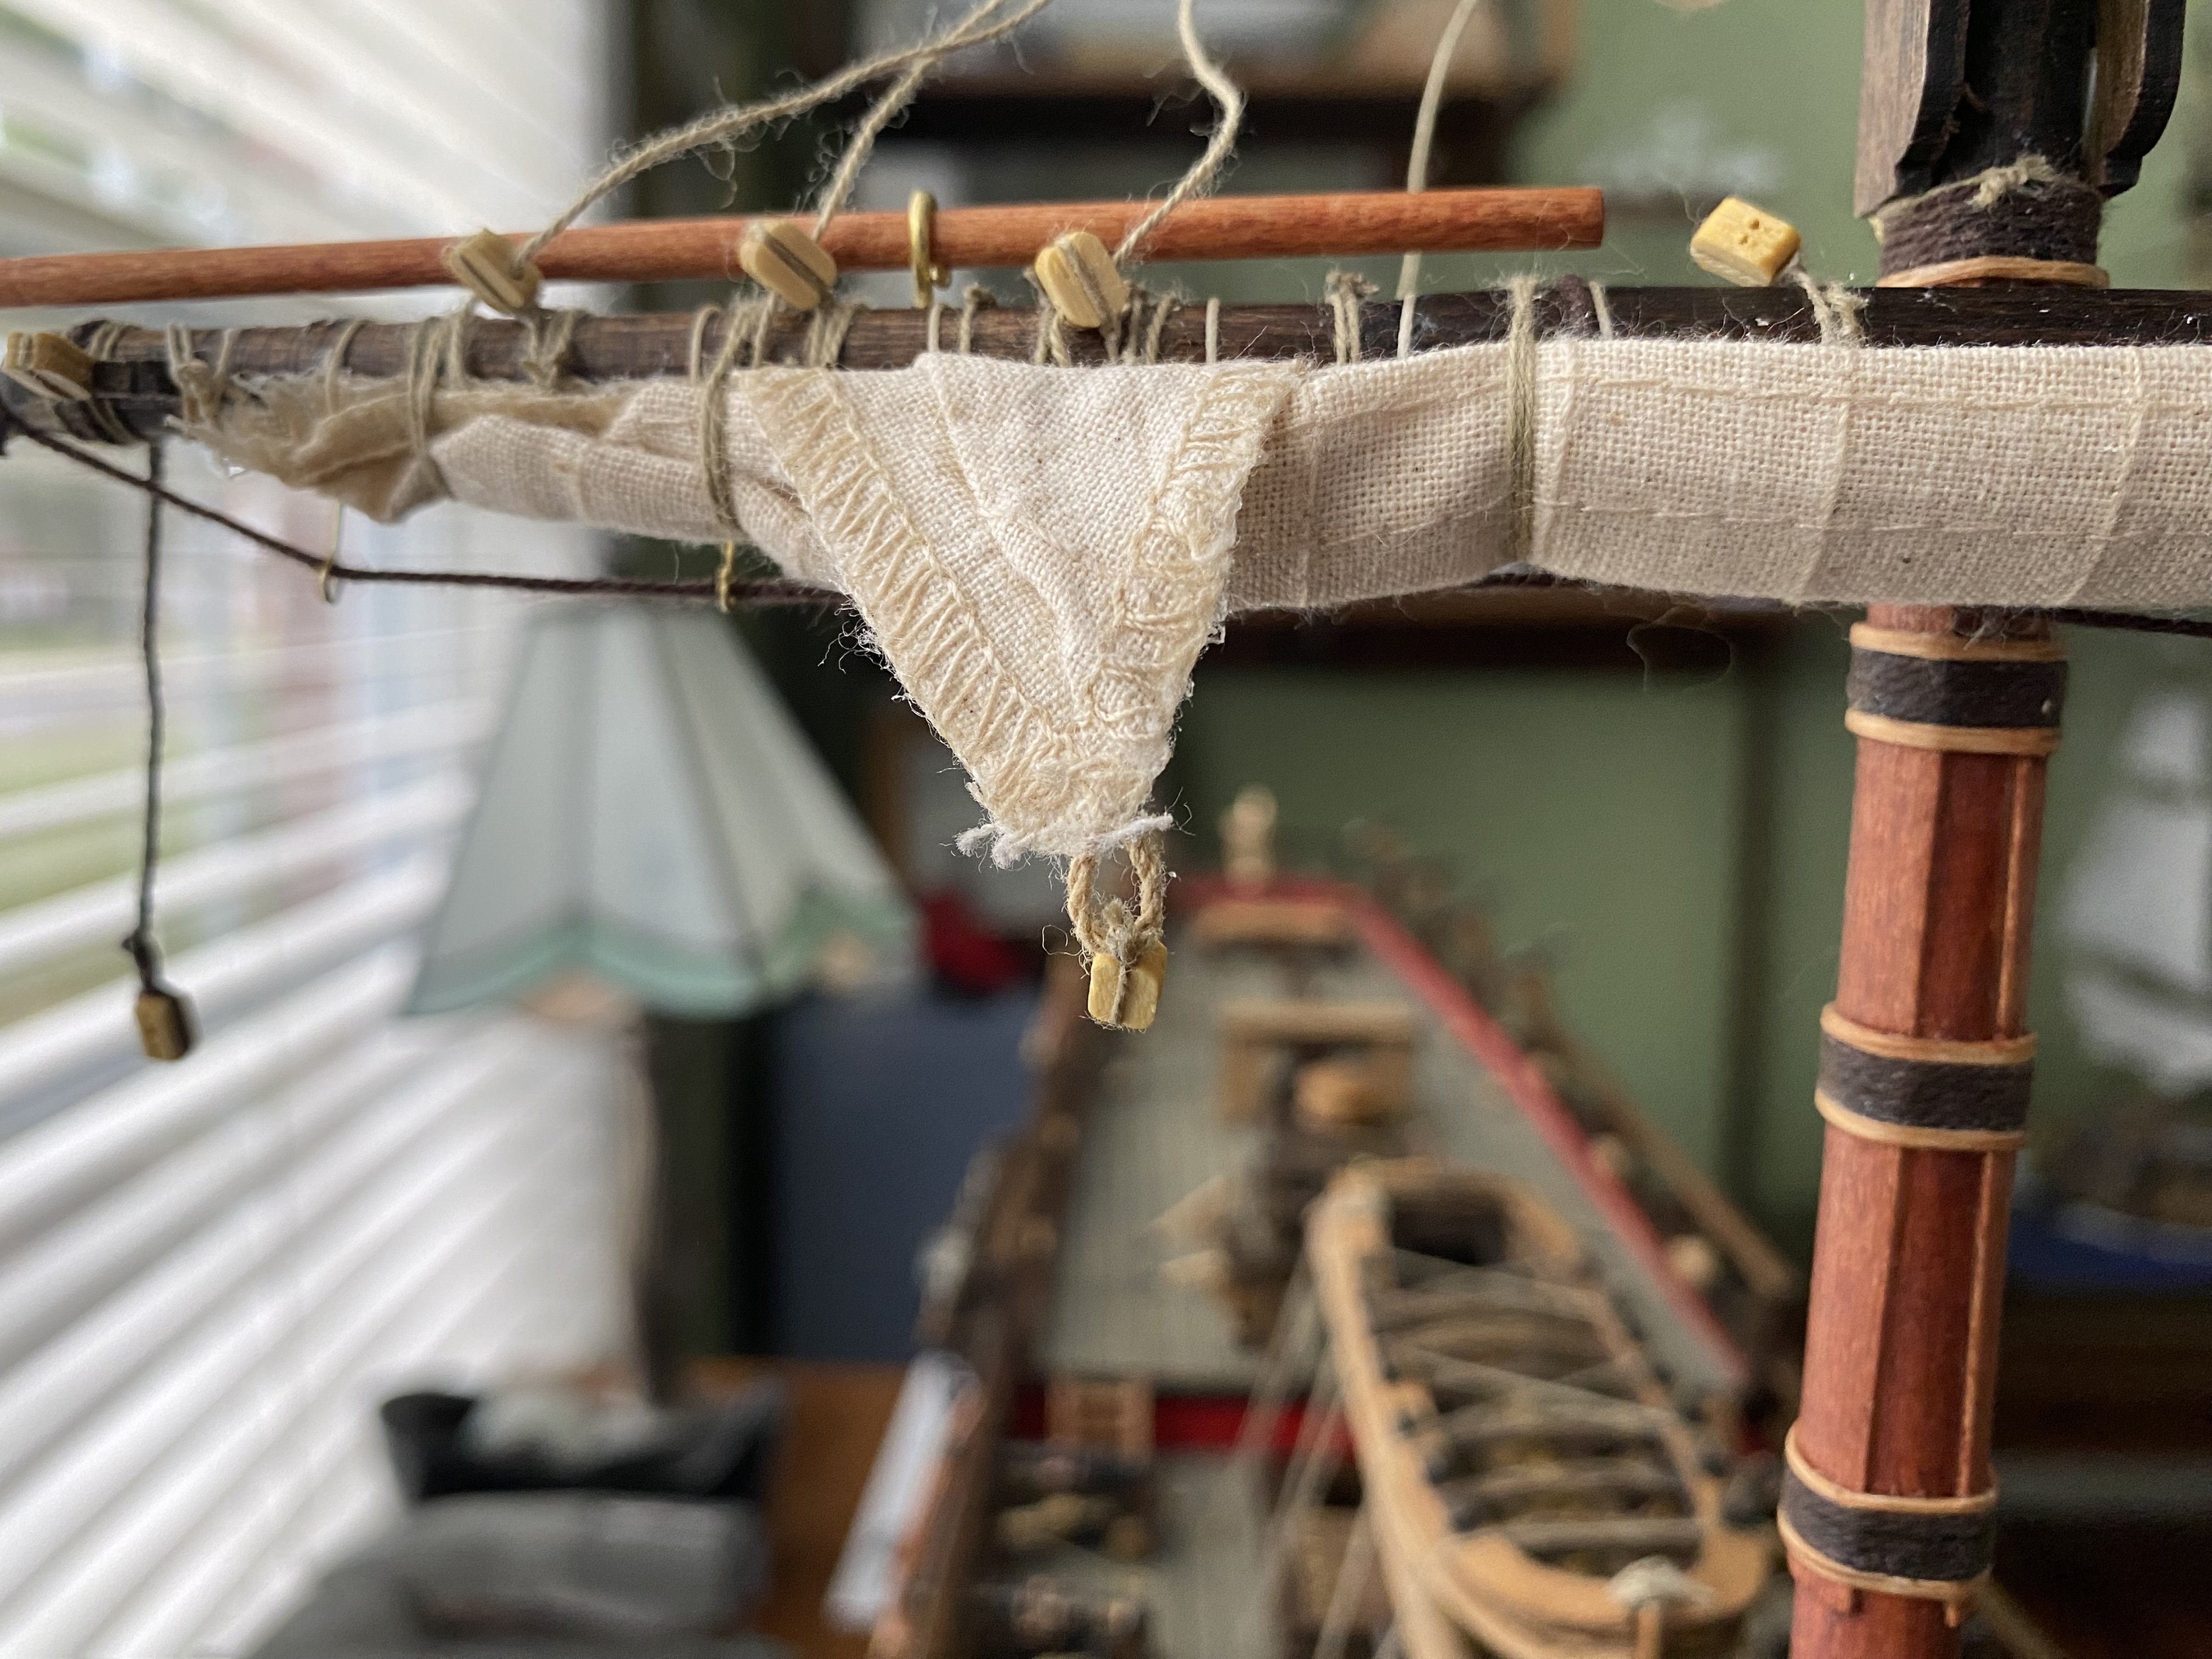
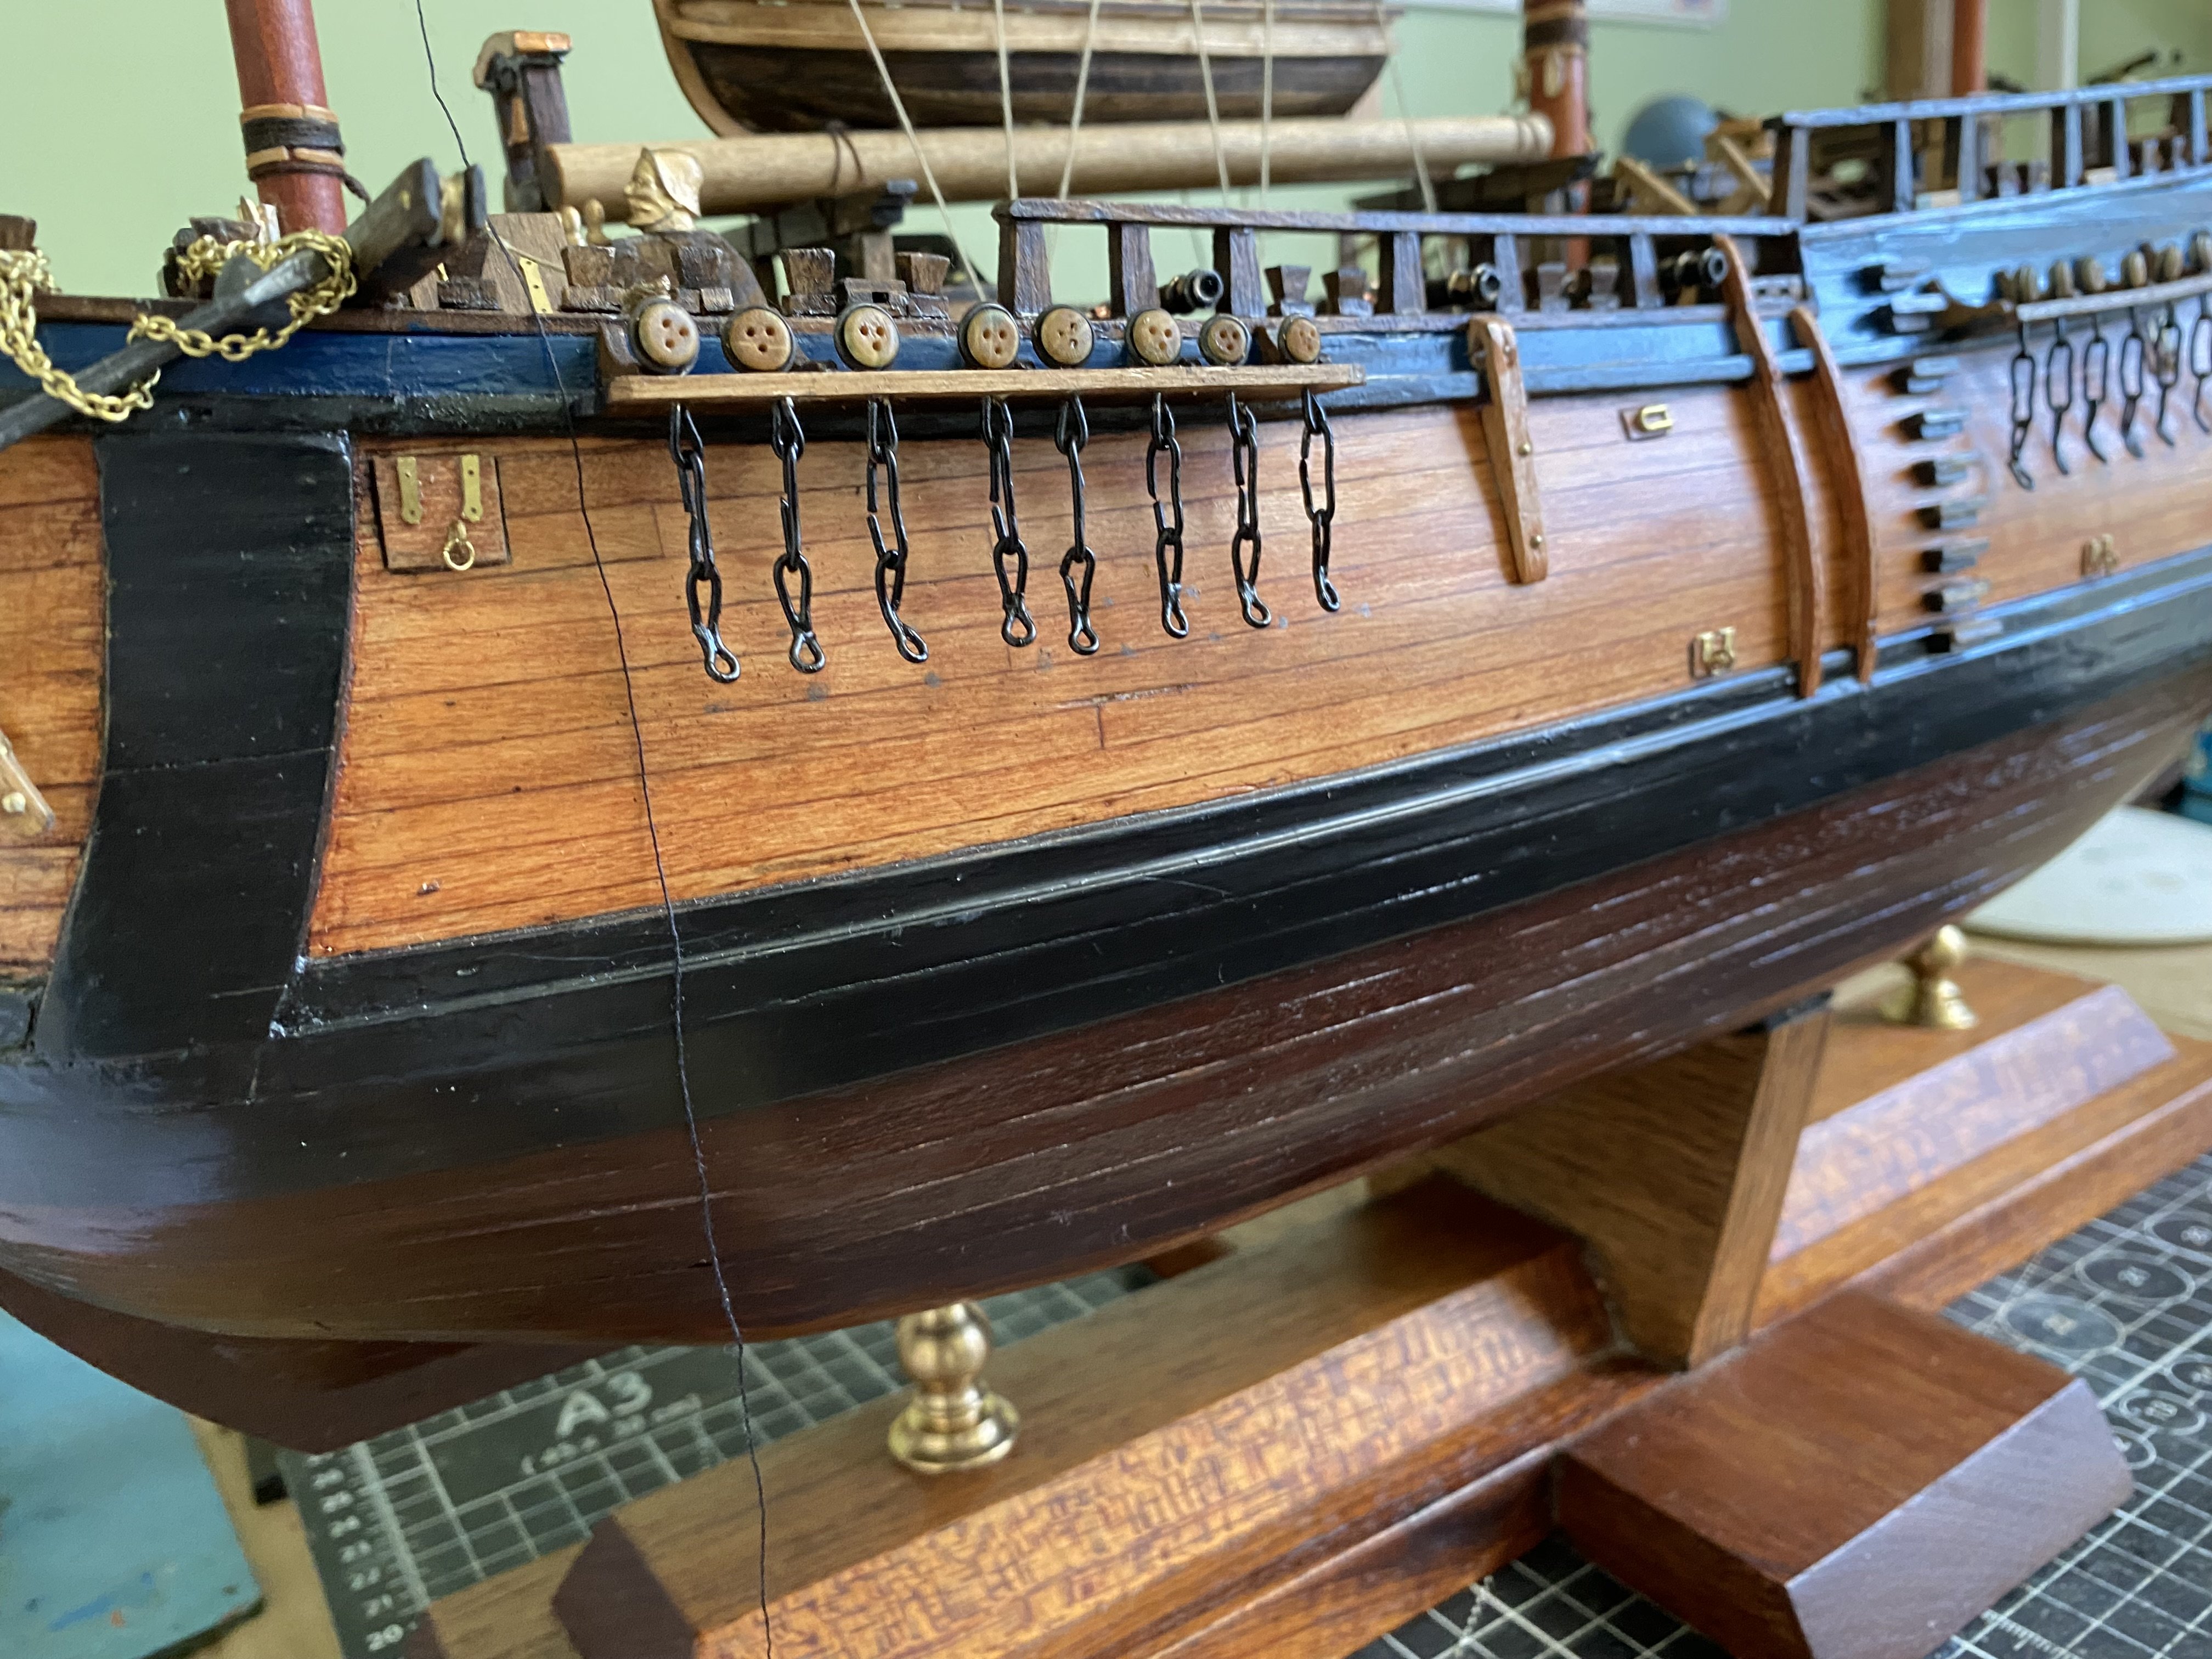
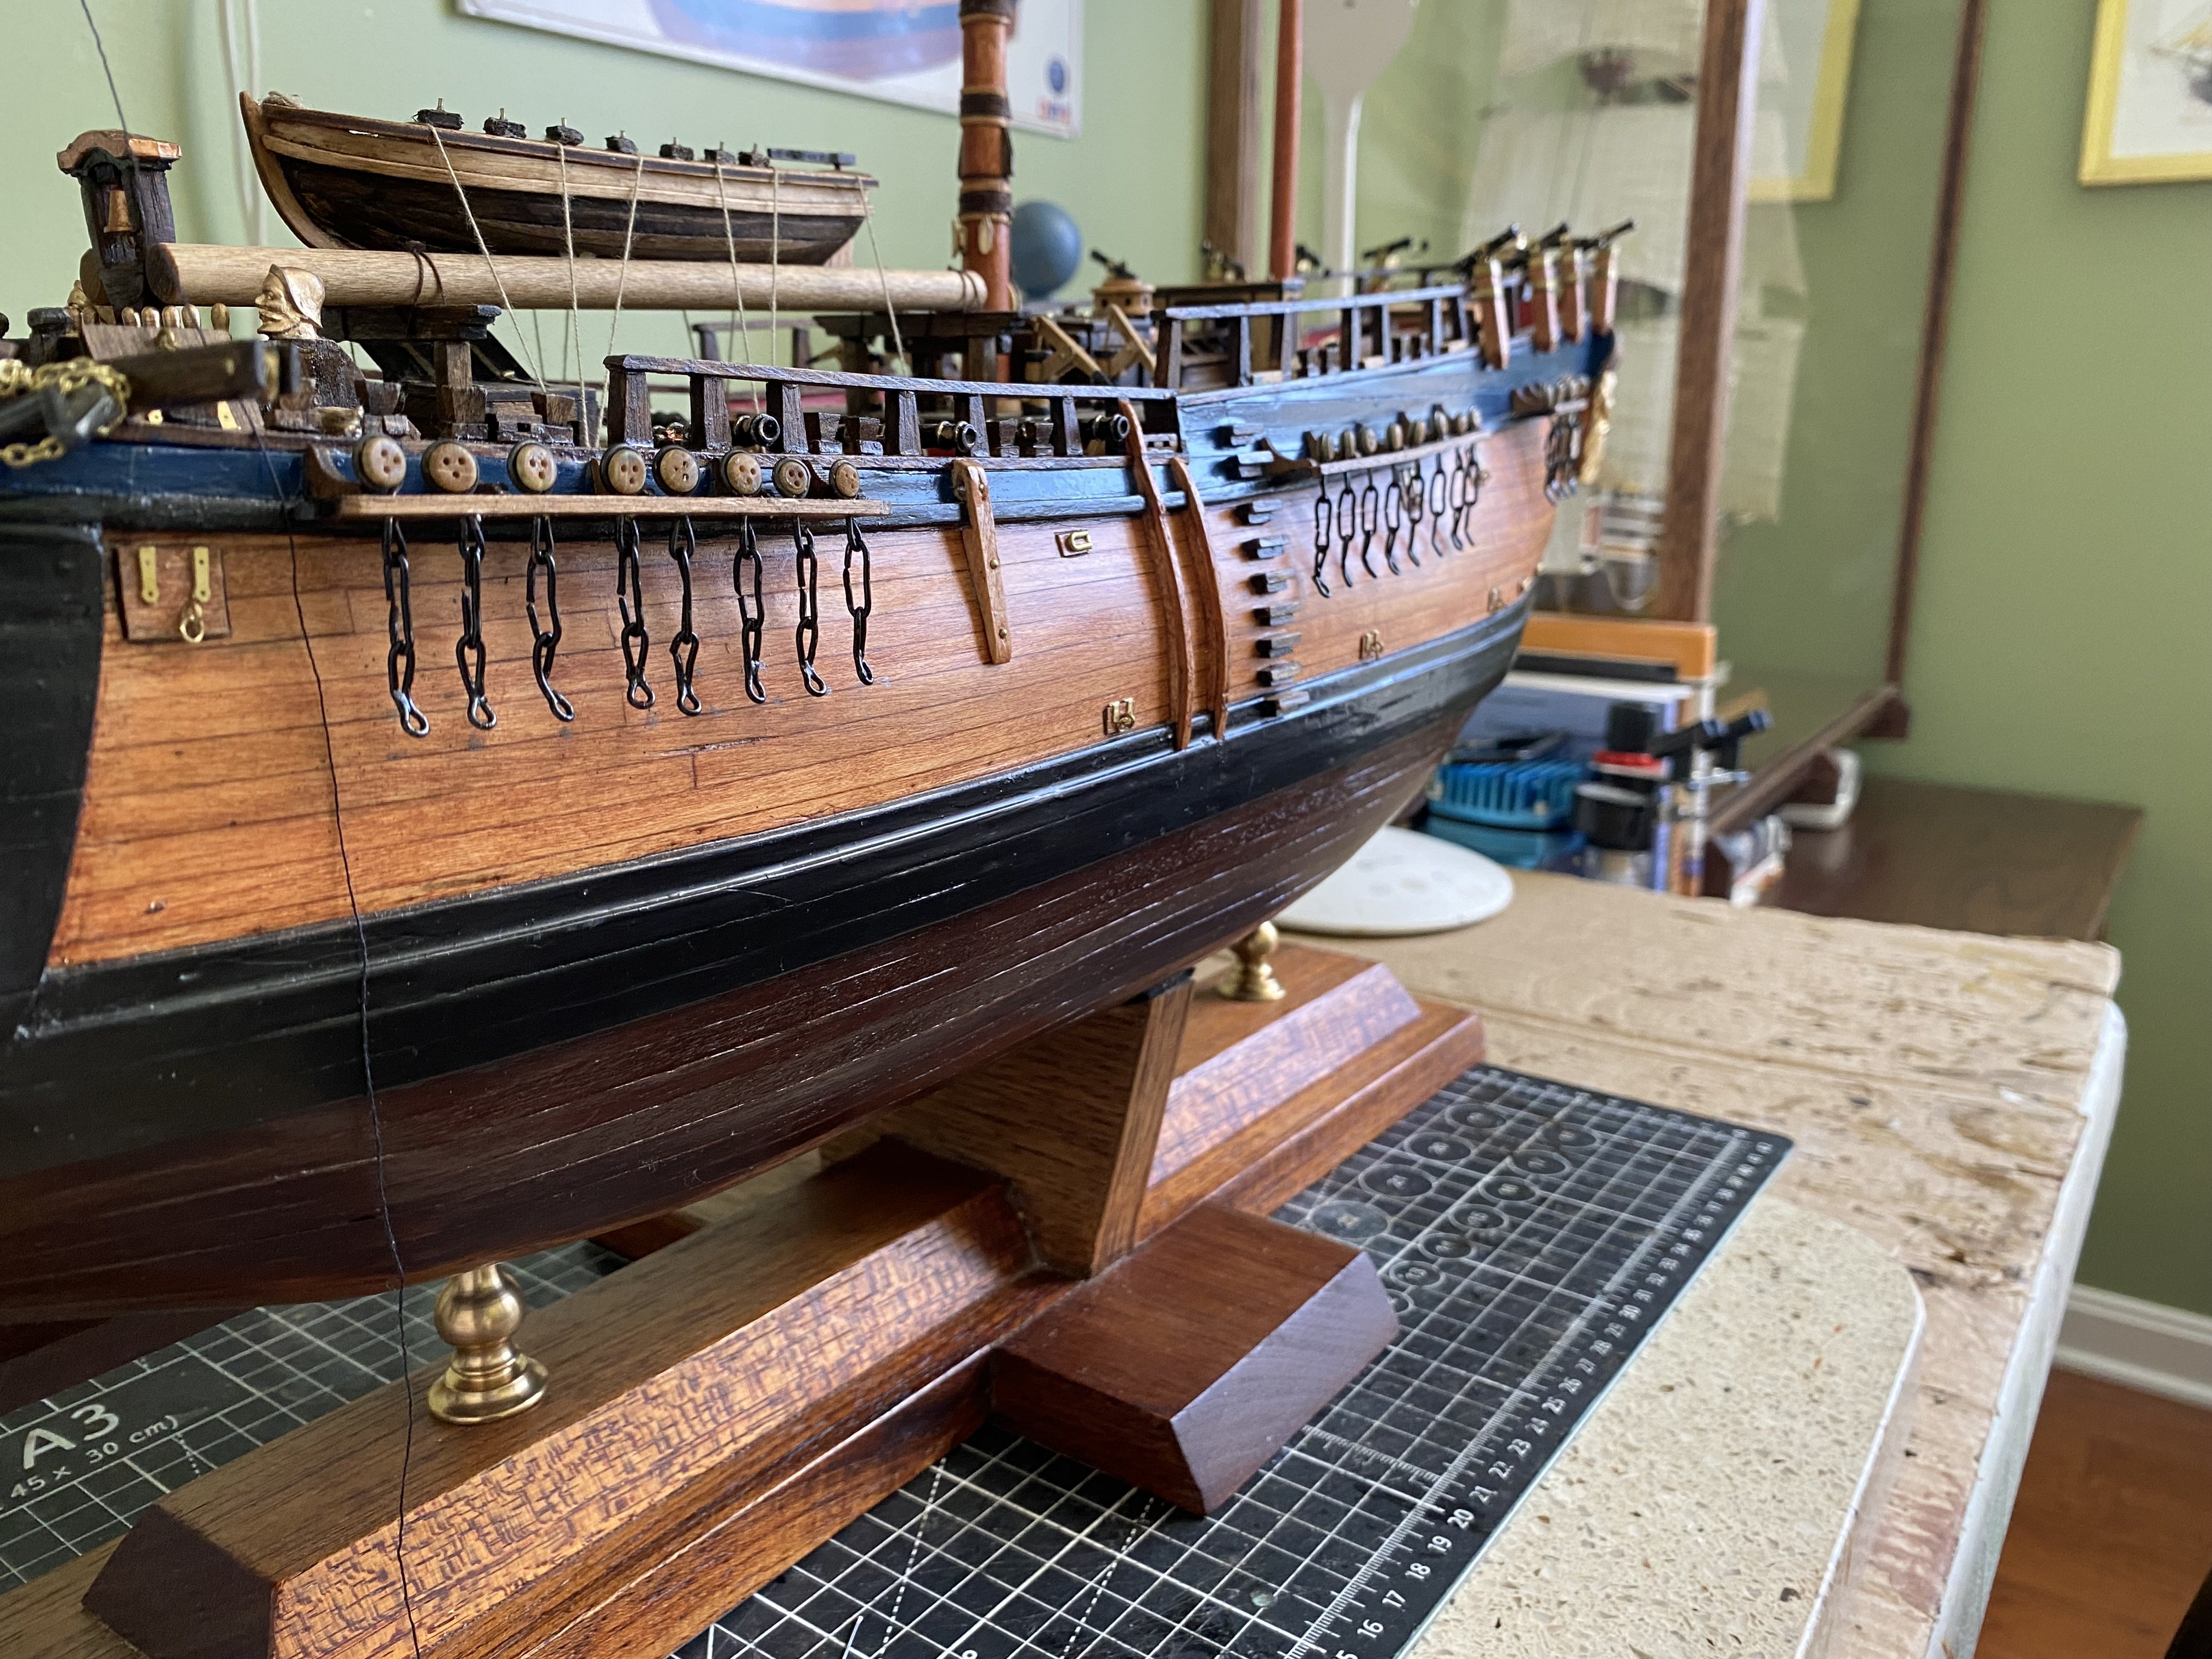
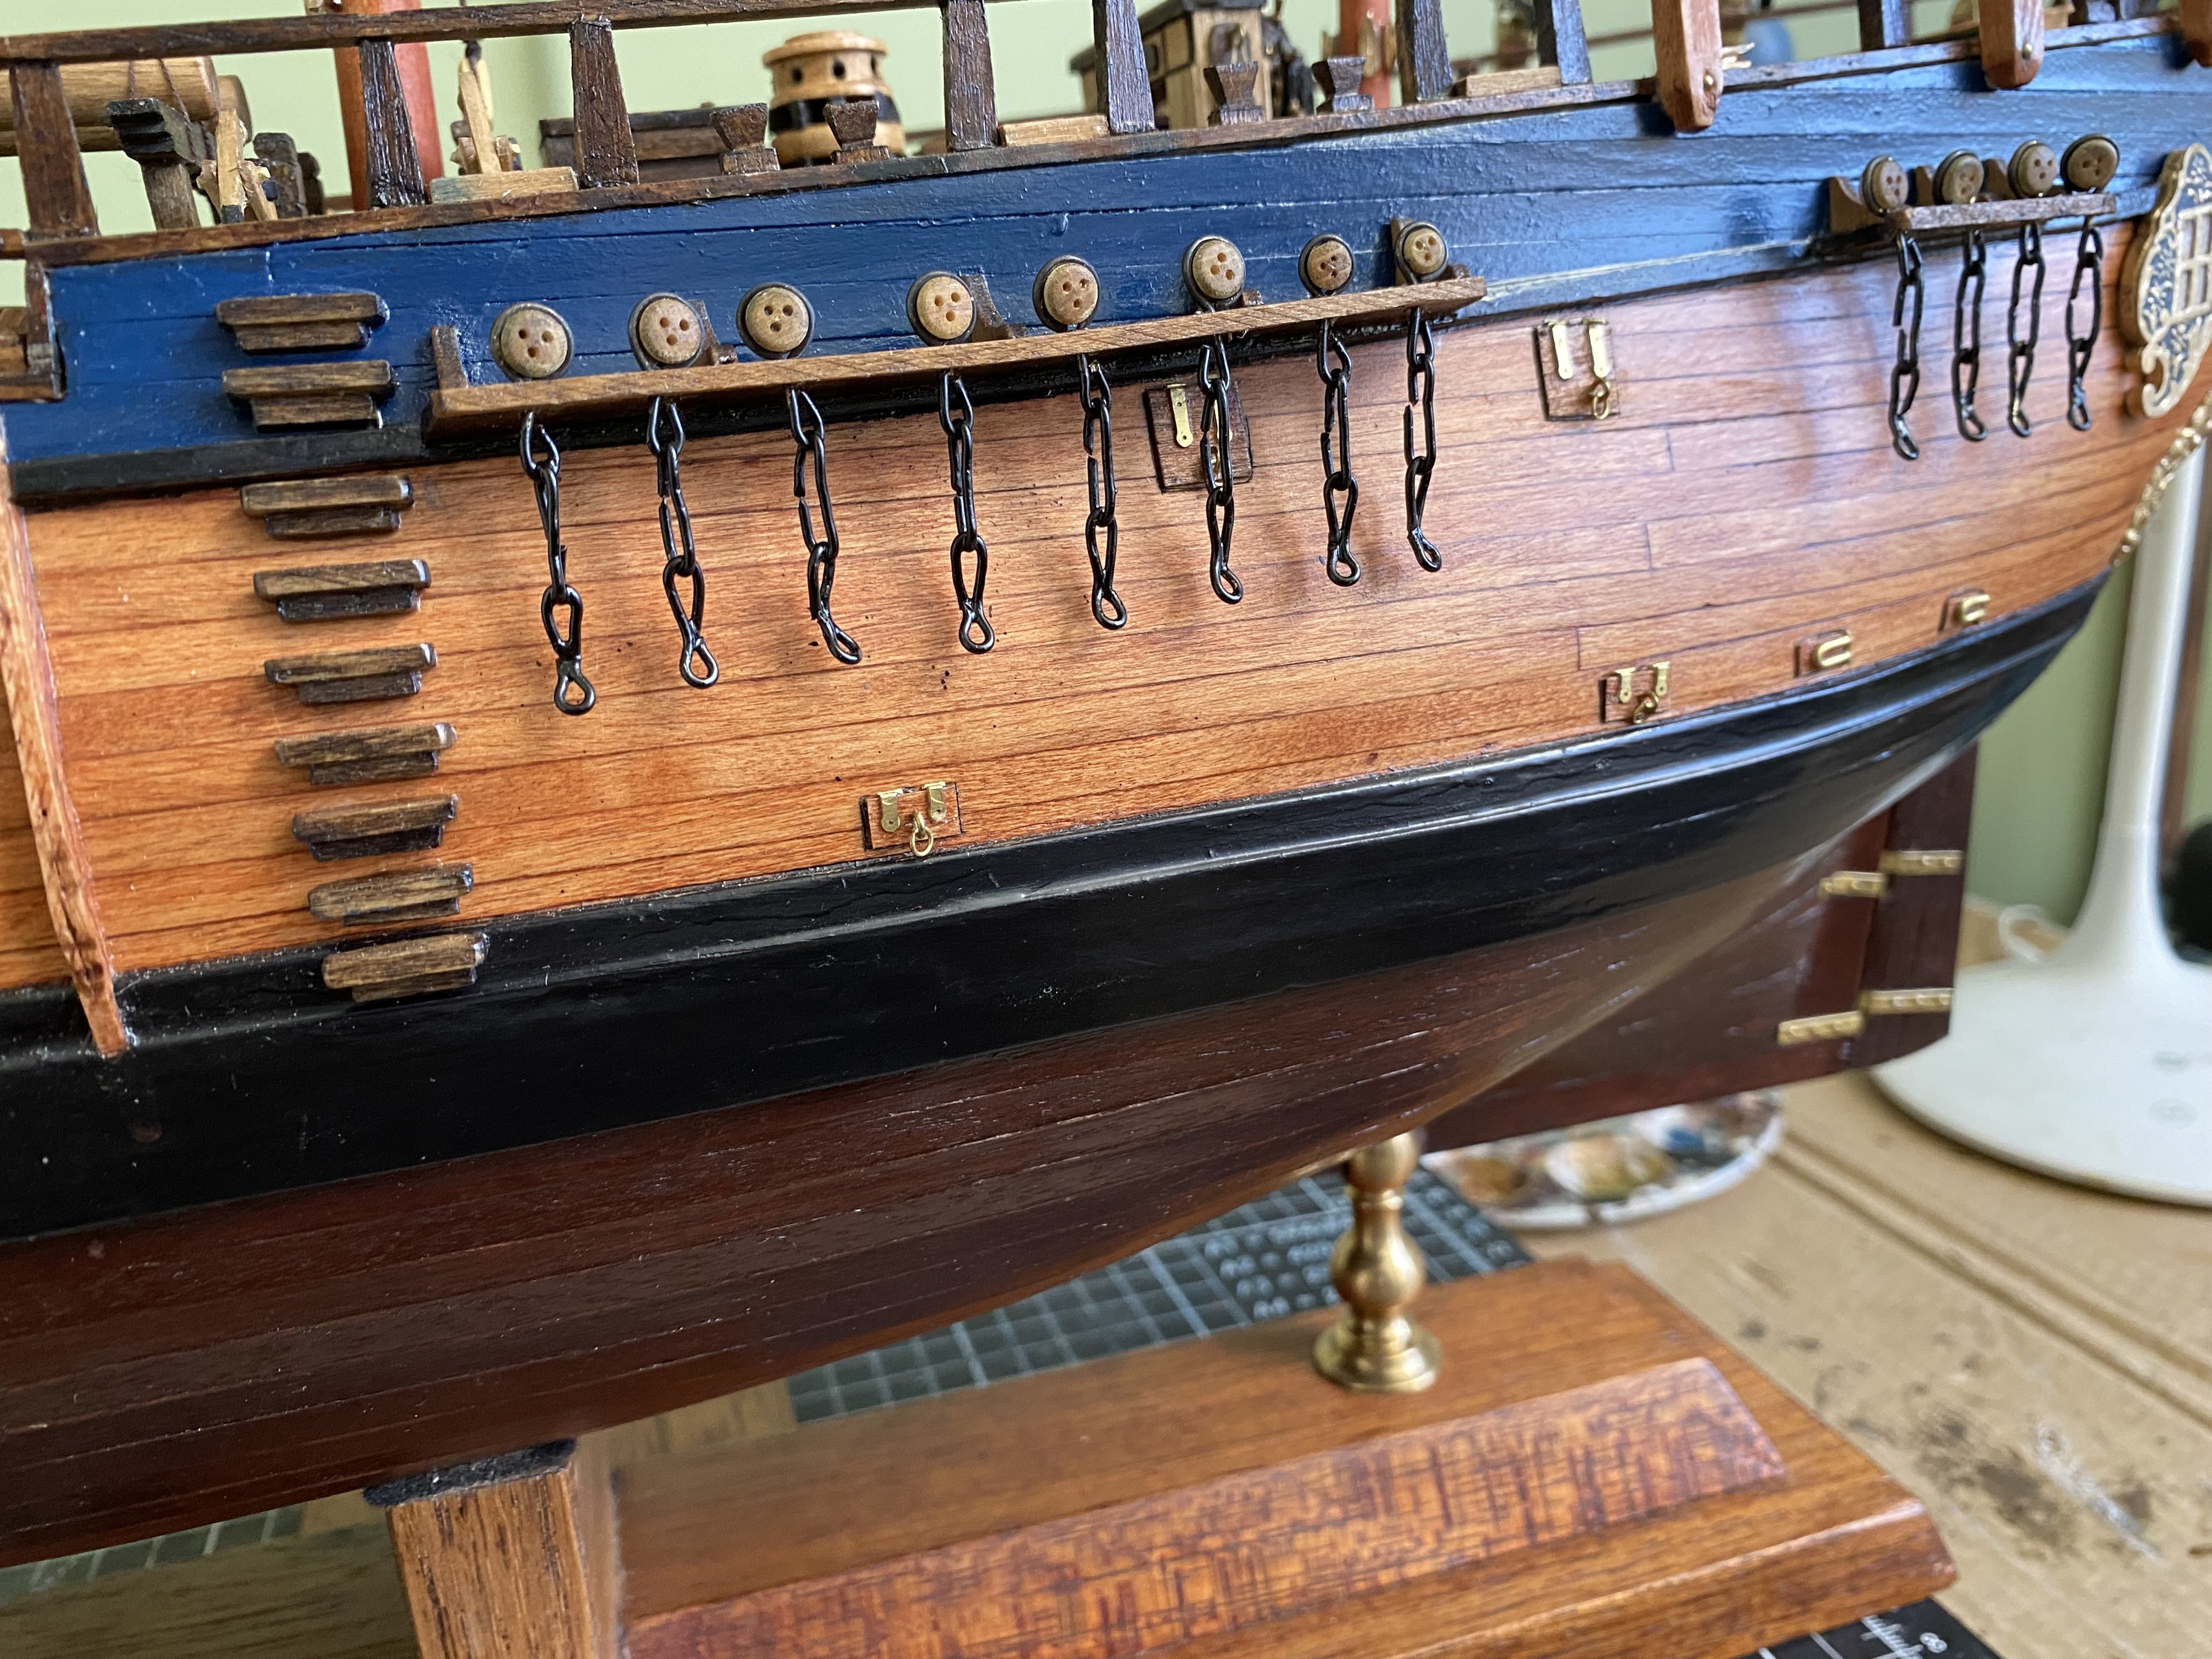
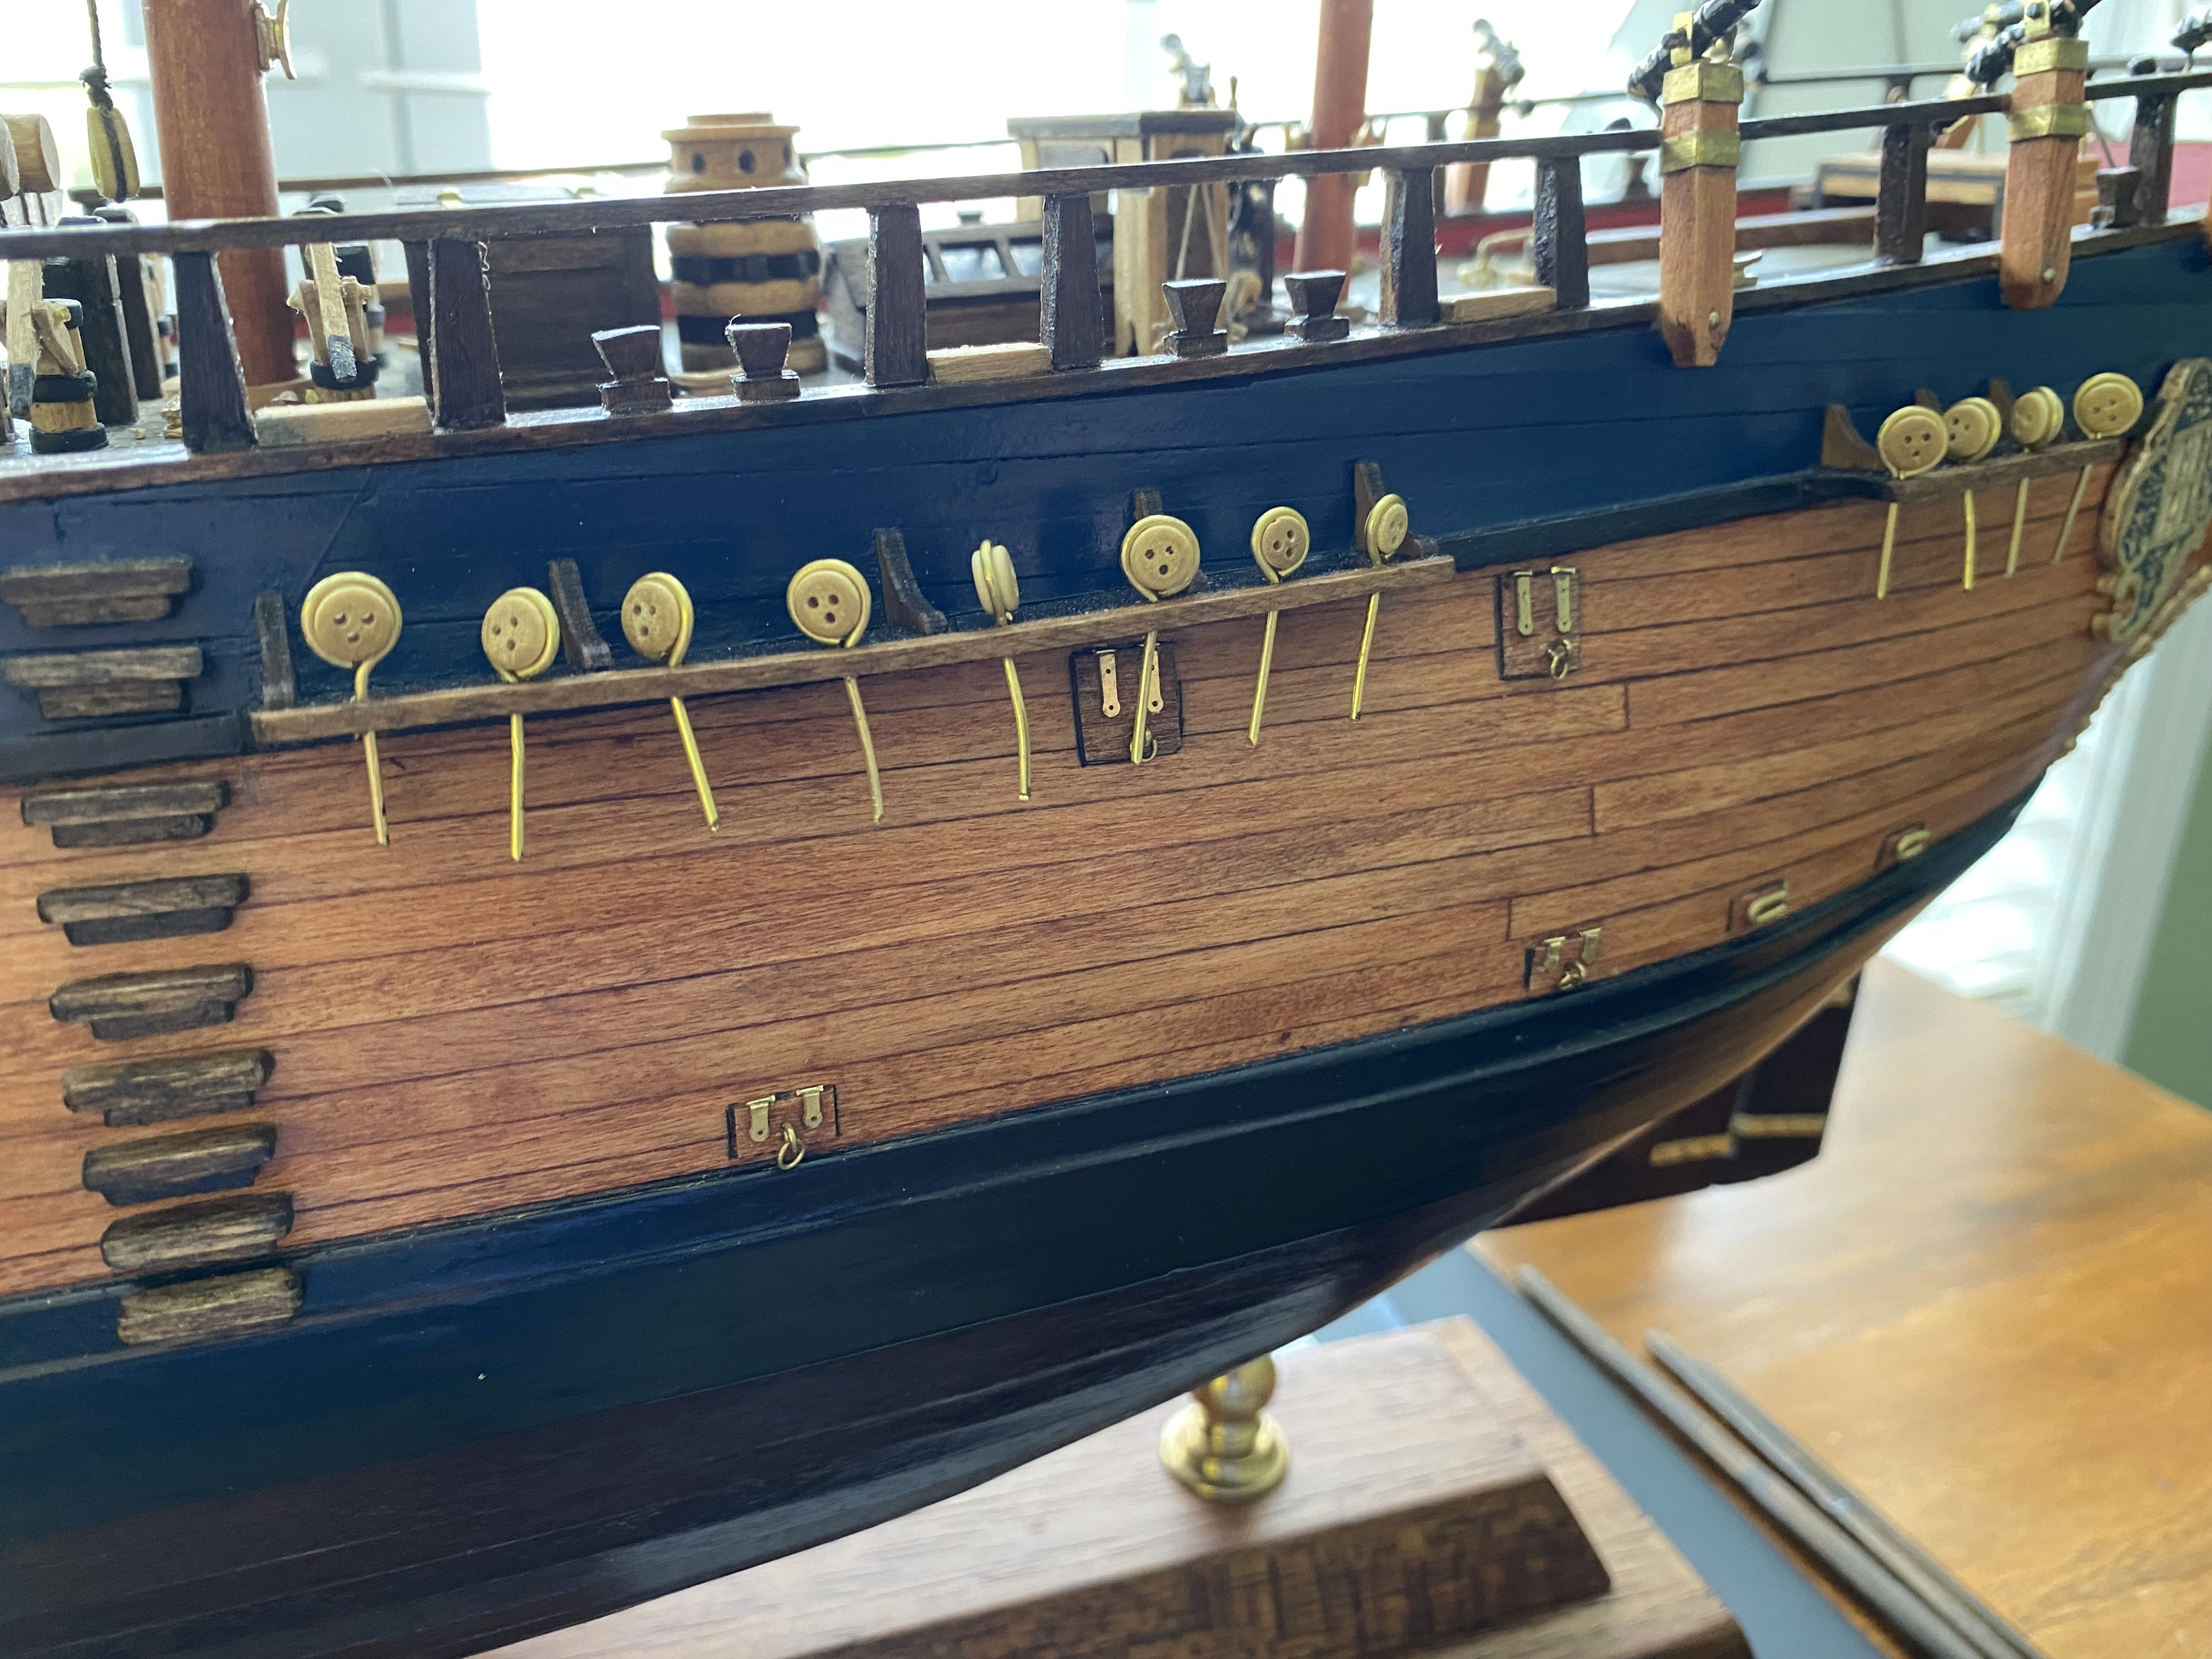
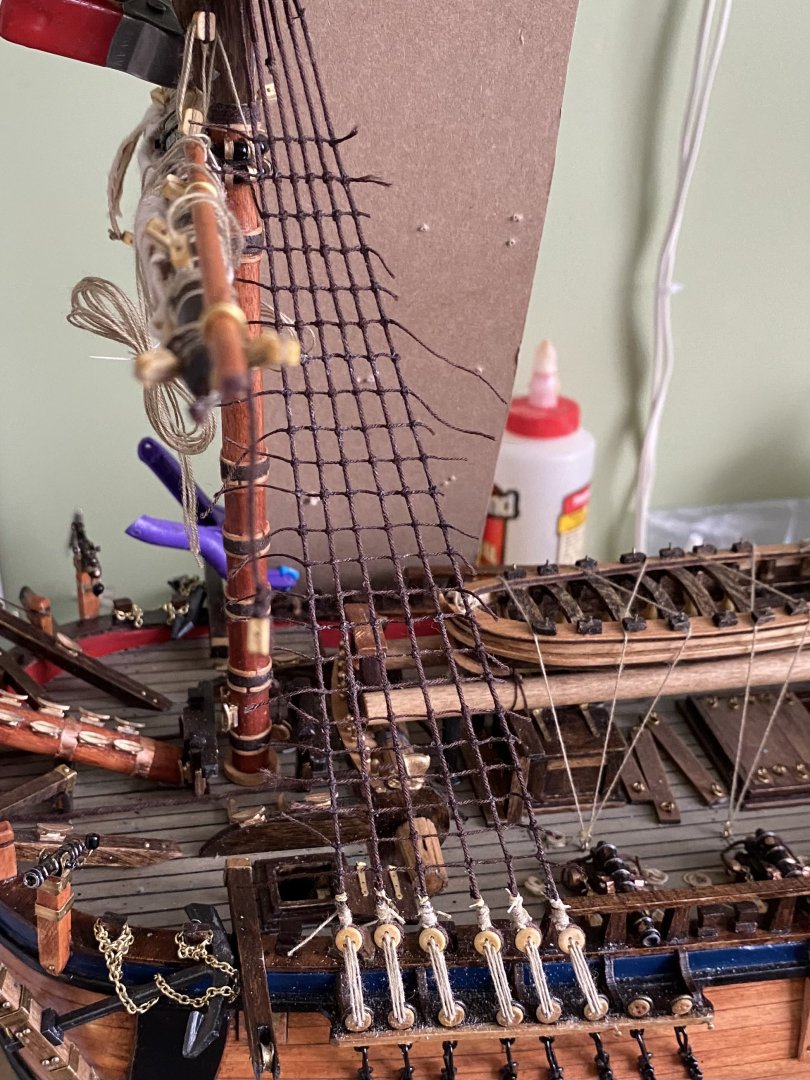
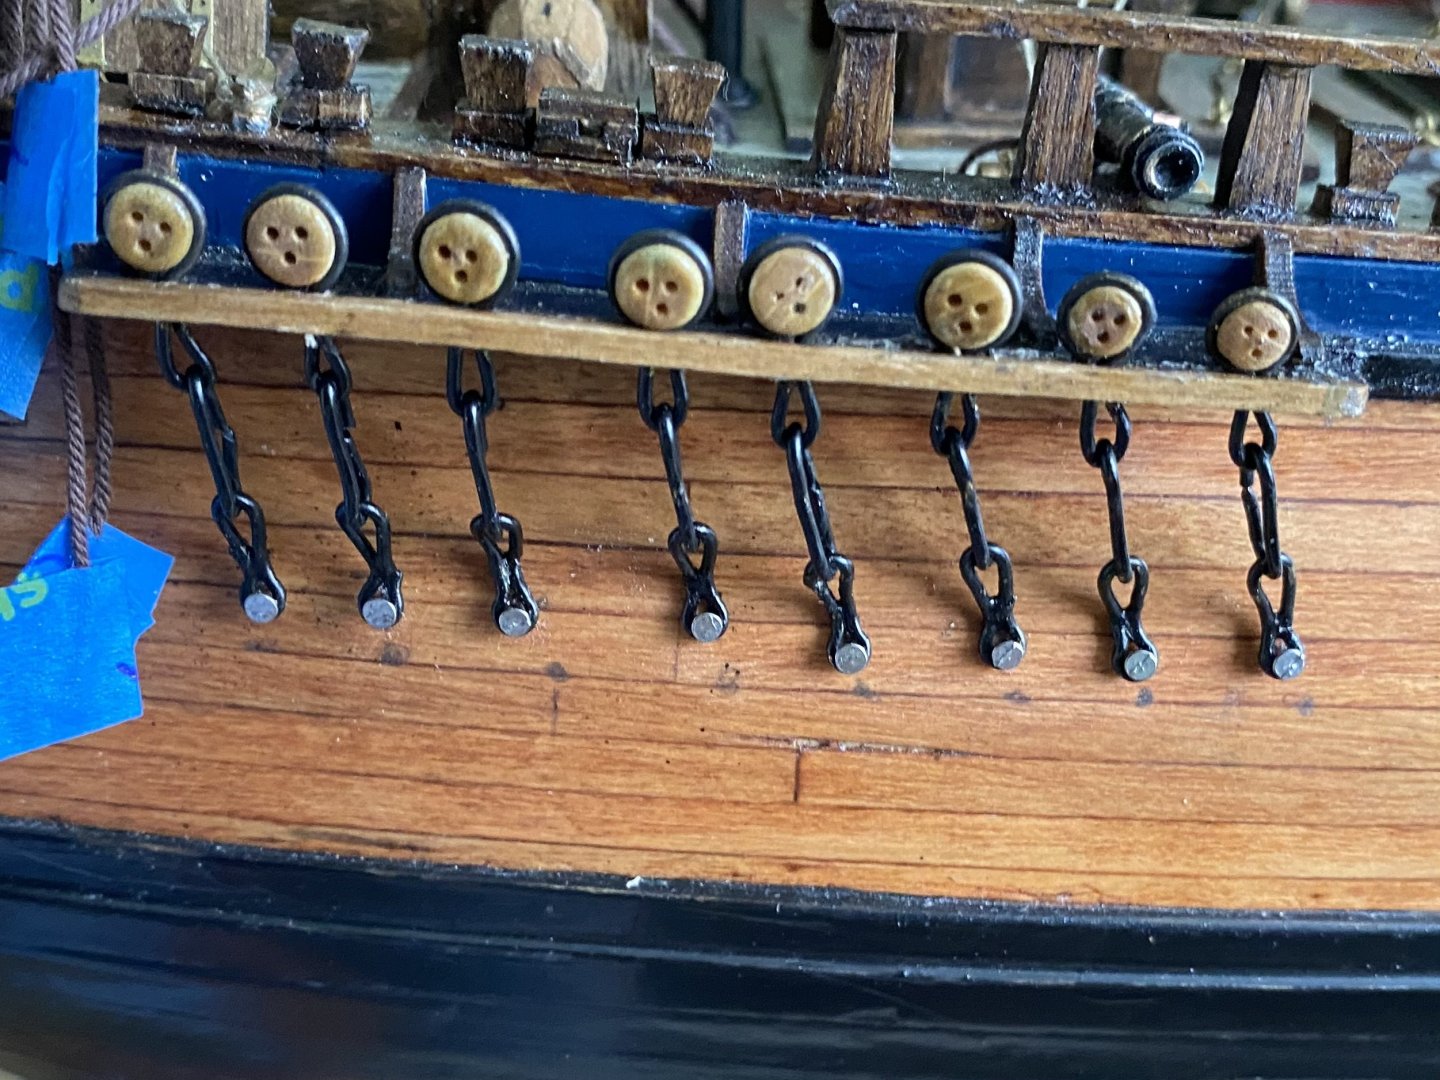
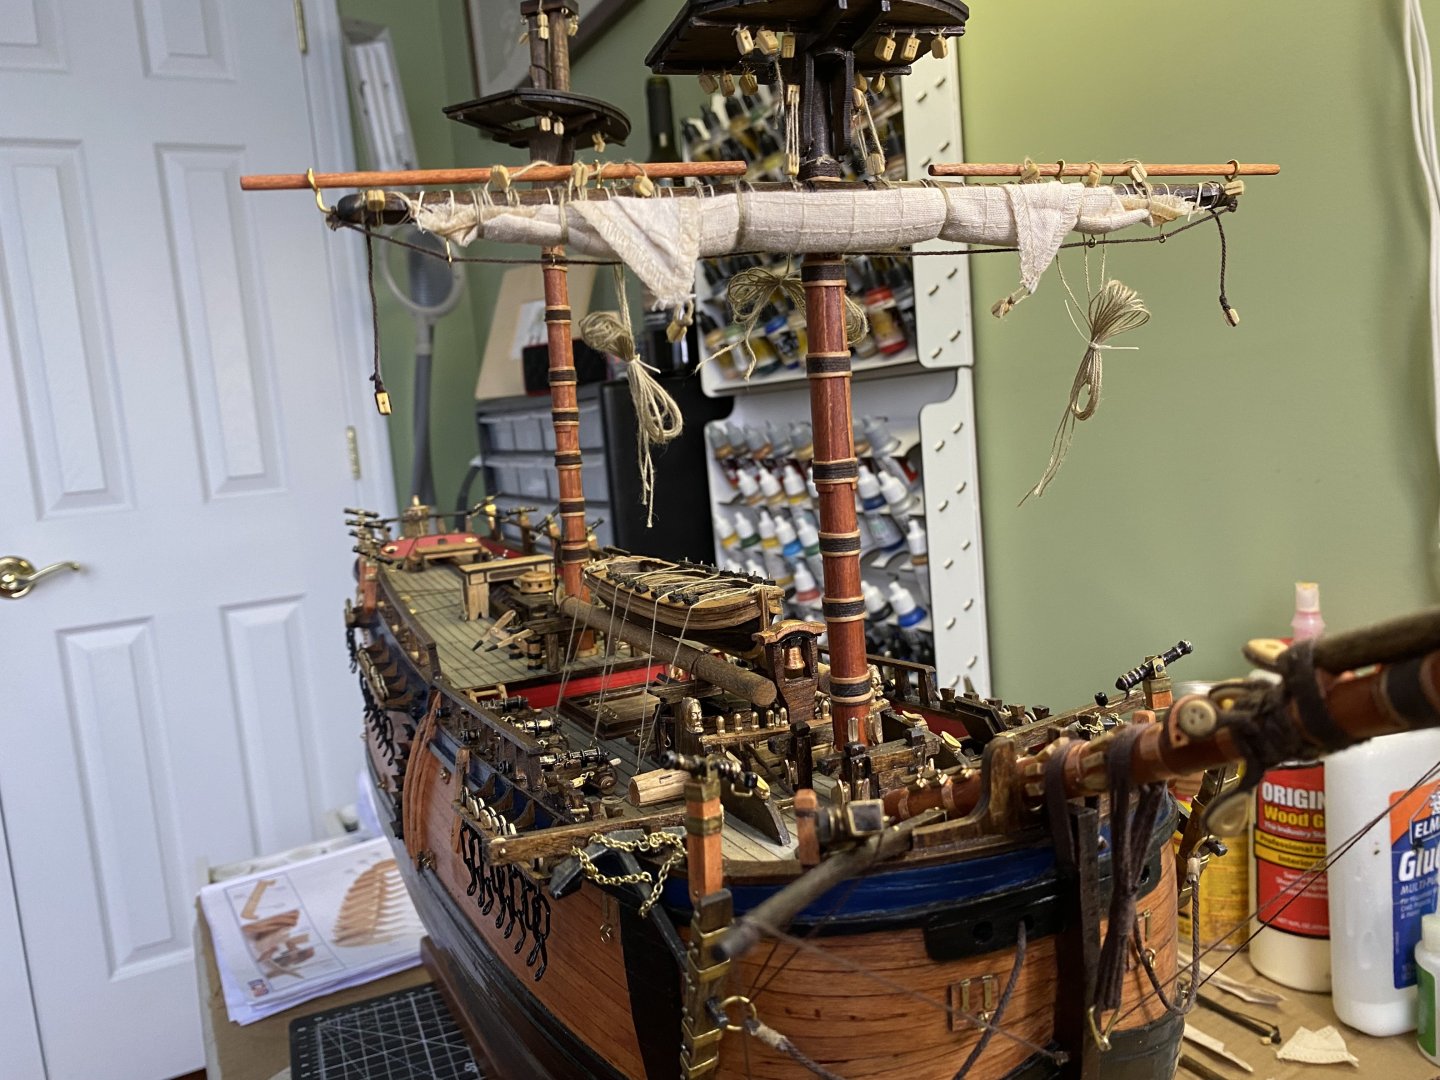
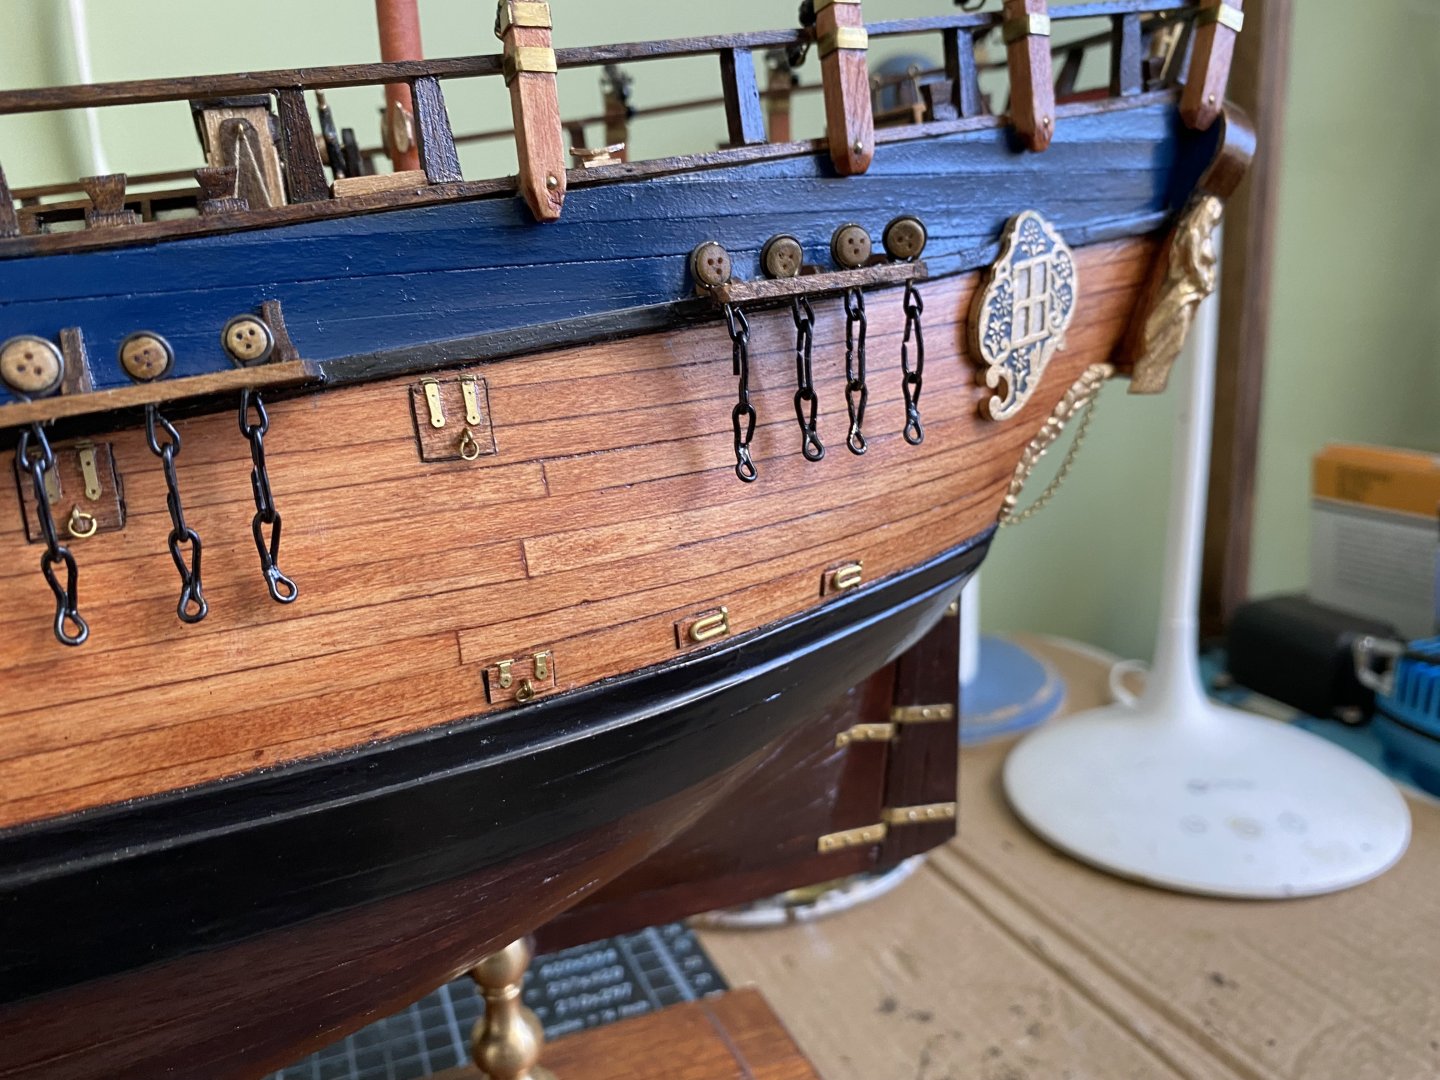
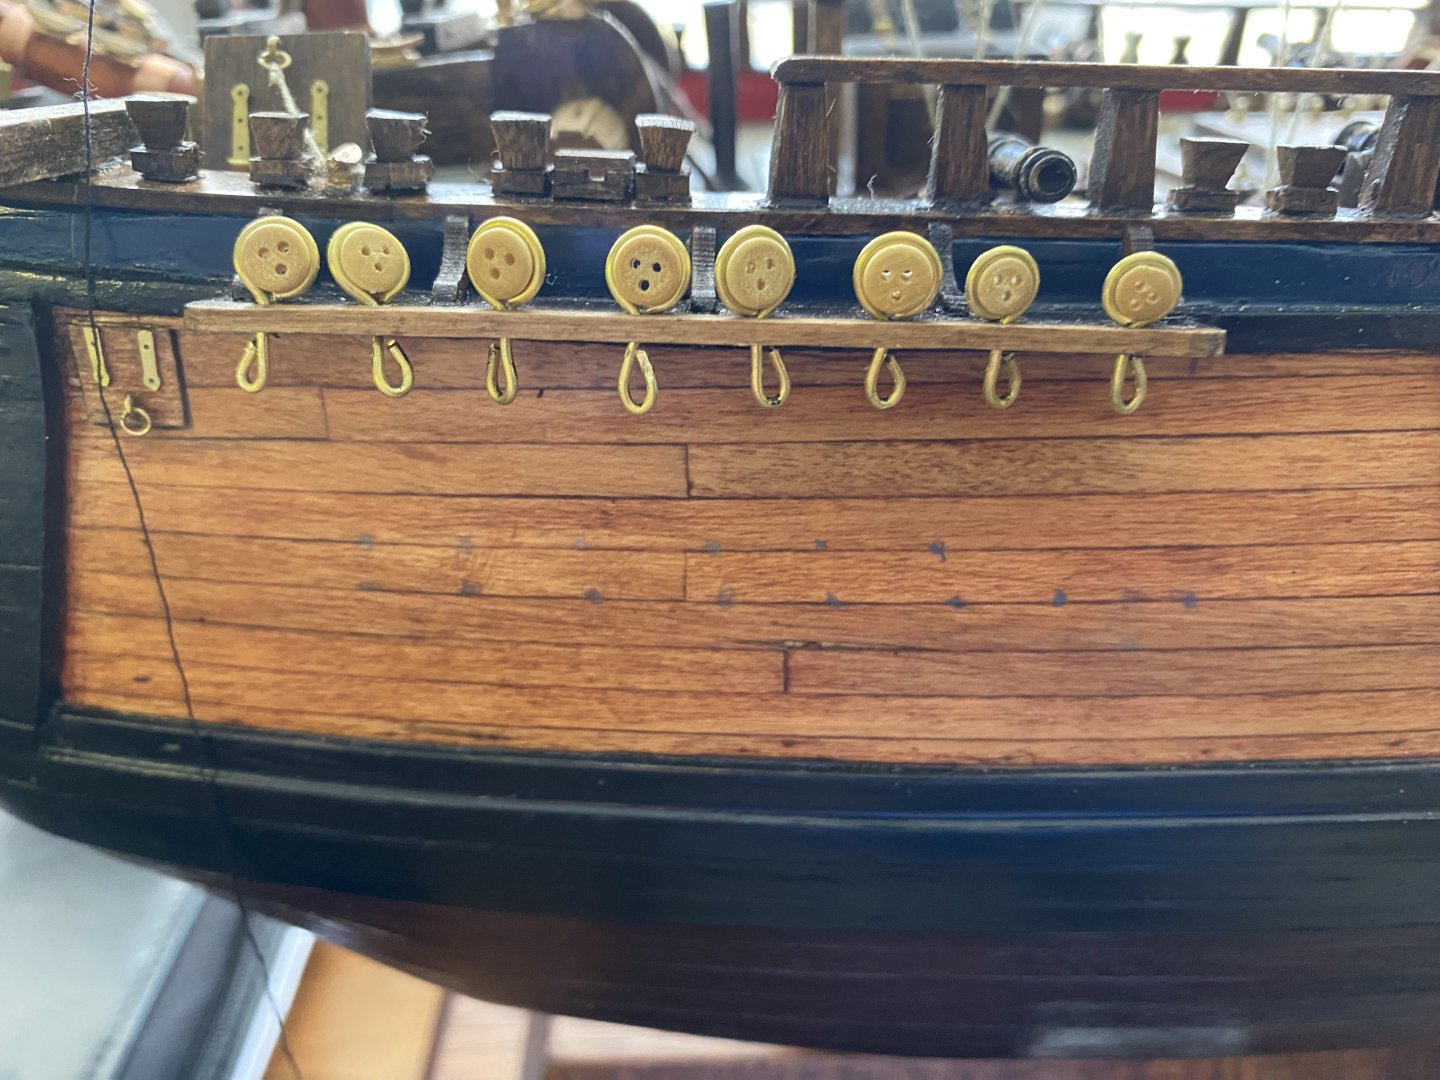
Bit of an update on recent accomplishments. I have the furled sails on the bow sprit and foremast. I used a technique I found on line to furl the sails I really I like. It leaves the corners of the sail exposed for later attachment of the clewline and other lines as appropriate. I also have hung the foremast lower shrouds which I will soon start to rig the deadeyes. In preparation for that I mounted the chains I made. Running a line down from the mast to the deadeye on the channel and then further down that site line I got the correct position to anchor the end of each chain. I still need to add the preventer links which are in the paint shop. The nail currently showing in the chain at the hull is just there to hold the link temporarily. Once I add the preventer link I will put the nails in permanently and paint the nail heads.

-
That was a curiosity I had further back in this thread. Discussing the sequence different builders use when making their mast. OcCre has me build the entire mast, including the yards, and then insert it in the deck. Since I am furling all my sails I also added them to my yards before attaching to the mast. This is my first time to do it this way as well. In the past I have done it the way you mentioned.
-
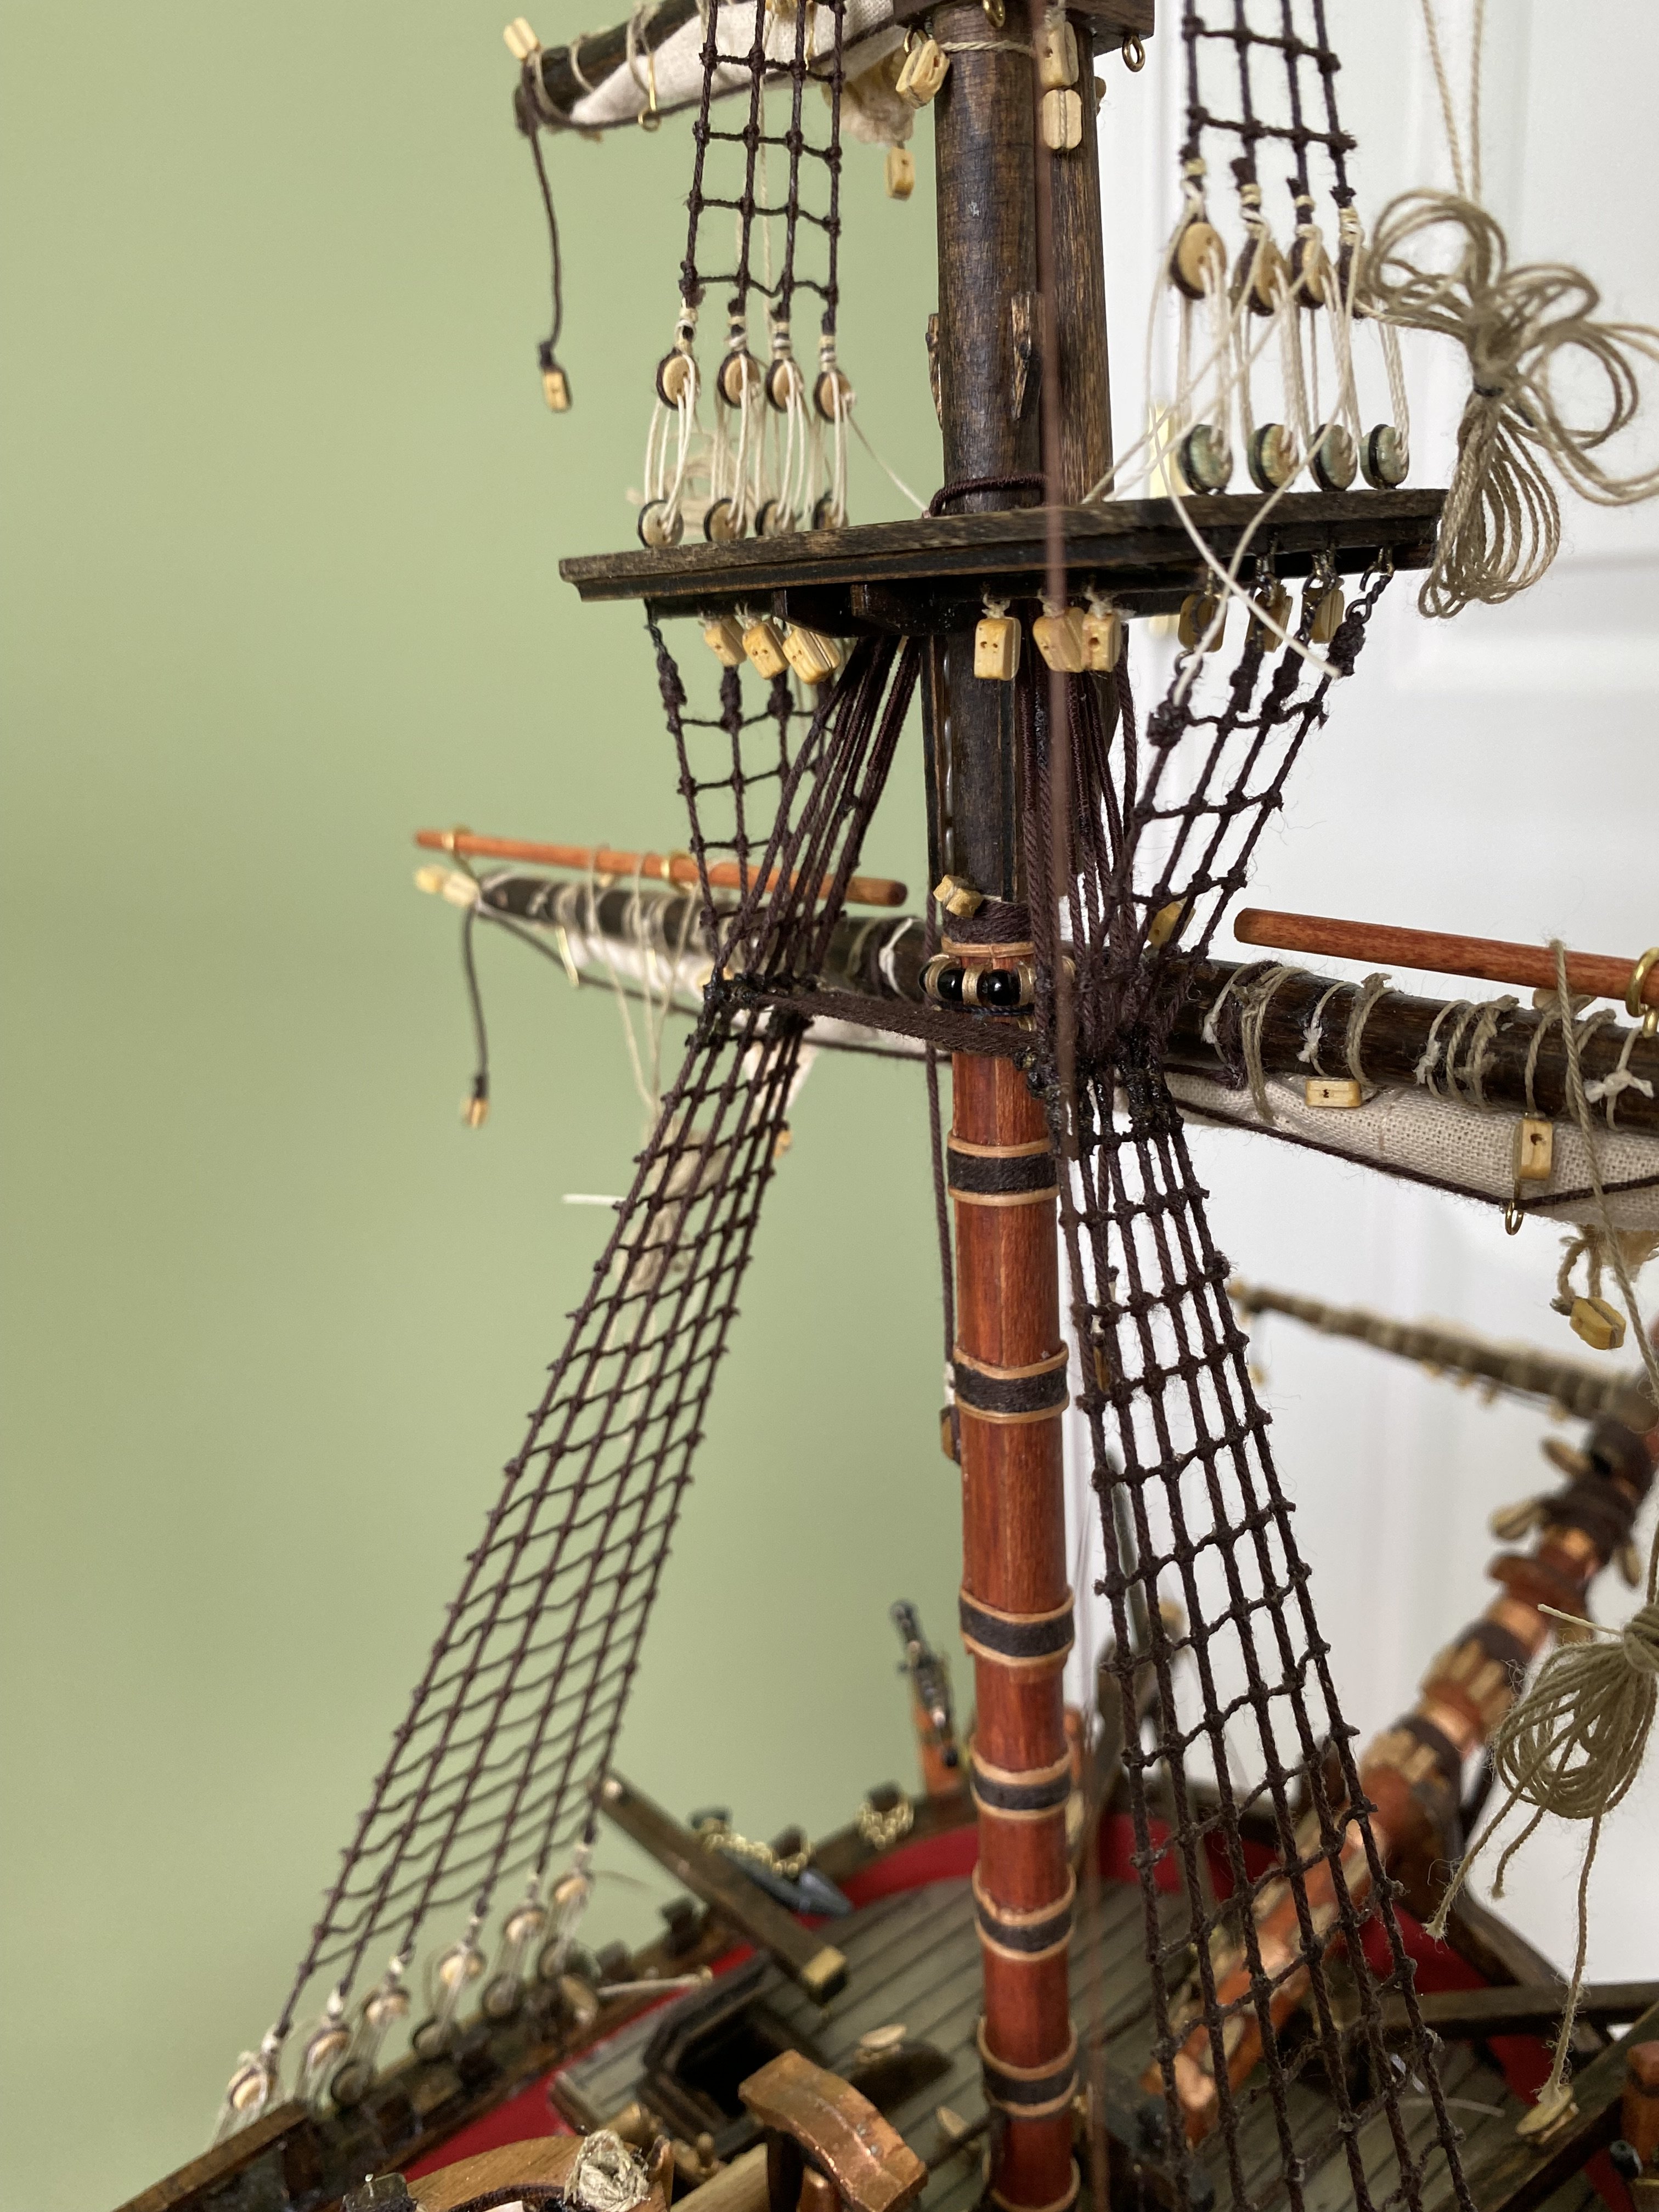
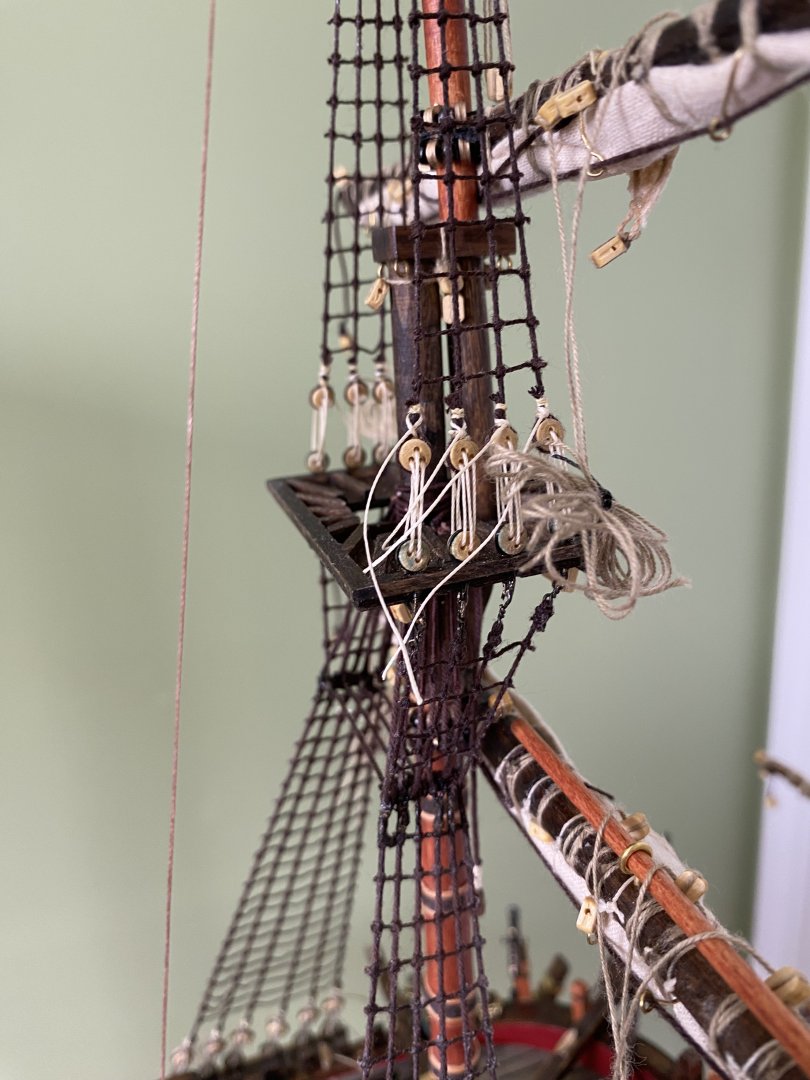
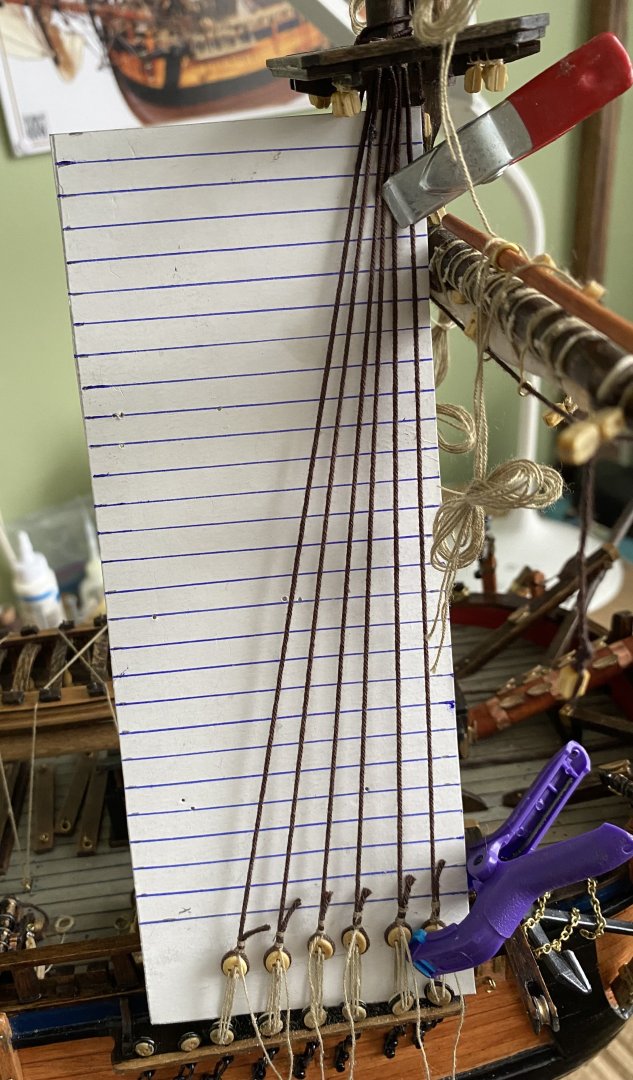
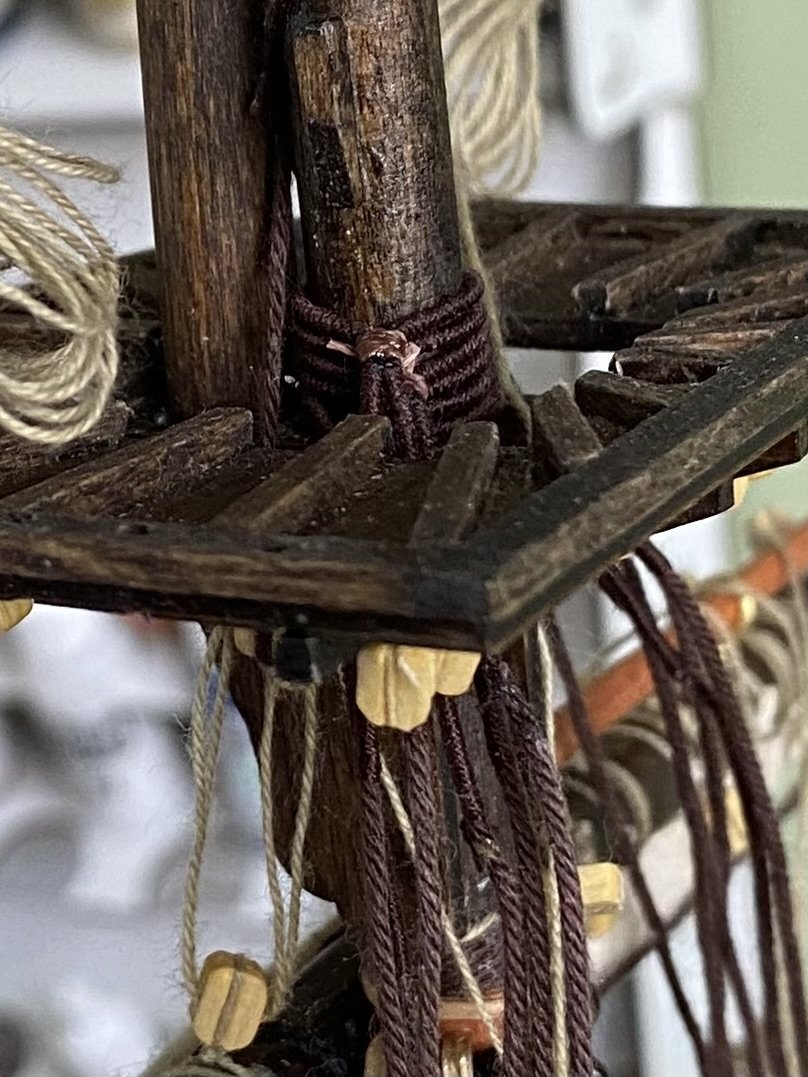
Oh definitely Veszett. I am starting that now. I measure a length of .8mm thread to wrap around the mast and come down to the first two deadeyes on the starboard side. I then mark a point on both threads a little bit under the platform (can’t remember nautical name). I remove the thread and serve the section between the marks. I then wrap I back around the mast a serve a bit of the two sides together at the mast to lock it in place. I then do the same with a thread on the port side of the mast. Alternating side to side until I have all the needed shrouds stacked at the mast. As I am typing them I put a piece of tape on the end of each one so I can number them. On this ship it is 1-6 on the fore mast. I will then begin the attachment of the deadeyes and so on.
-
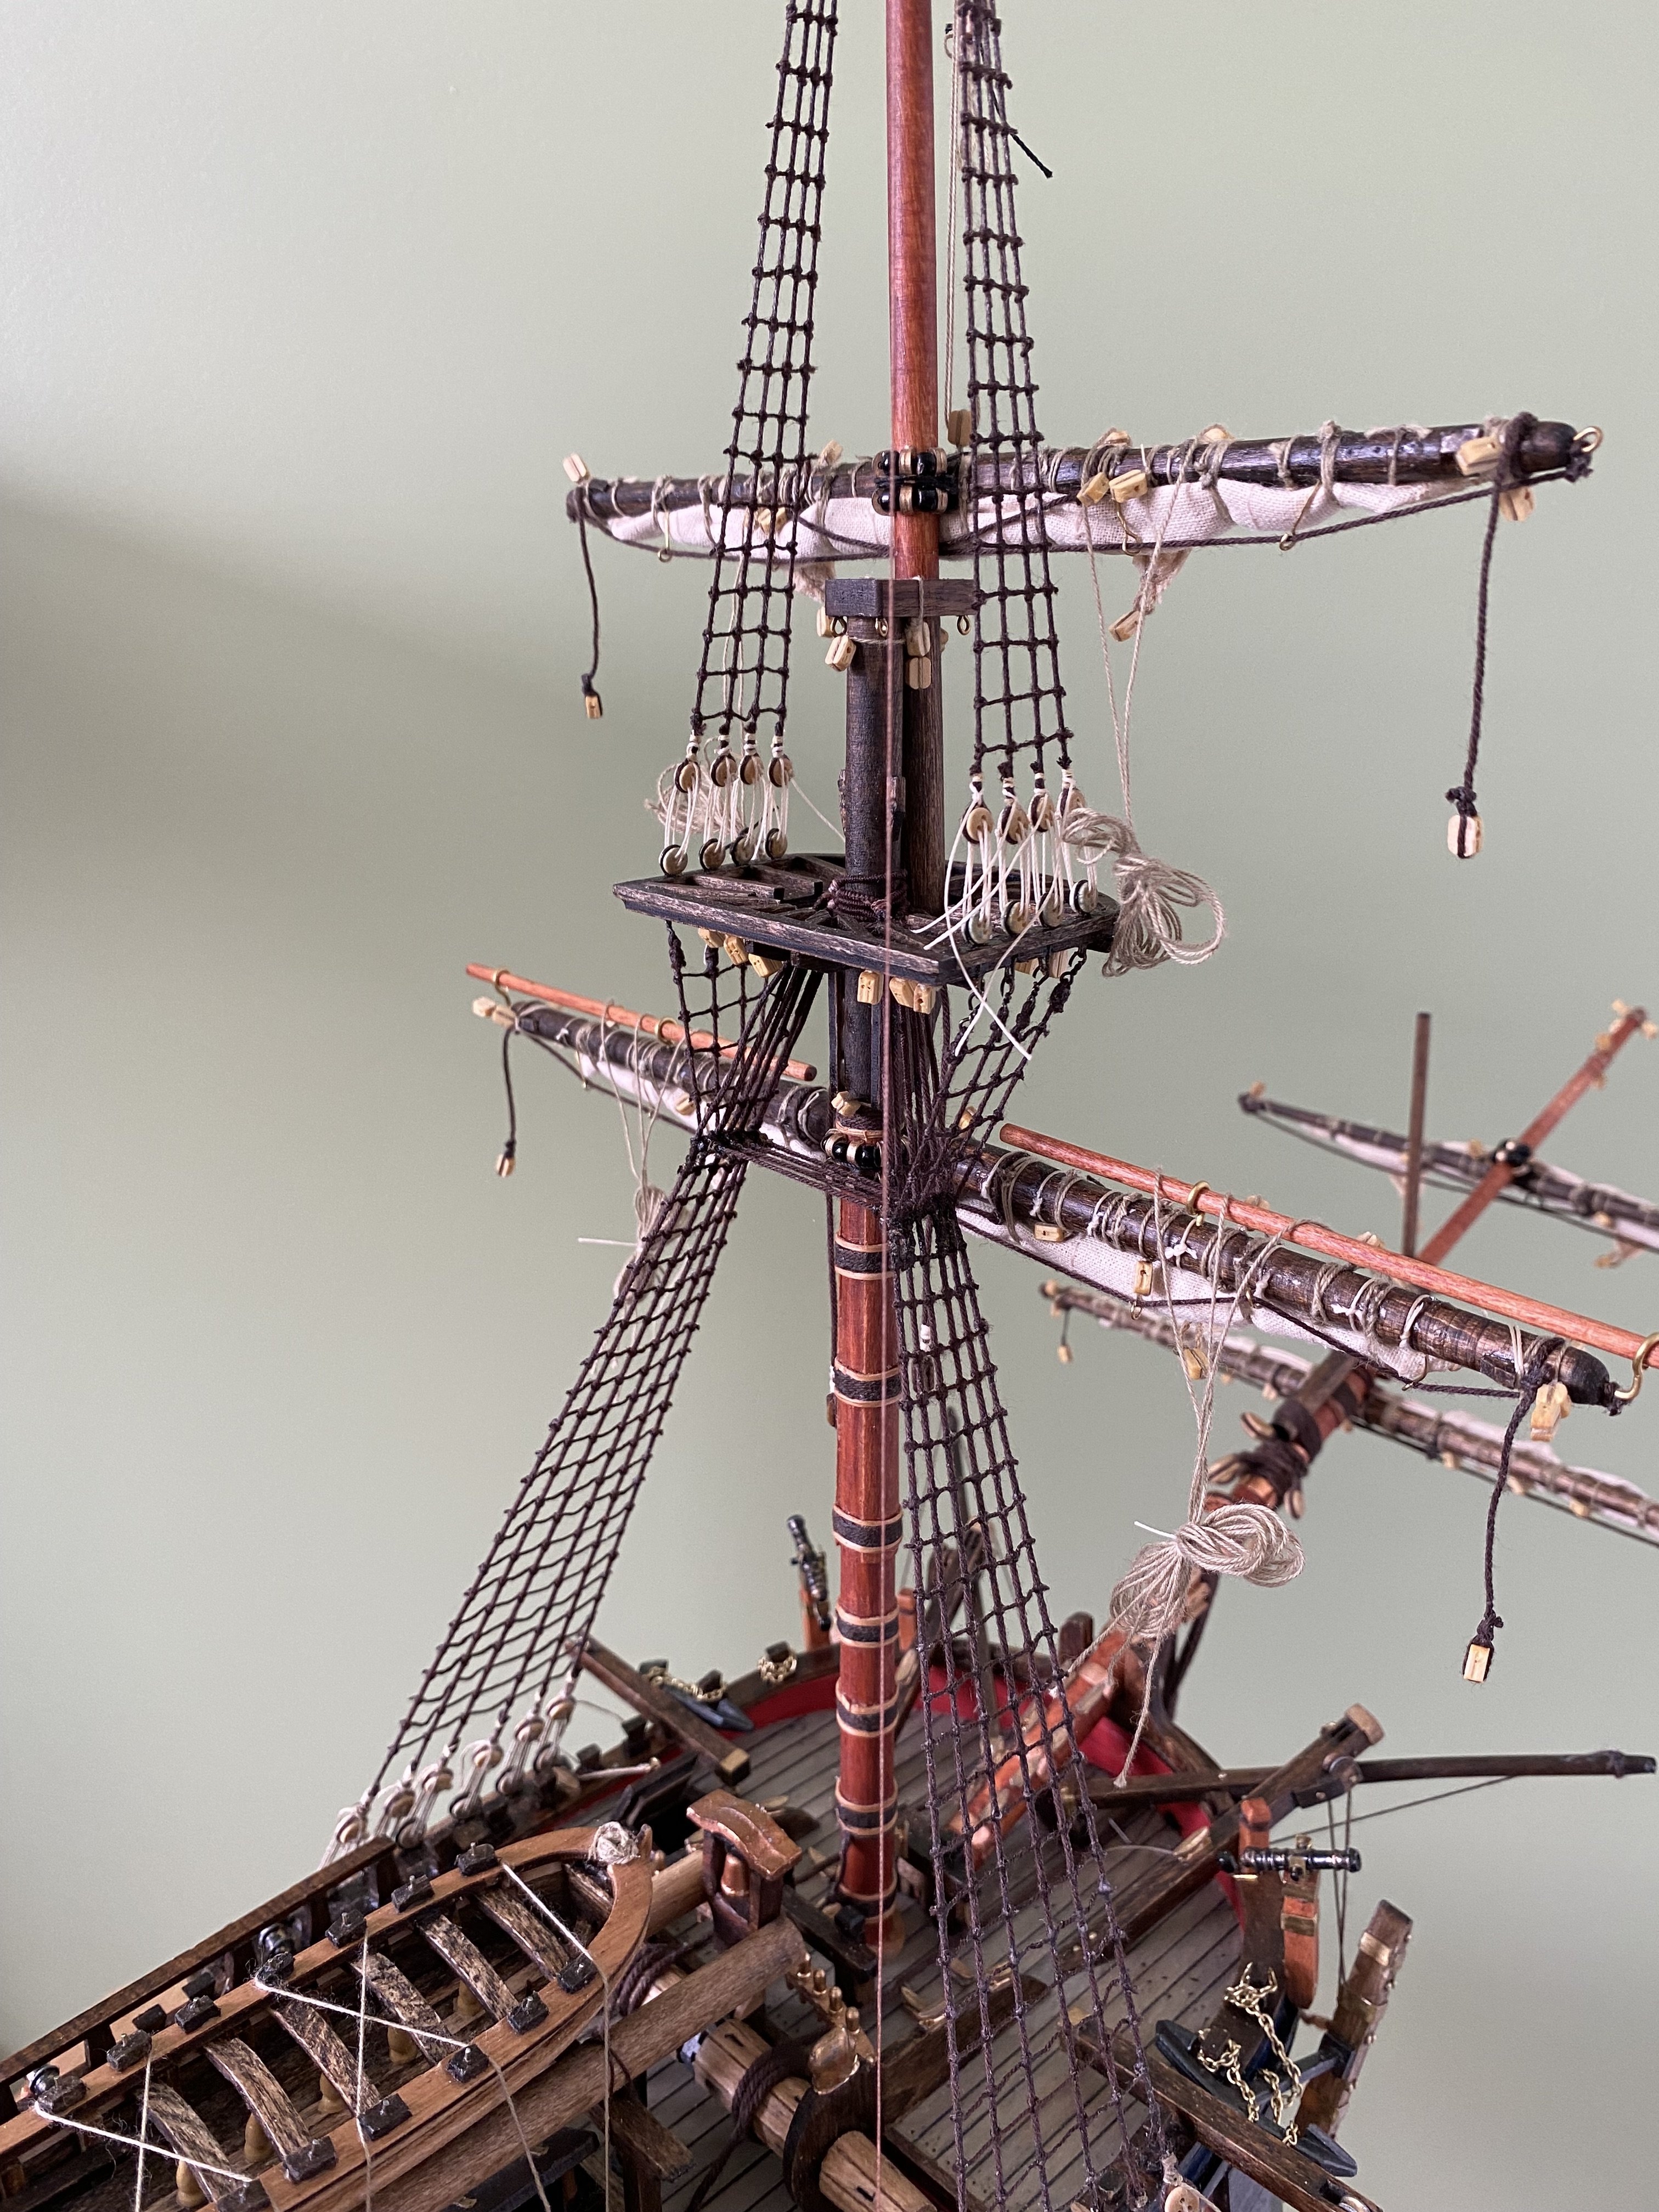
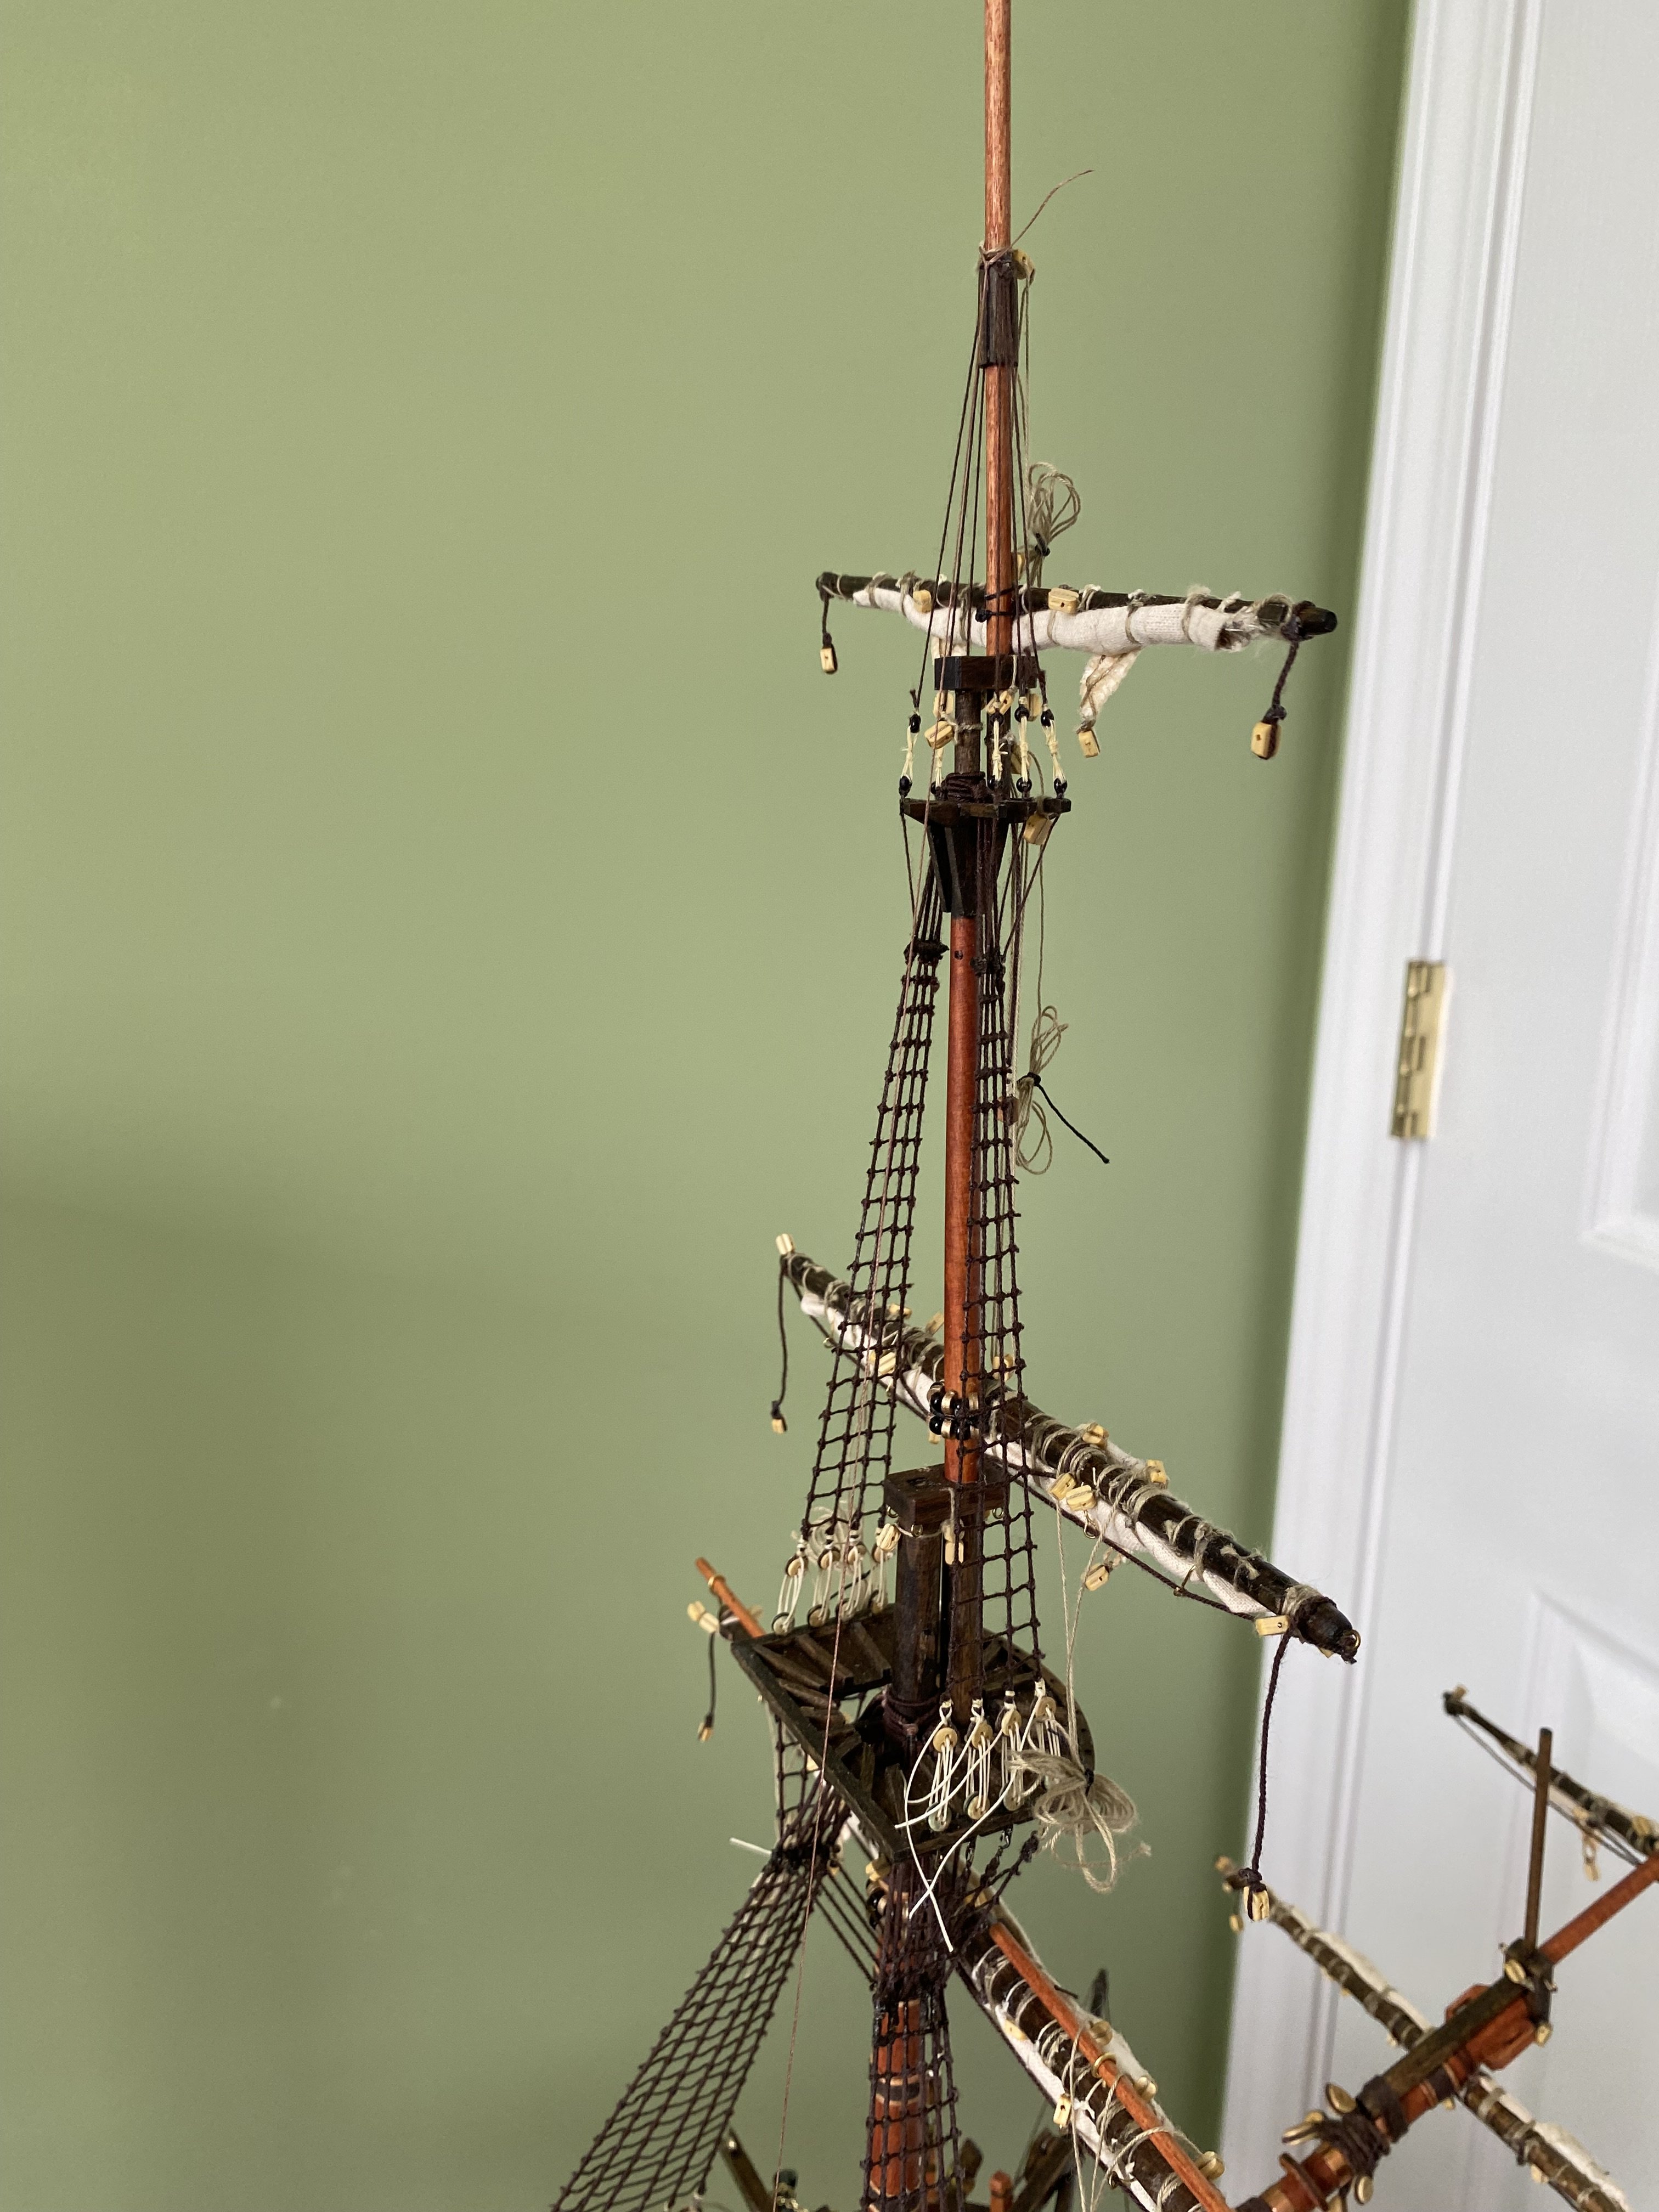
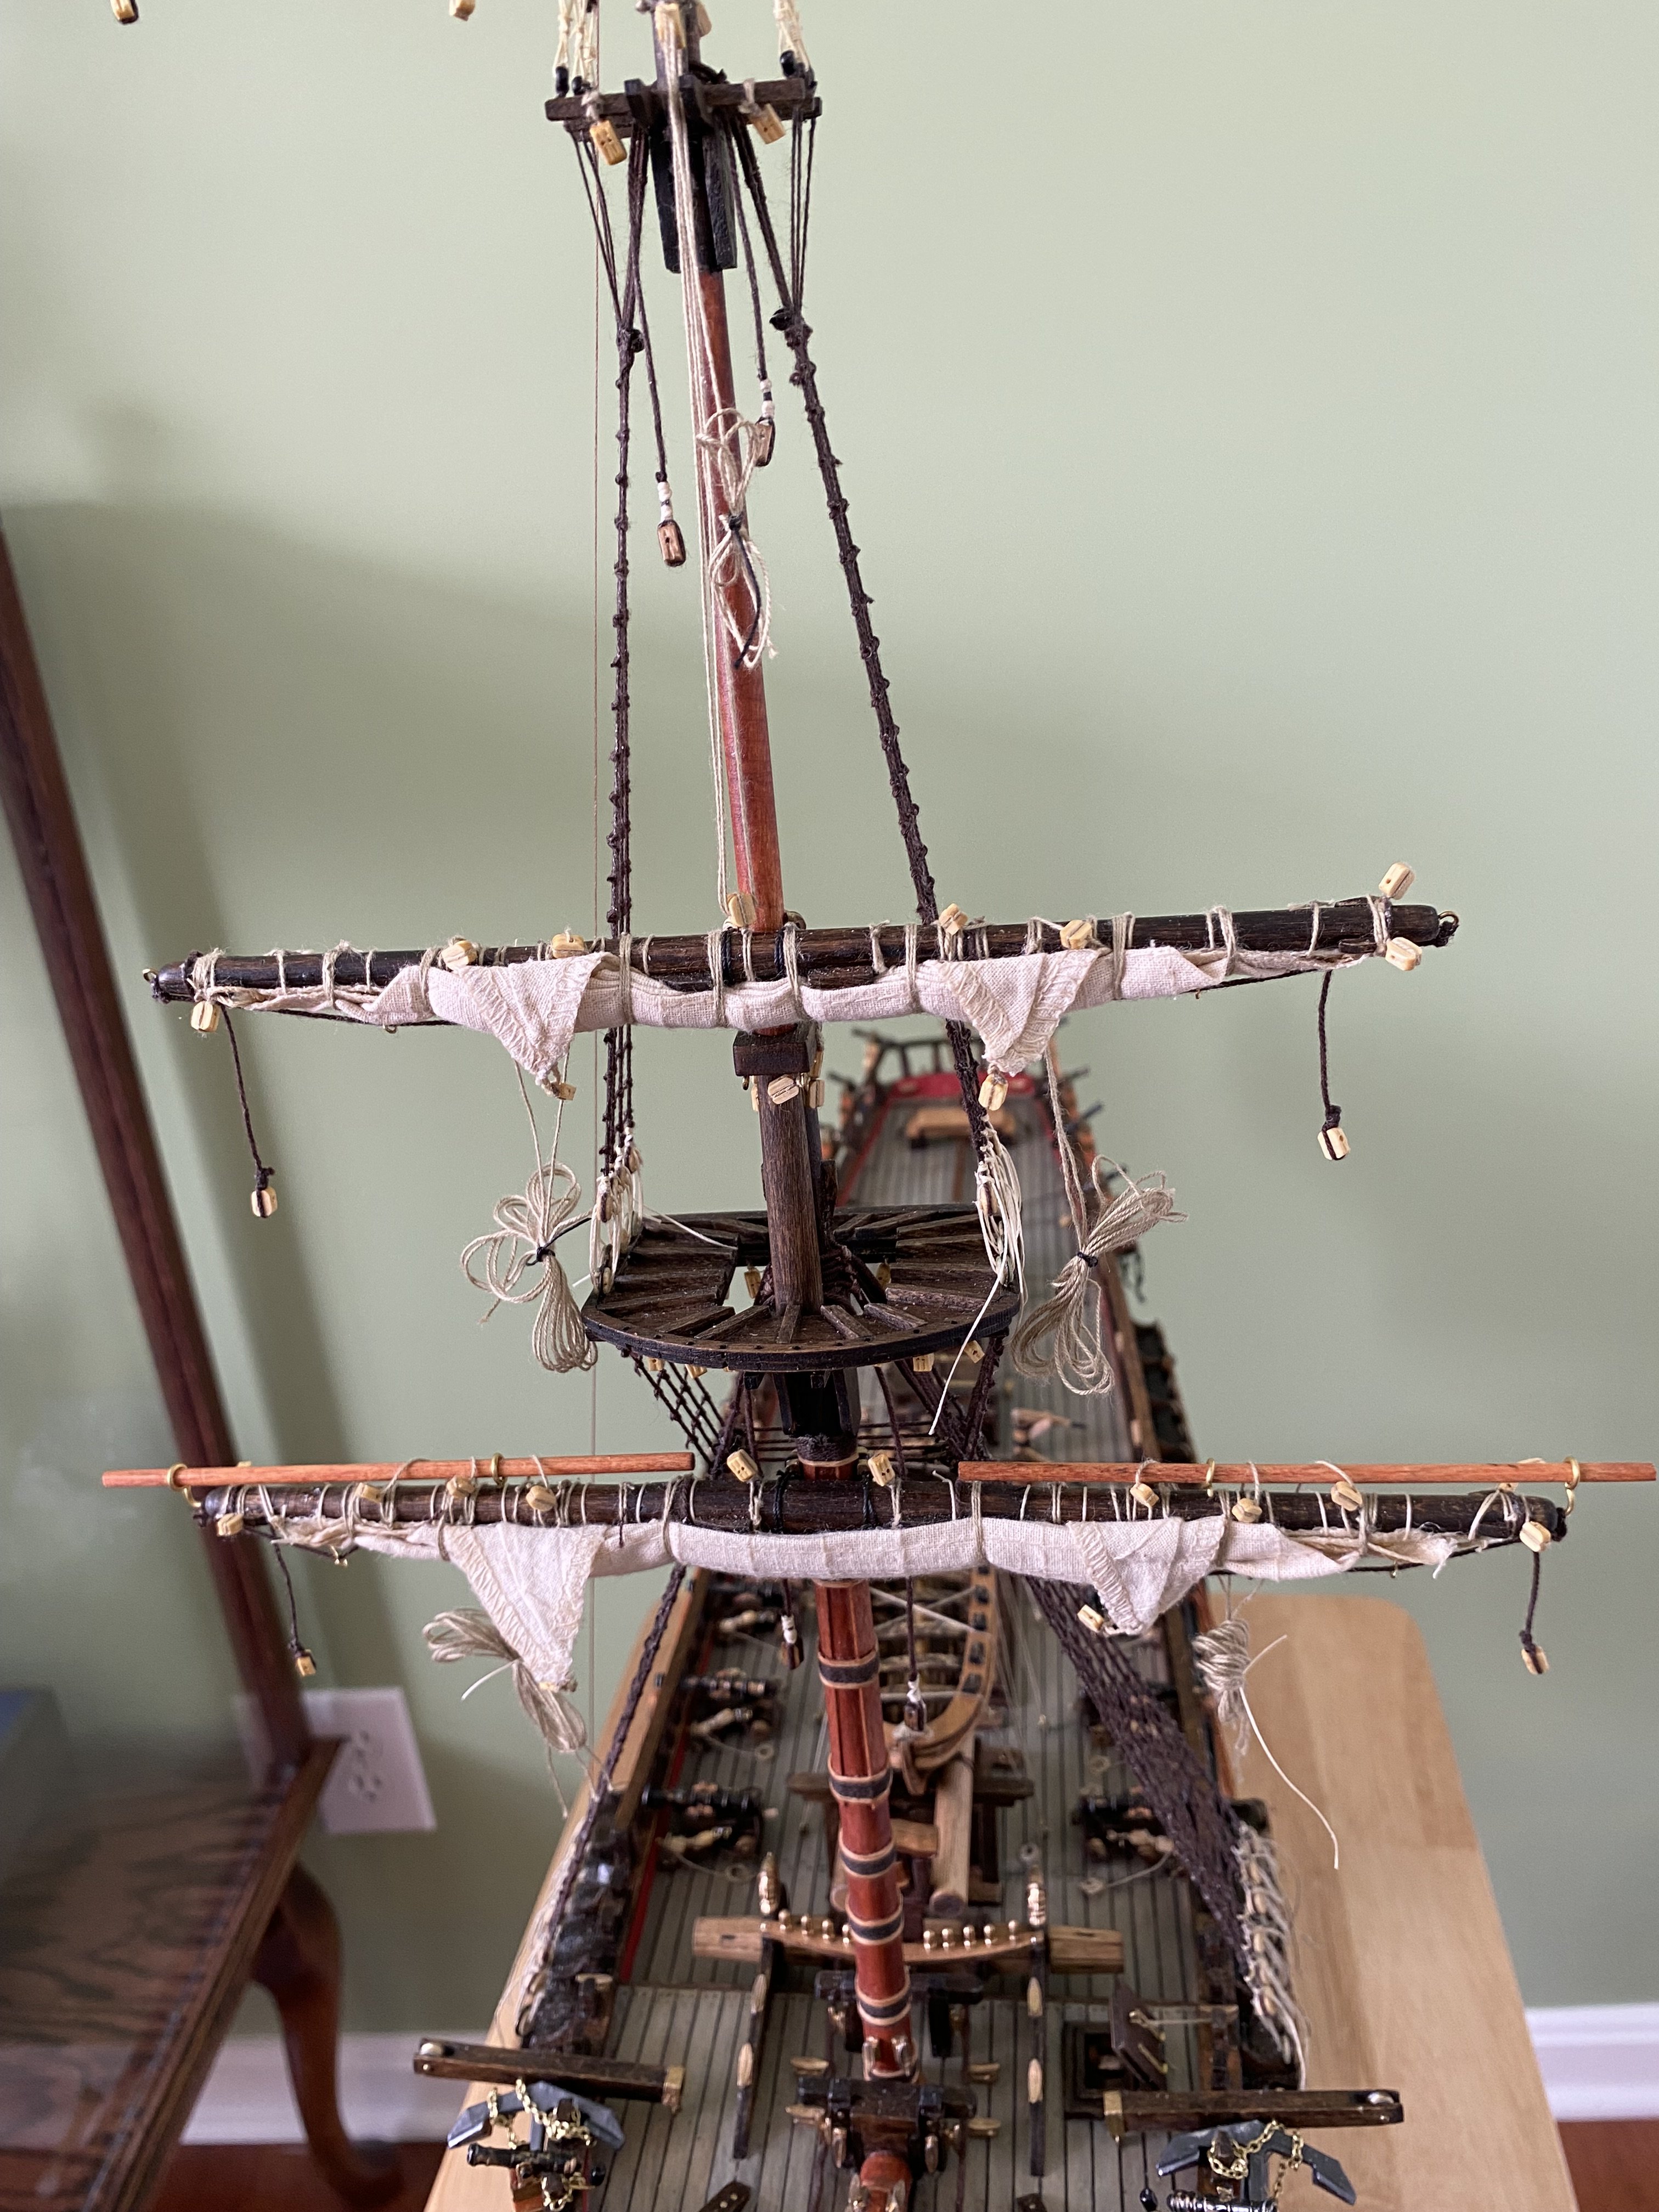
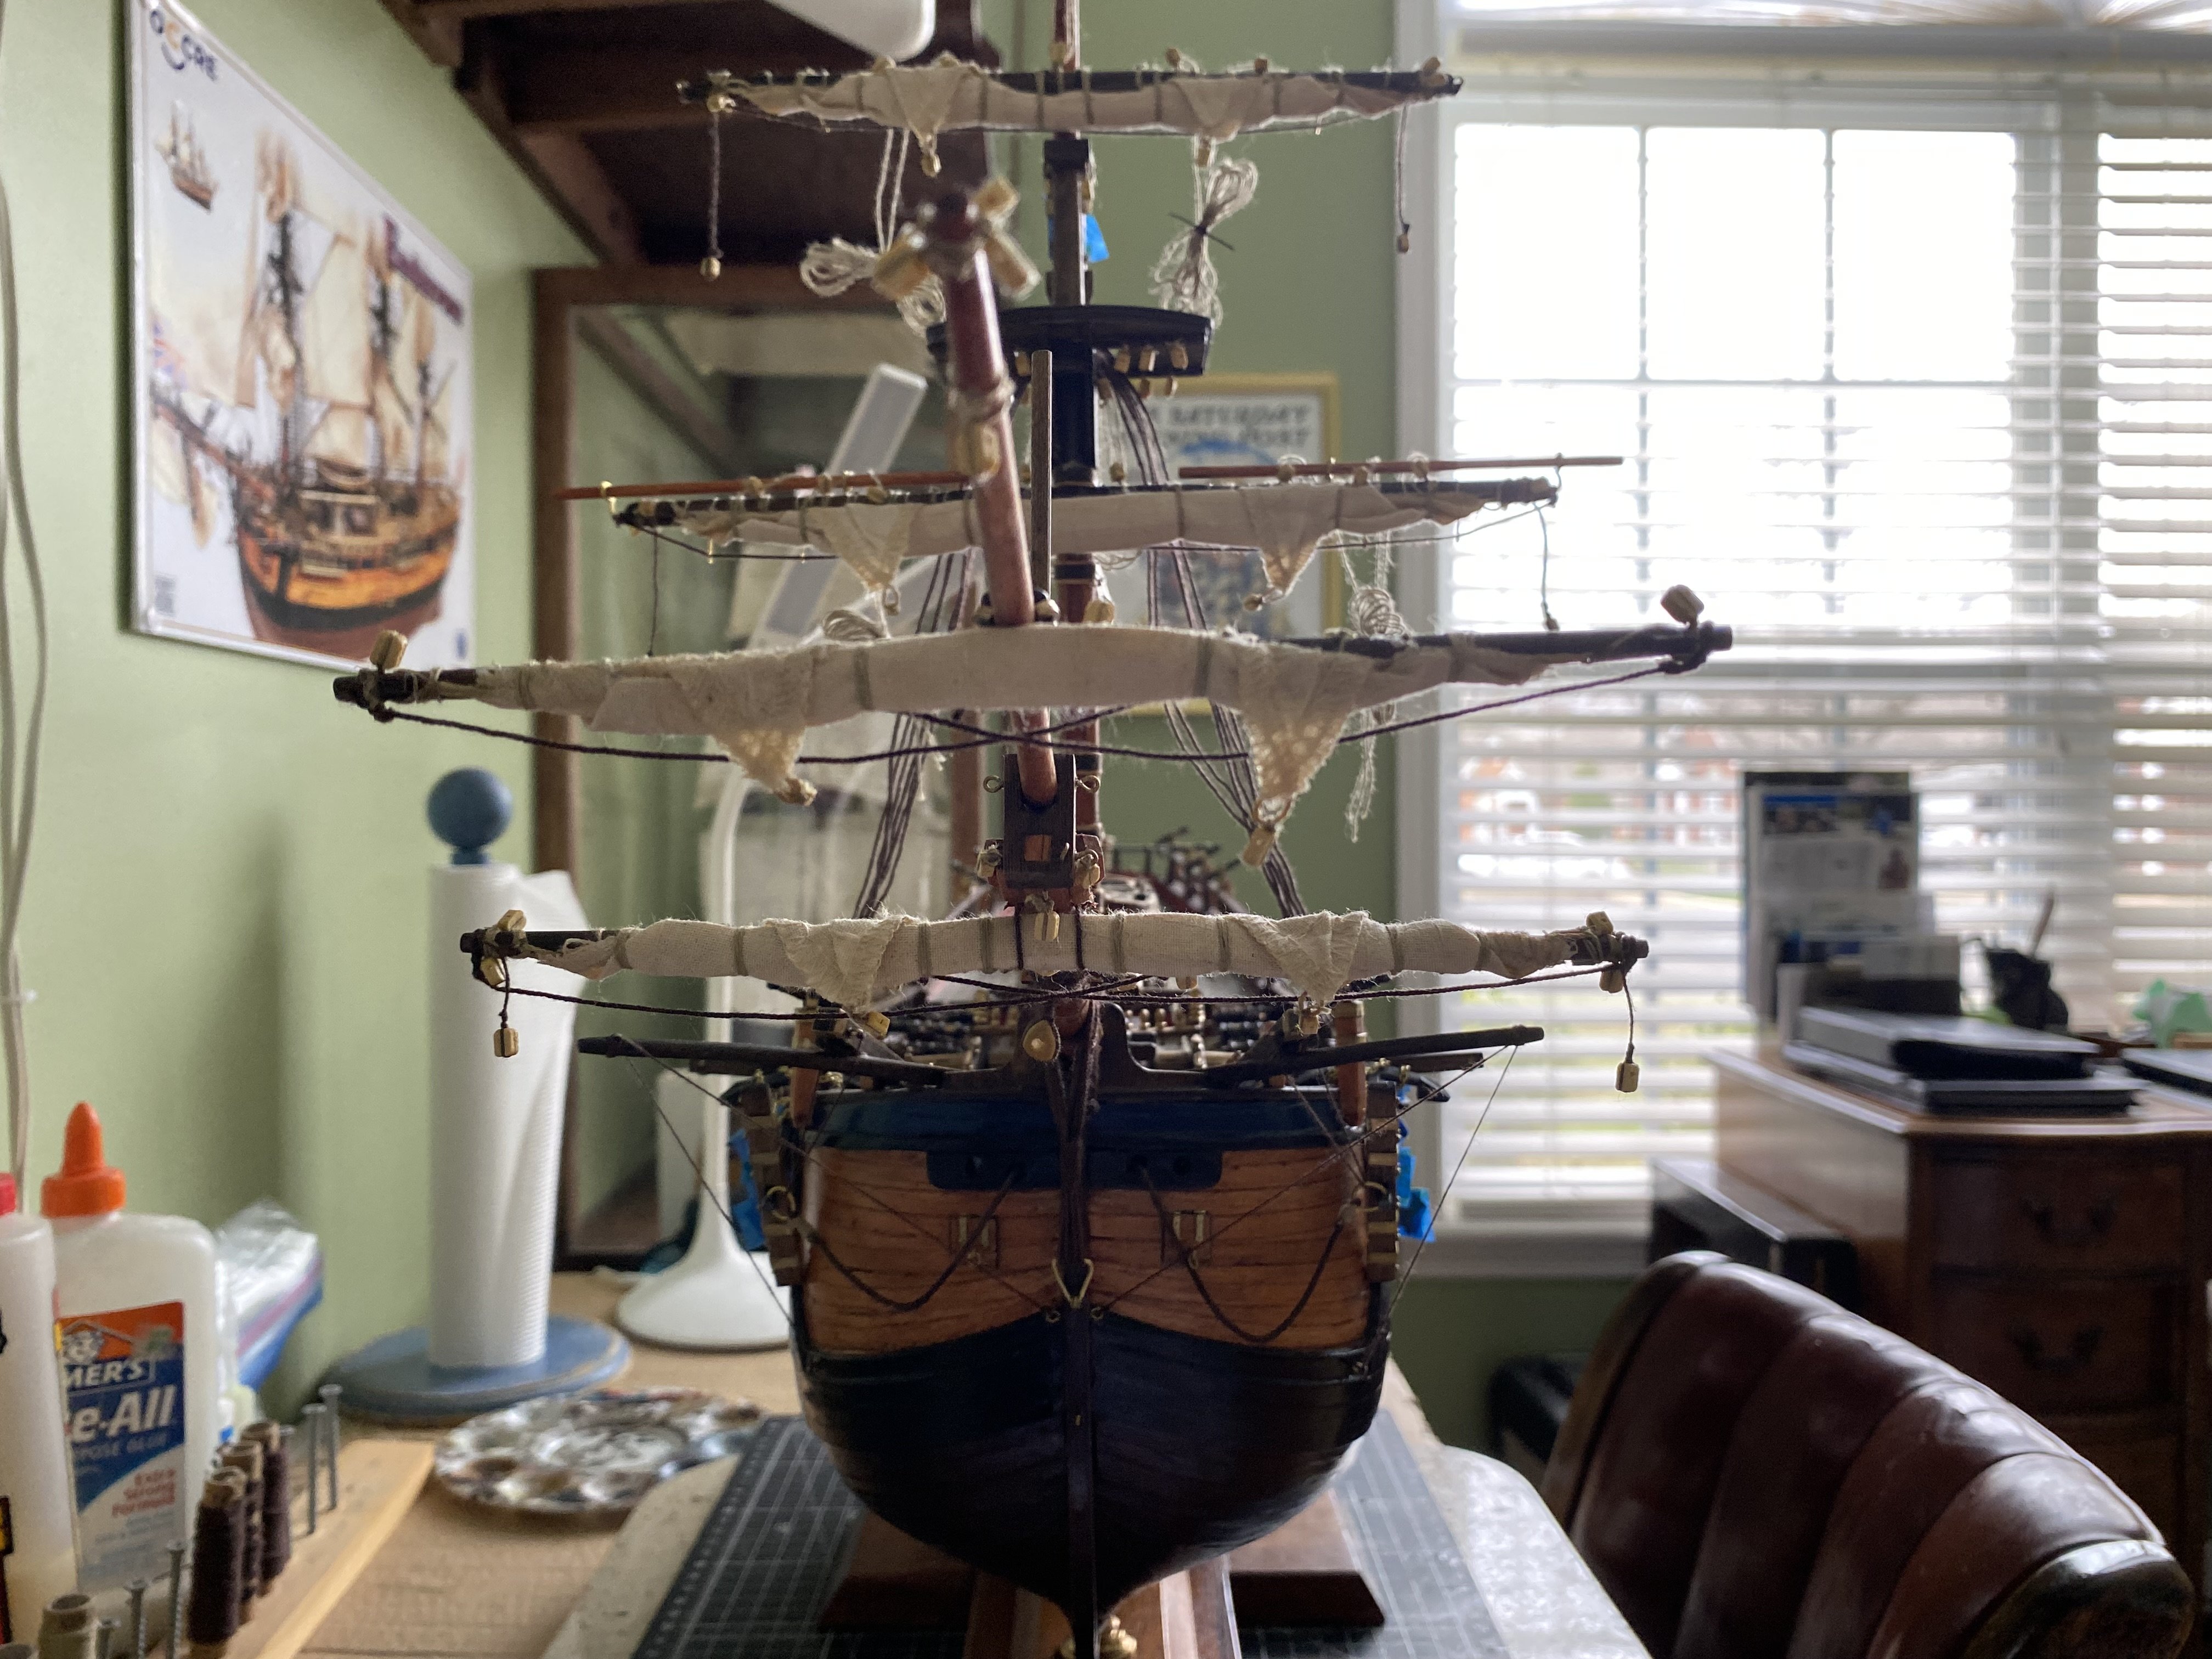
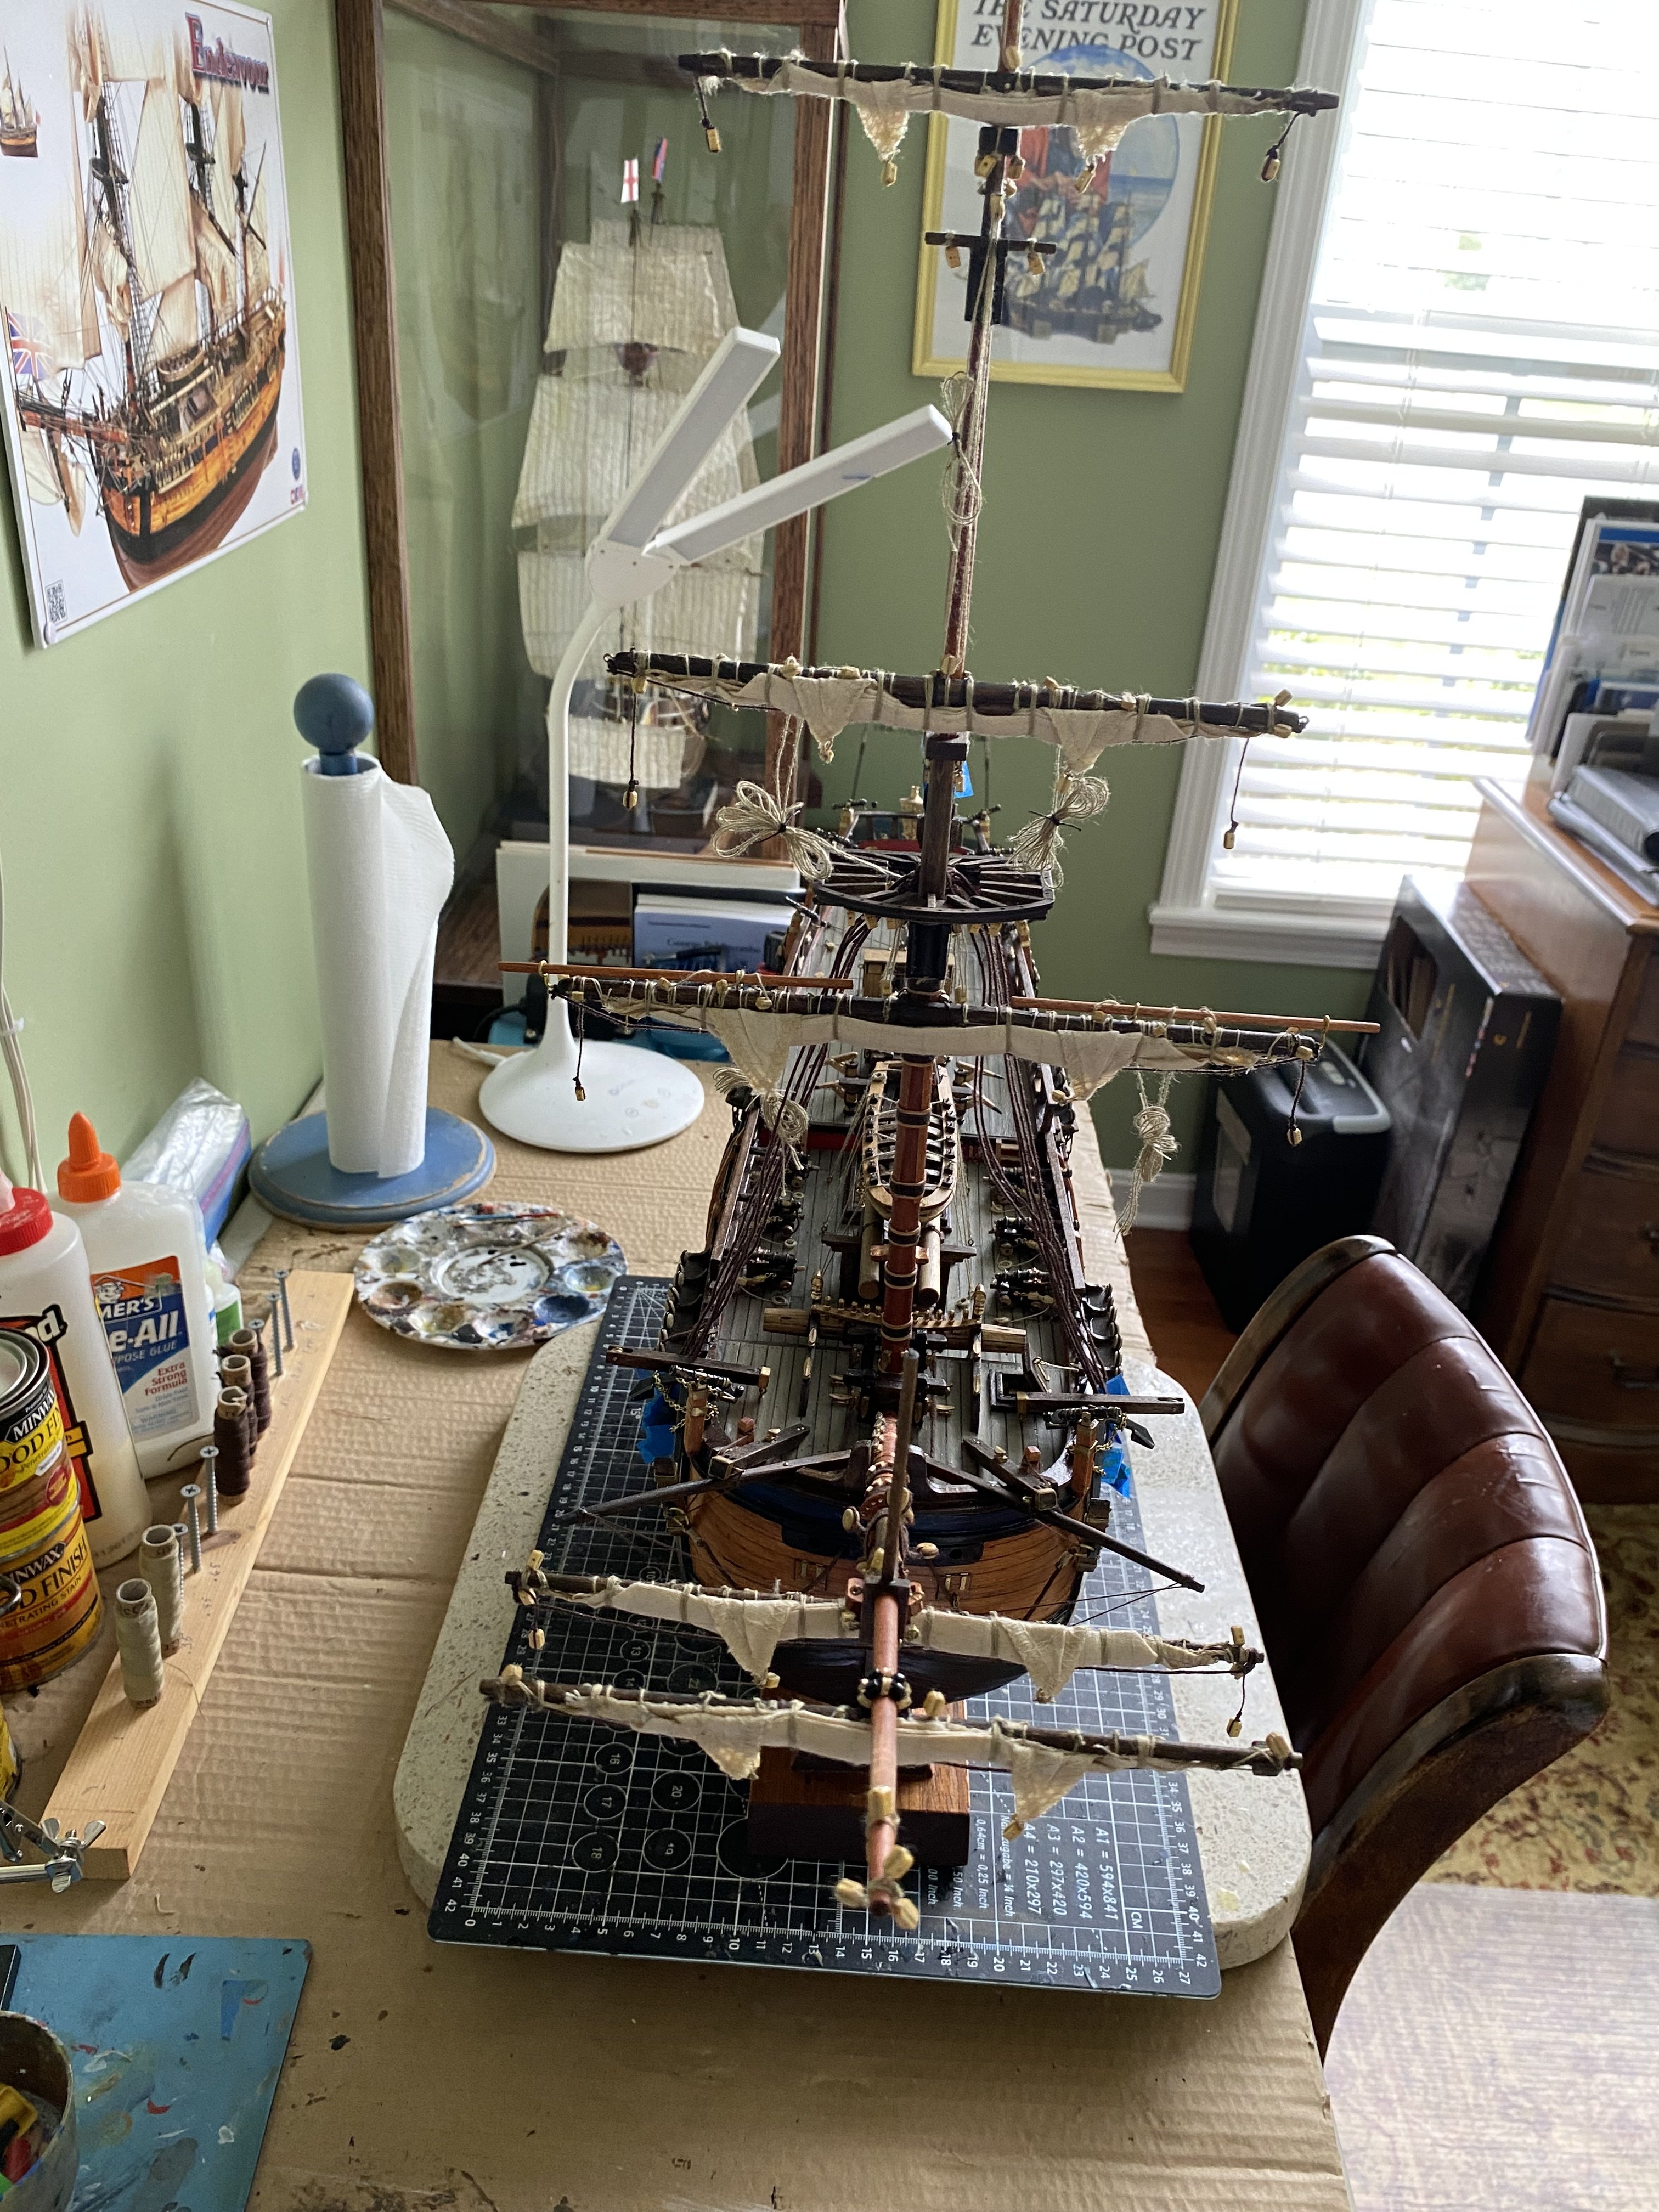
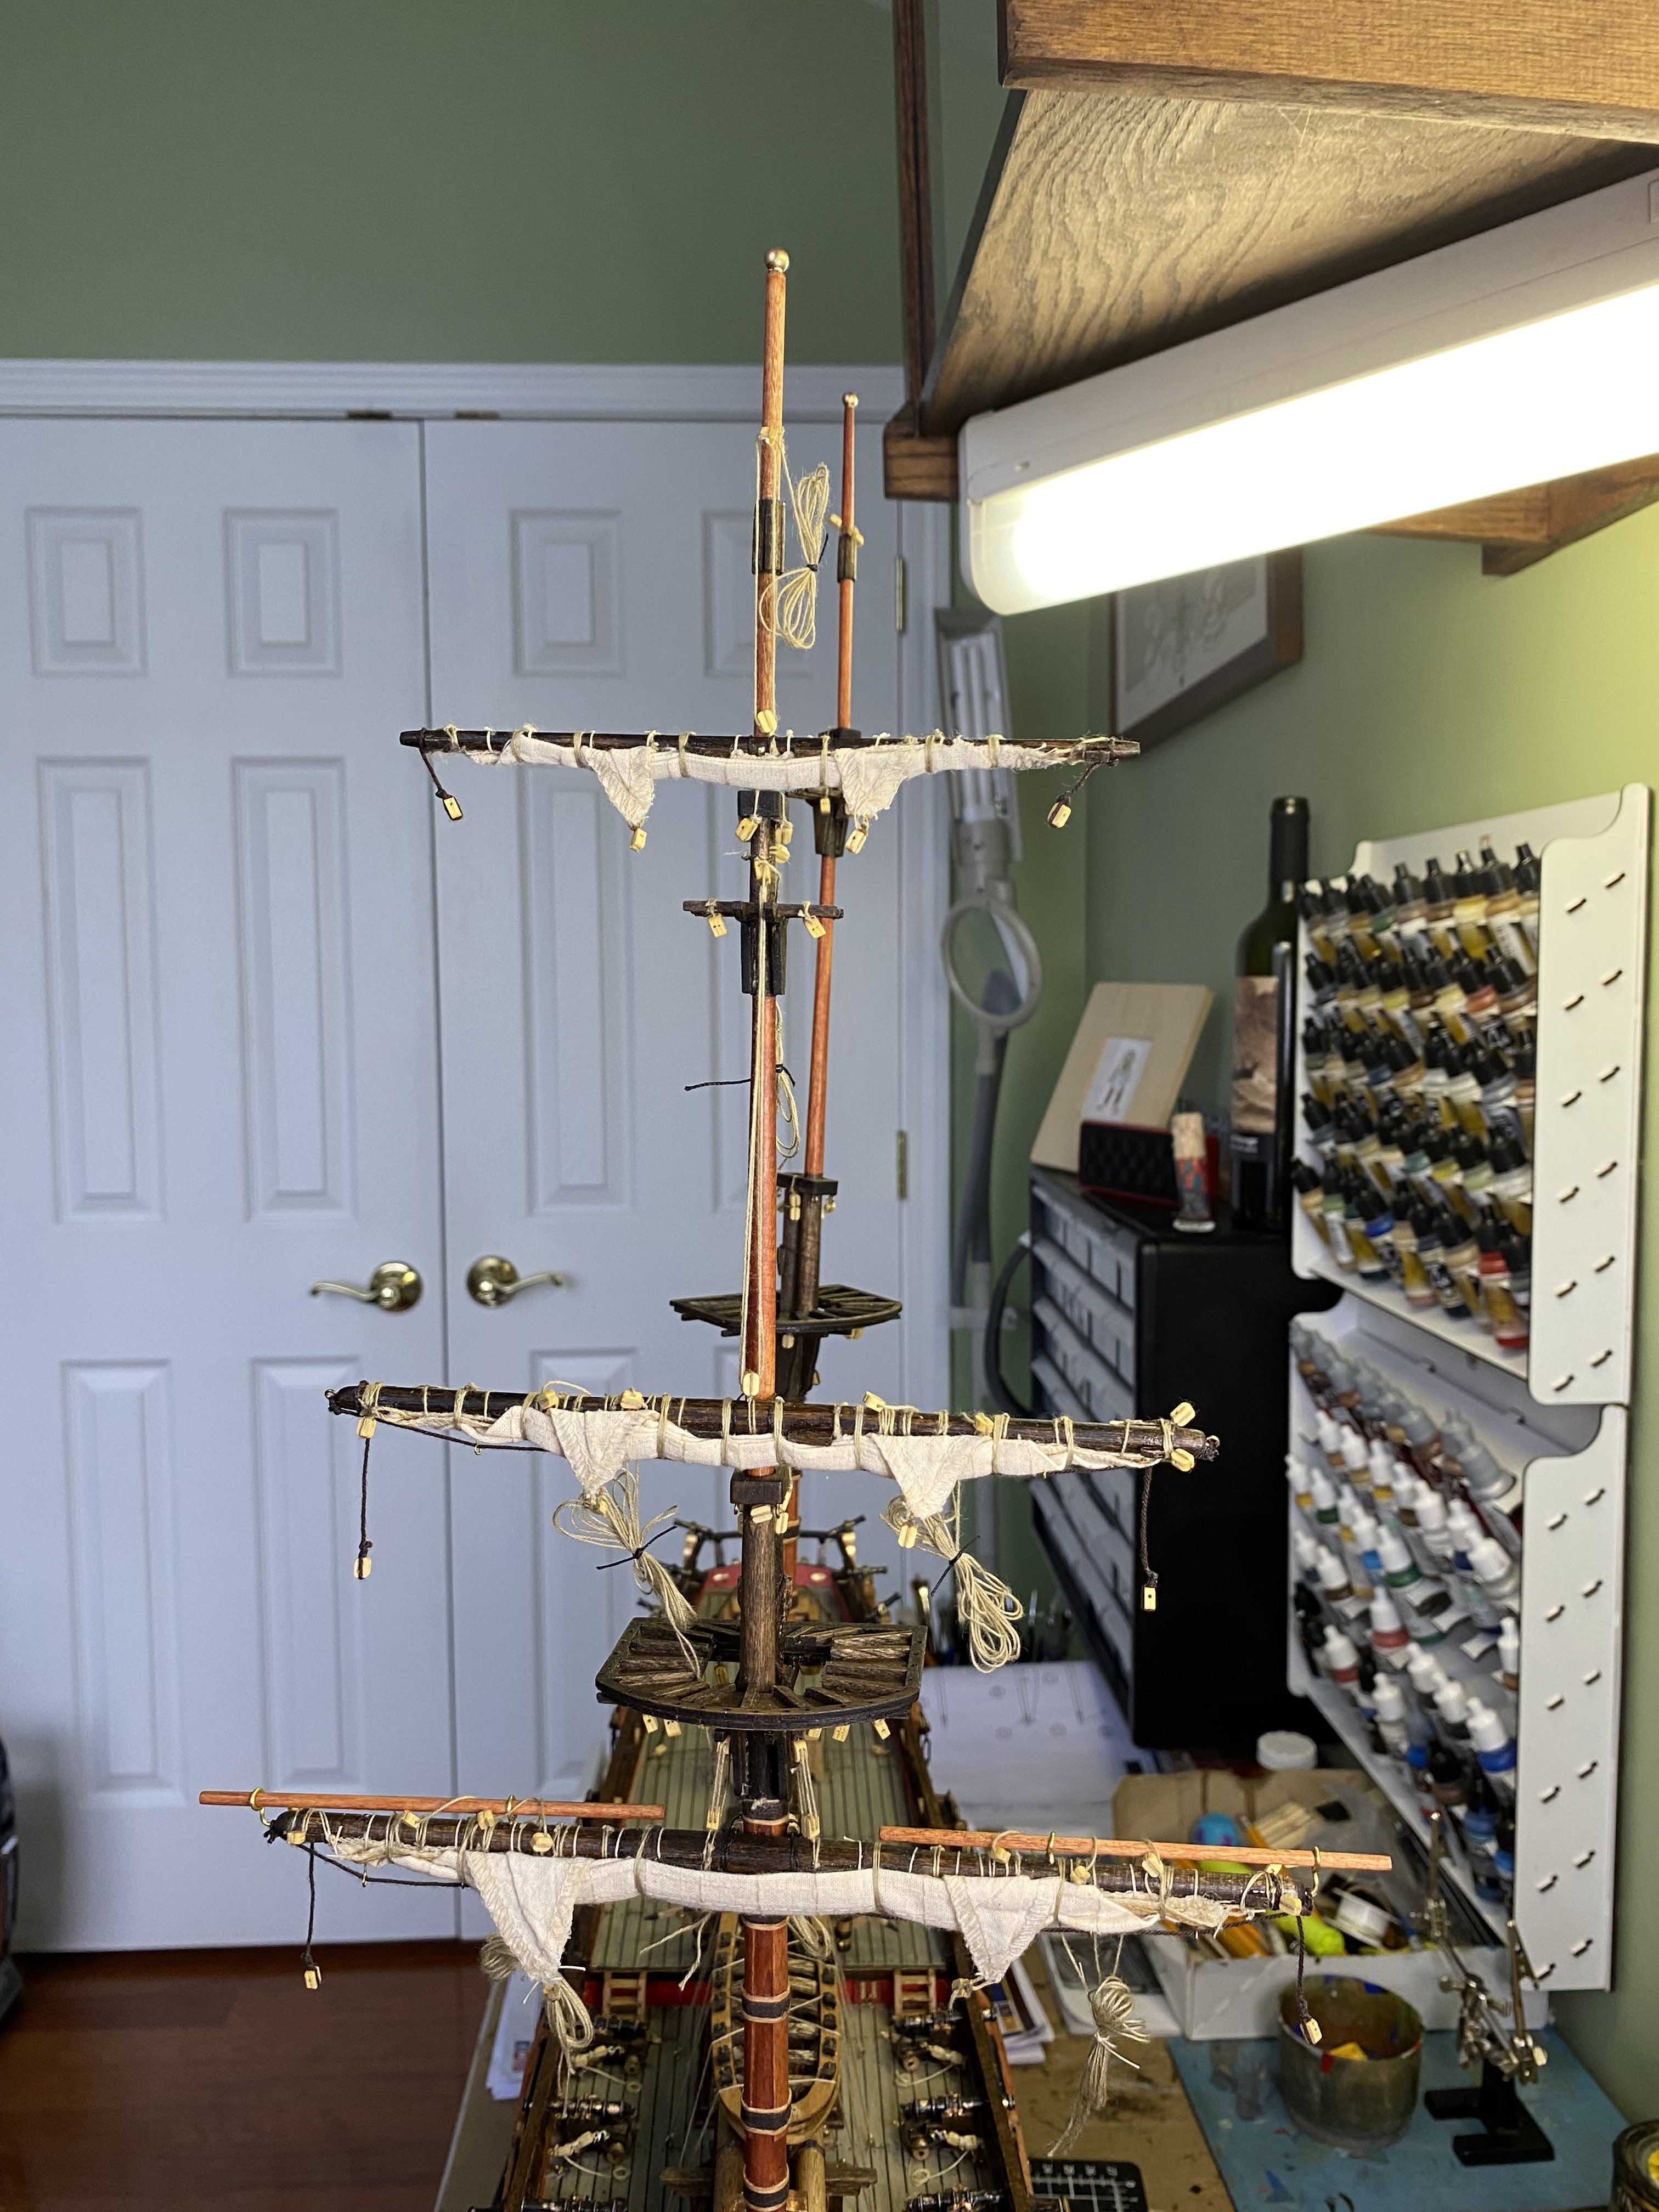
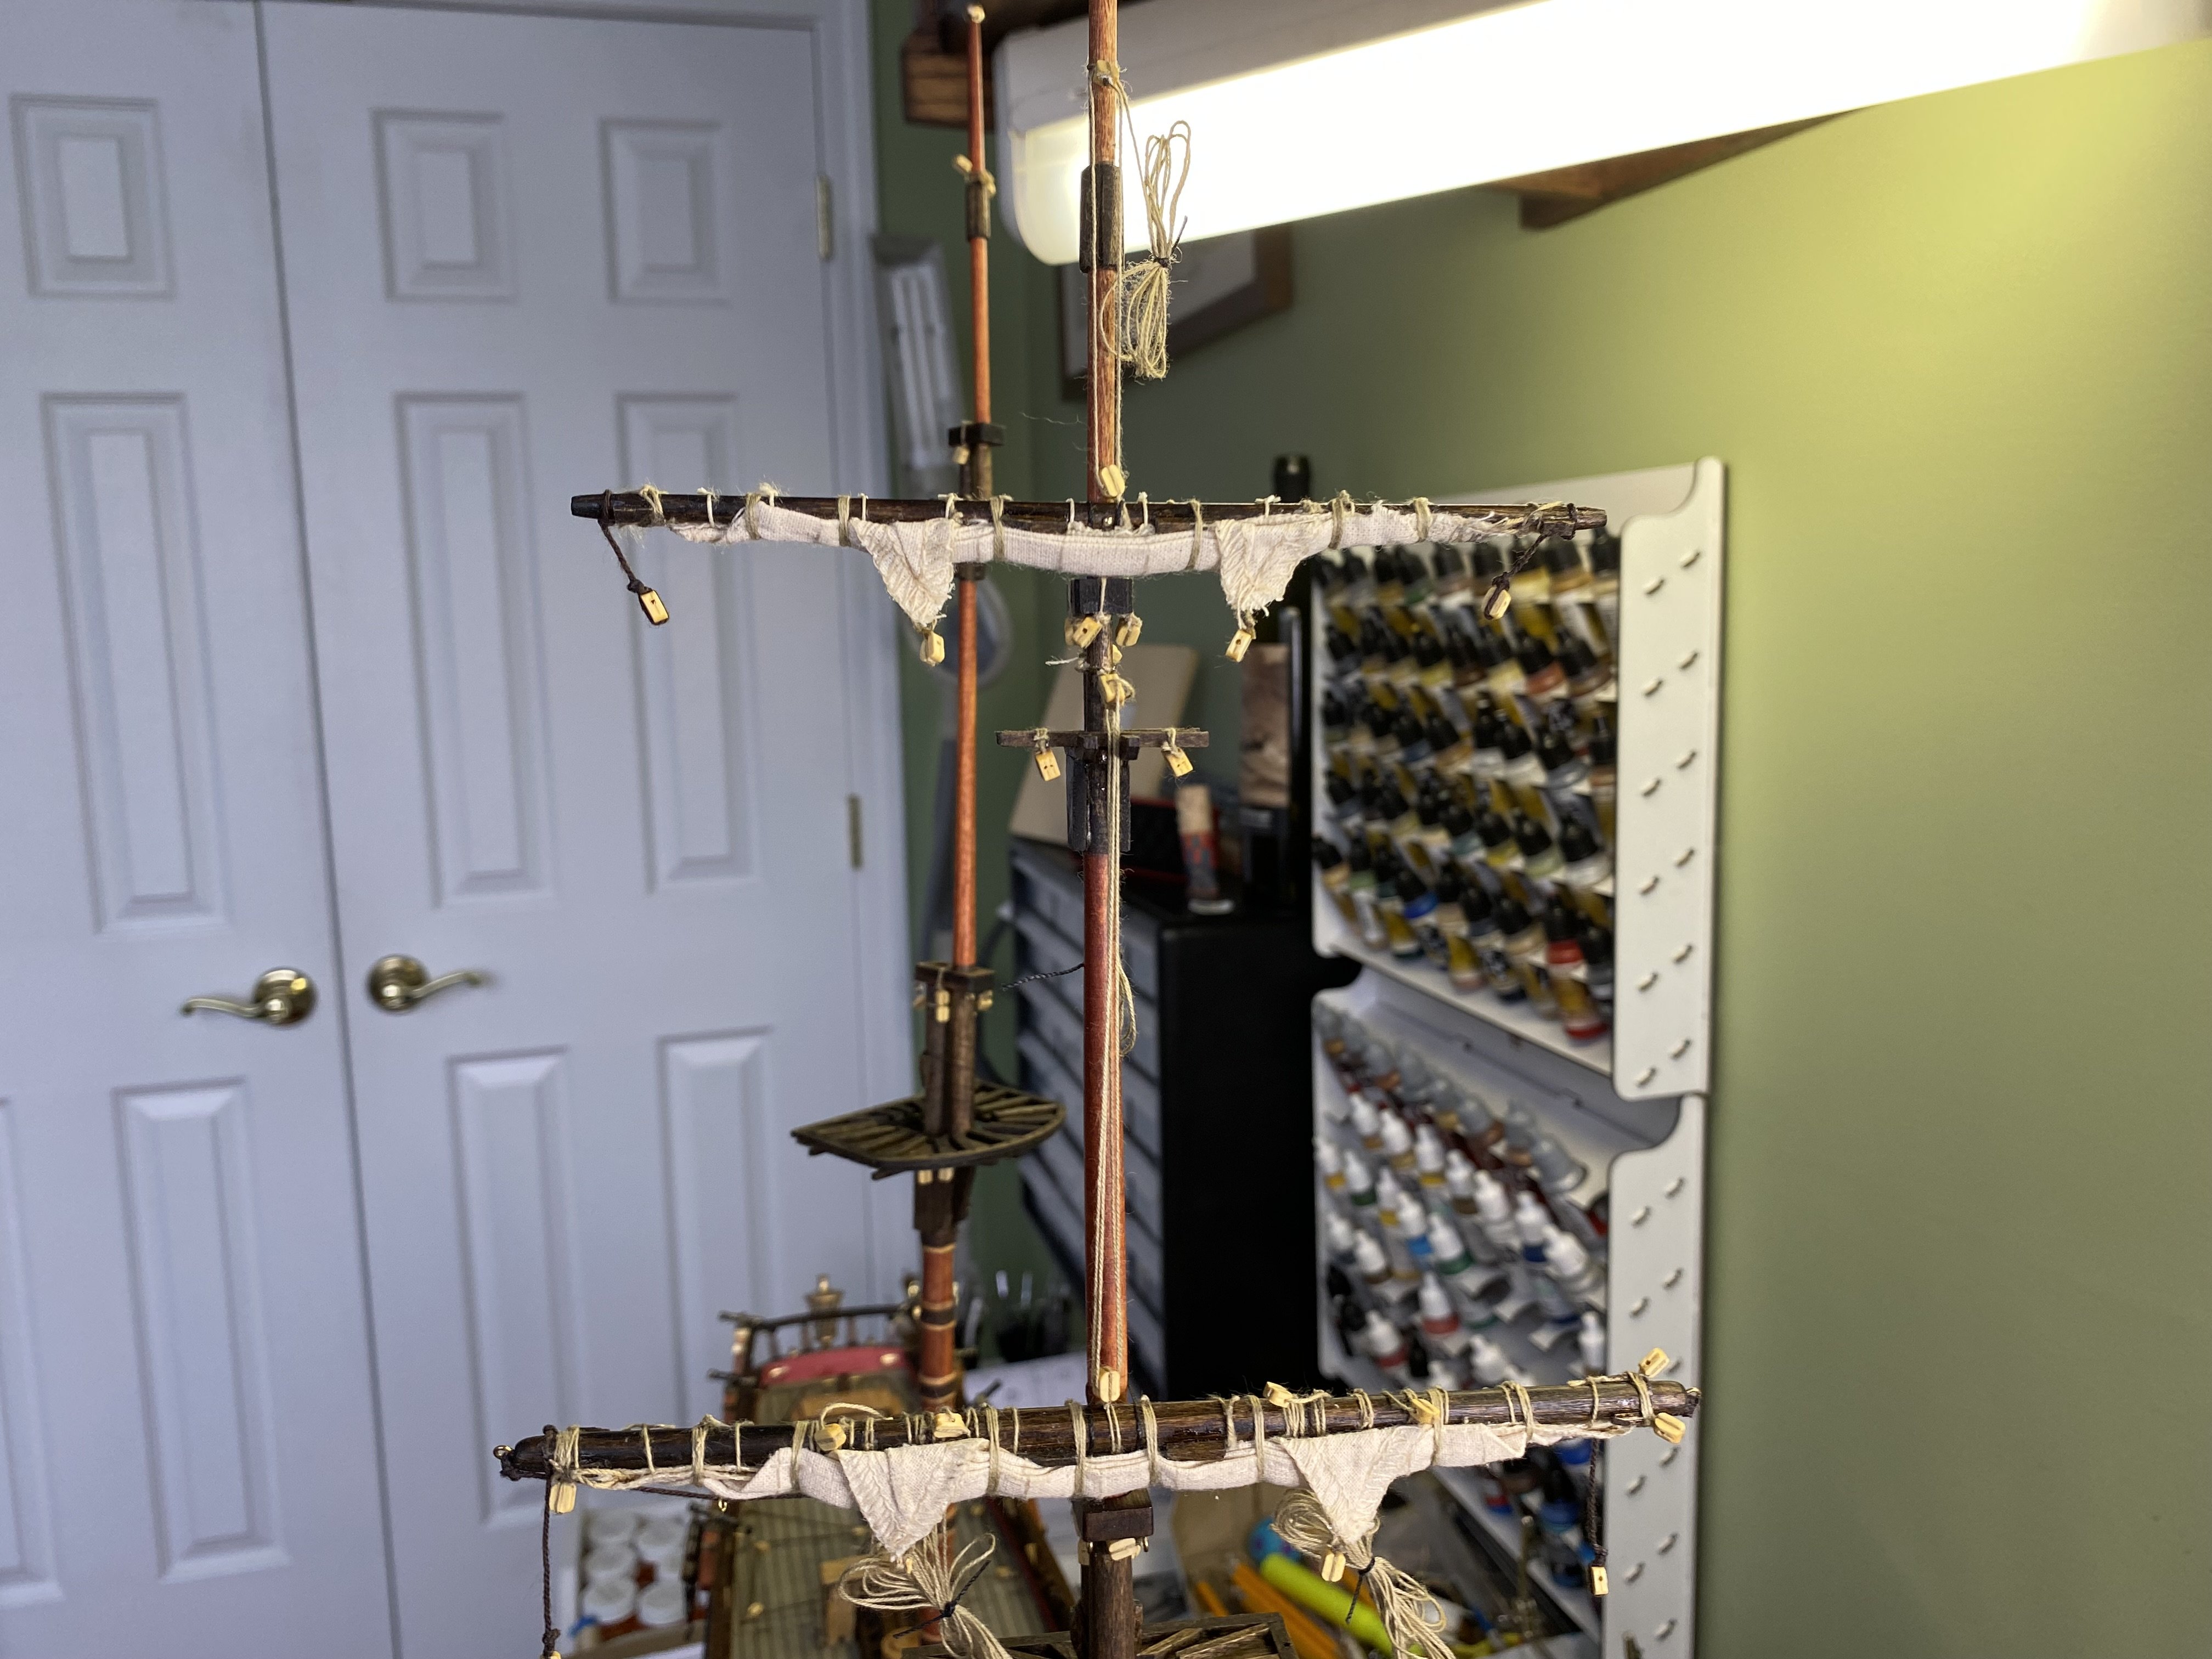
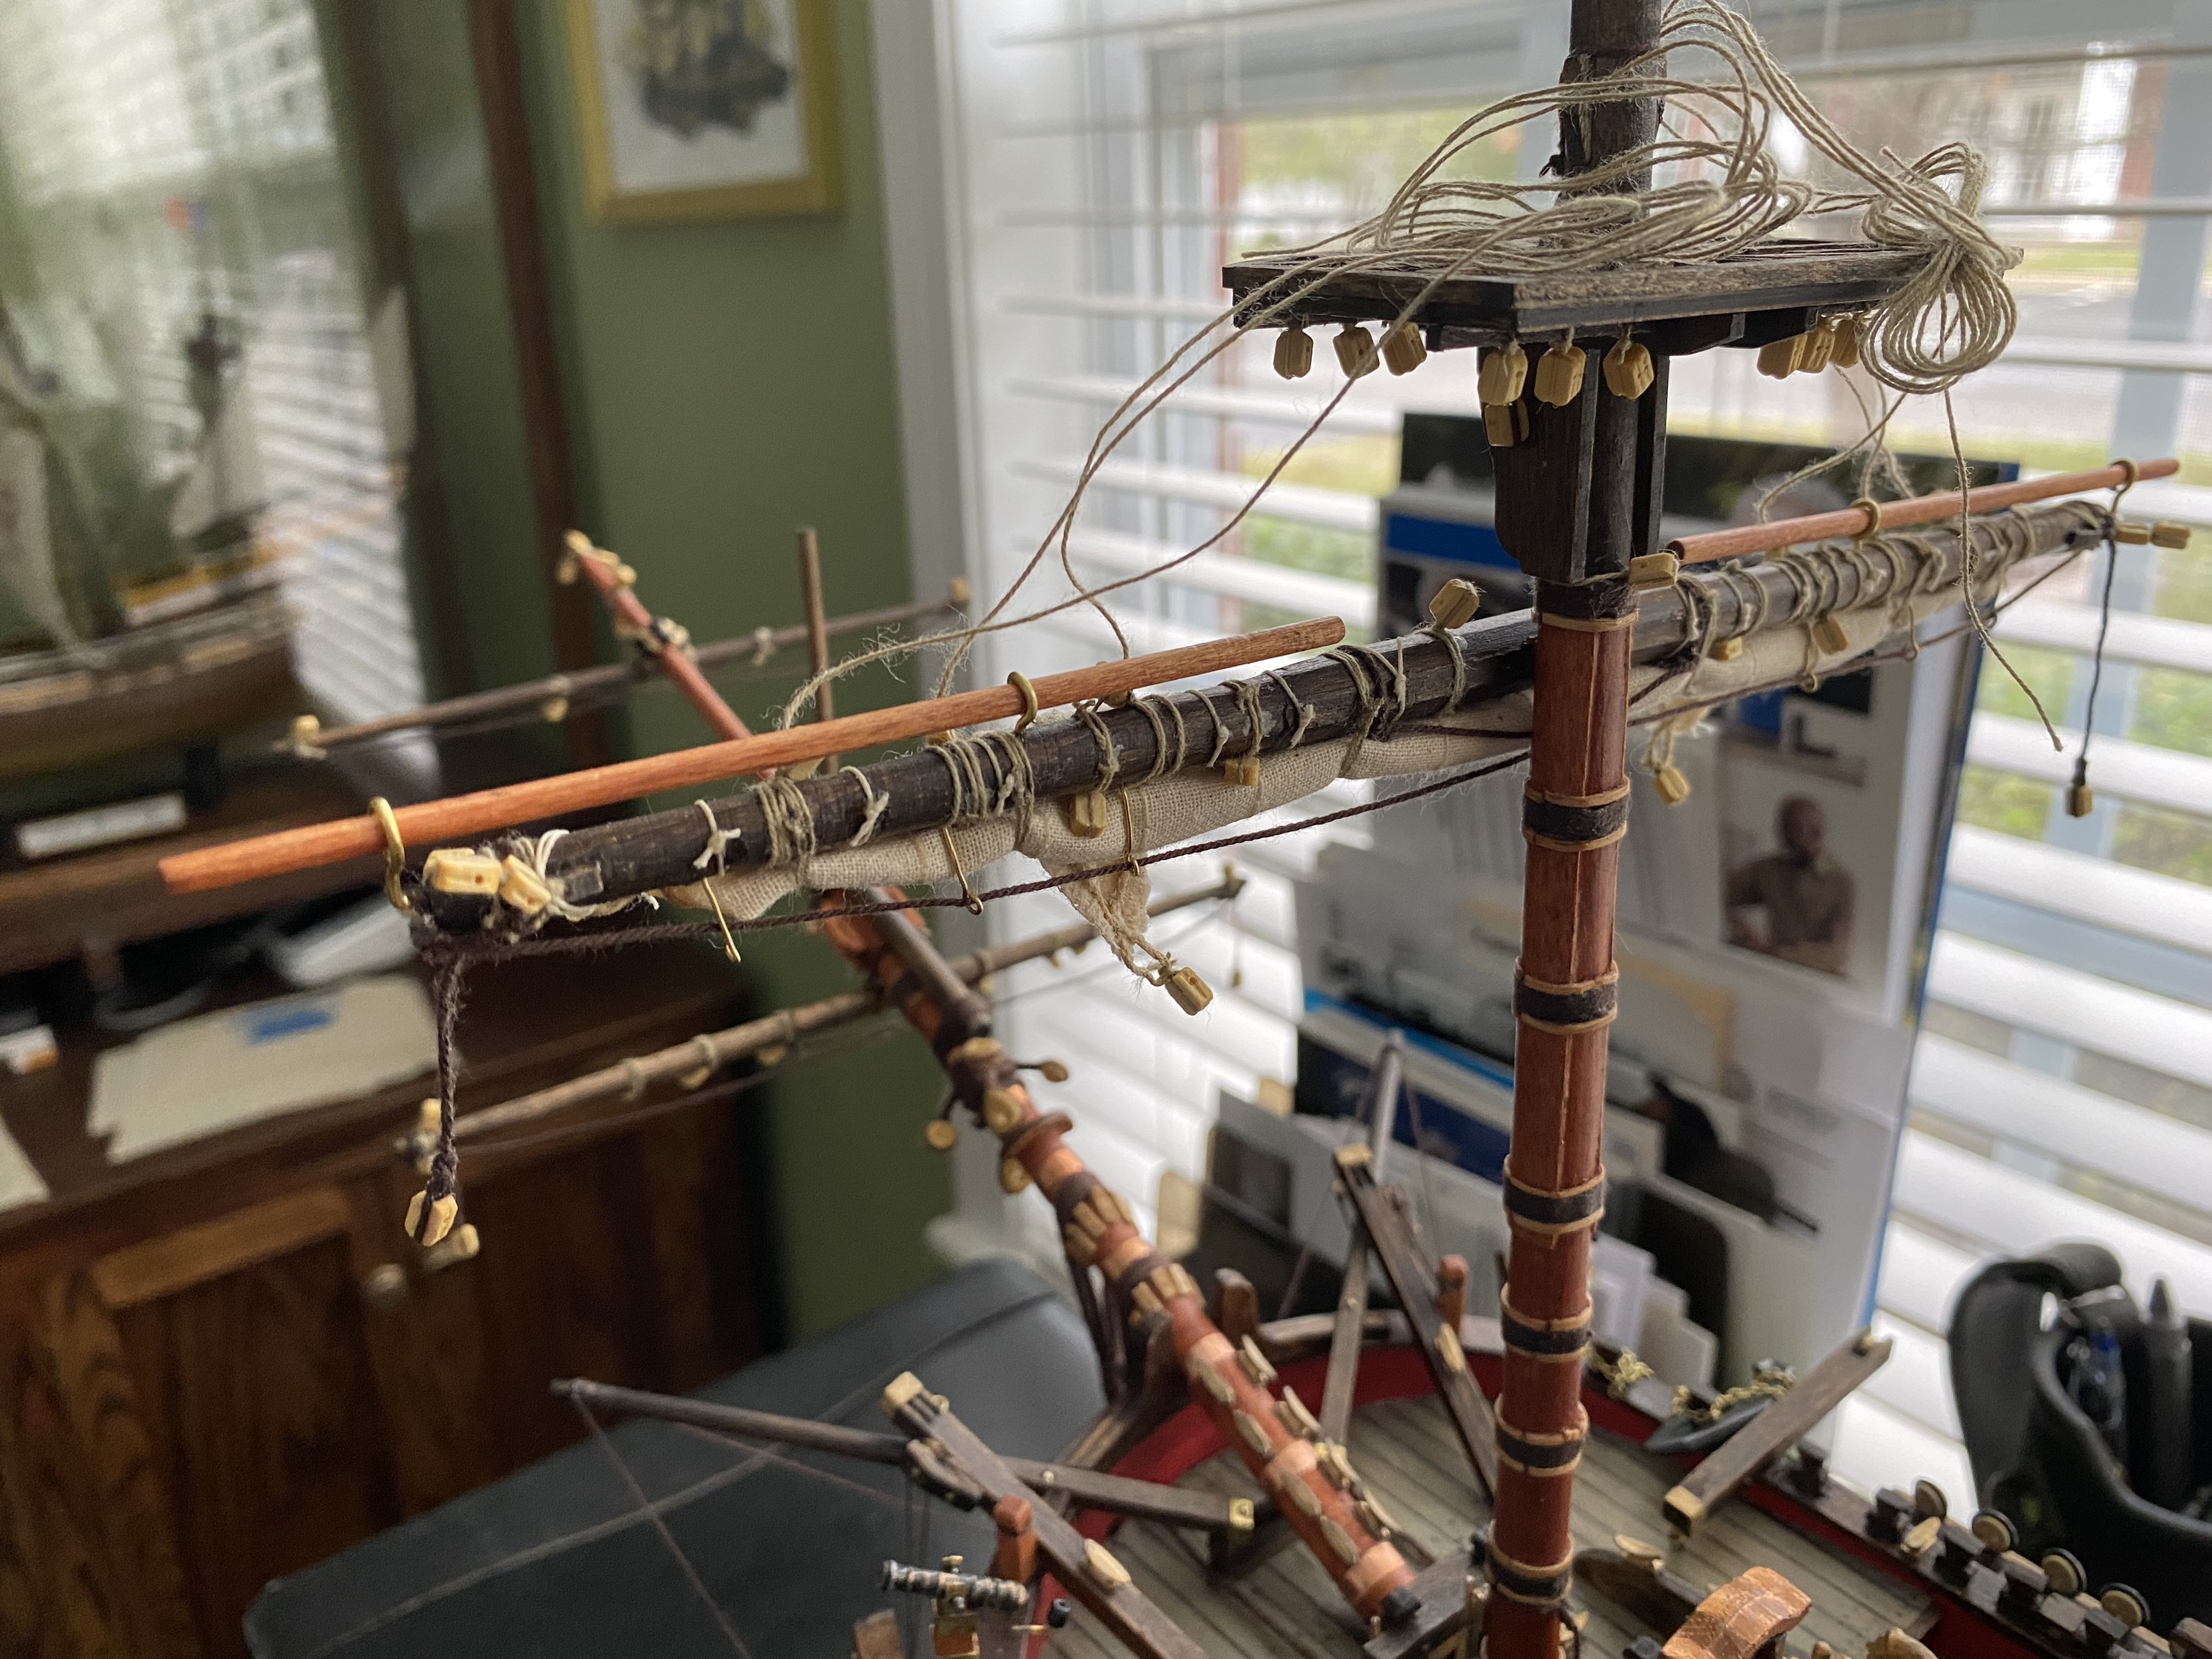
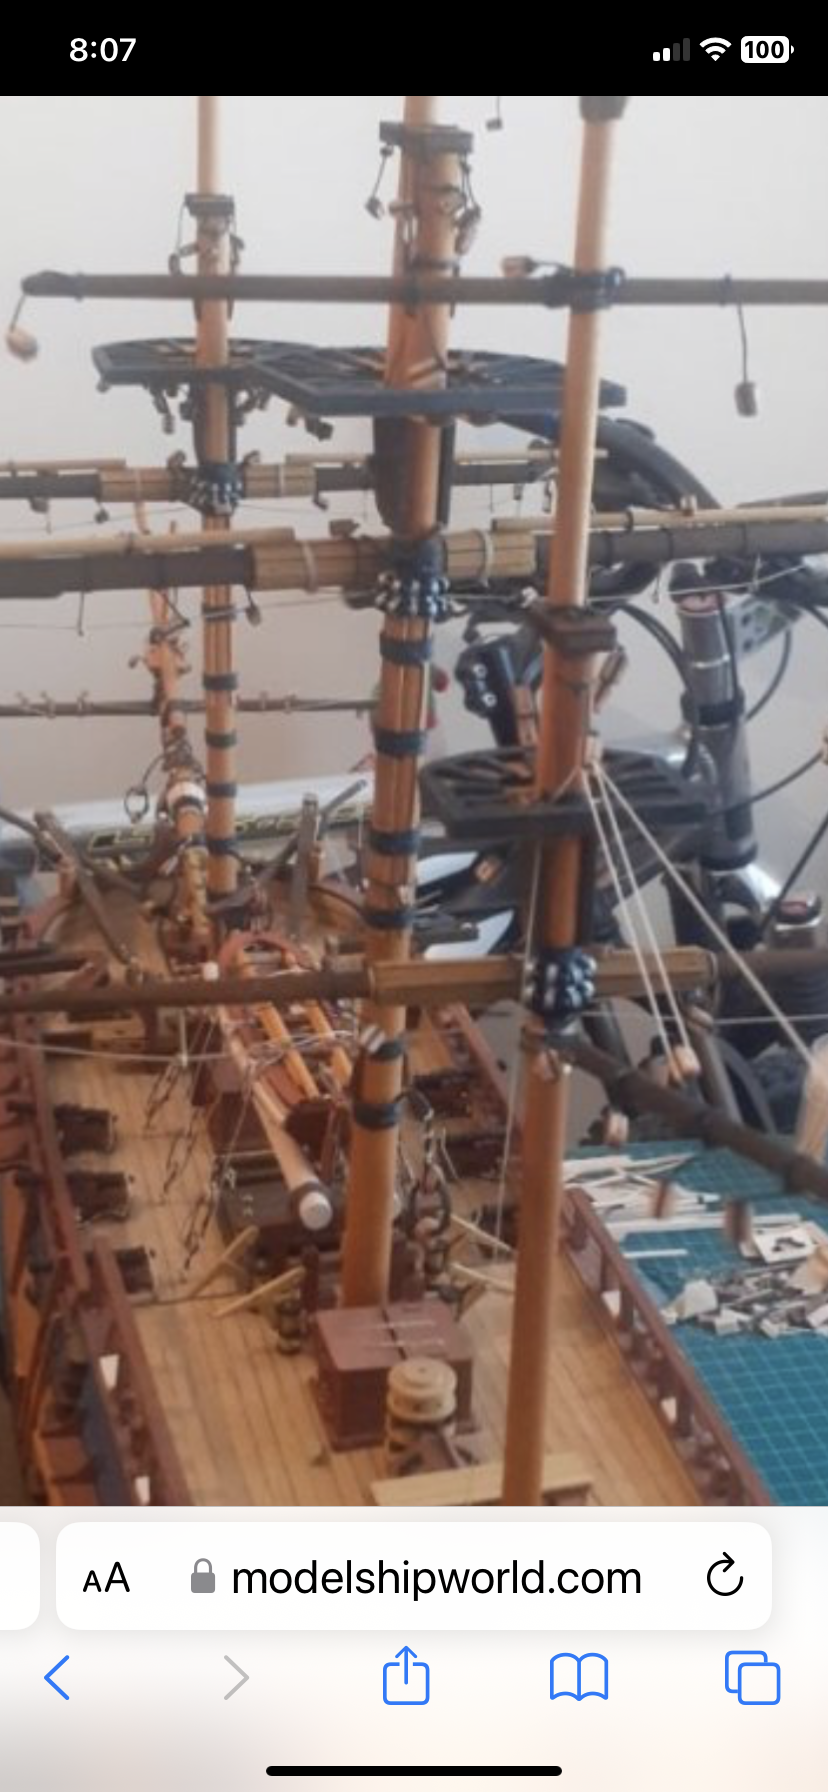
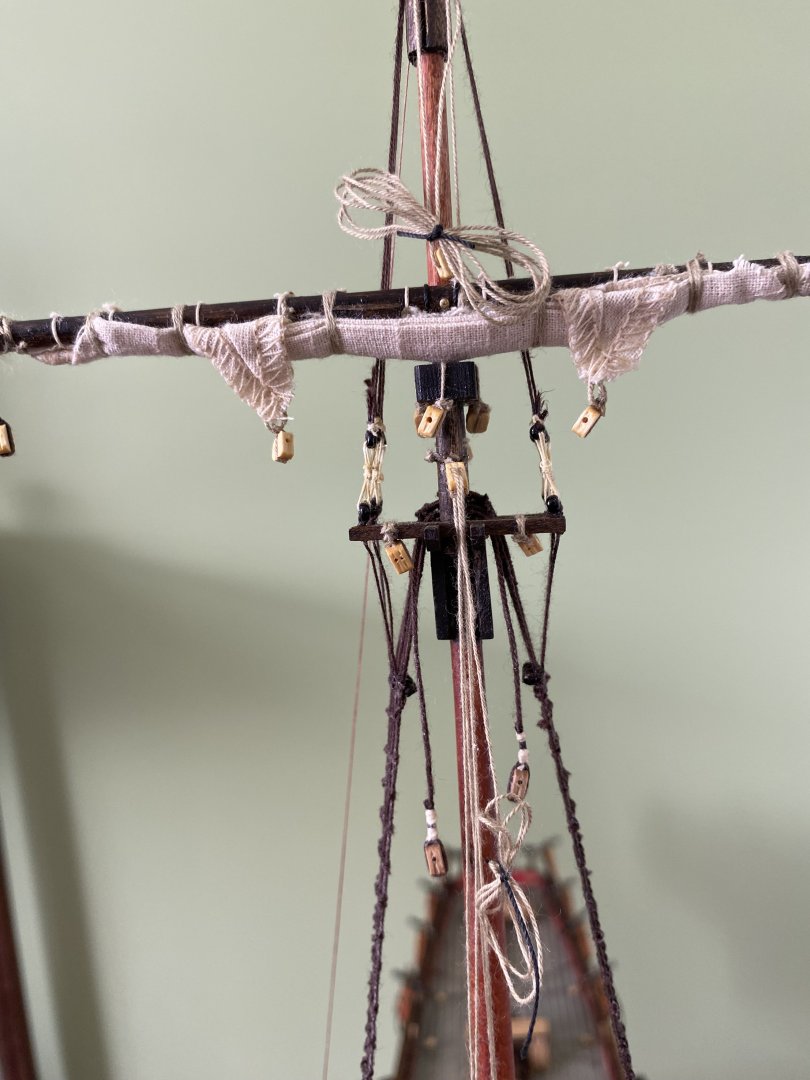
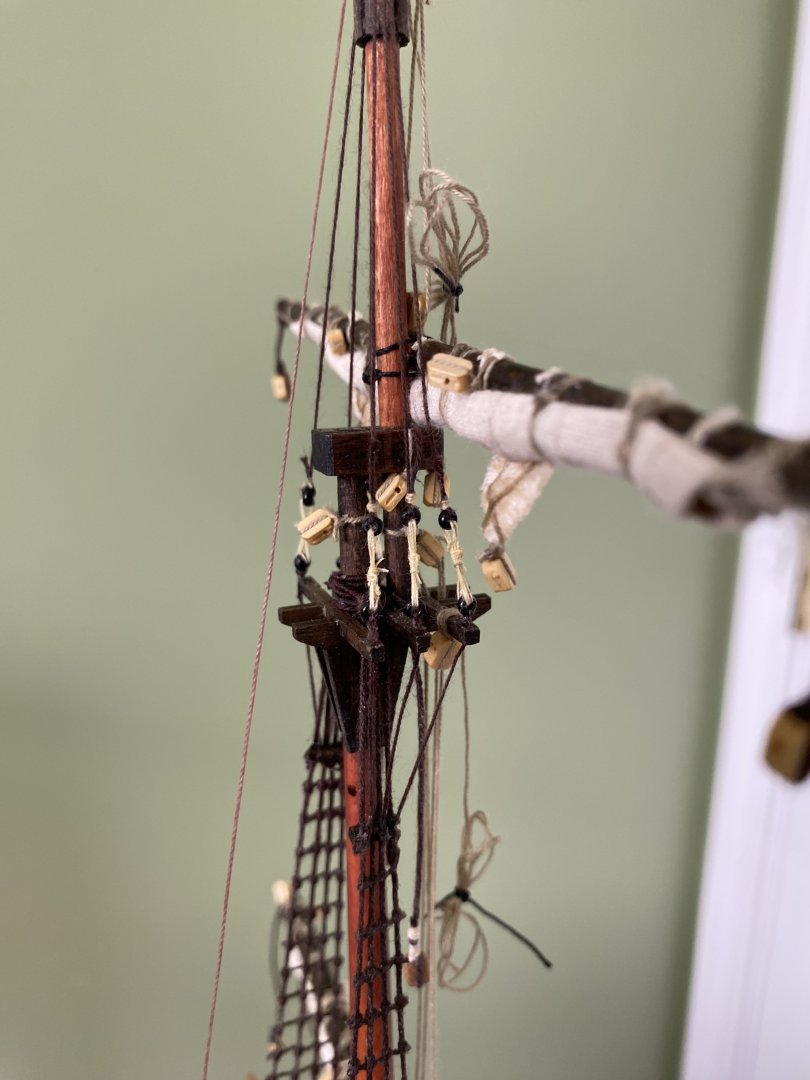
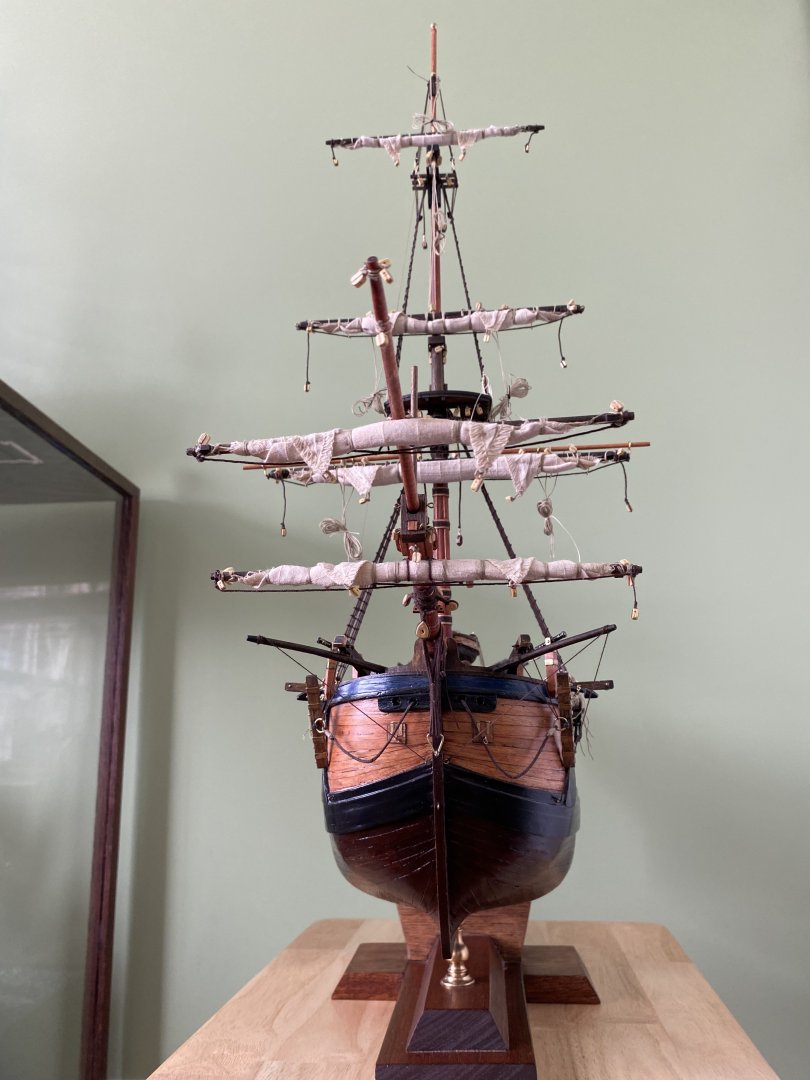
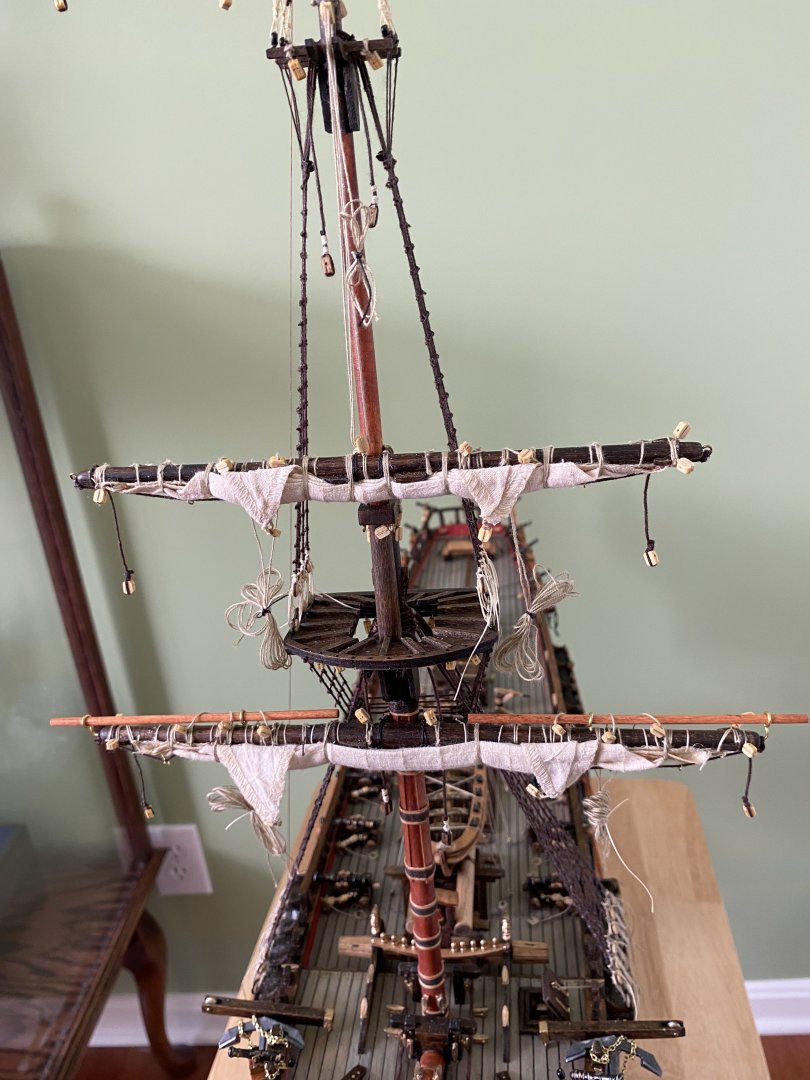
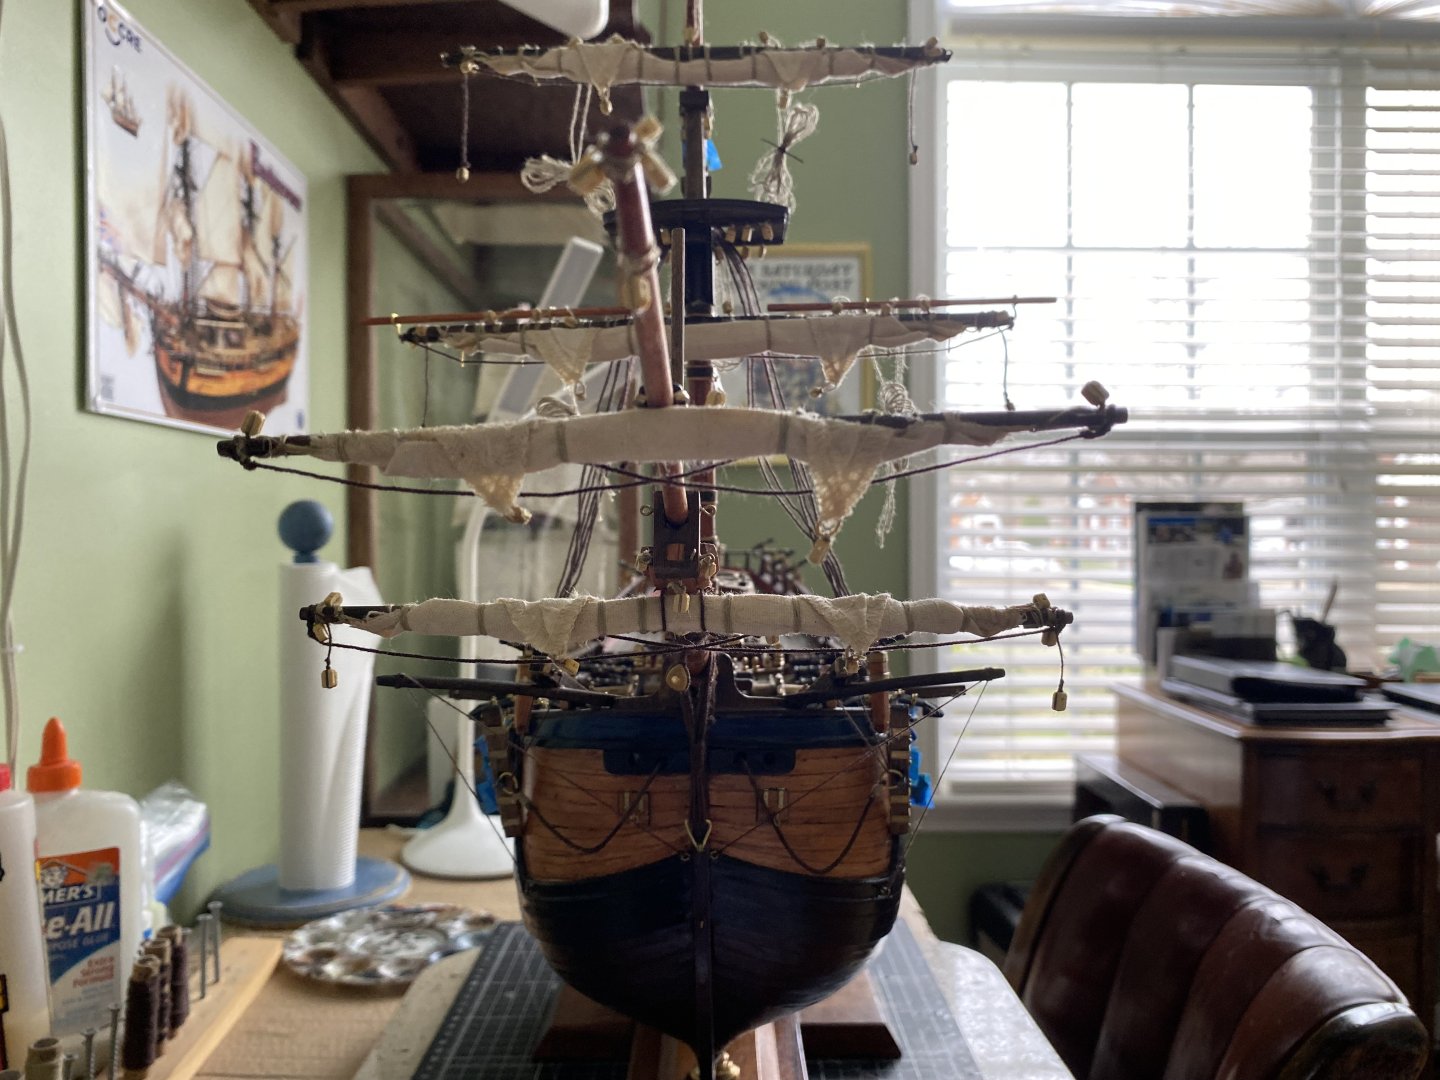
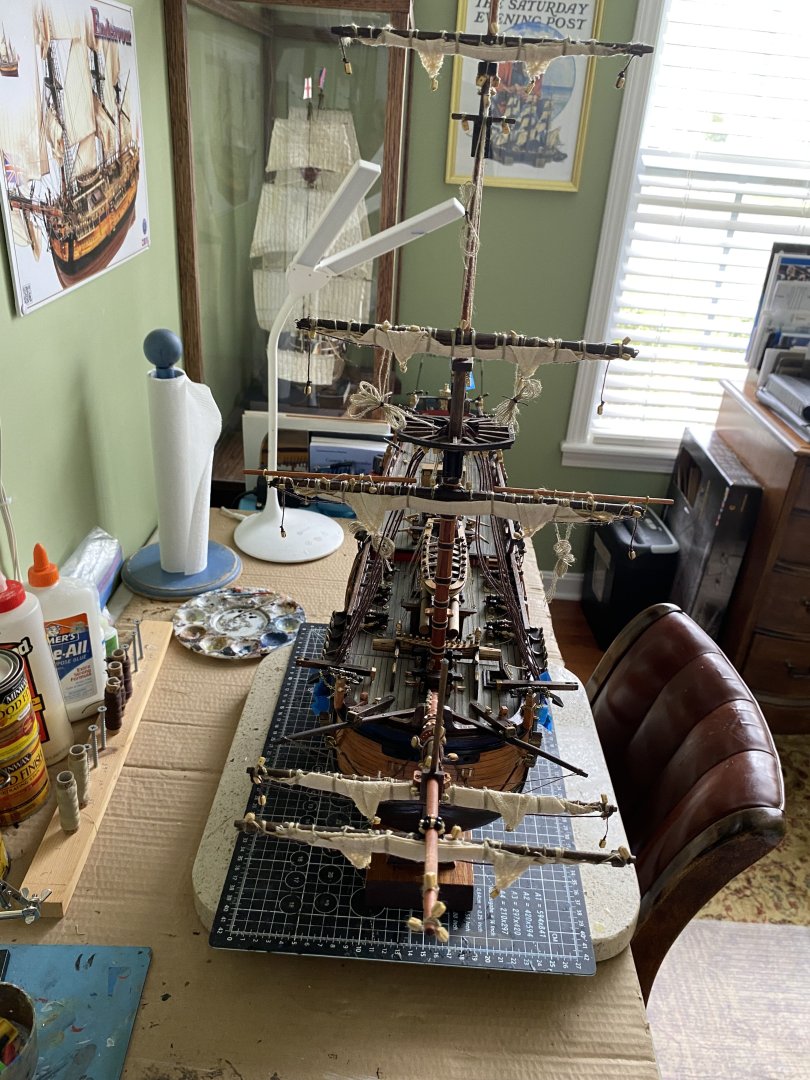
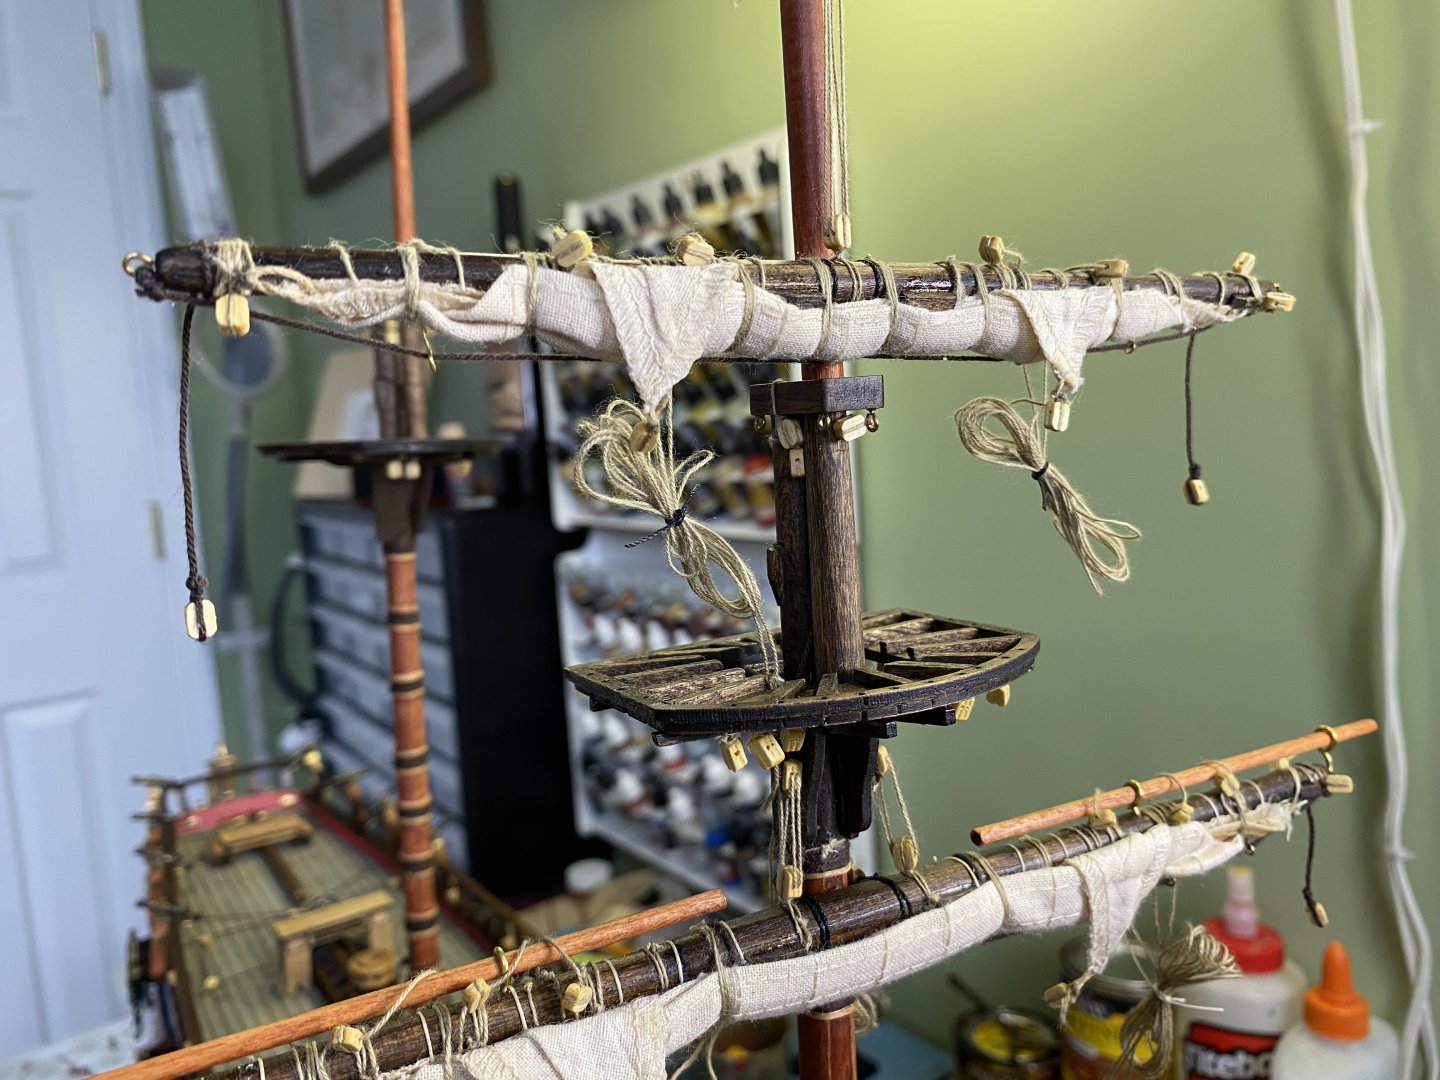
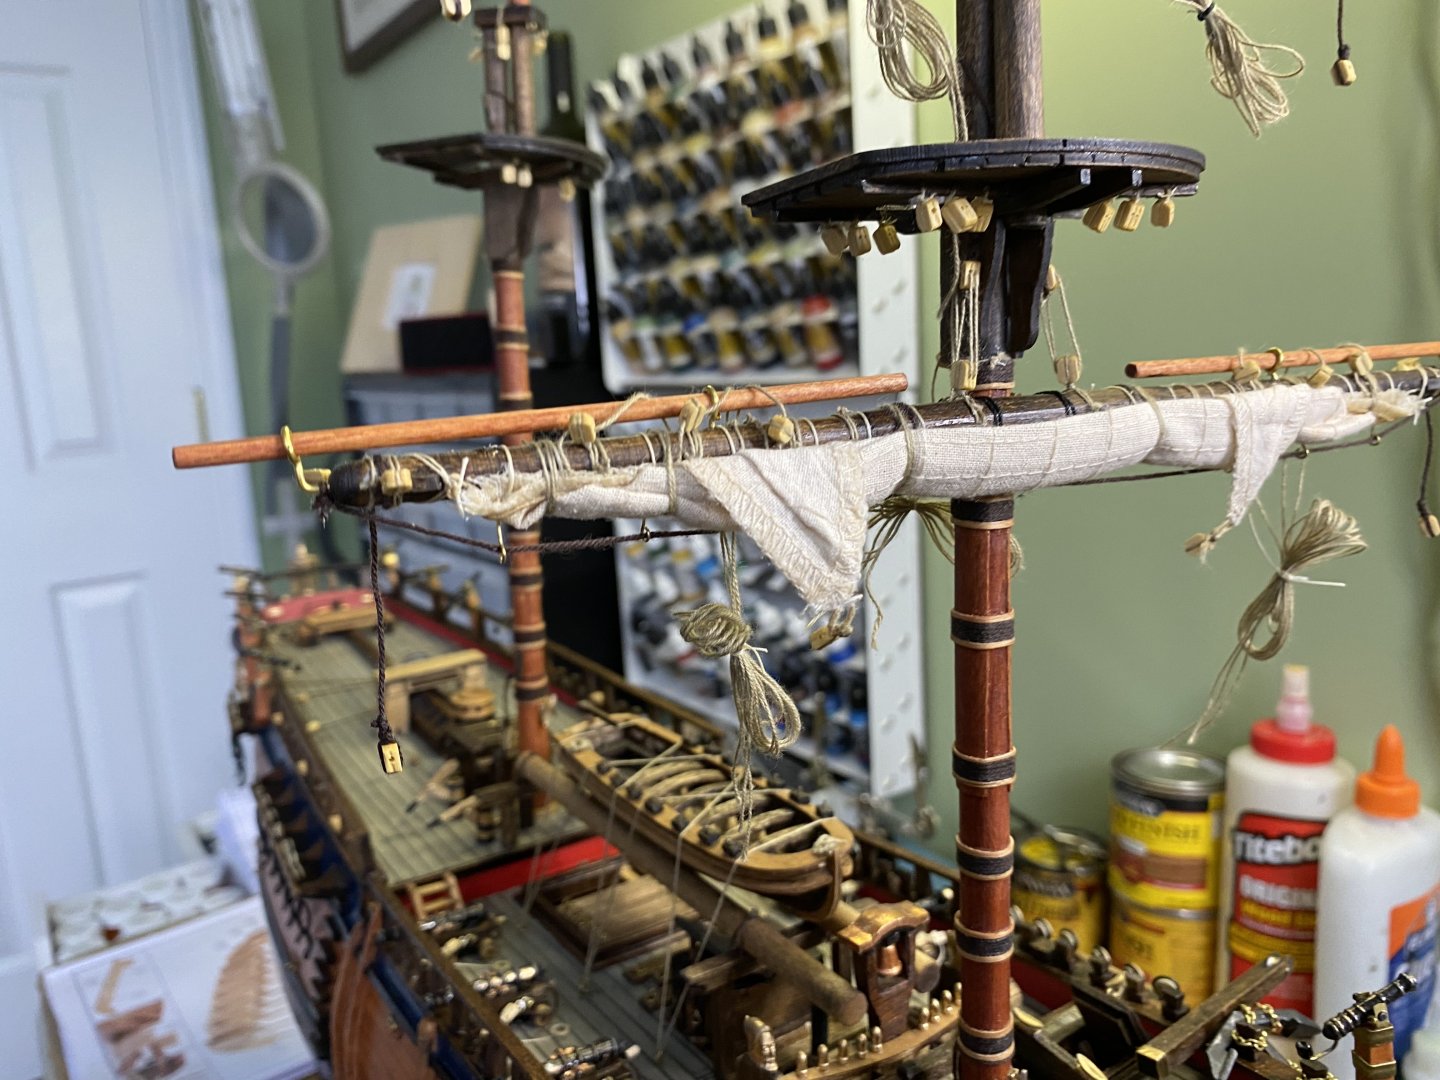
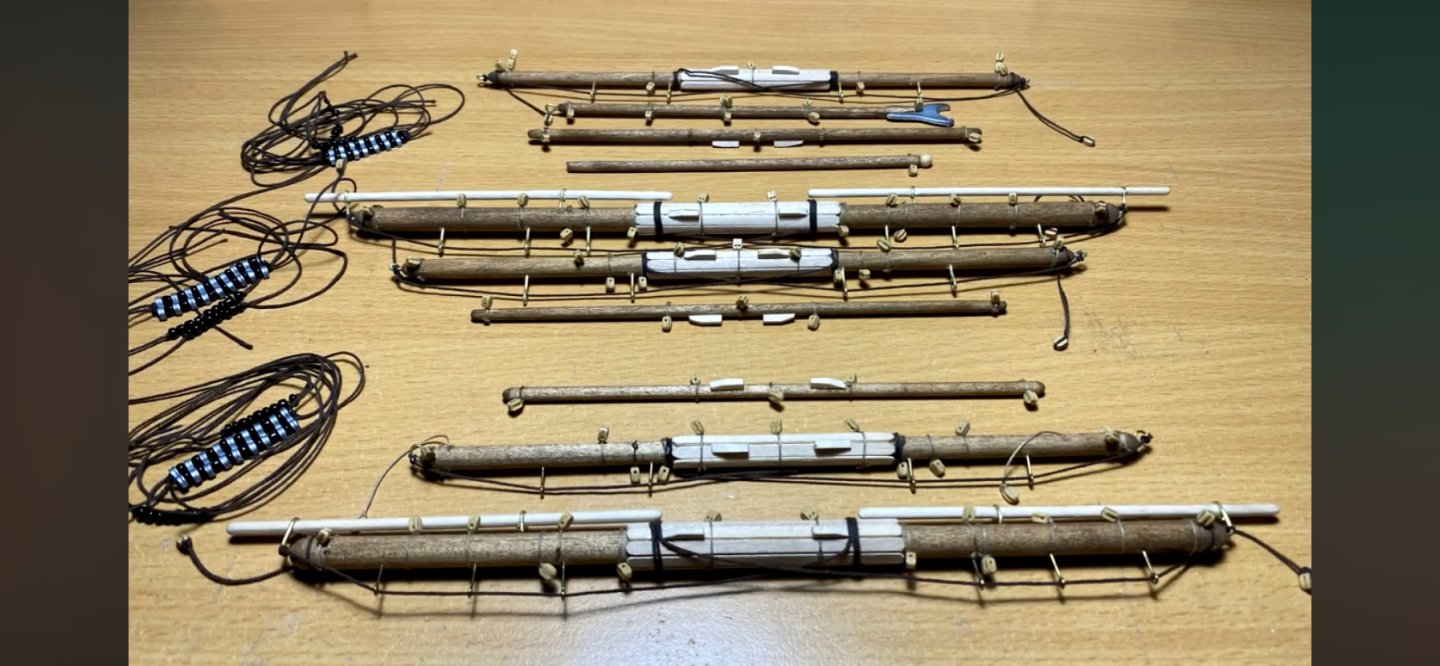
The foremast with all furled sails! Future rigging lines, buntlines, etc., hanging free at this point. Ready for shrouds and stays!


-
Two full days work and I have the fore yard sail furled. I have the 6 buntlines coming out the top of the folds that will eventually be rigged through the blocks under the mast top and down to the deck. I also have the sail corners exposed and folded over with an eye for the clew , tack, and sheet lines. Wow there is a lot of stuff tied to what used to be a simple piece of dial rod. Interesting question. OcCre has me use a parrel on the fore and main yard. The AOTS book for the Endeavour also shows this. I am not sure that is correct. Longridge’s AOTS says parrels were used on the topsail yard and topgallant. On the Victory the fore yard was supported by a sling and truss pendants. I did a quick look at my SR and see Heller instructed to use a parrel on the fore and main yards? I wonder if the type if ship made a difference in how the yard was secured?


-
OcCre shows building the complete mast off the ship and also attaching the yards with parrels. Then place the completed mast “tree” in the deck. Once the mast is solid in place then start the stays and shrouds. I have usually found it easier to set the sails on the yards before attaching the yard to the mast and just have the sail rigging lines hang lose at that point. Since I plan to furl all my sails I would think I will need to add the furled sail to the yard before I mount it to the mast which is not yet on the ship.
-
Marc beautiful work as always. And the additional advice from you and Kevin is always so valuable. Kevin I am eagerly awaiting your start of your SR 😊. If you guys, at your convenience, would check the question I have over on my Endeavour build and give me your opinion I would greatly appreciate it. Can’t decide for sure my sequence to proceed.
- 2,696 replies
-
- 2
-

-

-
- heller
- soleil royal
- (and 9 more)
-
Thanks for your comment Veszett. I am really debating which way to do this. Is your 1:144 Wasa the Airfix? I built that model and really enjoy the ship’s history.
-
Ok here is a topic for discussion I can’t seem to settle on. I understand the frequent answer is “it is your model do what you want”. But the problem is I can’t decide based on my limited experience what is best. I am trying to decide the sequence to follow in building my complete mast with furled sails. I see other builders follow several different sequences all ending in the same final result. Which do you find the best for you? 1. Place the bottom mast section then its shrouds. Followed by the next section and its’s shrouds, etc? 2. Place the completed mast and add all the sets of shrouds? 3. Add the yards to the mast section(s) before they are placed or stacked? 4. Add the yards after the mast and shrouds are in place. 5. If sails are to be added (either furled or unfurled), do you set them to the yard before or after the yard is added to the mast? As I said all of these sequences will ultimately end with the same final result. A ship with masts, yards, and possibly sails. As I am going through the steady process of making all my mast sections and yards (nothing added/placed on the ship yet) I am just curious what your preferred sequence is for putting them together on the ship?
-
I am planning to furl all my sails on this build. In preparation for that I have been curious about what I am to do with each of the sail running rigging lines. I imagine some stay attached to the sail and others are disconnected from the sail. I found this extremely helpful post here on MSW that I think will be my guide. Thanks for your post Tom. https://modelshipworld.com/topic/27248-furled-sails-rigging/
-
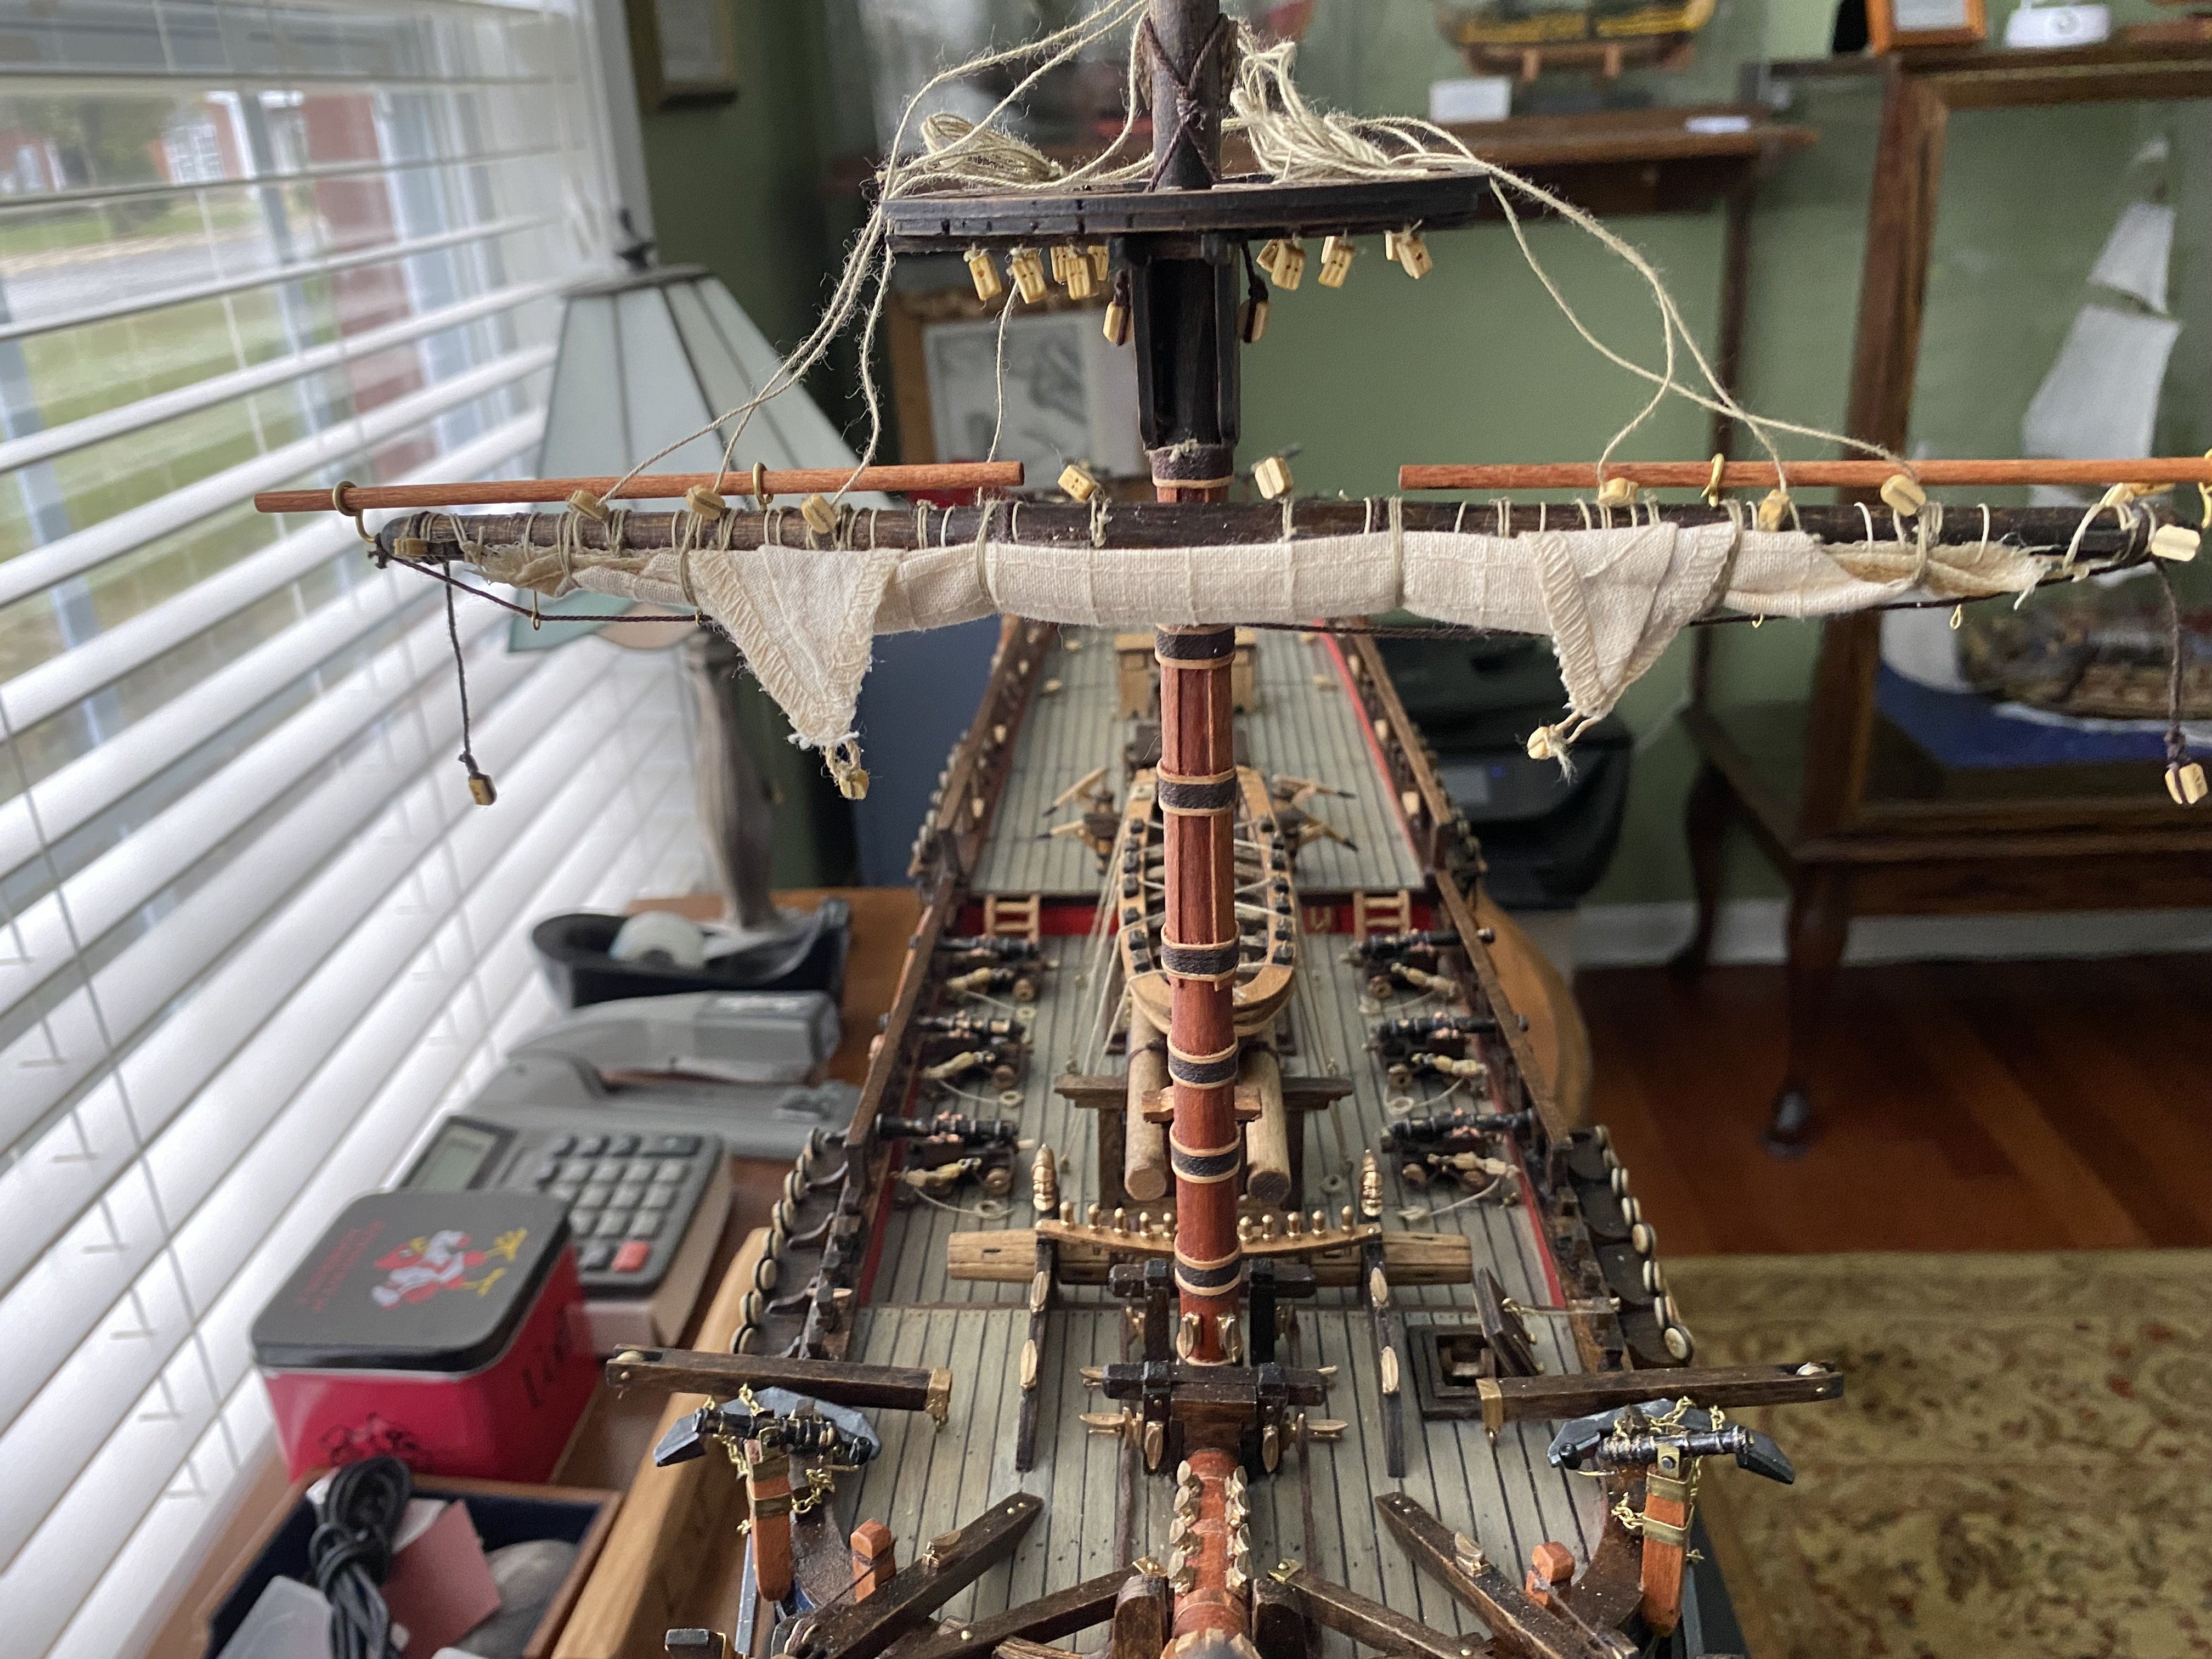
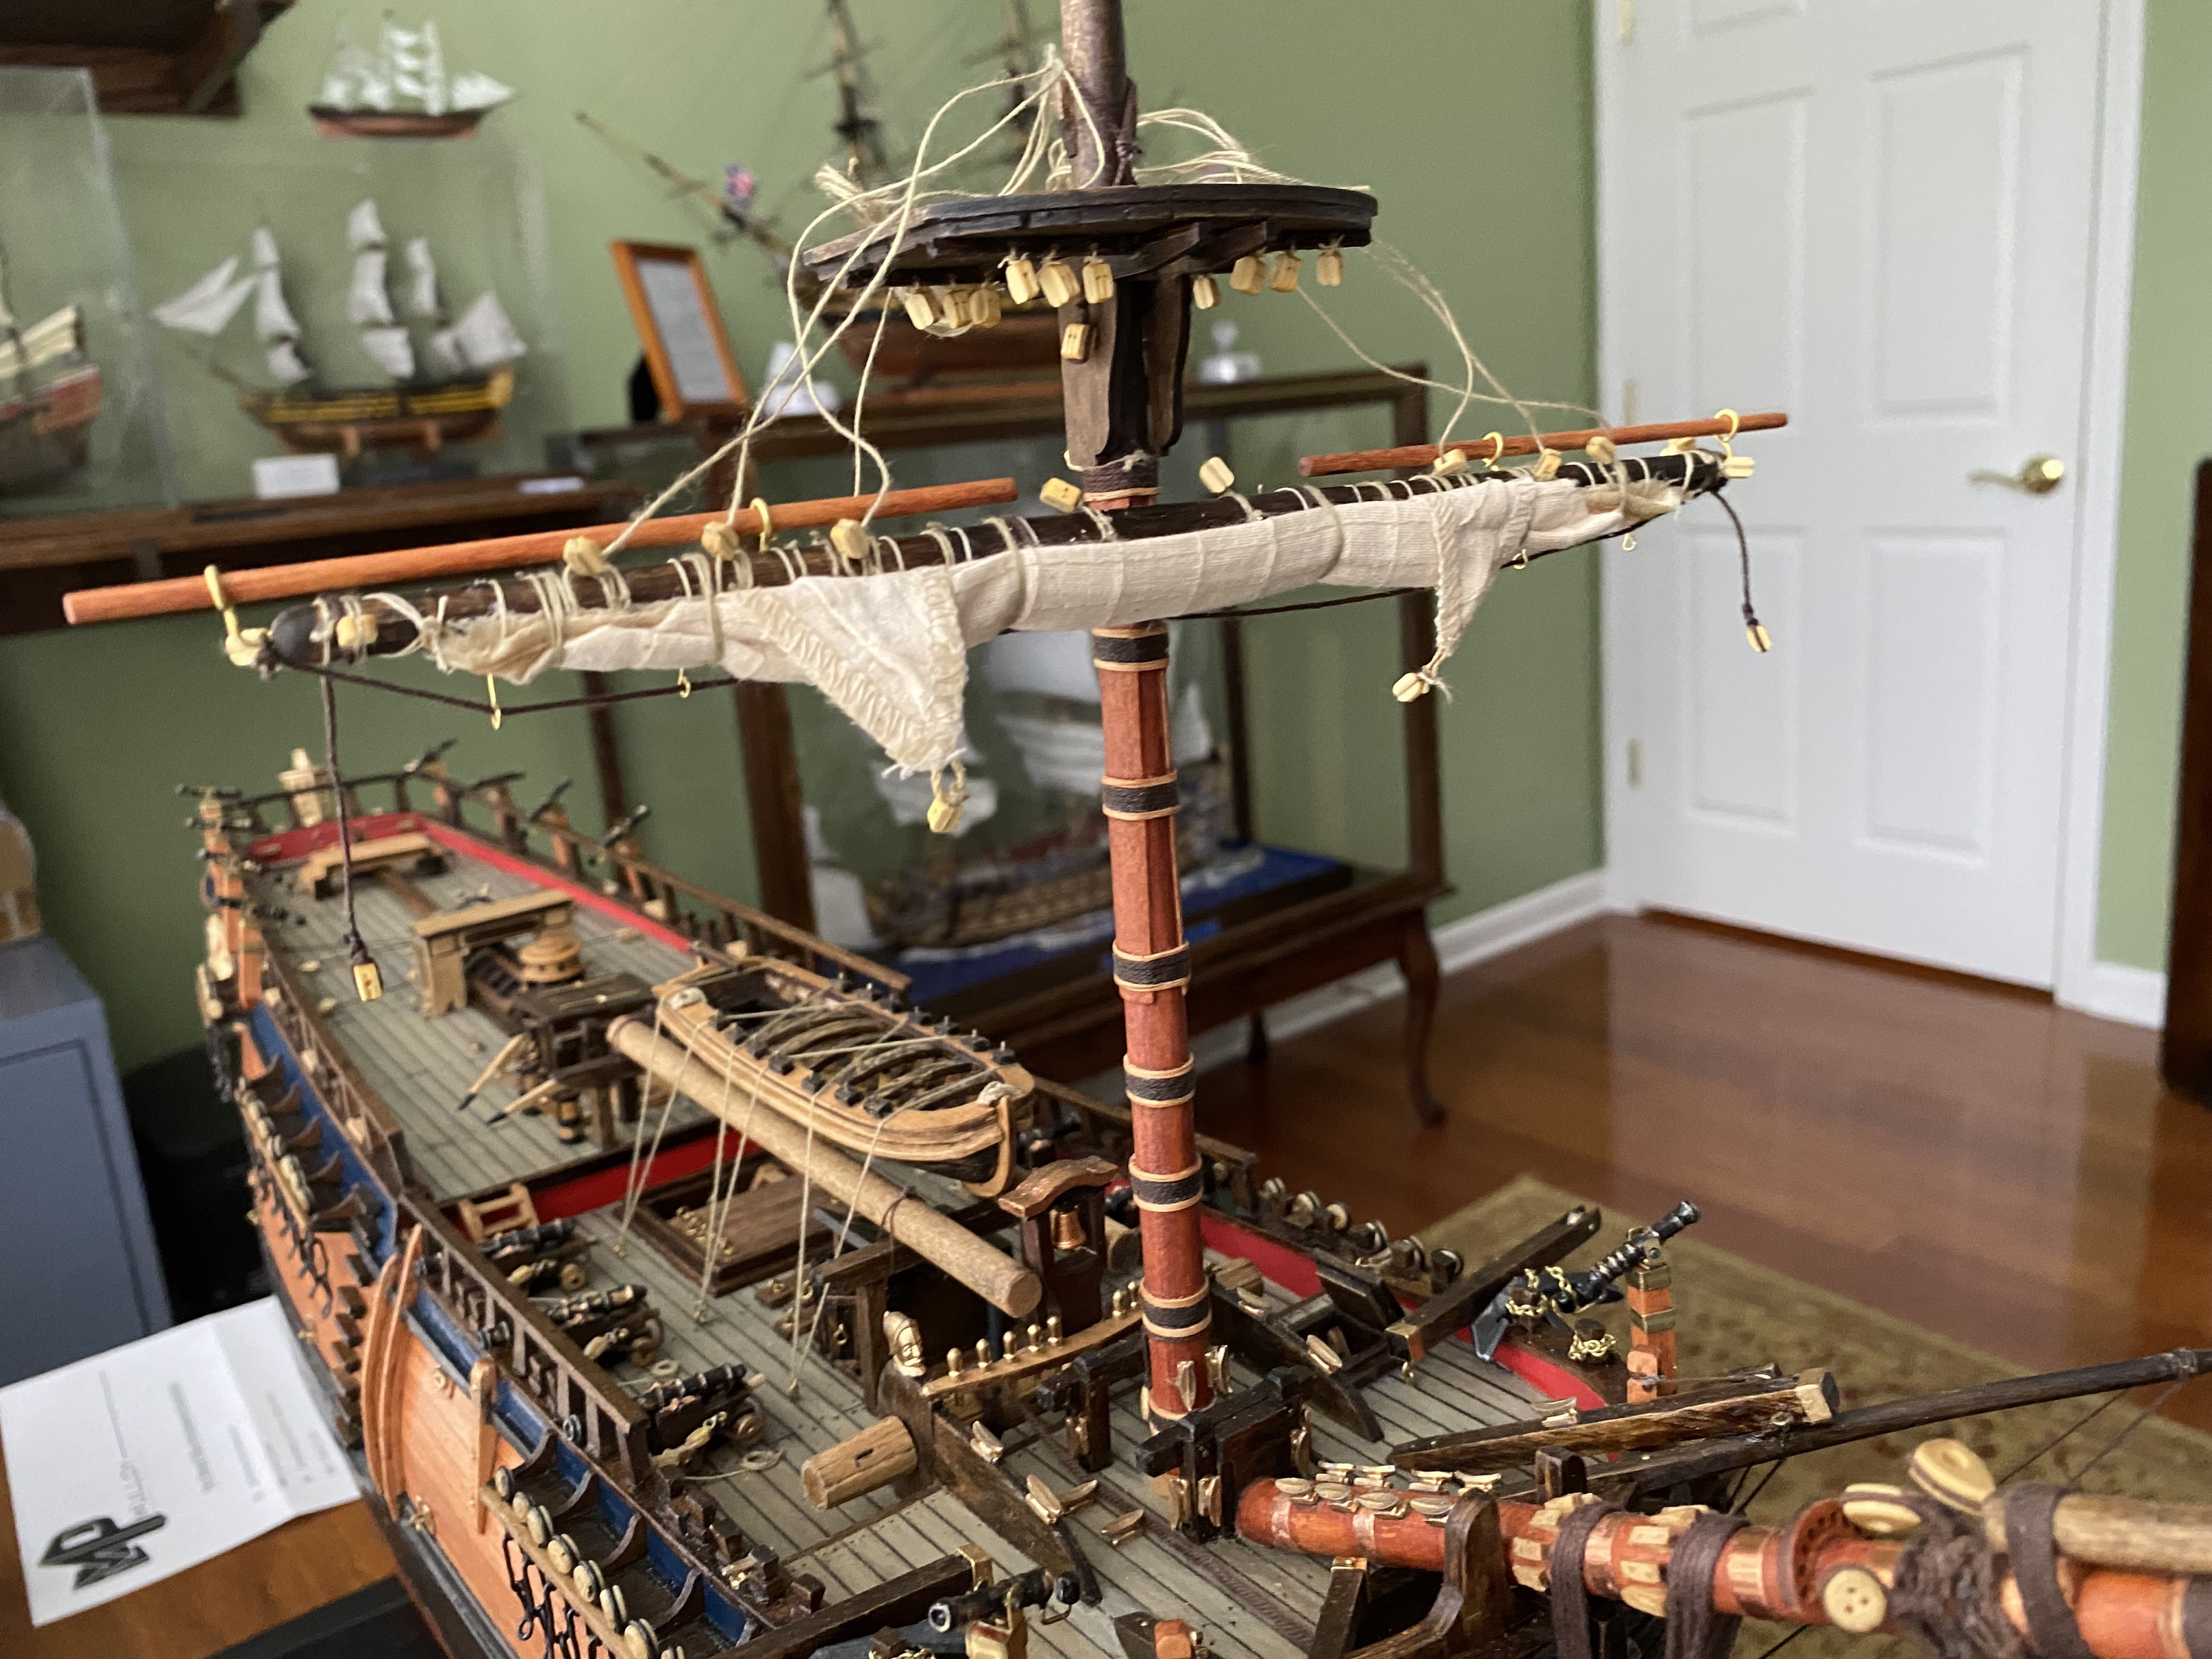
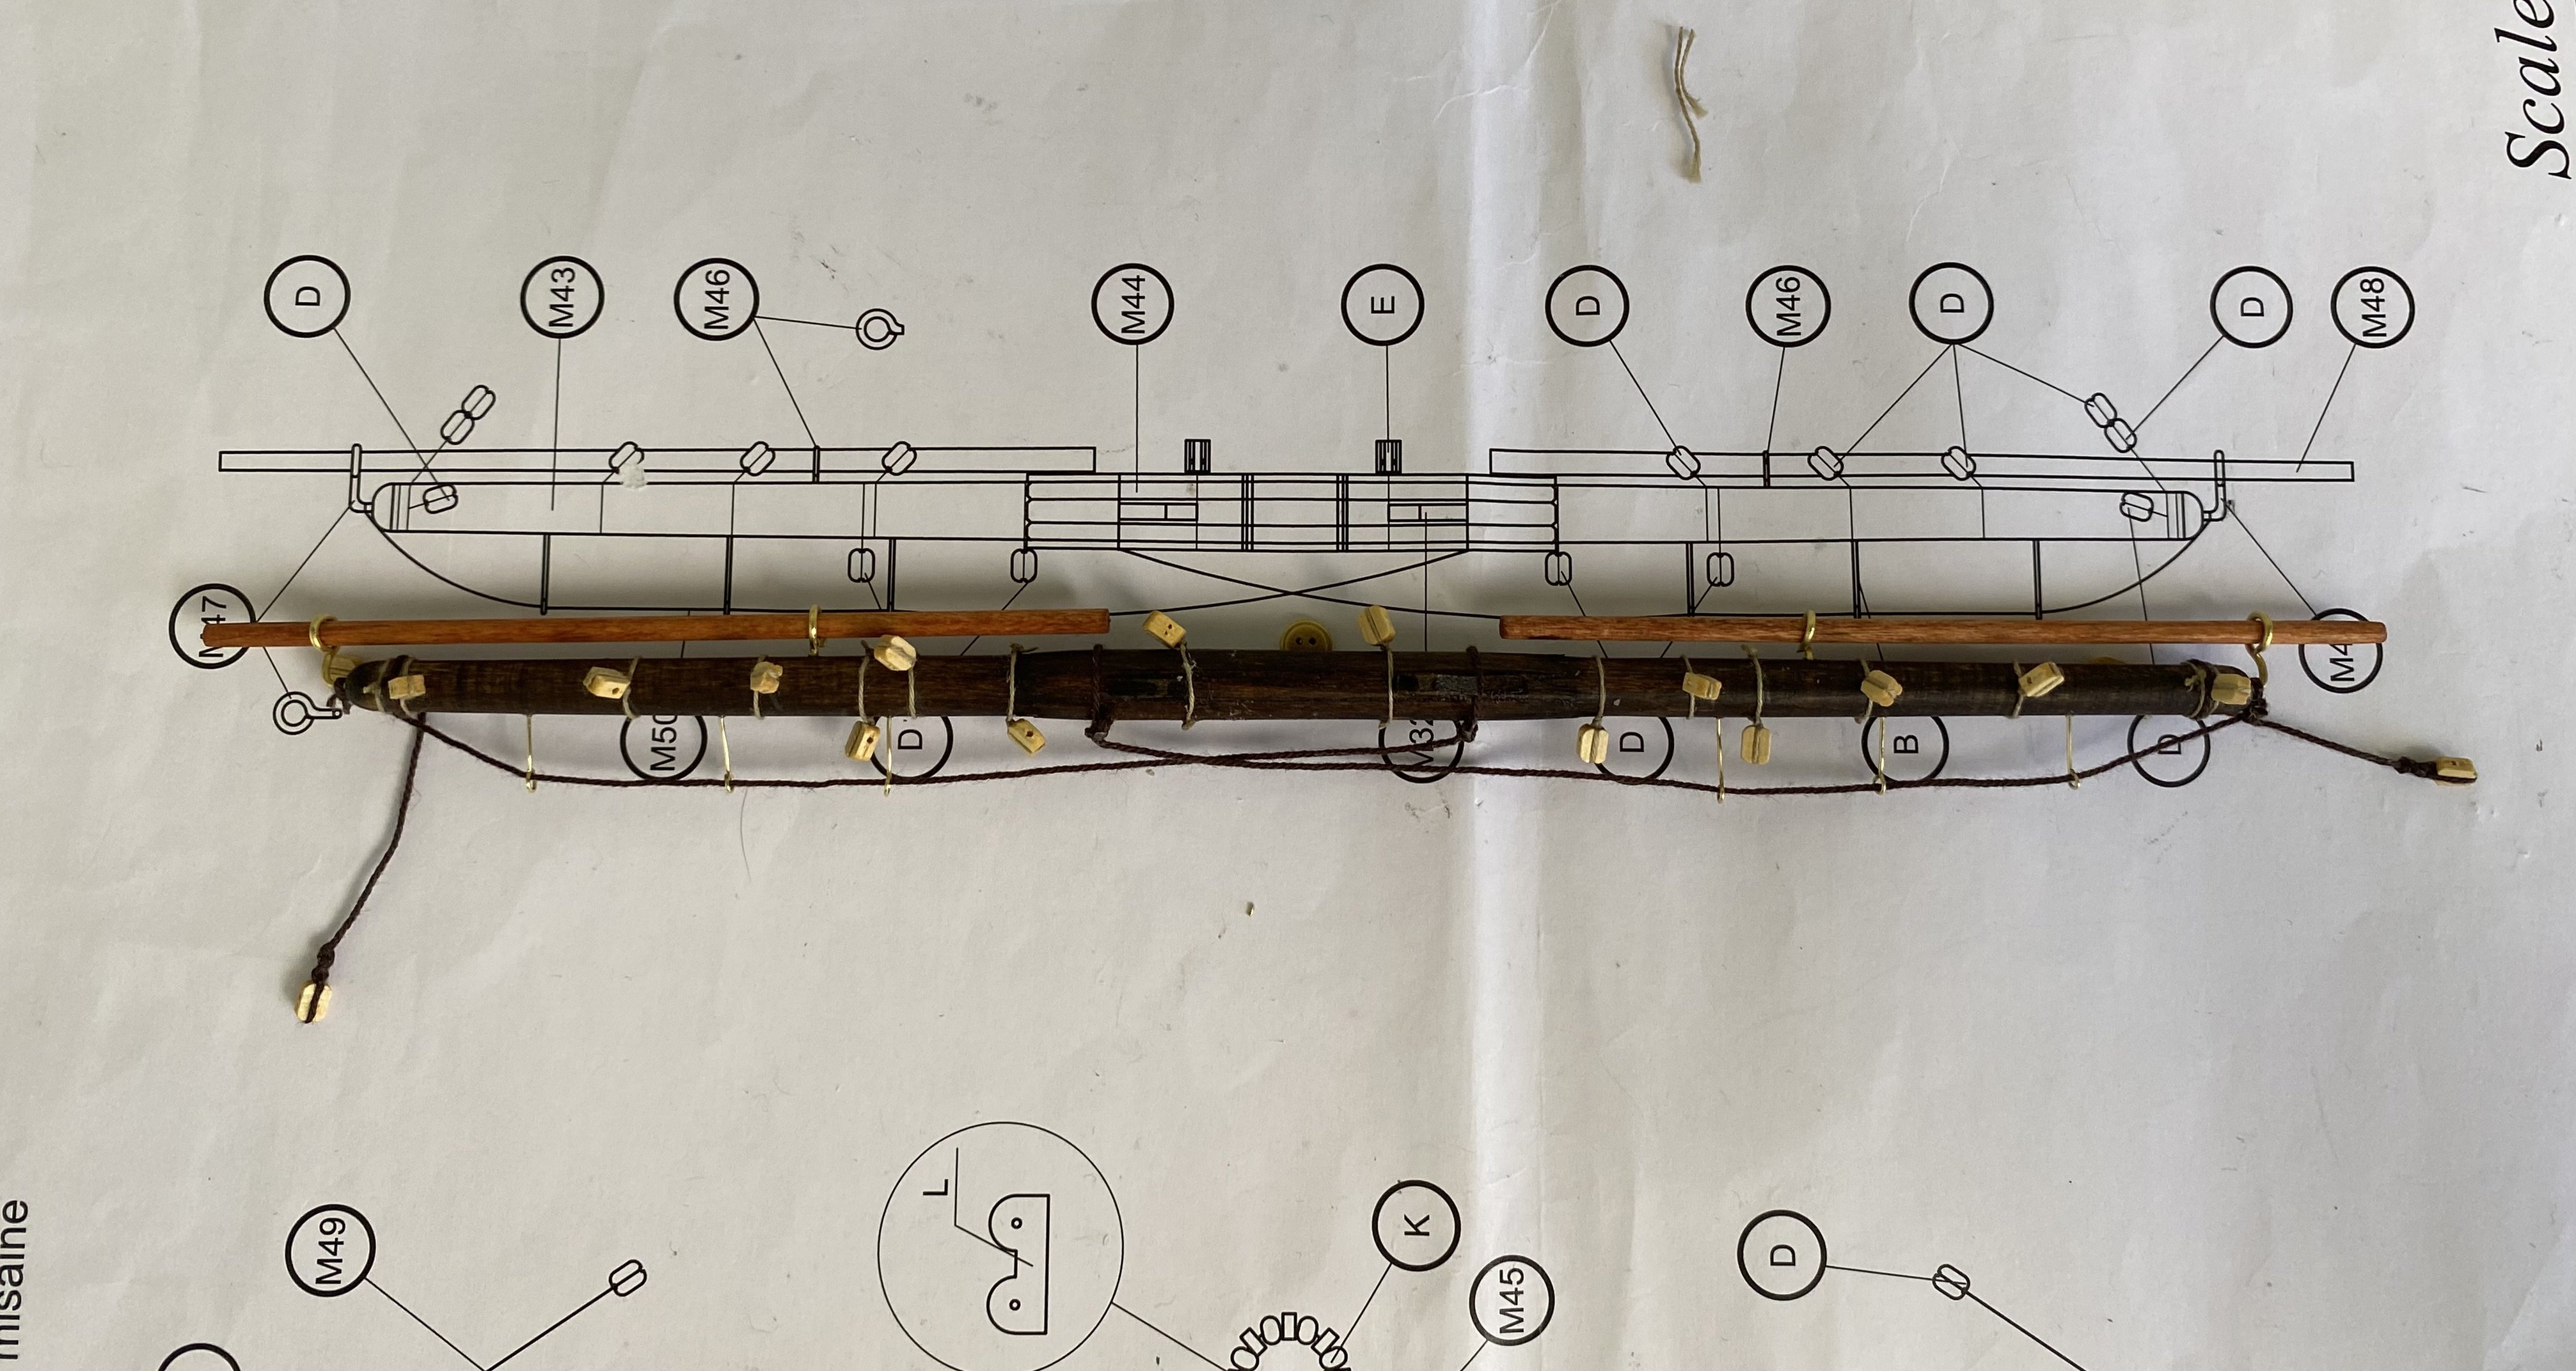
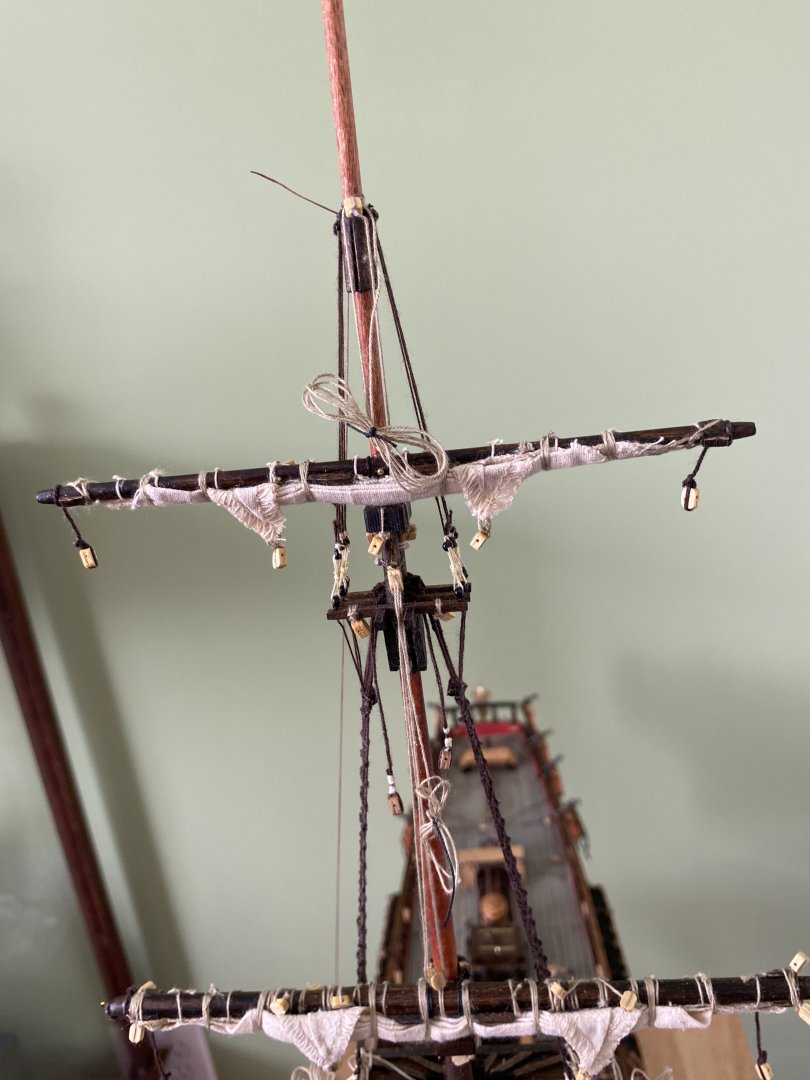
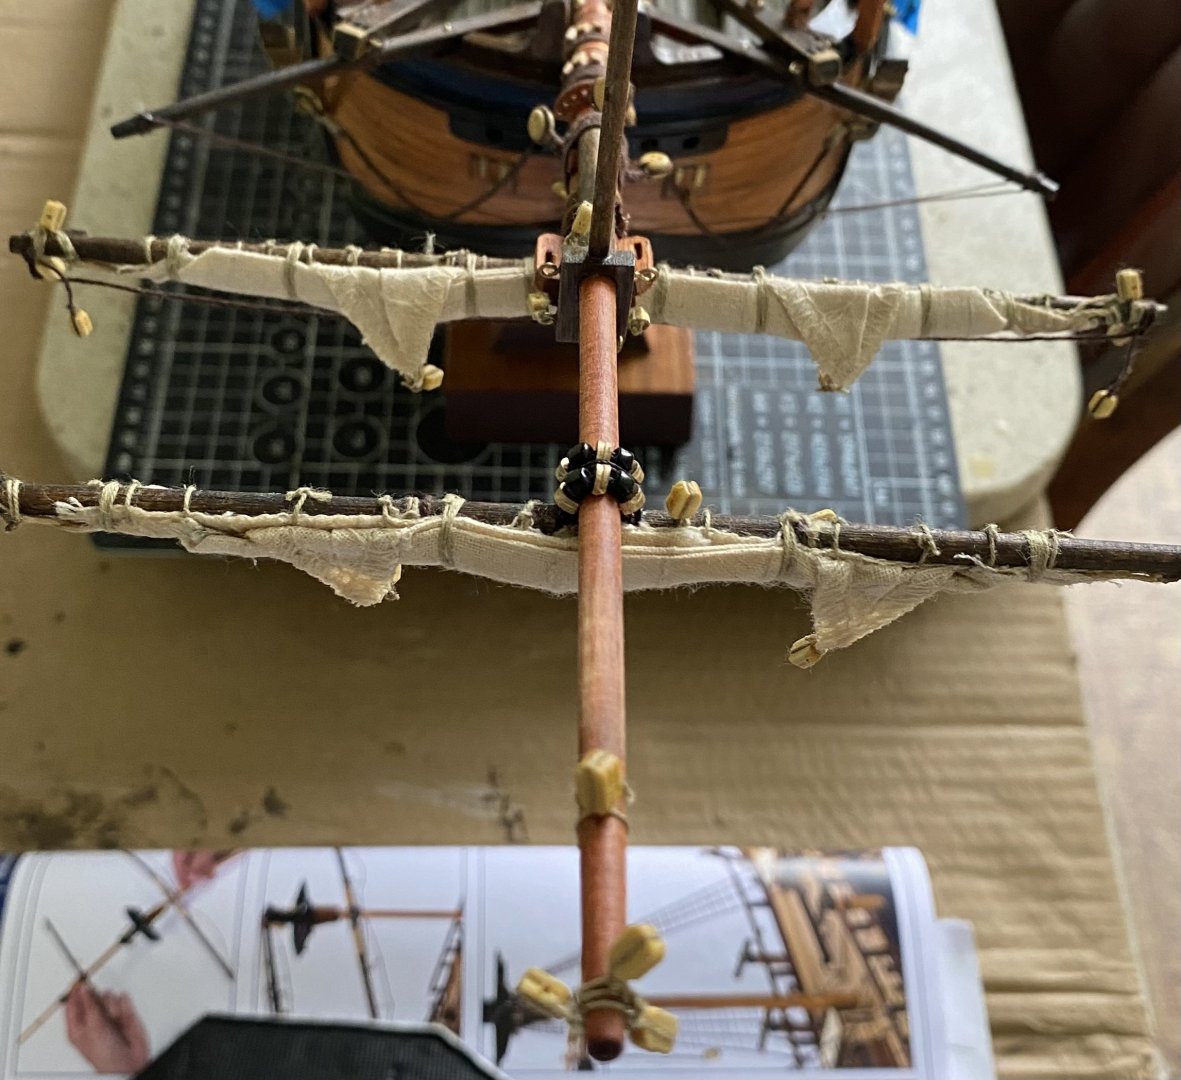
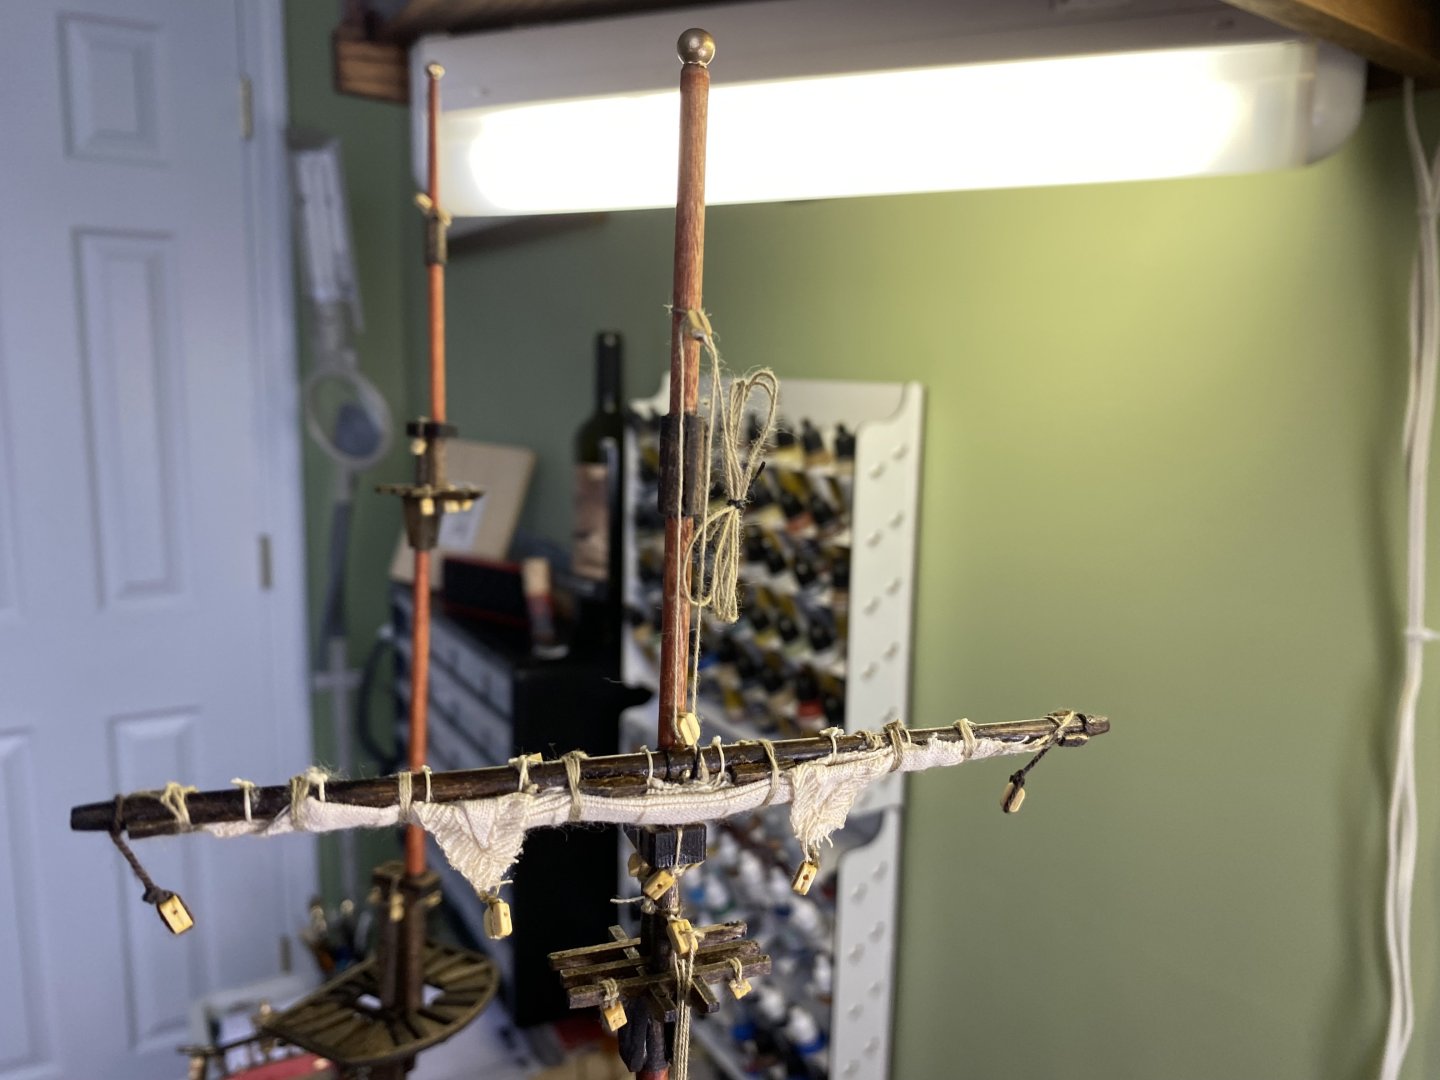
Fore yard rigged and looking pretty good I think. Glad I took your suggestions and sanded down the wood at the center.

-
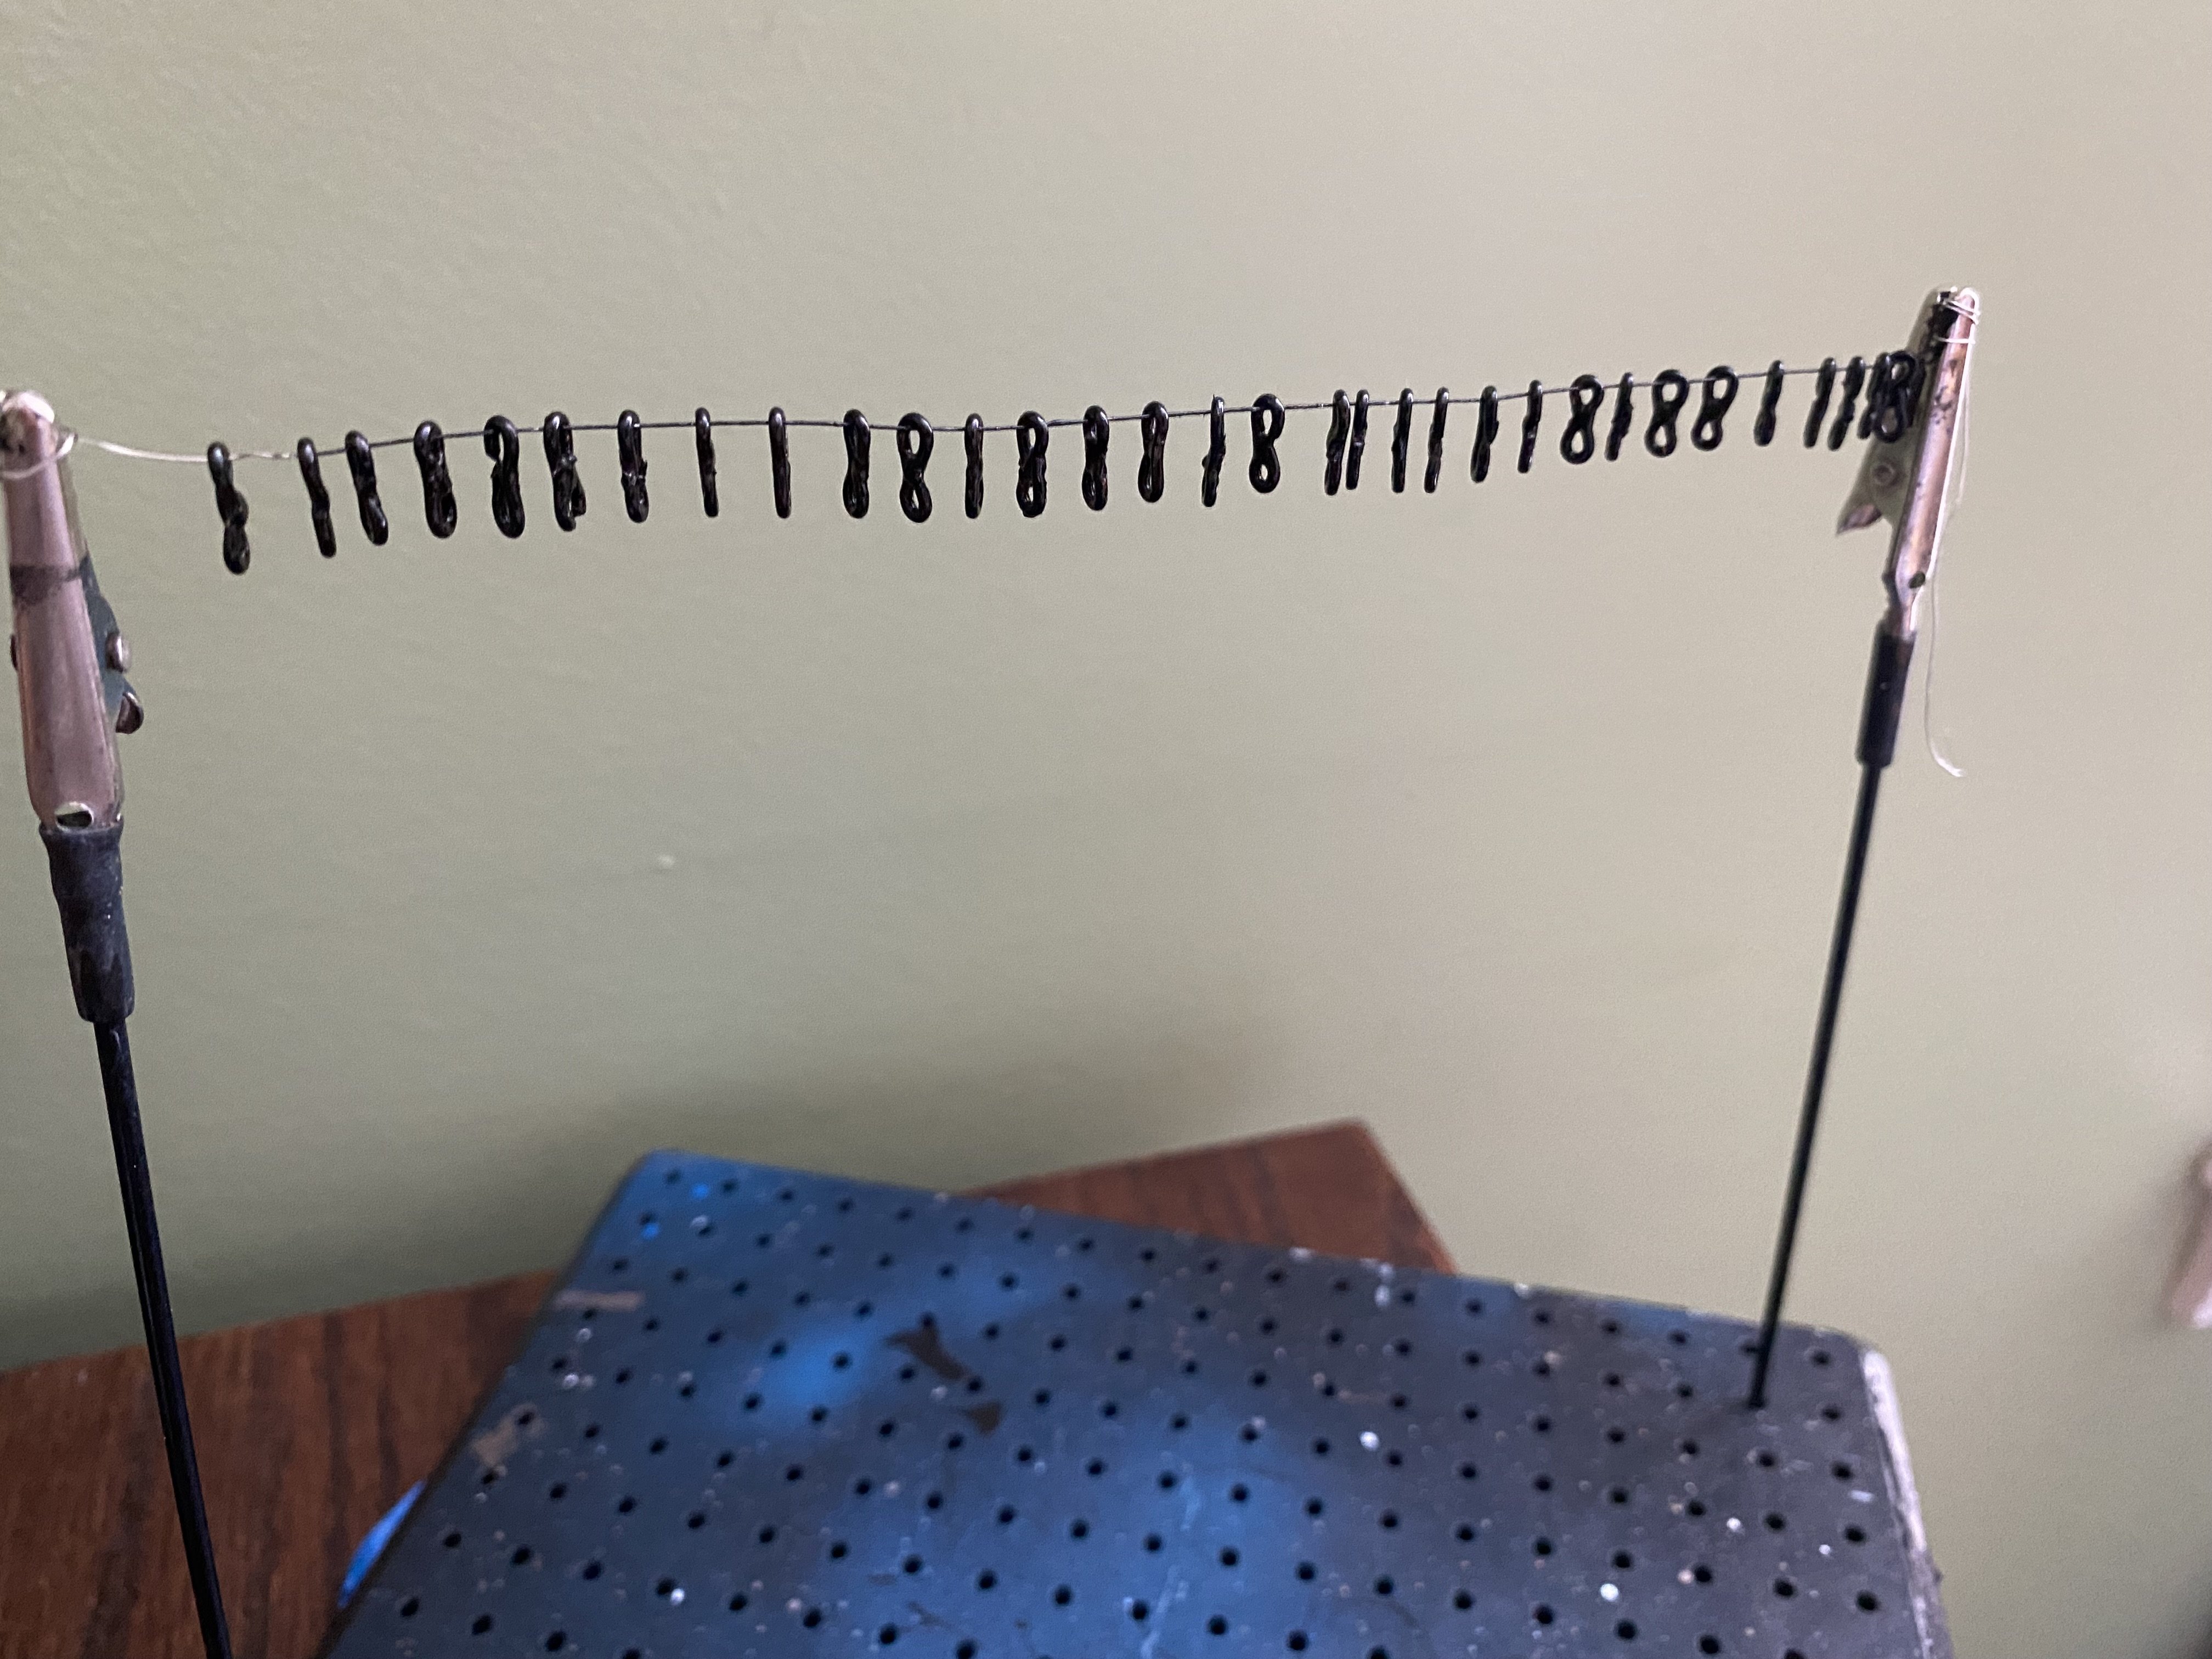
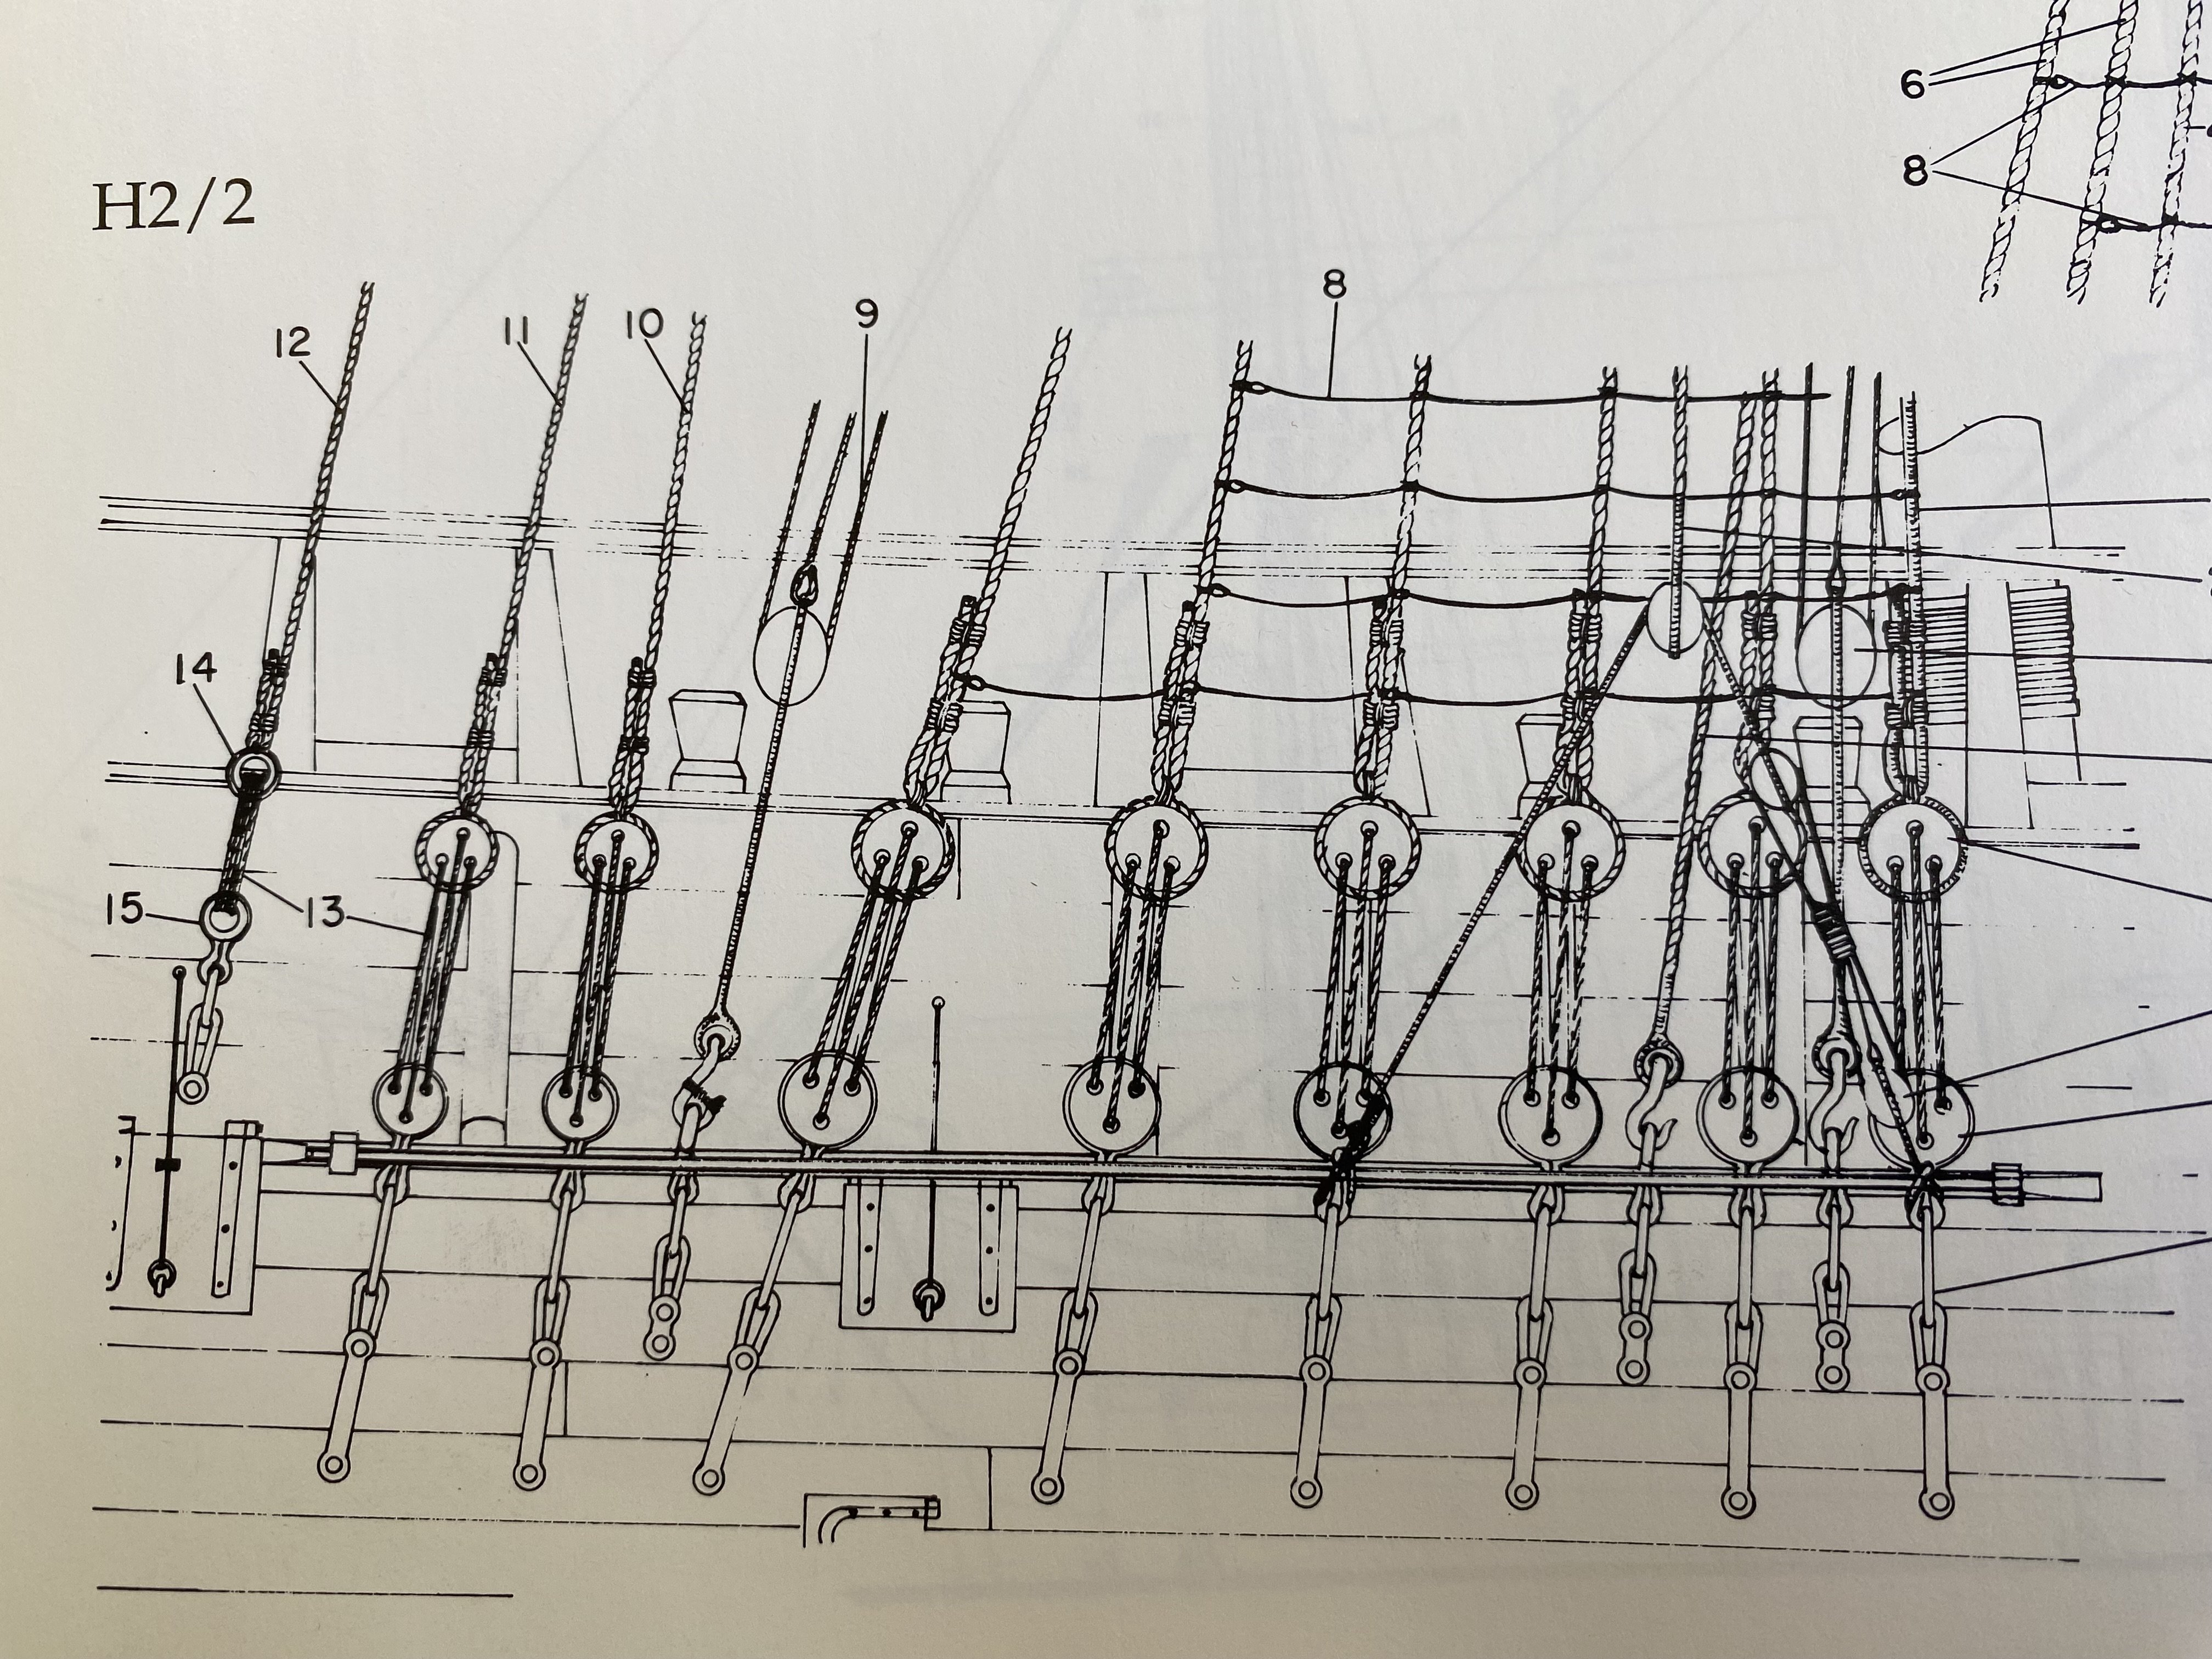
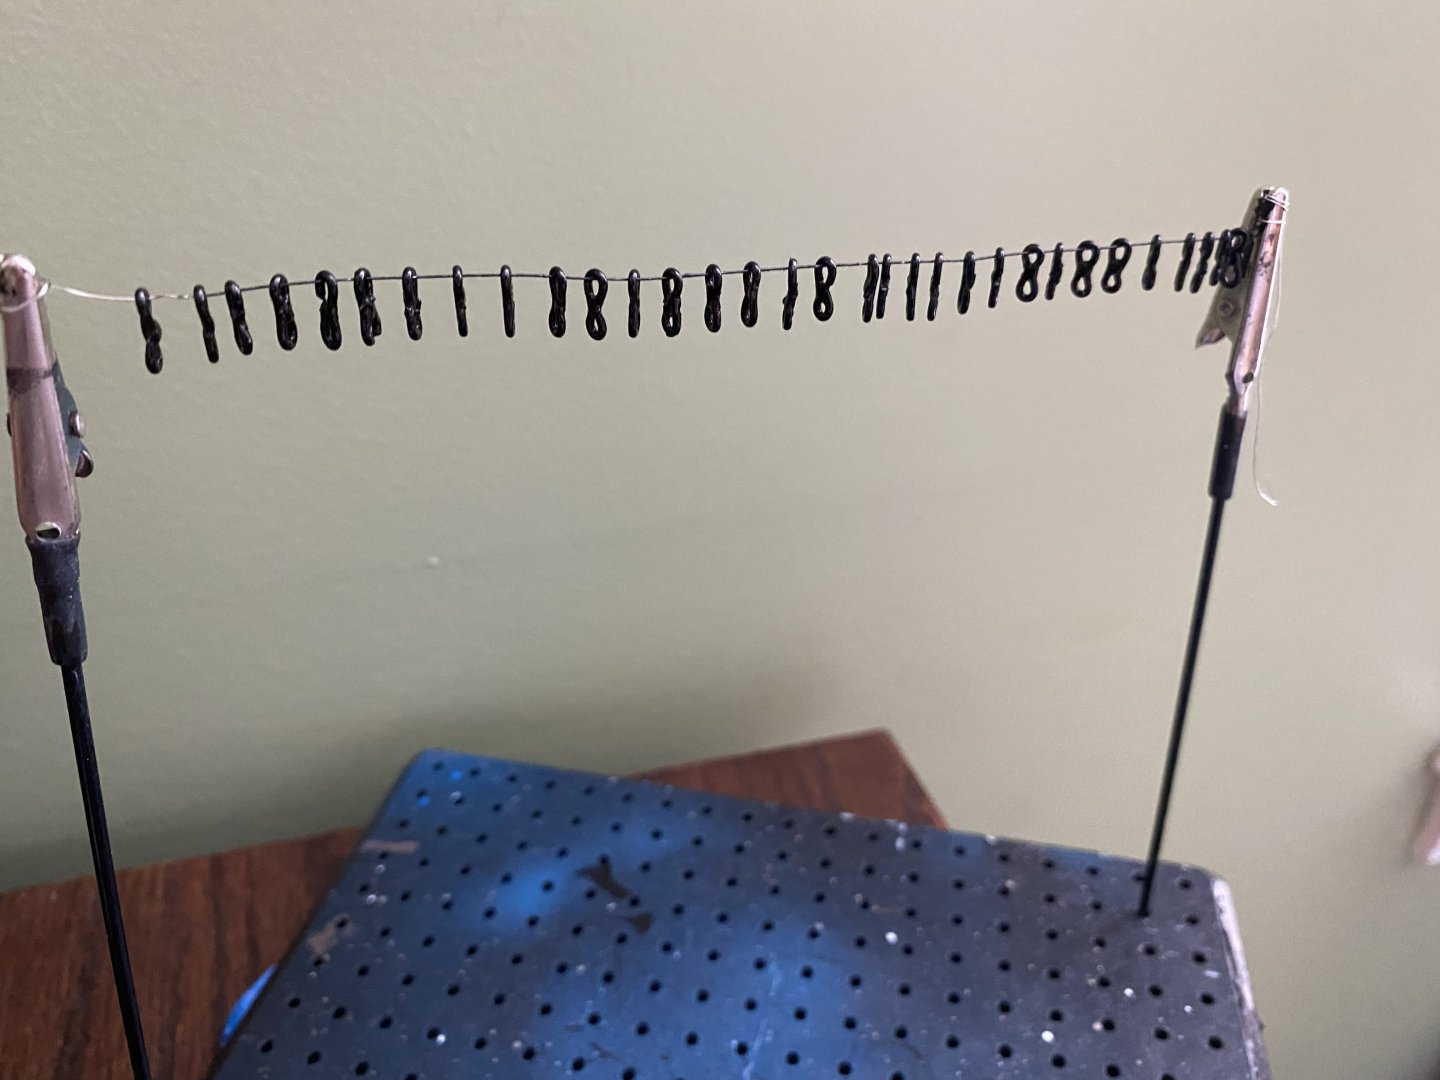
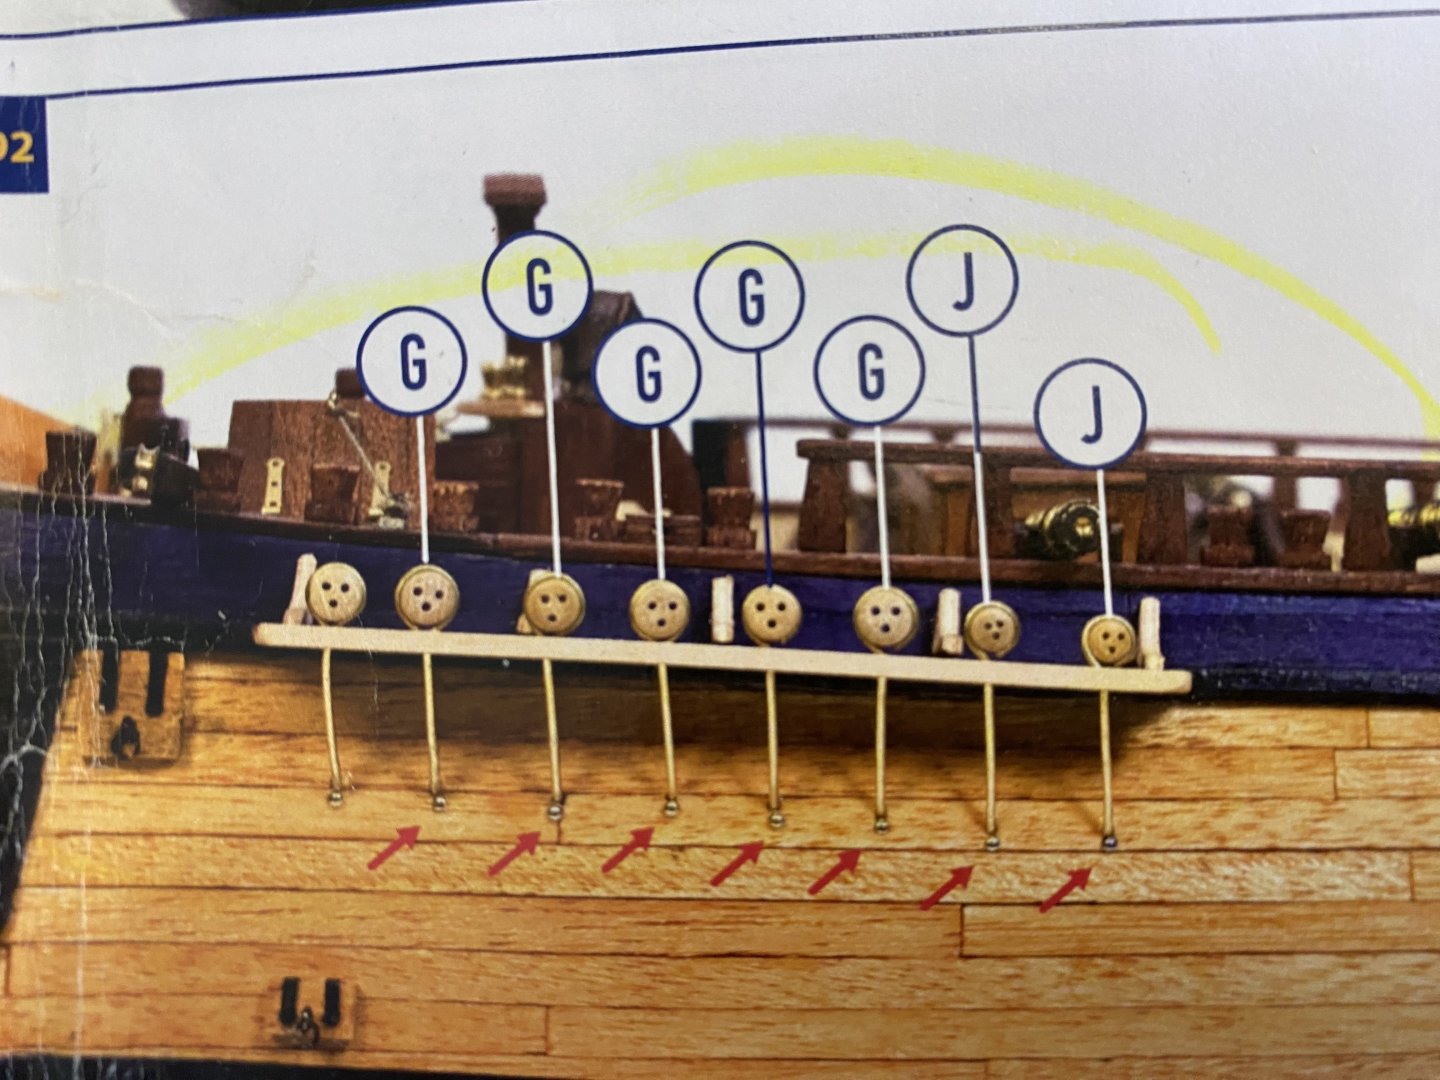
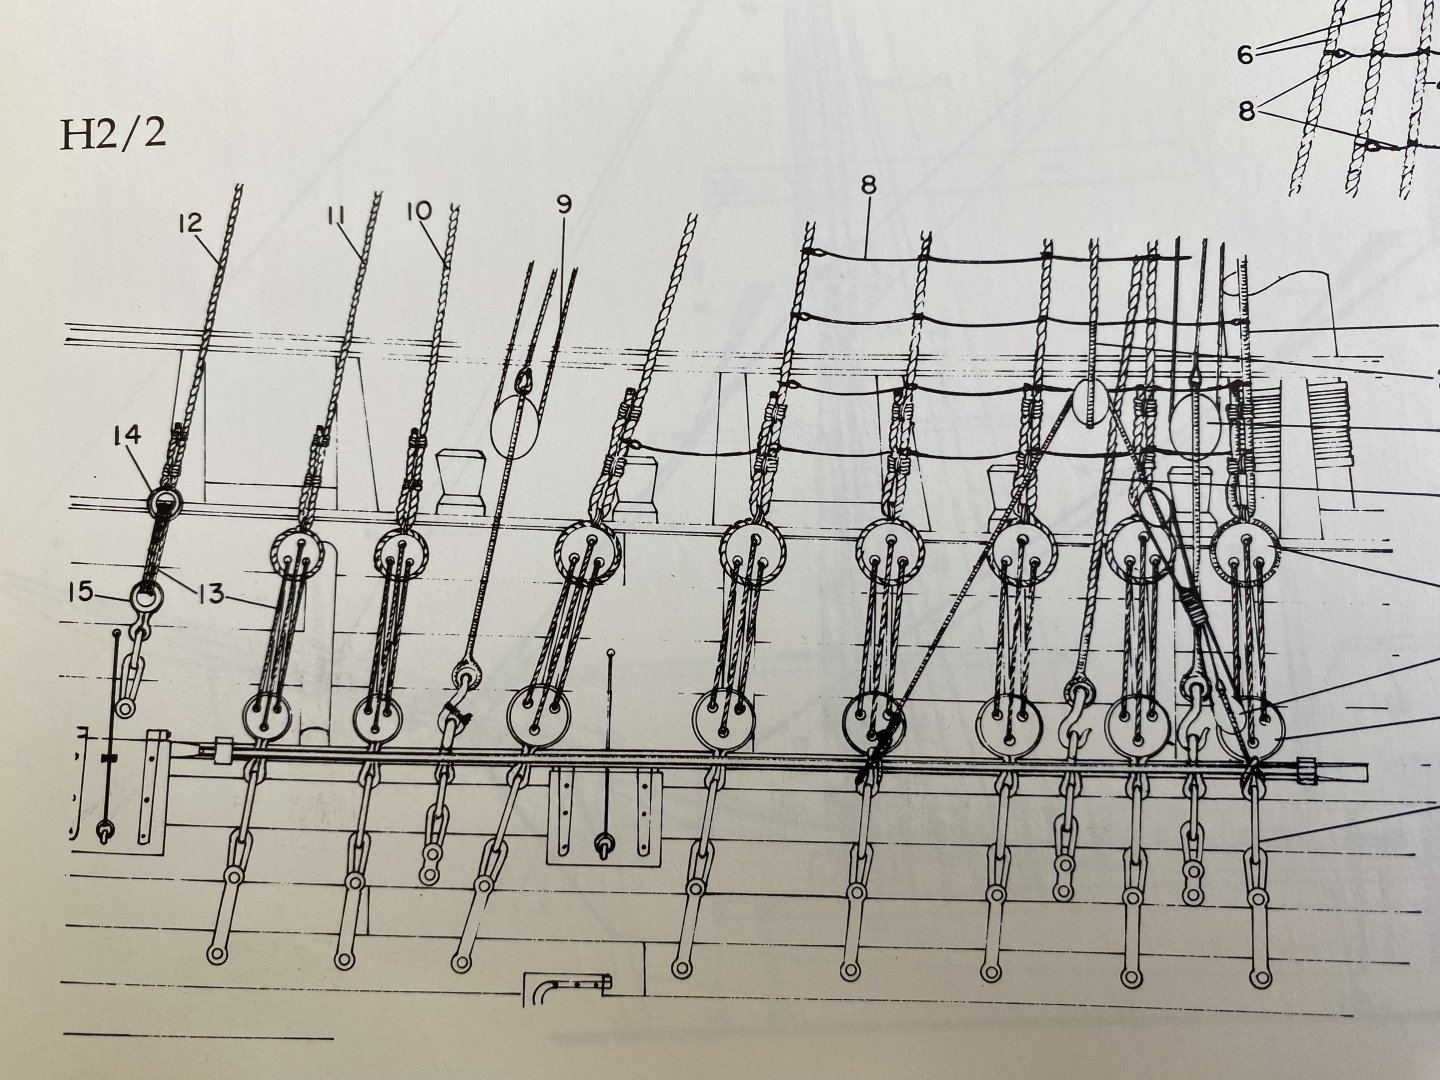
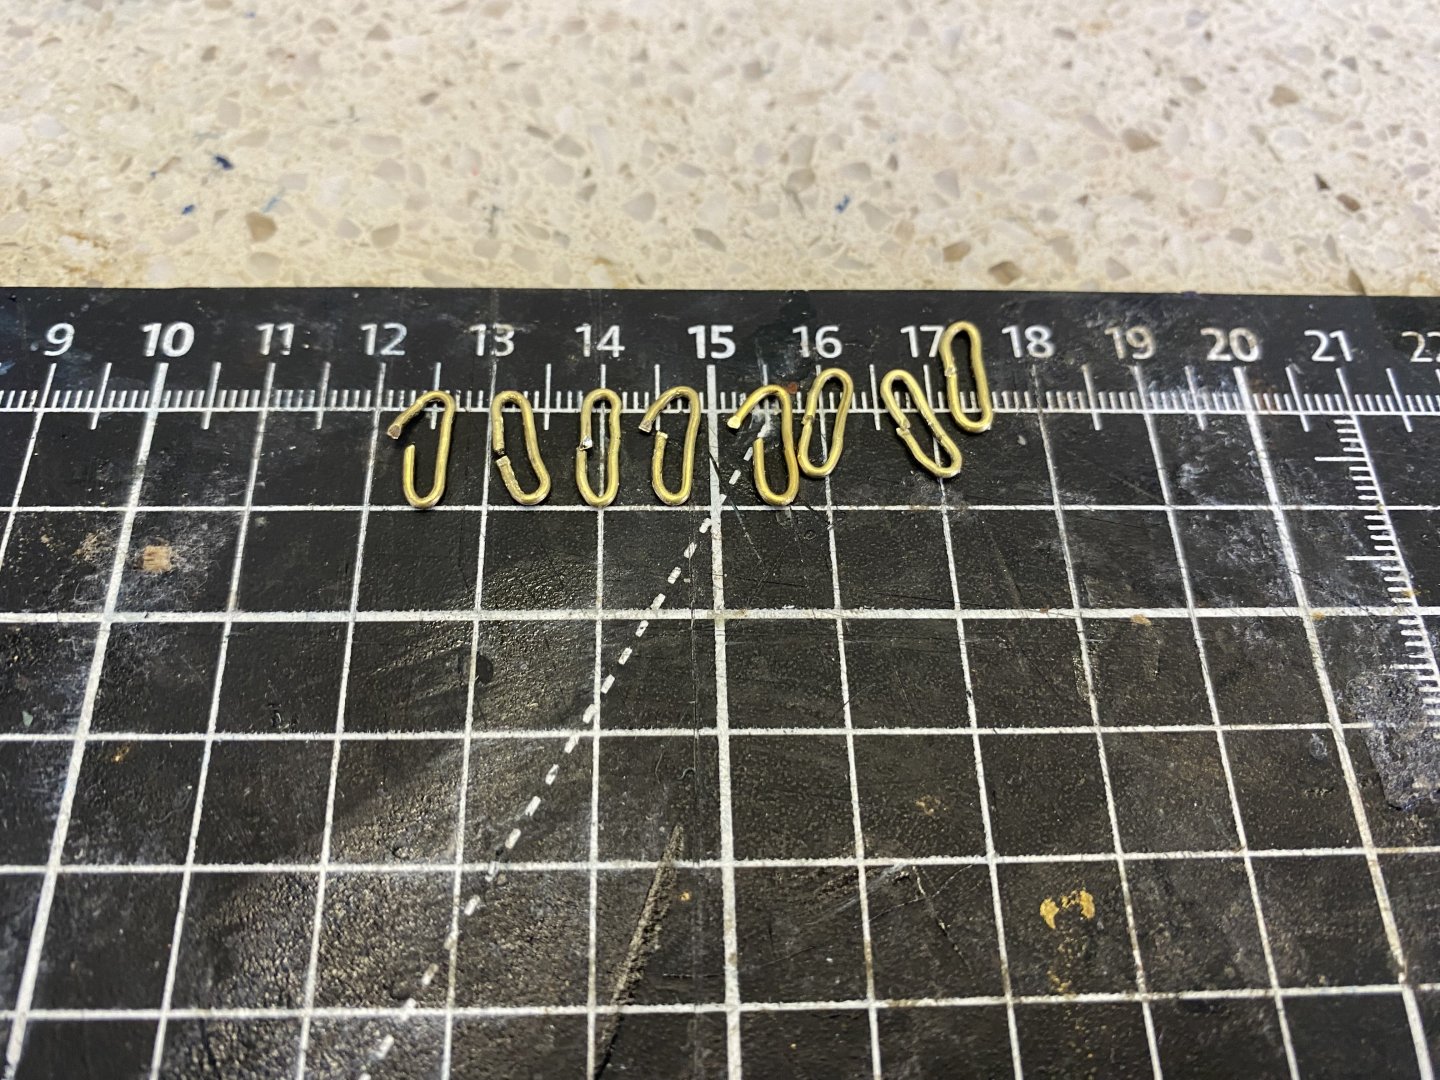
Made the chain links and blackened them. Have not attacked them to the hull yet. Will do that after I get the correct angle from the line of the shrouds once I start adding them. As I zoom in on my photos I can see I need to tinker a little more with some of the center links to get a tighter fit to wire ends. May even add a touch of solder. May also make and add preventer plates. Still debating that.


-
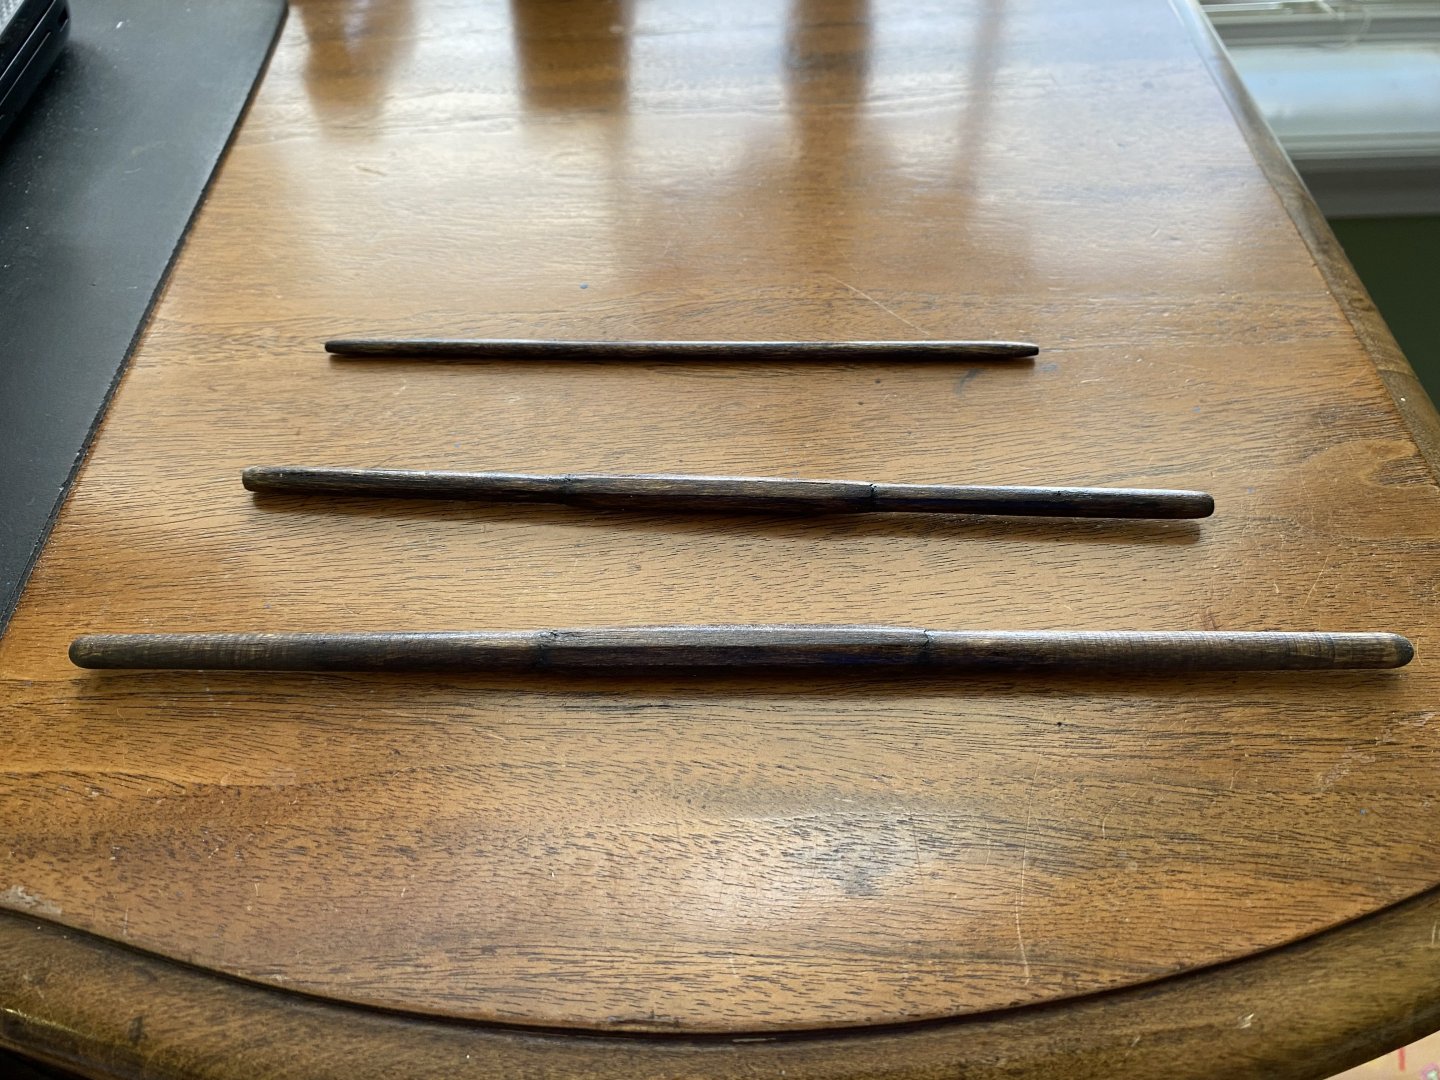
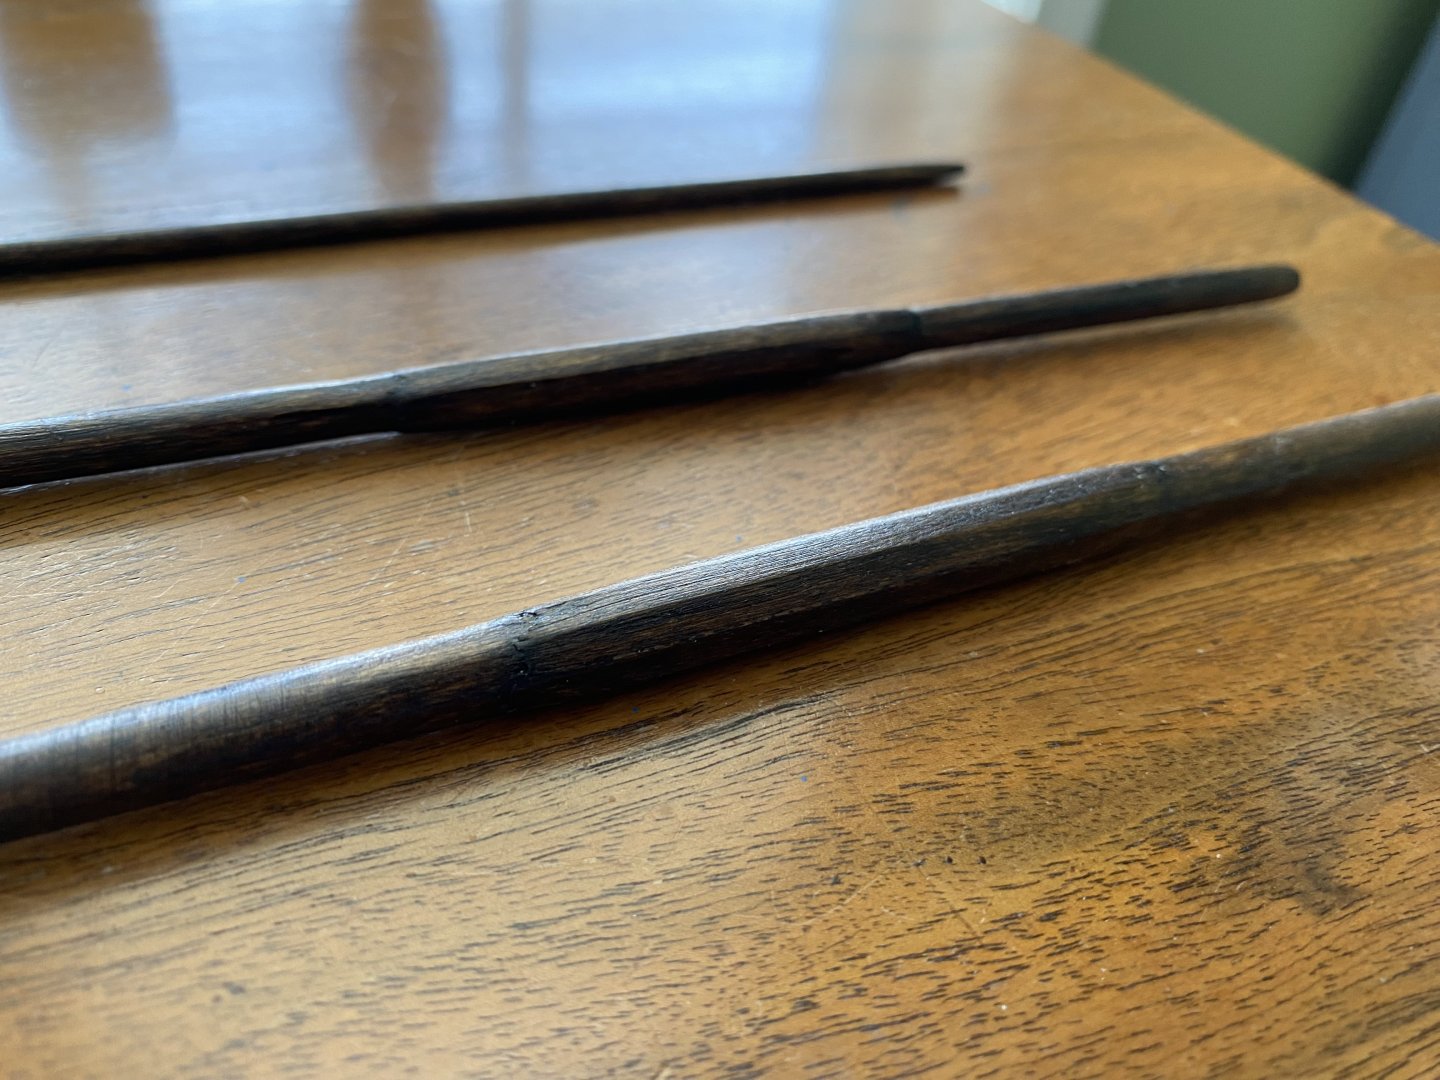
Based on your recommendations I sanded down the wood strips at the center of the yards and stained them a solid color. Steve my foreyard measure a slightly bigger than your’s. Mine is 6/16” at the center. While I wait for the stain to thoroughly dry so to begin rigging the foreyards I am working on the redundant job of making chain links. OcCre has just a wire wrapped around the deadeye and then runs straight to the side of the hull. I plan to have 3 chain links plus a preventor plate as shown in the AOTS.

-
Thanks Steve. I actually looked at your’s to confirm what I thought to be true. I had not realized until you mentioned it that OcCre has the yards thicker than scale would have them. Yes that is also true now that I look closer. For comparison what would you estimate the thickness of your foreyard to be? Of course being a little thicker does prevent me from breaking them accidentally. By the way, how are things down your way? I have only been as far south in Australia as Sydney. Wow! That is a long flight from the USA! Would do it again in a minute! Loved my time there.
-
Thanks Ian as usual. Your thought is kind of who I was leaning. I am thinking still have the flat surfaces as I go around. Just narrower and closer to the mast diameter?
-
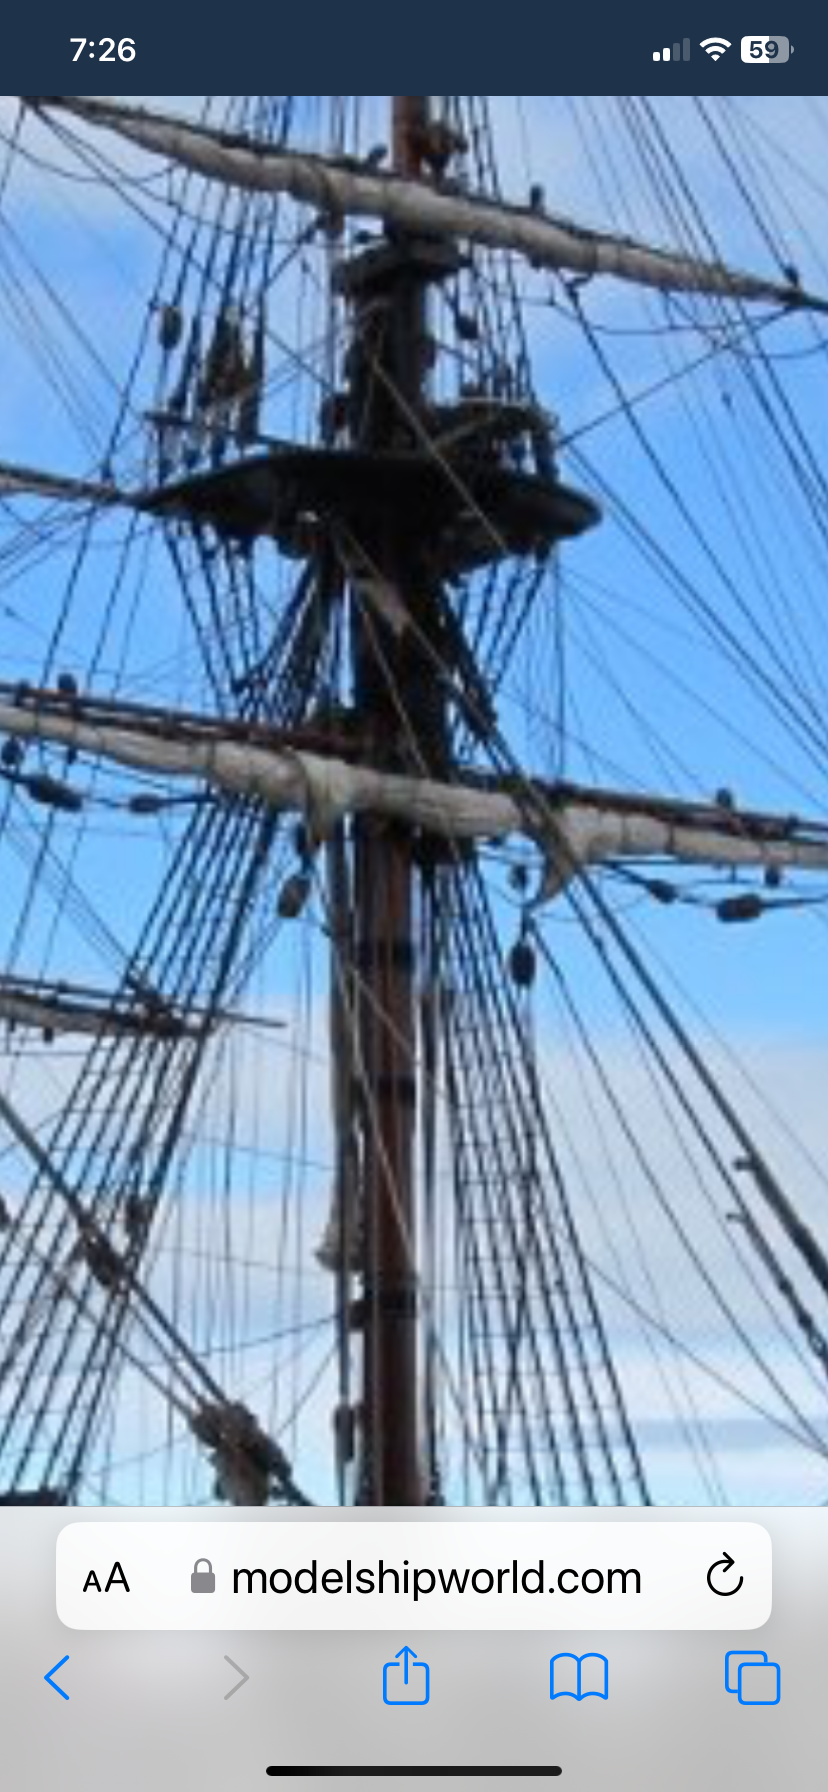
Interesting modeling decision. I know in the actual construction of these tall ships the yards were shaped to be either hexagon or similar shape near the center. OcCre does not direct the builder to sand the dial rod being used to make the yard to get this shape at the center. Instead it has the builder glue 1mm wood strips around the center of the yard in order to get the hexagon shape. The kit photos, as well as what other builders have done, show this center section stained a different color than the yard. Looking at photos of the replica show the yards one color, not different at the middle. I am thinking that in order to maintain a since of authenticity I should have it all the same color?
-
Steve I again am looking back at your build. After your comment on mine about the yard placement I was curious to see your’s again. So you left the sails off all together?