Bill97
-
Posts
2,332 -
Joined
-
Last visited
Content Type
Profiles
Forums
Gallery
Events
Everything posted by Bill97
-
Kevin you are so right about being younger. The amazing things that are coming available! The 3D printing world, especially the metals I just saw, blow my mind! The instructor at the university I mentioned told me in the medical world recently the heart of a seriously ill person was imaged. Then an exact duplicate of the heart was 3D printed. The doctors then cut the 3D heart in half and were able to diagnose the issue within the patient’s heart without ever placing a scalpel to his chest!
- 444 replies
-
- 1
-

-
- Cutty Sark
- Revell
- (and 2 more)
-
Kevin there is an engineering university here in my hometown that my grandson will enroll next school year to pursue a degree in mechanical engineering. I had the pleasure of joining him for a private special tour that had been arranged. I was blown away by the 3D printing lab, I guess you could call it. I am somewhat familiar with basic 3D printing of plastic but I was blown away by the metal 3D printing. The machines are able to use microscopic bits of metal like titanium to print 3D. They were printing replacement joints like knees. Incredible! Had never seen such a thing.
- 444 replies
-
- 2
-

-
- Cutty Sark
- Revell
- (and 2 more)
-
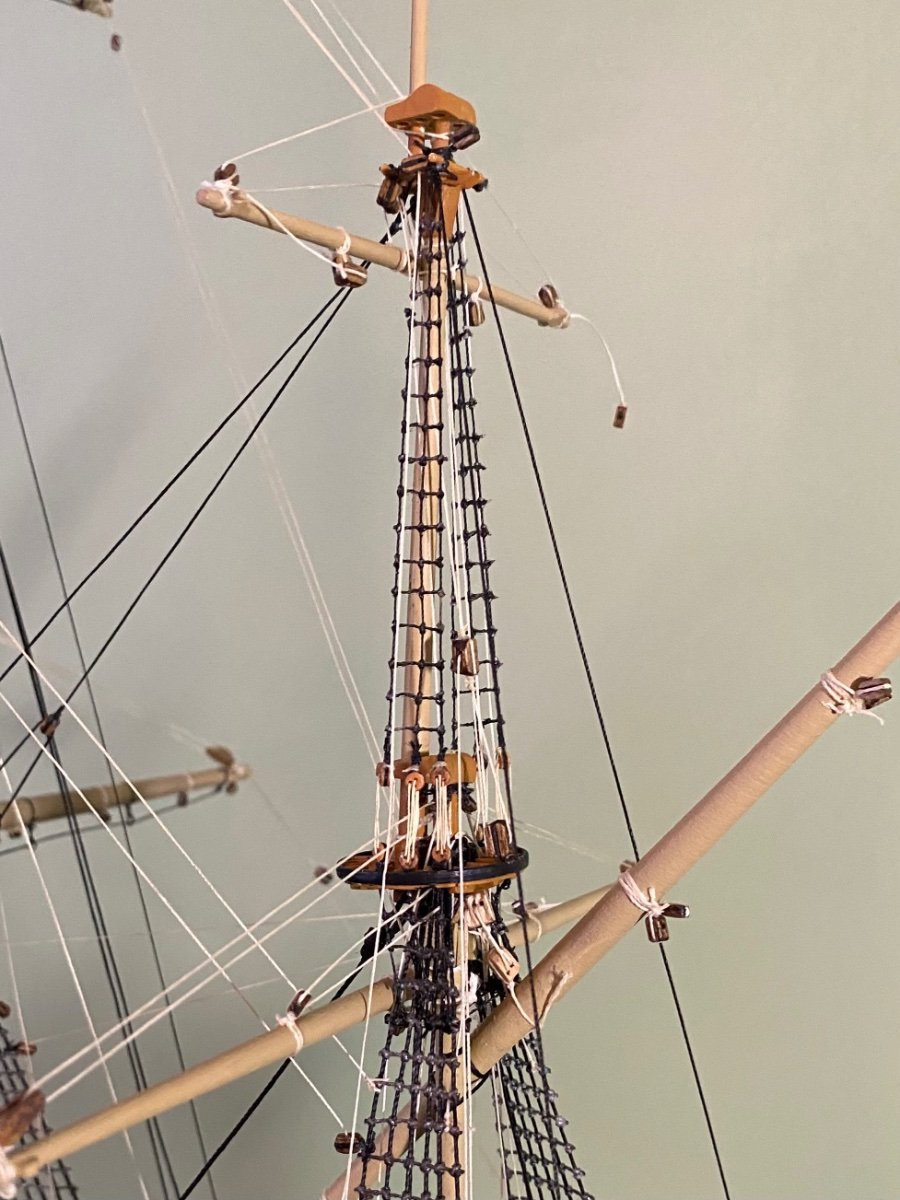
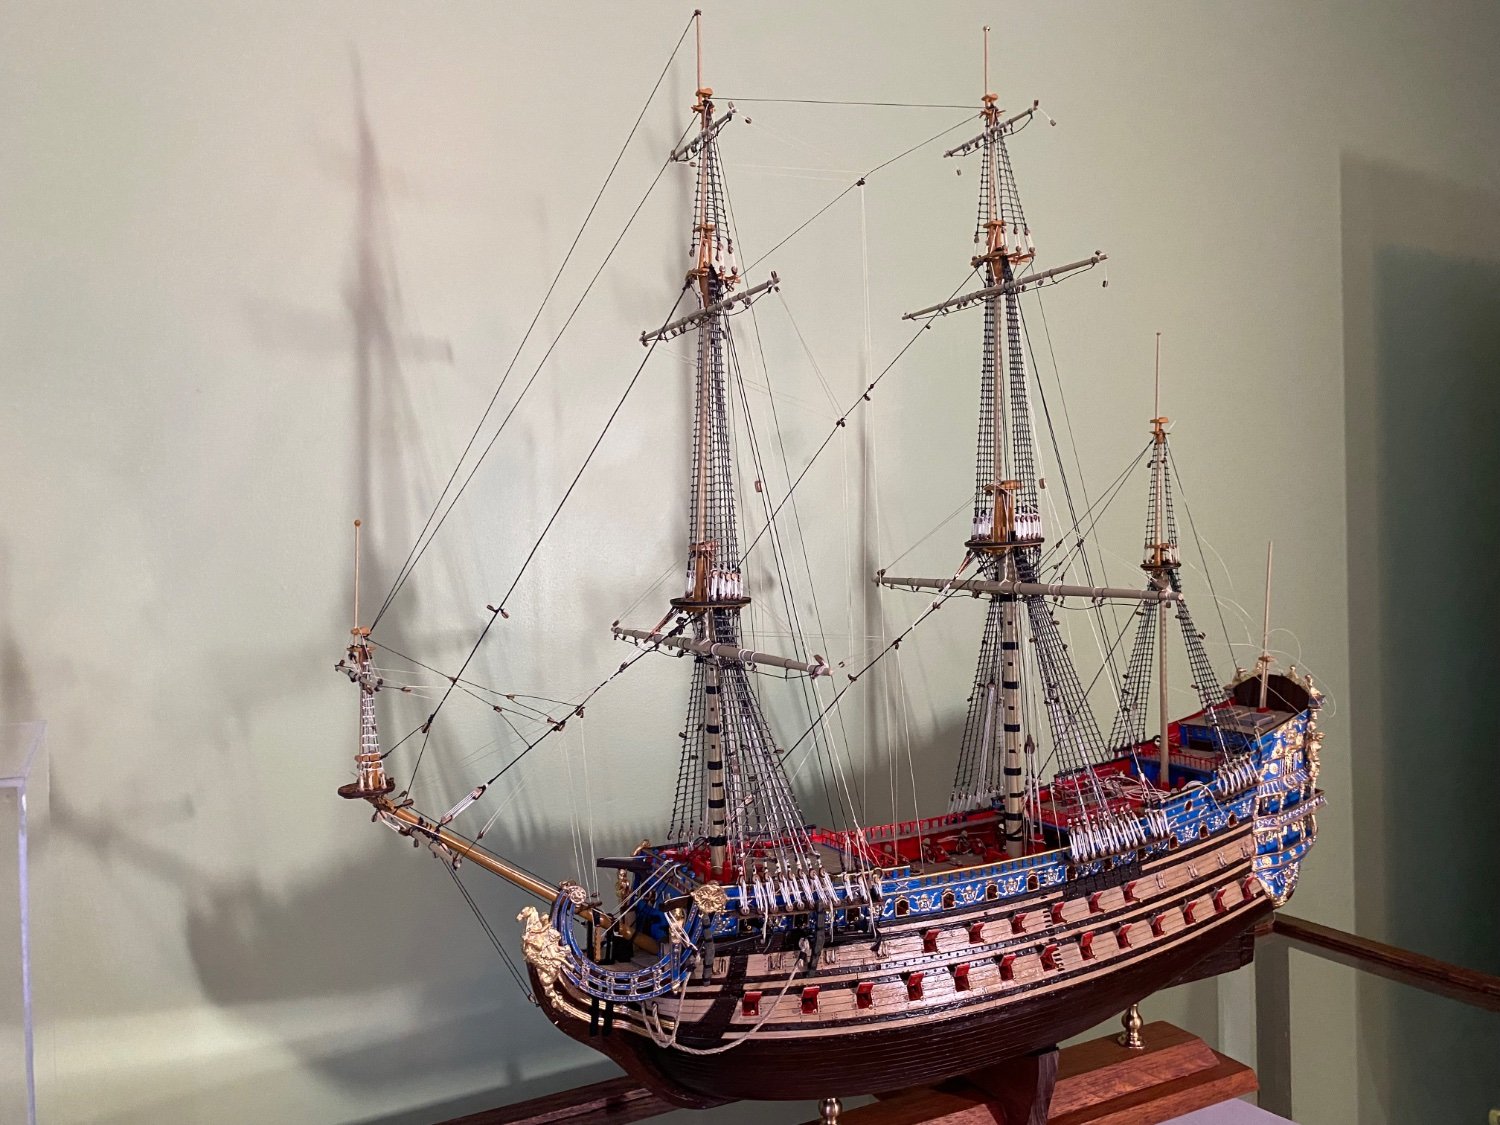
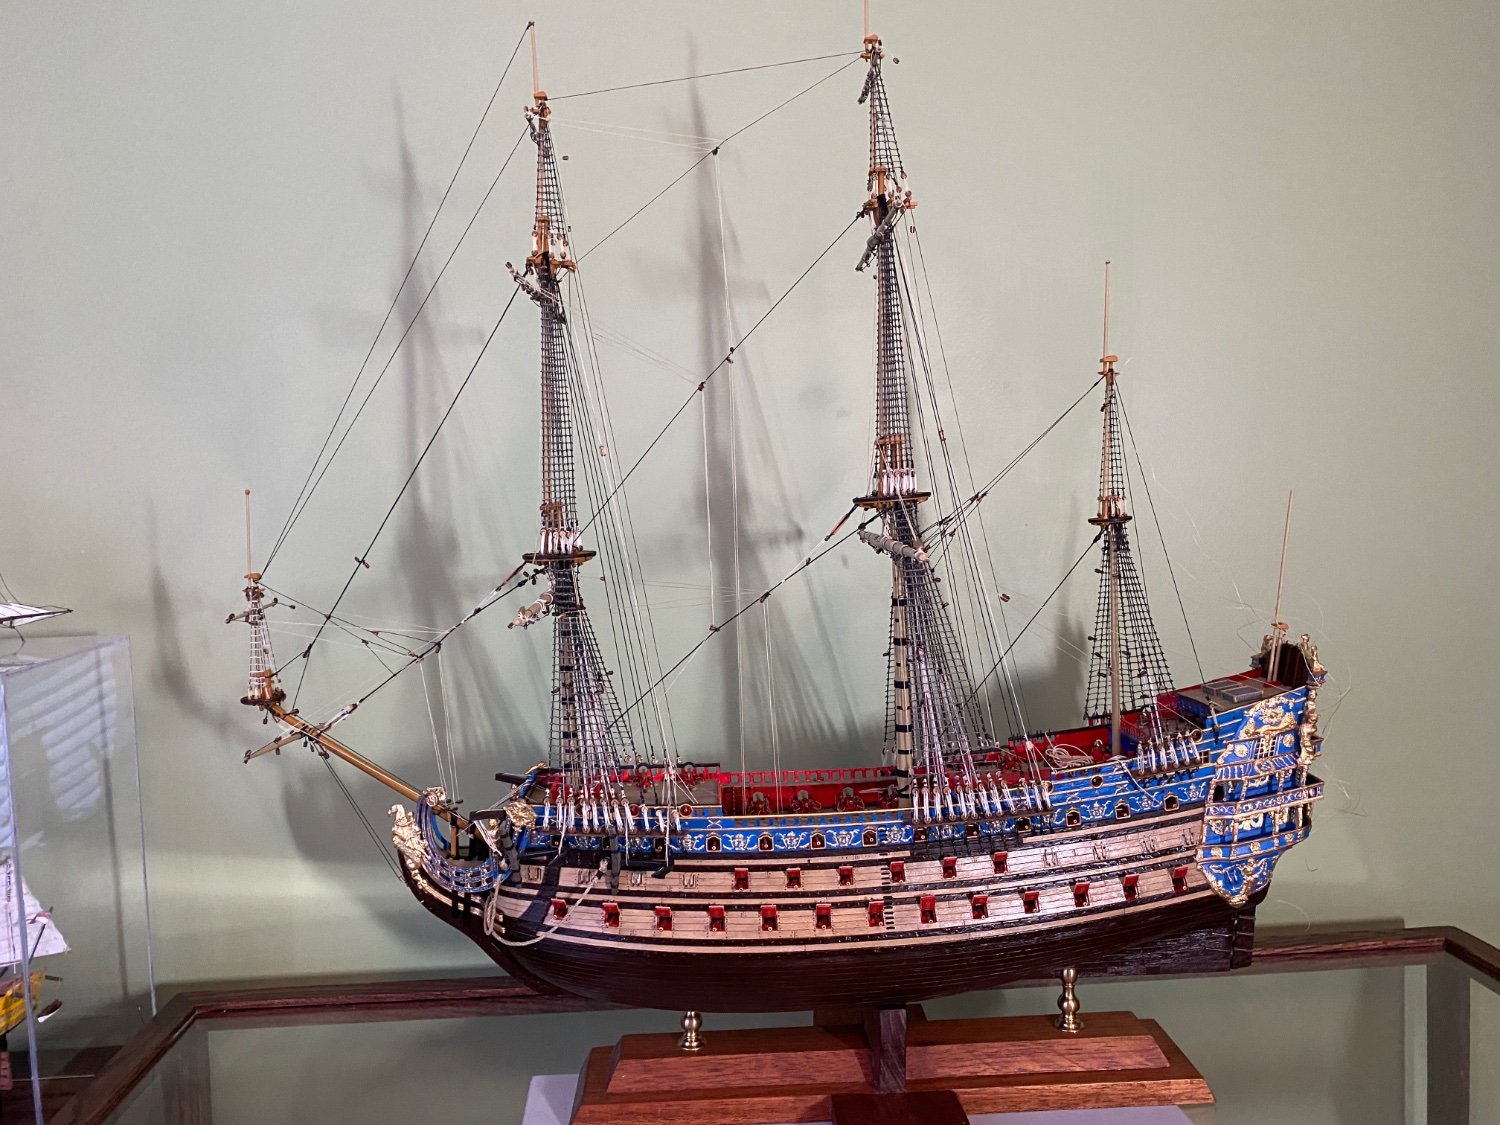
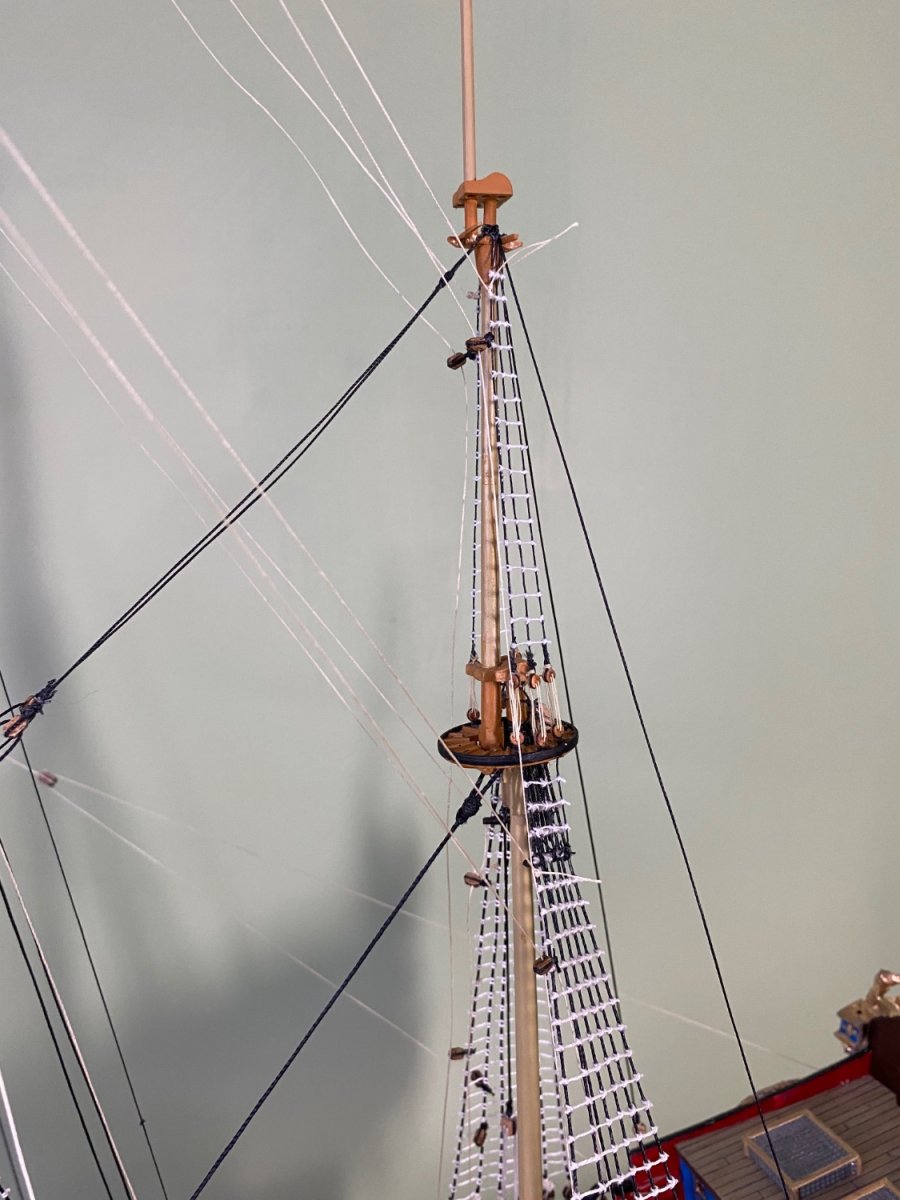
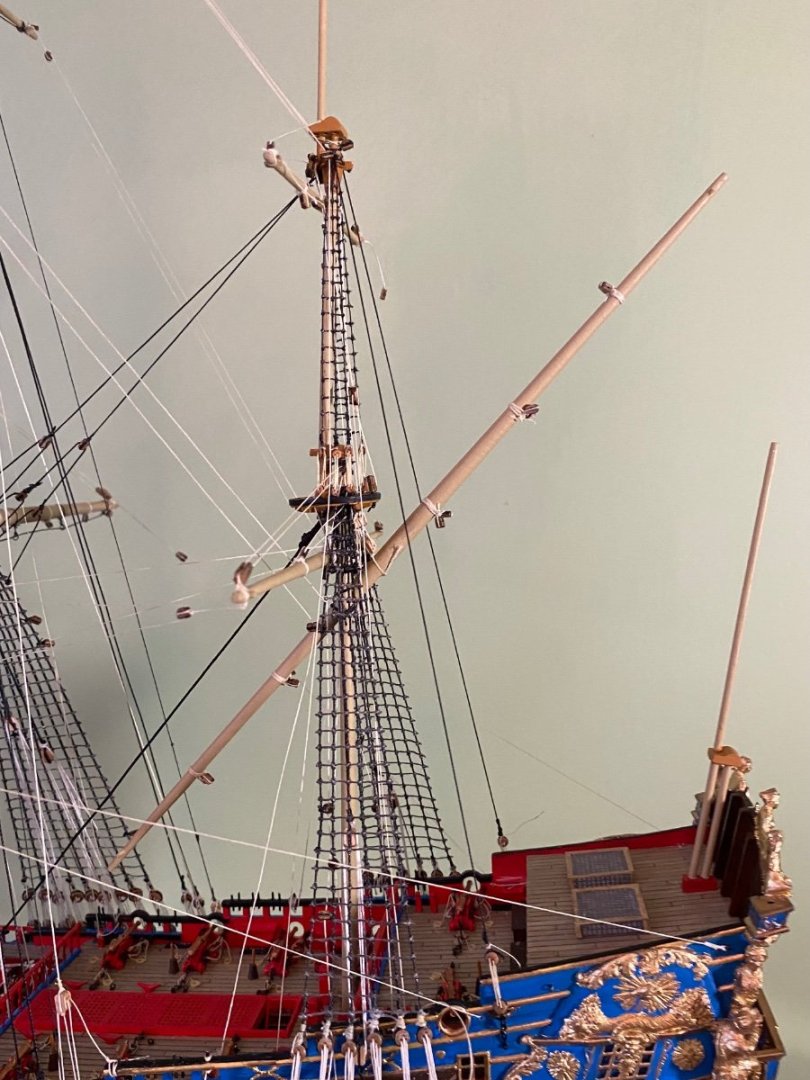
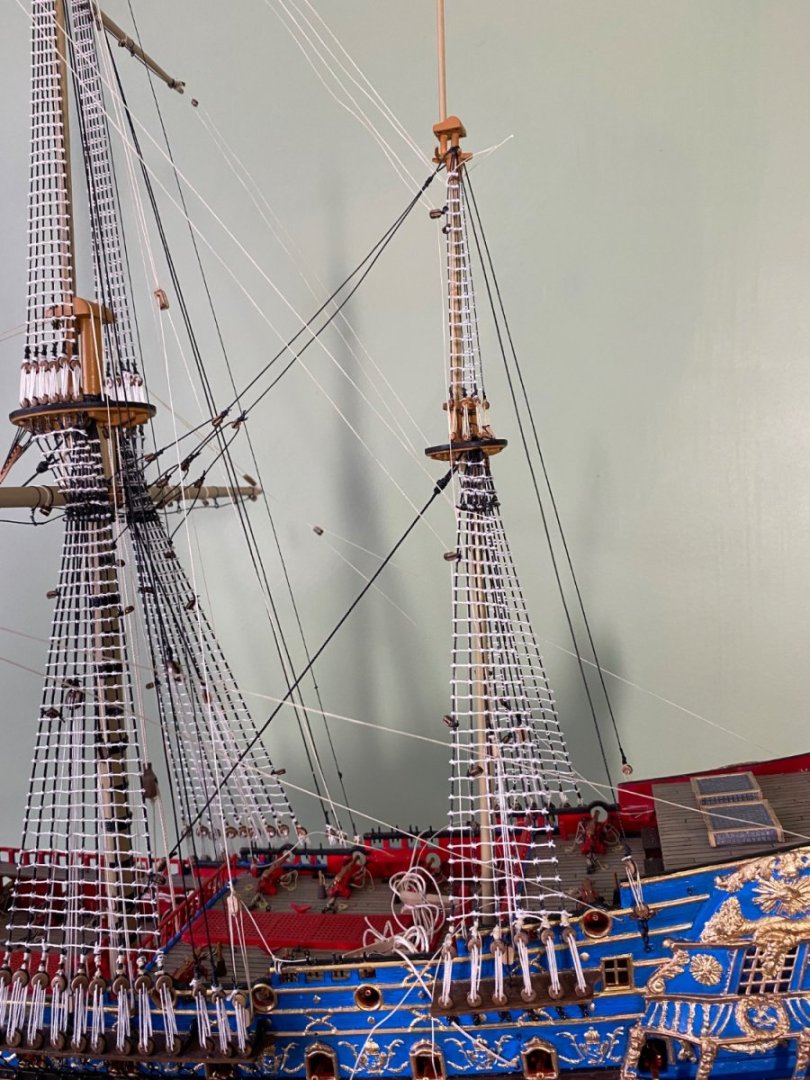
Final rigging of the mizzenmast completed. I left the lines loose at the belay points since I will most likely untie them when I put the sail on the lateen. Now I am for sure in the sail production stage.
- 1,503 replies
-
- 4
-
-
- Le Soleil Royal
- Heller
- (and 1 more)
-
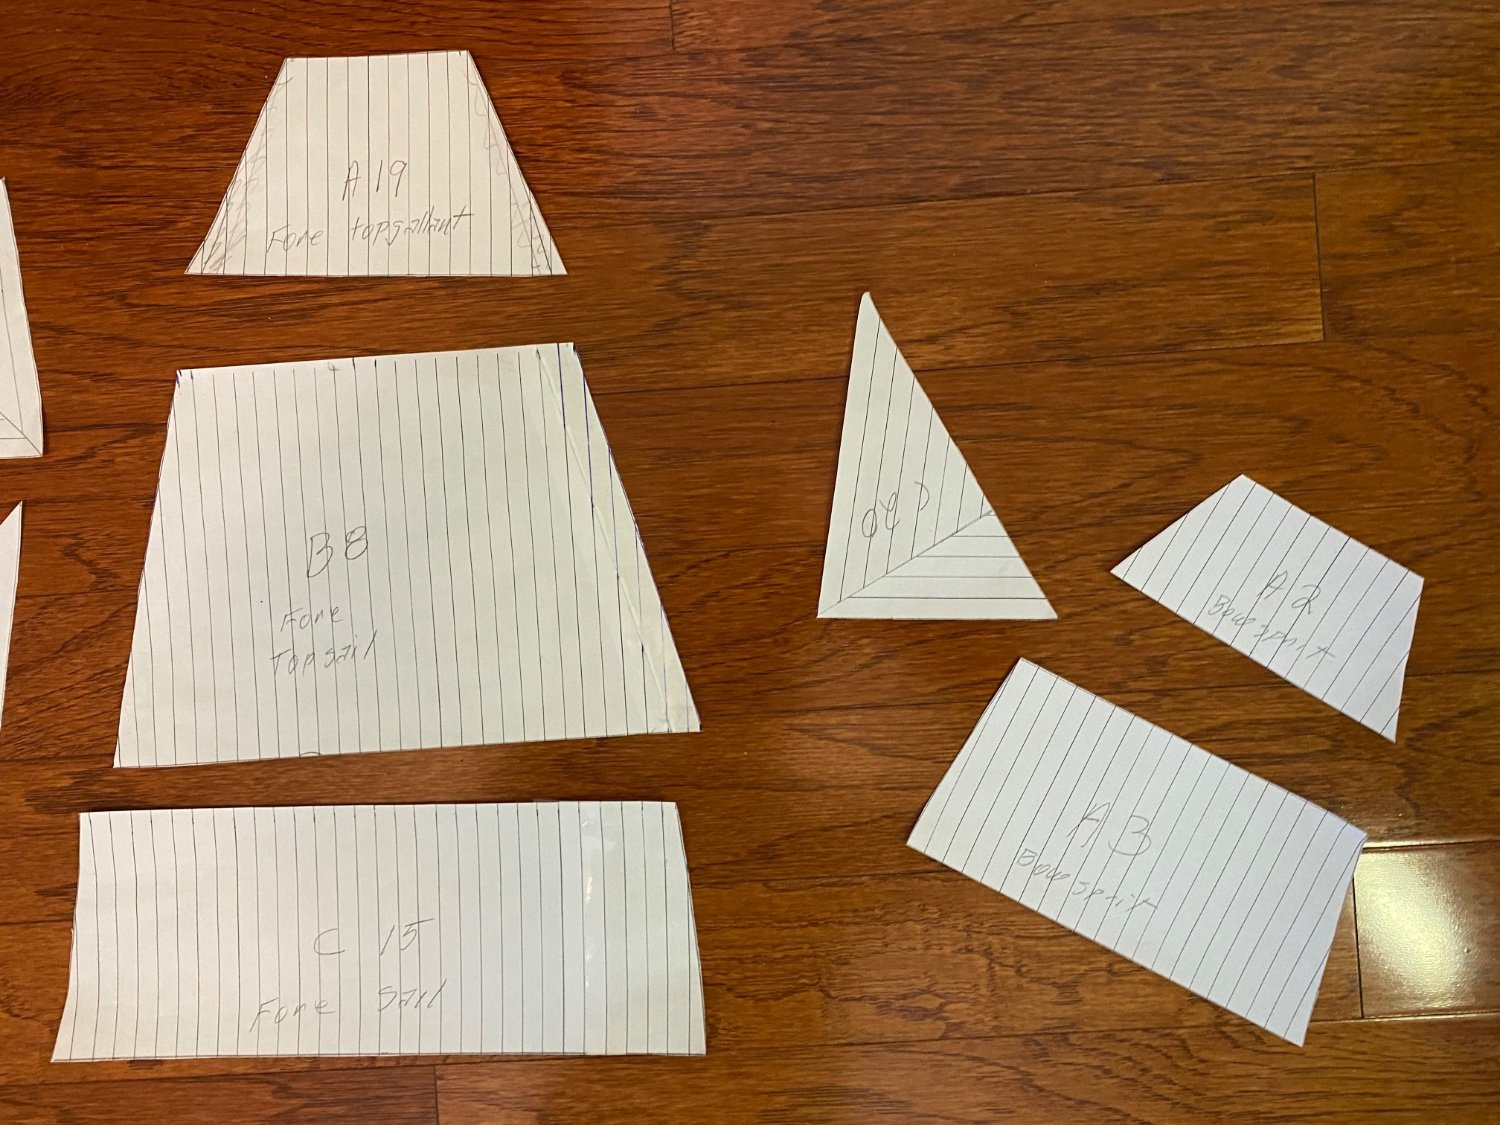
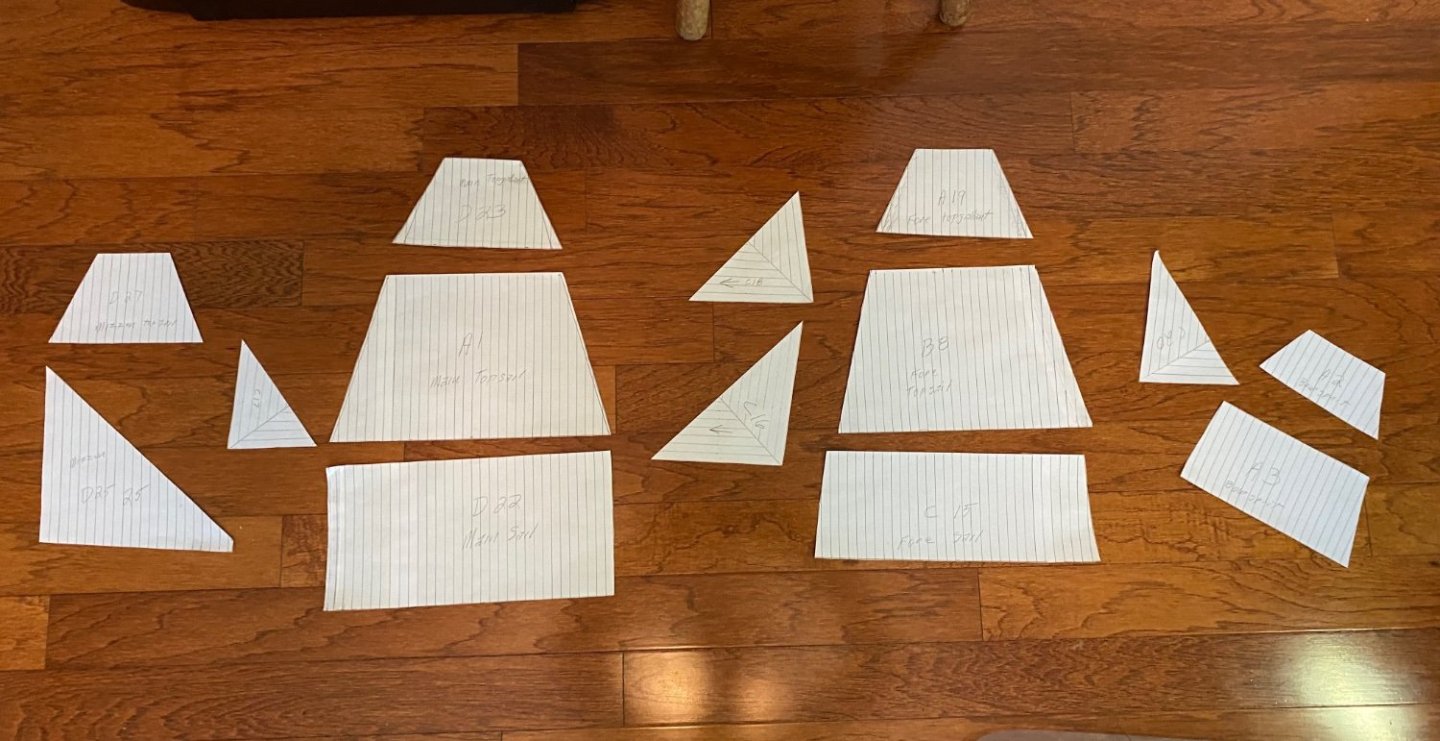
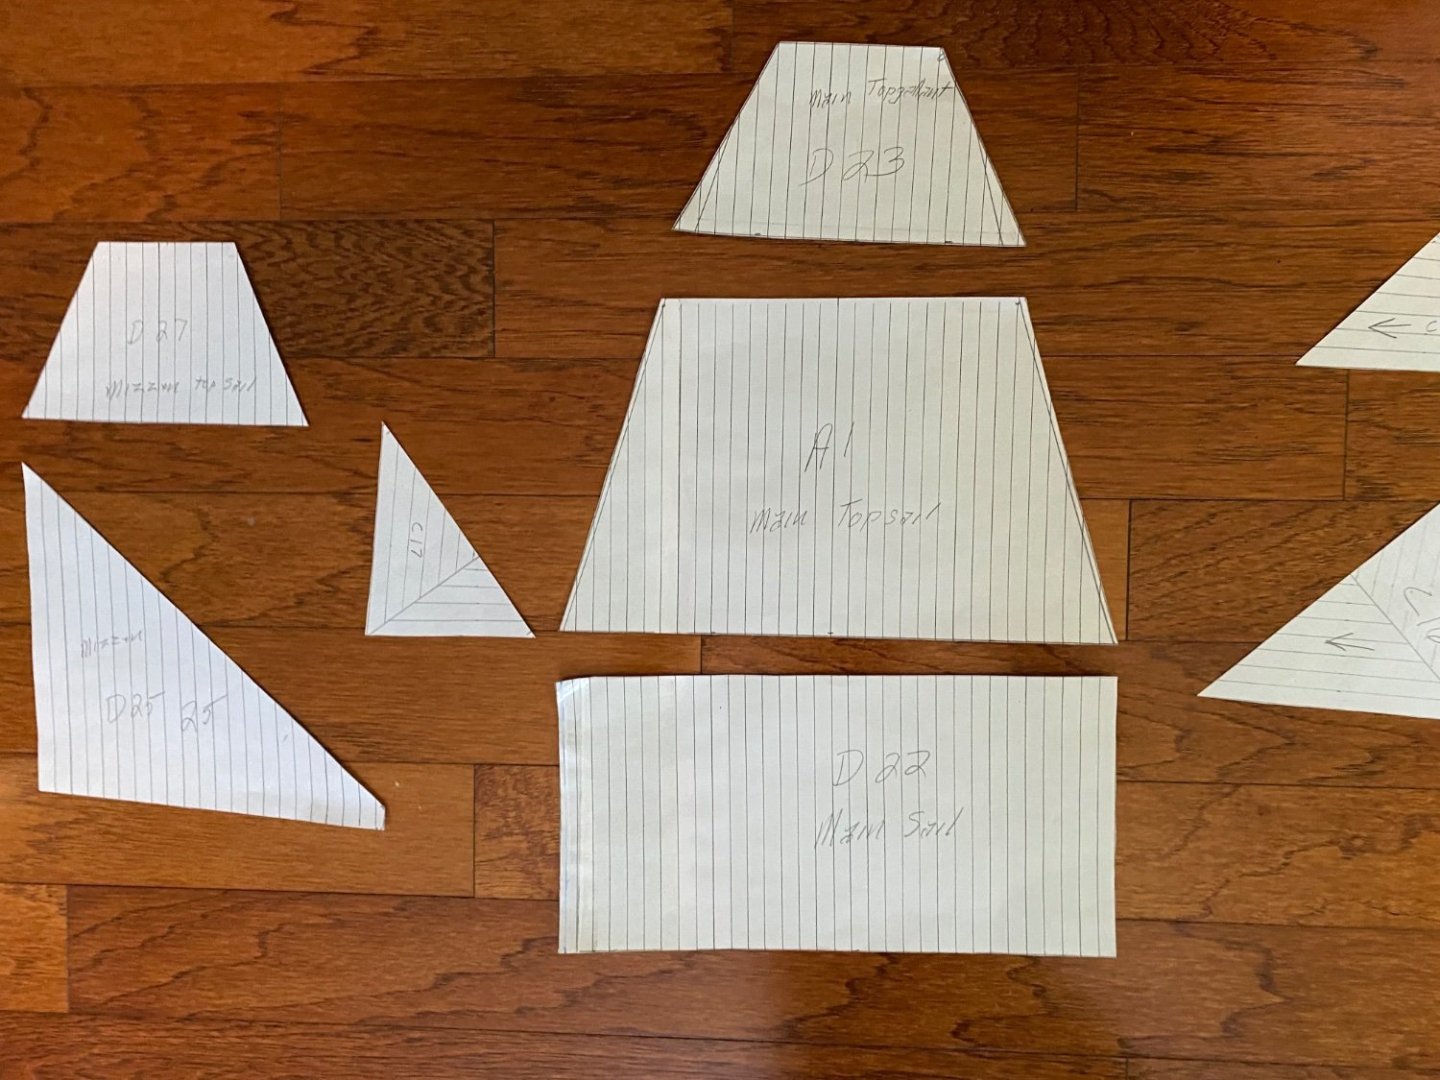
Took a break from miles of running rigging today. Since sail production is on the horizon I decided to work today on making the paper patterns. A measurement of the lines on the plastic kit sails shows an approximate 3/8” distance between them. To begin my sail making process I transferred that 3/8” measurement to lines on a sheet of copier paper. I then made numerous copies. I then drew the sails on the copy paper by transferring the perimeter measurements of each sail and keeping the lines on the paper running the same direction as the lines on the plastic sails. After some adjustments to the drawings to mirror the actual yard length I cut out the paper patterns. I will later use the patterns to make the actual sails on the material I use for the sails and sew all the lines.

- 1,503 replies
-
- 1
-
-
- Le Soleil Royal
- Heller
- (and 1 more)
-
Yes kirill4 that is correct. All the best to you as well. Want to compliment you on your language translation. Very good. Очень мило. Будет ли это правильно?
- 1,503 replies
-
- 1
-
-
- Le Soleil Royal
- Heller
- (and 1 more)
-
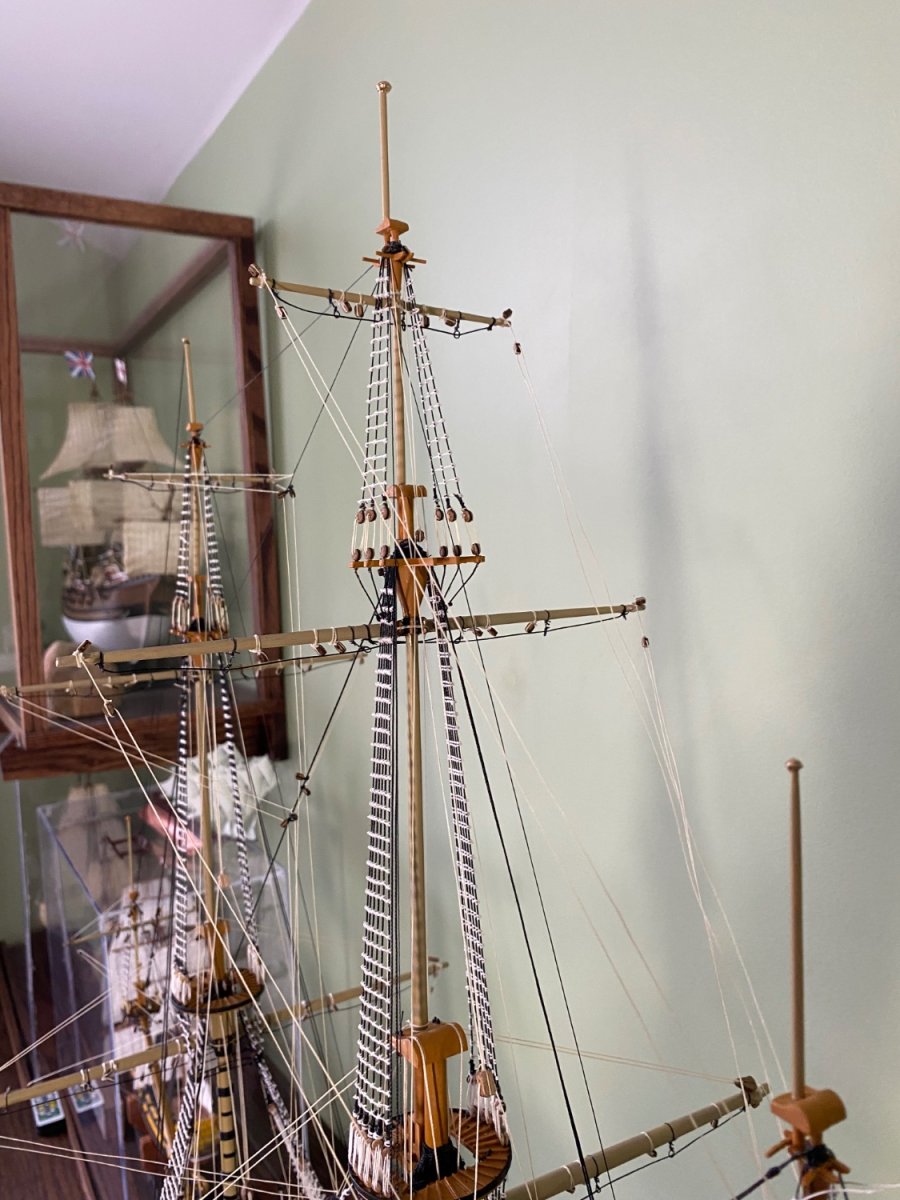
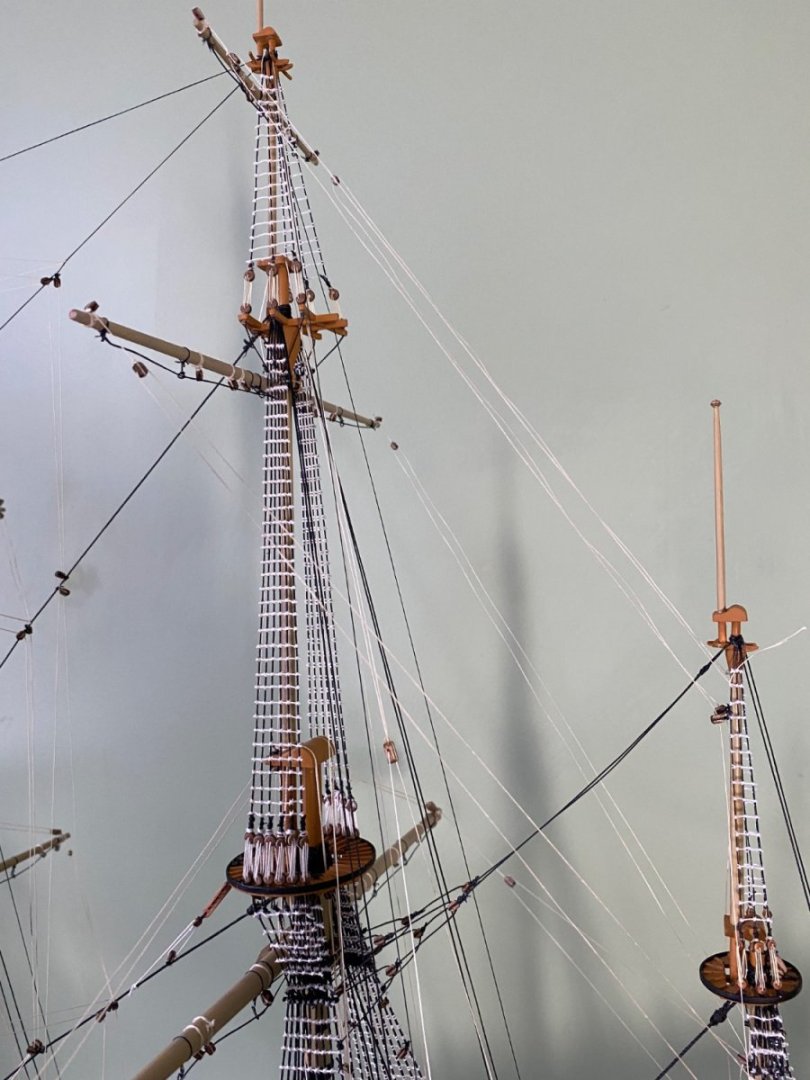
Got the majority of he running rigging on the mizzenmast completed. Still have quite a bit of rigging to do on the lateen mizzen to include the special design parral, and the lift. Right now I have the lateen held in place with a pin into the mast and a simple lashing I will remove when I put the parral on. I think I am getting close to the time when I will start making my sails.


- 1,503 replies
-
- 5
-
-
- Le Soleil Royal
- Heller
- (and 1 more)
-
Is this your first Soleil Royal Marc? Very nice as well. In the first photo are the lines that look dark running rigging, braces maybe?
- 1,503 replies
-
- 1
-

-
- Le Soleil Royal
- Heller
- (and 1 more)
-
Thanks Marc. I think they look much better as well. Still going to try to get by with the tan running rigging I already have done.
-
Thanks Ian. That sounds like a plan. On a side note, wonder what is going on at the bridge?
-
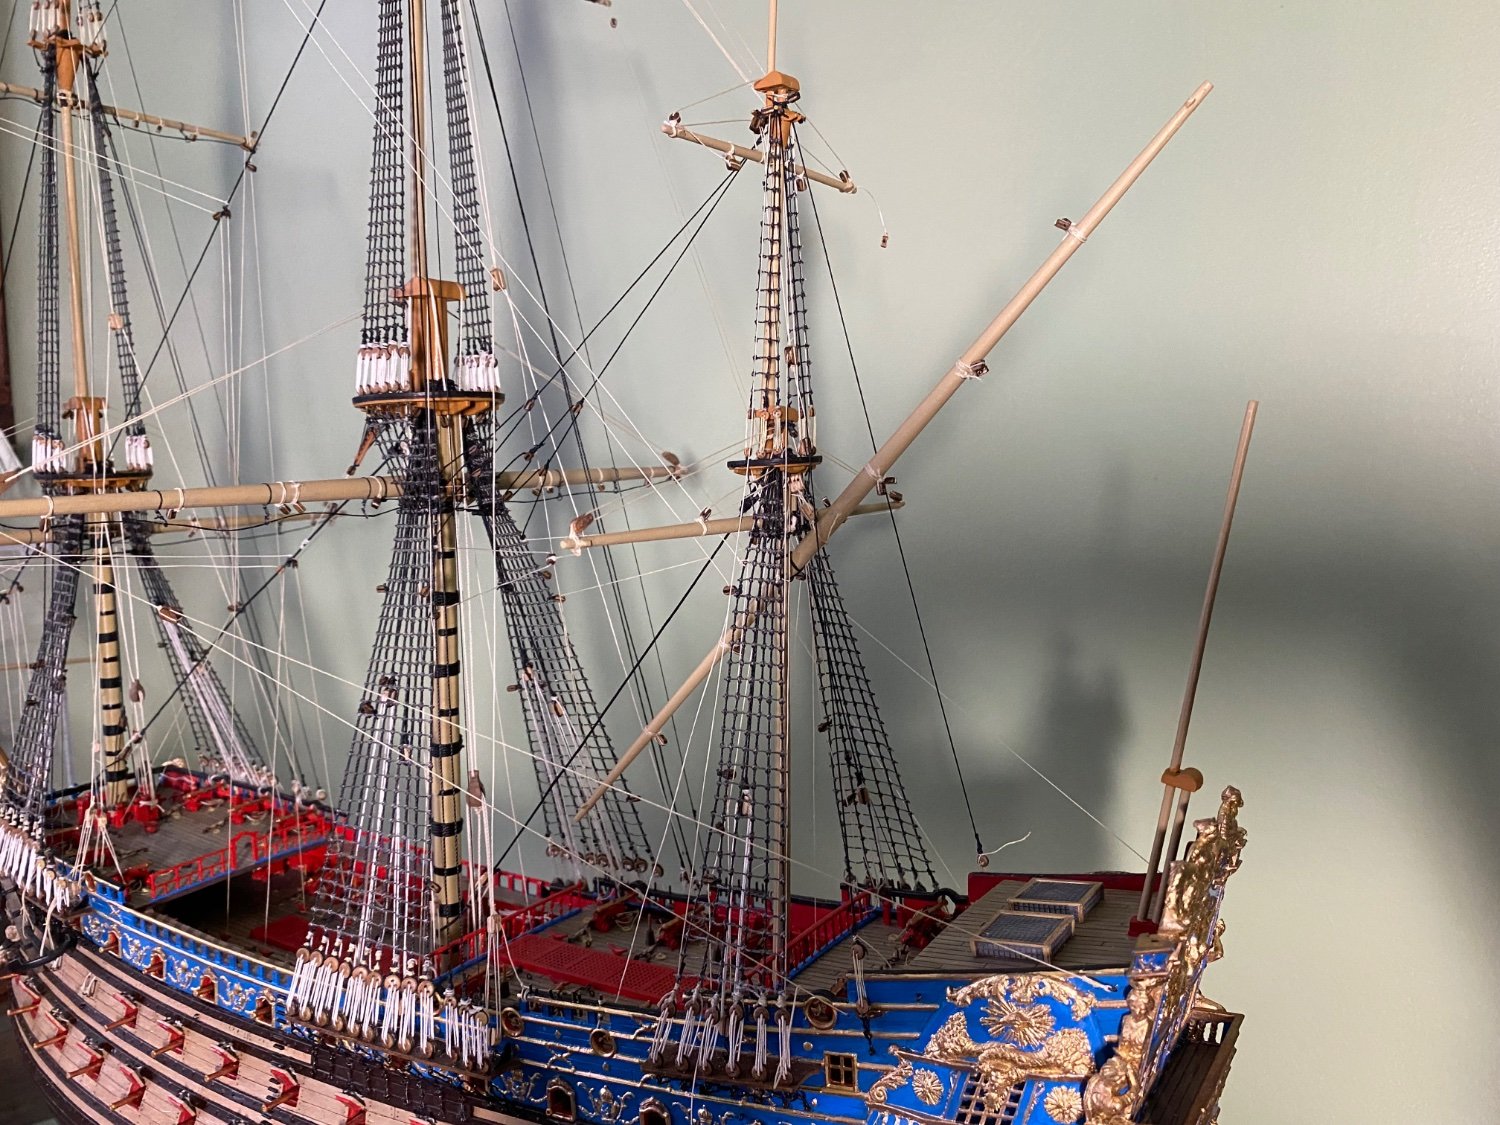
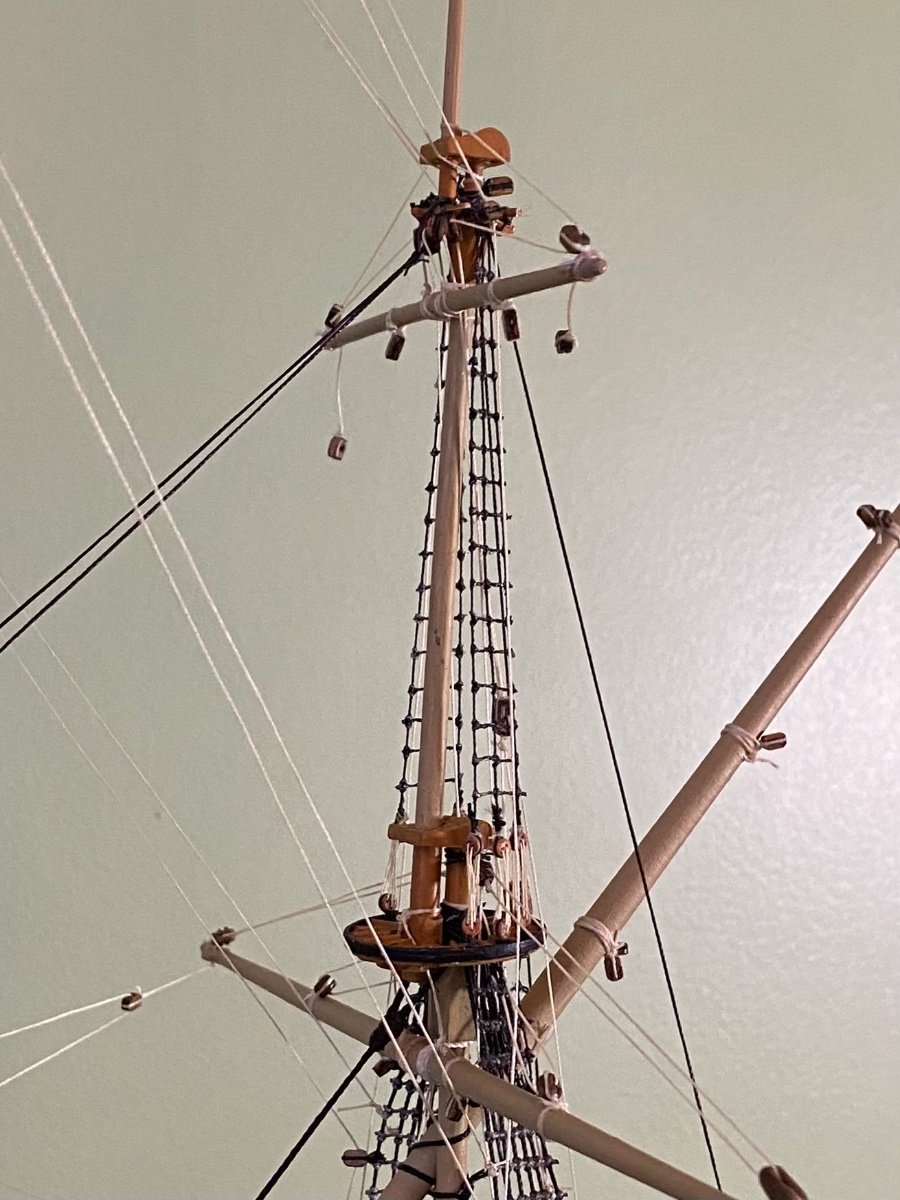
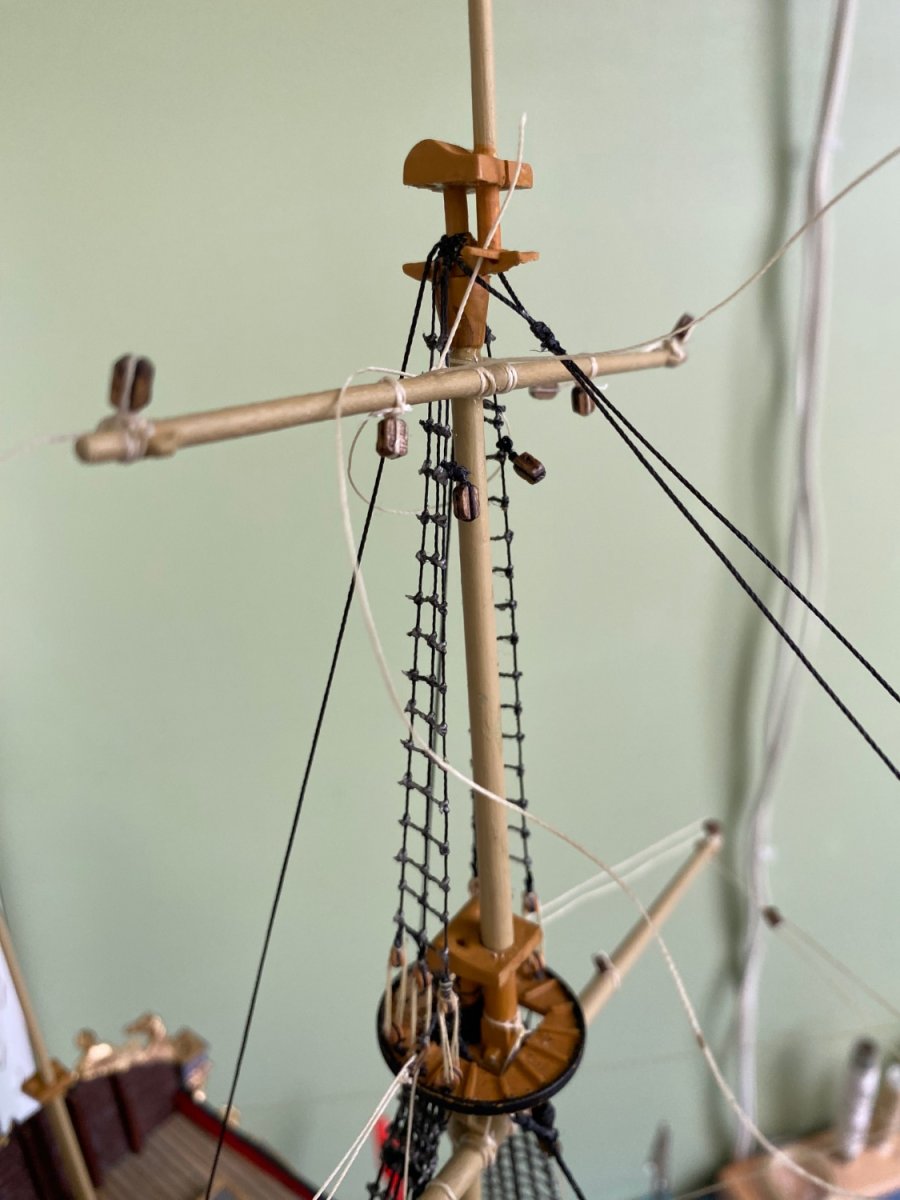
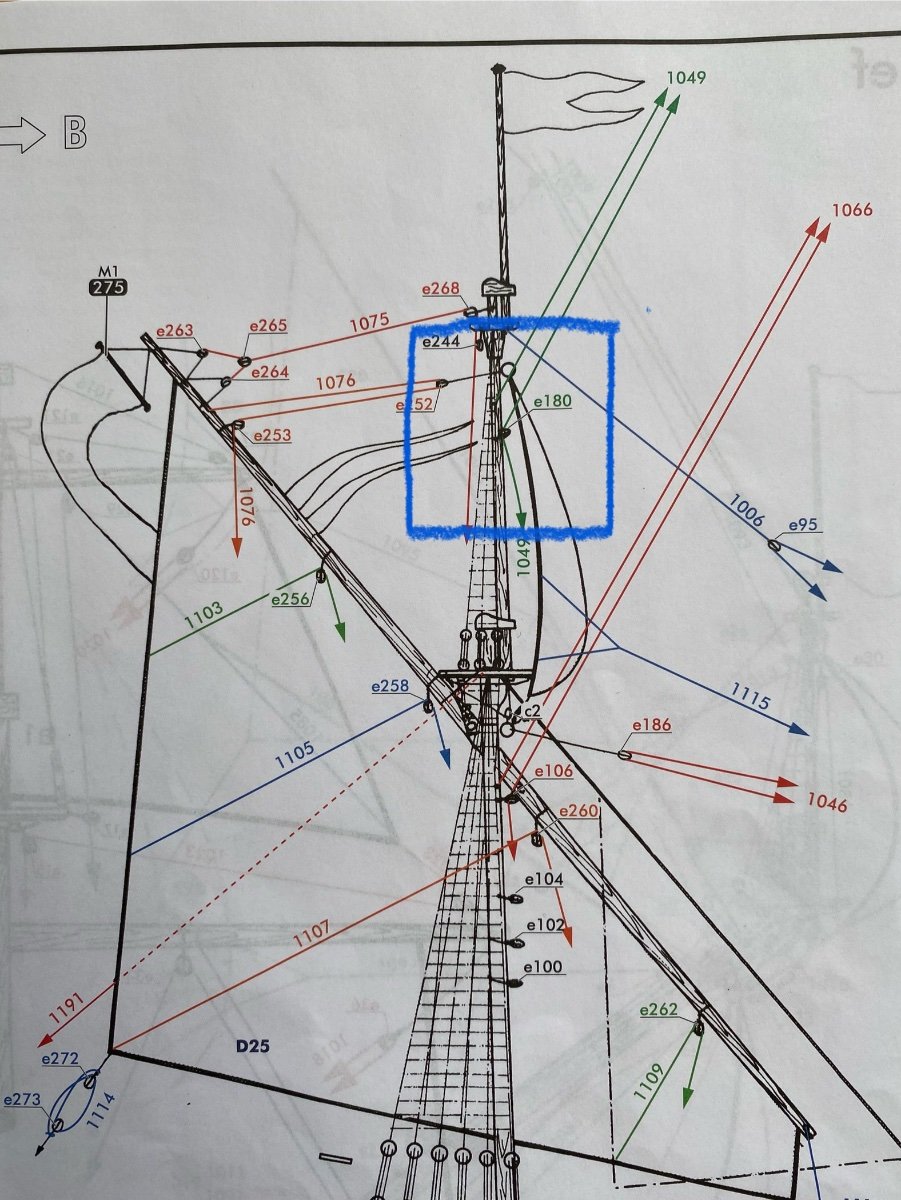
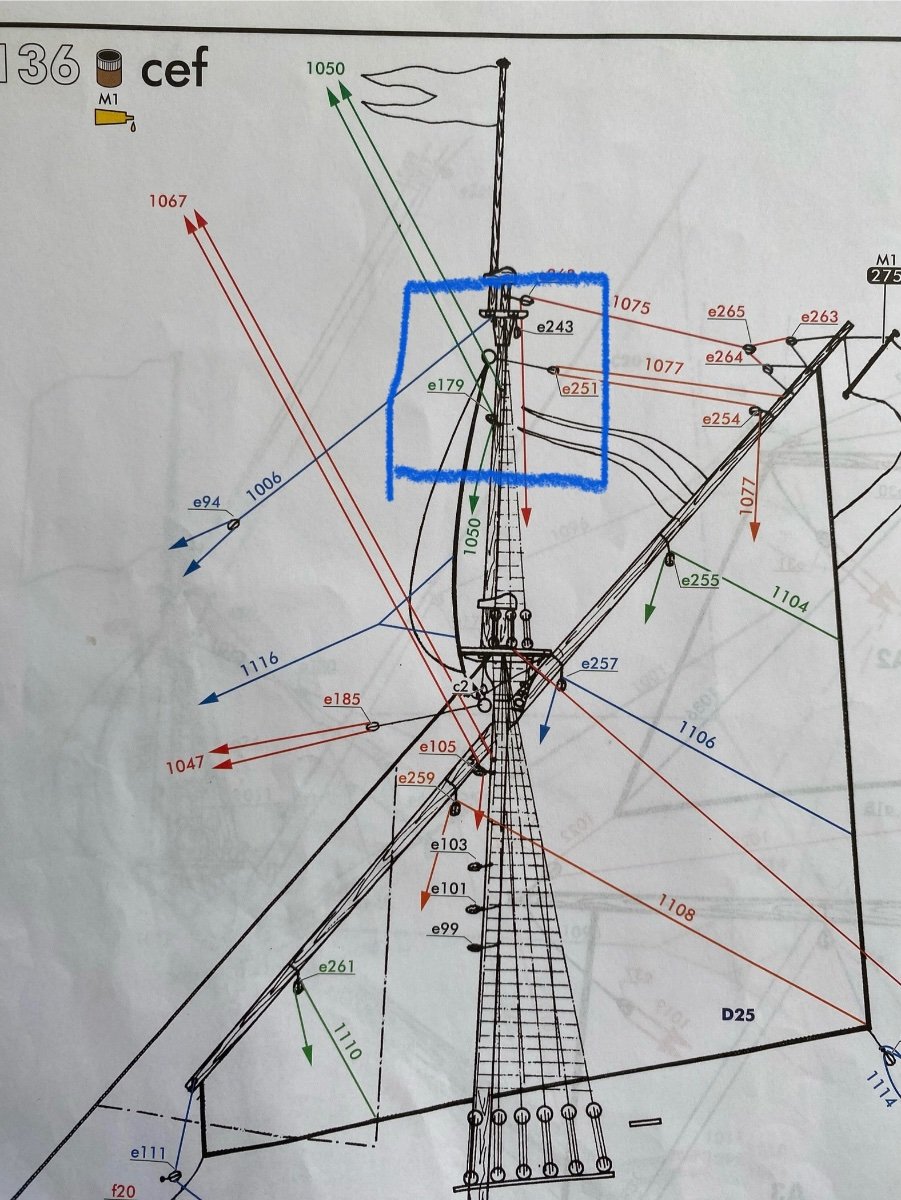
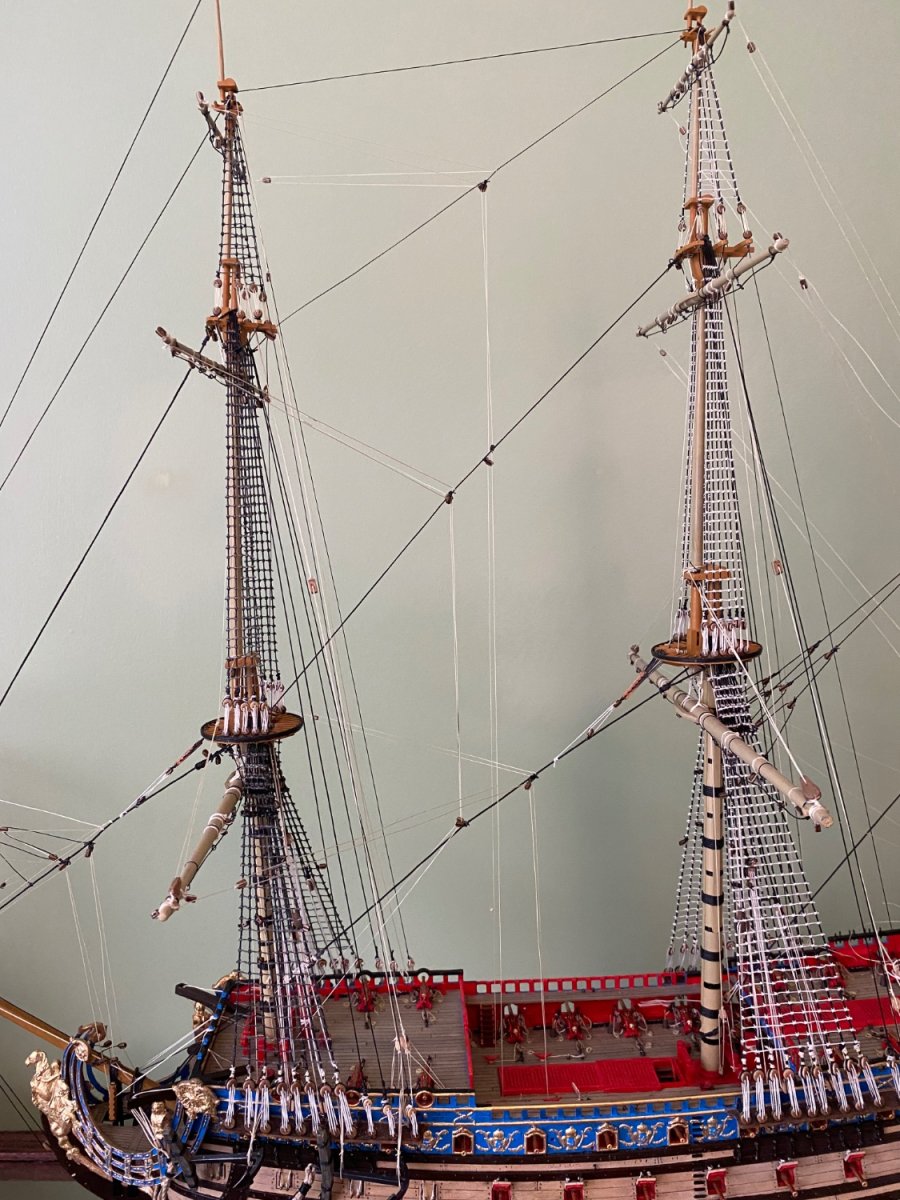
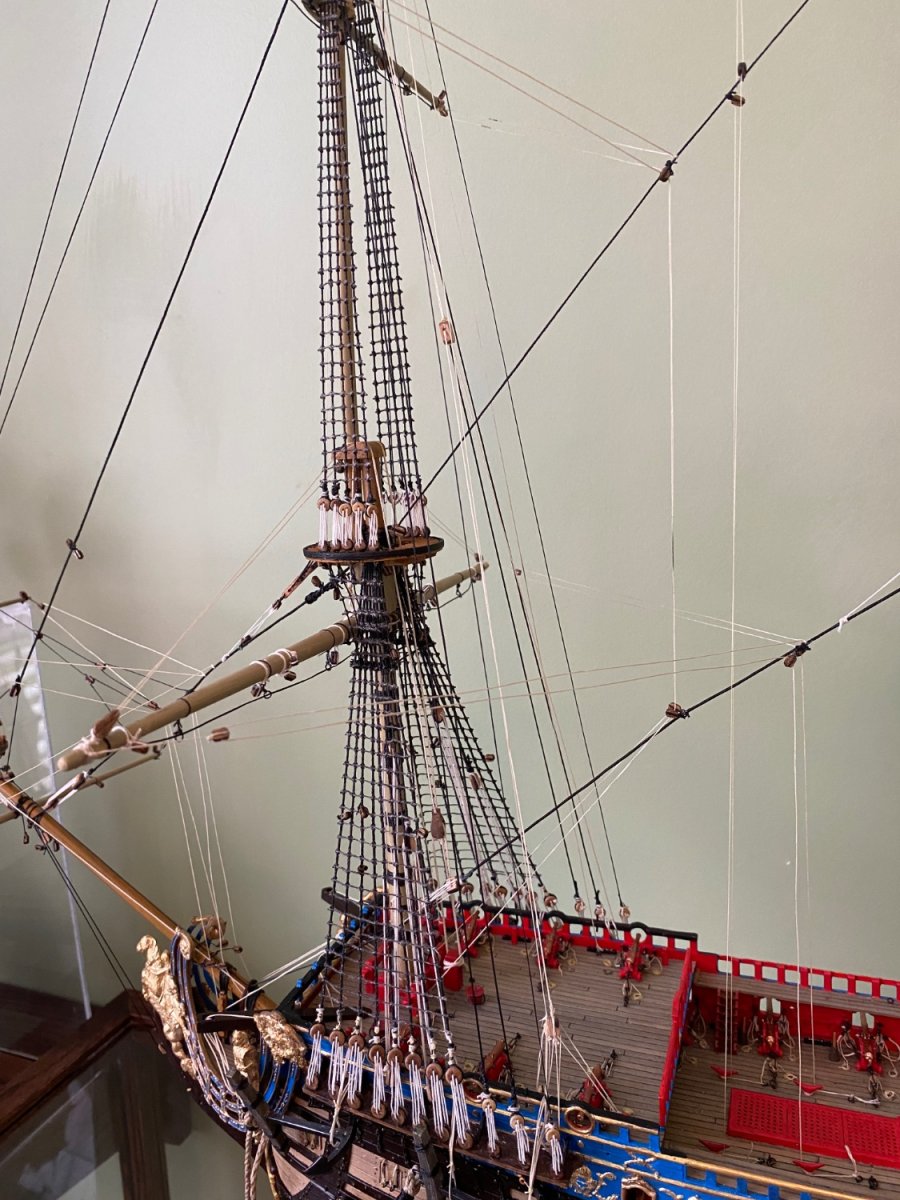
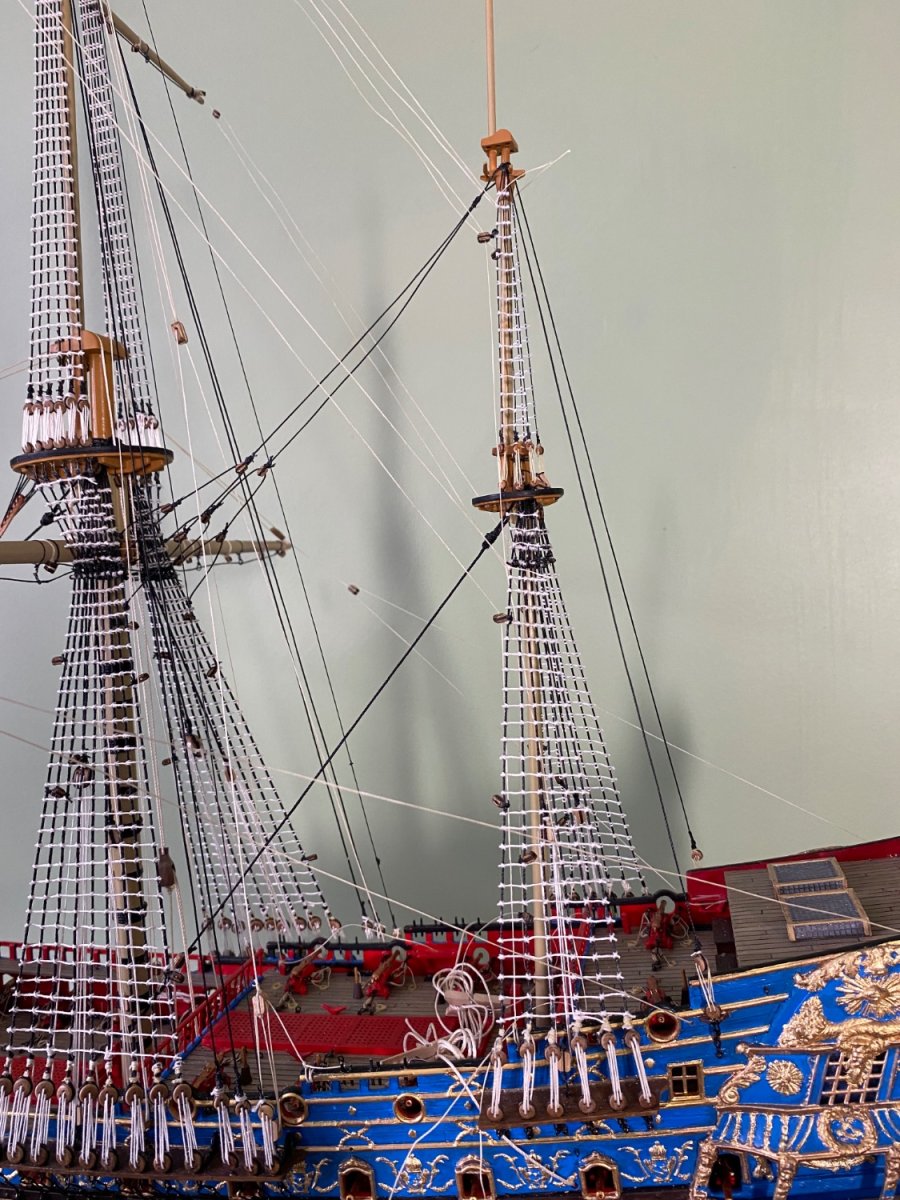
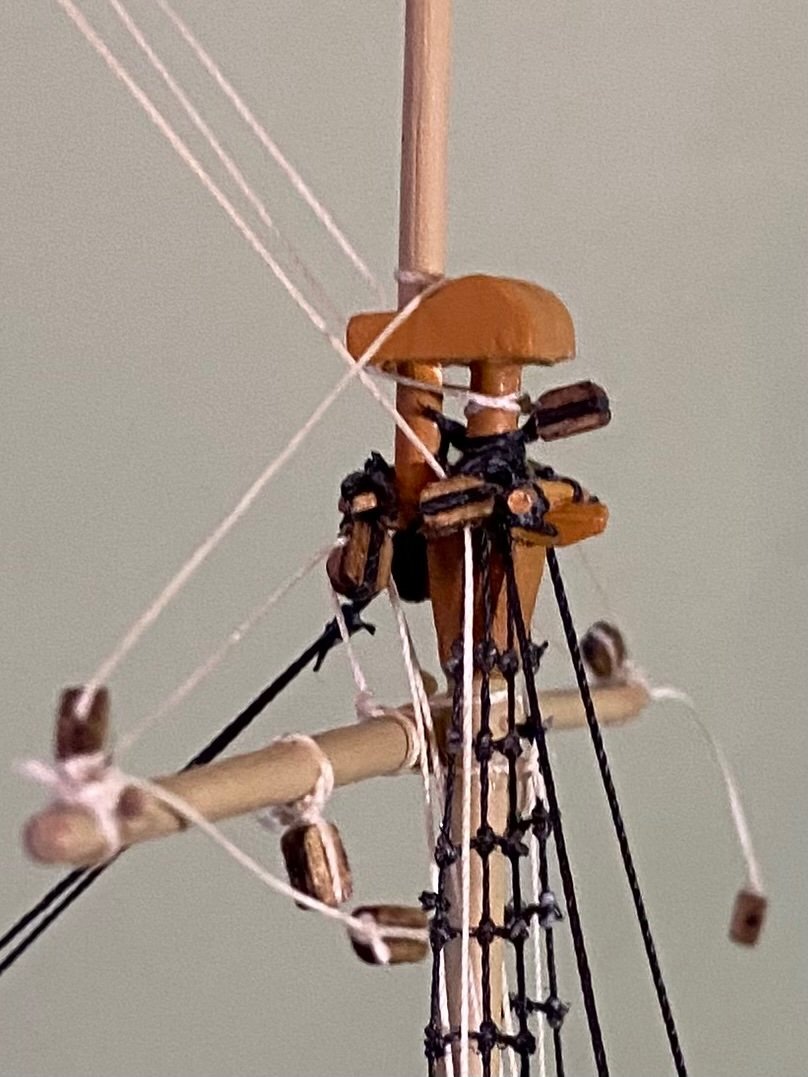
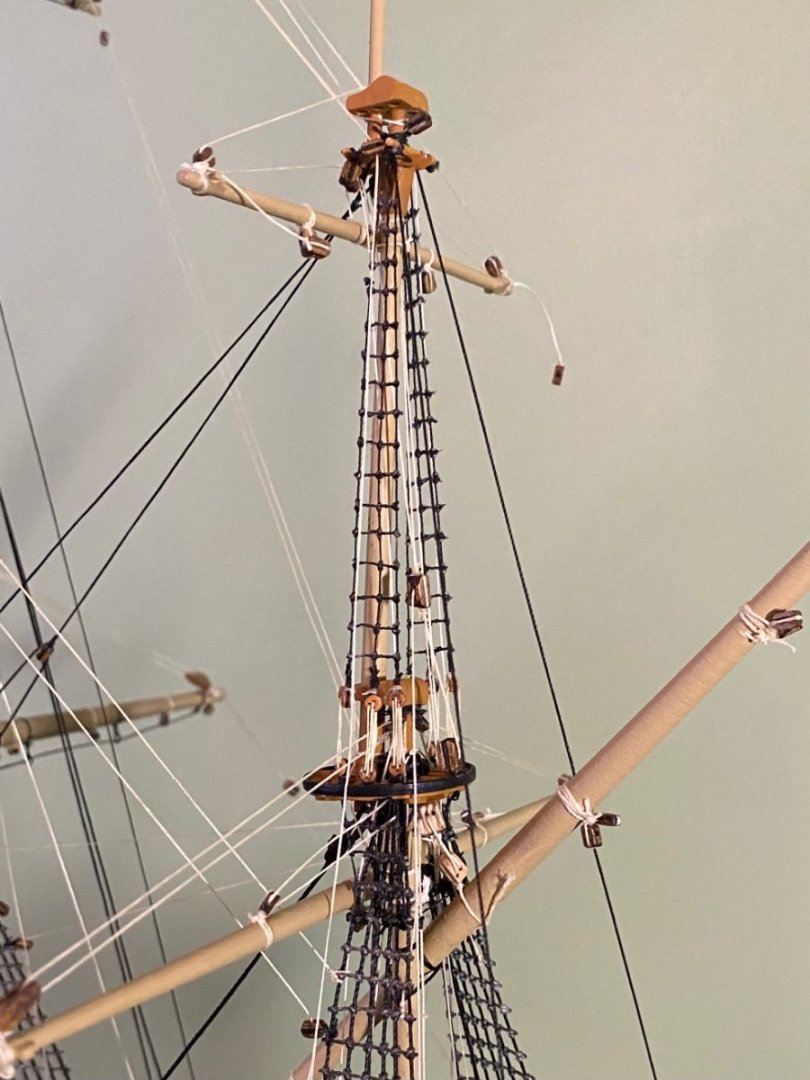
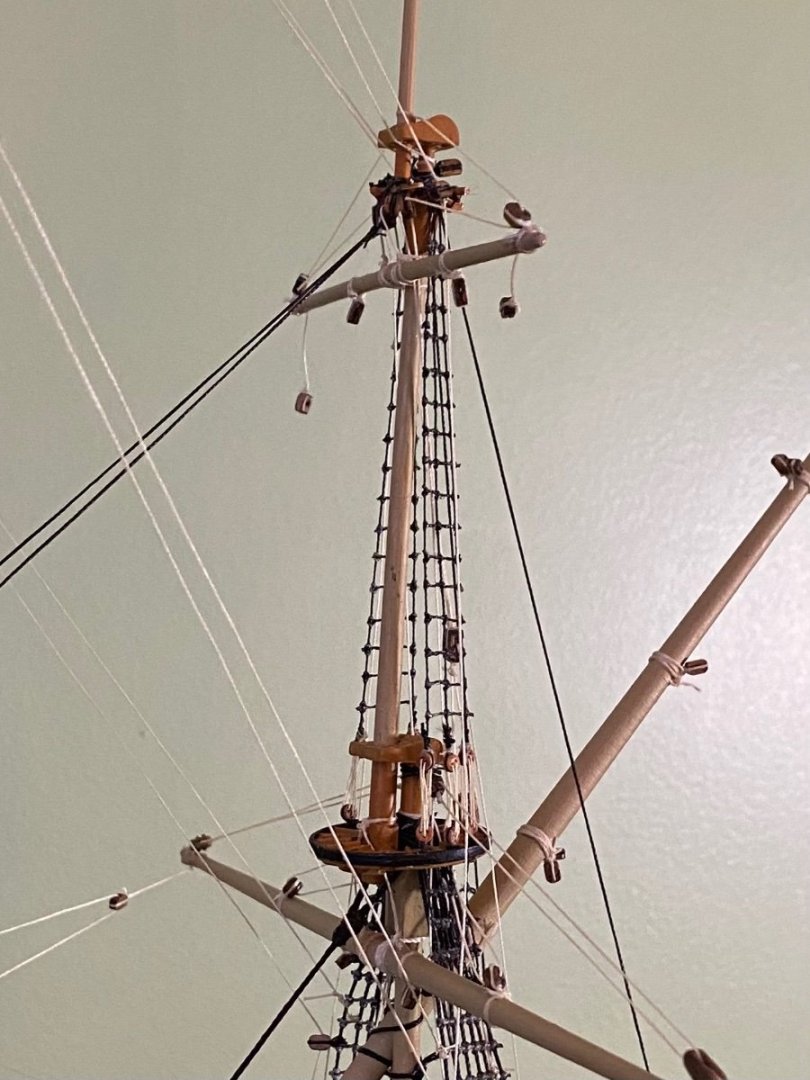
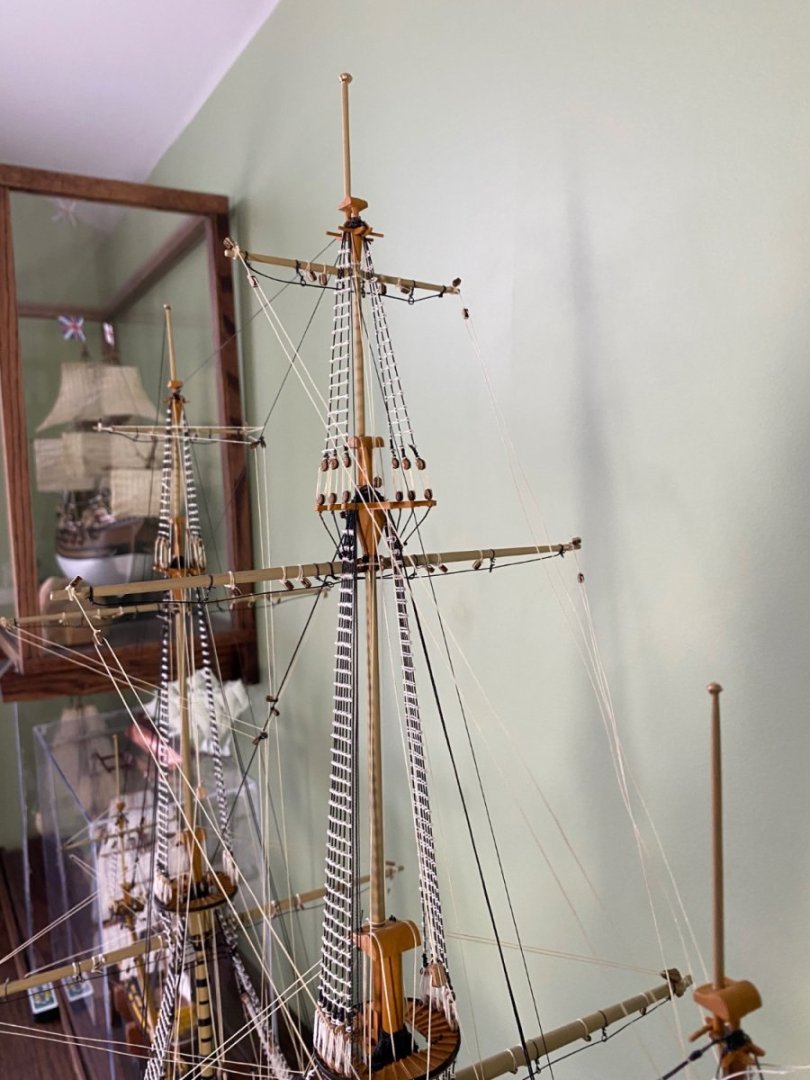
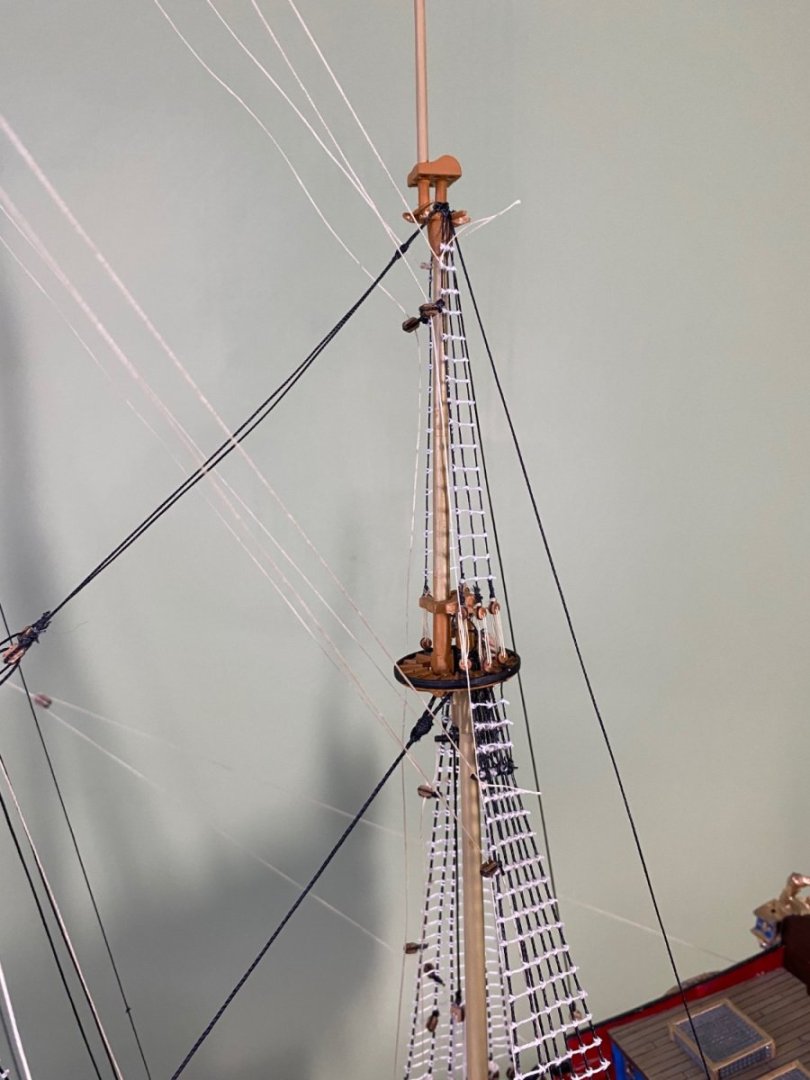
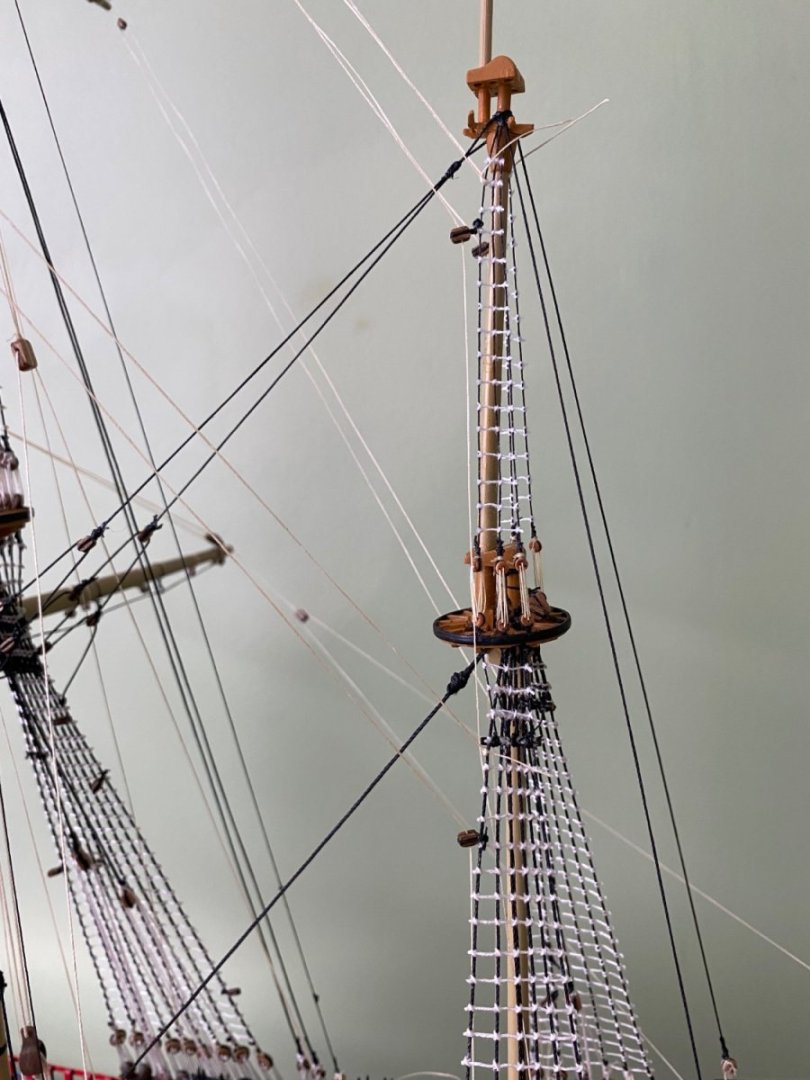
Ok Gentlemen I come to you again seeking guidance. I am rigging the different yards on the mizzenmast. All was going great until I ran into two lines I am curious if I have another Hellerism. In the two pictures you can see lines 1049 and 1050 colored green at the top. Heller instructions have the line tie to the mizzenmast mast top, then go up to block pendants on the foremast topgallant yard arm, then back to blocks on tied near the top of the mizzenmast upper shrouds (e179 and e180), then down to belay points on the deck. No problem with doing that but if I do lines 1049 and 1050 will have to pass right through the top of the sail. I am thinking this is not right unless the two blocks are to be tied to the shrouds above the yard.


-
HAPPY THANKSGIVING to all my MSW friends who celebrate it! Thanks so much for all your help and support this year in this unique hobby we all love. Bill
- 1,503 replies
-
- 1
-
-
- Le Soleil Royal
- Heller
- (and 1 more)
-
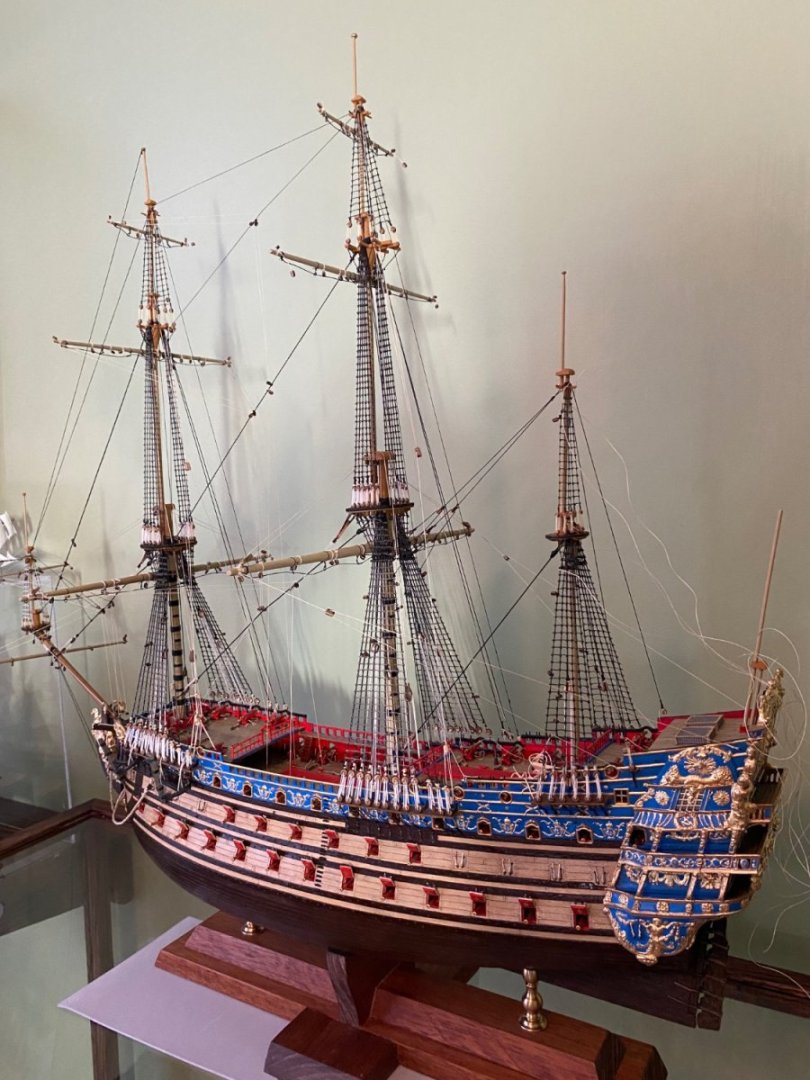
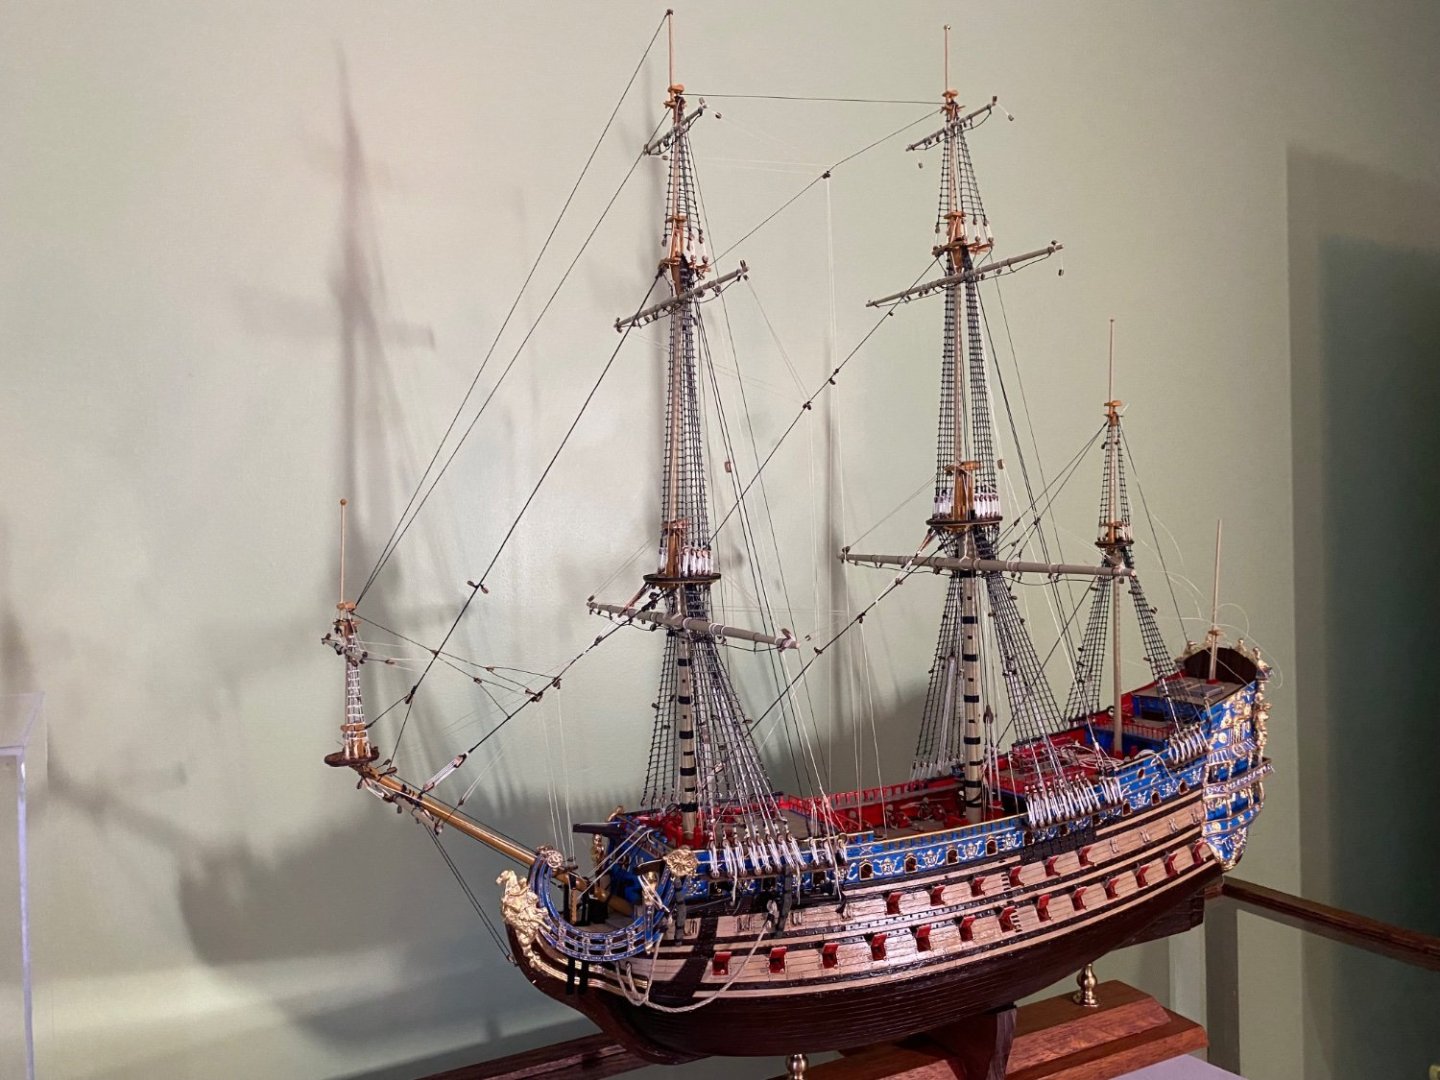
Thank you Ian my friend. I thought we finished my HMS Victory 😊. Now I am going to have to get her back out of the case to make the ratlines black!
-
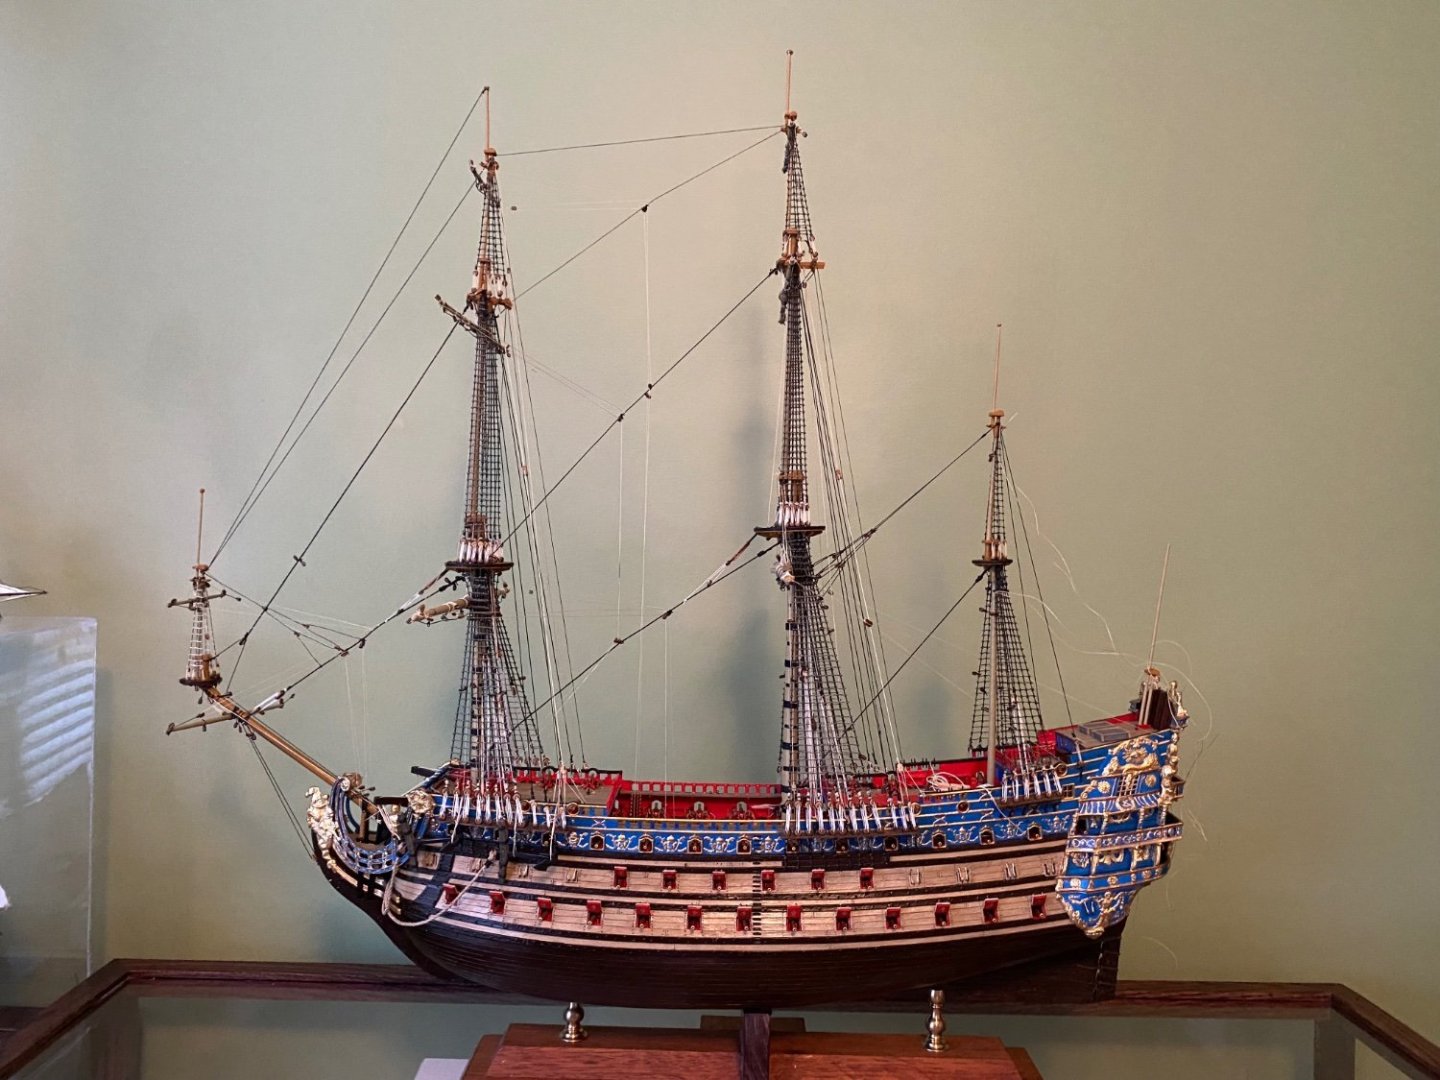
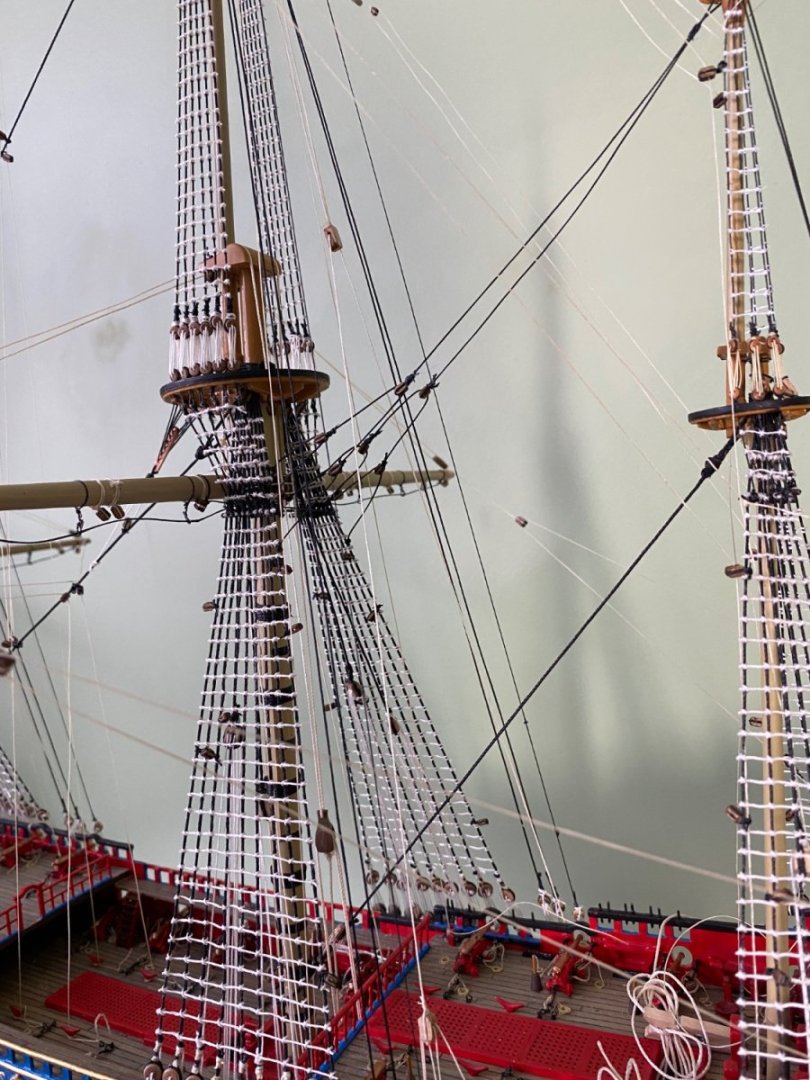
All the ratlines redone. I definitely like it better. In fact I will eventually get my HMS Victory out of it’s case and paint the ratlines.

- 1,503 replies
-
- 5
-
-
-
- Le Soleil Royal
- Heller
- (and 1 more)
-
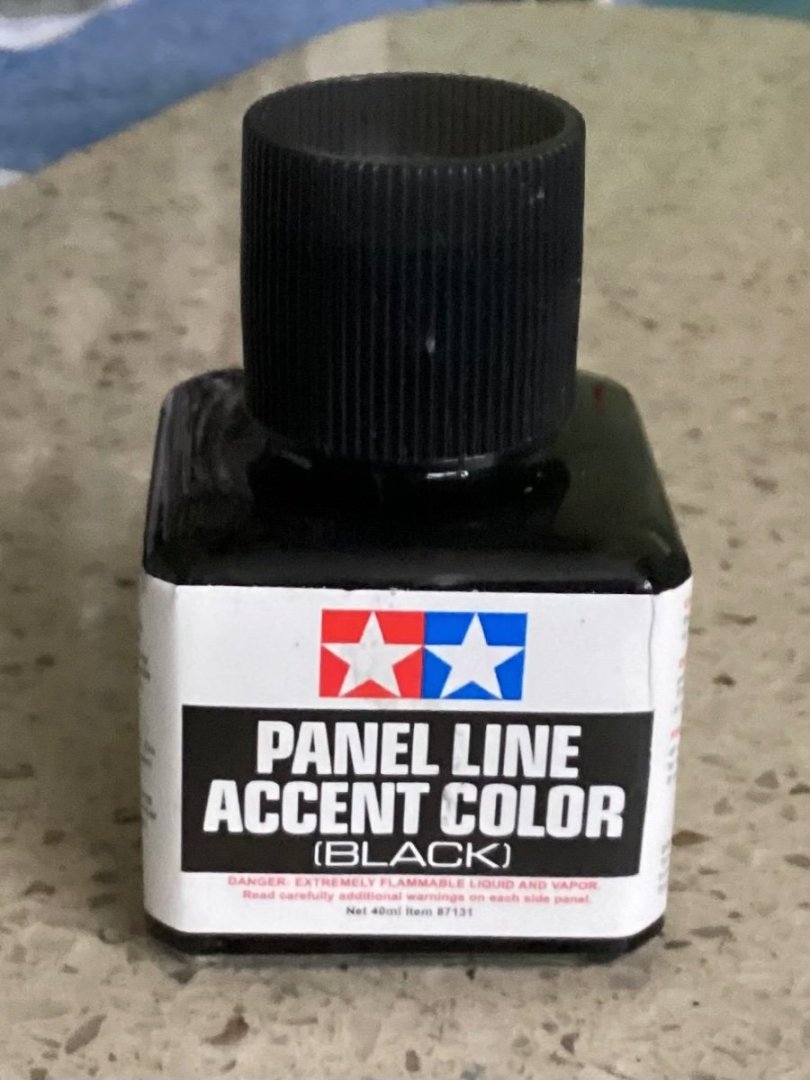
Ian I used this panel line accent color with a tiny tip brush. kirill4 I think I am going to meet you in the middle for changing the color of the ratlines and running rigging. I could darken my tan thread I intend to use for running rigging on the sails. That thread is obviously not on the ship yet and I could use some recommend method to do so. However I think trying to paint all the running I have already installed would be much more difficult than painting ratlines. I would be further concerned about lack of uniform color and stray tiny brush strokes and droplets accidentally getting on ship parts. As a result I would have possibly two different colors of running rigging.
-
Kirill4 you convinced me. Staining my ratlines. I have to admit I do like them better that way. However I am going to stay with the tan color deadeye lanyards to match the running rigging.


- 1,503 replies
-
- 1
-
-
- Le Soleil Royal
- Heller
- (and 1 more)
-
All very good points kirll4. I will consider taking a small brush and applying a thin wash to the ratlines.
-
Just out of curiosity I did some MSW research on the interesting question Kirill4 brought up. Pretty good discussion from a number of years ago.
-
Of course kirill4 every time I look at your galleon I come away inspired by your work. Maybe my next build I will go darker colors. I have always thought of the deadeye lanyards as running rigging instead of standing rigging since they would be tightened from time to time like other lanyards throughout the rigging. Would that not be the case?
-
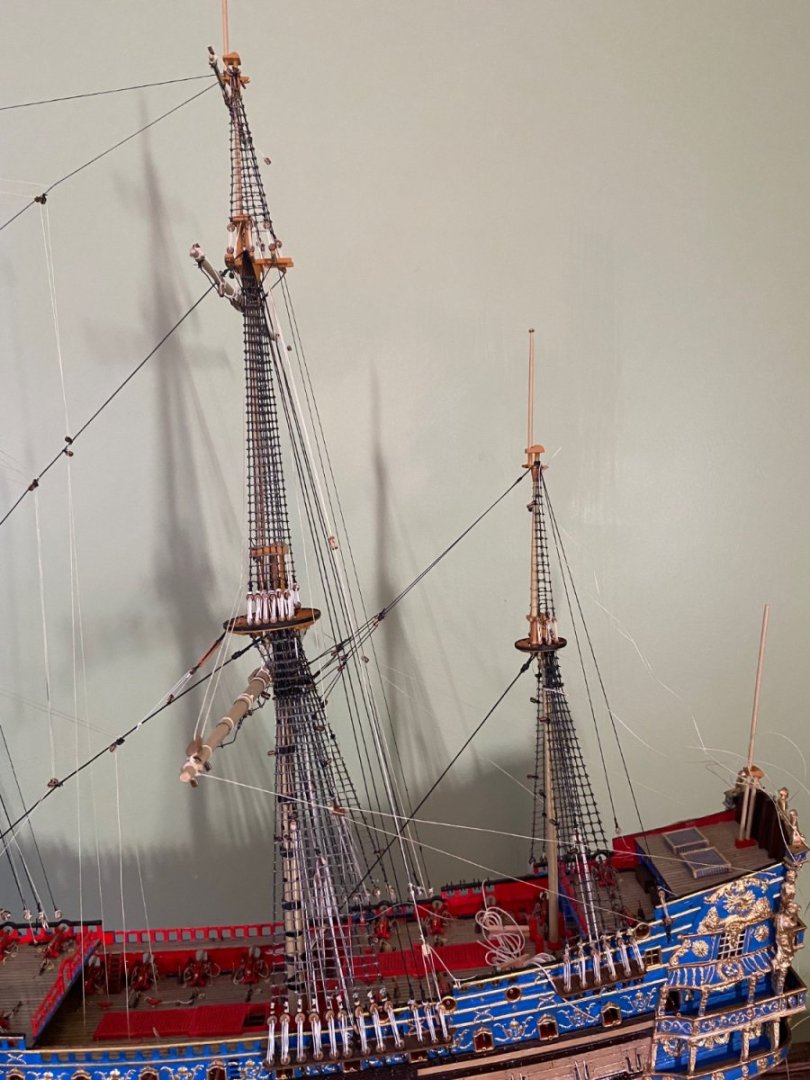
Kirill4 the photos are a little deceptive. The lines you listed are not white. All of the lines that look white are actually a light hemp/tan color. Not as dark as some sold by model ship companies but also not as light as some sold by others. Since I began making my own shrouds and ratlines years ago I have always preferred a dark shroud and lighter ratline. I like the contrast.
-
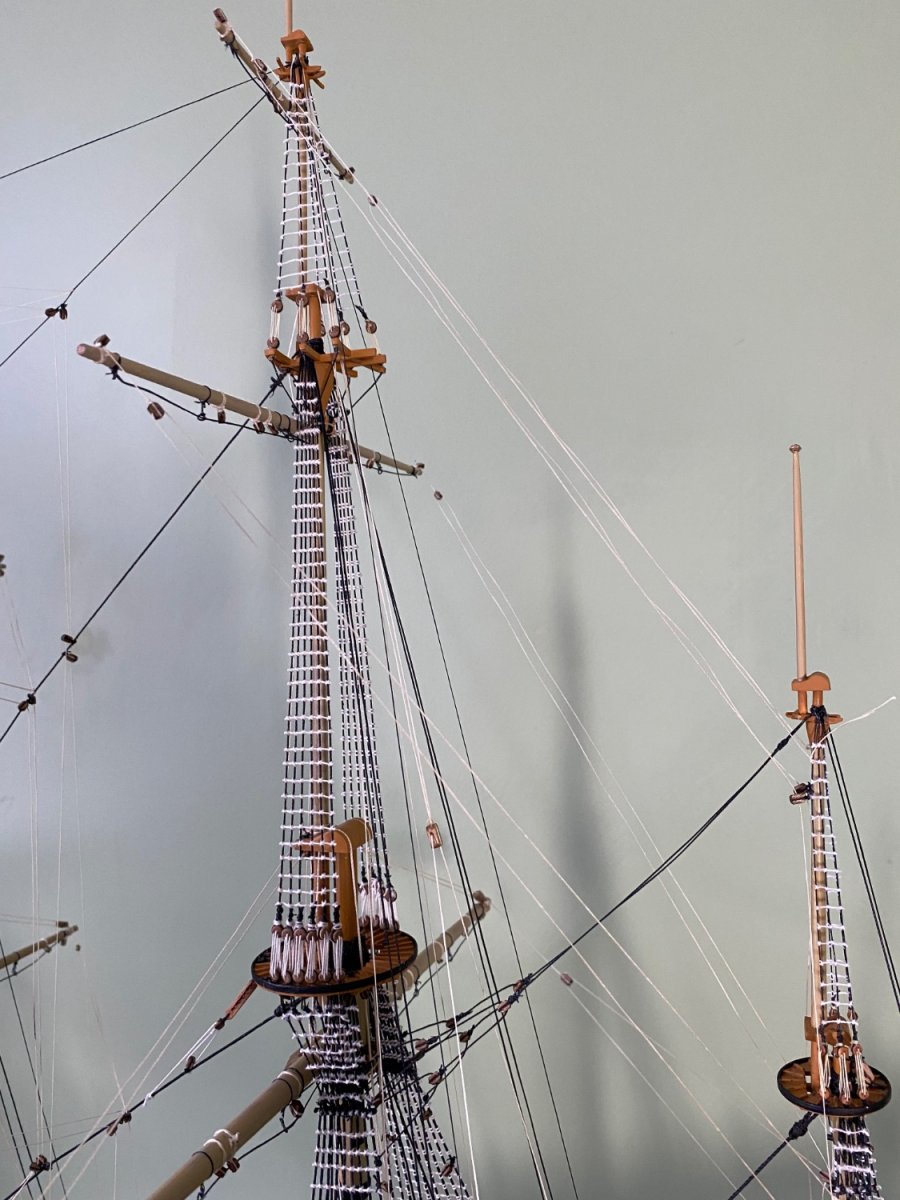
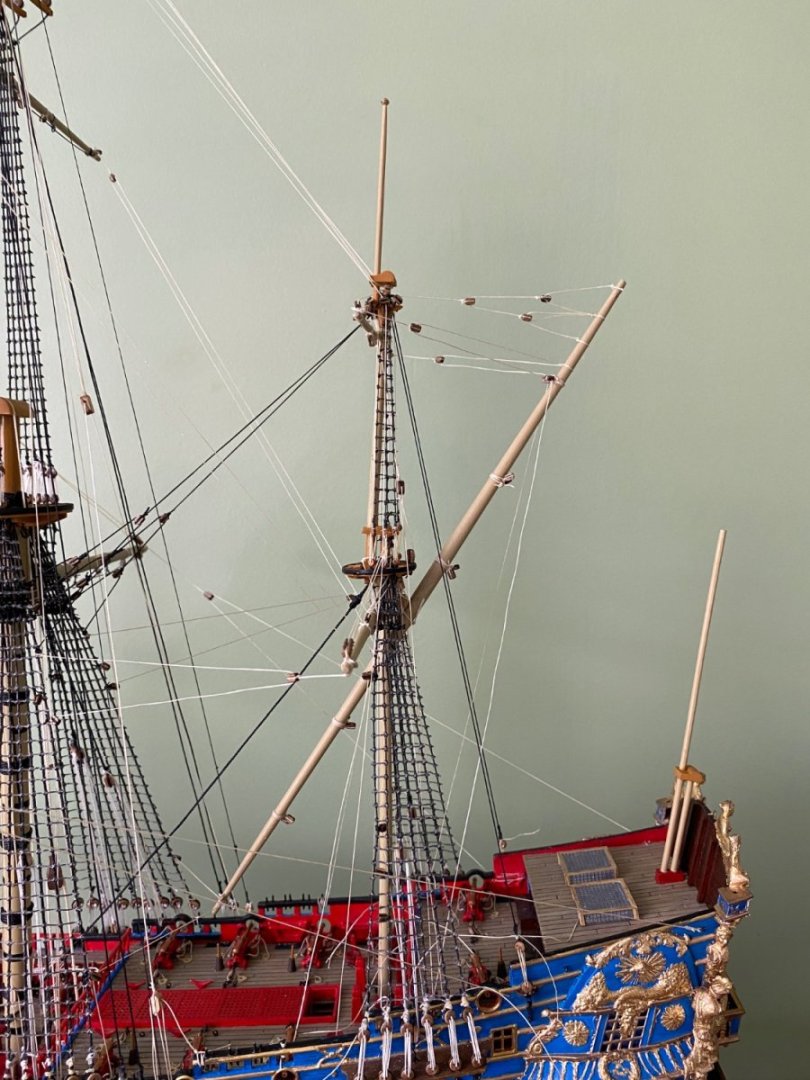
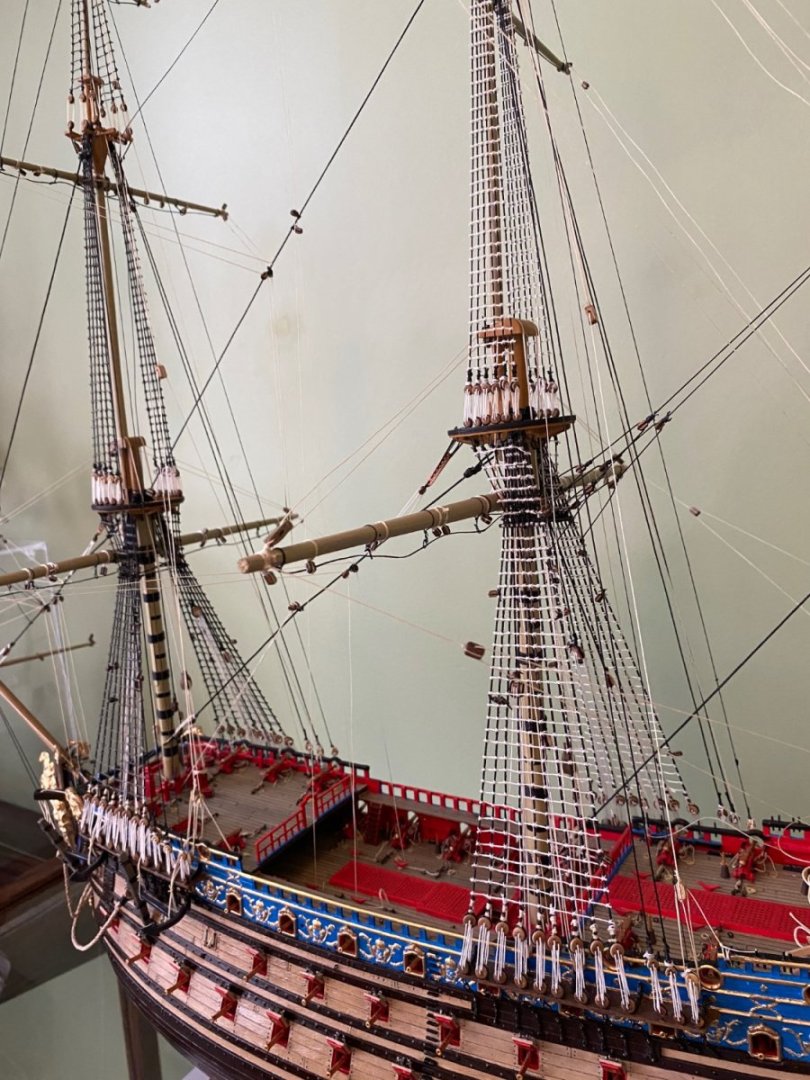
Main mast yards rigged with parrals, lifts, and braces. I have not secured the braces because it looks as if rigging the yards on the mizzenmast might be easier if I can temporarily move the main yard braces.
- 1,503 replies
-
- 3
-
-
- Le Soleil Royal
- Heller
- (and 1 more)
-
Henry I will be anxious to see how your’s looks. Strange that Heller had the standing end tied to the base of the flag pole. I am moving on up the main mast now rigging the topsail and topgallant. Glad I have made my last parral. Not sure why, but I do not enjoy making them.
- 1,503 replies
-
- 1
-
-
- Le Soleil Royal
- Heller
- (and 1 more)
-
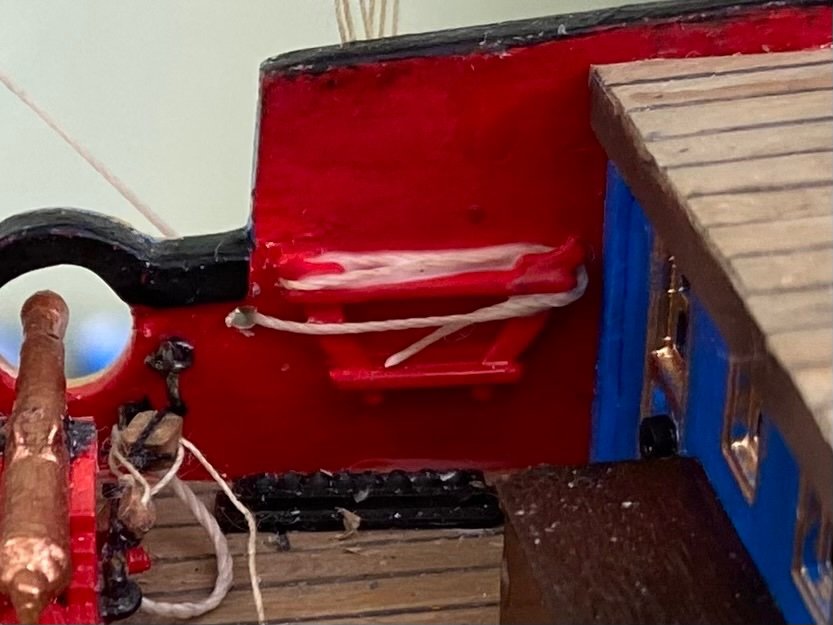
I decided to go with a sheave hole through the bulwark next to the kevel in a place that does not interfere with the backstay or the cannon port. I took the brace through the sheave and belayed it to the kevel.

- 1,503 replies
-
- 2
-
-
- Le Soleil Royal
- Heller
- (and 1 more)
-
I do have the unused (based on belay point diagram) kevel you see in the photo. It is on the bulwark on the next stepped down deck. Anderson does mention the belay point of the brace was sometimes on the next deck down. I think I will tinker with finding a good place for a sheve hole and tying off to the kevel. There is a mizzen back stay very near there I will need to avoid, as well as a round cannon port.
- 1,503 replies
-
- 2
-
-
- Le Soleil Royal
- Heller
- (and 1 more)
-
I still need to come up with the best idea for the running end. On the Victory after it returned from the pendant block it passed through a sheave in the bulwark near the standing eyebolt and then belayed to a cleat on the deck. Other idea Anderson shows is having another eyebolt on top the bulwark near the standing eyebolt that the he running end would pass through and then to a cleat.

- 1,503 replies
-
- 1
-
-
- Le Soleil Royal
- Heller
- (and 1 more)