HOLIDAY DONATION DRIVE - SUPPORT MSW - DO YOUR PART TO KEEP THIS GREAT FORUM GOING! (Only 20 donations so far - C'mon guys!)
×


jct
-
Posts
1,519 -
Joined
-
Last visited
Content Type
Profiles
Forums
Gallery
Events
Everything posted by jct
-
I'm wondering if anyone has tried to use Model shipways paint on plastic, and if so what were the results?
-
I think that's a wish most of us can plug into, though mine would be '65 GTO
-
LOL...OK you may just prompt me to finish them, at least one for now...I hear ya I'm not sure what it is with MS primer, sure made a mess though, thanks again
-
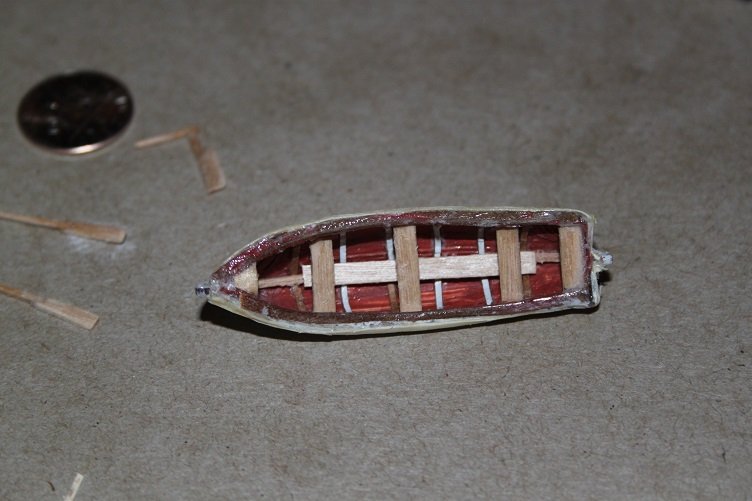
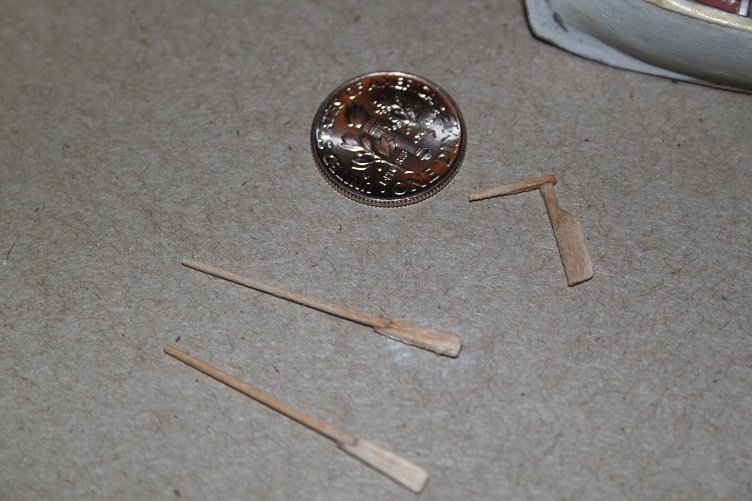
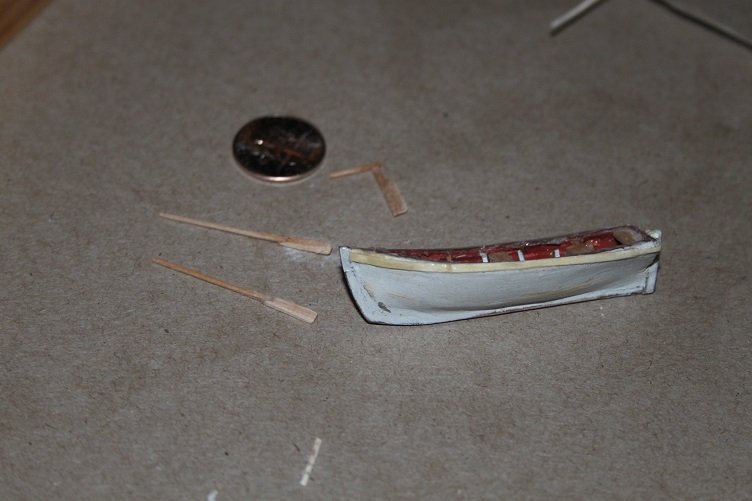
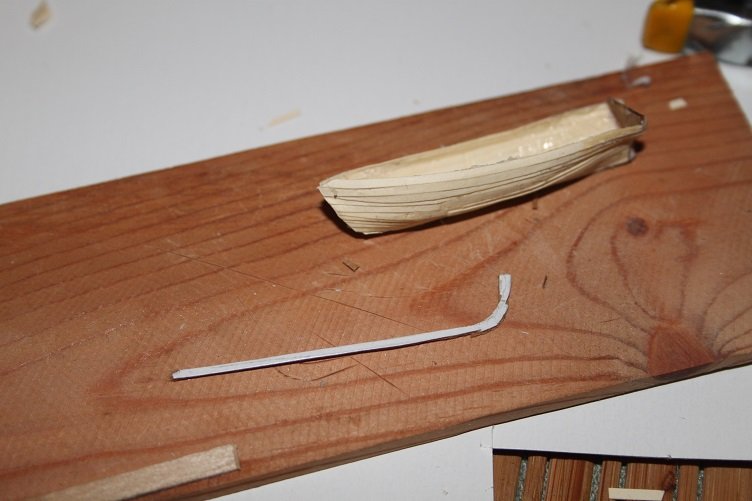
Thanks Wallace...Its a good technique, you will need a good buck though...thanks to all who've taken the time to hit the like button or comment...I did manage to get something done today (aside from reminiscing with Popeye about old Funny Cars ) Finished the ships boat, short of paint, added some detail to the inside, just a bit as most of it will be covered anyway, and built a rudder and some oars
-
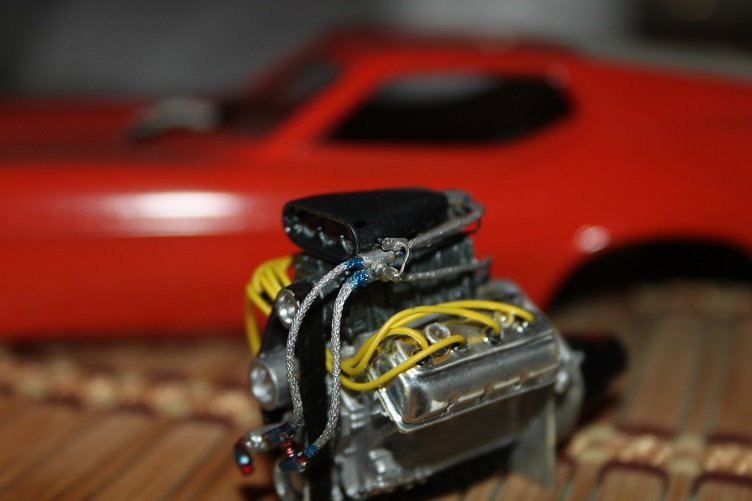
THX much Pop...the braided lines aren't plastic...it that stretchy elastic Xmas decorative cord, procured a spool of it off the admiral years ago, one spool could probably provide enough cord for 10000 scale race cars...love the shoe box ford, I built the Christine Plymouth fury, just did it box stock though...it sits on the shelf in the junk room, it is in a few pieces though, back in the day it was hard to keep model cars intact with two little boys about
-
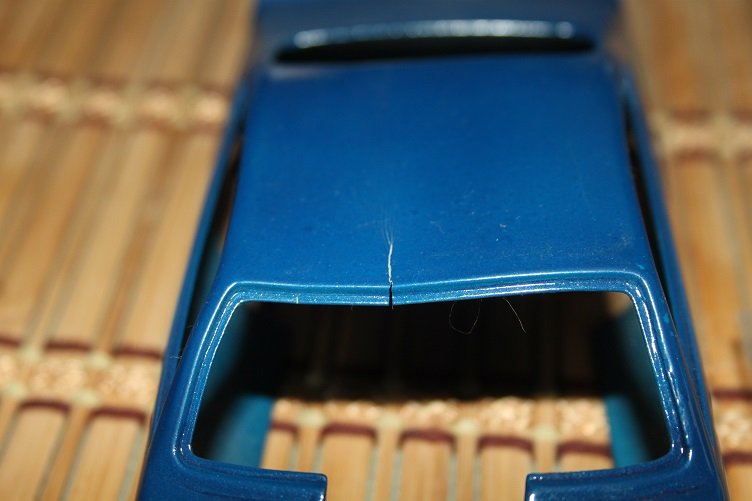
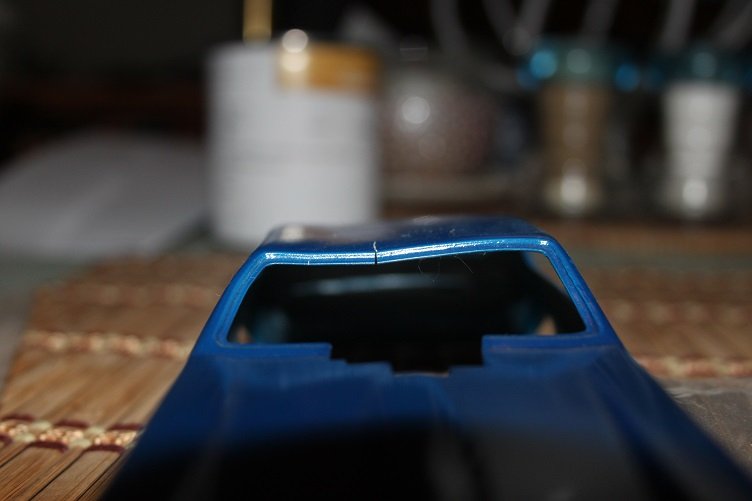
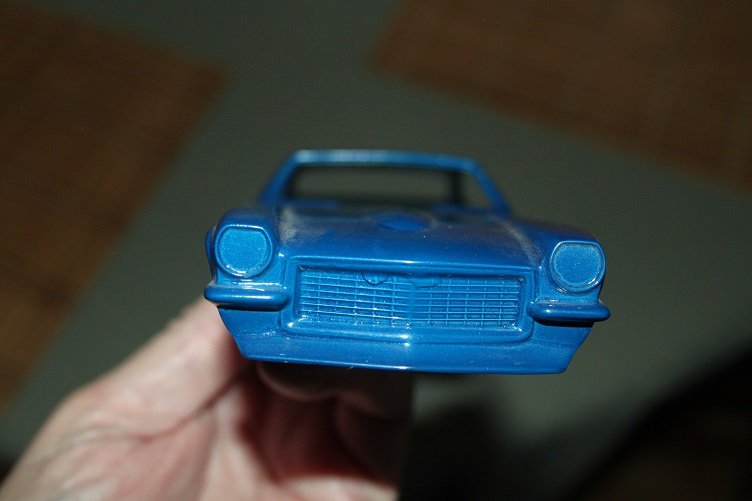
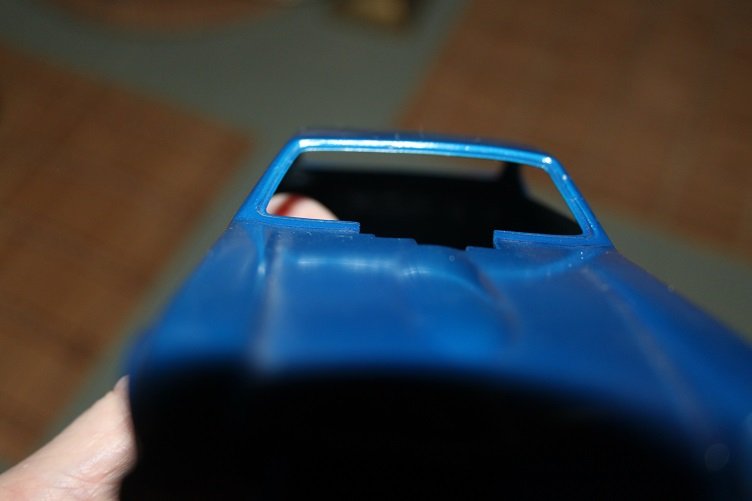
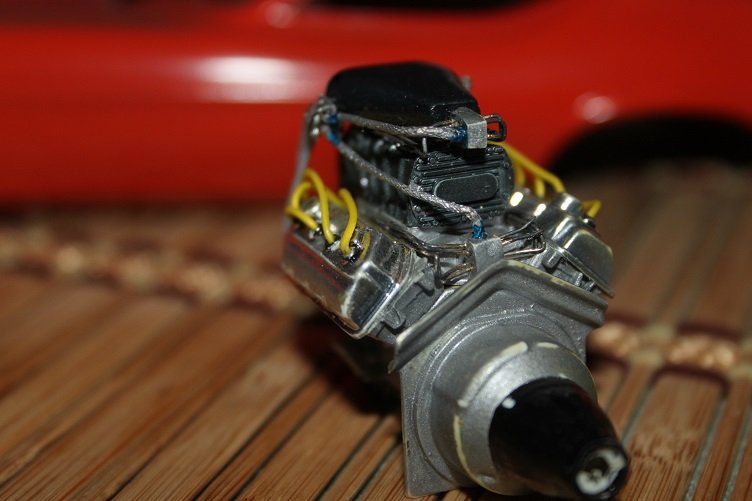
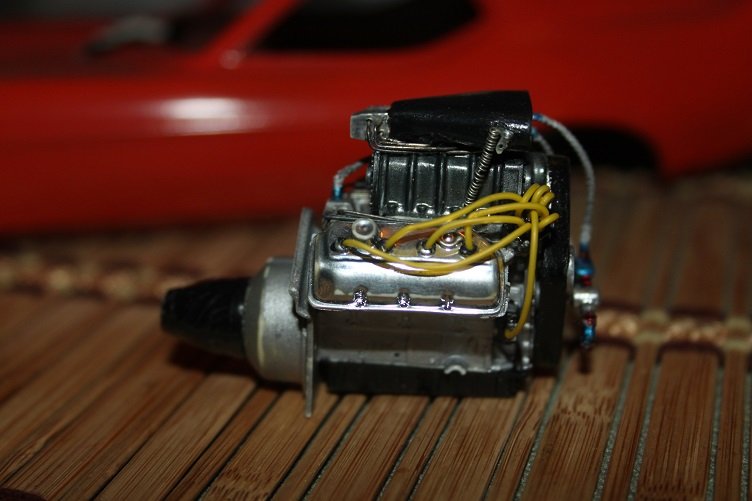
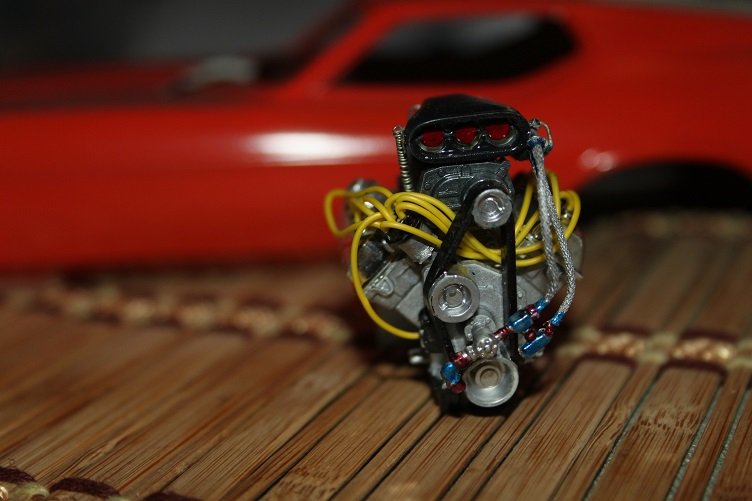
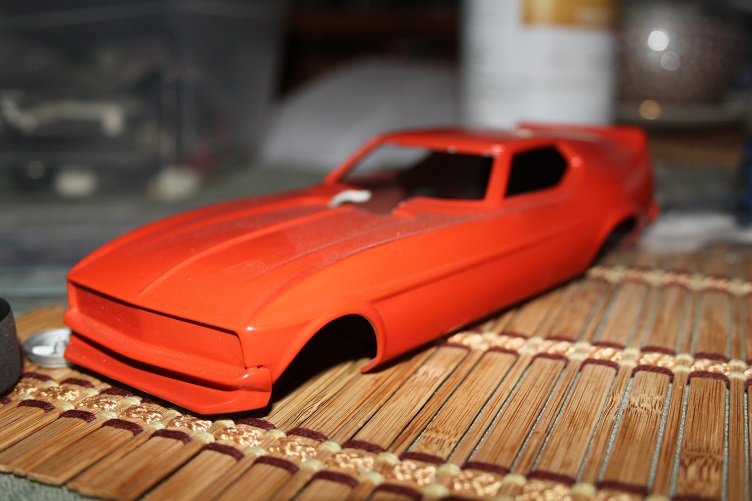
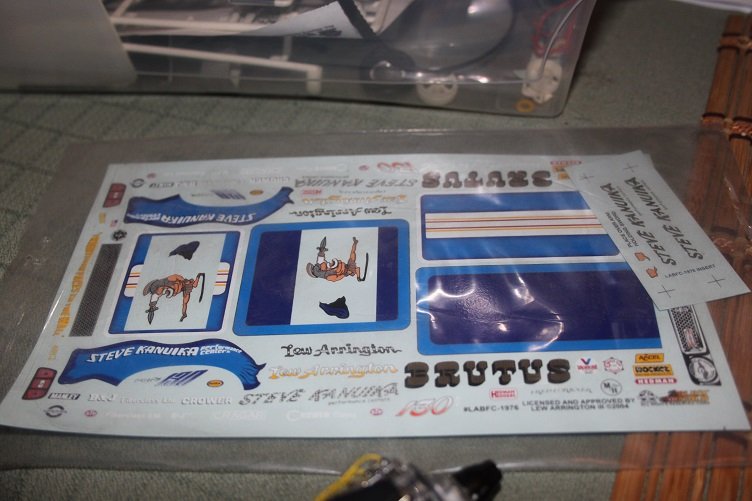
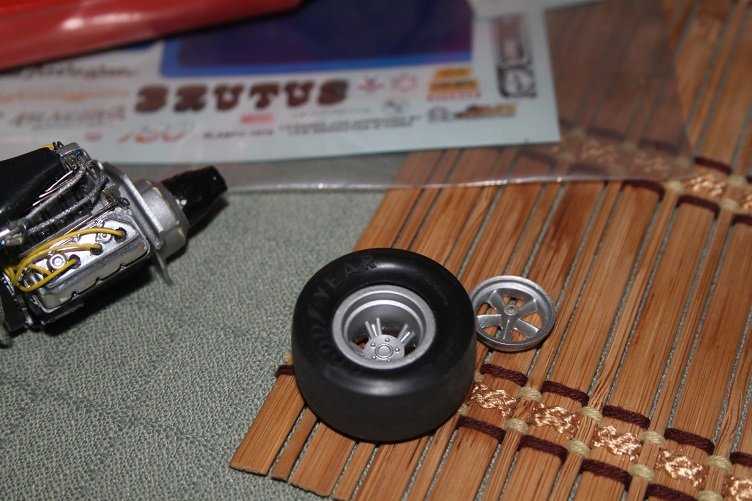
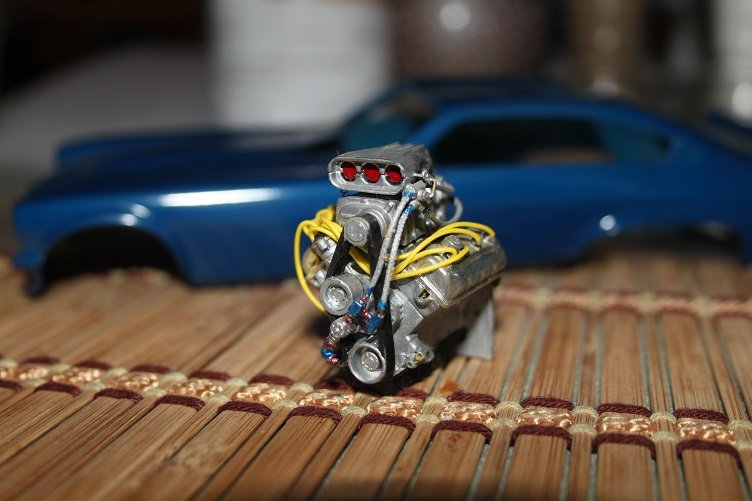
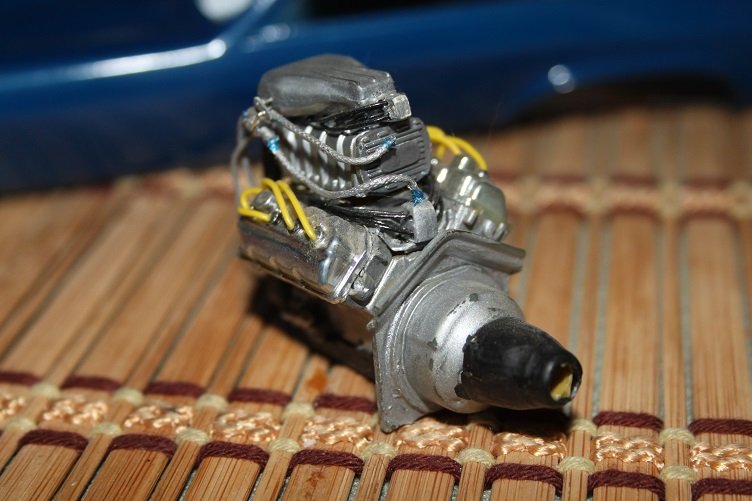
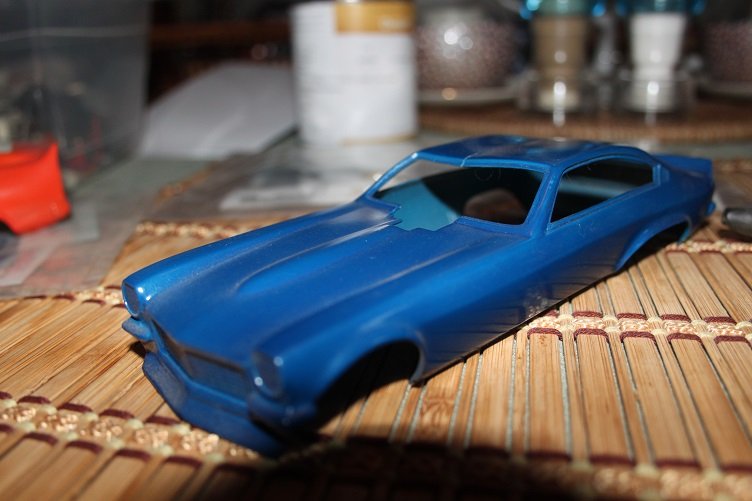
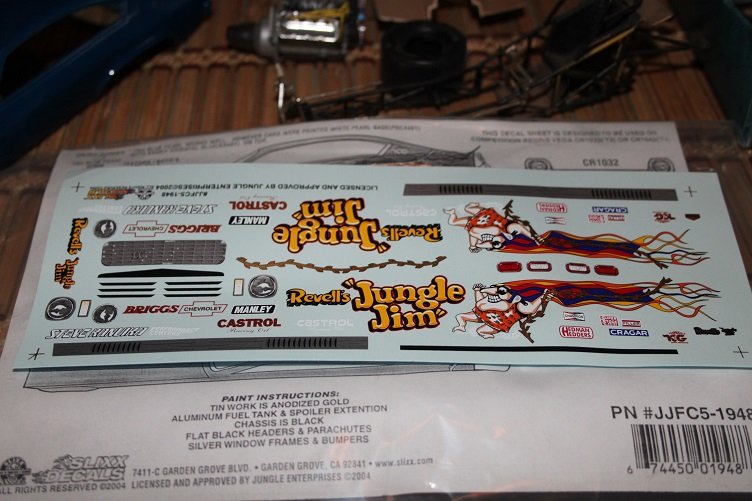
Hey Denis...did some digging and per your request here are pics of the two 1/25 scale Revell funnys...The Vega started life as the Pisano and Mitsubra Vega, the Mustang was originally Ray Beadle's Blue Max...the original plan was to display the cars together...like I said earlier I got hung up with the engine details and lost steam, so here are the pics of the progress ENGINE DETAILS Throttle linkage fuel distribution block and lines magneto and plug wires & throttle return spring fuel pump MISCELLANEOUS Brutus Mustang body after market Slixx decals wheels The Vega details are much the same...though I plumbed the upper manifold fuel delivery lines as soft lines as opposed to the hard line on the Mustang, they are exactly the same engine Much to my chagrin, the Vega body sustained some damage in storage but some judiciously applied heat and a cold water bath took care of most of it and the Slixx decals That's it, now that these are out of the shadows I may have to push on and finish them... Denis, sorry this post is so long, thanks for the inspiration!
-
Nice...used to do the run what ya brung, with a 65 Tempest...wish I had pics
-
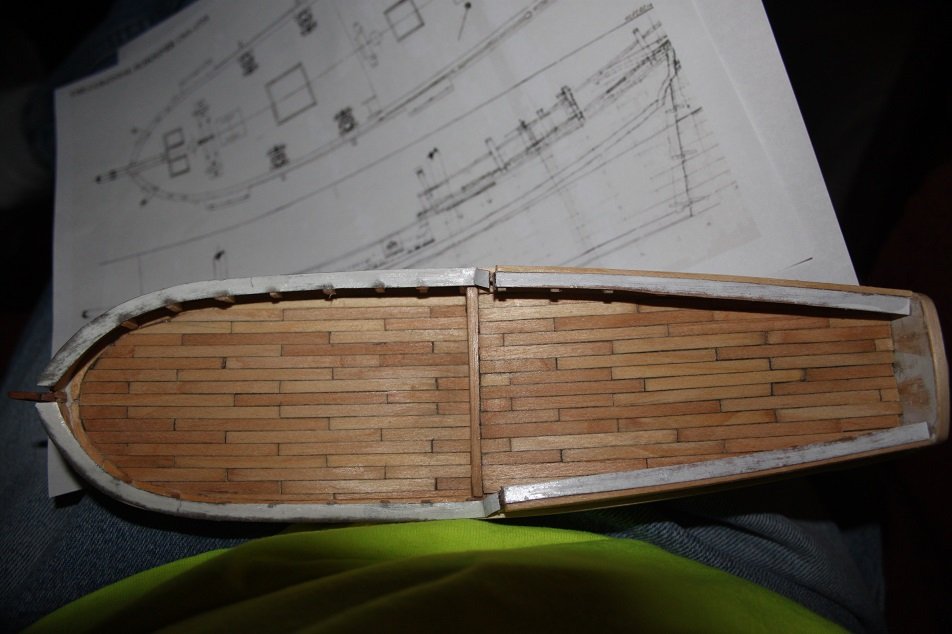
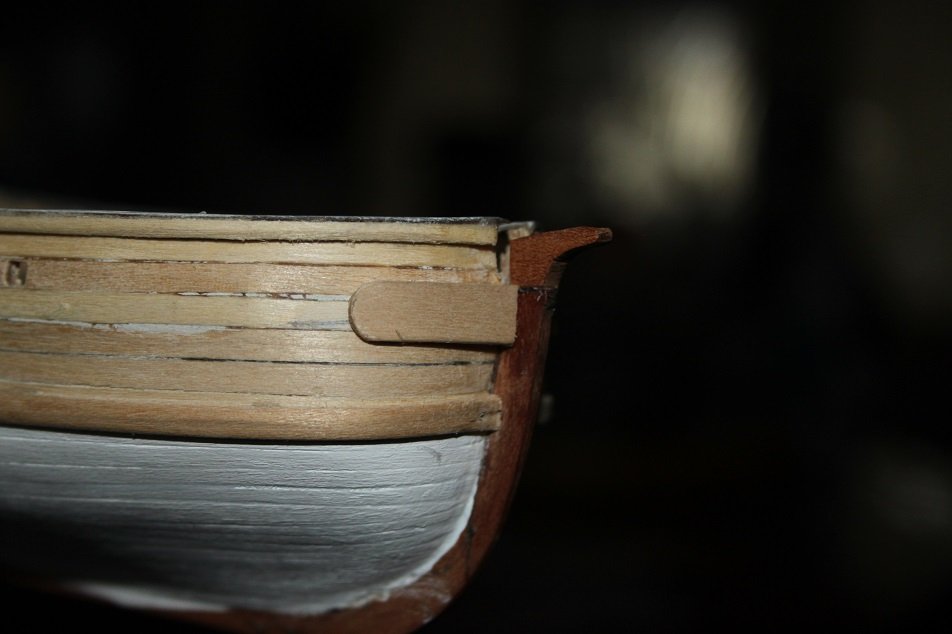
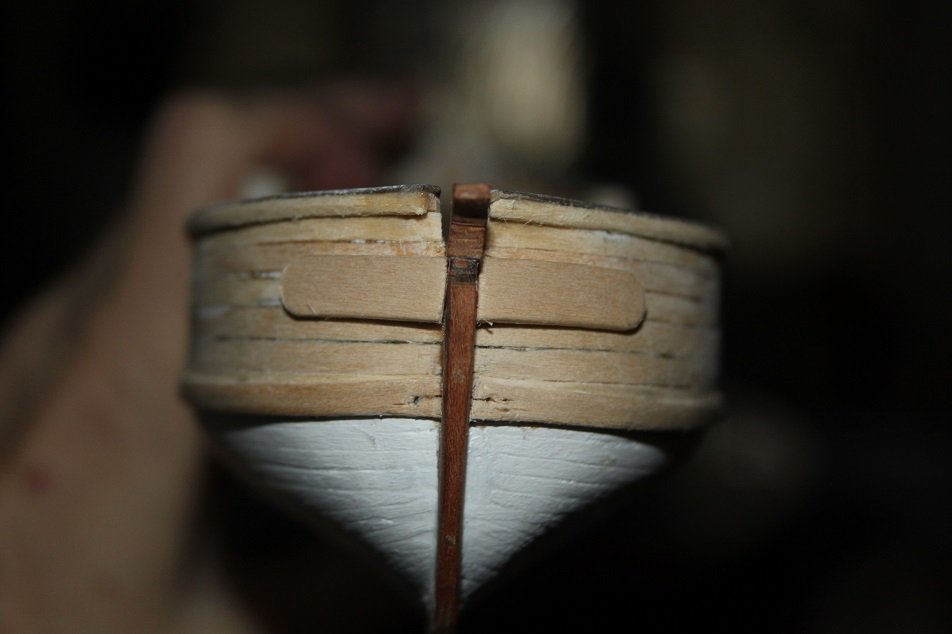
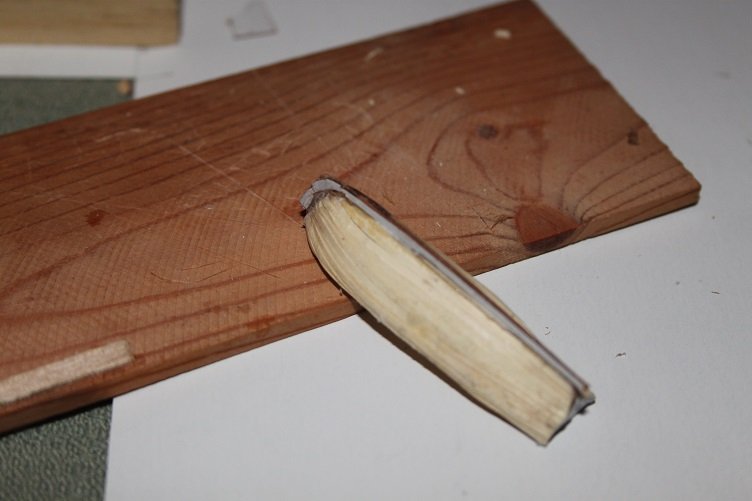
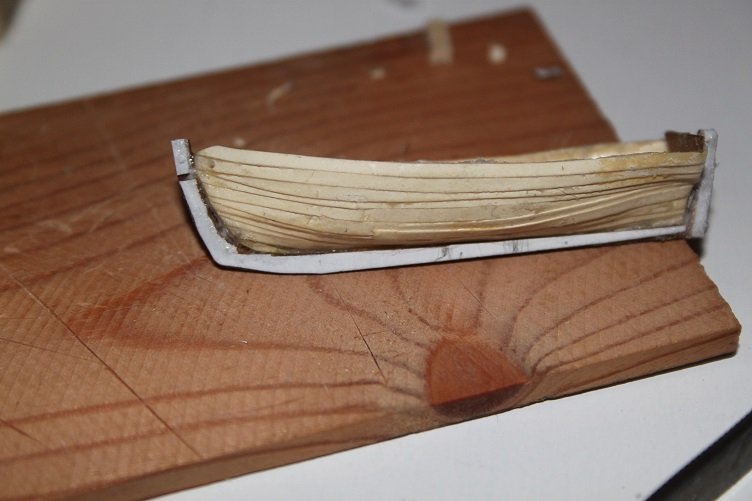
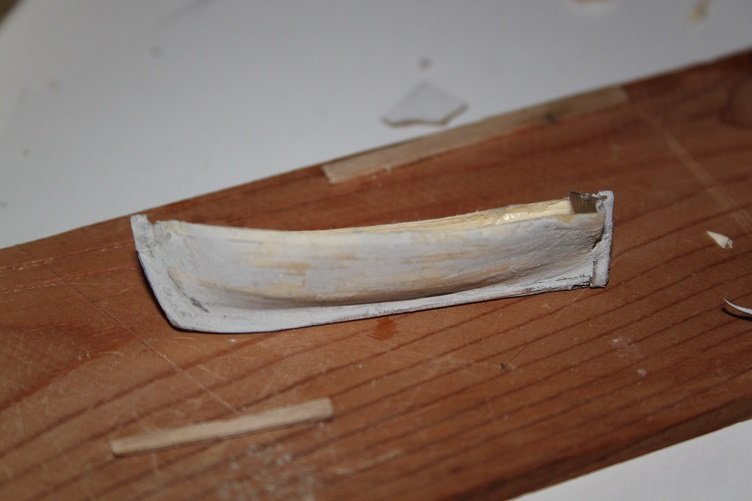
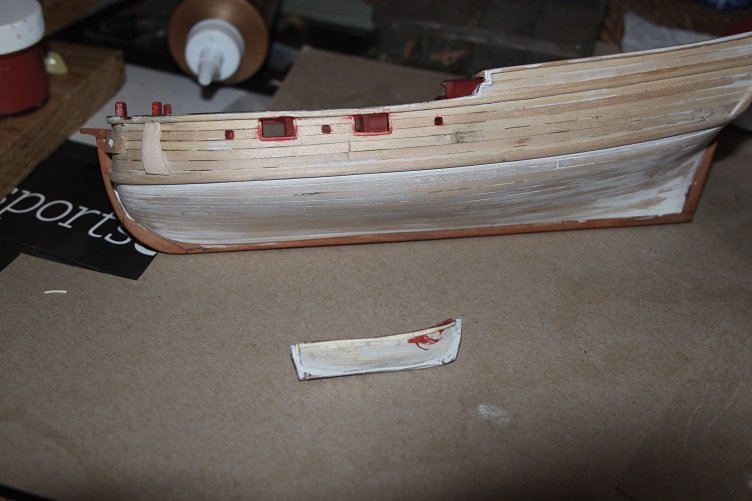
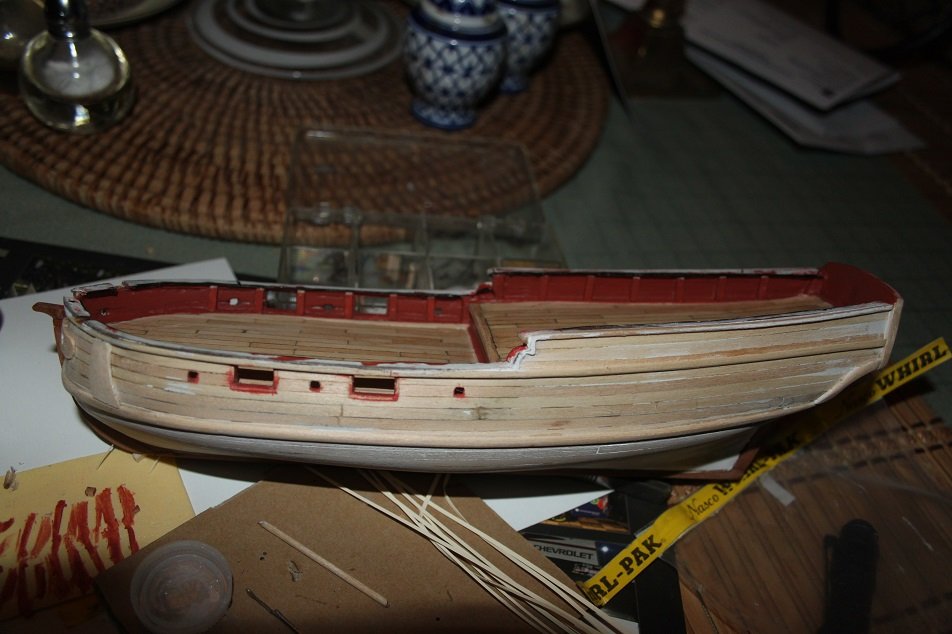
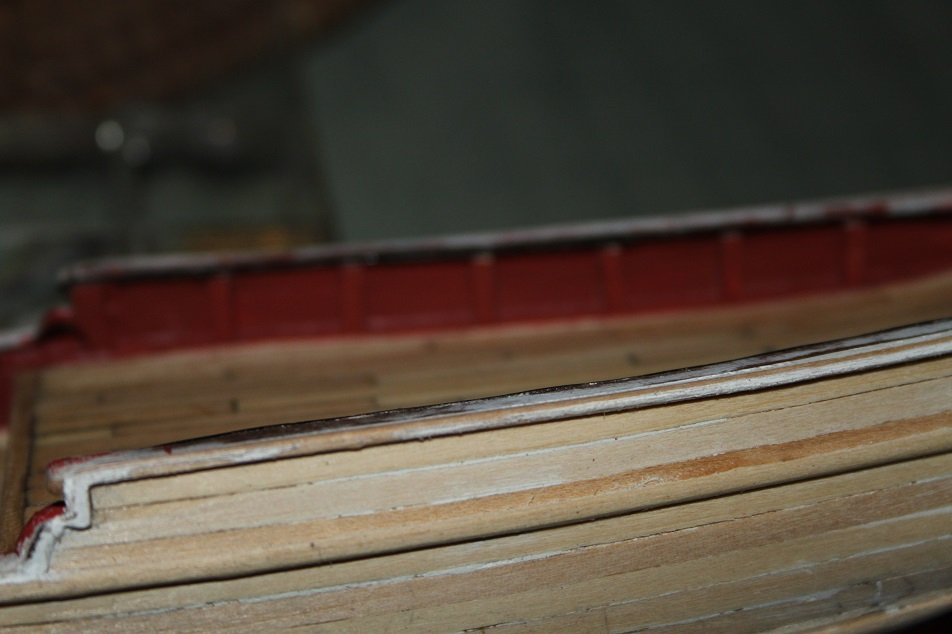
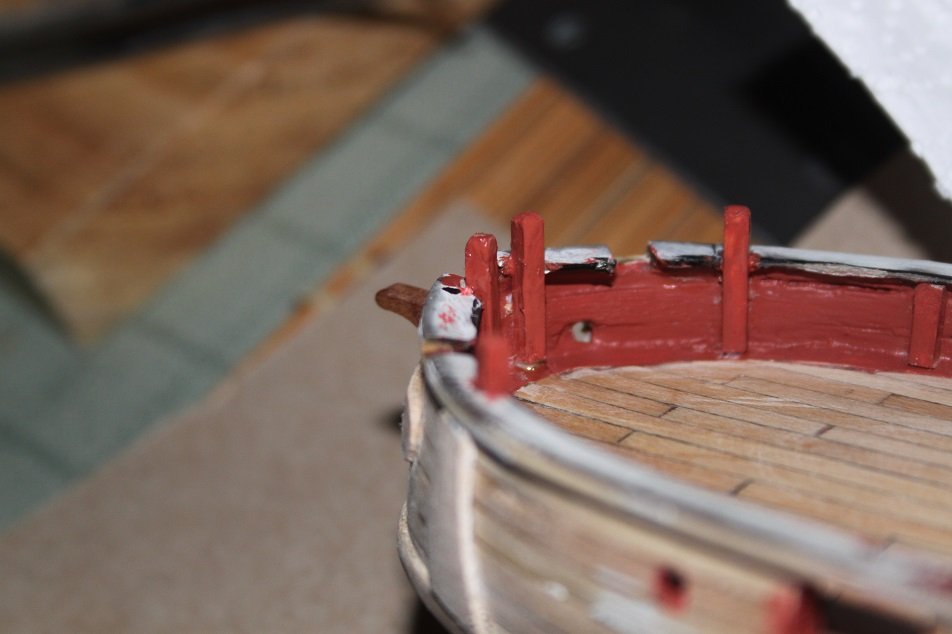
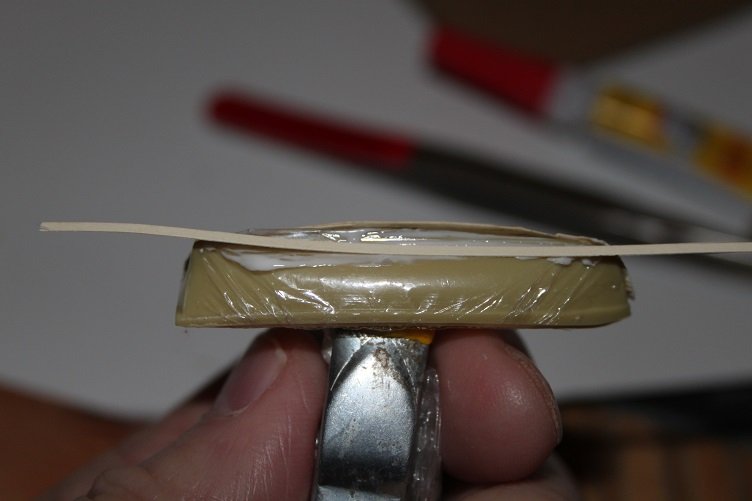
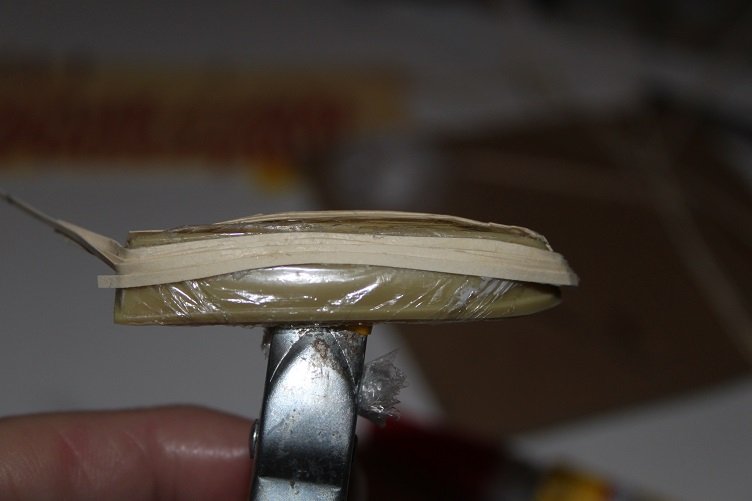
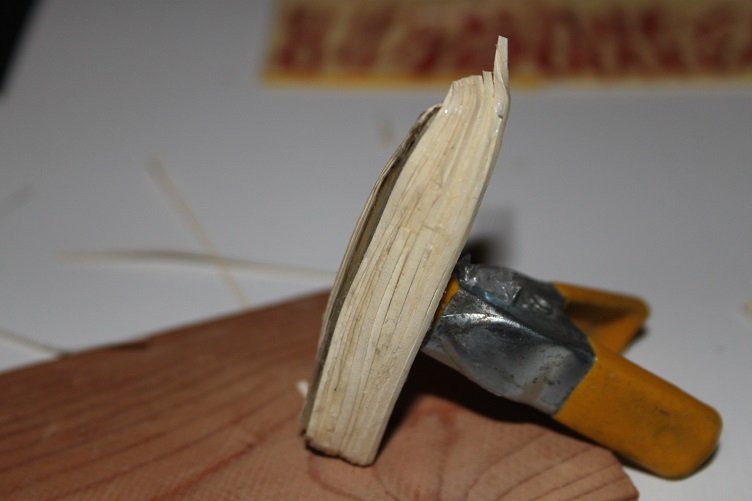
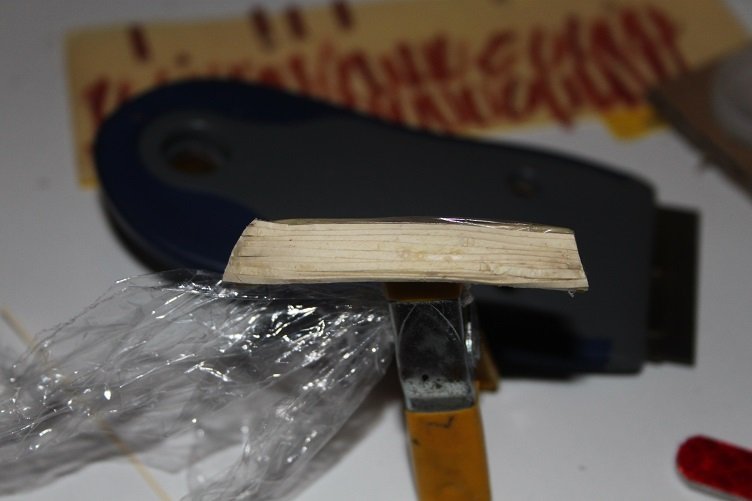
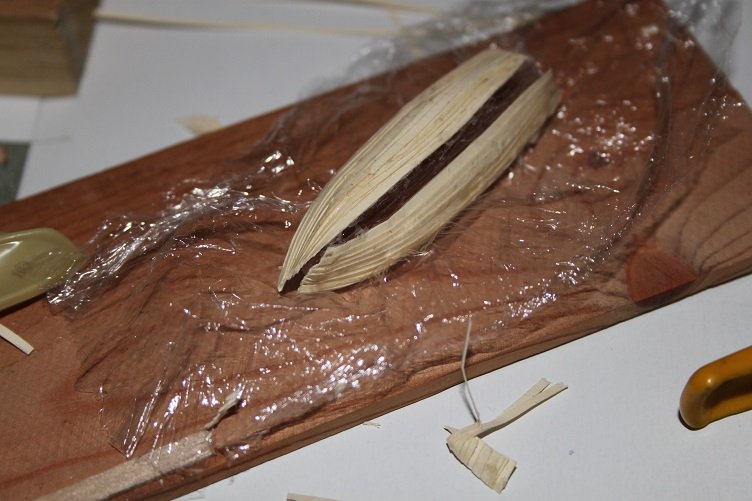
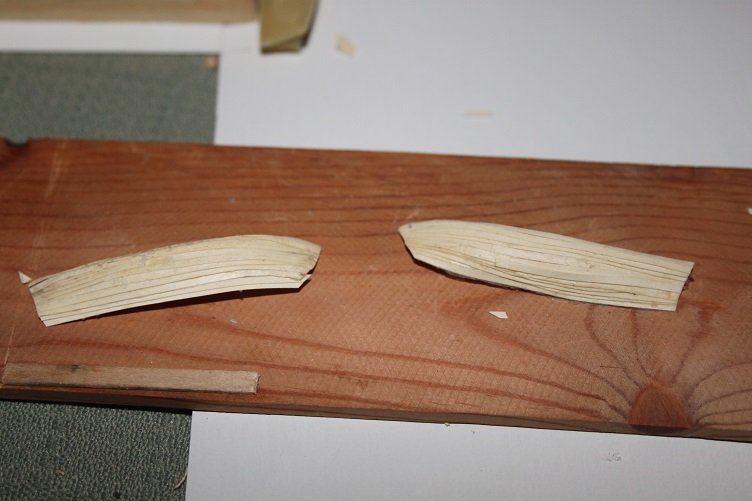
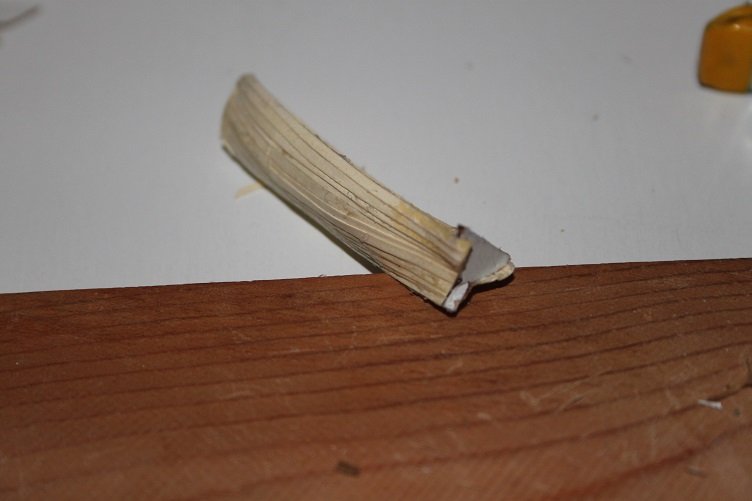
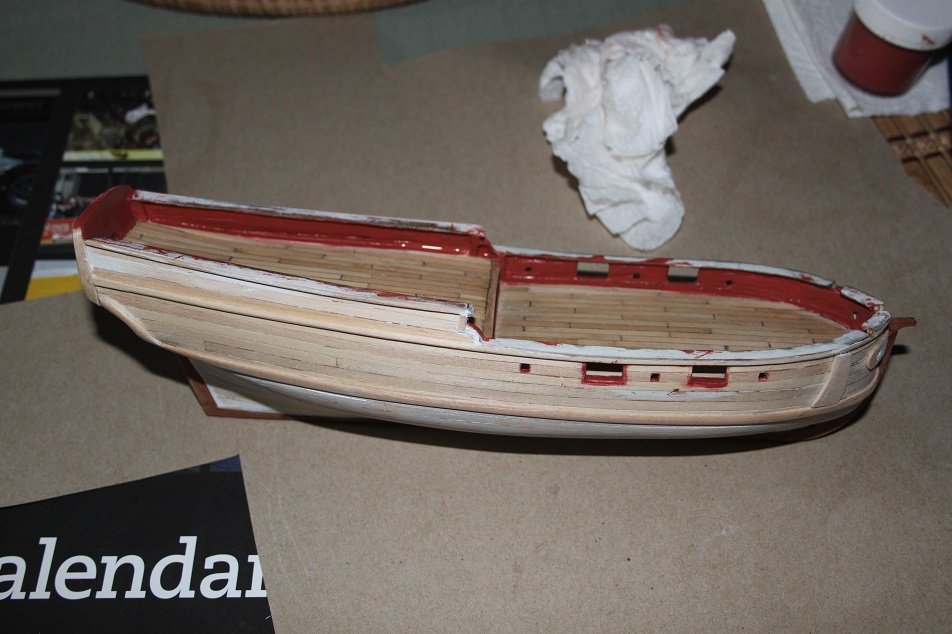
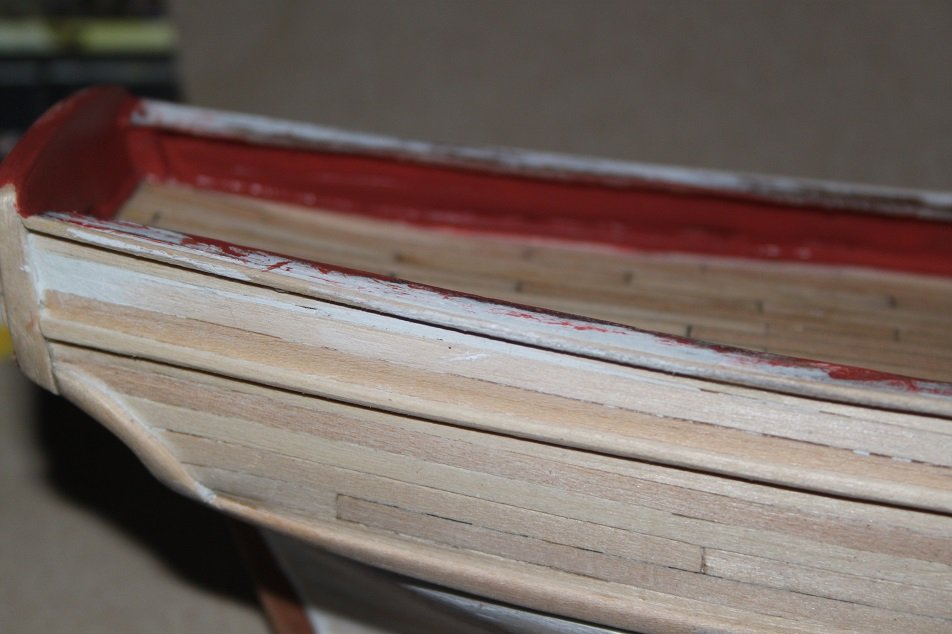
Today's update, all the bulwarks are complete and the stanchions re-installed... Wrong point o focus here!! With that done I moved on the the ships boat, I've looked high and low for options here and came across the technique that follow's in JerseyCity Frankie's Niagara build log,( https://modelshipworld.com/index.php?/topic/18188-us-brig-niagara-by-jerseycity-frankie-model-shipways-scale-164-as-modern-sail-training-ship-of-today/) he describes this technique for scratching out a clinker hull, my attempt follows... After finding a suitable boat to use as a buck it was covered very tightly with saran wrap, this acts as a barrier and allow the new hull to release, you then use white glue and start to lay up strips of card, I'm using super tacky craft glue and 1/16 strips of manila folder the layup continues until one side is complete it is then set aside to dry, once dry it was trimmed this process was completed for the other side of the hull, when it was dry they were separated from the buck and underlying saran wrap some final trimming was done and the transom glued in place and ca run along the bottom of the hull while this assembly dried, a keel was cut from double card stock and then applied and here is the finished rough hull Frankie does a much neater job then I did, but all I wanted was the basic shape to work with as I planned to smooth the hull all along, putty is your friend and here is a shot of the sisters together they're both rough at this point, but that is only temporary, paint is just around the corner. All in all I think it went well and want to thank Frankie for sharing.Thanks for your time and attention and for the like and comments
-
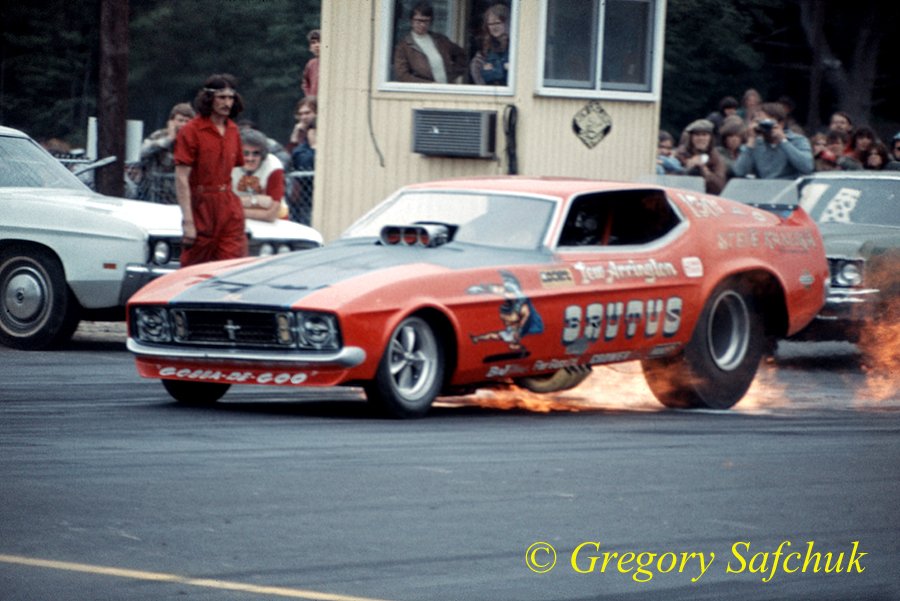
I'll do that, wont be till next week though, in the mean time here's a couple pics from my library to wet your appetite... from when fire burnouts were the thing!! and here I though you knew better then to speak thus to the better half, when they are incapacitated they're like a wounded aminal
-
Glad you did did decide to post...like I said I got a couple, both converts from Revell kits, one is intended to be the Vega campaigned by Jim"Jungle Jim" Lieberman, and the other Lew Arington's, Brutus Mustang...got into super detailing the engines and lost steam after that...this may just prompt me to resurrect them, finding them will be the hard part
-
Hey guys...had to jump in here, I agree with Mar,k definitively dej vu. You all are thinking of Ed Pink, he was the other big elephant mill builder back in the day...always thought it was kinda cool that both had last names of colors...I gotta couple half built 1/24 scale kits somewhere...this could initiate a search through my pile o stuff
-
HMS ROYAL KATHERINE 1664 by Doris - 1/55 - CARD
jct replied to DORIS's topic in - Build logs for subjects built 1501 - 1750
Hi Doris, Love the shot of your "first mate"- 1,035 replies
-
- 7
-

-
- royal katherine
- ship of the line
- (and 1 more)
-
Dave, this build is absolutely gorgeous... excellent chose of woods and you workmanship is top notch
- 128 replies
-
- 5
-
-
- mordaunt
- battle station
- (and 1 more)
-
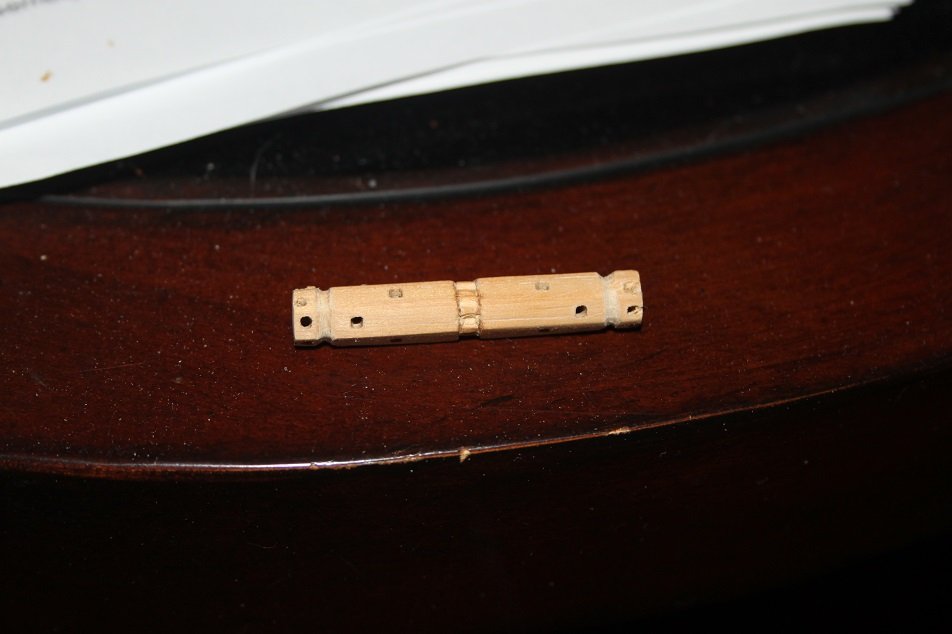
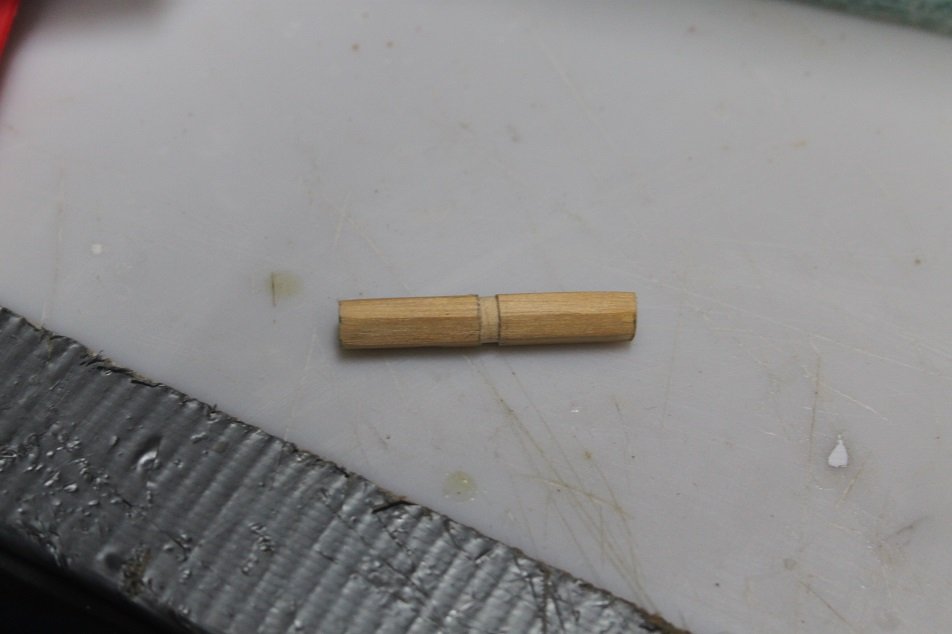
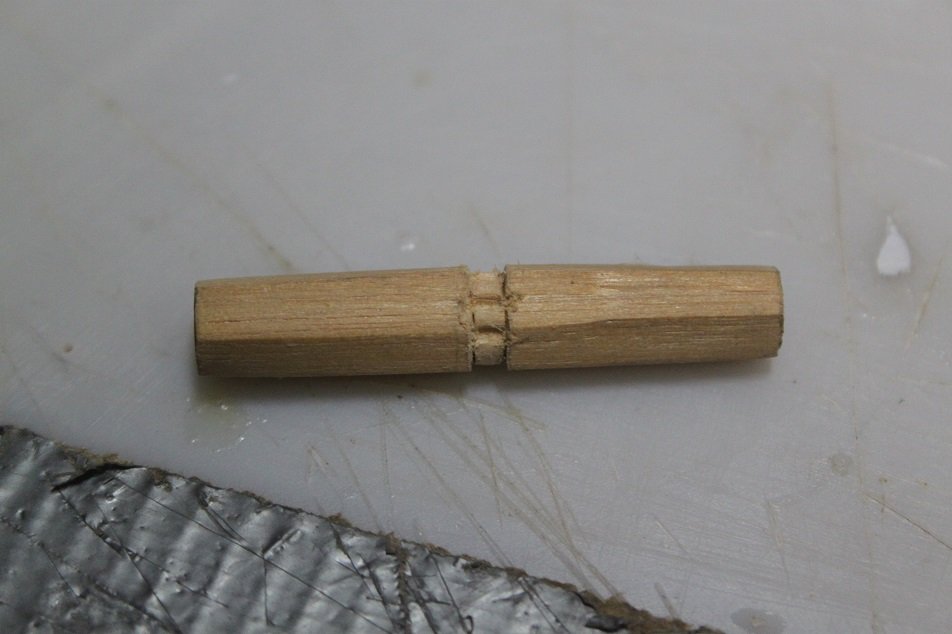
Thanks for the words of encouragement Cuda... I'll be sure to check out your Hanna, glade you are enjoy the build, I am as well, set backs and all...they just go with the turf more to add today...got all the bulwarks stripped, scrapped, and sanded to 220 and two coats of color added...new stanchions will be added next and finished the barrel of the windlass once the center cogs were shaped the holes were drilled and squared up with a 16 penny finish nail, not sure if this piece will be painted or left natural and urethaned...the cheeks and cogs will definitively be painted.


-
This doesn't seem to have been a good weekend for my Hanna build... I wanted to get the inner bulwarks painted before adding any detail...disaster, I had applied a coat of primer Friday morning (the infamous Model Shipways paint) only to find that the primer still had not cured by Sunday morning. Unfortunately this became apparent after a second color coat was applied, everything turned into a thick gummy mess, primer leaching through to the surface in sections, runs in others, just a mess. Striping the paint is next to impossible because of the closeness of the stanchions, so out they came... this is all gonna be sanded back to as close natural wood as I can get it, at that point I'll make the decision to either apply paint of replace the inner planks...I'm leaning towards the latter at this point. While all this mess was going on I took the opportunity to mix some Red Ochre or Ocher, which ever you prefer...Took MS bulwark/gun red added a bit of black and a touch of yellow, you can see the result in the circle below Seems about right to me, thoughts? No primer is going on the hull from this point on...seems the only time I have issues with MS paint is when I primer the surface, I've applied it over raw wood a number of time with no issues...oh well, as I'm recently retired time is a commodity I can spare, I'll post pics of the resurrection as she goes. As always thanks for your time and attention as well as the comments and likes

.JPG.db0439eea5cc740ef5fa1aba95f074b3.JPG)
-
a slight correction...well actually a rather large one, and that is with the scale of this build...I was reviewing Hahn's colonial schooners book and could not help but notice the size difference in his drawings and my build...my Hannah is longer at the keel by a factor of 1.2 which would bring the scale up to 1/60, as the book plans are drawn to 1/72. When I check the measurement against the plan pdf in my files it measures out to a length of 1/60th scale, but the width is a bit narrow, so it lies somewhere between 1/72ish and 1/60ish. I am at a loss as to how it happened in the first place...I used adobe and reduced the plans by a factor of .75 which should have given my the 1/96 scale I was looking for and printed them actual size, well at least I thought I did, it never occurred to me at the time to back check so here we are So in conclusion some of the model is 1/60th and some isn't, what it definitely is not is 1/96, thus the scale change in the title...I'm not too concerned at this point because the proportions still look fine, and everything from here out will be built according to plans I have scaled up to the actual size of the hull. It is what it is...
-
Margins look good Denis
-
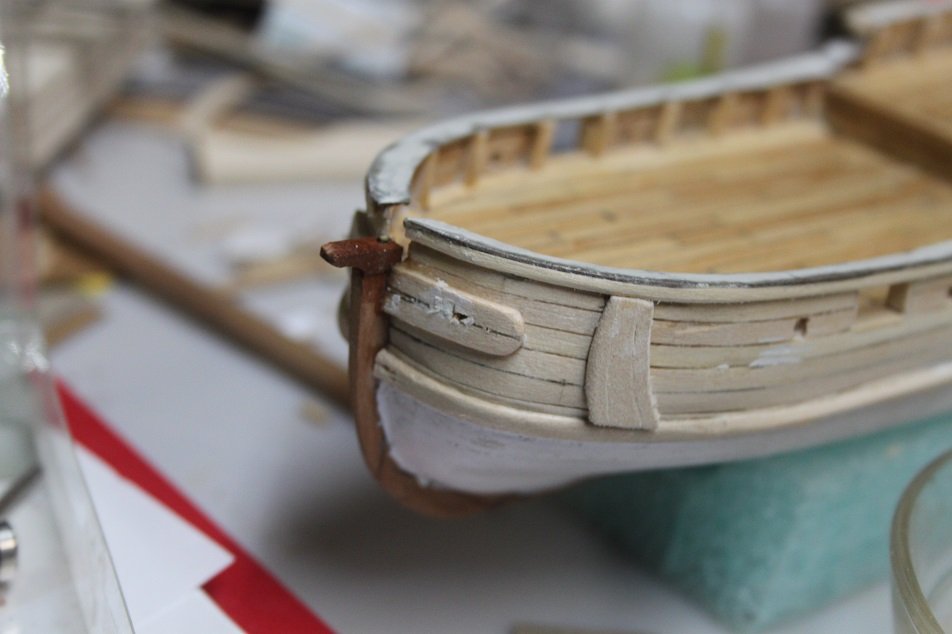
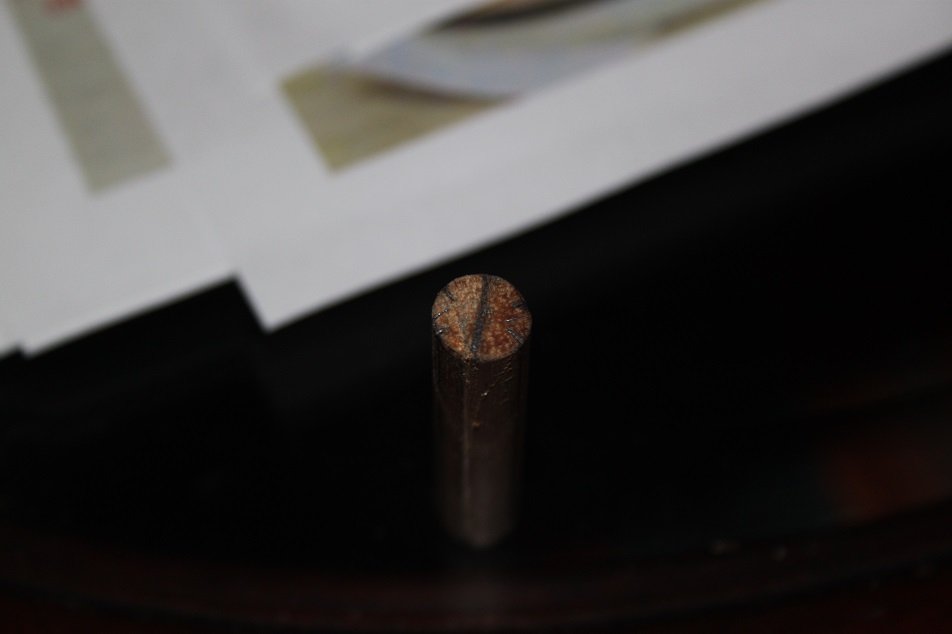
Hey Denis, thanks...flats are definitely the way this will be finished, if not is the pigment then in the poly overcoat... while I'm here a couple more pics to add, you will note as this log progresses I have a tendency to jump around a bit as I build...keeps me from getting bored and it all has to get done eventually Started working on the windlass...laid out the hexagon on a dowel carved and sanded... and started cutting in the cogs... then, abandoned it for a while to add the anchor slide boards to the hull... these were gonna be separate planks bent laterally into a gently curve...ya right, didn't work some good...so I cut a single piece and will score the board separations into it to resemble 3 separate boards...you can also see a fubar on the hawse boards in this shot, drill slipped, so some fill was called for, holes were re-drilled in a slightly different location, pic tomorrow...also drilled a hole at the stern for the rudder to pass through, didn't take a pic of that...it's just a hole. Thanks to all for the likes and comments...much appreciated
-
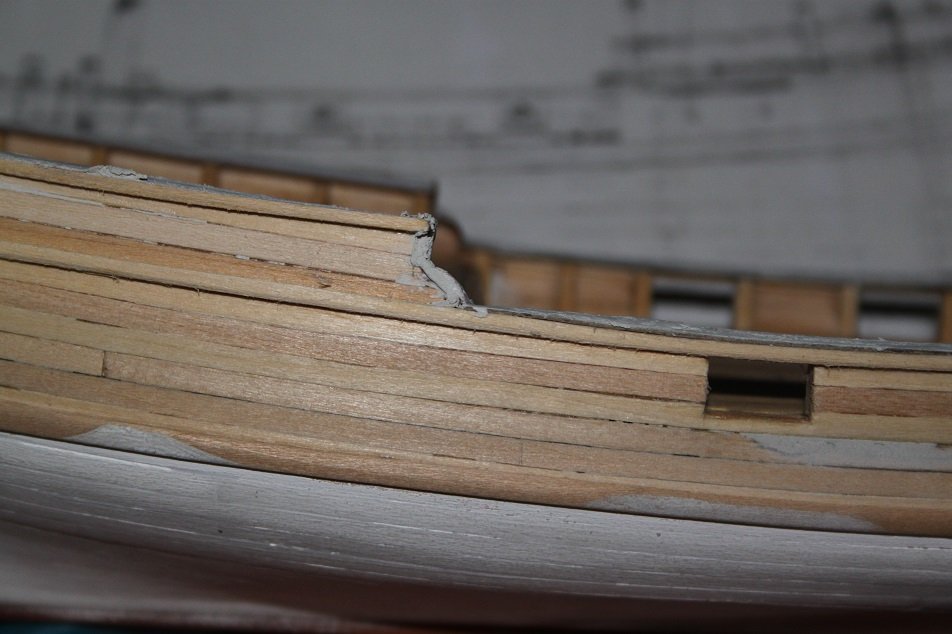
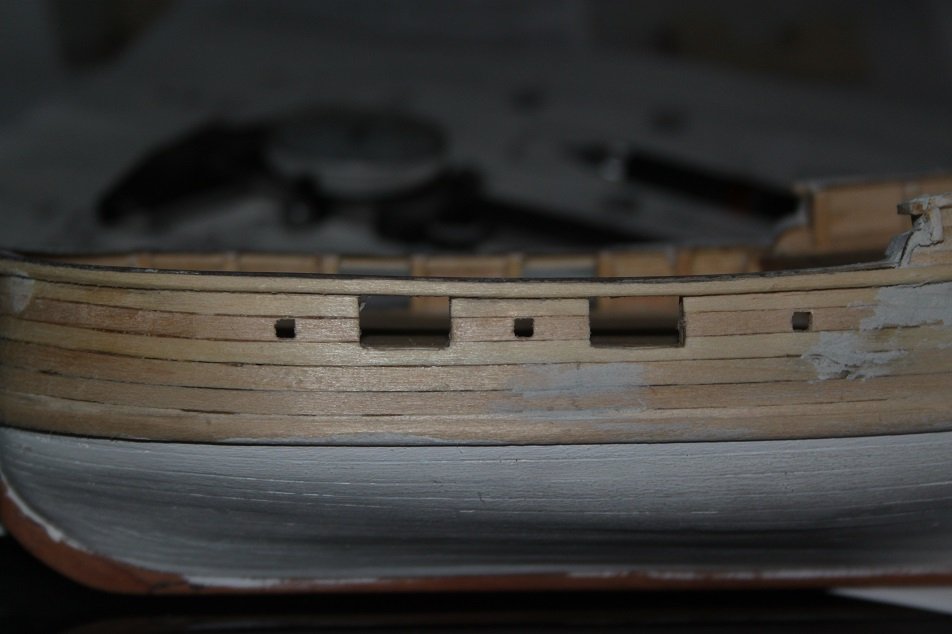
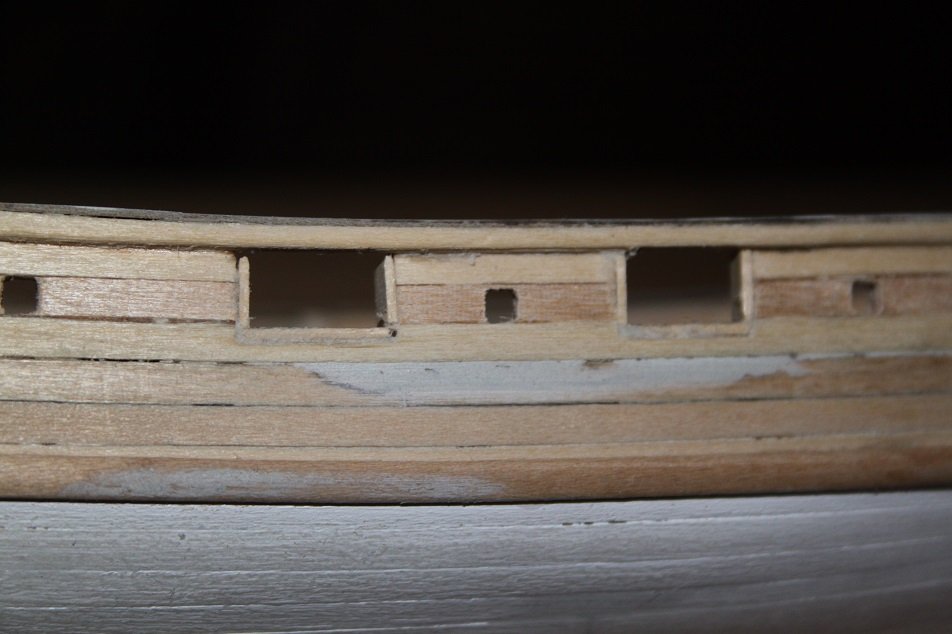
a few little odds and ends today...the deck is stained and has one coat of water based poly applied... dressed out the side trim with little bits of putty, still needs fine sanded then added the sweep ports, just file work here and added frames to the gunports and finally created and mounted the hawse hole reinforcing boards to the bow Thanks for the likes and comments