jct
-
Posts
1,519 -
Joined
-
Last visited
Content Type
Profiles
Forums
Gallery
Events
Everything posted by jct
-
Thank you gentlemen for the likes...a few more pics to share...got a primer coat on the little bits and mounted the king post, knight heads and cat heads...gonna start drilling for the cleats and the like, hopefully tomorrow. THX for your time and atention J
- 258 replies
-
- 7
-

-
- harriet lane
- model shipways
- (and 1 more)
-
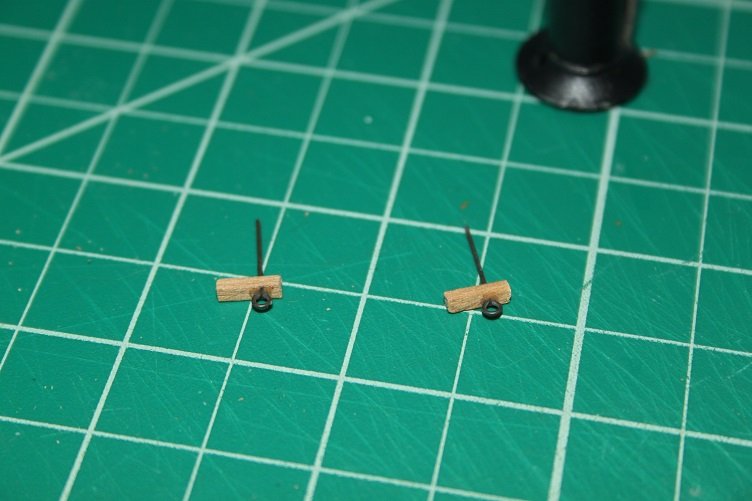
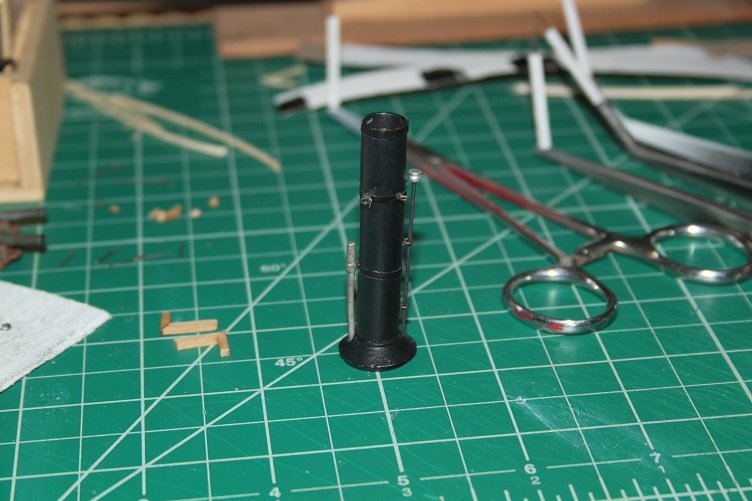
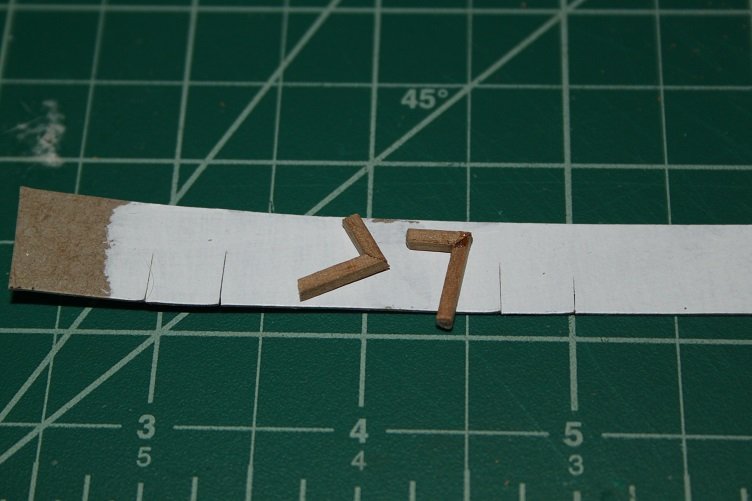
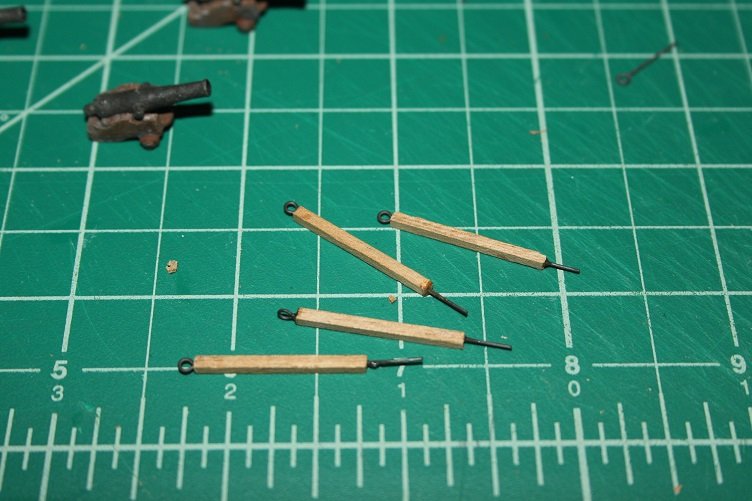
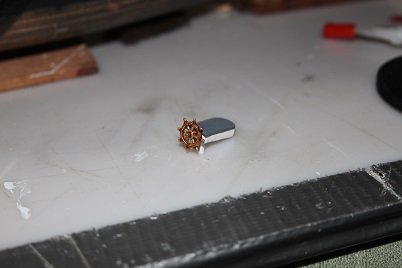
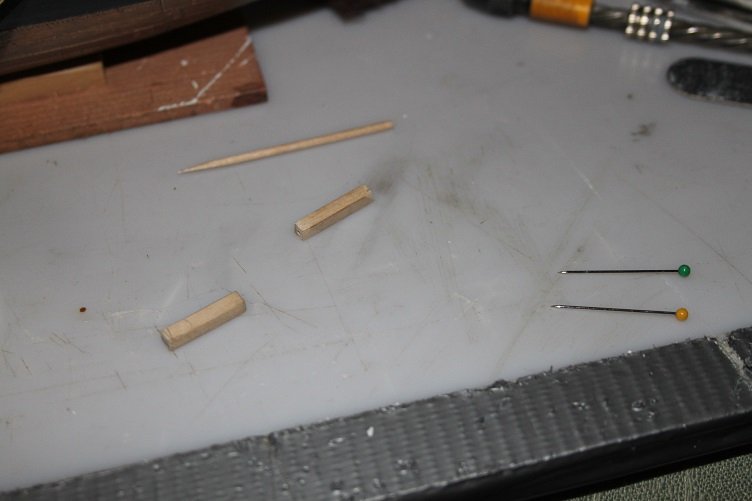
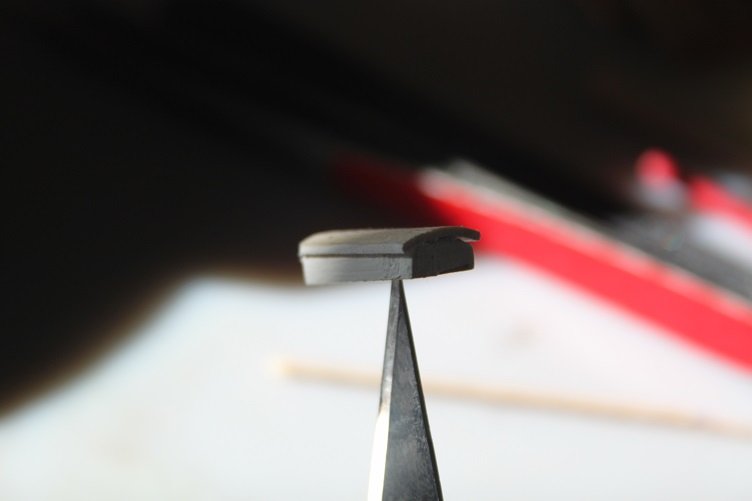
Finally was able to get back to the table...just making up some small detail items, all from 1/16 x 1/16 in walnut. Cobbled together the cat heads, the knight heads, and the king posts. The latter have been drilled for eyes with the cutoffs used as locating pins and giving a coat of white, these are to be attached to the deck and chai ned to the sponsons. Also got the final details added to the stack...it still needs a touch-up coat Pics follow
- 258 replies
-
- 8
-
-
- harriet lane
- model shipways
- (and 1 more)
-
Great job, interested in seeing her when complete, thanks for posting teh pics
- 258 replies
-
- 3
-
-
- harriet lane
- model shipways
- (and 1 more)
-
You can say that again Sam...by the way your Enterprise is simply outstanding J
- 258 replies
-
- 3
-
-
- harriet lane
- model shipways
- (and 1 more)
-
Hi Sam...yes they are, I really need to get back inthe grove and restart this build...sort on lost my momentum
- 258 replies
-
- 4
-
-
- harriet lane
- model shipways
- (and 1 more)
-
I can second Clare's recommendation for Glass crafters, purchased from them many times though primarily for glass work, you can also get foil in different thicknesses and well as widths.
-
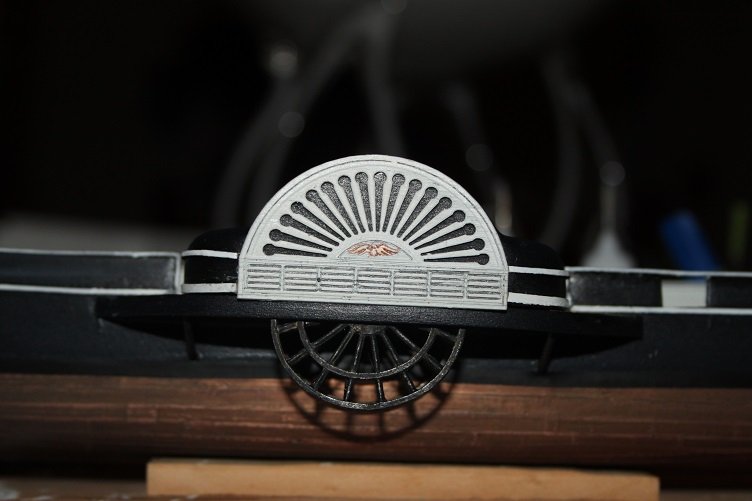
Hey Denis, I did consider just using a dowel, you can see a square around the shaft in the pic below, which I figured was a box of some sort, but no gangway of any type shown...I agree with you there had to be something, unless they went through the paddle box, there are doors on each side I'm thinking of steps on each side...time will tell. In the meantime I added the paddlewheels and paddle boxes to the hull, finished paint and trim and sealed it all and gilded the pigeon at the bow. pics below but I must apologize for the lousy focus, I'll get better pics tomorrow and repost. well that's it for now...gonna have to close the shipyard for a few days...until after the holidays, the Admiral wants my half of the table to serve Christmas dinner on...trials and tribulations! Later, Happy Holidays to all
.JPG.75f9b91be15e5e6559a026bcffbb350b.JPG)
- 258 replies
-
- 7
-
-
- harriet lane
- model shipways
- (and 1 more)
-
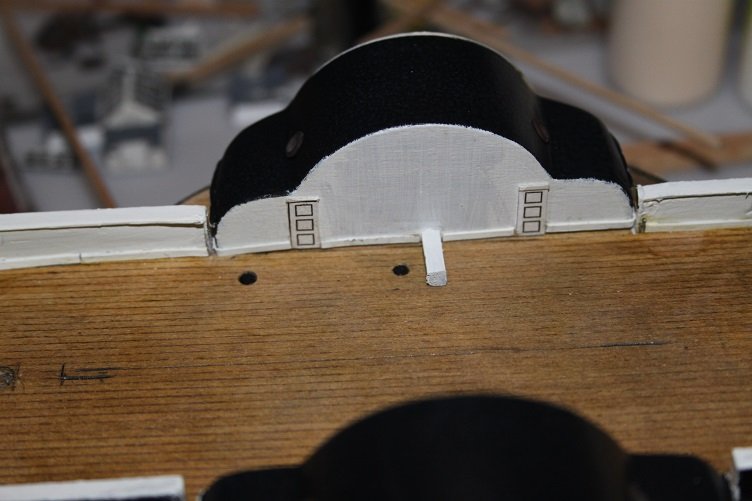
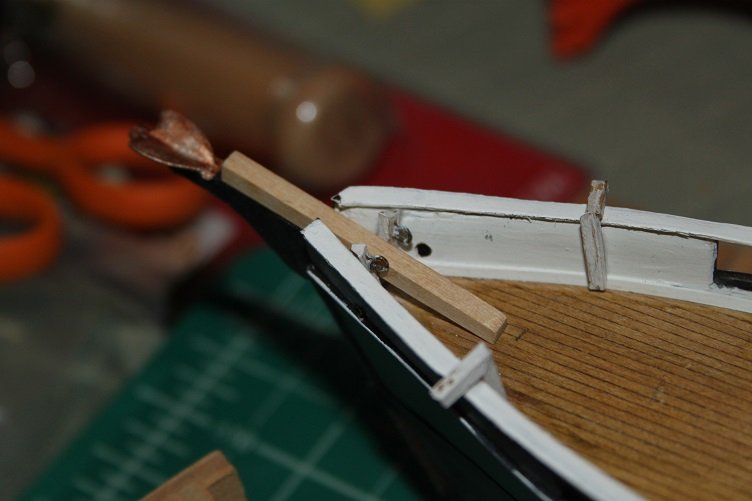
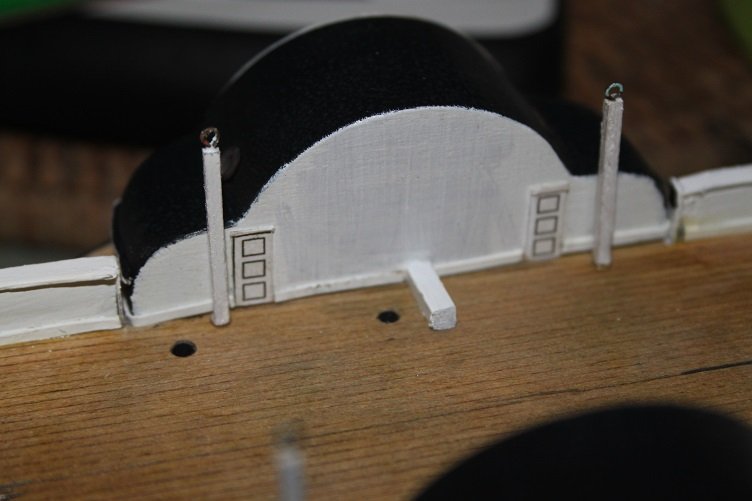
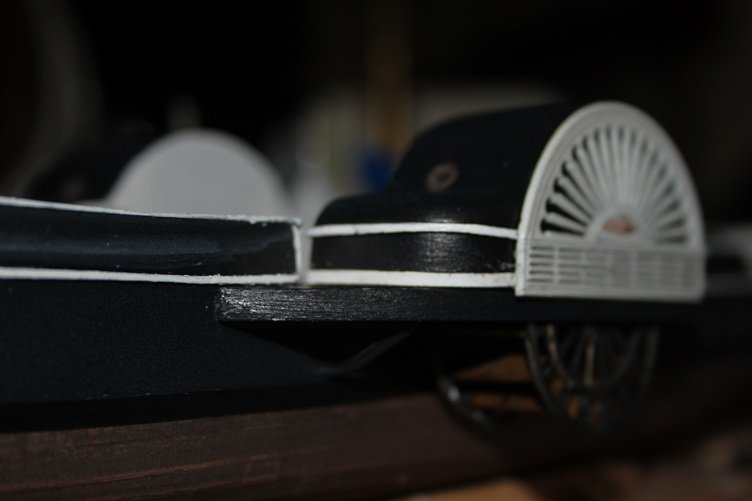
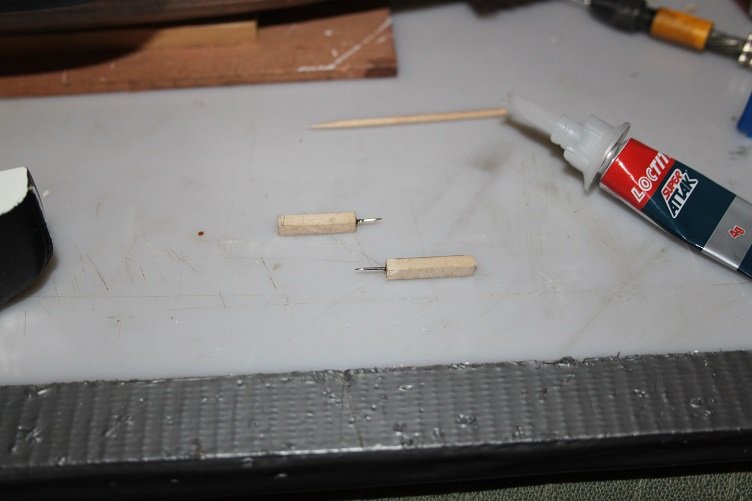
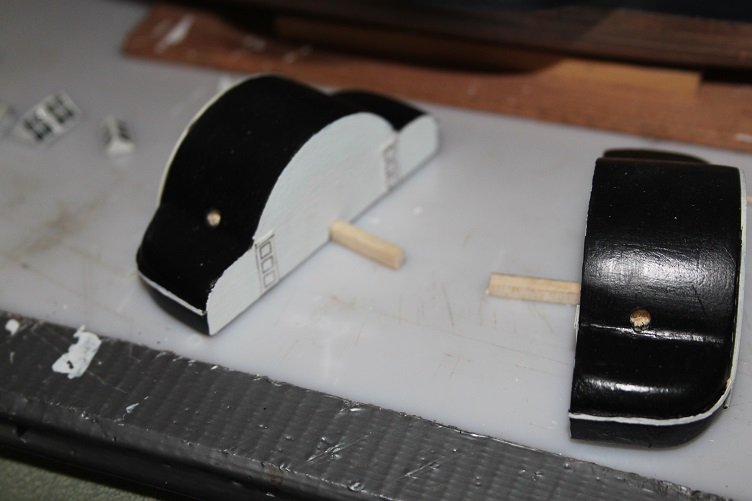
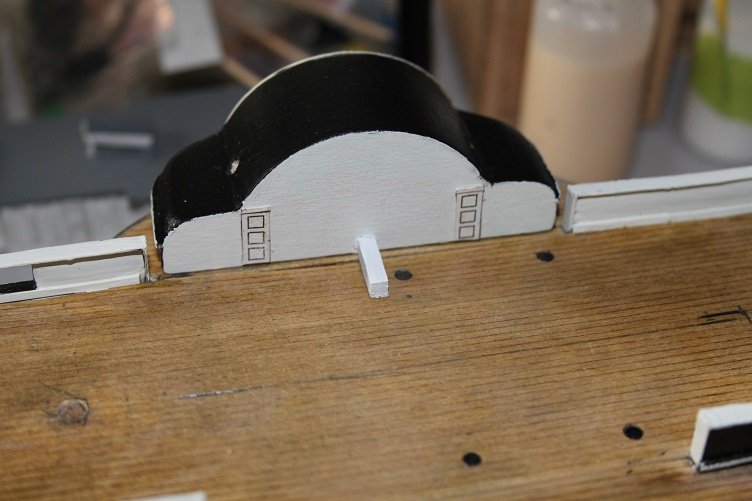
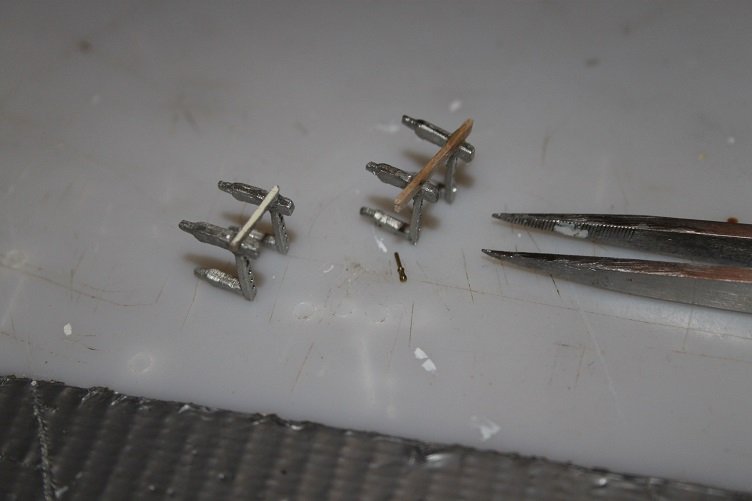
Another quick update... the aft steerage is complete for now its just set in place, will be secured later. In the section view of the plans the paddle drive shafts and cover boxes are shown, they don't appear in any other view and aren't mentioned in the provided instructions but this type of vessel would require them as they would be a real danger for anyone on deck. So I cut some pins and square stock and mount them to the paddle houses, they were painted white after the glue set... those of you that have been following along know that the fife rails gave me maximum greif the first time around...tis time for round two...first I drilled the holes for the belaying pins then fought with them to put the cross bar on and keep everything square...was the same hassle as the first go round, it finally dawned on me to make the cross bar longer then required so there was something to hold on to...made all the difference... the cross bars will be drilled once these little &^%&@#$ are mounted to the deck, they'll be painted in place too. THX for looking in...later

- 258 replies
-
- 5
-
-
- harriet lane
- model shipways
- (and 1 more)
-
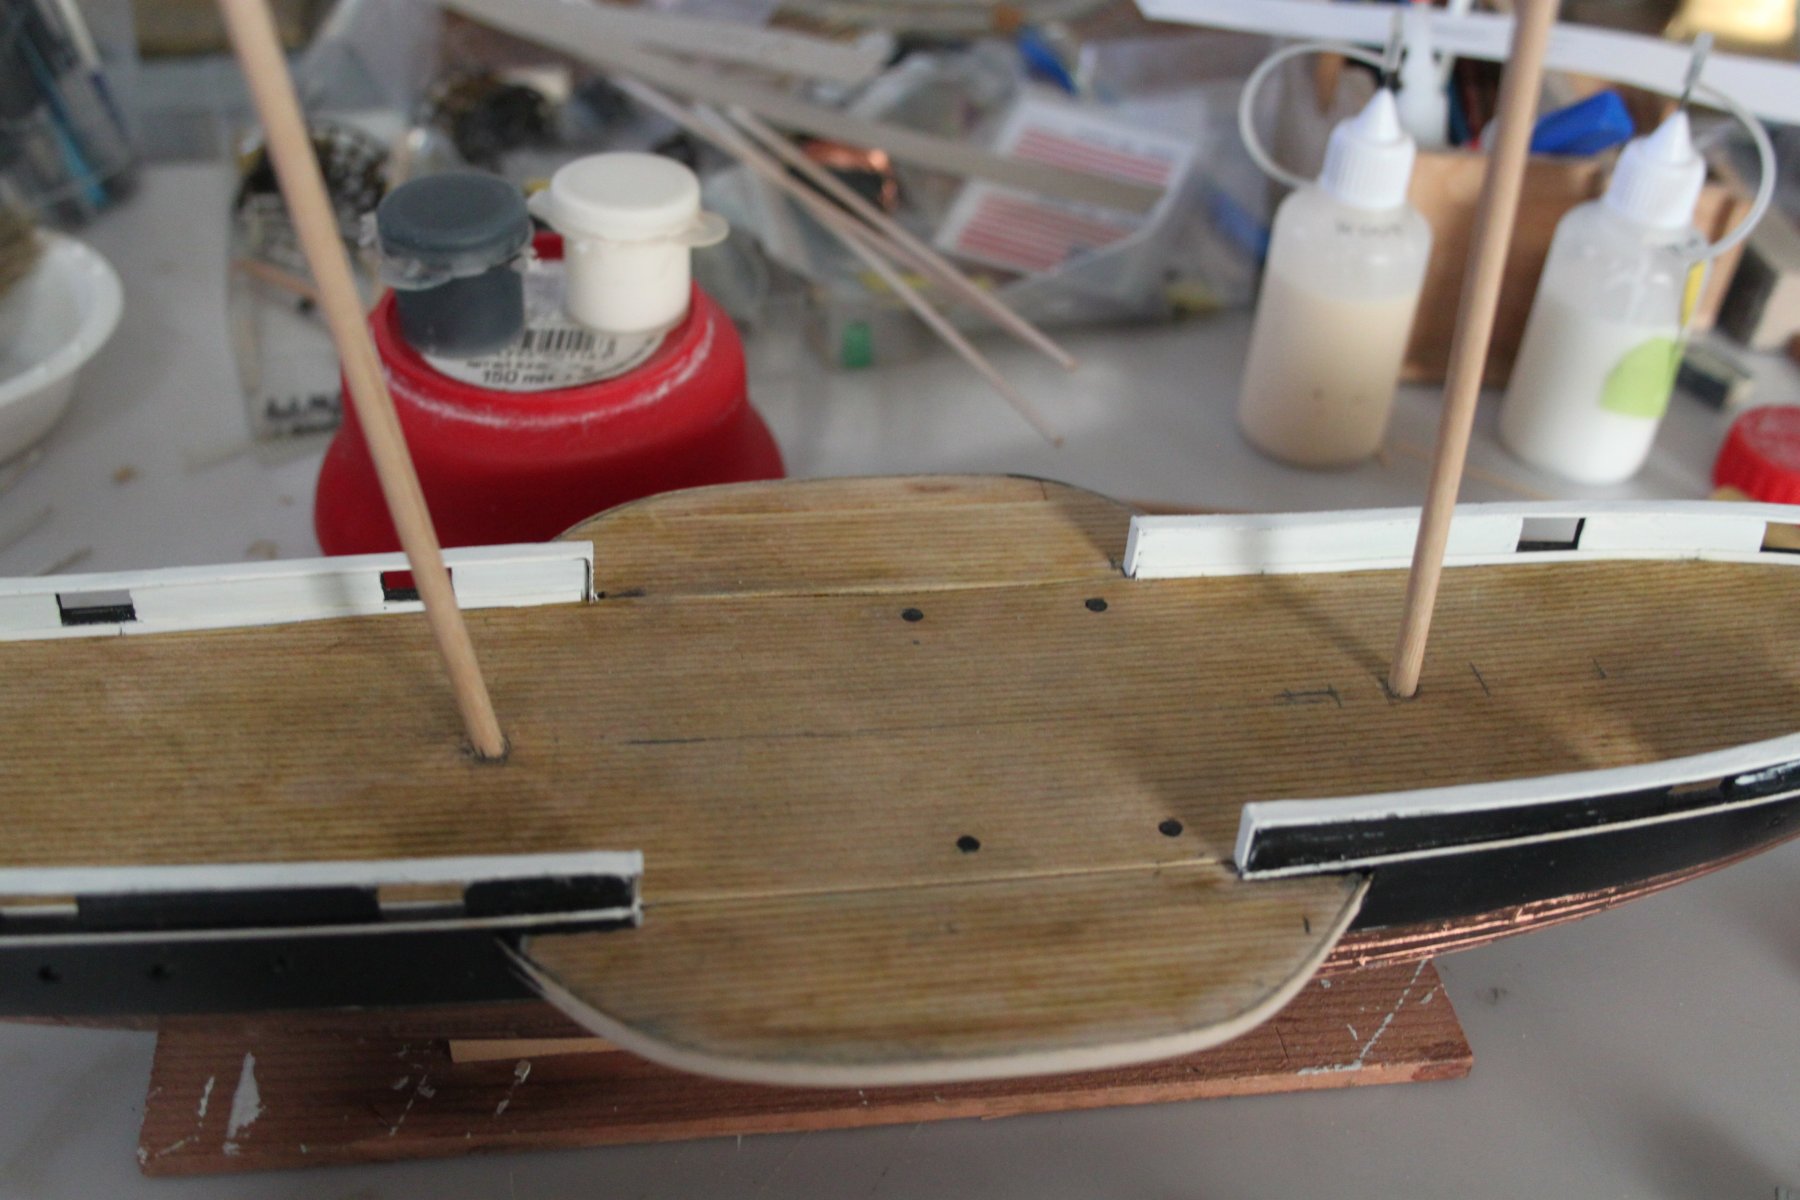
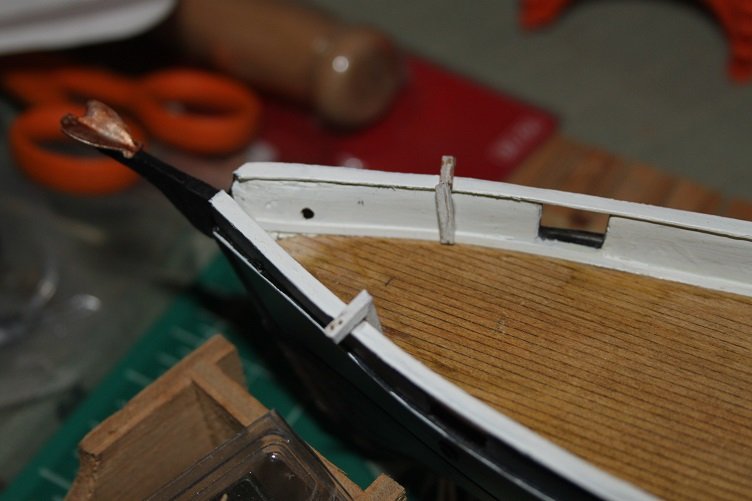
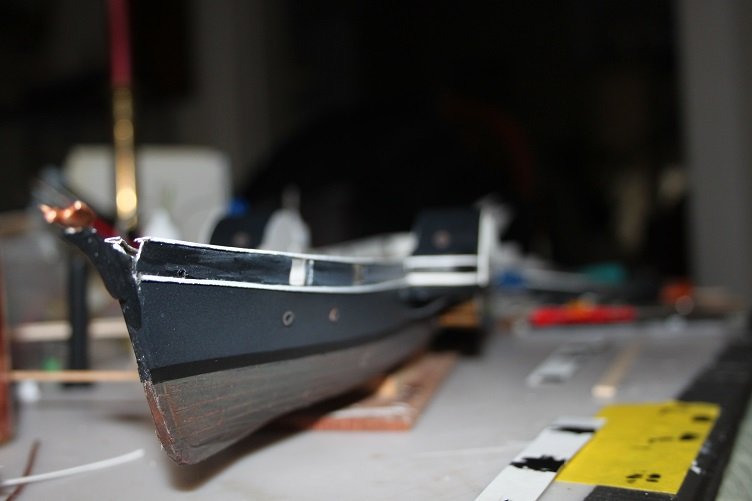
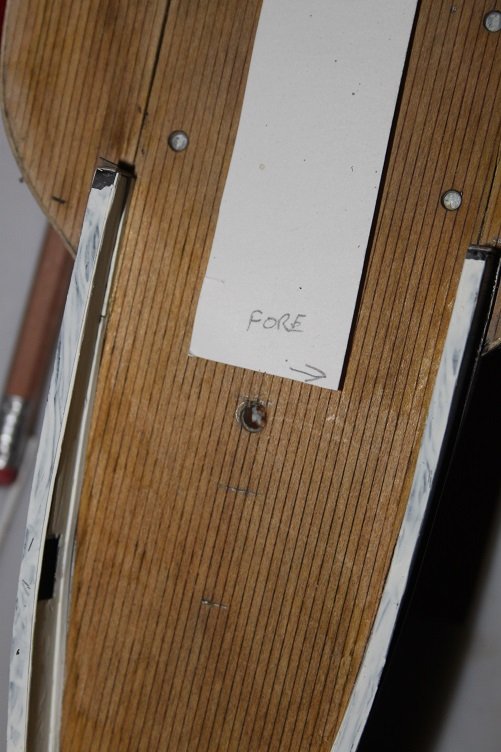
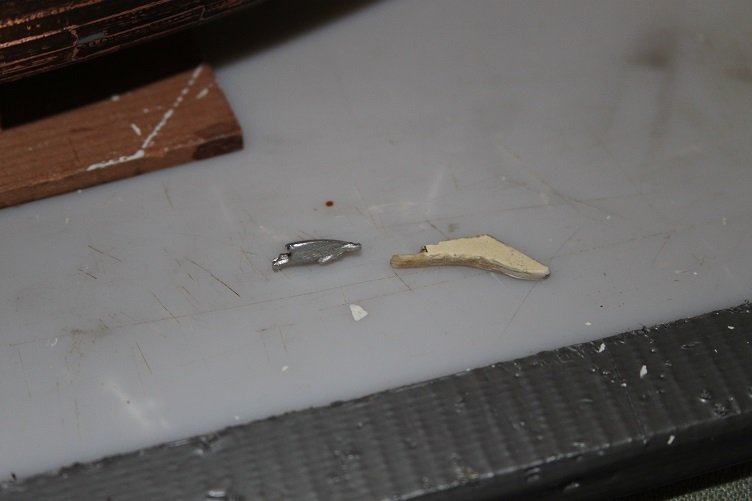
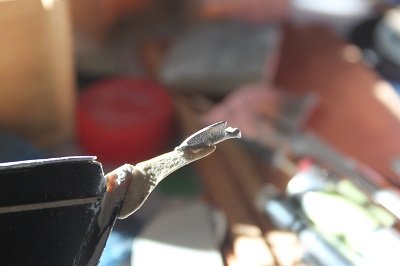
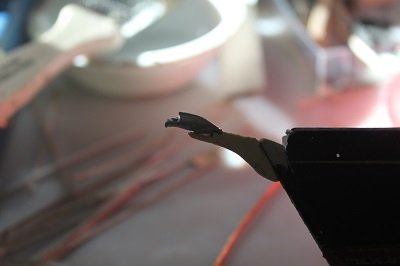
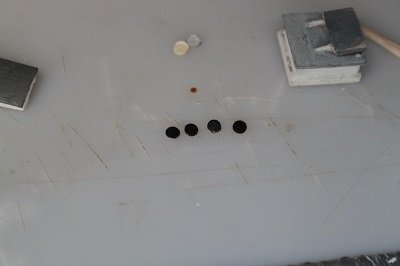
THX Deni s and thanks to all for the likes...it doesn't really photograph well...it does look better than it shows here, slightly lighter than an old penny... I was able to get some more work done, I got the rail caps made and mounted, and the deck drilled for the masts...for this I transferred the mast angle from the plans to a piece of card stock and used it to align the drill after that I turned my attention to reworking the peak, the kit comes with a cast piece that I guess is supposed to be an eagle...looks more like a pigeon but I'm gonna use it, dont really want to attempt to carve anything else at this stage. The stem piece was made by laminating thin base wood and card stock to the correct thickness, hardening with ca and sanding to shape...the pigeon was then mounted the assembly was then mounted to the bow....everything still needs painted next up... the coal rings, this was just a matter of using the screw punch to make the appropriate size holes in more card stock and saving the punch outs, these were then painted black and installed with a dab of pva finished product , you can see the rail cap and return in this shot as well and the aft steerage enclosure was made with some scrap from the spares box and the masts test fitted you can see in this shot that the finish has taken a real beating, gonna repaint and seal soon. Well that's it for today, thanks again for looking in.


- 258 replies
-
- 7
-
-
- harriet lane
- model shipways
- (and 1 more)
-
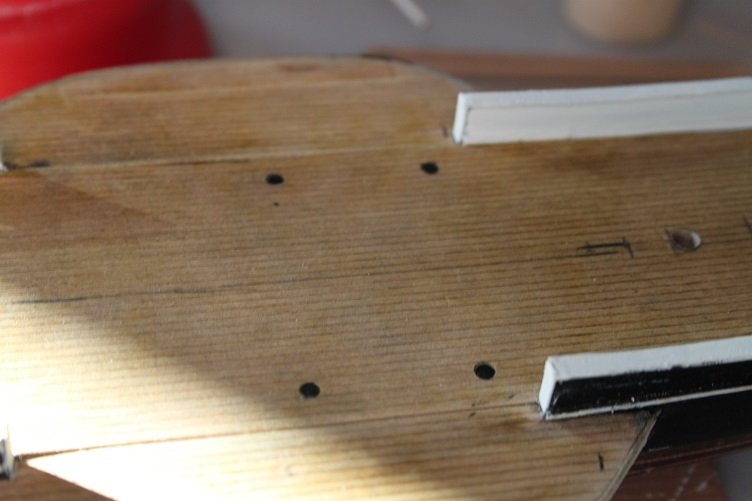
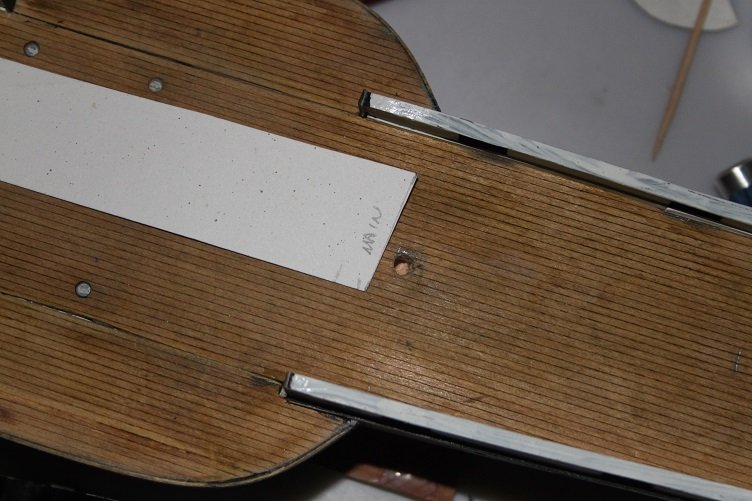
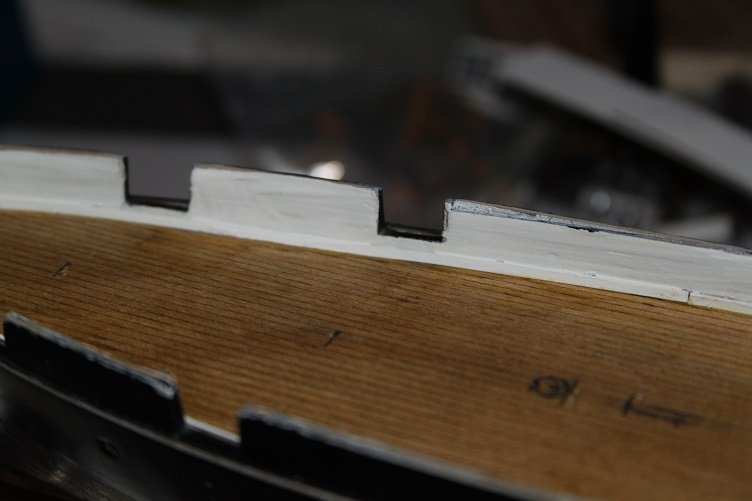
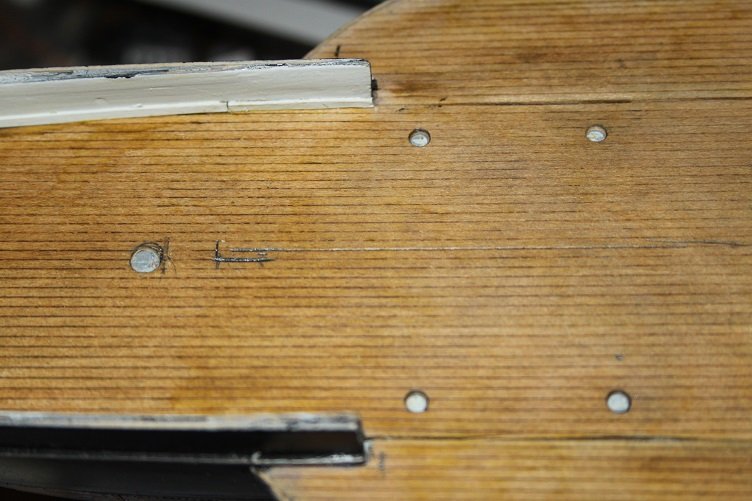
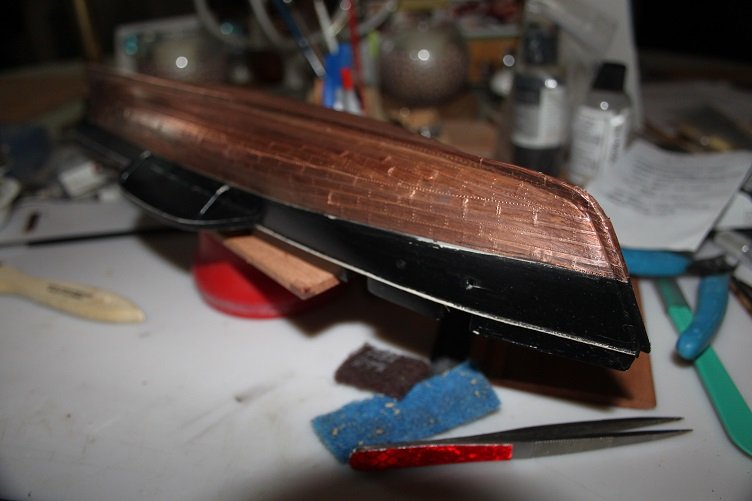
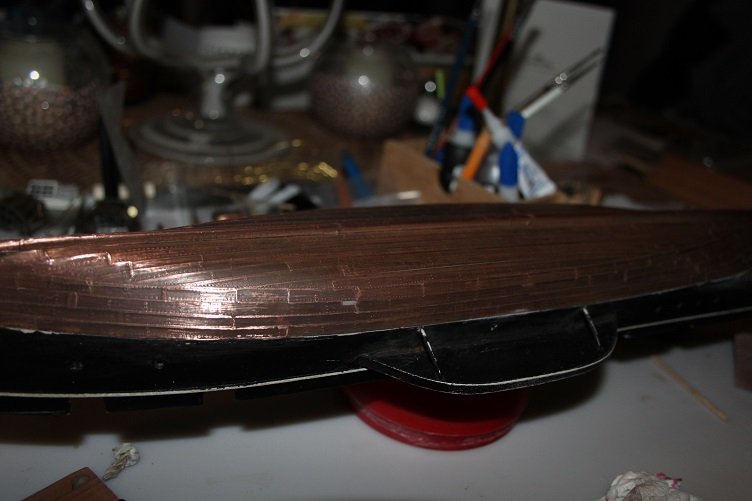
Hi All, THX for the likes and comments...a few pics to add, finally got the copper weathered, applied Jax and let it brownout the copper then hit the high spots with 600 wet/dry. I'll allow this to weather naturally to add a bit of contrast. ...doesn't show well in the photo above, a little better in this one have to clean up the waterline and touch up the paint again, once that's done it will receive matt coat but only on the painted surfaces, I will seal the copper later. The waterways were installed and the deck laid out...then I used a screw punch to remove the decking for the coaling ring and masts That's it for now, hoping to make some progress this week...off work for a few days. As always thanks for your time and attention. J
- 258 replies
-
- 6
-
-
- harriet lane
- model shipways
- (and 1 more)
-
Hi everyone...thanks for all the comments and likes, the experiments with the Liver of Sulfur created some interesting results...sorry no photos...which I would really like on an art glass piece, but lacked the consistent finish I want on this hull. I ordered some Jax brown patina and will give it a try when it arrives later this week, I hope. Till then THX again J
- 258 replies
-
- 3
-
-
- harriet lane
- model shipways
- (and 1 more)
-
Super fine
-
Thanks to all for the likes...thanks Sam...I'd hate to have to resort to sacrifice...human or other wise J
- 258 replies
-
- 2
-
-
- harriet lane
- model shipways
- (and 1 more)
-
Hey Sam...Thanks, I understand what you saying there, I tried some experimentation with the stuff, quite aromatic!! A question while you're here, Have you been able to get it to turn copper brown?? I've tried three samples, each at different strengths and got black and a darkish gray, nothing approaching brown like some had said on the interwebs, so I have not gone near the hull. Any advice is appreciated. THX J
- 258 replies
-
- 2
-
-
- harriet lane
- model shipways
- (and 1 more)
-
Hello there Blighty thx for the kind words...feel free to help yourself, let us know if you start a build log, I'd love to watch your progress
- 258 replies
-
- 2
-
-
- harriet lane
- model shipways
- (and 1 more)
-
Hi Denis...yes there will be exposed paddles...not yet mounted...thx much
- 258 replies
-
- 3
-
-
- harriet lane
- model shipways
- (and 1 more)
-
Hi All, THX for the likes and comments...just a quick update, hull and trim are painted, copper still needs weathered, going to try some stuff called Liver of Sulfur, supposed to turn copper a dark brown, which is what I'm looking for...had to mail order the stuff should be here this week. Sponson skirts need some touch up, waterwheel houses are just placed on deck for the pic nothing secured as yet

- 258 replies
-
- 11
-
-
- harriet lane
- model shipways
- (and 1 more)
-
Hi Steve good to see you back...truly sorry to hear of Suzie's passing, my deepest condolences...nice work on the sails
- 569 replies
-
- 1
-
-
- shenandoah
- corel
- (and 1 more)