bobandlucy
-
Posts
512 -
Joined
-
Last visited
1 Follower

Recent Profile Visitors


-
 Landlubber Mike reacted to a post in a topic:
Concord Stagecoach by bobandlucy - Model Trailways - 1:12 scale
Landlubber Mike reacted to a post in a topic:
Concord Stagecoach by bobandlucy - Model Trailways - 1:12 scale
-
Egilman reacted to a post in a topic:
Concord Stagecoach by bobandlucy - Model Trailways - 1:12 scale
-
Old Collingwood reacted to a post in a topic:
Concord Stagecoach by bobandlucy - Model Trailways - 1:12 scale
-
Ryland Craze reacted to a post in a topic:
Concord Stagecoach by bobandlucy - Model Trailways - 1:12 scale
-
GrandpaPhil reacted to a post in a topic:
Concord Stagecoach by bobandlucy - Model Trailways - 1:12 scale
-
GrandpaPhil reacted to a post in a topic:
Concord Stagecoach by bobandlucy - Model Trailways - 1:12 scale
-
yvesvidal reacted to a post in a topic:
Concord Stagecoach by bobandlucy - Model Trailways - 1:12 scale
-
Canute reacted to a post in a topic:
Concord Stagecoach by bobandlucy - Model Trailways - 1:12 scale
-
Jack12477 reacted to a post in a topic:
Concord Stagecoach by bobandlucy - Model Trailways - 1:12 scale
-
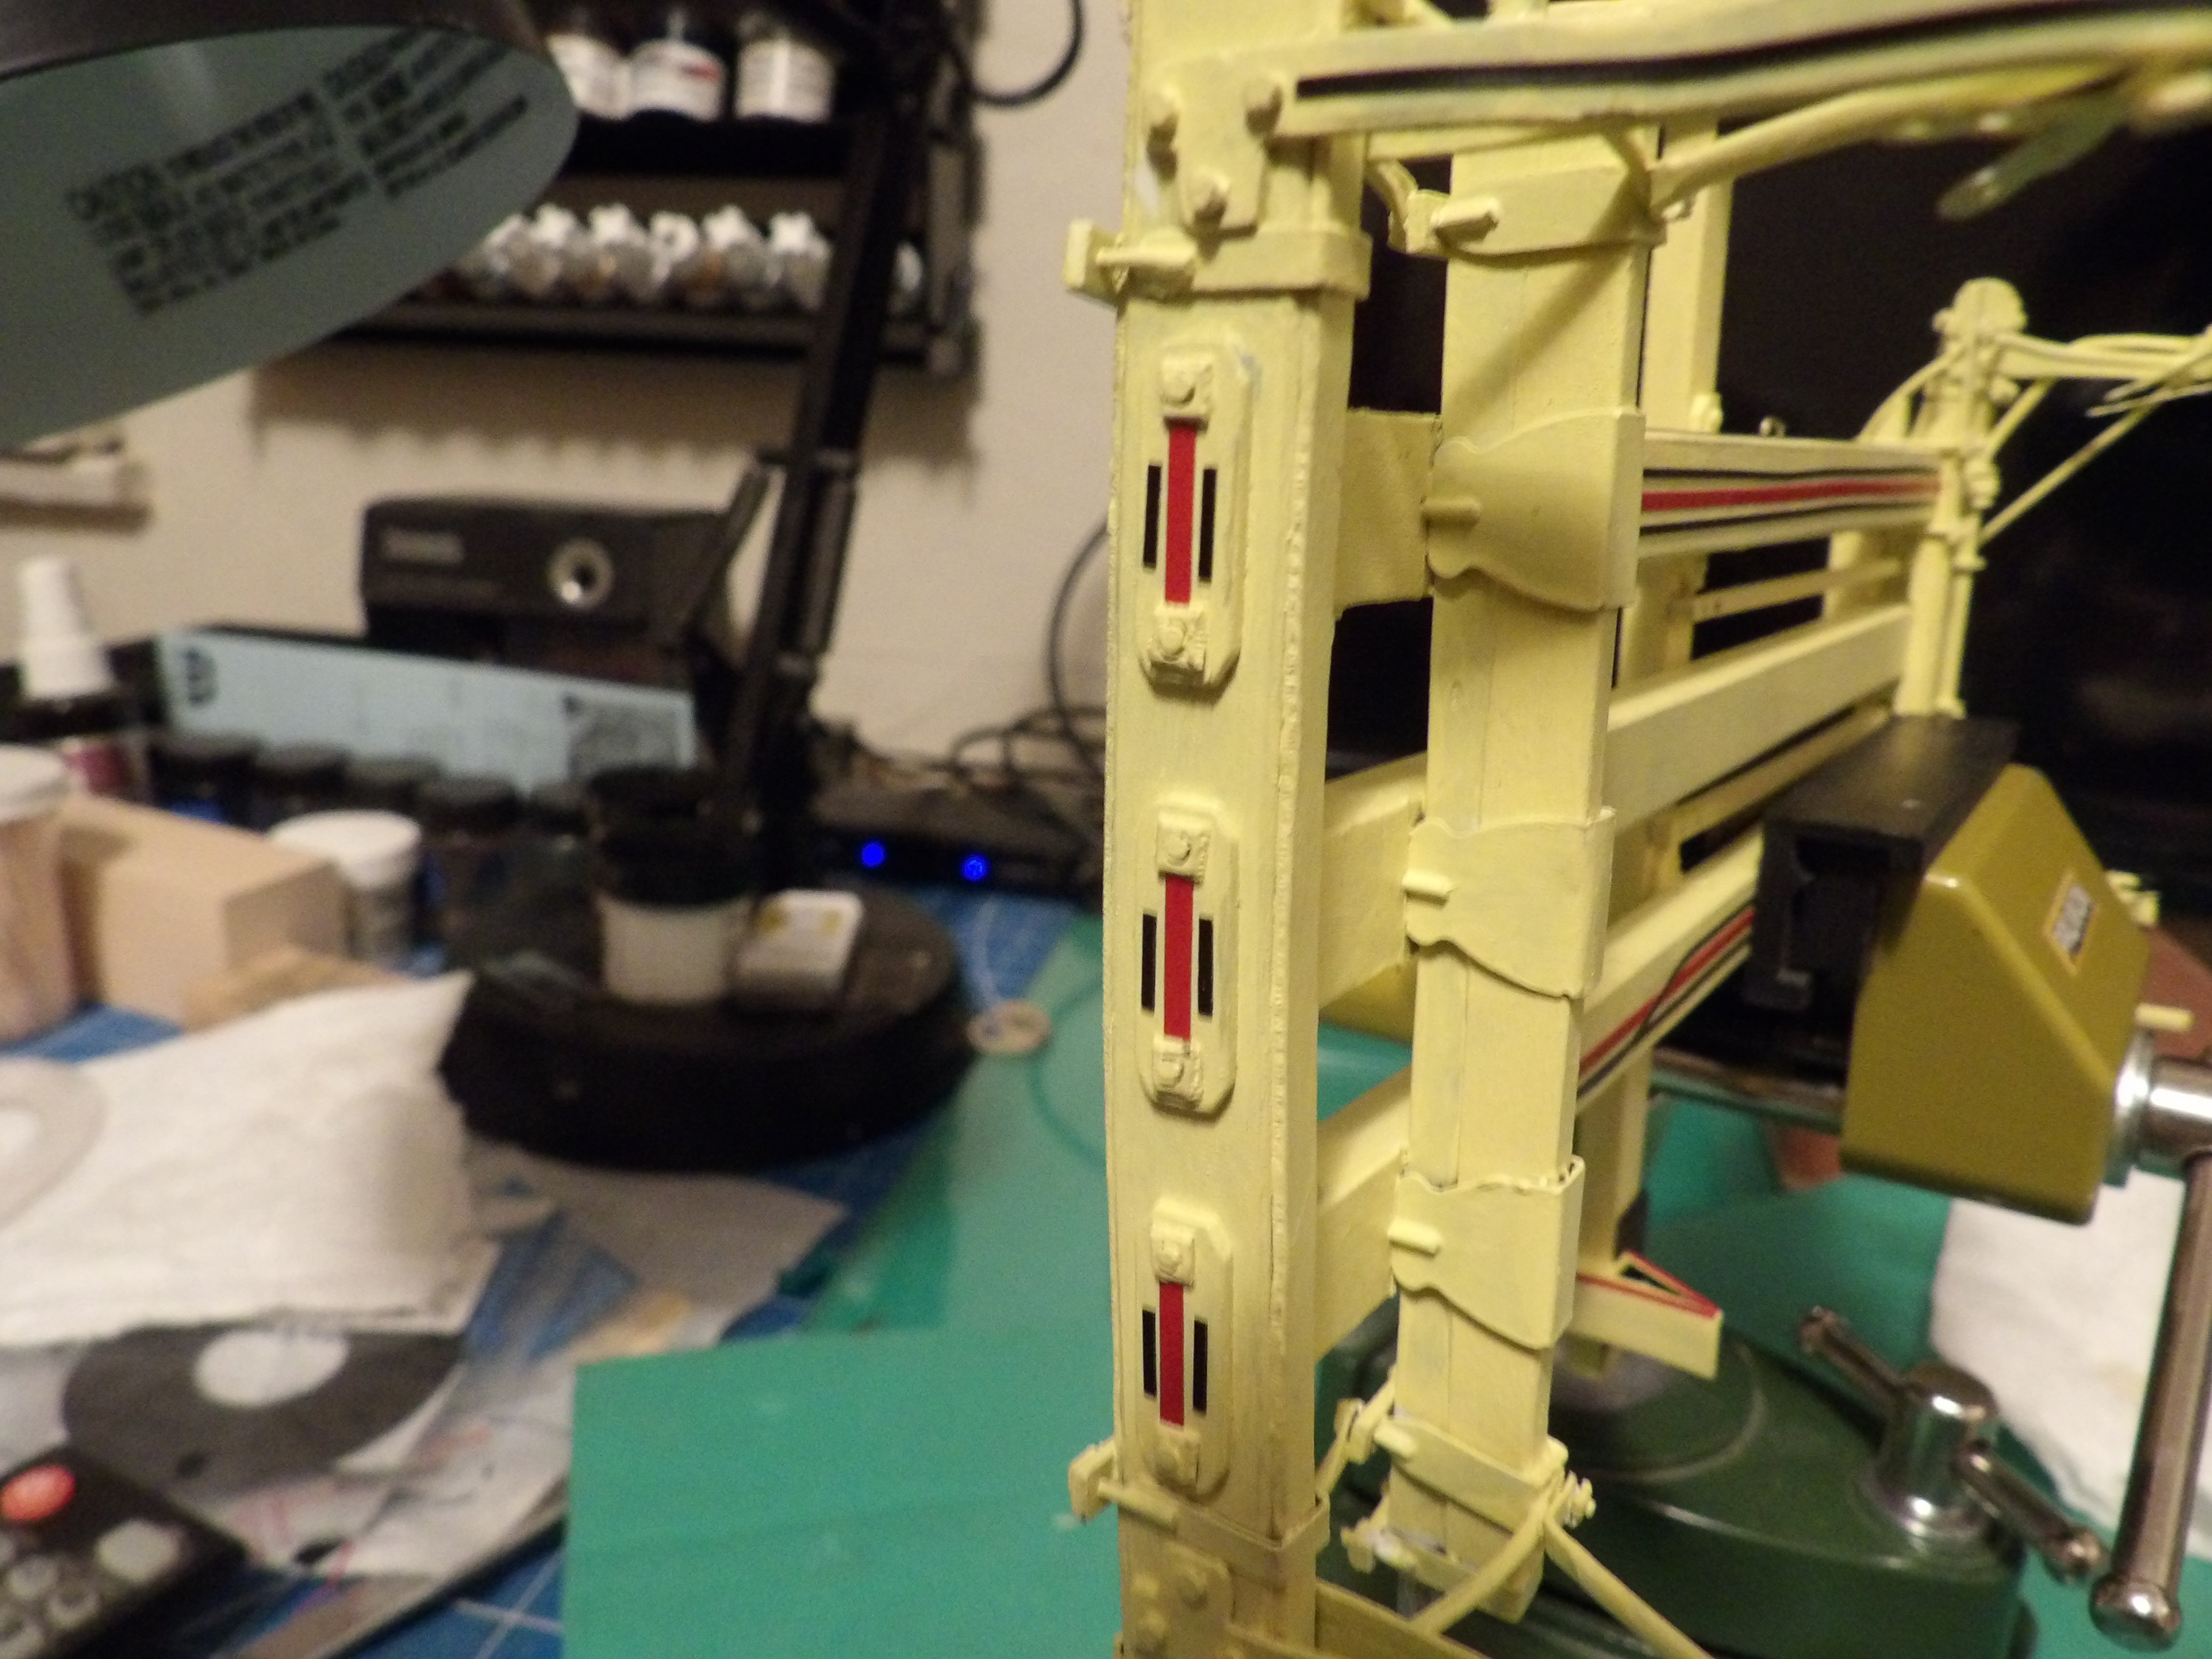
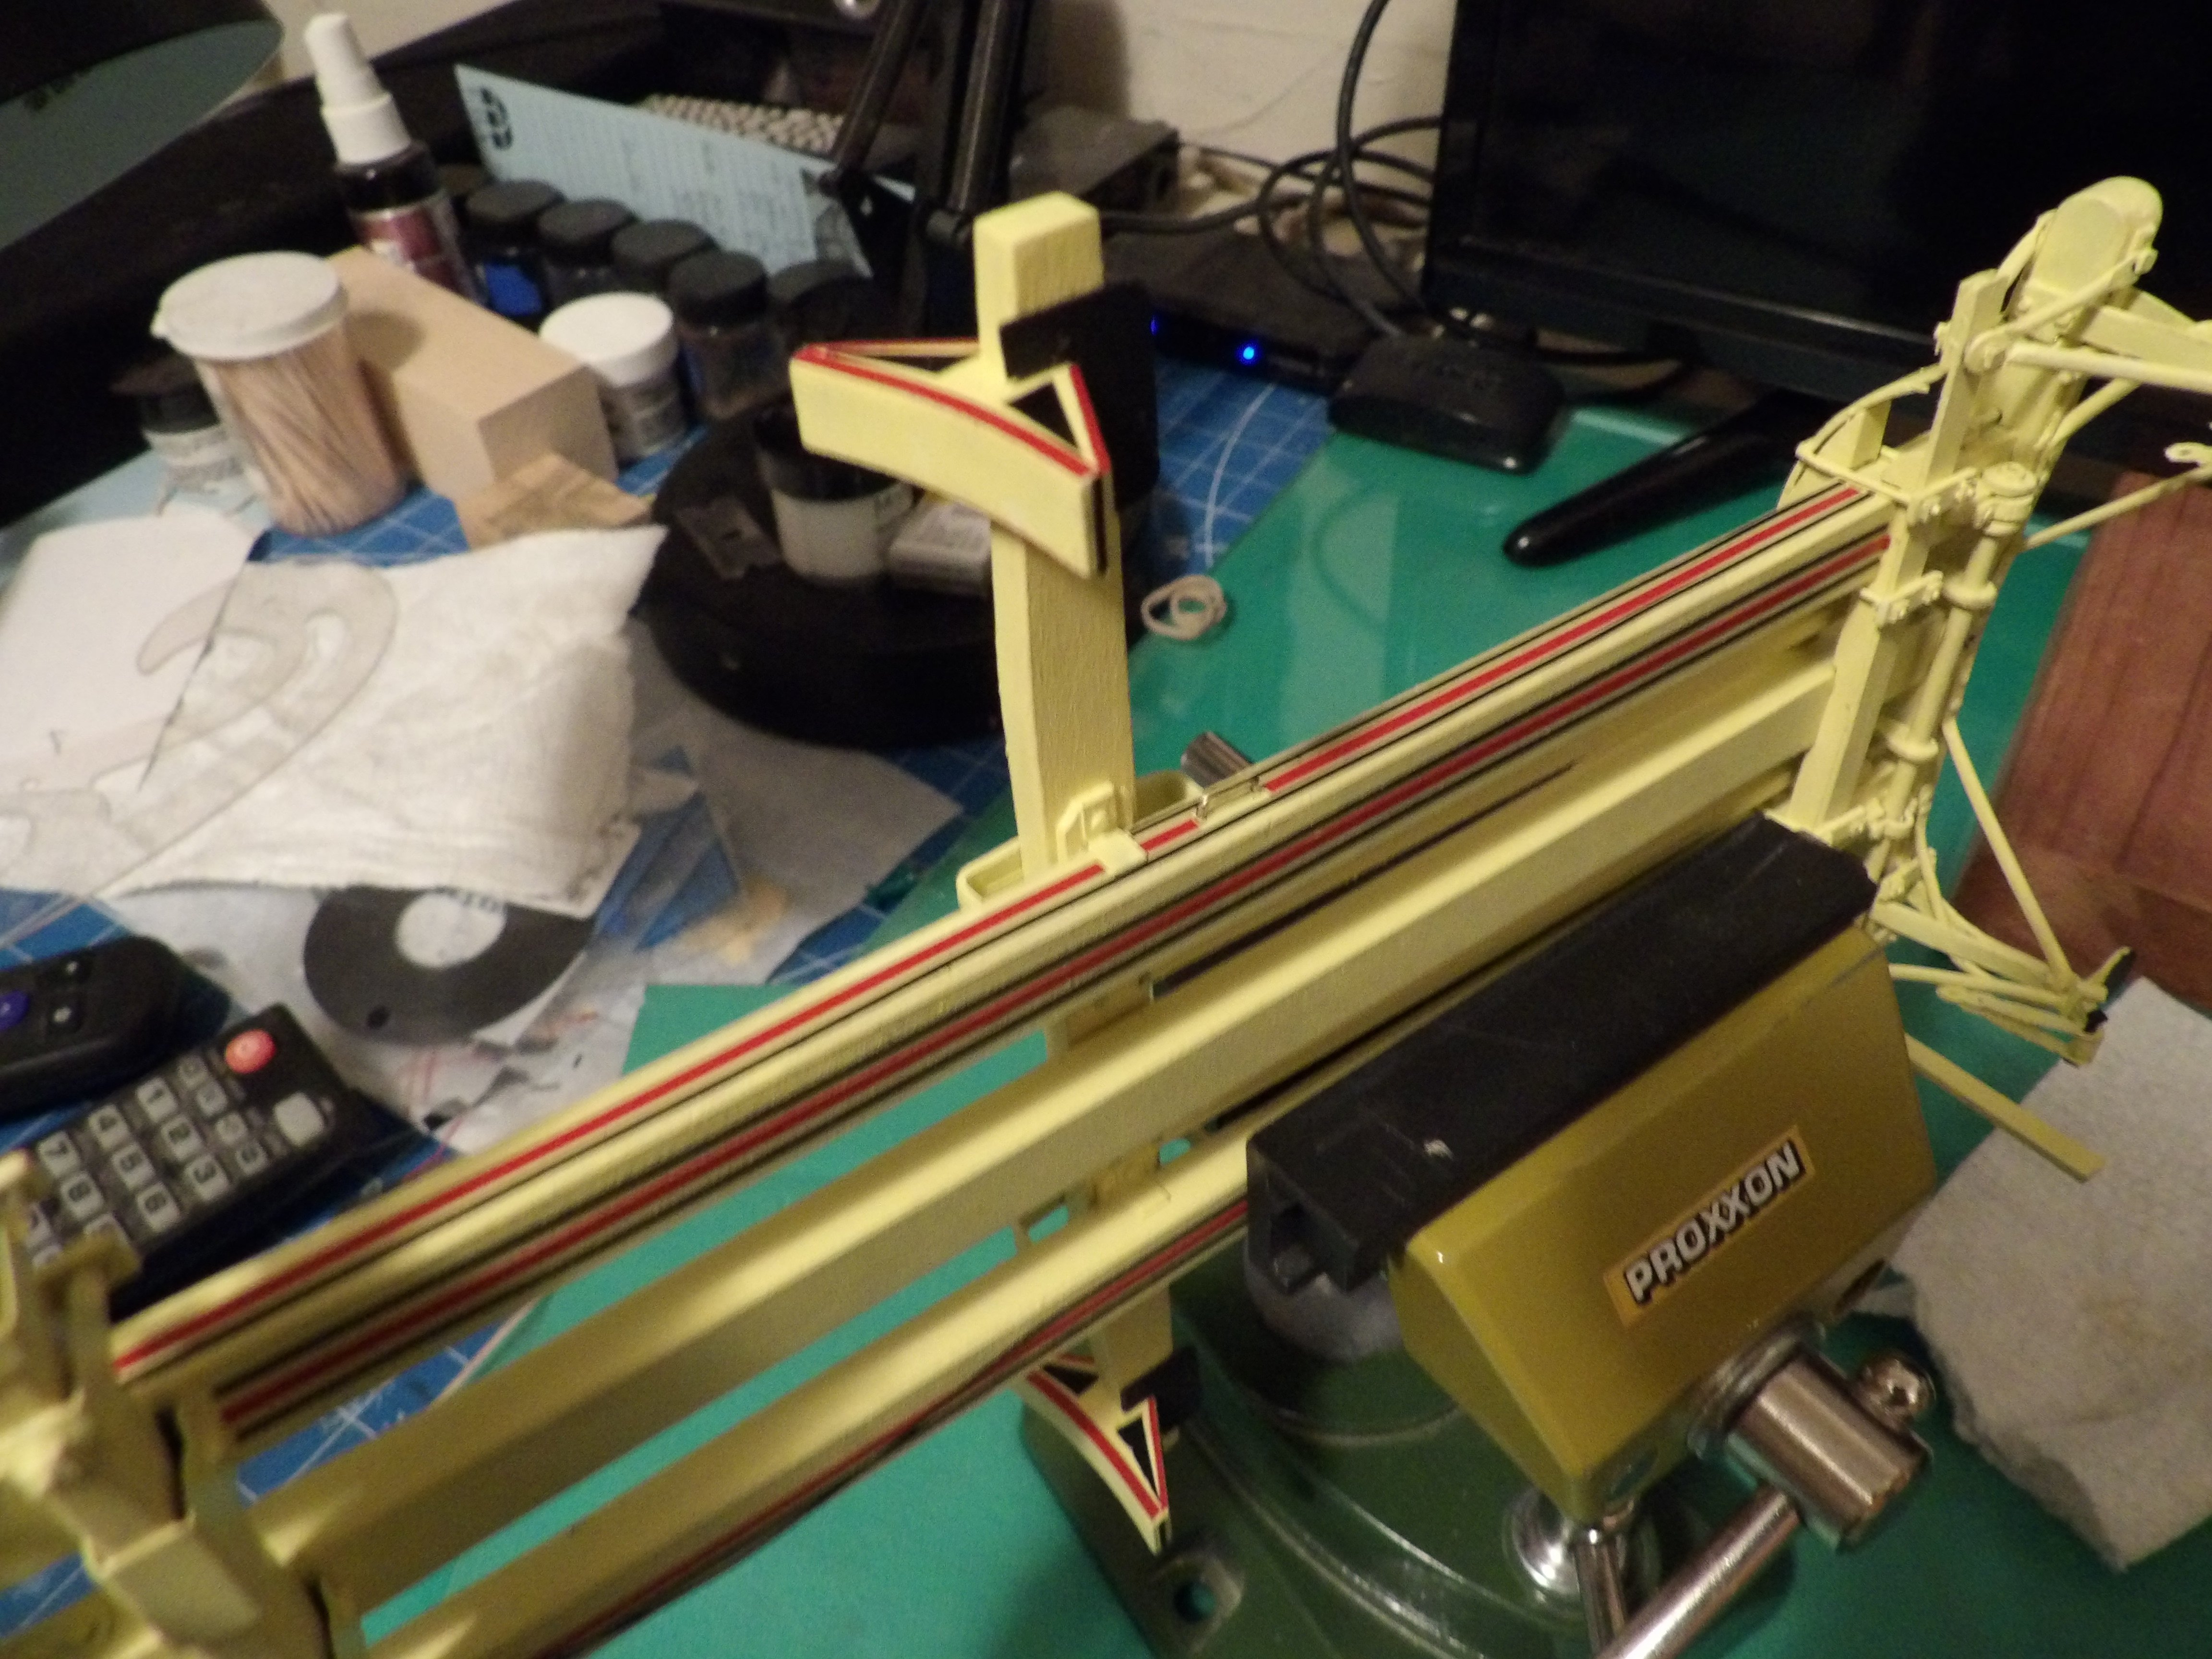
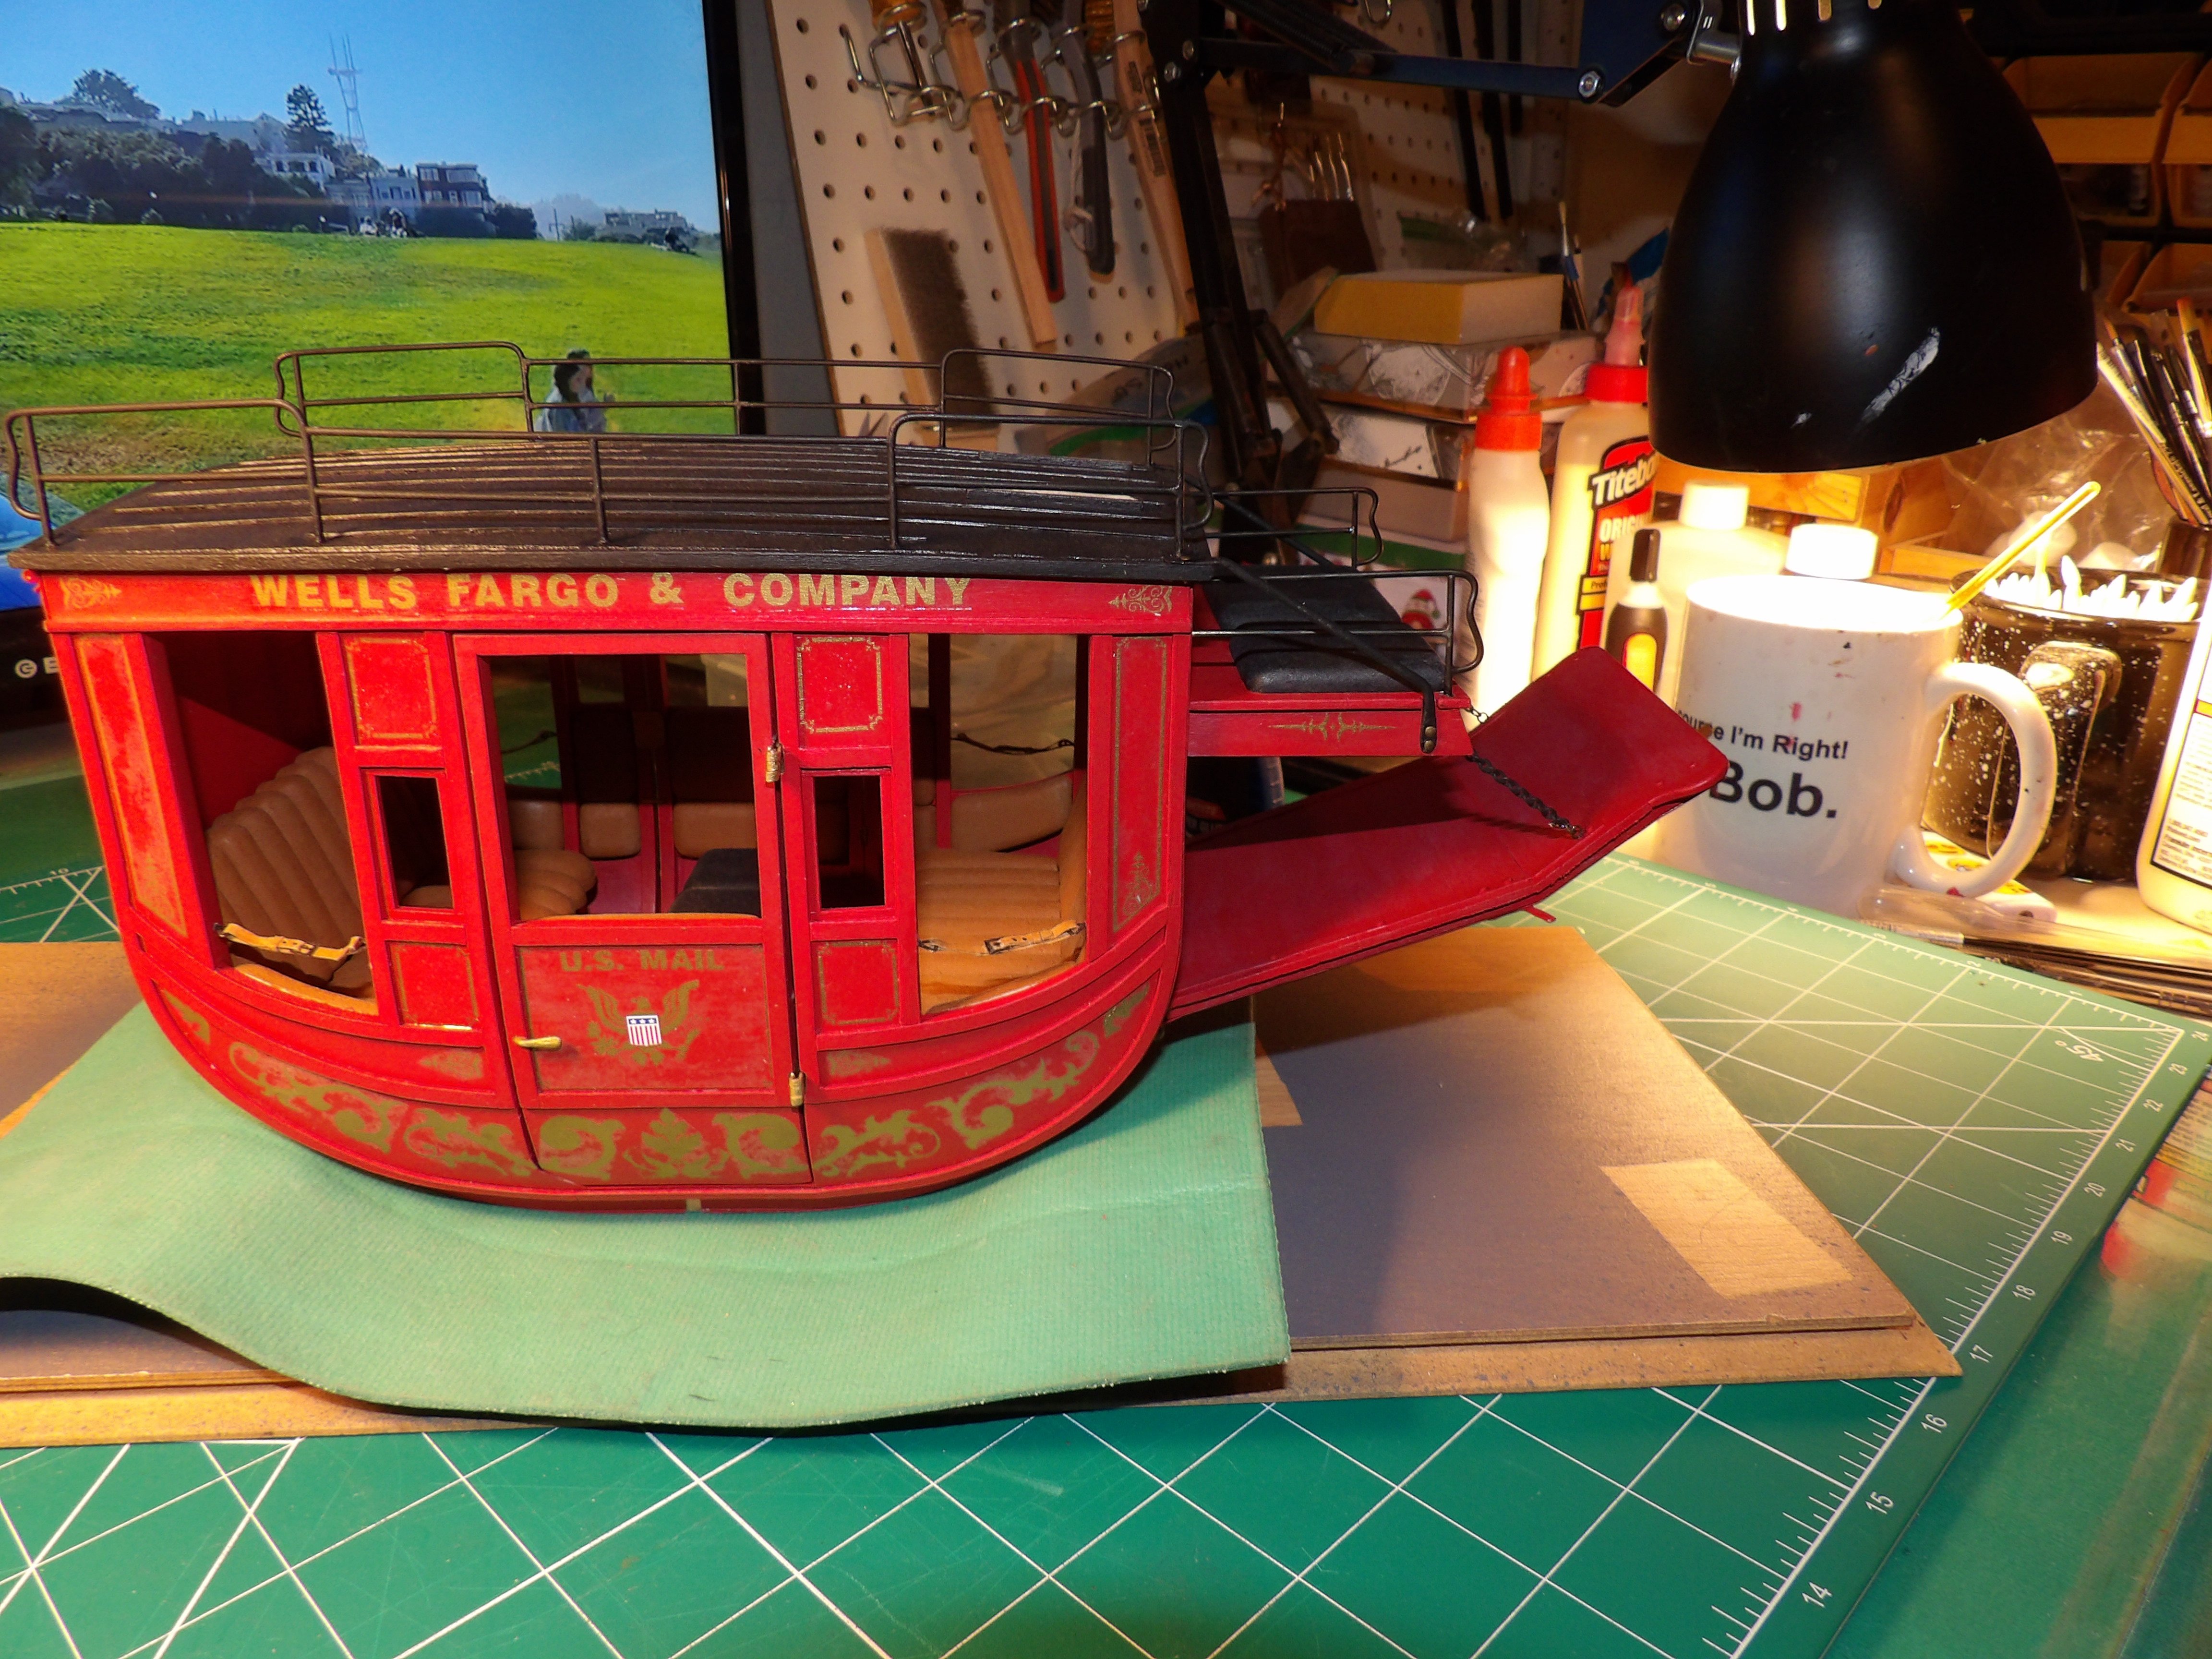
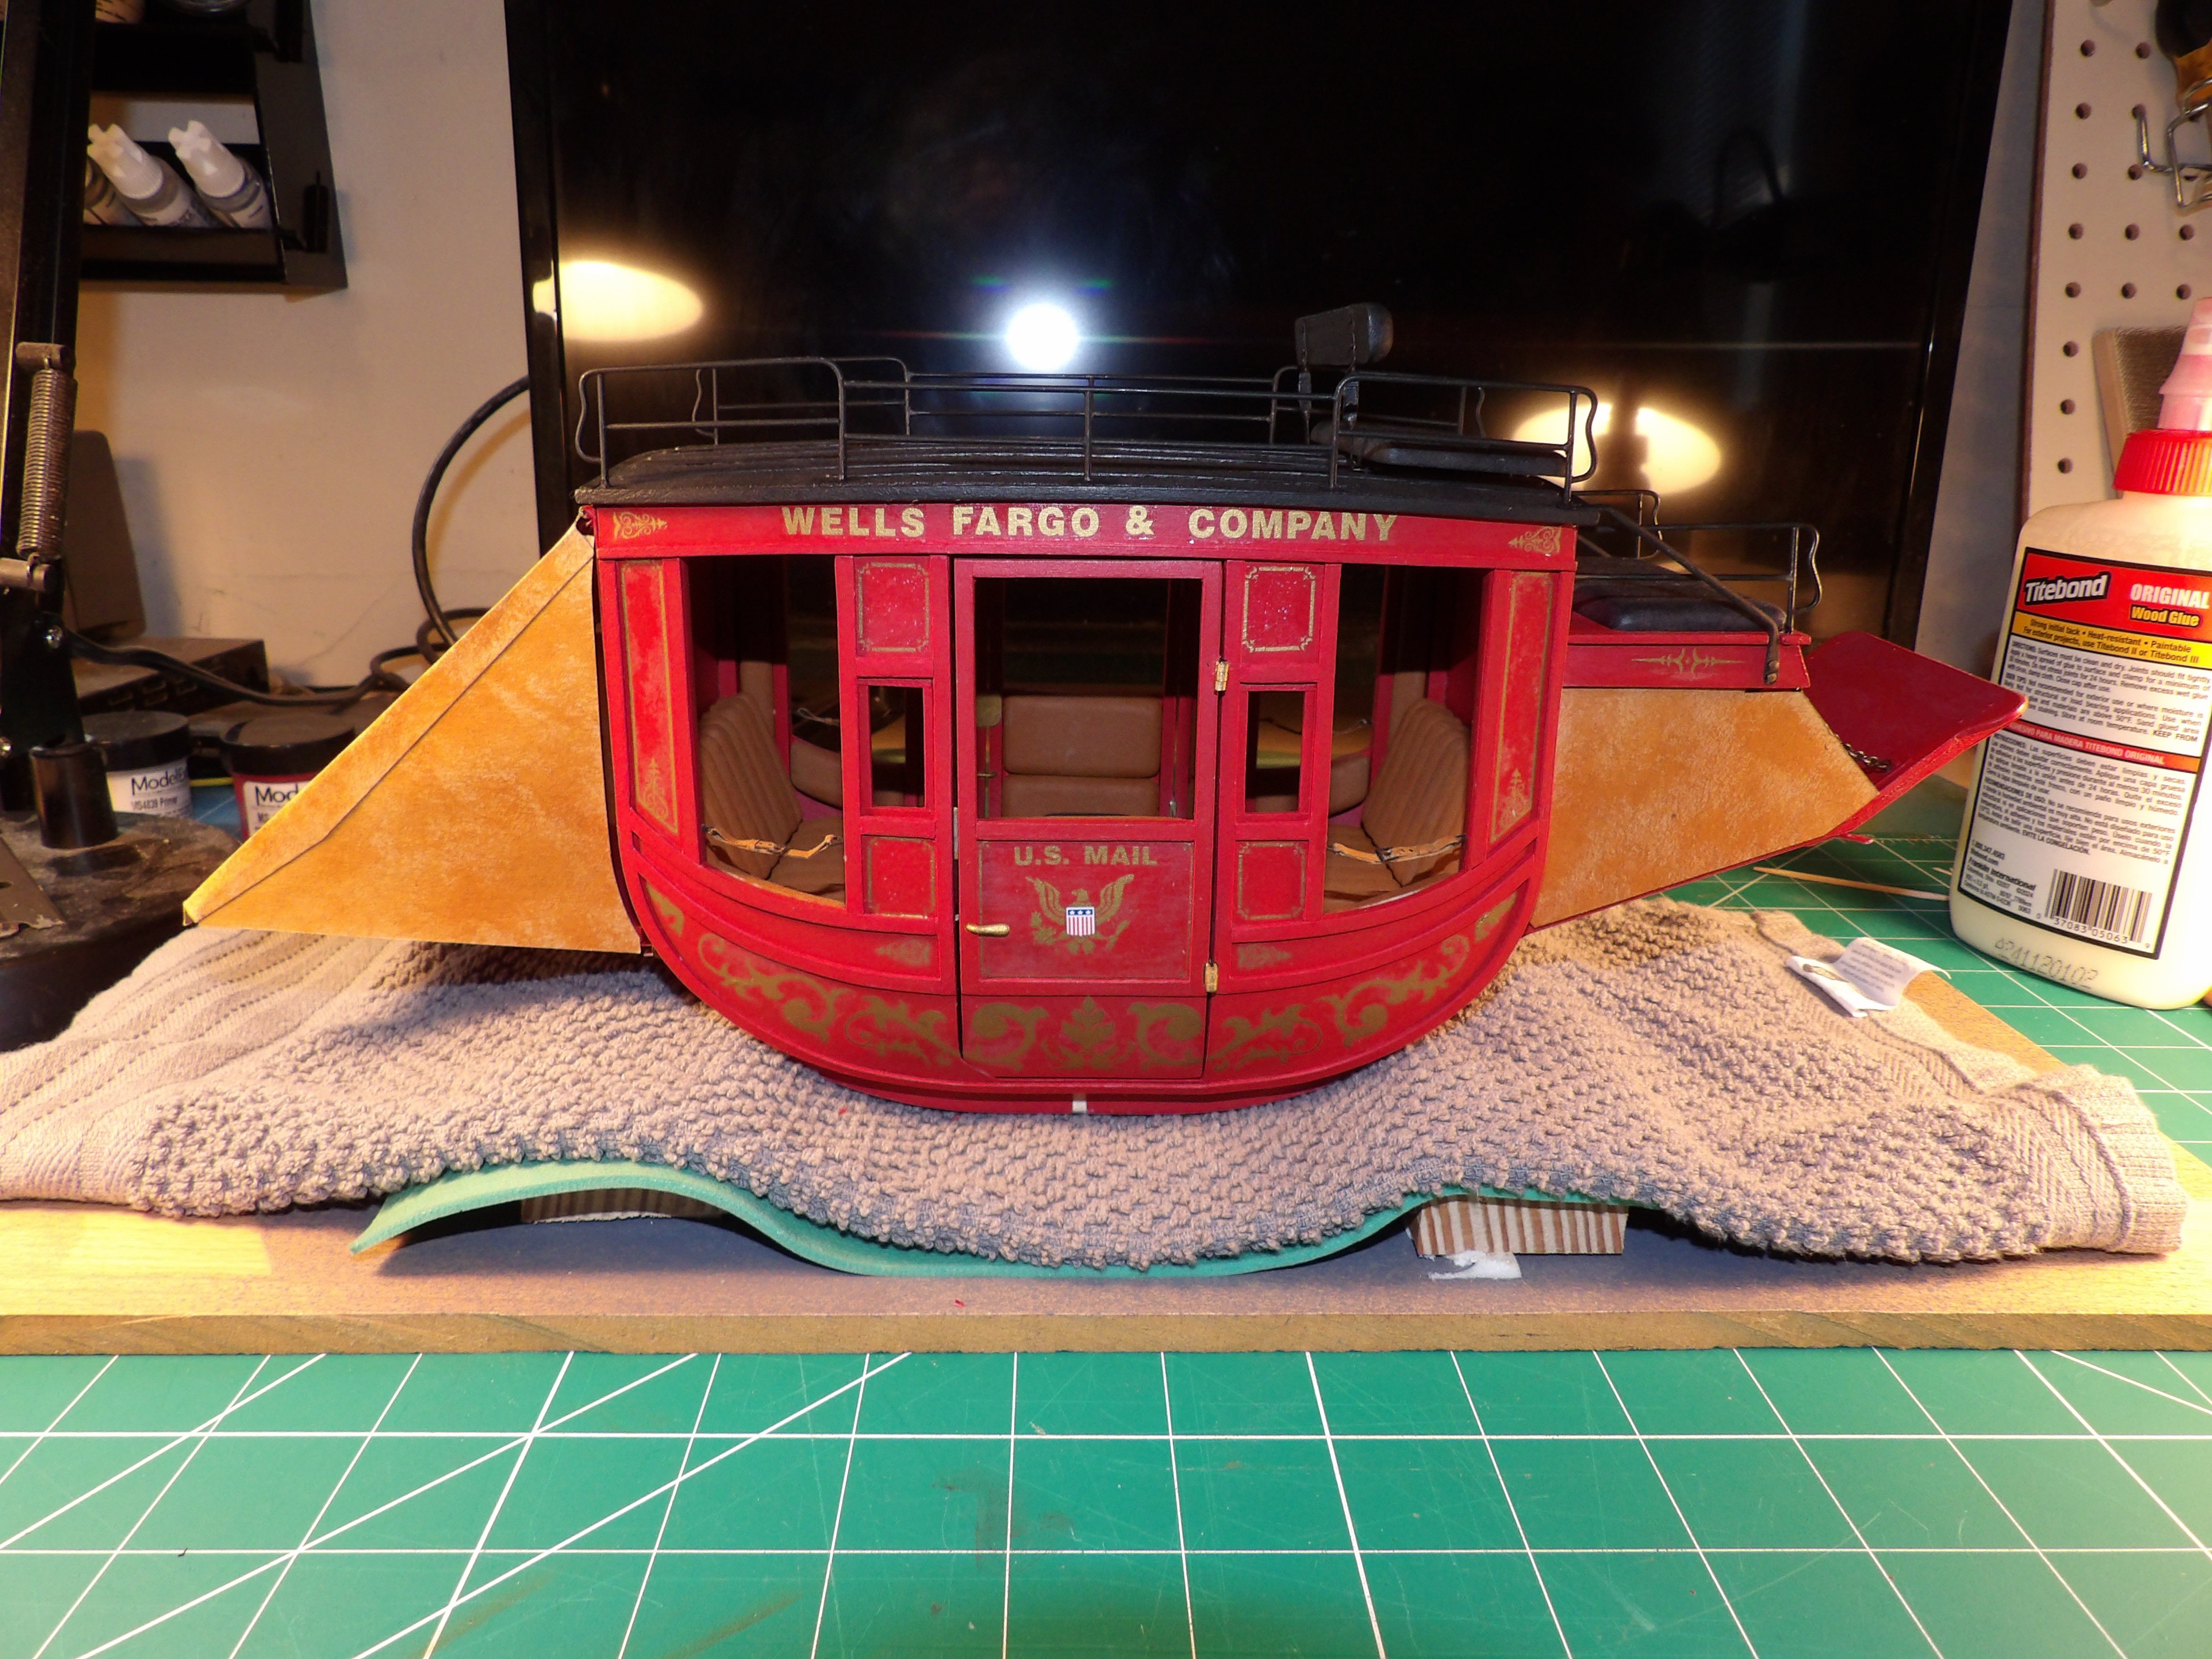
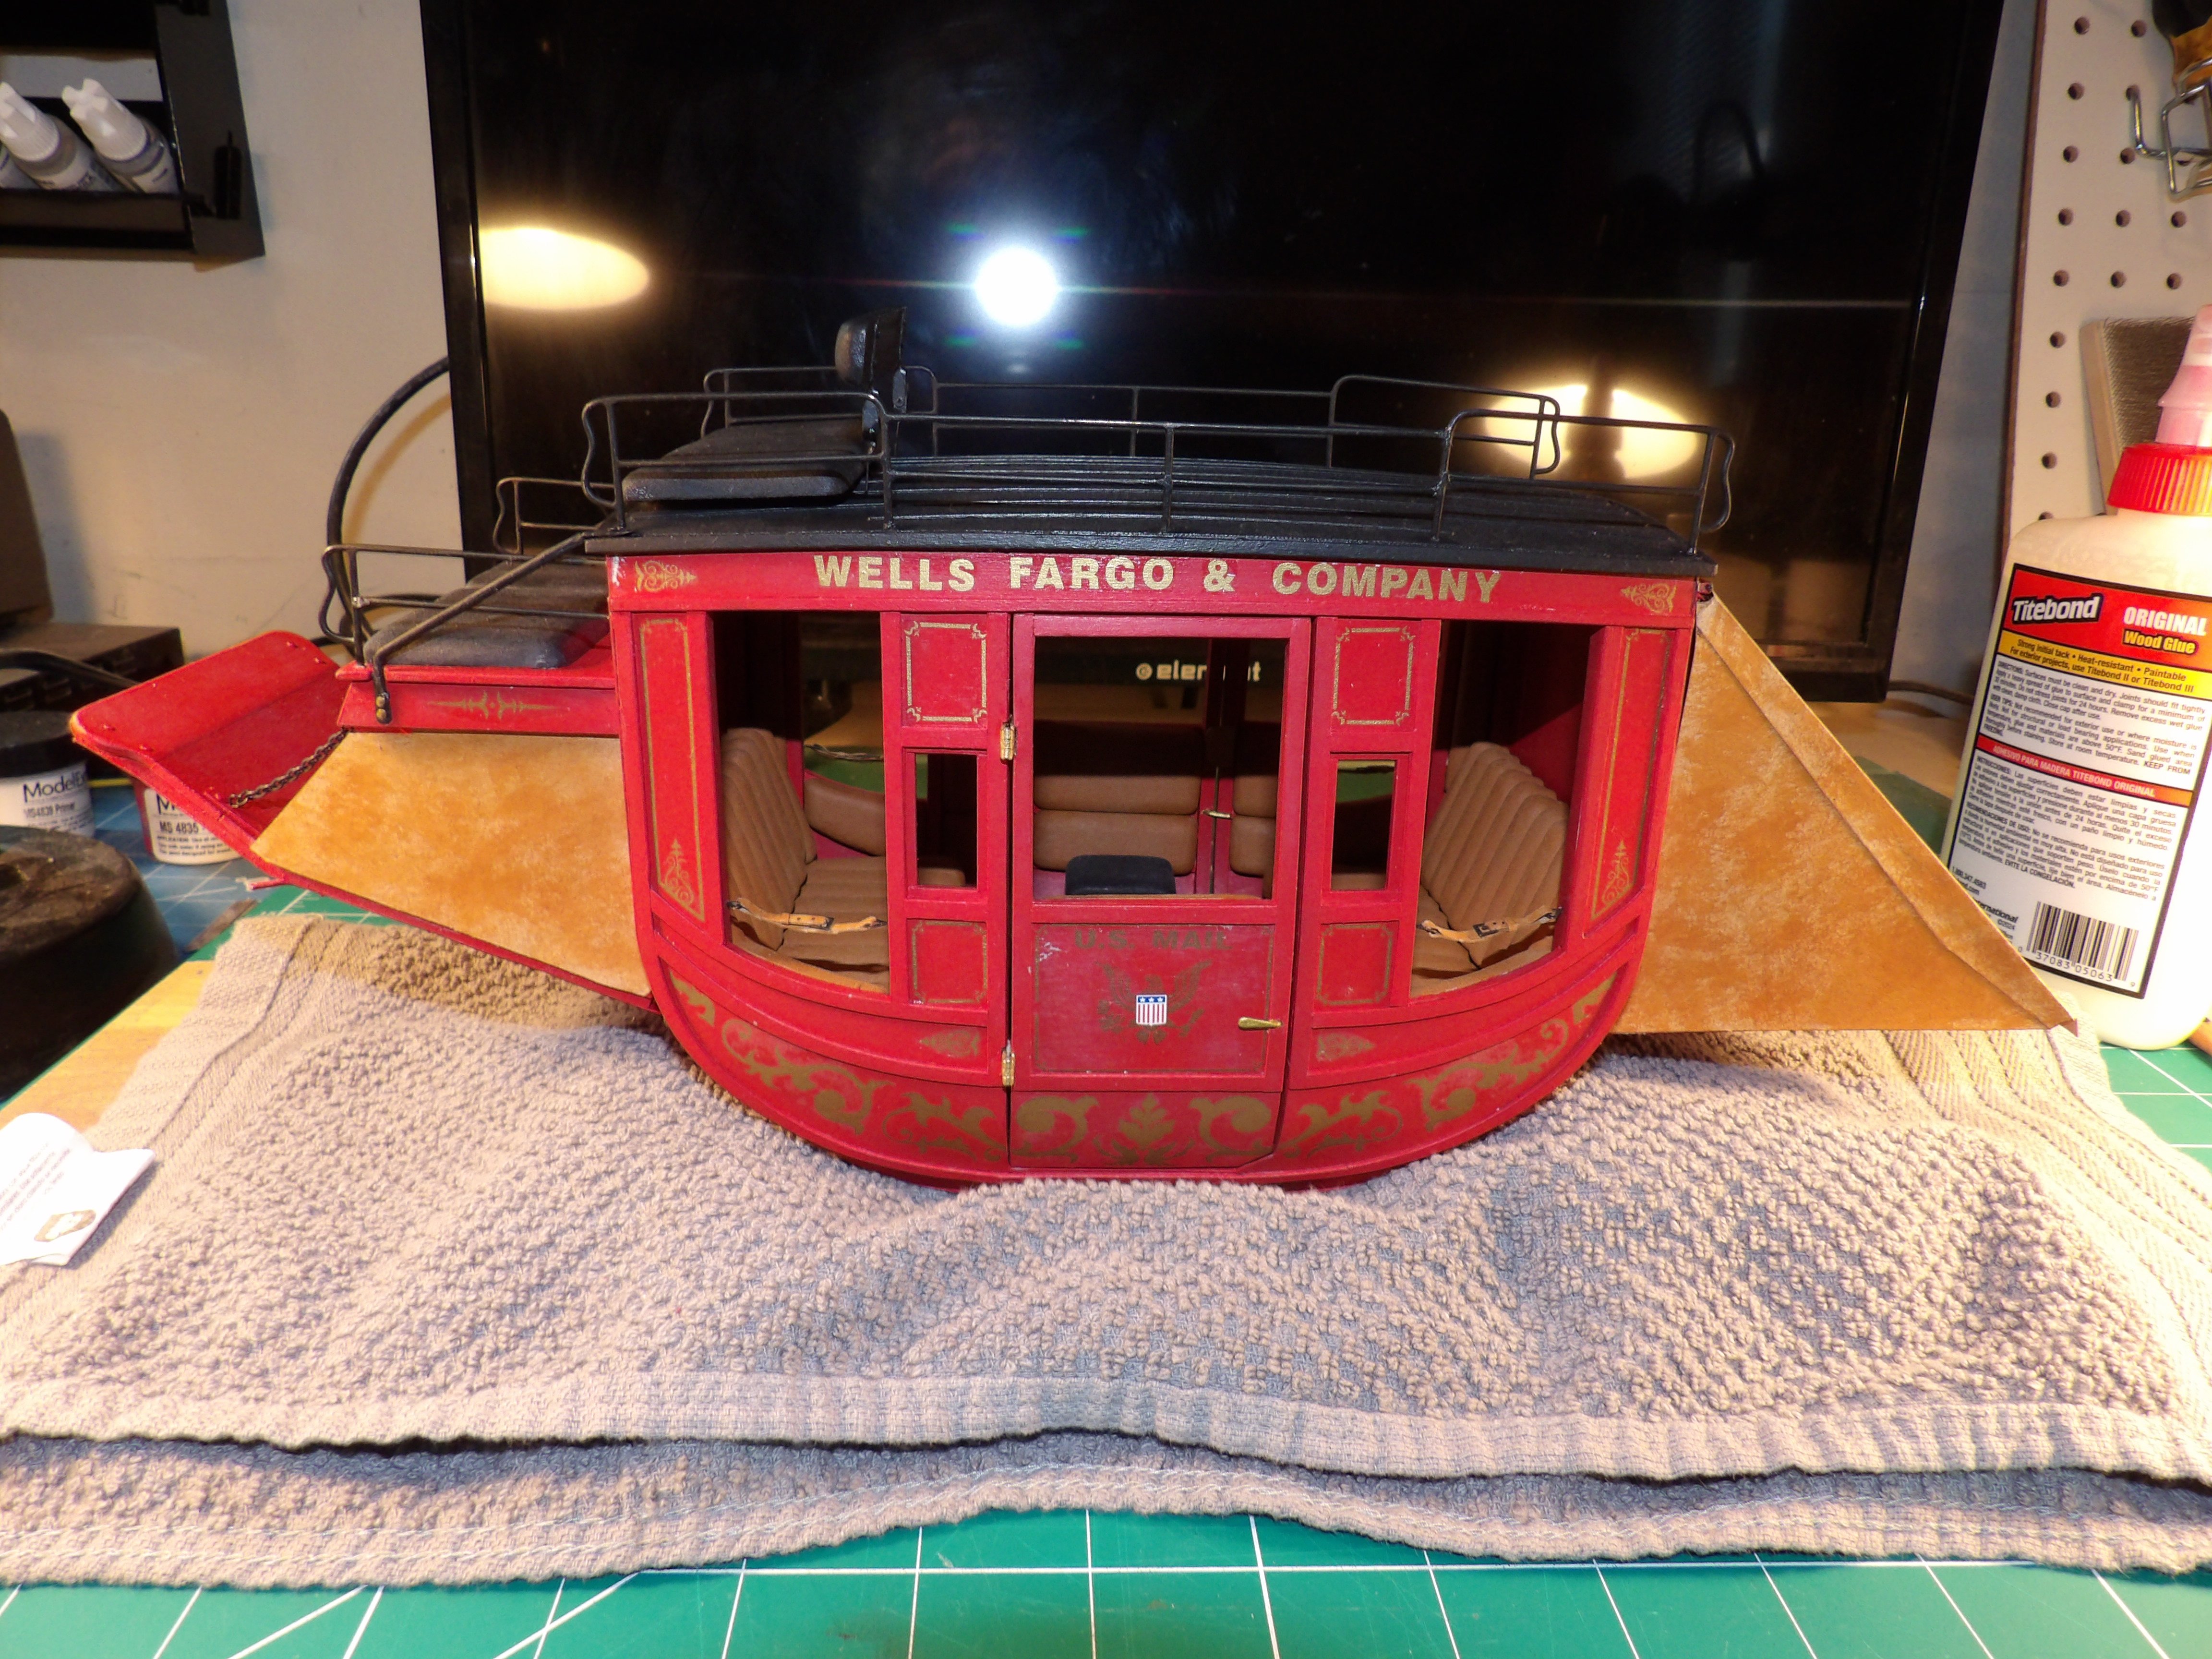
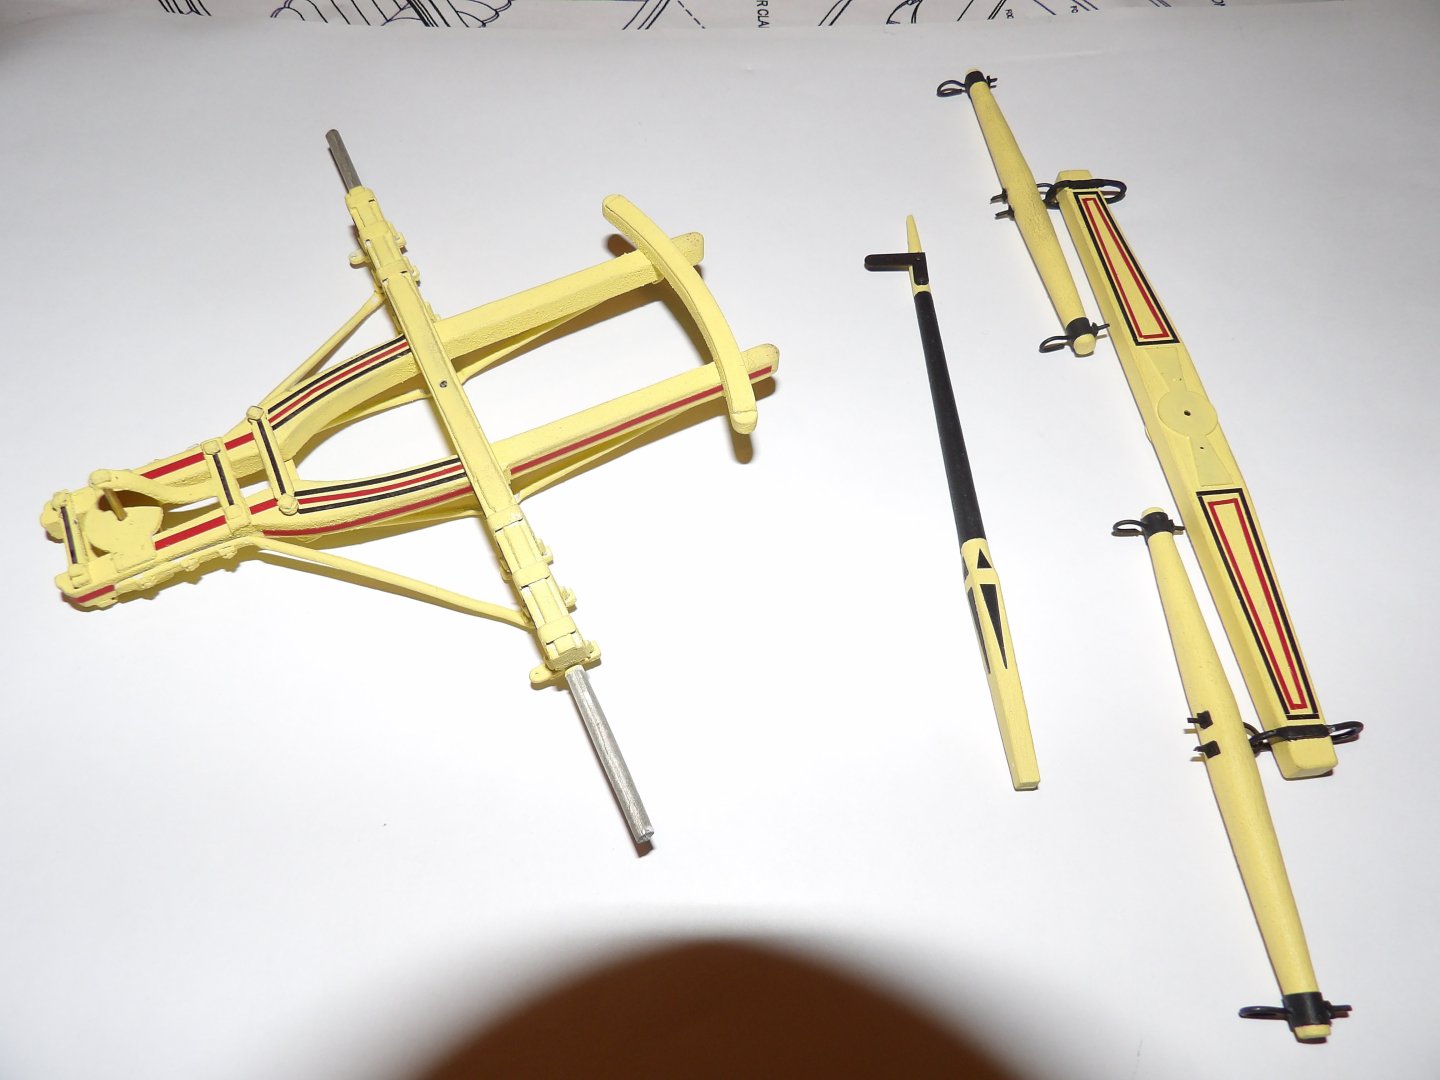
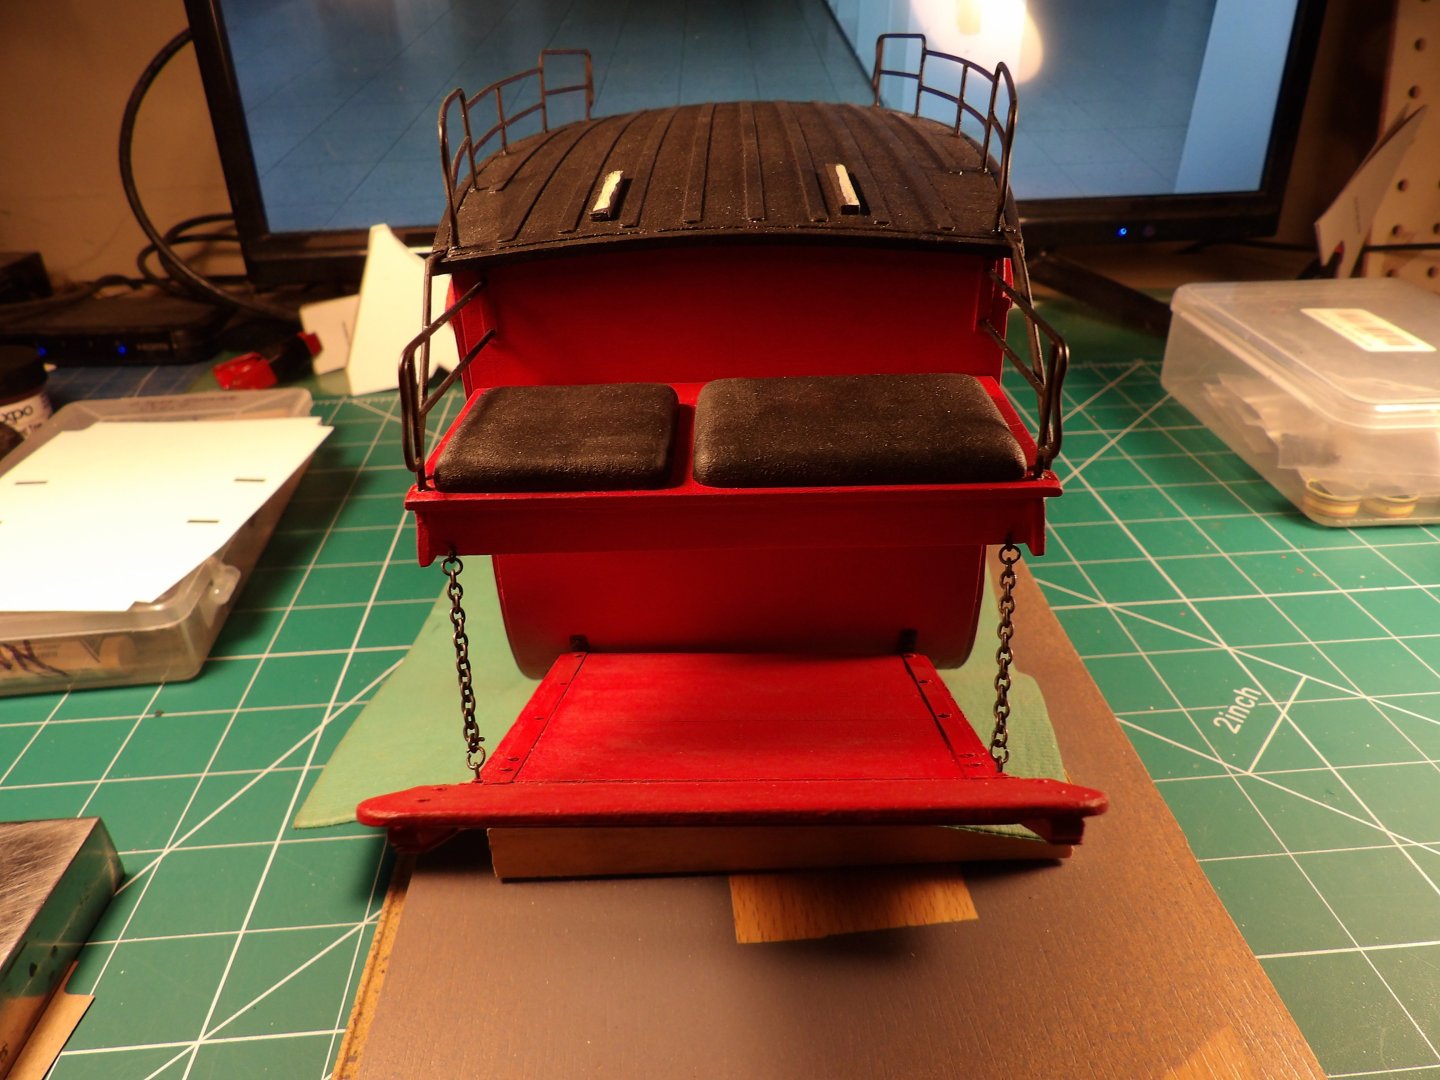
 Took a detour and worked on other things for a while. I've been back to work on the Stagecoach for a while, but have neglected this build log. I finished the undercarriage subassemblies, finish painted and decorated in a manner similar to to the prototype. This is a good place to note that the kit designer spray painted most of his model, but for some perverse reason I chose to hand paint mine. This was a bad choice, haha. The striping is graphic tape, and if you look close I had trouble making it stick in some places. A shot of Dulcote seems to have fixed nicely. Got the topside baggage rails on. These are very delicate and there were a couple of breaks, but it came out OK. Also added the driver's seat and rails. Added the front boot, and then the "leathers." Added the rear boot and leathers. Straps still need to be added: Added the topside seat:


-
bobandlucy reacted to a post in a topic:
USCG Harriet Lane by Knocklouder - Model Shipways - 1:144 (1/12 inch = 1 foot)
-
Hello, Tankerman
I did buy the 4-horse harness kit. Question: was your kit supplied with black rubber gasket material for the traces, straps, etc? The same material was supplied for the stagecoach itself, but I can tell from the written instructions (for the coach) that it was not what was intended by the kit designer. Brutal stuff to work with, and not cut through. Any advice? Instructions speak of cleaning up char from this stuff, are they kidding?
Thanks very much, Bob
I'll be updating the log at some point. . .
-
Nonja Bizness reacted to a post in a topic:
USCG Harriet Lane by rcmdrvr - FINISHED - Model Shipways - 1:96
-
bobandlucy reacted to a post in a topic:
Shipyard at Foss Landing (Again) by Brucealanevans - diorama
-
bobandlucy reacted to a post in a topic:
The Shipyard at Foss' Landing (Diorama) by gjdale (Grant) - FINISHED - SierraWest - Scale 1:87 (HO)
-
bobandlucy reacted to a post in a topic:
Foss Landing and The shipyard at Foss Landing by xodar461 - Sierra West Scale Models - 1/87
-
bobandlucy reacted to a post in a topic:
Foss Landing and The shipyard at Foss Landing by xodar461 - Sierra West Scale Models - 1/87
-
bobandlucy reacted to a post in a topic:
The Shipyard at Foss' Landing (Diorama) by gjdale (Grant) - FINISHED - SierraWest - Scale 1:87 (HO)
-
Awesome! Seeing your work sent me to the Sierra West site where I settled on the O scale Sawmill Project. This one-man manufacturer, Brett Gallant, gives superb customer service at a level not experienced by myself, ever. This is quite a different kind of modeling than I have done before and I look forward to the many hours it will take to construct. I'll look to your build for relevant tips and techniques. I will probably post a log on the S.W. site so as to benefit from the experience to be found there, but may show periodic progress here at MSW, as Chuck and admins. don't seem to mind posts of non-ship builds. Thanks for the inspiration, Grant. If I can do half as well, I'll be happy. Bob
-
bobandlucy reacted to a post in a topic:
The Shipyard at Foss' Landing (Diorama) by gjdale (Grant) - FINISHED - SierraWest - Scale 1:87 (HO)
-
bobandlucy reacted to a post in a topic:
The Shipyard at Foss' Landing (Diorama) by gjdale (Grant) - FINISHED - SierraWest - Scale 1:87 (HO)
-
bobandlucy reacted to a post in a topic:
The Shipyard at Foss' Landing (Diorama) by gjdale (Grant) - FINISHED - SierraWest - Scale 1:87 (HO)
-
bobandlucy reacted to a post in a topic:
19th Century Doctor's Buggy by bobandlucy - FINISHED - Model Trailways - 1:12
-
I am building my second, the Concord Stage Coach, it has not been what I'd call an easy build. . . intermediate level maybe. Have fun!
-
May I say that I never saw the appeal of this kind of figure modeling until now. Thanks bob
-
John, I enjoy your work very much.
I have been wondering, do people in Maine remember E.B. White, Maine resident, New Yorker staff writer for decades, master essayist and author of fiction, and lifelong sailor? His son, I believe, was a boat designer and builder in Maine, and may very well still be engaged in that occupation.
bob
-
You are quite the builder! Love the shop, and glimpses of your yard. bob
-
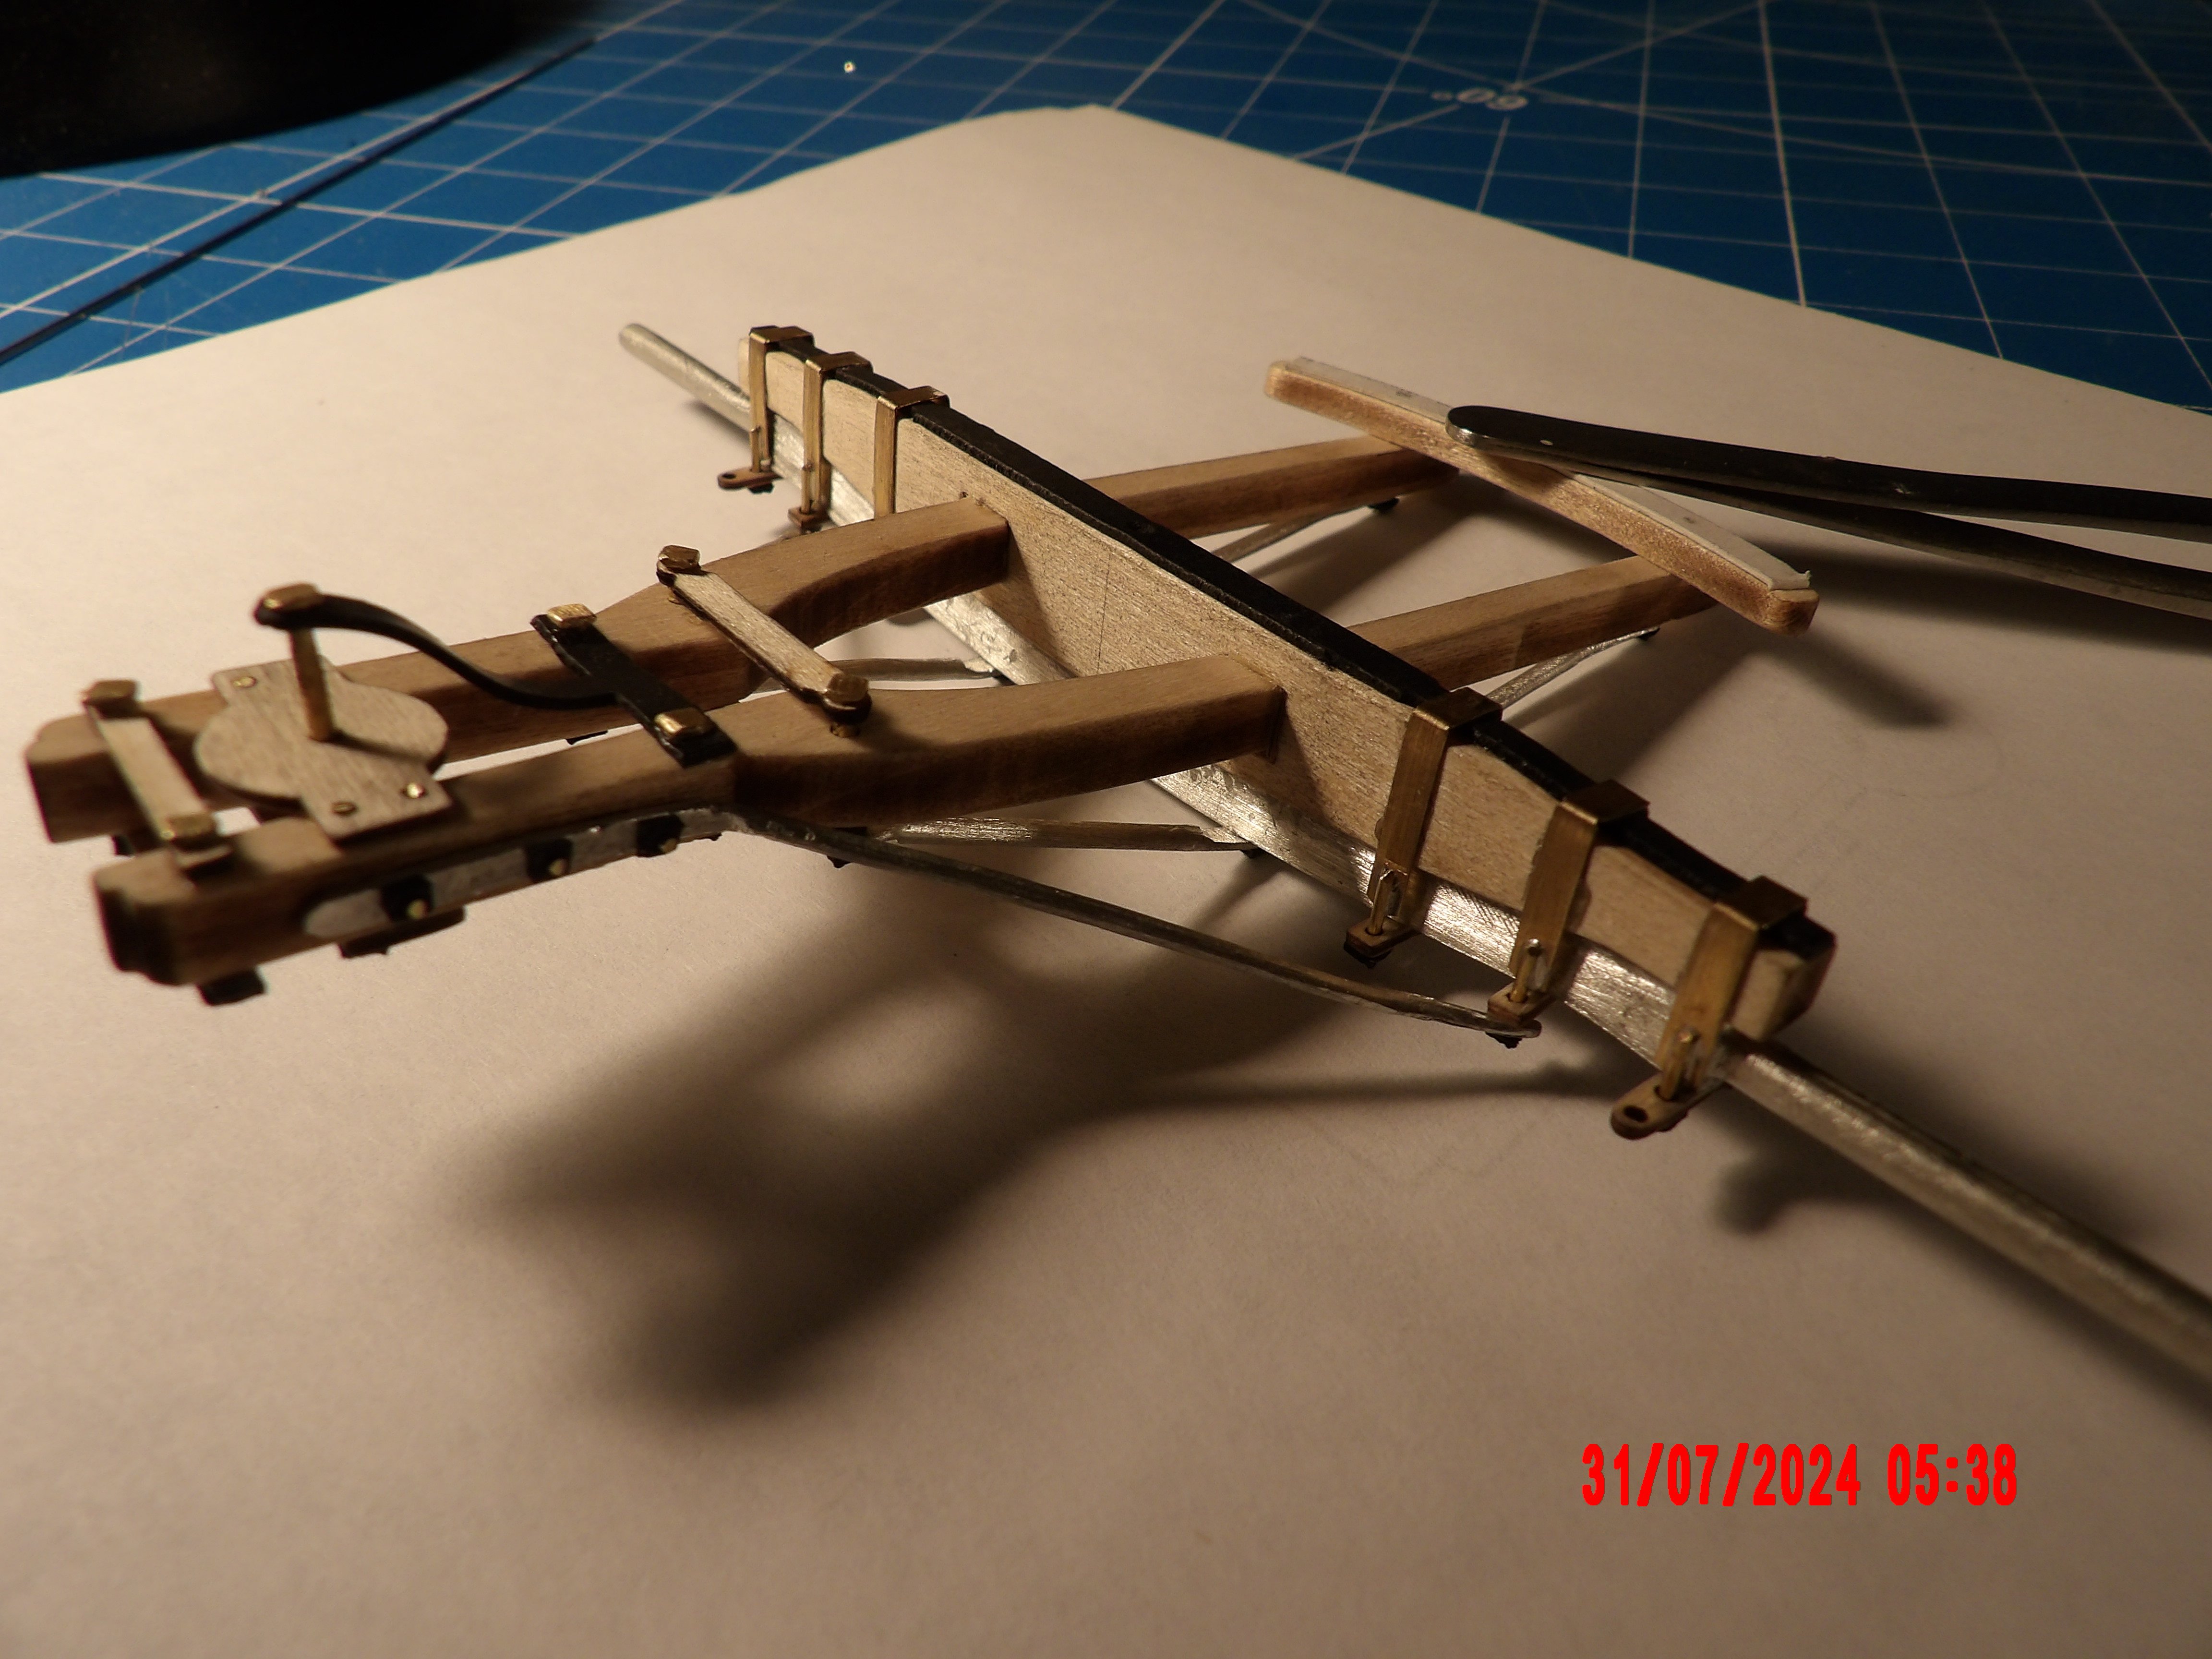
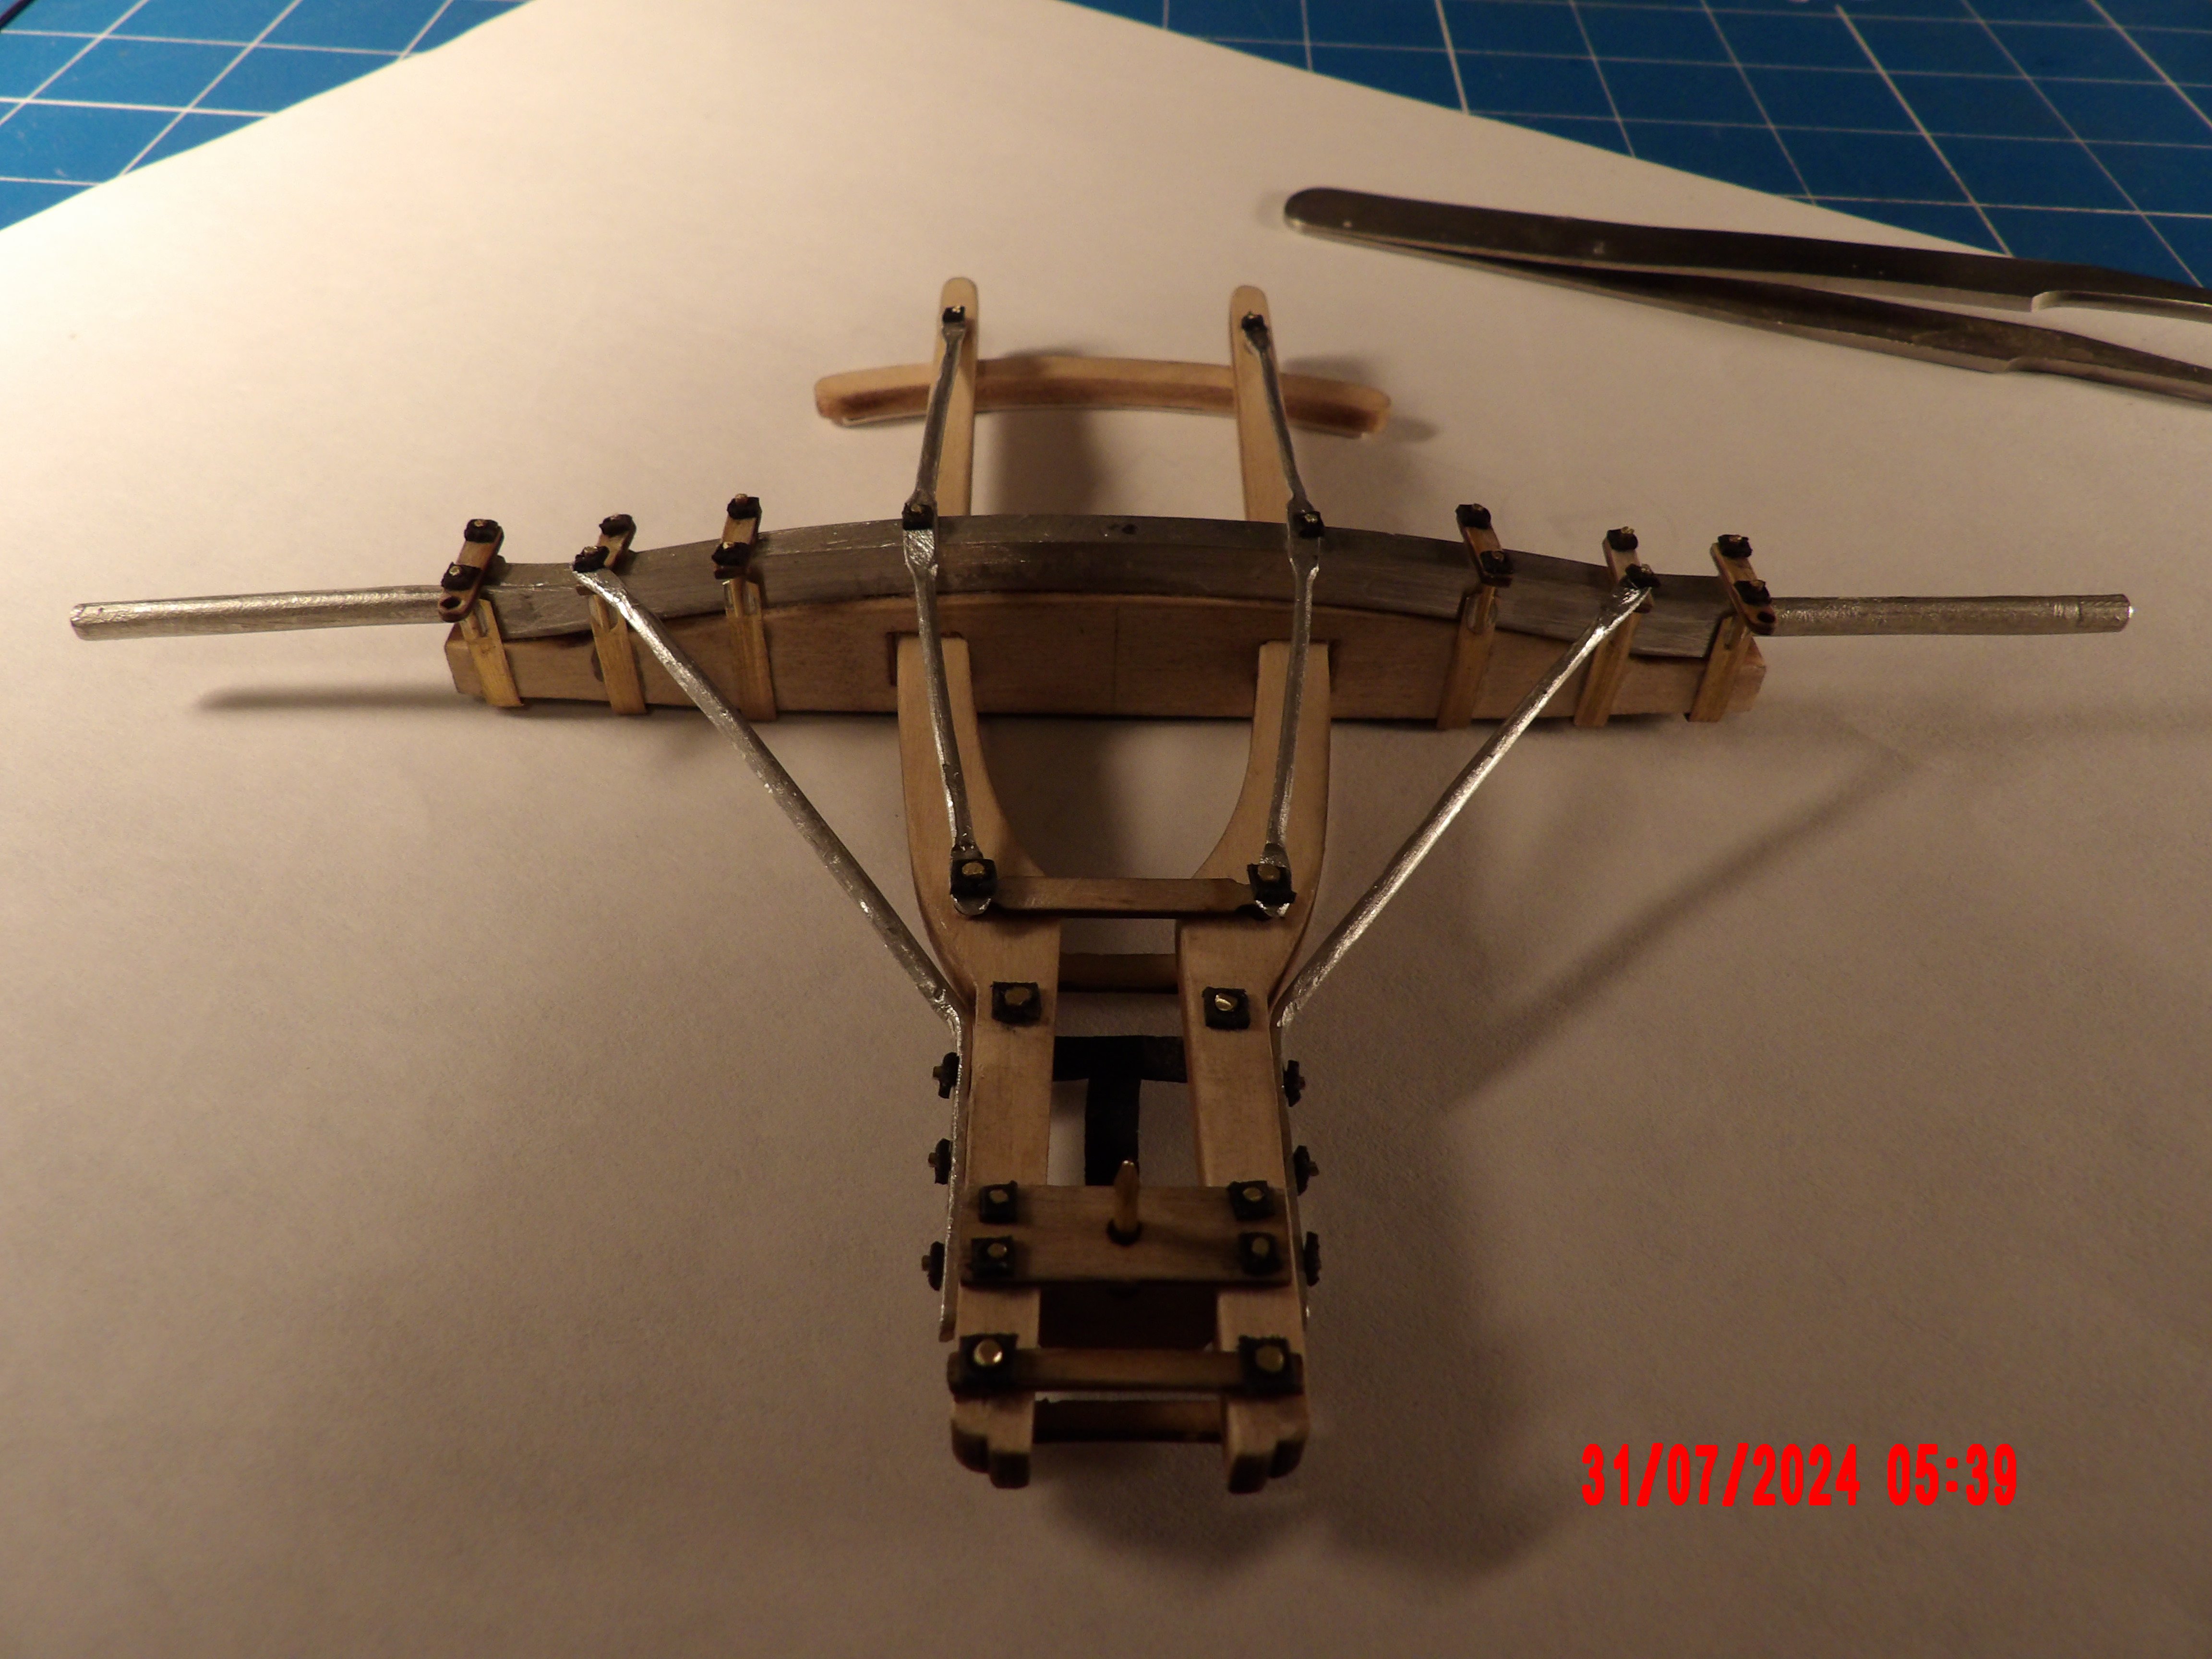
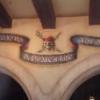
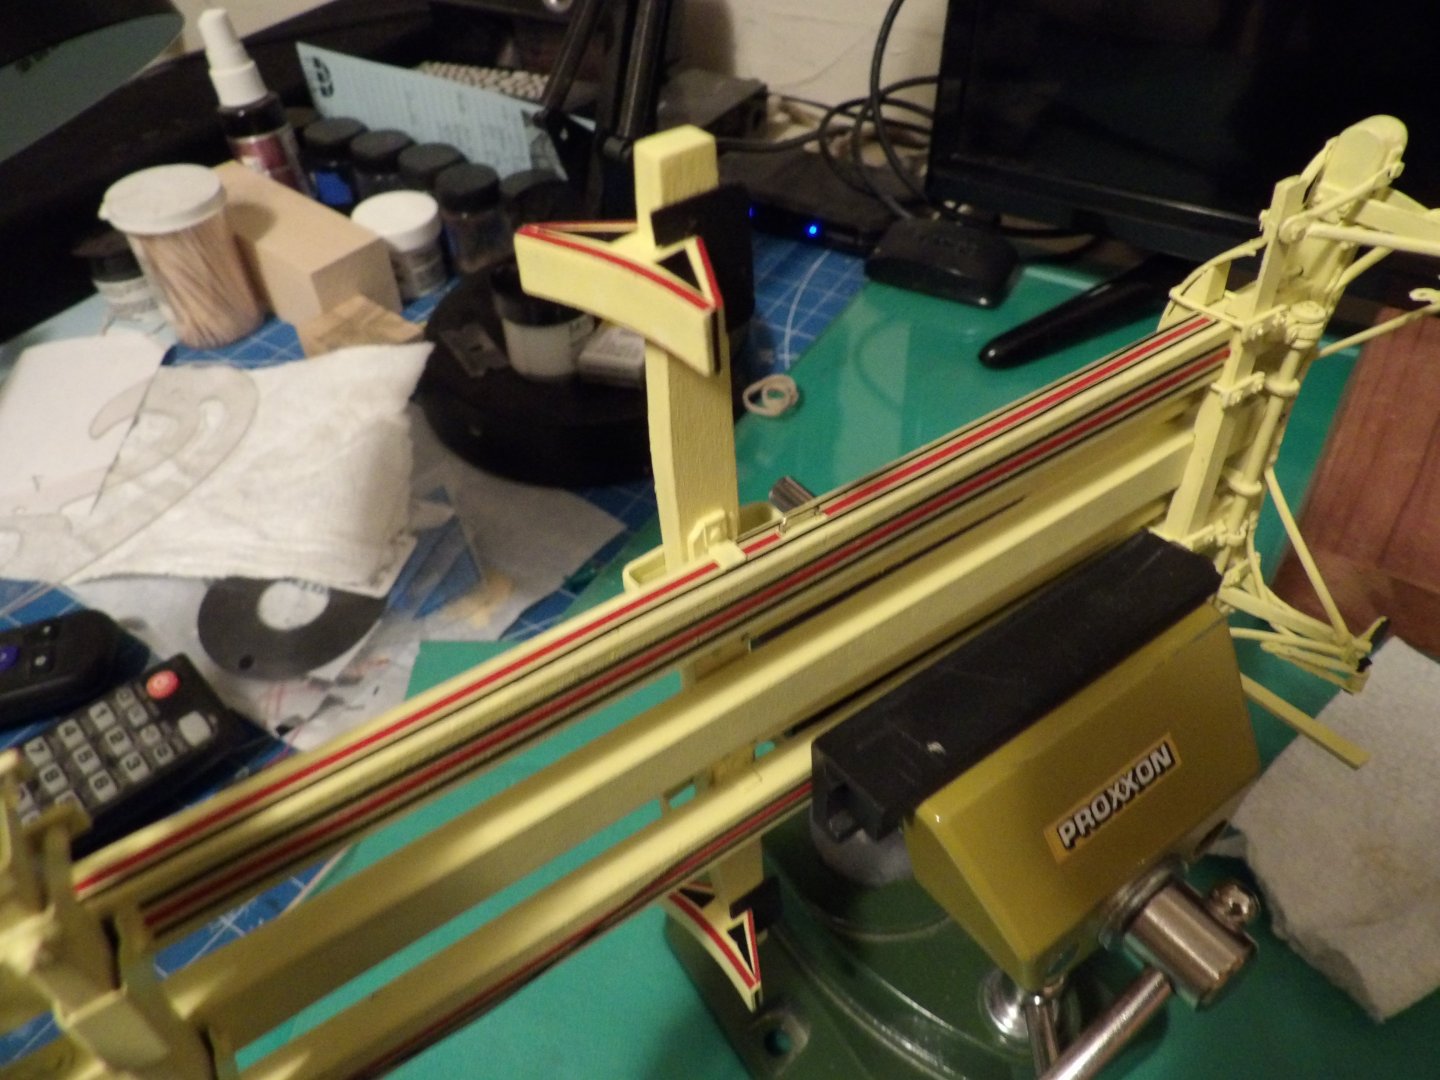
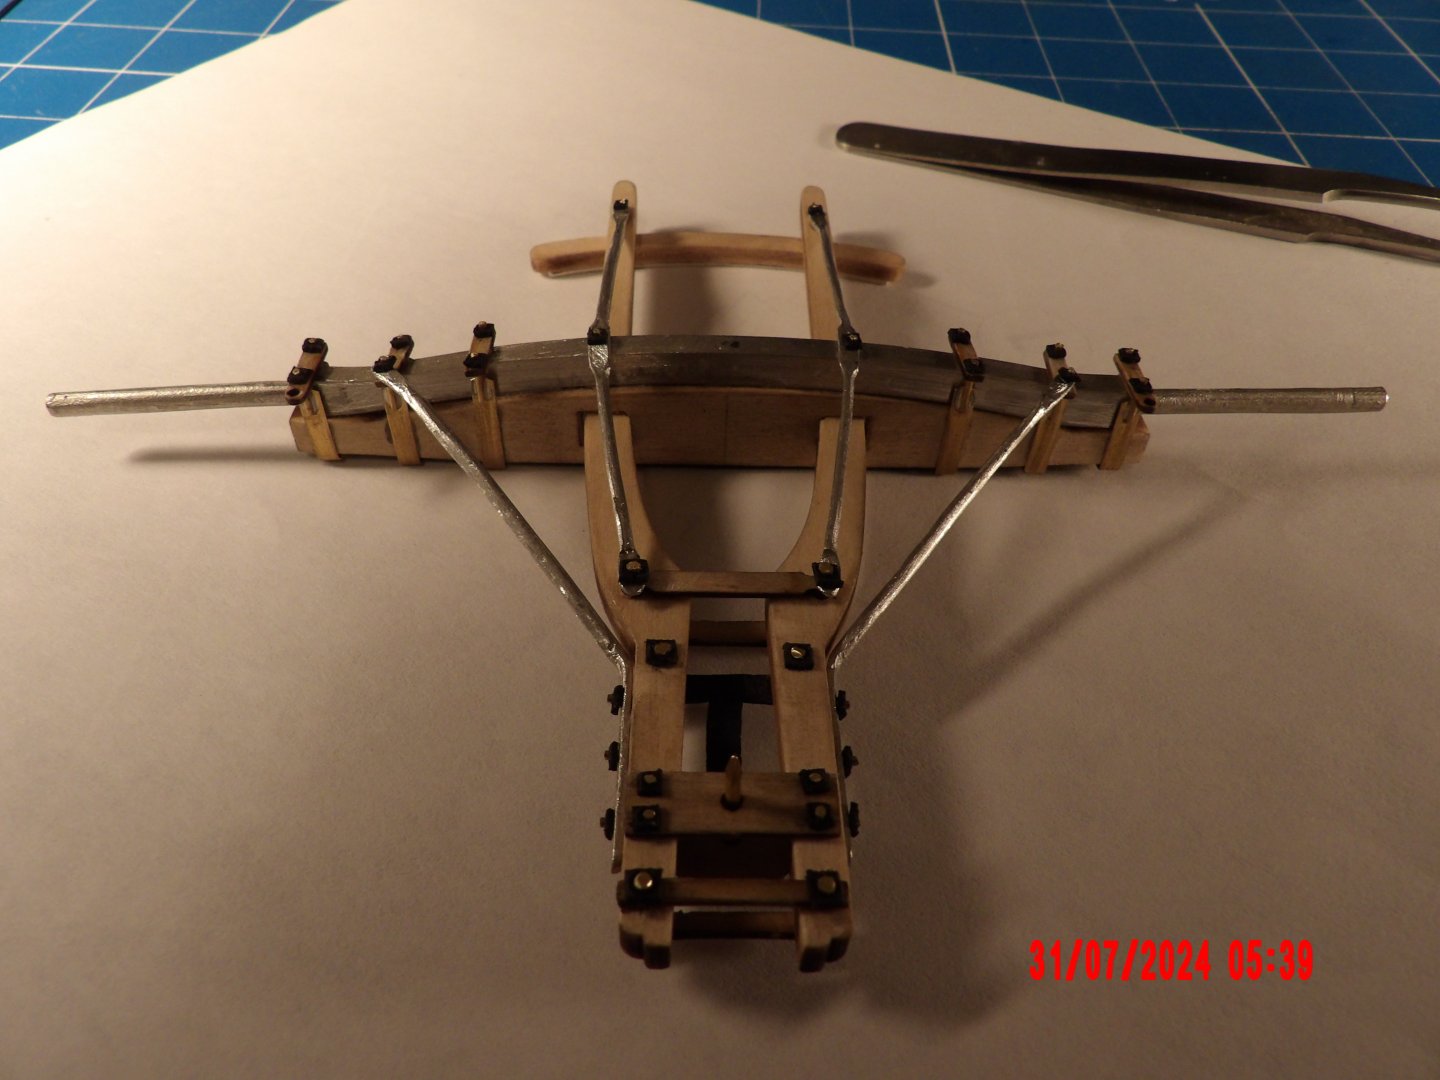
Finished the "running gear," ready for painting. Tricky to assemble. The holes for the "hounds" (the two curved members penetrating the axle assembly) were considerably oversized, and it took me quite a while to figure out how to shim without throwing off other critical dimensional relationships. But I did it! I don't expect nicely made metal castings, so I wasn't disappointed with those supplied with this kit! Spent a good deal of time cleaning them up and then correcting the shapes. But I am a very patient modeler. . . The square-headed bolts are made from "escutcheon" nails. I squeezed them into a rough square shape in a vise, them filed the top flat and cleaned up the squeeze from the underside of the head. There are quite a few of these bolts on the model, so I'm getting better at forming them as the building progresses.

- 18 replies
-
- 10
-
-
Very Nice! Interesting to see the differences between the version I built and yours. . . bob
- 87 replies
-
- 4
-
-

-
- King of the Mississippi
- Artesania Latina
- (and 2 more)
-
Thanks, @Tankerman. I now do recall seeing this kit. It does look rather fanciful. I love steam power.
-
The horses/harnesses do look very nice. I'm not sure if I'll do them, but I will consider. . . @Tankerman I don't recognize your model as a Model Trailways offering. It looks fantastic! Could you please explain it's function and origin? Is it something you scratch-built? bob
-
Thanks very much. b
-
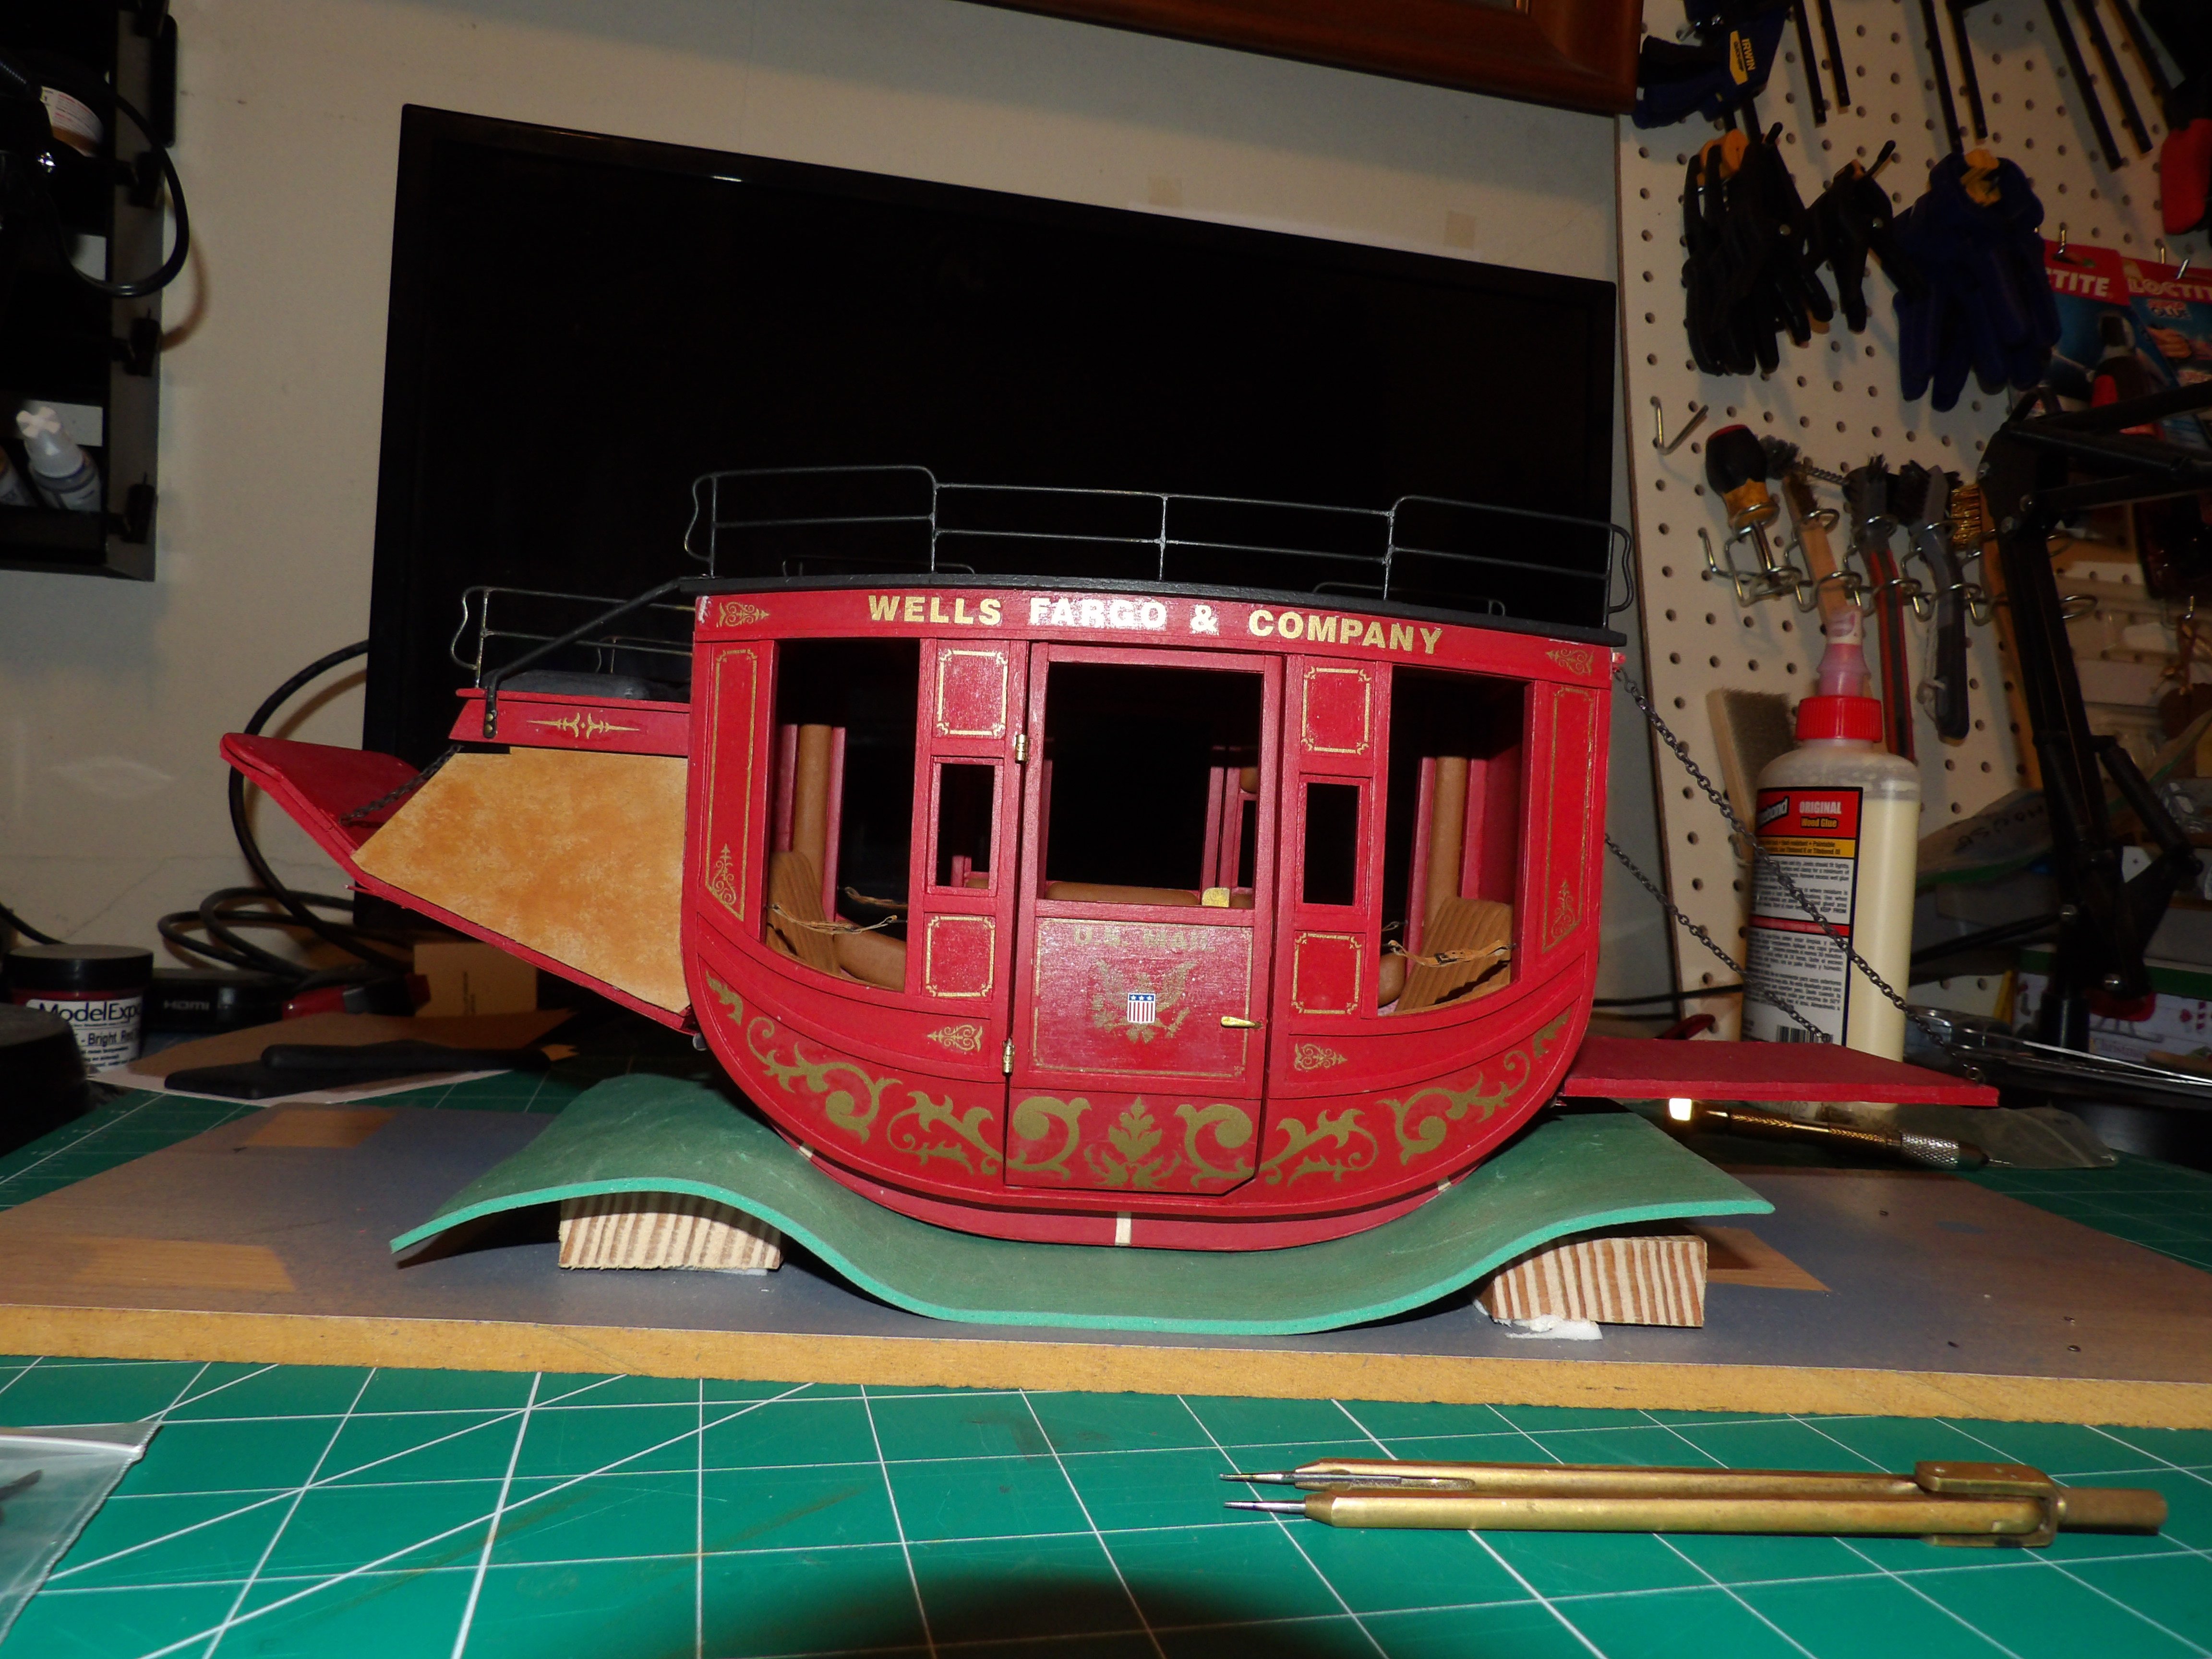
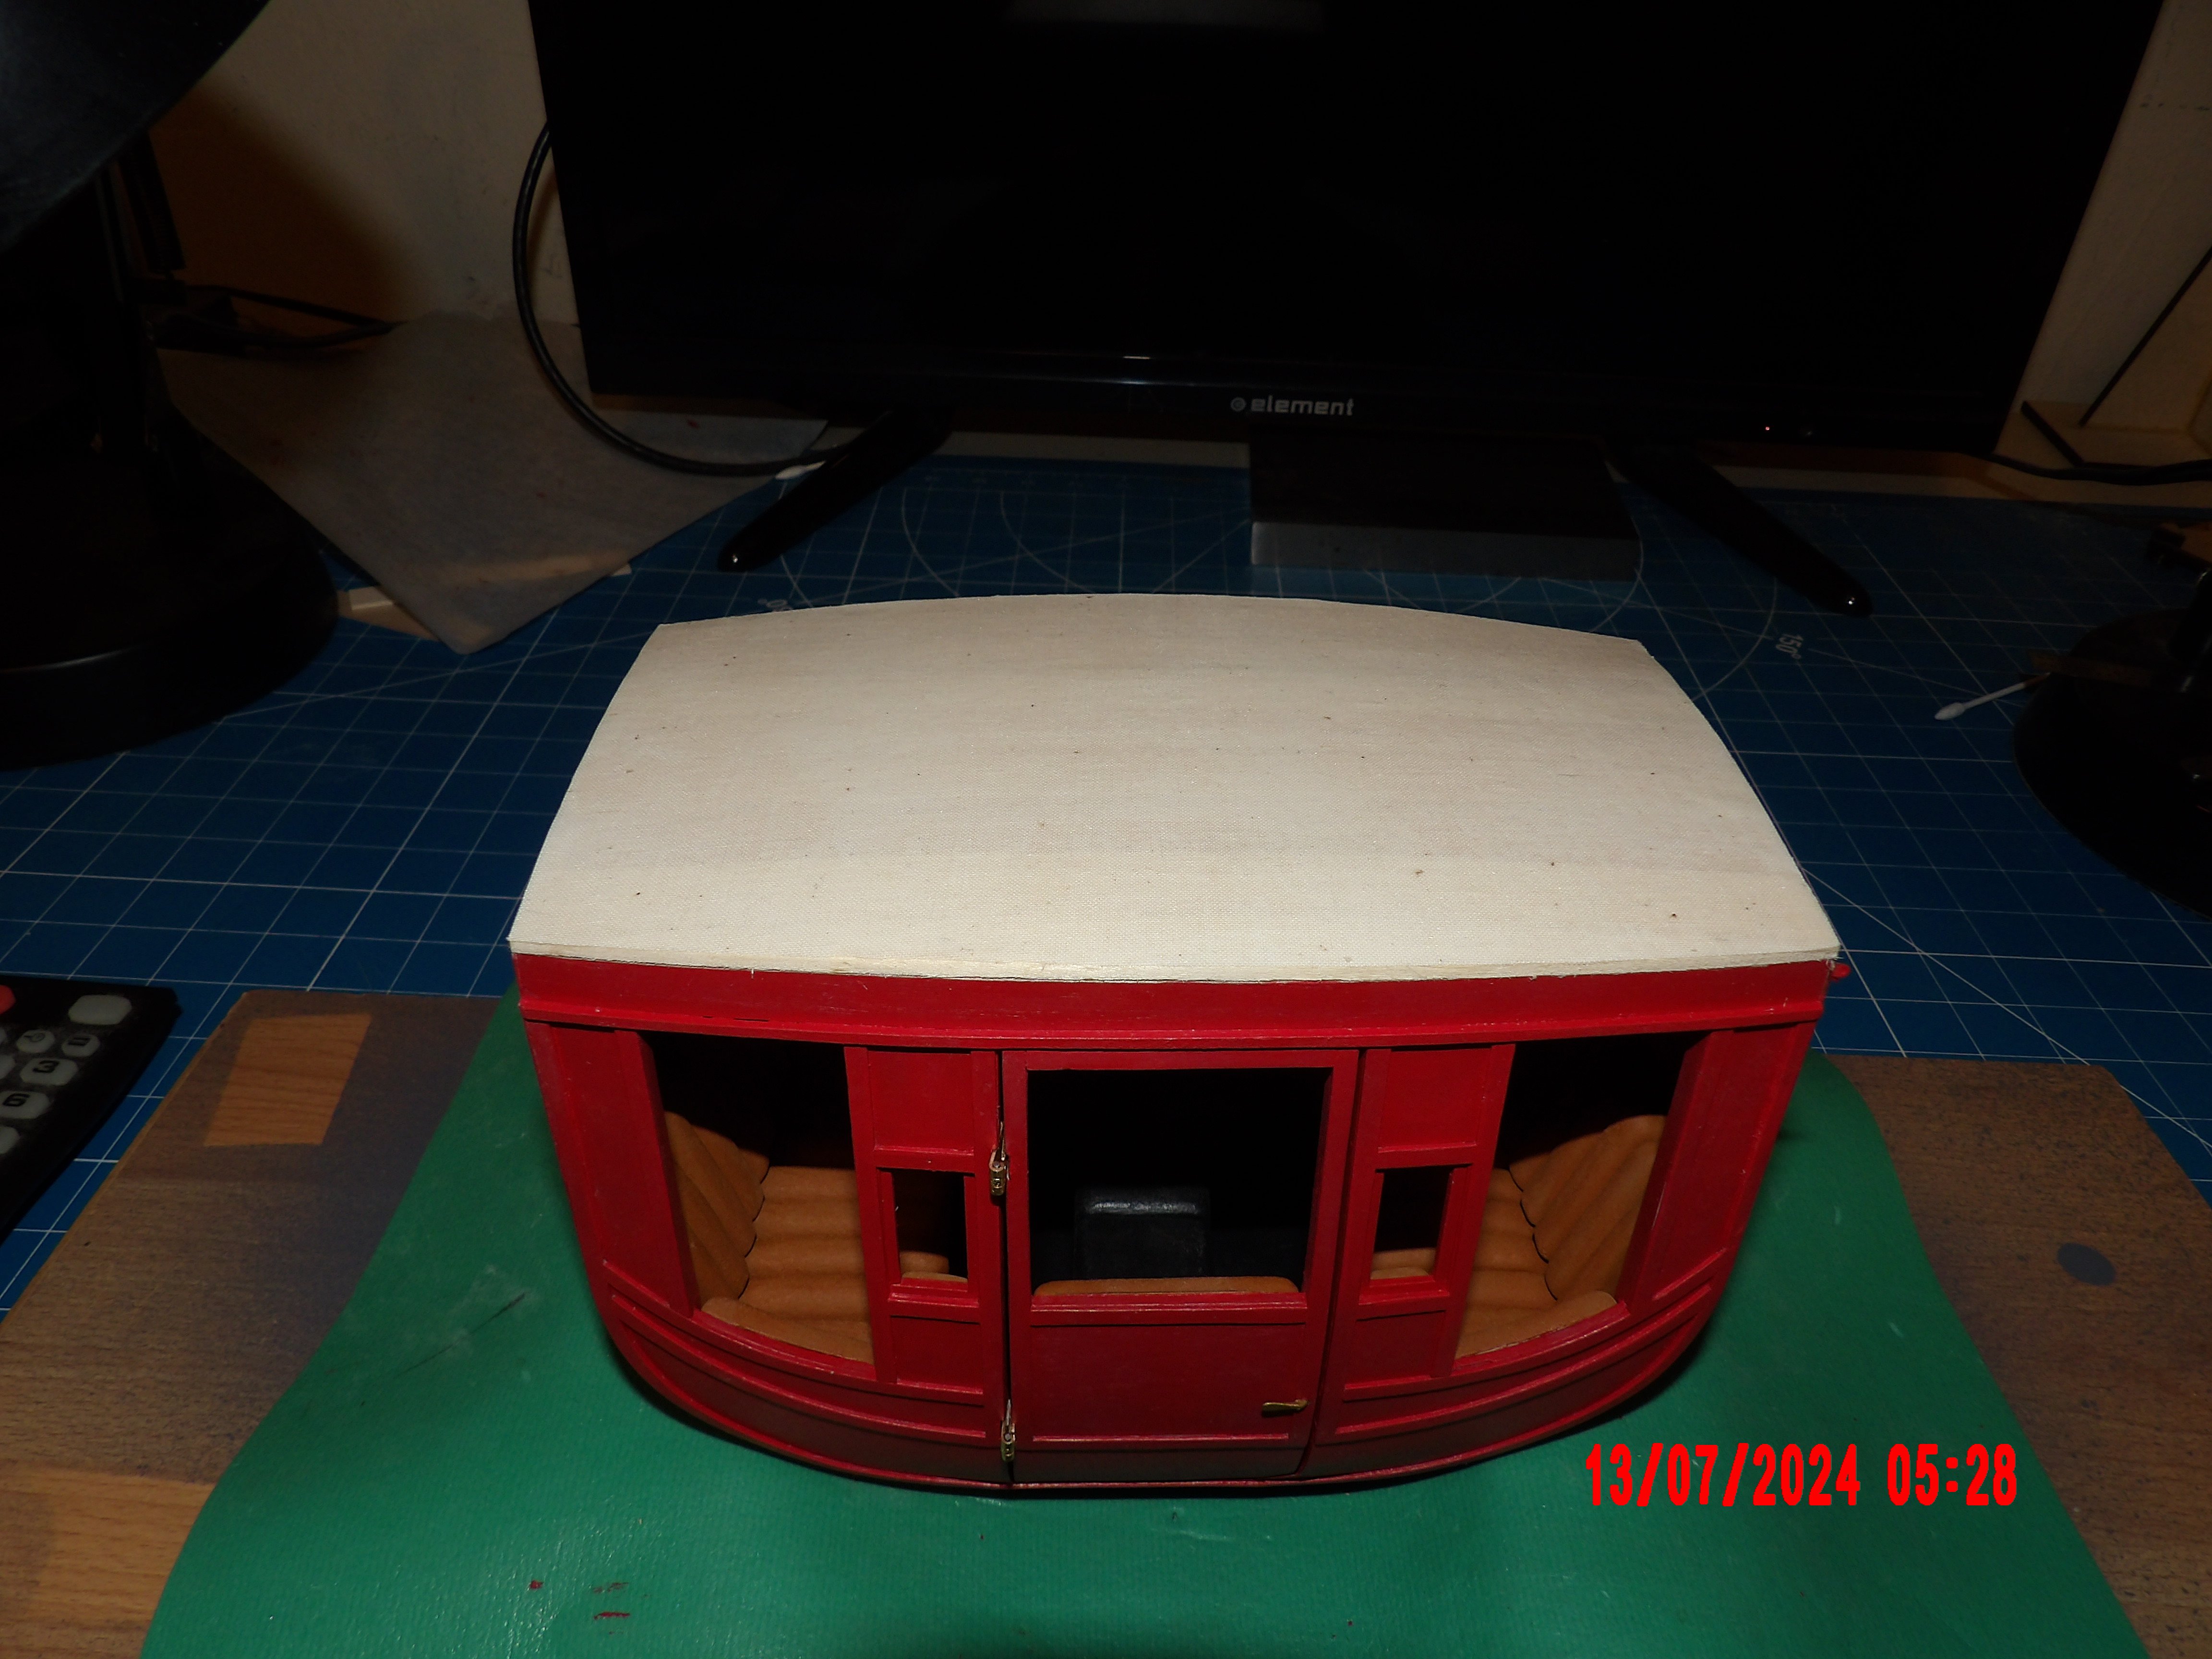
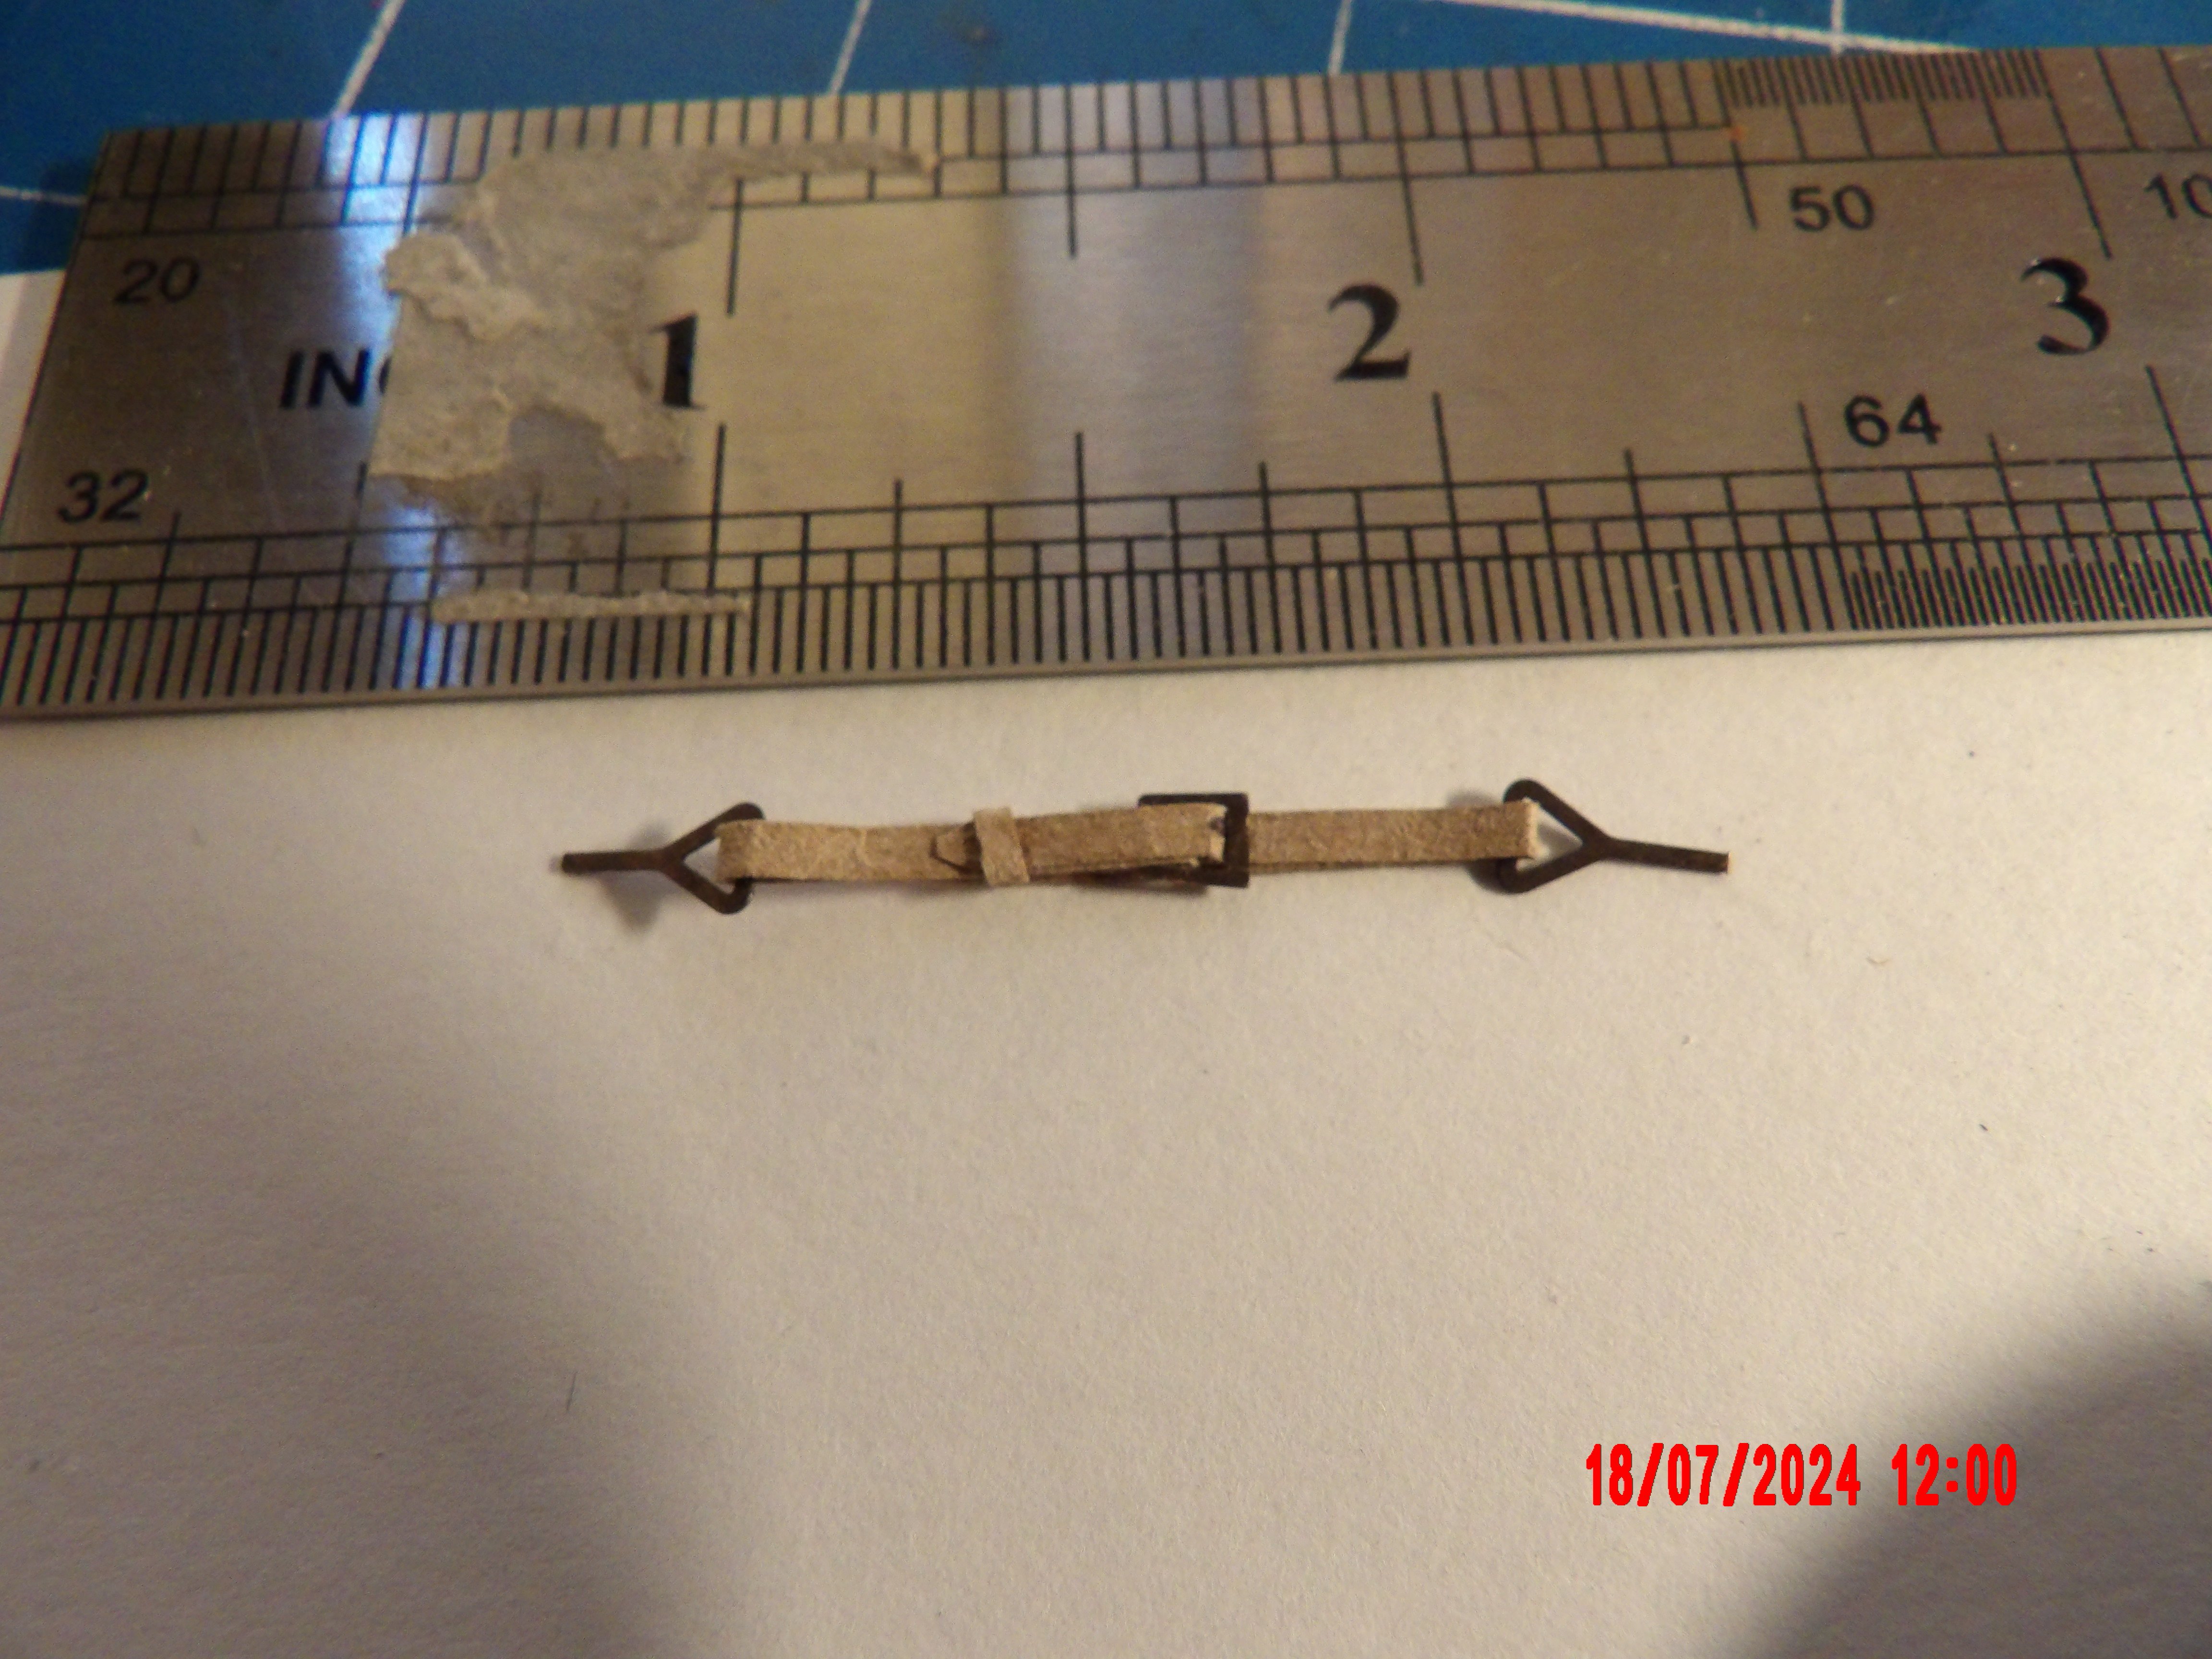
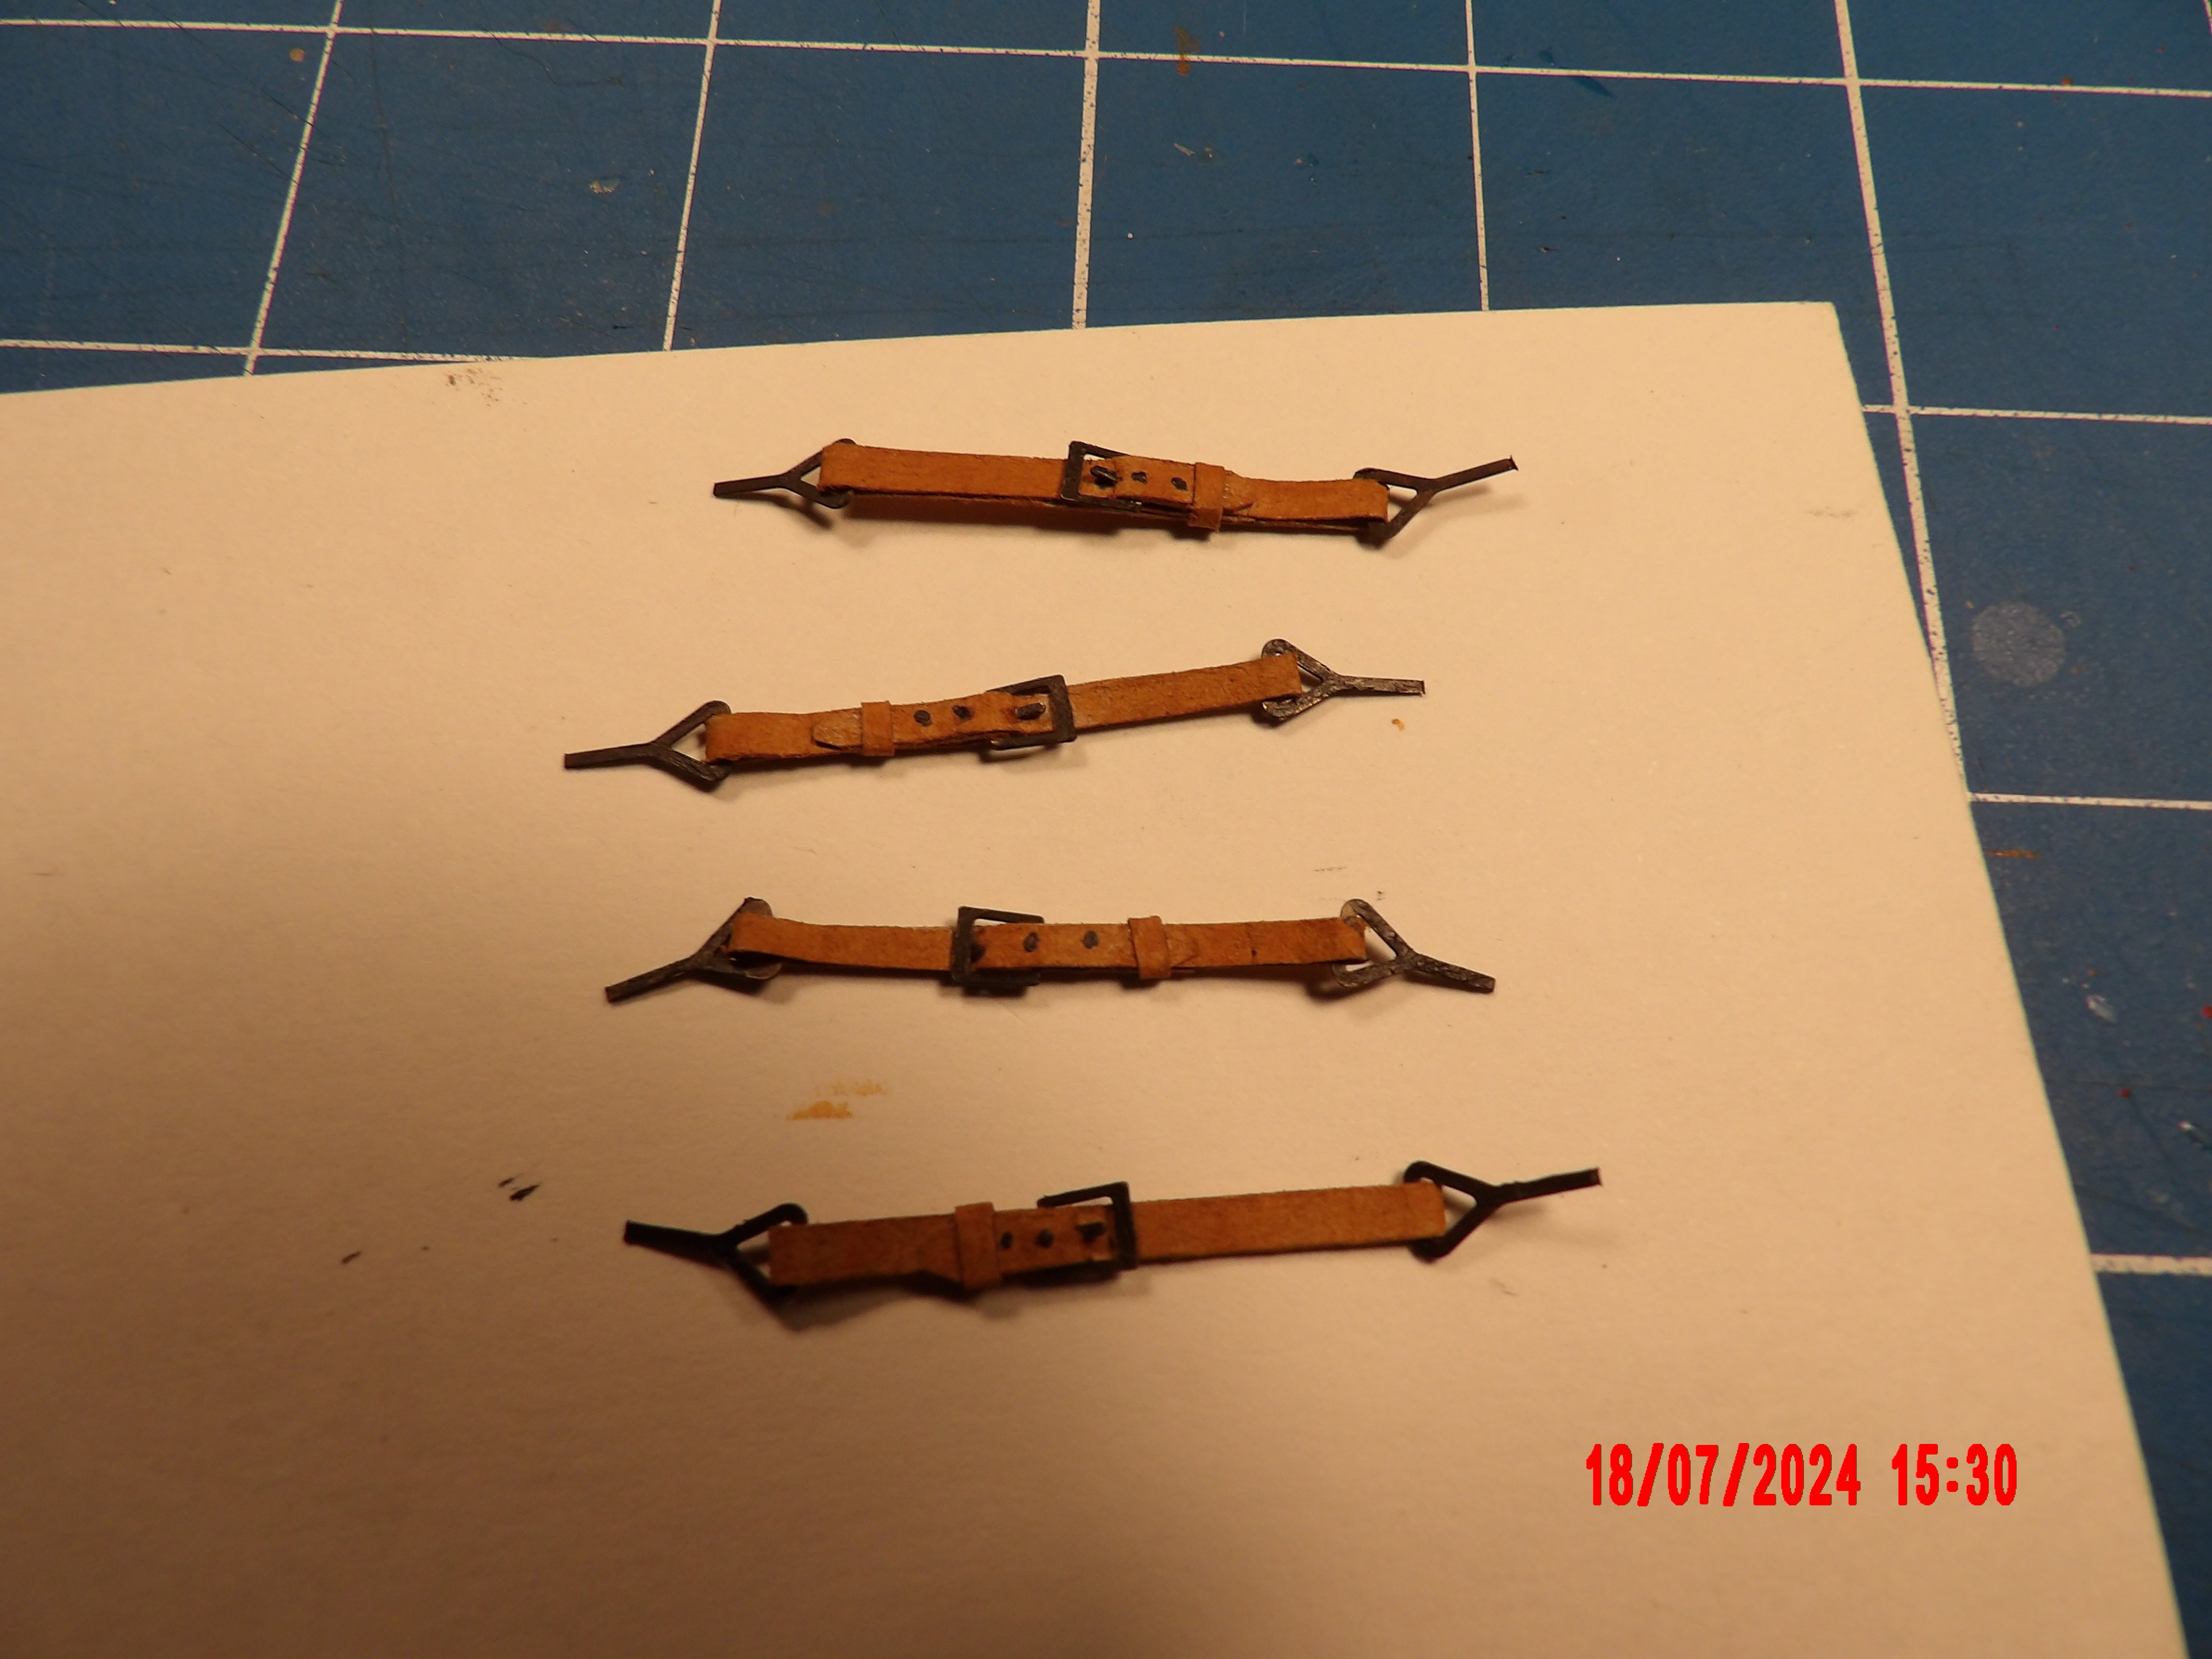
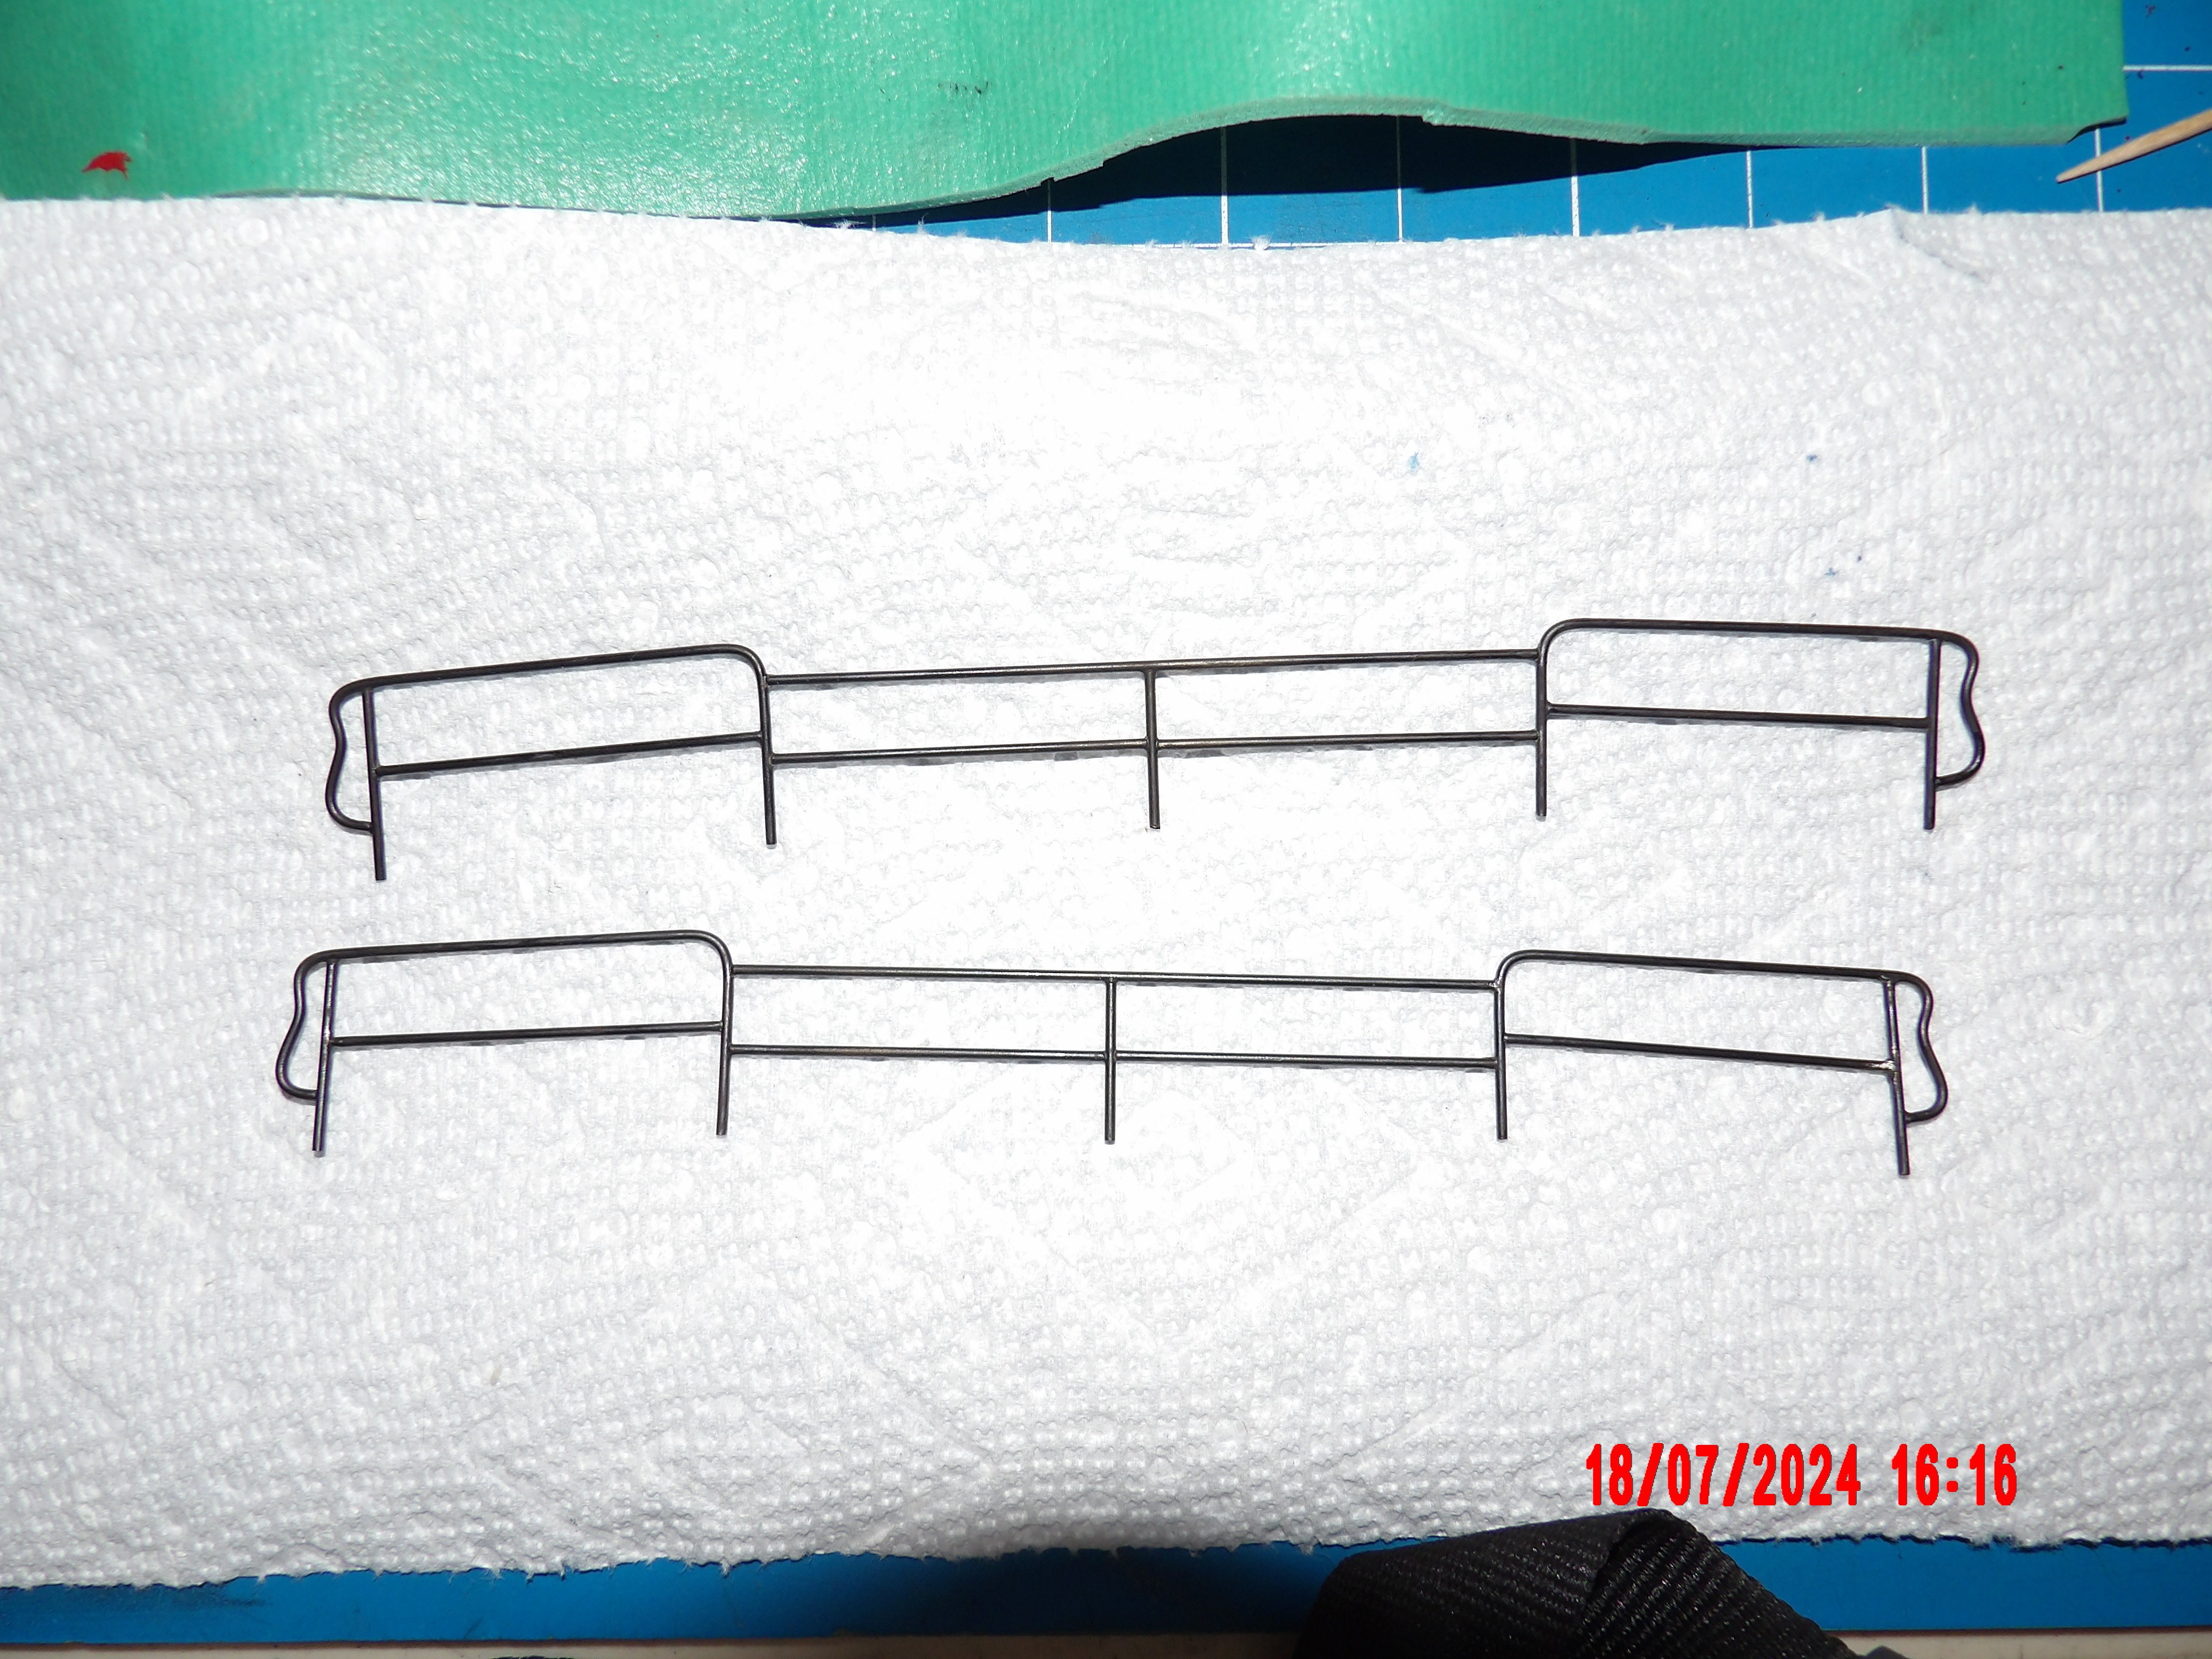
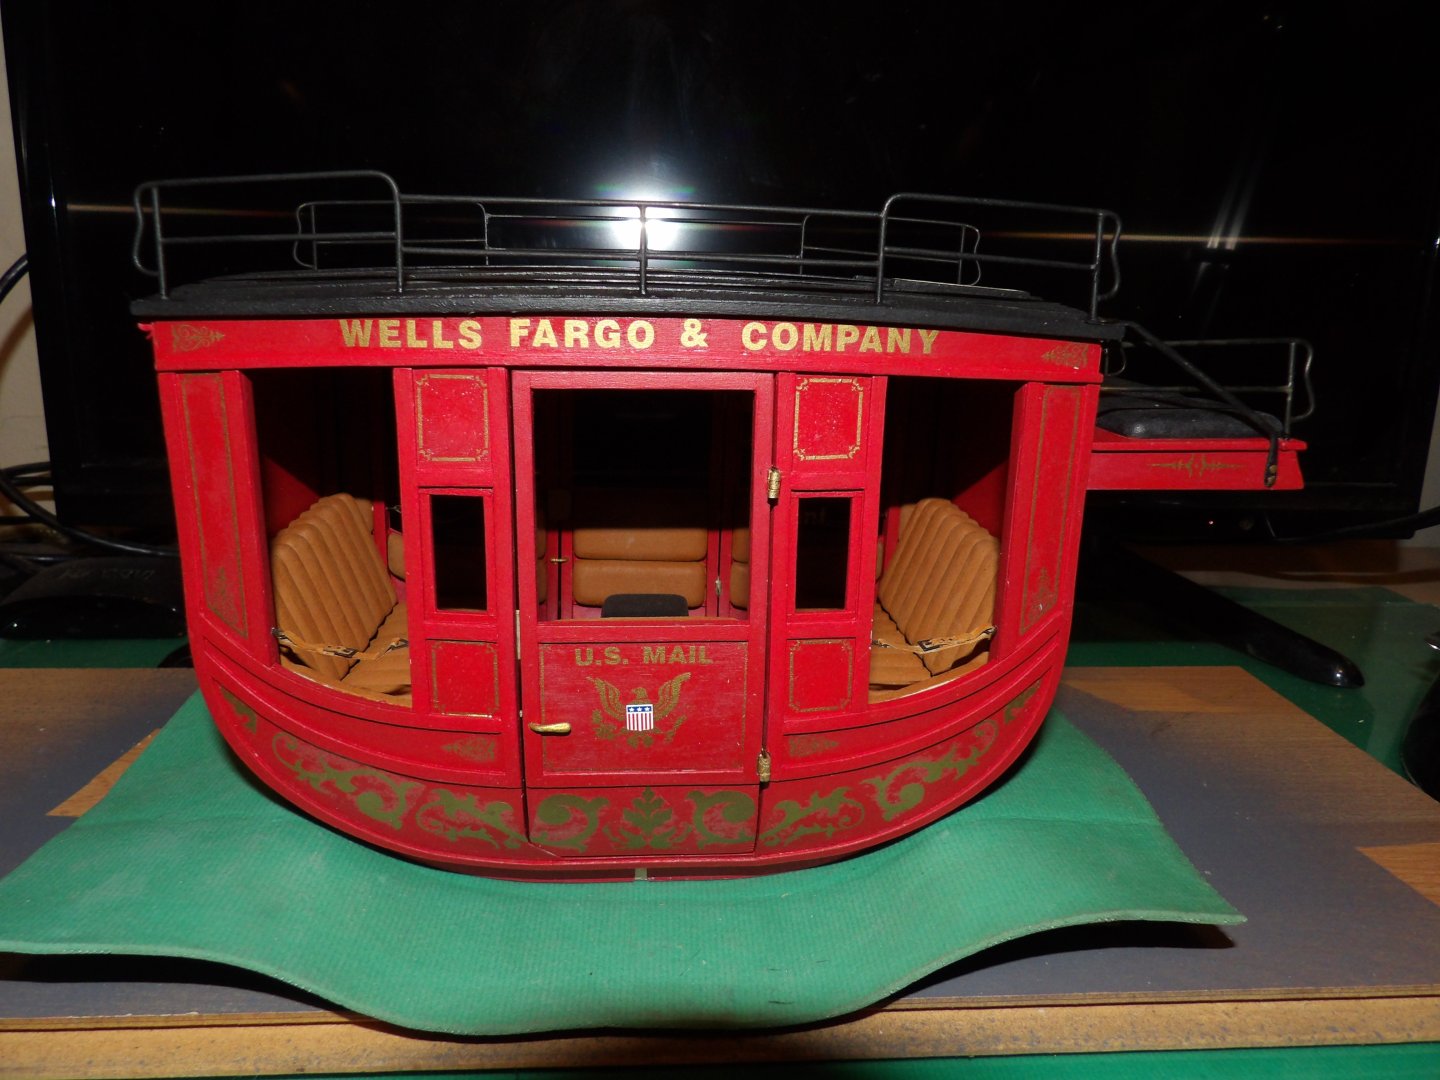
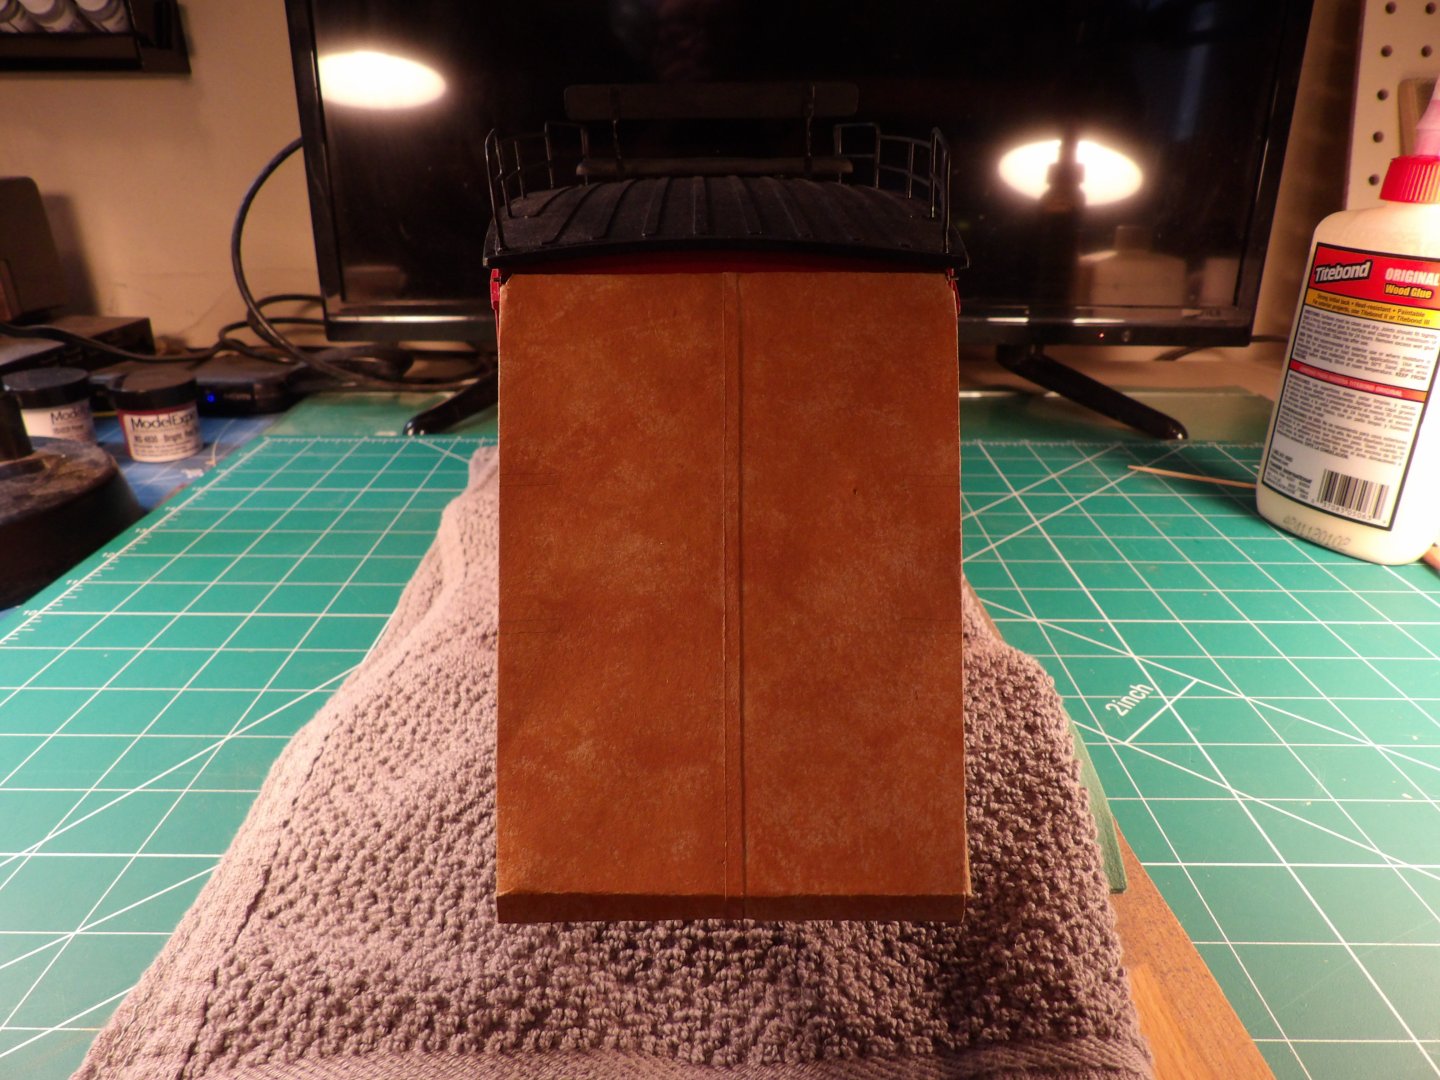
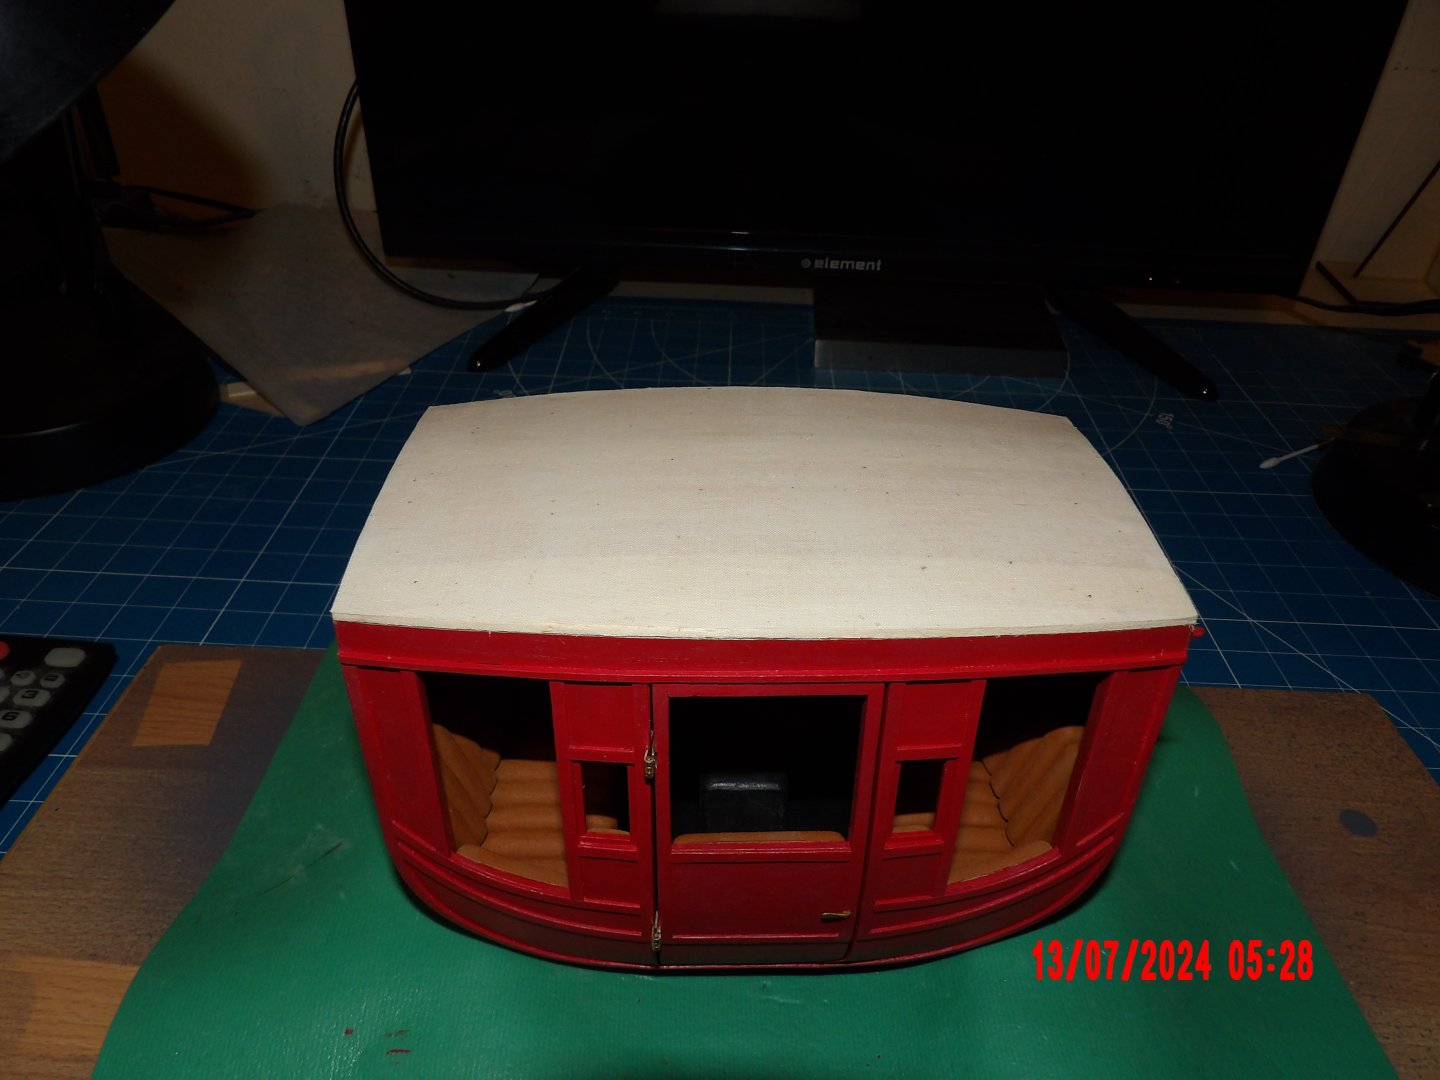
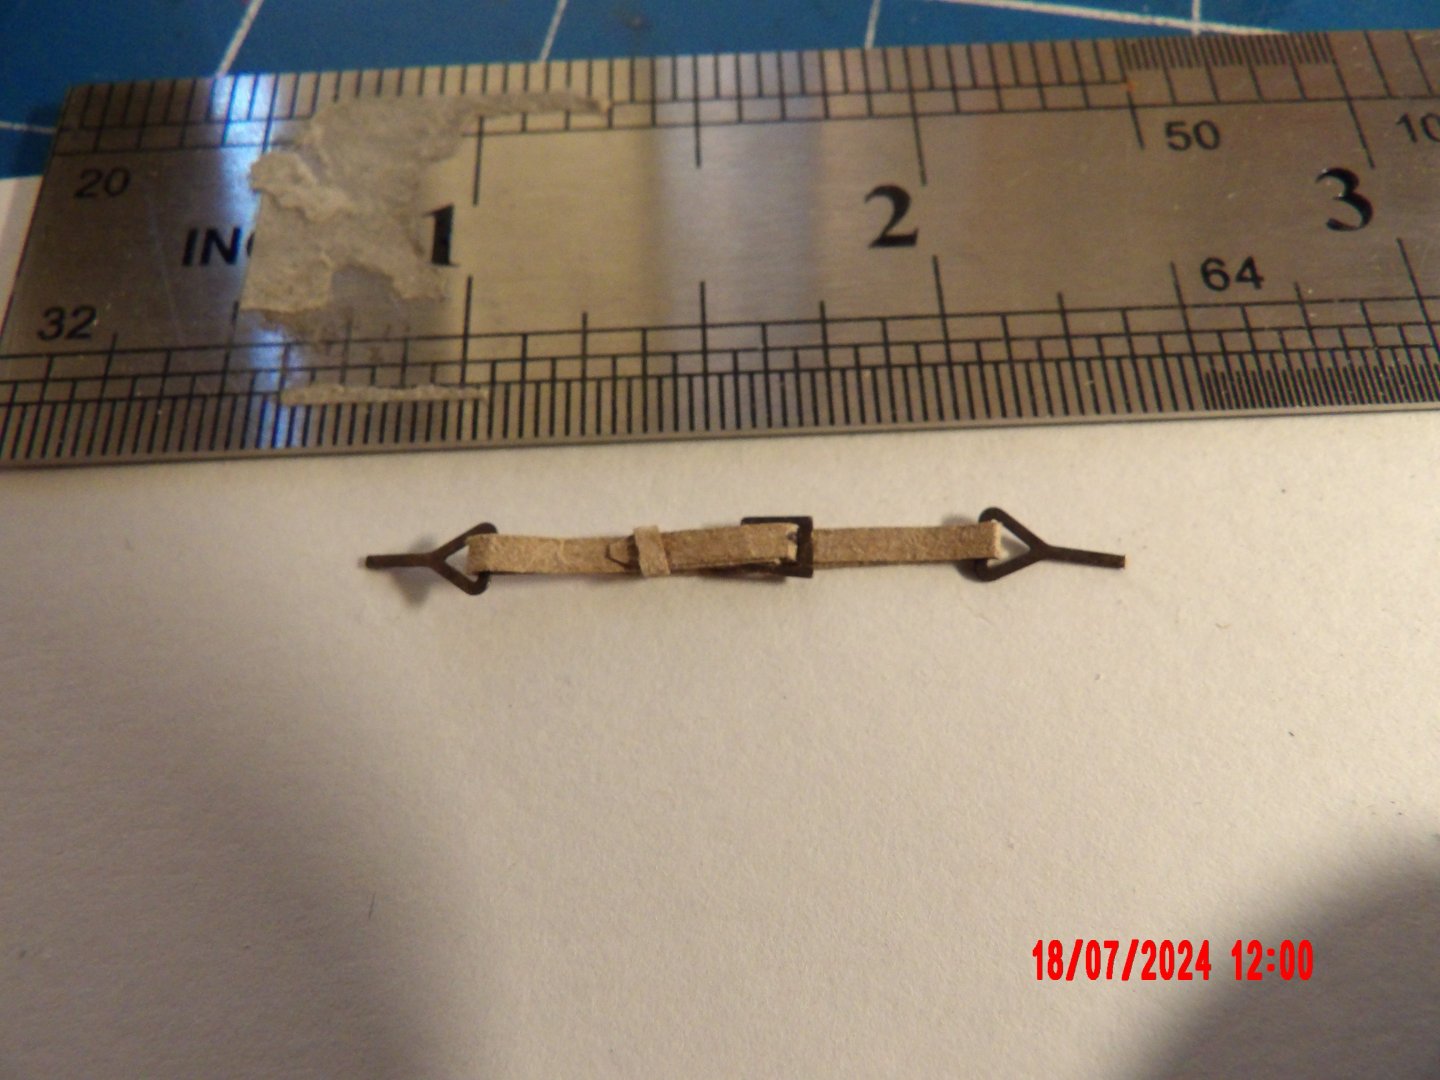
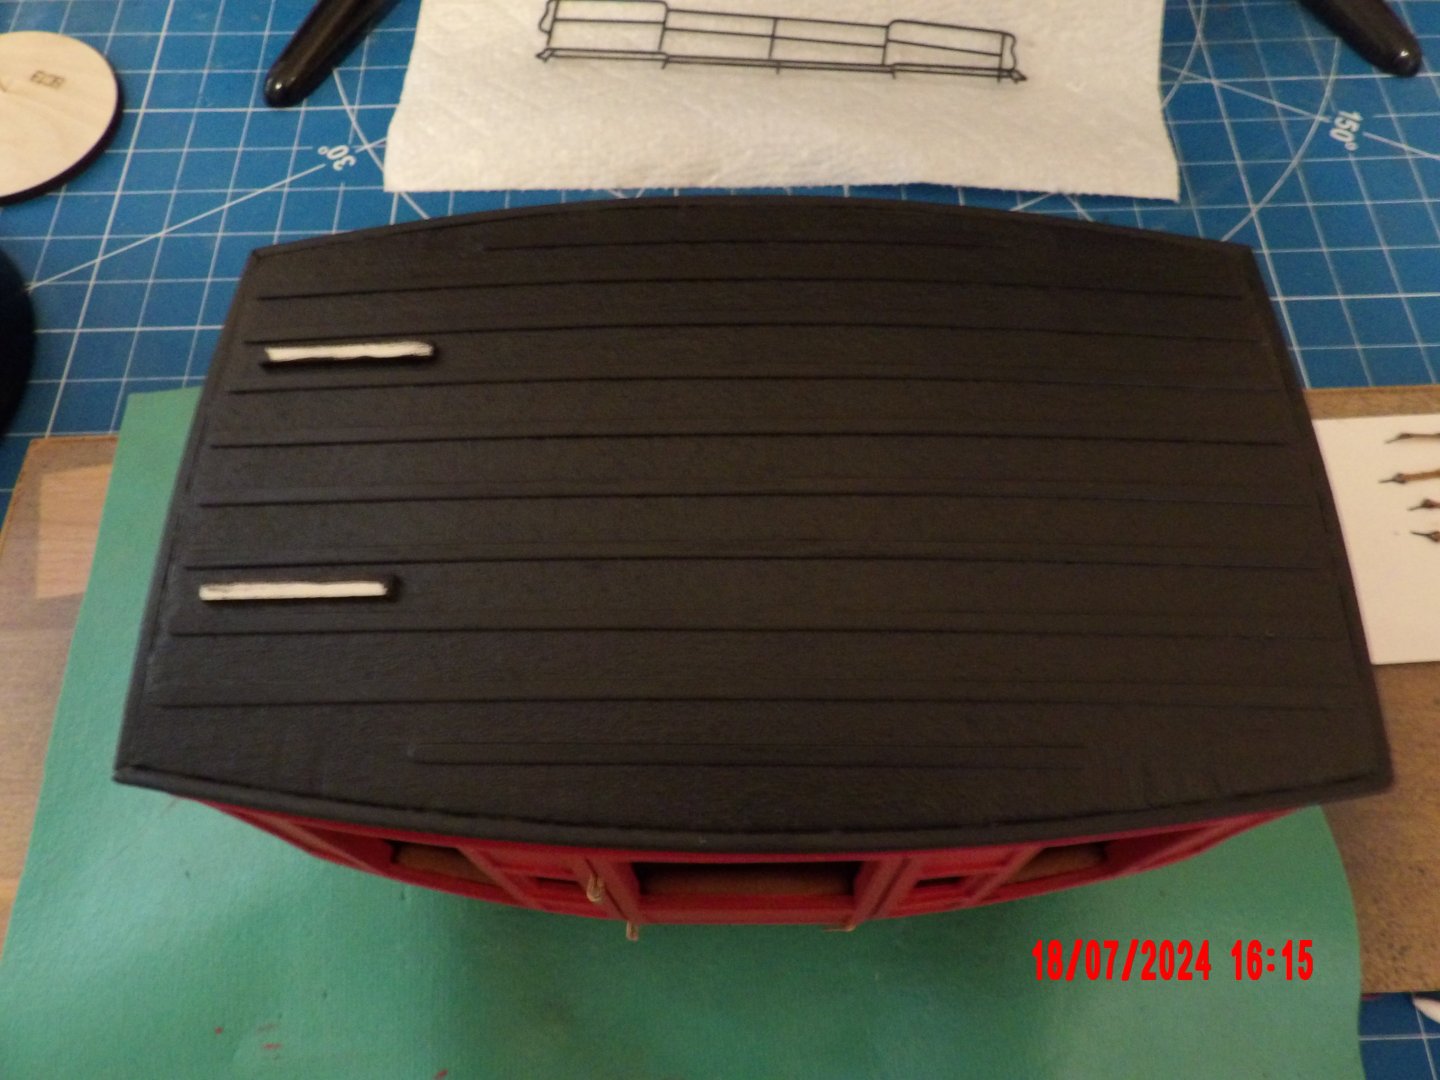
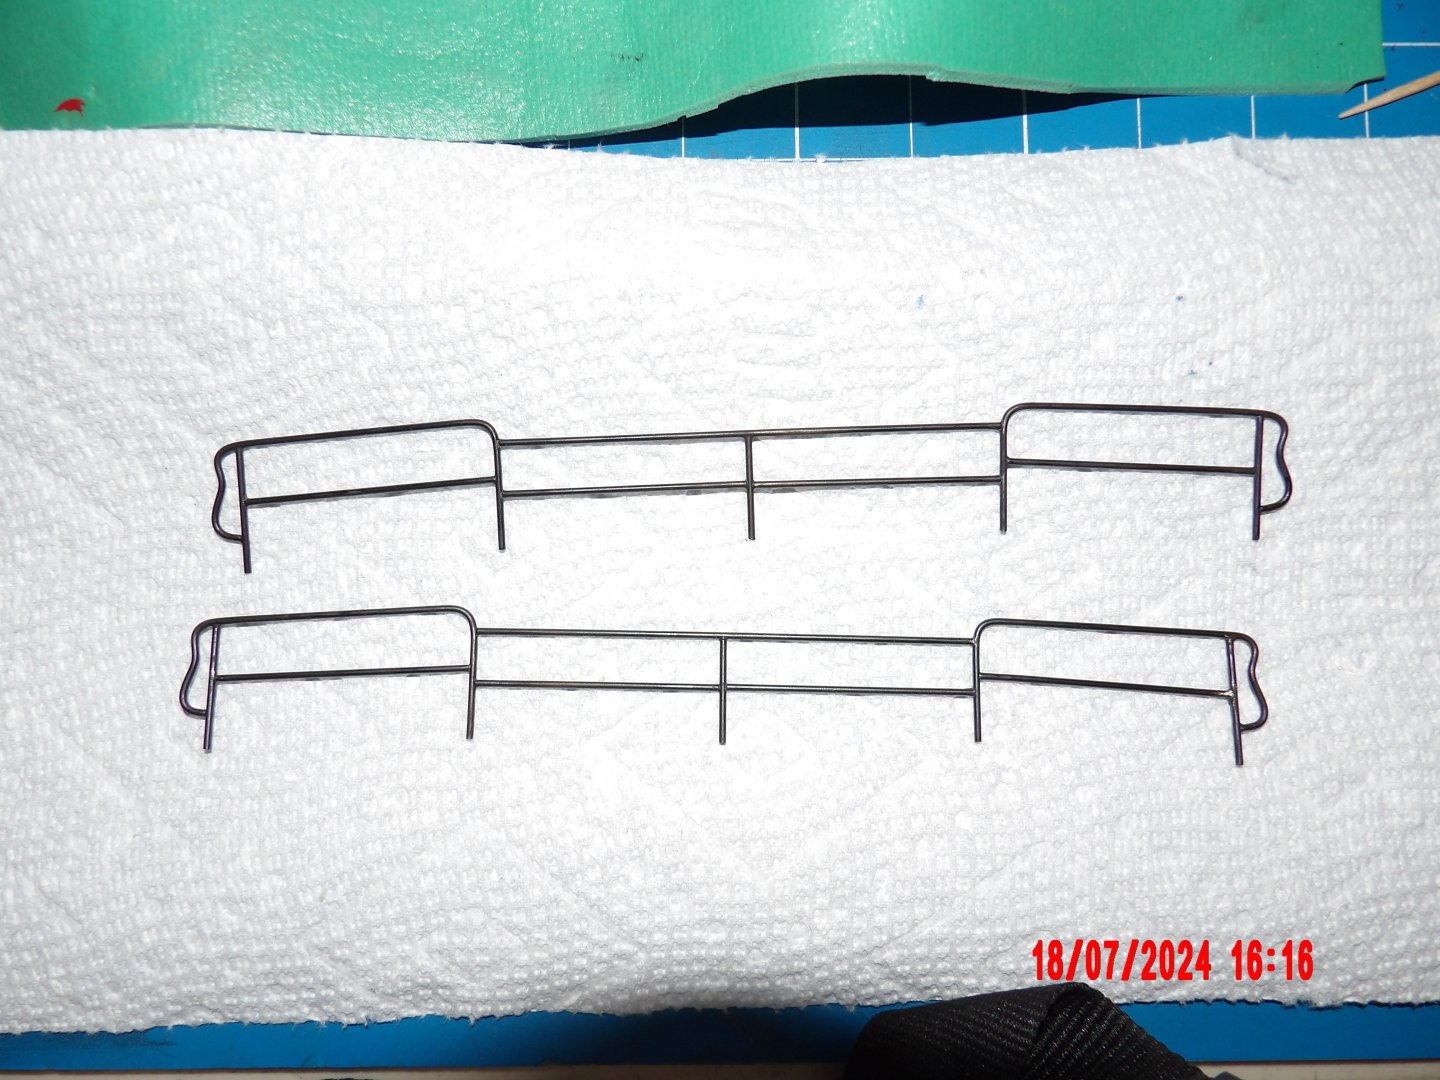
Planked the roof, and covered with provided cloth to simulate canvas. I used Mod Podge (new to me, mentioned in the manual) as the adhesive. Feels really solid now. Added rub rails to the roof and painted flat black: Made the passenger sway straps. I've been putting this off because initially I did not understand the instructions, but after re-reading a few hundred times it finally sunk into what remains of my grey matter. These four straps were my days work, and they are yet to be installed. The strap material is thin fibrous gasket material and is used to simulate leather. After assembly I gave them a wash of thinned paint, same as used for the "leather" seats inside the cabin. I had soldered the baggage rails earlier, and this represents a big step forward for me. I chemically blackened them yesterday and am very pleased with the results:


- 18 replies
-
- 12
-
-

-
You're doing beautiful work these days, Gregg. Bob
- 184 replies
-
- 1
-
-
- Bluenose
- Model Shipways
- (and 1 more)