bobandlucy
-
Posts
512 -
Joined
-
Last visited
Content Type
Profiles
Forums
Gallery
Events
Everything posted by bobandlucy
-
 Thanks!
 -
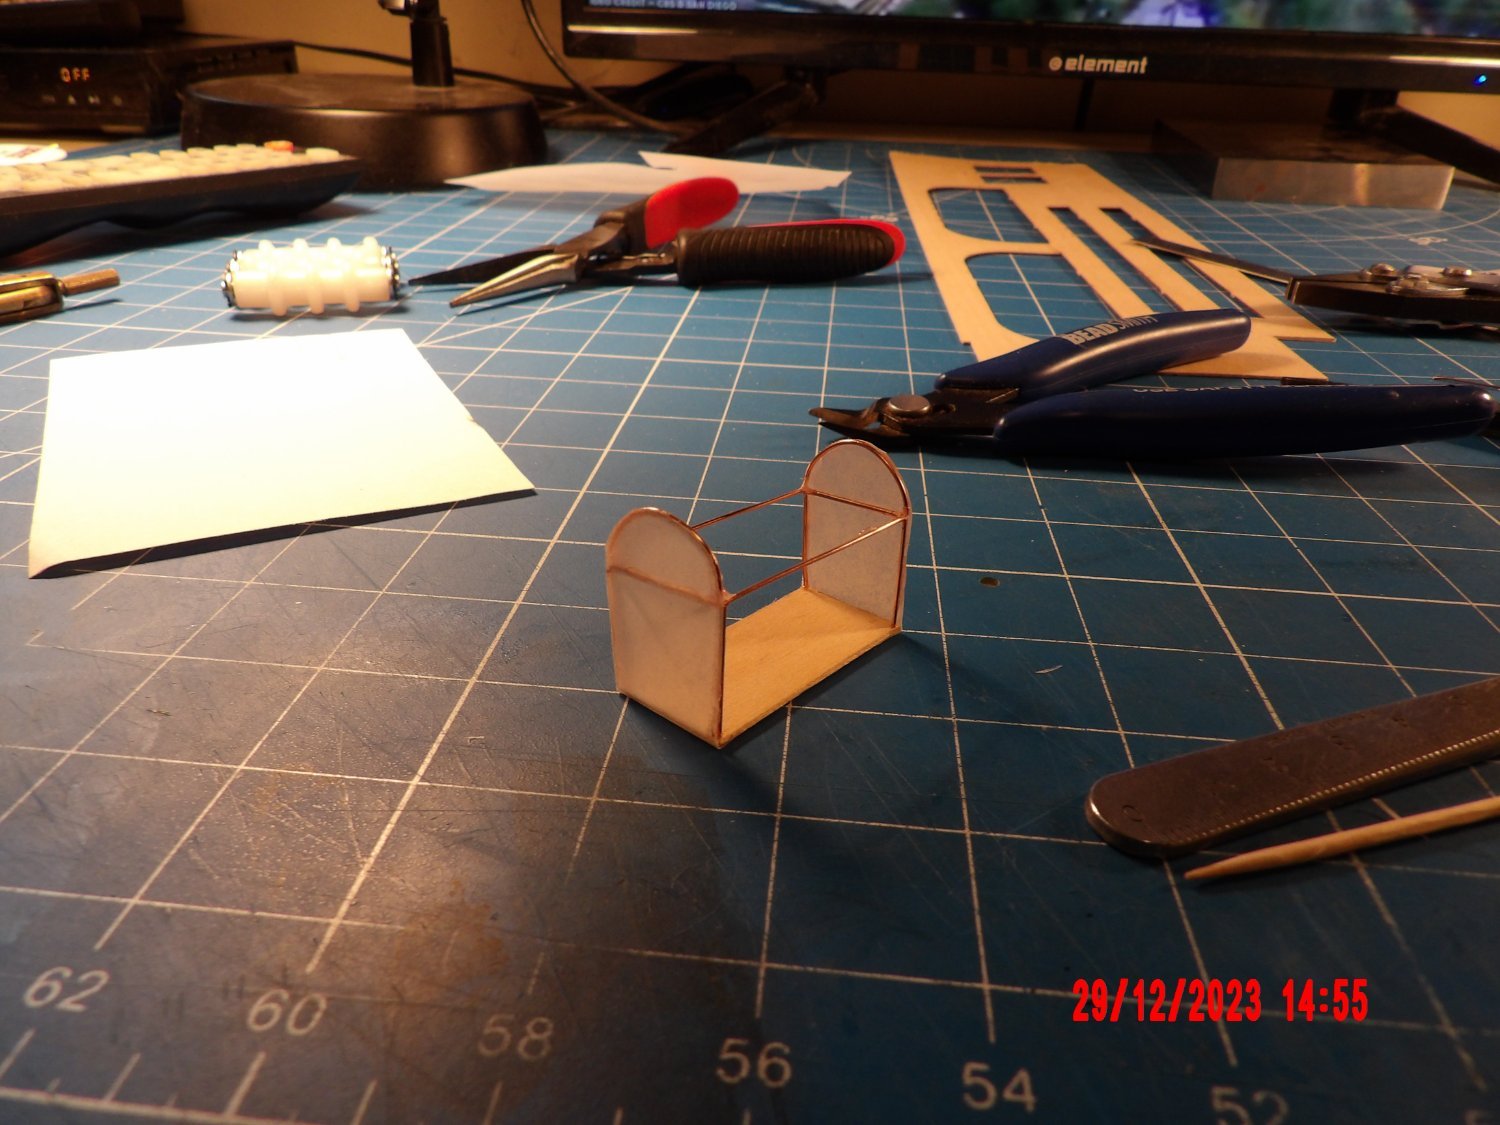
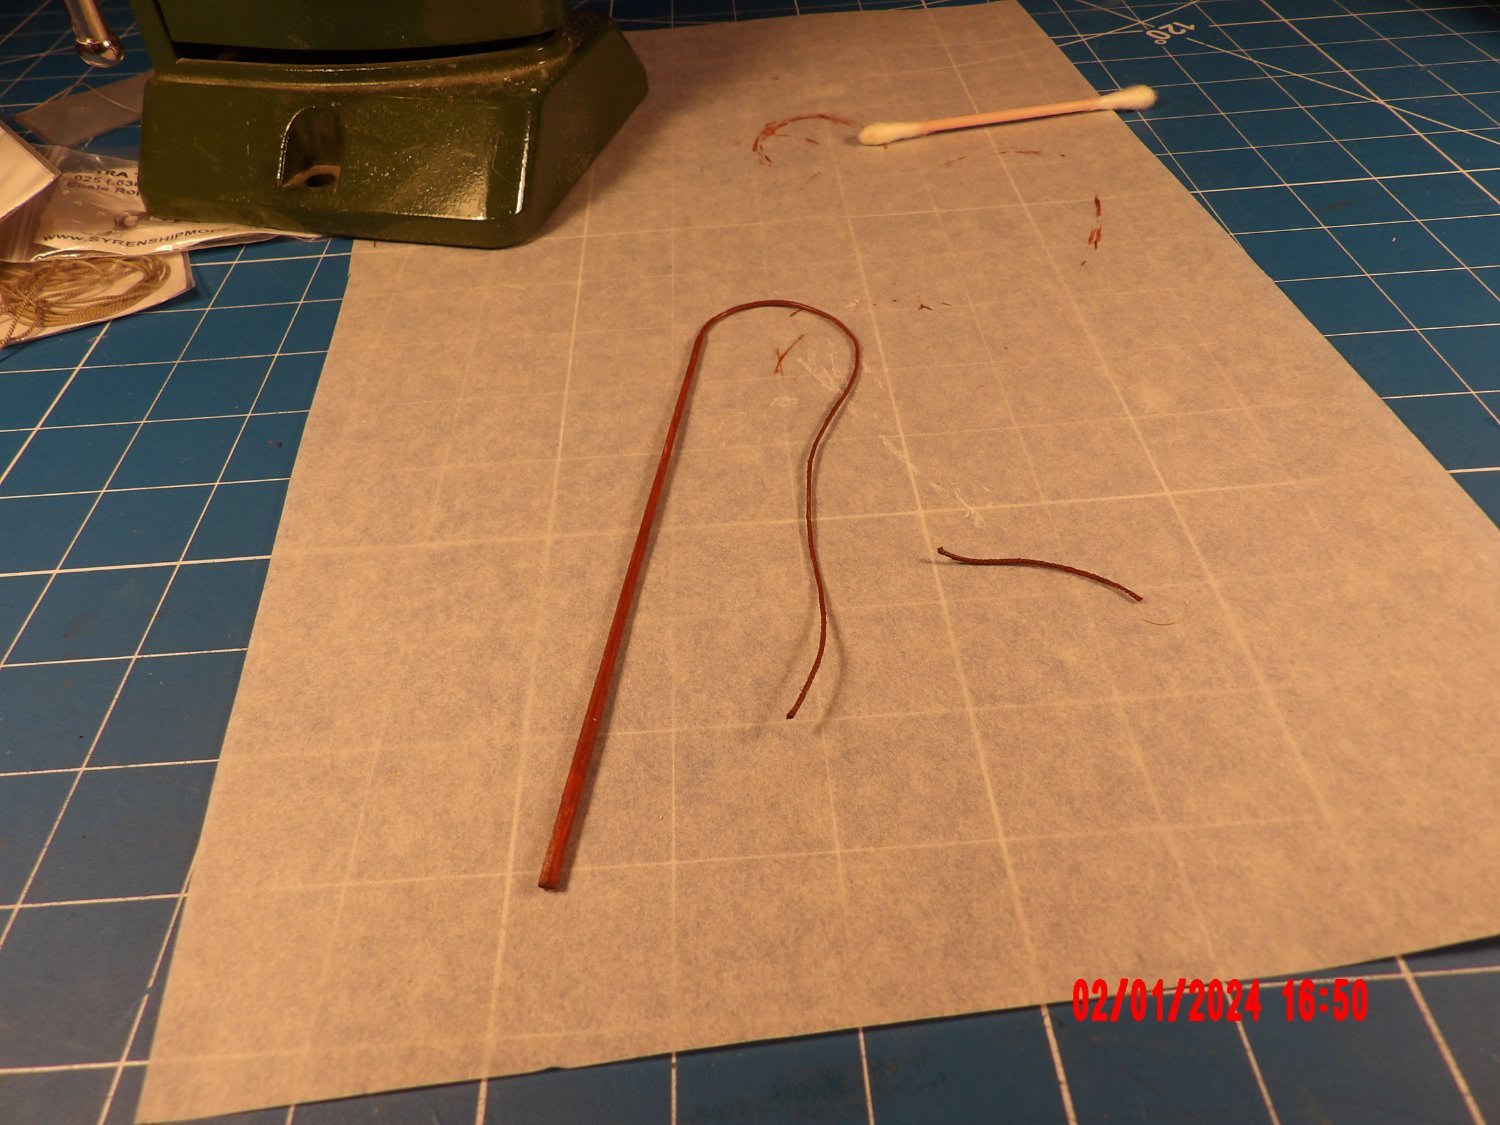
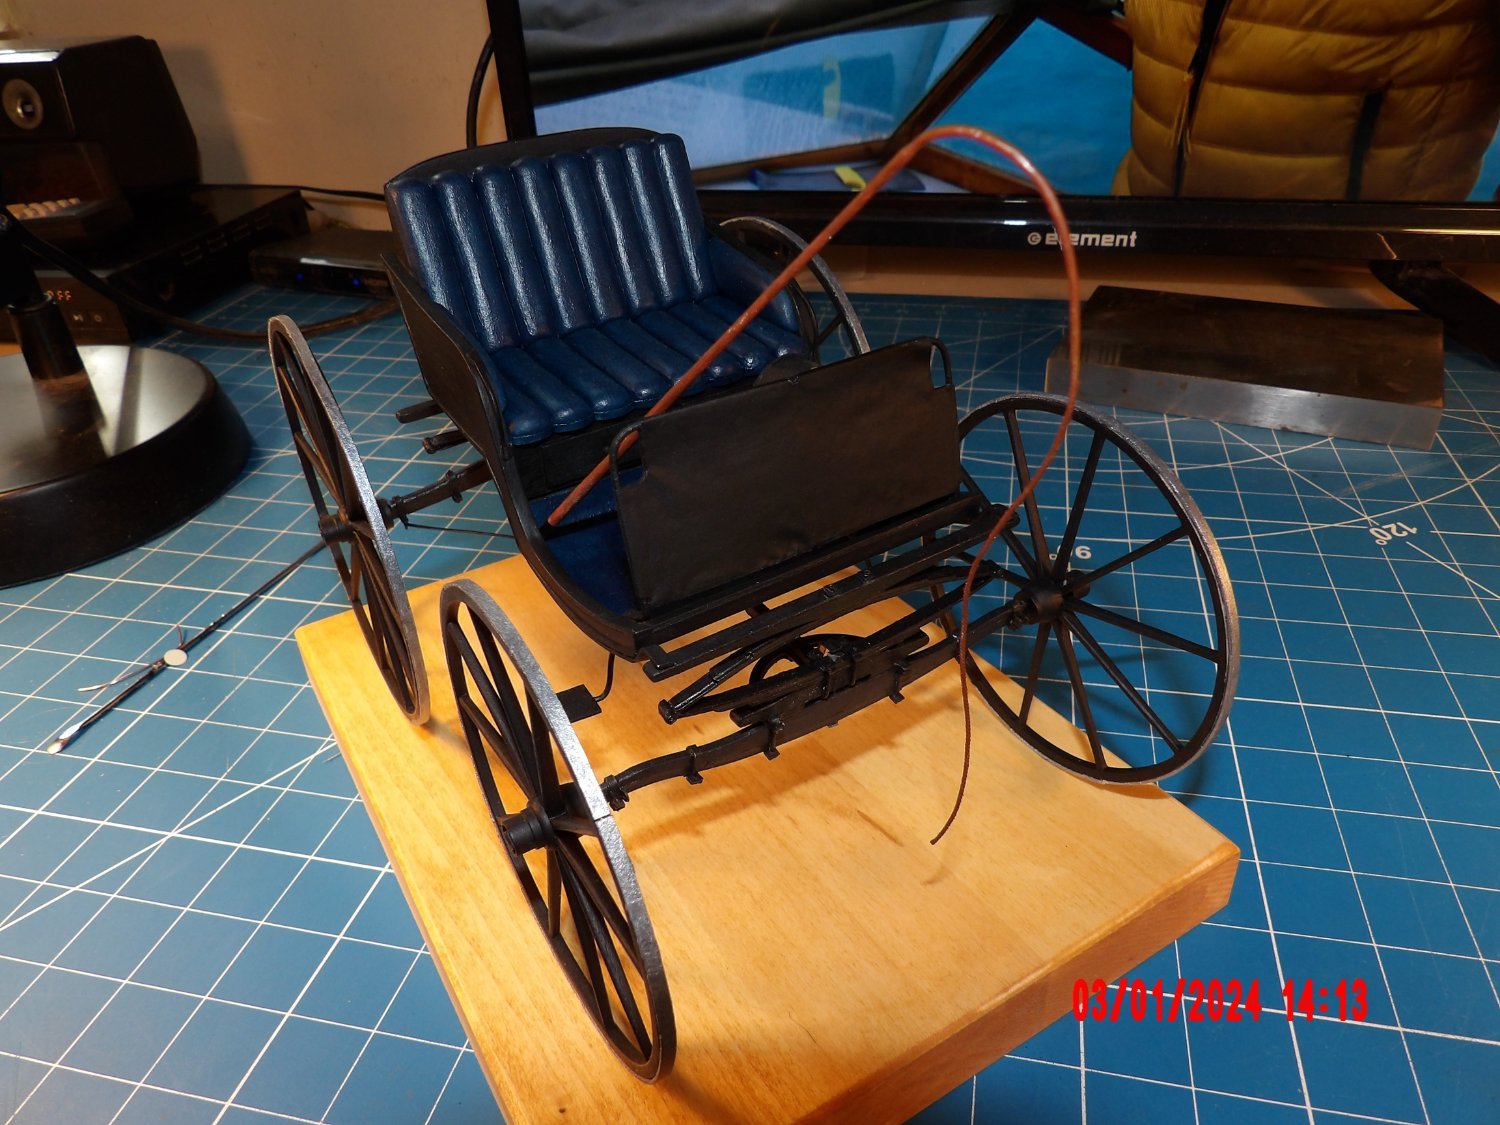
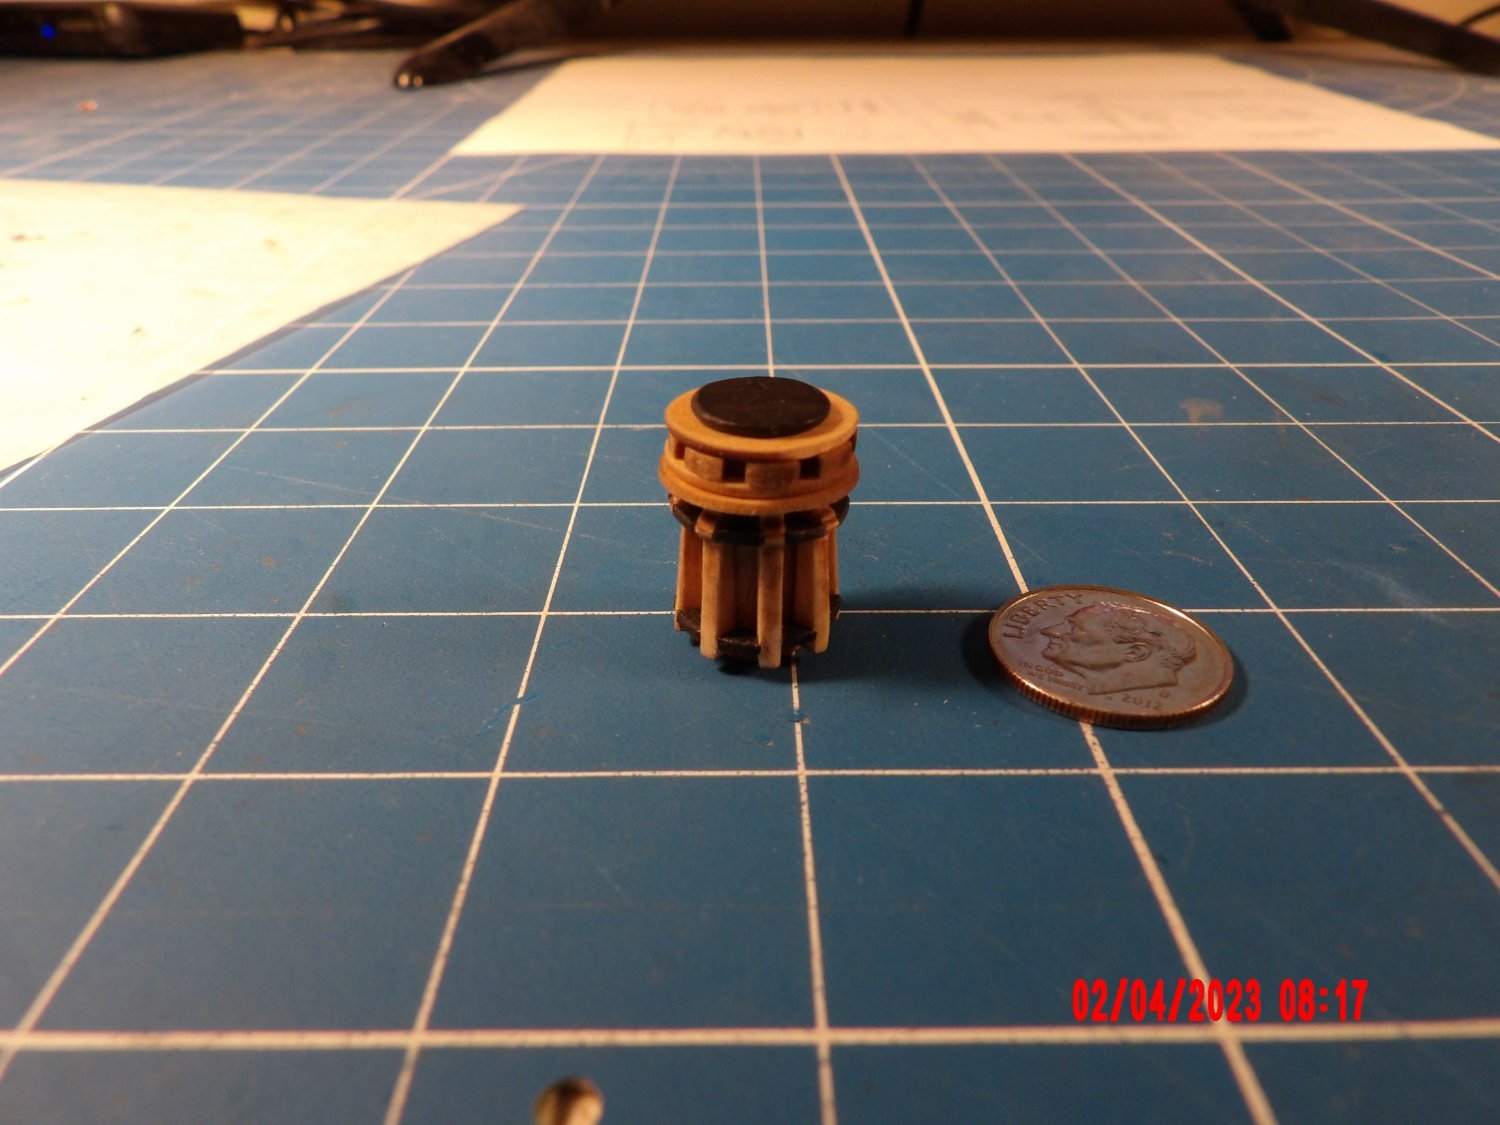
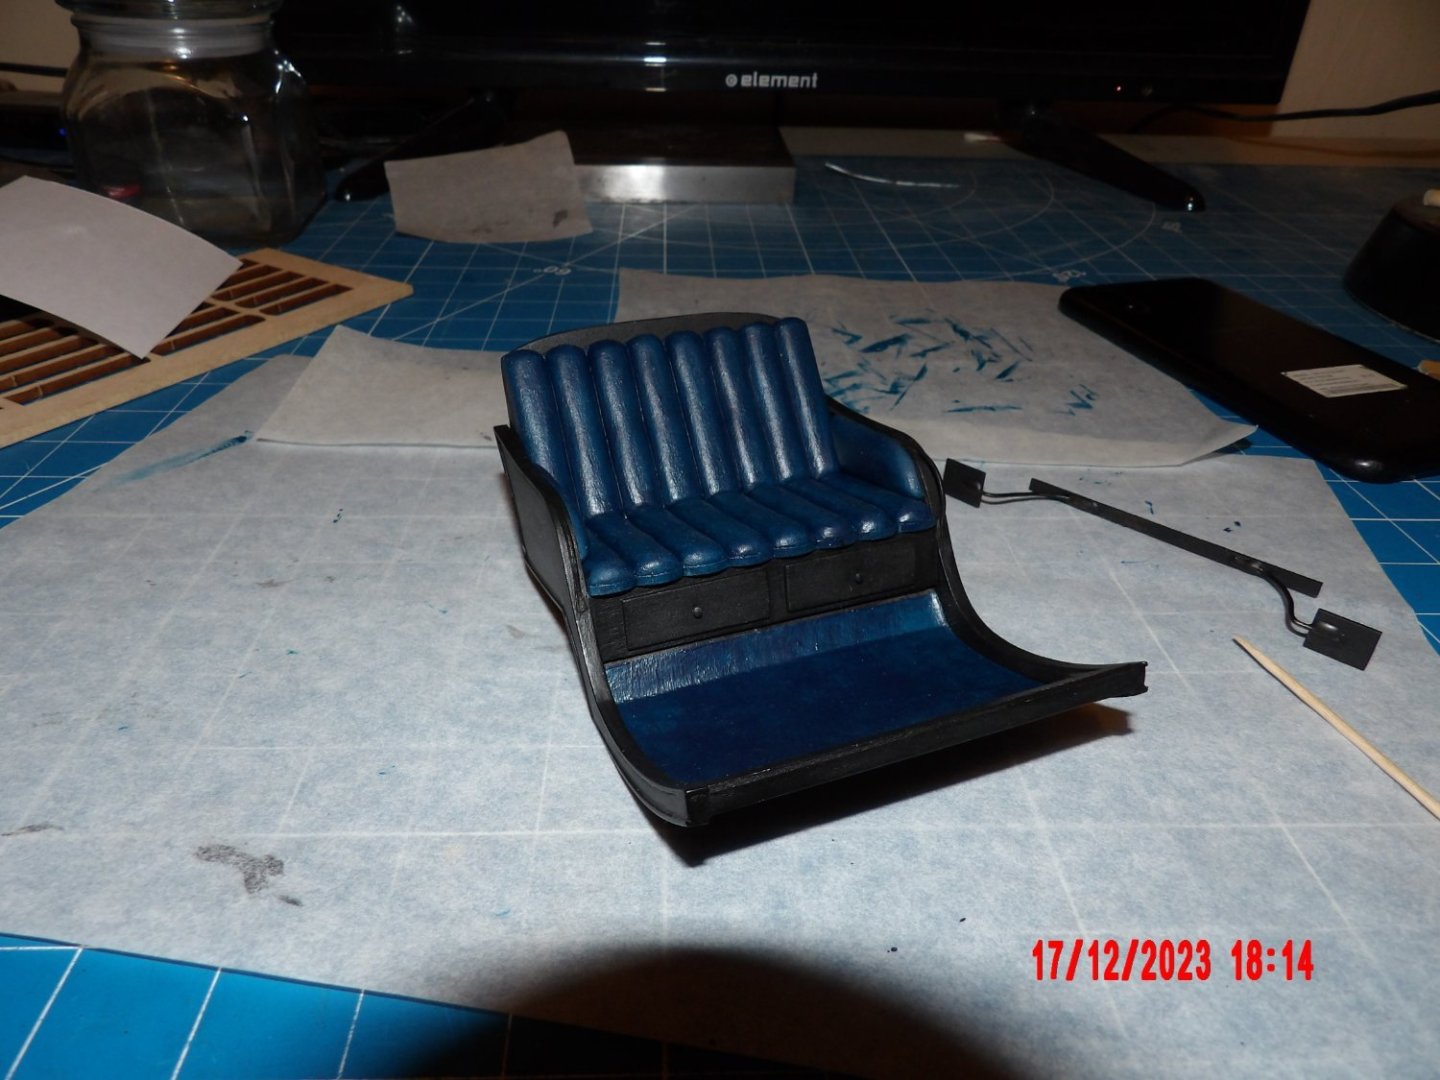
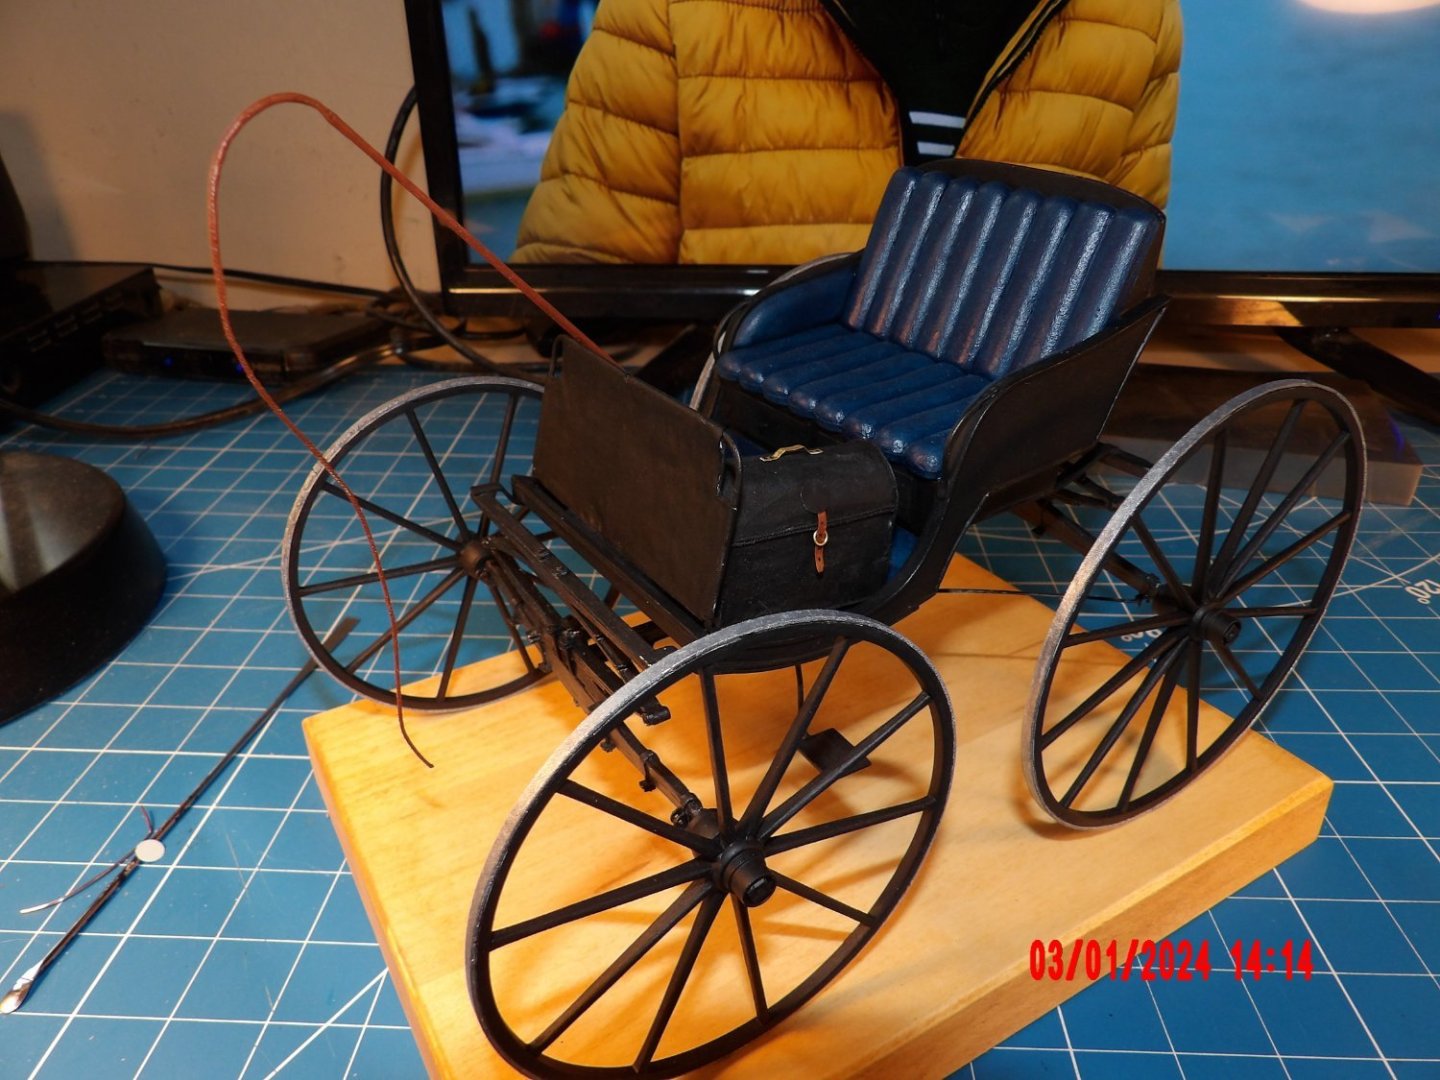
I've kind of drifted away from the Syren model for a while. . . I have always been attracted by the Doctor's Buggy from Model Expo, and decided to build it. I'm glad I did- it was a lot of fun. I'm done with the model and really did not take very many photographs. Hoping that one or two progress pics qualifies this as a "log." Body under construction: First attempt scratch-built Doctor's Bag, abandoned. The third attempt was successful, and consists of wood and wire frame and silkspan fabric: Body mounted on undercarriage assembly (tricky) and Doctor's Bag installed: Scratch-built Horse Whip under construction: Finished Buggy, mounted on display board: I did not get the wheels canted exactly right, but it seems stable and uniform, and will keep as is. This is not an entry-level model, but I was well-served by the education I received in the progressive Shipwright's series, and I was able to rise to the challenge. I have begun the Concord Stagecoach, also from Model Expo, and will try to do a more detailed log for that one. Hope you enjoy. . . Bob


- 14 replies
-
- 17
-

-
Sorry Capt. Joe- too much time has passed for me to give any meaningful advice here. . . I'll look at your log. Bob
-
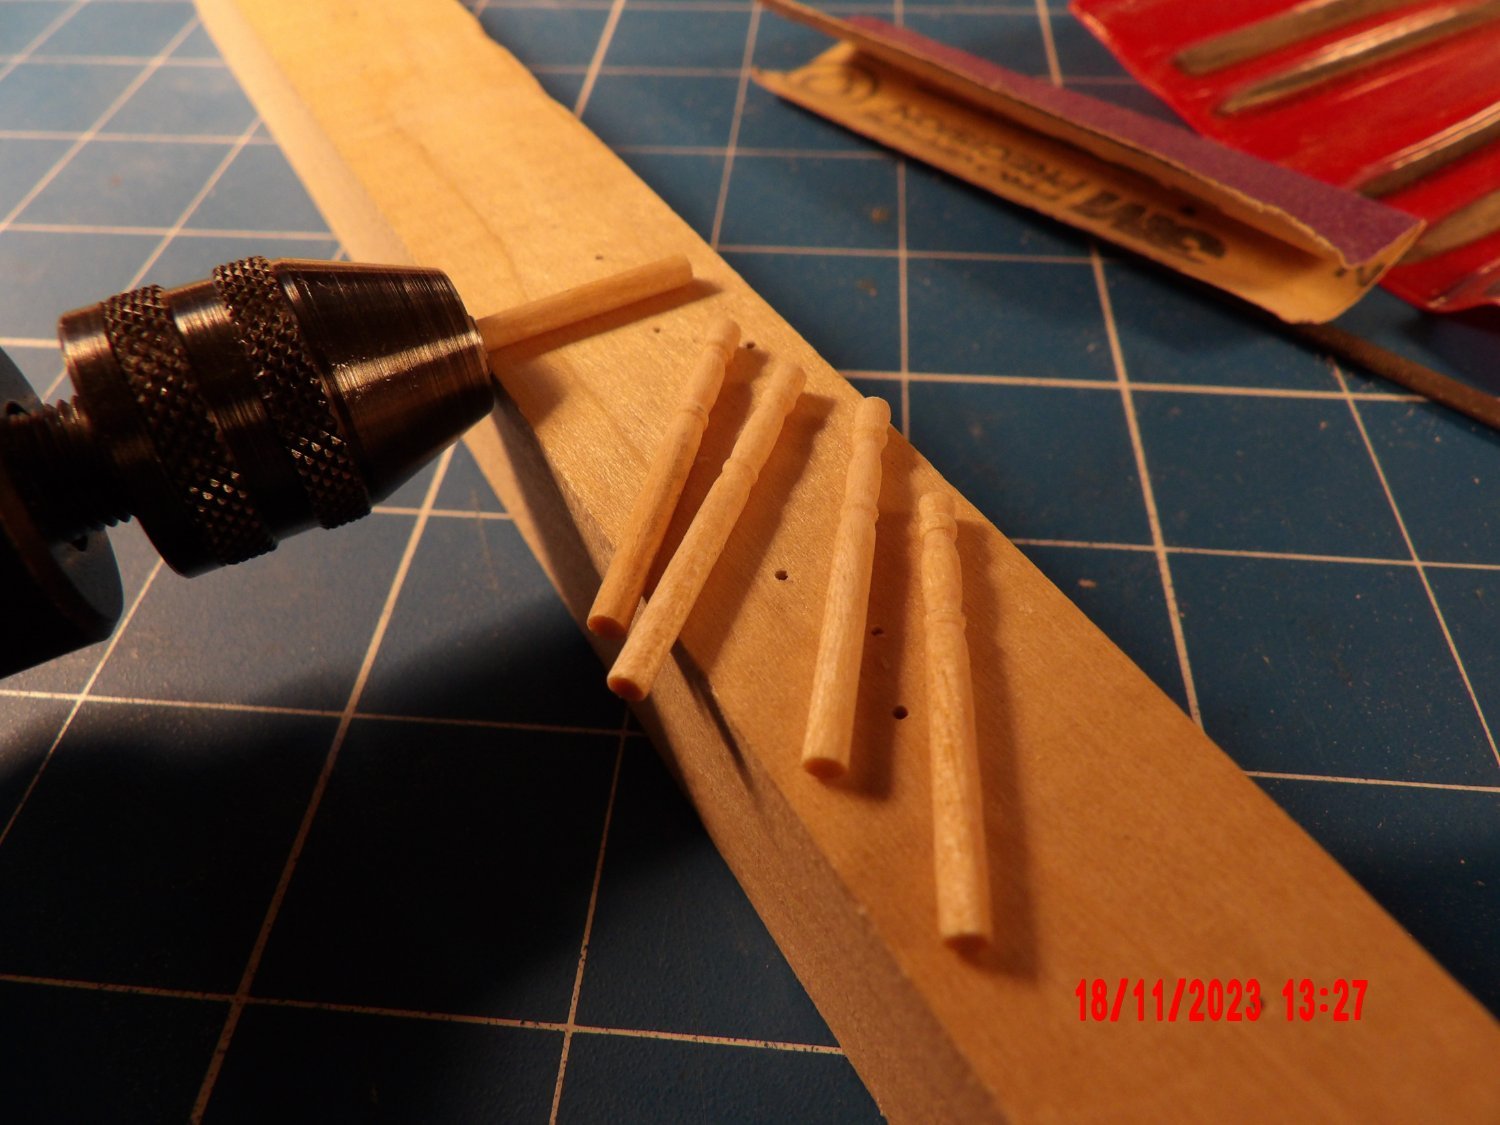
Thanks, Gregg, I used a drill motor, file, and sandpaper.
-
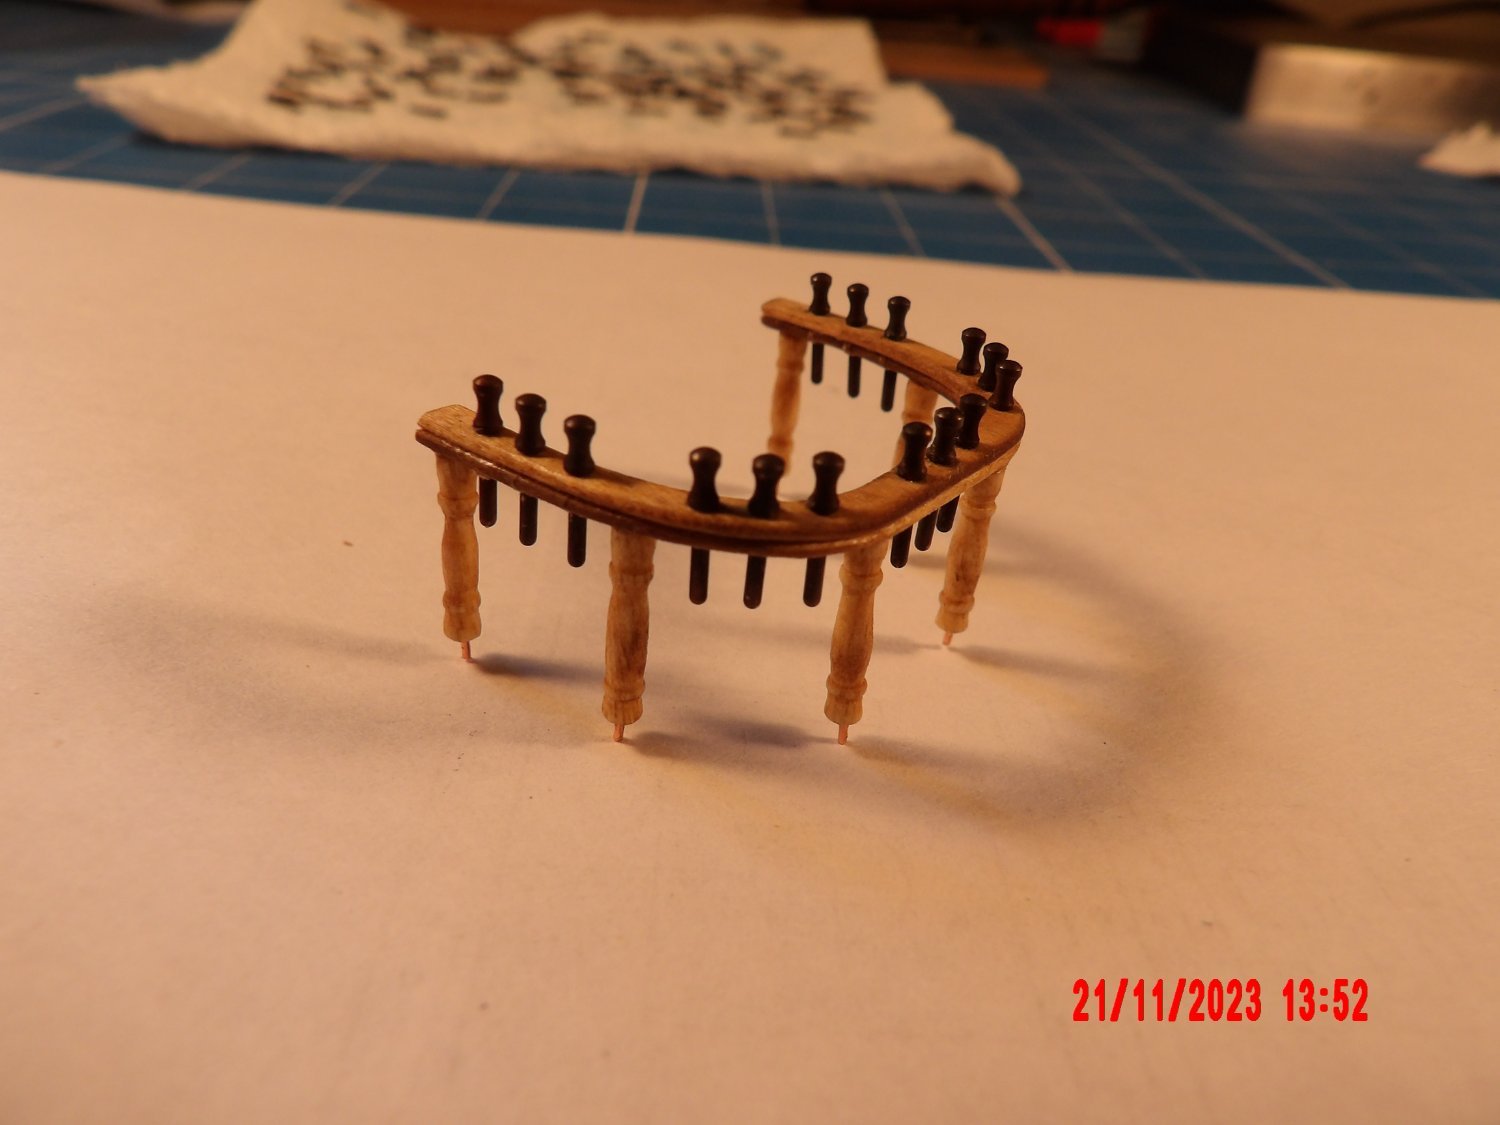
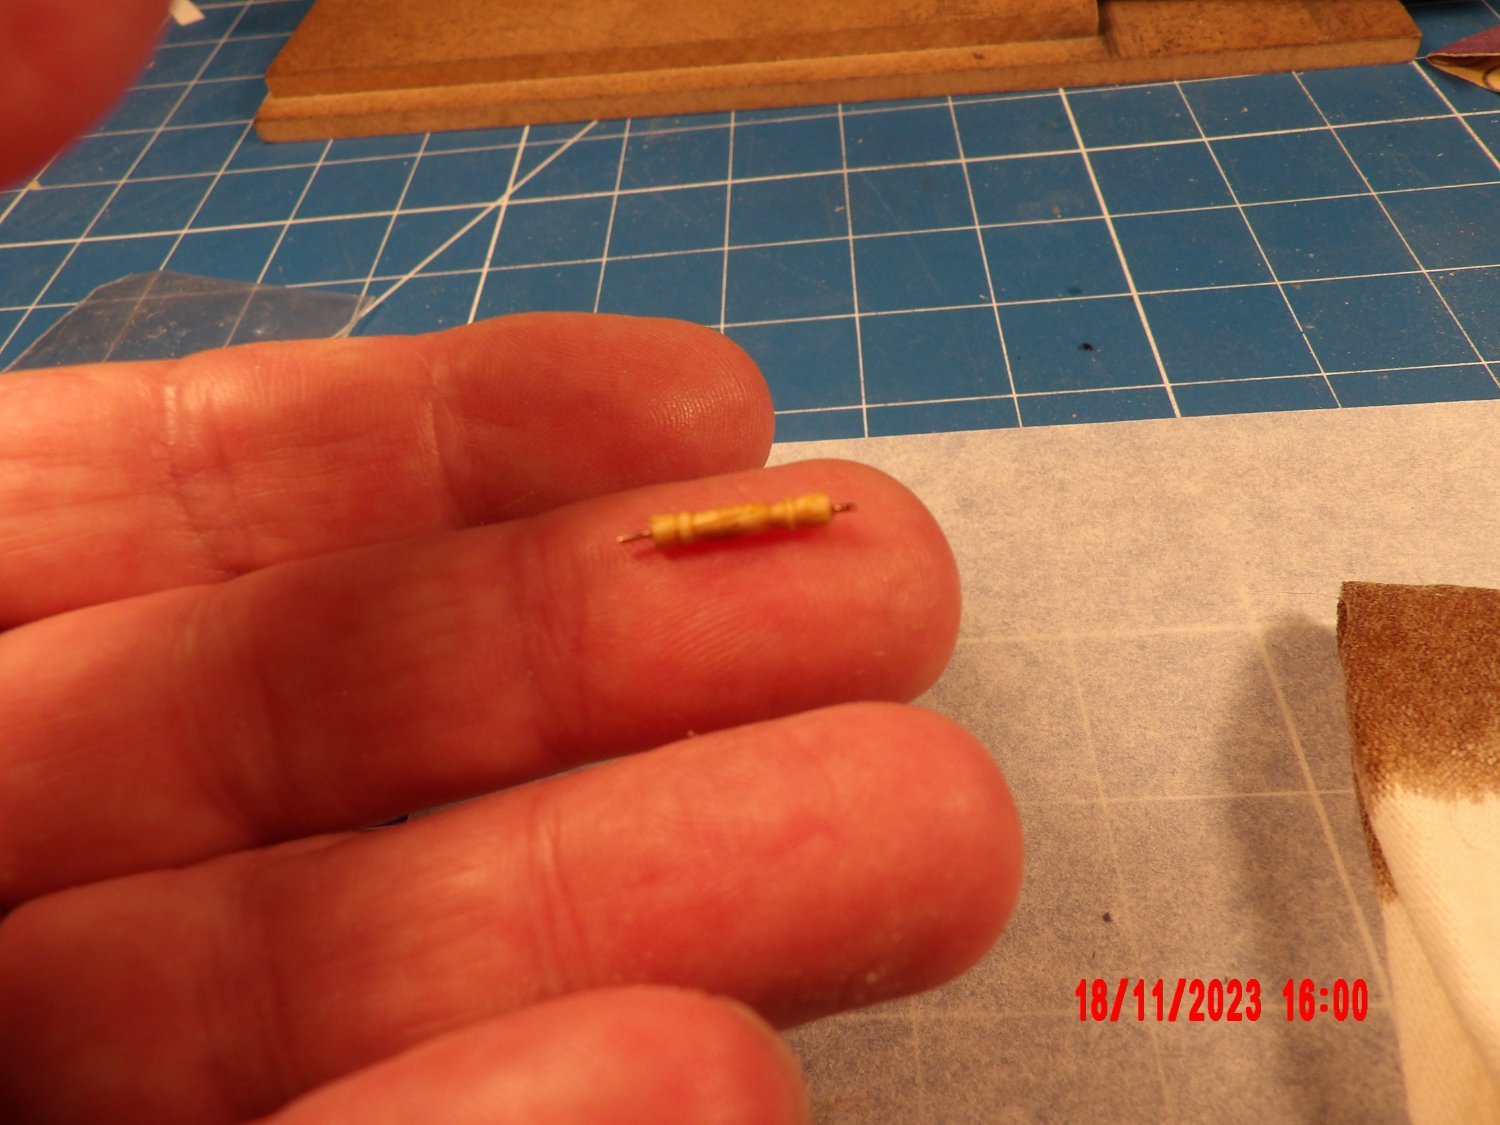
Thanks very much, Sal. "Finished" Fife Rail:

-
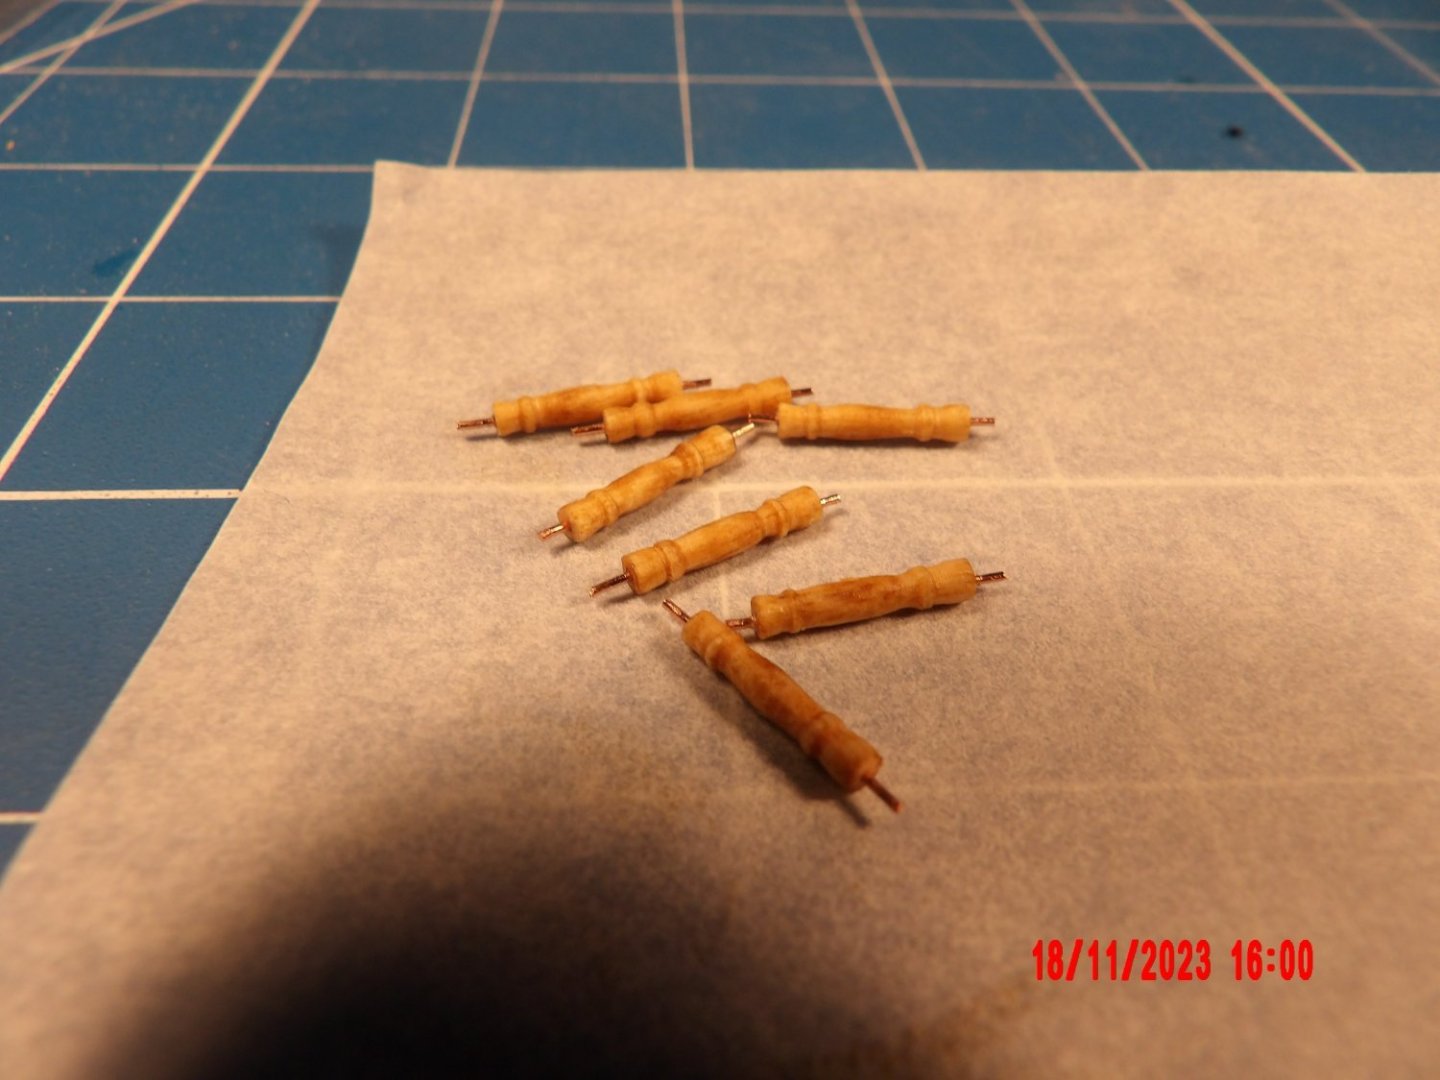
Project has been on hold for a while in order to maximize time outside before winter hits. Still planking the hull but very slowly. I love working on the deck furnishings, here are the stanchions for the fife rail:

-
Nice work! Cockpit is looking great. b
-
Nice painting! The mast is fun, isn't it? As is the wishbone.
-
Such great work to date and the latest eye-bands are something to be proud of. b
- 282 replies
-
- 2
-

-
-
- Bluenose
- Model Shipways
- (and 1 more)
-
Thanks very much. I take it that what I am seeing isn't necessarily wrong. . . this is a new process for me.
-
Aren't they all "whiskey planks"? Looks good!
-
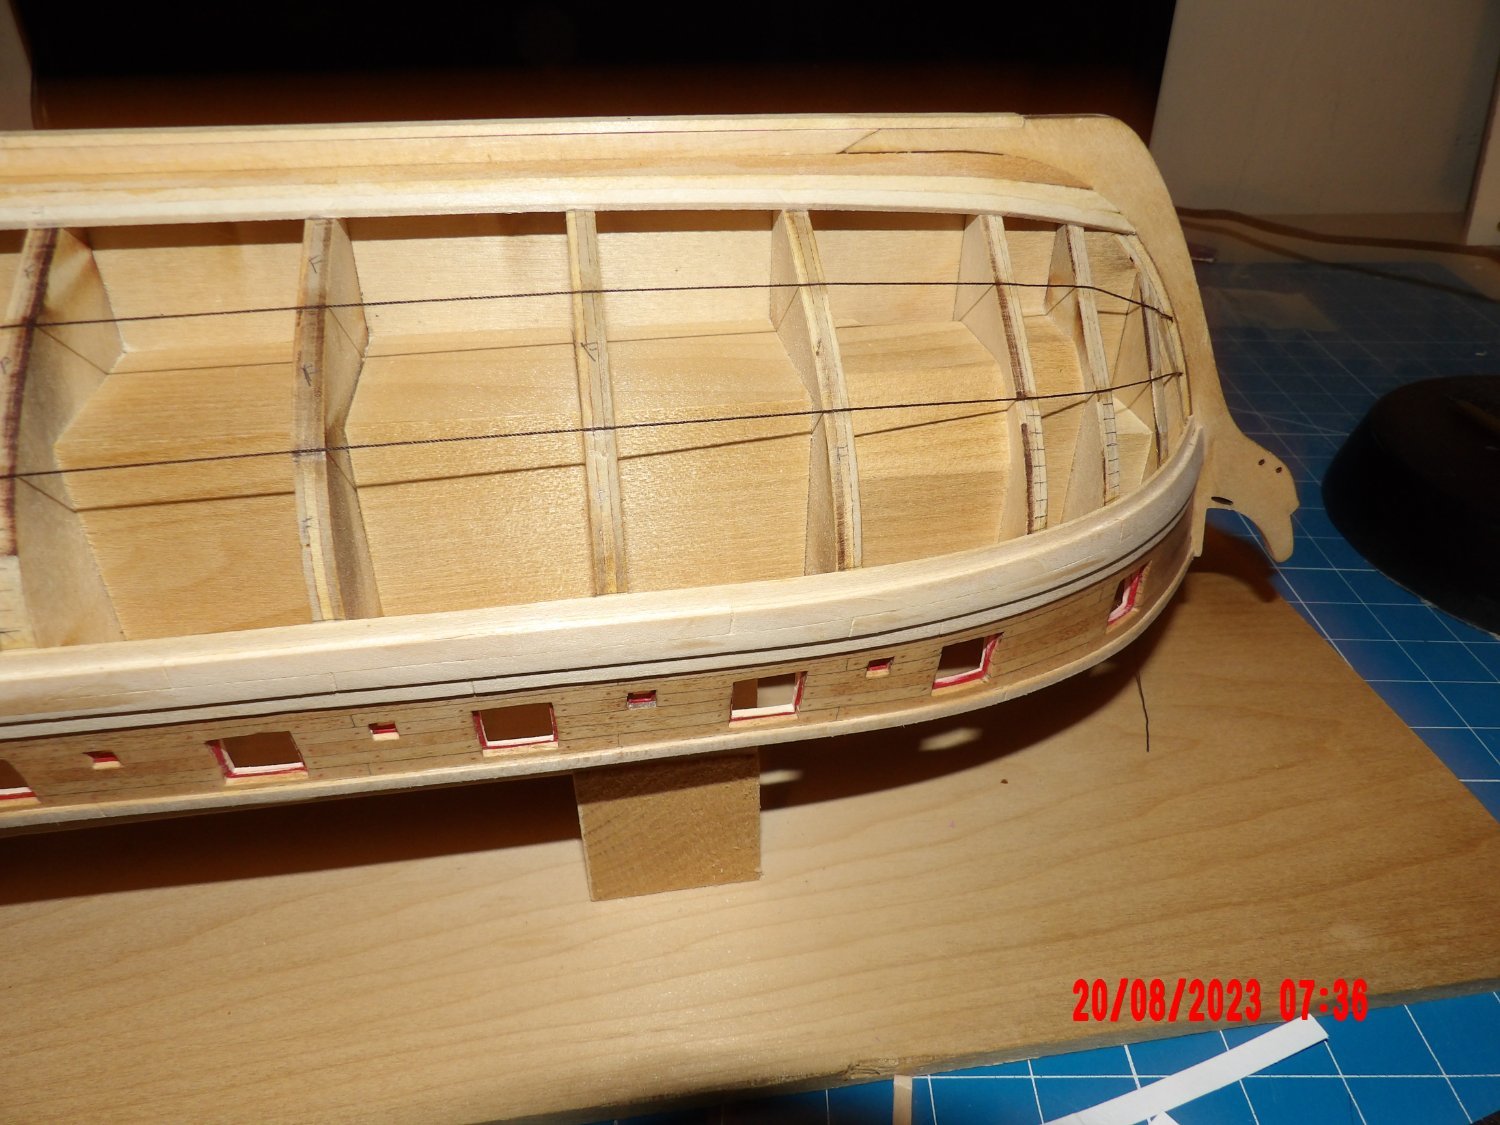
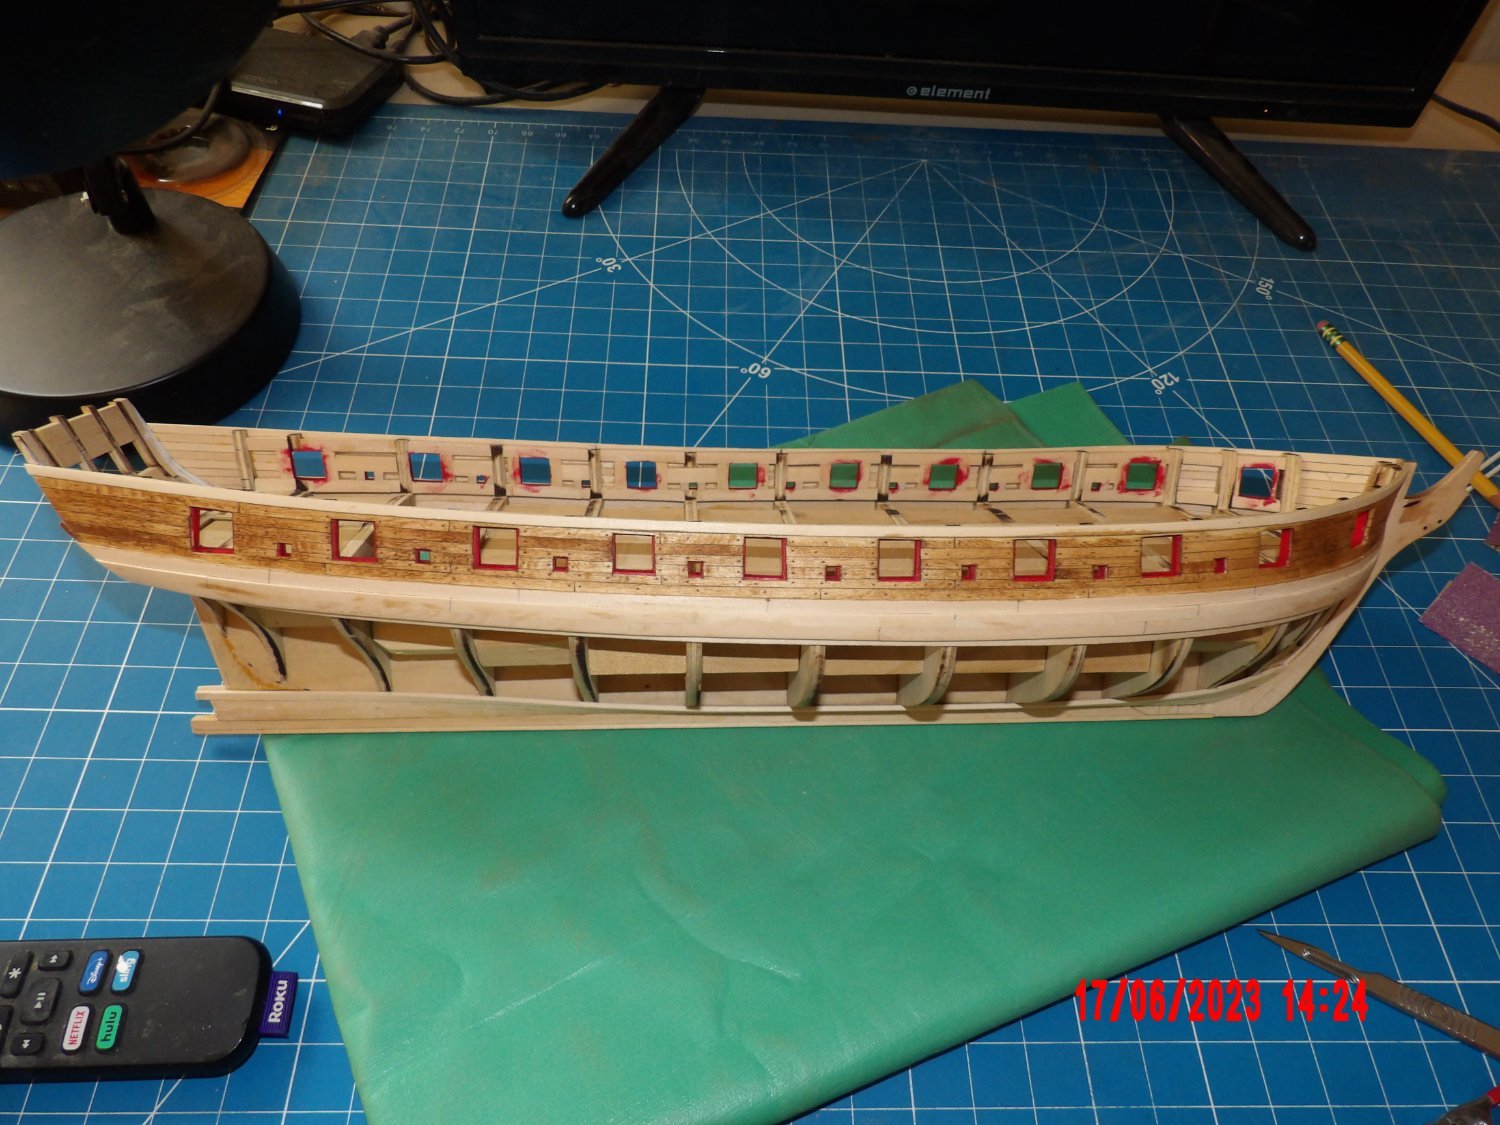
Took forever to sand down the bulwarks to a thickness that would provide an overhang of the cap rail at the rails' specified finished width of 1/4". One side nearing completion: I had put off finishing the planking by building the wheel assembly, galley stack, and other fun stuff. Now its time to plank. . . I decided to try lining off 3 bands of planking. First I tried 1/16" art tape, which failed to adhere to the bulkheads when repositioned. I then tried black thread: I overlaid a wood plank against the thread to verify I was creating a similar line to how a plank would lay and it looks OK. I then started to mark plank widths using tic strips and a planking fan. What troubles me is that the top band (below the wales, bottom band in picture) wants tapering at the stern, yet the bottom band (nearest the keel) will require stealers: The instruction manual only speaks of tapering planks at the bow, not the stern. And looking at other build logs I see no mention of any tapering needed. Hmmm. . . If anyone has some insight into this question, please chime in!


-
Shaping masts from rectangular is the way it was done in actual ship construction, according to the designer. I have come to prefer this method over shaping dowels, as it is far easier to control the taper along the length of the mast. It is even possible to shape a curved mast this way. Just a matter of preference, I suppose. Model is looking good!
- 25 replies
-
- 3
-
-
- Harriet Lane
- Model Shipways
- (and 1 more)
-
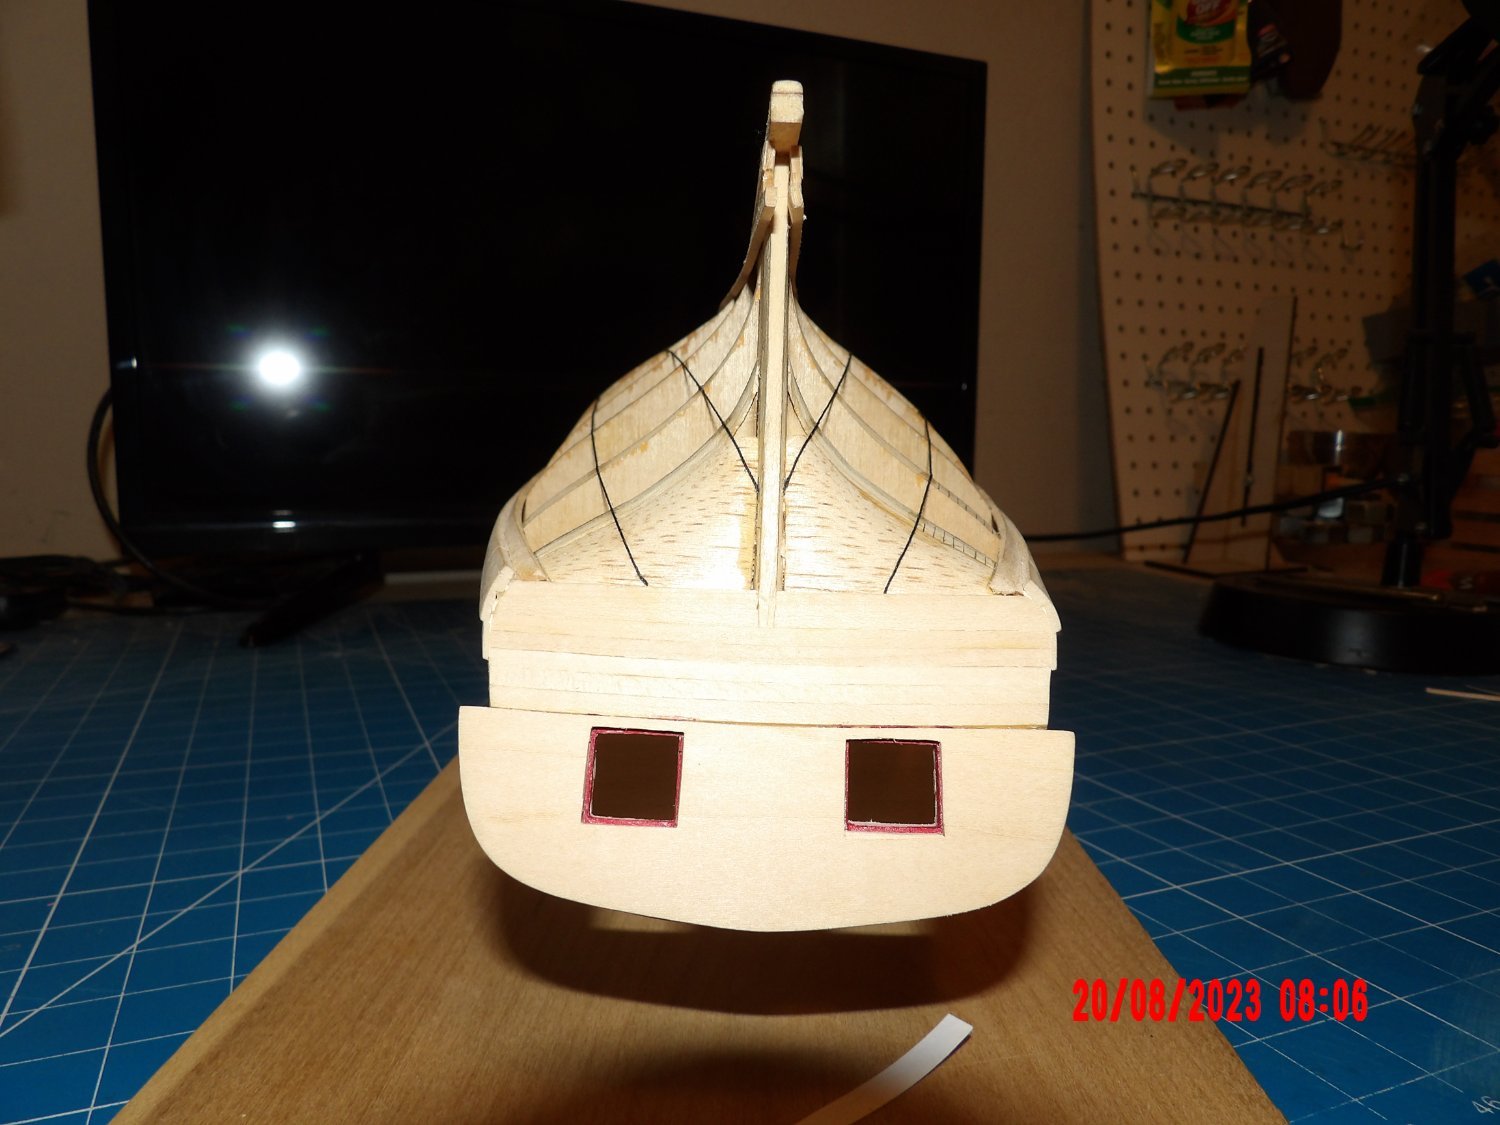
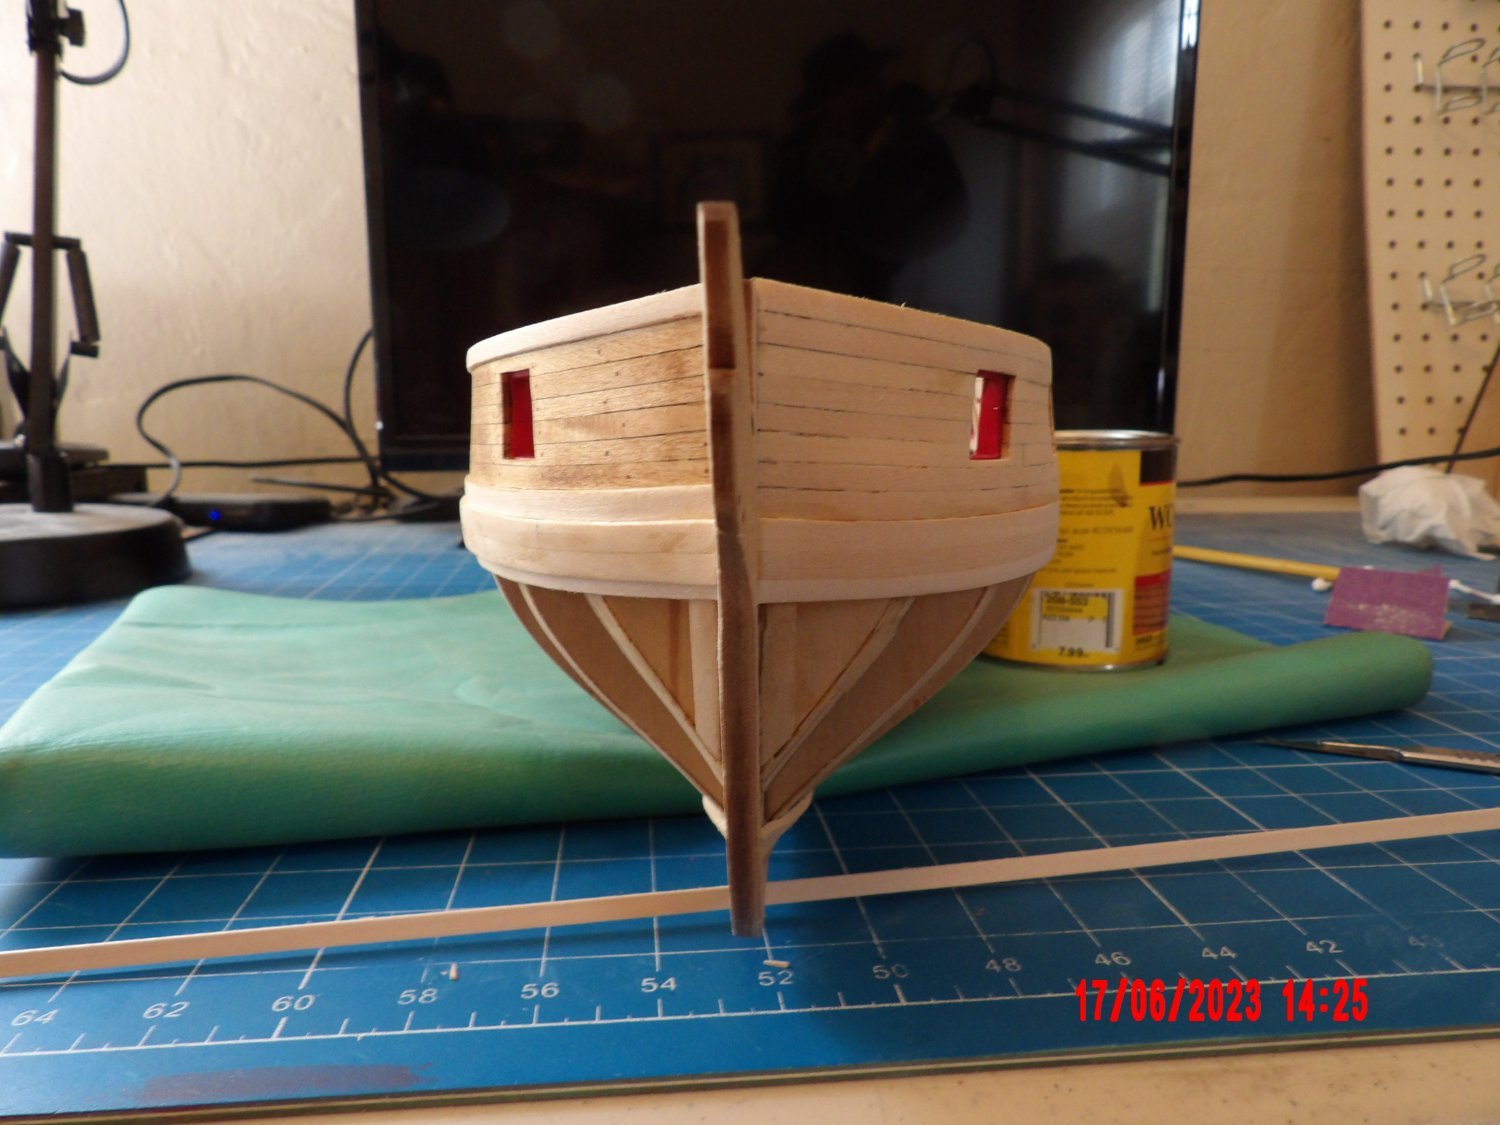
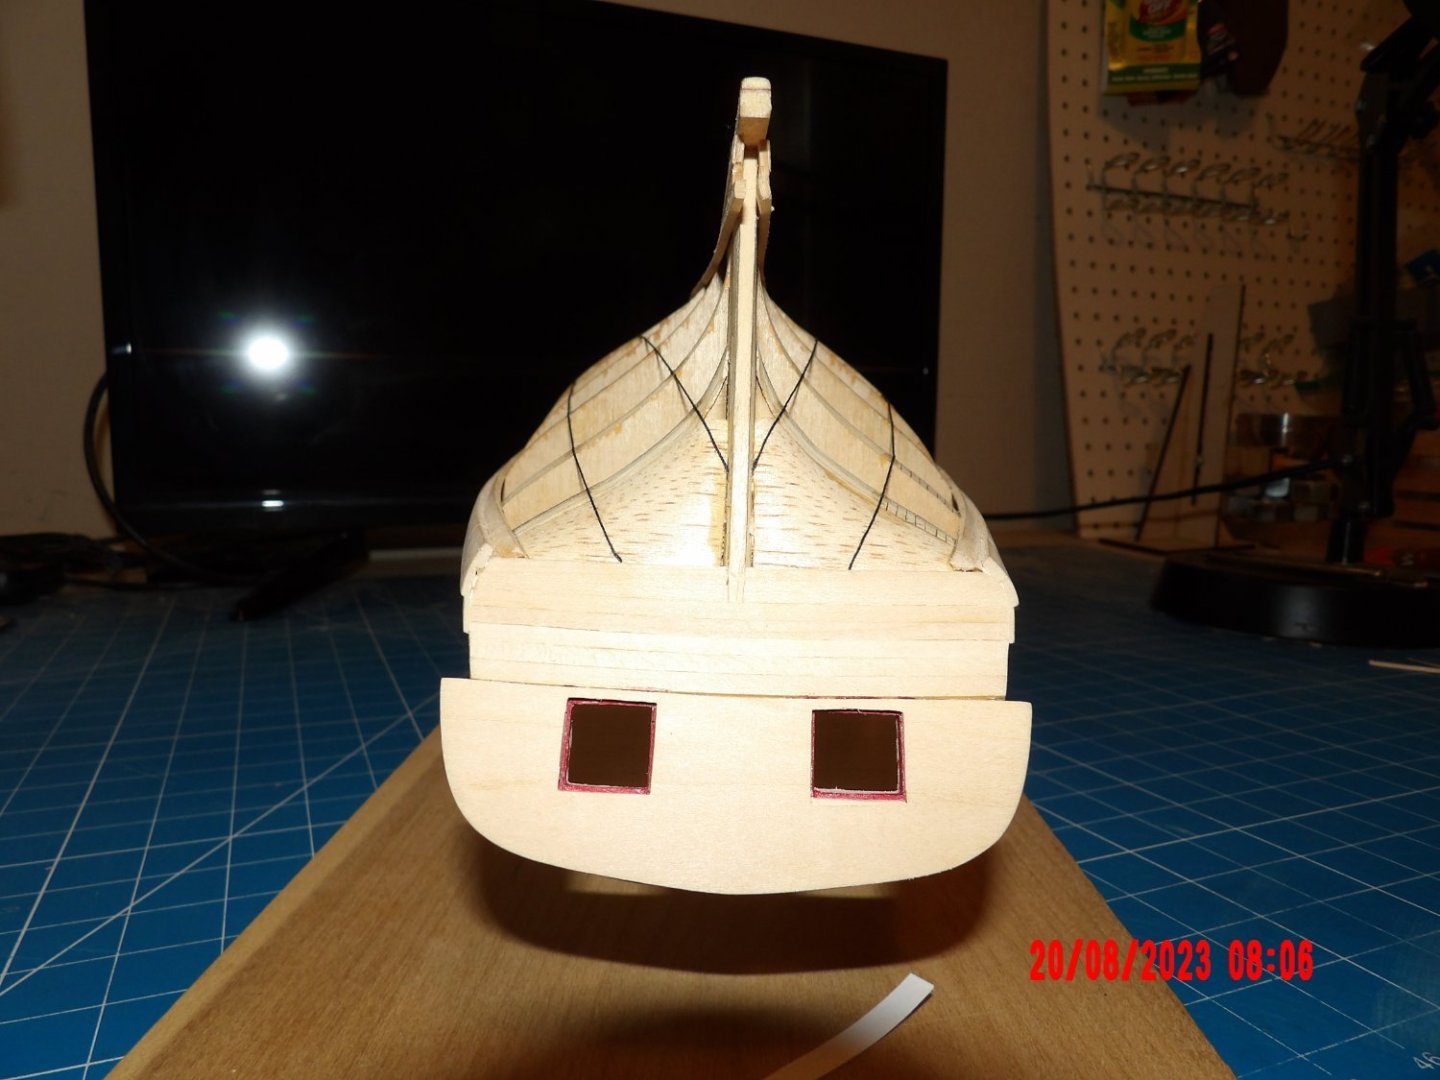
Going very slow with the planking. So far I've been able to smooth out the area above the wales without excessive thinning of the planks, except near the bow, as would be common for a novice. This is my first traditional type planking effort. I installed the second layer of the wales on one side. It was looking pretty good until I decided to stain the same area on one side, as was done on the prototype. Forgot to hit this area with pre-stain conditioner first, and it came out quite uneven/blotchy. I don't know if it could be corrected, or if I even want to try. I read that the designer re-stained two or three times, but I'm afraid of it getting too dark. I may just do the other side using the conditioner, and if it comes out better, make that the display side. . . or if not- claim it is intentional weathering! This is not a dead front-on pic and so looks a little funky, but trust me- things are symmetrical. Still need to add the second layer for wales on one side: I'm reasonably happy with the "treenails" (drilled holes with filler, then stained). I used Red Oak filler, because when using Natural on a test piece, I could hardly see them at all. They may seem a bit dark to some, but I'm not going to sweat it. After all, most of the time, I'll be the only viewer!


-
Elementary school clear glue?
bobandlucy replied to modeller_masa's topic in Modeling tools and Workshop Equipment
Certainly true of deck stain. . . -
Claire- Love the cushions, and the way you have invested part of your childhood self into this model. The oars are very nice as well, and artfully installed. You have truly made it unique, it lifts my spirit. b
- 39 replies
-
- 2
-
-
- Lowell Grand Banks Dory
- Model Shipways
- (and 1 more)
-
Thanks, Patrick- I'll work something out. The rubber-band wrapped clothes pins are a neat idea! b
-
Looks good, Sal. This is the first plating I've seen without the nail marks on the tape. To me it is more convincing without, and easier on the eyes. . . What is a "wallpaper seam rolled"? Thanks Bob
- 144 replies
-
- 2
-
-
- Harriet Lane
- Model Shipways
- (and 1 more)
-
Thanks, Patrick. Wet bending is what I'm used to, so it's good to hear that you made it work. Did you have trouble holding the plank-end in the bow rabbet? b
-
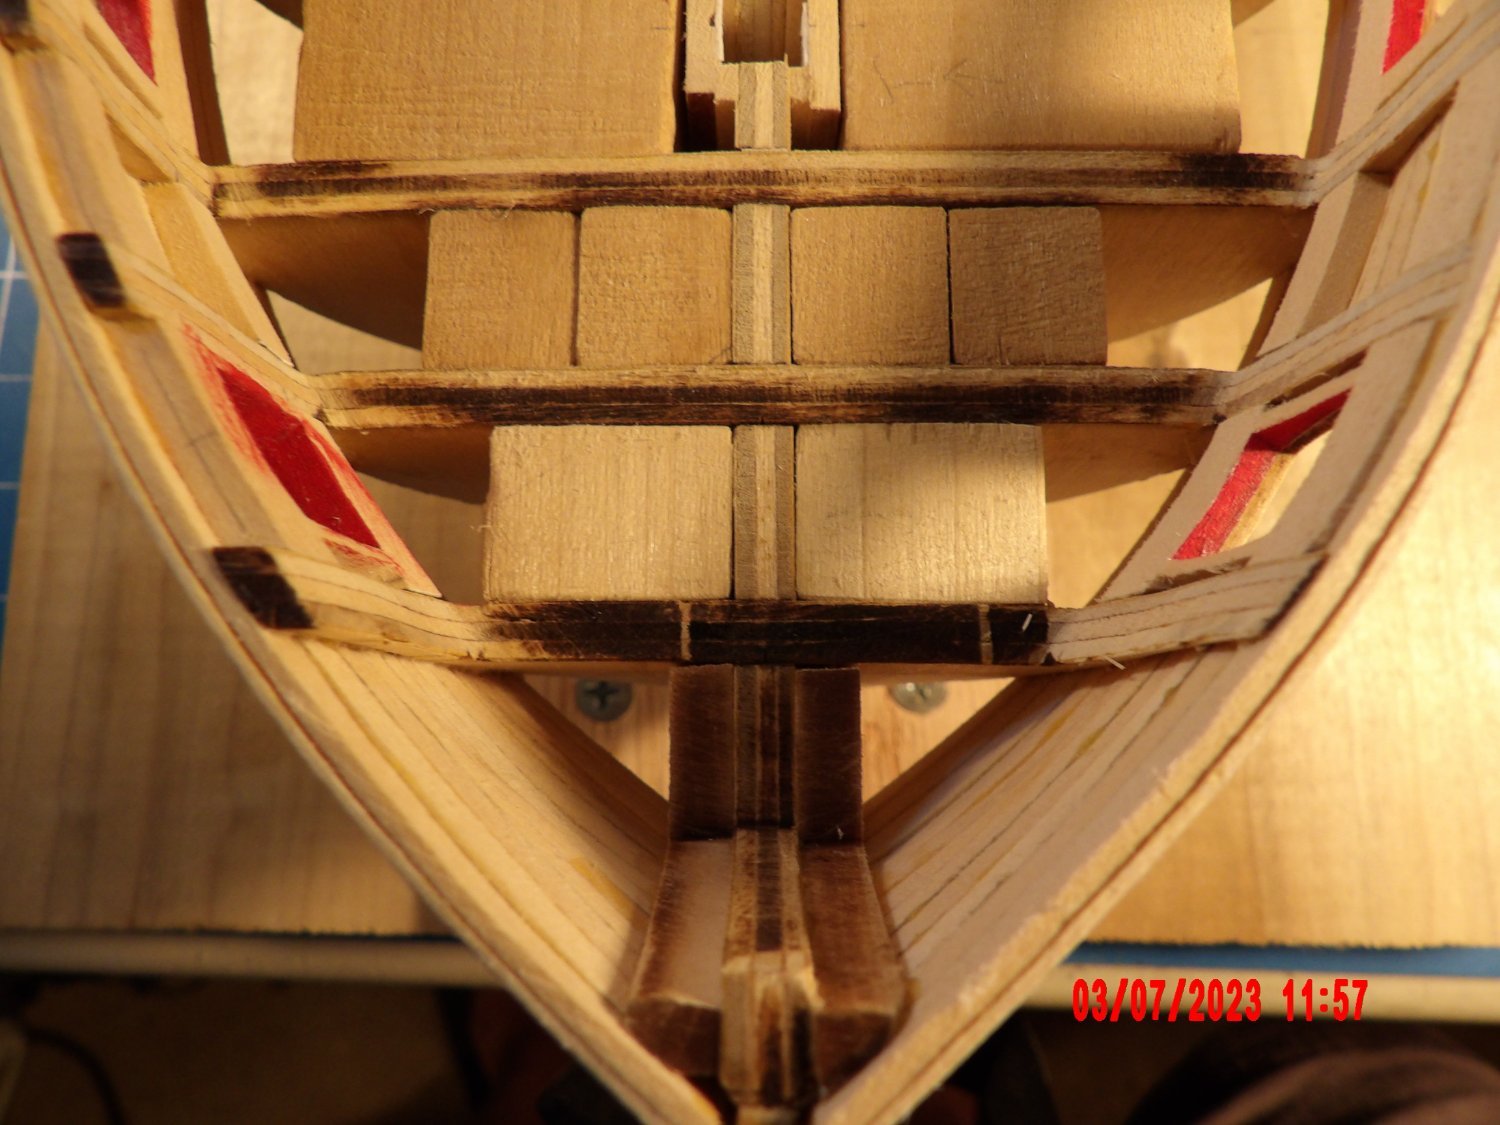
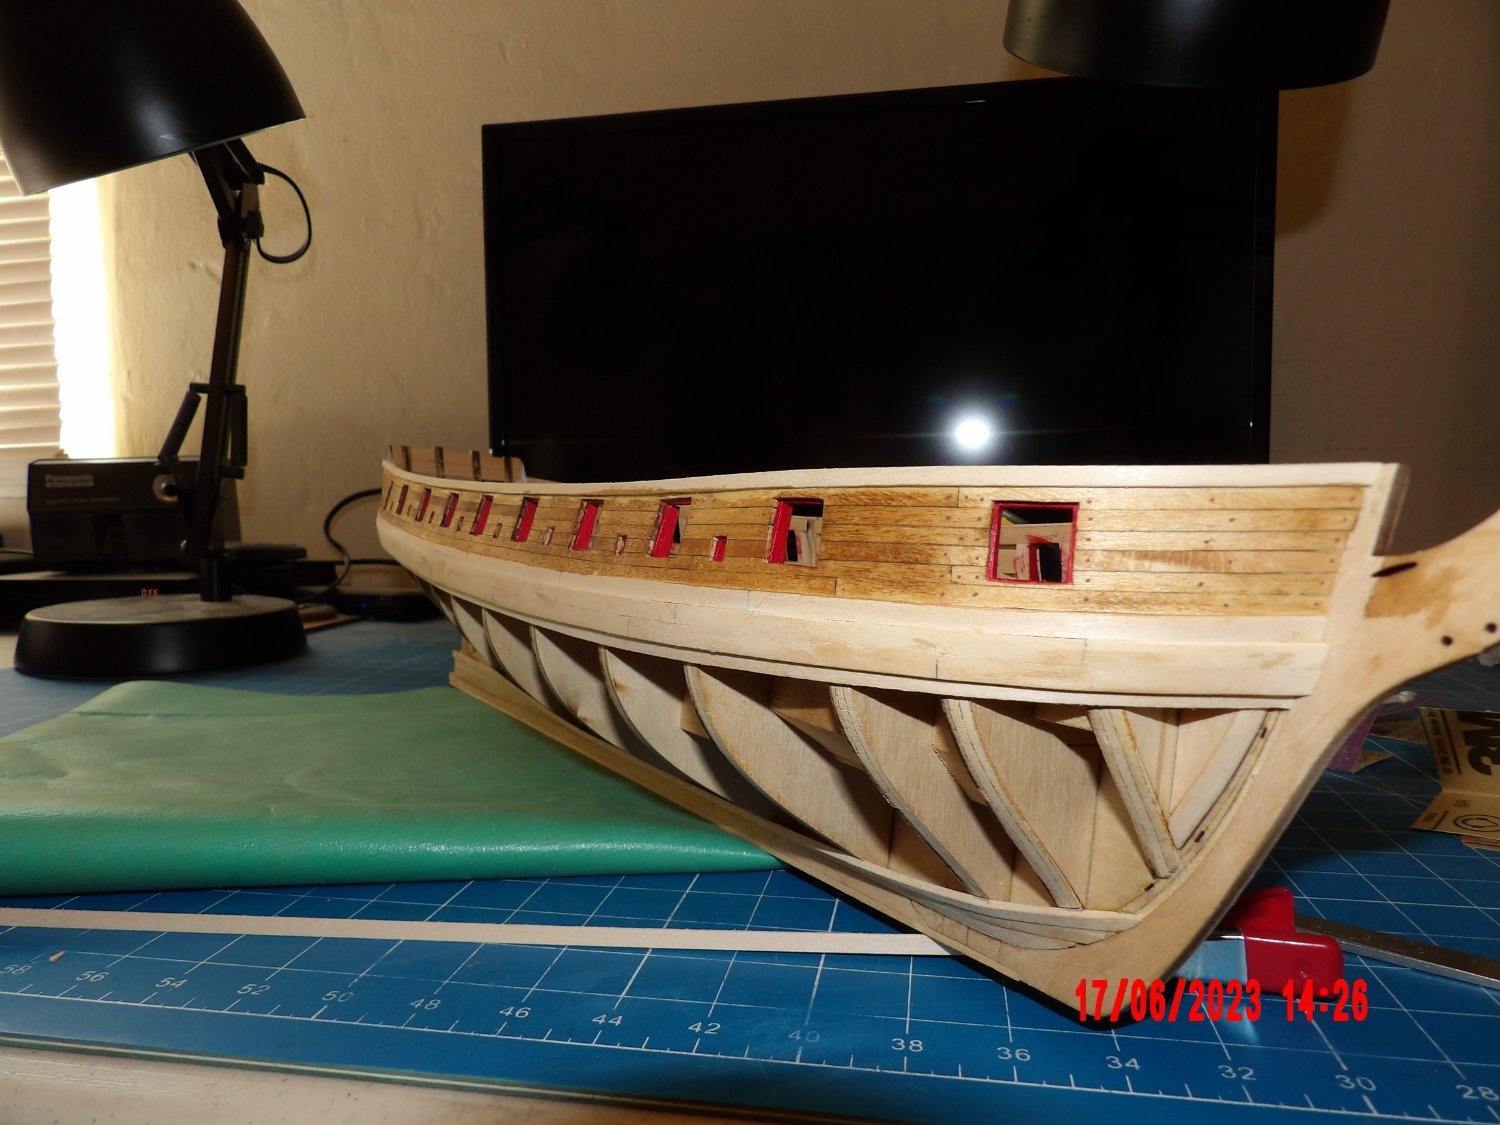
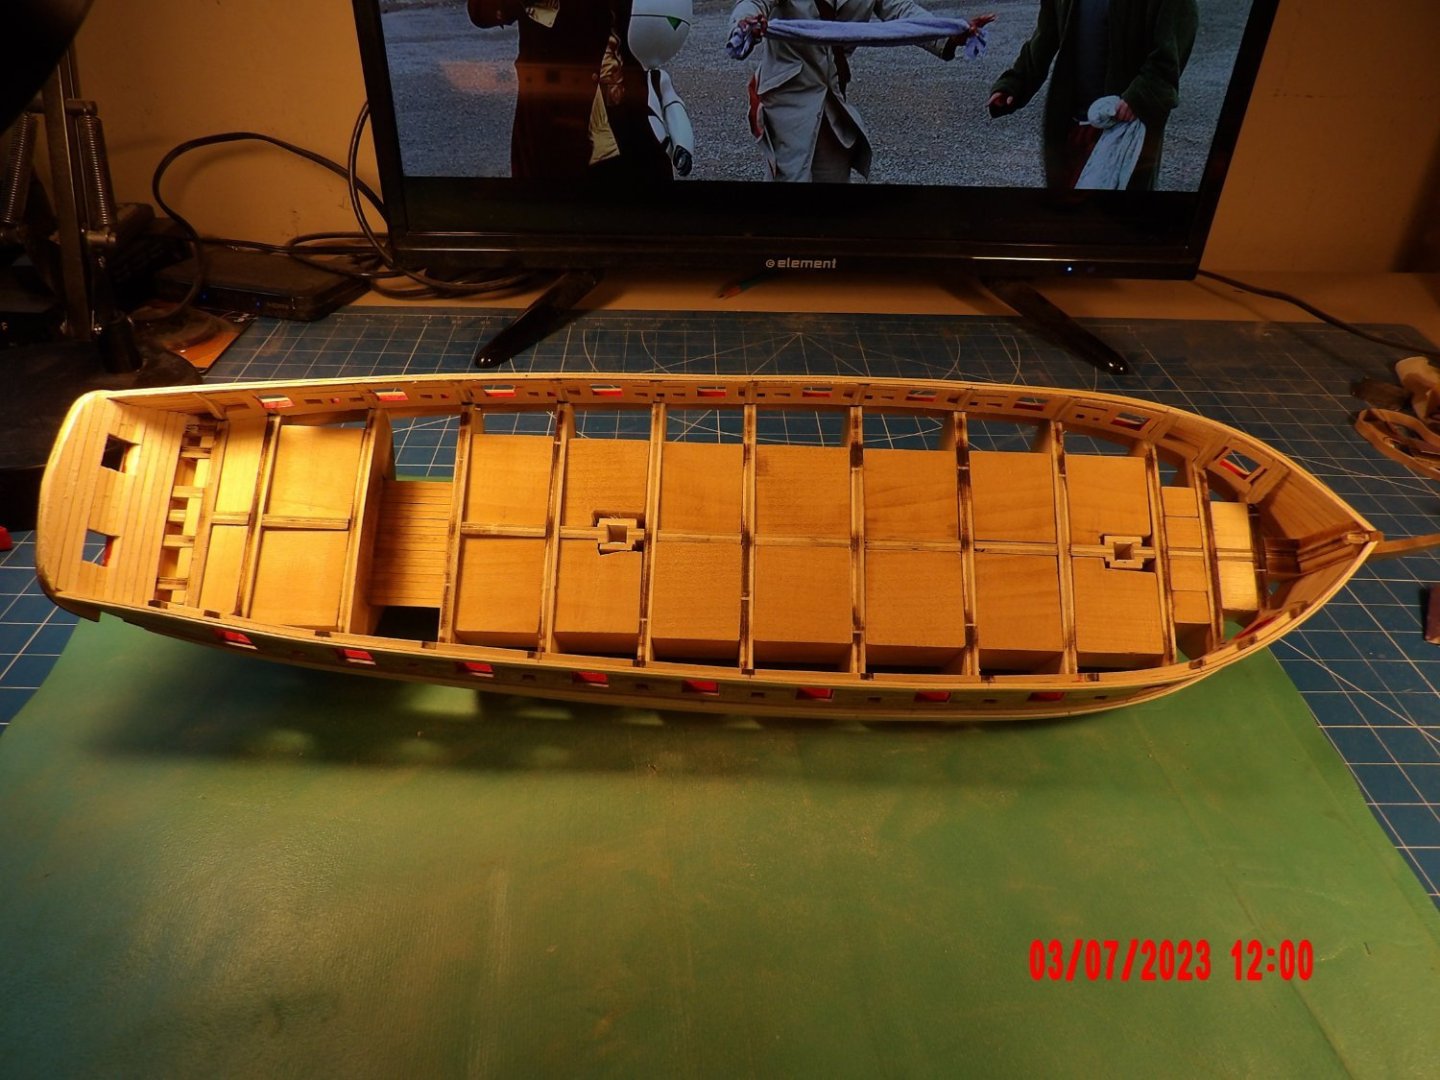
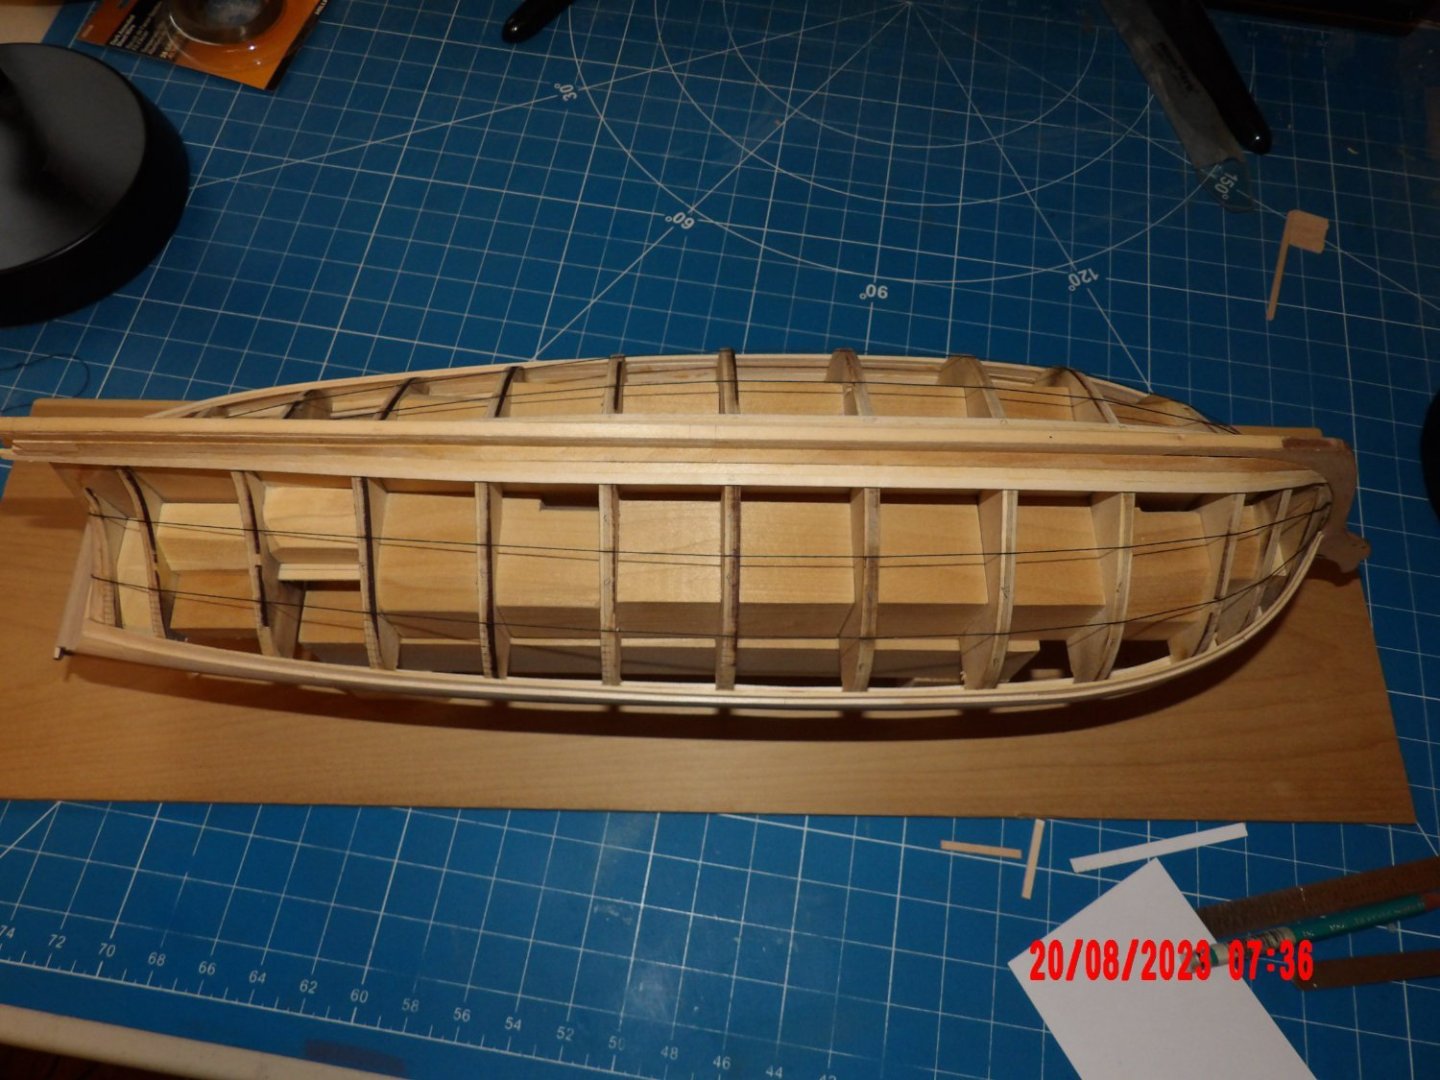
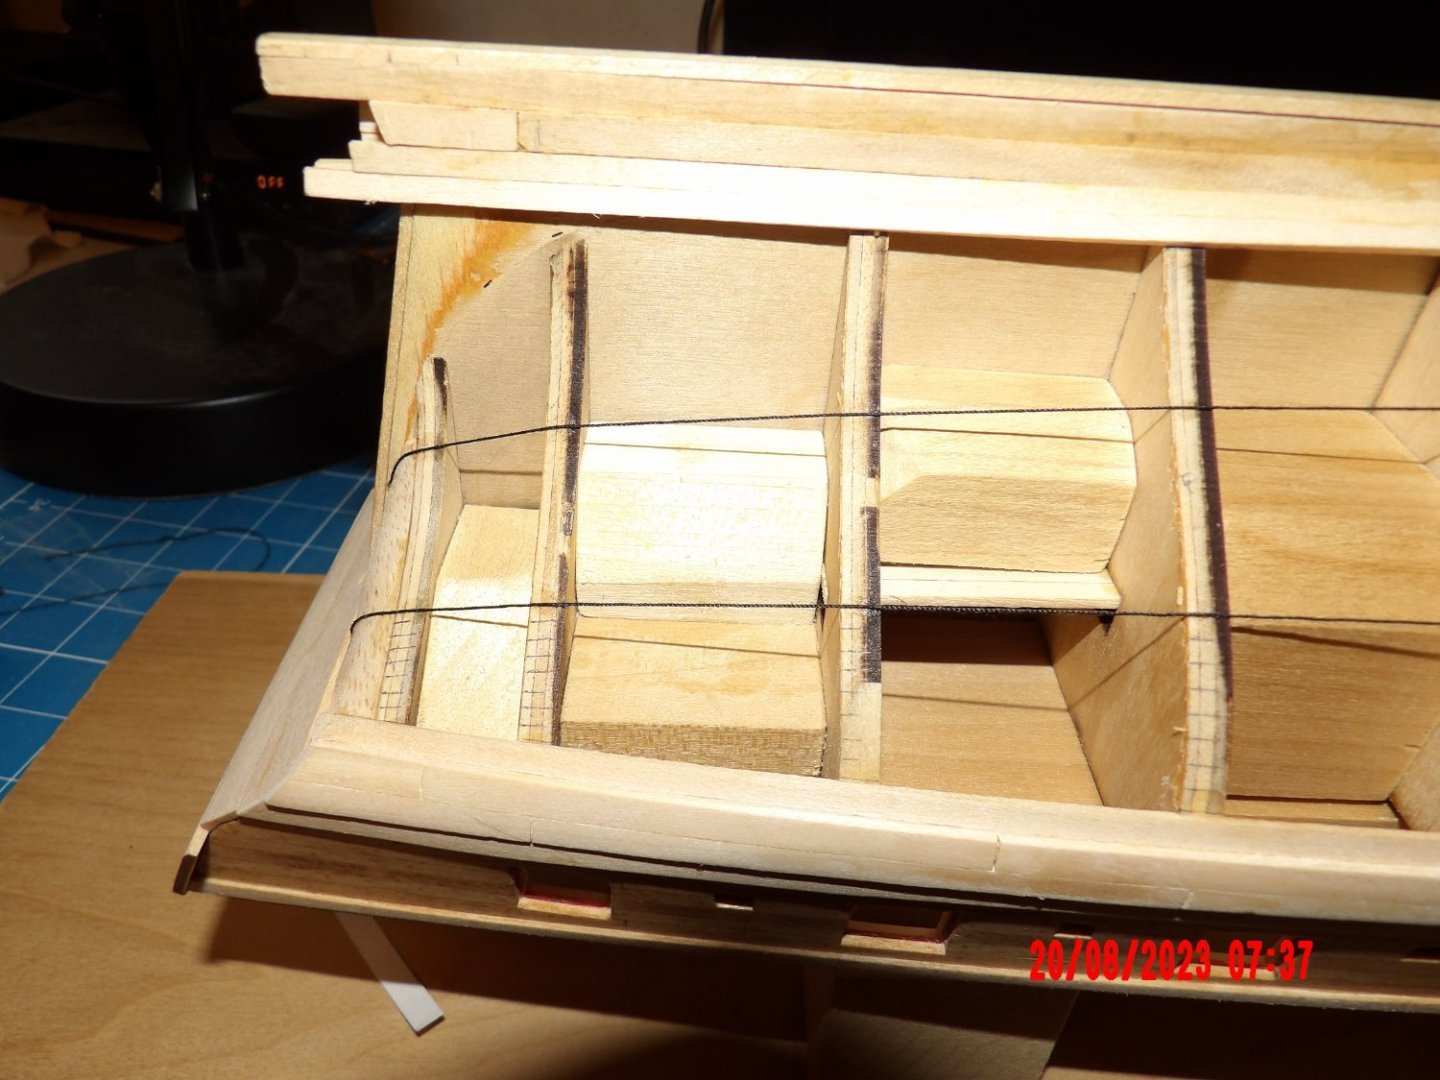
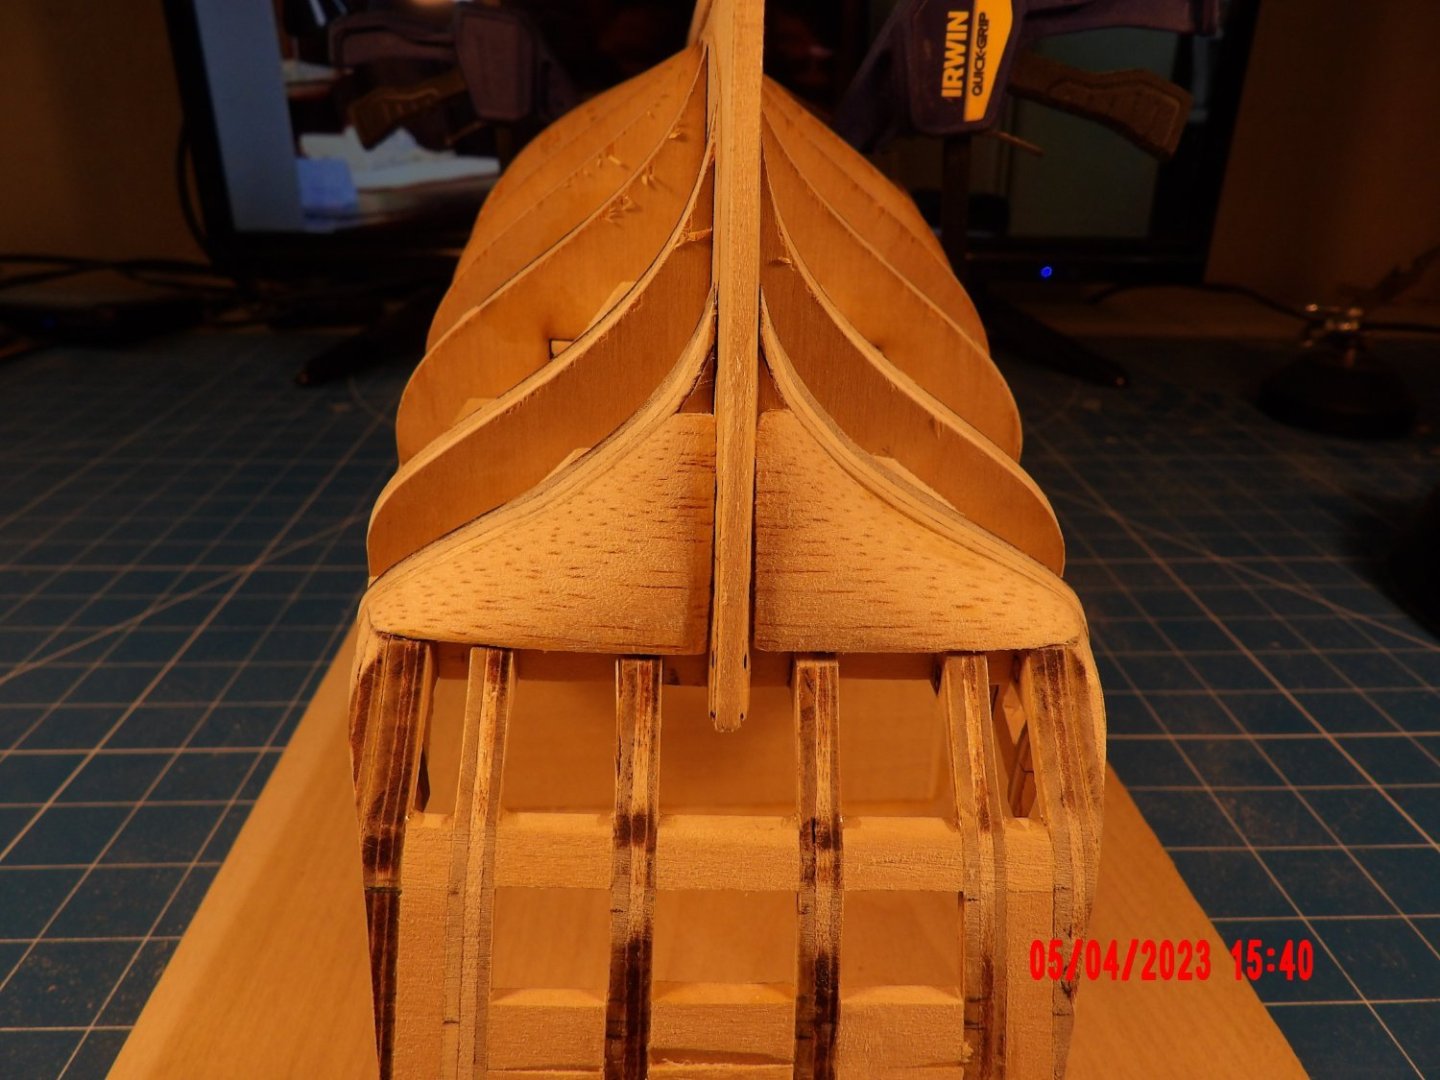
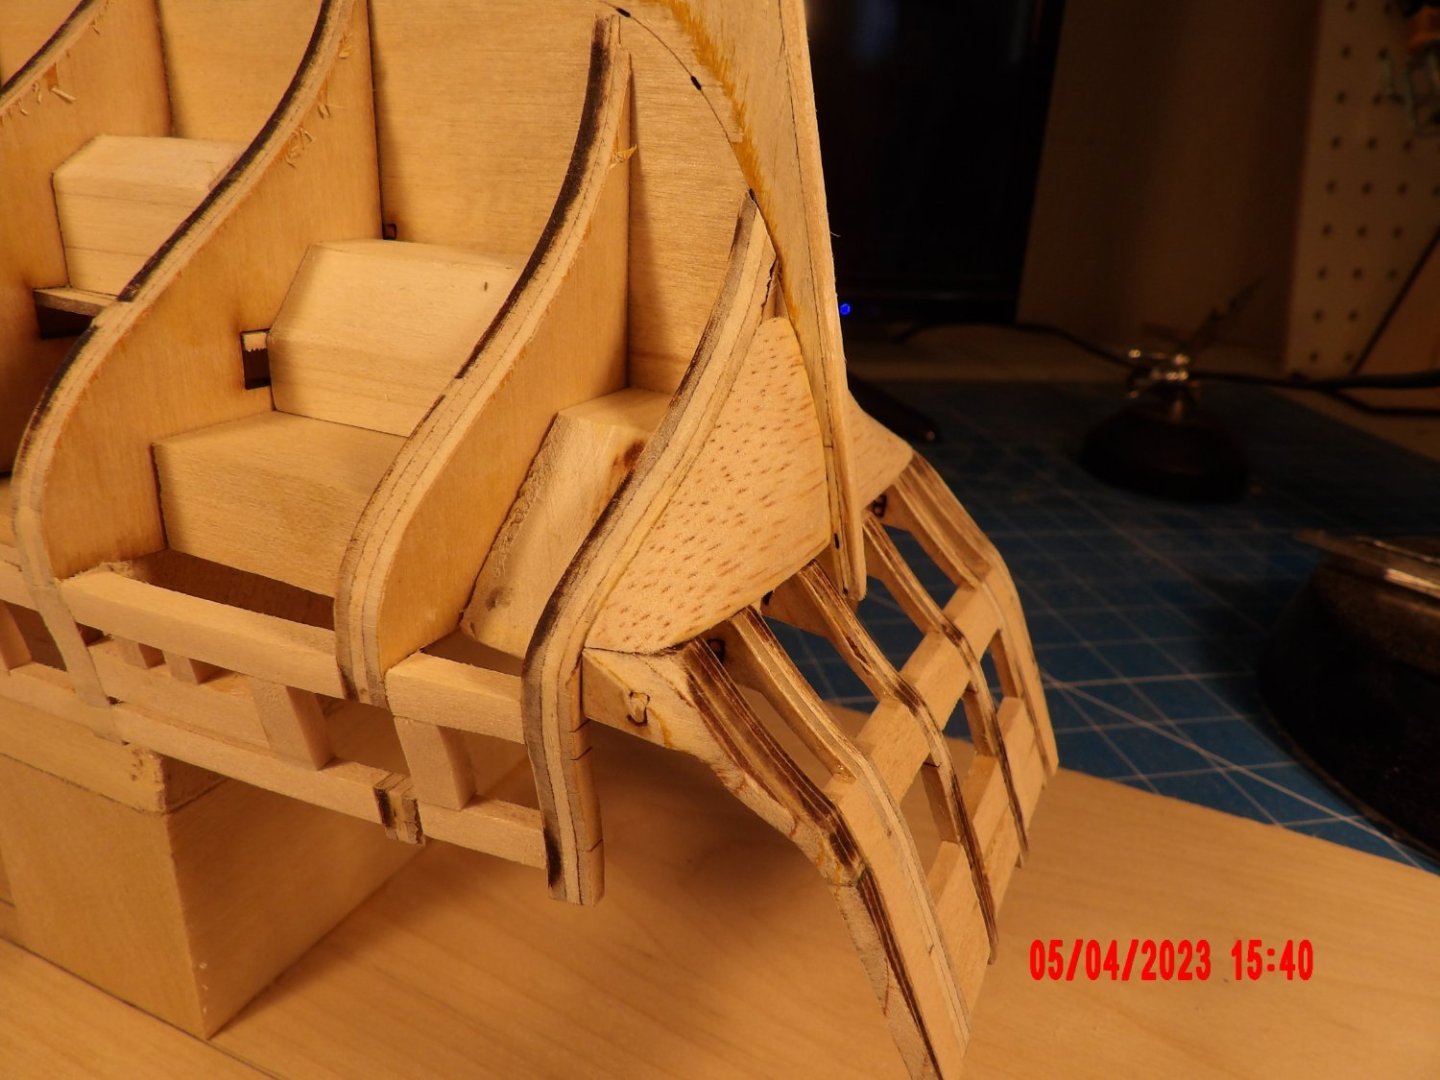
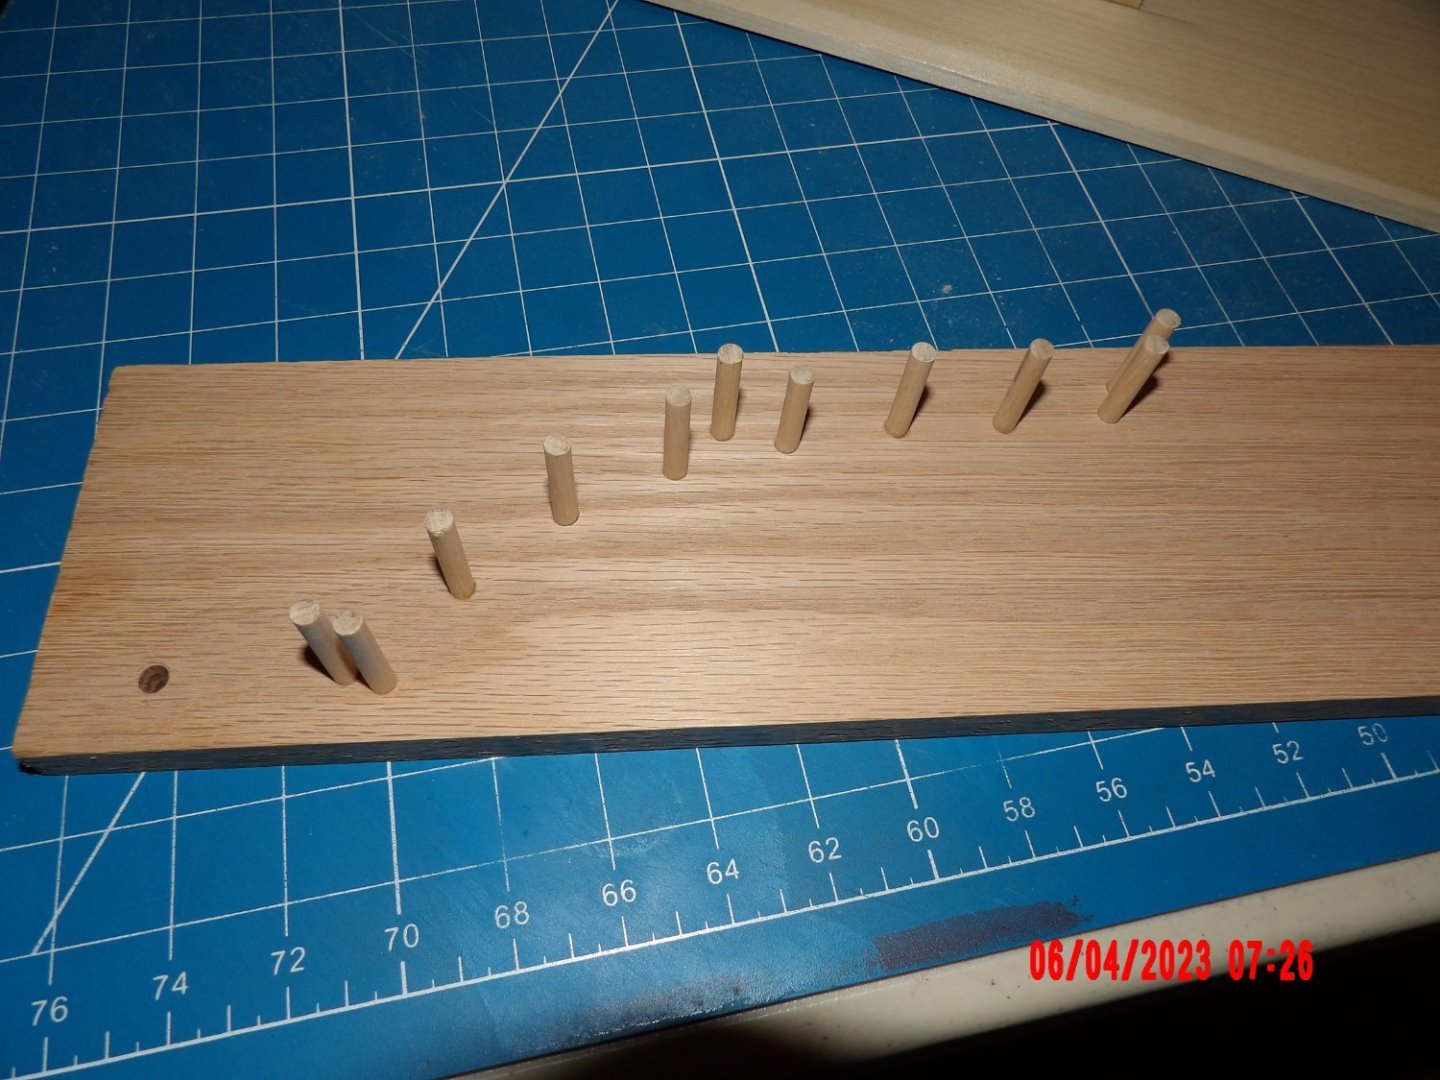
One of the things holding me up is the addition of filler pieces that serve as aids in placing the planking at the stern area. After a couple of tries using strip wood, which I was not happy with, I decided to do a complete fill of this area. I used balsa. These took me about 2 hours each side, but I found the process enjoyable, and think they will do. . . might need a little filler towards the bottom, we'll see. I'm considering adding more solid fill at the bow. . . Also made the plank-bending jig described in the instruction manual: Seems to me that this bending jig would only be accurate for the topmost planks, and adjustment would be required beyond that, or perhaps the jig becomes unusable mid-hull. . . Thanks for the likes, and thanks Allan and Gary for the nice comments. Bob
-
Capstan and Binnacle. The capstan was relatively easy to construct, except for the two rows of chocks (black), inserted between the whelps (the vertical strips). These are really tiny, and have to be individually cut to shape. Took awhile, but I think it came out OK. Still need to make a compass for the binnacle. The cast metal bell, which is to be mounted on the top on a wire frame, is too poor a casting to use. May order another. Eventually I'll start planking. . .

-
What a great attitude! Looks very nice. . .
- 39 replies
-
- 1
-
-
- Lowell Grand Banks Dory
- Model Shipways
- (and 1 more)