bobandlucy
-
Posts
512 -
Joined
-
Last visited
Content Type
Profiles
Forums
Gallery
Events
Everything posted by bobandlucy
-
 Clever use of plastic wrap! All looks very good. Bob
- 144 replies
-
- 2
-

-
- Harriet Lane
- Model Shipways
- (and 1 more)
-
Jerry, I soaked the wood in boiling water, if I recall correctly, about 15 minutes, then used an electric plank bender with the form provided with the bender. You can get these at Model Expo. https://modelexpo-online.com/search.asp?keyword=electric+plank+bender
- 86 replies
-
- 1
-
-
- king of the mississippi
- artesania latina
- (and 2 more)
-
Steven- man you work fast! Looks great. I have been reading your Syren log and it is very helpful, thanks. Bob
-
I've gone as far (too far, probably) as I will go on the inboard sanding of the sills/lintels. The manual suggests using a folded length of sandpaper. I couldn't figure out a better way, as I wanted to span three bulwarks and not lose the double (S-shaped) curves. I did maintain the curves, but some of the bulwarks curves became exaggerated (thinner in the middle) from over-sanding. I have looked a lot of logs, and it seems that most have ended up with a fairly flat inside surface after planking. I saw a YouTube video in which the modeler attacked this operation, both inside and out, with a small block plane- it looked like he ended up with a flat inside surface also, as one would expect. I finally noticed that the bulwarks were not exactly the same shape on both sides. On one side, the last 1/4 inch meets the bulkhead gracefully, and I was able to sand the sills/lintels pretty flush with the bulwarks. On the other side, this area takes an abrupt angle downward and outboard. This was the second of the sides I sanded, and since I was trying to sand flush this contributed to more over-sanding than on the other side. Since the manual calls for additional thinning of the bulwarks inboard after framing the gun ports, I decided to stop here and start the framing. When I (try to) fair these additional pieces, I'm hoping that areas needing fill will become apparent. This will be true outboard as well, but to a lesser degree. It's becoming apparent that I may have selected a model requiring more skill than I actually have, but it's a given that I will learn from it, and so will press on with all due humility! Back to cutting, shaping, and gluing!


-
RD, the Amati Keel Clamp seems to be popular. I don't have one, so these are what I am using:


-
Hi, Bob! Was wondering what had become of this project. Your new cat looks a lot like mine. Maybe new cat rules should come with the house remodel! I remember well toiling over those railings. . . Bob
-
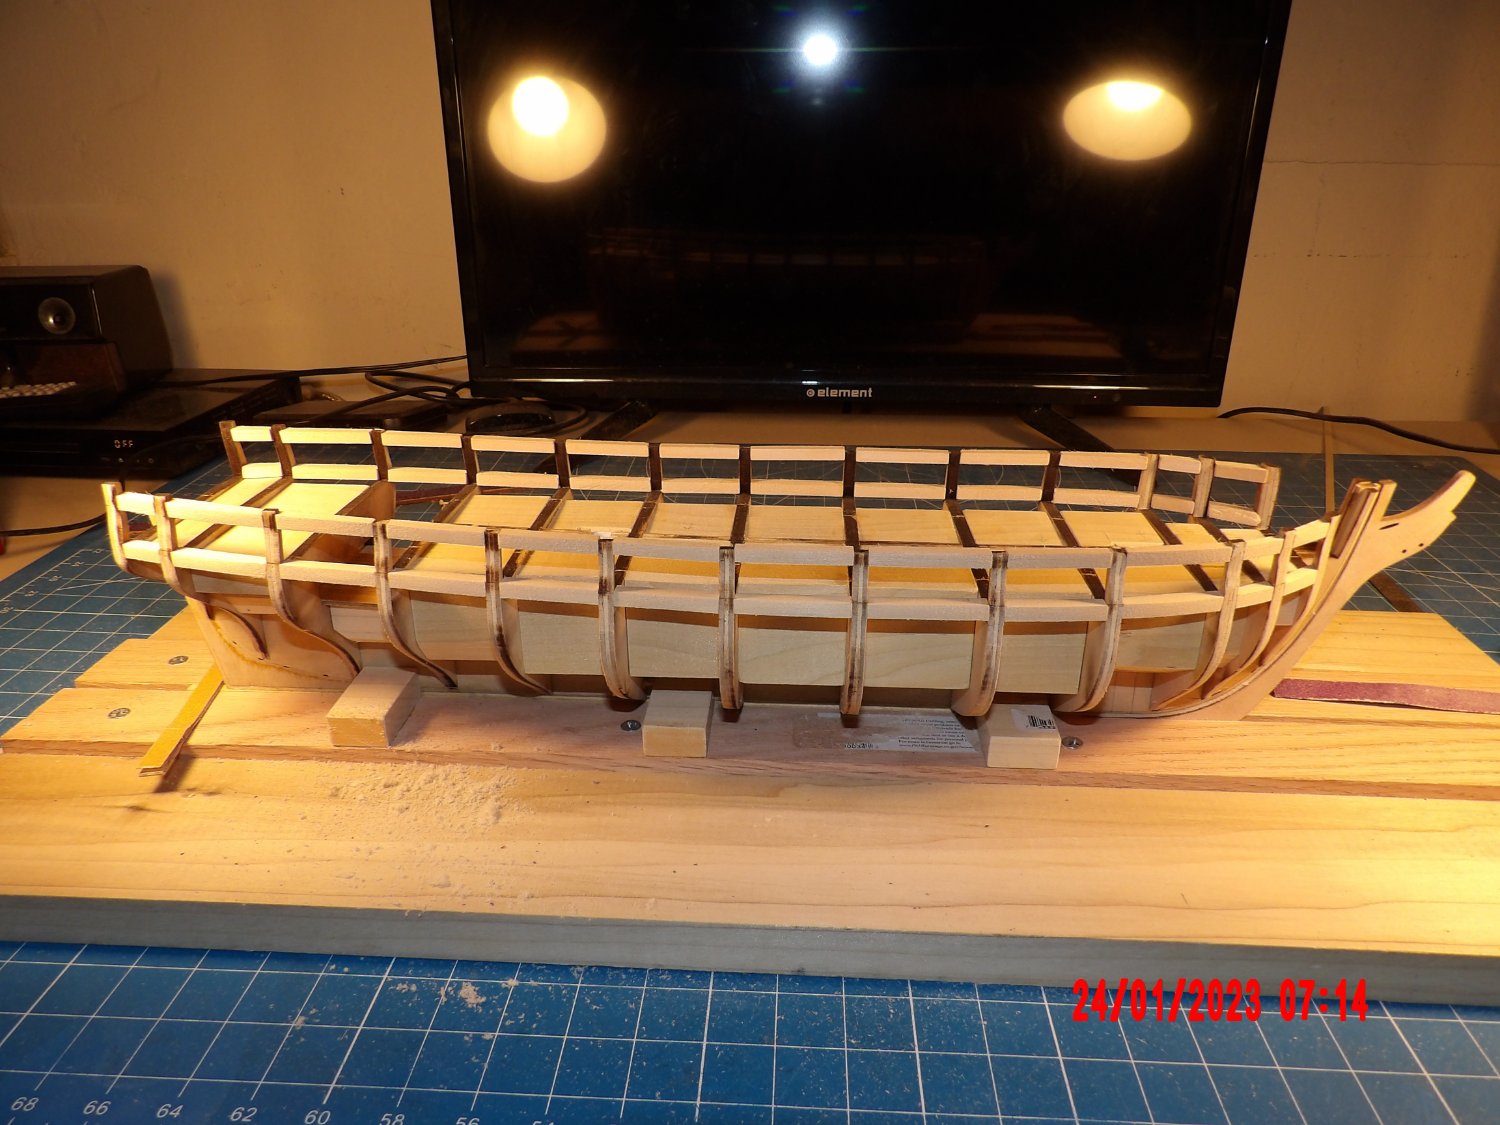
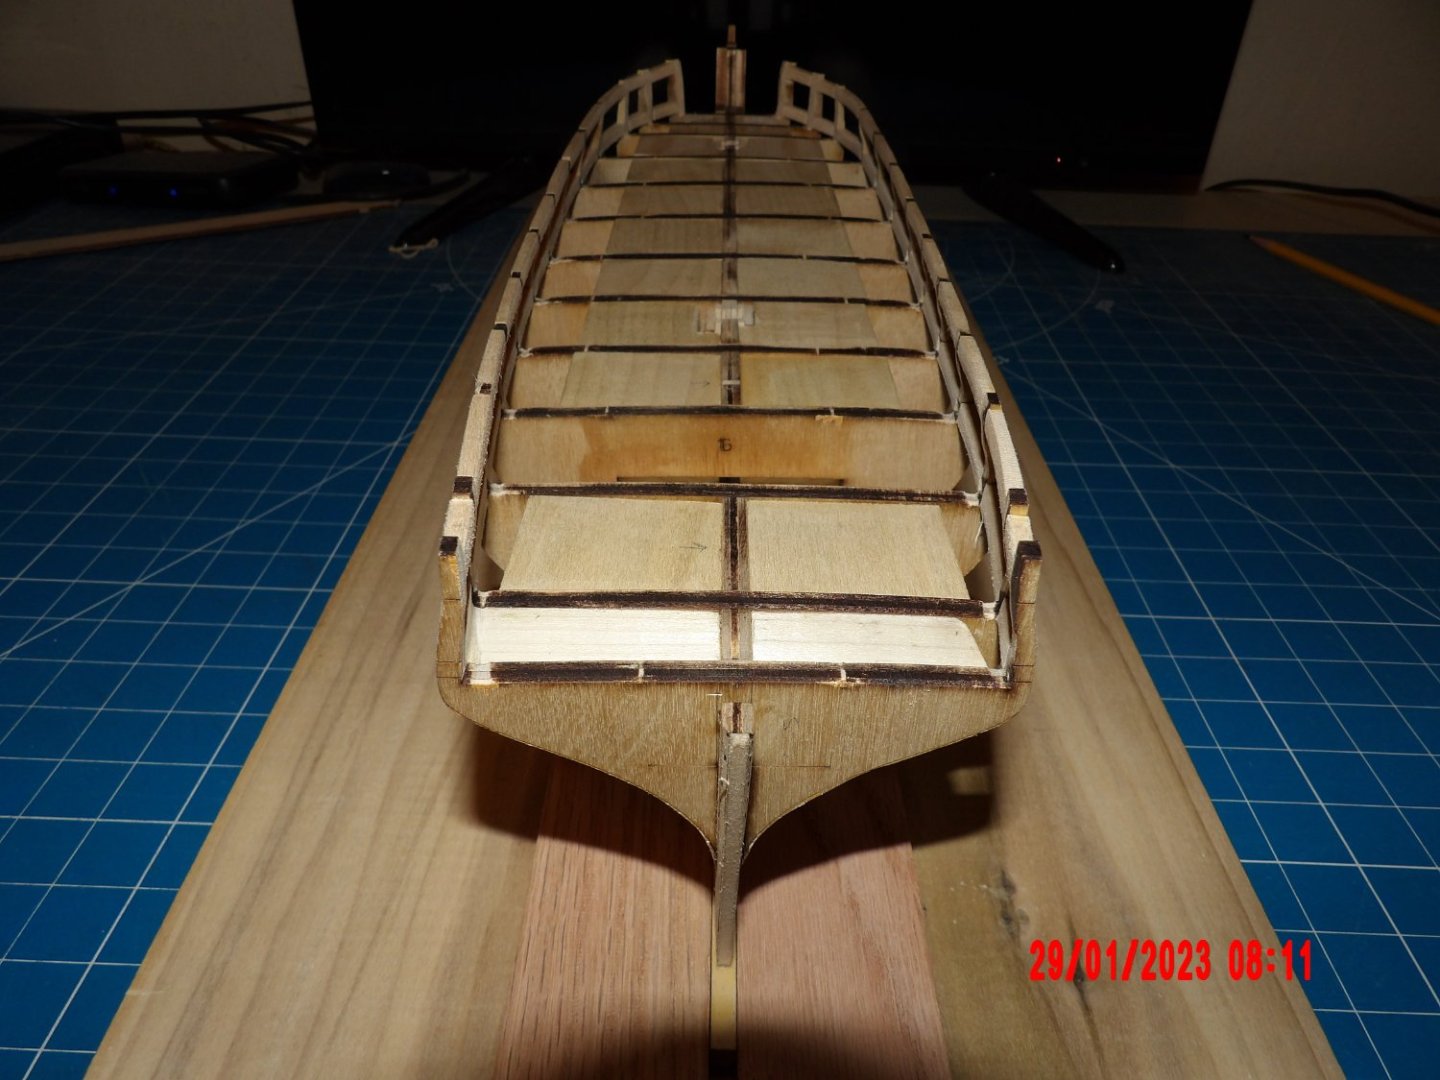
"Finished" the fairing of the bulkheads, although it looks like some additional work needs to be done on the bow area. I added the sills and lintels, and am closing in on fairing them to the bulwarks, on the outboard sides. This is very difficult to do without gouging the bulkheads/bulwarks, while maintaining the curve of the bulwarks- and indeed I have minor problems in a few places. When I am done I may have to do a little repair work. Looking at other logs, I see similar. This is taking a long time, I've been sanding for days now, and the inboard looks to be even trickier! Then comes the gun port framing, and more fairing. Luckily, I've become pretty patient in my age (except when waiting in lines, then I tend to commiserate with the other prisoners around me). Amidships, some of the lintels protrude above the tops of the bulwarks. On the port side, I sanded the lintels flush, and subsequently read in another log that one should not do that, as the planking may rise above the tops of the bulwarks, so I did not do the same on the starboard side. Not the end of the world, obviously I can add material if I have to. The bow filler pieces need more fairing, in fact it looks like I didn't touch the inside surface on one side at all, in any case the angles I did sand are incorrect. I may take them out and start over, but later. The framing elevation drawings provided are useful, but I won't use them as a template as the manual suggests- they are not elongated to account for the curvature of the ship at bow and stern. The plan view framing plan is pretty close to my model regarding bulkhead locations, so I will take framing locations from that plan using dividers. Back to it!


-
Looking really nice, John!
-
Great! Take your time, and sand or shim as required. I spent 3 or 4 days doing this, but I'm slow. b
-
David, do you have a picture of a test fit of your filler blocks? I'm having difficulty imagining what is happening. . . I just added mine and they actually helped straighten out things for me. They must be cut square and exactly to the width between bulkheads. Do you have an electric chop saw?

-
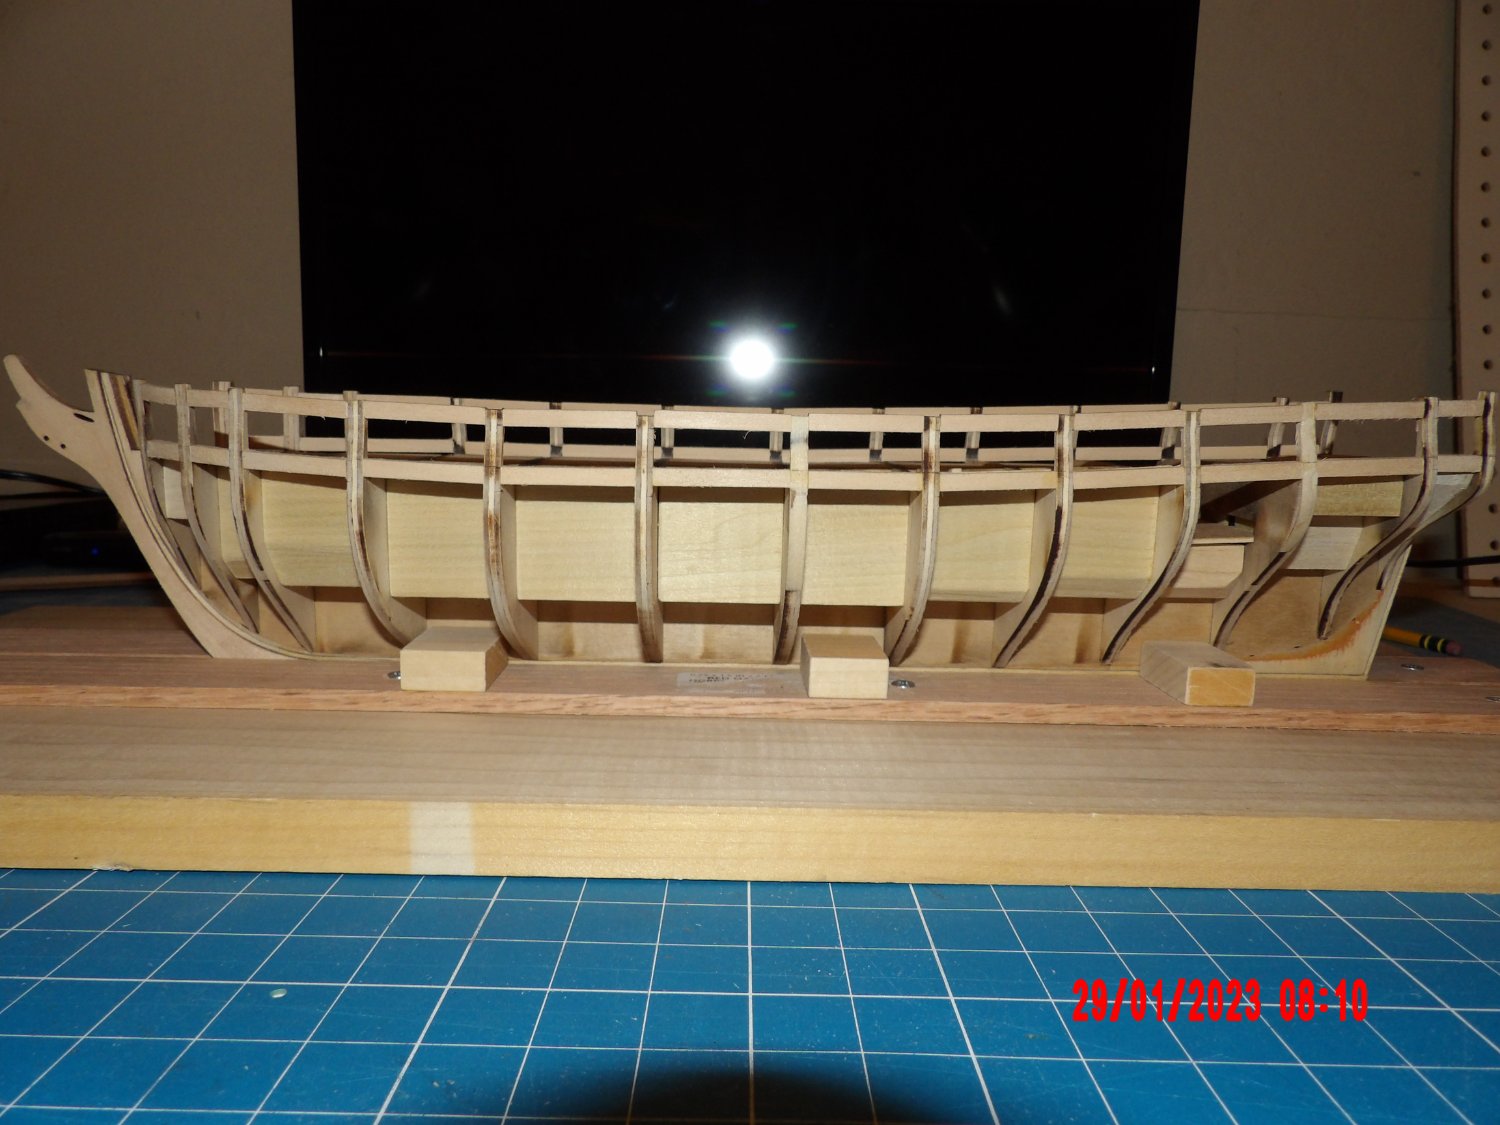
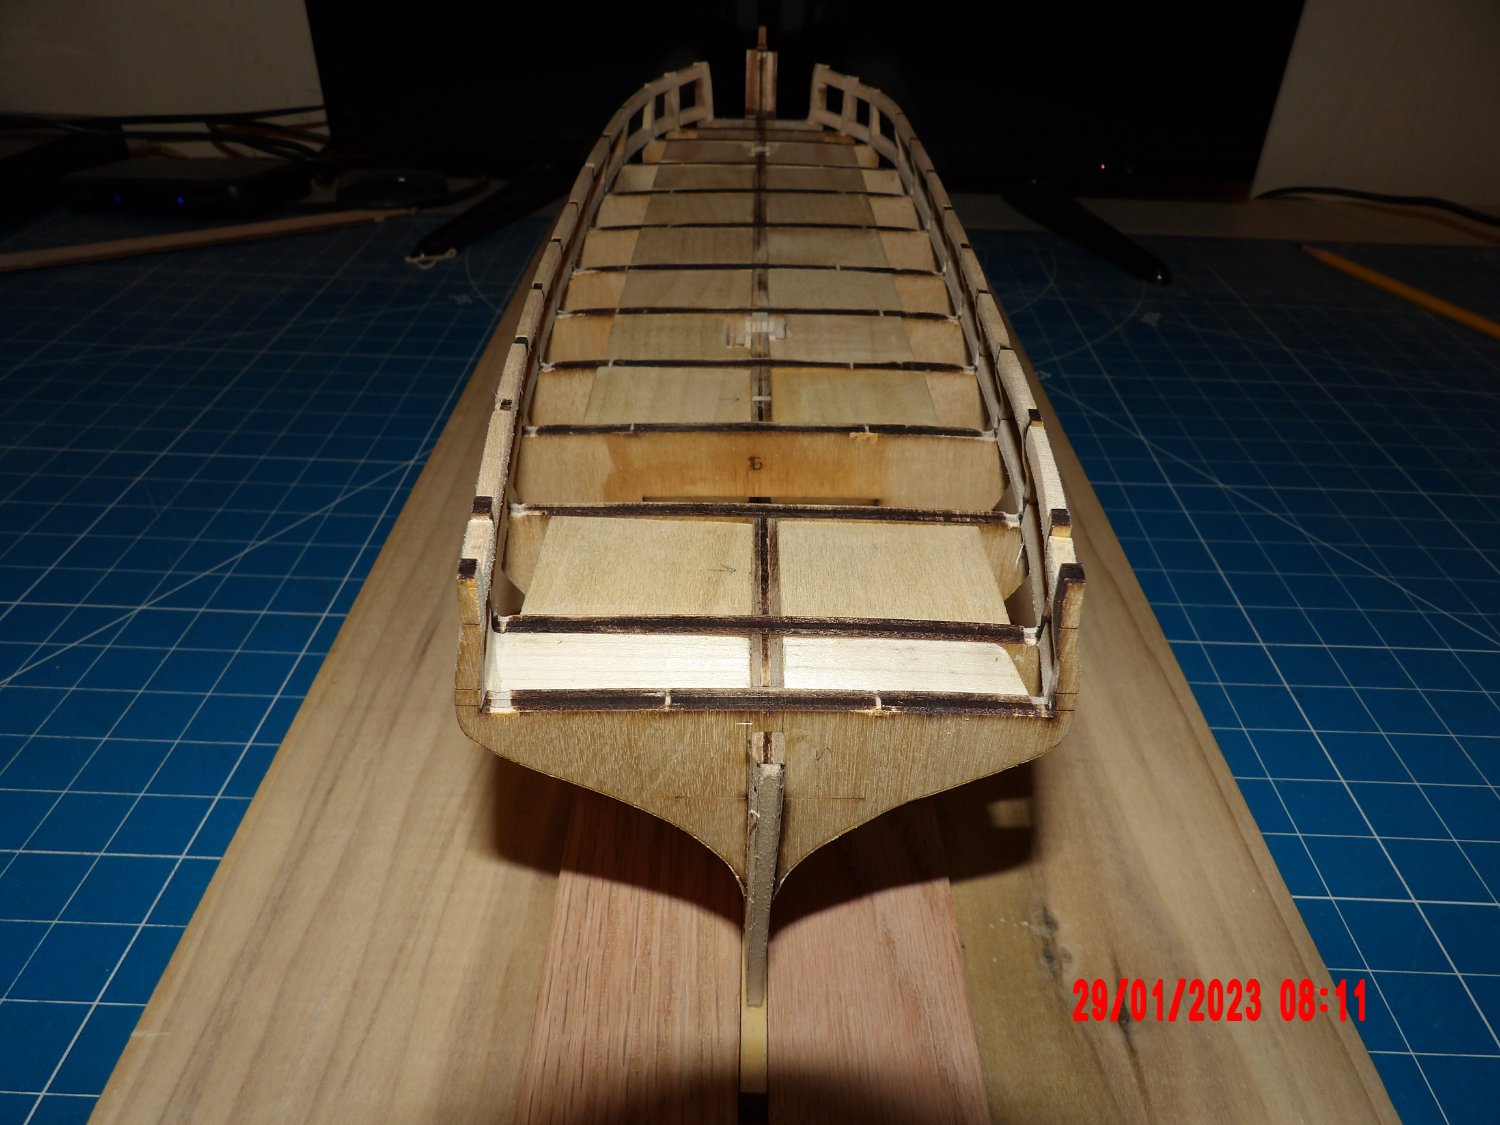
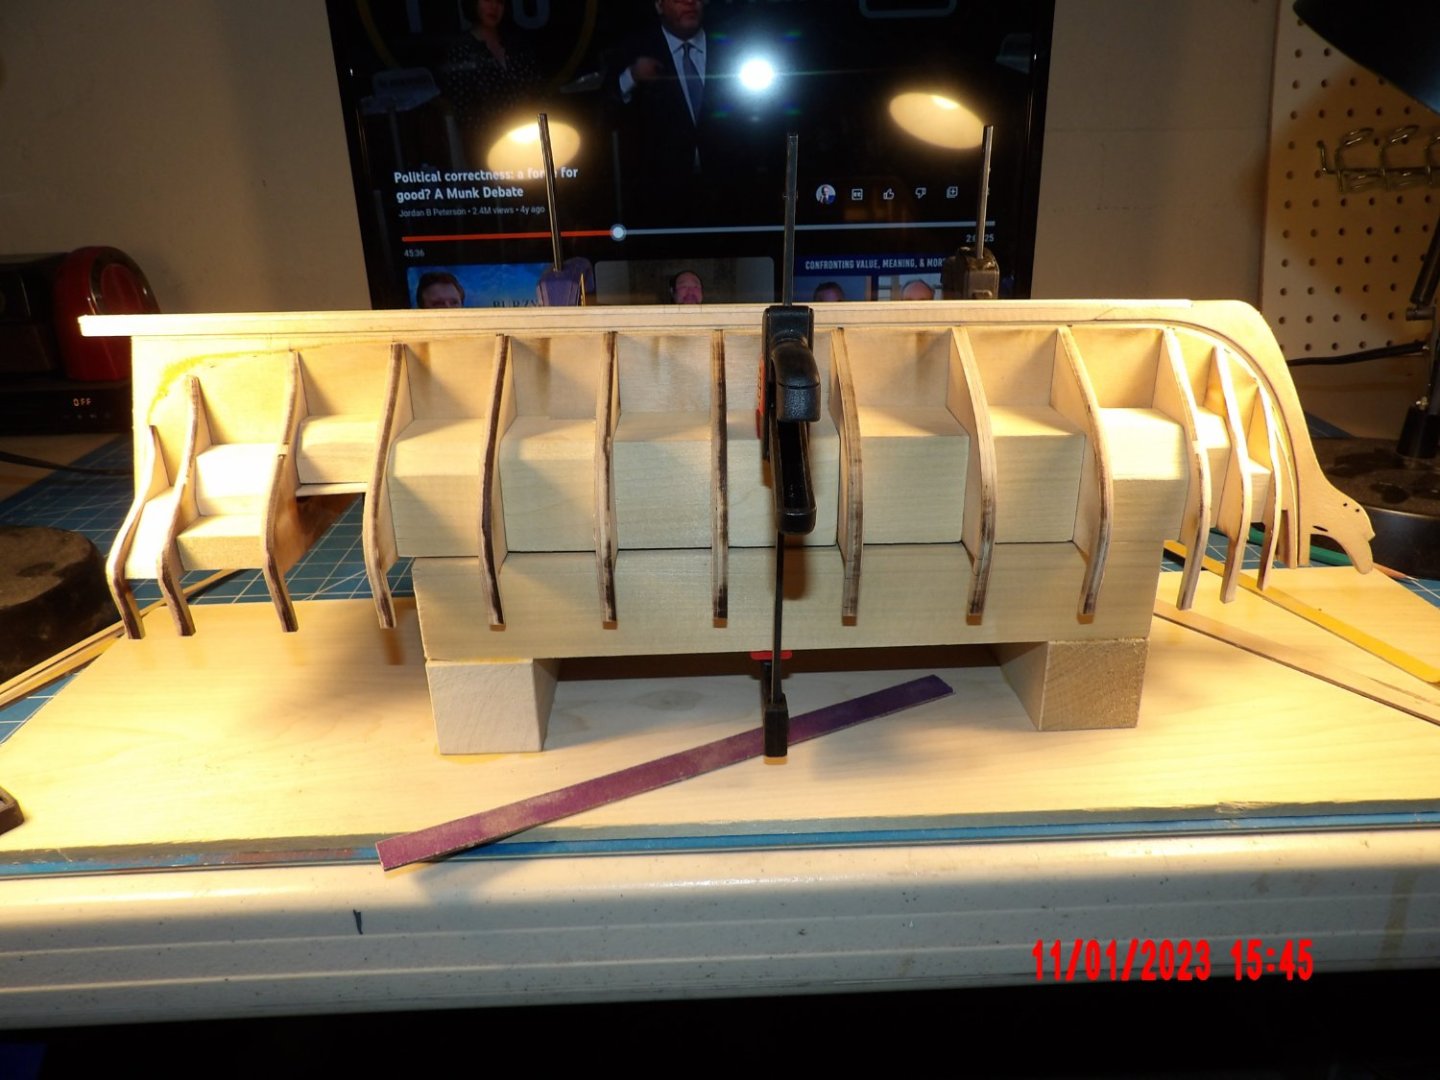
I made a support structure for holding the model upside down. Began the final fairing. This may take a while. . . Fairing plywood is more difficult than fairing basswood! It looks like I will need to add shim to a couple of areas. I'm not going to rush this. So far I haven't broken any of the bulwarks.
-
Added the filler blocks, made out of poplar wood:

-
Wookie, I don't think you have wasted your time or money. You are learning some important things, though maybe not realizing it in real time. One of the things I learned constructing this model was to get excess glue off before it sets. My dory shows some. . . my next model did not. The solution that Druxy offered does work, I've done it. Don't forget that you have very good clamps available- your fingers! It does not take that long for white or yellow glue to set. At the risk of sounding preachy, try to enjoy your time building. After all, you're not at work, you're at play! Have fun. It took me a while to get this, and the funny part is my work improved when I did. Best, Bob
- 43 replies
-
- 2
-
-
- Lowell Grand Banks Dory
- Model Shipways
- (and 2 more)
-
Excellent craftsmanship. I admire your imaginative jig-building. I need to get some Legos. Bob
- 57 replies
-
- 2
-
-
- marisstella
- batelina
- (and 1 more)
-
Nice work!
-
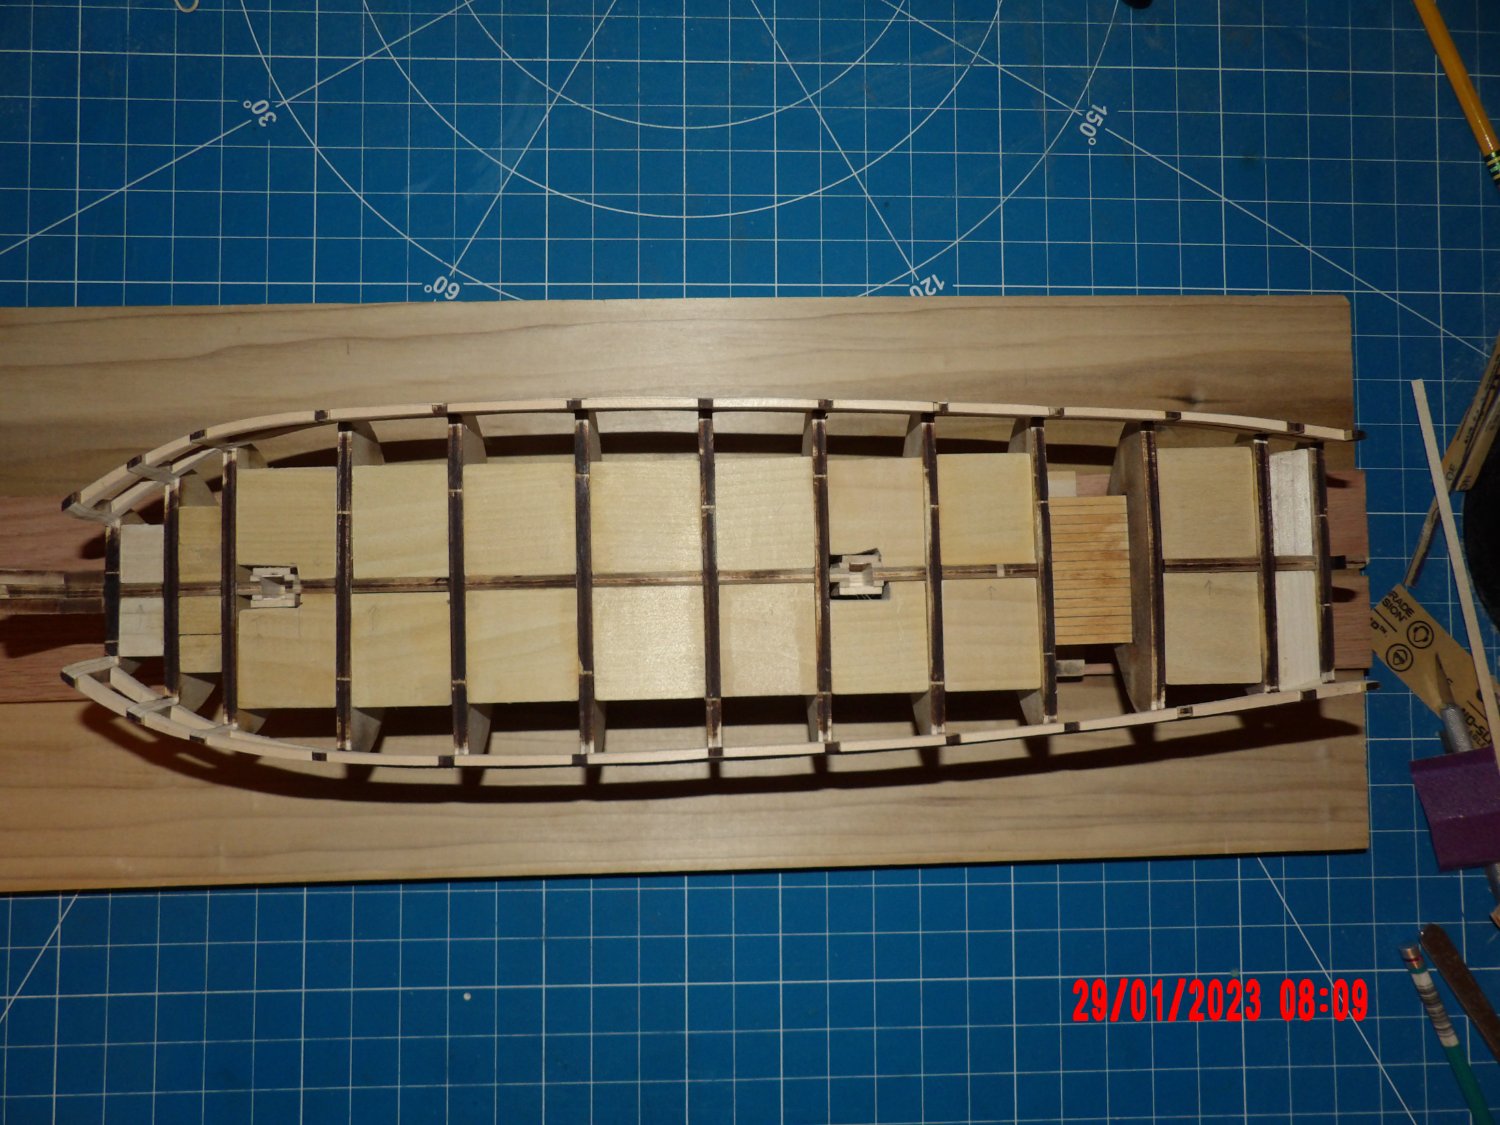
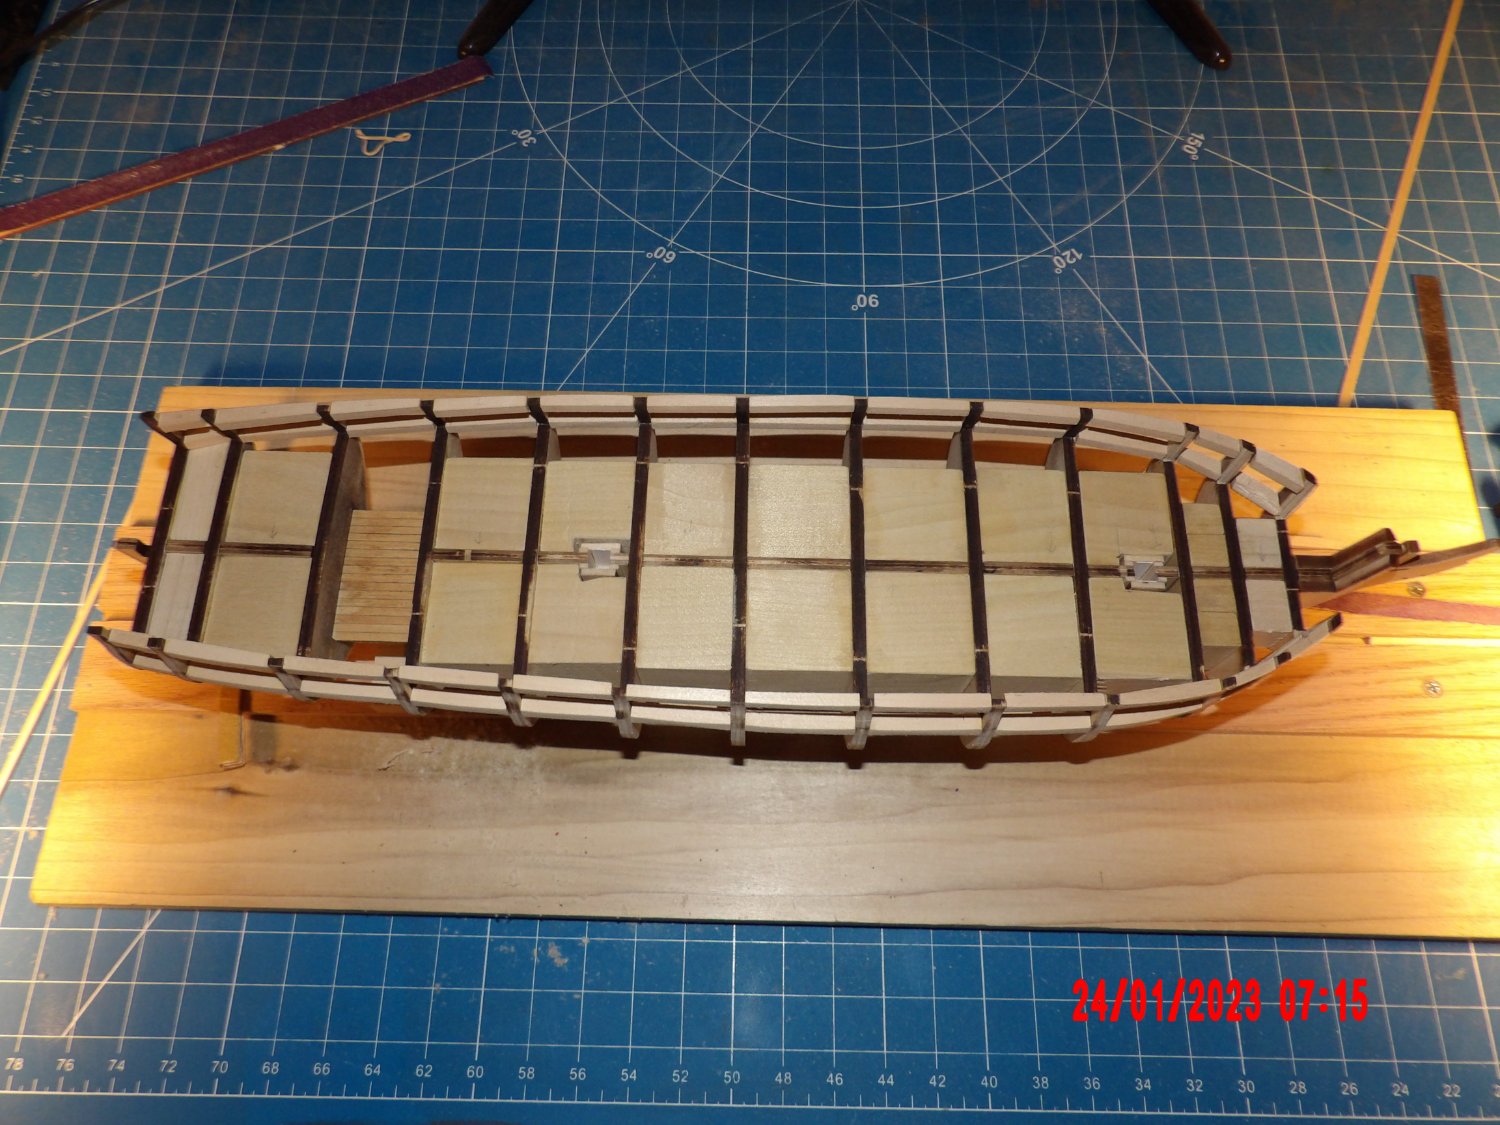
I forgot to mention the fact that I cut the holes in the spine for the masts and boxed them in. While doing that I found that at least the one plan I used for locating the masts was not printed at the correct scale. I decided to use the lines for the bulkheads nearest each mast as a reference point. . . I hope that works out OK. Looking at the deck plan it seems like there might be a little wiggle room. I found the framing templates PDF's posted on another log and downloaded those. Going forward I'll need to figure out the scale correction factor to adjust photocopies of the plans for use in locating other elements. I've encountered this kind of error before in ME's printed plans- I just don't get why they can't seem to get this simple and essential thing right. Frustrating. On the bright side, a neighbor gave me this used wooden tool chest which she found at Goodwill ($25.00!!) for Christmas. I absolutely love it. It weighs a ton!

-
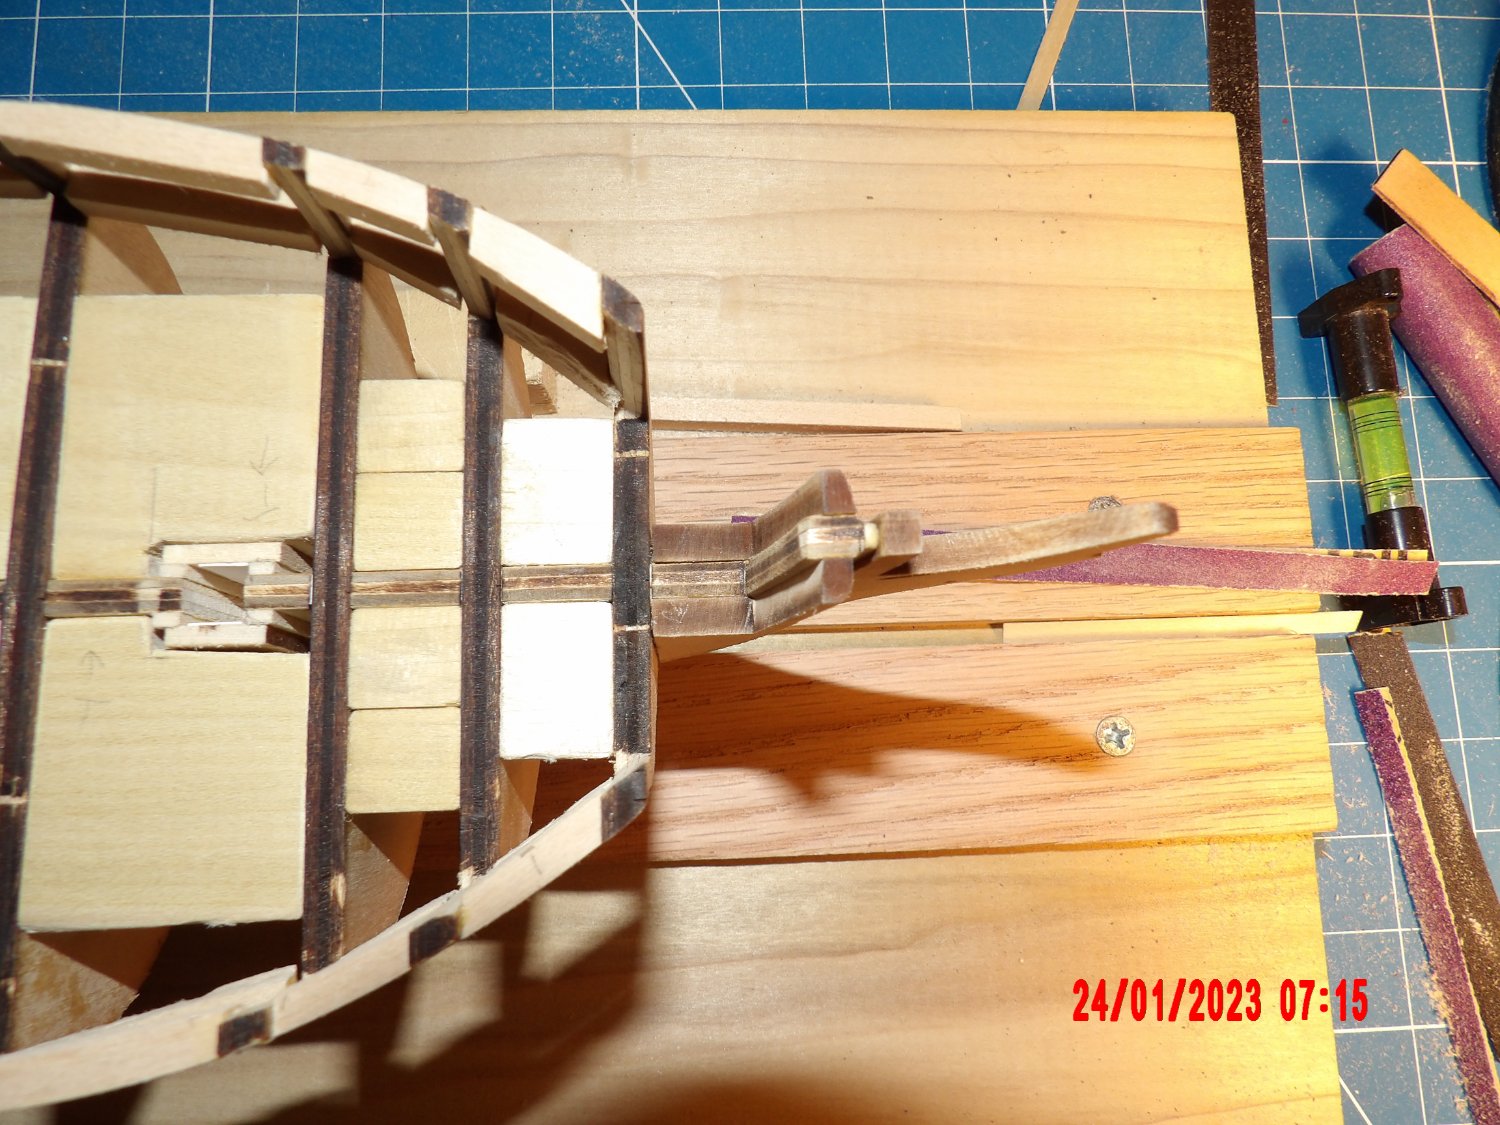
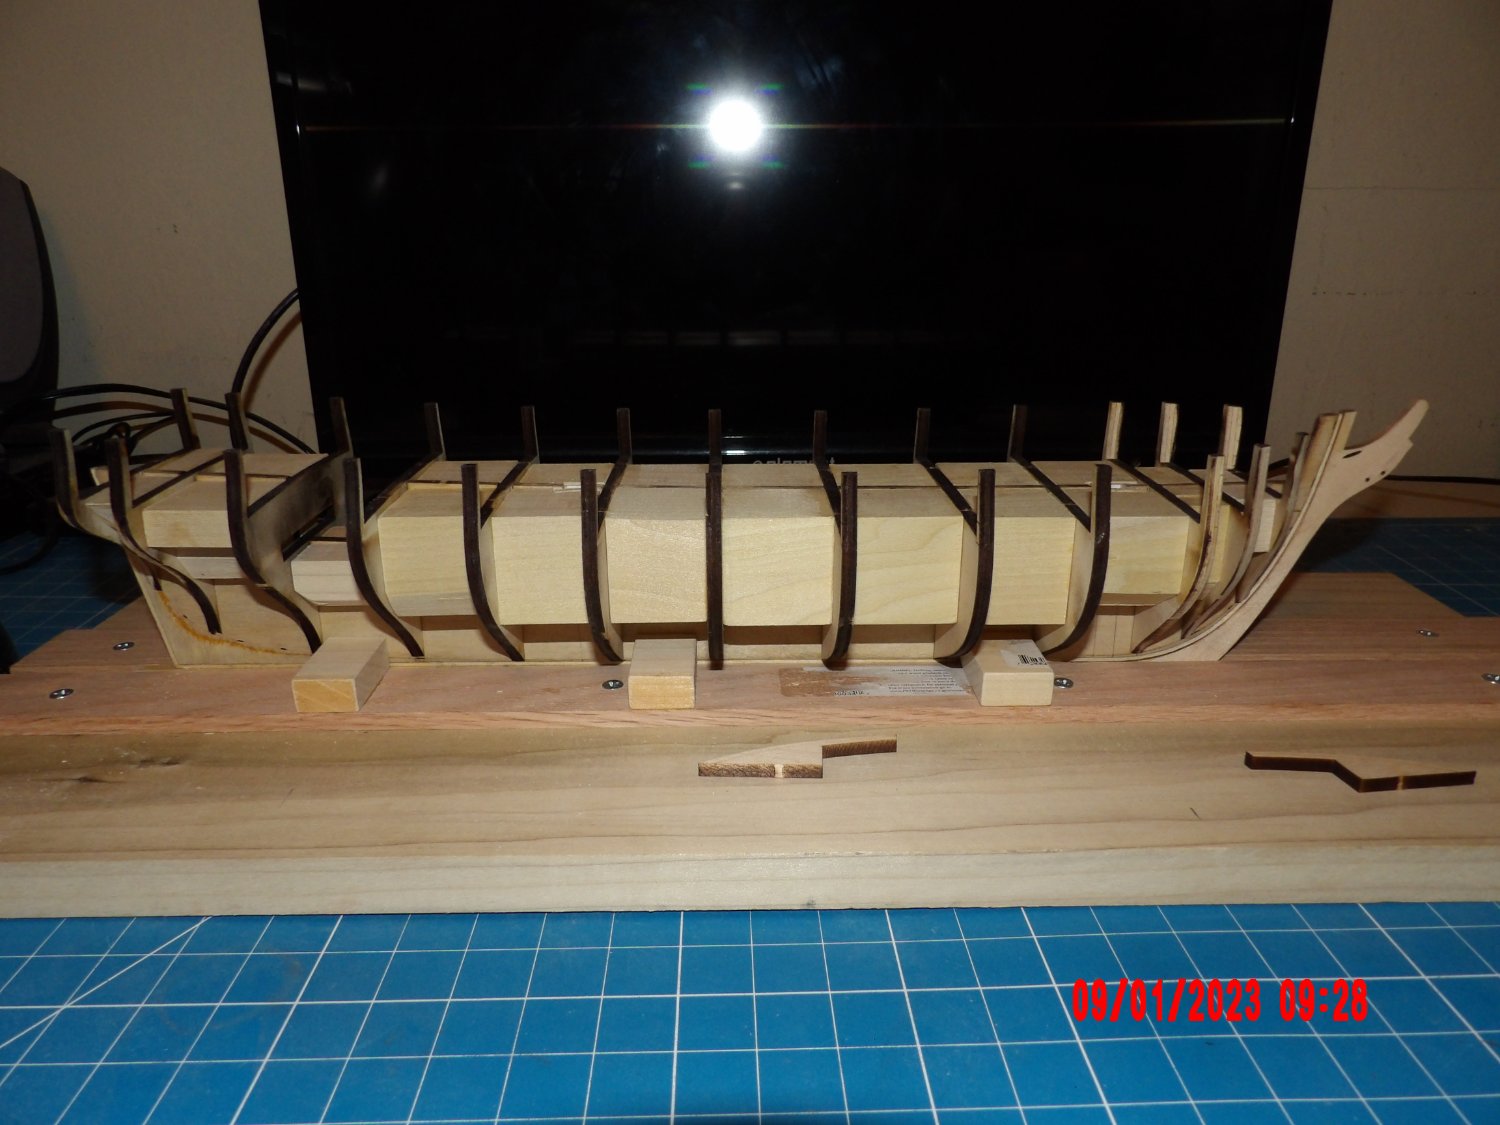
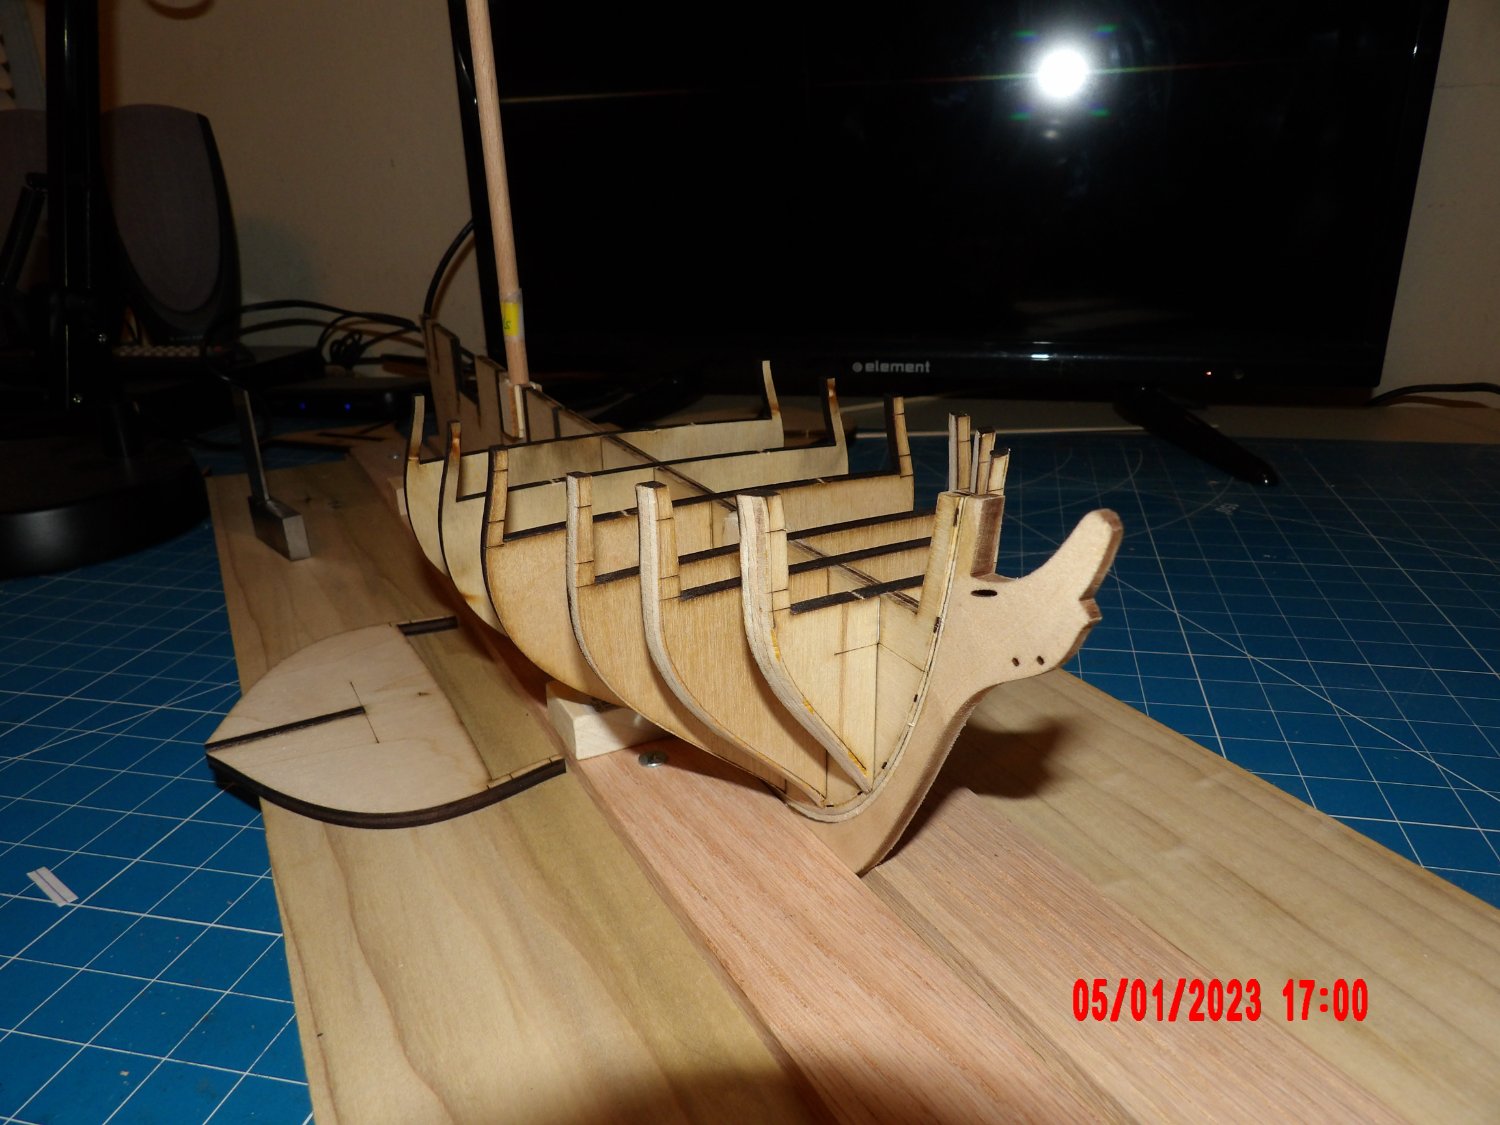
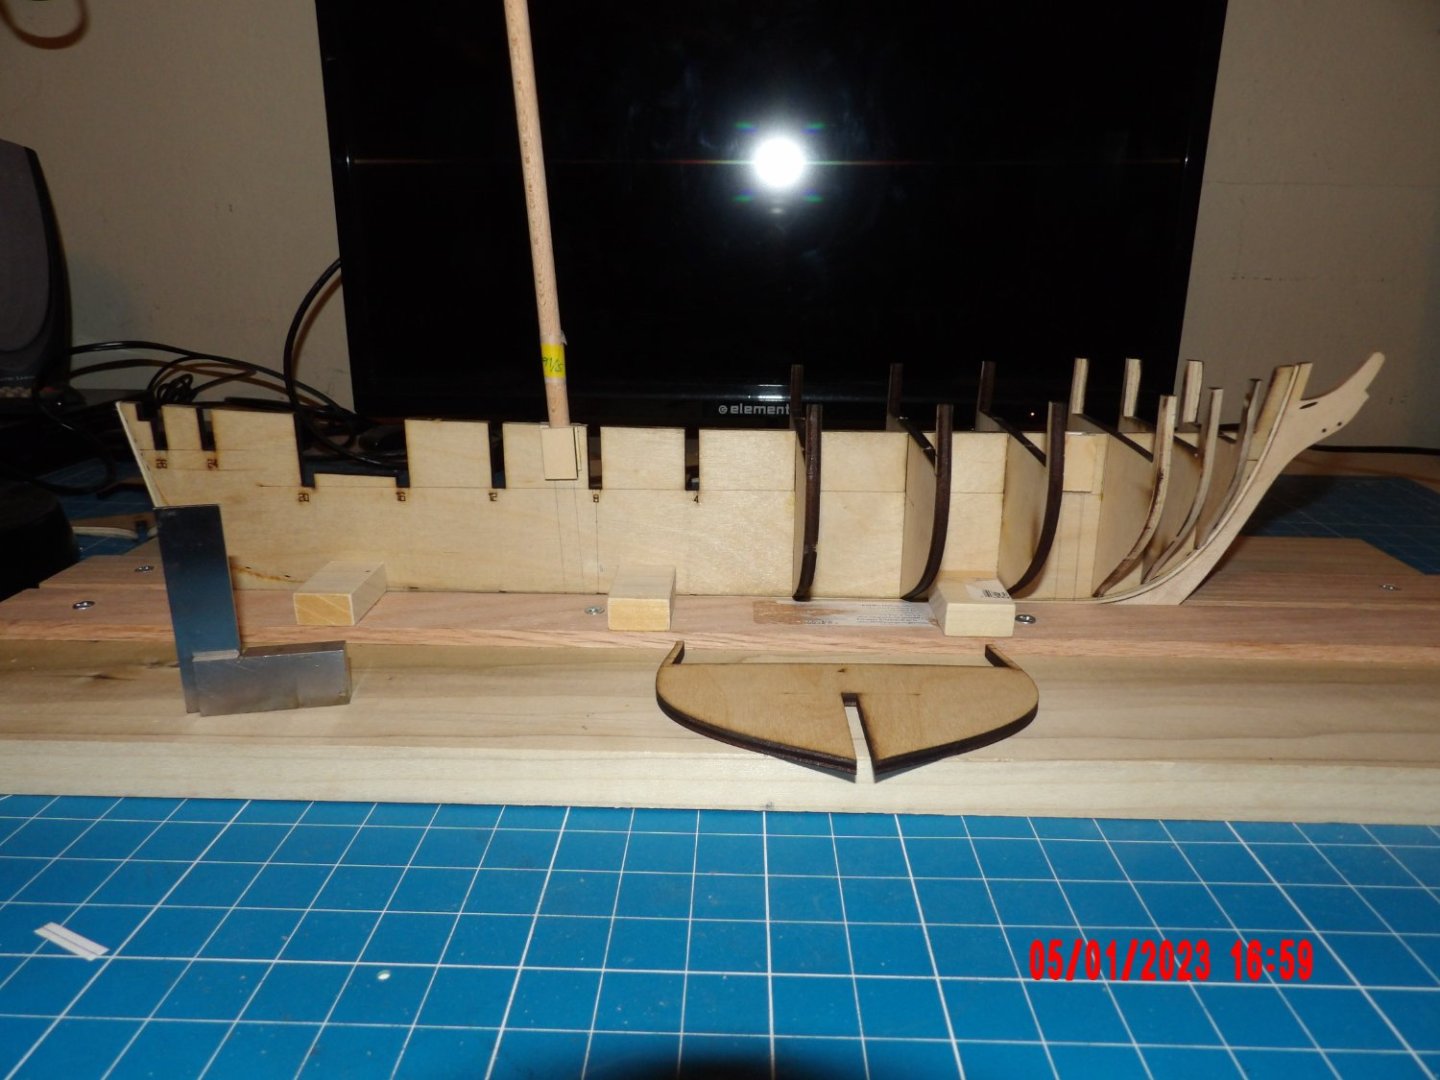
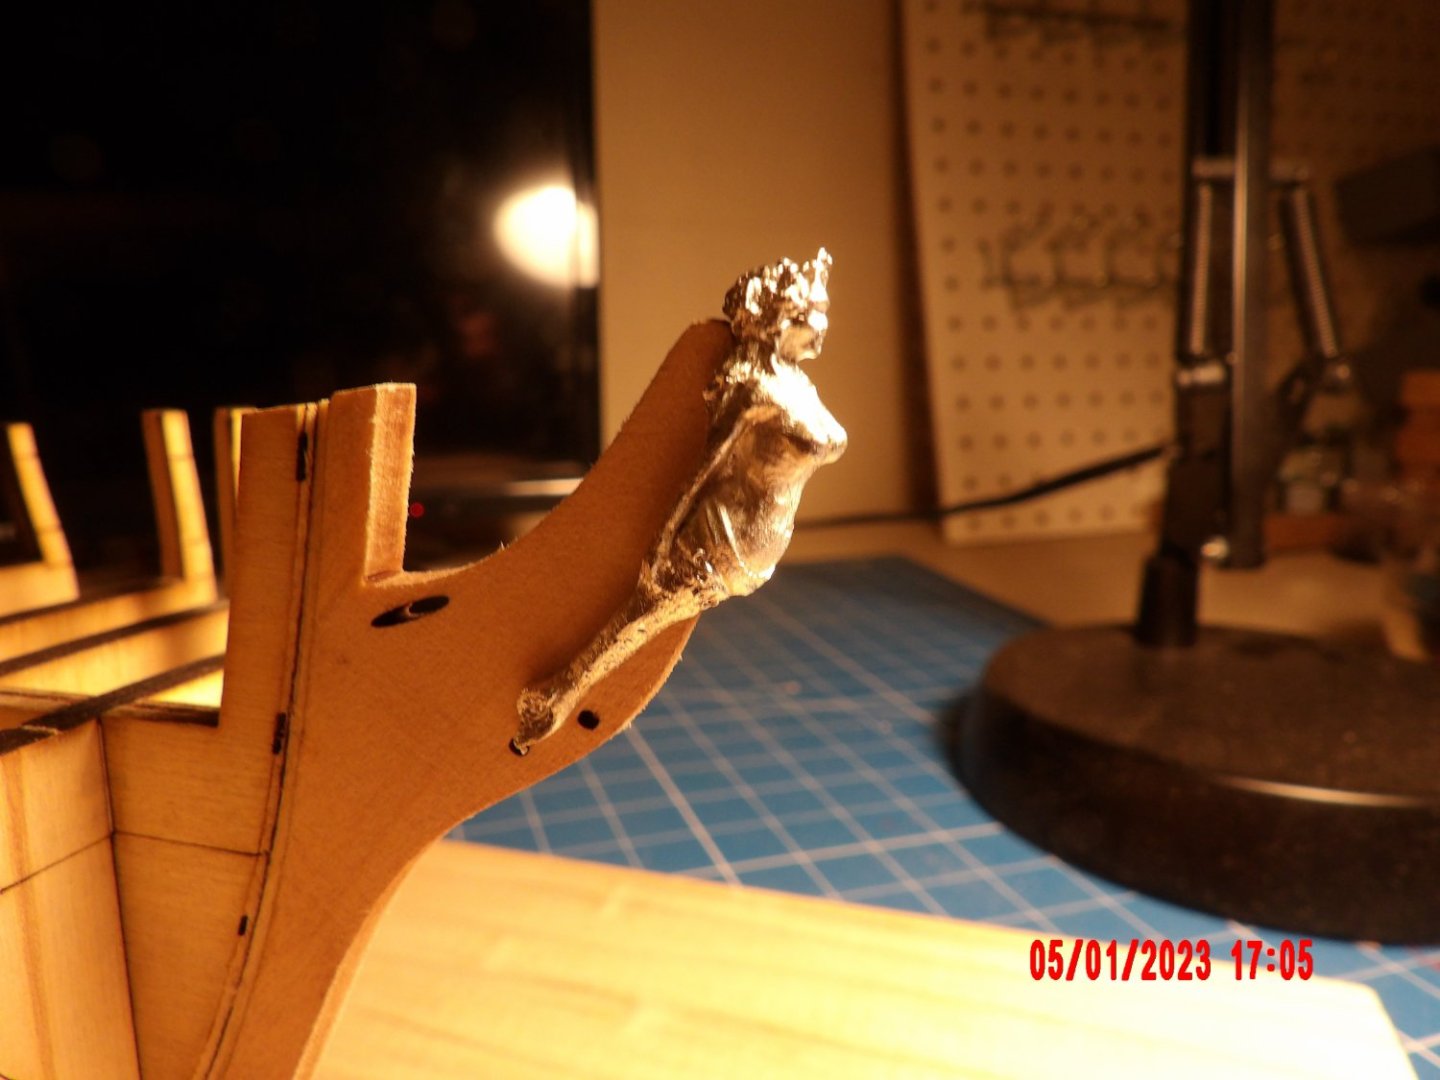
Built a building board. . . spine was warped as usual, but the board seems to hold it straight. I found it difficult to carve the required bevels in the plywood spine and bulkheads. Got it done, leaving some material for fairing. All my bulkheads except one were loose, and I am installing them with card and paper shims. For that reason, I am going to delay the final fairing until after all the bulkheads are glued in. I just have to figure out how to support the model upside down. Tapered the bow piece and tinkered with the figurehead to achieve a nice fit.

-
I selected the USS Syren for my seventh model. There are many build logs on MSW for this kit, and I was unsure if I'd do a log this time. After reading a few logs I decided that I may well need some advice along the way, so here I go. . . I previously constructed all of David Antscherl's kits available at Model Expo. I learned much from each of them, and enjoyed the experience. I hope to achieve additional growth in this hobby constructing this Syren kit designed by Chuck Passaro, who also has an excellent reputation. My goals for this build: 1. The POB models I have done thus far have been furnished with "pre-shaped" planking, which is a great help, but I'd like to be able to construct a hull from stock planks, a skill necessary for scratch-building. 2. Make a decent coppered hull. 3. Move up a step in more involved rigging. The ME Harriet Lane I made had pretty involved rigging, and I'm really proud of getting it done, and pretty nicely. Pictures of the Syren's rigging are absolutely mind-blowing. I like the feeling of total concentration and spatial awareness required. I do need to obtain the best magnifying visor/glasses for this task as I've had at least one disaster, sometimes more, on each rigged model- snagging rigging on the visor trying to get a better view. Any suggestions would be appreciated. Reading glasses used to be optional for me- but no longer. . . 4. Obtain appropriate reference materials so I might have a better understanding of ship features and operation, as well as the history of this particular ship. I'm doing inventory against the parts list now, filing the small stuff into a compartmentalized plastic case as I go. I will probably not try to count the 320 small eyebolts and 310 3/32" blocks. . . but am counting everything else. I will be requesting a replacement for the cast metal "stern carvings," which may be the worst castings I've ever seen. I'm hoping that someone can suggest an alternate for these parts. . . More later Bob
-
The masts look very nice. I'll have to try your method of tapering dowels. Bob
- 72 replies
-
- 1
-
-
- Glad Tidings
- Model Shipways
- (and 1 more)
-
Looks great, Gary. Look forward to the next one. Bob
-
Thanks to all for the nice comments and "likes." I am a harsh judge of my own work, so it's nice to see others saying such positive things. Nice also to see Canadians represented amongst you, after all this is a Canada-produced boat! I used to live in Canada- I do miss the people. . . and the fishing. . . but not the winters! Bob
- 111 replies
-
- 3
-
-

-
- Nonsuch 30
- Model Shipways
- (and 1 more)