bobandlucy
-
Posts
512 -
Joined
-
Last visited
Content Type
Profiles
Forums
Gallery
Events
Everything posted by bobandlucy
-
 Yes, the wishbones are very tricky! I hear you about the drinks. . . b
- 111 replies
-
- 3
-

-
- Nonsuch 30
- Model Shipways
- (and 1 more)
-
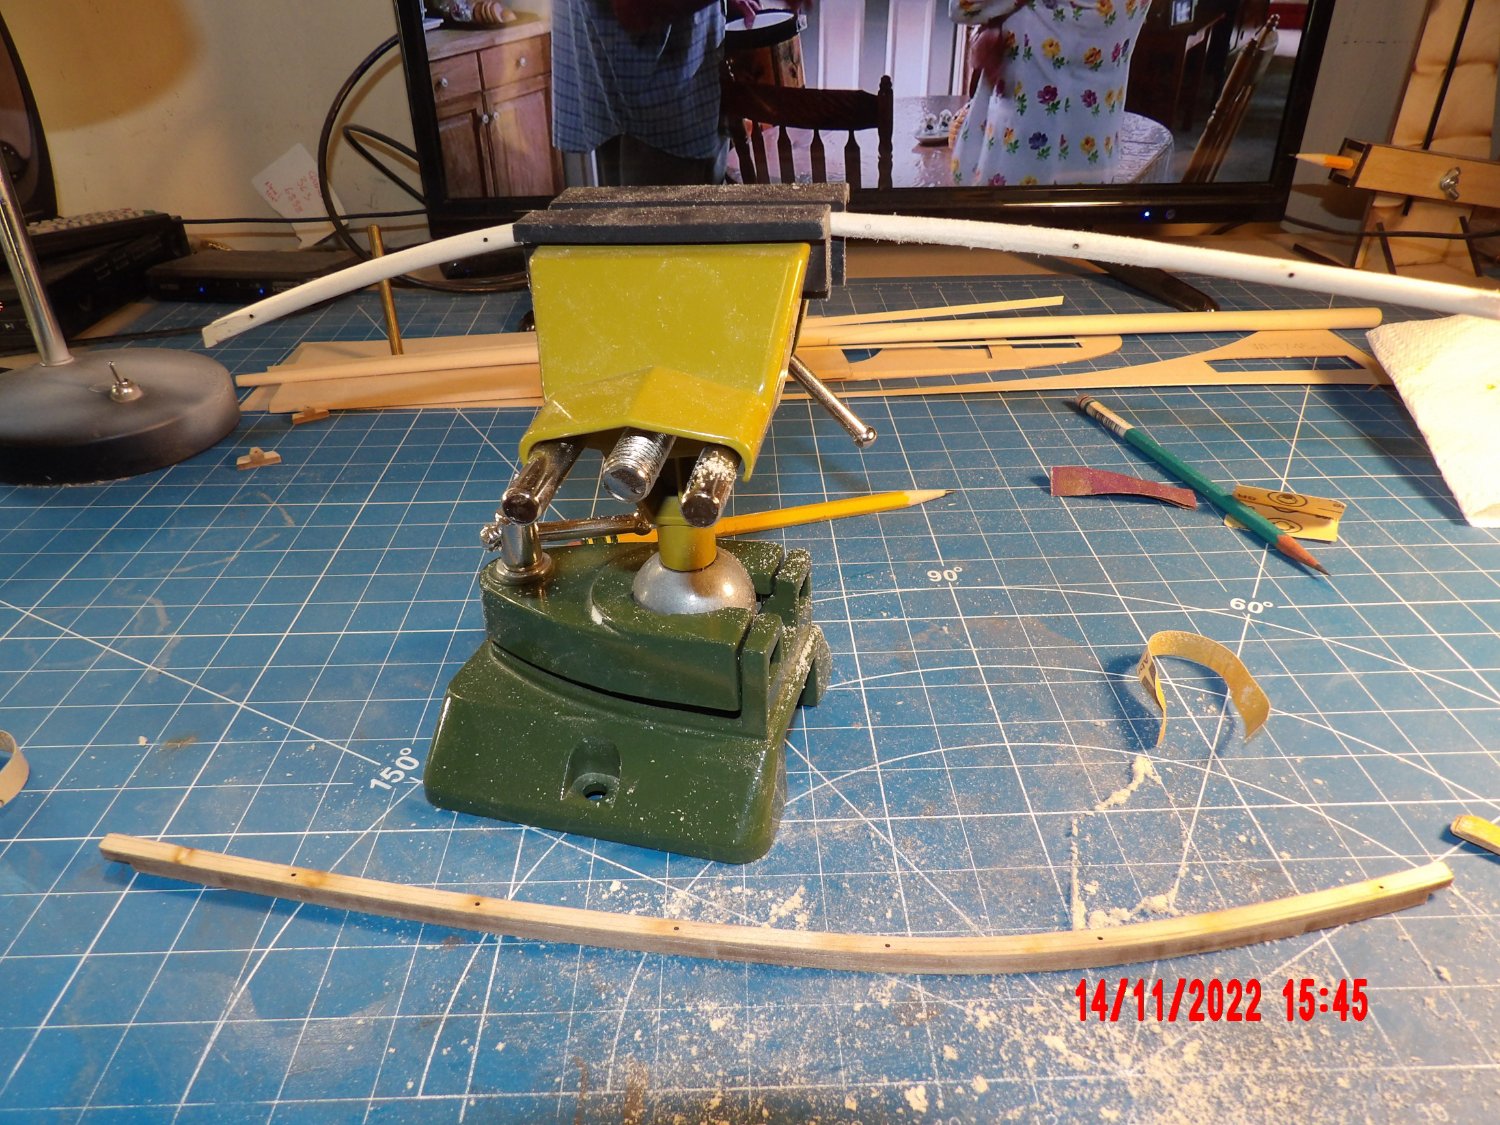
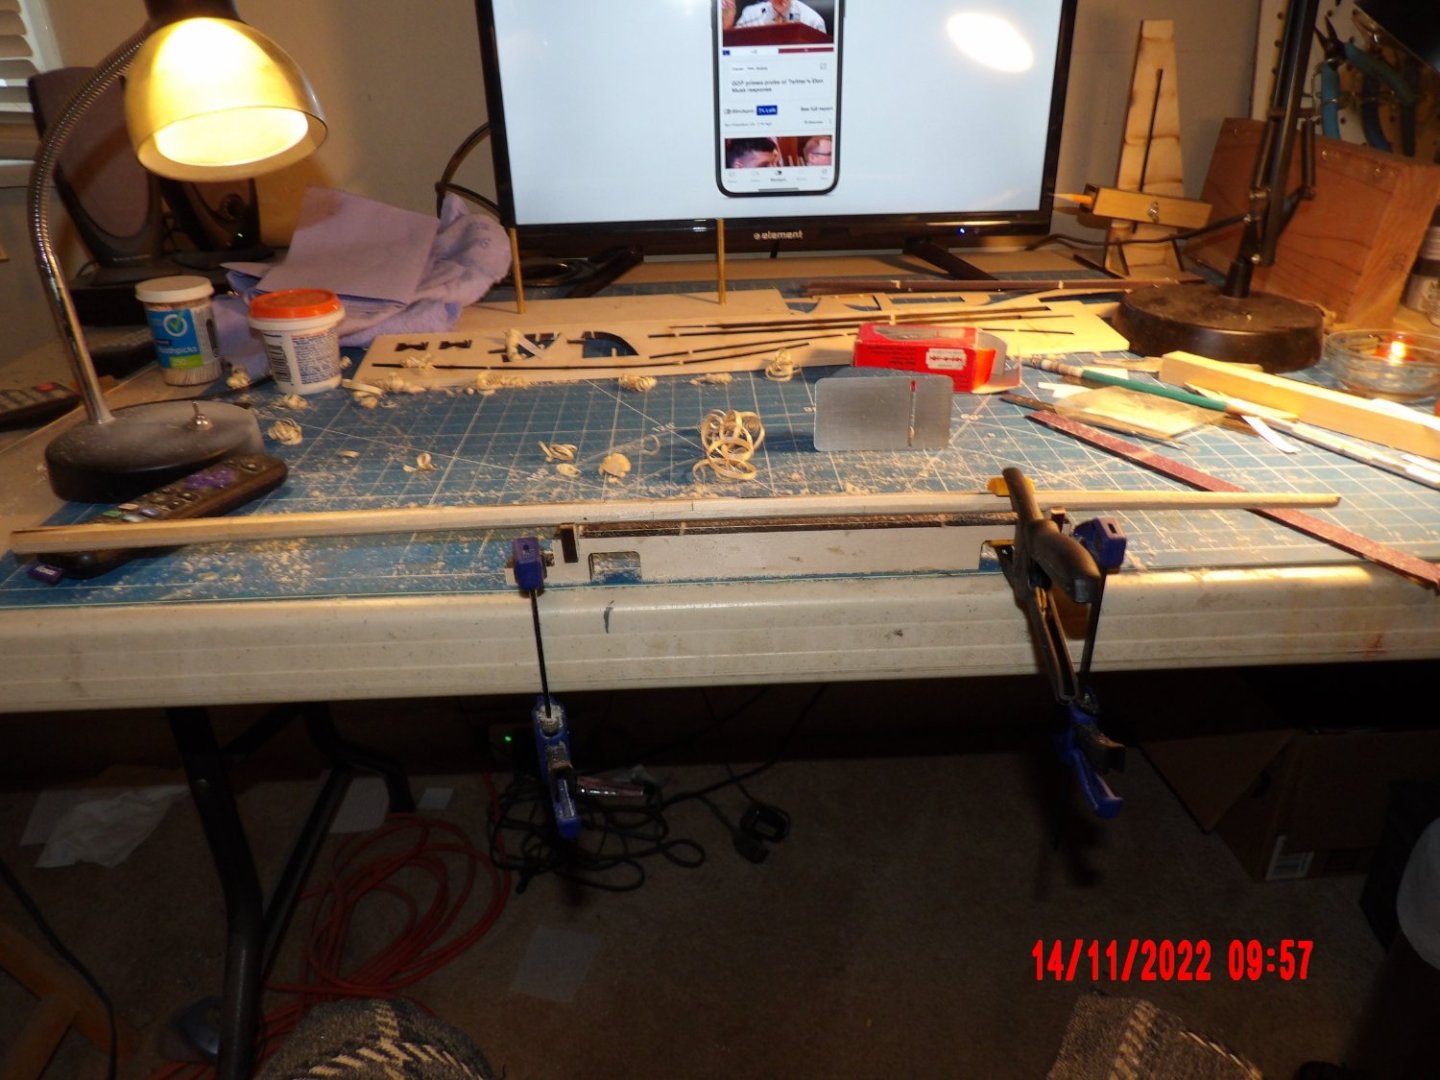
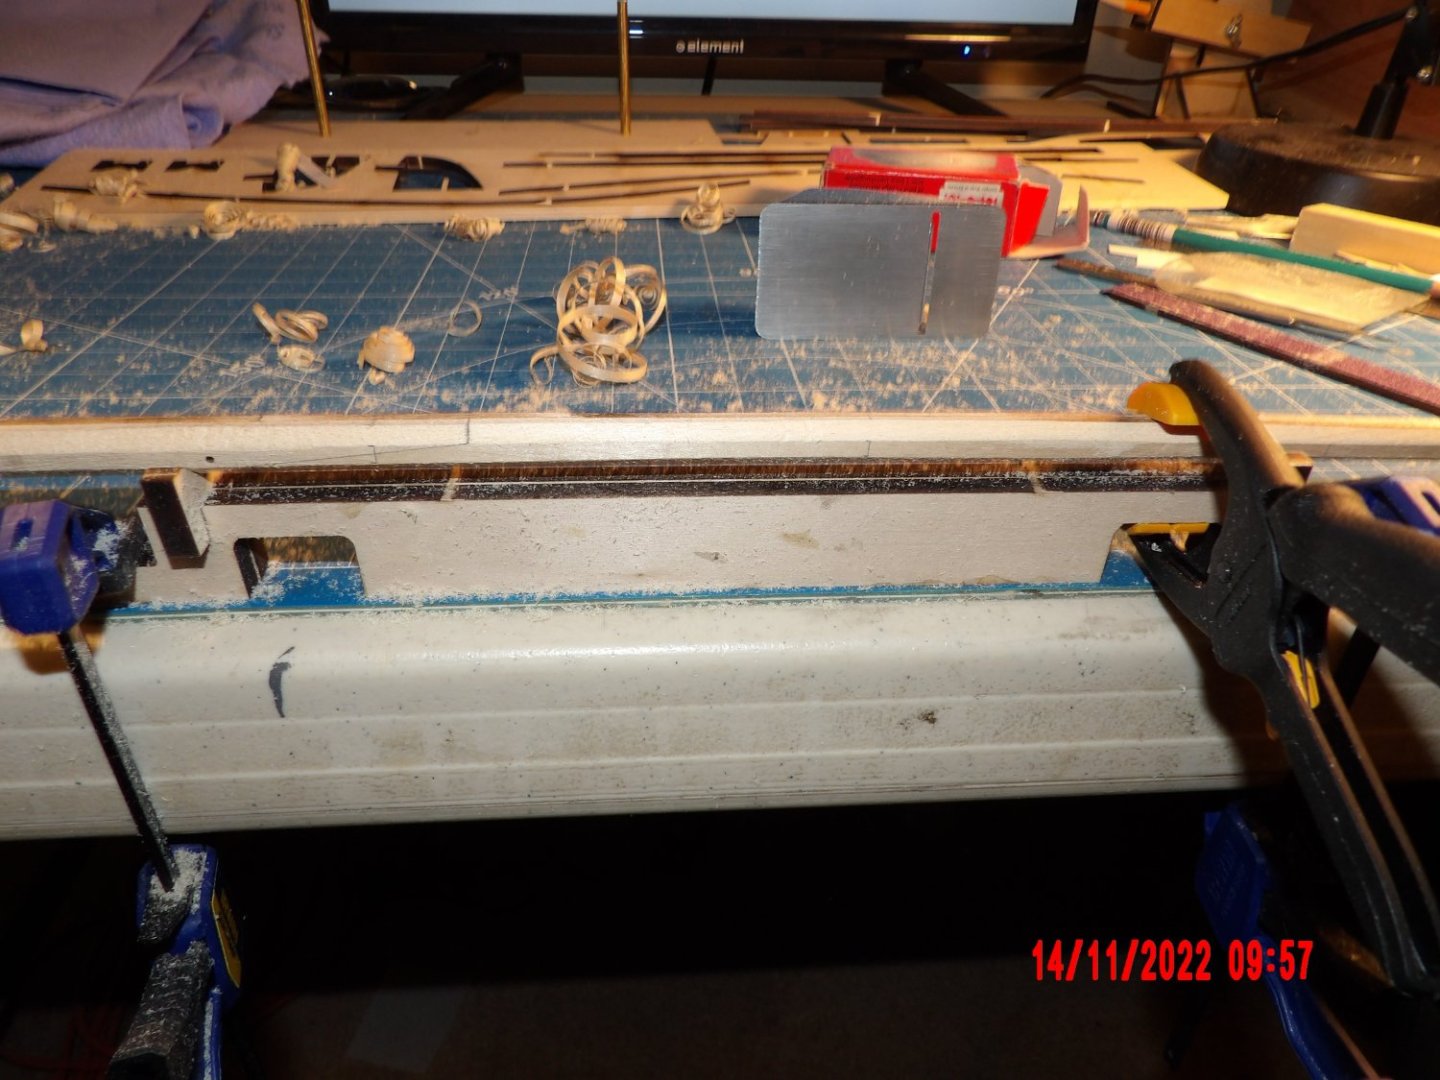
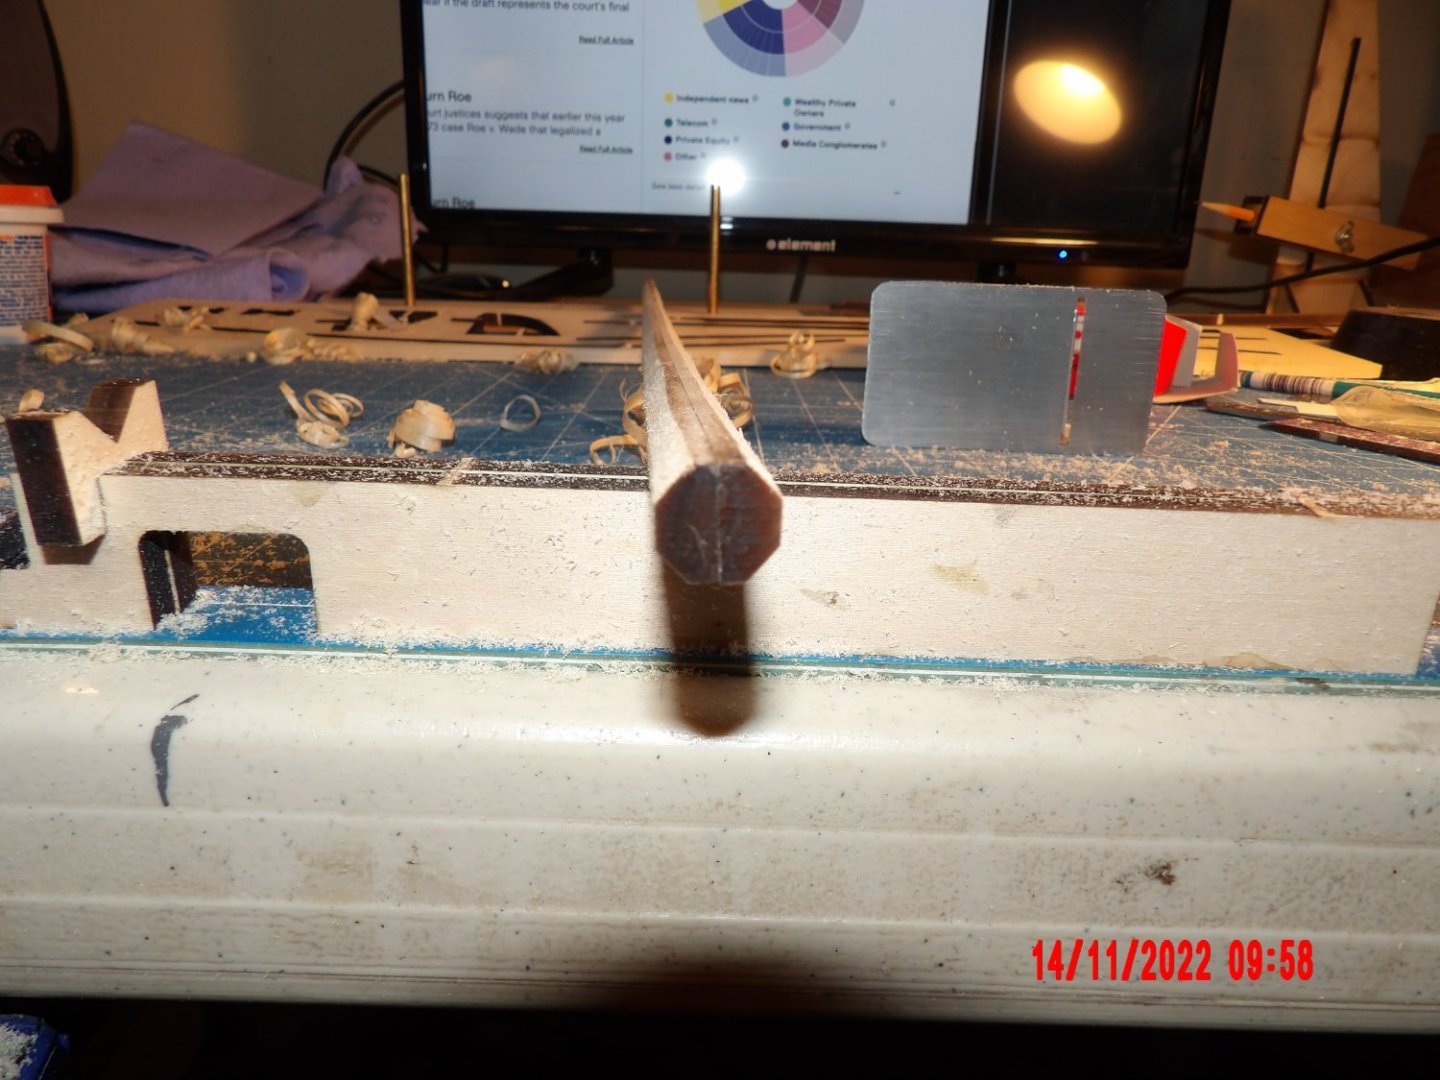
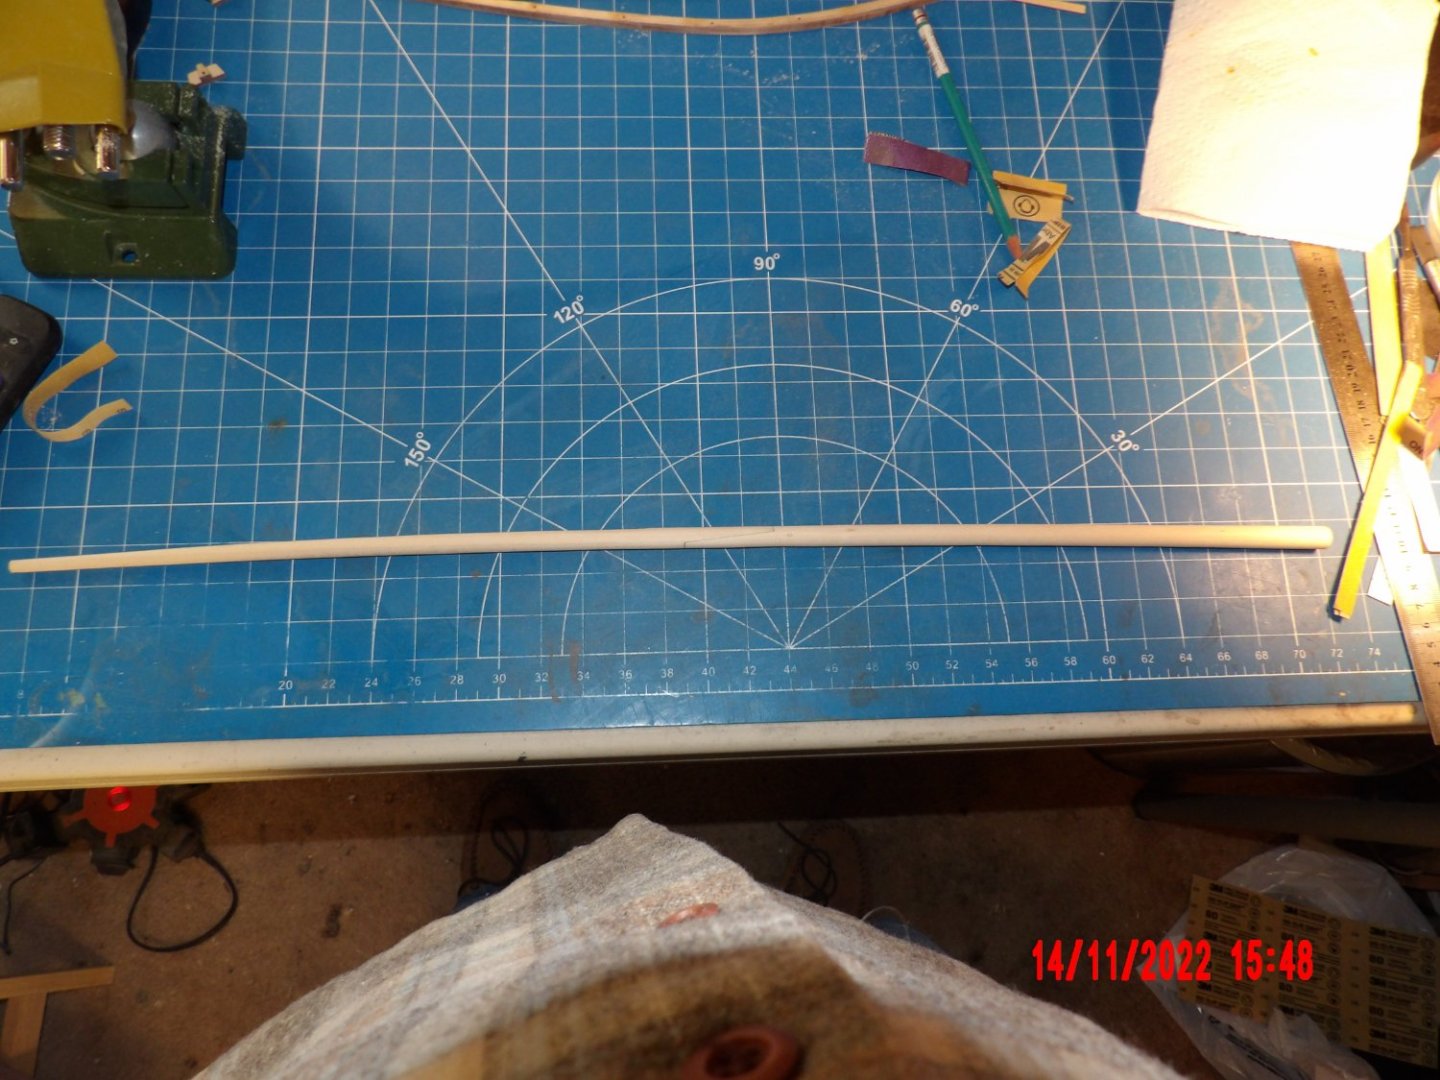
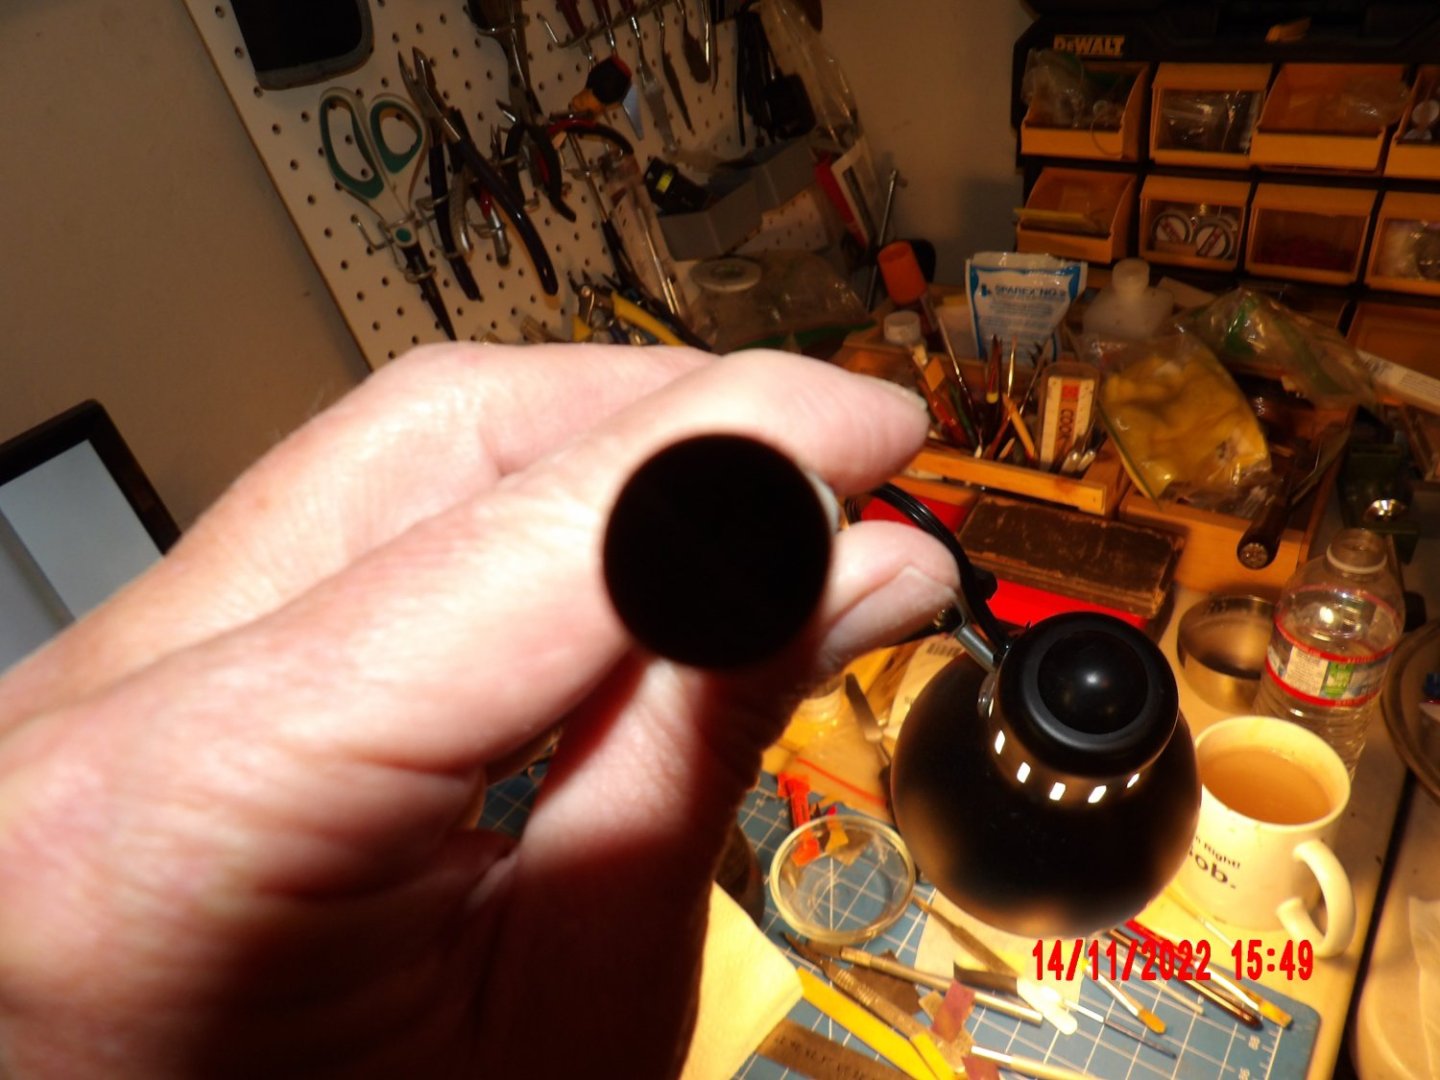
While waiting for more white paint to be delivered, started working on the mast, which is huge! two halves are joined to achieve the thickness required, and upper and lower pieces joined for the length, A nice cradle is provided for shaping: Very clever joint at the midpoint is probably the strongest area: Eight squared mast end view: Shaping one half of the wishbone boom, this takes care! "Finished" mast: End view of shaped mast:

- 111 replies
-
- 8
-
-
- Nonsuch 30
- Model Shipways
- (and 1 more)
-
Nice work Eric, and I LOVE your hearth area!
- 113 replies
-
- 3
-
-
- Cairo
- BlueJacket Shipcrafters
- (and 1 more)
-
Another lesson from the Master. Yes, I masked too soon. I will not do this again. Thank you very much.
- 111 replies
-
- 3
-
-
- Nonsuch 30
- Model Shipways
- (and 1 more)
-
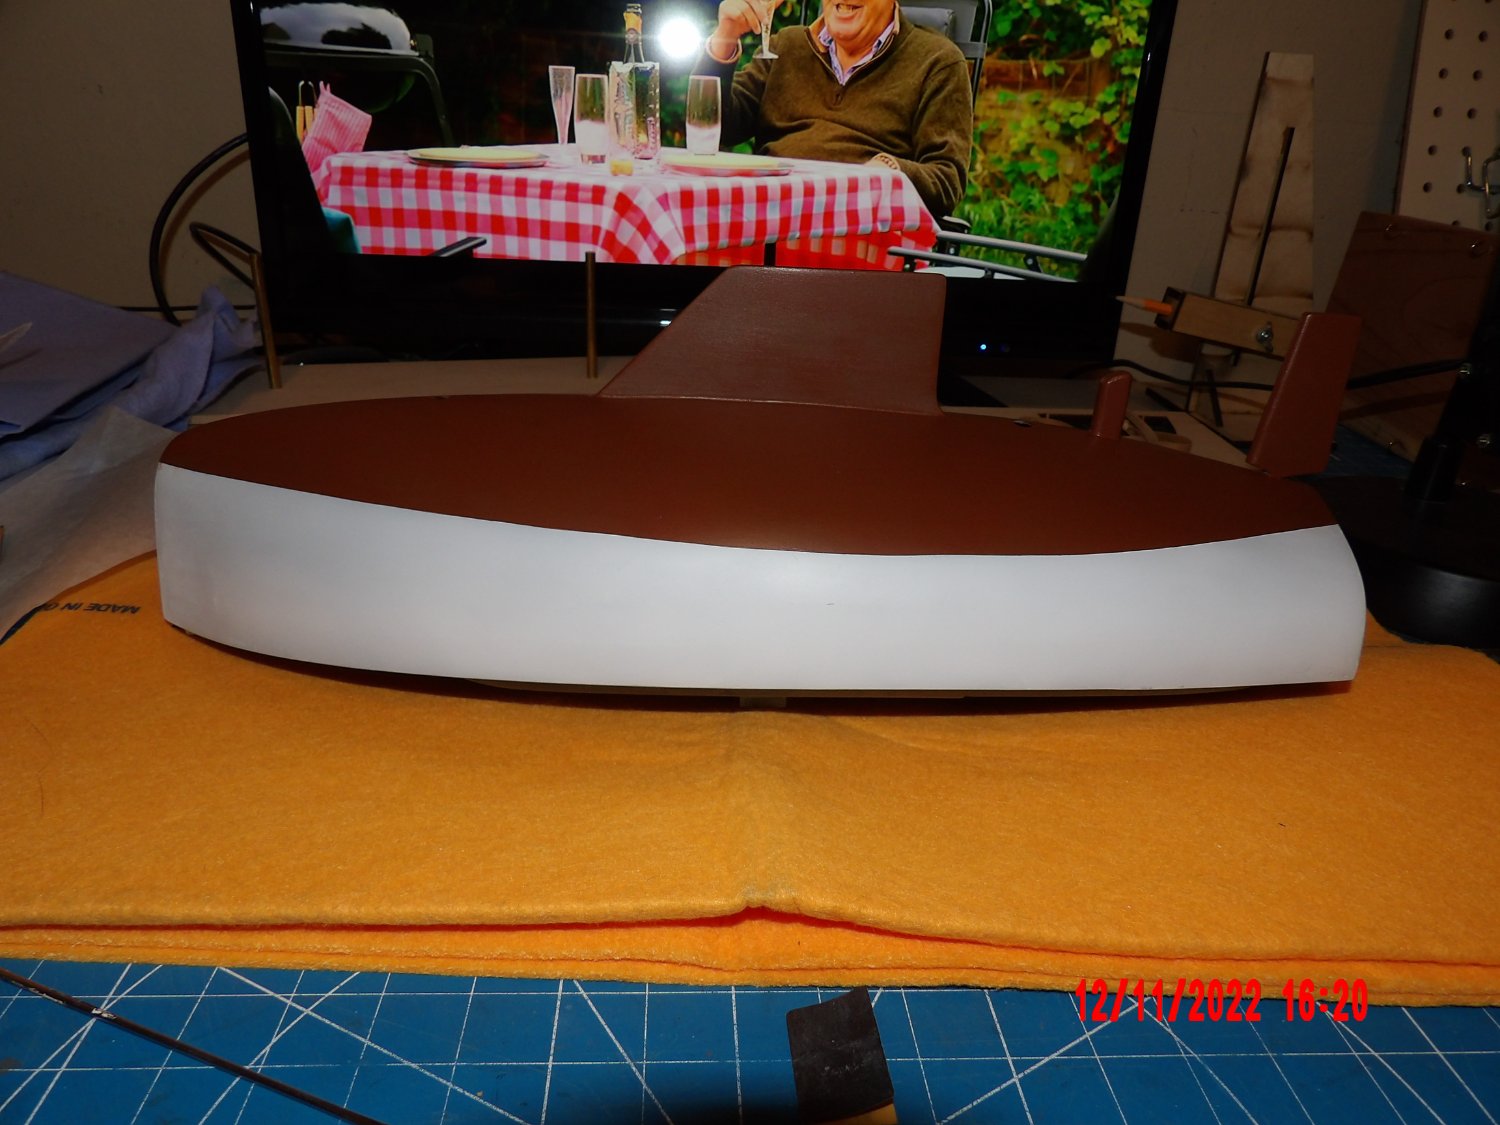
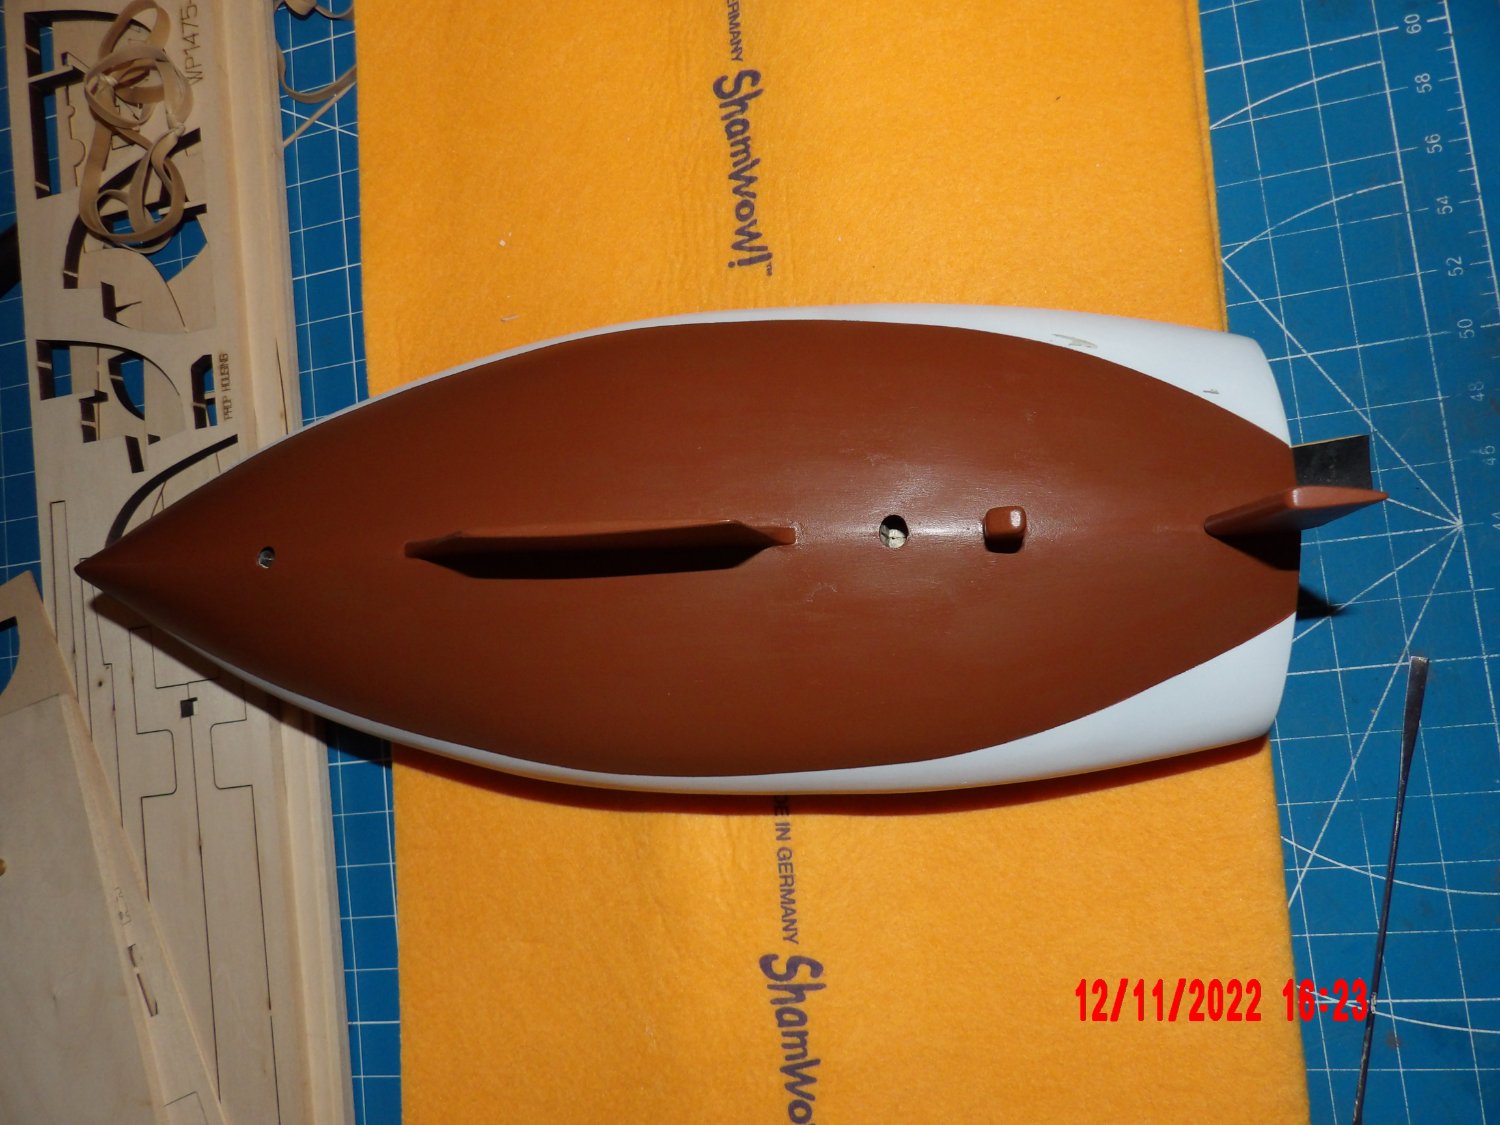
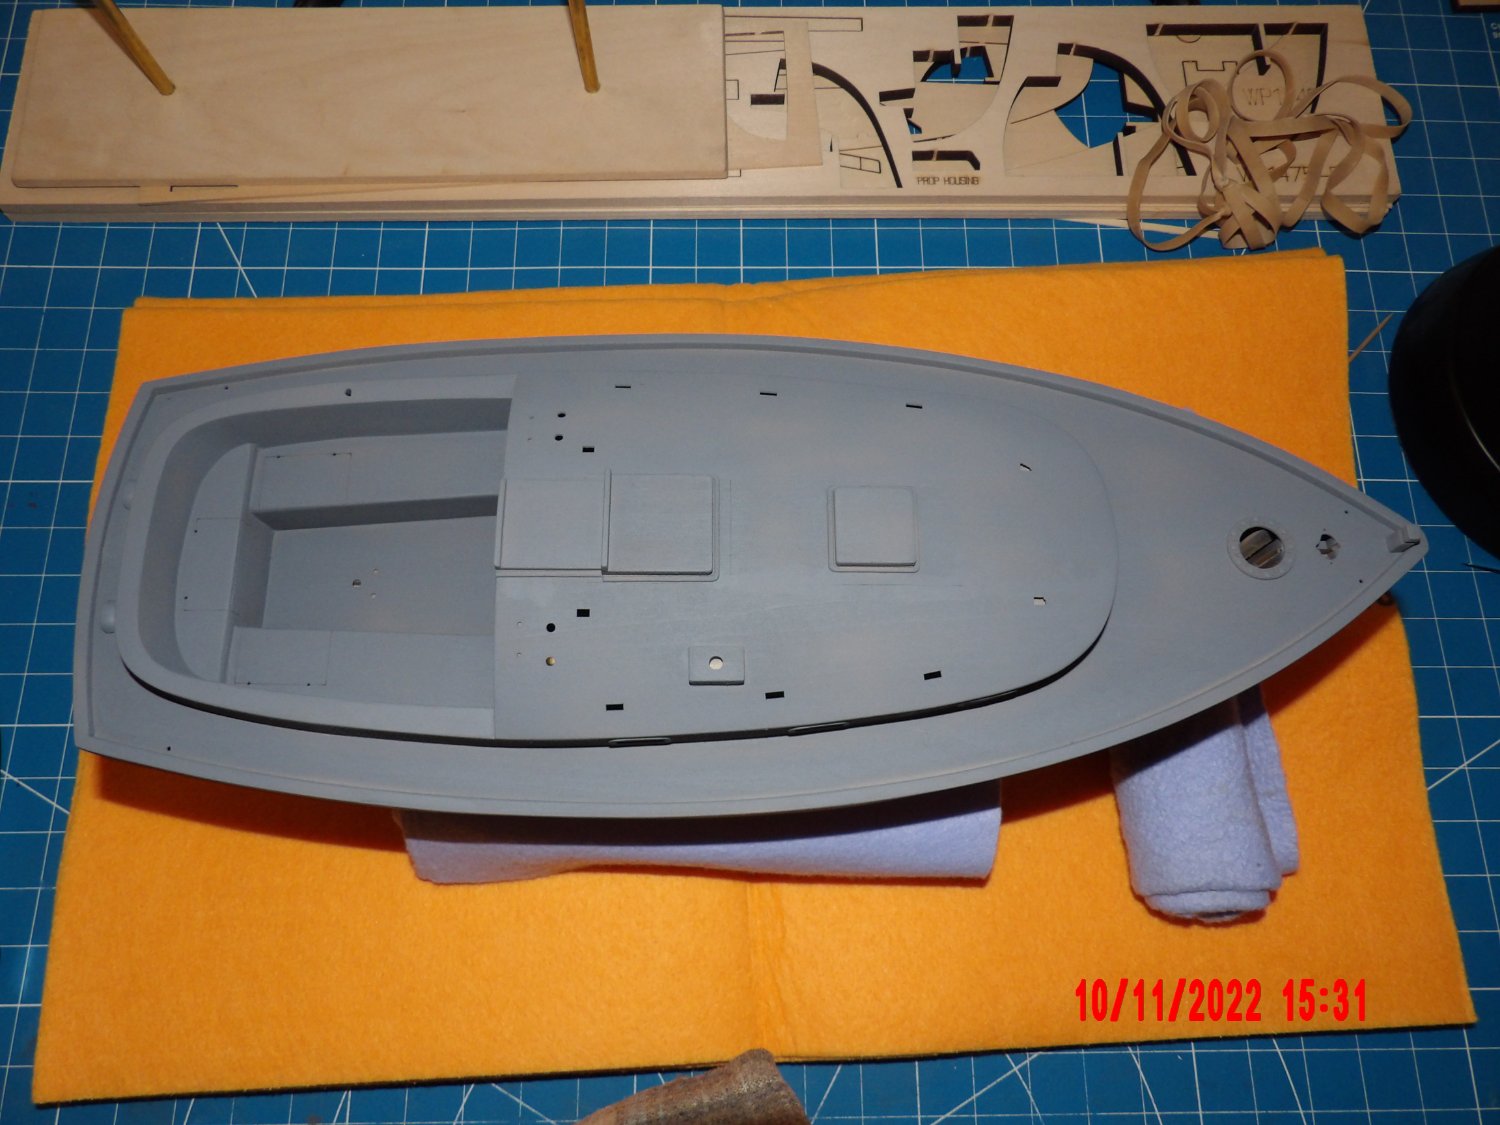
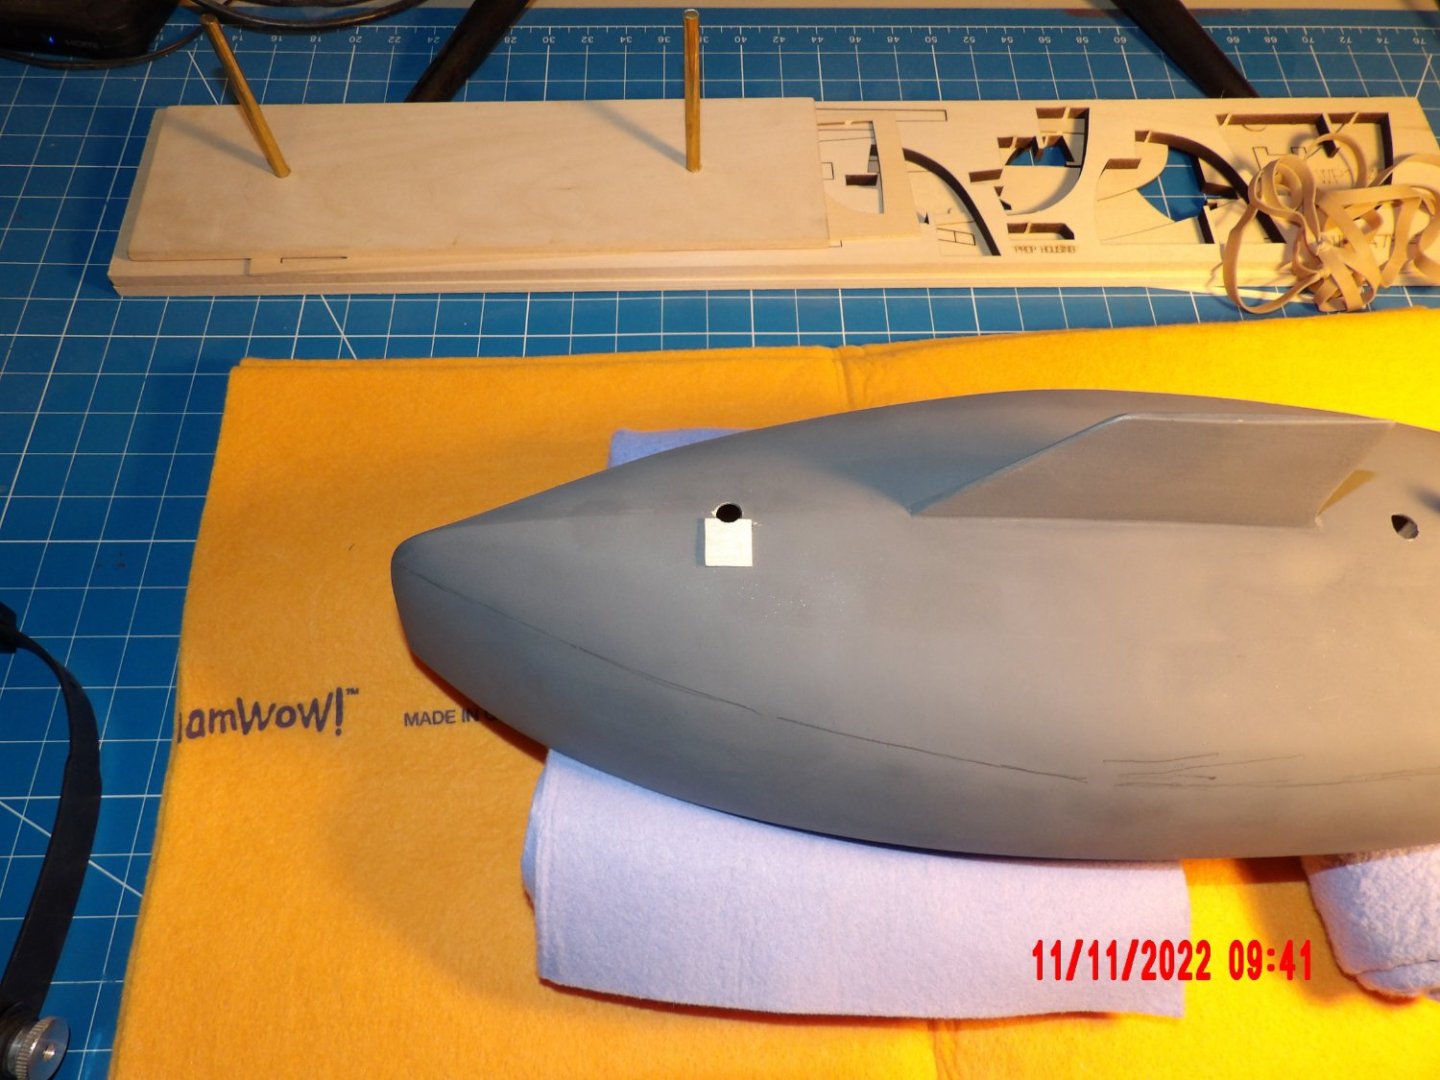
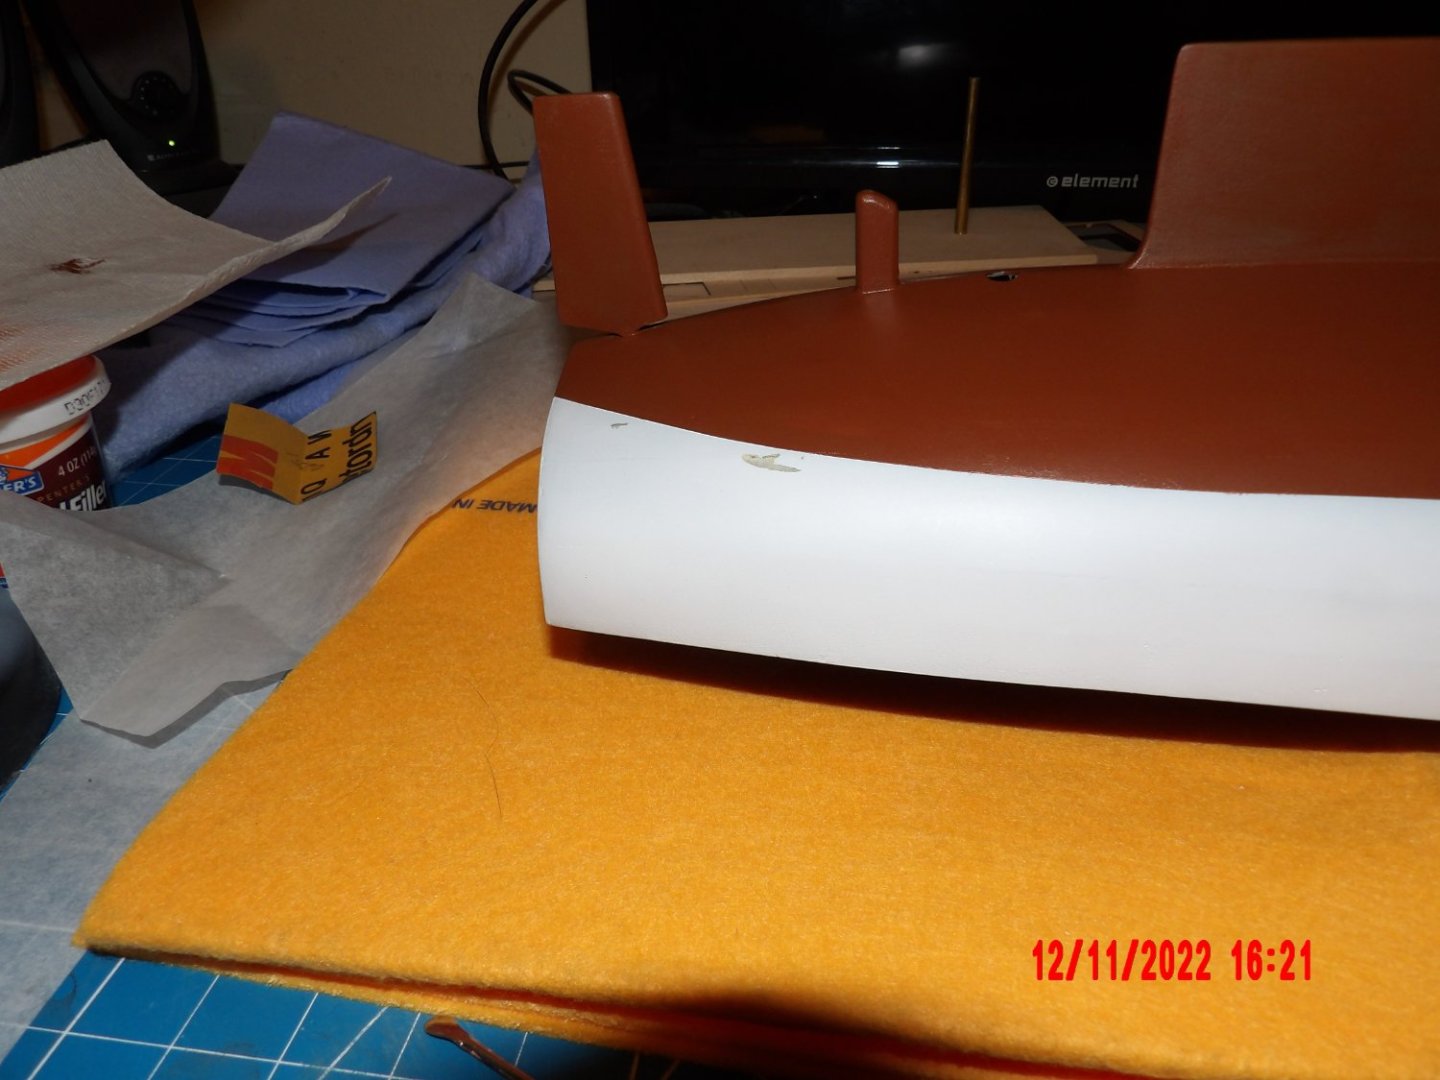
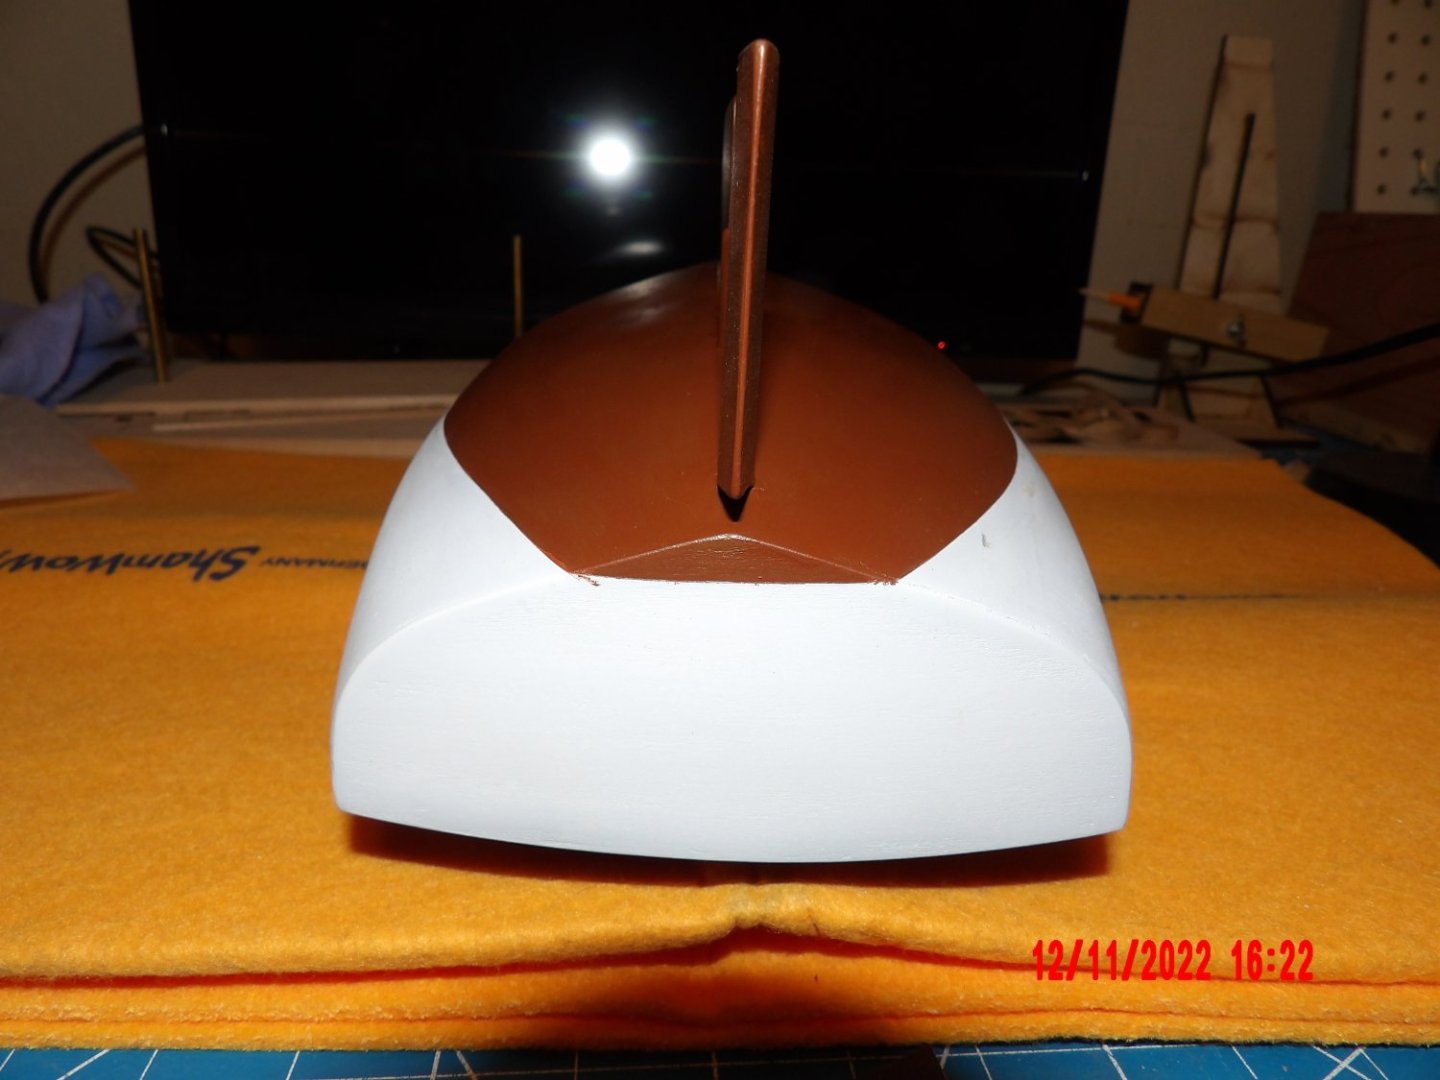
This is how I dealt with the damage caused by the boat falling off its perch. . . forgot to take a picture of the actual damage, but it was at least the size of the original mounting post hole: Repaired the mounting post hole. I managed to sneak in a piece of wood as a backing for filler. then filed to size. Began painting the lower hull. I airbrushed the white. It took a full ounce of pre-thinned paint, and many coats to cover the gray primer. I ended up using ME's supplied paint for the bottom, and hand-painted that area. There are some flaws, and when I removed the Tamiya for Curves tape after painting the bottom, it took off some of the paint near the stern. I will wait until painting the topside white to repair this. Think the fin and rudder need another coat, but that will wait until tomorrow. Knowing when to quit is important!


- 111 replies
-
- 7
-
-
- Nonsuch 30
- Model Shipways
- (and 1 more)
-
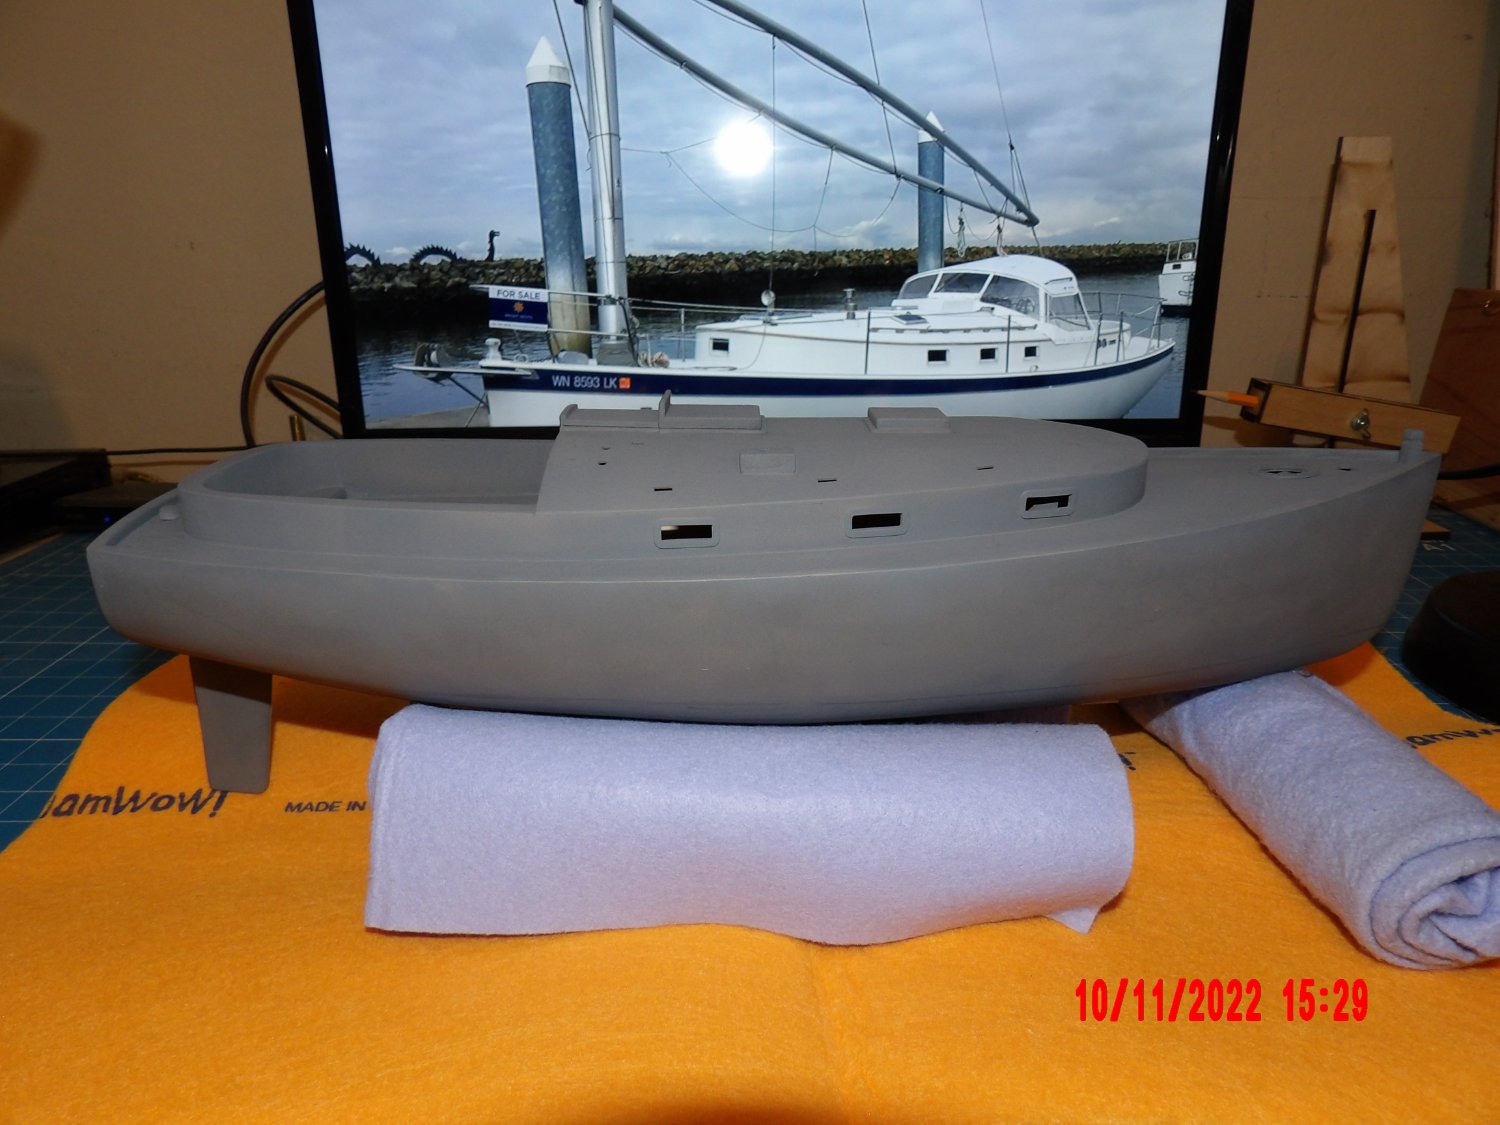
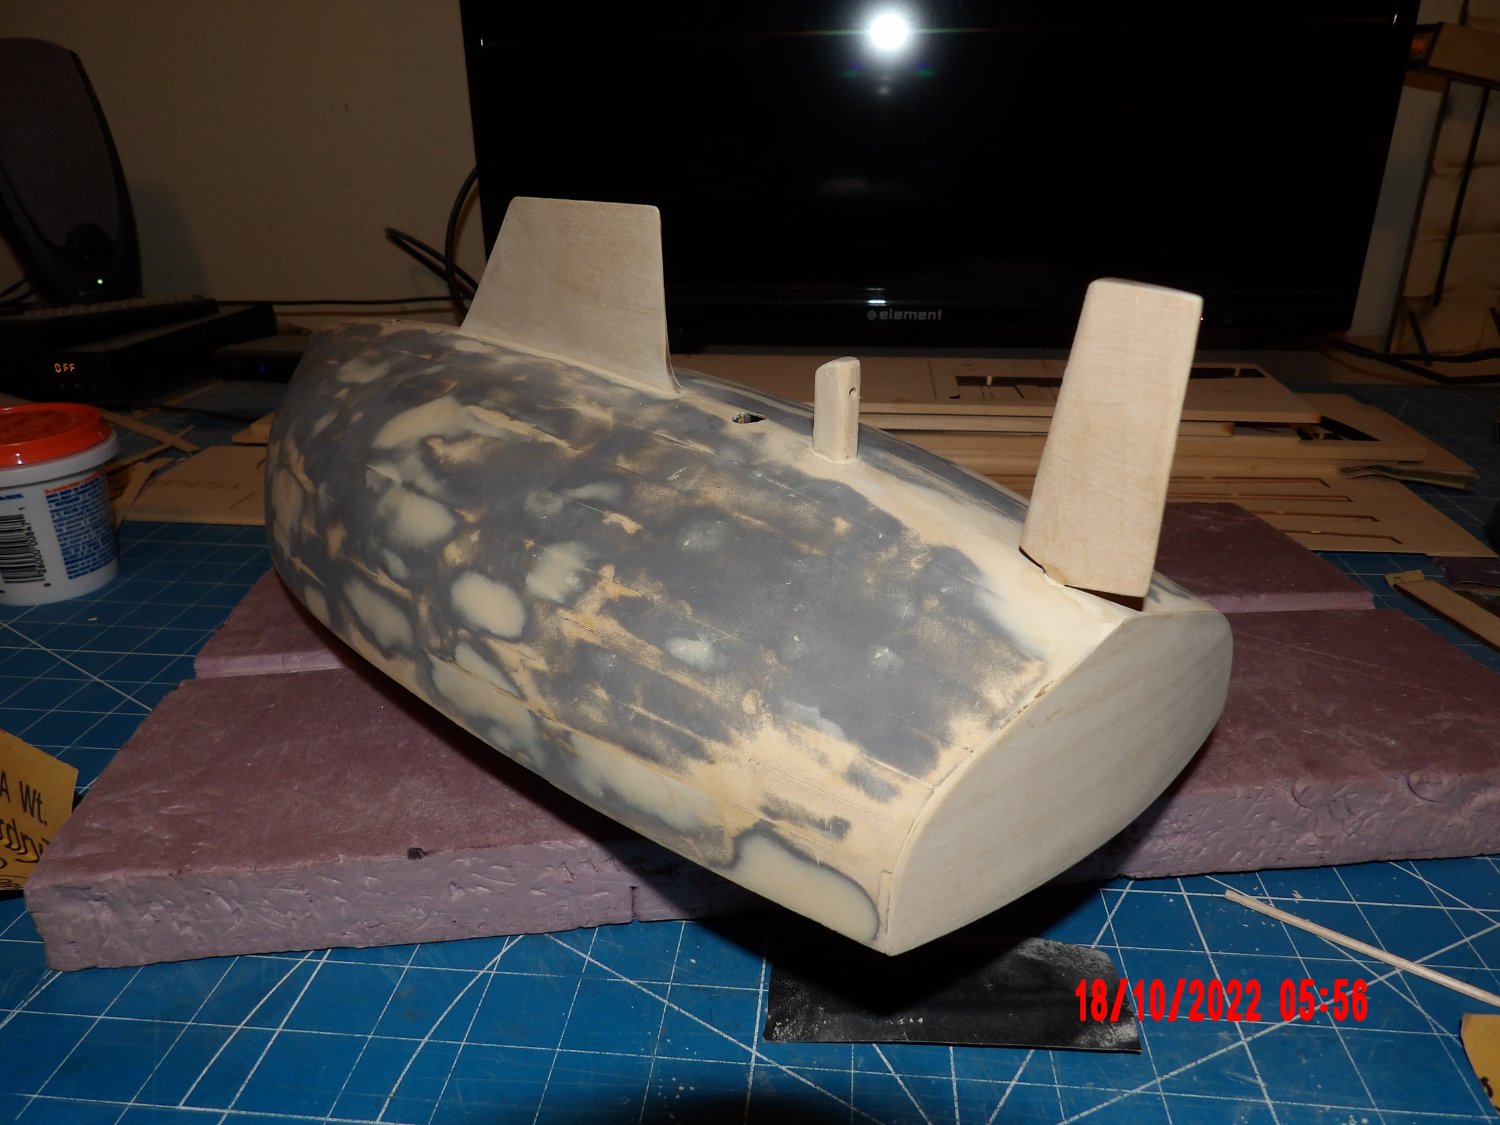
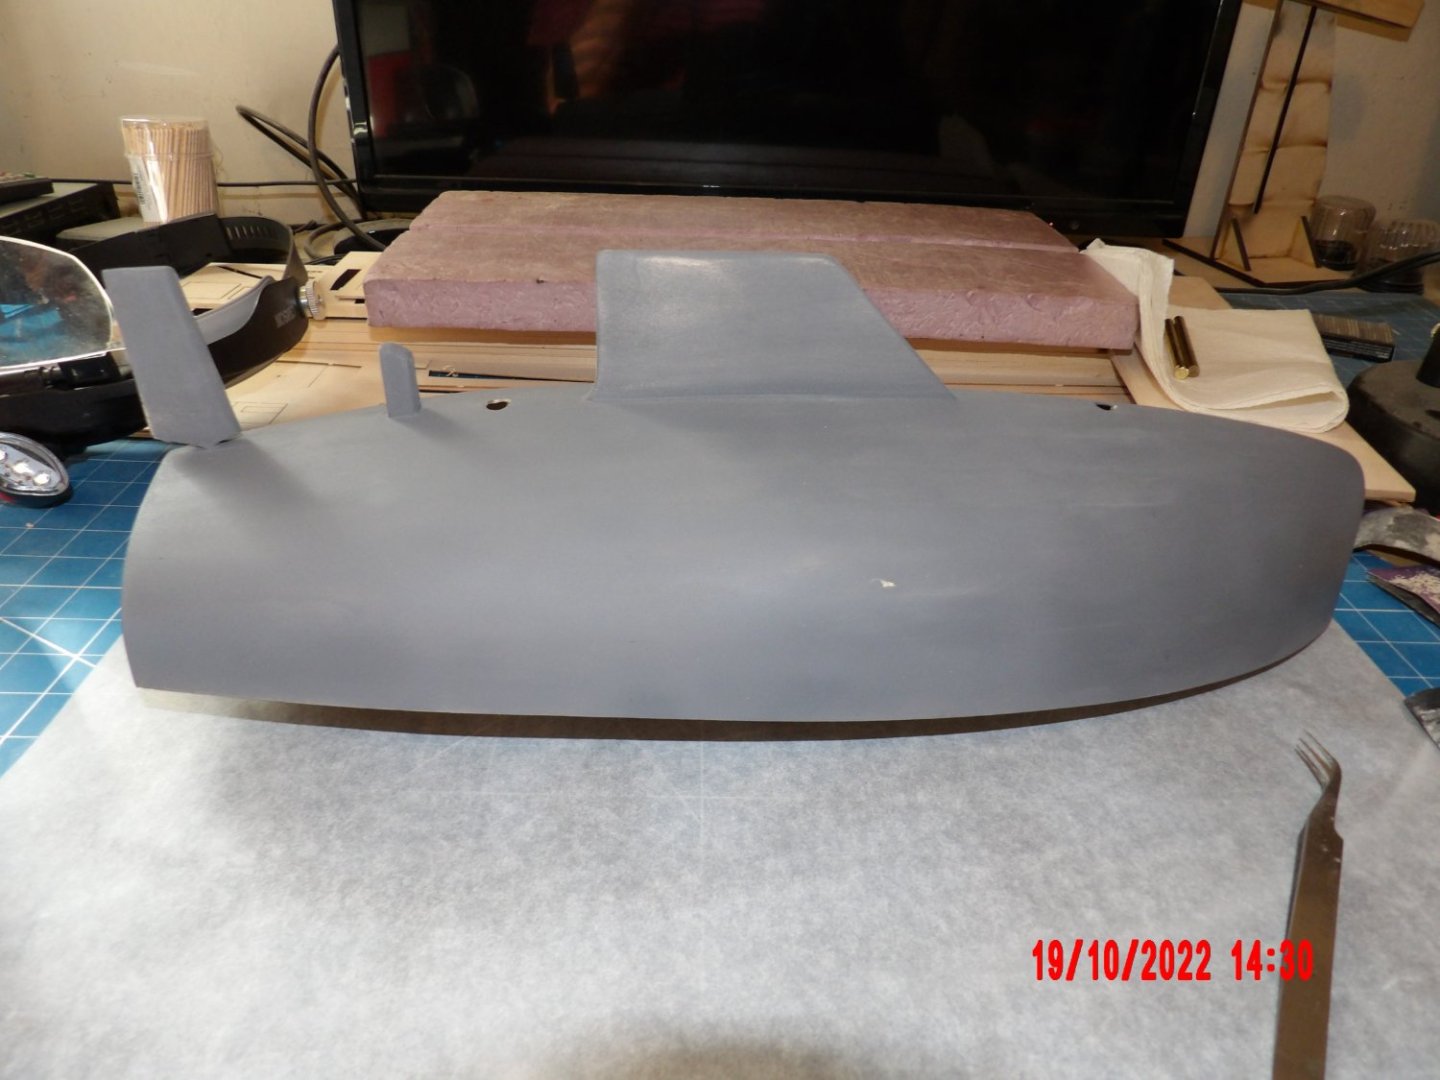
Placed the cabin roof elements called for by instructions prior to priming the topsides, and the Sampson post, engine exhaust ports, and mast ring, then did the priming. For the first time ever, used my airbrush (gravity type) through two paint cupful's without clogging. Came out pretty good! I only see four areas needing filling, and these are minor. They include three places on the cabin roof, one a seam, the others places there the laser guidelines do not match the mating elements. The largest area is the cross-grained vertical pieces of the outer cockpit wall at the stern. I don't see a need for a complete re-priming, and may re-prime the corrected places by hand. All of the topside was sanded to 400 grit. The areas that are absolutely smooth are those that were filled. If I ever do this sort of hull again, I would consider using sanding sealer. But I will lightly sand the primed surfaces, and feel sure all will be OK. I'm very happy at the moment- it seems like a good place to quit for the day!

- 111 replies
-
- 7
-
-
- Nonsuch 30
- Model Shipways
- (and 1 more)
-
Thank you, Sir! I did get the paint set from ME, but have not really examined/evaluated their choices yet. . . sometimes in previous projects they have been puzzling or inexplicable. I have spent some evenings looking at pictures on the net, you're correct- the color choices are limitless. Paralyzing. . . Have also found a couple of sites with historical information regarding this boat and the people involved in design and production. Very interesting! I'm sure you have seen them, but for others who might be interested, here are two articles: https://drive.google.com/file/d/1X-xEsvFyVP7TgoHYdLq6Z27C_a8rGasA/view https://drive.google.com/file/d/133gzmsrpGO7aZS2XJkcmj2BQgntajWC0/view There are also some "live" tours out there. Bob
- 111 replies
-
- 2
-
-
- Nonsuch 30
- Model Shipways
- (and 1 more)
-
Sanding and filling the topside. Still a bit to do, but it is coming along nicely. I'm applying filler to every joint with a toothpick sanded to a chisel point, slow going. Sanding with 220, then 320, then 400 grit paper. Showing the "good side" of the lower hull here. I still see defects on the other side. but will not make additional attempts to correct, as I did 5 rounds. I did learn from this experience! It all chalks up to the planking. . . I'm very happy with the cockpit, and this is the most appealing part of the boat to me, so far. After all, this is where I'm hanging out on a nice day, enjoying an adult beverage. . .


- 111 replies
-
- 9
-
-
- Nonsuch 30
- Model Shipways
- (and 1 more)
-
Great painting! I'll have to look this artist up, new to me. . .
- 238 replies
-
- 2
-
-
- Robert E Lee
- steamboat
- (and 3 more)
-
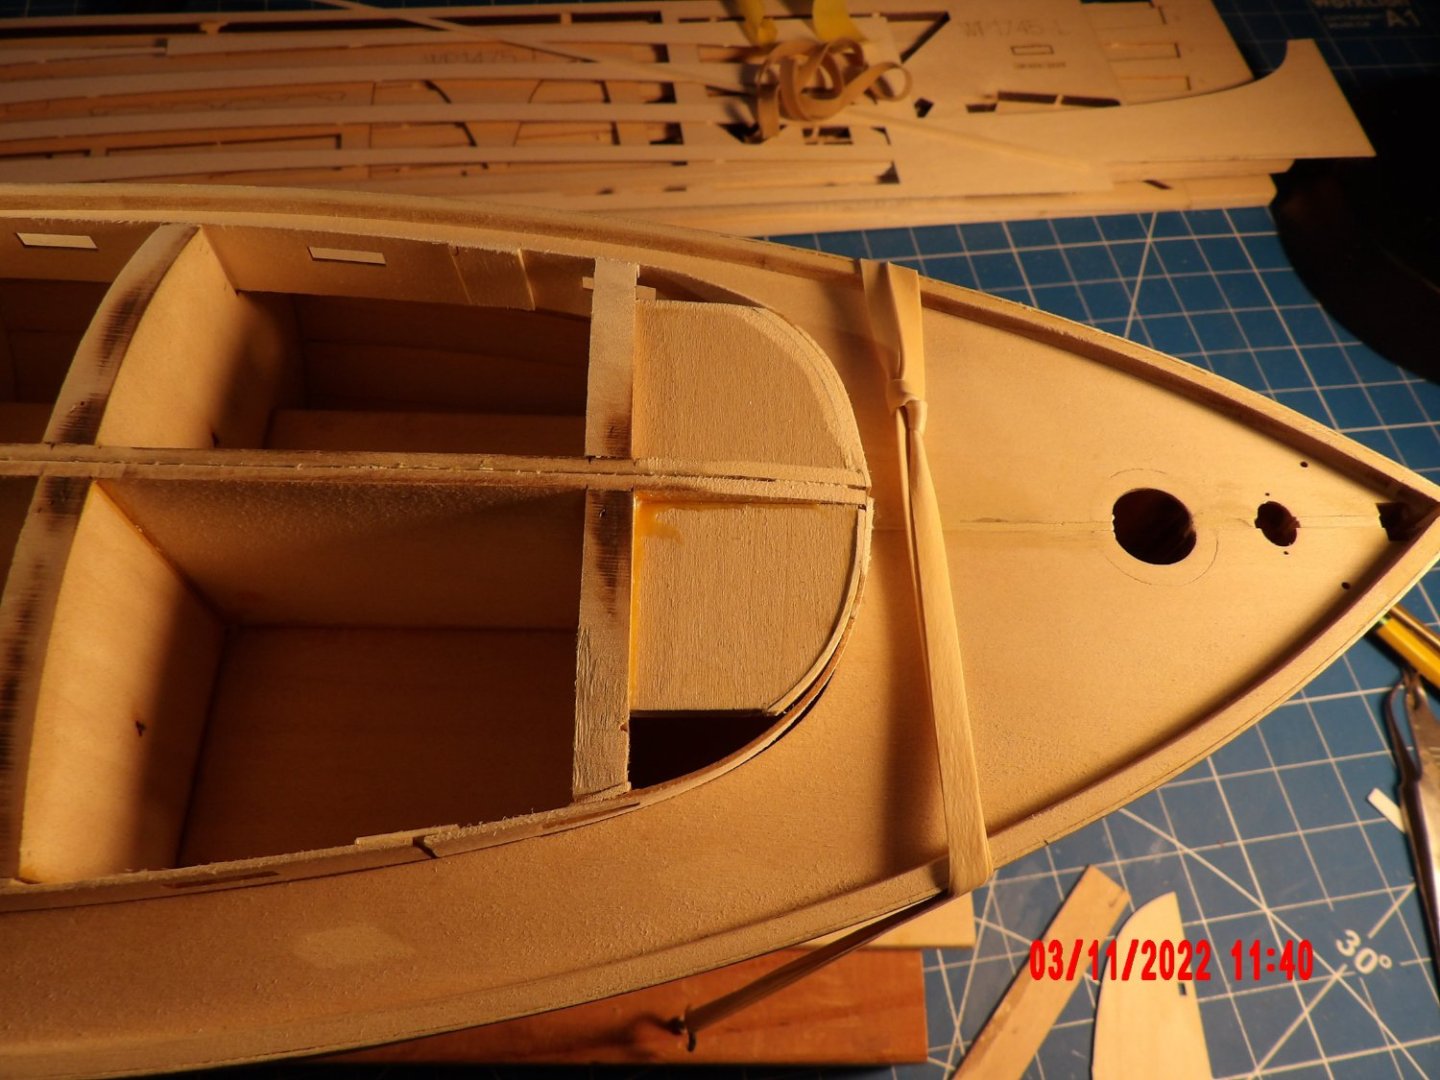
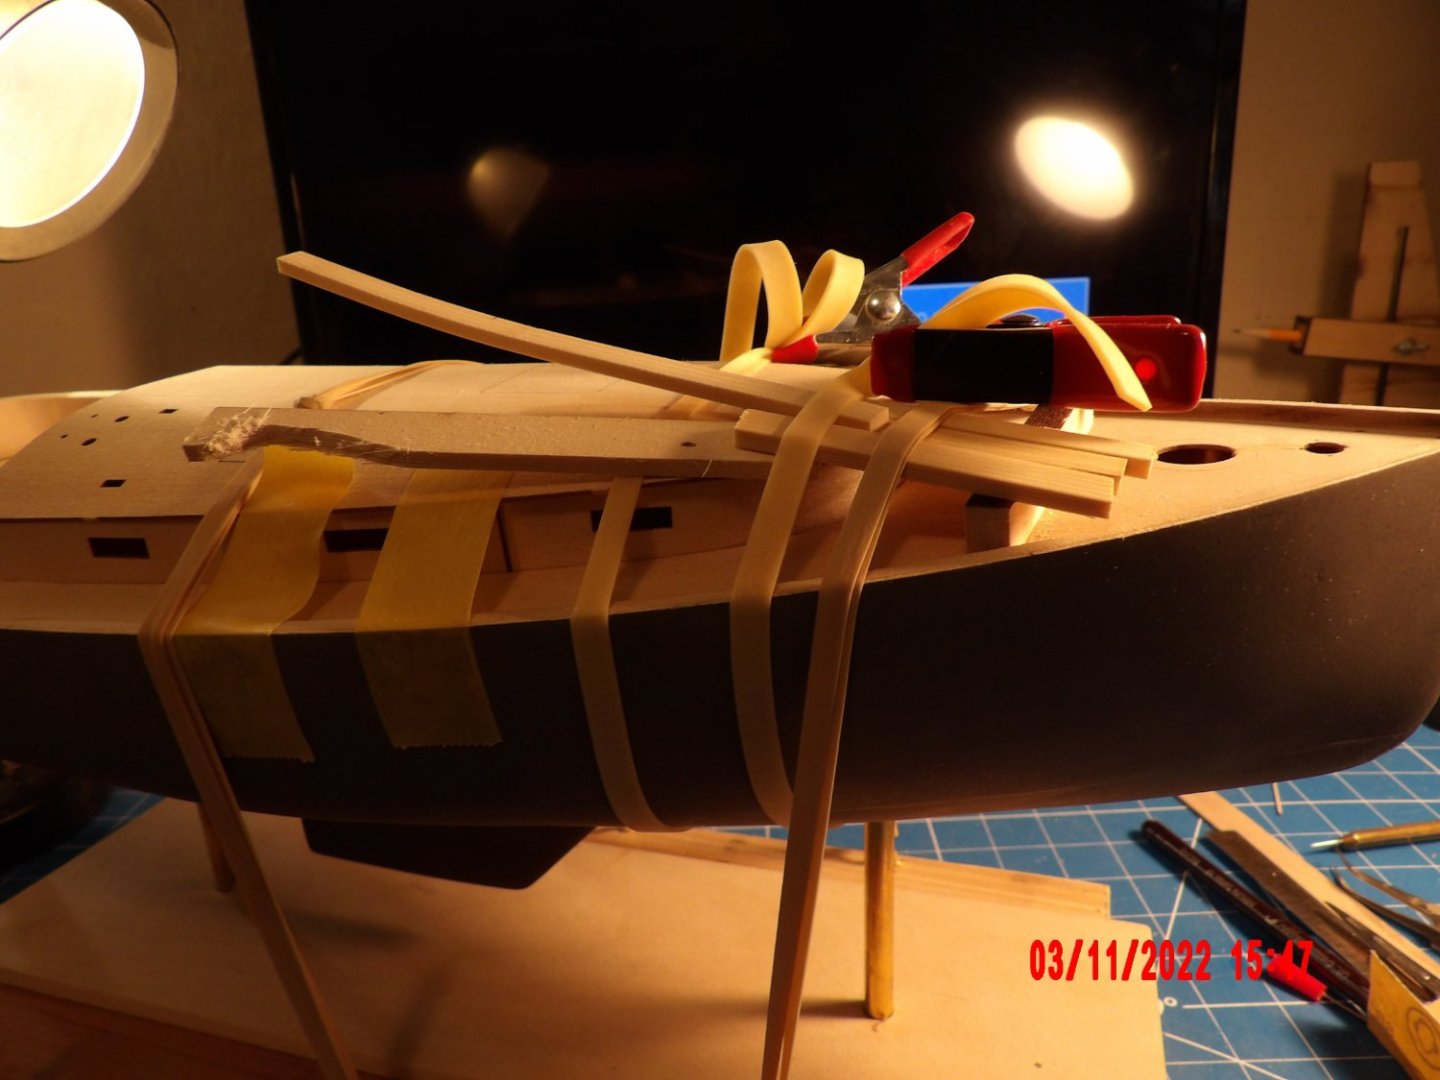
Installed the cabin sides. Despite efforts made, I have some filling to do at the juncture of the deck and sides, and the joints between the side pieces. . . Began installing the cabin roof. I was worried about this, but it looks like it will be pretty good: Wet-bending the slope at the fore-end of the cabin: One thing I want to note for other builders of this kit: As I had noted in an earlier post, the hole for the mounting rod was elongated side-to-side, because of some warping of the hull halves (was not this way before planking). The part of the spine resting on the mounting rod is not much wider than the rod (if at all), and as the boat is not glued to the rod at this stage, a couple of times the boat tipped and slipped off the rod, and while trying to right the boat, the hull was crushed a bit on one side. Can't show a pic of this right now, but now I have an even more elongated mounting hole. So, be careful! Might not hurt to glue some scrap on either side of the mounting slot in the spine, both fore and aft, for a little more margin for error. . . Nothing a little filler won't fix. I'll do that before painting the hull. Not the time now, as the filler won't give much structural strength.

- 111 replies
-
- 6
-
-
- Nonsuch 30
- Model Shipways
- (and 1 more)
-
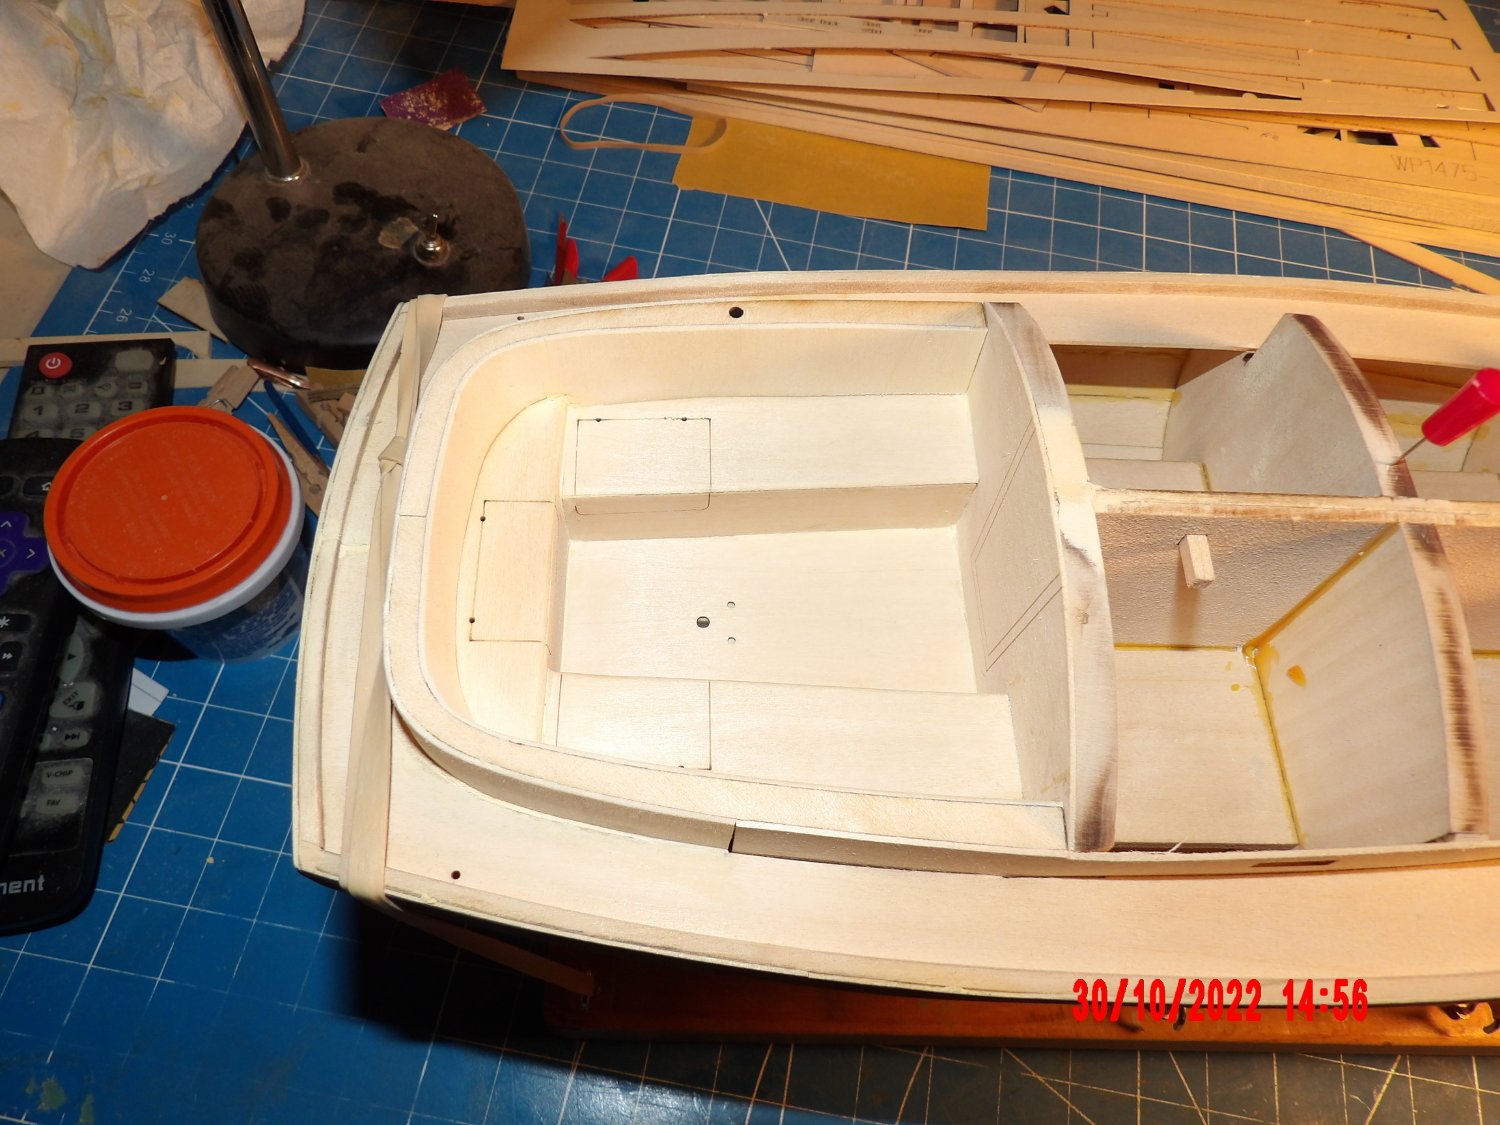
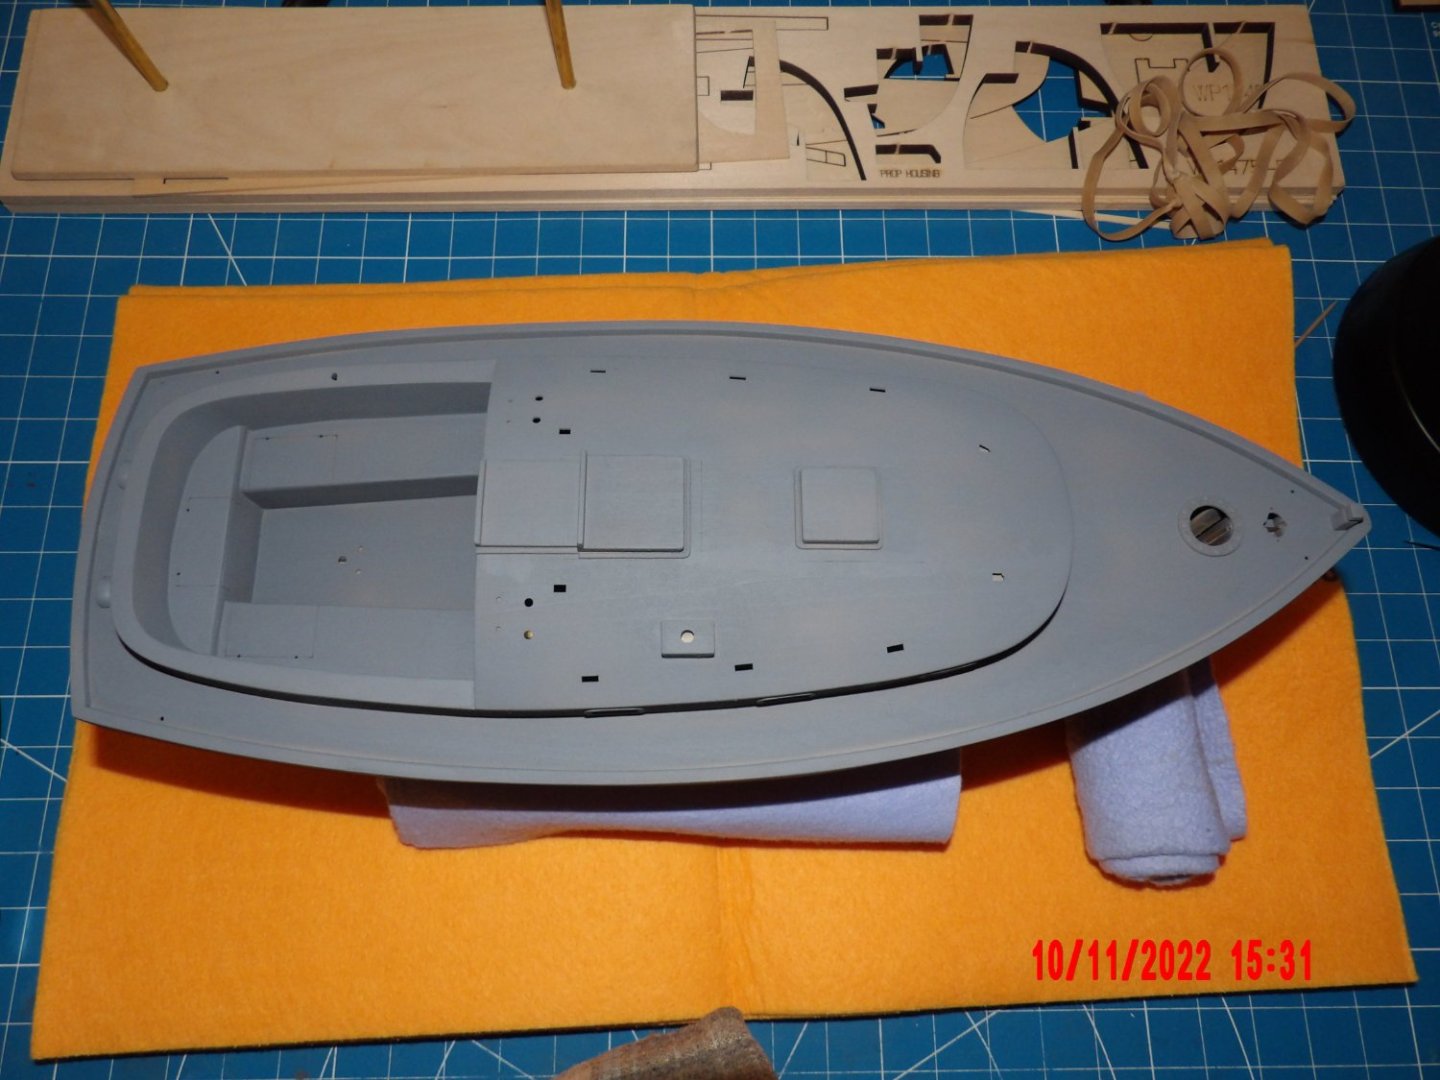
When I said Nonsuch is not as complex as Harriet Lane, I guess that's true in regard to the number of features, and its simpler rigging. False as to skill level required. Kit designer David A., in the manual says, "Although this model appears to be simple to build, it is not." Of course he's correct. It is a greater challenge, because as a modern mass-manufactured boat, flaws show in greater magnitude. Also, as a step up in the series, one must think more things out for oneself. This model is kicking my behind in some ways, and I have a long way to go. Getting my monies worth for sure! I'm hoping to get a Grade B or C on this one. I see some difficult problems to be solved coming up. . . Some refinements still needed, but the cockpit area is built.

- 111 replies
-
- 8
-
-
- Nonsuch 30
- Model Shipways
- (and 1 more)
-
Looks very nice Gregg! It's worth a display case to protect all that well-done rigging! Bob
- 65 replies
-
- 1
-
-
- Ballahoo
- Caldercraft
- (and 1 more)
-
Thanks for the link. I saw this on Amazon, but think it is meant for siphon-type airbrushes, not for gravity-fed models. . . I will try the BB's or wire in Dremel tool before attempting straining as has been suggested. Thanks to all. Bob
-
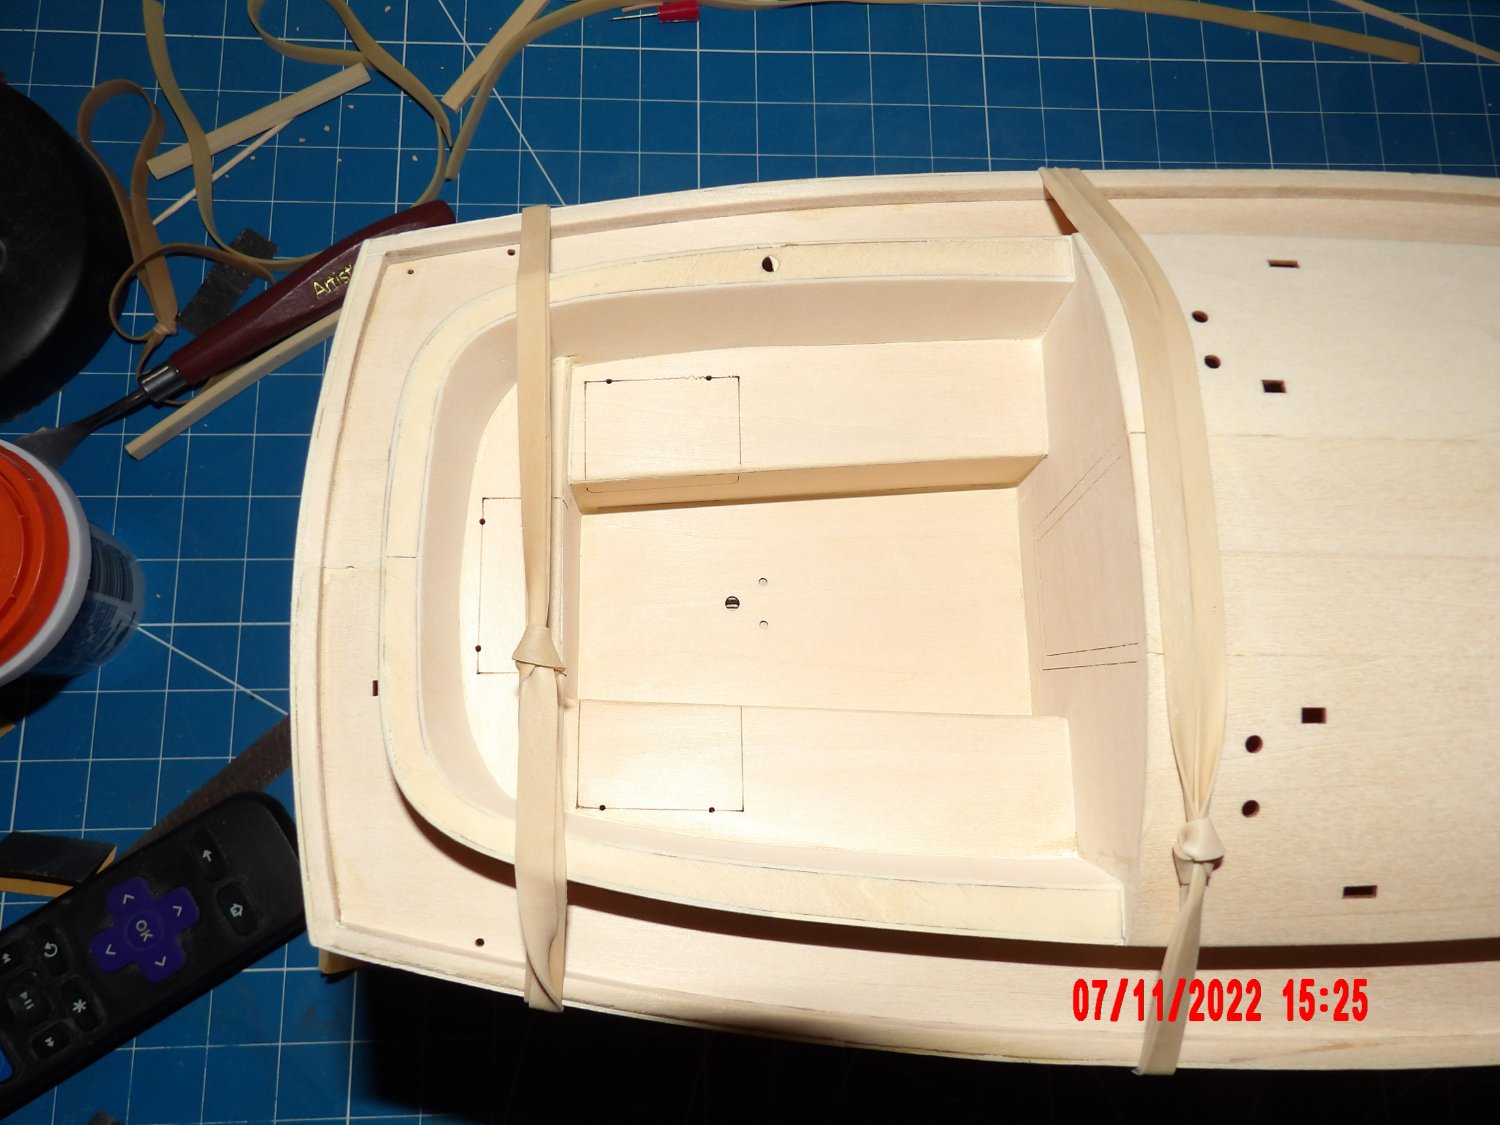
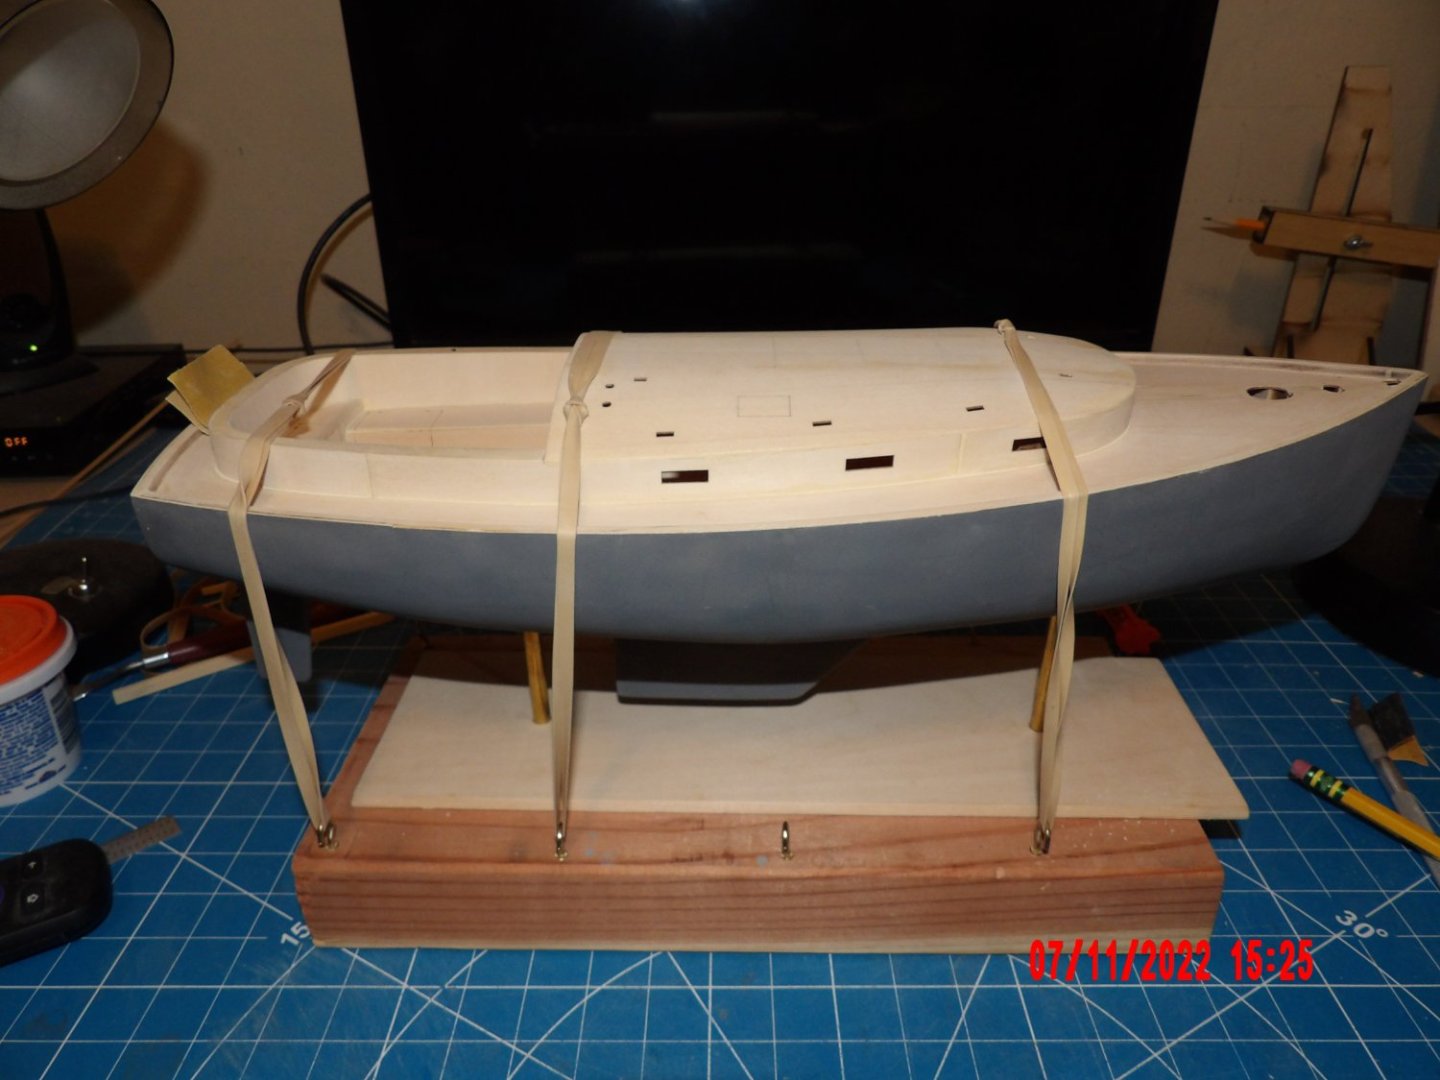
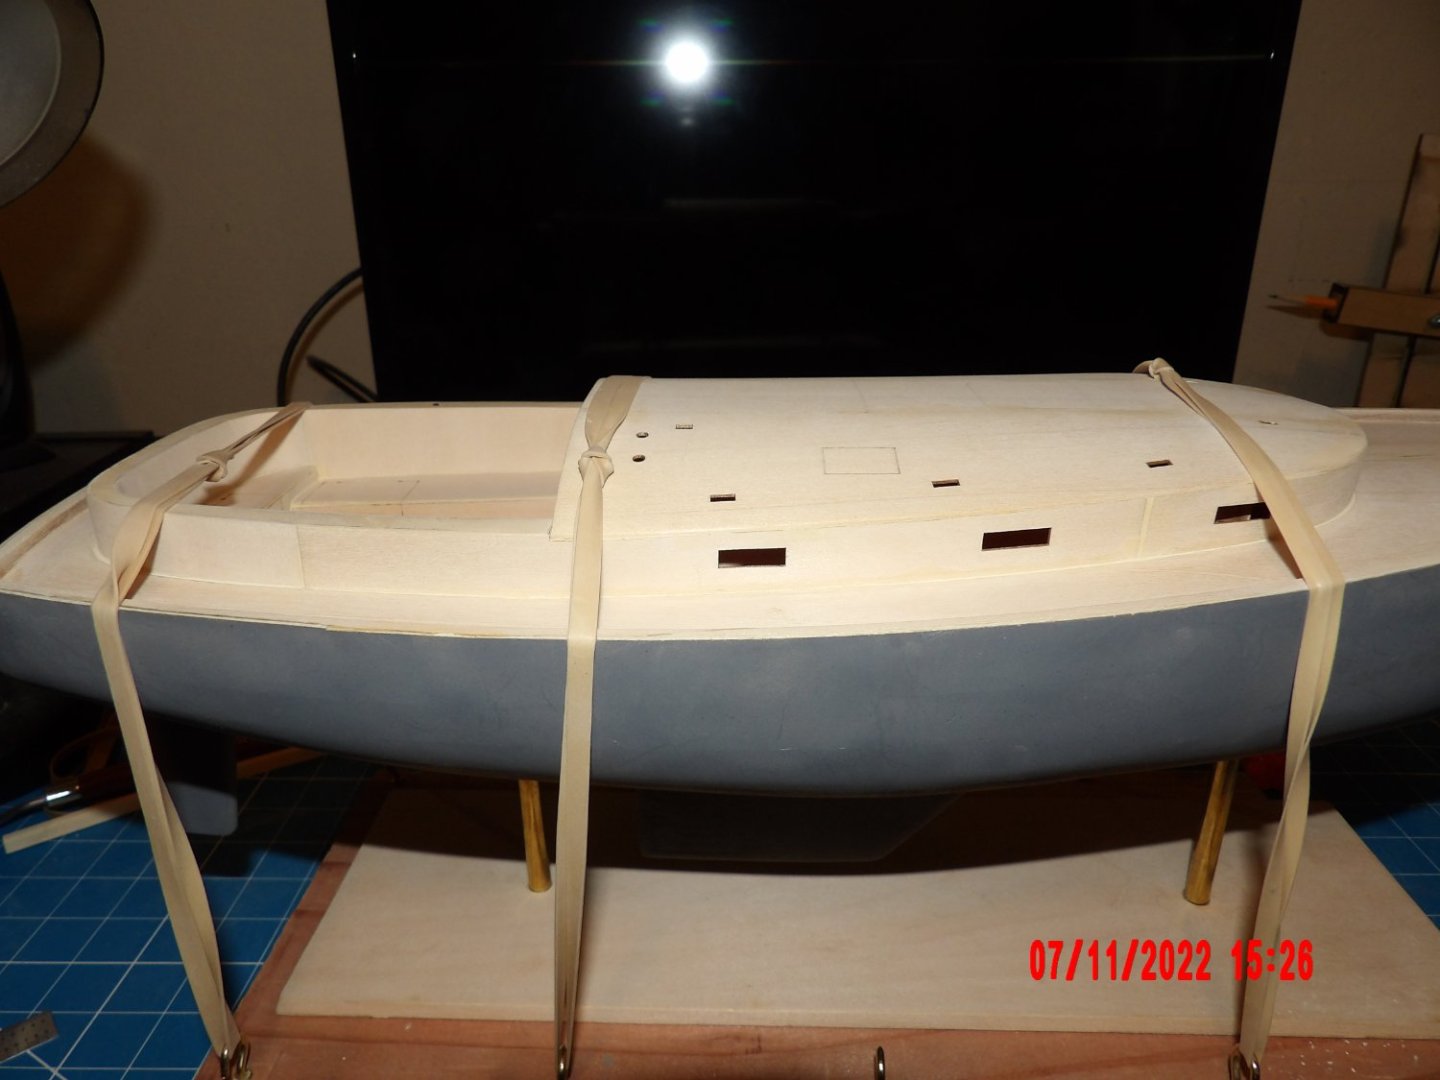
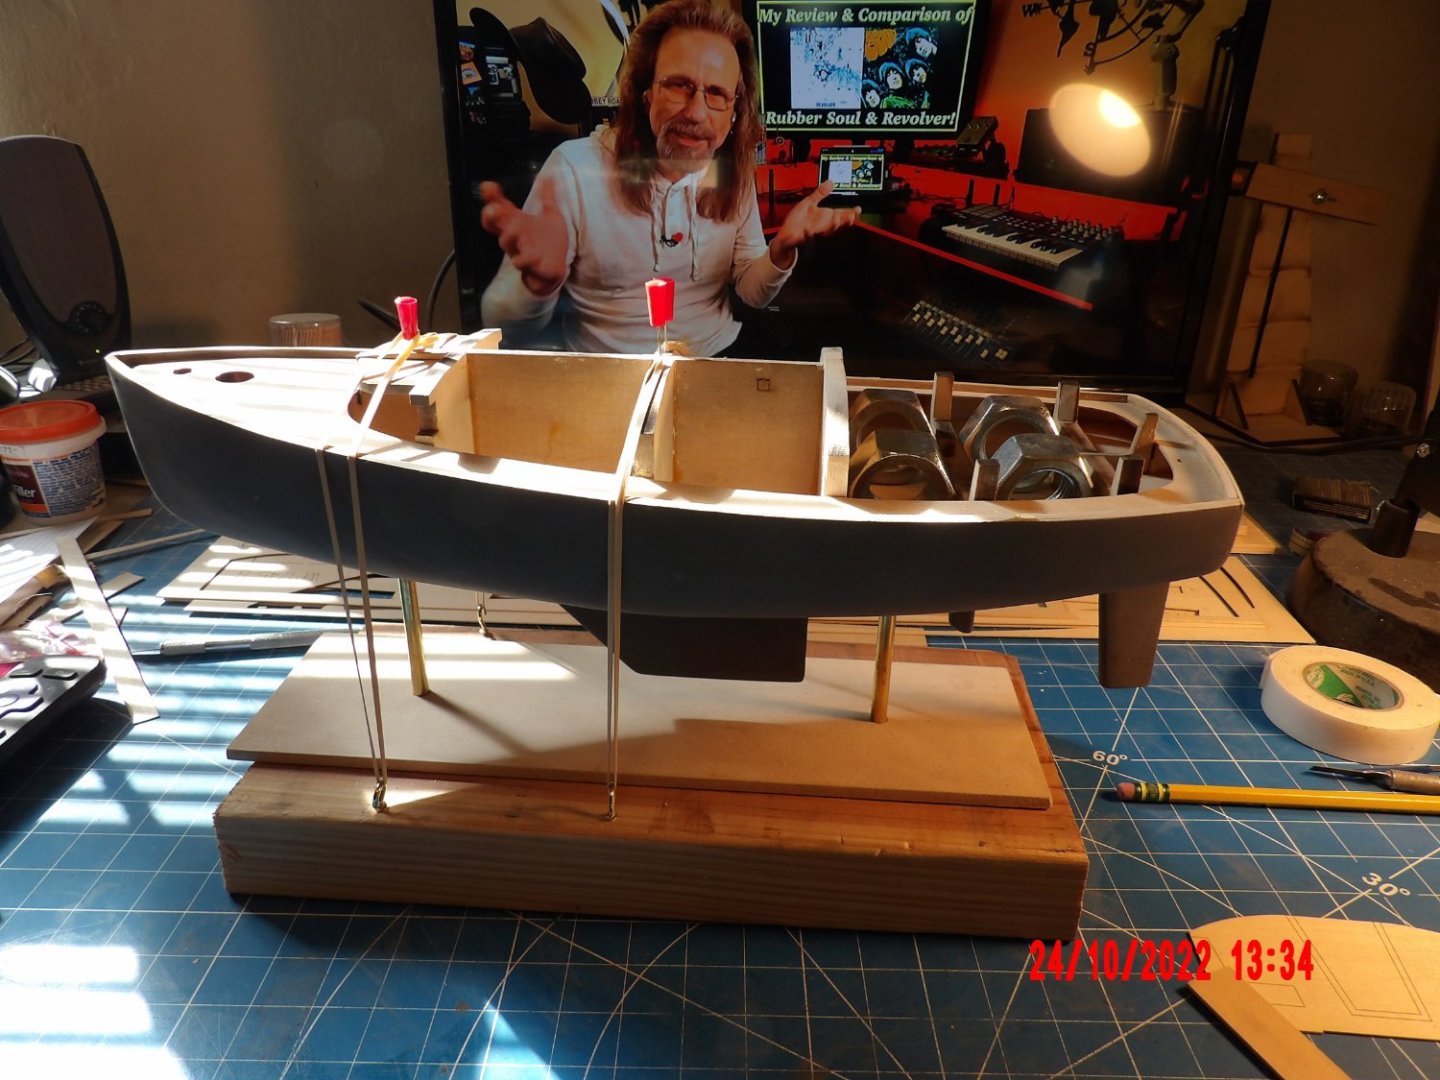
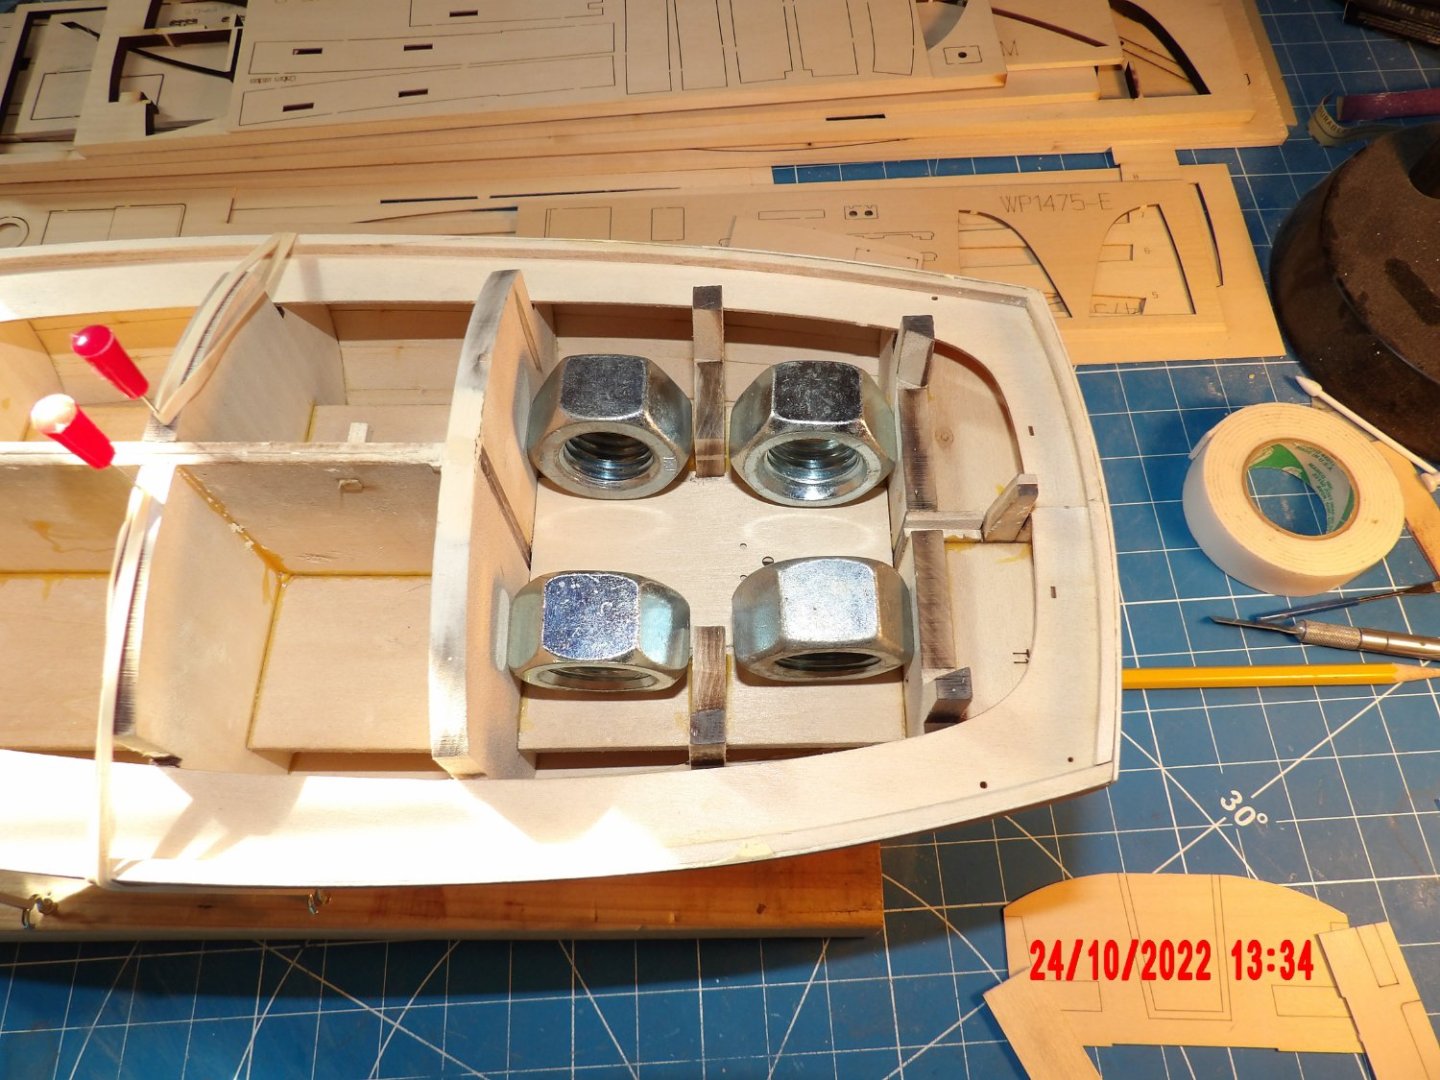
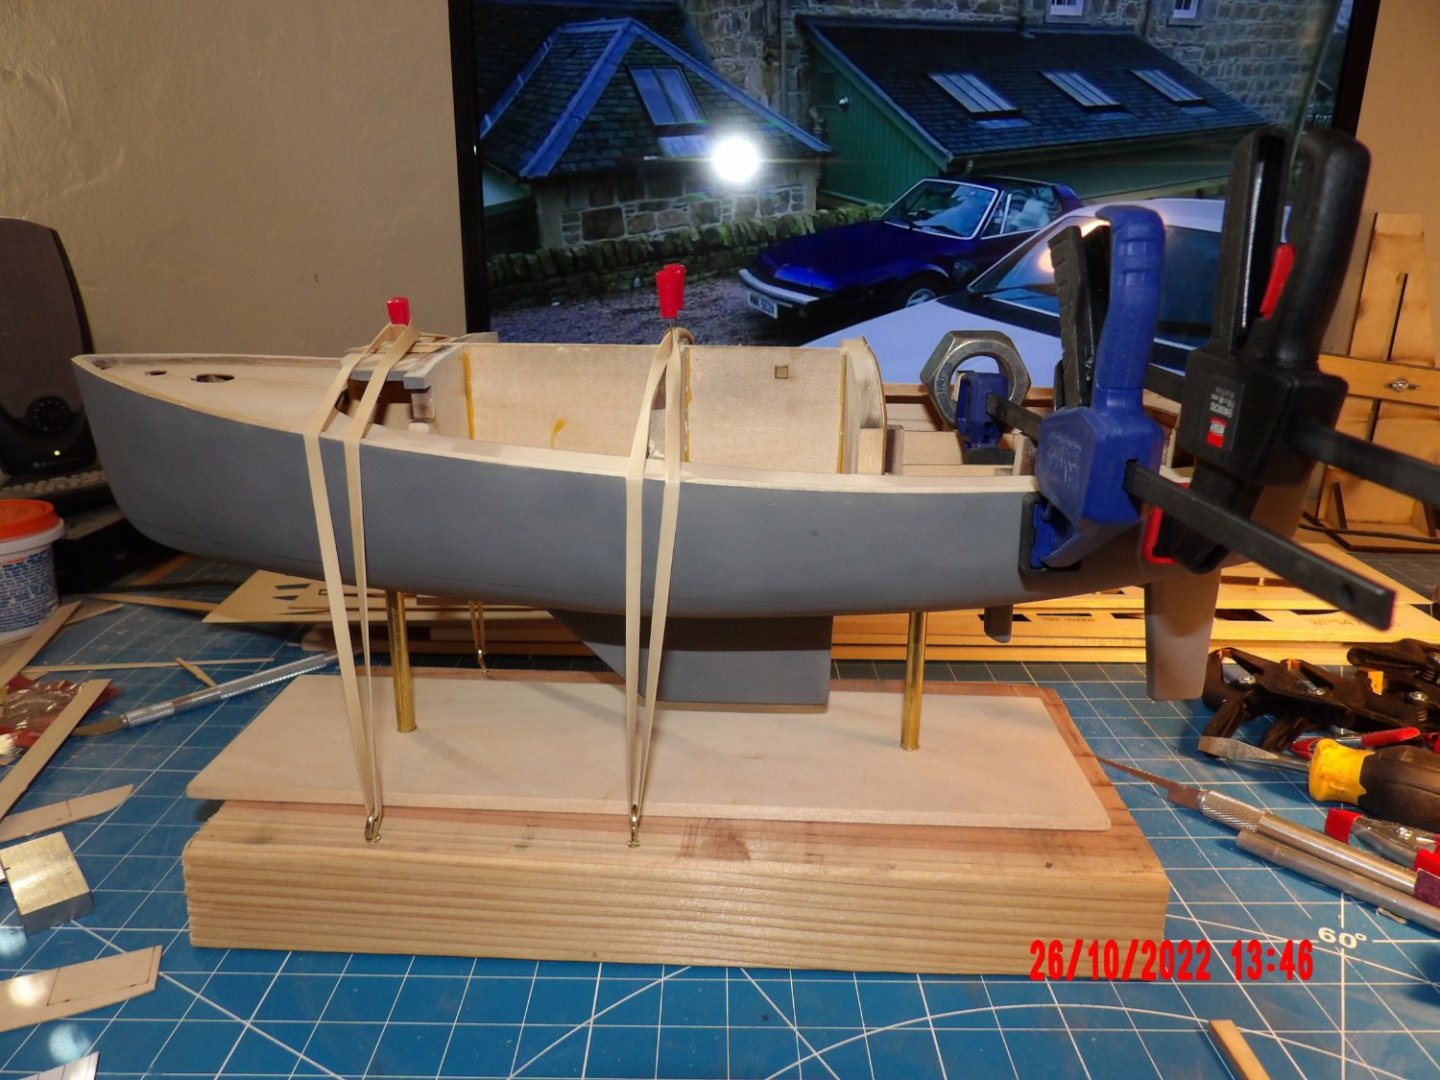
Made the display base. I replaced the wooden dowels with brass rod, as I did on Harriet Lane. The boat is very wobbly when placed on the base, due to a gap between the hull halves at the aft end, which enlarged the hole for the mounting rod. It is not time to permanently mount the boat to the rods, so I am stabilizing things with elastic bands. The nuts are out again, this time weighing down the cockpit floor while the glue sets. Attaching the seat sides. . . going is slow in the cockpit, as a lot of adjustments are required due to accumulated errors. I am hopeful it will be OK.
- 111 replies
-
- 7
-
-
- Nonsuch 30
- Model Shipways
- (and 1 more)
-
Thank you both. I'll stop by HD and look at their products. Panty hose seems a good idea also. Bob
-
Has anyone tried to strain acrylic paint or primer for airbrushing? I have a couple of bottles (one was unopened) of Stylenrez primer that have some clumps and clogged my airbrush. Most of the stuff is fine and should be usable. The only commercially available strainer for airbrushes I found at Micro Mark- did not see any at USA Airbrush Supply. . . Thanks Bob
-
Gary, yes- doing years of exacting work, trying to do the best for a client, and hopefully keeping the firm out of court changes a person. Sometimes for the better. . . sometimes otherwise. I did the third round of filling/sanding to the most offending side of the hull. Totally worth the effort. Will repeat on the other side and re-evaluate.
- 111 replies
-
- 5
-
-
- Nonsuch 30
- Model Shipways
- (and 1 more)
-
Of course you're right. My way is to torture myself over every little detail until I question my very reason for existence! Not easy to change one's nature. I did end up happy with my last model.
- 111 replies
-
- 2
-
-
- Nonsuch 30
- Model Shipways
- (and 1 more)
-
Did the second priming. As expected, one side is a lot better than the other. I'm trying to decide whether to attempt more filling/sanding. I don't mind expending the effort, but am unsure if I can make it any better. . .


- 111 replies
-
- 5
-
-
- Nonsuch 30
- Model Shipways
- (and 1 more)
-
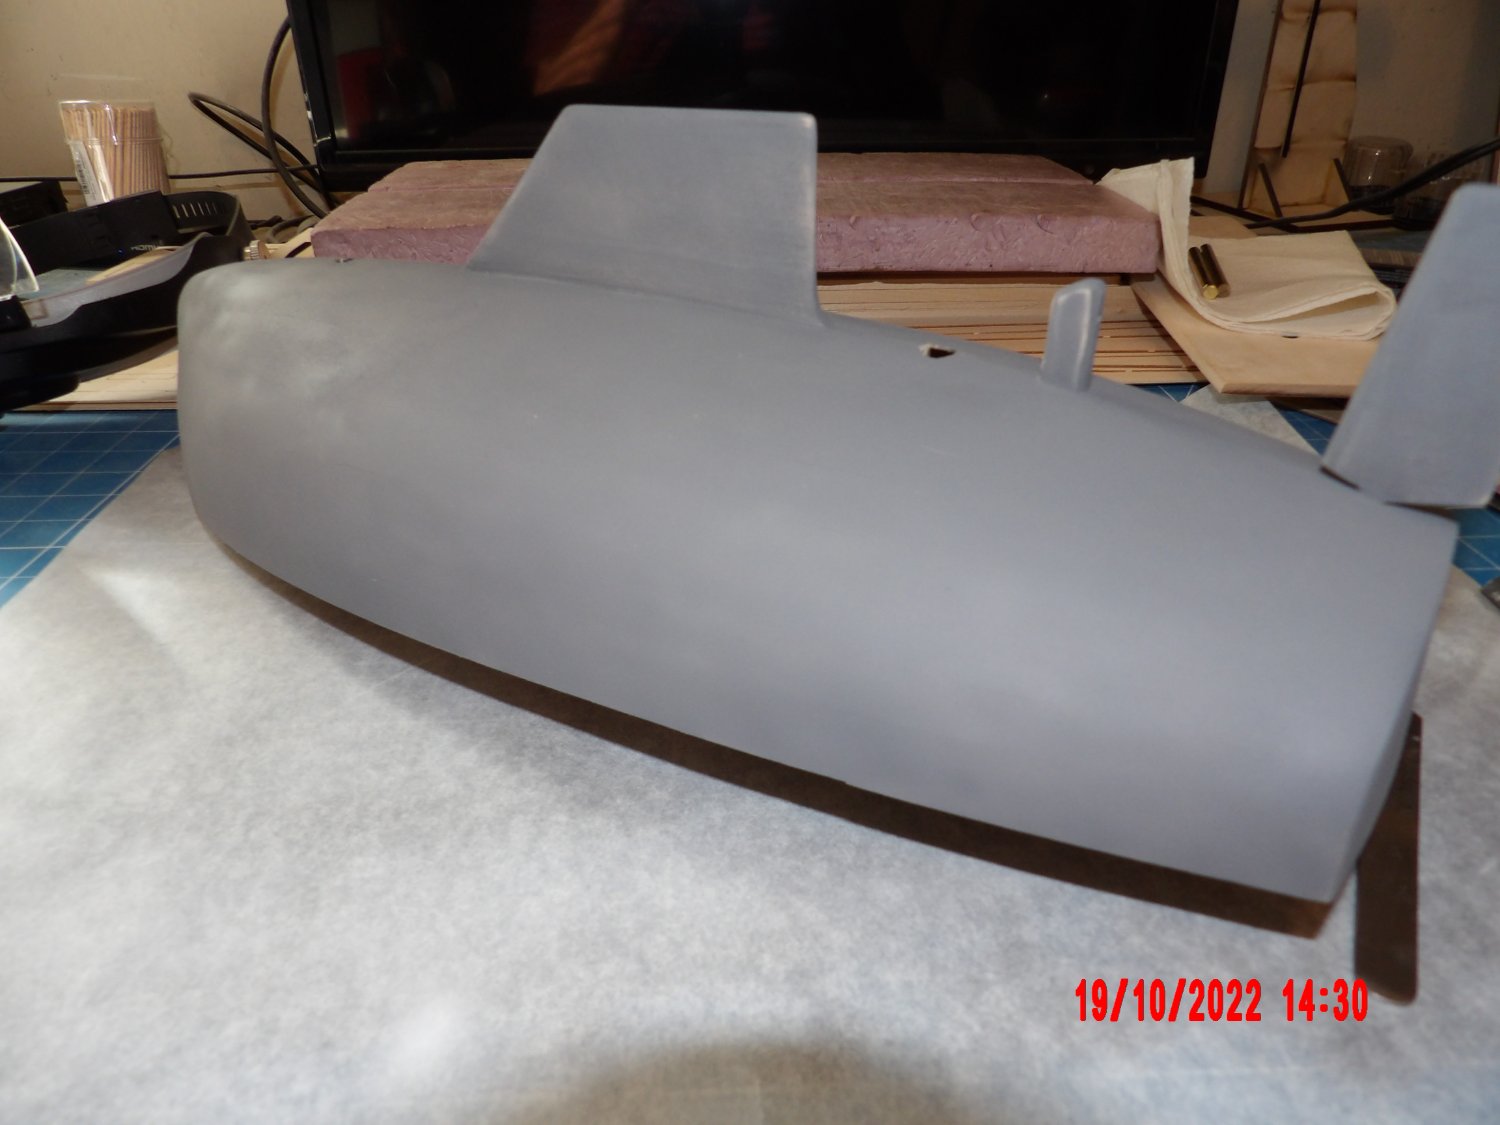
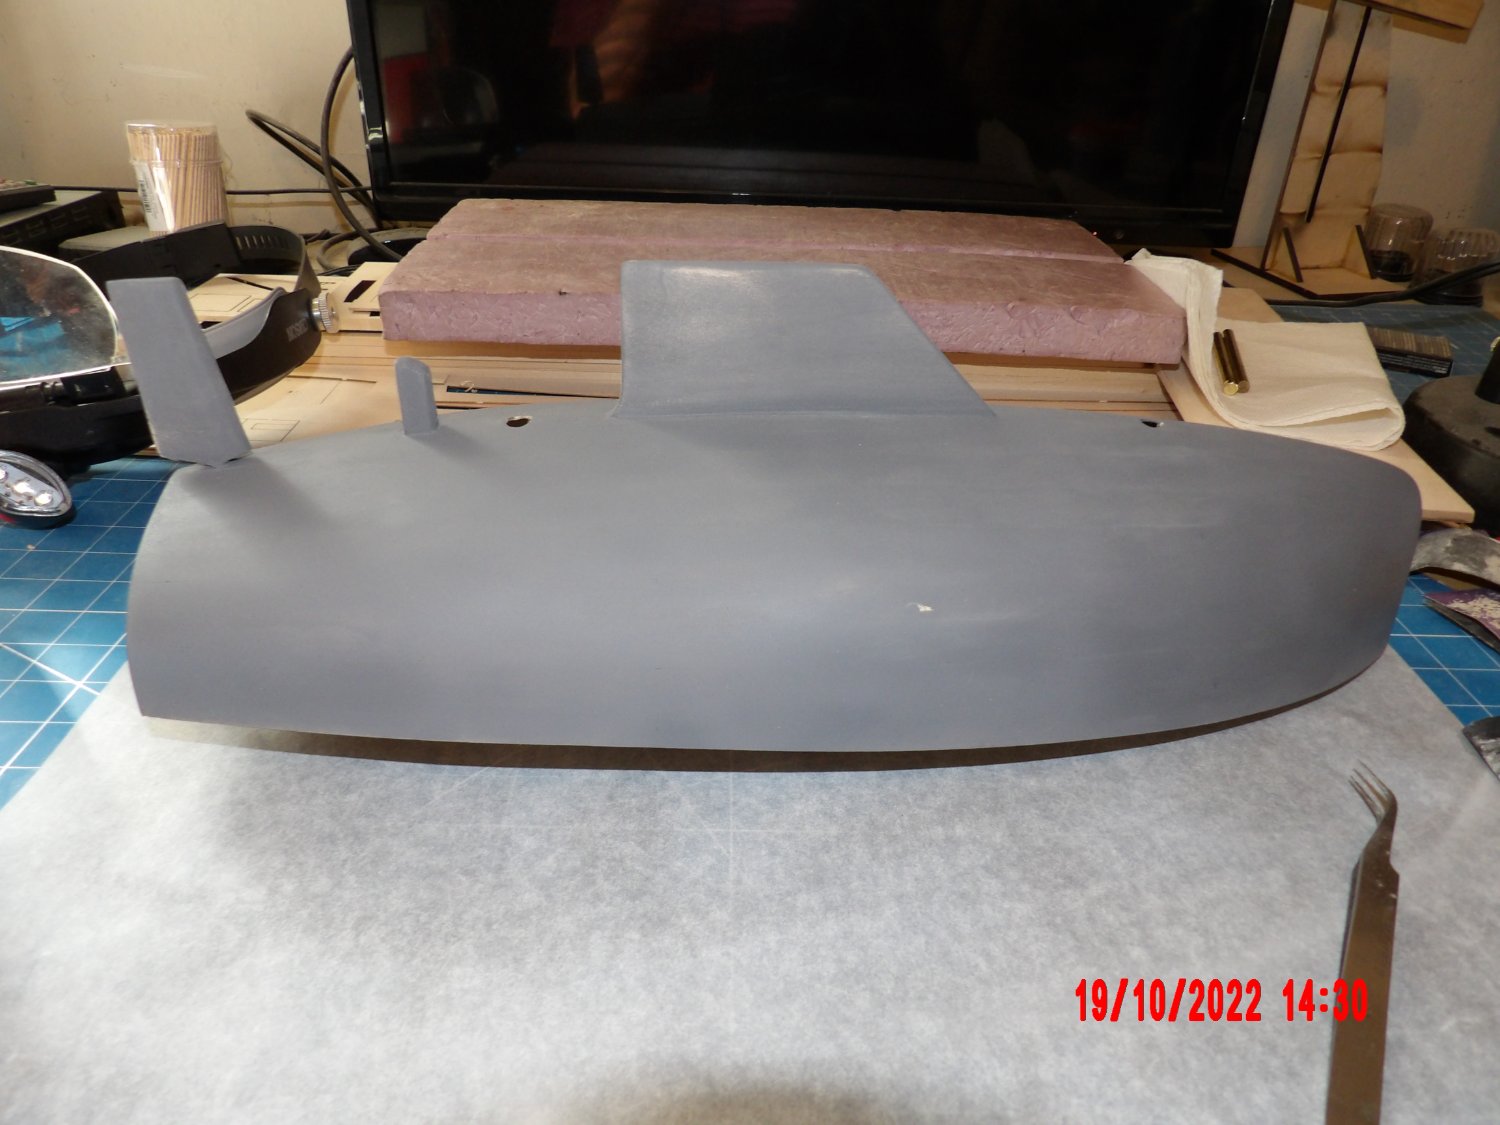
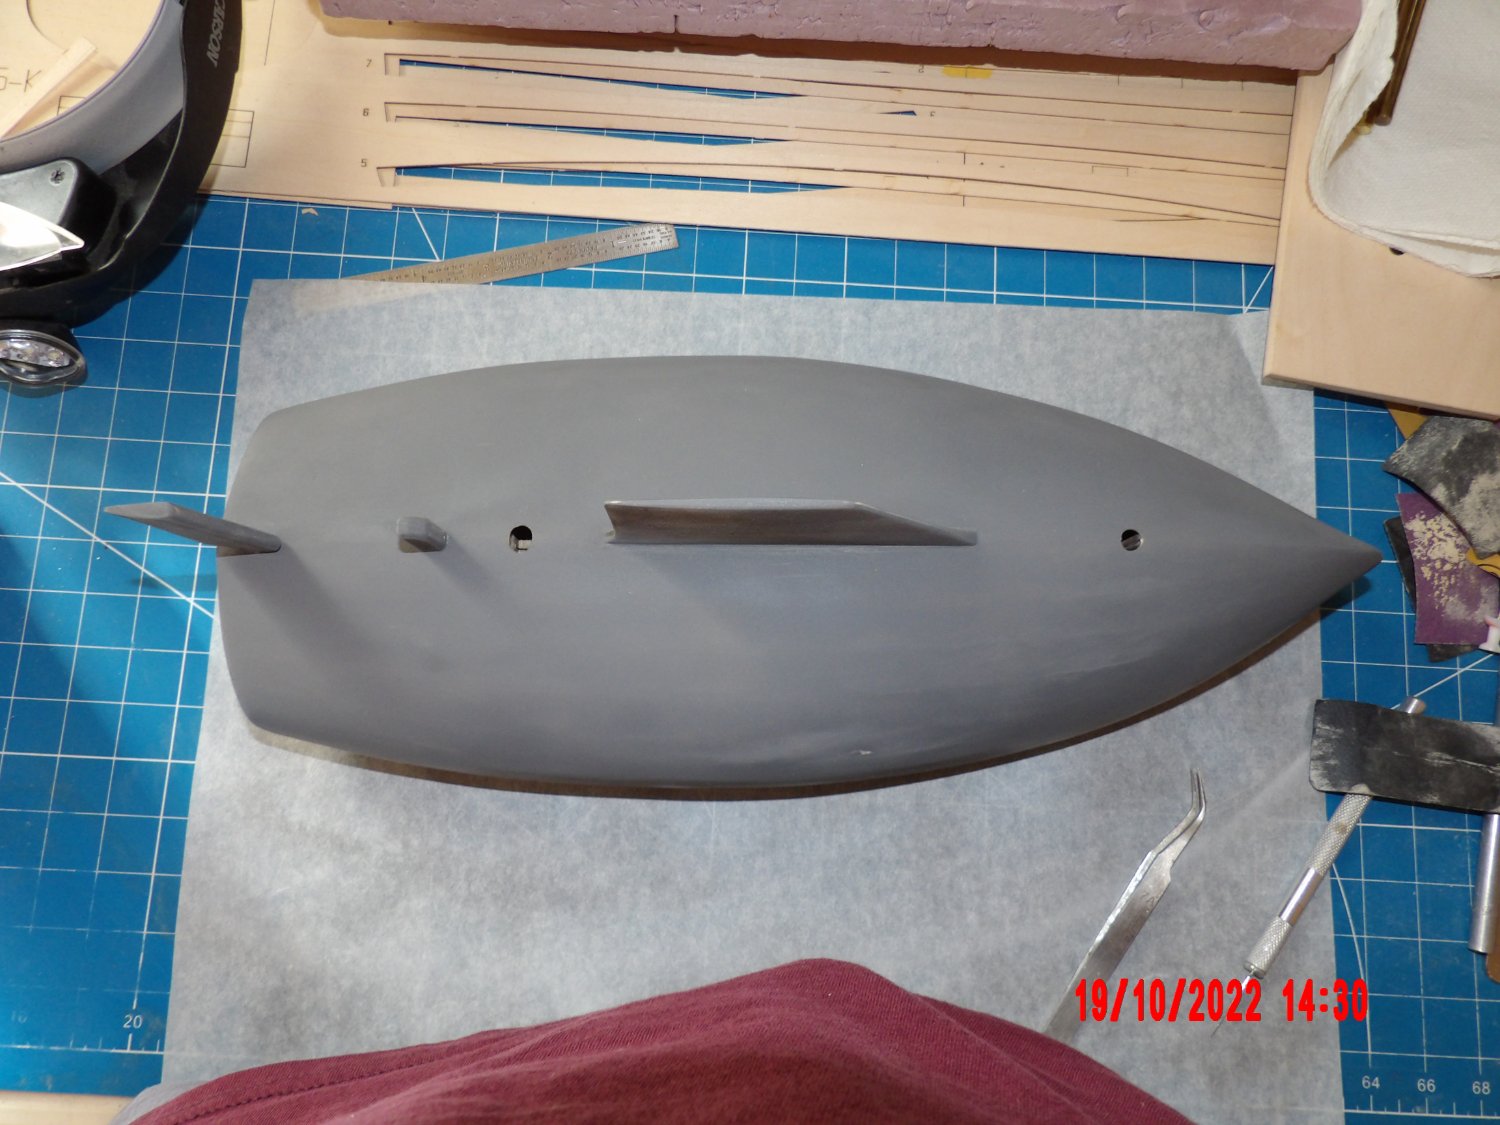
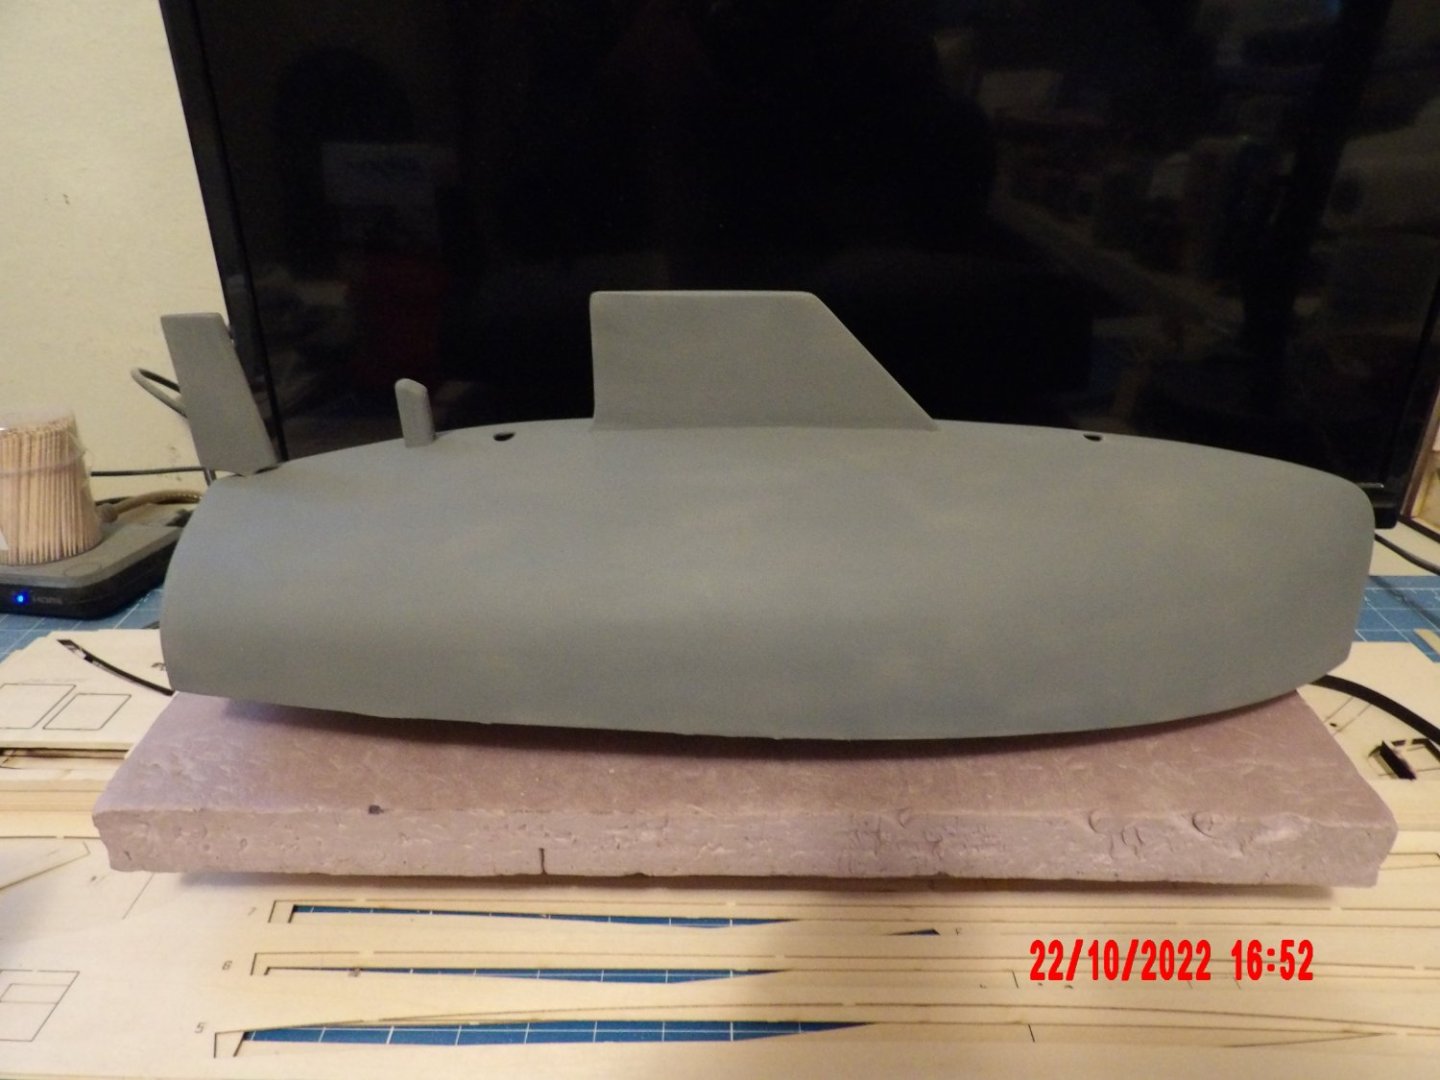
Fin, rudder and propeller drive housing shaped and installed. I do enjoy shaping wood, and am considering getting into carving. I'd like to do my own ornamentation and figureheads at some point. Ready to re-prime the hull.

- 111 replies
-
- 7
-
-
- Nonsuch 30
- Model Shipways
- (and 1 more)
-
Whatever works! Looks fine.
-
Steve, I'm going rather slow, so start a build log- when you pass me by, I'll pick up tips from you! When you're done with Nonsuch, you may want to try the fourth in the learning series, the 1:96 Harriet Lane. I don't know why it's not being advertised as such, but the manual indicates that it is the fourth. All you have learned through building the first three comes together in the HL, and adds some more complex features. It's quite a challenge, and is the one of which I'm most proud. Nonsuch is not as complex, but is an interesting subject as a modern personal yacht still in use today. If I were to take up sailing, it might be with a similar live-aboard boat. Fun to build. b
- 111 replies
-
- 1
-
-
- Nonsuch 30
- Model Shipways
- (and 1 more)
-
Wow, Gregg, you have come so far in developing your skills in a short time! b
- 65 replies
-
- 1
-
-
- Ballahoo
- Caldercraft
- (and 1 more)
-
Eric, all looks good! Although I work on my model some most days, I am also trying to get some things done around the house before winter hits. The house is a big model, lots of caulking, sanding and painting. I can't say I enjoy it as much as the model, however. . . bob
- 113 replies
-
- 5
-
-
- Cairo
- BlueJacket Shipcrafters
- (and 1 more)