Glen McGuire
-
Posts
1,985 -
Joined
-
Last visited
Content Type
Profiles
Forums
Gallery
Events
Everything posted by Glen McGuire
-
 Such an elegant way to ruthlessly insult your peers! Reminds me of the way our US Supreme Court justices will basically call each other complete idiots in their dissenting opinions, but they do it in the most polite and professional language!
- 290 replies
-
- 6
-

-
- Quinquereme
- Finished
- (and 1 more)
-
Thank you, Keith. That's my goal - to try and get better with each build. The biggest help is being able to follow the build logs from so many master craftsmen here on MSW. I am forever getting new ideas and learning new techniques from all of y'all. Thank you, Ian and Javelin. About halfway thru I was cussing the Romans for not attacking Syracuse with a fleet of uniremes. 😬 @Ian_Grant and @Landlubber Mike, very interesting comments on the Galapagos - particularly the Post Office Bay tradition with the unstamped letters!
- 290 replies
-
- 4
-
-
- Quinquereme
- Finished
- (and 1 more)
-
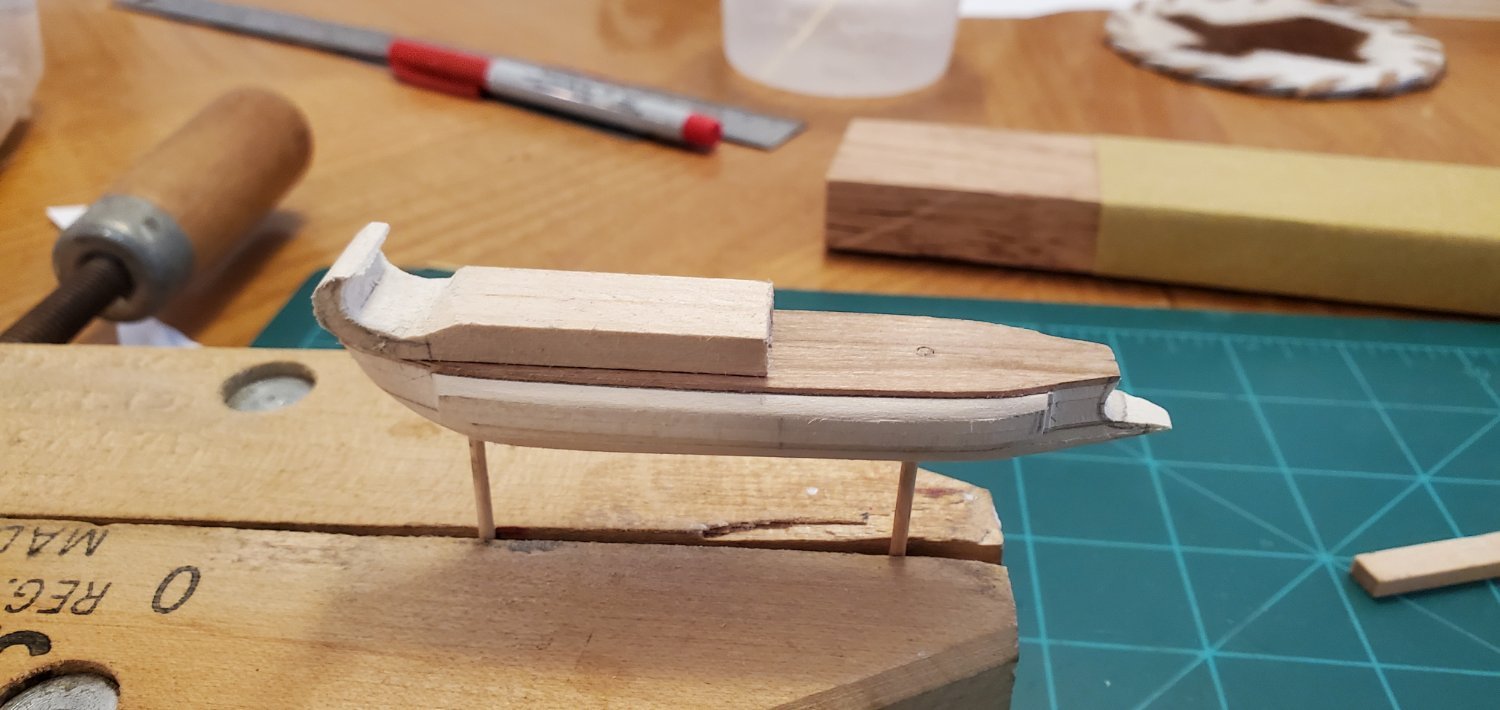
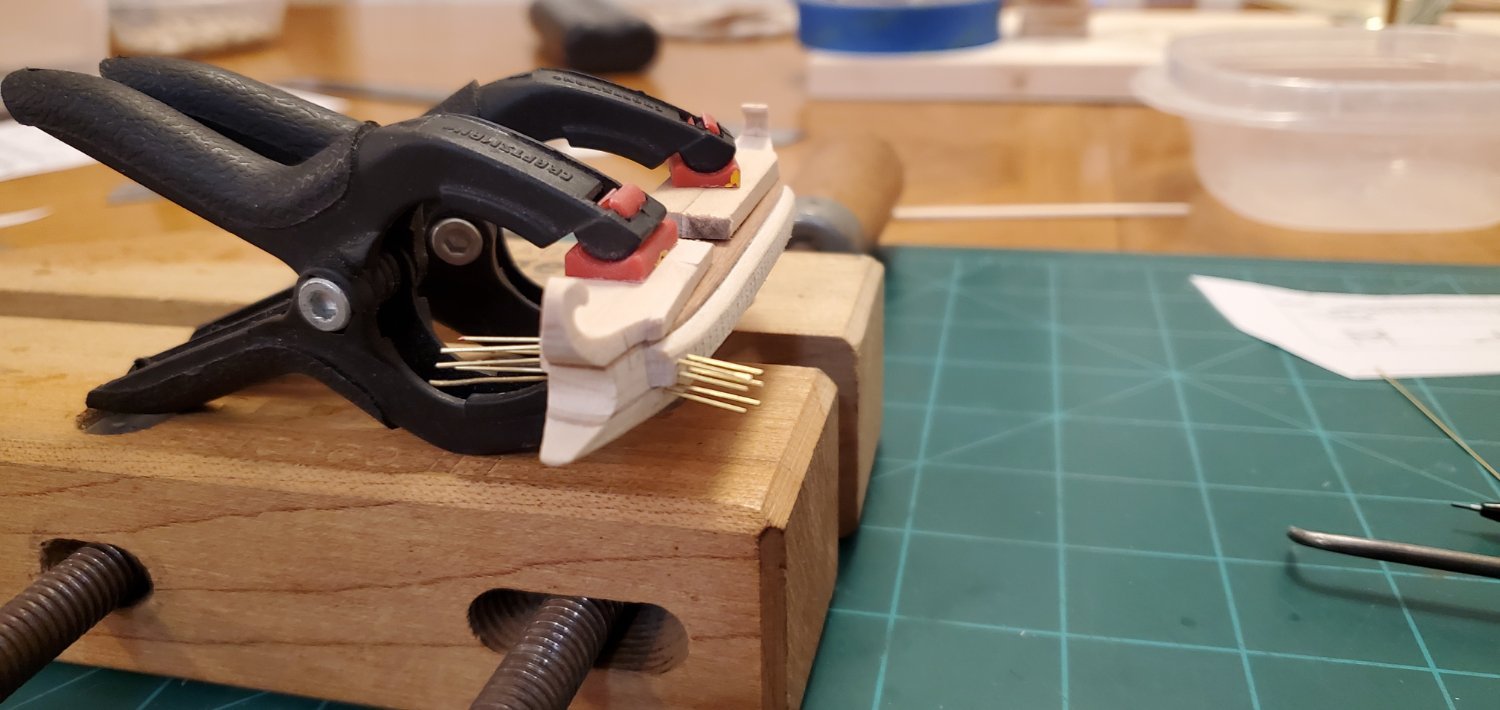
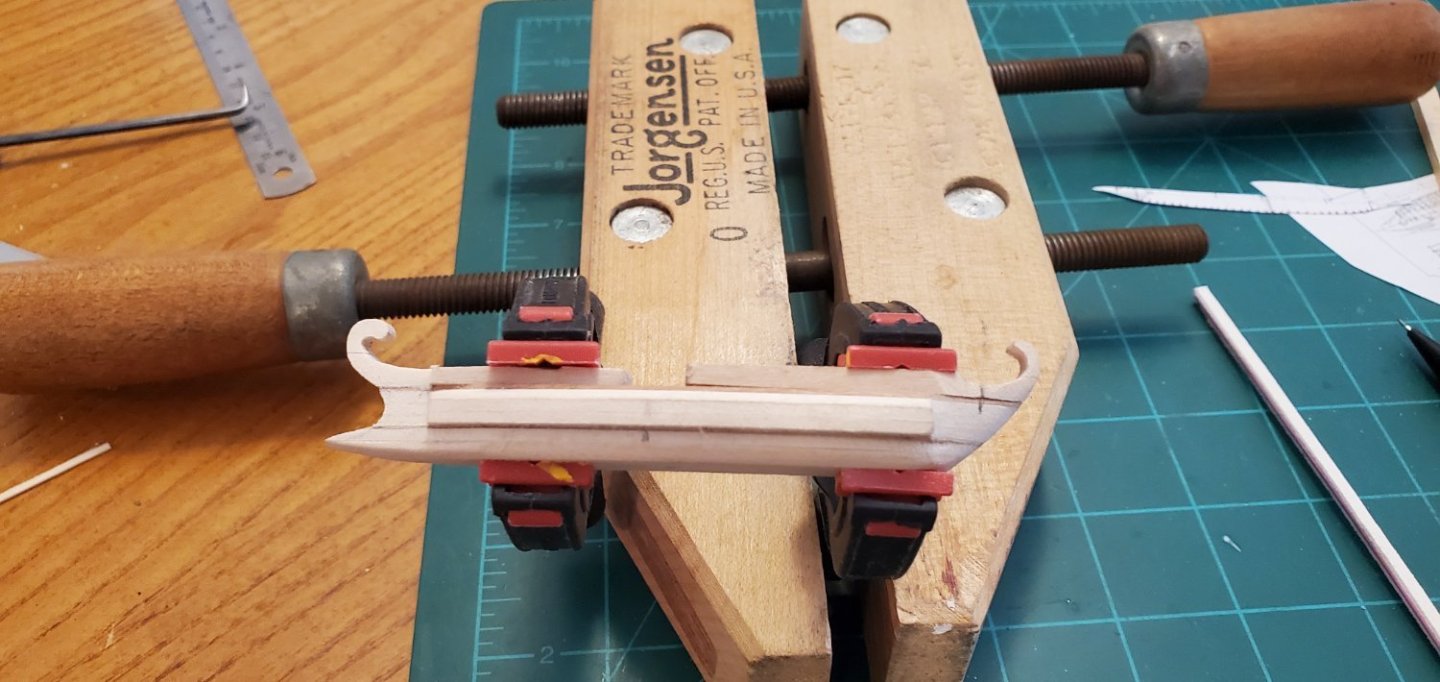
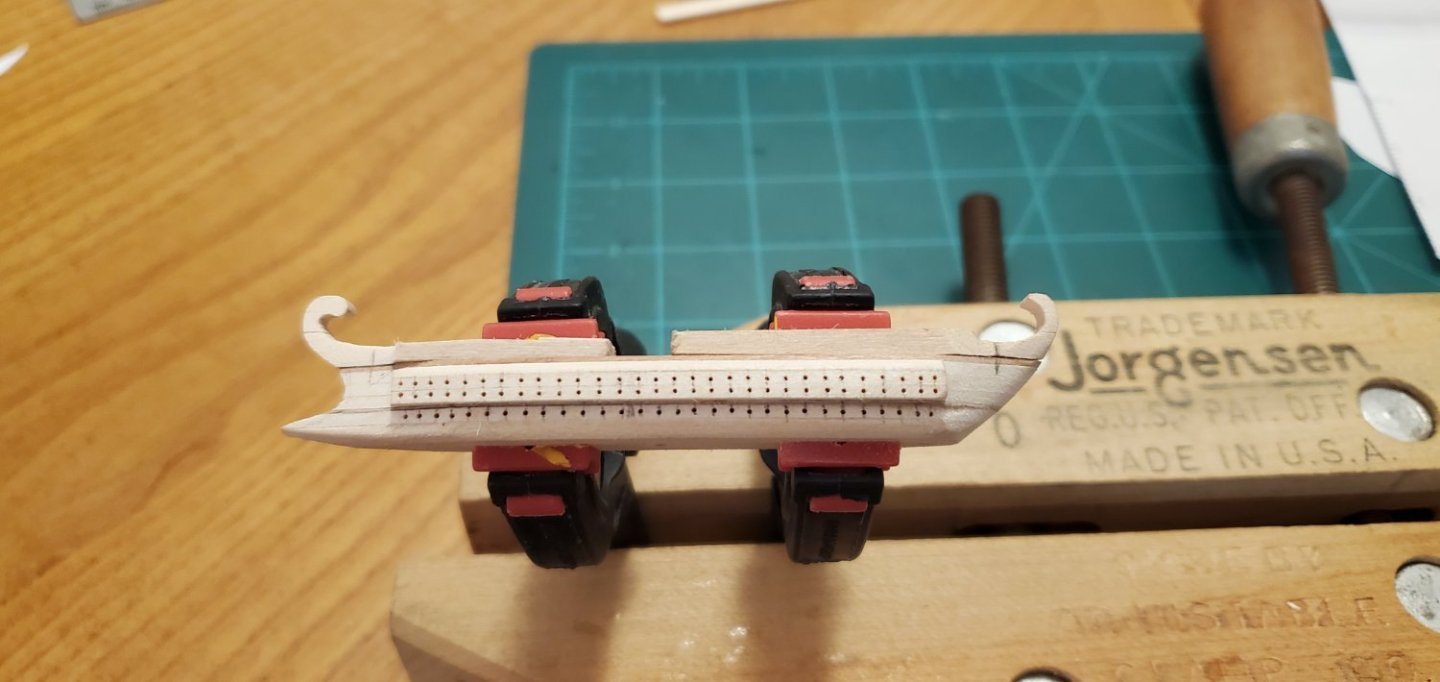
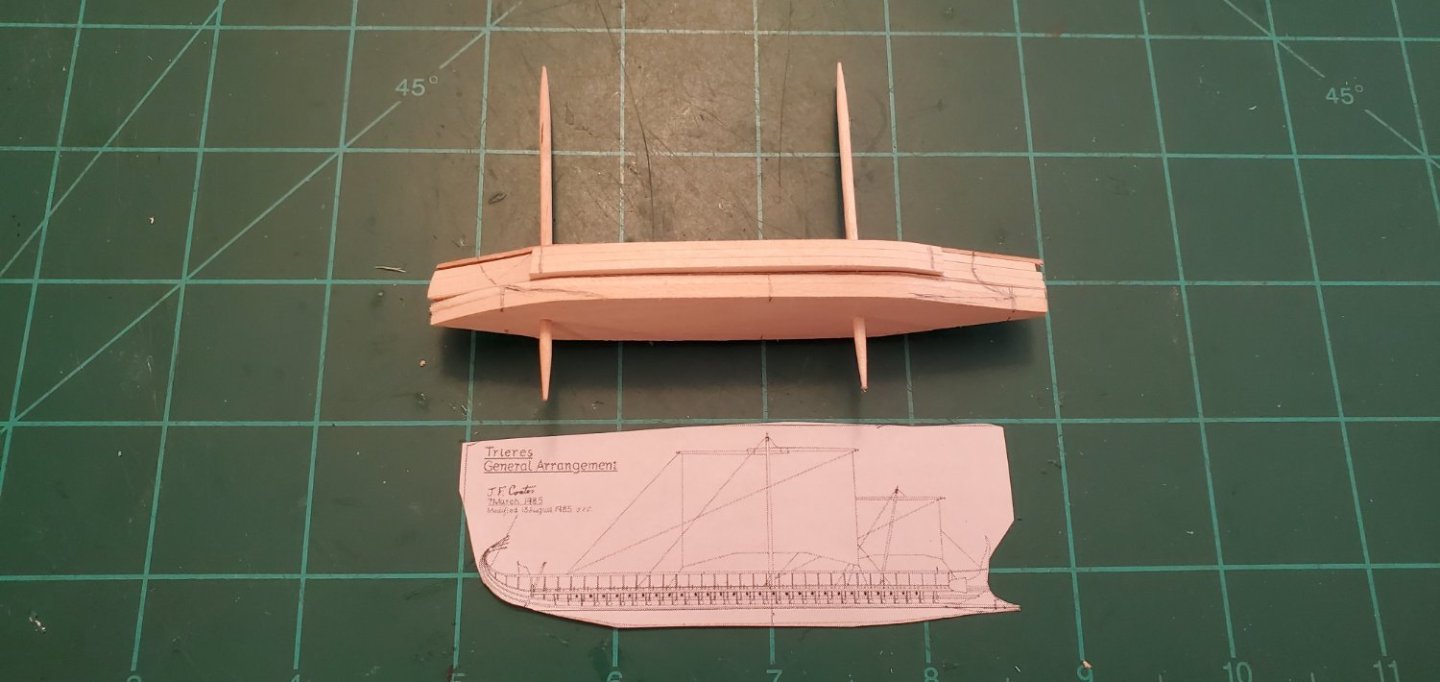
Now the more challenging step - carving out the upsweep on the bow and sternpost. I'm using a couple of different pictures as a guide. I want the bow to have a scroll-look like the first pic, and the stern to have the fishtail look like in Ian's Olympias plan. Here's the work in progress. Everything is dry-fitted for now and the extended bases of the bow and stern carvings will be cut back to join with the bulwarks when added. With the basic shapes carved out, time to go cross-eyed and drill 180 tiny holes for the oar ports. 😵😵😵 And finally, a little test fit for a few of the oars. I would prefer to make the oars out of wood, but I can't get them that tiny, so 0.5mm brass will have to do. Plus, the flexibility of the brass makes it easy to bend them to their proper angle towards the water. I will smash the end of each brass oar to resemble the paddle.
.jpg.ad50e7feeff2861880986ed72cbc36d8.jpg)
.jpg.18181ff3709d73fabdd86373502366e1.jpg)


- 290 replies
-
- 16
-
-

-
- Quinquereme
- Finished
- (and 1 more)
-
Exactly what Keith said, Grant!! This has been such an amazing build to follow and pleasure to read. Your detailed description of each step in the process was like a well written instruction manual. I have learned several things from you that are helping me immensely in my own projects, so thank you for that as well. Well done, sir!!!
-
Hope you don't have allergies, Phil. I hate to think what a hard sneeze might do to your pile 'o parts!! 😃
-
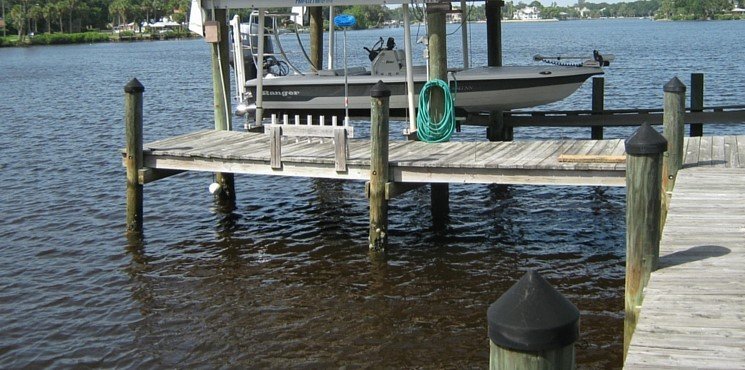
Do you have a picture of the effect you are trying to get? In the first pic below, you get the overall impression of parallel lines from a gentle breeze, but the lines themselves are not so uniform. Personally, I really like what you did in the bottom right corner. I think that looks quite realistic so close to shore in a somewhat confined area like a shipyard. Just my 2 cents though.

- 333 replies
-
- 12
-
-
Welcome to the best site on the whole interweb!!
-
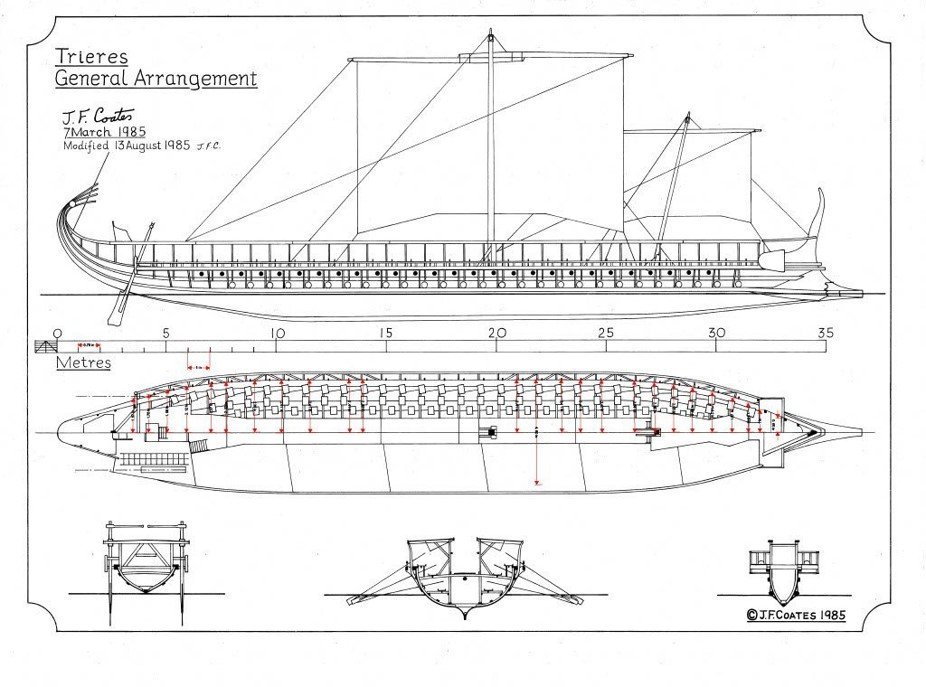
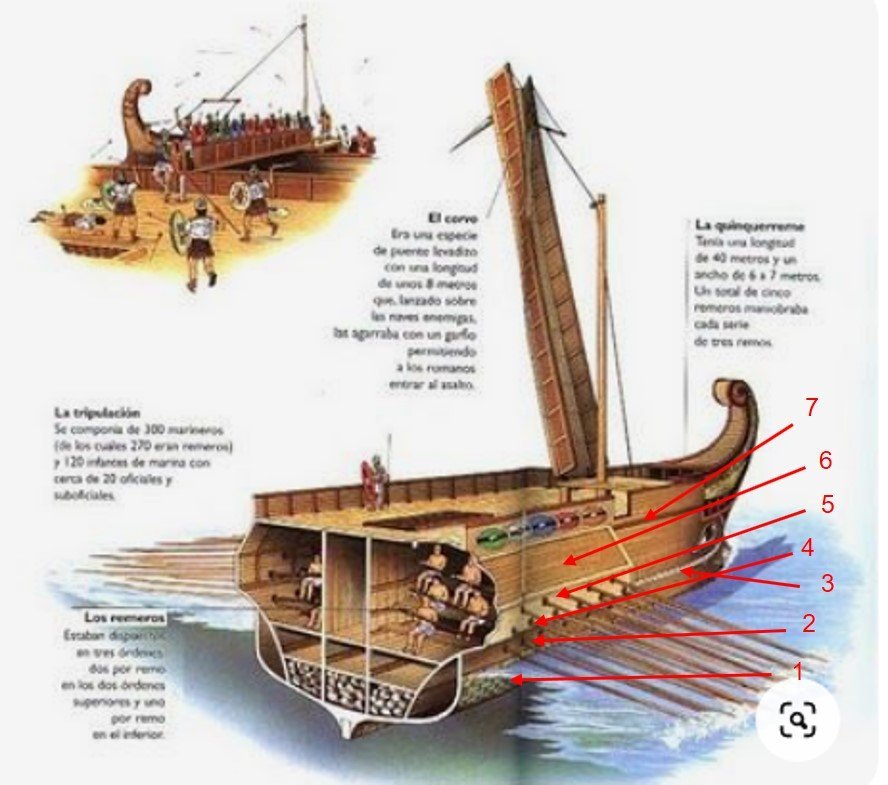
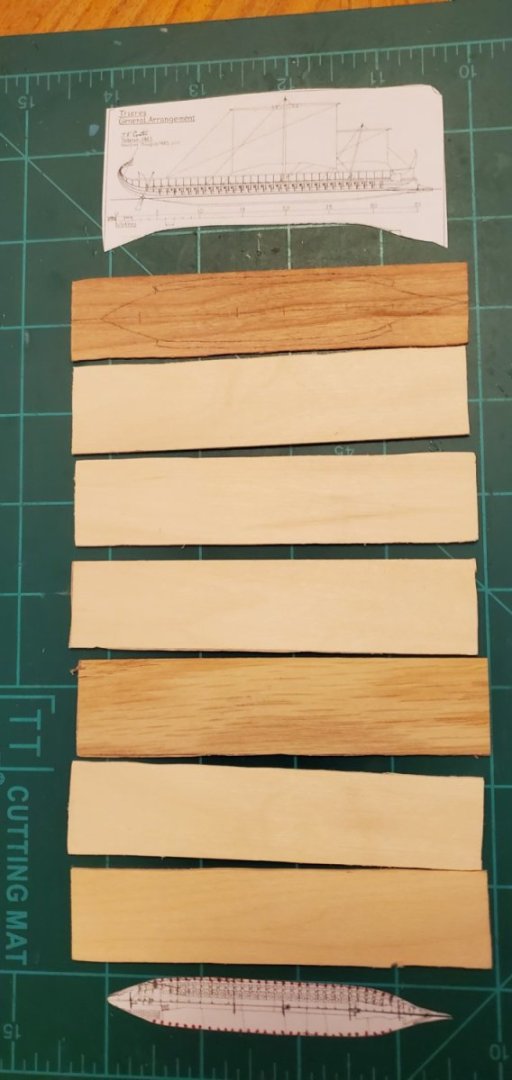
Work on the hull continues at a snail's pace. Shaping the hull is the part of the build I struggle with the most. I have a hard time getting the contours right and then getting them symmetrical on both halves. I know when the ship is in the bottle, you can only see 1 half at a time, but I still want to get it right, or as close as I can within reason. The first couple of pics are what I'm trying to mirror. I'm using @Ian_Grant's plan for the Trireme Olympias as my guide for the ship's basic outline and profile. I know Ian said it was a Greek trireme and not a Roman one, but at my SIB scale, I don't think there's a material difference in the outline and profile. The 2nd pic shows the 7 "layers" of the hull that I will construct. Layer 1 - bottom part of hull that sits mostly below waterline Layer 2 - lowest oar deck (flush with bottom part of hull) Layer 3 - spacer (I think it's more of a decorative line than actually part of the hull structure) Layer 4 - middle oar deck (protrudes out from main hull profile) Layer 5 - upper oar deck (protrudes out like middle oar deck) Layer 6 - slanted roof (extends back to main hull profile) Layer 7 - deck Using my usual laminated hull construction process, here are my corresponding layers 1 thru 7 from bottom to top. Respective thicknesses from layers 1 - 7 in mm are: 2.5, 1.5, 0.5, 1.5, 1.5, 1.5, 0.5. Add a 1.5mm bulwark for a total of 11.5mm and I should have plenty of room to add the bow and stern decorative upsweeps and still easily fit inside the bottle opening. One thing's for certain though. I will have to split the hull and rejoin inside the bottle to accommodate for the outstretched oars. All 180 of them! Still got a way's to go on the hull construction, but slowly getting there.

- 290 replies
-
- 19
-
-
- Quinquereme
- Finished
- (and 1 more)
-
Enchanting is the first word that comes to mind when I look at your trajinera. Congratulations on a superb build!
-
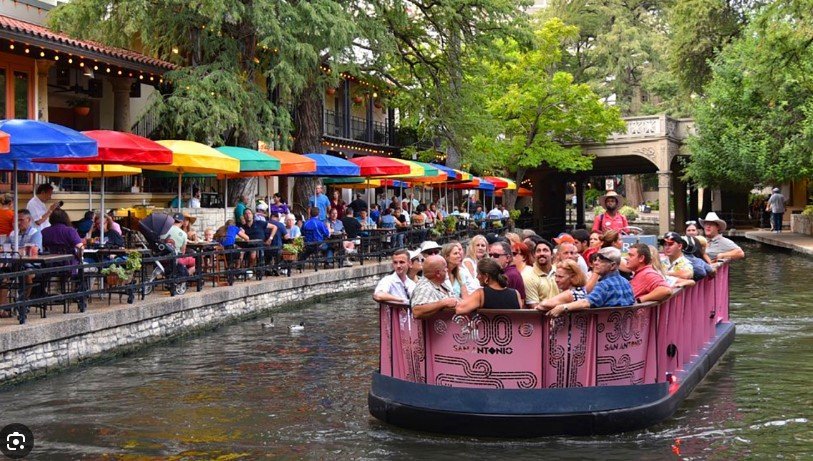
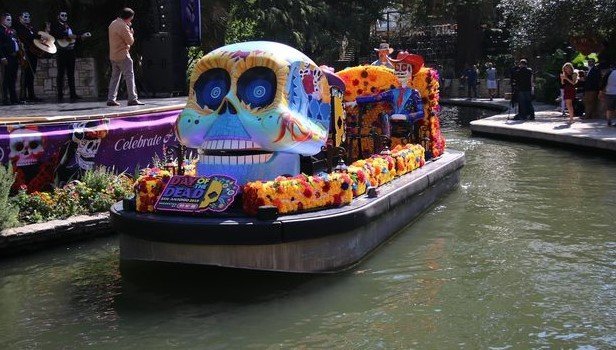
This is a very unique and interesting project. I had not heard of the term "Trajinera" but I believe we have very similar vessels on the Riverwalk in San Antonio, Texas just a little ways down the road from where I live in Austin. I've only heard them called riverwalk barges and they are used for sightseeing and dinner/drink cruises through the middle of downtown (1st pic below). The also have riverwalk parades (like for Día de Muertos) with elaborately decorated barges (2nd pic). Next time I'm down there I'm going to ask if they are modeled after Trajineras. The craftsmanship on your Tranjinera is superb. And the lively colors you've chosen really bring it to life. Well done (so far)!
-
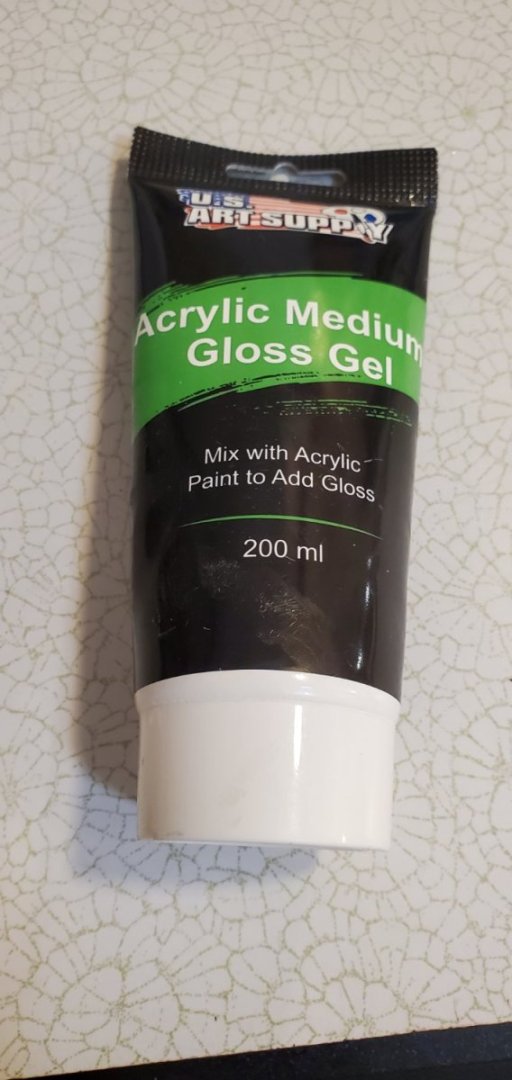
I totally agree with wefalk on adding some texture to the water. You've got so much incredible and realistic detail throughout the diorama, to me it just would not look right with glass smooth water. I have done the same thing that wefalk describes with acrylic gloss medium and a brush. I use the gloss gel because it adds a shine like sun hitting the water. It's transparent so I have applied it directly over my blue epoxy resin water. Here's the product I use. Another option (I have not tried it yet) was covered by @hollowneck on his NRG workshop presentation a couple of weekends ago about adding water to dioramas. For calmer water, he has a technique using diluted white glue and single-ply tissue paper to add some slight ripples. I will likely try this on my current project. Ron's Camilla build log also gives a detailed description of the process here: https://modelshipworld.com/topic/30217-hms-sphinx-1775-by-hollowneck-finished-vanguard-models-164/page/15/
-
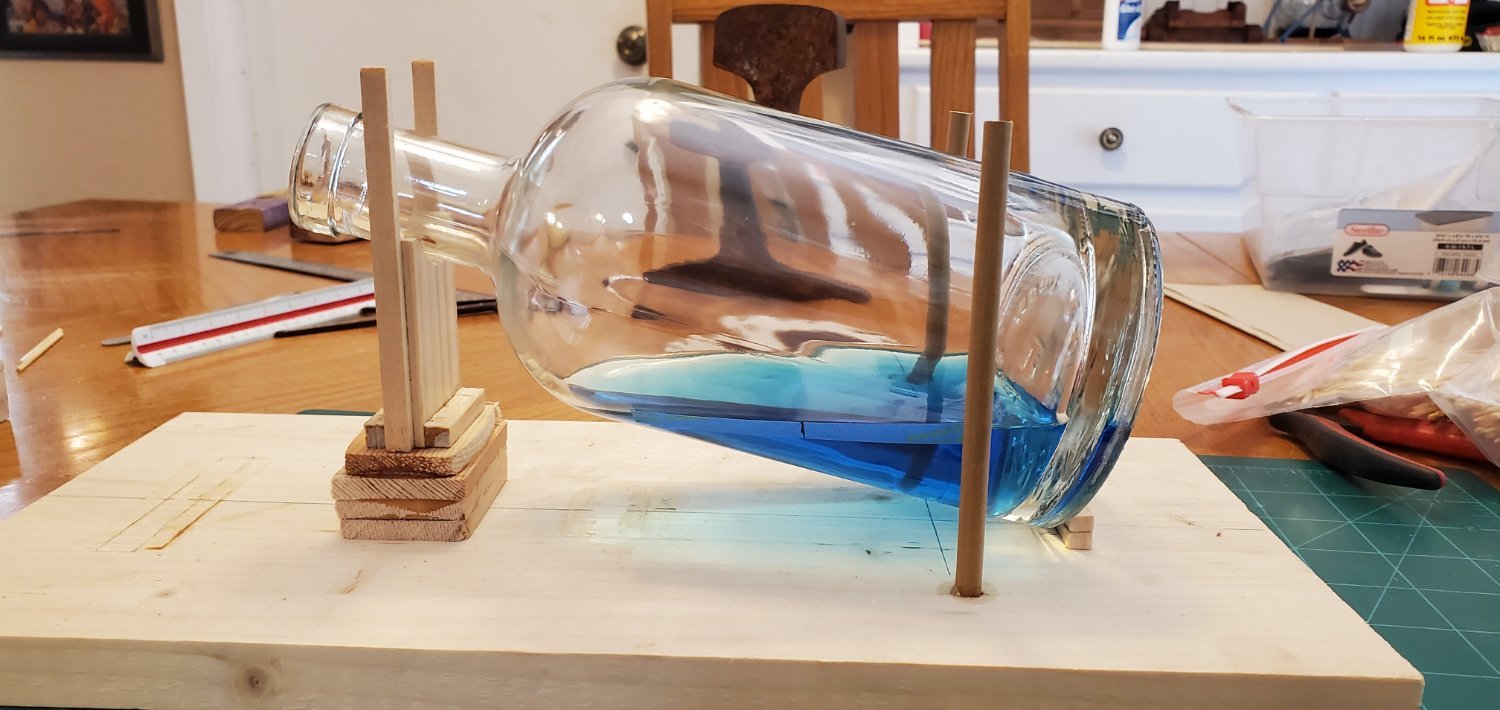
Thank you, Gary! Glad to have you on board. In the meantime, I did a search of the entire website to see if "iguana snot" had ever came up as a topic for discussion in the history of MSW. Thanks to @Ian_Grant, I can proudly say my build log has the distinction of being the first one! Now, back to a far less interesting topic - the build. When @Javelin asked earlier about the orientation of the water in the bottle, it made me realize I needed to make a jig to figure out what my maximum ship dimensions could be. Normally, it's easy and I do it with an empty bottle. However, with the water in the bottle at an angle, the available space is different and I need to make sure I know how much room I've got to work with from back to front and top to bottom. The "test water" in the bottle below is a special flavor of Mountain Dew called "Liberty Brew" made for our upcoming 4th of July Independence Day. Originally, I was estimating a ship length of 3.75" which is how I came up with the approximate scale of 1/450 given the reported 45 meter length of a real quinquereme. However, with the orientation below, the length of my ship needs to be 3.5", giving me a new scale of 1/500. From the quinquereme illustrations I've found, I estimate the mast height at about 40% of the ship's length, so that would be only 1.4". I've got 2.25 inches of room inside the bottle at the point where the mast will be, so I've got plenty of room there.

- 290 replies
-
- 12
-
-
- Quinquereme
- Finished
- (and 1 more)
-
Those are amazing pictures, Ian! Sounds like an incredible trip. Thanks for sharing. However, I guess now you are telling me that in addition to seagull poop, I need to add some iguana snot to my seawall for added realism???
- 290 replies
-
- 8
-

-
- Quinquereme
- Finished
- (and 1 more)
-
I've heard of War Pigs (Ozzy Osborne - 1970), but not War Dogs or War Dolphins. So Mark and Pat, please take the hijack further and explain!
- 290 replies
-
- 6
-
-
- Quinquereme
- Finished
- (and 1 more)
-
The biblical fishing boat came out fantastic! Congratulations to your younger daughter on her work of art! And the birthday cake is just epic!! I would've had a hard time cutting that up to eat.
-
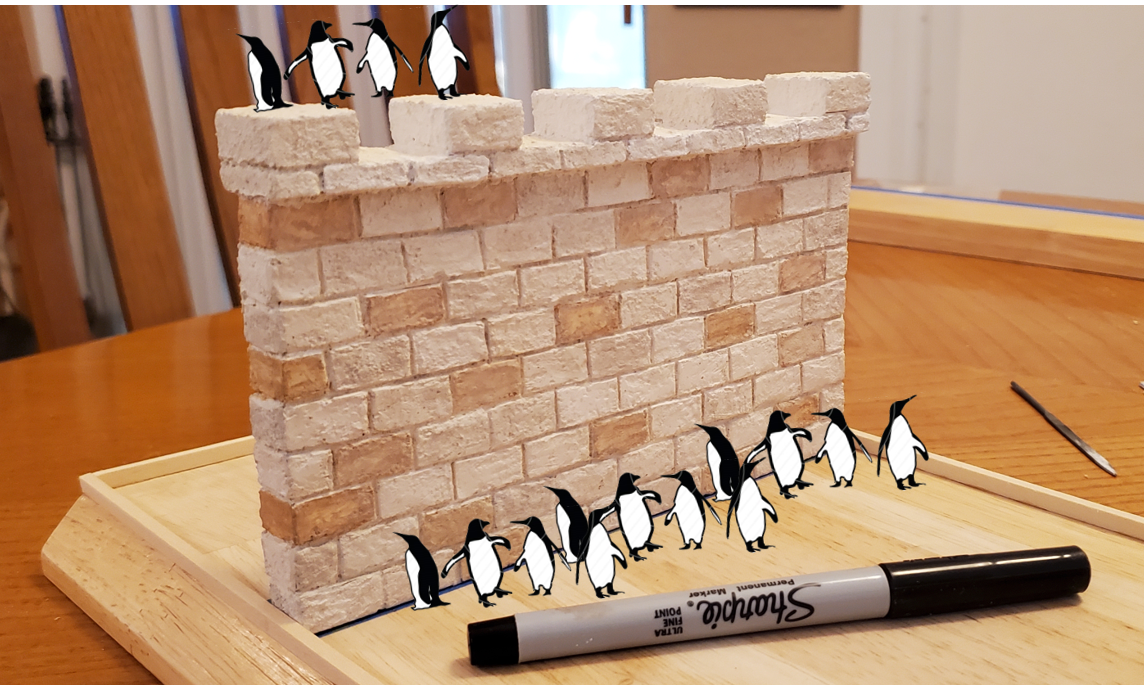
After @Knocklouder & @BANYAN's seagull poop suggestions, I knew it wouldn't be long till we got to penguins! 🤣🤣 So I did a little more research and found out that Archimedes' first line of defense was actually an army of penguins protecting the wall!! Who woulda guessed??
- 290 replies
-
- 11
-
-
-
- Quinquereme
- Finished
- (and 1 more)
-
Thanks to all for the likes and comments. Thank you, Steven. I was hoping I had guessed right! I like that idea. I'm thinking something along the lines of the "rising damp" that @gjdale did for bottom of his fence on his Shipyard diorama. Thank you, Javelin. That is exactly what I was hoping to accomplish. If I was in a hurry, I would not have used this process as it was very time consuming. But the extra time was worth it to get the right look.
- 290 replies
-
- 5
-
-
- Quinquereme
- Finished
- (and 1 more)
-
Greetings from Ukraine from Igmar.
Glen McGuire replied to Igmar's topic in New member Introductions
Welcome, Igor!! -
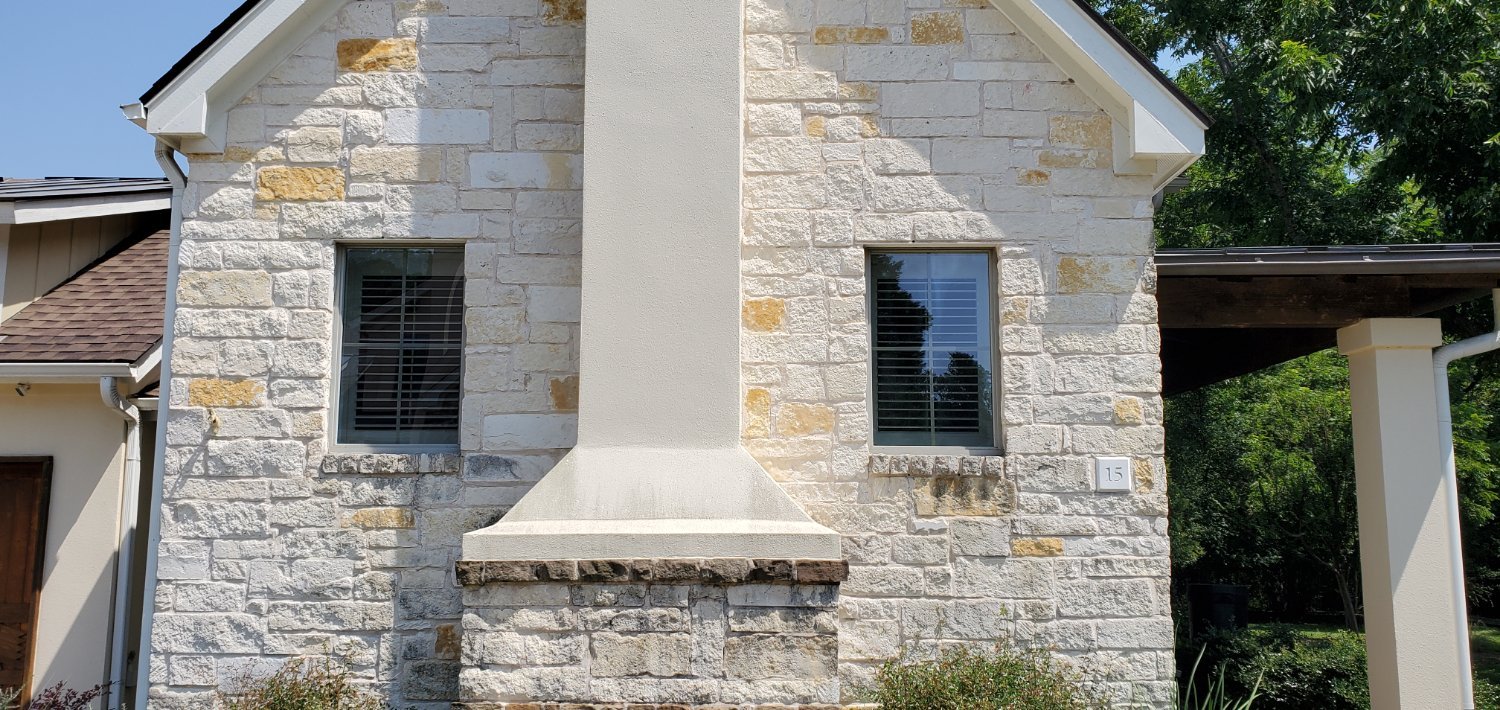
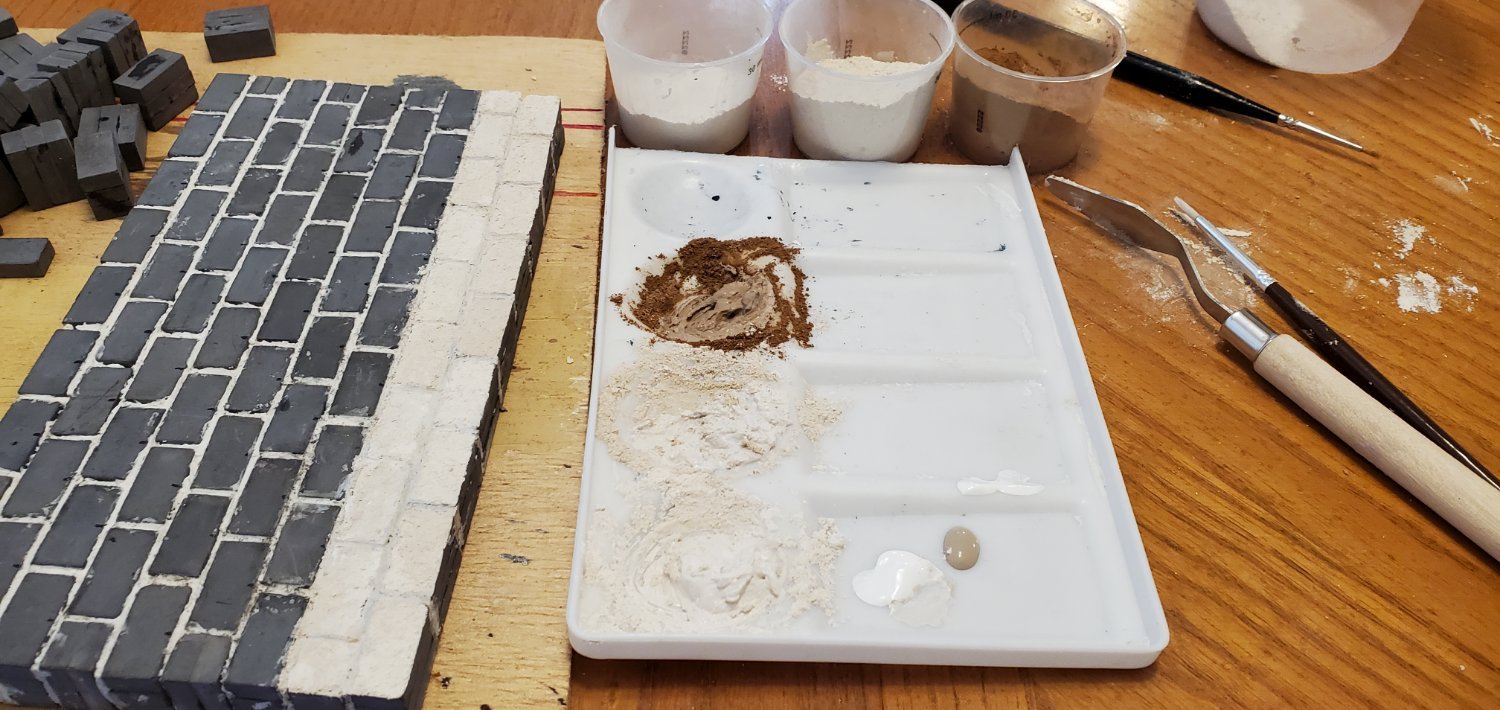
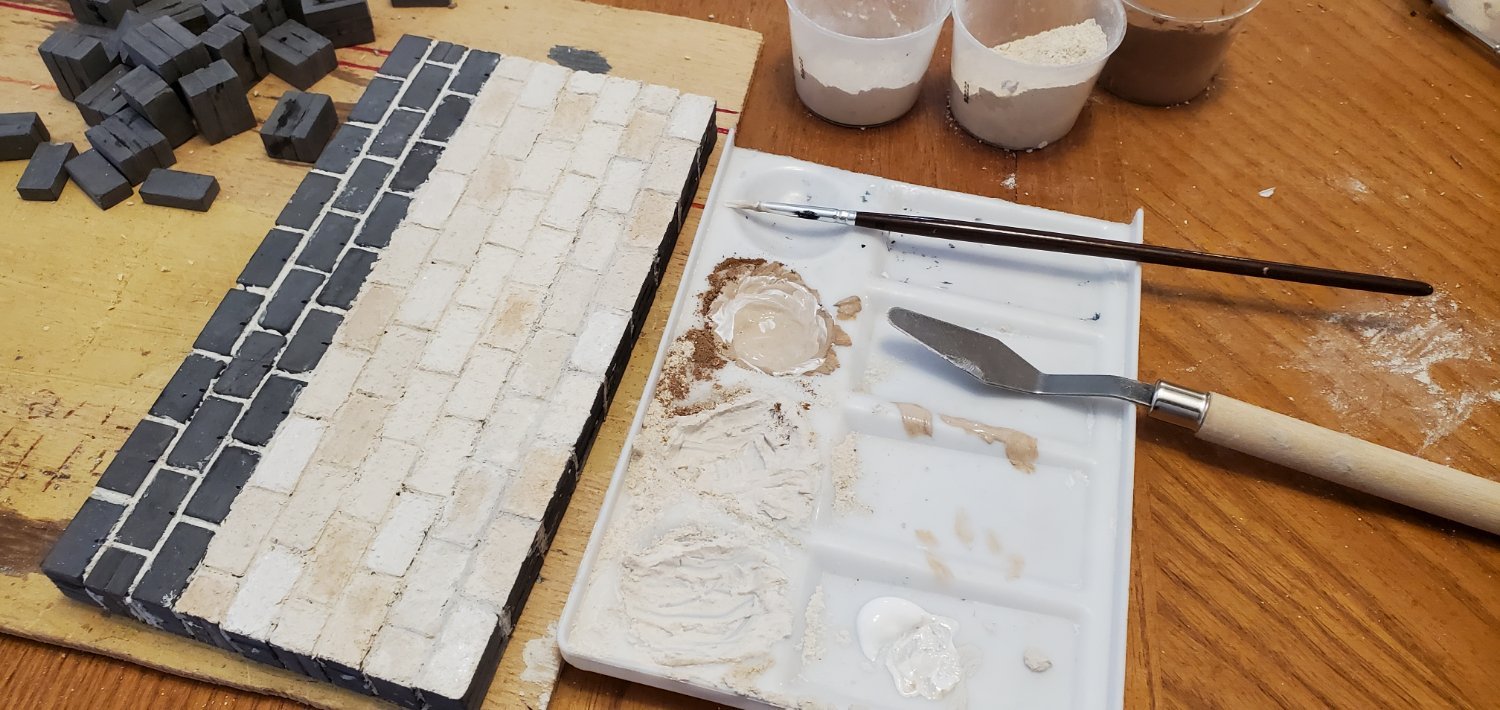
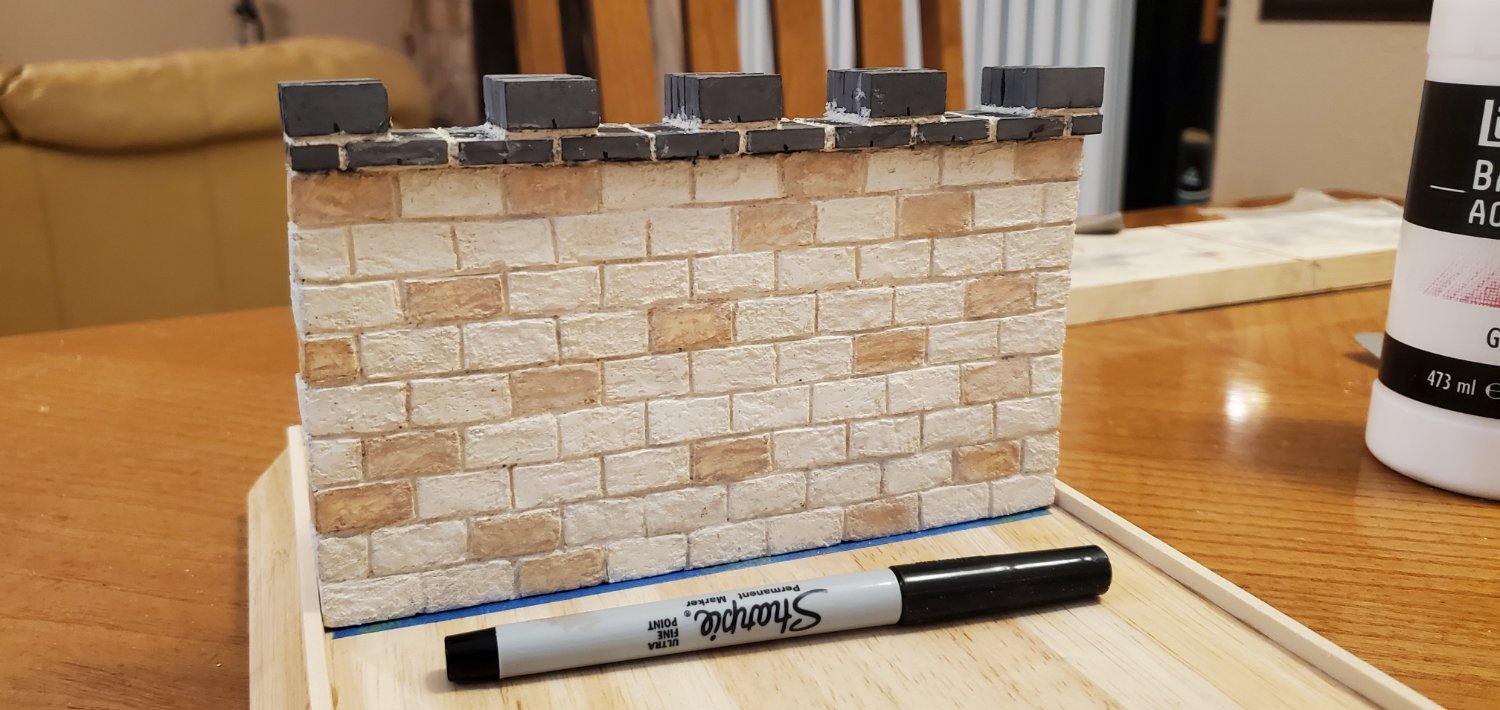
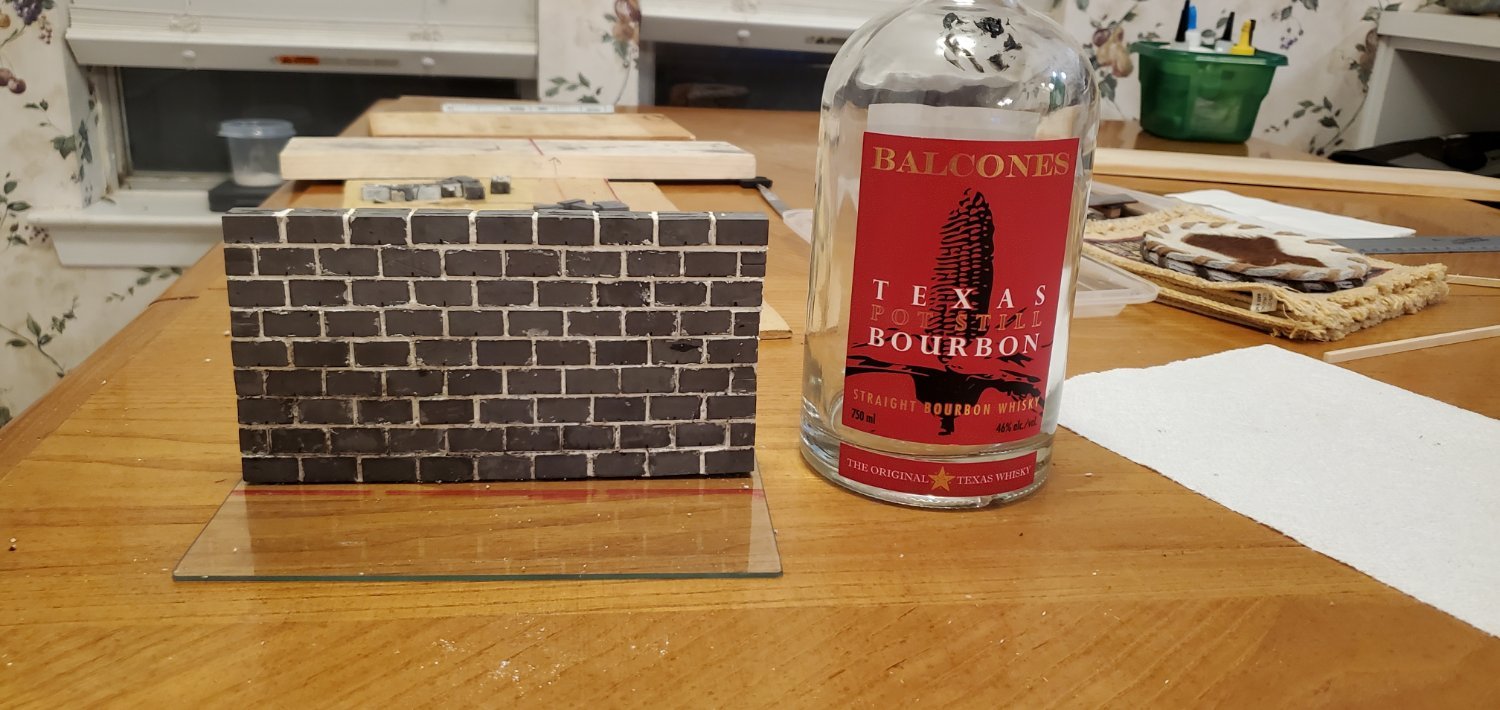
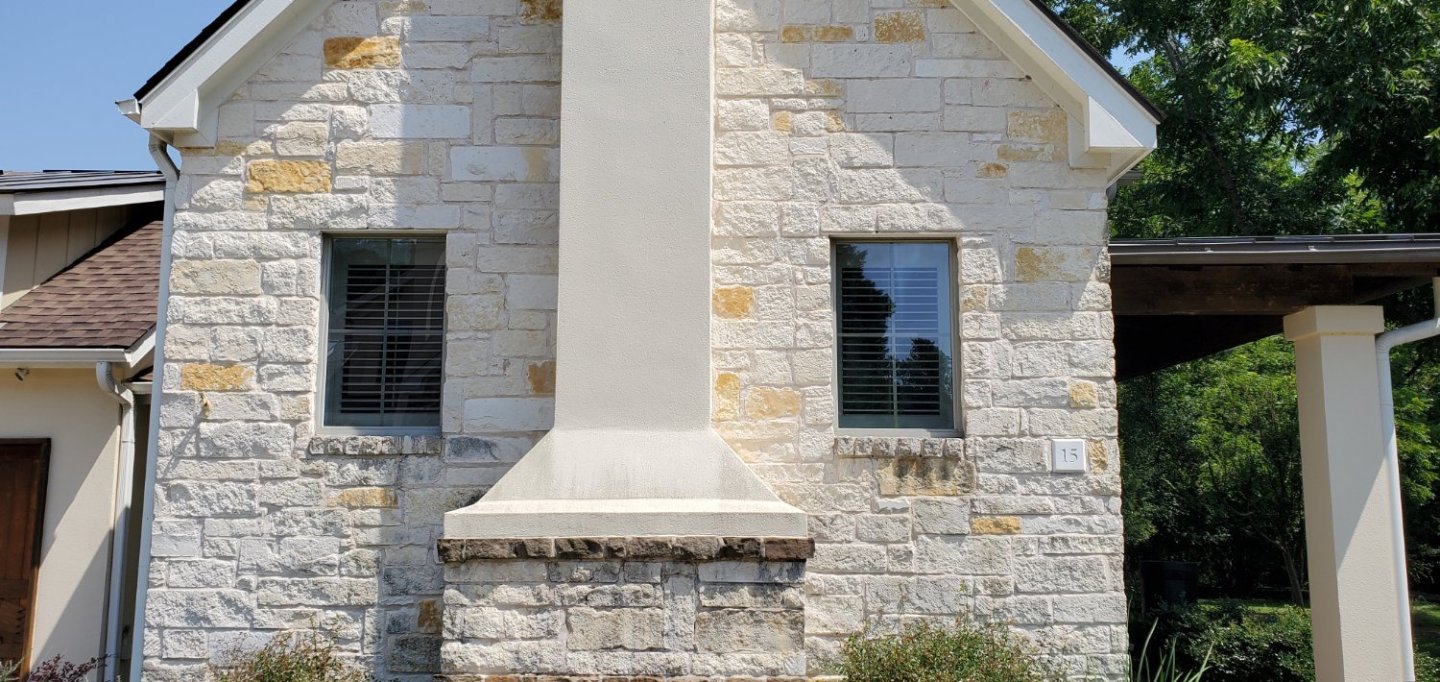
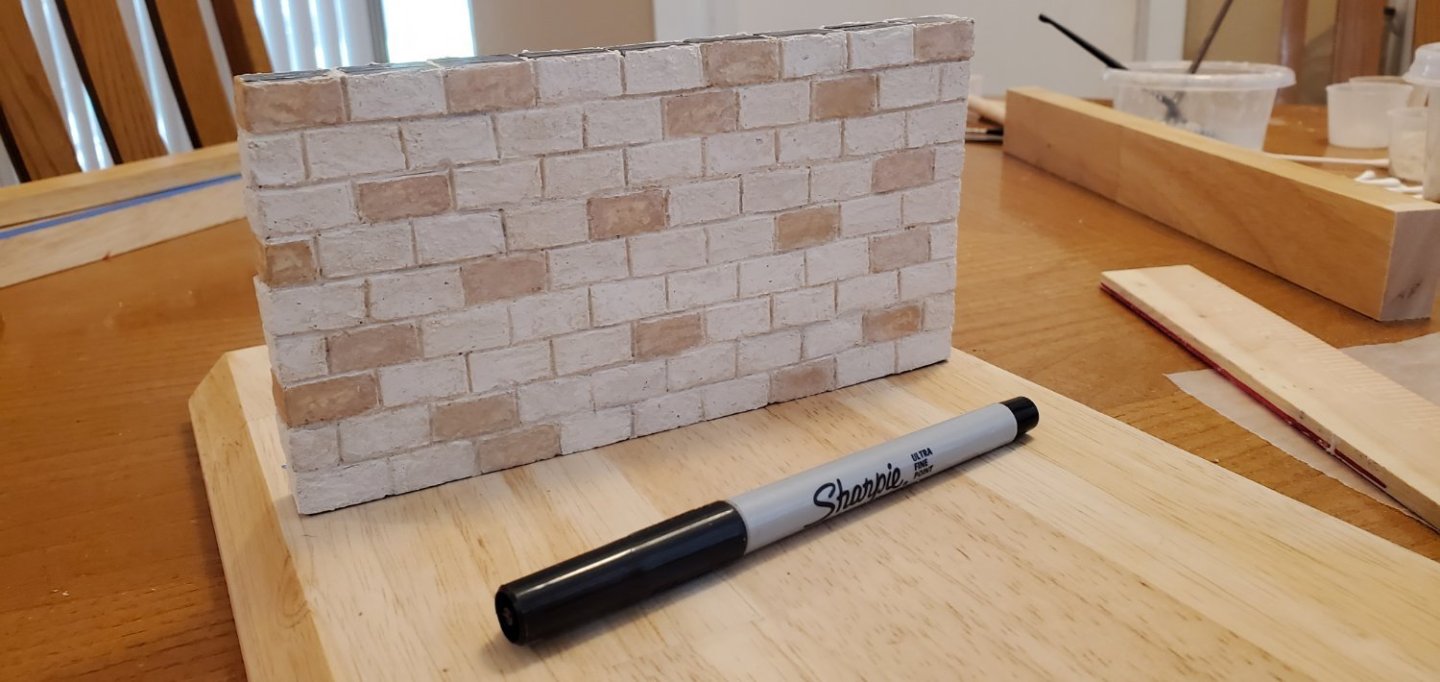
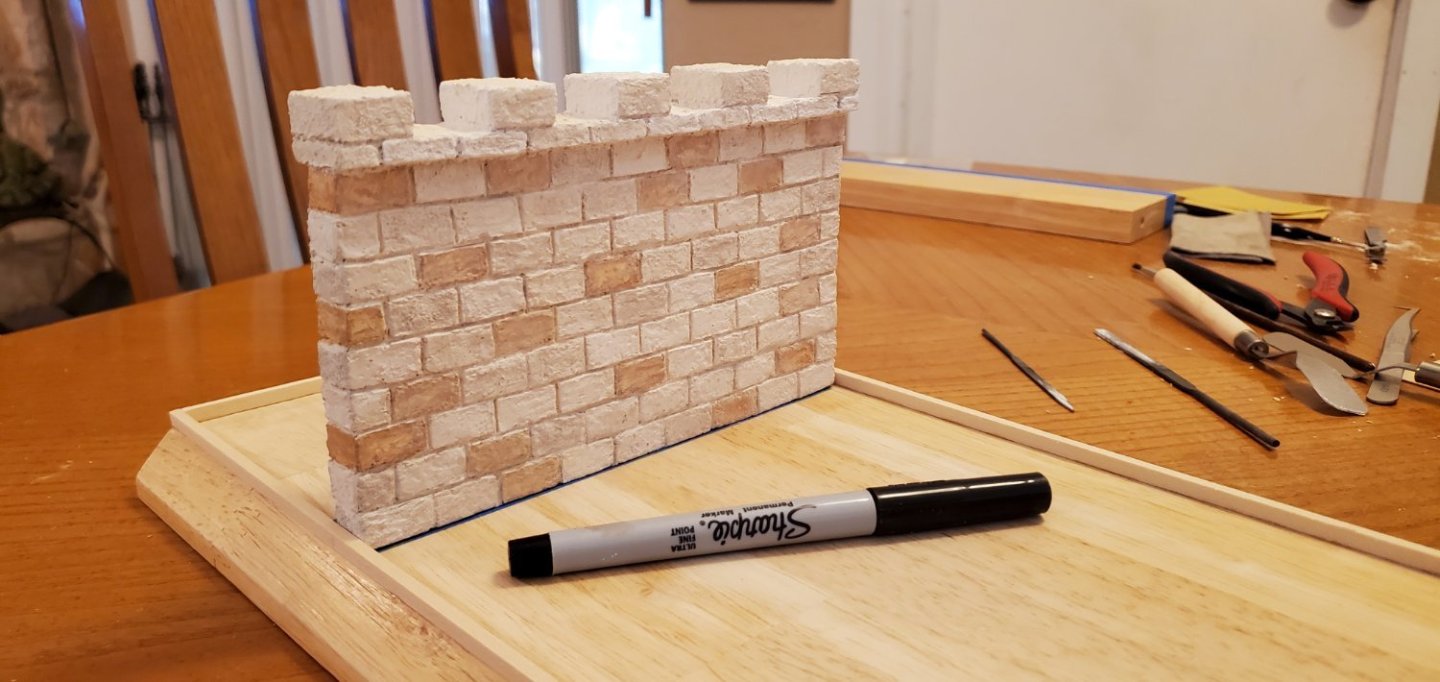
Thank you, Ken. Now it's time for the real work on the seawall - turning it into a limestone fortress! Limestone is very prevalent around here and is used in a variety of ways on many houses and buildings. I found a house down the road that had a look I wanted to mimic. The blocks are primarily white but there are random orangish blocks scattered lightly about (the orange coloring is caused by an impurity, iron oxide, present in some limestone). Borrowing again from @gjdale's “chalk method” of adding color and texture to objects, I ground out 3 piles of limestone dust of different shades. Next, I mixed the limestone dust with Gesso into gritty pastes (thank you to @Landlubber Mike for introducing me to Gesso during my Oseberg/Kraken build). Then I spread it on the surface of my clay bricks, working my way from bottom to top, adding slight variations in the whitish color to most of the blocks and random orangy to a scattered few. After completing the limestone "veneer", I had to figure out what I wanted the top of the wall to look like. I decided a castle-like top similar to my siege picture would look good and be simple enough for me to handle. I did add a thin overhanging layer and then large blocks on top. And here's the completed seawall below. @Knocklouder said if I wanted to make it more realistic, I needed to have bird poop splatter on top. But as the new emperor of Syracuse, I designated the airspace above my wall a no-fly zone and instructed Archimedes to aim his death ray at any birds that get too close. There will be no bird poop on my seawall!!


- 290 replies
-
- 16
-
-
-
- Quinquereme
- Finished
- (and 1 more)
-
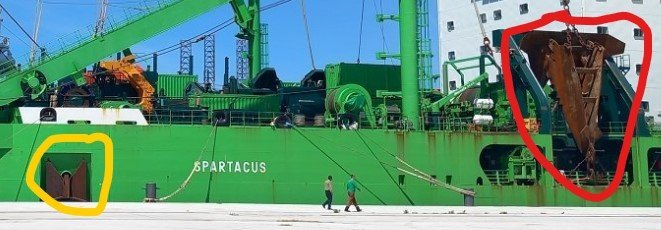
Half the stuff I make for my ships is hardly visible inside the bottle as well. But we know they are in there and that's what counts!! So is the Stevshark anchor the giant rusty thing hanging from the boom (circled in red below) and the nautical anchor the one I've circled in yellow?
-
I had to google that one. Such a subtle effect, and very nicely done, Grant. There is so much going on in the overall diorama. I think I could stare at it for an hour and not catch all the detail. Incredible!
-
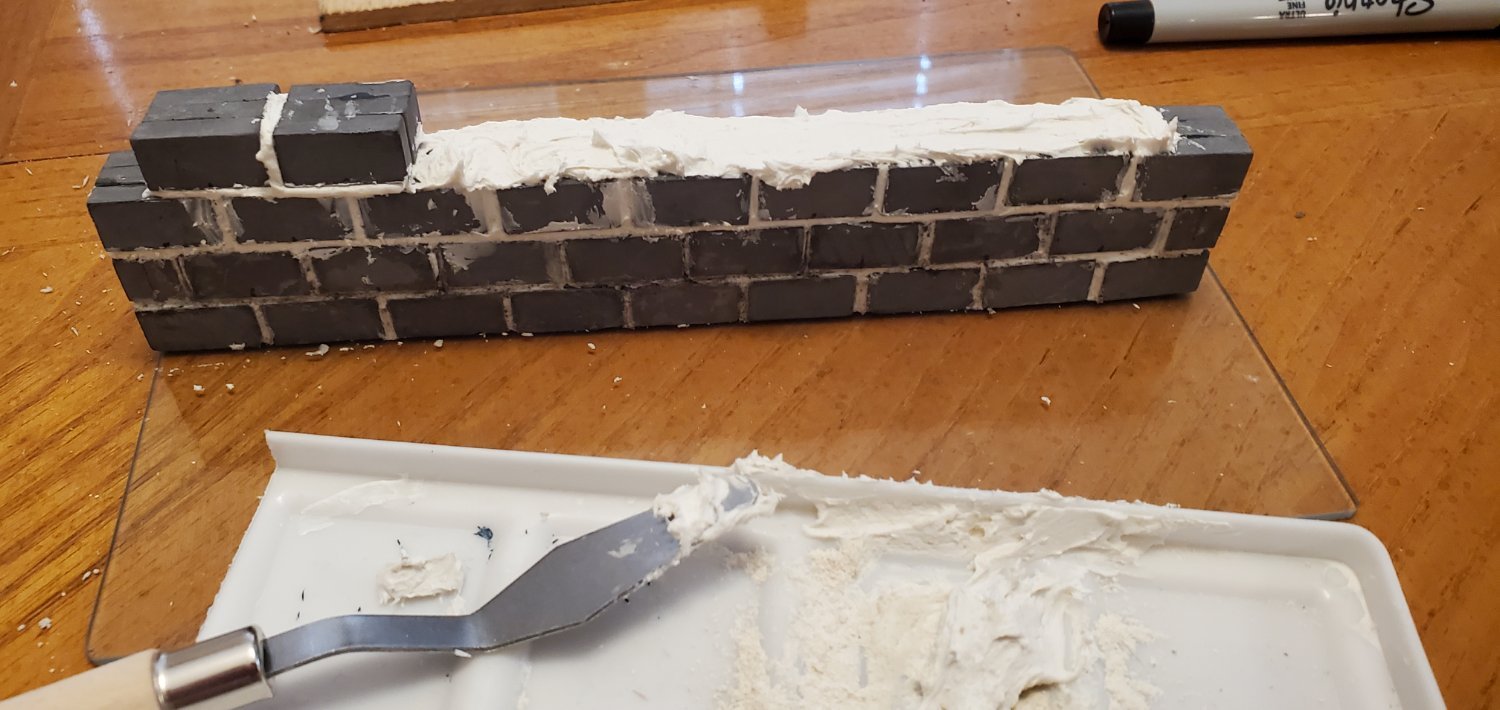
Well, Ian, you may be right. But as the Toby Keith song says, "It's a little too late..." Plus, I wouldn't know what to do if there wasn't a bunch of muss and fuss! 😃 Next is adding the top and then the limestone dust to make the all of them look like limestone blocks.


- 290 replies
-
- 9
-
-
-
- Quinquereme
- Finished
- (and 1 more)