Glen McGuire
-
Posts
1,985 -
Joined
-
Last visited
Content Type
Profiles
Forums
Gallery
Events
Everything posted by Glen McGuire
-
 I think you are fixing to be an expert at coppering hulls! Great job so far!
- 261 replies
-
- 7
-

-

-
- Victory Models
- Pegasus
- (and 3 more)
-
Nice work with the brush. Your paint job looks great!
-
Great idea! This is such a unique rigging job. Very cool to watch and see you pull it all together.
-
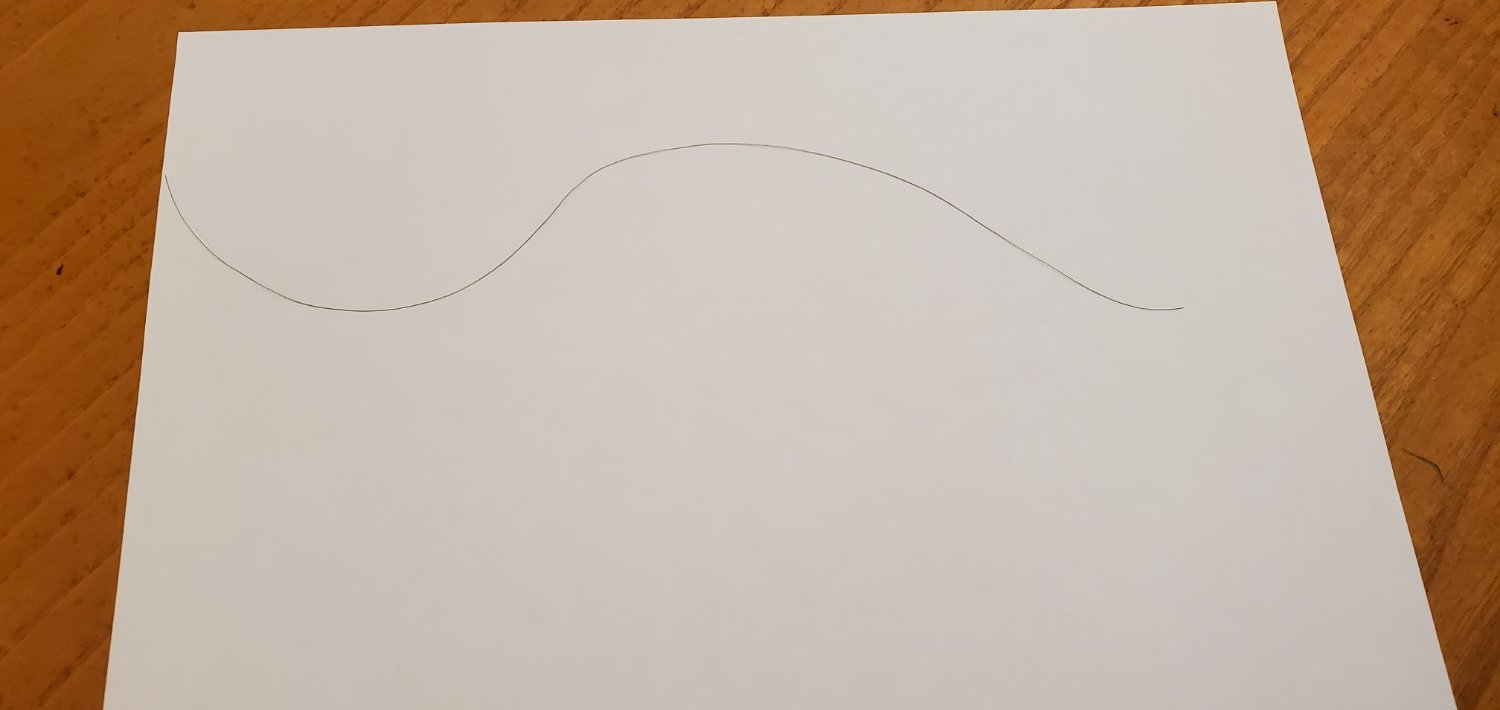
Thanks for the diagram and explanation of all the wiring. That really helps to understand what I'm looking at in your model. Back to your original question about keeping that thin thread in the shape you want, rather than wrapping around itself. The thinnest thread I use is Uni fly-tying thread 72D, 8/0. To eliminate the natural curves and loops it has from being wound around the spool, I will cut a piece, drag it thru Aleene's Fusion Fabric Glue, pull it taut, and let it dry (the glue dries flexible so the thread is still workable). See pic below where I did all of that and then lay the thread on a piece of paper with a couple of smooth curves. It is just resting on the paper, not glued to it.

-
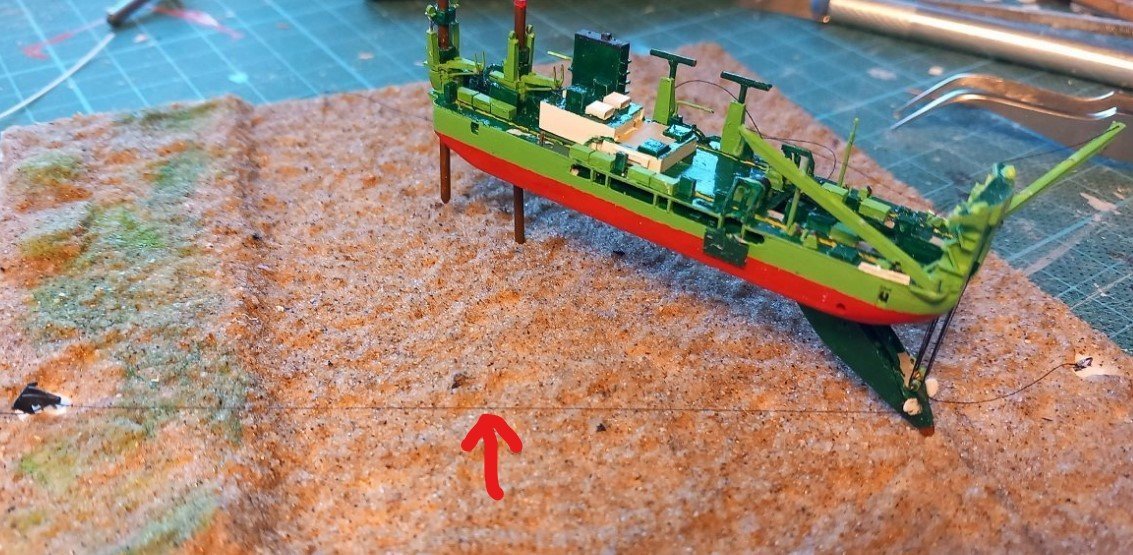
This is such a unique ship, I'm having a hard time figuring out what parts of the ship you are referring to. Is this the anchor hoisting wire you are talking about?
-
It's fascinating to watch your problem solving skills put to the test with each step! Such an interesting project.
-
Totally agree with Chris. The carving skills on display with the small parts are particularly impressive. Well done, John.
- 282 replies
-
- 1
-
-
- Bluenose
- Model Shipways
- (and 1 more)
-
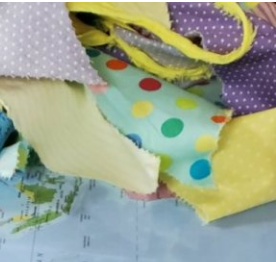
Hey O.B.one, sorry I'm way late to the build log. Just stumbled upon it today. That is a well-crafted ship. Looks very nice inside the bottle. I'm anxious to see how your sails turn out (I prefer fabric ones myself). I hope you are saving that polka dot material for your next build!
-
HMCSS Victoria 1855 by BANYAN - 1:72
Glen McGuire replied to BANYAN's topic in - Build logs for subjects built 1851 - 1900
Third time's the charm? I would say those booms are way more than acceptable. They look great and the uniformity of all three is superb.- 1,021 replies
-
- 3
-
-
- gun dispatch vessel
- victoria
- (and 2 more)
-
Sooooo true! If I had a dollar for all the times I've said to myself, "It's GOT TO be around here somewhere..."
-
Nice work on that helicopter, Bob! And your priorities are in good order - kiddos first!! Keep that ticker in good order too! If he ever changes his mind, the longhorns here will welcome him to the herd.
- 261 replies
-
- 5
-
-
- Victory Models
- Pegasus
- (and 3 more)
-
I agree with you. I like the look. Very nice work so far!
-
That is a beautiful model, Jason. Congratulations on your fine work.
-
Amazing work, Ian!!! This has been fascinating to follow!
- 536 replies
-
- 2
-
-
-
- Quadrireme
- radio
- (and 1 more)
-
... and the hits just keep on coming!! "You fancy a bite?" 🤣🤣🤣
- 290 replies
-
- 5
-
-

-
- Quinquereme
- Finished
- (and 1 more)
-
Blue-footed boobies doing a mating dance?!?! OMG! Not sure how anyone will ever top that!
- 290 replies
-
- 3
-
-
-
- Quinquereme
- Finished
- (and 1 more)
-
Welcome, Giuseppe!!
-
That planking looks really good, Bob. I can't believe how fast you got that done. As for this comment, however... Capt Marvin is welcome as long as he doesn't say those B words around my cows! They are very sensitive!
- 261 replies
-
- 5
-
-
-
- Victory Models
- Pegasus
- (and 3 more)
-
Thanks to each of you for all the kind words! That made me laugh!! And it will probably be the last time. Unless maybe @Keith Black or @Knocklouder or someone else gets a penguin in their pen. Whoa! 1400 done. Now THAT is cool! Thanks for sharing that info, Chris. What an amazing place this is! Thank you so much, Pat. I keep working on it, trying different things (most are suggestions from y'all), and trying to get better. Thank you, John. I have learned a lot (ok, stolen/borrowed 😃) from looking at your work!! Thank you, Thukydides. You had some really good suggestions along the way. Now if I could just figure out how to say your name! Thank you, Keith and Grant. And thanks for your helpful ideas during the build. Not sure what the next project will be. I don't have anything in mind yet, so I'll probably just sit back for a while and enjoy everyone else's work.
- 290 replies
-
- 6
-
-
- Quinquereme
- Finished
- (and 1 more)
-
Your Albatross is a beautiful ship, Paul! I hope you will reconsider doing build logs for your future efforts. I'm sure some of us could learn some things from you!