Snug Harbor Johnny
-
Posts
1,439 -
Joined
-
Last visited
Content Type
Profiles
Forums
Gallery
Events
Everything posted by Snug Harbor Johnny
-
 Why not make a set using light weight cotton?
 -
Ahoy, the images in your link seem to be the same as the ones I have - realizing that these are a simplified form of 'harbor rig' (no sails).
-
You've made the most realistic Endurance model I've seen. Superb !
-
For wooden ships, that would be flush in most cases from what I've seen.
-
Wow, what a handsome model of this ship! And done in card in a fraction of the time to do something like that in wood (ref: an MSW Olympia build log). Are the 3D parts available as an option? Johnny EDIT: I've looked at the entire build so far and see that Jerry Todd did the actual 3D printing, so maybe be'd market a set for this kit. Snug
- 37 replies
-
- 1
-

-
- Baltimore
- heinkel models
- (and 2 more)
-
You are so right, mate. For every hour actually building, I will spend at least 2 hours THINKING on it and the various ways to proceed ... more so when I'm 'busting' items to make a build better. The process is sort of like picturing myself doing something one way, and imagining all the things that might go awry with that method. Then I'll try and think of other ways (tools to use or improvise, possible jigs, holding methods, gluing methods, alternative design and material choices). The build is a path to travel (with compromises) that is savored, since its only done once (unless parts get ripped out to be redone). I like just thinking about it, then doing it later. There is no 'schedule' (whenever there is, it won't be met), and its not a race ... its an experience. Each build puts more experience, tools and techniques into my 'tool box', so the next project benefits.
-
Planking Polaris bulwarks?
Snug Harbor Johnny replied to Max Blackwood's topic in Wood ship model kits
I'd go for thin planking inside the bulwarks, then add the the spaced verticals ... Endurance builds with them look lots better. -
When building the Khufu Solar Barge from Woody Joe, all the instructions were in Japanese - both their phonetic characters and also Kanji, the traditional Japanese character set. Someone at my Xfinity store helped me download the Google translate app, and so - line by line - I held the phone camera over the text to get 'translations'. Now it was funny that I had to do this several times over some of the lines of Japanese, since the english offered by the translator sometimes didn't make sense and would change in various ways on subsequent attempts. Something like 'Don't go to her house until further down the street', or 'No stick around here until later' would eventually imply not to glue at the indicated points yet, until further in the assembly. I may have commented on this in by build log.
-
Many builds of this kit go fine until the guns on carriages (as supplied) don't fit through the cutouts in the bulwark with a level barrel ... they tilt downward a little, causing some to sand the wheel bottoms flat to level the gun barrels (with no chance of elevating them). Check out the MSW builds. 'Don't know if this phenomenon was ever tweaked in the kit design, but one builder sanded material off the bottom of the carriages under construction, and deepened the notches for the axle beam accordingly as a fix. The notches in the carriages for the barrel trunnions might be deepened a bit as well (with a corresponding bit sanded off the tops). Thus dry fitting the armaments and tweaking them to fit the designed deck/hull layout before gluing seems wise, instead of pre-building the guns as a side project and presuming they'll fit. The limited number of guns may be all that the ship had originally for Coast Guard service, but I suppose a second set might be procured to match the increased armament at the start of the Civil War.
-
'Seems likely that the nets were deployed before going into action, as they would be a nuisance at other times. So perhaps an 'a frame' structure would serve, and the nets could be rolled up either side to the top of the 'A' when not needed. It wouldn't be one giant net, but gores (widths) sized to the width of the spaced rafters. This would allow control lines (for the yards) to stay in place, as they would be belayed so that the lines came down next to a rafter. The sides of the netting would be lashed along the rafter - not unlike gasket ties - as the netting was deployed, and the control lines would still function.
-
You are right! I was thinking of copper ... and have edited my comment, since I tried adding tartaric acid, citric acid and potassium dichromate to the liver of sulfur on brass - with no effect but to CLEAN off natural patina (as should muriatic acid - hydrochloric acid concrete cleaner). Yet cleaning brass appears to be step one with brass blackening products such as Birchwood Casey brass black or Jax Pewter black. Supposedly vinegar and salt are supposed to act on cleaned brass over time, or ammonia might be faster ... but I have not done this myself yet.
-
I favor shellac in many applications for wood, as shellac has been a proven wood finish for hundreds of years. Varnish can be durable as well, but can be subject to 'crackling' over time if applied too thick. Models (and electronics) should be kept in an environment that a human is comfortable in. Too much heat (as in an attic) can be ruinous. Cold is not as much of a problem, but accumulation of dust should be avoided - and there are a few ways of doing that, either on display or in storage.
-
'Guess blackening is OK if you WANT the barrels to be black. I prefer natural brass toning, so I don't polish at all and just use the brass as is.
-
Cleaning mold from cloth sails
Snug Harbor Johnny replied to Seasick's topic in Masting, rigging and sails
With vinegar or bleach, it has to be very dilute - especially with old material that may be weakened with age. A better alternative is to order a product called "Restoration", meant to undo age yellowing or spotting on fabrics. There are instruction, and I treated old sails as part of a Gorch Fock 1 restoration that can be found on MSW. Easy does it is better than going whole hog of cleaning fabric. -
I love your uniform ... as for aging copper, one can hard boil 2 eggs and remove the yolks when half cooled. Mash the yolks with a fork in a small plastic container, then place the coppered hull (turned turtle) in a large plastic bag along with the container of warm egg yolk - and seal with enough air (you can breath into the bag to puff it) so that nothing is touching the copper. The egg will emit a small amount of hydrogen sulphide gas, that will darken the coppering within an hour or so (remember, nothing is touching the copper)... you can experiment on a small scale with sample plates to see if you like the effect. Watch the hull through the plastic (or model case if used) and take it out when the color is OK. The color is something like a metallic grey. To get green tinges, mix 1/3 cup white vinegar with 1 teaspoon of salt. This can be lightly dabbed over the copper with a cotton ball (again, experiment with sample plates). As the green splotches develop the process is stopped by wiping away with plain water. Jewelry makers often use a 'fast' method of 'livers of sulphur' ... but the effects are near instant and can be drastic, unless the stuff is very diluted in water.
- 20 replies
-
- 3
-
-
- Indefatigable
- copper plates
- (and 1 more)
-
Too bad they did not scale this the same as their Endurance model (1:70 nominal). Then both ships could be displayed together for comparison. Perhaps the smaller 1:85 size was done to get the kit cost under $200 USD ($199 is really about the same thing - but marketing focuses on the leading numeral) as the Endurance now lists for $249.
-
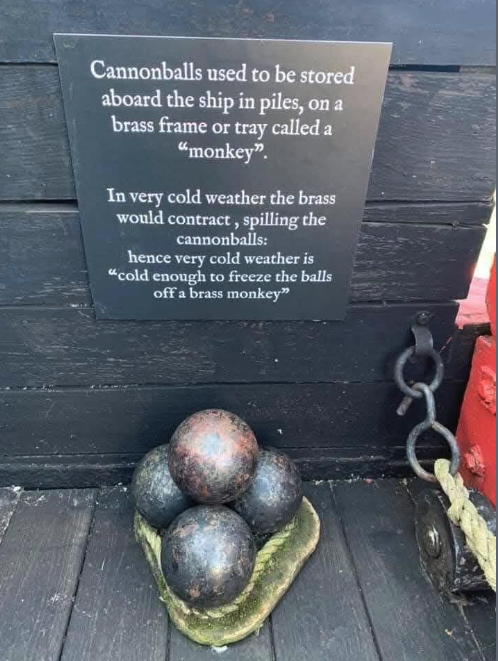
'Saw this today, and wondered if this is accurate ...
-
You're going at warp speed on this build ... at least compared to my ship, which has two speeds - dead slow and stop.
-
I could use a few more arms and hands ... like one of those Hindu Gods/Goddesses ... to hold and manipulate items. Hmmmm, 'wonder what the Admiral might think. 😉
-
I'd likely just leave it as is, and call it 'character' - after all, at a distance the thin gaps are not very noticeable ... close up pics always magnify any defect or every bit of 'fuzz' on rigging lines. Sanding and refinishing is a pain and would amount to a 'delay of game' - but there is an approach that might be less trouble, given the mahogany-like appearance of the lower part of the hull. That would be amber shellac. Cans of Zinsser 'Bull's Eye' amber shellac do just fine. Apply the shellac (and I tend to use the clearer portion floating on top of the contents of the can) with a thin artists detail brush to get into the cracks, then wipe away any excess on the adjacent planks lightly and quickly with a lint-free cloth bunched up. The shellac in the cracks will dry in a few hours and shrink as the alcohol (methanol) solvent vaporizes. The solids left behind will have partially filled the crack, and each successive application will fill the cracks more until totally filled - and the color should be pretty close to what you have now. A very light pass with a bunched cloth having a little plain denatured alcohol on it will remove any traces of shellac on the adjacent planks, but will not affect either the poly coat or the crack filling. In cabinetry work with mahogany, larger cracks are filled with 'stick shellac' melted by candle flame to liquify it before forcing the goo into the large fissure (made either by repair or perhaps a less than satisfactory joint) with a small spatula or large dental tool. It solidifies as it cools and can otherwise be blended over with regular shellac (color modified as needed). Stick shellac comes in several shades to accommodate other woods, but this technique does not apply to you model's situation.
-
'Great buy, mate.
-
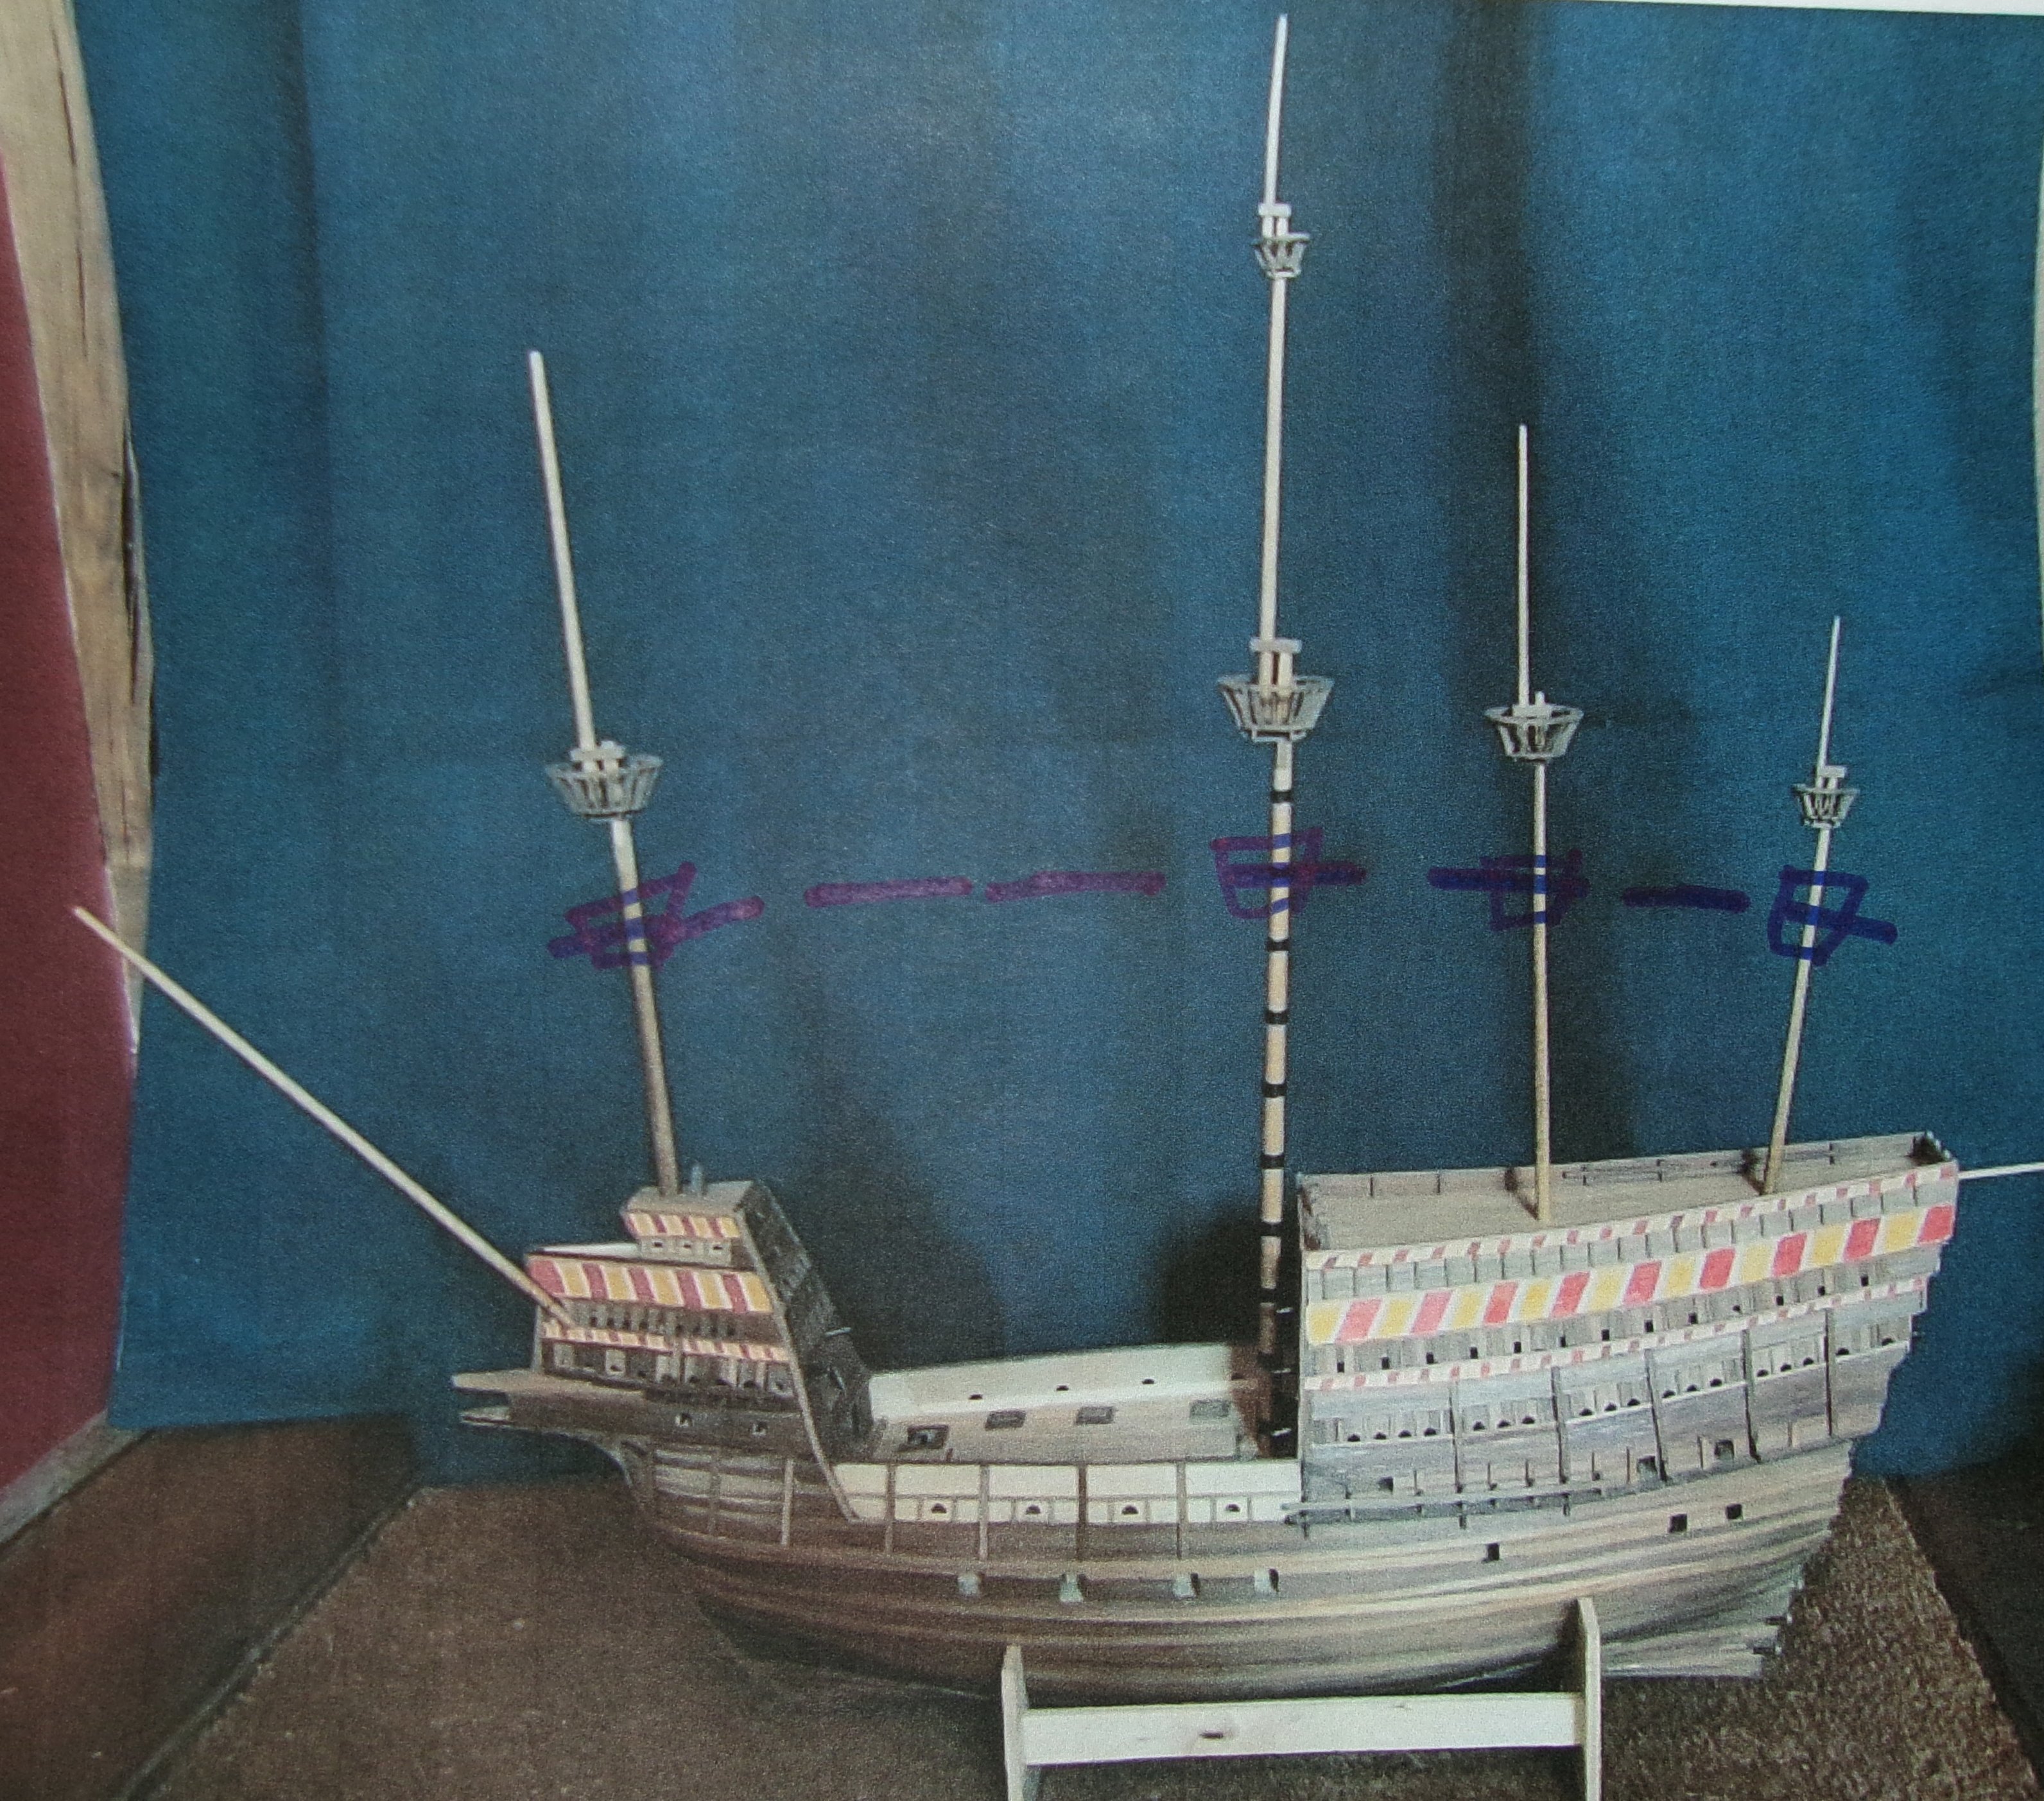
Your decorated castles are absolutely fabulous ... The fighting tops being on a 'curved trajectory are attractive, but when I get around to ever finishing a GH, I may favor a lower position for the fighting tops (topmasts look fine) as marked below. But the fore top could be just about on the level as the main top ... hard to decide - but when the time comes I could start with higher first mast segments and them trim from the bottom as desired. Given the crammed troop loading and extra armaments in the castles and tops, its no wonder that the Mary Rose capsized like the Vasa ... much to our present knowledge.

-
Be careful with the bowsprit from here out, mate. Many have had little accidents with clippers in general (and other types) where breakage occurs with the spar and other bits like dolphin striker and whiskers.
- 28 replies
-
- 1
-
-
- Cutty Sark
- Revell
- (and 1 more)