


zeptraderUK
-
Posts
81 -
Joined
-
Last visited
Content Type
Profiles
Forums
Gallery
Events
Posts posted by zeptraderUK
-
-
-
-
-
-
-
Hi everyone, after some time away from model making I have found the time....(hope to hold onto it for a while)
anyway after starting our own backyard allotment plot and now eating the fruits of our labour I can relax...remind me not to have so much chilli's;)
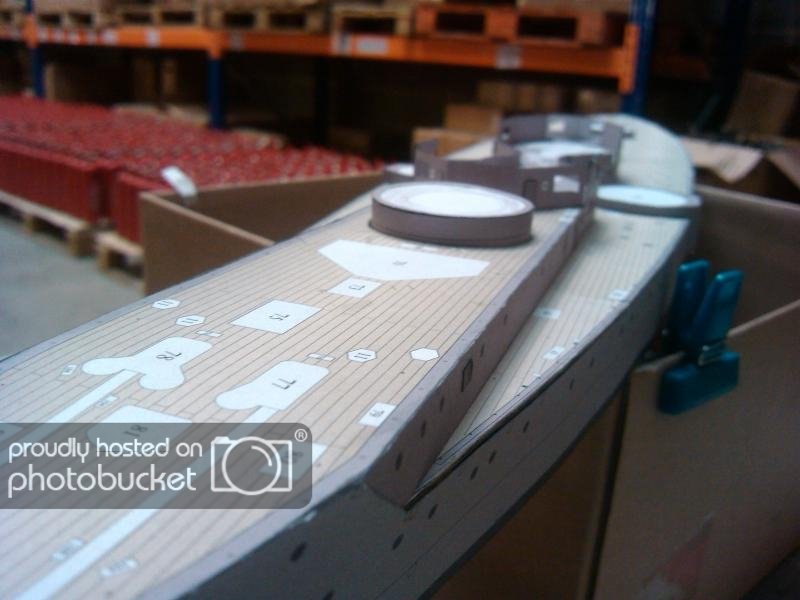
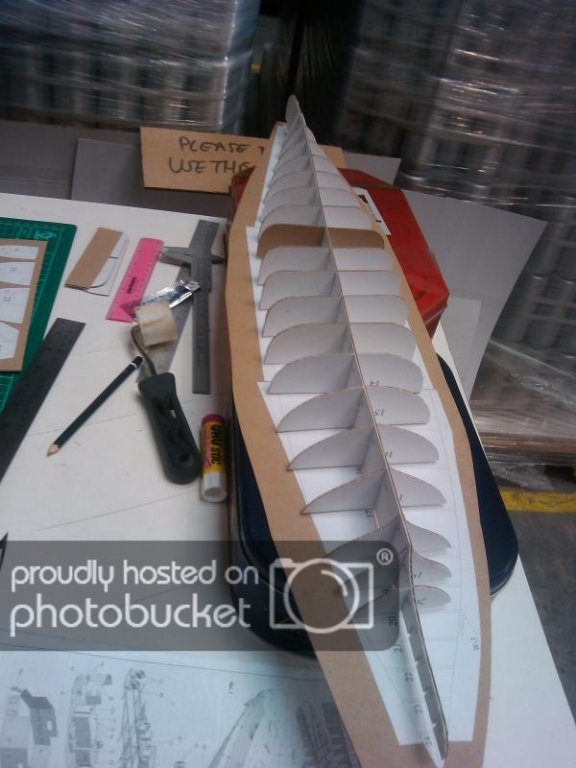
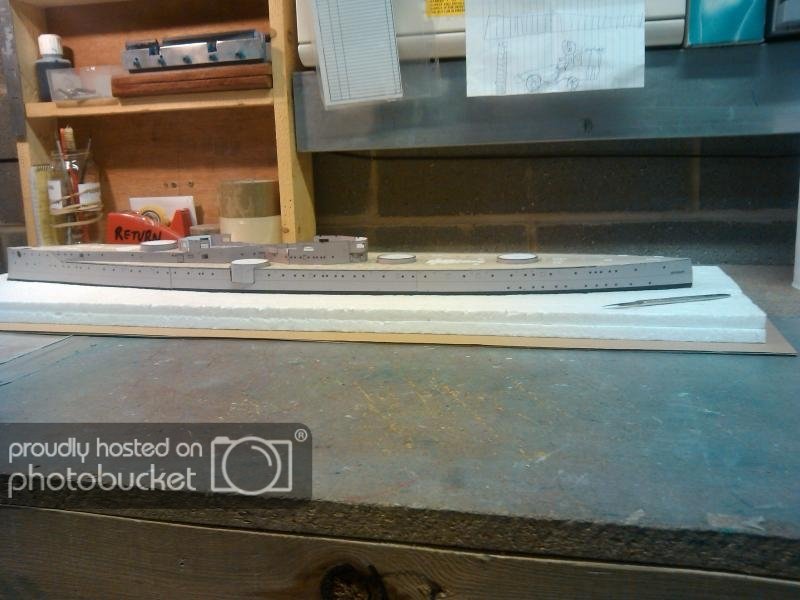
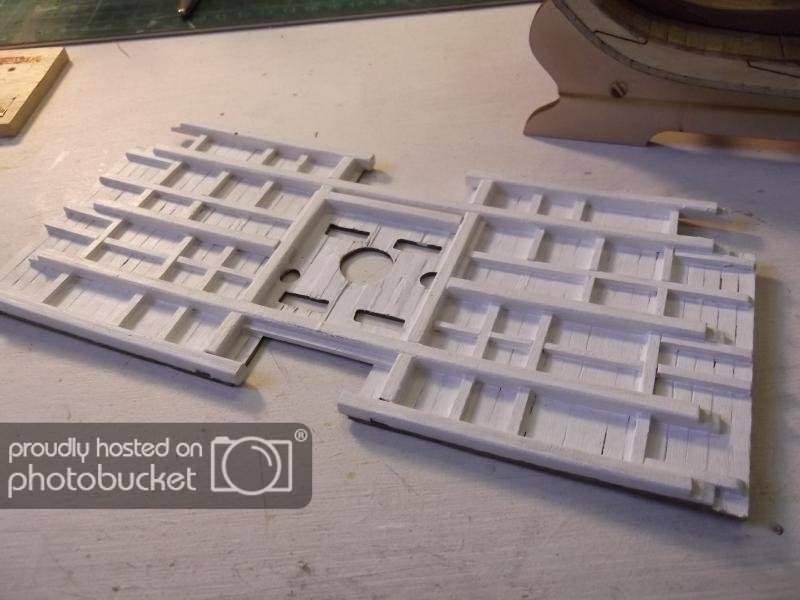
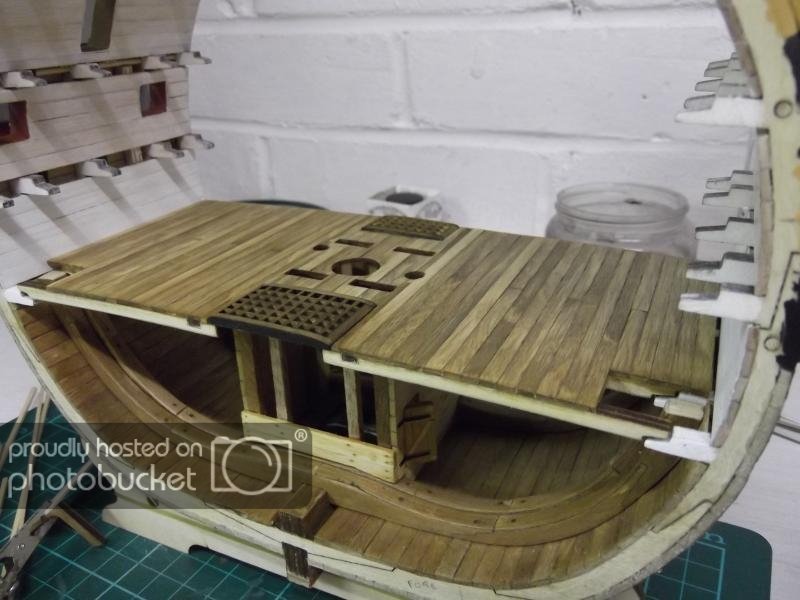
onto the cross section..pictures.
a base from scrap wood, stain and beeswax..


...more on the next post.
-
-
-
Thanks for the comments,
Slog, yes it does have a full hull, only I chose to do the waterline.
druxey, Yeah I've always used a scalpel, number 10a all the way:), wow your a SE London lad then..ha, I was born in Lewisham, grew up in the Ferrier Estate in Kidbrooke, moved and lived for some years in Eltham (Well Hall) and now I live in Welling. Its has changed....a lot.
-
-
-
Thanks Tim and Andy, I helps me also get into work on a cold Monday morning, knowing that I want to do this or that on the model, and yeah if you get a ships door in your order you know where it came from..ha
Its slow (time is limited) but this is exactly what I want it to be, absorbing and therapeutic..at work?..cant be bad.
Colin
-
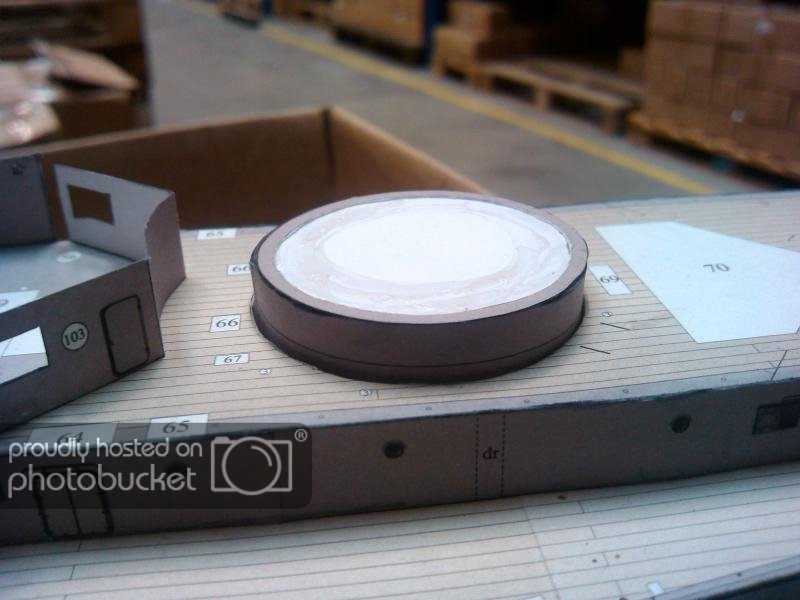
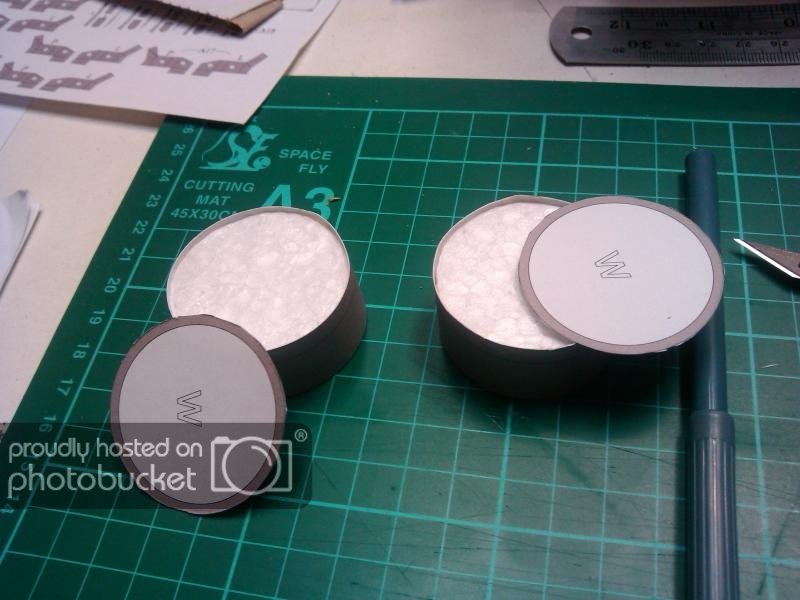
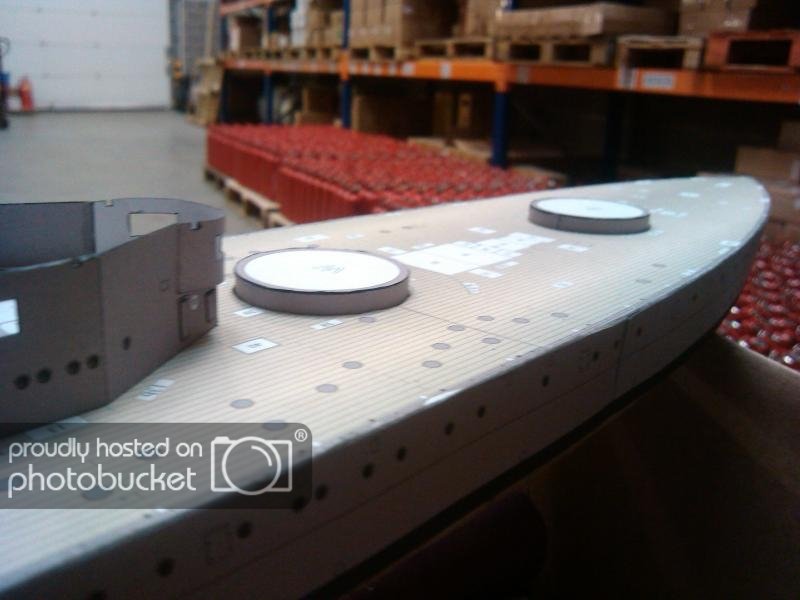
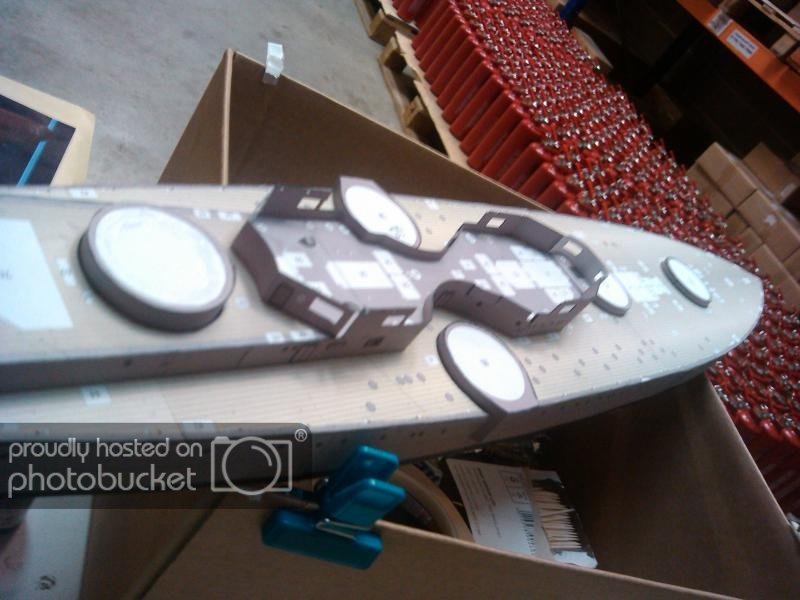
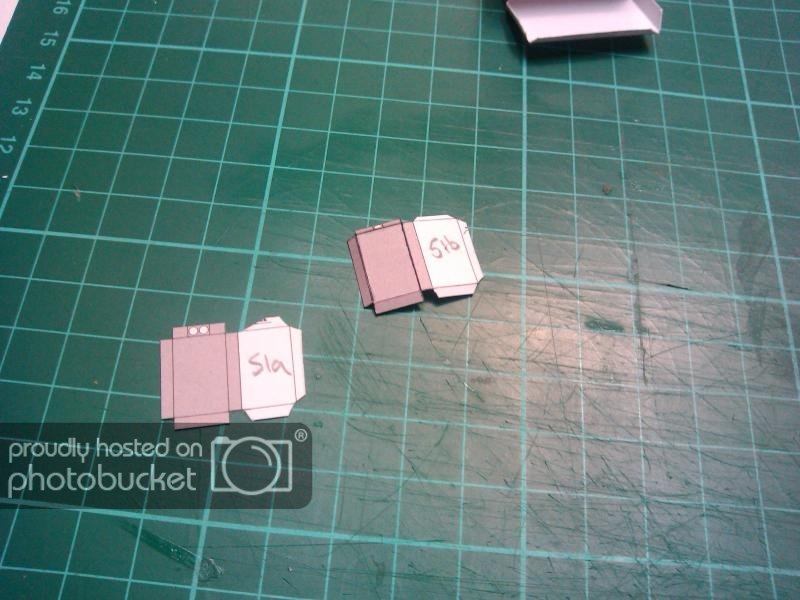
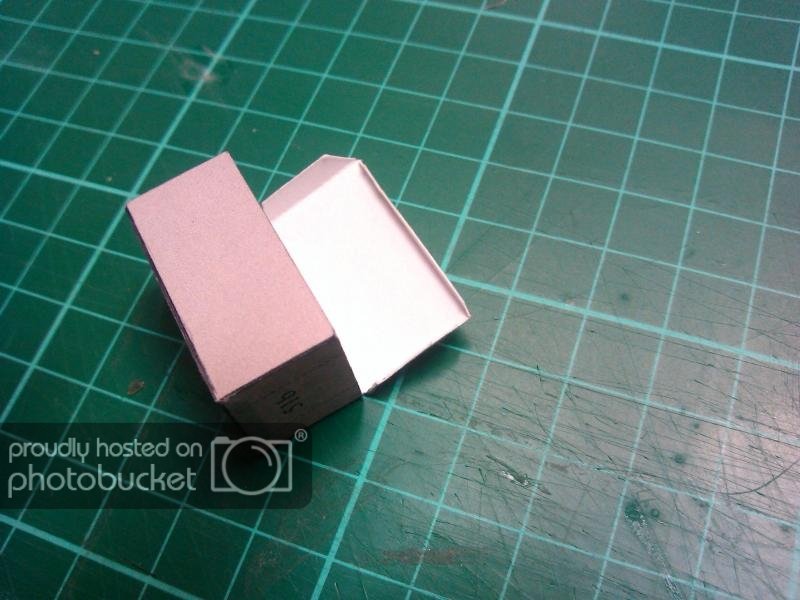
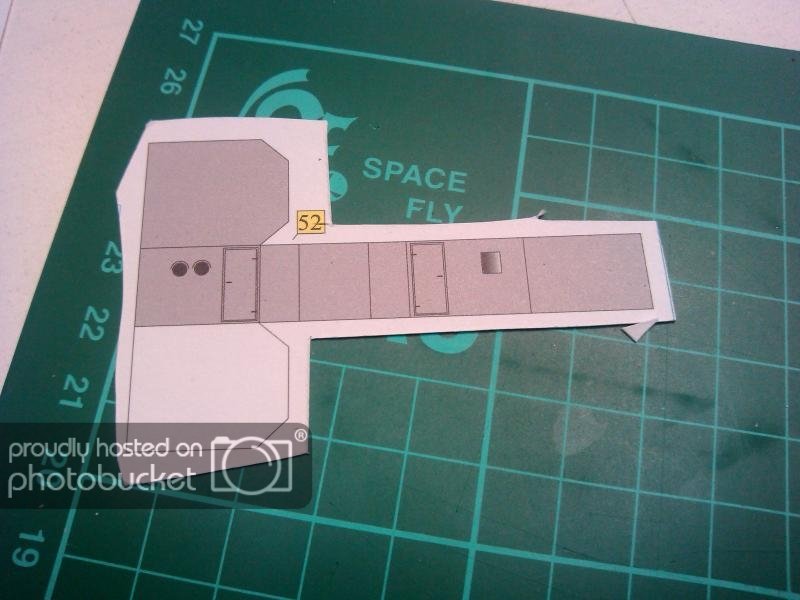
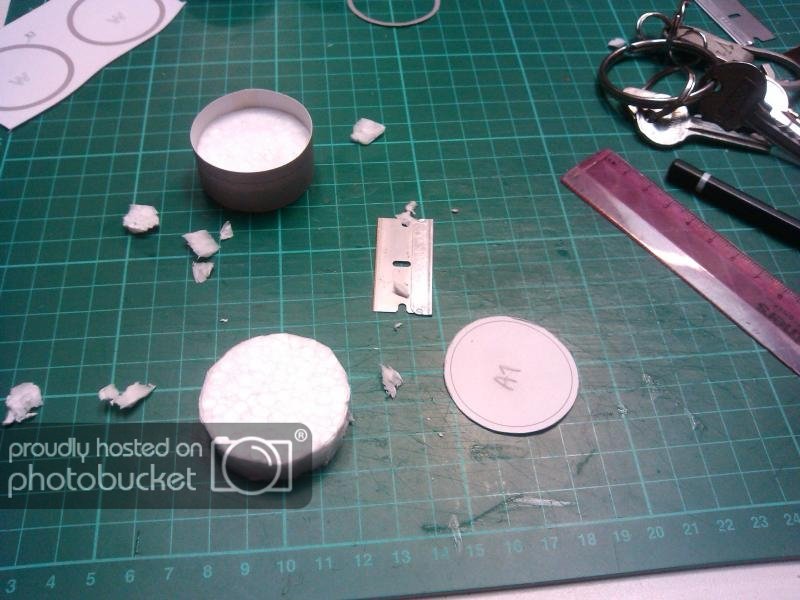
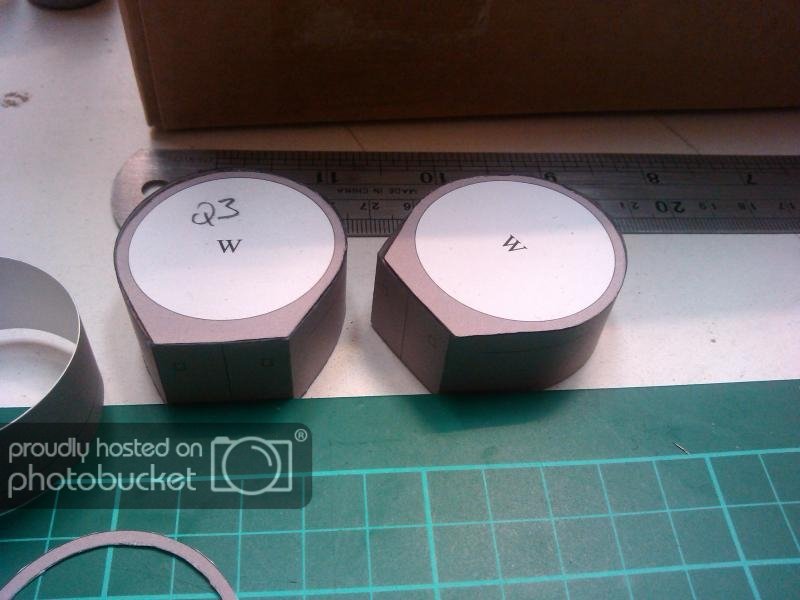
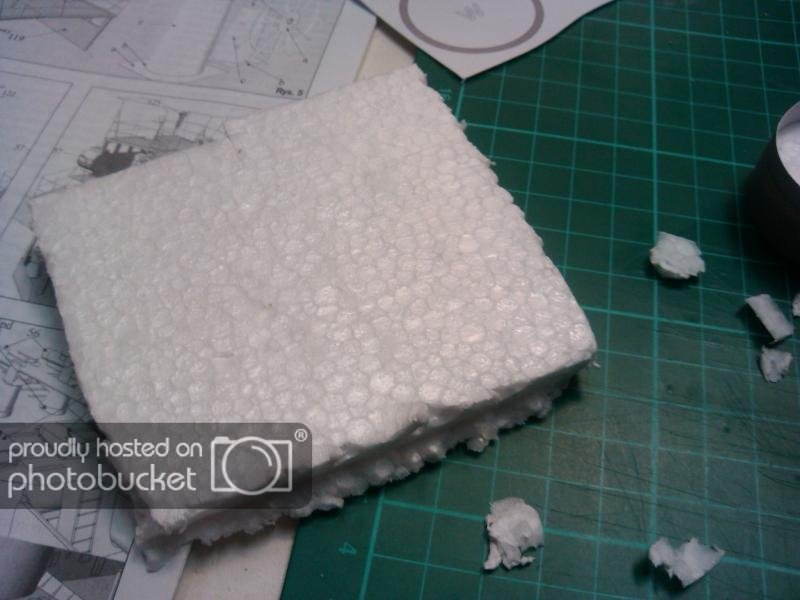
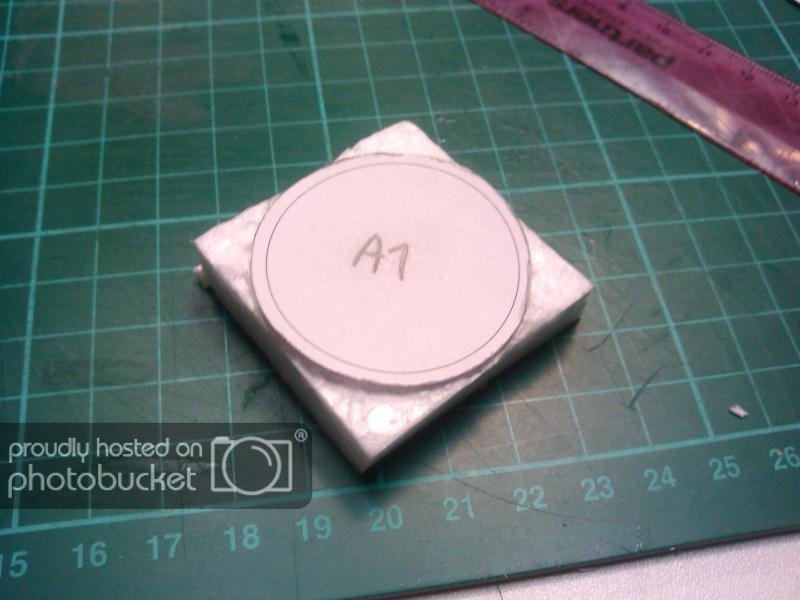
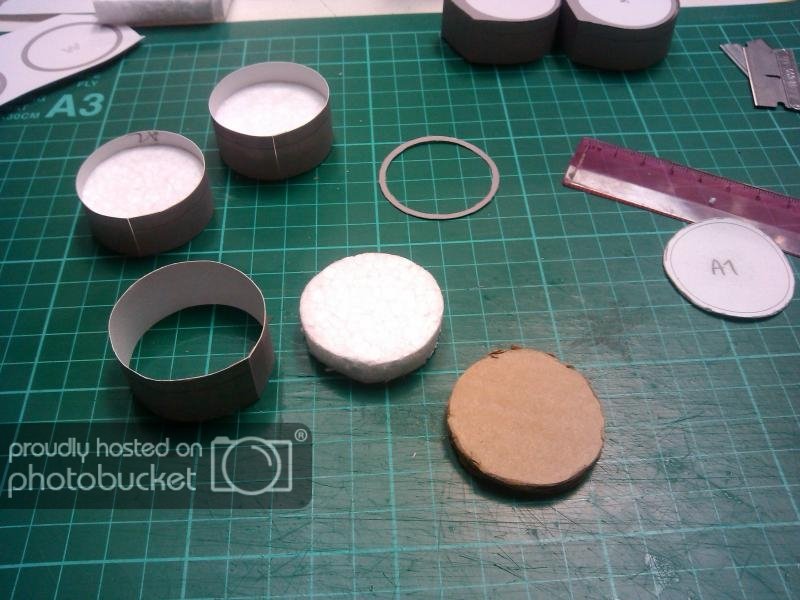
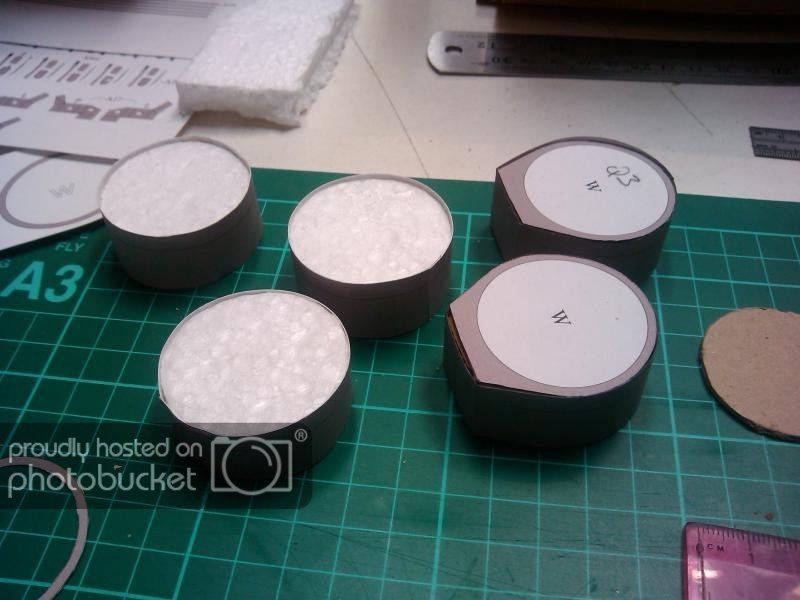
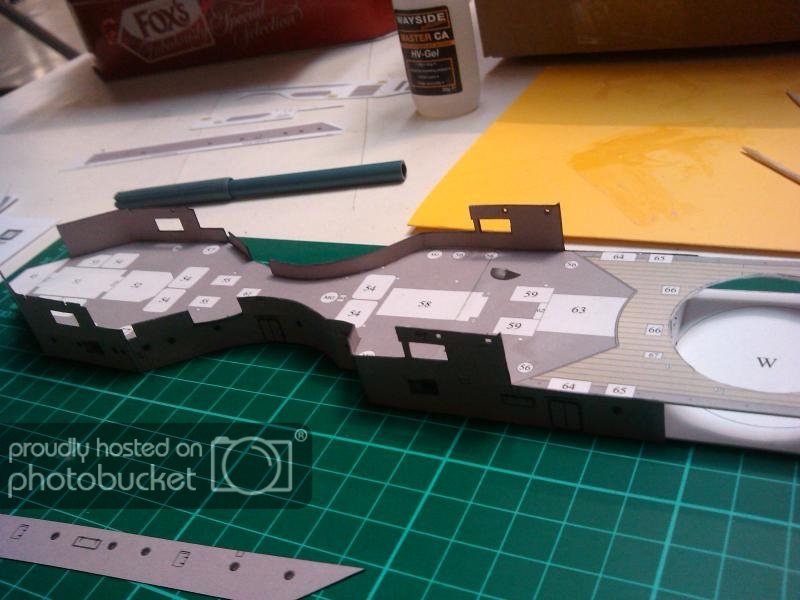
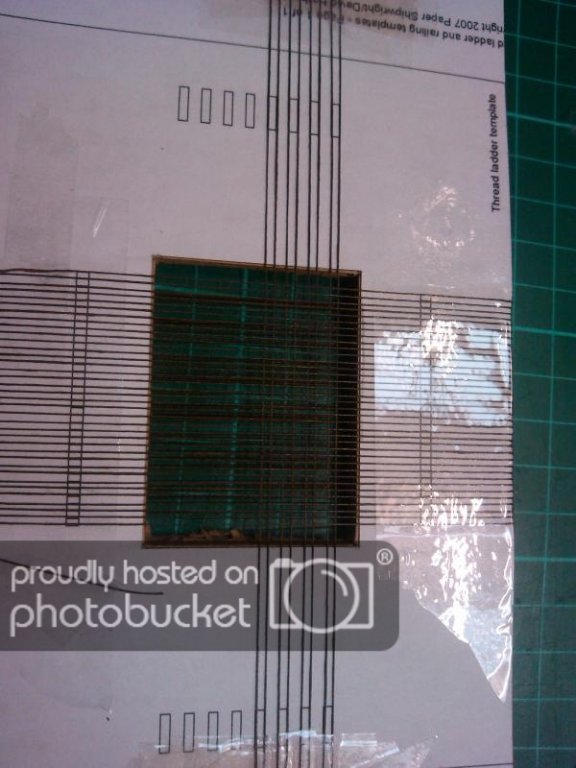
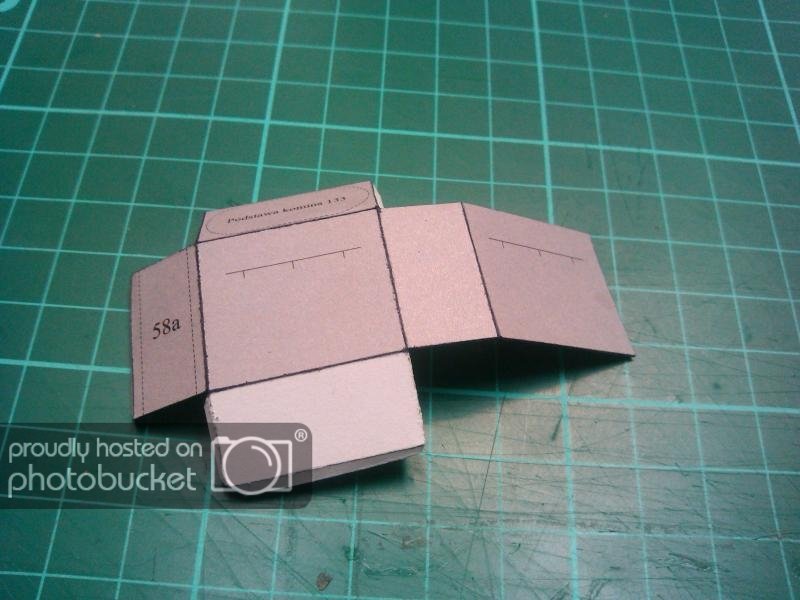
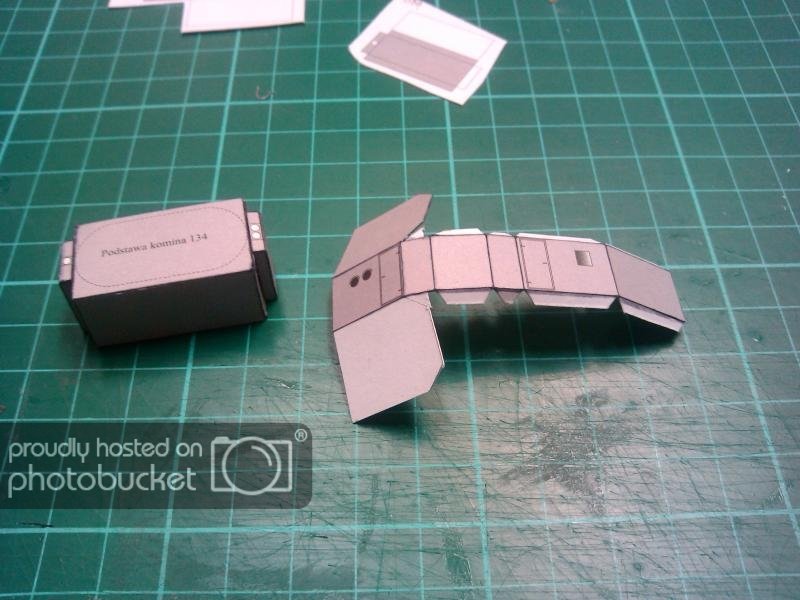
I have loads of different types of thickness of card at my disposal.
- Captain Slog, druxey, mtaylor and 3 others
-
 6
6
-
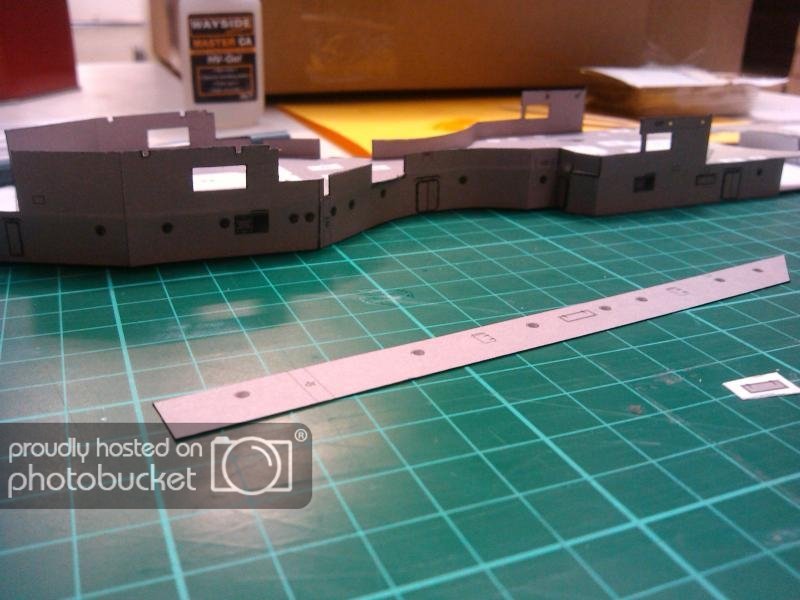
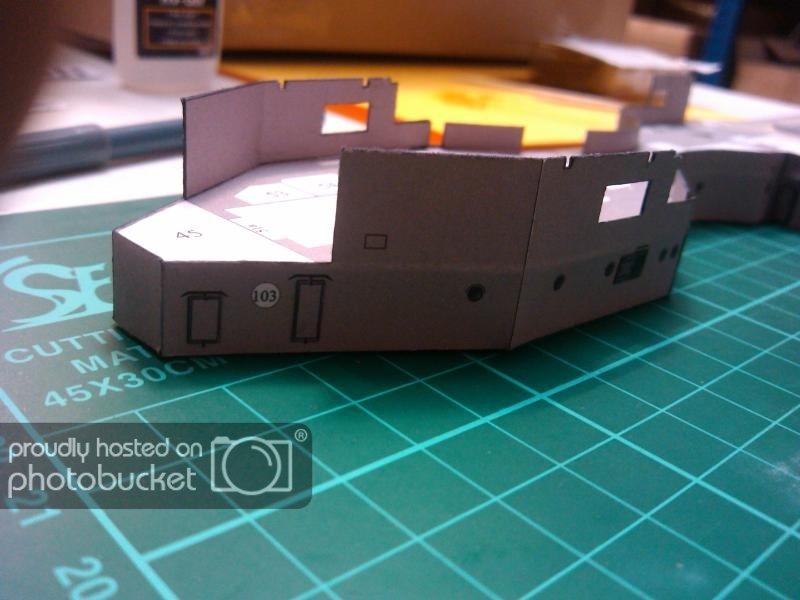
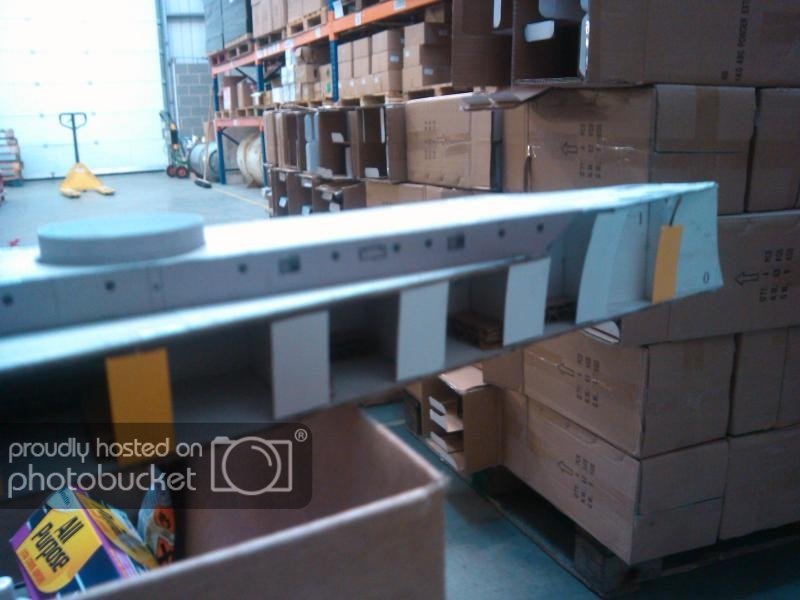
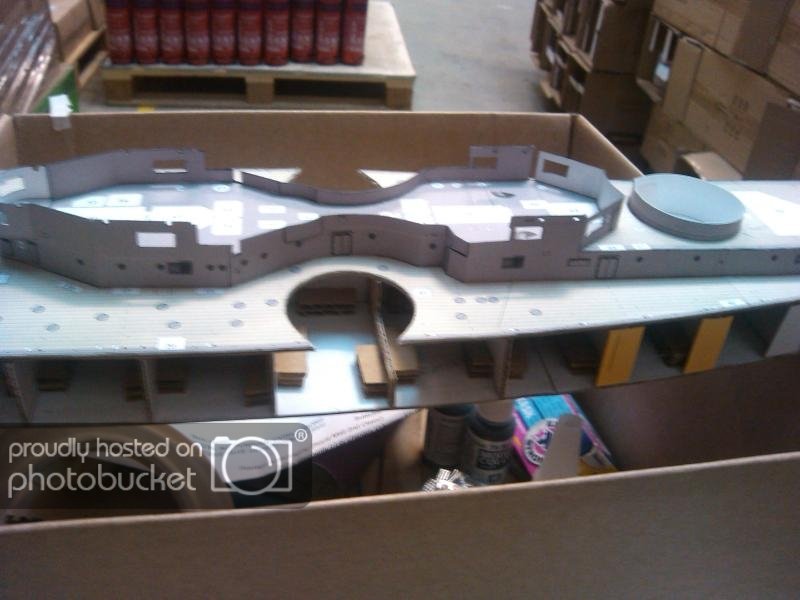
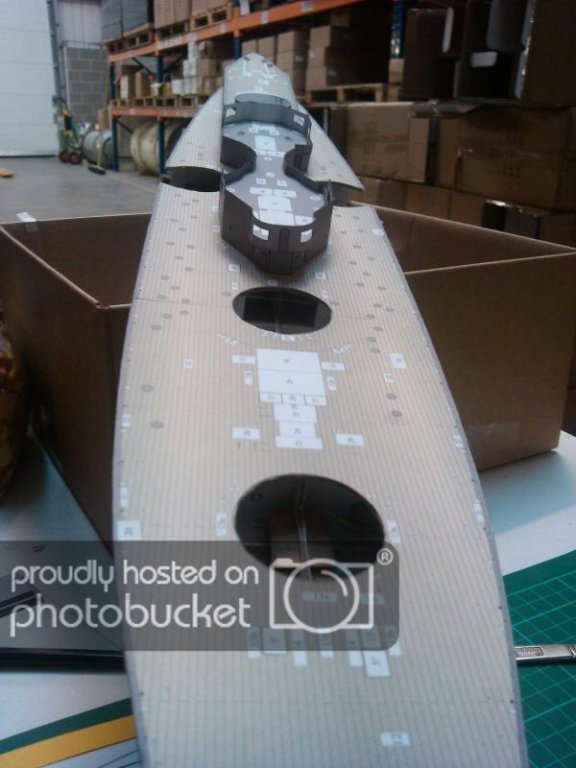
takes some time with the time I have but thats ok...
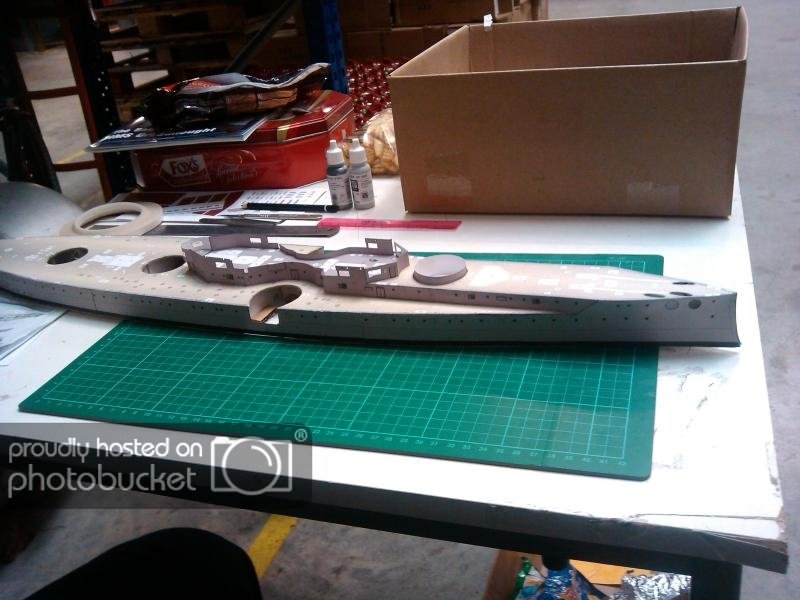
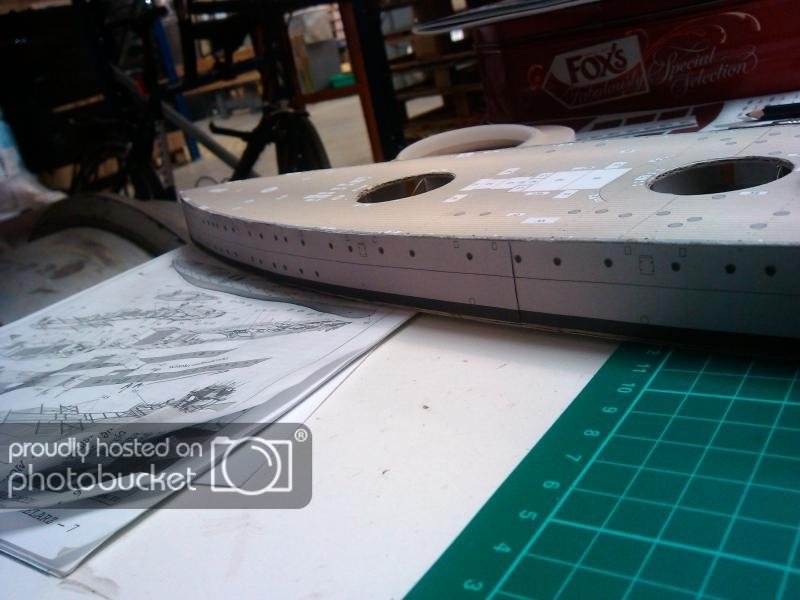
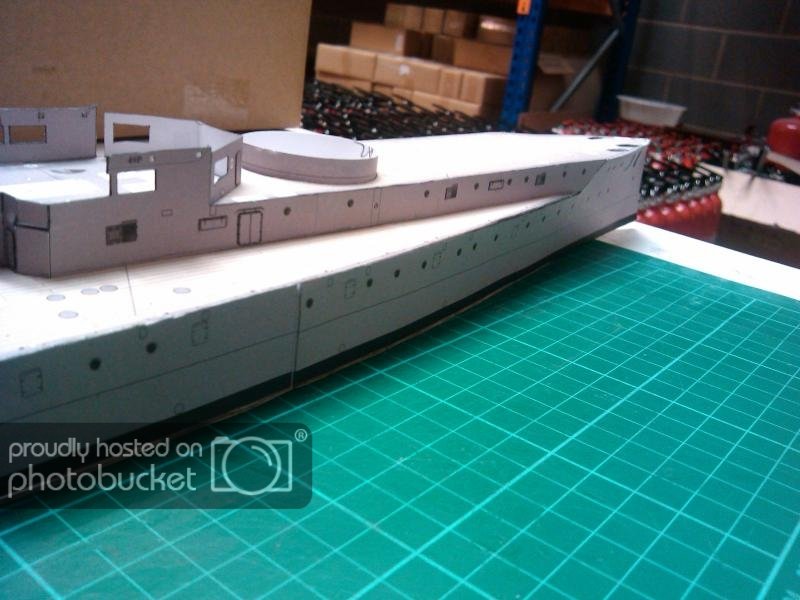

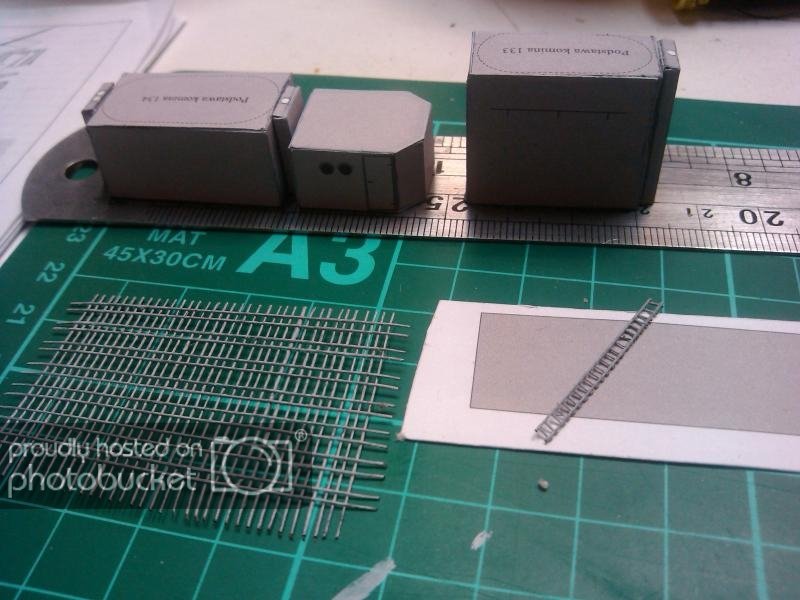
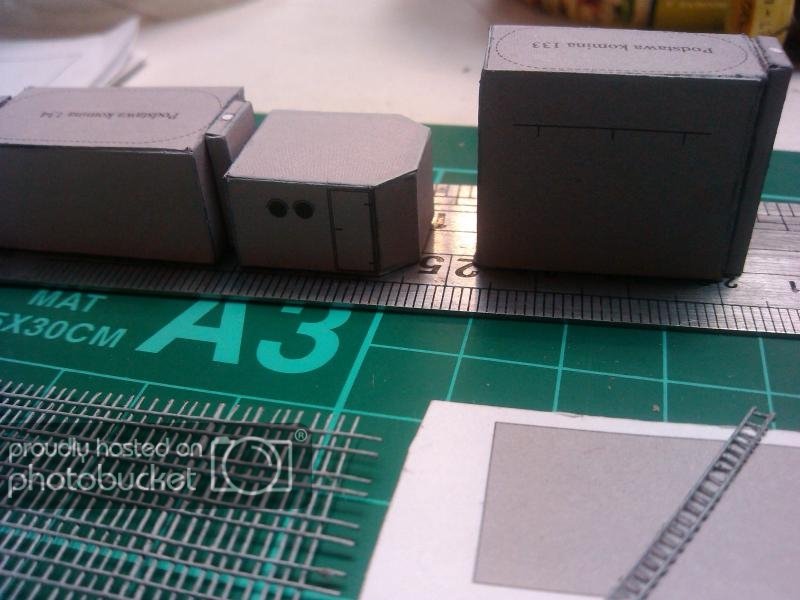
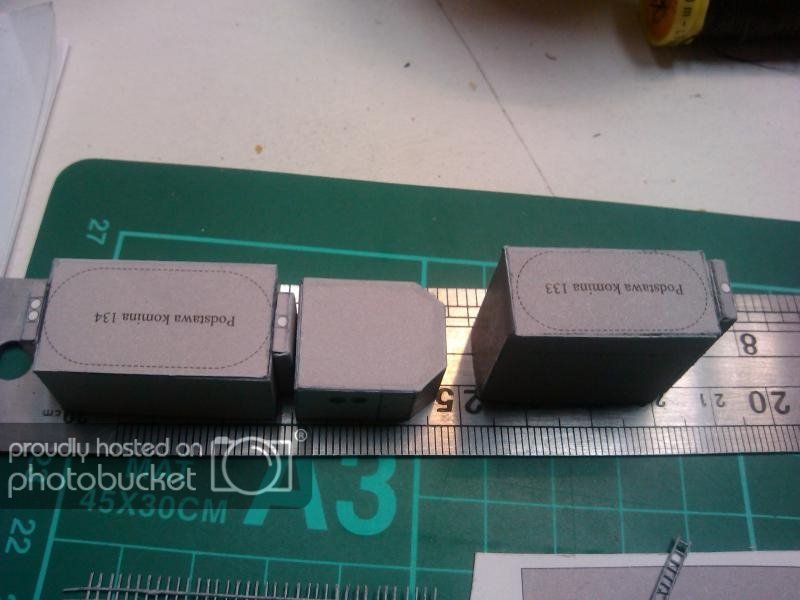
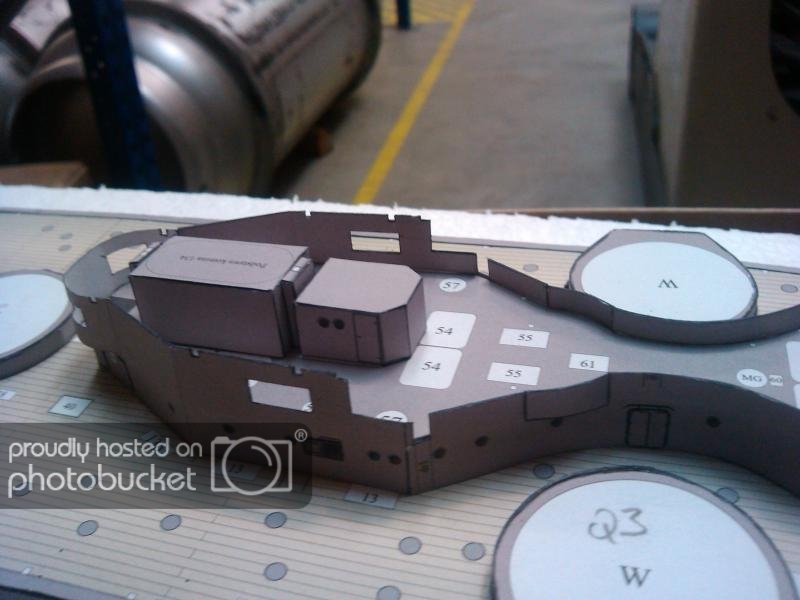
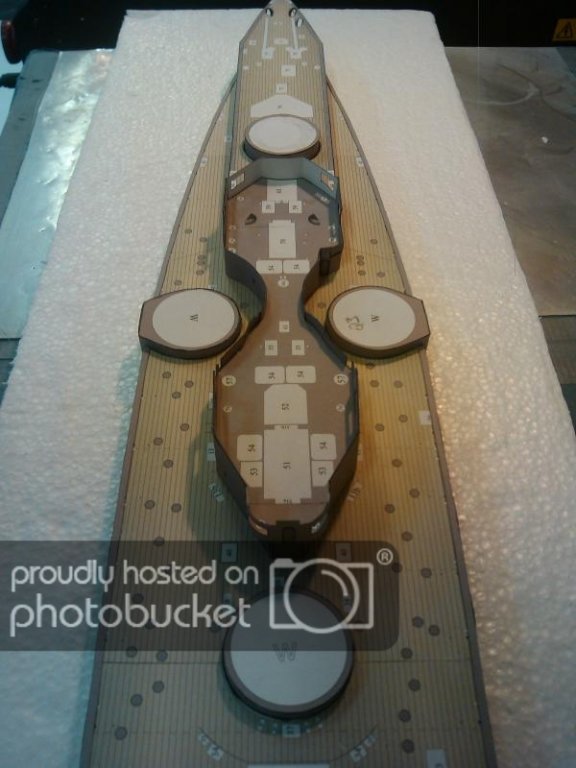
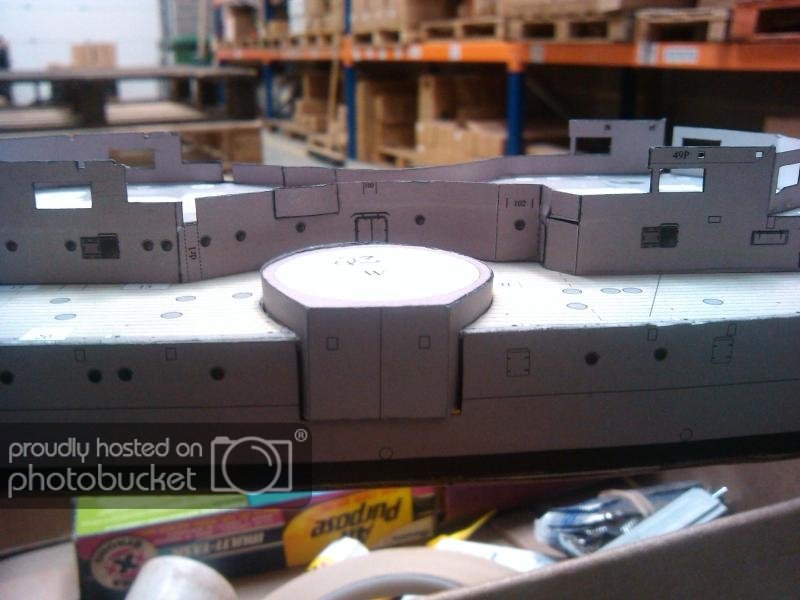 more to come...still some areas in need of cleaning up.
- Doreltomin, druxey, hexnut and 2 others
-
5
-
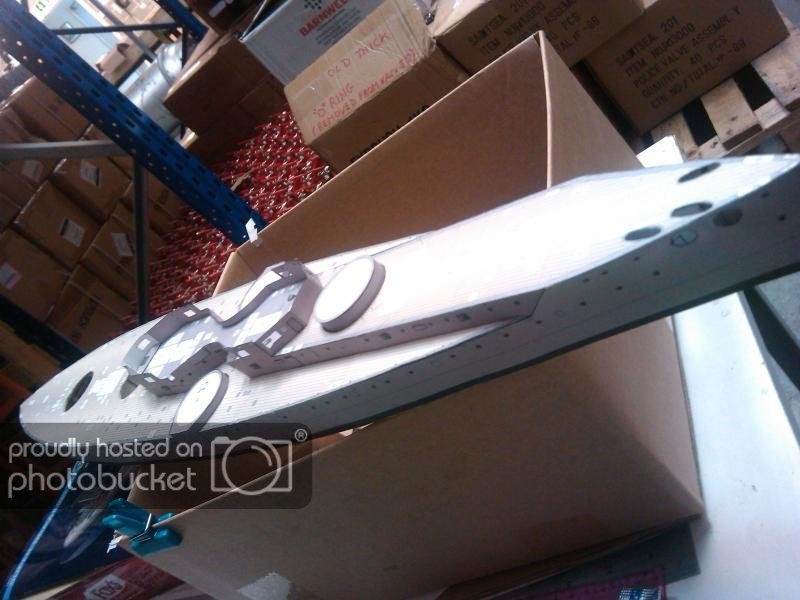
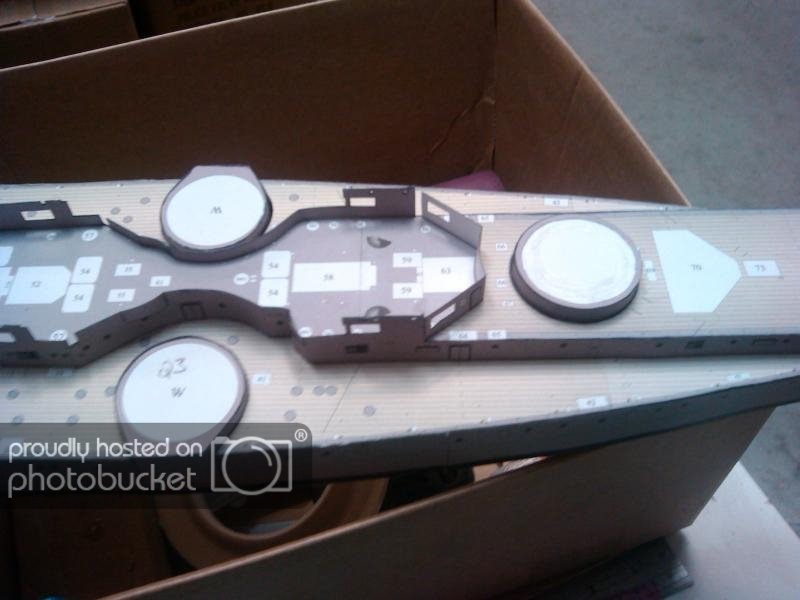
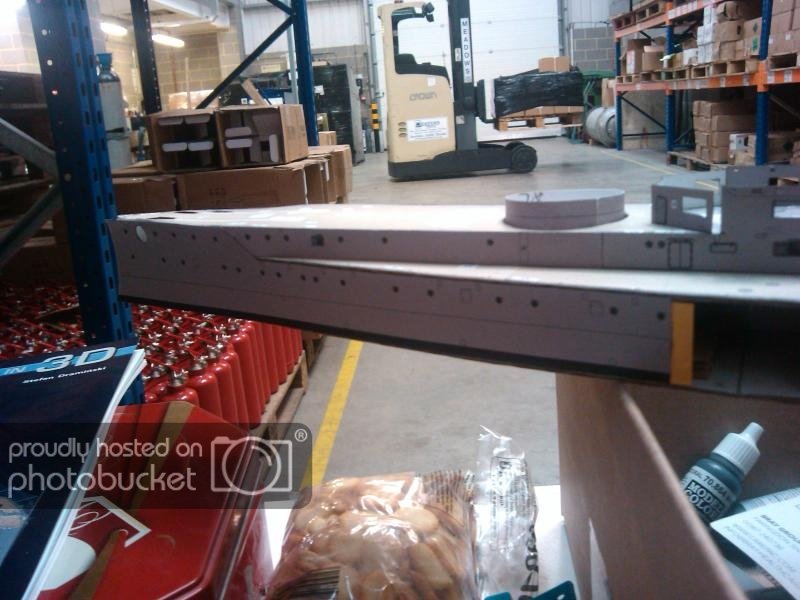
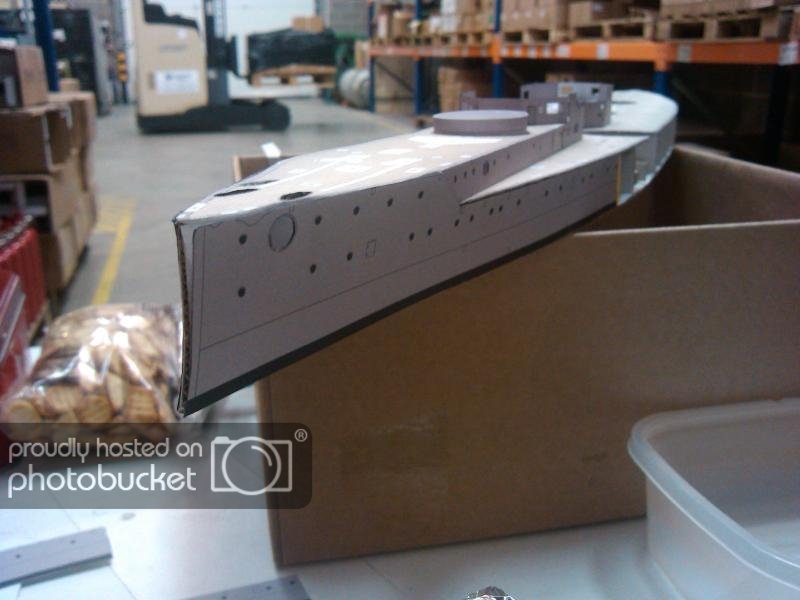
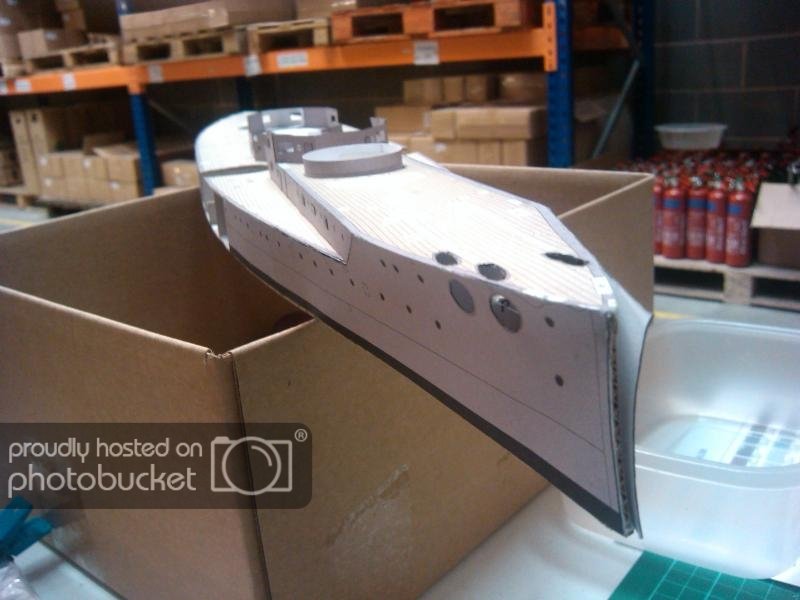
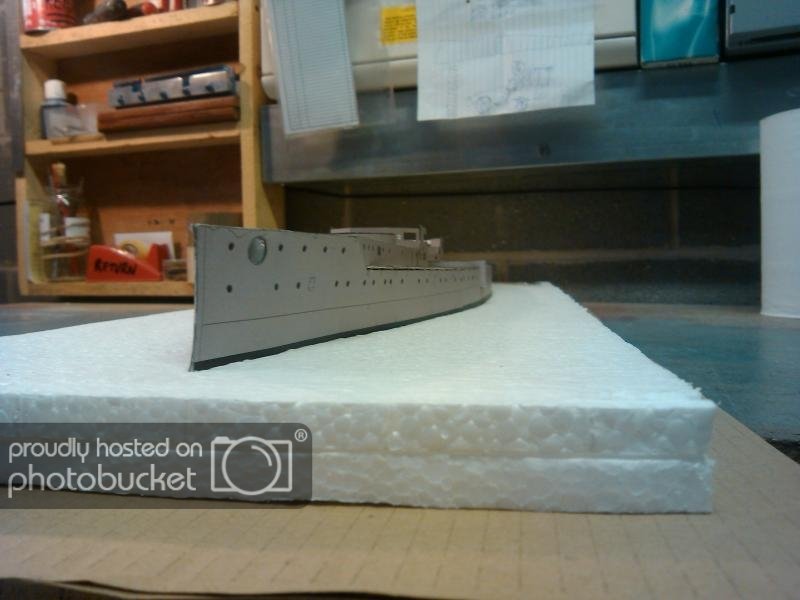
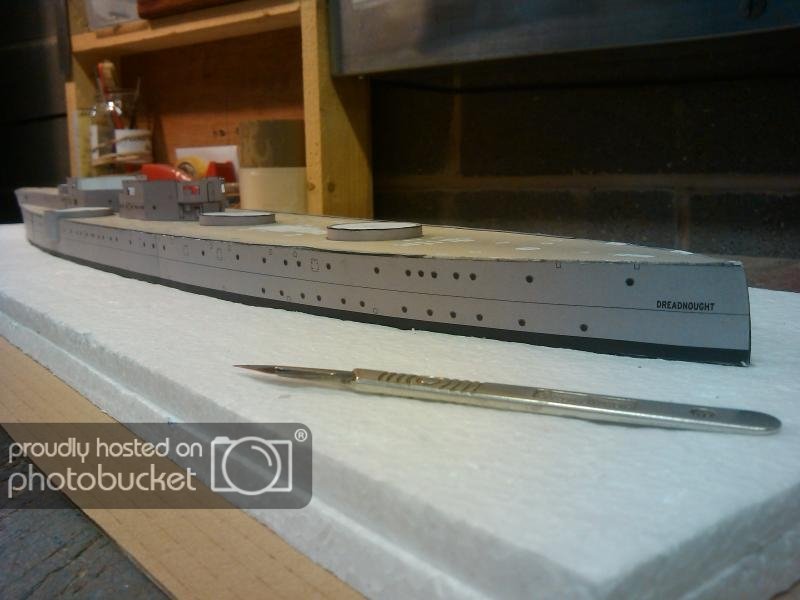
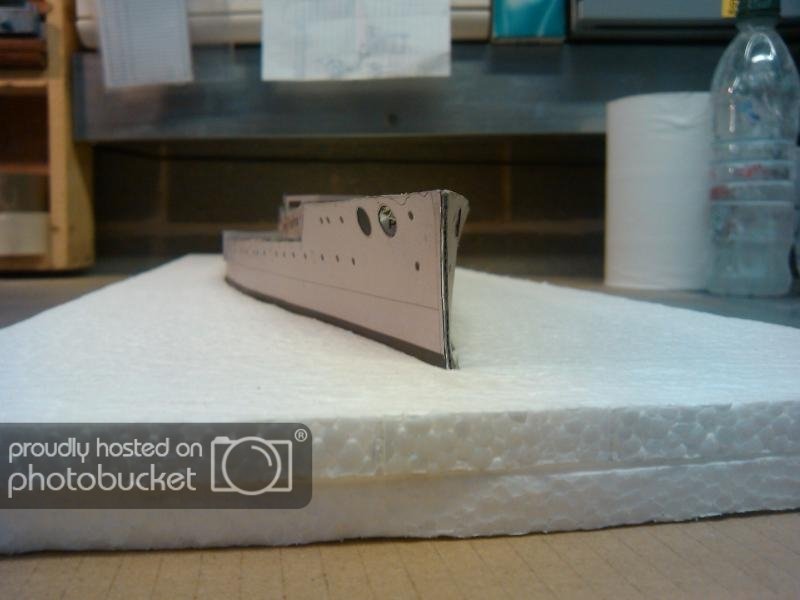
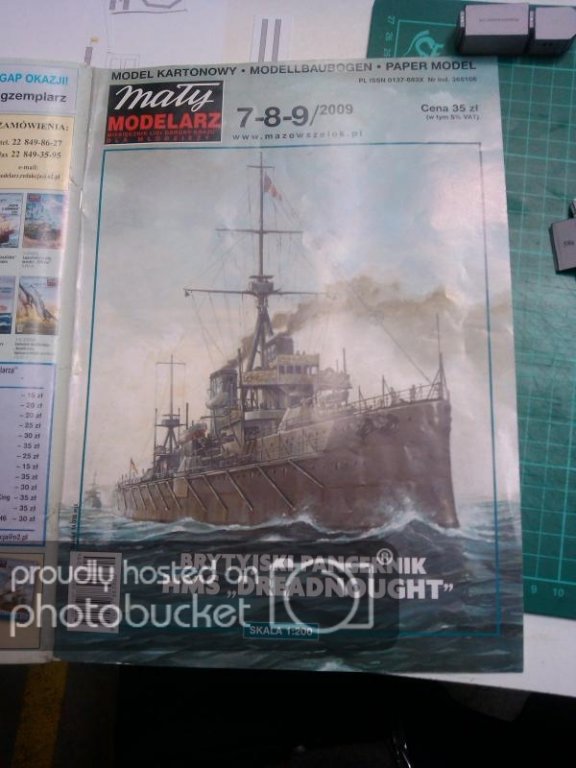
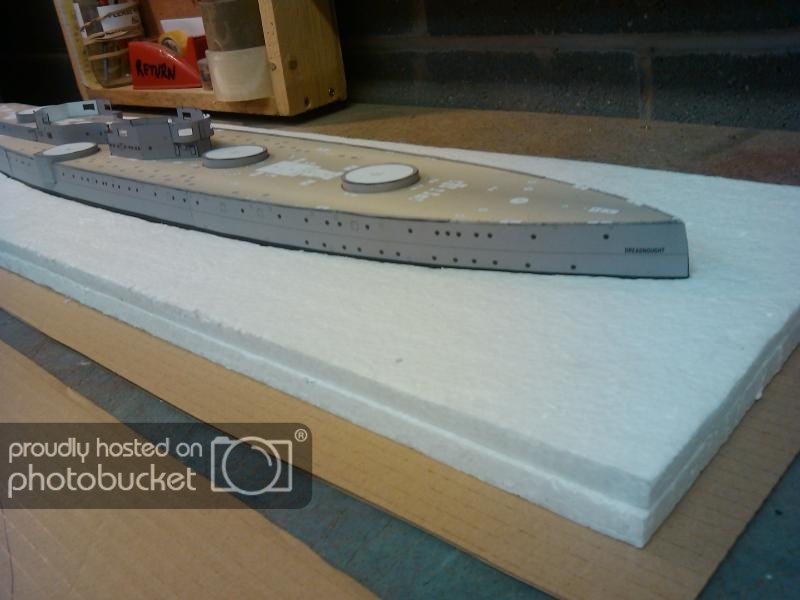
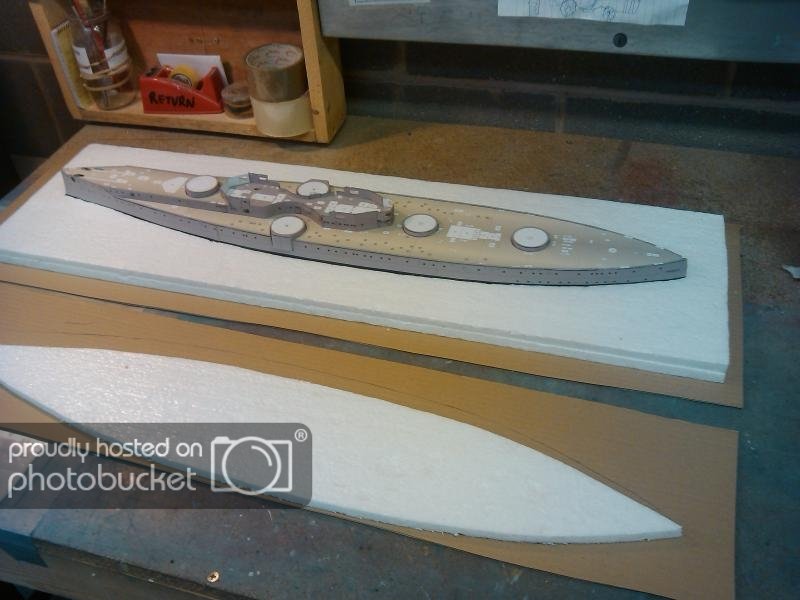
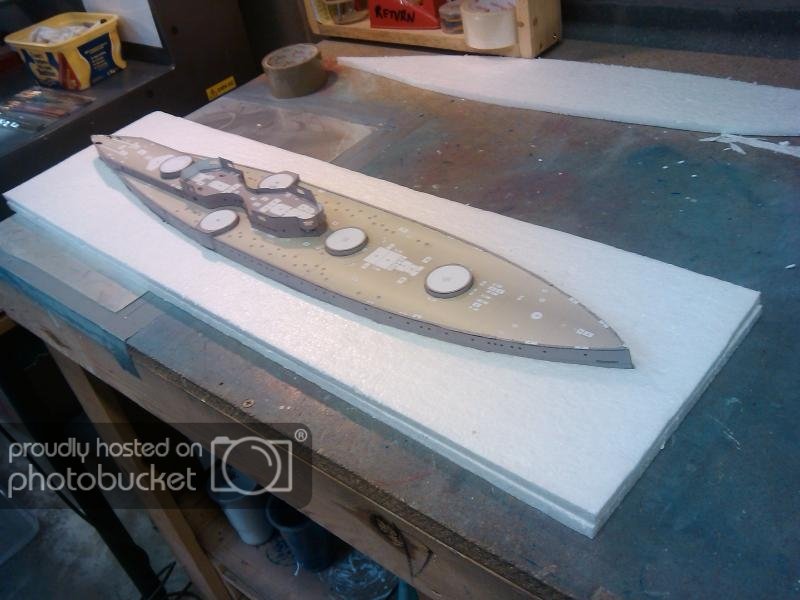
This is my diary of HMS Dreadnought made from CARD, something I picked up to stop the boredom during my tea break (15mins) and lunch (30mins) at work, and belive me the people I work with a boring!!!!So this cost me all of £6, took some tools in and while stuffin' me face I build this.

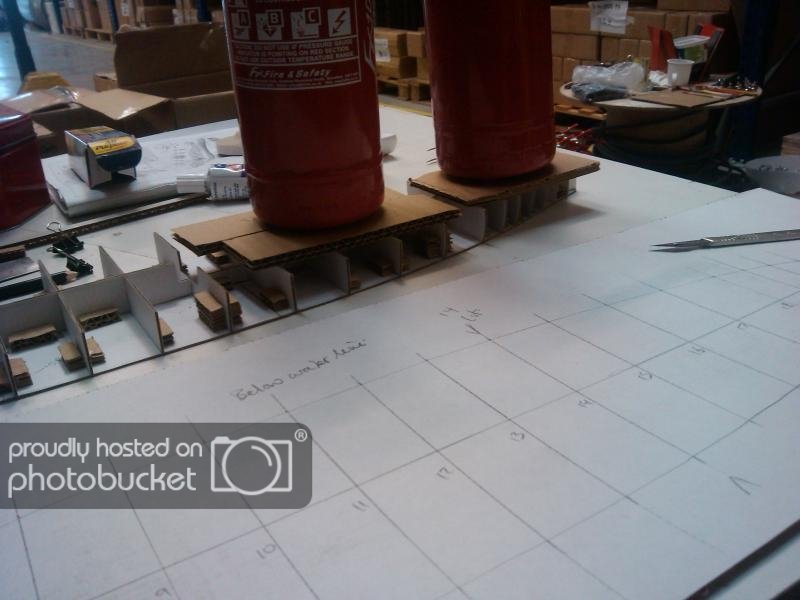
 more in the next post....
 -
-
The Results
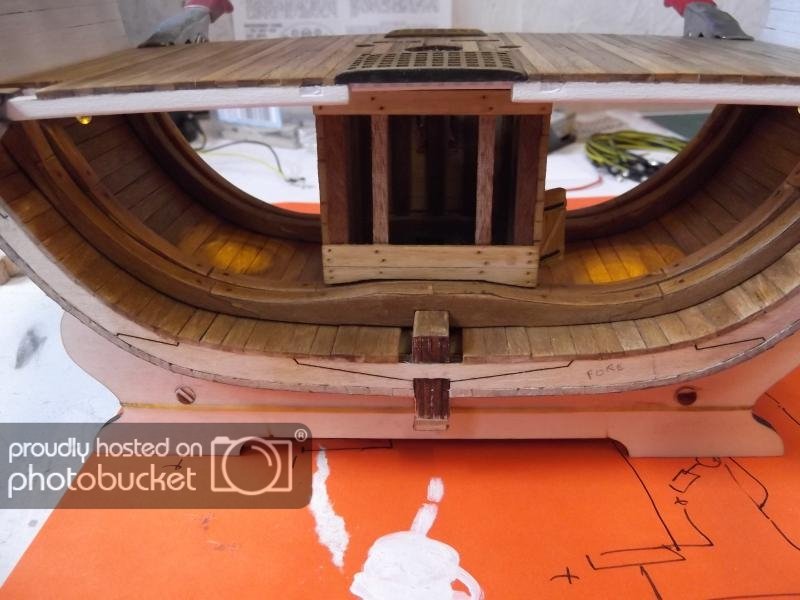
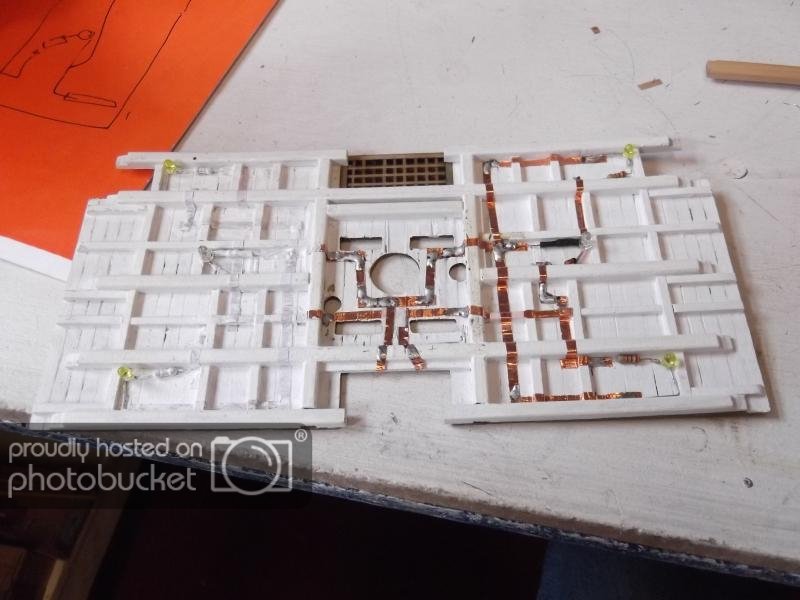
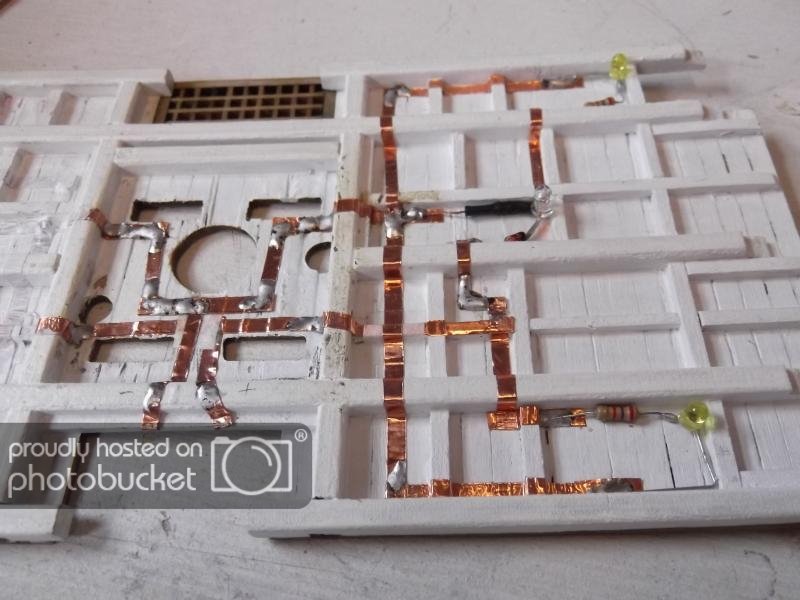
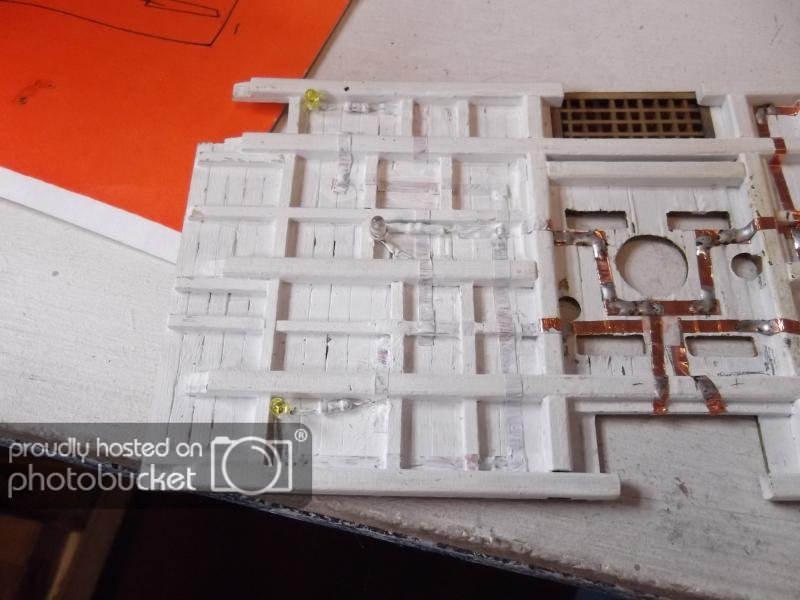
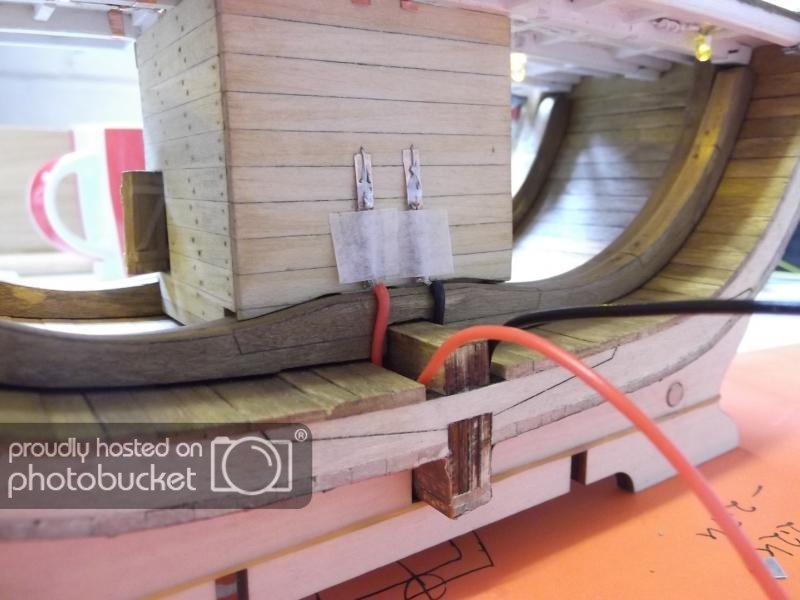
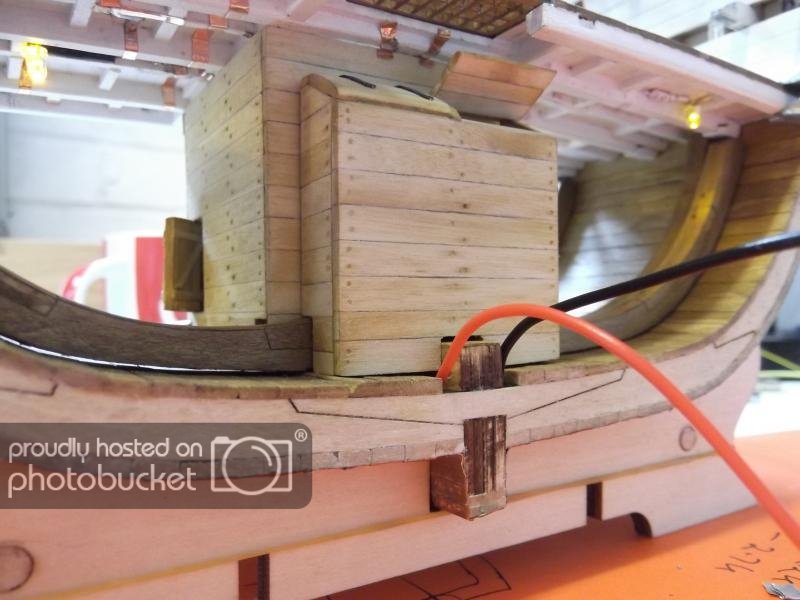
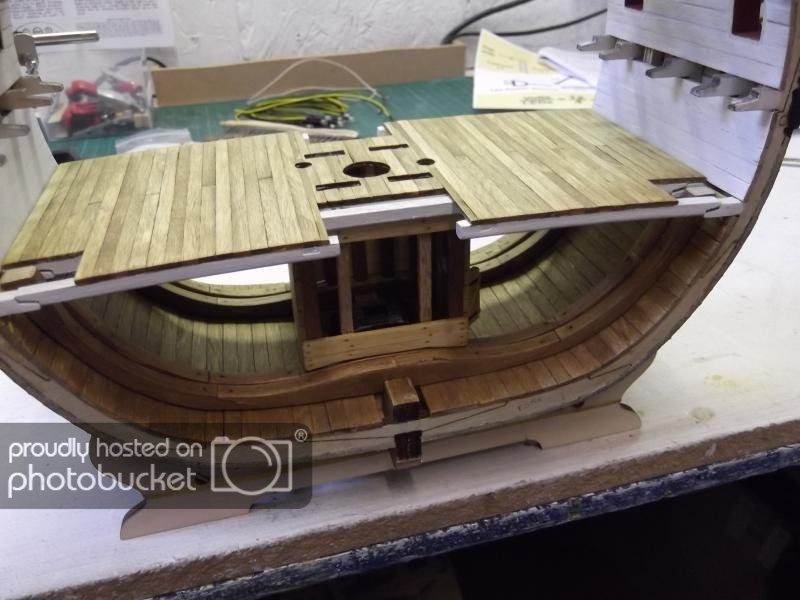
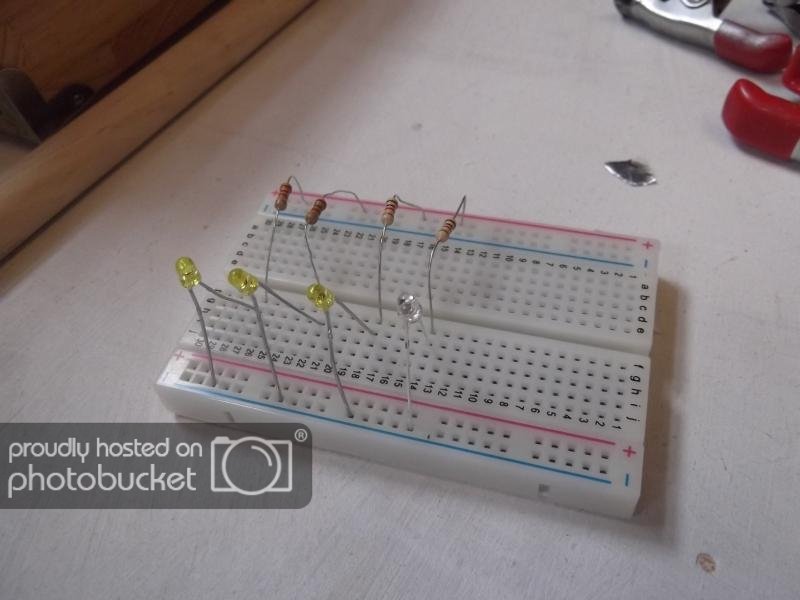
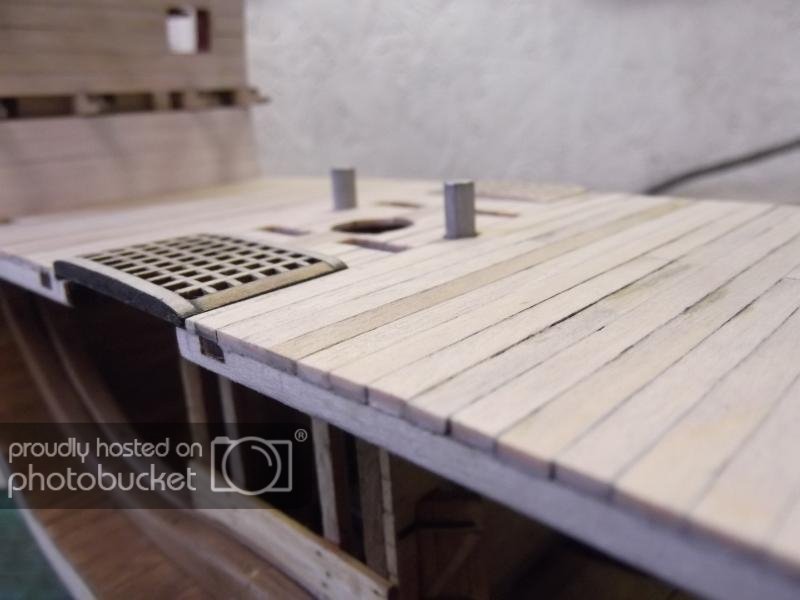
 I'm totally happy with the results, just as I imagined it to be, the copper tape is far better material than having wire everywhere, but make sure you keep checking your connections..I found out the hard way :shifty:Again nothing has been glued down yet, I'm not sure at what point I will start glueing, but I'm mindful of committing and finding a dry joint, that would be the whole effect over, although as I doing these LED's in parallel then one light out doesn't mean all light's out.
-
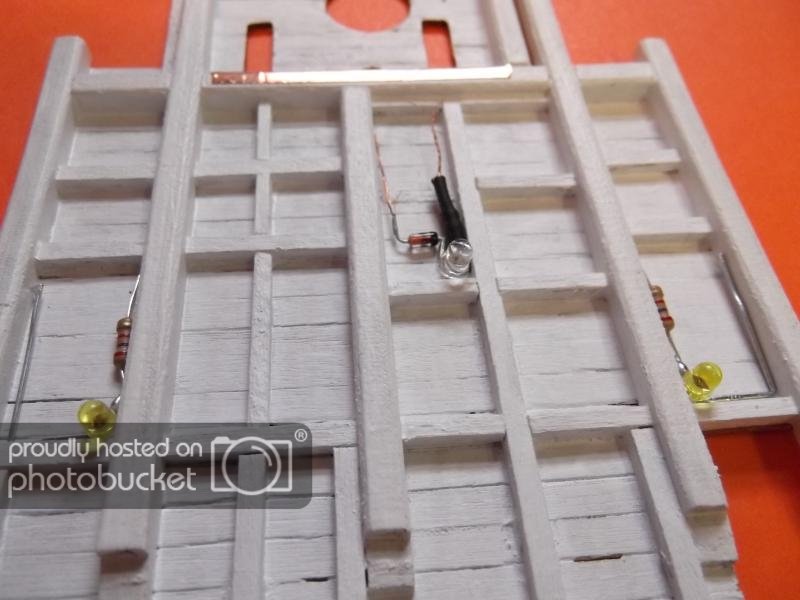
Copper Tape with a little solder.
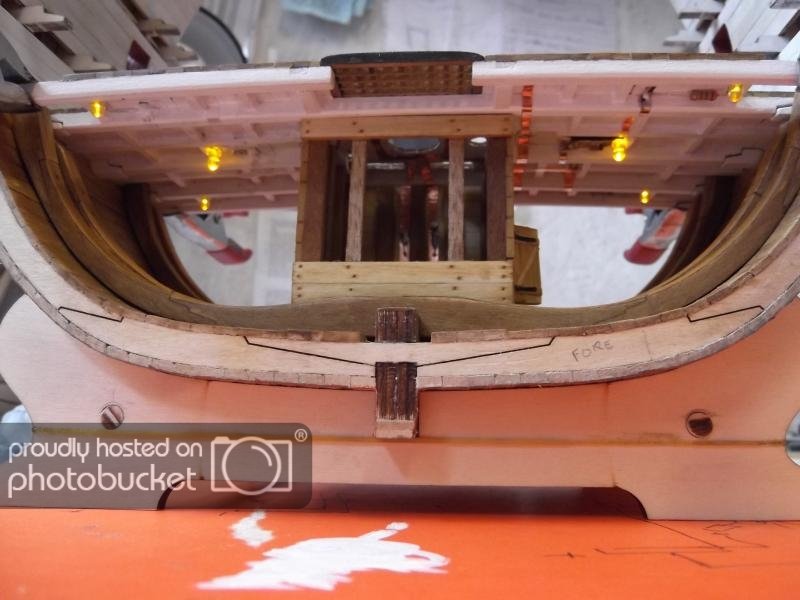
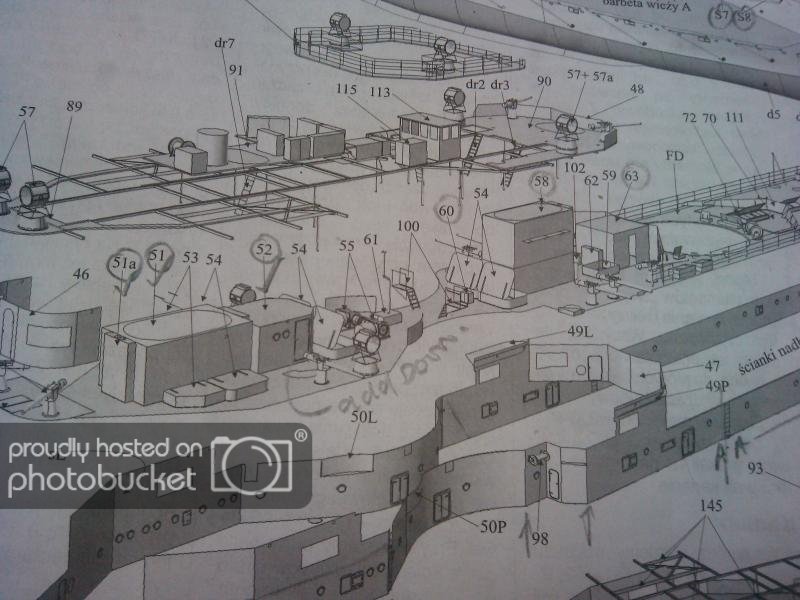
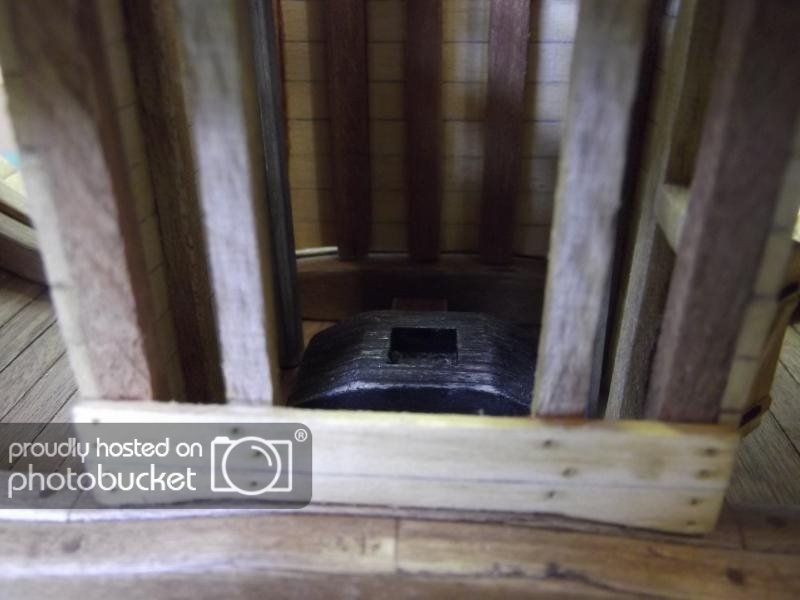
 The connections are made from the deck to the hold pump well edges (see the 2 copper tape + & -), once the deck has been seated properly the connection is made, and as you can see from the pictures the rest of covered by the shot locker with wire coming from the lower section.
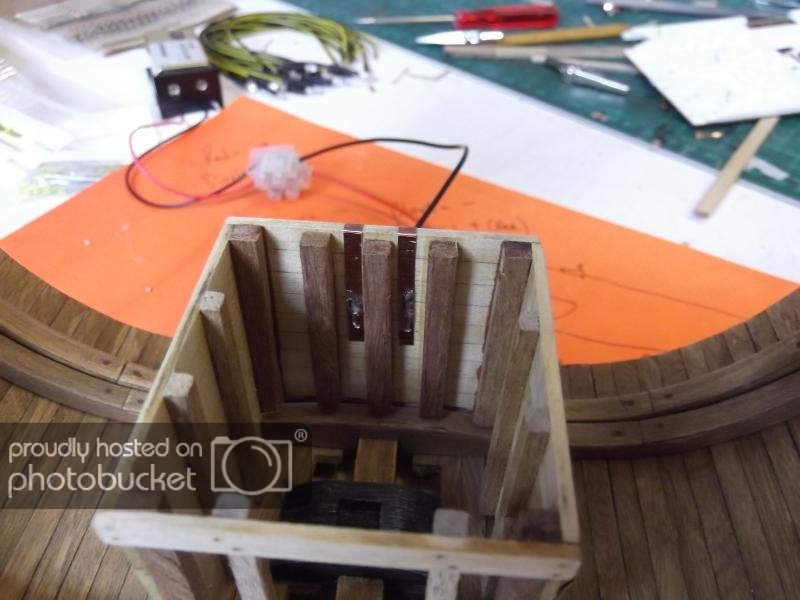
-
-
Hi, thanks for the comments.
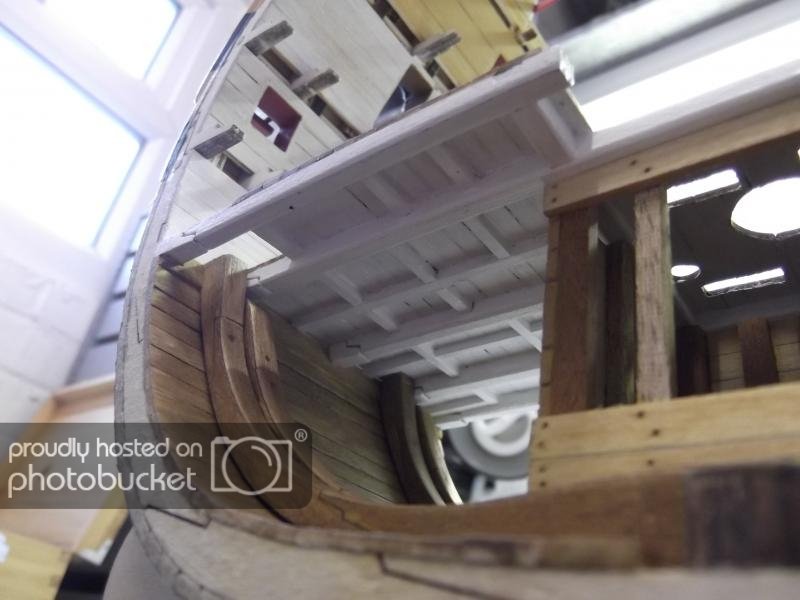
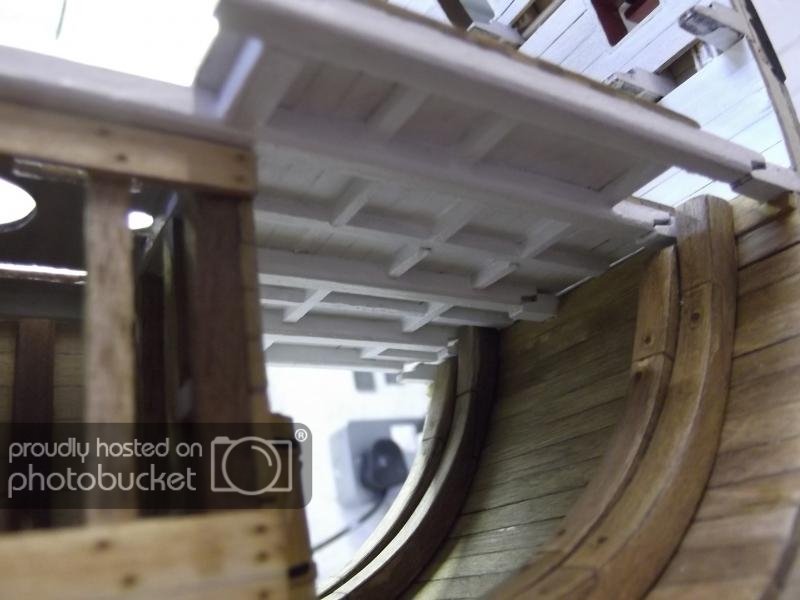
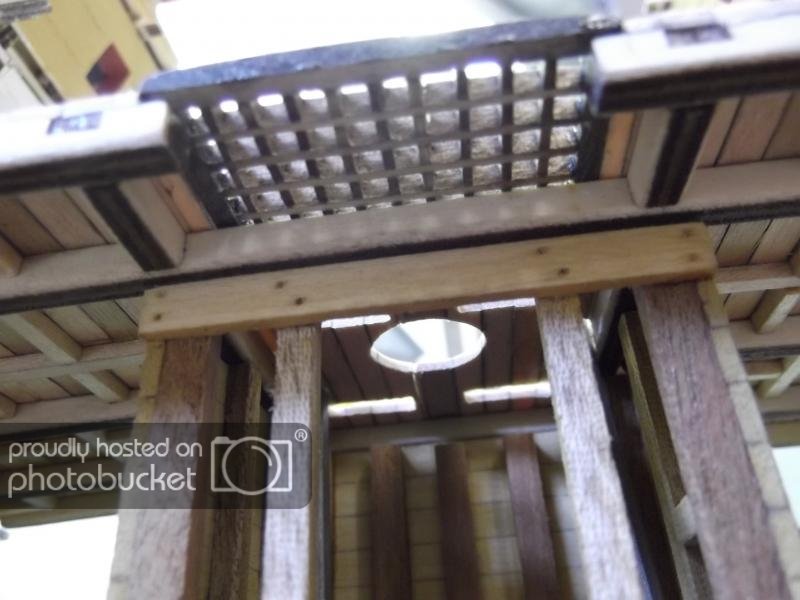
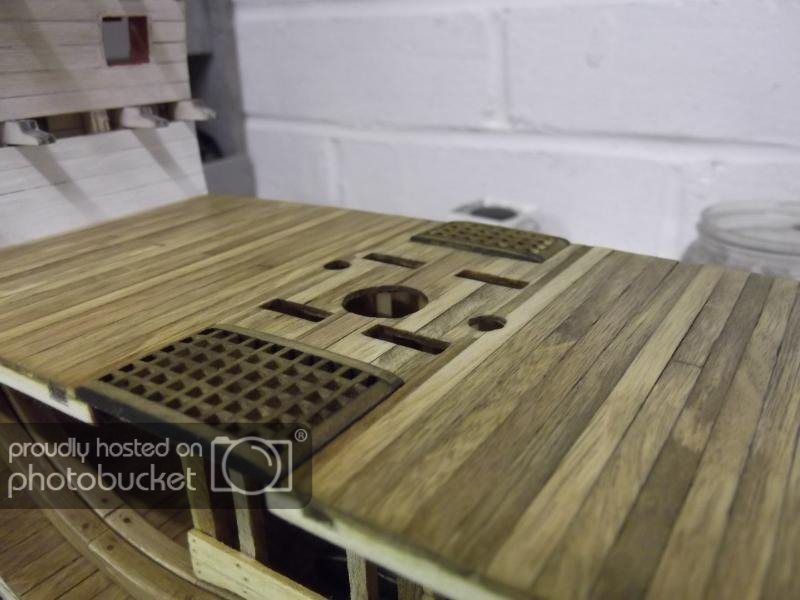
With regard to your painted finish, was the paint sprayed/airbrushed or pot and brush applied? I do like the finish that you have achieved, I presume a flat varnish has been applied on all the painted surfaces?The outside of the hull was painted but some talc was added to reduce the shine (so no flat varnish), inside the ship no varnish was used, only basic stains, in fact 2 stains were used, the first to get a foundation dark oak effect, and once dried lightly sanded back, then a more richer stain was used and once again this was lighty sanded back. Finally I used dark oak beeswax, this was rubbed on and buffed to the result you see on the model.
thanks
-
thanks Tom and grant, oh and Tom, I am watching your build as well even thought Ive not posted on your thread

postman has delivered some resistors..now the fun starts.
-
-
Hi Yves, it only contains a stubbed main mast, so you could add your own.
-
Thanks for all those great comments, I had to delete a few post as it seems I had duplicate post, no idea why that happened.


HMS Victory by zeptraderUK - Deagostini - 1/72 - Cross-Section
in - Kit build logs for subjects built from 1751 - 1800
Posted
thanks Brain, no they don't, that wasn't something I had in mind, taken so long to get here its just an on/off switch.
thanks
Colin