HOLIDAY DONATION DRIVE - SUPPORT MSW - DO YOUR PART TO KEEP THIS GREAT FORUM GOING! (Only 75 donations so far out of 49,000 members - C'mon guys!)
×


ECK
-
Posts
640 -
Joined
-
Last visited
Content Type
Profiles
Forums
Gallery
Events
Everything posted by ECK
-
Thanks, but definitely the copper tape would have been easier
- 233 replies
-
- 2
-

-
- Indefatigable
- Vanguard Models
- (and 1 more)
-
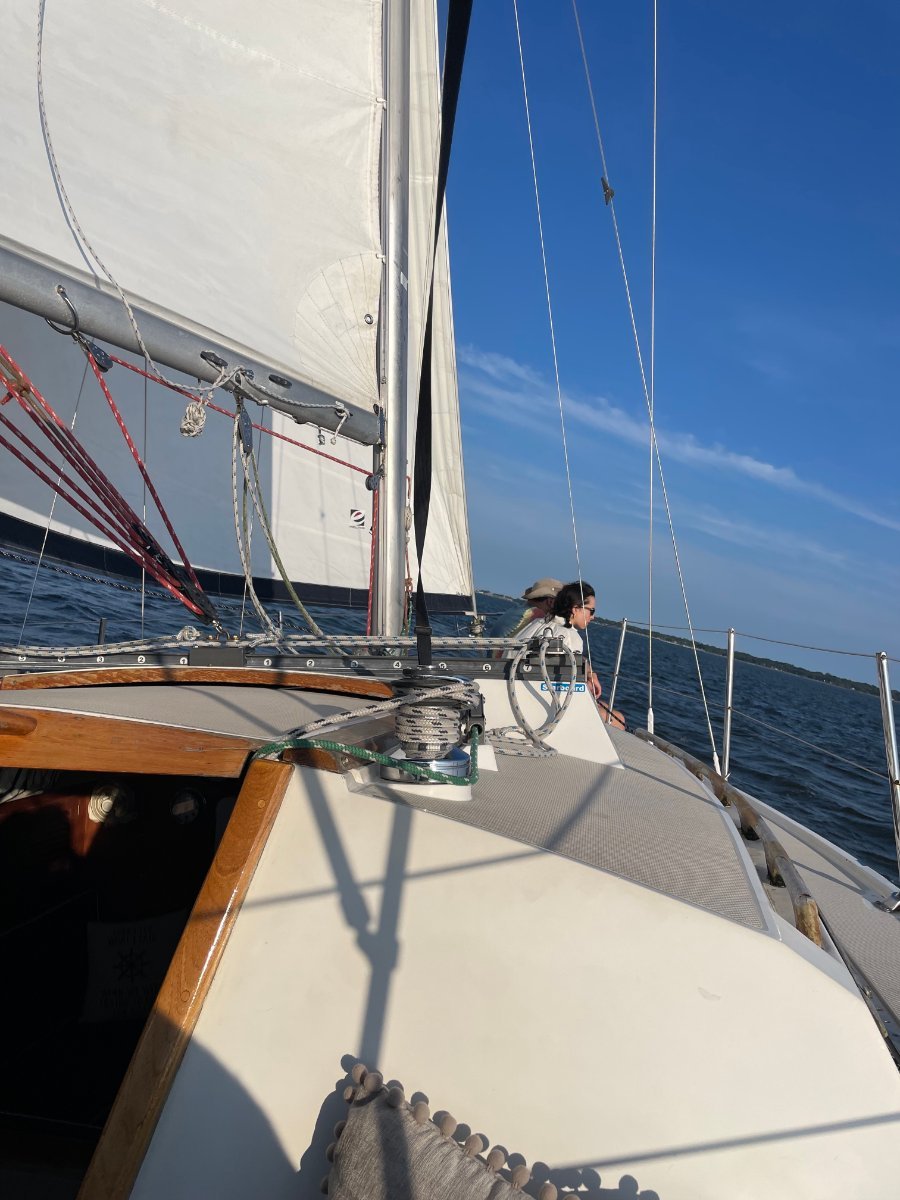
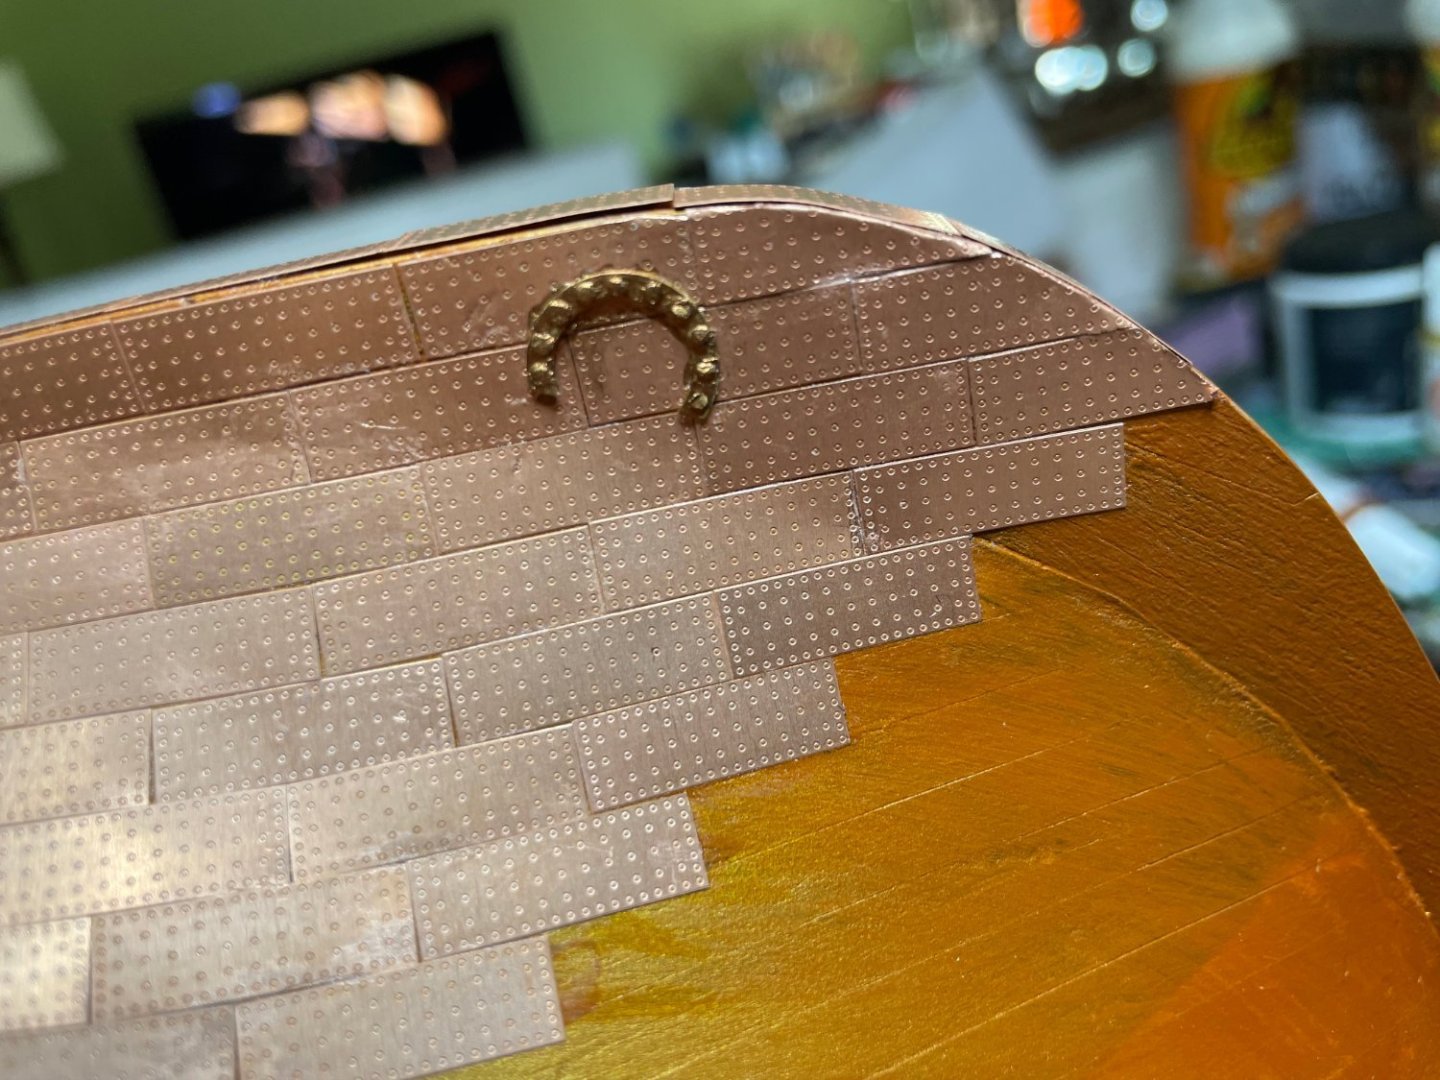
Back from vacation.Enjoyed seeing the progress of Glenn, Allen and James on their models. I think all of us are doing slightly different versions which is great to see A few pics of the beach (under our shibumi, best thing for the beach)and sailing in Charleston Harbor. A A little more progress today. The horseshoes took a time.


- 233 replies
-
- 9
-
-
- Indefatigable
- Vanguard Models
- (and 1 more)
-
Getting there, last post for the week as I am going to enjoy the beach and lovely city of Charleston SC.


- 233 replies
-
- 12
-
-
- Indefatigable
- Vanguard Models
- (and 1 more)
-
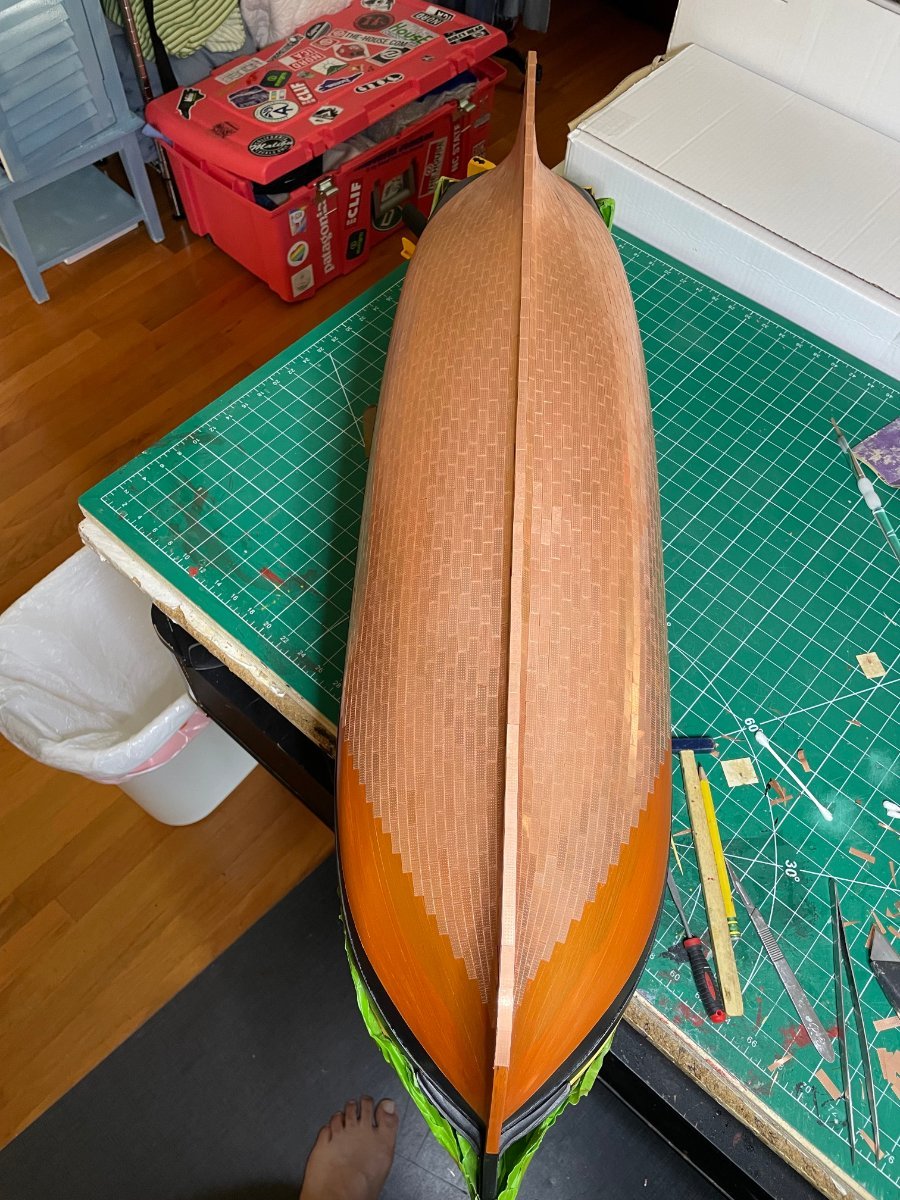
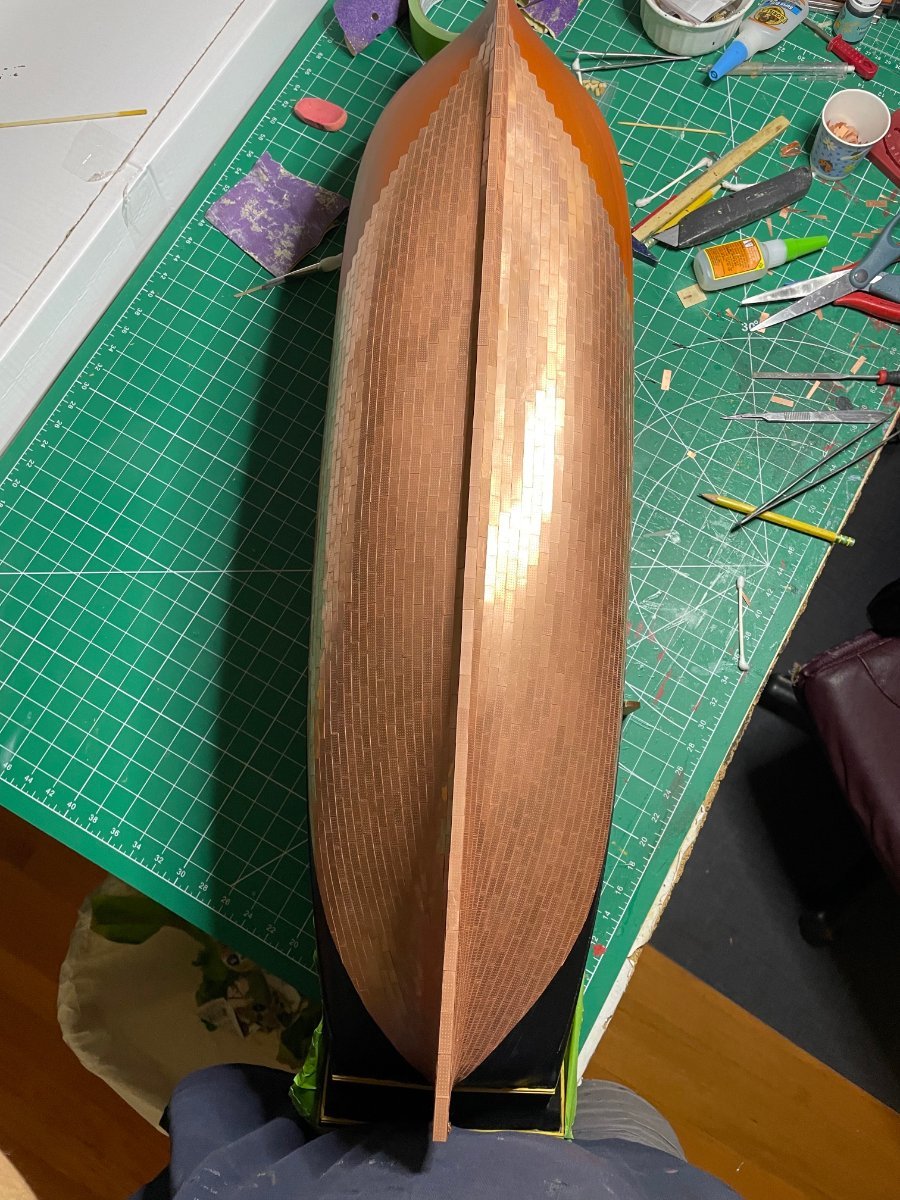
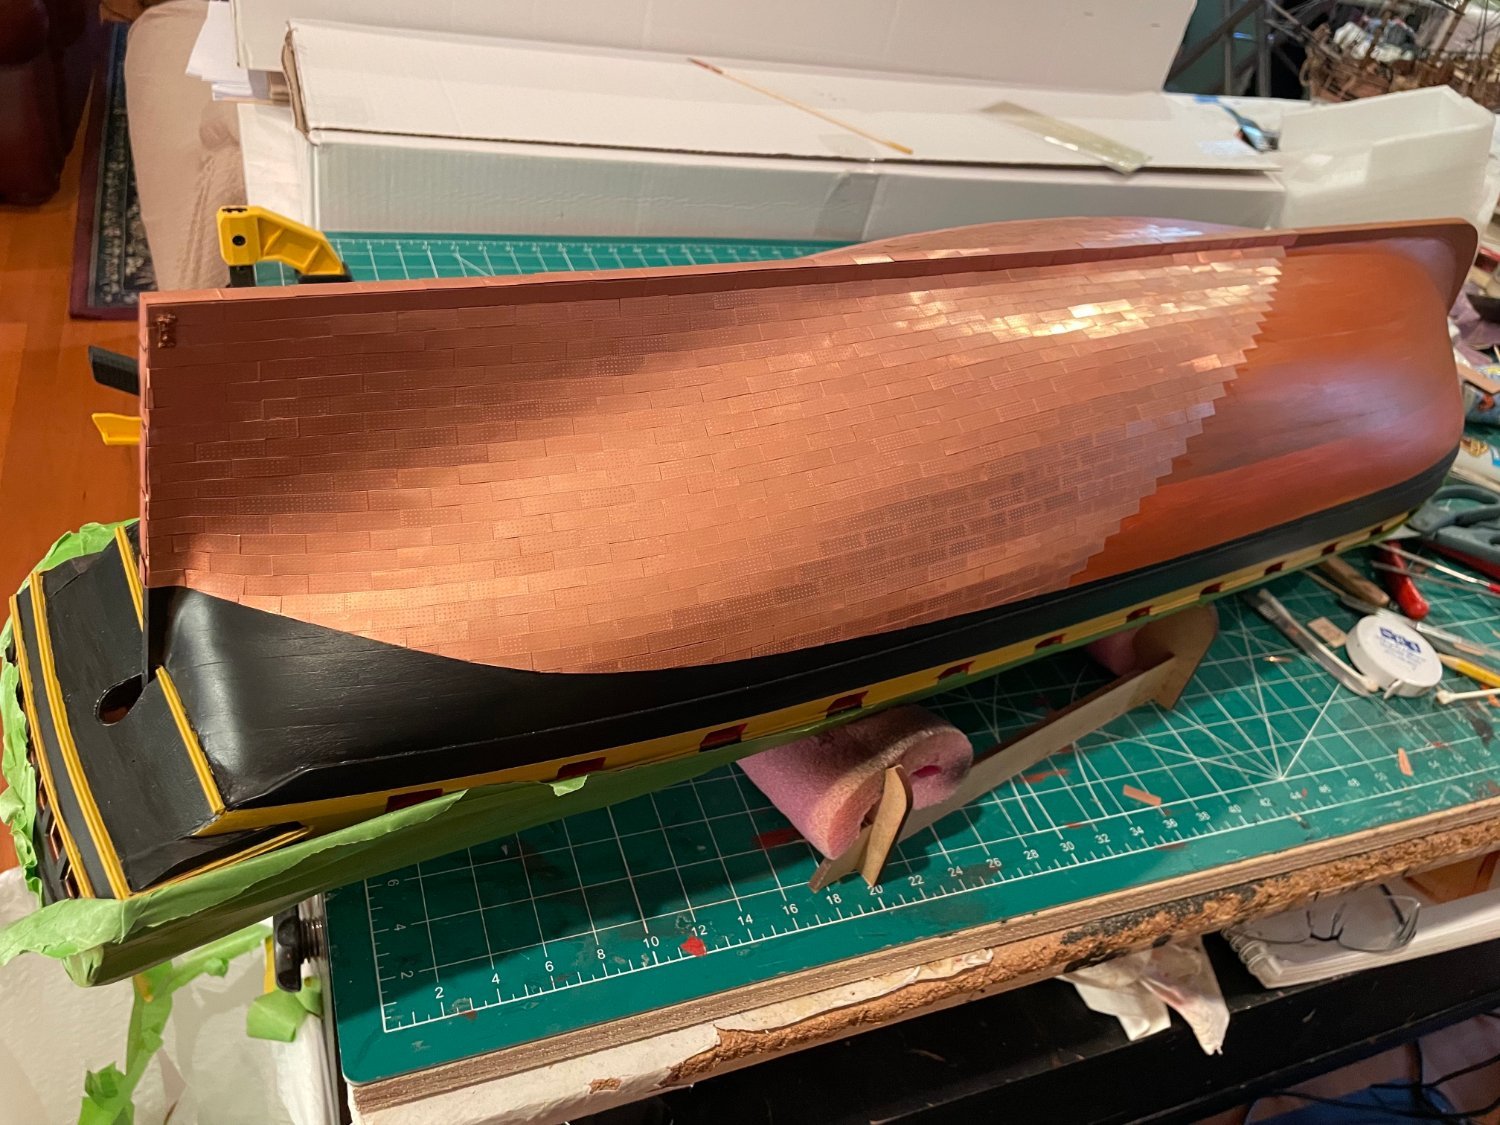
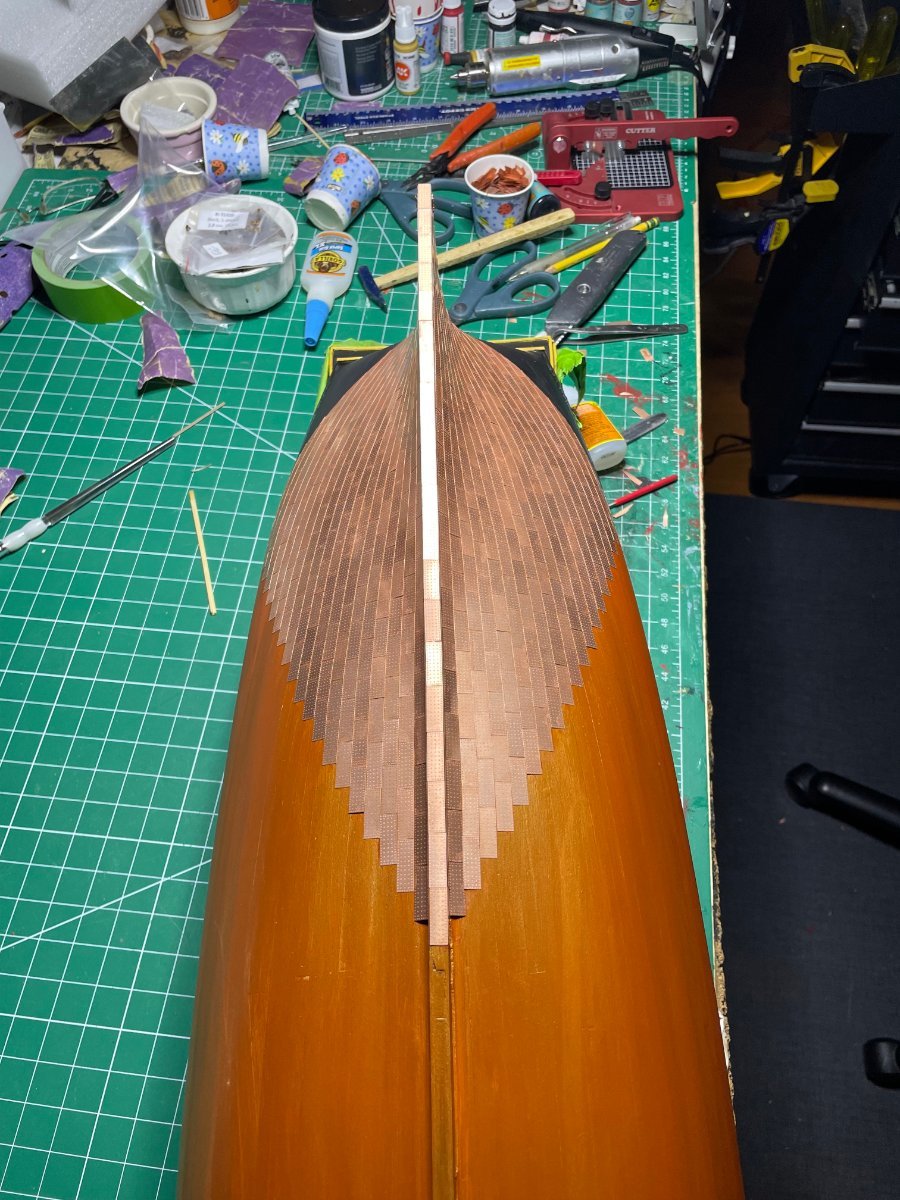
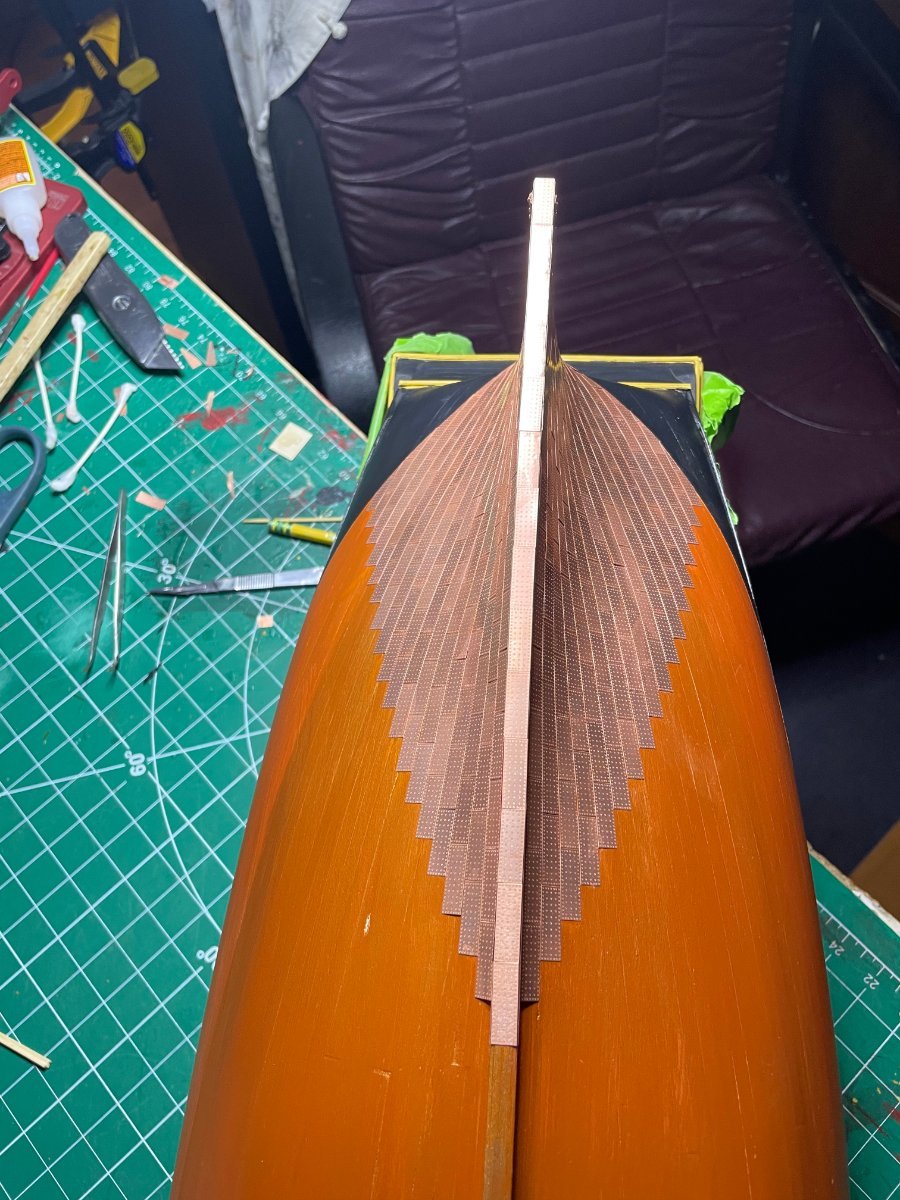
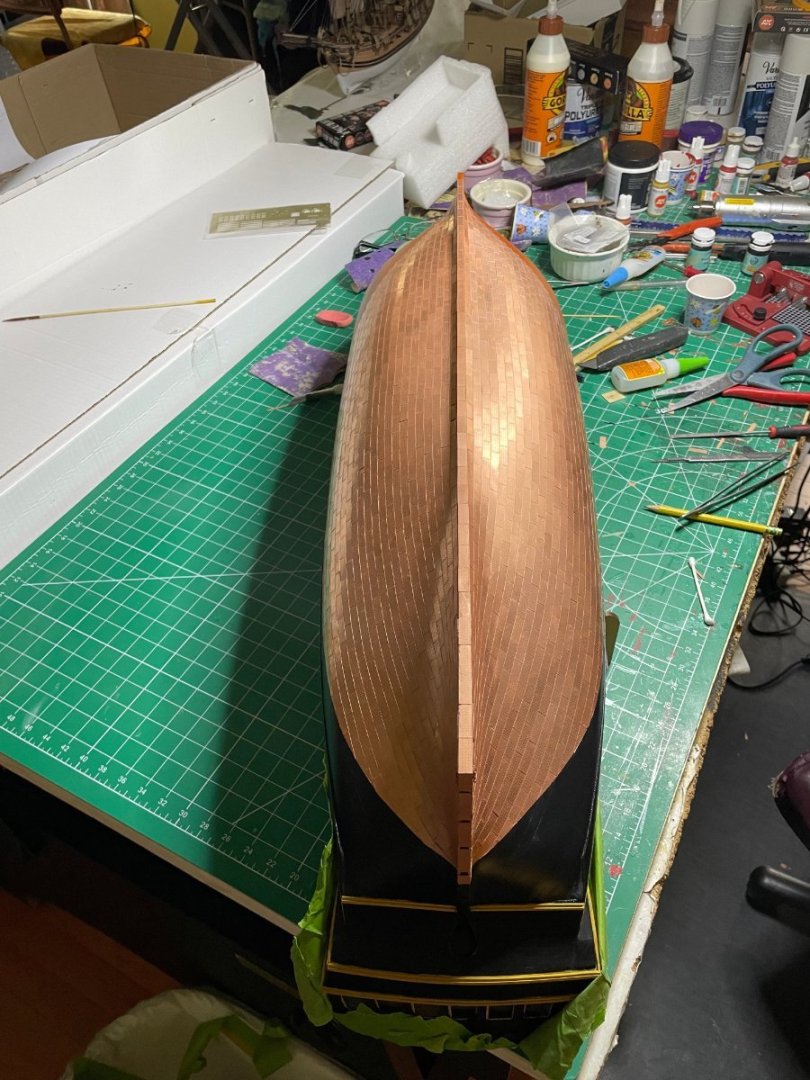
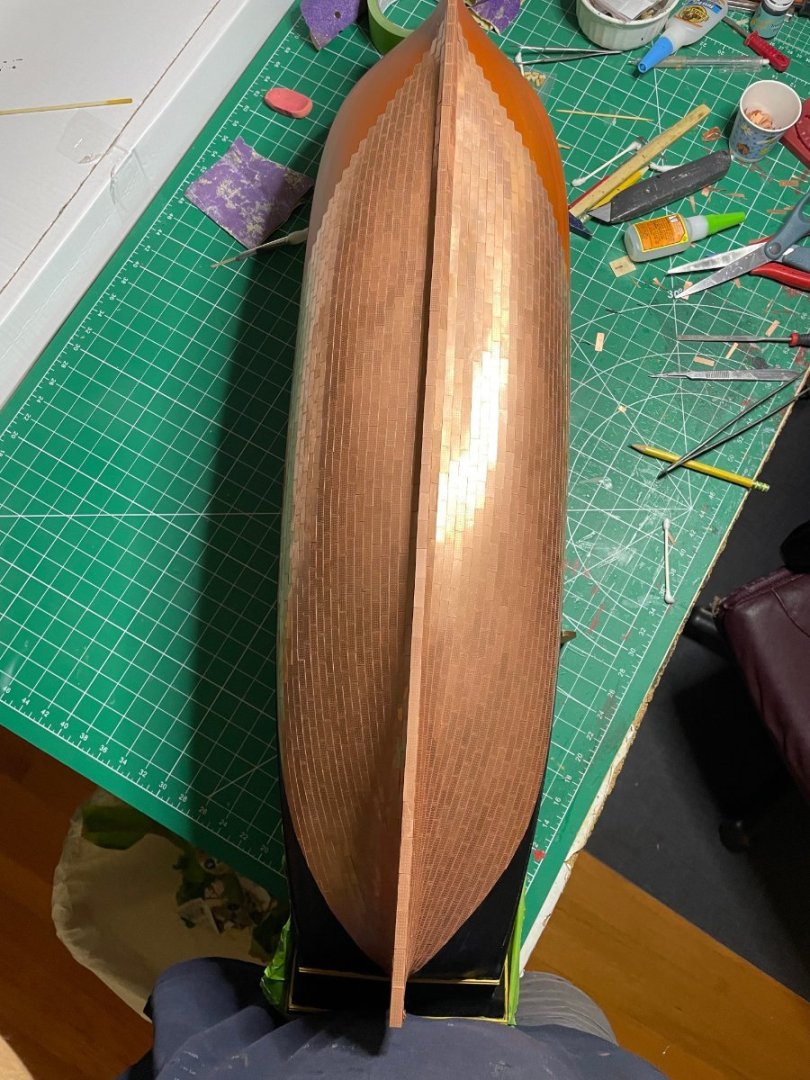
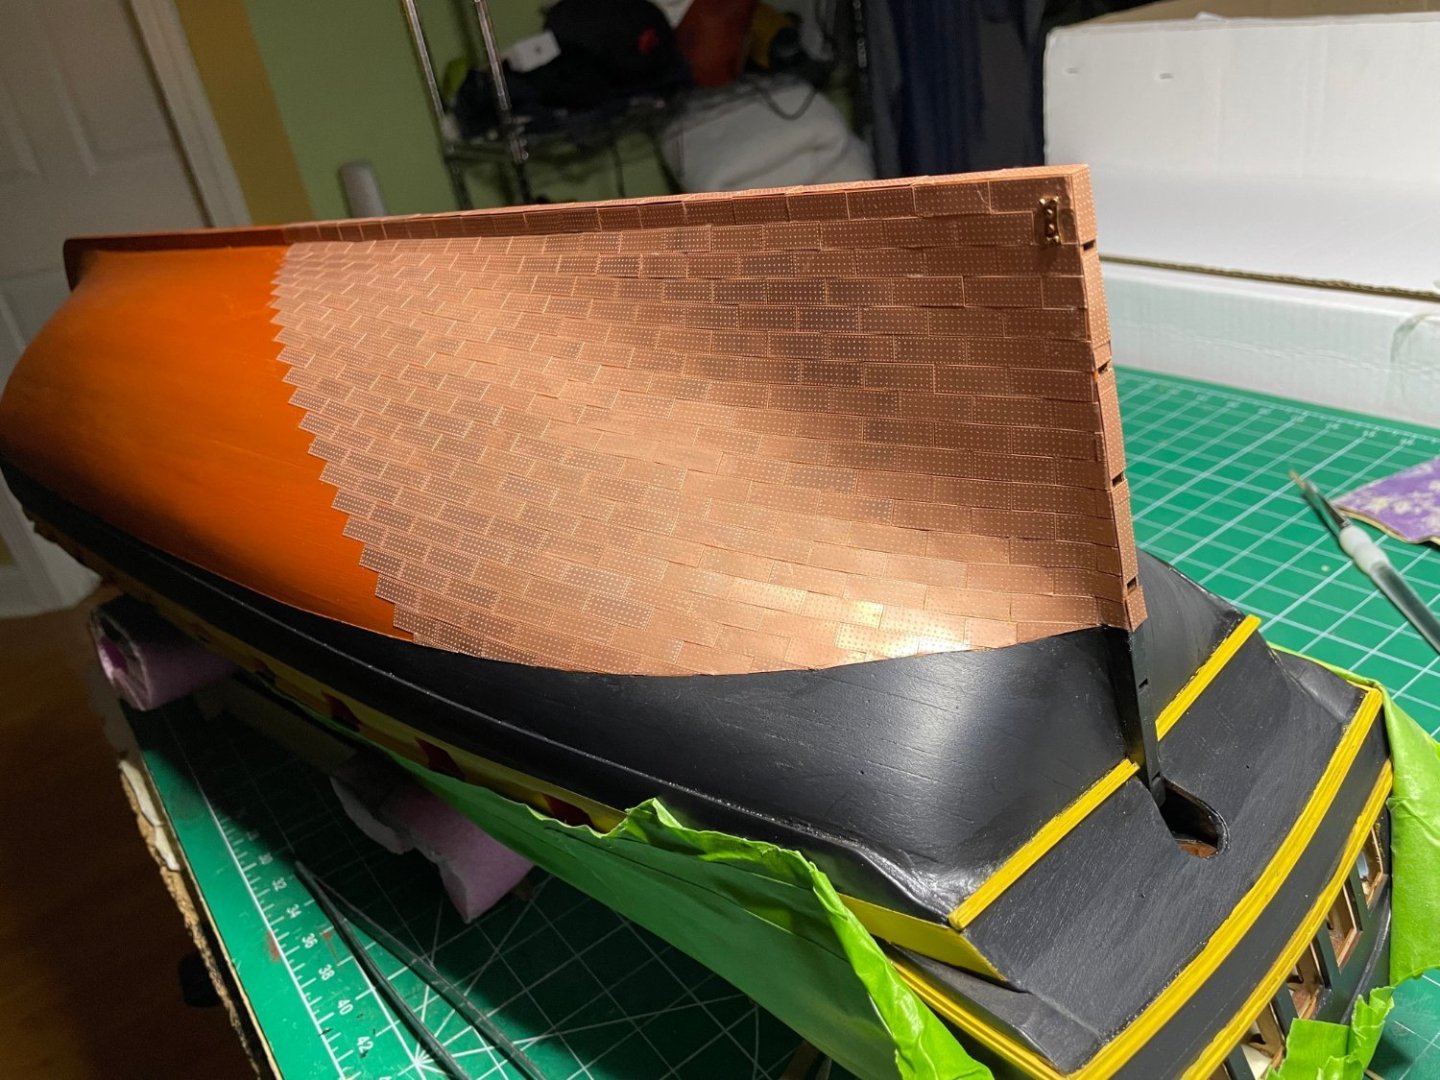
Nine more tile lengths forward, looks lie 1/2 way. Waterline still pretty straight.


- 233 replies
-
- 10
-
-
- Indefatigable
- Vanguard Models
- (and 1 more)
-
So far it looks like I can do 6 tile lengths a day. The water line appears to be looking pretty straight so far so I won't have to cut the tiles along the whole length at the end which is not easy. I think just a bit of retape and paint perhaps. Time will tell


- 233 replies
-
- 11
-
-
- Indefatigable
- Vanguard Models
- (and 1 more)
-
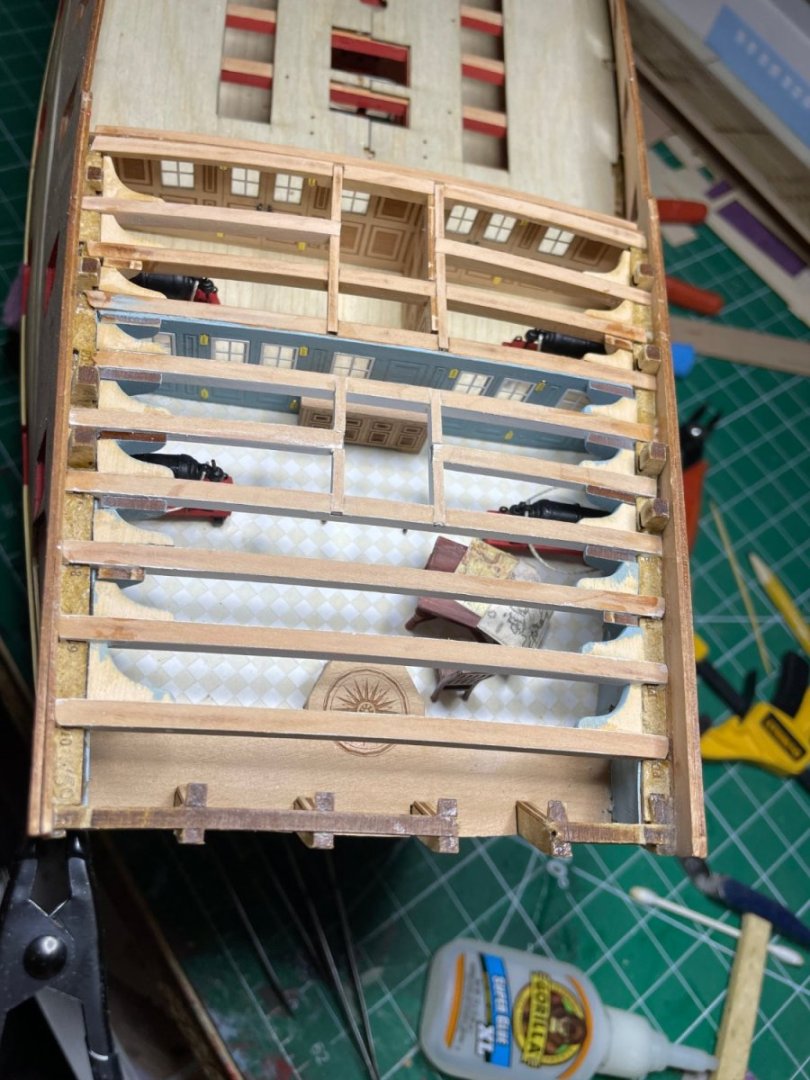
I filed the knees a bit to get a better fit but as just about impossible to see, I usually had a bit of a gap and relied on the contact with the transverse beam for gluing
- 587 replies
-
- 2
-

-
-
- Indefatigable
- Vanguard Models
- (and 1 more)
-
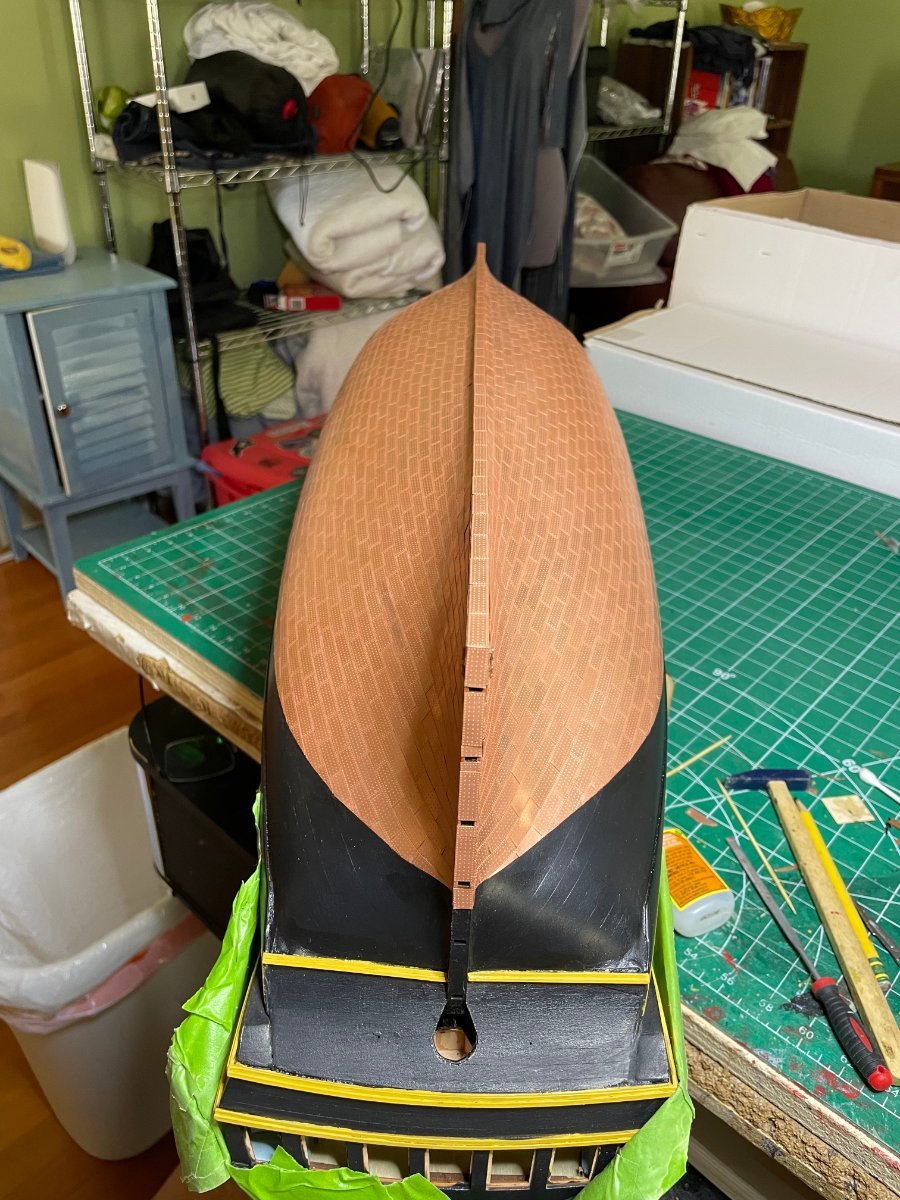
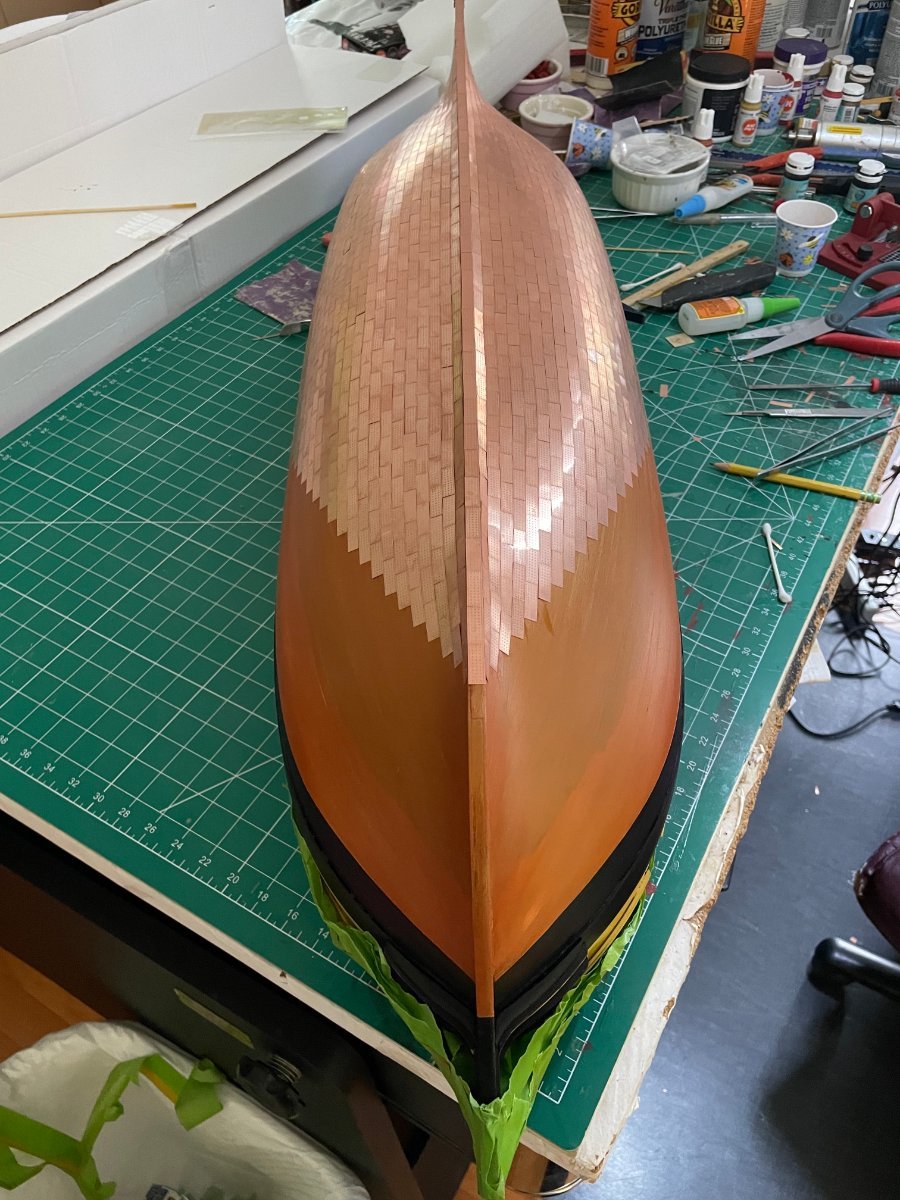
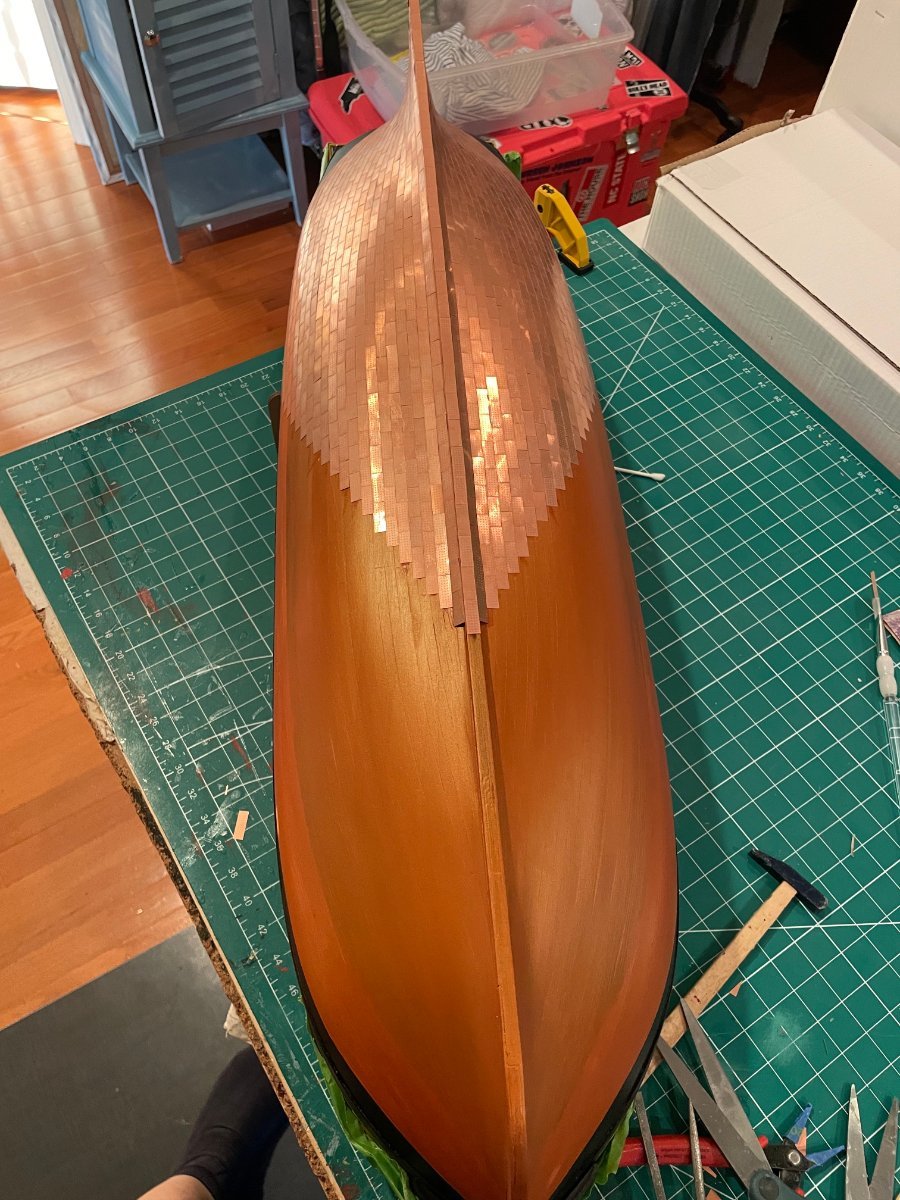
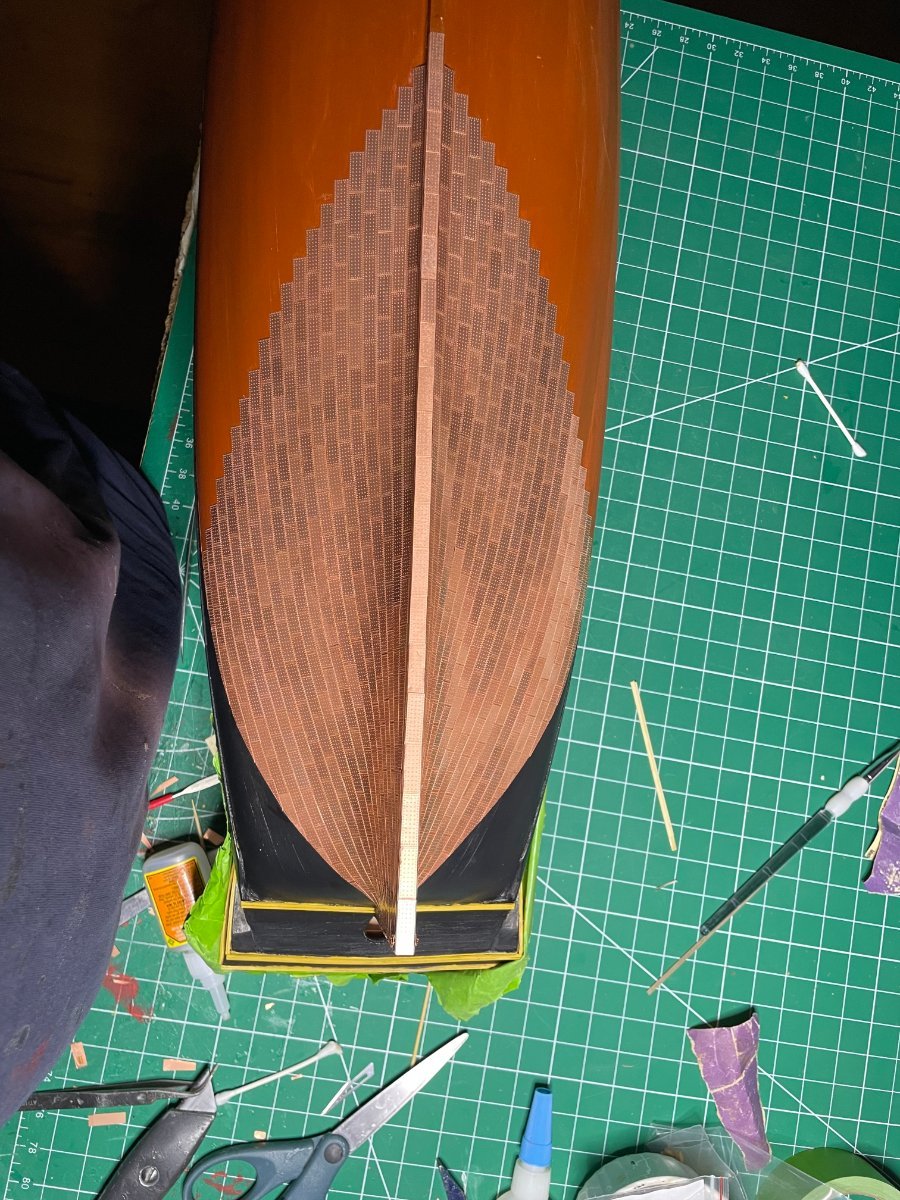
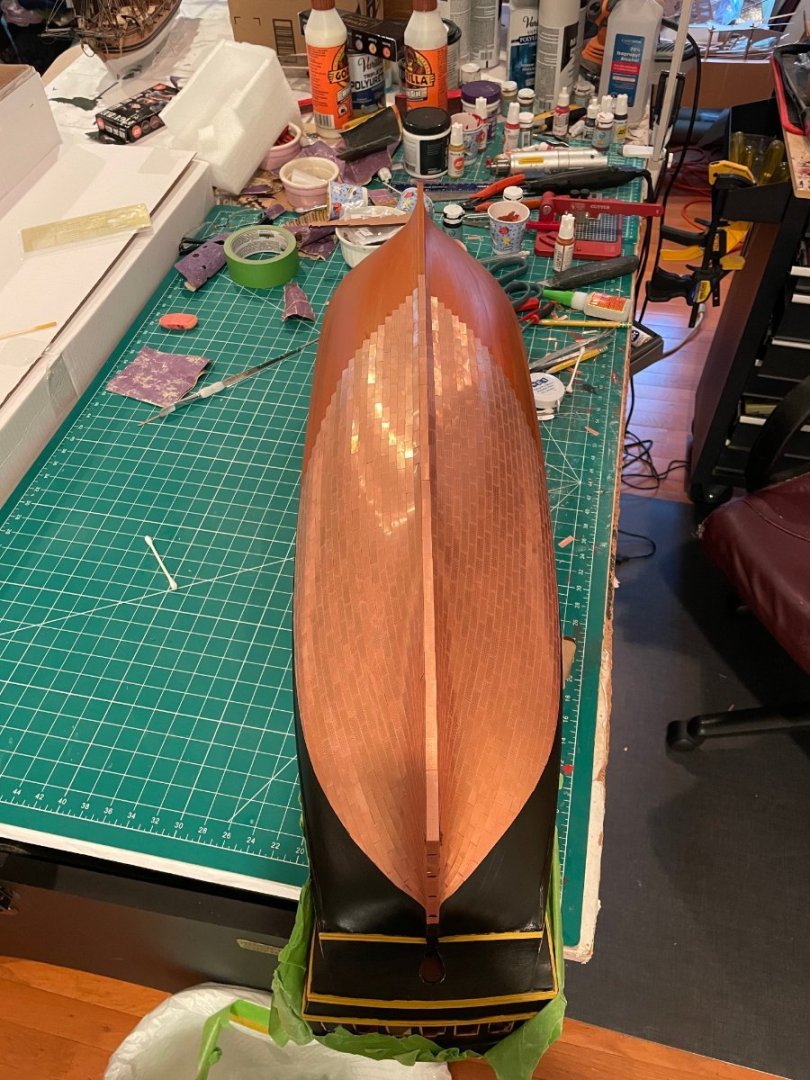
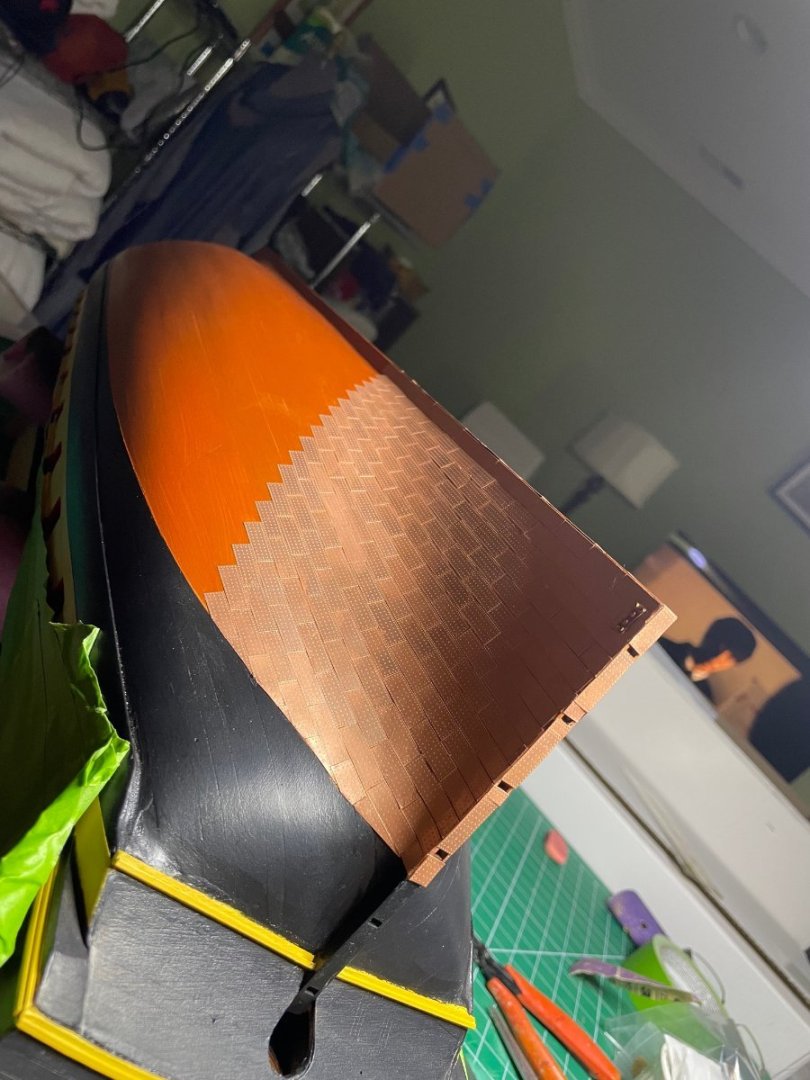
After rounds today able to move forward 6 tile lengths. Appreciating the curves although I have to admit the copper paint actually looked pretty good.


- 233 replies
-
- 11
-
-
- Indefatigable
- Vanguard Models
- (and 1 more)
-
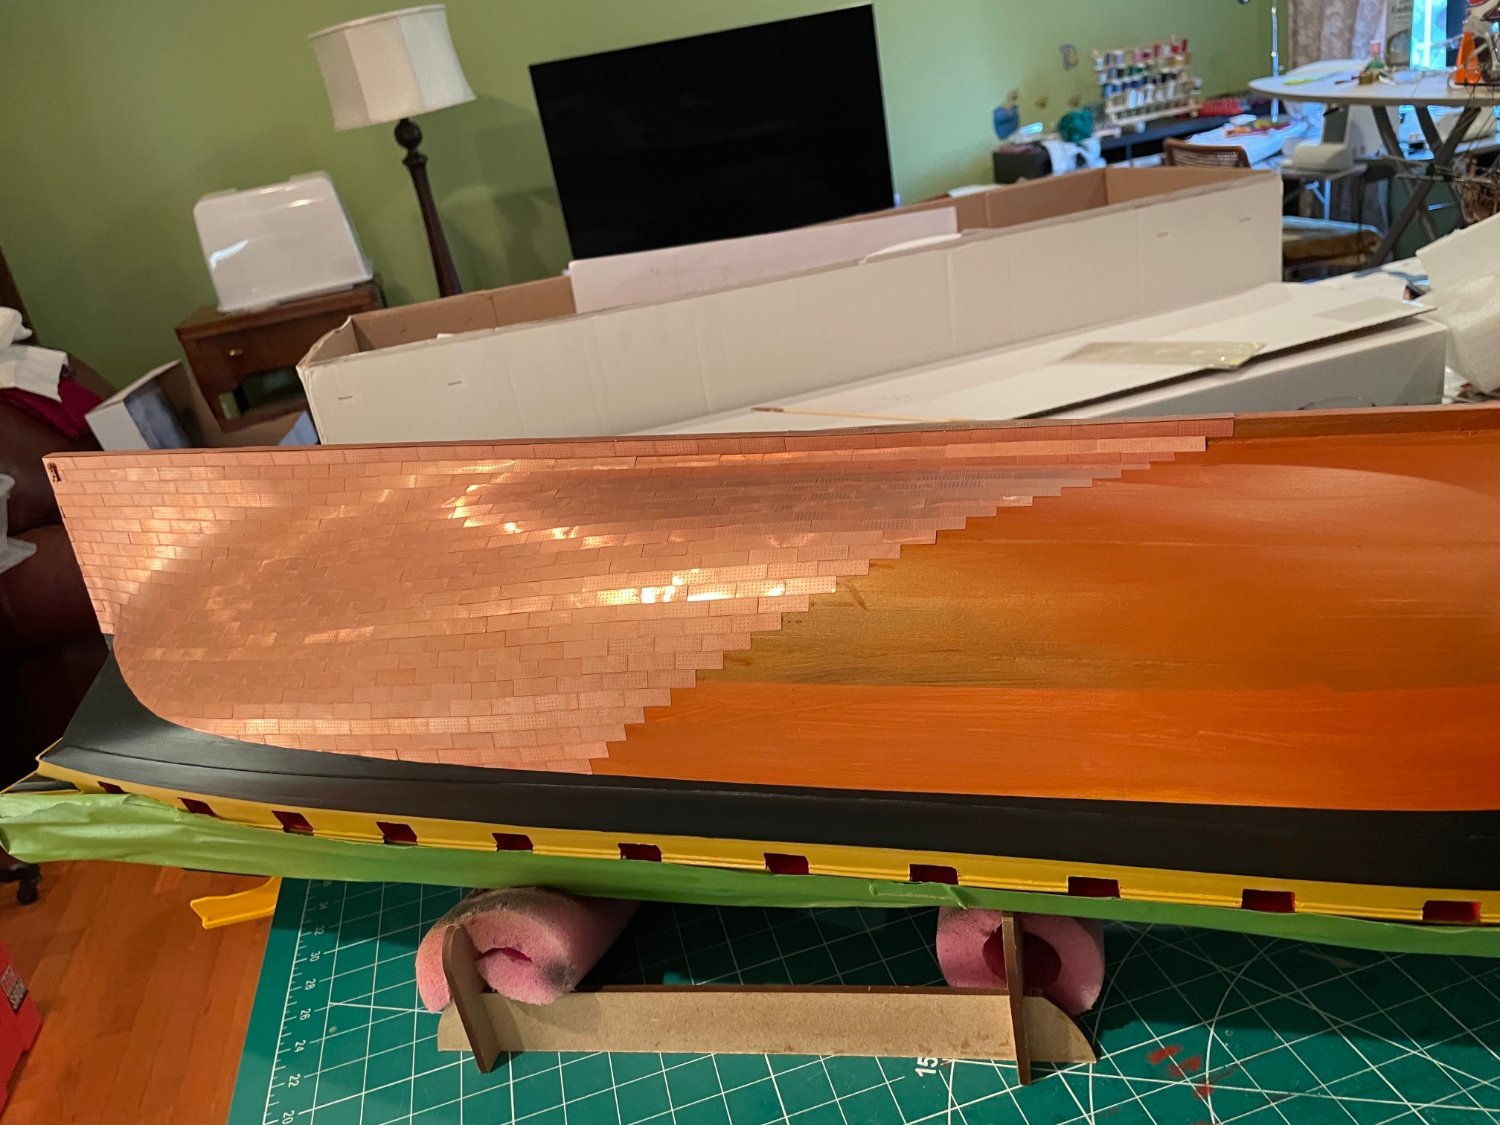
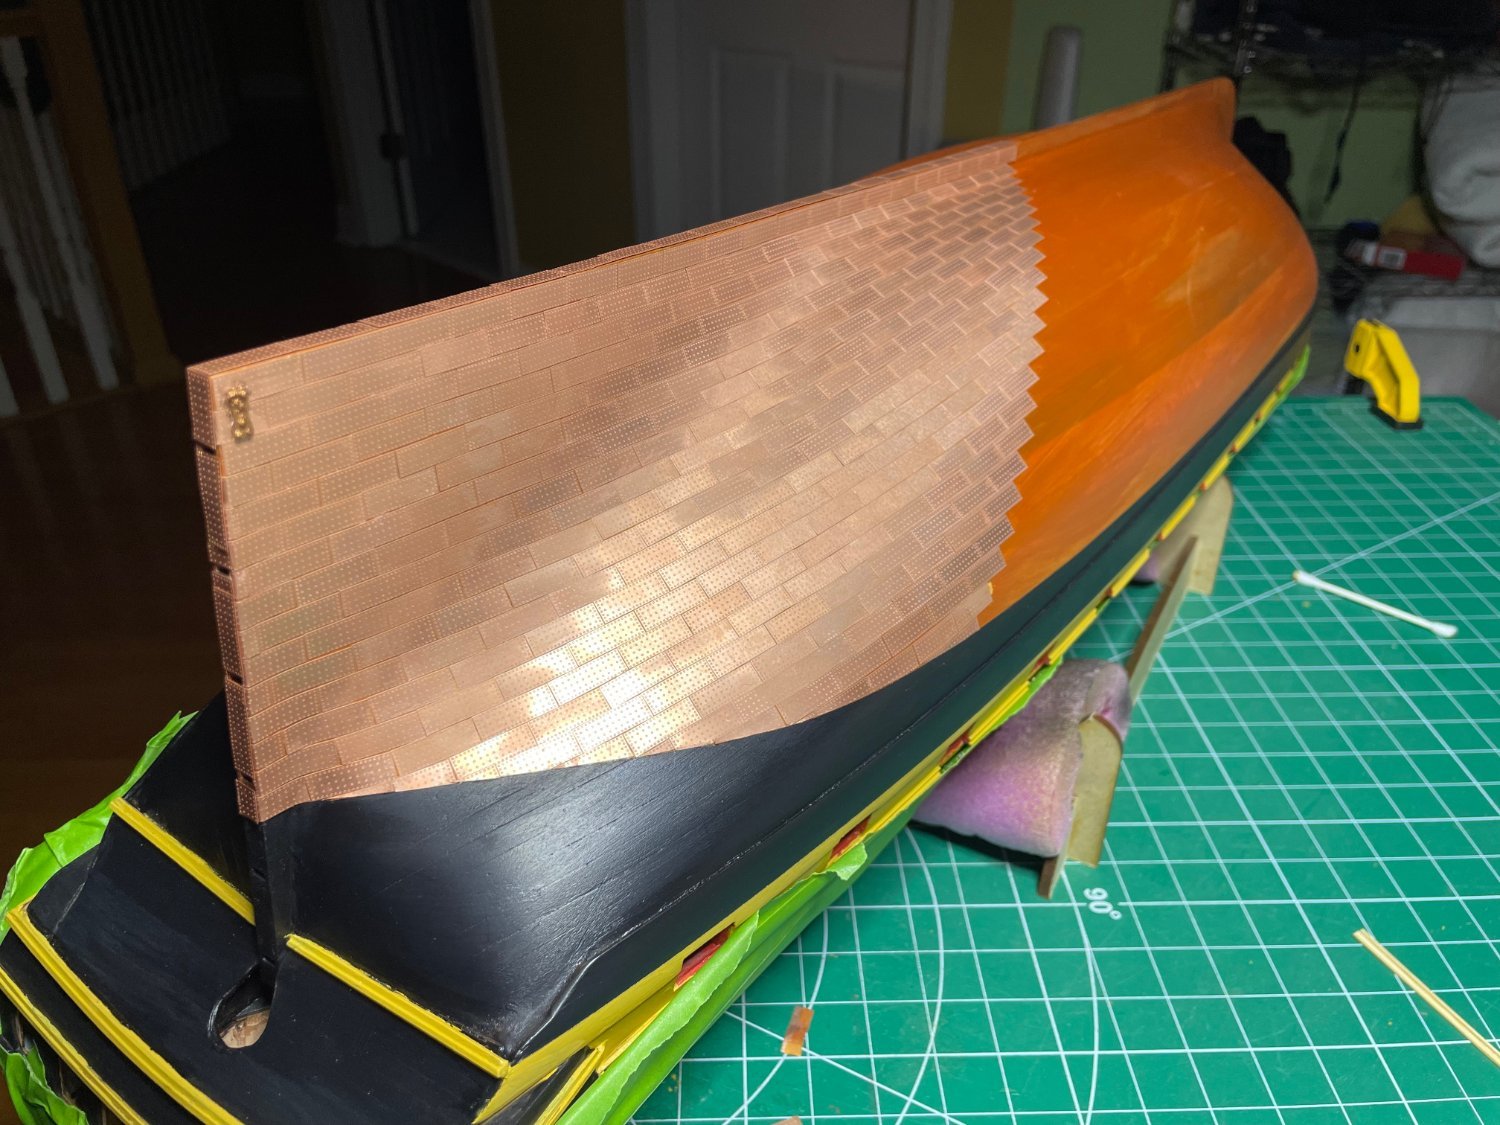
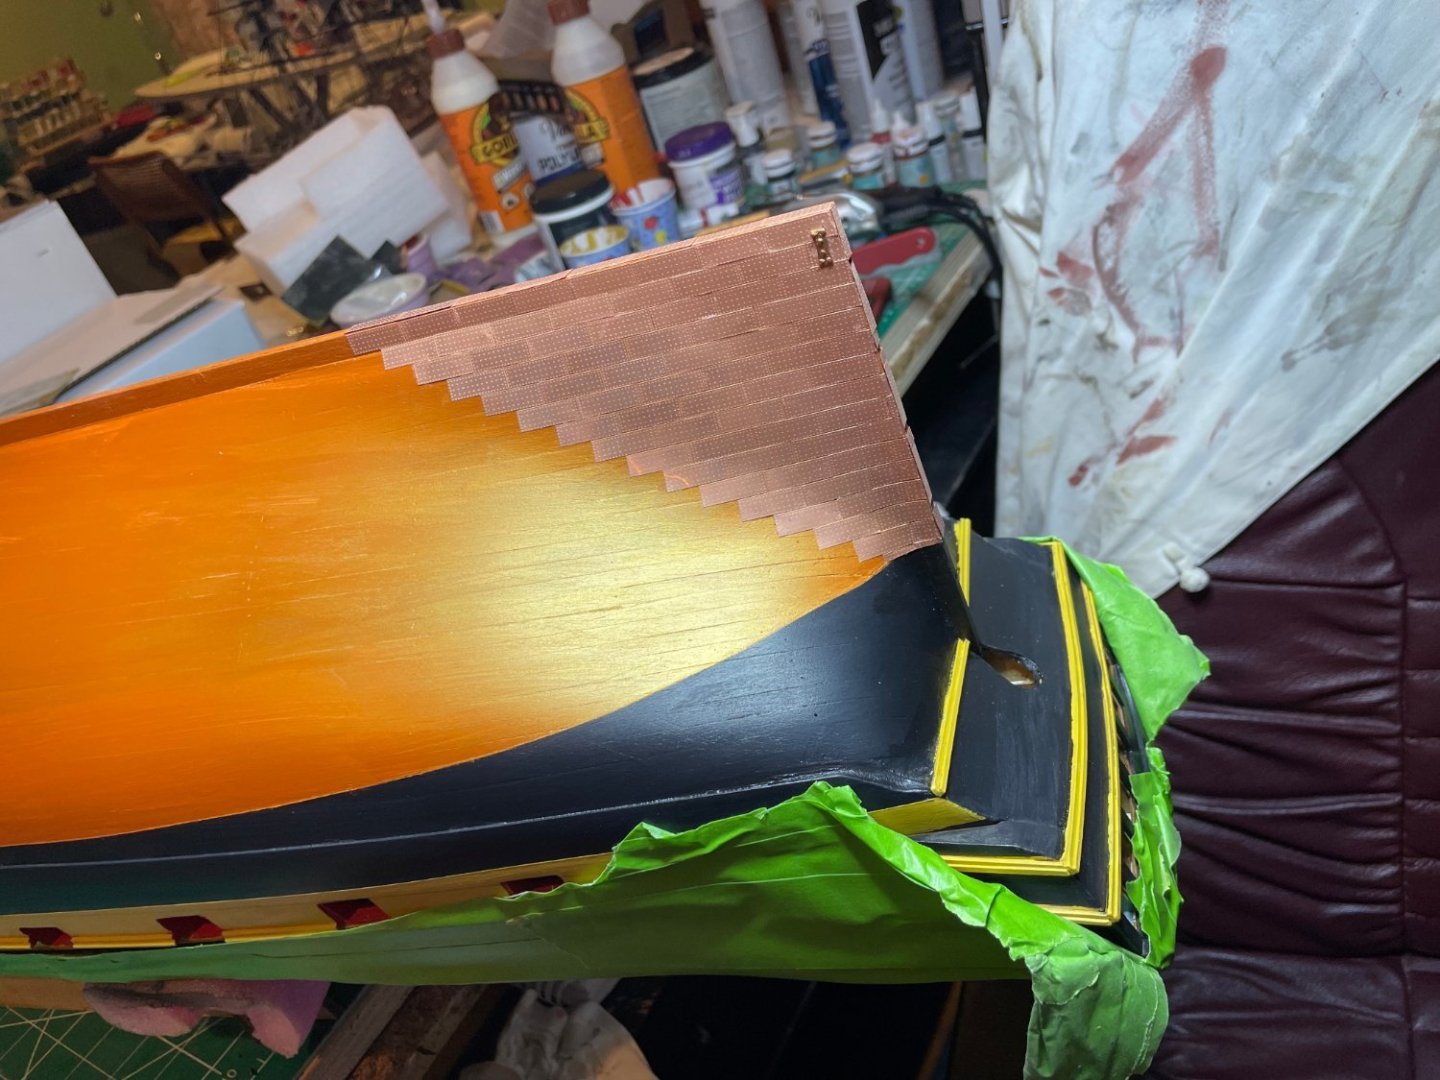
Busy day at work but was able to get in some coppering today. Took more than 1/2 hr yesterday separating all the plate.

- 233 replies
-
- 17
-
-
- Indefatigable
- Vanguard Models
- (and 1 more)
-
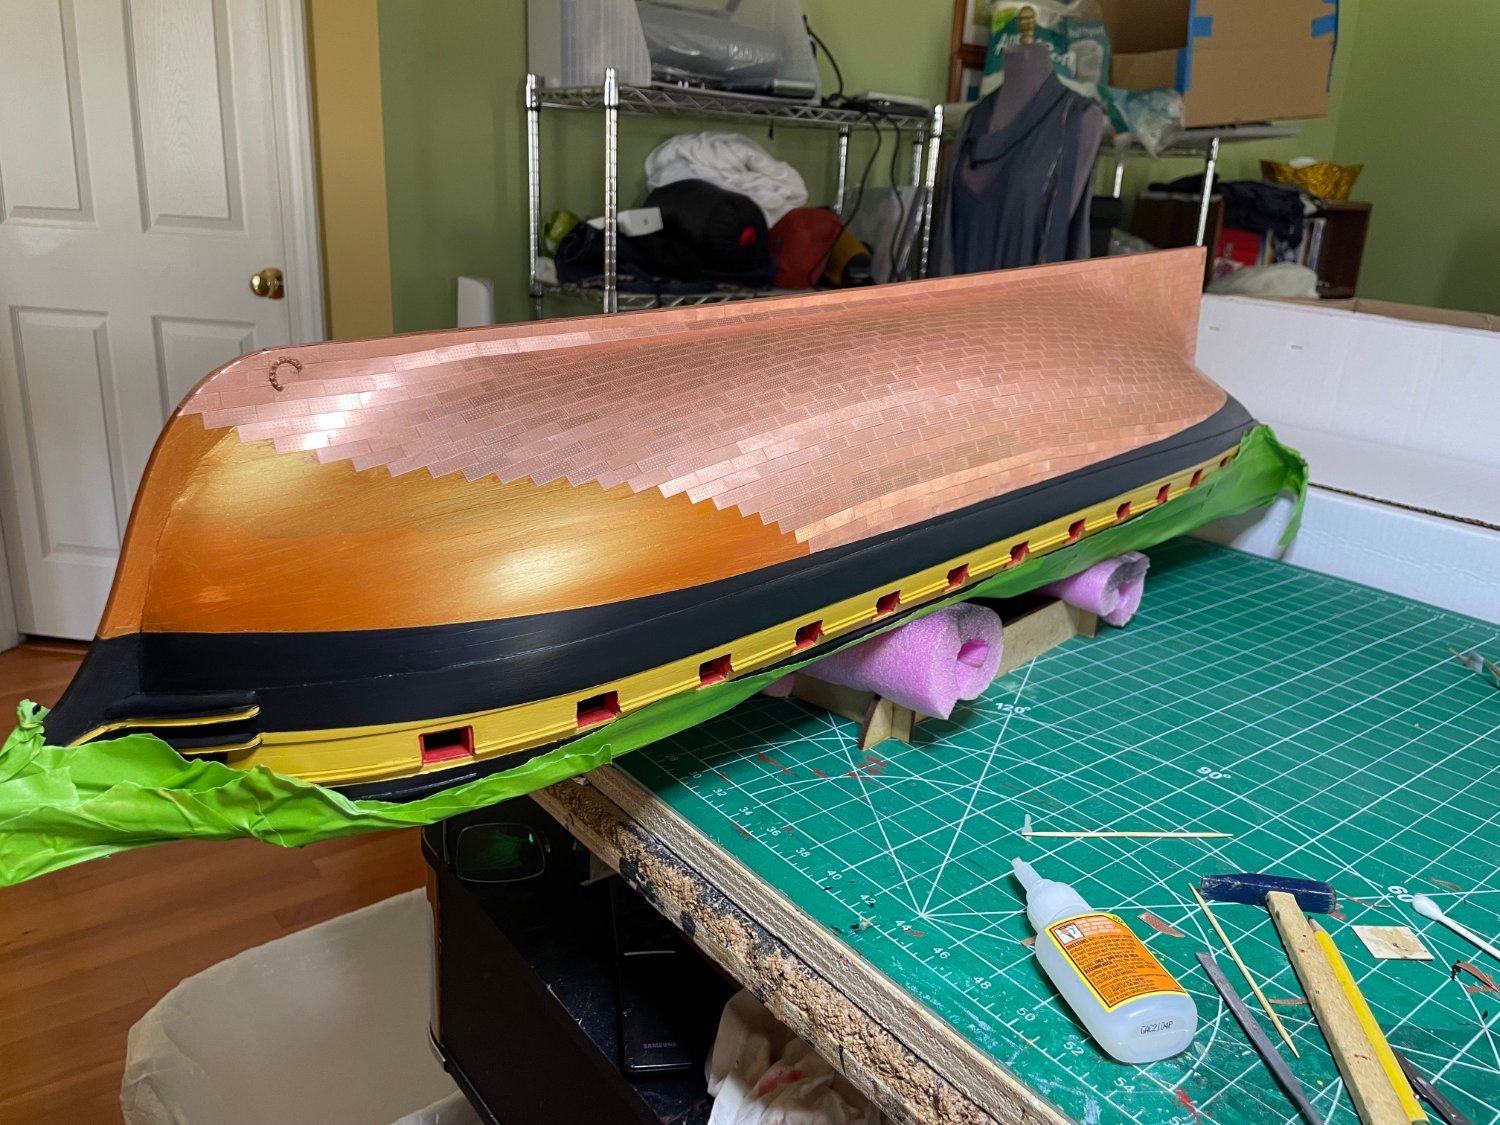
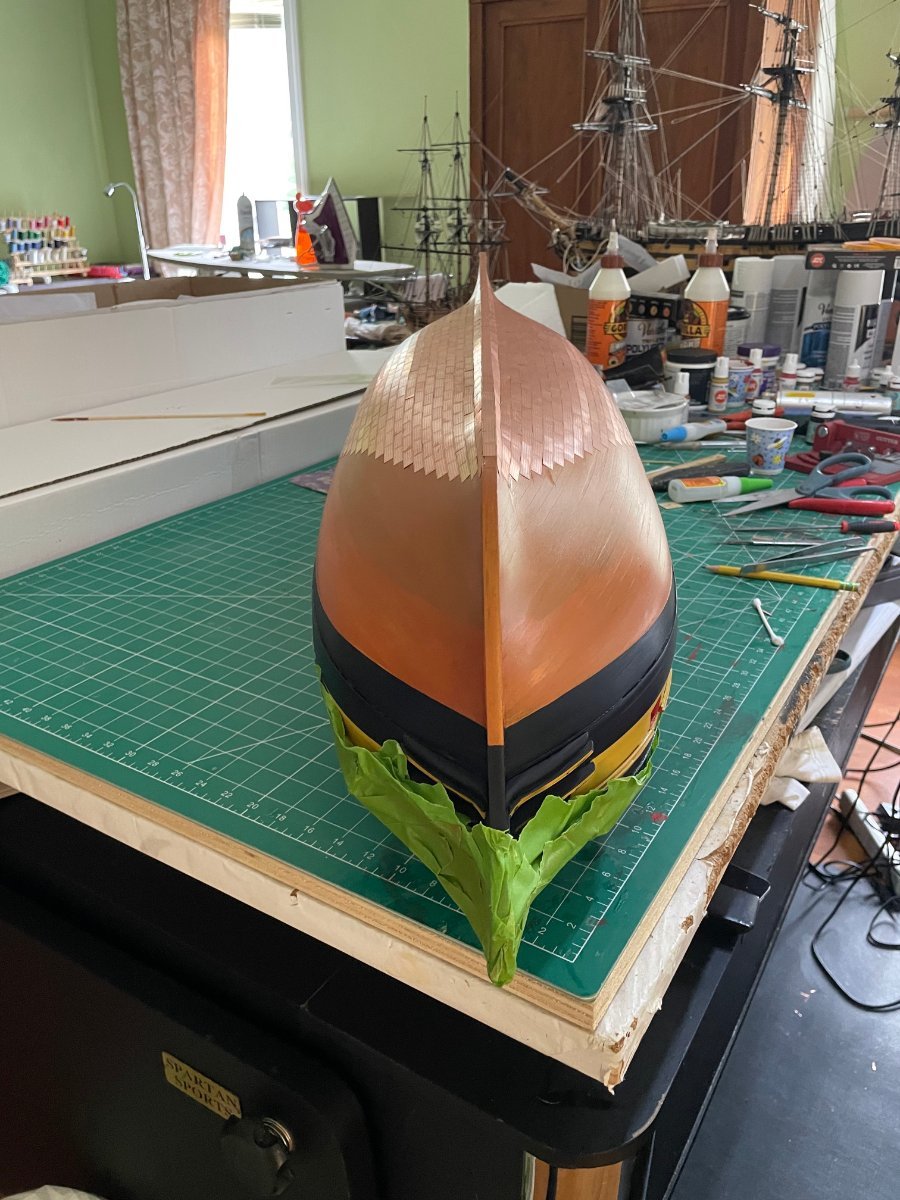
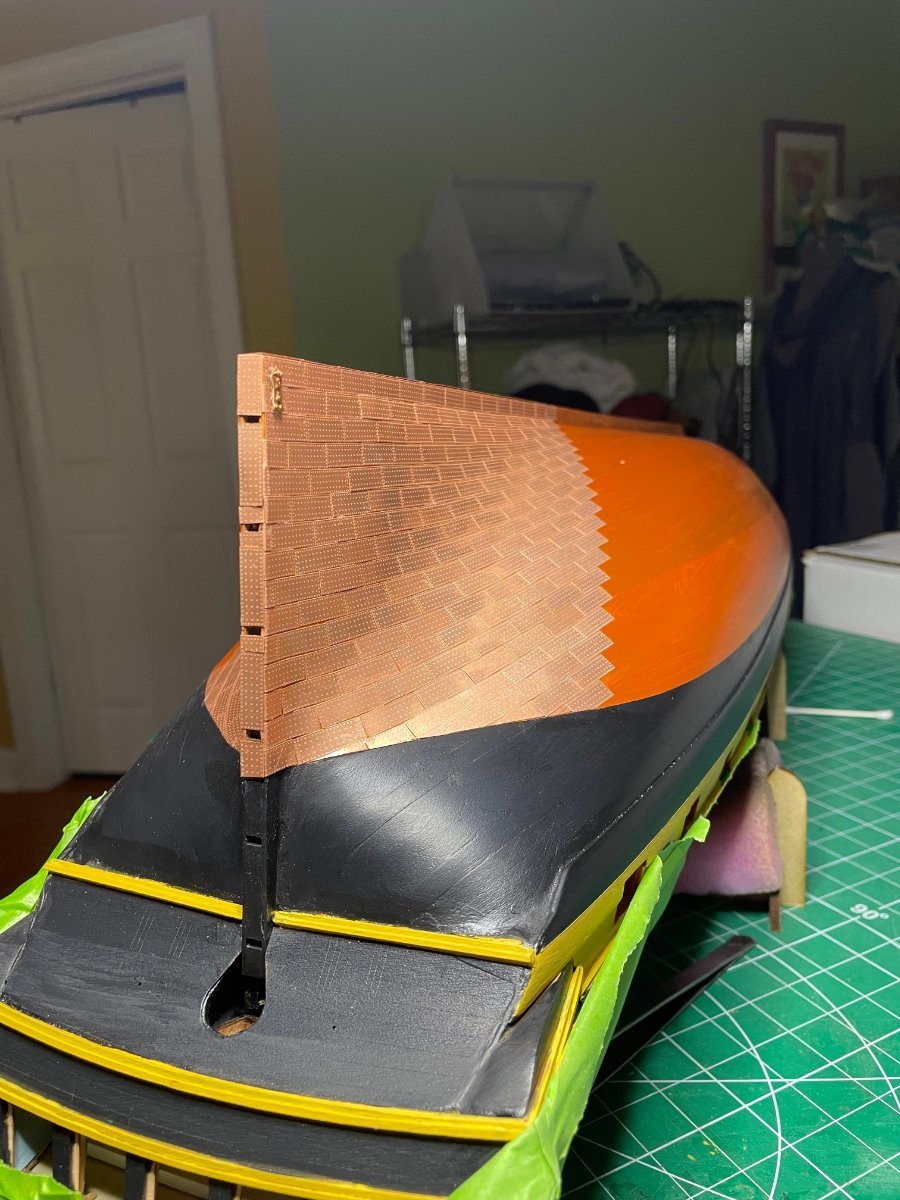
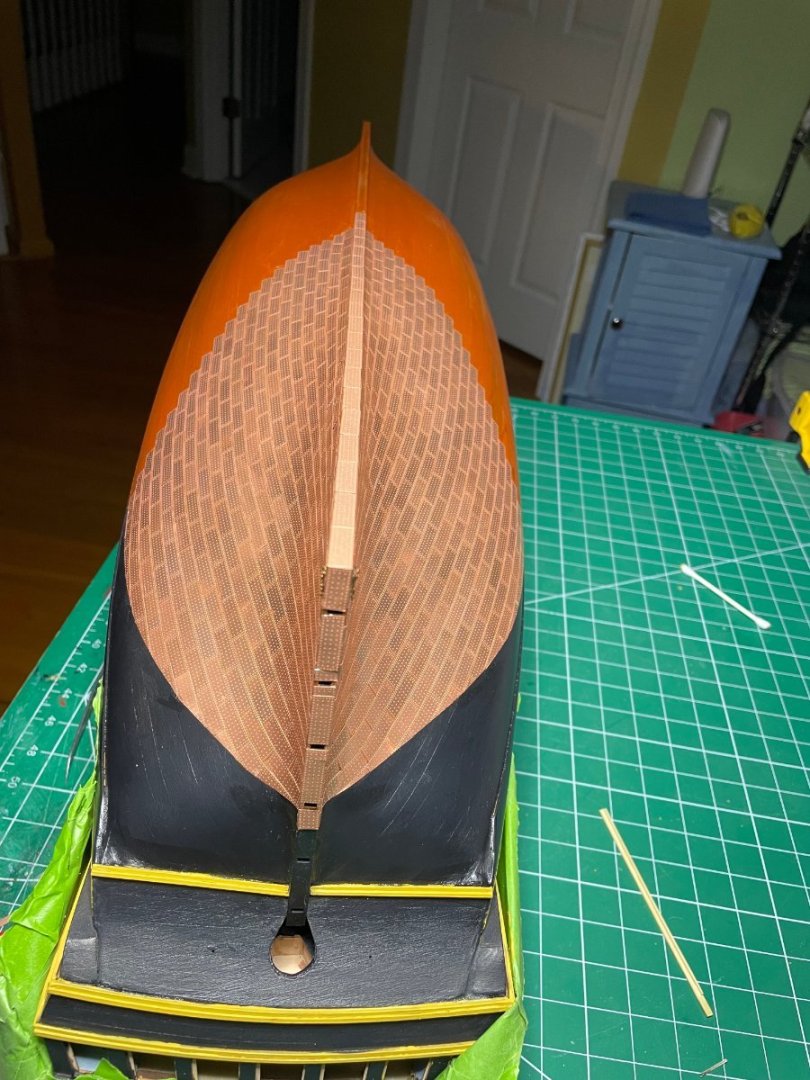
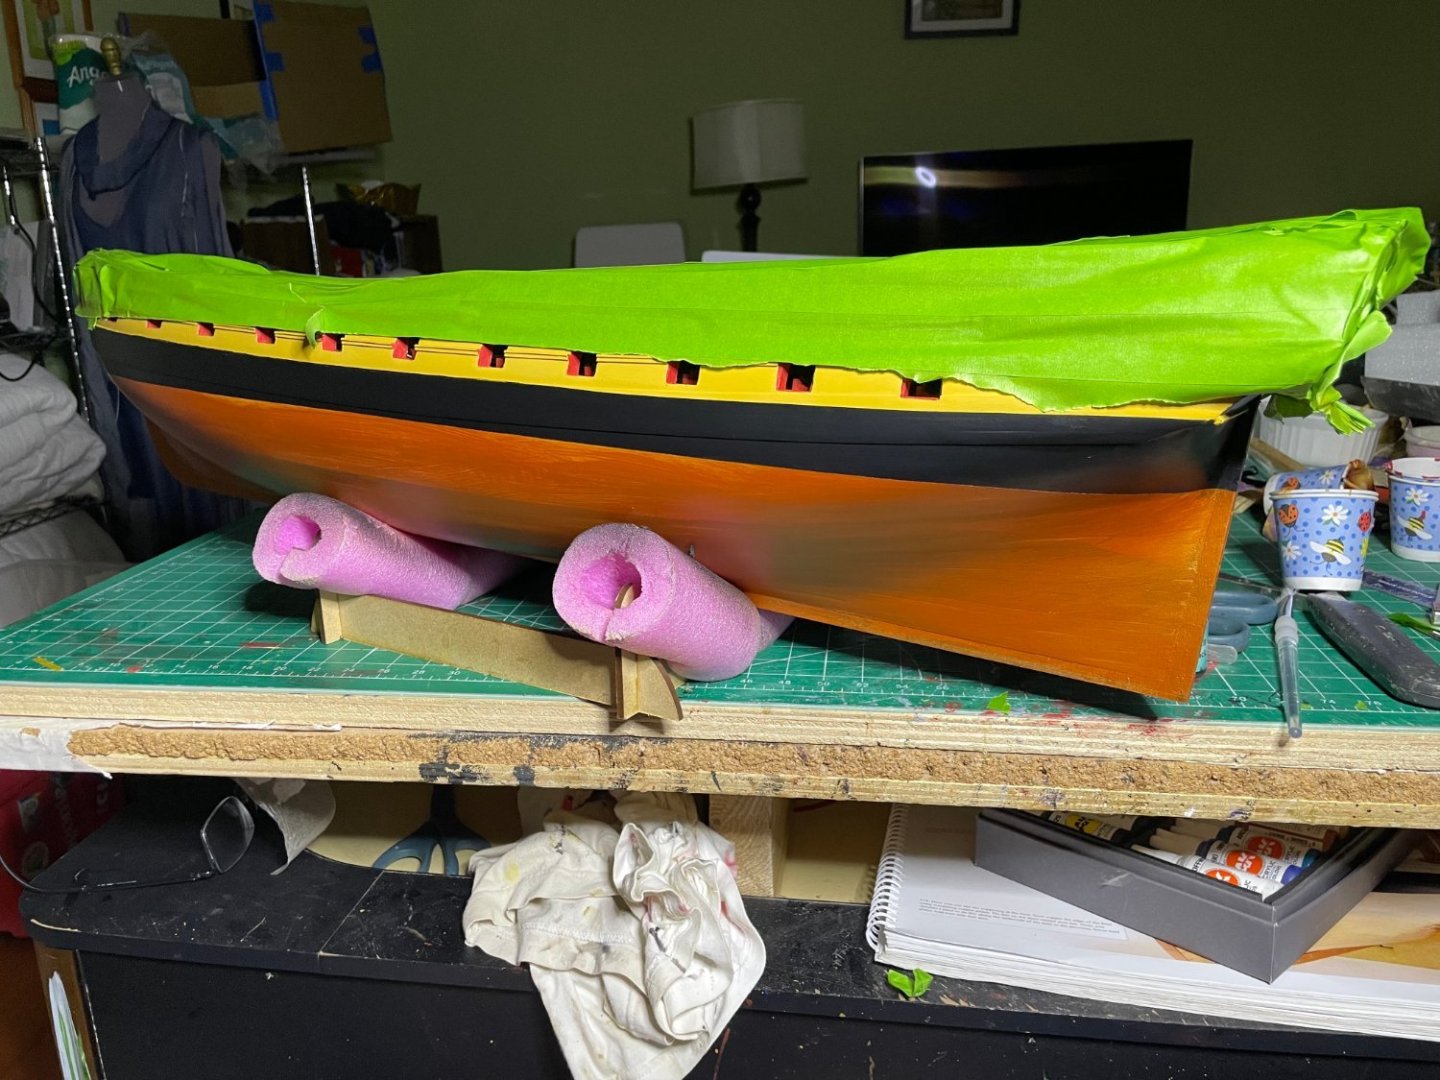
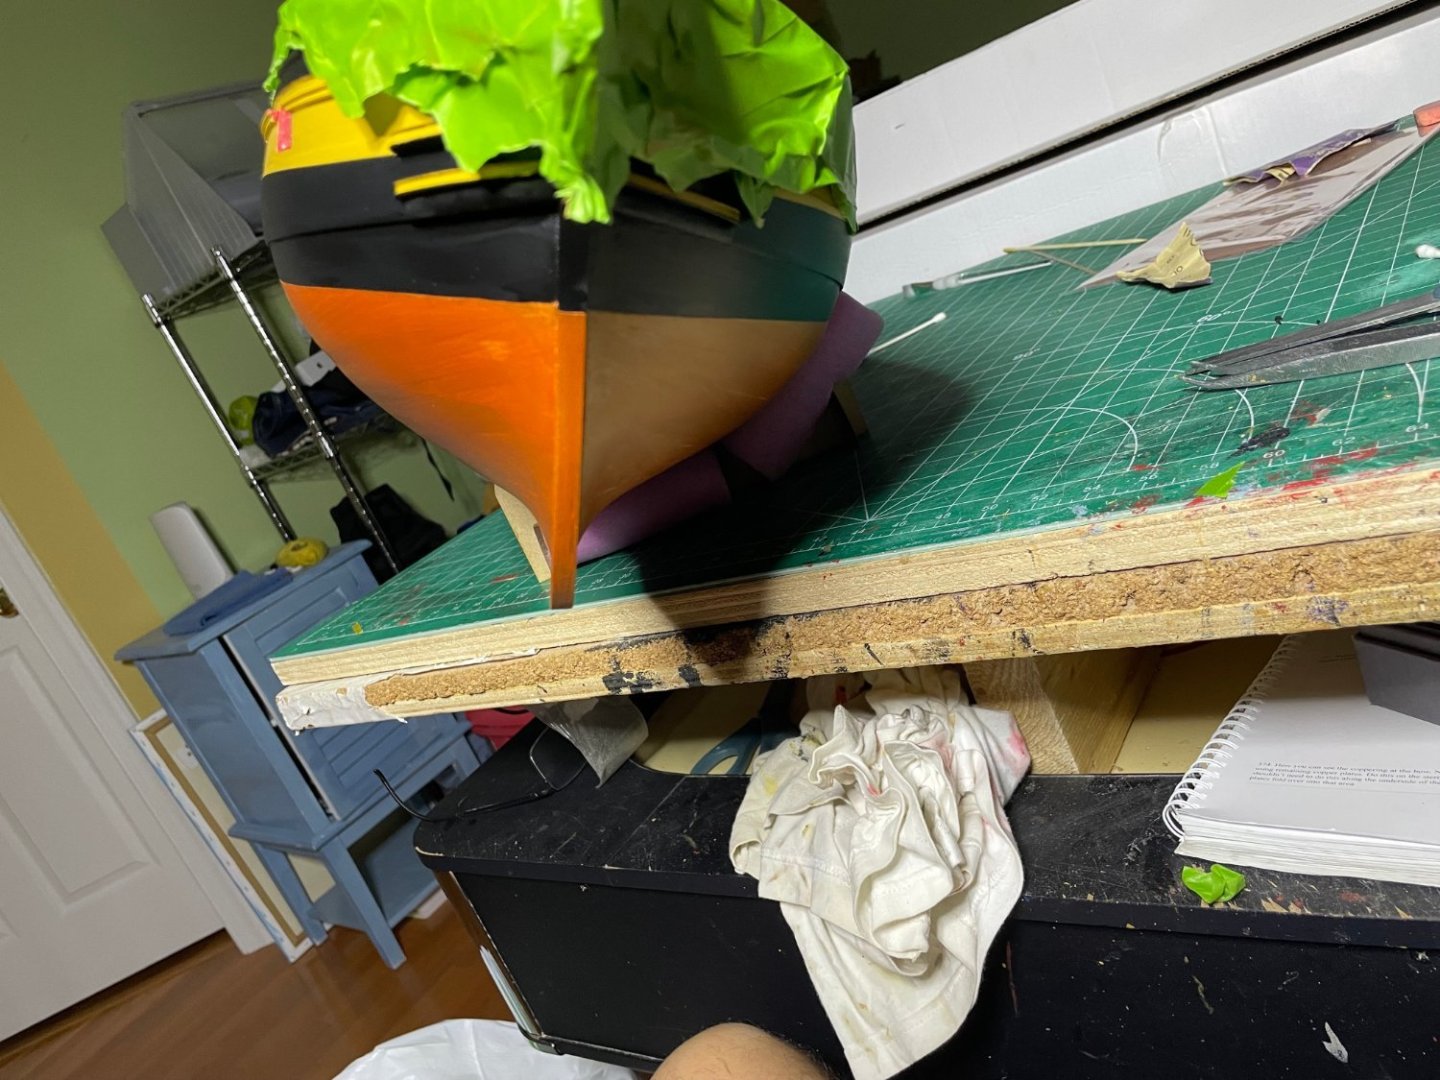
Painted a copper base to hide any tiny gaps. Plating starts tomorrow.


- 233 replies
-
- 11
-
-
- Indefatigable
- Vanguard Models
- (and 1 more)
-
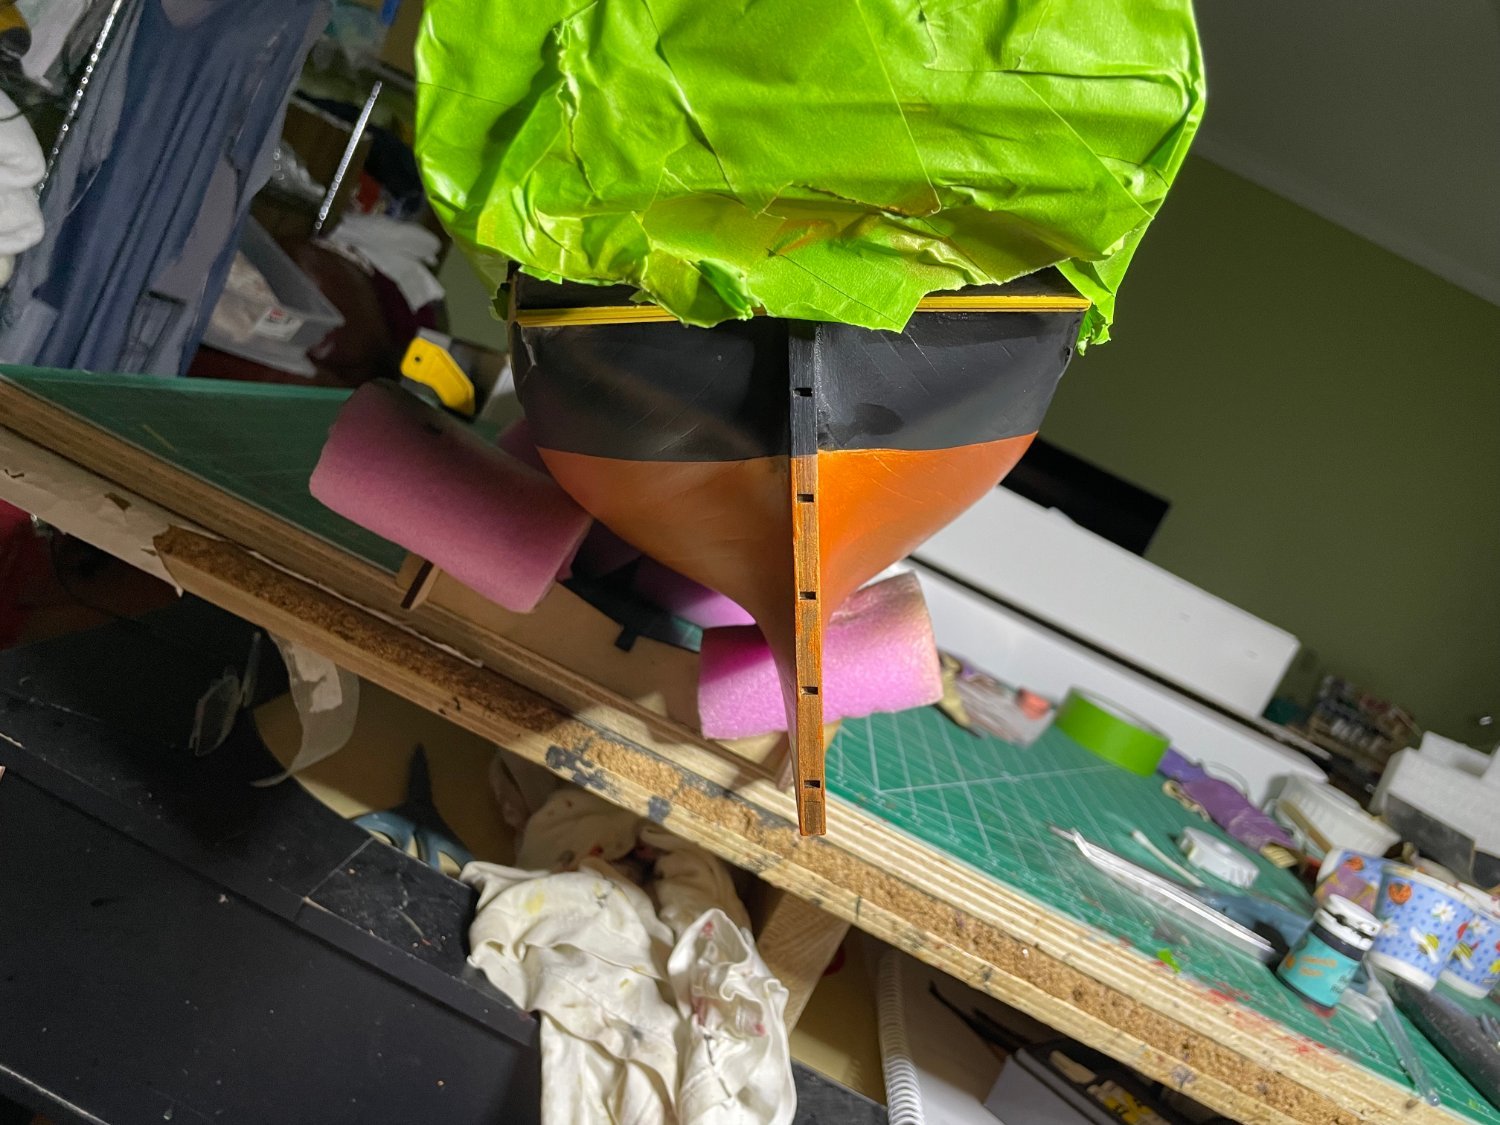
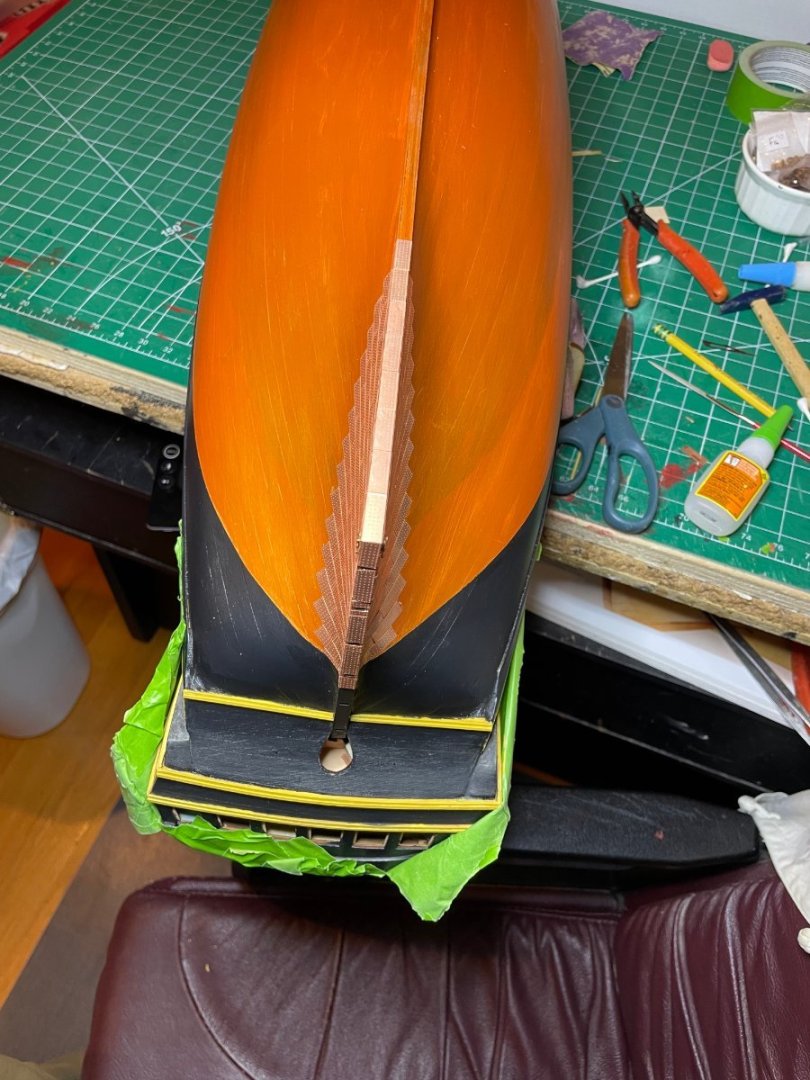
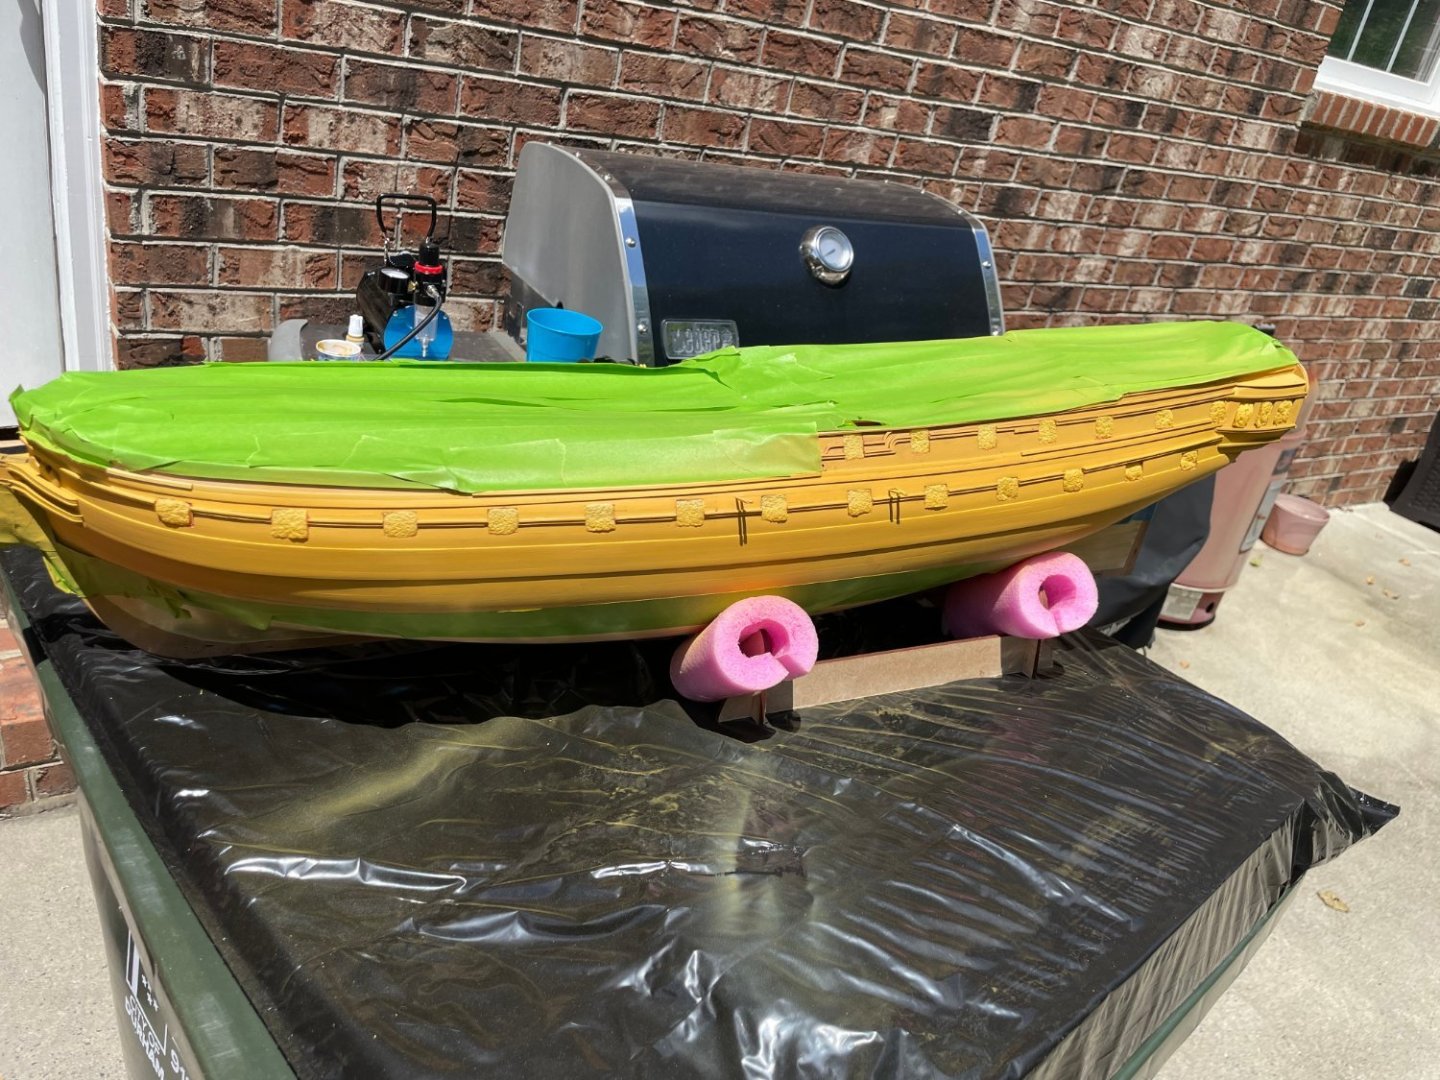
So a bit more tape, the clear coat trick and some fine brushes, the lines are done. Time to move onto the copper. A couple of weeks work at least. I don't have to cut them but I do have to glue them on.


- 233 replies
-
- 12
-
-
- Indefatigable
- Vanguard Models
- (and 1 more)
-
Good point. Will do that when I do the copper paint. I likely will remask the yellow stripe on the black side and do that to make a cleaner tough up.
- 233 replies
-
- 3
-
-
- Indefatigable
- Vanguard Models
- (and 1 more)
-
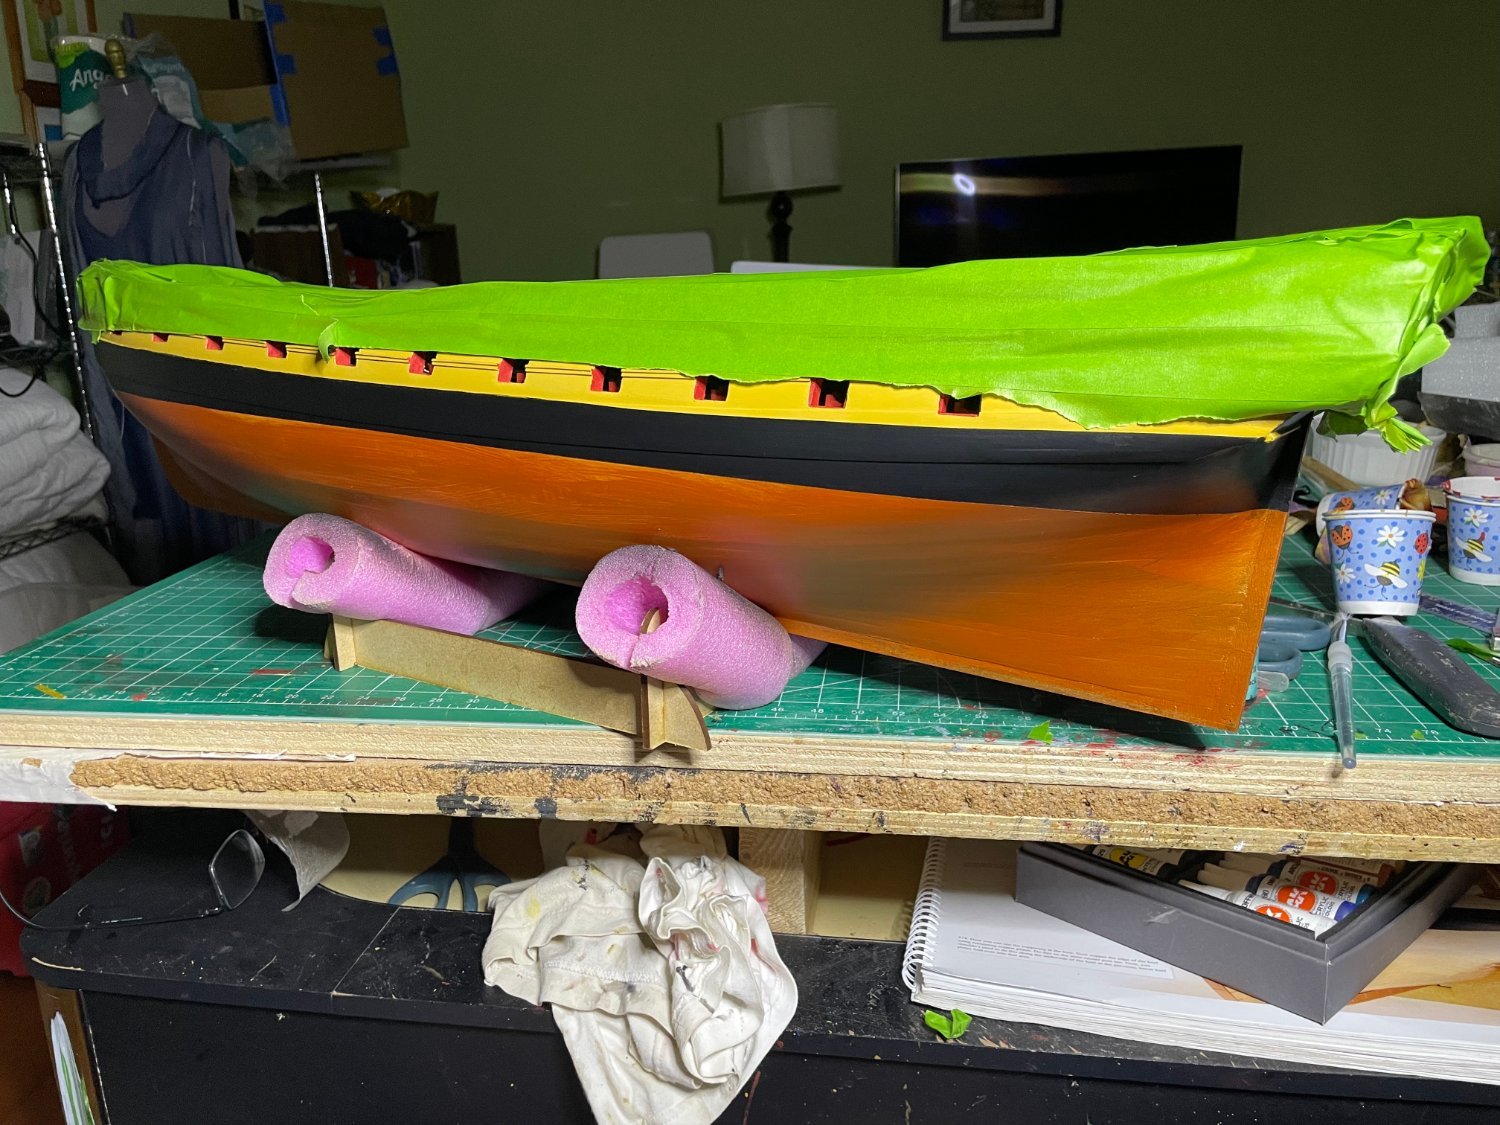
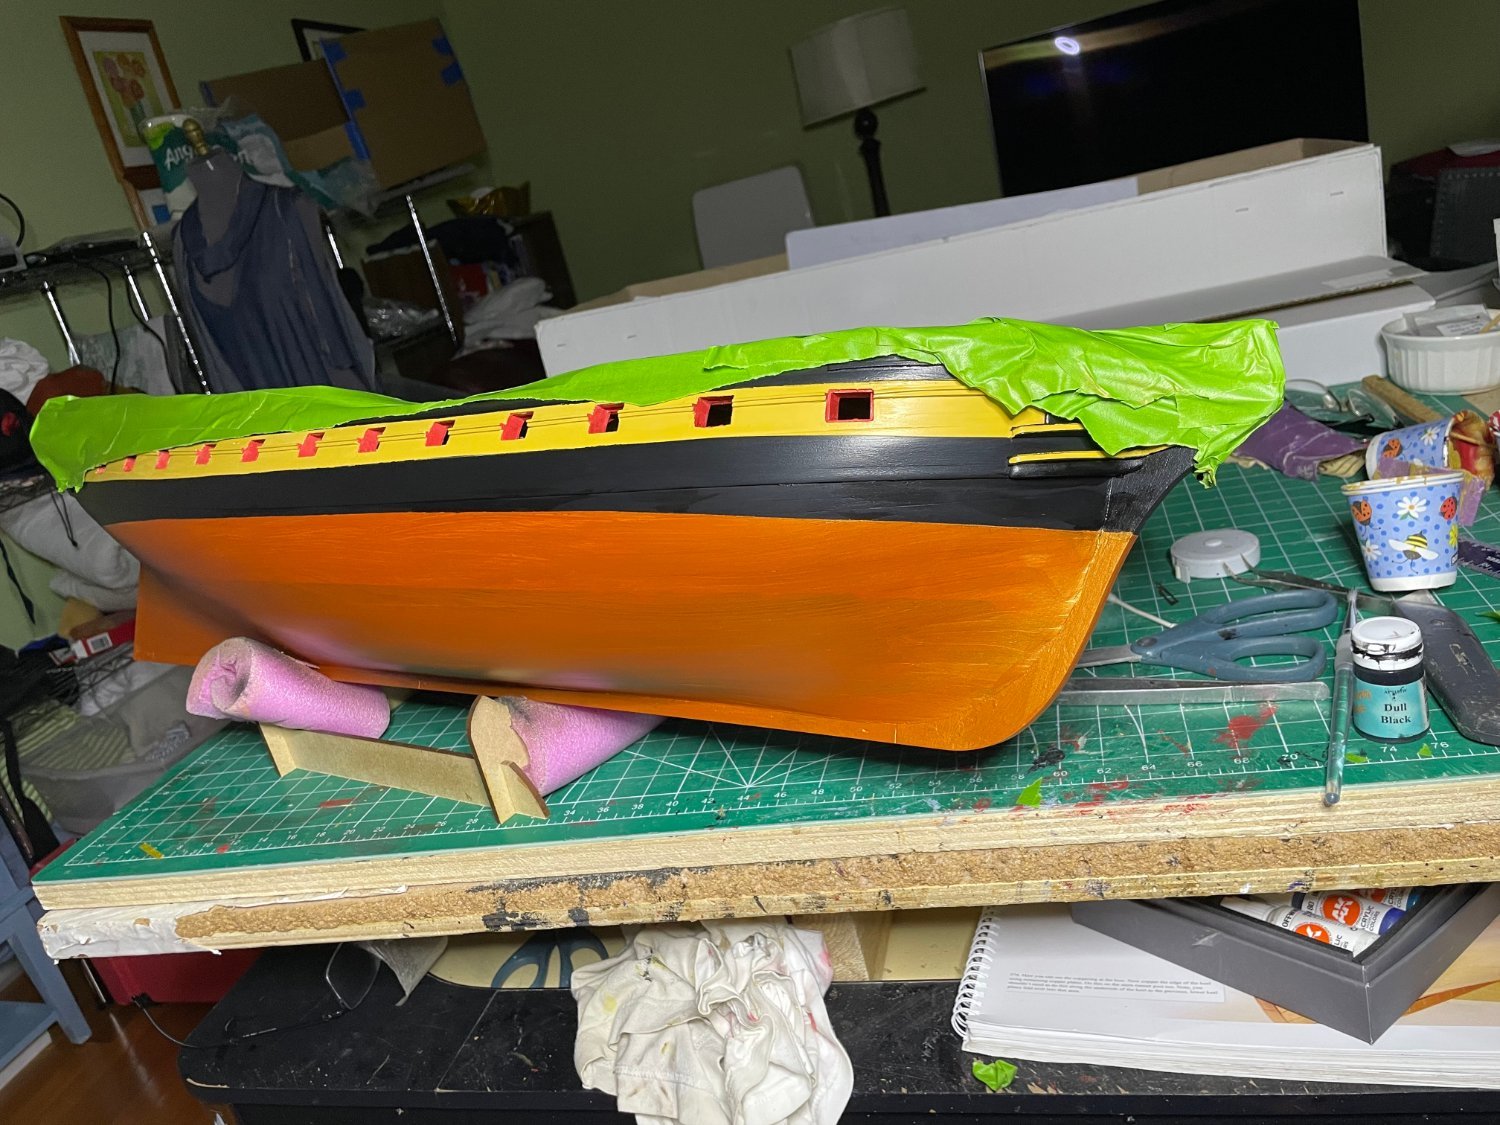
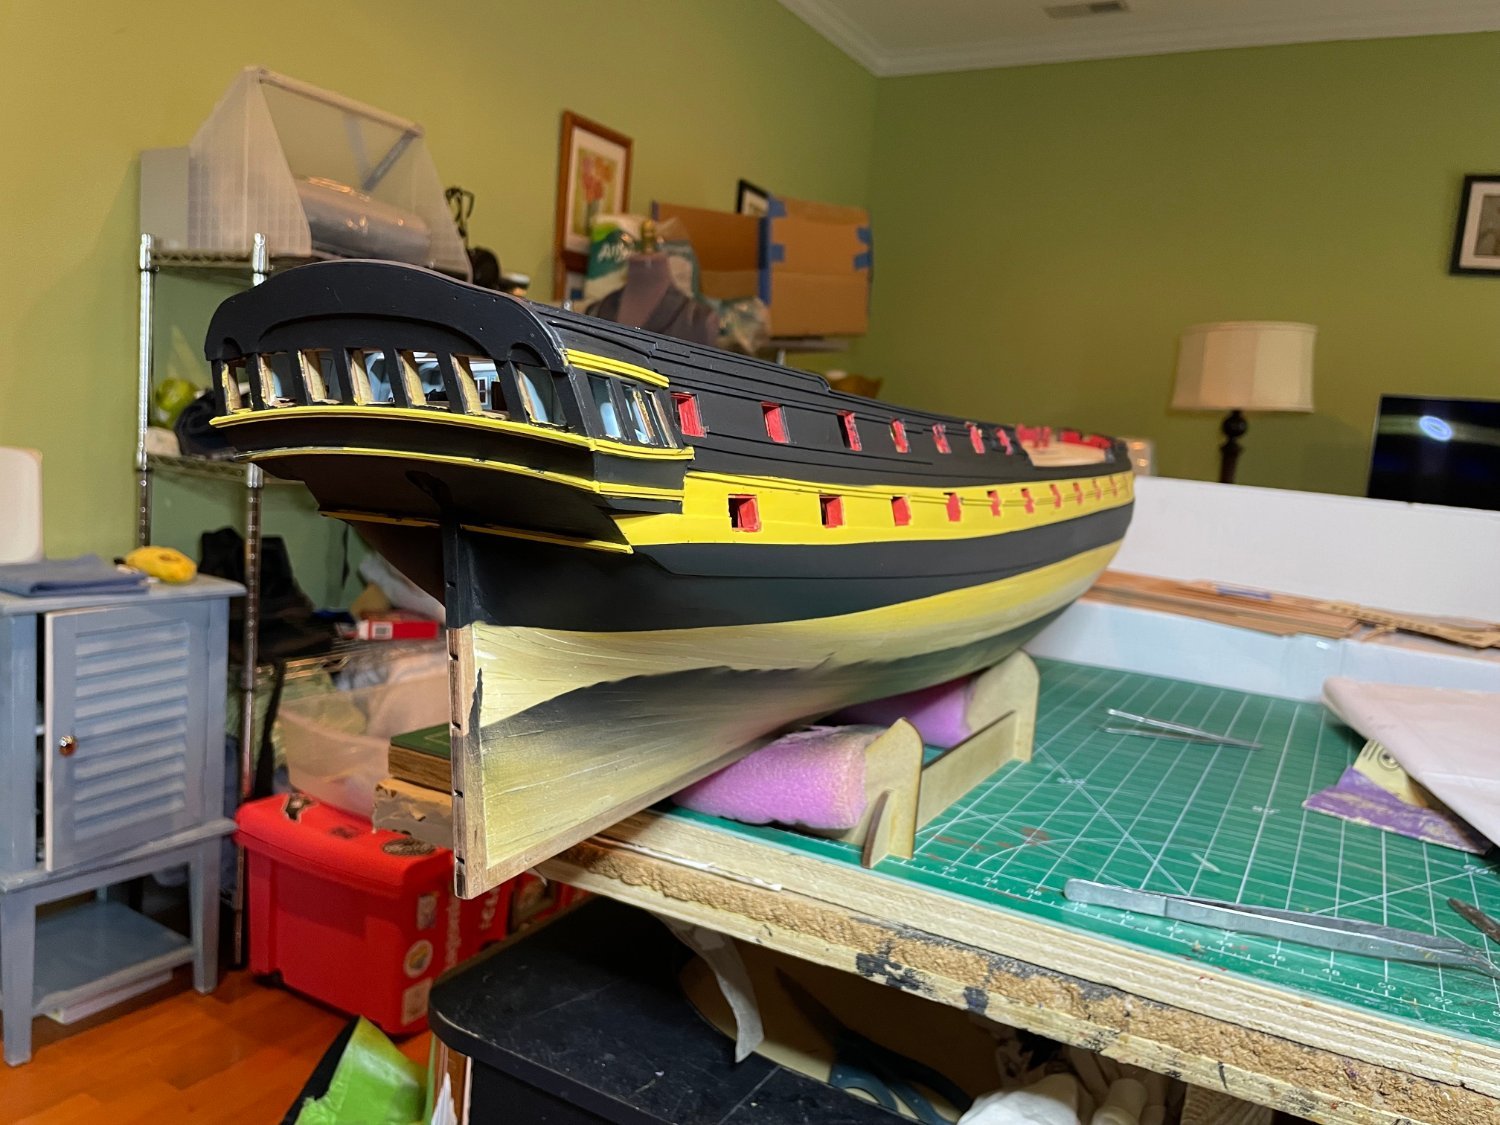
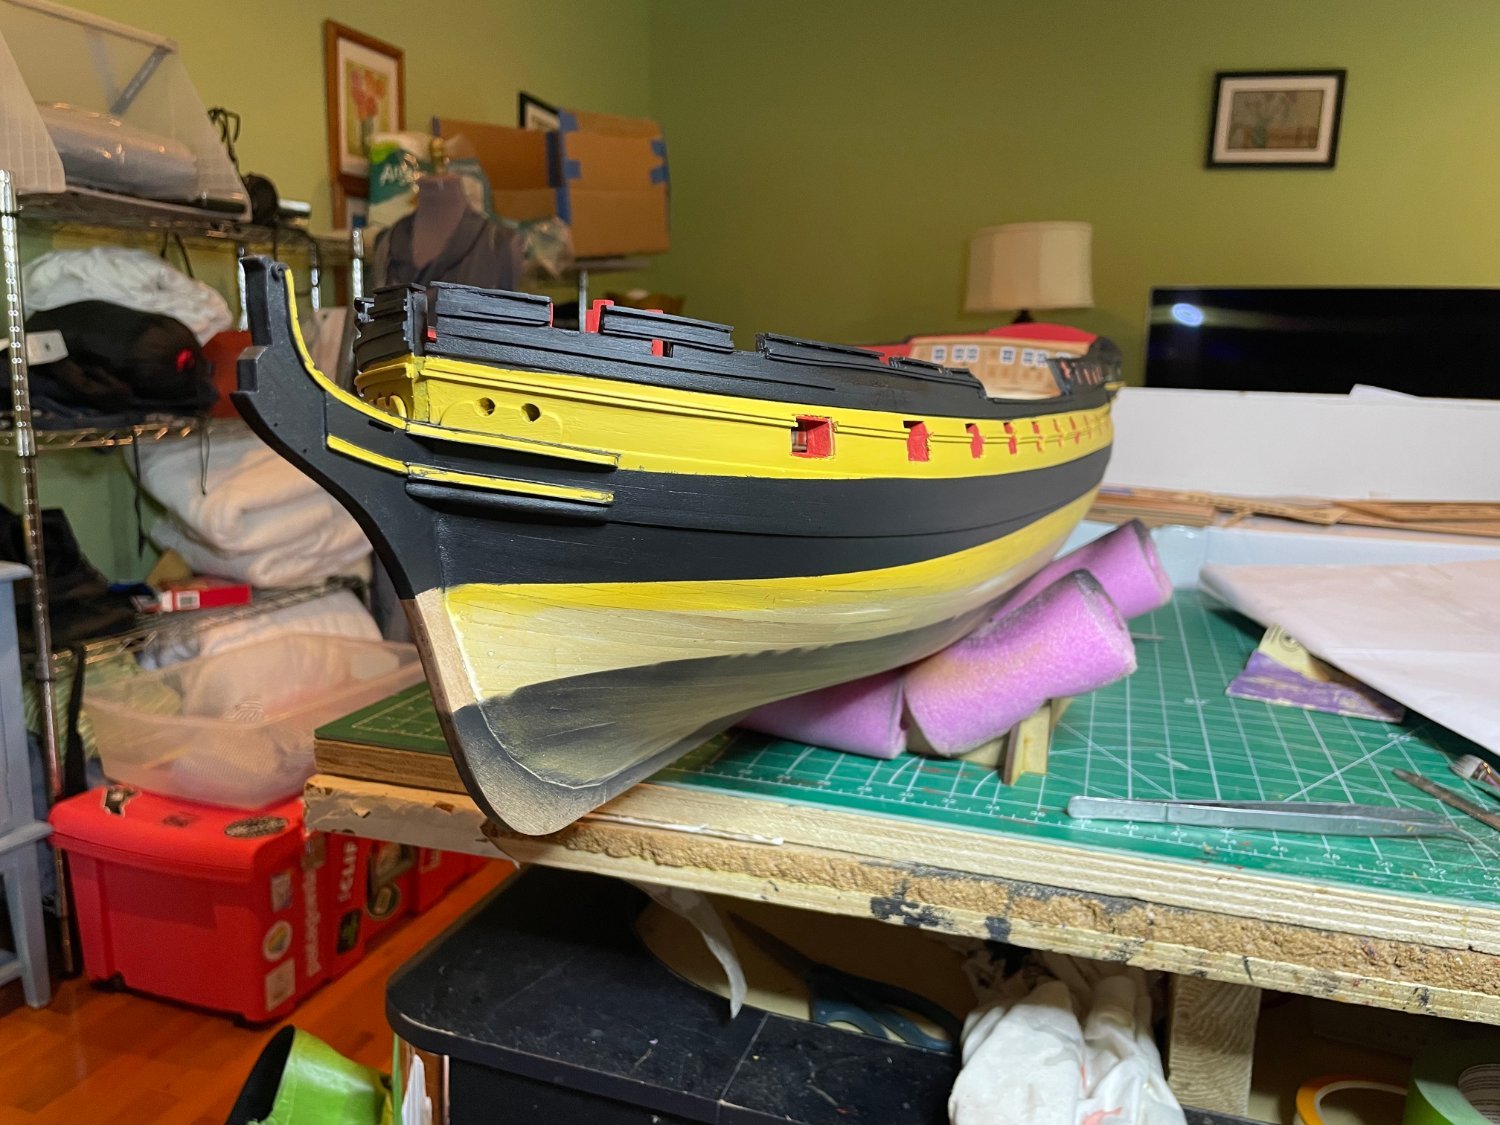
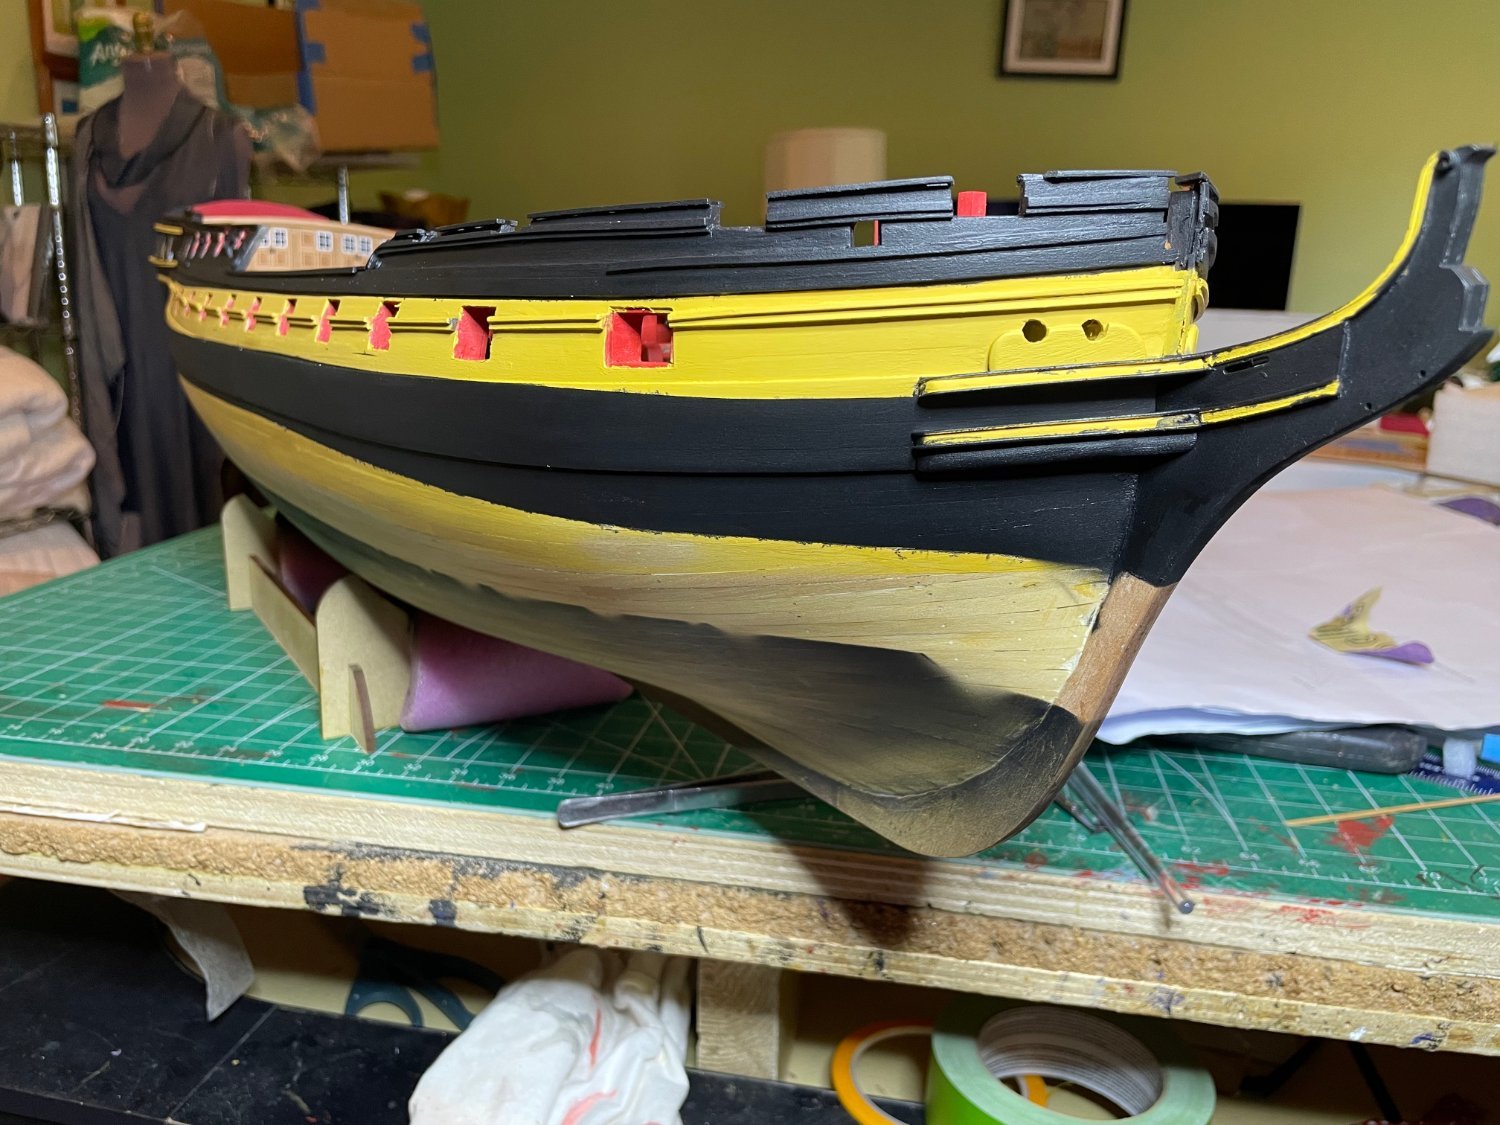
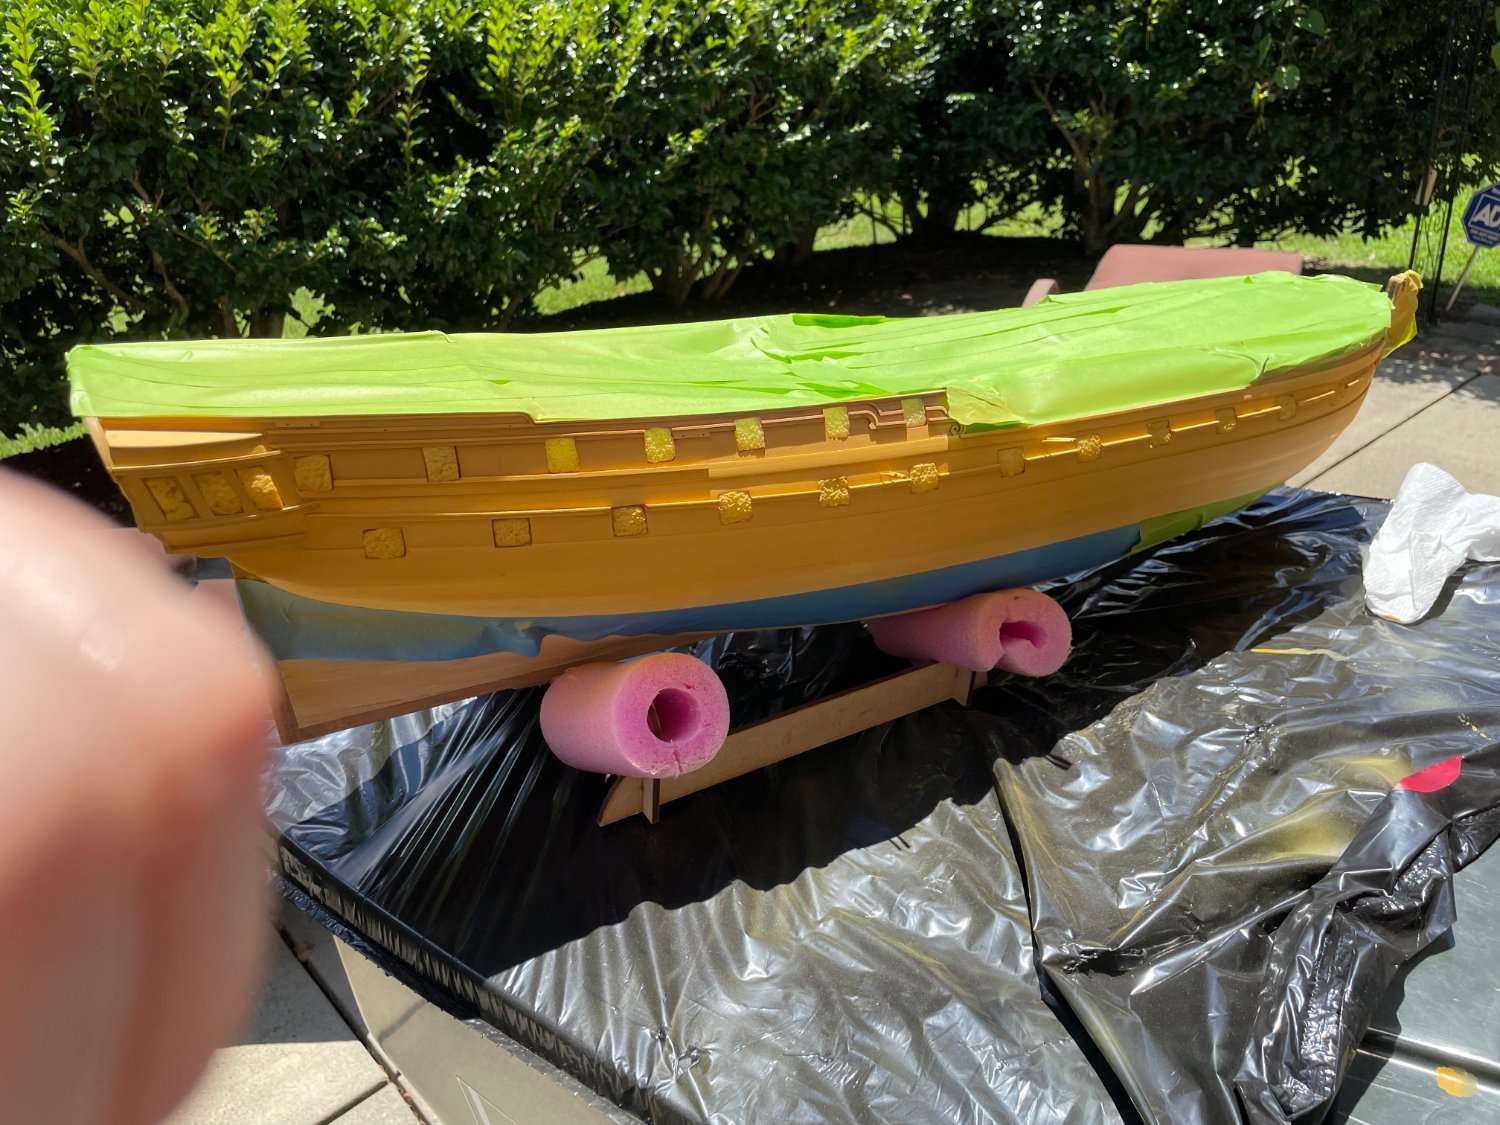
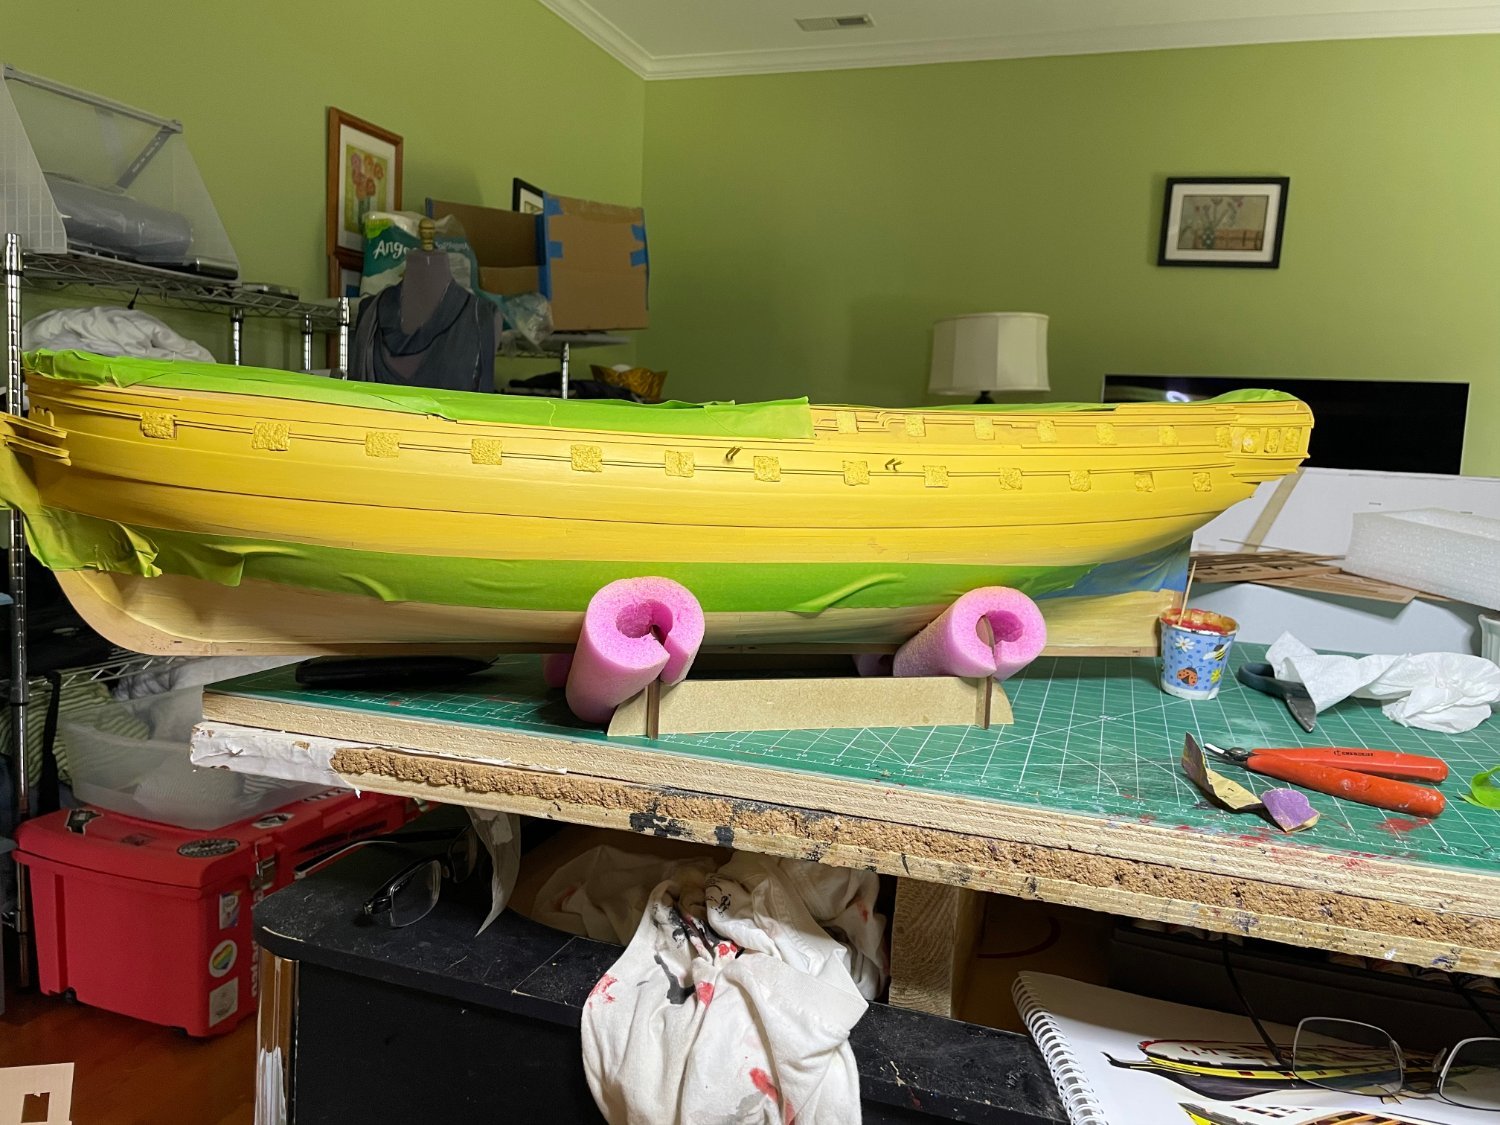
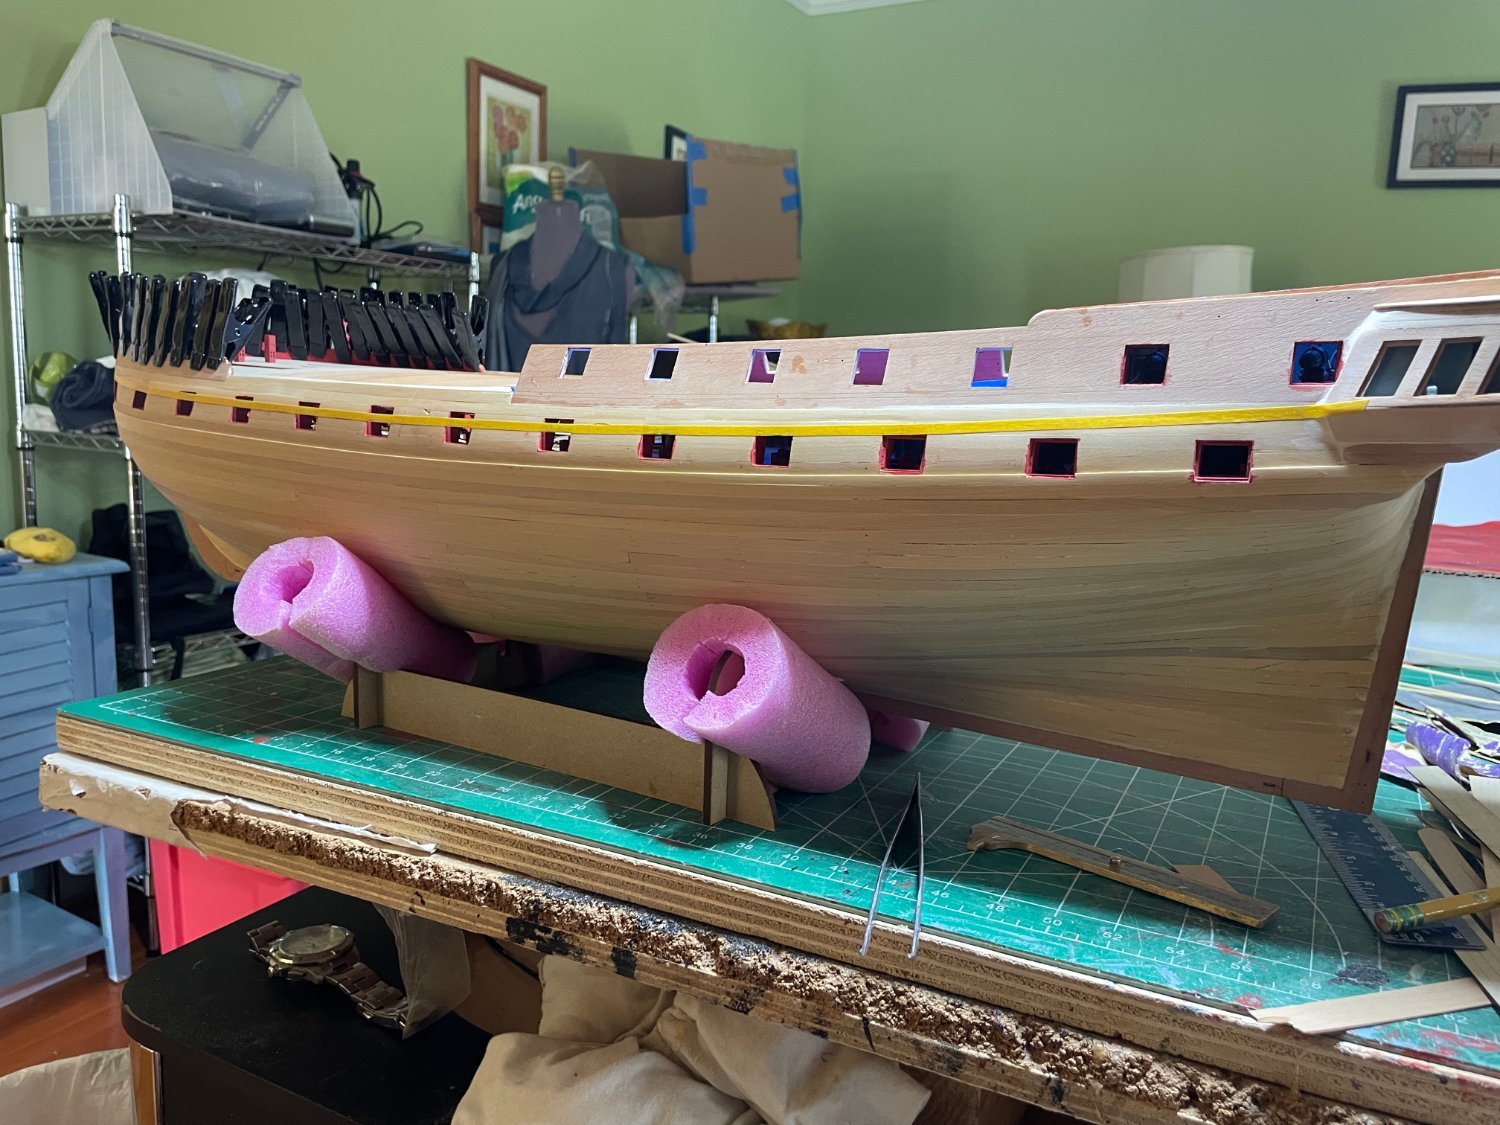
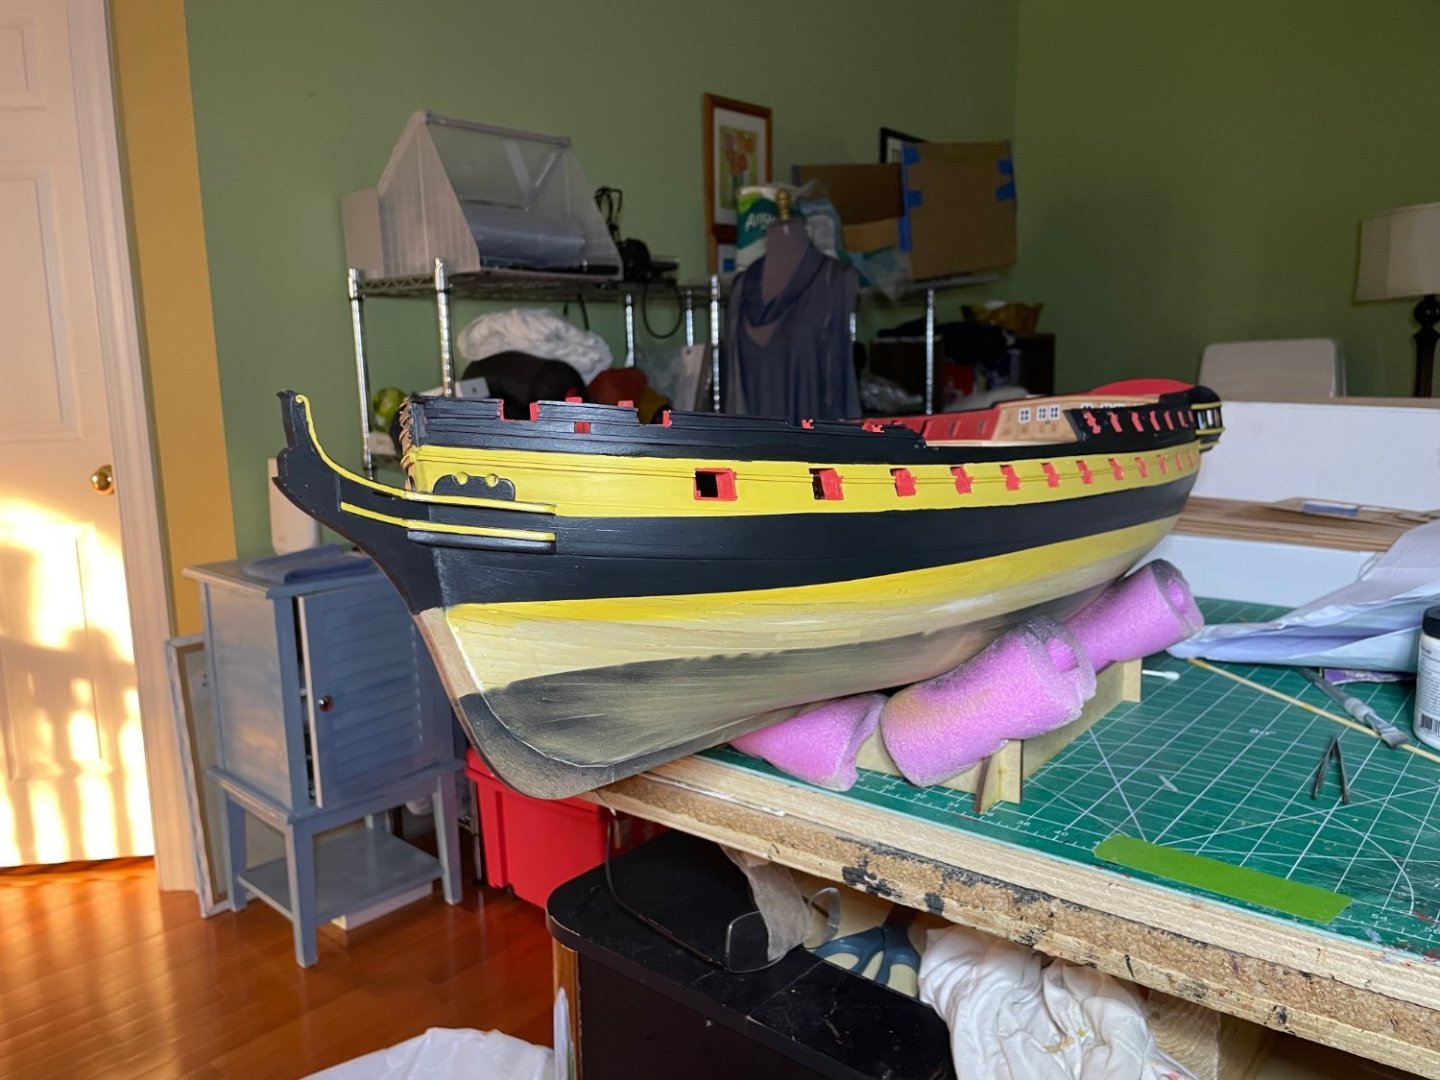
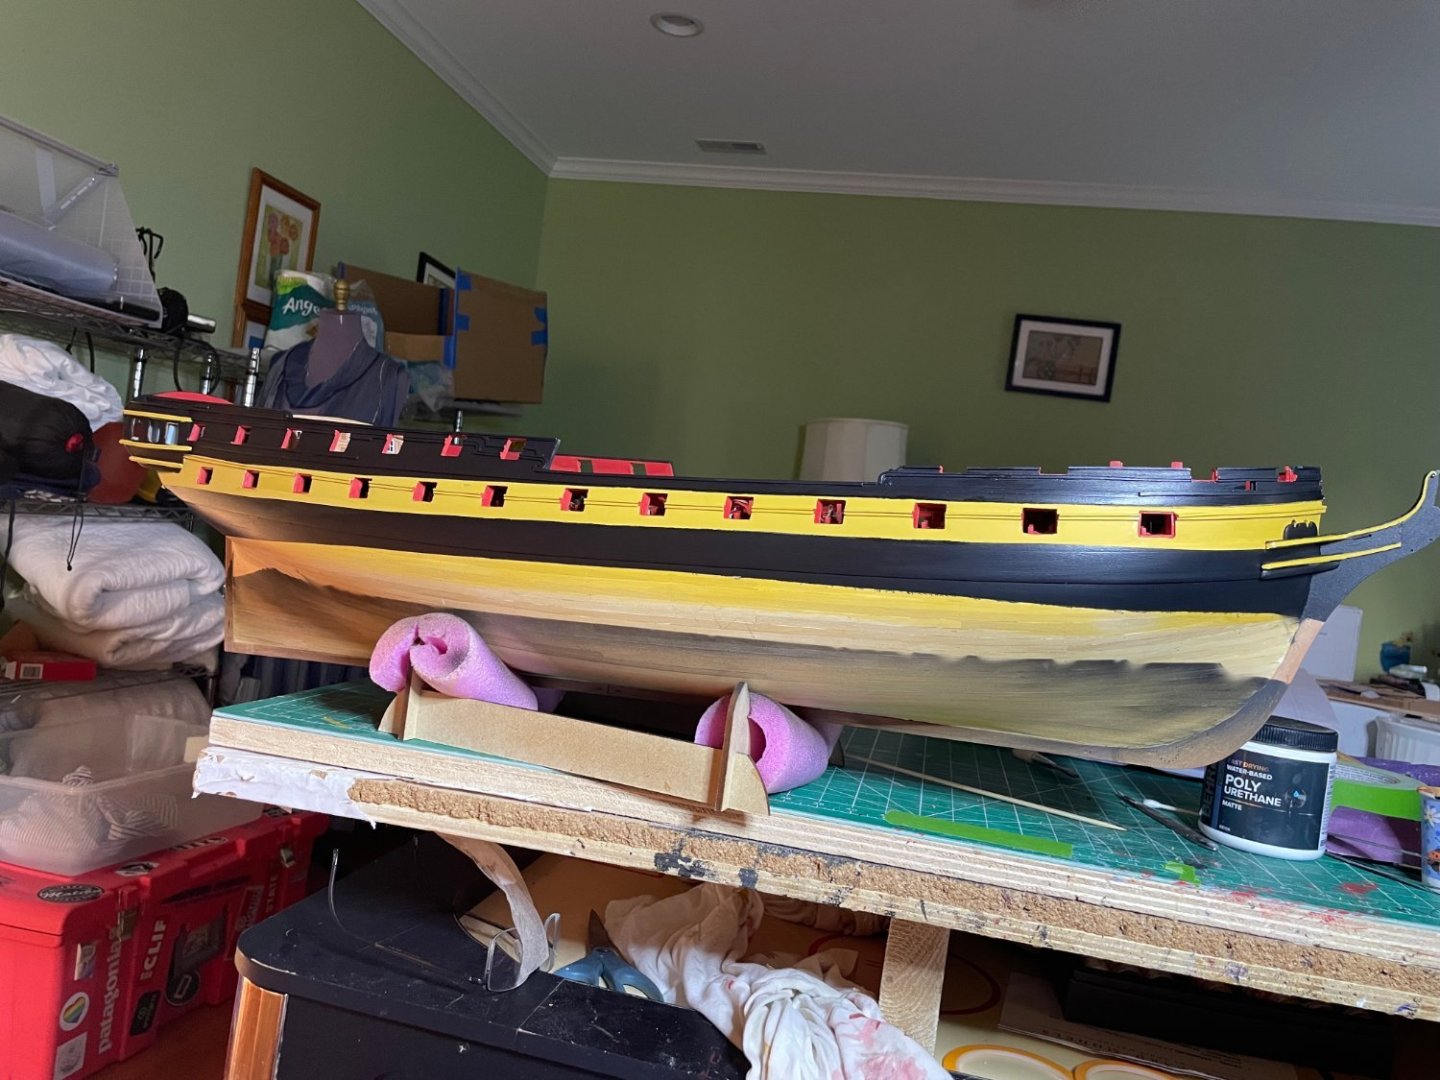
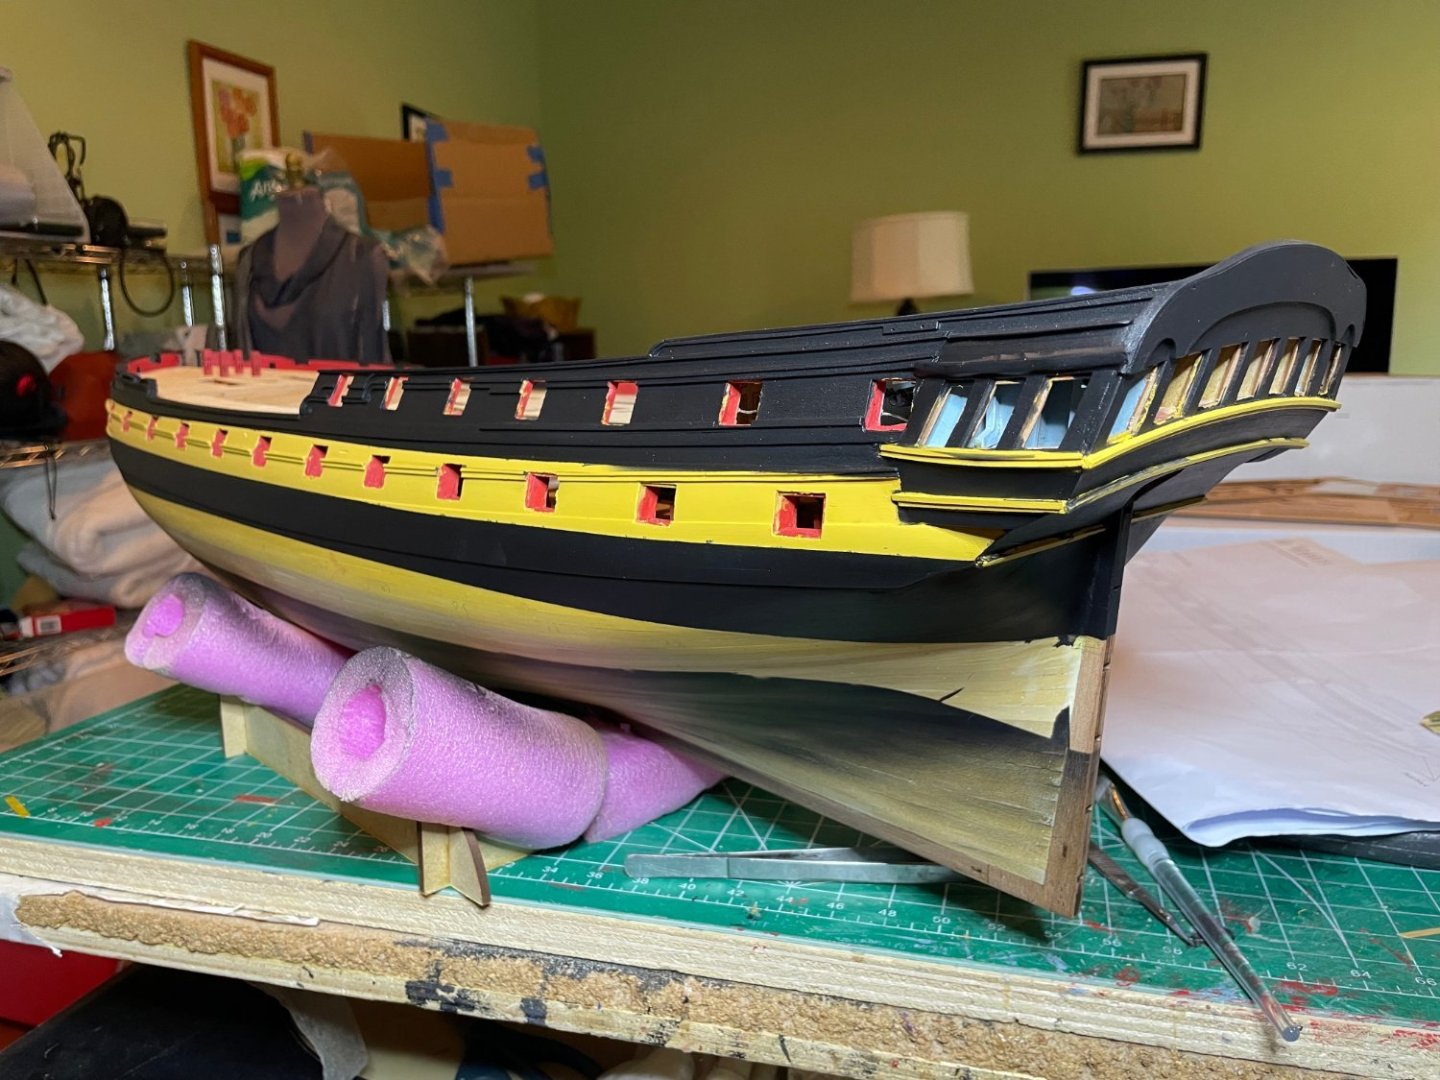
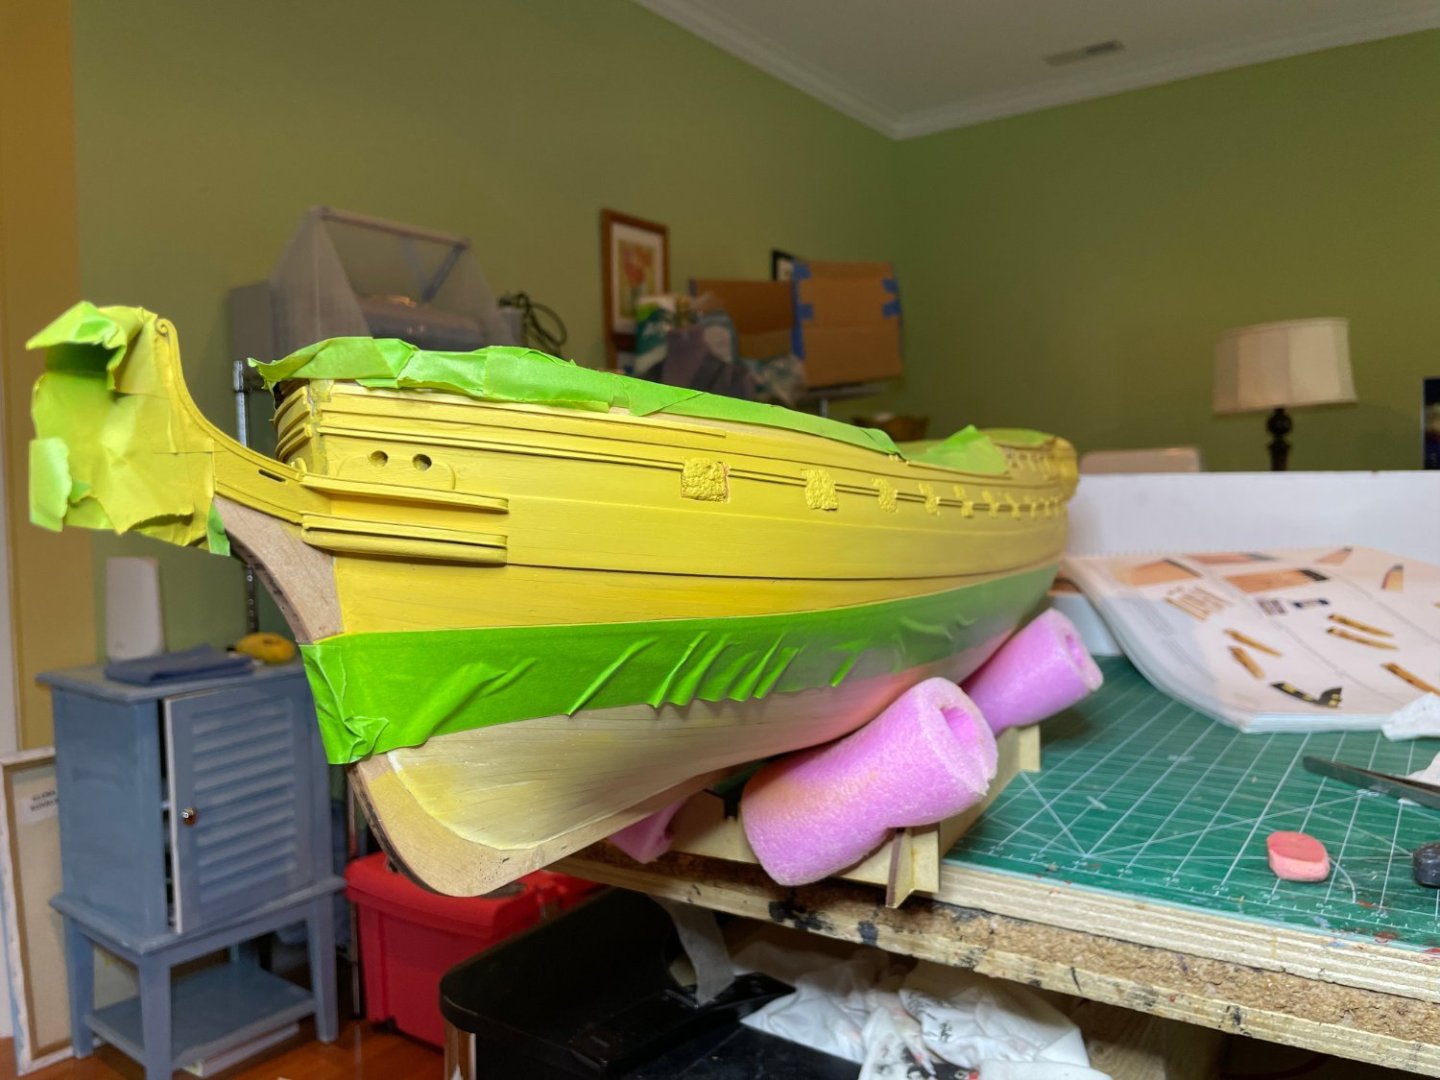
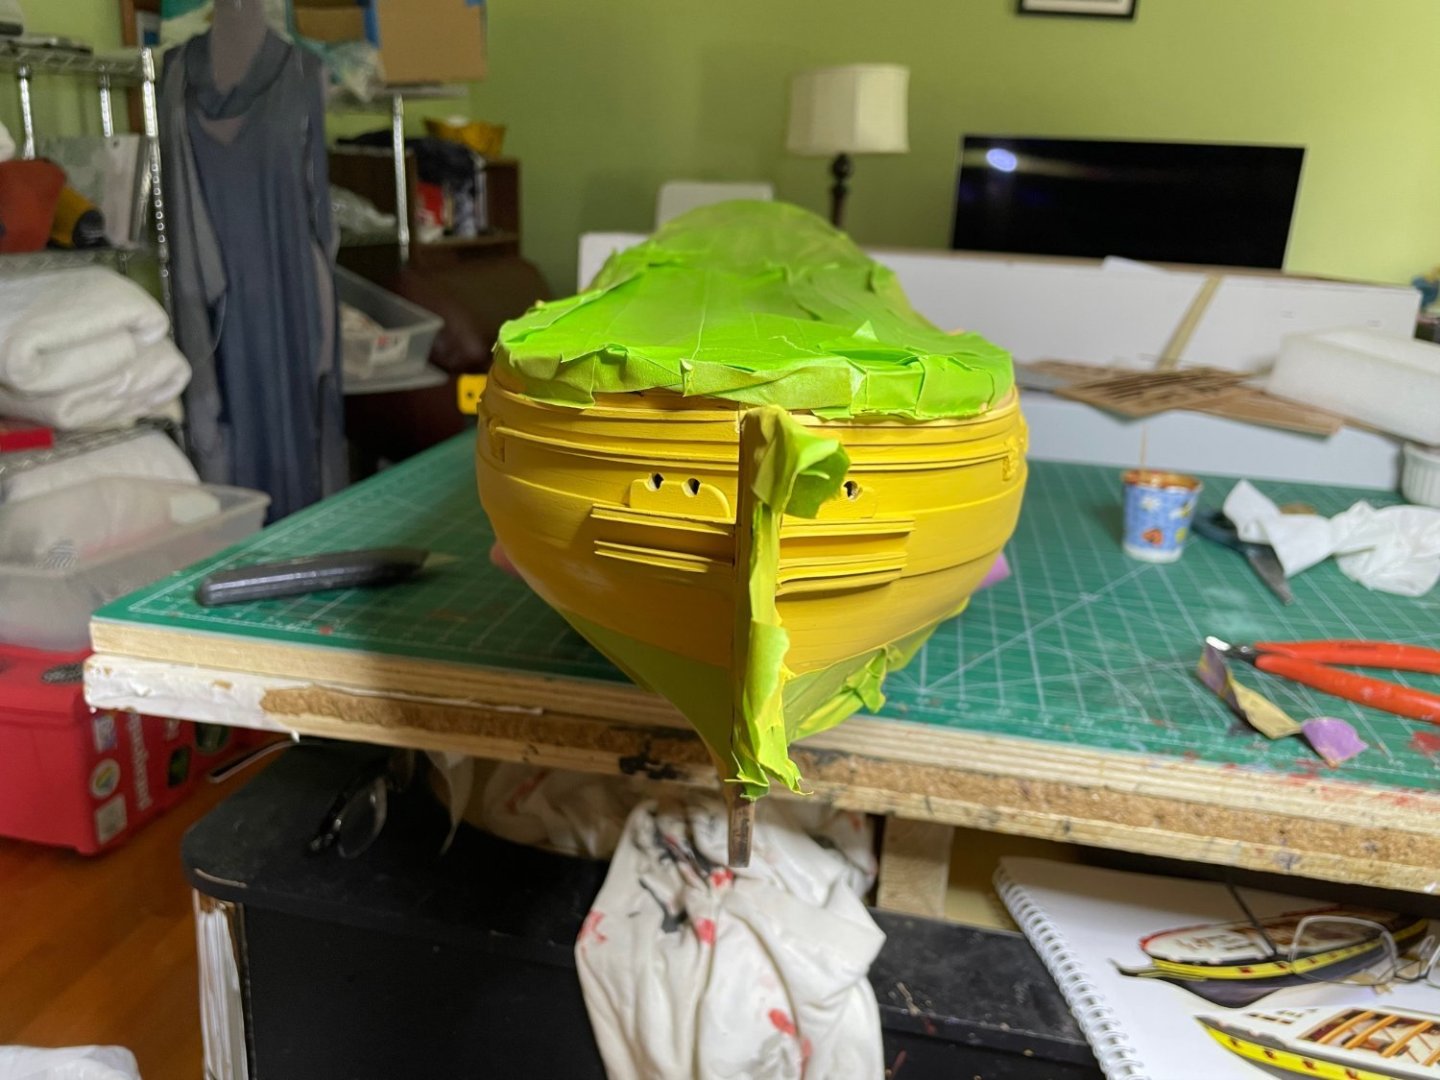
So with a lot of tape and my handy airbrush I took the plunge The unmasking Will spend time tomorrow toughing things up. I think the lines are pretty good but as you can see there will be a lot of coppering to do. Funny how the occre looks more yellow than it does in real life.


- 233 replies
-
- 10
-
-
- Indefatigable
- Vanguard Models
- (and 1 more)
-
Thanks Chris, I thought it must be for some protective effect.
- 233 replies
-
- 2
-
-
- Indefatigable
- Vanguard Models
- (and 1 more)
-
As I am taping out the yellow stripe I noticed the location on the plans is different than on the model, crossing the upper rail at port 13 as opposed to the plan where it crosses later. Not sure which way to go . The model in the manual is the easier way to locate it.
- 233 replies
-
- 1
-
-
- Indefatigable
- Vanguard Models
- (and 1 more)
-
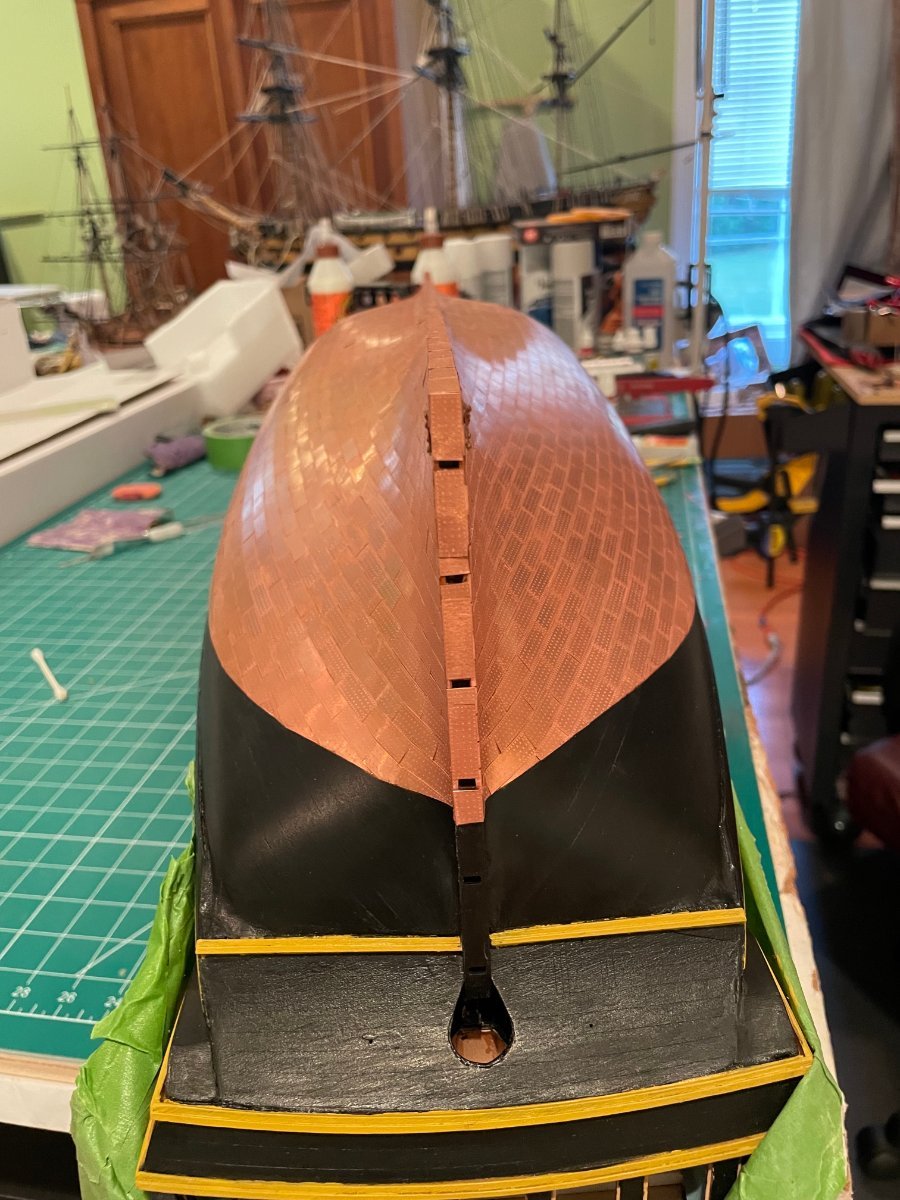
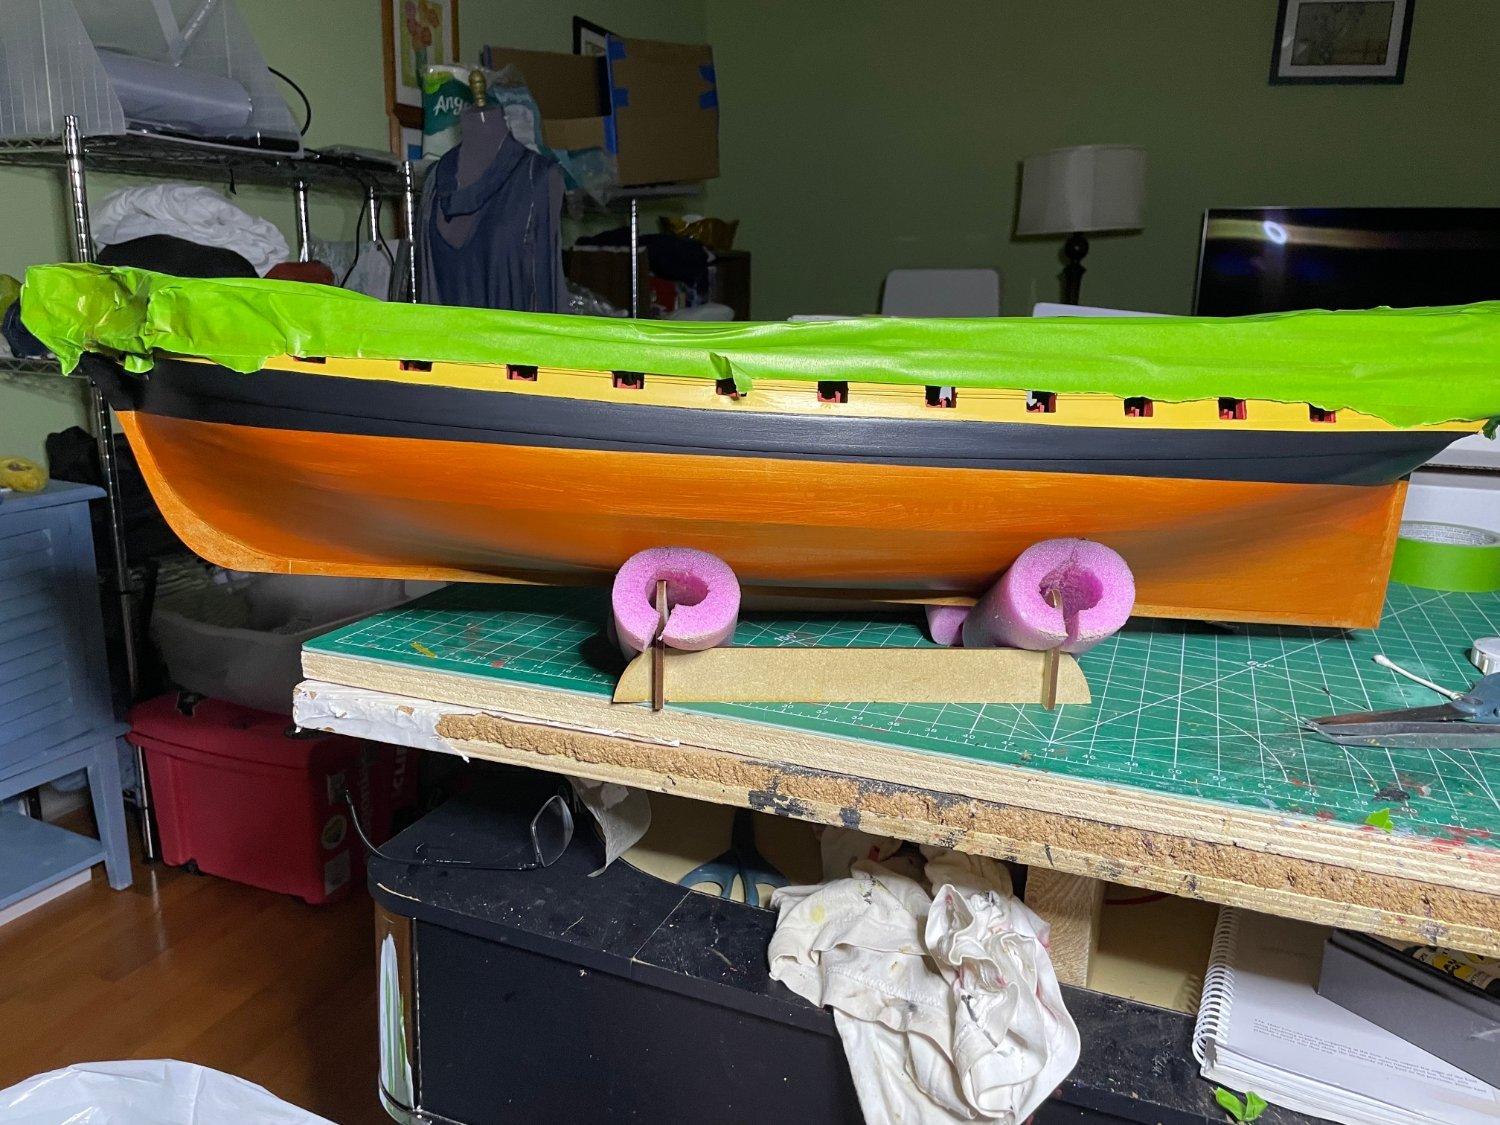
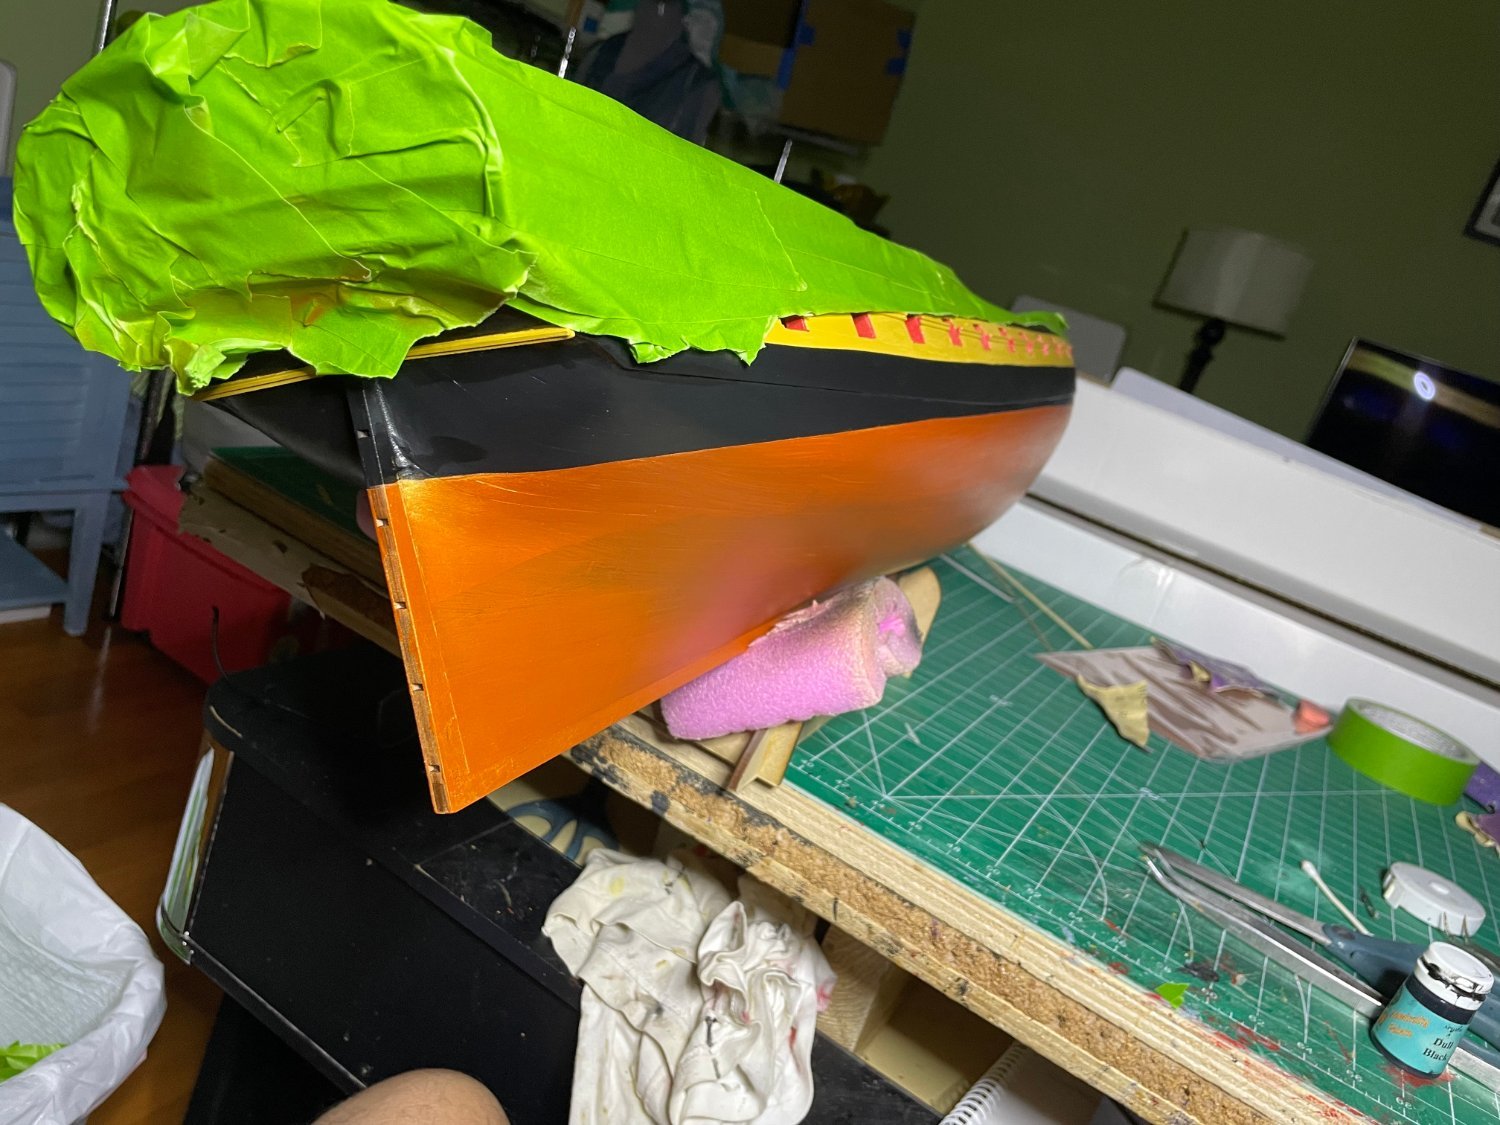
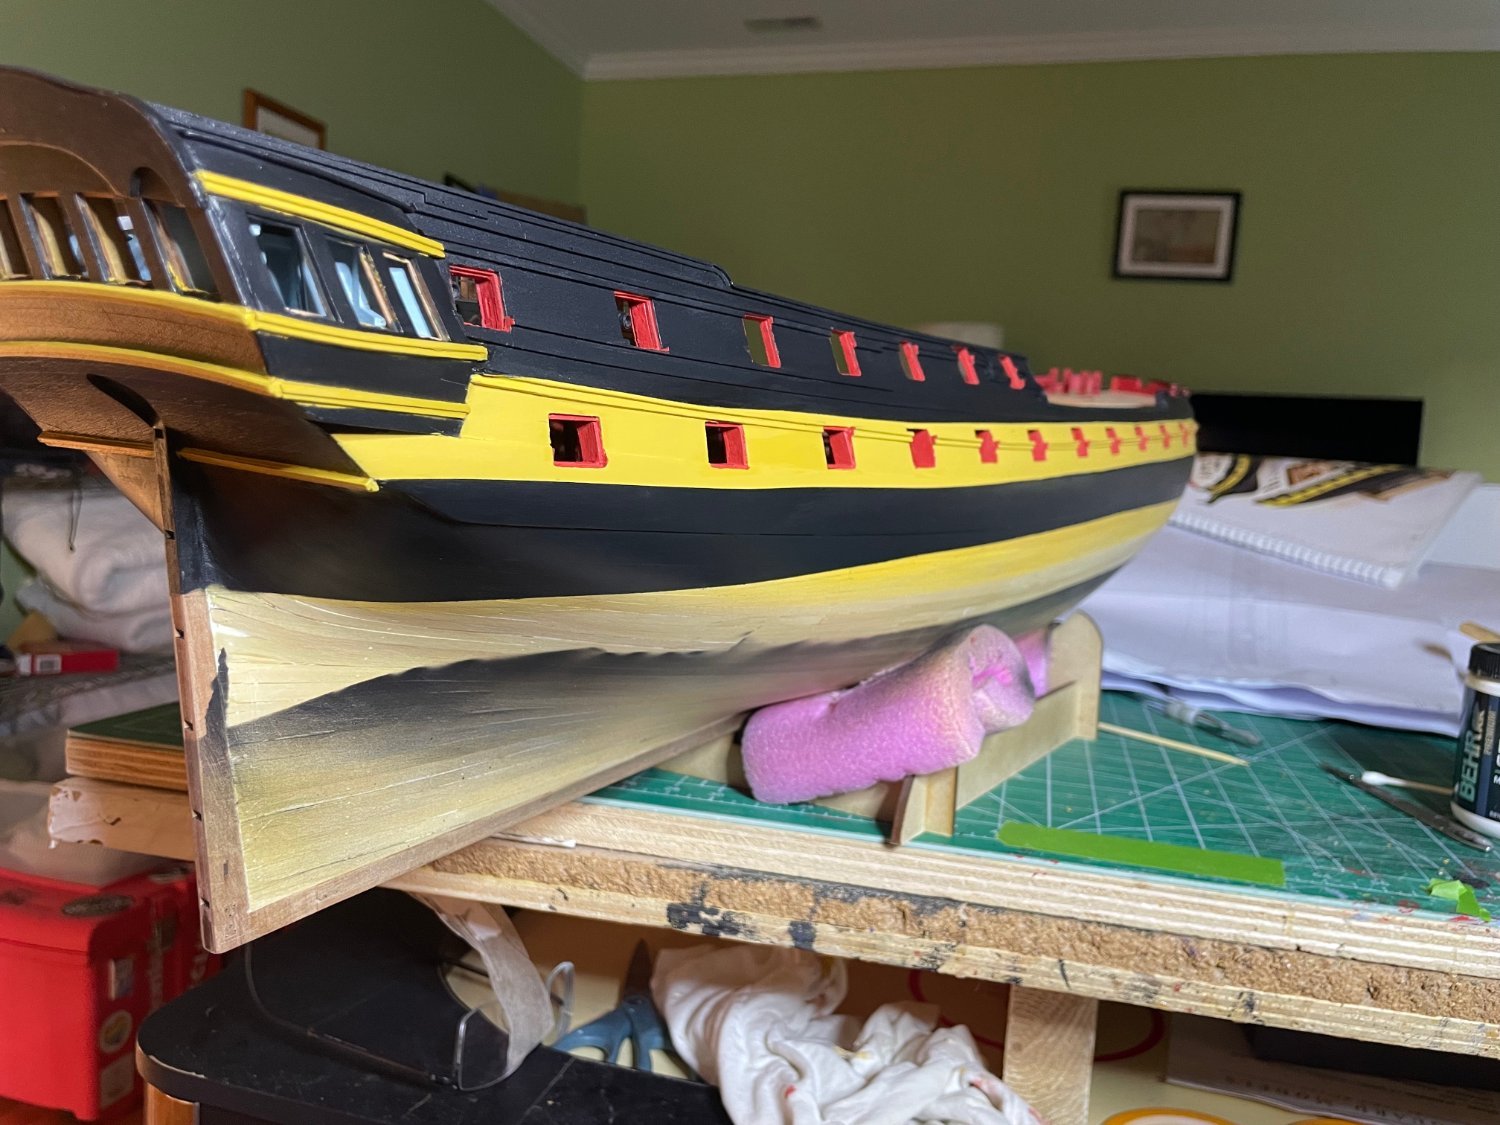
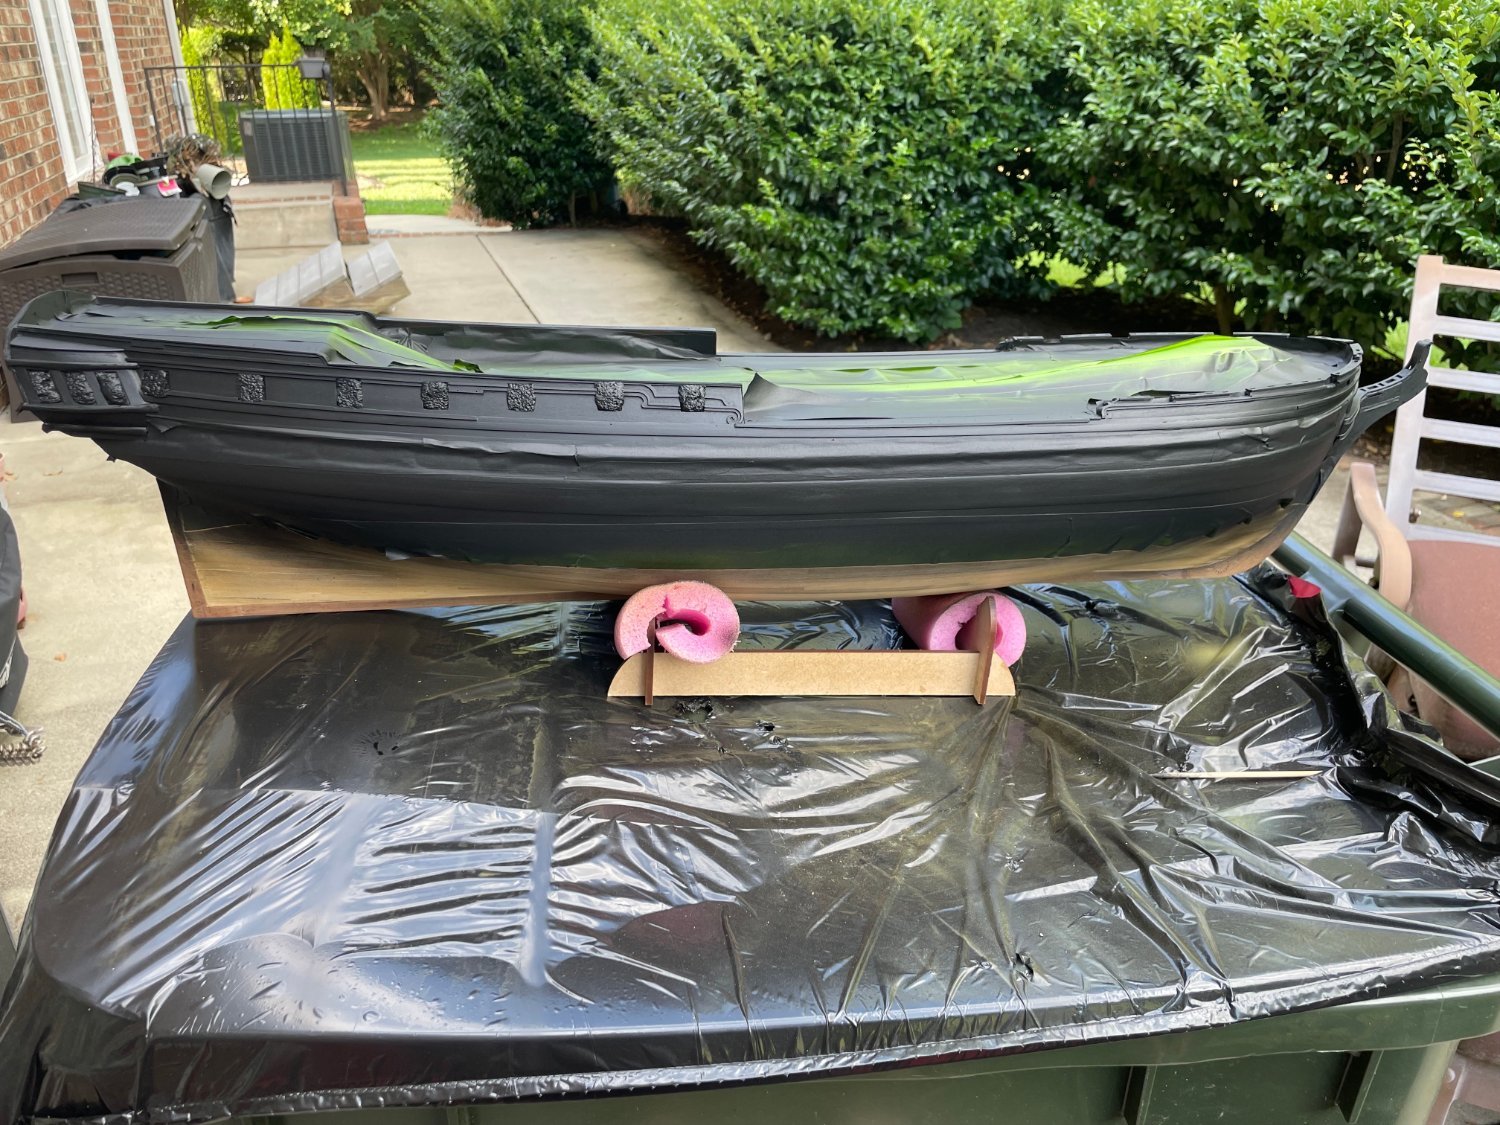
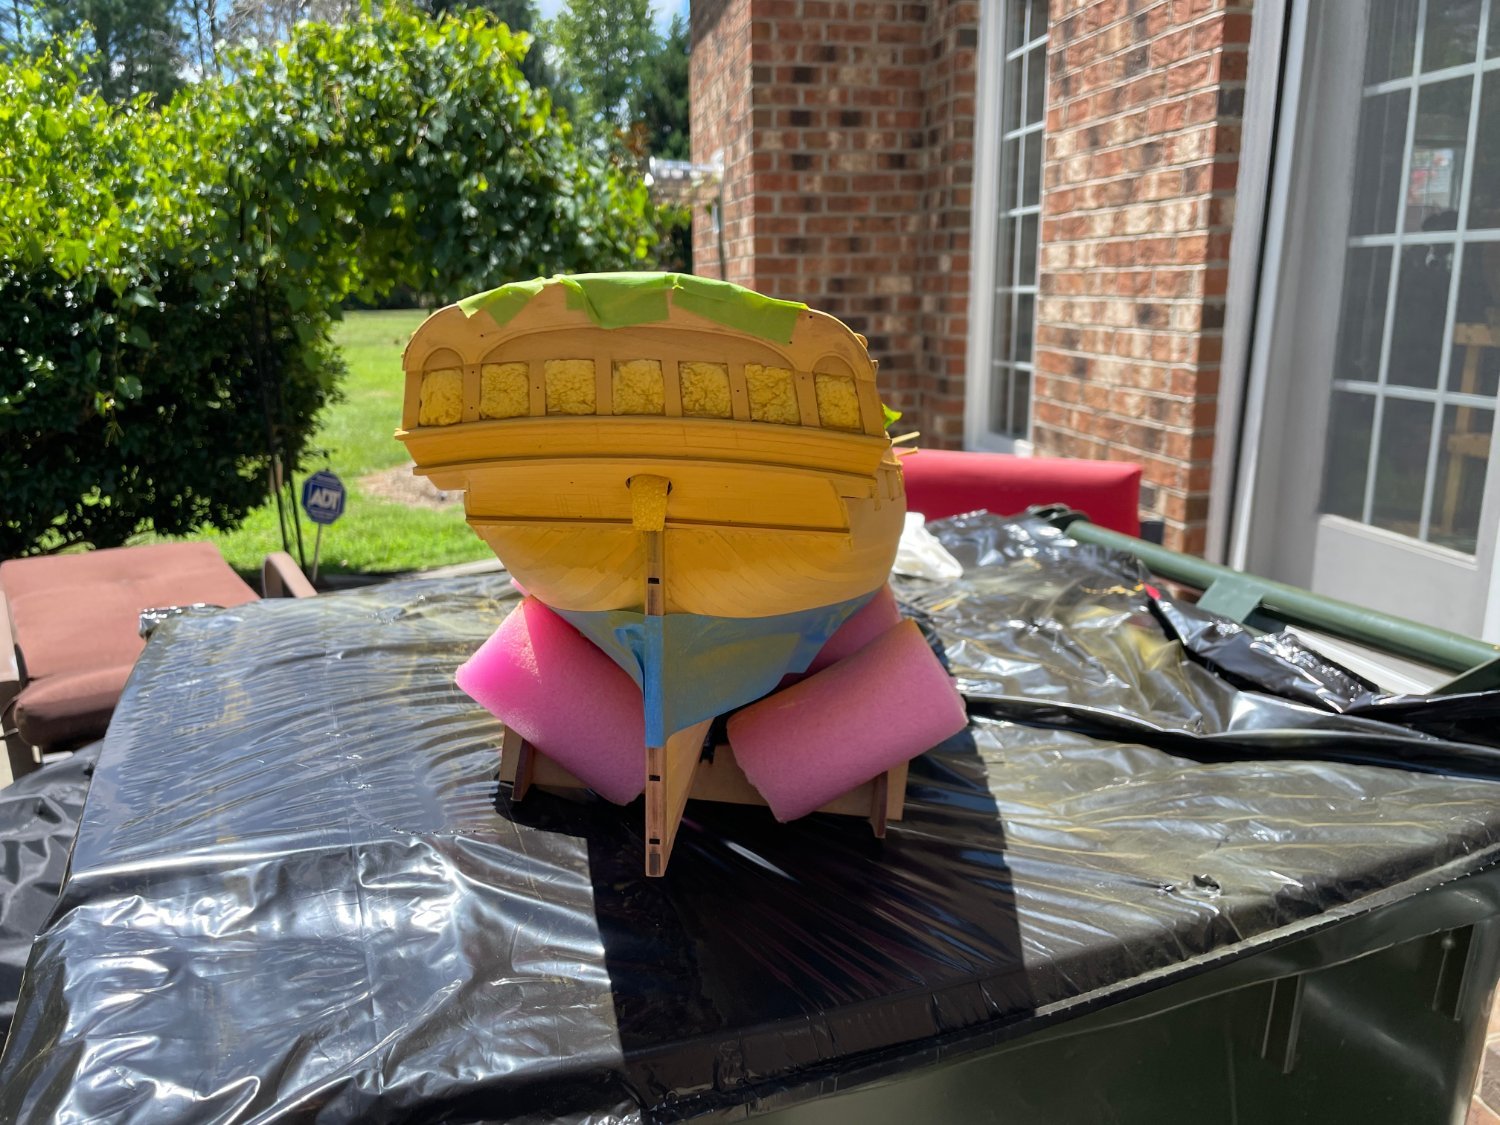
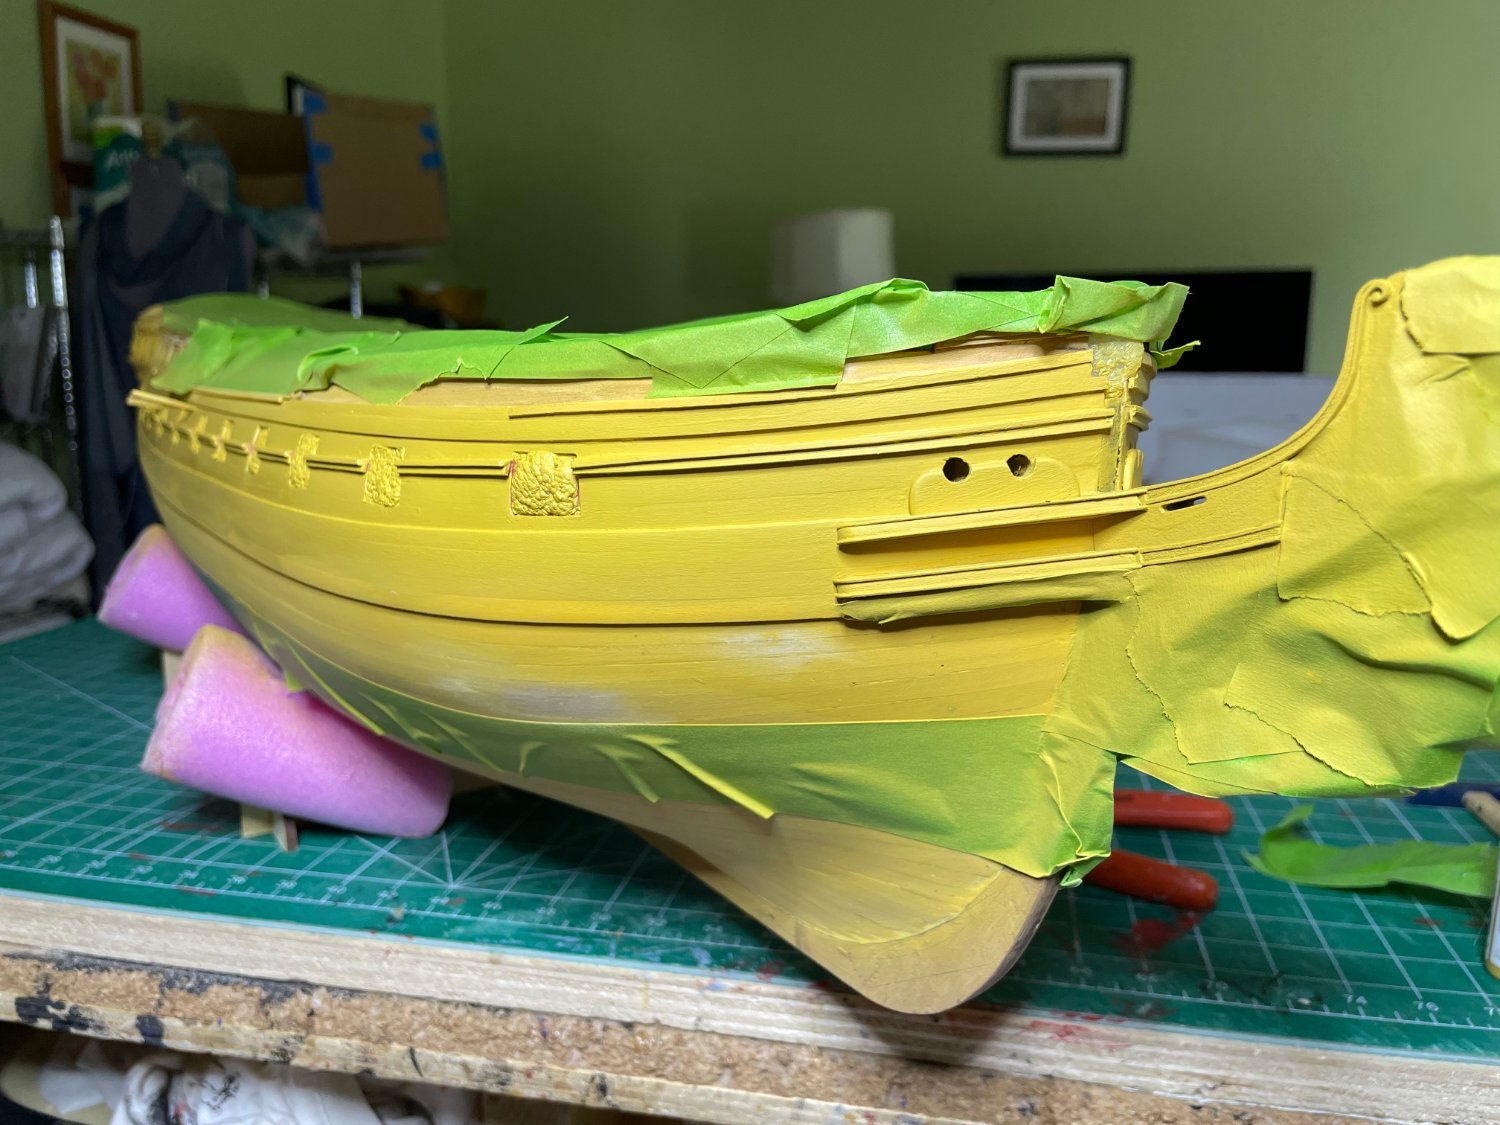
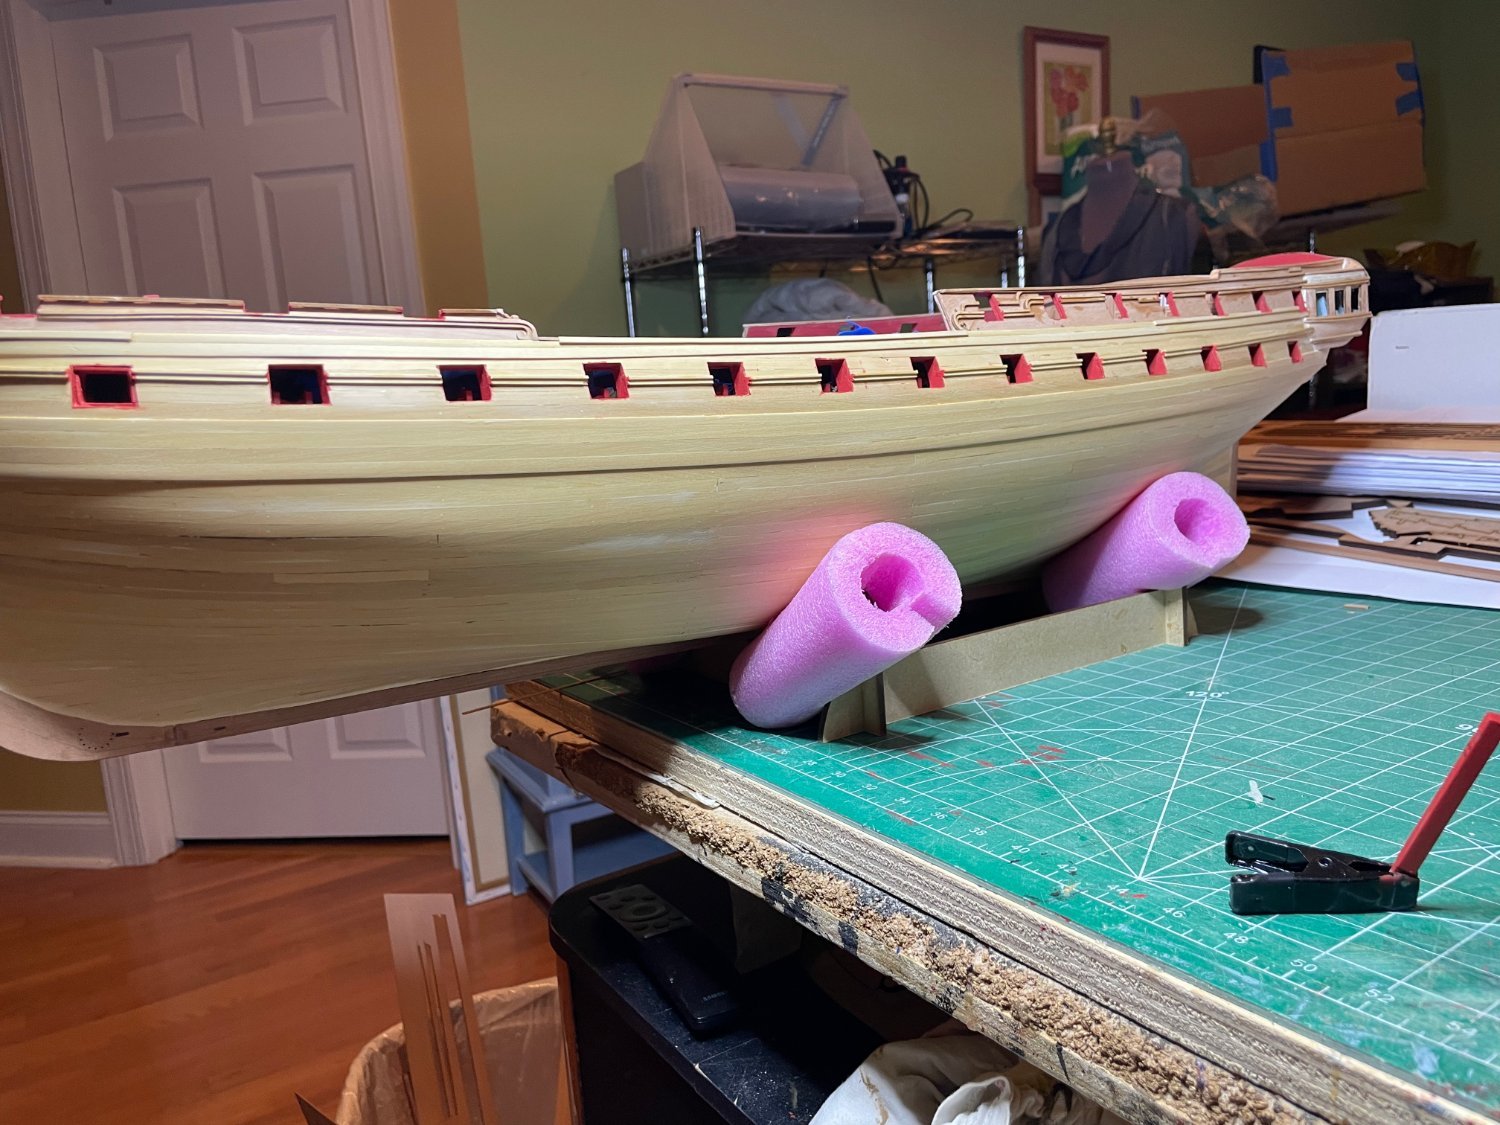
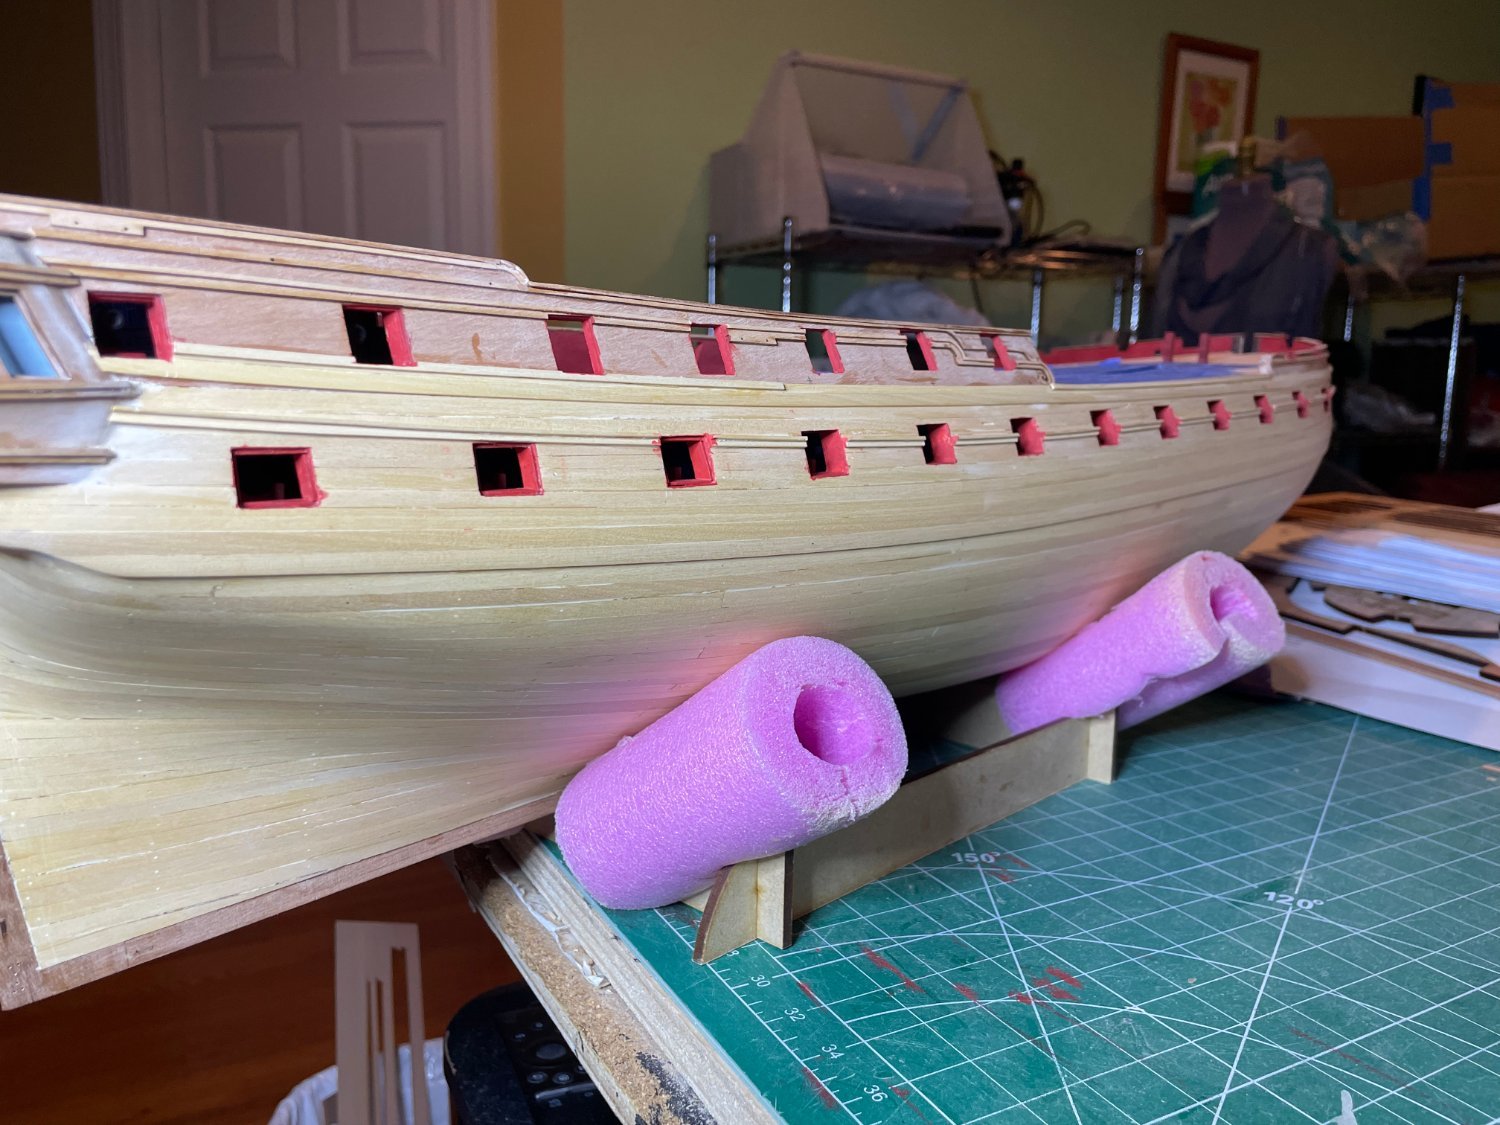
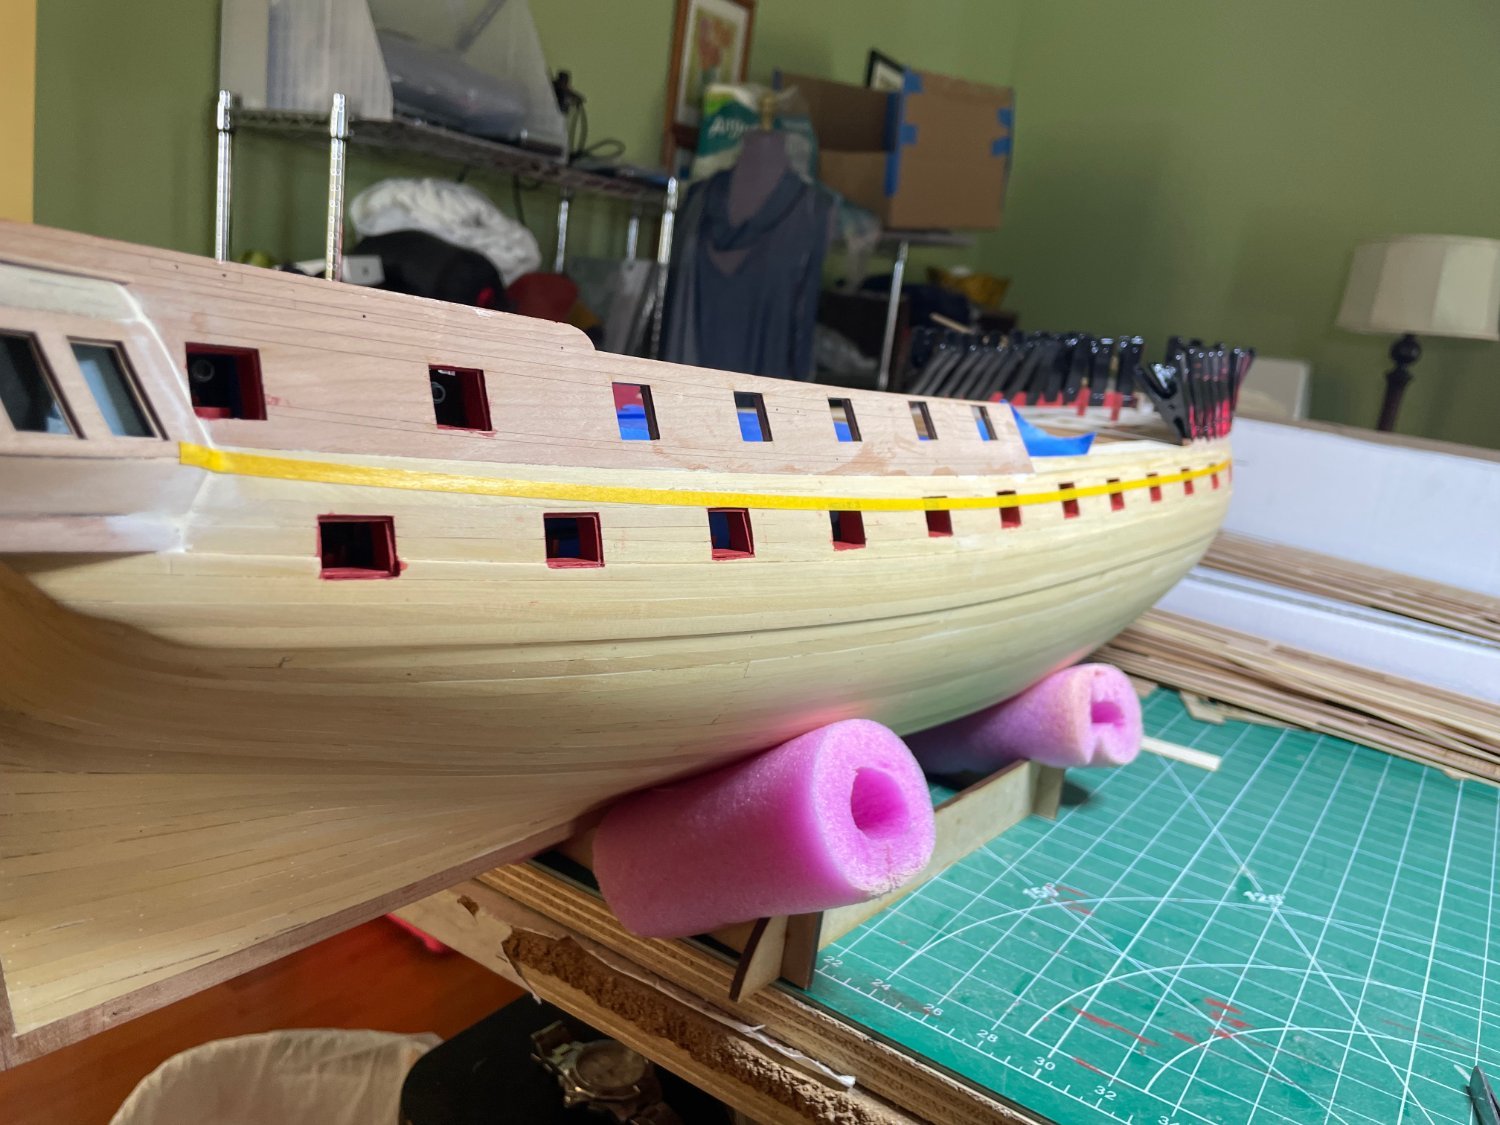
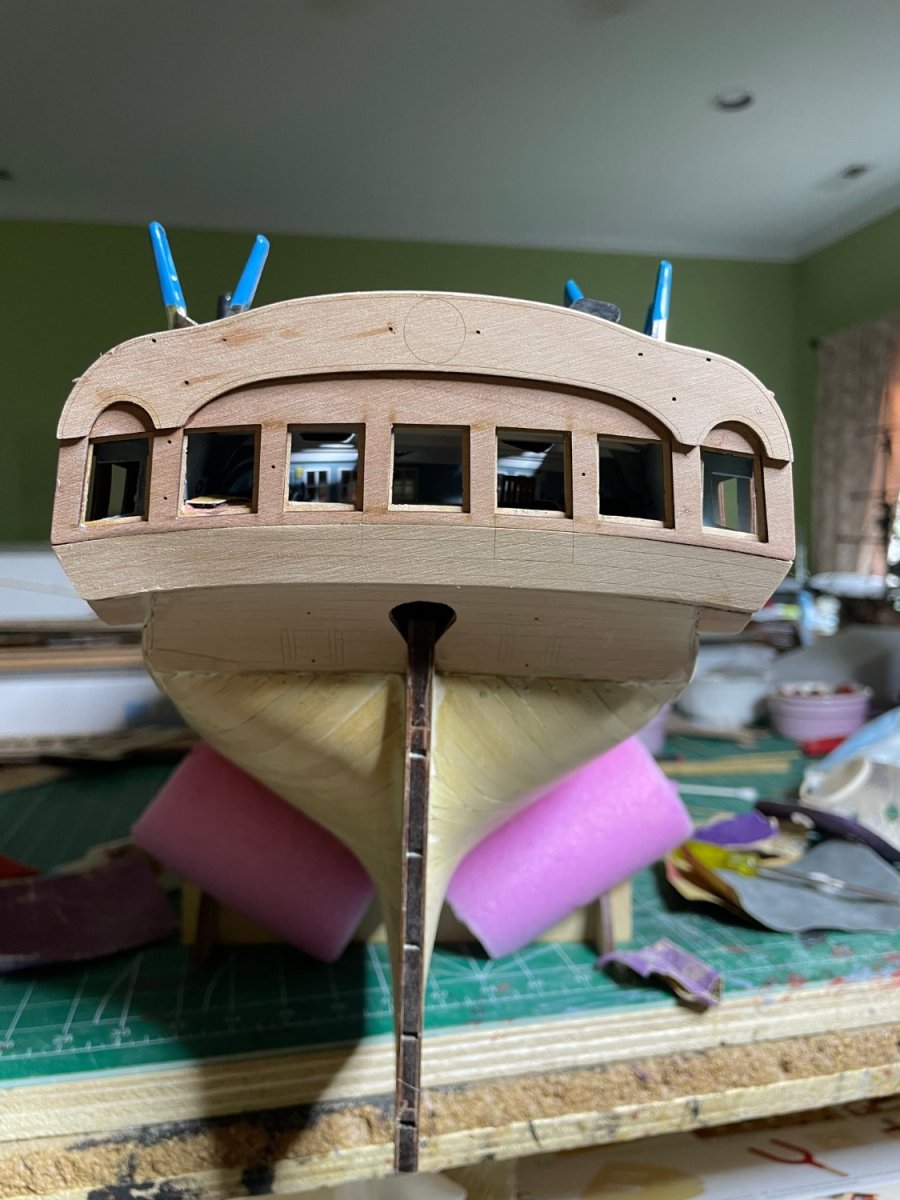
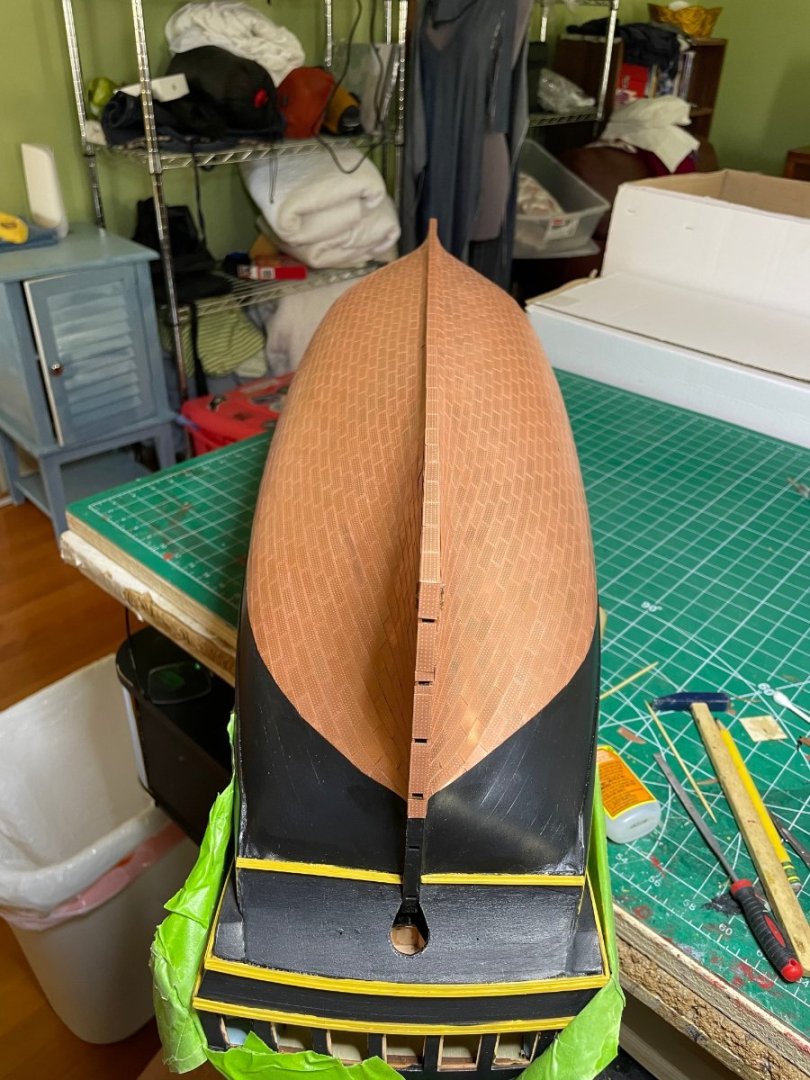
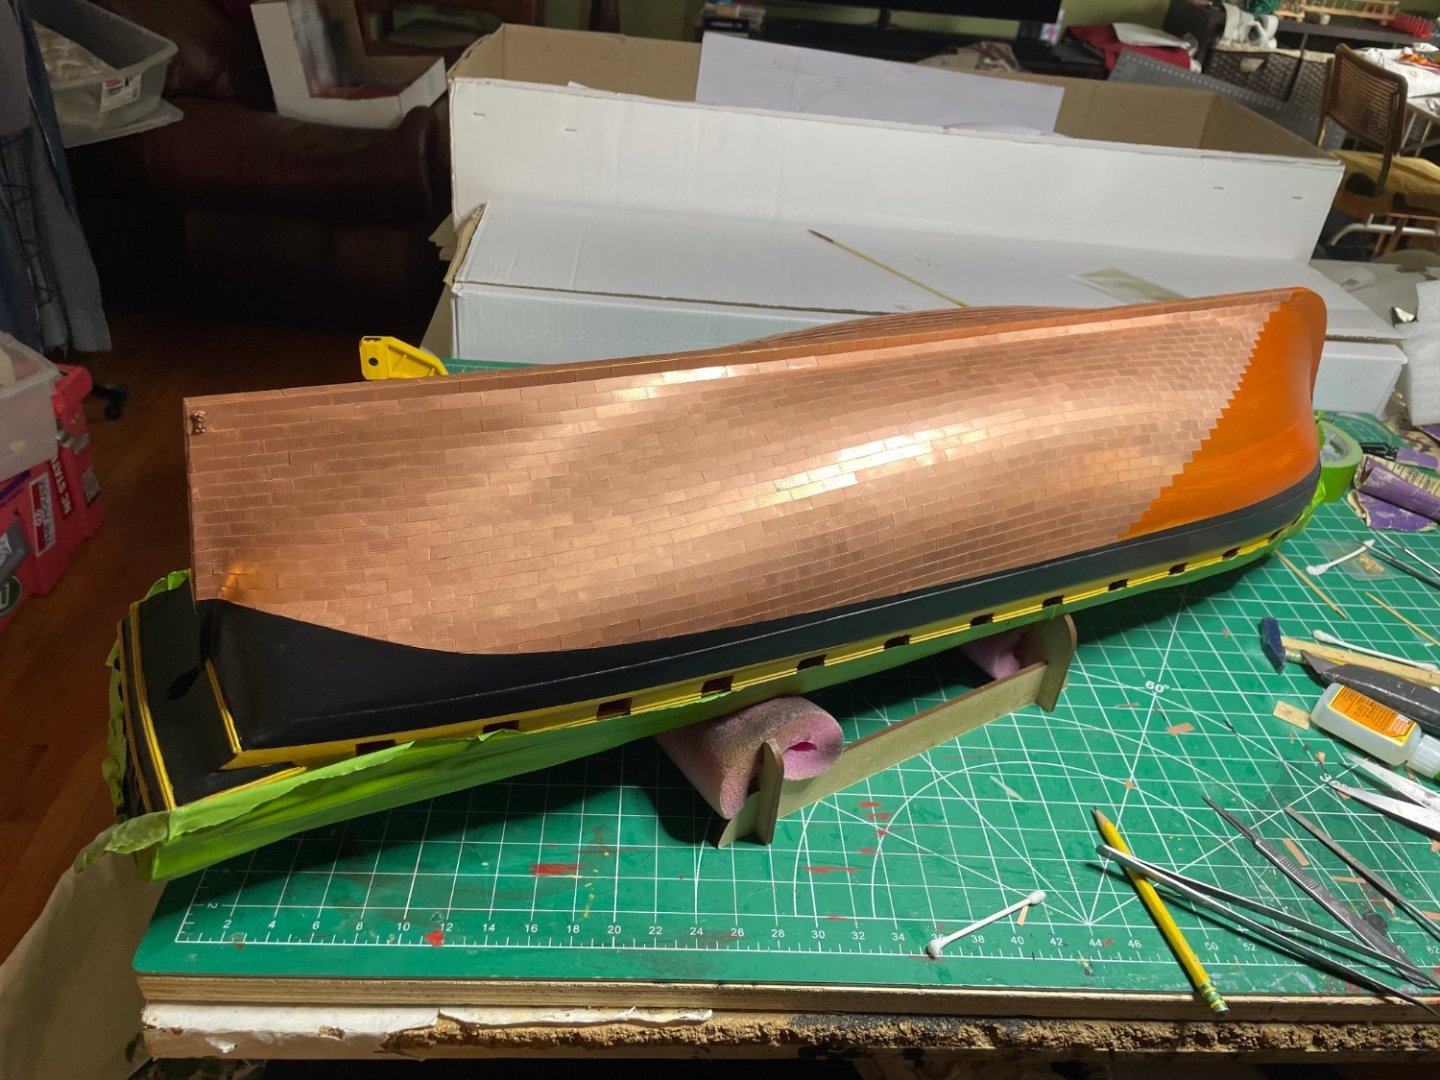
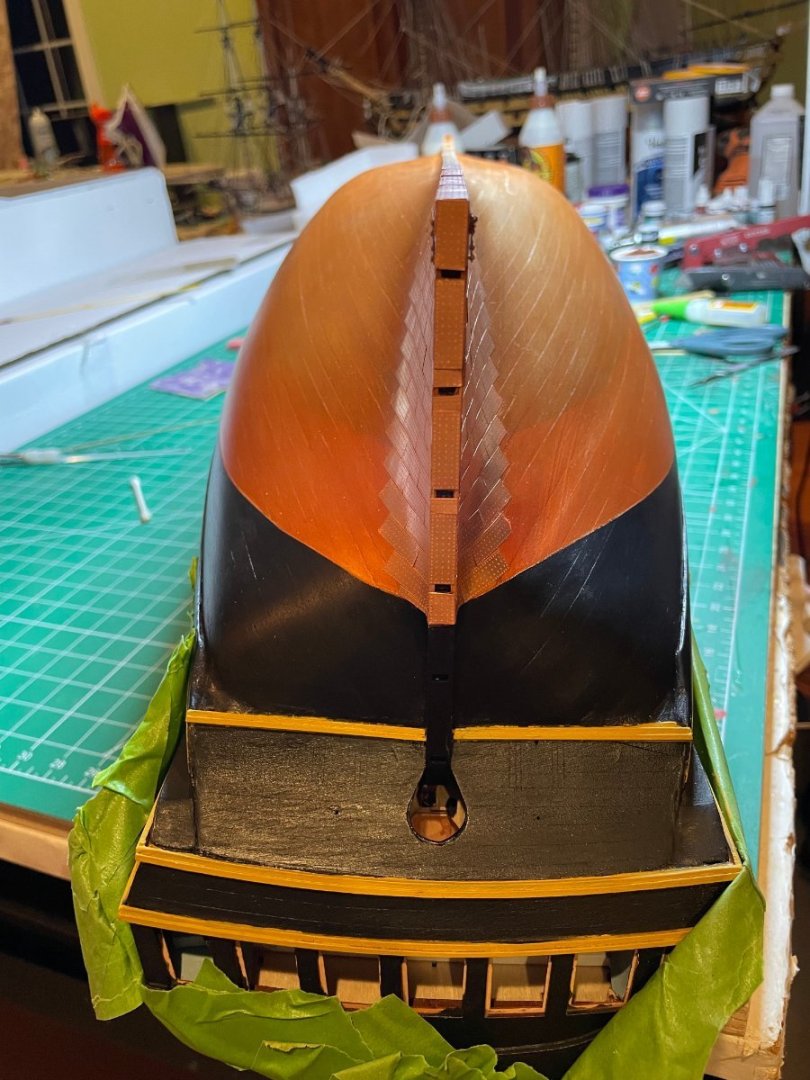
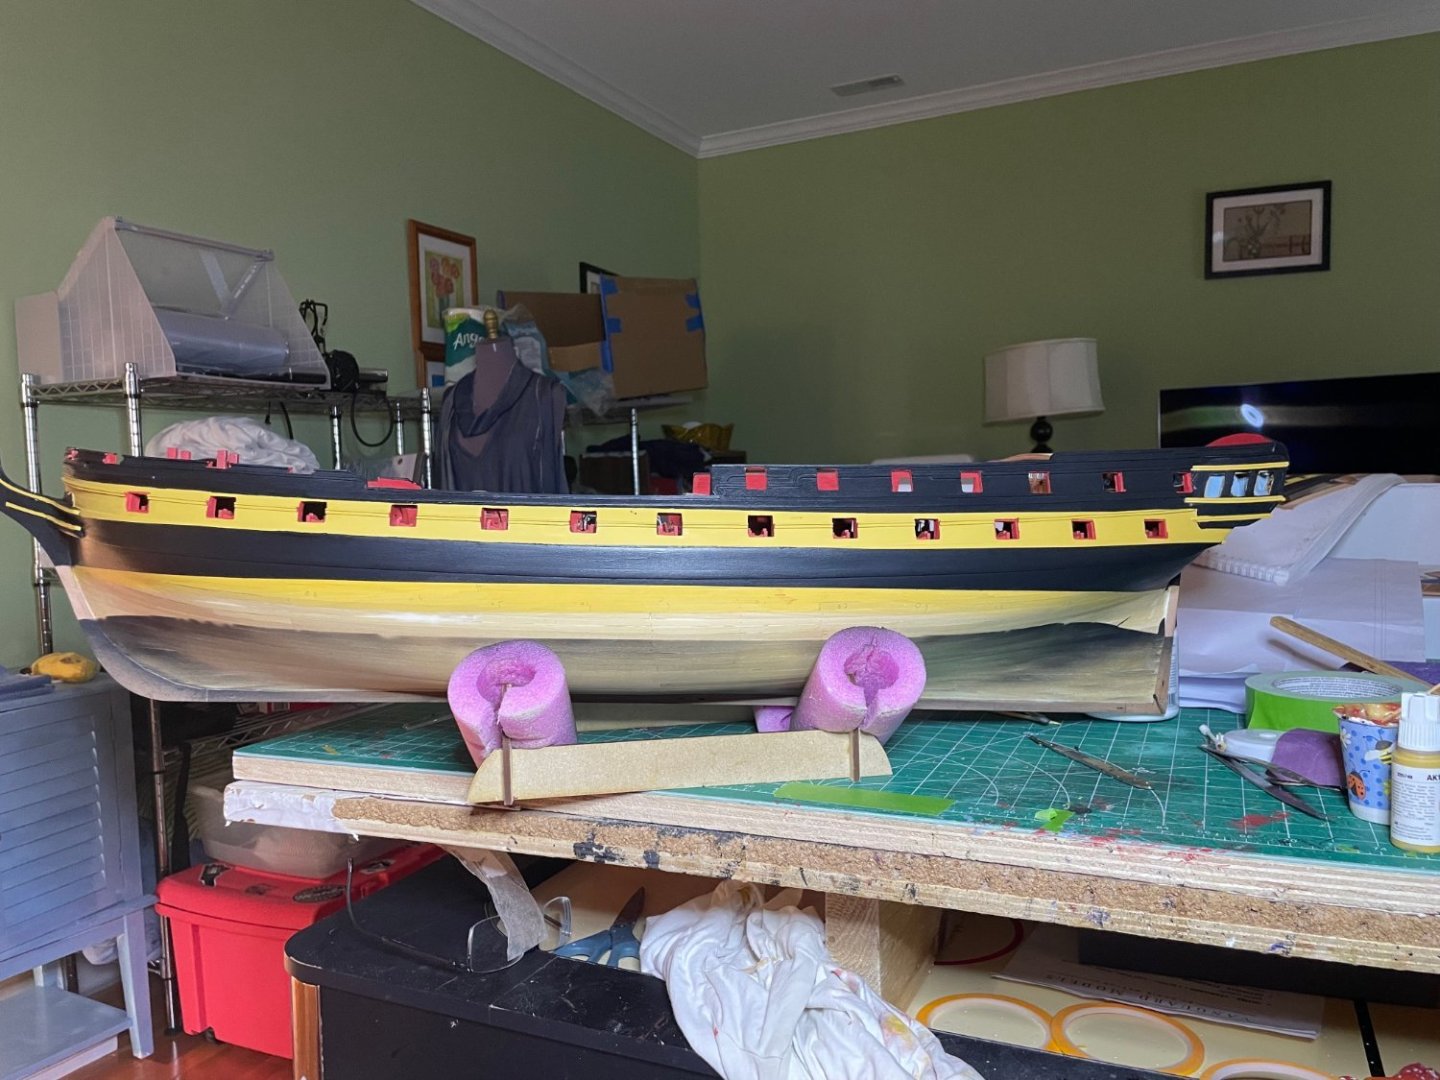
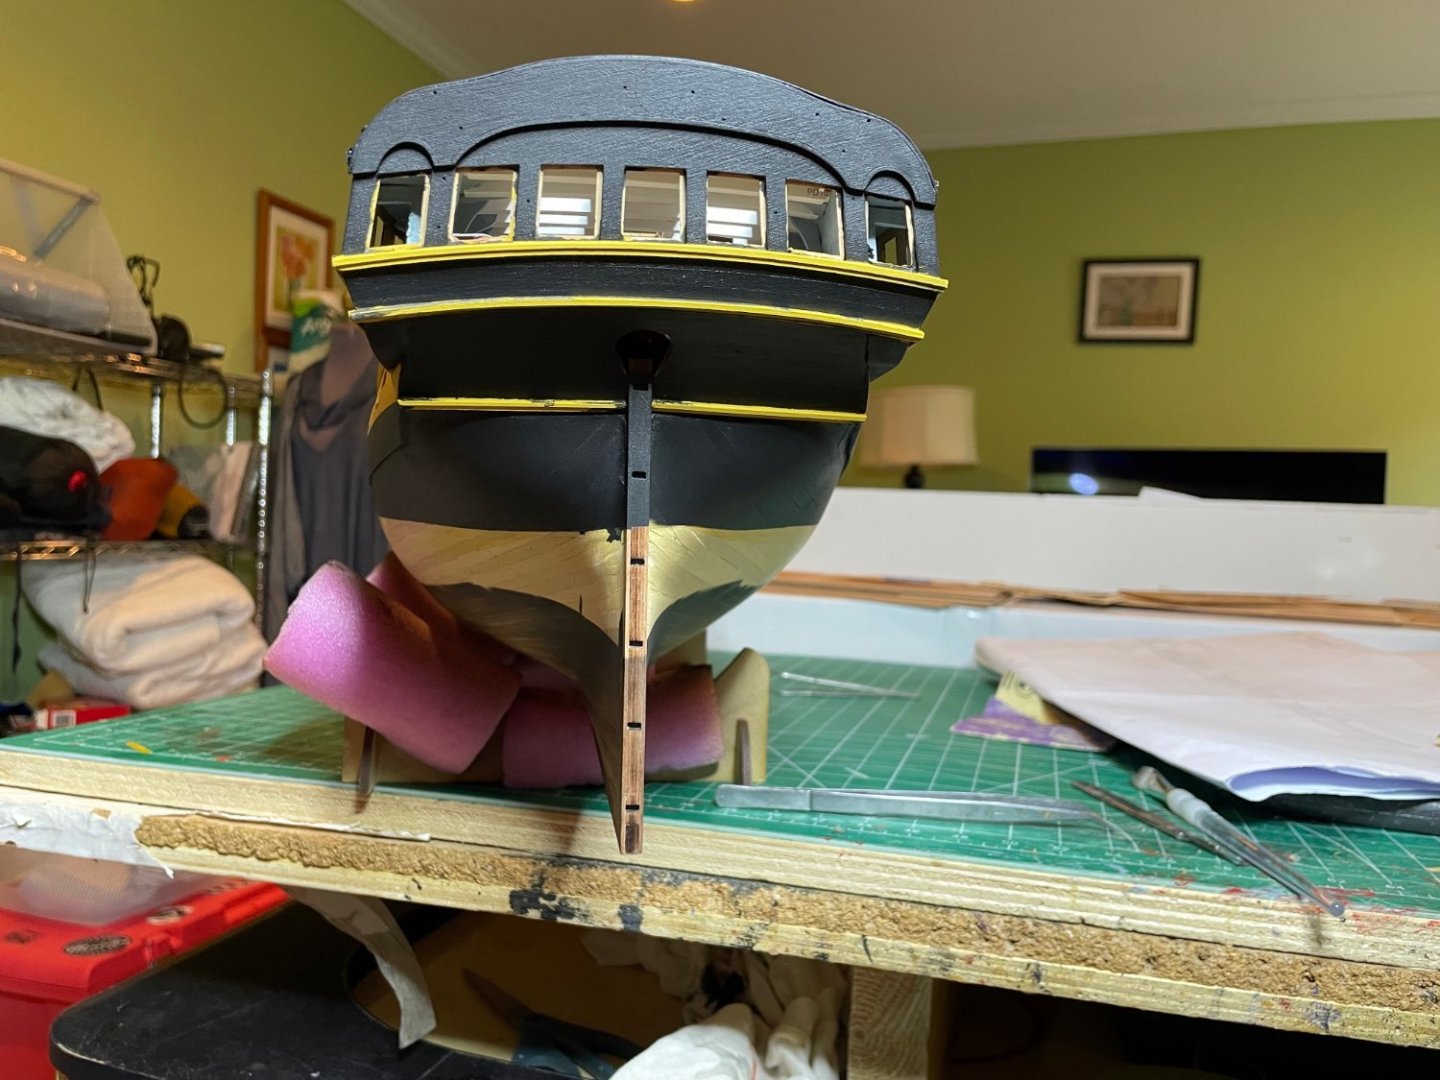
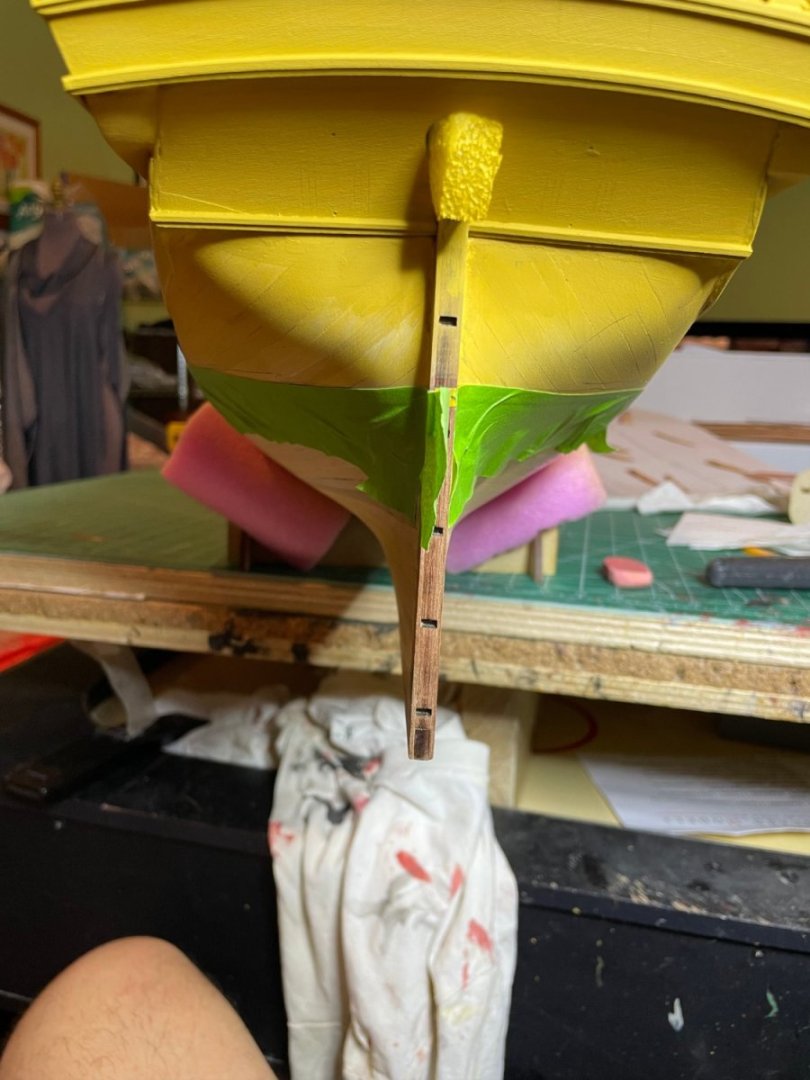
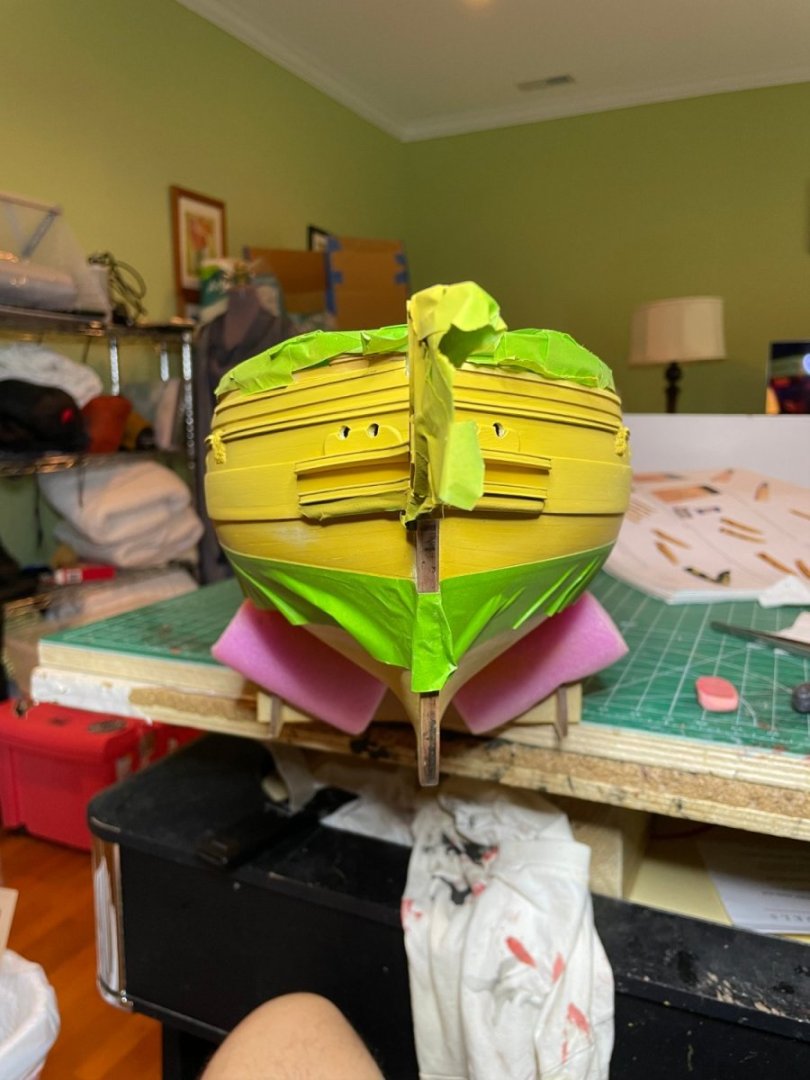
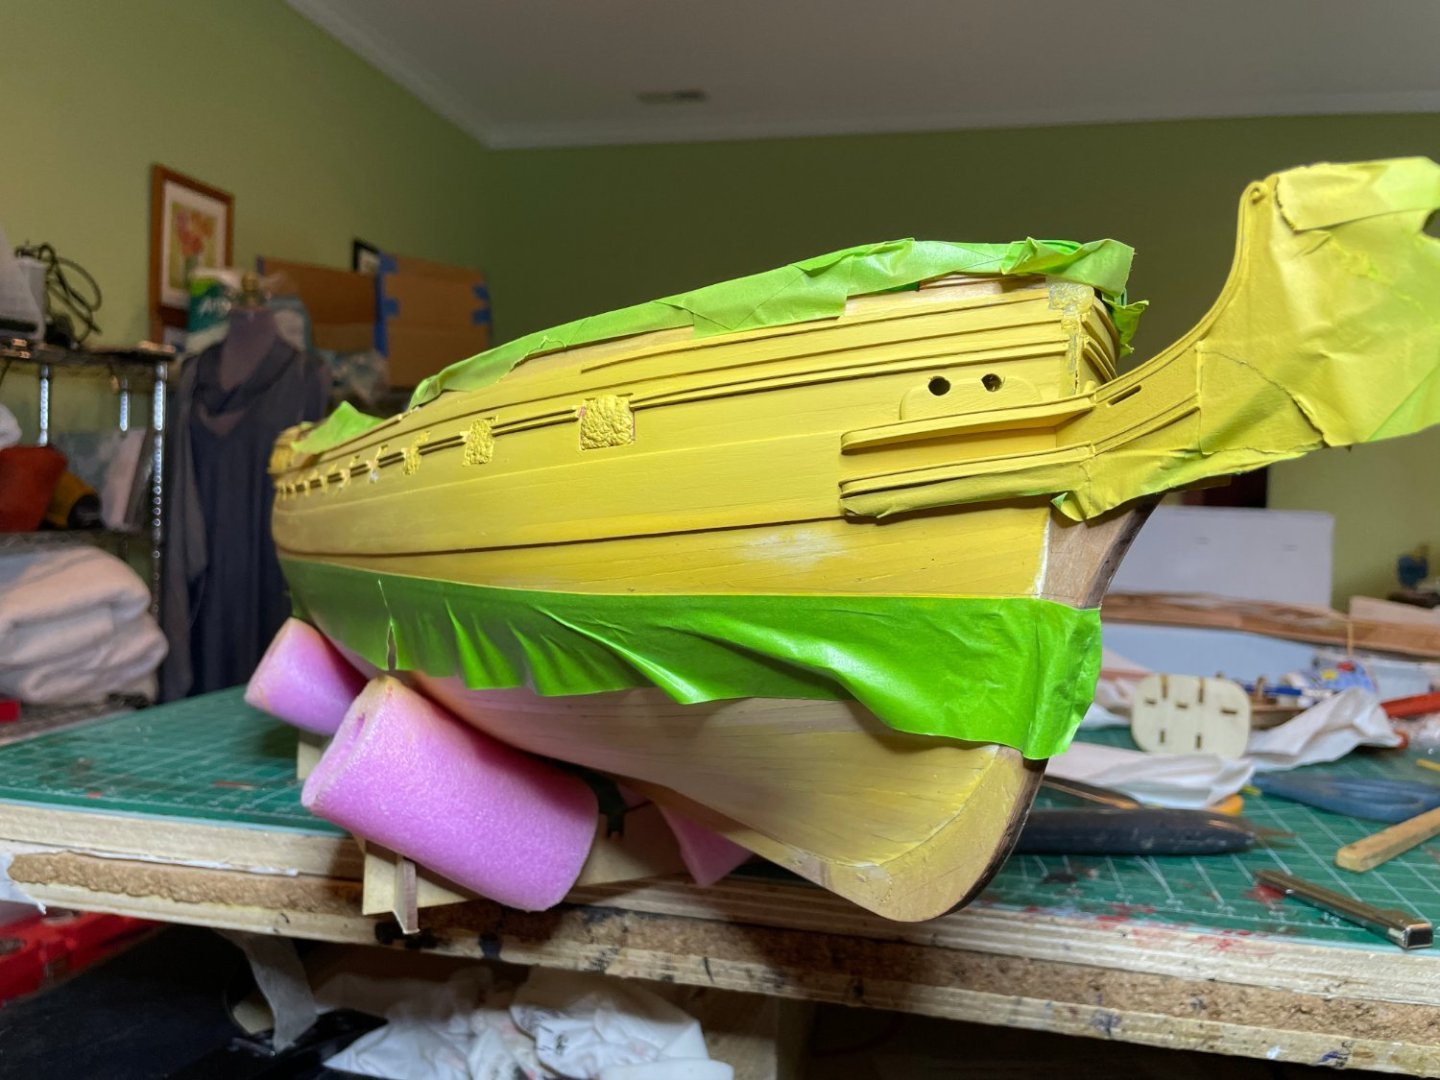
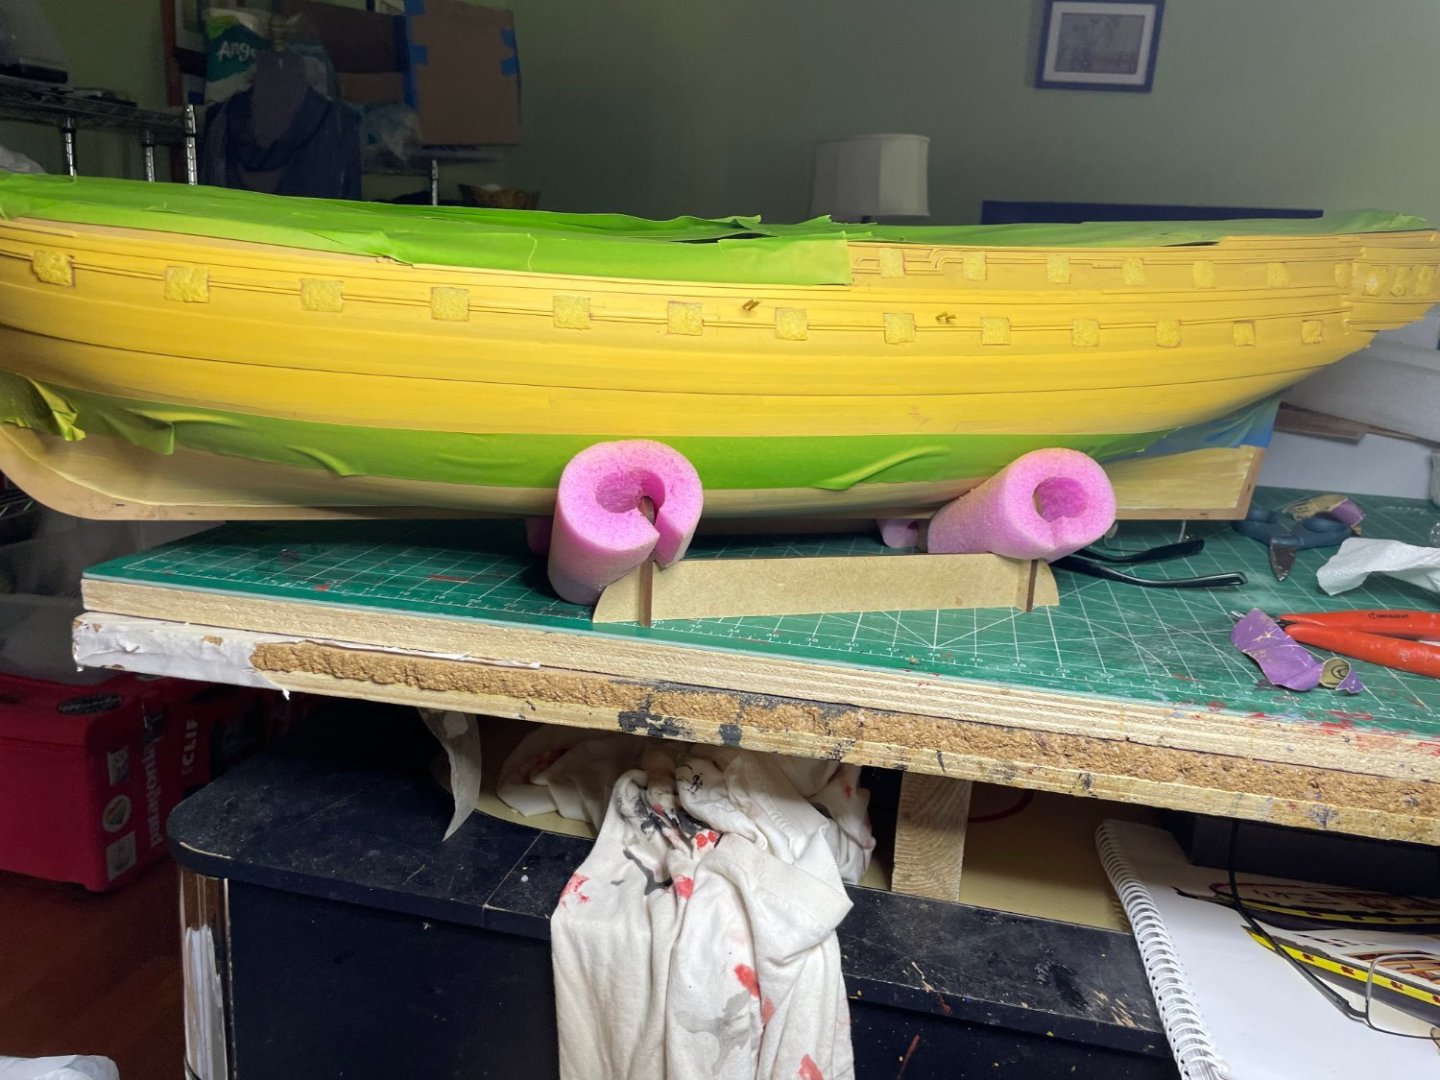
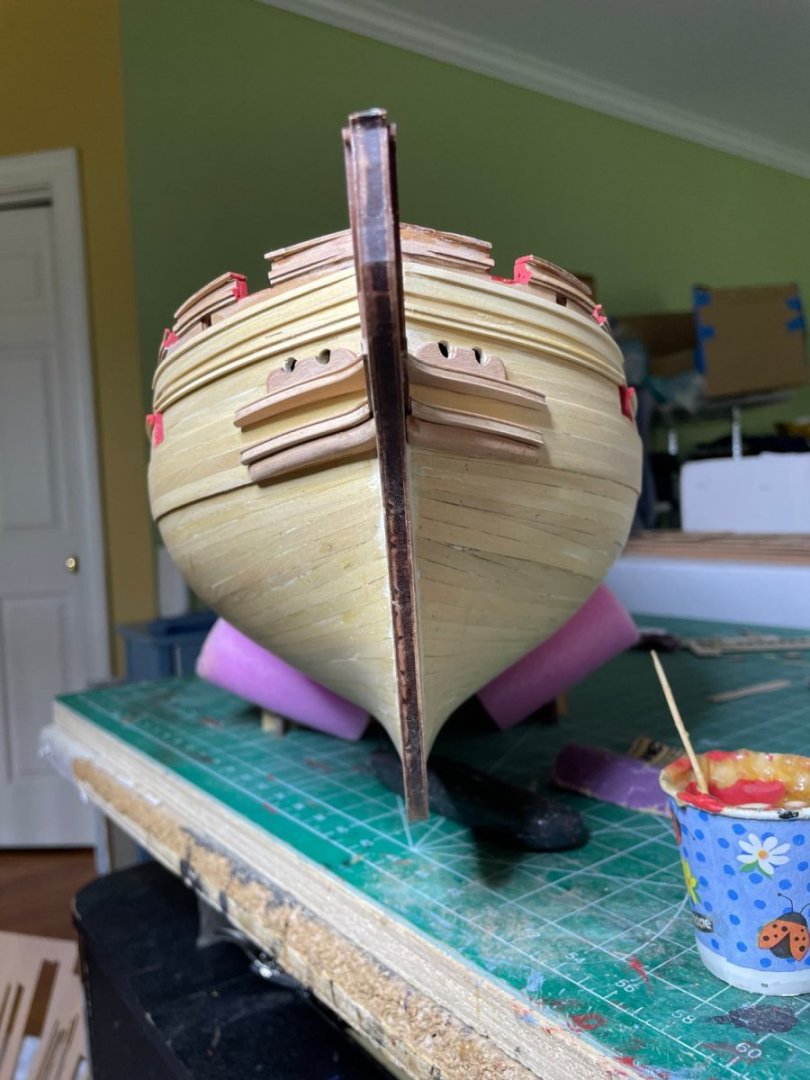
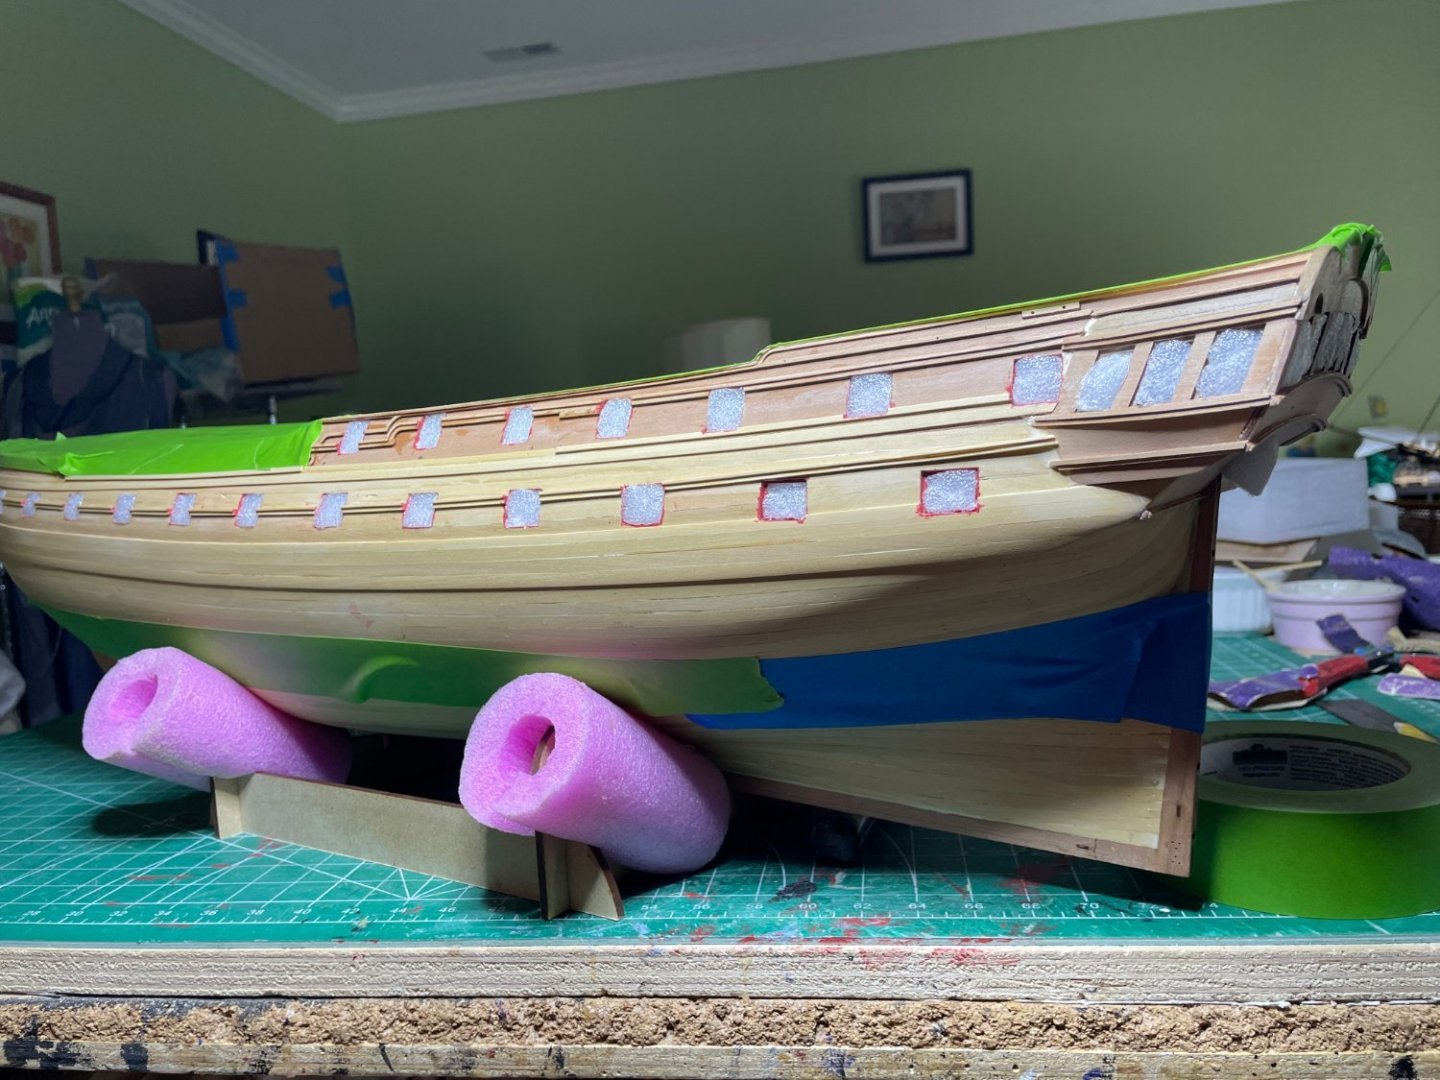
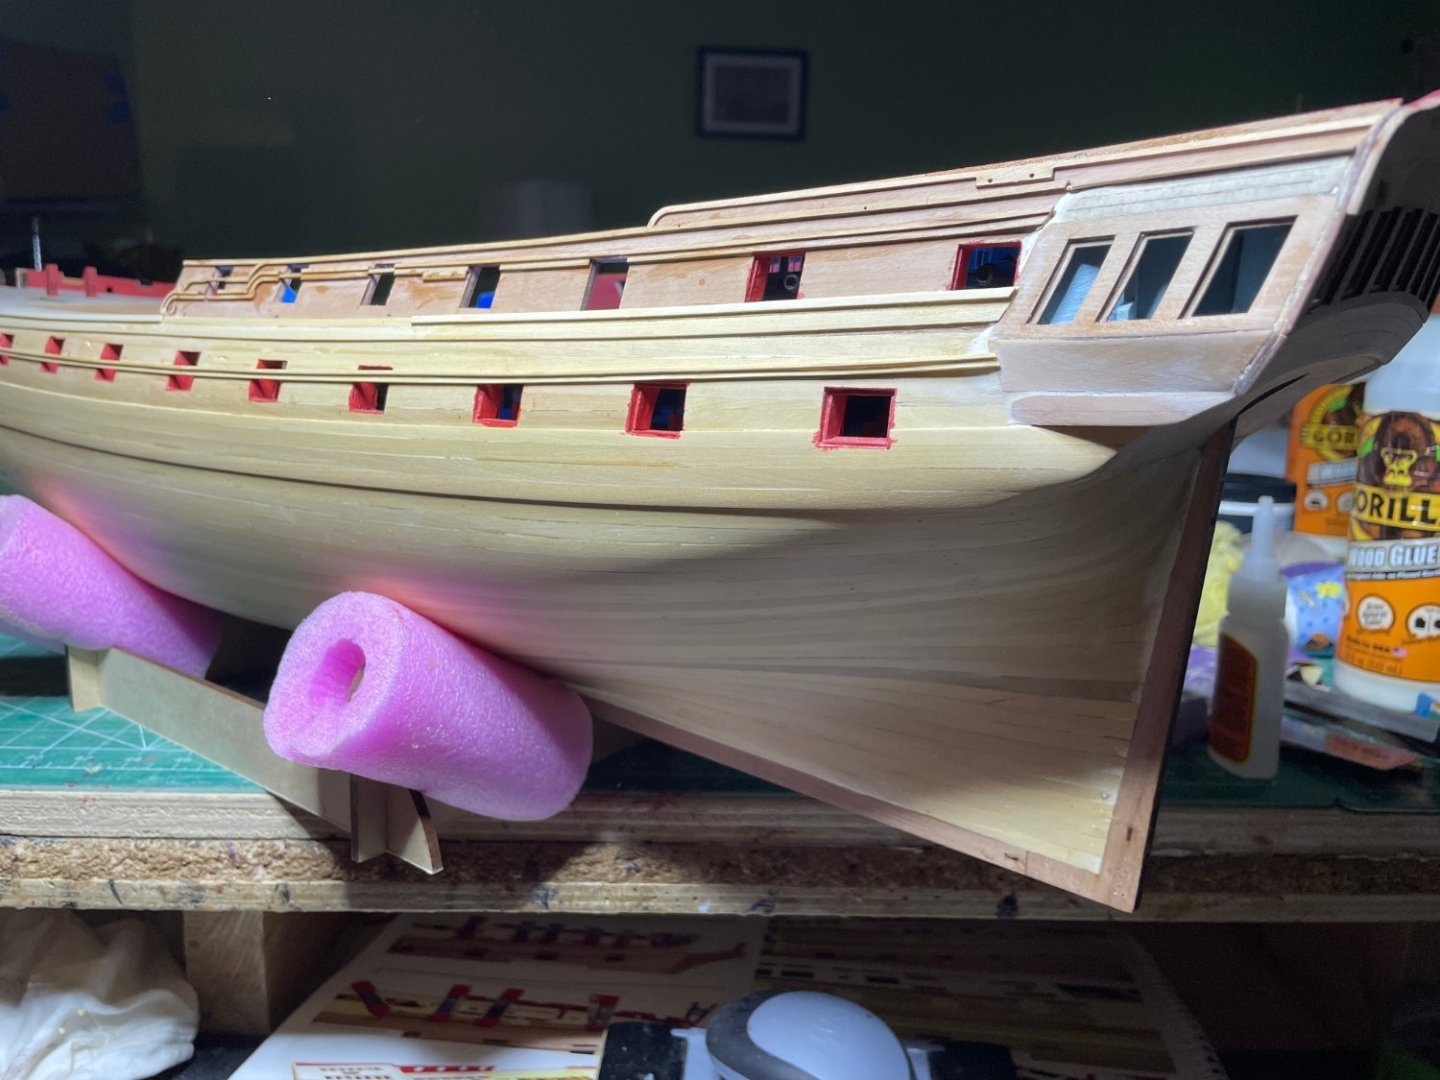
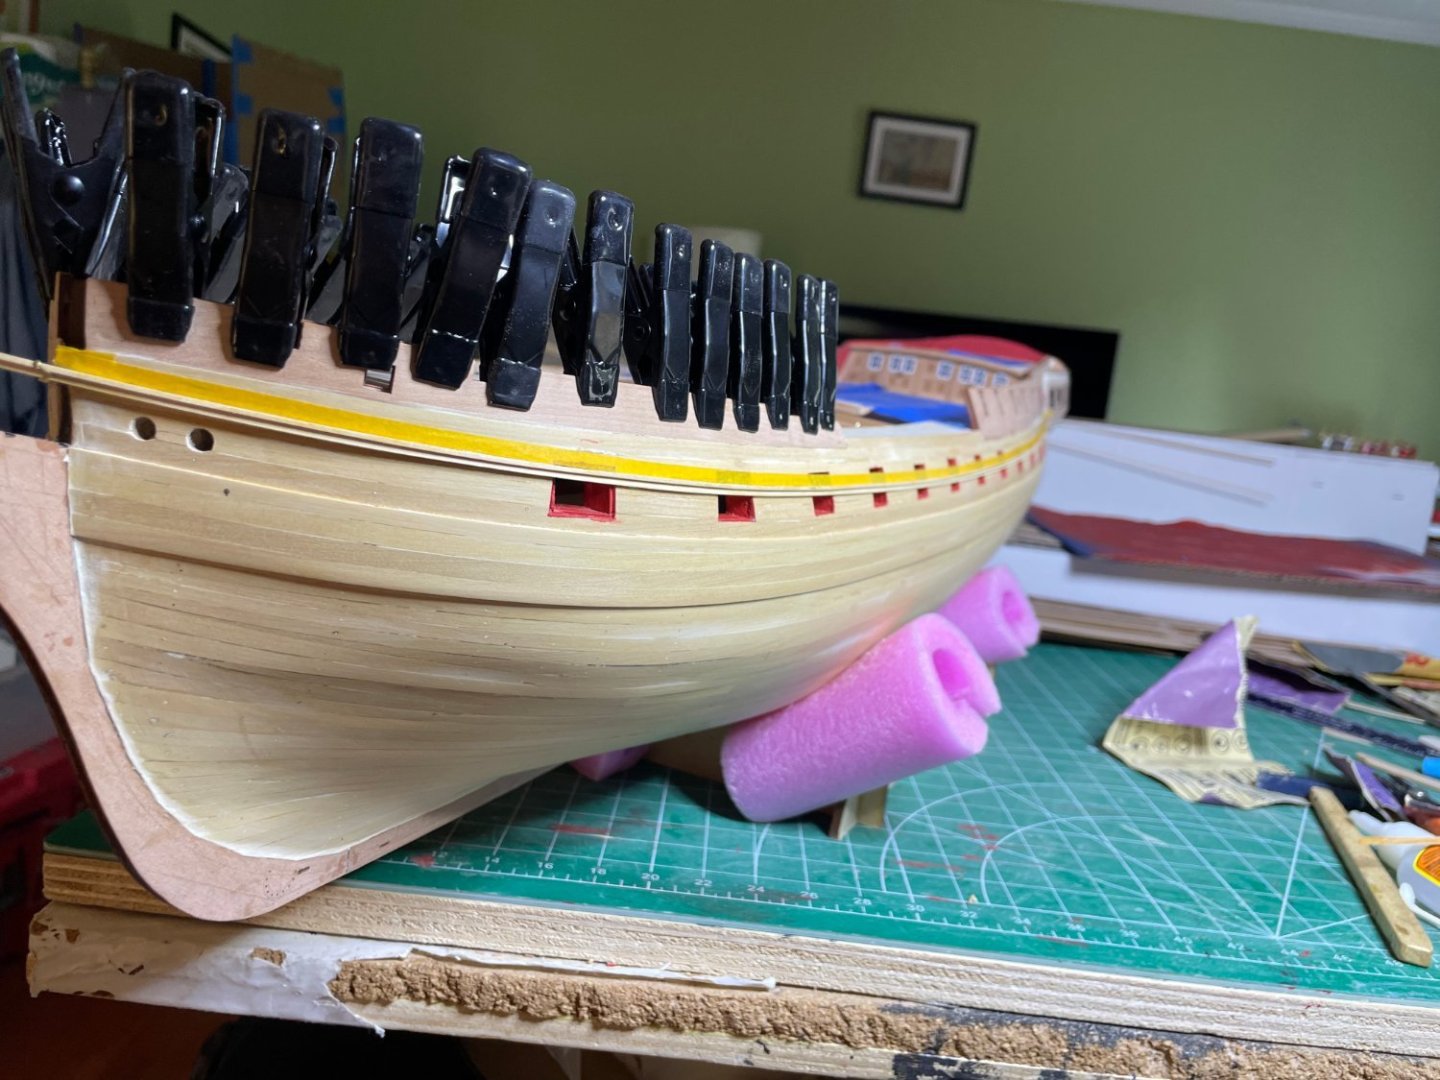
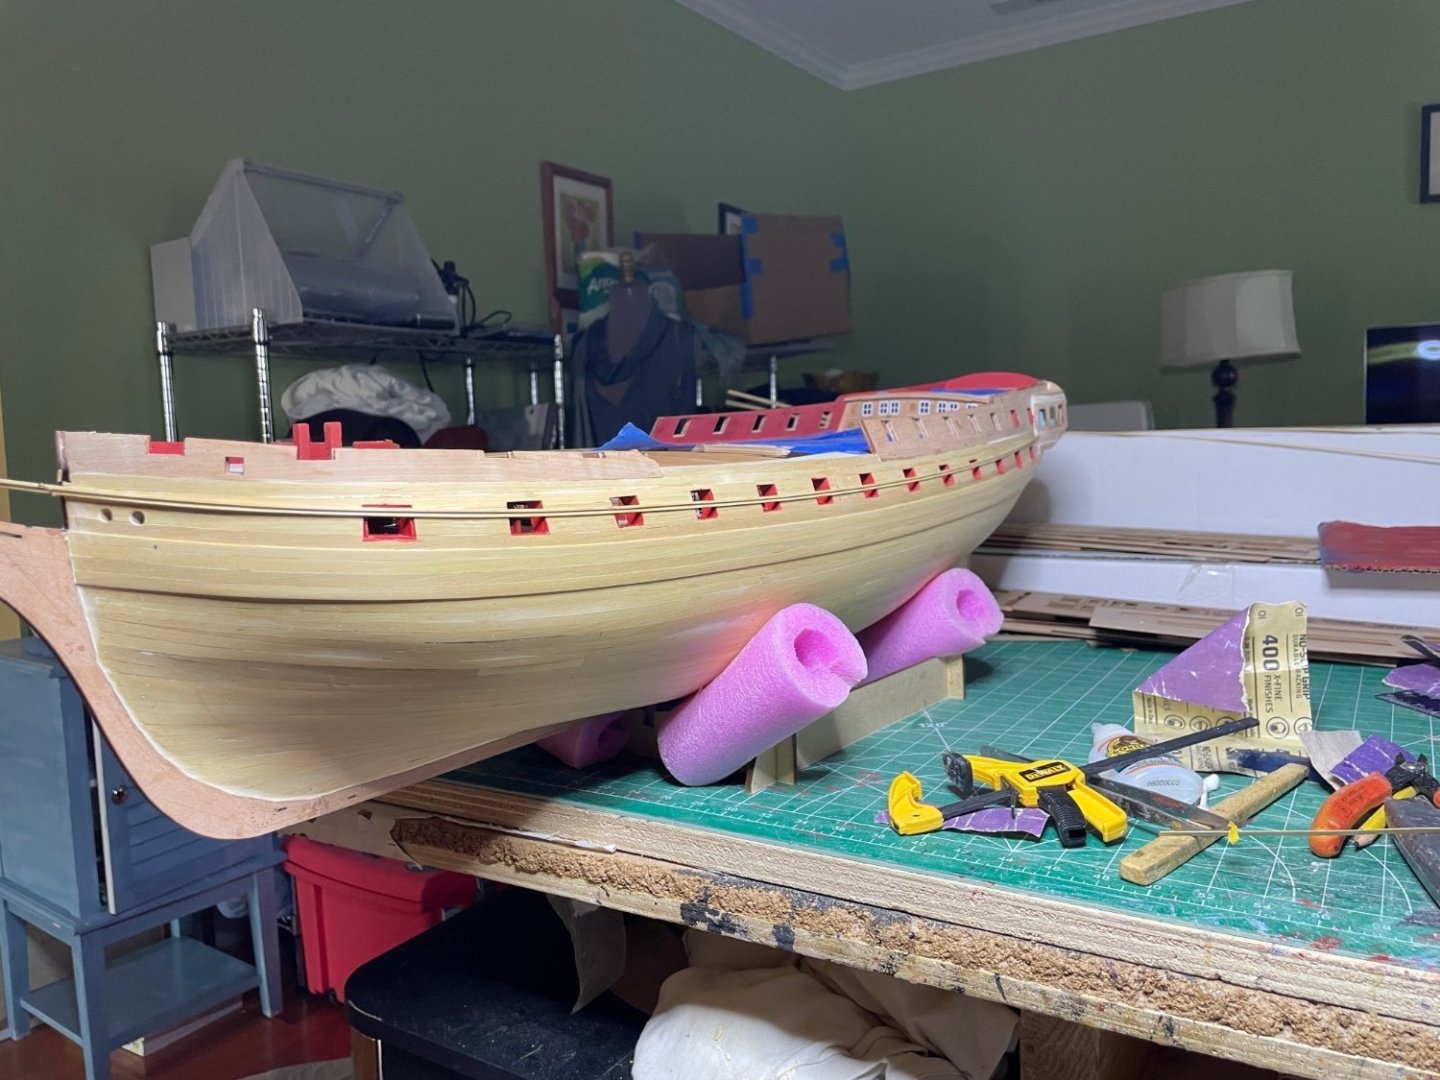
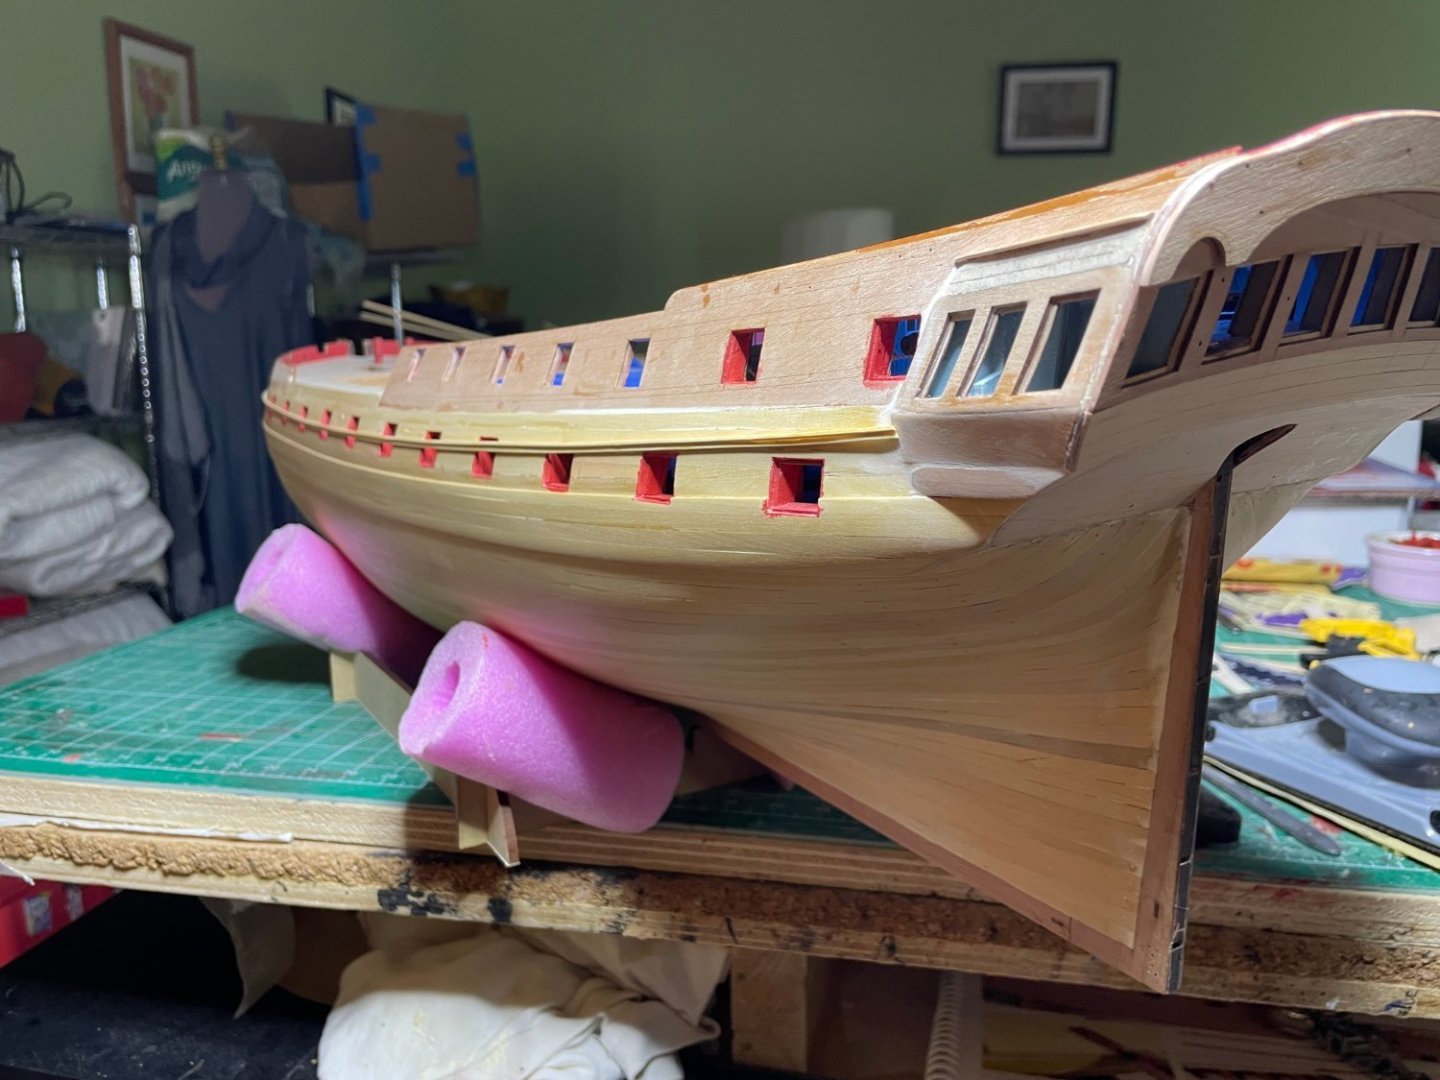
I actually had some foam packing material from something I bought and then just cut slightly larger cubes to stuff in the holes. After thinking about the coppering down the road, I decided to put in the water line. I will paint the hull black down to that point then pull off the tape and retape over the black line so that I can paint the lower hull copper prior to putting the plates on to help hide any spots that might show through. A lot of copper to put on soon.


- 233 replies
-
- 9
-
-

-
- Indefatigable
- Vanguard Models
- (and 1 more)
-
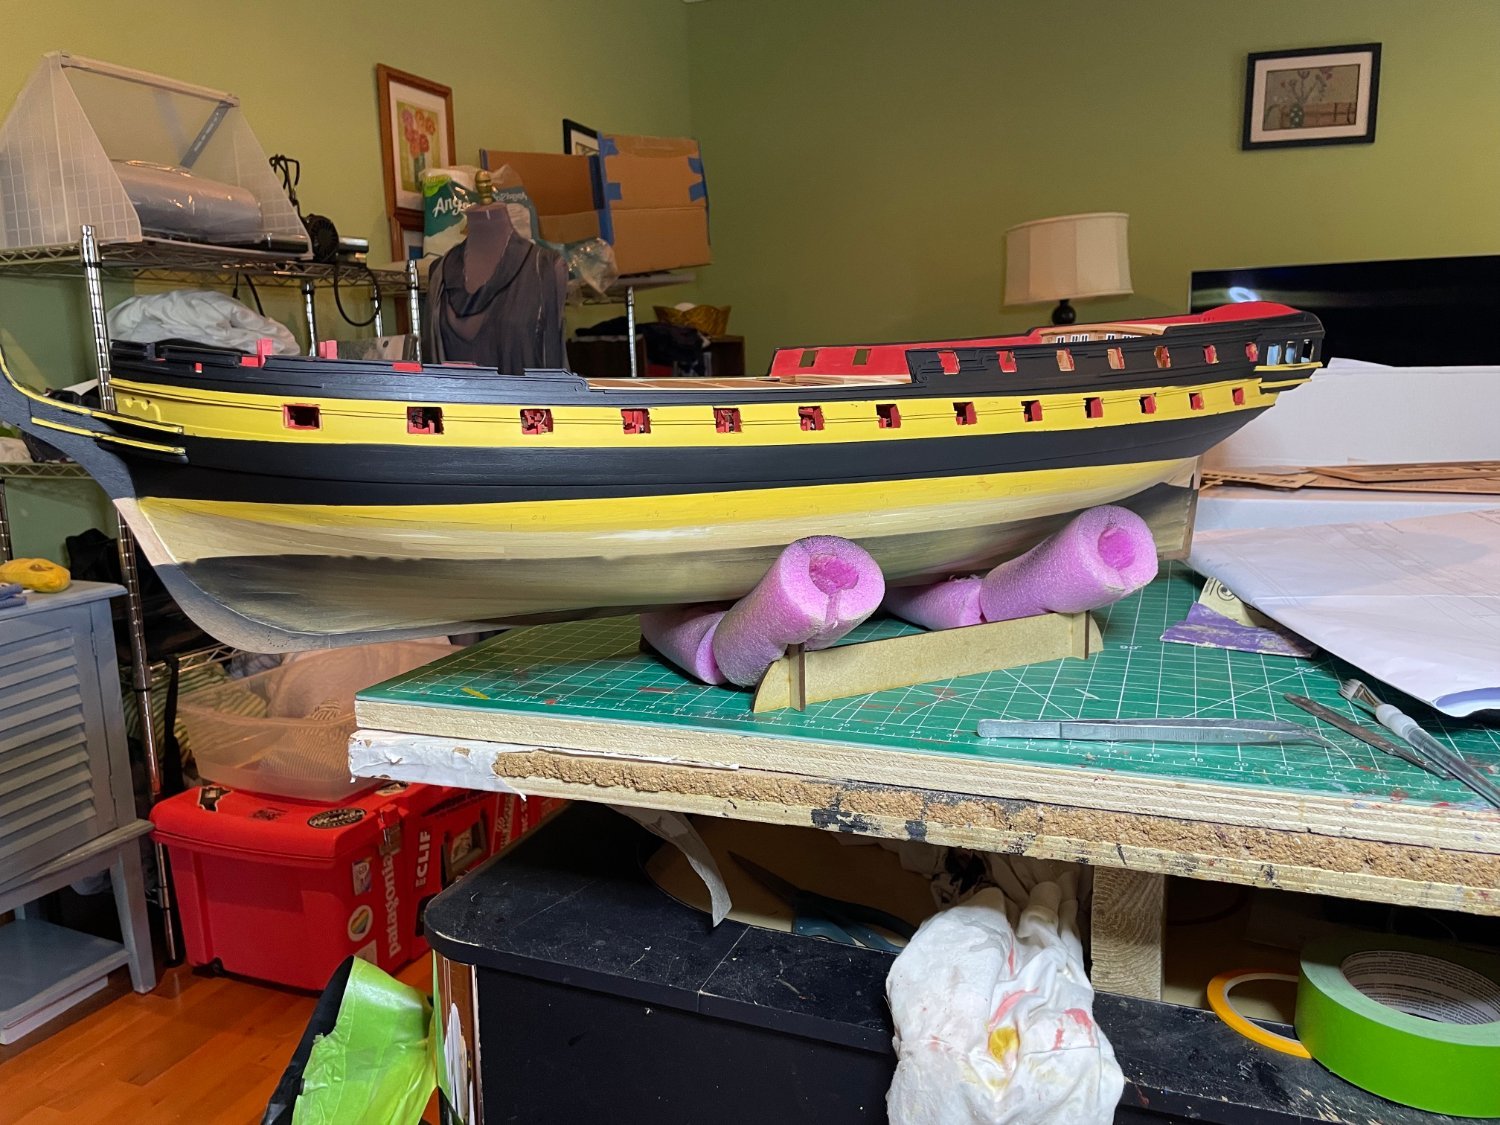
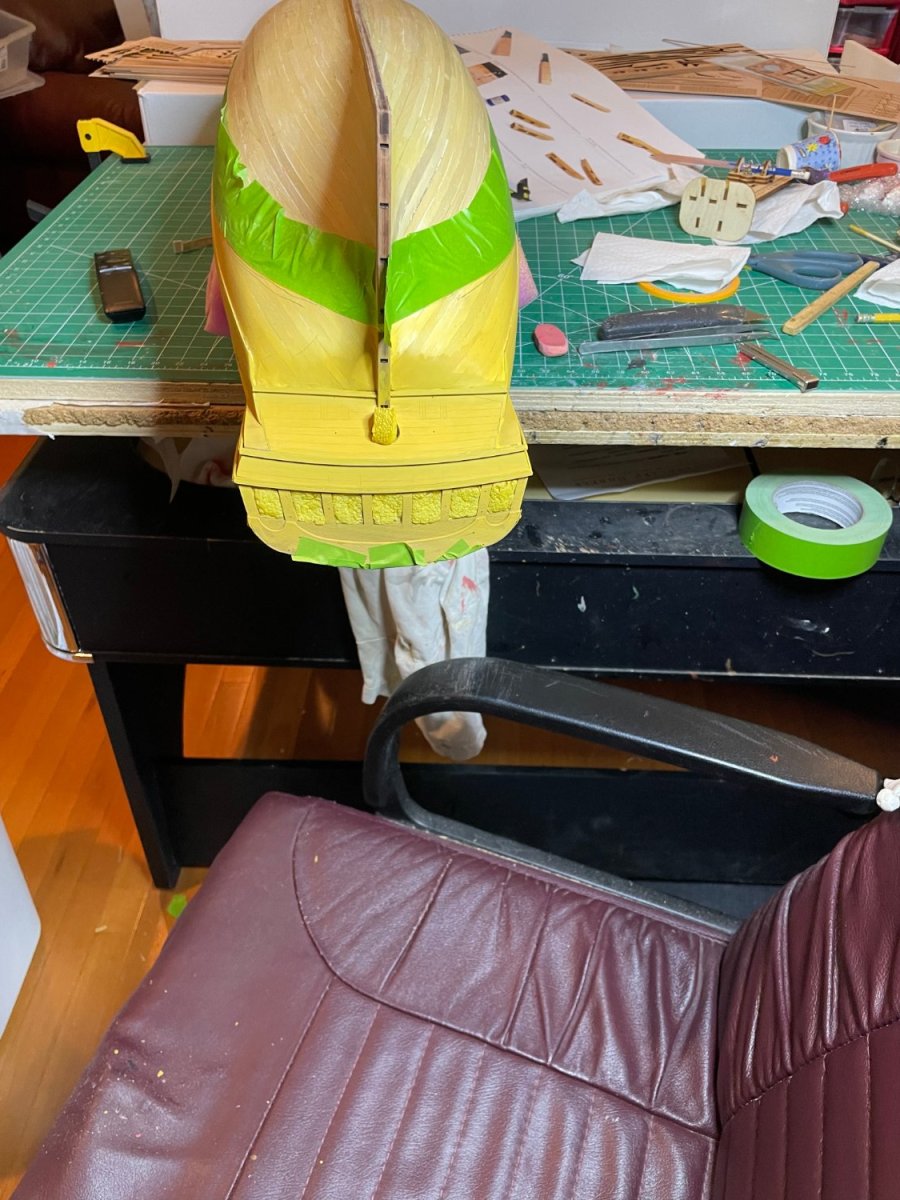
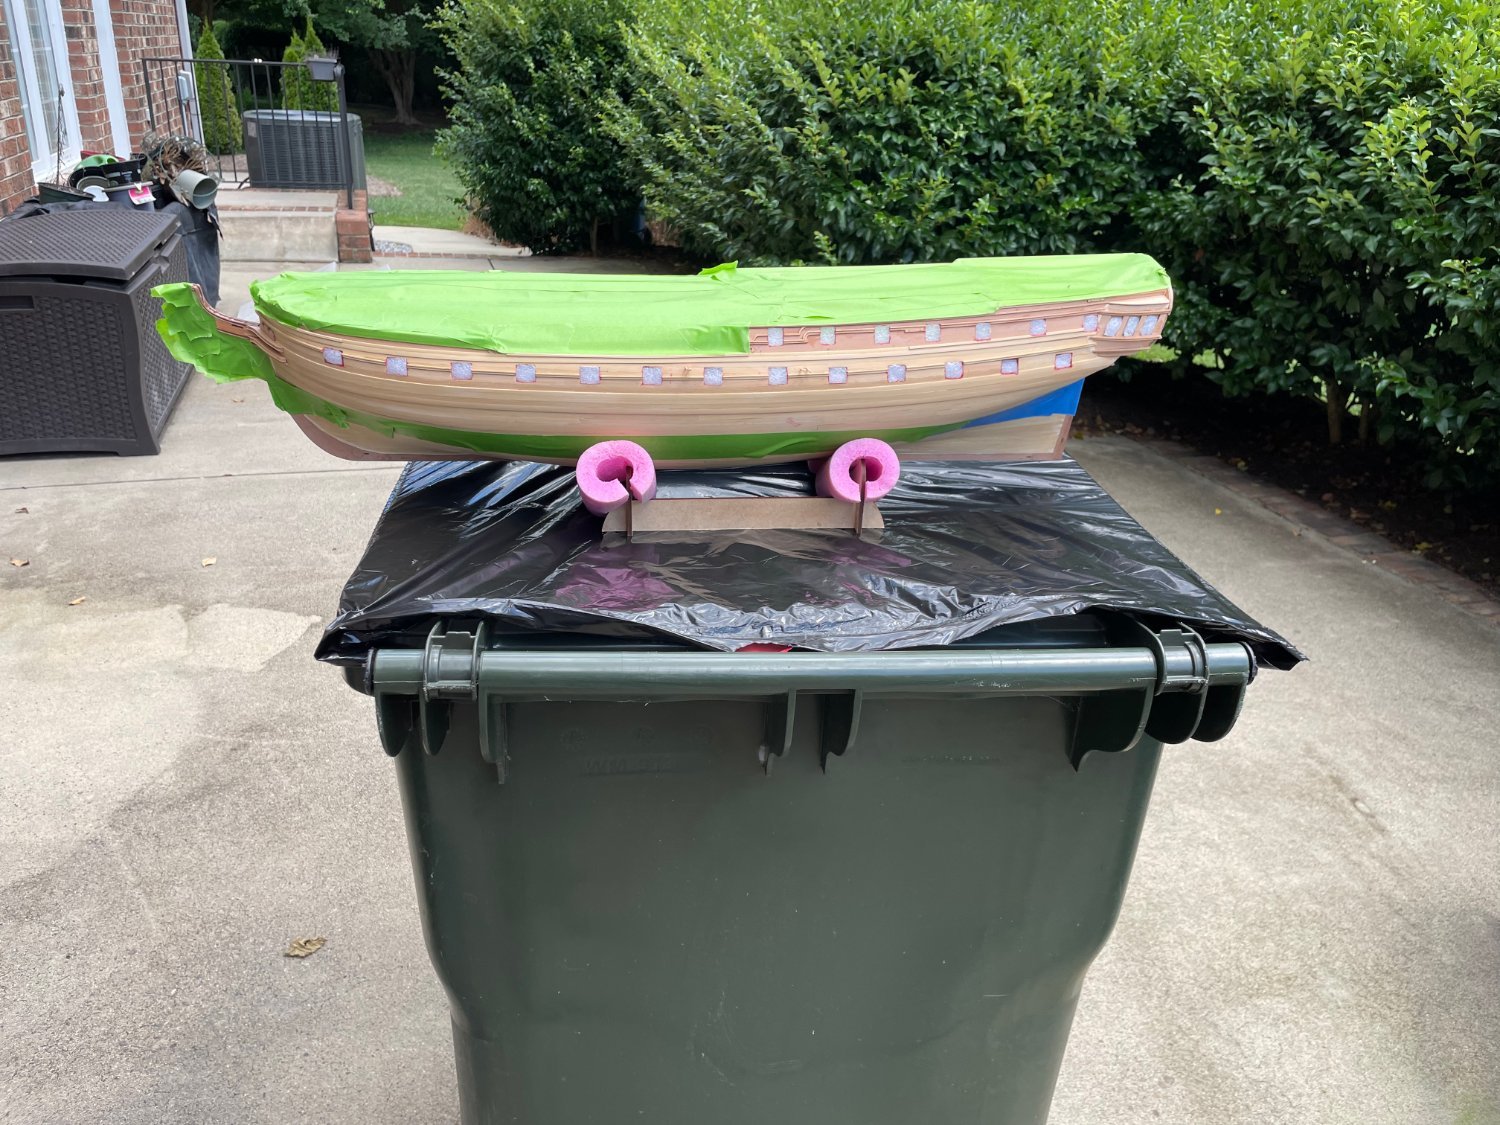
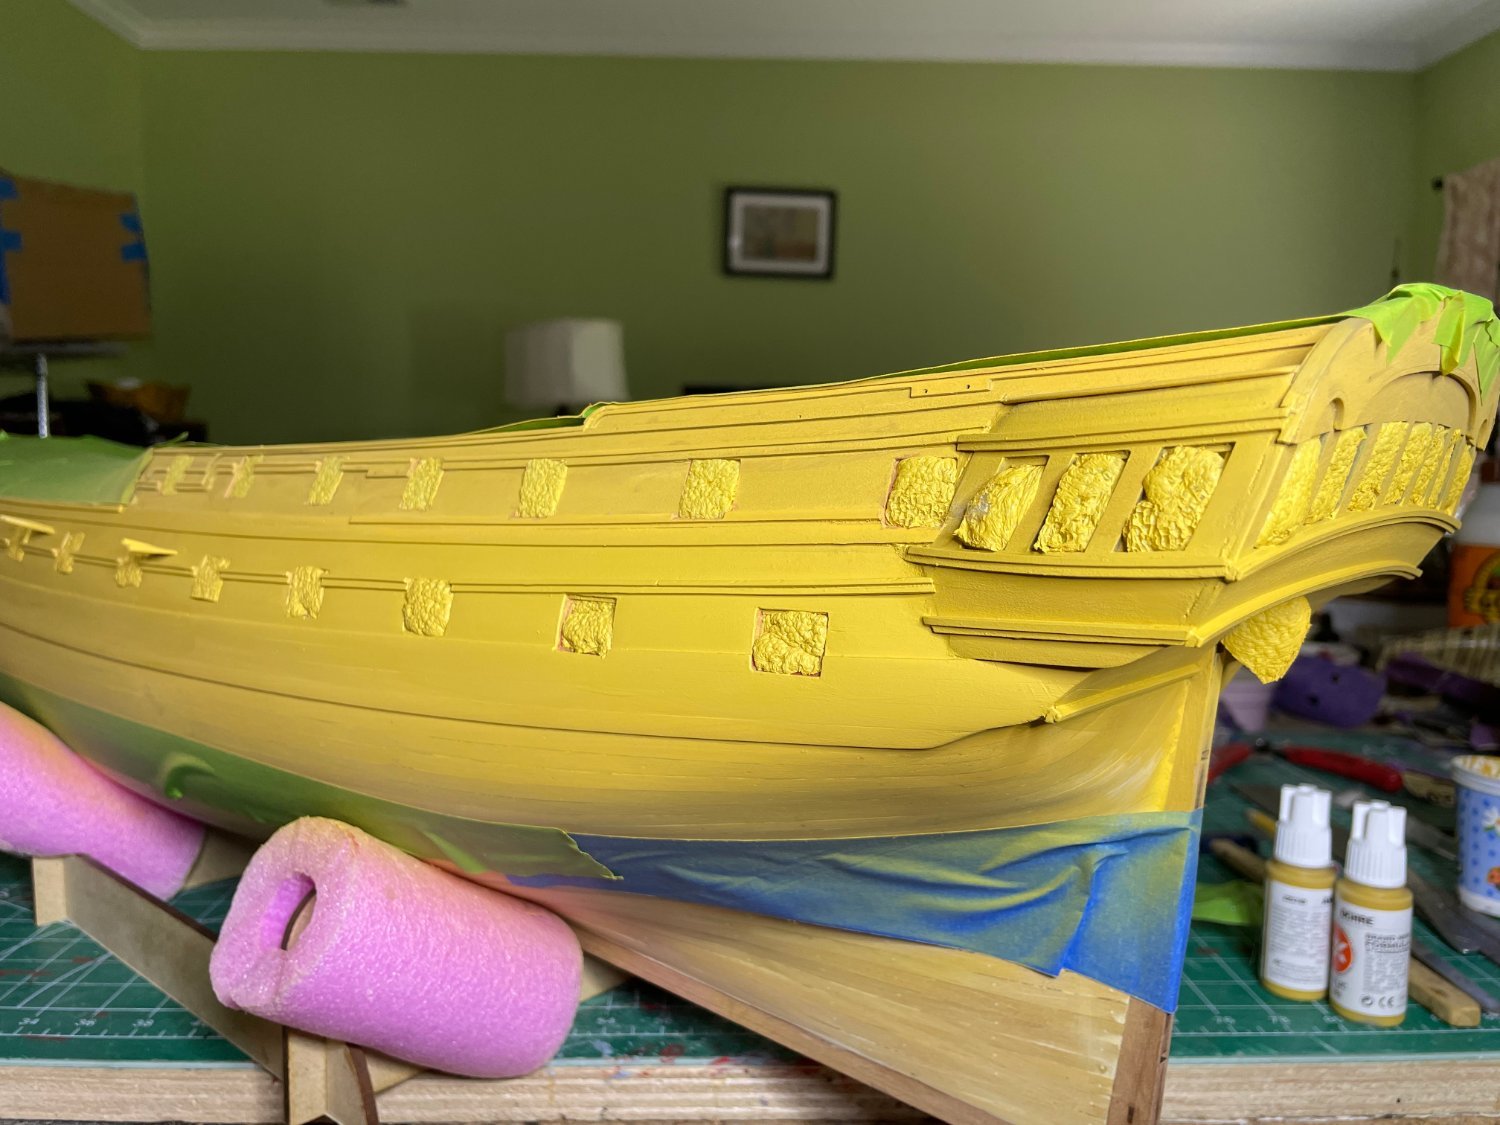
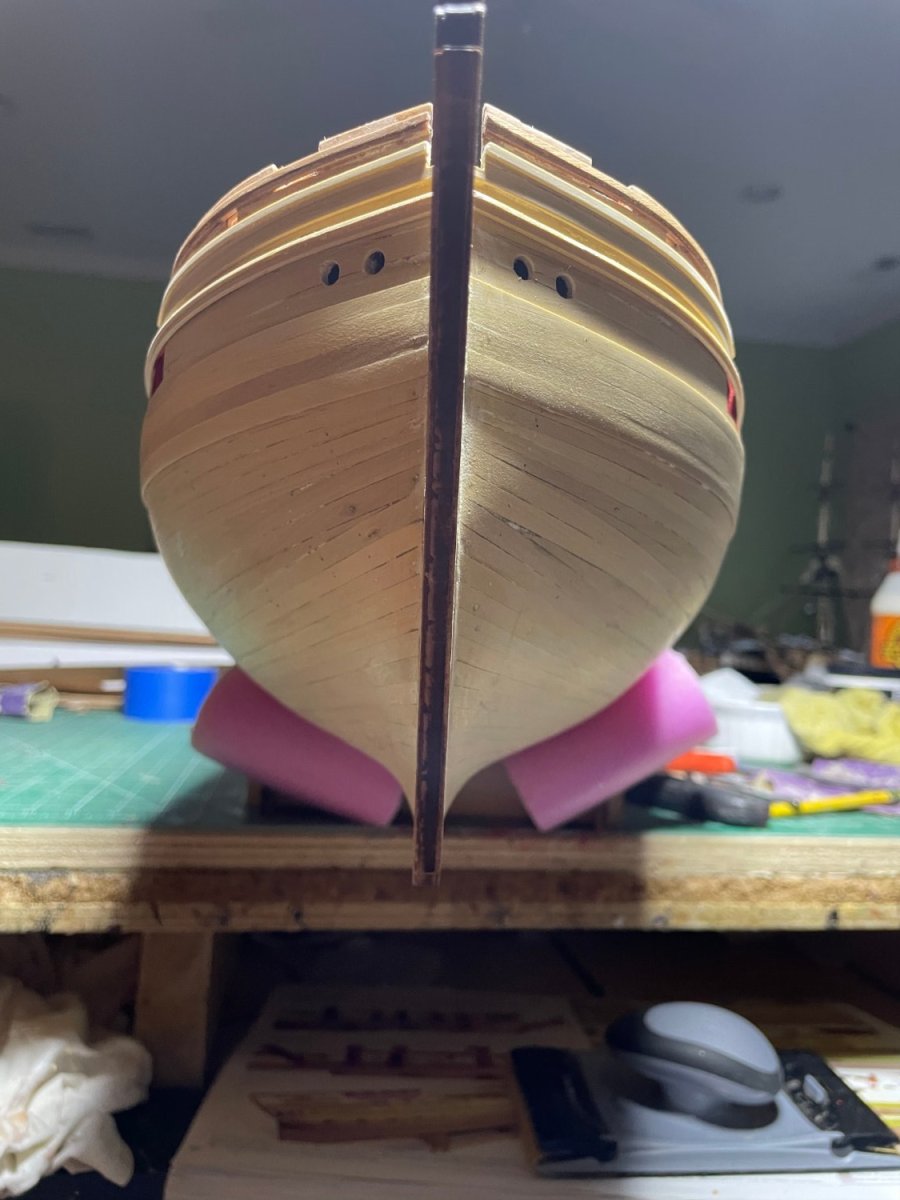
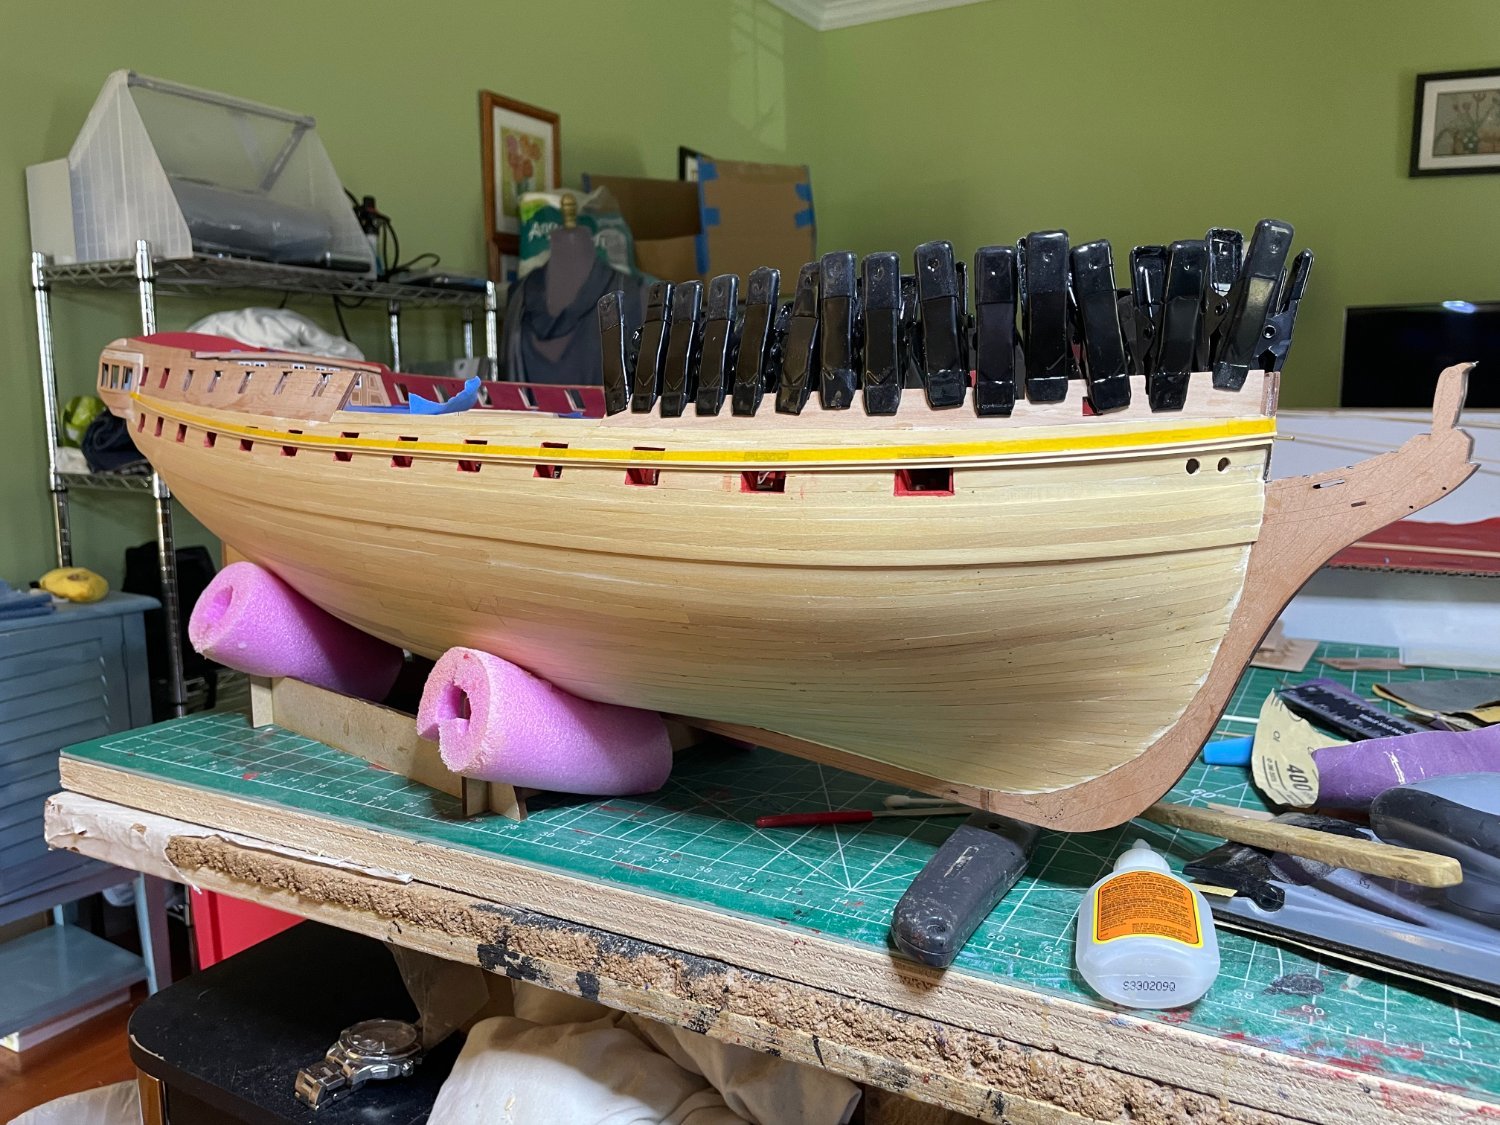
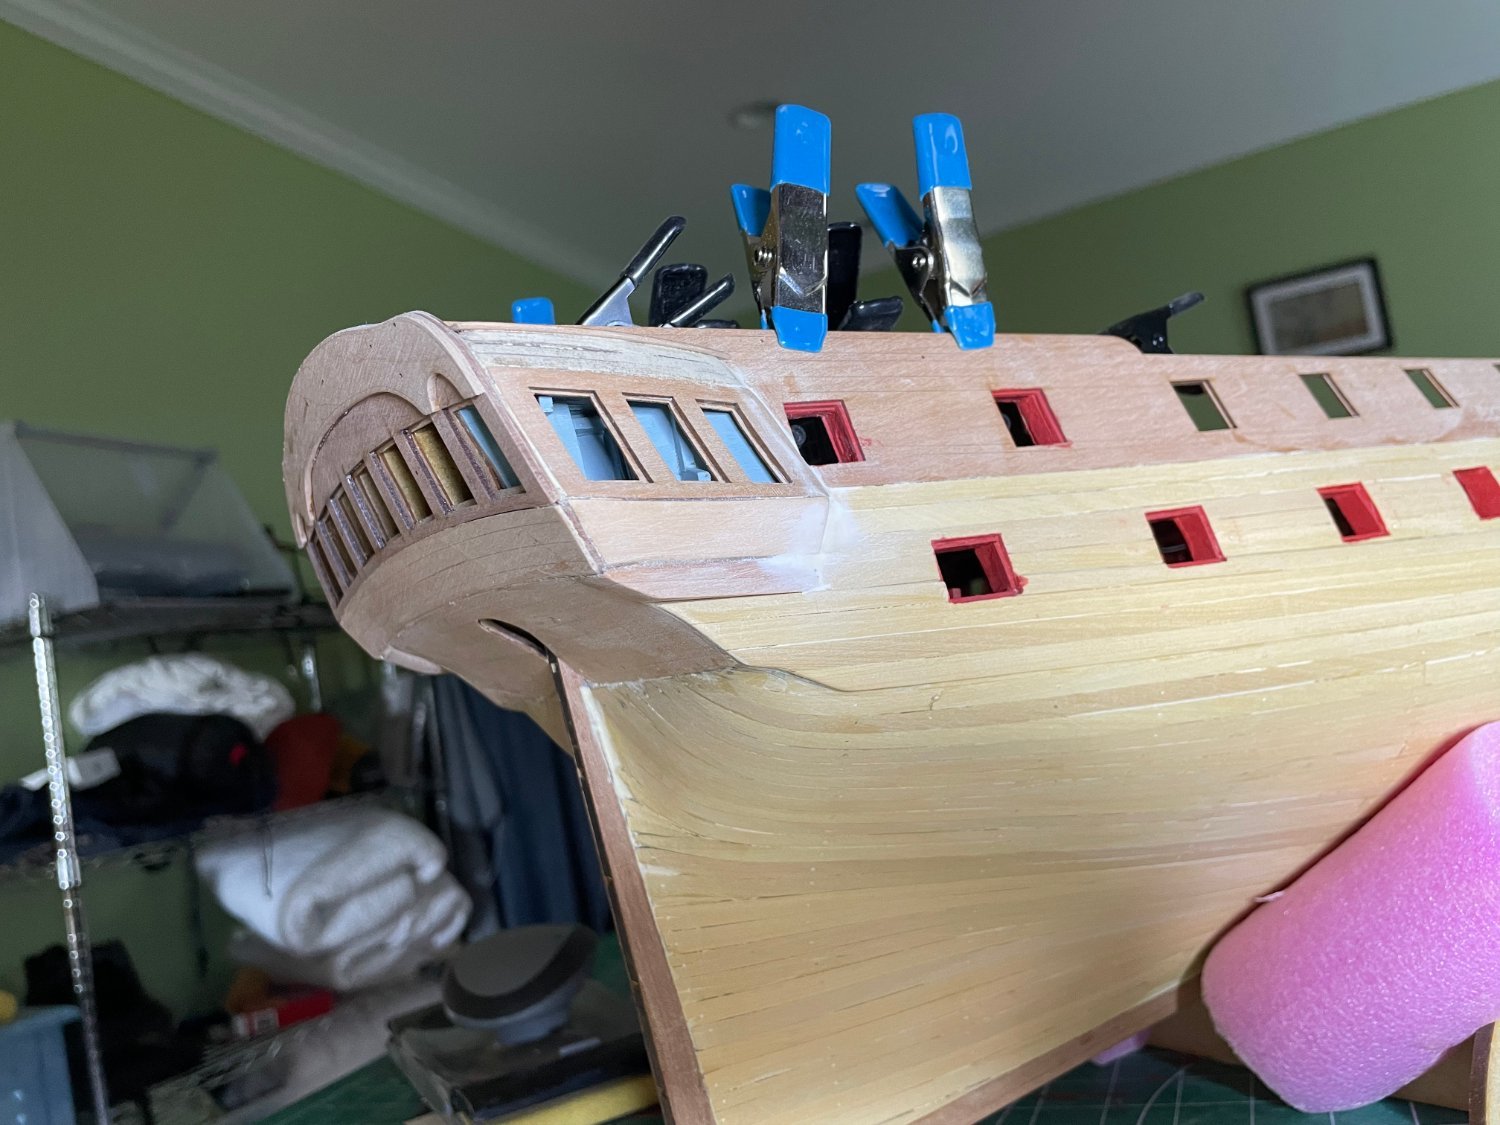
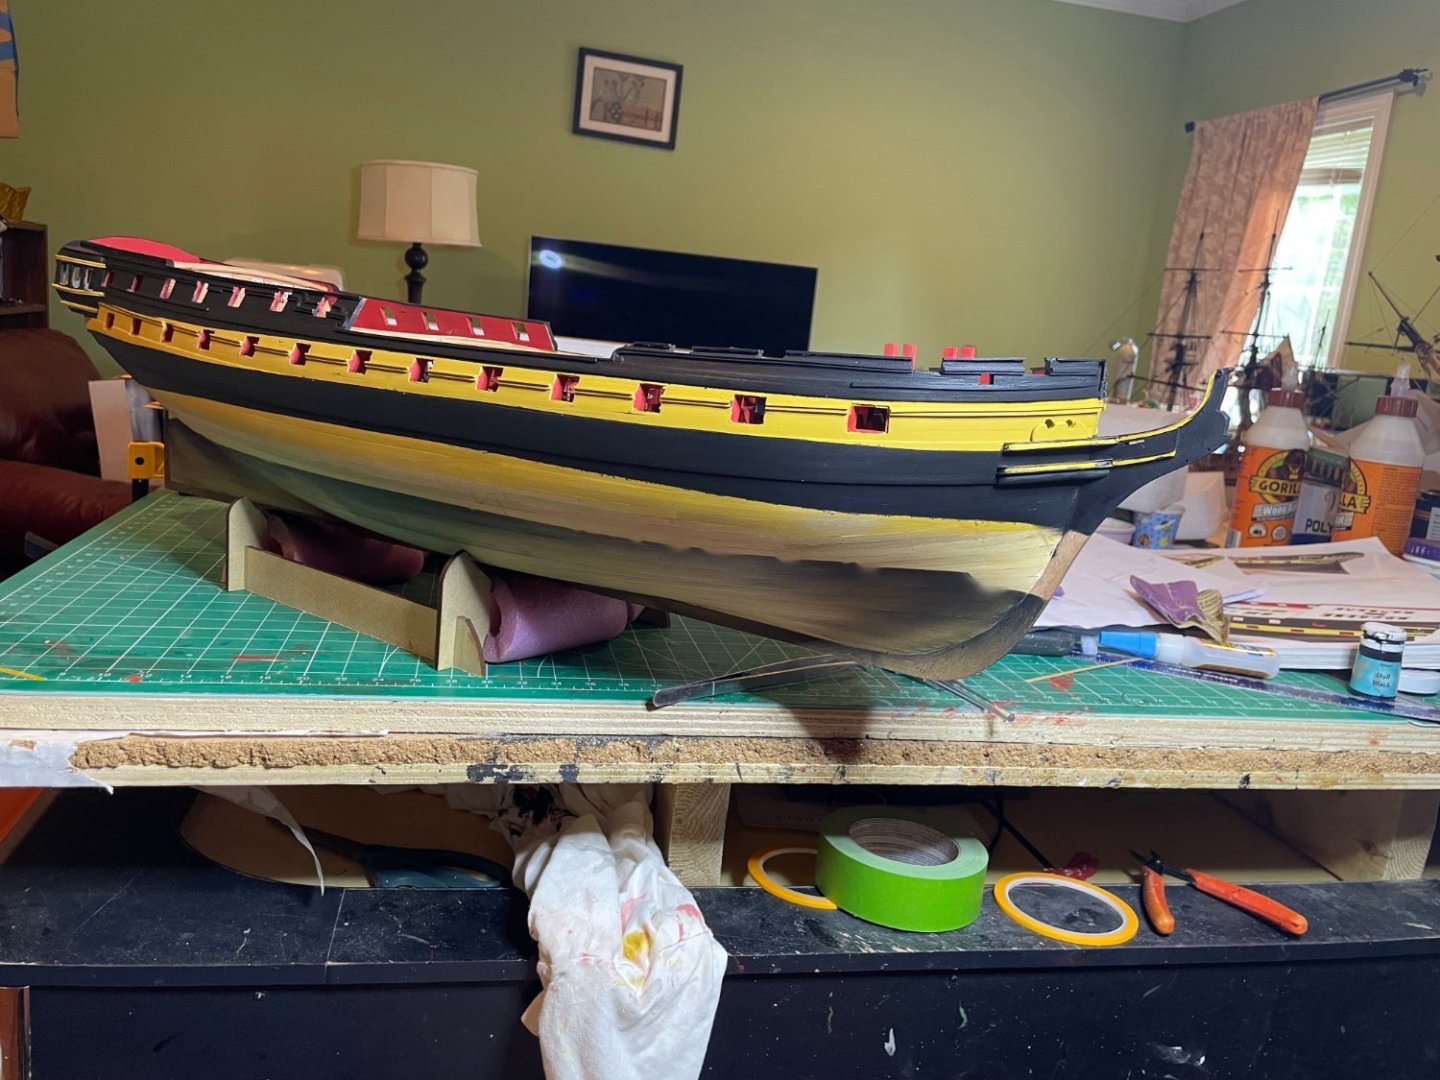
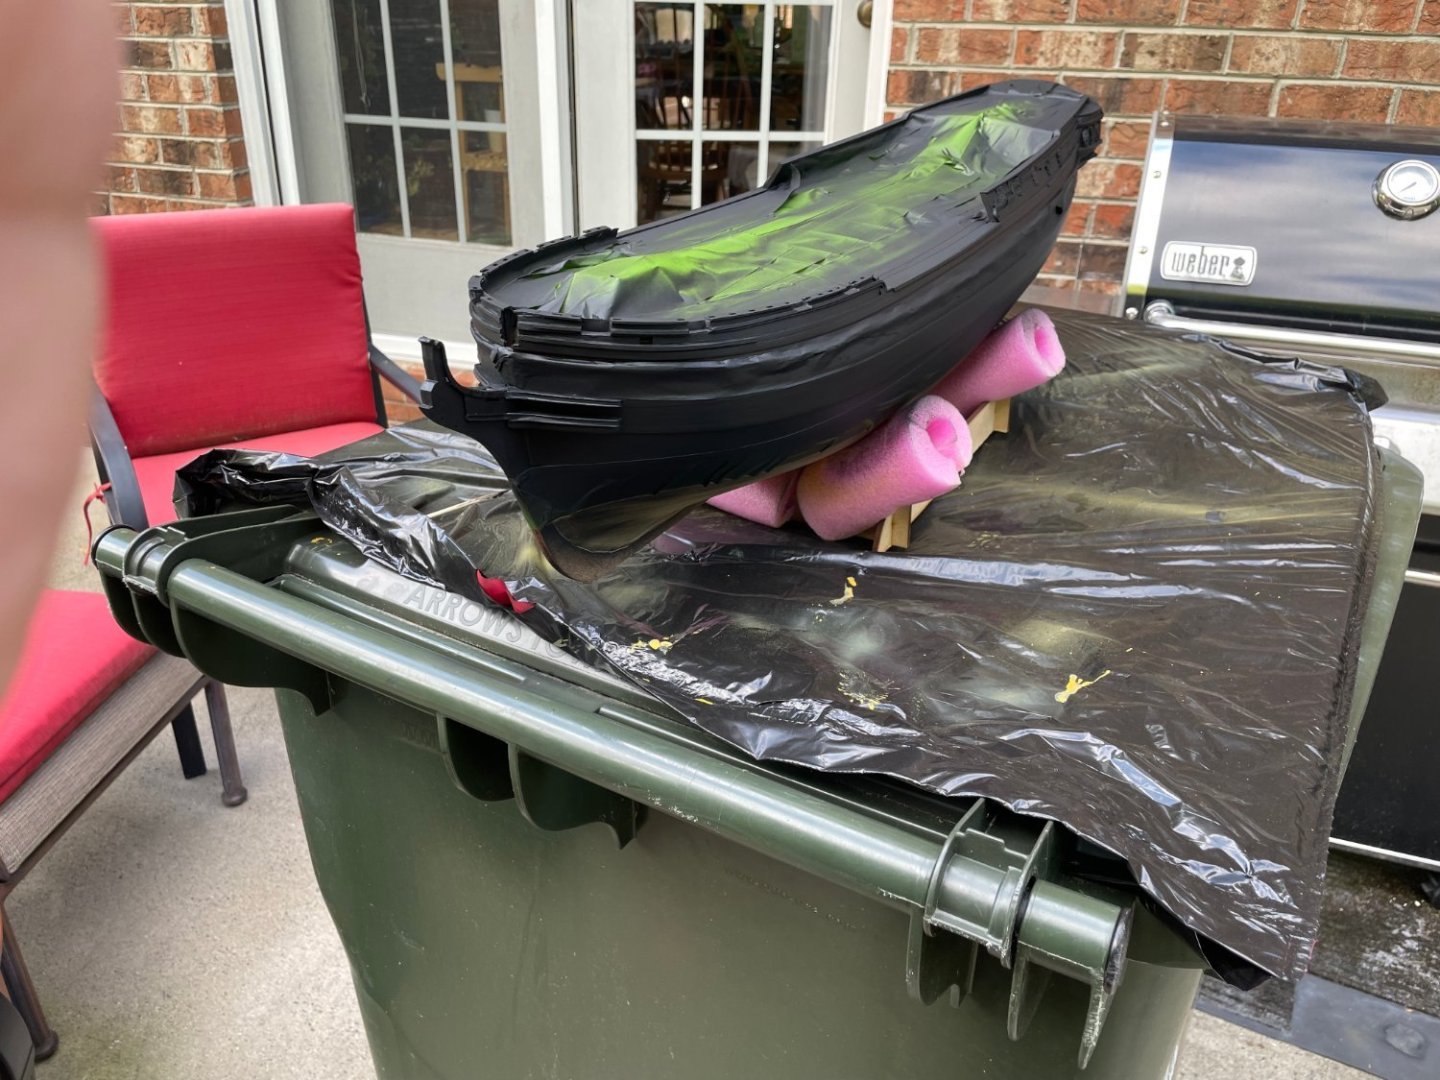
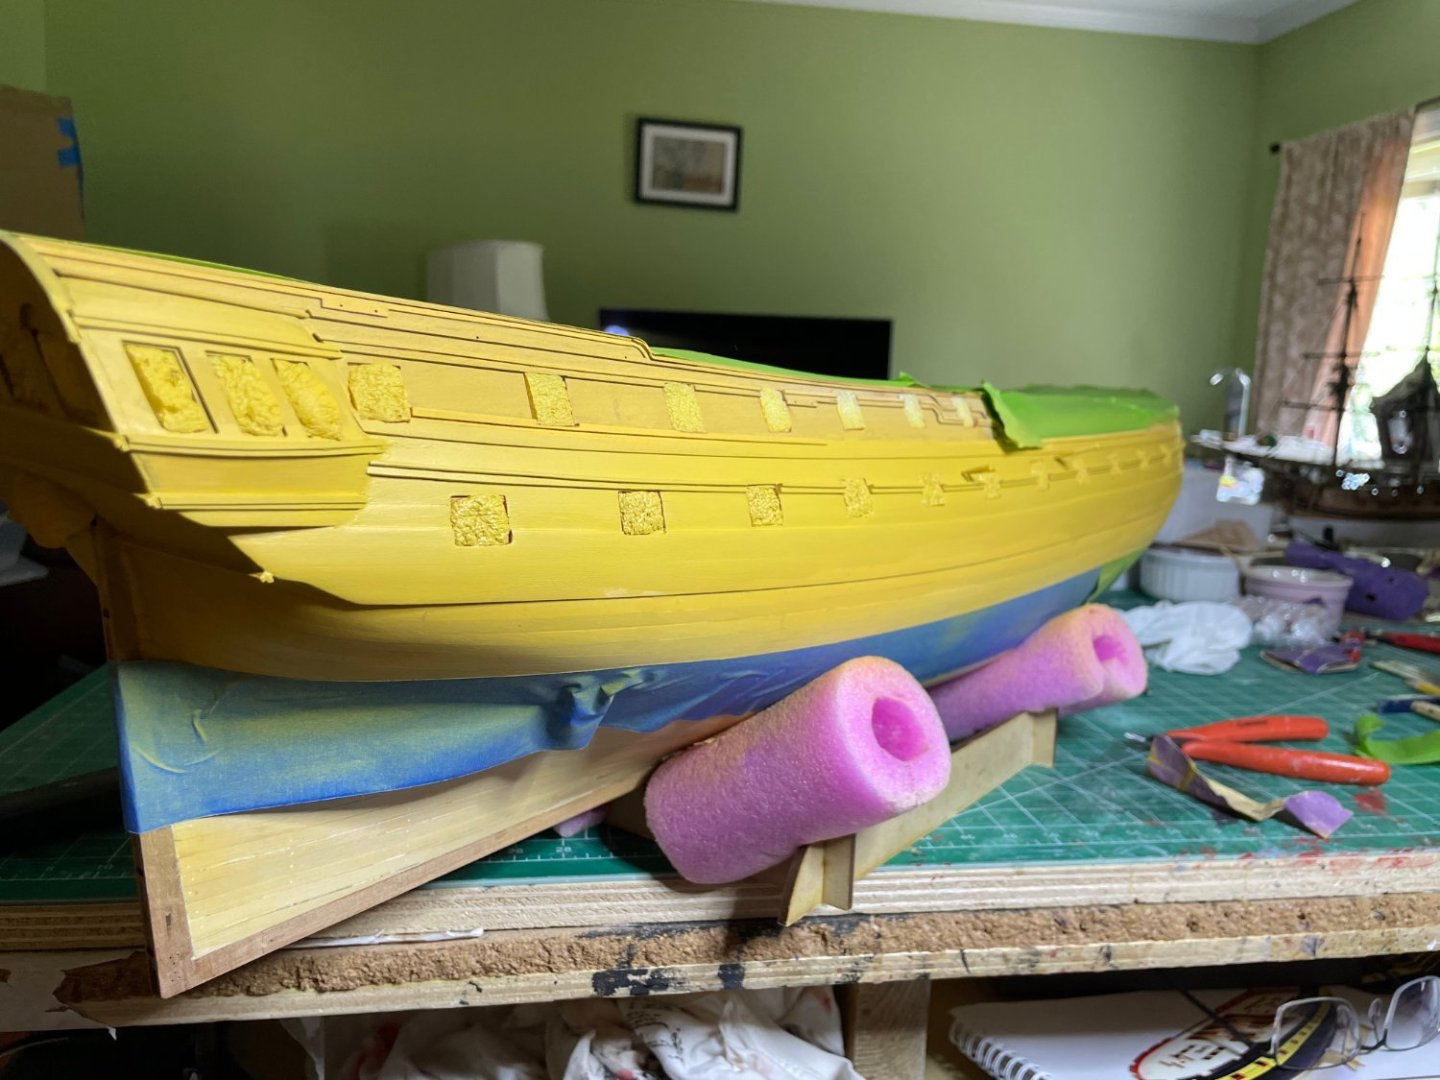
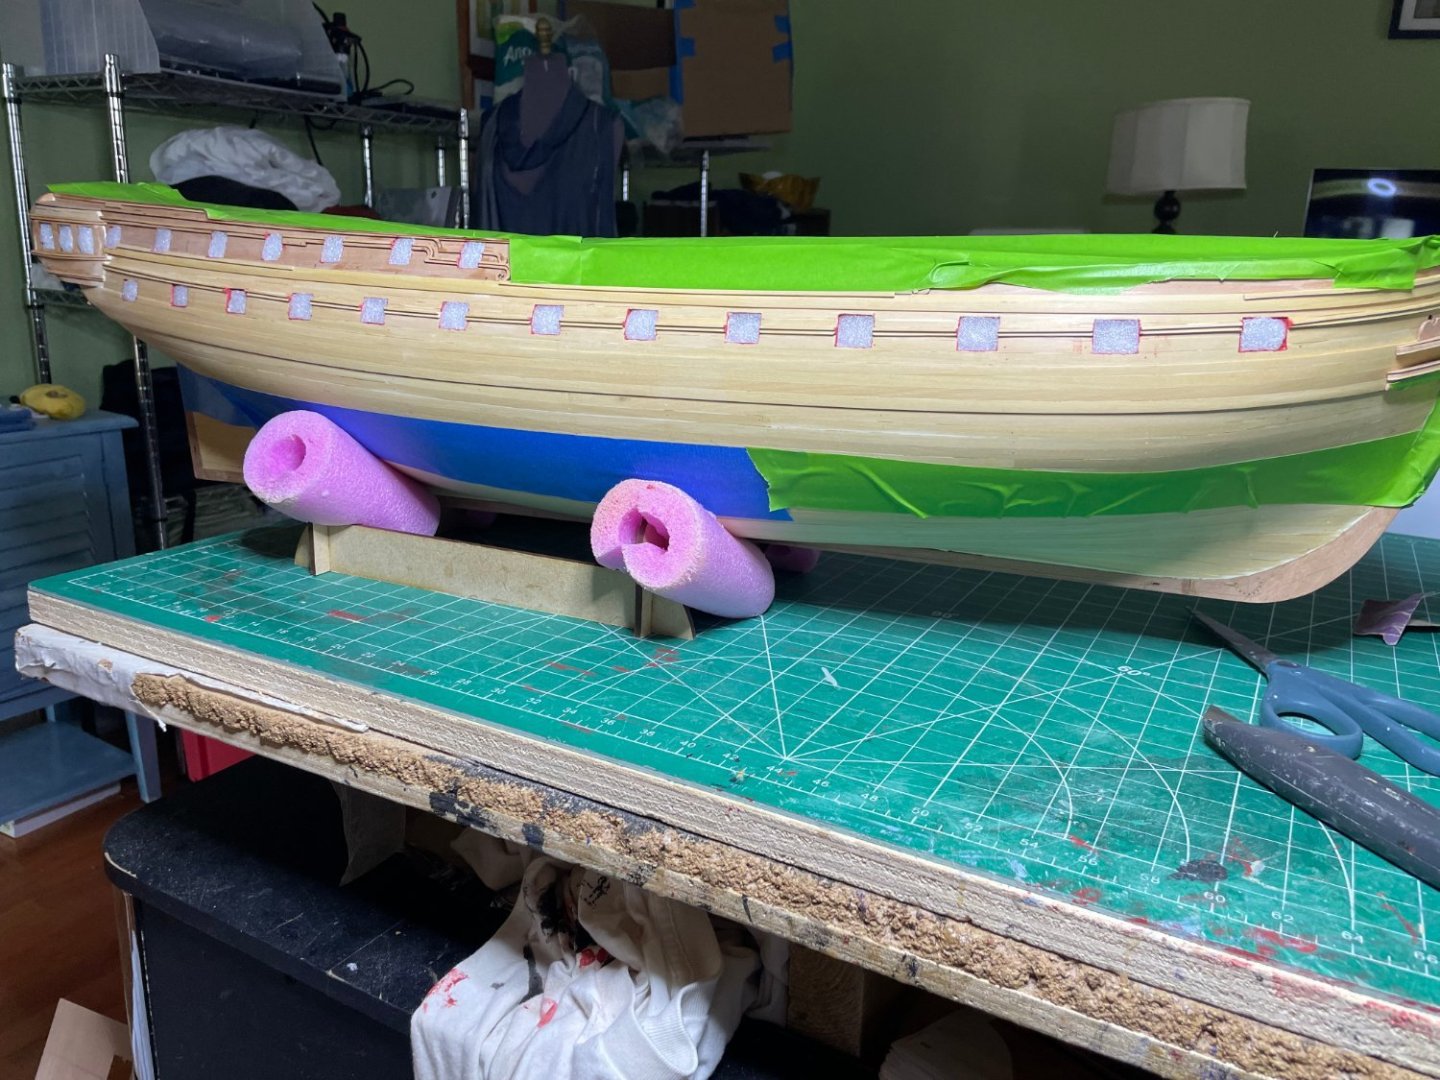
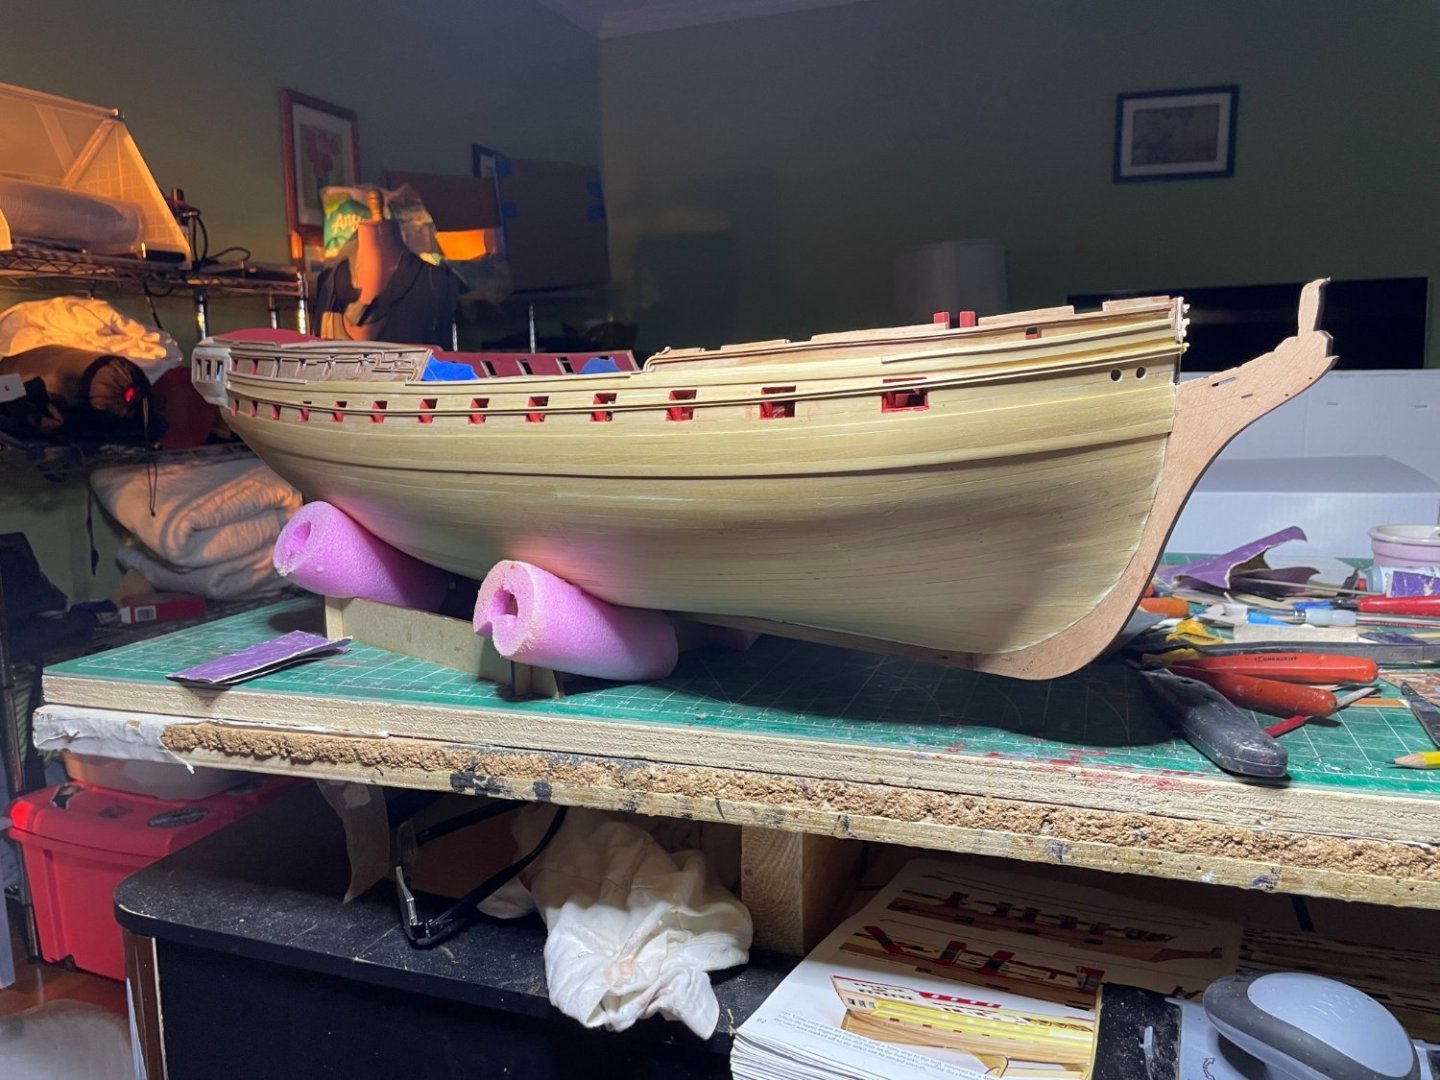
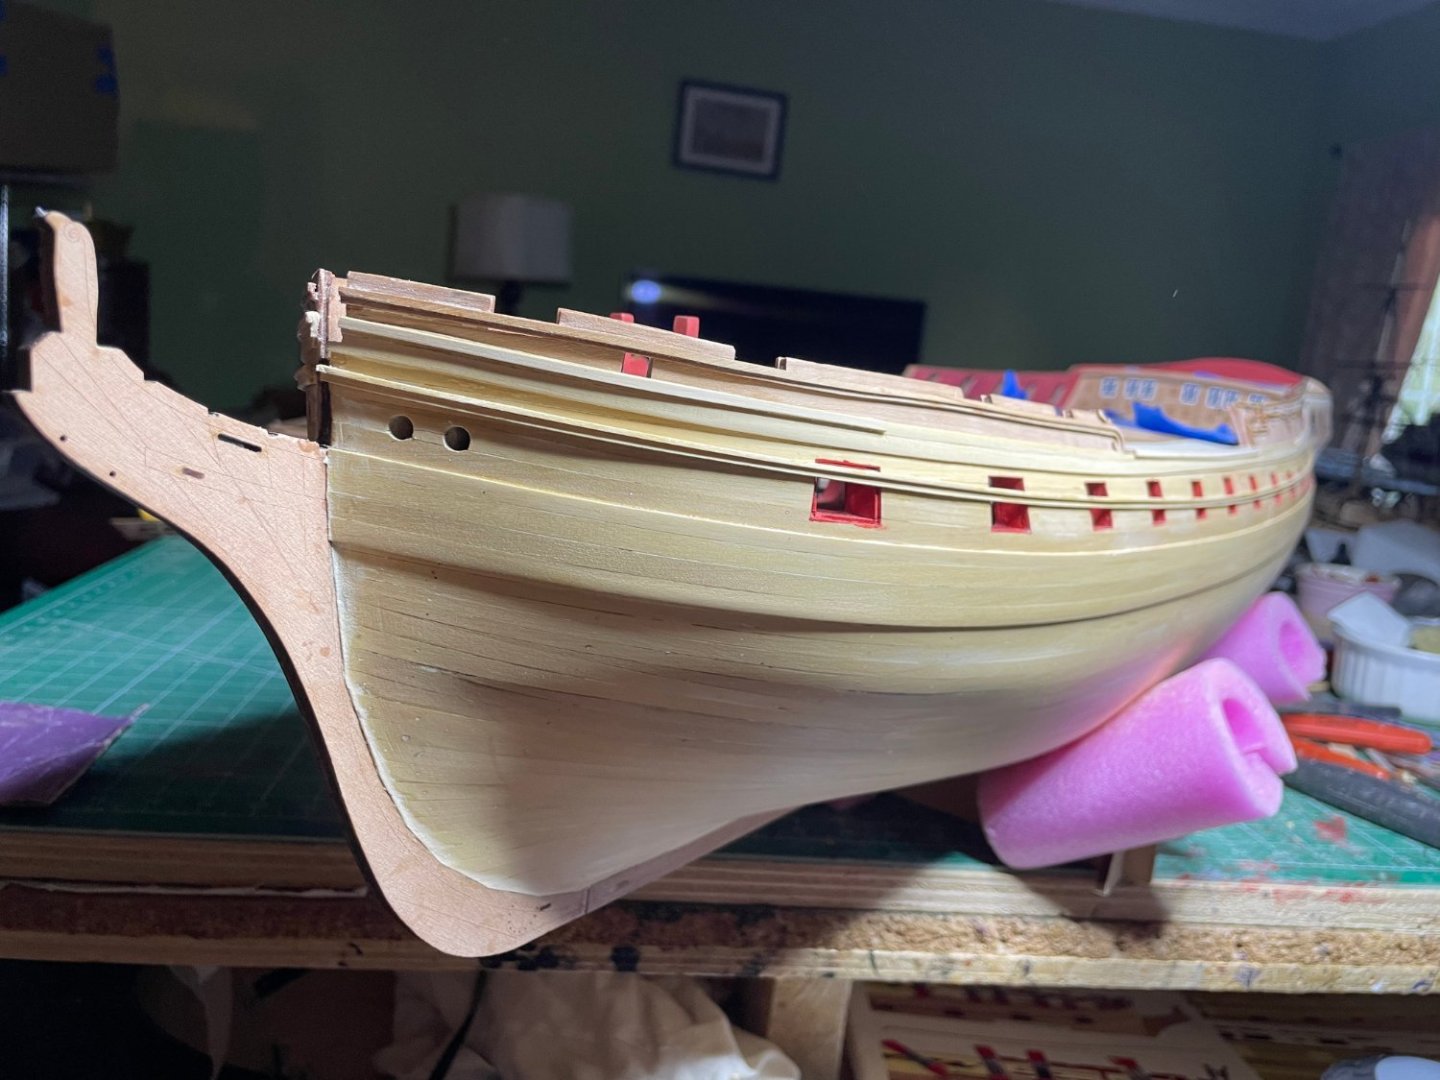
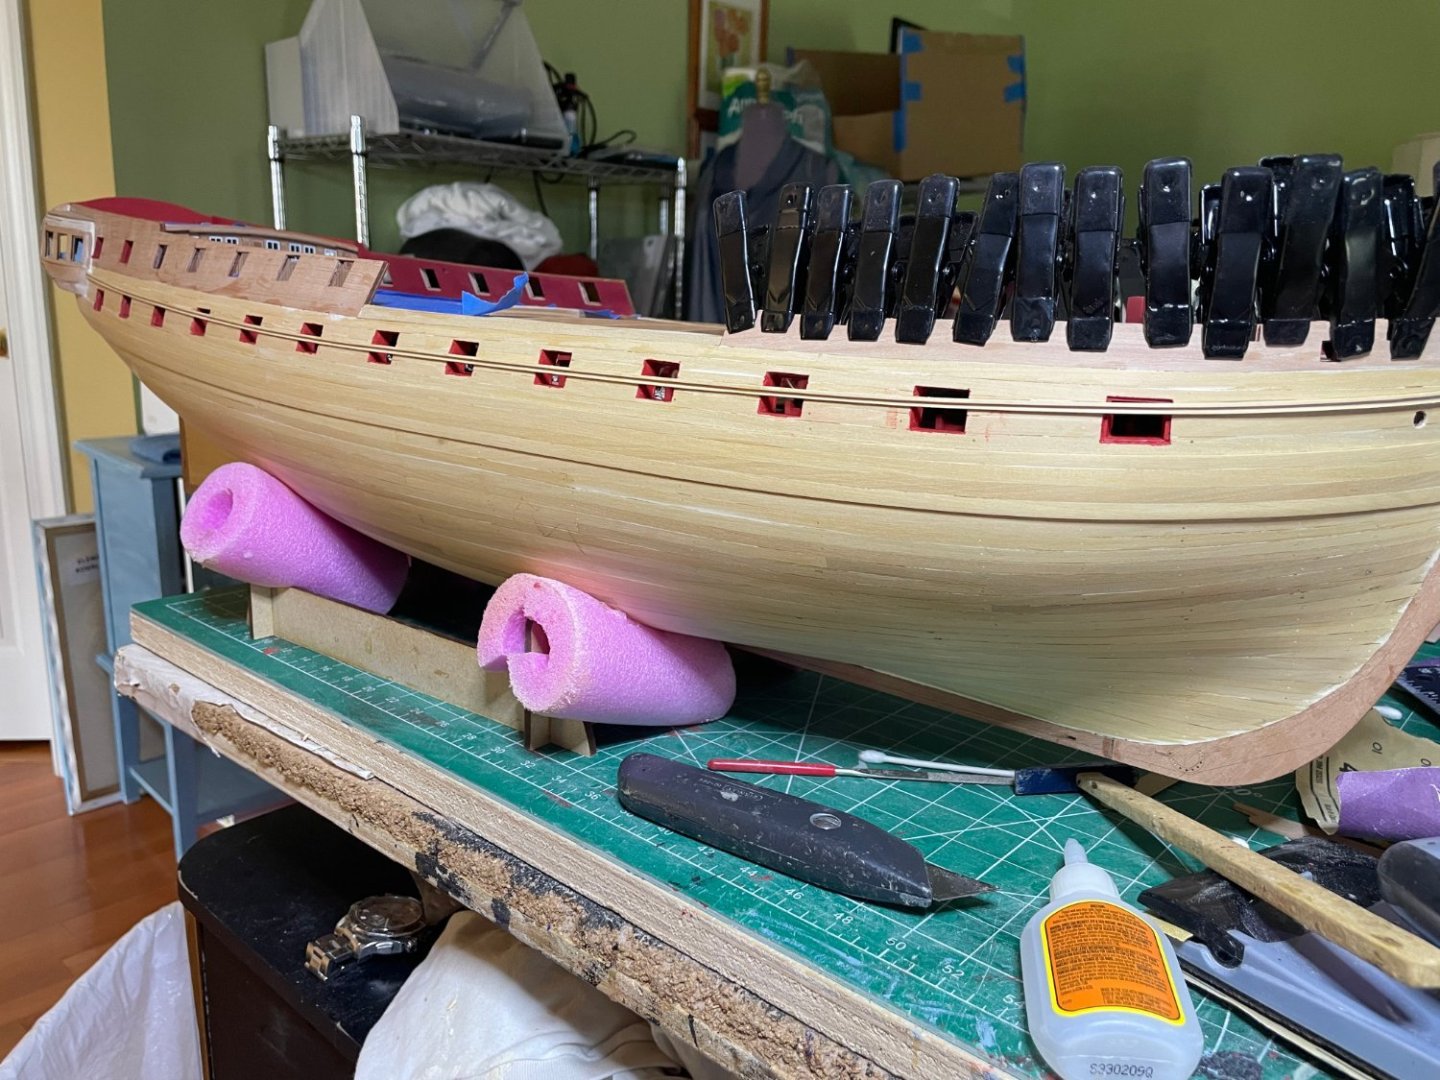
Painting time today. Used the recommended trash can as per the Kevin technique to spray the admiralty yellow on. After a few coats and some sanding, I found not quite thick enough to cover well but was a good base. So finished the main areas with a brush Still a bit of sanding here and there.


- 233 replies
-
- 12
-
-
- Indefatigable
- Vanguard Models
- (and 1 more)
-
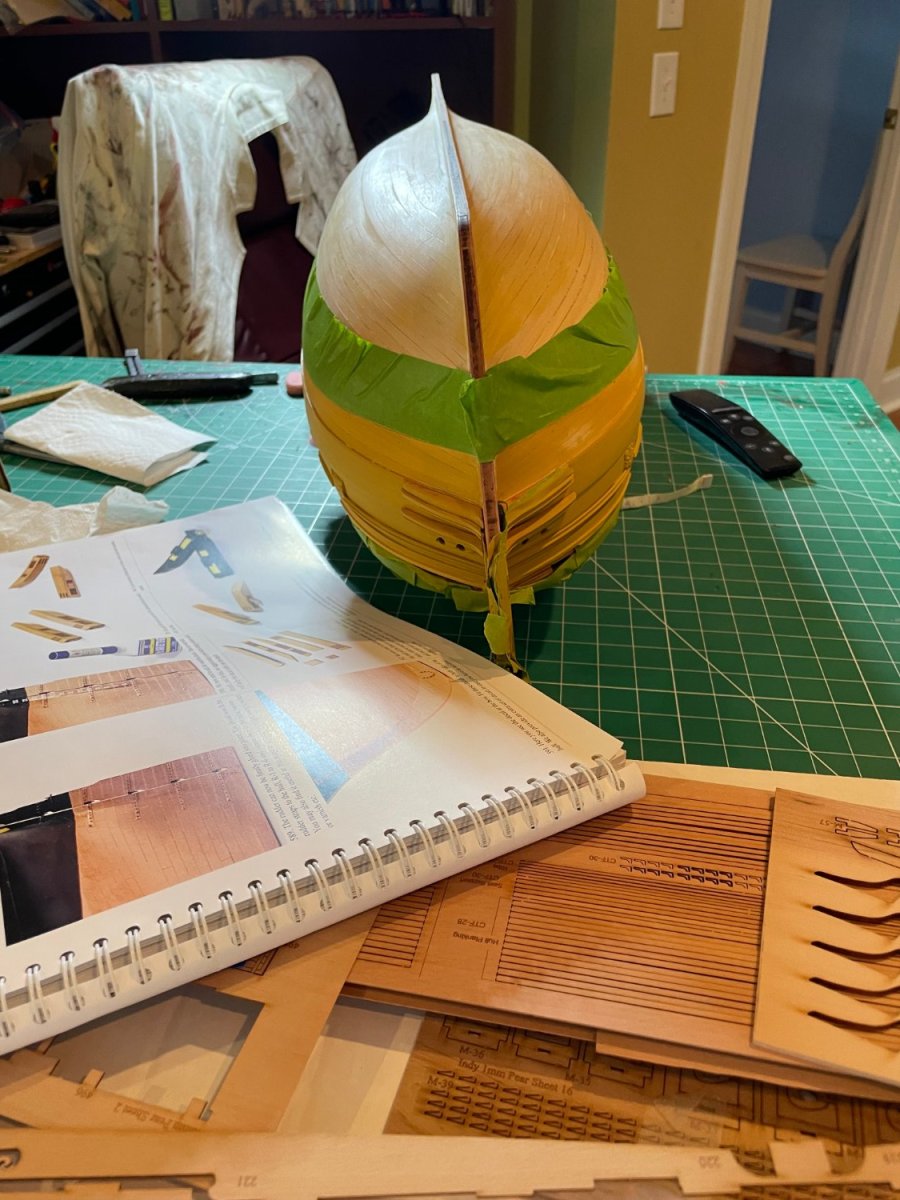
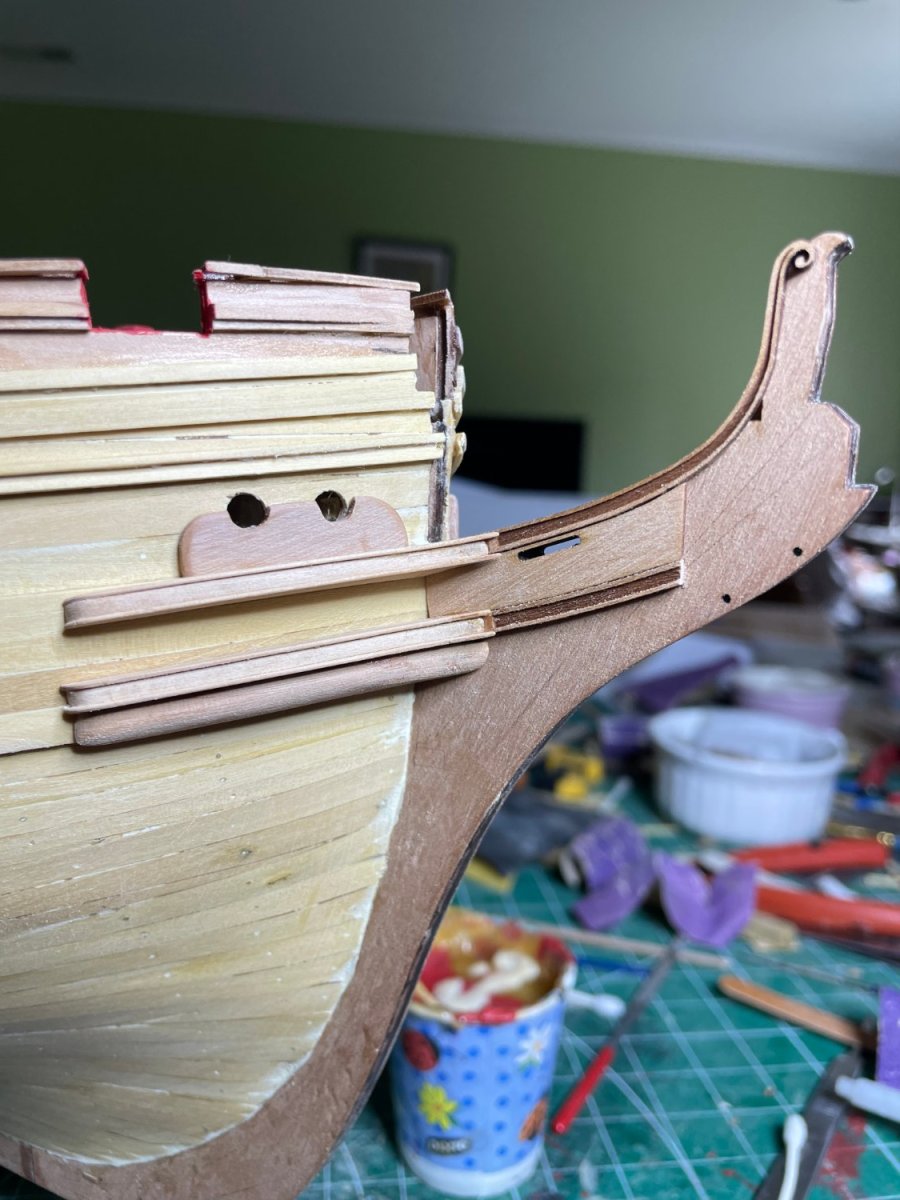
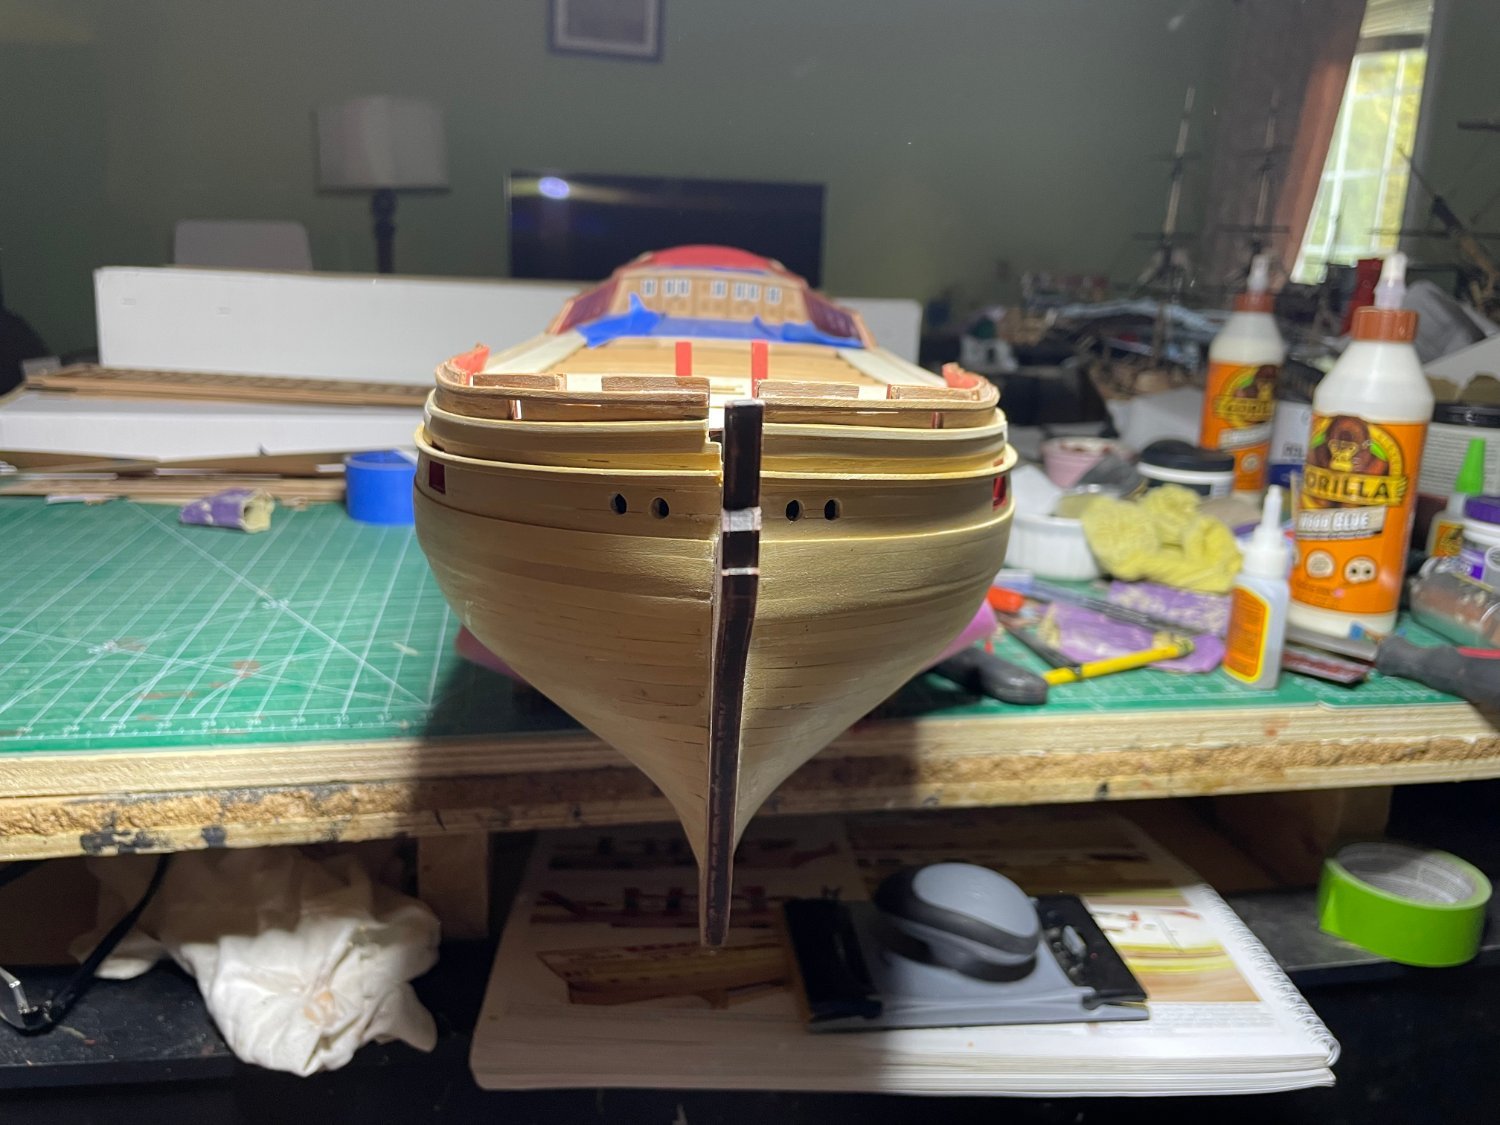
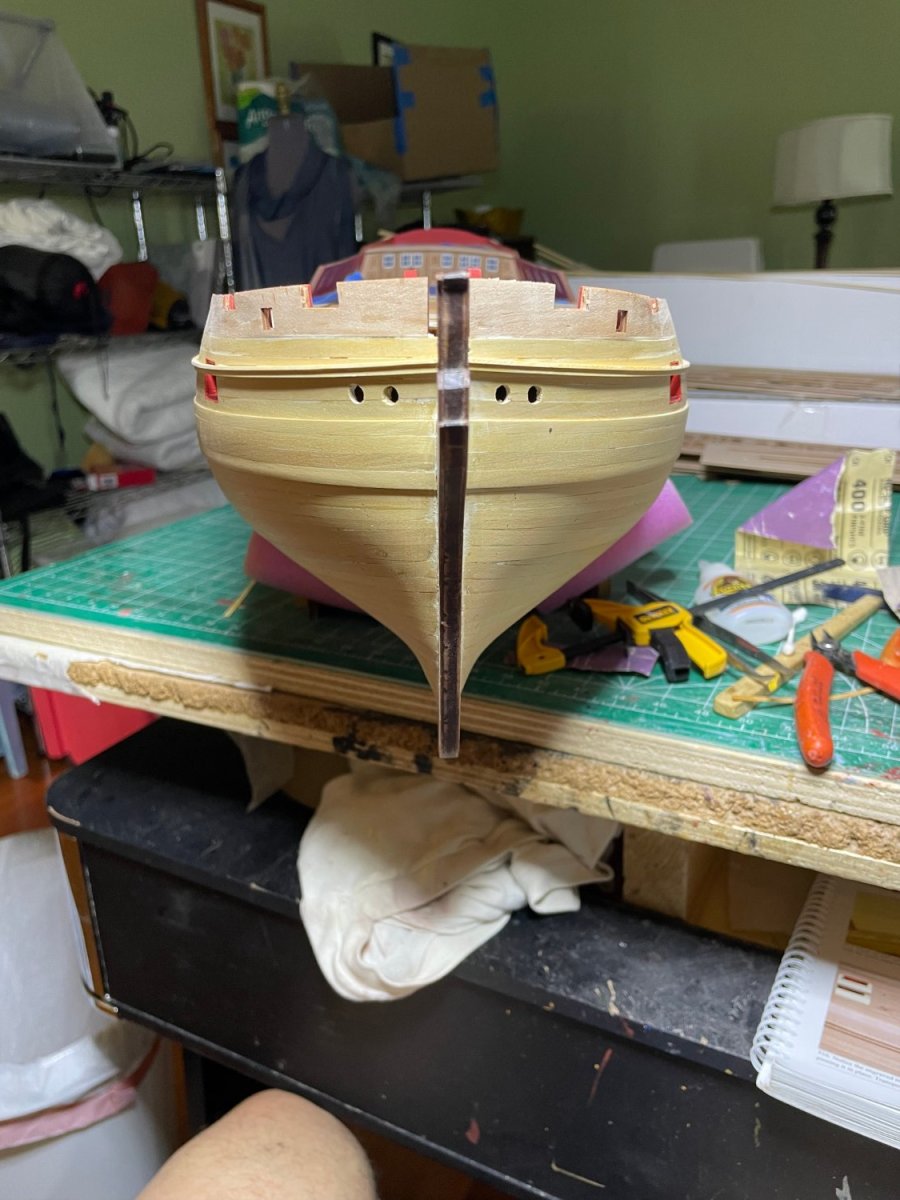
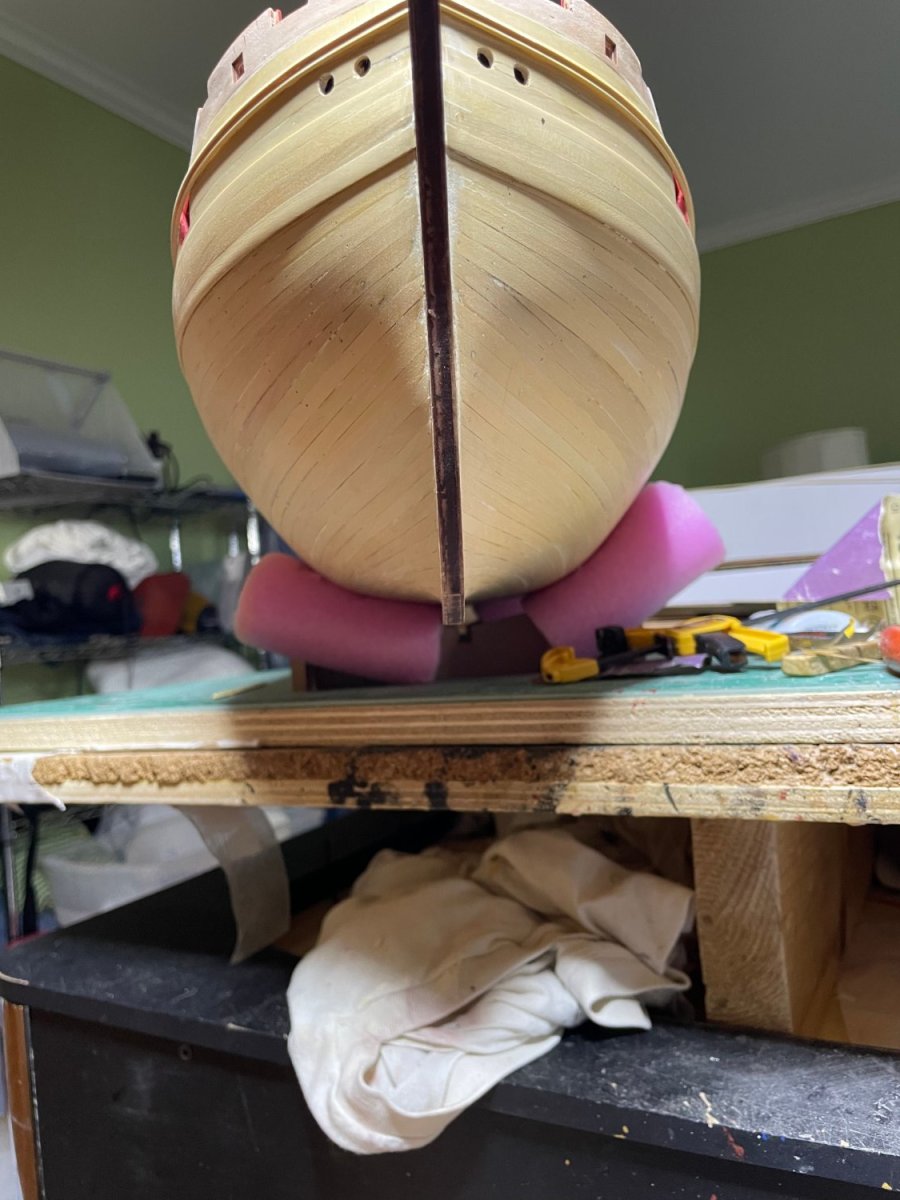
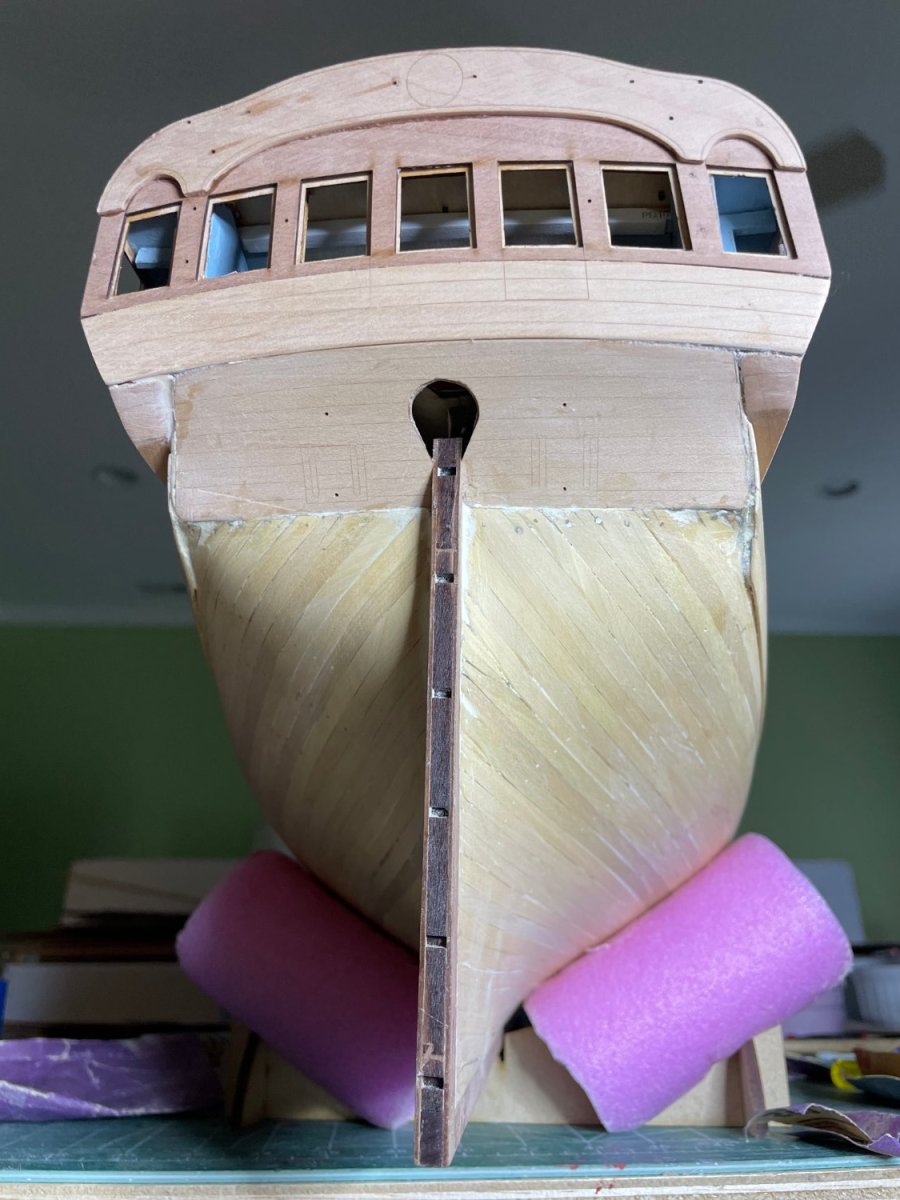
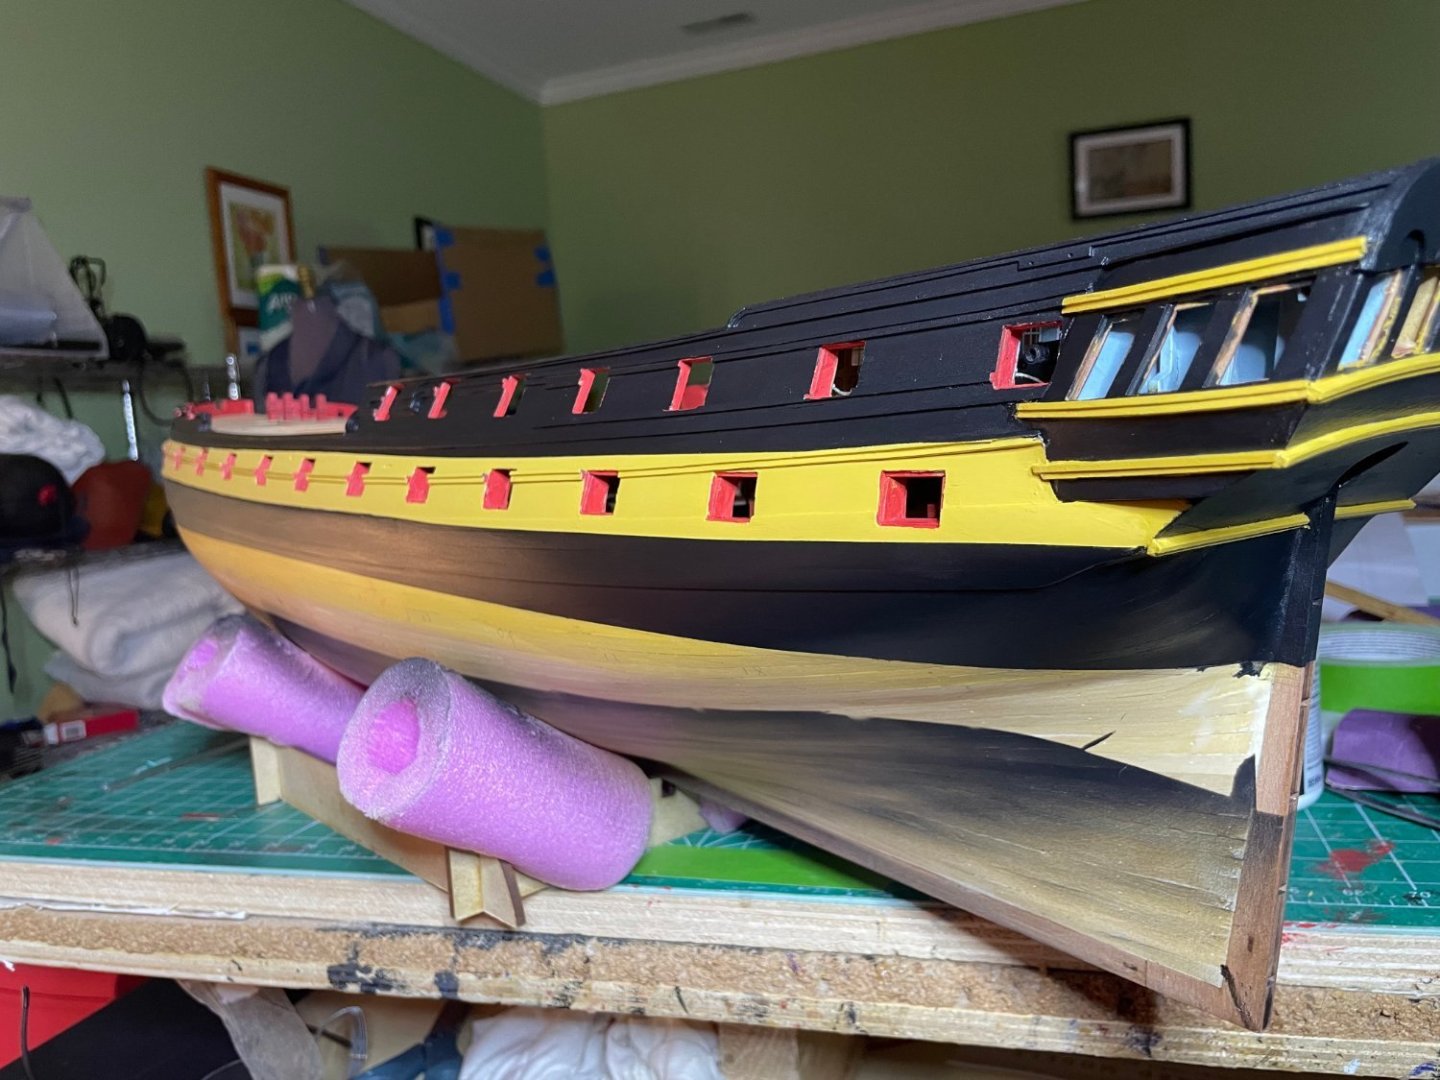
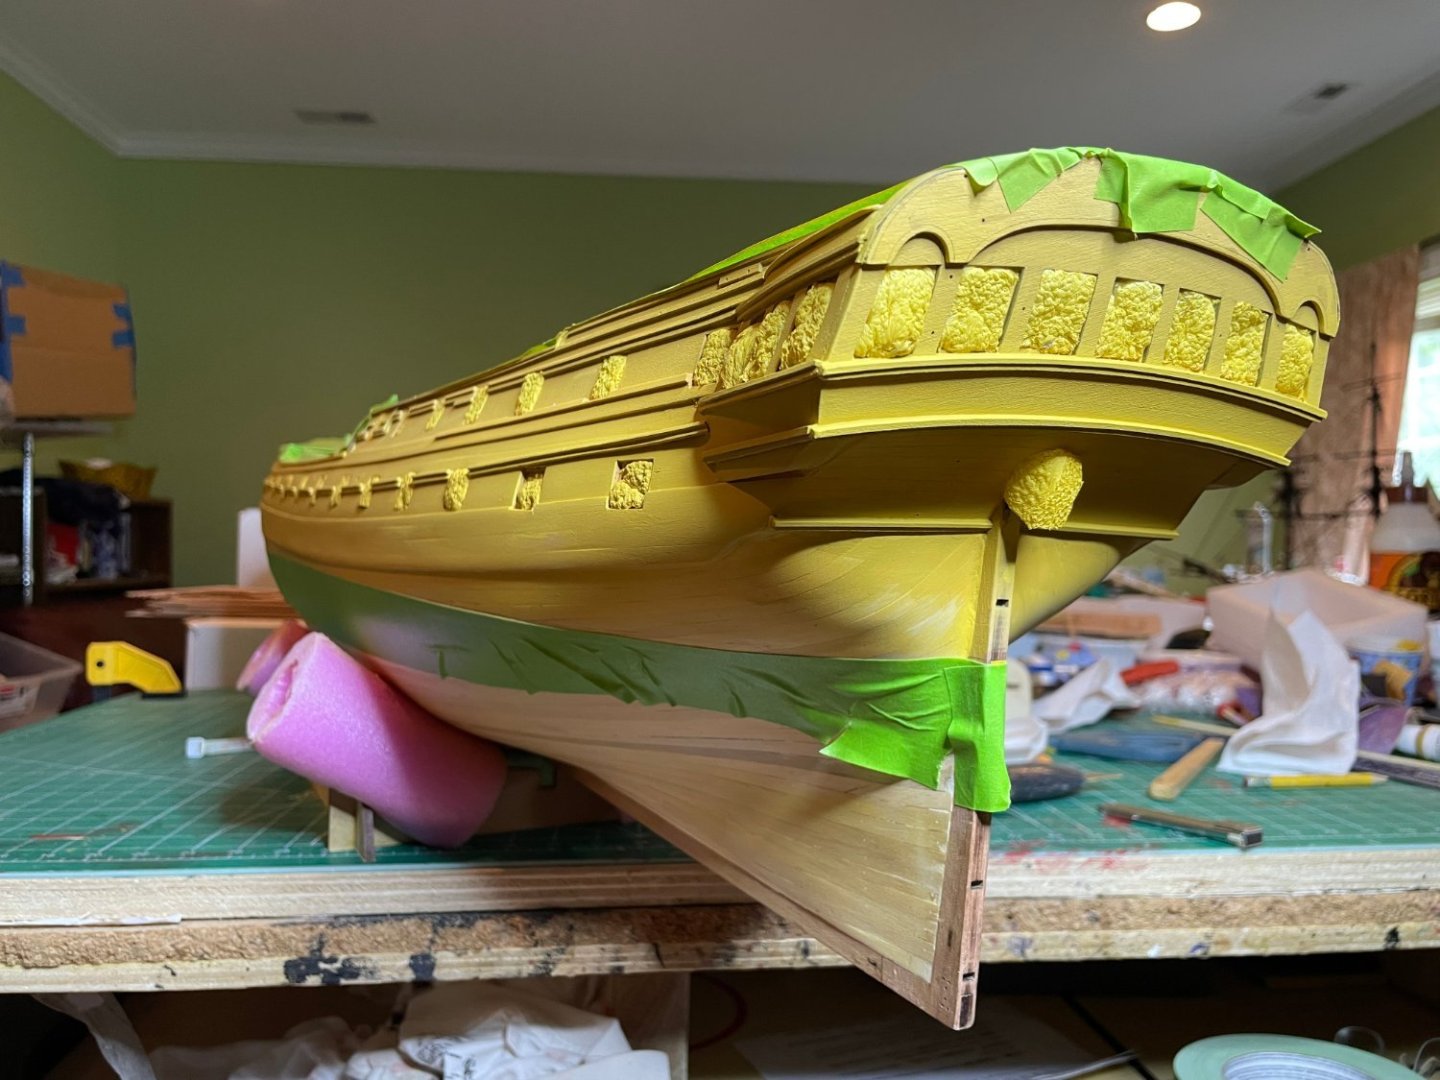
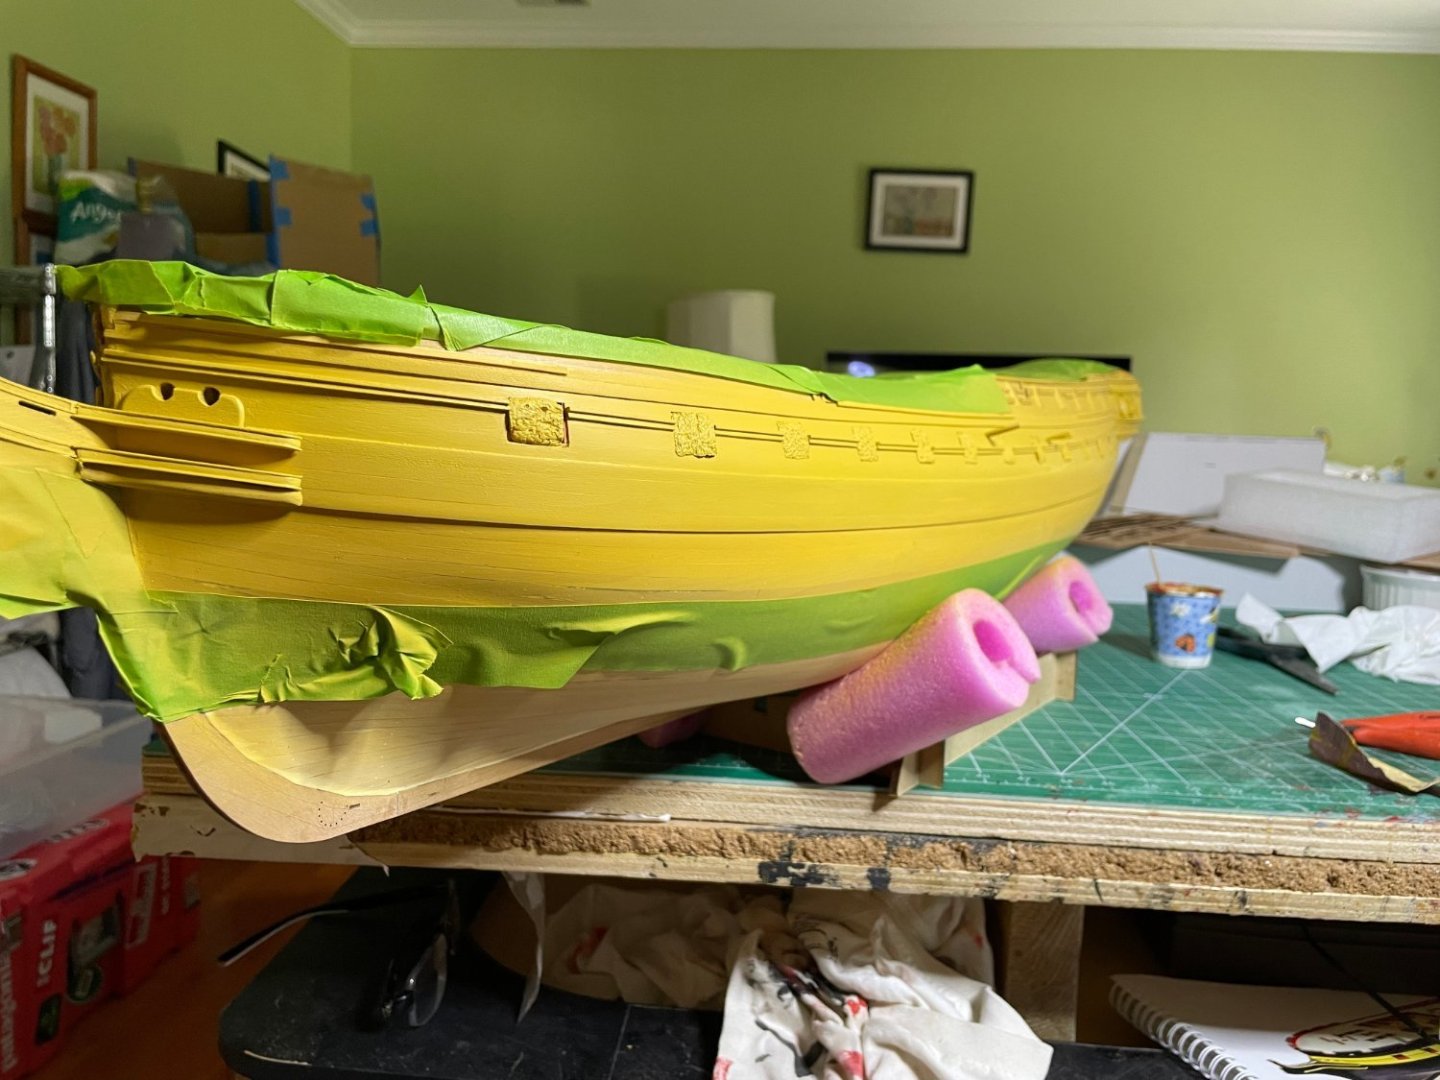
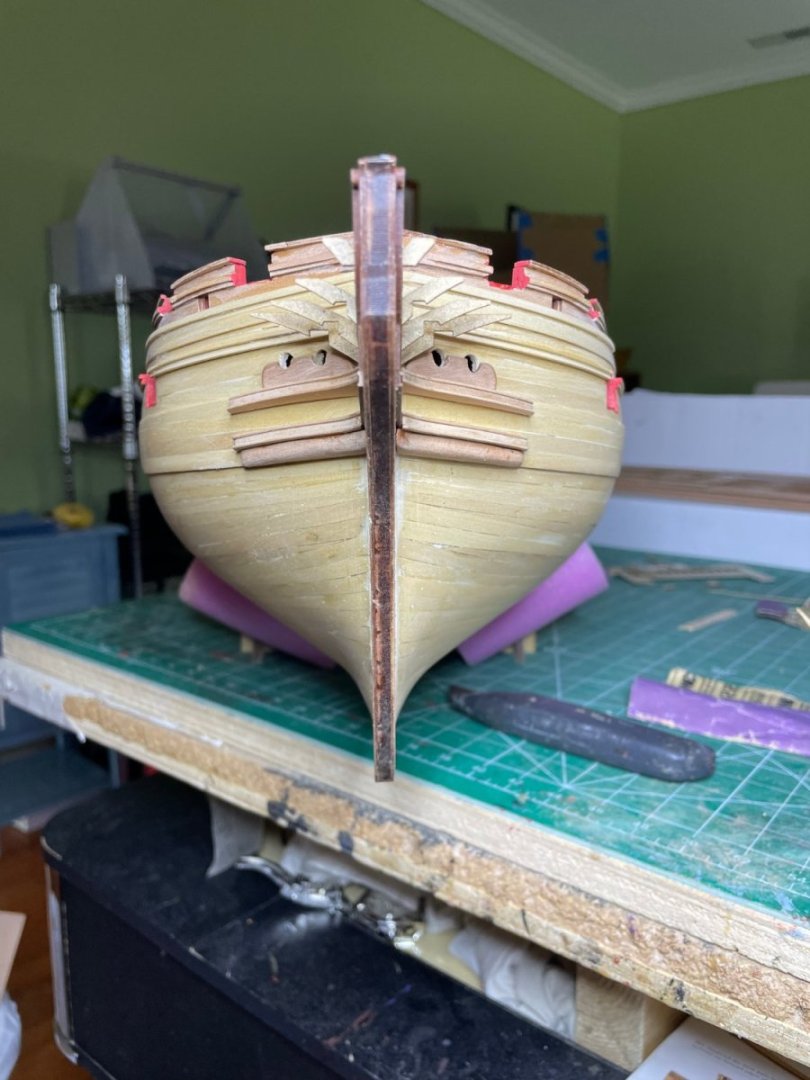
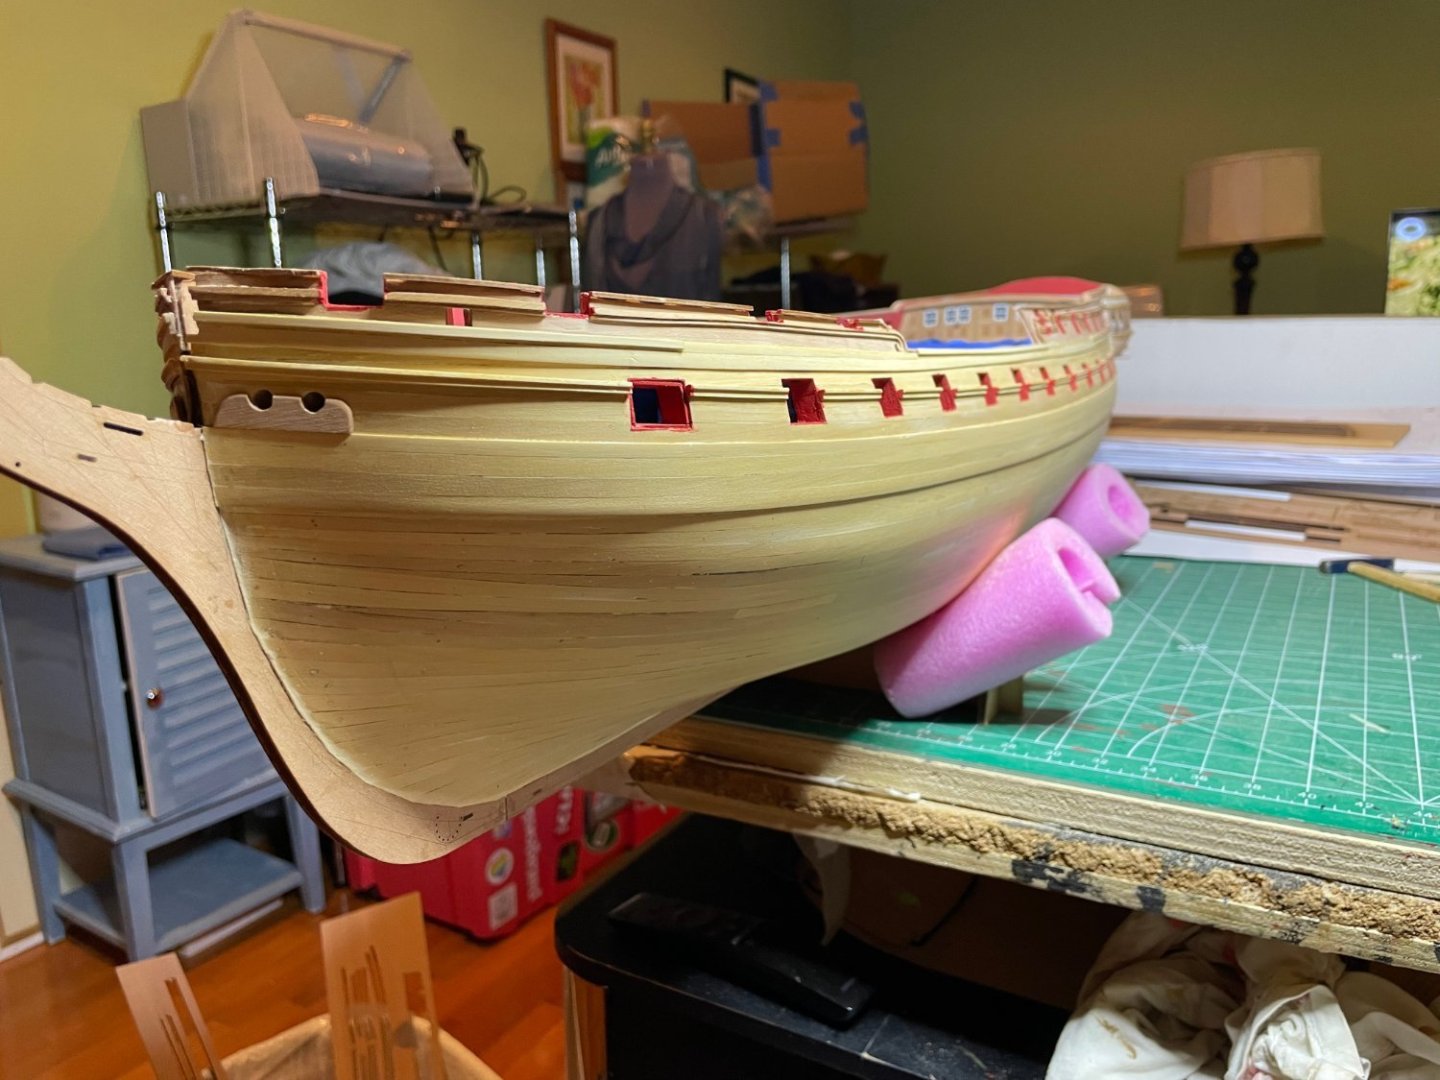
Finished the bow area. Prepared for naval yellow tomorrow. Fortunately had some foam packing material I kept in anticipation of blocking the gun ports as in the instruction book. Will use my new airbrush that has really helped in painting. It puts a thin enough layer without blocking holes and obscuring the wood etchings. compared to brushing things


- 233 replies
-
- 11
-
-
- Indefatigable
- Vanguard Models
- (and 1 more)
-
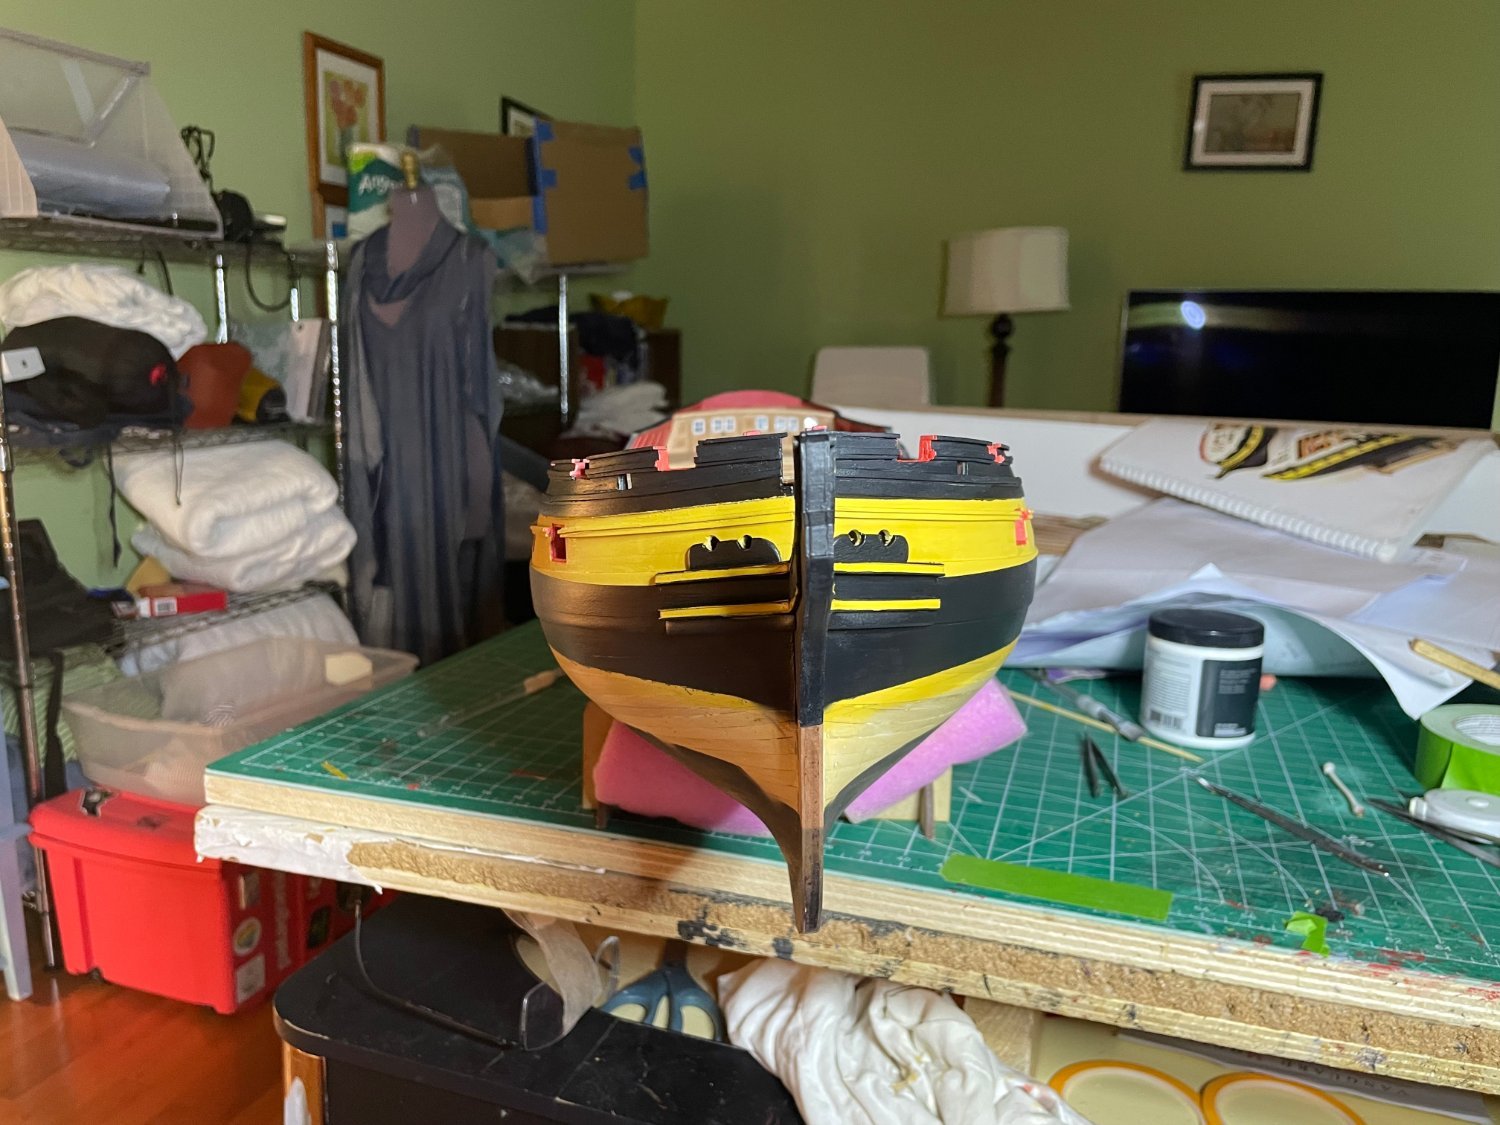
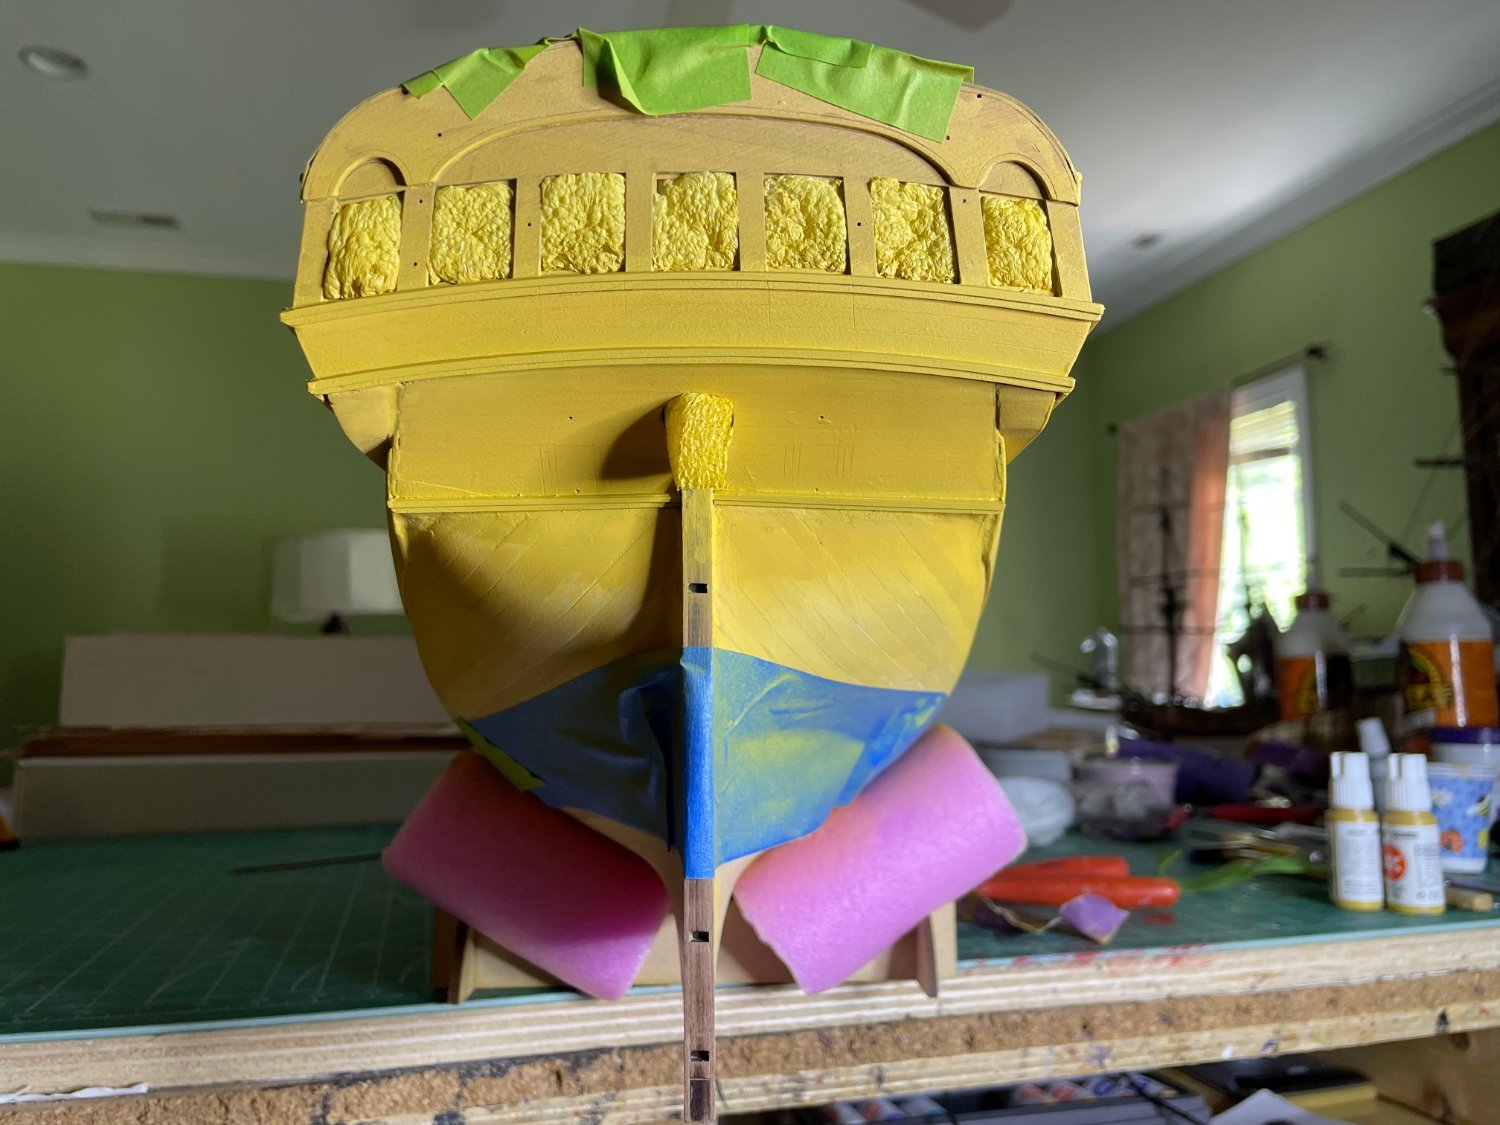
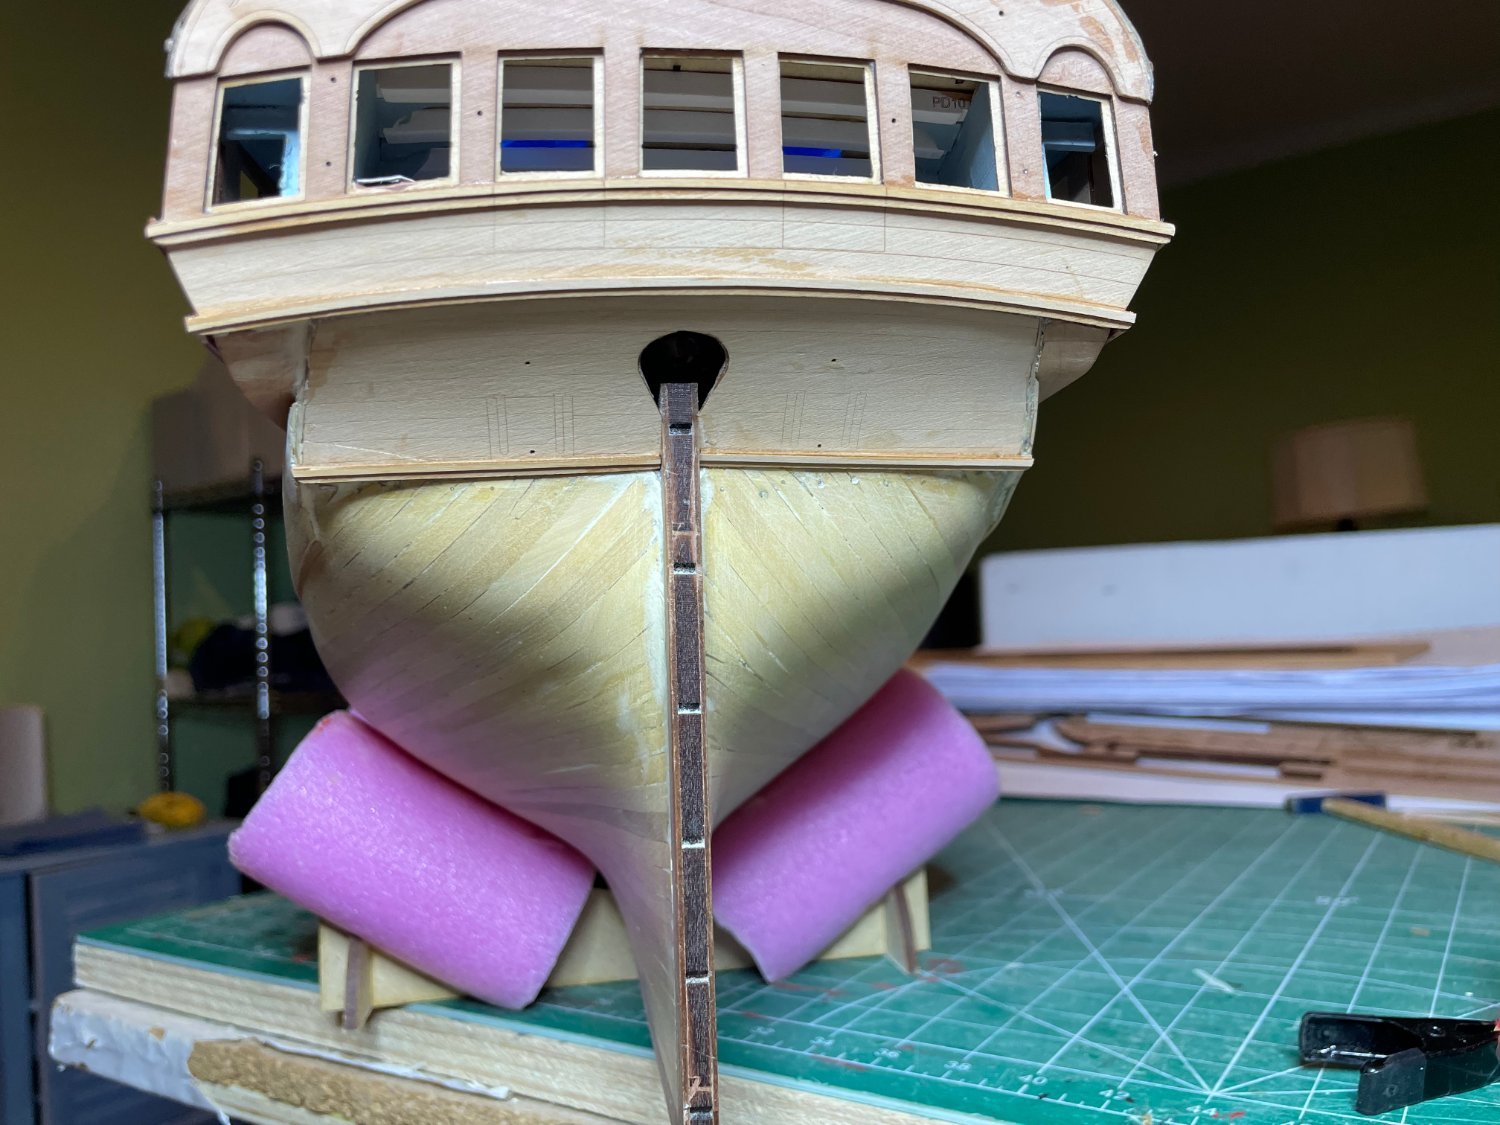
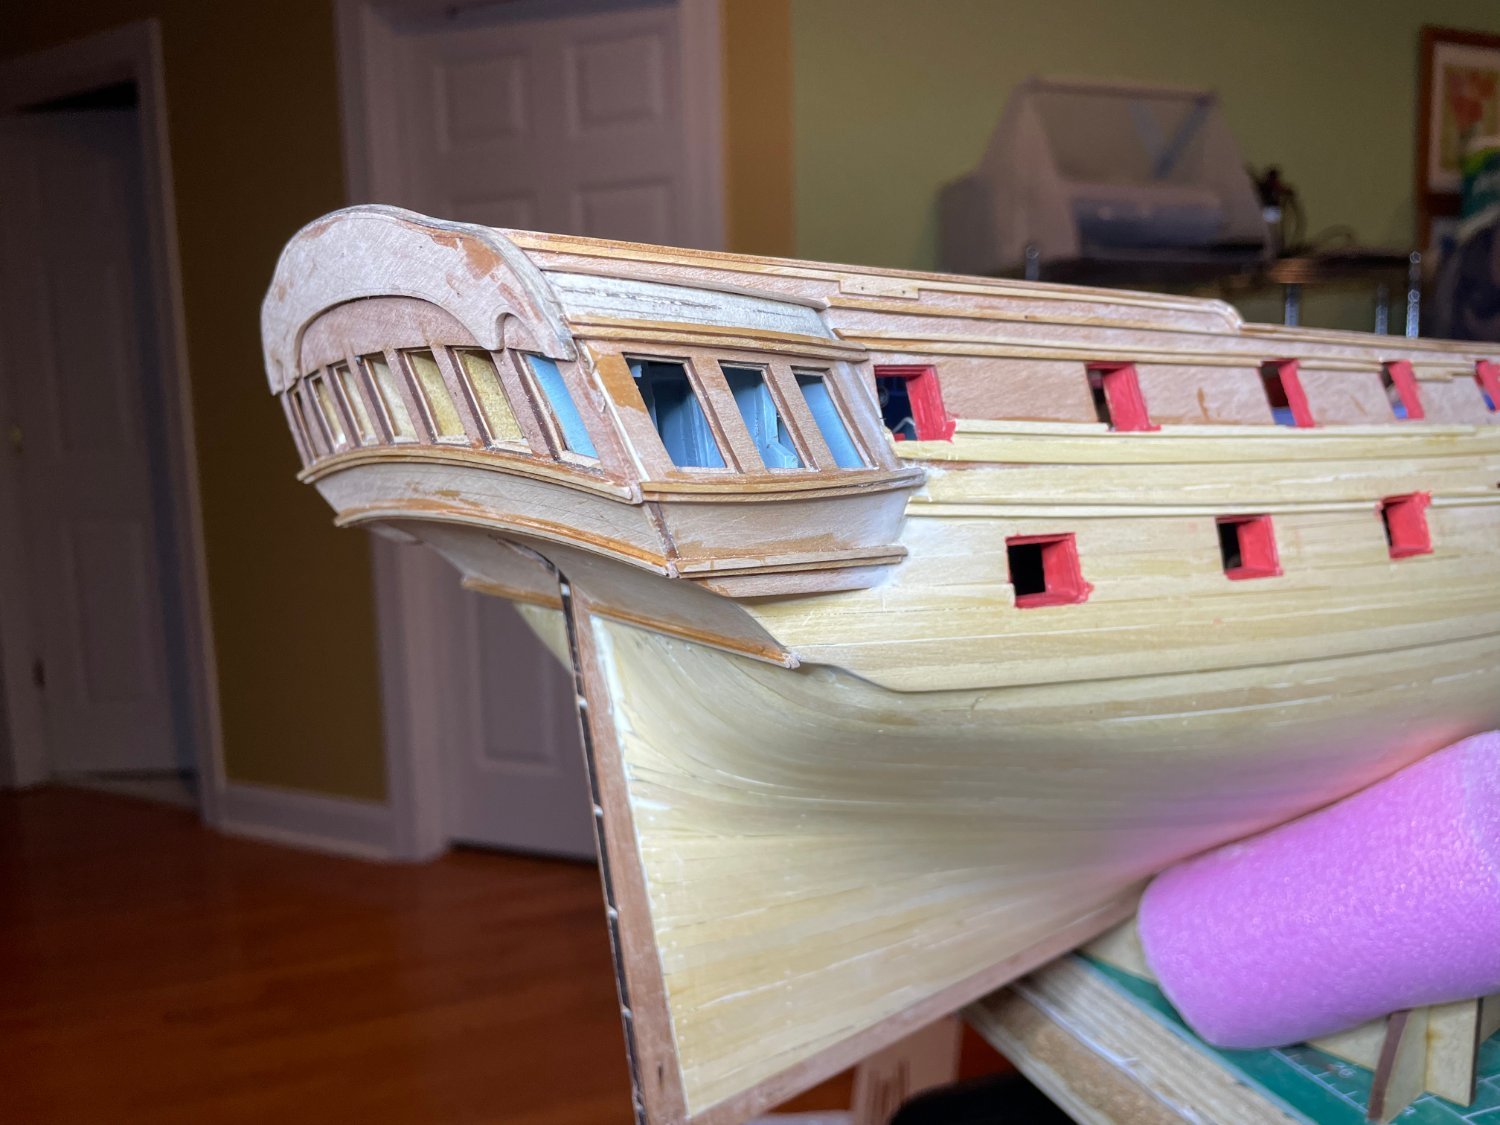
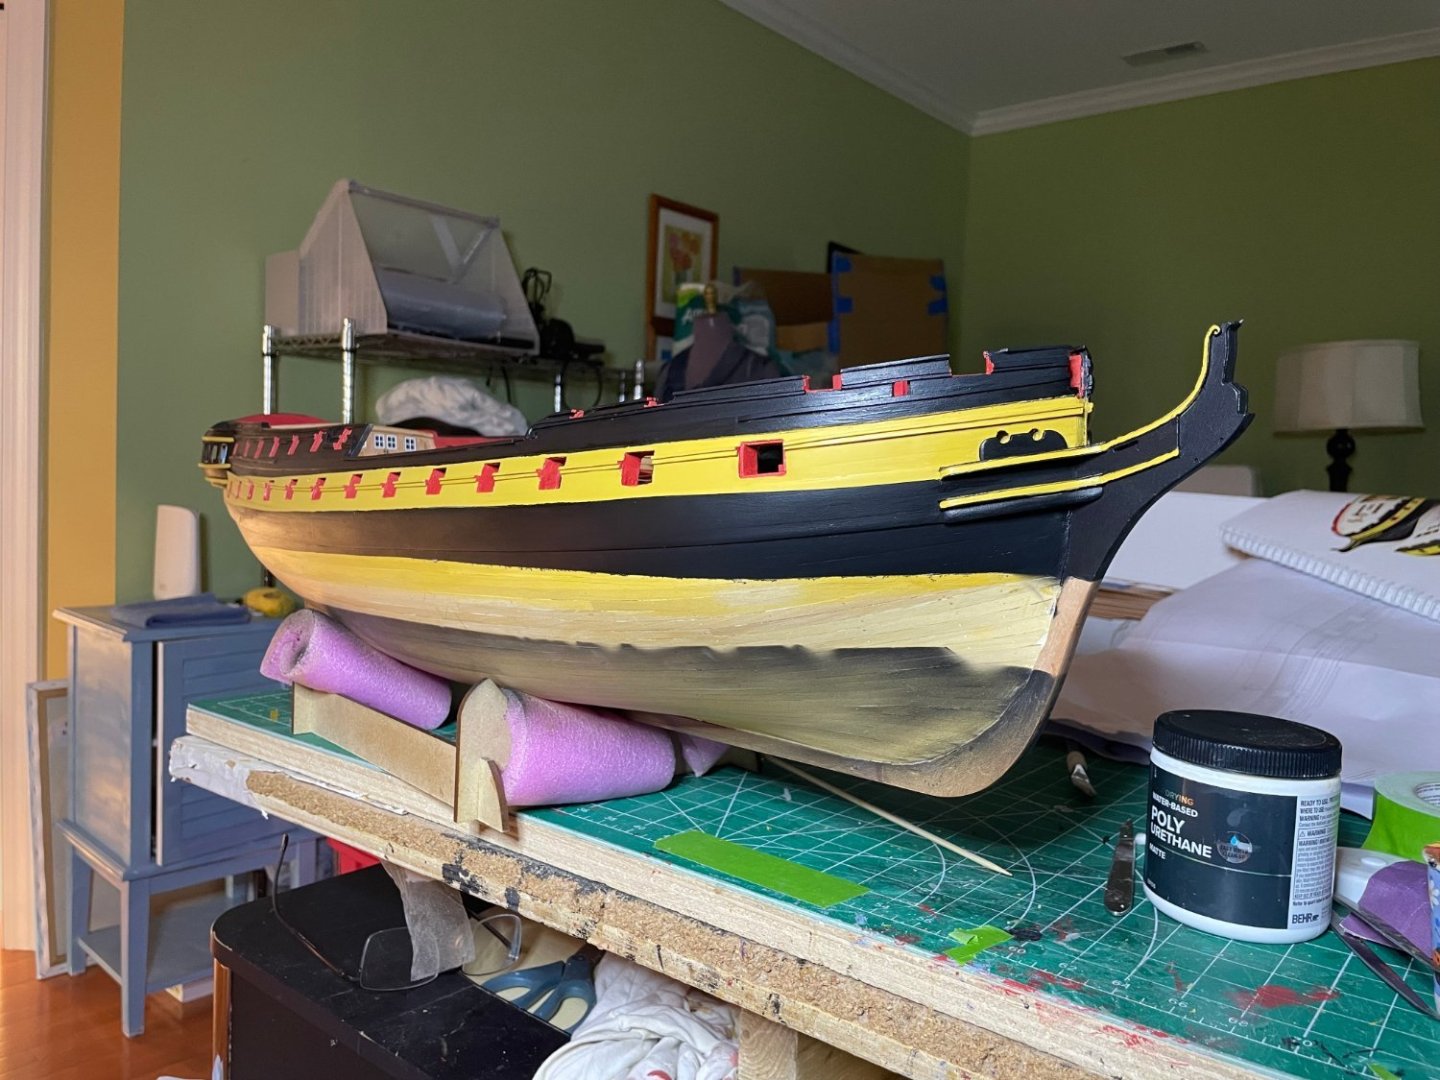
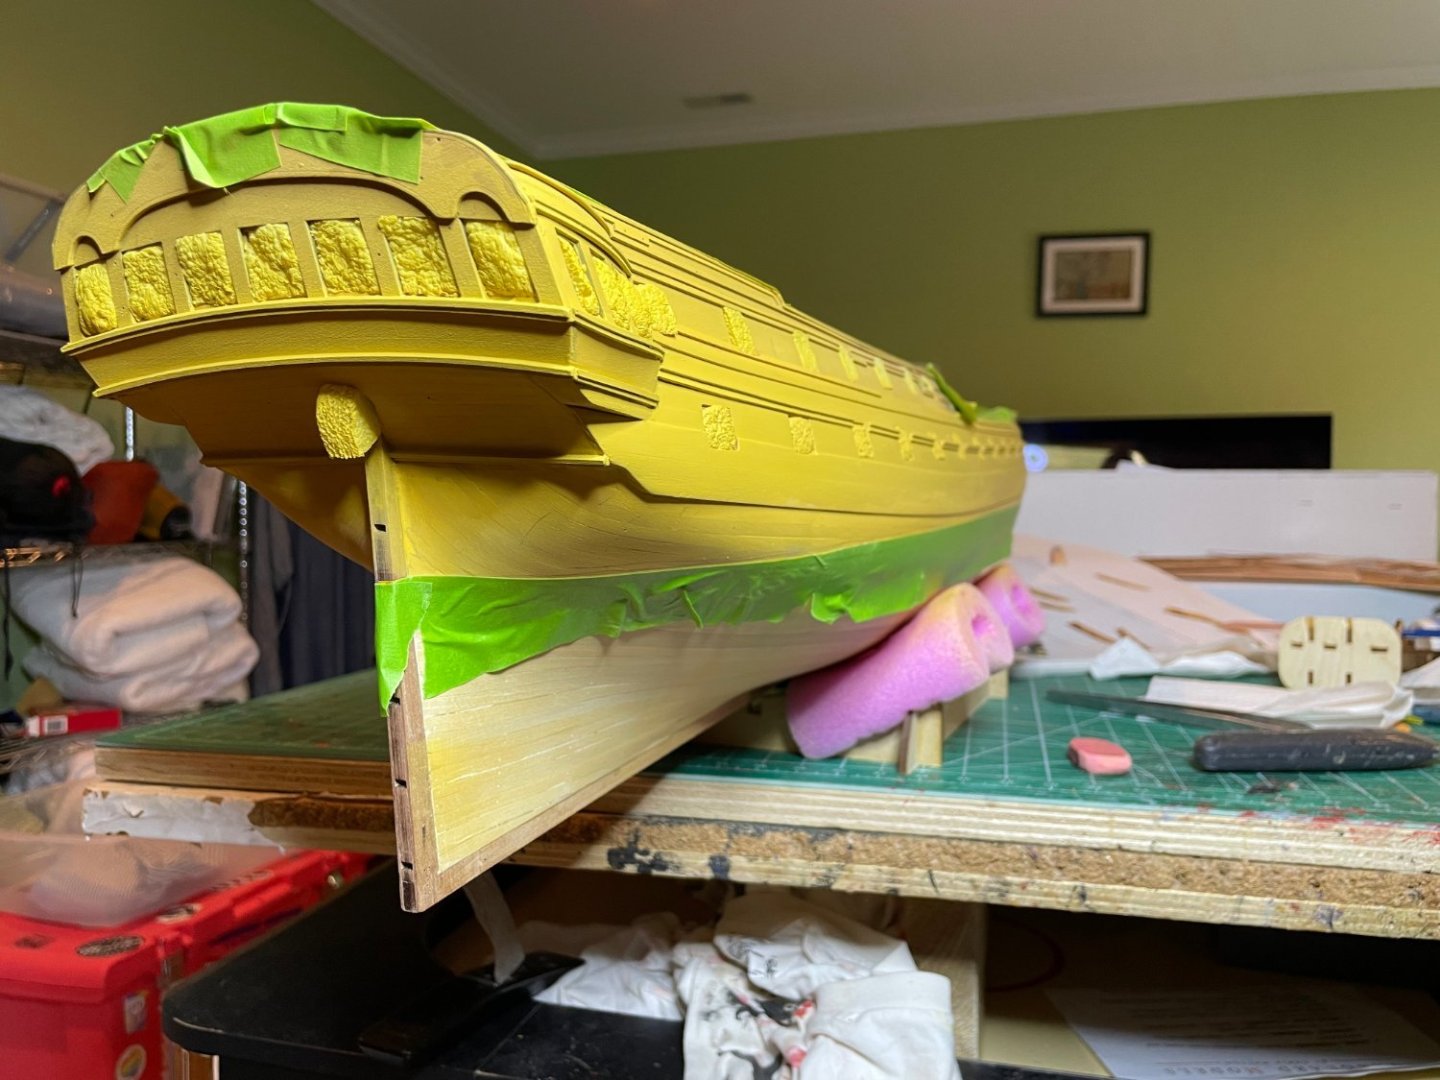
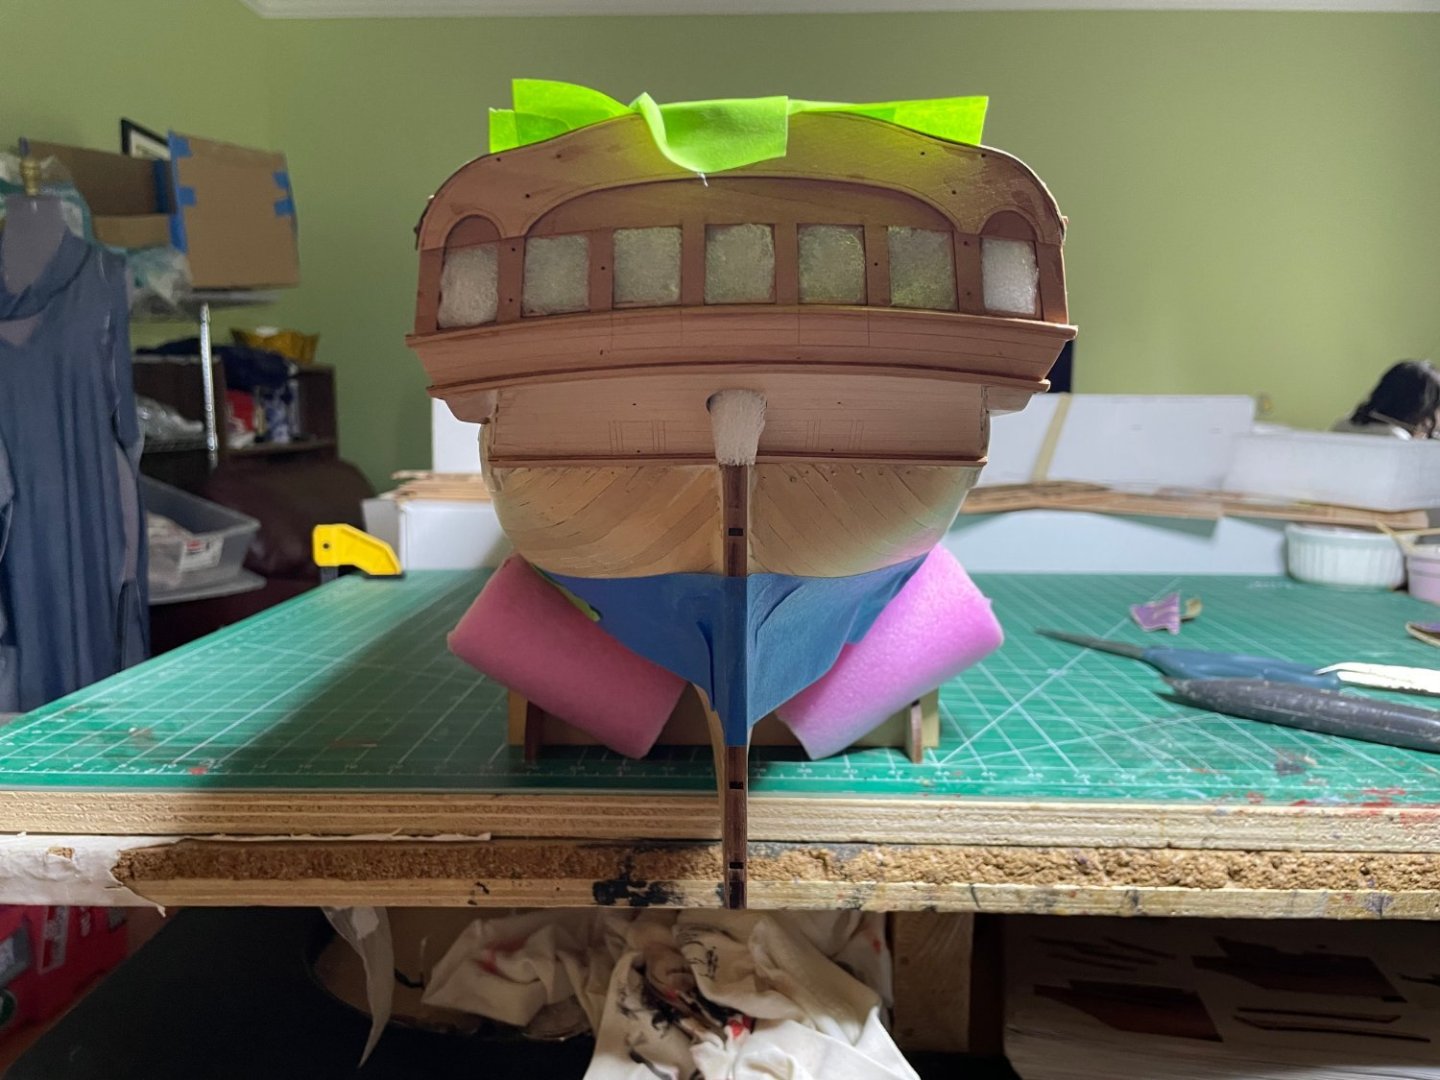
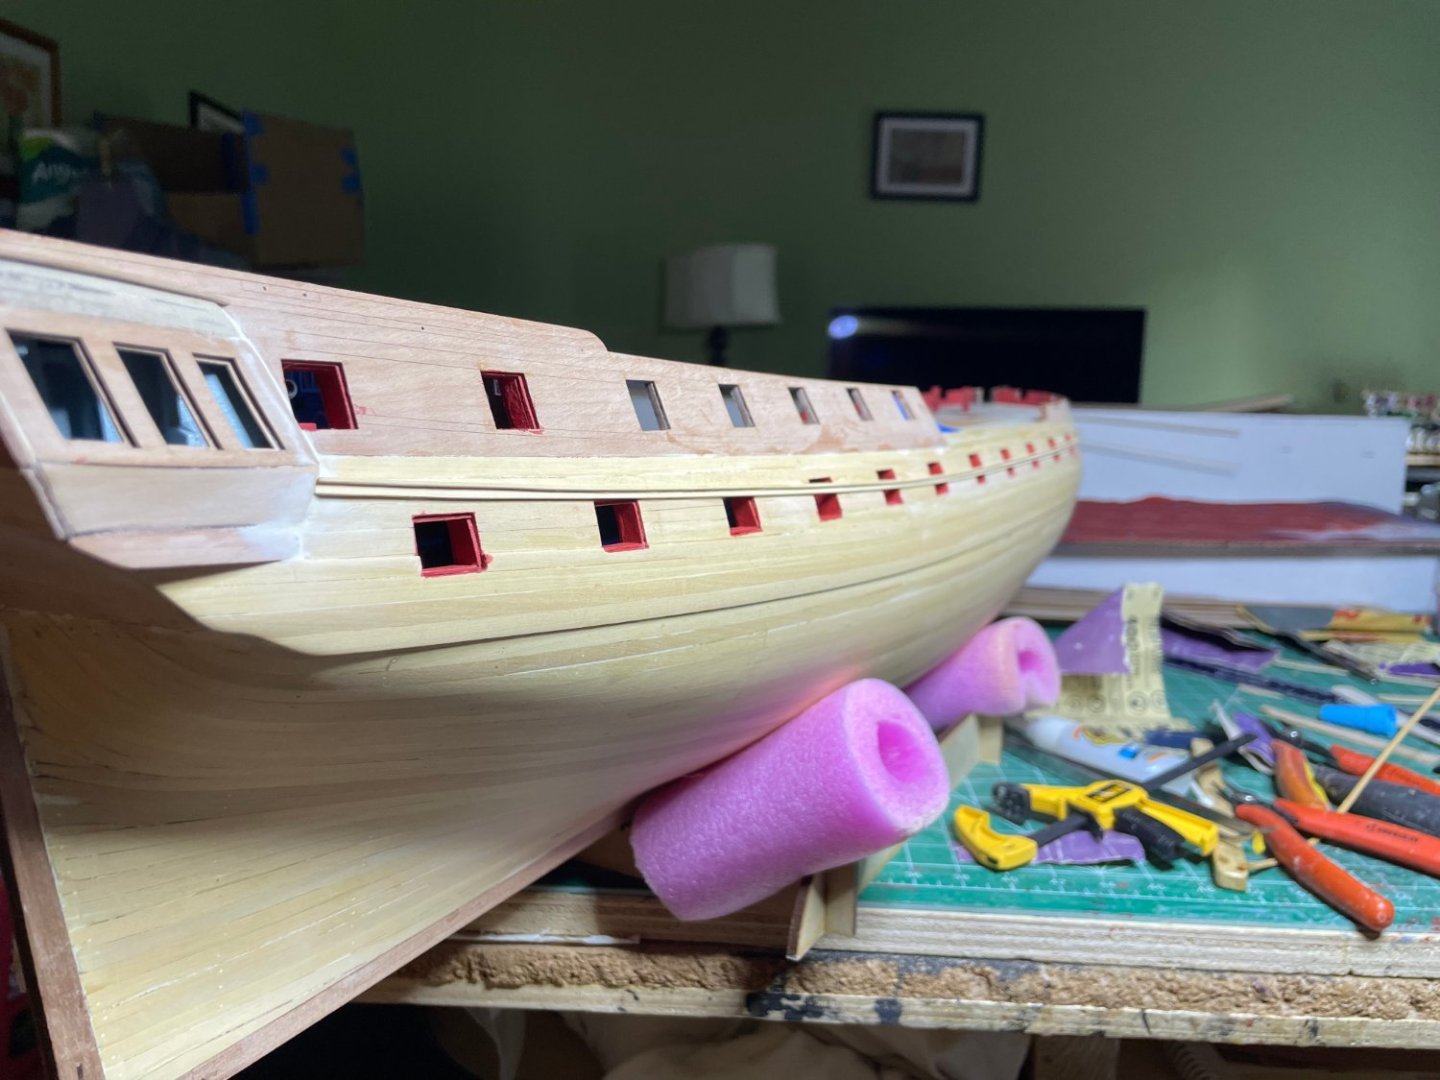
Continuing on today, was able to top off the bulwarks and complete the decoration of the stern galleries. Getting closer to the big paint.


- 233 replies
-
- 12
-
-
-
- Indefatigable
- Vanguard Models
- (and 1 more)
-
Added more of the decorative scroll work and lines.


- 233 replies
-
- 8
-
-
-
- Indefatigable
- Vanguard Models
- (and 1 more)
-
Yup, just following the instructions as there usually is a good reason to do things in a certain order (as I have found out the hard way in the past). It is always intersting how the Mark 1 eyeball will often catch the subtle changes in the curve depending on the angle even if they do not seem like much.
- 233 replies
-
- 2
-
-
- Indefatigable
- Vanguard Models
- (and 1 more)
-
Thanks. In the past when I tried the other way ven with a line drawn I did not get the subtle curve between the gunports
- 233 replies
-
- 2
-
-
- Indefatigable
- Vanguard Models
- (and 1 more)
-
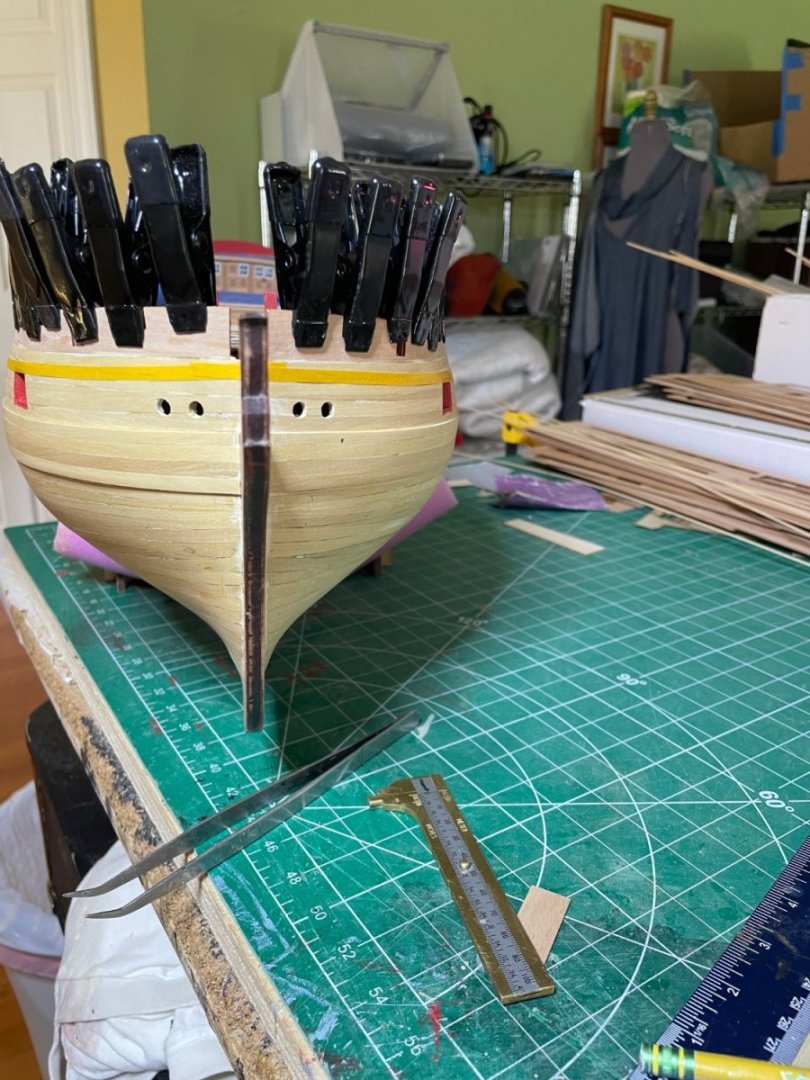
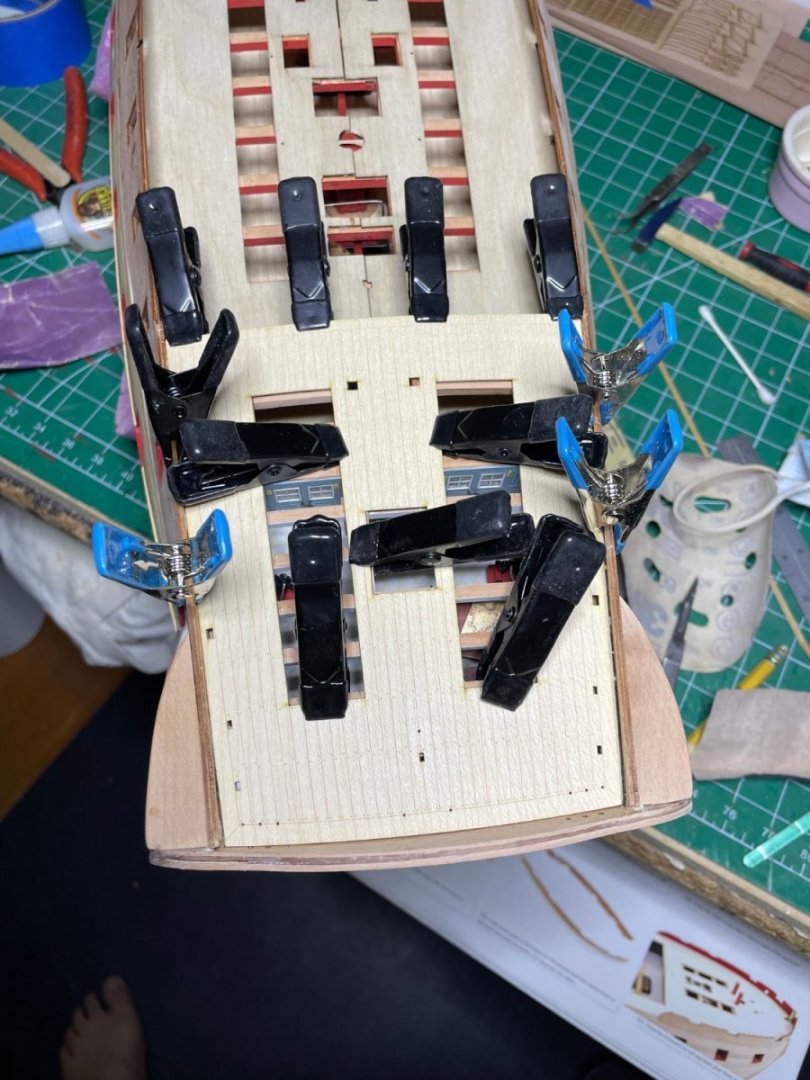
A bit more work, painted placed the inner bulkheads, Added the decorative molding. To place it I made a template of sorts. Took a piece of scrap made it 14.7 mm wide and about 5 cm long to run above the wale with a pencil. I then taped above the line to allow me to glue the molding below.


- 233 replies
-
- 17
-
-
- Indefatigable
- Vanguard Models
- (and 1 more)
-
Just following your great instructions and manual/plans. The parts align nicely although a lot of care needed with the 6 mm ones as they break easily.
- 233 replies
-
- 3
-
-
- Indefatigable
- Vanguard Models
- (and 1 more)
-
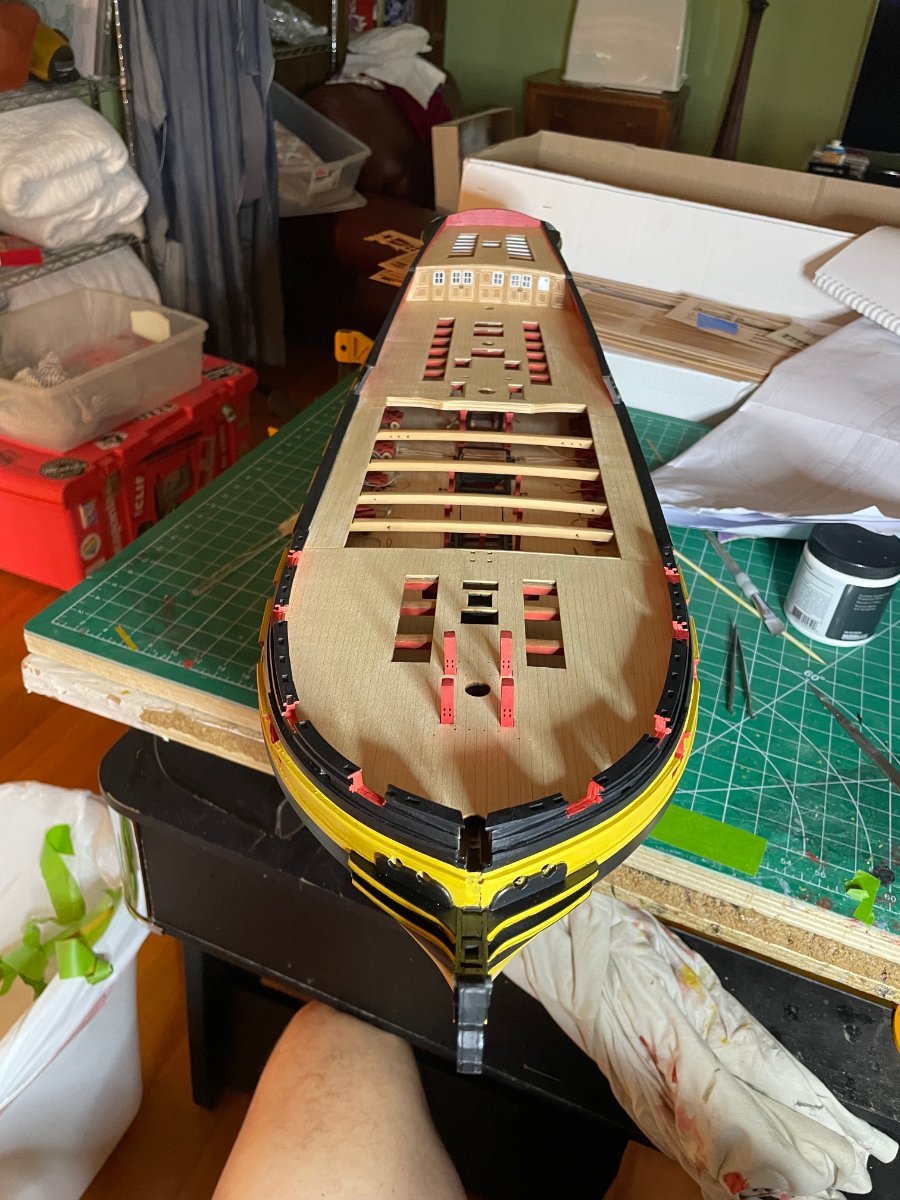
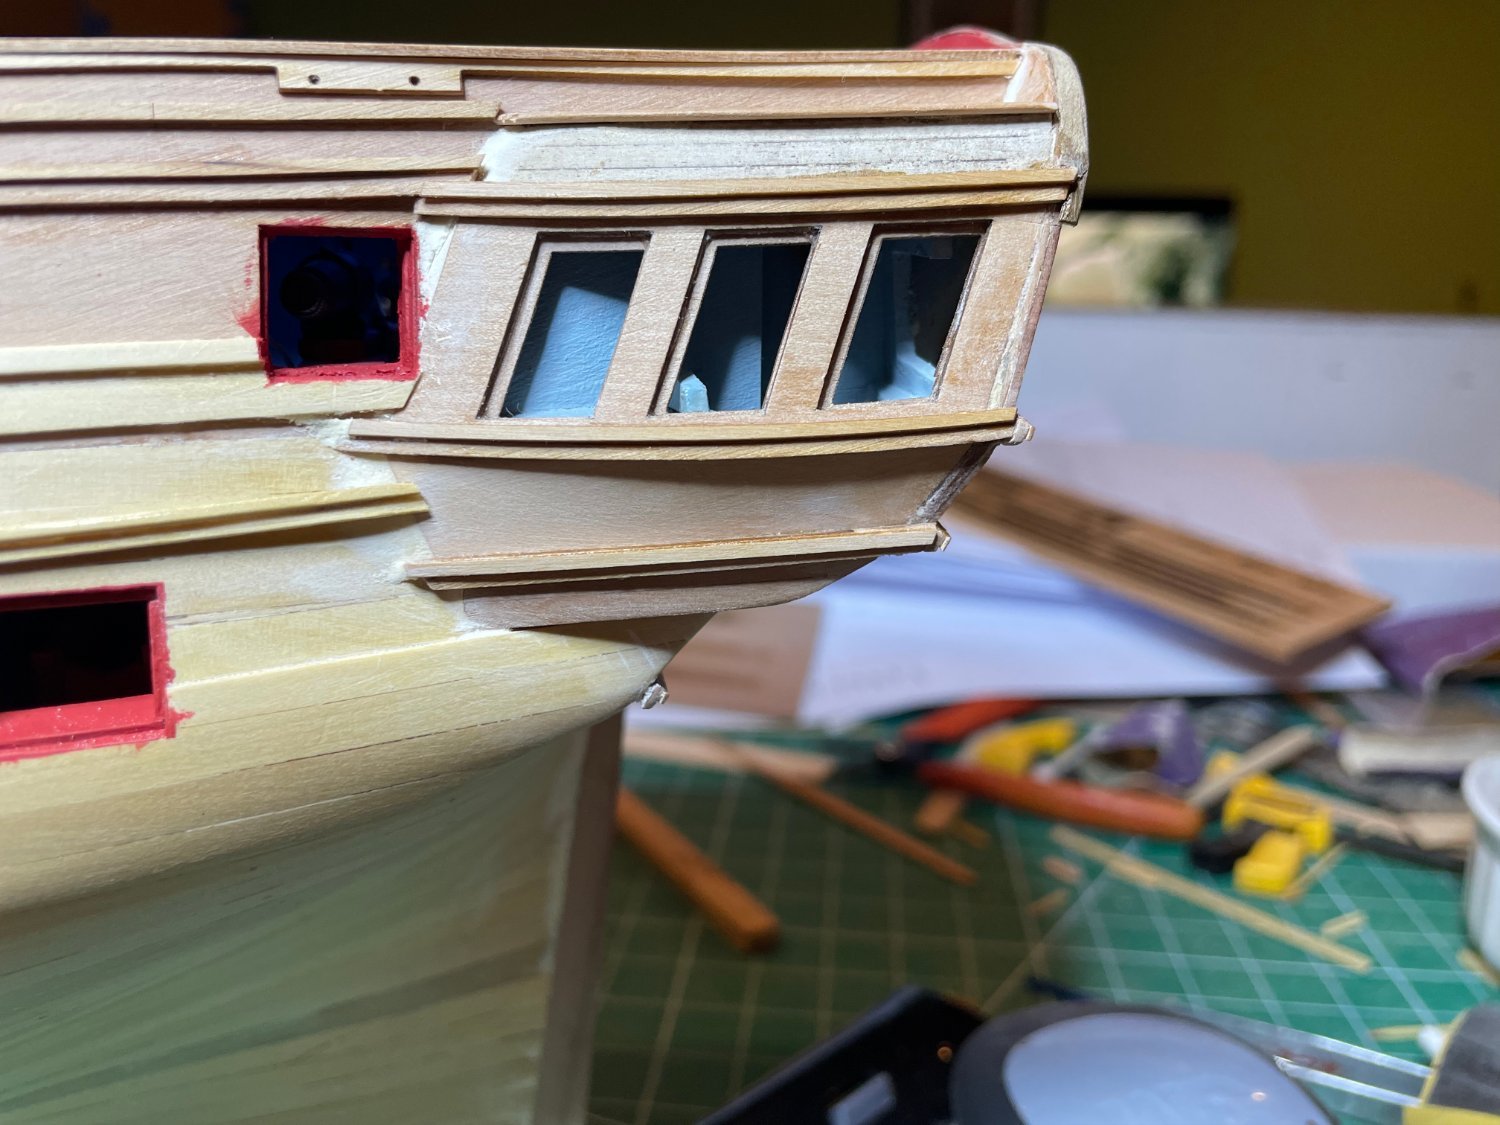
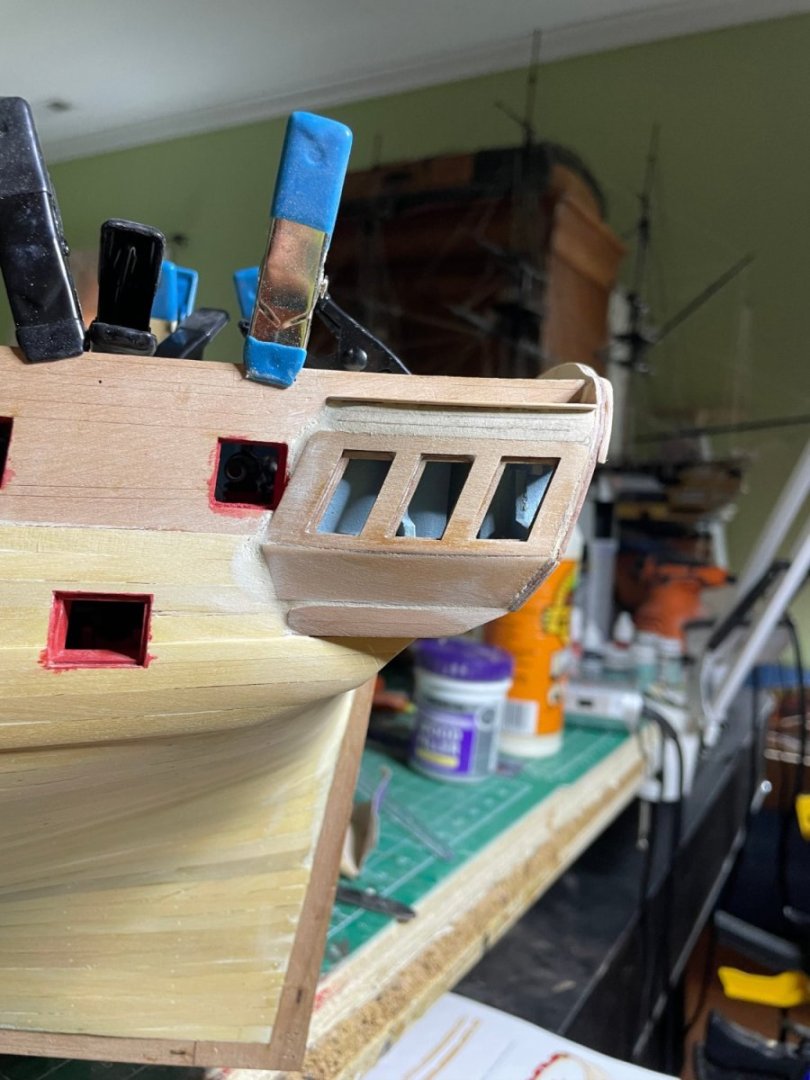
Spent the afternoon completing the quarter galleries and the stern fascia. Also put in the quarterdeck engraved maple.


- 233 replies
-
- 16
-
-
-
- Indefatigable
- Vanguard Models
- (and 1 more)
-
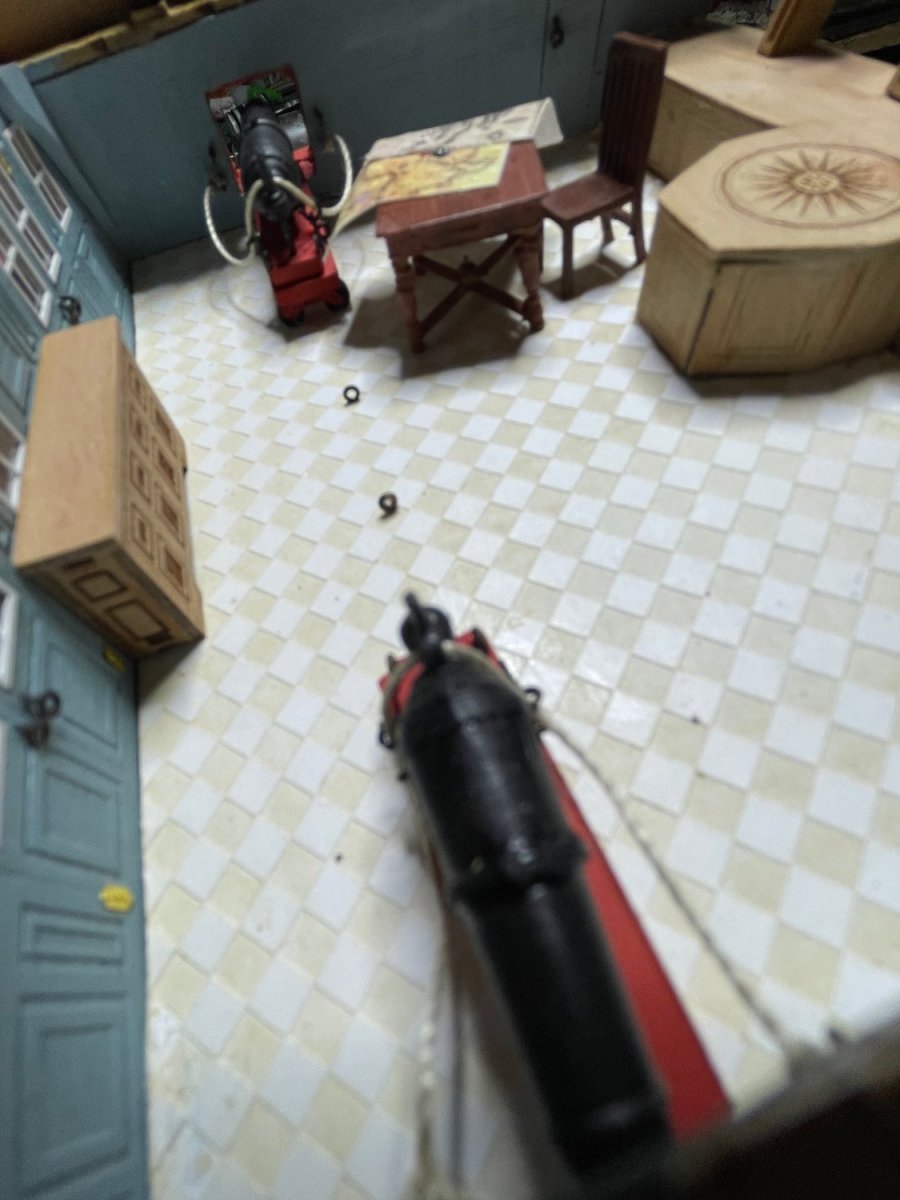
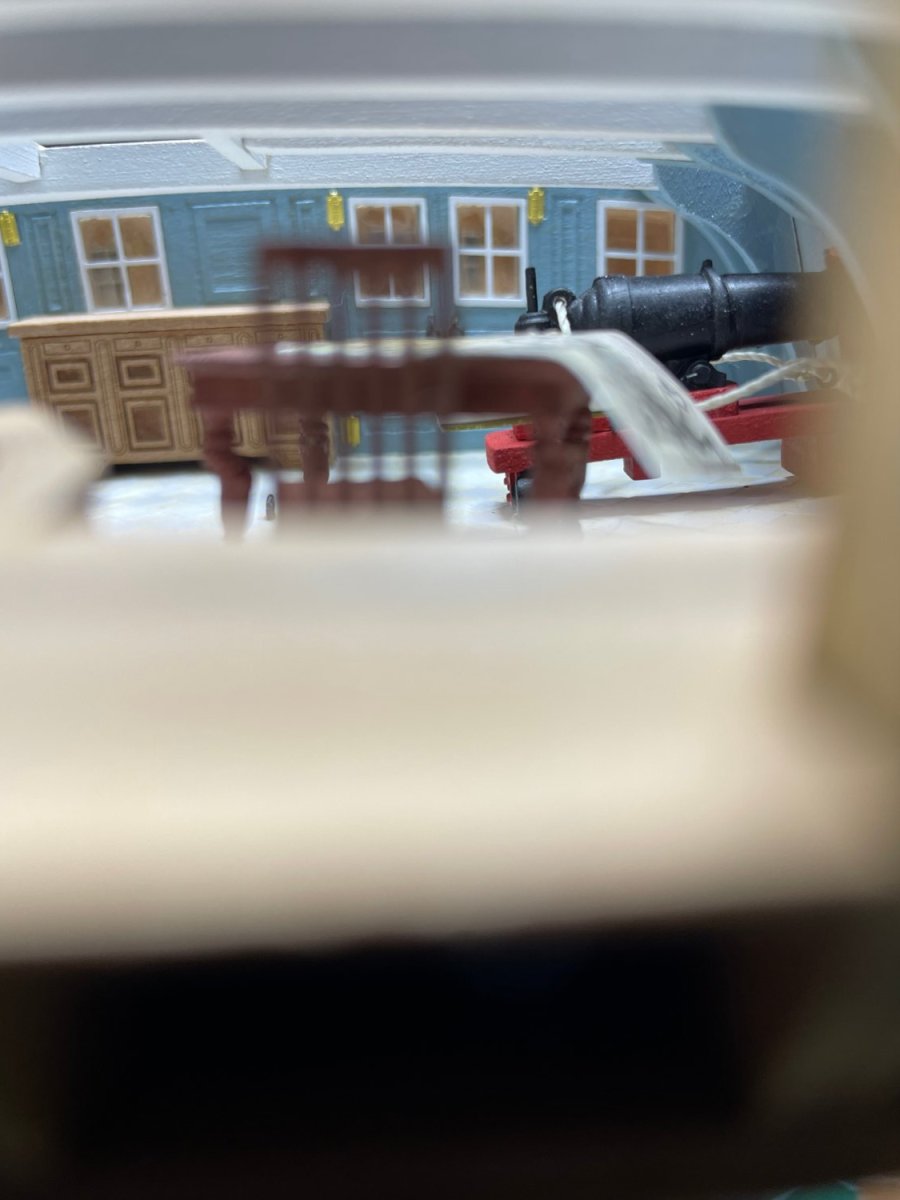
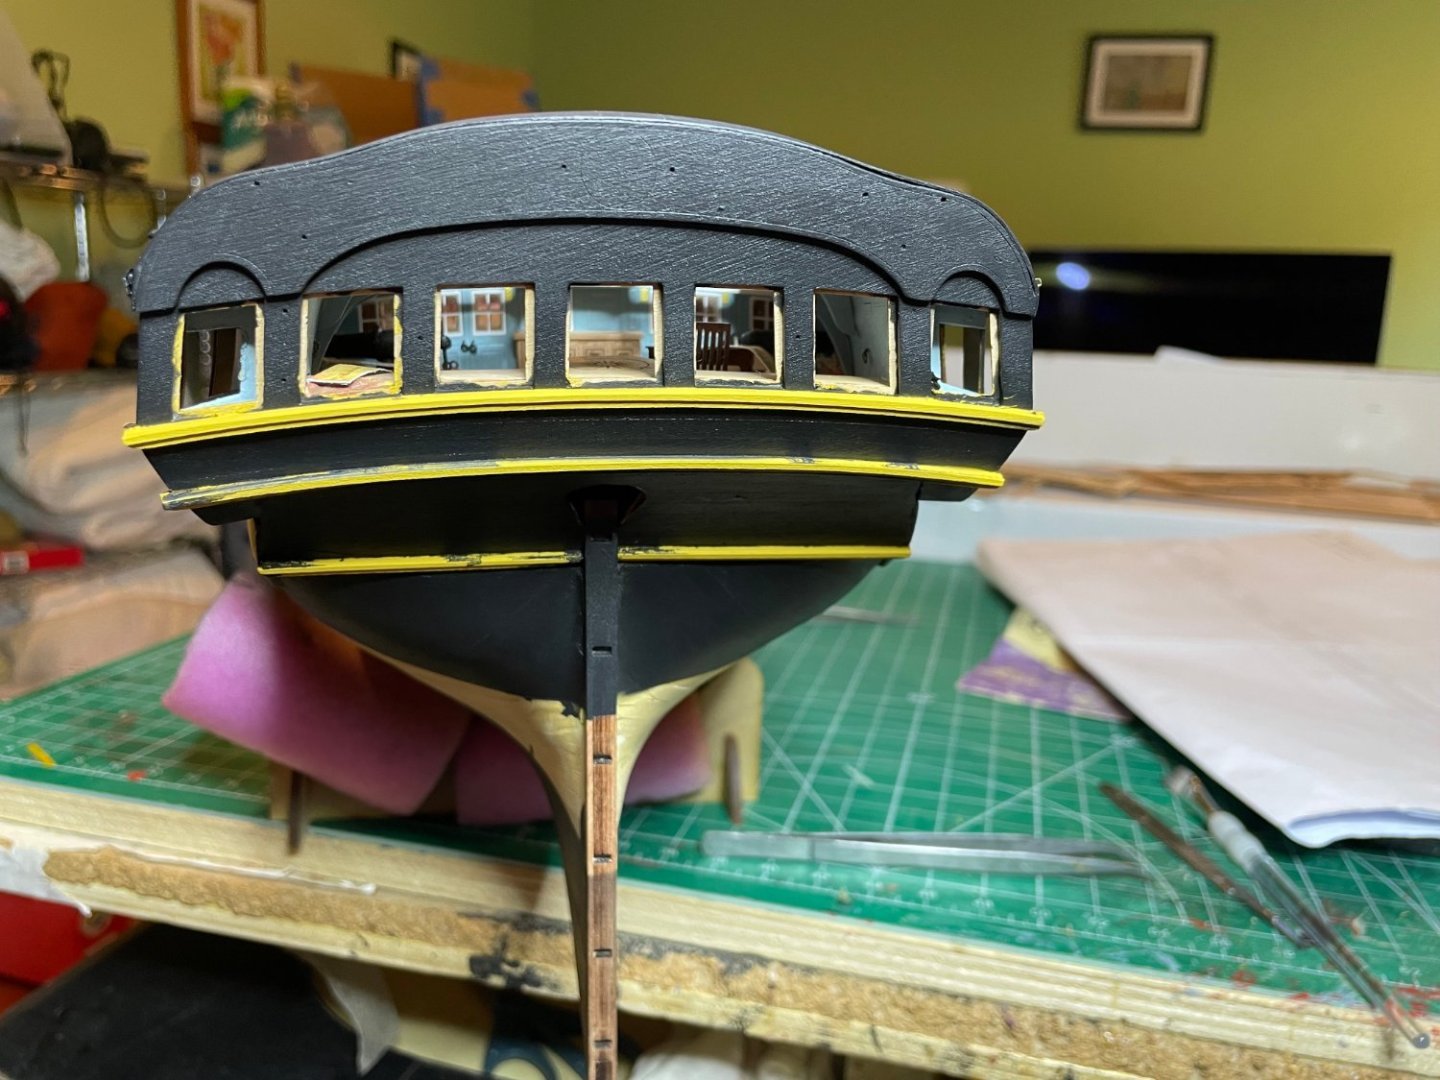
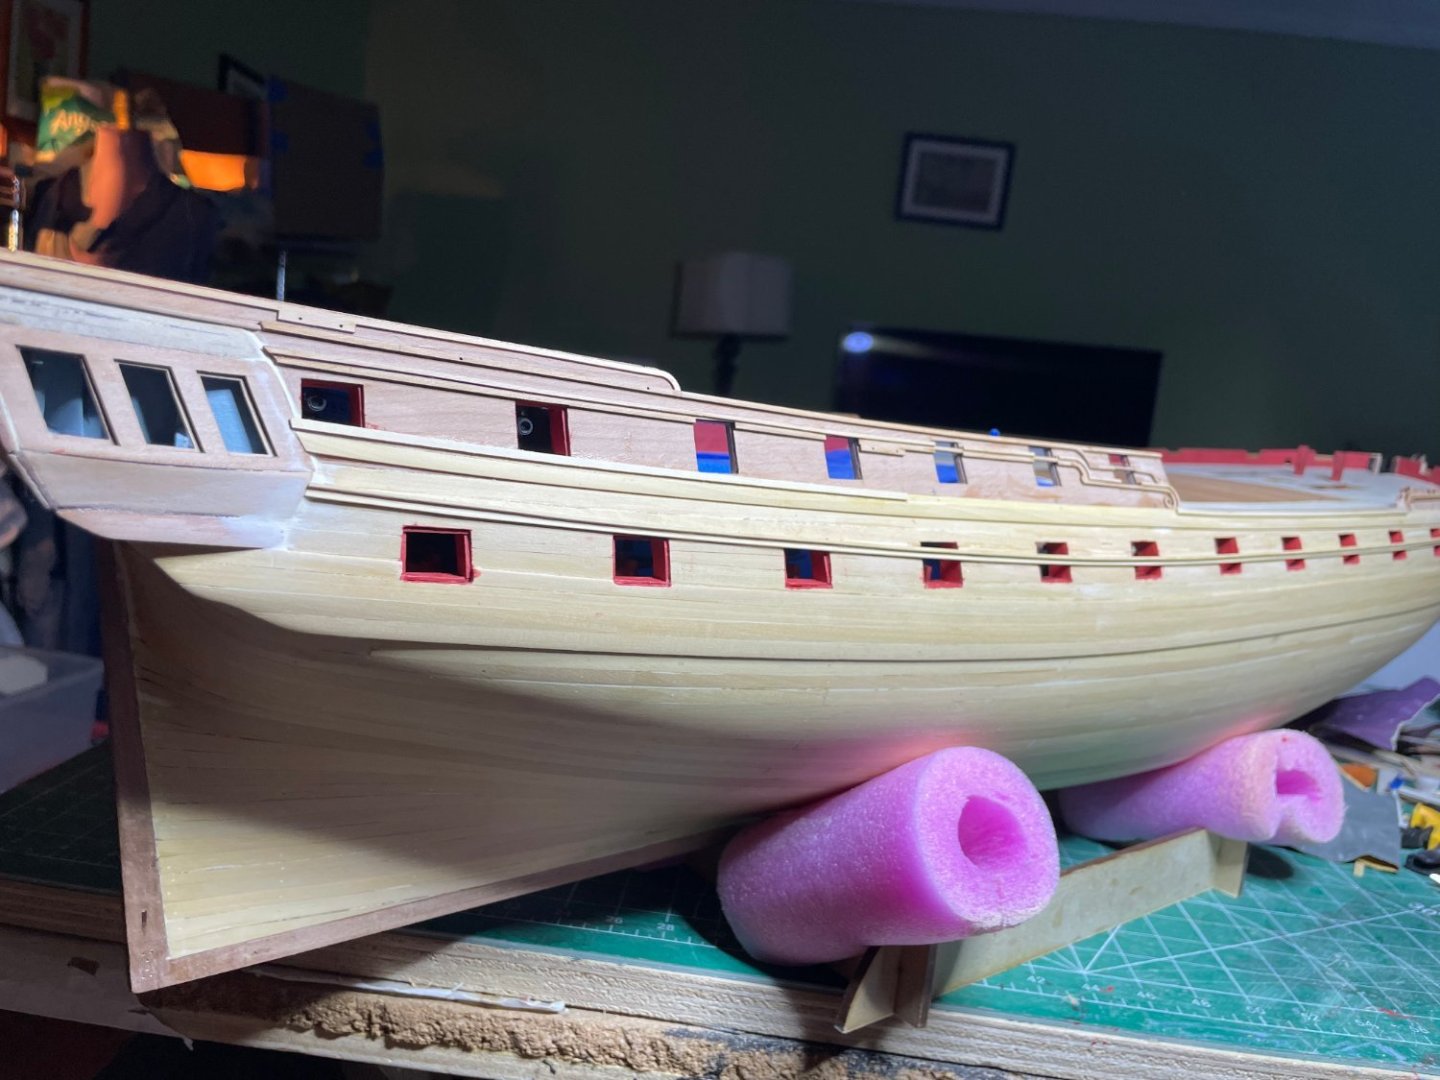
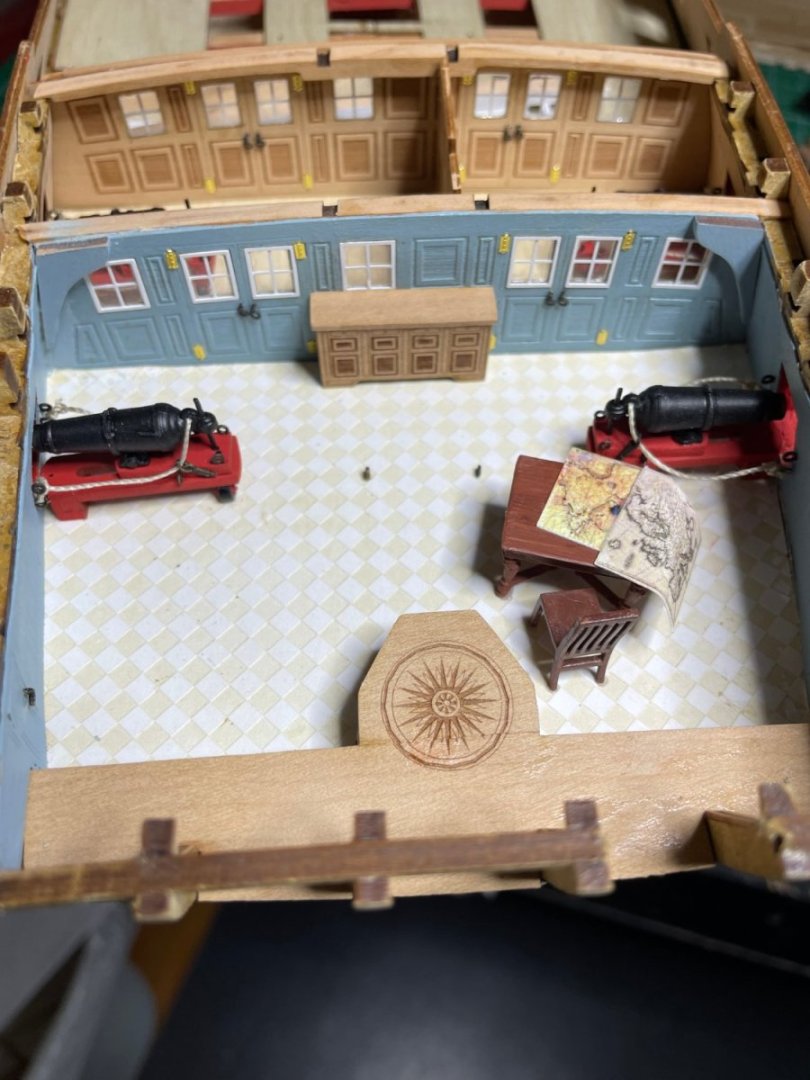
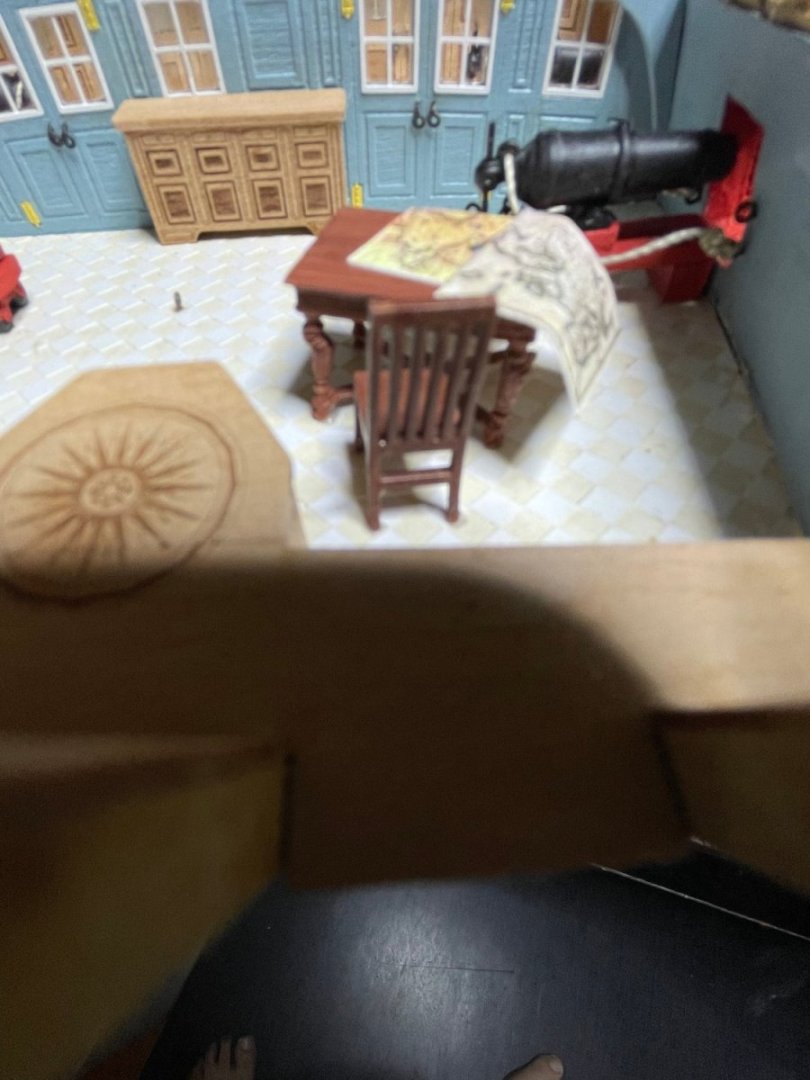
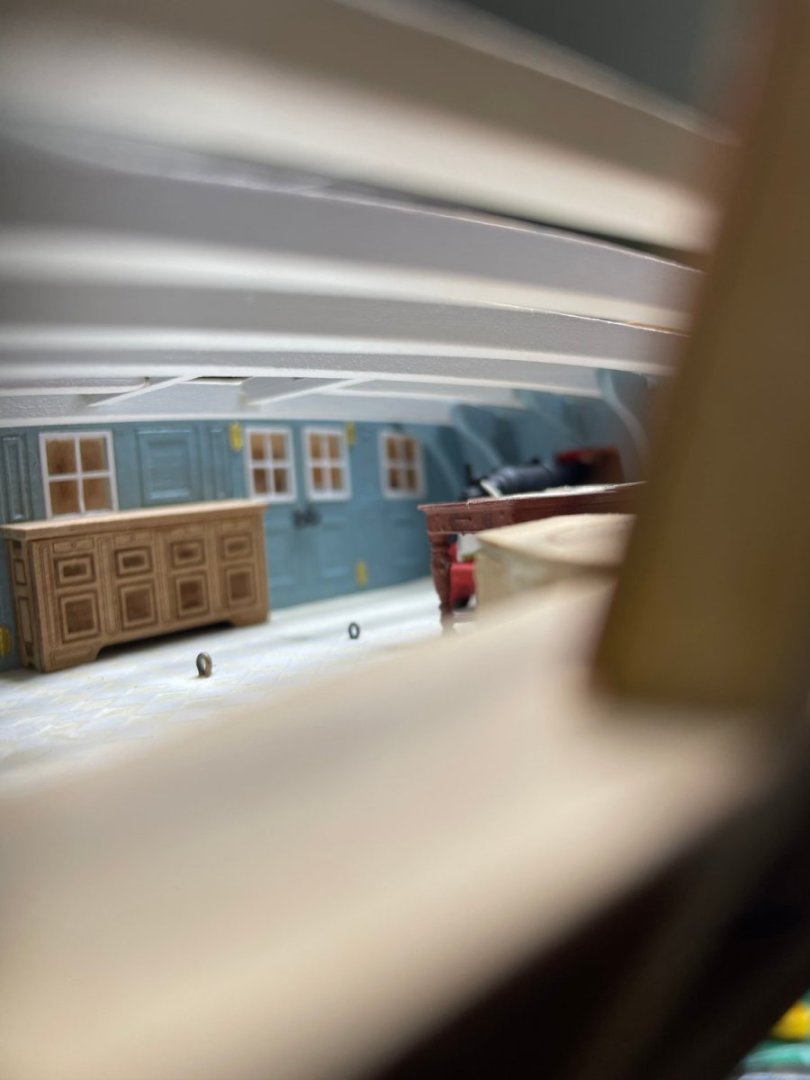
Finished the Captain's cabins. The white beams and knees make it look pretty realistic to my eyes.


- 233 replies
-
- 12
-
-
-
- Indefatigable
- Vanguard Models
- (and 1 more)