


tlee01
-
Posts
65 -
Joined
-
Last visited
Content Type
Profiles
Forums
Gallery
Events
Posts posted by tlee01
-
-
Bob,
Looks good as always, just started the 18th century armed long boat. Need to start a log
Gary
- Overworked724 and bobandlucy
-
 2
2
-
Great start Bob, I really like your logs so I am glad you decided to do one. BTW I like the chest.
-
Great choice, good luck with the build
-
Been a while, but I finally finished the smack. I got really frustrated with the sails, started out well but then the battens started separating and the more I tried to correct it the worst I got. I finally finished with CA which held but I have “shiny areas” where the CA is.
I really like the rigging portion of the build and look forward do doing more, I went with rope from Syren Ship Model, Chuck makes great rope and his delivery time is really good. (might be I live in PA and he is in NJ). I also purchased his serving machine and did a little serving on the ends of the stays. I went with a tan rope and served the ends with black. After a few tries I got the hang of it.
Overall I learned a lot from this build.
First and foremost read the guide and research about the build. I was really unclear about how portions of the rigging went. It took reading numerous logs and even readings from the library about how boats were rigged.
Also I would have spaced the upper block of the throat halyard, higher. I don’t know if it was my stropping the blocks and having a larger hook and hoop but looking at the geometry, it does not work right. I assumed that the spacing was right, which it could have been and I screwed up, but it showed me that I should always look at the big picture, when also detailing with the small.
The kit bashing was fun and it makes learn new skills, which is why I continue on with the builds.
So what's the next build. I purchase both the Armed Longboat and USN Picket Boat, both for different reasons. On the longboat I want to work my planking and rigging and on the Picket I **** to work on my detail work, all before I start the Cheerful. I flipped a coin and it looks like the longboat.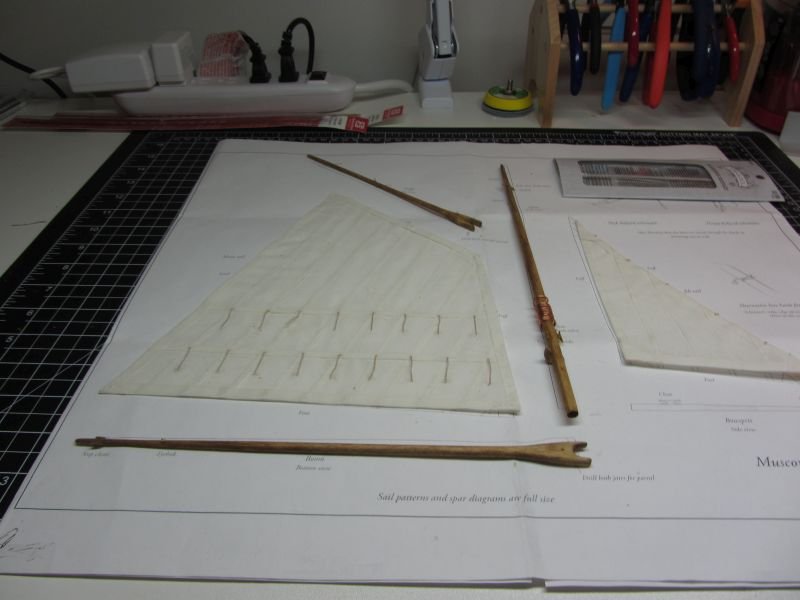
Photo 1 - Sails laid out ready to start rigging
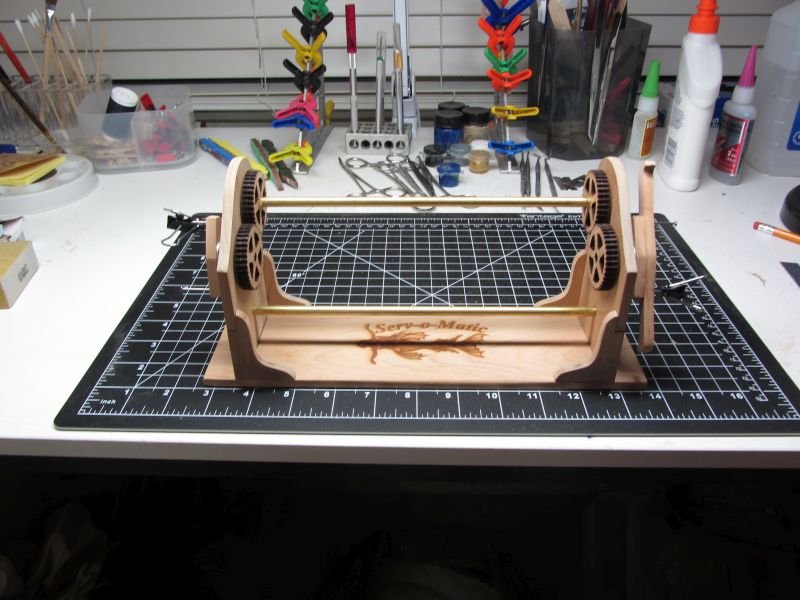
Photo 2 - Serving Machine up and running
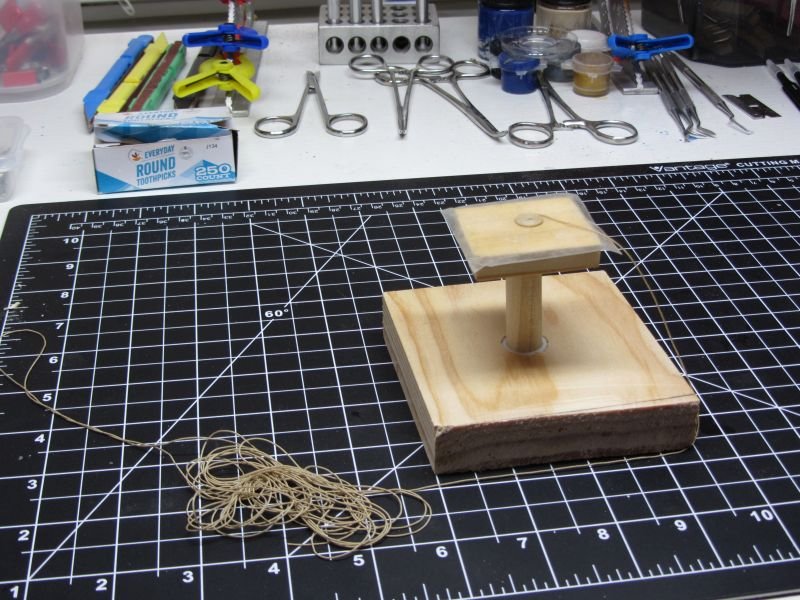
Photo 3 - Making rope coils
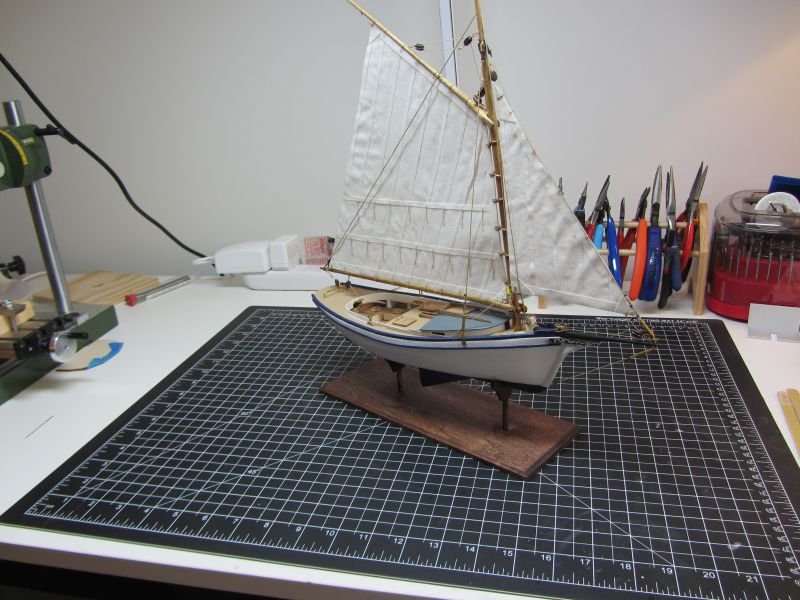
Photo 4 - She done
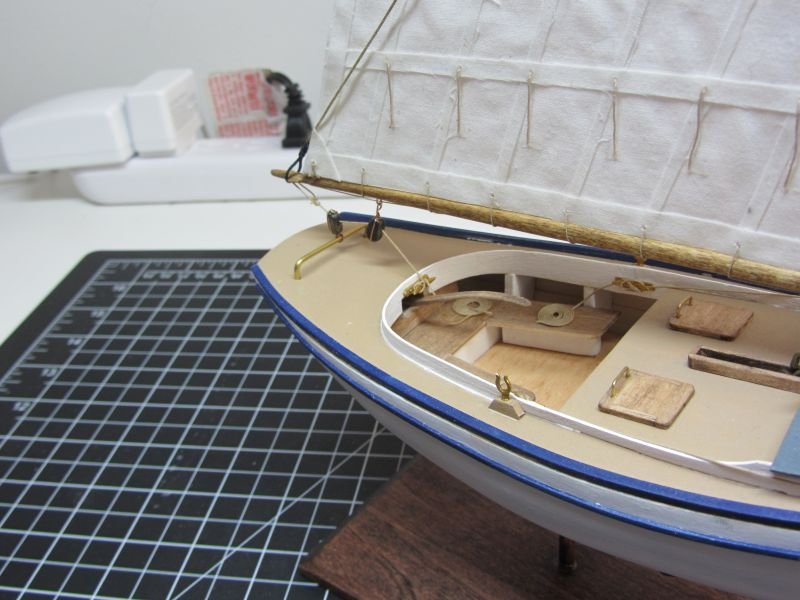
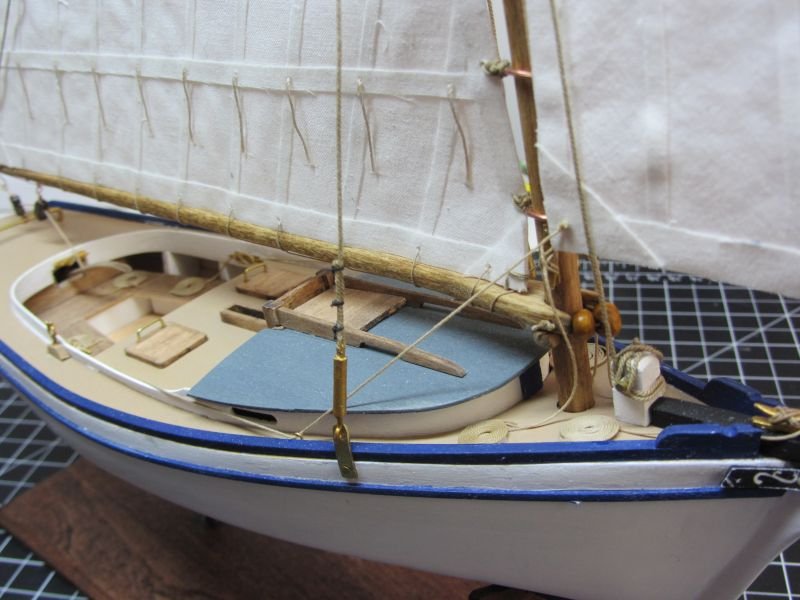
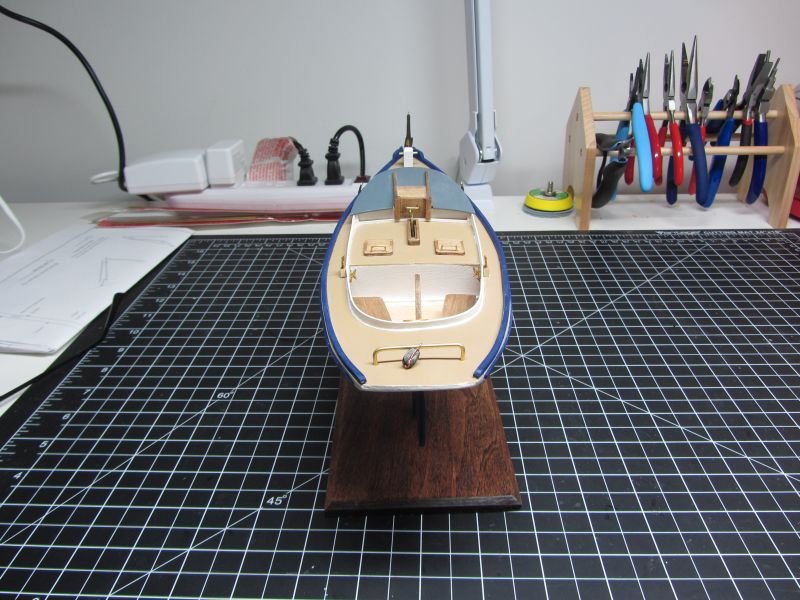
Picture 5 - Cockpit
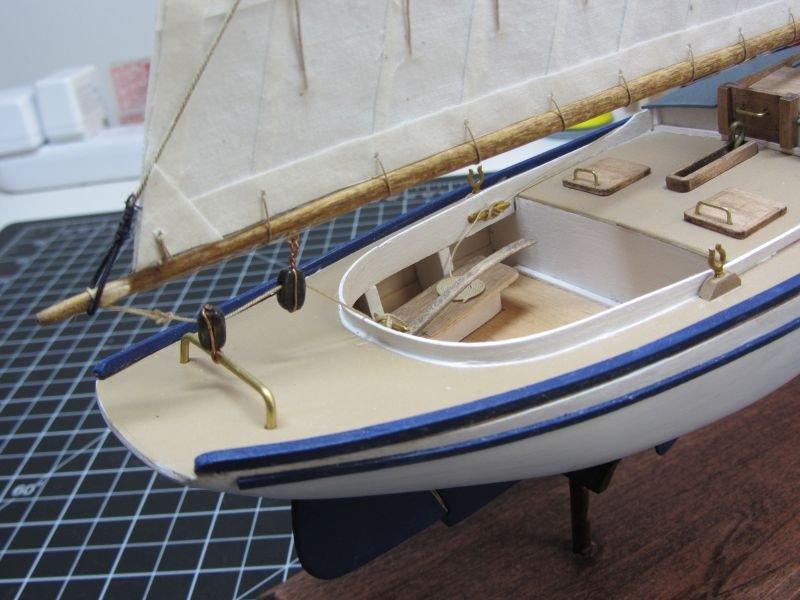
Picture 6 - Cockpit

Photo 7 - Upper Rigging
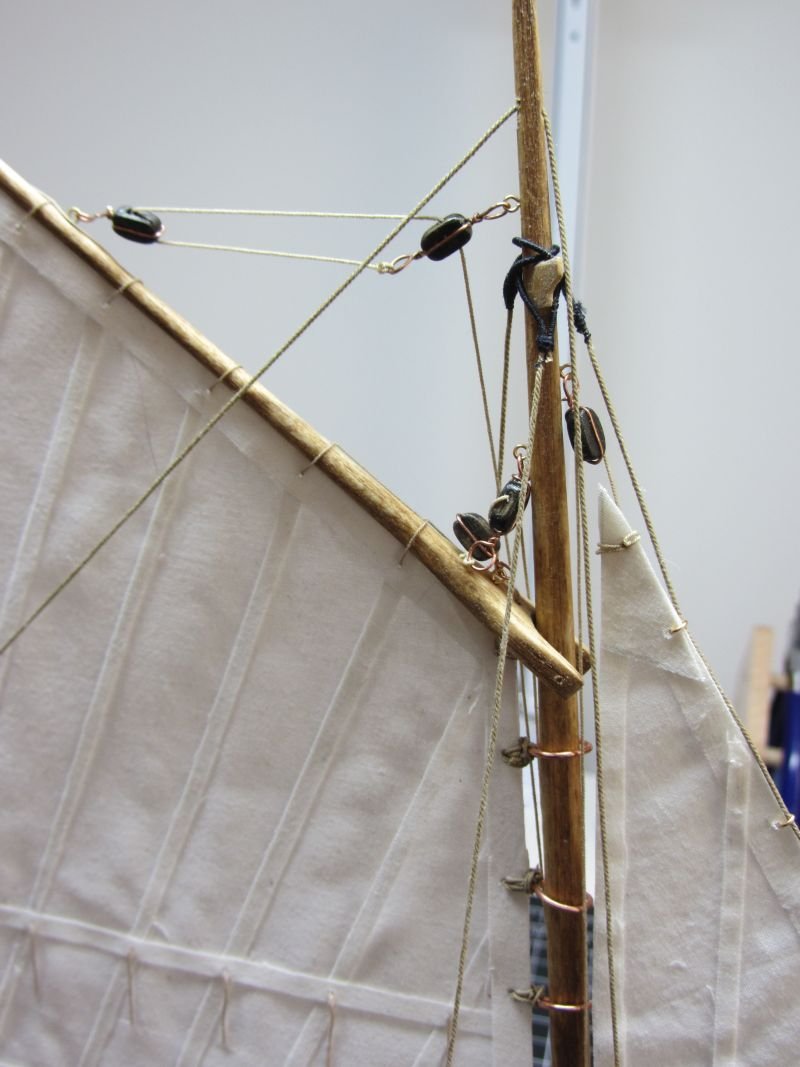
Photo 8 - Upper Rigging
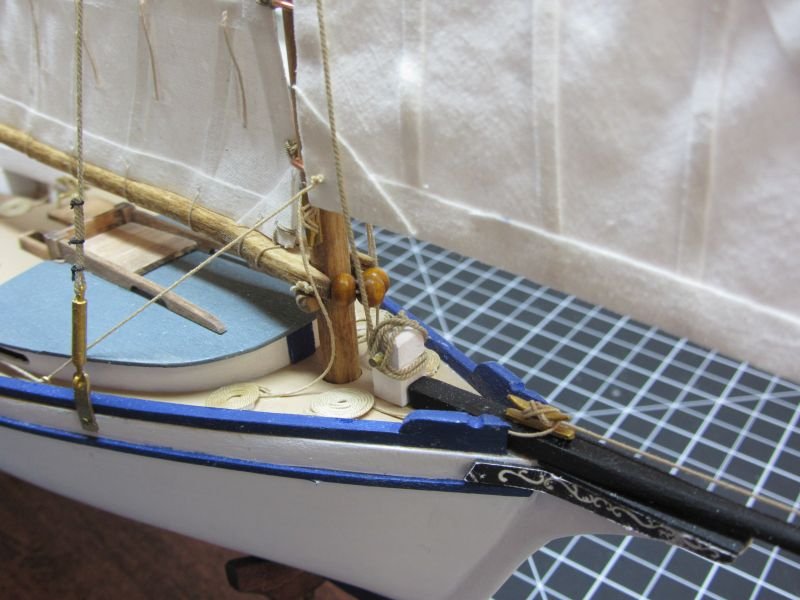
Photo 9 - Mast area
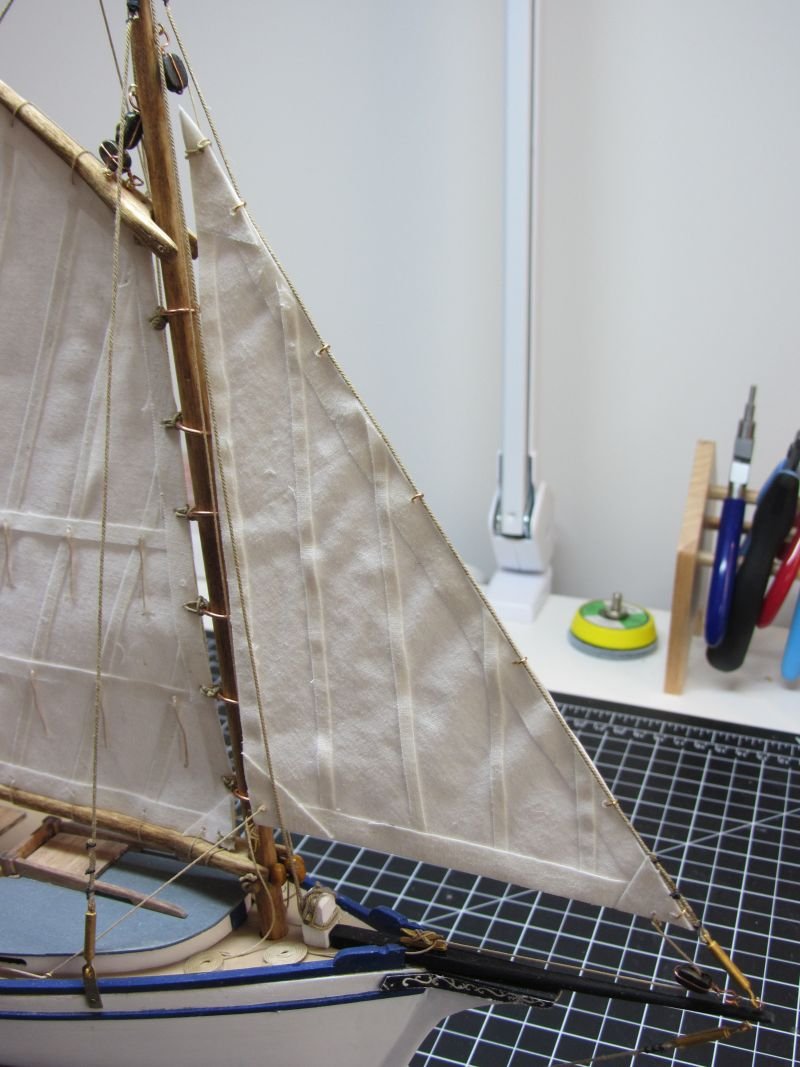
Photo 10 - Jib
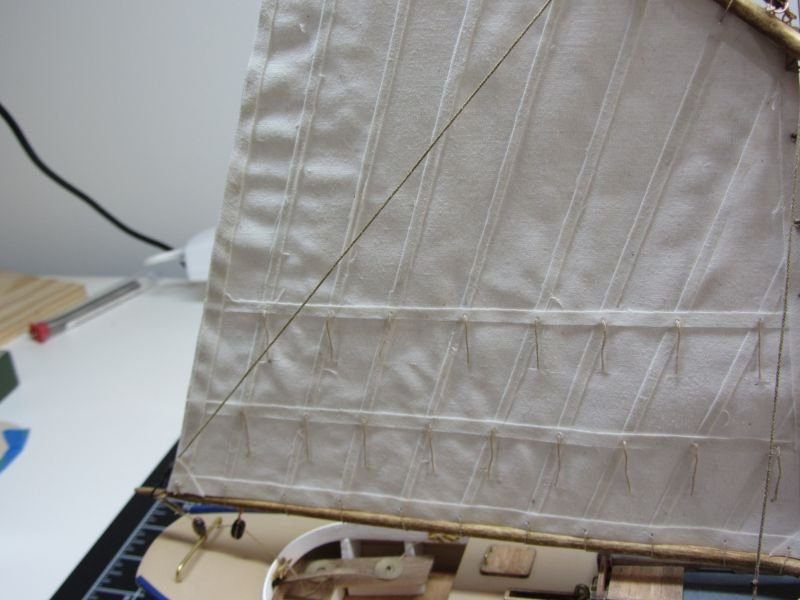
Photo 11 - Main Sail
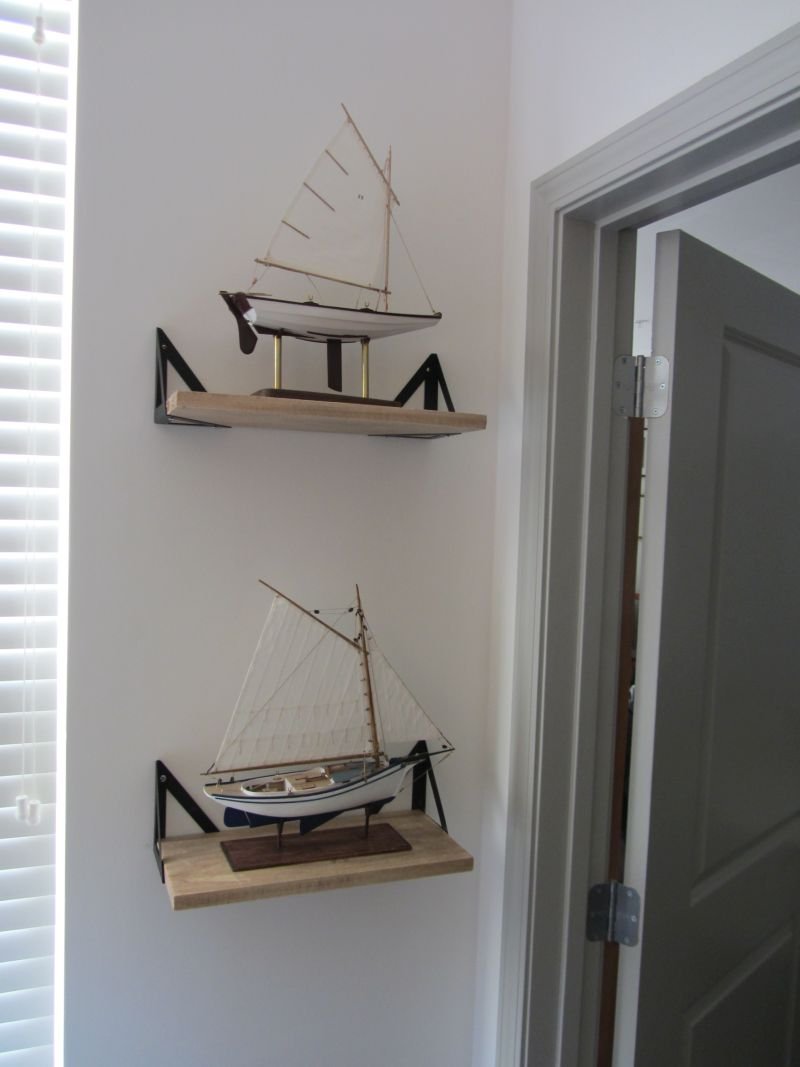
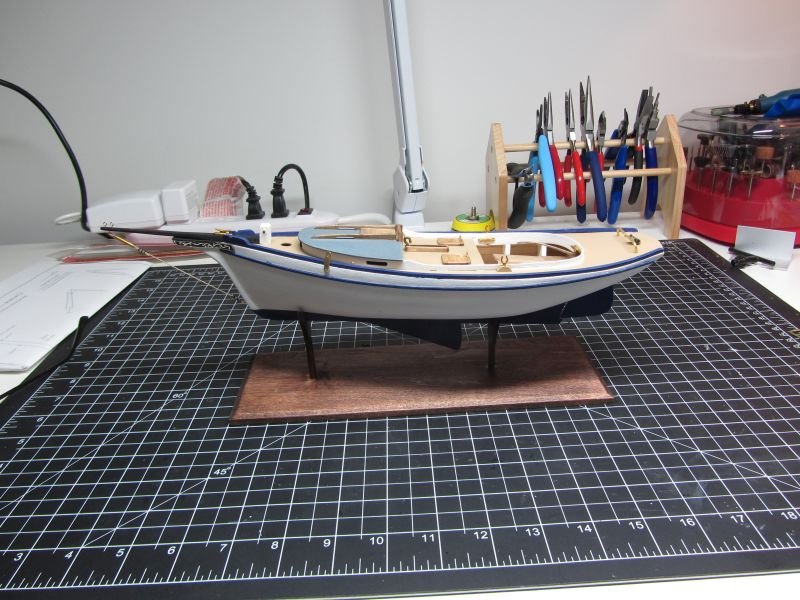
Photo 12 - Final Berth w/ Pram
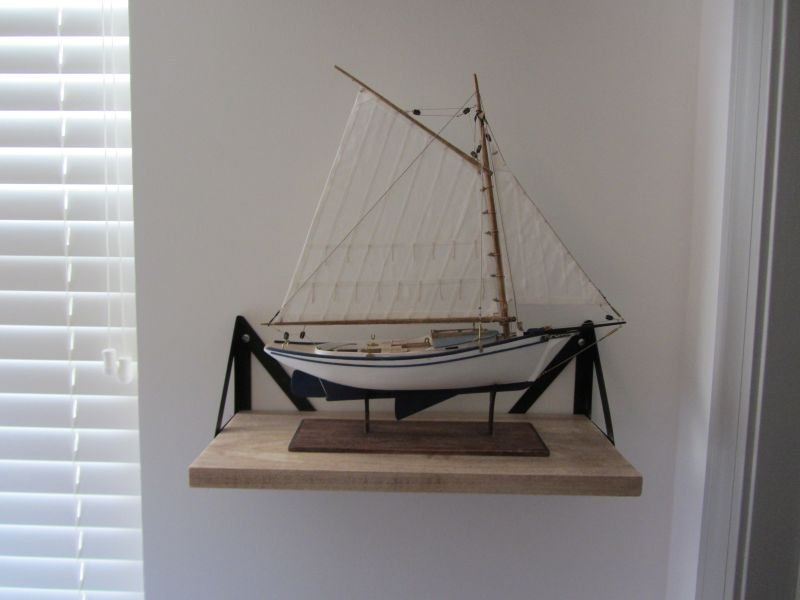
Photo 13 - On to the next build.
- ccoyle, Ryland Craze, Vlax and 4 others
-
7
-
Bob
Great Job, really clean.
Just finished my rigging last night, now time to decide on the next one. Time to go Christmas shopping.
Gary
- bobandlucy and thibaultron
-
2
-
I really like the look of this boat Bob. Really great job.
- thibaultron and bobandlucy
-
2
-
9 hours ago, druxey said:
Rather than fabric, consider using SilkSpan for the bimini. Stretch it like watercolor paper and use dilute acrylic paint, before cutting and fitting it. The boat looks great so far!
As an aside, I see Mark Twain on the wall. You must be a fan!
I need to try this, I am just finishing the Smack and I am really disappointed with my sails..
Bob, the boat looks really great.
-
-
Bob,
Looks good, can't wait to see the railing and the new skill.
Gary
- thibaultron and bobandlucy
-
2
-
-
Bob
Looks great.
I totally understand questioning every detail and how I should approach some of the remedies to minor problems. That's the problem with 40 years of engineering, but I can't change my nature now, so I sweat the details.
Gary
-
-
-
Kevin
Just finished watching your treenail video, excellent video and thanks for all your video. Your hull looks great and i look forward to watching you more.
Gary
- No Idea, mtaylor and Kevin Kenny
-
3
-
Got a seat and ready for the new log
-
-
Finally, back in the model room after a long summer, knee replacement, family issues, etc.
I have realize having something to take you mind off things really helps and work on my boats puts me in a great frame of mine.
So, a couple of things:
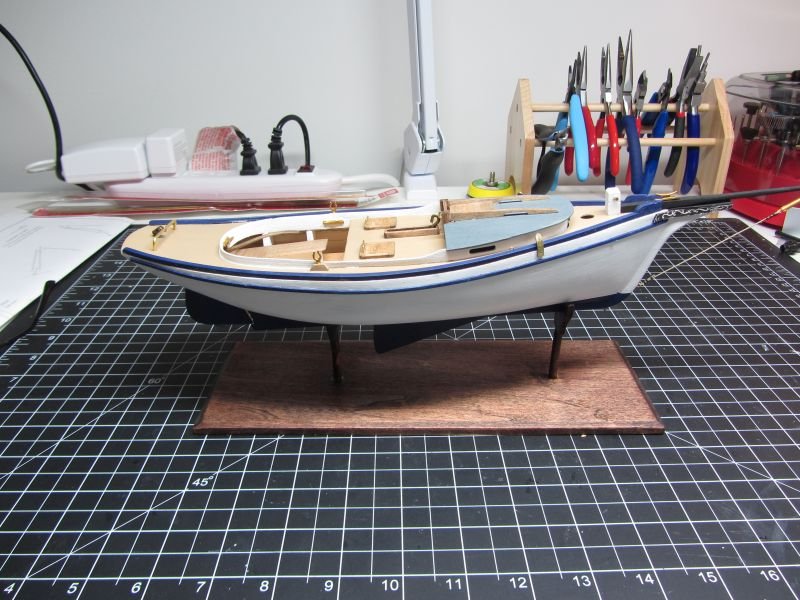
I got my Proxxon drill press setup and man does this help. I have added a sanding spindle which have made things so much better. Using the drill press make for much more actuate work. Making the chainplates were really easy with the press. I cleaned them up then lacquered each to keep them looking clean. Now time to make the nails.
The hatches I felt needed a handle so I made some from some 28-gauge wire.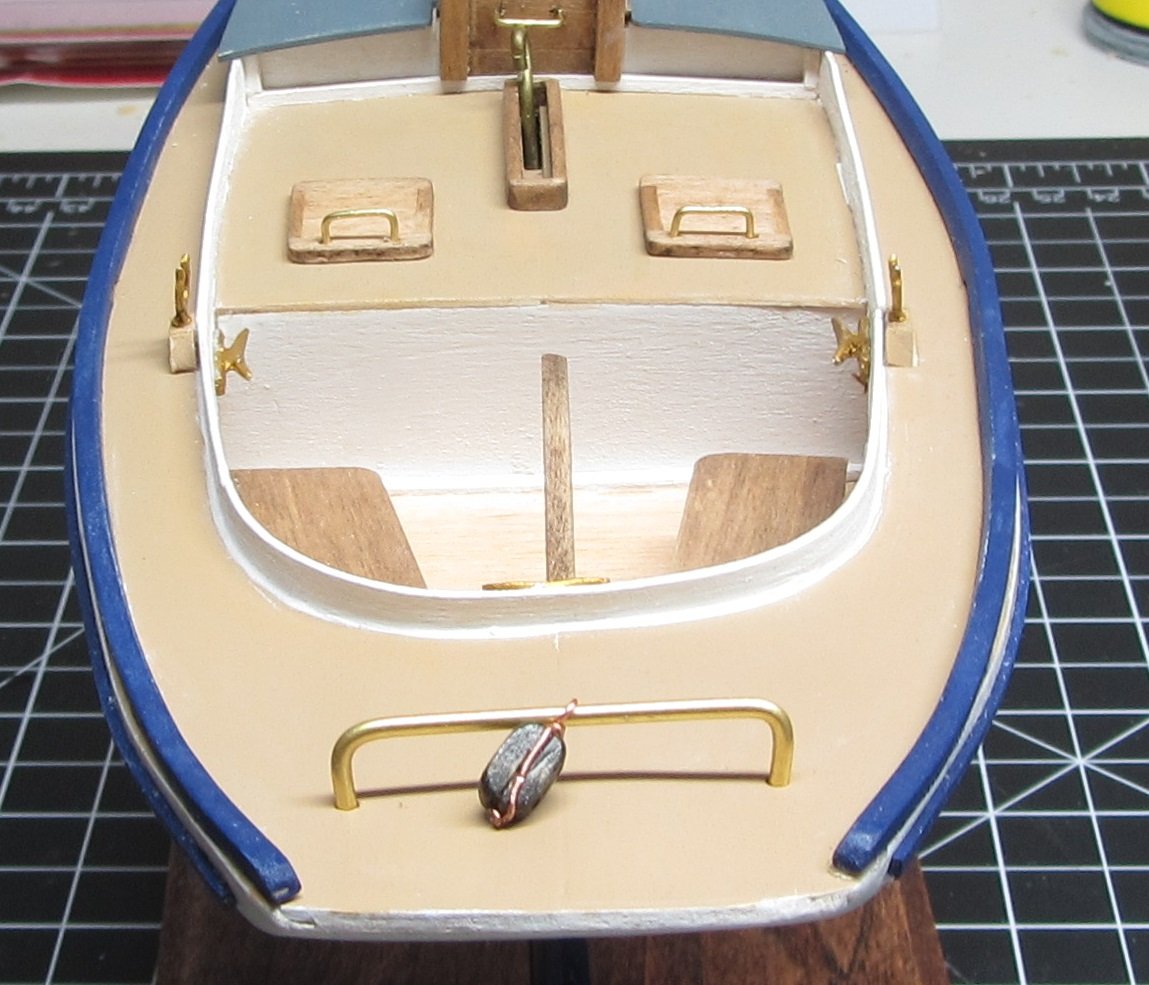
Found out when you have a drop of blue paint on white, do not use alcohol. This set me back awhile, but that what the beginners’ models are for.
I took a look at the blocks that were supplied and they needed really needed help, I thought there might be easier way. So, I did some research and saw a sanding tumbler made by Olha Batchvarov on YouTube that required the use of drill in a type of lined can. I then thought about maybe using a rock tumbler, I could line the inside of the tumbler with sand paper and just let it run in the background. Amazon is my friend and I found a cheap rock tumbler ($49.99), lined the tumbler with 120 grit sand paper using 3M Feathering Disc Adhesive and I now had a cheap sander. Now its not whisper quite but it is tolerable. I have taken the rollers apart greased what I could, it has cheap bearing from China and I could spend some money and make it better, great another project.
Two days in the tumbler on level two and they came out well, the grooves needed to be deepened and I used a thinned ebony stain which turned out well. Even after the stained dried it did come off on my fingers when I was forming the copper around the block. A quick layer of lacquer to solve the problem.
I used the Proxxon with a router bit on the base and like how that turned out. Did have a “glue area” show up around the posts after staining. Sanding and reapplying the satin worked, although my feathering in needs to be worked on.
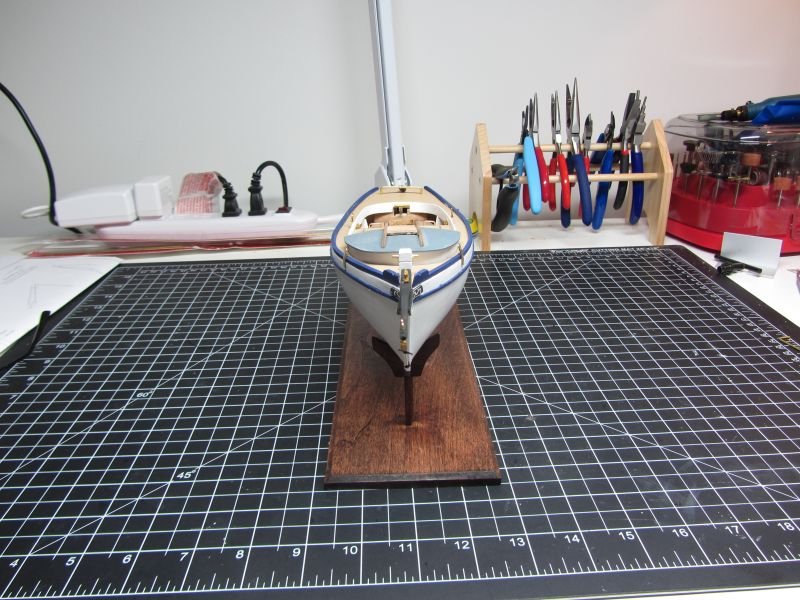
Time for the mast. Jib and sails then running the lines.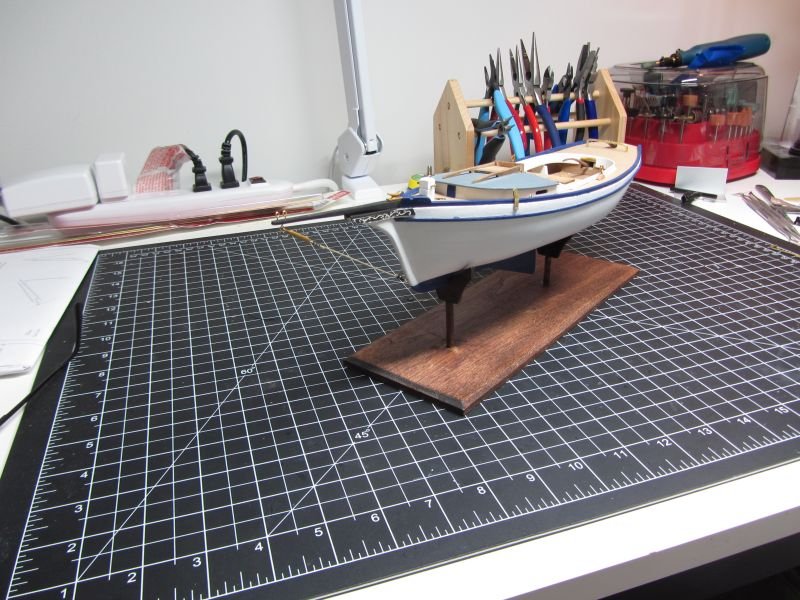
- druxey, ct mike and bobandlucy
-
3
-
Bob
Great work, I am impressed with how this is turning out and have it on my list of builds to do. I have thought about a scratch build, but I think I need so more kit bashing before I take on that.
Gary
-
Bob, very impressive.
Now that my new knee is feeling better, and I am off medication, its time to get back in the shop.
- bobandlucy and Ian_Grant
-
2
-
Great job Bob, I hope I can do as good as you when I start this ship
-
I have two computer desks 60x30 and a small table between in a L-shape, Easy to sit at and have plenty of room under for plastic storage containers
- Canute, Nirvana, Ryland Craze and 3 others
-
6
-
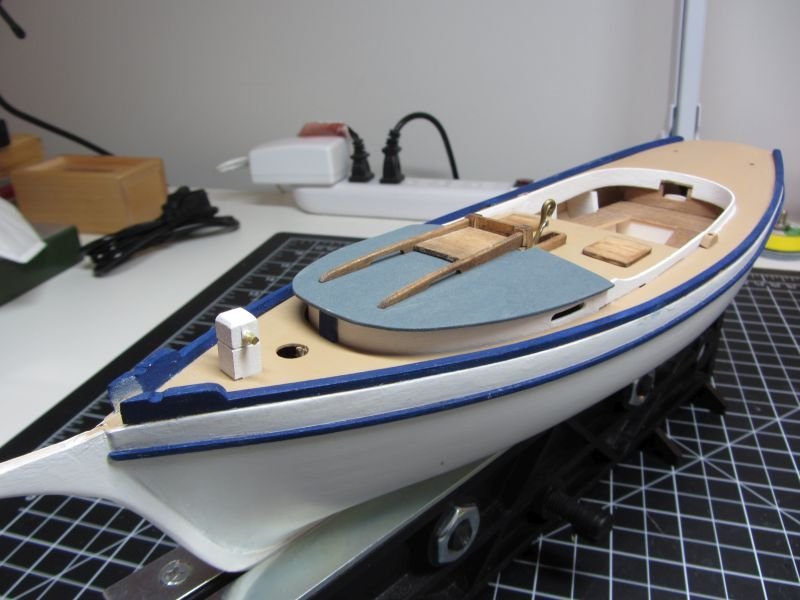
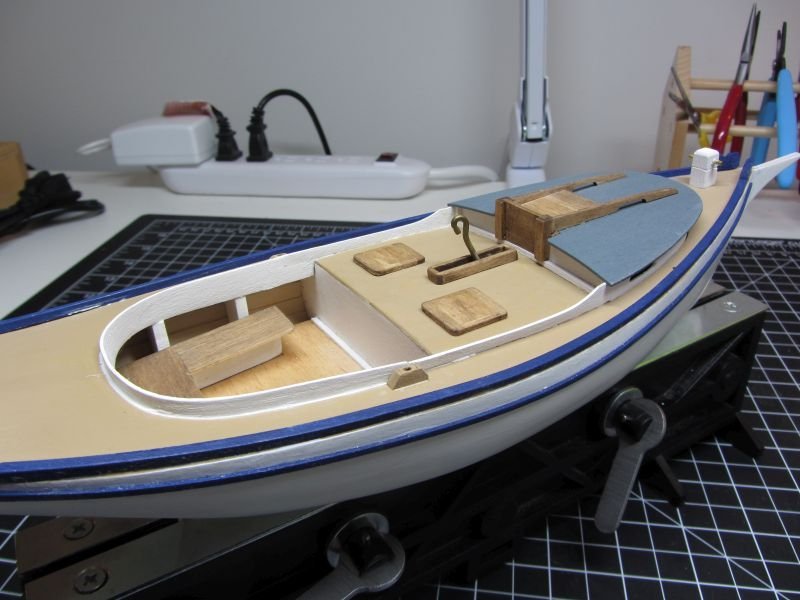
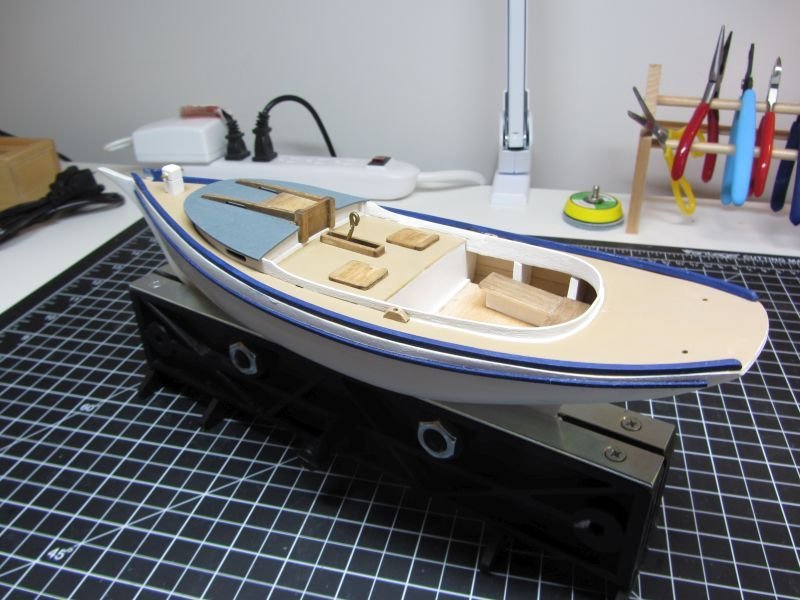
Work continues on the smack. I went off script and decided to do some kit bashing. I was at my local hobby lobby (I am spending to much time there) and picked up some basswood strips to make the hatches and miscellaneous things.
The two small hatches were built with a 1/8 x 1/16 frame with 1/16 slats. I round the corners and had two hatches.
The frame around the center board I used the 1/8 x 1/16 and framed out the slots.
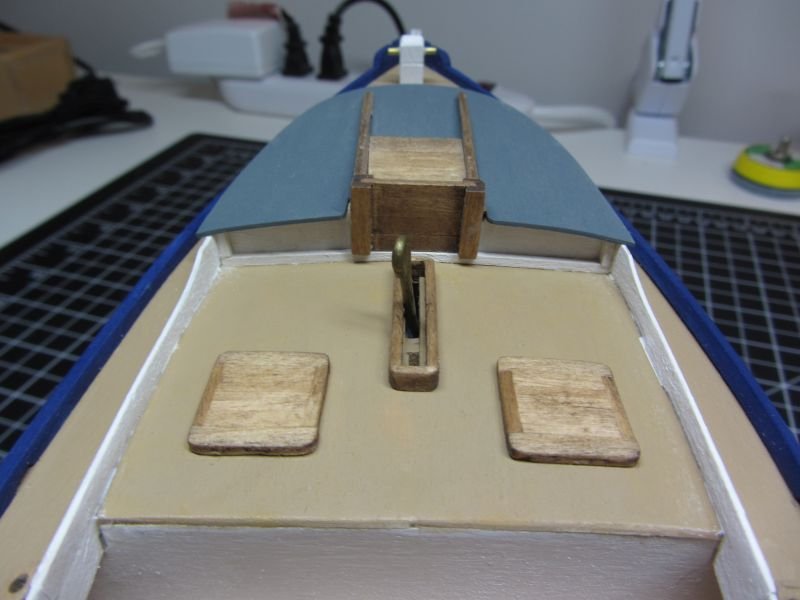
The hatch area was a little more difficult. I used false front and built a slide frame for the hatch. When I installed the false front, I had to add some trim strips, I still need work on making sure the frame is straight and square. When dry fitting the hatch and false front I did not like how things were mating up, so I trimmed the top of the false front and made a filler piece to fit the frame and all went well.
The cabin roof was painted and installed it on the boat. I notice the front looked a little bare so I made a blue accent strip and installed it on the front cabin wall.
I installed the two top rails and top hatch. The rails were angled slightly so some sanding on the sides and it turned out well.
I really liked this kit bashing it brings uniqueness to the model I am building. But it does take longer and sometimes more frustrating.
Next up are the Trail boards, bowsprit and rudder.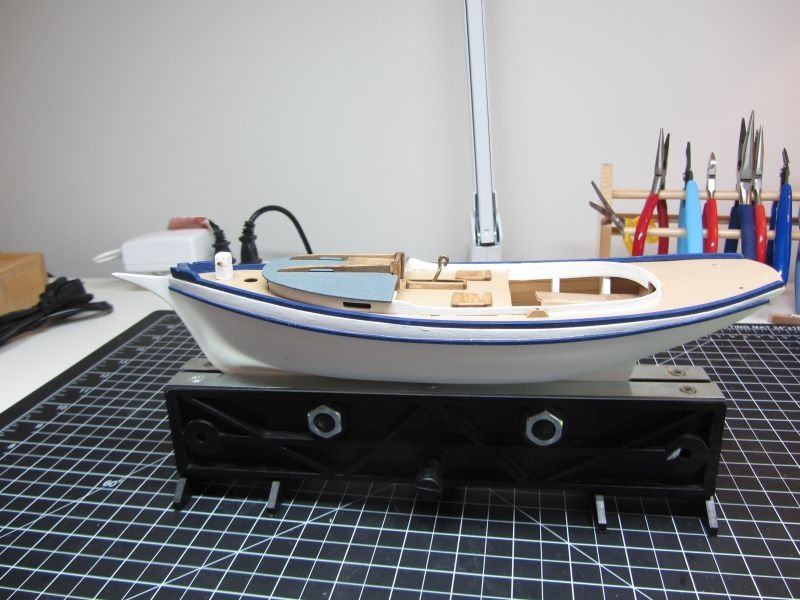

- druxey, Prowler901, JpR62 and 7 others
-
10
-
Bob
You have not deterred me in any way. Its on my list to due and following log has been helpful, I was going back and forth and thought I let MS take care of some of their problems. I have found dealing with them is really great, and when I find parts missing they get them to me quickly. I am hoping to have the smack done by my knee replacement in June. Then during my recovery (when I am off pain meds) start the pricket.
I hope my skills come up to your level, I am kit bashing parts of the smack and really enjoy the challenges that come with that.
Thanks and I will keep watching.
Gary
-
Bob
Your work looks great, I am going to wait to your done to see what more hassles you have with parts missing. I ordered the Picket Boat as my next one. Maybe the Harriet-Lane will be my number 5 build.
Gary

US Brig Syren by bobandlucy - Model Shipways - 1:64
in - Kit build logs for subjects built from 1801 - 1850
Posted
Bob
You are getting better and better at this model making stuff.
Gary