-
Posts
205 -
Joined
-
Last visited
About Spaceman Spiff
- Birthday 05/25/1969
Profile Information
-
Gender
Male
-
Location
Savannah, GA
-
Interests
Model building, metal detecting, fishing, golf...
Recent Profile Visitors
-
 Knocklouder reacted to a post in a topic:
LPH-11 USS New Orleans by Spaceman Spiff - FINISHED - Iron Shipwrights - 1/350 - RESIN
-
 Canute reacted to a post in a topic:
LPH-11 USS New Orleans by Spaceman Spiff - FINISHED - Iron Shipwrights - 1/350 - RESIN
-
 Canute reacted to a post in a topic:
LPH-11 USS New Orleans by Spaceman Spiff - FINISHED - Iron Shipwrights - 1/350 - RESIN
-
 ccoyle reacted to a post in a topic:
LPH-11 USS New Orleans by Spaceman Spiff - FINISHED - Iron Shipwrights - 1/350 - RESIN
-
Thank all of you for the kind words and following along this journey. It's one that I've been on for so long that I feel as if I'm losing an old friend. All that is left is to make the clear plastic cover to protect it. My luck would be that a highly detailed kit would come out soon lol
- 176 replies
-
- new orleans
- iron shipwrights
-
(and 2 more)
Tagged with:
-
 Spaceman Spiff reacted to a post in a topic:
LPH-11 USS New Orleans by Spaceman Spiff - FINISHED - Iron Shipwrights - 1/350 - RESIN
-
 Spaceman Spiff reacted to a post in a topic:
LPH-11 USS New Orleans by Spaceman Spiff - FINISHED - Iron Shipwrights - 1/350 - RESIN
-
 Spaceman Spiff reacted to a post in a topic:
LPH-11 USS New Orleans by Spaceman Spiff - FINISHED - Iron Shipwrights - 1/350 - RESIN
-
 GrandpaPhil reacted to a post in a topic:
LPH-11 USS New Orleans by Spaceman Spiff - FINISHED - Iron Shipwrights - 1/350 - RESIN
-
 GrandpaPhil reacted to a post in a topic:
LPH-11 USS New Orleans by Spaceman Spiff - FINISHED - Iron Shipwrights - 1/350 - RESIN
-
 GrandpaPhil reacted to a post in a topic:
LPH-11 USS New Orleans by Spaceman Spiff - FINISHED - Iron Shipwrights - 1/350 - RESIN
-
 ccoyle reacted to a post in a topic:
LPH-11 USS New Orleans by Spaceman Spiff - FINISHED - Iron Shipwrights - 1/350 - RESIN
-
 rcweir reacted to a post in a topic:
LPH-11 USS New Orleans by Spaceman Spiff - FINISHED - Iron Shipwrights - 1/350 - RESIN
-
 yvesvidal reacted to a post in a topic:
LPH-11 USS New Orleans by Spaceman Spiff - FINISHED - Iron Shipwrights - 1/350 - RESIN
-
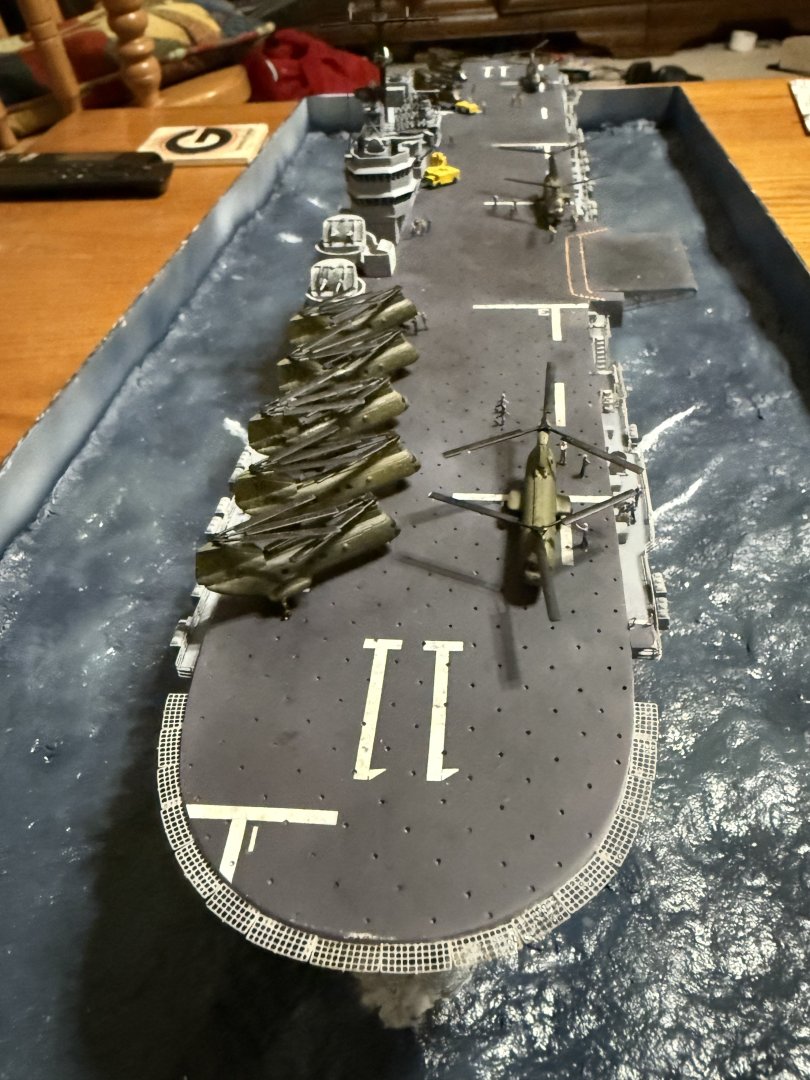
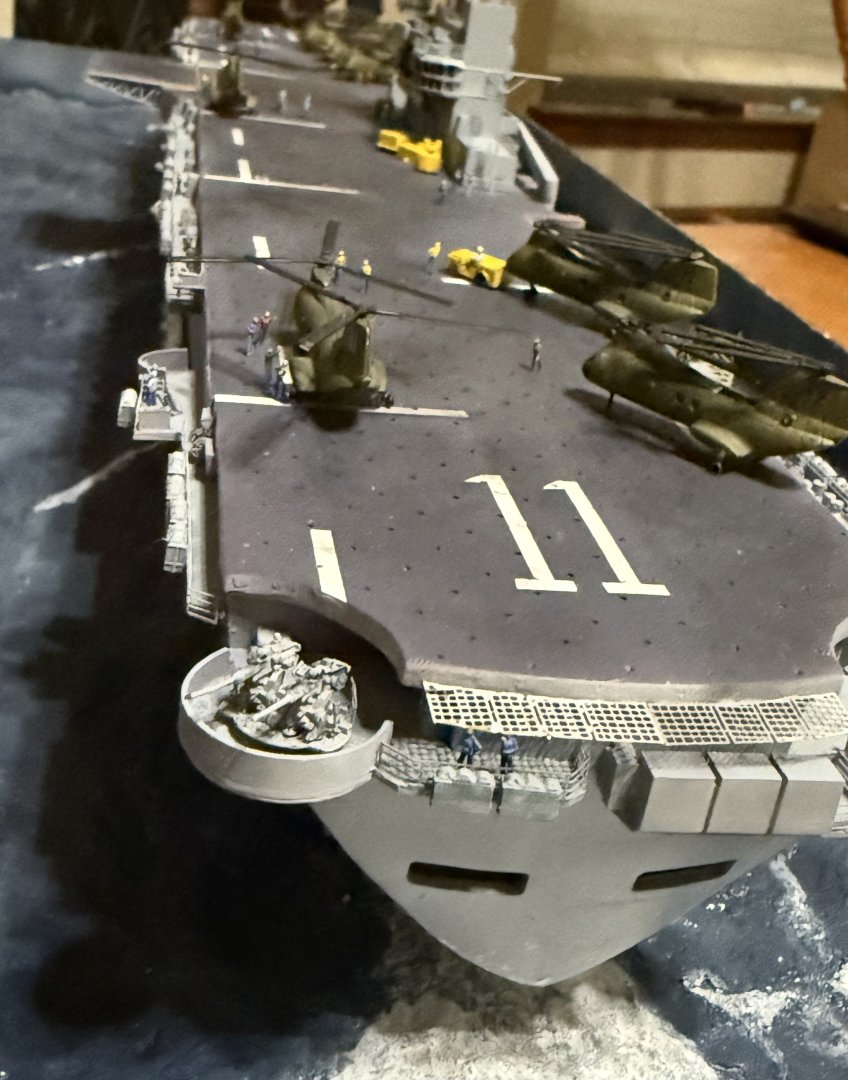
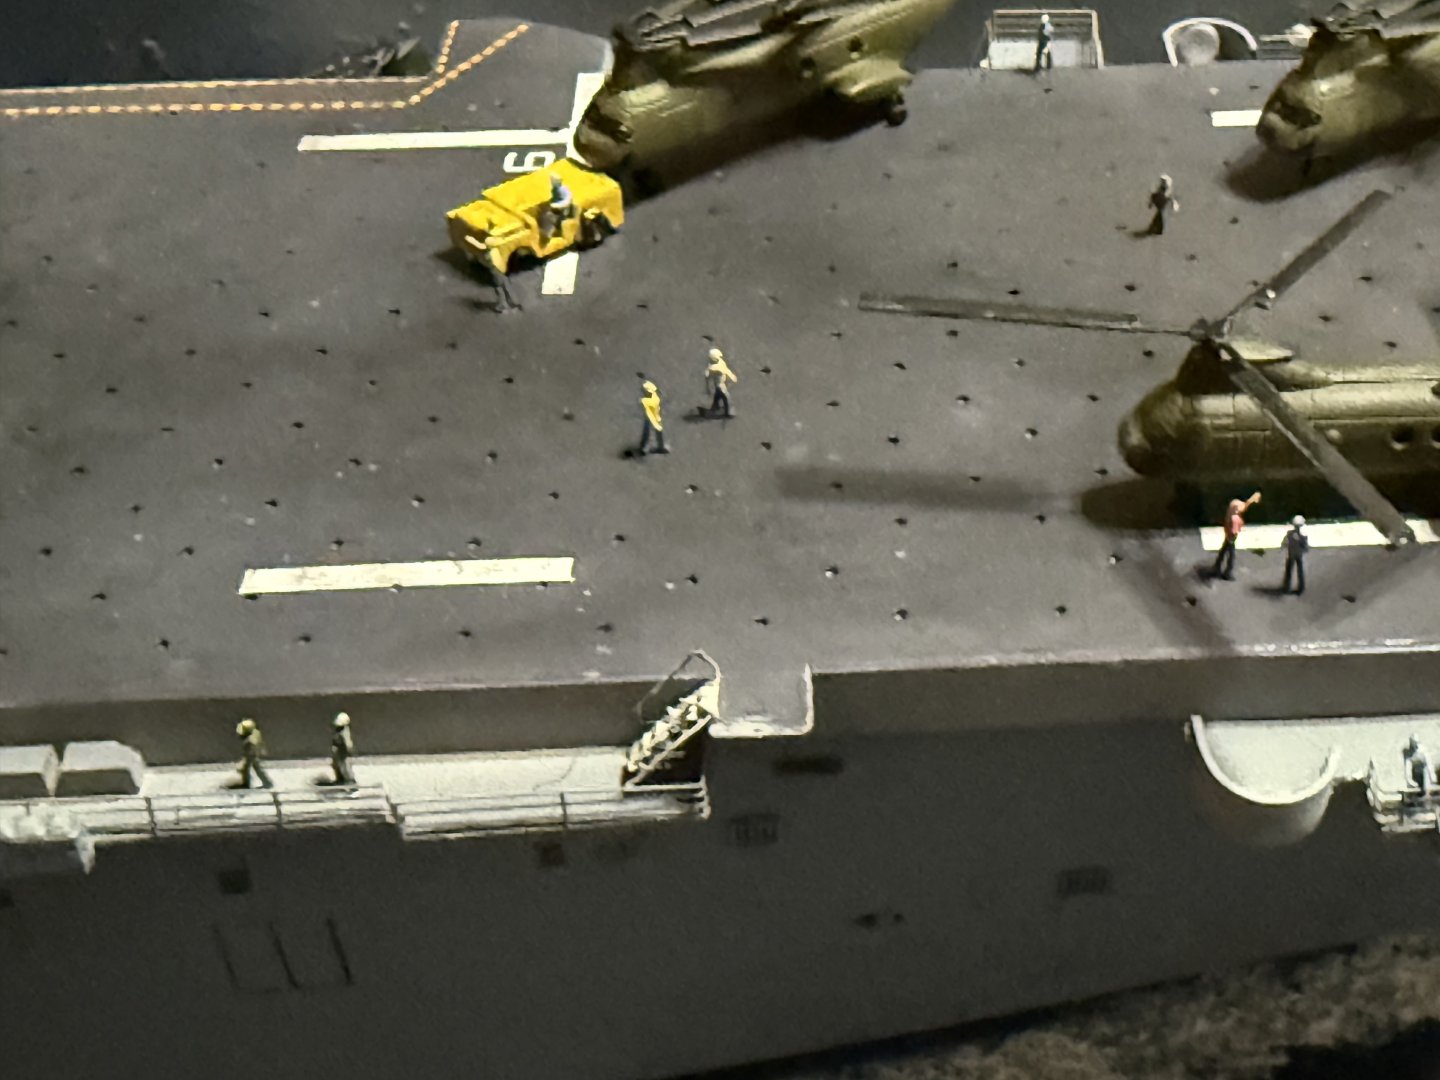
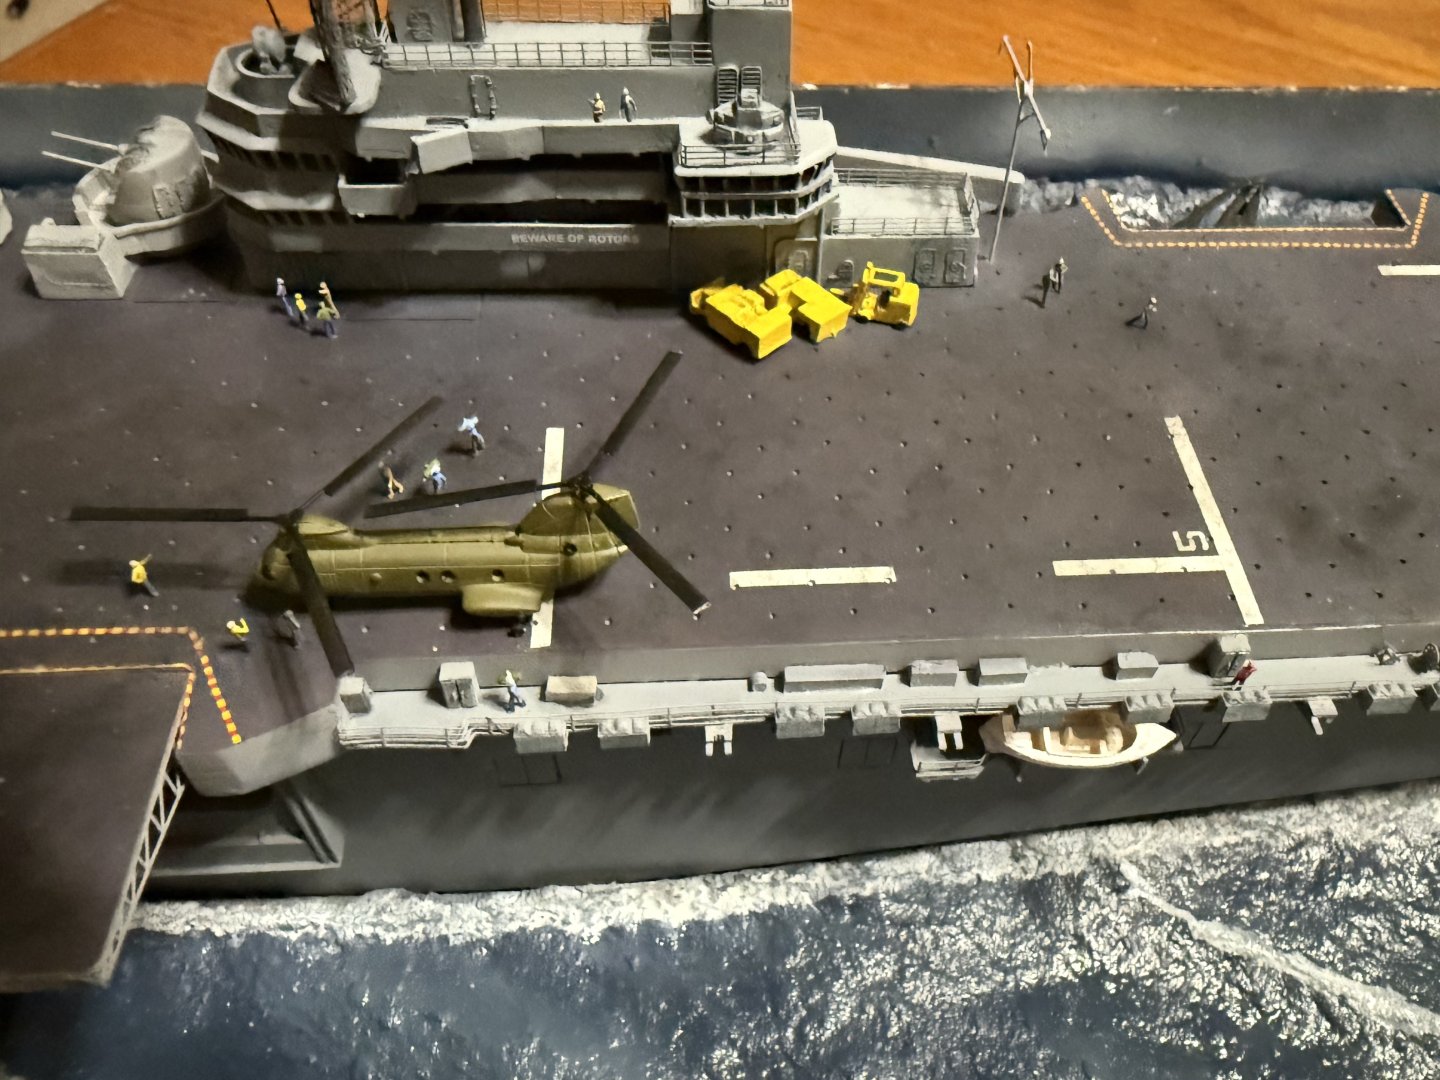
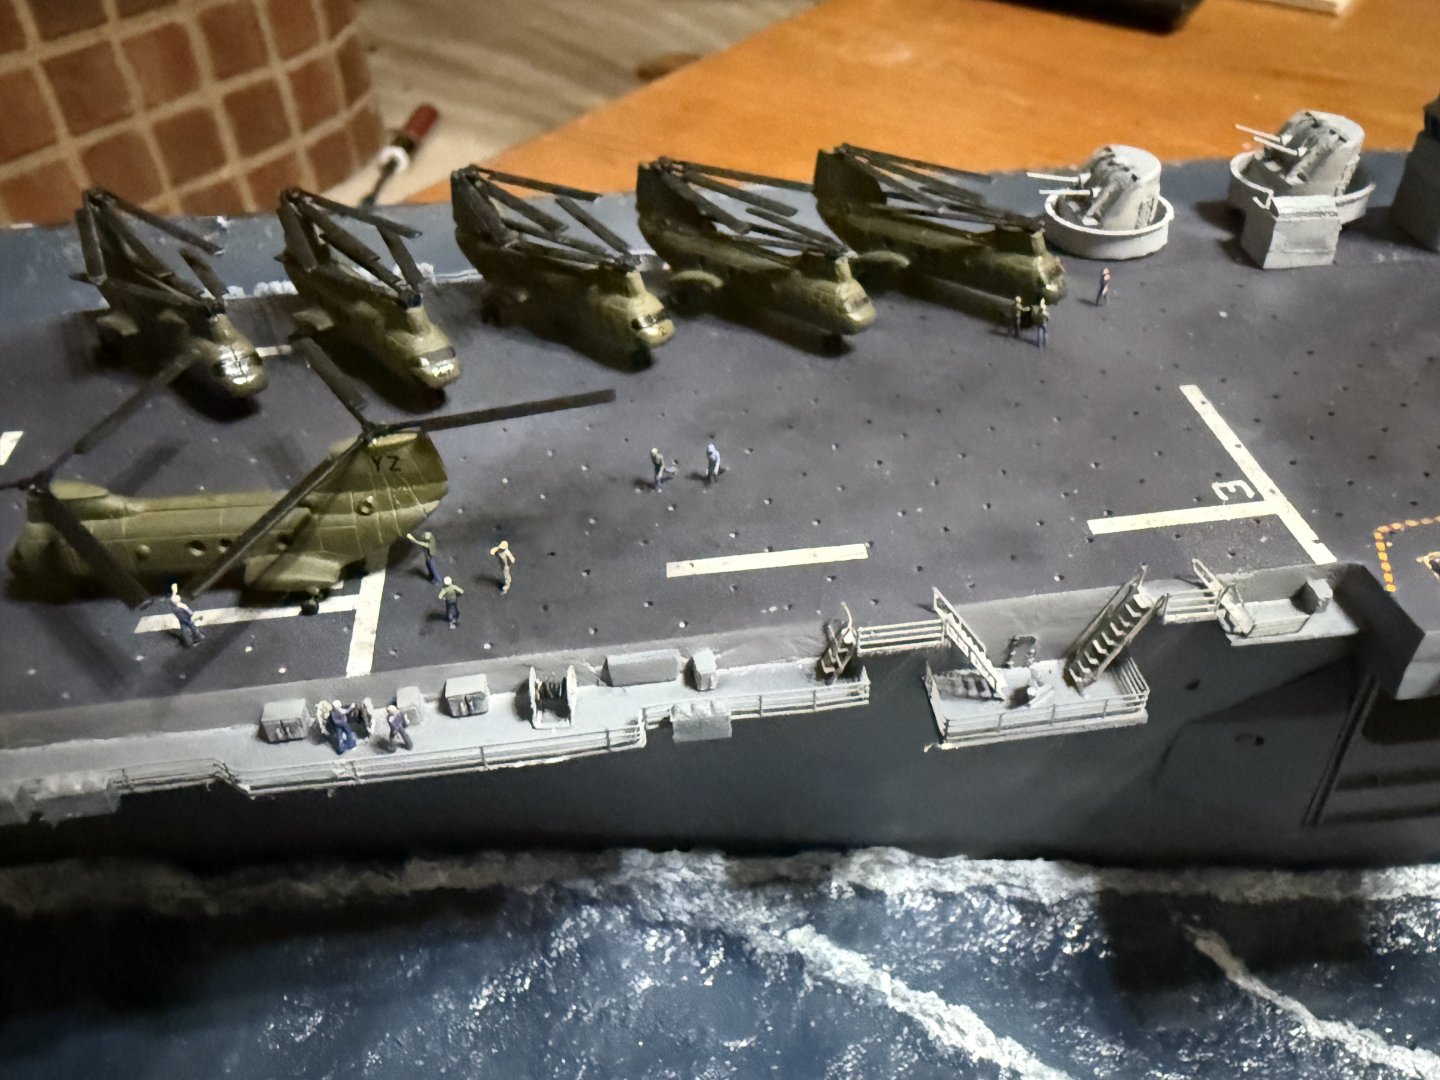
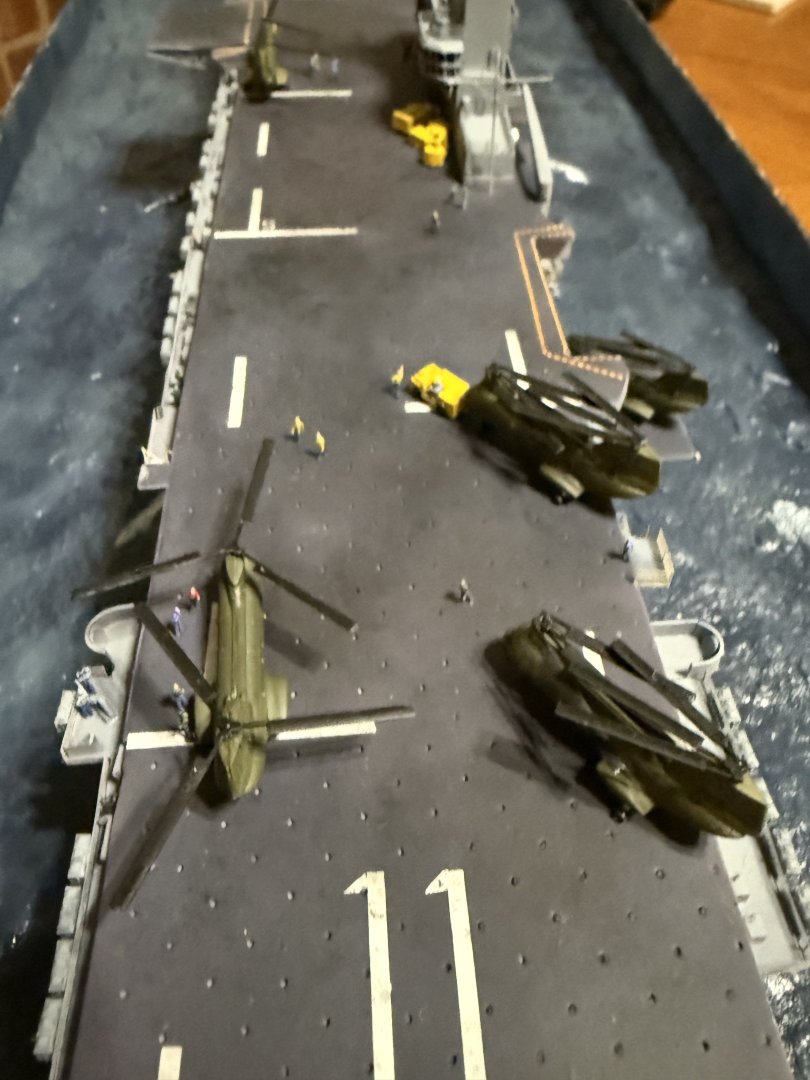
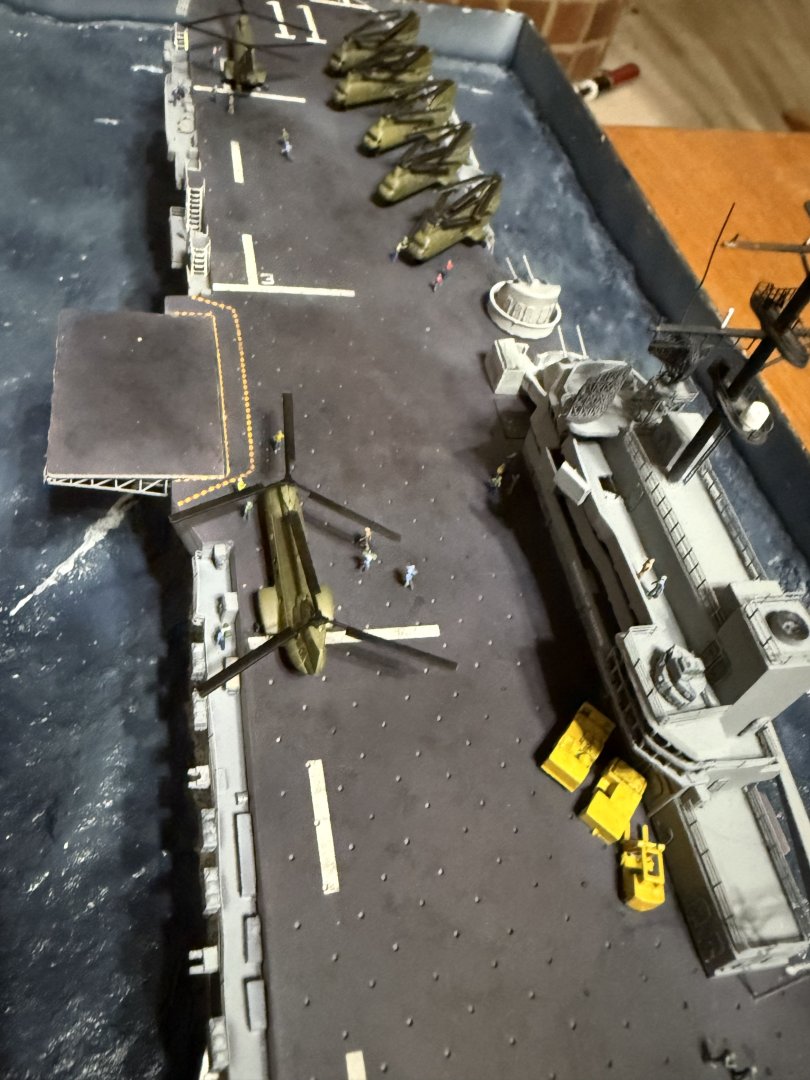
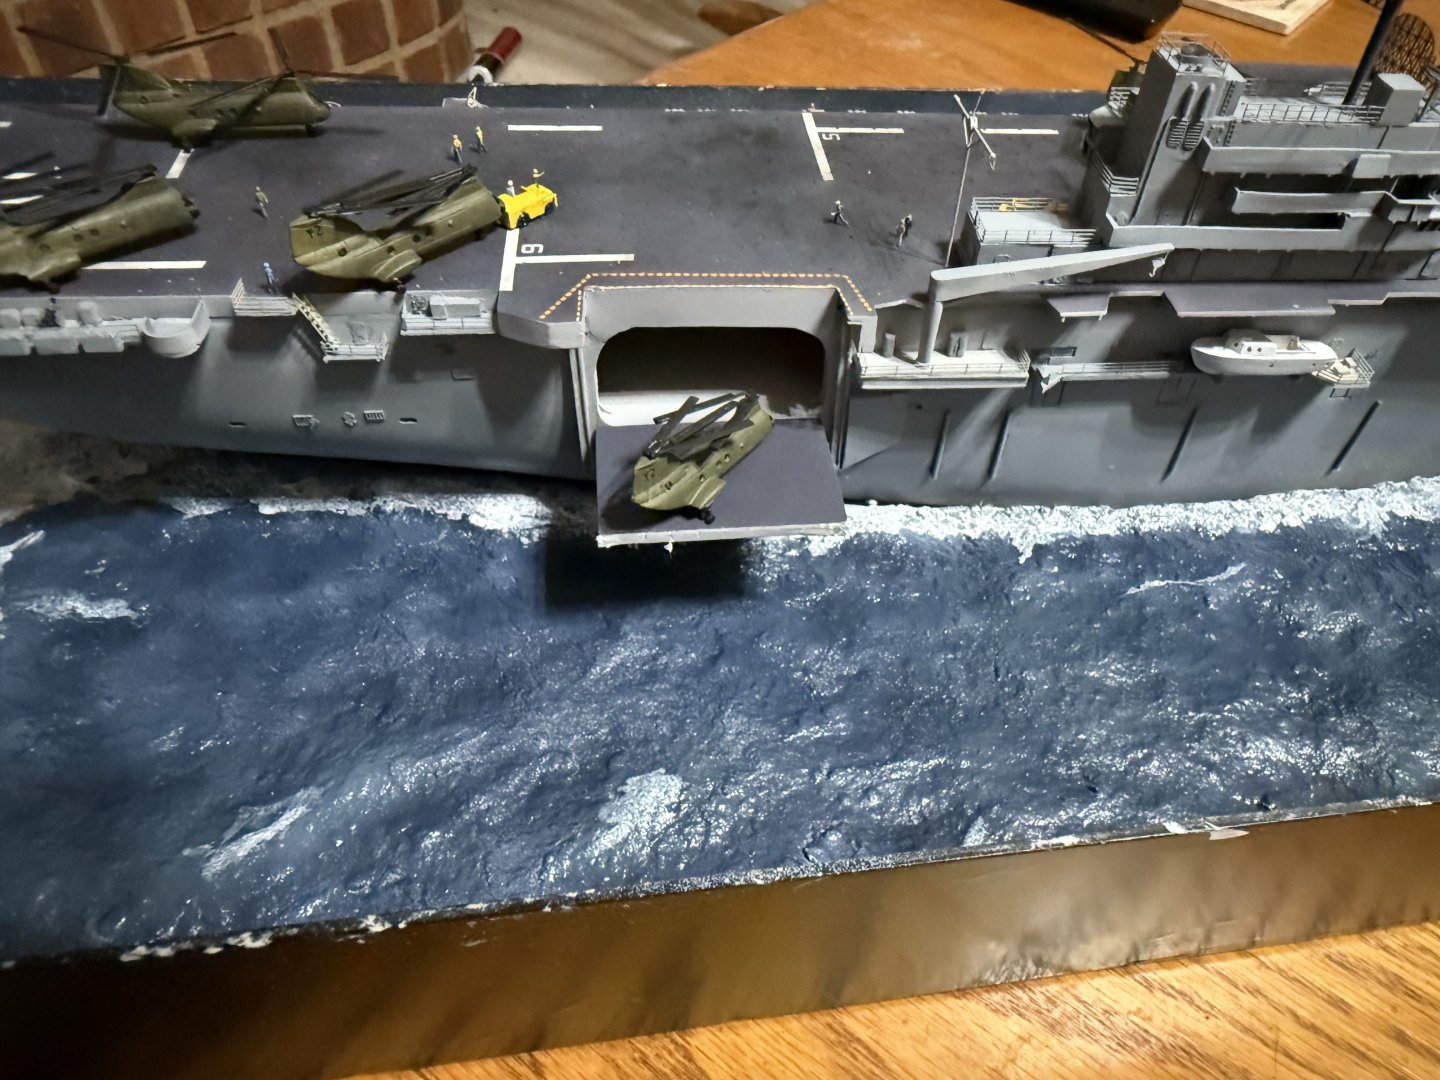
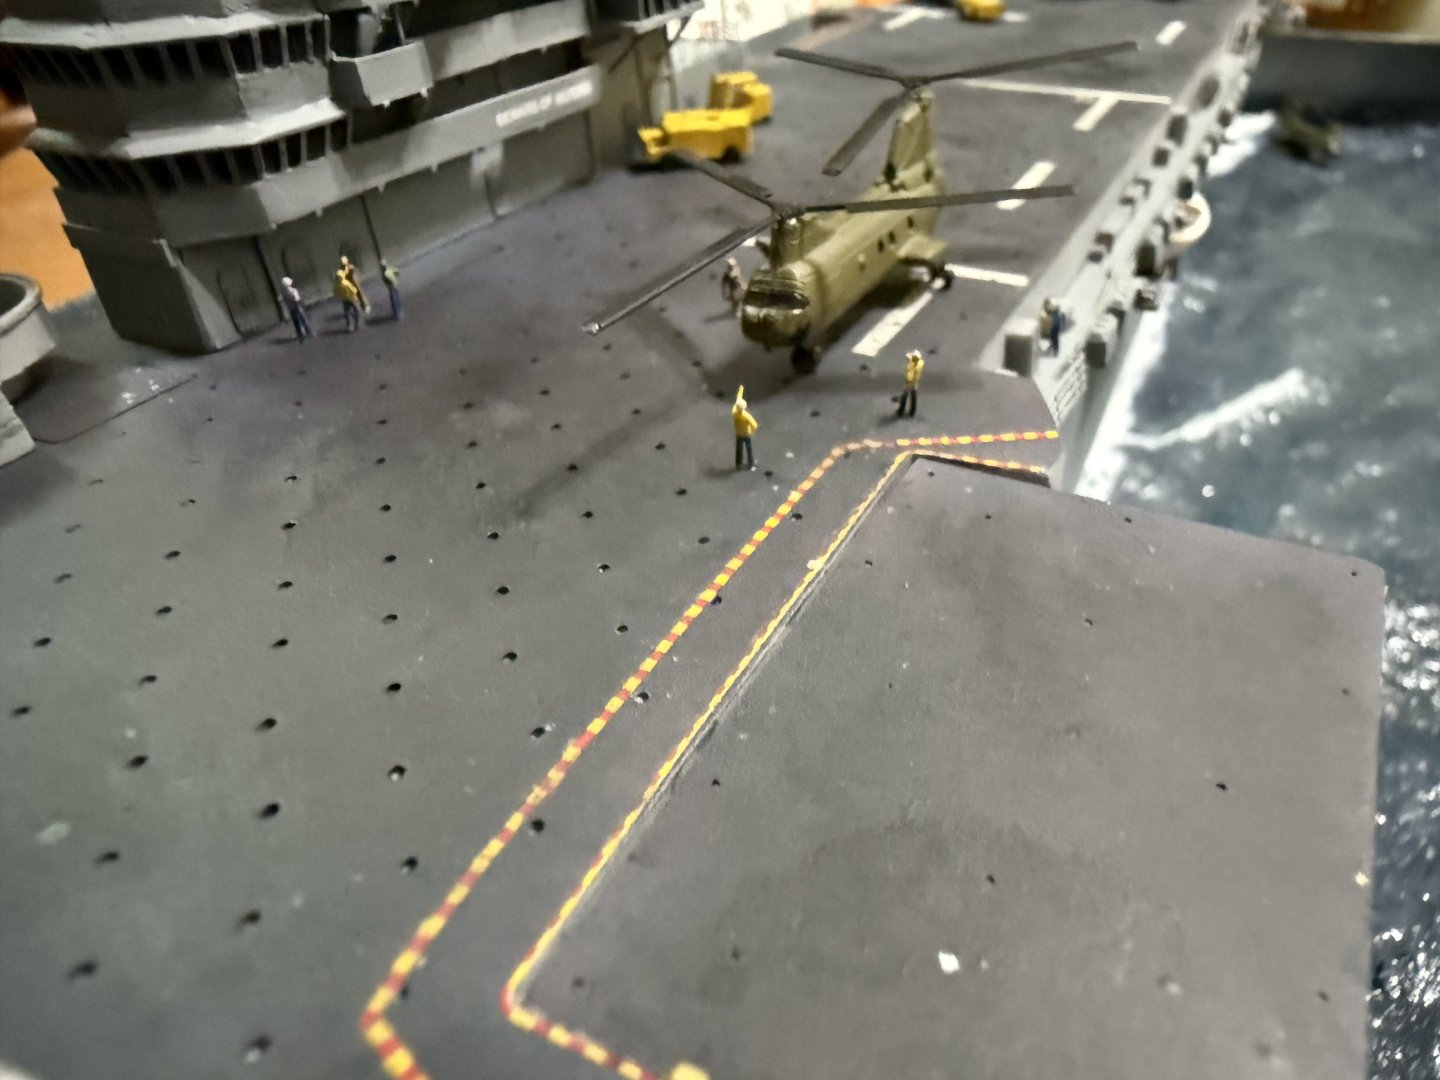
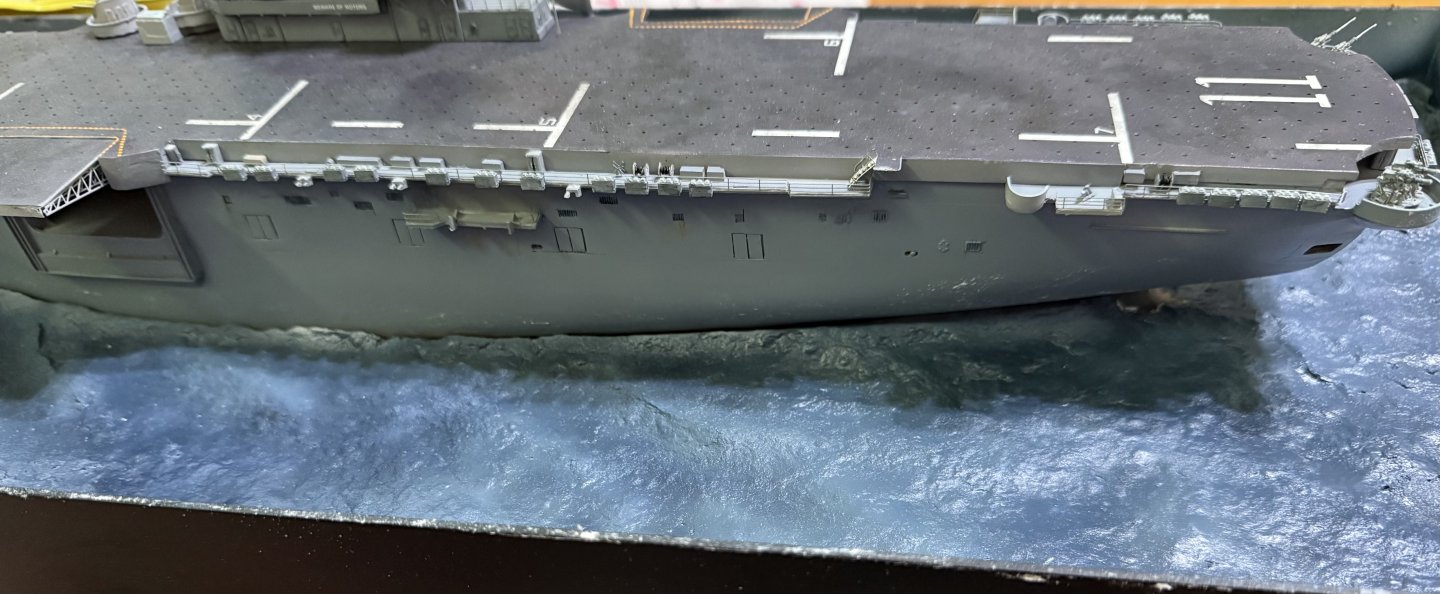
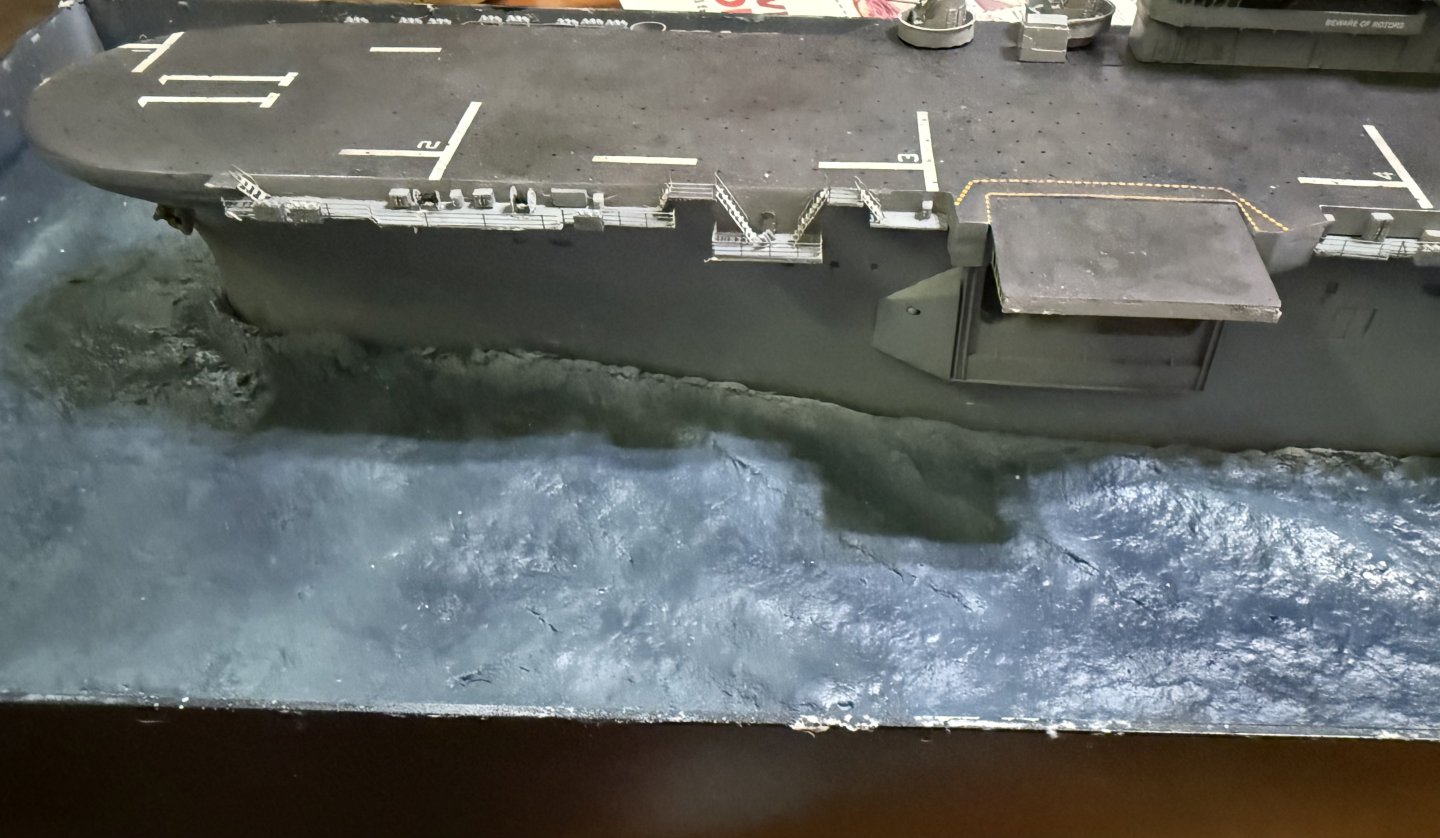
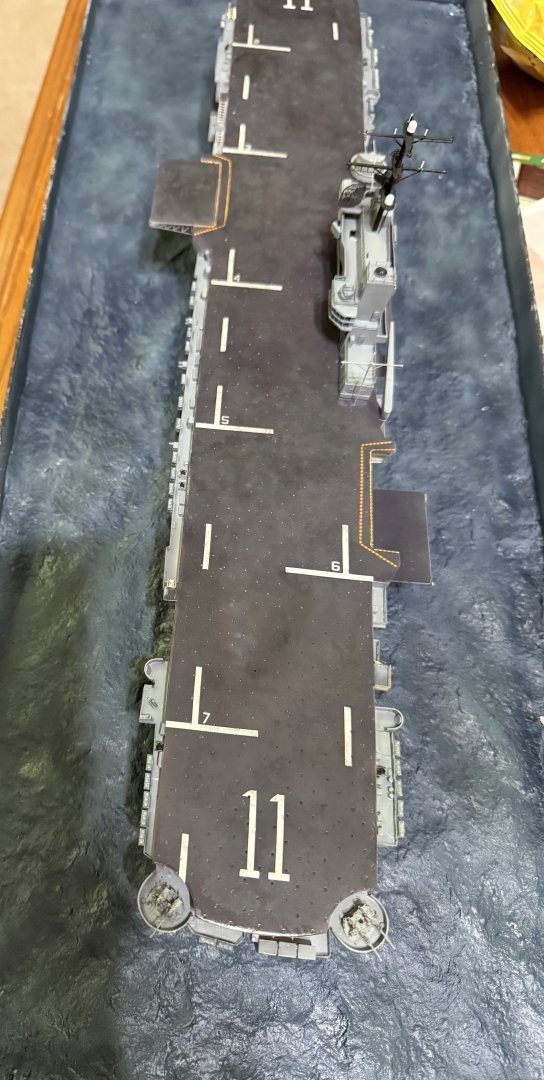
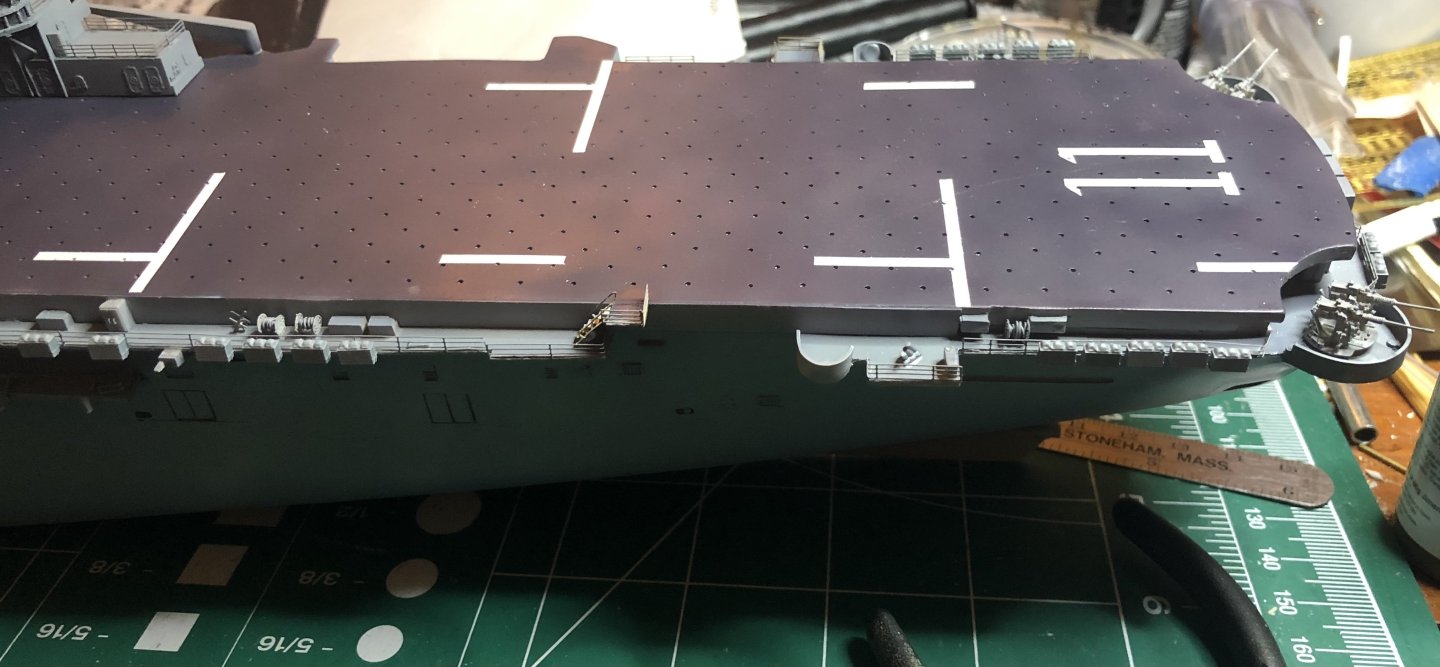
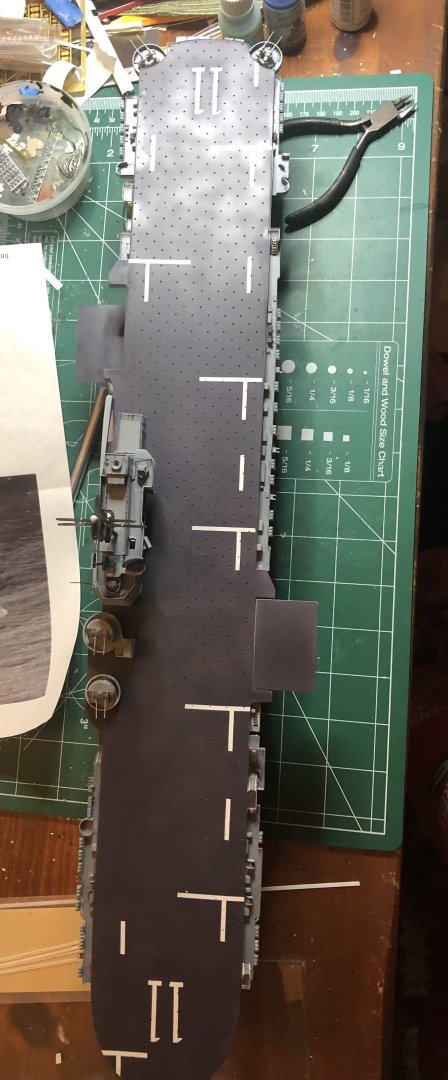
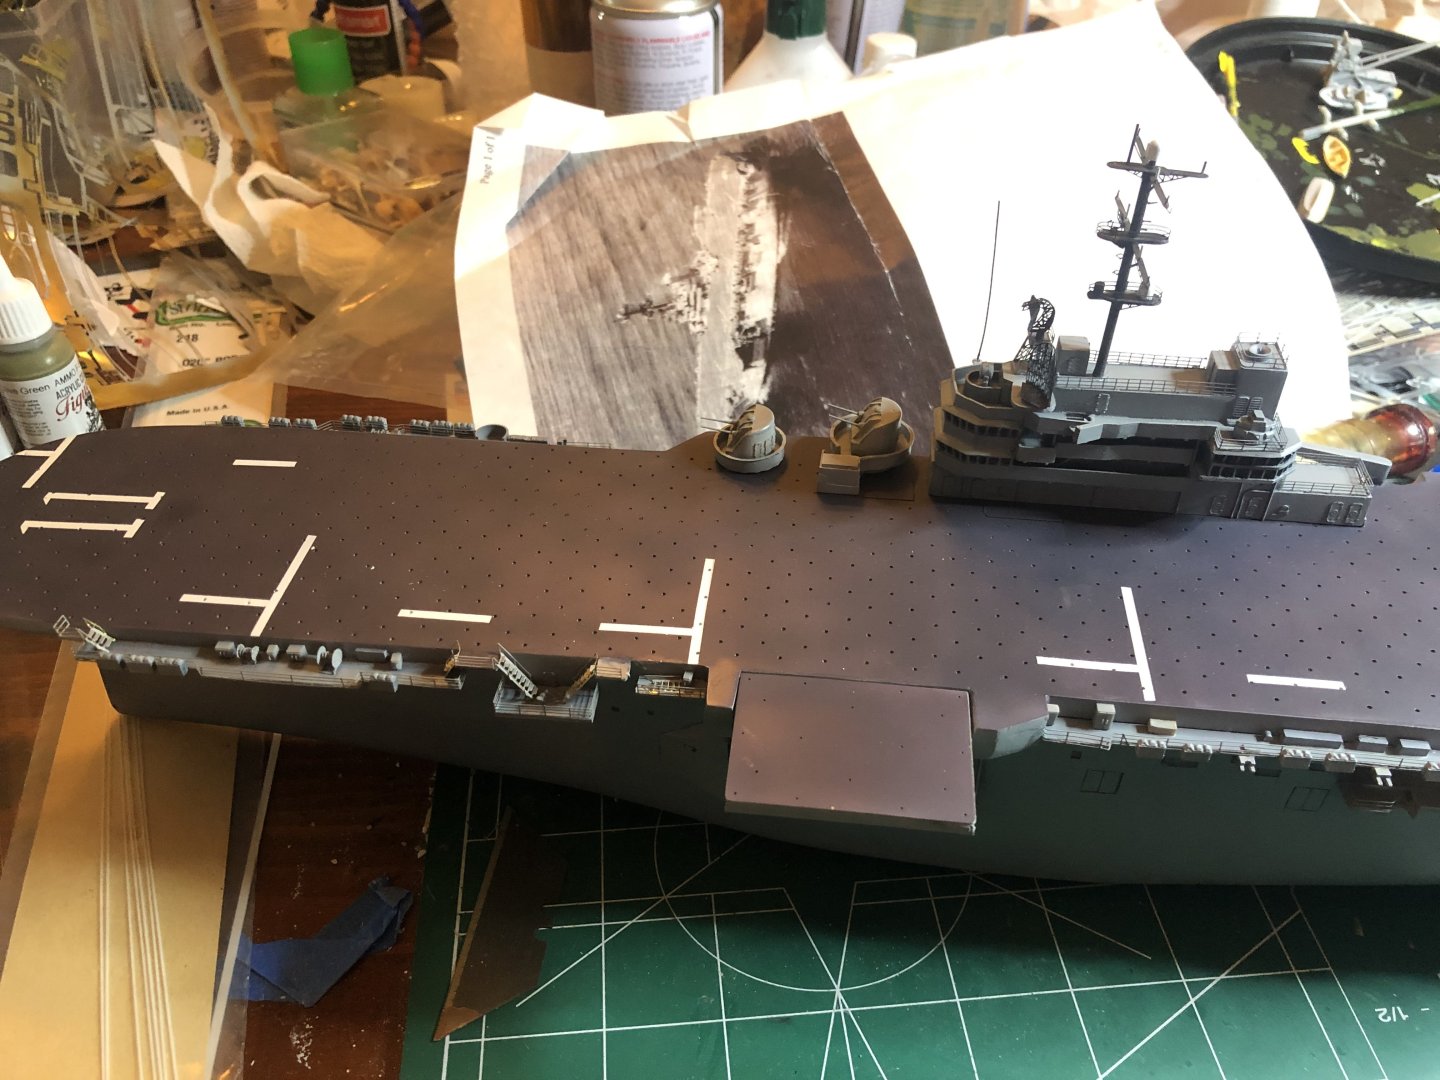
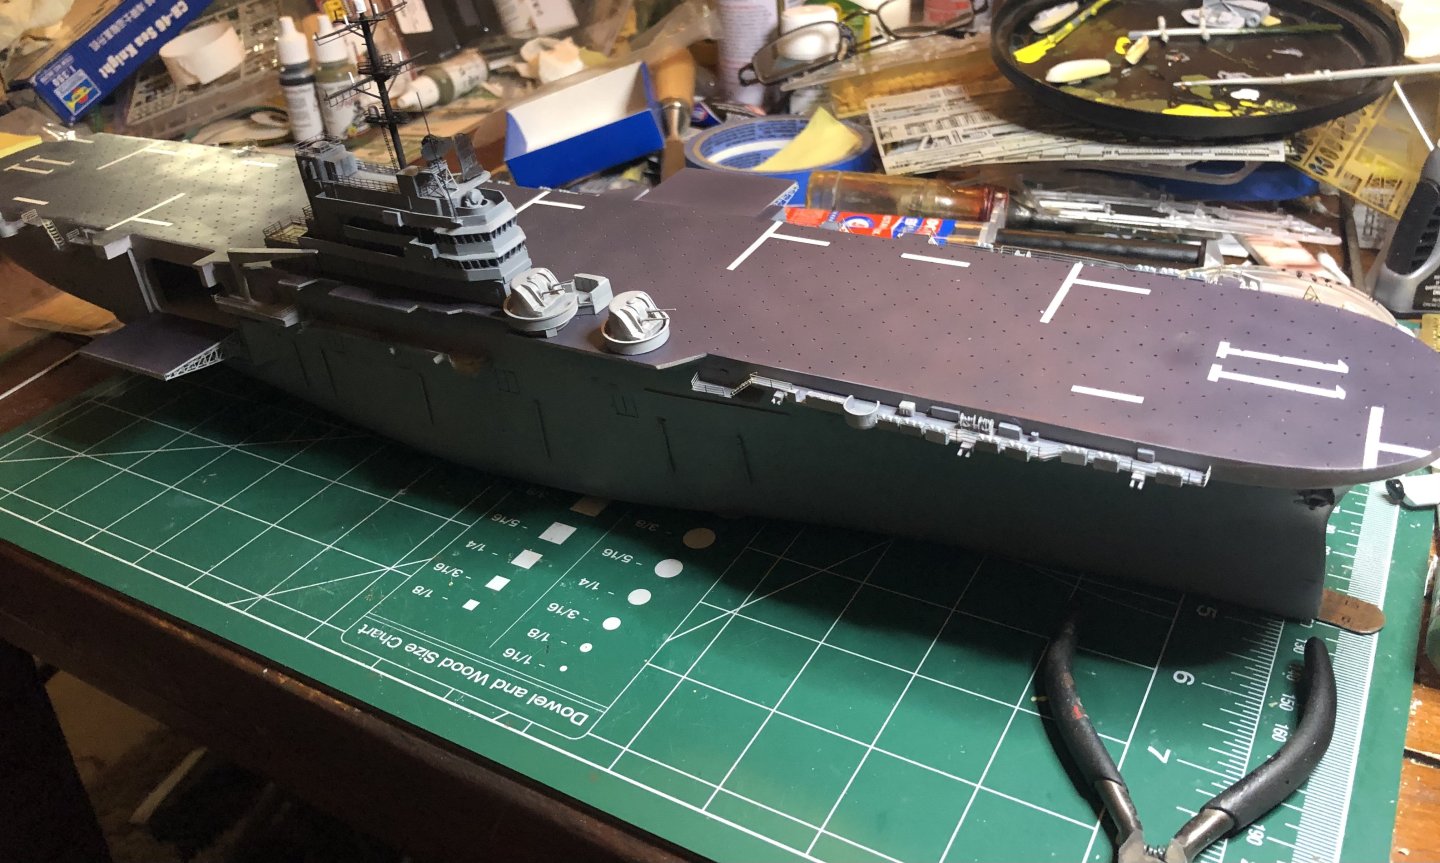
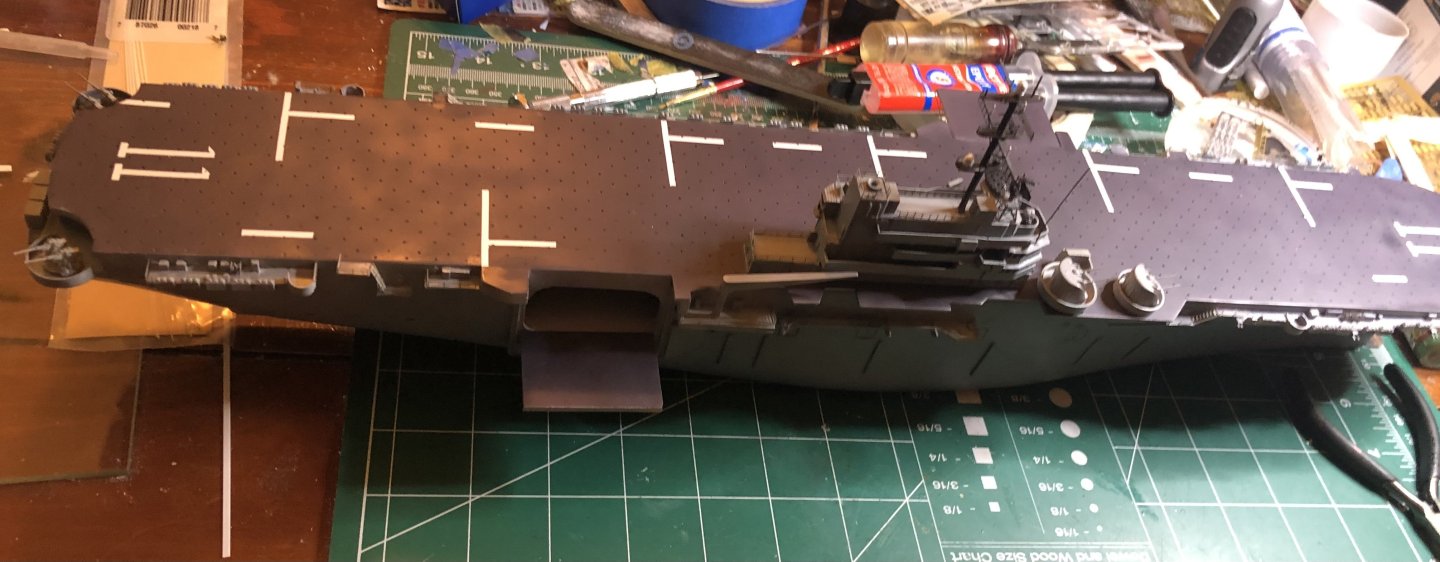
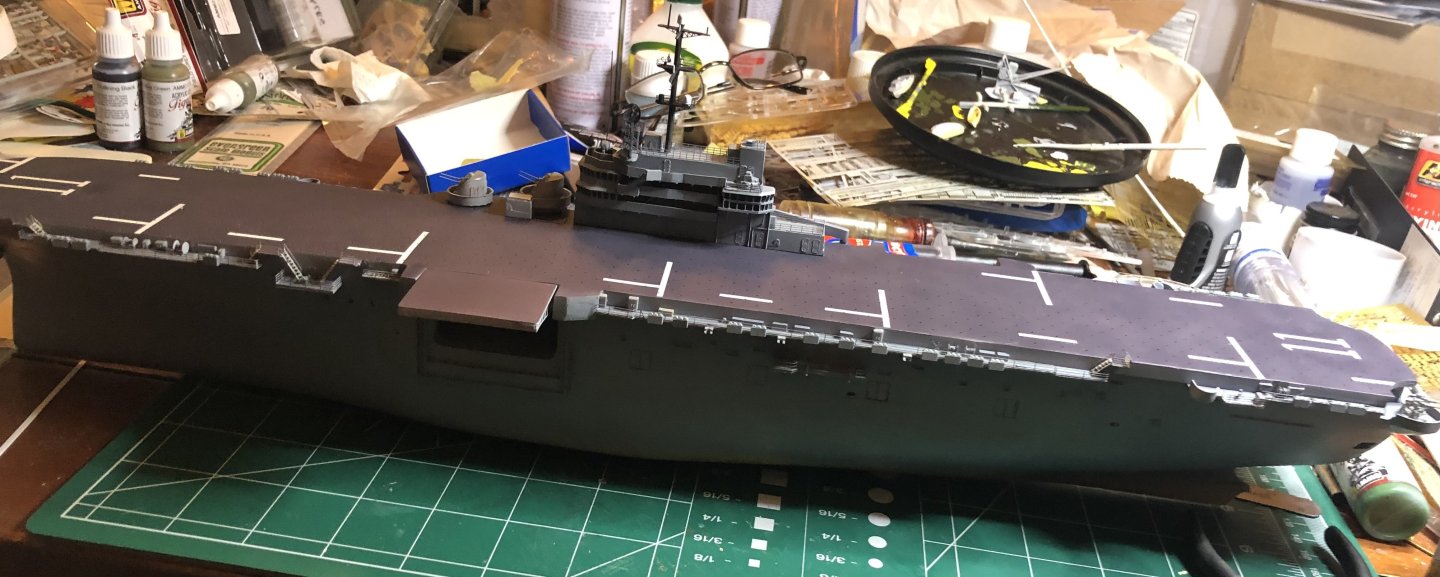
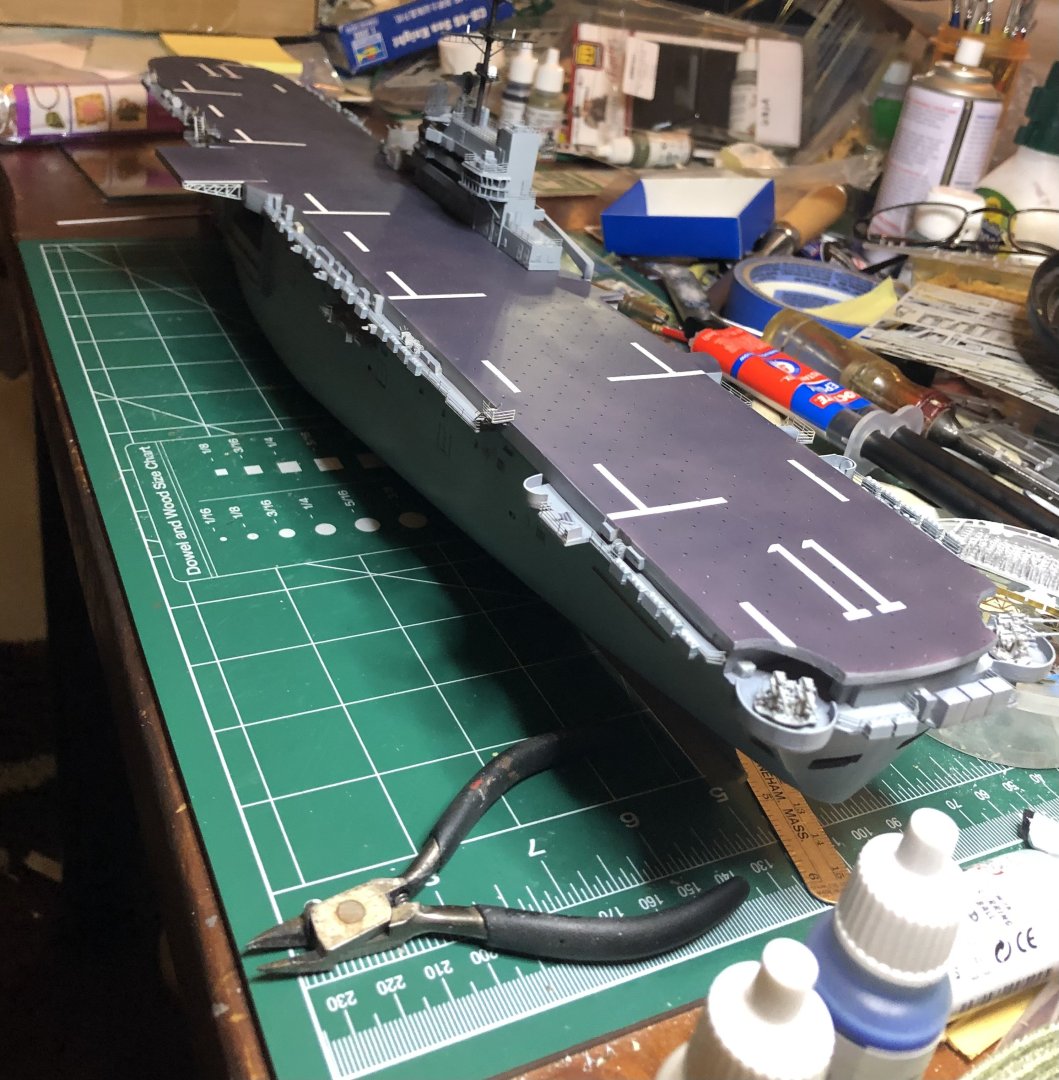
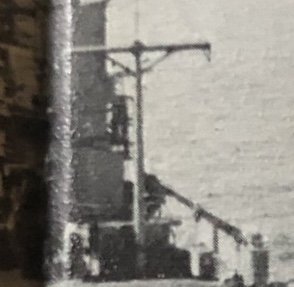
From the model desk: 1/350 USS New Orleans LPH-11. After 10 years of off/on working on it, I’m calling it done. This kit fought me all the way to the end and I considered giving up more than once. All walkways, both masts, and a LOT of other stuff was scratch built using plastic sheet. I had to go by Dad’s cruise book and period photos to backdate her to 1970. Good grief. Still more I could have done, but I’m calling it. If I feel like it, I may do more another time. Im satisfied with it. Enjoy.
- 176 replies
-
- new orleans
- iron shipwrights
-
(and 2 more)
Tagged with:
-
Very small update - she’s starting to come to life. One pic for now. Air wing and crew are starting to take shape
- 176 replies
-
- new orleans
- iron shipwrights
-
(and 2 more)
Tagged with:
-
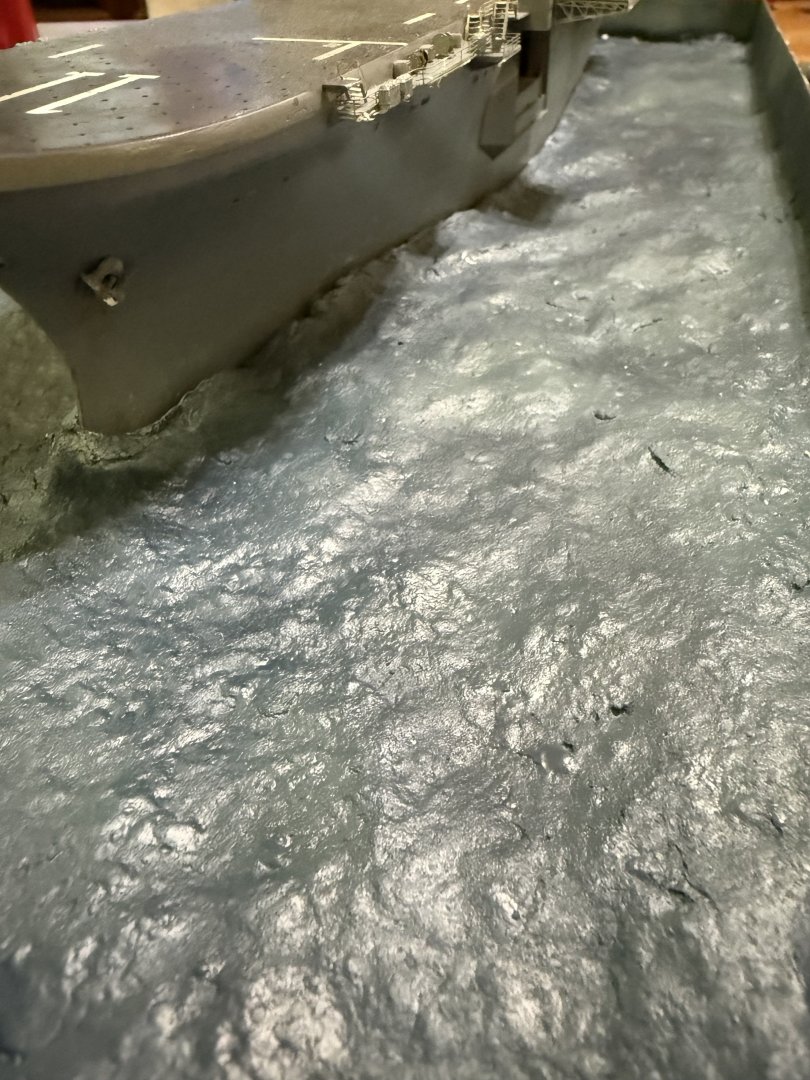
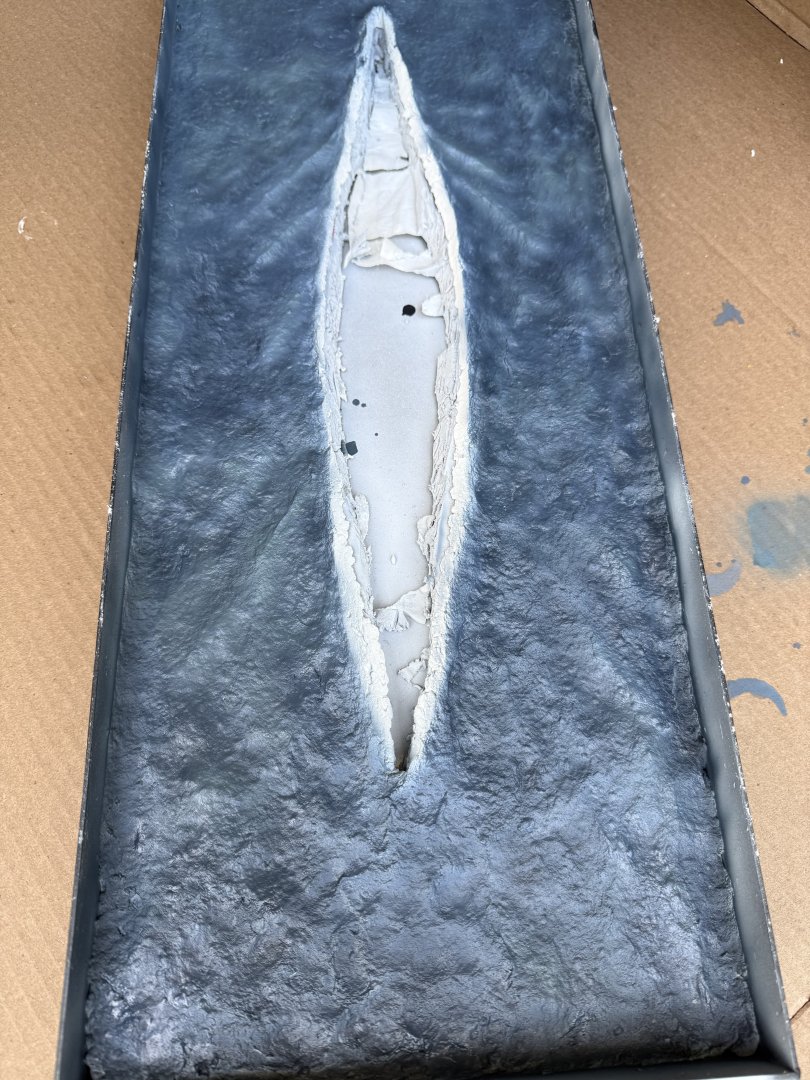
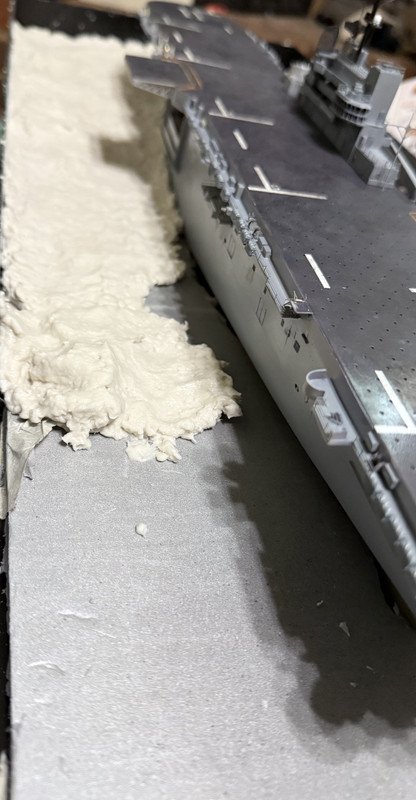
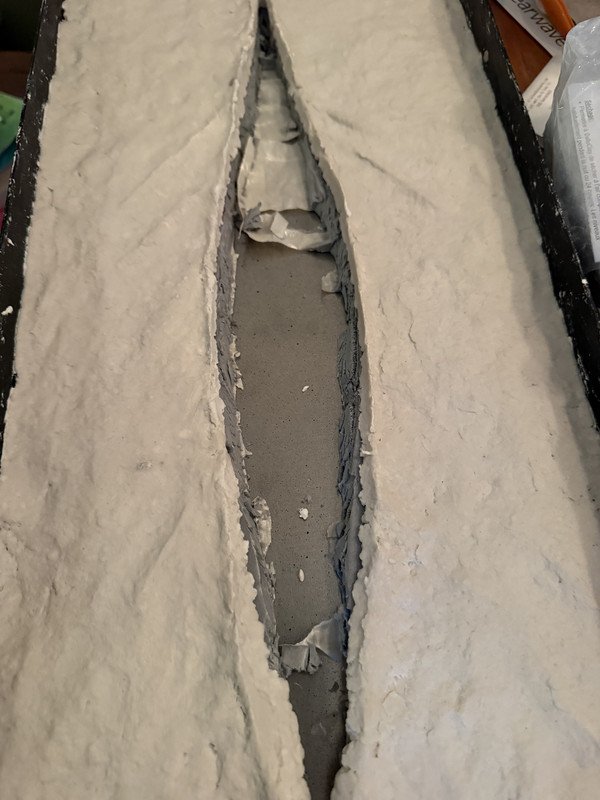
very small update. The ship is in. Now, have to fill gaps, add some white for whitecaps, wake, etc. Then a few coats of Future Floor shine to bring out the water. Thanks to you all for the suggestions. Will try in incorporate that to make the sea look better
- 176 replies
-
- new orleans
- iron shipwrights
-
(and 2 more)
Tagged with:
-
 Spaceman Spiff reacted to a post in a topic:
LPH-11 USS New Orleans by Spaceman Spiff - FINISHED - Iron Shipwrights - 1/350 - RESIN
-
 Spaceman Spiff reacted to a post in a topic:
LPH-11 USS New Orleans by Spaceman Spiff - FINISHED - Iron Shipwrights - 1/350 - RESIN
-
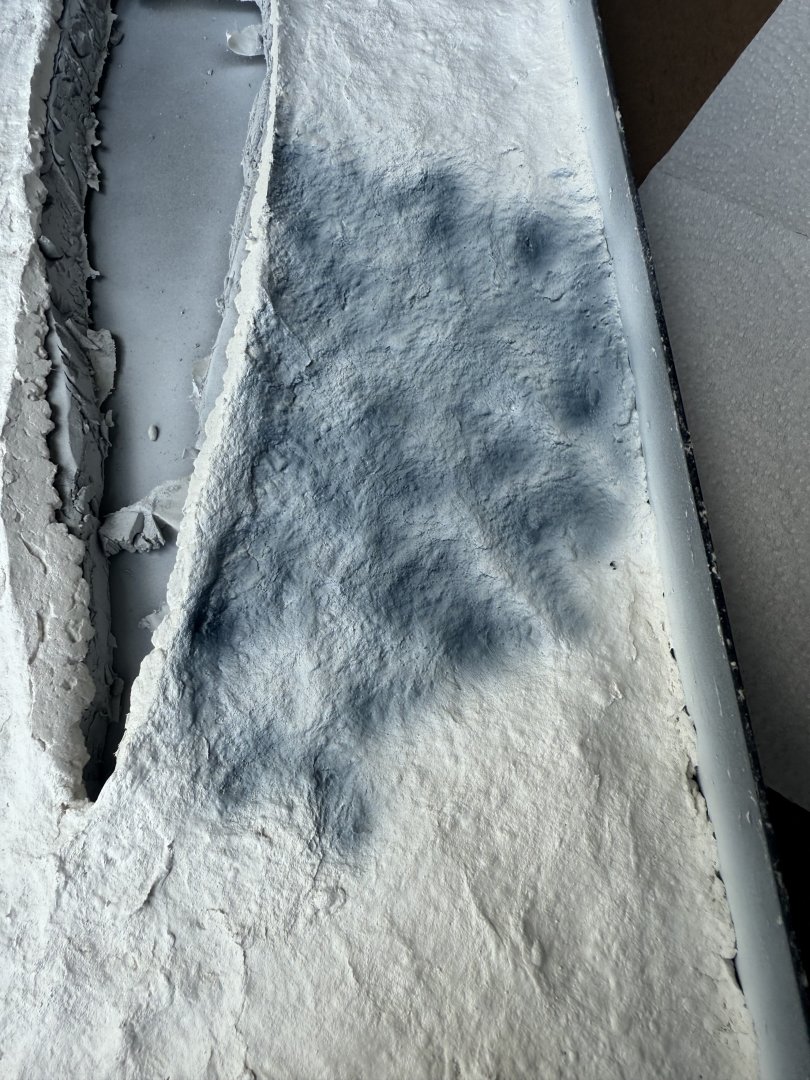
Small update time - my attempt at painting ocean water, something I pretty much suck at. Started with overall dark with the depest parts the darkest. Mixed lighter colors for the upper wave parts. Too light? Too much contrast? After an hour of painting, I’ve had enough for the time being. Maybe I need to go back with dark blue and blend it better. Thoughts/criticisms appreciated. After the paint dries, I’ll gloss it Paints used: MRP Sea Blue, Intermediate Blue, white and Hataka Yellow.
- 176 replies
-
- new orleans
- iron shipwrights
-
(and 2 more)
Tagged with:
-
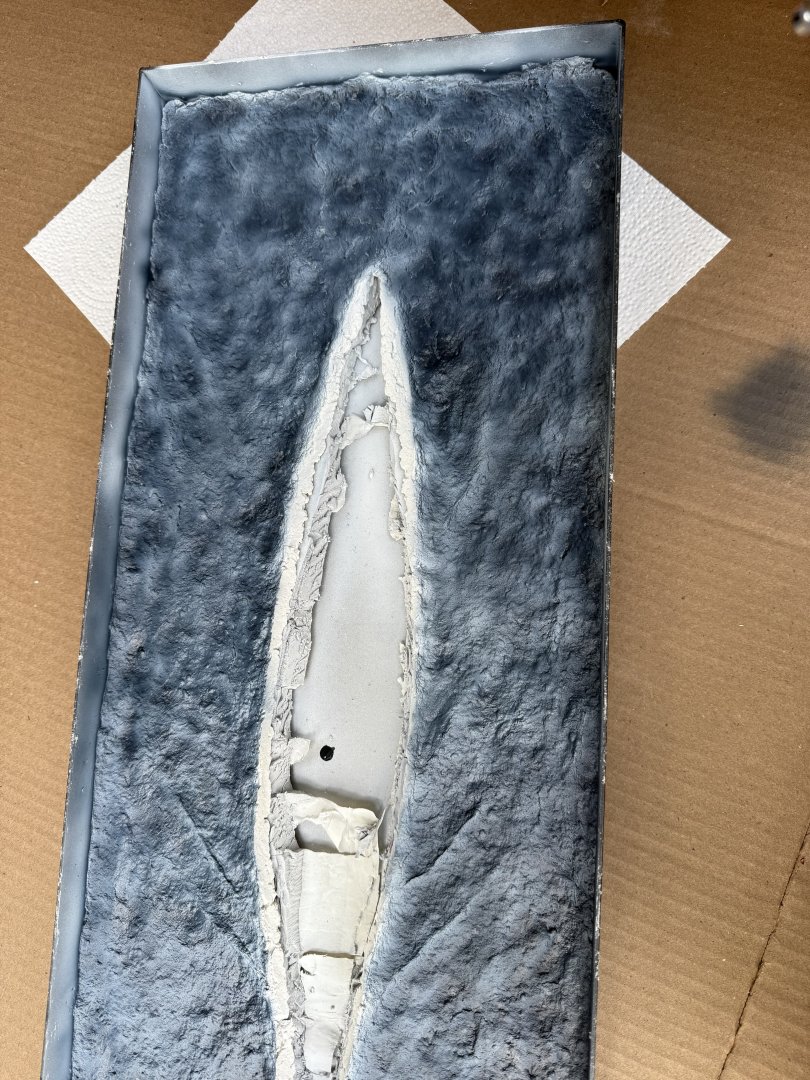
Update time. Aside from a few repairs for minor broken parts, the ship is done. The air wing is, too. Still painting a few figures and deck tractors, but I'm calling this one. Current part is making the water base. I'm using Celluclay for the water. I studied pictures and tried to replicate them, but I'm not that good. After the cellulcay dries, I will seal it and then paint it. Will be using varying blues and whites for the ocean.
- 176 replies
-
- new orleans
- iron shipwrights
-
(and 2 more)
Tagged with:
-
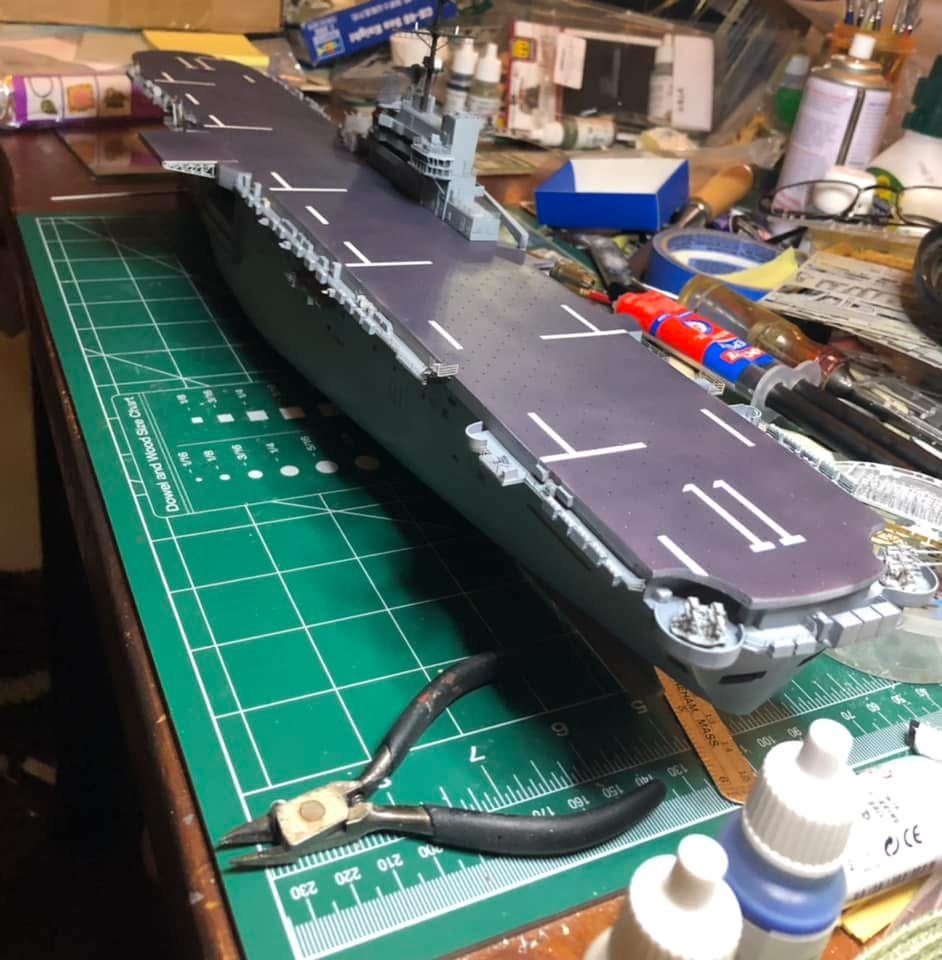
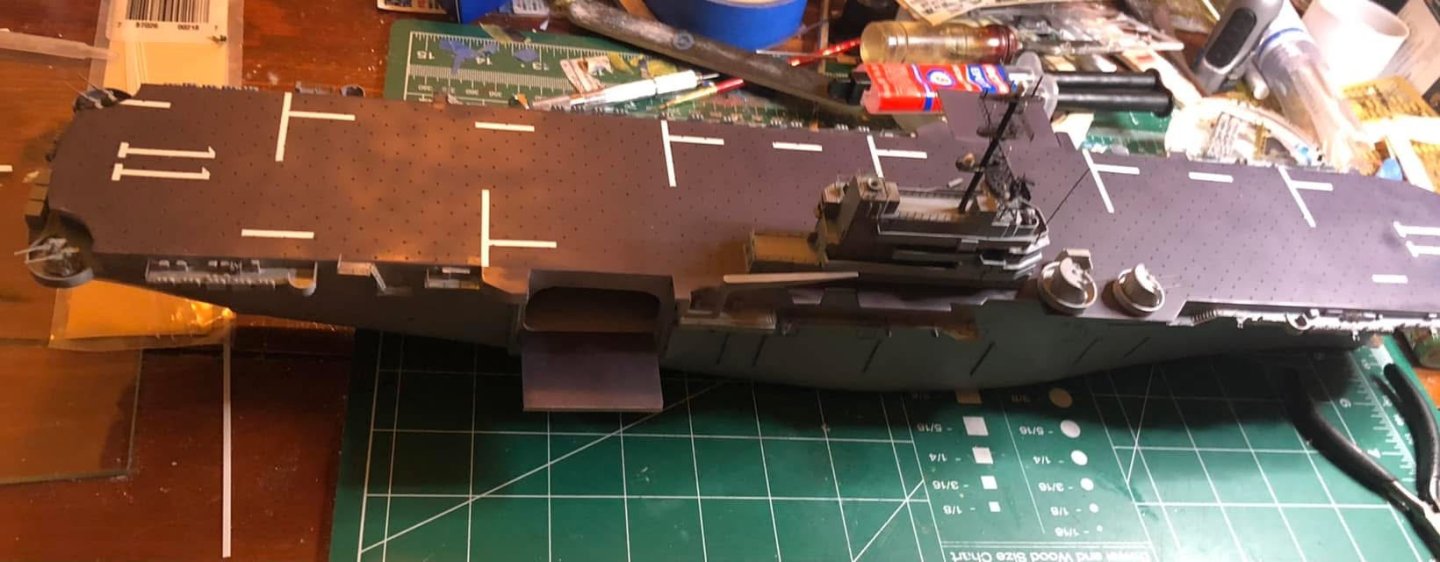
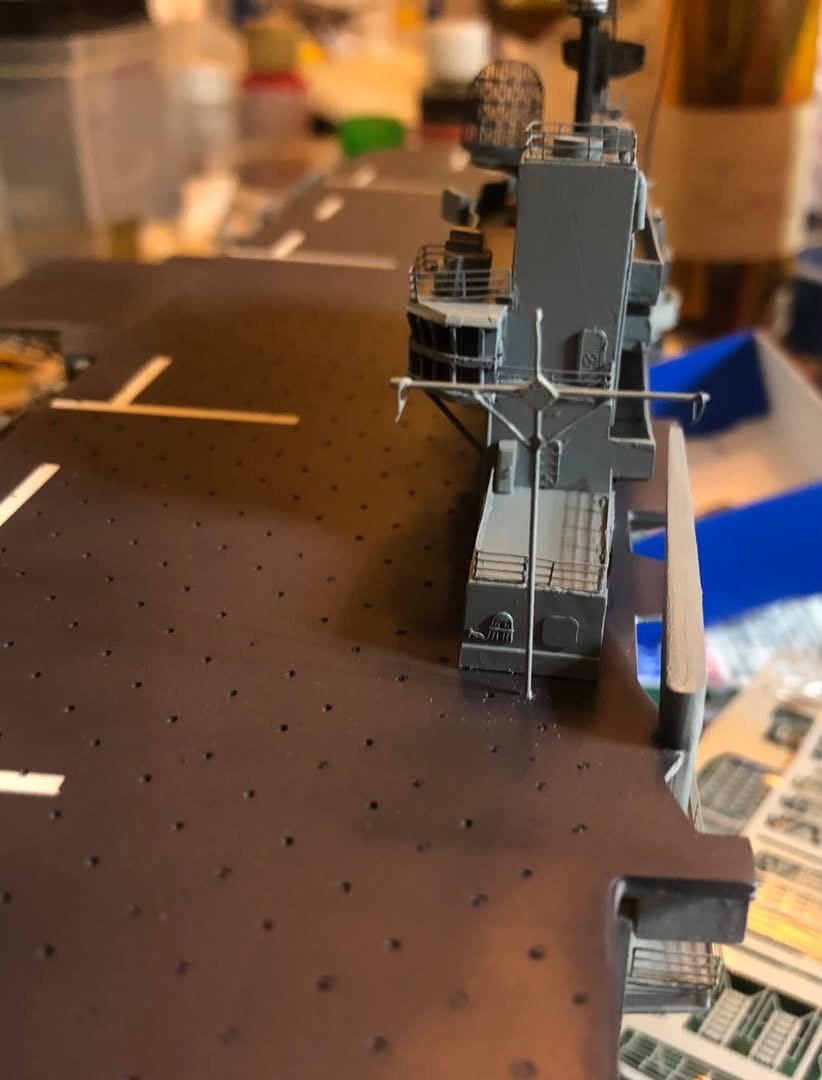
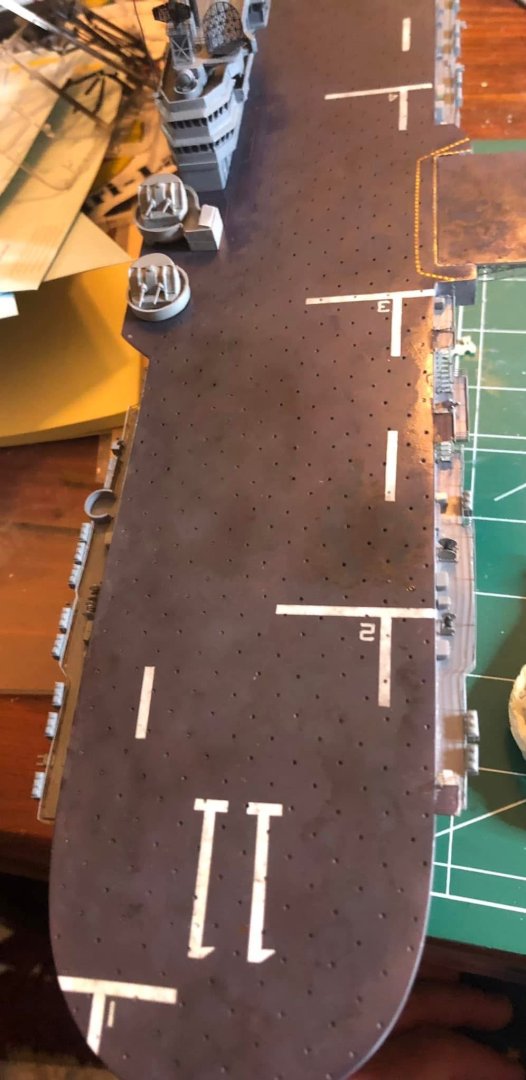
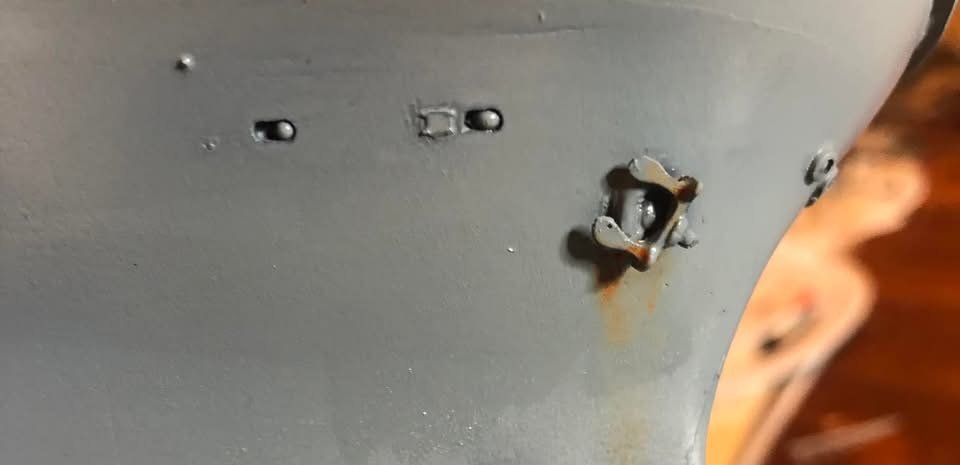
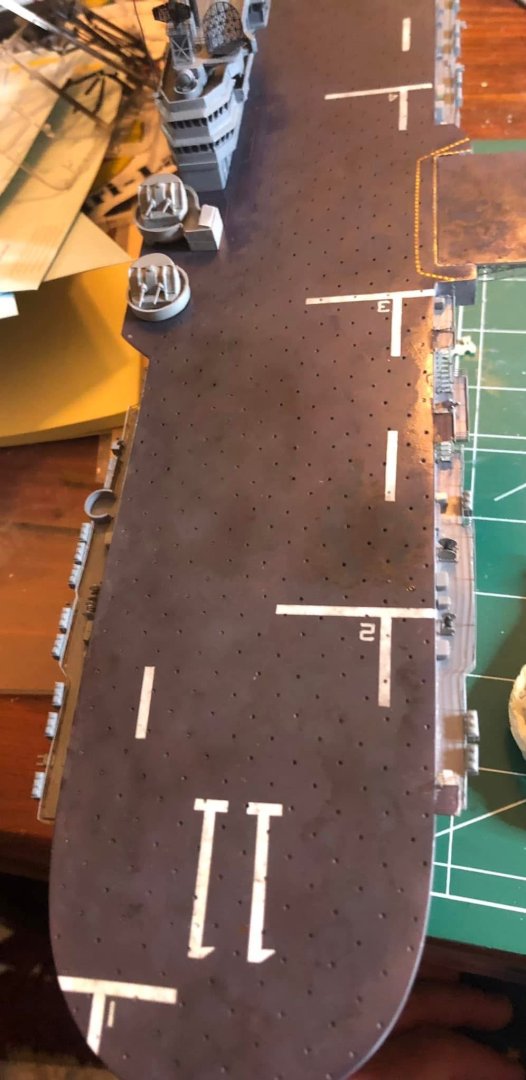
Update time. With a few minor additions, I’m calling this one done. Am actually pleased with it. Before weathering, I gave it a coat of Future floor polish, which is an acrylic gloss coat. Weathering was done with black, brown, white, gray, and yellow oils. Sort of like the dot filter method. Mixed up orange to simulate rust. As those who have served aboard are all too familiar with rust while at sea. Also mixed an enamel pin wash. The mini-mast looks crooked, but it isn’t. All white deck markings were painted. Next up is to finish the air wing, paint the deck tractors, cranes, etc, and then the figures. Enjoy.
- 176 replies
-
- new orleans
- iron shipwrights
-
(and 2 more)
Tagged with:
-
Small update. The end is in sight. Sorry for the crappy pic quality - I will have better ones later. Except for a few more bits of PE, the ship is almost finished. Still have to add the mini-mast. Tomorrow I’ll seal the deck and decal it, then weather (my second favorite part after painting) it. The air wing needs to be finished. Then it’s on to making the sea dio. Is it perfect? Far, far from it. Dad likes it and that’s all that matters. Y’all have no idea how’s much I hate this kit 😂
- 176 replies
-
- new orleans
- iron shipwrights
-
(and 2 more)
Tagged with:
-
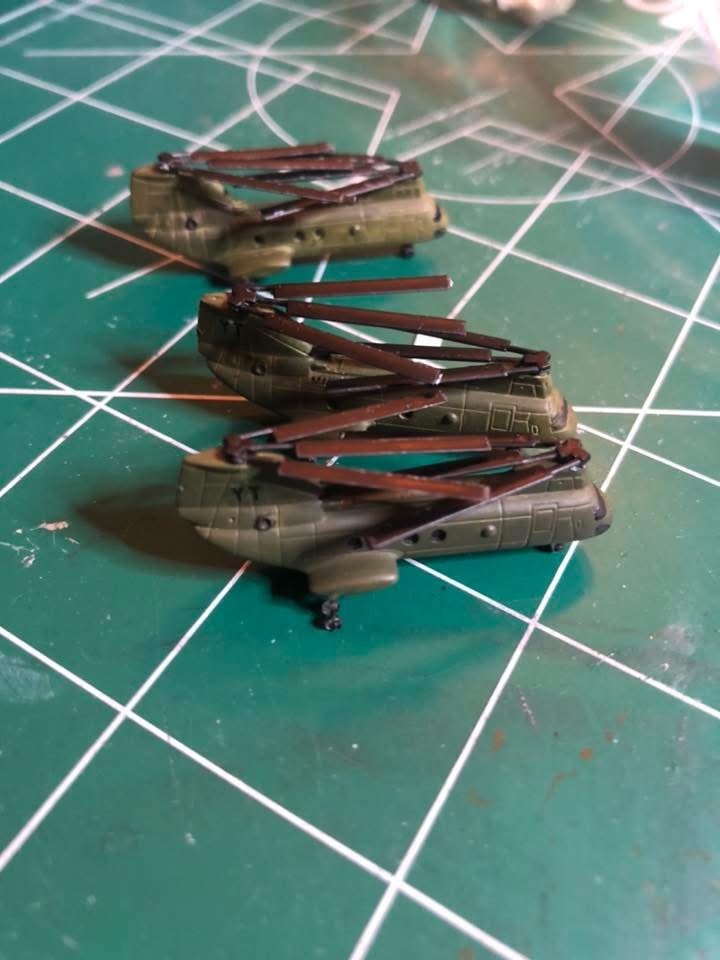
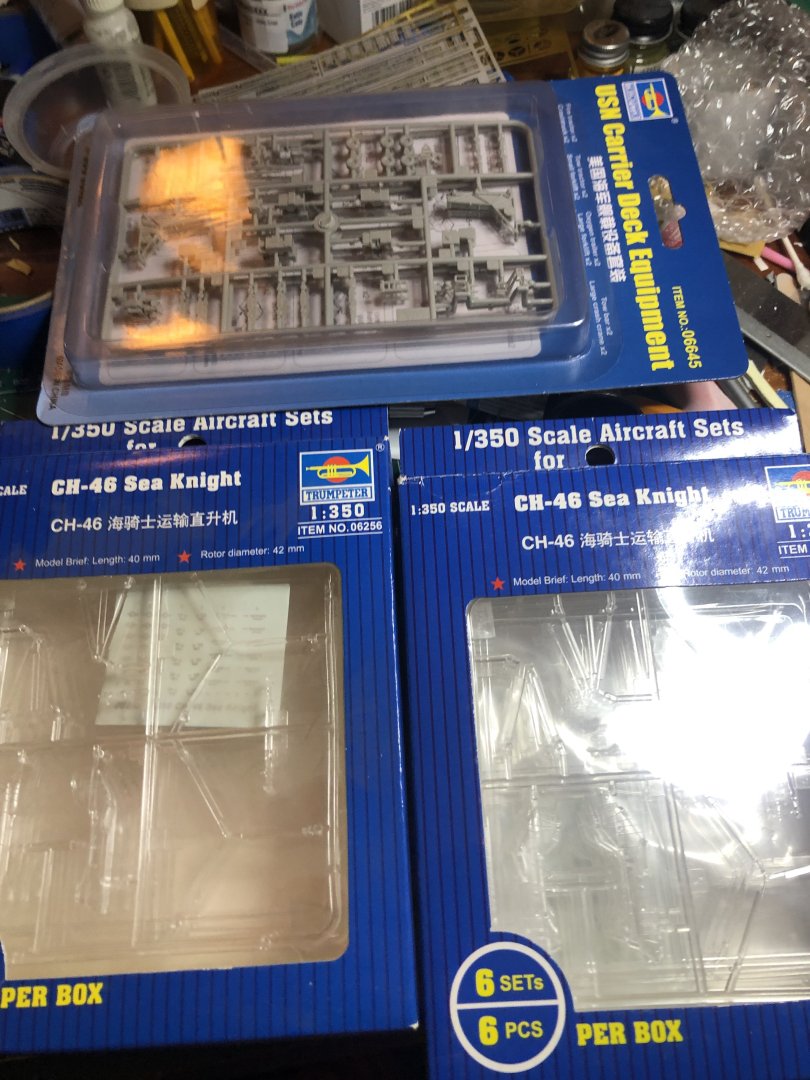
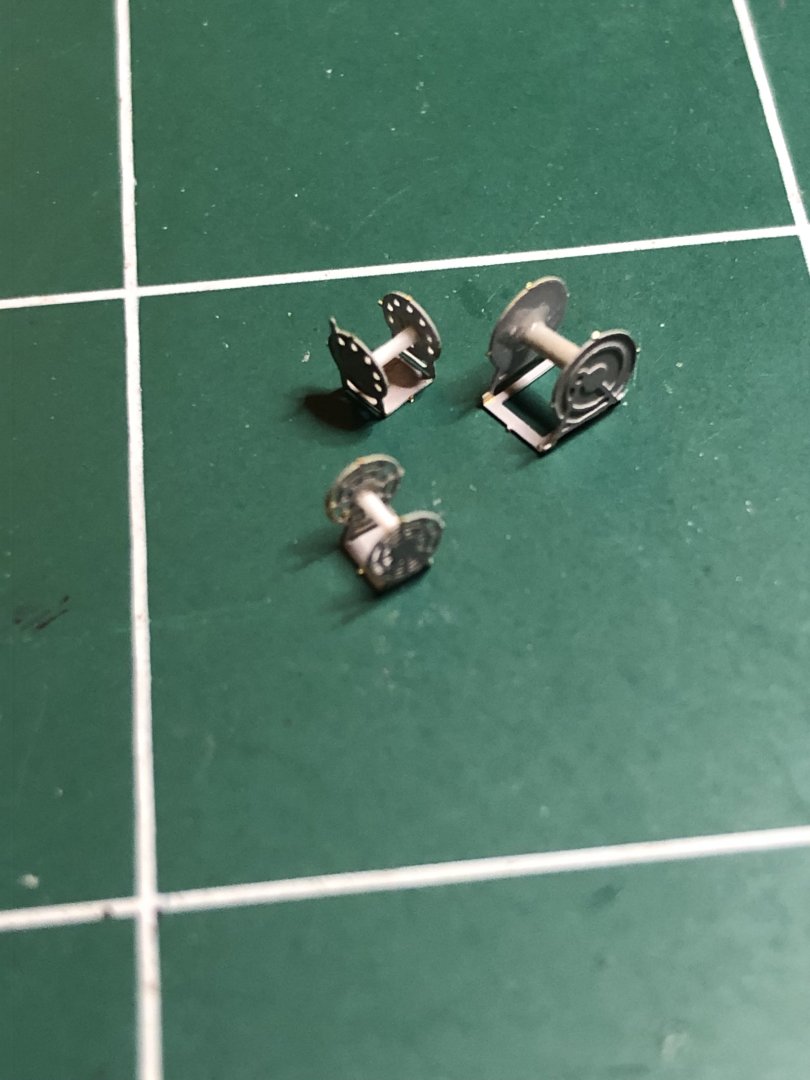
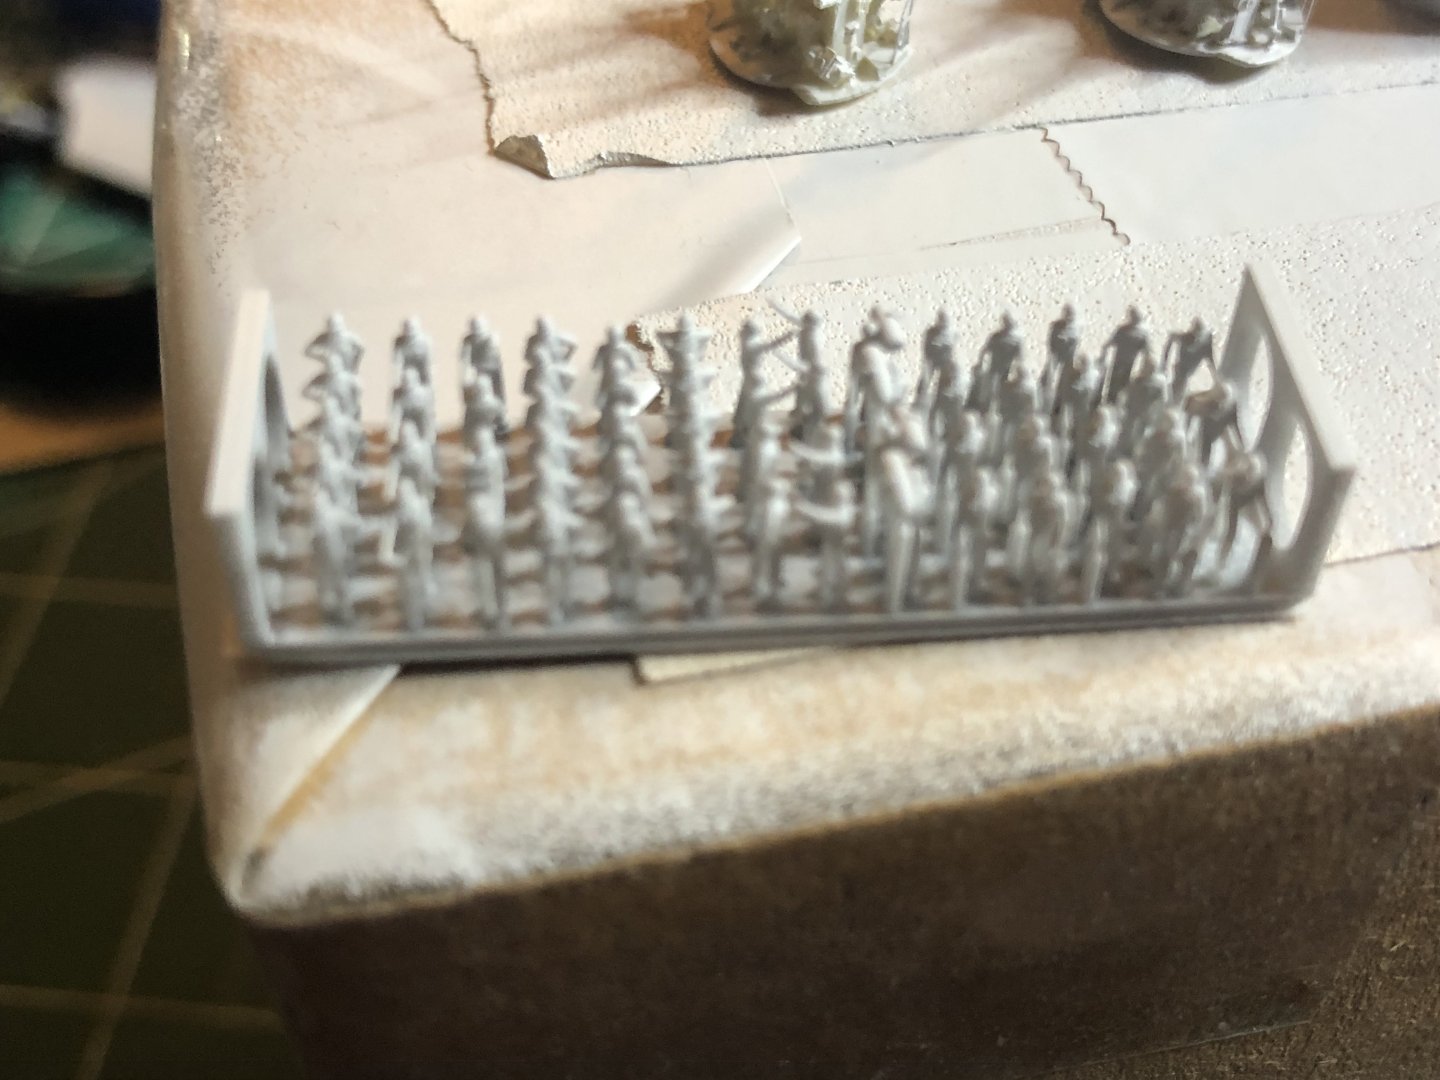
Thanks. Going to set that mini-mast aside for now and think about what I want to do. May just leave it as is. Started on the cable/fuel/fire reels PE by White Ensign - I’ll use lead wire and/or black thread for the hoses.Then on to the helos - the supplied ones were so bad I just purchased someTrumpeter birds. Oh, and since there are practically always crew on deck, picked up a set of 1/350 black cat sailors. Now this should be fun. Once all that is together to include the PE railings/ladders/etc , mask off the black waterline stripe and flight deck and start with the haze grey (MRP lacquer)
- 176 replies
-
- new orleans
- iron shipwrights
-
(and 2 more)
Tagged with:
-
 Spaceman Spiff reacted to a post in a topic:
LPH-11 USS New Orleans by Spaceman Spiff - FINISHED - Iron Shipwrights - 1/350 - RESIN
-
 Spaceman Spiff reacted to a post in a topic:
LPH-11 USS New Orleans by Spaceman Spiff - FINISHED - Iron Shipwrights - 1/350 - RESIN
-
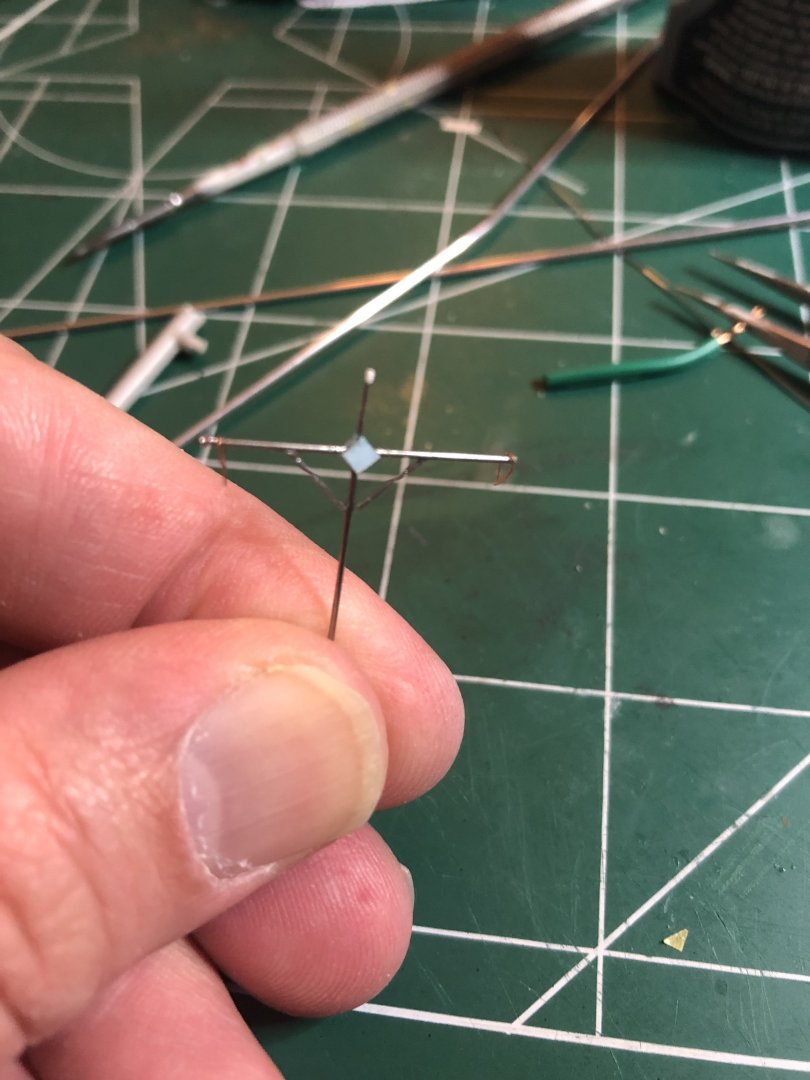
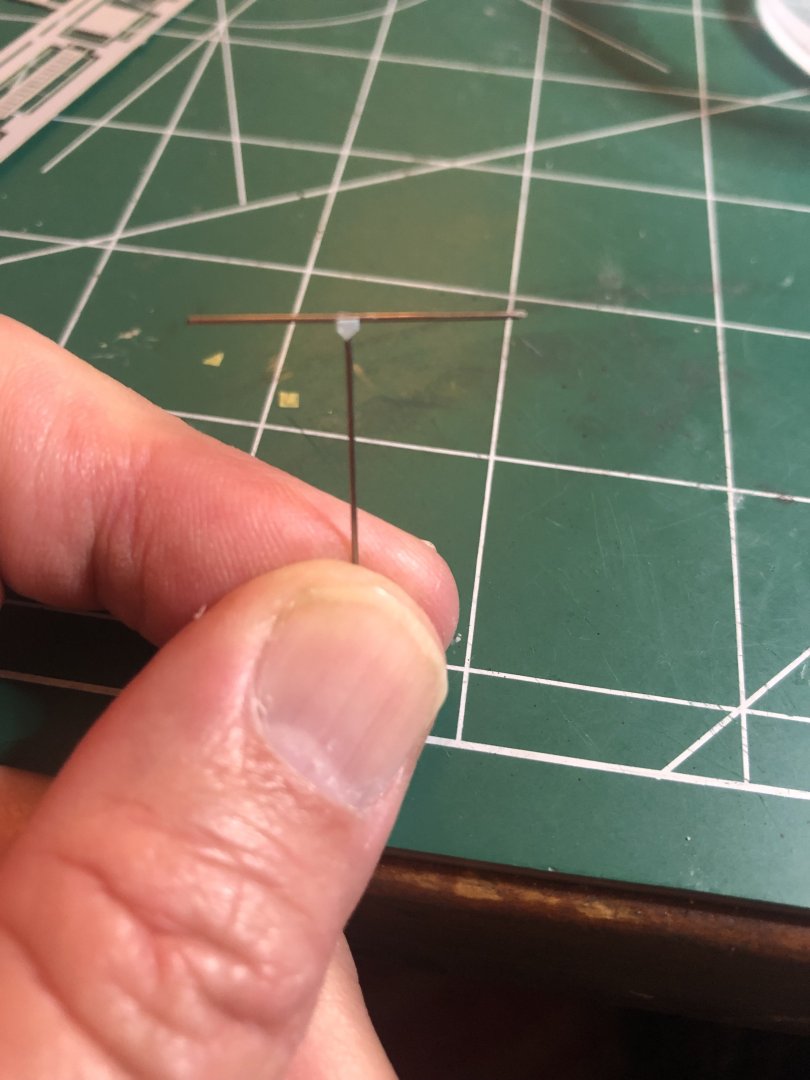
Little mast part 2. Hypodermic needles, lead wire, decal paper, speaker wire, and styrene all were used. Still needs work, but thoughts?
- 176 replies
-
- new orleans
- iron shipwrights
-
(and 2 more)
Tagged with:
-
Working on a fix and should have the next version tonight. For the supports and part going above, I’ll use stretched Sprue, if that doesn’t work then maybe lead wire but I believe the sprue will be fine. For the loops at the end s, I’ll use lead wire. Great stuff that I use in wheel bays and cockpits of the planes
- 176 replies
-
- new orleans
- iron shipwrights
-
(and 2 more)
Tagged with:
-
I think I’m getting close on the little mast. I cut decal paper to make the connectors. It’s a start - let me know what you think…
- 176 replies
-
- new orleans
- iron shipwrights
-
(and 2 more)
Tagged with:
-
It’s the “connector” area where the two mast and spar/boom/whatever meet
- 176 replies
-
- new orleans
- iron shipwrights
-
(and 2 more)
Tagged with:
-
 Spaceman Spiff reacted to a post in a topic:
LPH-11 USS New Orleans by Spaceman Spiff - FINISHED - Iron Shipwrights - 1/350 - RESIN
-
- 176 replies
-
- new orleans
- iron shipwrights
-
(and 2 more)
Tagged with:
-
 Spaceman Spiff reacted to a post in a topic:
LPH-11 USS New Orleans by Spaceman Spiff - FINISHED - Iron Shipwrights - 1/350 - RESIN
-
Hope everyone had a great Thanksgiving! Stalled a bit now because I have zero idea how to make that mini mast. Zero. 😂
- 176 replies
-
- new orleans
- iron shipwrights
-
(and 2 more)
Tagged with:
About us
Modelshipworld - Advancing Ship Modeling through Research
SSL Secured
Your security is important for us so this Website is SSL-Secured
NRG Mailing Address
Nautical Research Guild
237 South Lincoln Street
Westmont IL, 60559-1917
Model Ship World ® and the MSW logo are Registered Trademarks, and belong to the Nautical Research Guild (United States Patent and Trademark Office: No. 6,929,264 & No. 6,929,274, registered Dec. 20, 2022)
Helpful Links
About the NRG
If you enjoy building ship models that are historically accurate as well as beautiful, then The Nautical Research Guild (NRG) is just right for you.
The Guild is a non-profit educational organization whose mission is to “Advance Ship Modeling Through Research”. We provide support to our members in their efforts to raise the quality of their model ships.
The Nautical Research Guild has published our world-renowned quarterly magazine, The Nautical Research Journal, since 1955. The pages of the Journal are full of articles by accomplished ship modelers who show you how they create those exquisite details on their models, and by maritime historians who show you the correct details to build. The Journal is available in both print and digital editions. Go to the NRG web site (www.thenrg.org) to download a complimentary digital copy of the Journal. The NRG also publishes plan sets, books and compilations of back issues of the Journal and the former Ships in Scale and Model Ship Builder magazines.

