moreplovac
-
Posts
794 -
Joined
-
Last visited
Content Type
Profiles
Forums
Gallery
Events
Everything posted by moreplovac
-
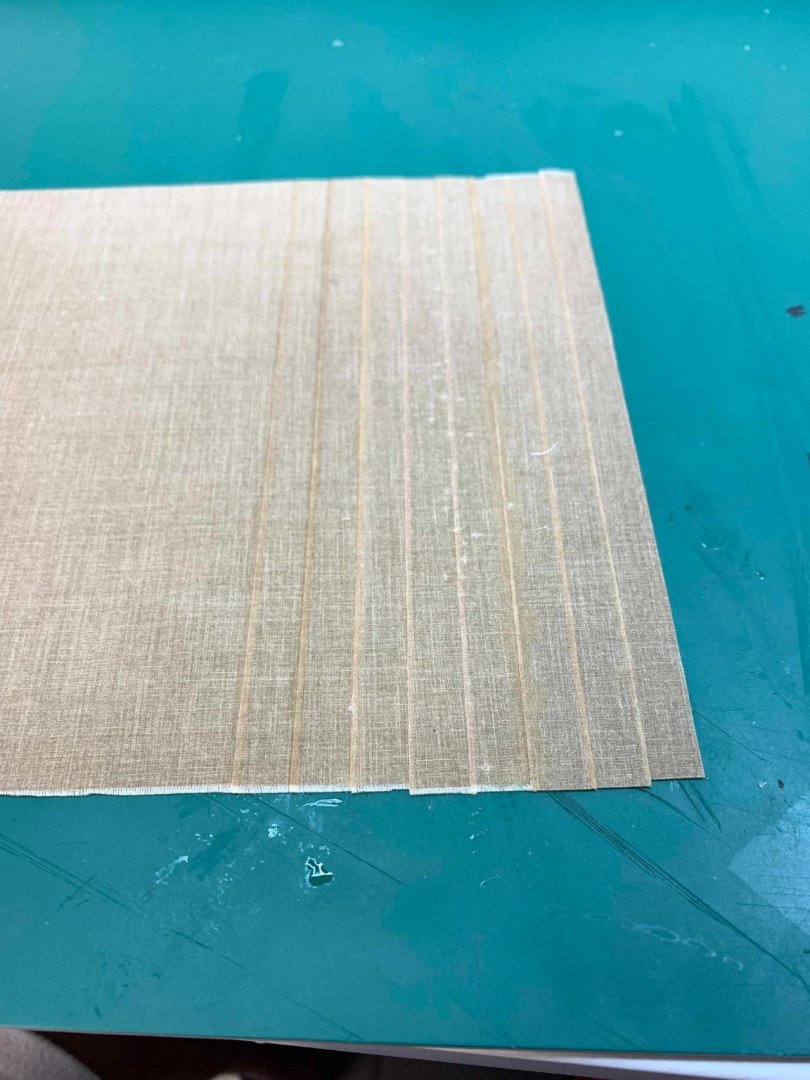
 Certainly, will provide a feedback... With this technique the amount of provided fabric is not enough since the length of it is shortened for at least 1mm after each strip cut. Need to find another piece of suitable fabric and try again..
 -
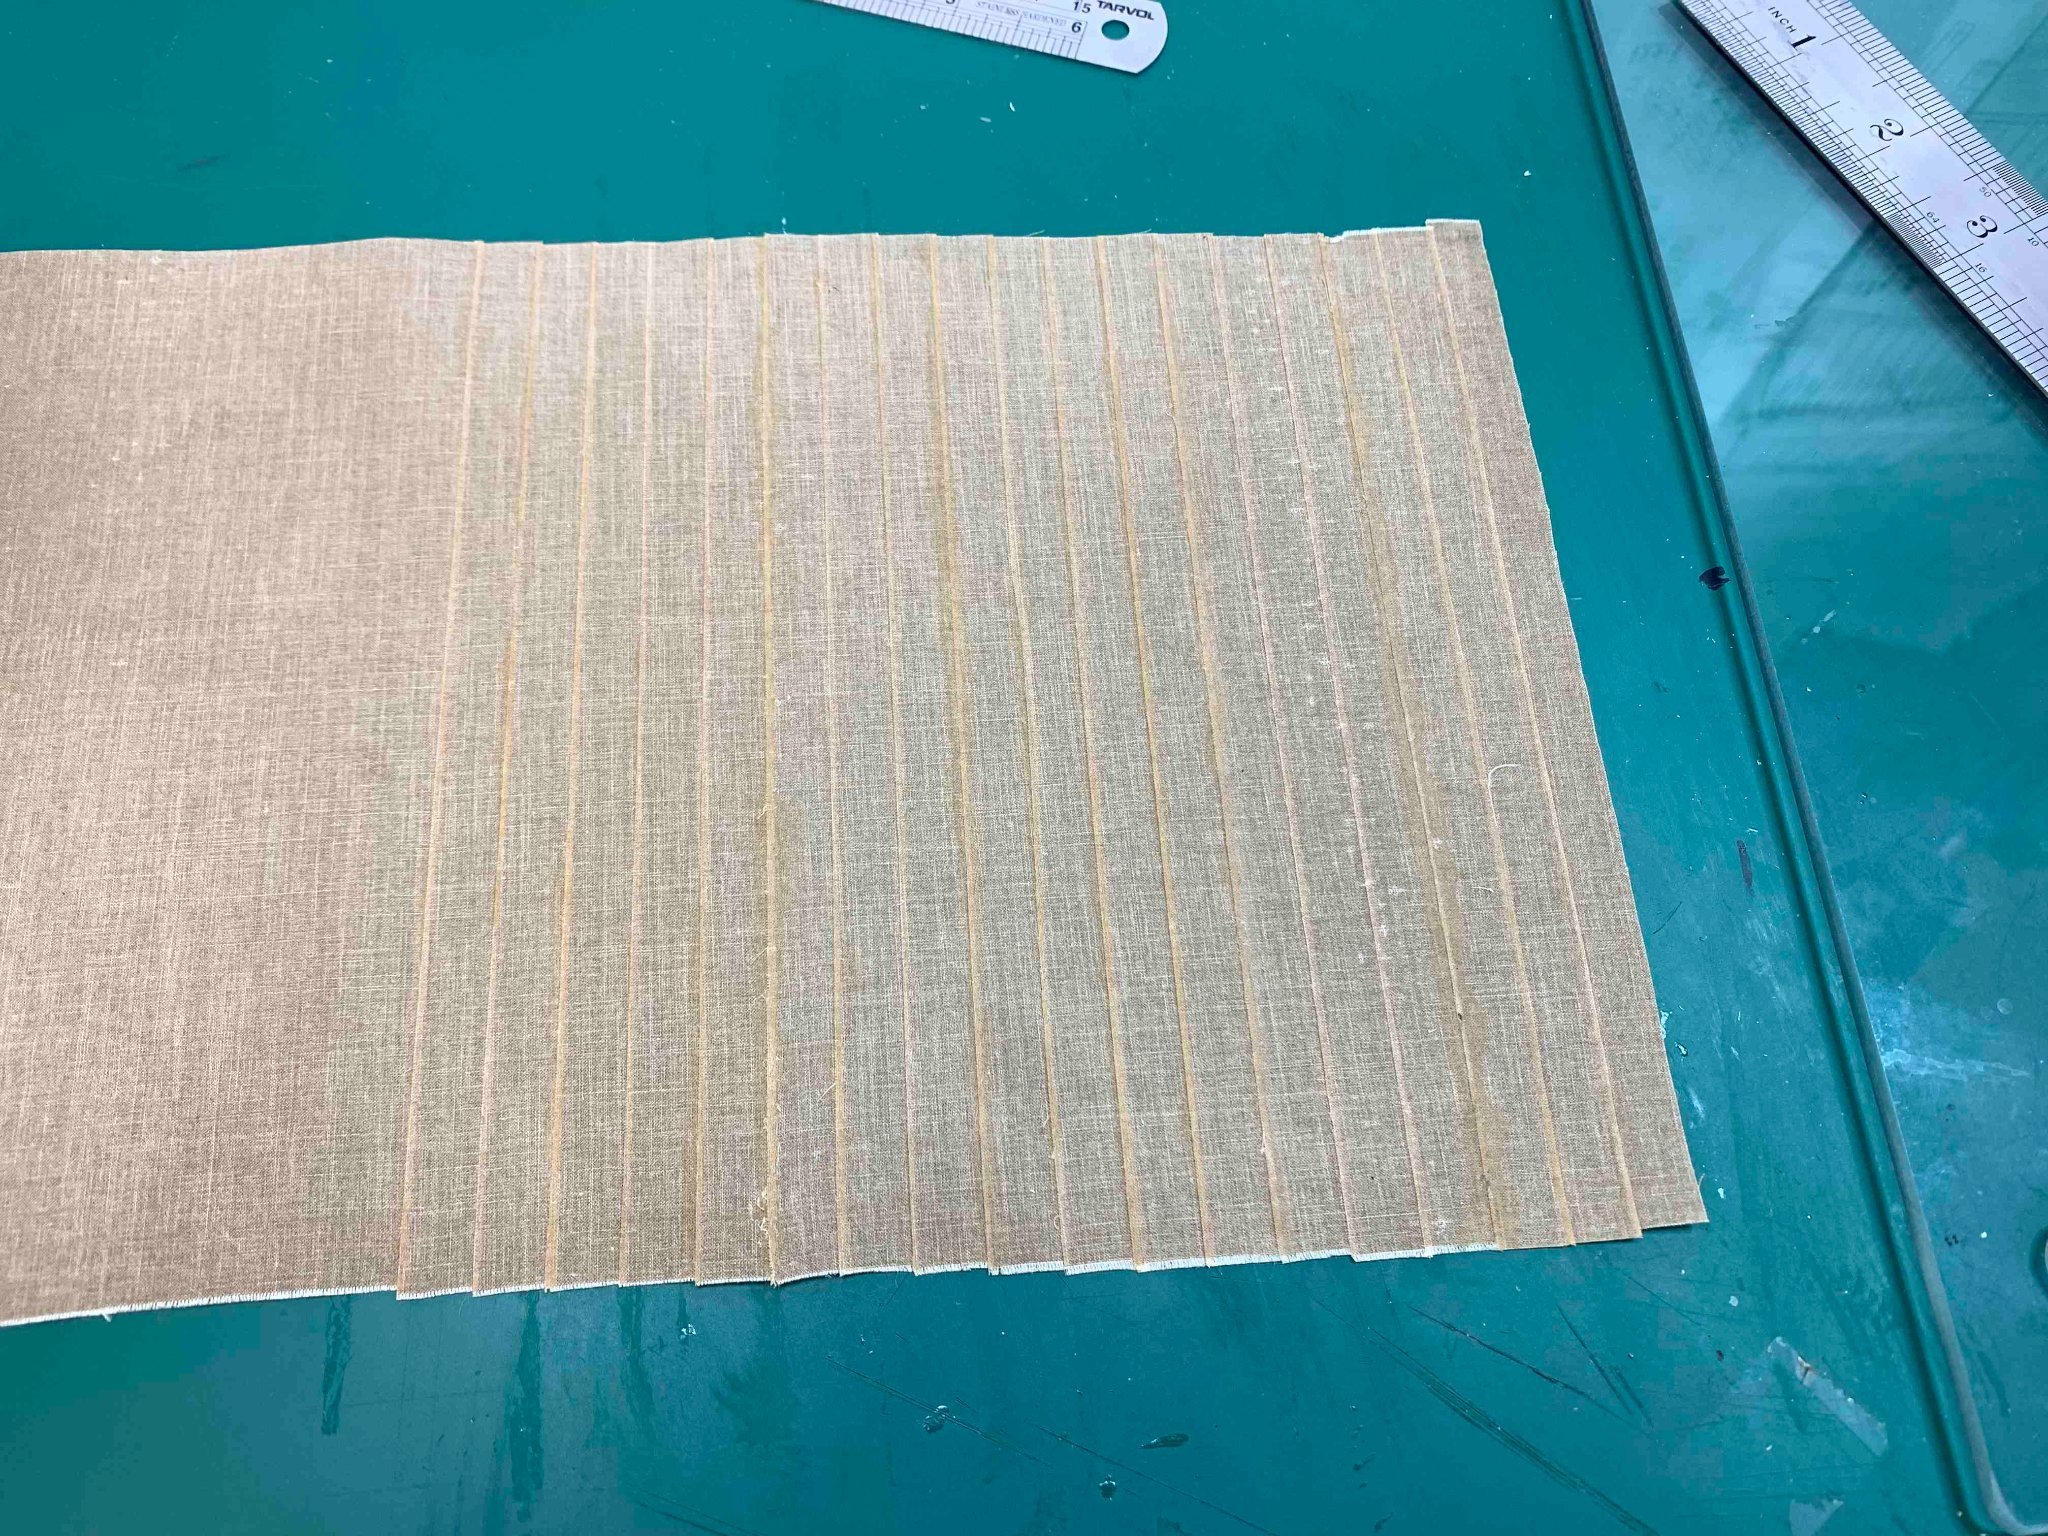
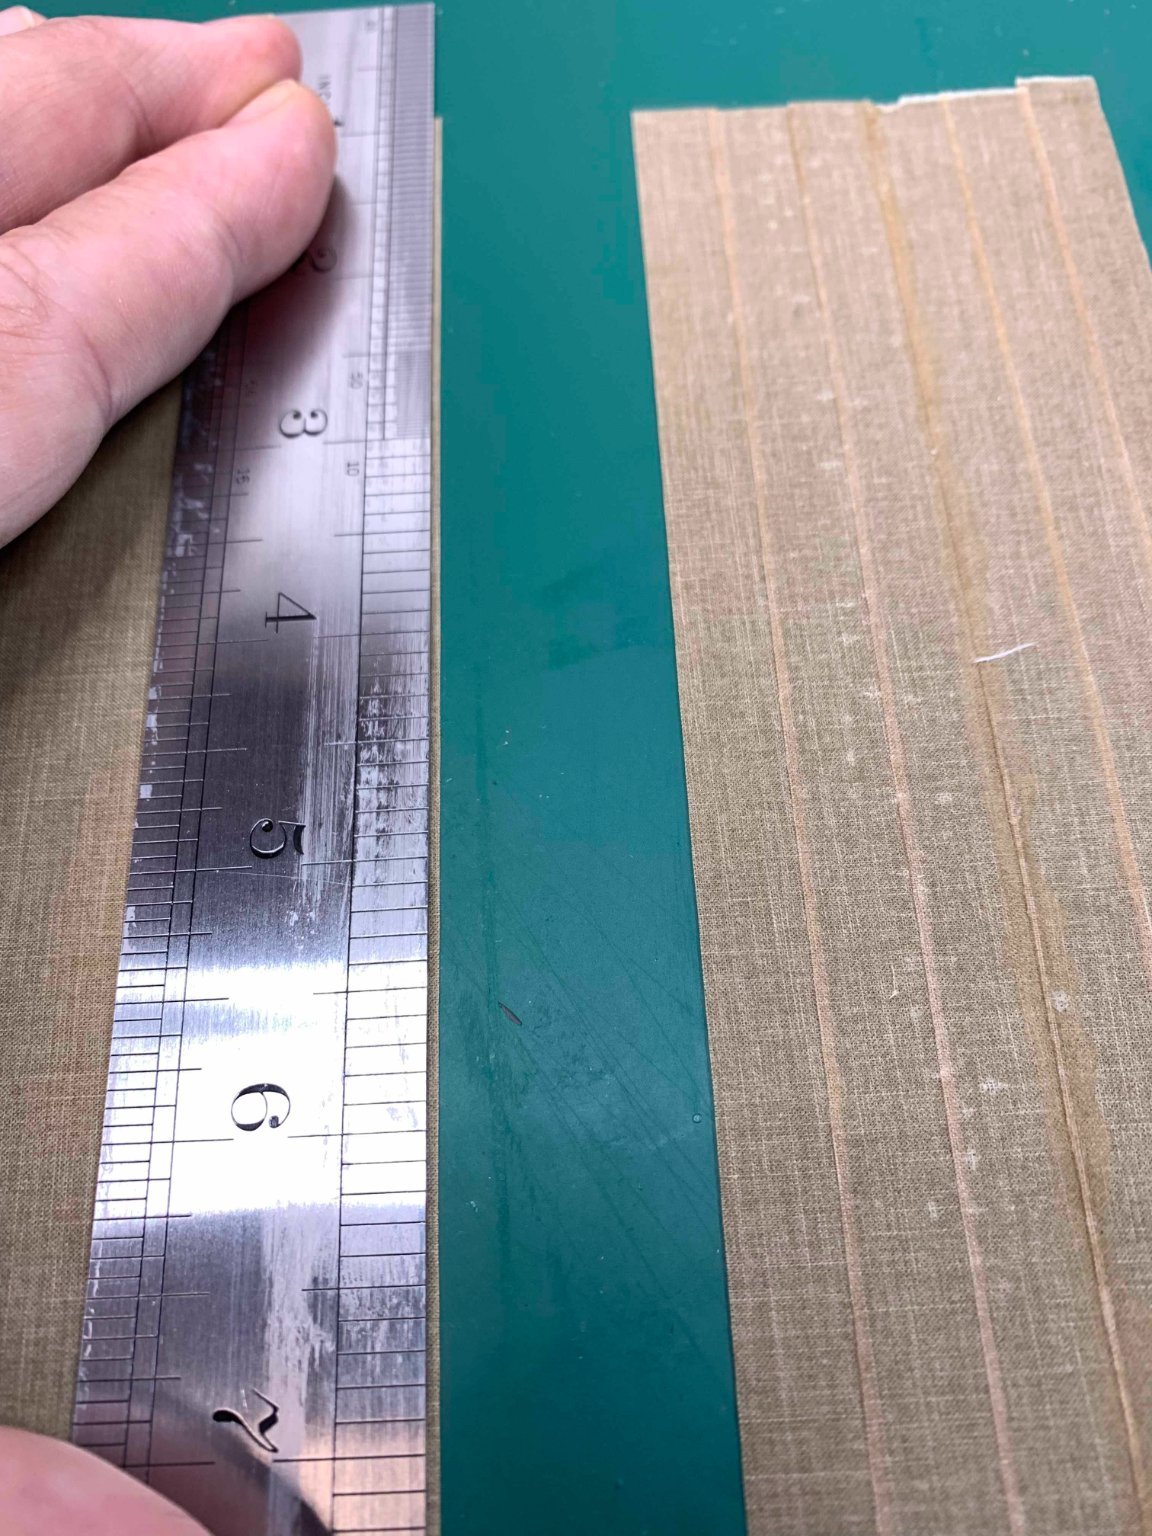
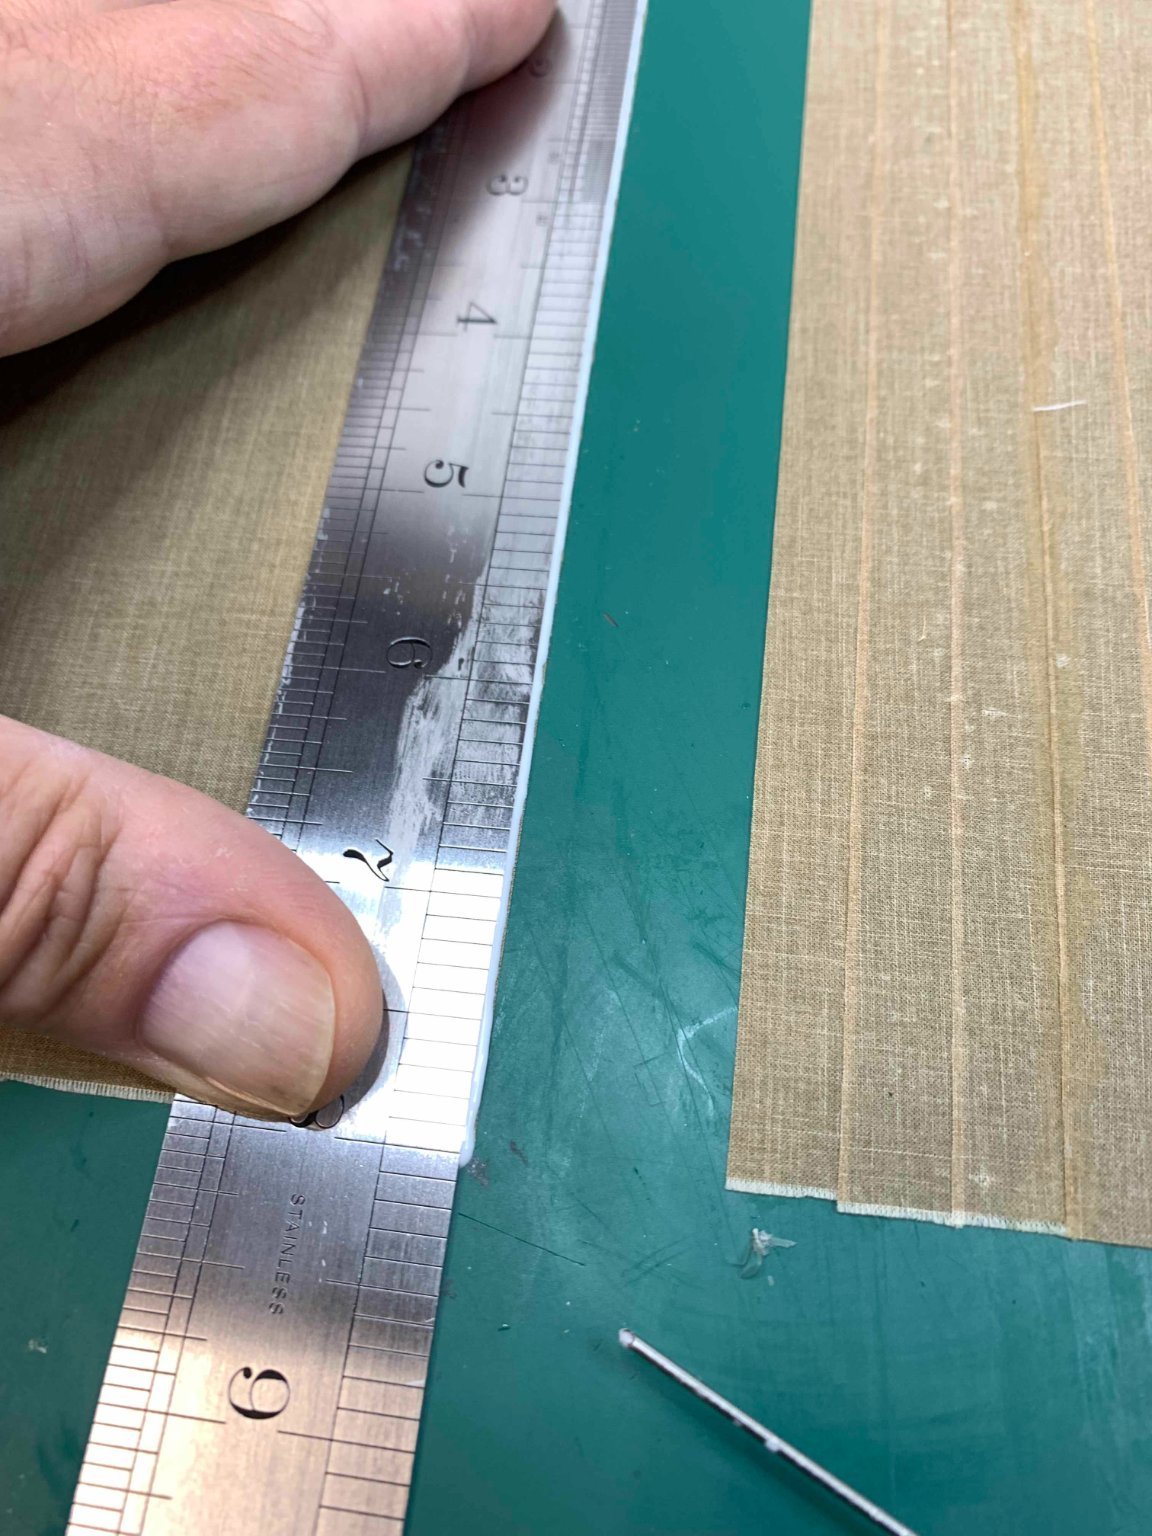
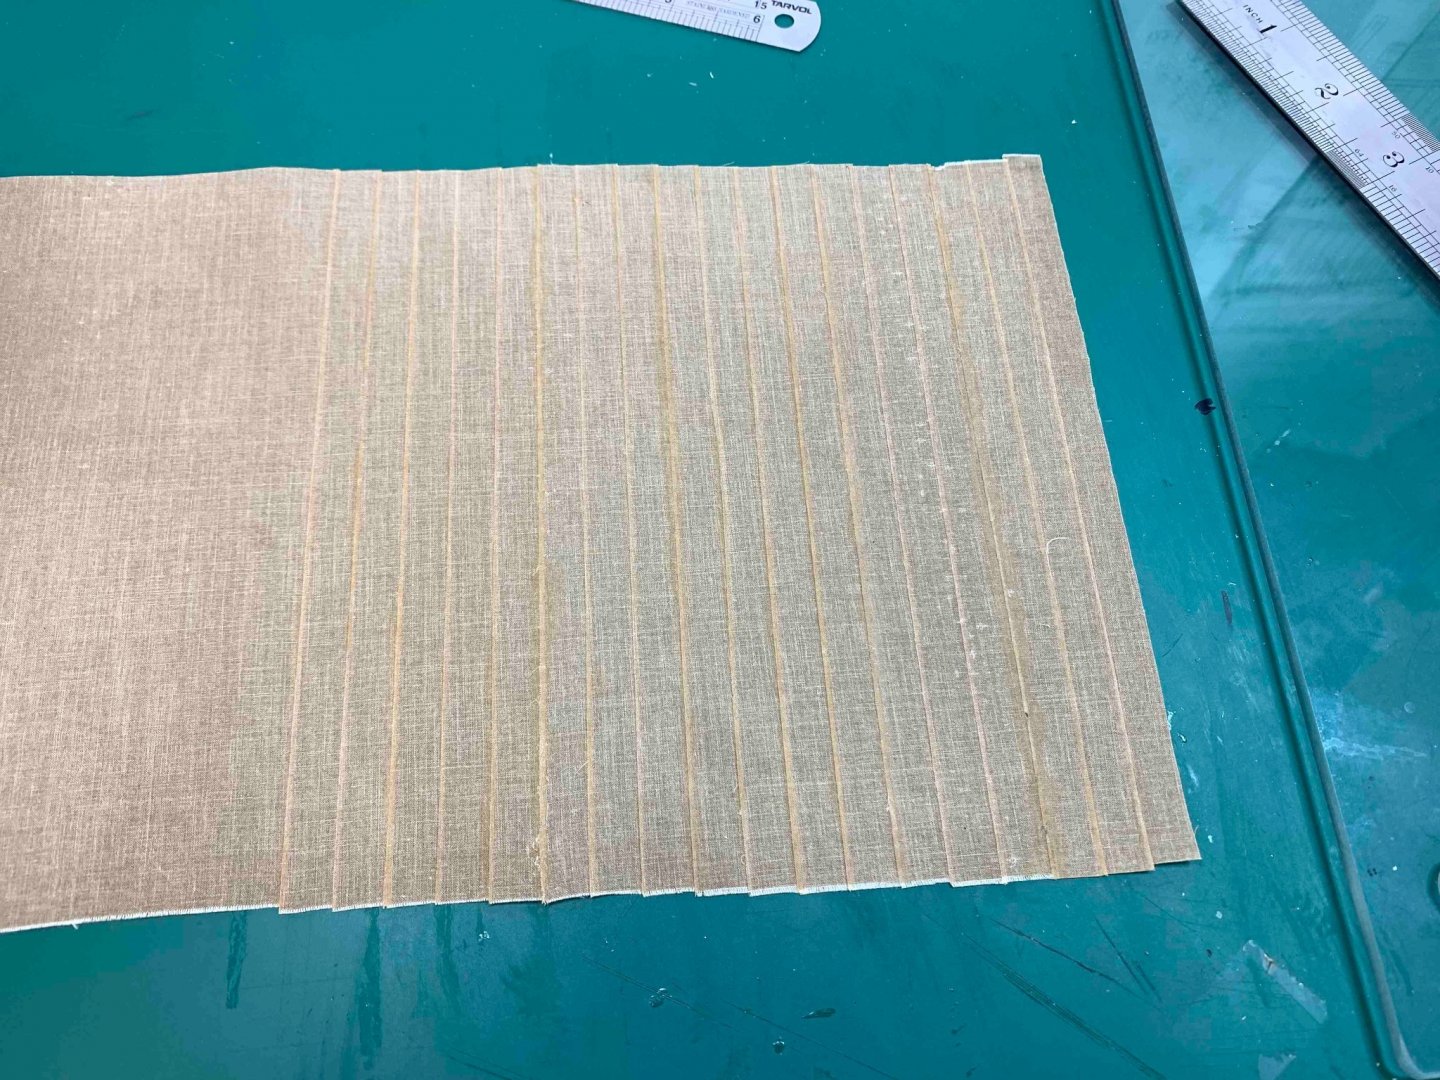
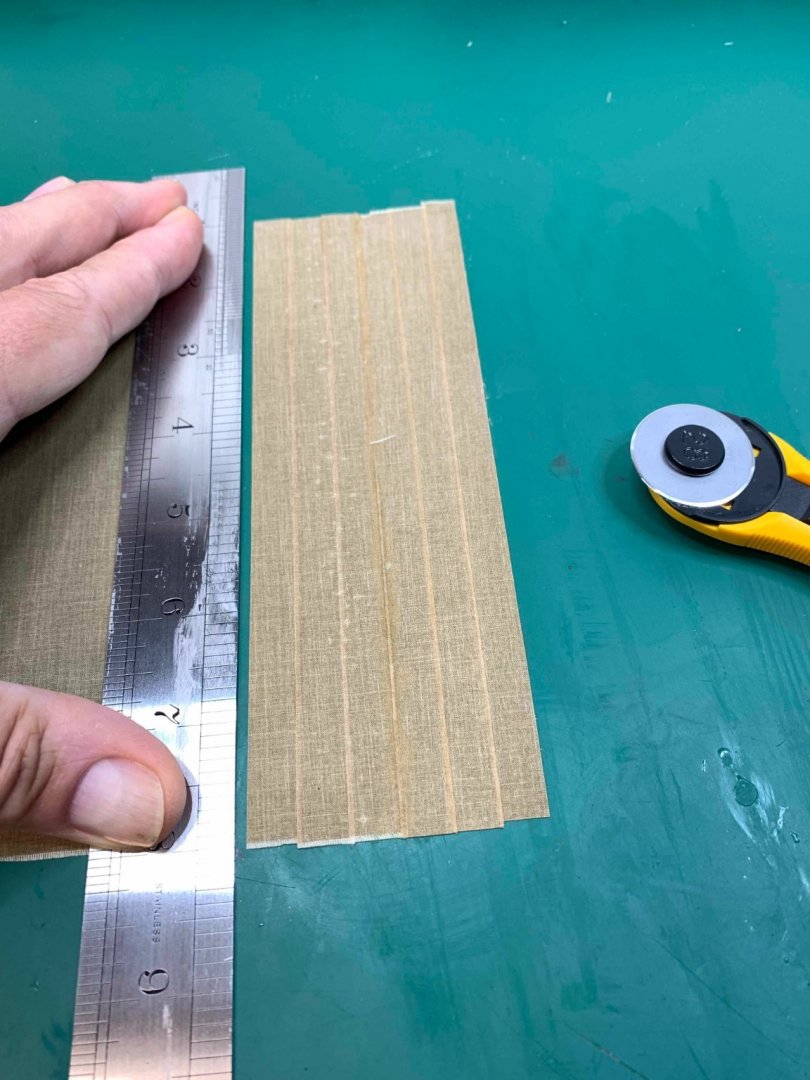
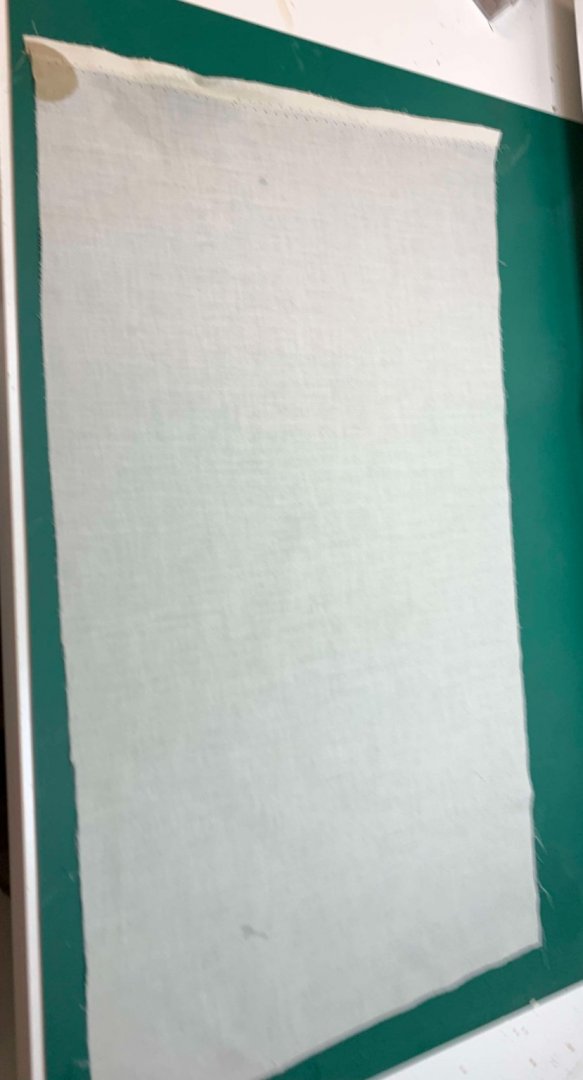
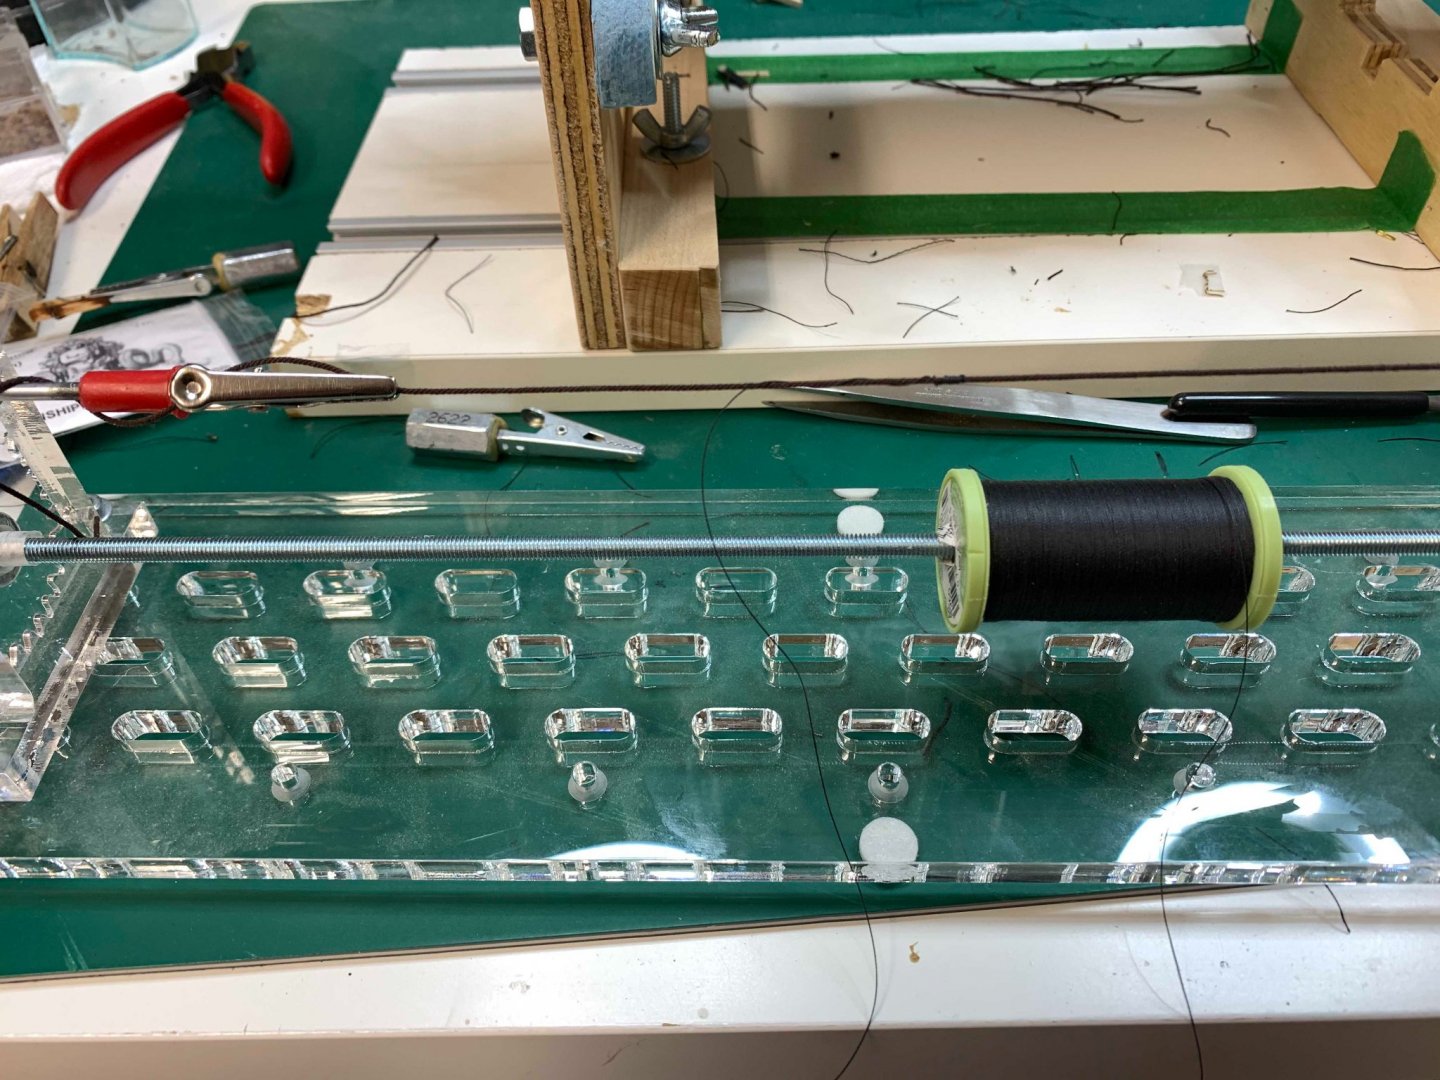
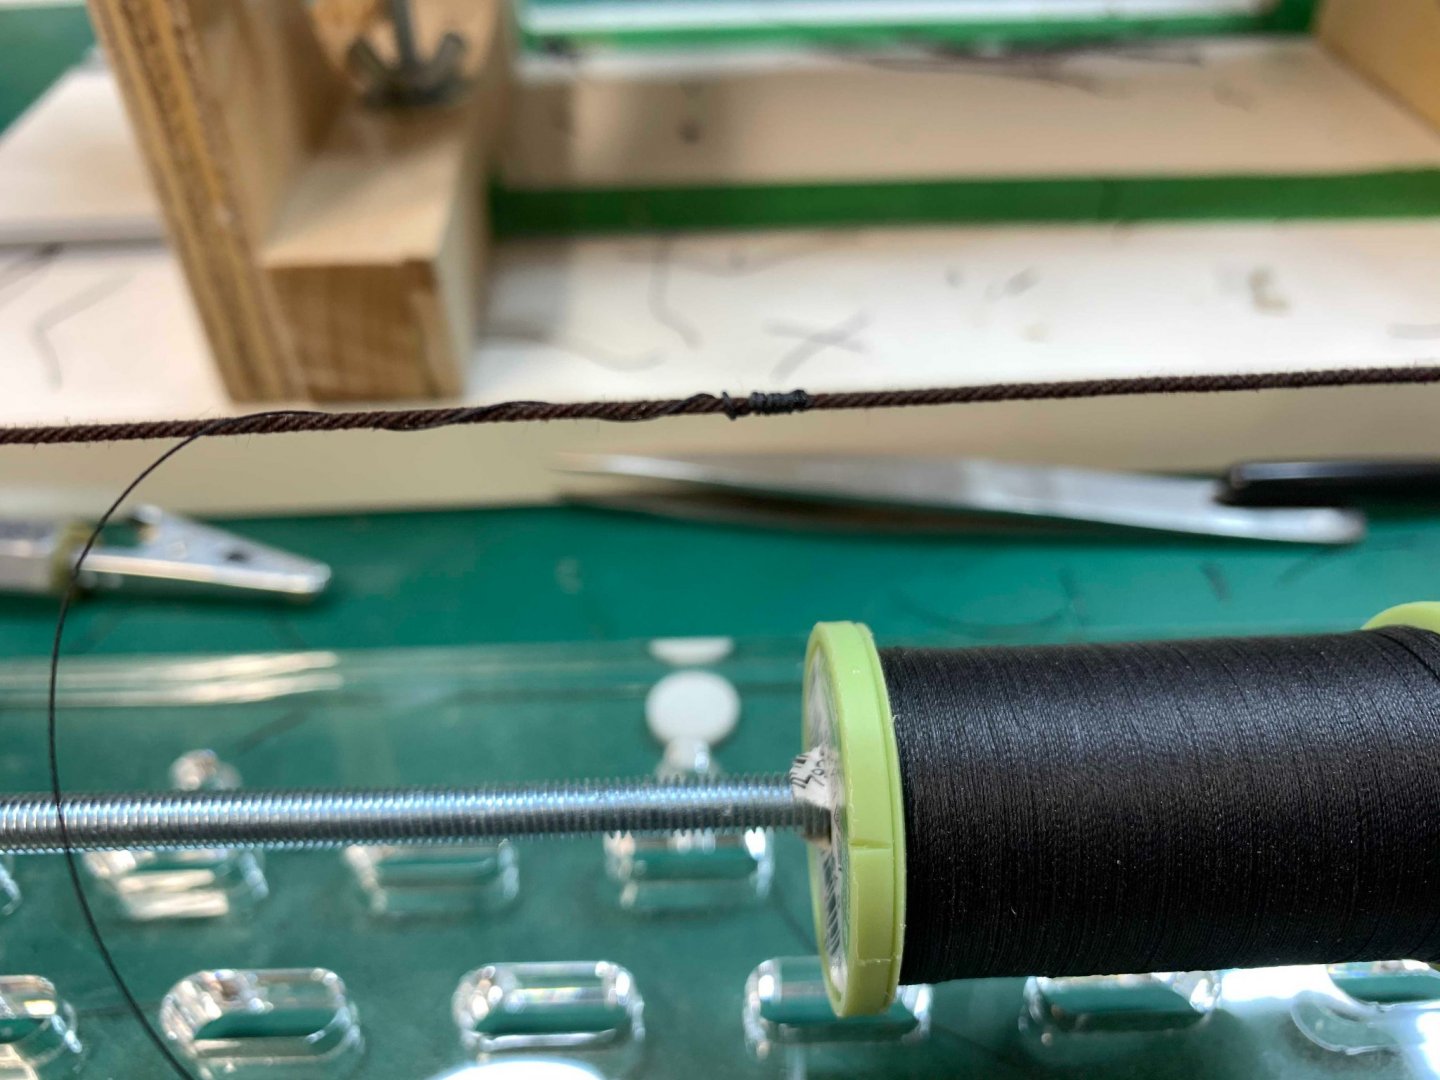
There are different ways of making sails; this time i will follow sails making technique suggested by one Russian modeller. Never tried before so might as well try it now.. First, material is cut in a strip 10mm wide, which is then glued to the material overlapping by 1mm. Measuring 10mm.. .. cutting the stripe... ... making 1mm overlap... ... run a layer of carpenter' glue, diluted 50/50 with water... ... put the cut stripe on the top of the overlapping area, in that 1mm grove, carefully remove all rules and press lightly to remove excess glue. Use a piece of bounty paper to grab the glue. After gluing few stripes, run heated iron (on silk setting) over the strips to speed up glue drying.. In the process... So far... Will continue tomorrow.. Happy modelling..


- 275 replies
-
- 2
-

-
- phoenix
- master korabel
- (and 1 more)
-
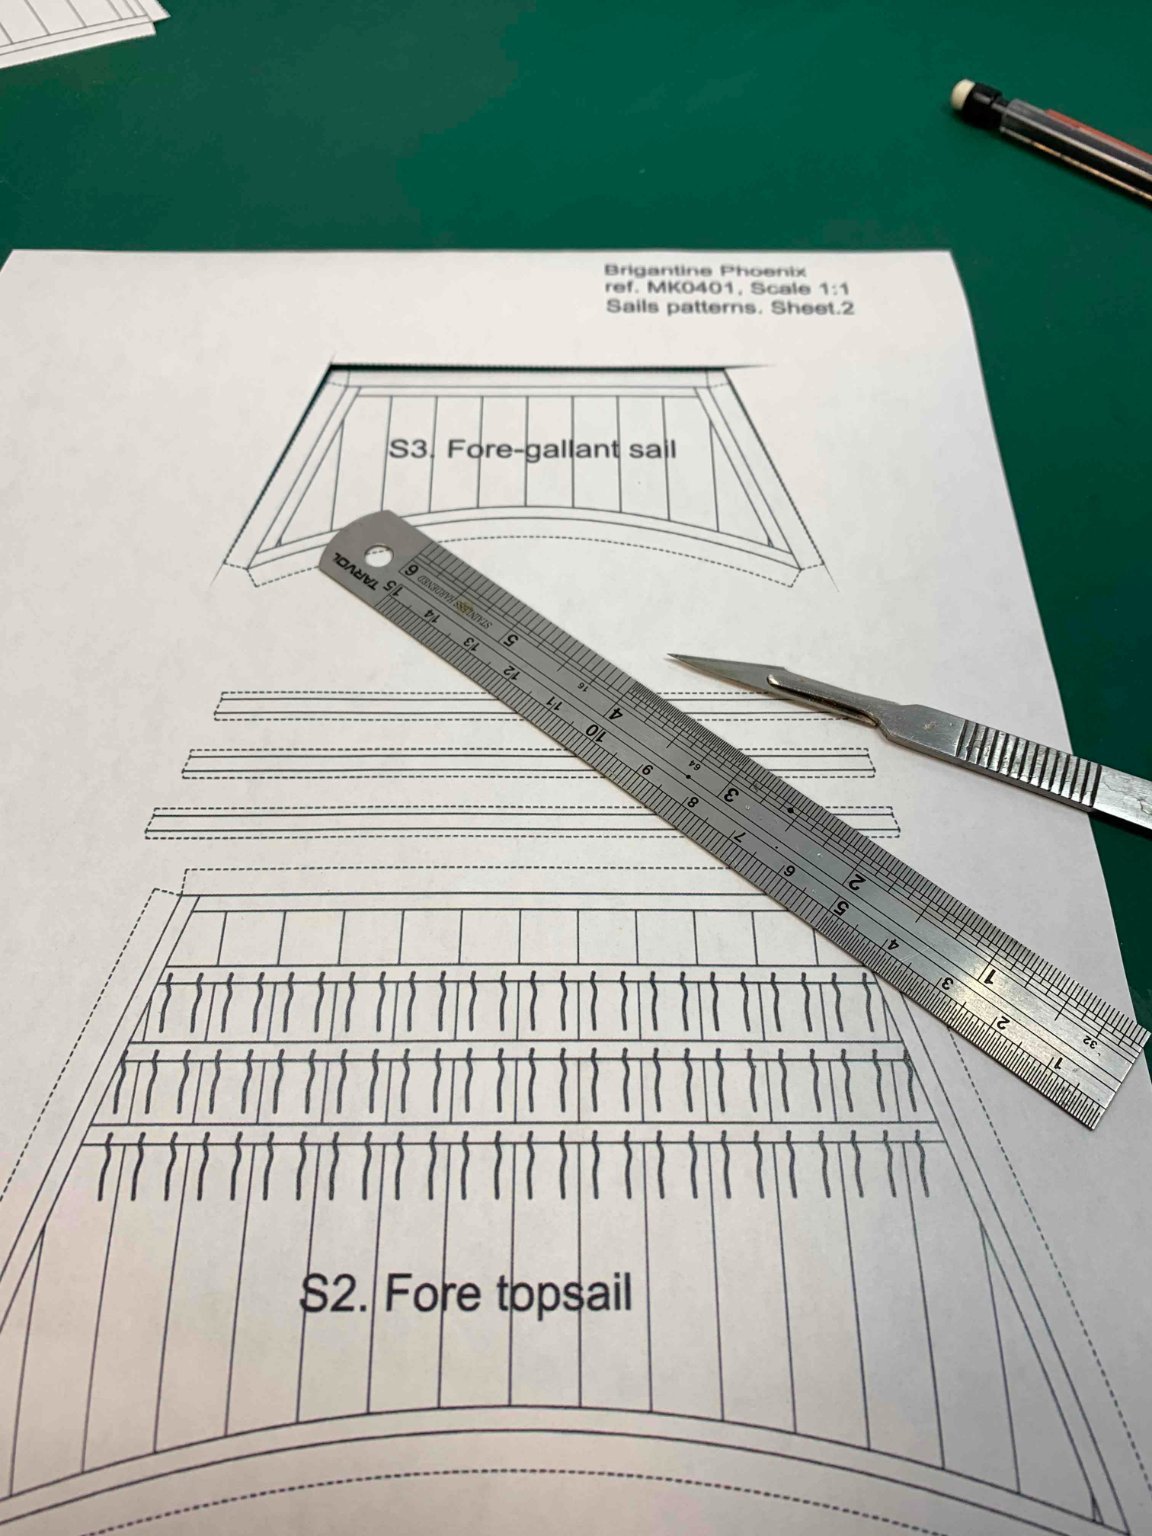
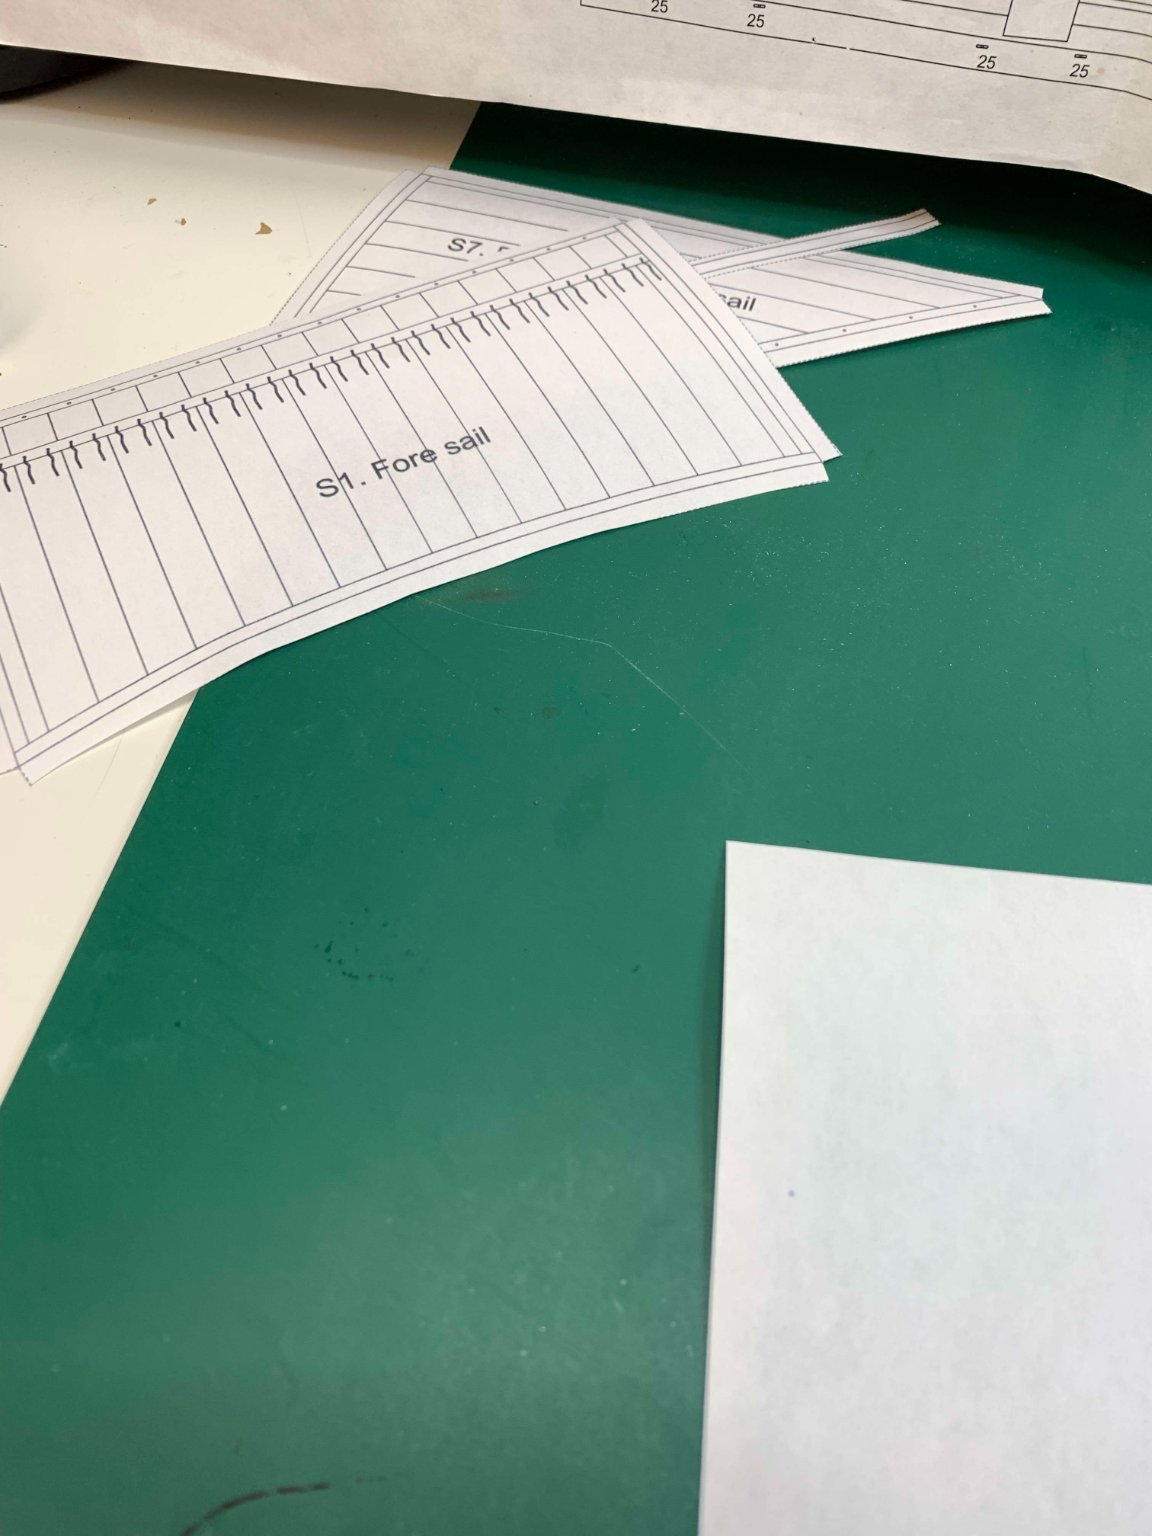
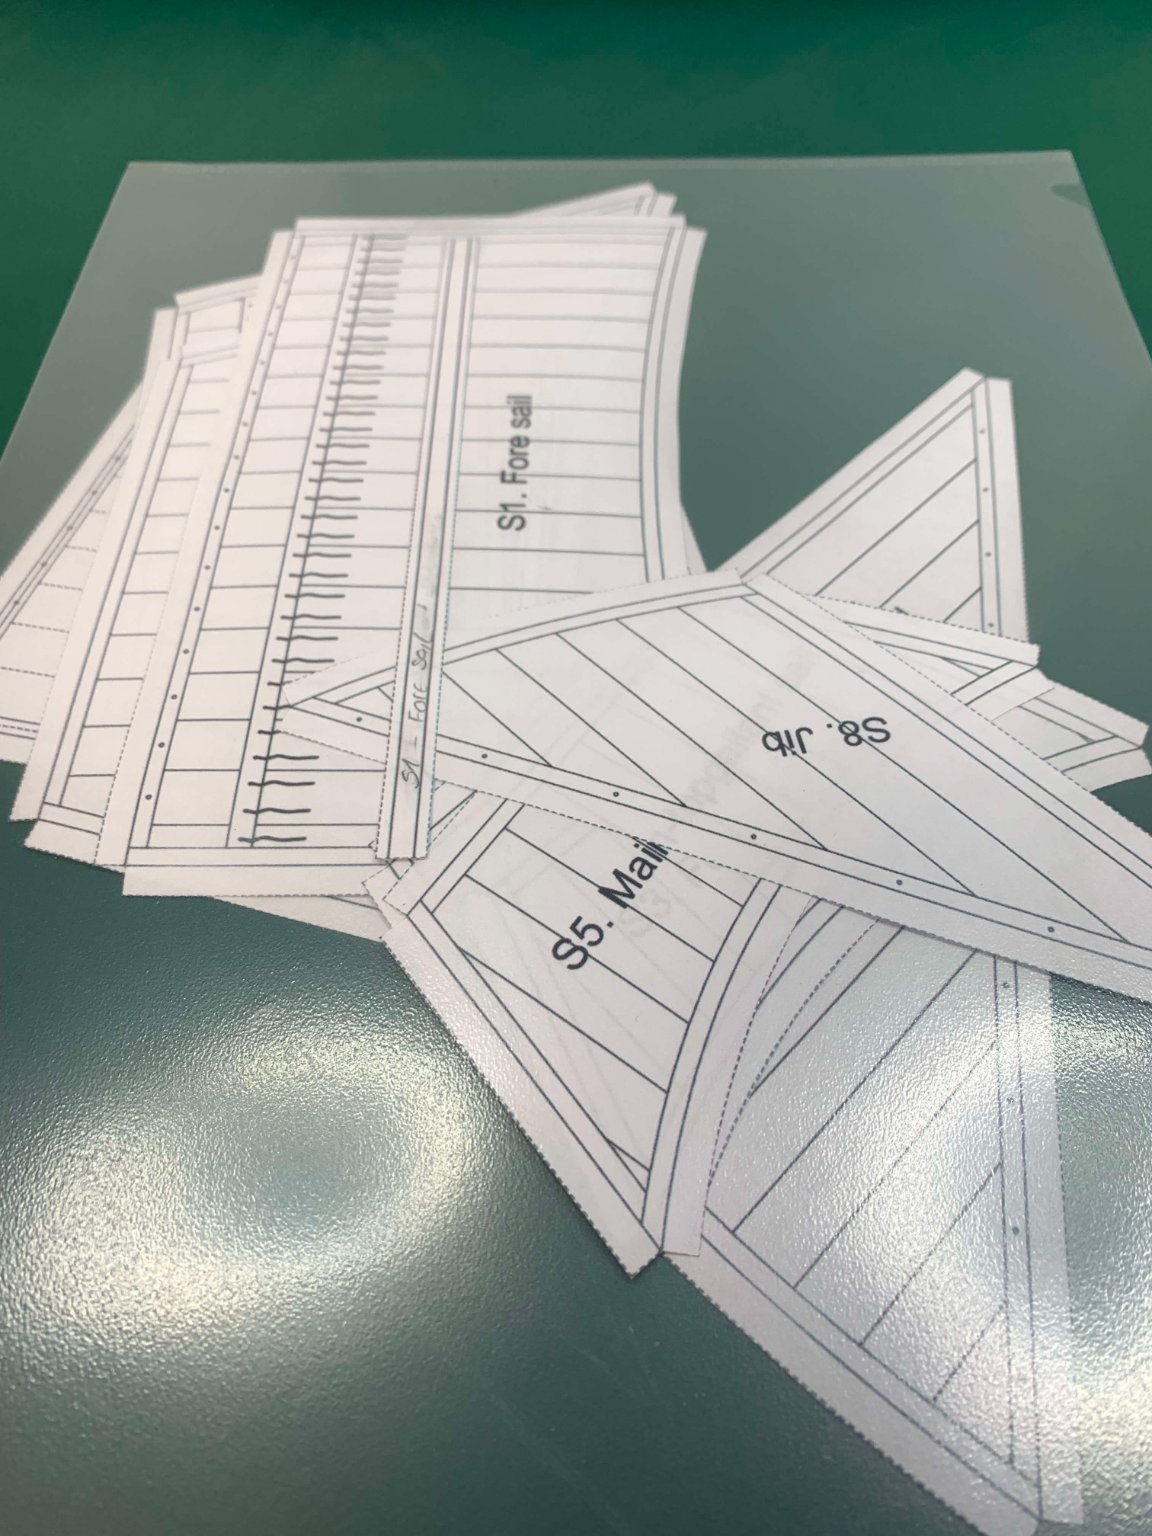
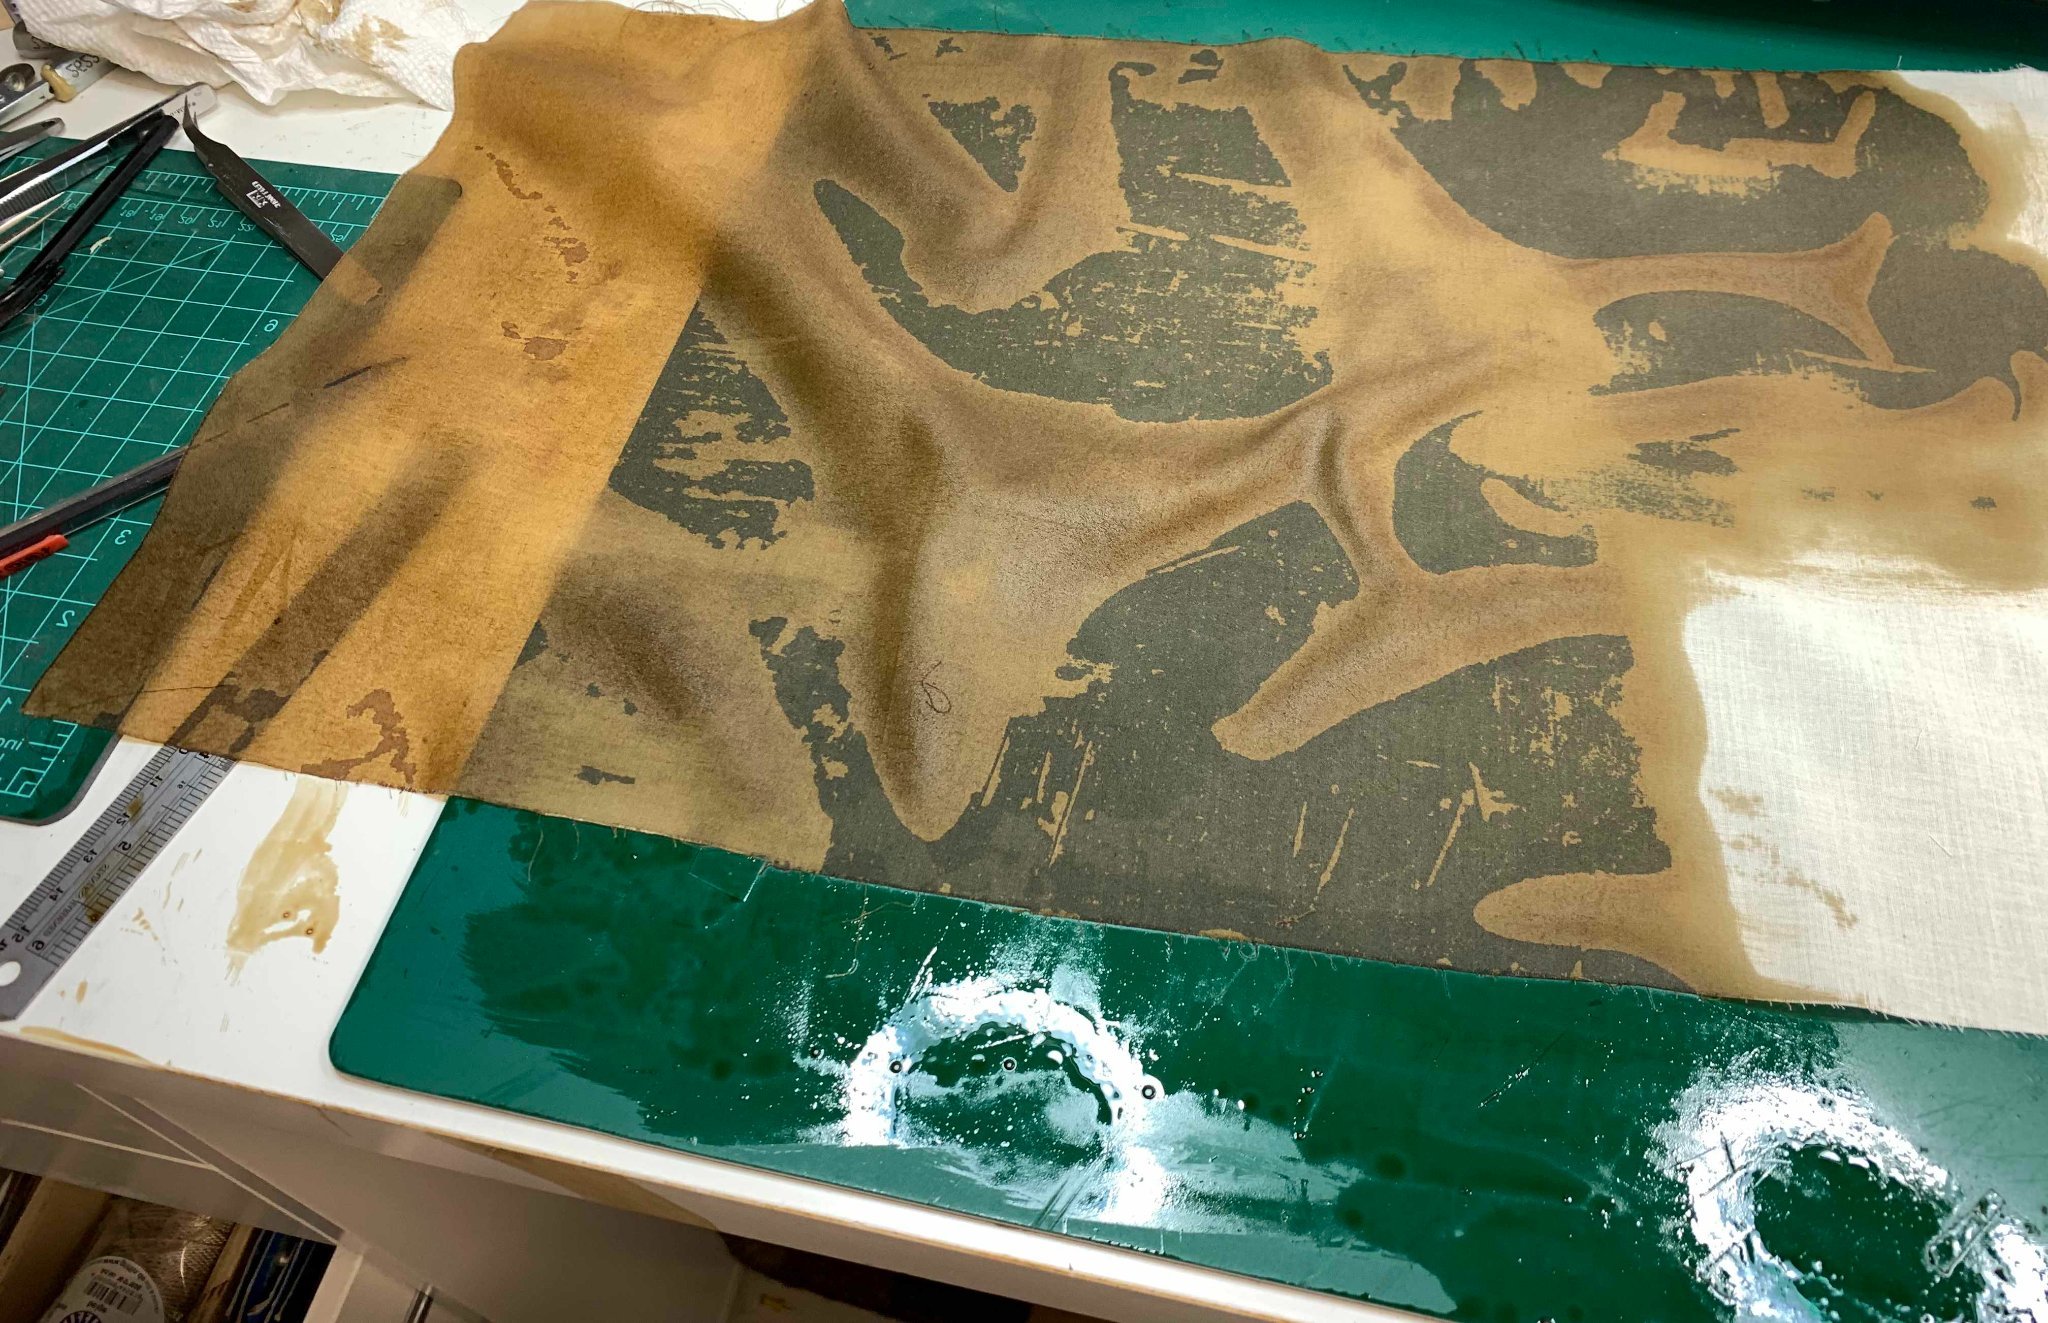
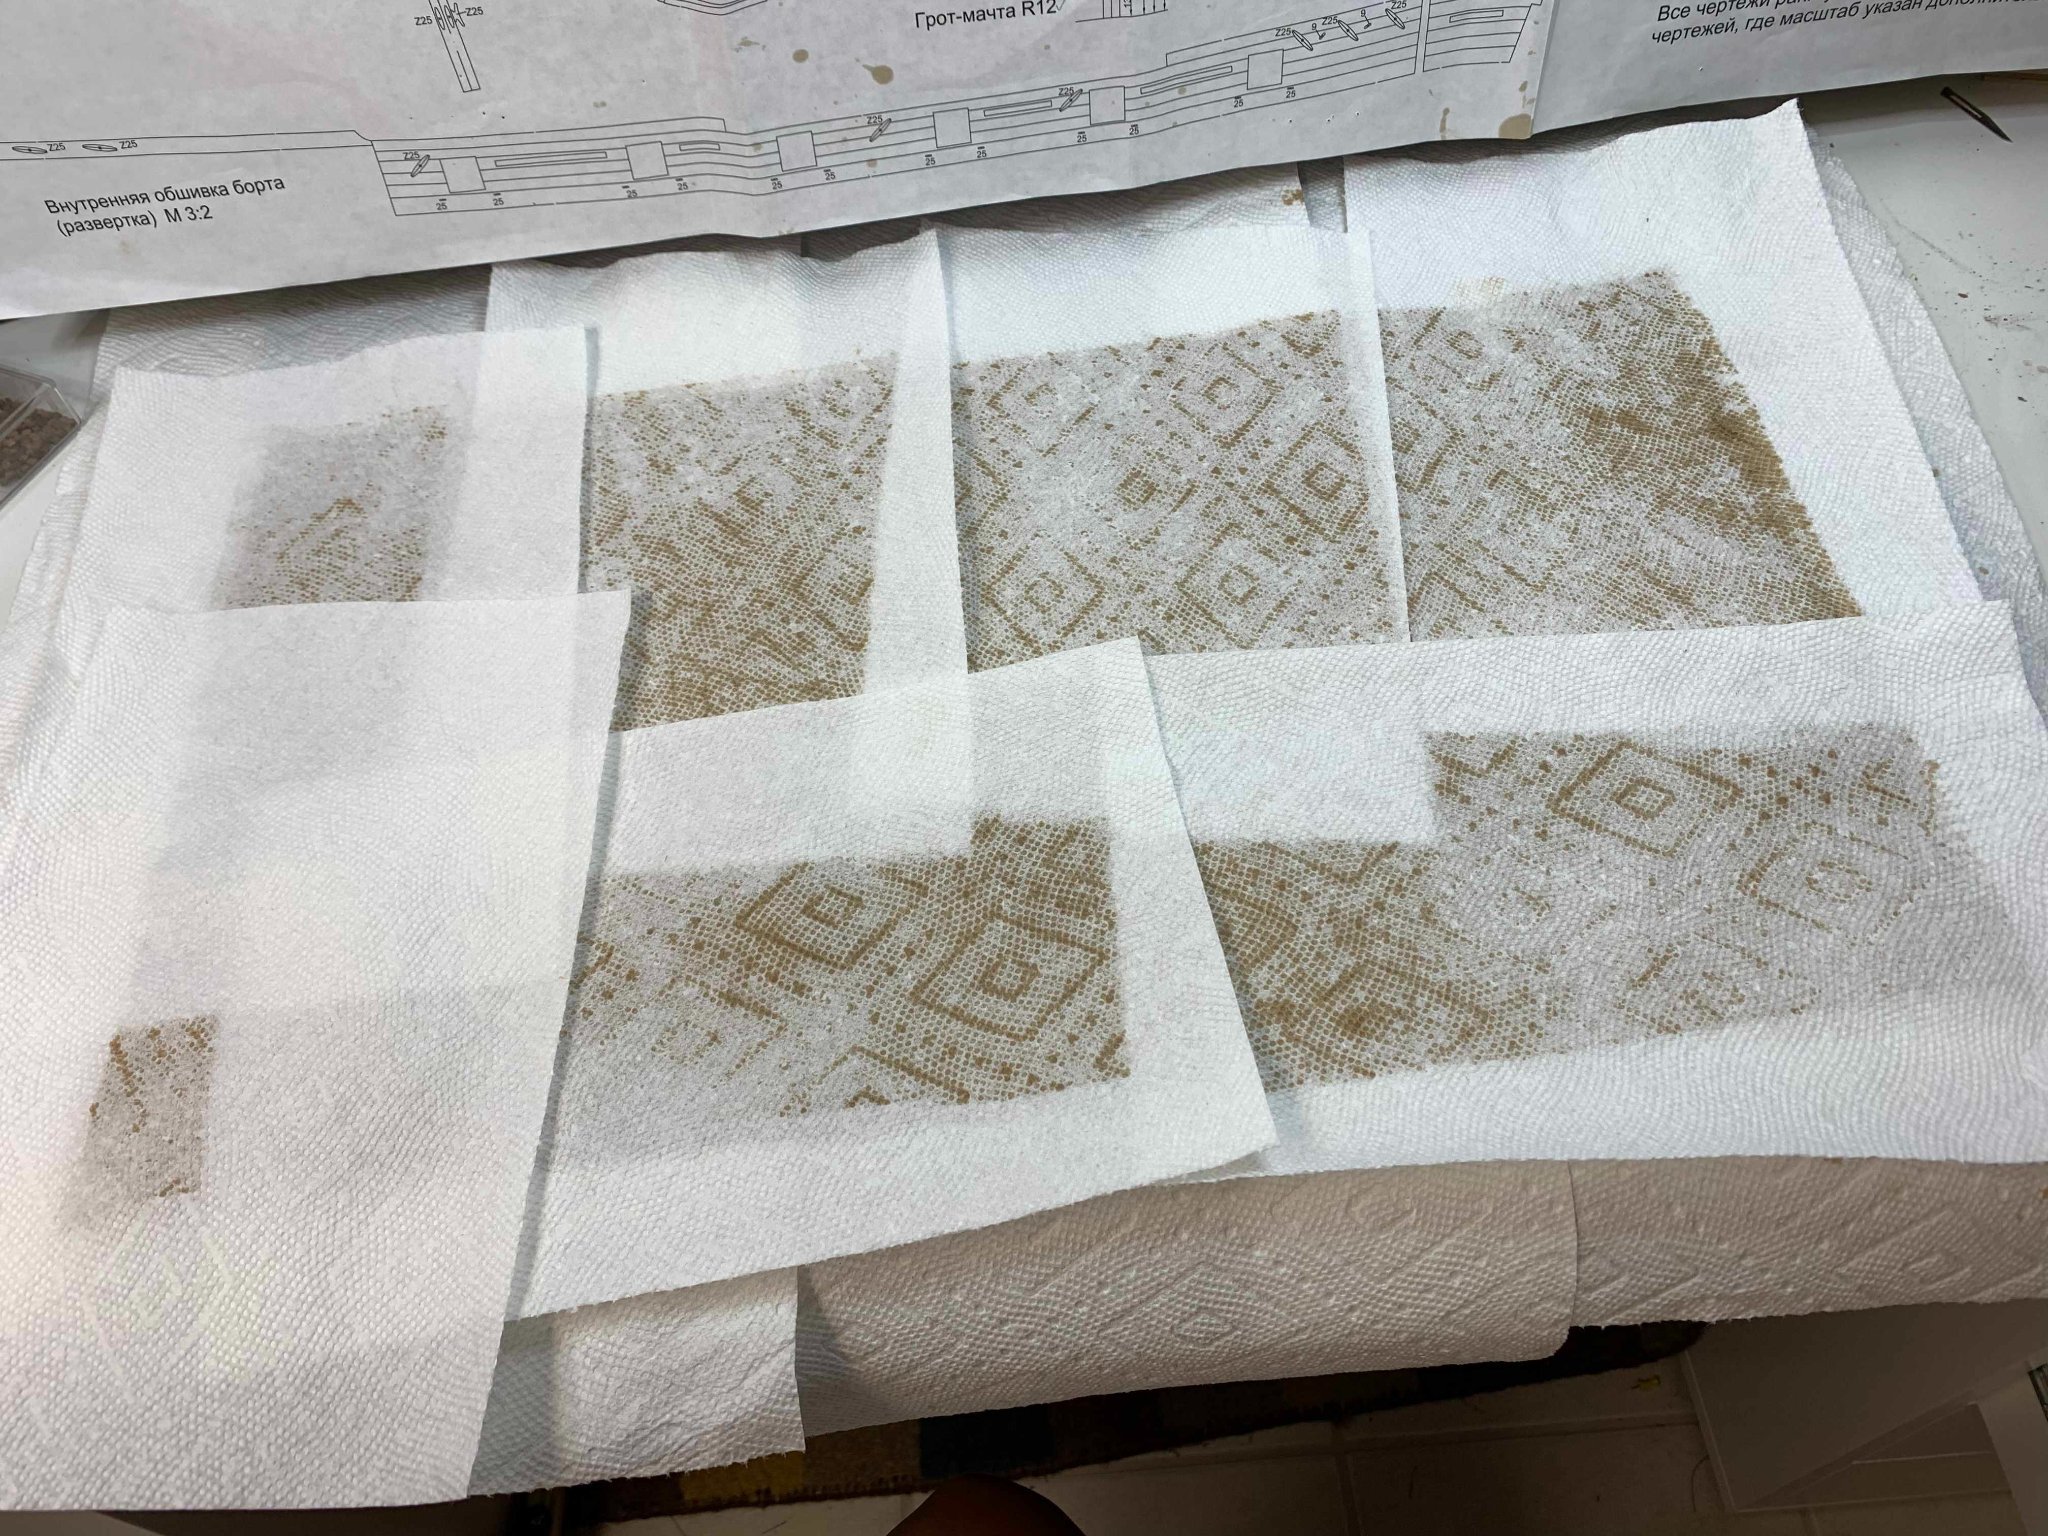
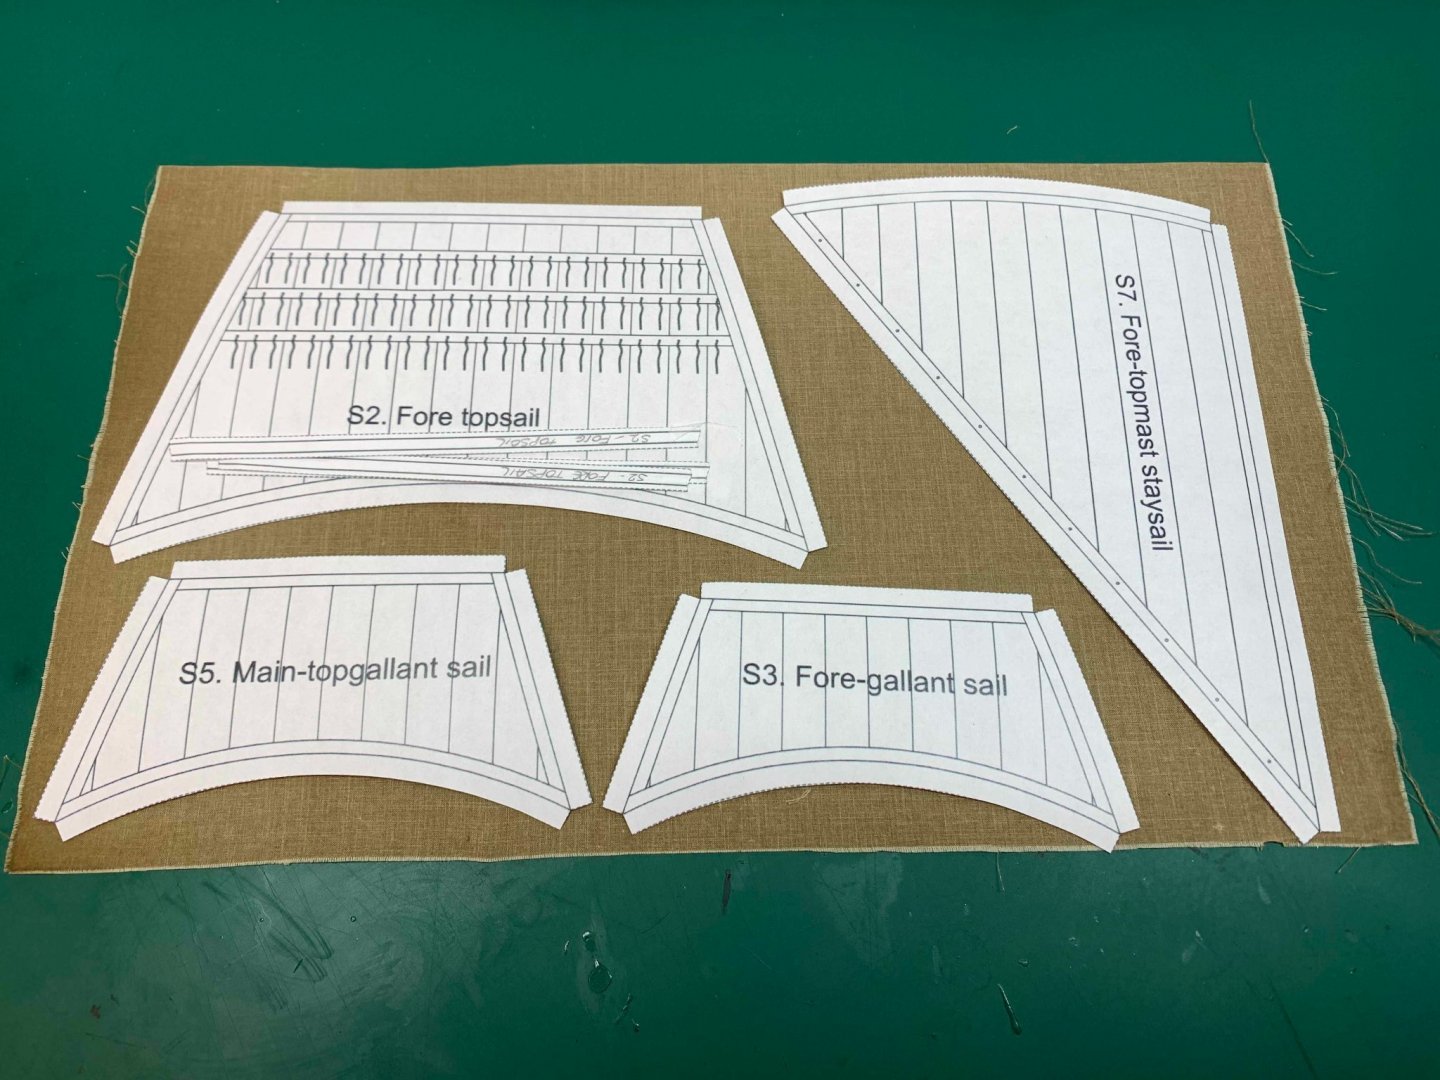
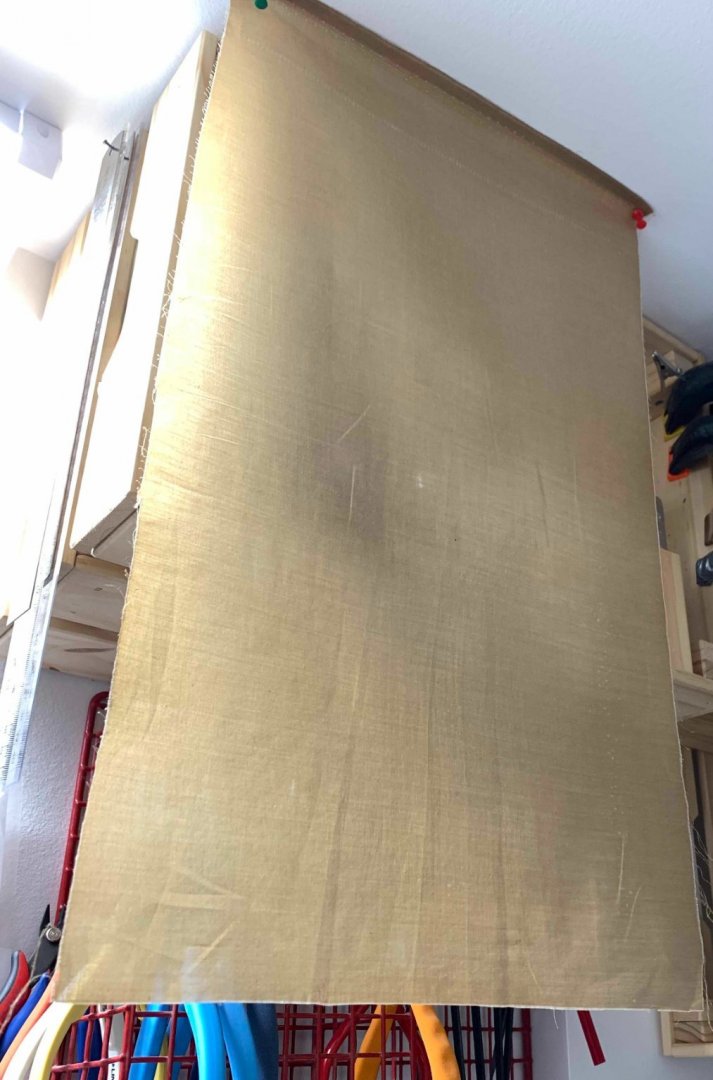
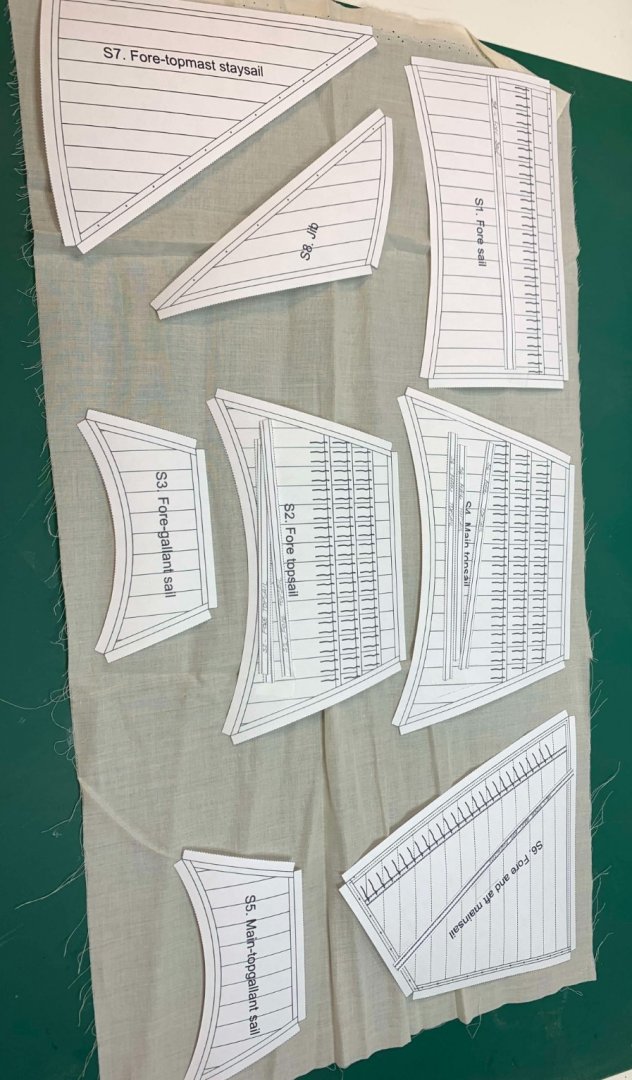
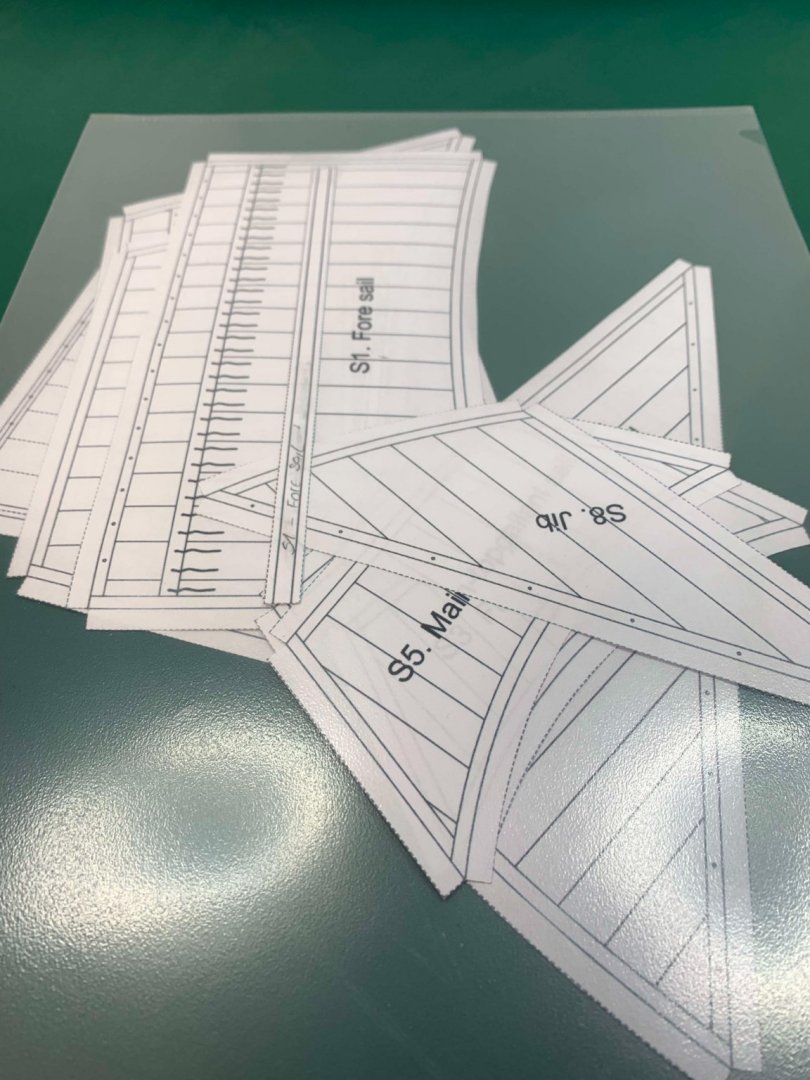
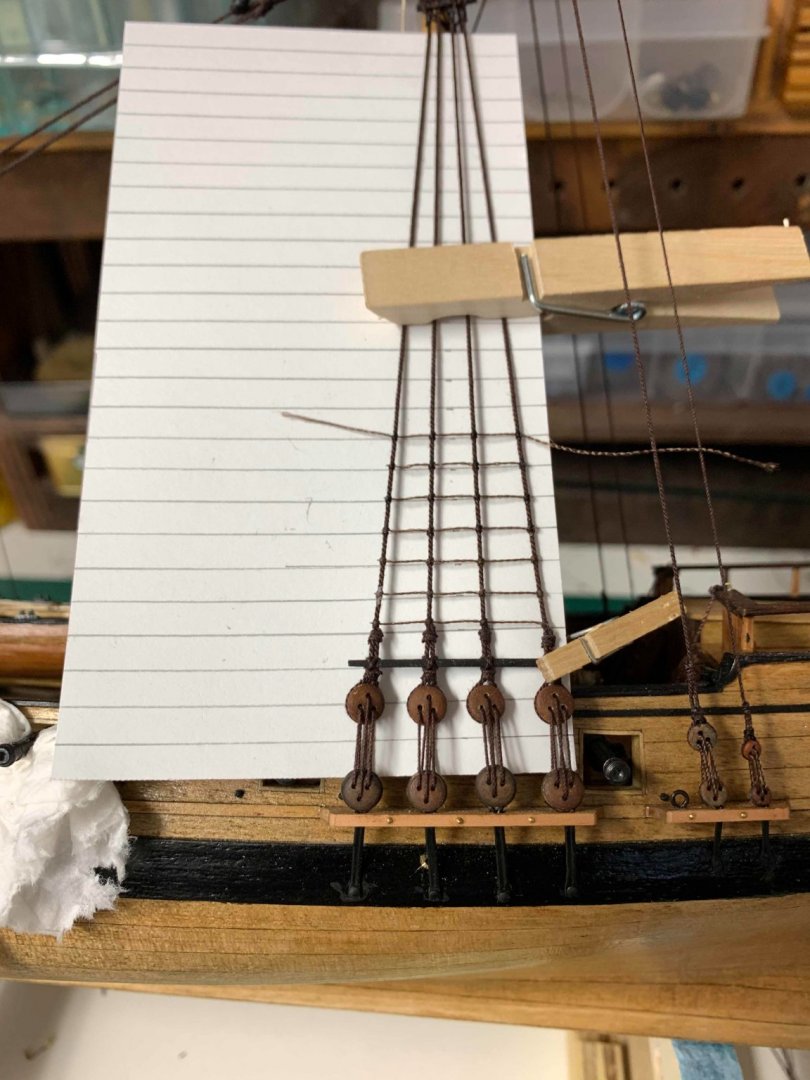
Work on sails started by scanning and printing the copy of sail plan from the kit. Then i cut them all.. Test on the sail cloth that was included in the kit.. appears to have enough space for all.. Now put them aside til i am working on staining the cloth.. The model is also resting a bit ... First i ironed the cloth... Than stained in golden oak stain, must say i do like this stain colour,... a bit messy job... Taking excess stain from the cloth, with a help of few sheets of bounty paper.. Cloth is drying ... Happy modelling..


- 275 replies
-
- 2
-
-
- phoenix
- master korabel
- (and 1 more)
-
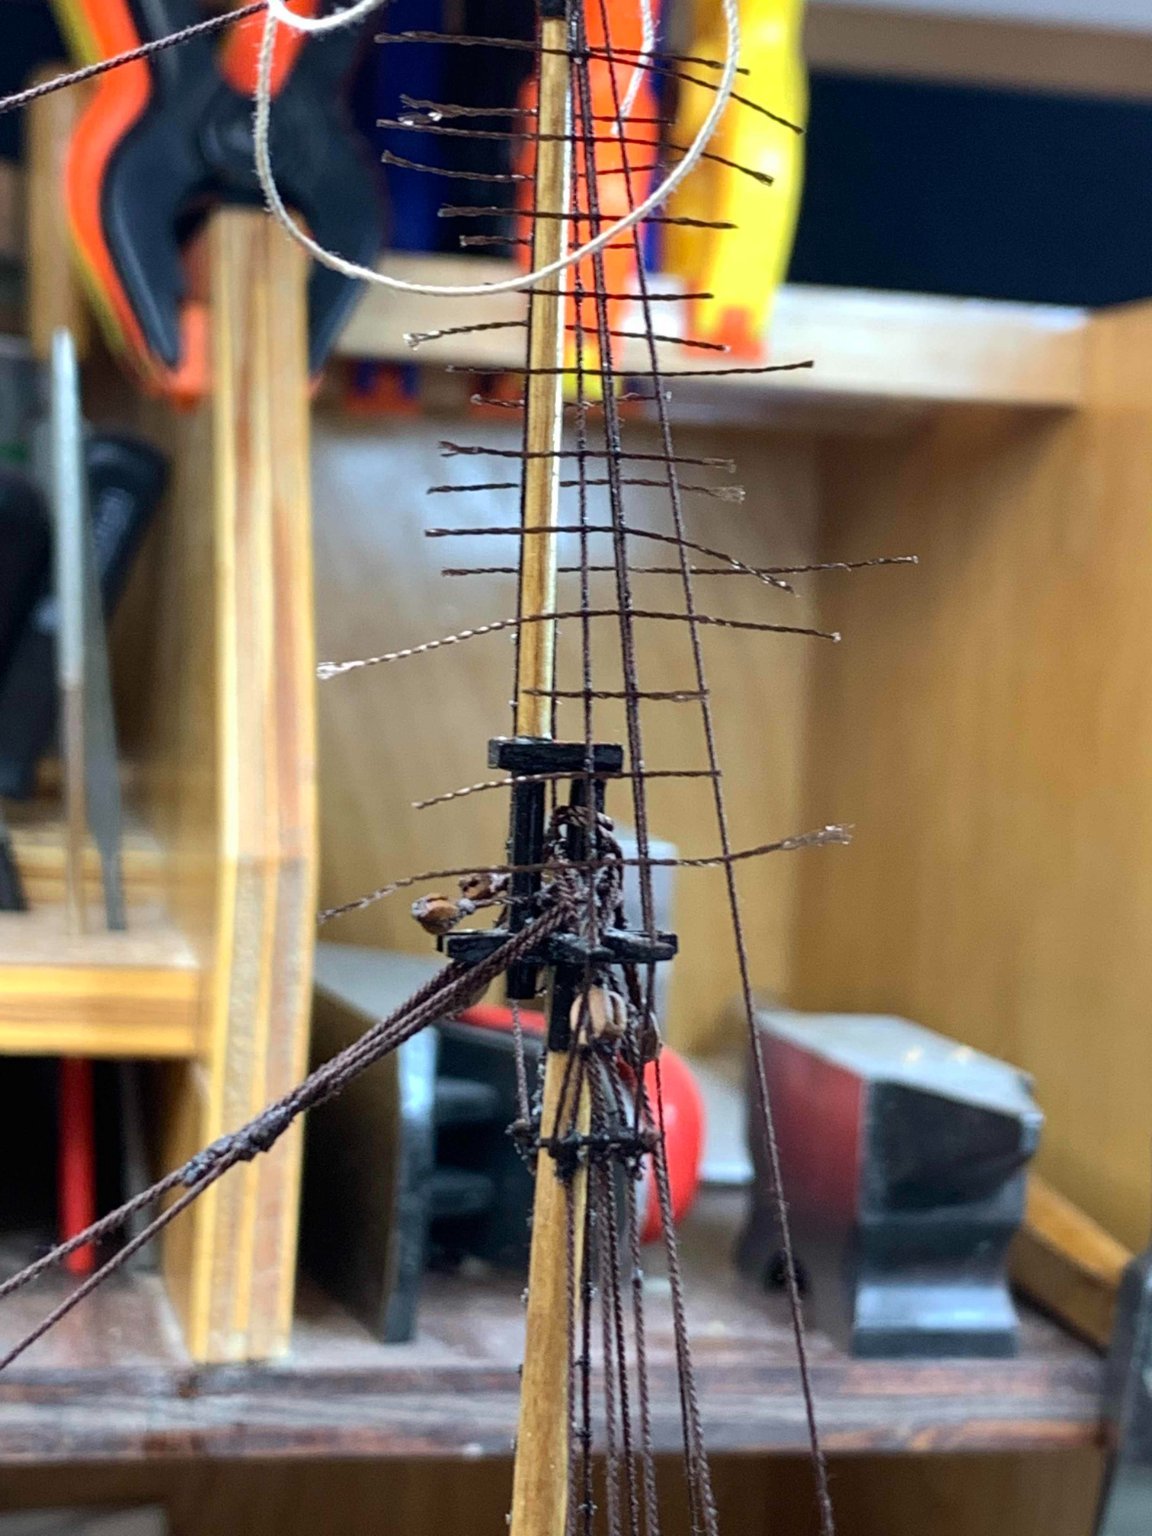
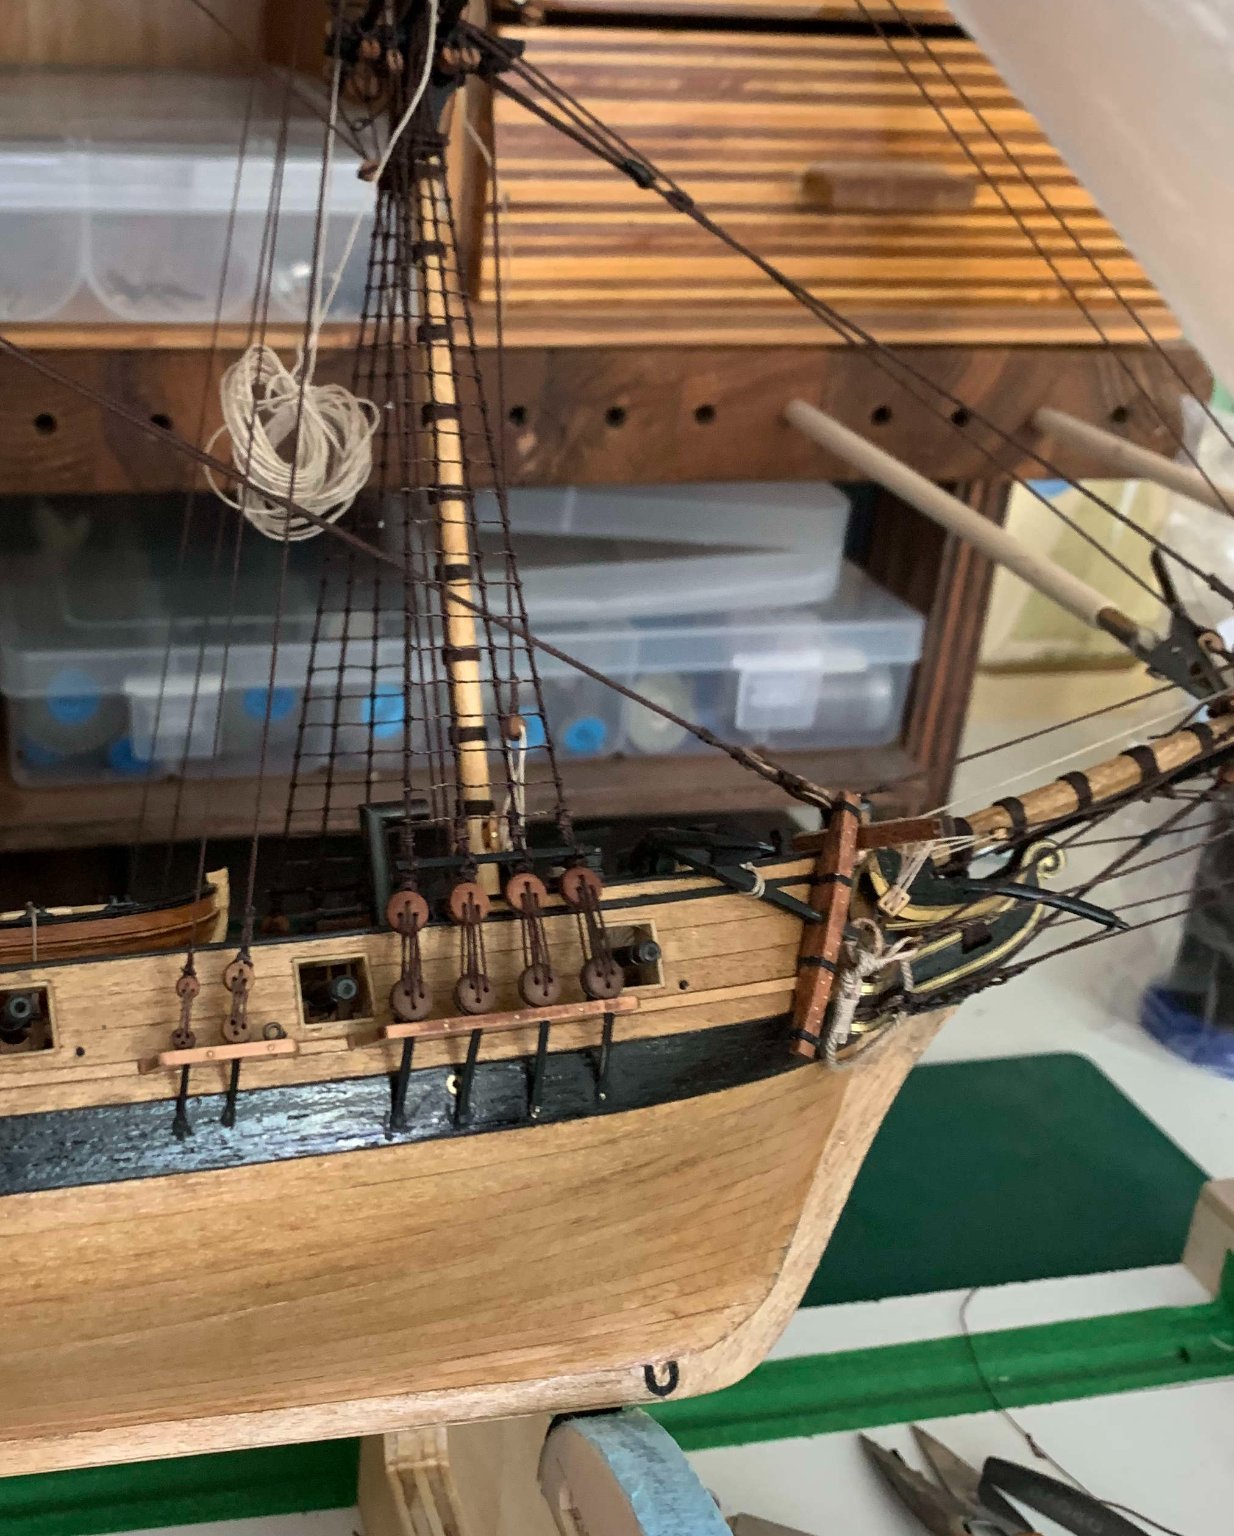
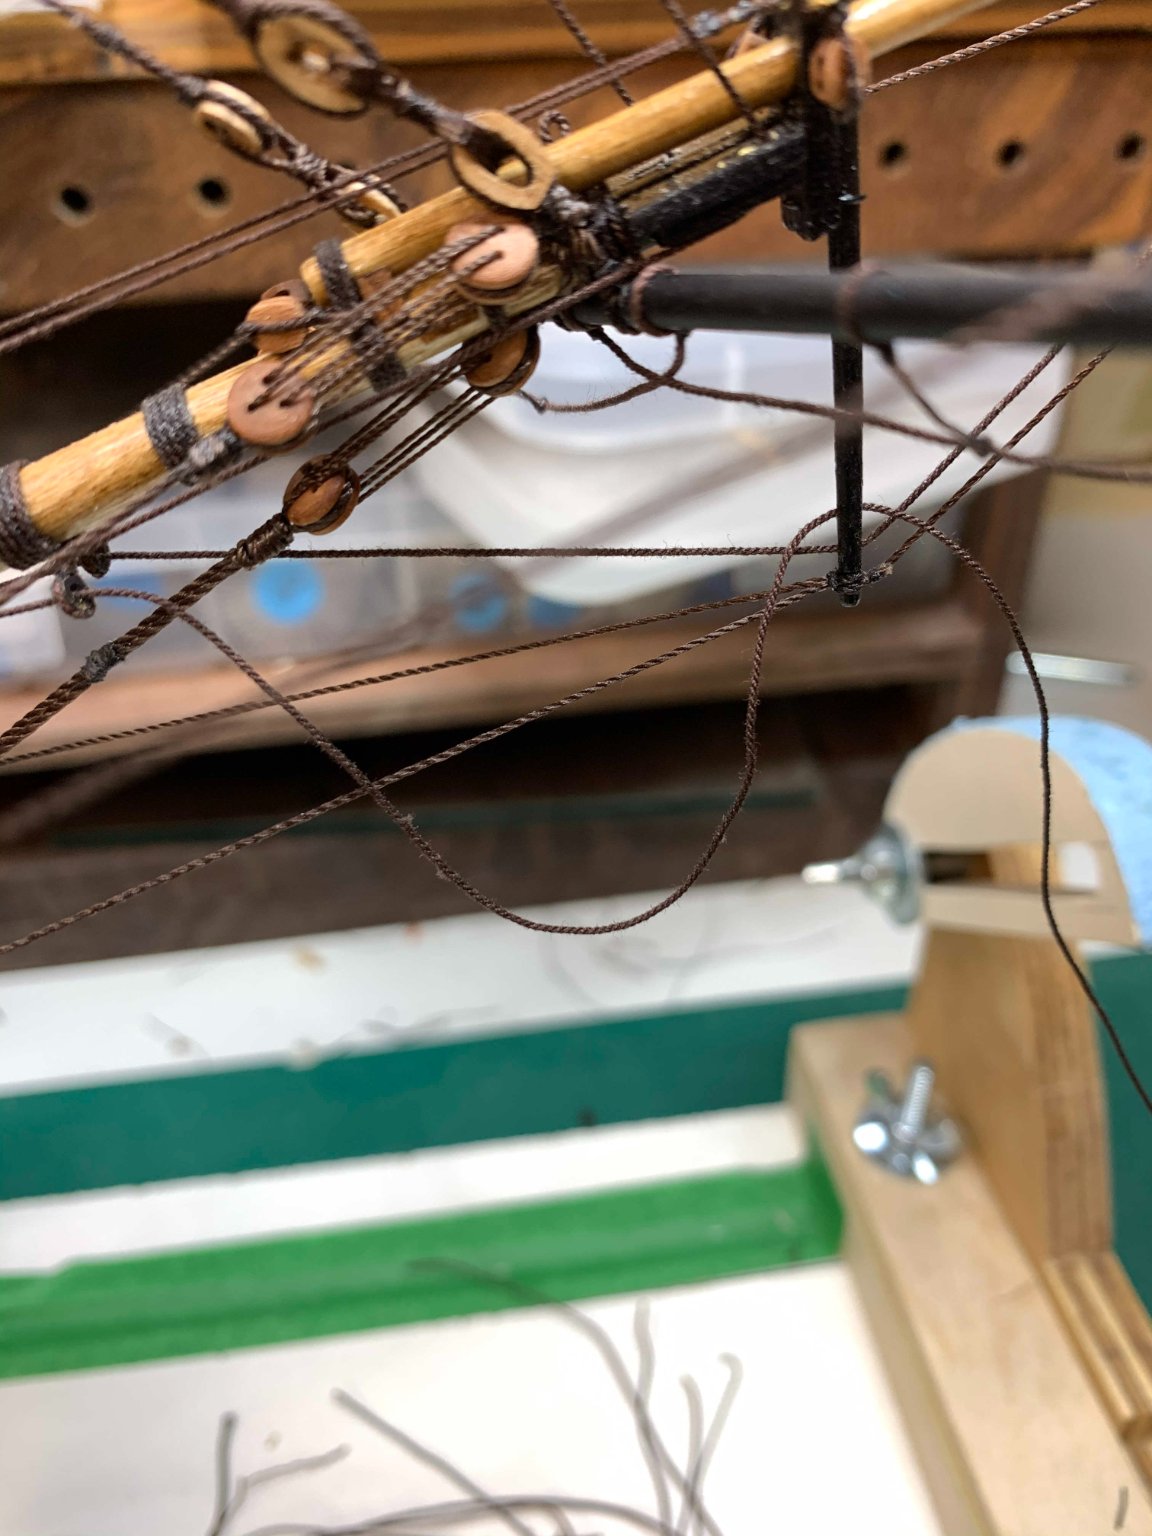
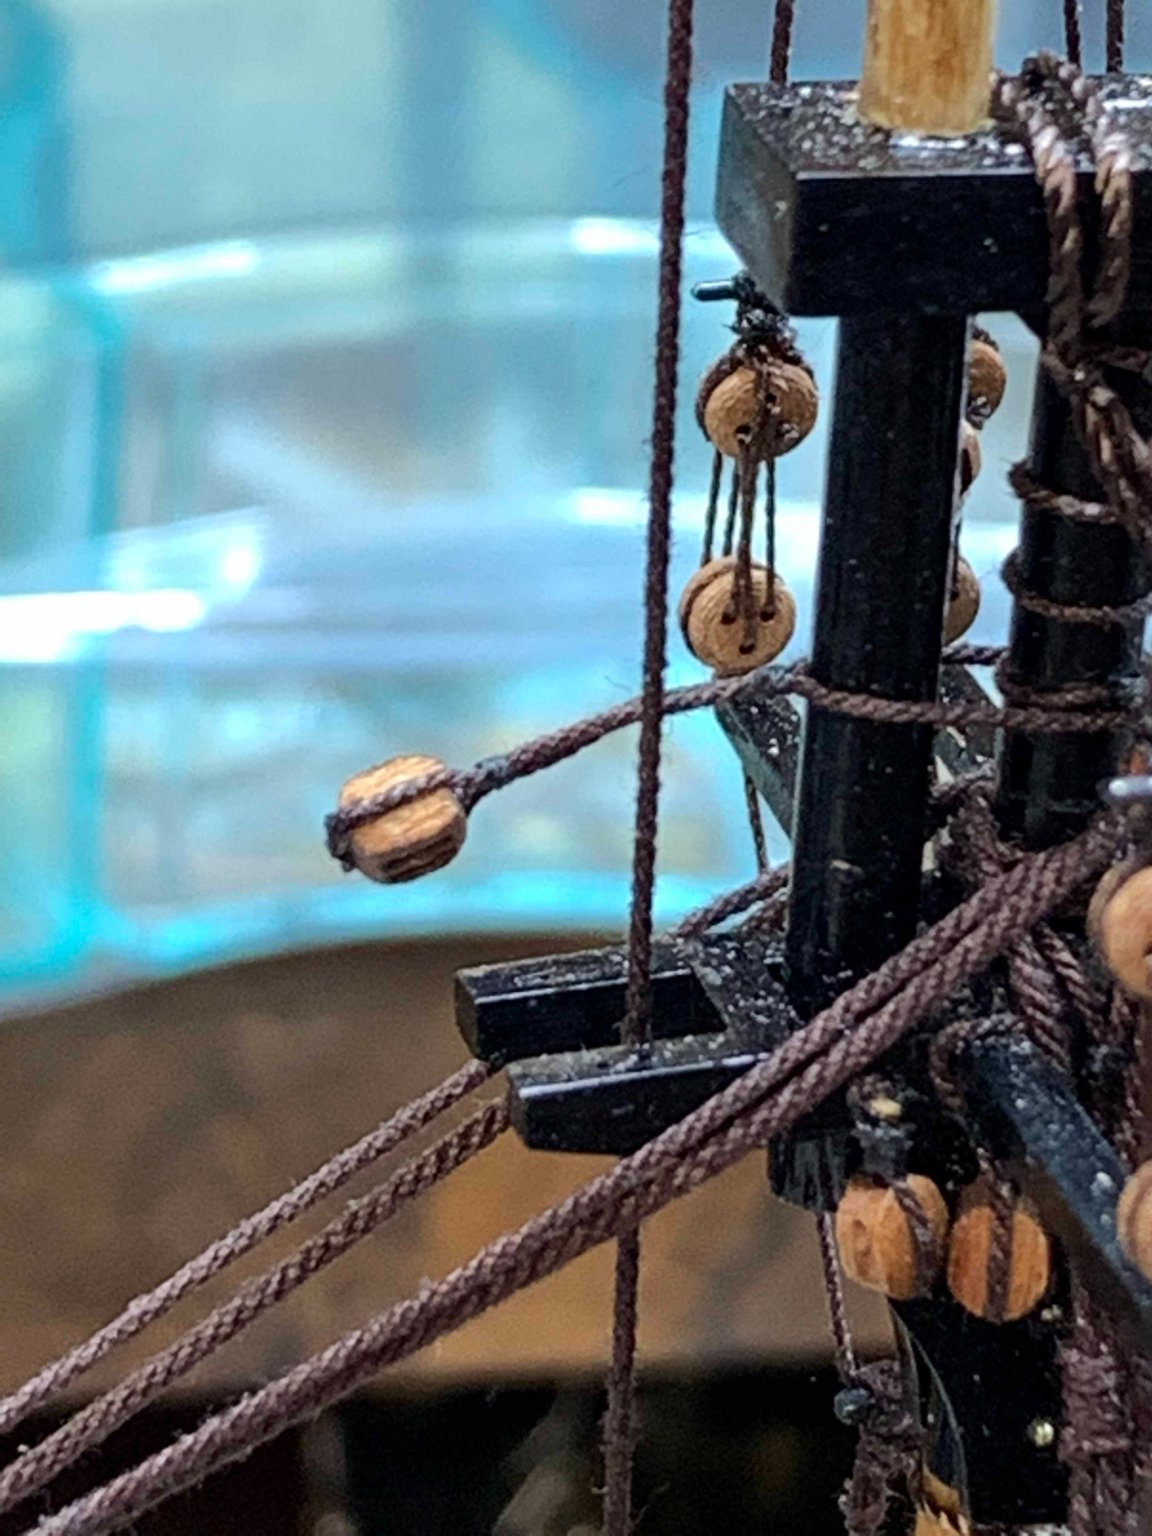
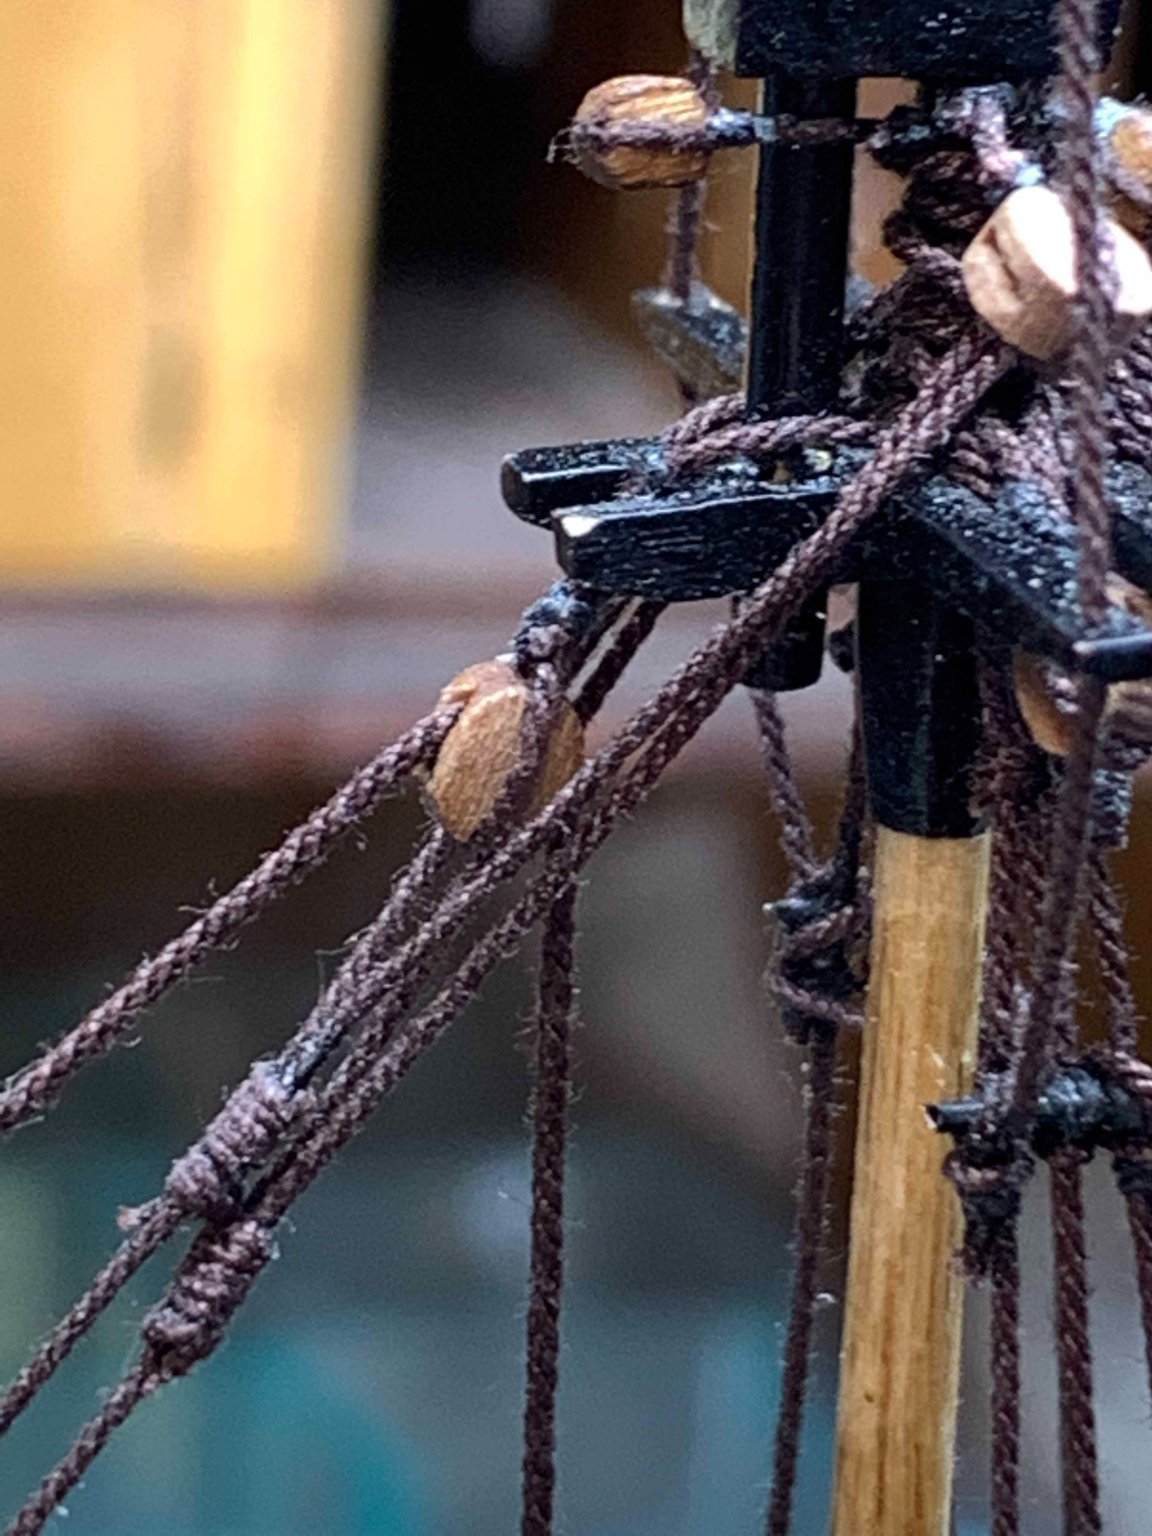
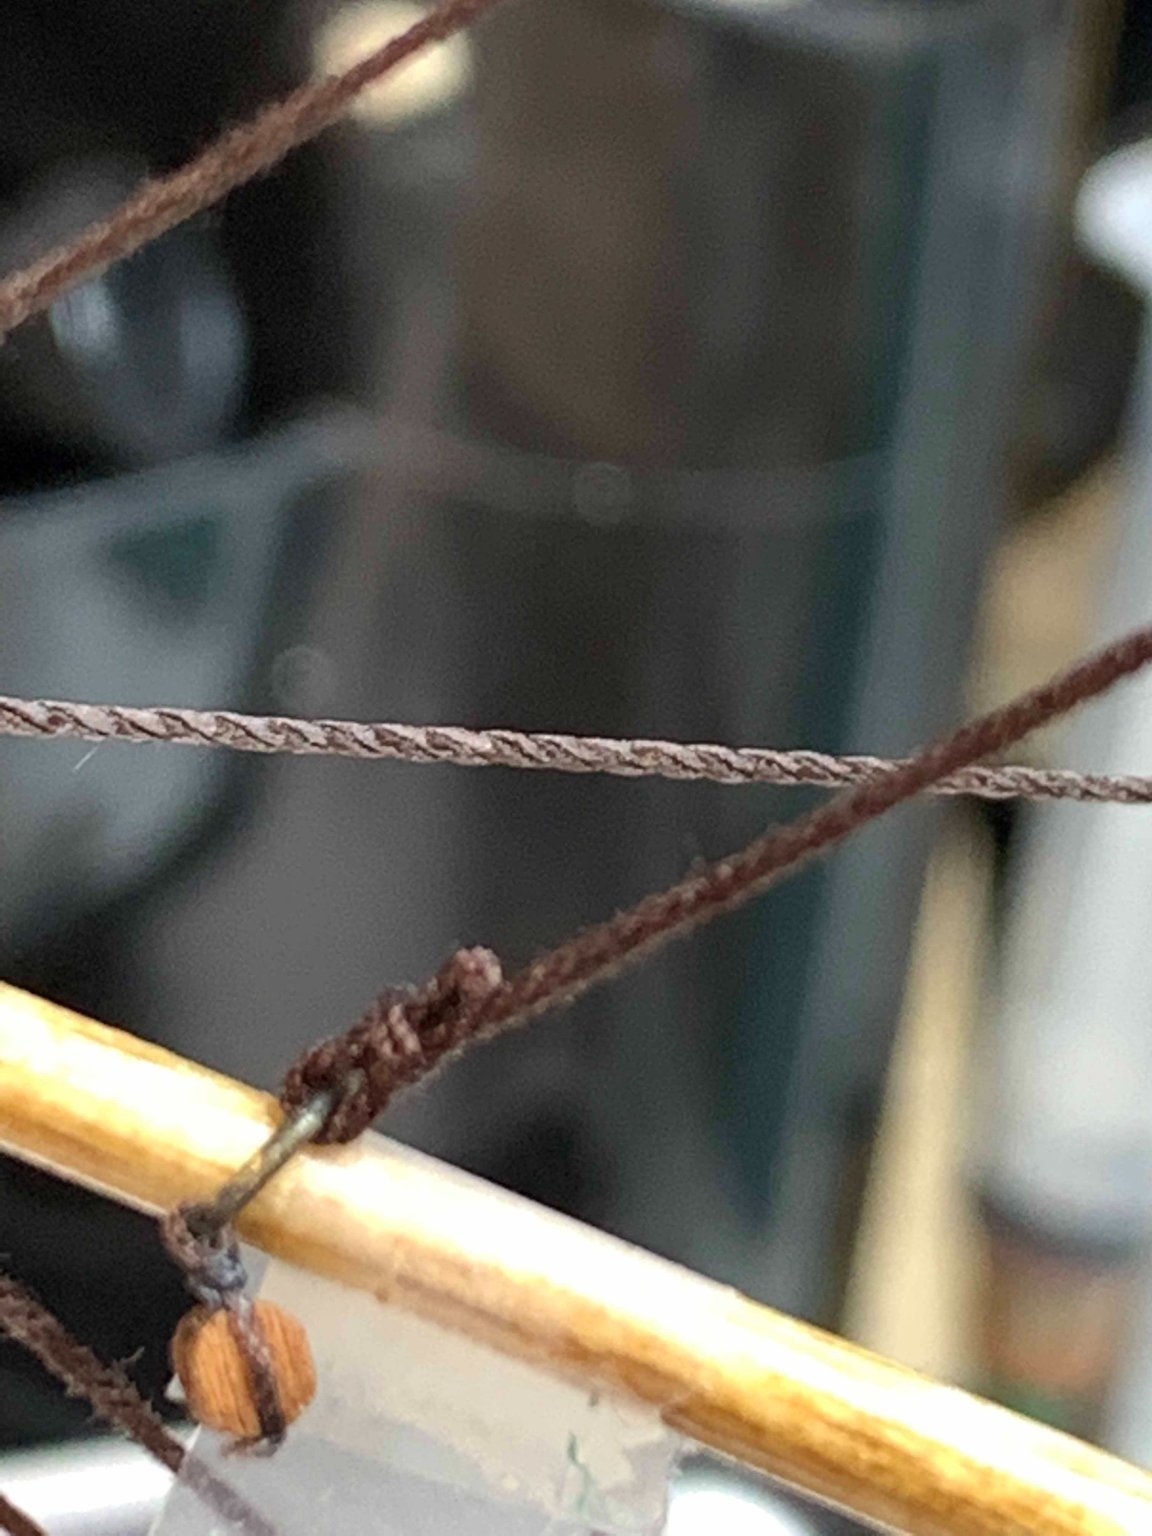
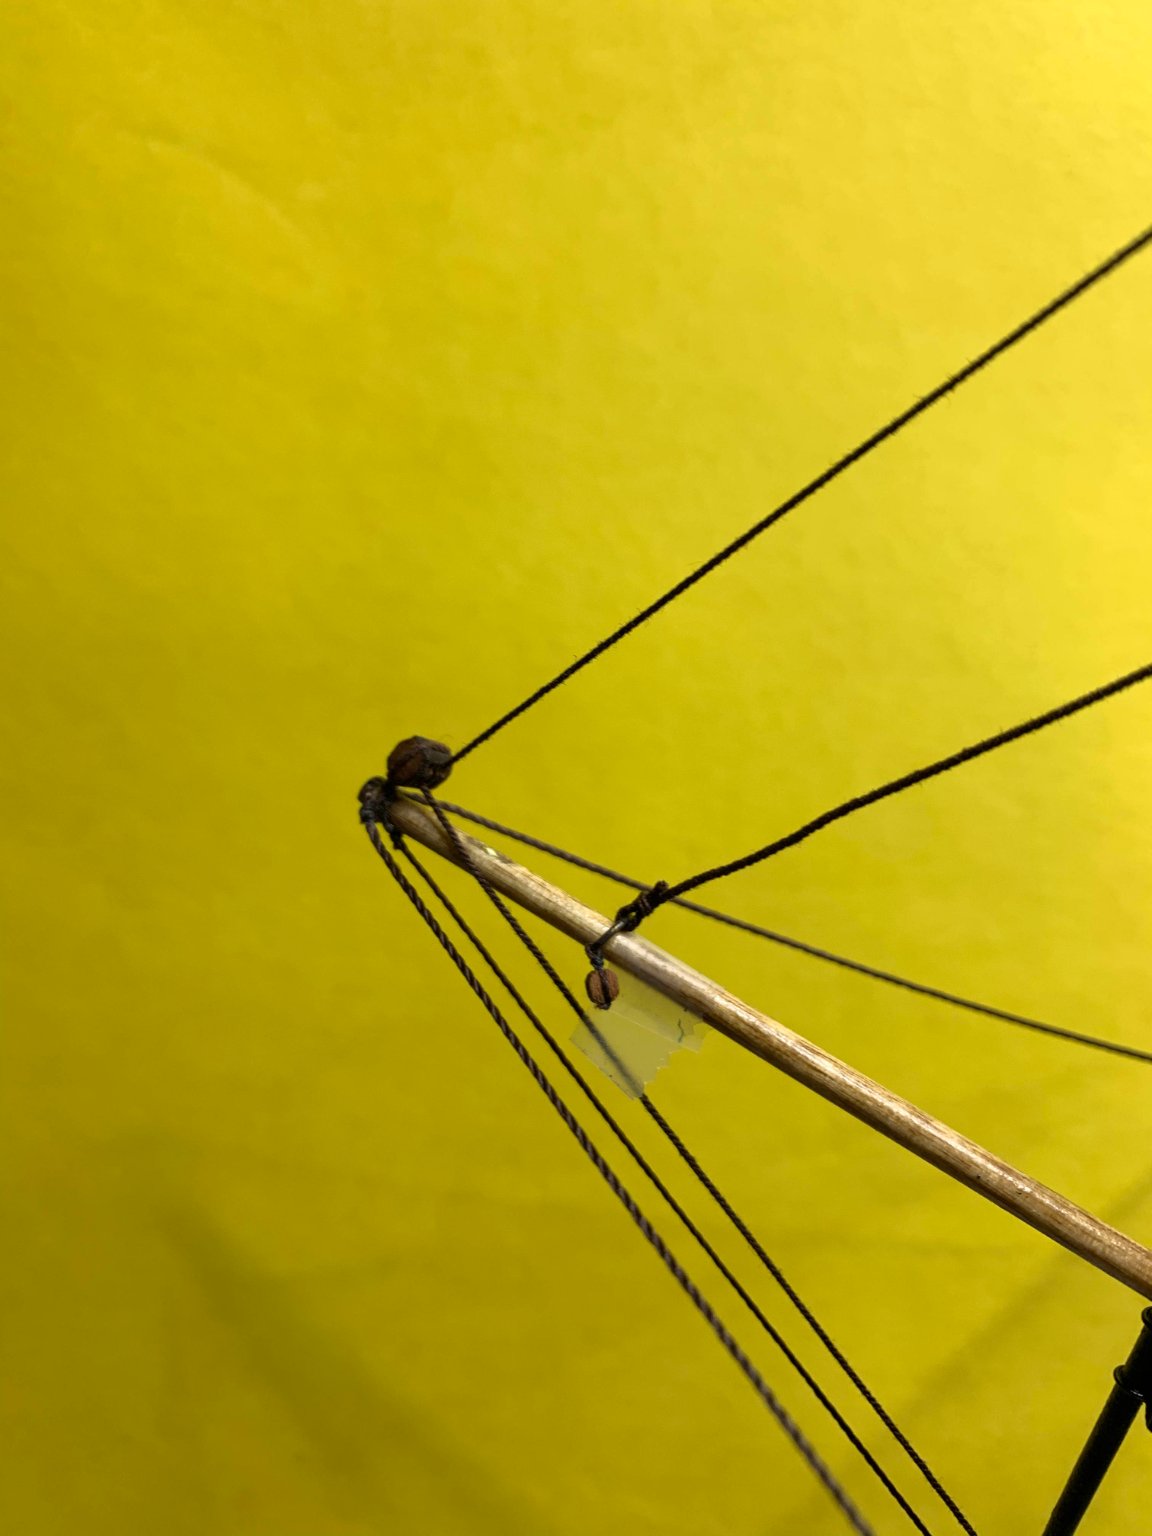
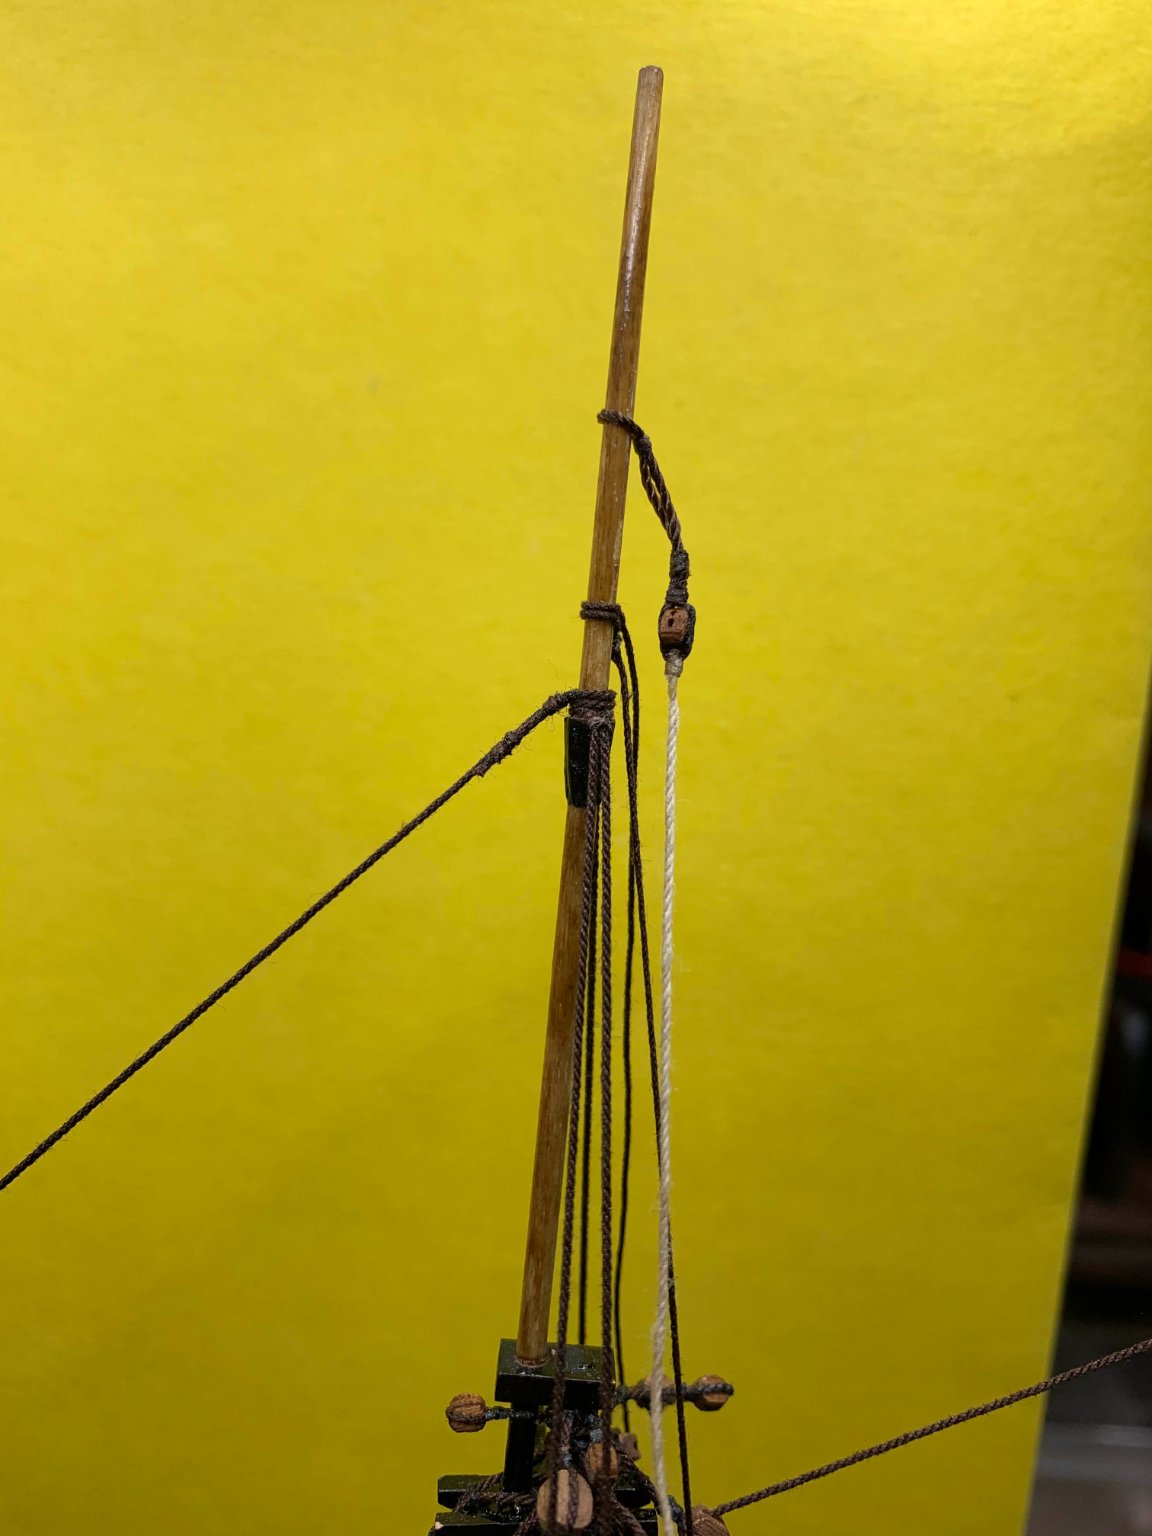
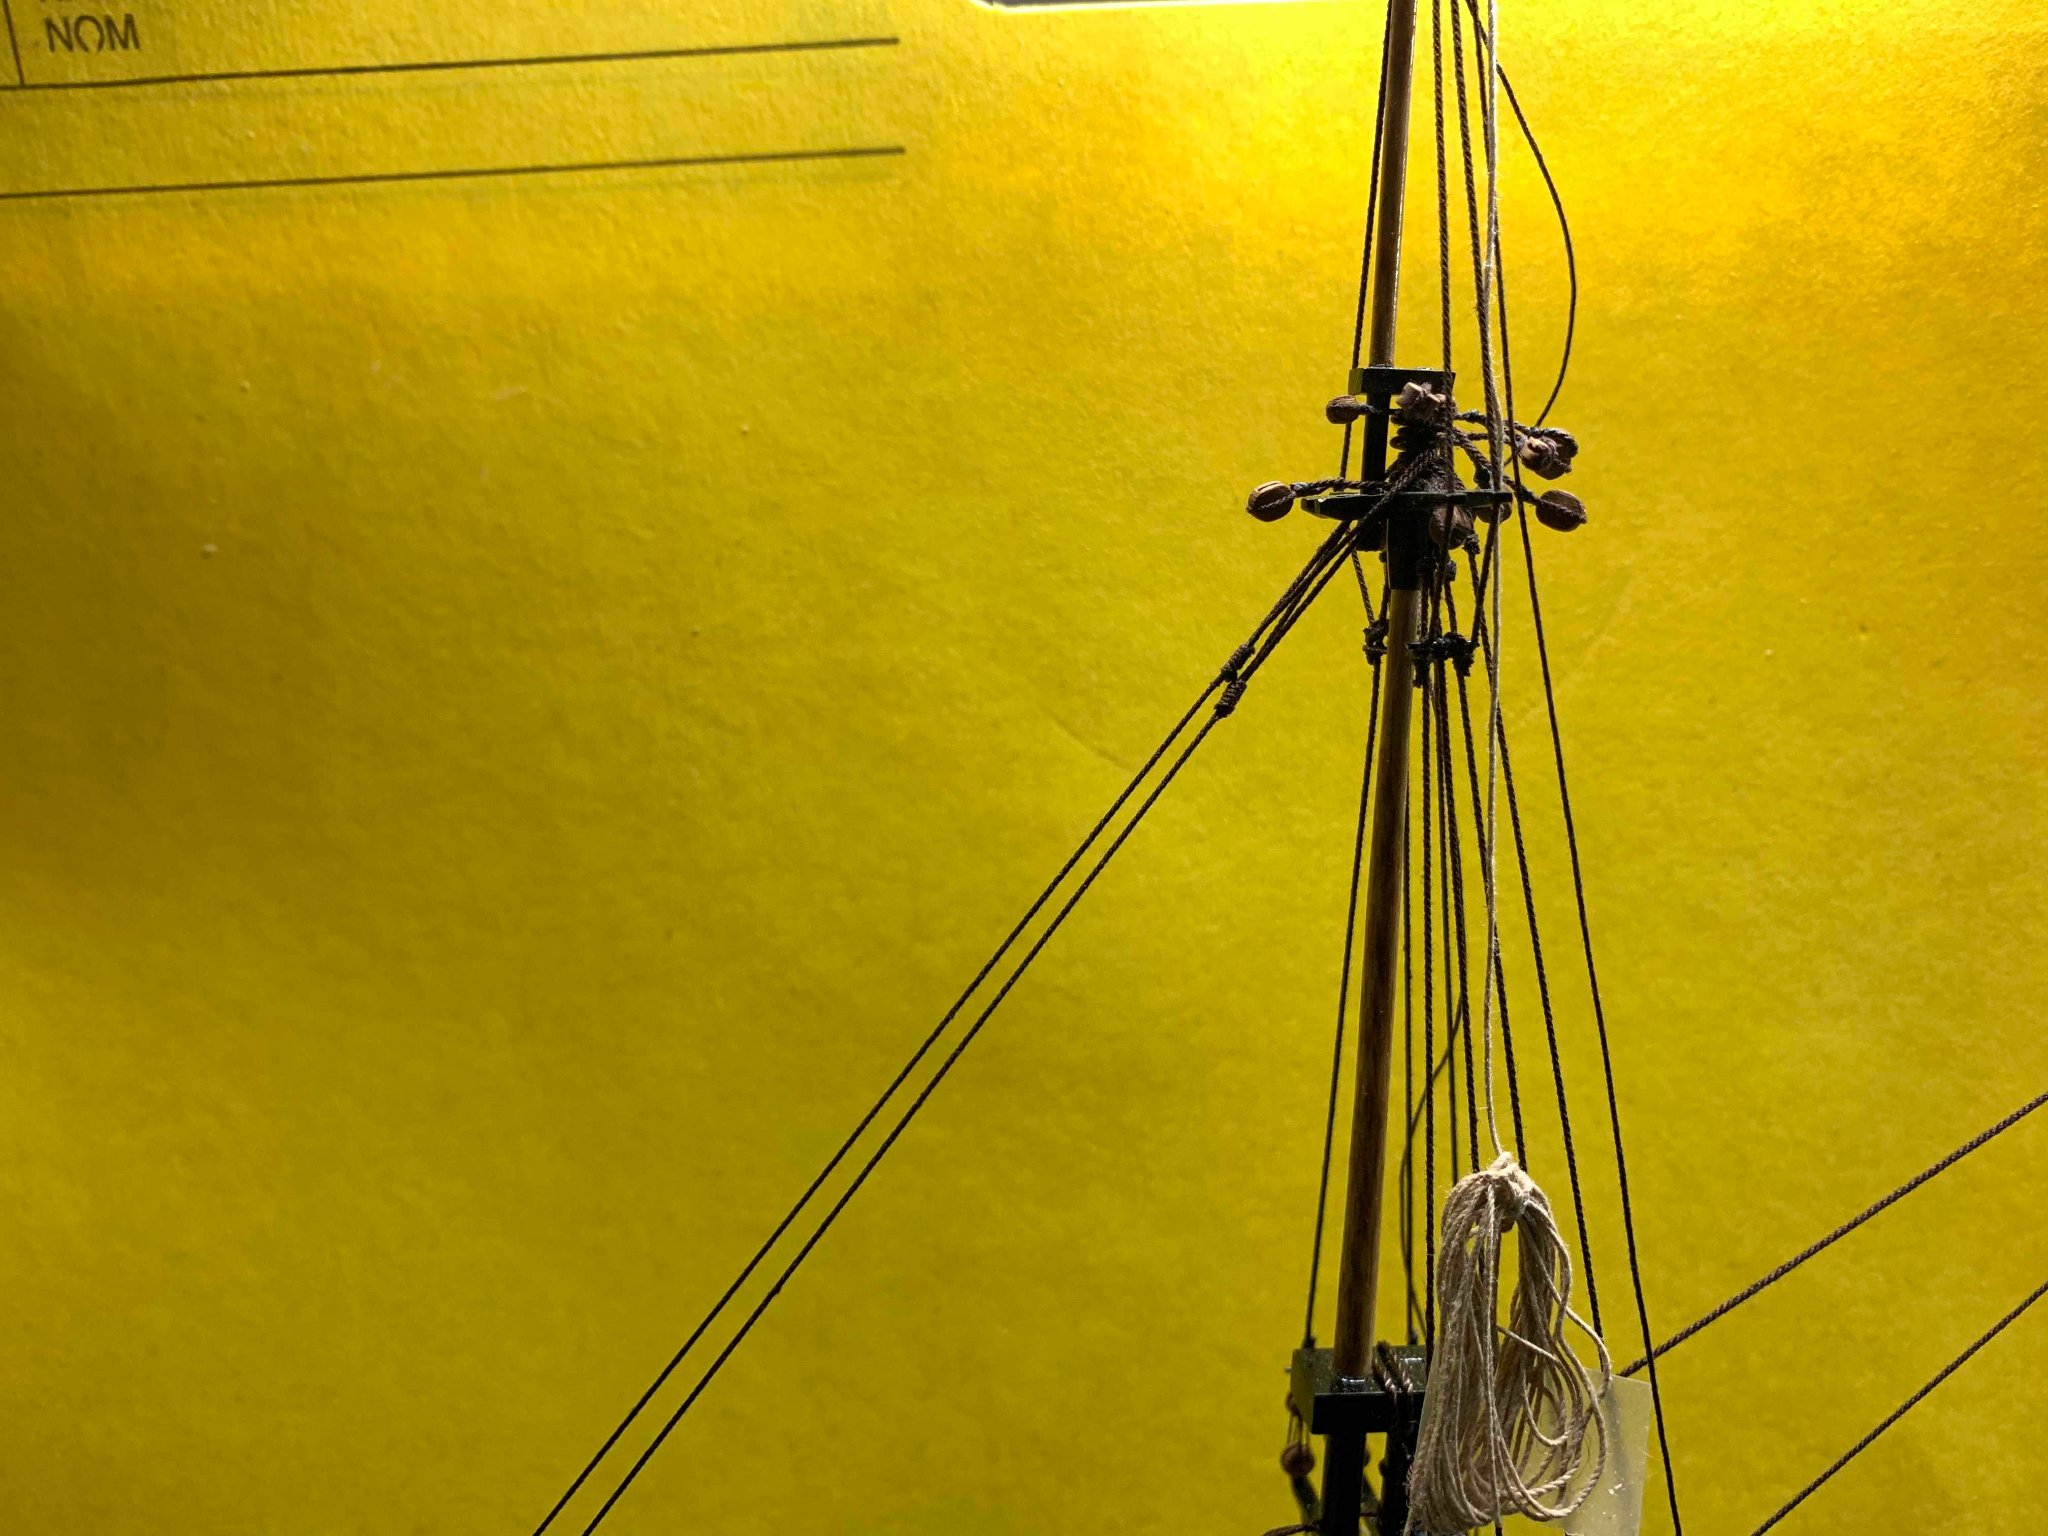
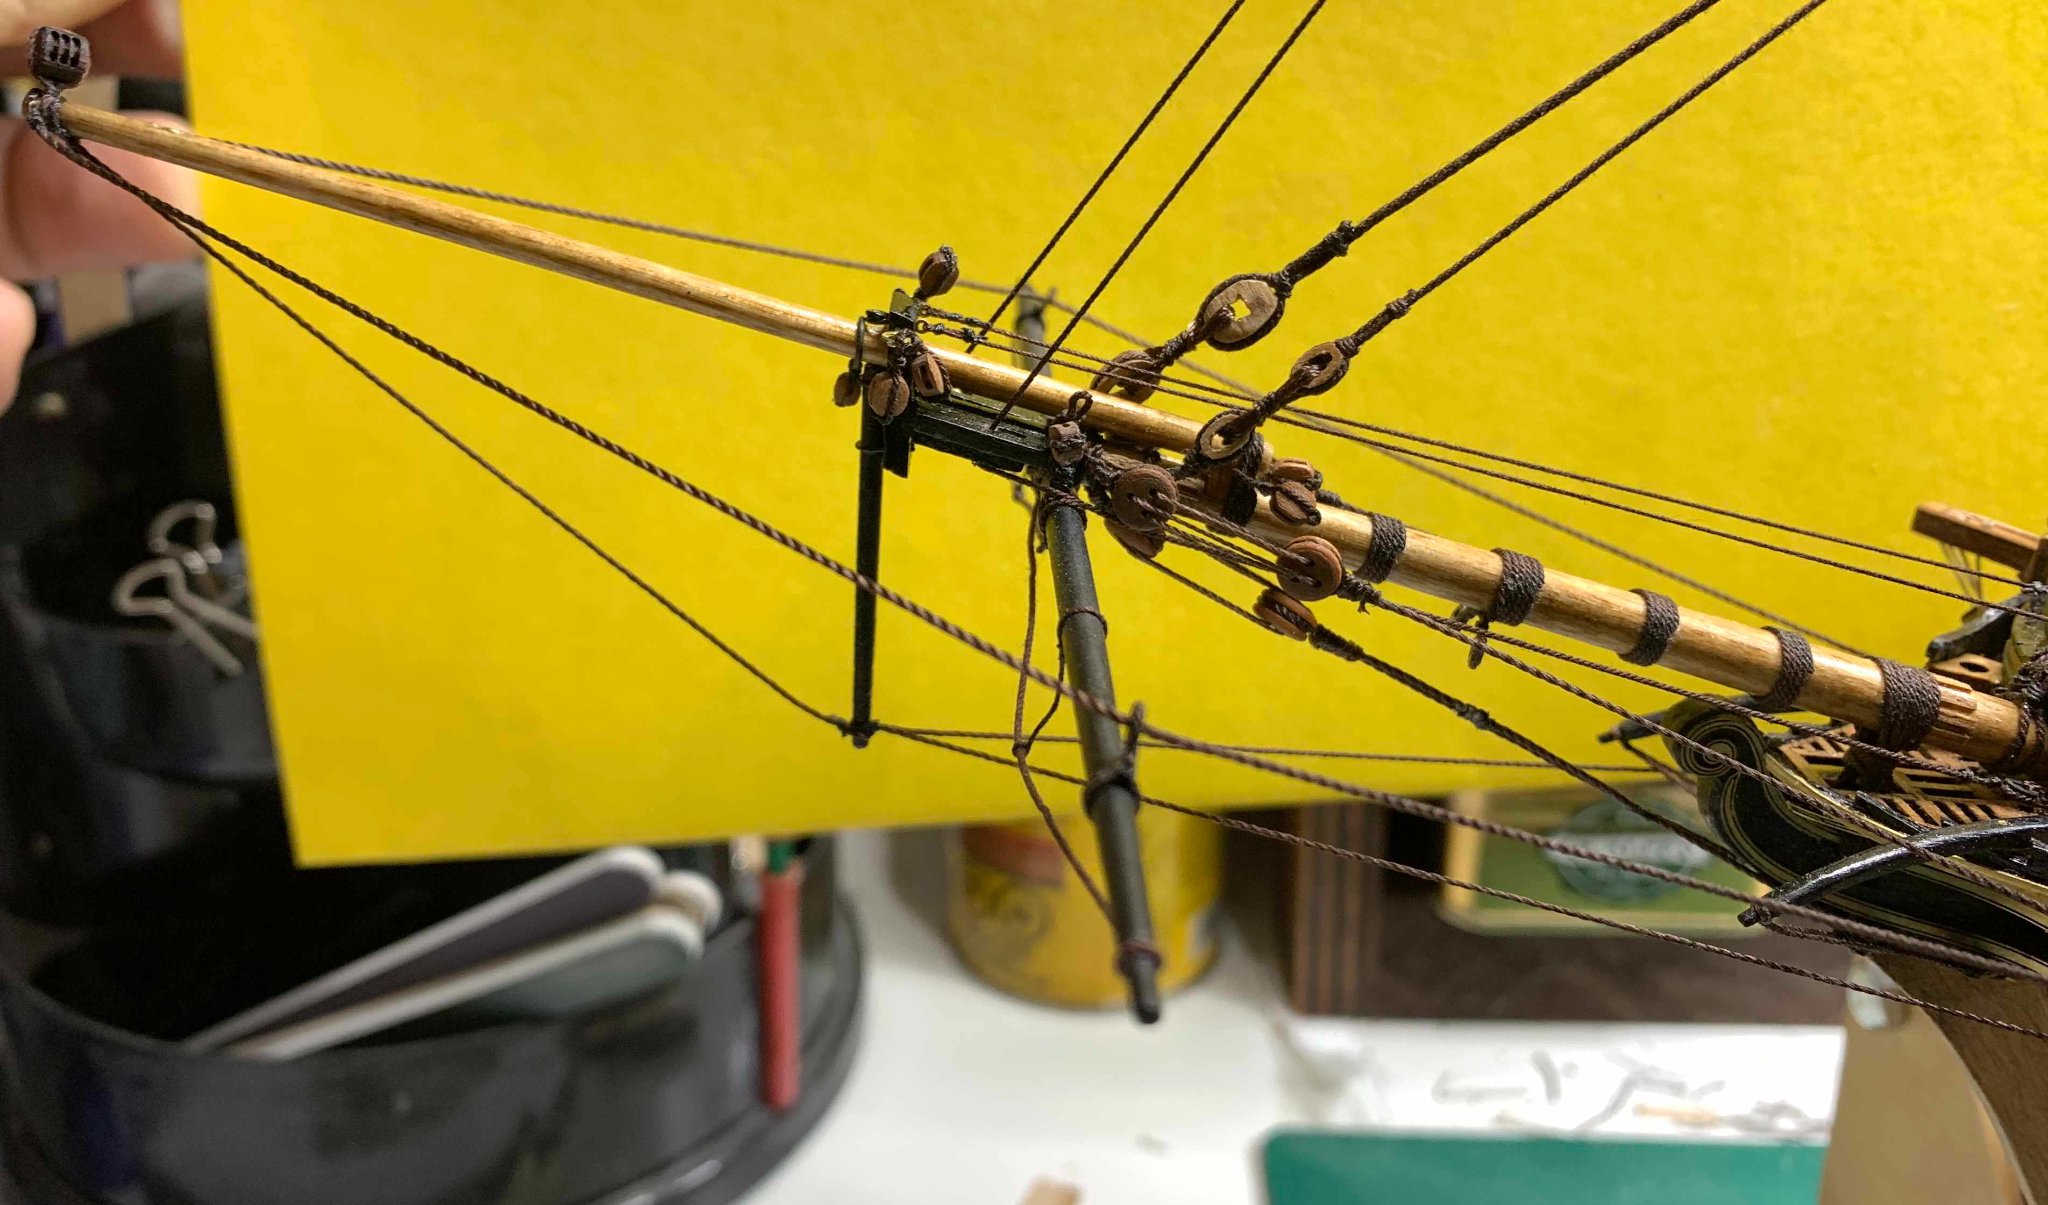
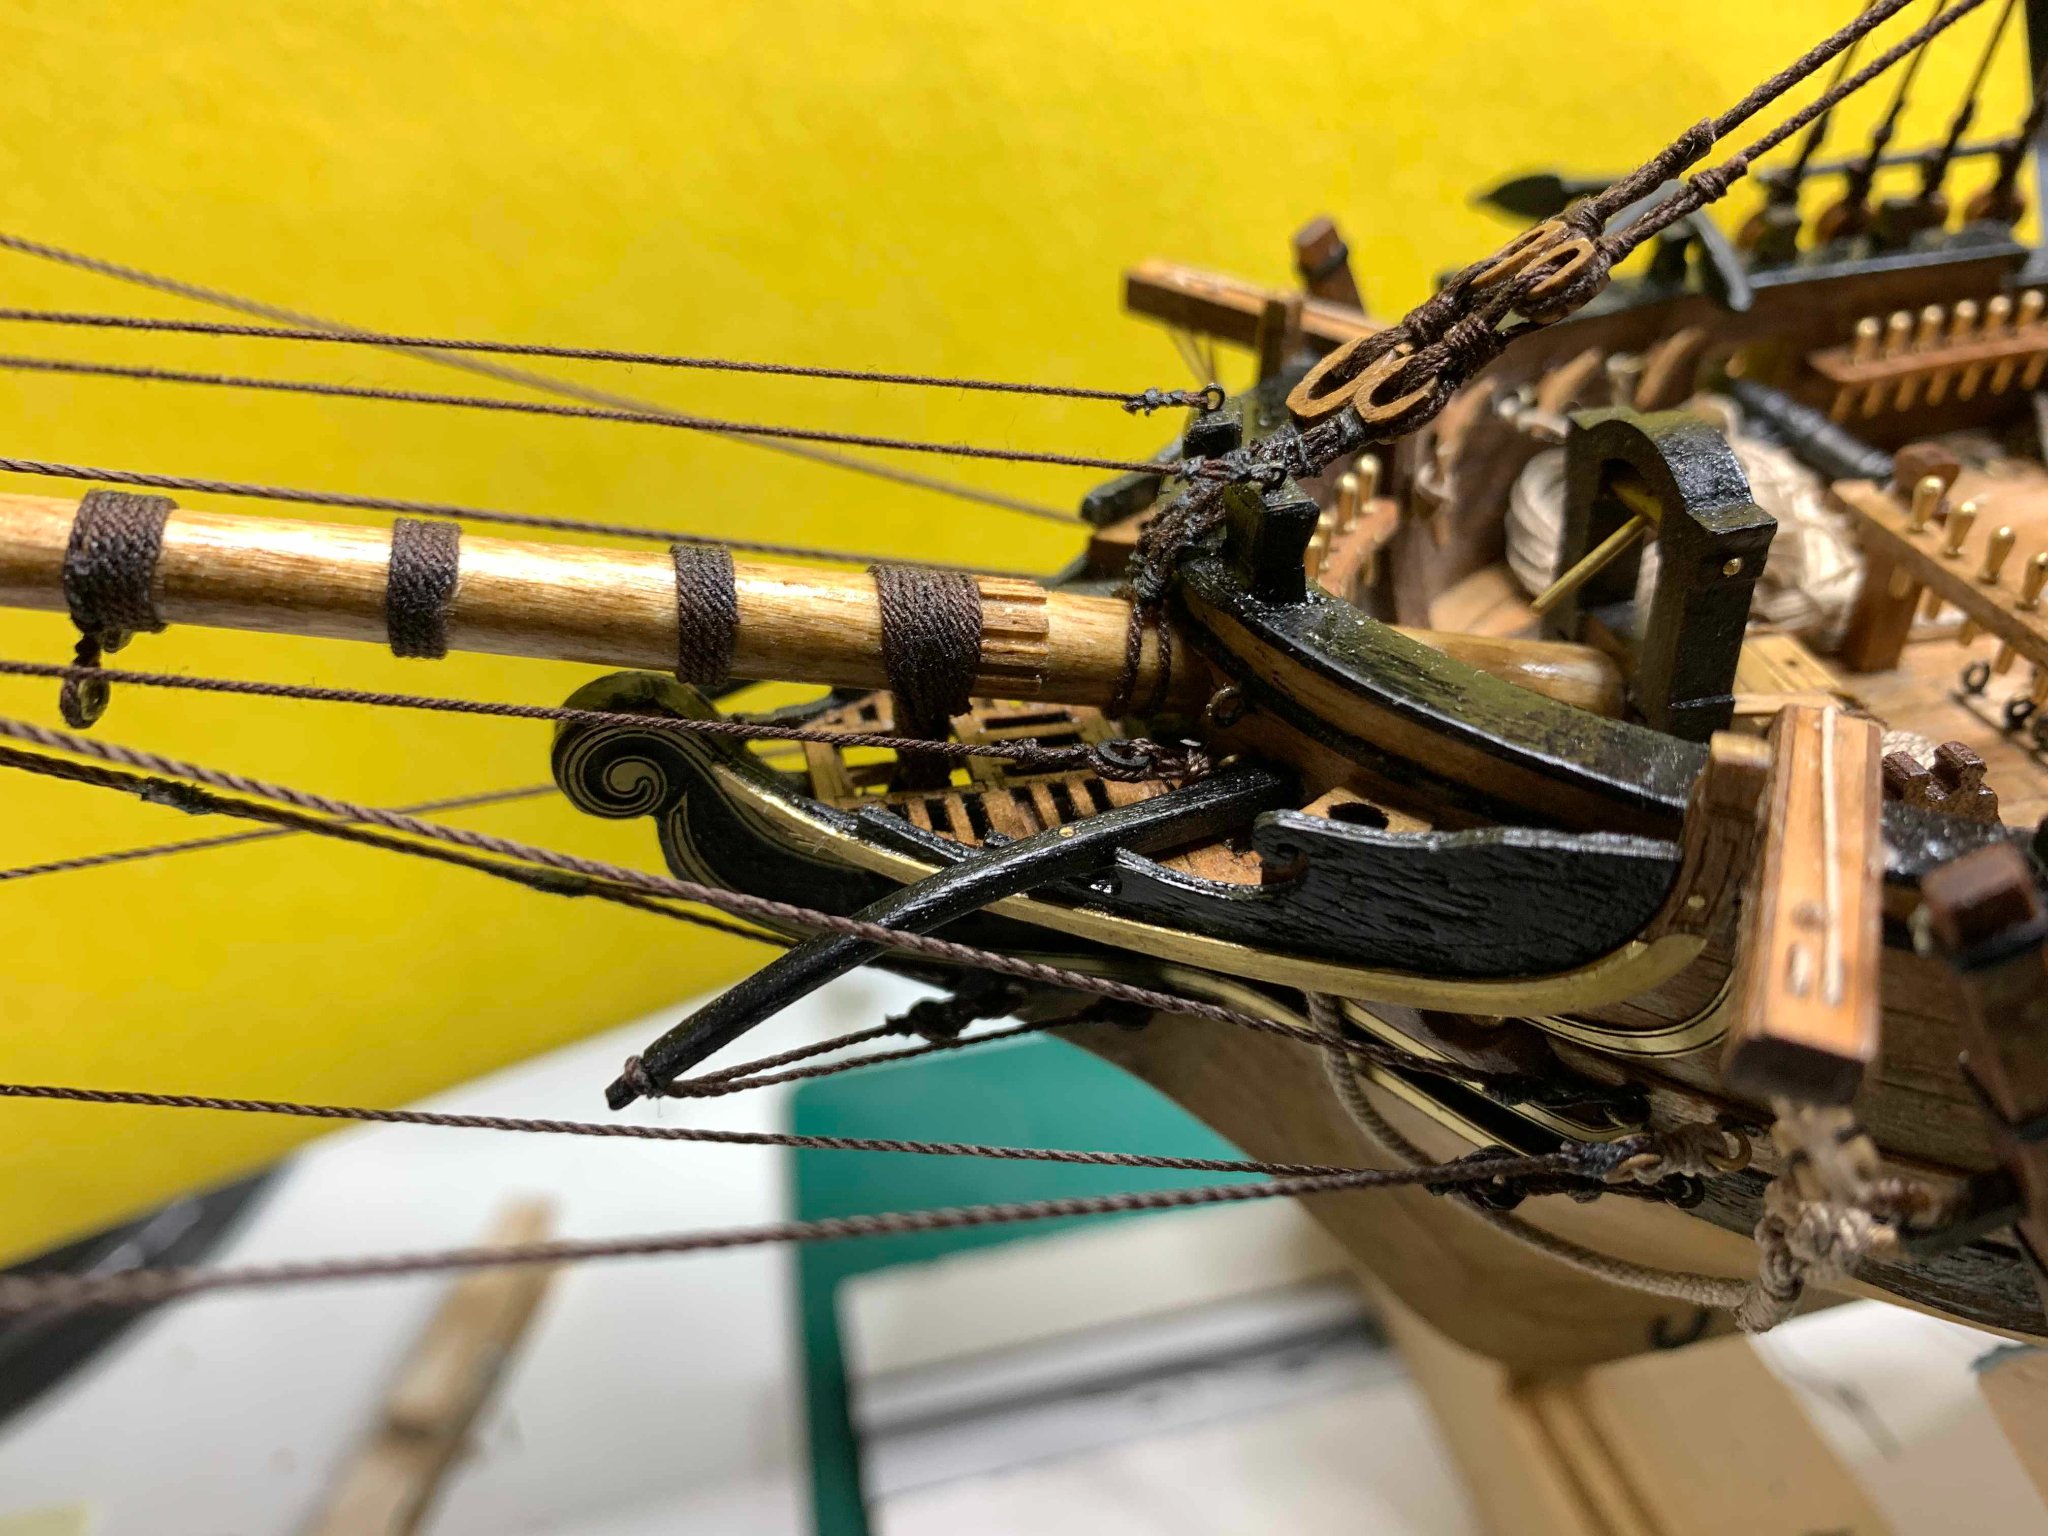
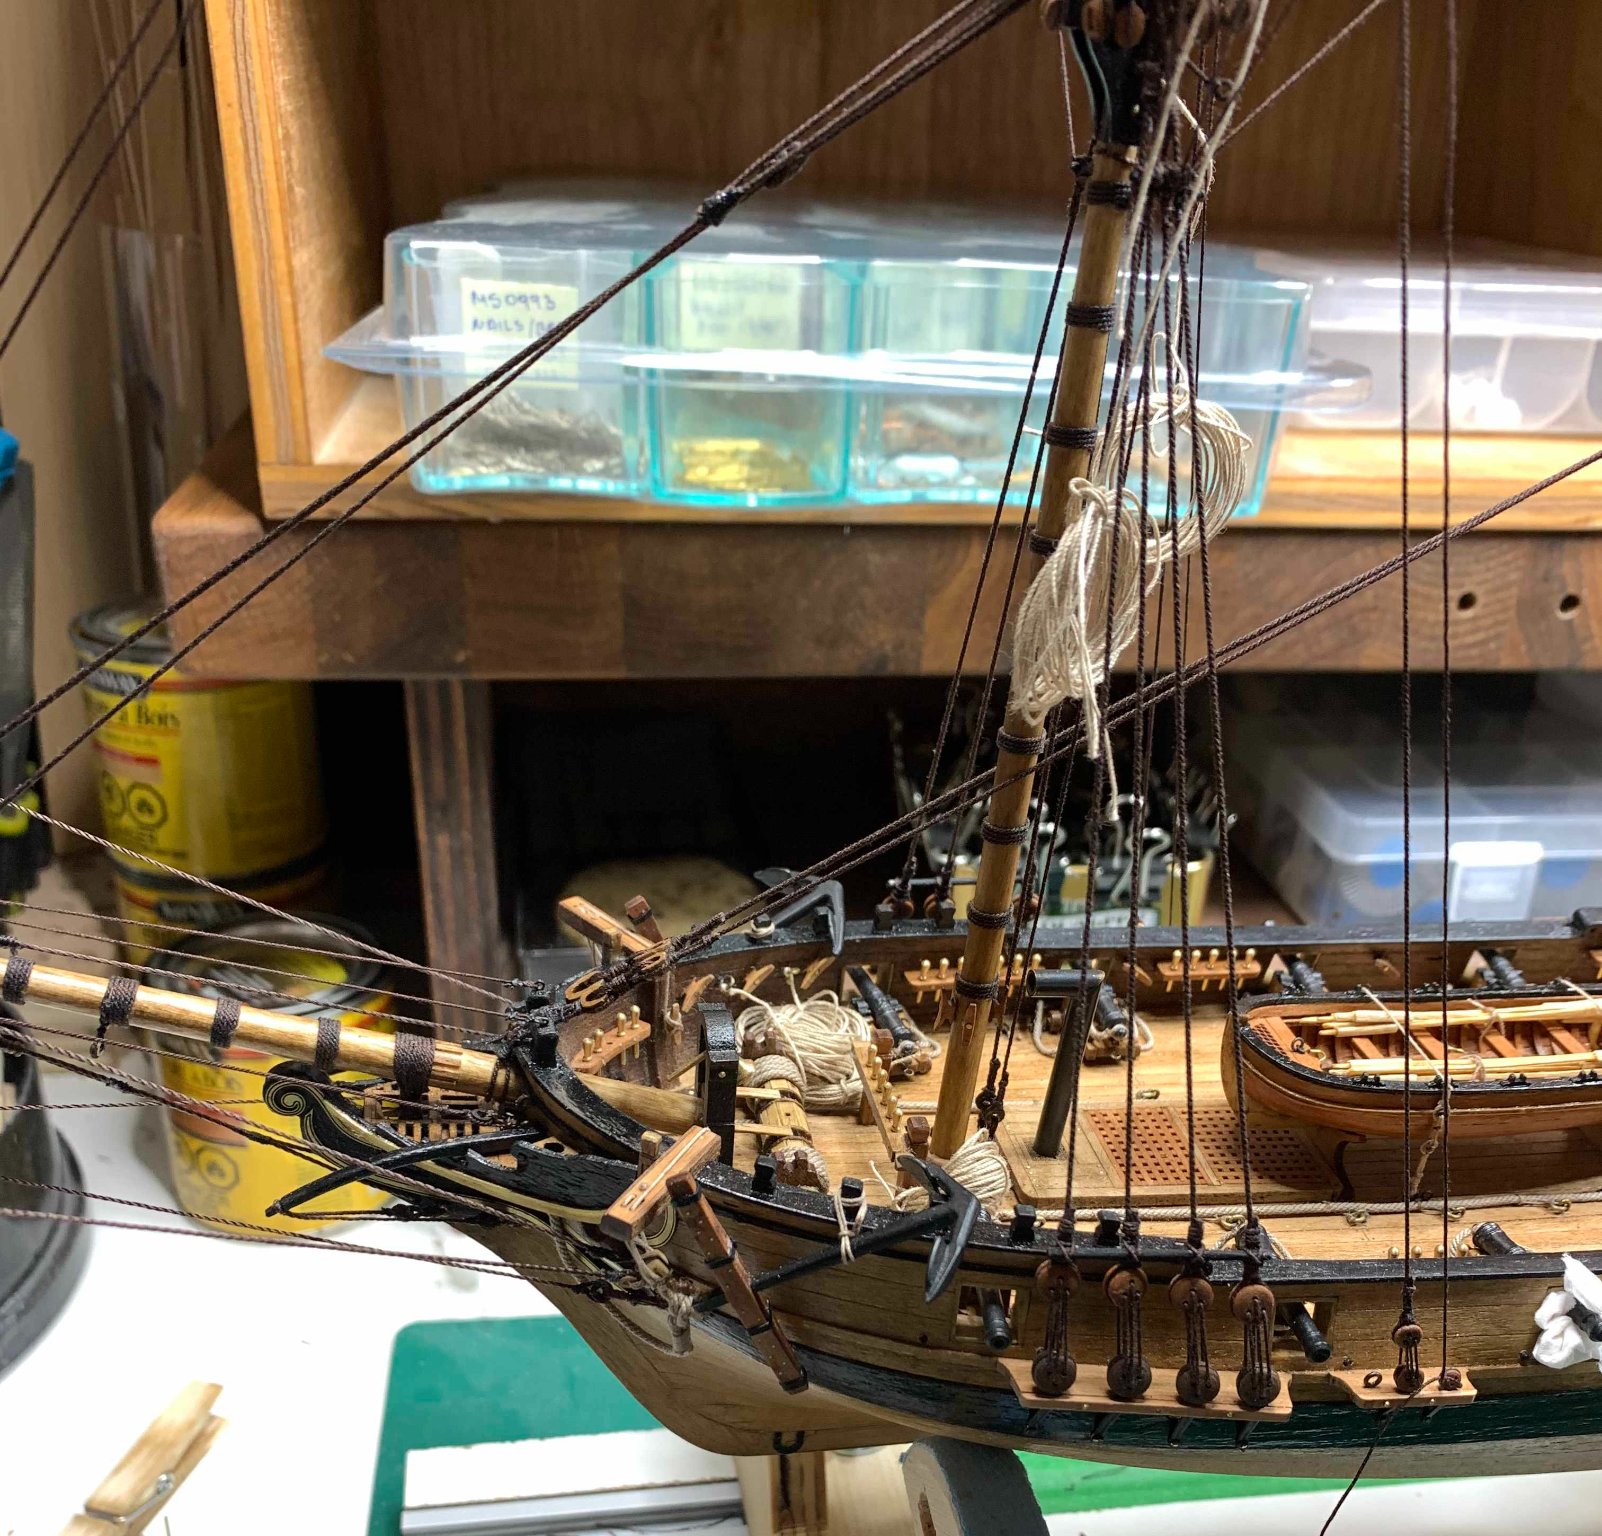
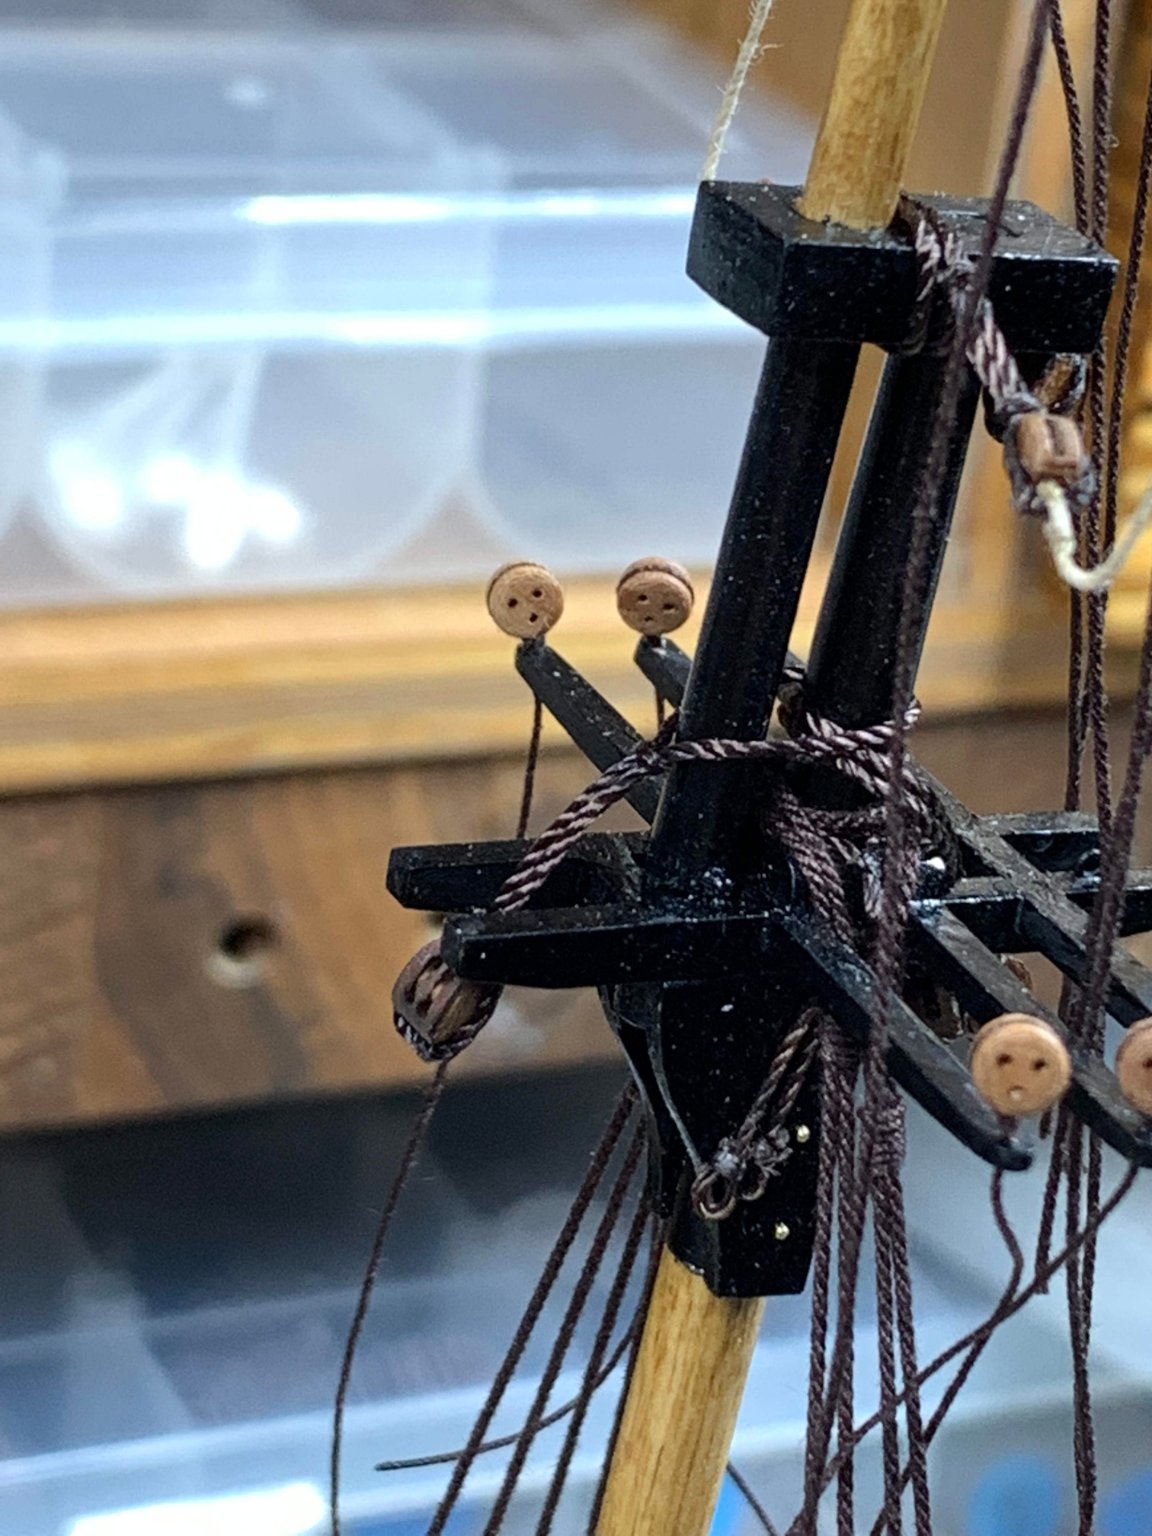
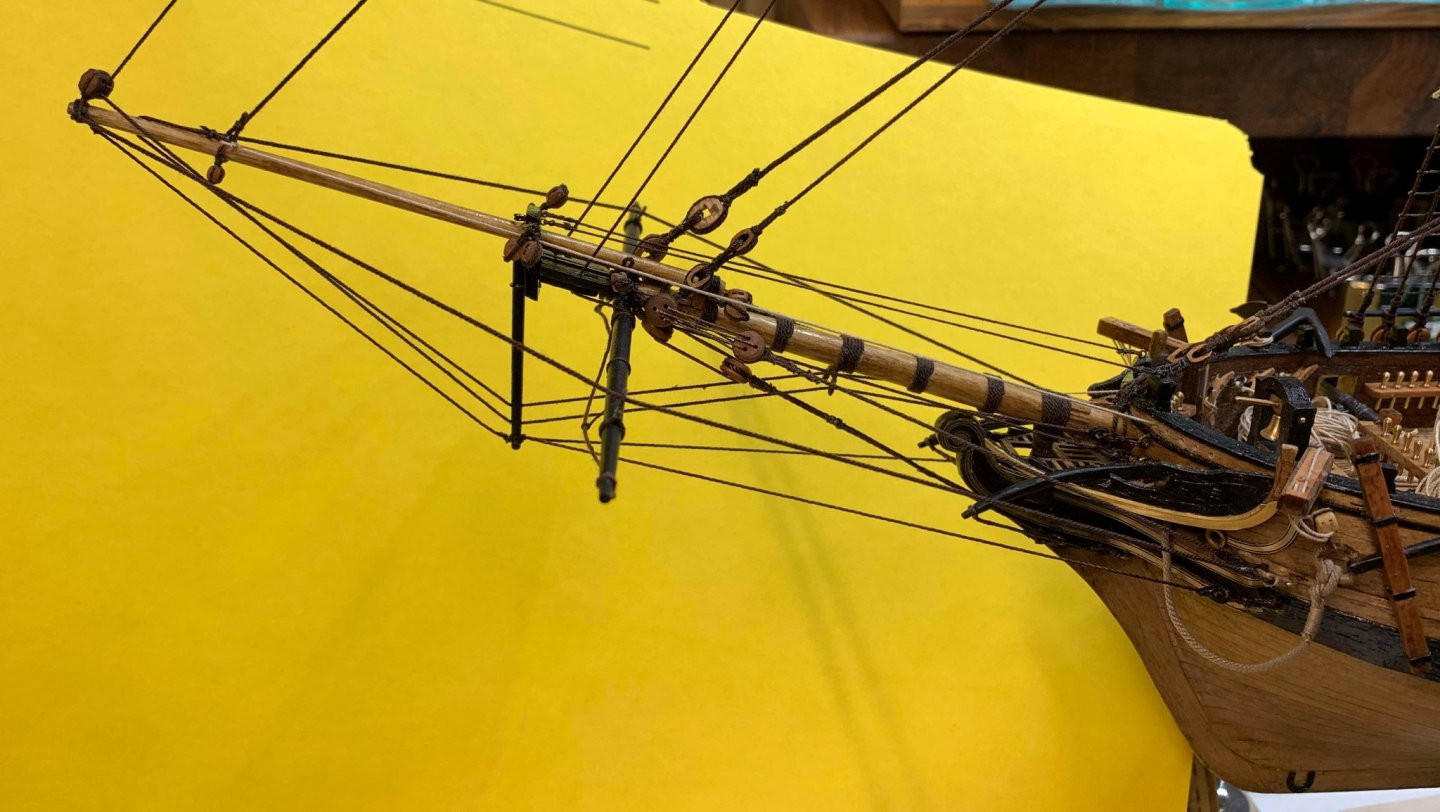
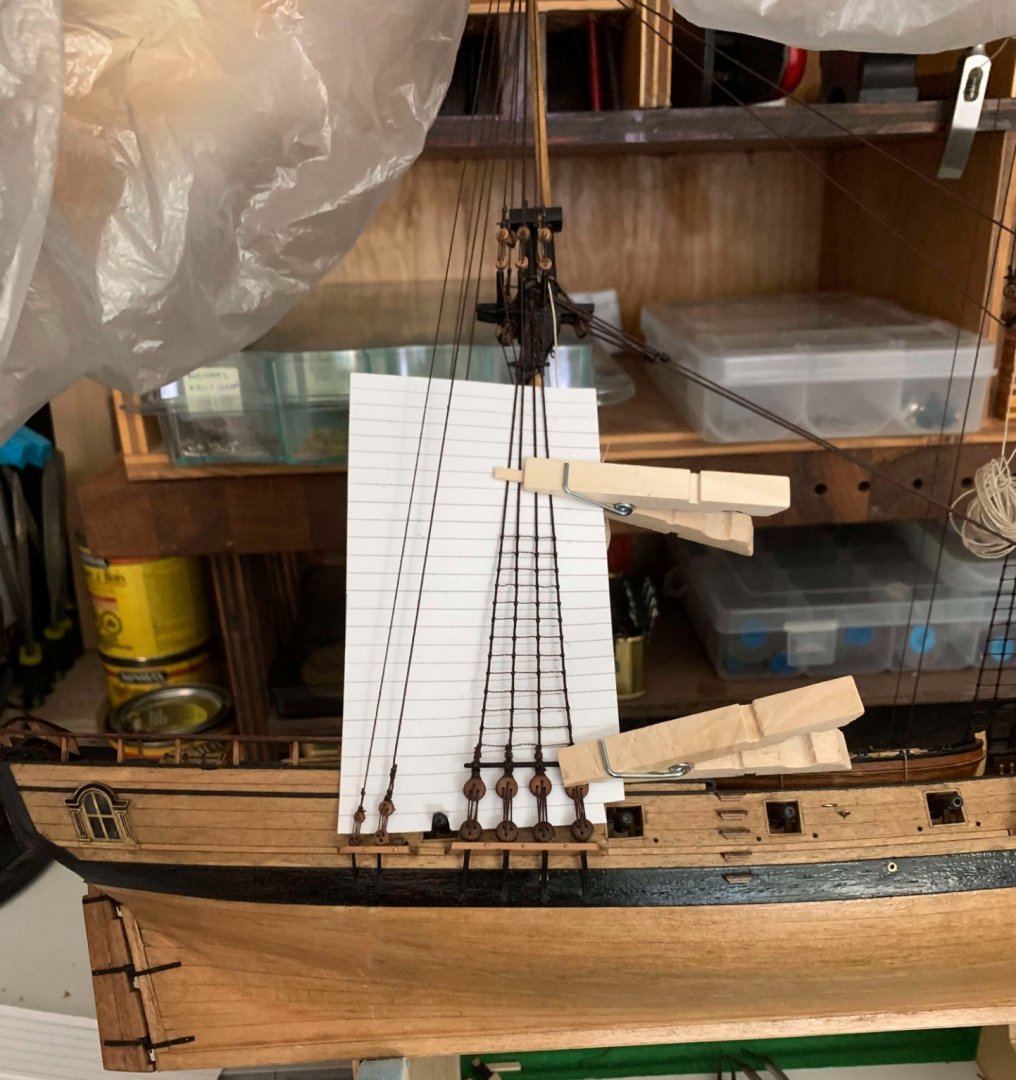
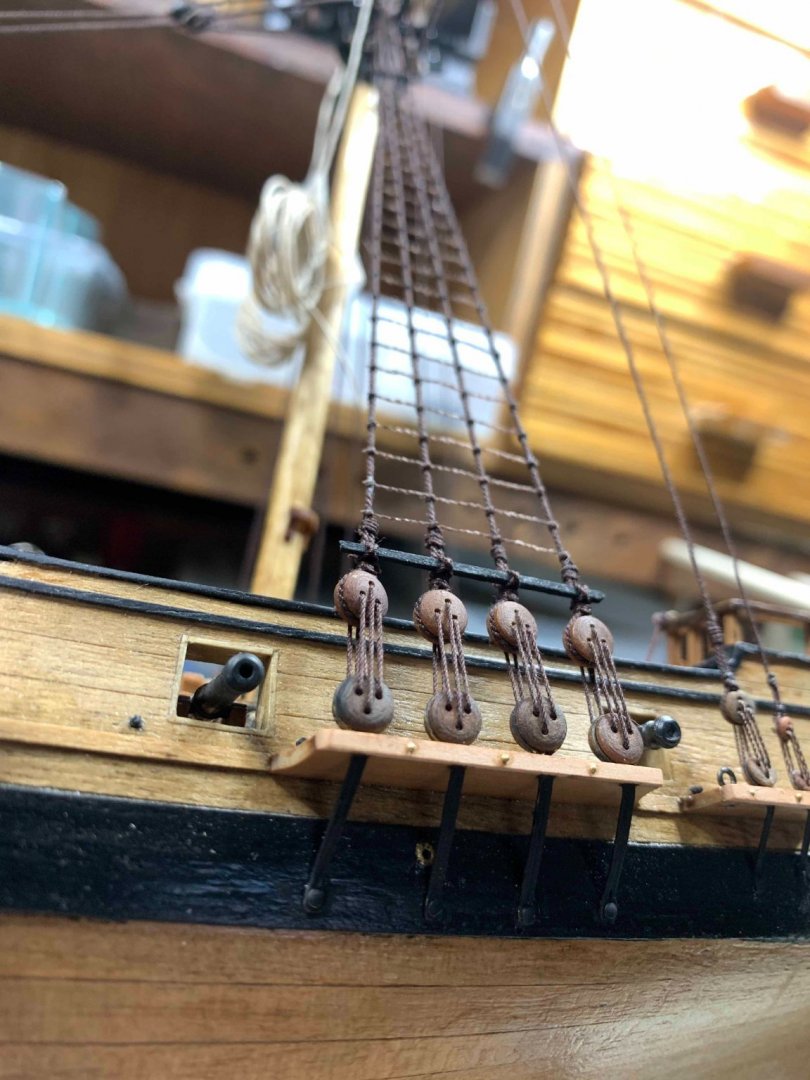
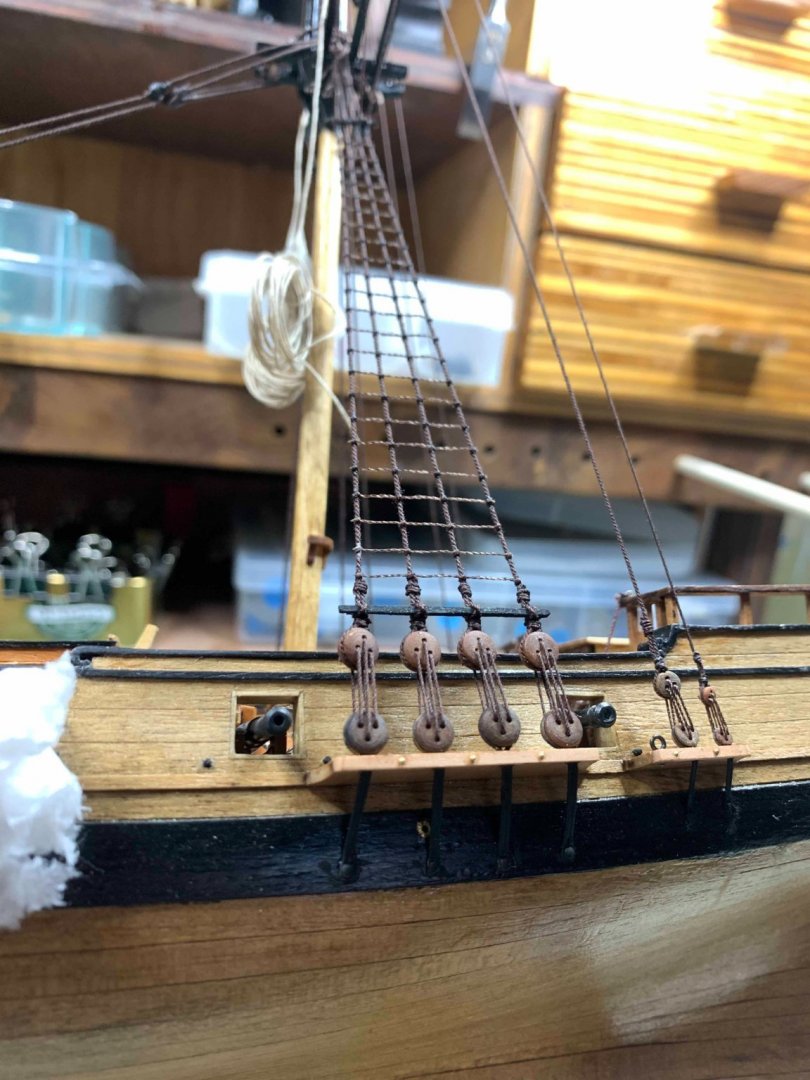
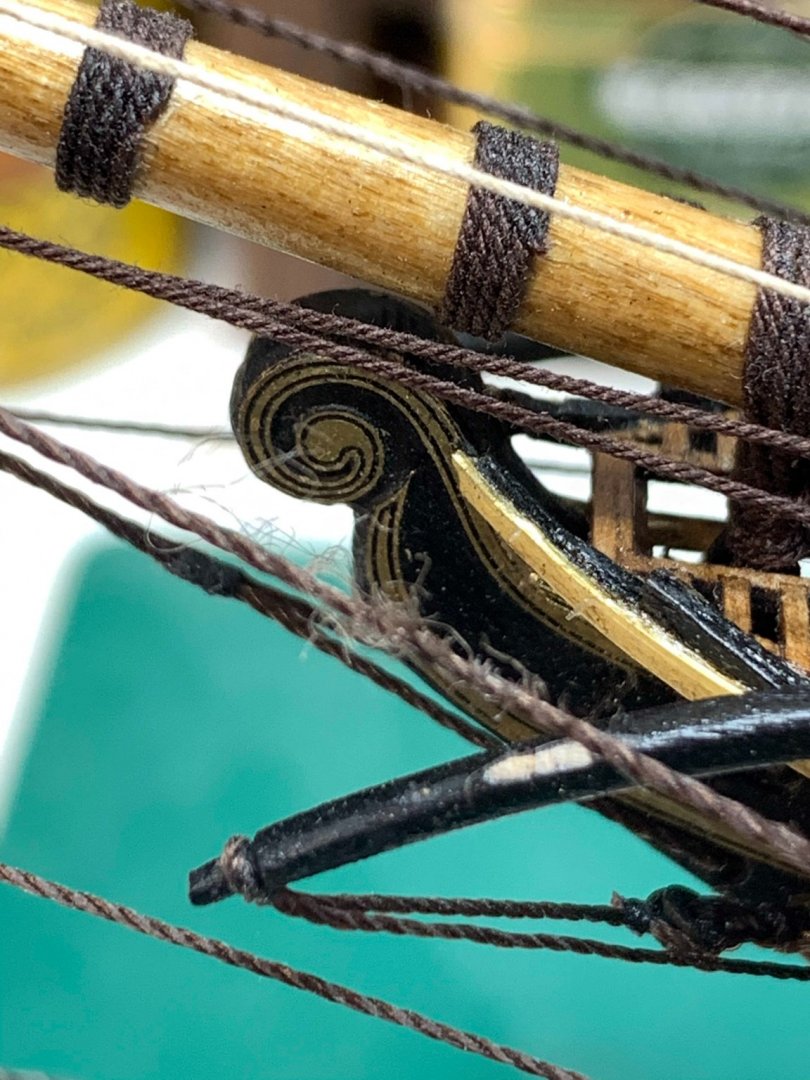
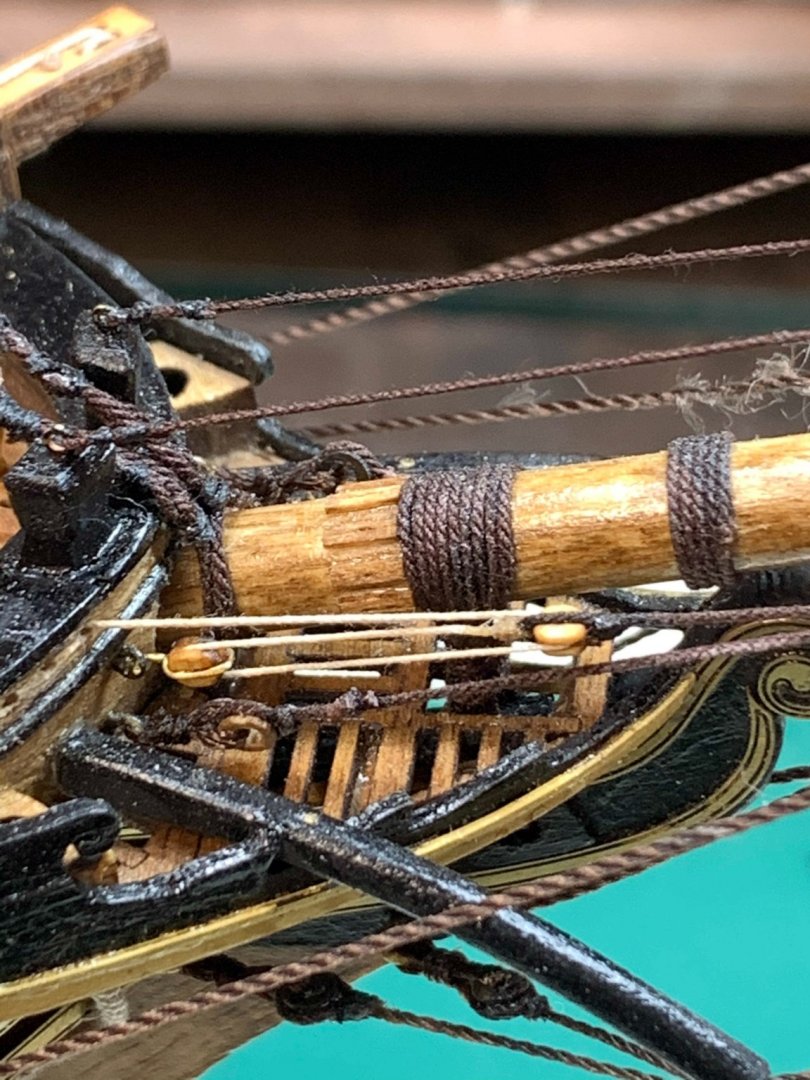
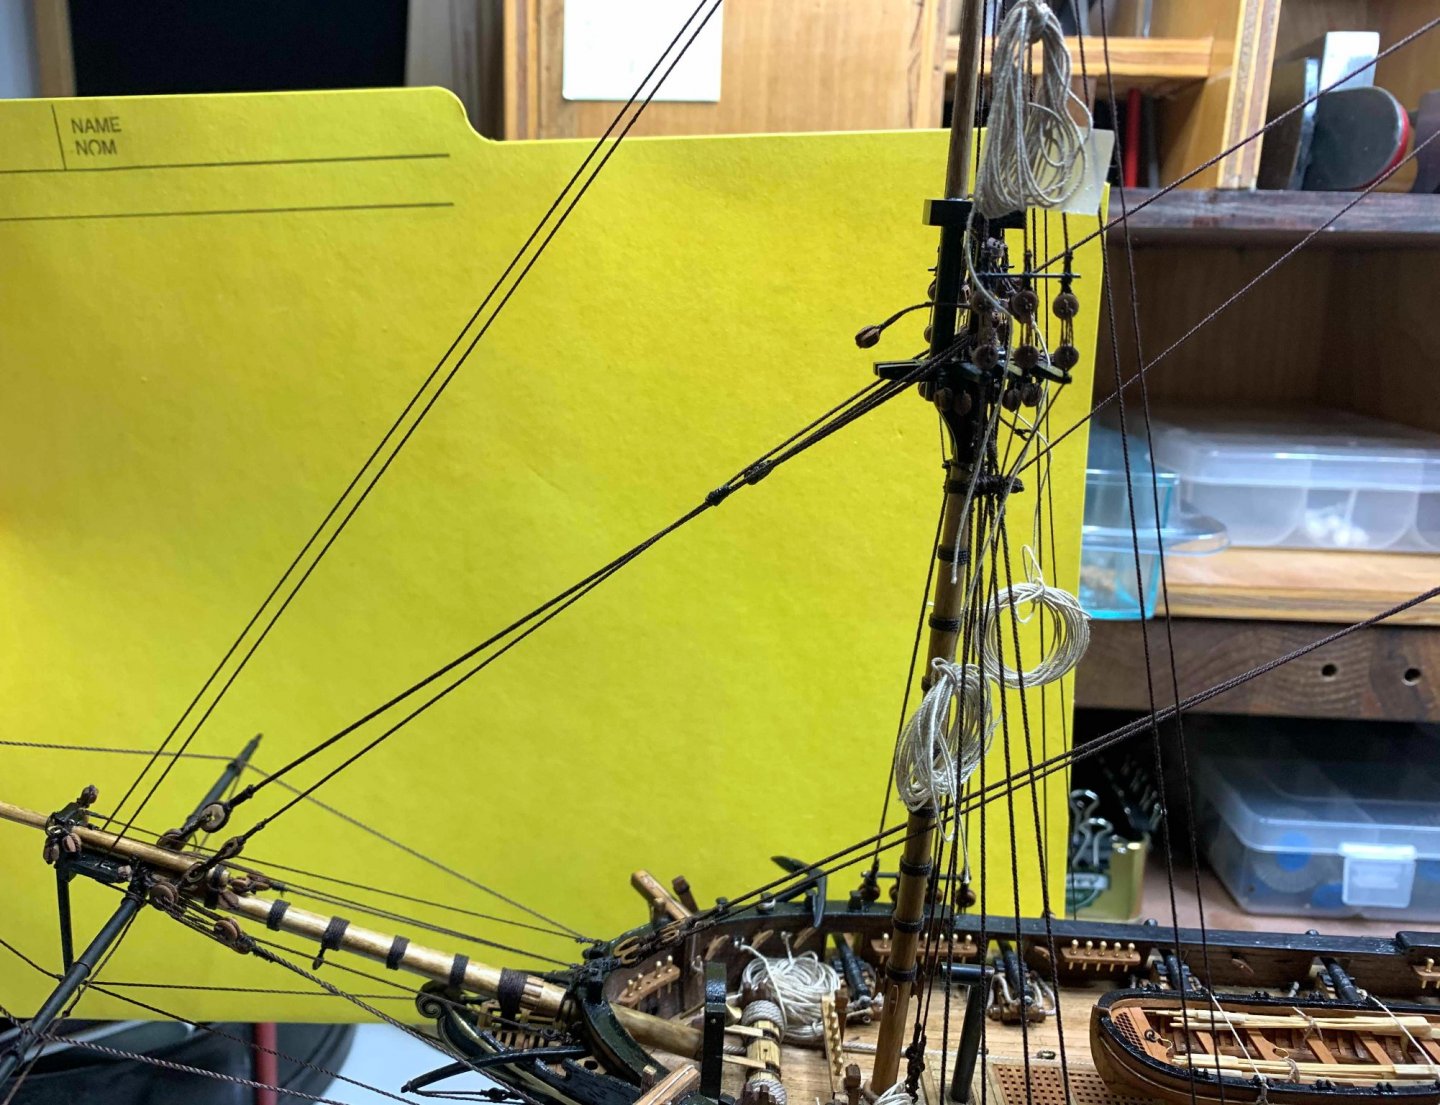
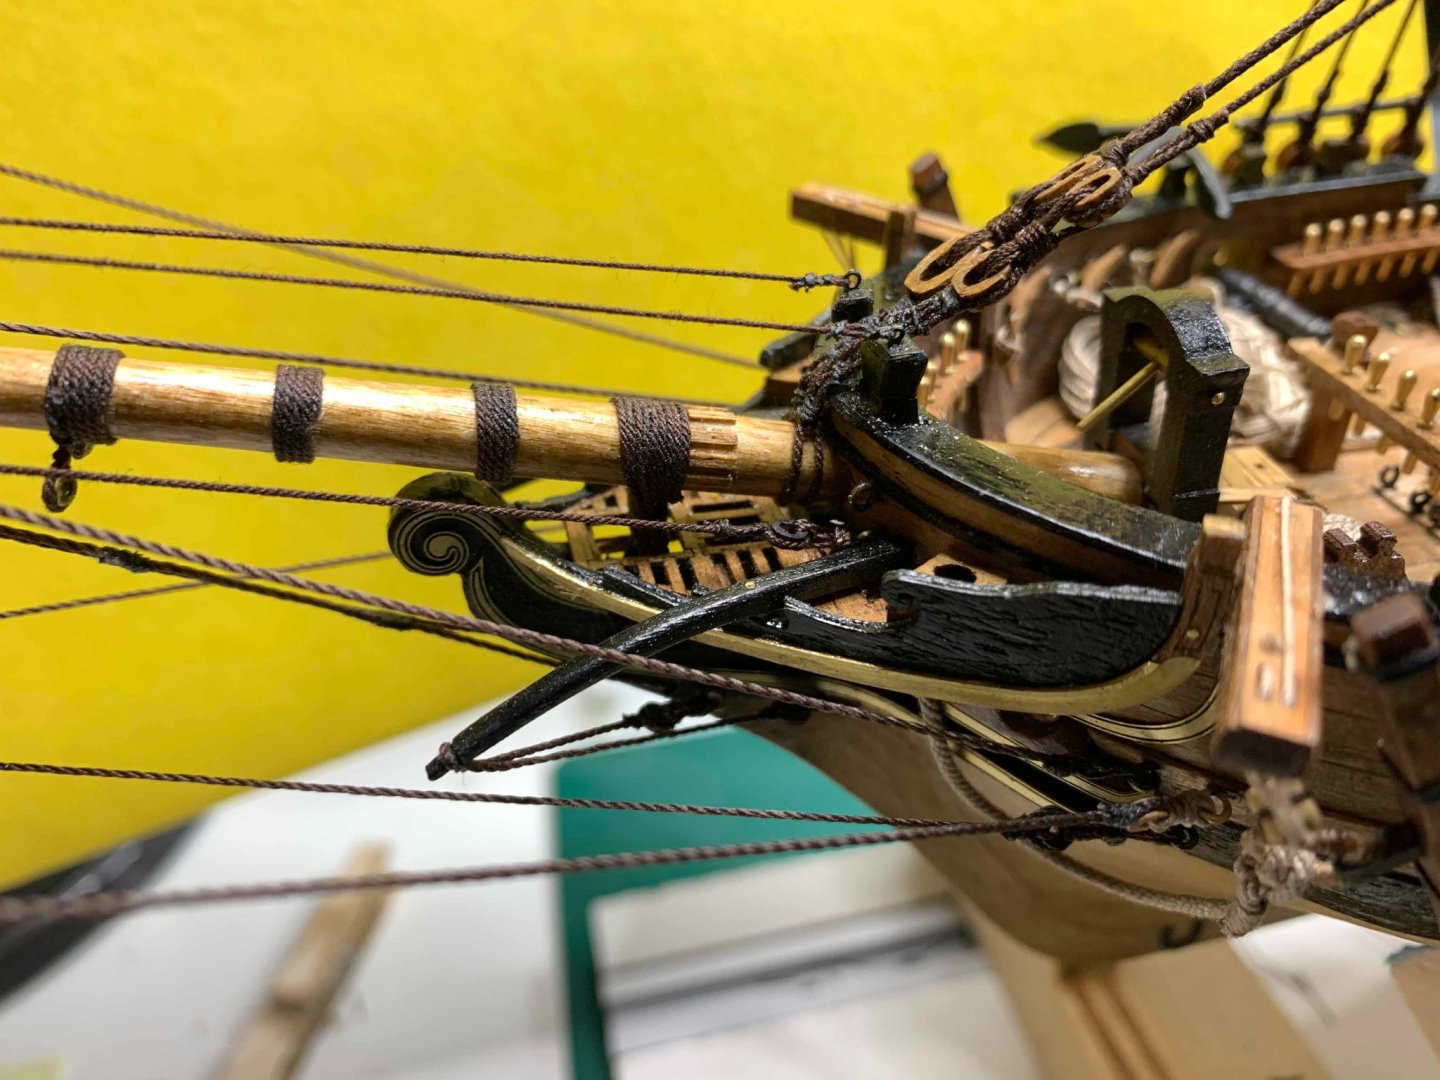
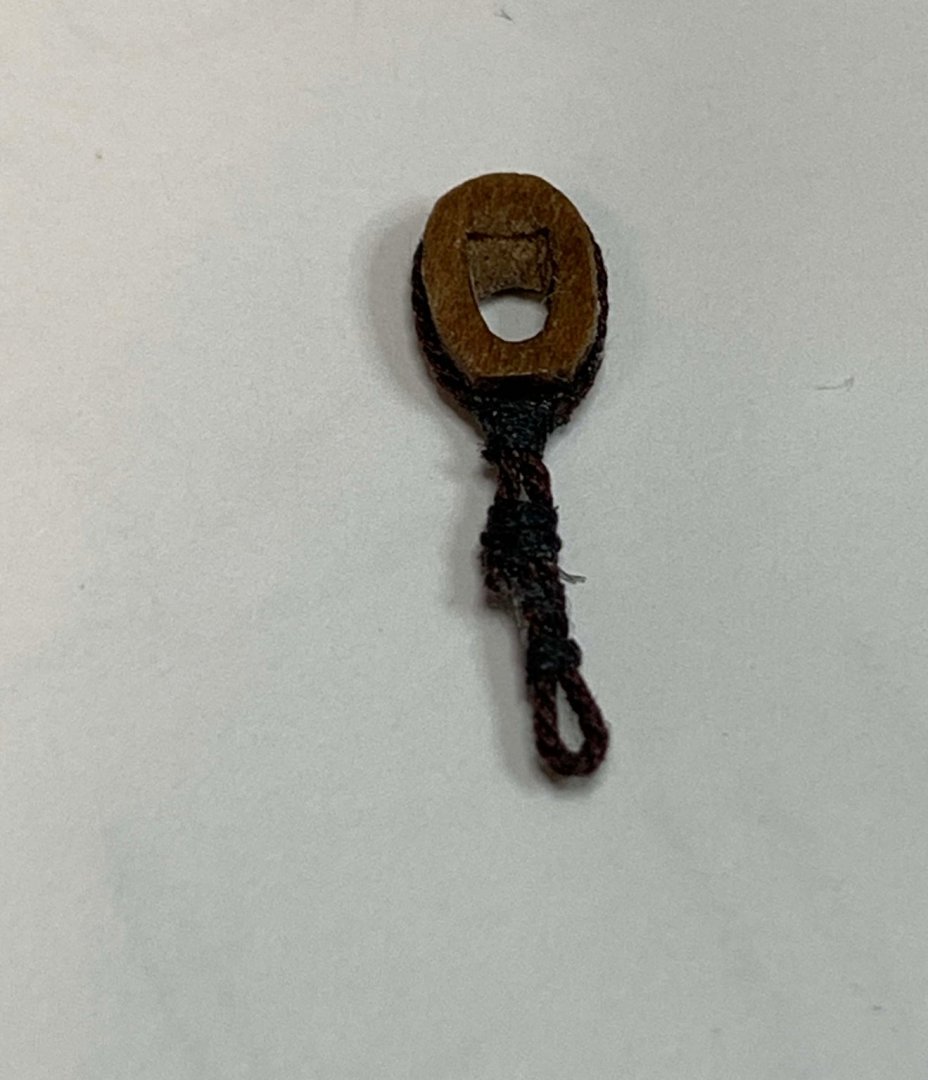
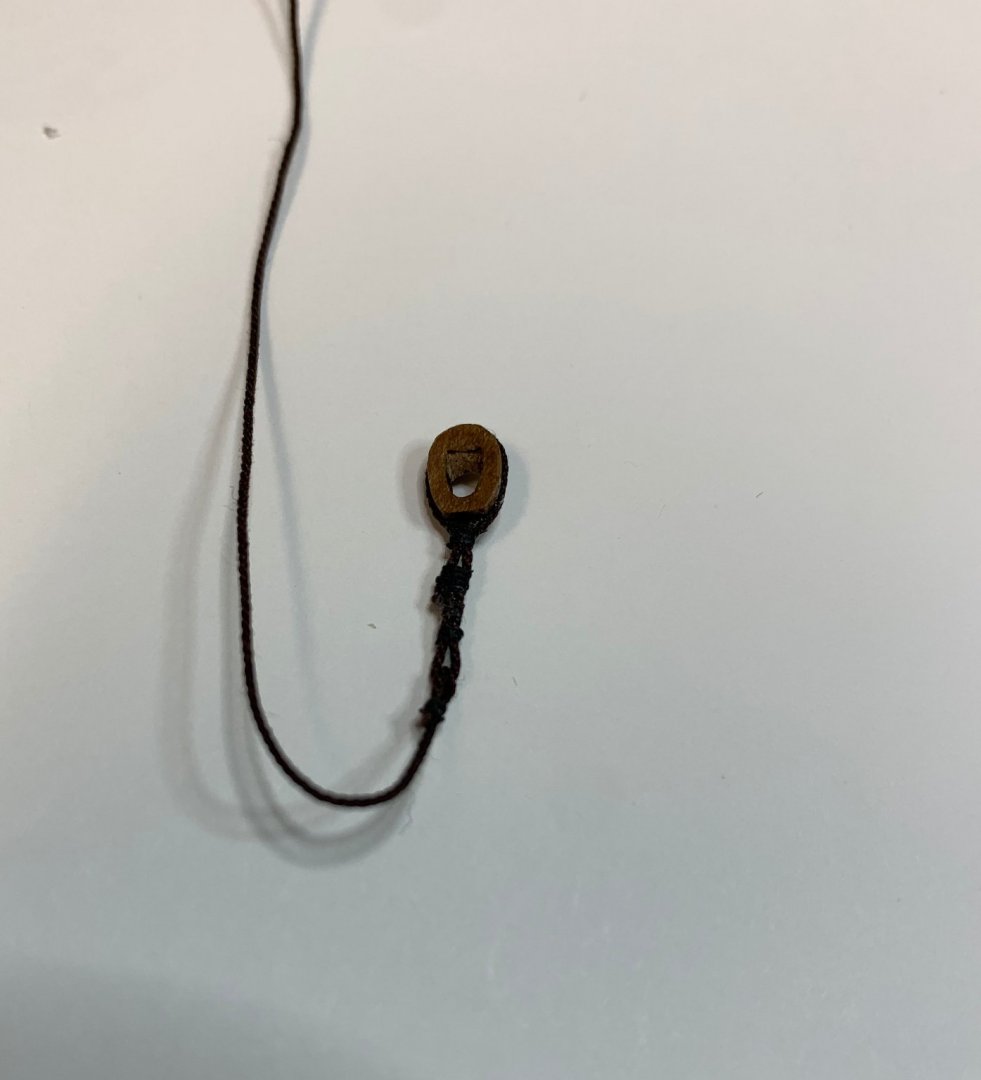
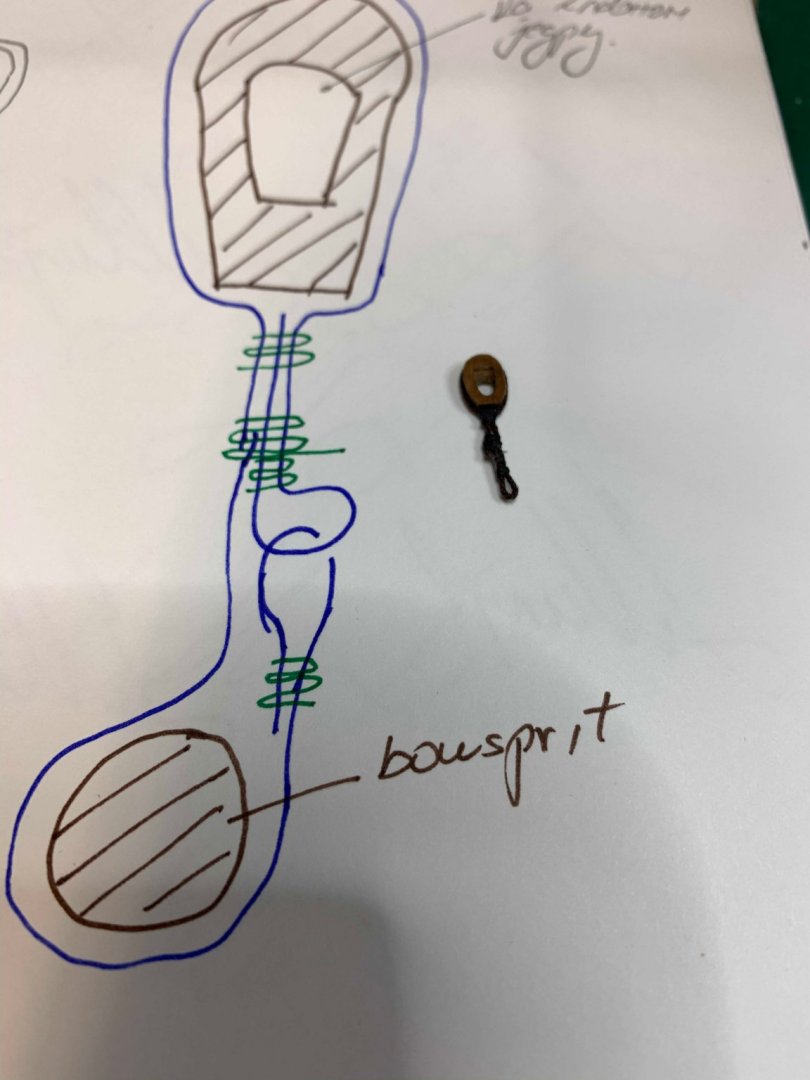
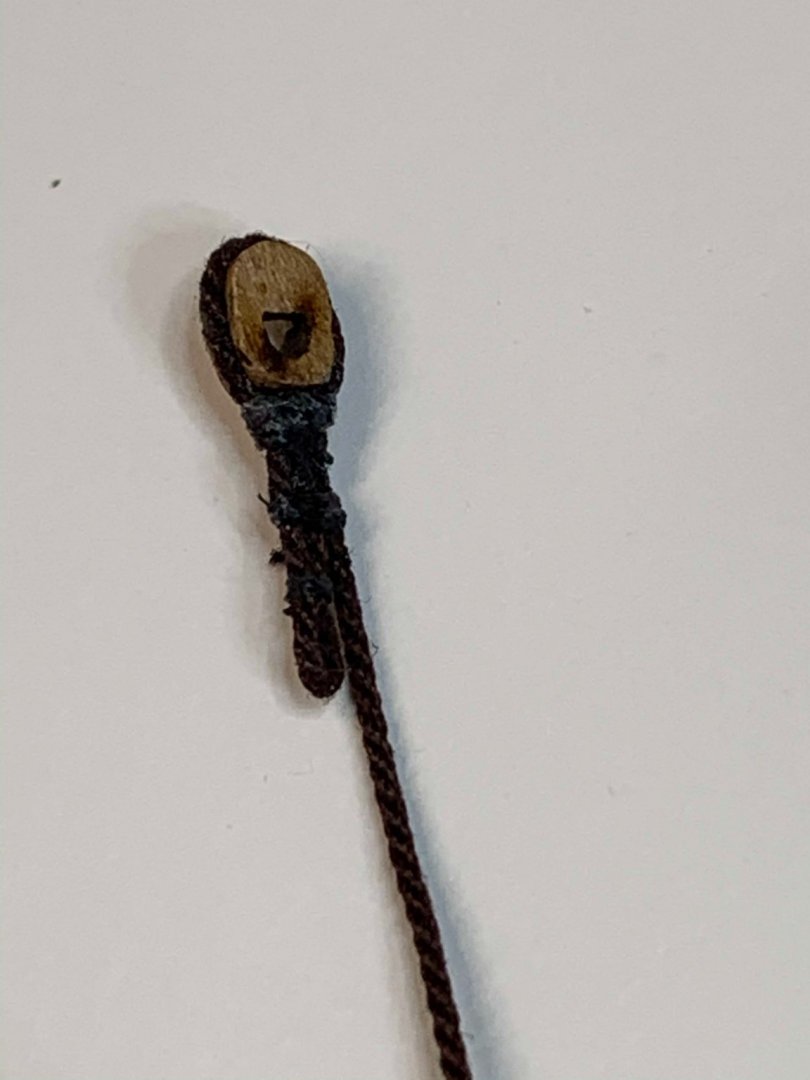
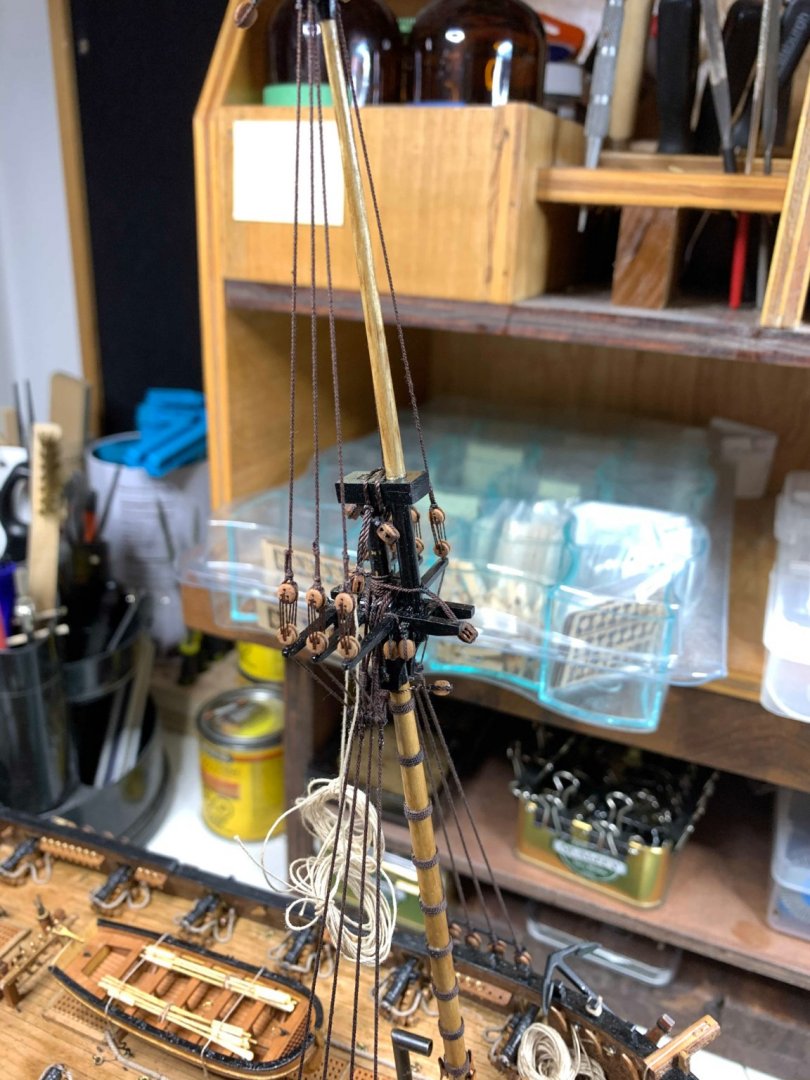
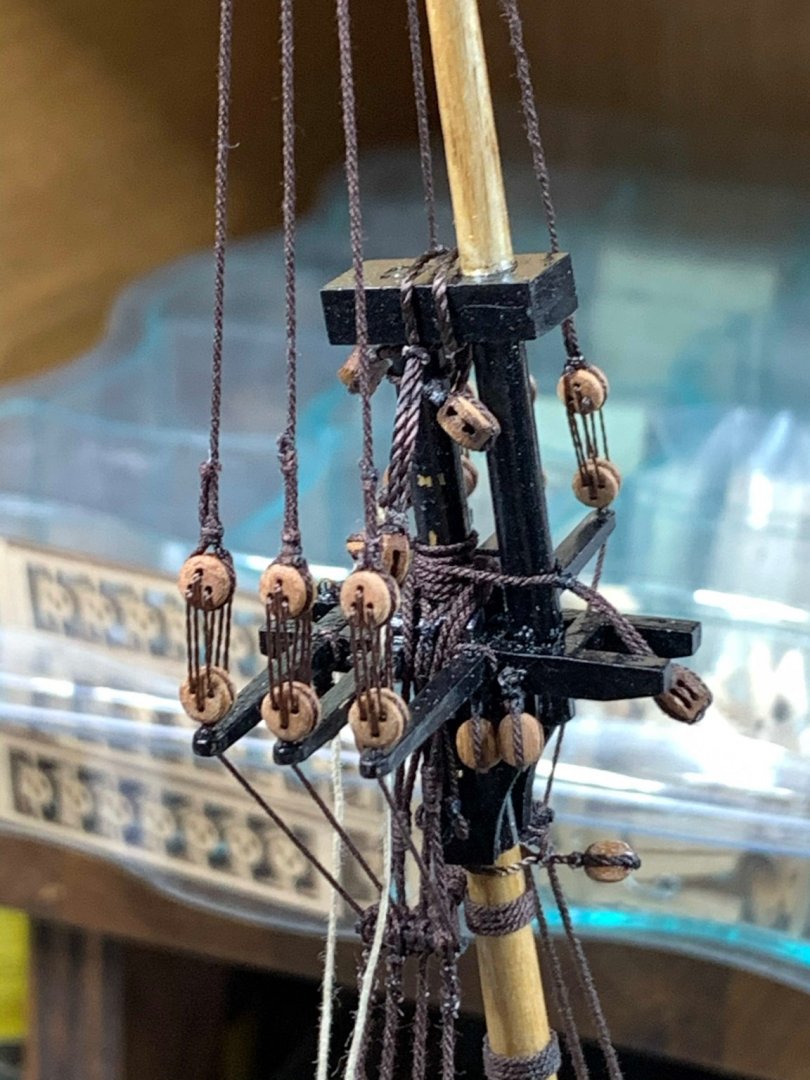
The rat lines have been completed. Interesting work, must say... It does really test your patience... In the process at topgallant... All completed... During the work process, outer jib boom guy (hopefully have the term correctly) was slightly damaged, enough to bother me so i replace it with a new rope.. Here is process.. And completed.. Now it is time to do some touchups on the model and to start working on sails.... woohoo. Happy modelling.


- 275 replies
-
- 2
-
-
- phoenix
- master korabel
- (and 1 more)
-
Hi Tim, happy to share tips if you need it during building phase.. Cheers
-
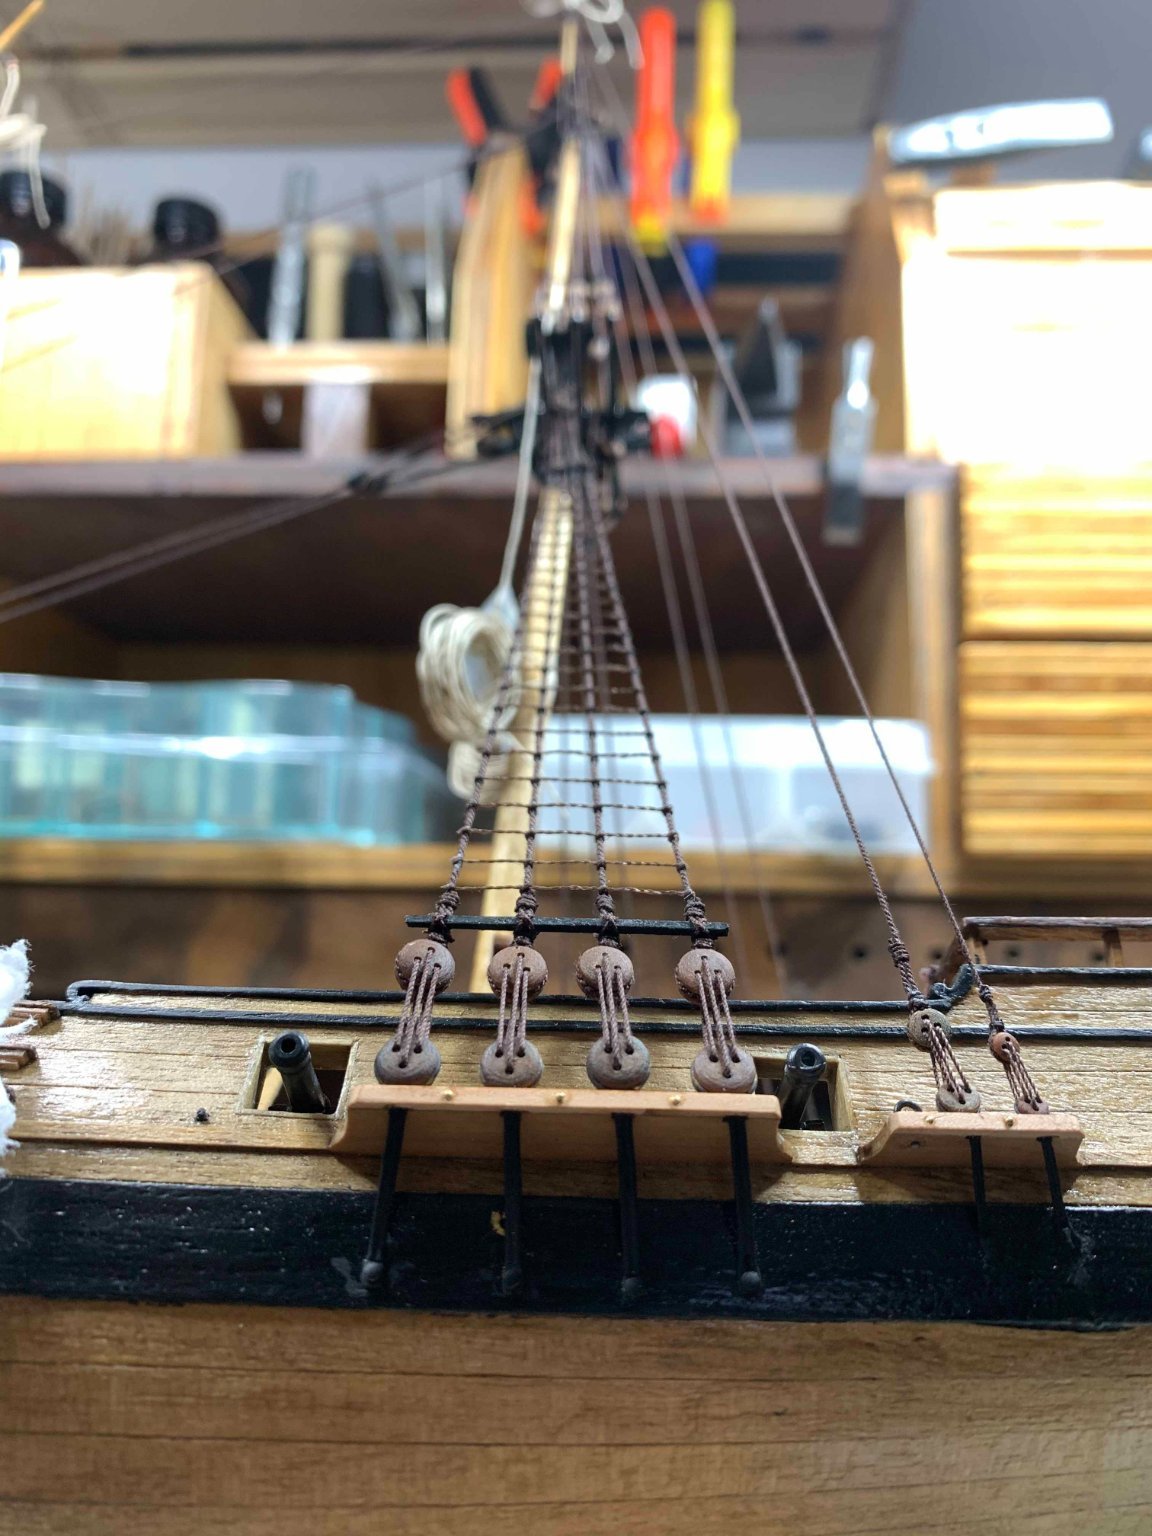
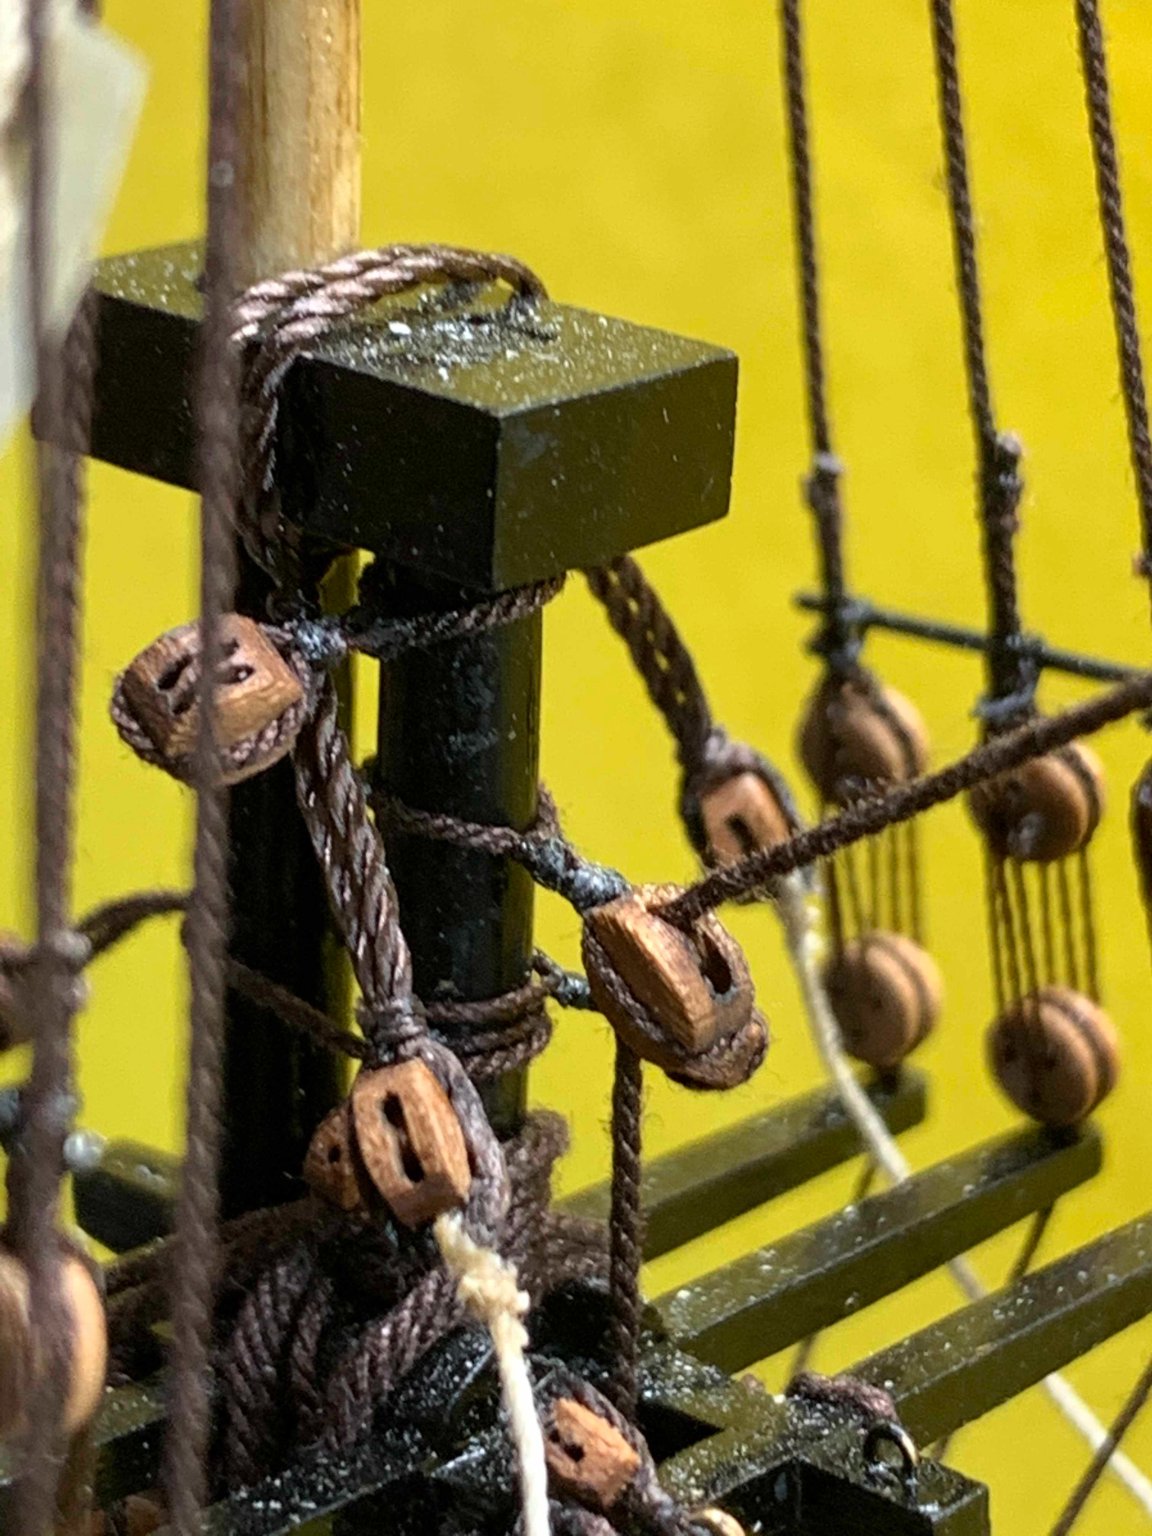
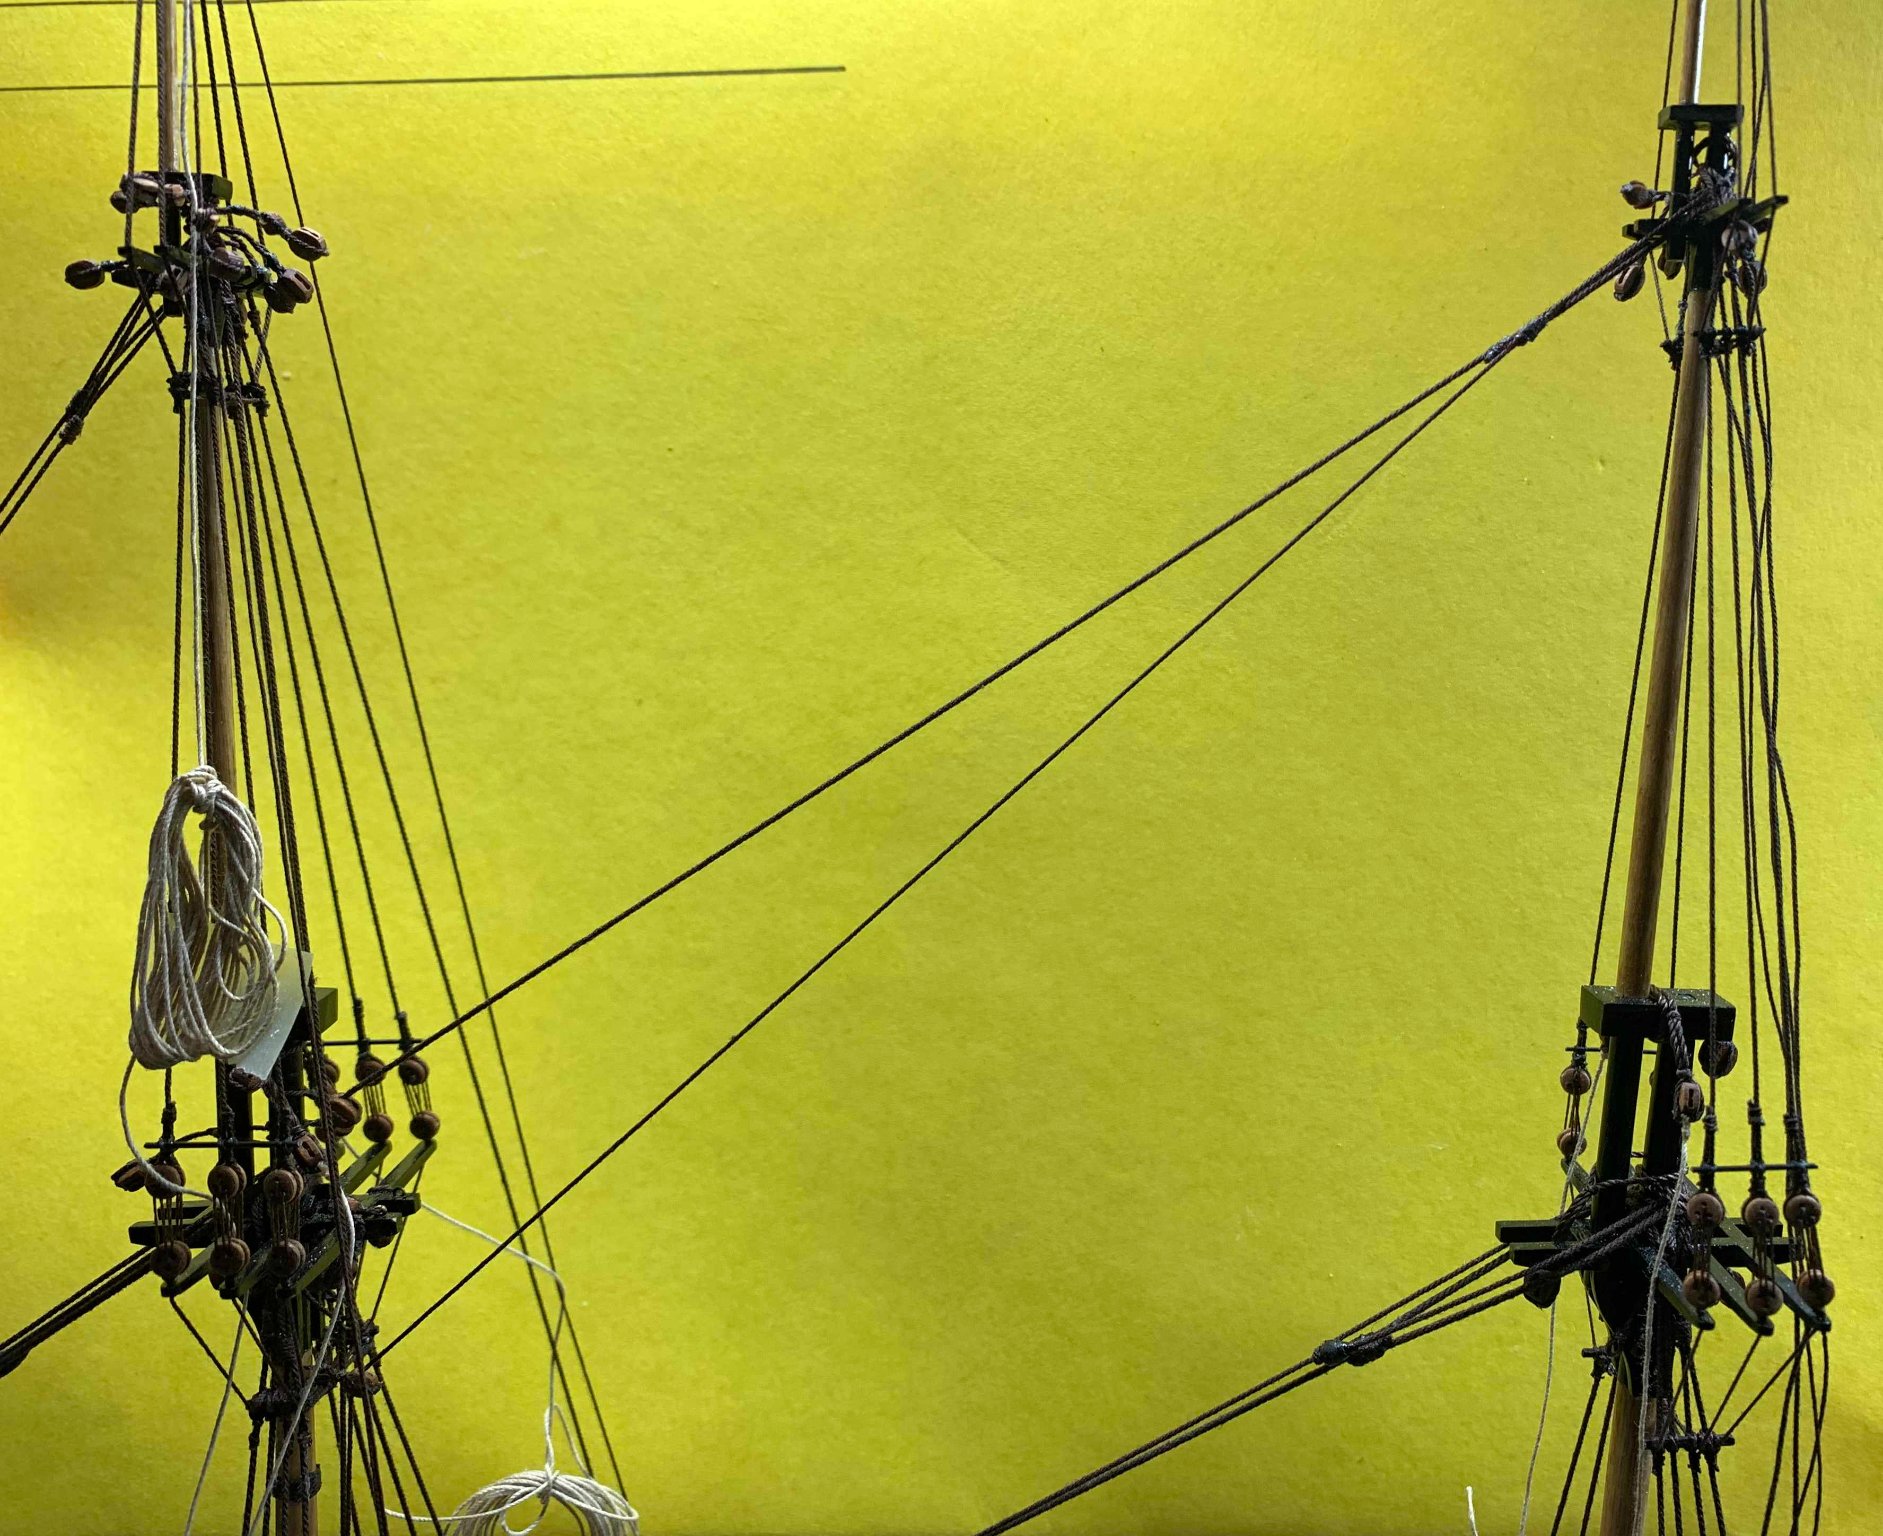
Nothing interesting to report.... just ratlines... Happy modelling..

- 275 replies
-
- 2
-
-
- phoenix
- master korabel
- (and 1 more)
-
On the way up... One completed.. Happy modelling..

- 275 replies
-
- 1
-
-
- phoenix
- master korabel
- (and 1 more)
-
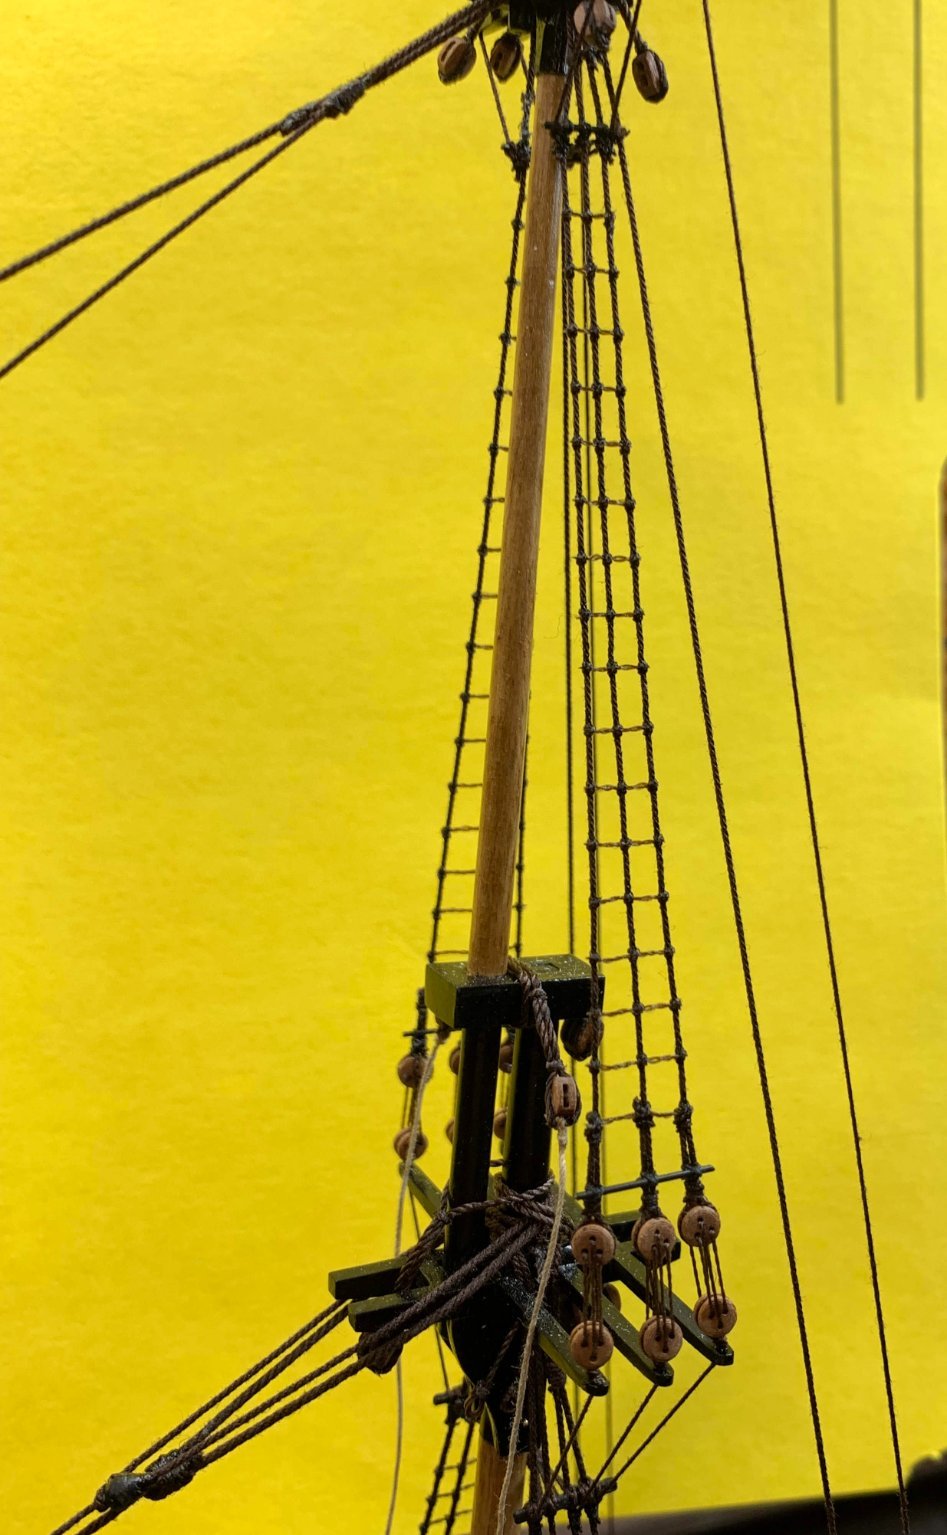
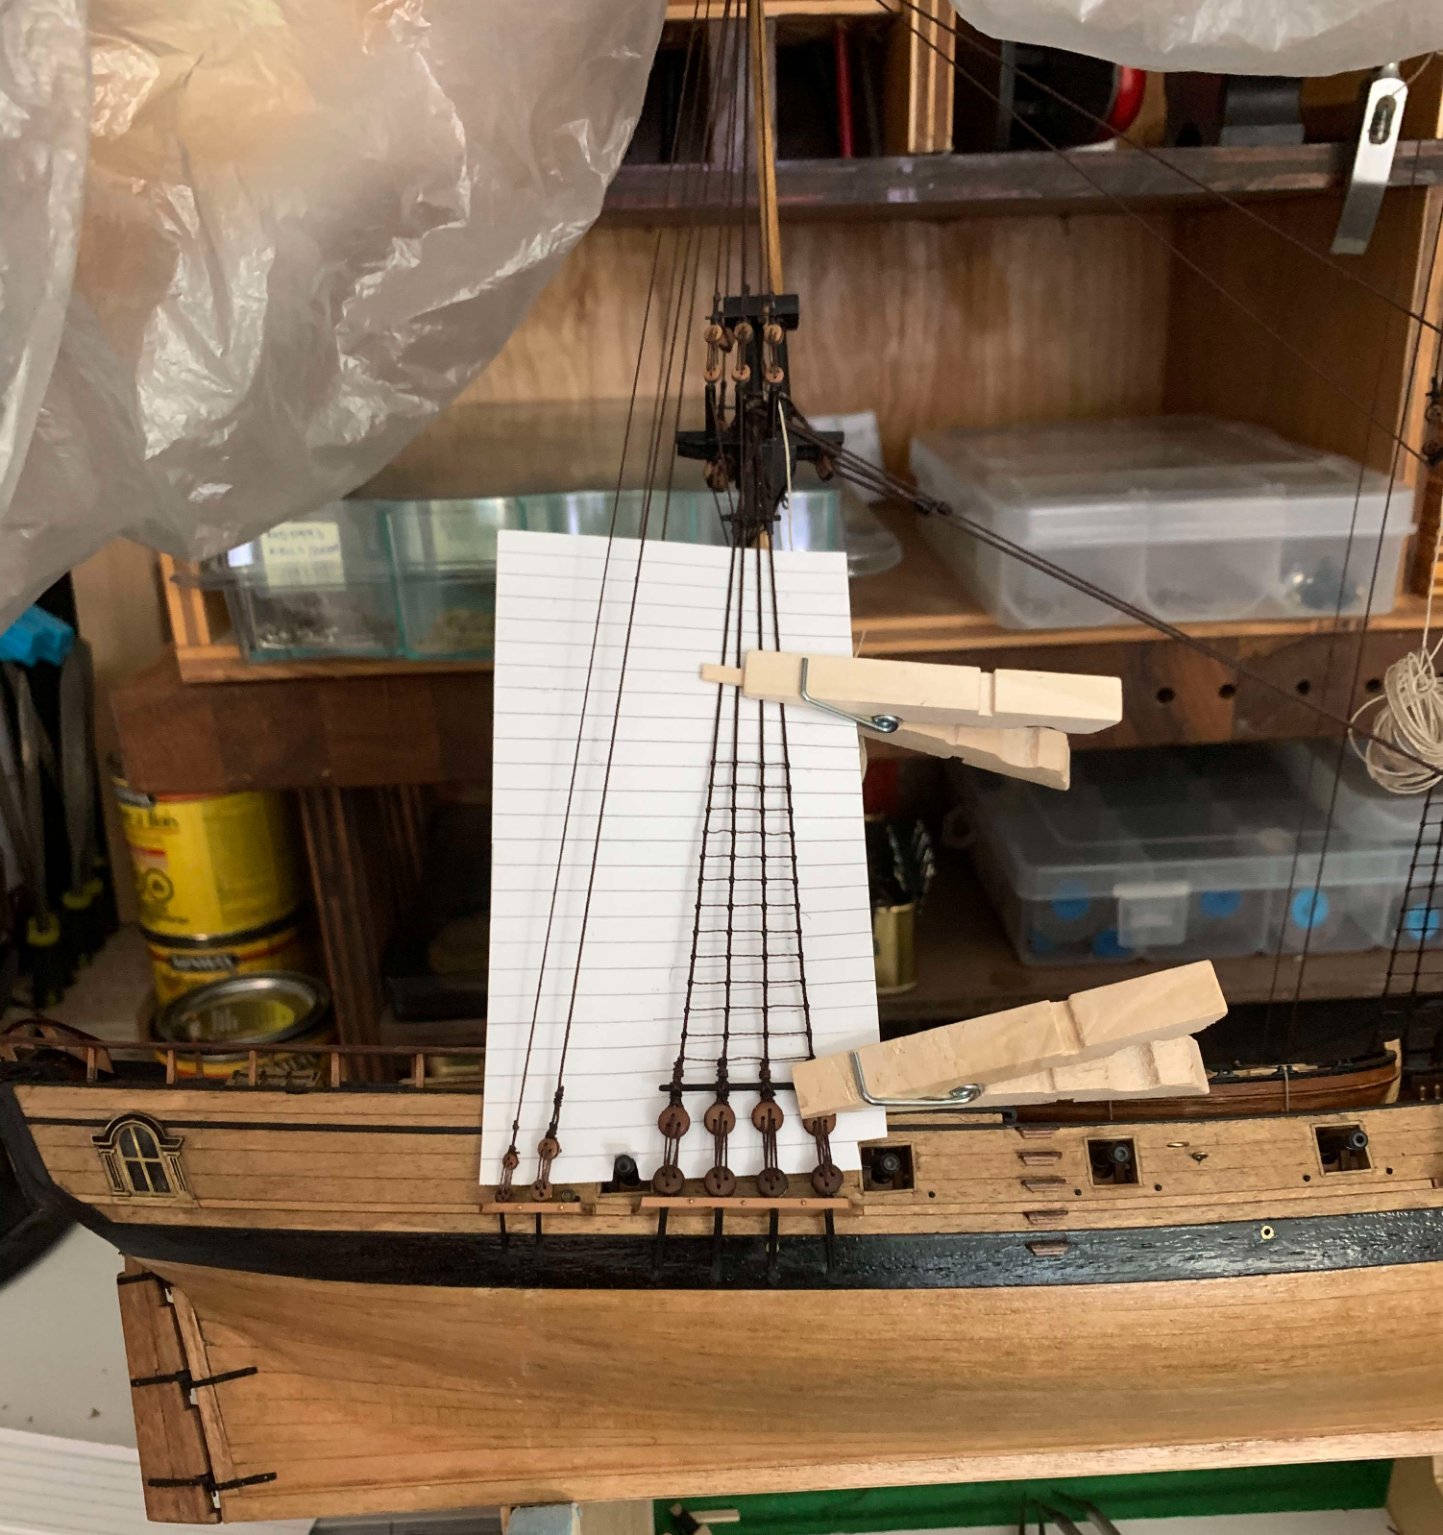
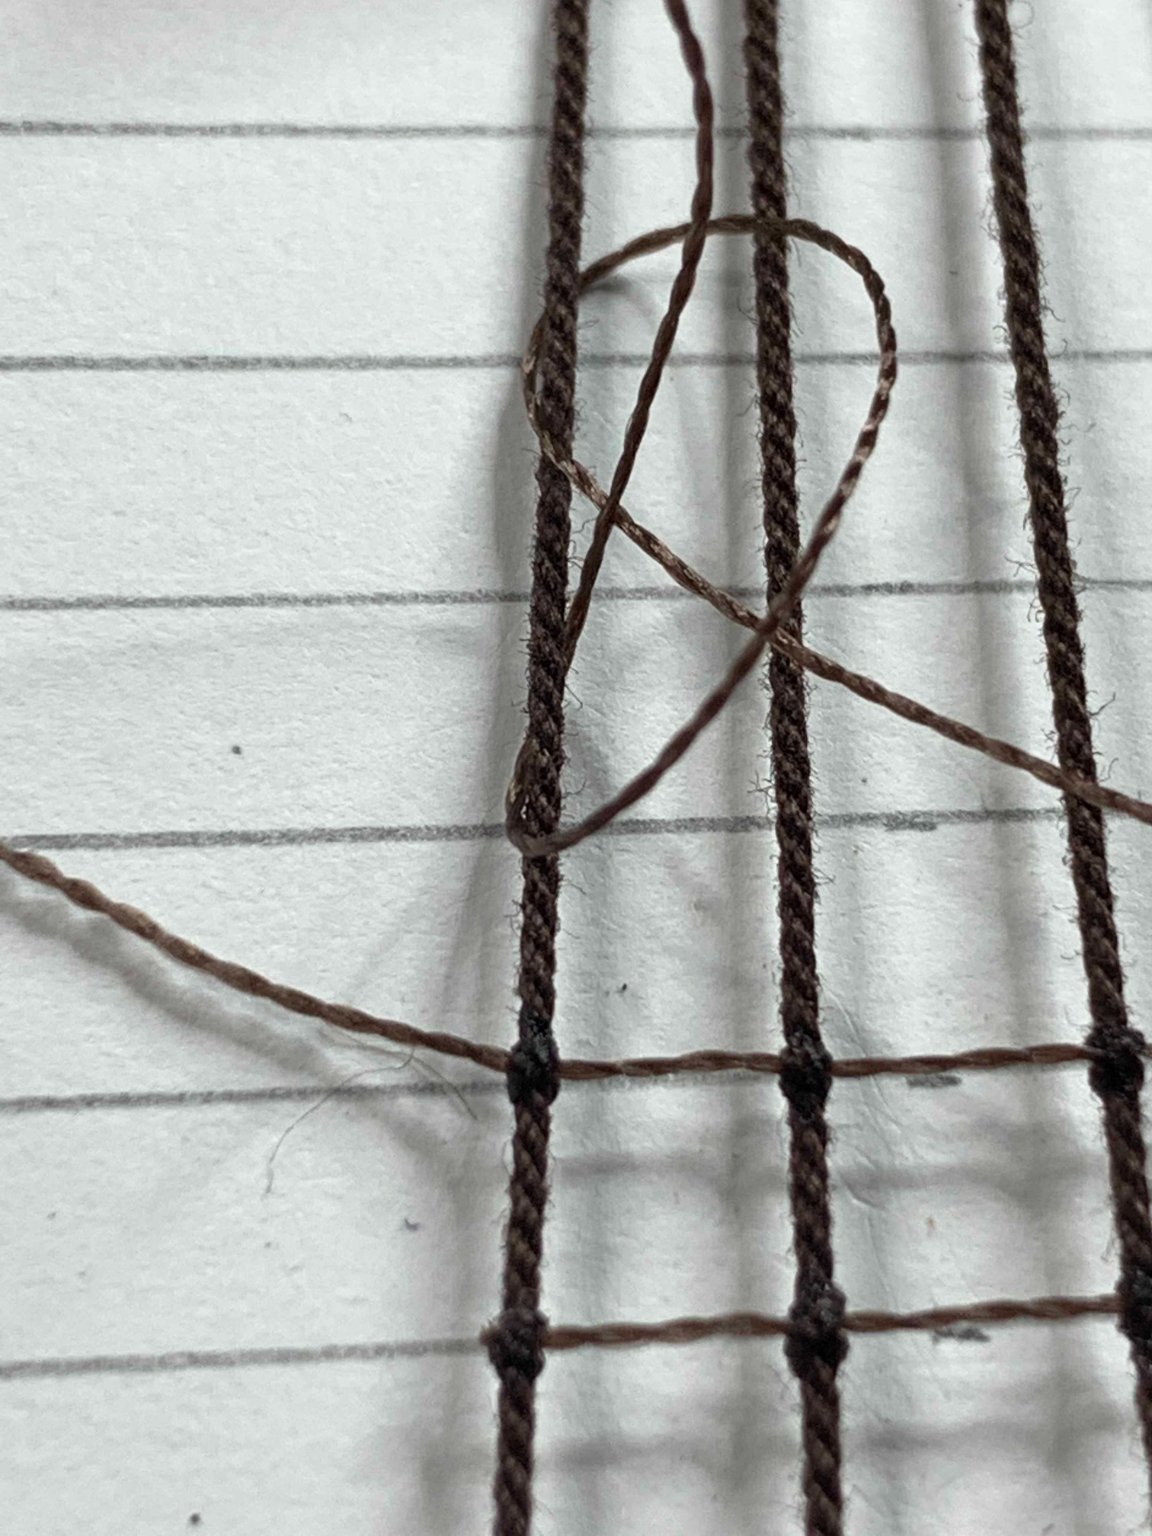
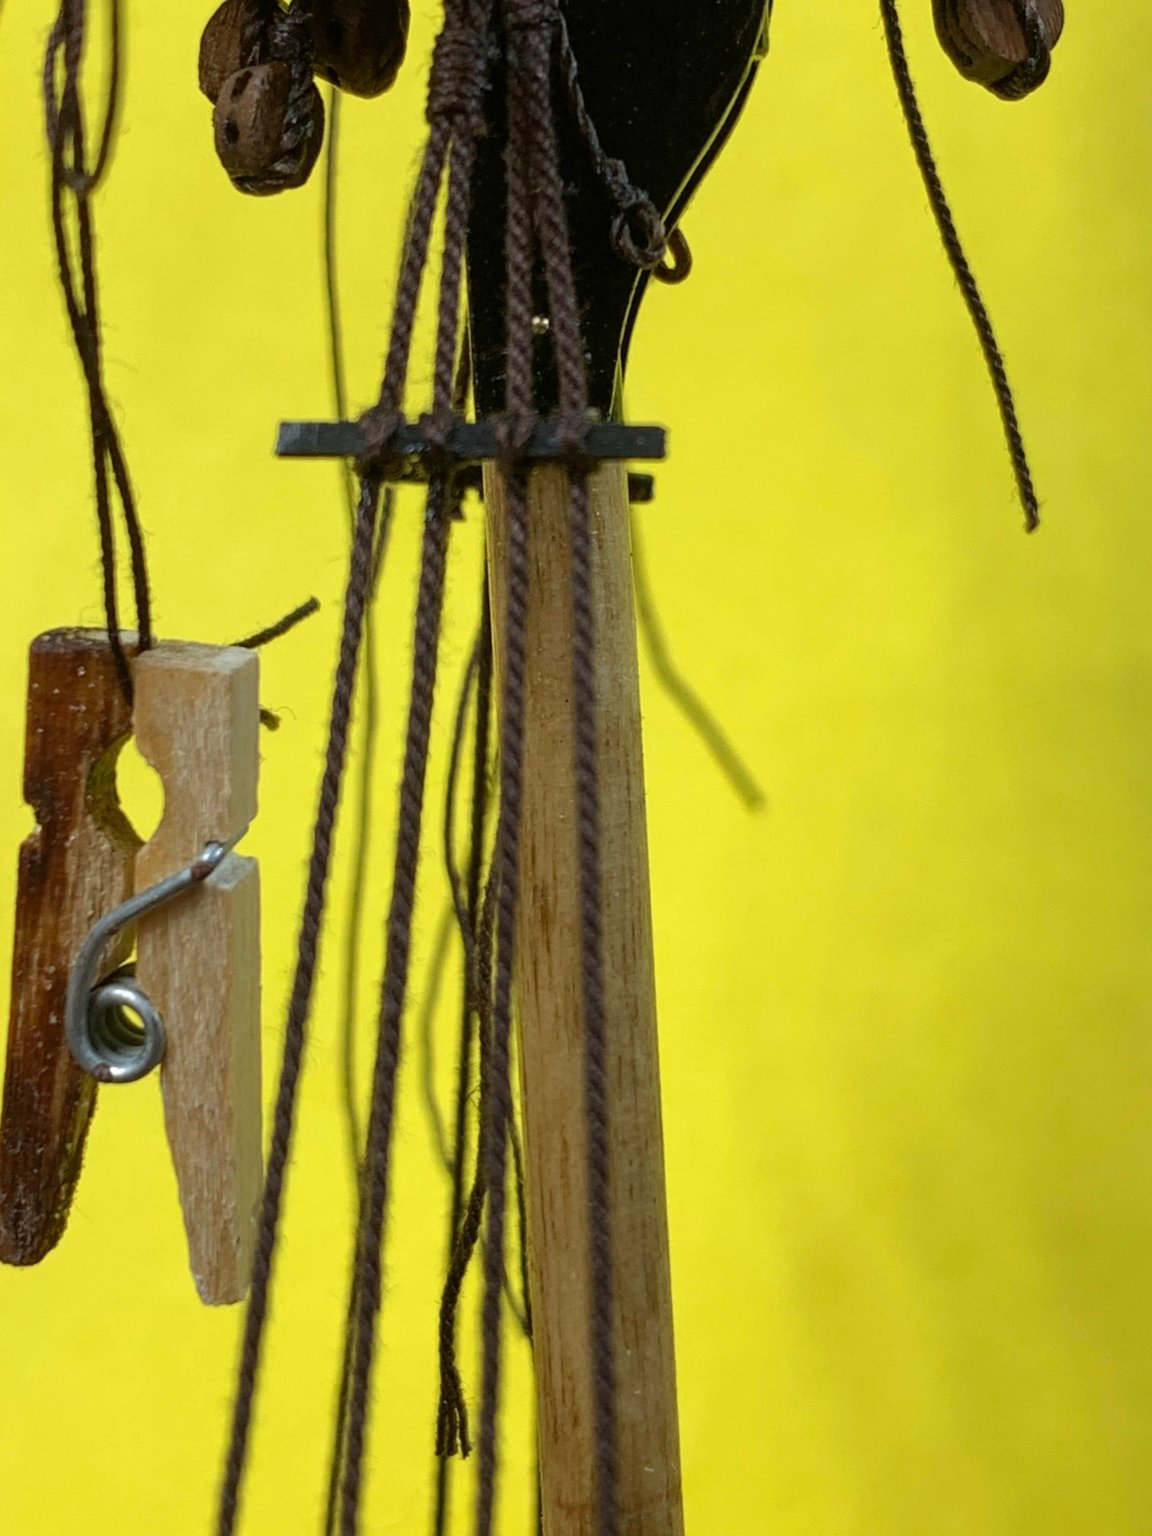
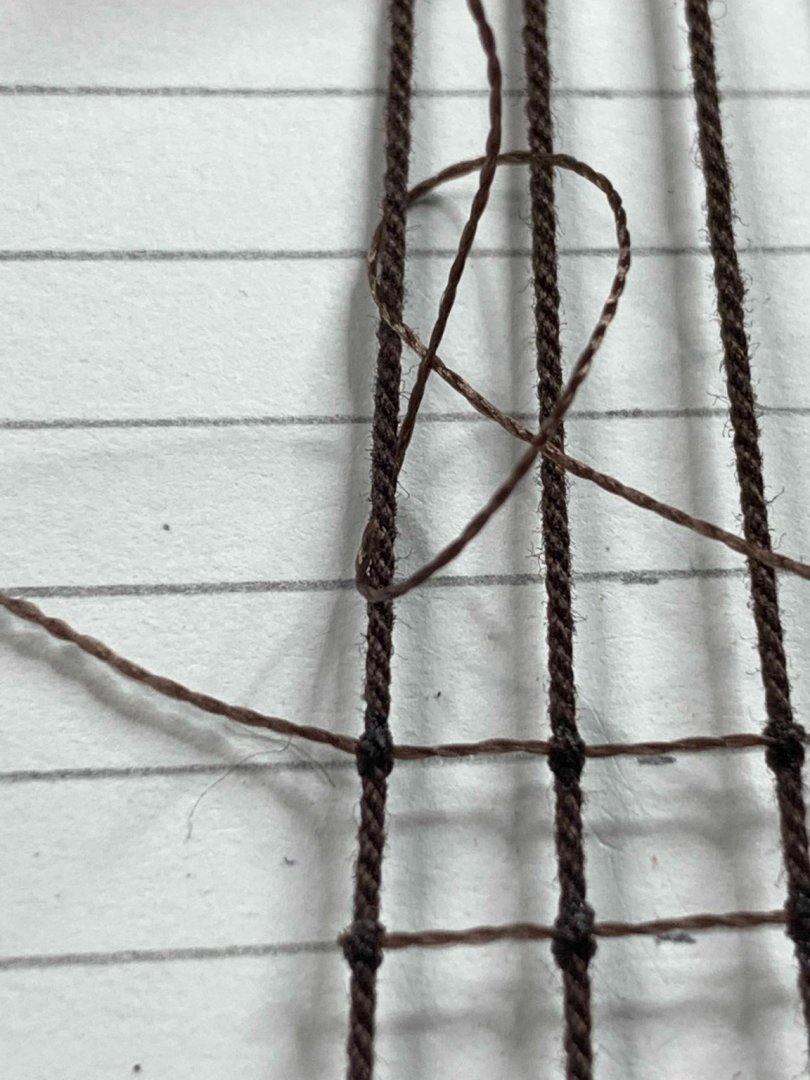
Ratlines..... and more of them... The template was made following the plan.. and ratlines are tied with a clove hitch. Happy modelling..

- 275 replies
-
- 3
-
-
- phoenix
- master korabel
- (and 1 more)
-
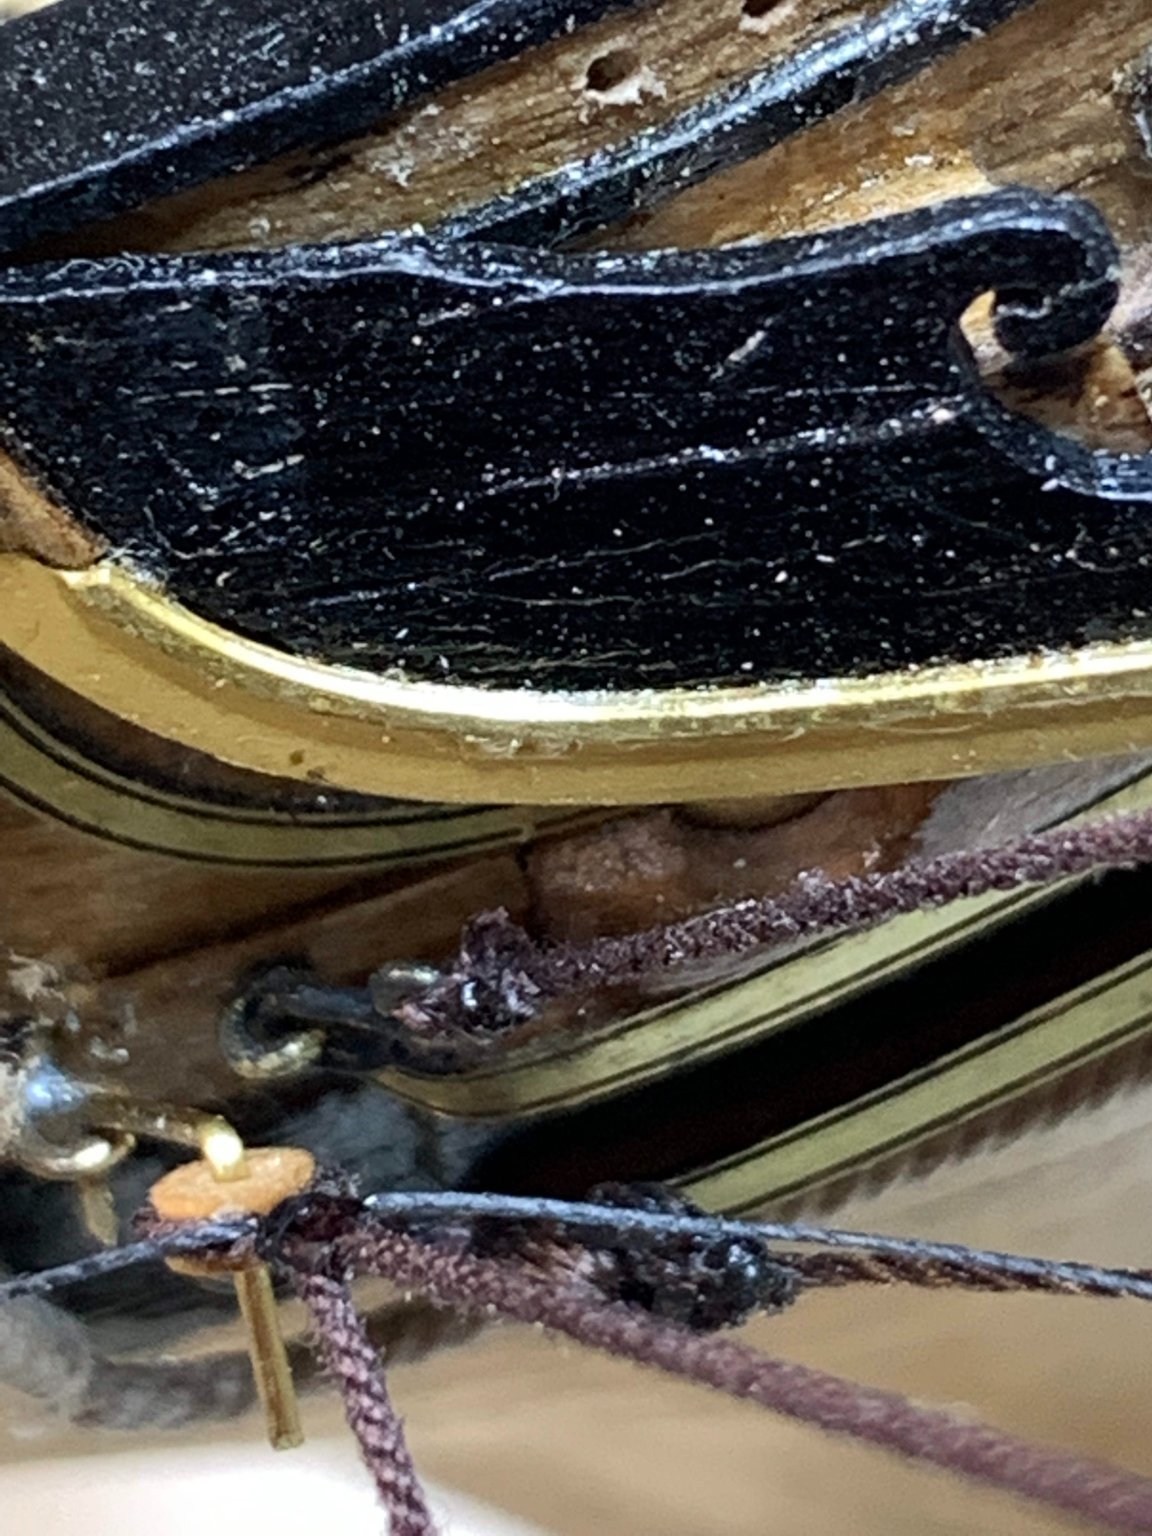
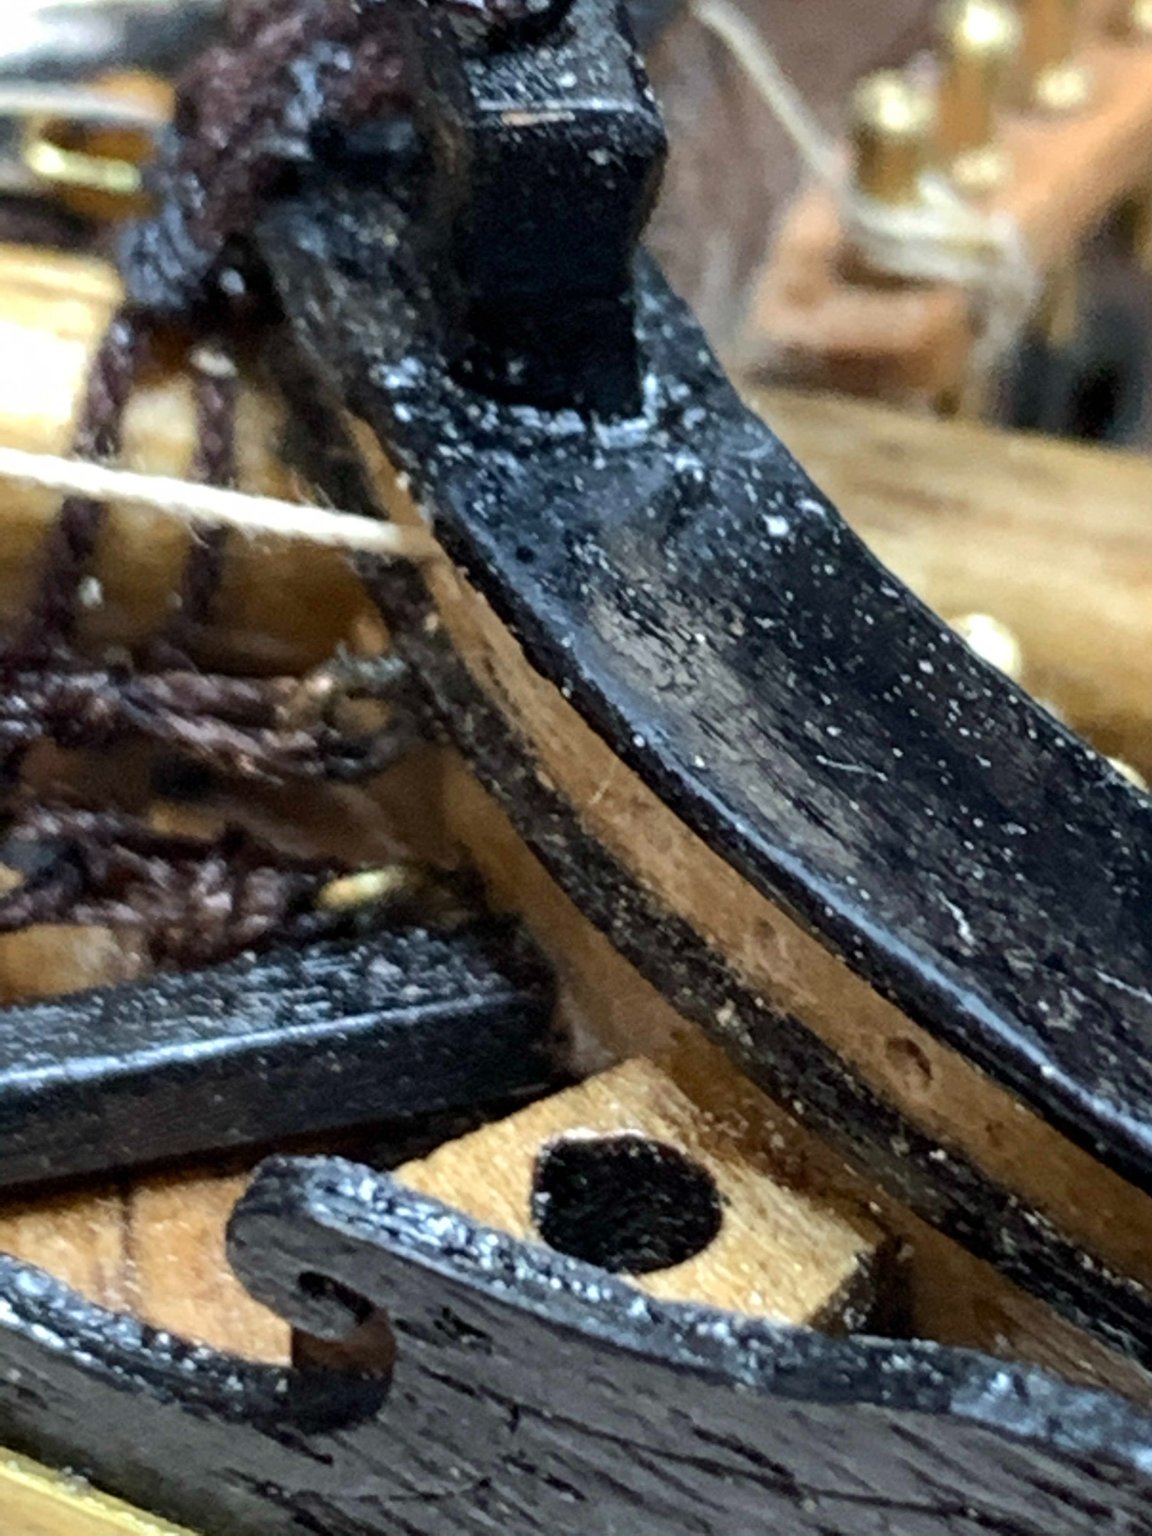
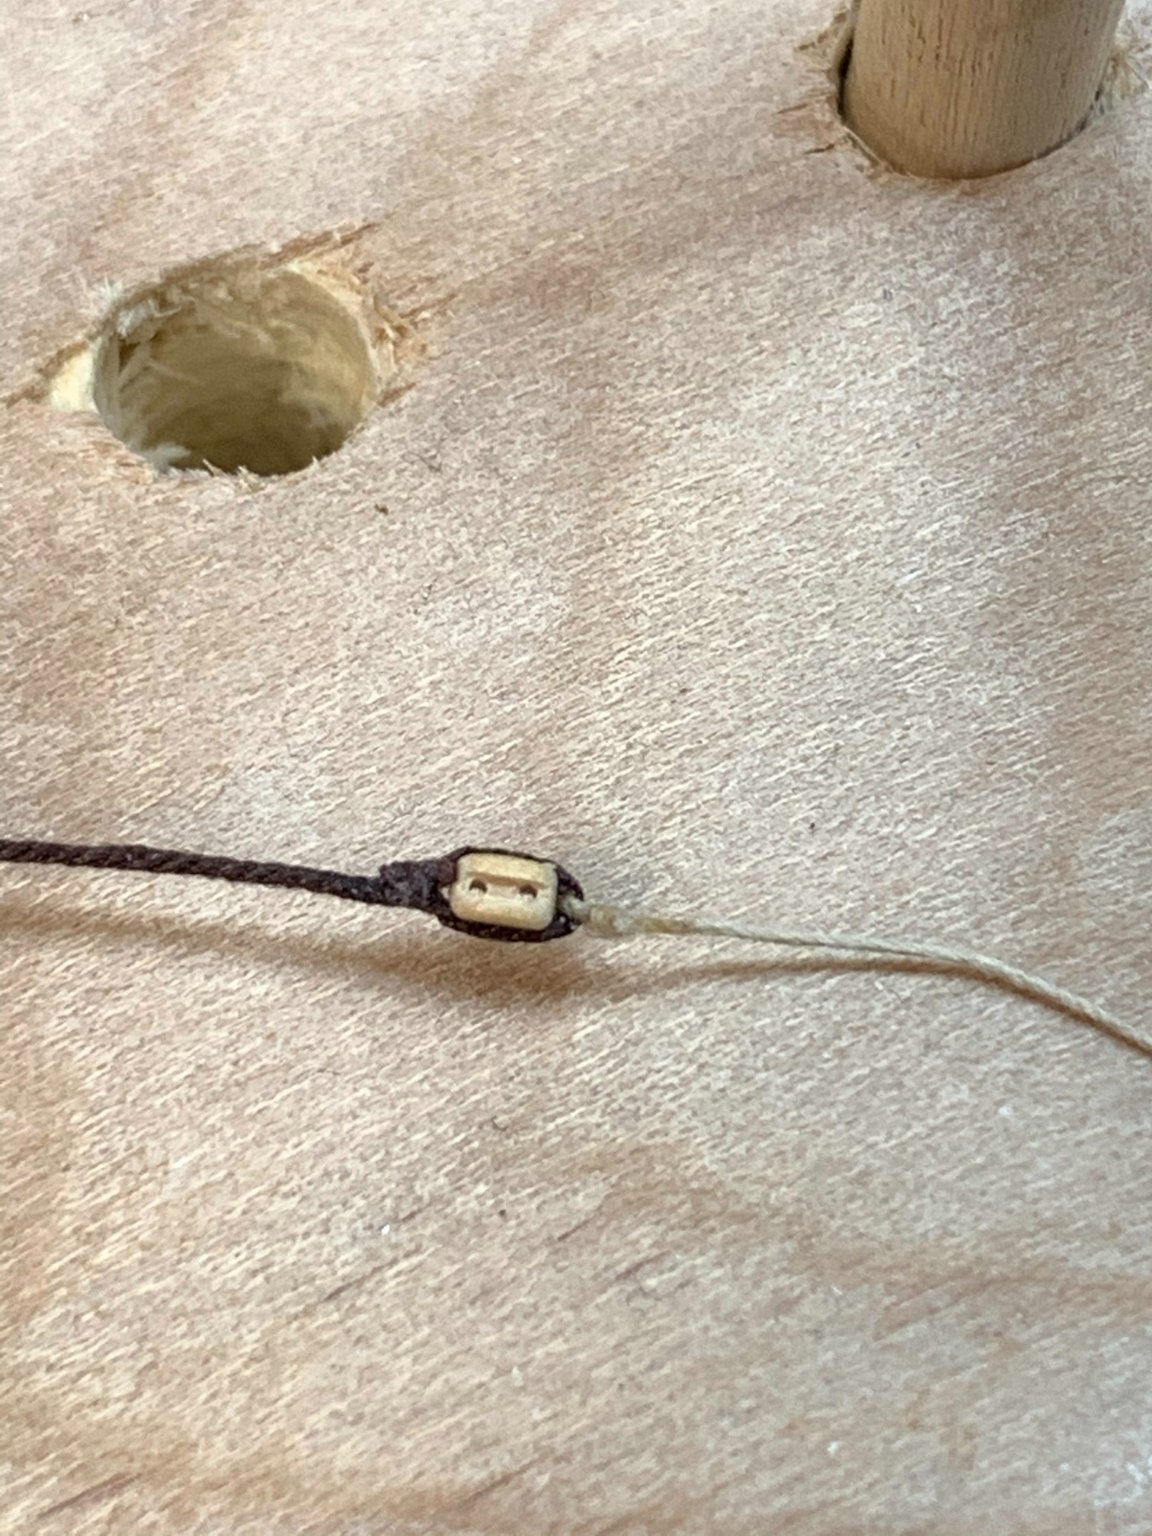
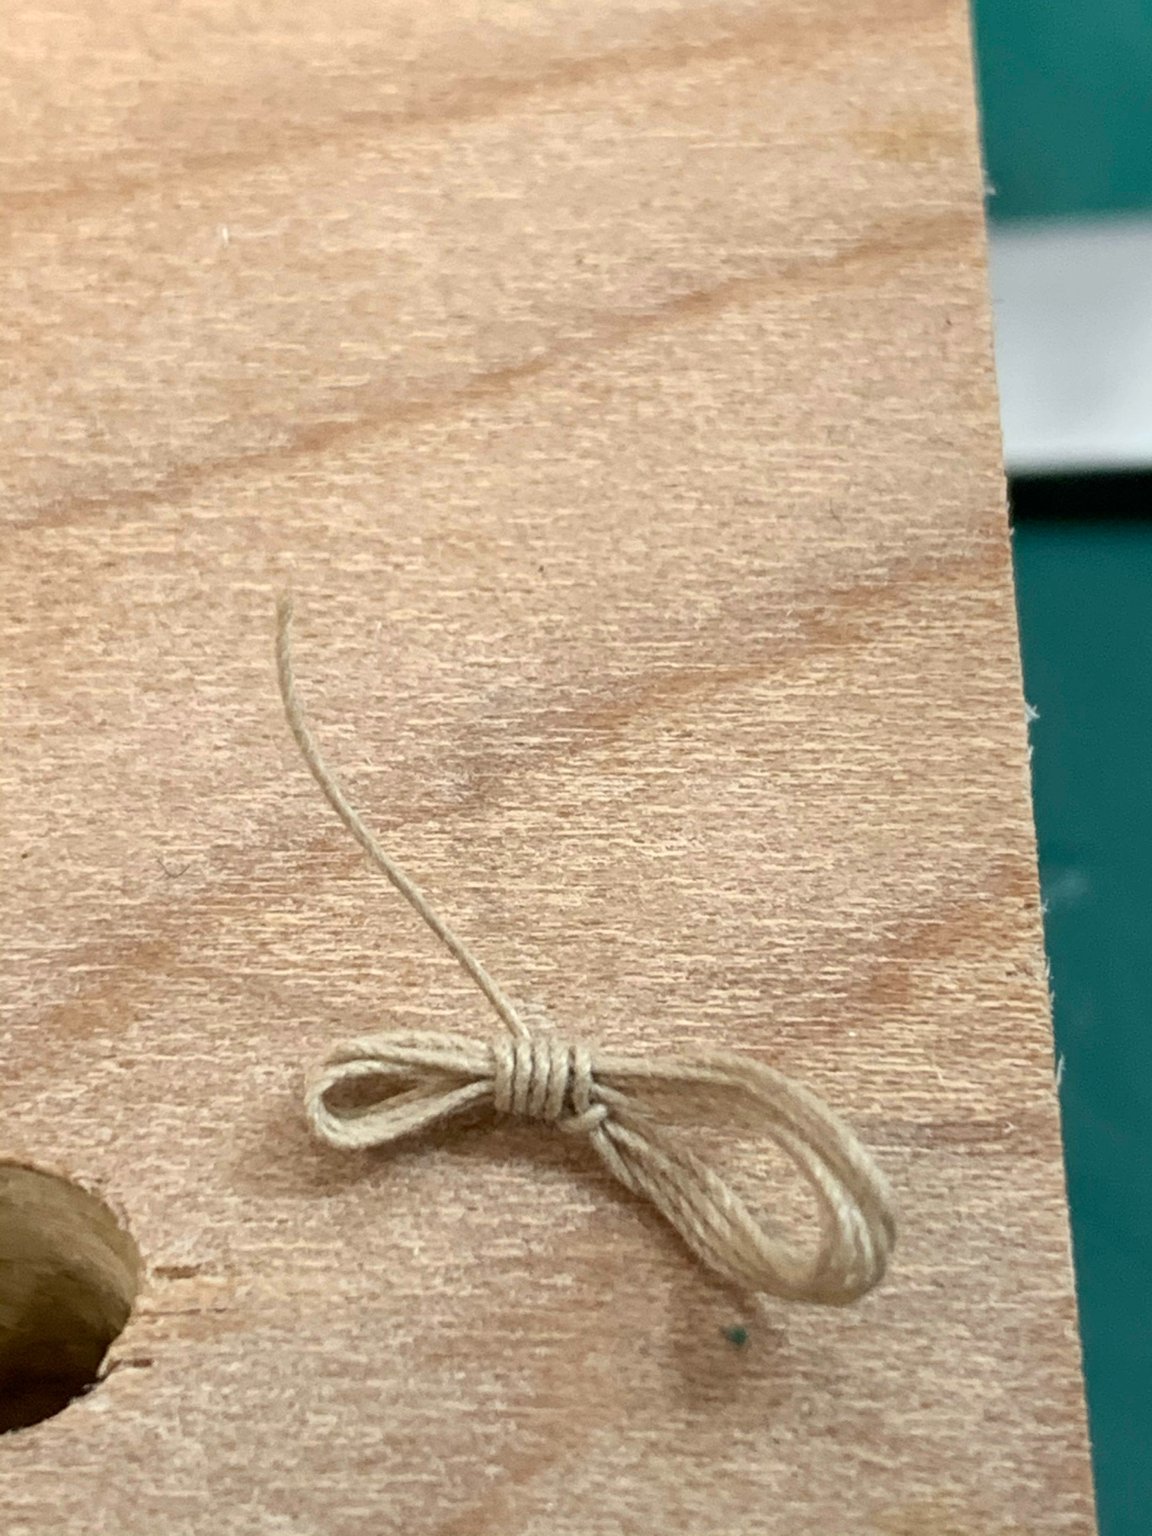
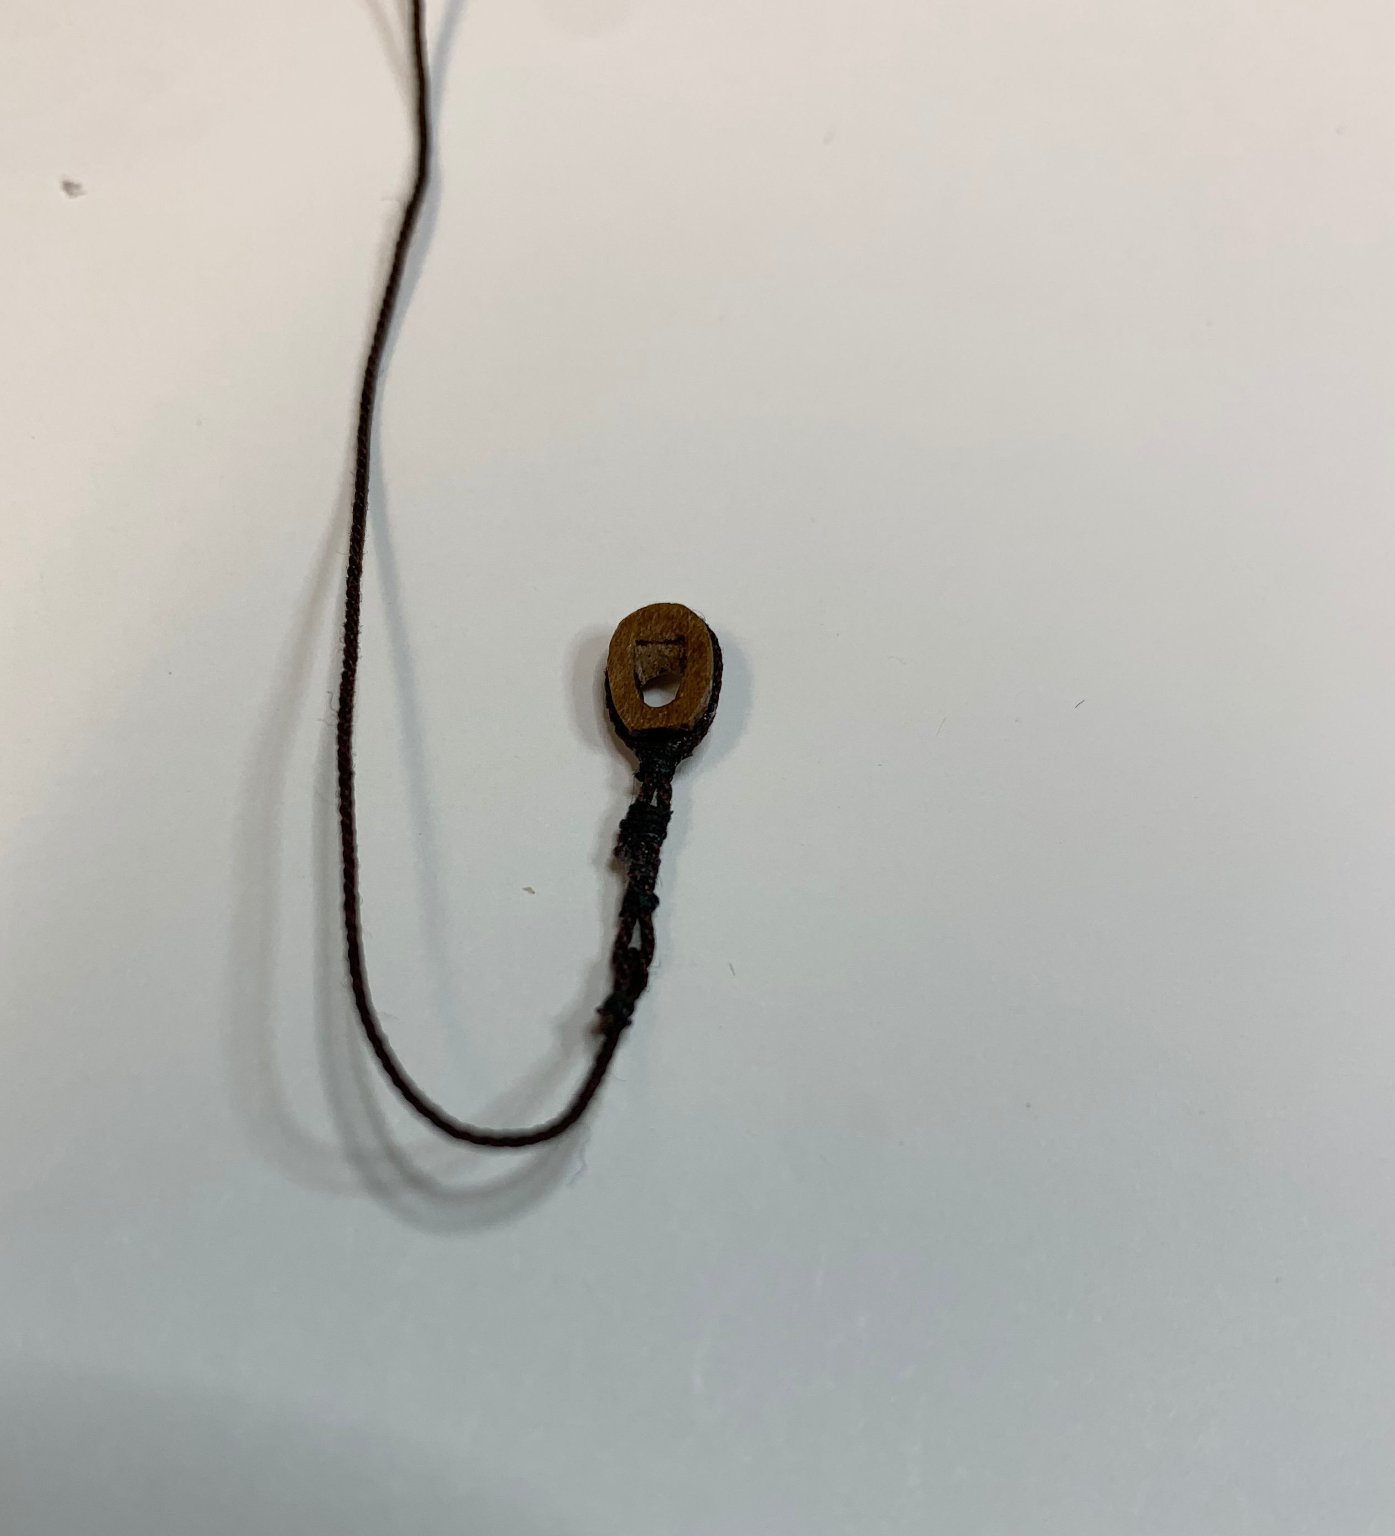
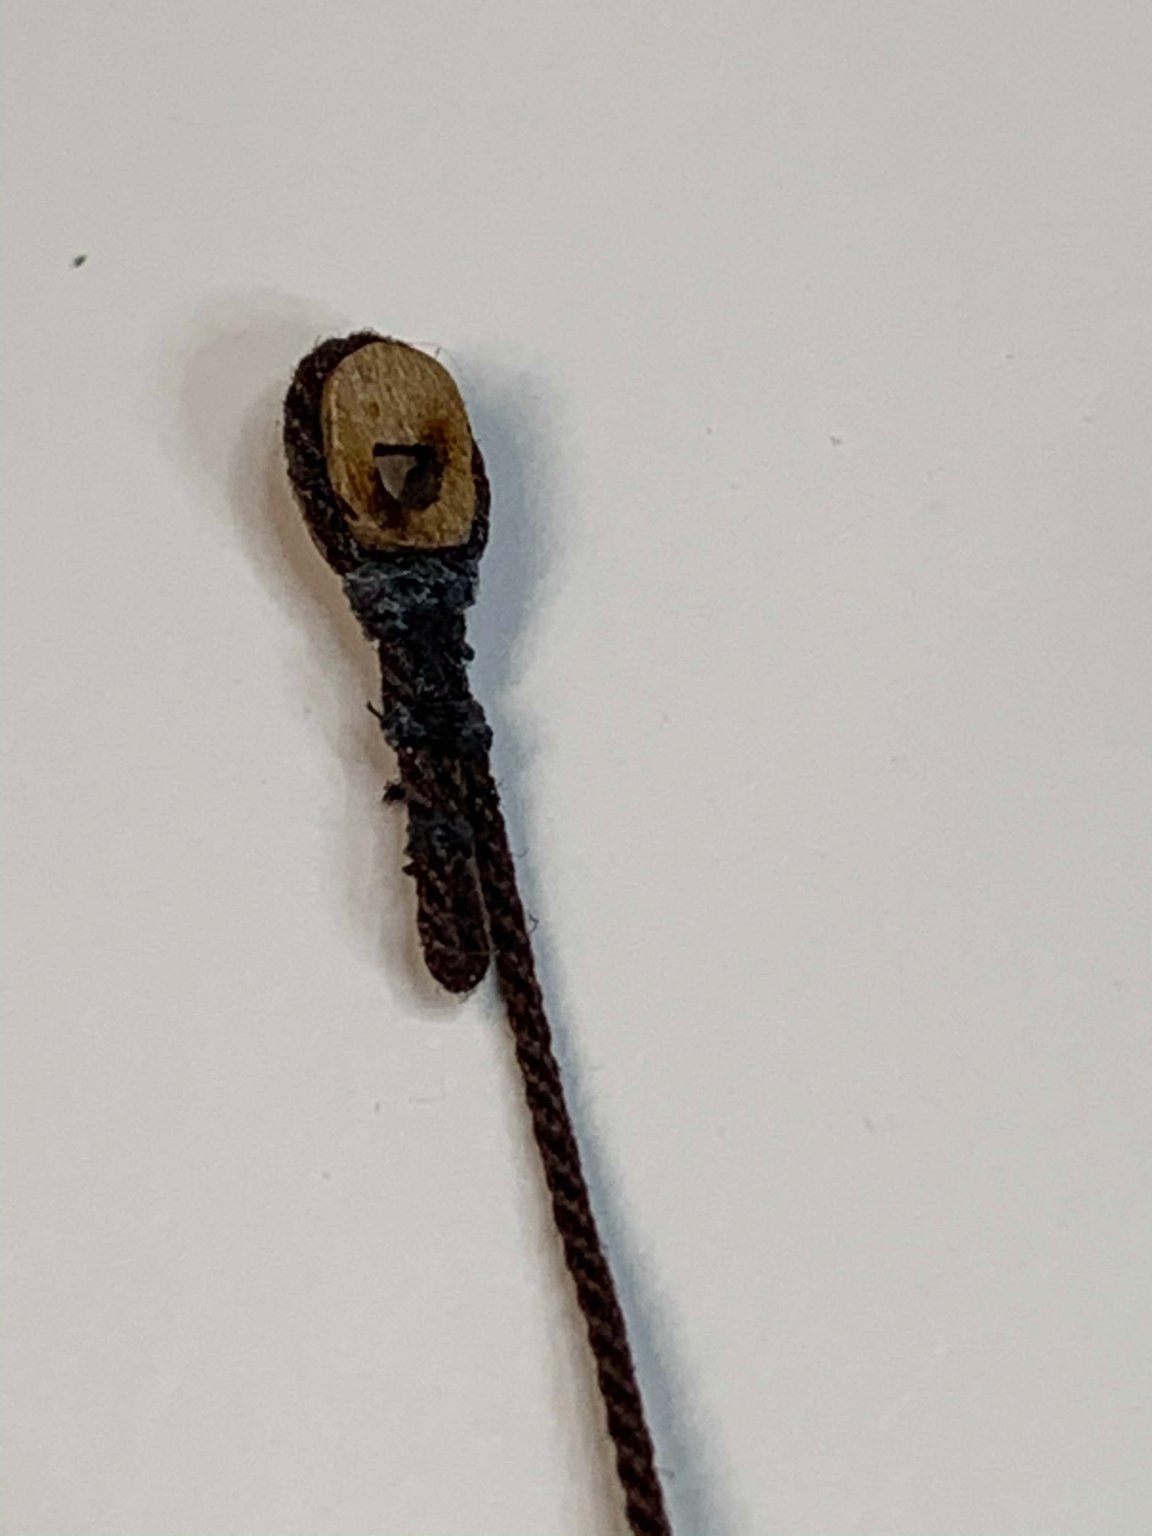
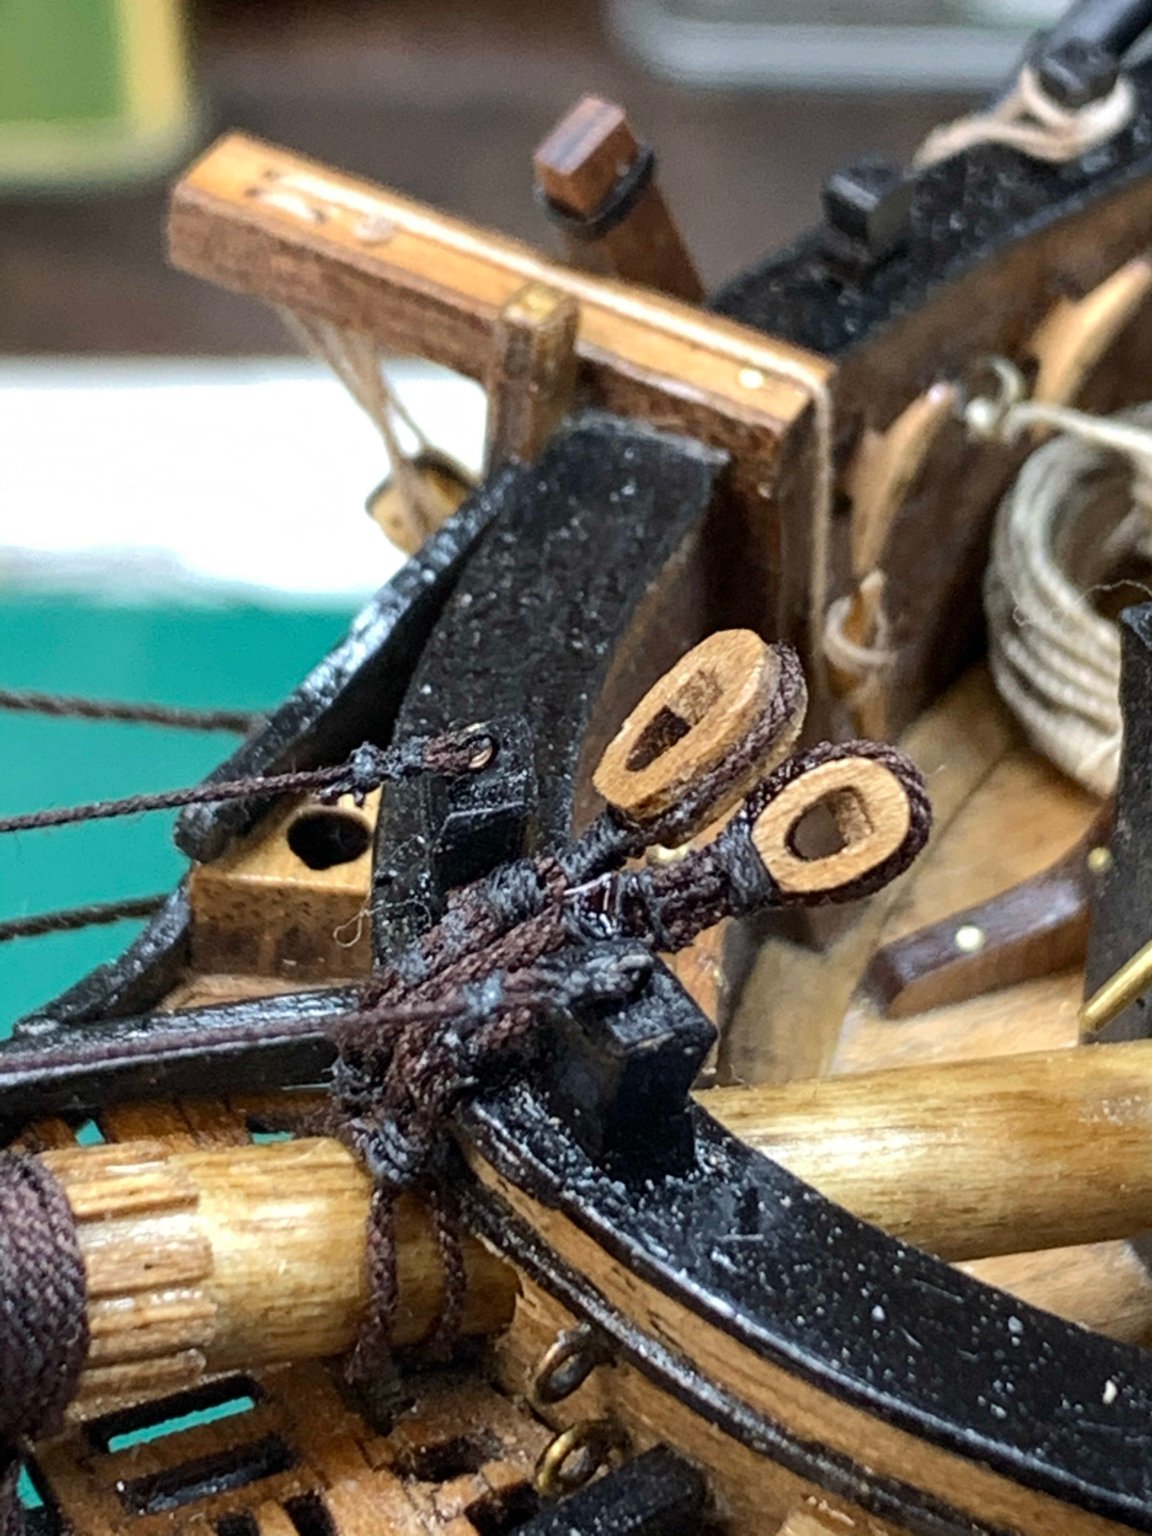
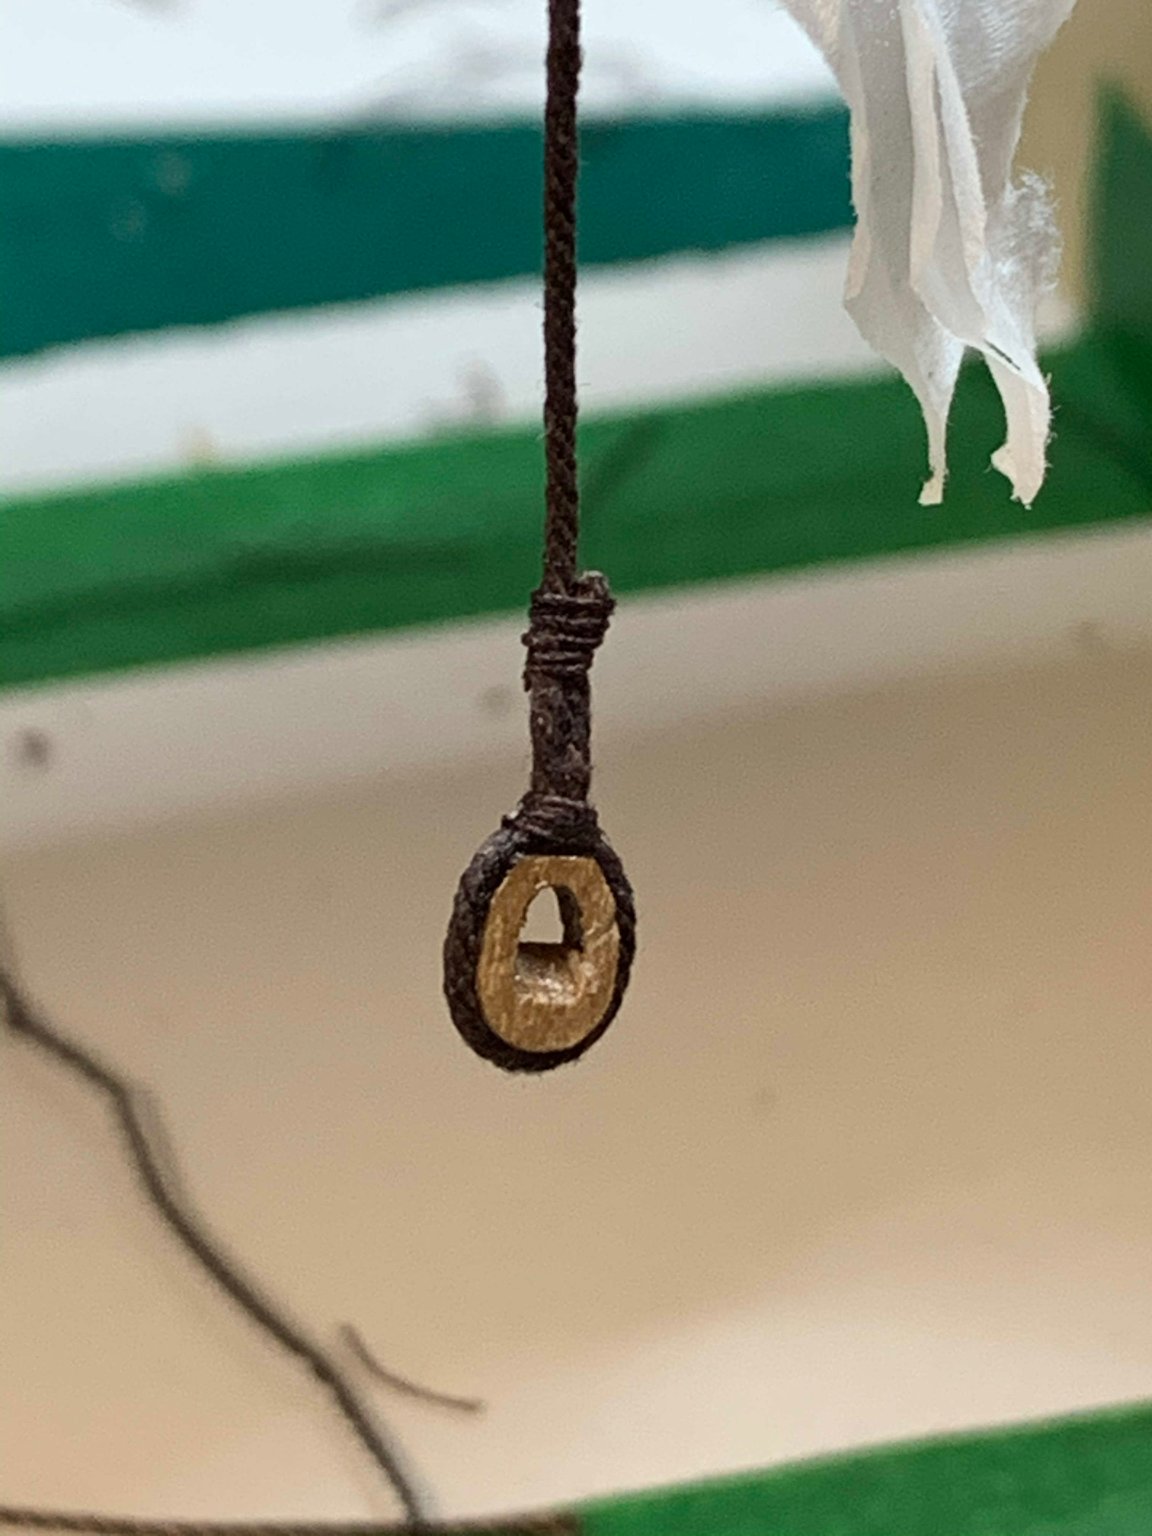
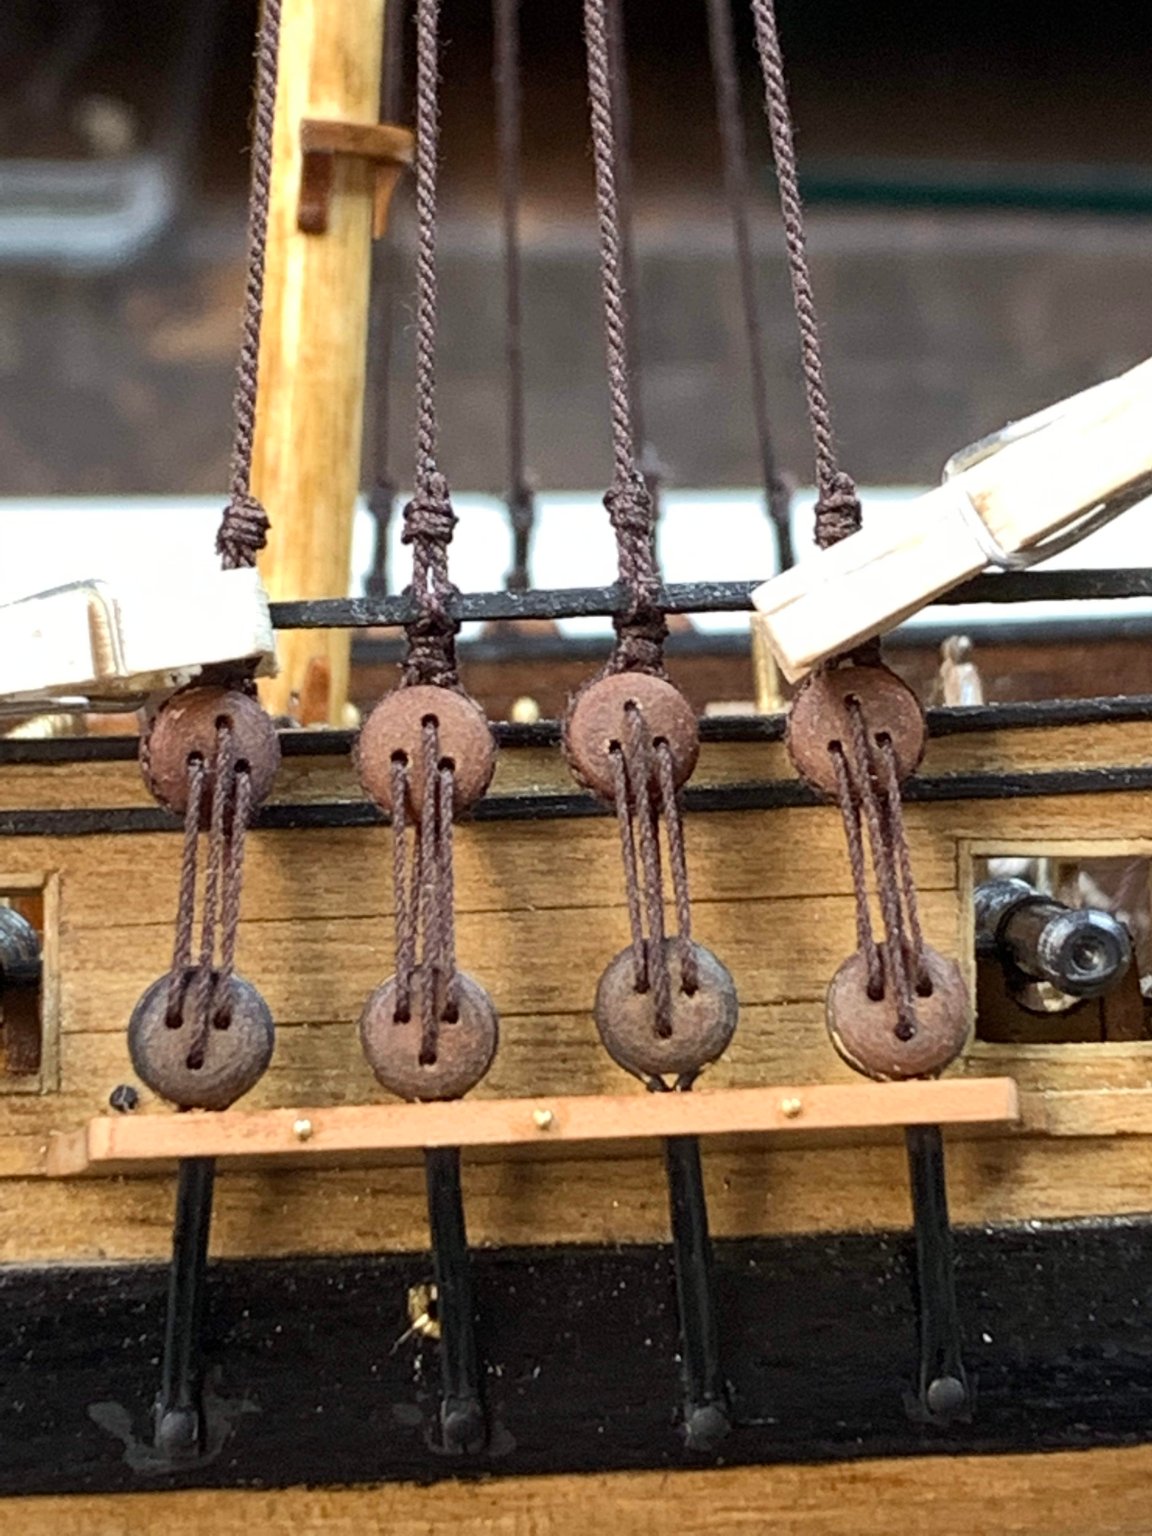
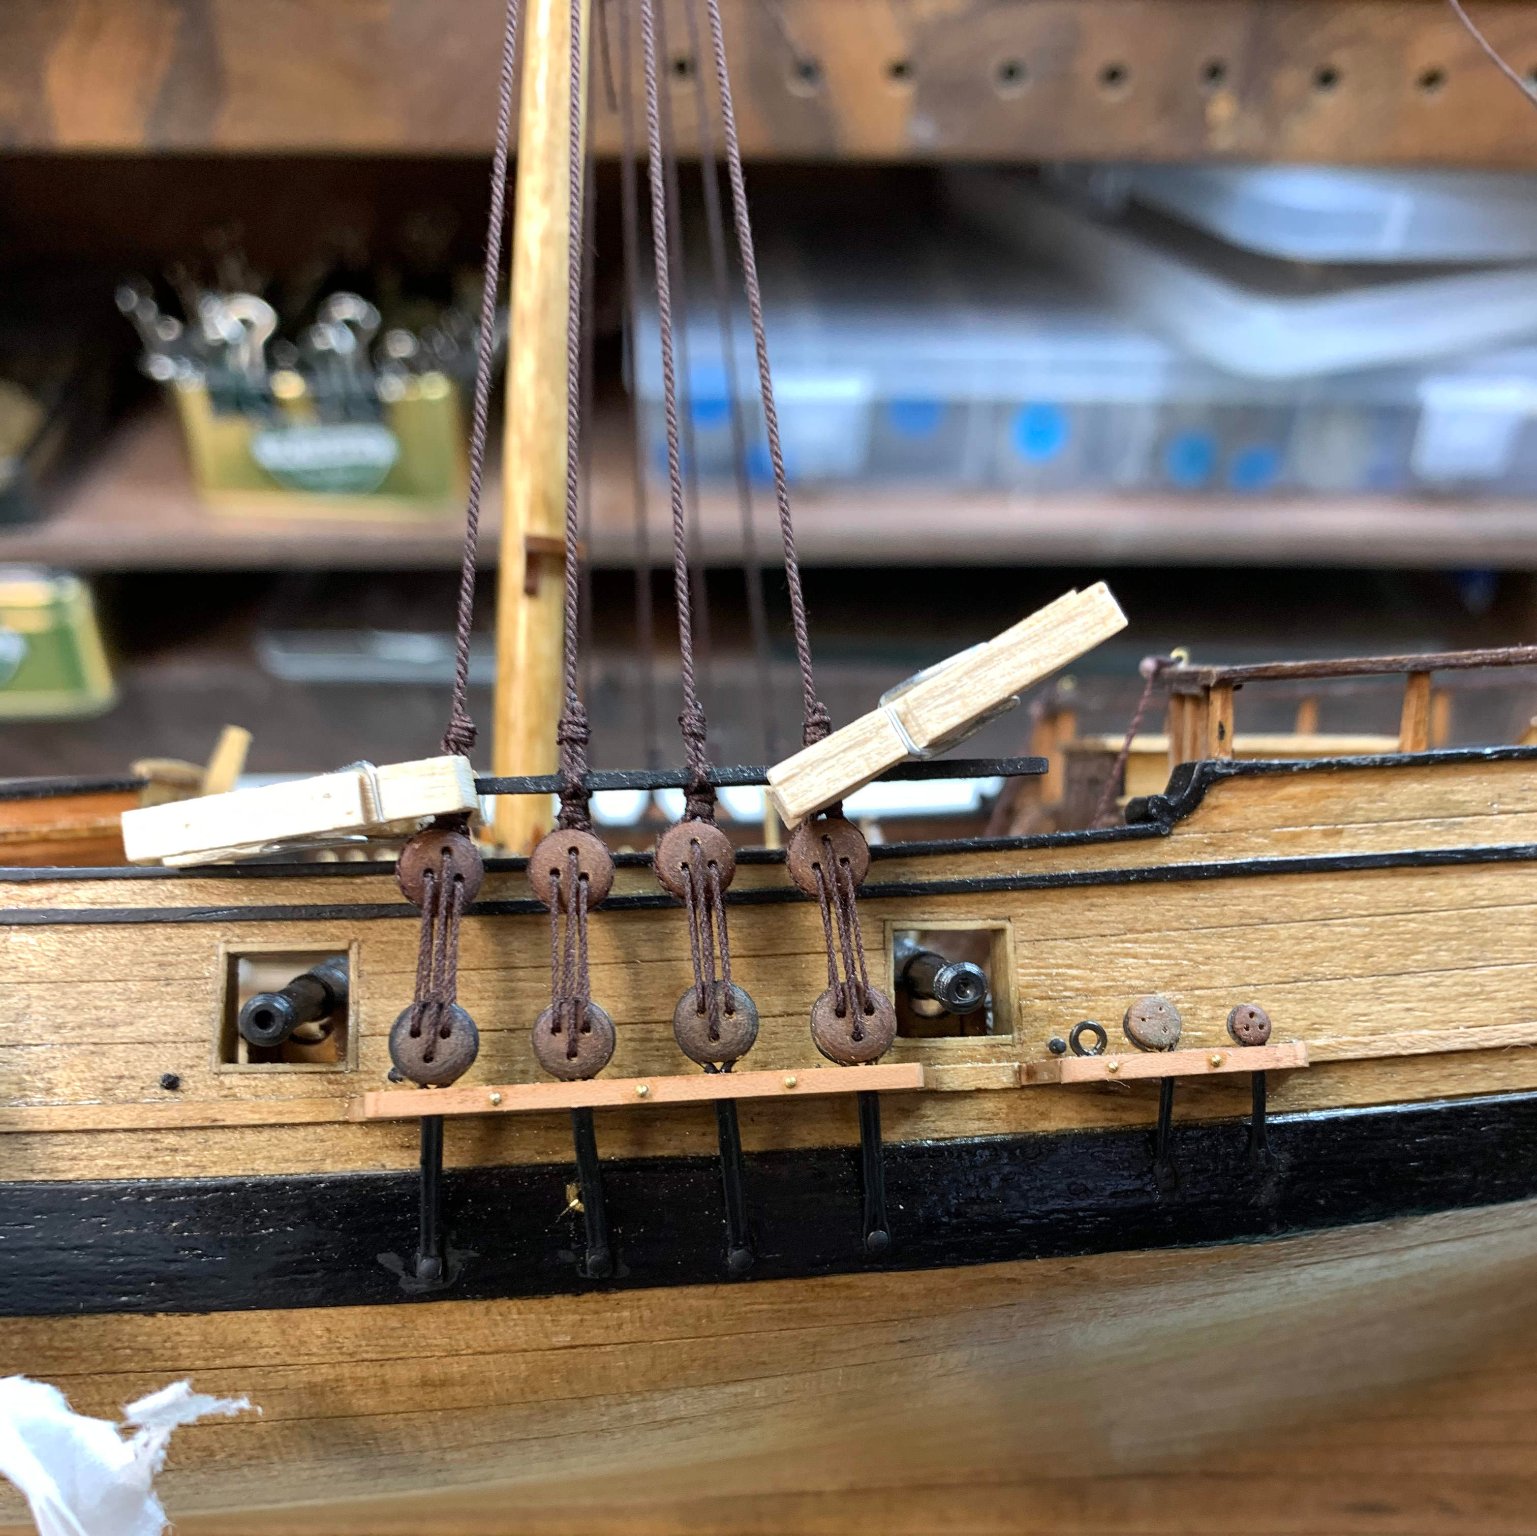
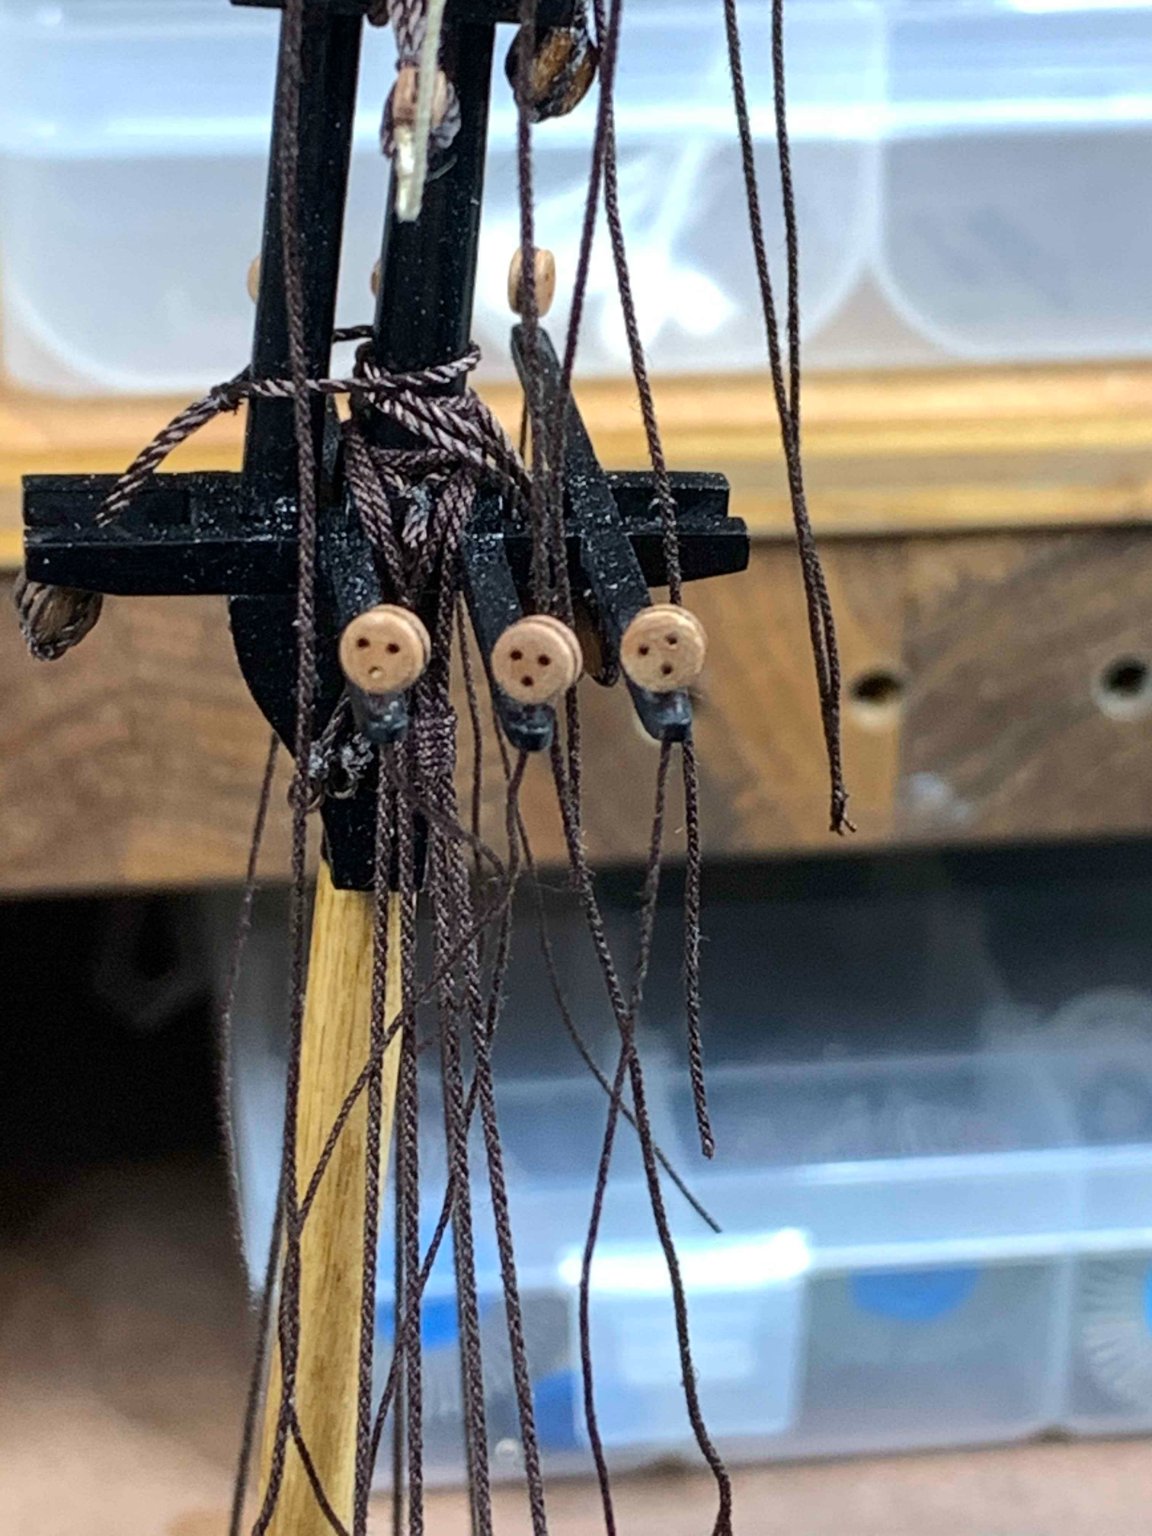
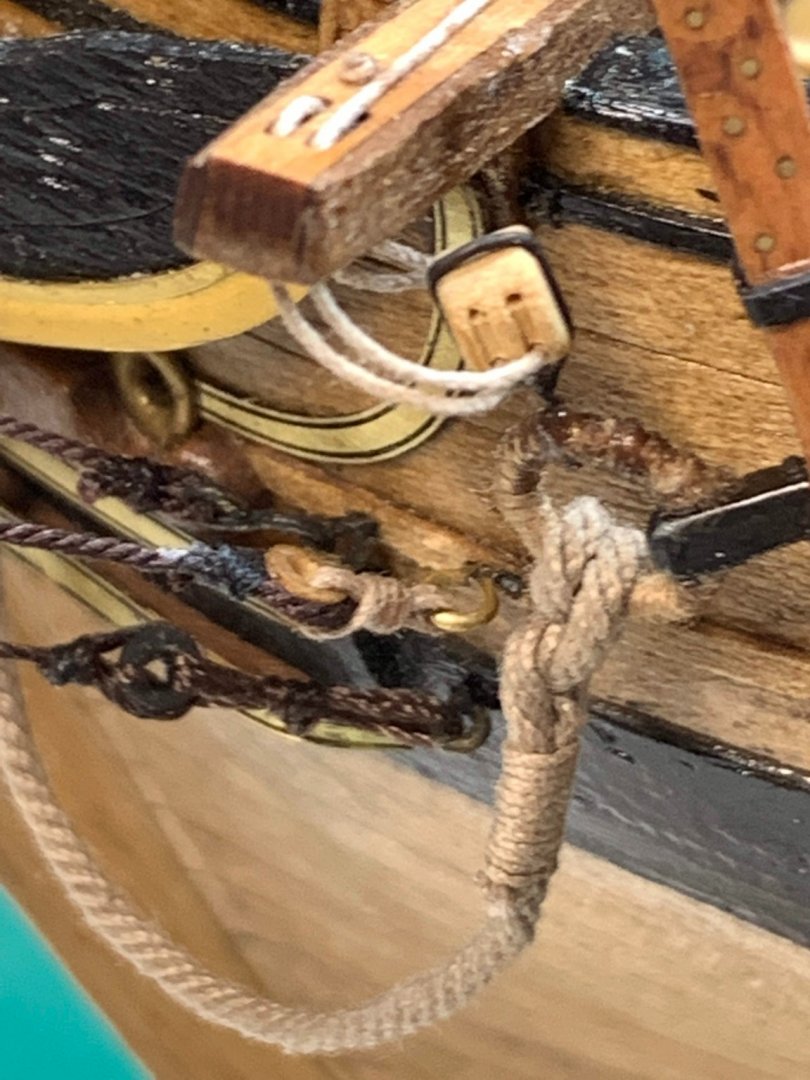
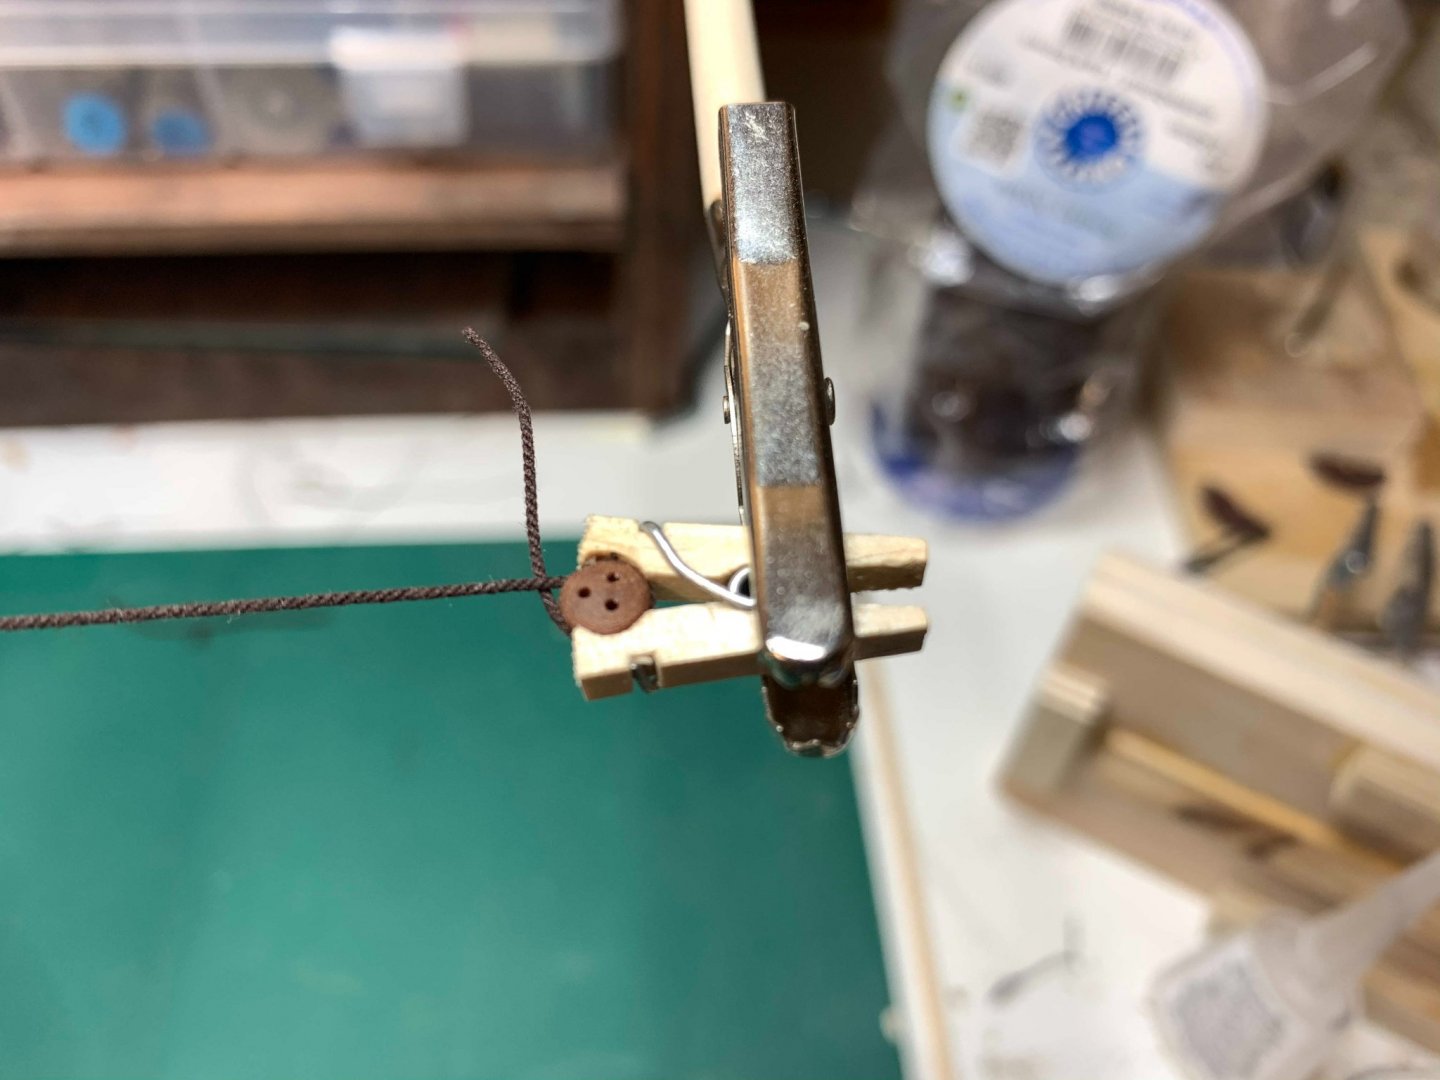
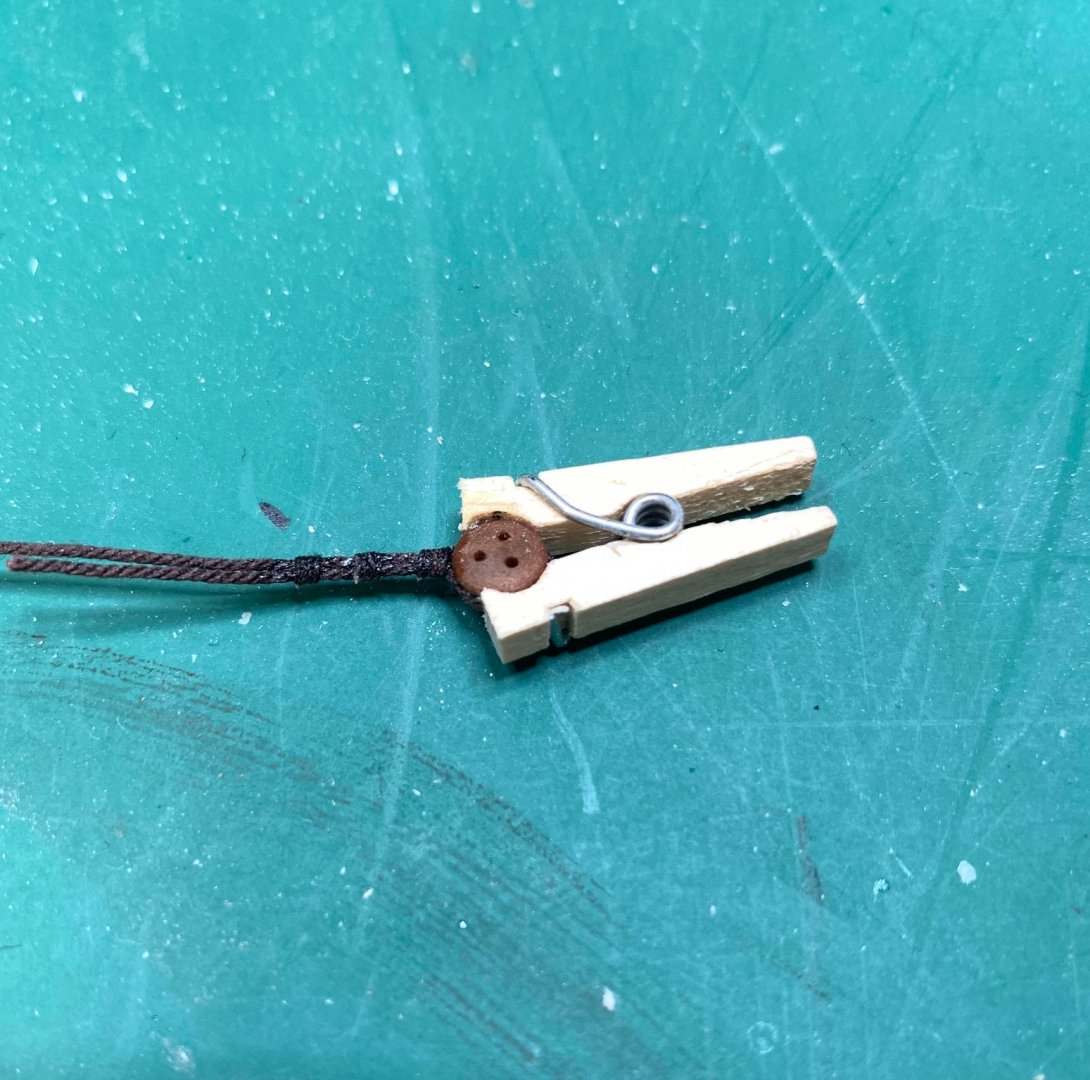
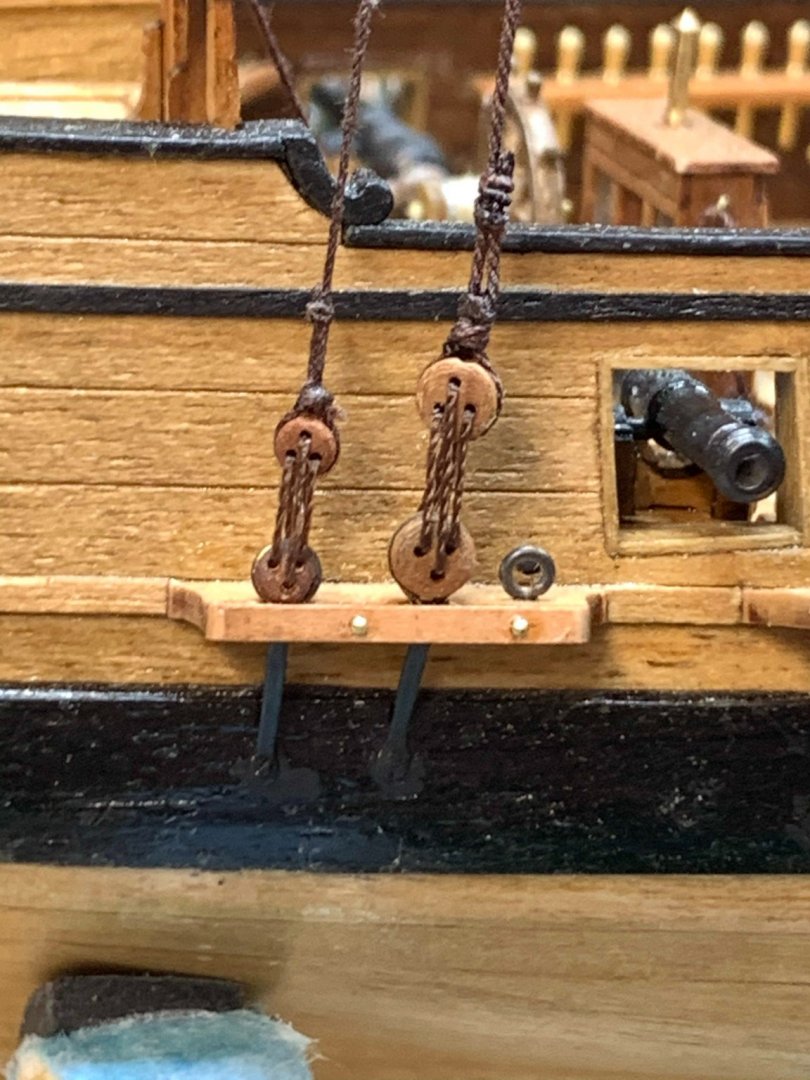
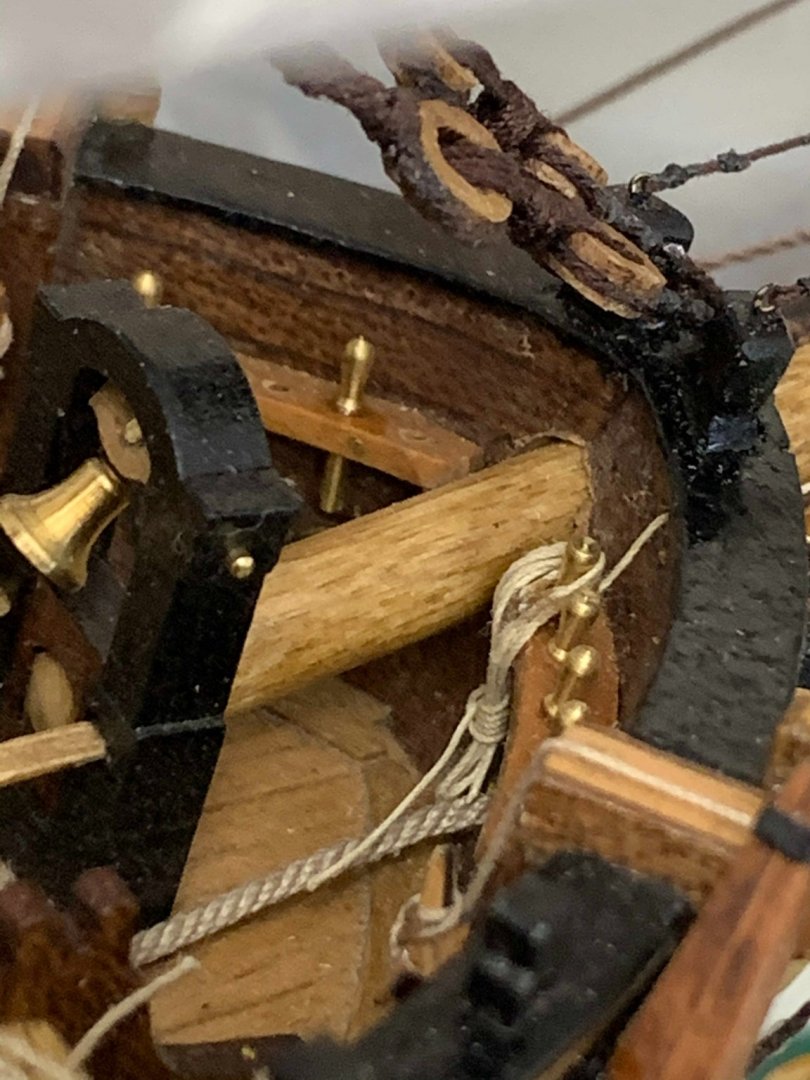
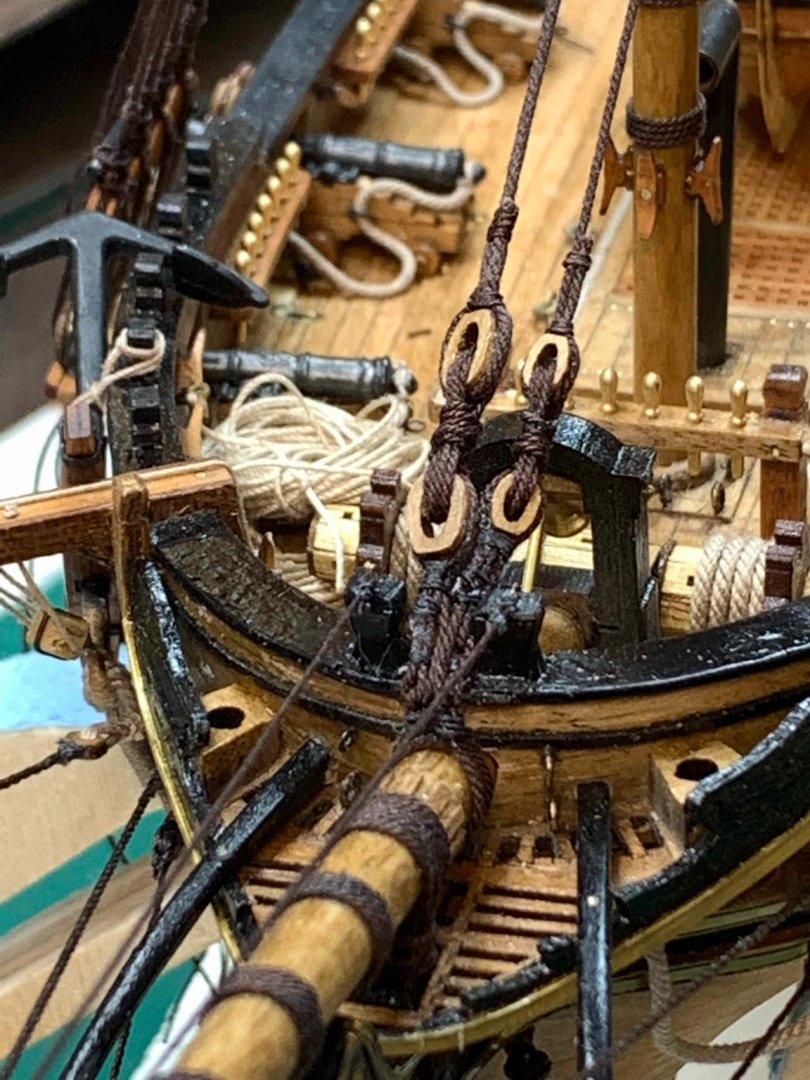
During last missing hole drilling exercise, i thought no damage was done. Unfortunately it was.. So instead of starting with rat lines, i will be repairing (or i would say improving) the look of two rigging lines. So, lets fix it... by painting the wood and replacing the rigging line. This is my process to rig a block. Little helping hands.. End result.. The hook is also attached.. Thole new assembly in place. Now the other side has to be replaced as well, so both are matching.. Happy modelling..


- 275 replies
-
- 2
-
-
- phoenix
- master korabel
- (and 1 more)
-
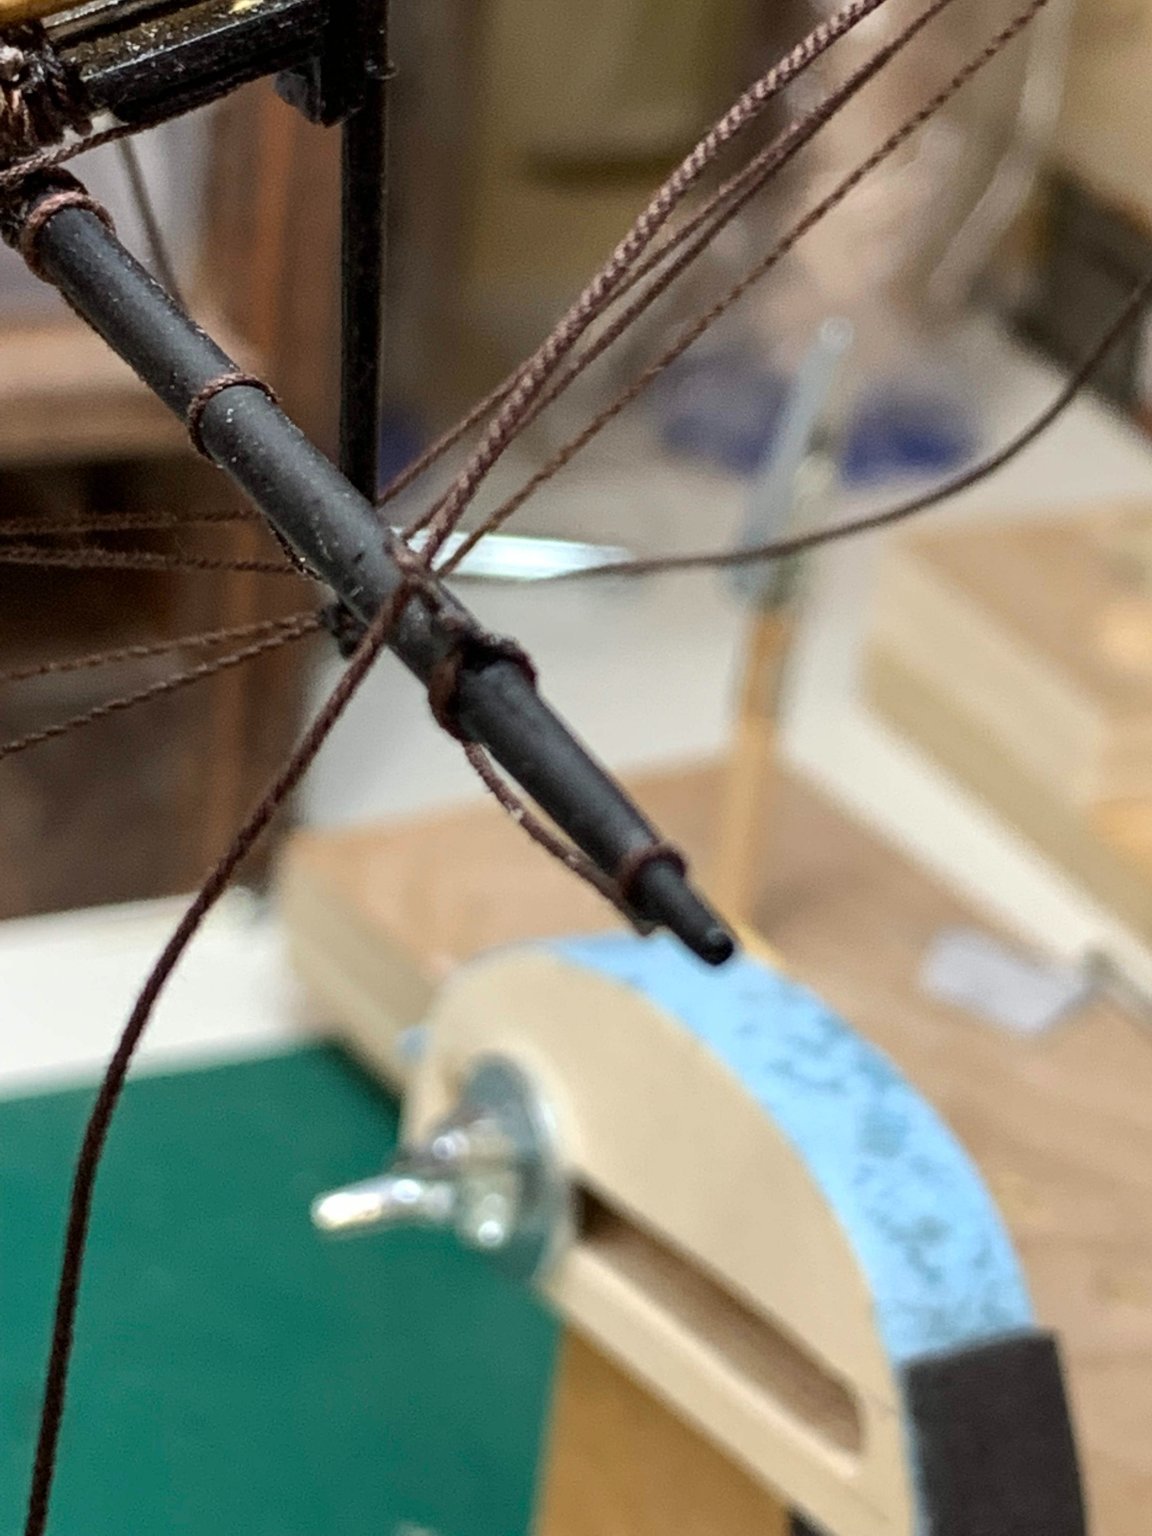
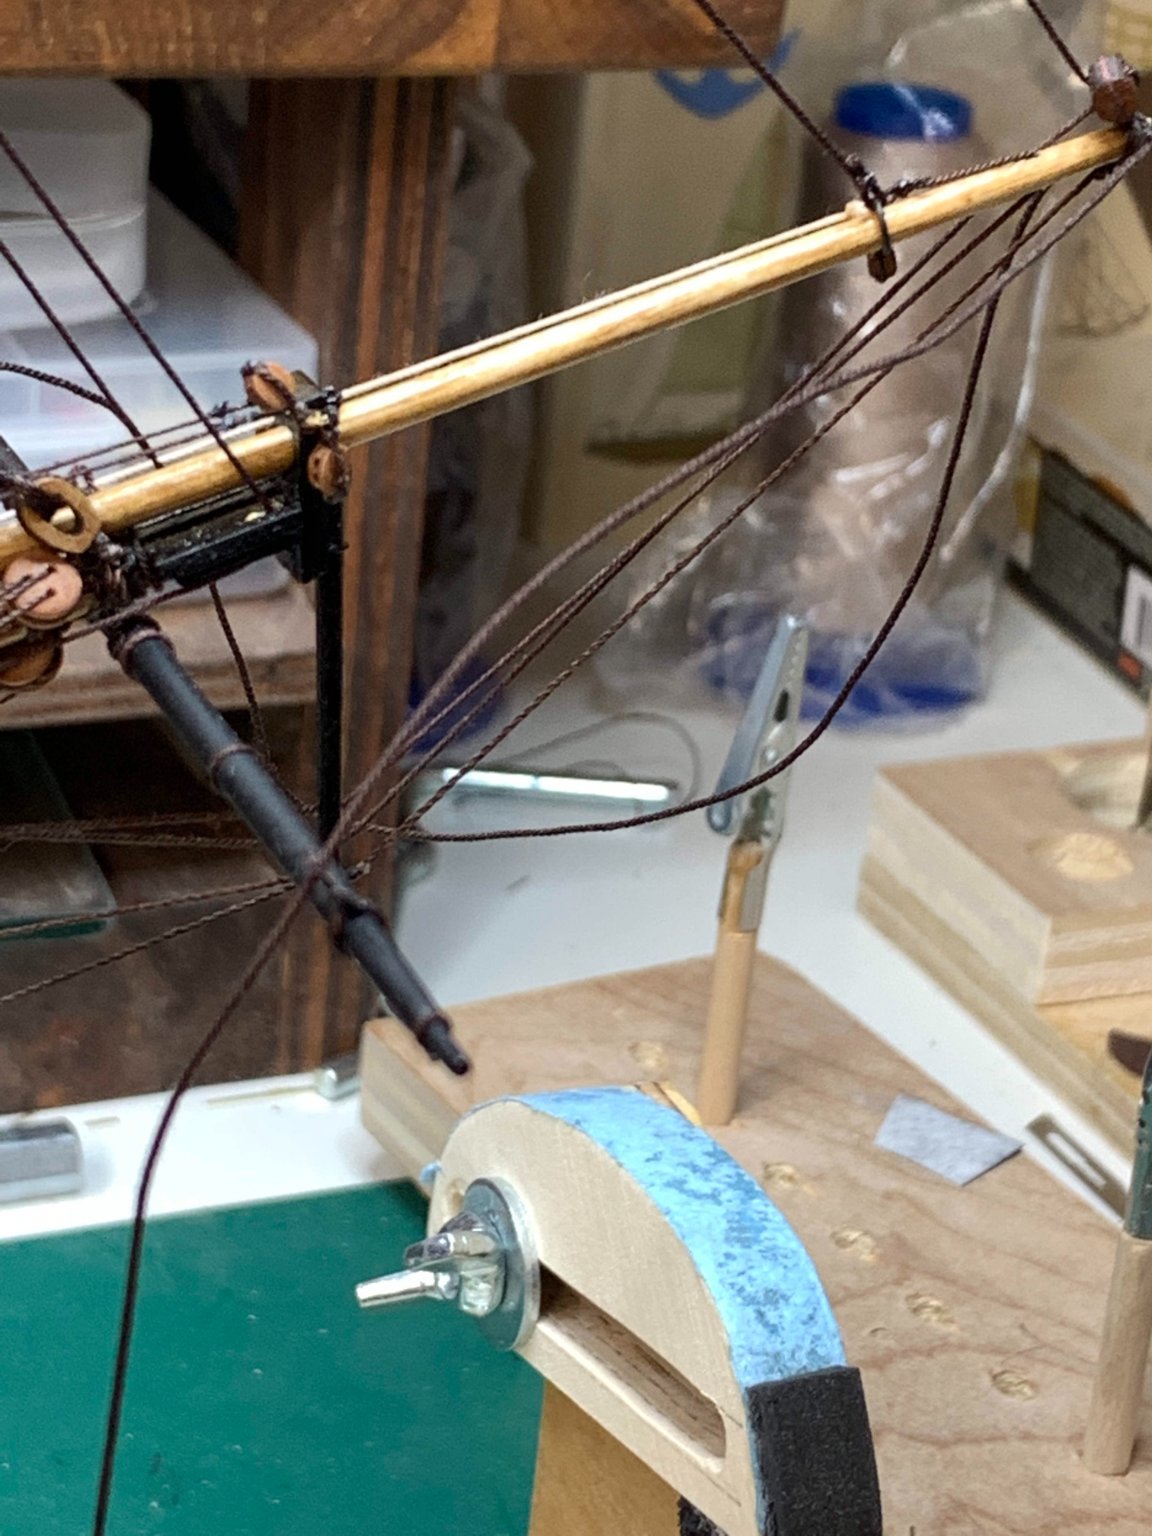
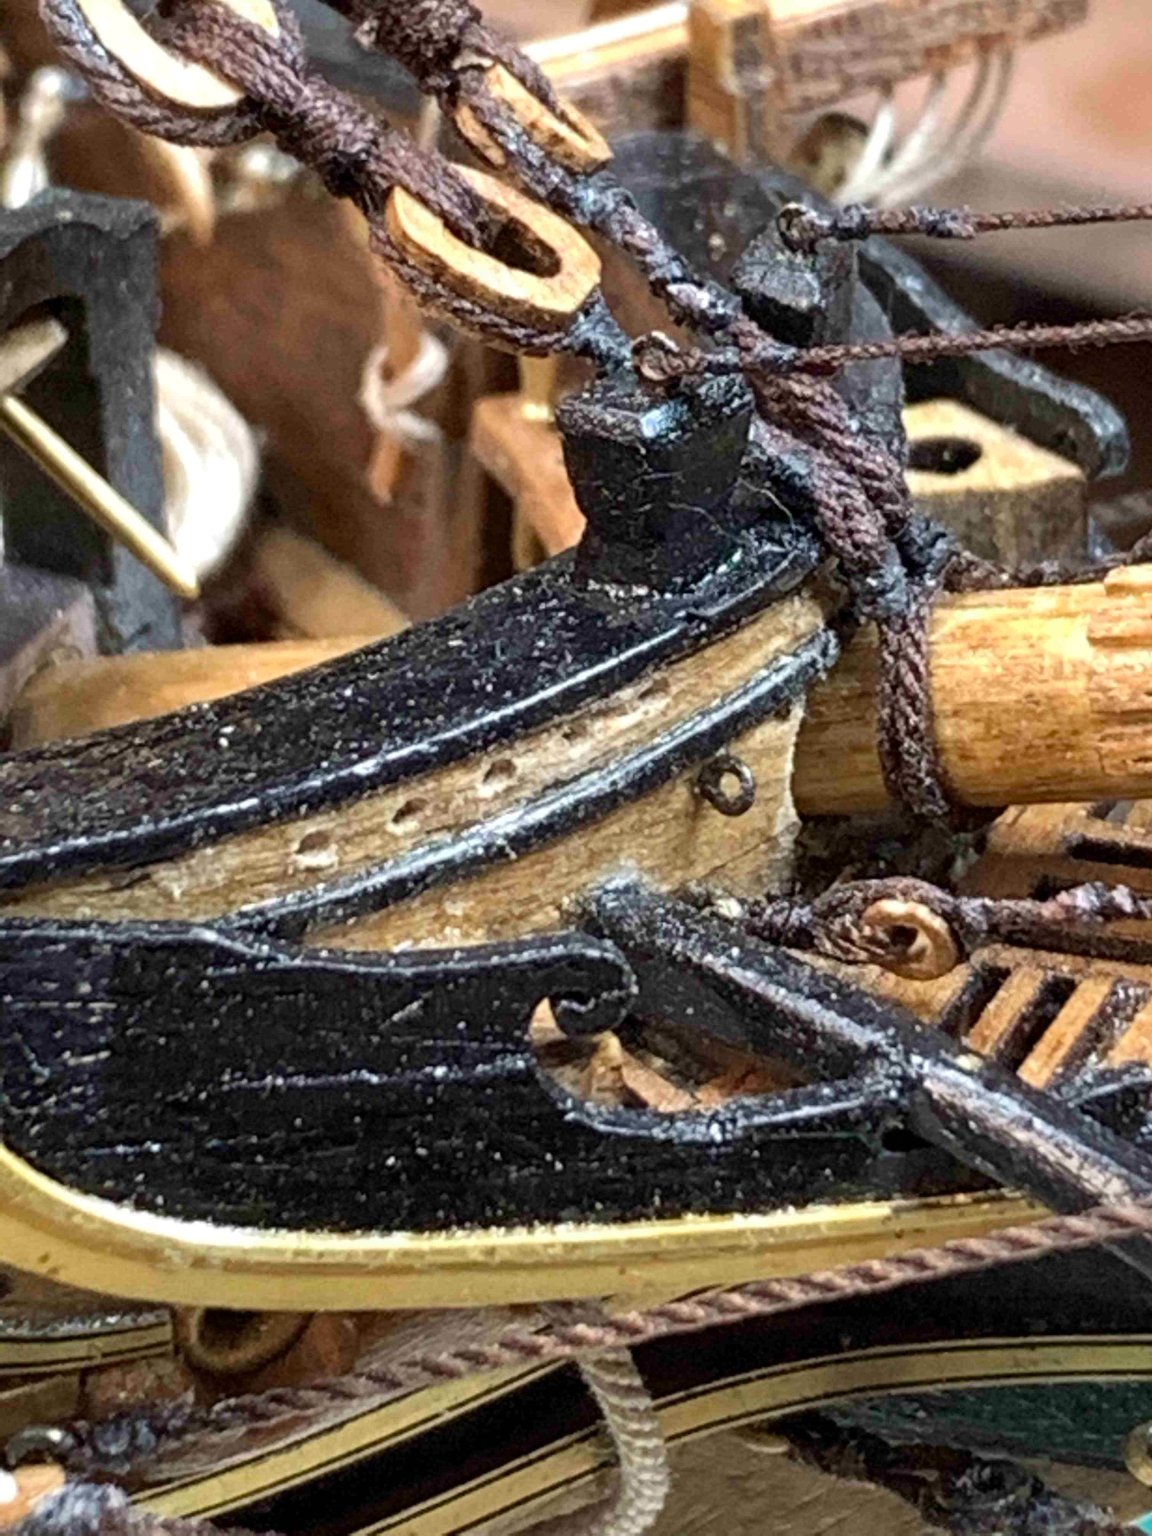
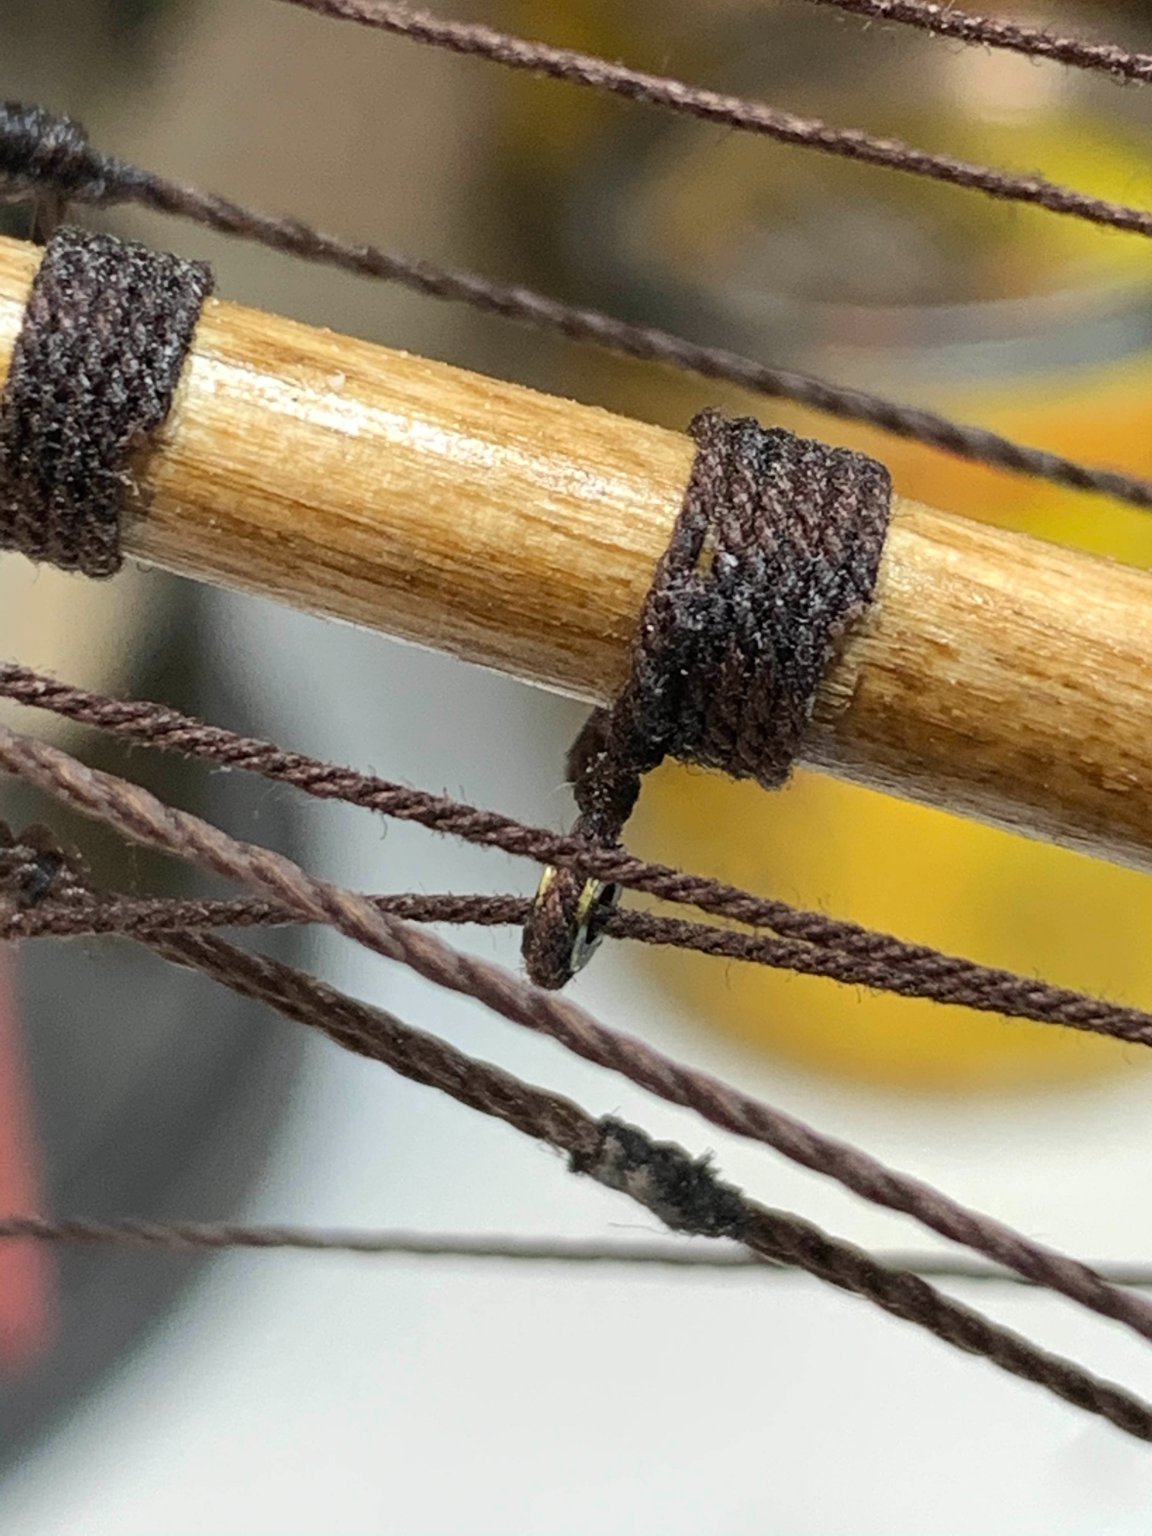
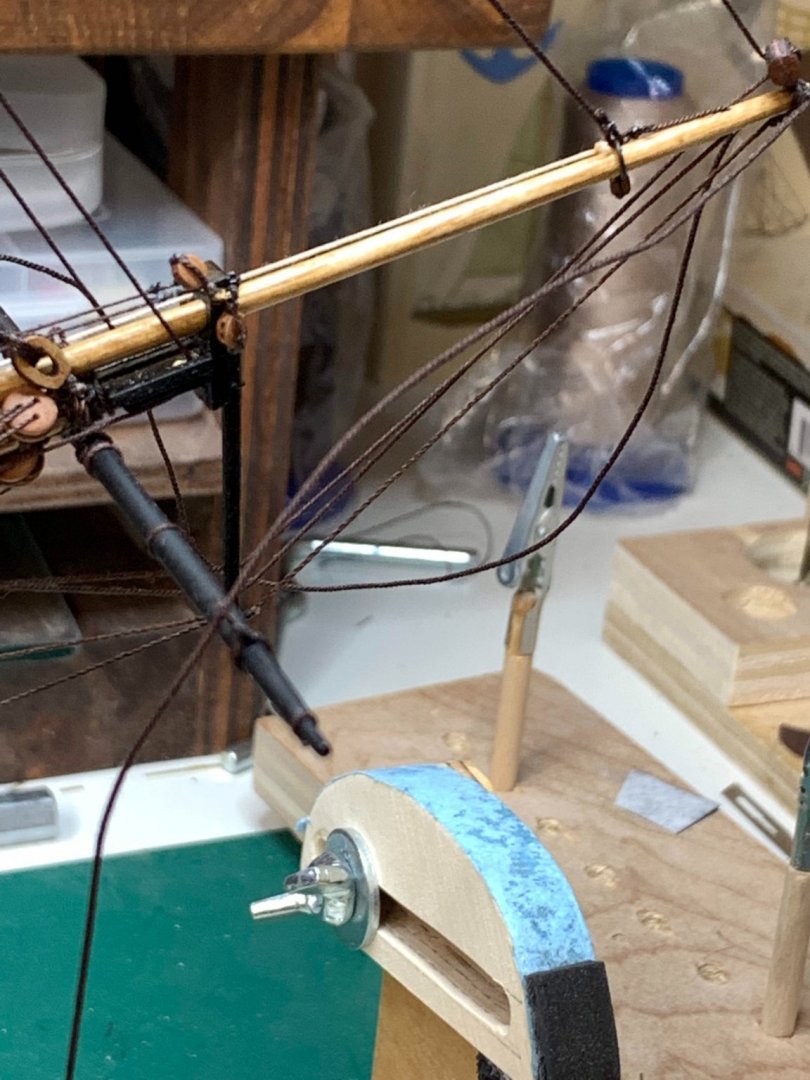
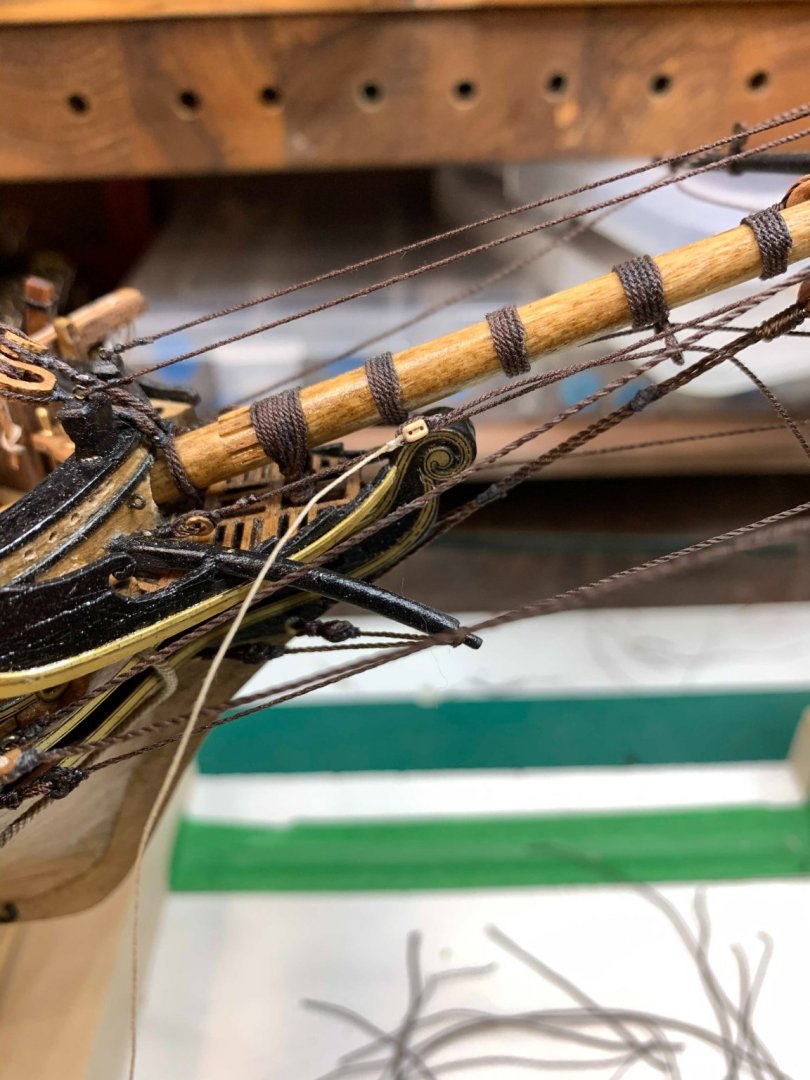
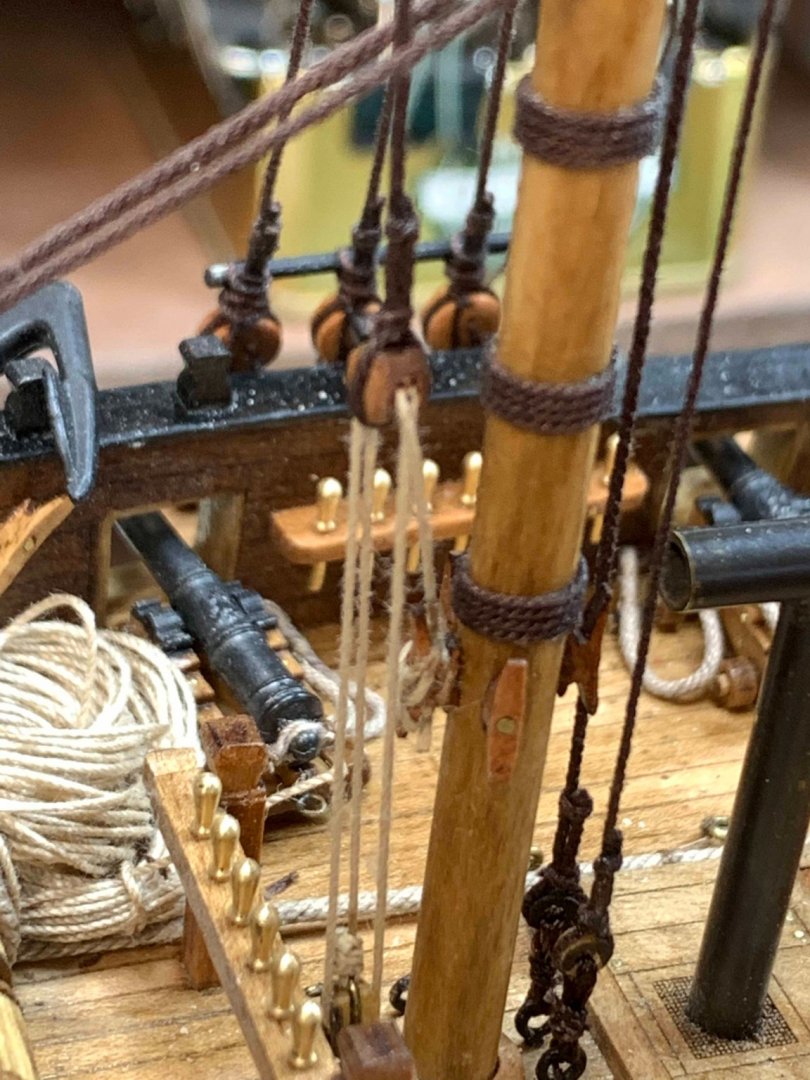
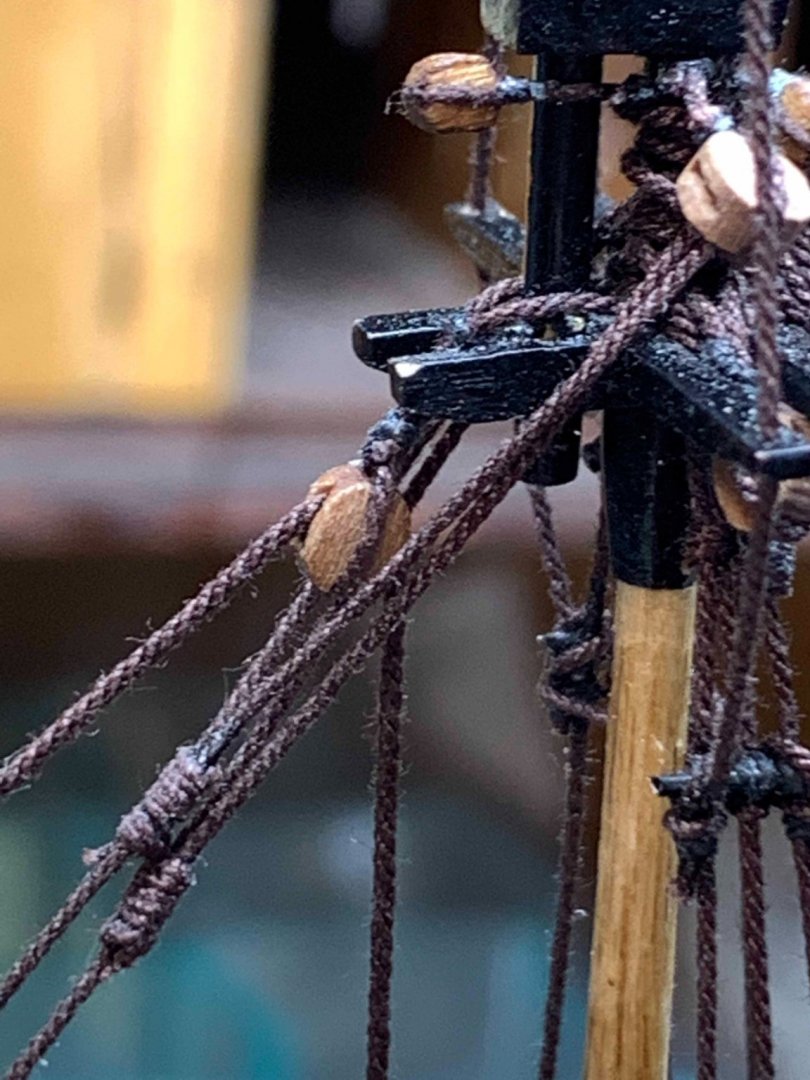
Gunter iron downhaul was installed and attached to belayed pin. And a bit more rigging done.. Happy modelling.


- 275 replies
-
- 1
-
-
- phoenix
- master korabel
- (and 1 more)
-
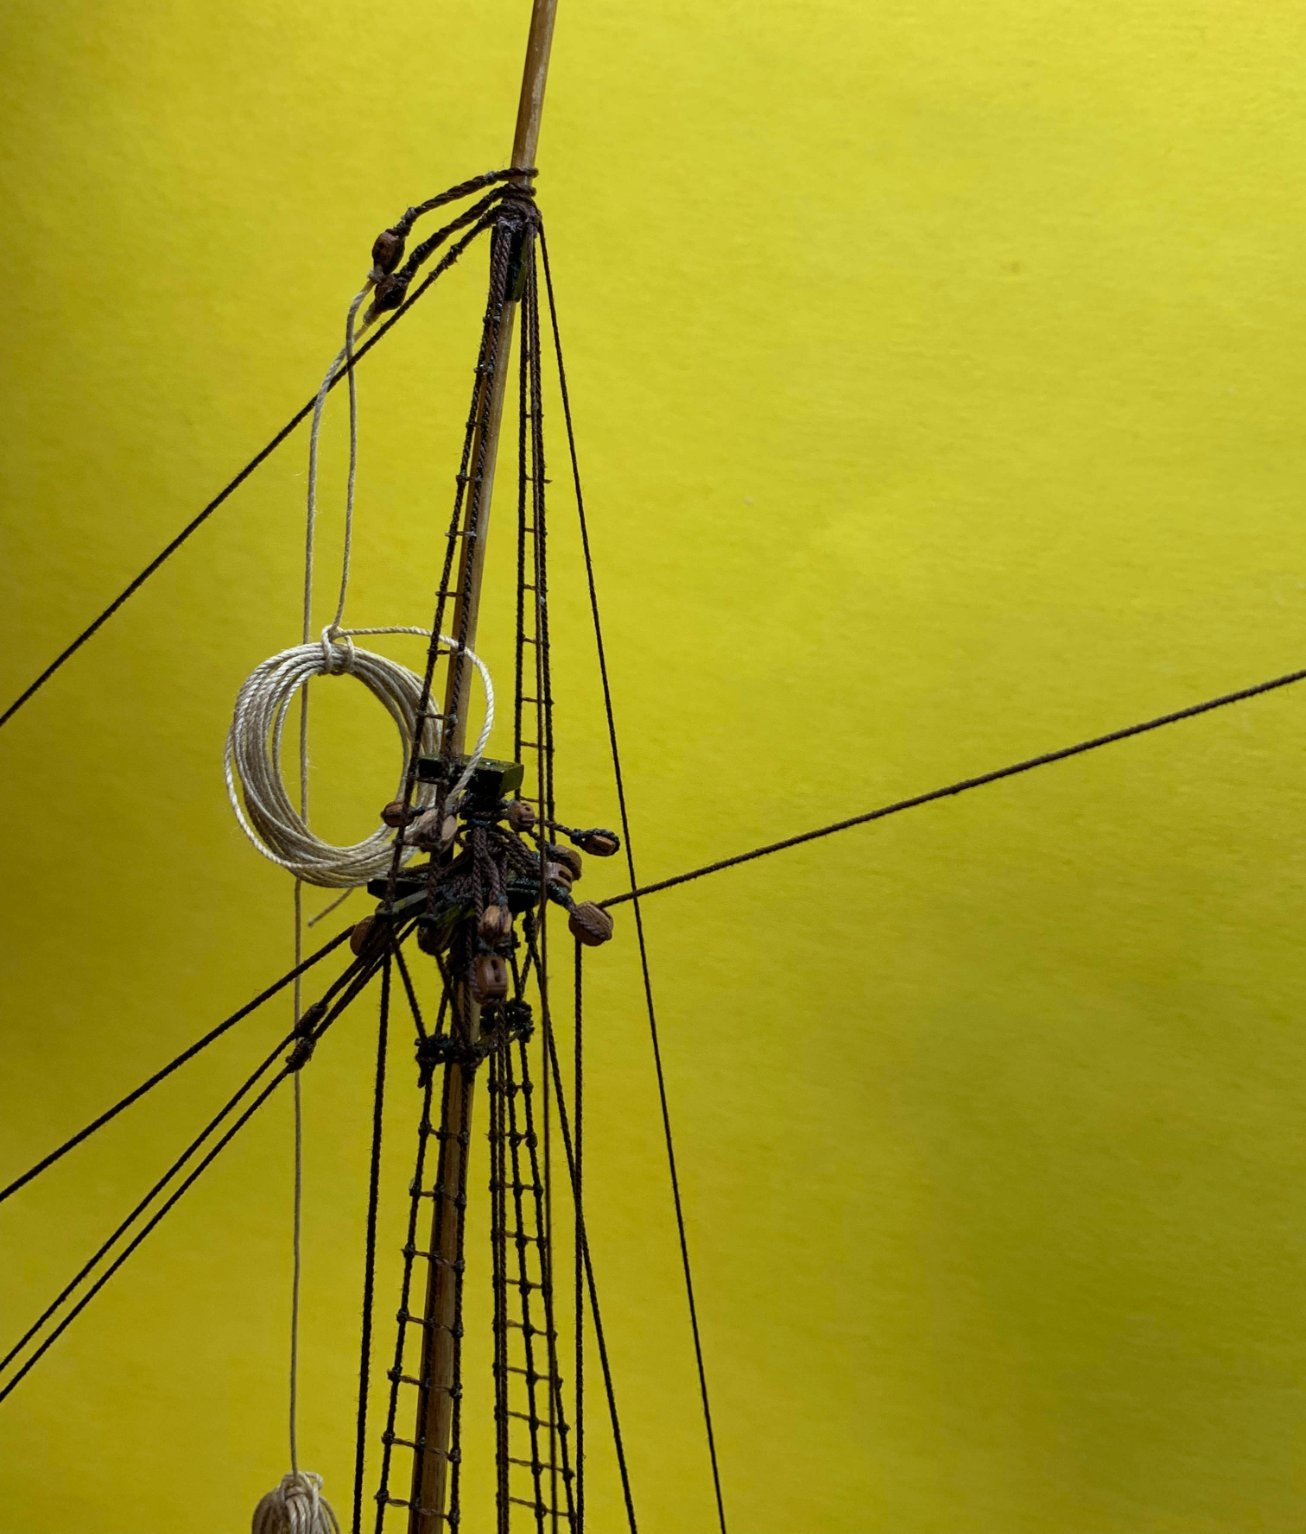
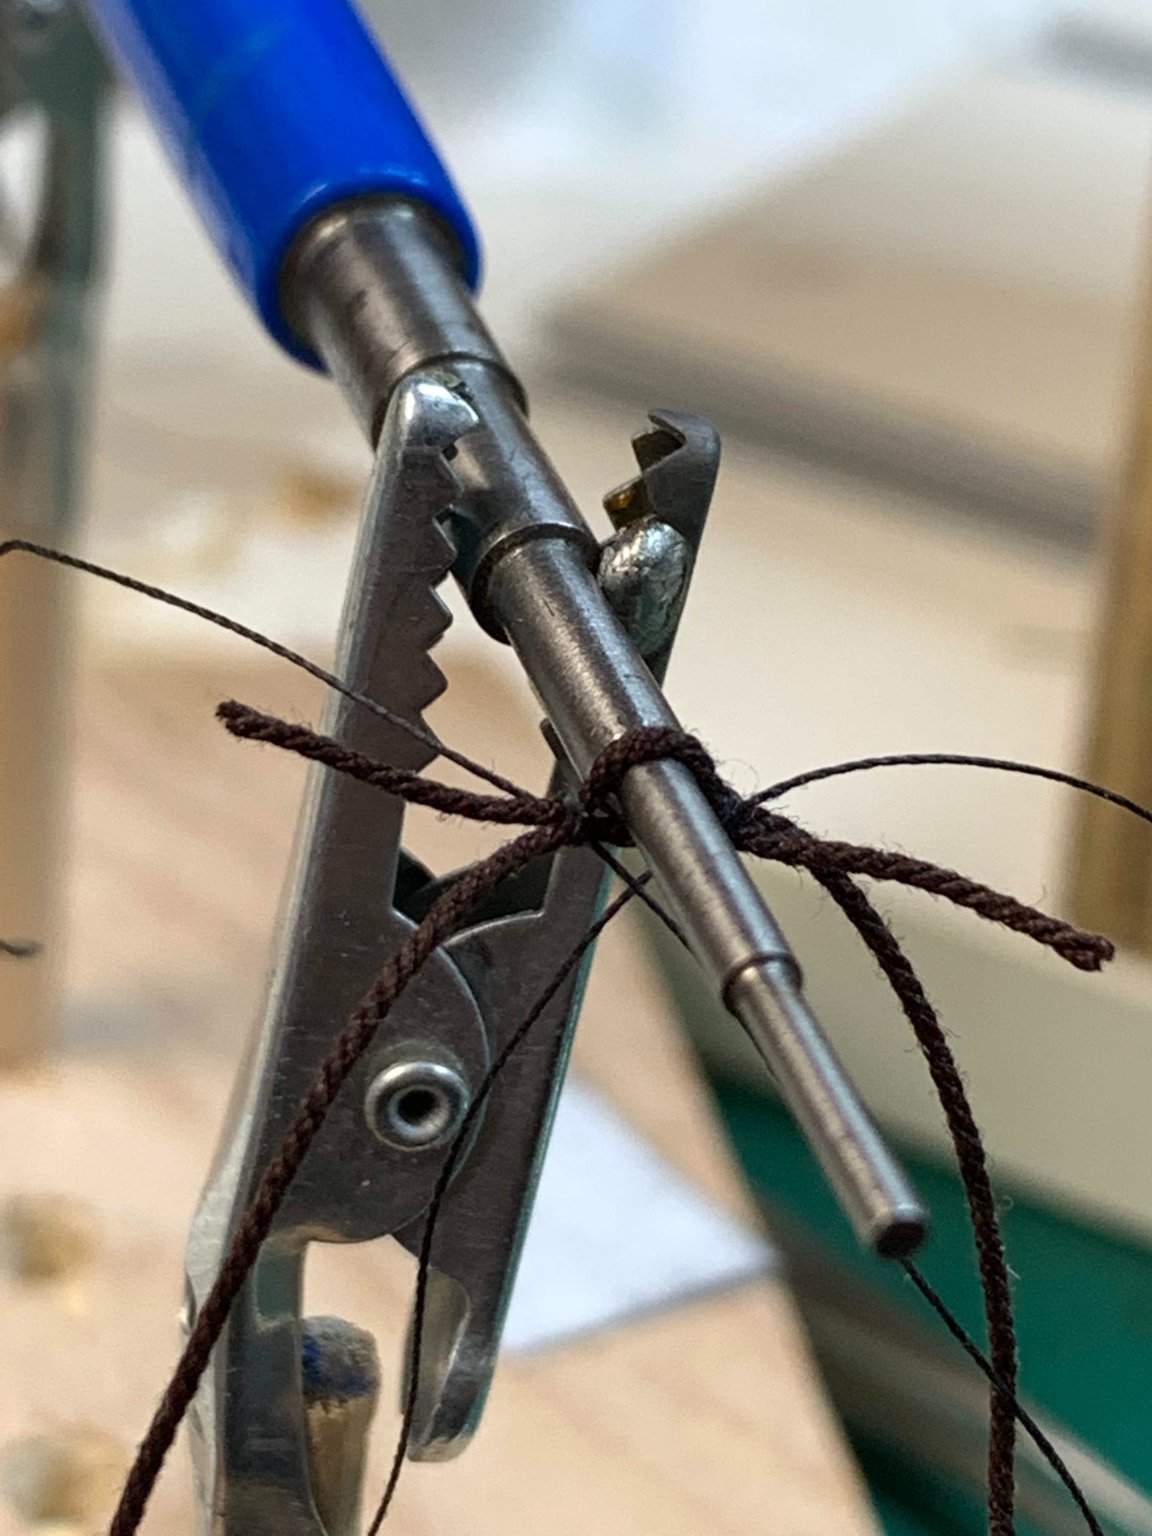
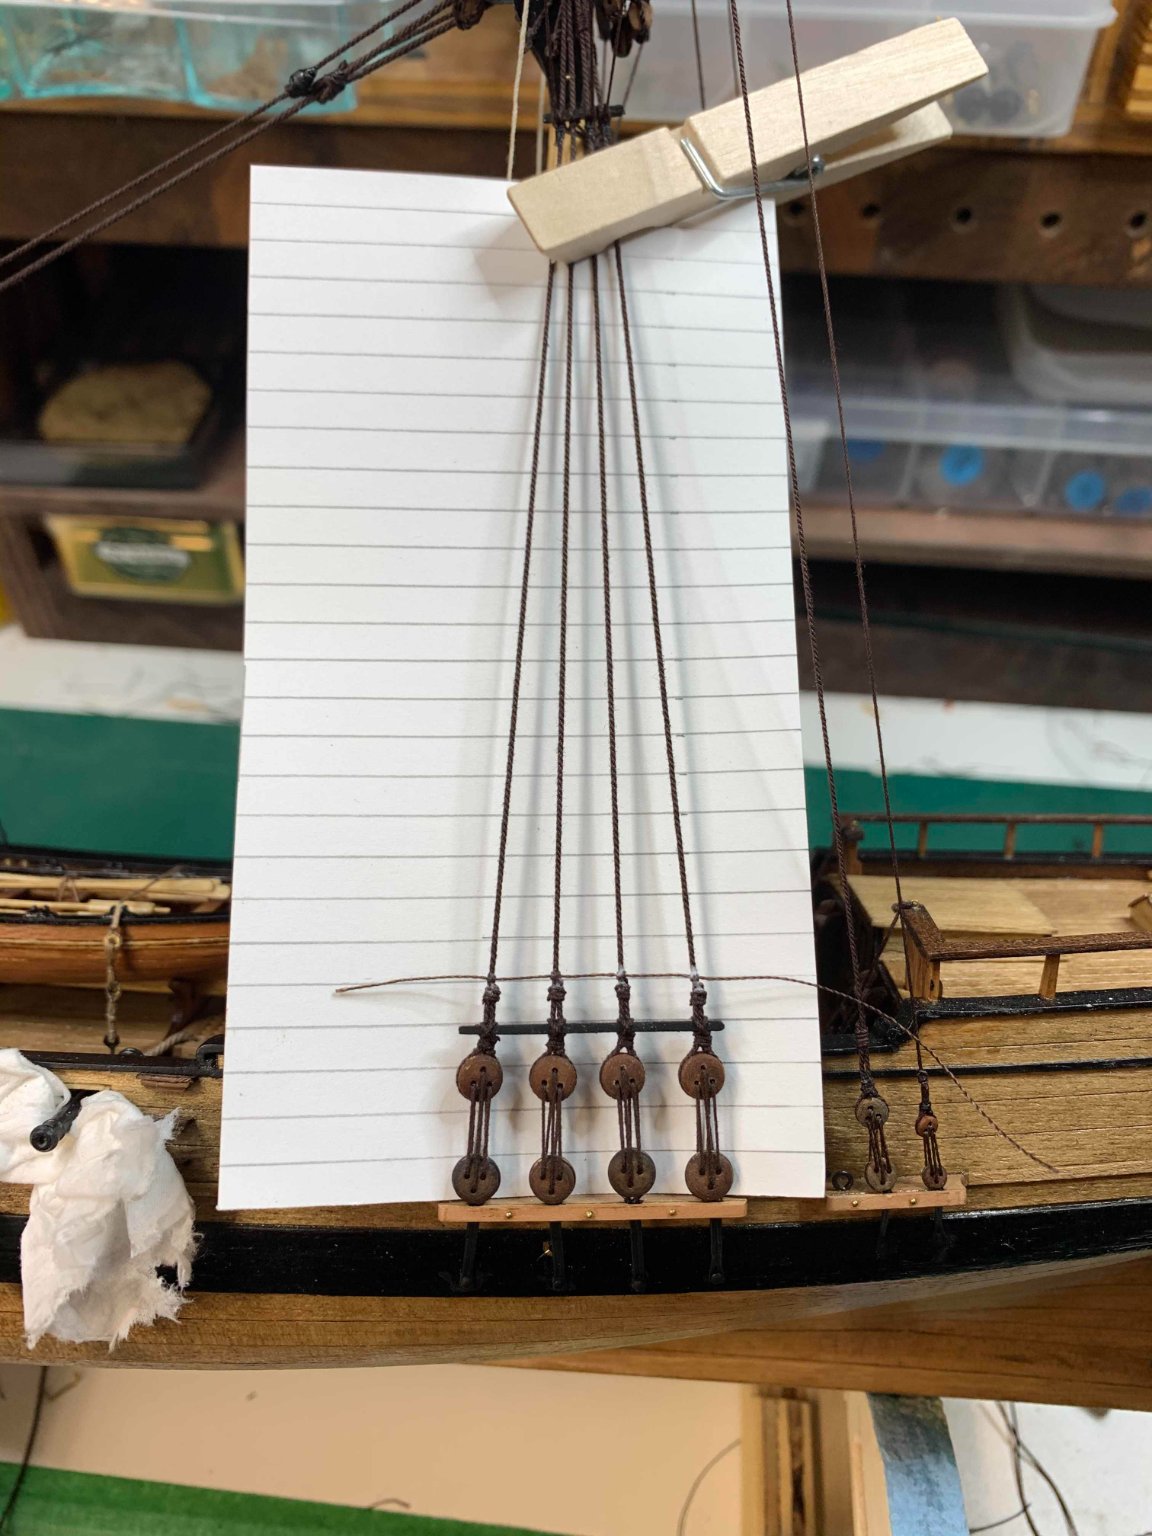
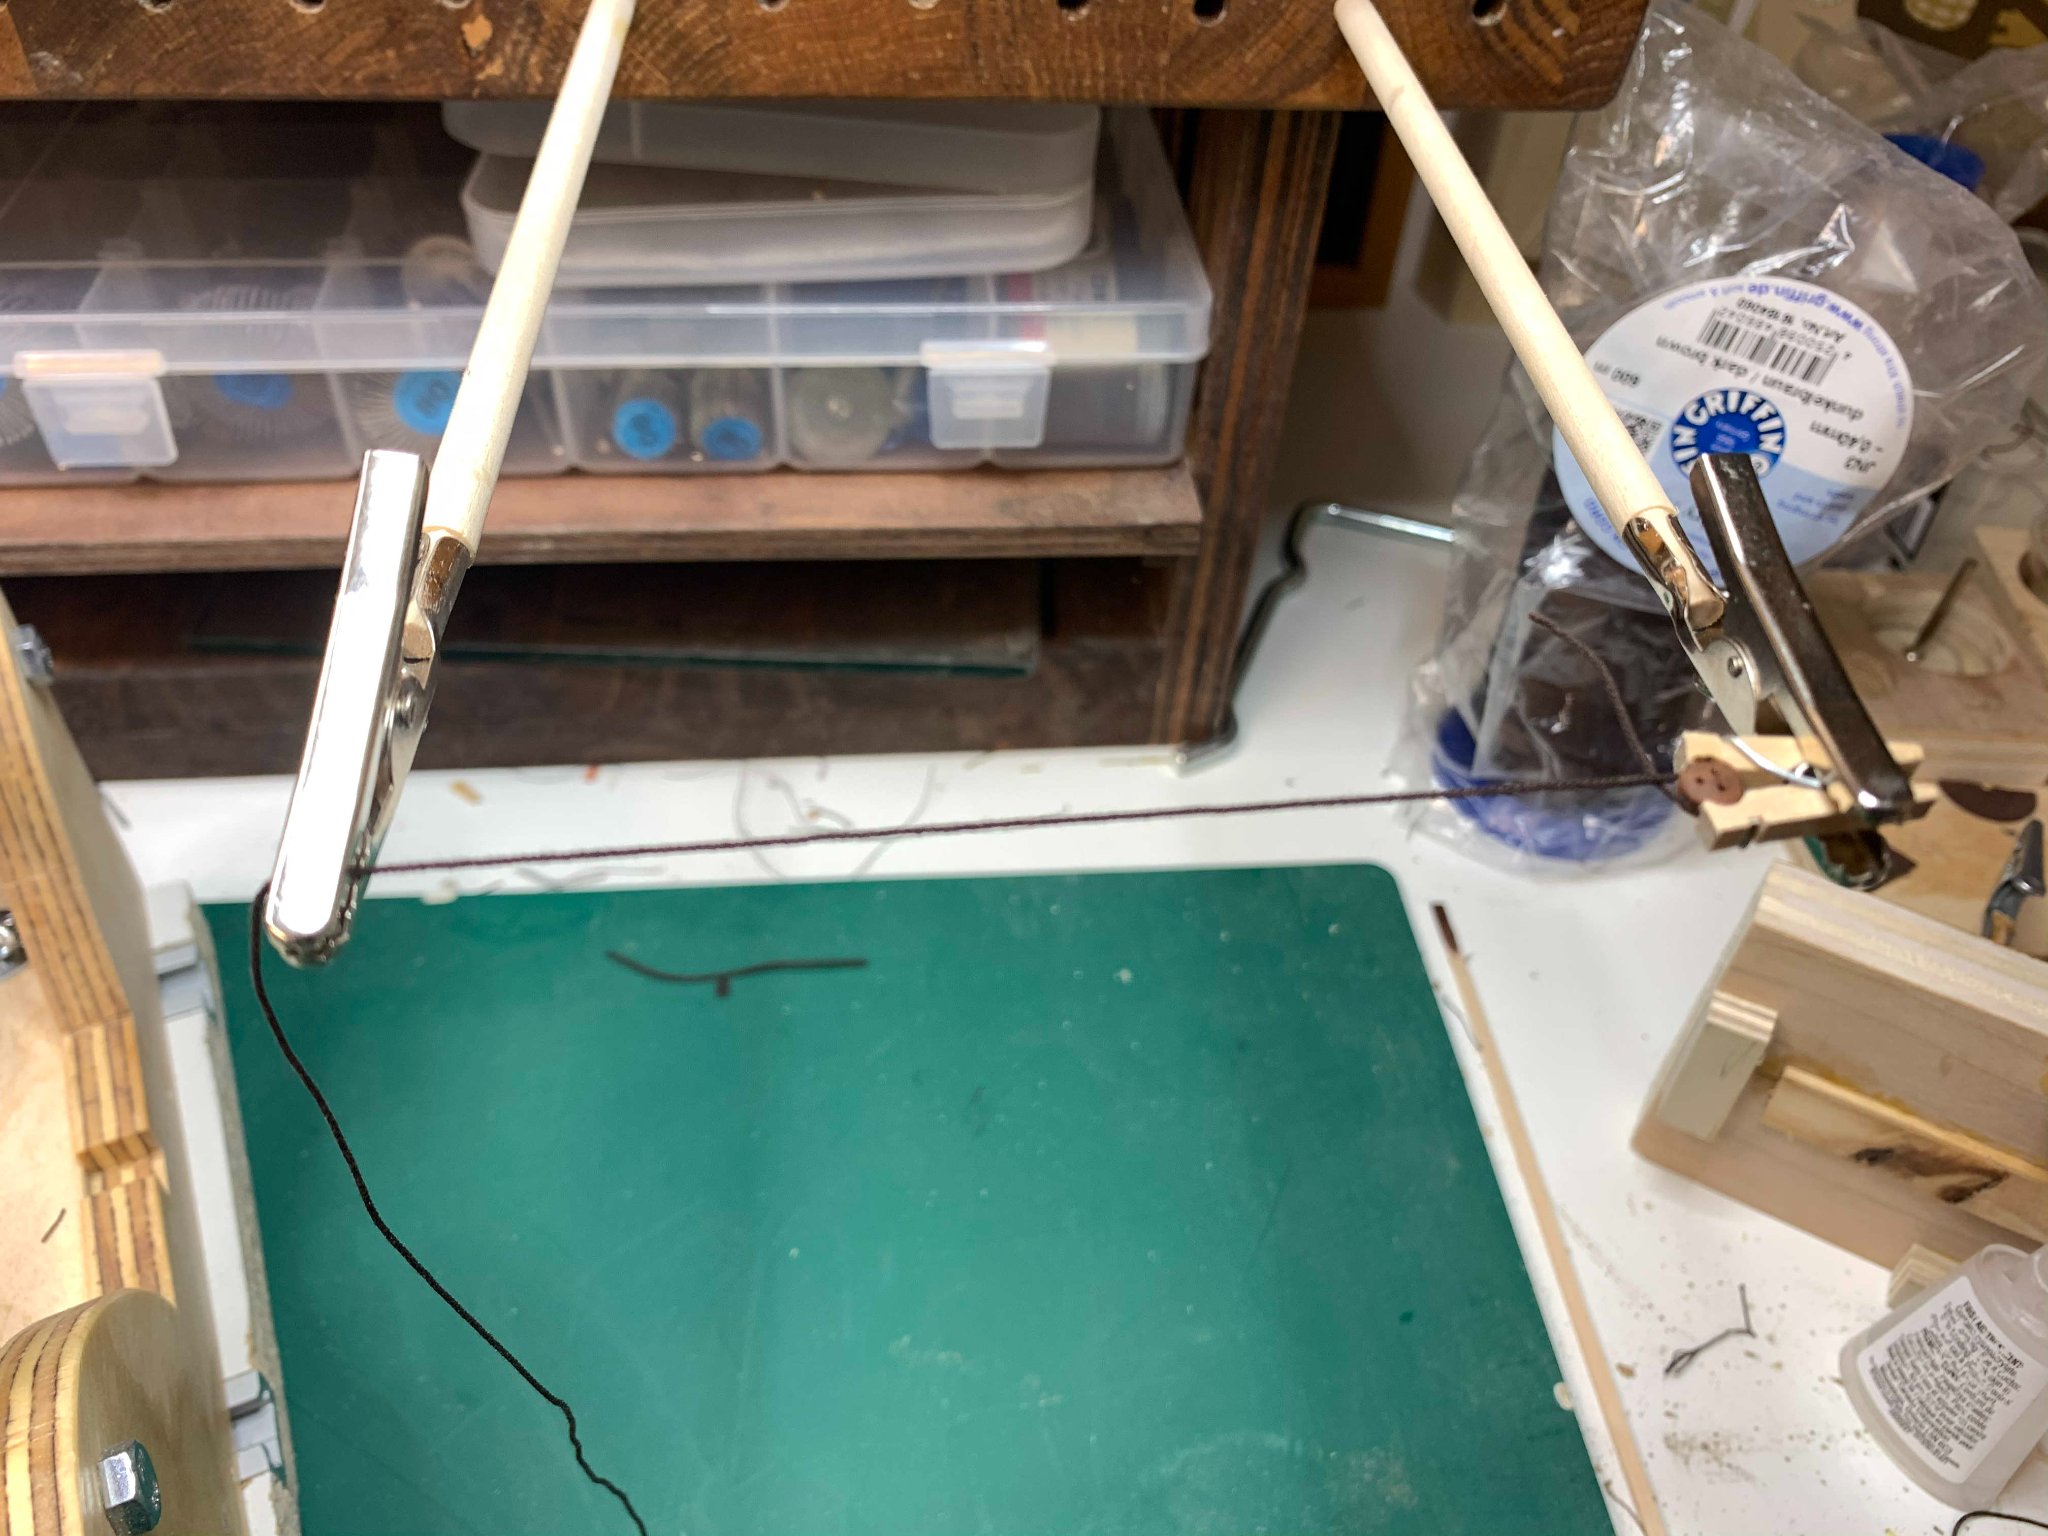
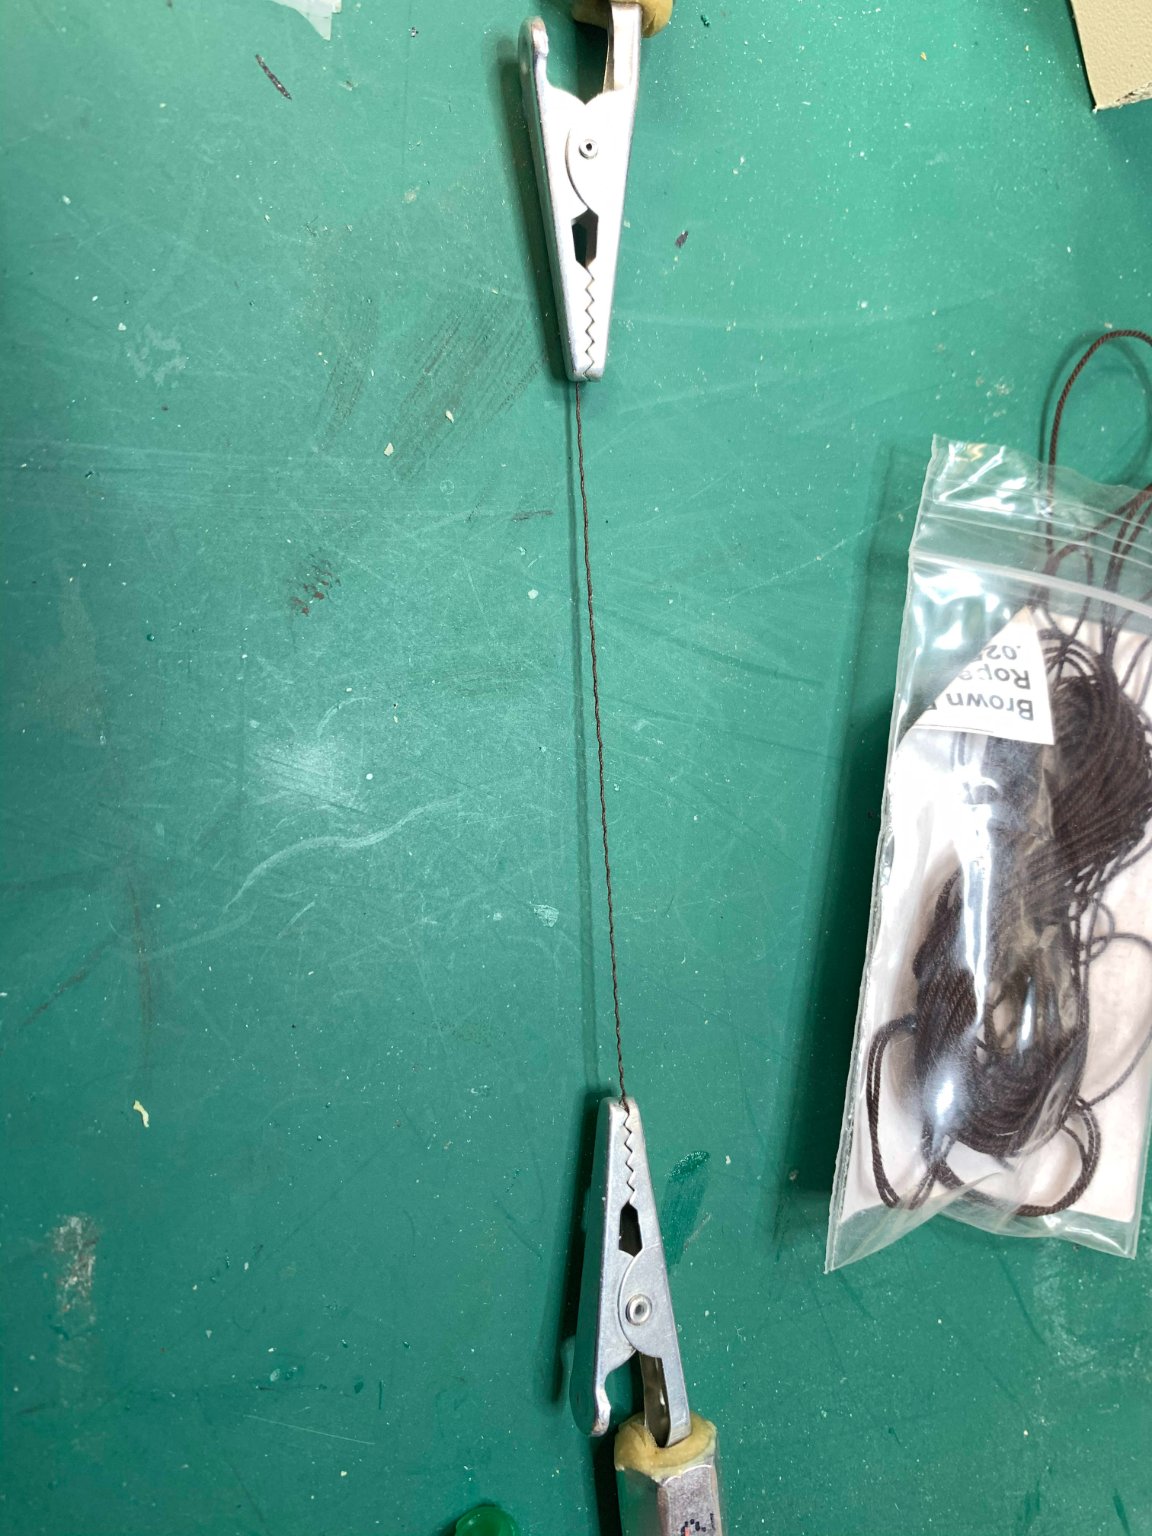
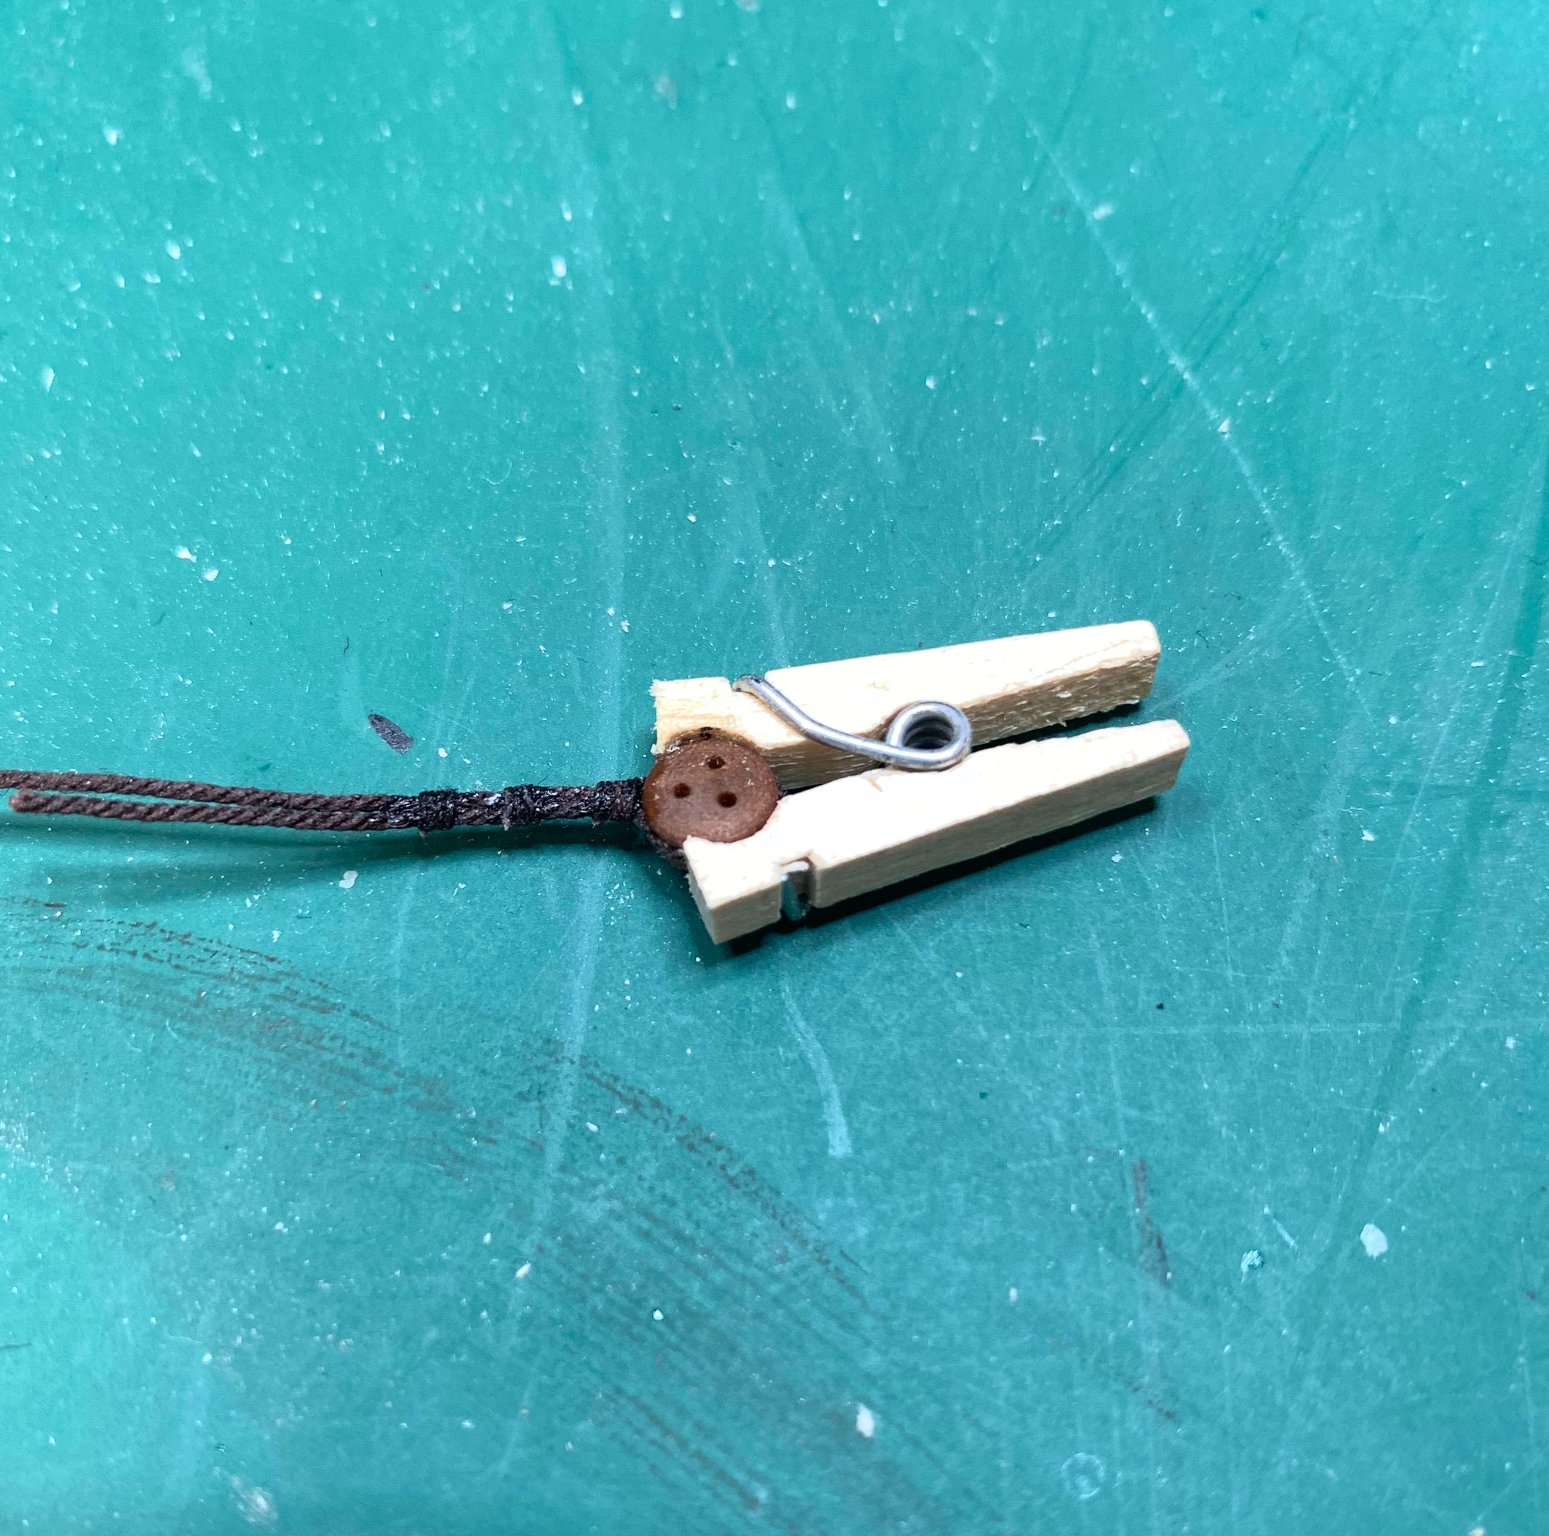
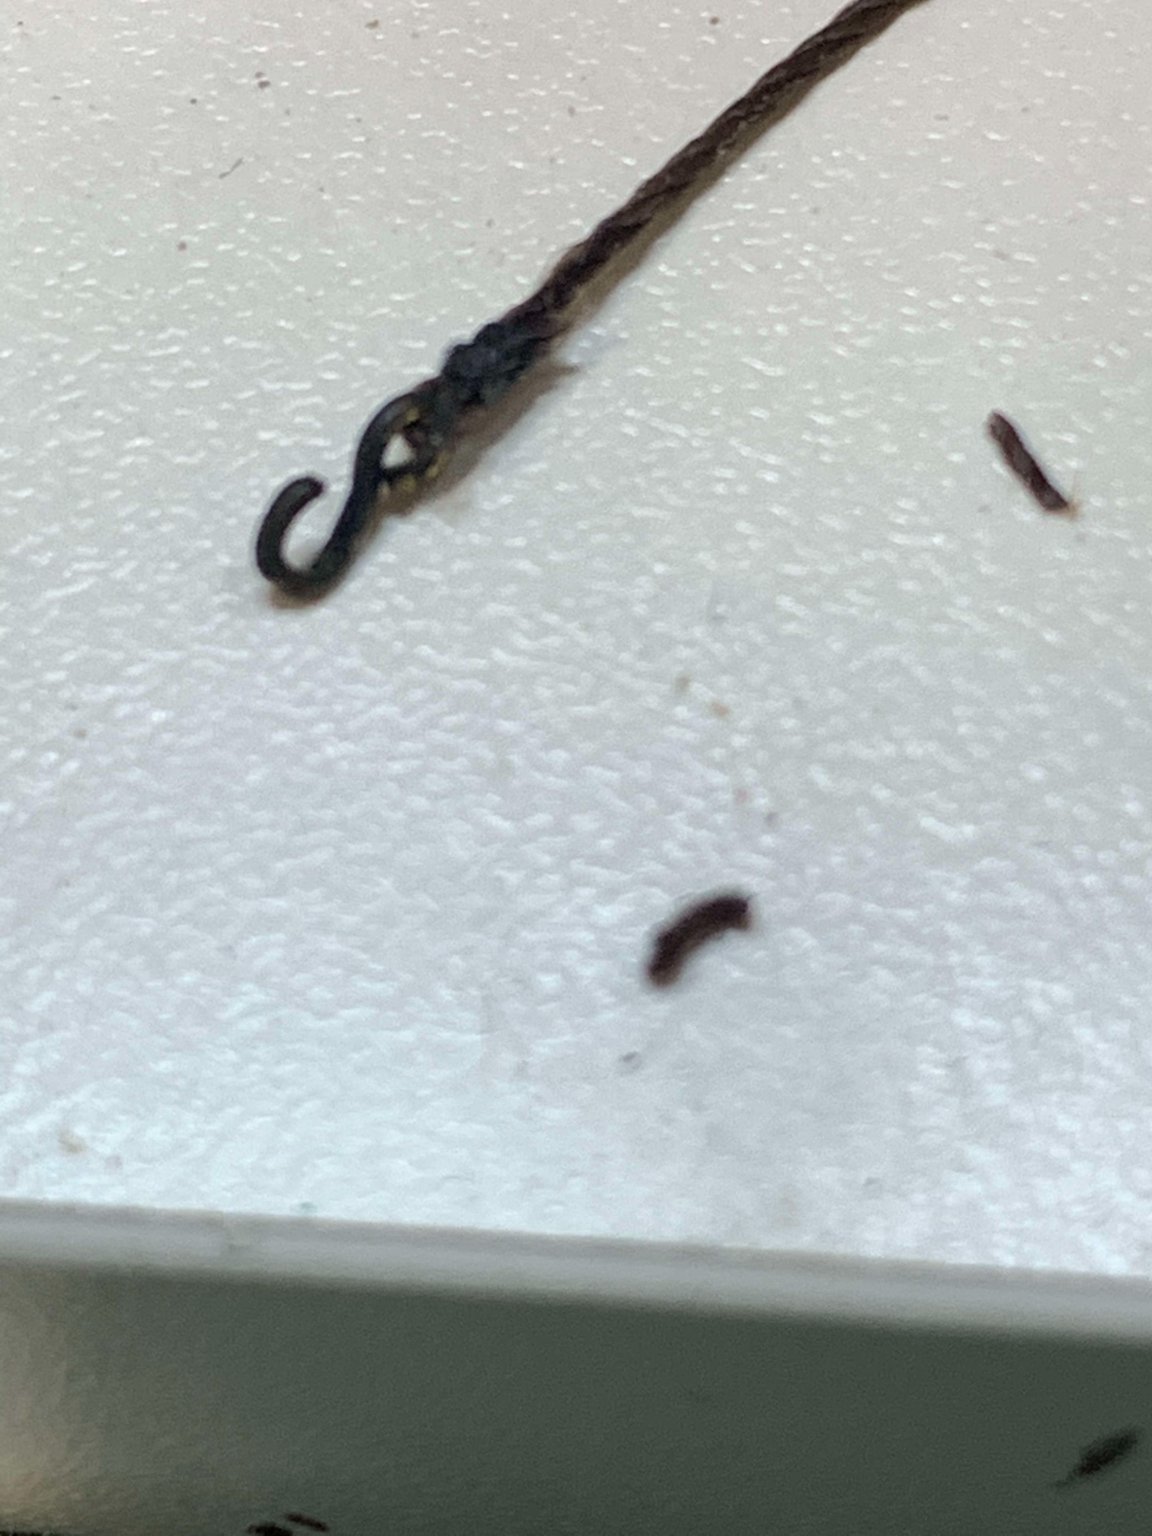
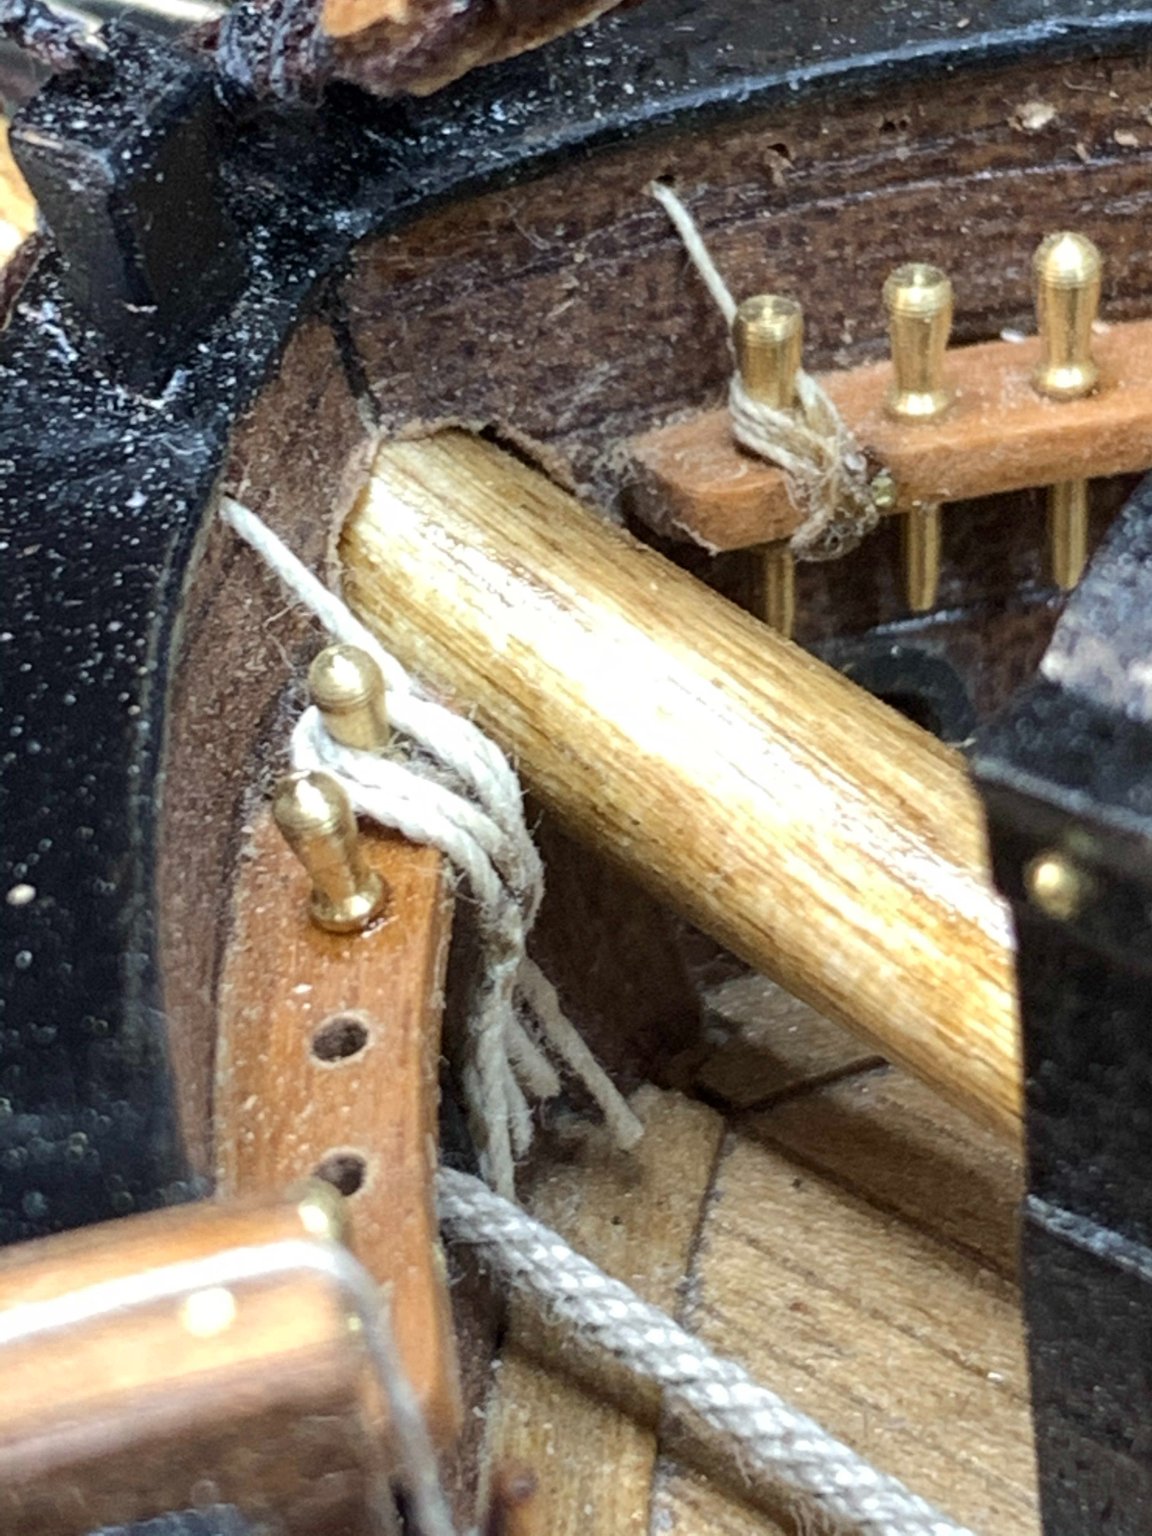
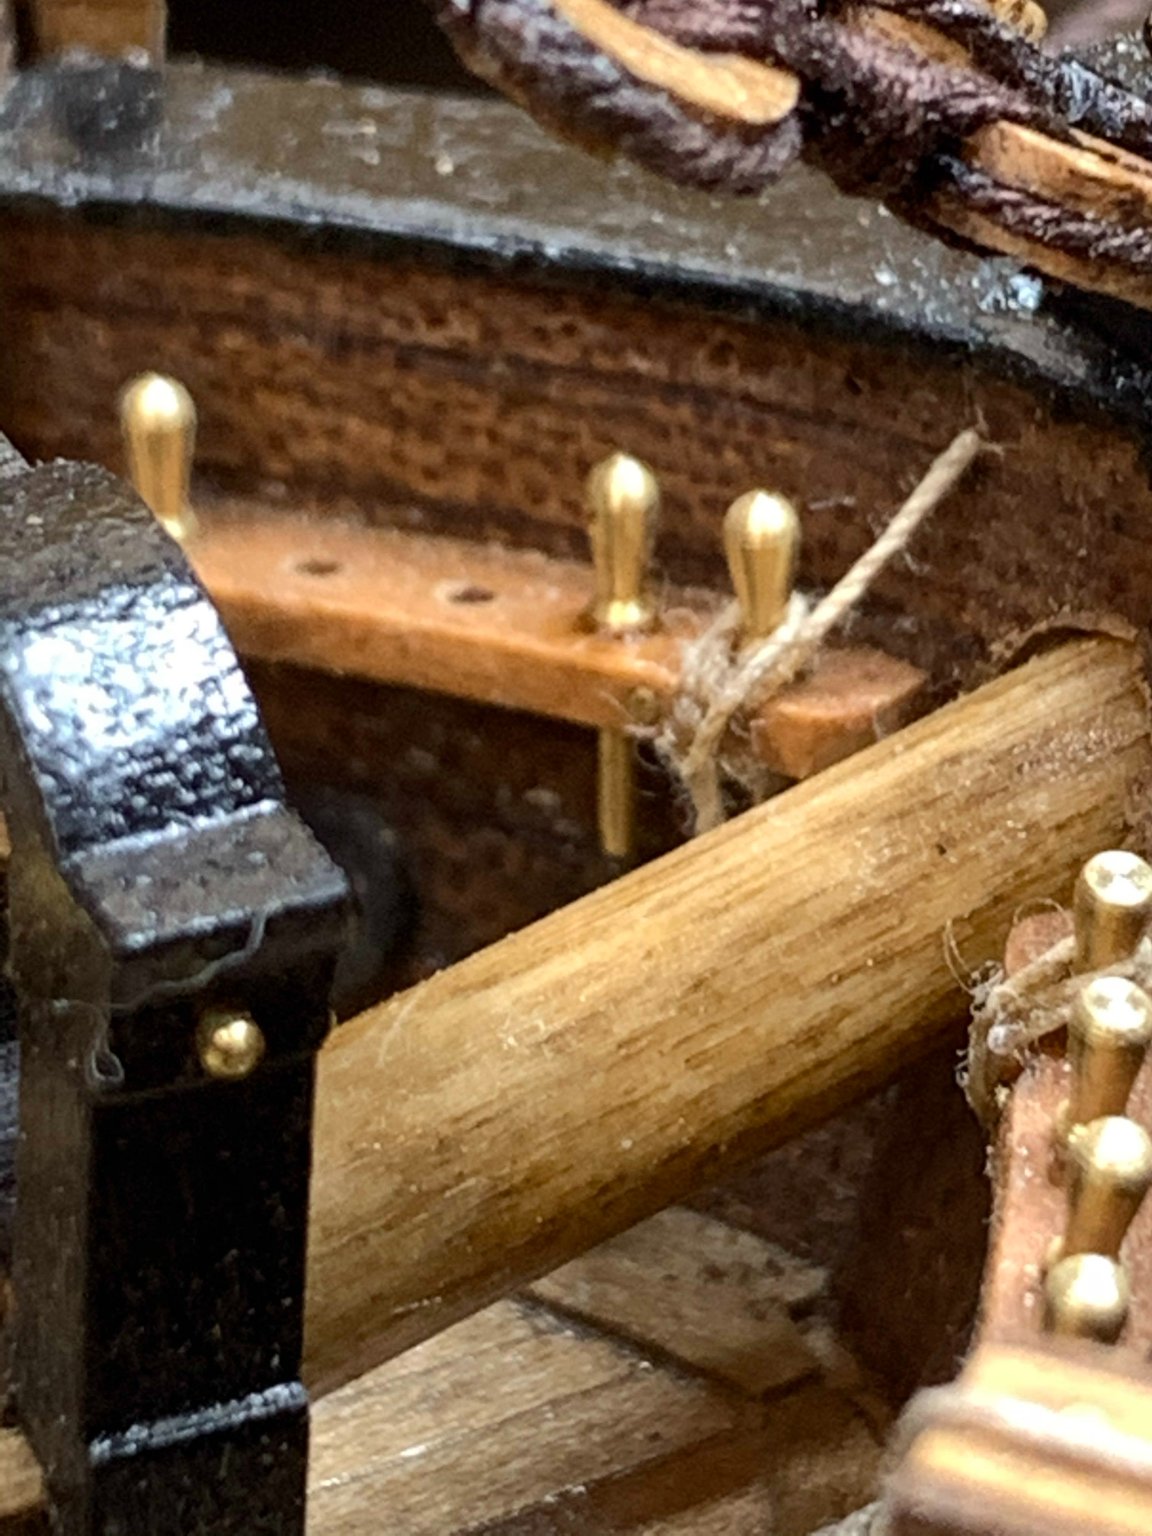
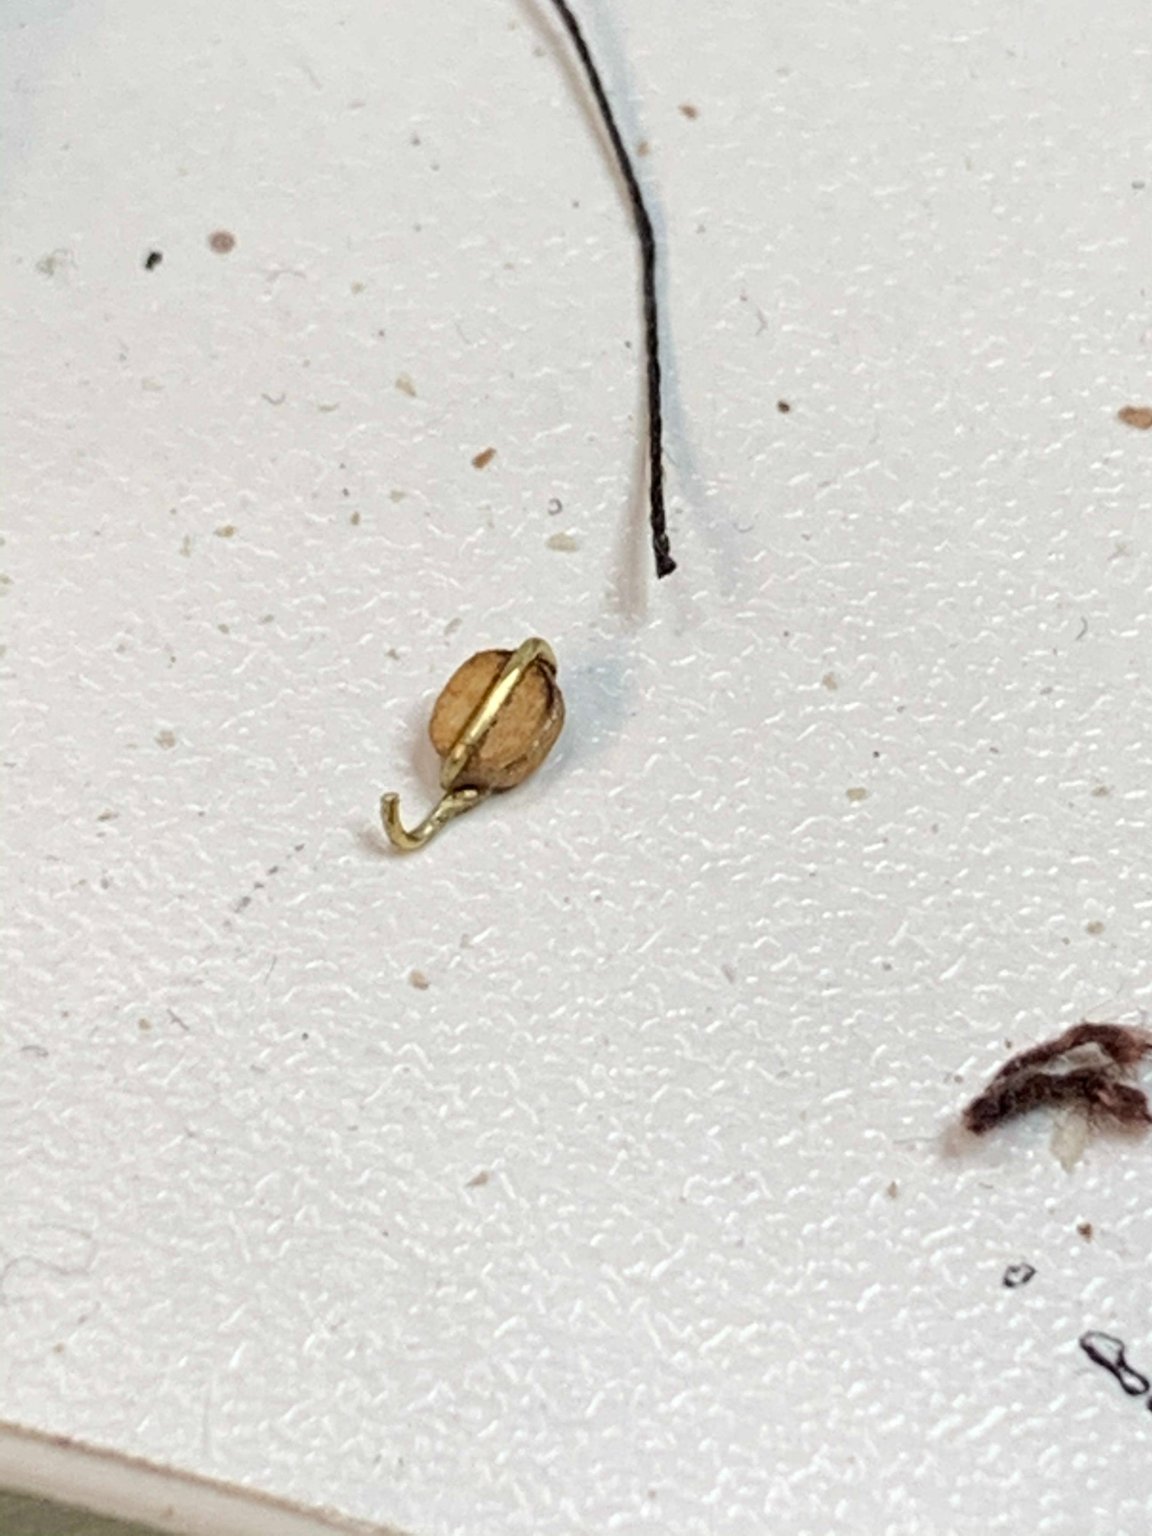
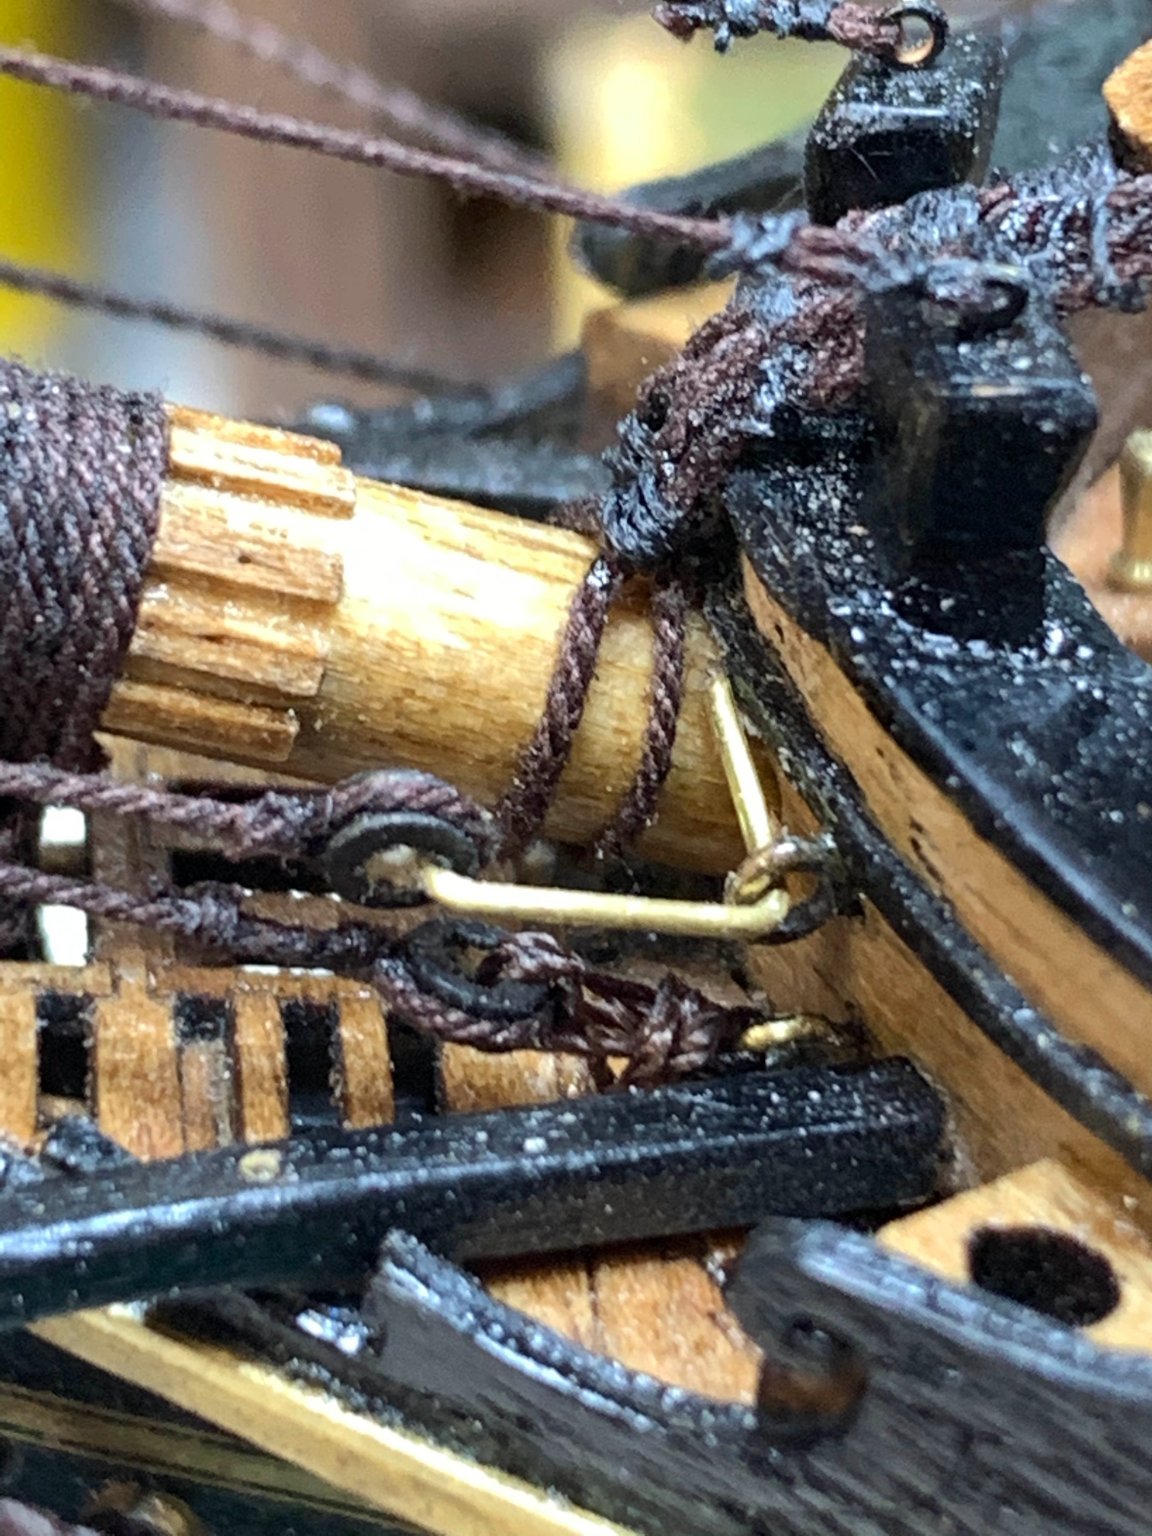
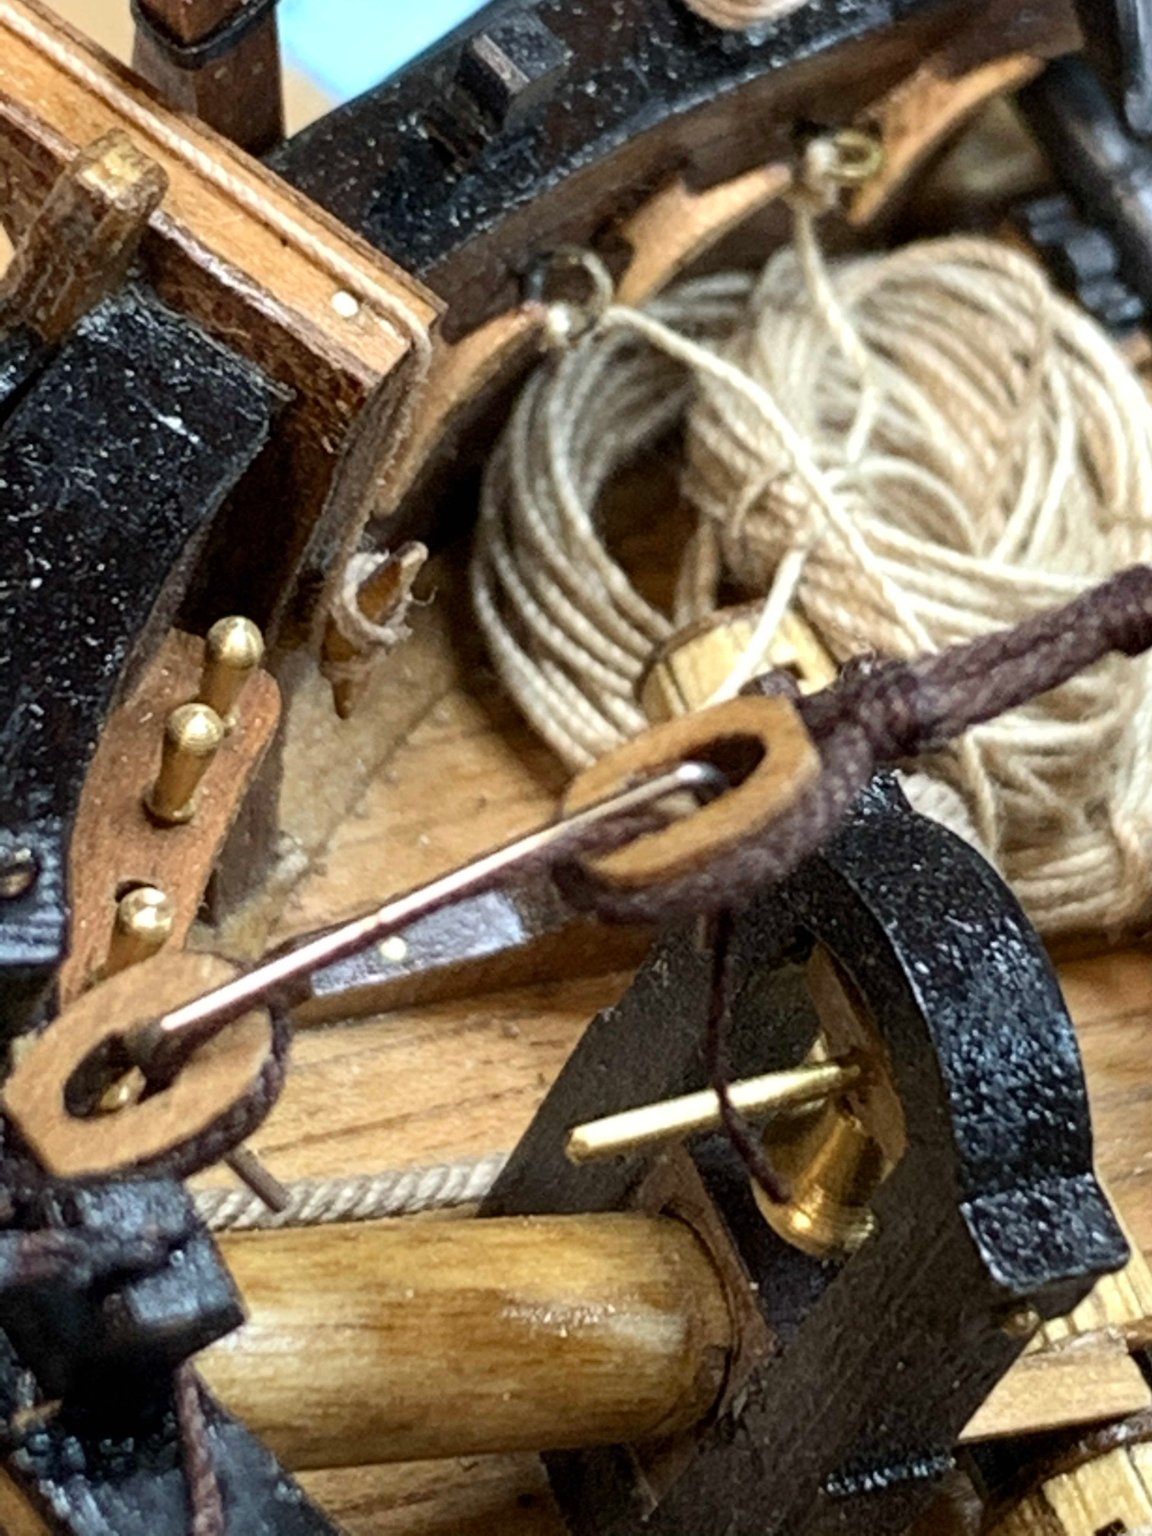
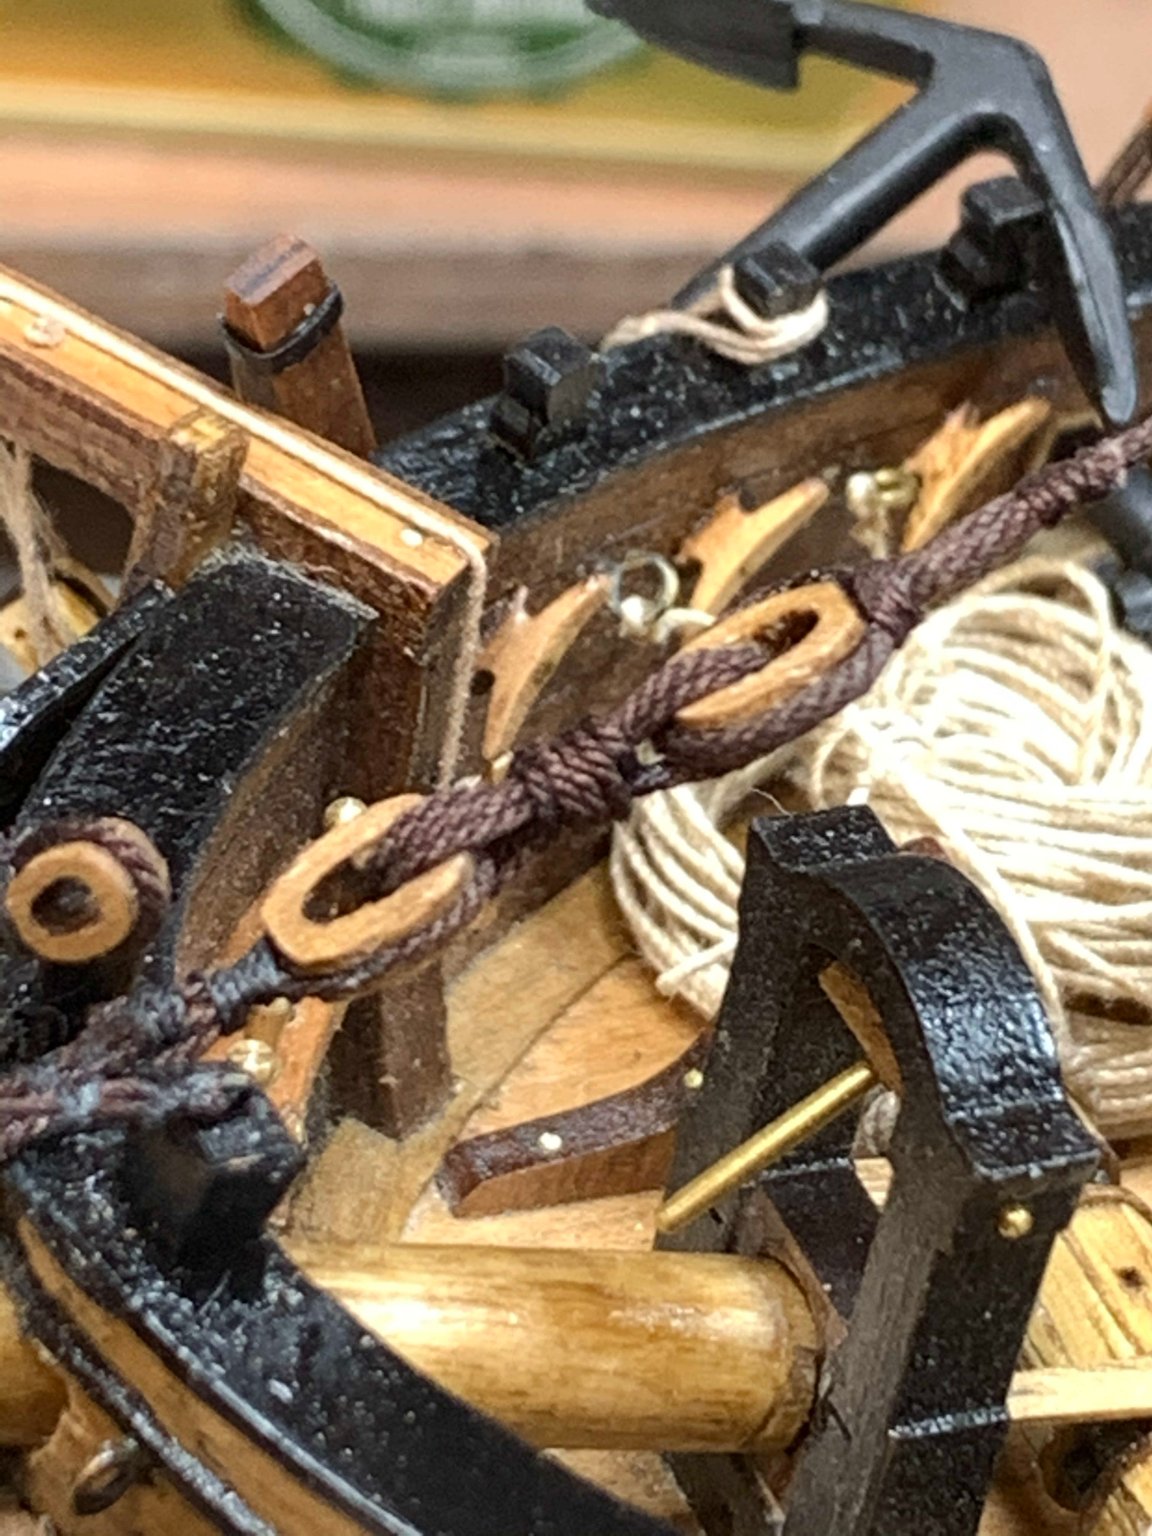
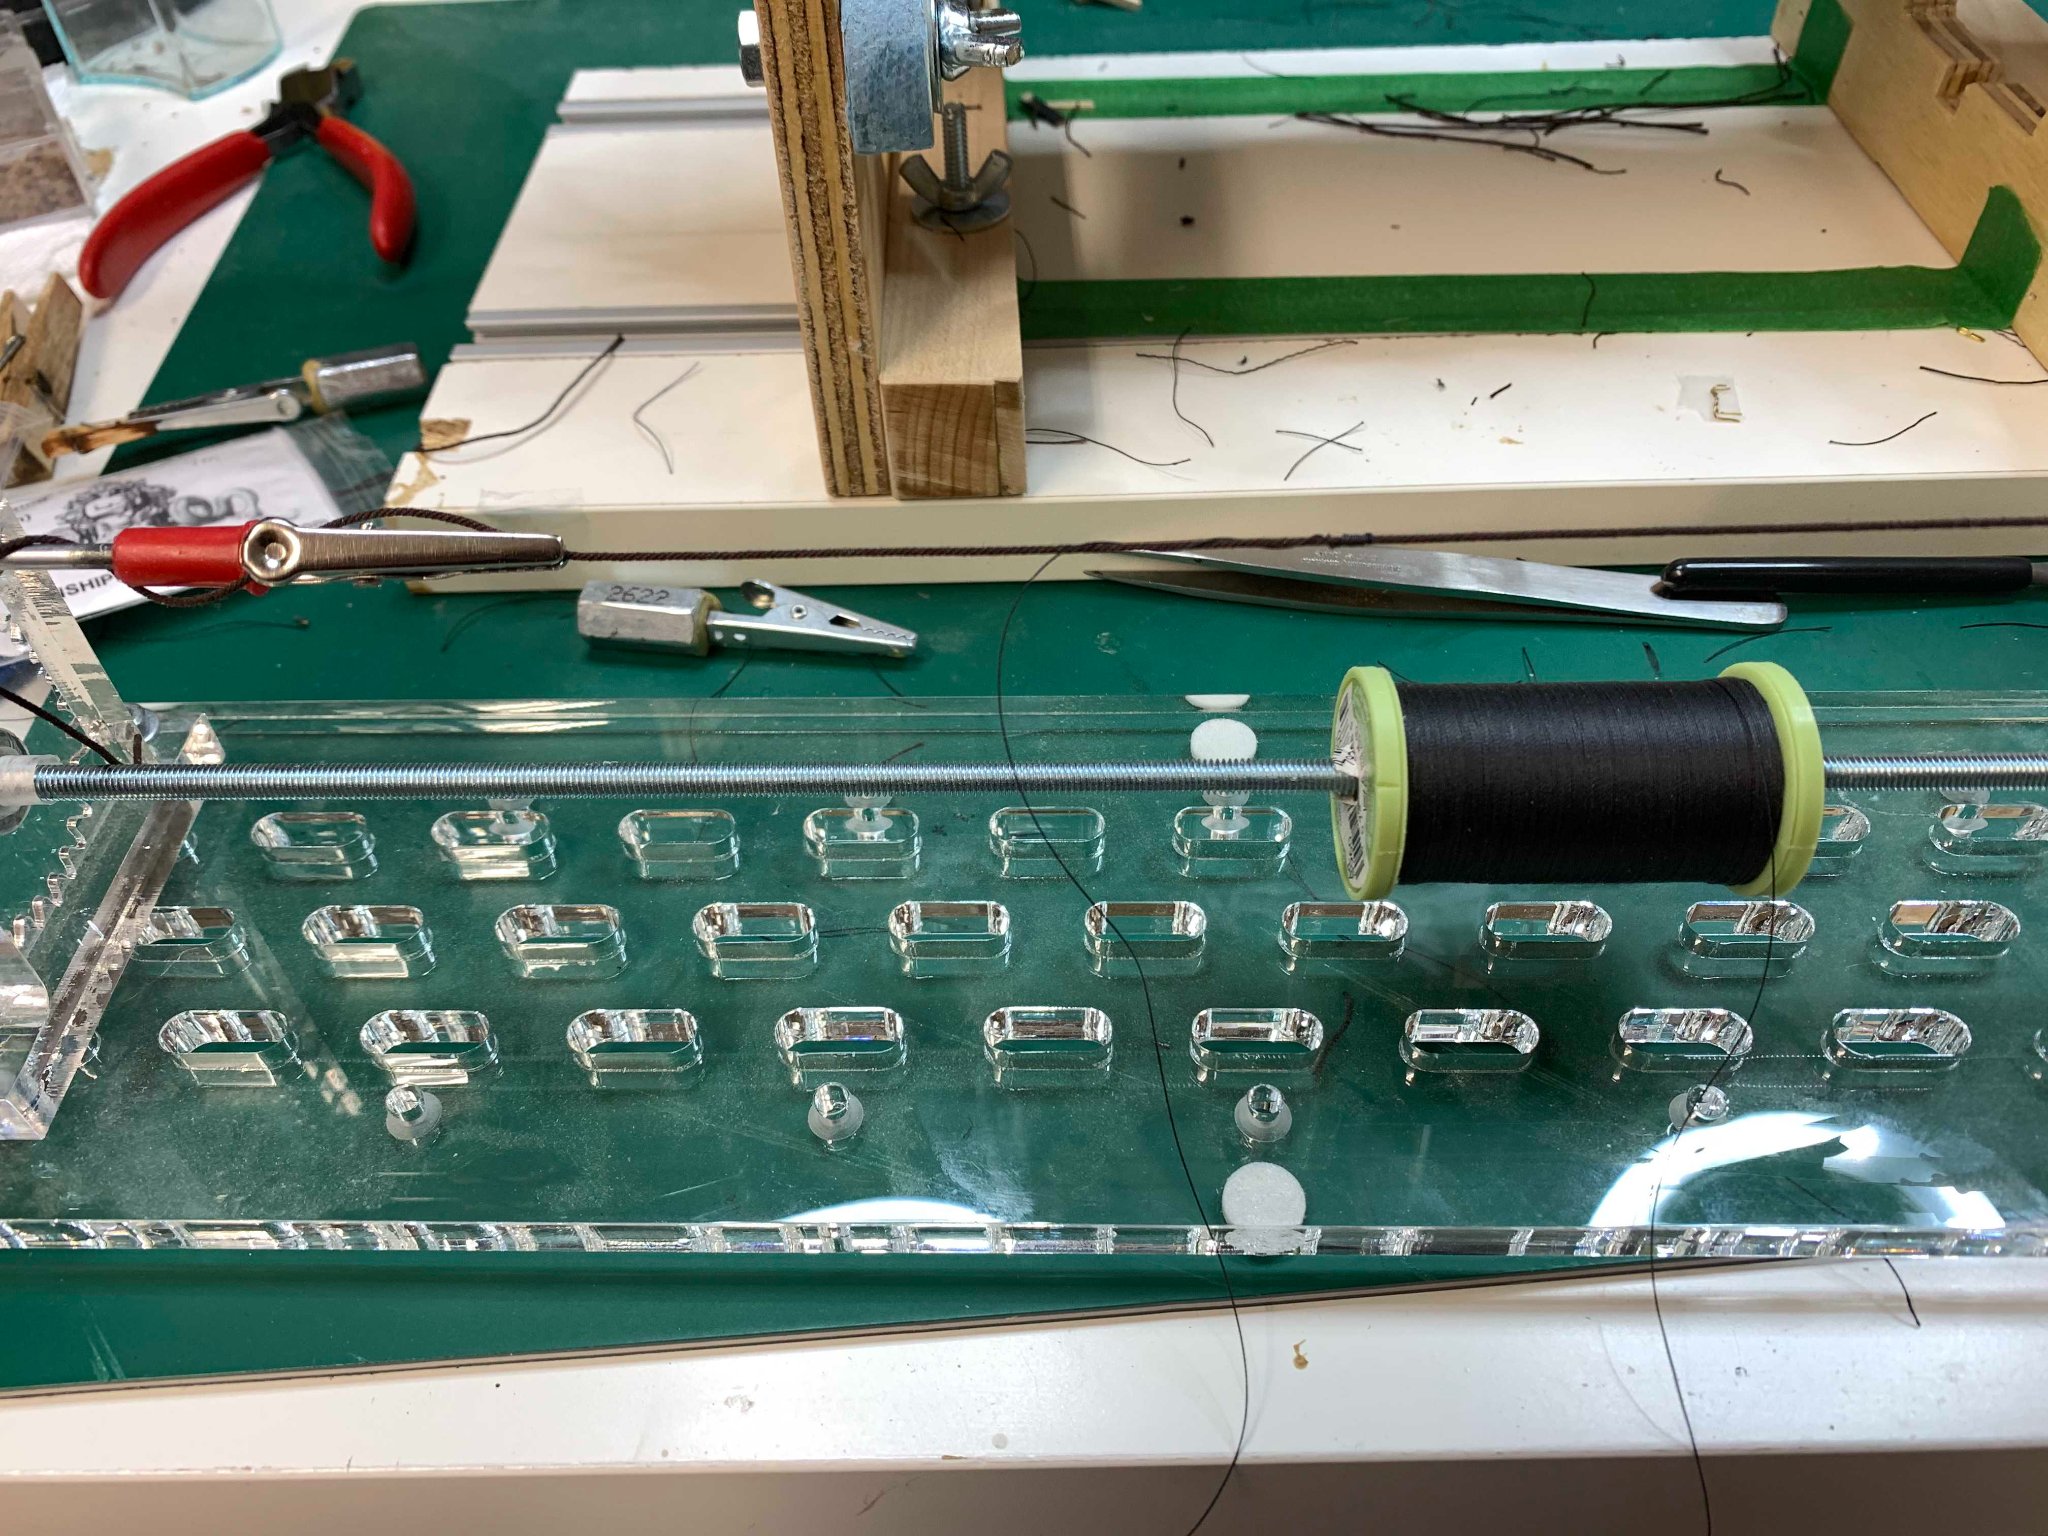
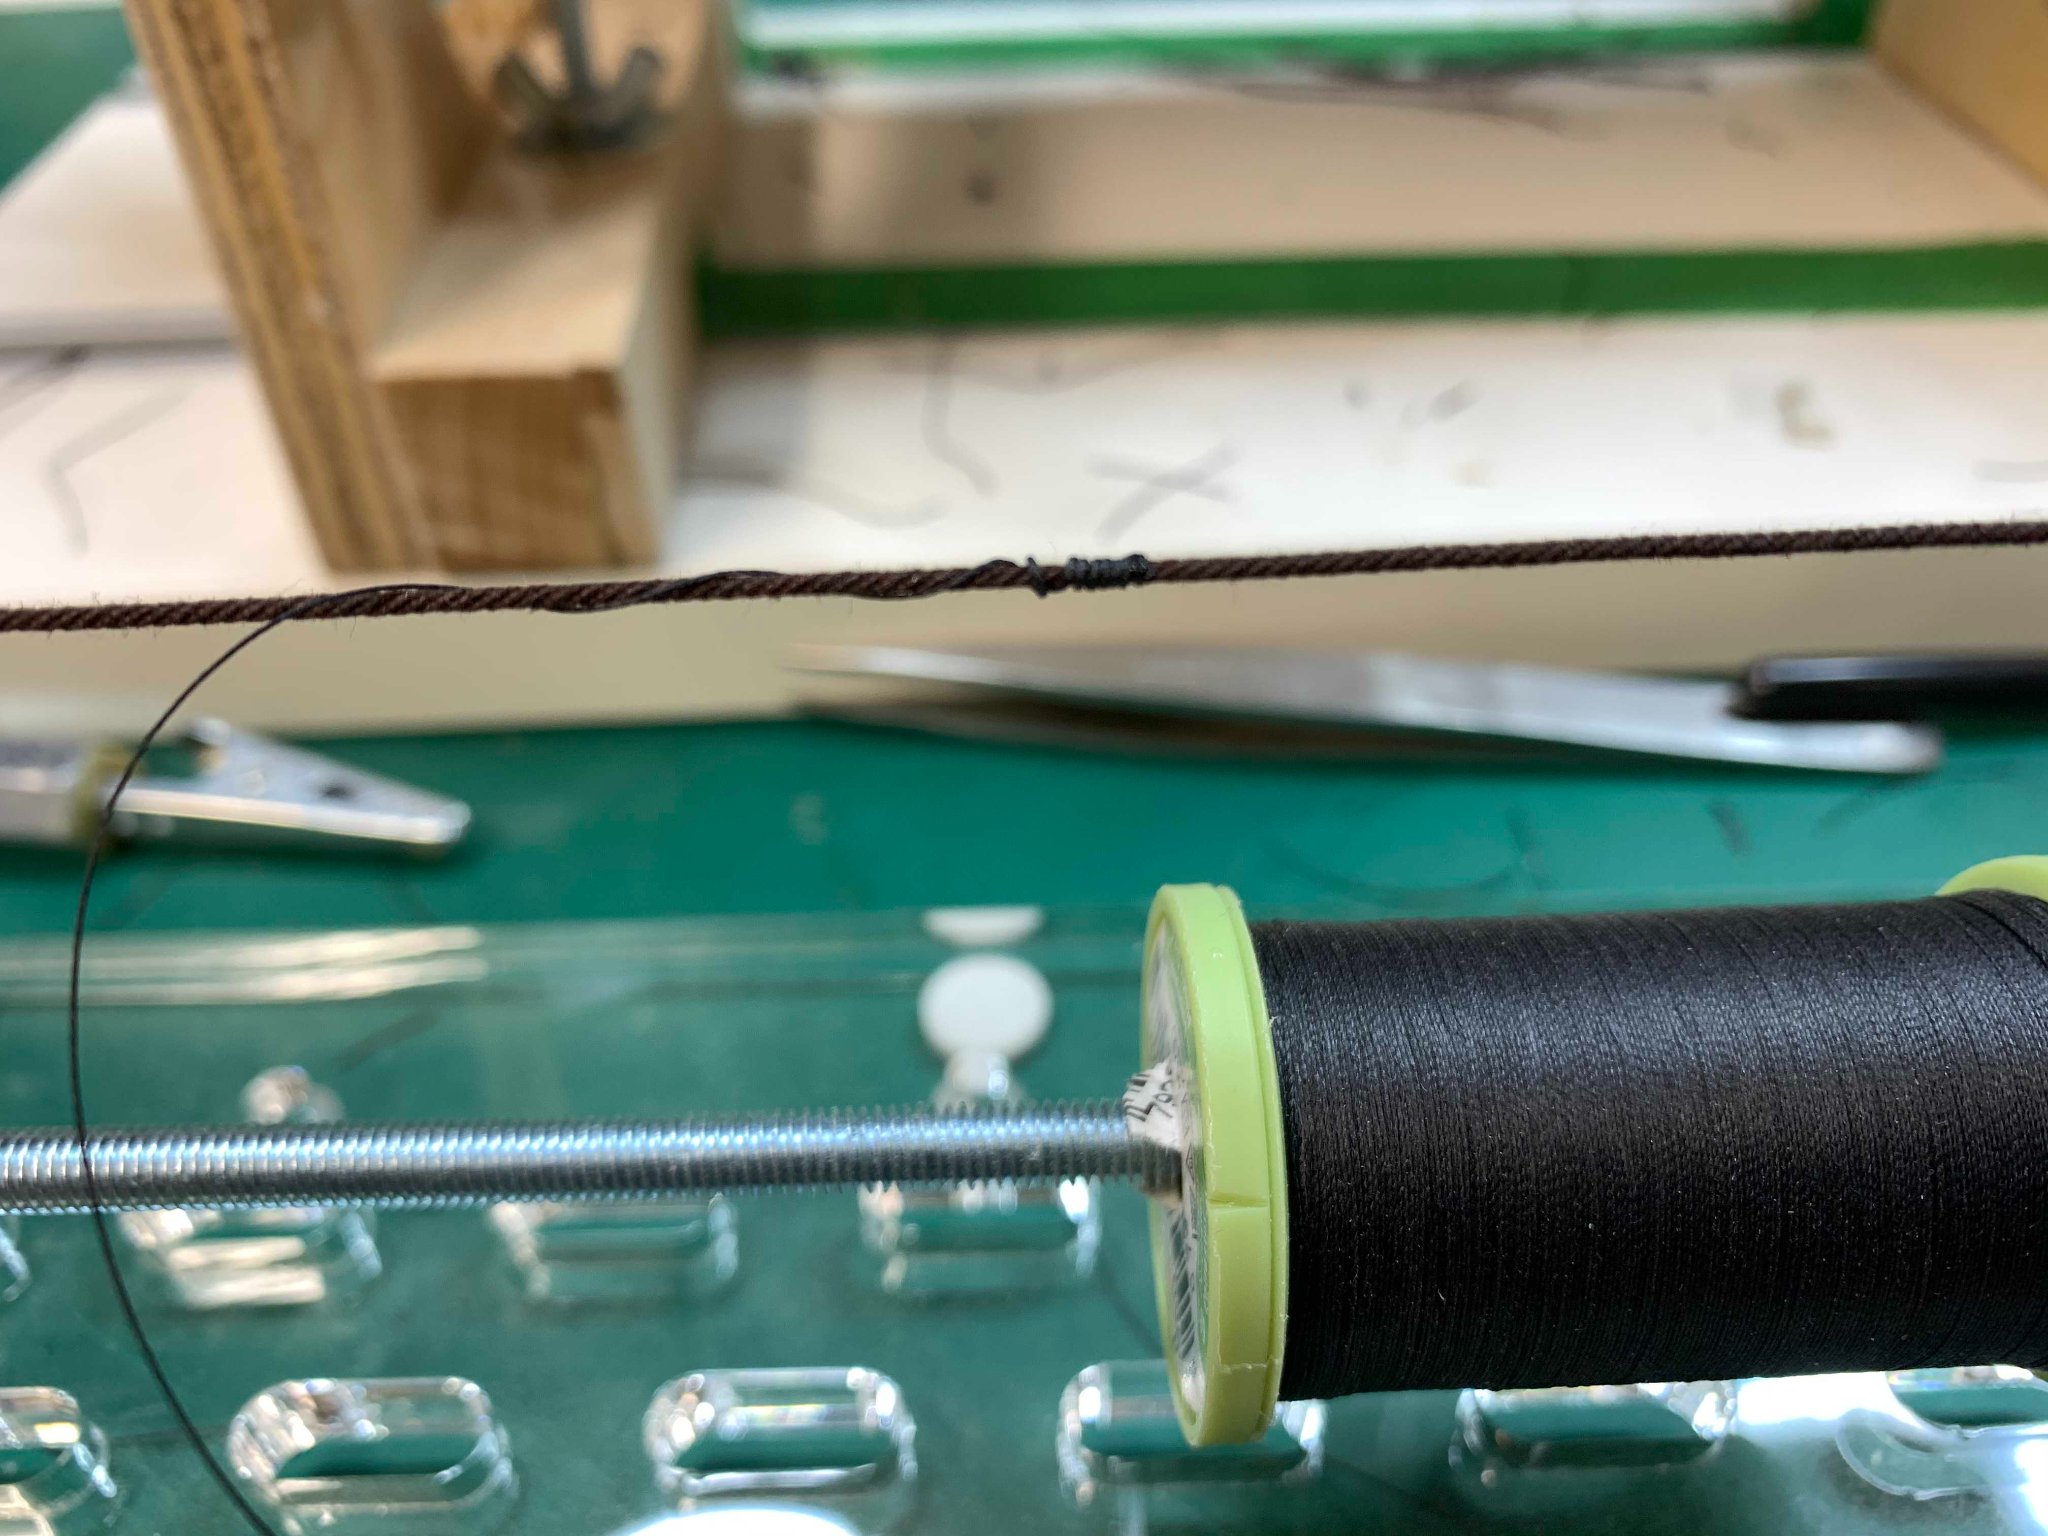
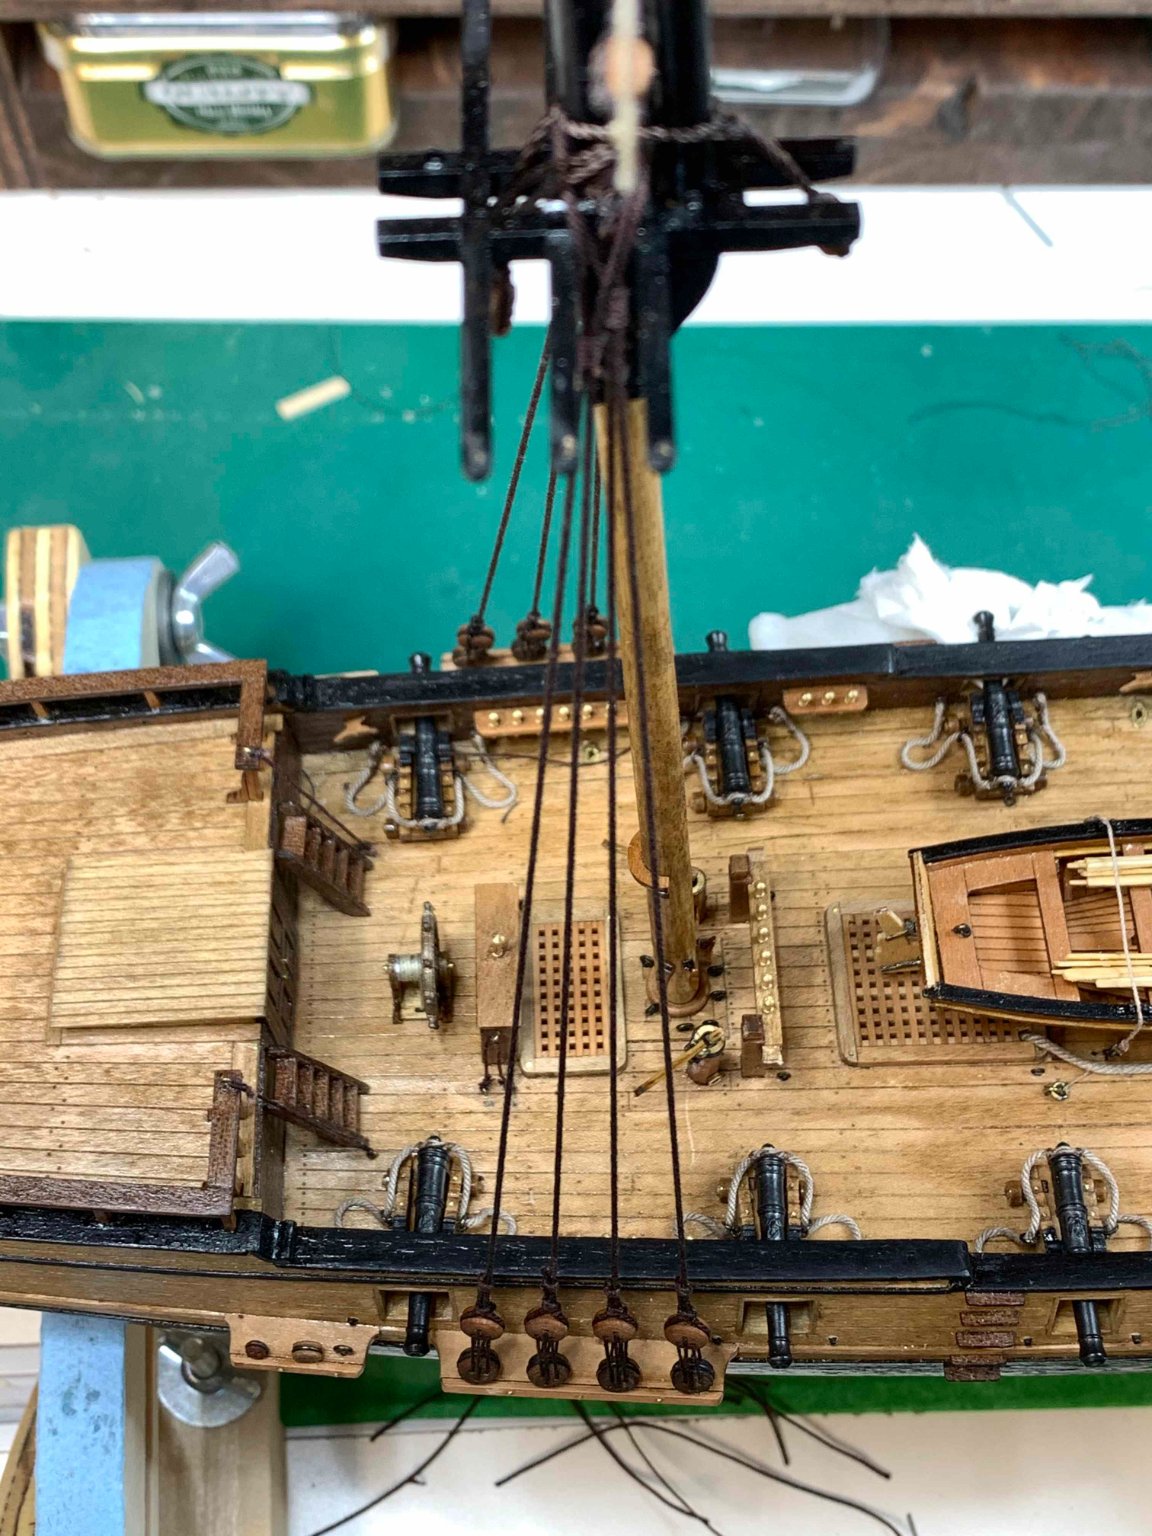
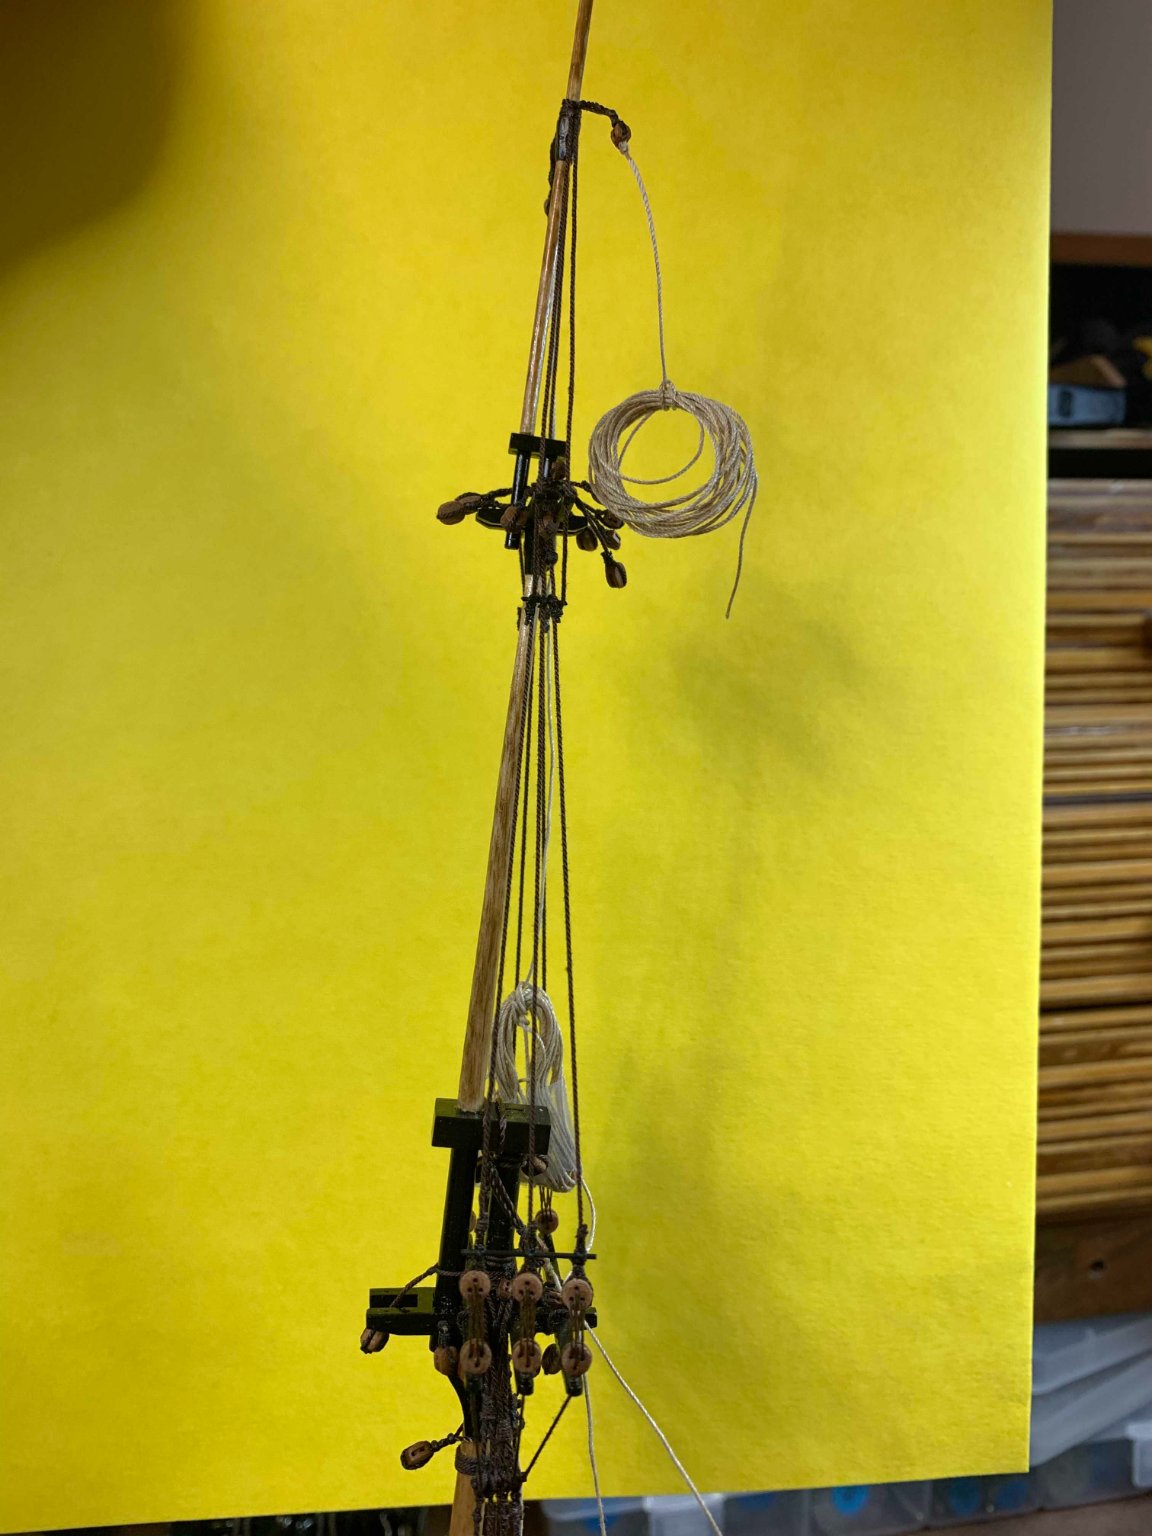
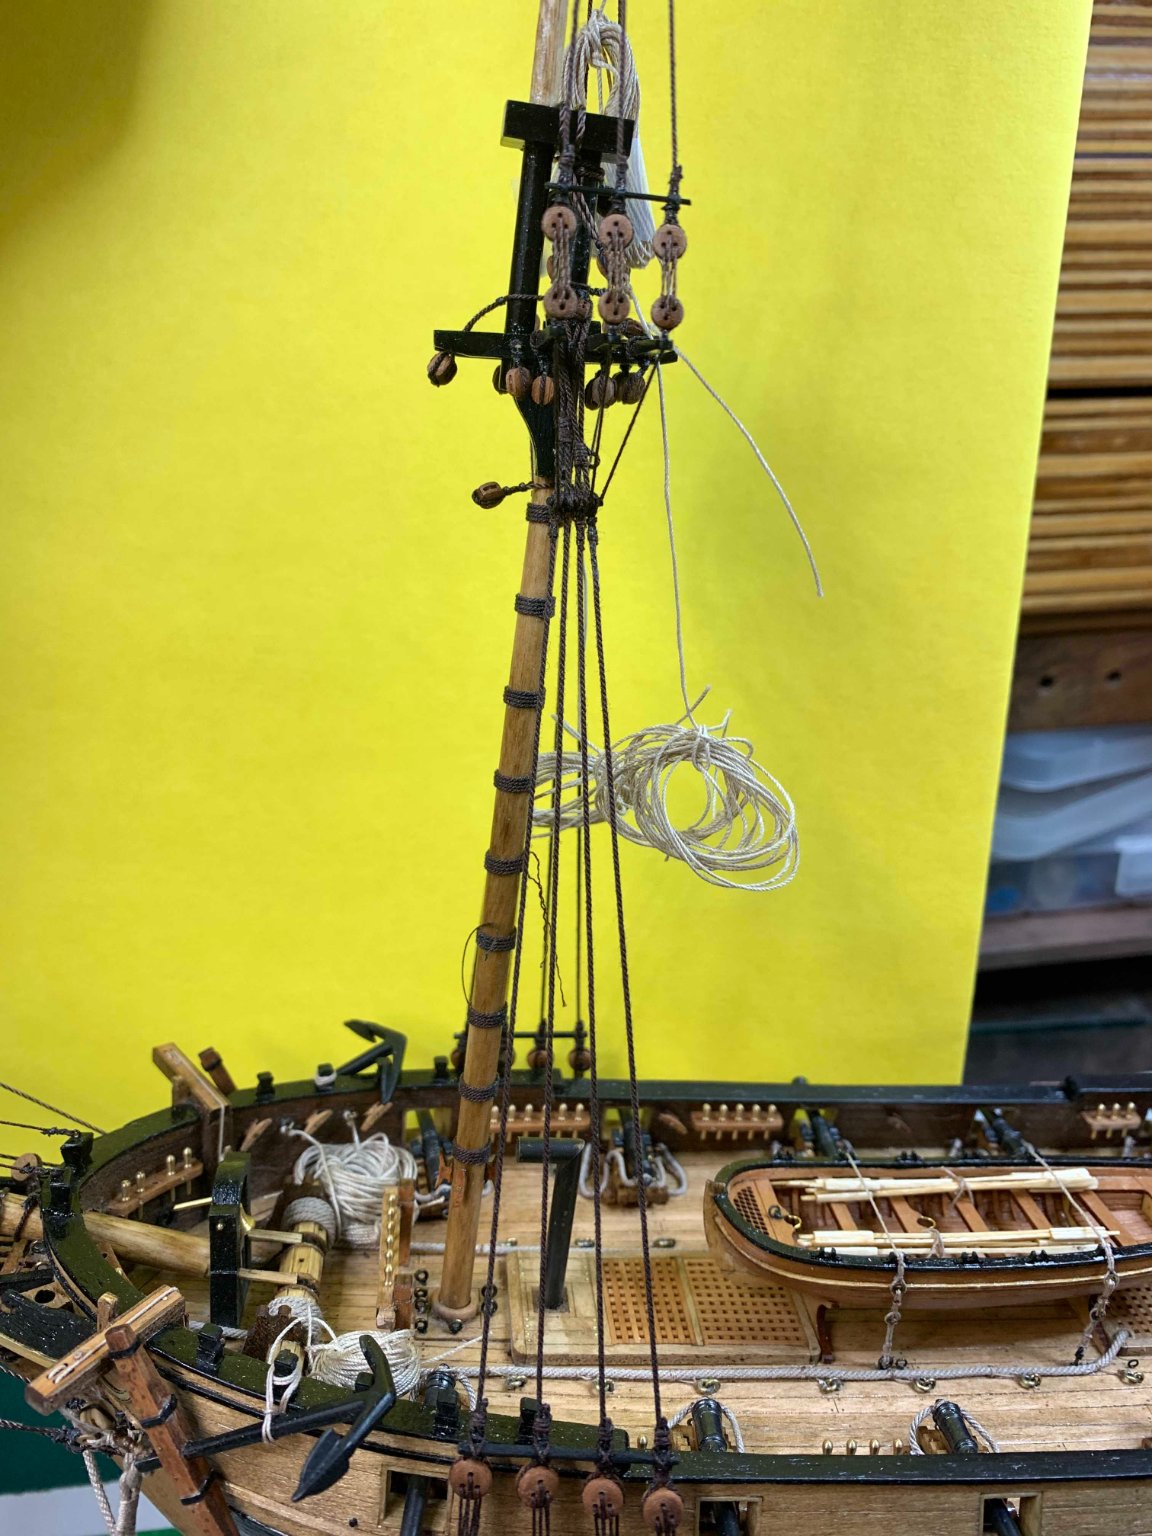
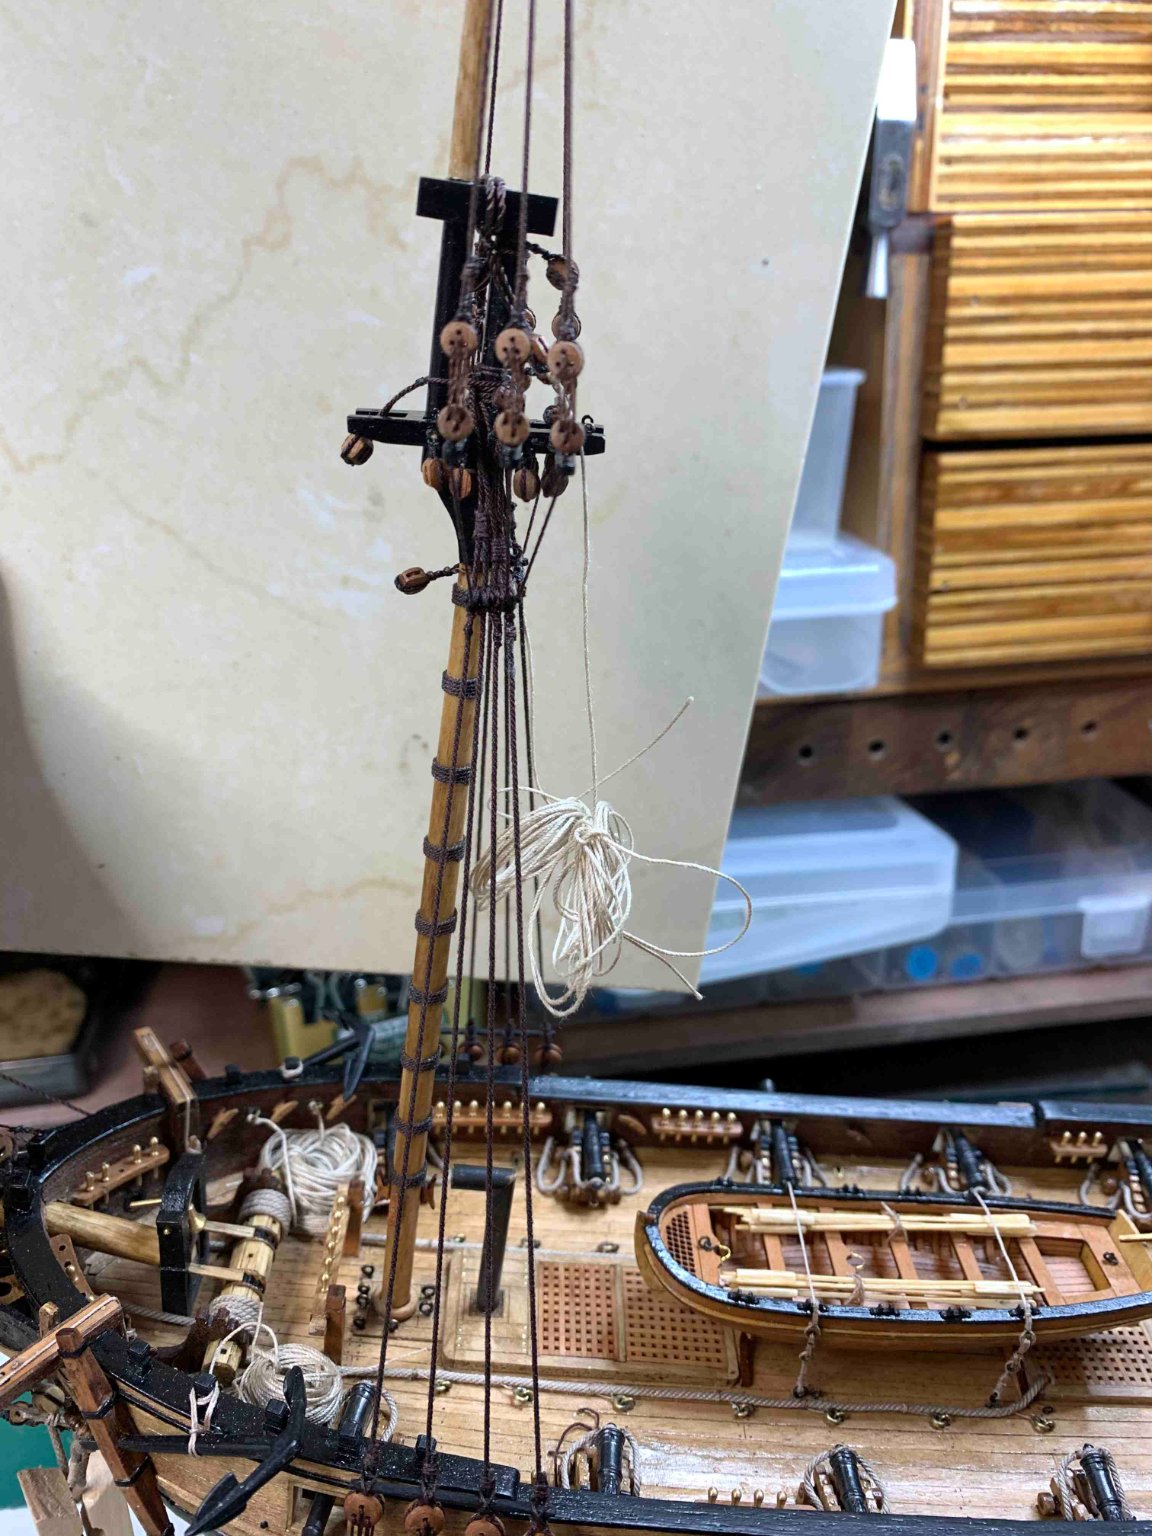
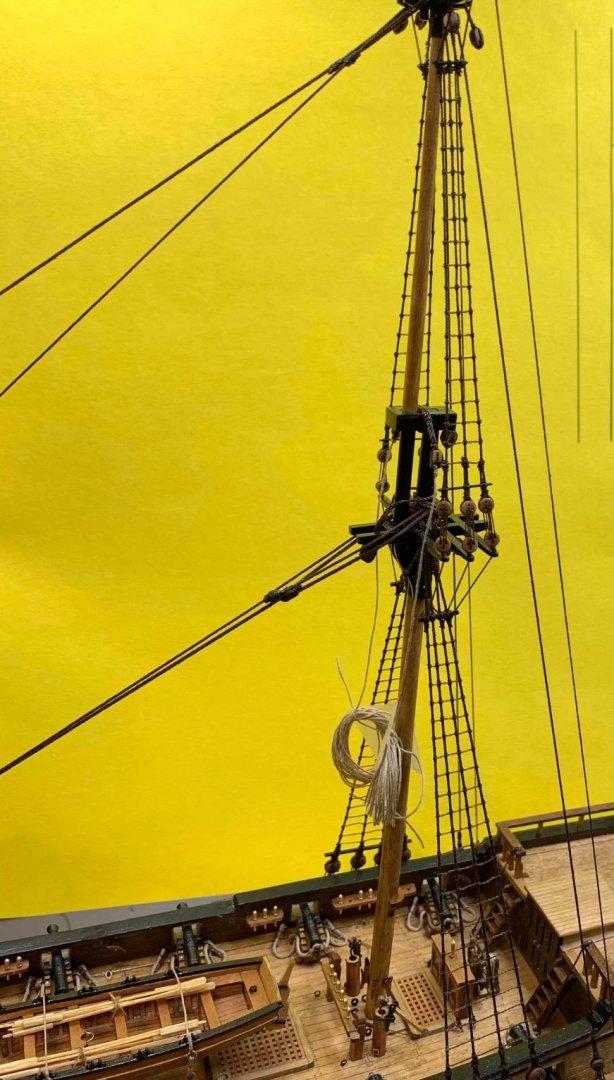
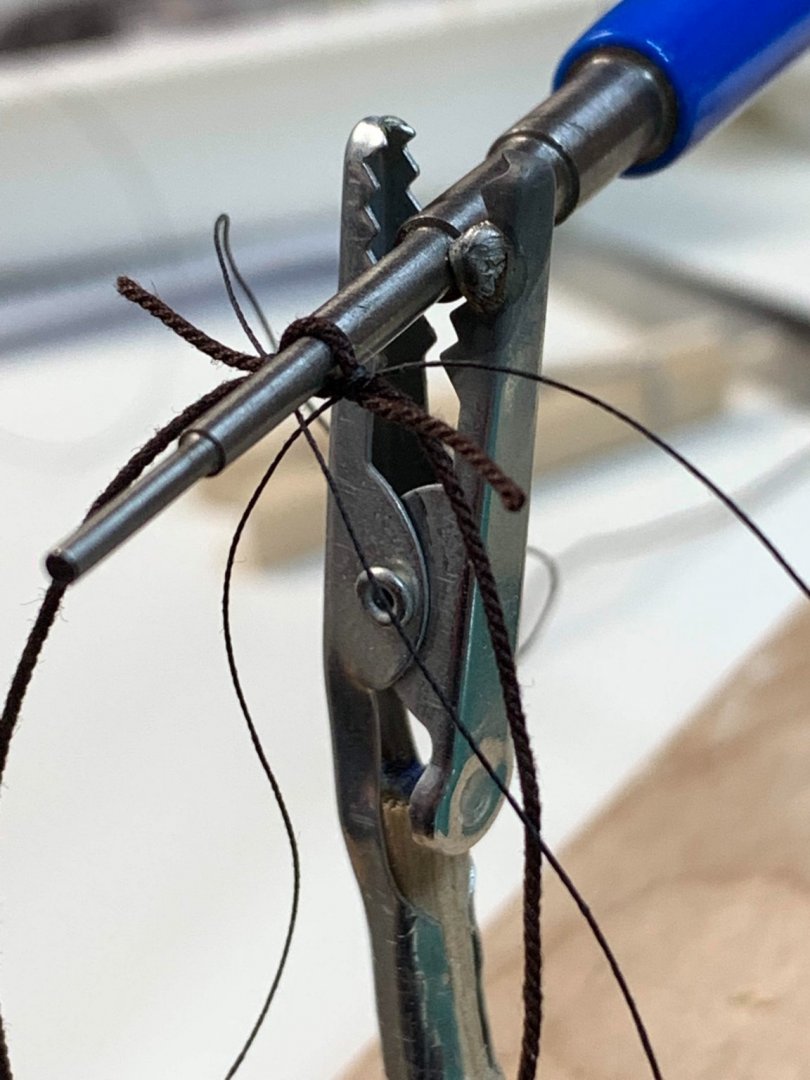
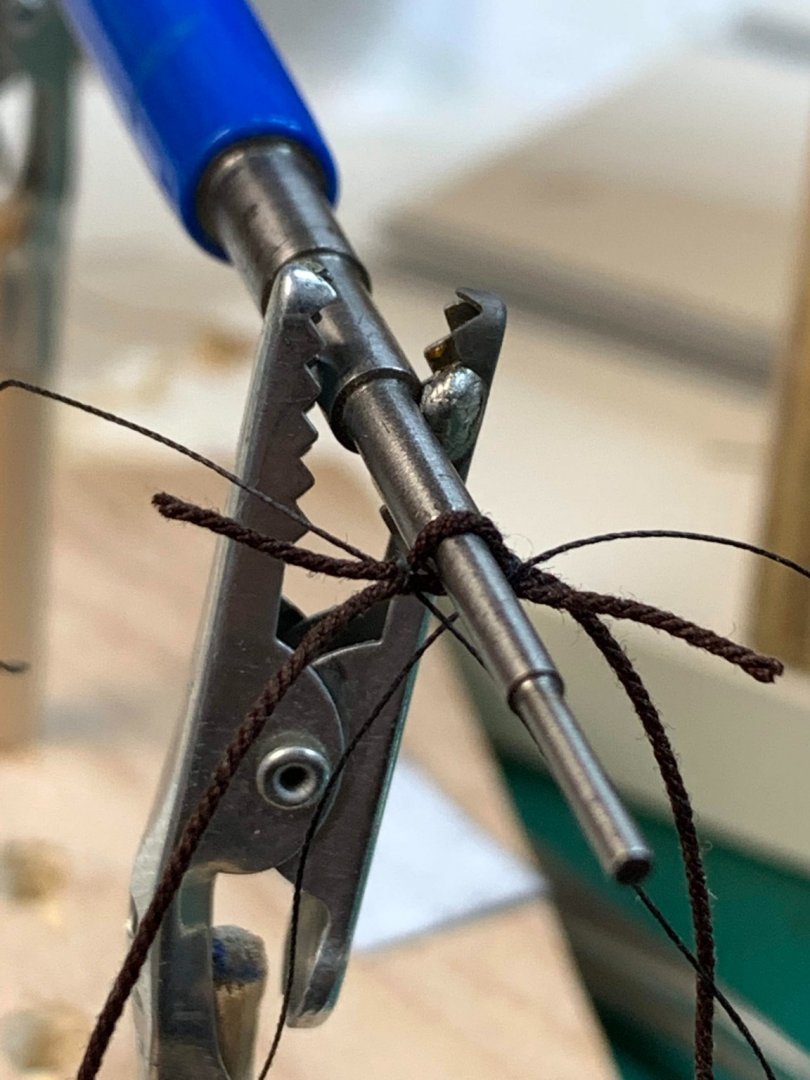
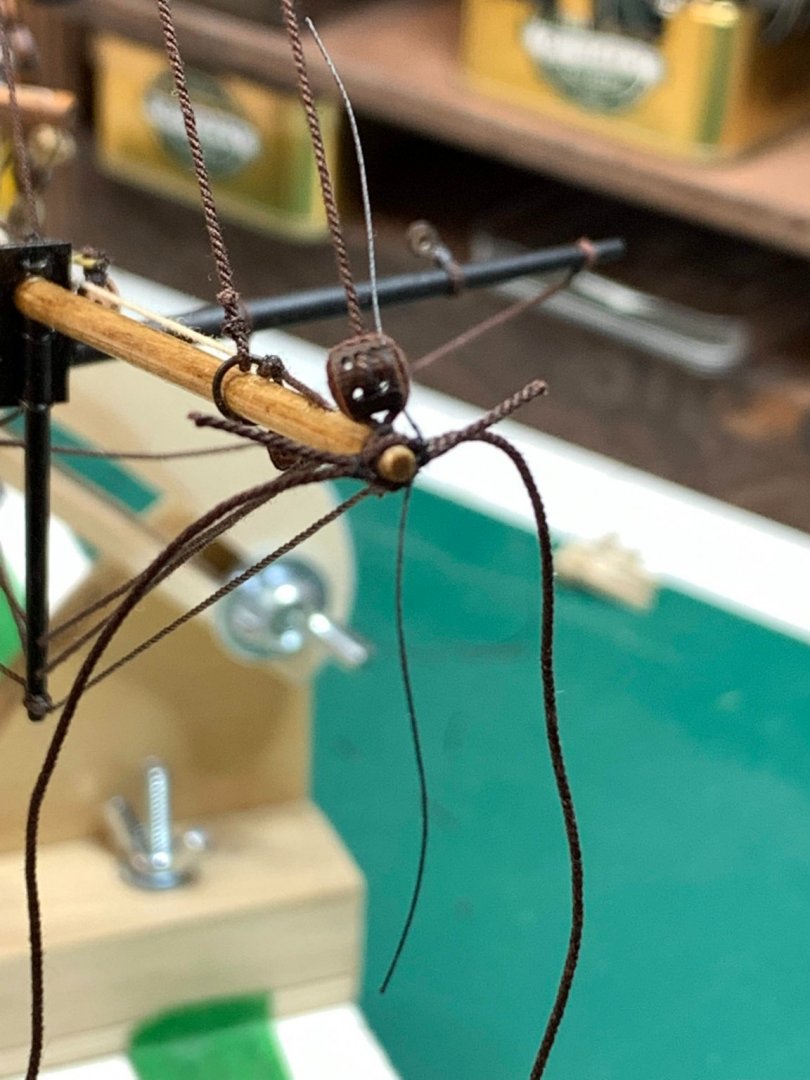
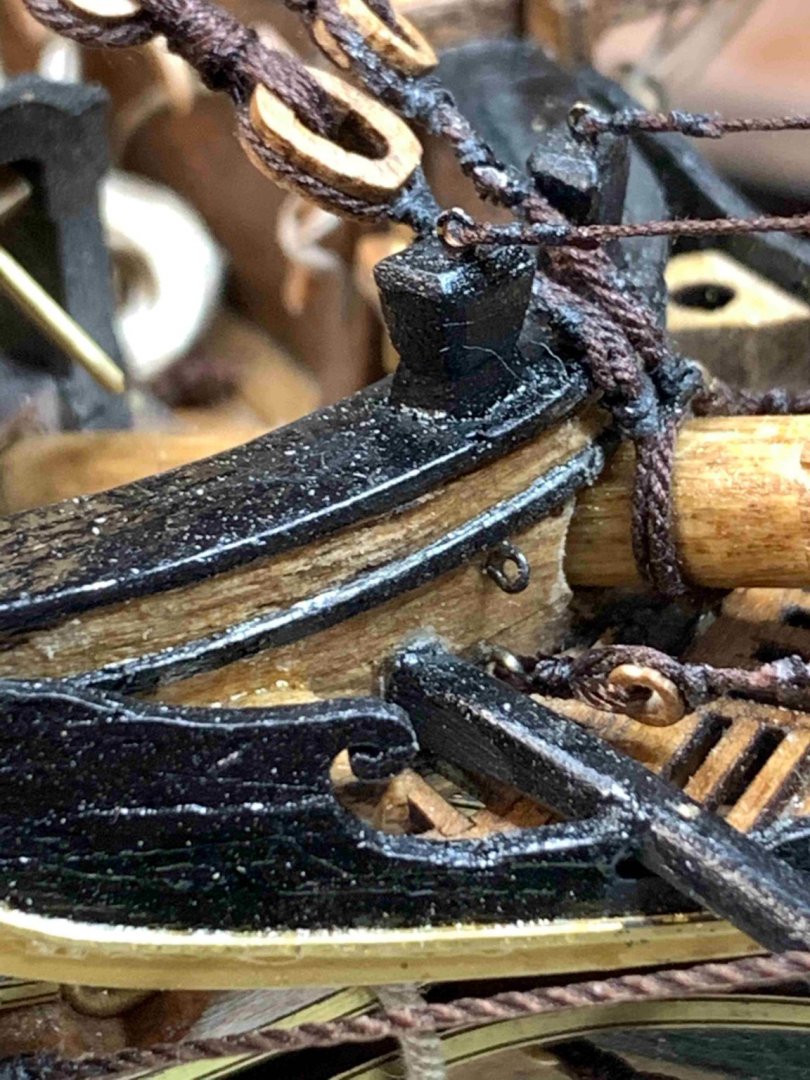
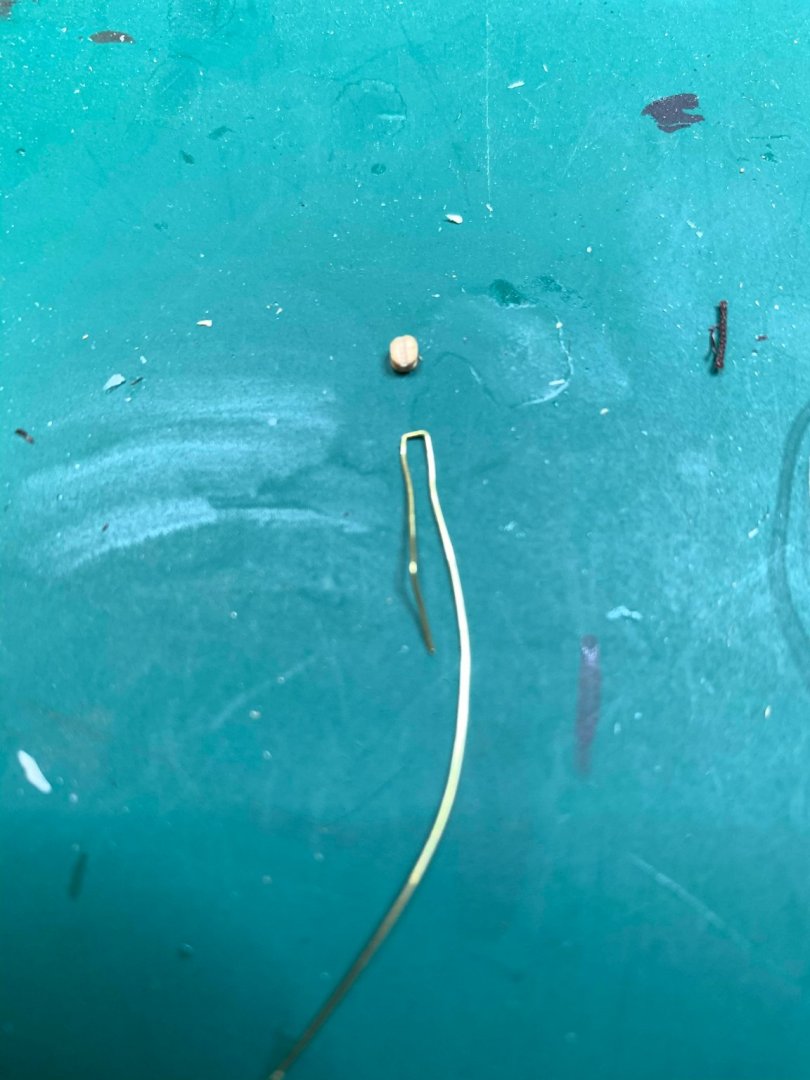
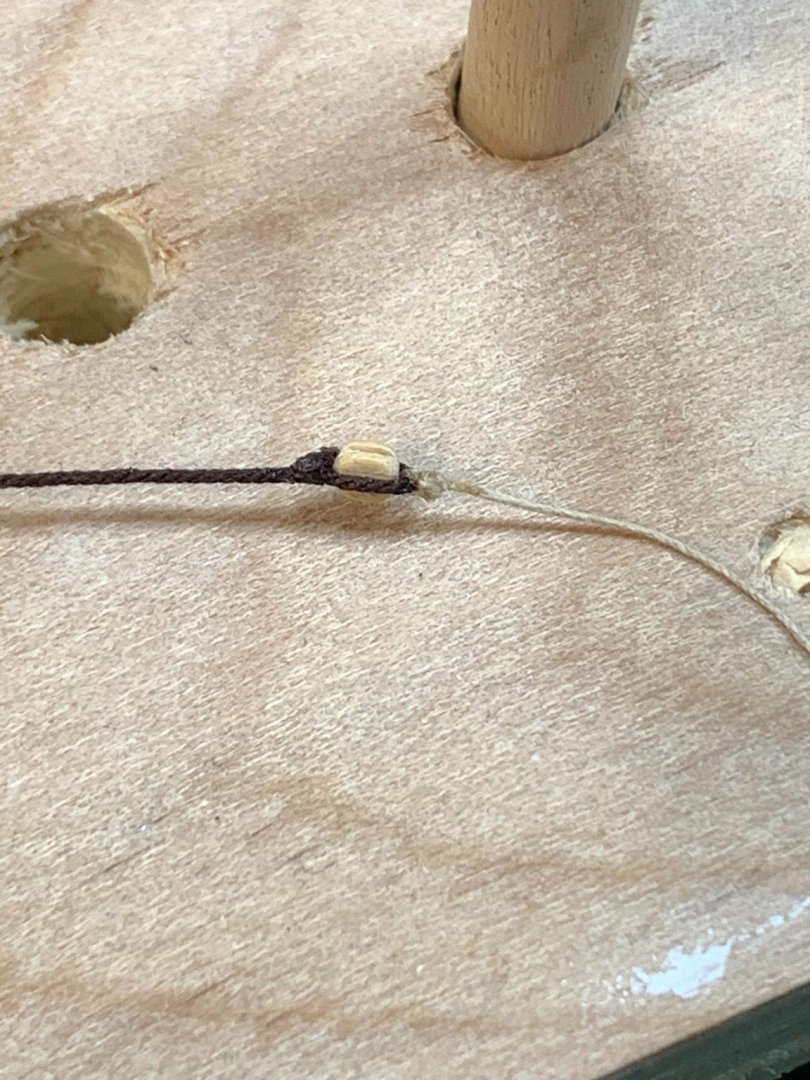
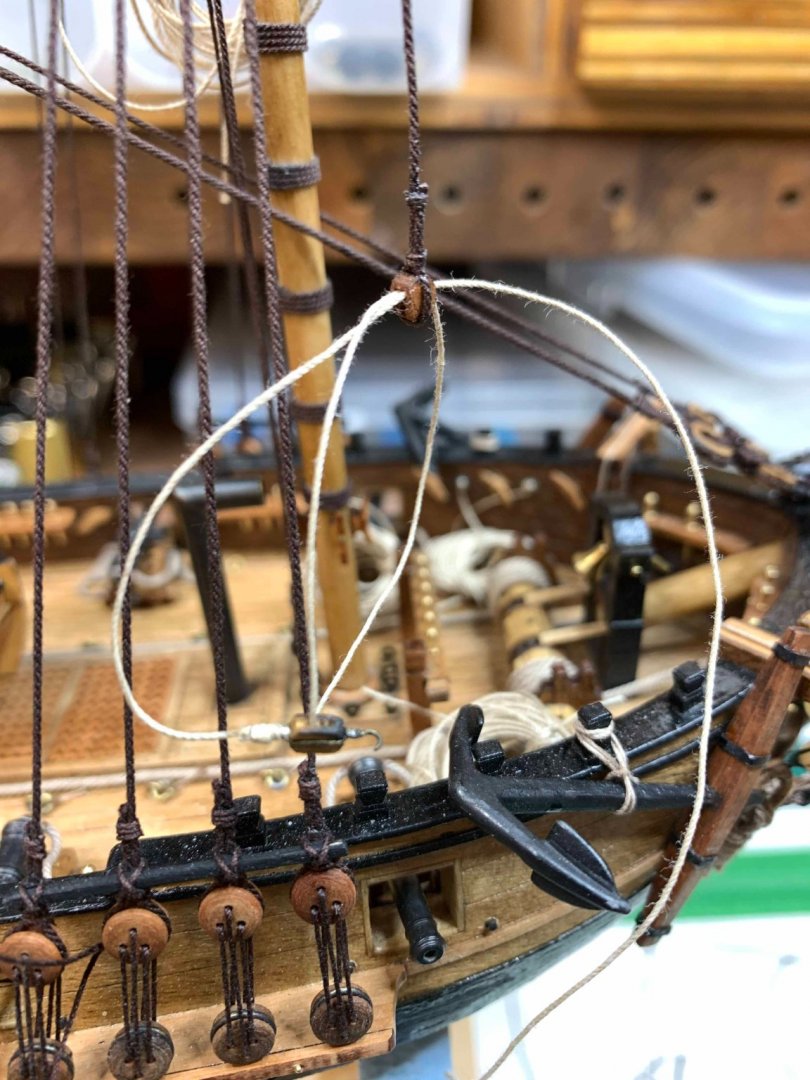
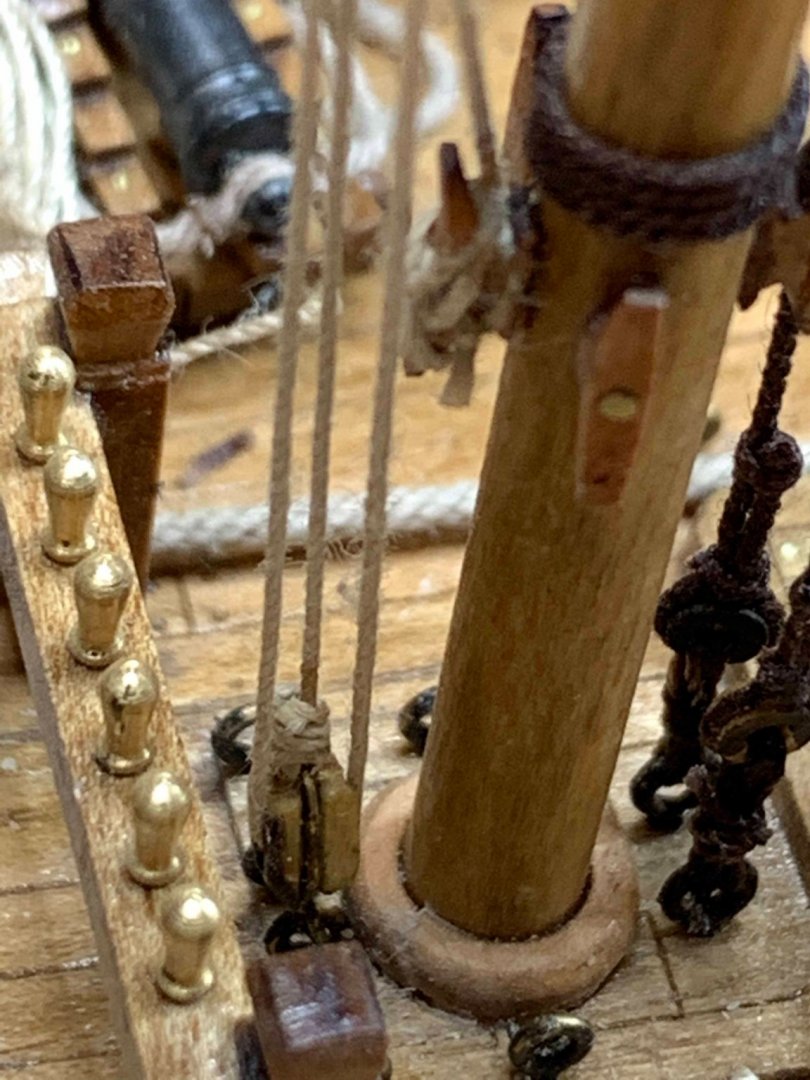
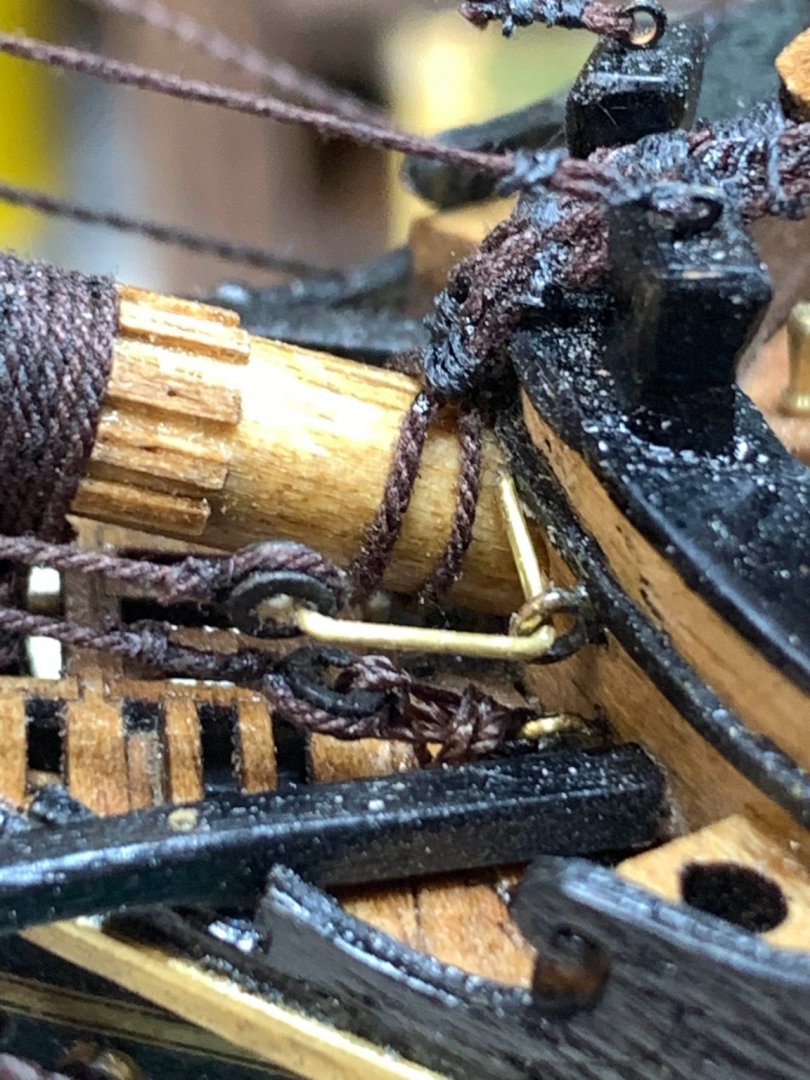
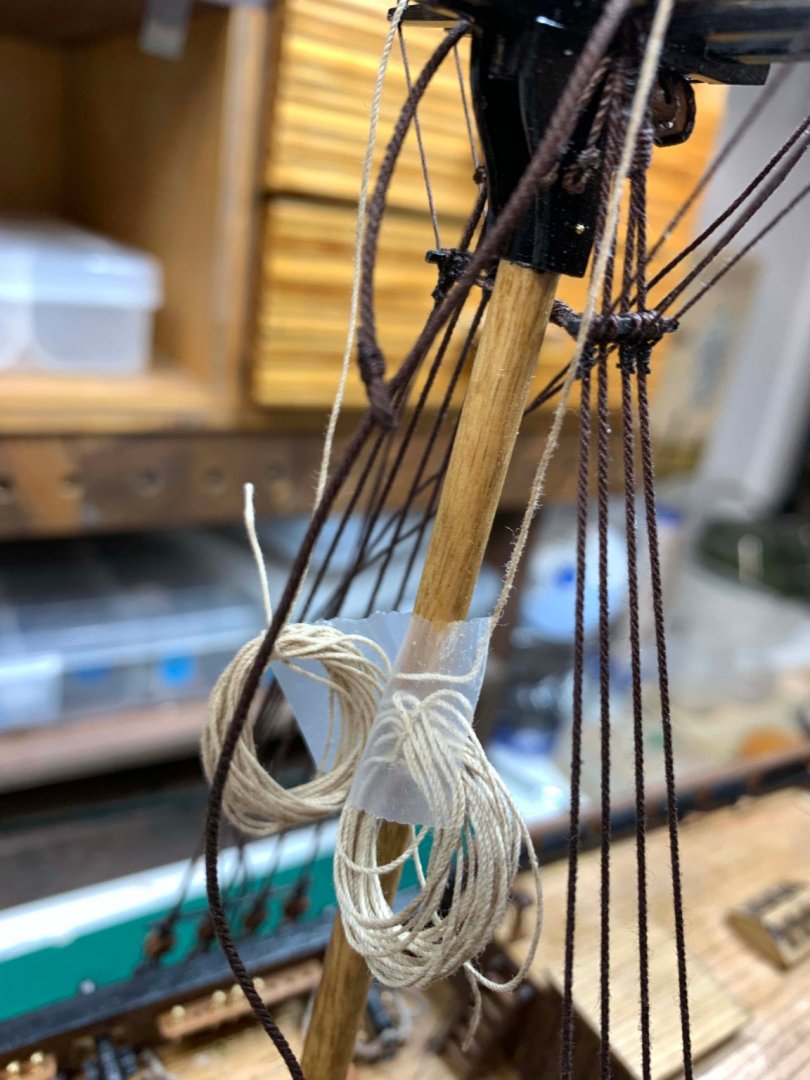
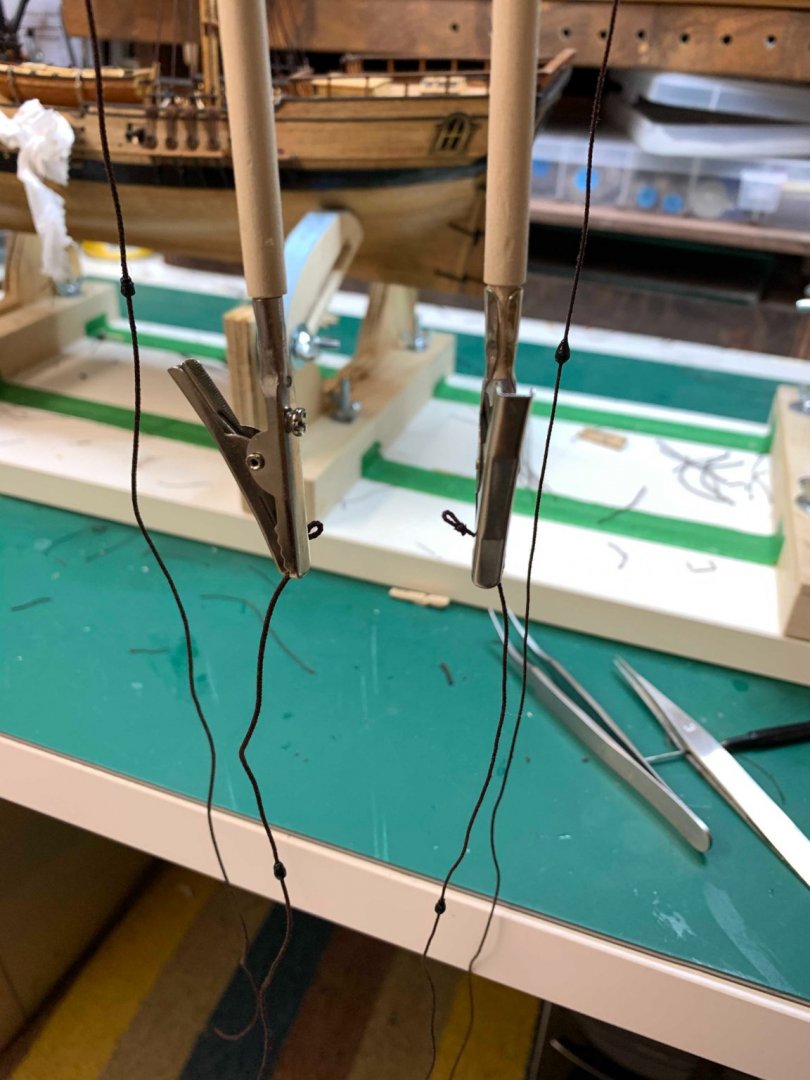
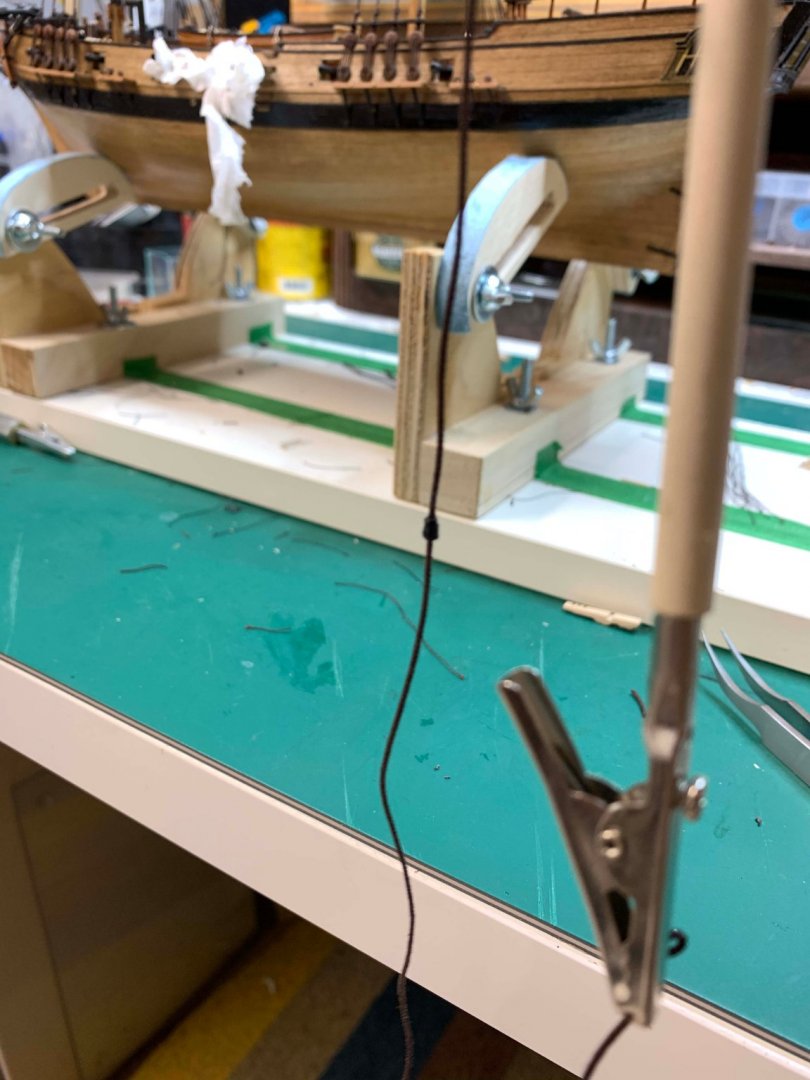
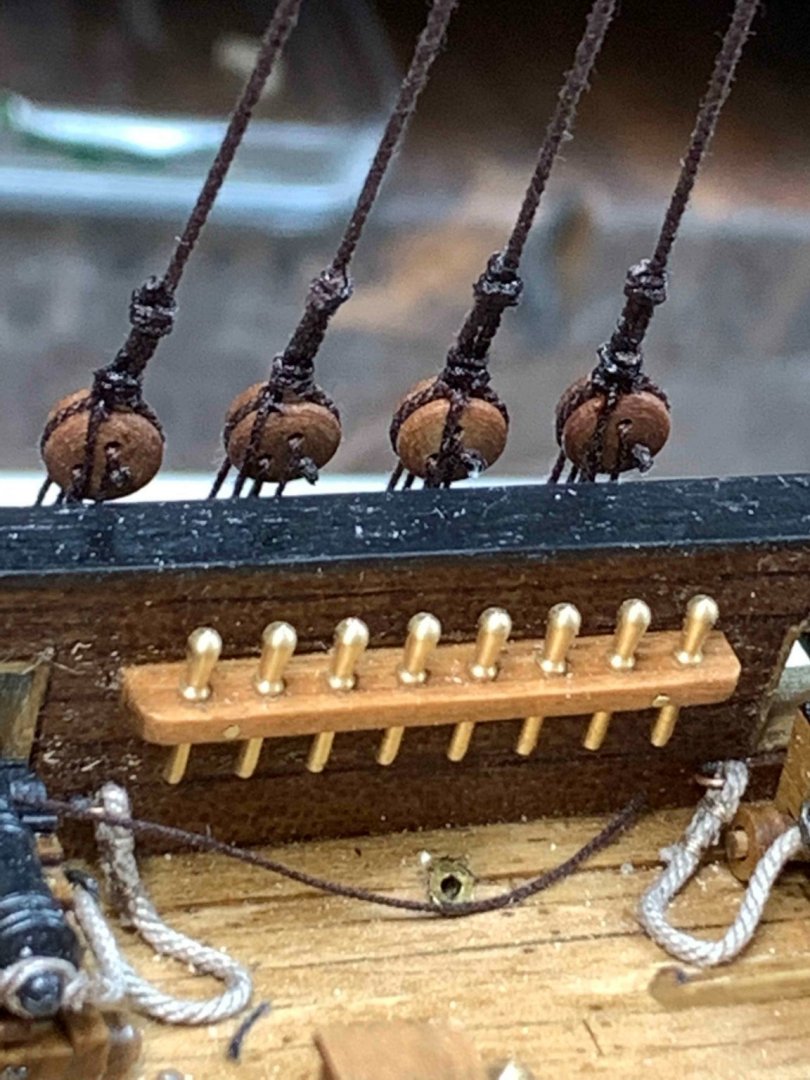
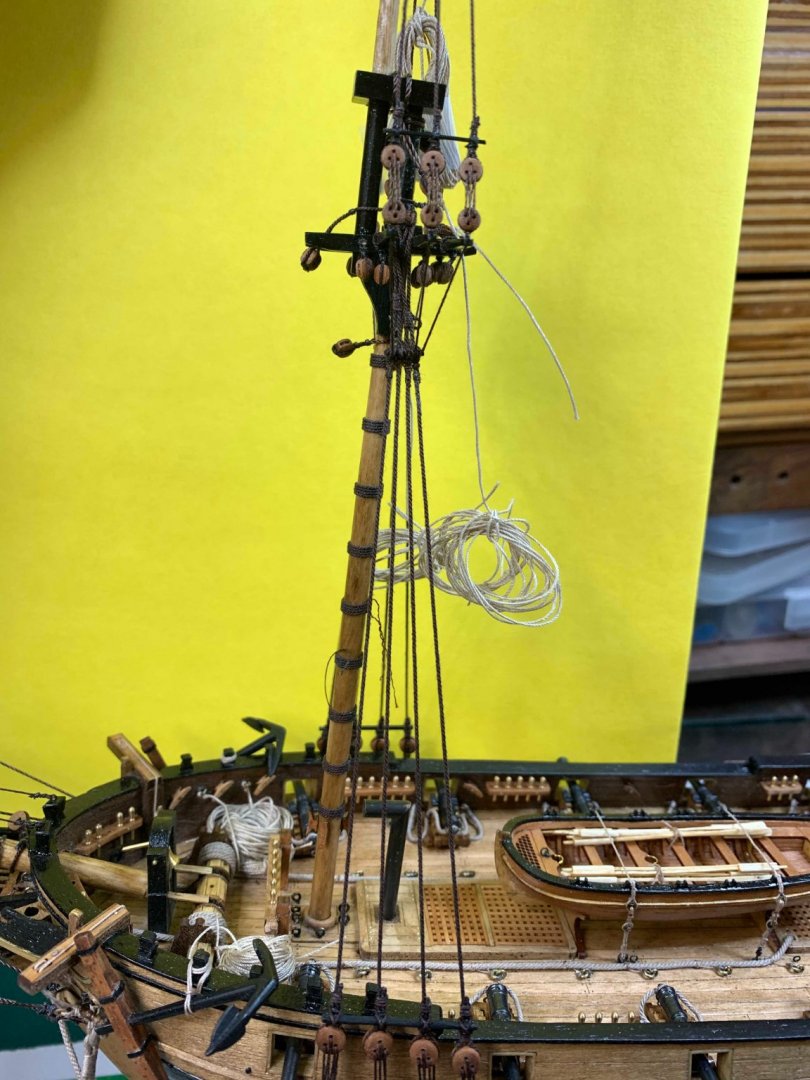
There are several holes in the hull used for tight different ropes to belaying pins... not sure if i missed these steps but i have not drilled the holes before. Now it is time to do so.. a bit more difficult that needed be but... mark them first and with little help from longer drill bits i managed to drill 10 holes in total, without damaging other parts. So if you are building this beautiful model, pay attention ahead of time.. Now i am doing gunter iron gantline rope. First started with 2mm single block and made a hook. Simple by twisting the wire at the end and secure it with a drop of CA glue, then form the hook. Hopefully it will hold. Have some challenges making it at this small scale.. Working on the rope.. The length of coiled rope is correct, now i need to make few of those.. Happy modelling..


- 275 replies
-
- 2
-
-
- phoenix
- master korabel
- (and 1 more)
-
The whole process.. Happy modelling..


-
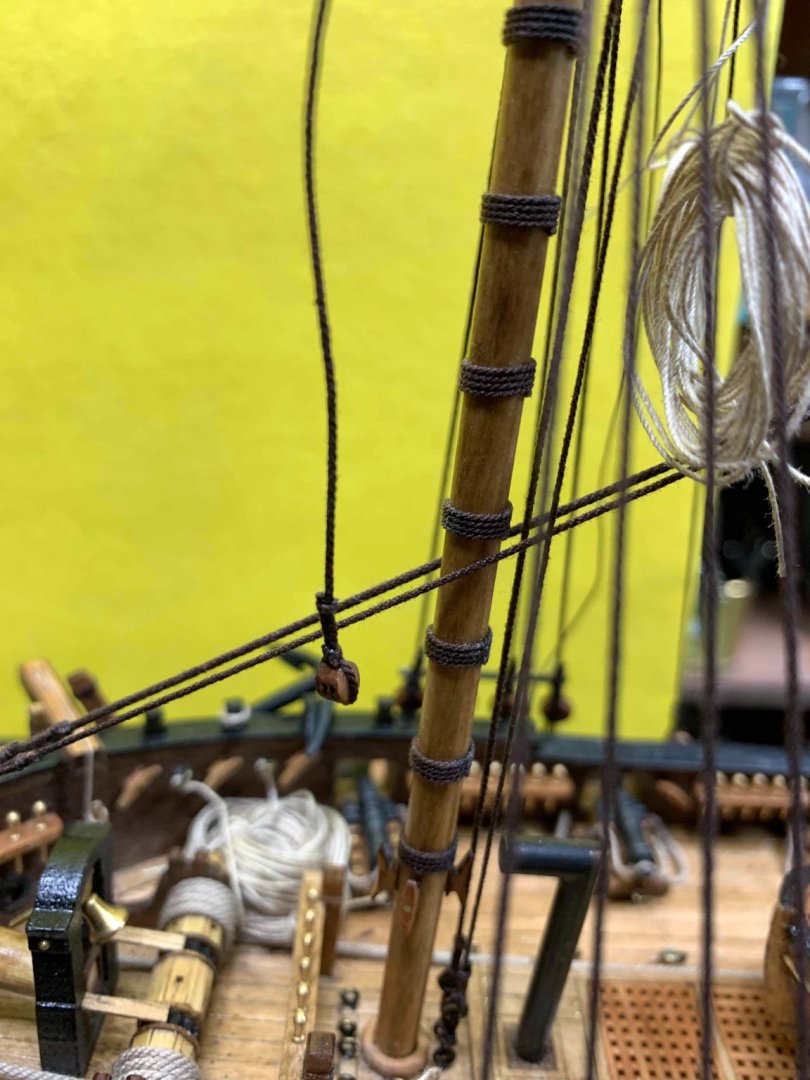
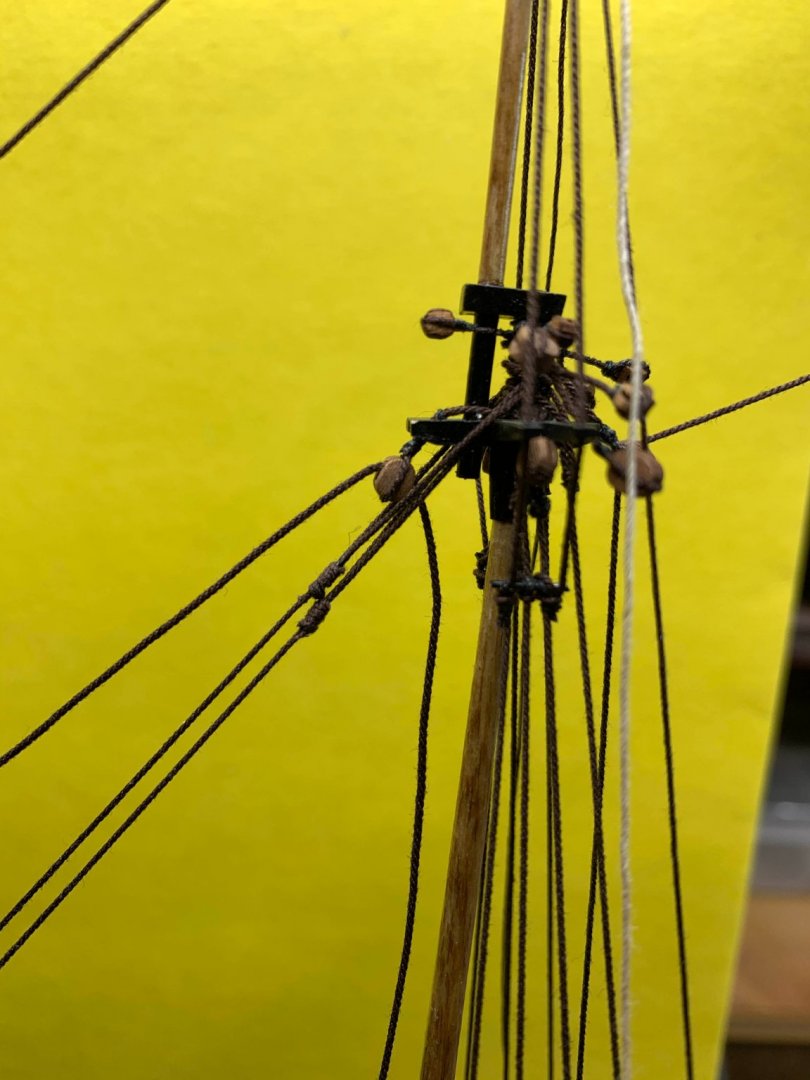
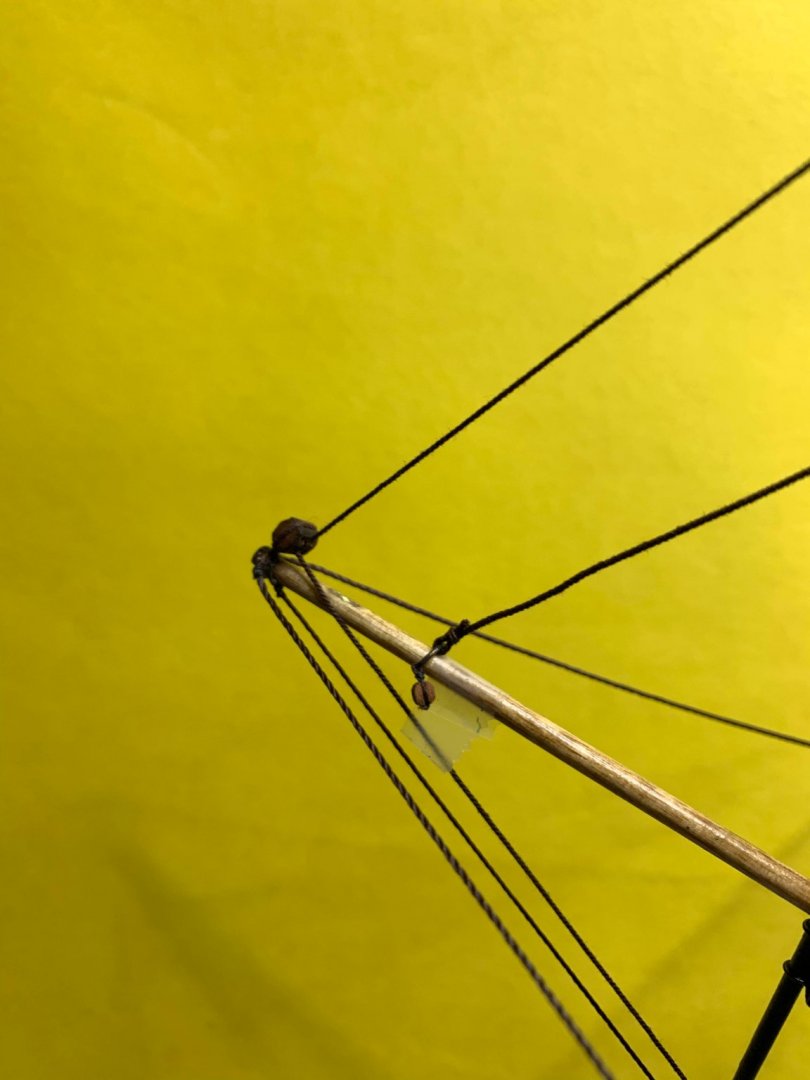
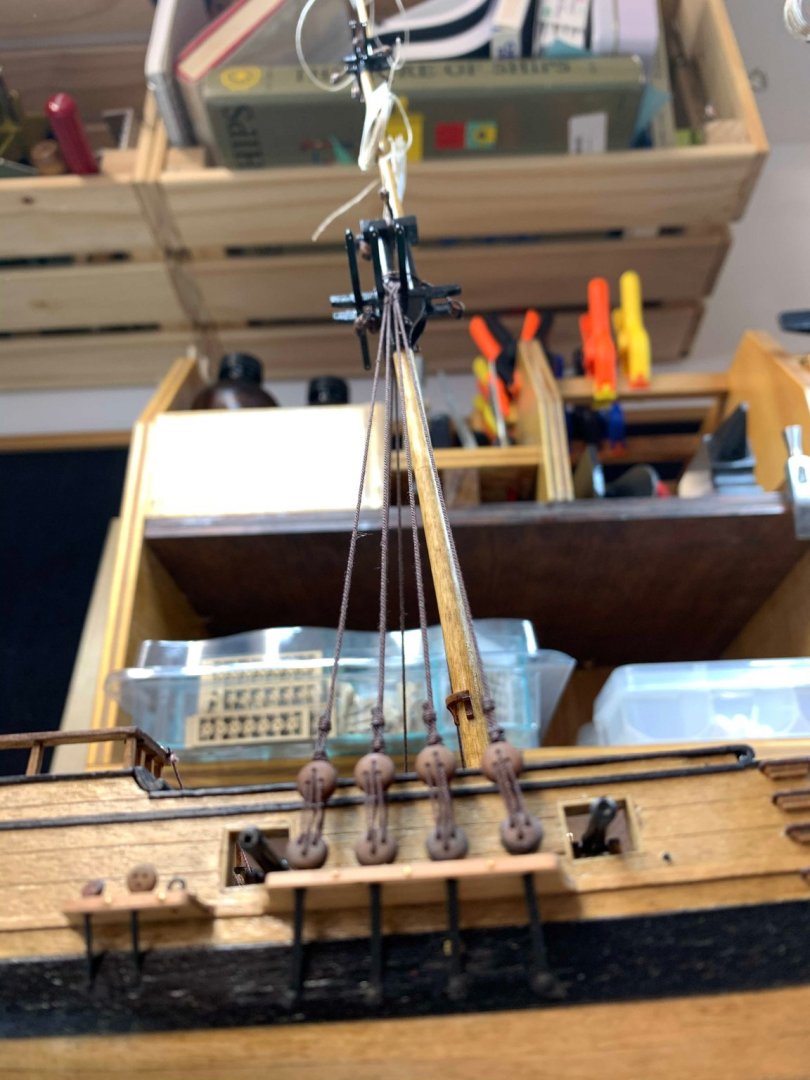
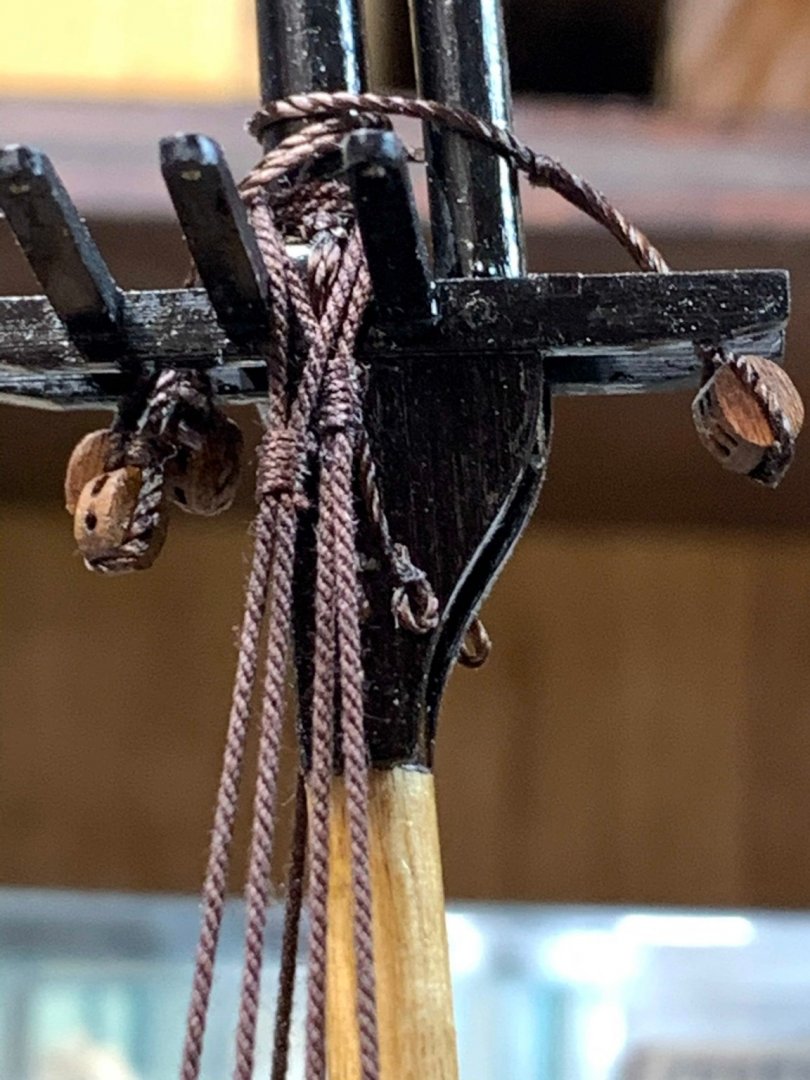
Fore topgallant stays rigging: Getting ready for jib stay rigging: Happy modelling.


-
A bit more work completed.. Had to replace some ropes as i did not like the way the looked... Happy modelling..


-
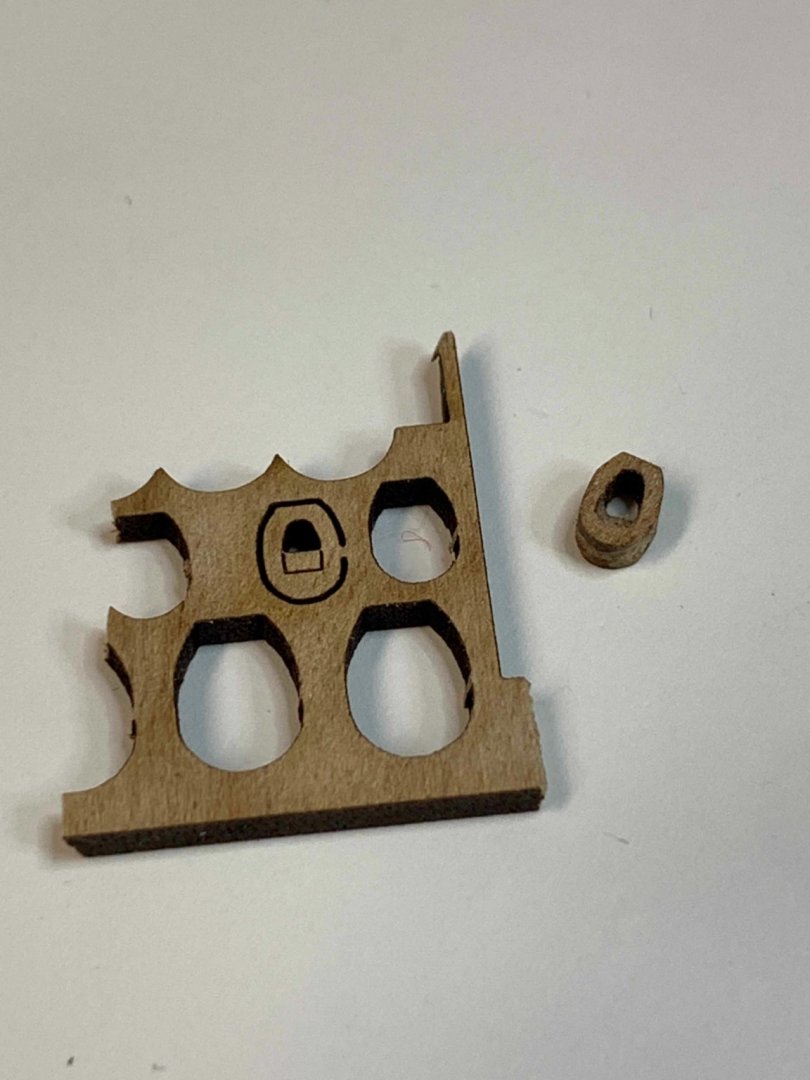
The small block has to be removed, sanded and rope grove has to be filled.. The end results: Happy modelling...
- 275 replies
-
- 1
-
-
- phoenix
- master korabel
- (and 1 more)
-
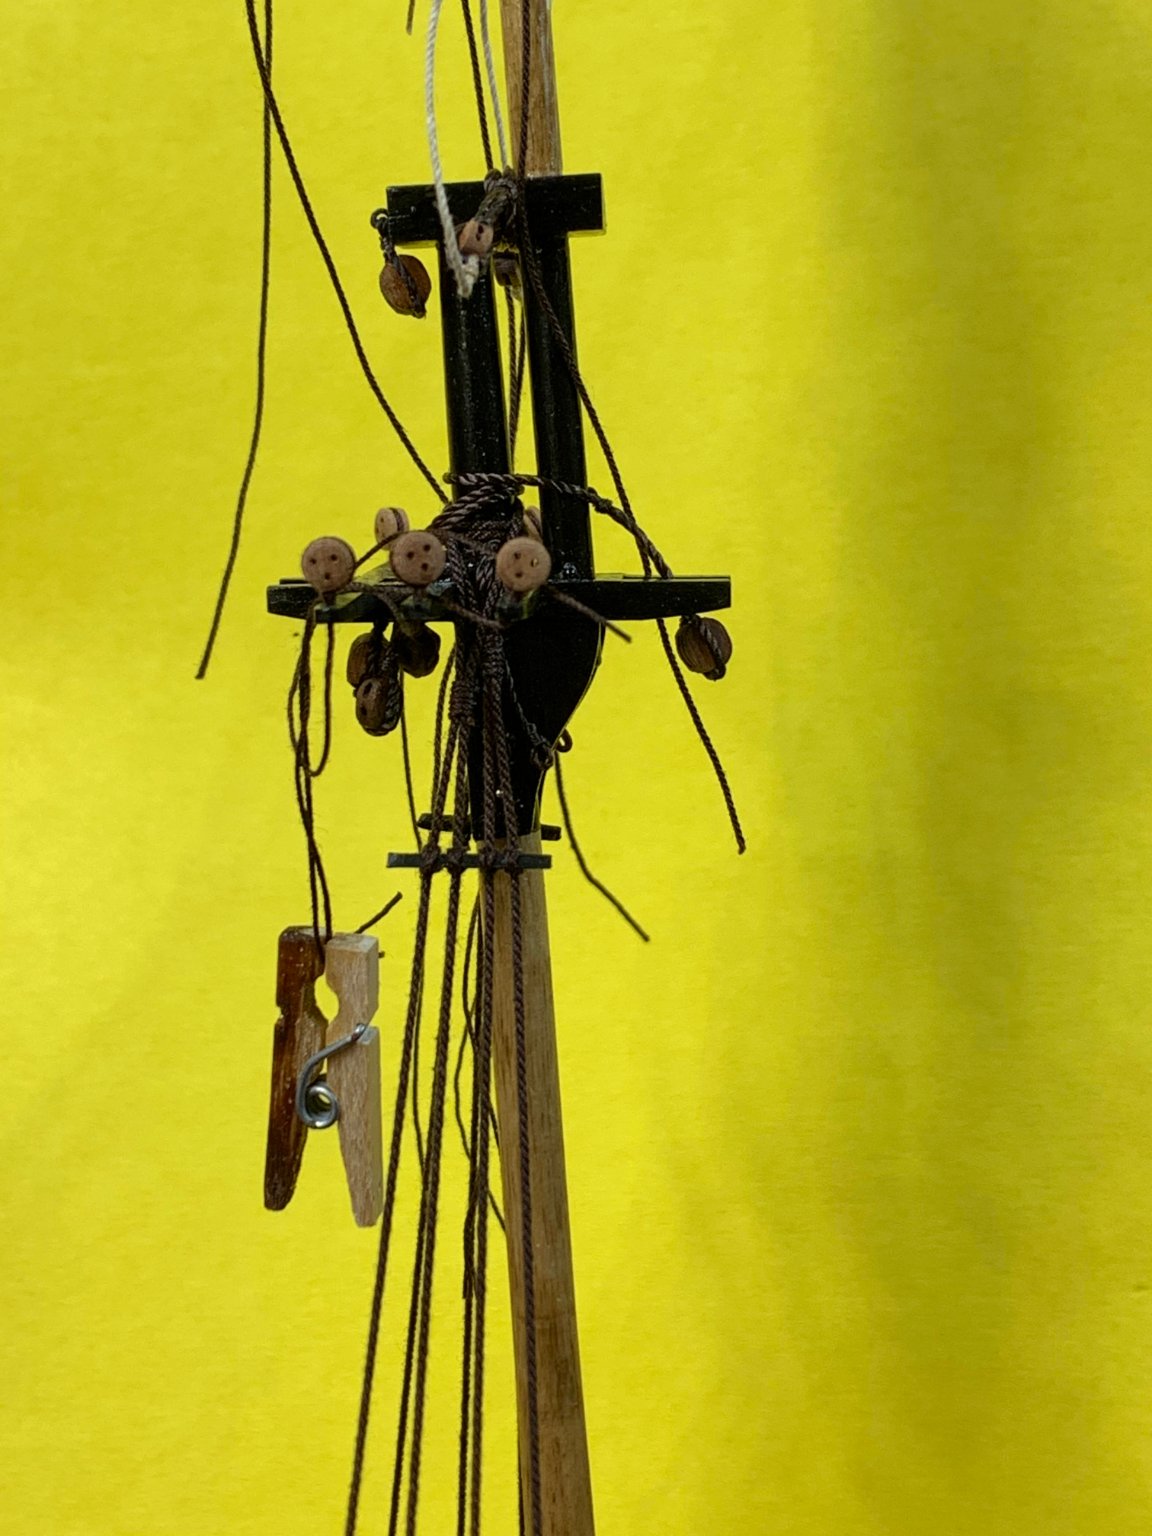
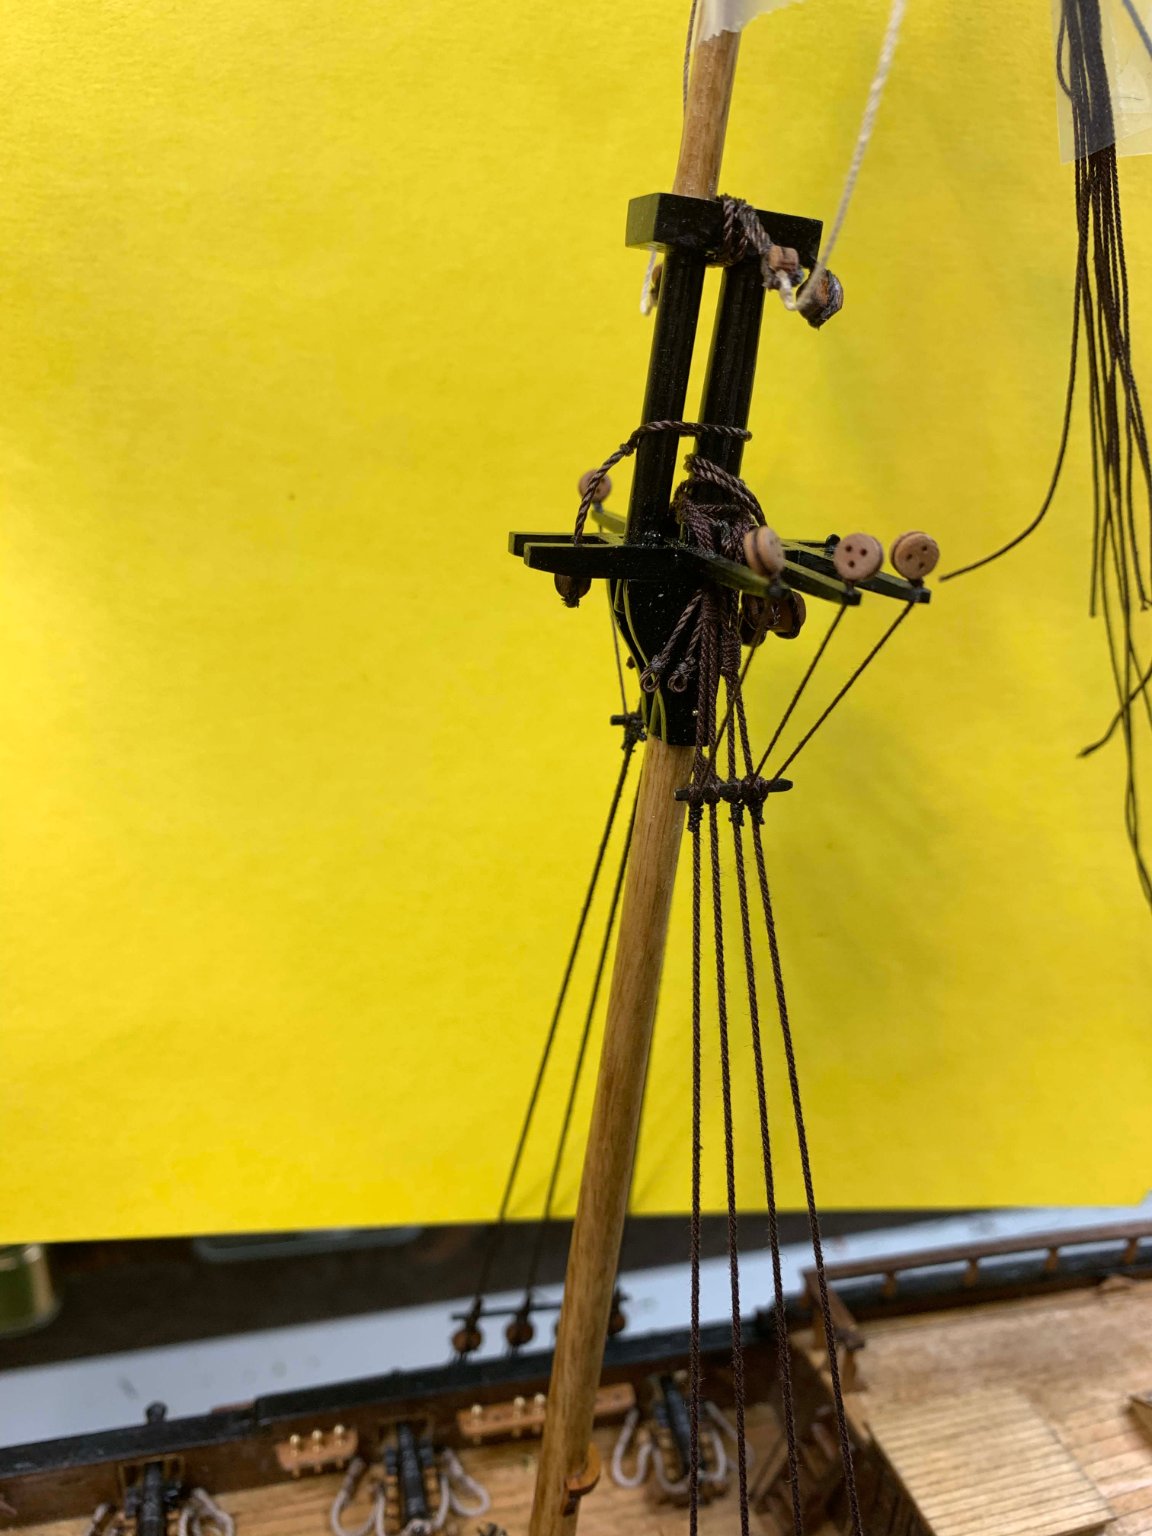
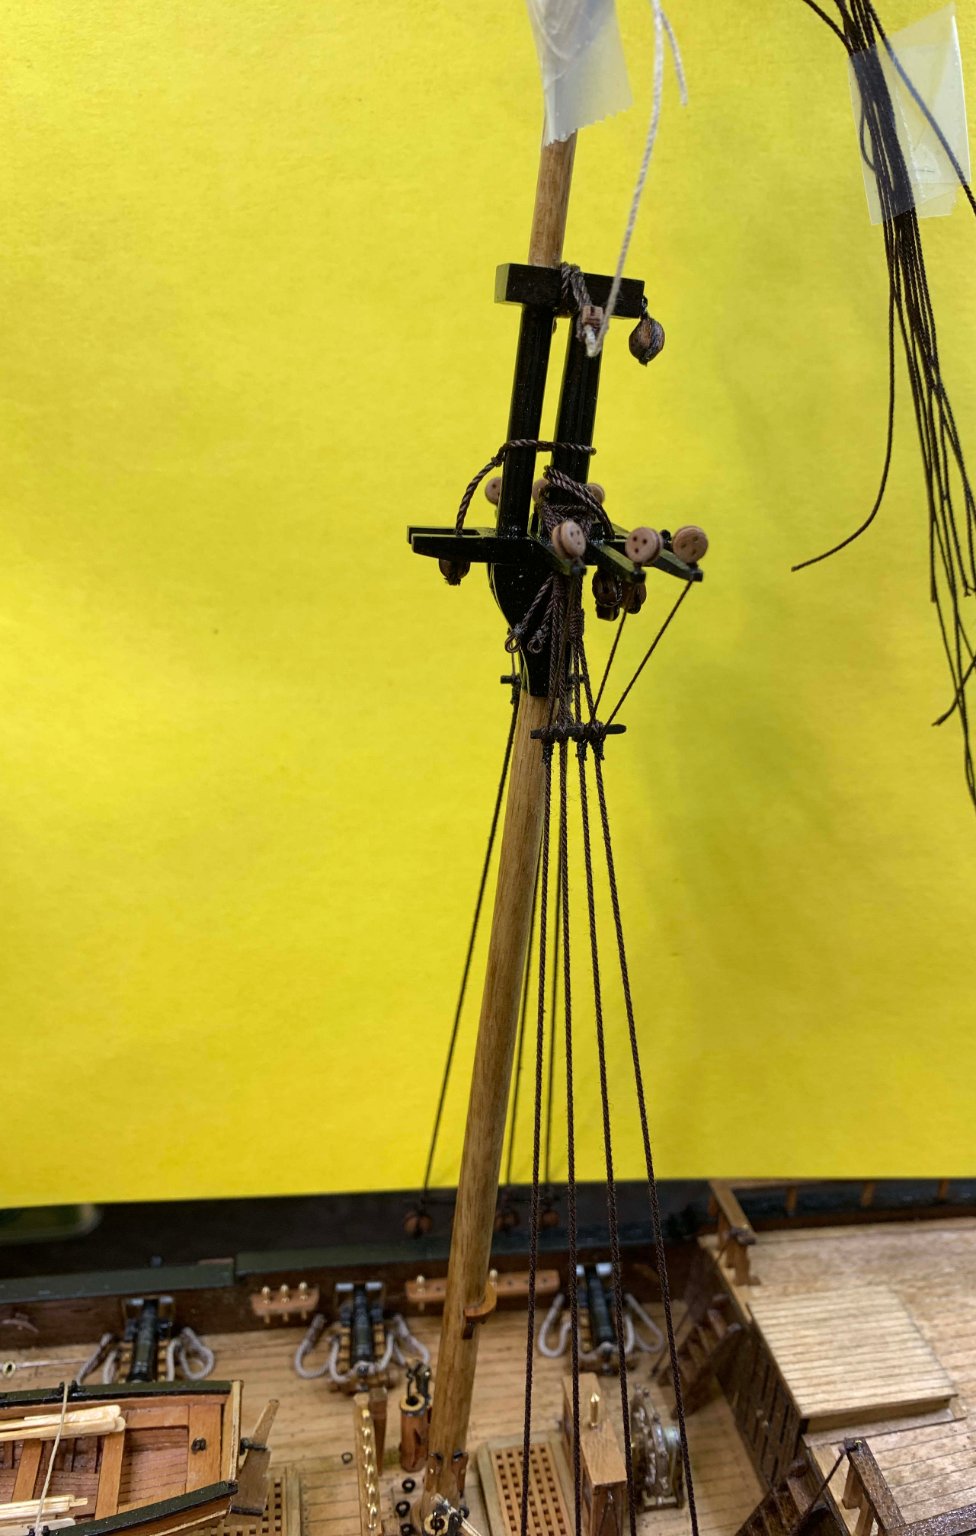
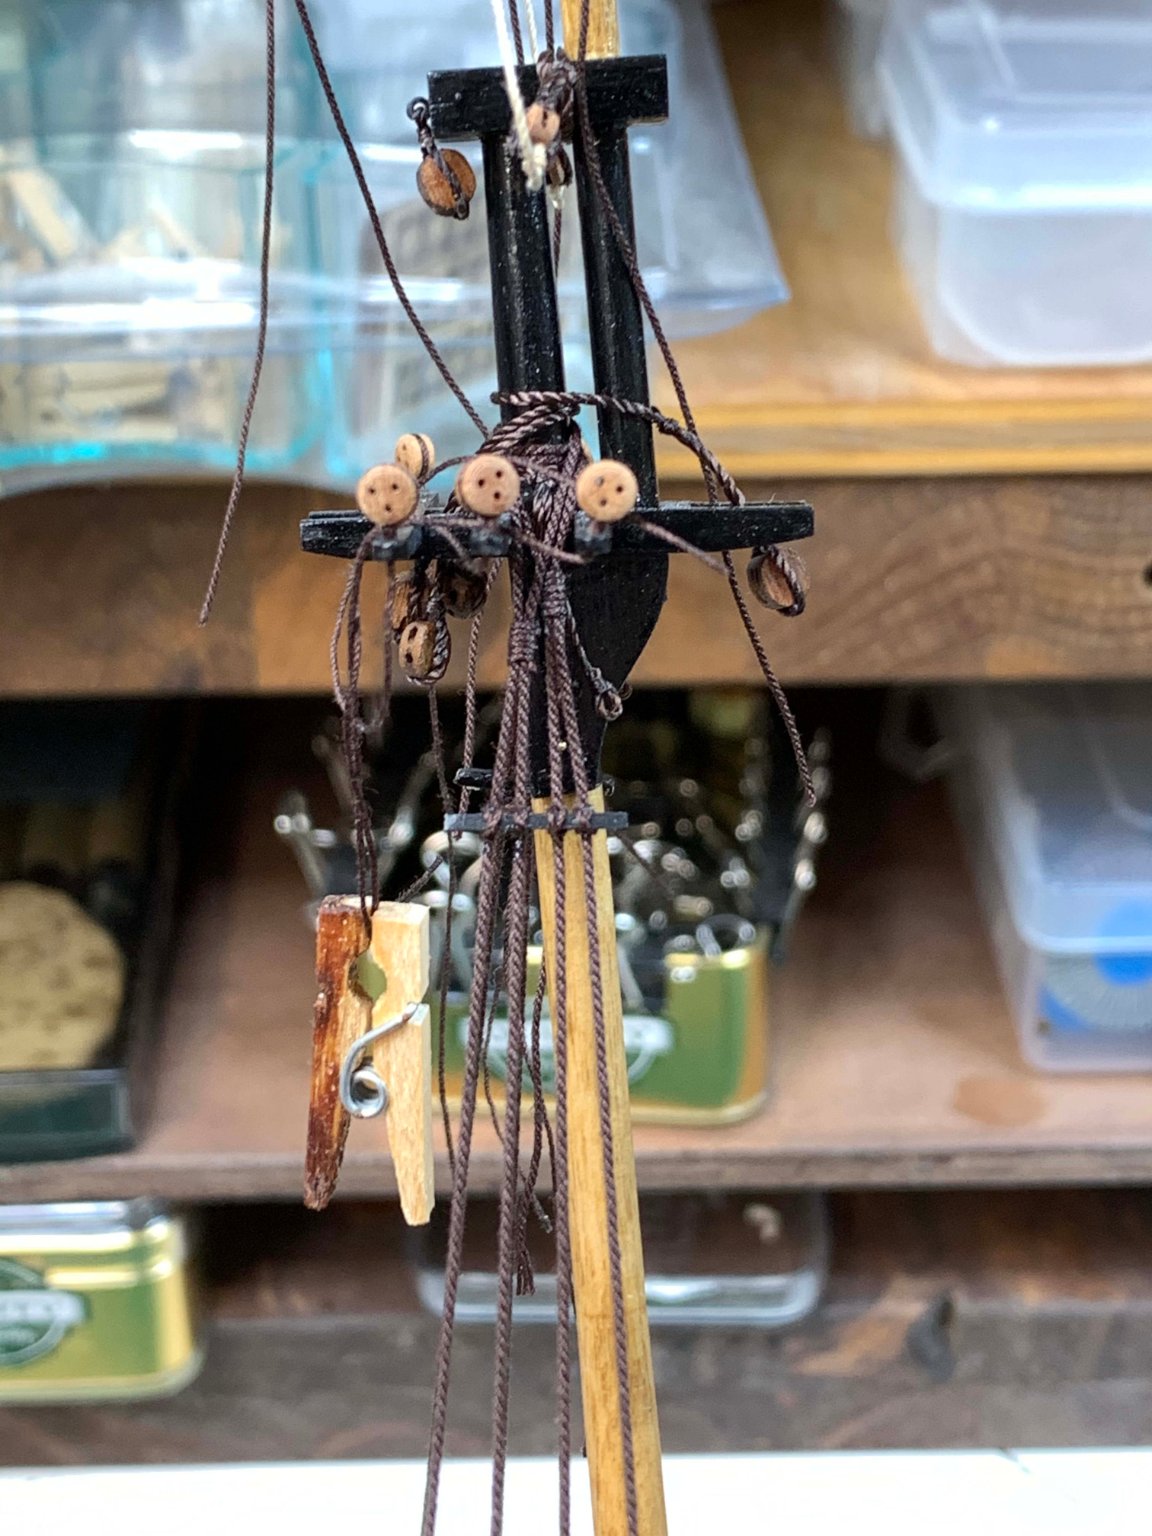
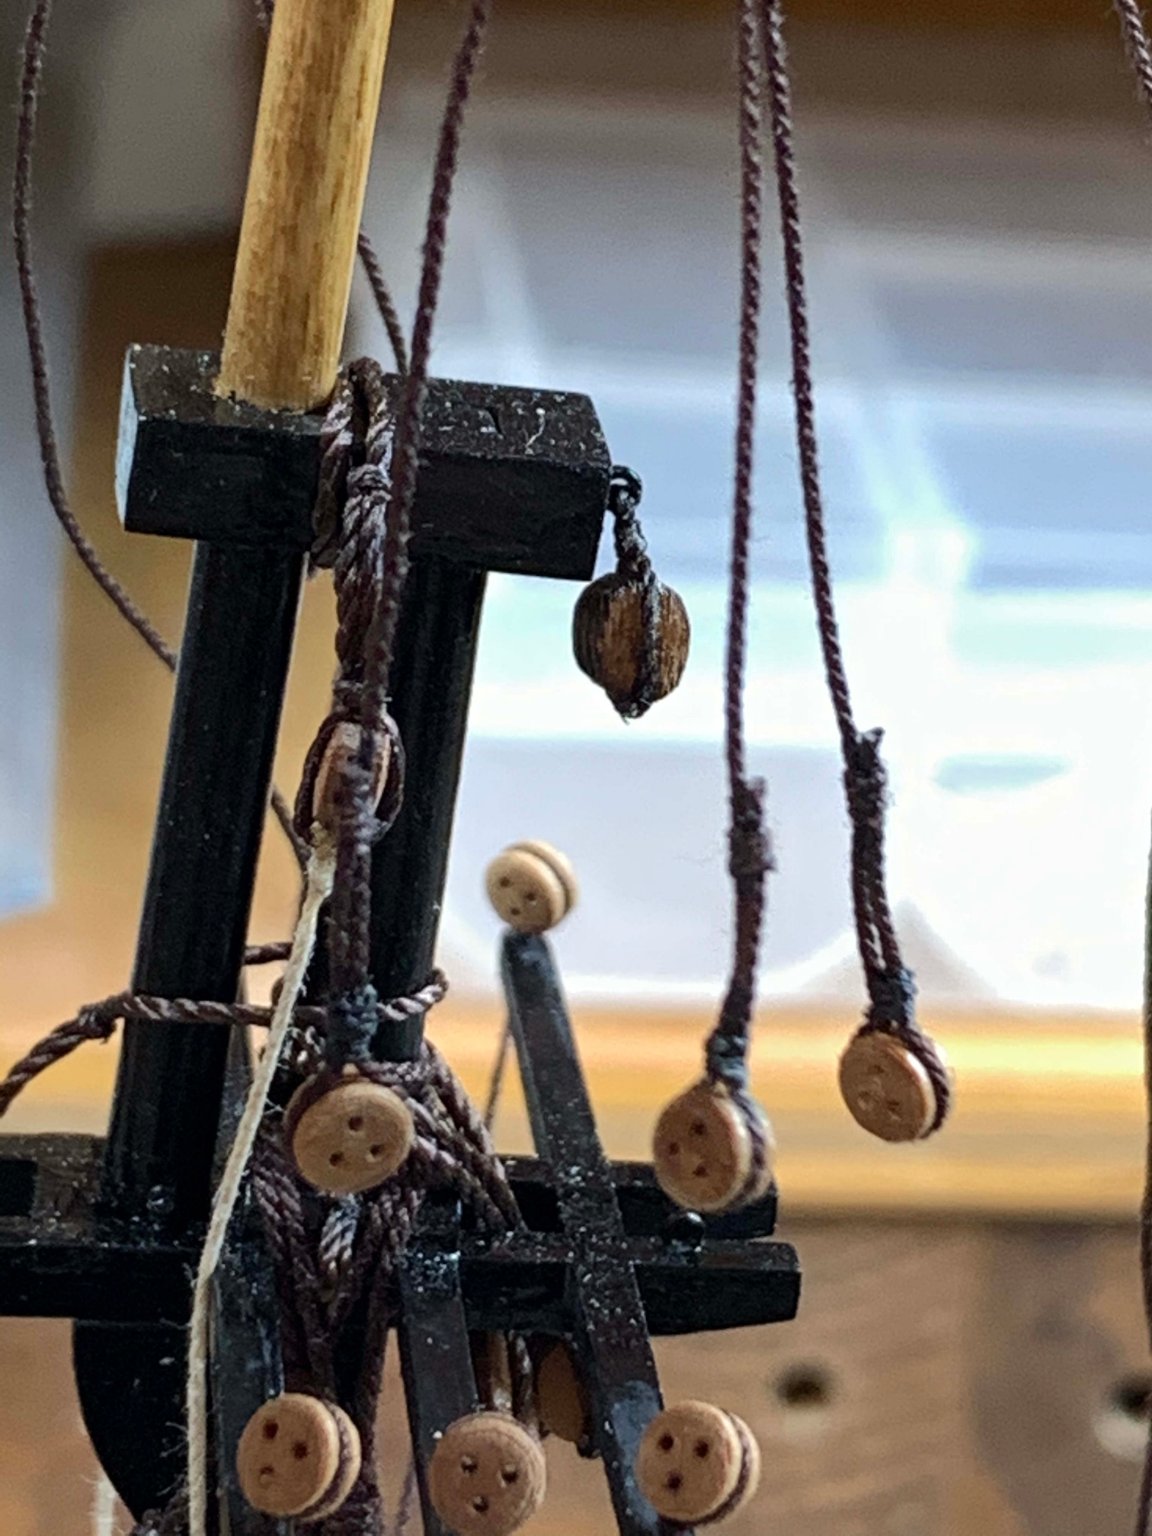
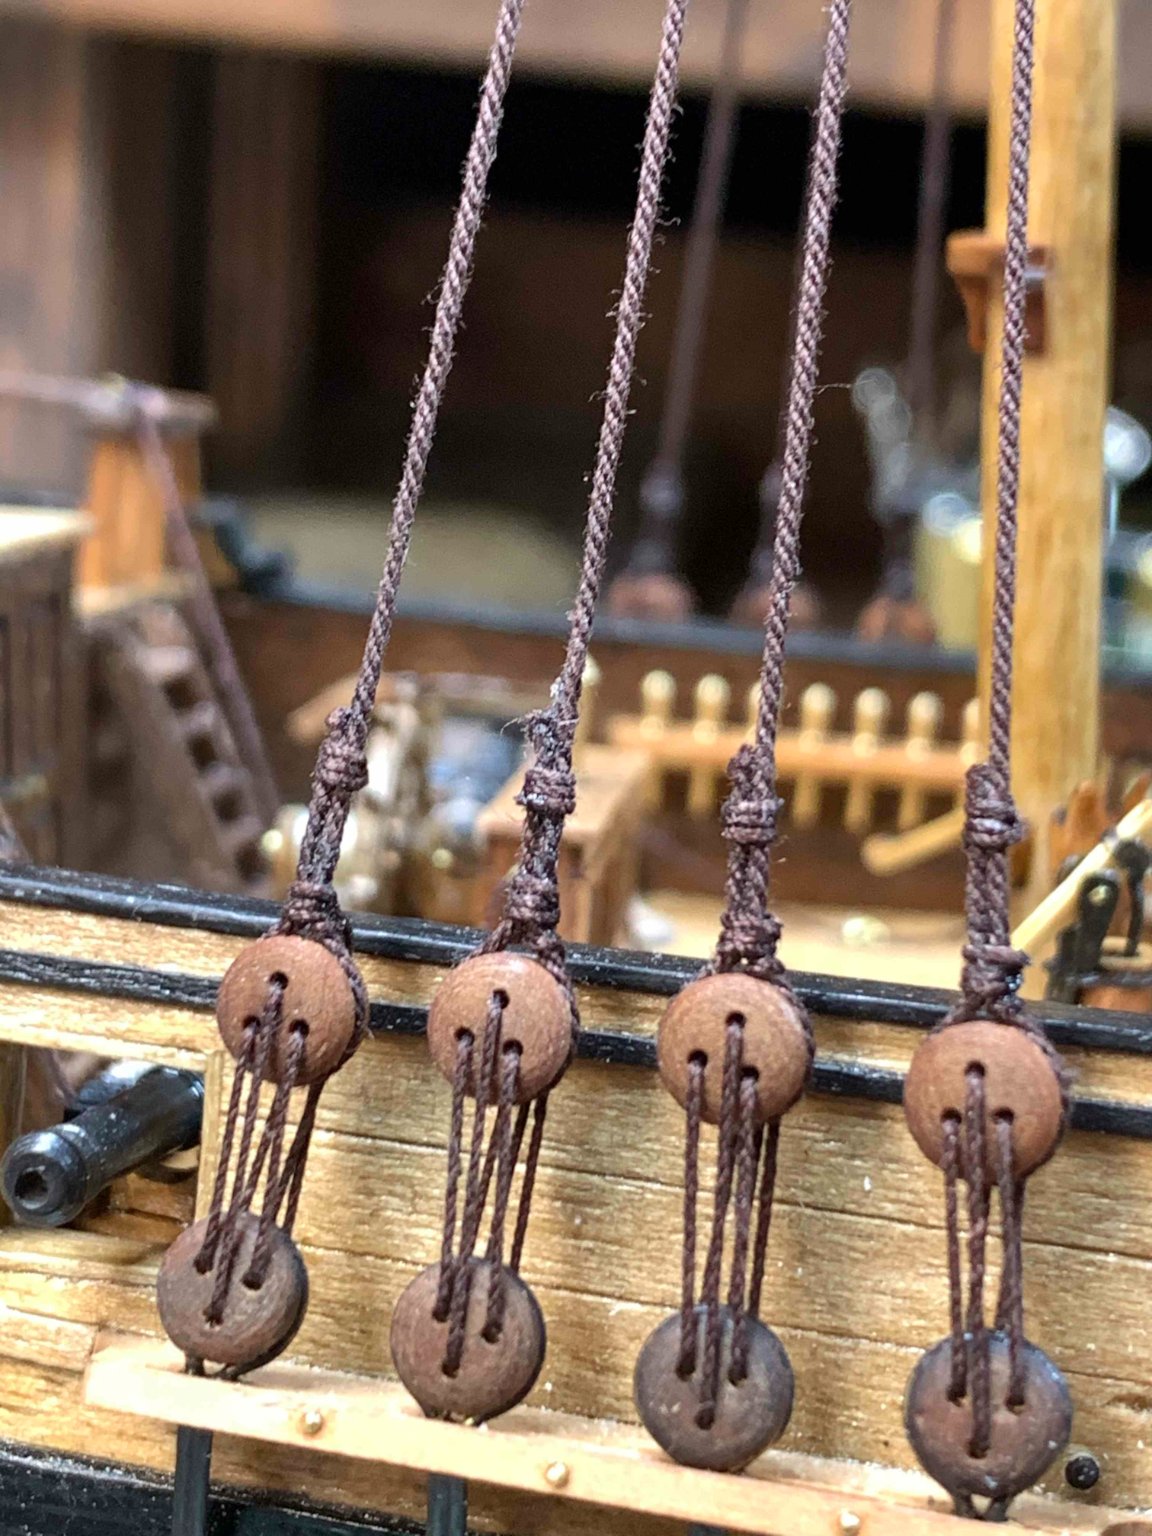
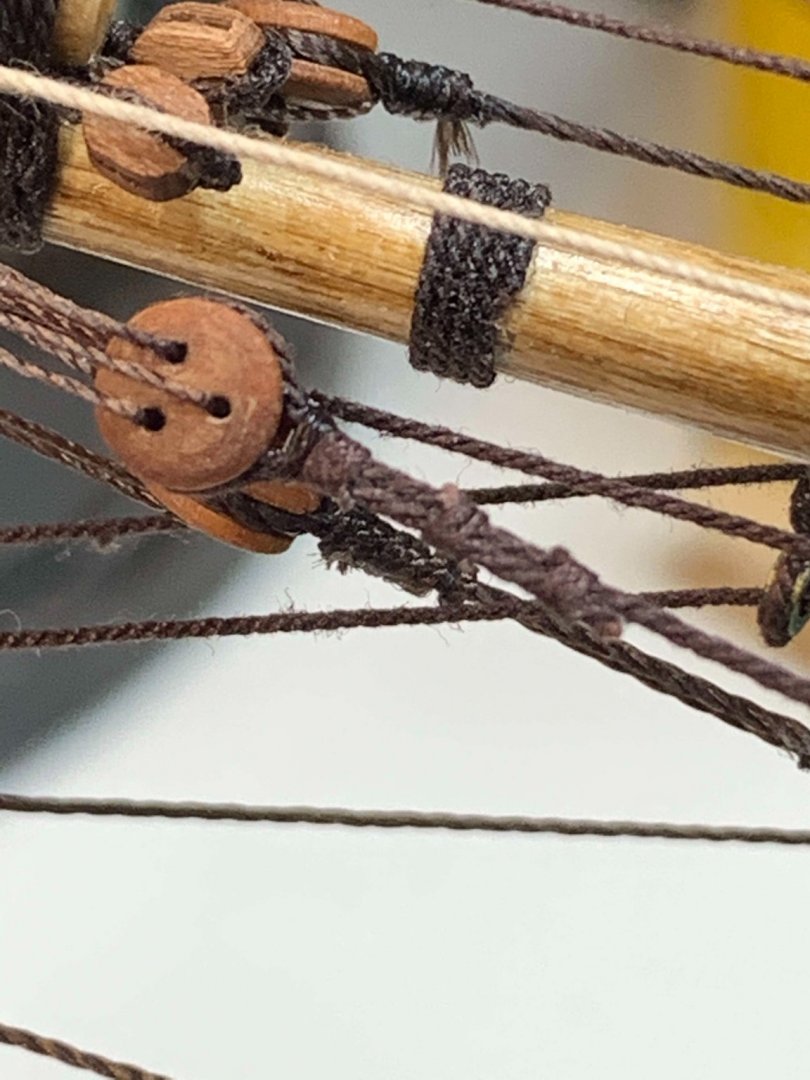
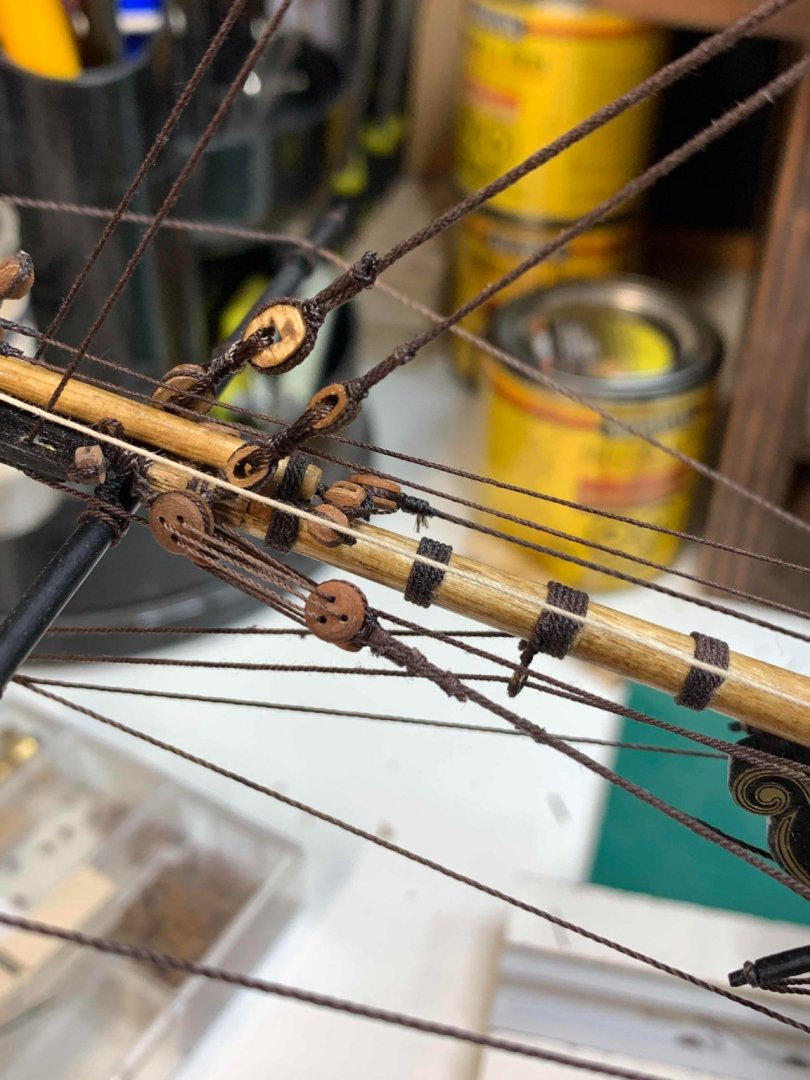
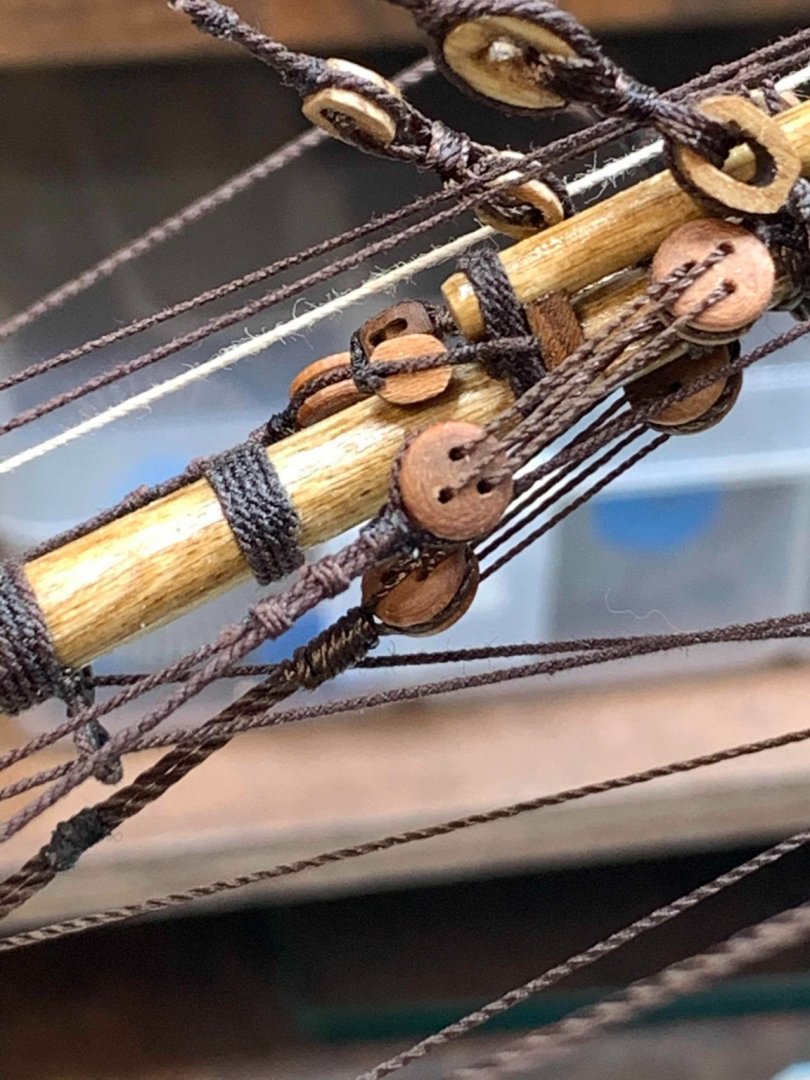
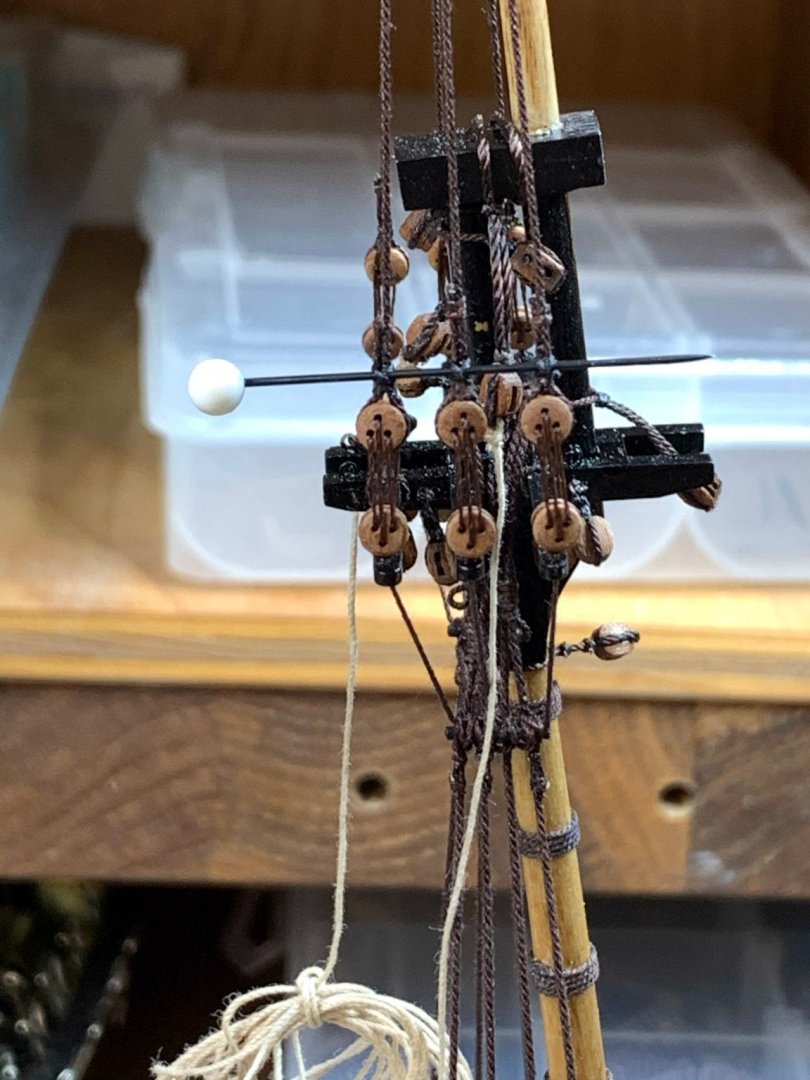
Rigging of mainmast stays continues by replacing blocks; it turned out that blocks were not positioned correctly so need to change this.. New blocks.. ..in building process.. Once in place, the rigging can continue... Testing the distance.. Happy modelling..


-
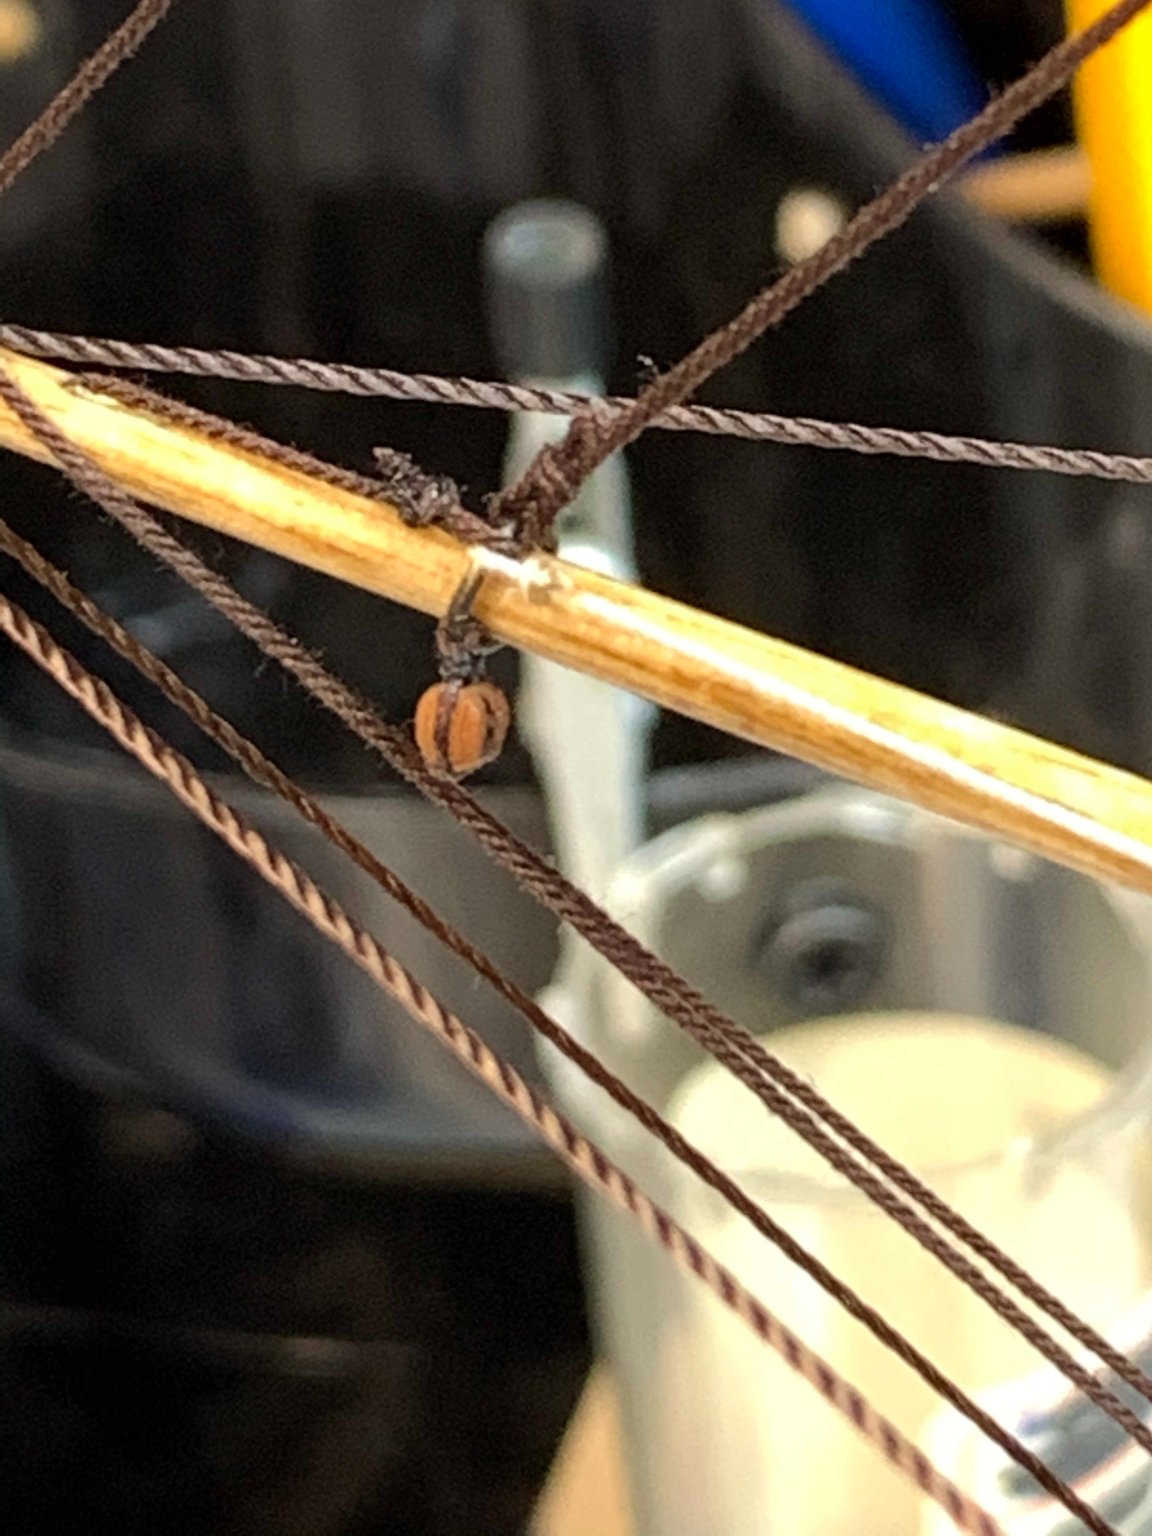
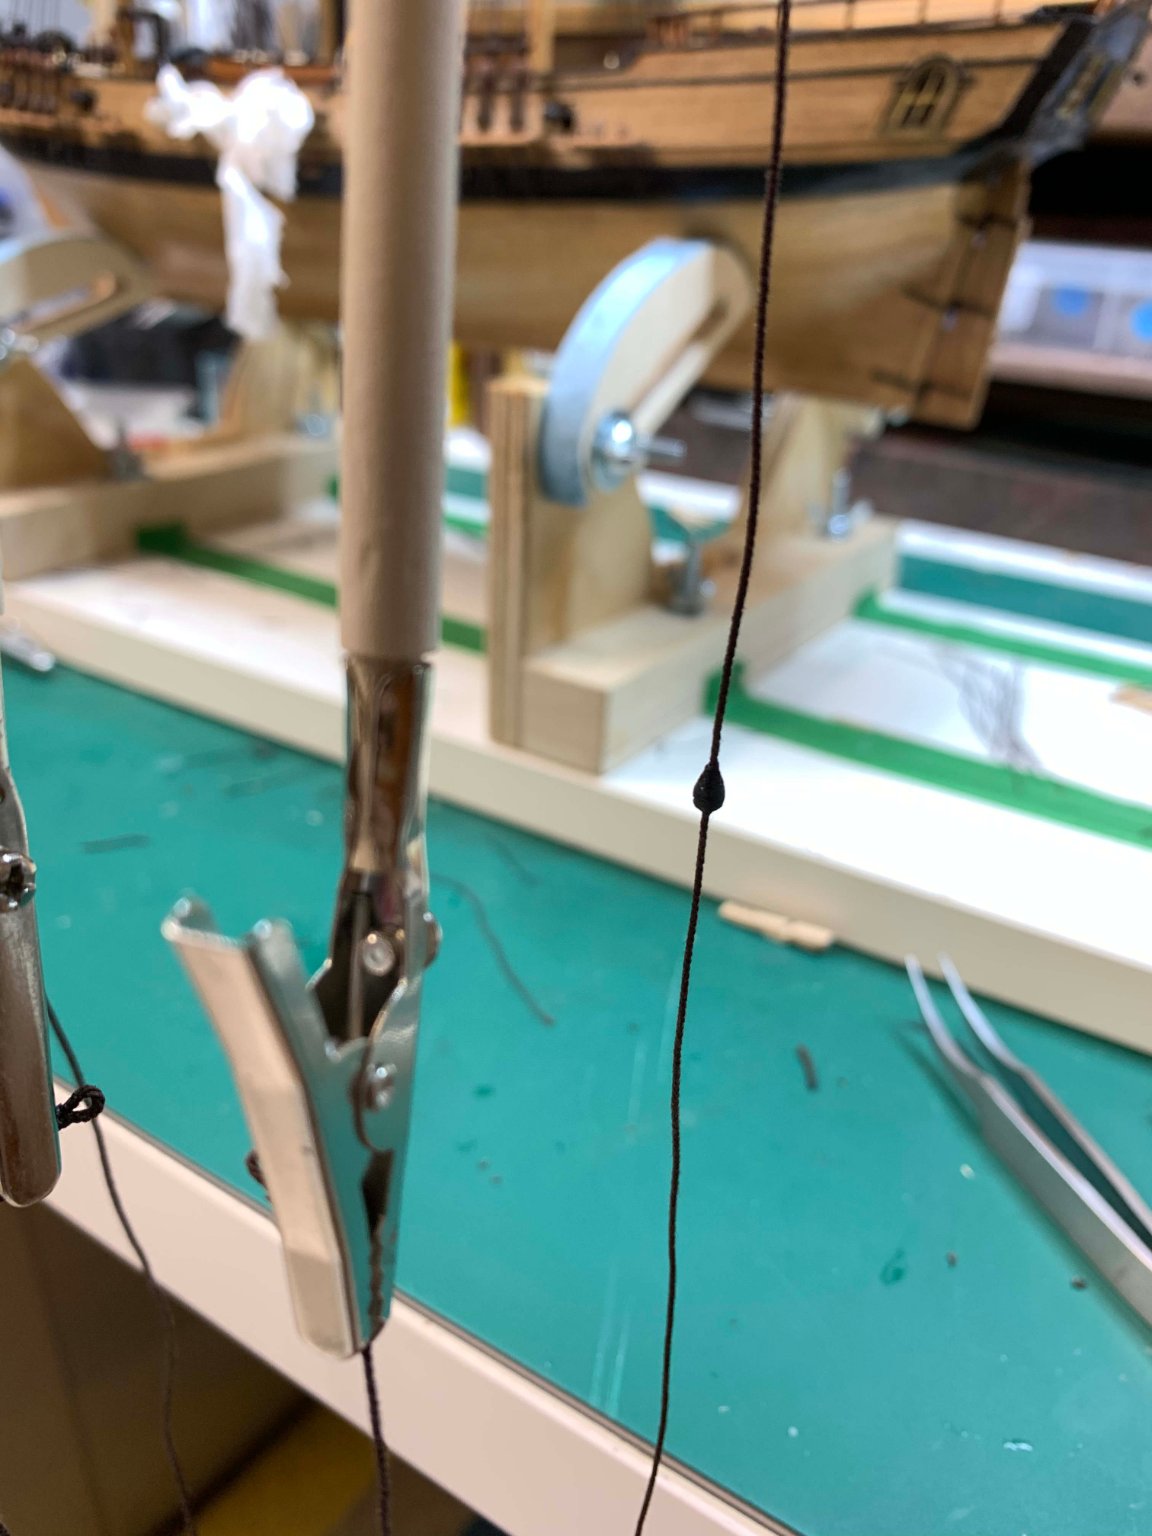
Continue with rigging... Getting ready for a mouse... Starting making a mouse.. Once mouse is done, it was soaked in the glue to help with a form... and left to dry.. Happy modelling...


- 275 replies
-
- 1
-
-
- phoenix
- master korabel
- (and 1 more)
-
I believe it is not but i strongly suggest Phoenix as your next build. Very good kit quality and tons of room for customization.. I also have Syren on the shelf waiting for some other inspiration. Cheers
-
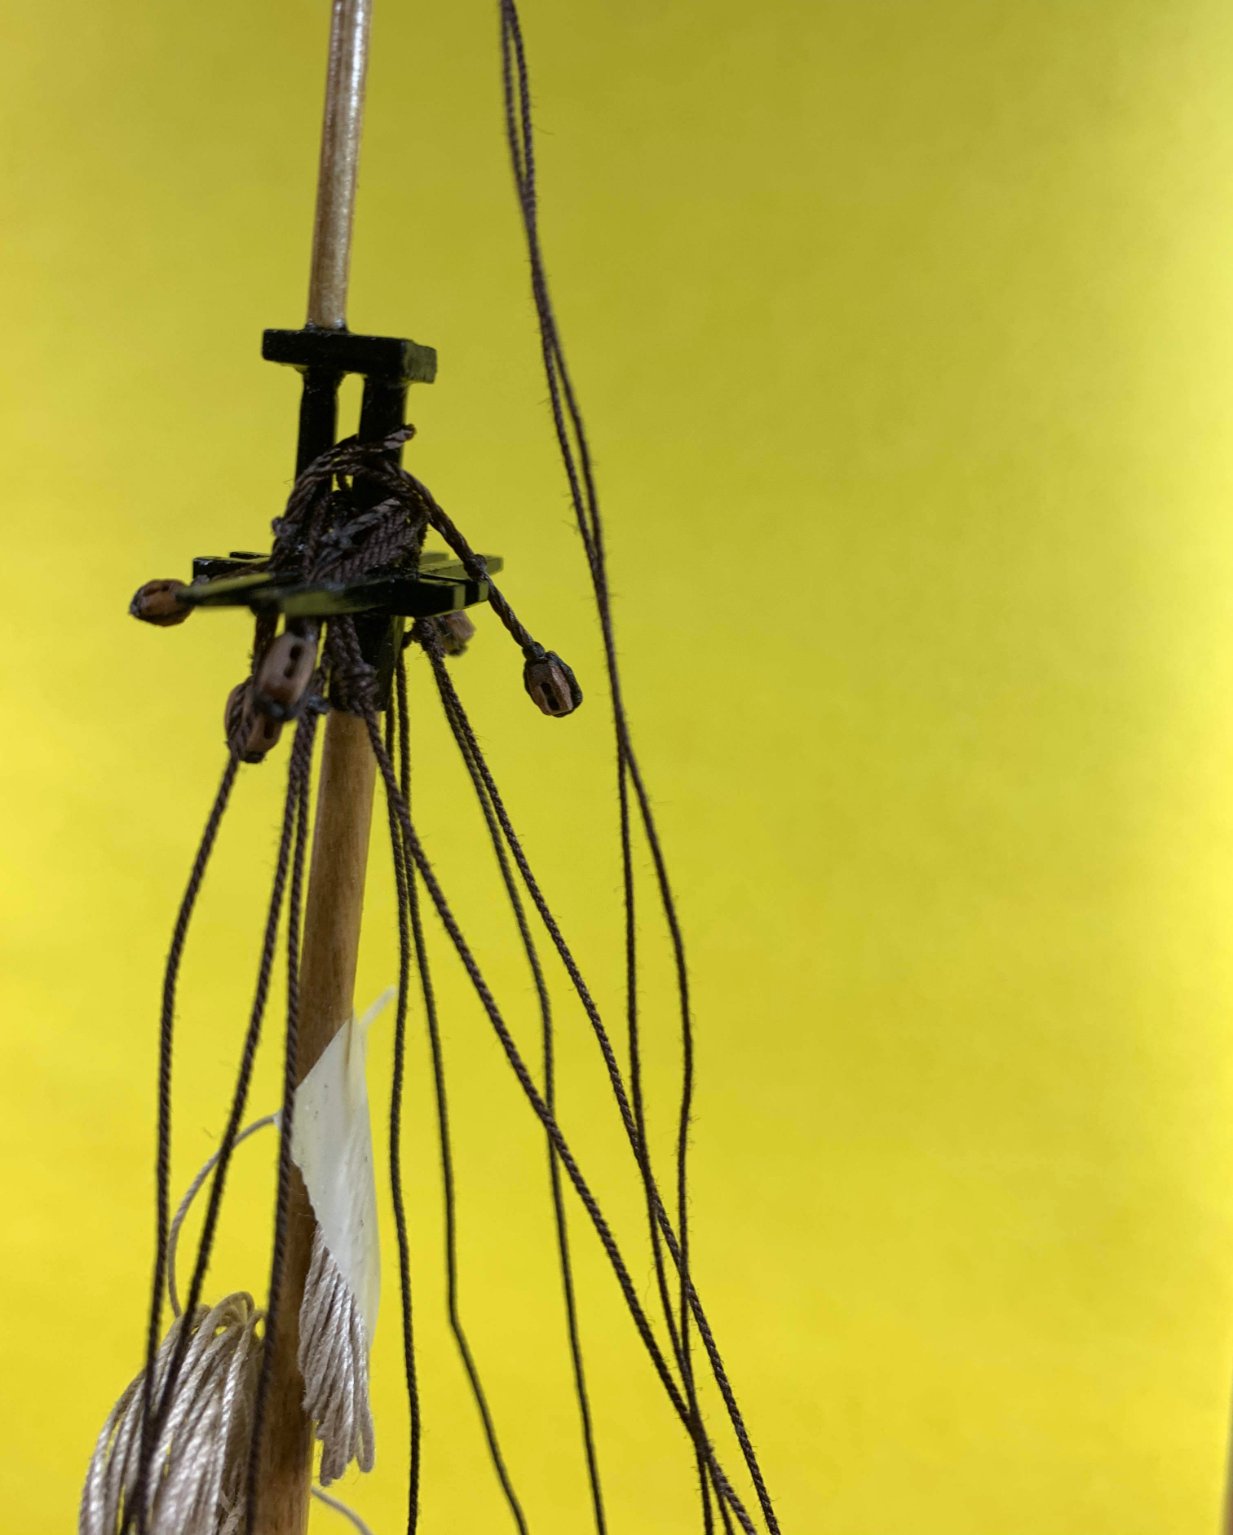
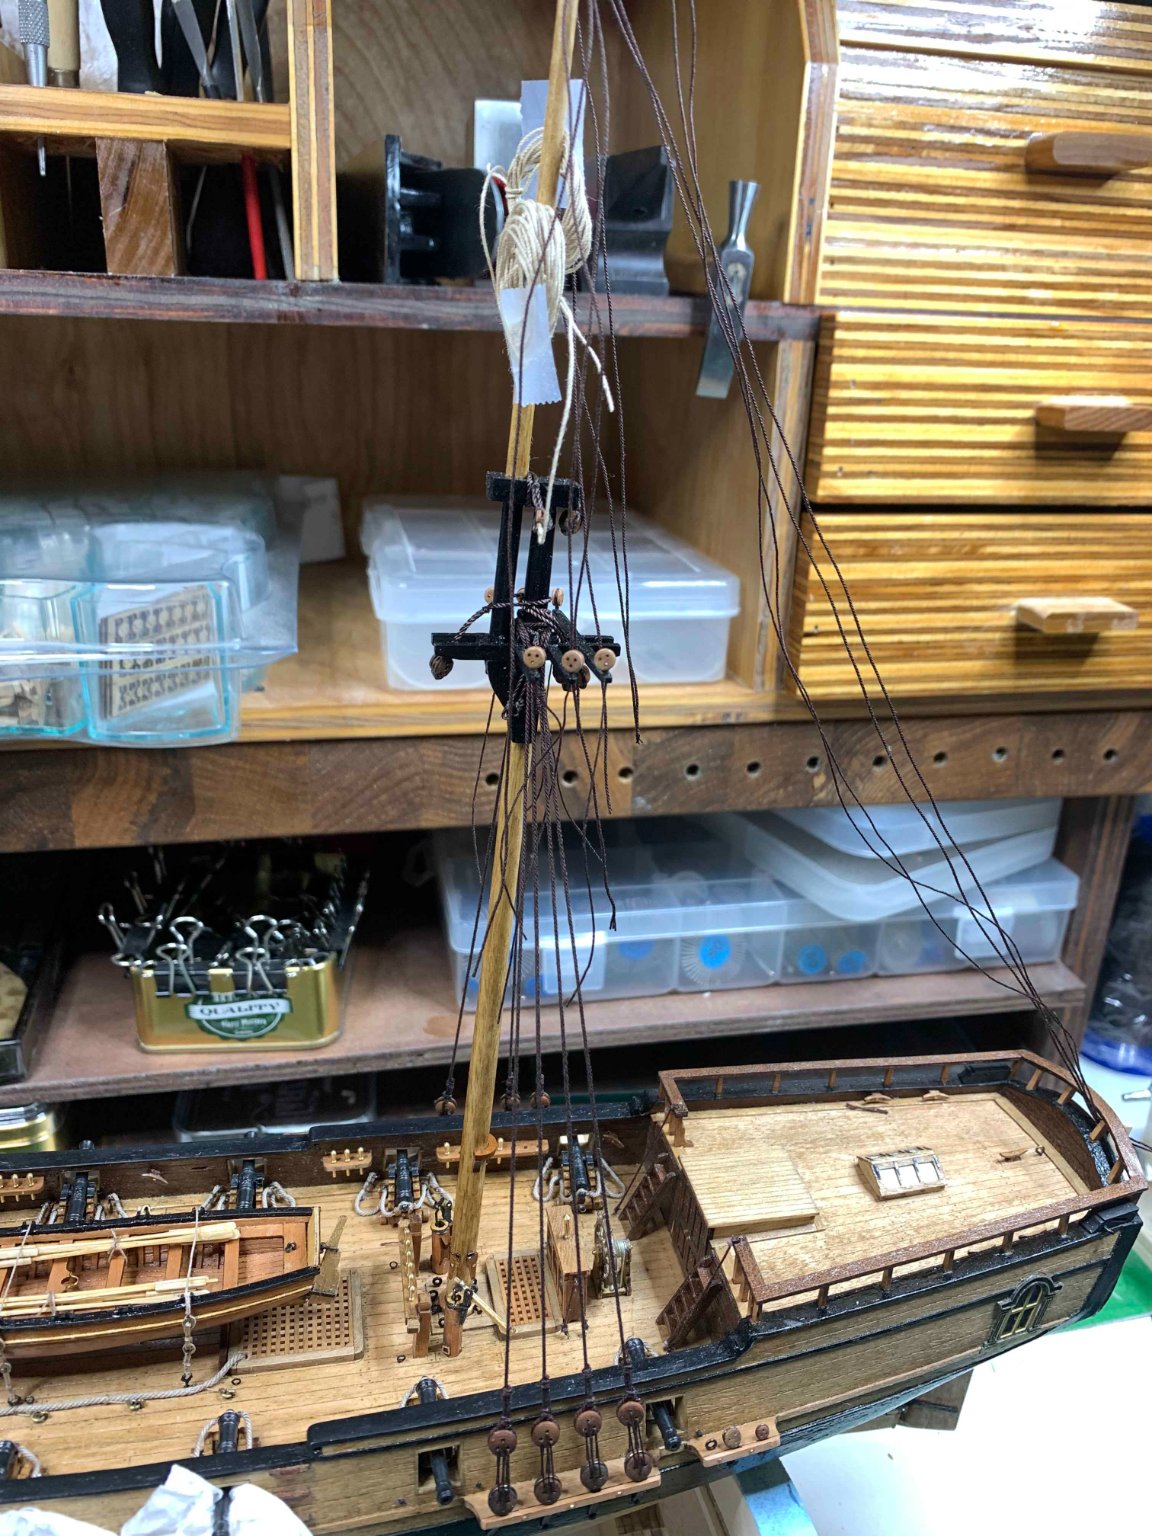
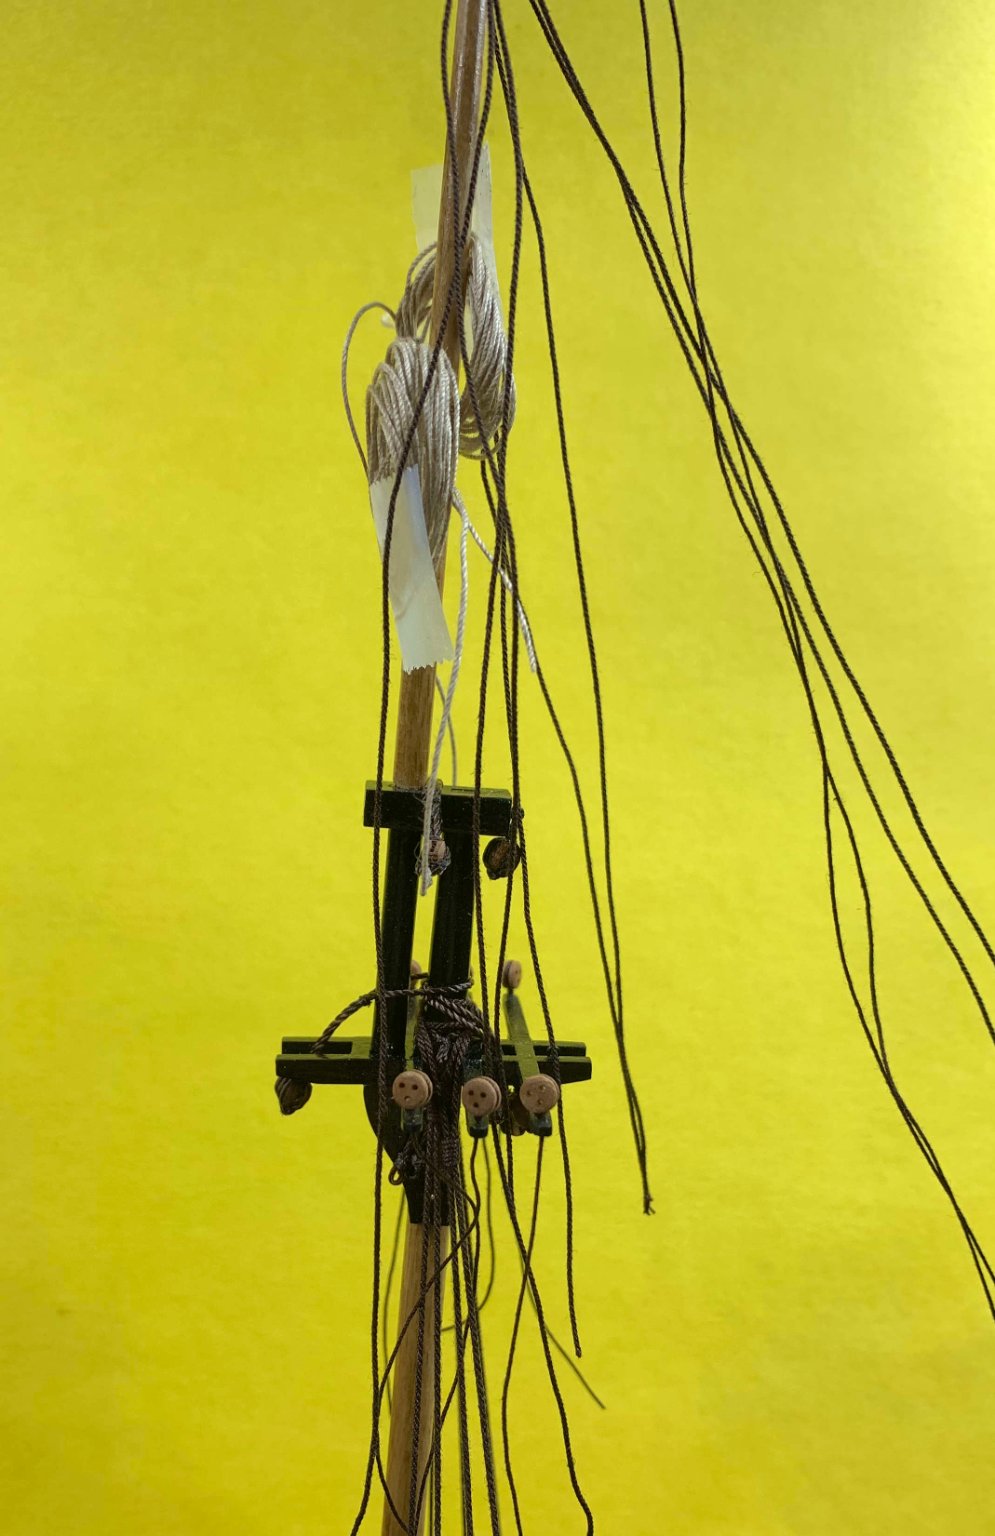
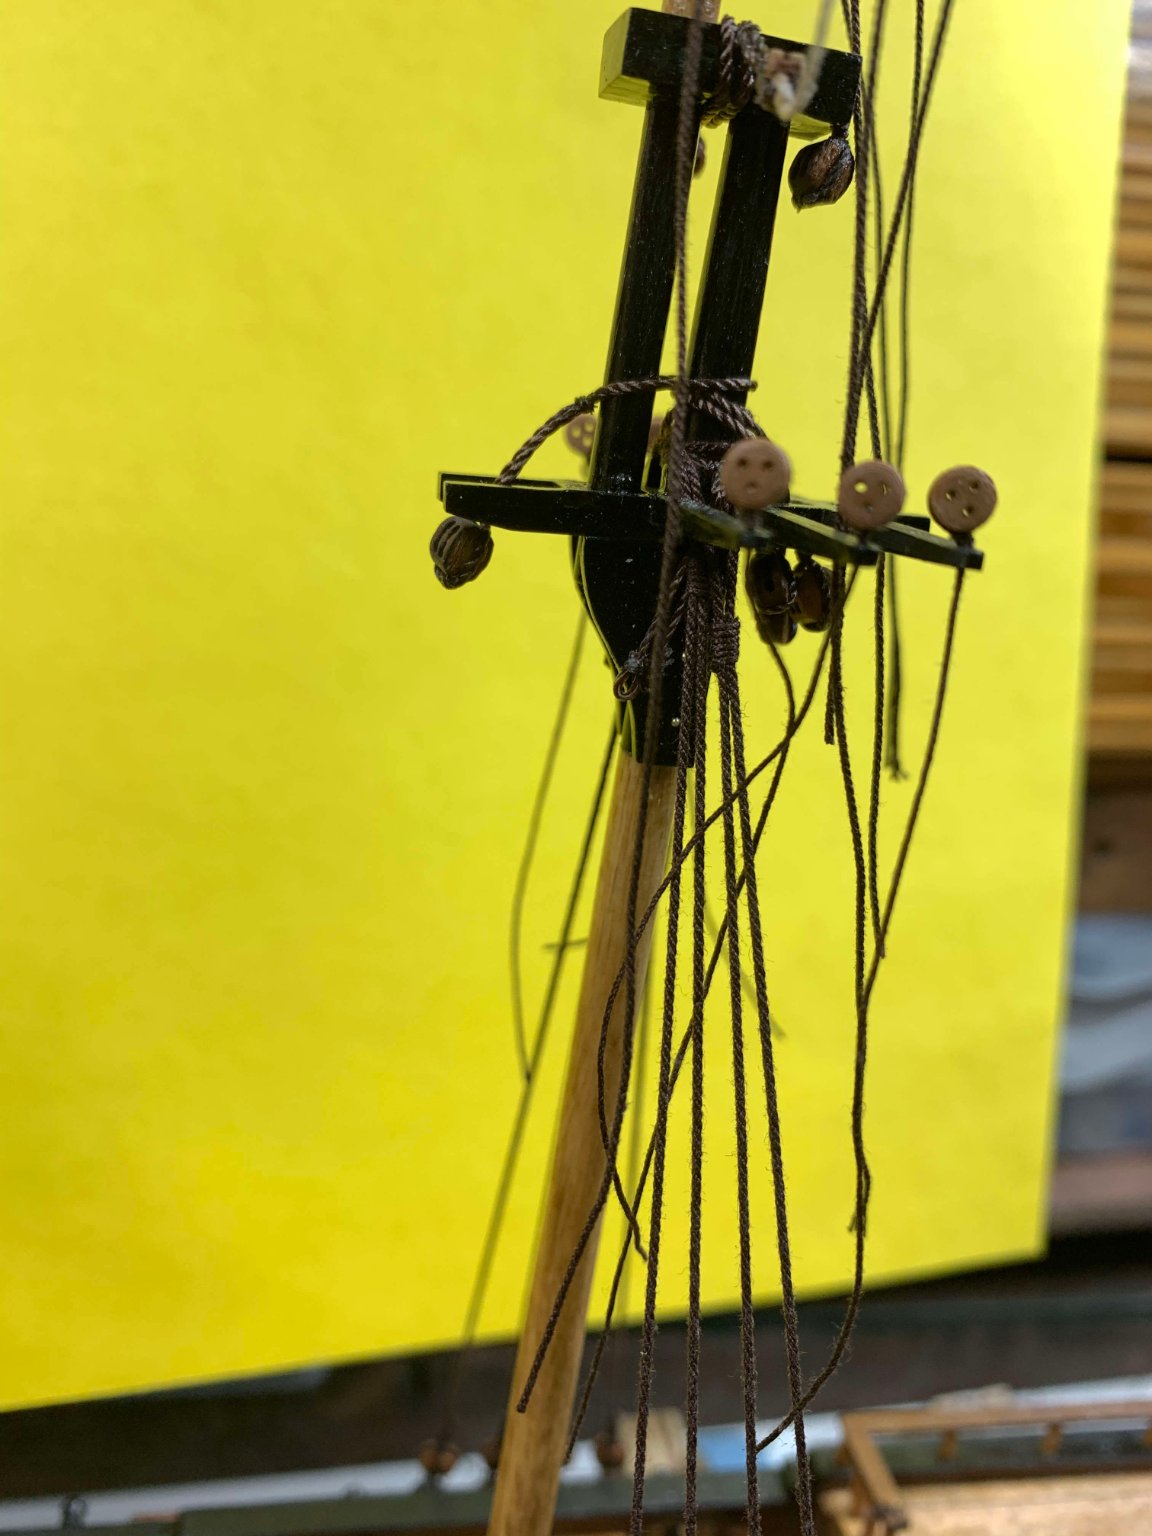
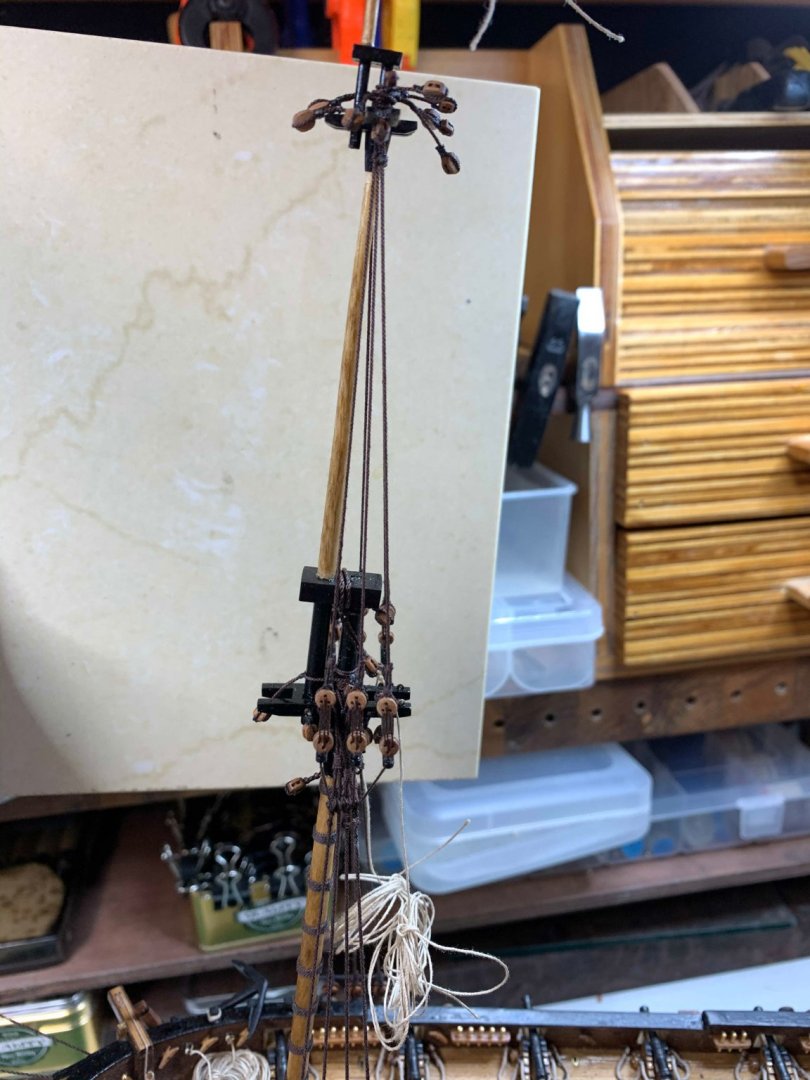
Work on mainmast rigging continues.... with few corrections on the mainmast itself... Happy modelling..


- 275 replies
-
- 1
-
-
- phoenix
- master korabel
- (and 1 more)
-
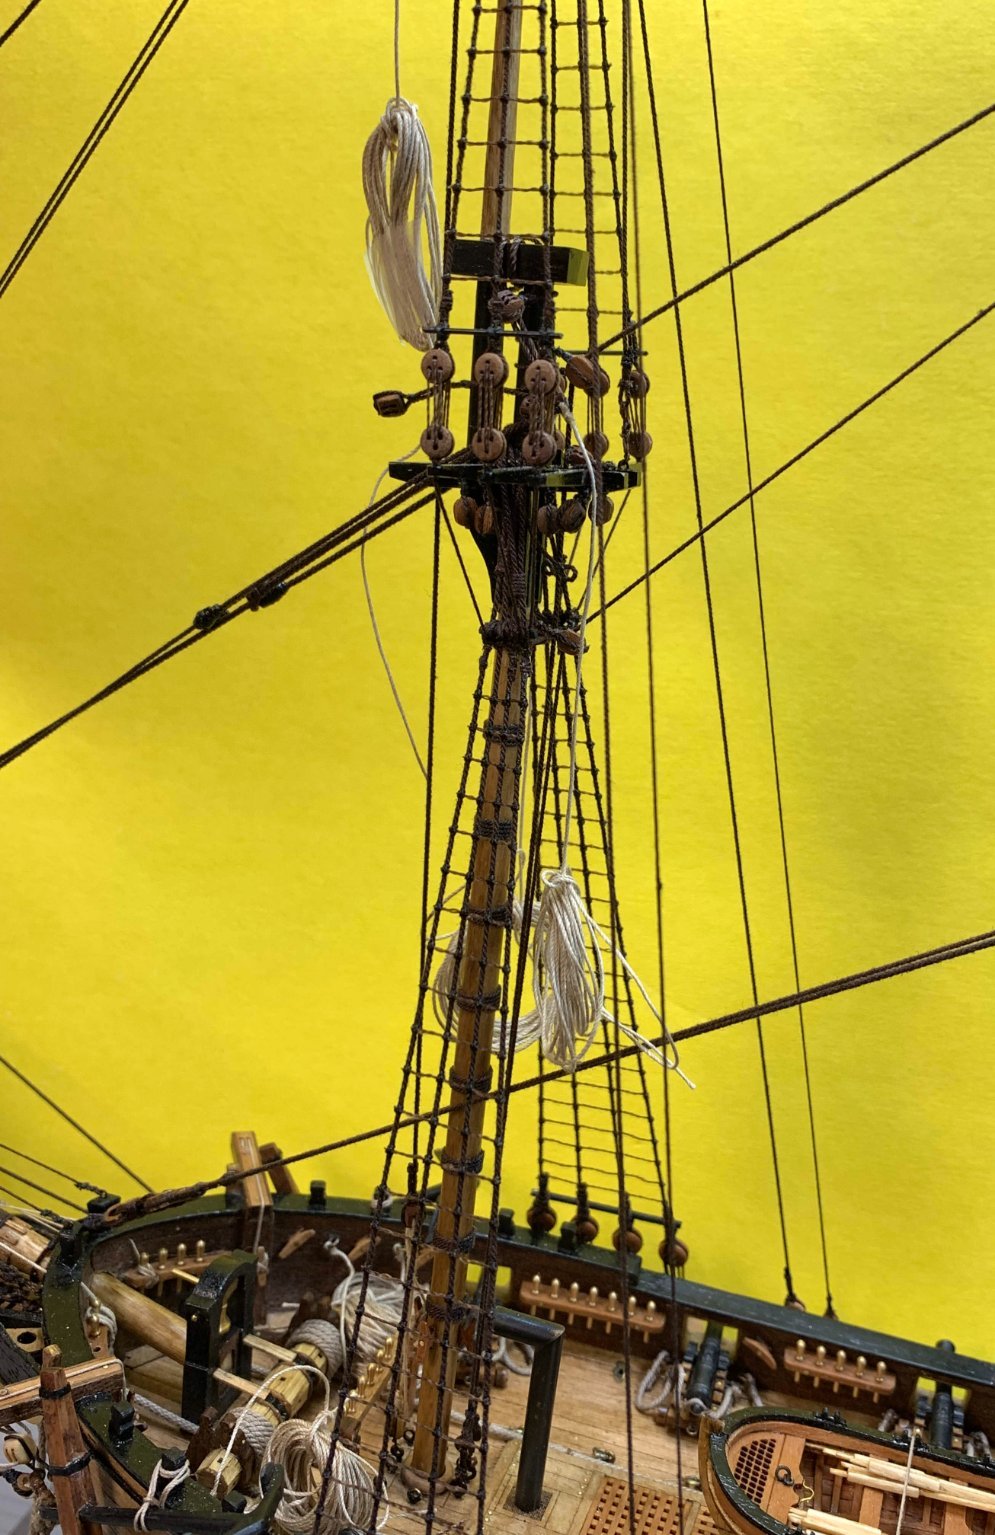
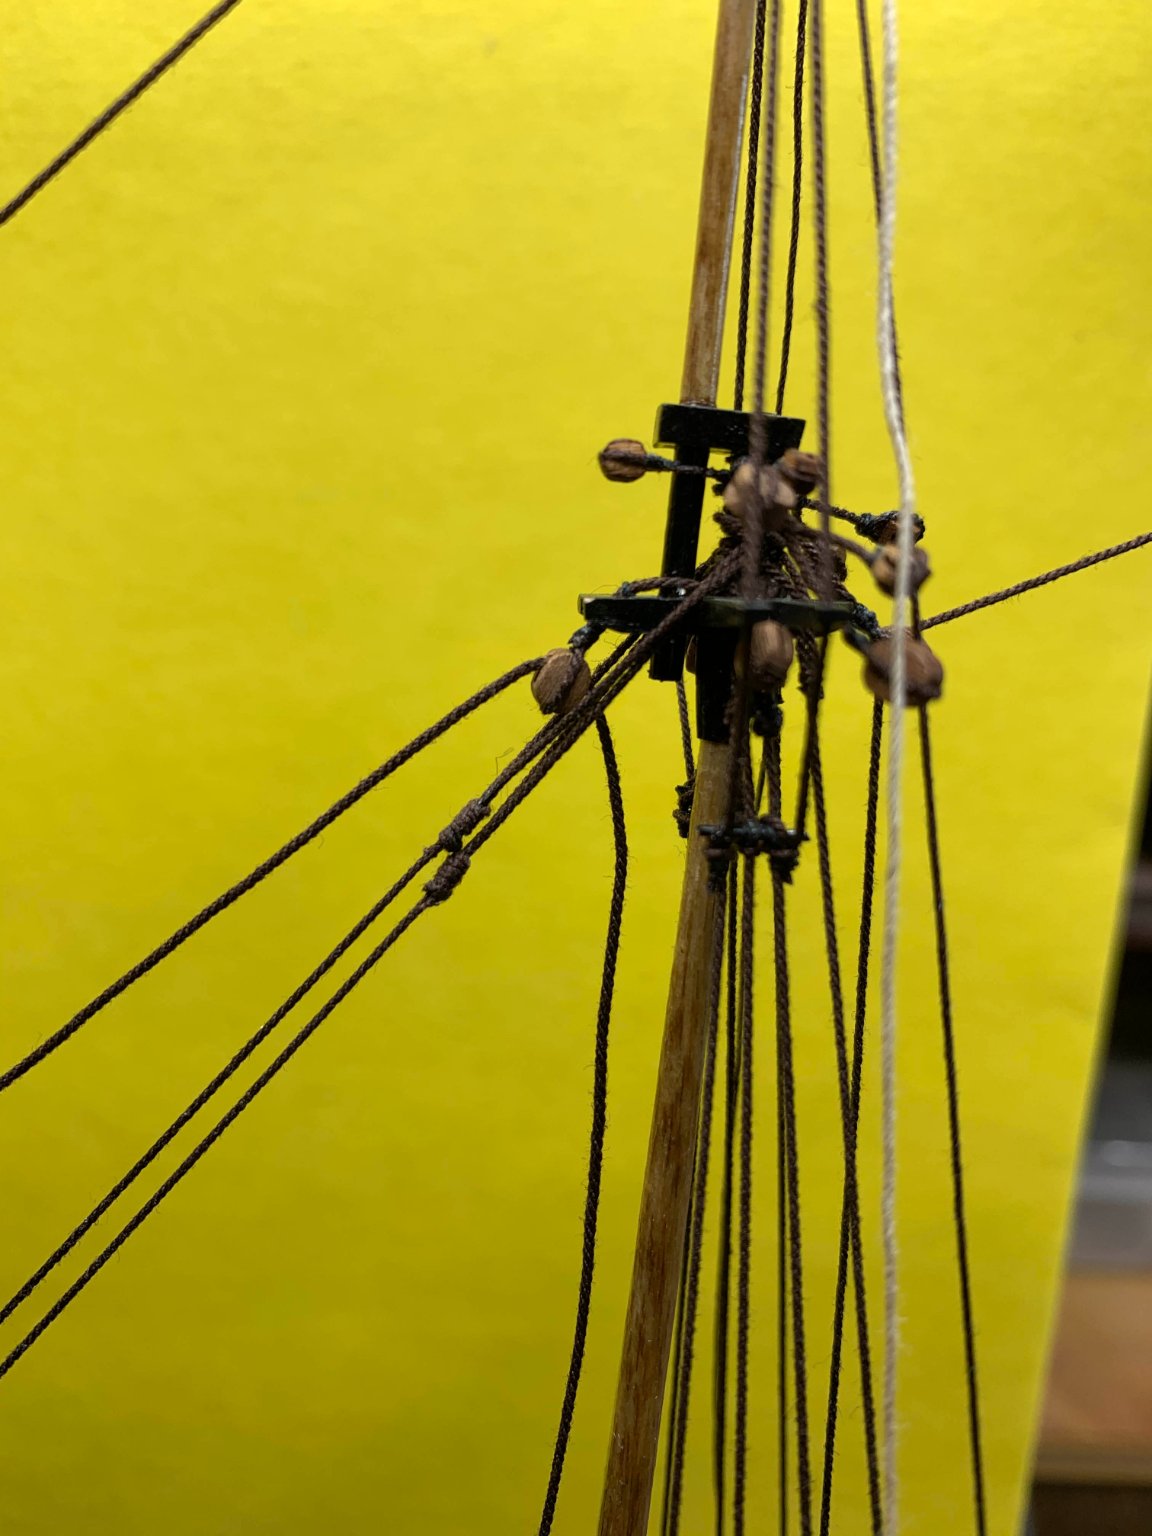
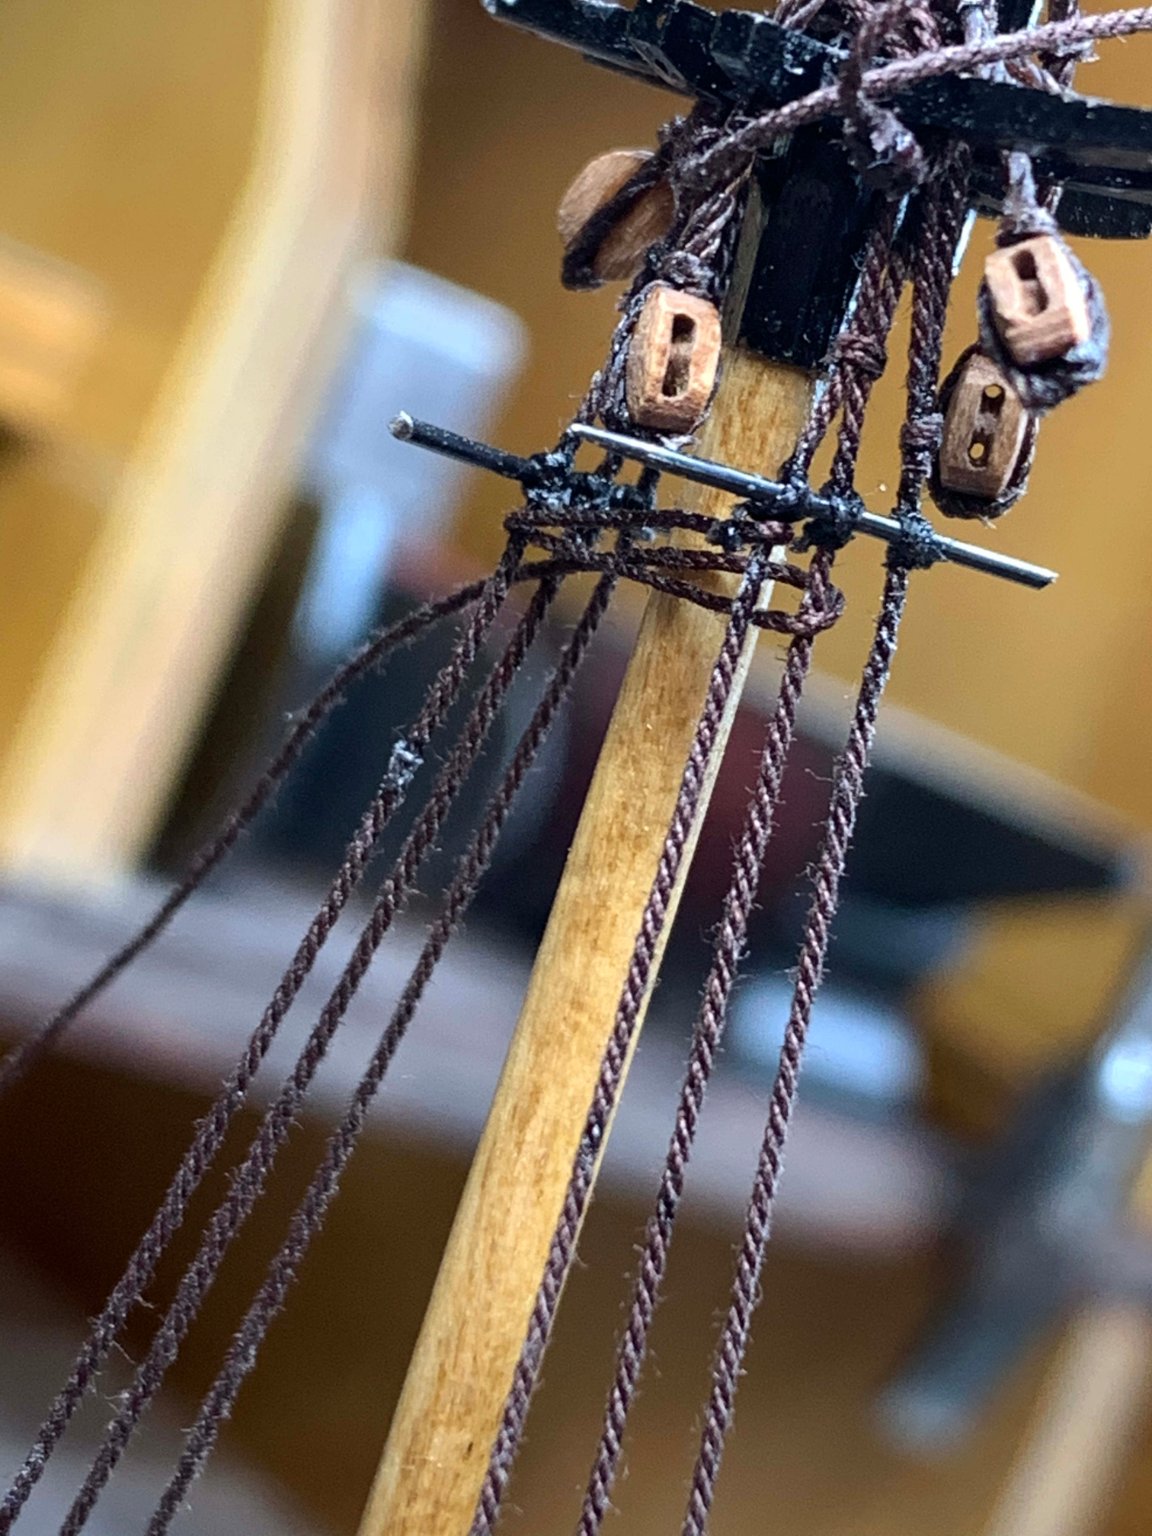
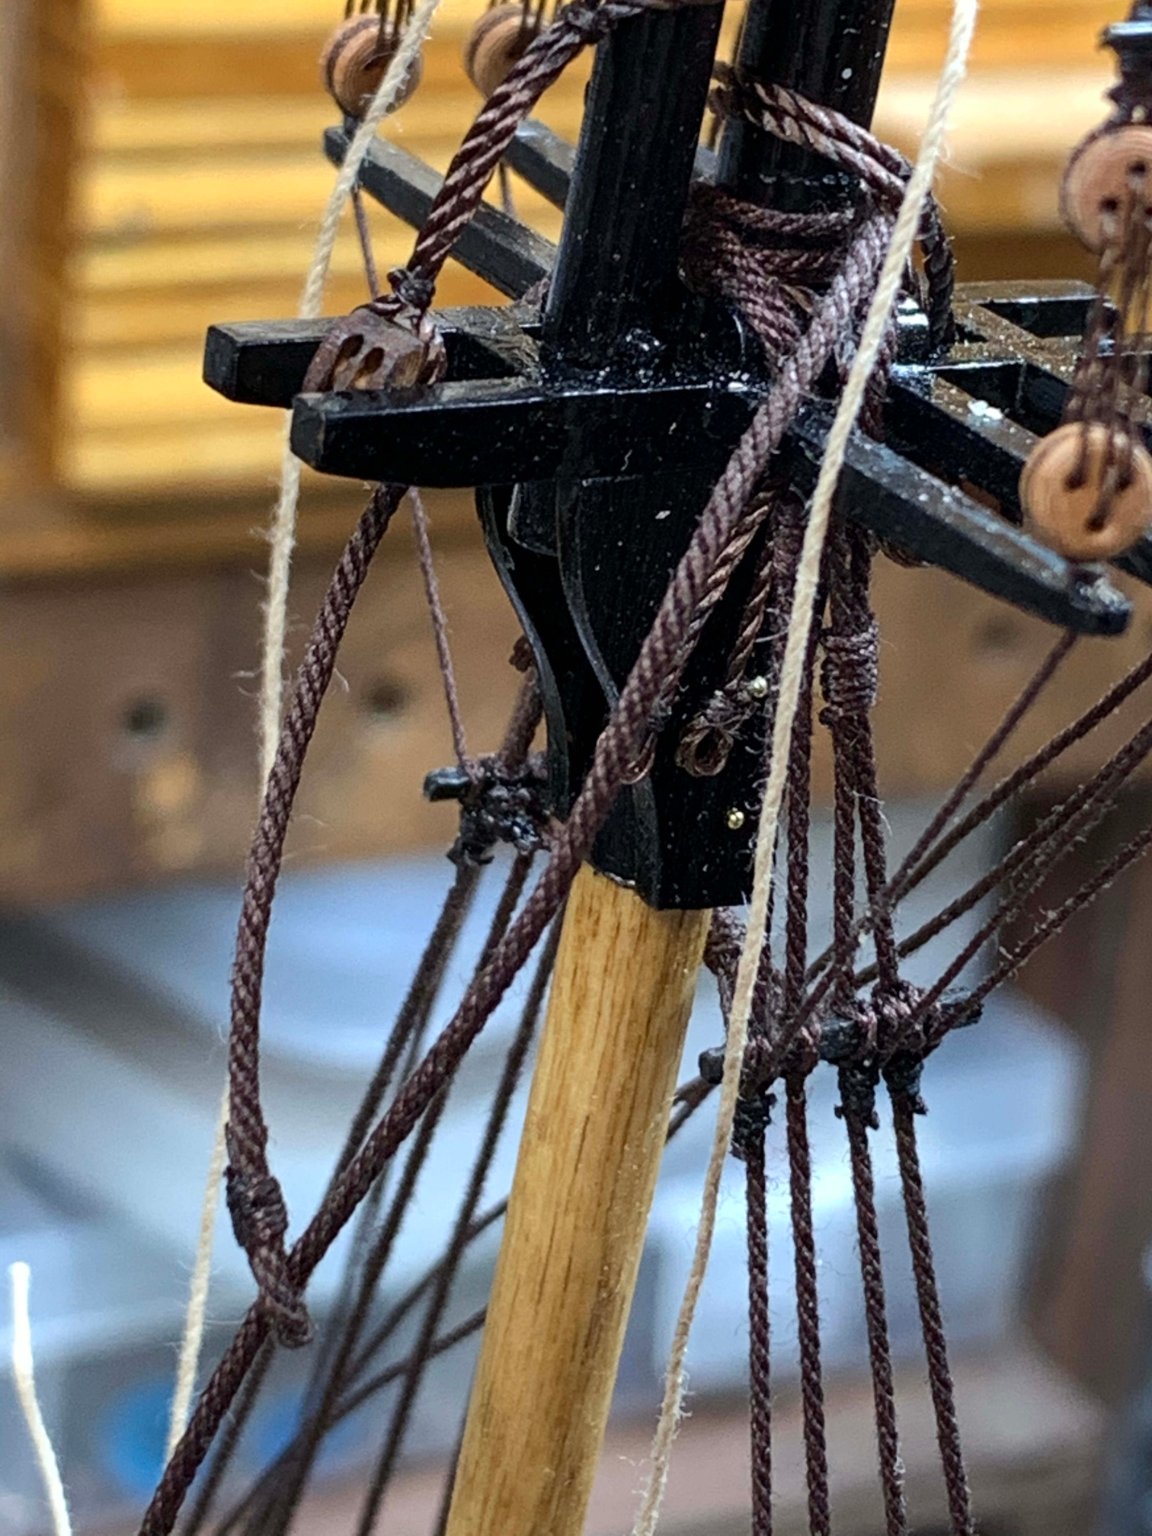
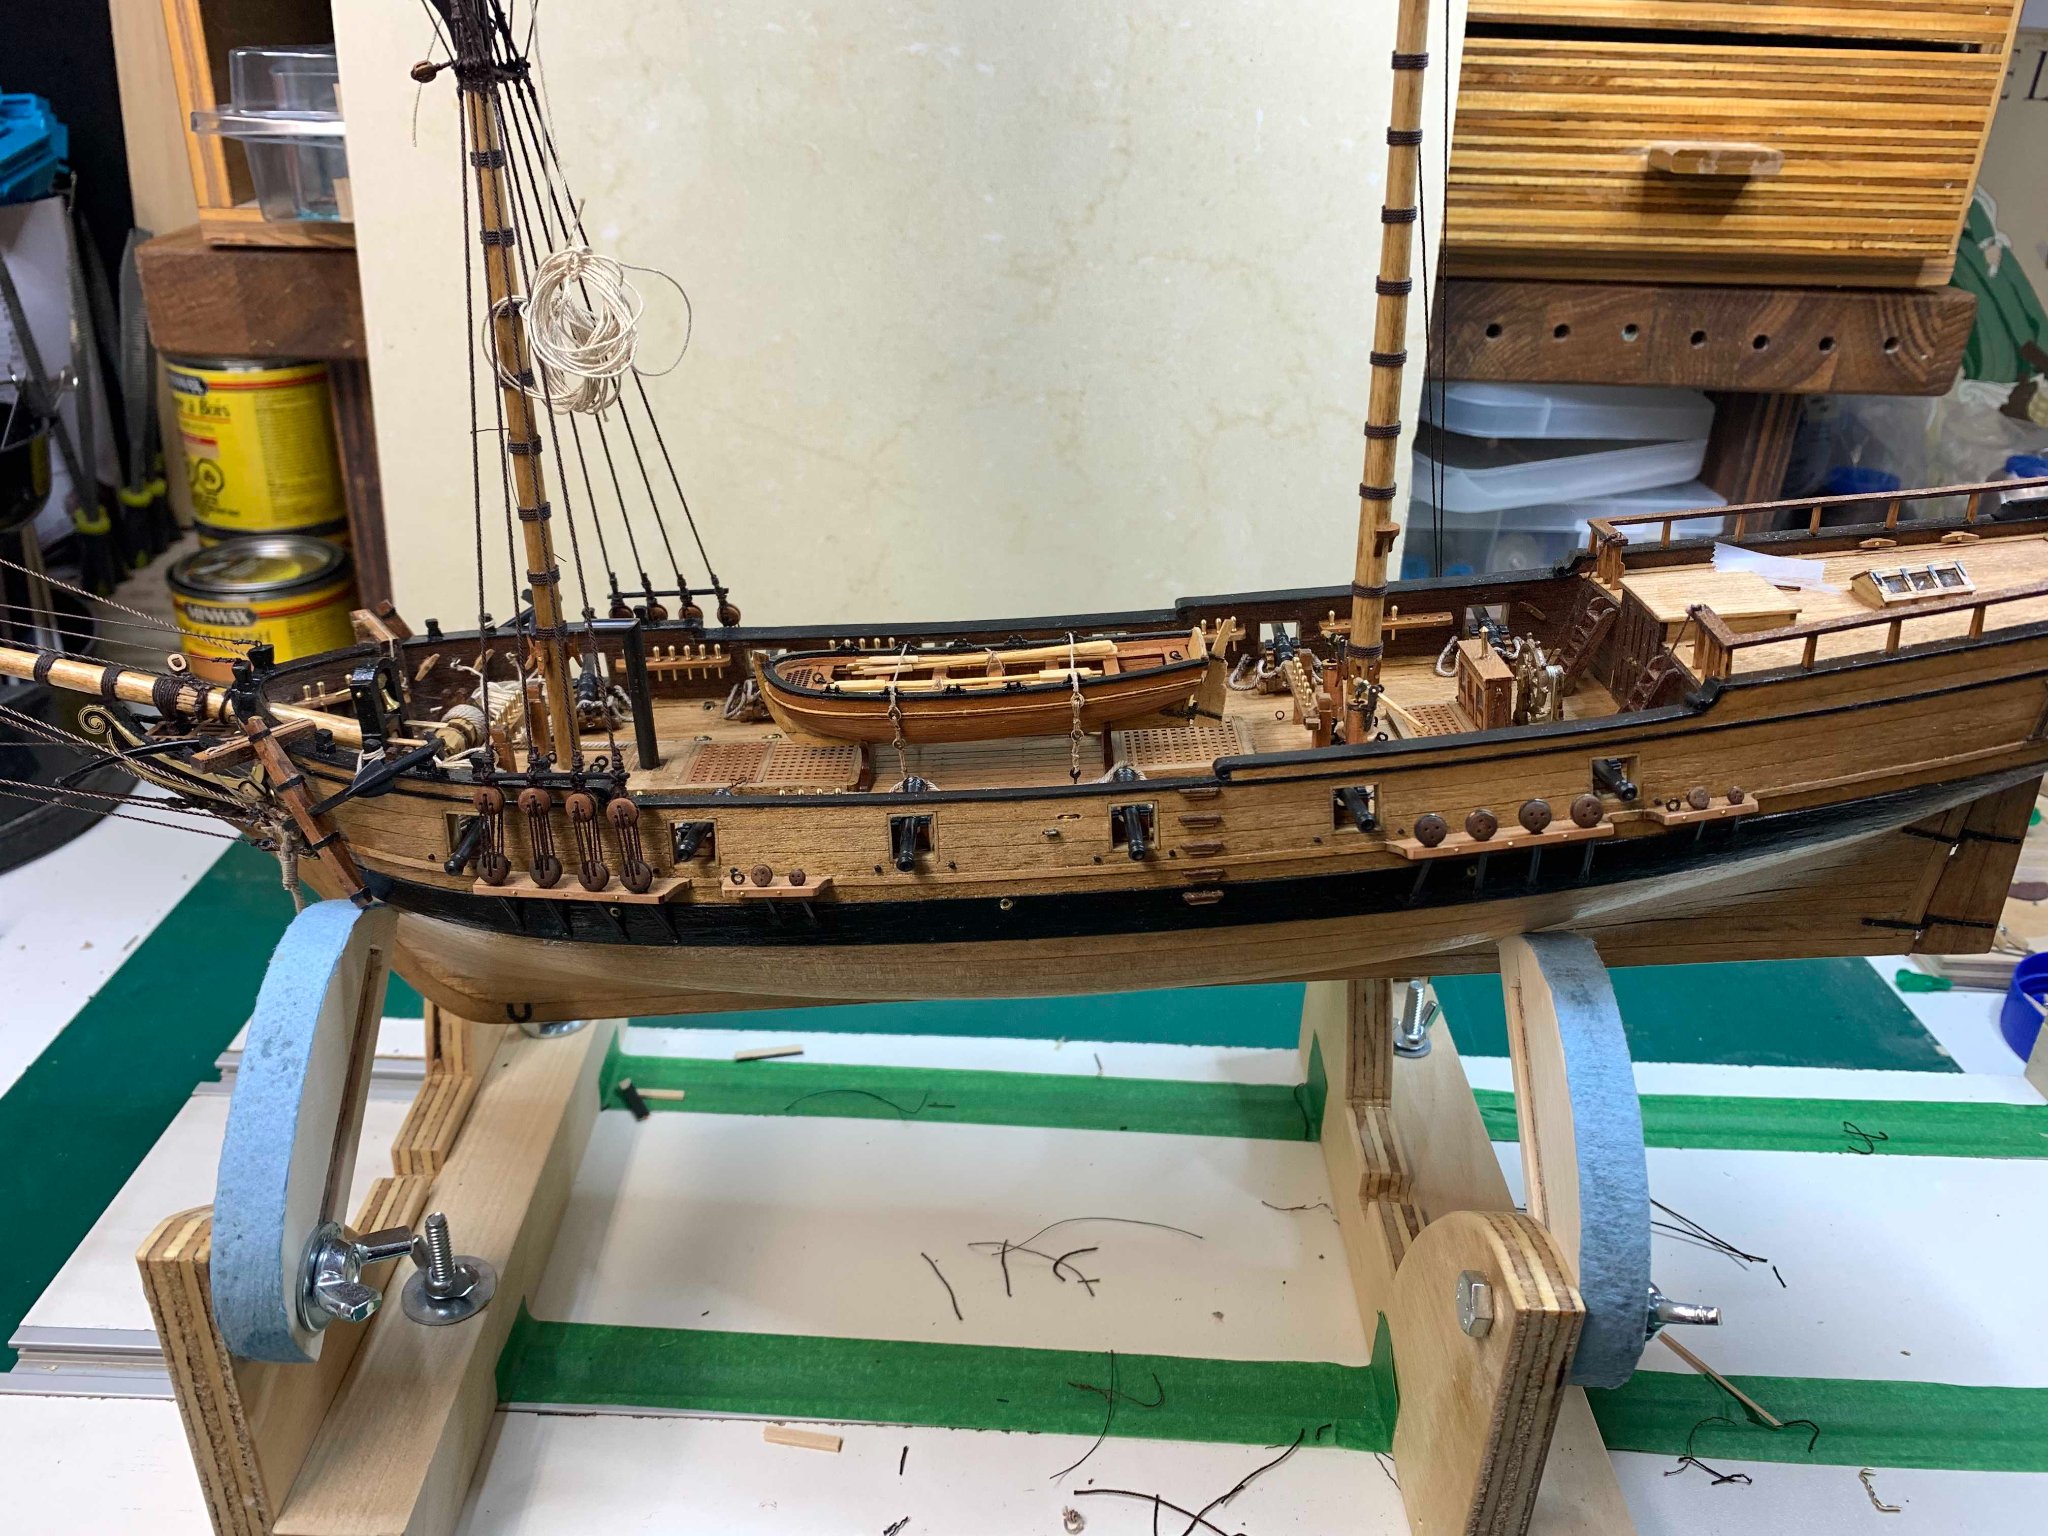
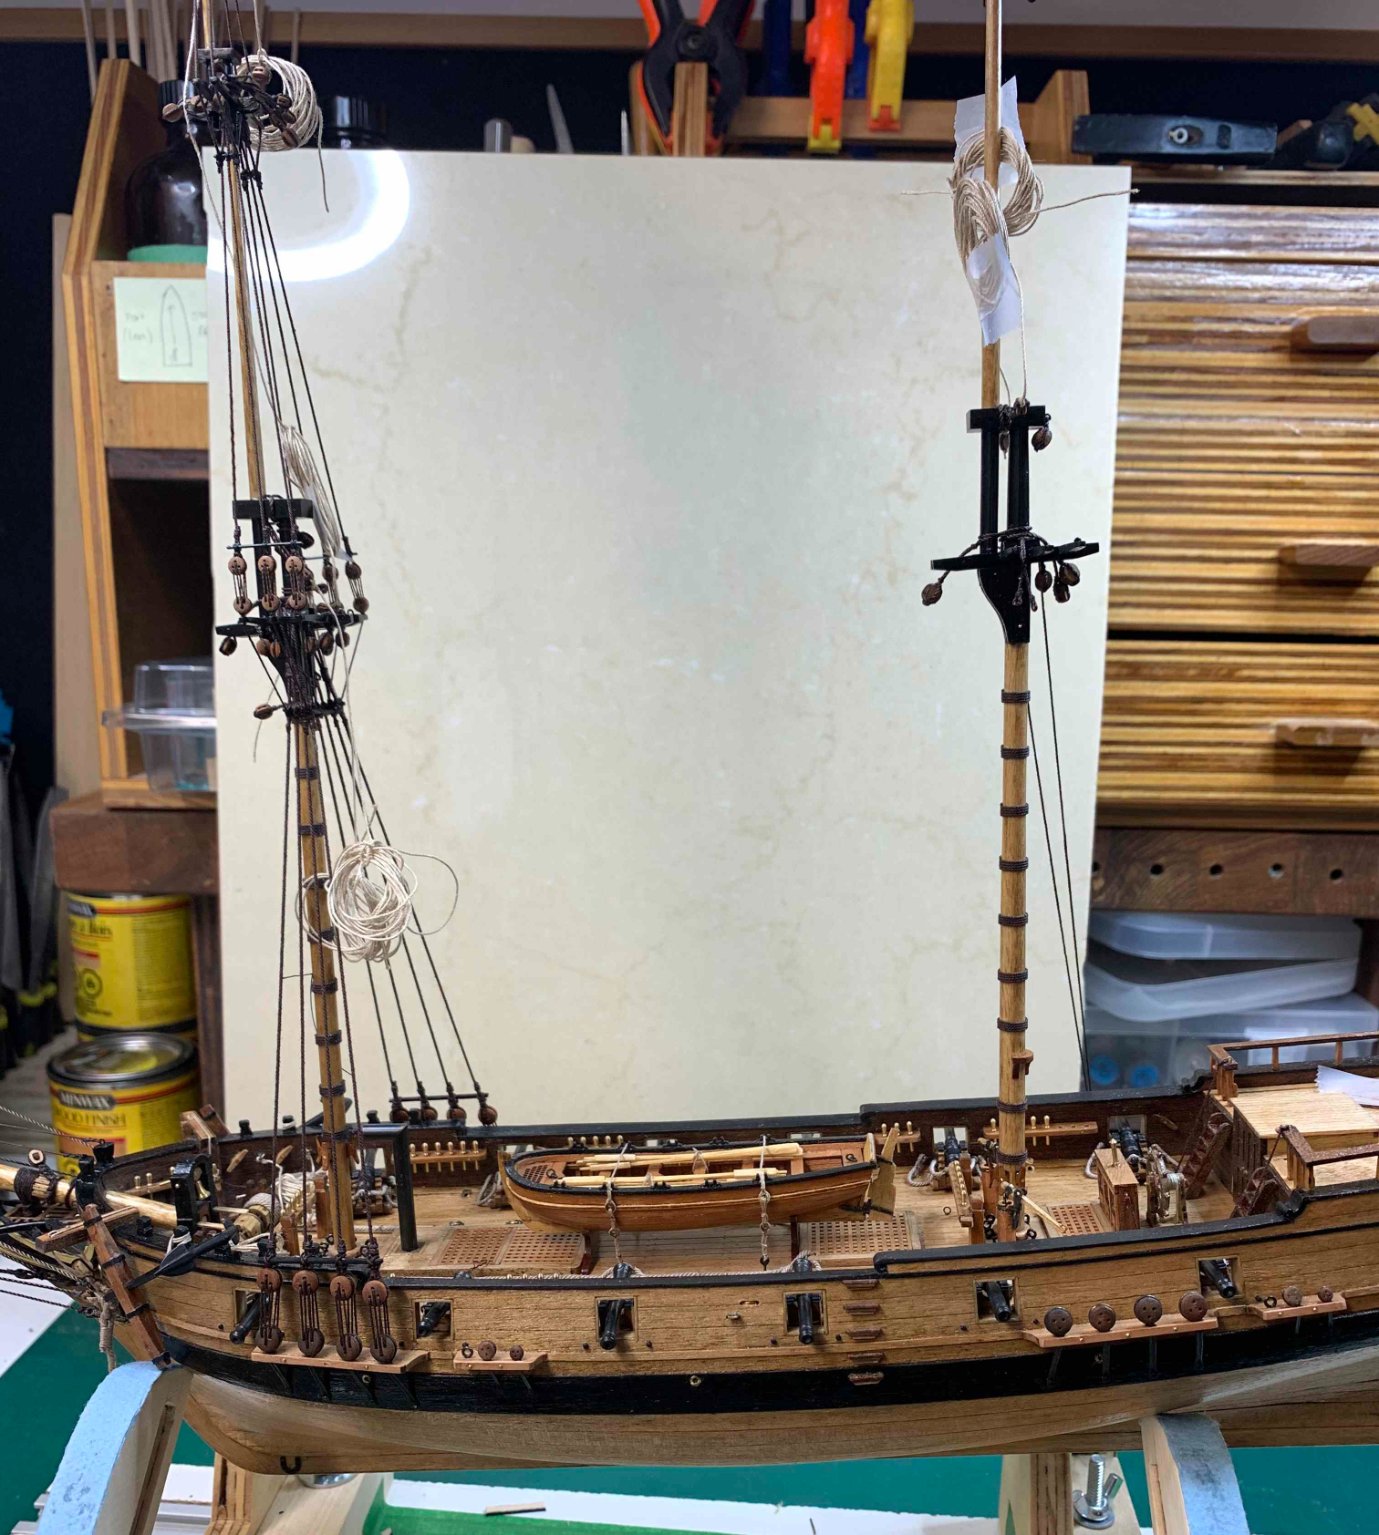
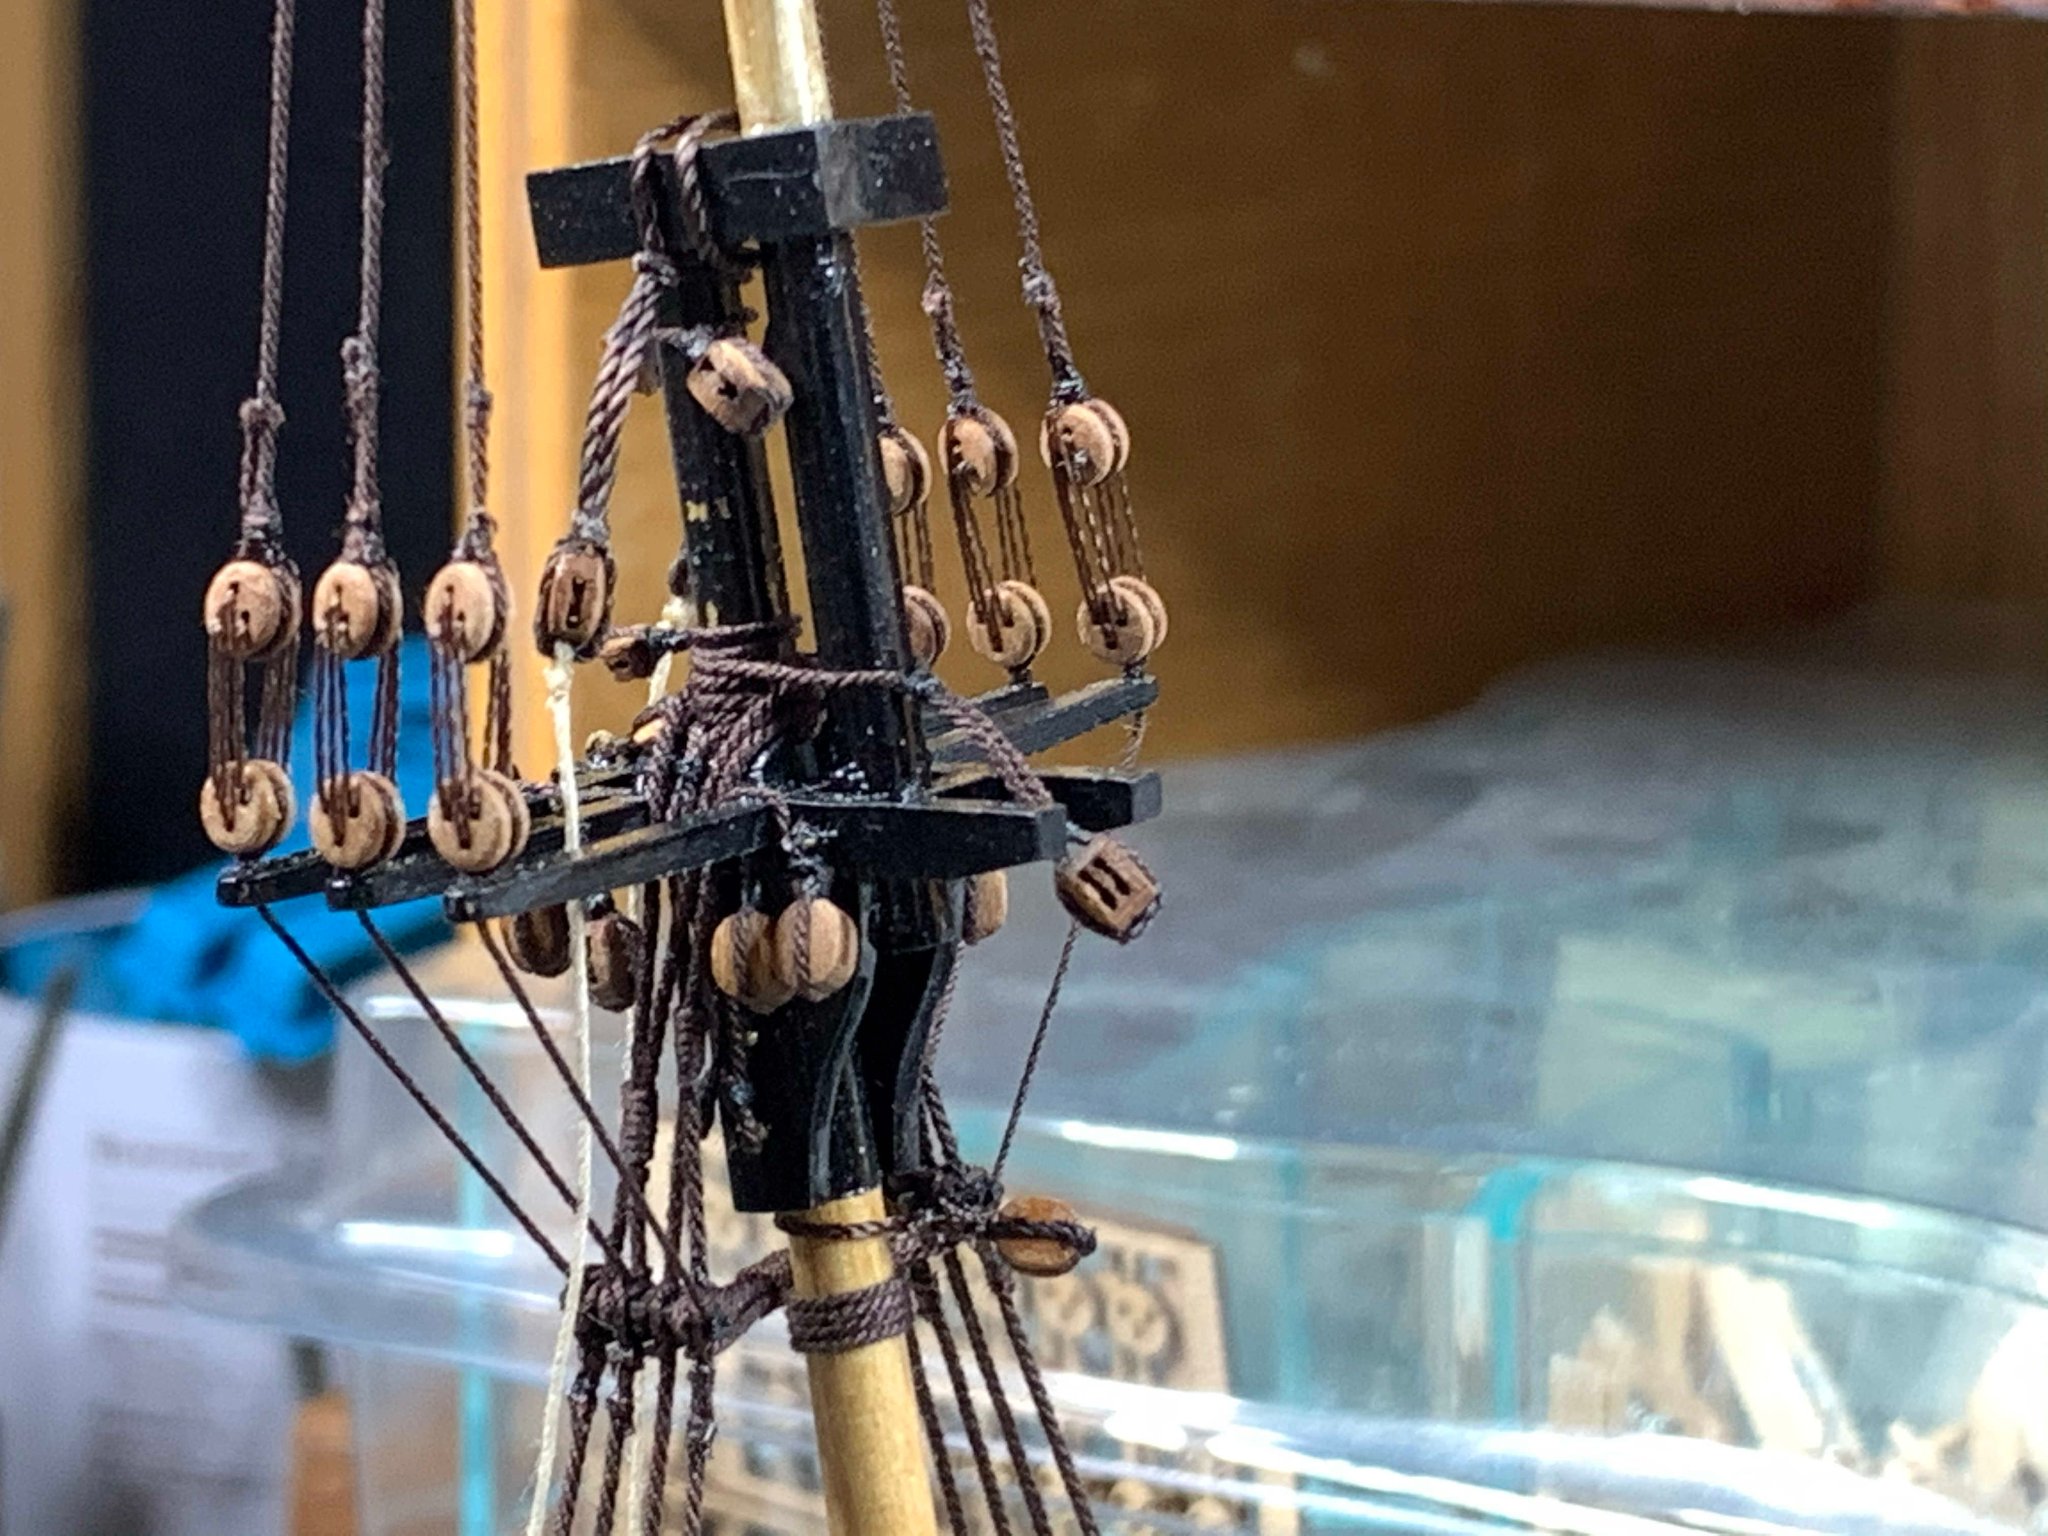
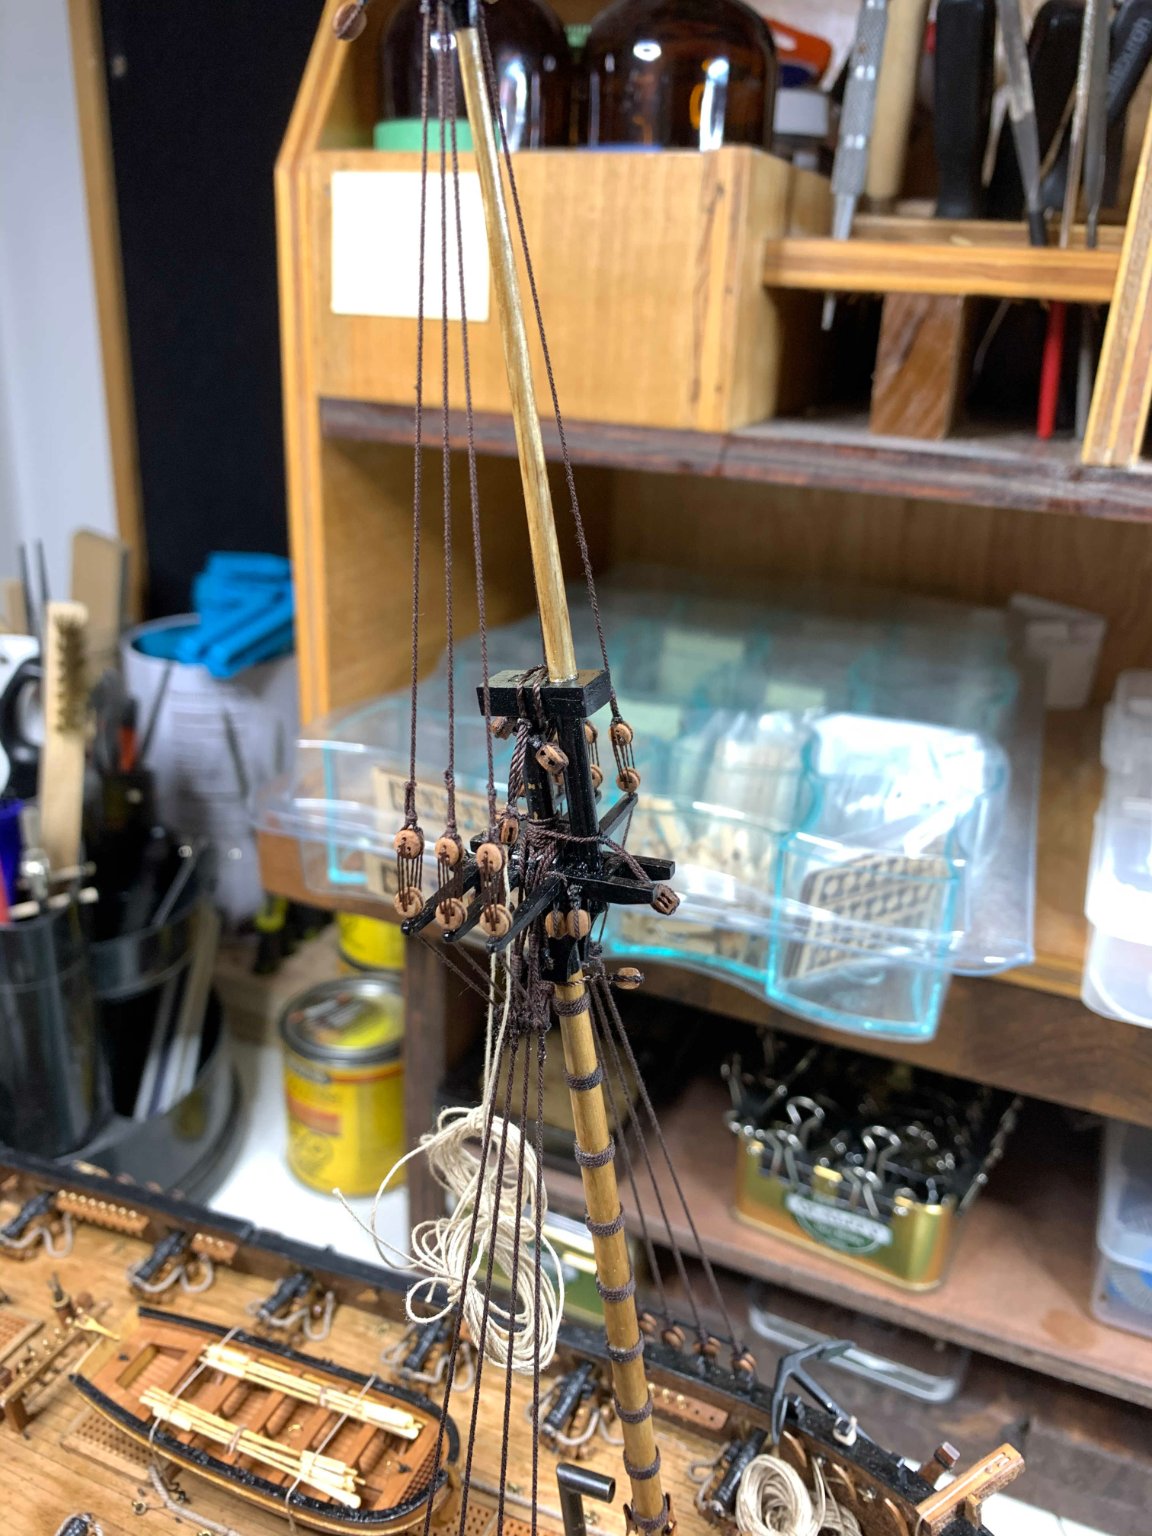
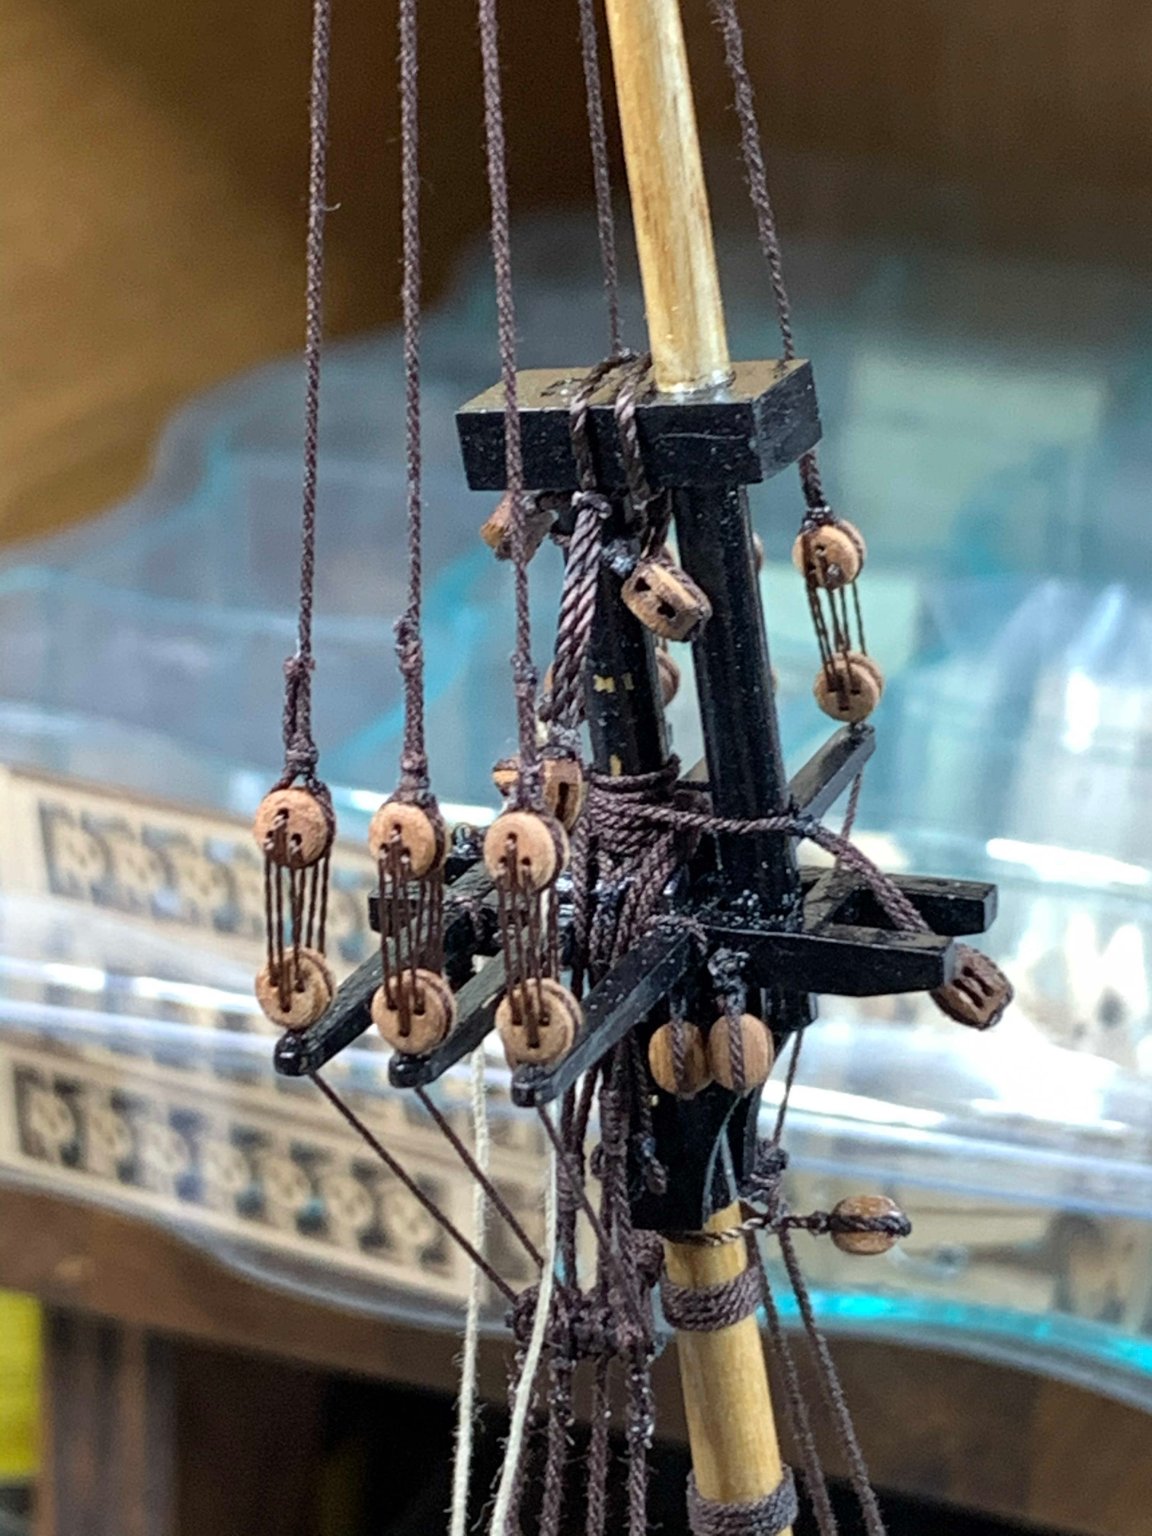
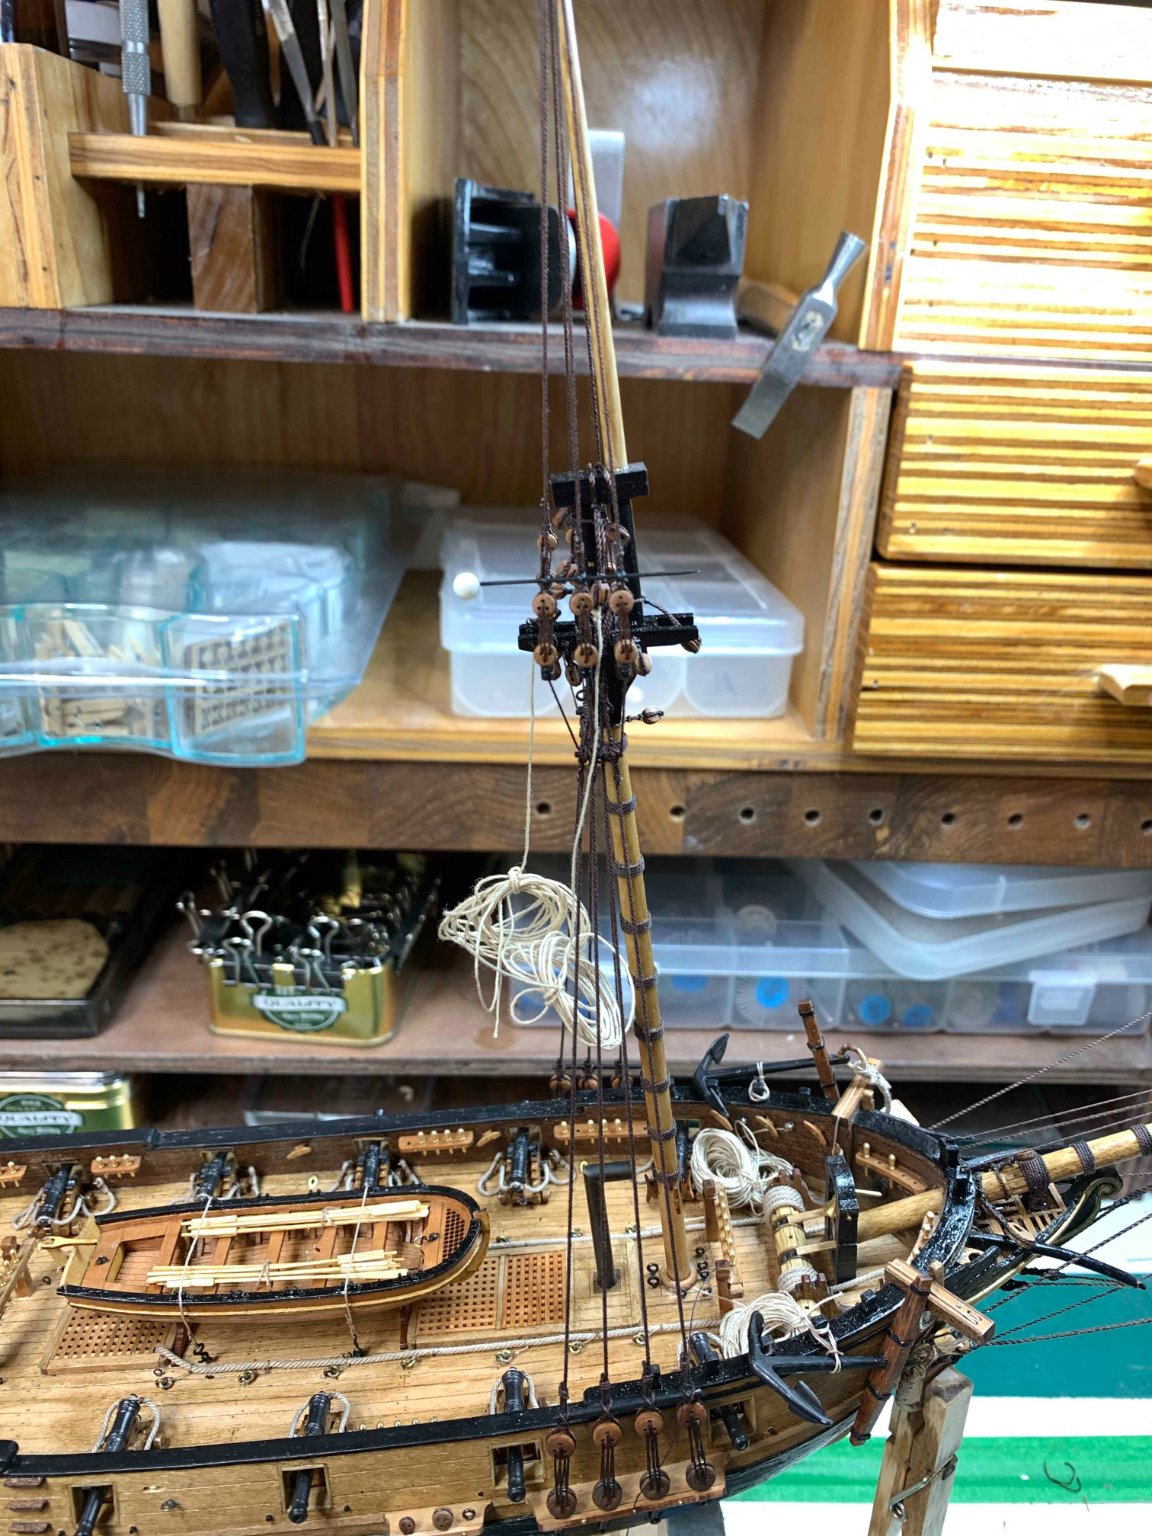
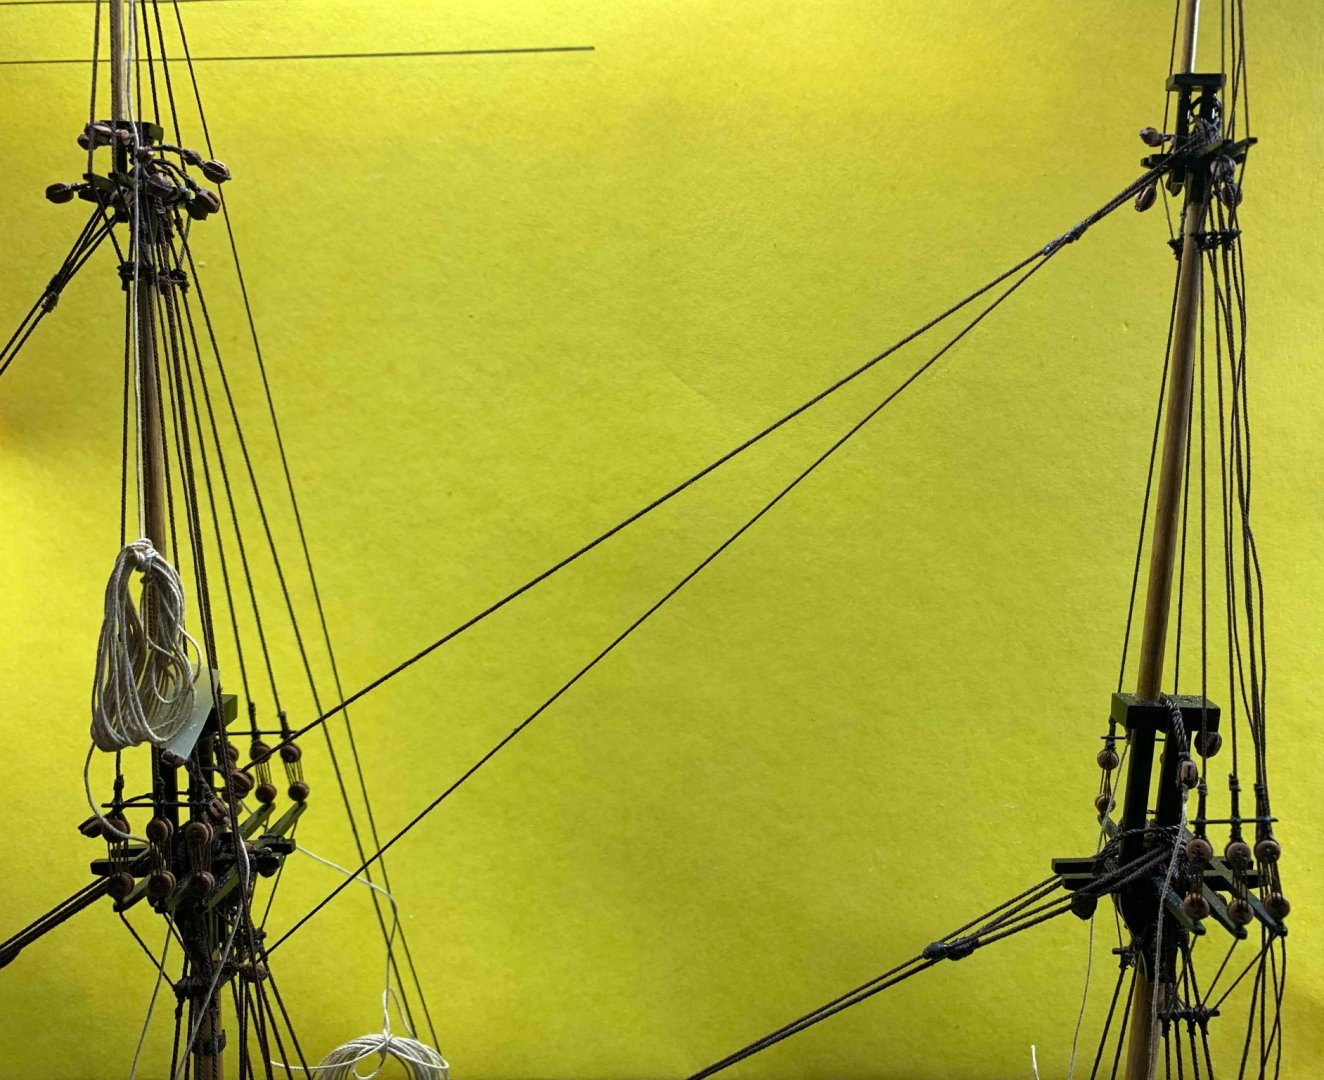
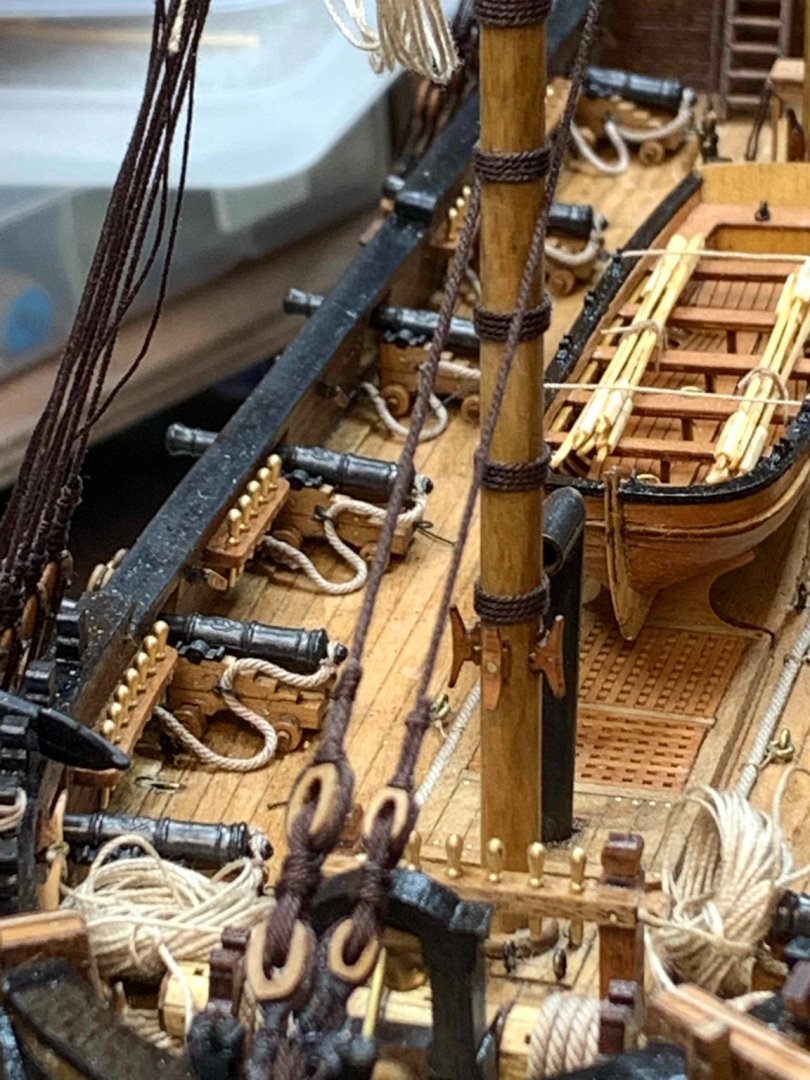
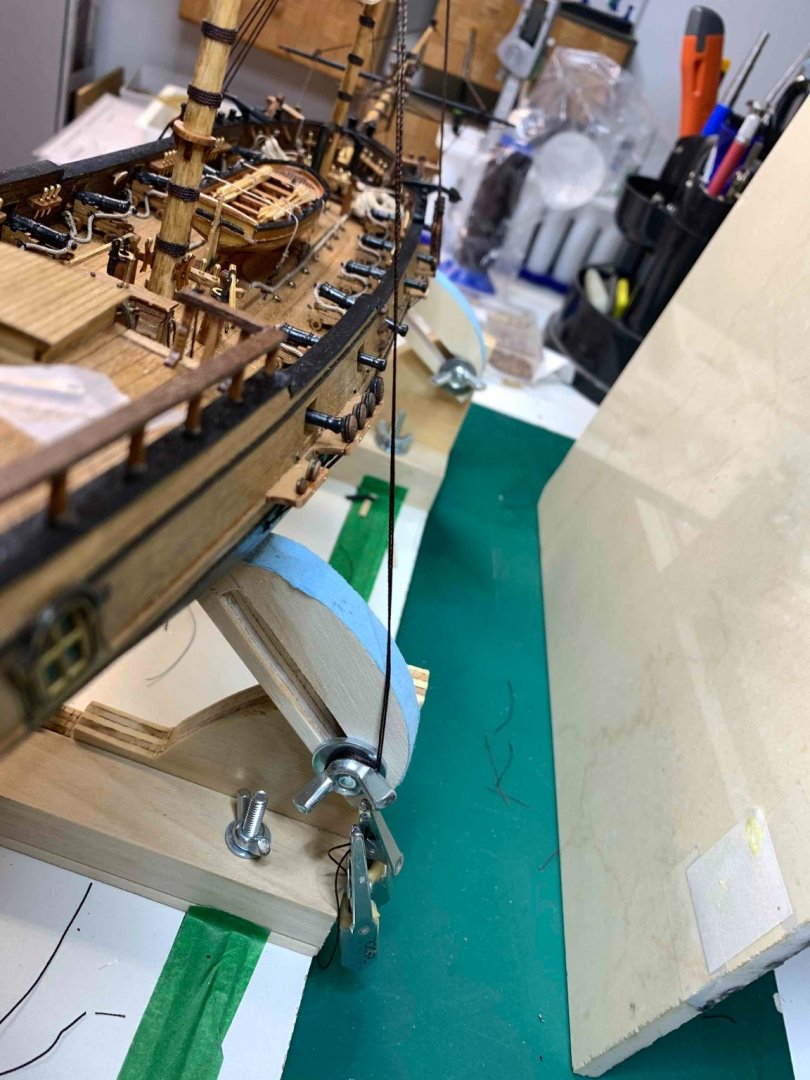
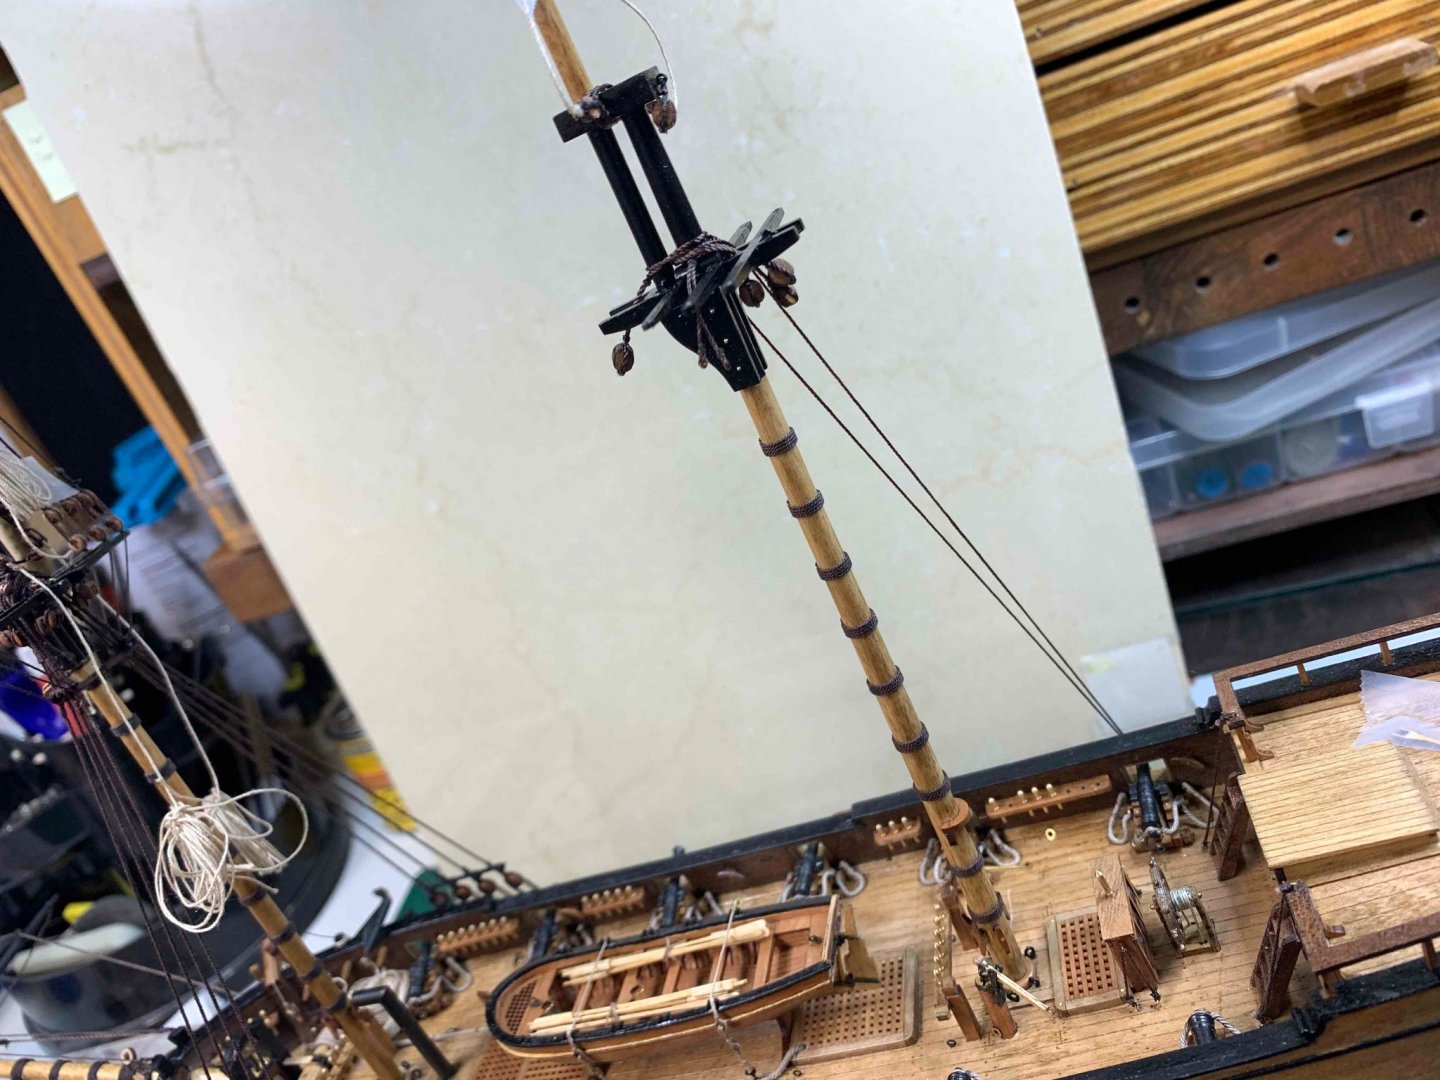
The foremast rigging has been completed, at least for now... And the mainmast has been positioned... Making sure it stays up.. Happy modelling..


- 275 replies
-
- 1
-
-
- phoenix
- master korabel
- (and 1 more)
-
A bit of a work continued... Happy modelling..


-
I was distracted by perfect workmanship and maybe missed somewhere the scale; could you pls let me know the dimensions of this fine model?
-
Perfect work, excellent. Could you pls let us know what tool(s) and what method are you using to carve such a beautiful carvings?