HIPEXEC
-
Posts
2,698 -
Joined
-
Last visited
Content Type
Profiles
Forums
Gallery
Events
Everything posted by HIPEXEC
-
 fnkershner You can also look at my pages 7 and 8 to see I used pins, clamps, rubber bands etc to curve stern planks in place.
- 1,135 replies
-
- 2
-

-
- model shipways
- syren
- (and 2 more)
-
Finish the transom like on my page 9. Then you have a target for the long planks like on page 13. To hold them while the glue dries takes some creativity. Clamps, rubber bands pins, etc
- 1,135 replies
-
- 2
-
-
- model shipways
- syren
- (and 2 more)
-
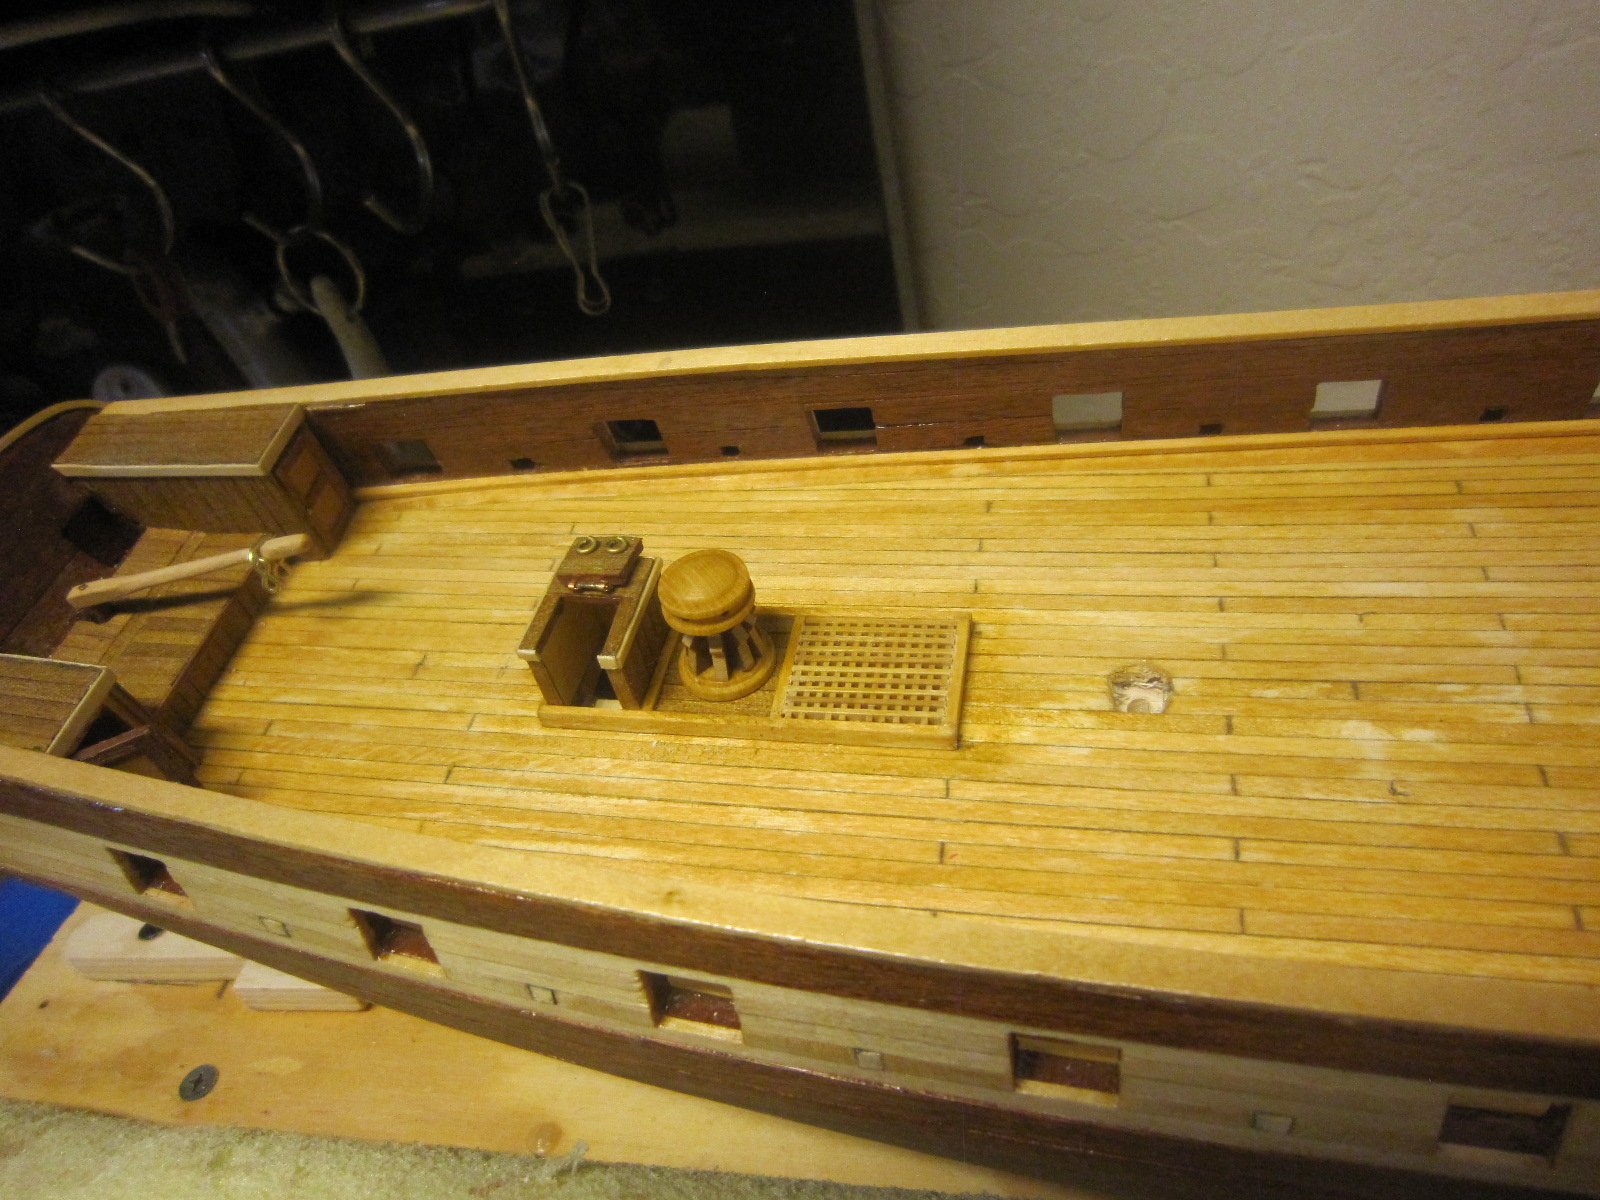
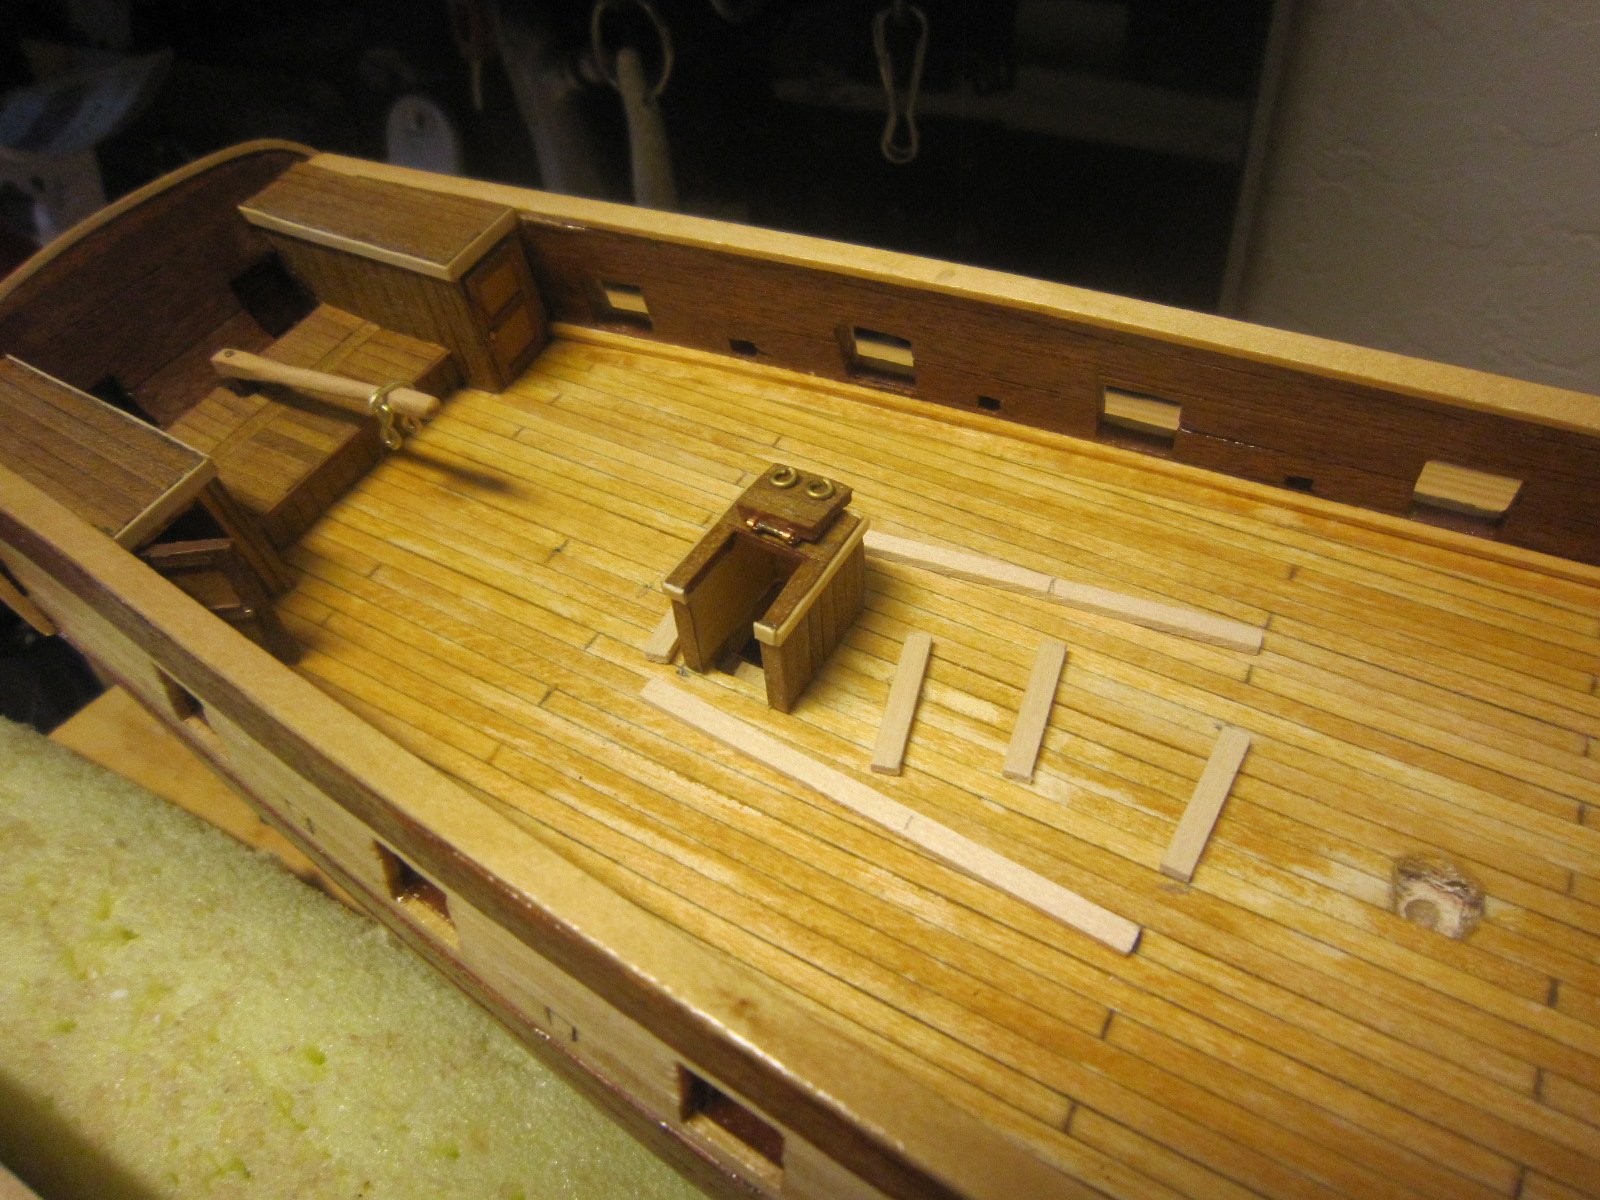
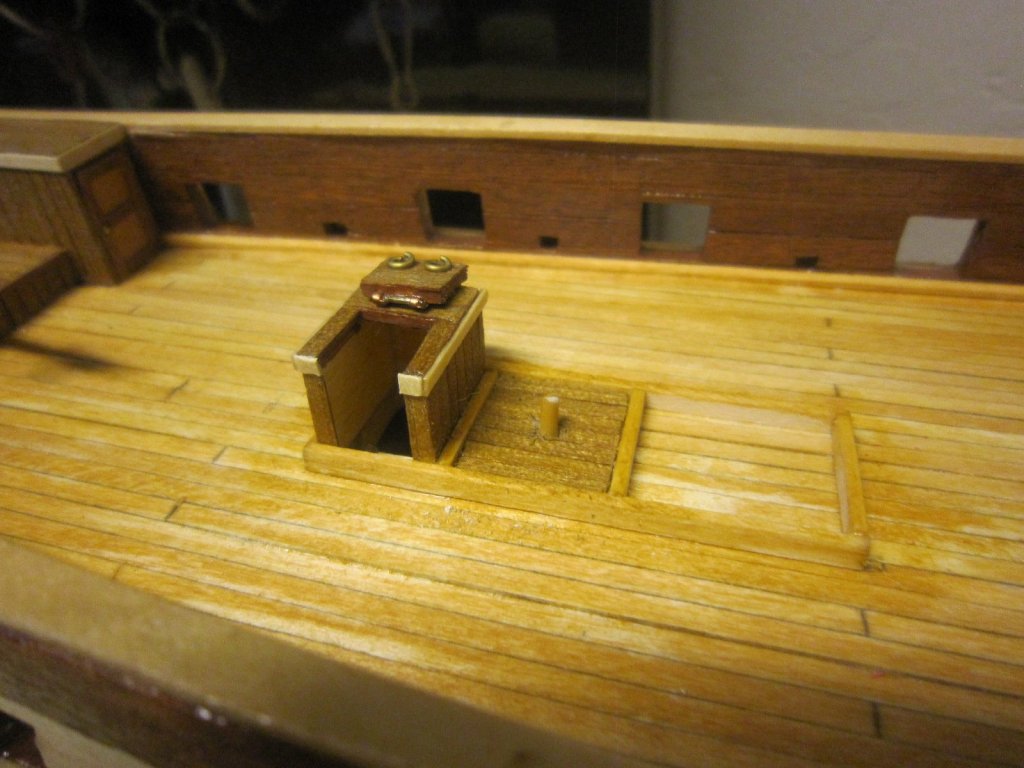
Grate is finished and installed by the companionway

- 1,135 replies
-
- 7
-
-
- model shipways
- syren
- (and 2 more)
-
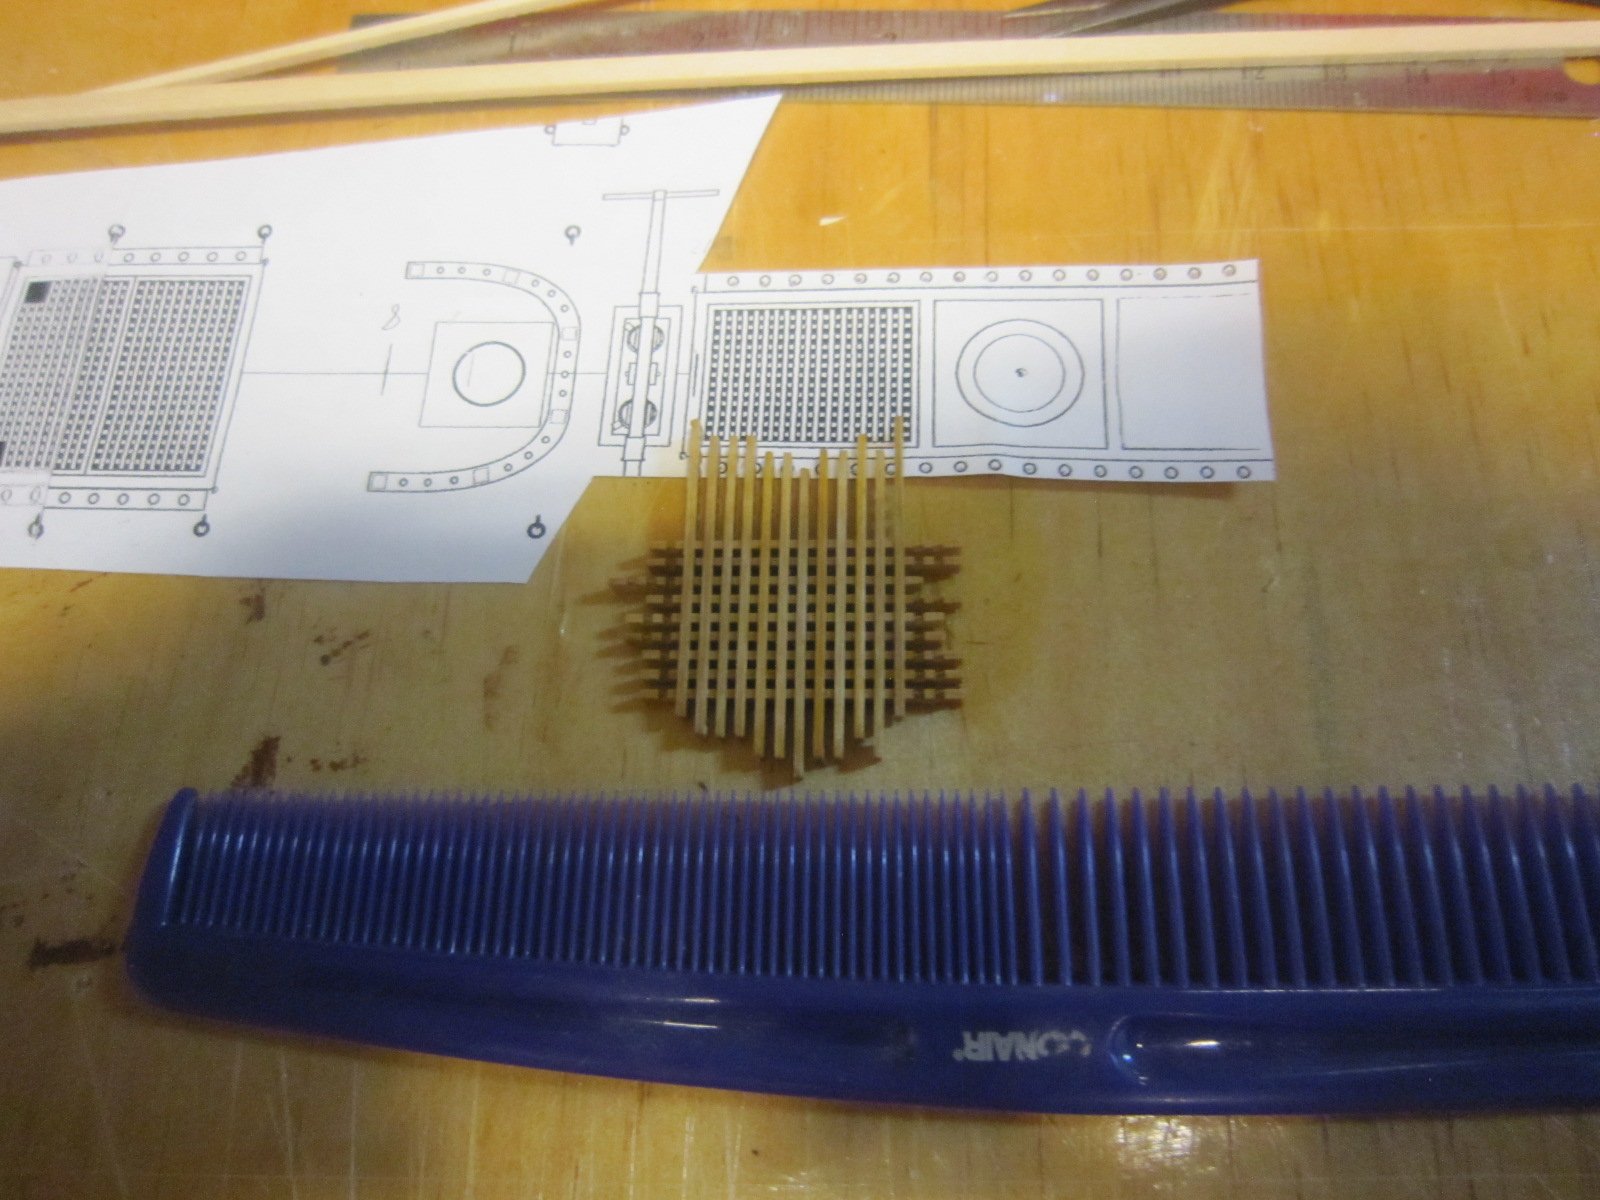
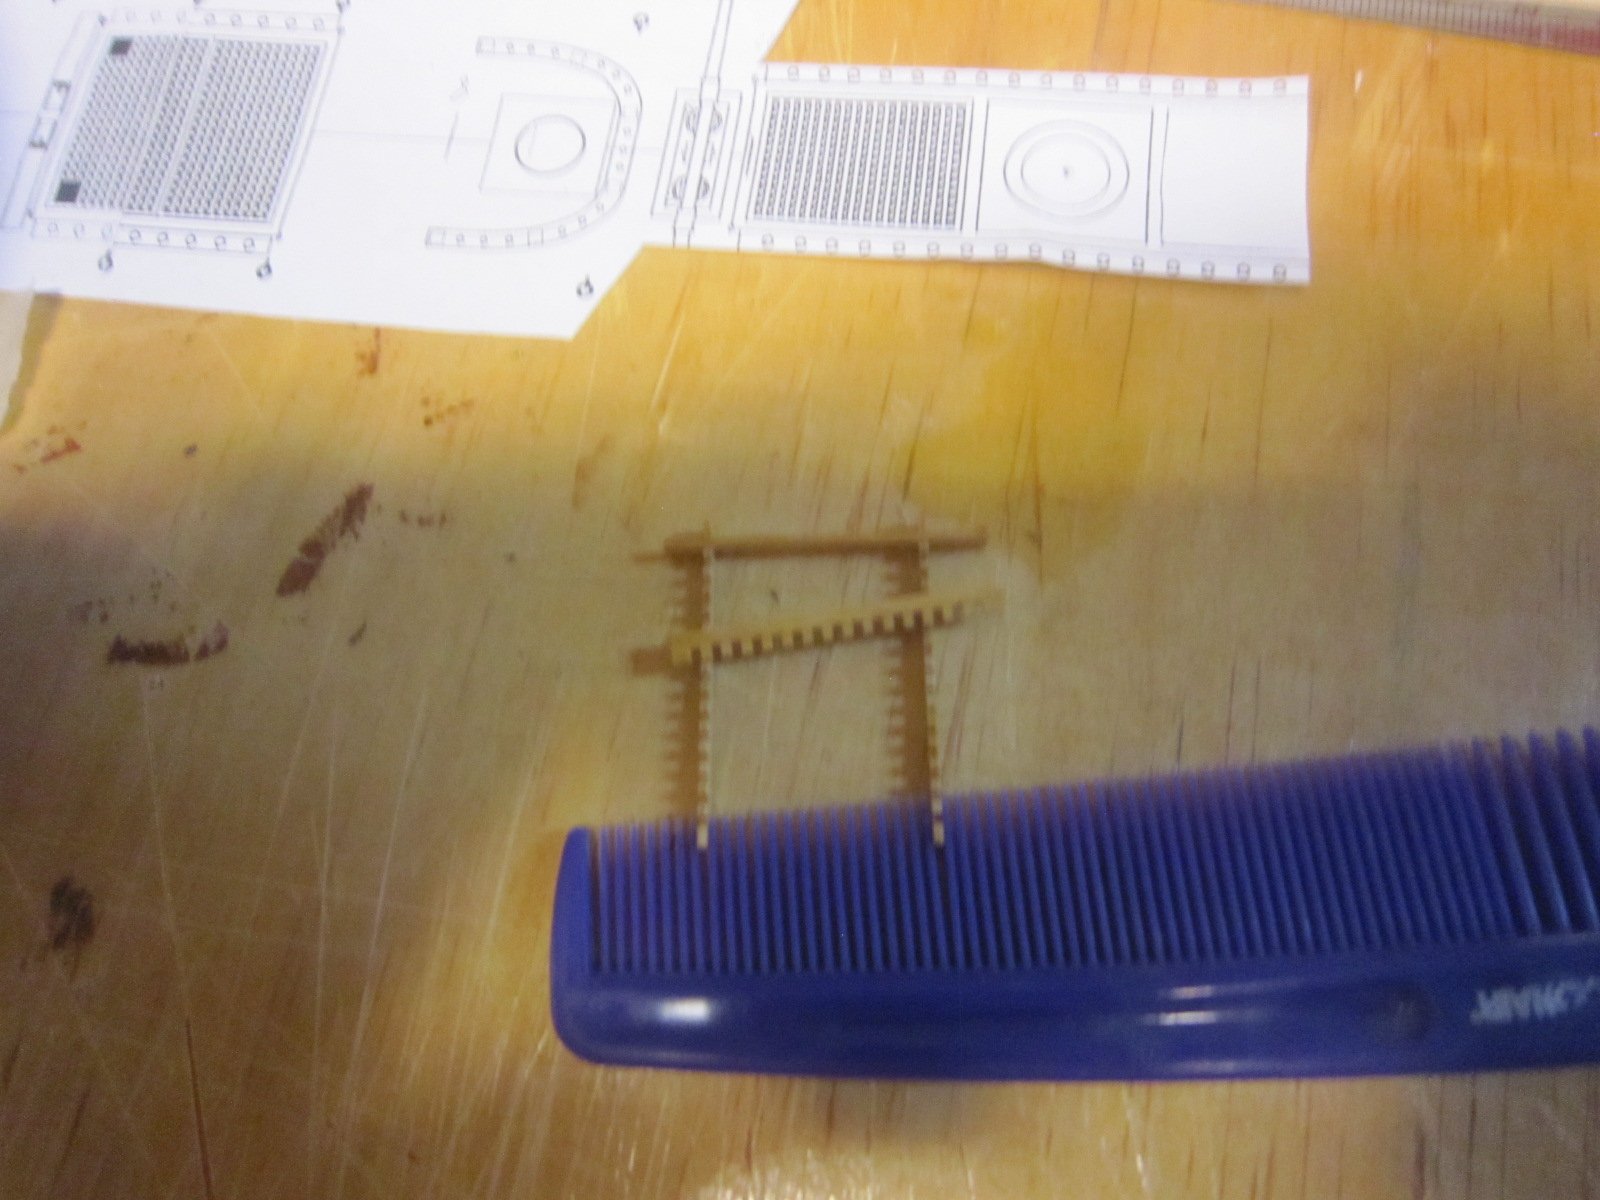
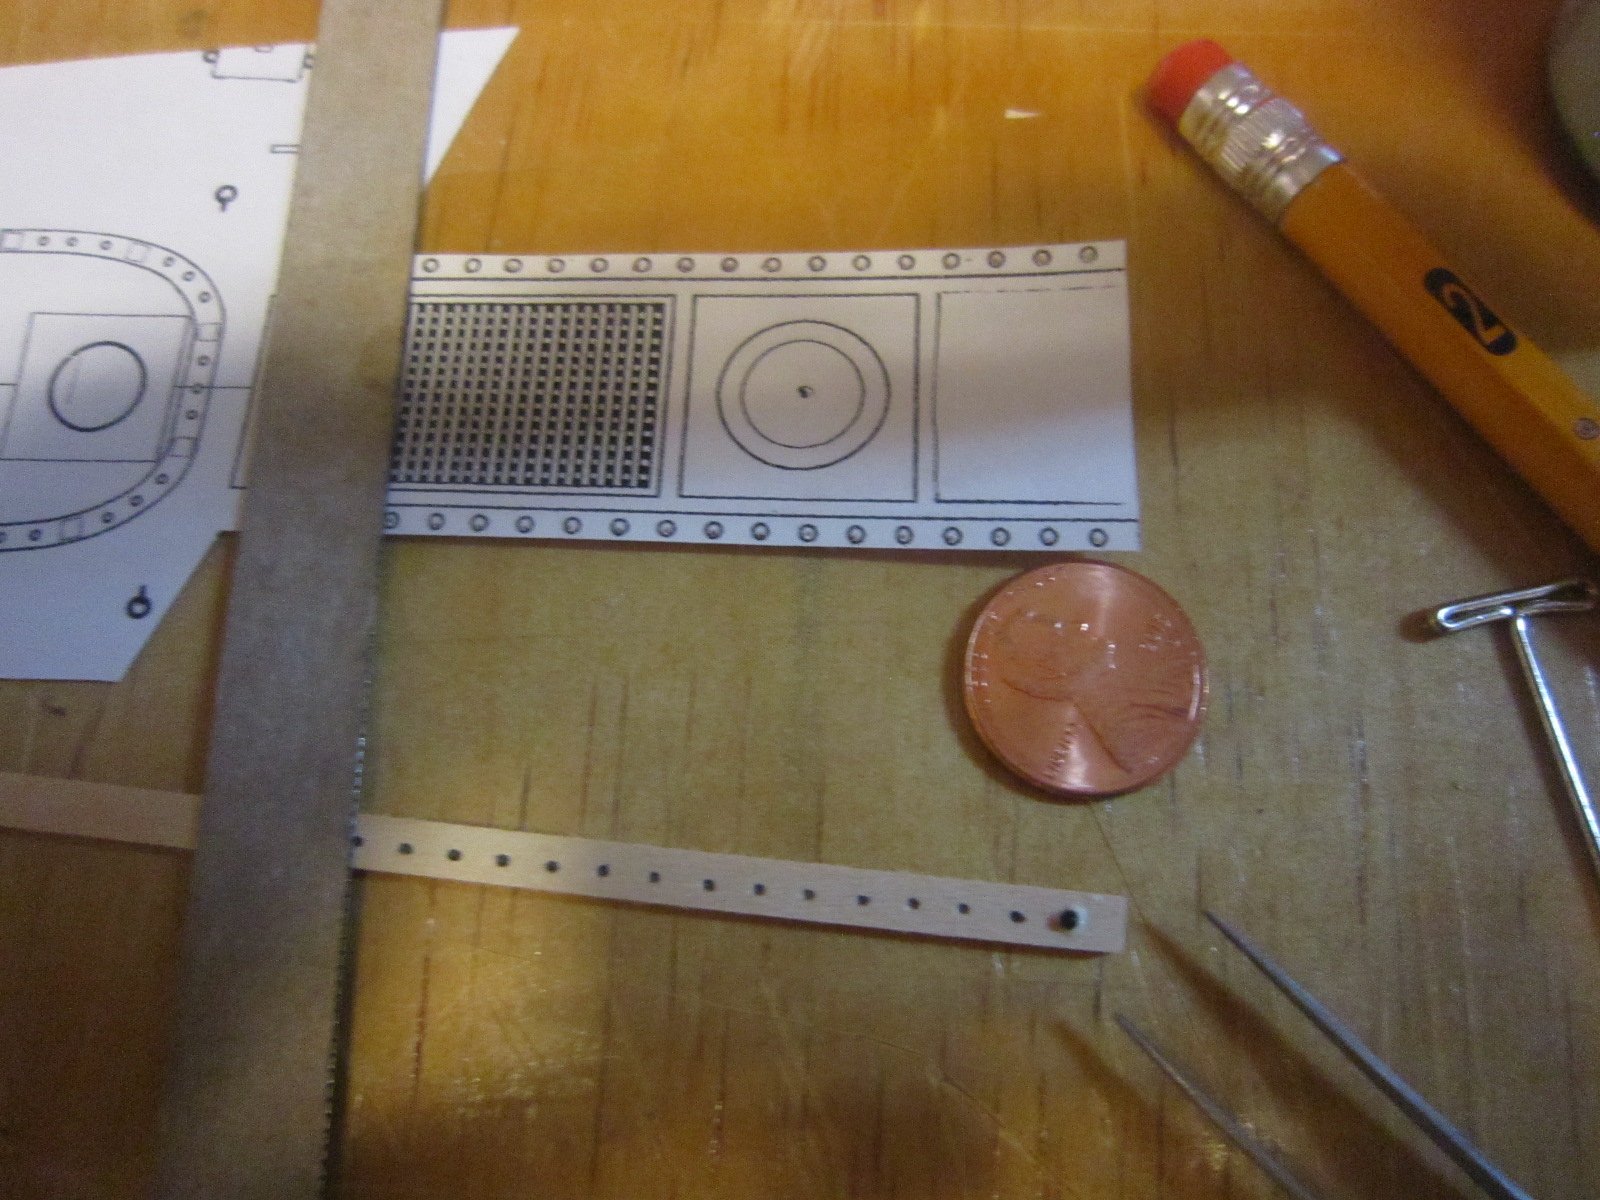
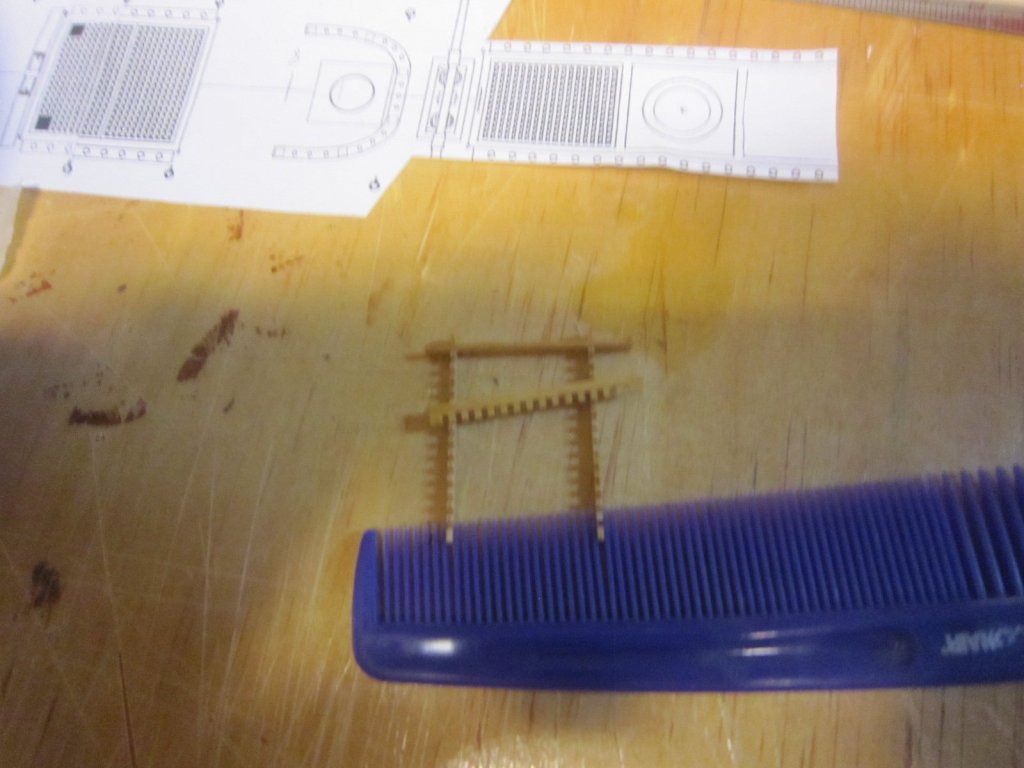
Thanks Thomas, Tom and Alan. Several models ago I was completely driven crazy trying to build gratings when I hit on using a comb. It works perfectly. Half the comb has fine the other half larger spaced.
- 1,135 replies
-
- 3
-
-
- model shipways
- syren
- (and 2 more)
-
Rough finished first grate. After the diluted glue dries I will trim it to size

- 1,135 replies
-
- 6
-
-
- model shipways
- syren
- (and 2 more)
-
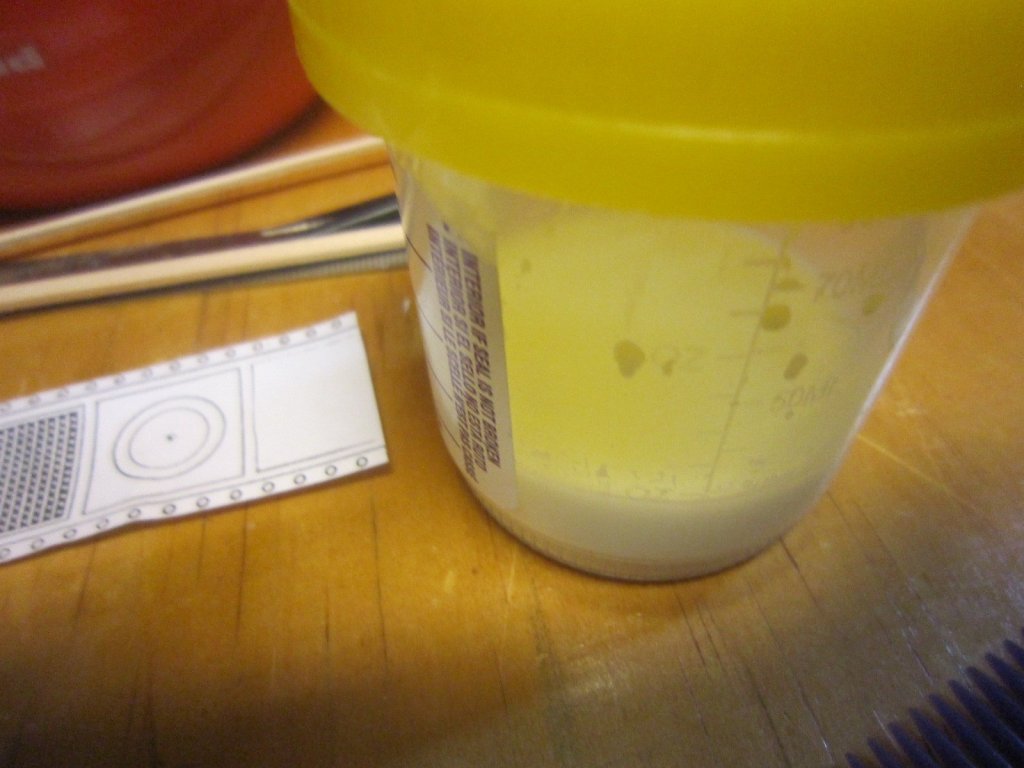
I'm building the first grate. My jig is a simple comb. The glue is a mixture of water and PVA. 3 or 4 to 1 mixture
- 1,135 replies
-
- 6
-
-
- model shipways
- syren
- (and 2 more)
-
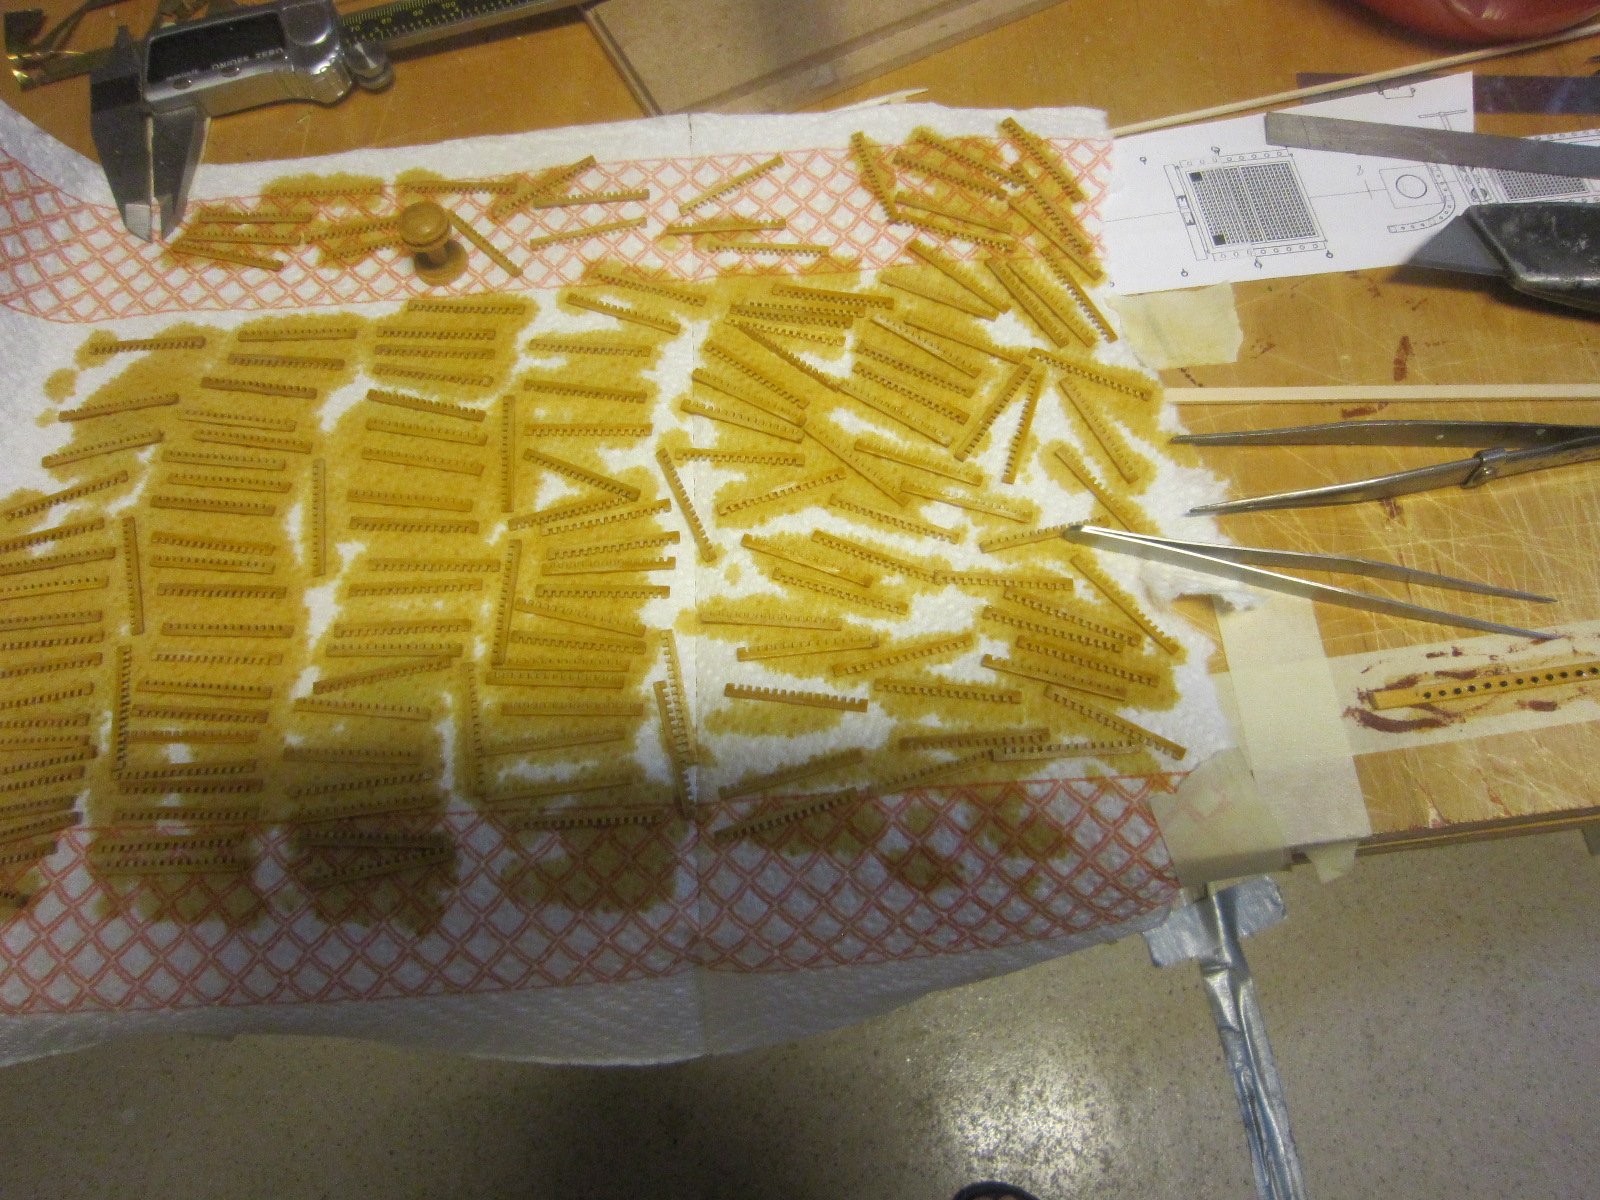
I'm using Watco Danish Oil Golden Oak, but any golden oak will do
- 1,135 replies
-
- 3
-
-
- model shipways
- syren
- (and 2 more)
-
I built and installed the capstan over the hatch next to the companionway. I made it so it turns.

- 1,135 replies
-
- 8
-
-
- model shipways
- syren
- (and 2 more)
-
I'm pre-staining various parts before gluing and installing.

- 1,135 replies
-
- 3
-
-
- model shipways
- syren
- (and 2 more)
-
I love your self made cleats!! I've got to make them also. The ones with the kit are awful. Nice Job
- 1,306 replies
-
- 10
-
-
- syren
- model shipways
- (and 1 more)
-
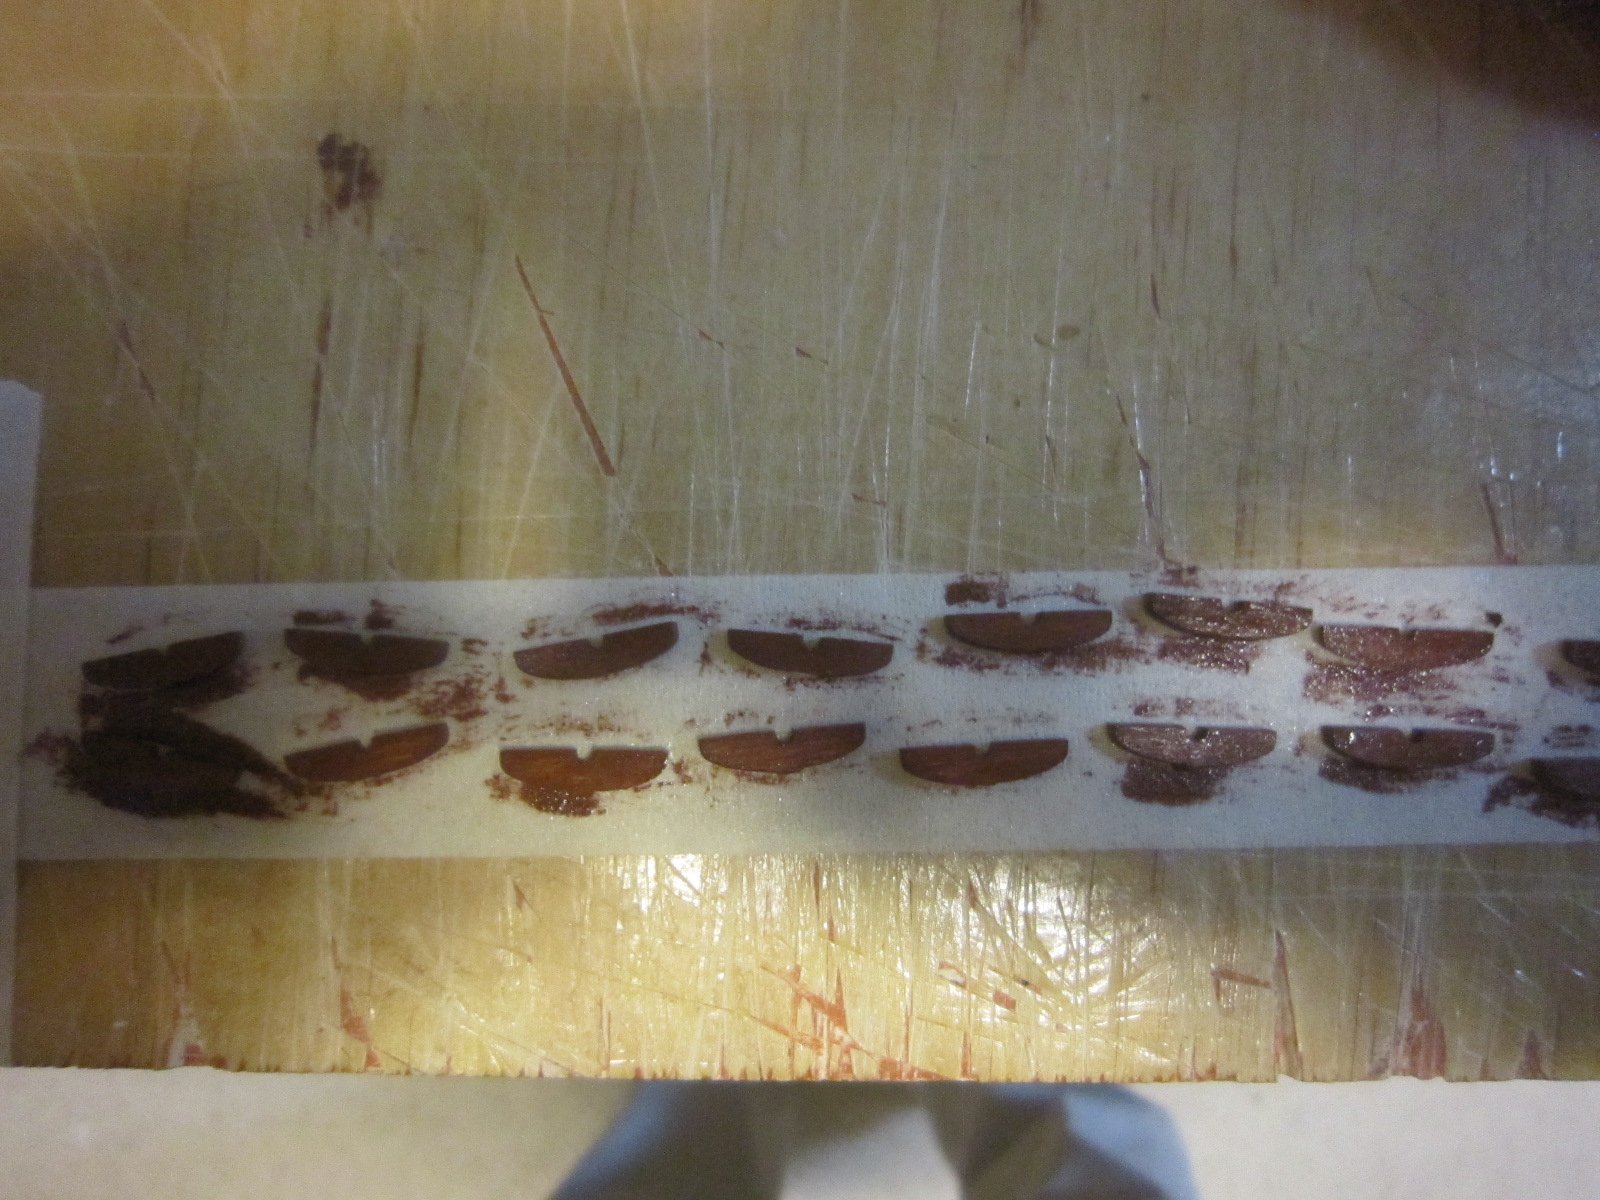
Shot rack factory with my #2 pencil drill. A miracle has happened ....I have not dropped one mini cannonball to be lost forever on the floor of my shipyard!

- 1,135 replies
-
- 7
-
-
- model shipways
- syren
- (and 2 more)
-
Continuing building the deck works and shot racks. The instructions say to drill partial holes for that tiny tiny shot? I finally just drilled the semi-holes with a sharp #2 pencil. It worked just fine. These are the smallest cannon shot I've ever had to work with.


- 1,135 replies
-
- 7
-
-
- model shipways
- syren
- (and 2 more)
-
Looking good!
-
I'm am now installing the companionway and all the woodwork surrounding it. If you remember, I pre-built the companionway weeks ago while trying to figure out pintels and gudgeons. Then I will take up Jesse's suggestion for installing the Carronade swivels

- 1,135 replies
-
- 7
-
-
- model shipways
- syren
- (and 2 more)
-
Thanks Jesse. From the looks of it, I could have just left the waterways square and the human eye could not tell the difference
- 1,135 replies
-
- 1
-
-
- model shipways
- syren
- (and 2 more)
-
I scratch my head when I run into this kind of planning. The plans had me install the waterways after they have been sanded to a triangle shape. Now the plan wants me to install the carronade swivel brackets with barely anyway to keep them level since gluing surface available is nil. I'll hold off installing them so I can figure out how to do this.

- 1,135 replies
-
- 5
-
-
- model shipways
- syren
- (and 2 more)
-
Well I'll just have to fix them if they get bumped. That's part of this game we play building ships
- 1,135 replies
-
- 3
-
-
- model shipways
- syren
- (and 2 more)
-
I spent the 14 months on a big floating airport. The swabbies had to put up with us.
- 1,135 replies
-
- 2
-
-
- model shipways
- syren
- (and 2 more)
-
She's looking good, Sjors
-
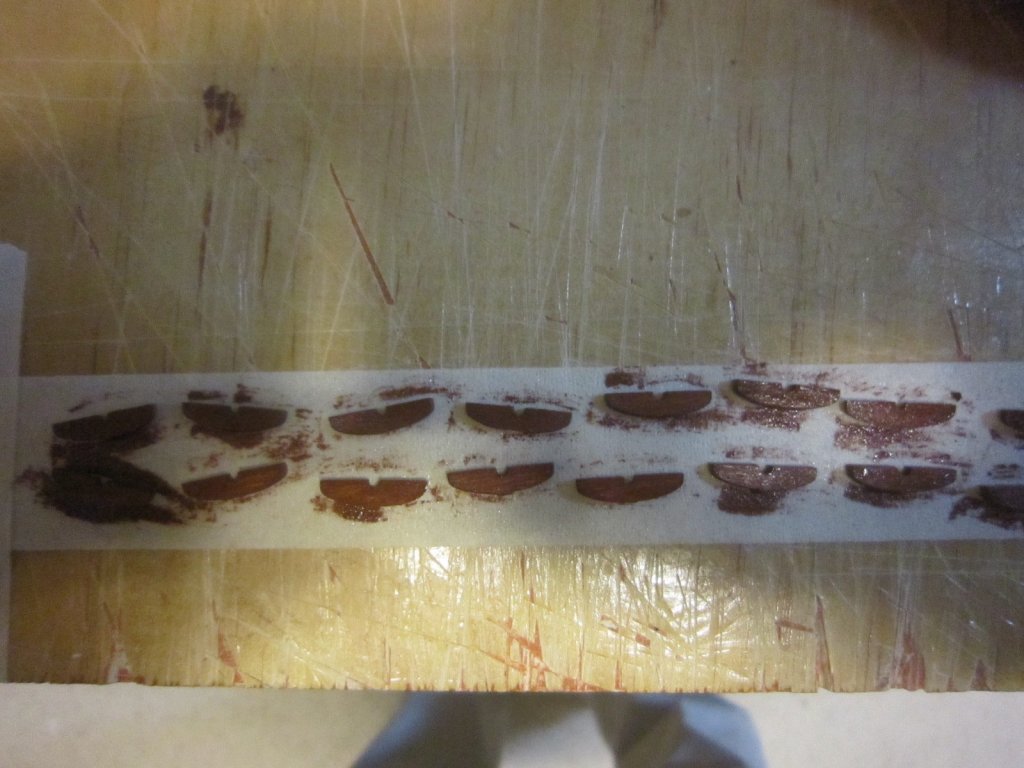
Pre-painting the carronade swivel brackets. Everything with guns is mass production. These go on the bulkhead so I'm painting them before hand since there is no way my shaky fingers could paint them after glued on. I stuck them to masking tape to keep paint off the glue side.

- 1,135 replies
-
- 6
-
-
- model shipways
- syren
- (and 2 more)
-
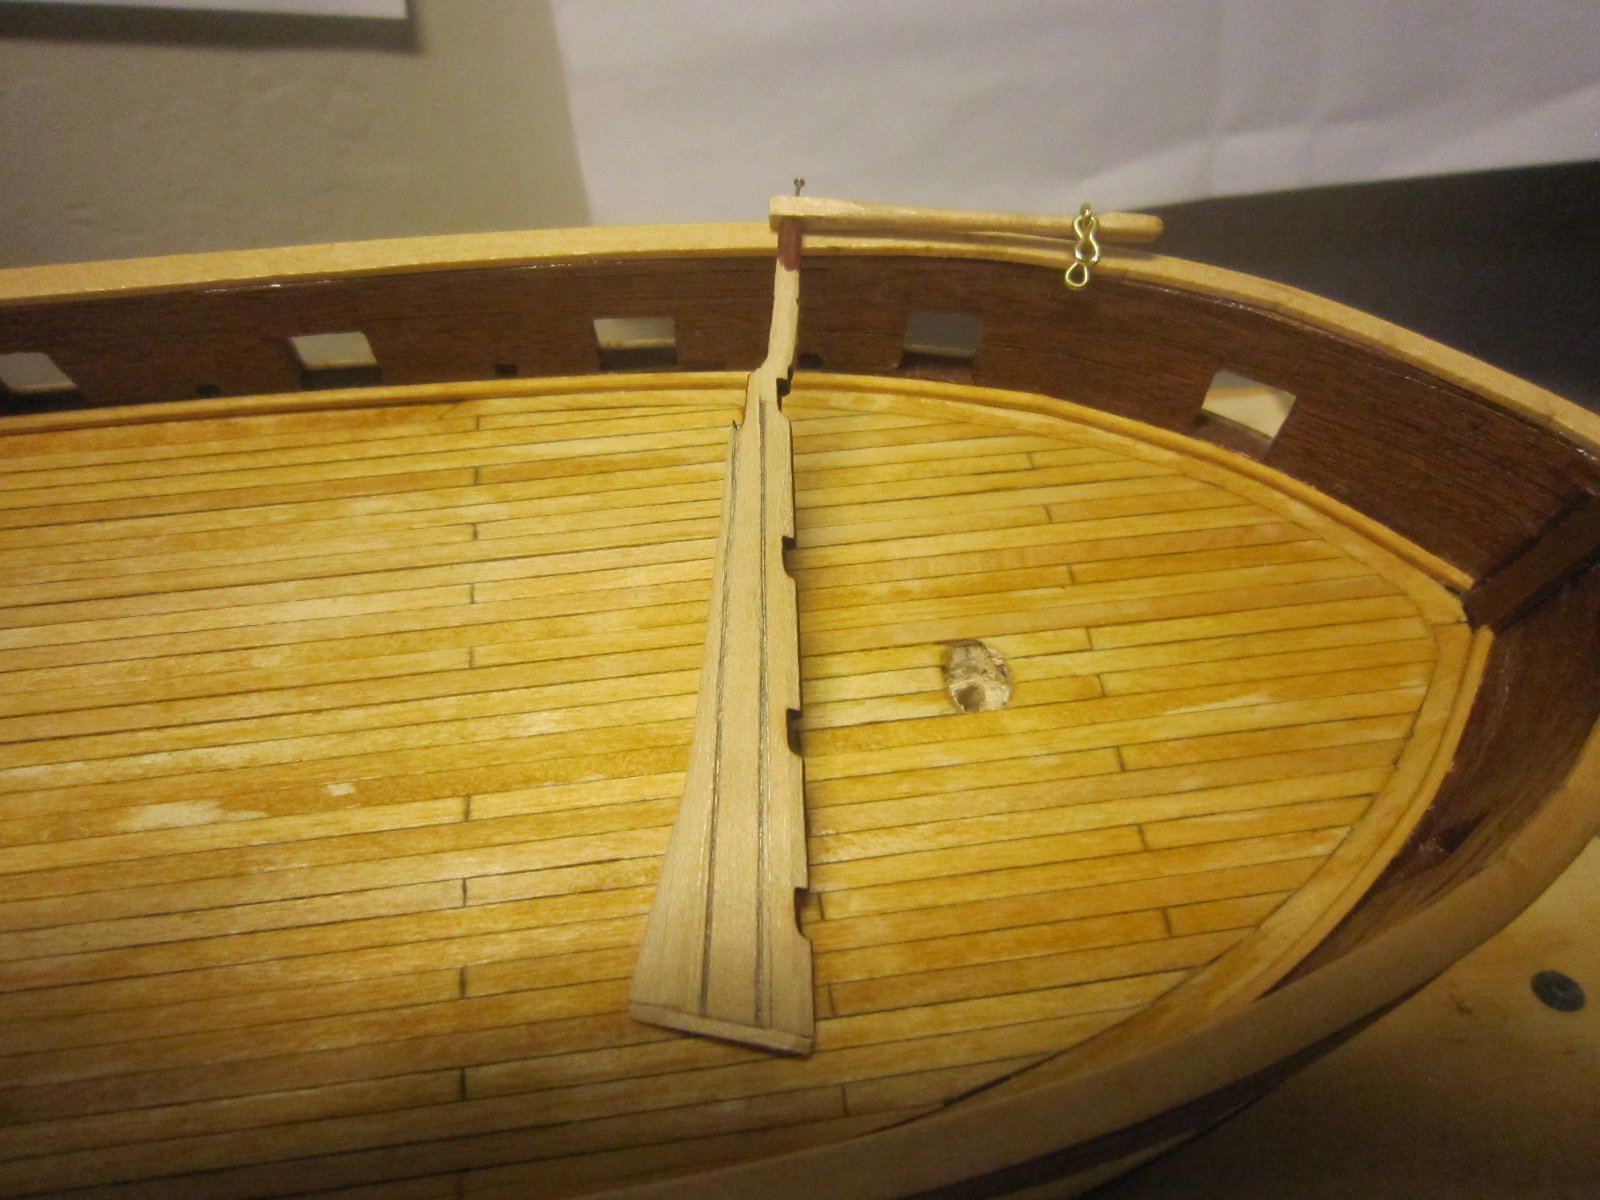
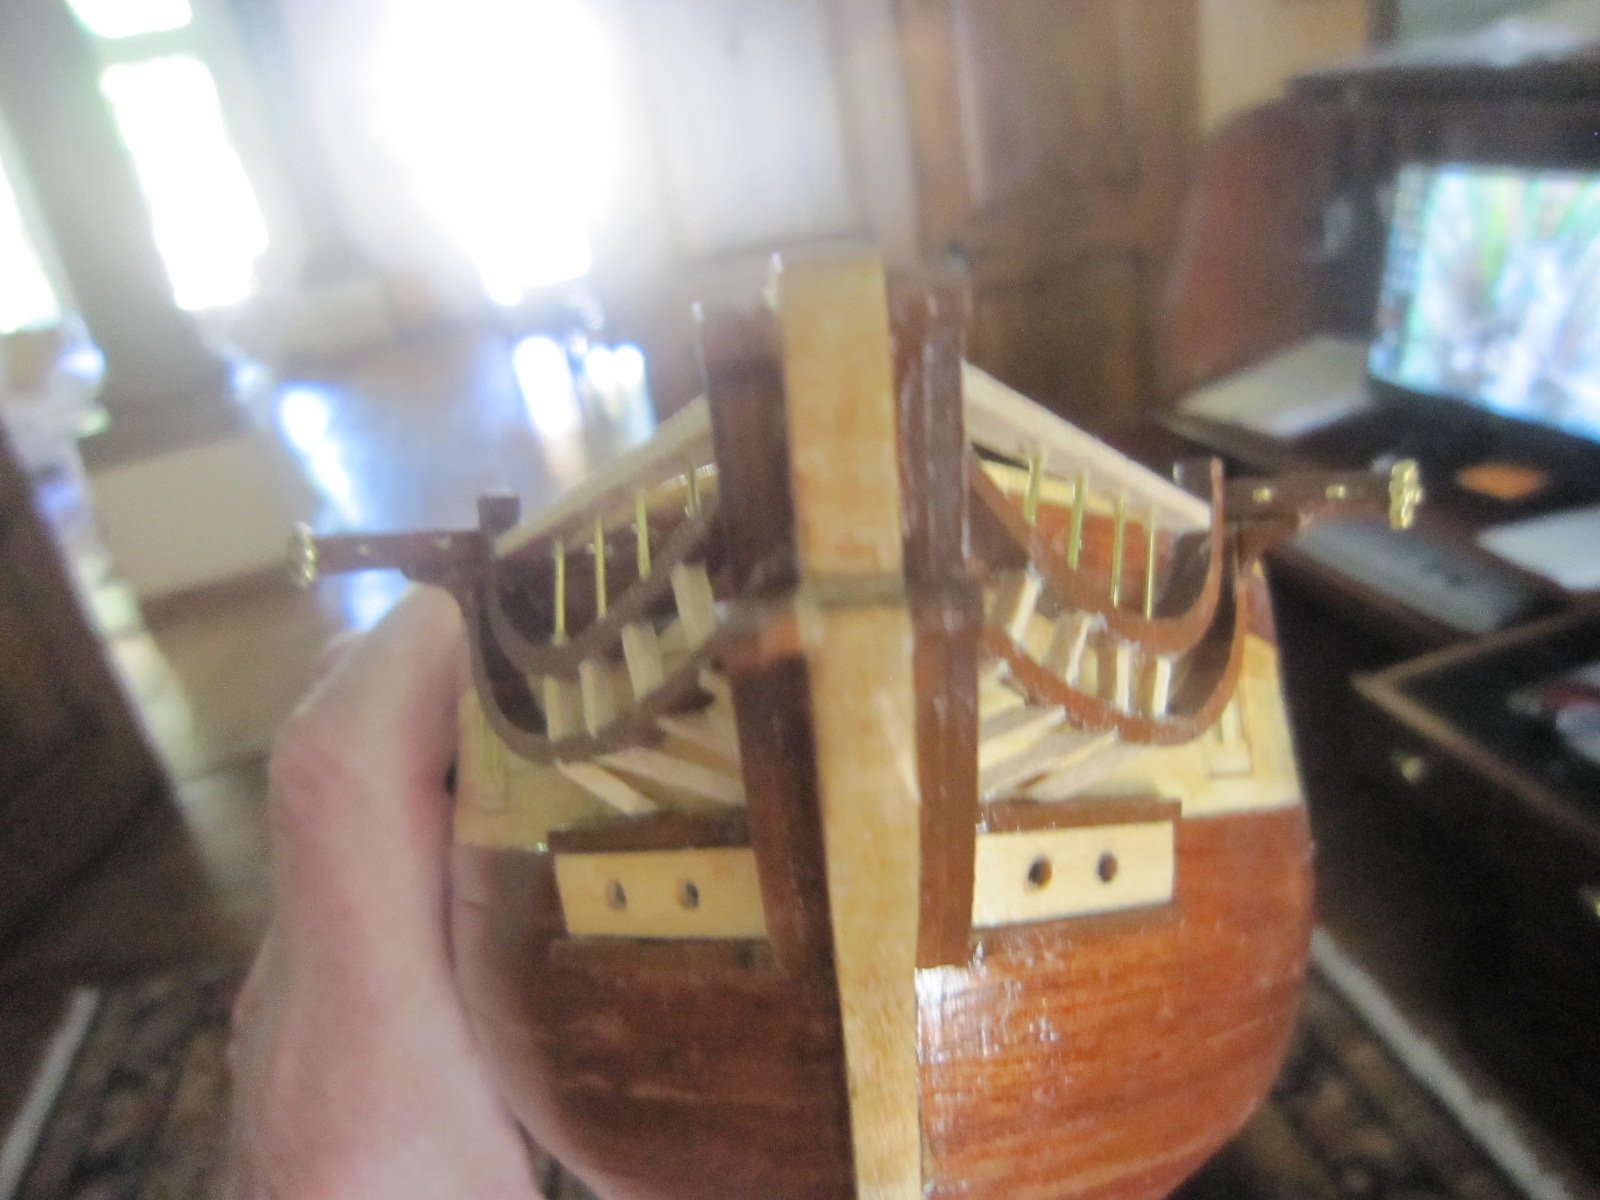
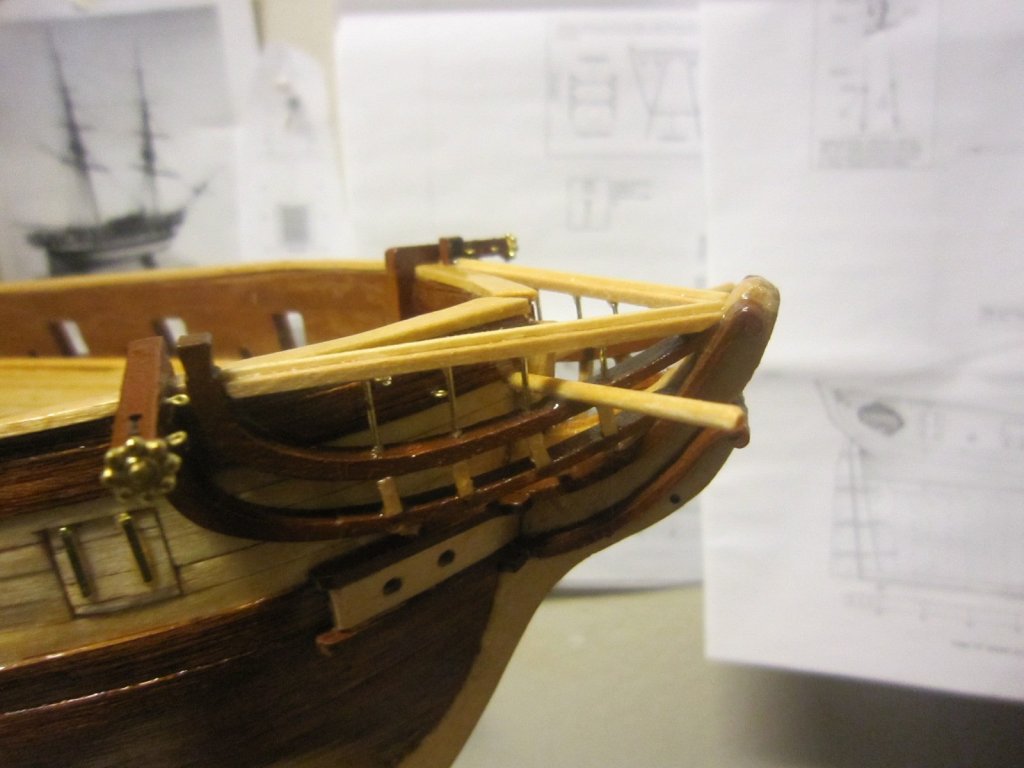
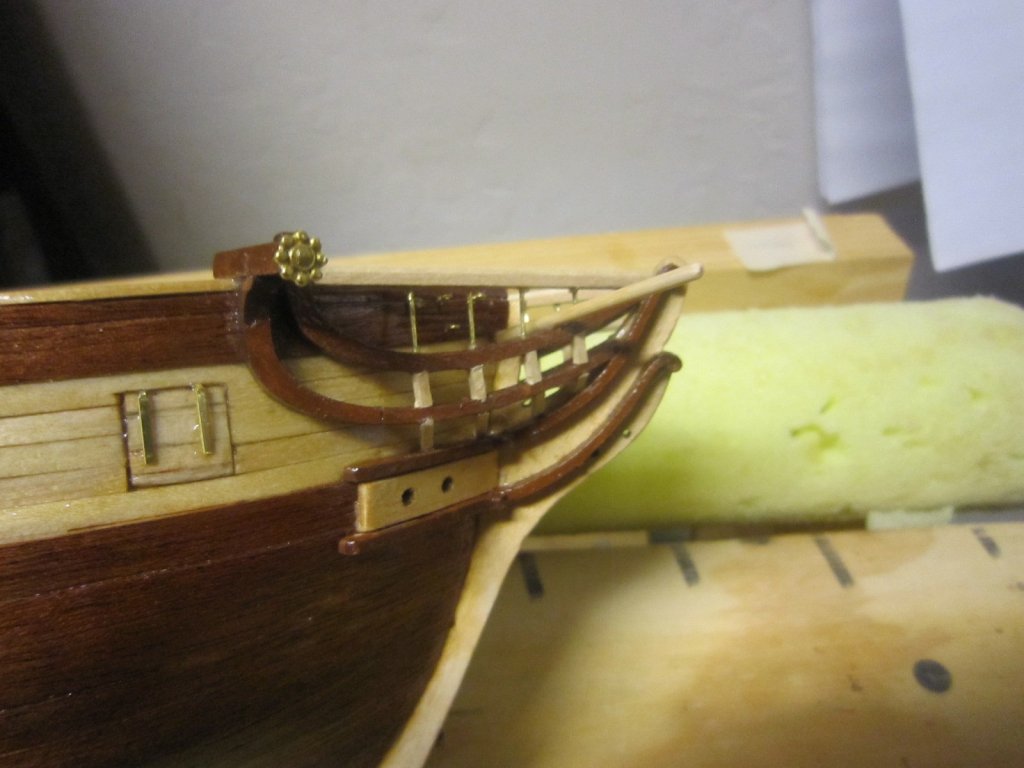
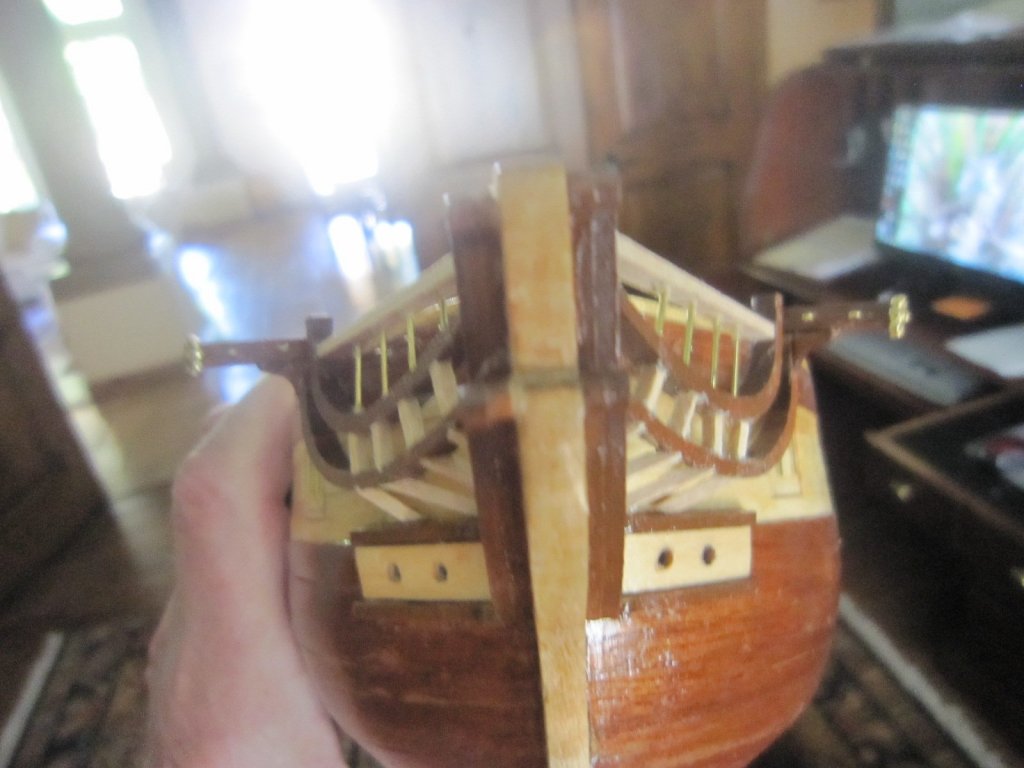
Bow finished for now with a coat of varnish. Now on to the deck

- 1,135 replies
-
- 5
-
-
- model shipways
- syren
- (and 2 more)
-
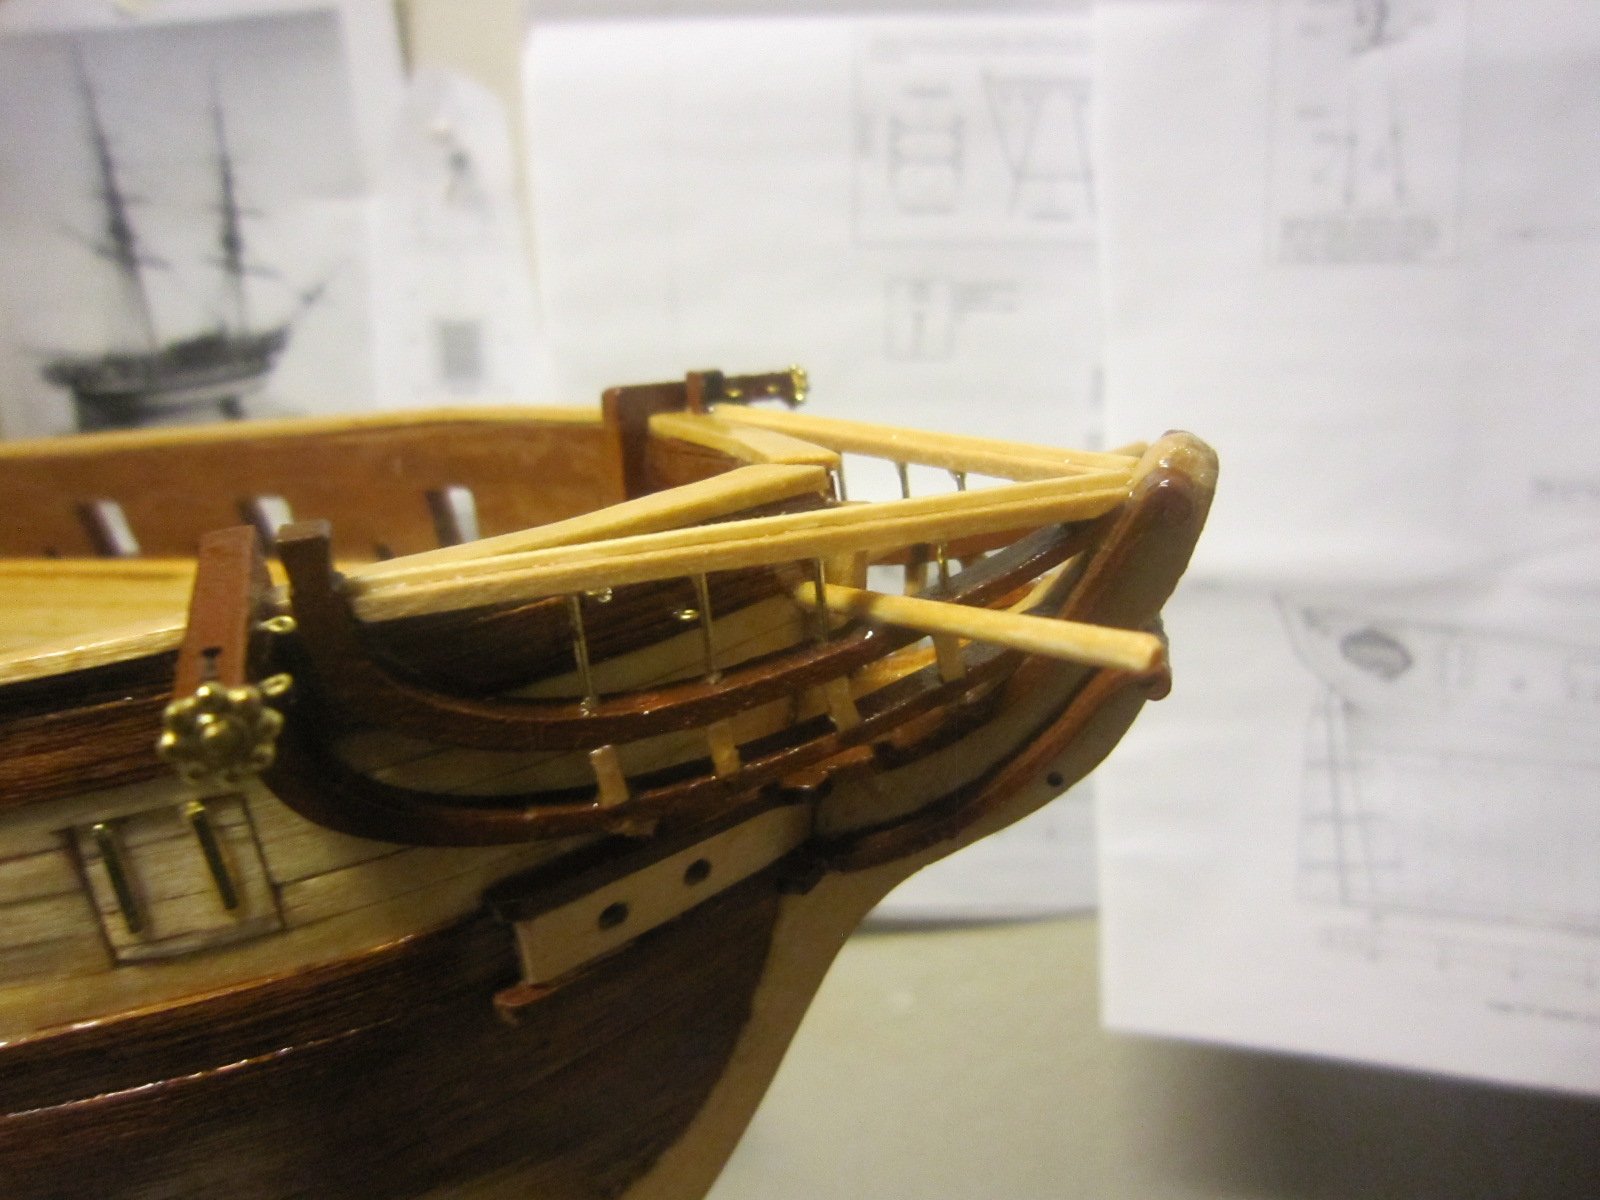
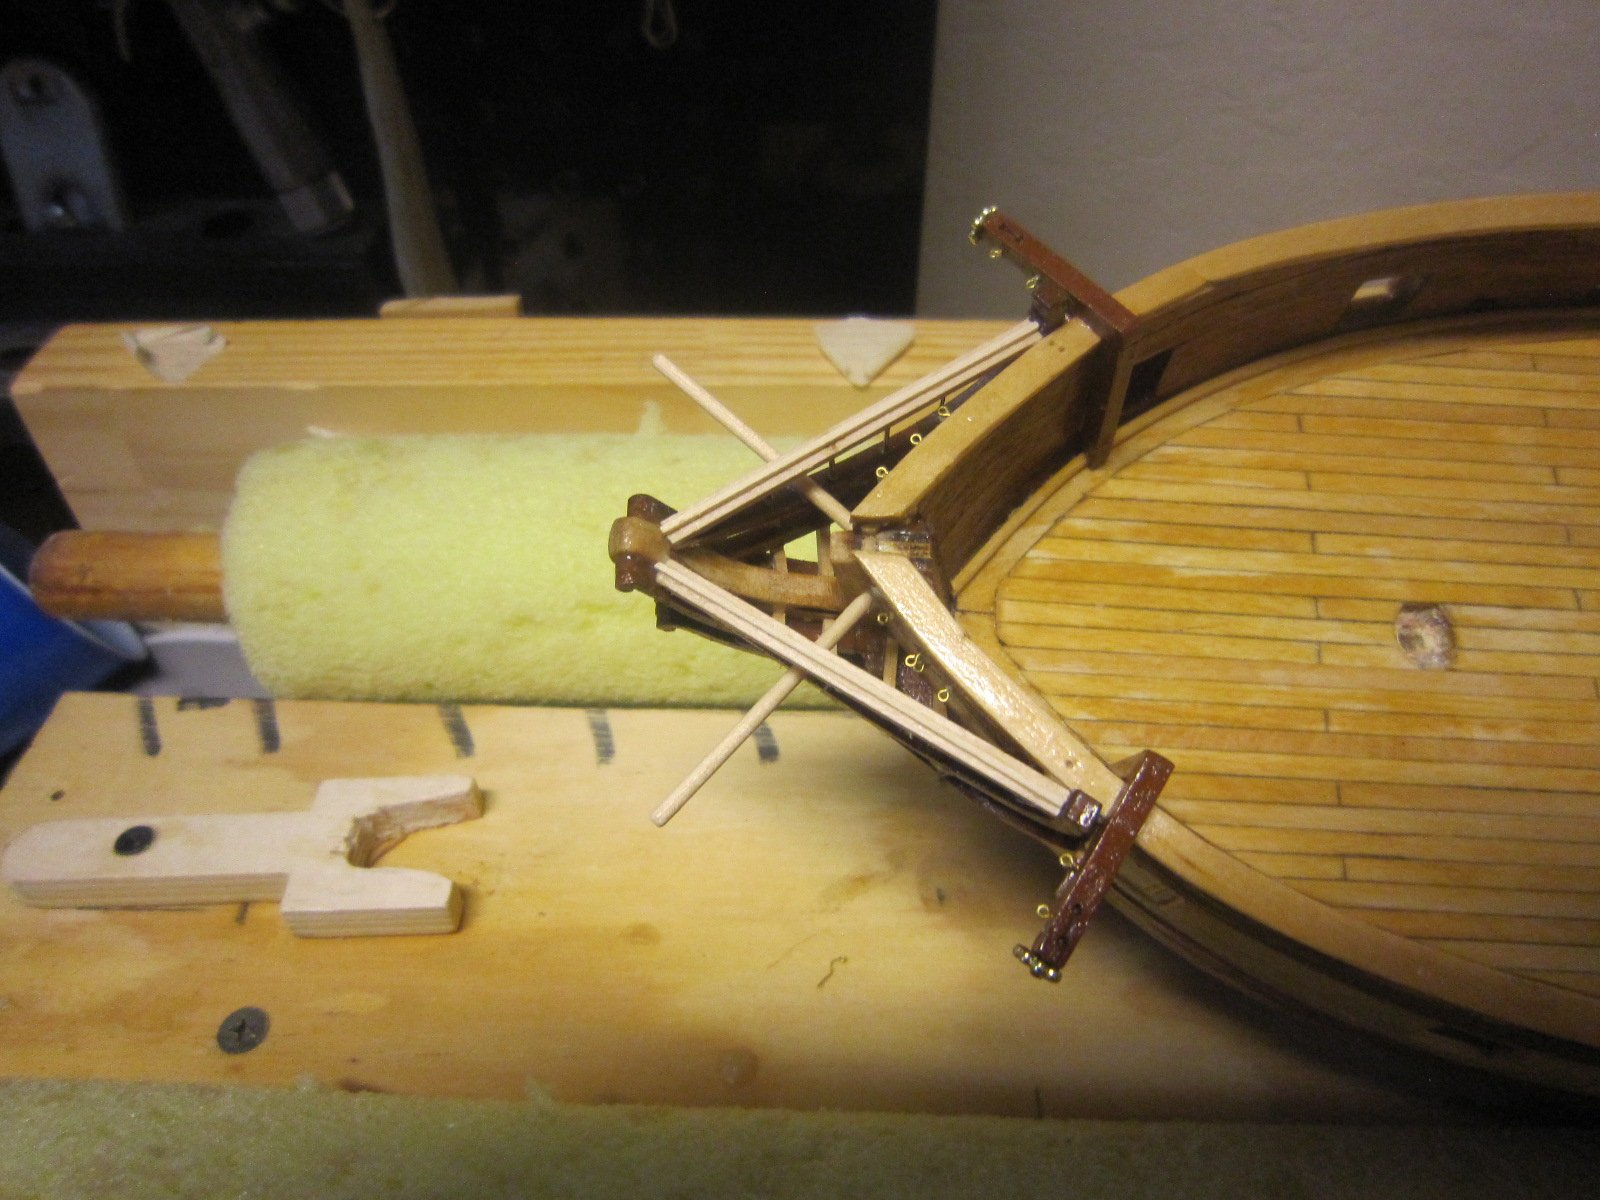
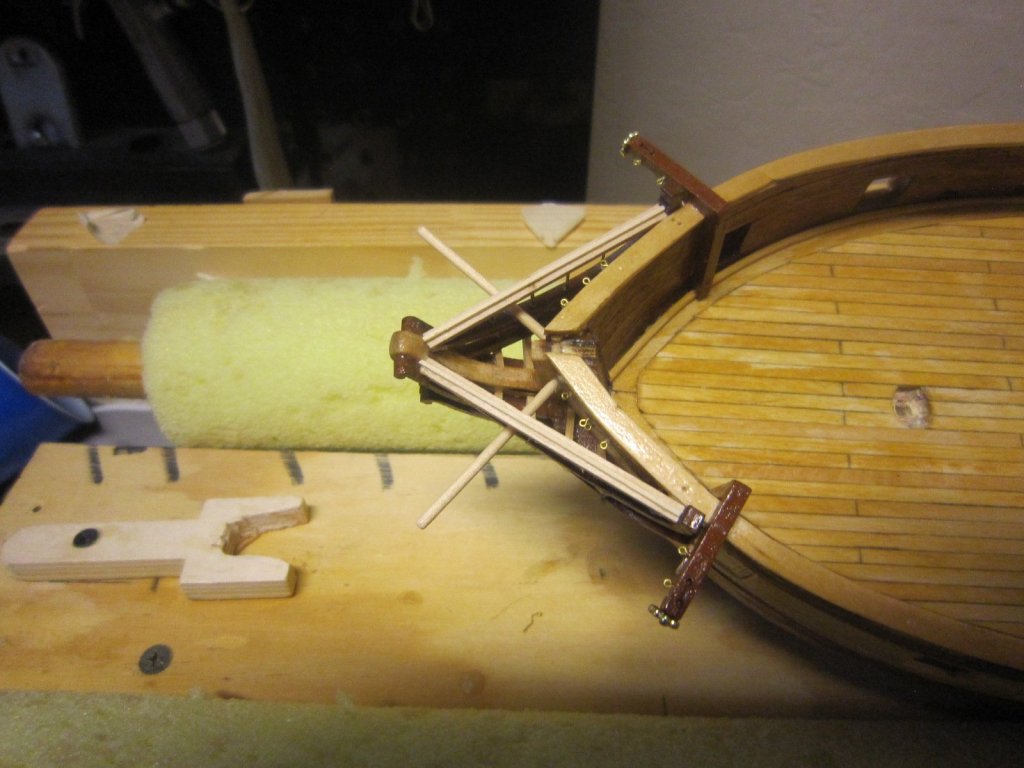
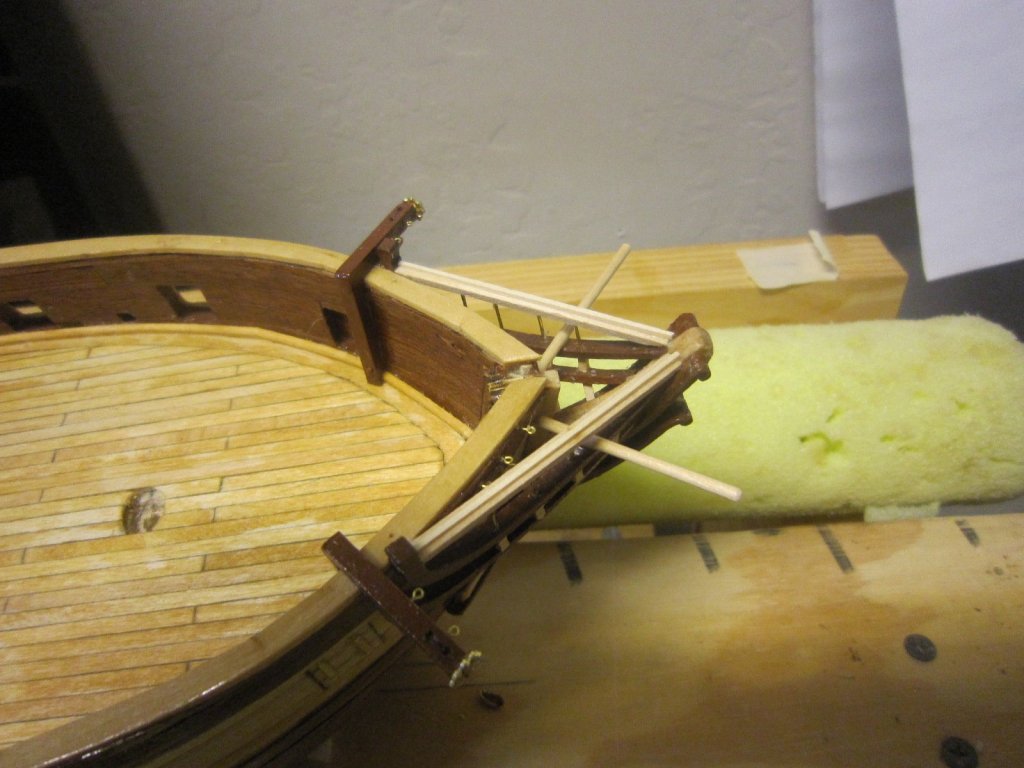
I've installed the bumpkins. I call them whisker poles. I pinned the end into the hull for support.
- 1,135 replies
-
- 4
-
-
- model shipways
- syren
- (and 2 more)
-
The guns are called Carronades. They were first made by a Scottish company named Carron. I hate the provided side badges also and will probably make my own. I'll take a look at the provided Carronades and maybe change them to regular cannons too.
-
I installed the top rail. I'm not very good with three dimensional puzzles. That's exactly what trying to install all those pieces involved with the top rail are. It's far from perfect, but it's the best I can do. Now I have to clean up excess glue, etc.
- 1,135 replies
-
- 6
-
-
- model shipways
- syren
- (and 2 more)