HOLIDAY DONATION DRIVE - SUPPORT MSW - DO YOUR PART TO KEEP THIS GREAT FORUM GOING! (Only 44 donations so far out of 49,000 members - C'mon guys!)
×


HIPEXEC
-
Posts
2,698 -
Joined
-
Last visited
Content Type
Profiles
Forums
Gallery
Events
Everything posted by HIPEXEC
-
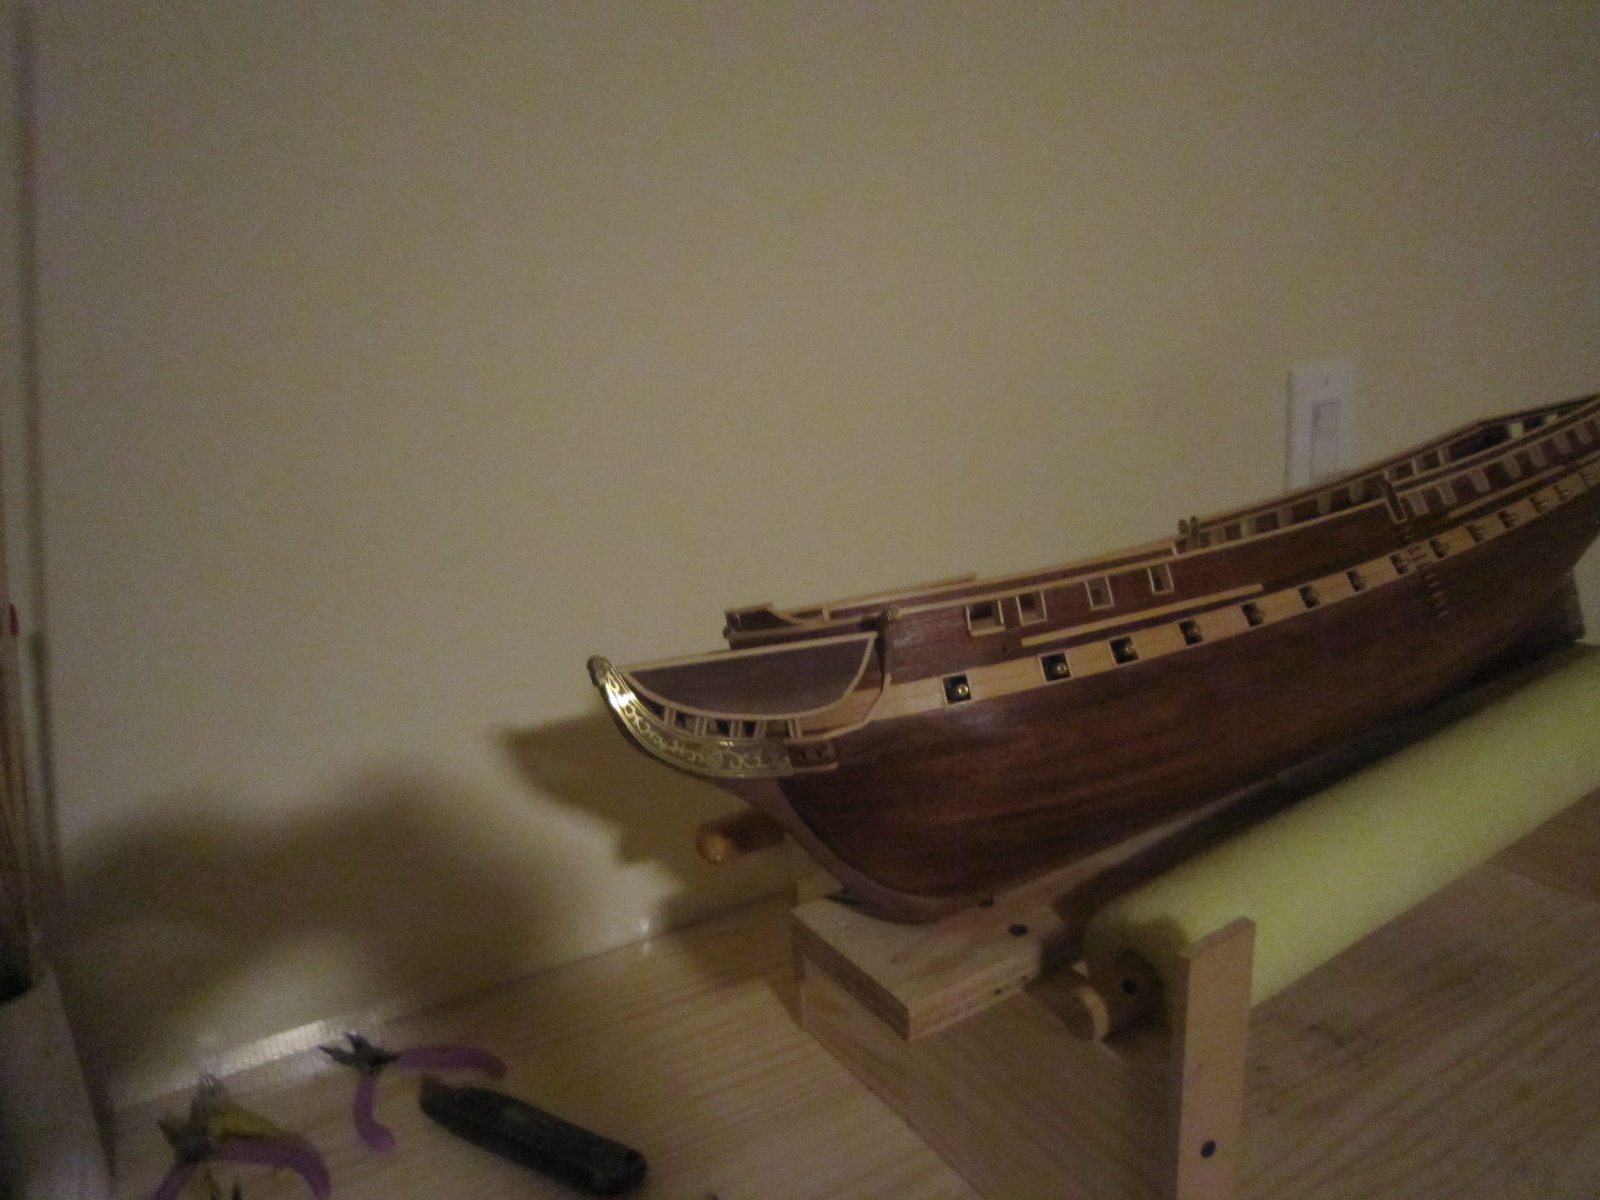
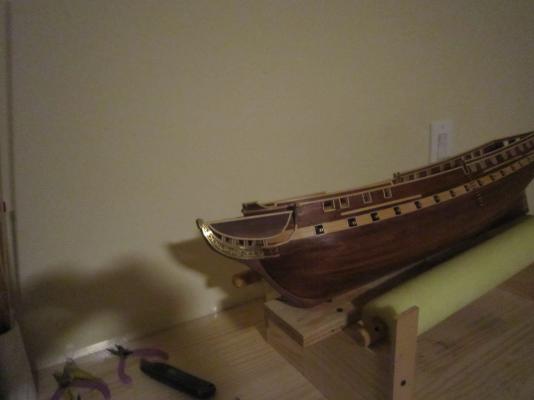
 I've been struggling with the cosmetic repairs to my botched bow construction. It's coming slow but sure. It's still not up to what all of you build. All your stuff is crisp and clean. I feel like mine is one big jury rig.
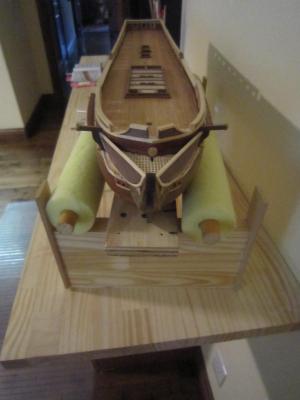

- 1,756 replies
-
- 1
-

-
- constitution
- constructo
- (and 1 more)
-
what is the ideal modelling table?
HIPEXEC replied to AON's topic in Modeling tools and Workshop Equipment
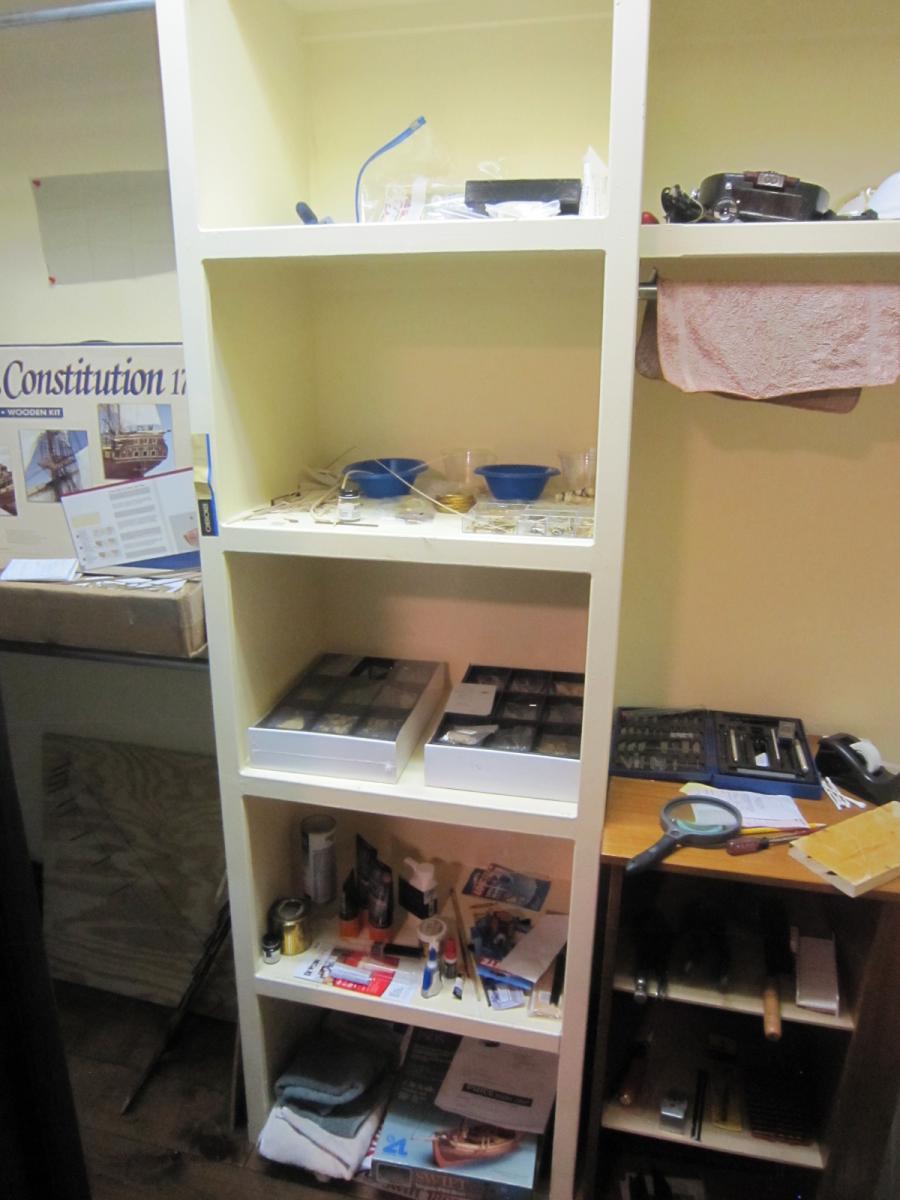
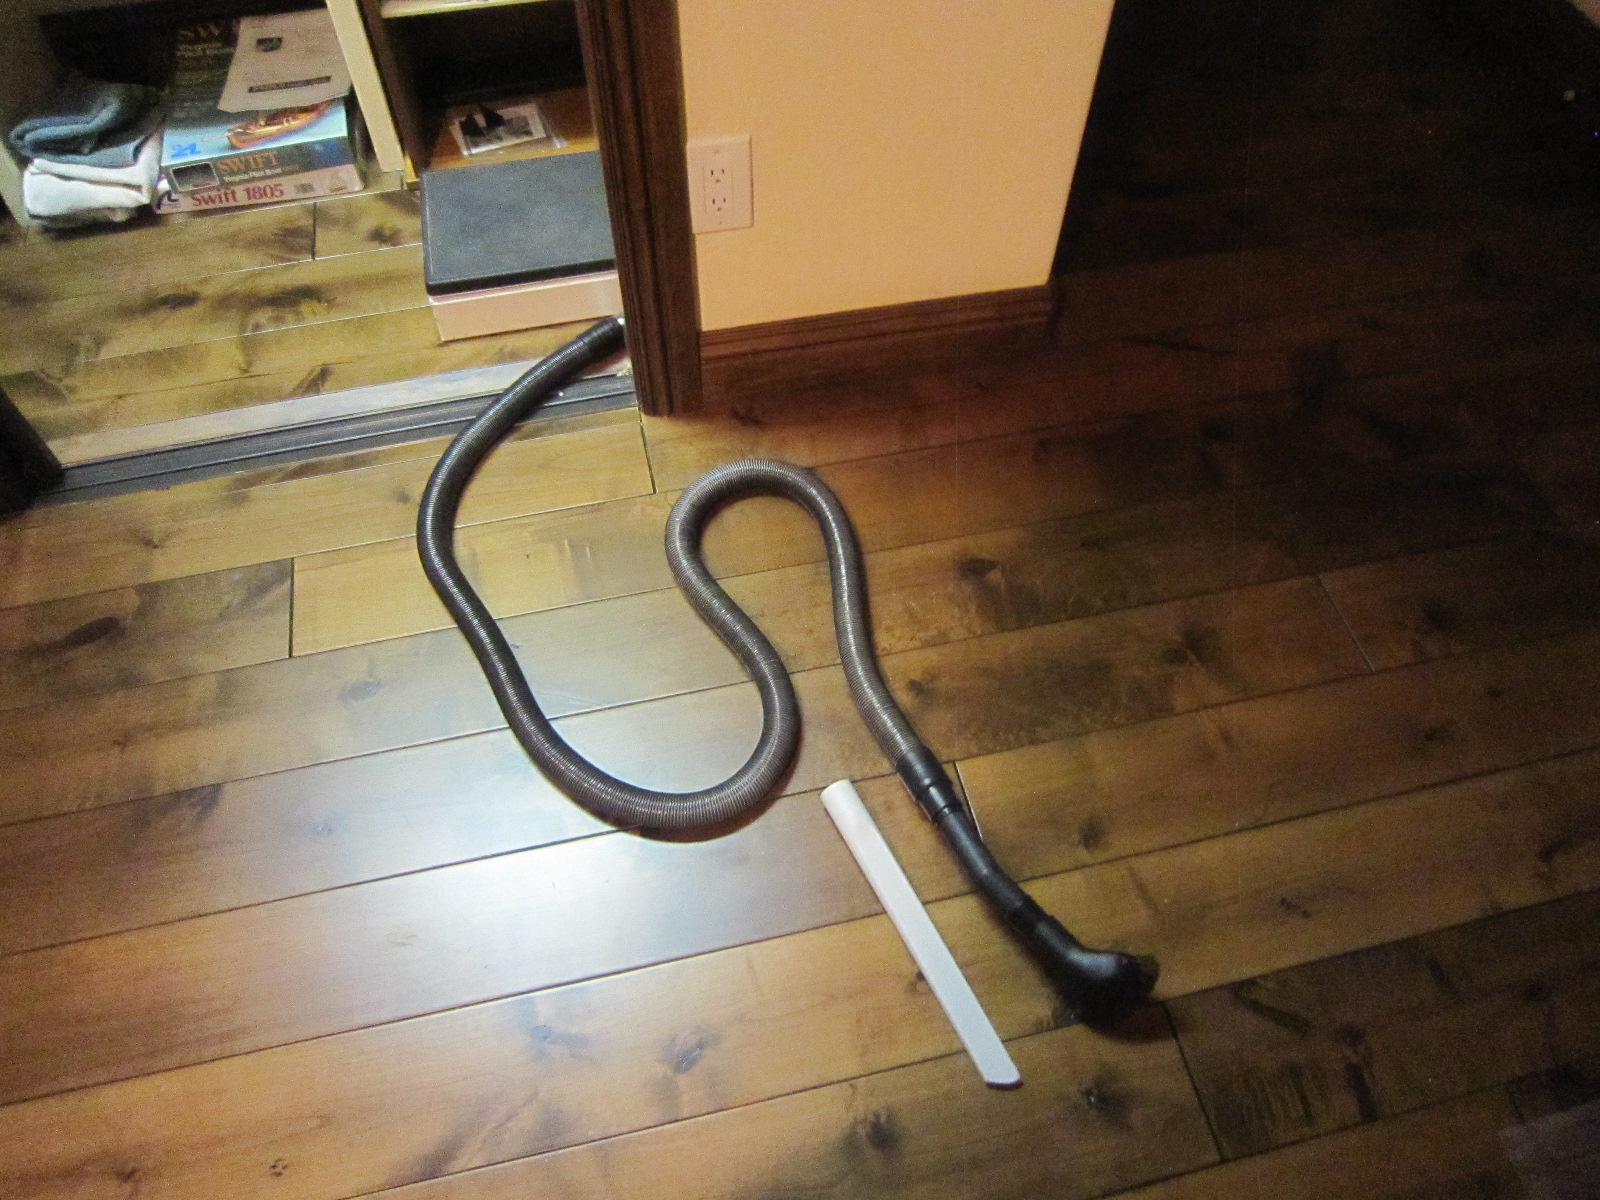
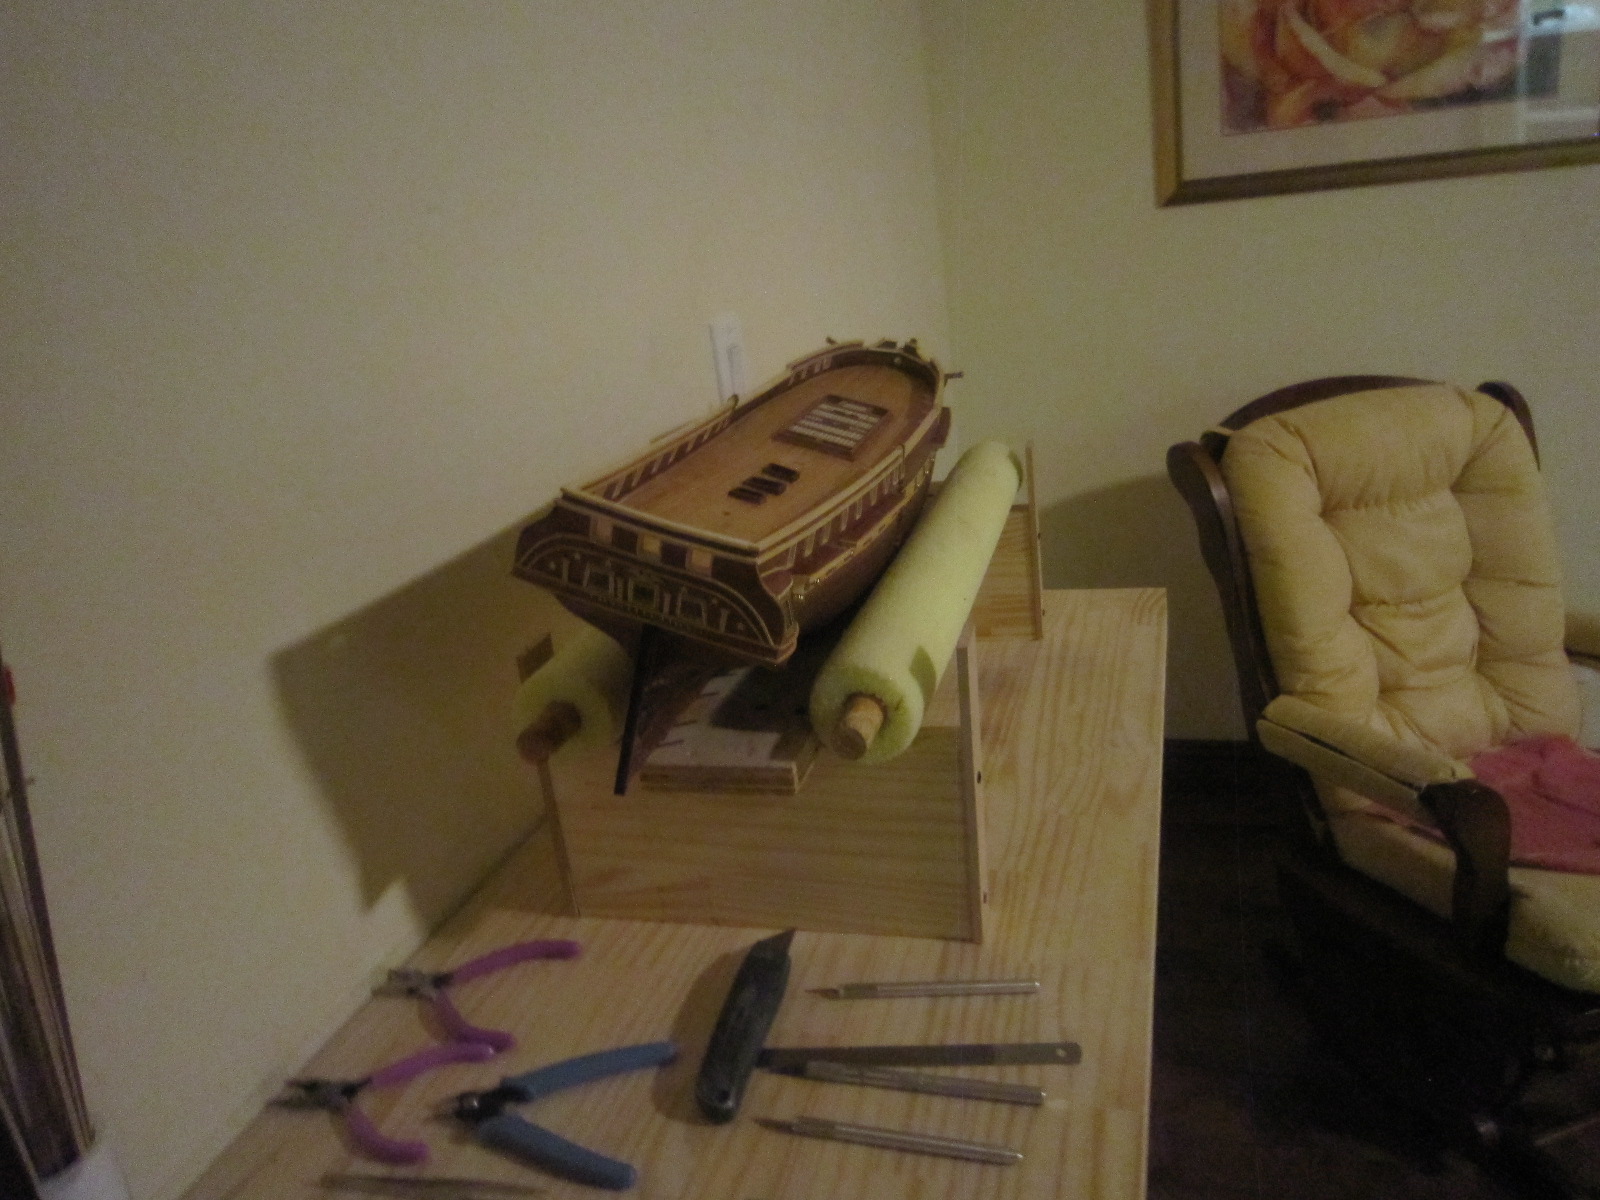
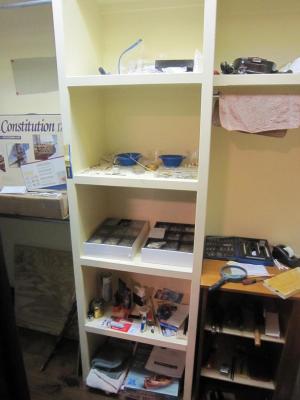
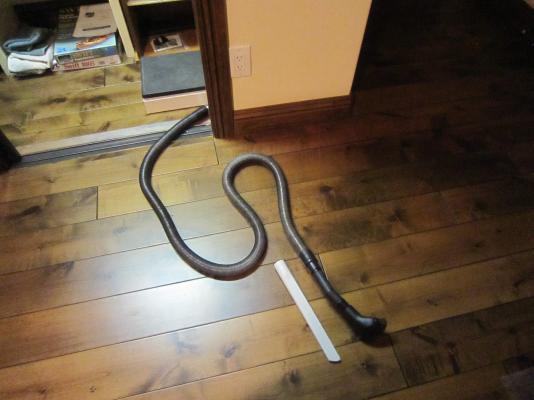
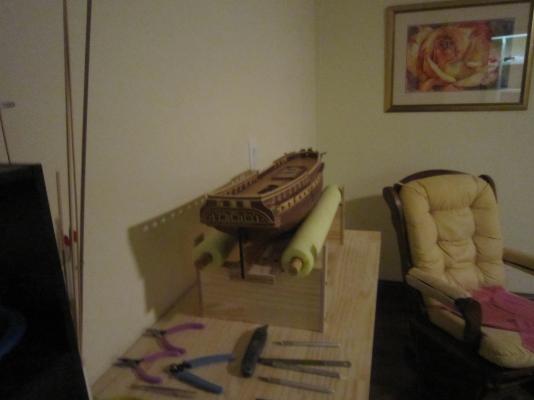
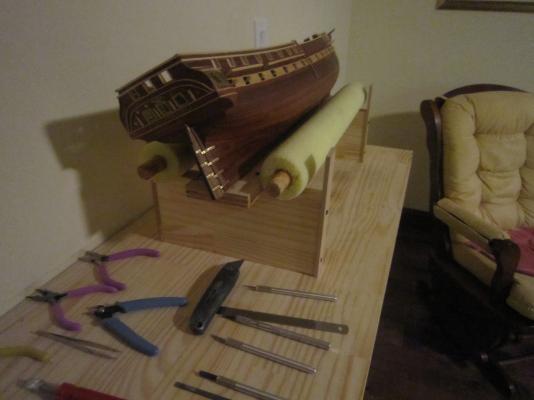
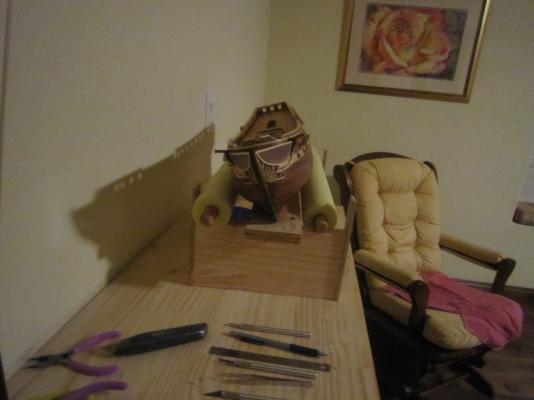
I'm almost finished with remodeling my work area. I expanded the work top by three feet. I added overhead lights and electrical plug by my bench. I took over a large closet for my quartermaster storage area. (I kicked out my grandkids stuff to another room). I bought a light retractable vacuum to make for easy cleanups and I will add a pull-out swivel since I am constantly rotating my model and I'm afraid one day I'll drop it. I made a work holding stand the let's me angle it in , upright or away from me. My wife put in a new very dark hardwood floor...and guess what? I have no trouble finding the tinyest part when I drop it.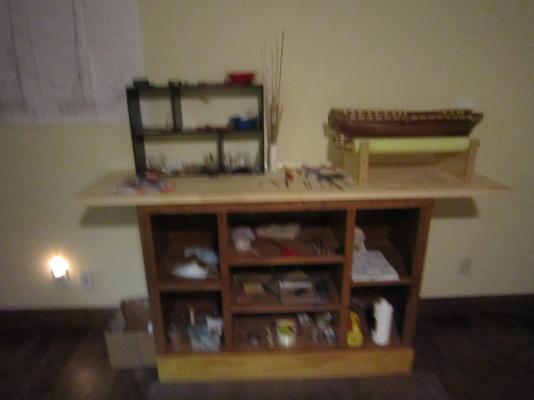


-
I went to finish making the gunport covers and discovered Constructo didn't give enough wood and hinges to finish. It'll take at least two weeks for them to ship the stuff to me....Oh well....I'll find other work in the meantime.
-
Thanks for the support! I'll keep on truckin'. I've already started the cosmetic cover up.
-
I've roughed in the whole bow area. It's not exactly what I was striving to do. I broke more sticks trying to make those bends than I can count. Now I have to jury rig some crooked bends with filler and sanding to make them perfectly curved I don't know how you folks manage such precise bends. It drives me mad....kind of like golf....I know what I want to do...I just can't make my spastic body execute it. Oh well....?.


- 1,756 replies
-
- 6
-
-
- constitution
- constructo
- (and 1 more)
-
Great work! Excellent joint work. Perfect curves!
-
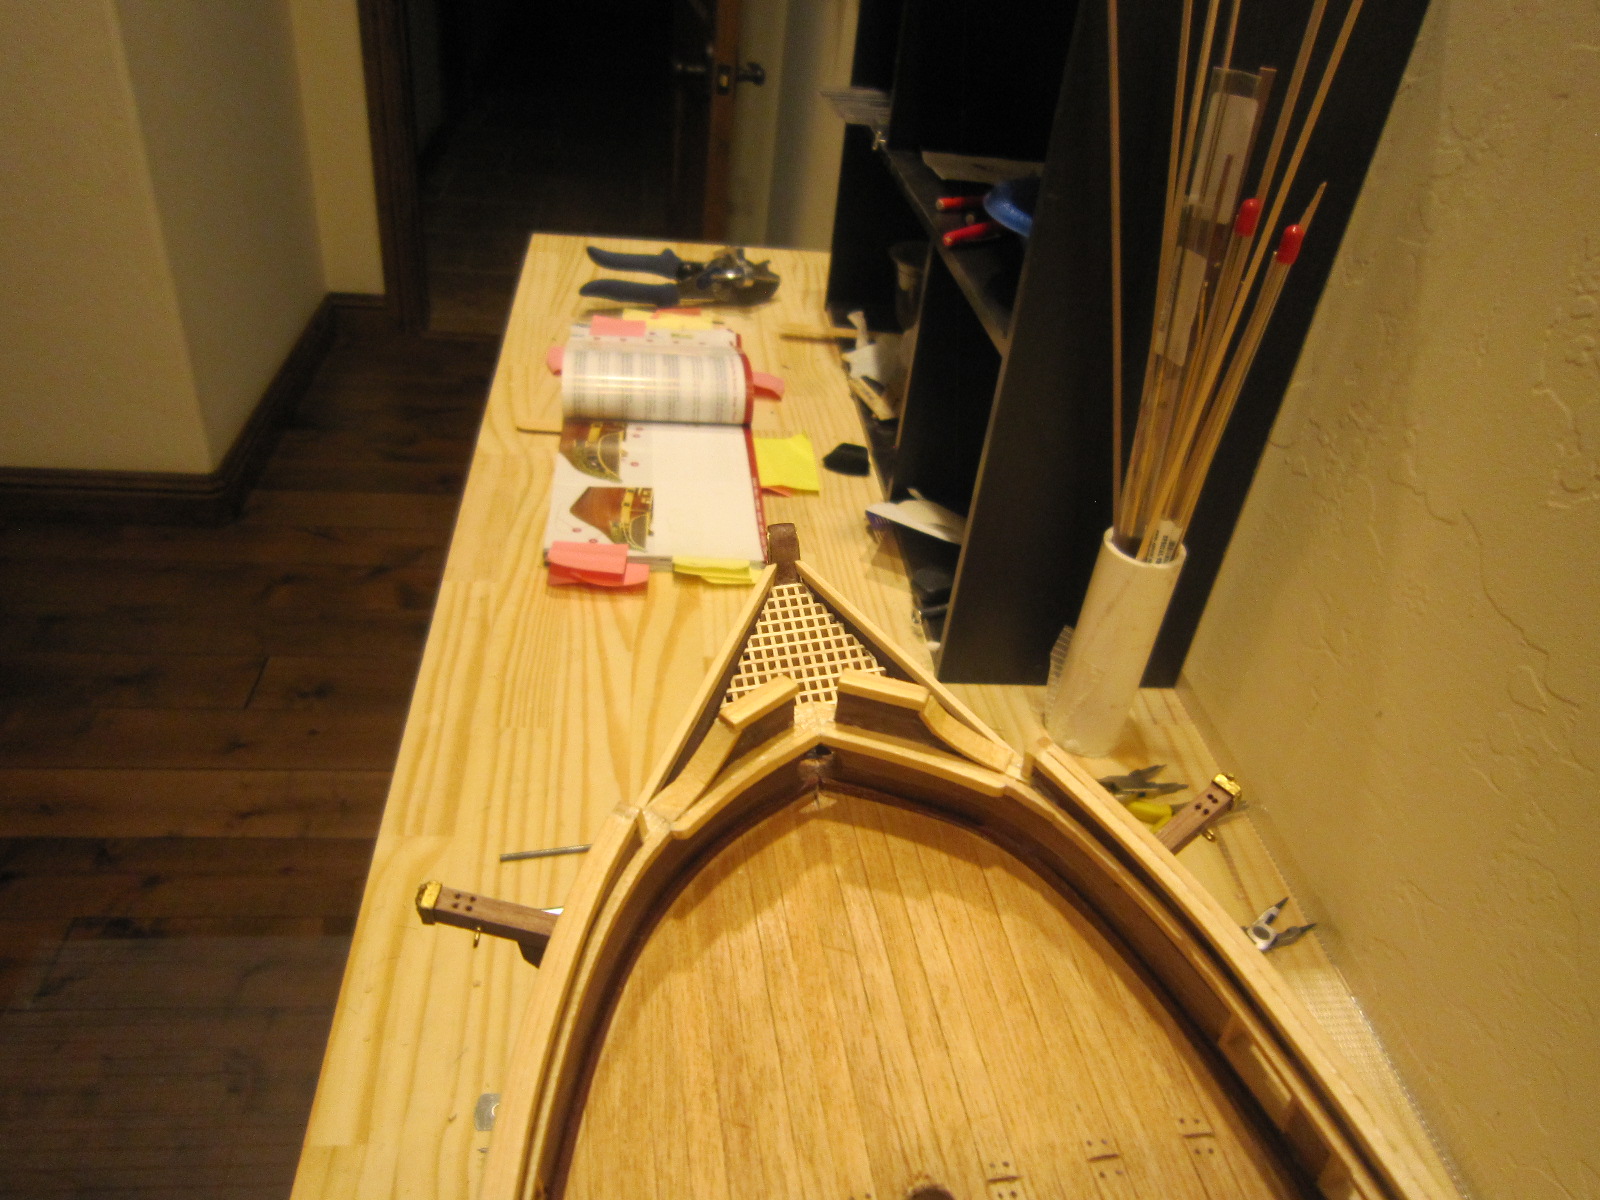
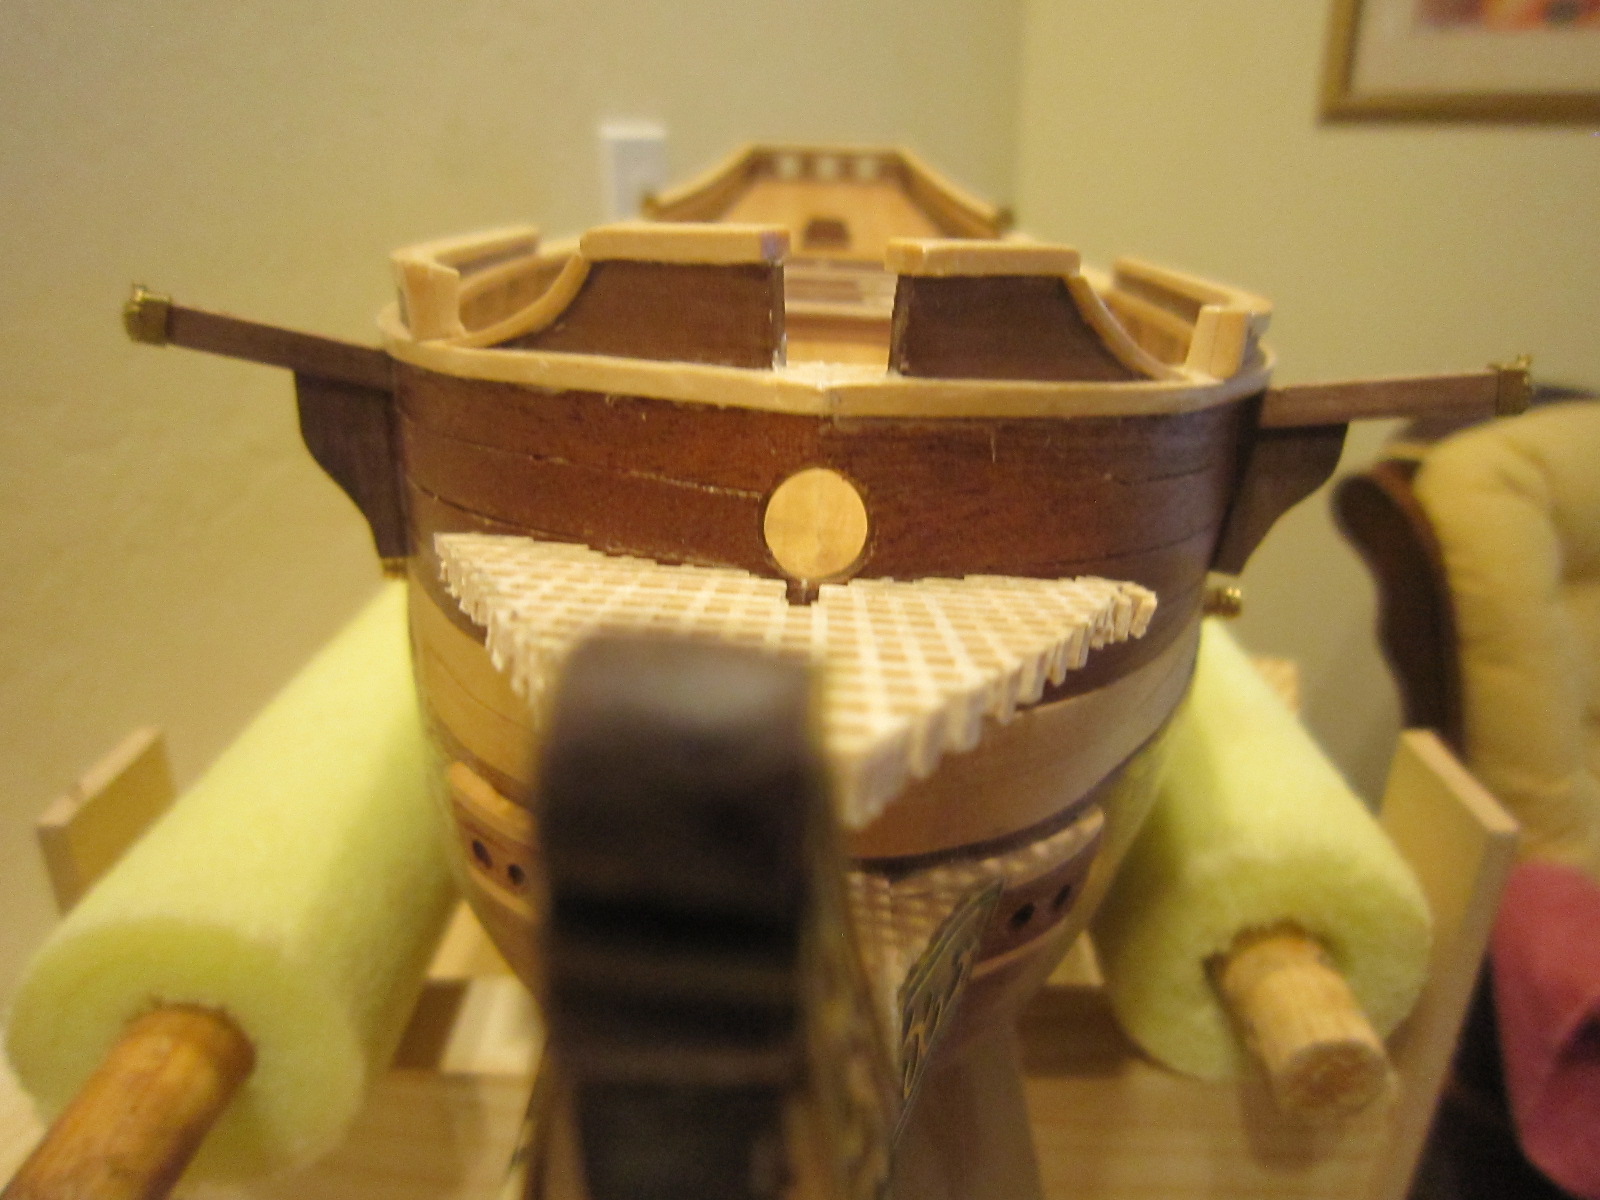
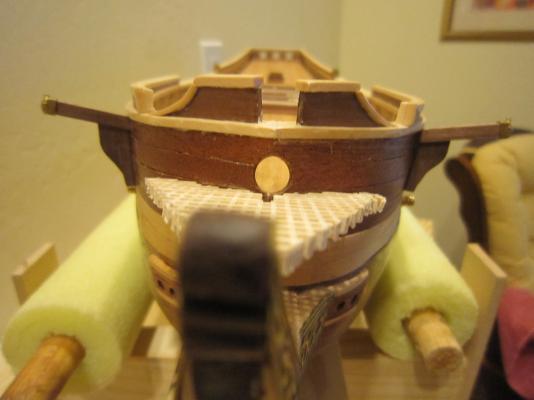
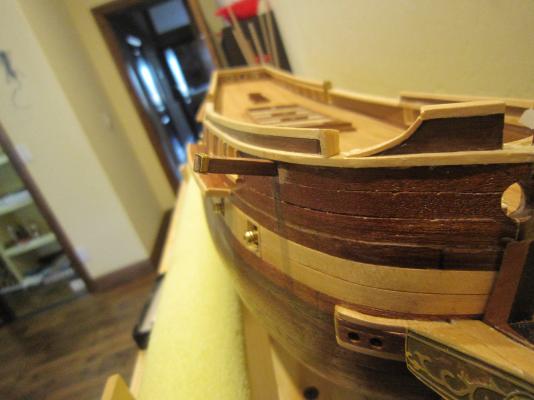
Well, since I started building my Connie, I've done a lot of wood bending, but I never ran into a more frustrating wood than 2mm x 2mm Ayous. It just won't bend without cracking. No matter how much soaking or how slow I put the bends in, the stuff keeps on splitting. I've salvaged a few pieces that will require a small amount of glue to hide the small cracks, but....what can I say? I also finished the supports for the bow grate. Constructo calls for me to just glue plain dark planks, but I trimmed them out to more look like the USS Constitution in Boston. Only a small amount of them is seem under the roundhouses, but I'm trying to make it look like the real deal.


- 1,756 replies
-
- 2
-
-
- constitution
- constructo
- (and 1 more)
-
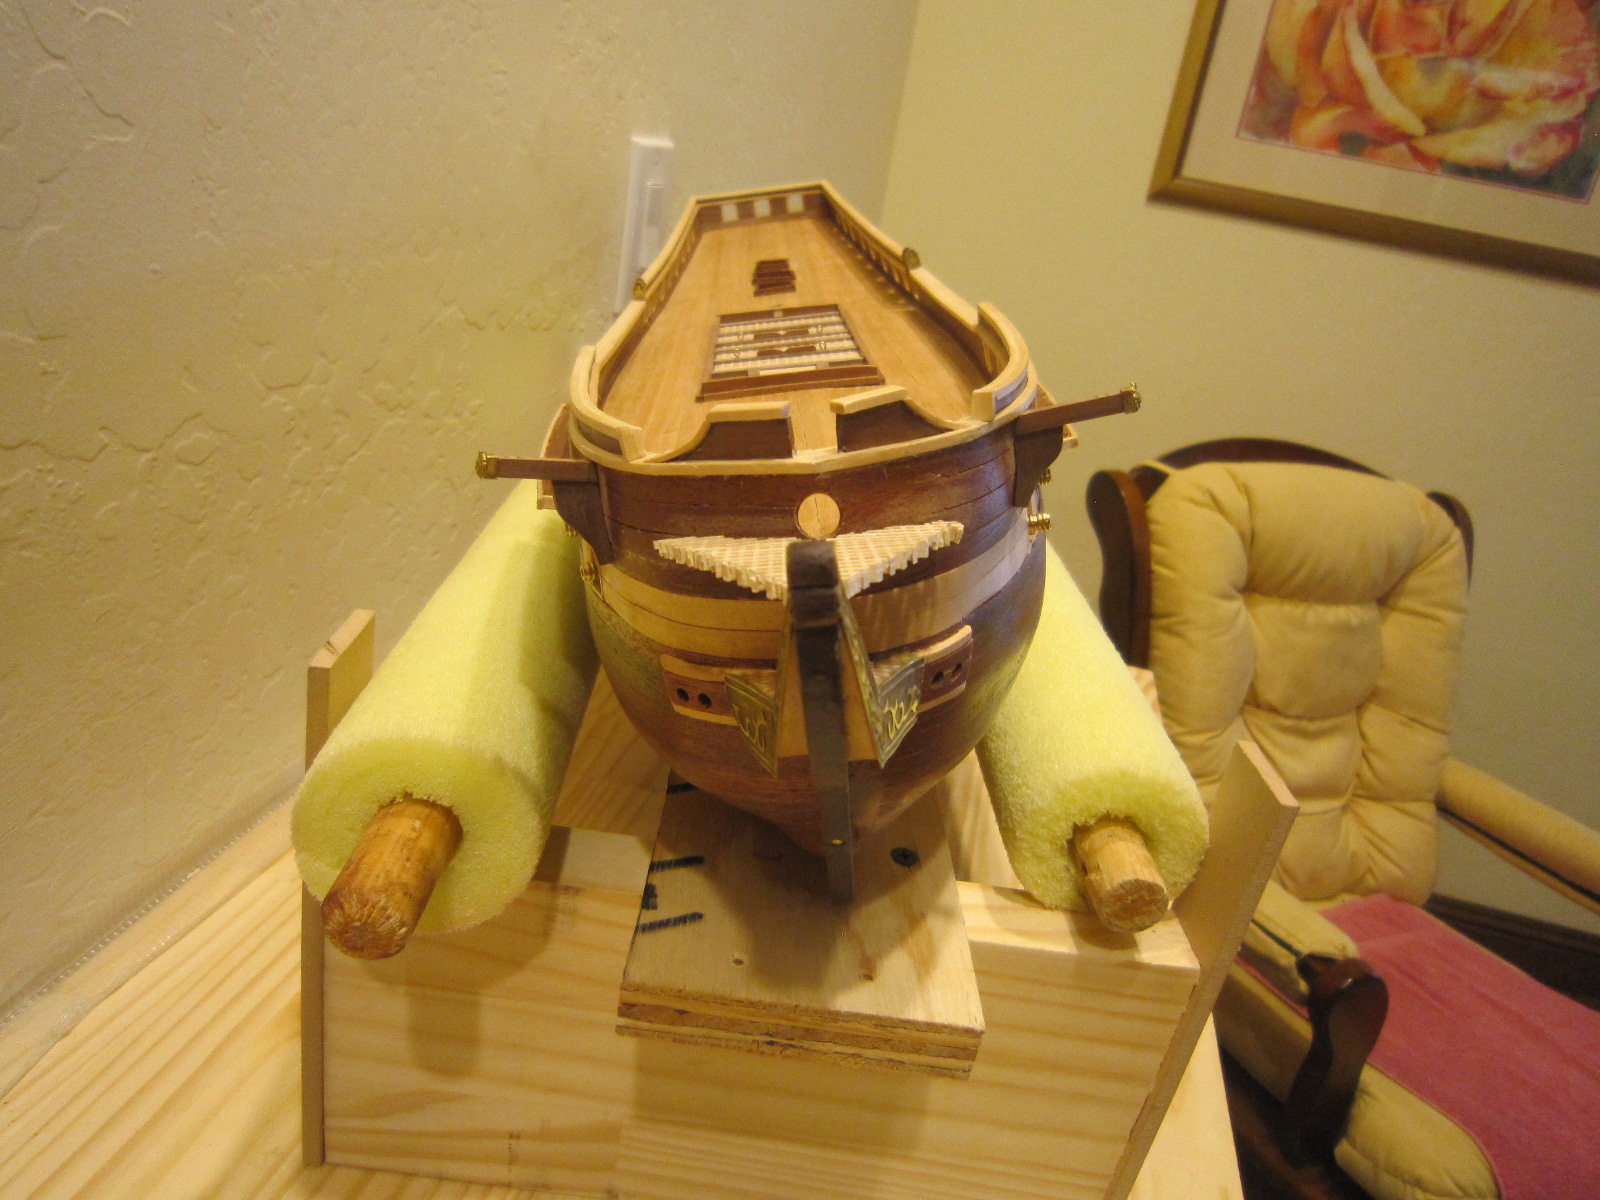
I installed the bow grate. Dam the bedspreads....full speed ahead! Don't tell my Admiral I said that.


- 1,756 replies
-
- 8
-
-
- constitution
- constructo
- (and 1 more)
-
I'm taking a break from gun port lids and working to finish the bow. Bending the 2mm x 2mm Ayous is a real chore. It requires four sharply bent trim pieces for the roundhouses.
- 1,756 replies
-
- 1
-
-
- constitution
- constructo
- (and 1 more)
-
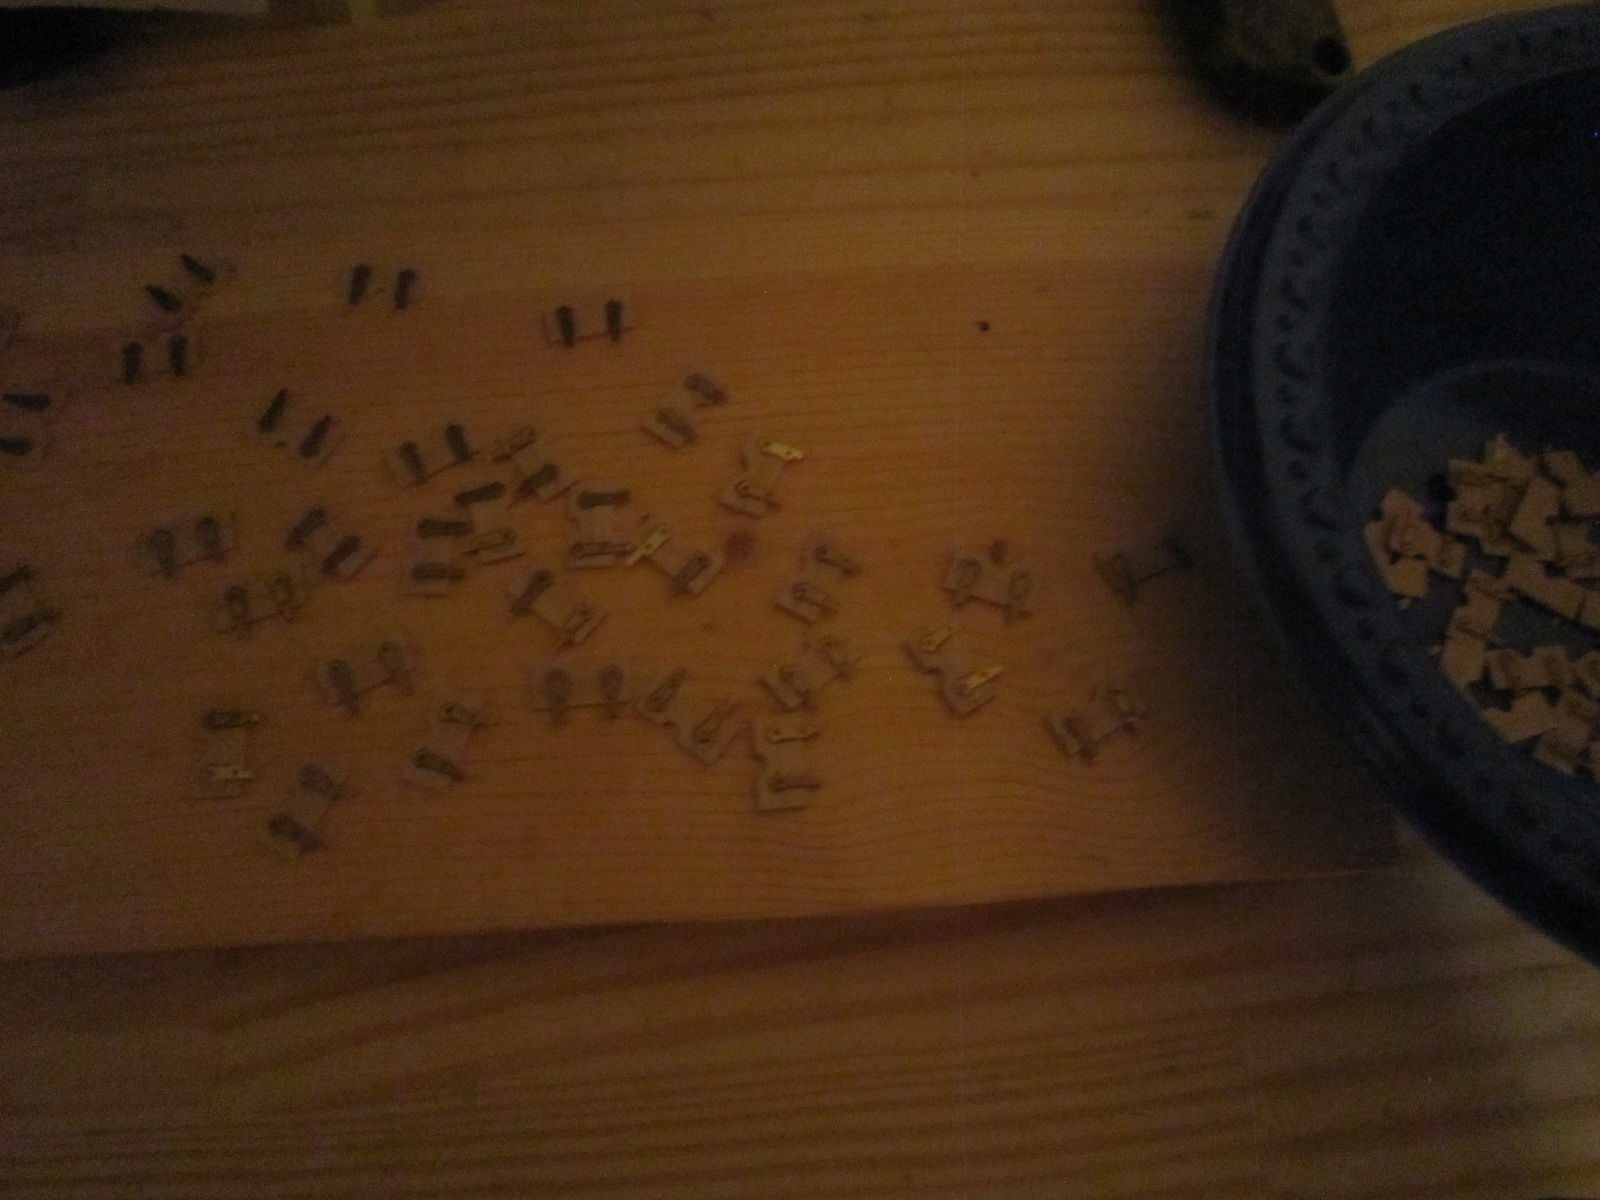
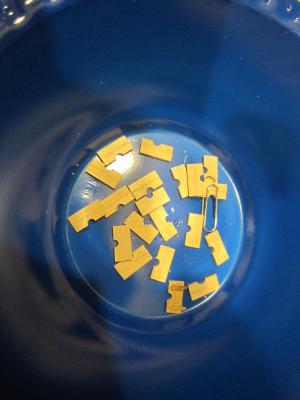
I'll get 5 minute epoxy. 10 seconds had me rushing too much. Since I had to rush I finished all the hinges. Constructo gave not one extra hinge! They did send the 2mm x 2mm Ayous that came today. That stuff does not want to bend! I finally finessed one piece almost to shape. I'll work on it some more tomorrow. I thought I could be more precise with the placement of the hinges, but ? They're close.

-
Gluing the hinges with CA is no fun. I have about 10 seconds to get them in the right spot. This is not my strong suit. I'll be lucky to get half them perfect. The other half I will put hinge side down.
- 1,756 replies
-
- 4
-
-
- constitution
- constructo
- (and 1 more)
-
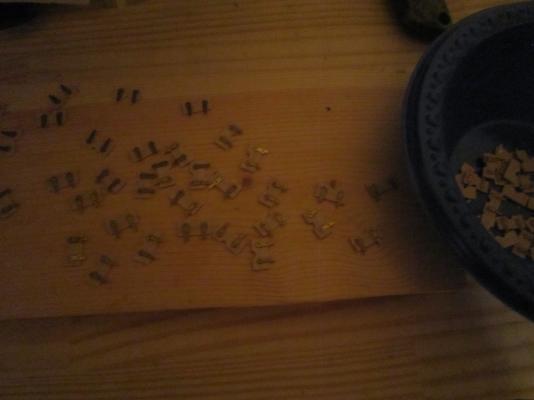
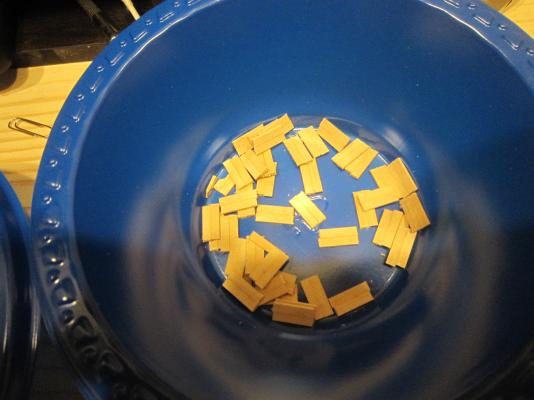
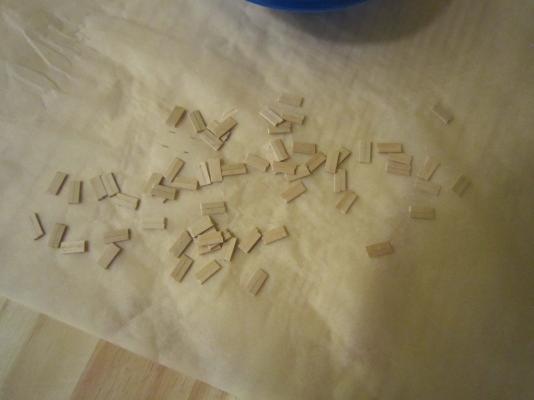
I set up a production line to make the gunport covers. I first precision sanded them square and to size. I made a guage to check the size and mark the center for the gunport which I fled after making a tiny cut with a razor knife. Last, I cleaned off any surface glue left over from gluing the two planks together. I'm not even half way with this part of the process. After this, I have to glue on two hinges on each cover. This is difficult work for me....I can only imagine have much work it would be for the Victory!


- 1,756 replies
-
- 6
-
-
- constitution
- constructo
- (and 1 more)
-
After much consideration my first build will be:
HIPEXEC replied to rdowsett's topic in Wood ship model kits
Good luck and we'll be watching your build with great interest. -
Sam...you were right...it would have been better to glue whole length planks and then cut them to size. Oh well it's done. I finished glued the pre-cut pieces and next I'll precision sand them square and to size. I also made a pattern for the half round cuts I have to make in each lid. Enough for today...I have to give my fat fingers a break.


- 1,756 replies
-
- 3
-
-
- constitution
- constructo
- (and 1 more)
-
Oh, I almost forgot...more kit bashing...Constructo gave me the exact number of hinges to complete the model and not one hinge more!
-
Good idea, Sam, except I cut up all the small pieces already. Gluing them is not a hard job. gluing on the hinges is tough. I like your template idea.
-
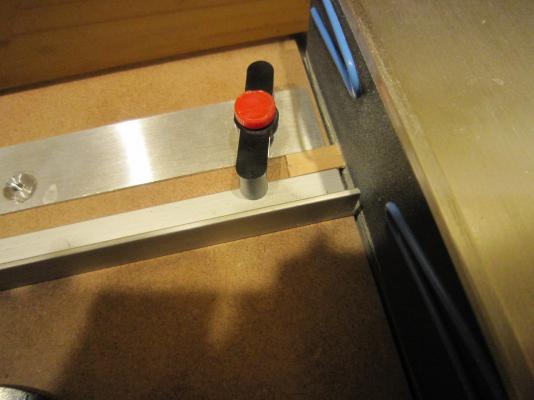
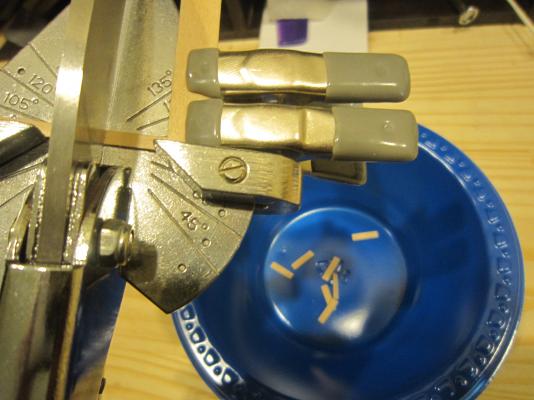
I put a sturdy stop on my plank cutter at a slightly larger dimension need for the 120 wood pieces need for the gunport covers. I will then glue two of them together with PVA and when dry, precision sand them all to the same dimension. That's the easy [part. Hinges are next.
- 1,756 replies
-
- 2
-
-
- constitution
- constructo
- (and 1 more)
-
I'm still trying to figure out how to get standardized results with so many pieces. The wood won't be a problem, but placing those tiny hinges exactly in the same place on 60 hatches will be my challenge.
-
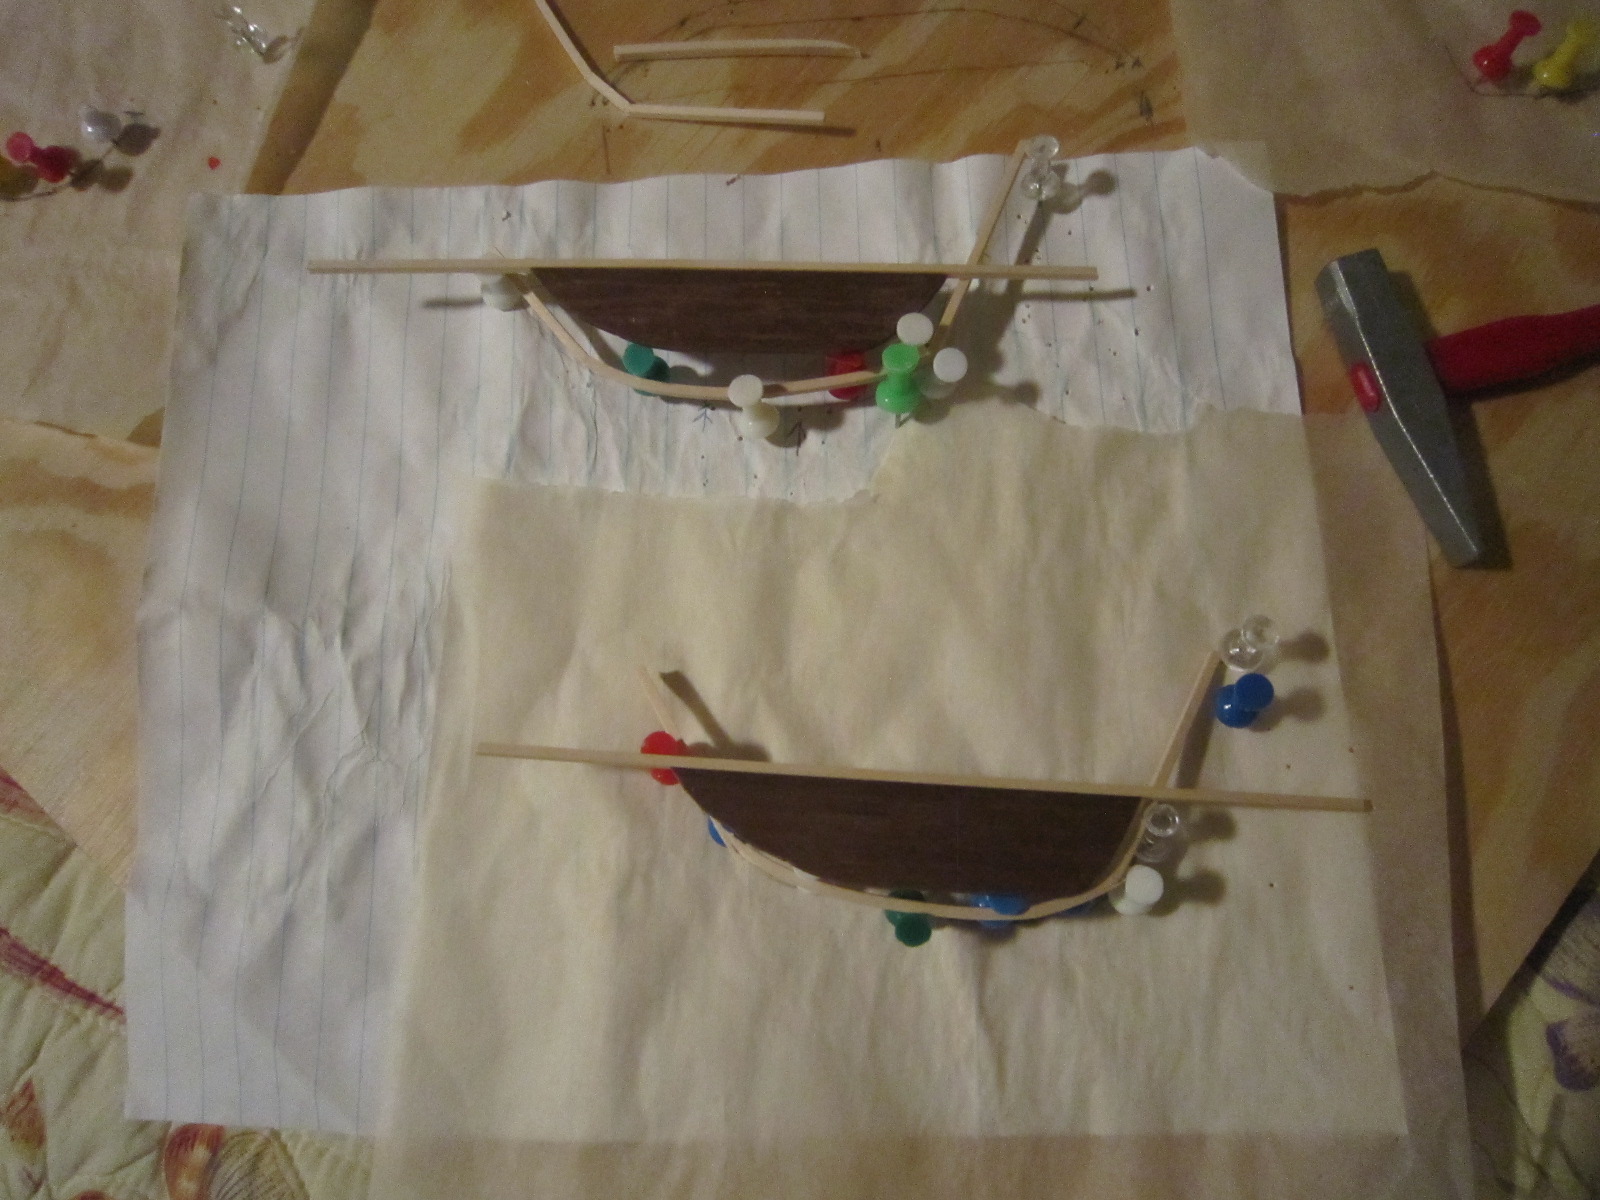
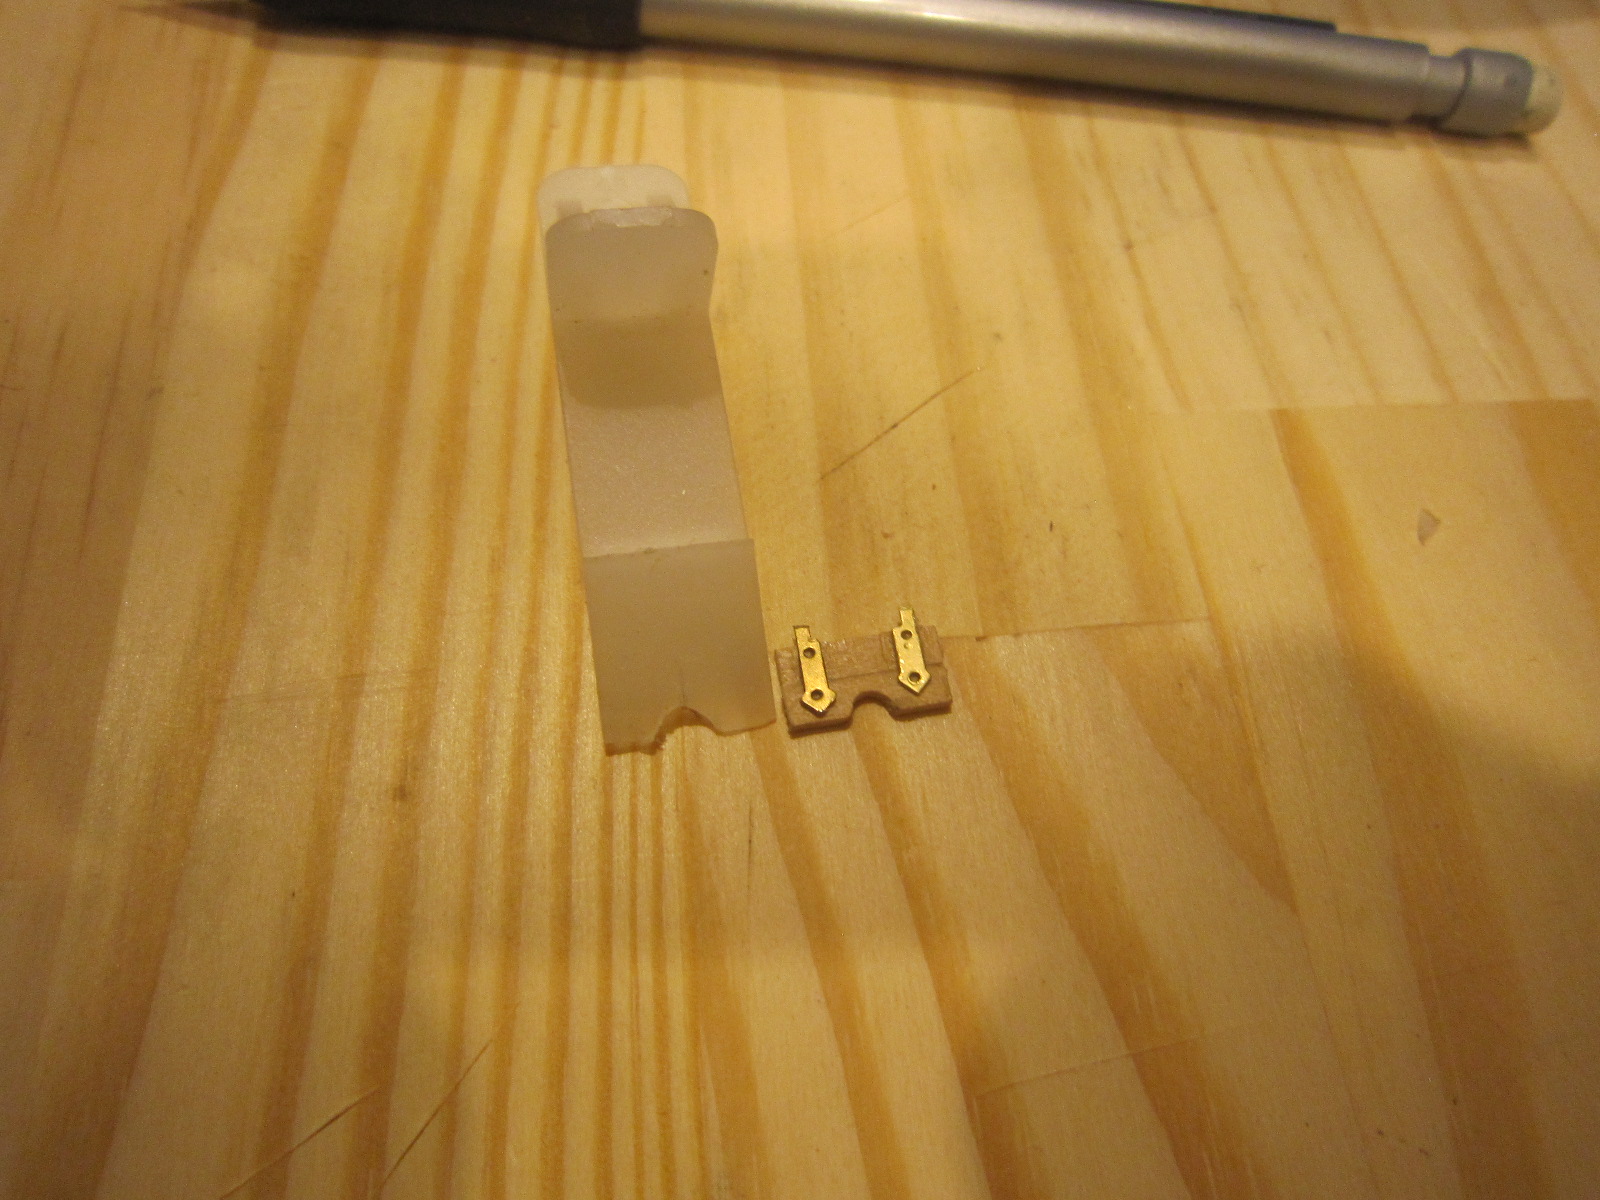
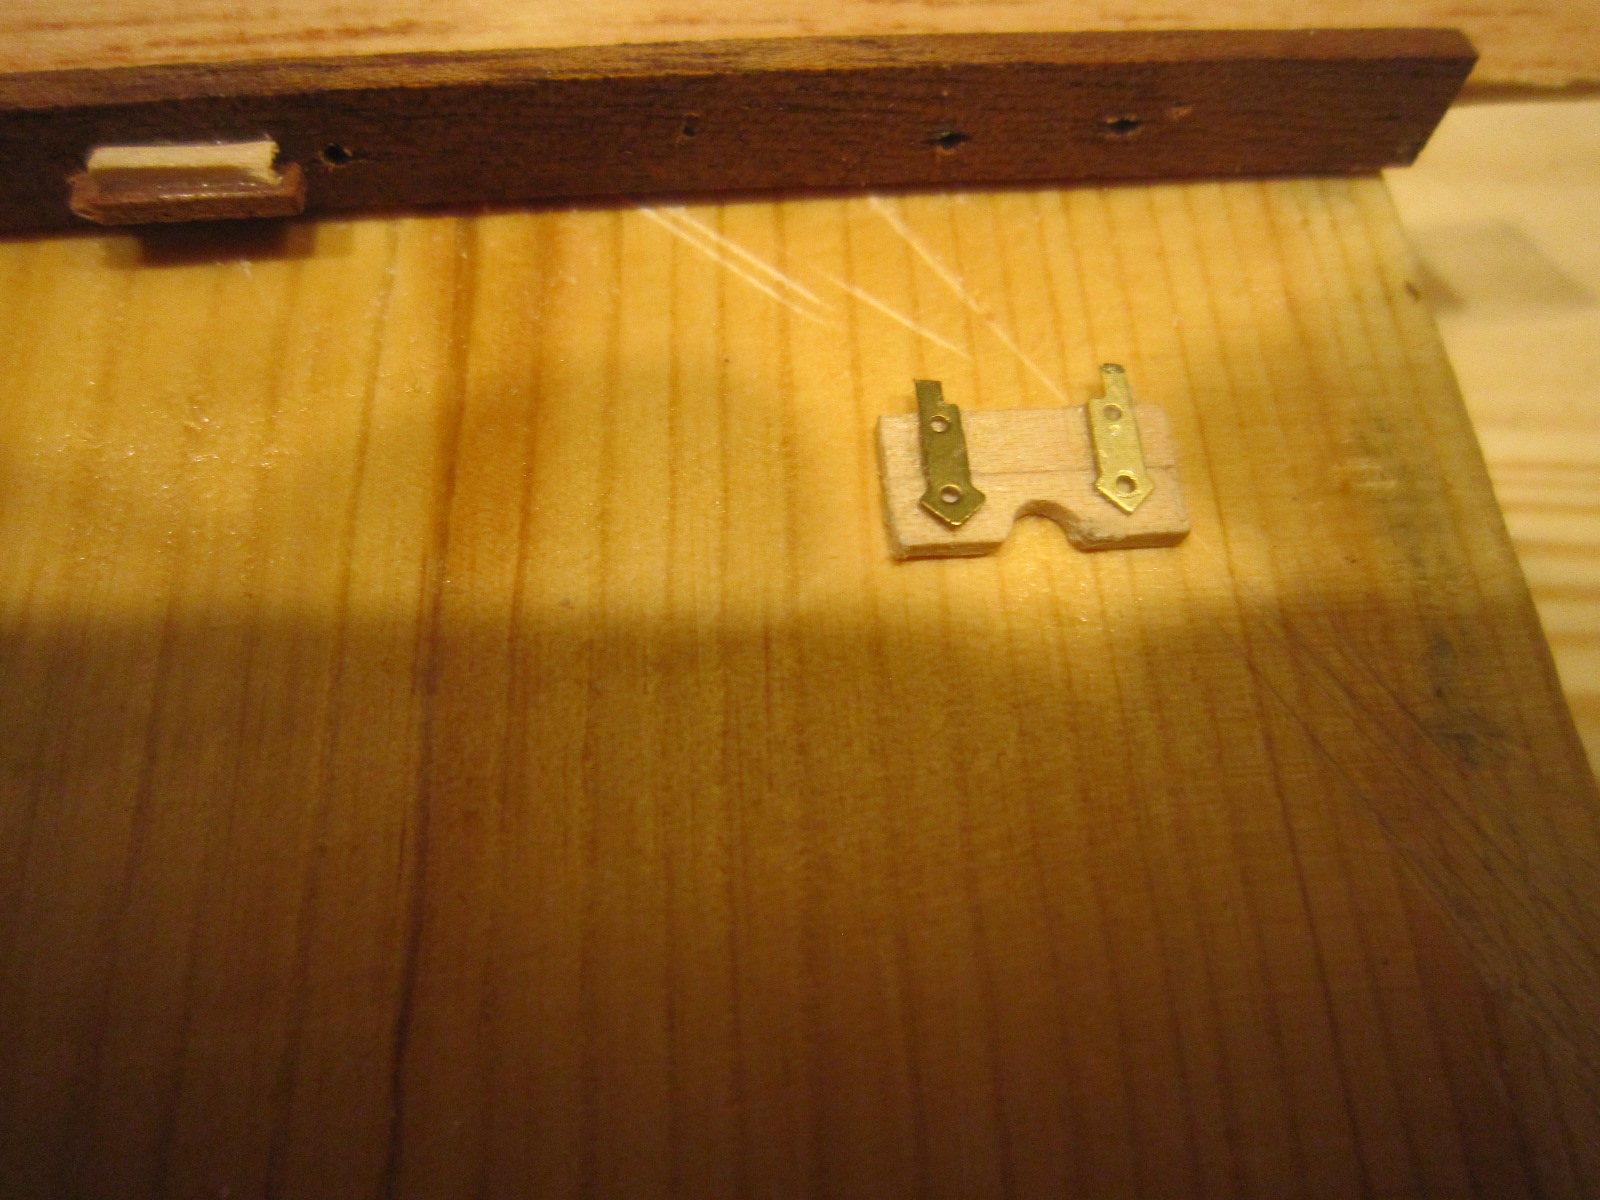
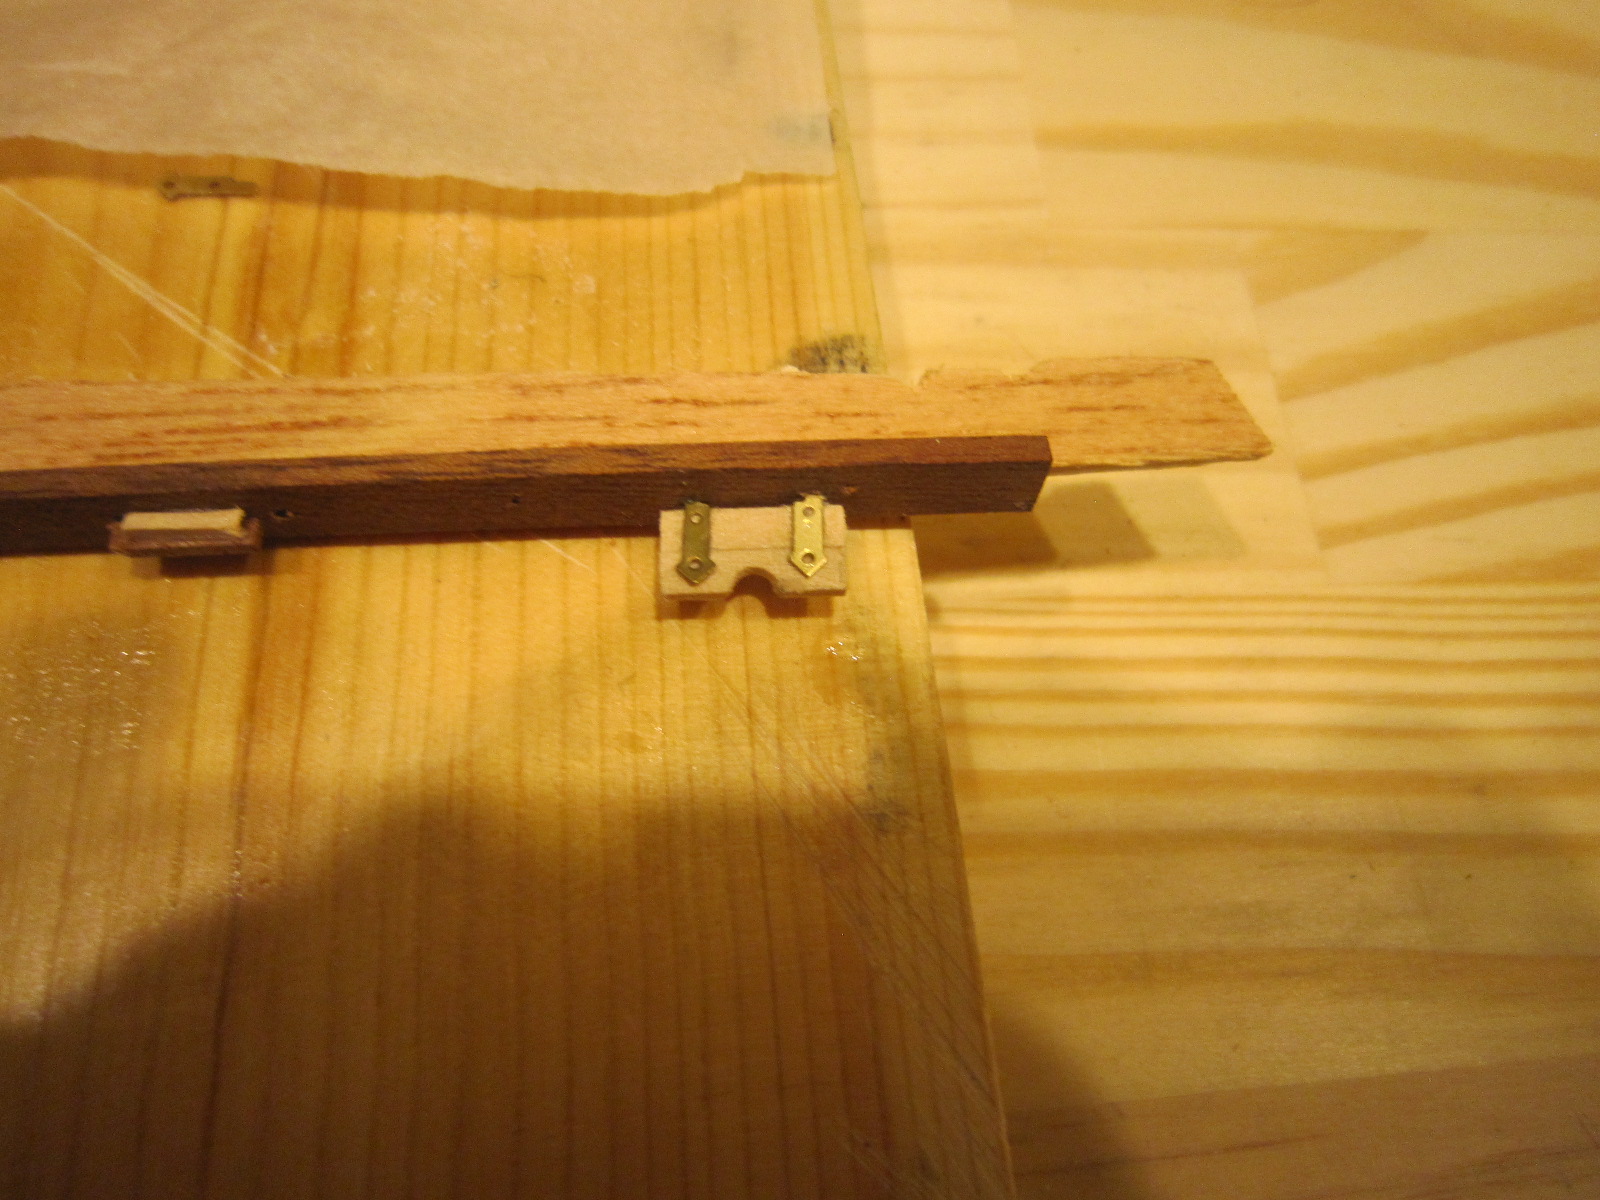
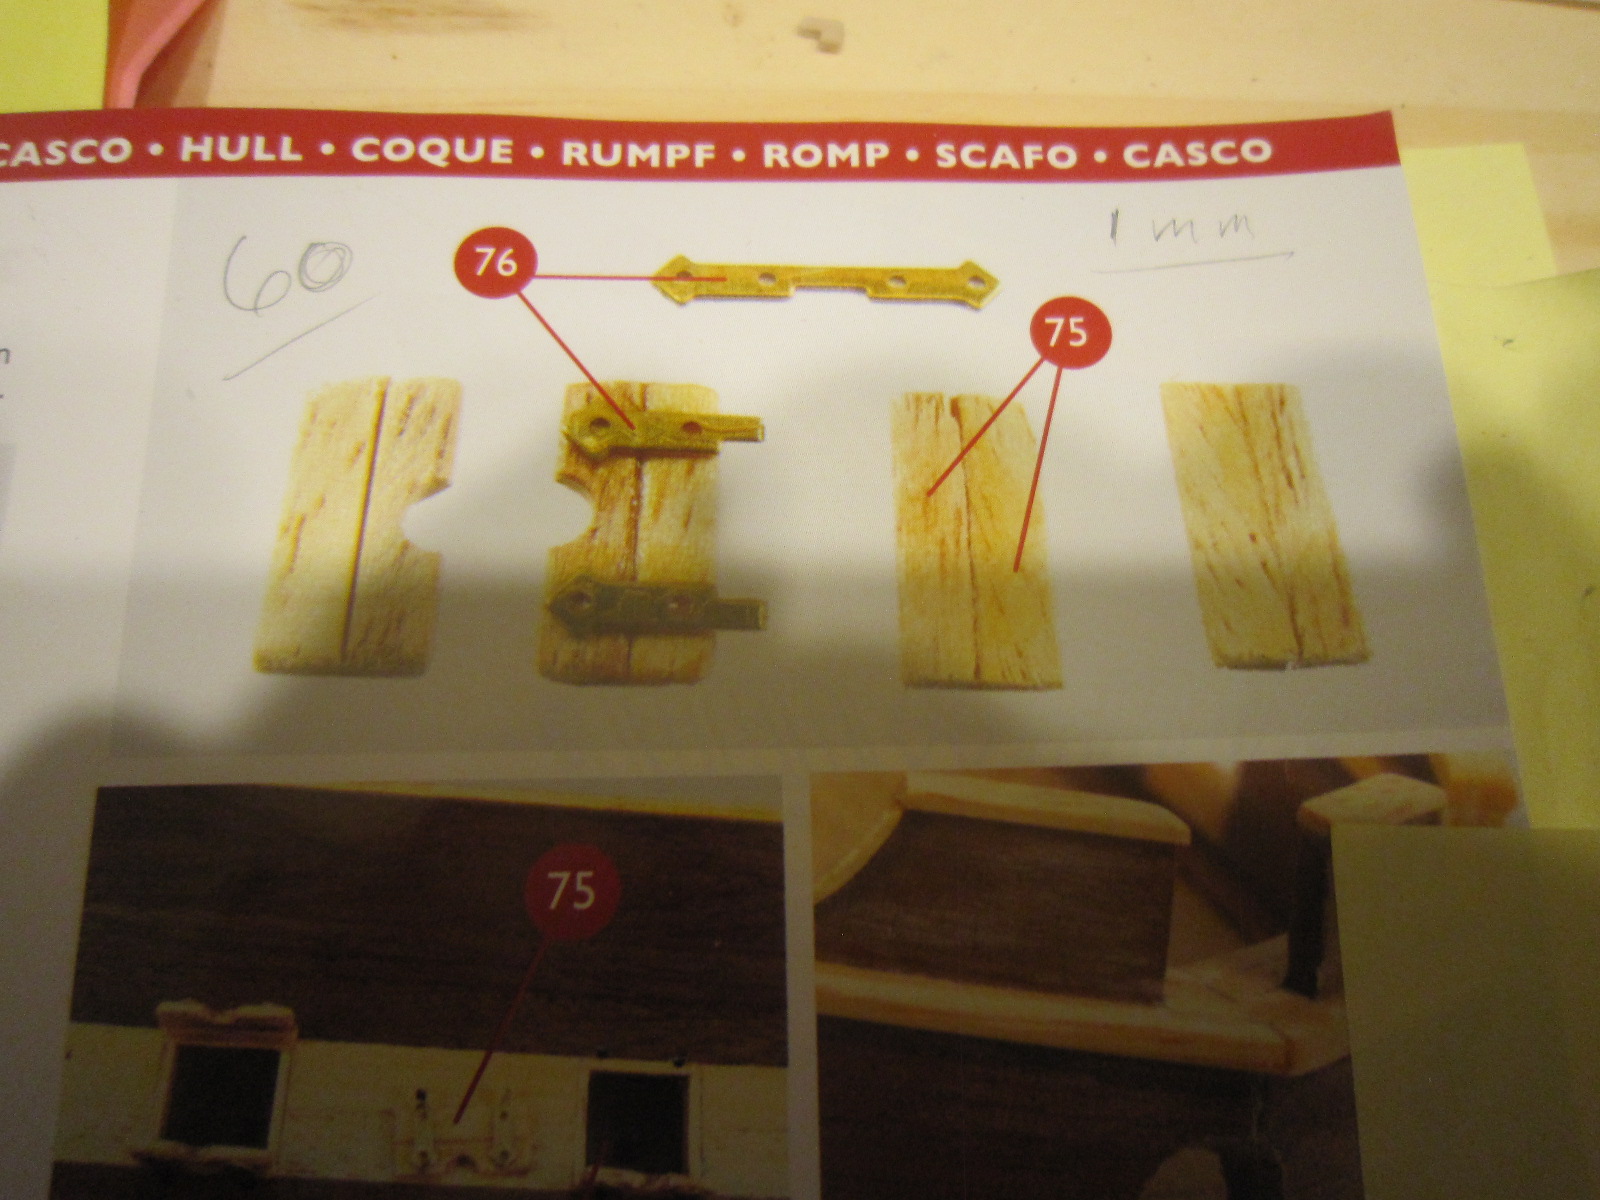
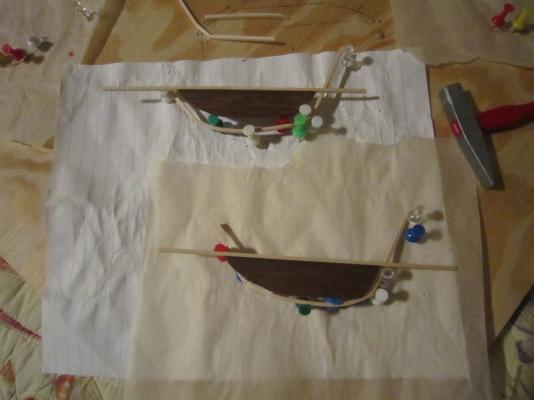
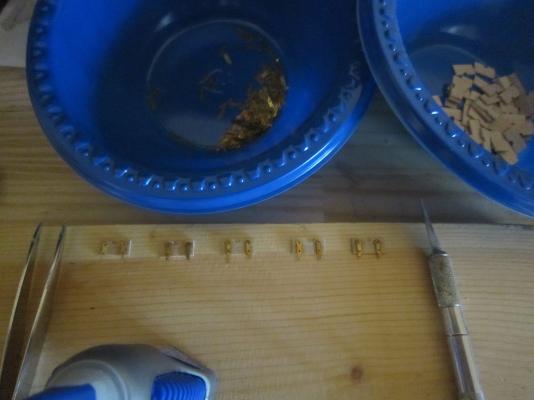
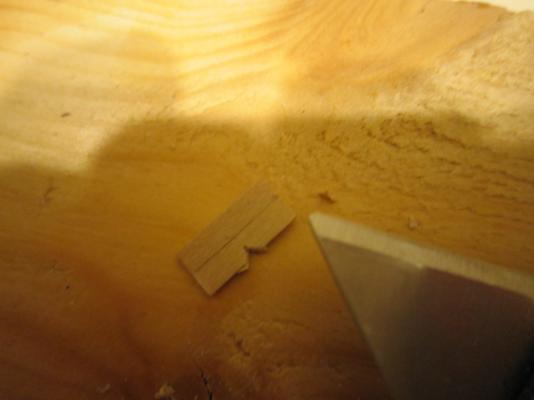
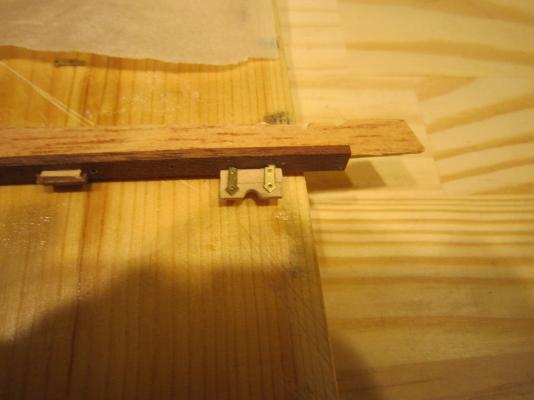
I made a proof of concept gunport door. The concept seems to work just fine. I used regular PVA glue to join the two wooden pieces and then CA glue to attach the hinges. I drilled two 1mm holes in a piece of Sapele hull material and them made a small horizontal slit with a pointy razor knife to align with the flat hinge. It pinned the door to the hull very tightly. When it will be glued it will be very robust. Now I have to figure out an assembly line of jigs so the wood is all the same size and the hinges are cut in equal halves and the hinges get glued onto the wood in the exact same spot over and over all lined up. I have no idea how to do all that, but I'm thinking real hard. Any ideas?

- 1,756 replies
-
- 3
-
-
- constitution
- constructo
- (and 1 more)
-
Thanks, Augie. I'm in the process of making one up as a experiment to see how it all goes together and even mounted. Then I'll start the factory. Thanks for the advise.
-
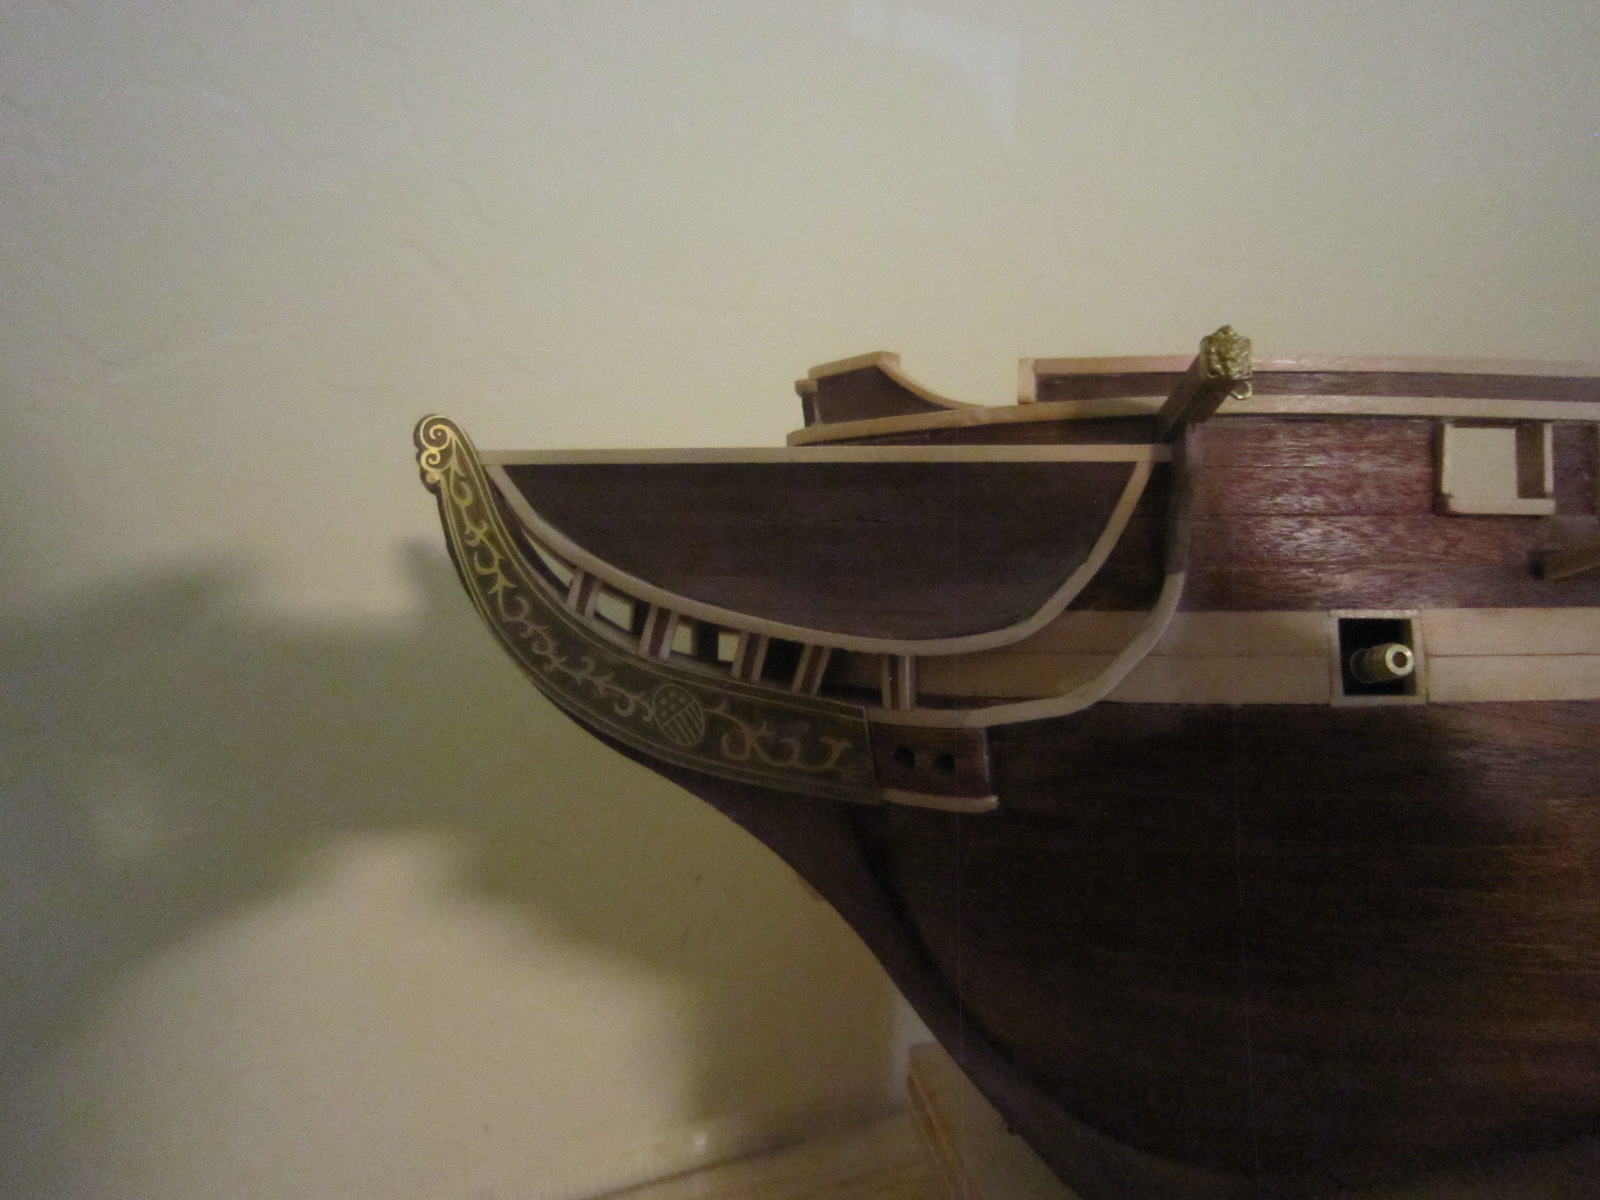
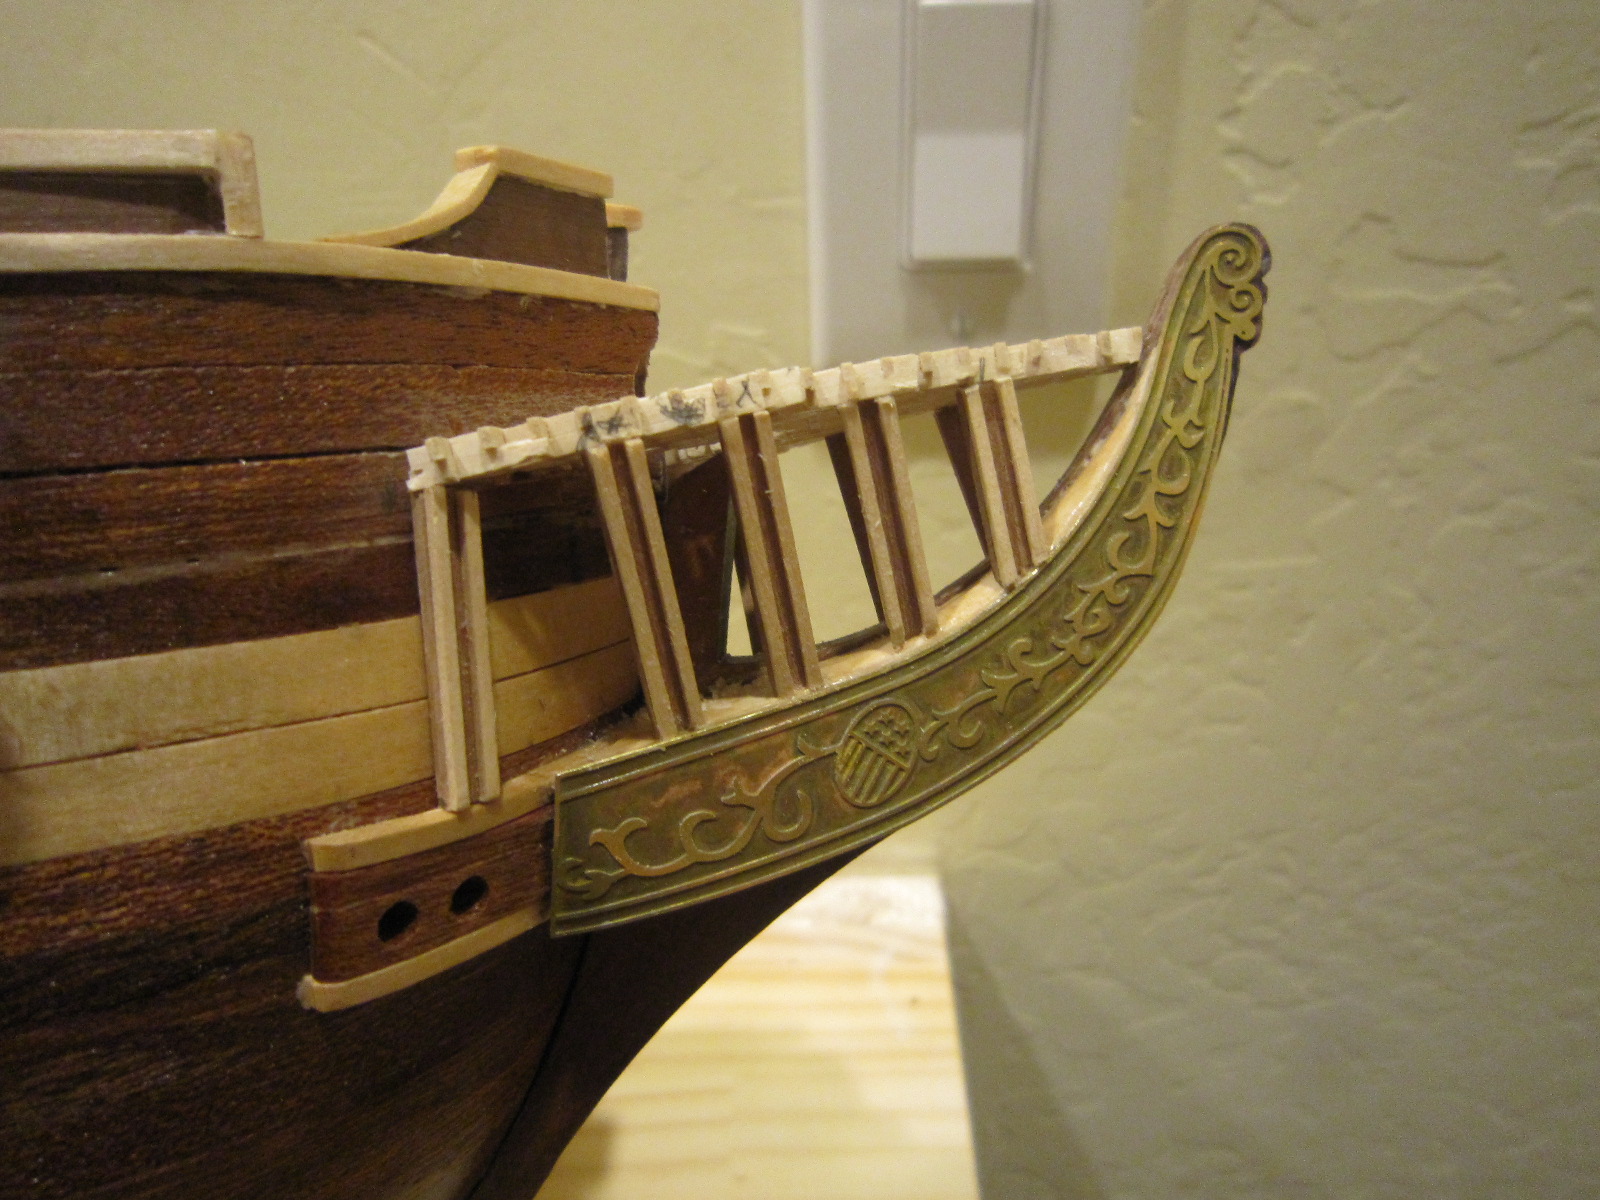
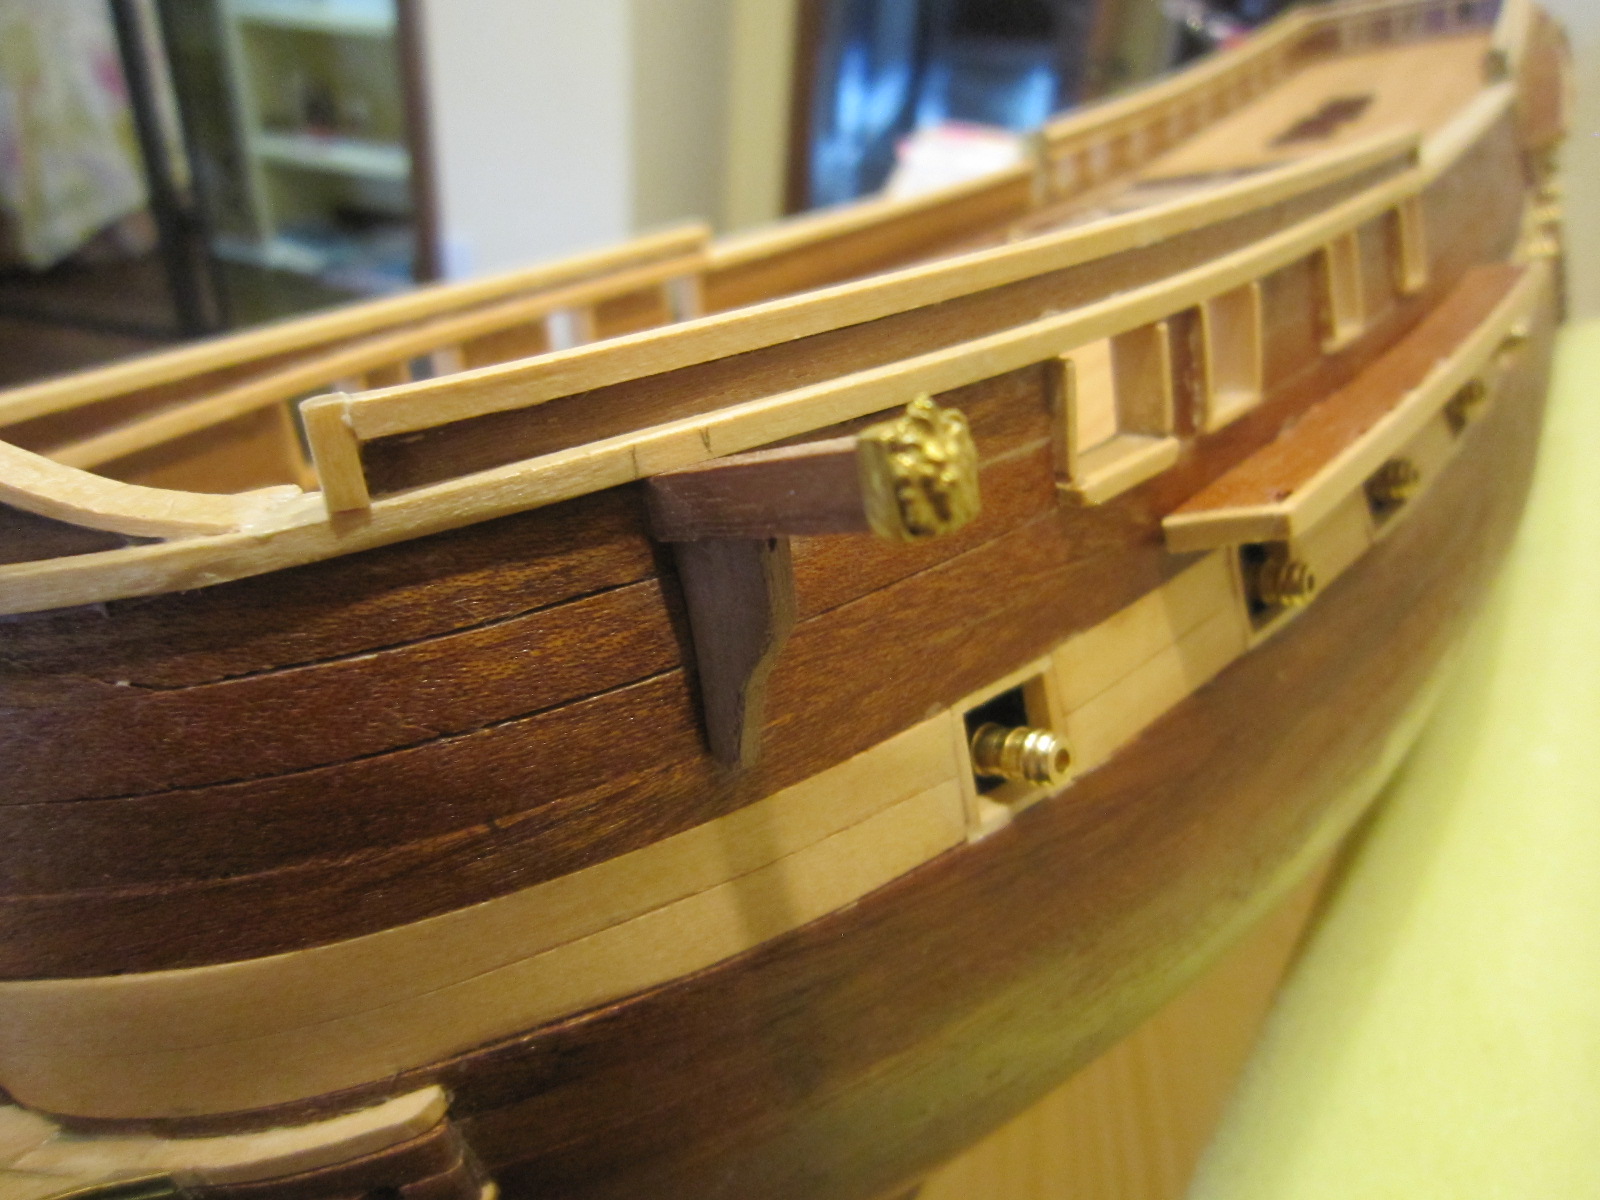
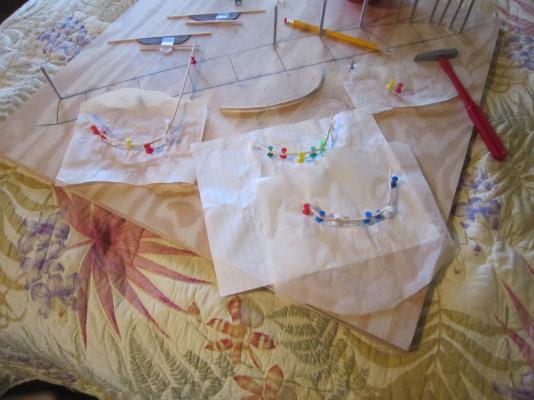
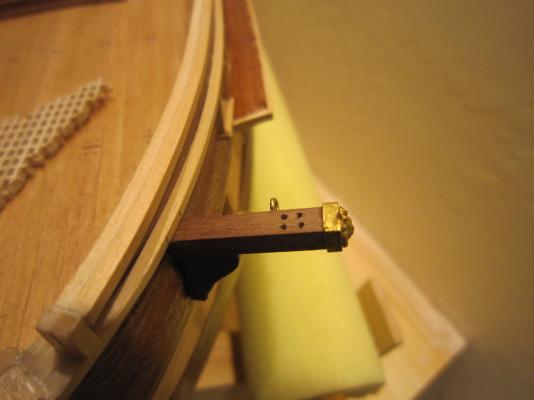
Another view of the bow davits. I'm going to start the mass production of the lower gunport covers. I've never done that before, so any tips and tricks you all may have will definitely help.

- 1,756 replies
-
- 3
-
-
- constitution
- constructo
- (and 1 more)
-
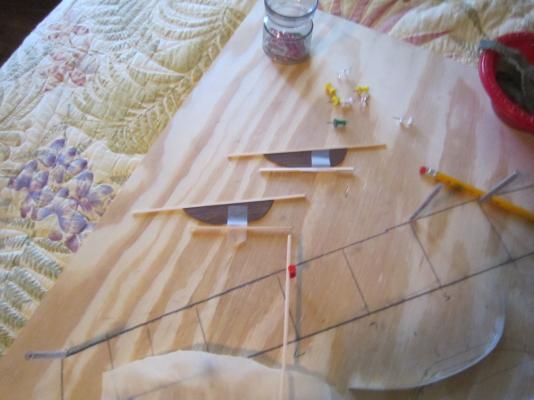
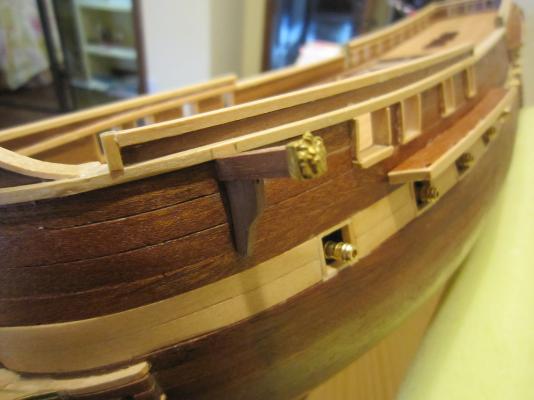
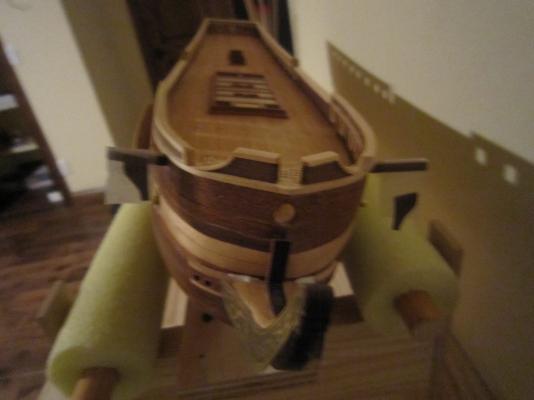
Bow davits are now glued on with their lion's head adornments. The davits been pinned as well glued. Now when the 2mm x 2mm Ayous trim shows up, I can finish the bow area. The heads were painted gold after epoxy glued.
- 1,756 replies
-
- 4
-
-
- constitution
- constructo
- (and 1 more)
-
Well, after a good nights sleep and looking at Sherry's log, I'm attempting to finish those davits or catheads. My fat fingers and tiny parts do not help.
- 1,756 replies
-
- 4
-
-
- constitution
- constructo
- (and 1 more)
-
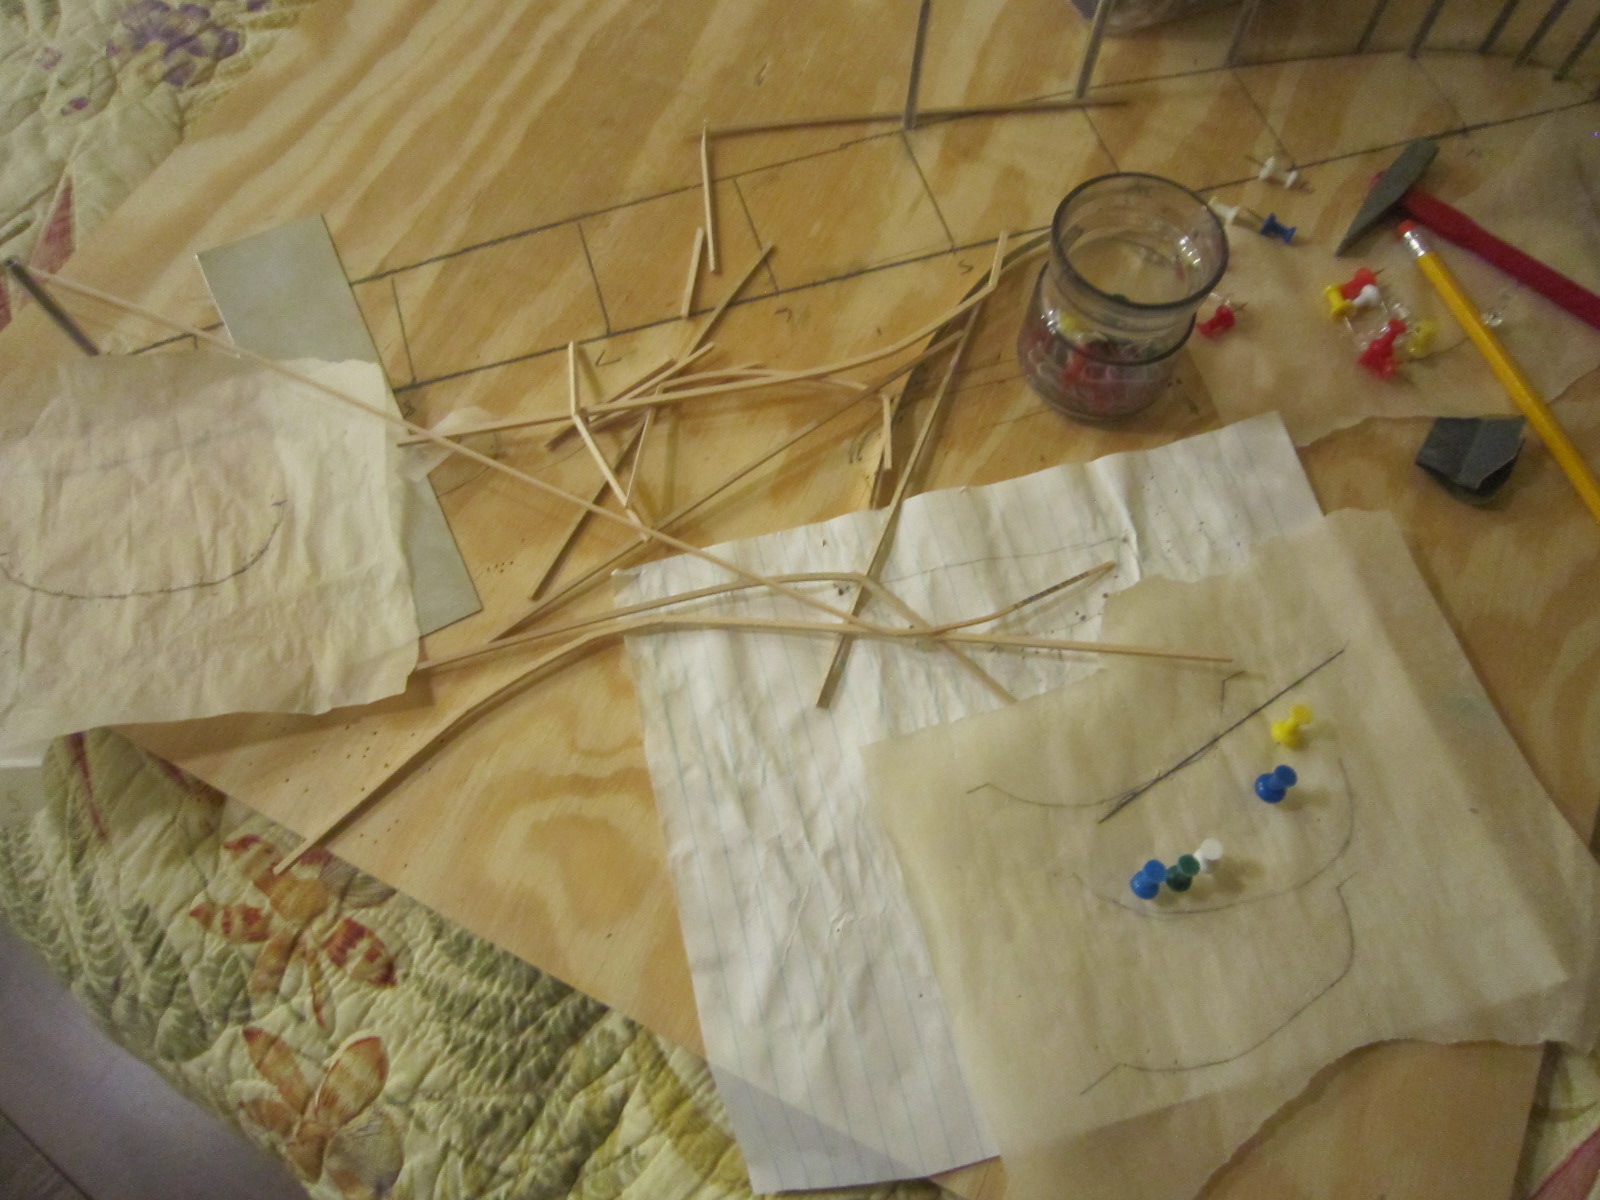
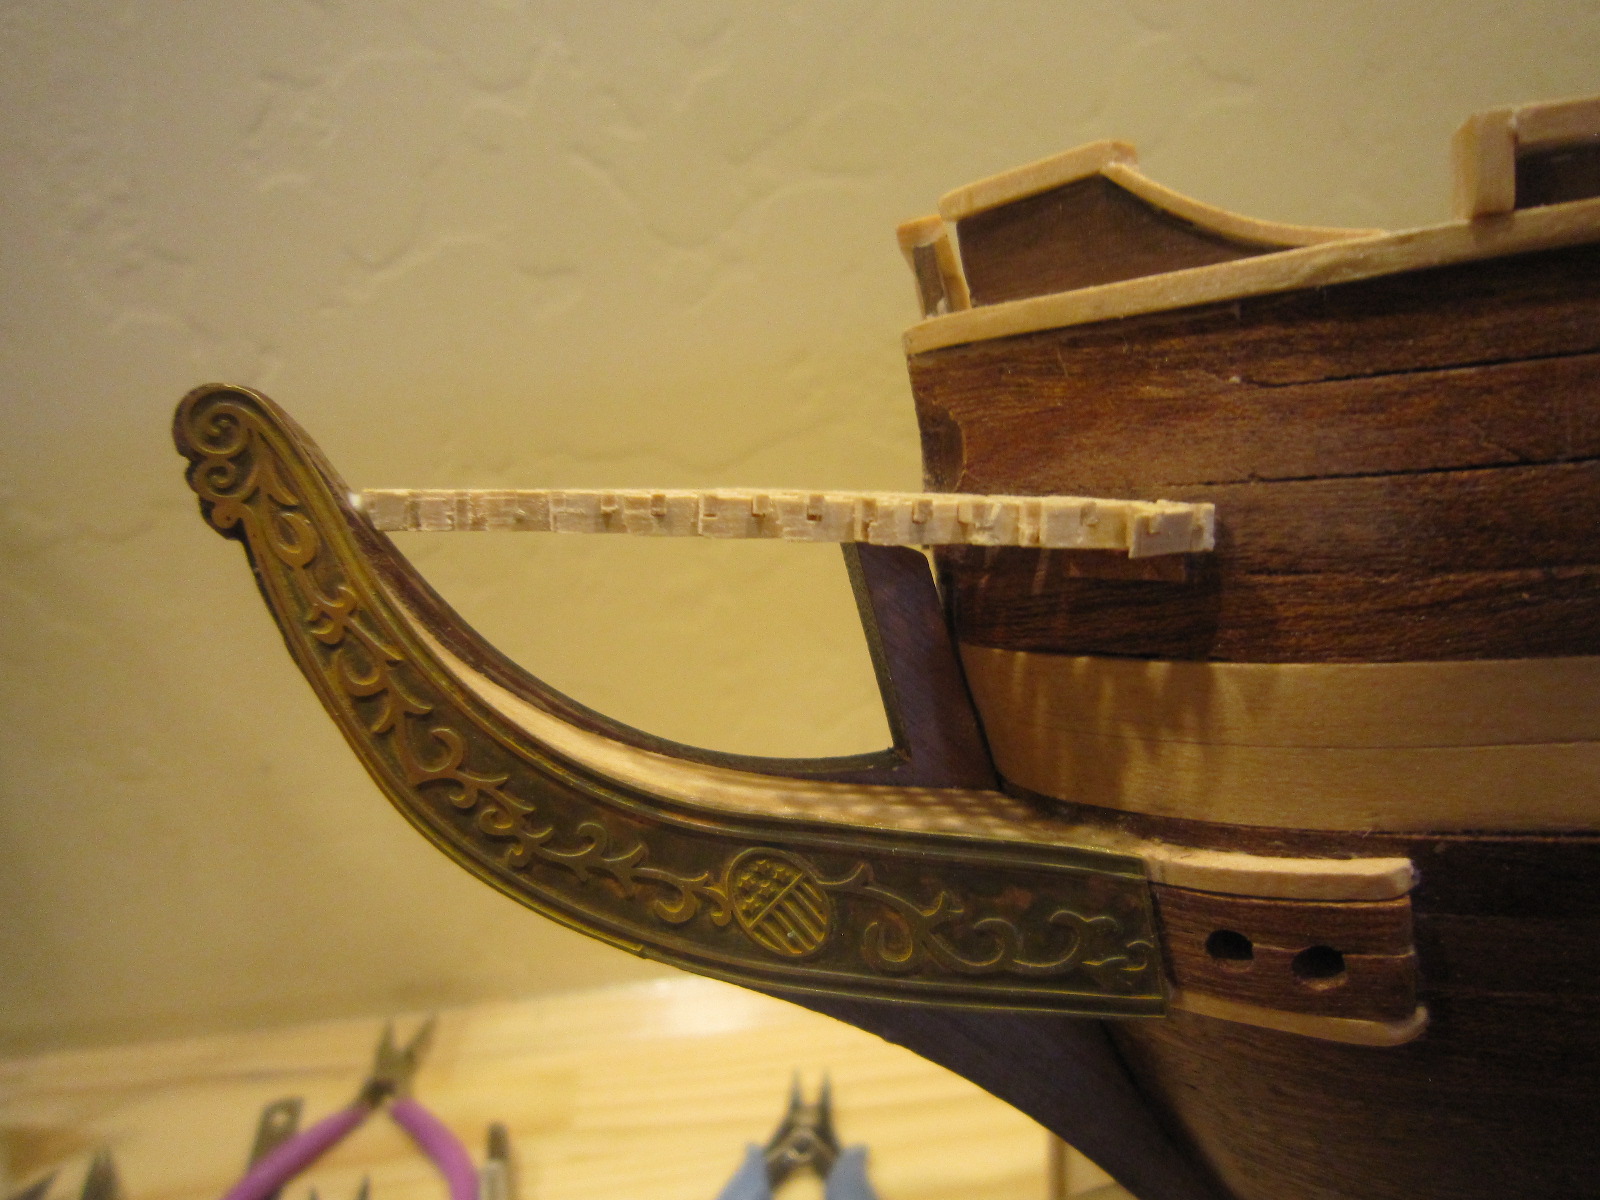
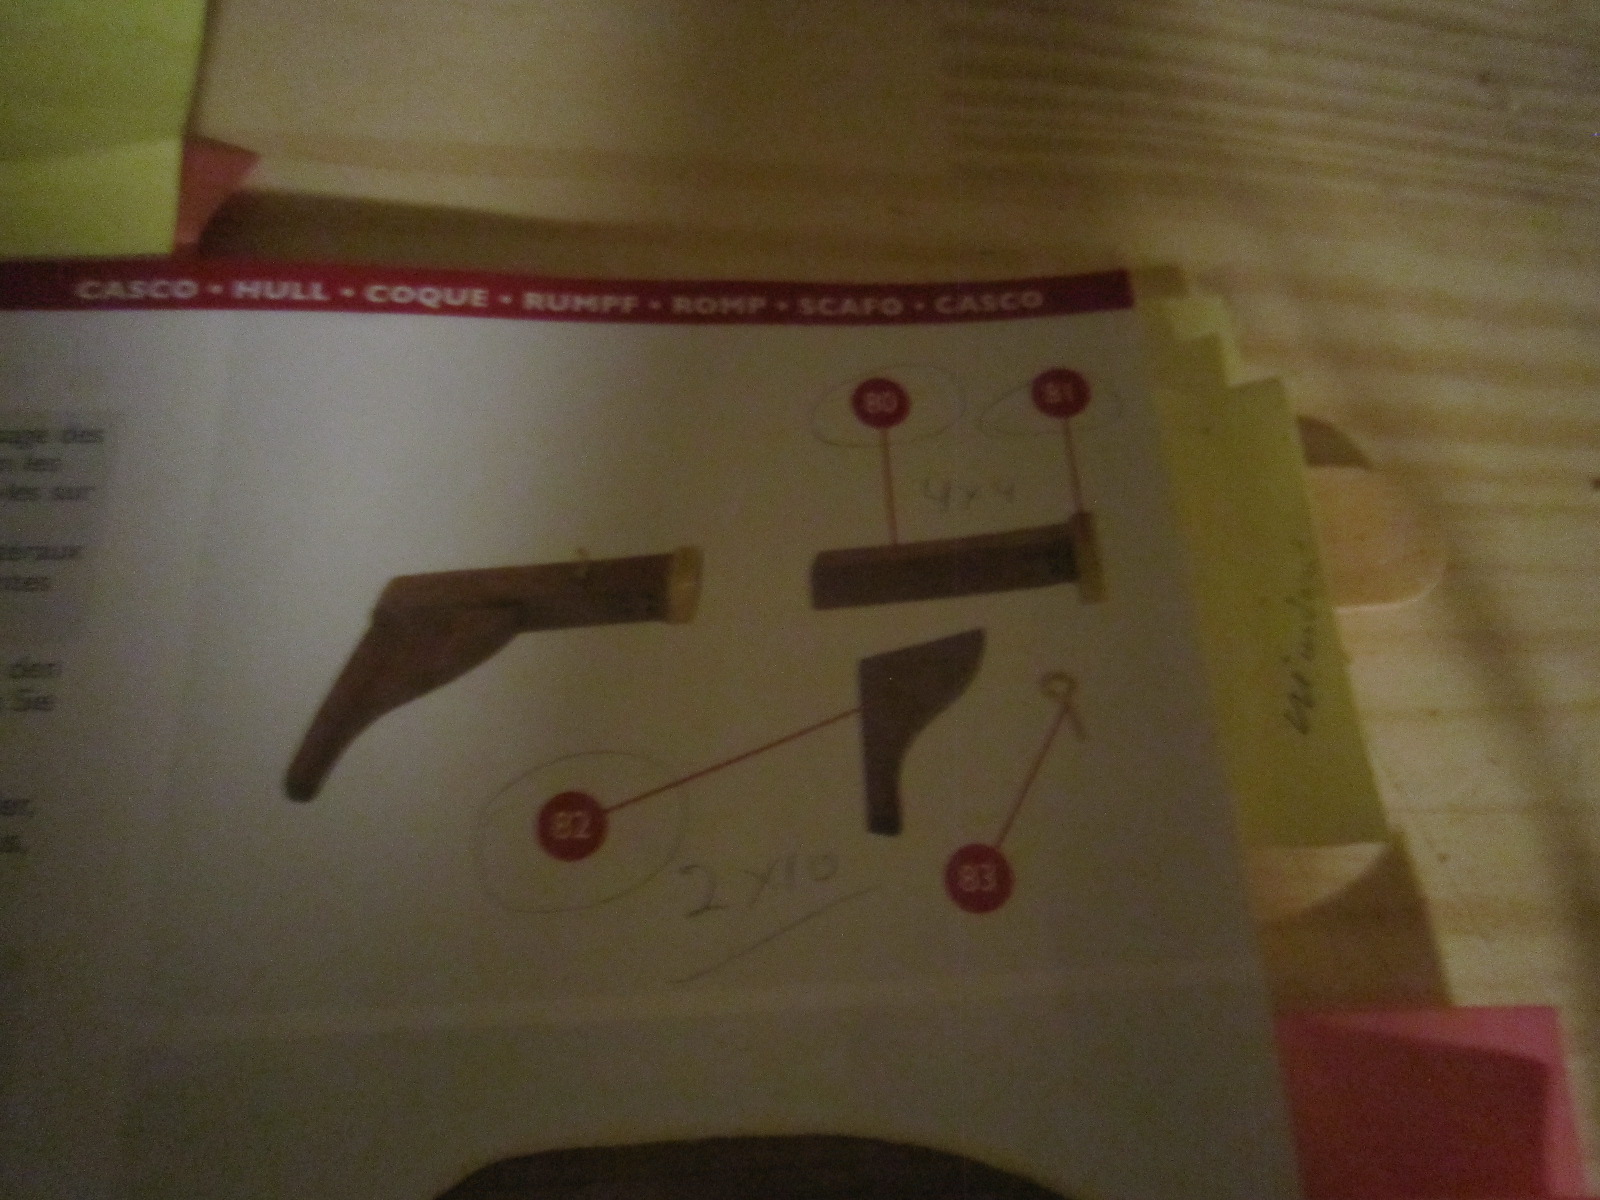
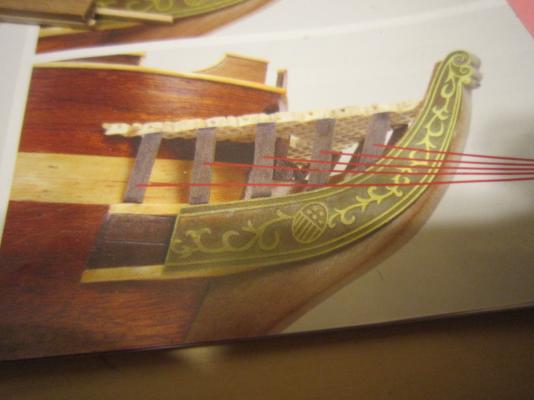
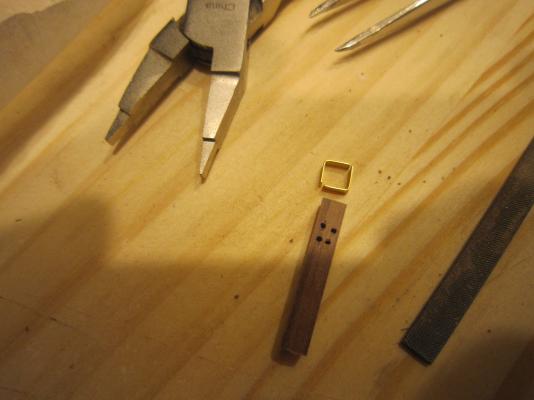
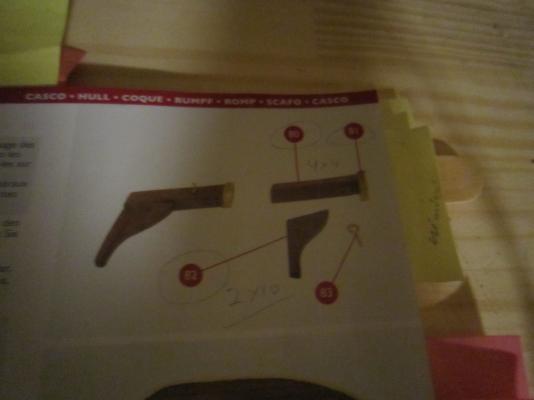
While I'm waiting for the 2mm x 2mm Ayous being mailed from Constructo, I'm trying to construct a pair of bow davits without any dimenisional drawings from Constructo. They only give you a small photo. These things have nine holes to be drilled with no hole dimensions given with no detail as to exactly where they are to be mounted. Sorry to complain, but this small project will wind up taking me two weeks. It shows 2mm brass trim at the end that is driving me crazy trying to bend the stuff exactly to fit. It keeps breaking? I have taped them where they belong since the hull shape is slightly different on each side for a tight fit. I pinned them, but not glued yet until I get all the hole drilled and brass mounted. There...that felt good to get off my chest!
- 1,756 replies
-
- 2
-
-
- constitution
- constructo
- (and 1 more)
-
Rich, I'll be interested in you telling all of us how good the plans and instructions are with a Caldercraft kit.