
Coyote_6
-
Posts
555 -
Joined
-
Last visited
Content Type
Profiles
Forums
Gallery
Events
Everything posted by Coyote_6
-
 Just more "wow" Phil. Everytime you break out the brass, snips, and solder it's just more wow. Each one is a model unto itself, and enough to hold one's interest for more than a bit. Well done sir!
- 490 replies
-
- 2
-

-
- minesweeper
- Cape
- (and 1 more)
-
Glad to see you back at it! She's looking great!!!
- 346 replies
-
- 5
-
-

-
- Sophie
- Vanguard Models
- (and 1 more)
-
@Cathead That is so darn cool!
-
Wow Keith! Beautiful. (Fixed it for ya!) 😜
-
@ClipperFan No sir - I am convinced of the coach house. I am always interested in the markings and cosmetics of the stern. I guess if I was McKay it would have been identical in font and layout to Glory of the Seas except to replace Glory with Sovereign. I have spent some time trying to ascertain if and how the Prince de Neufchatel would have had her name on the stern, or even a contemporary example that looks good. But with so many characters to accomodate I will likely leave the hull unmarked. But I do enjoy those kind of details 😜.
-
Rope hank tool is brilliant. Would cherry be an option? (My serving machine is aging beautifully and looks great in the shop!)
-
You are moving smartly as always Phil! Looking great!
-
@ClipperFan The McKay clippers are truly beautiful. Until now my interests lay heavily on American sailing warships and privateers - but this little side project - wow! Even in her simplified form as in this case she is a compelling subject. I feel we are in an era where the "incorrect" models (McCann's Sovereign of the Seas, Davis' Lexington) are an integral part of the history of model ship building itself and are interesting of their own accord. I have ordered a copy of McCann's book (and own a copy of Davis' as well), as these are truly fabulous models - errors be darned. I noticed the second photo attached is Glory of the Seas, but I have seen McKay's design language is more evolutionary rather than revolutionary. I would love to see a stern shot of Sovereign if you have seen one. I wonder if there is enough "new" info to generate an NRG Journal article? Fabulous stuff above - thank you!
-
@ClipperFan thanks for weighing in here, and even more so for the interesting additional info! It is the experts and enthusiasts here that make this site and hobby so much fun!!
-
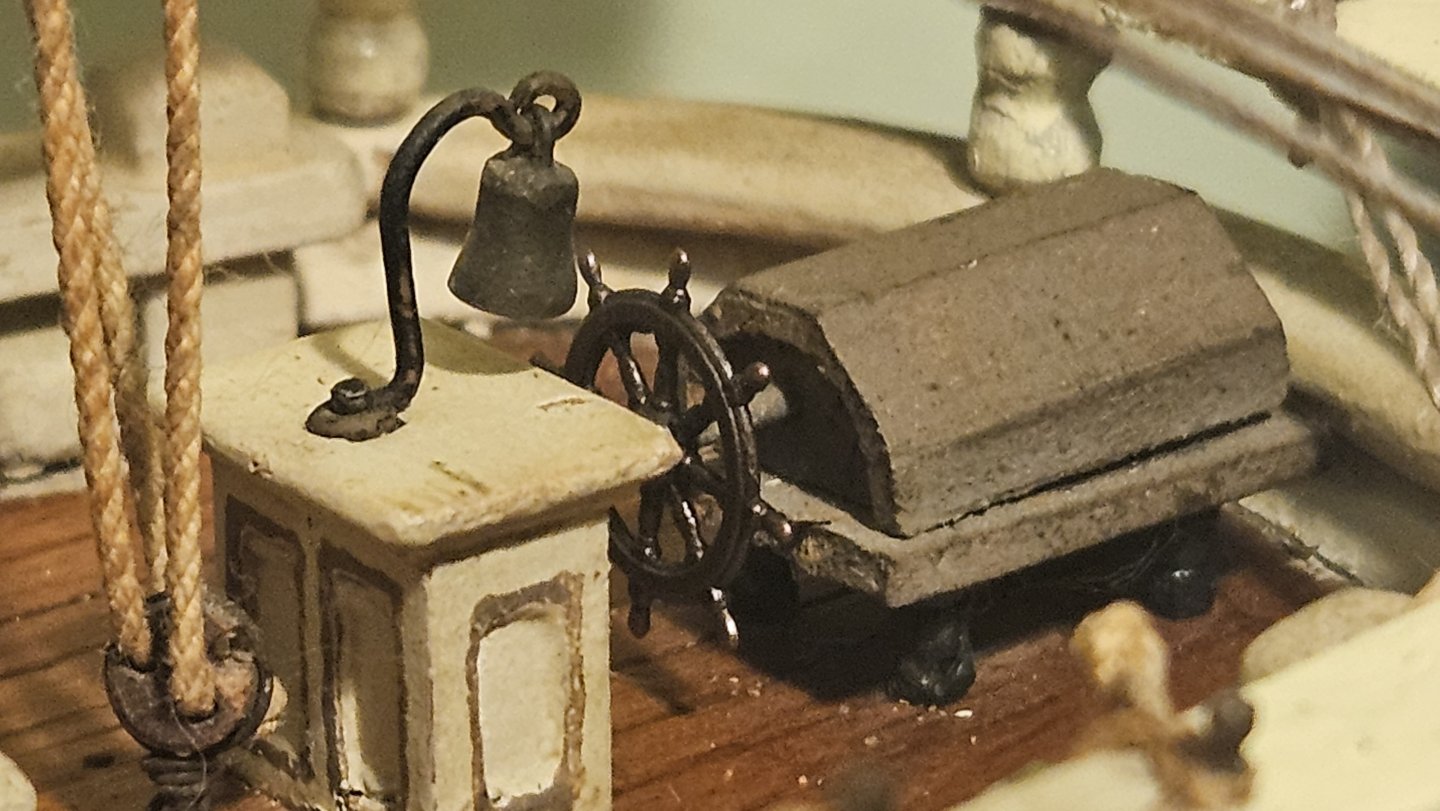
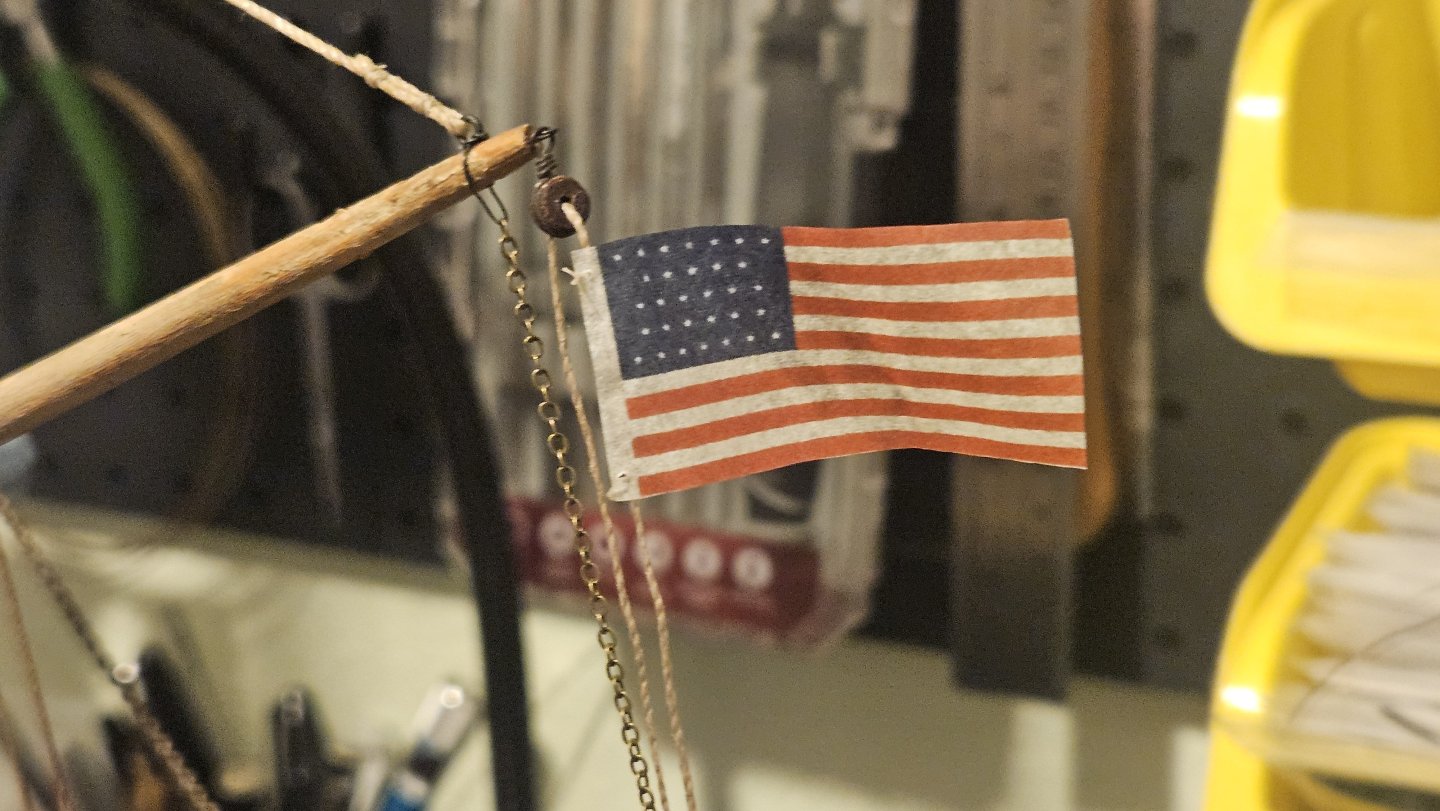
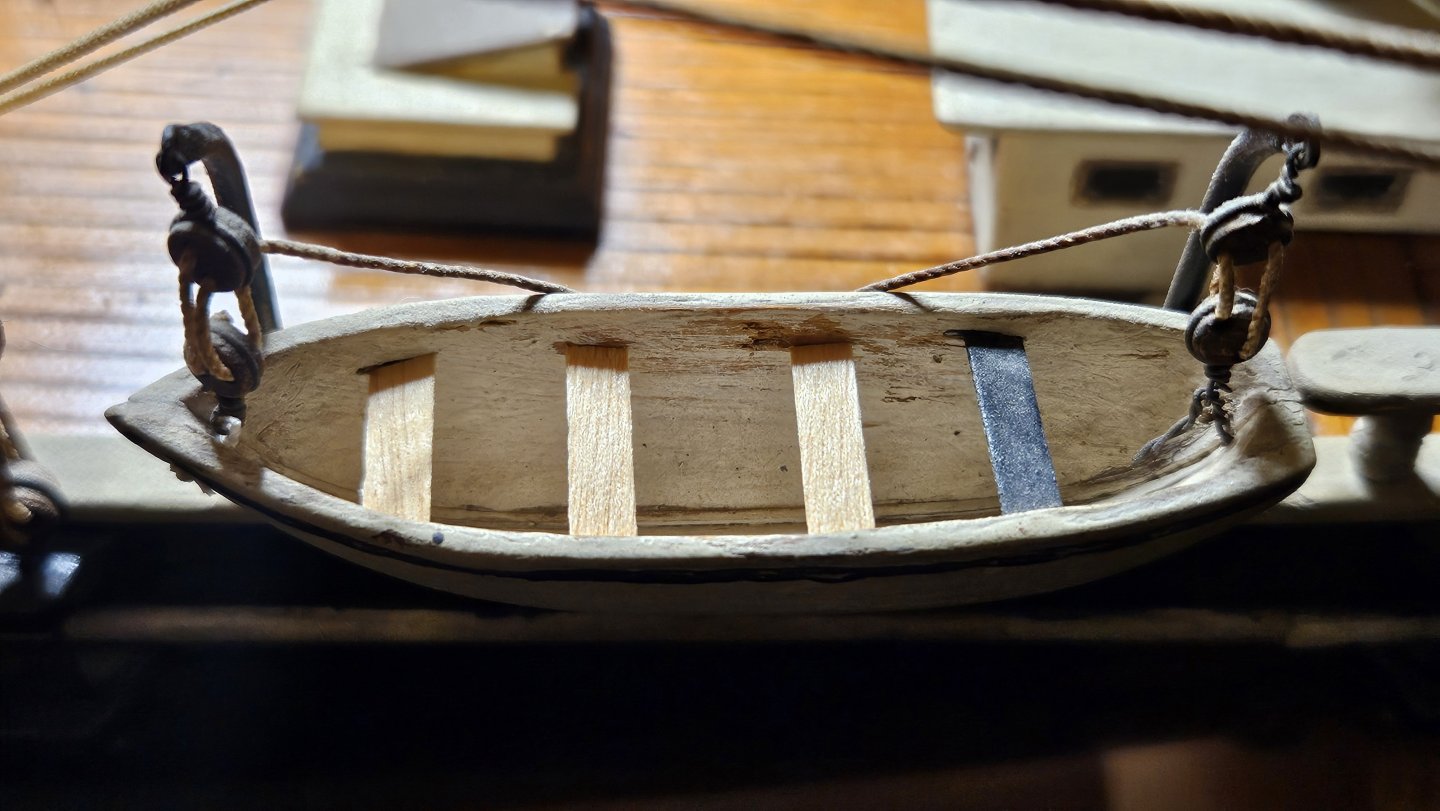
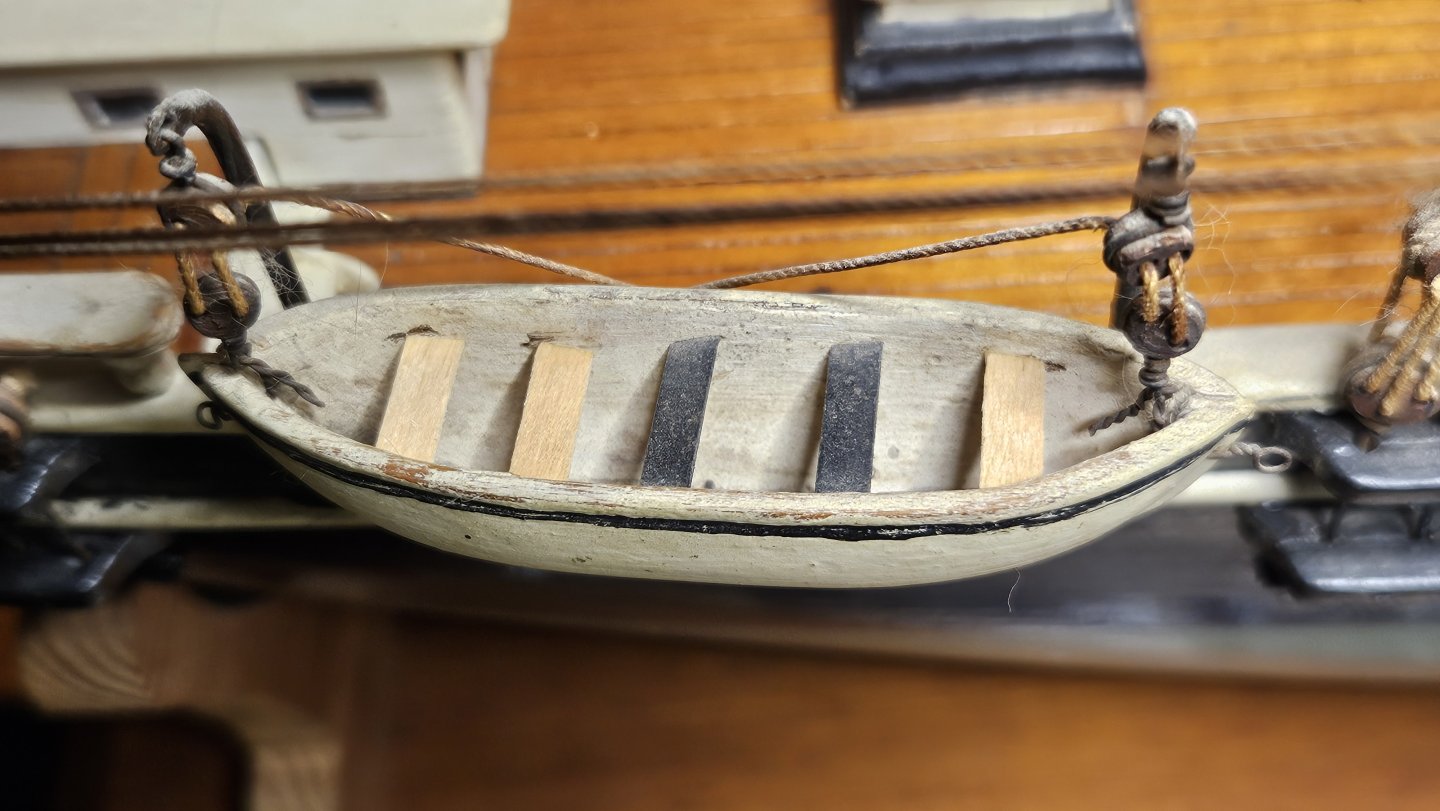
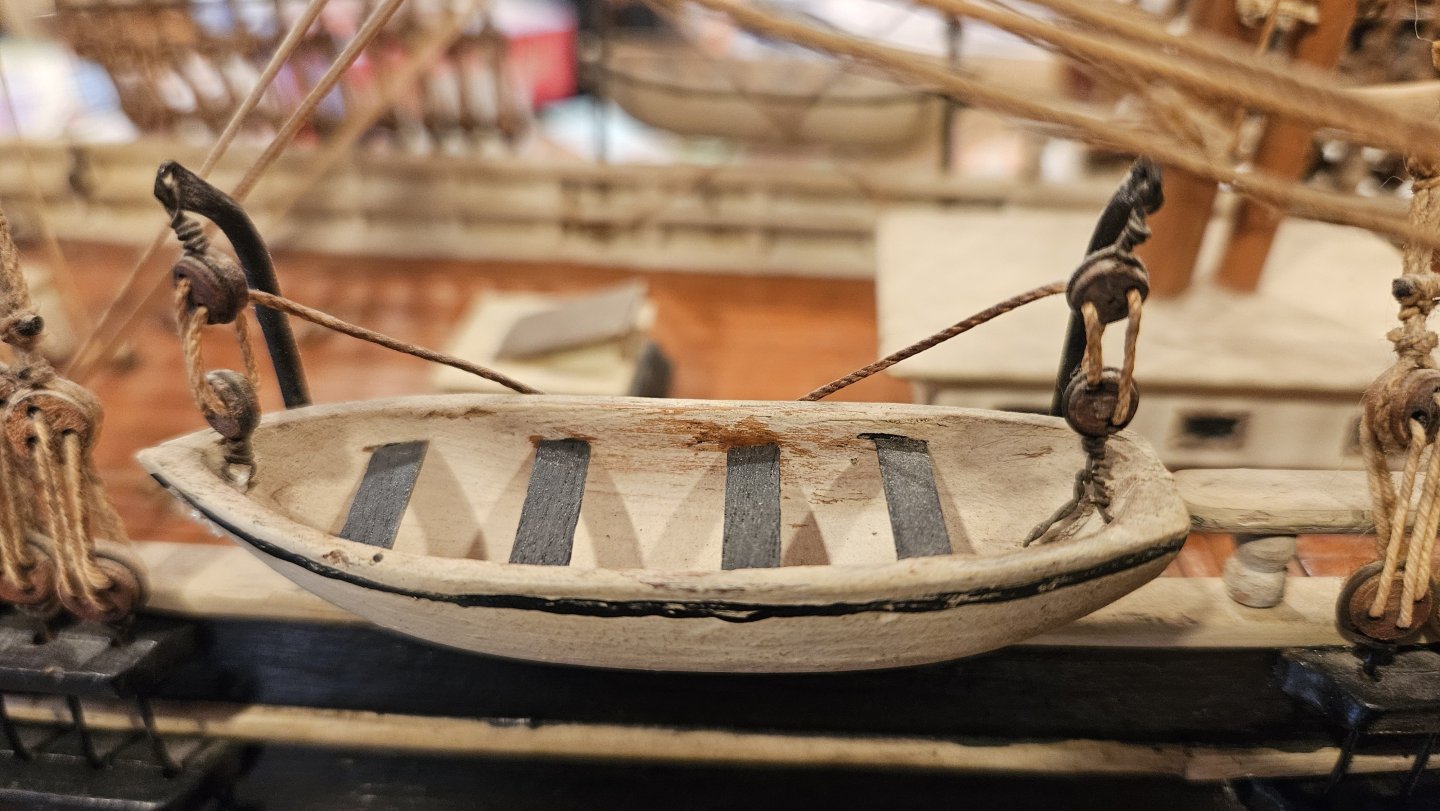
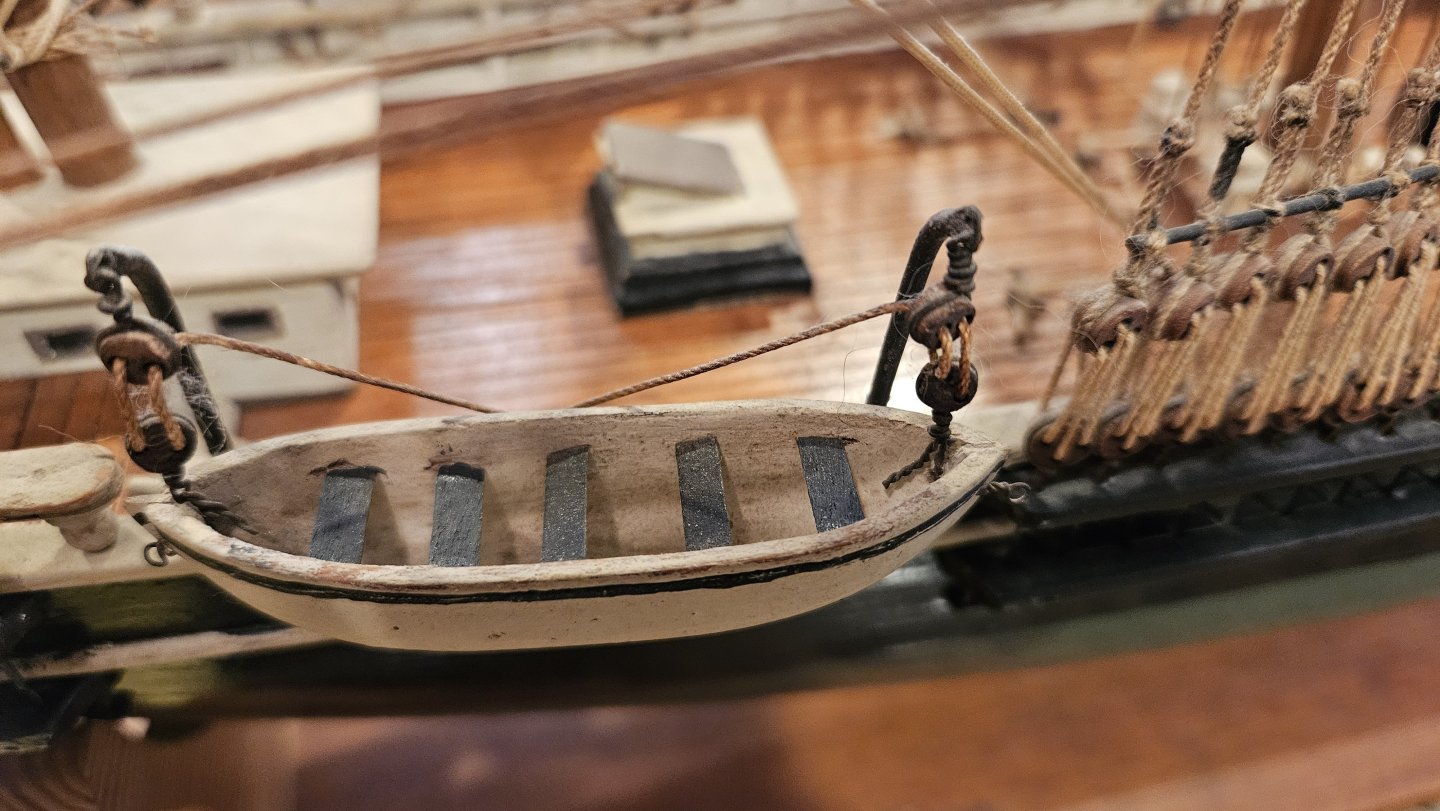
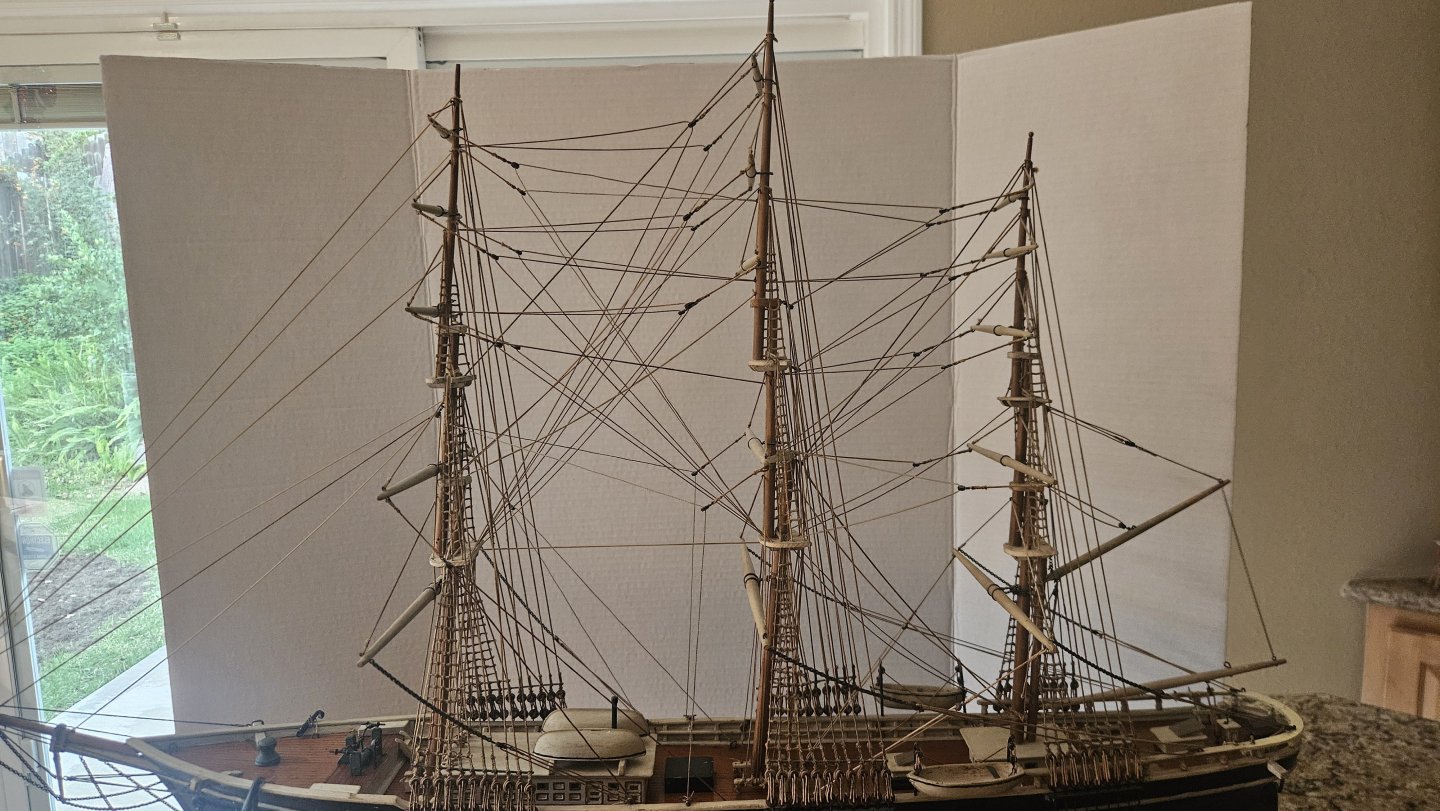
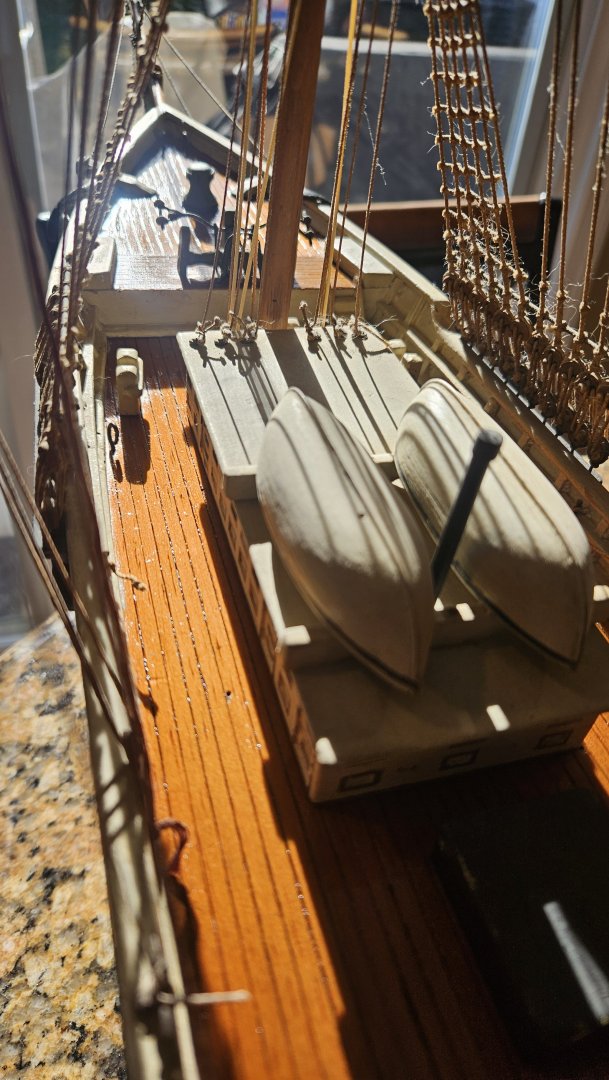
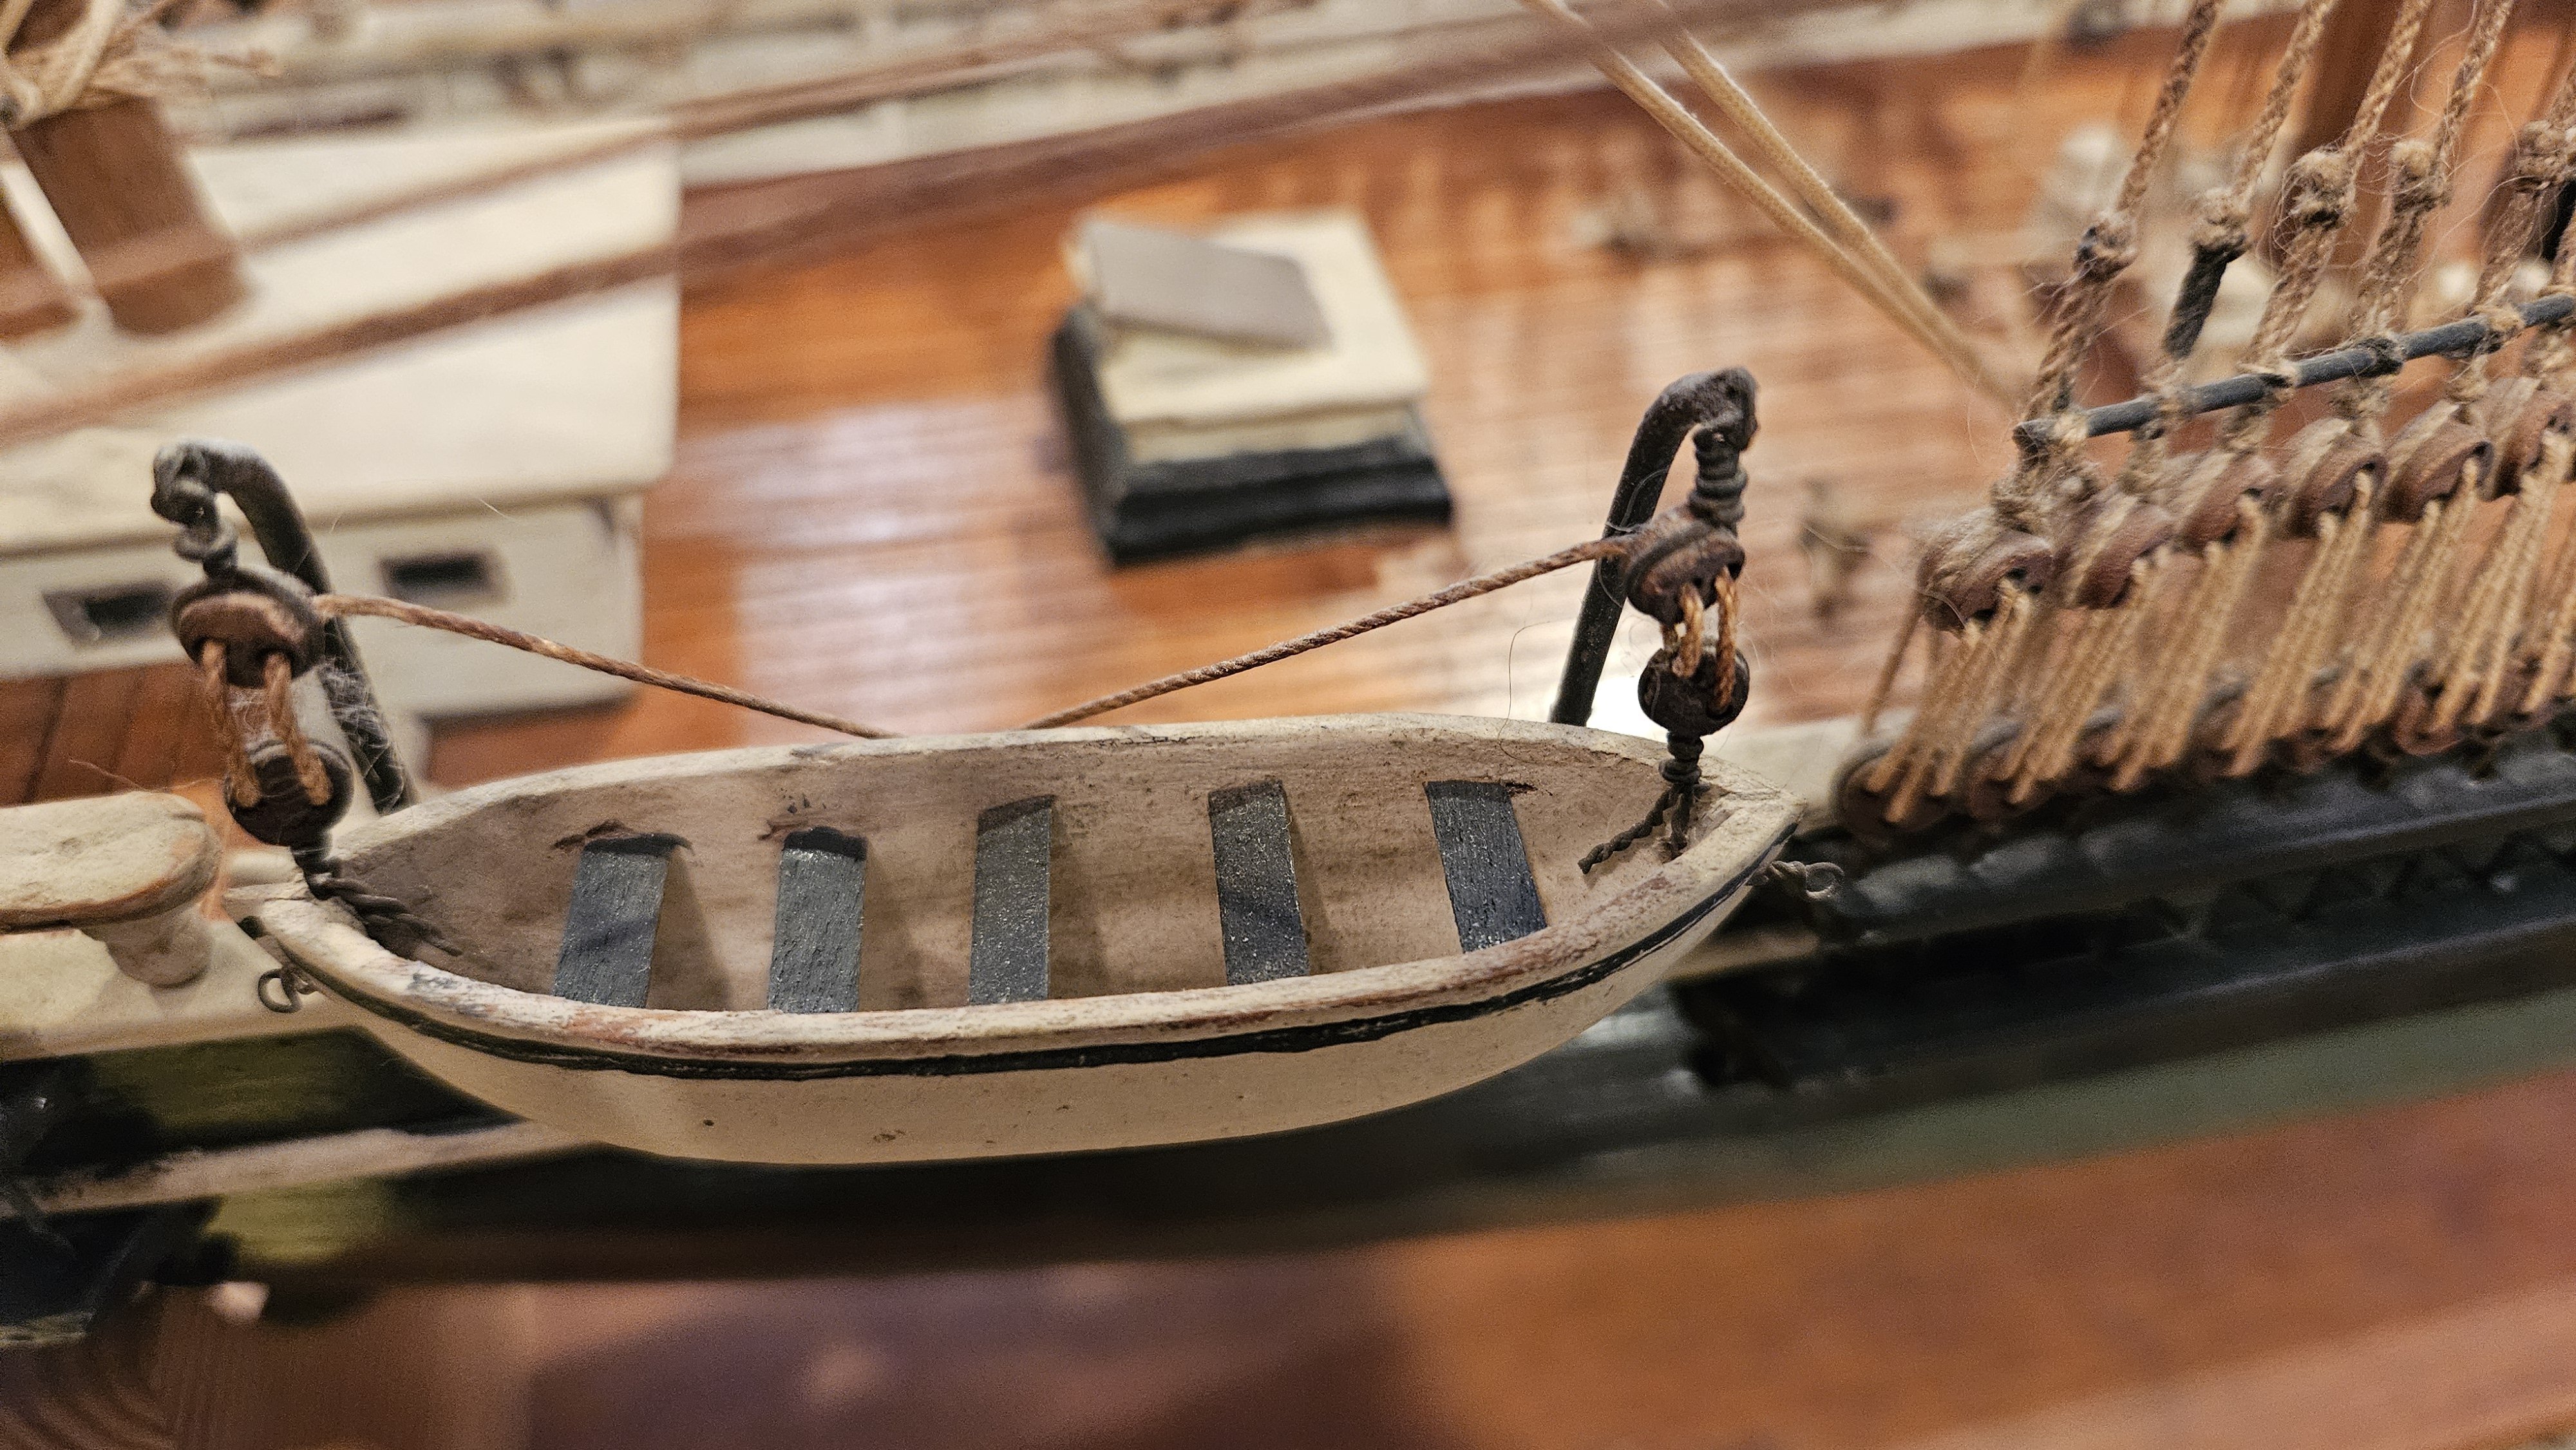
And now, the final chapter in the saga of Ragnar Heggelund's Sovereign of the Seas. First, that 14mm Amati wheel at the helm. The original plans suggested using a gear from an old pocketwatch and grinding away a few teeth until it made a decent ship's wheel. Now that we know who she is, we know from whence she came (Boston Massachusetts) and when she was (1853). We were then able to produce an appropriate ensign to attach to the signal halyard (tissue paper, ink jet printer, and spray Fixatif). Finally, replaced a few missing seats in the outboard ship's boats. Starboard: (And painted) And port: (Painted) And finally in 2026, for her 100th year, I give you Ragnar Oden Heggelund's Sovereign of the Seas, the model being built in San Francisco 1926. She is destined for educational service. I hope I did well by her. And with that we return to our regularly scheduled programming. Two ships in the shipyard is one too many for me. Thanks for following along on this interlude!


-
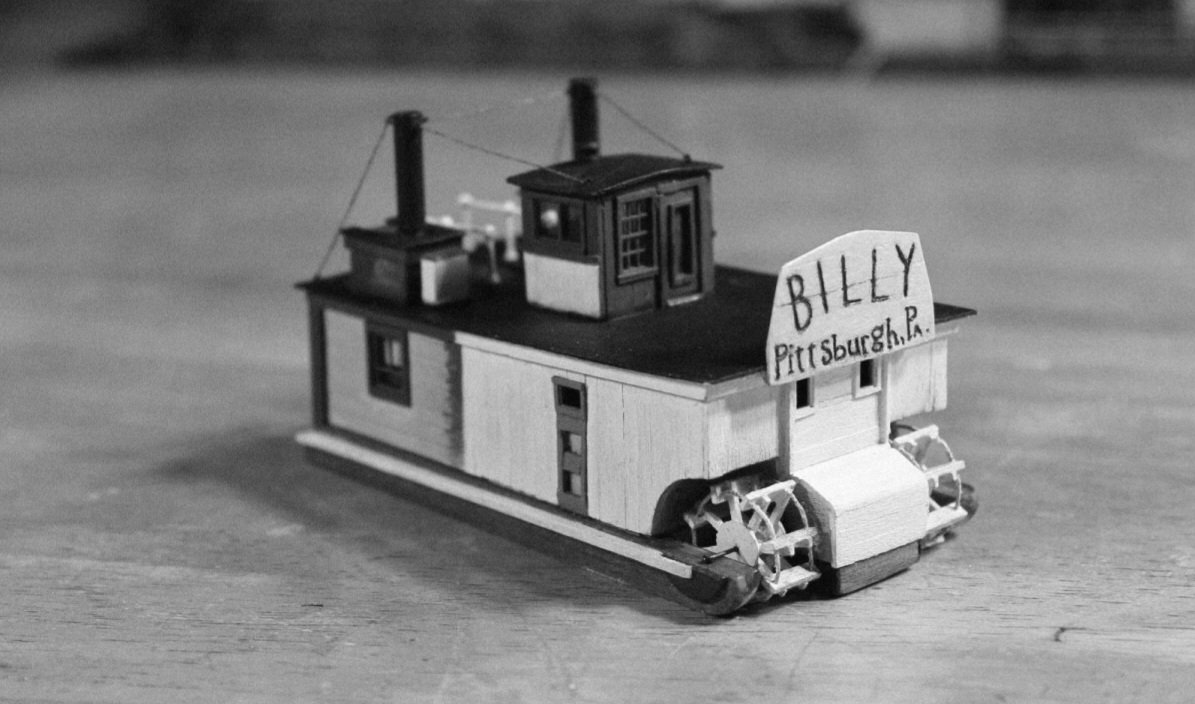
"Just 23 parts each, another day on the river and all..." Yeah, 23 parts that would fit on the head of a thumb tack! EACH SIDE! Thanks for the show. Amazing. Just wow!!! "Now for my next trick - micro paddlewheels! Ta daaaa!" Great work Keith!
-
That is a work of art right there Keith! Well done sir.
-
Loving this build Phil! Very nice. The detail and color is awesome!
-
@Dr PR Very clever thinking Phil! I will see if I can get in touch with them.
-
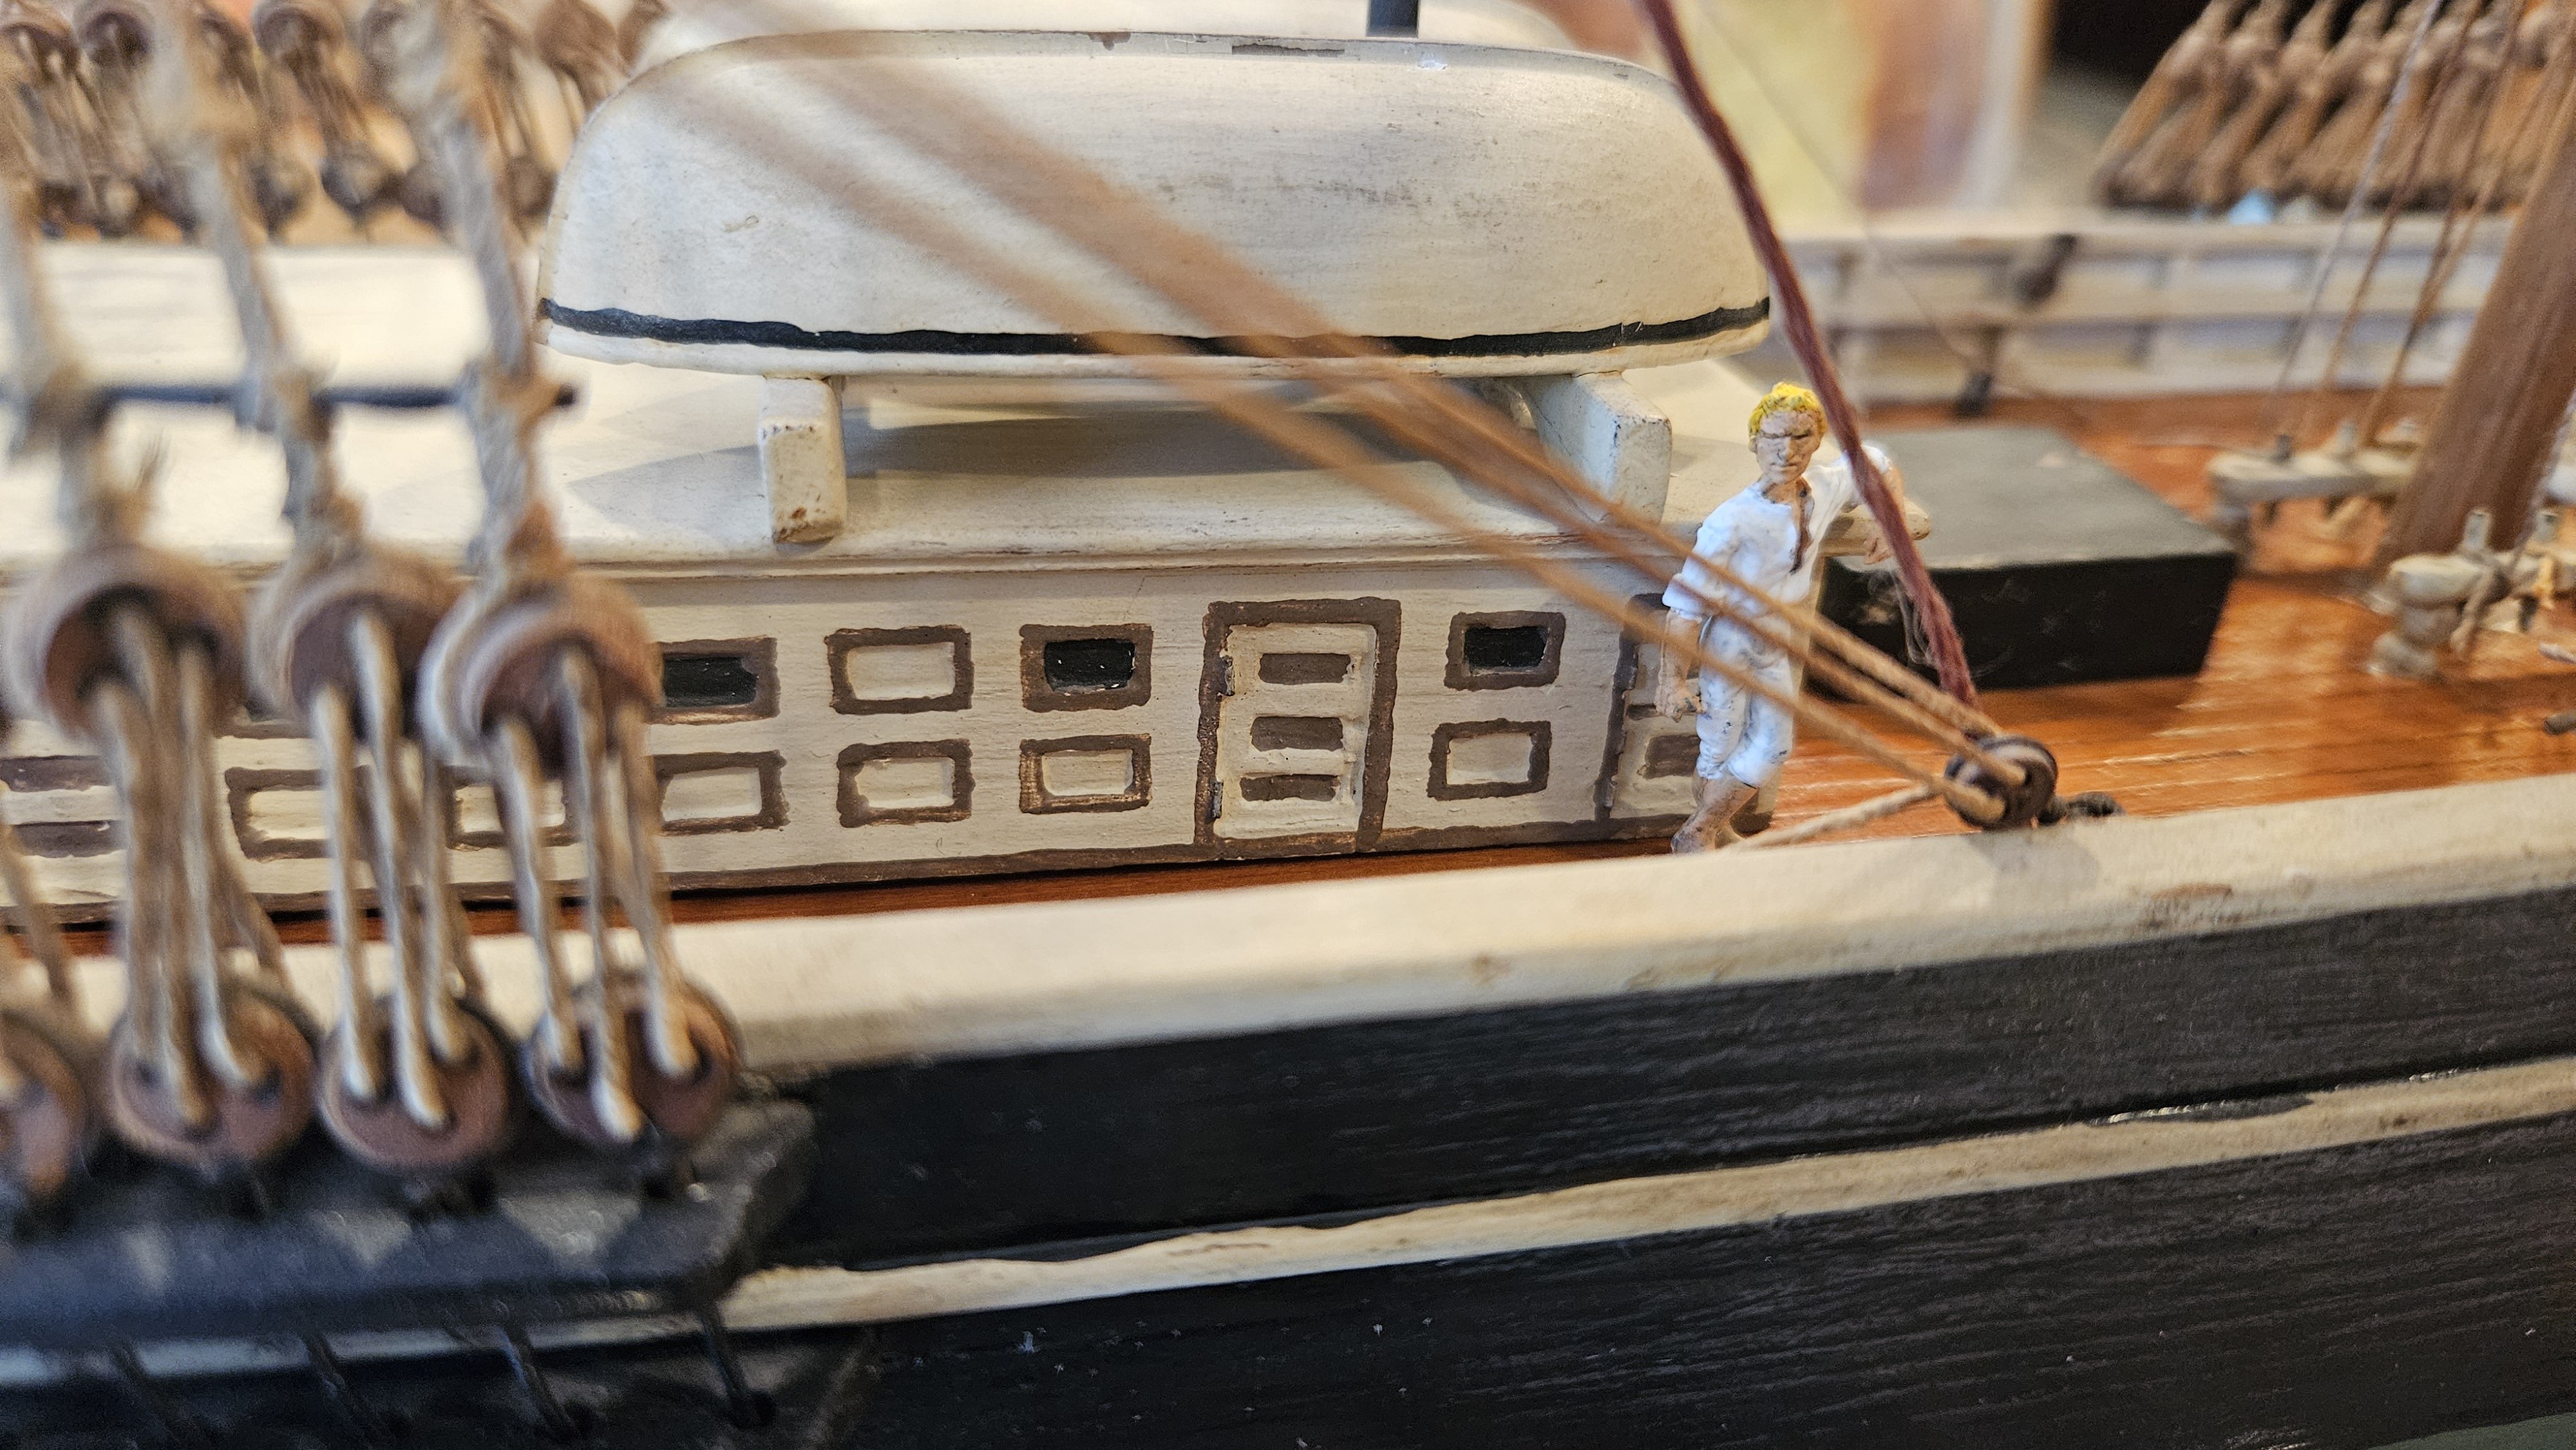
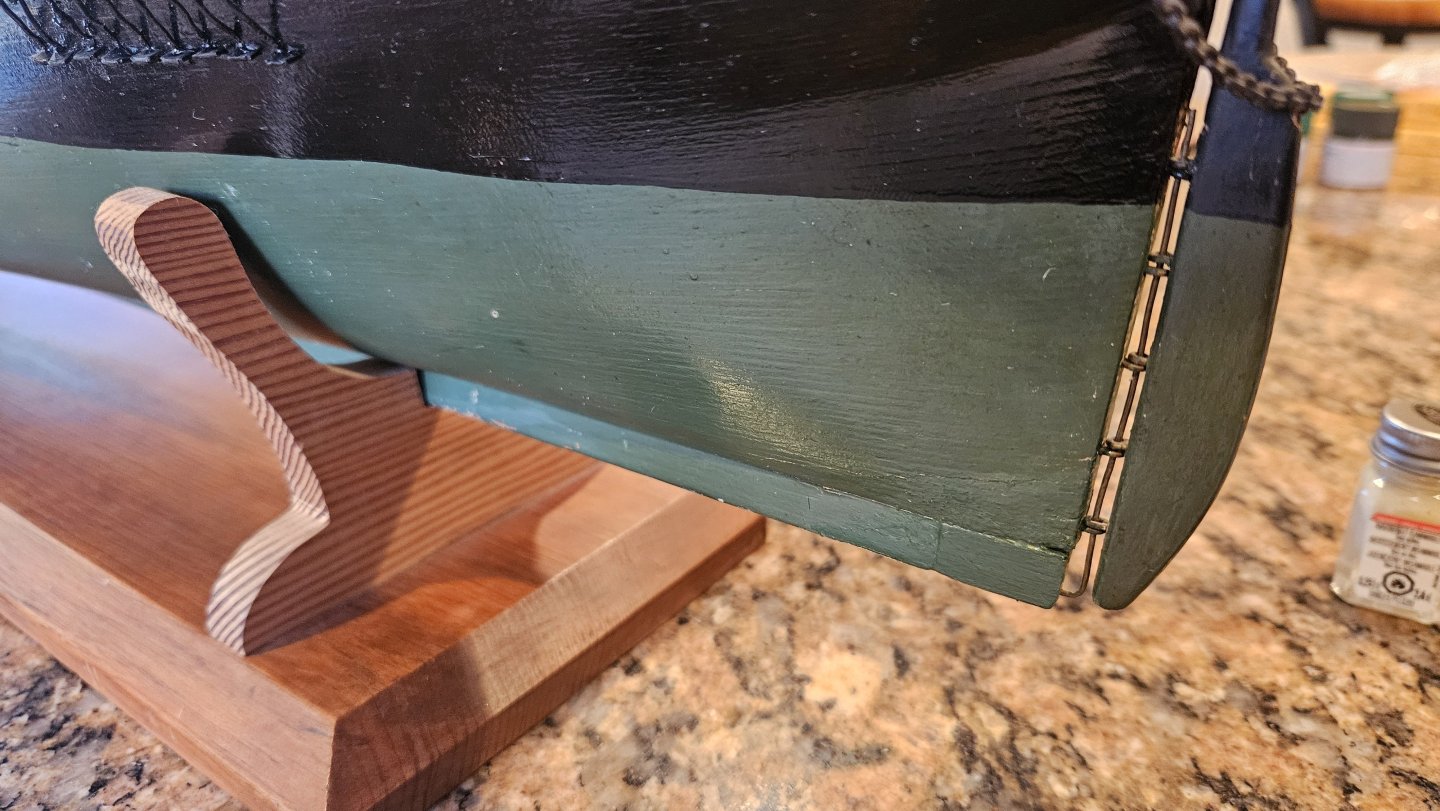
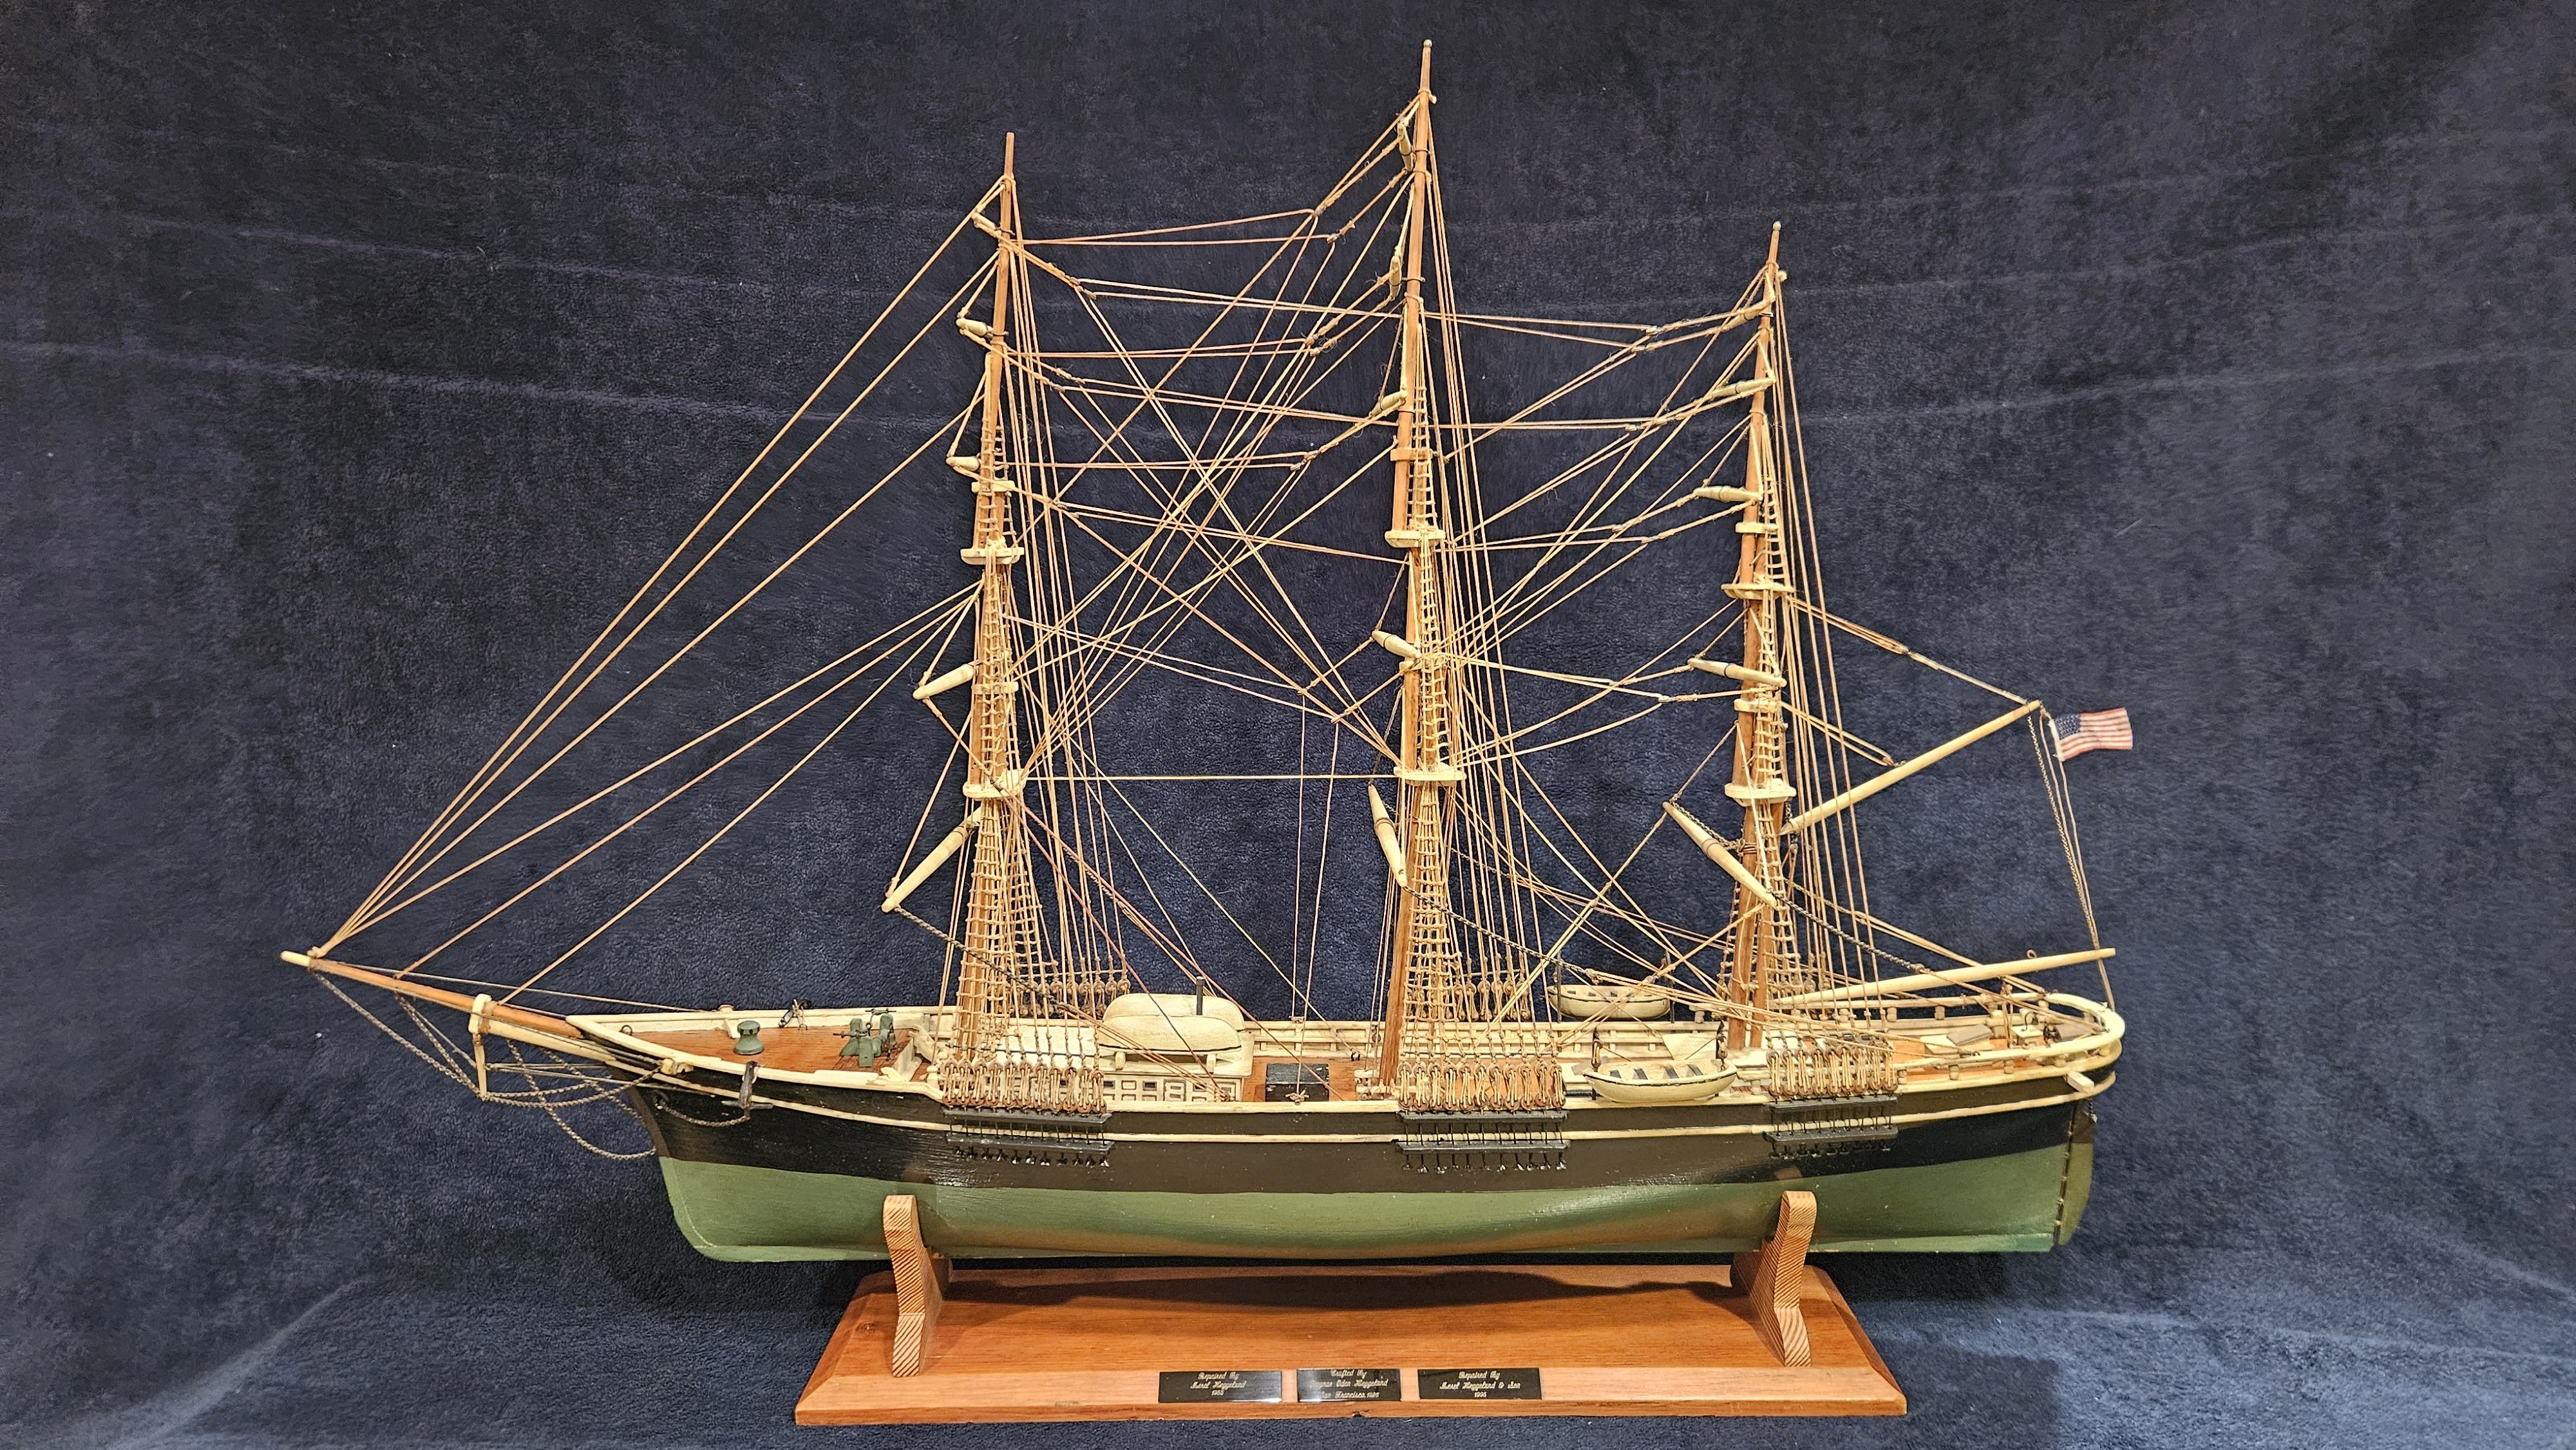
Another chapter on the saga of the unknown clipper. Some paint. Previous repairs done by the family were left unpainted to differentiate from Ragnar's original work. Unfortunately this left the wood unprotected. I painted the repairs to match, but did not touch up any of the original 99 year old paint. Was: Is: Was: Is: My daughter (14 years old) did the color matching with Tamiya Acrylics over an oil based Colonial Green base coat for protection. Some things were missing... So now we just need to pick a nation (and era) to flag her under and she'll be ready for the schoolhouse. I used a leftover block (from the poor spanker rigging repair) to add a signal halyard to the gaff. Leaning towards a loose replica of Young America, American flag circa 1853. But no official name at this time. Oh yeah, still waiting on that ship's wheel from the ebay.
.thumb.jpg.54c43ae9ef646aa14274b72918a058ae.jpg)


-
I am on it Phil. Ordered a 14mm metal wheel from Ages of Sail. Sharp eye sir. Sharp eye!
-
I have learned something yesterday and once seen cannot be unseen. The two masted Prince being my first ship, this is truly my first foray into the three masted world. Indeed the mainmast yards should be braced aft - when I look at a three masted vessel I now see the "weight" of the lines aft of the main. Very cool. This is something I probably should not "correct" on Ragnar's model, huh? @Kenchington Thanks again for the lesson. MOST appreciated. Learning something new keeps us young. (At least that's what I tell myself 🤣.)
-
@Keith Black Not the first time I've read of the enzymes in the saliva Keith! Didn't have enough spit for 99 years of dirt. 🤣
-
@Kenchington Thanks so much for you insights. It is an interesting riddle and makes one think hard about the state of model shipbuilding in 1926. The twisted wire supporting the yards to the mast as an example. Fun stuff to think about.
-
Thanks for all the tips folks! Could she be the extreme clipper Young America? Was she a solid hull kit from around 1925? An AJ Fisher kit? Too simplistic? She is an enigma. If only Ragnar could tell us...
-
Also, Ragnar's family was under the impression she was Cutty Sark*, but some of the deck houses seem to differ, a hatch missing here or there, etc. If anyone has a different thought on the model, I would love to hear other possible subjects. Cutty Sark* sure feels right for 1926 though, doesn't it? *Again, identified more correctly as Sovereign of the Seas from 1926 plans by Captain E. Armitridge McCann. Hat tip to @Chuck for solving that mystery! https://modelshipworld.com/topic/39431-help-identifying-model-from-1926-and-the-state-of-ship-modeling-in-the-1920s/
-
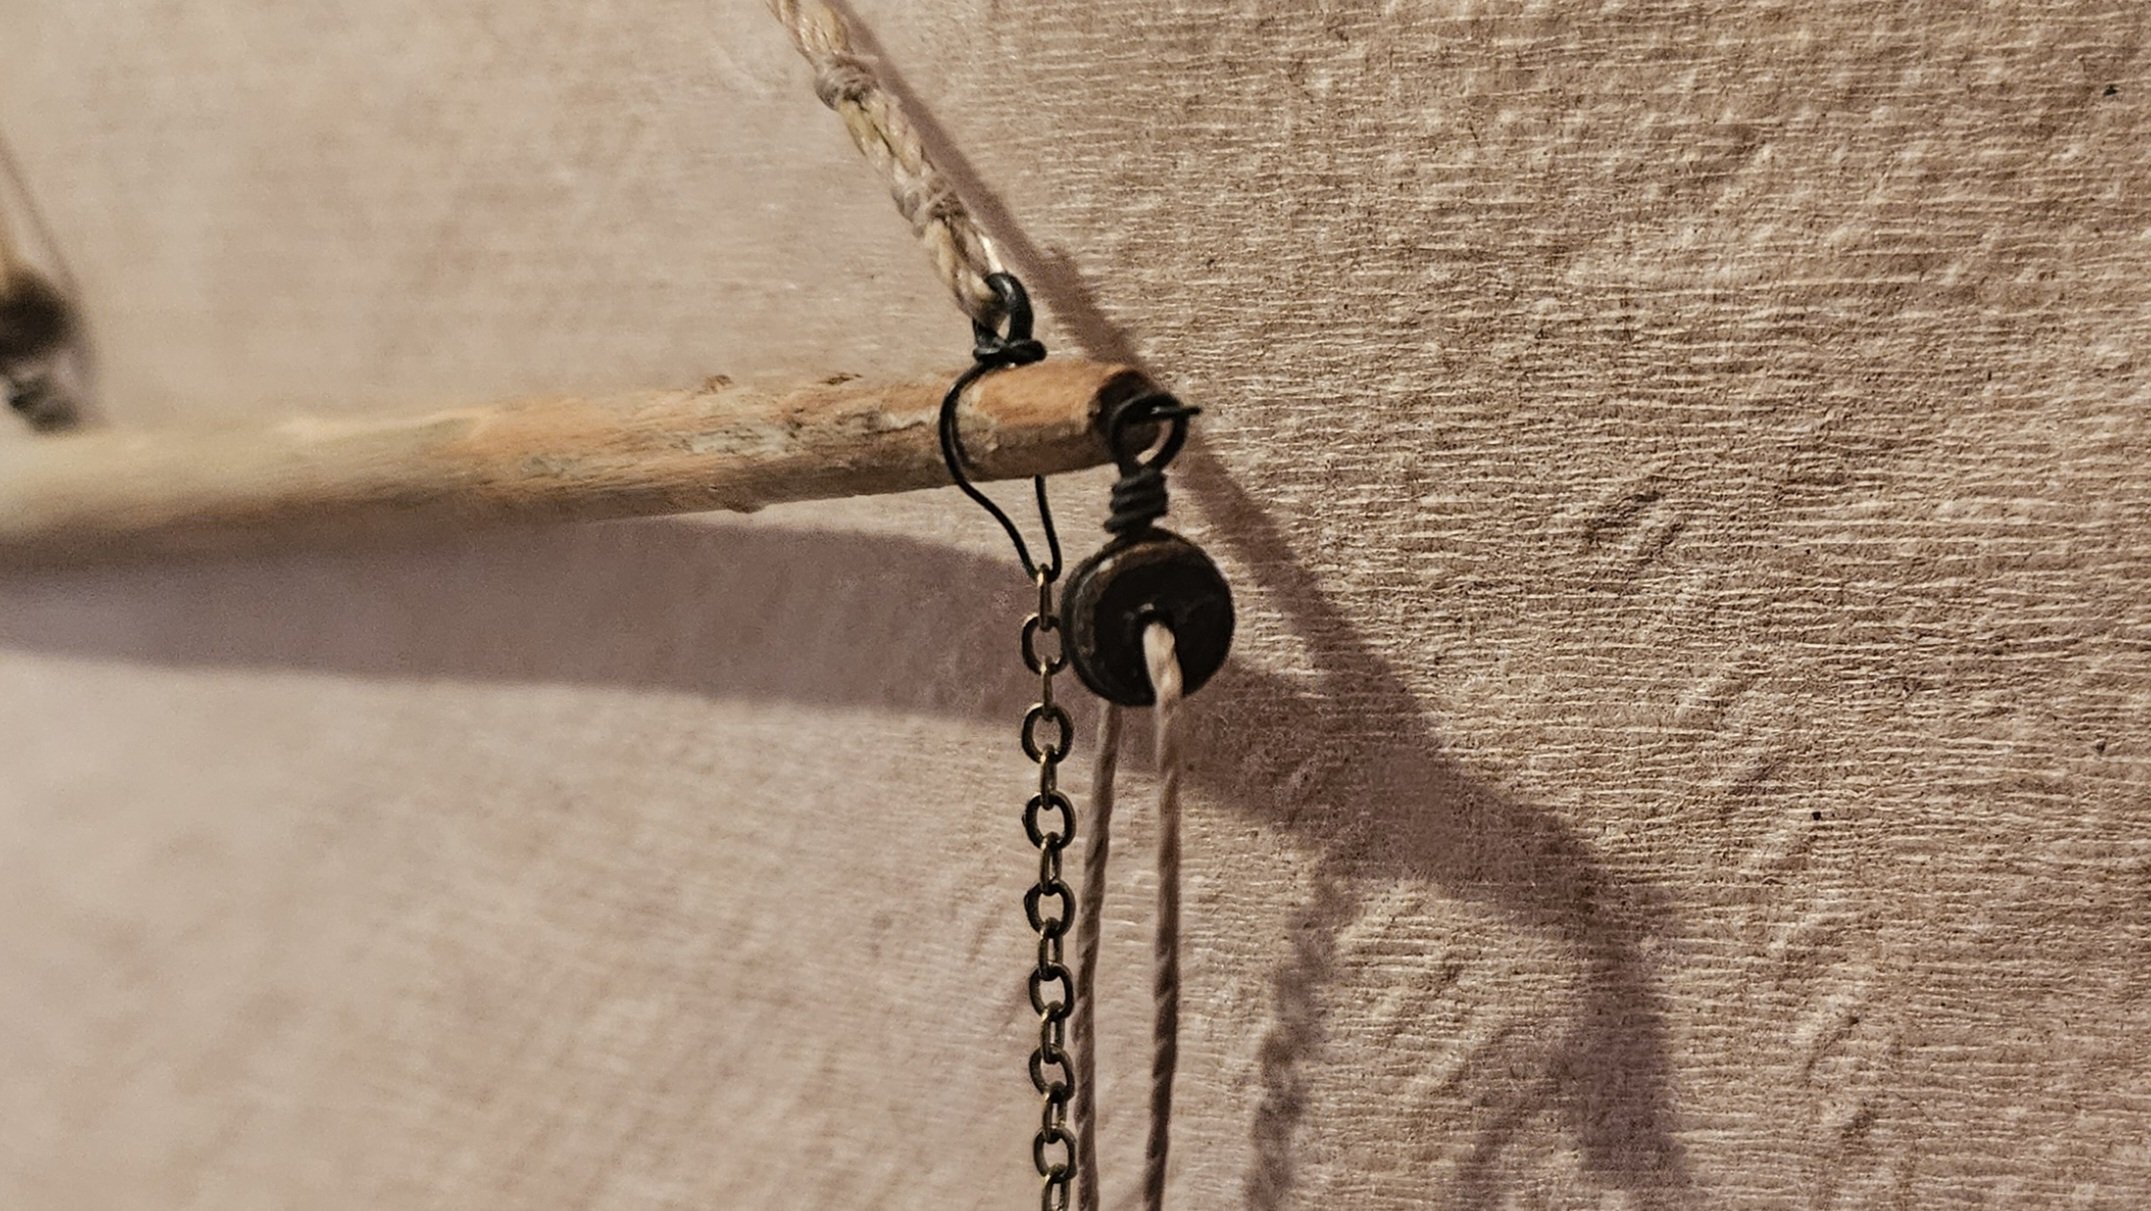
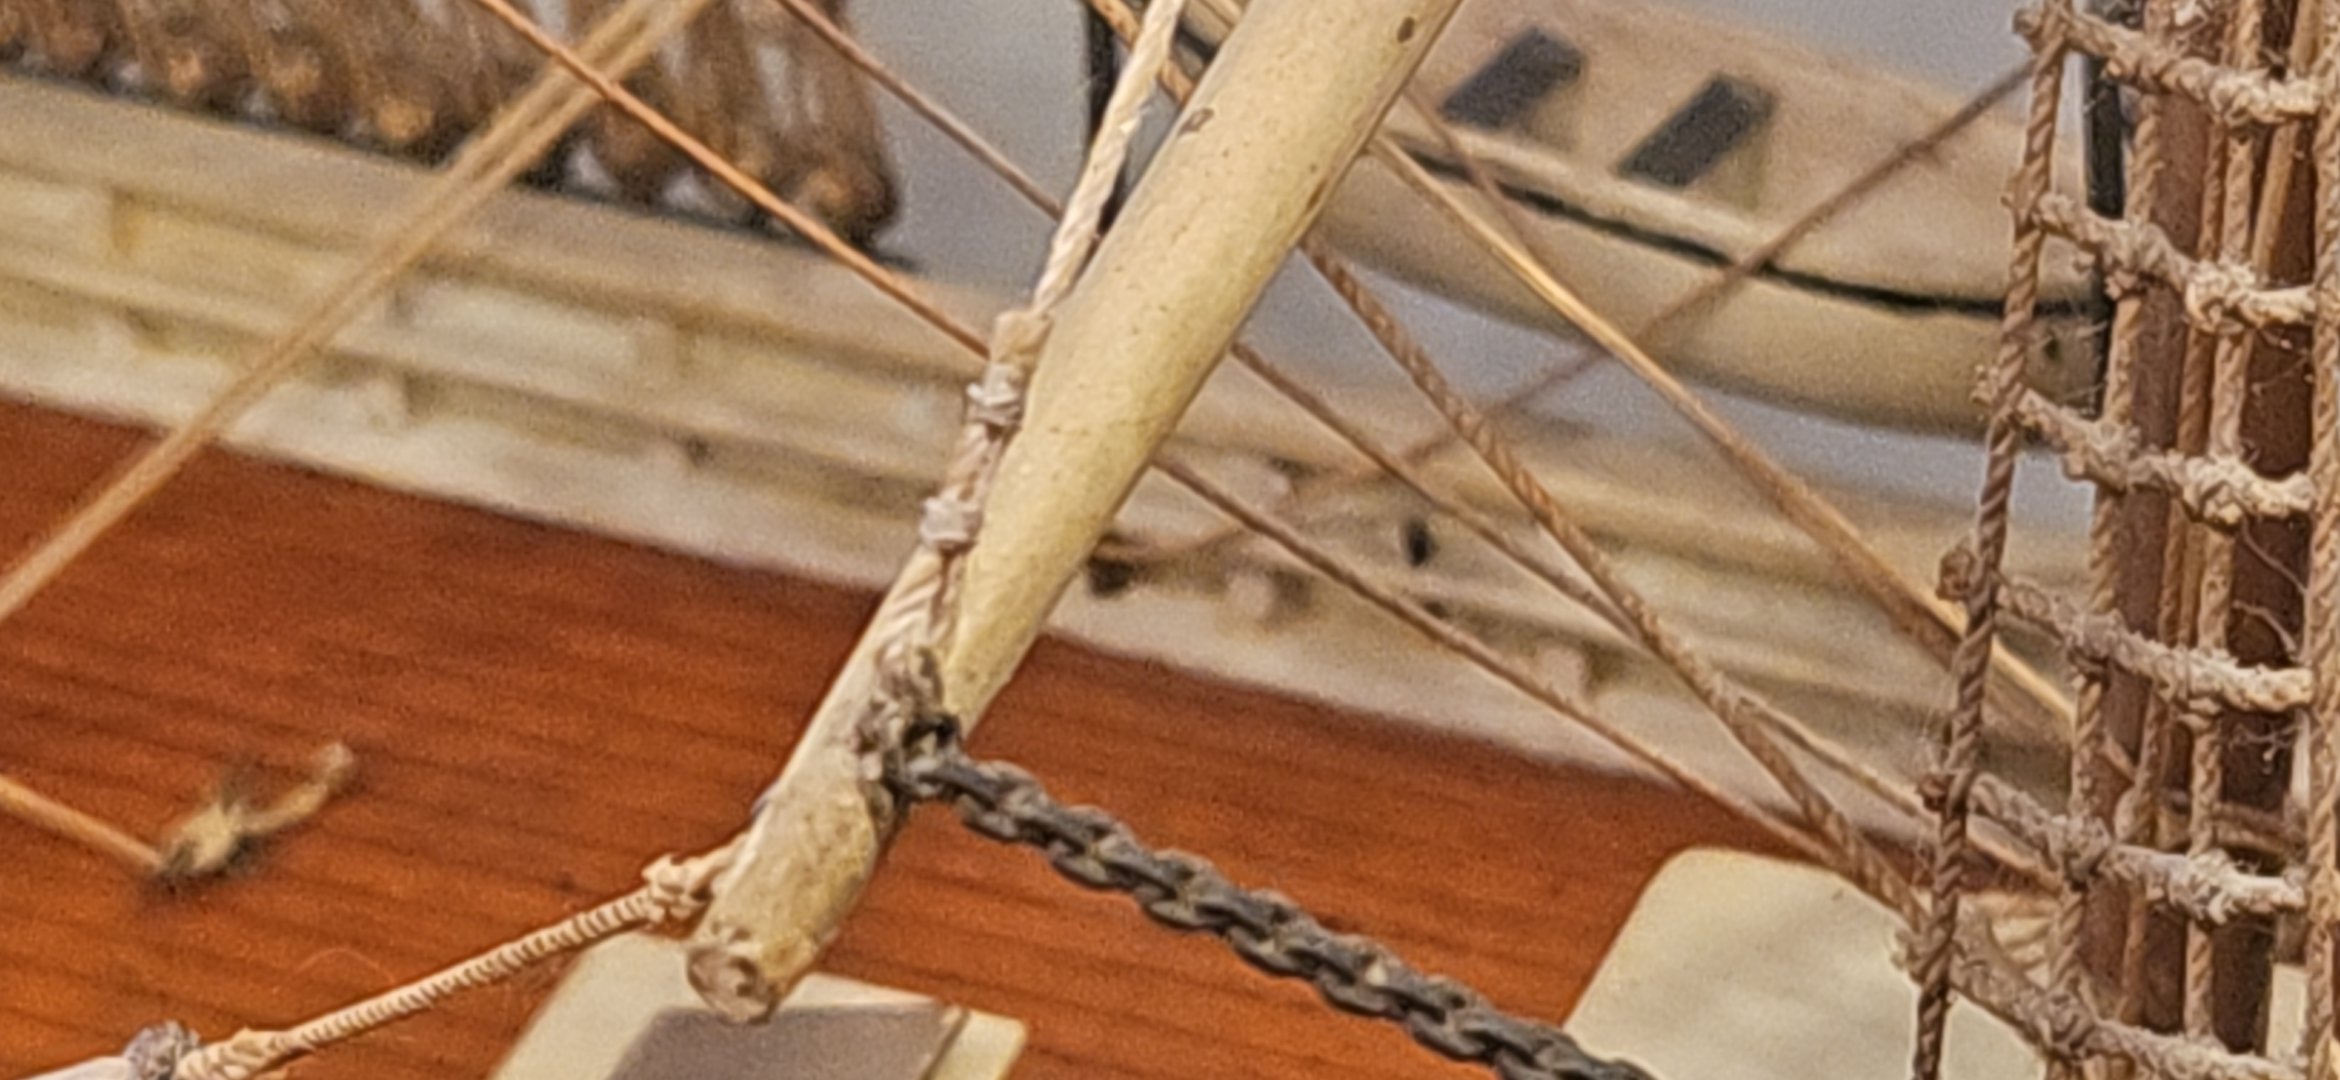
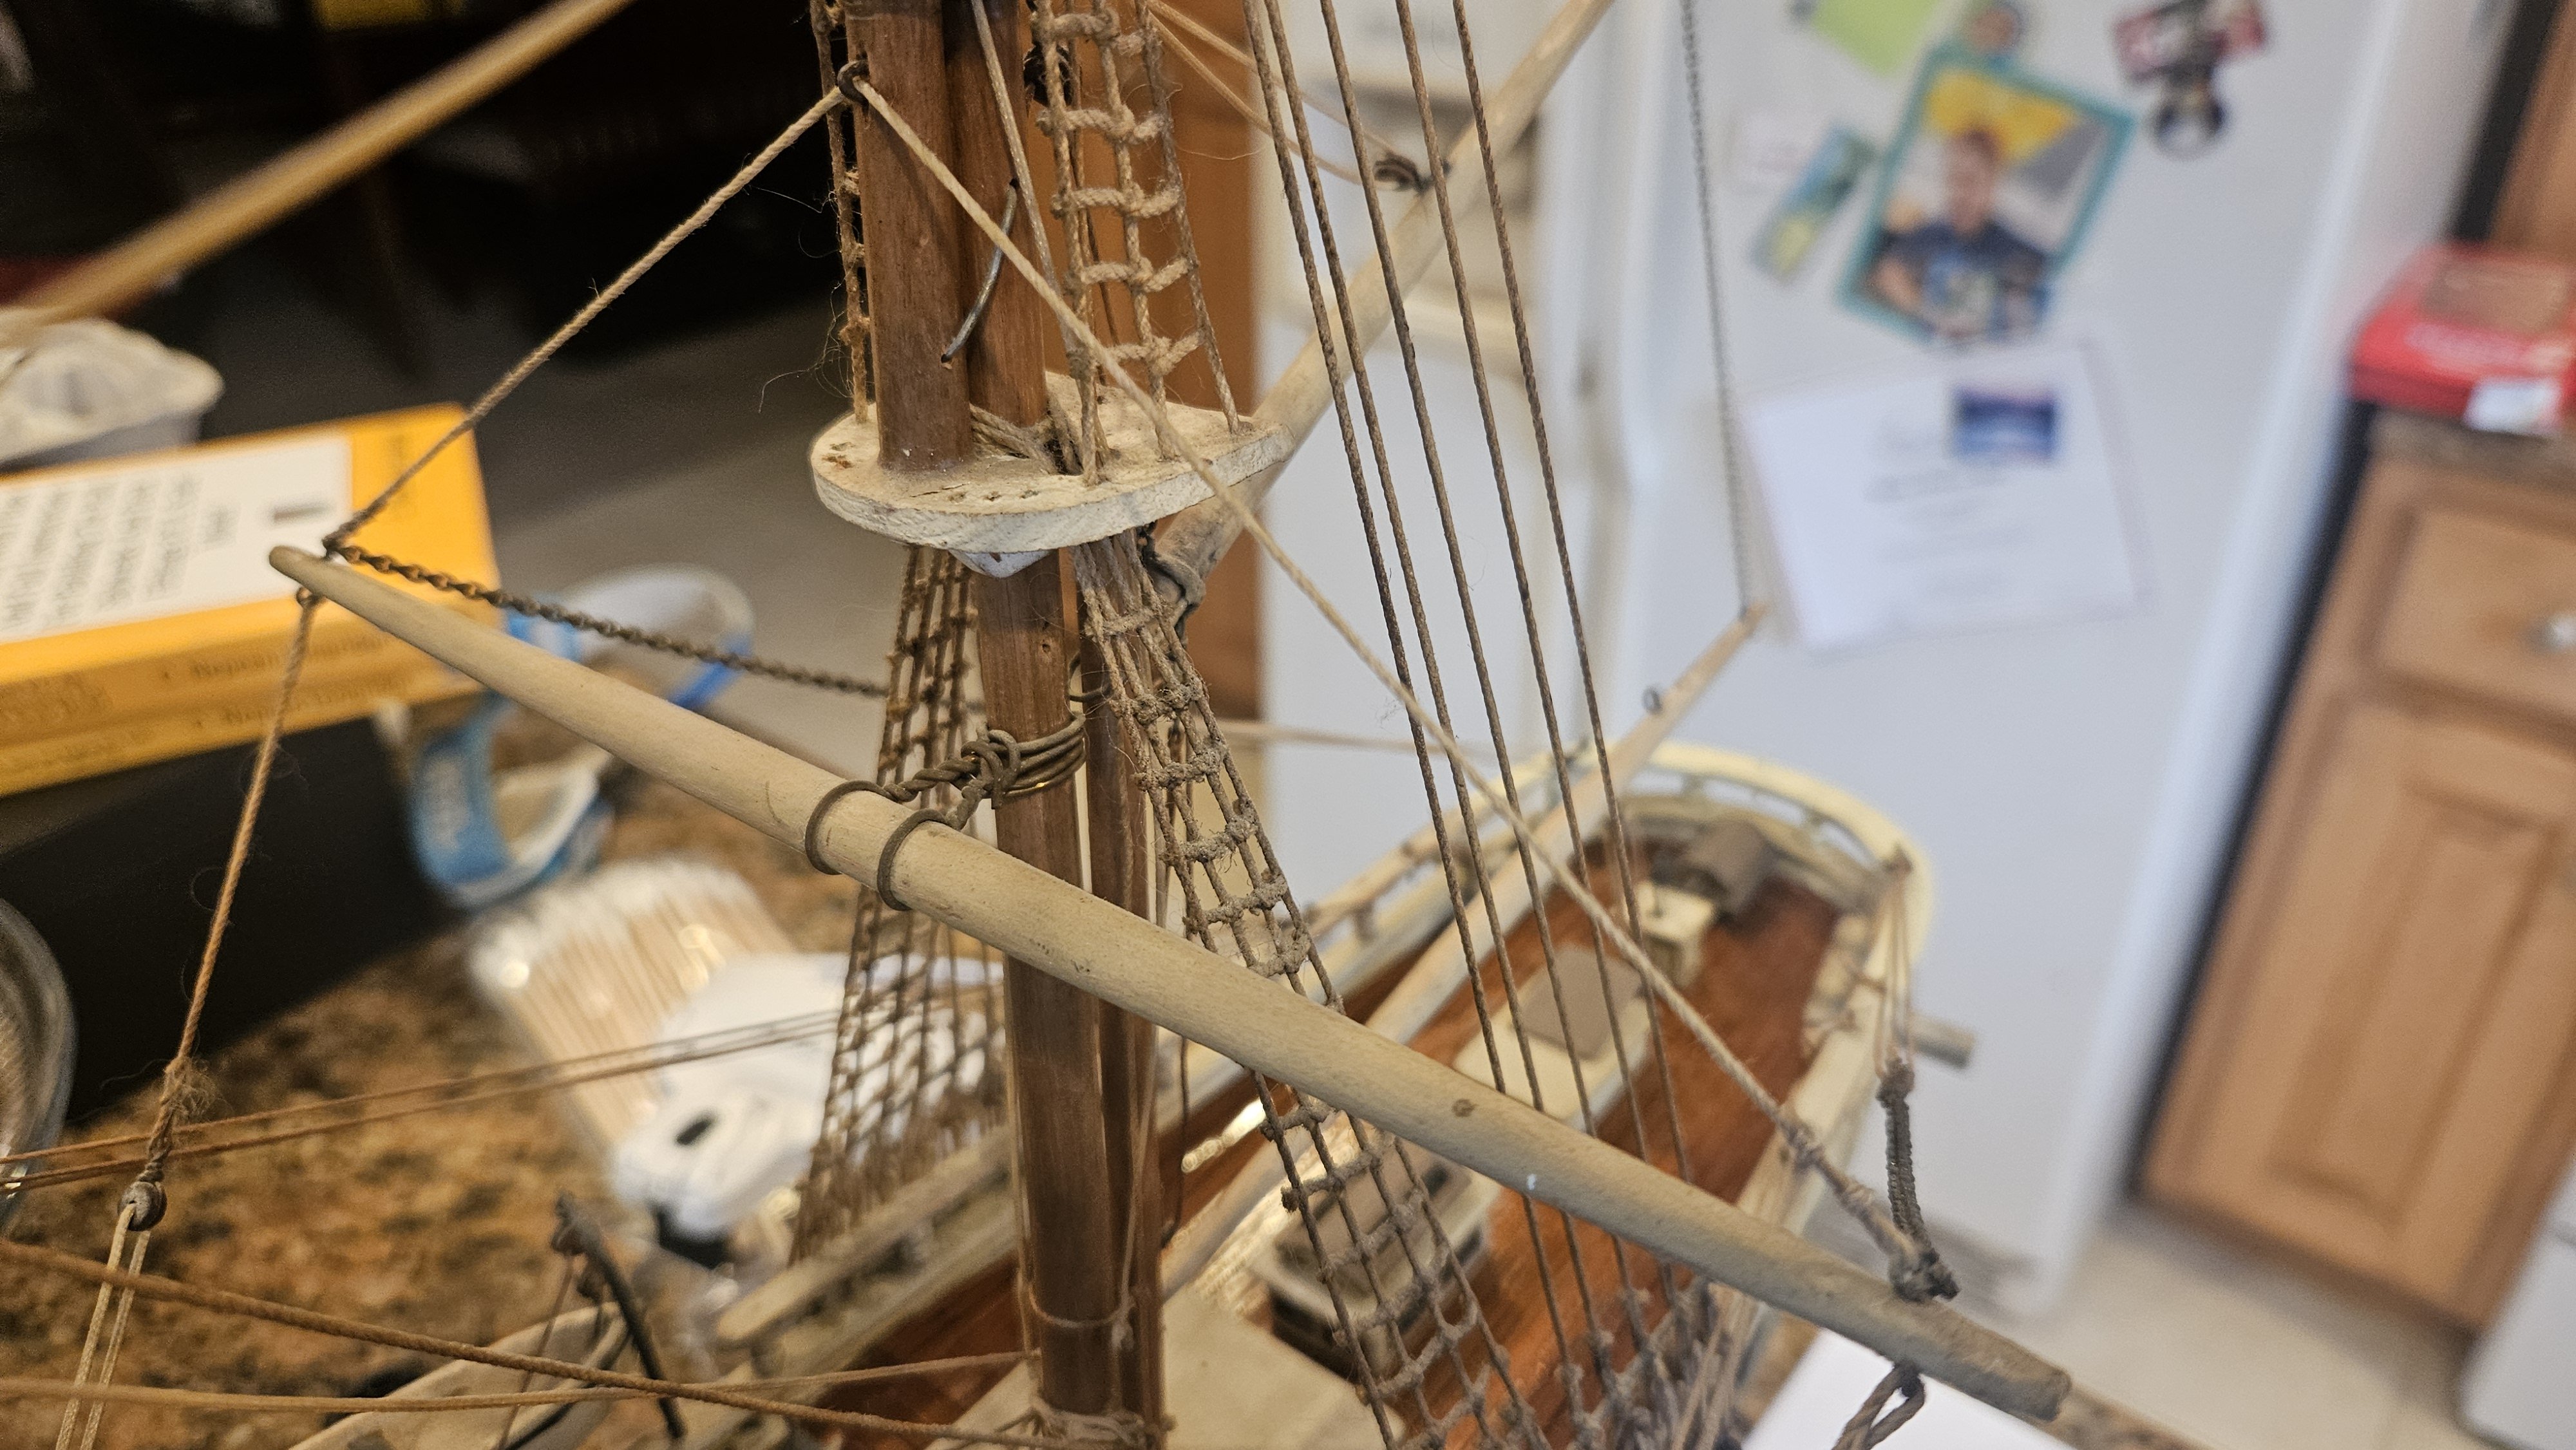
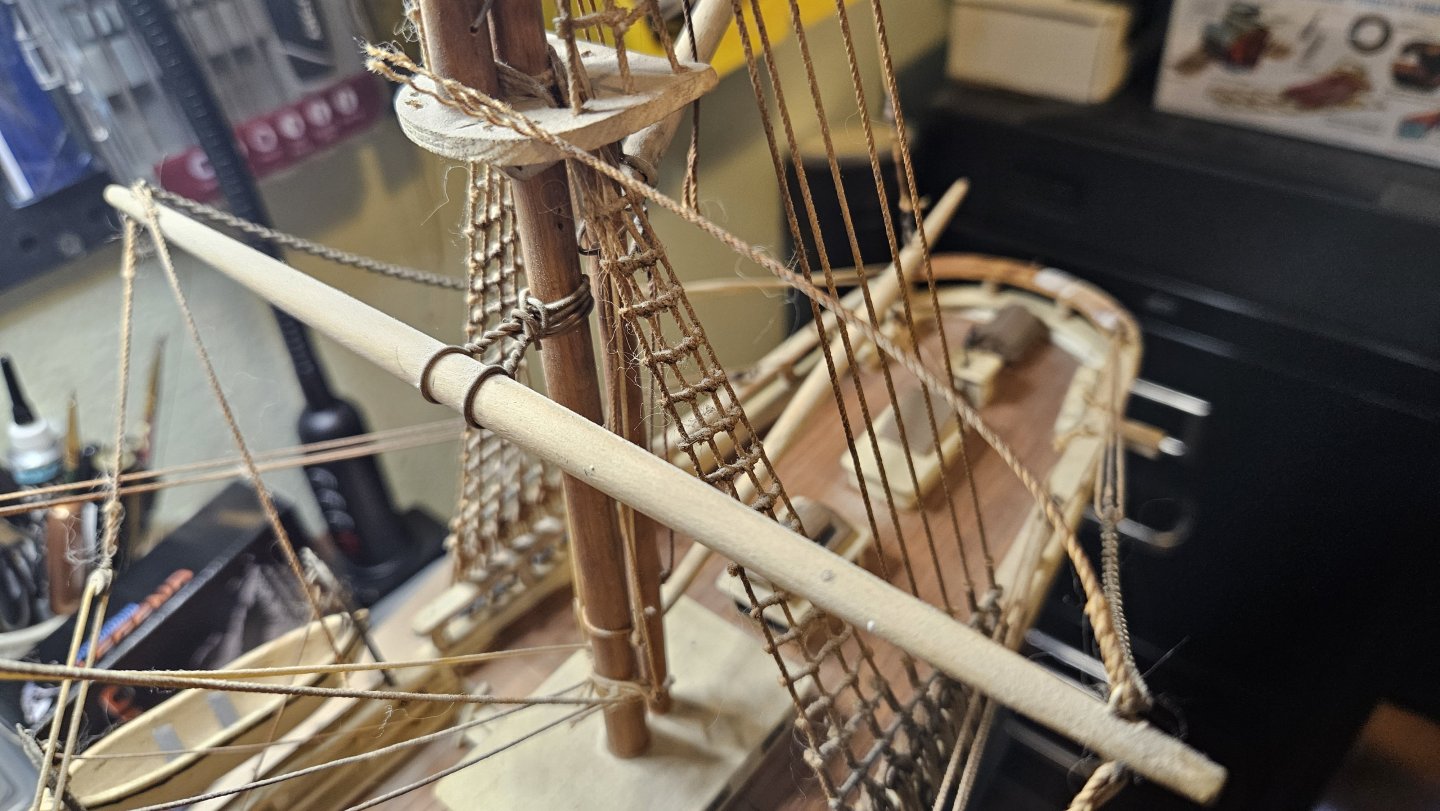
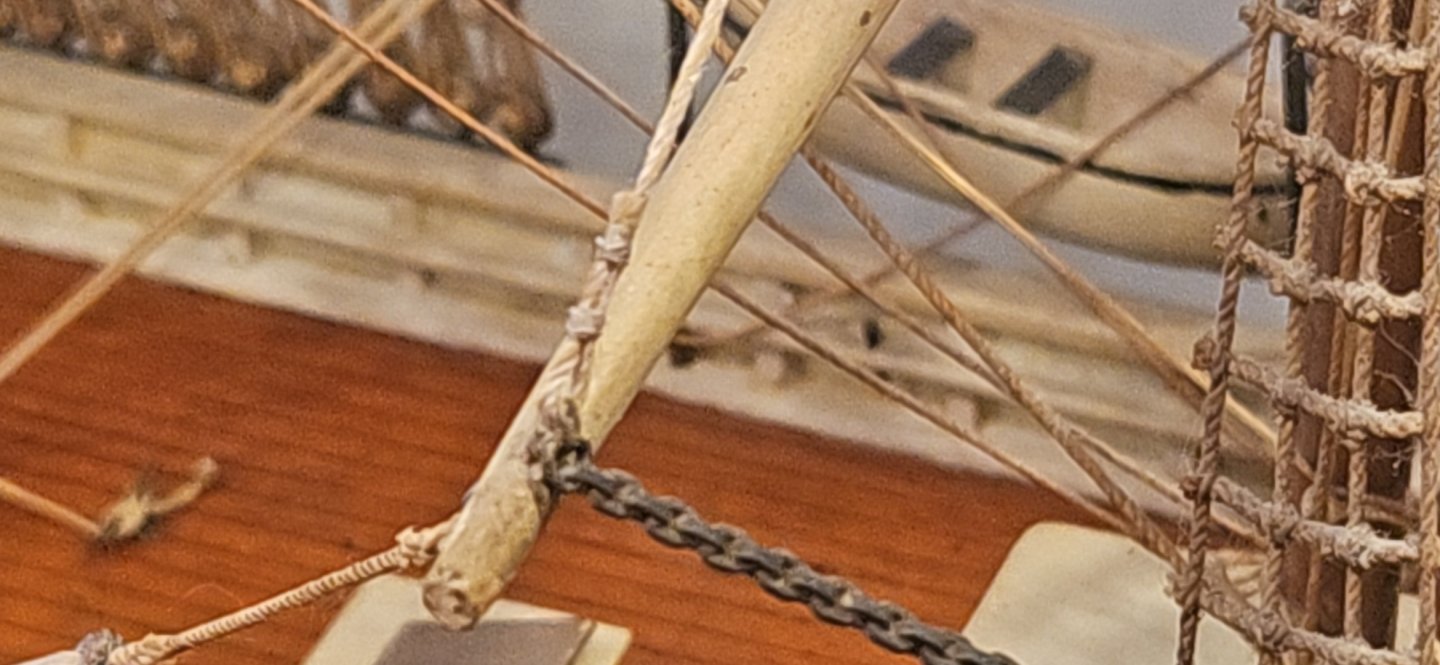
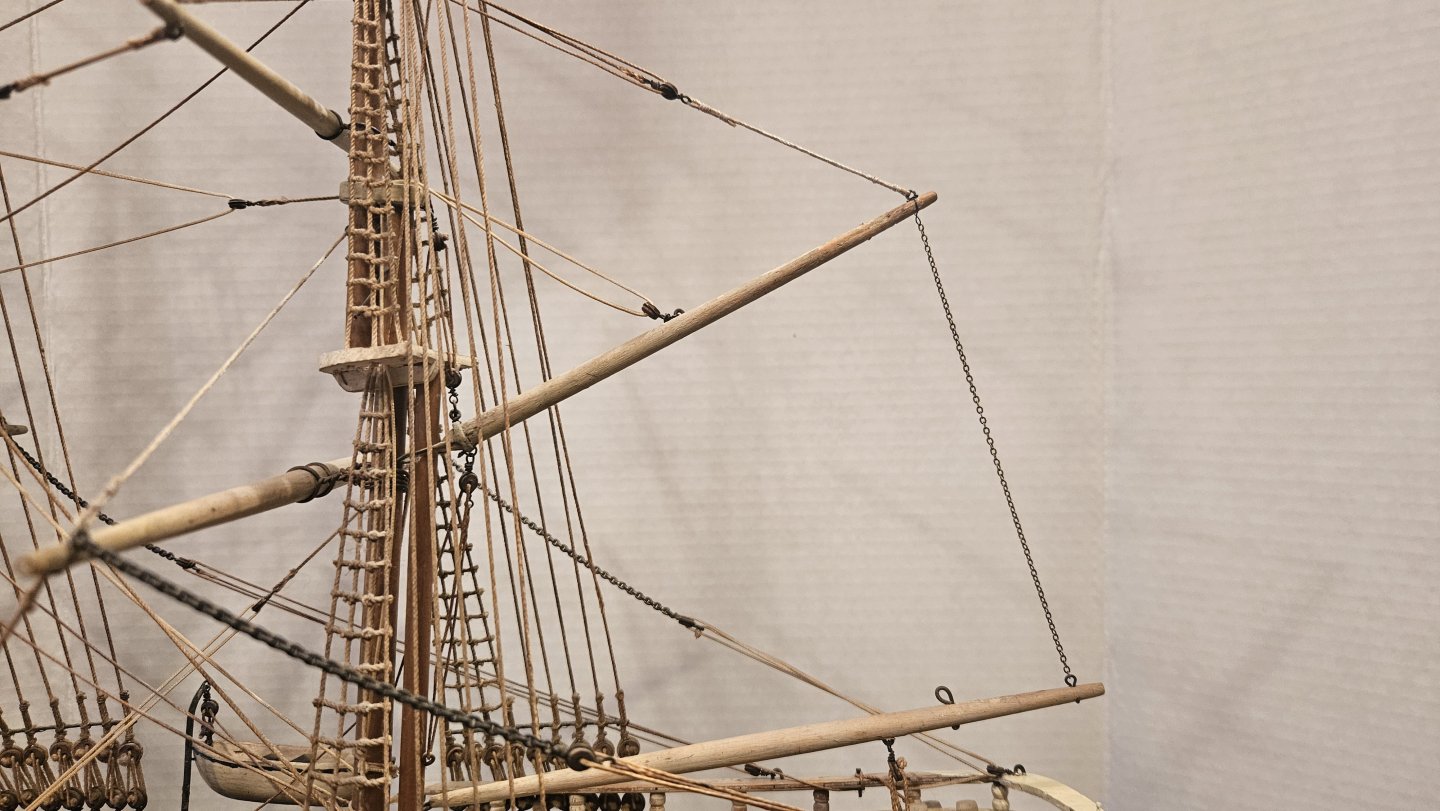
There were some issues with the rigging - specifically, one of the simplified yard lifts had failed, the braces for two other yards had failed, and the lift for the mizzen gaff was gone. Rigging for the spanker between gaff and boom were a rough repair from decades ago but non- functional ("Improper!" according to Mr. Nash) . So of course, Mr. Nash turned to... New lift representation... Spanker rigging repairs, adding chain between gaff and boom. And the two new brace lines. The Model Shipways line blends in with the 99 year old natural line pretty well. Rigging is as good as she'll get here. For better or worse. Sadly for the mizzen main course yard "lifts", the beautiful eye splices were replaced by my ham-handed seizings. Functional, but godawful to look at in comparison 🤣.


-
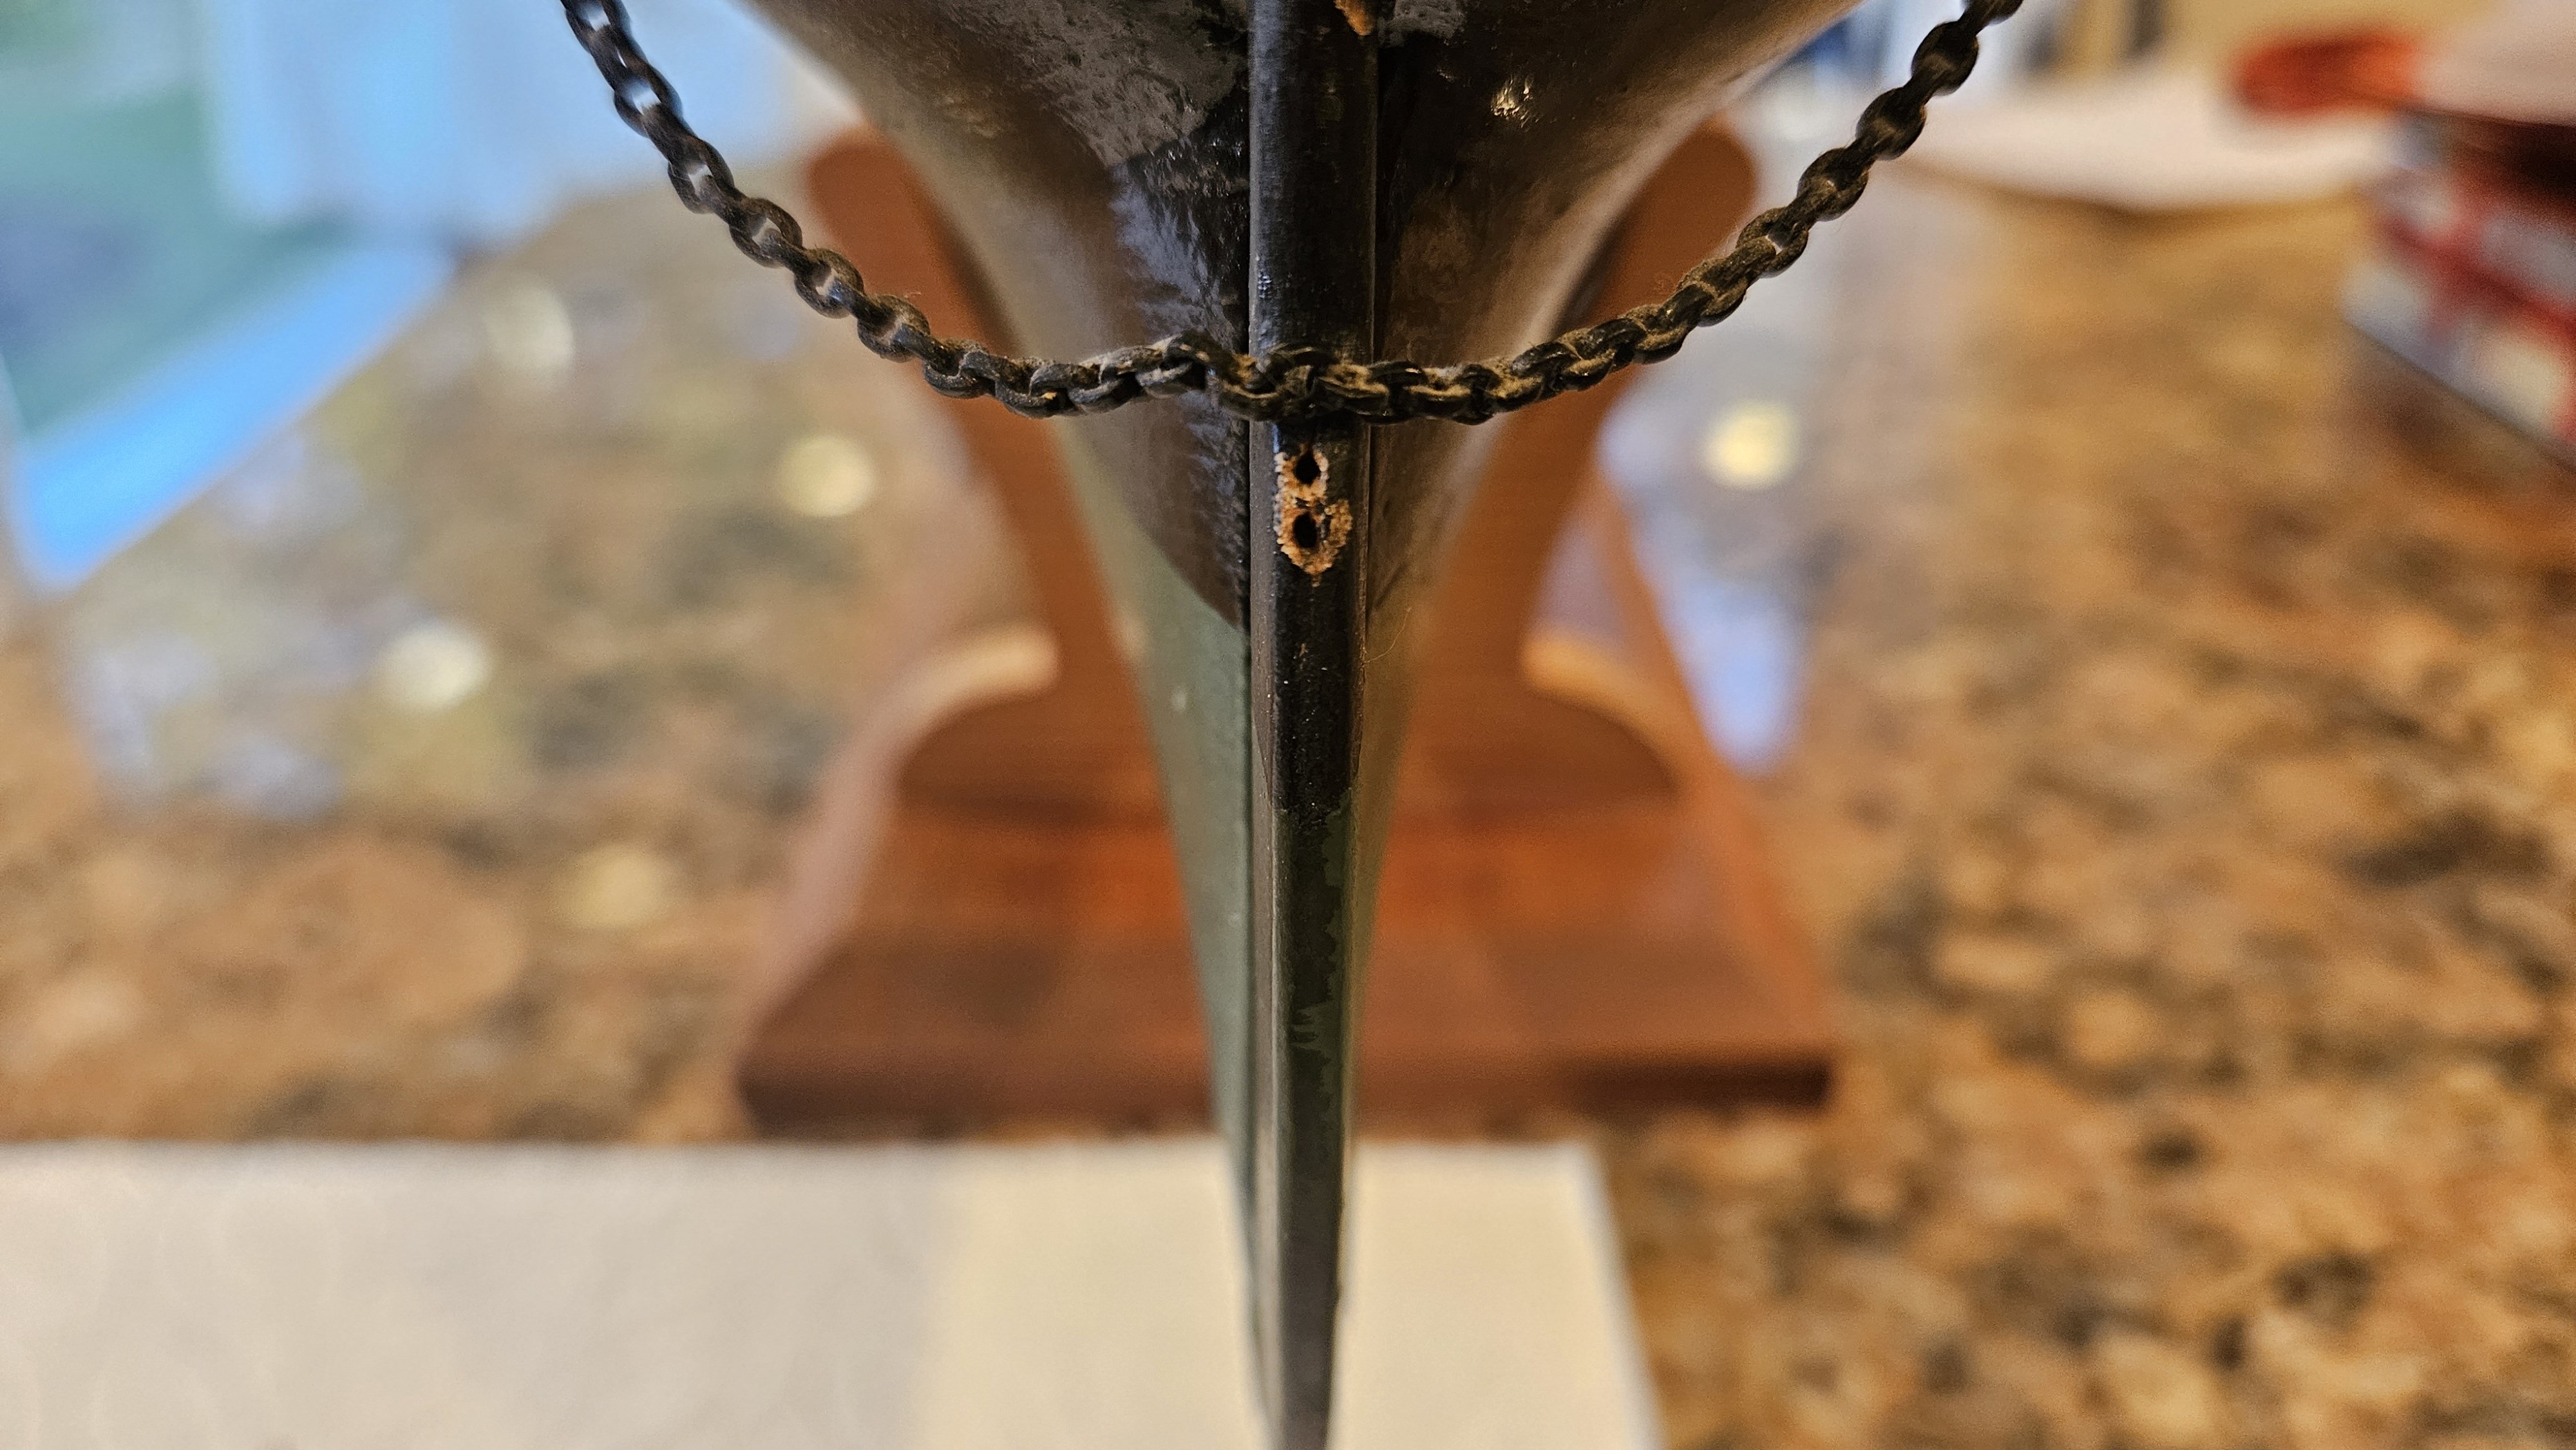
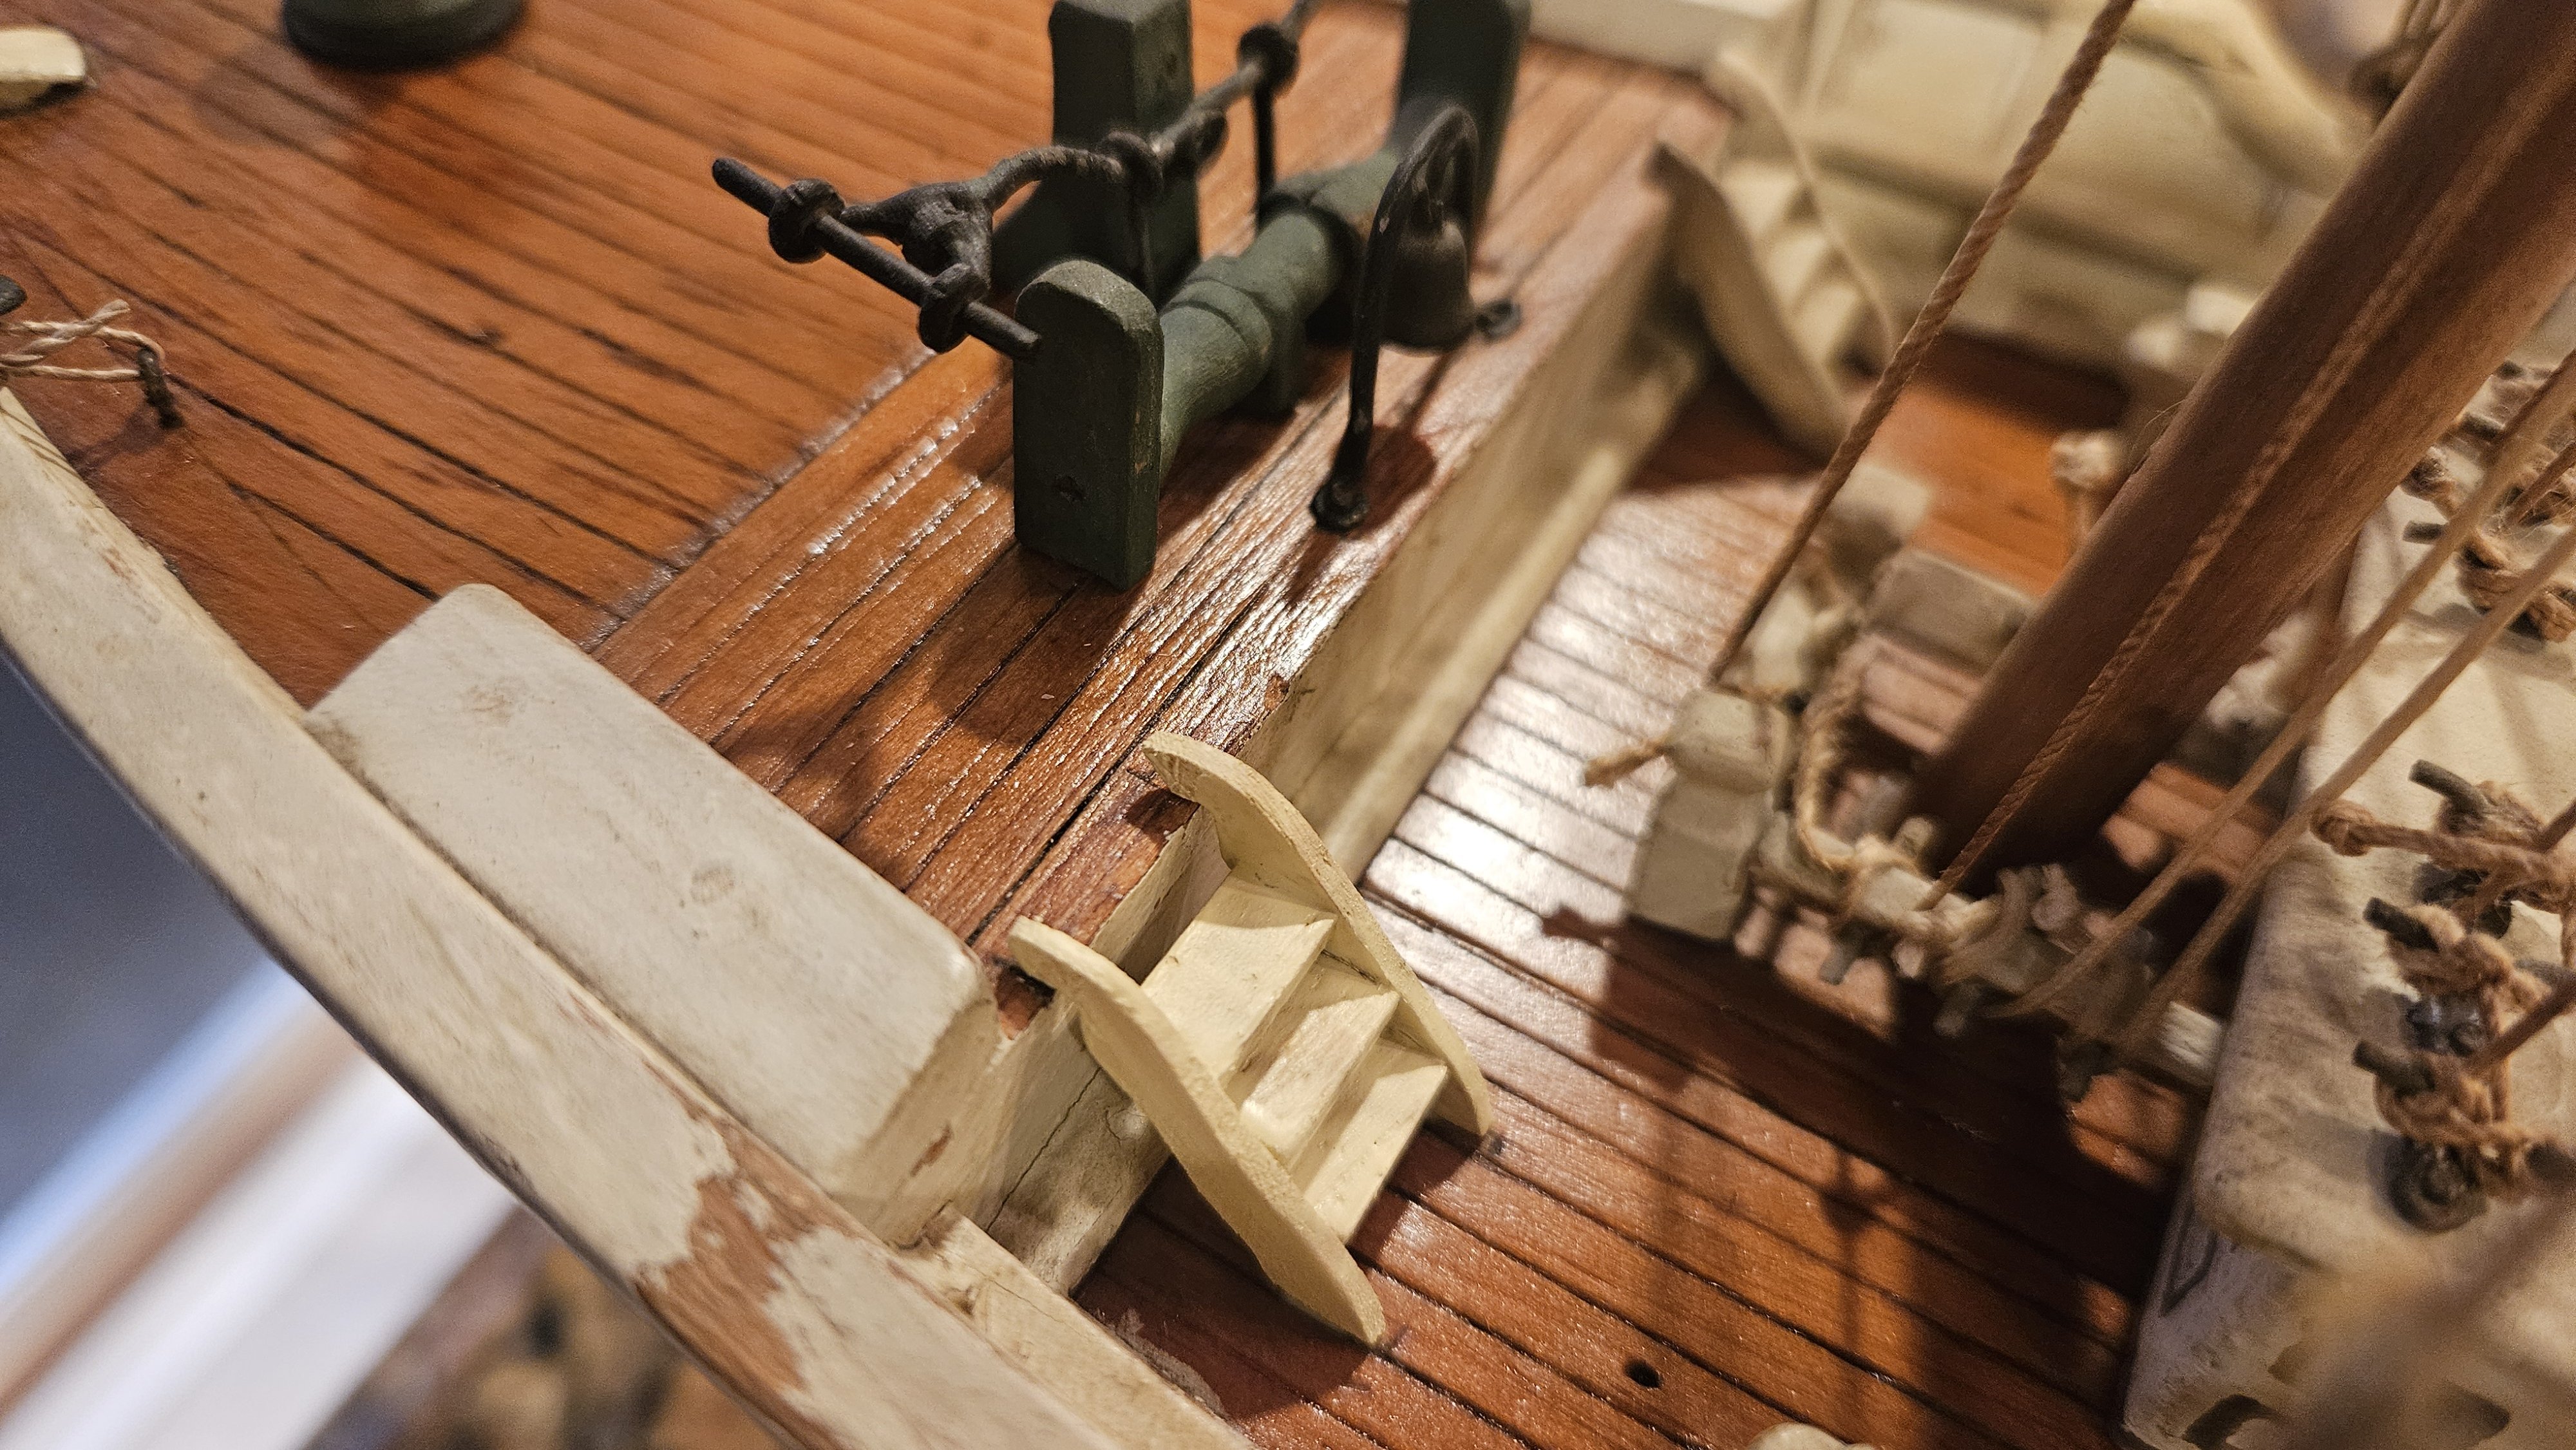
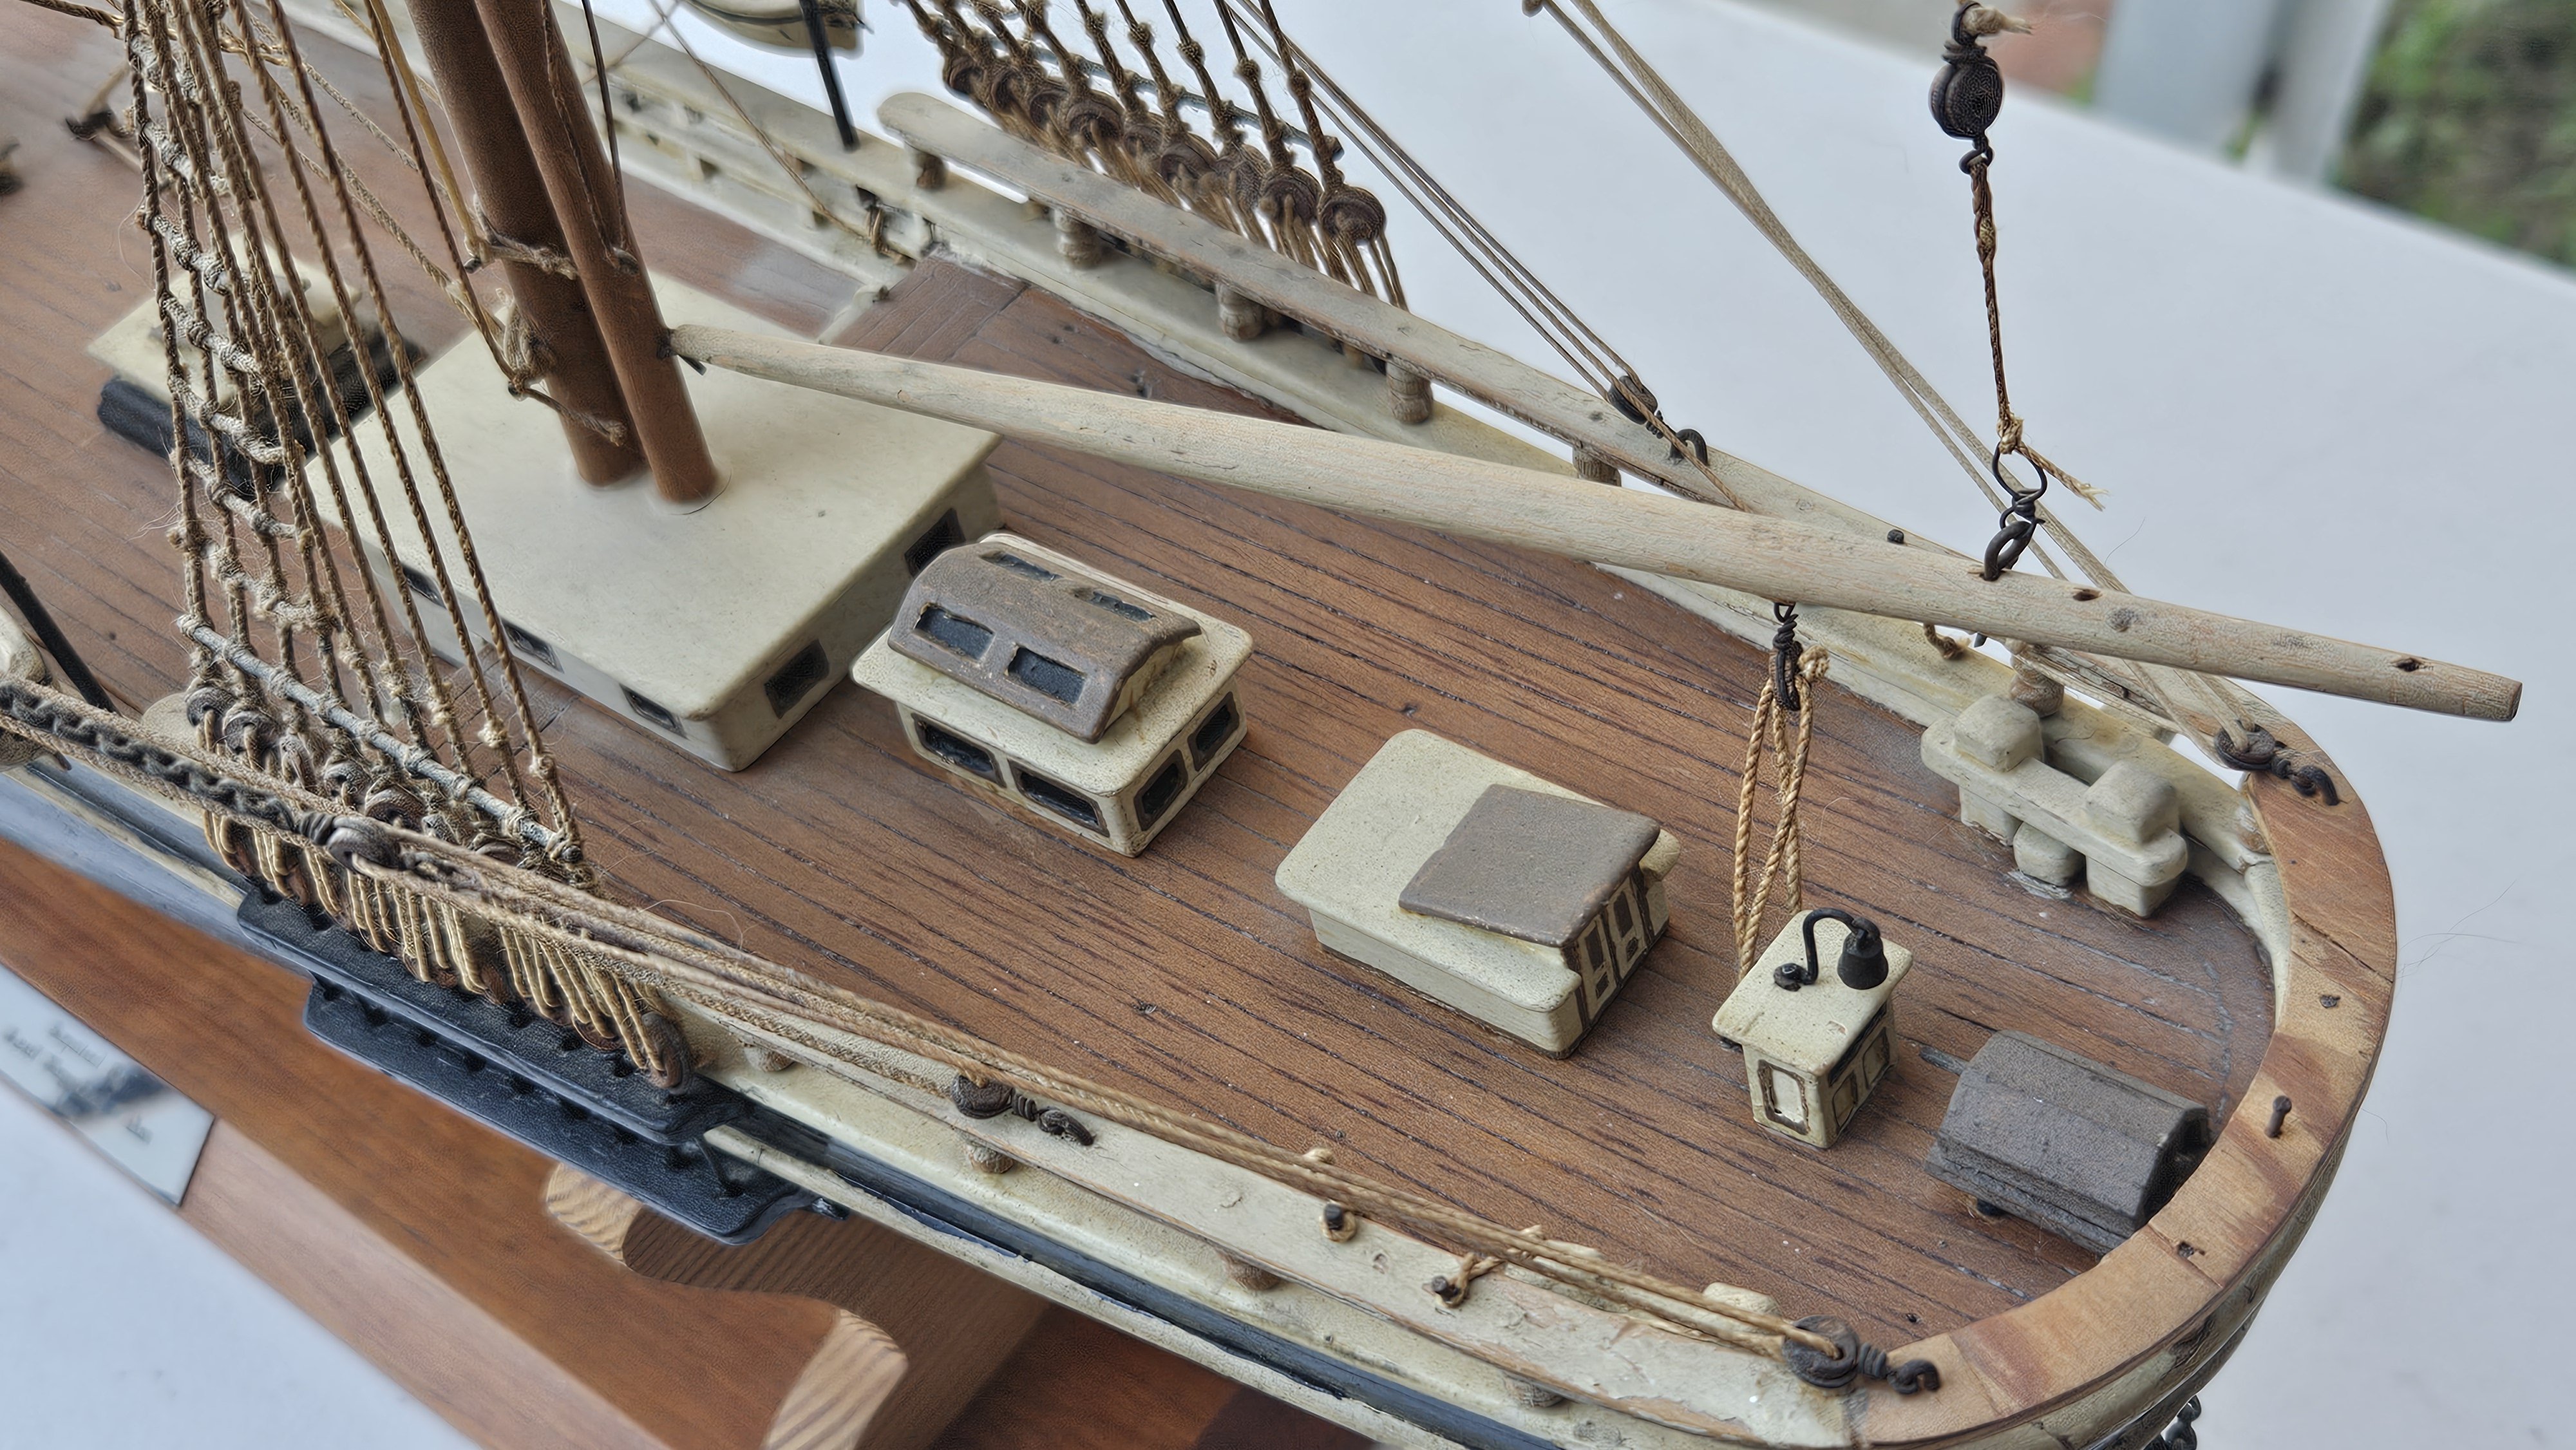
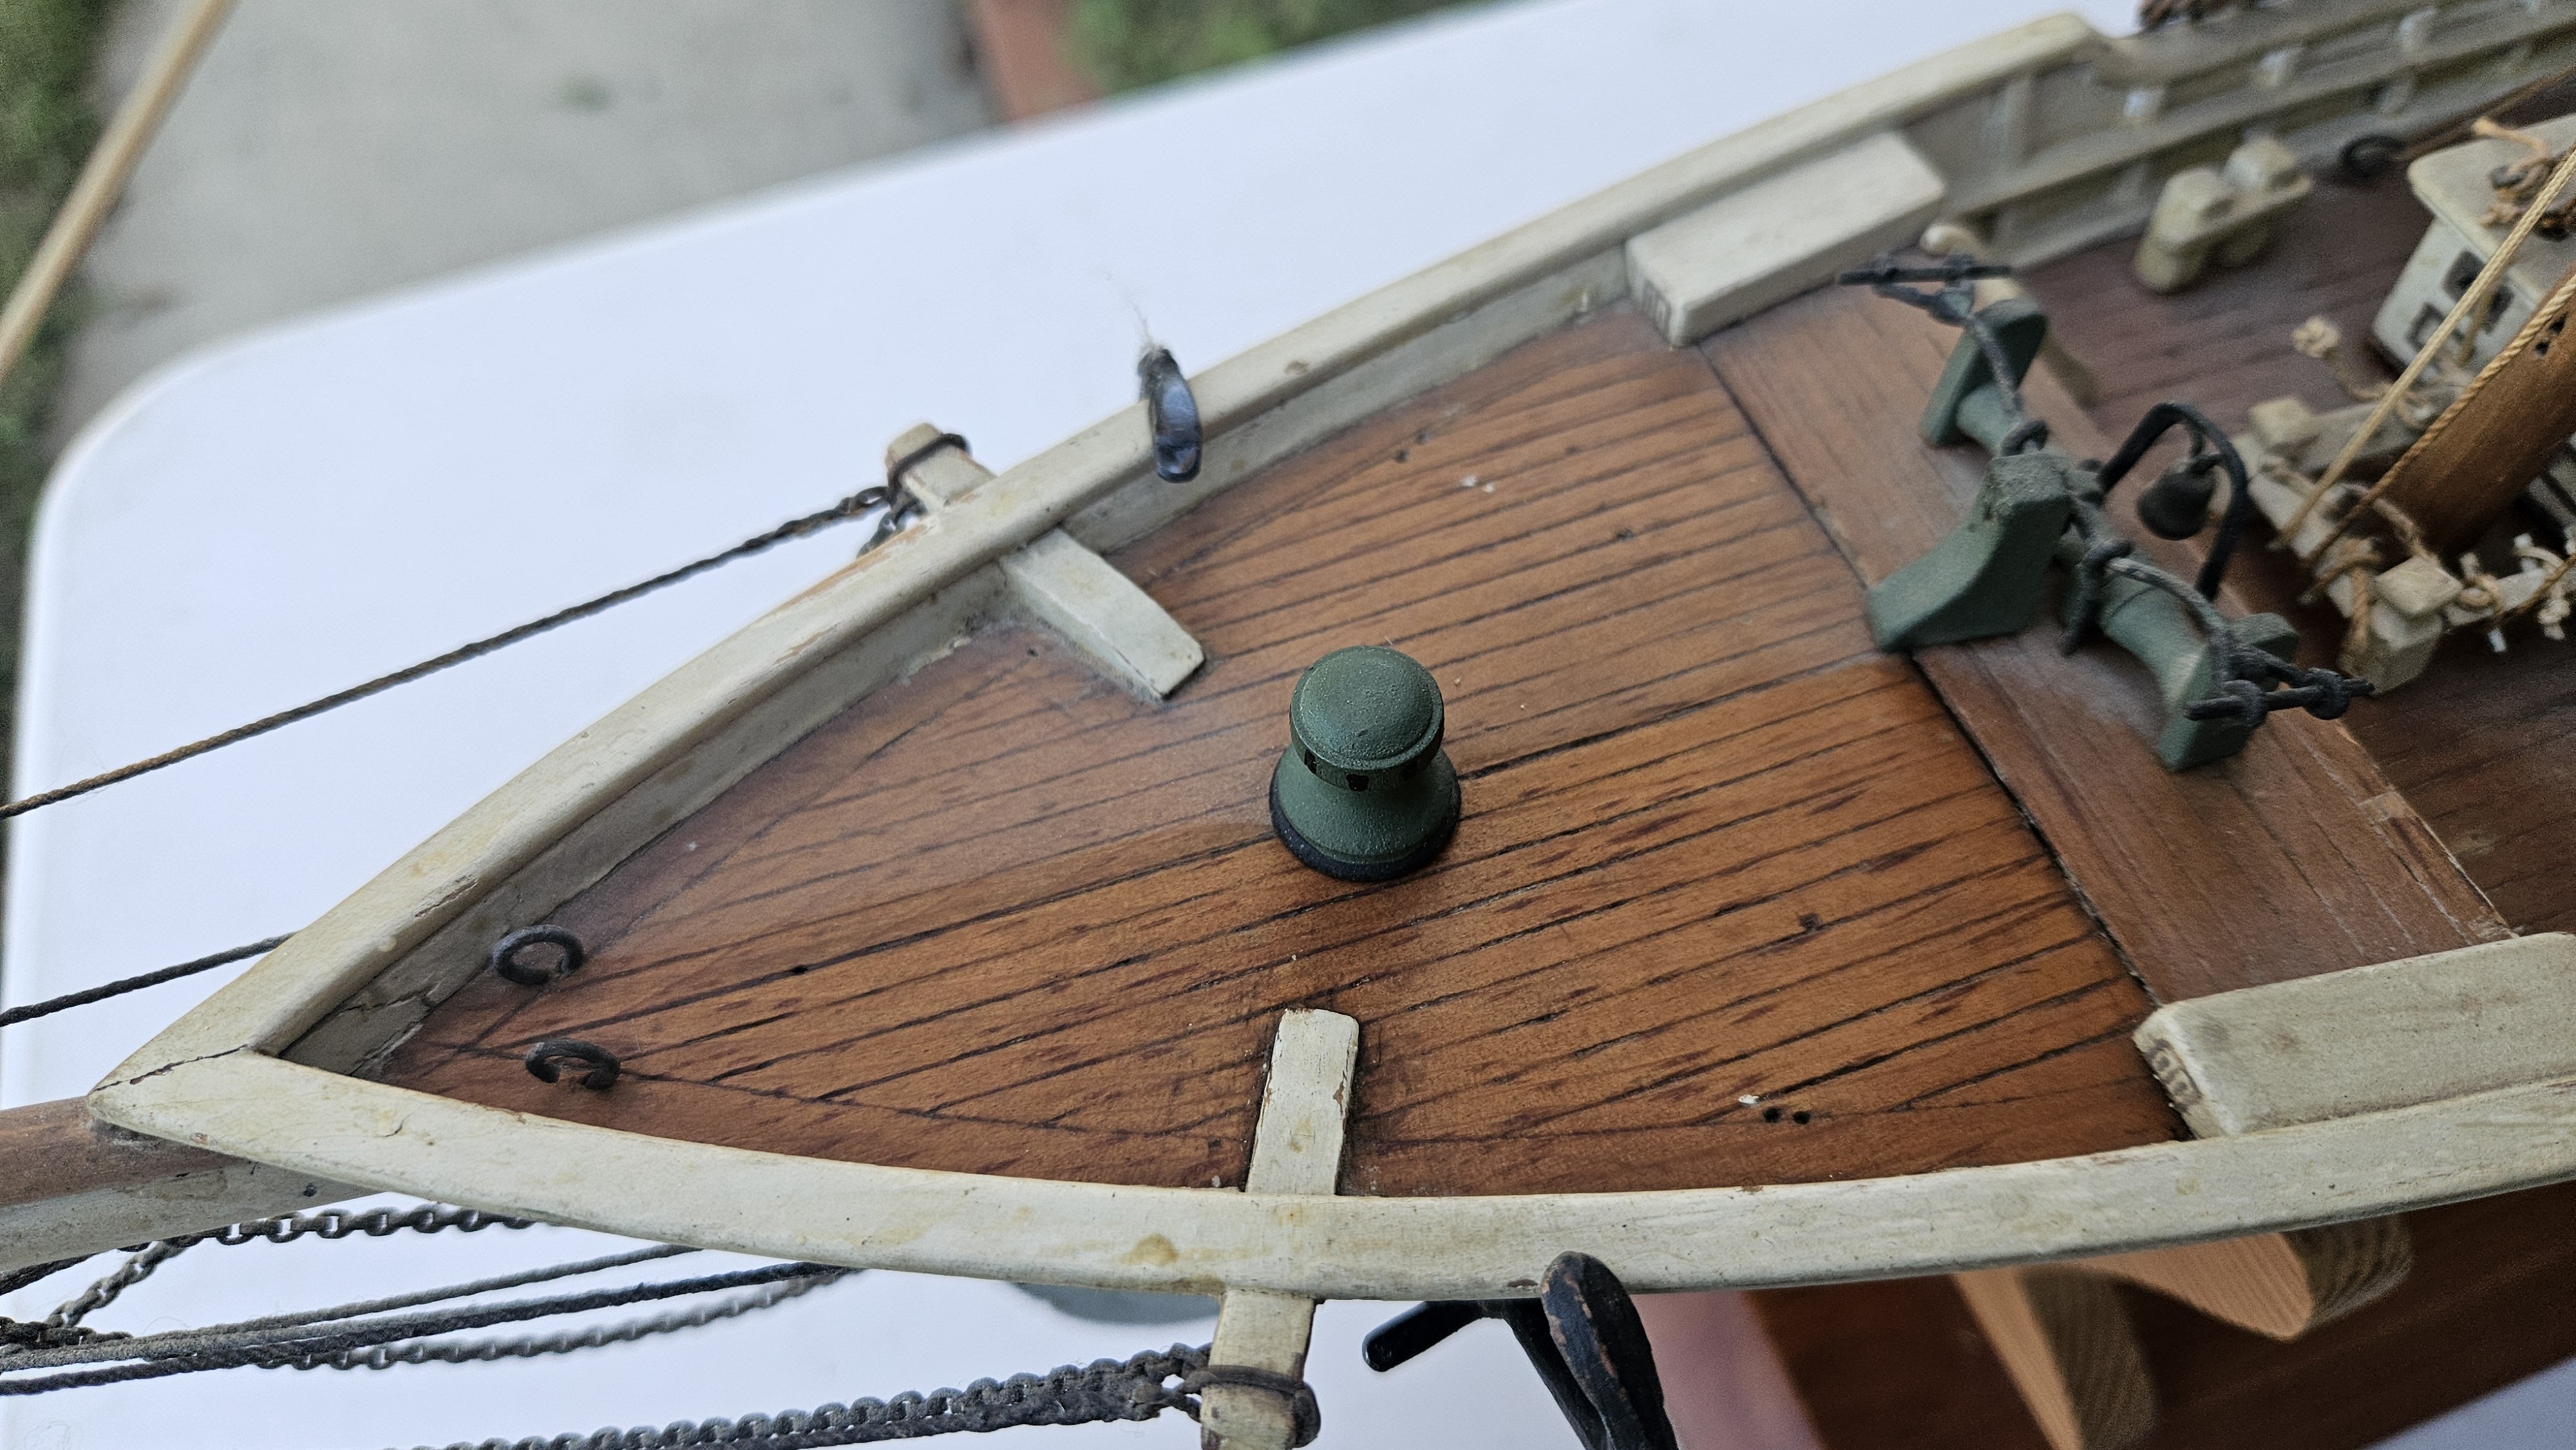
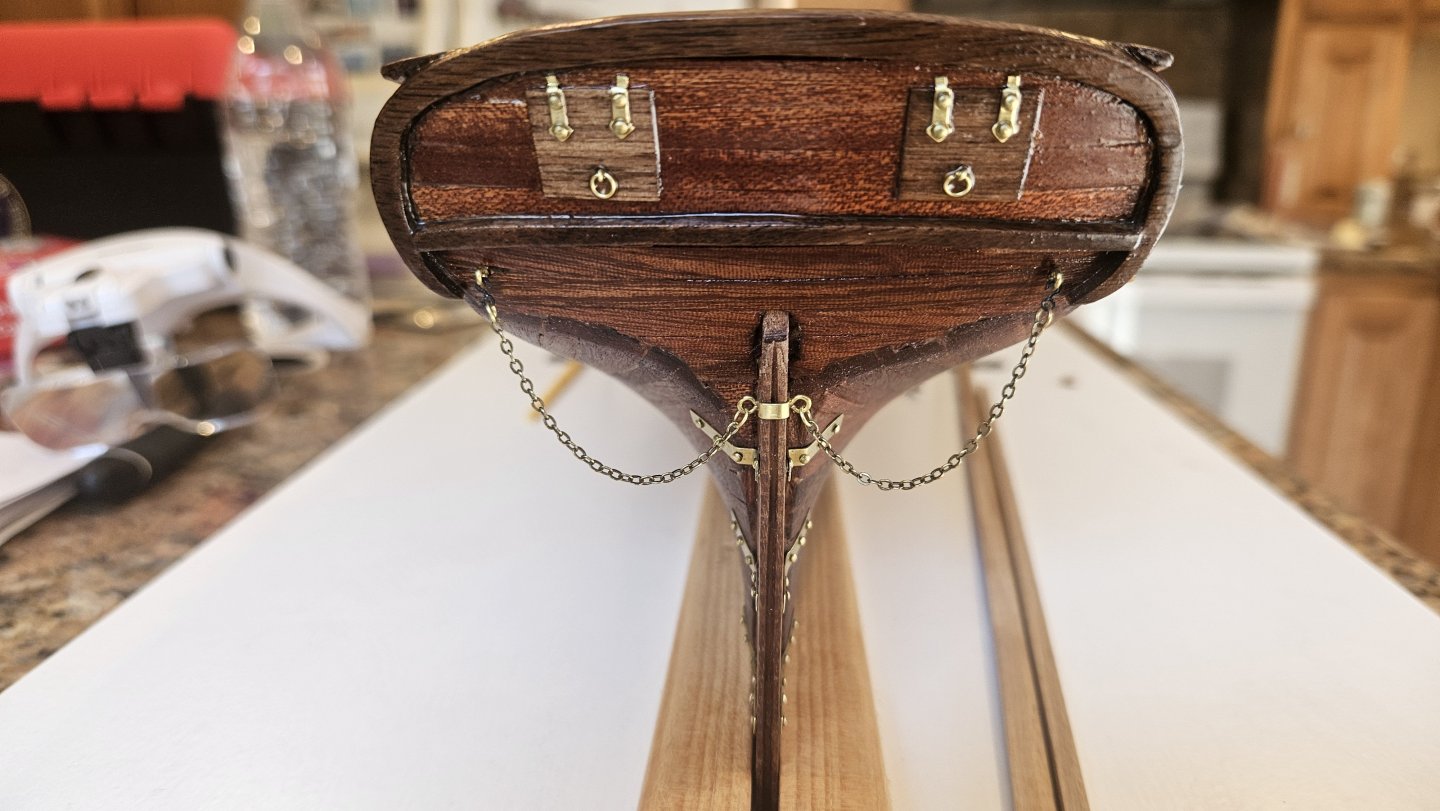
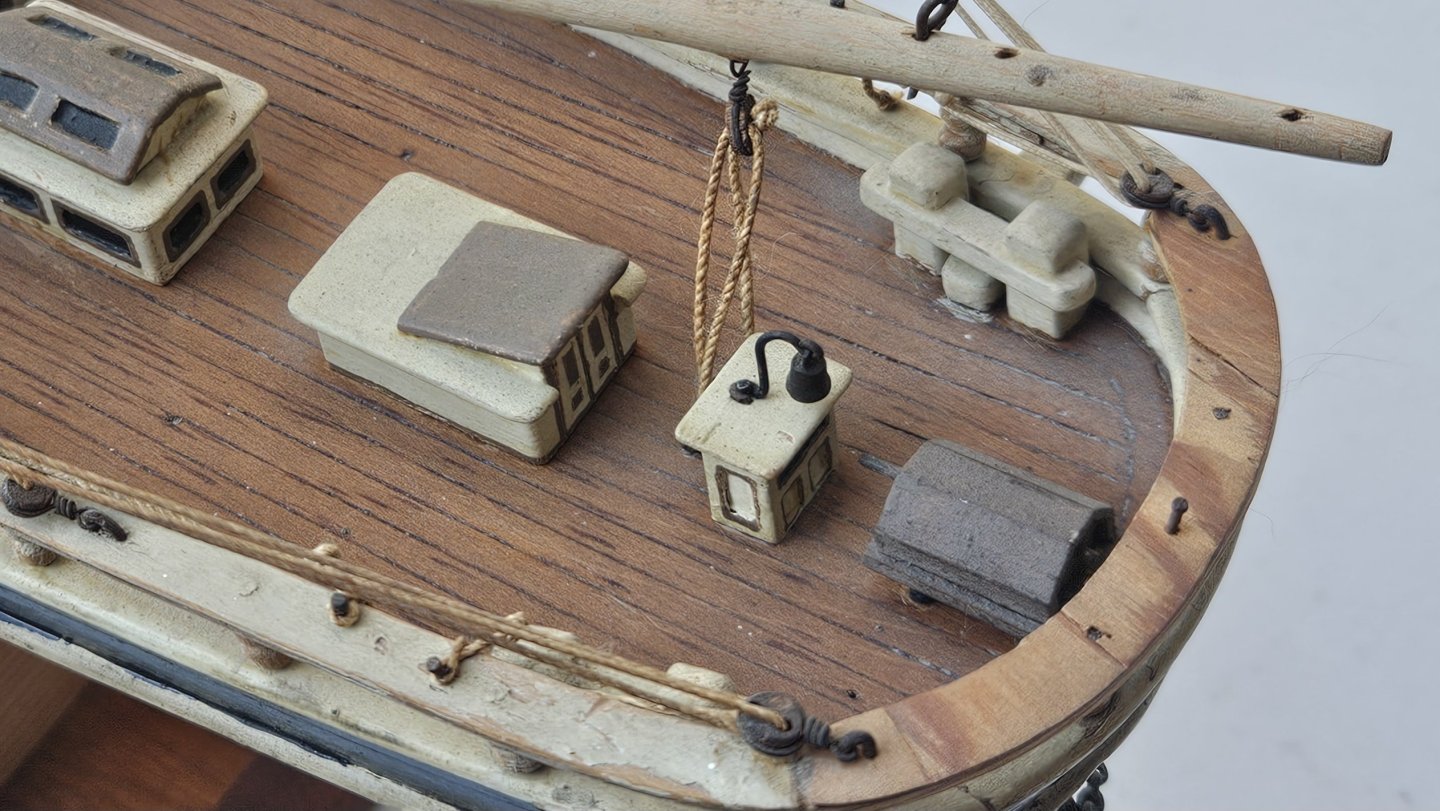
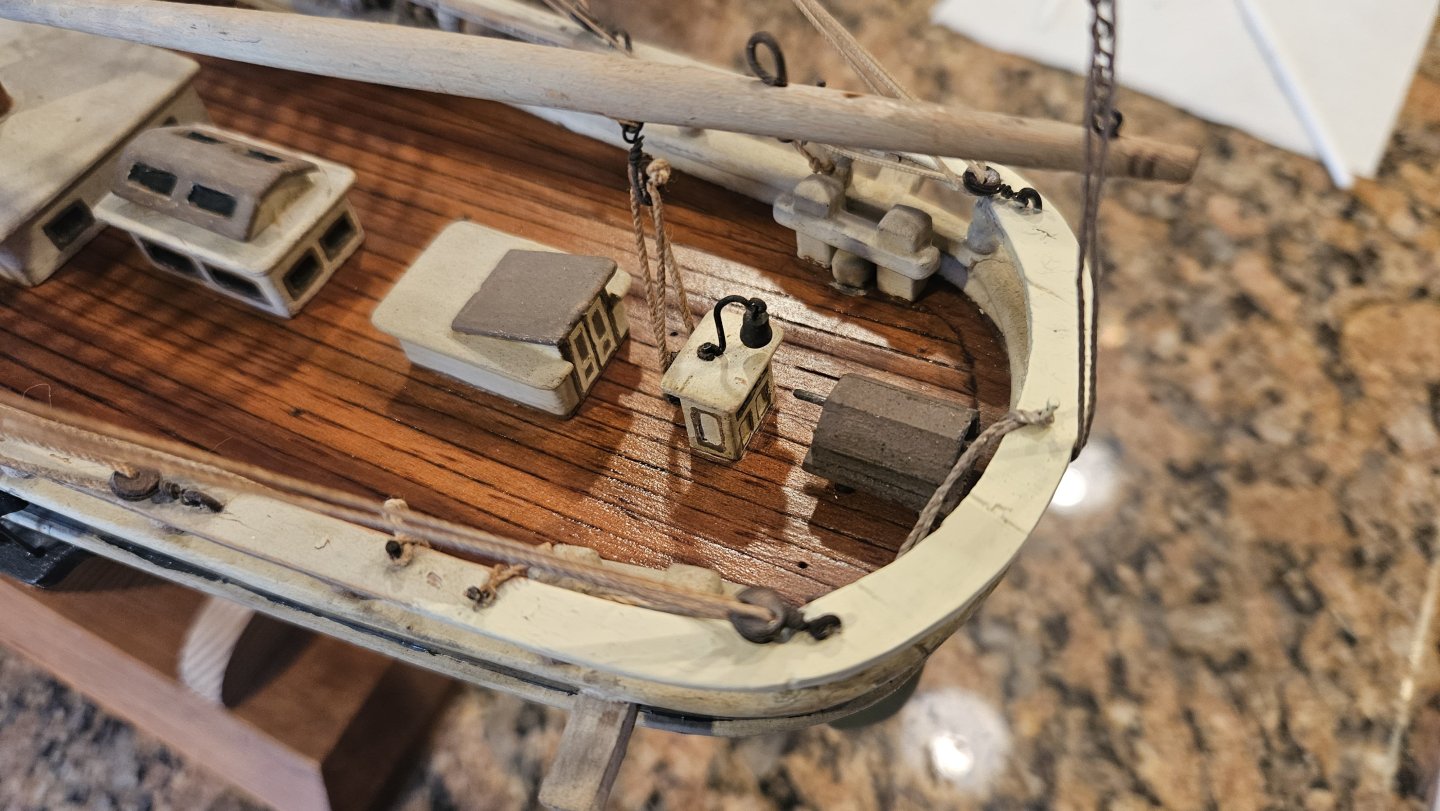
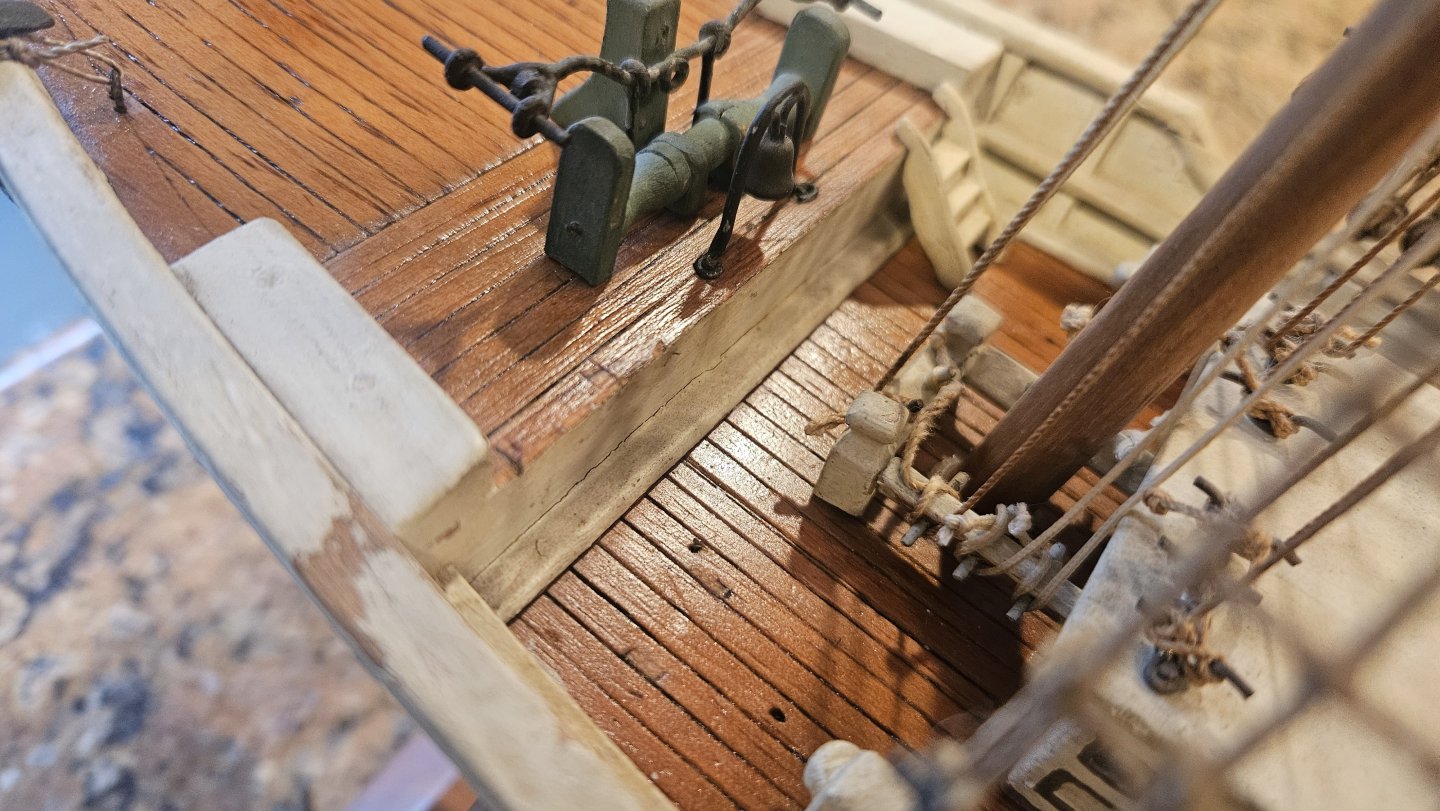
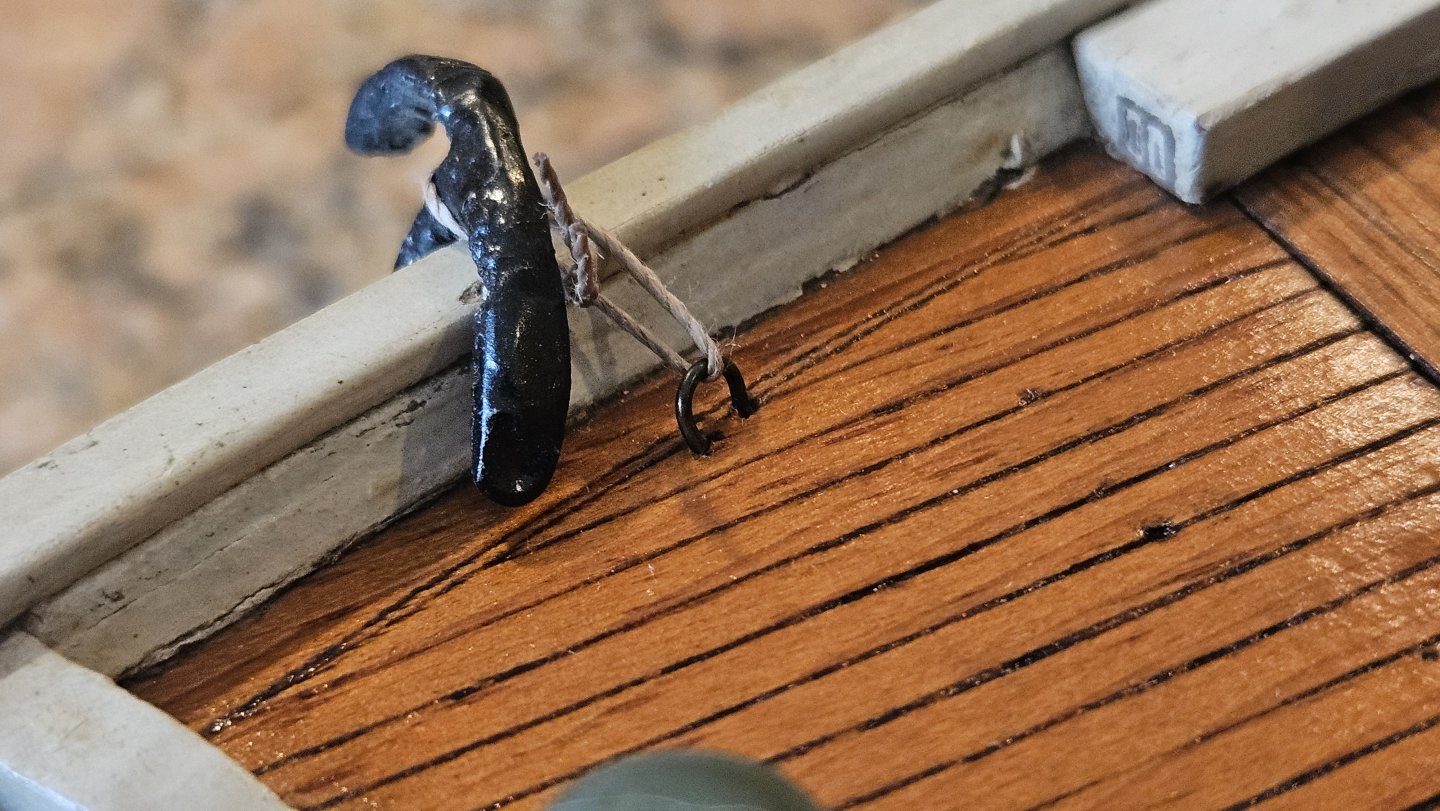
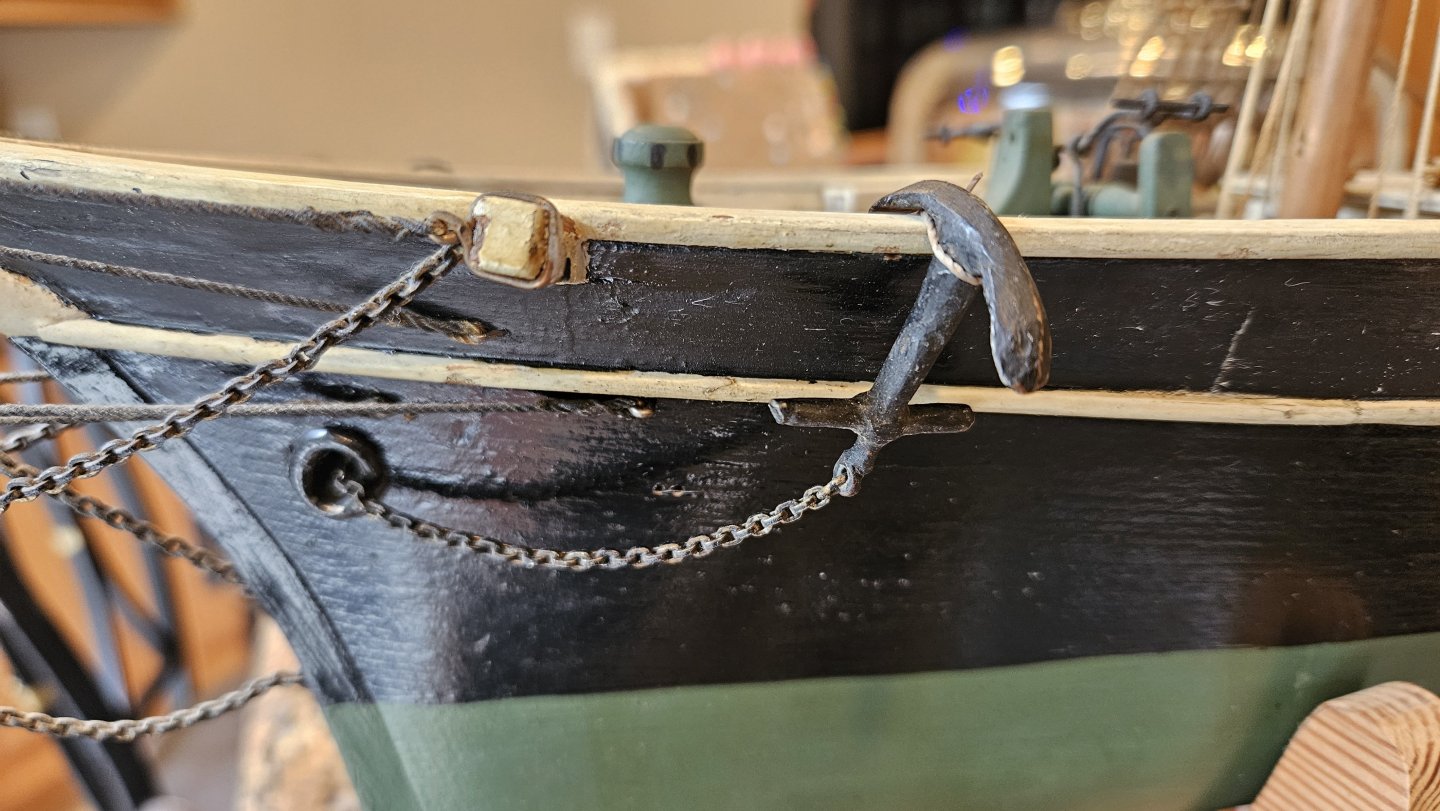
As a sadly novice model restorer, I will summarize the repairs and changes to the Sovereign of the Seas while in my shipyard. I would love to hear insights both positive and otherwise on this small project and the choices made. First, cleaning of the deck and horizontal surfaces. "A good clean sweepdown fore and aft..." using a stiff small paintbrush and then swabbing of the decks using long wooden handled qtips and tap water. And then, I chose to re-oil the decks with Danish Oil. I just had to - the wood was screaming for it, and end effect was stunning. Chalk it up to "maintenance"? The (handmade?) Anchors hung freely, but there were empty holes in the deck that would have been perfect for fittings to secure the anchors to - so I did. Blackened handmade brass fittings and Model Shipways line. All ship shape at the f'csle then.


.jpg.3e464bbc36237f3a362c8e23d793c729.jpg)